RGL
-
Posts
5,554 -
Joined
-
Last visited
Content Type
Profiles
Forums
Gallery
Events
Everything posted by RGL
-


-
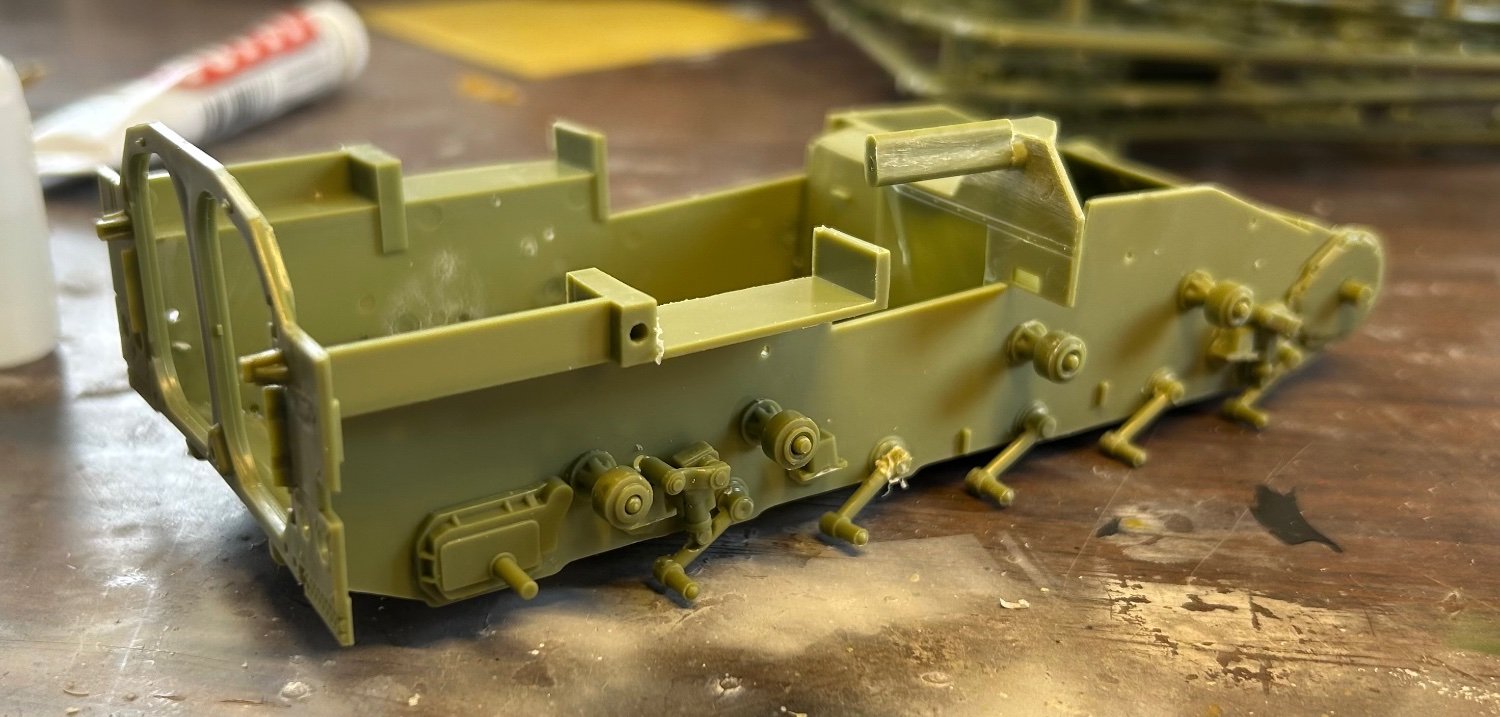
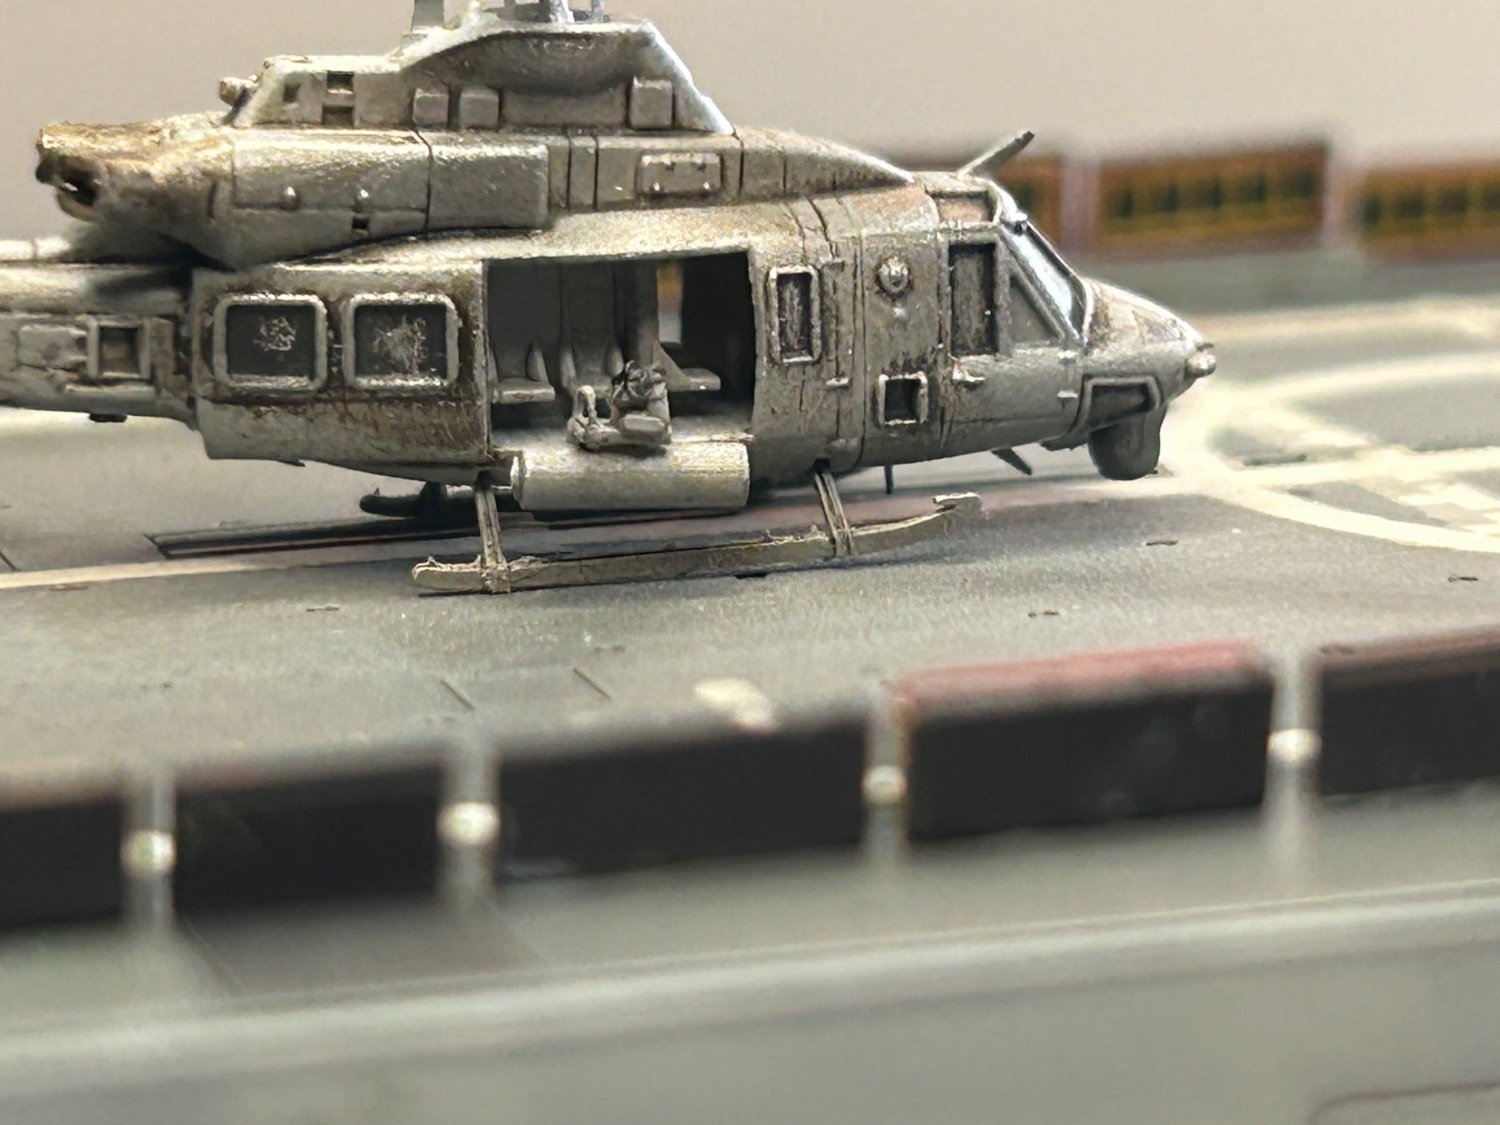
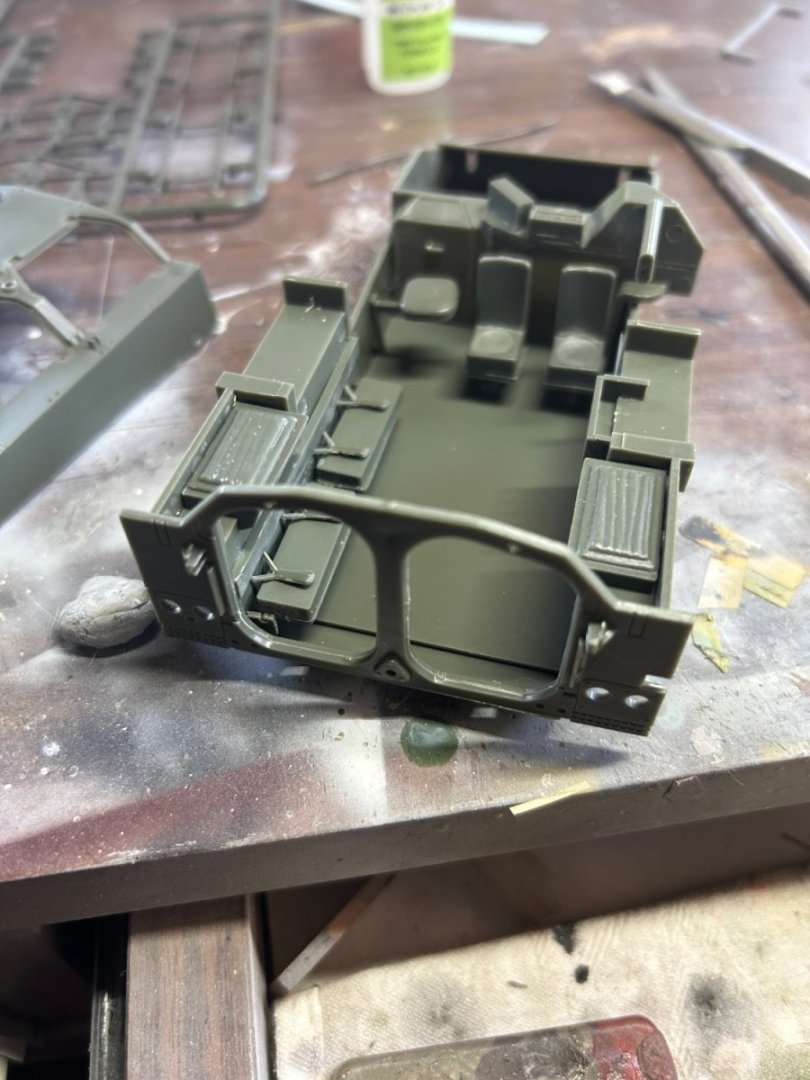
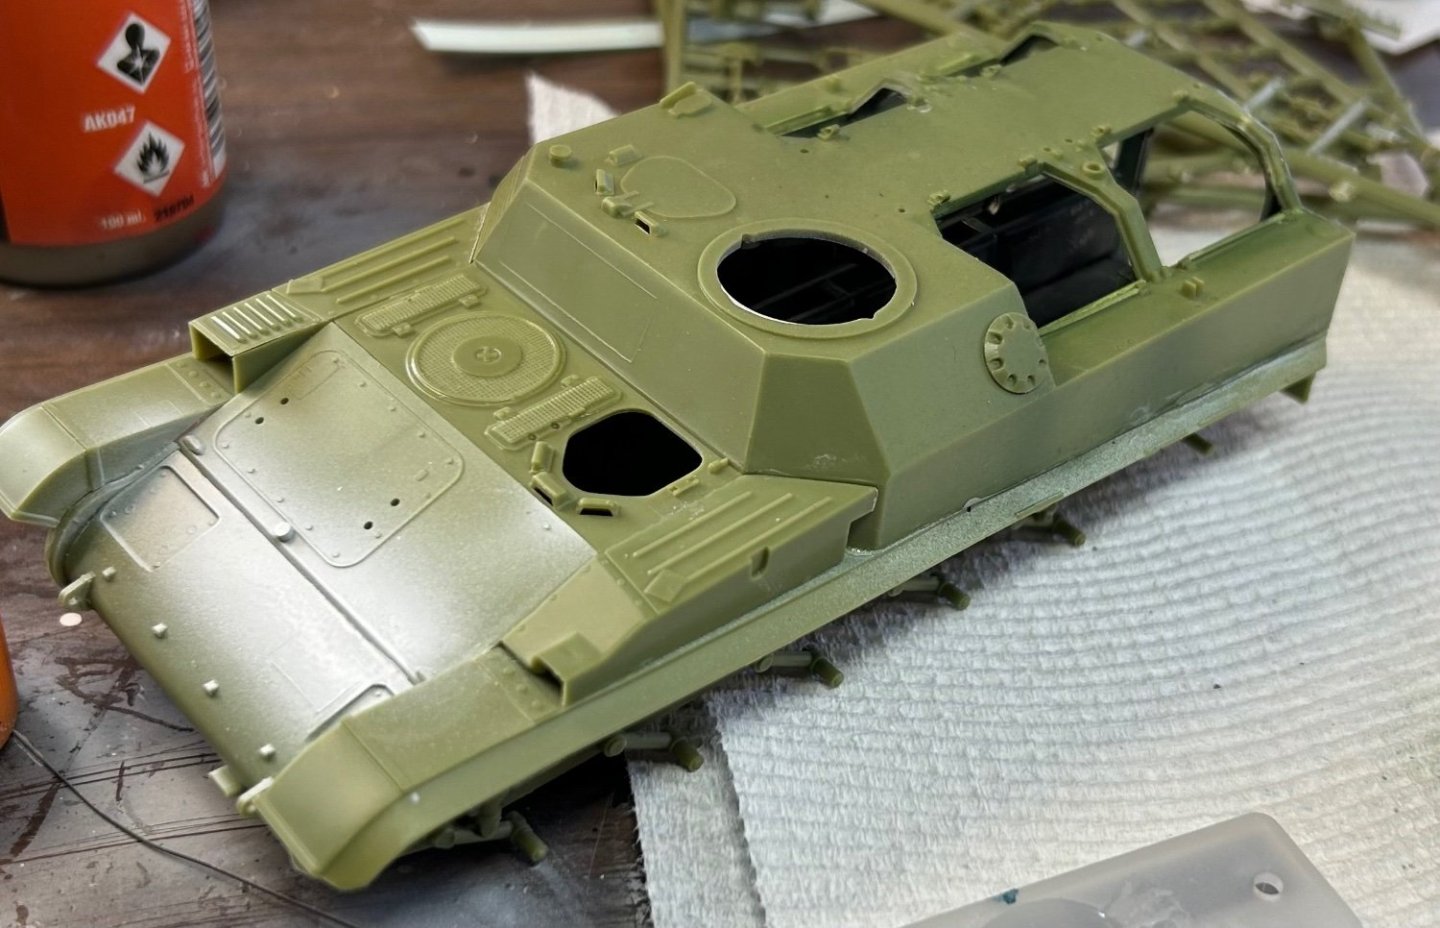
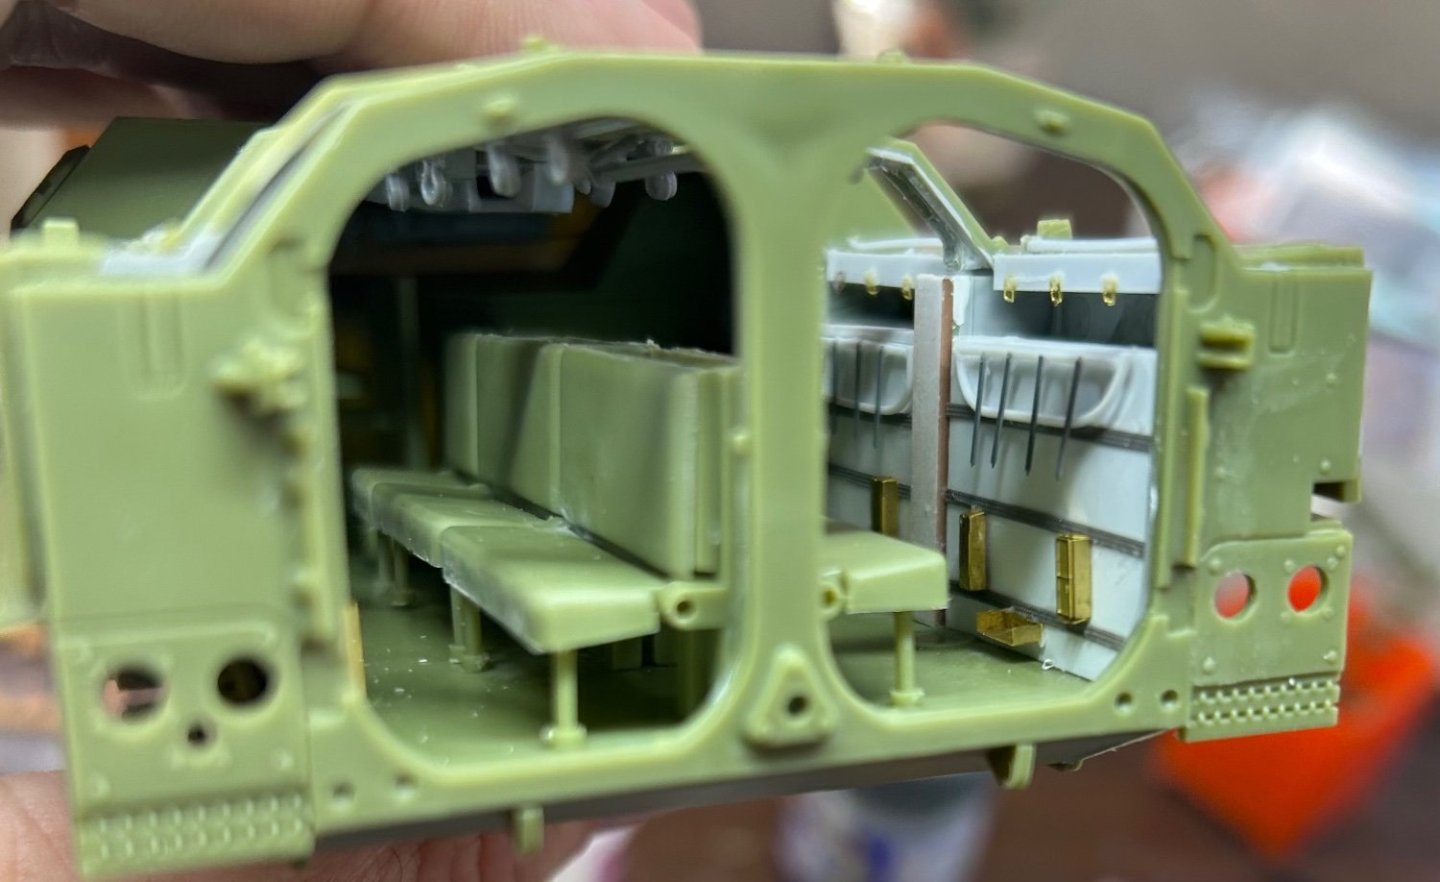
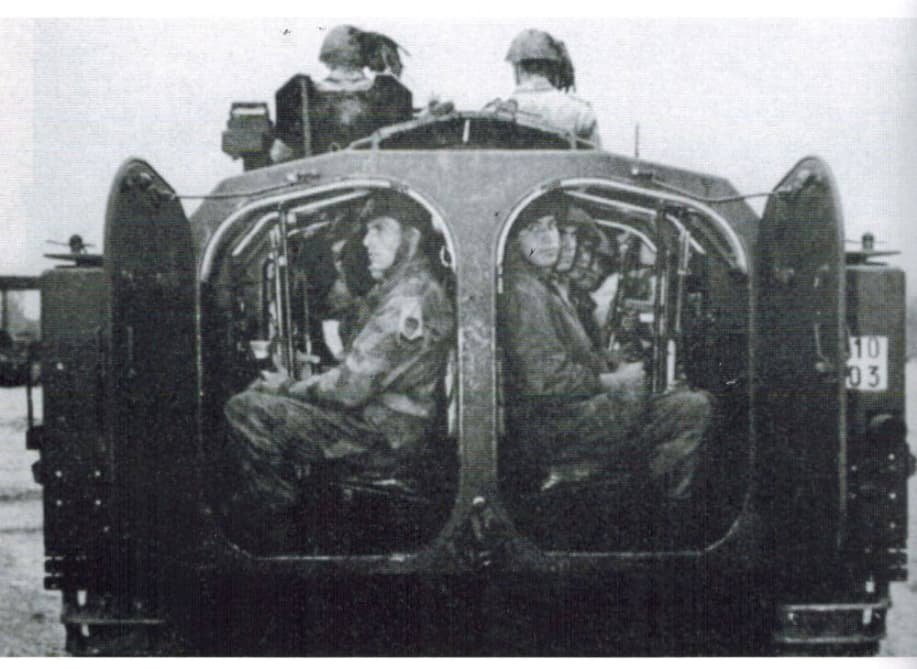
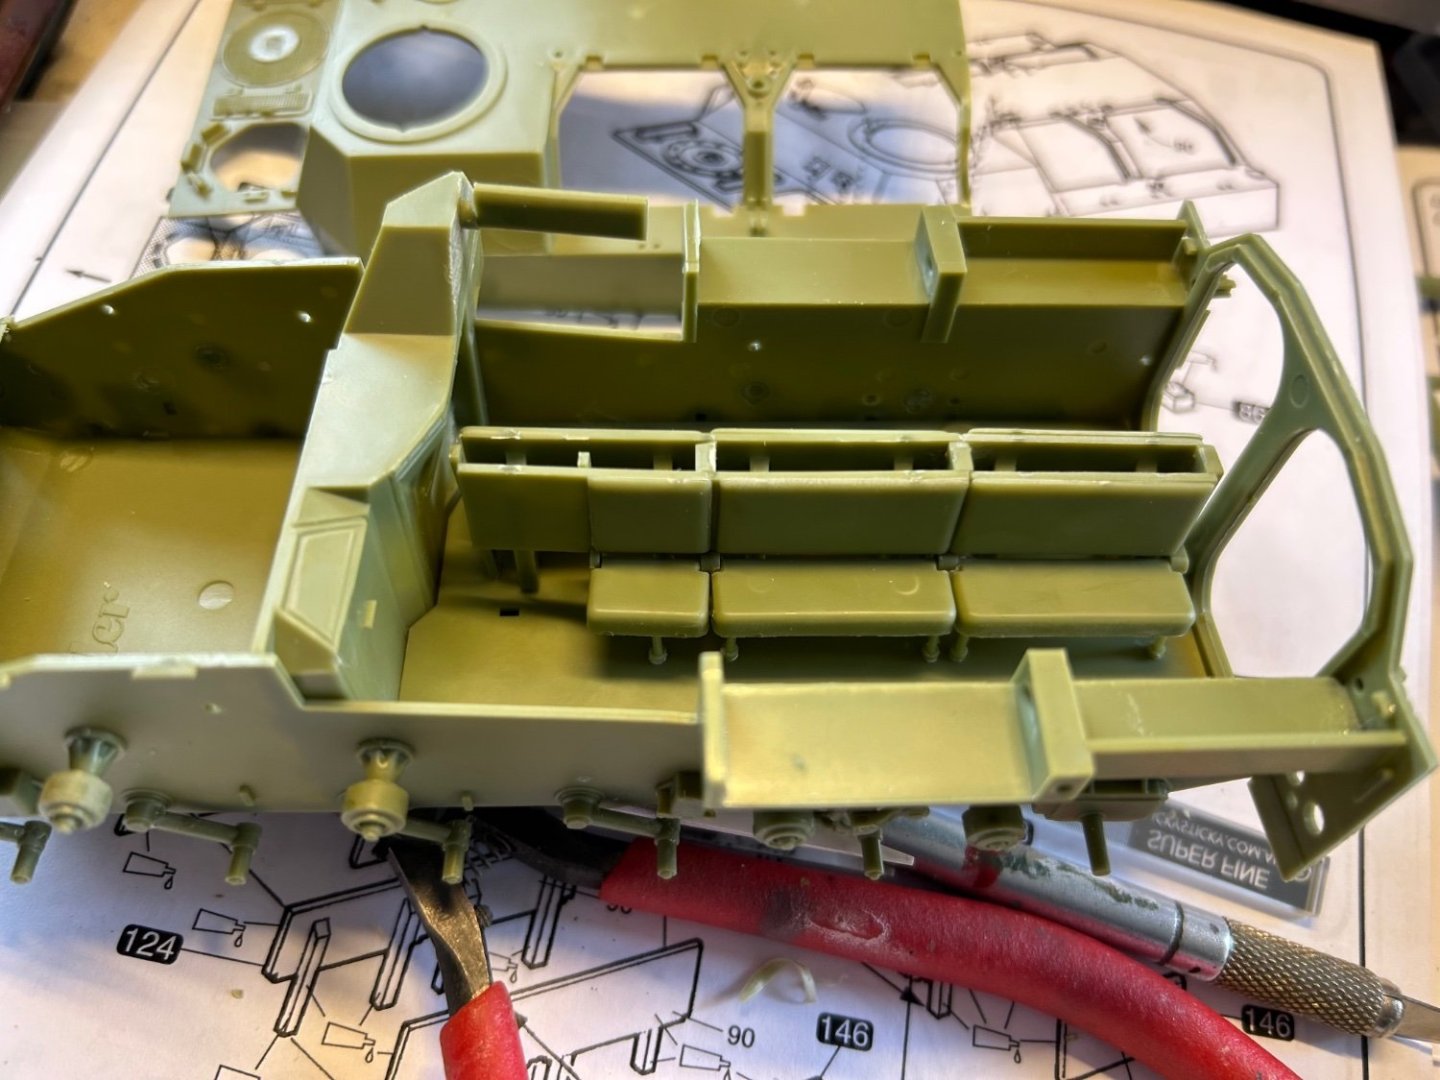
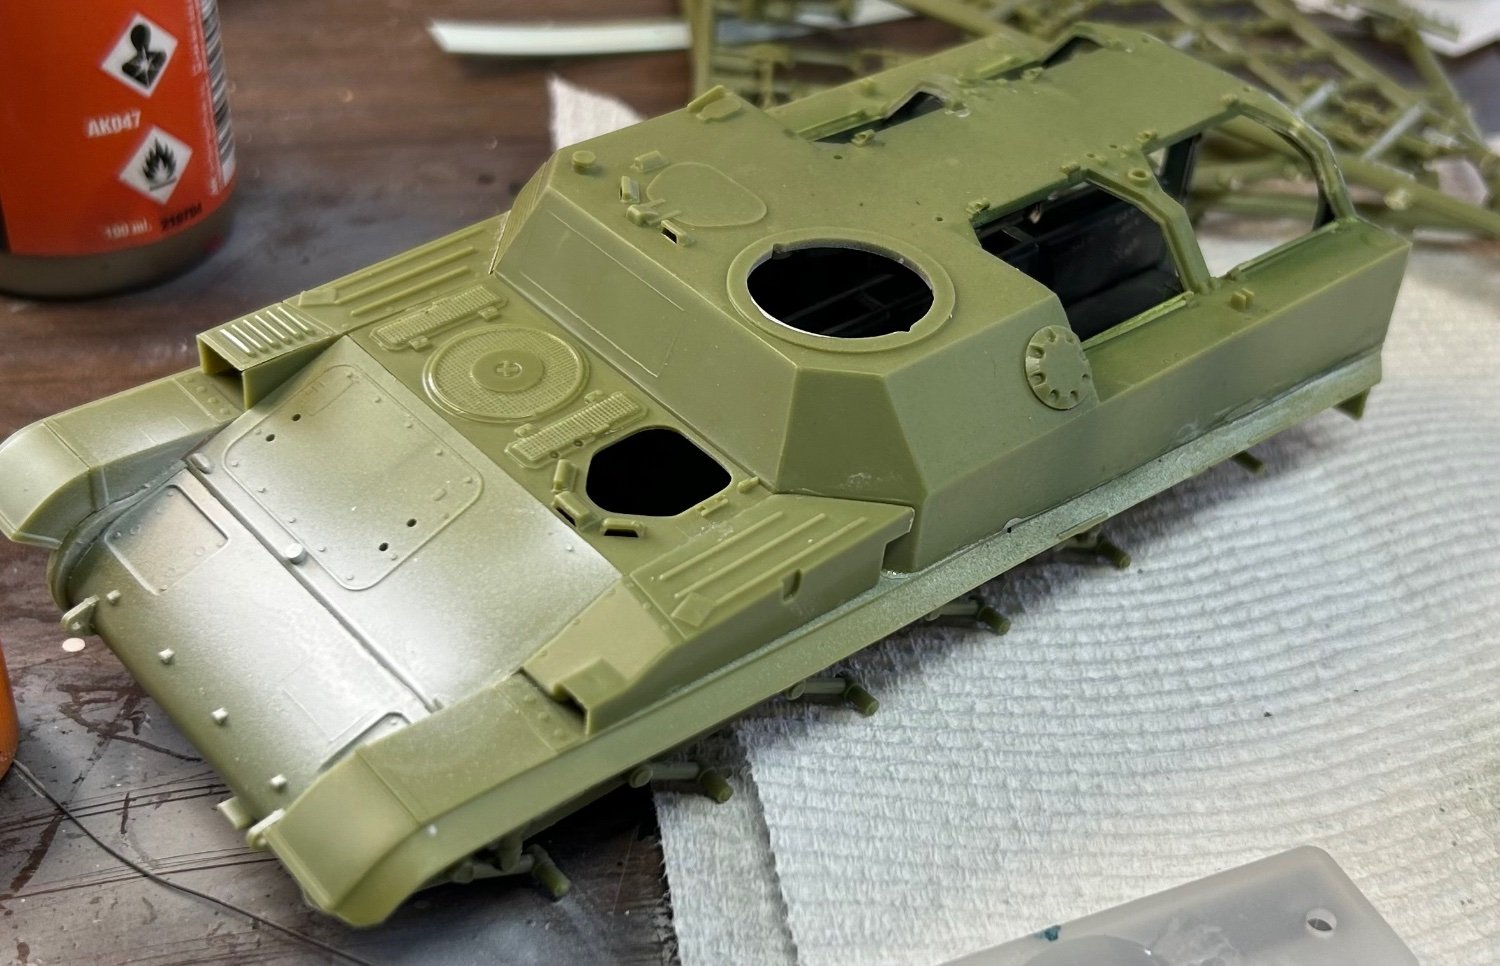
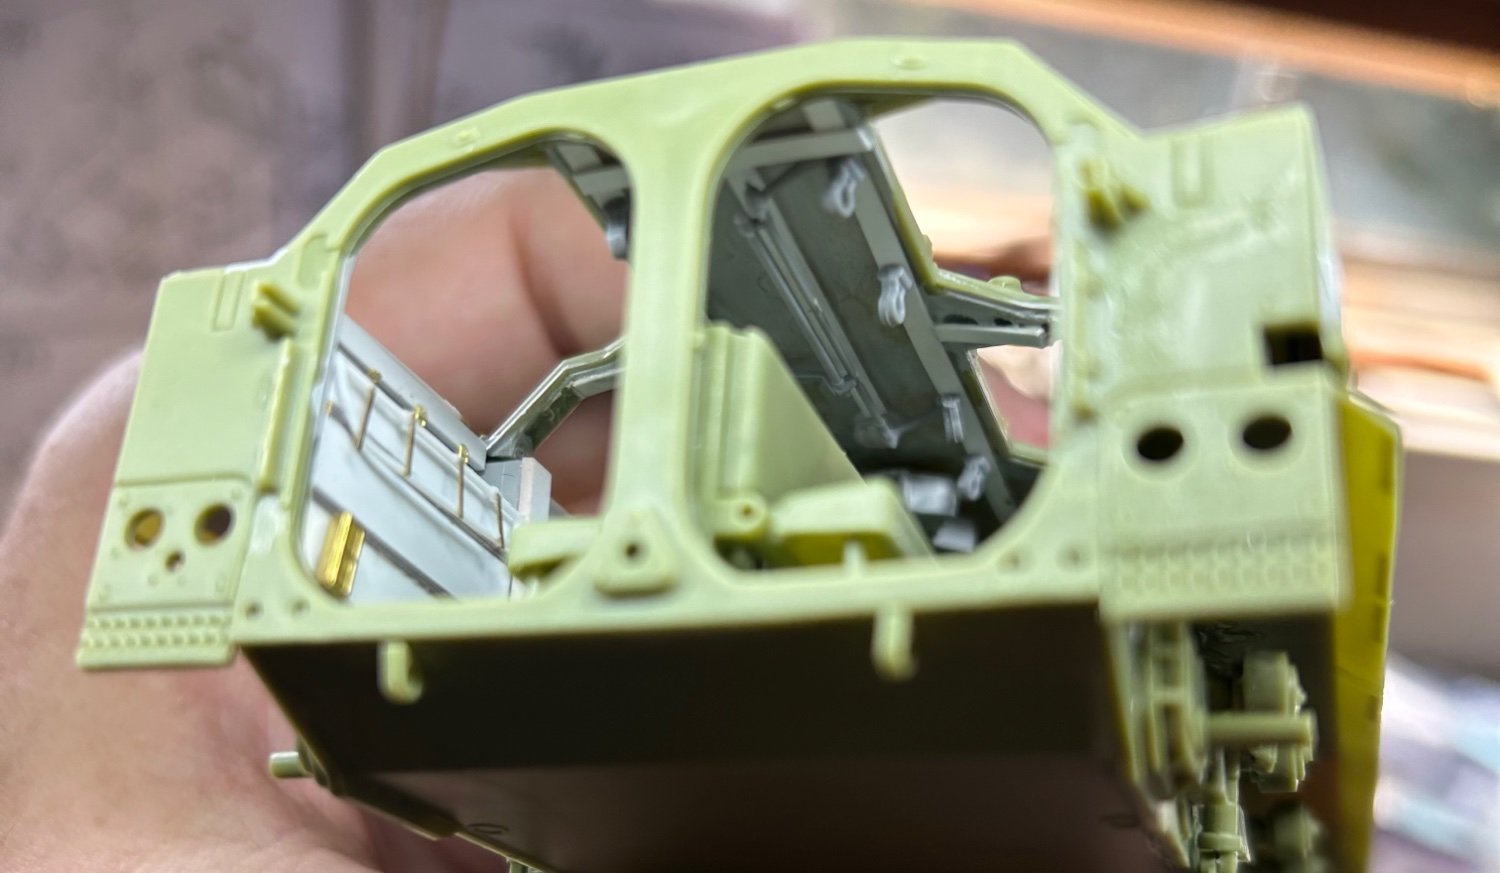
Nice big open cabin on this one
-
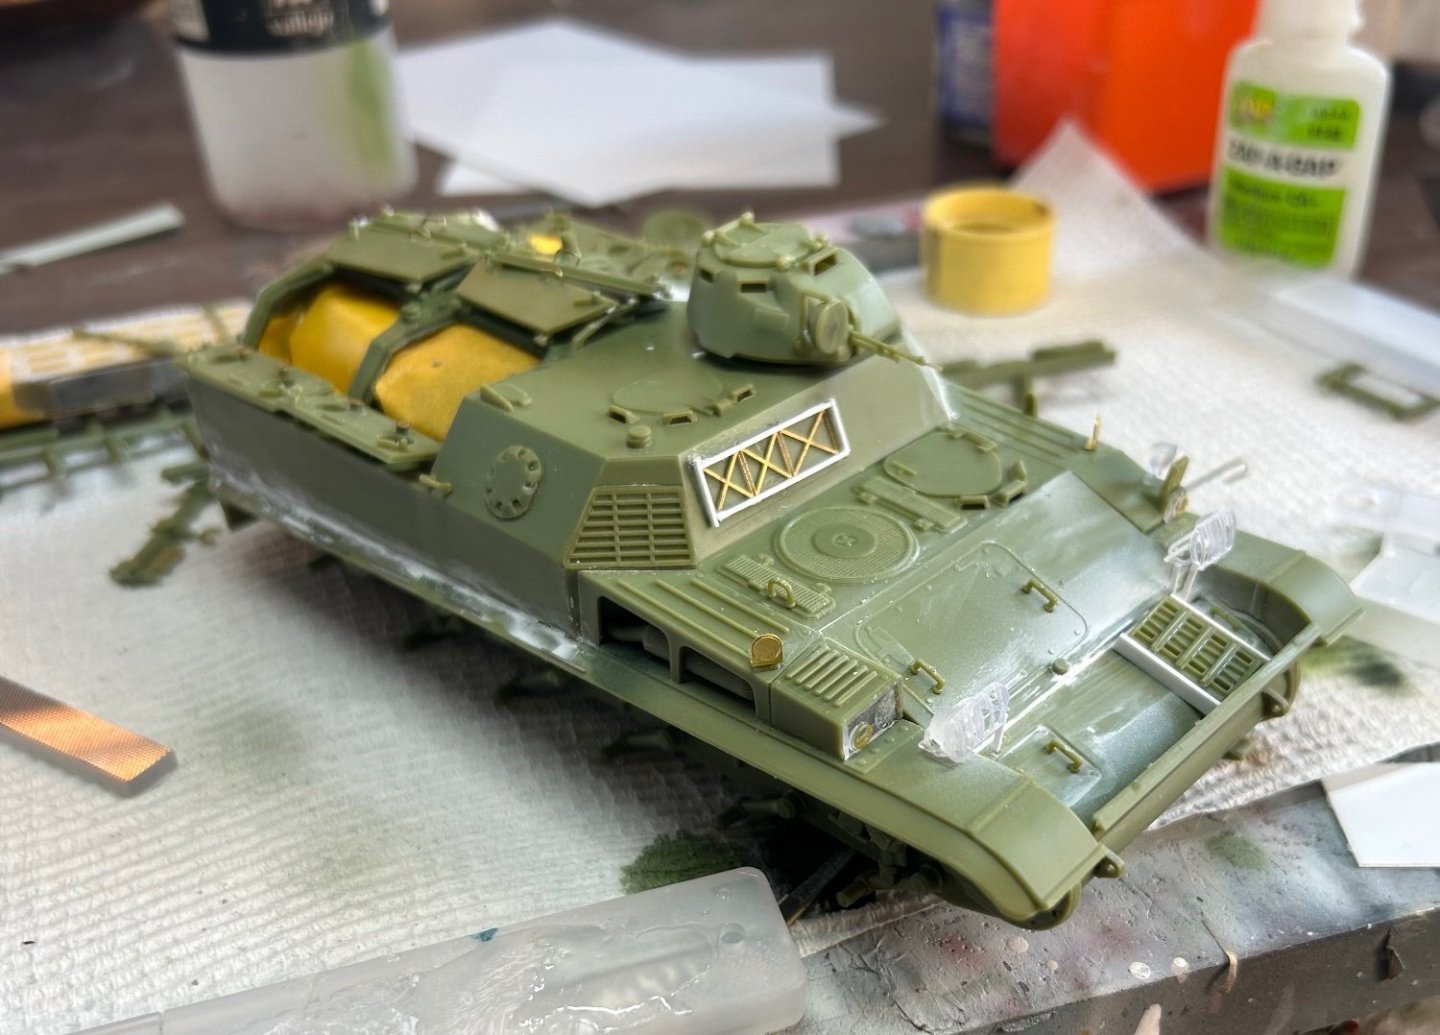
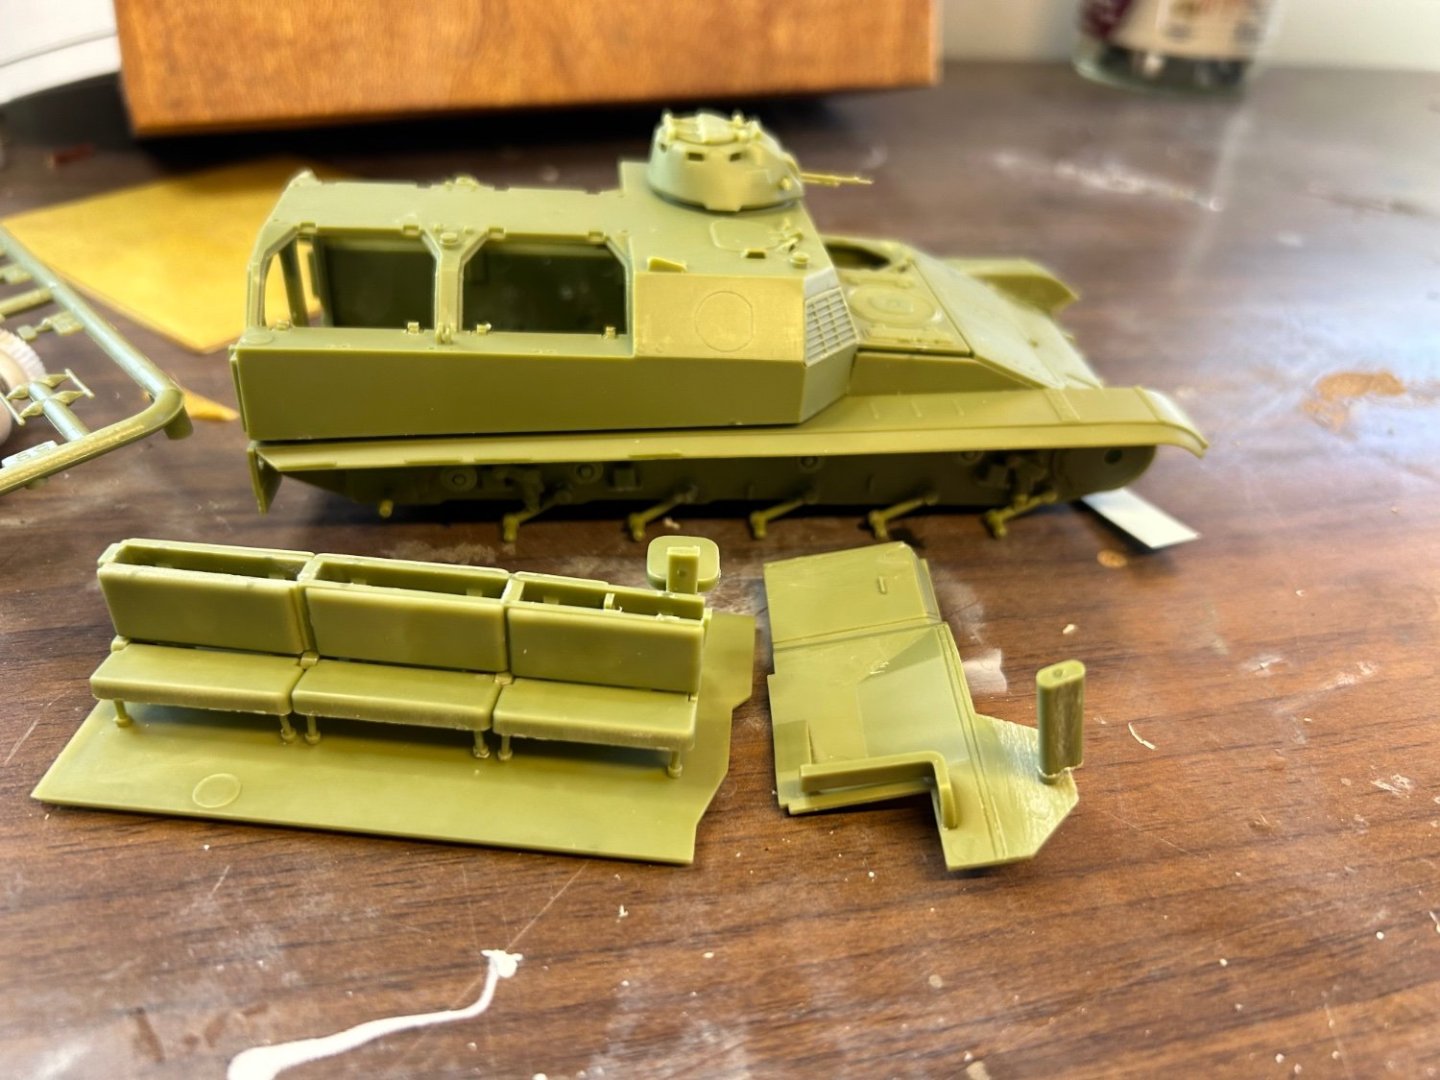
Part 2 The plastic is different on this one, darker and harder, still pretty much the same 1976 quality
-
So done and ready for paint next!
-
Lid glued down, lots of sanding and putty and sanding to go. Next time (I’m going to do 3 more of these chassis yet, I won’t put the axles on
-
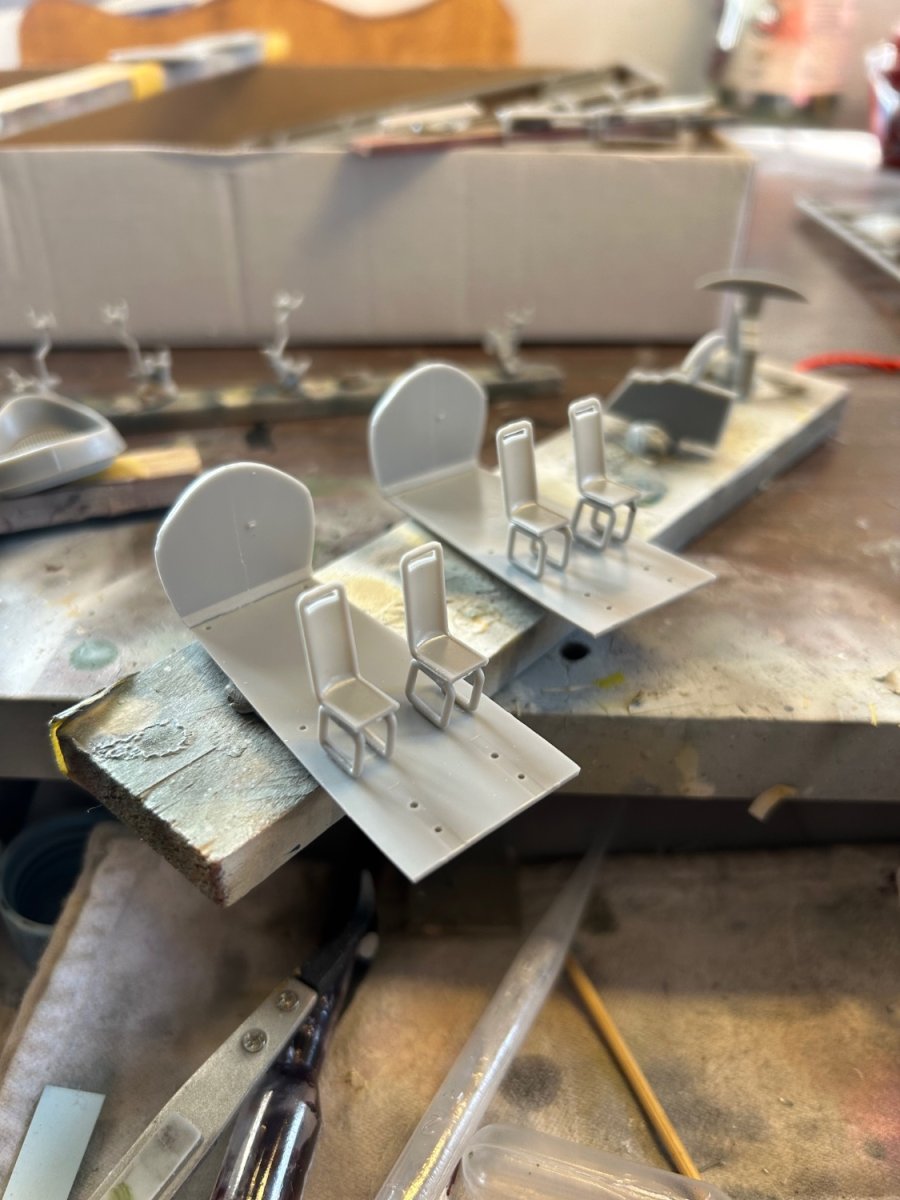
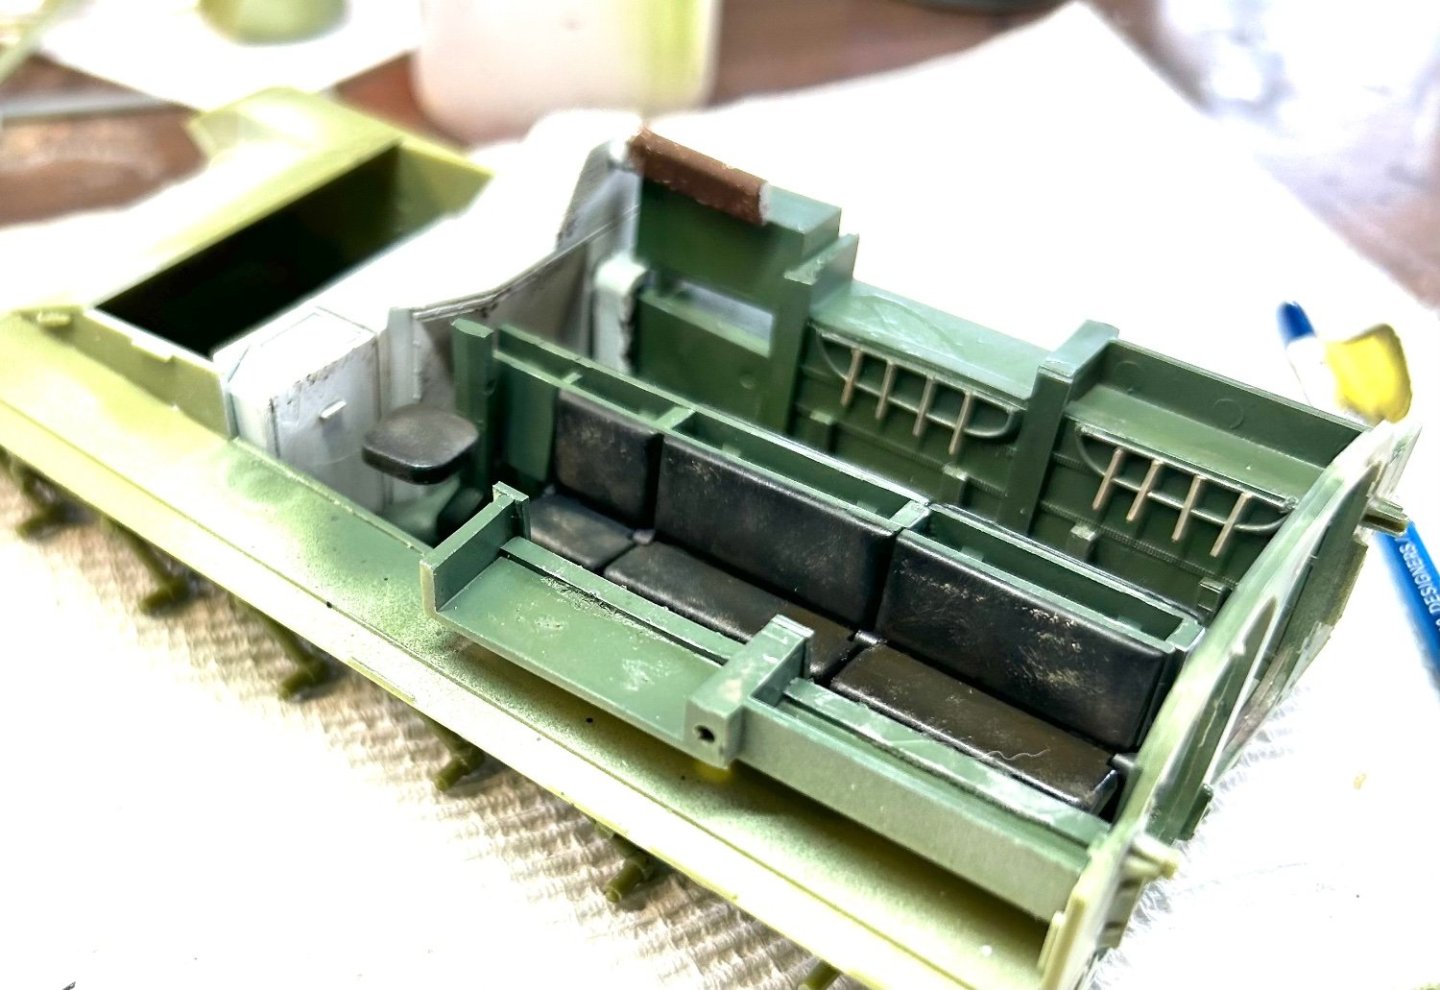
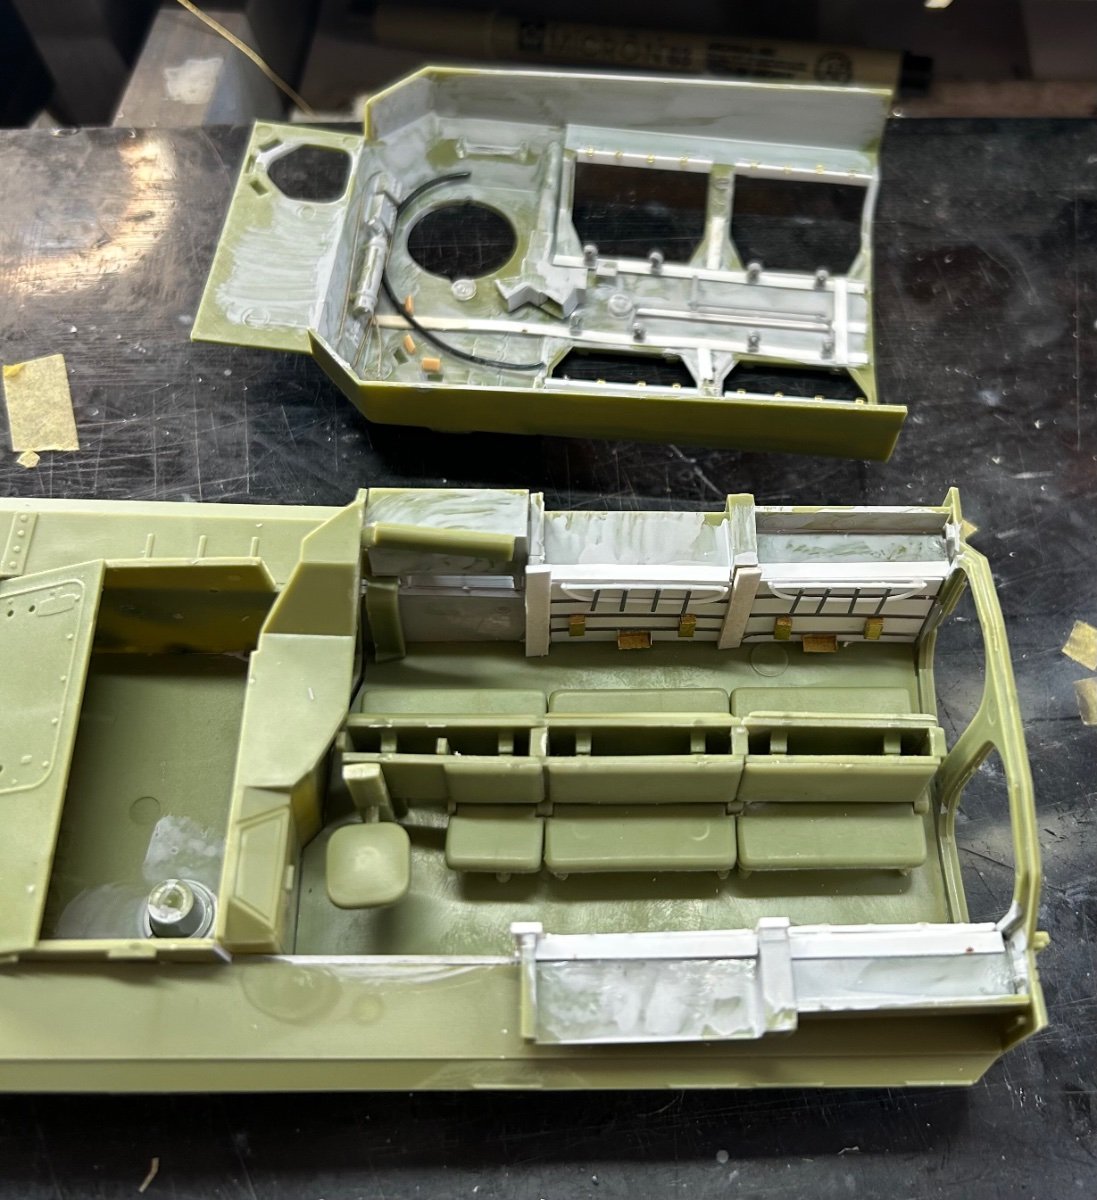
So interior cabin painted

-
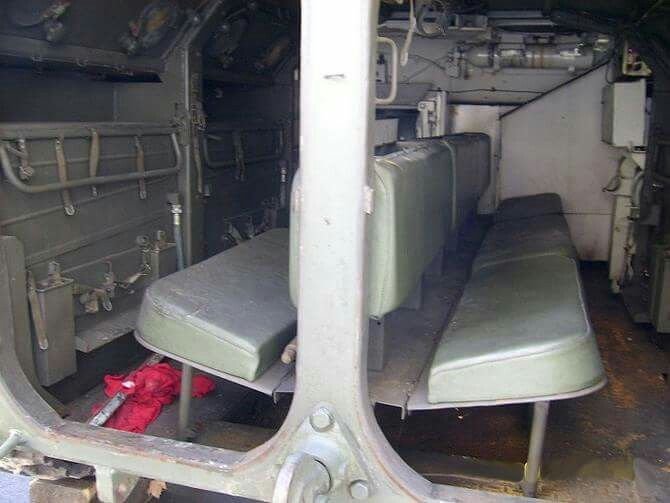
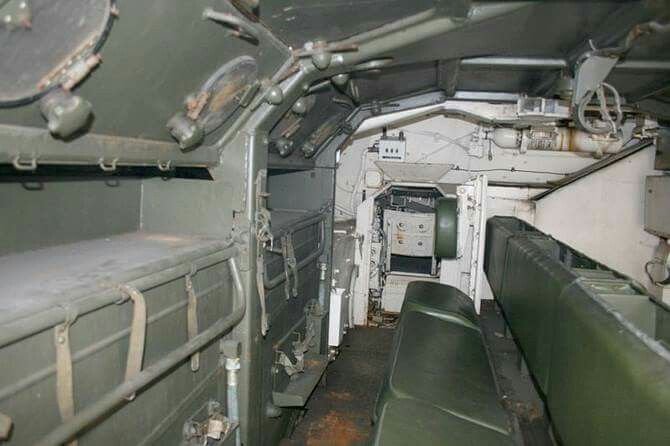
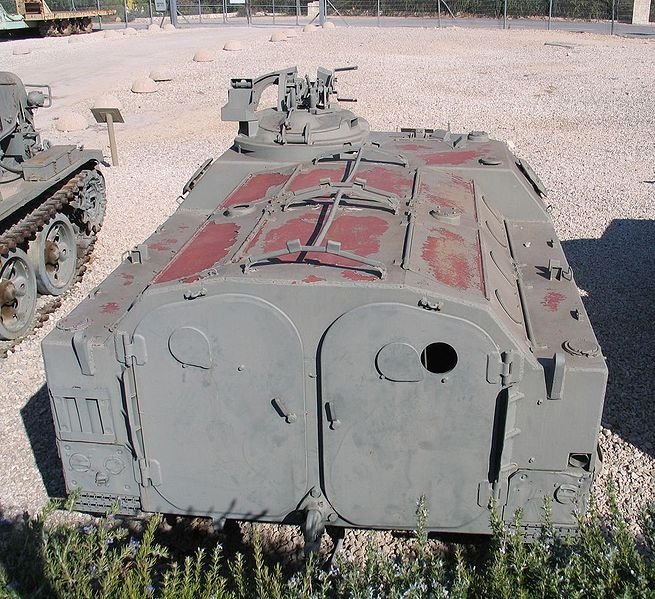
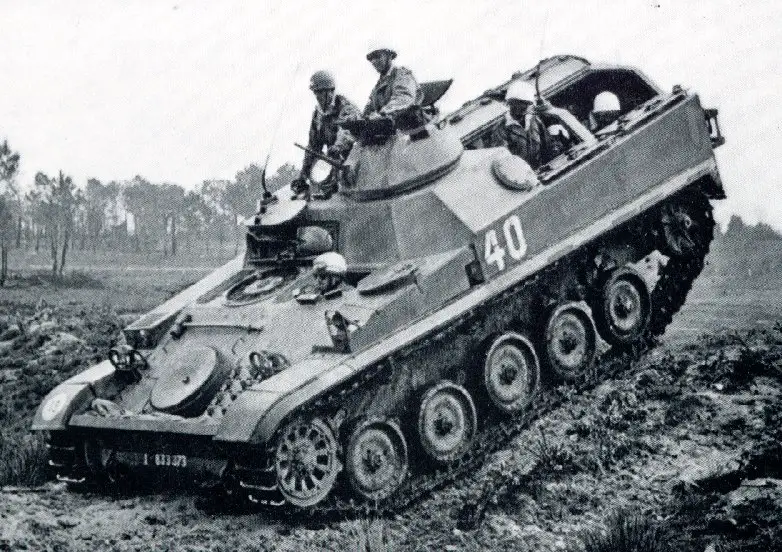
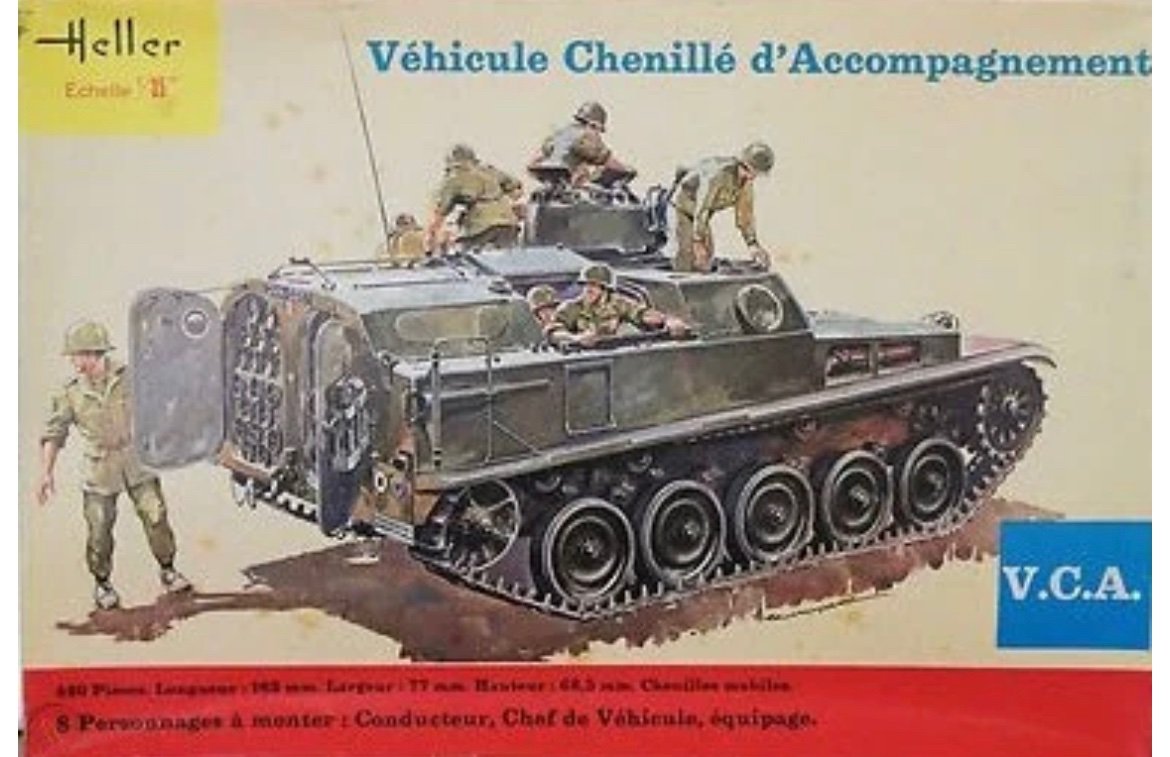
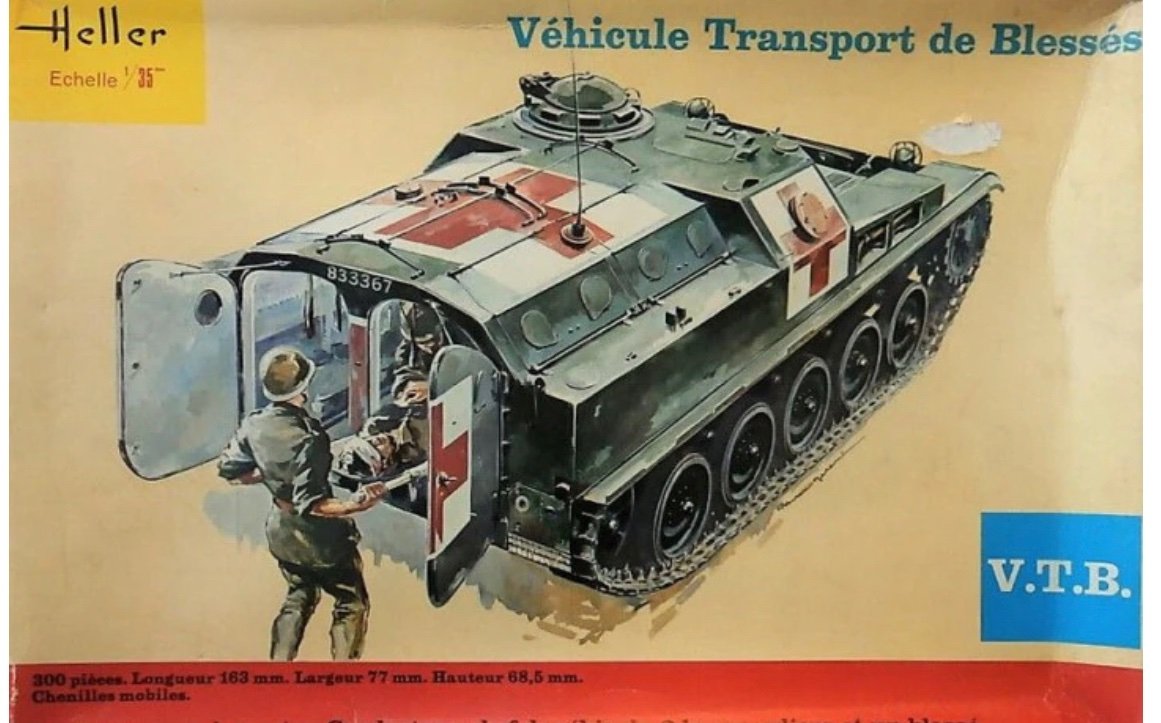
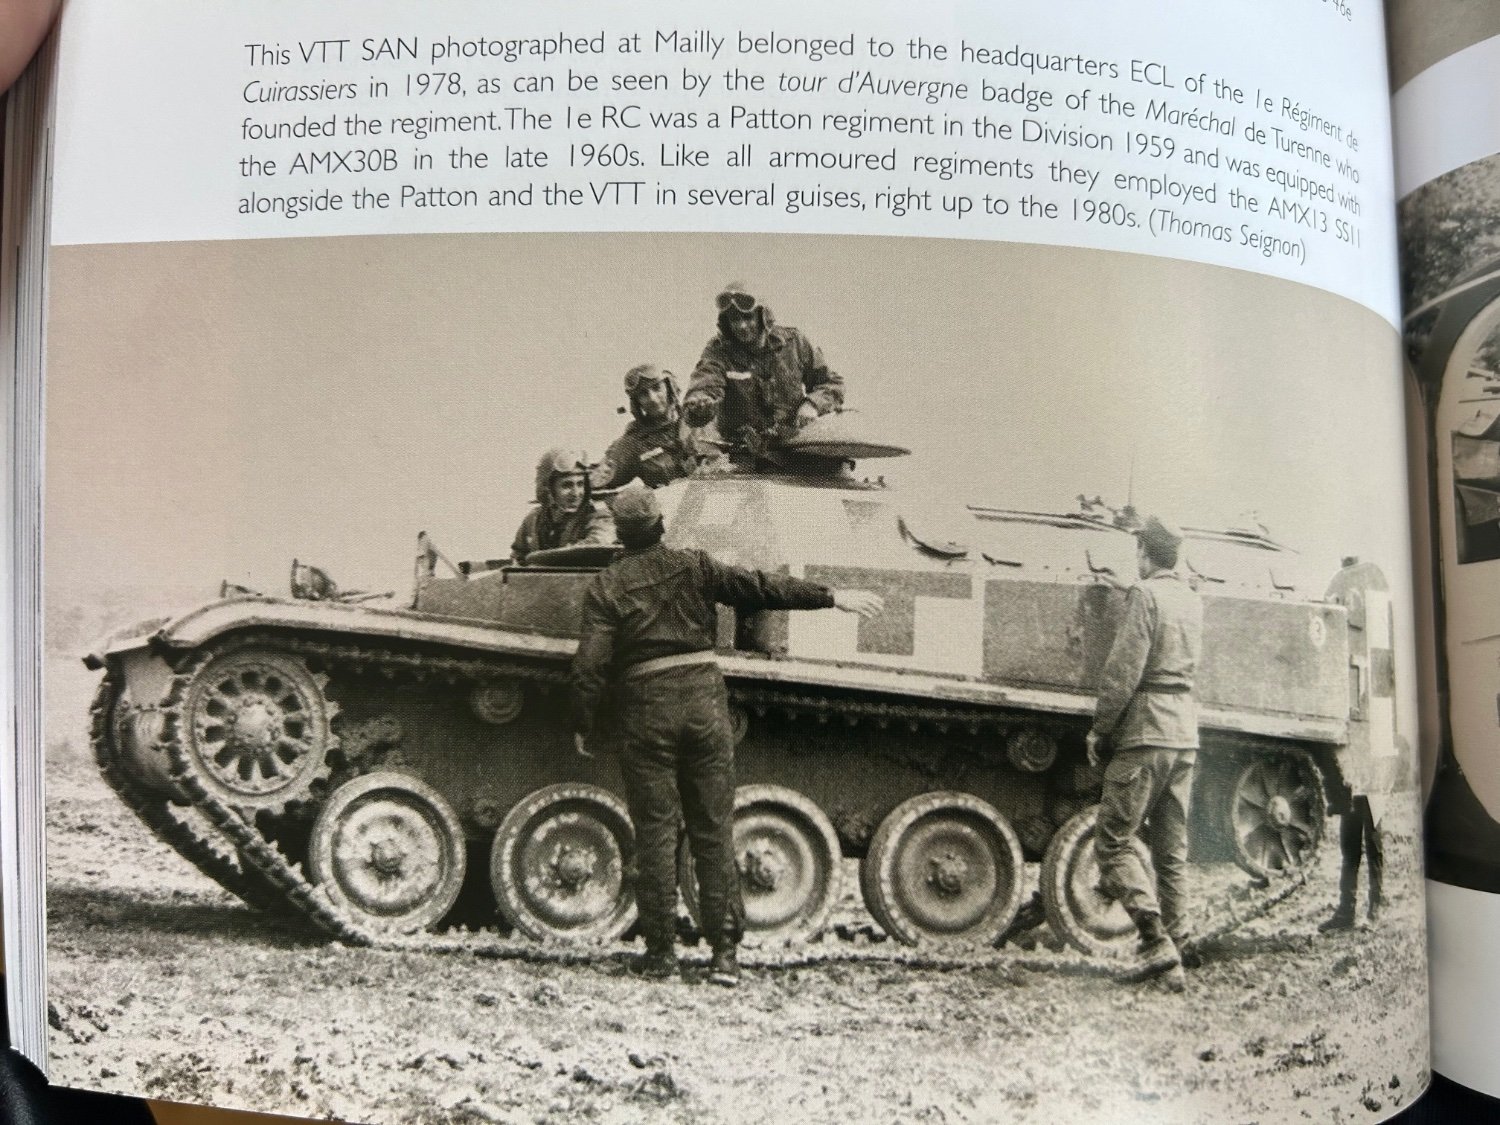
So It's supposed to end up like this
-
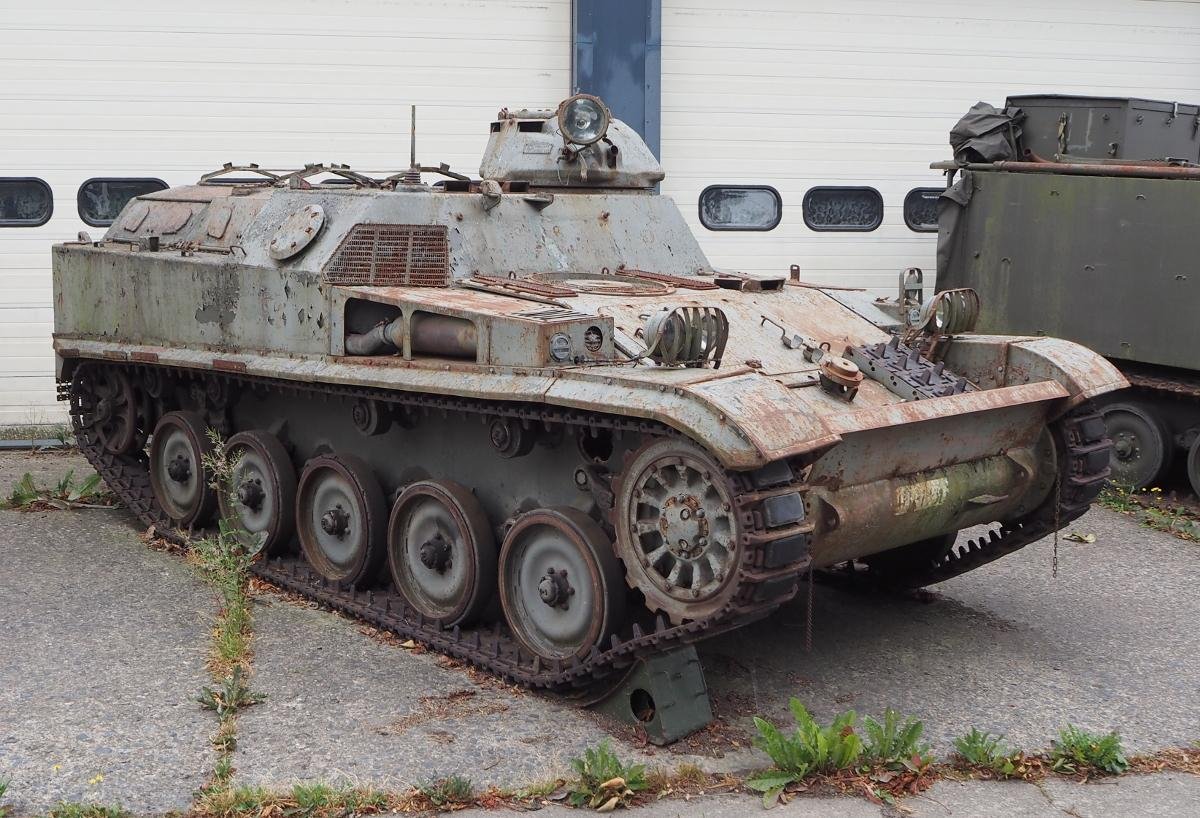
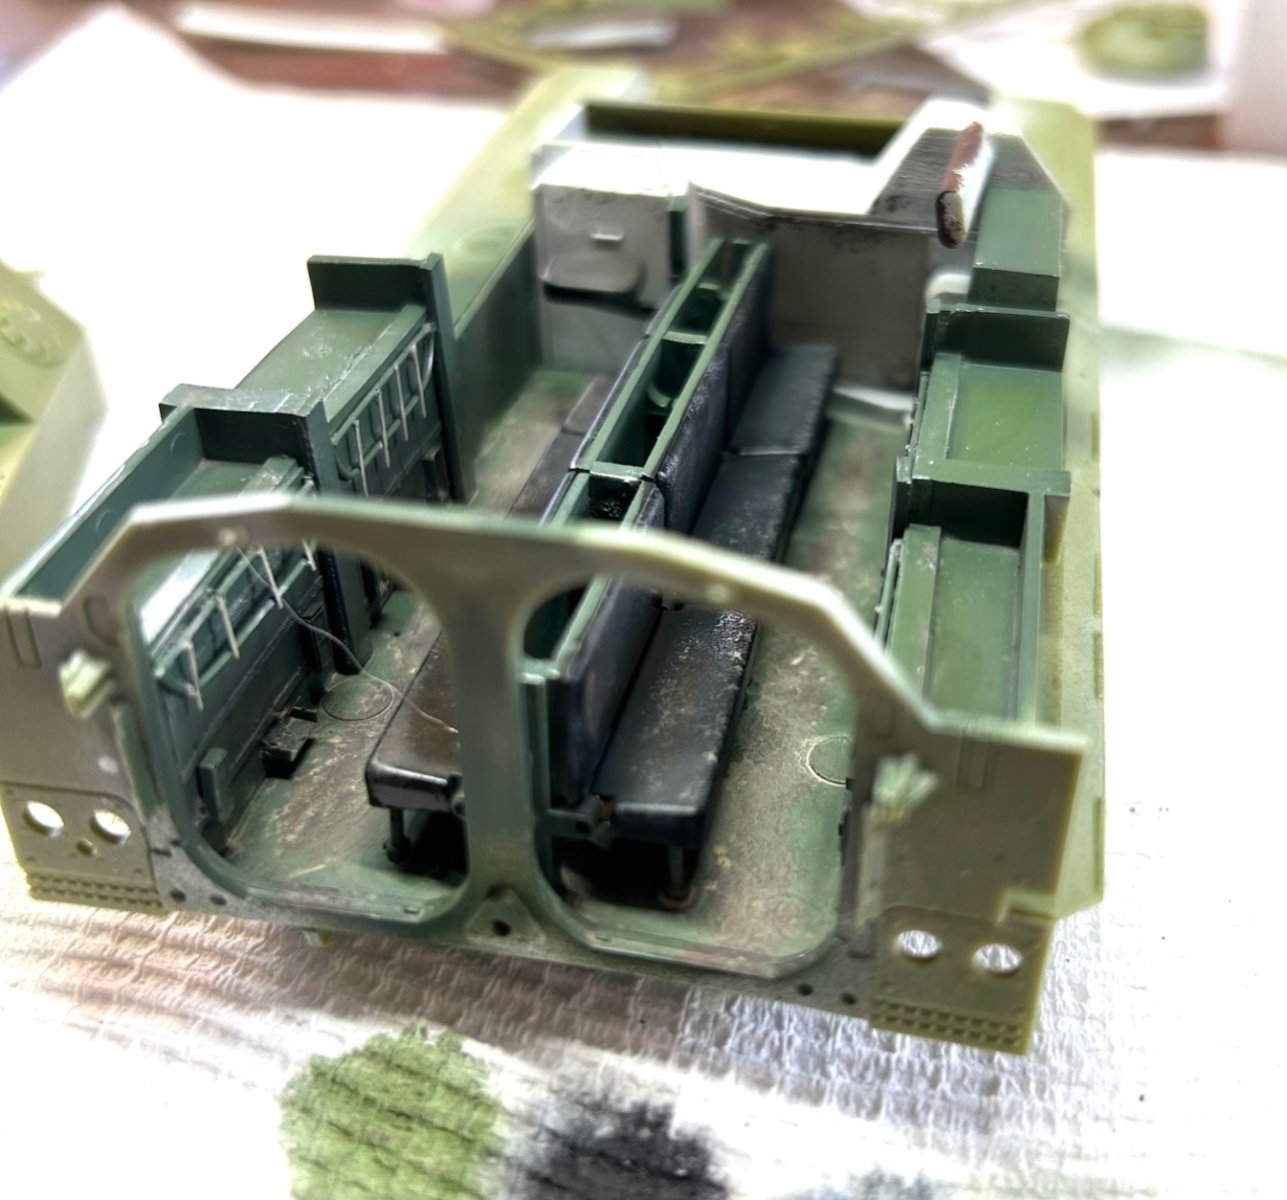
So a bit of scratch building for the interior of the cabin.


- 55 replies
-
- 10
-

-

-
So a good days work really. My plan is to have the rear area open
- 55 replies
-
- 11
-
-
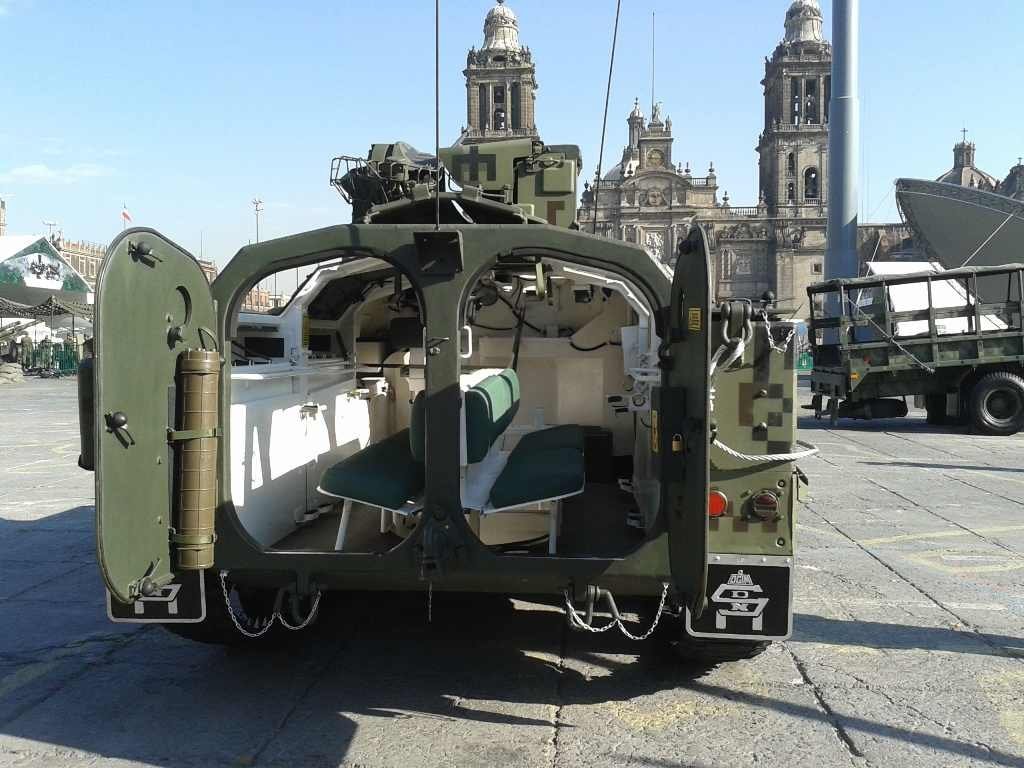
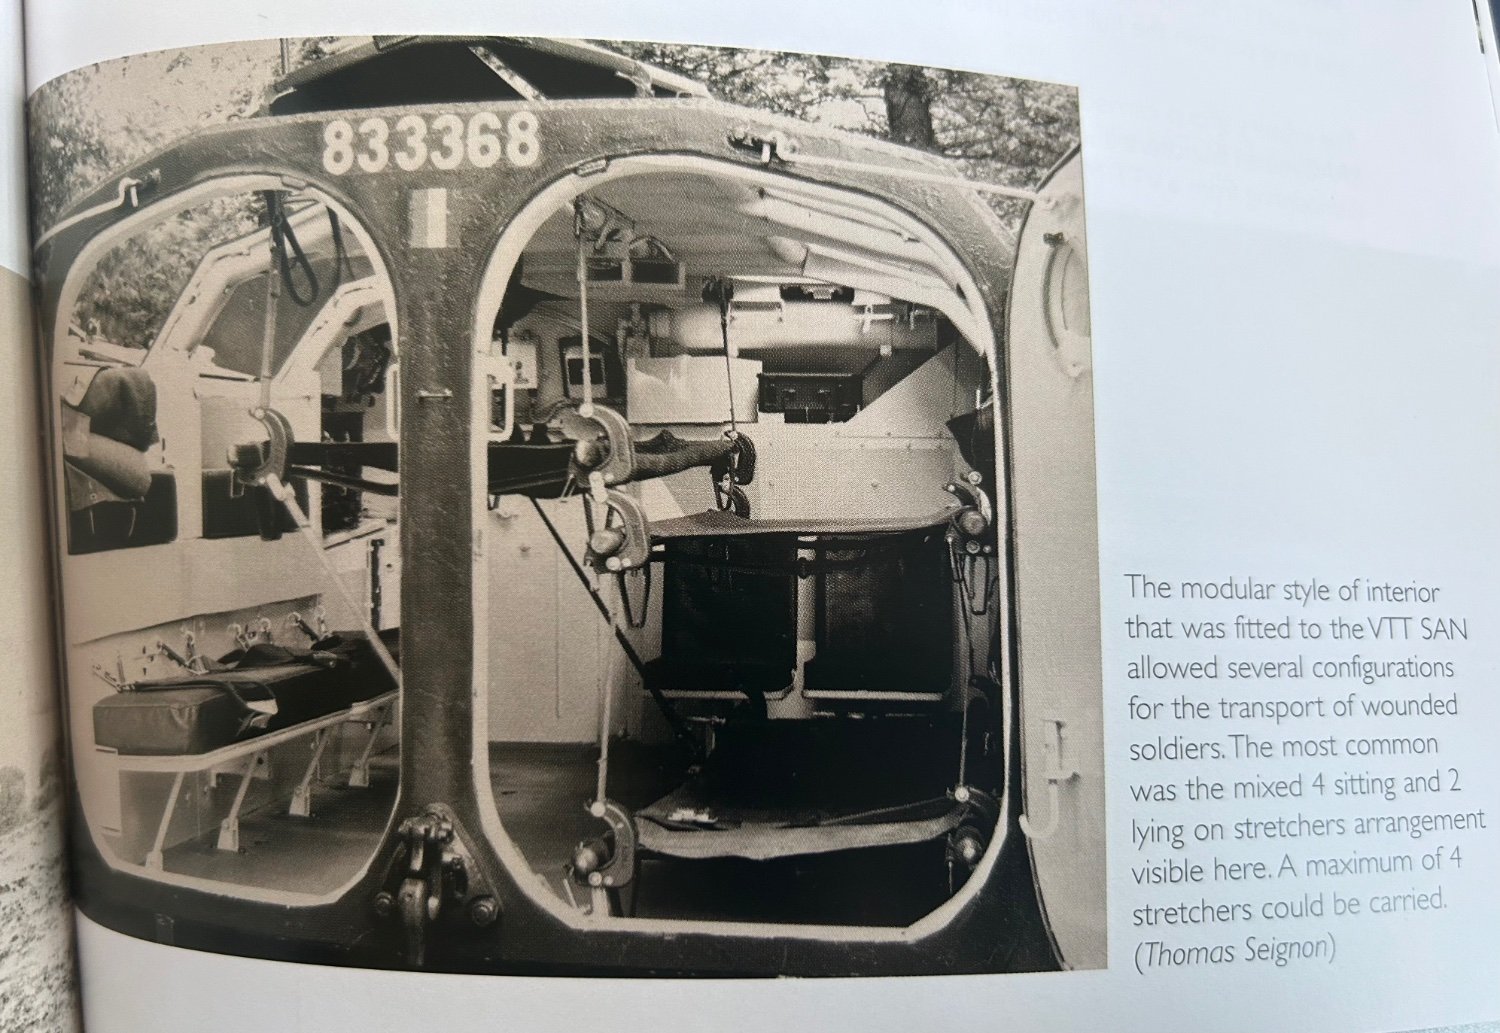
Now it supposed to look like this. Looks comfy
_pic7.thumb.JPG.842c7e68bec8e3f2b12487114009736d.JPG)
-
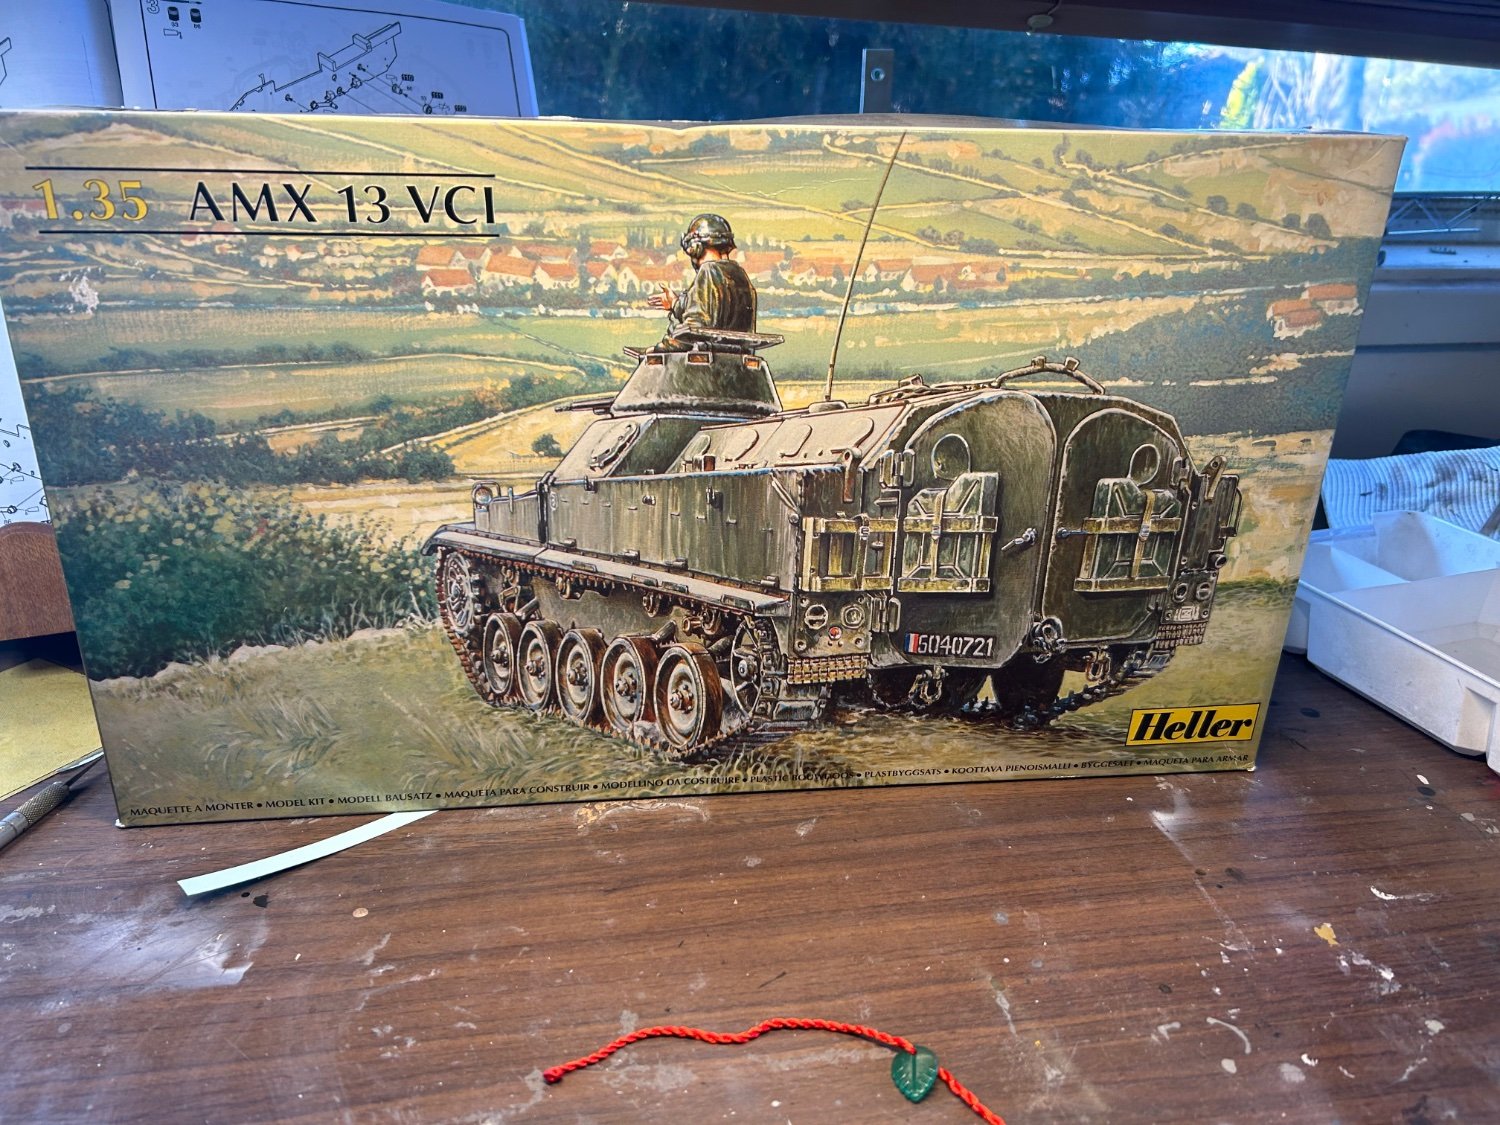
Superglue and accelerator makes this build a lot easier, the engineering is not Tamiya but lines up ok. This kit comes with the option to make it the artillery support vehicle but I’ll just go for the personnel carrier

-
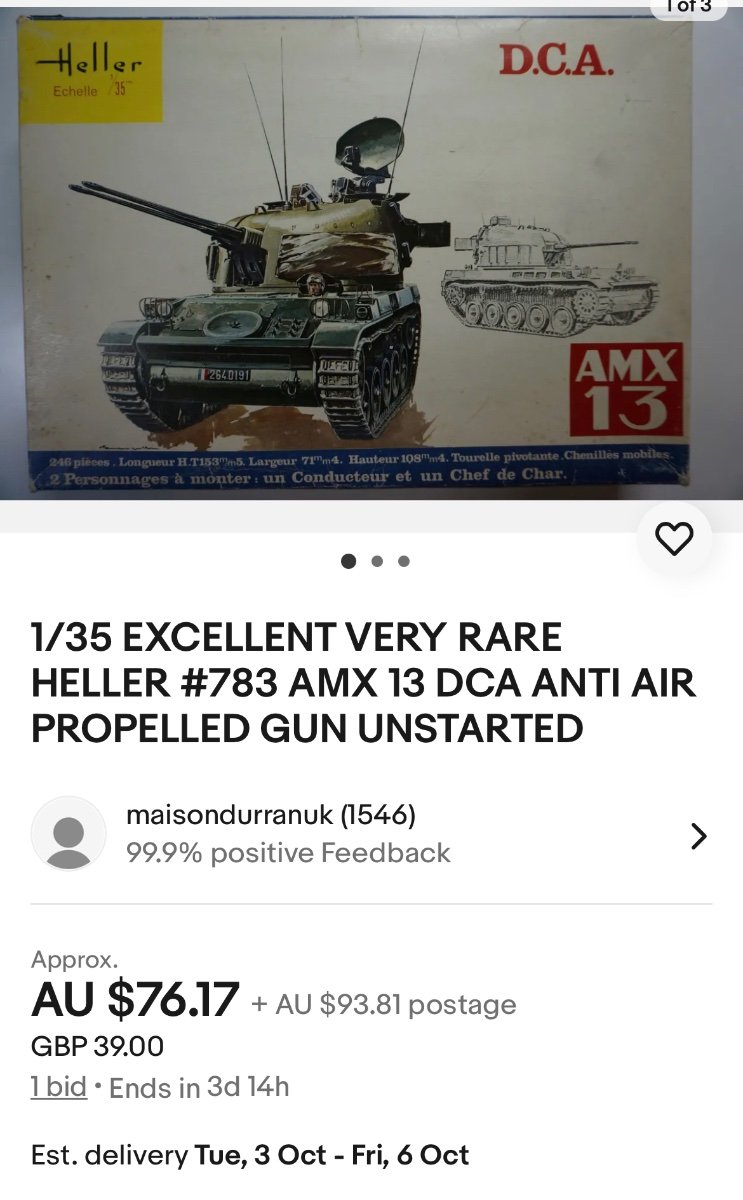
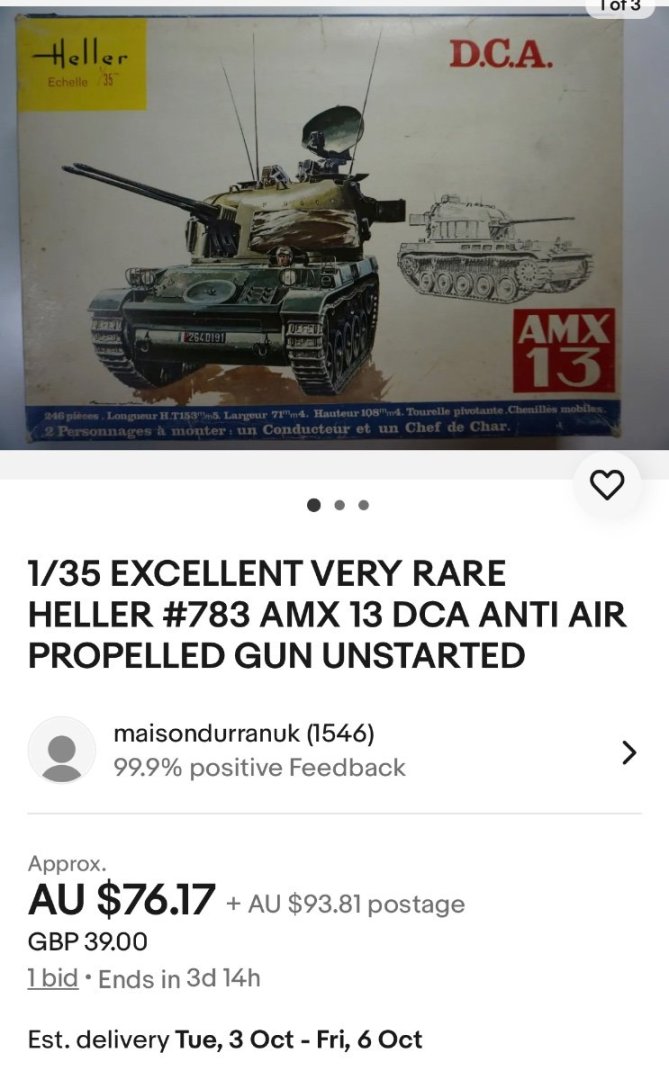
There’s one available on EBay, I’d pay $76 for the kit but $93 for postage is having a lend quite frankly
-
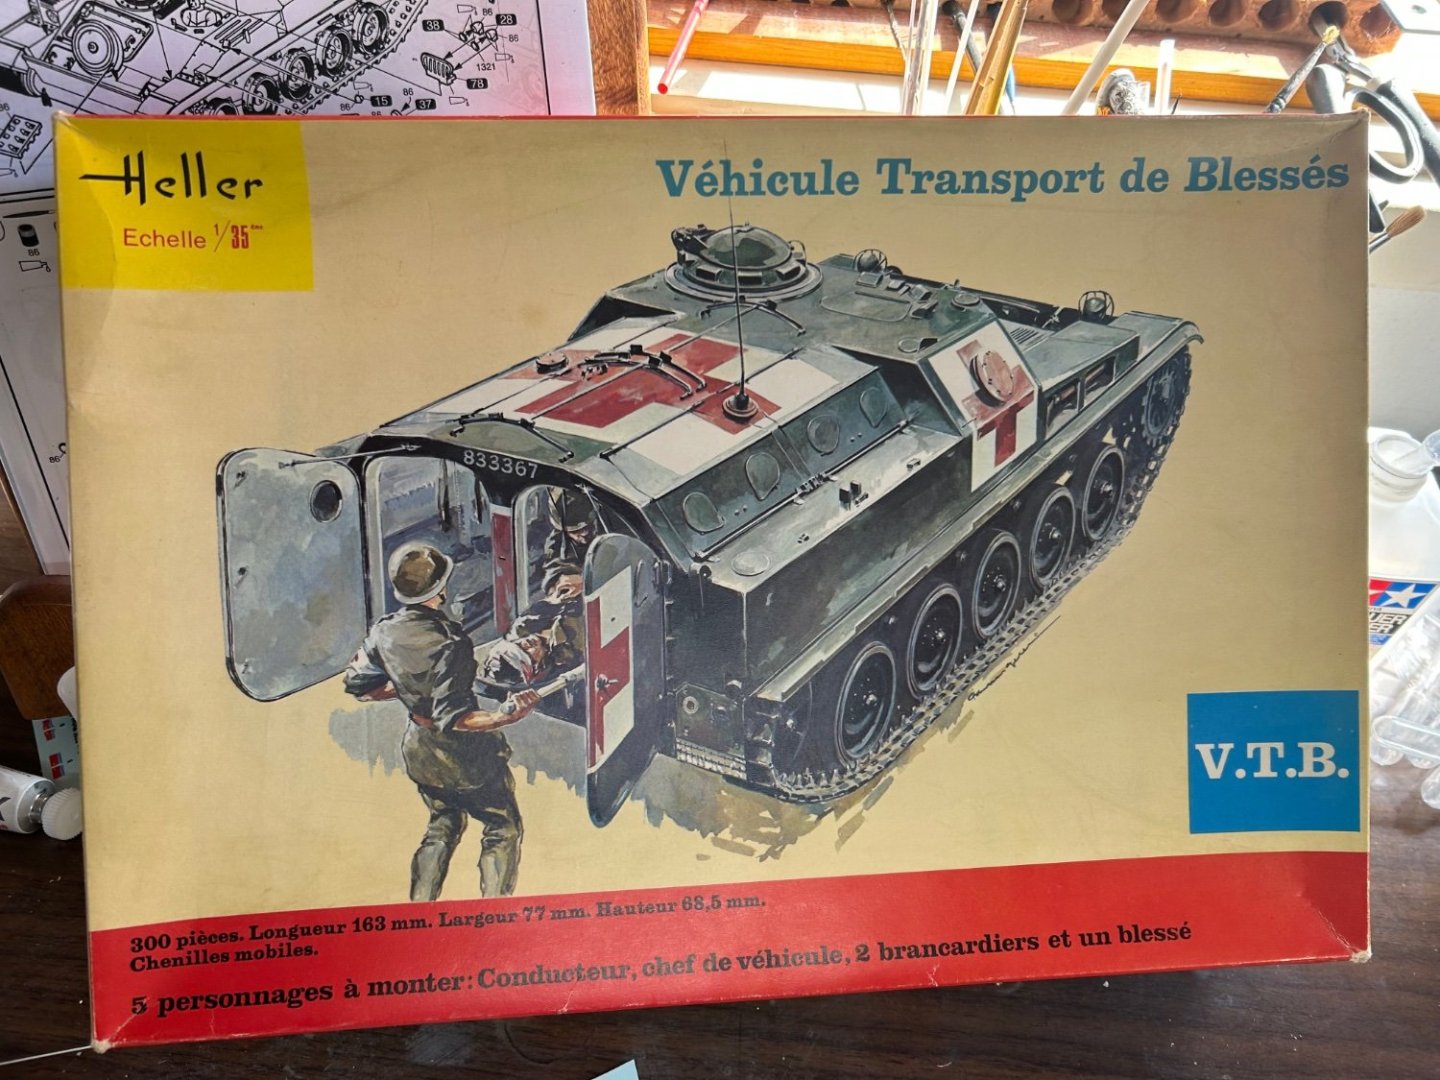
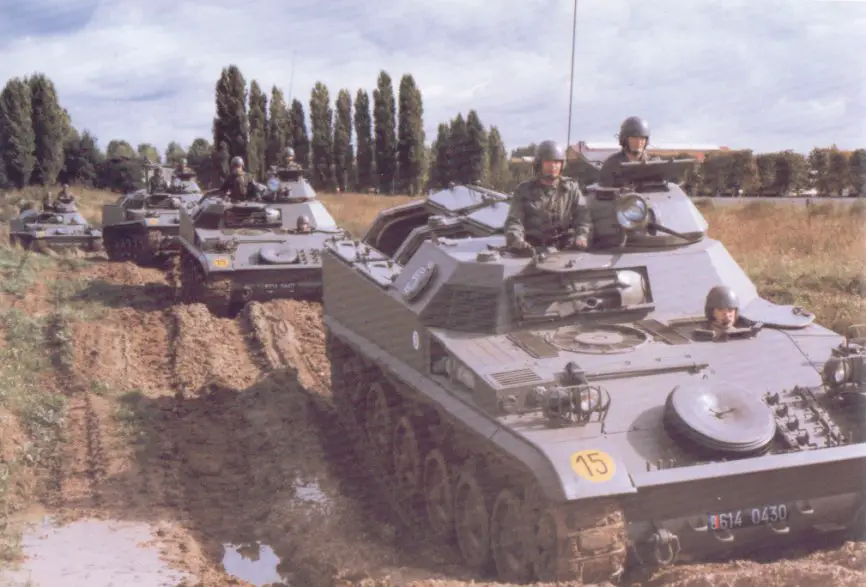
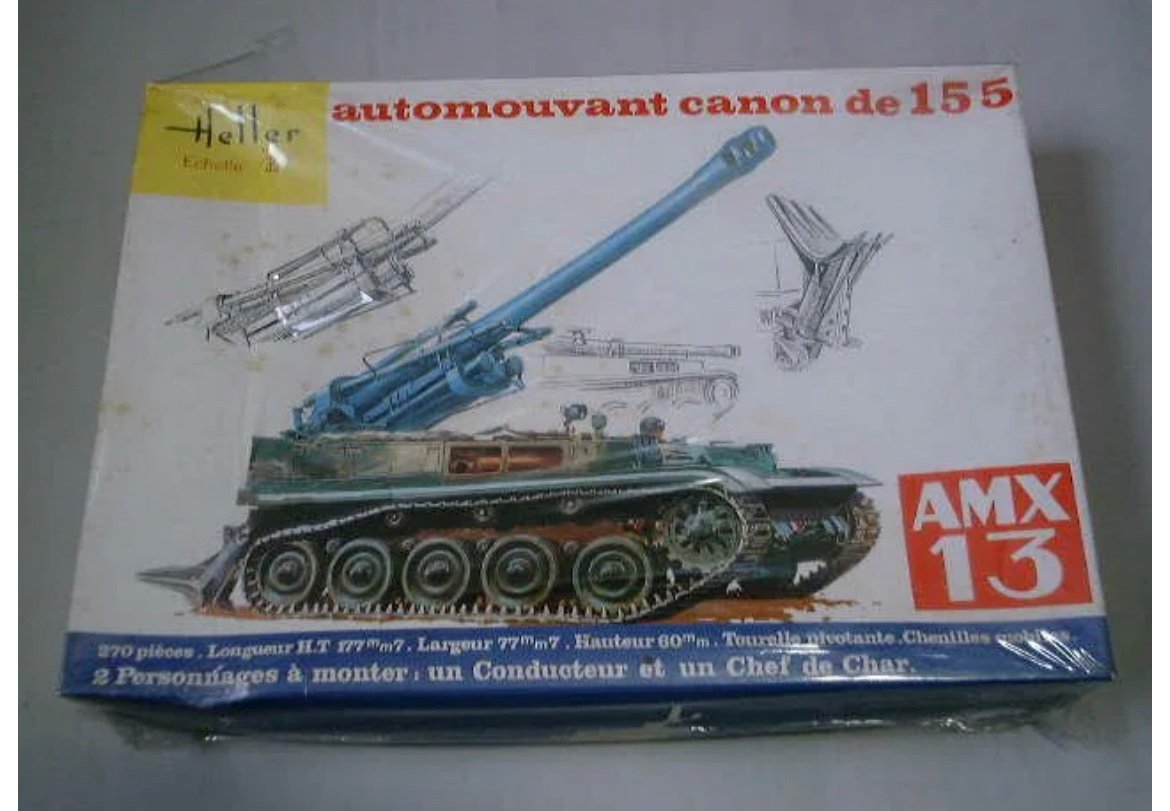
So these are 1970’s models. There is aftermarket (I’ll replace tracks etc) but they will be a challenge but damn it I’ve been looking forward to this. It’s taken 12 months of research to get these 4 kits https://www.scalemates.com/kits/heller-81151-amx-13-155--147131

- 55 replies
-
- 11
-
-
Back in the 1970’s my dad bought me the Heller 1/35 AMX-13/155 artillery piece. At the time it was the hardest thing I had ever build, it was atrocious, using 1970’s model glue and the impatience of a child under 10 does not make for any type of accomplishment. so a few years later (well into the next century) I bought the kit again and found via scalemates a few others of the series as well. These are 1970’s kit and as rare as rocking horse poop. EBay does have some in the US but the shipping prices are just ridiculous as they may as well get their own airline seat. so my next project for next years show will be a French Artillery convoy! I’ve not got 4, the cannon, the crew vehicle, the APC and the first aid carrier. If I can get the AA gun I’ll go that too. Part 1

-

Victory 357 Hawk Ekranoplan by RGL - Paused
RGL replied to RGL's topic in Non-ship/categorised builds
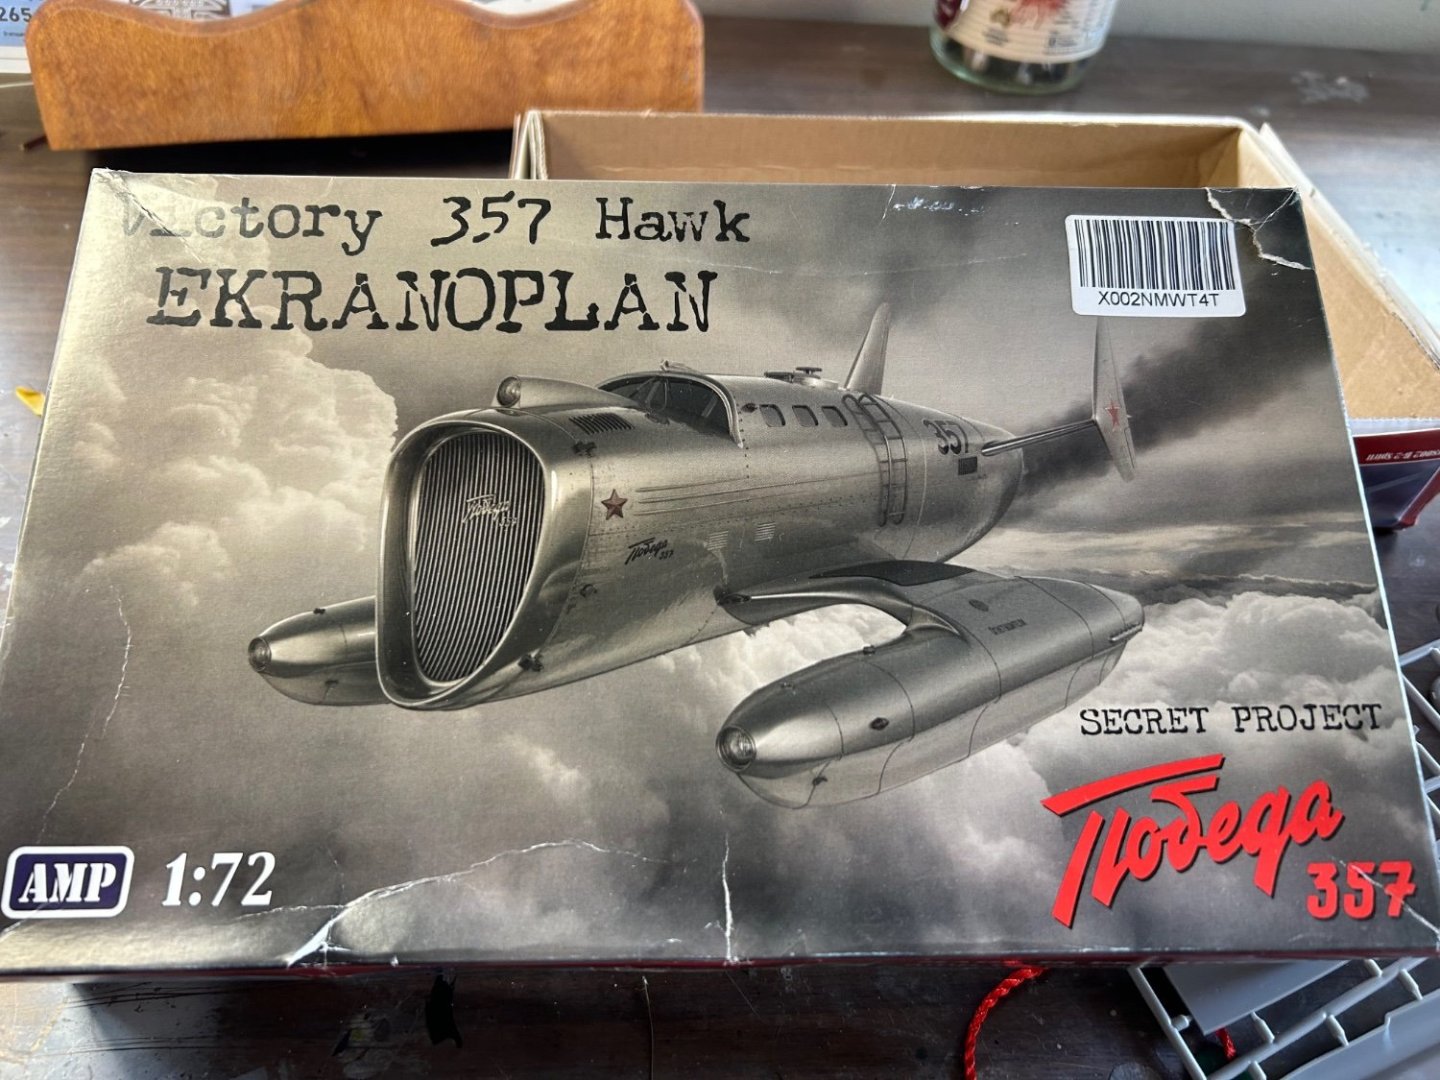
Ok, it’s back in the box. It’s such a pig I can kit be bothered to even try at the moment. I wanted to try out some hyper chrome paints but the amount of putty it will need is outrageous it’s so poorly designed. Back I. It’s box and back on the shelf. -
Victory 357 Hawk Ekranoplan by RGL - Paused
RGL replied to RGL's topic in Non-ship/categorised builds
I’ve been drilling some holes to run some lights. No alignment pins or even alignment so far. It’s going to be a challenging build really. -
A little side project, steampunk! https://www.artstation.com/artwork/VzzP8 the kit is simple, but some of the details on the diagrams such as ripple non slip is not on the actually wings. Still should be a bit of fun.

-
MiG-3 by Javlin - Trumpter - 1/32 - PLASTIC
RGL replied to Javlin's topic in Completed non-ship models
Nice. -
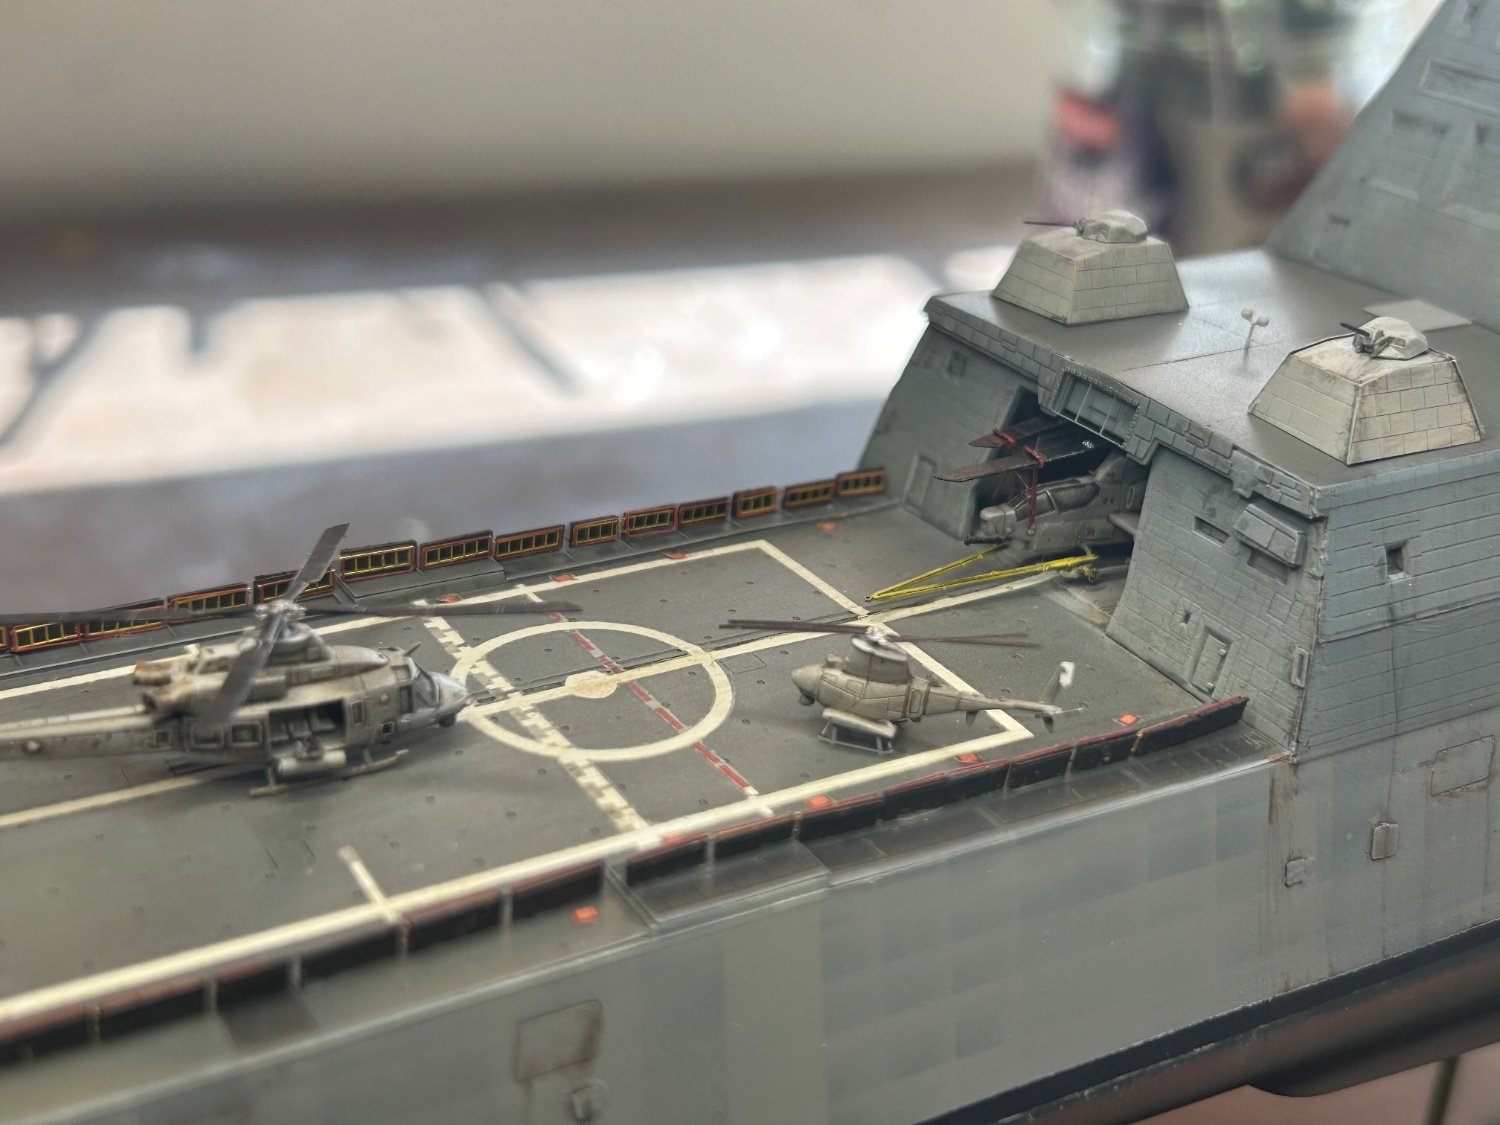
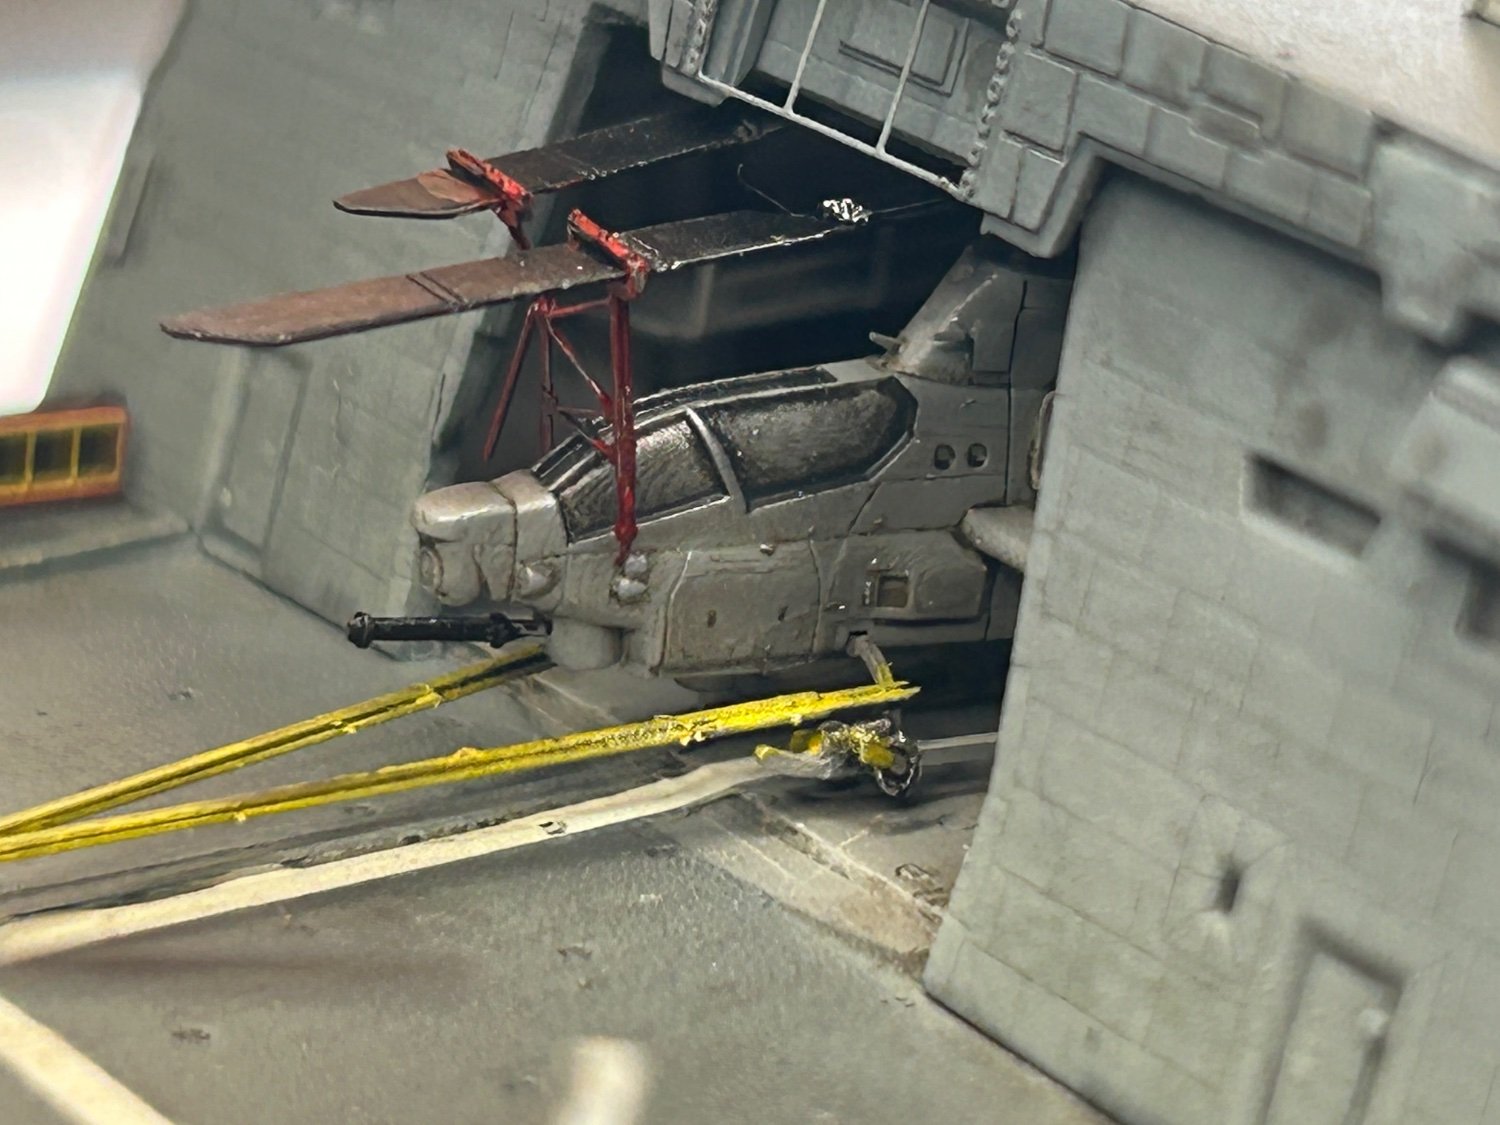
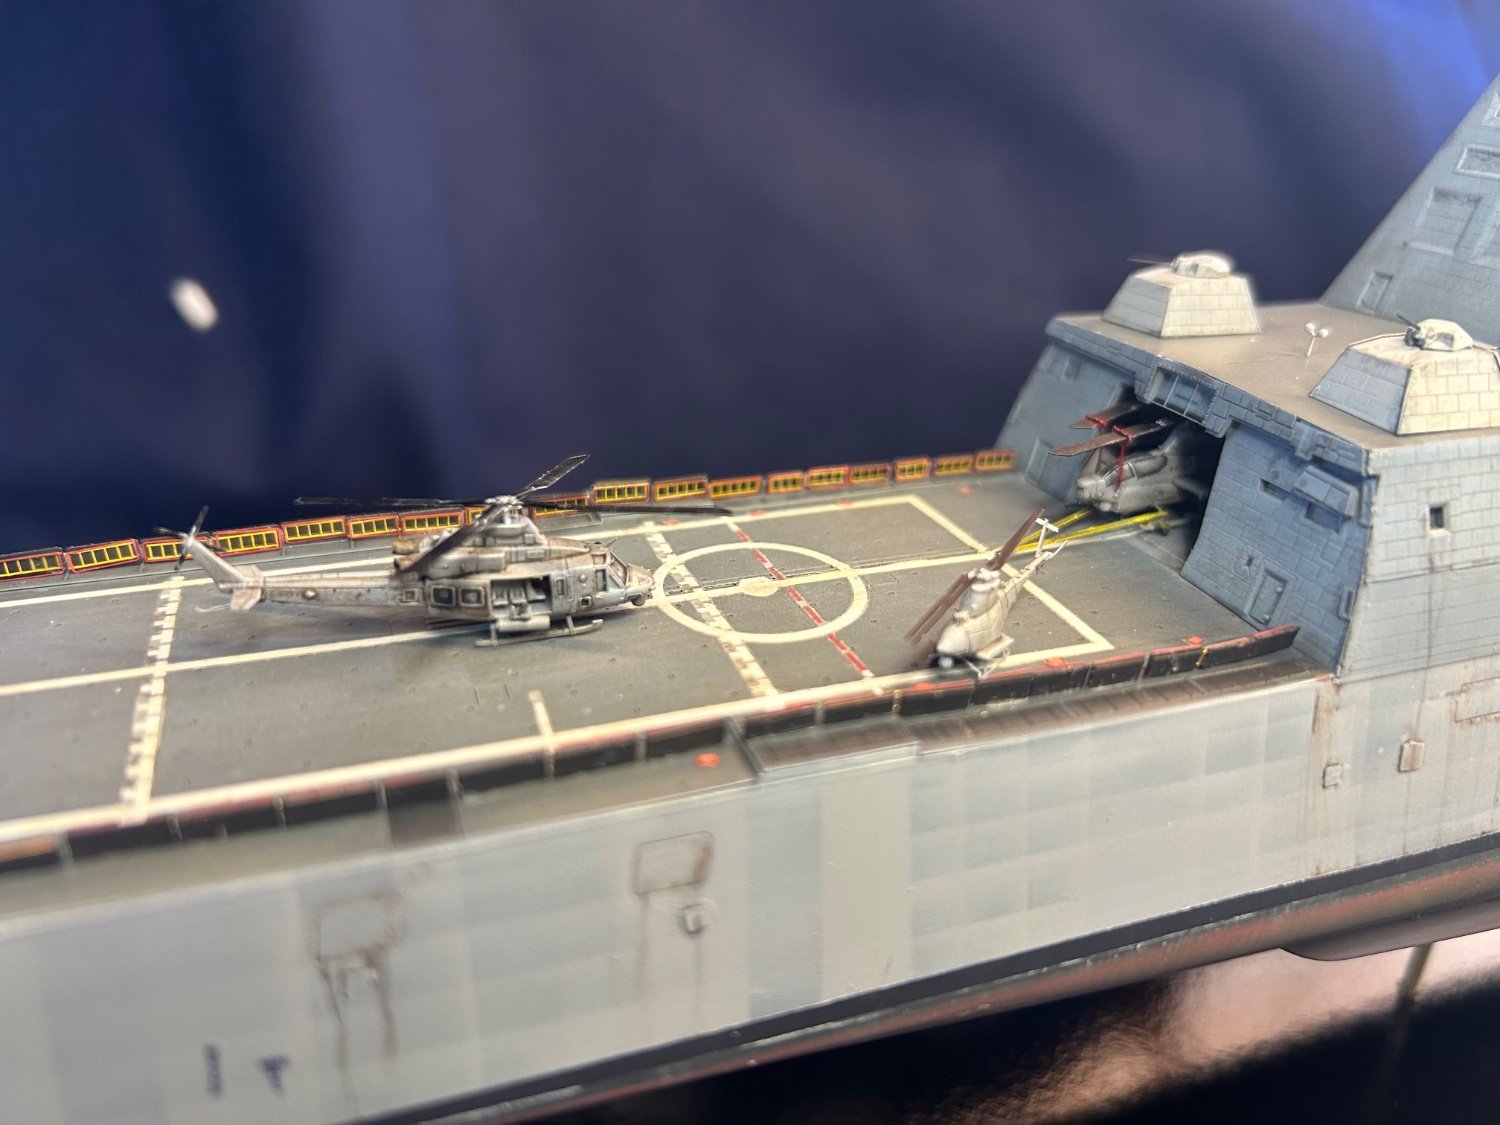
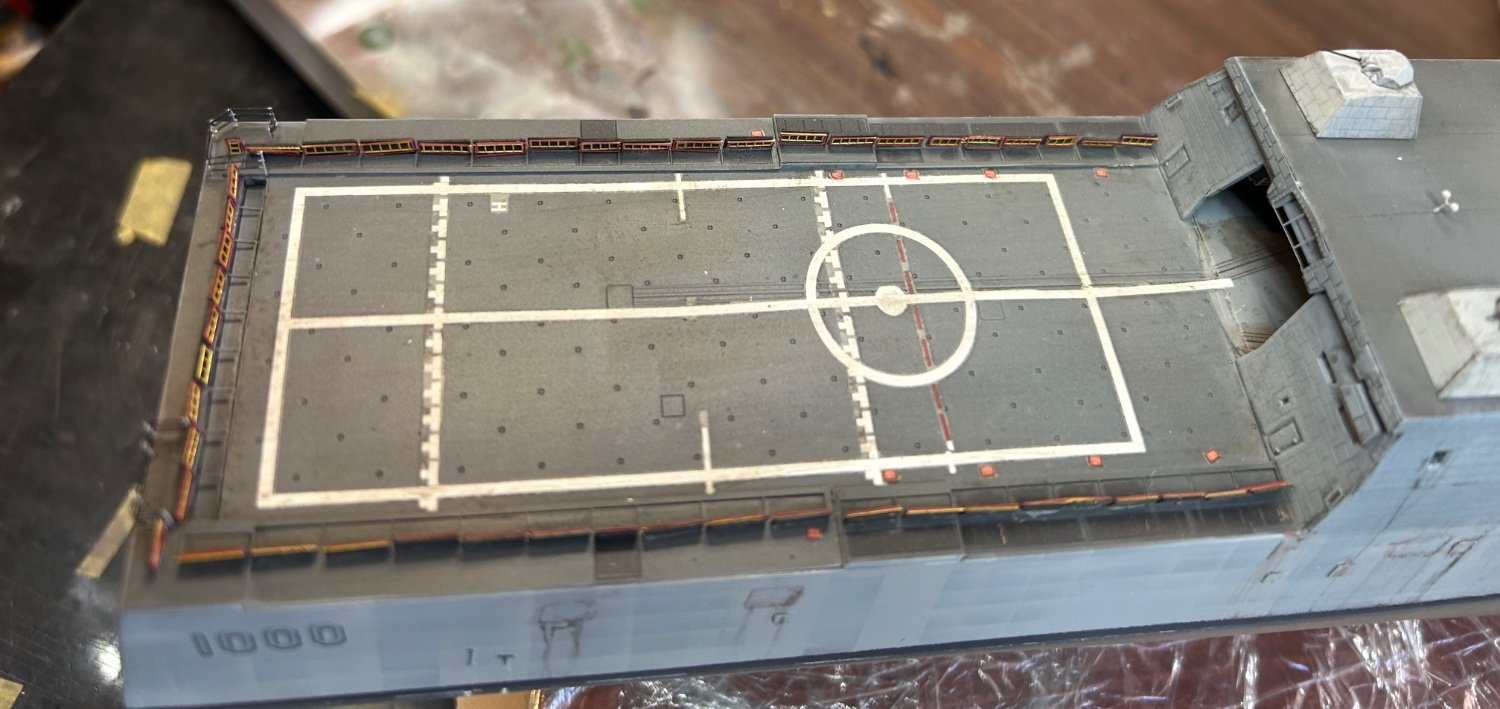
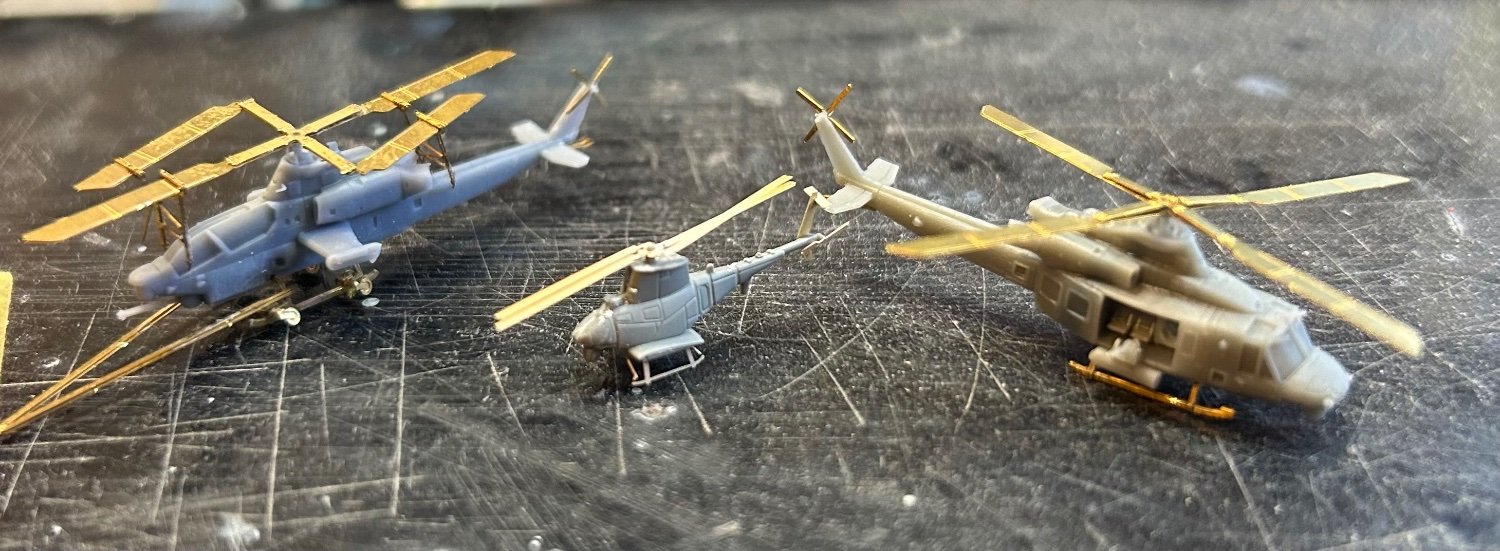
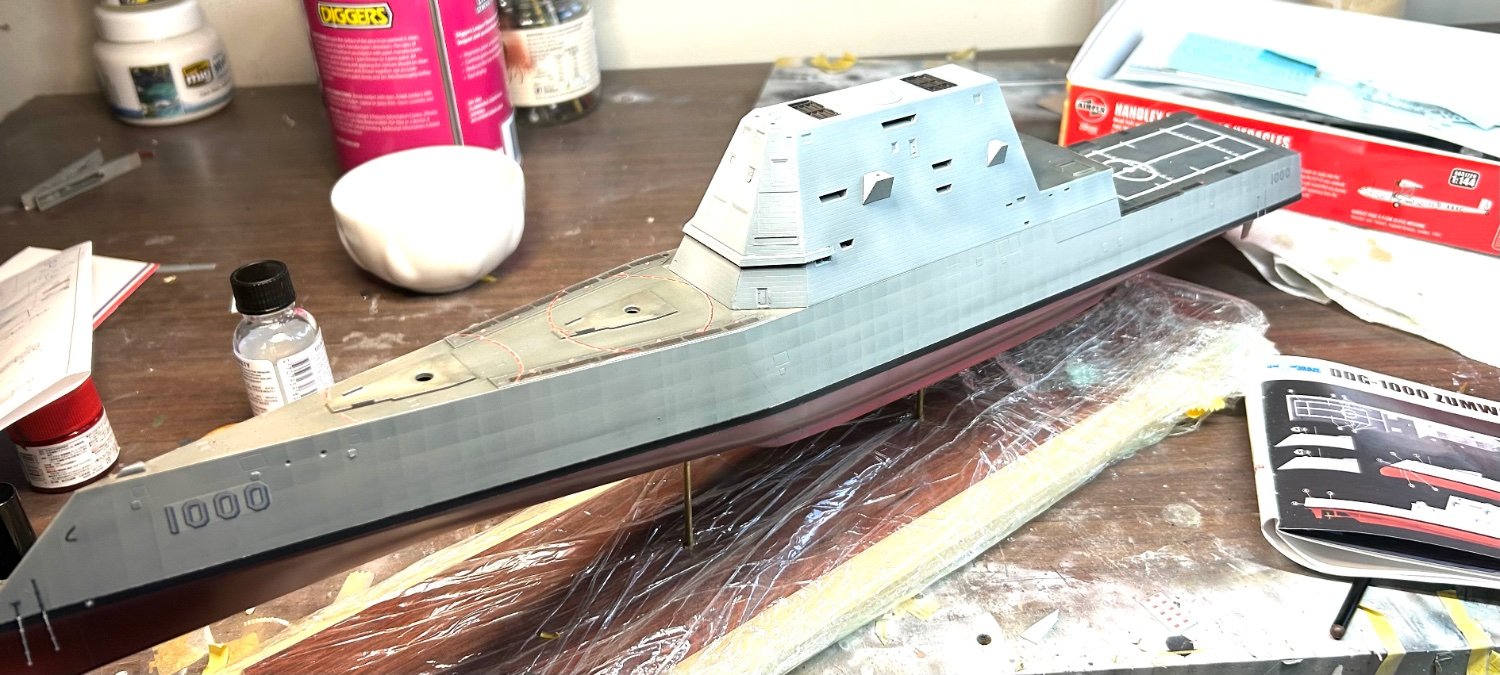
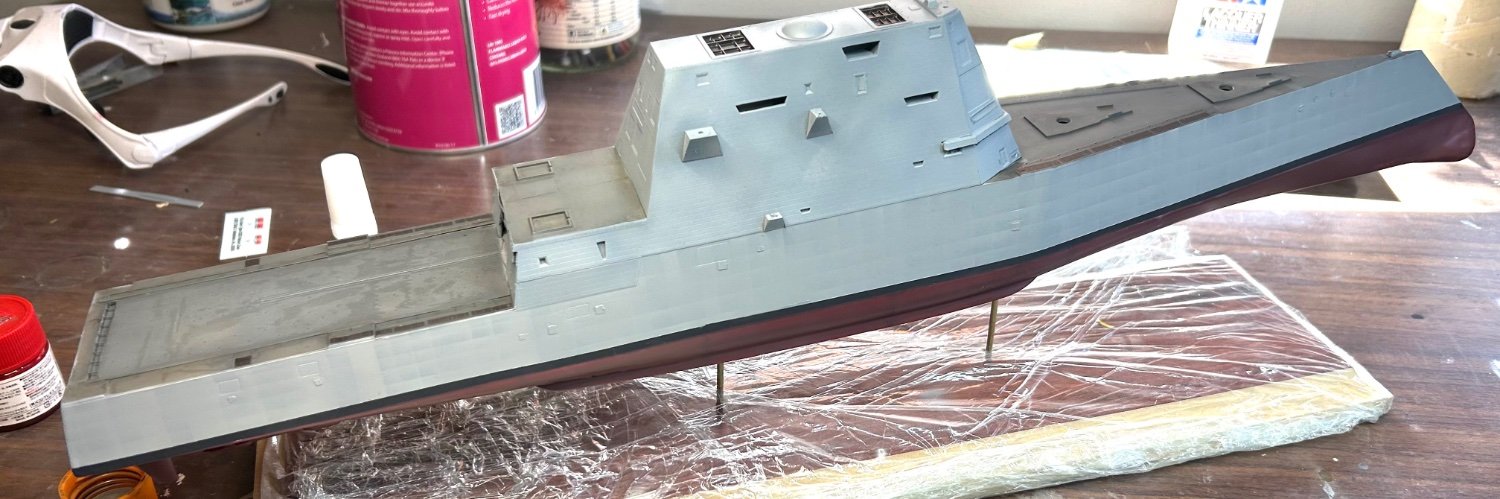
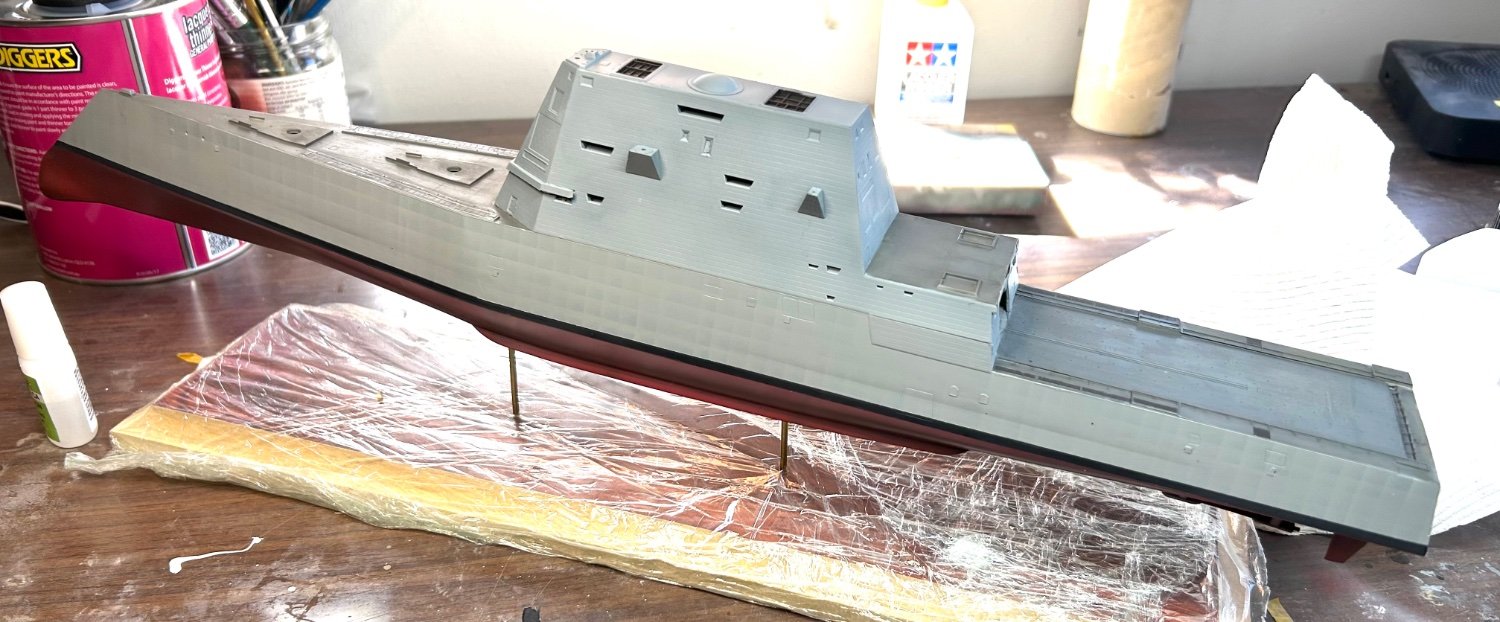
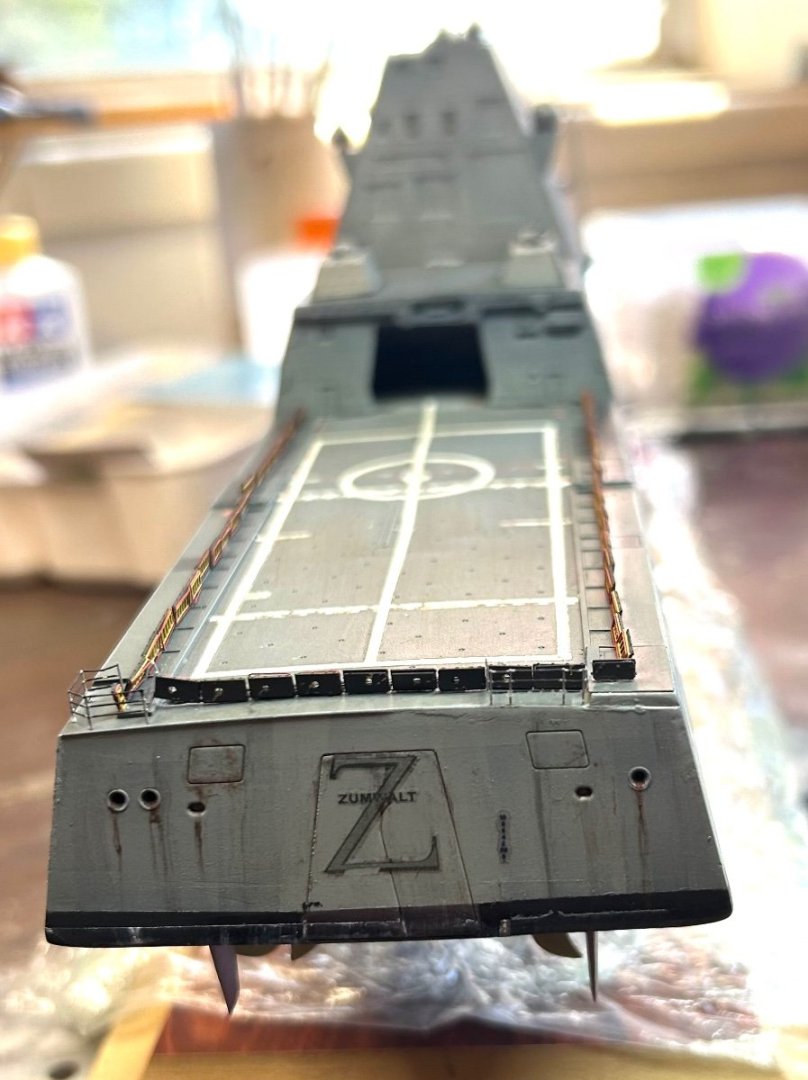
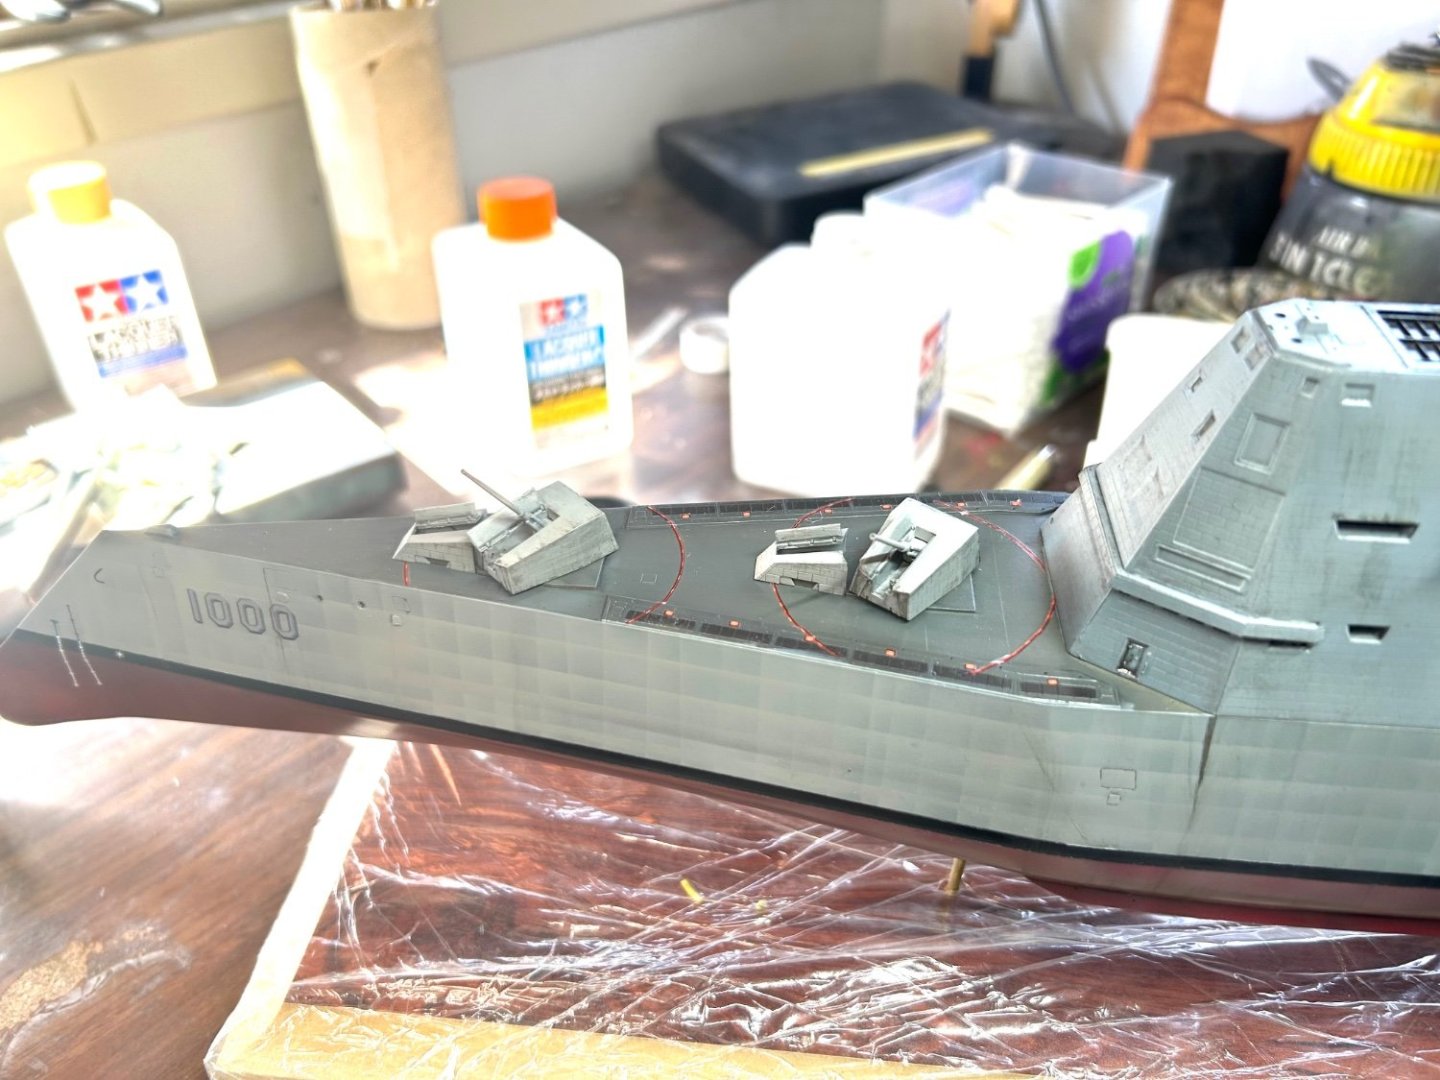
The front helicopter is one of the small ones. The back deck railings have been added. I also added the provided ships railings and they are not long enough and they have stanchion holes!!! Helicopters, paint the base and done.


- 47 replies
-
- 7
-
-
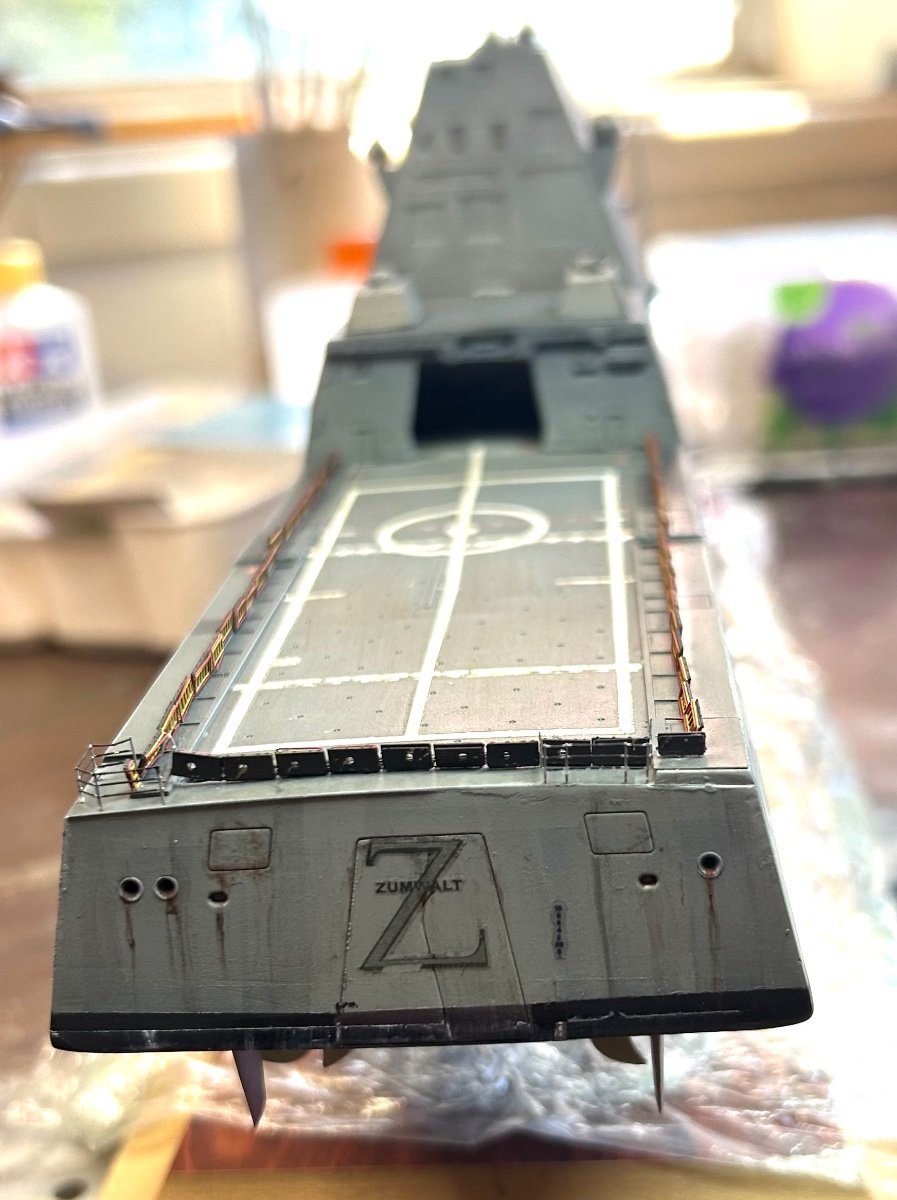
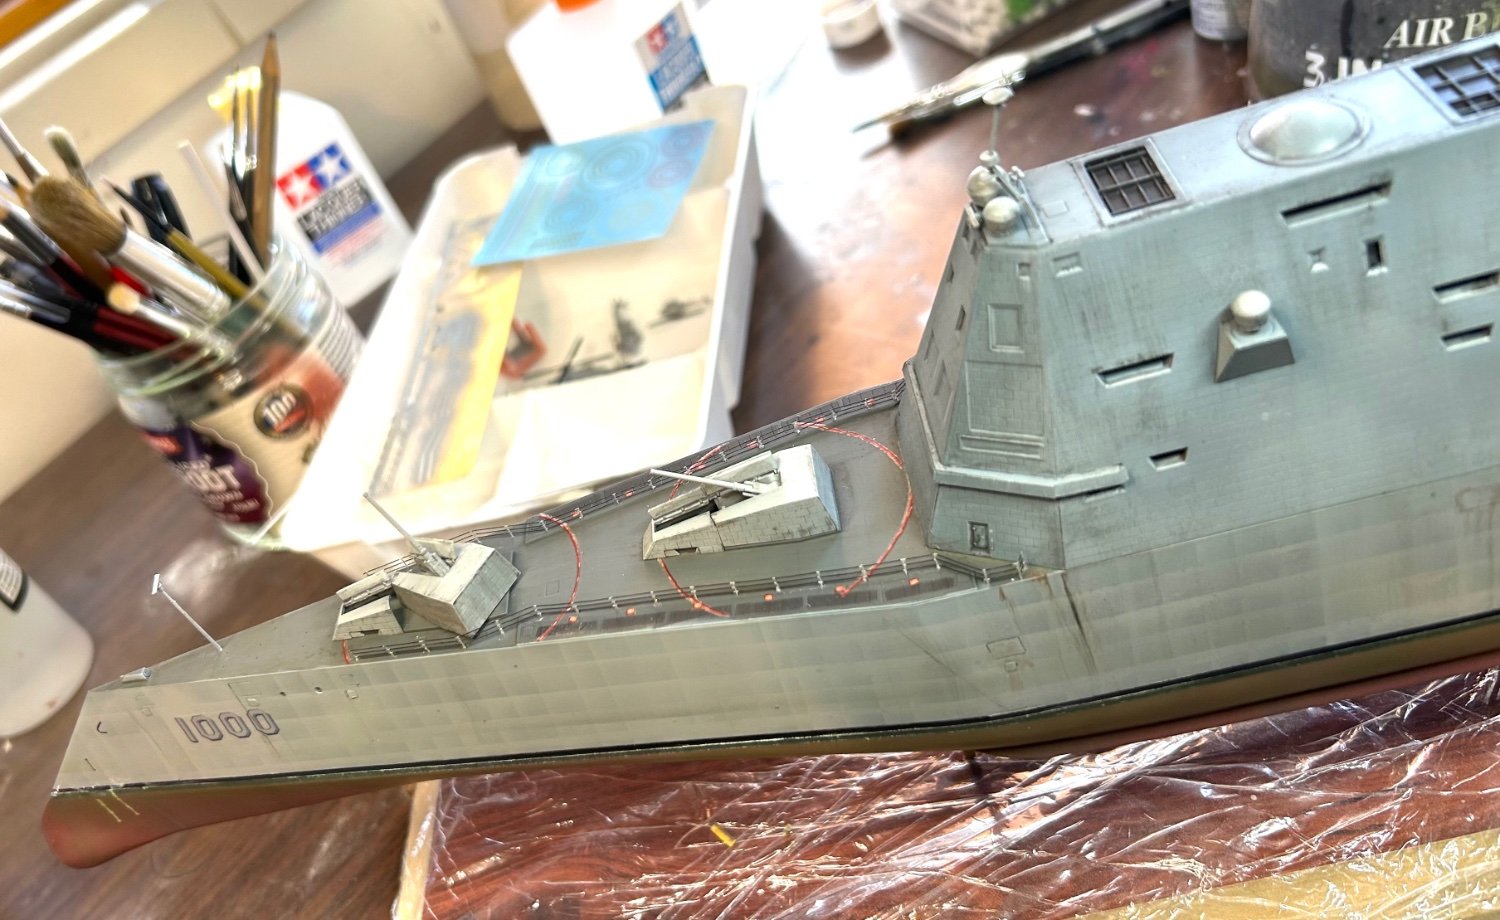
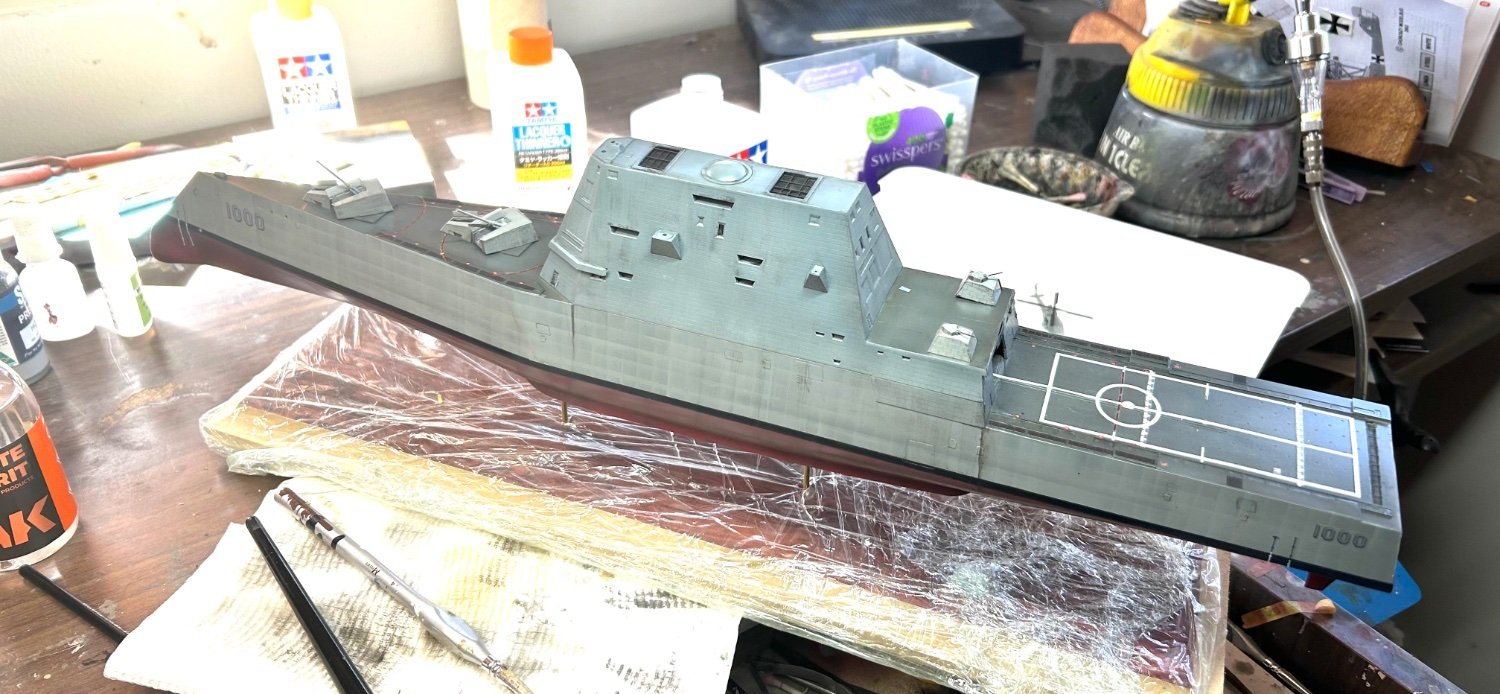
- Zumwalt
- Snowman Model
- (and 2 more)
-
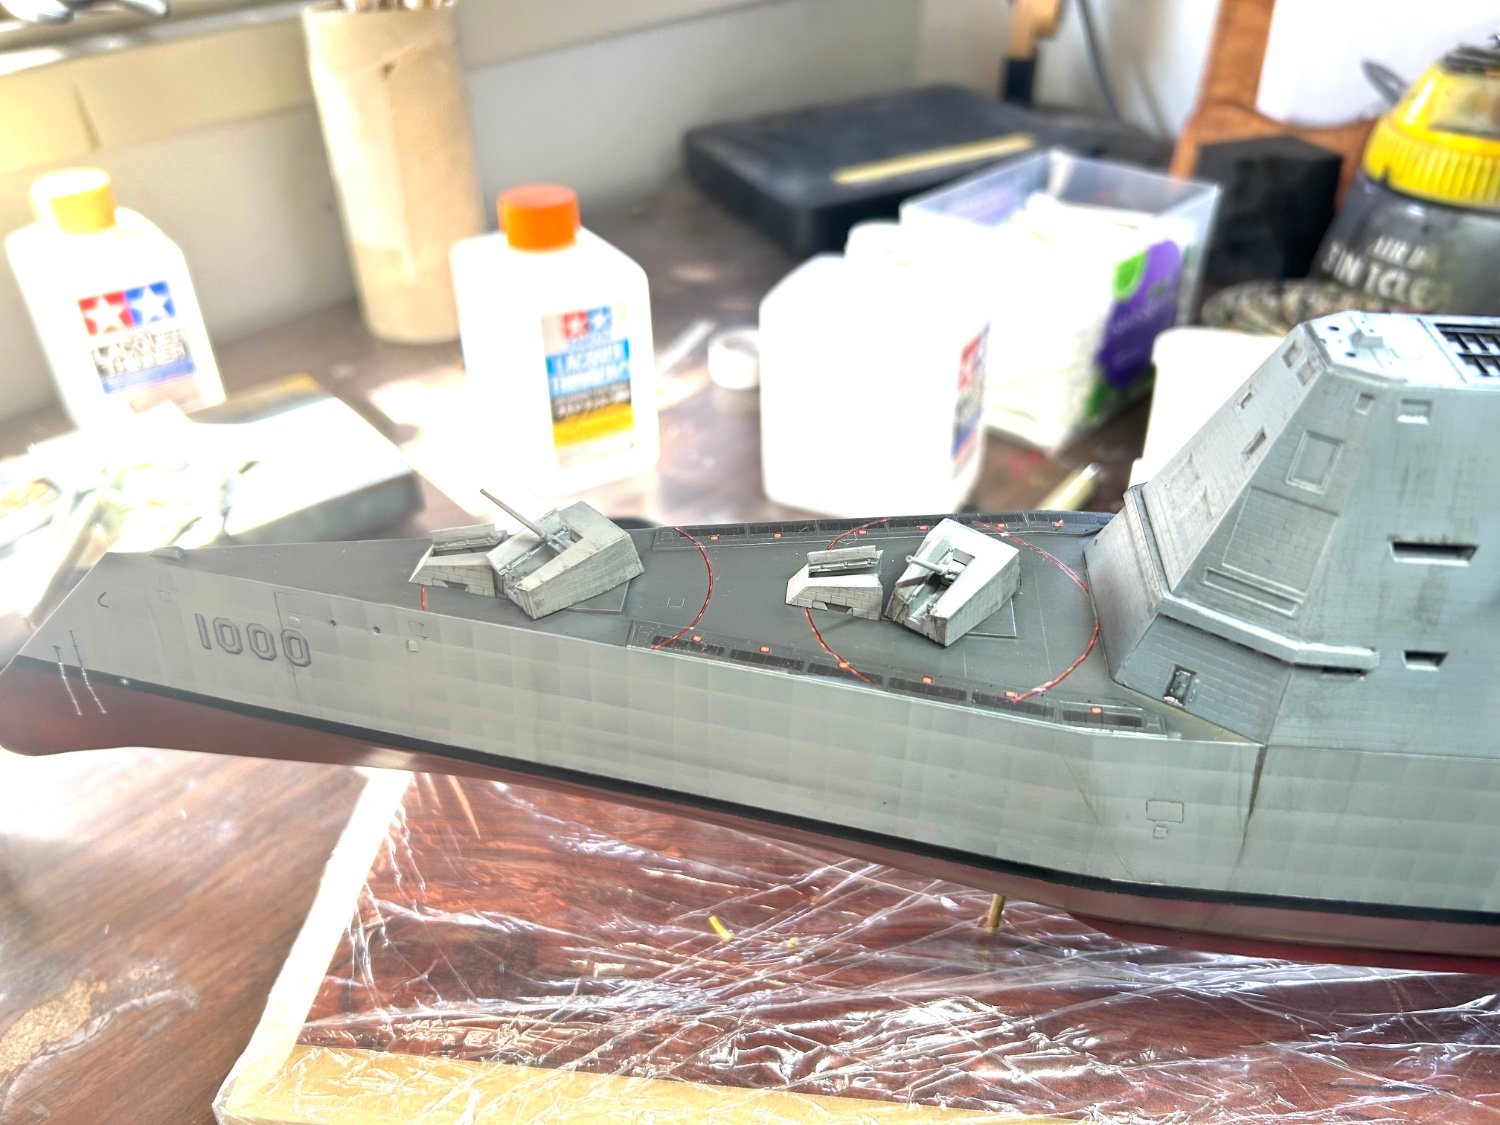
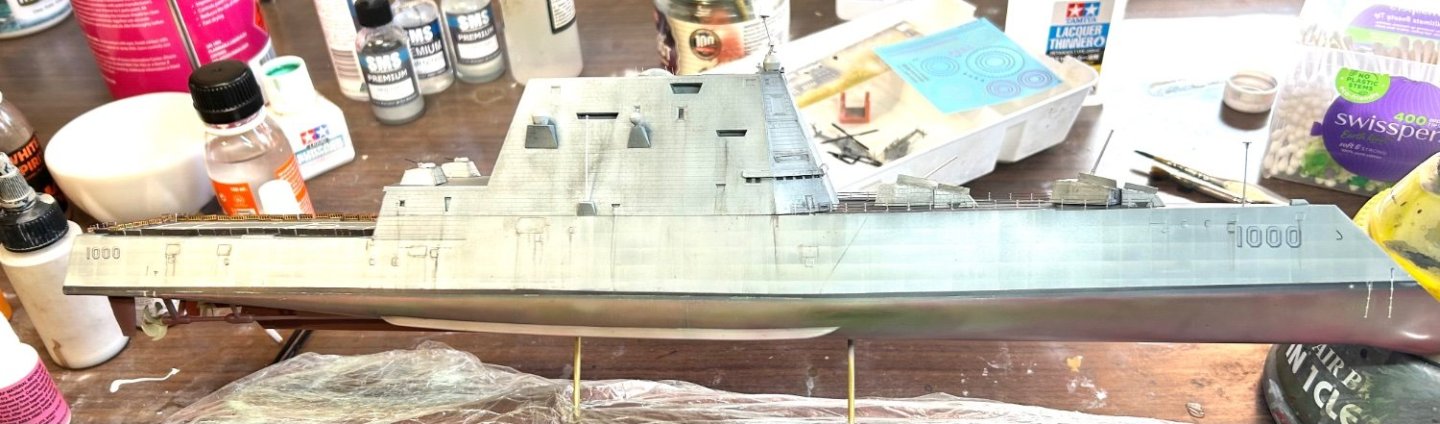
Yep it’s dull. So today I’ve actually finished the guns, so some grunge, next is the waterline grunge, whether the flight deck, add the last bits.


- 47 replies
-
- 9
-
-
- Zumwalt
- Snowman Model
- (and 2 more)


_pic7.JPG.357b42831354949c13dc39b7932d3d40.JPG)