


cgiacoppo
-
Posts
32 -
Joined
-
Last visited
Content Type
Profiles
Forums
Gallery
Events
Posts posted by cgiacoppo
-
-
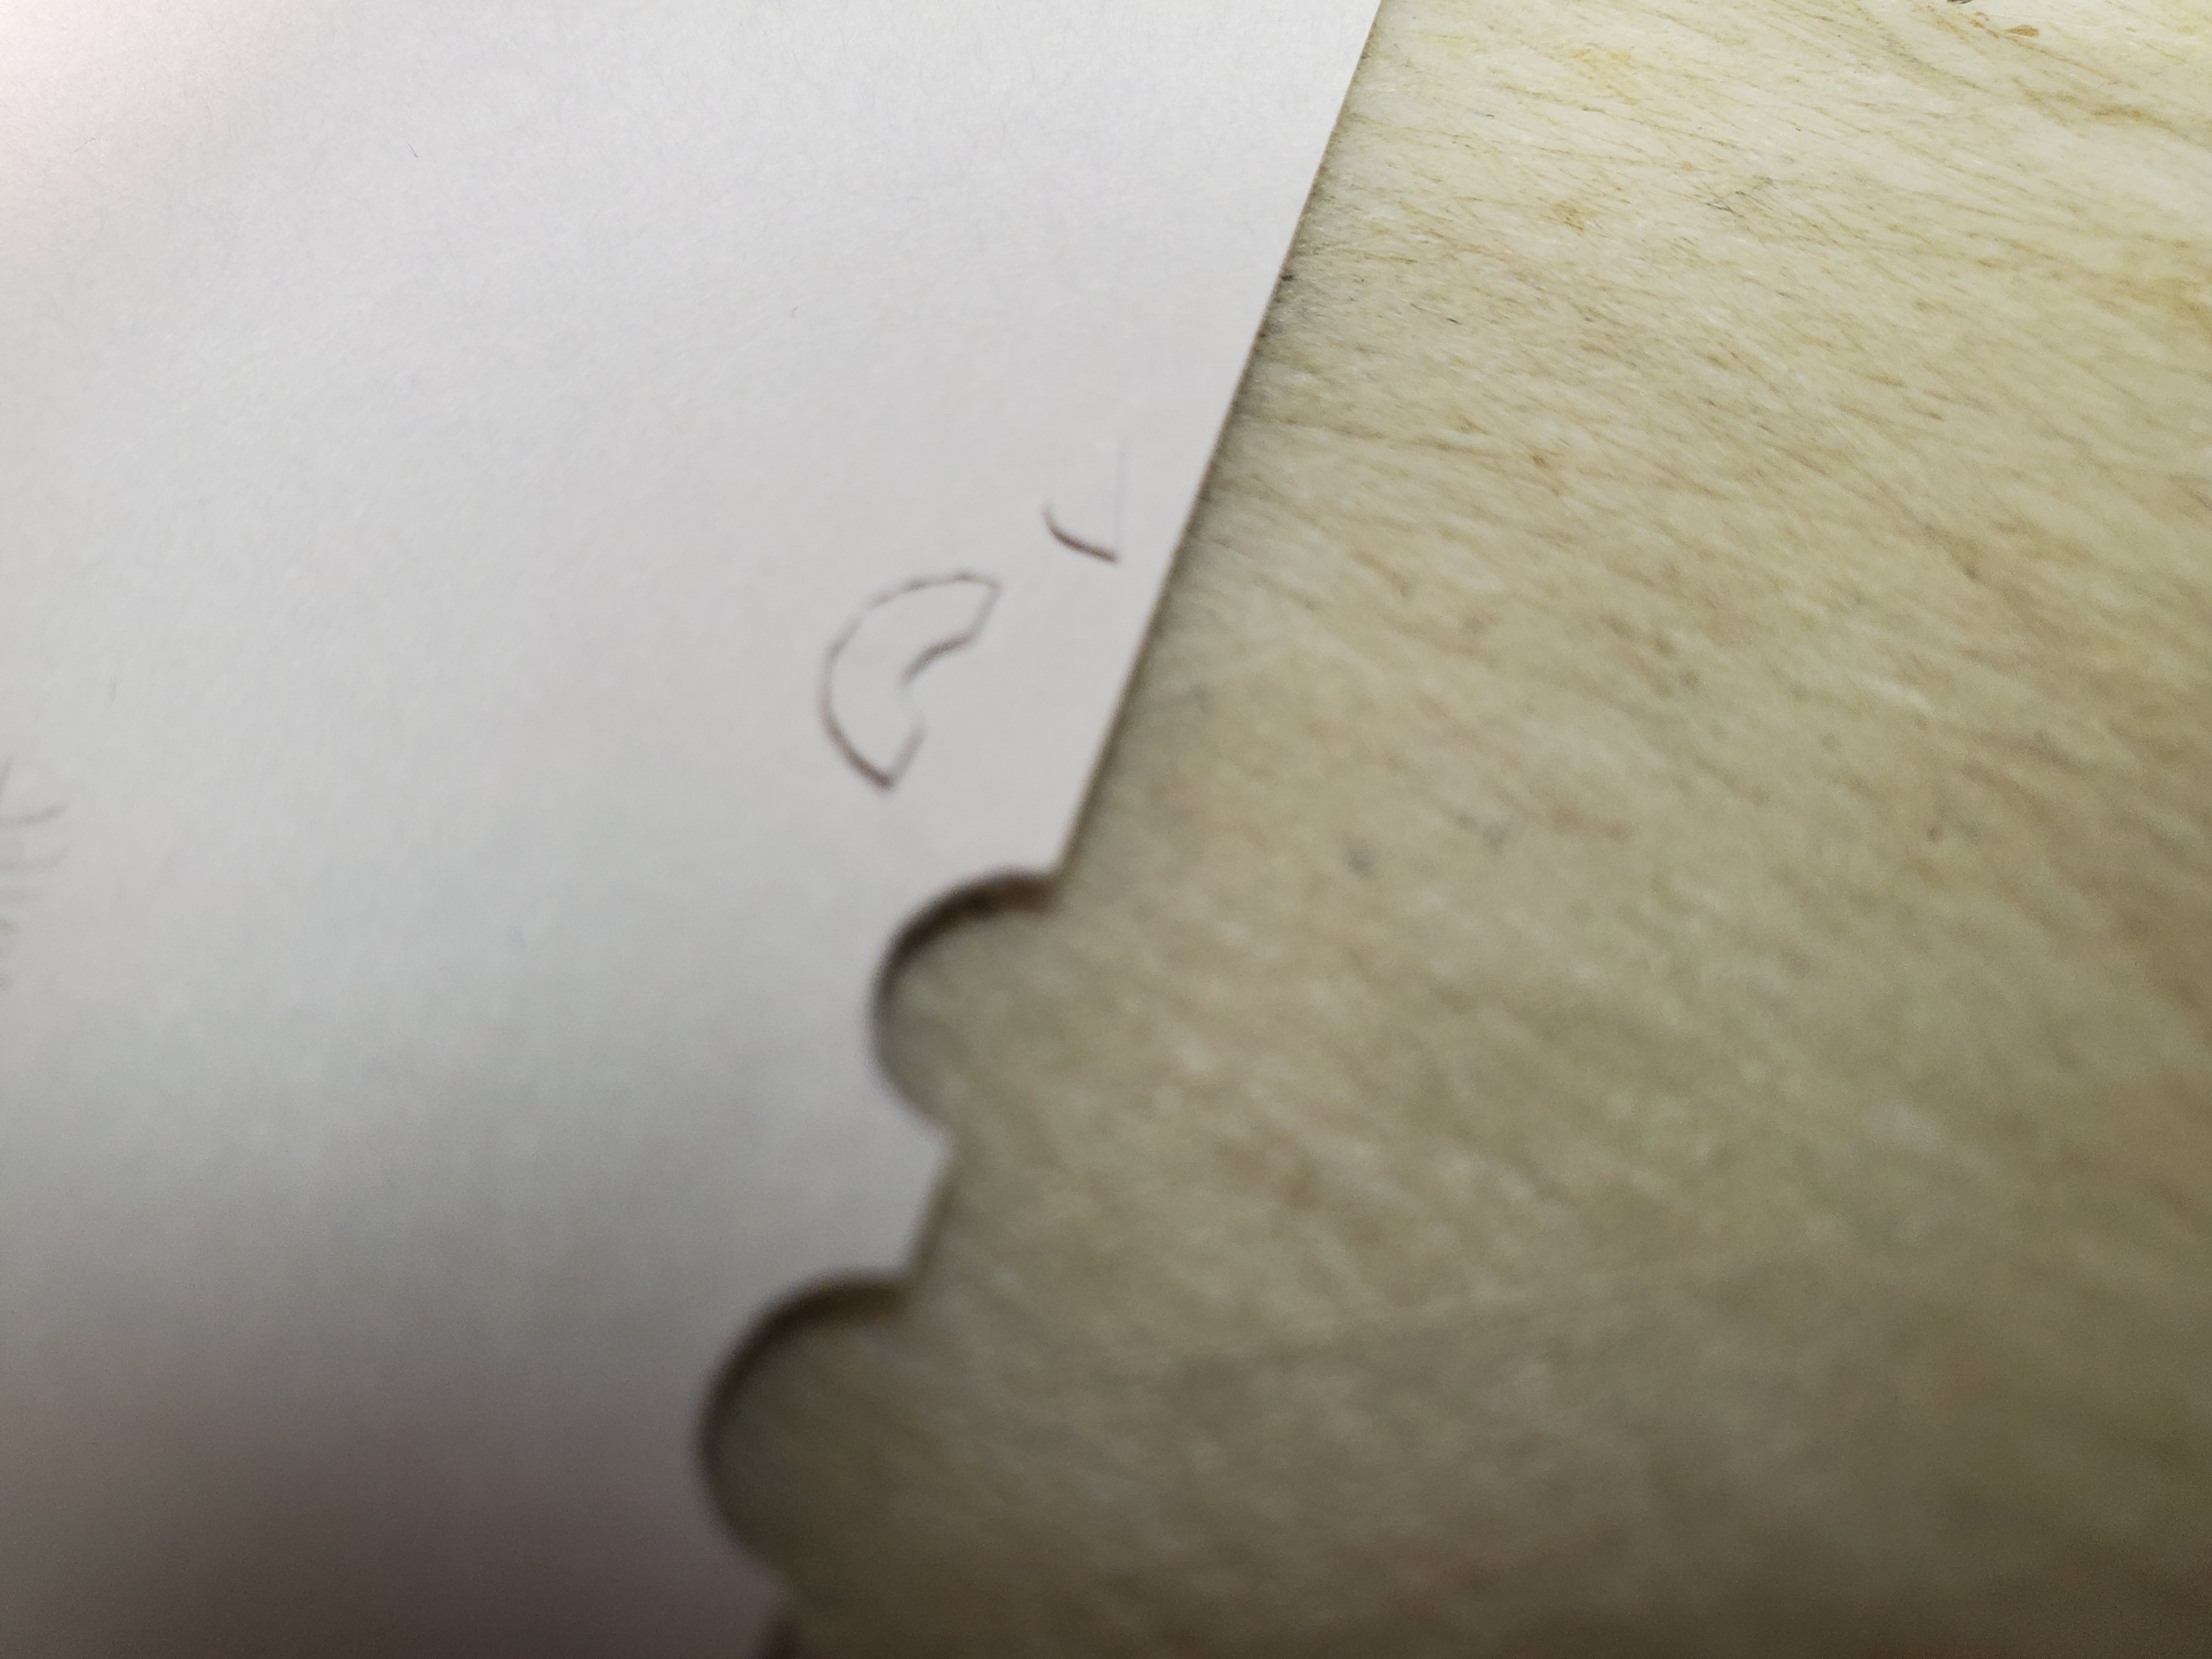
We now turned our attention to the holes where the rudder chains emerge from the hull. We previously used cardstock to create the armor plate rub rail and decided to create semi-circular openings out of the same card stock to give the holes a nice finished look.


- Canute and GrandpaPhil
-
 2
2
-
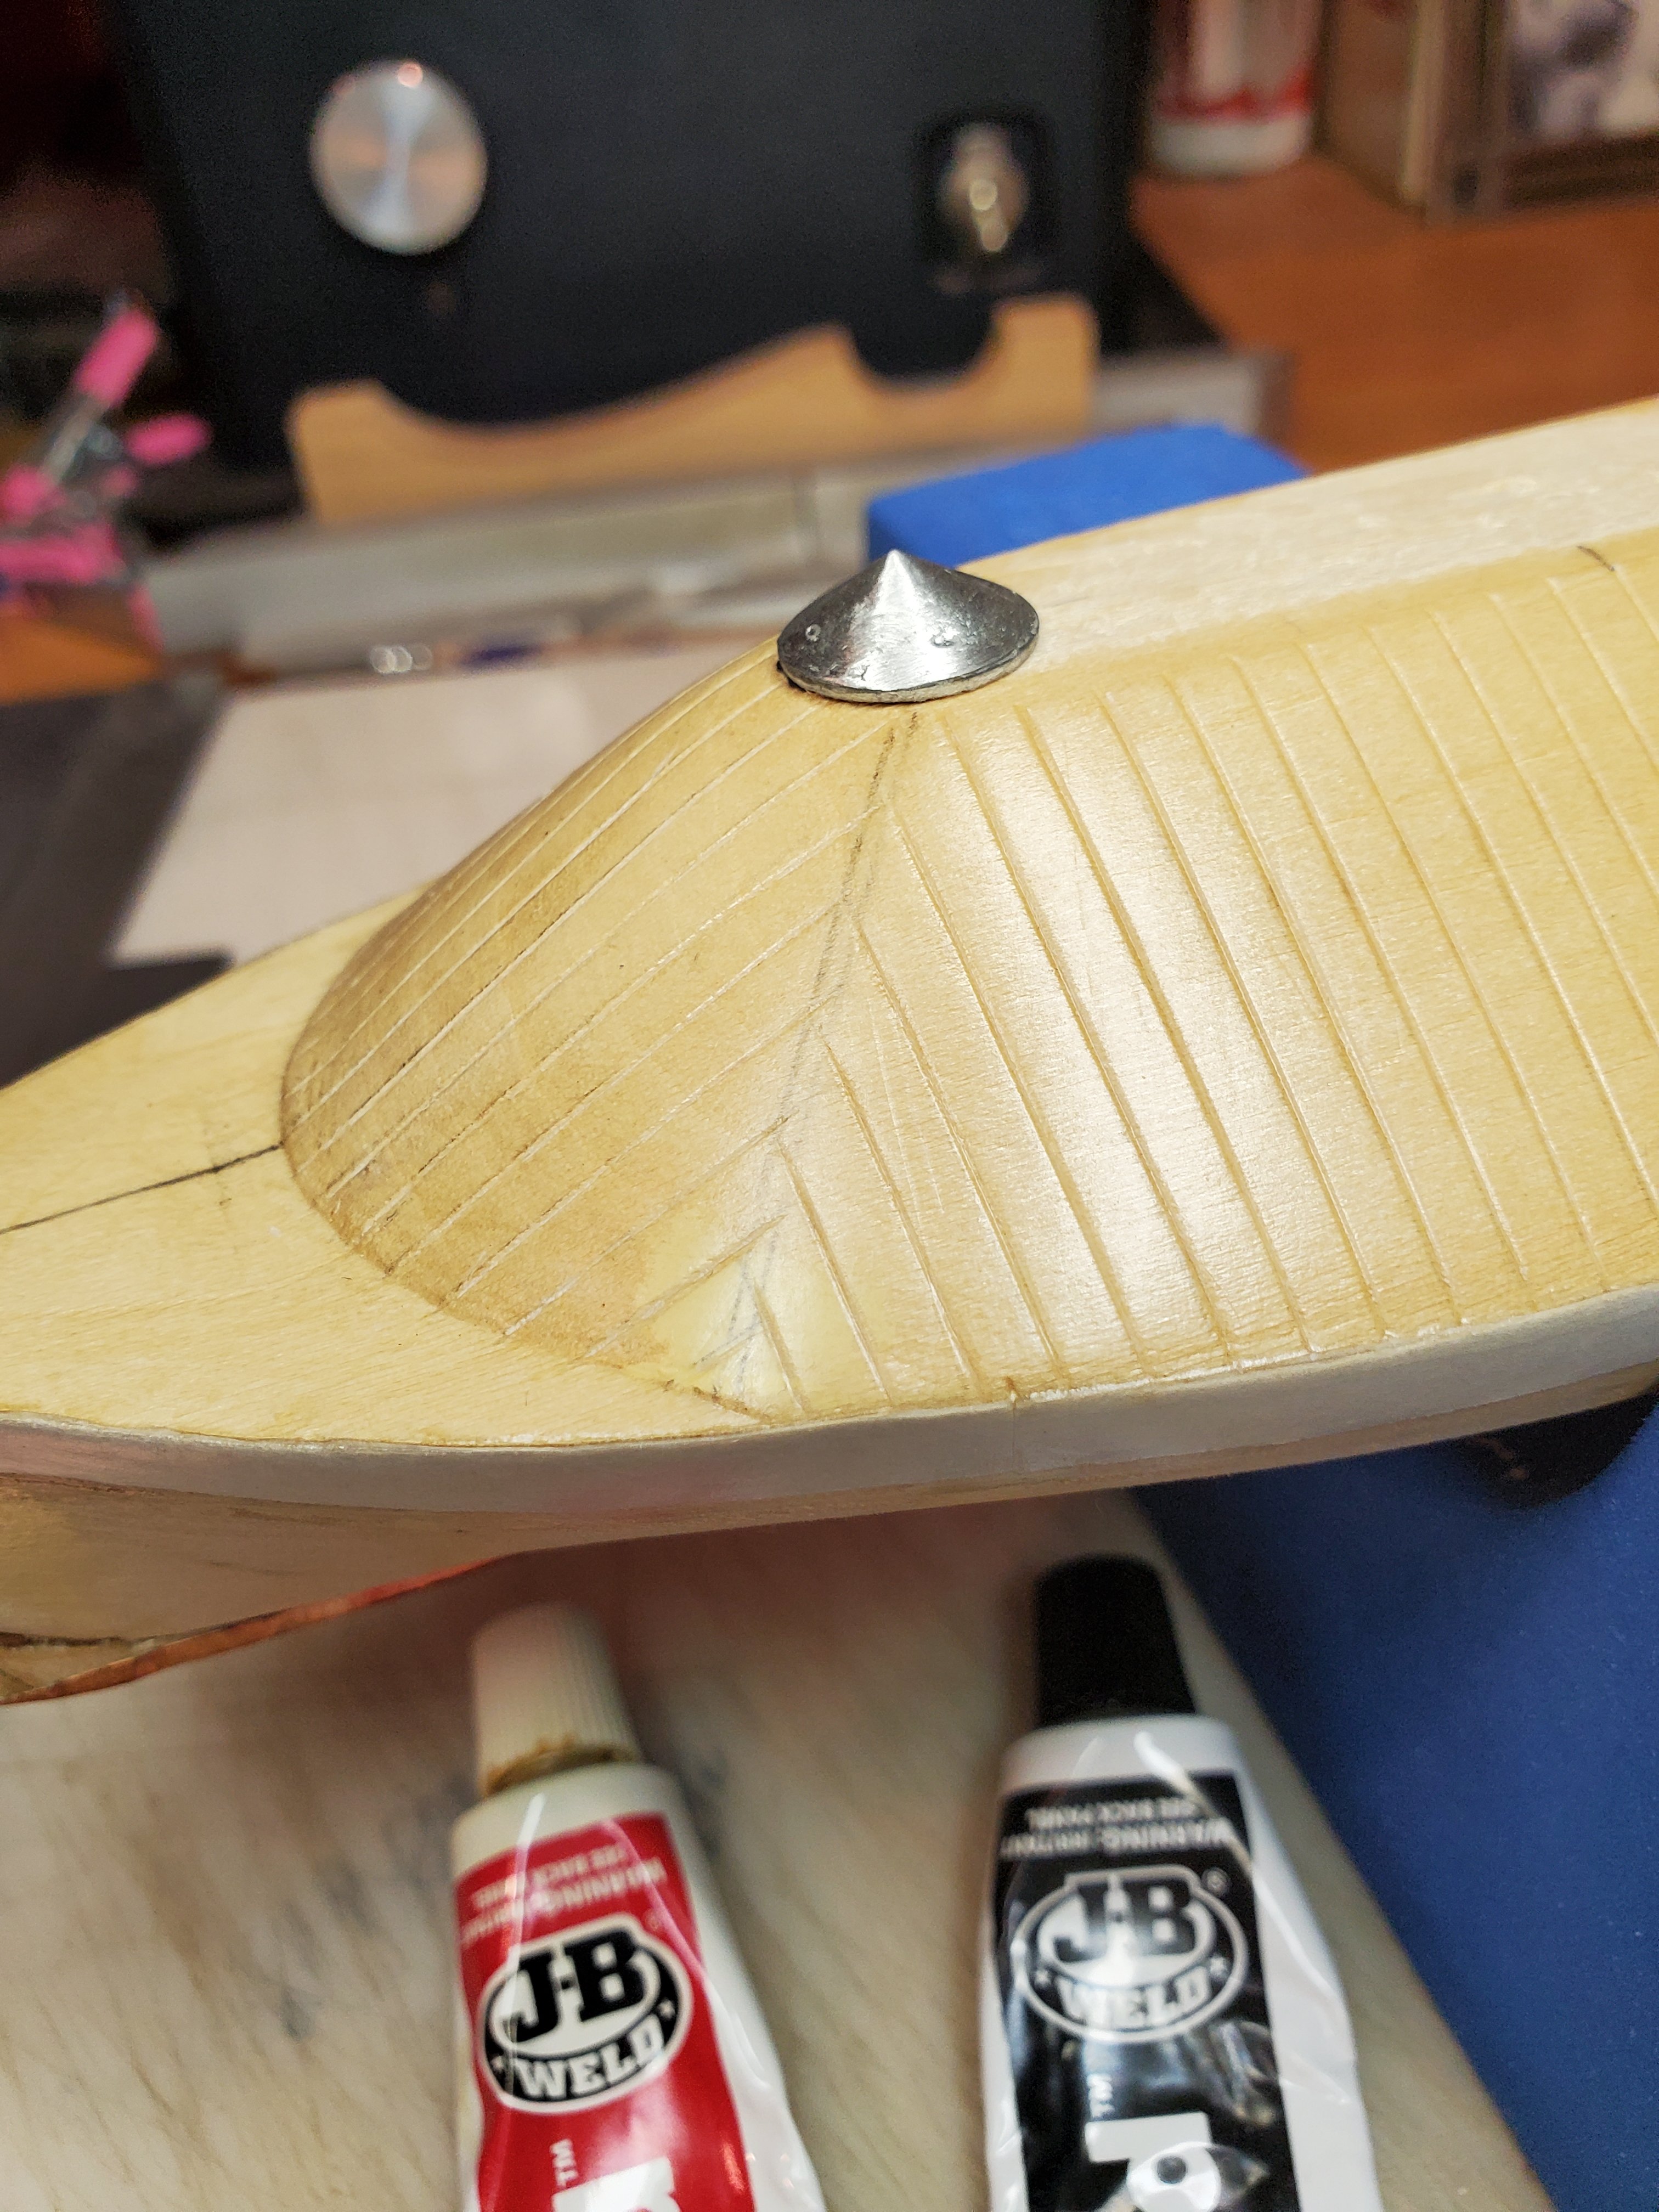
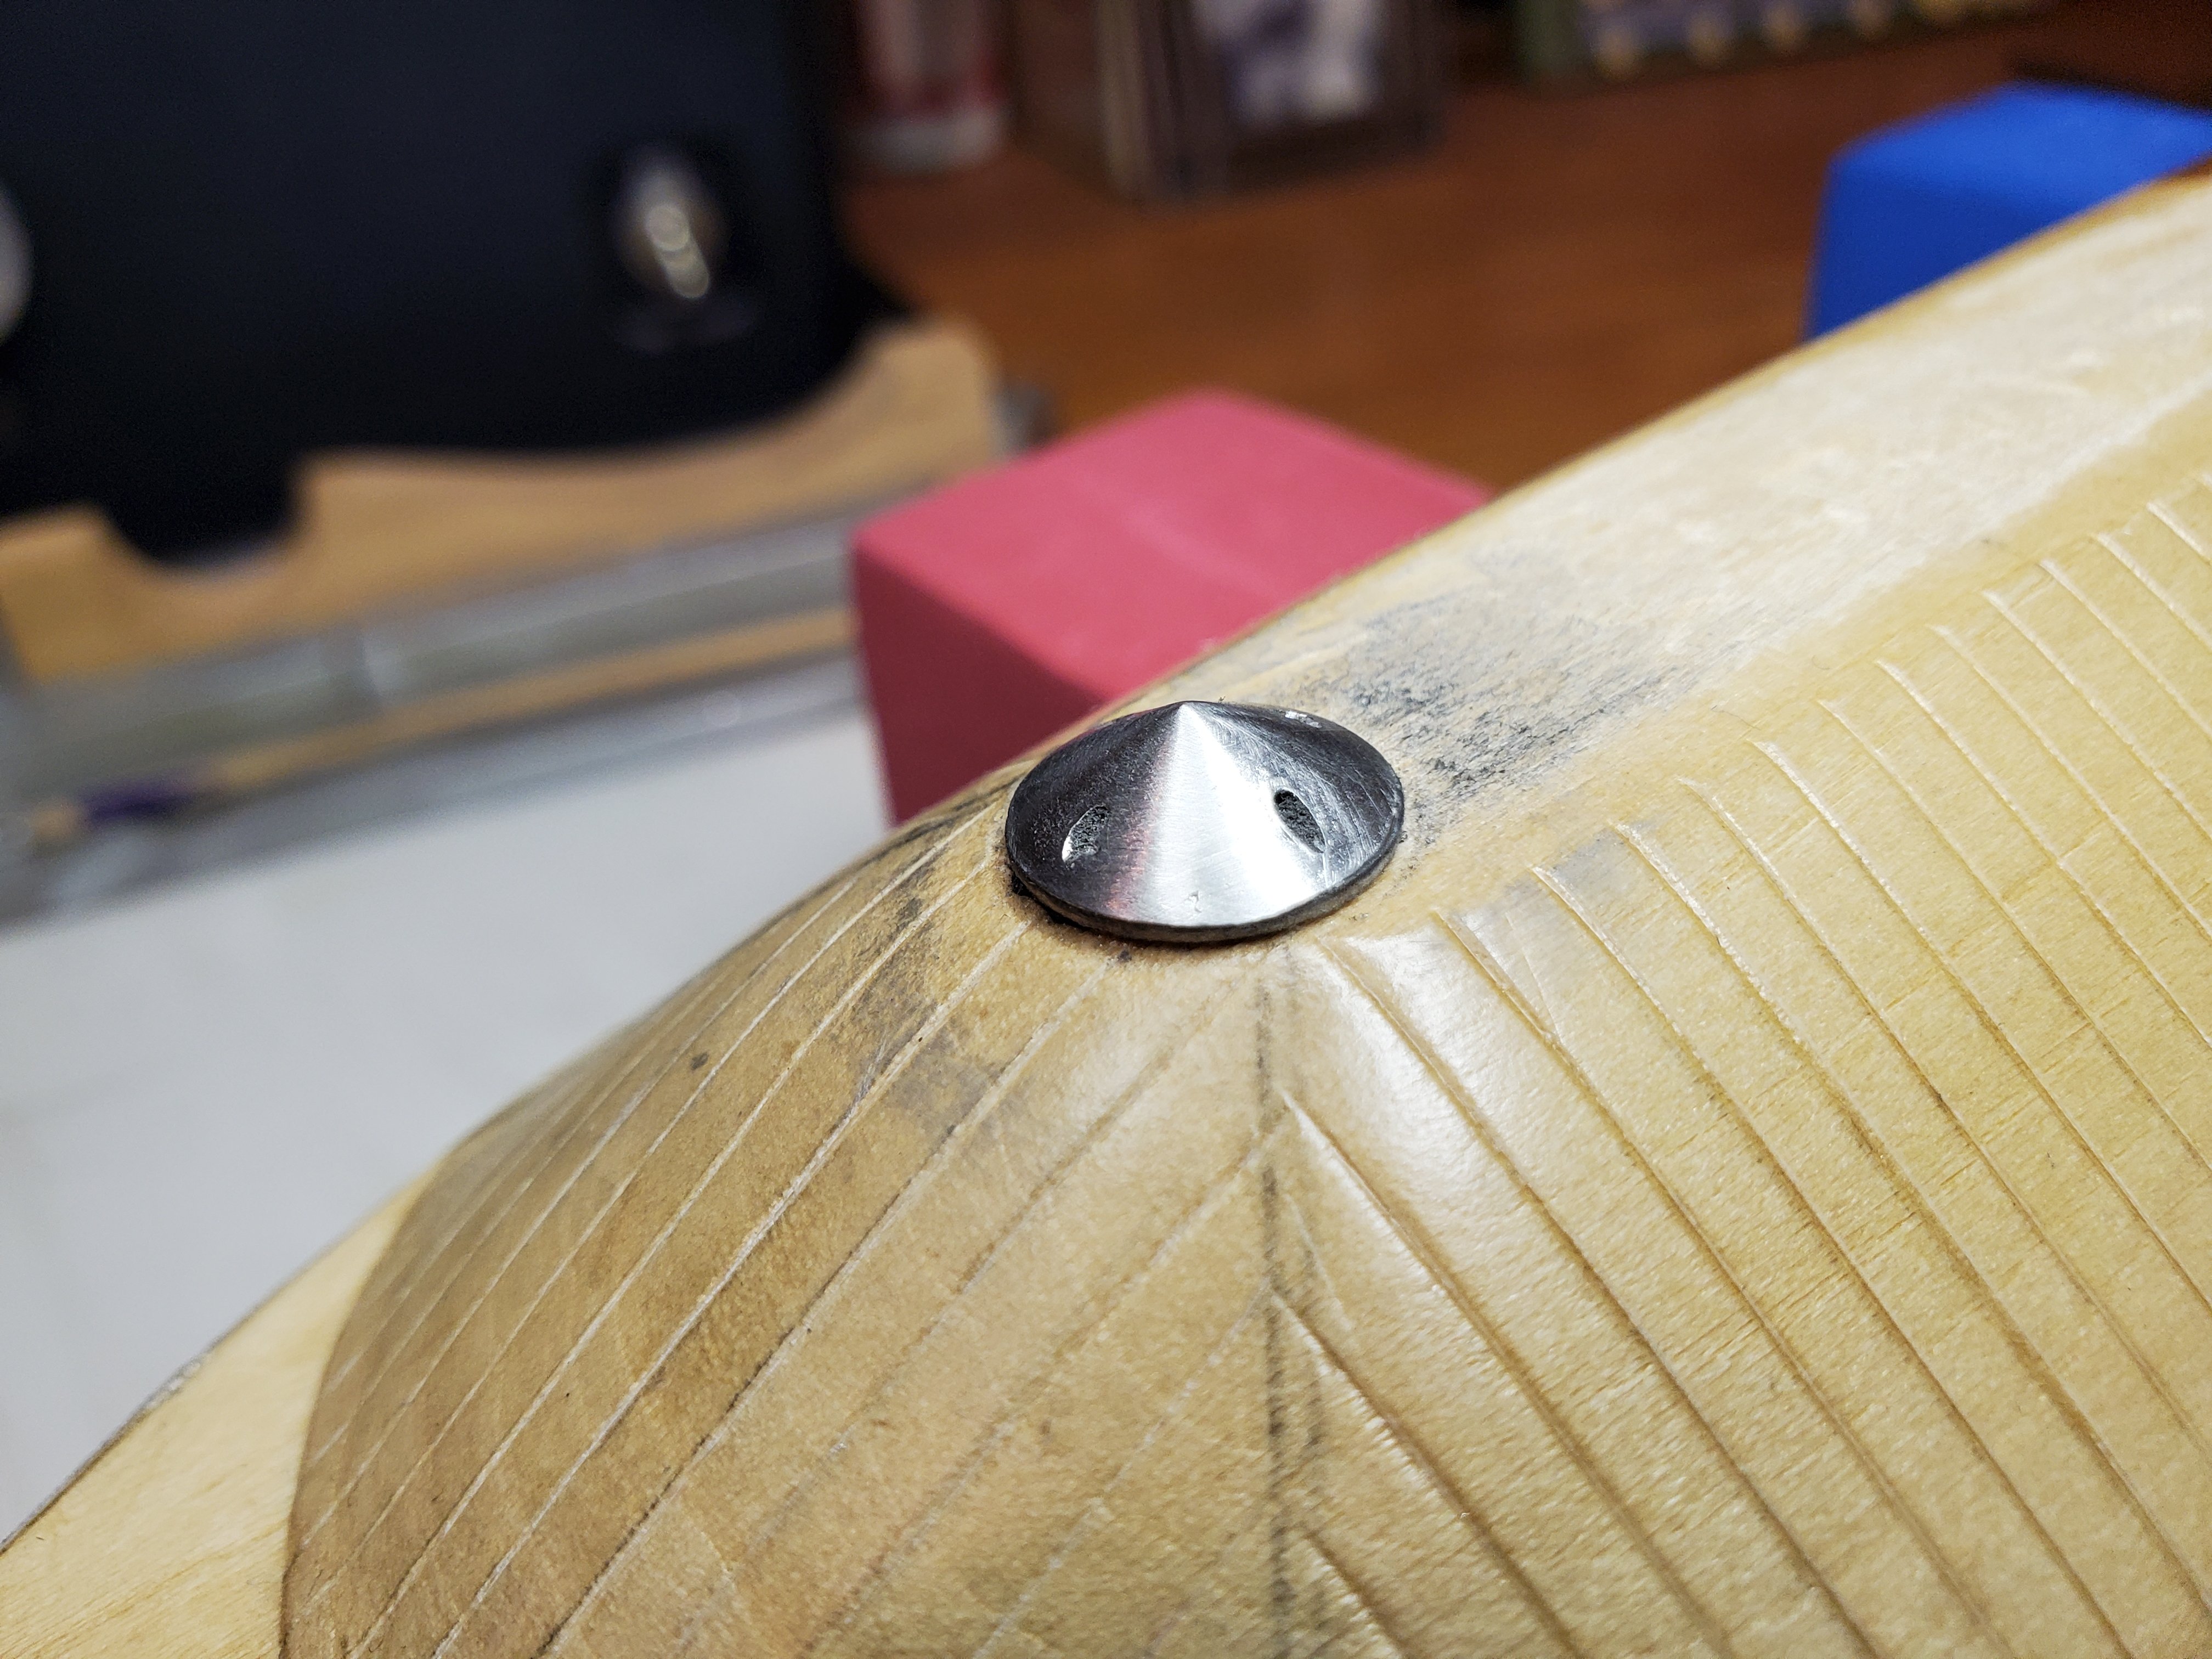
Setting aside the deck planking, we next attached the pilot turret. This is a metal piece so we used 2-part epoxy.
The lookout ports on the turret were very slight indentations, so we drilled them out a bit to make them more realistic.


- Canute, robert952 and GrandpaPhil
-
3
-
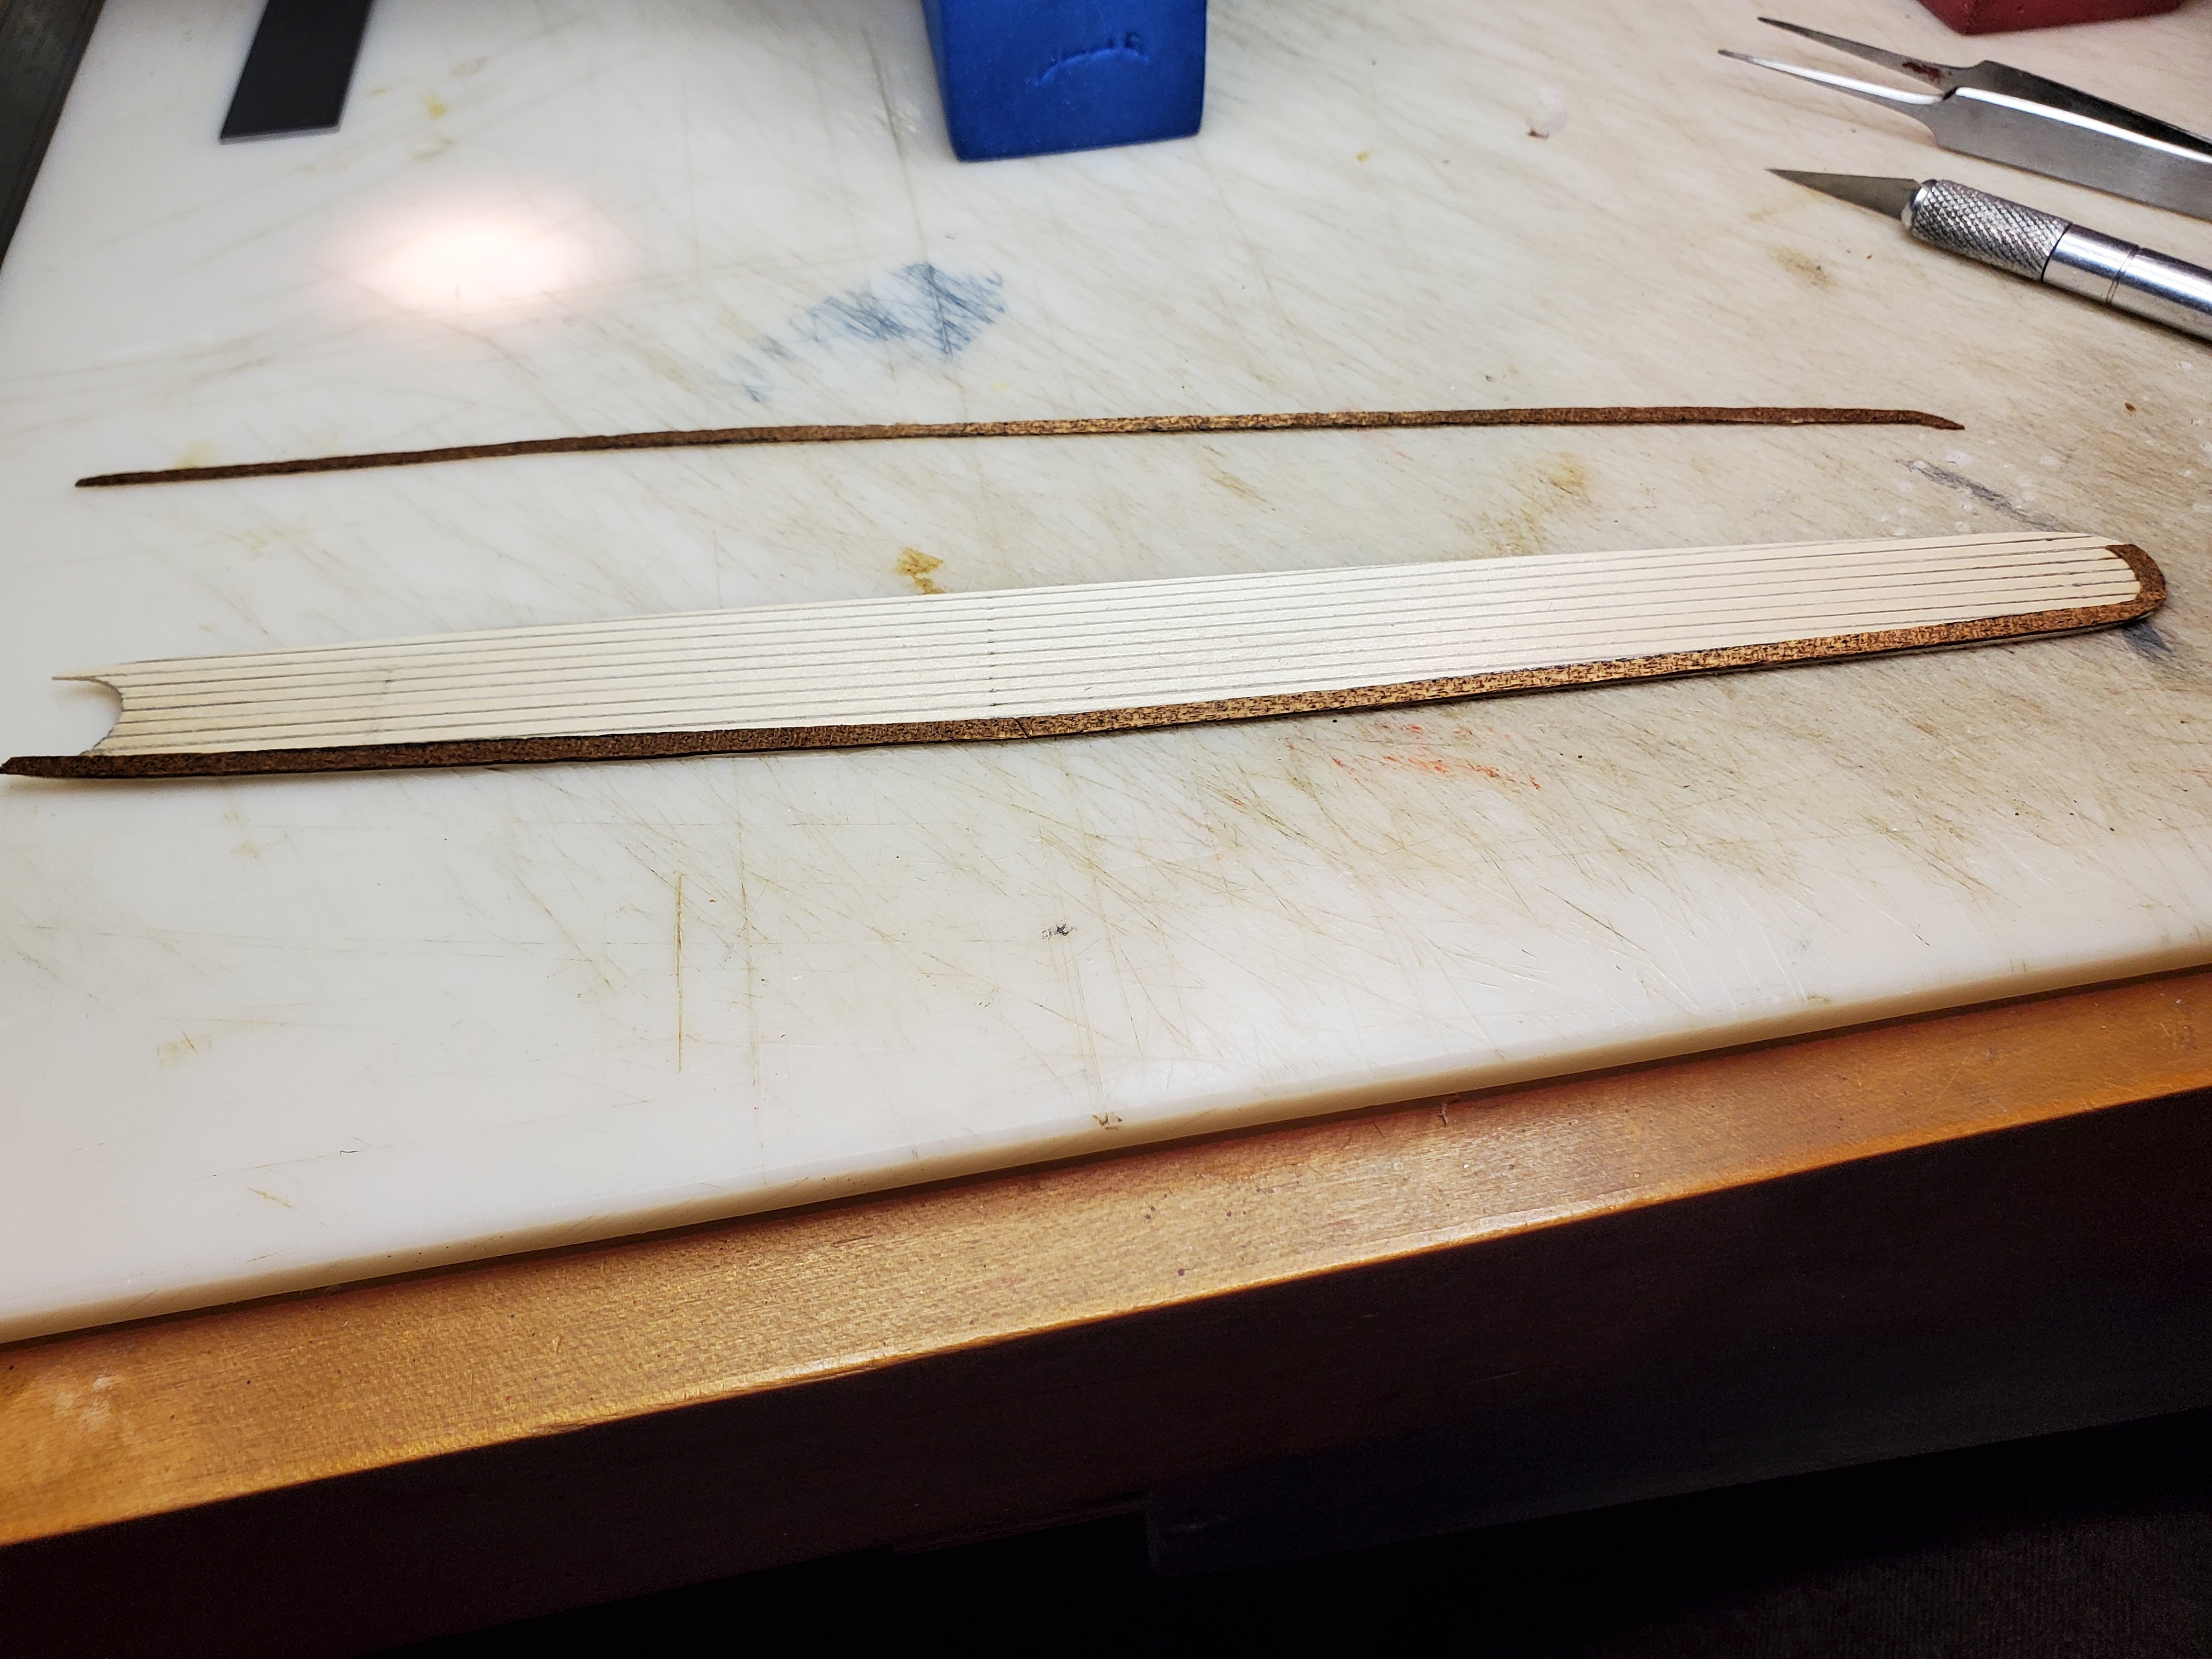
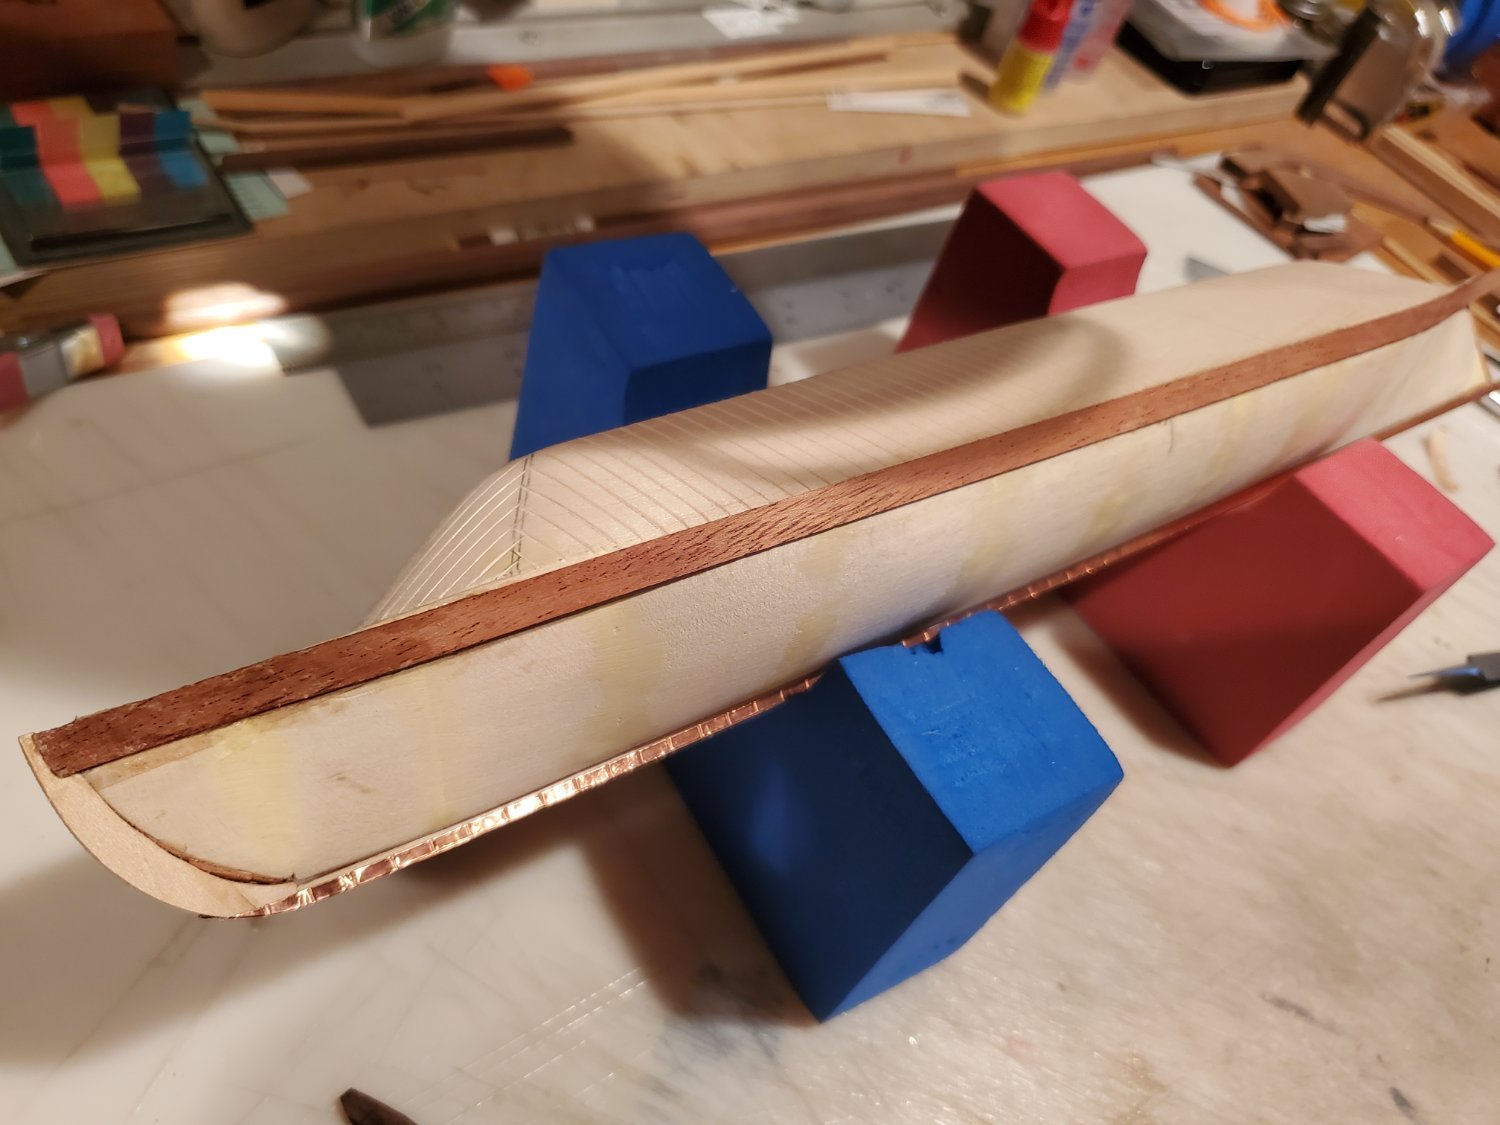
Margin planks were then glued to the edges of the planking sheet.

- robert952, Canute and GrandpaPhil
-
3
-
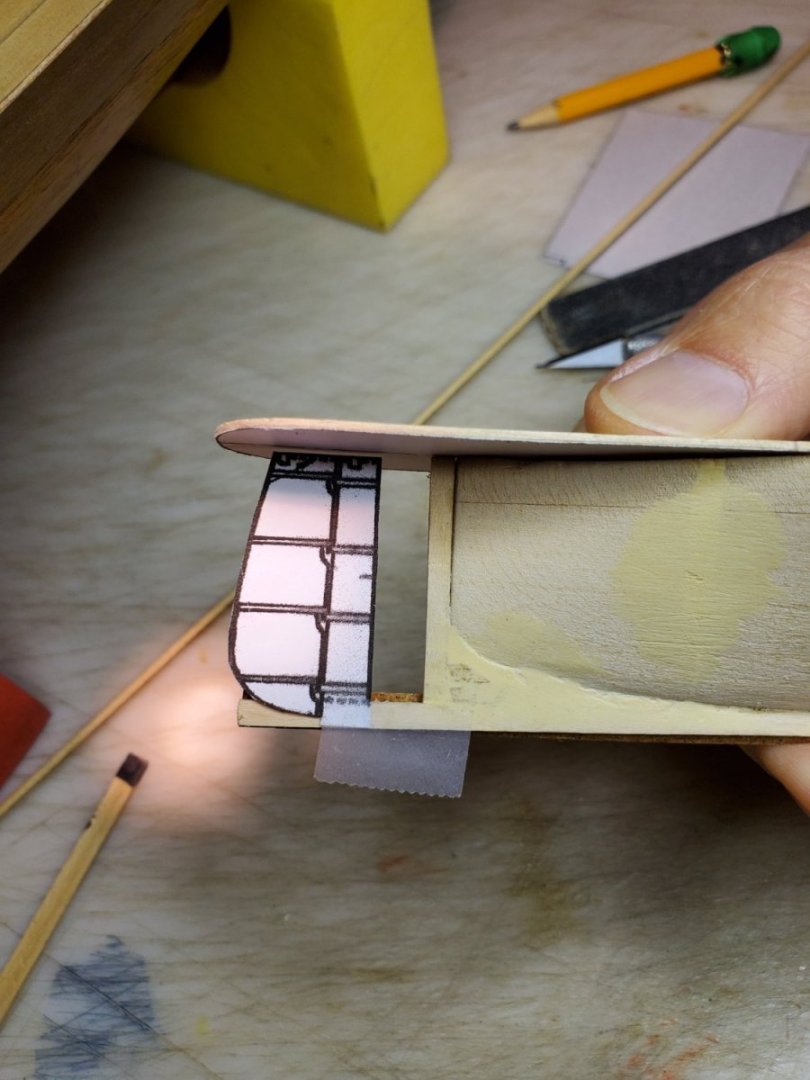
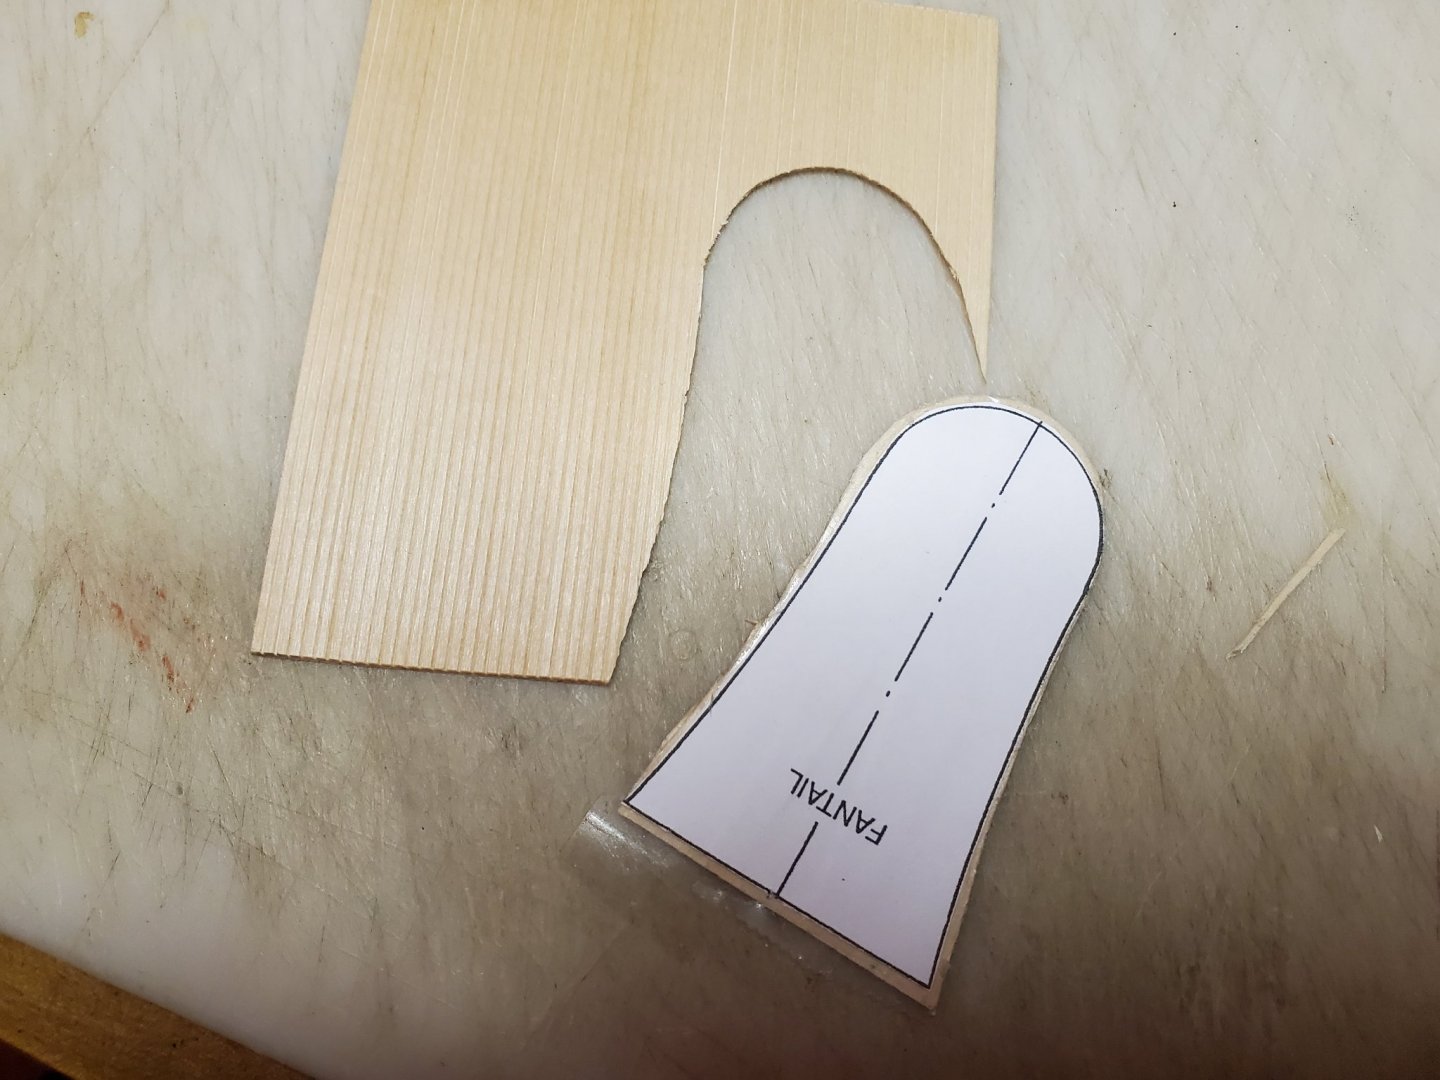
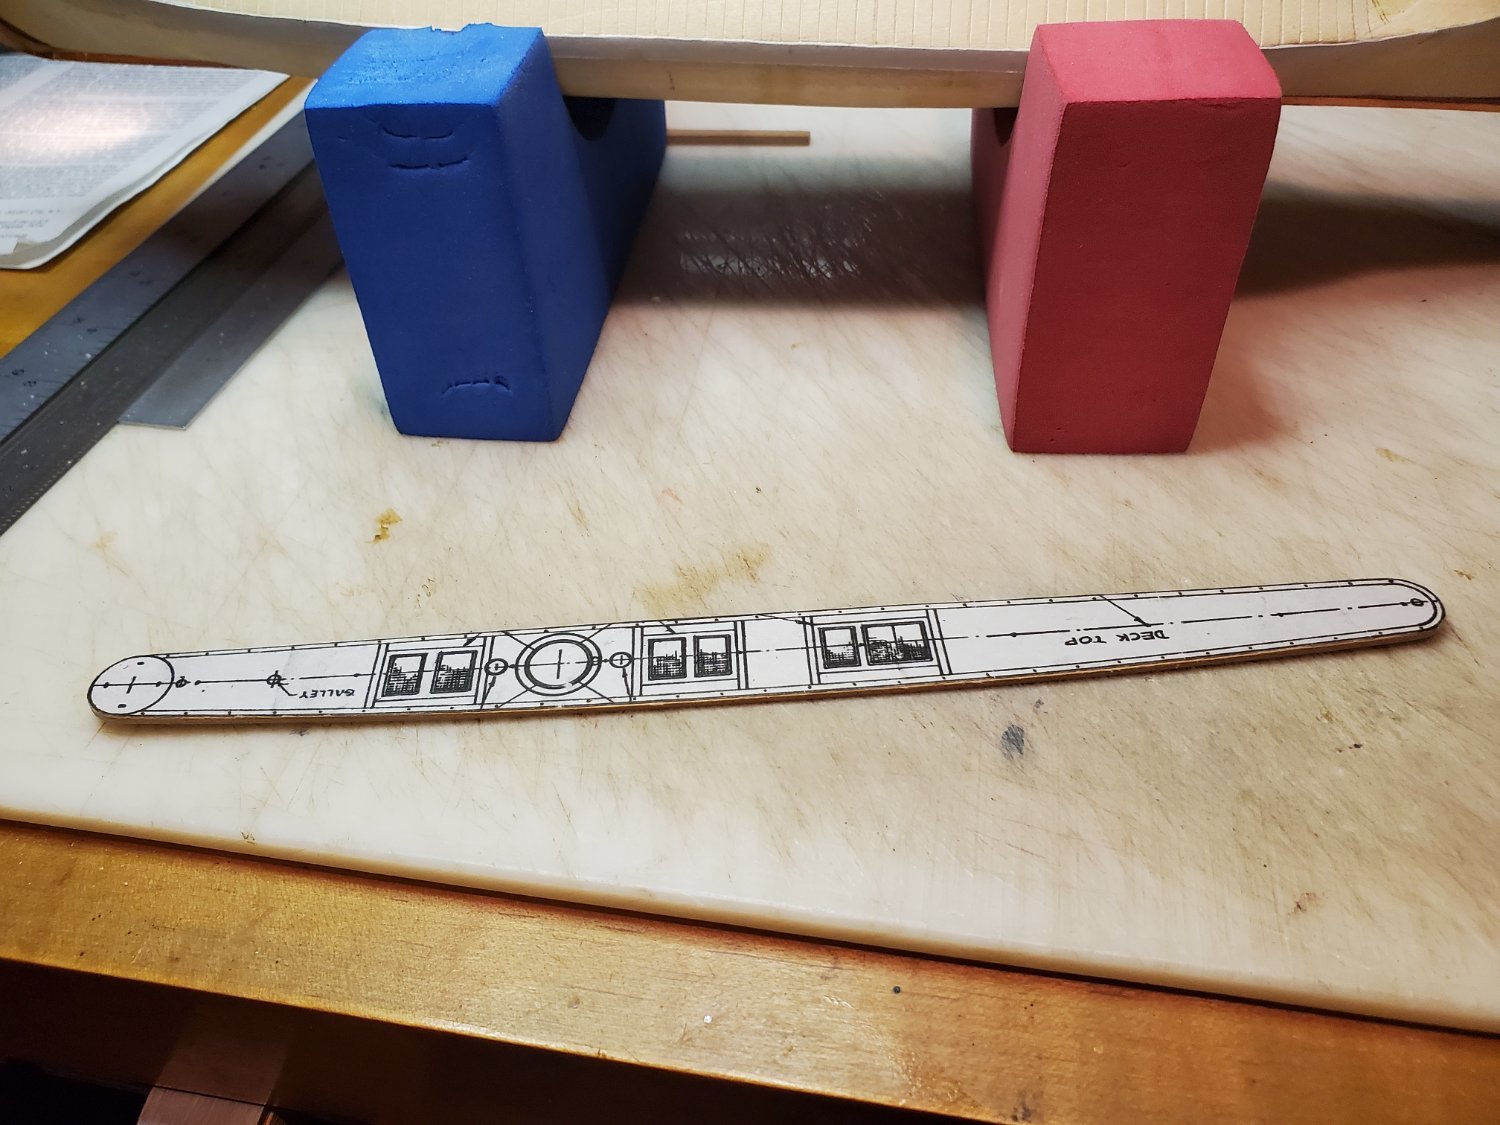
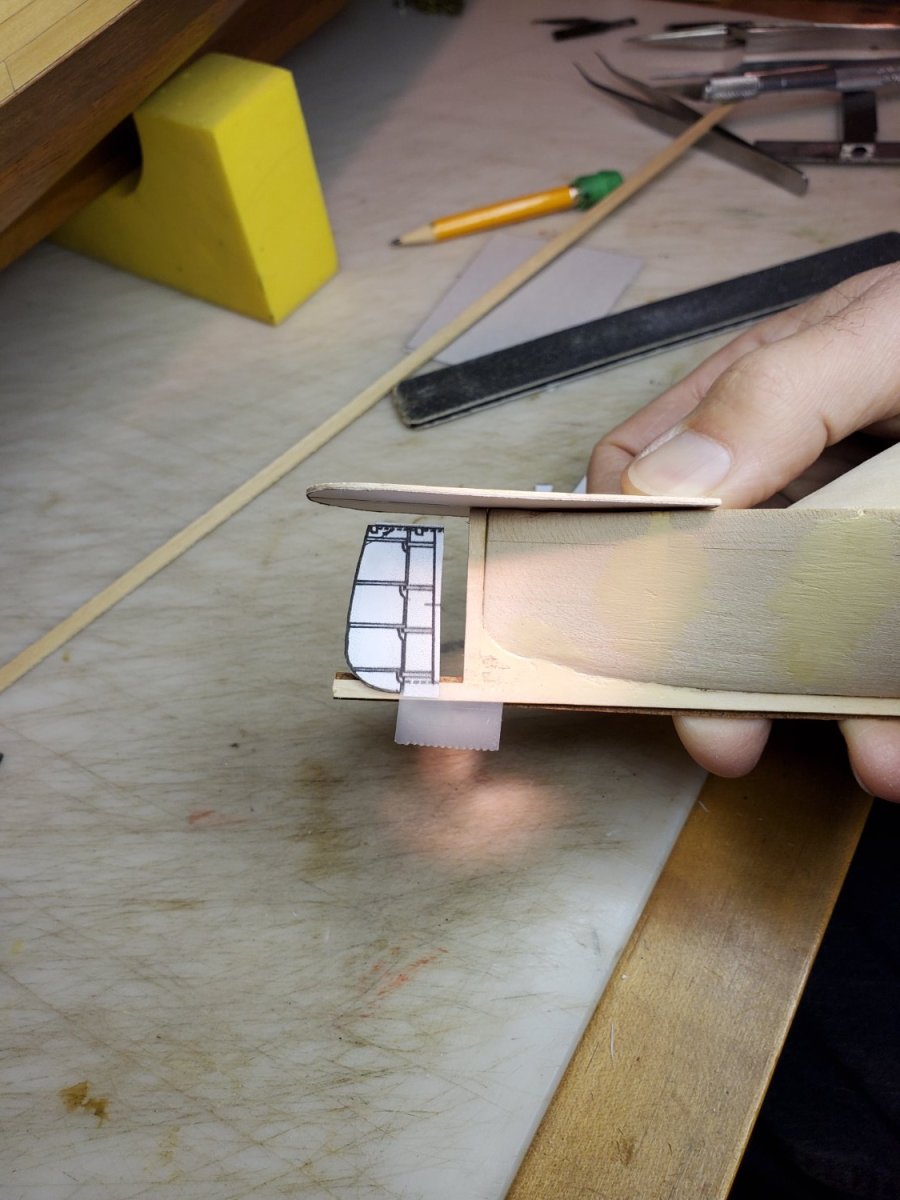
Once the decking was shaped to fit the top of the hull, we needed a margin plank. We photocopied the decking and used two-sided tape to attach strips of veneer to the edges of the copy so we could cut it out without damaging the planking.

- GrandpaPhil and Canute
-
2
-
Thank you Robert Chenoweth and Phil for your tips.
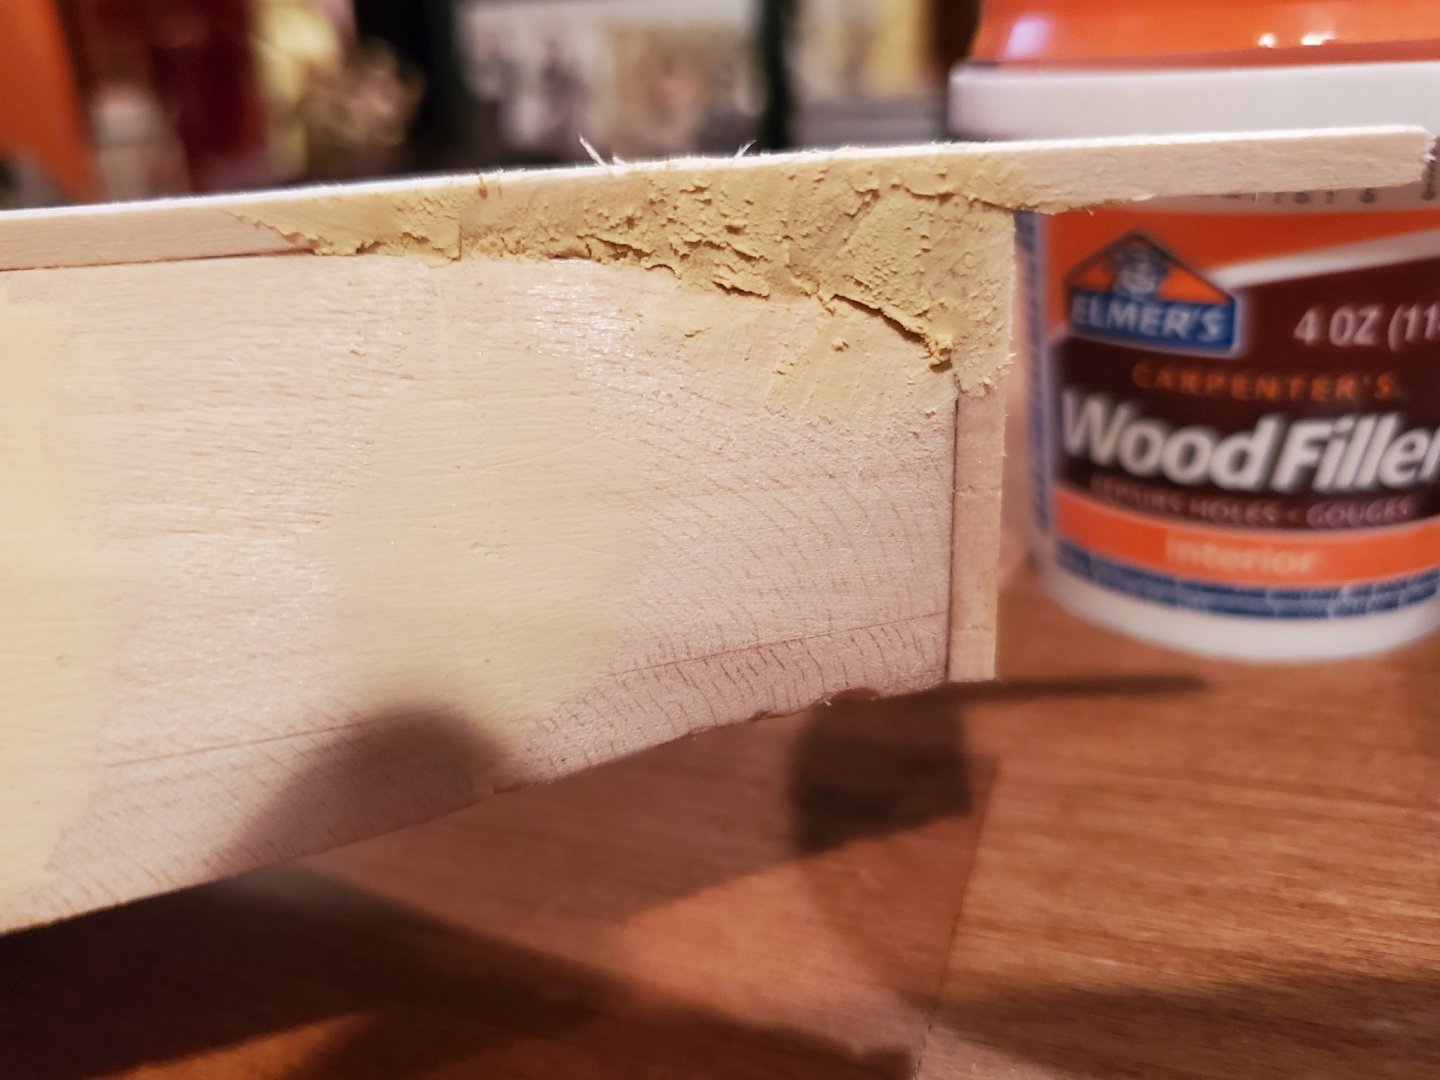
Well, we didn't like the way the last the last adjustment looked so we removed it. Unfortunately, I was a little over-vigorous with the sander and it distorted the top of the hull. My fault.
I repaired it with some wood strips. The hope is this will mostly be hidden when we paint.

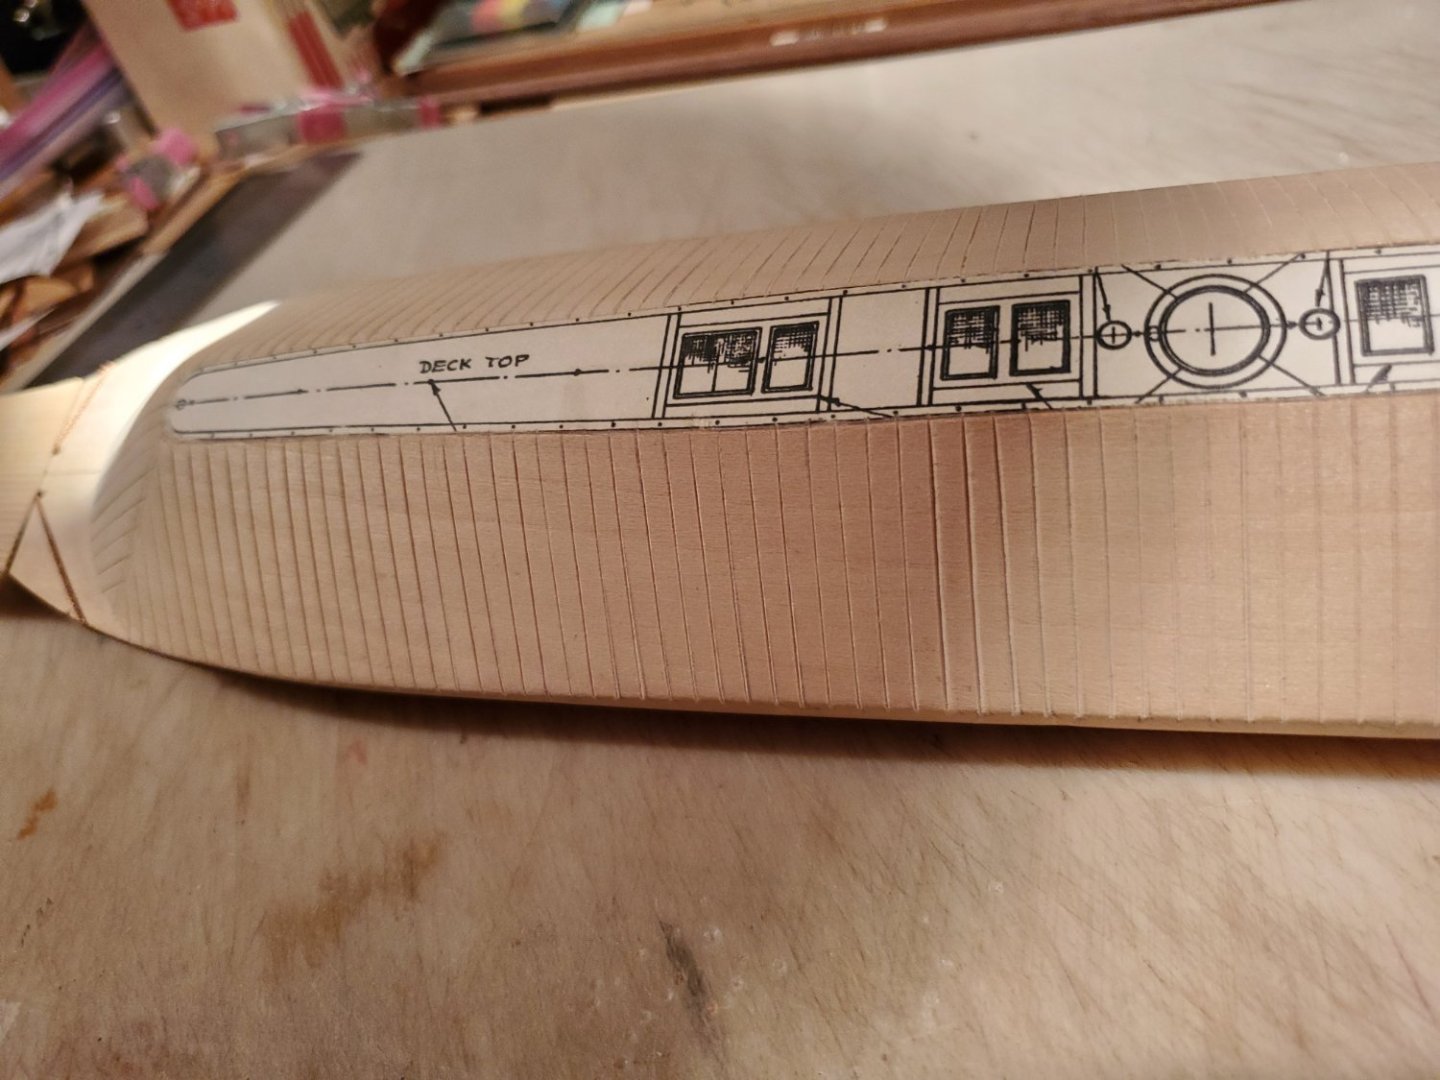
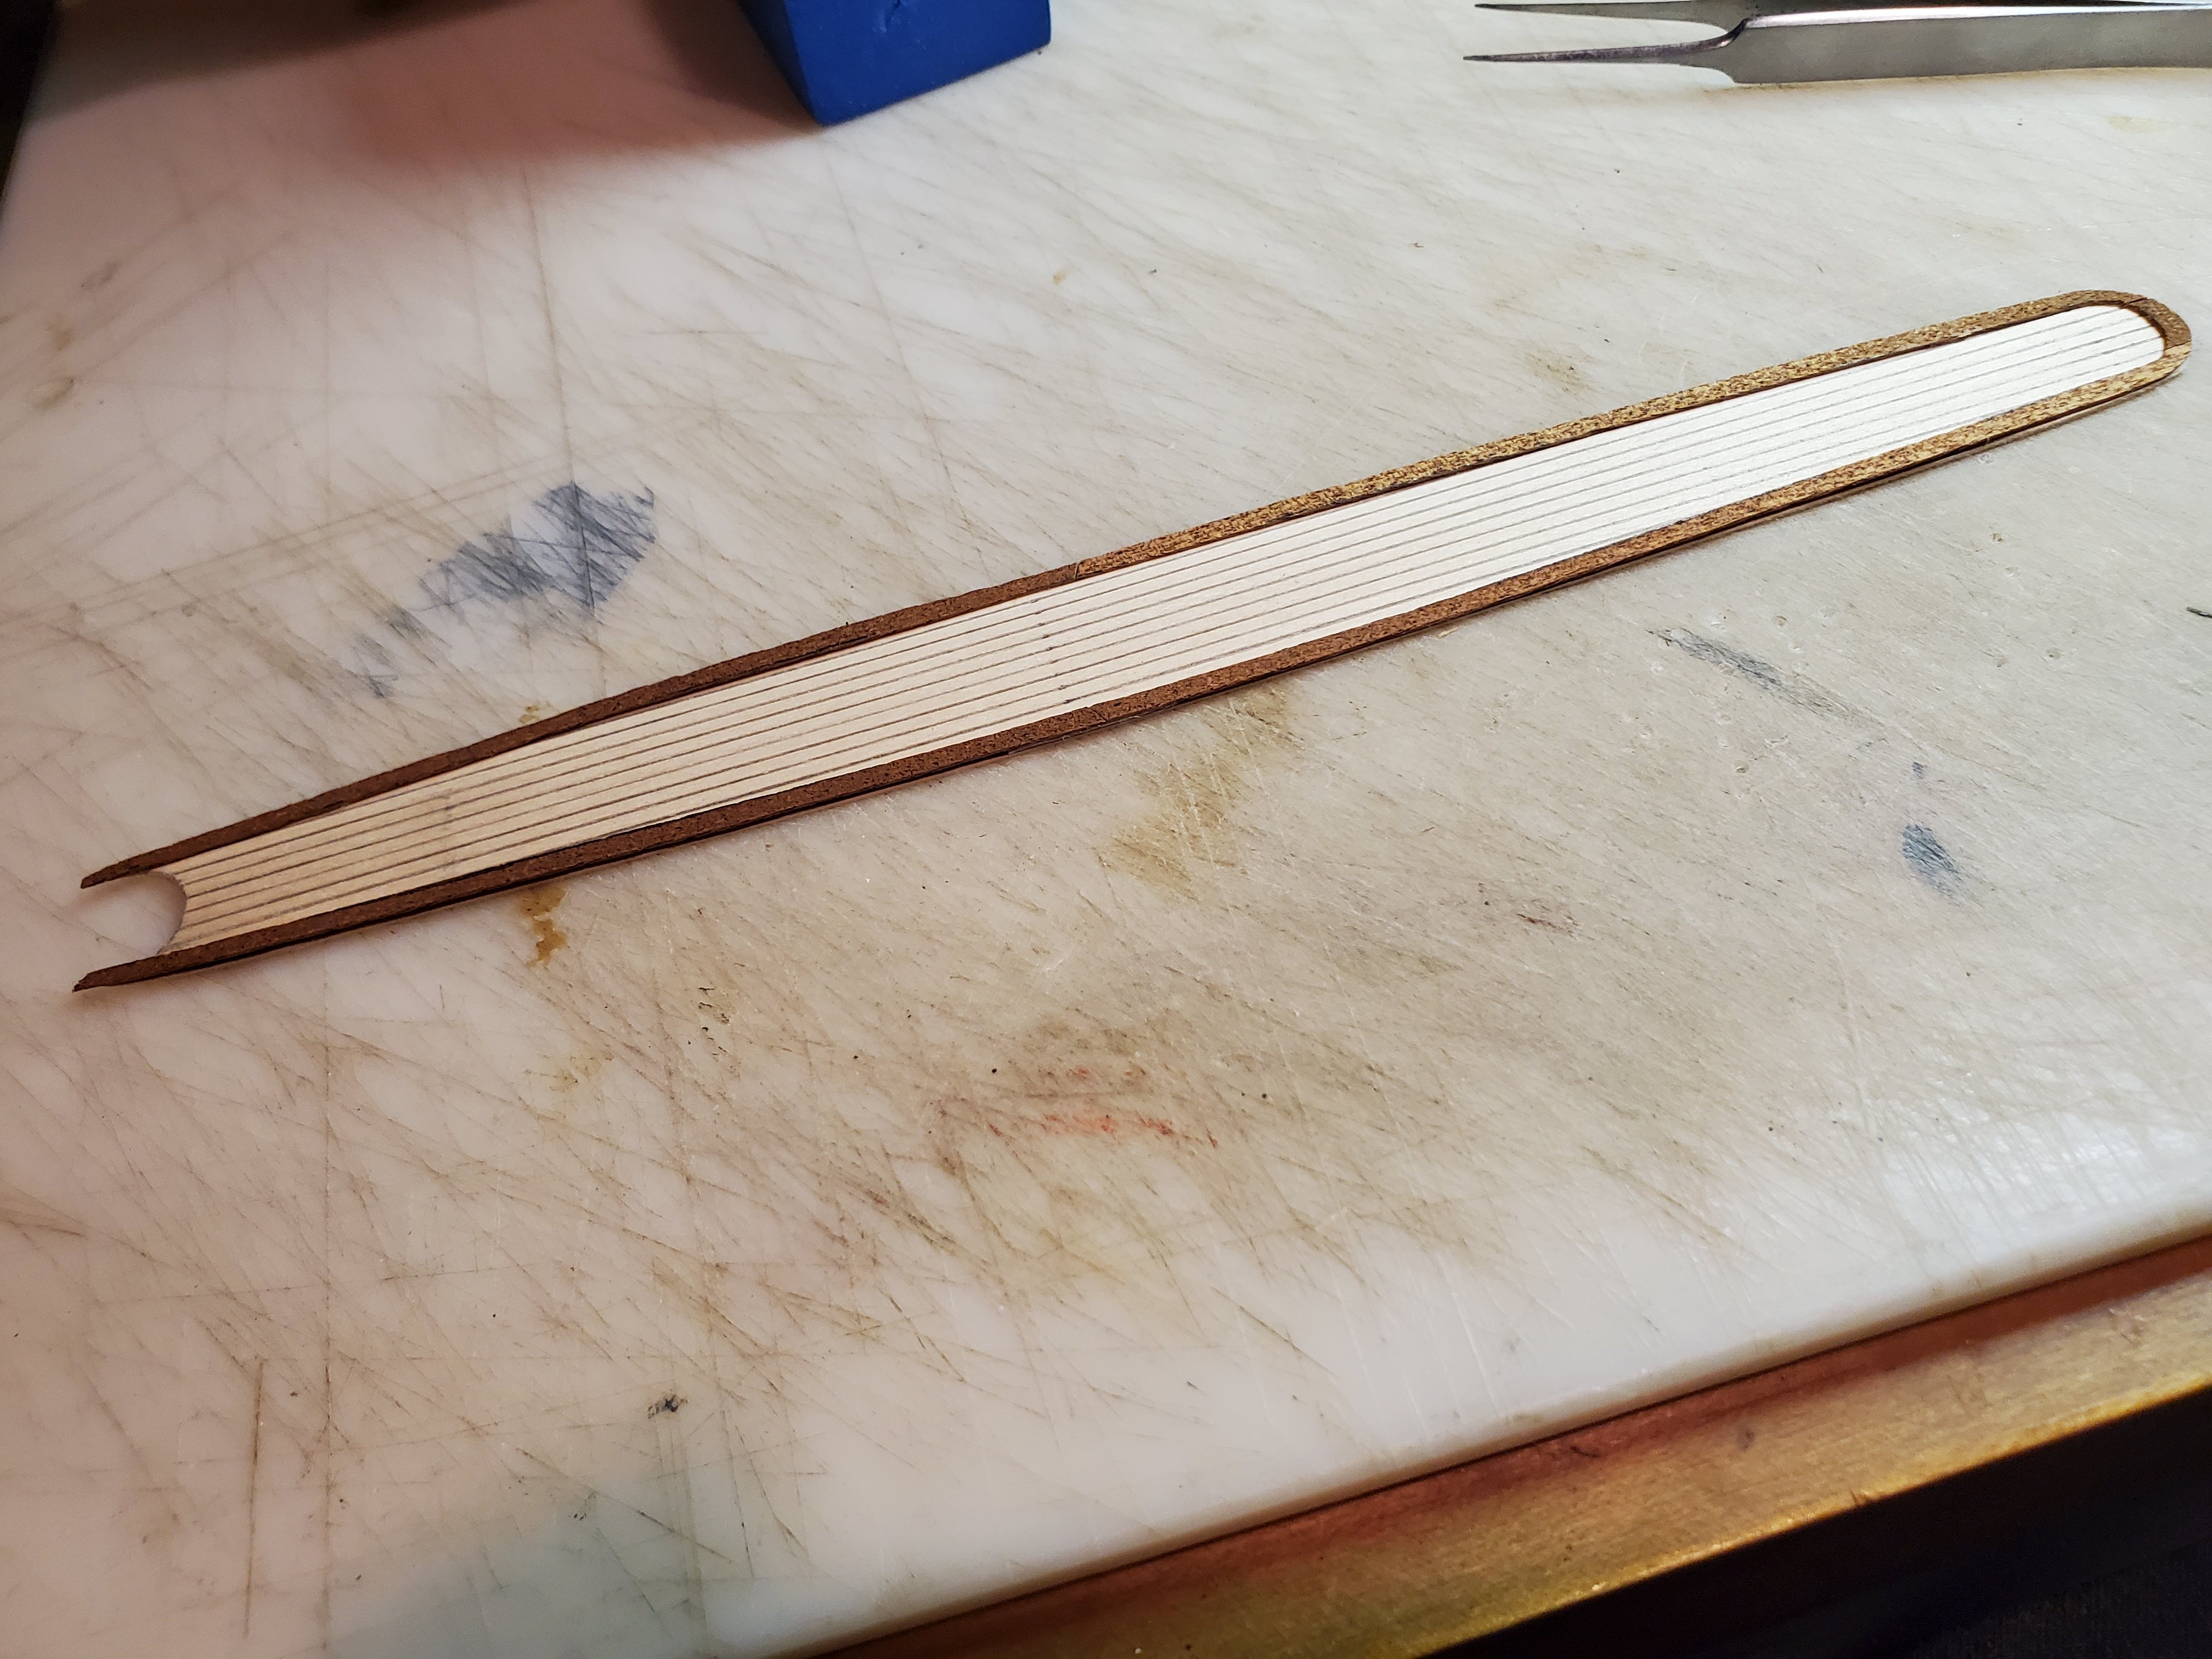
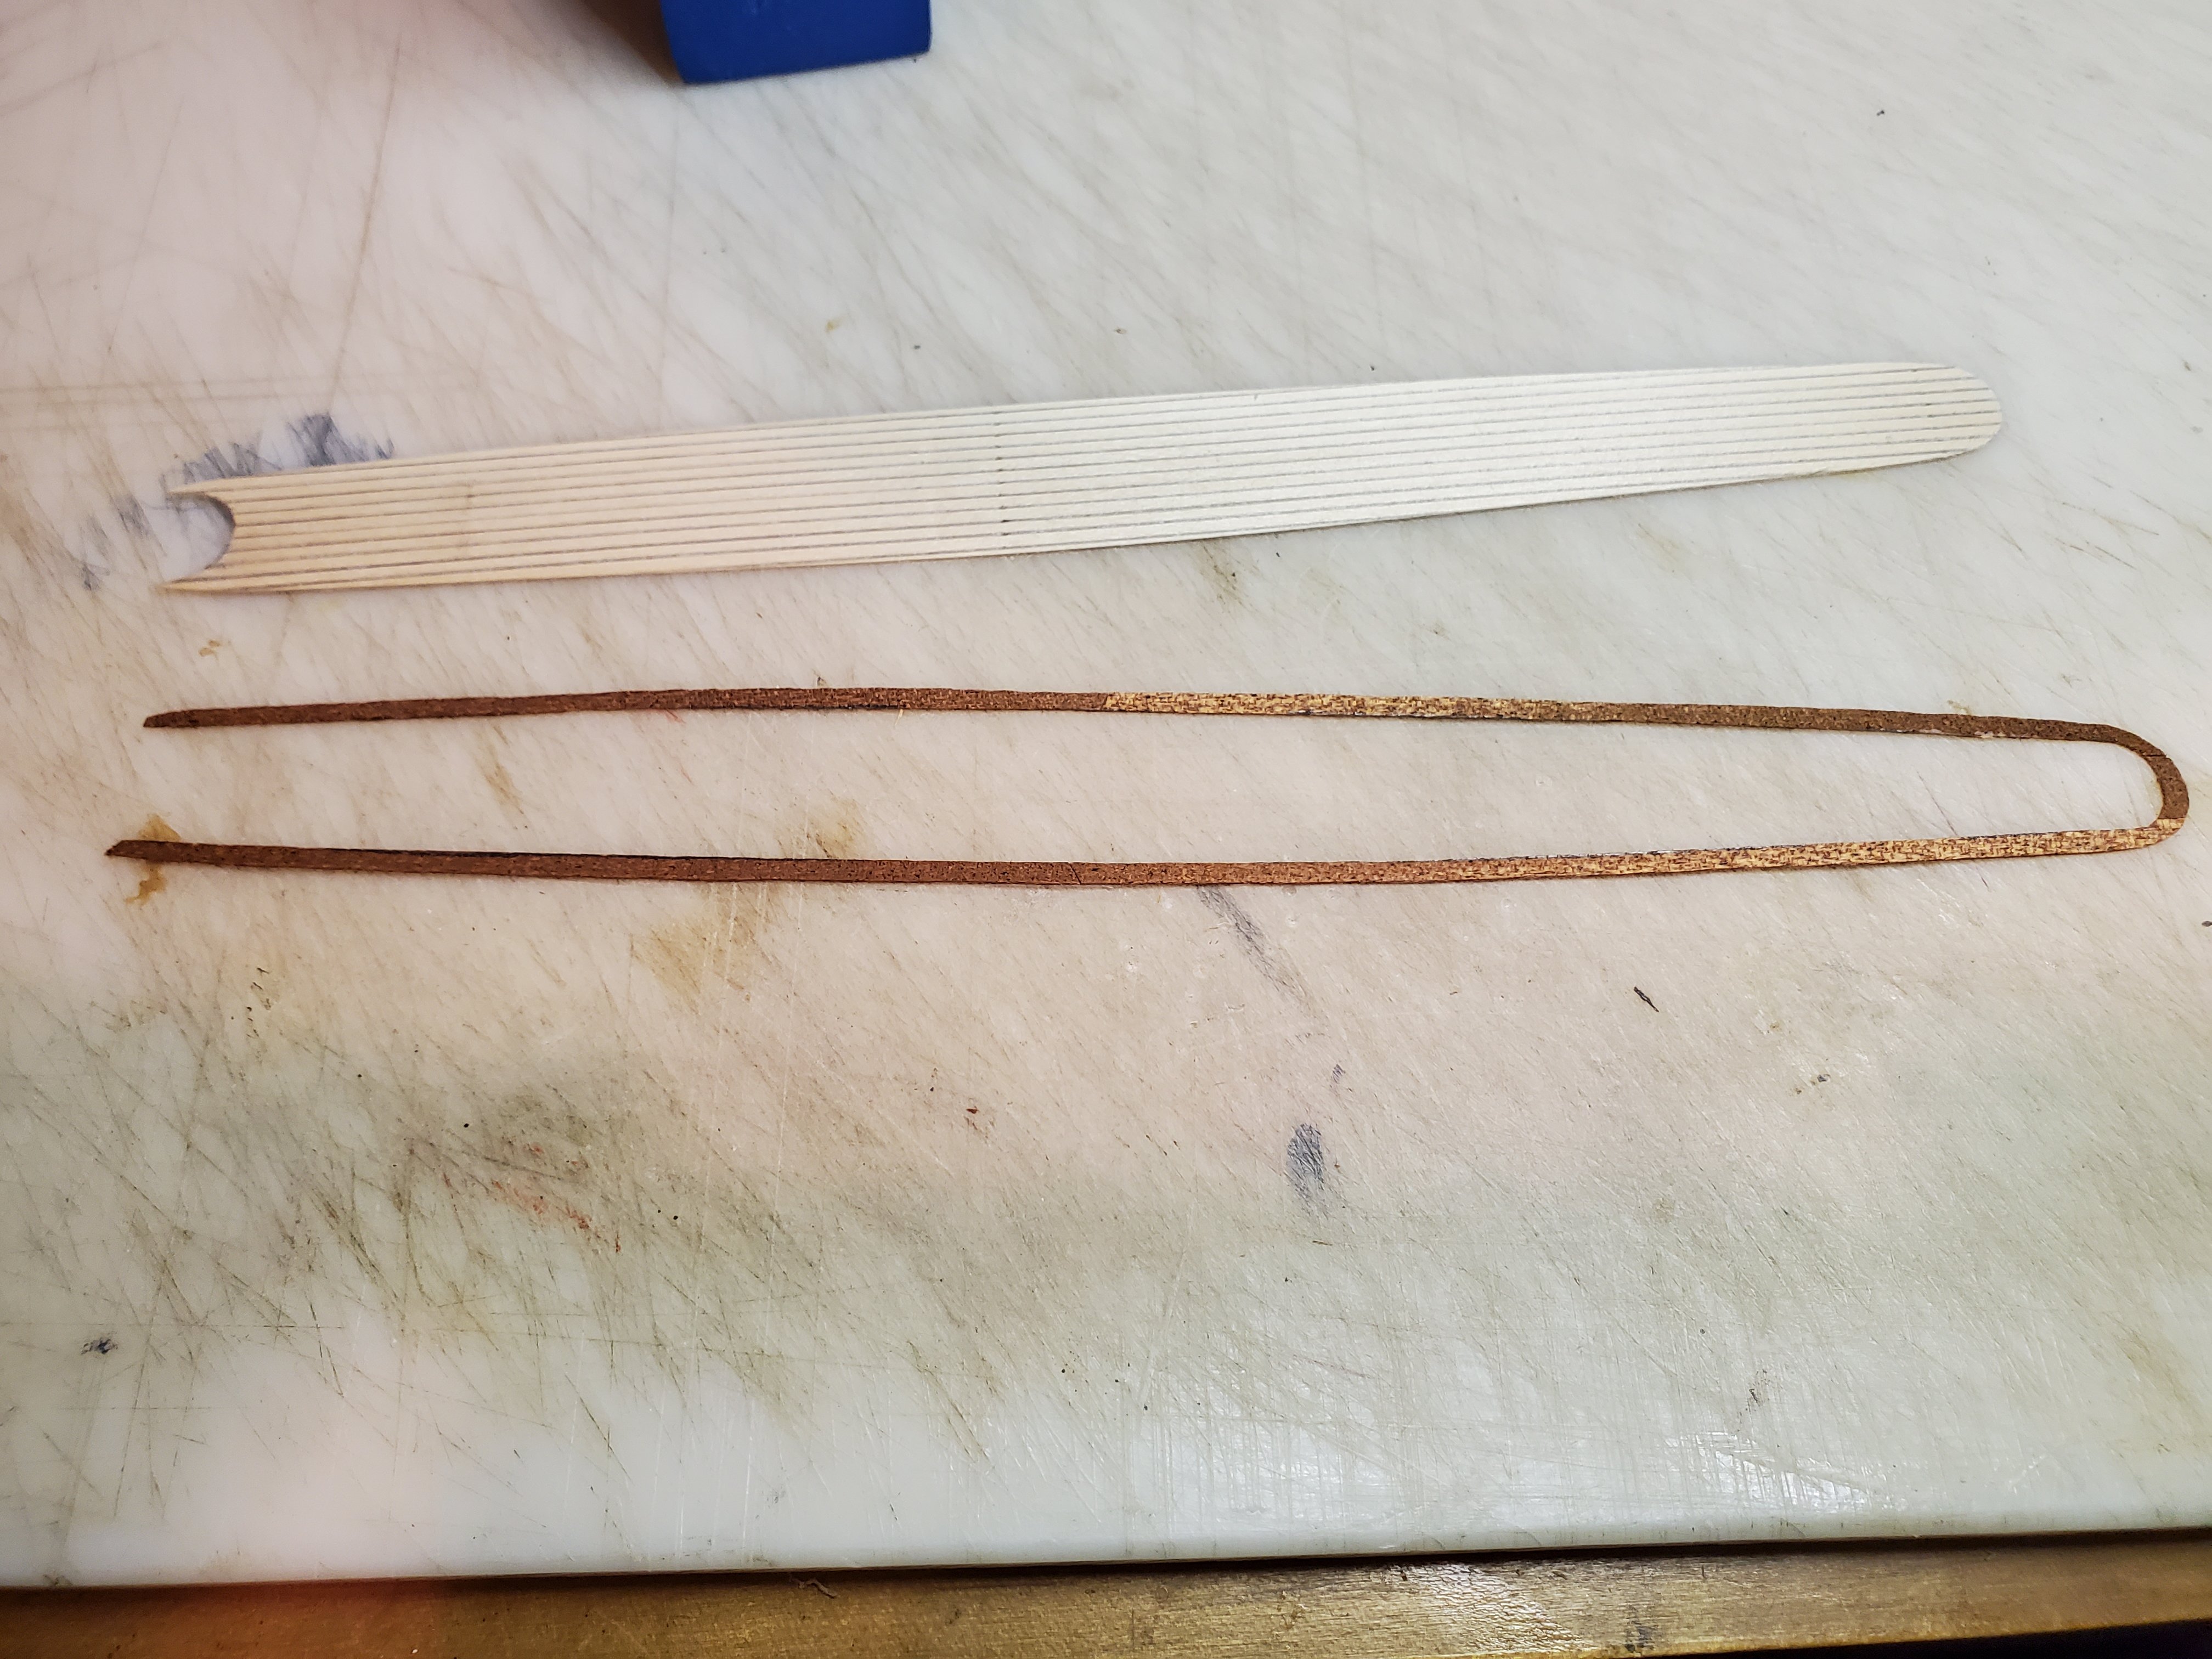
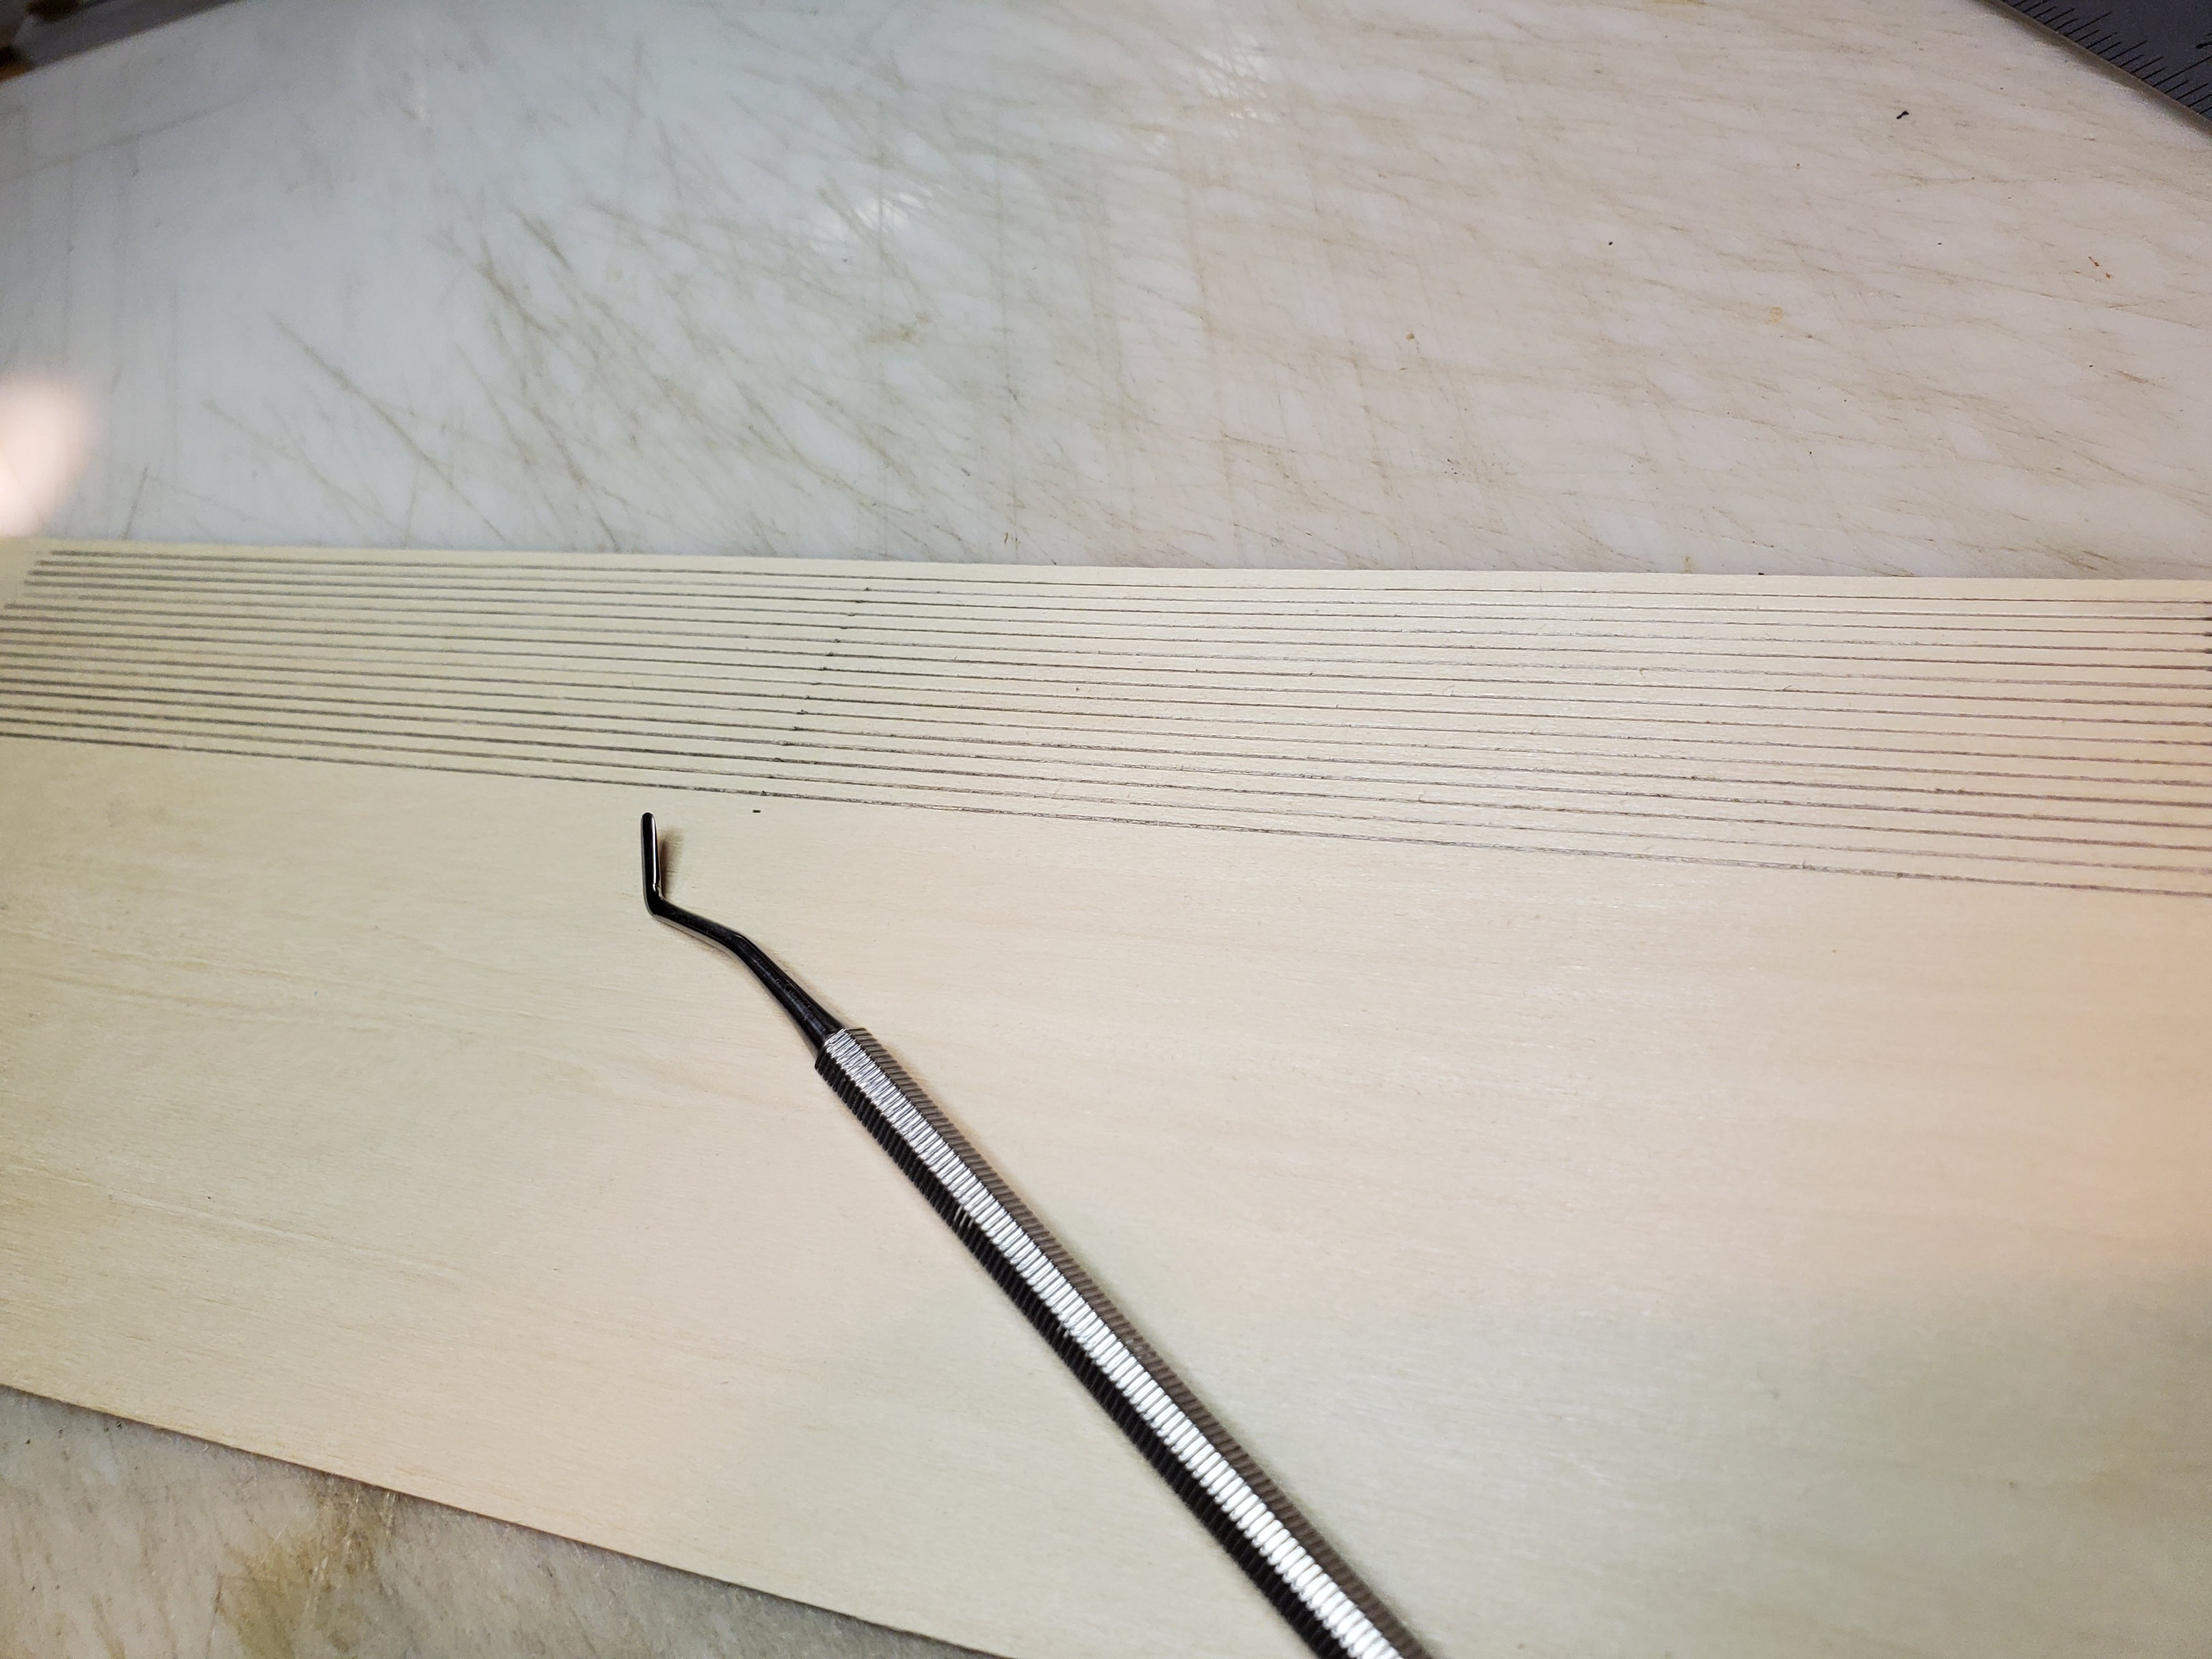
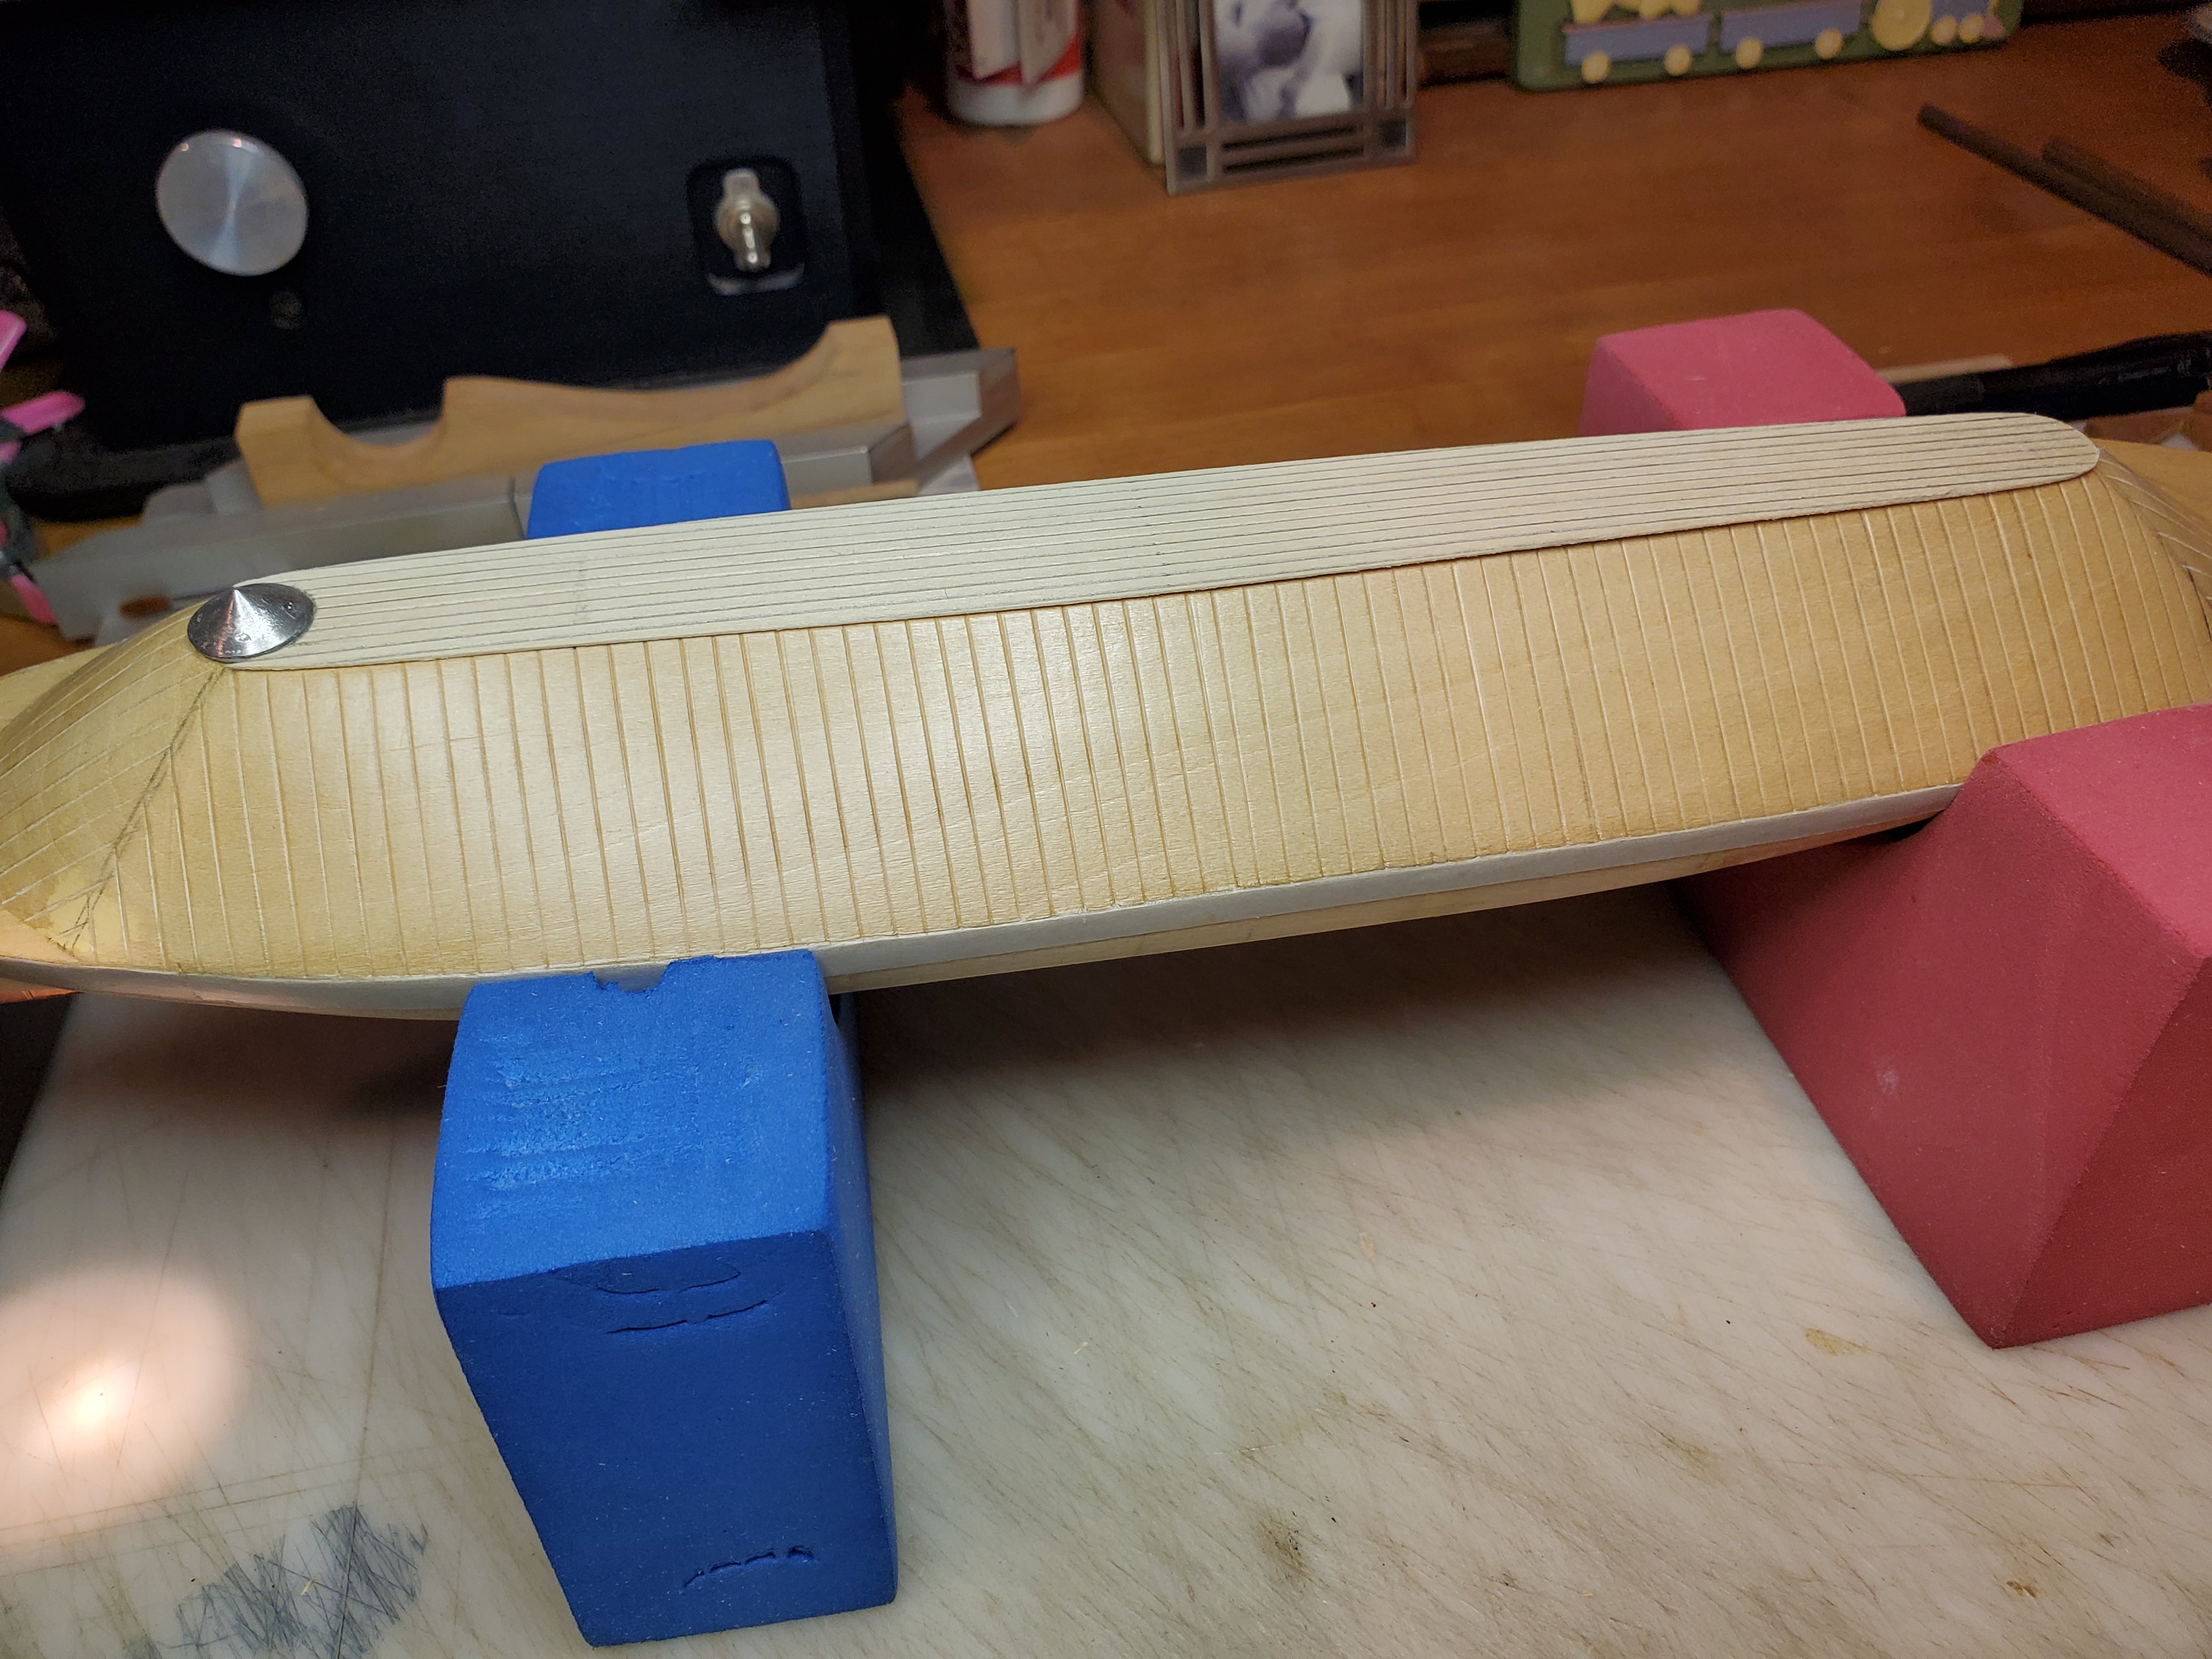
Next we decided to plank the top of the hull using a thinner piece of pre-scribed veneer. I purchased such a piece but decided the plank lines were too close to each other. So we flipped it over, marked new plank lines with a pencil to simulate caulking, and then scored those lines with the back of a putty knife.
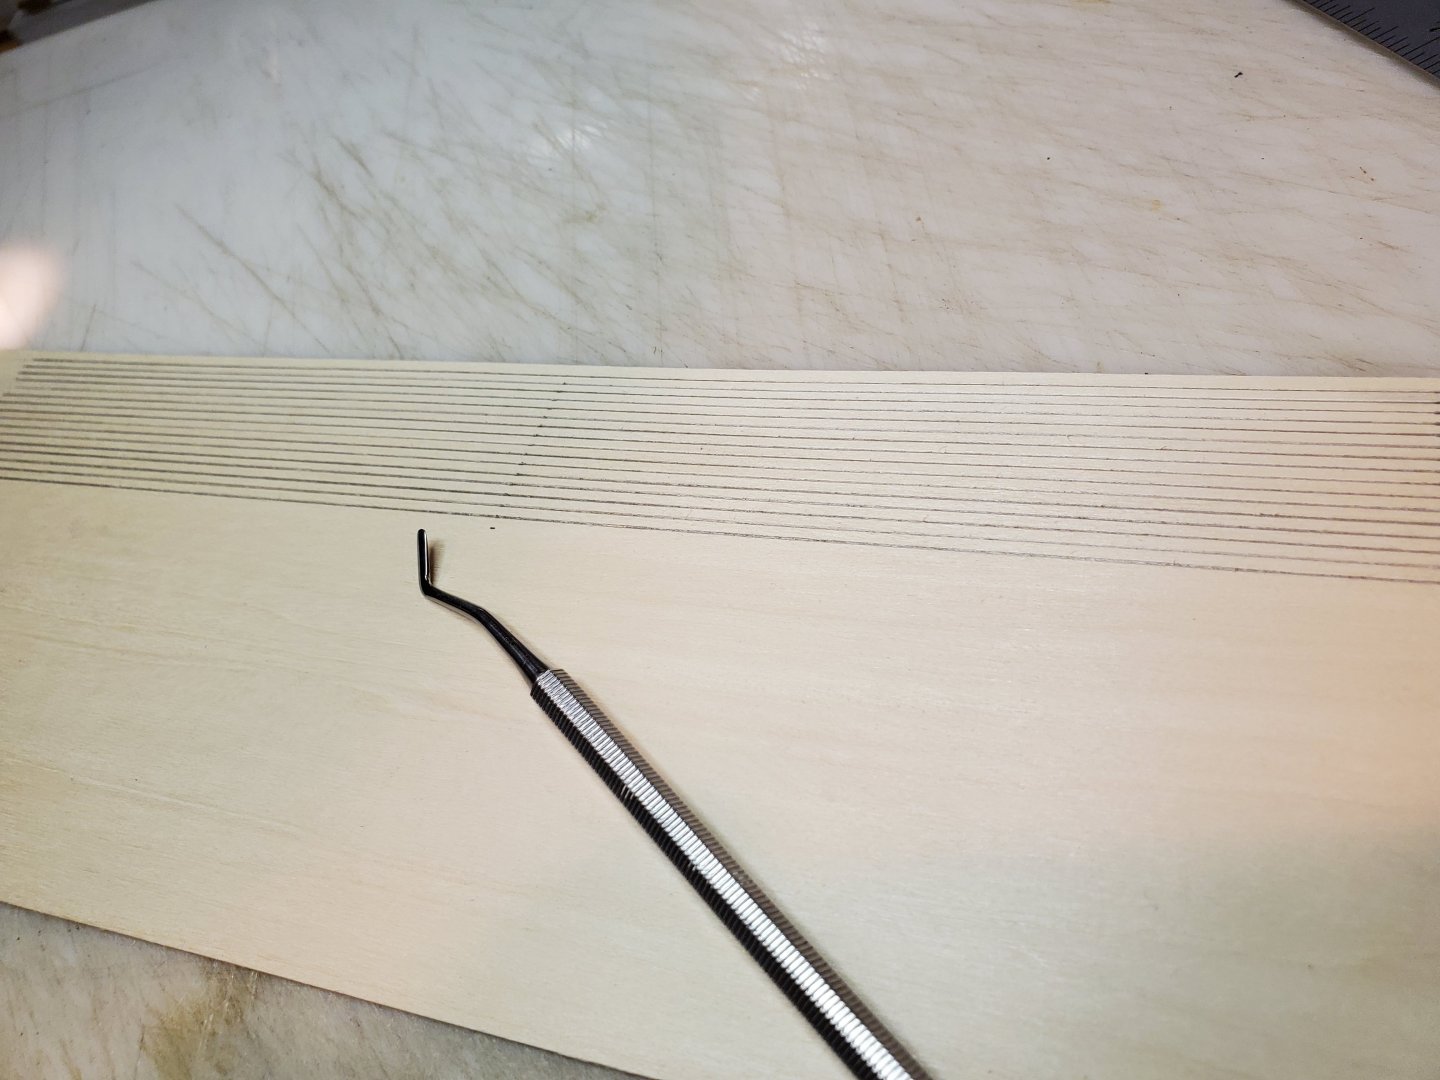
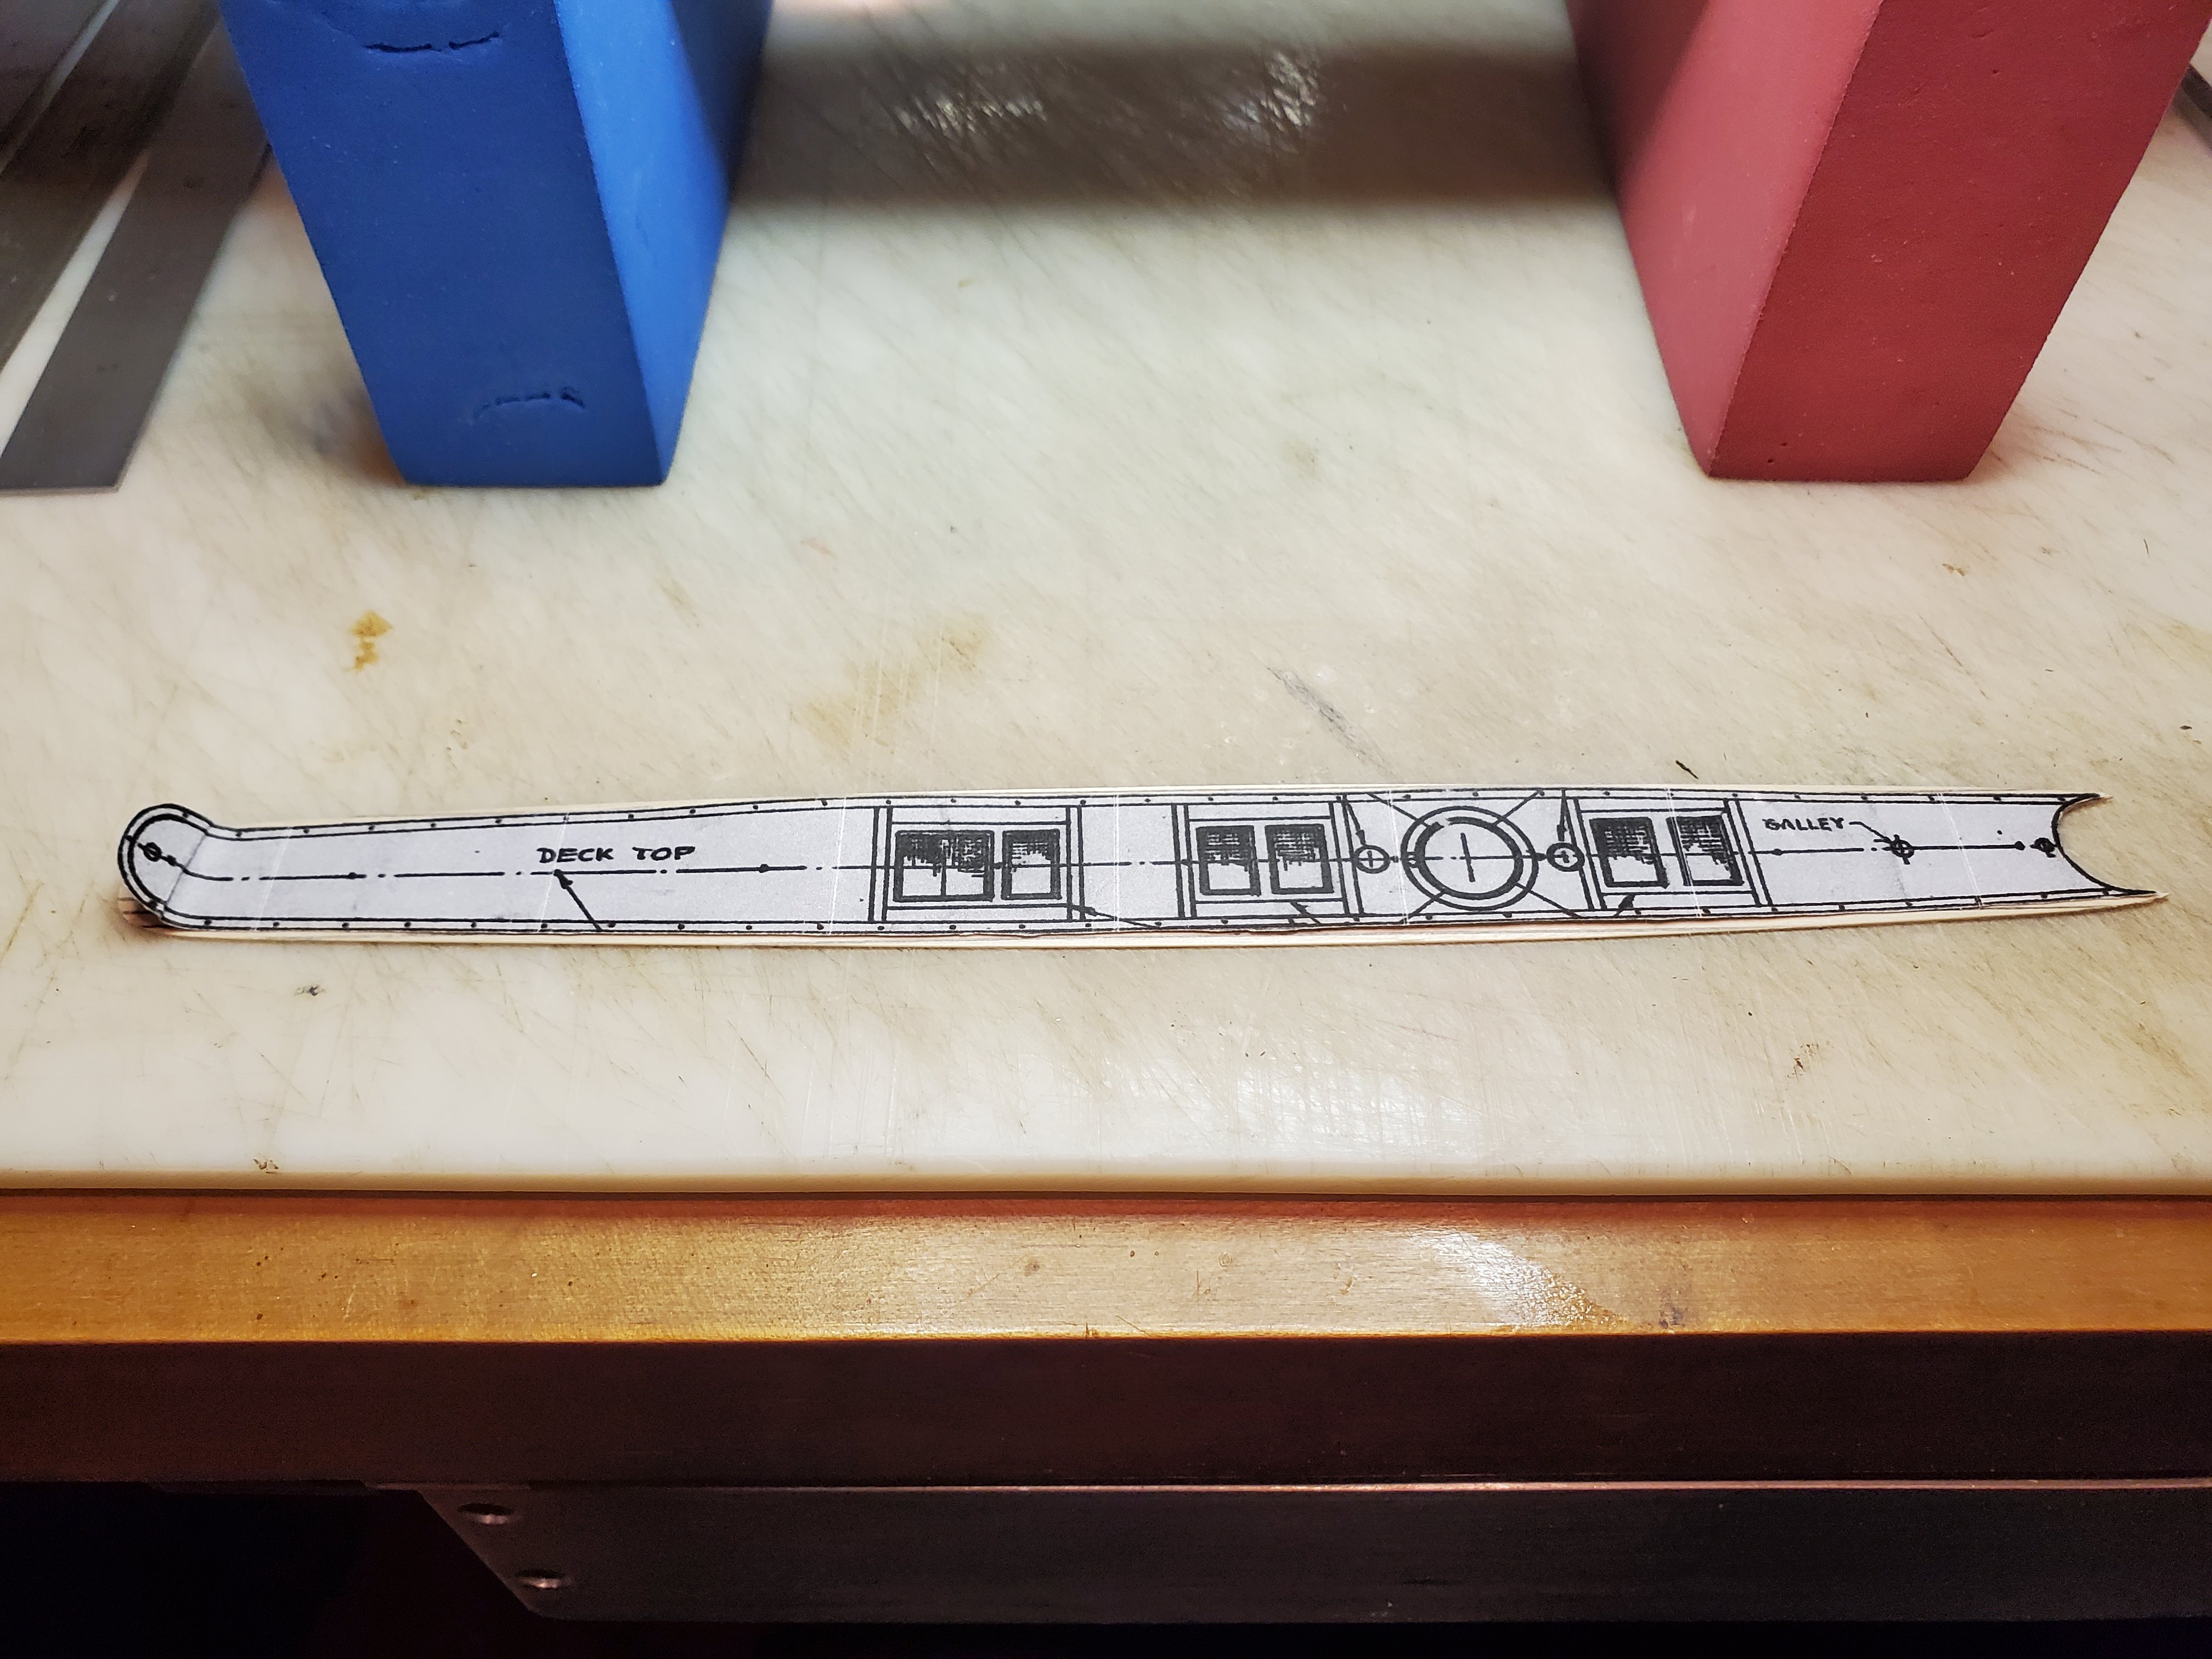
We taped a copy of the plan over it to get the shape and cut it out. We sanded the back to make the veneer as thin as possible.

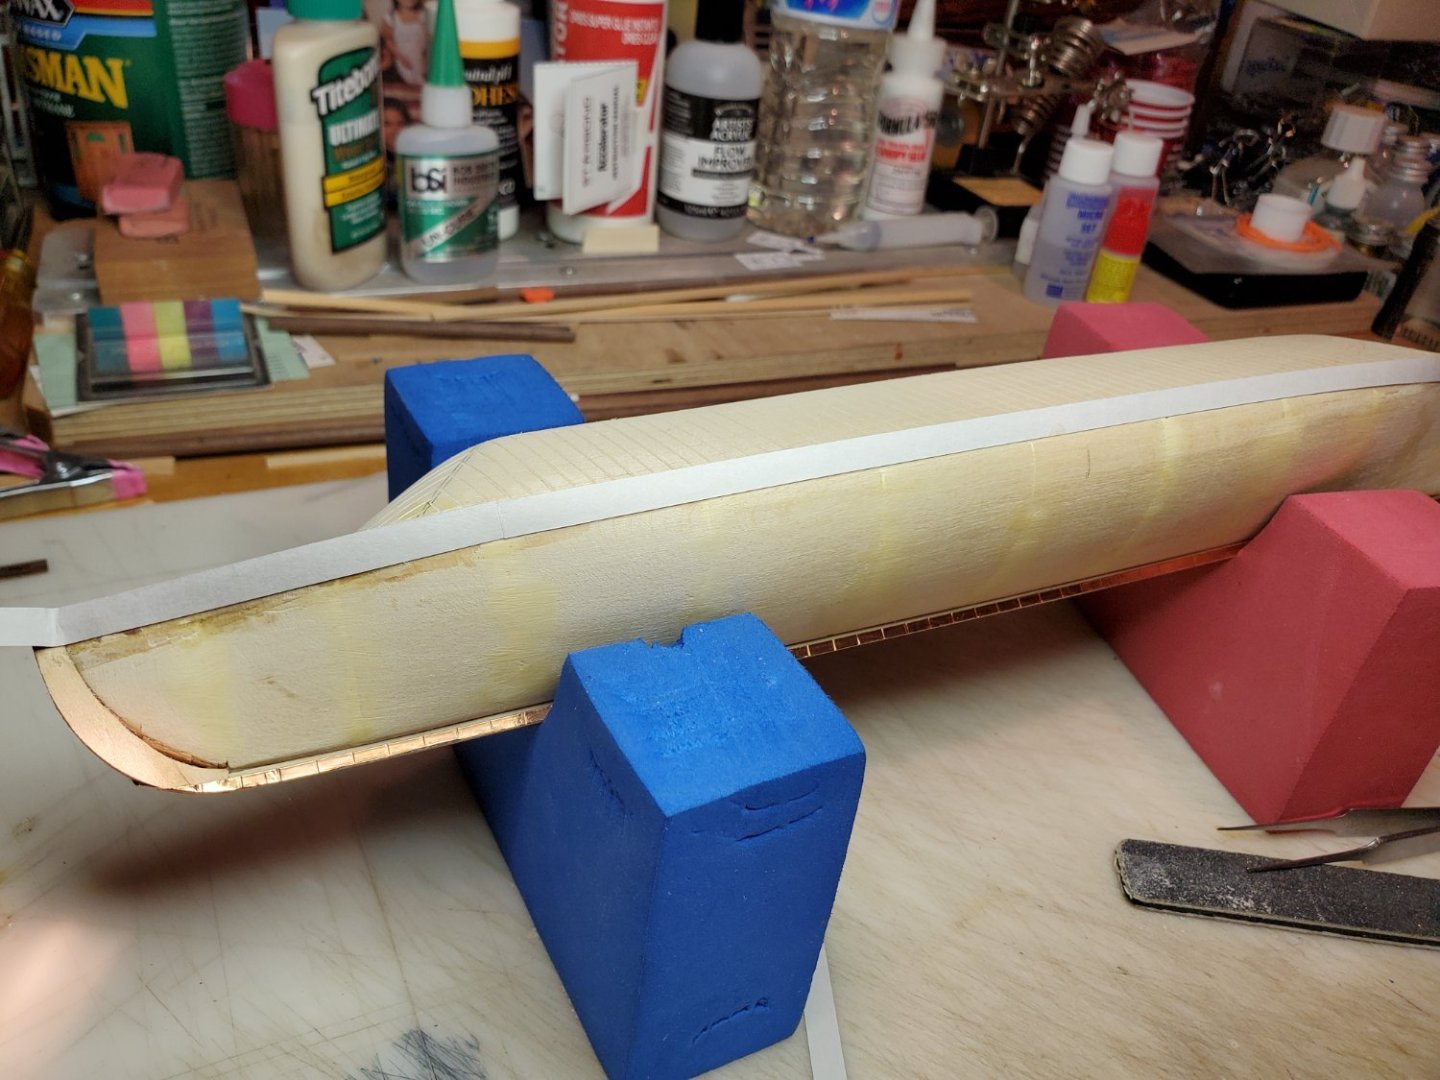
Set on the model before final sanding.

- robert952, Canute and GrandpaPhil
-
3
-
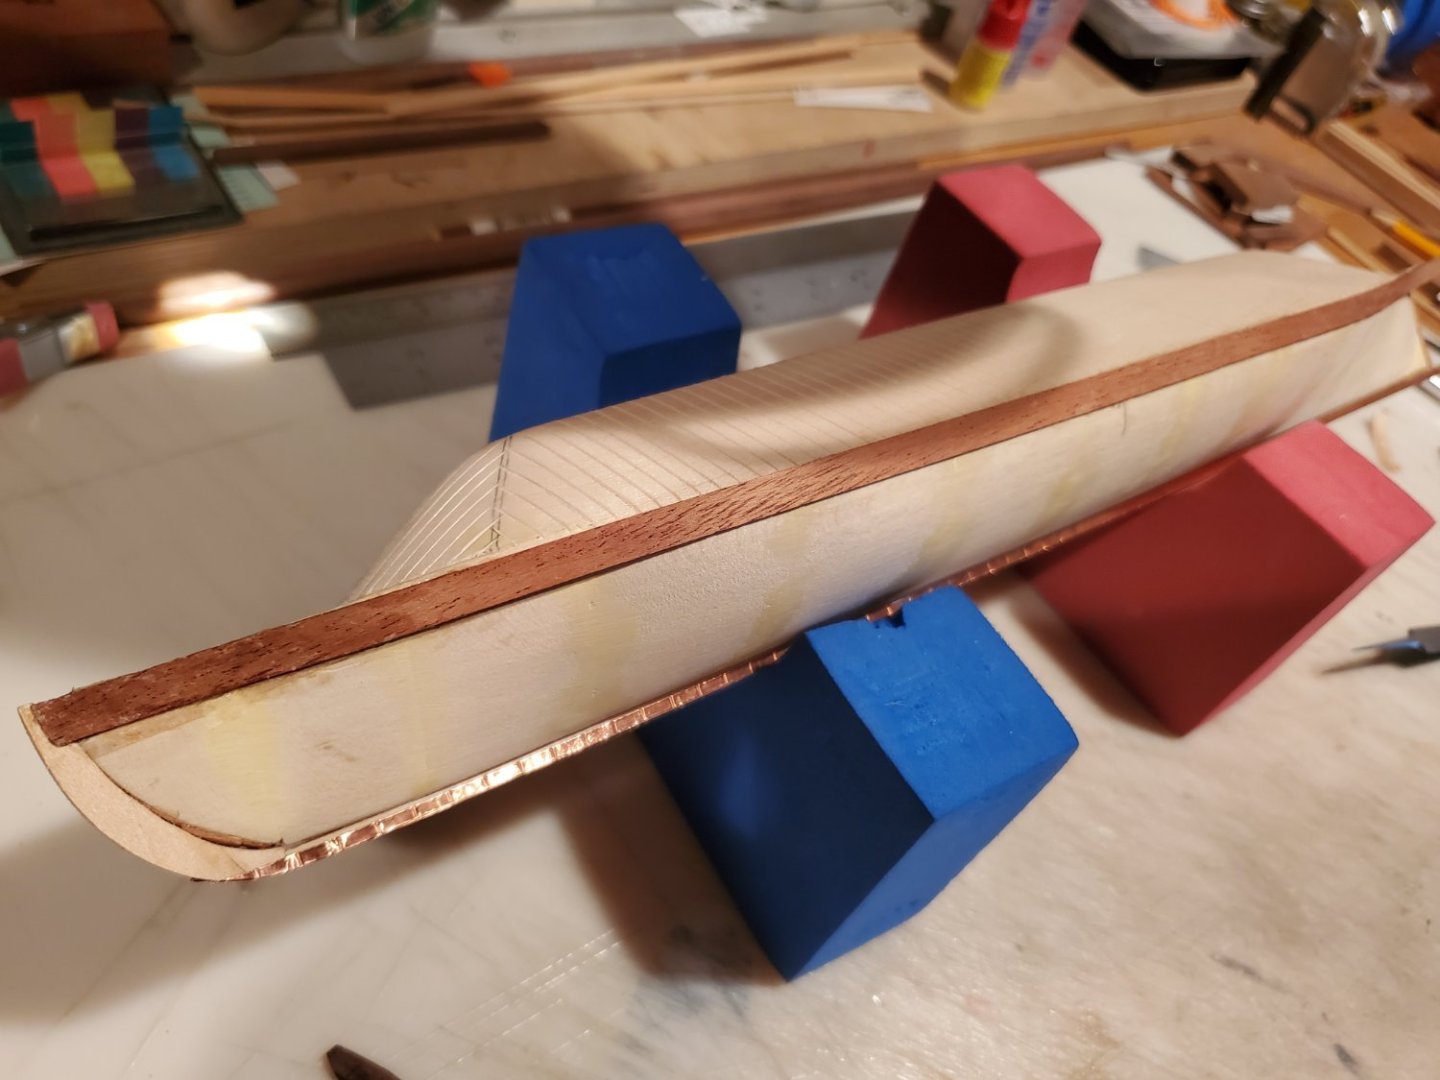
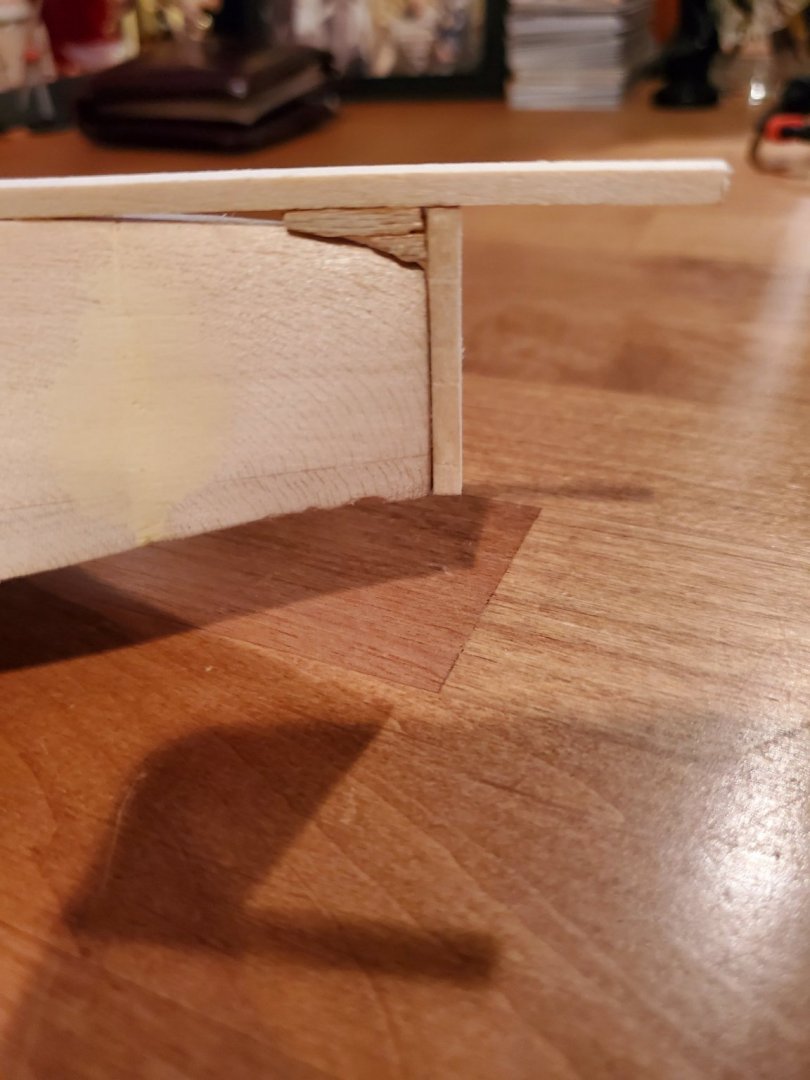
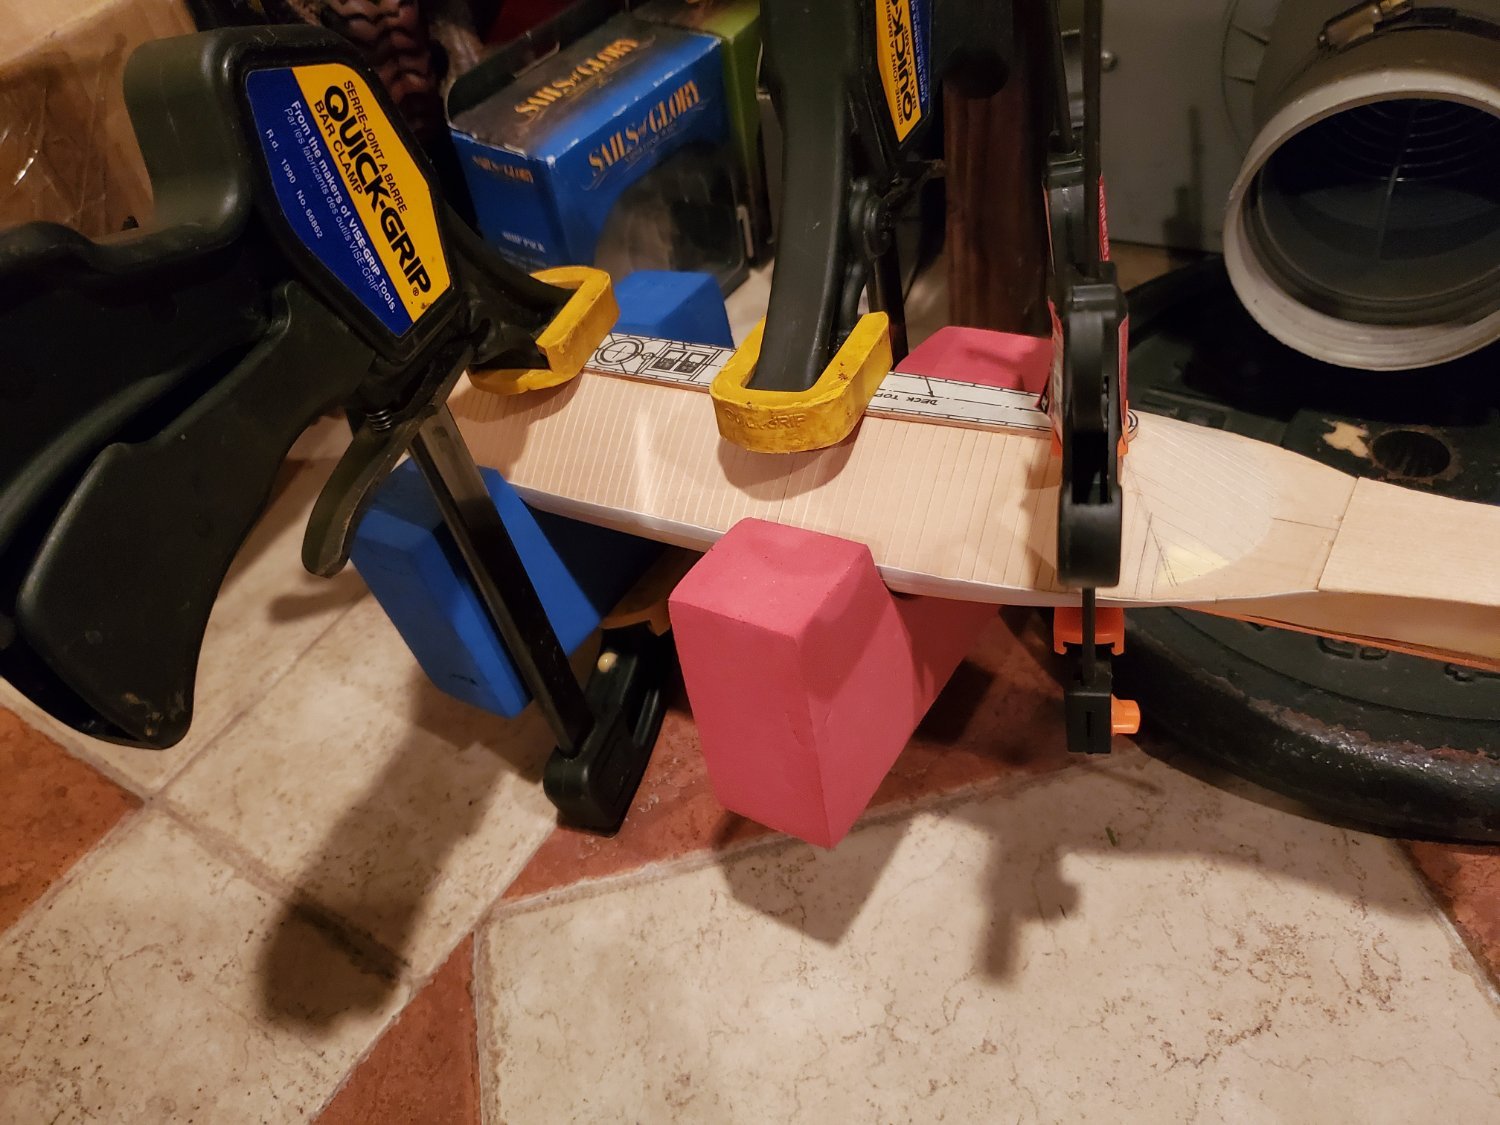
We cut out a thin piece of wood to serve as the top of the ship, in the hope of getting a sharp edge between the top and the sides. It has been glued and clamped in place.
Once the glue dries, we'll remove the clamps and see if any patch work is needed to create a clean, sharp transition from the sides to the top.

- GrandpaPhil, Canute and Ryland Craze
-
3
-
Notice the copper plating along the keel in the previous 2 images. This is difficult at this scale, requiring a 1/16" strip of copper foil. The smallest we could find was 3/16" so I am slicing them in half (not easy!). At this scale, we decided to leave out the nail pattern. This was a test strip and we were pleased with the result. We will continue this once further progress on the model is made.
- Ryland Craze, robert952 and Canute
-
3
-
The wooden strip turned out to be too inflexible and difficult to work with so we replaced it with a cardstock strip as suggested by the kit instructions.
- Canute, Ryland Craze and GrandpaPhil
-
3
-
Armor plate rub rail attempted with a wooden strip.
- Canute, GrandpaPhil and Ryland Craze
-
3
-
Filed grooves into the upper hull to simulate the armor plating.
- GrandpaPhil and Ryland Craze
-
2
-
Fantail installed. The chain used to move the rudder is temporarily in place to make sure we could install it with the deck in place.

- sjanicki, GrandpaPhil and Canute
-
3
-
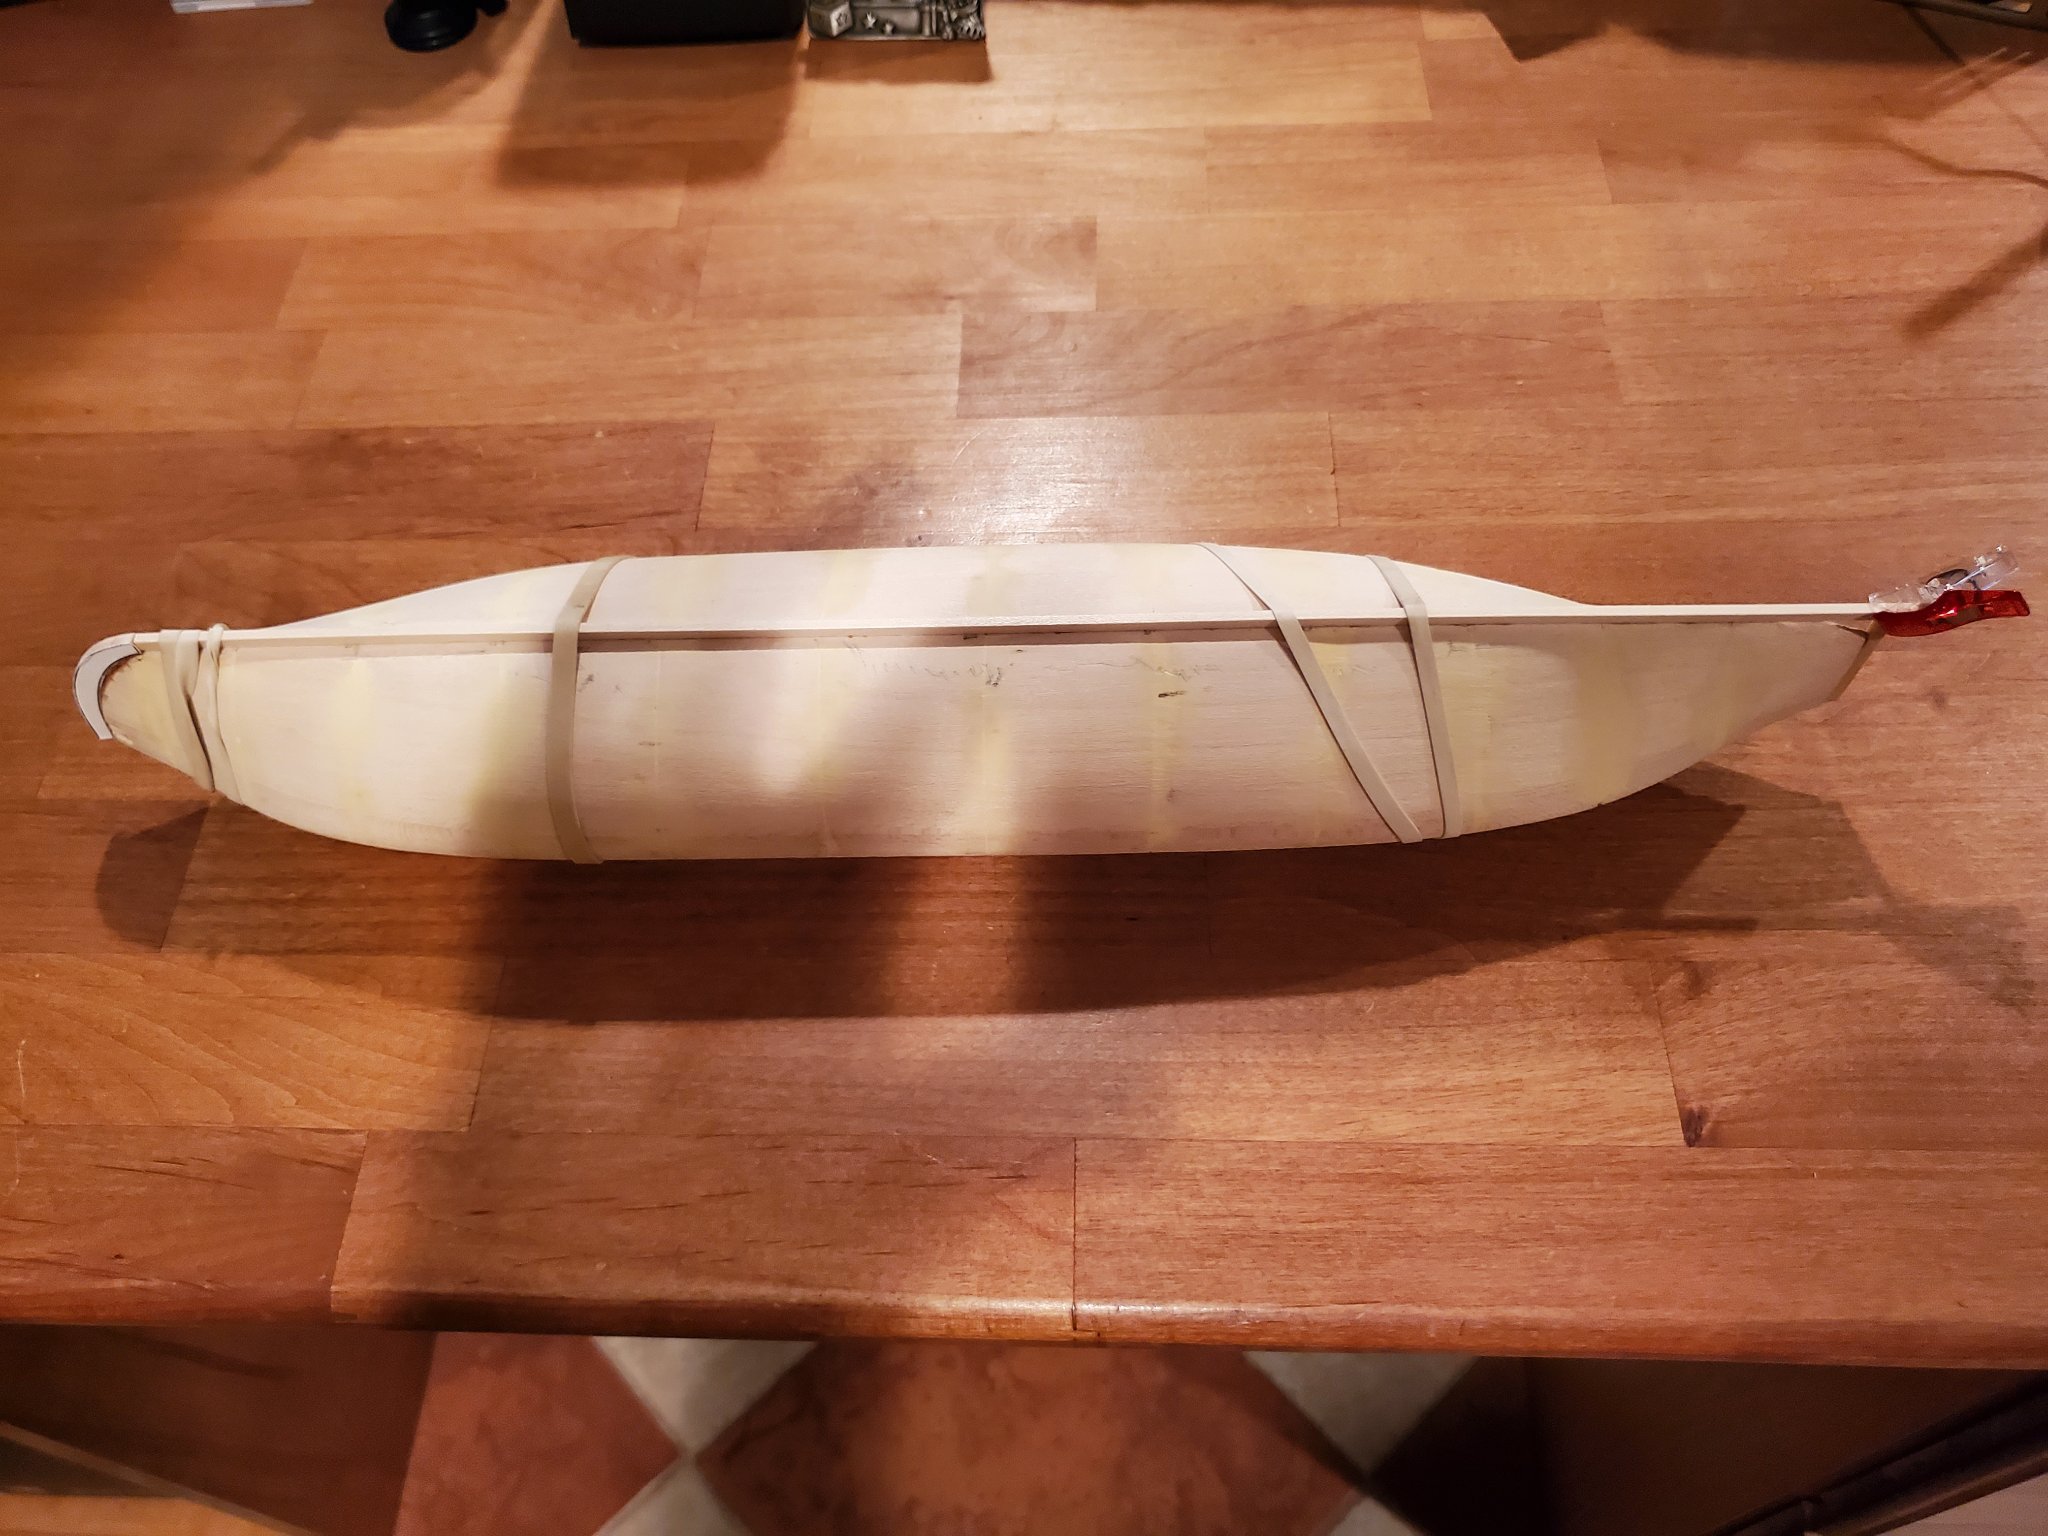
While Michael worked on the rudder, I used some leftover strips from another kit to straighten the keel and stern post.

- Canute and GrandpaPhil
-
2
-
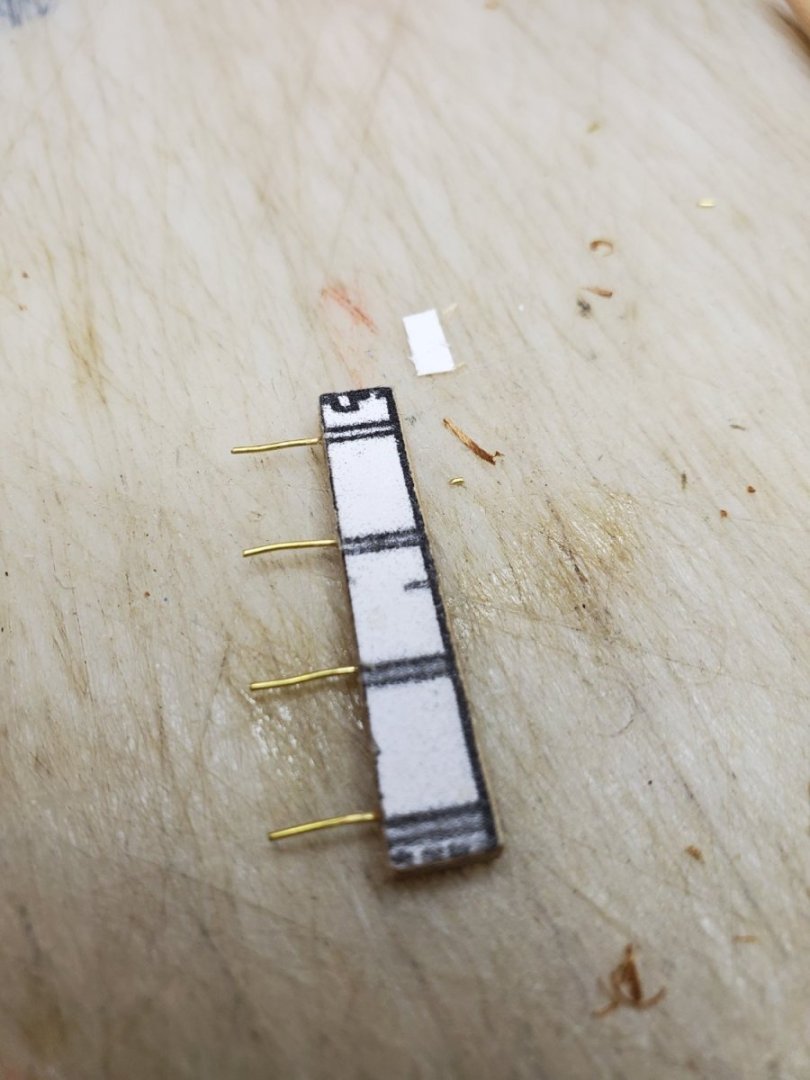
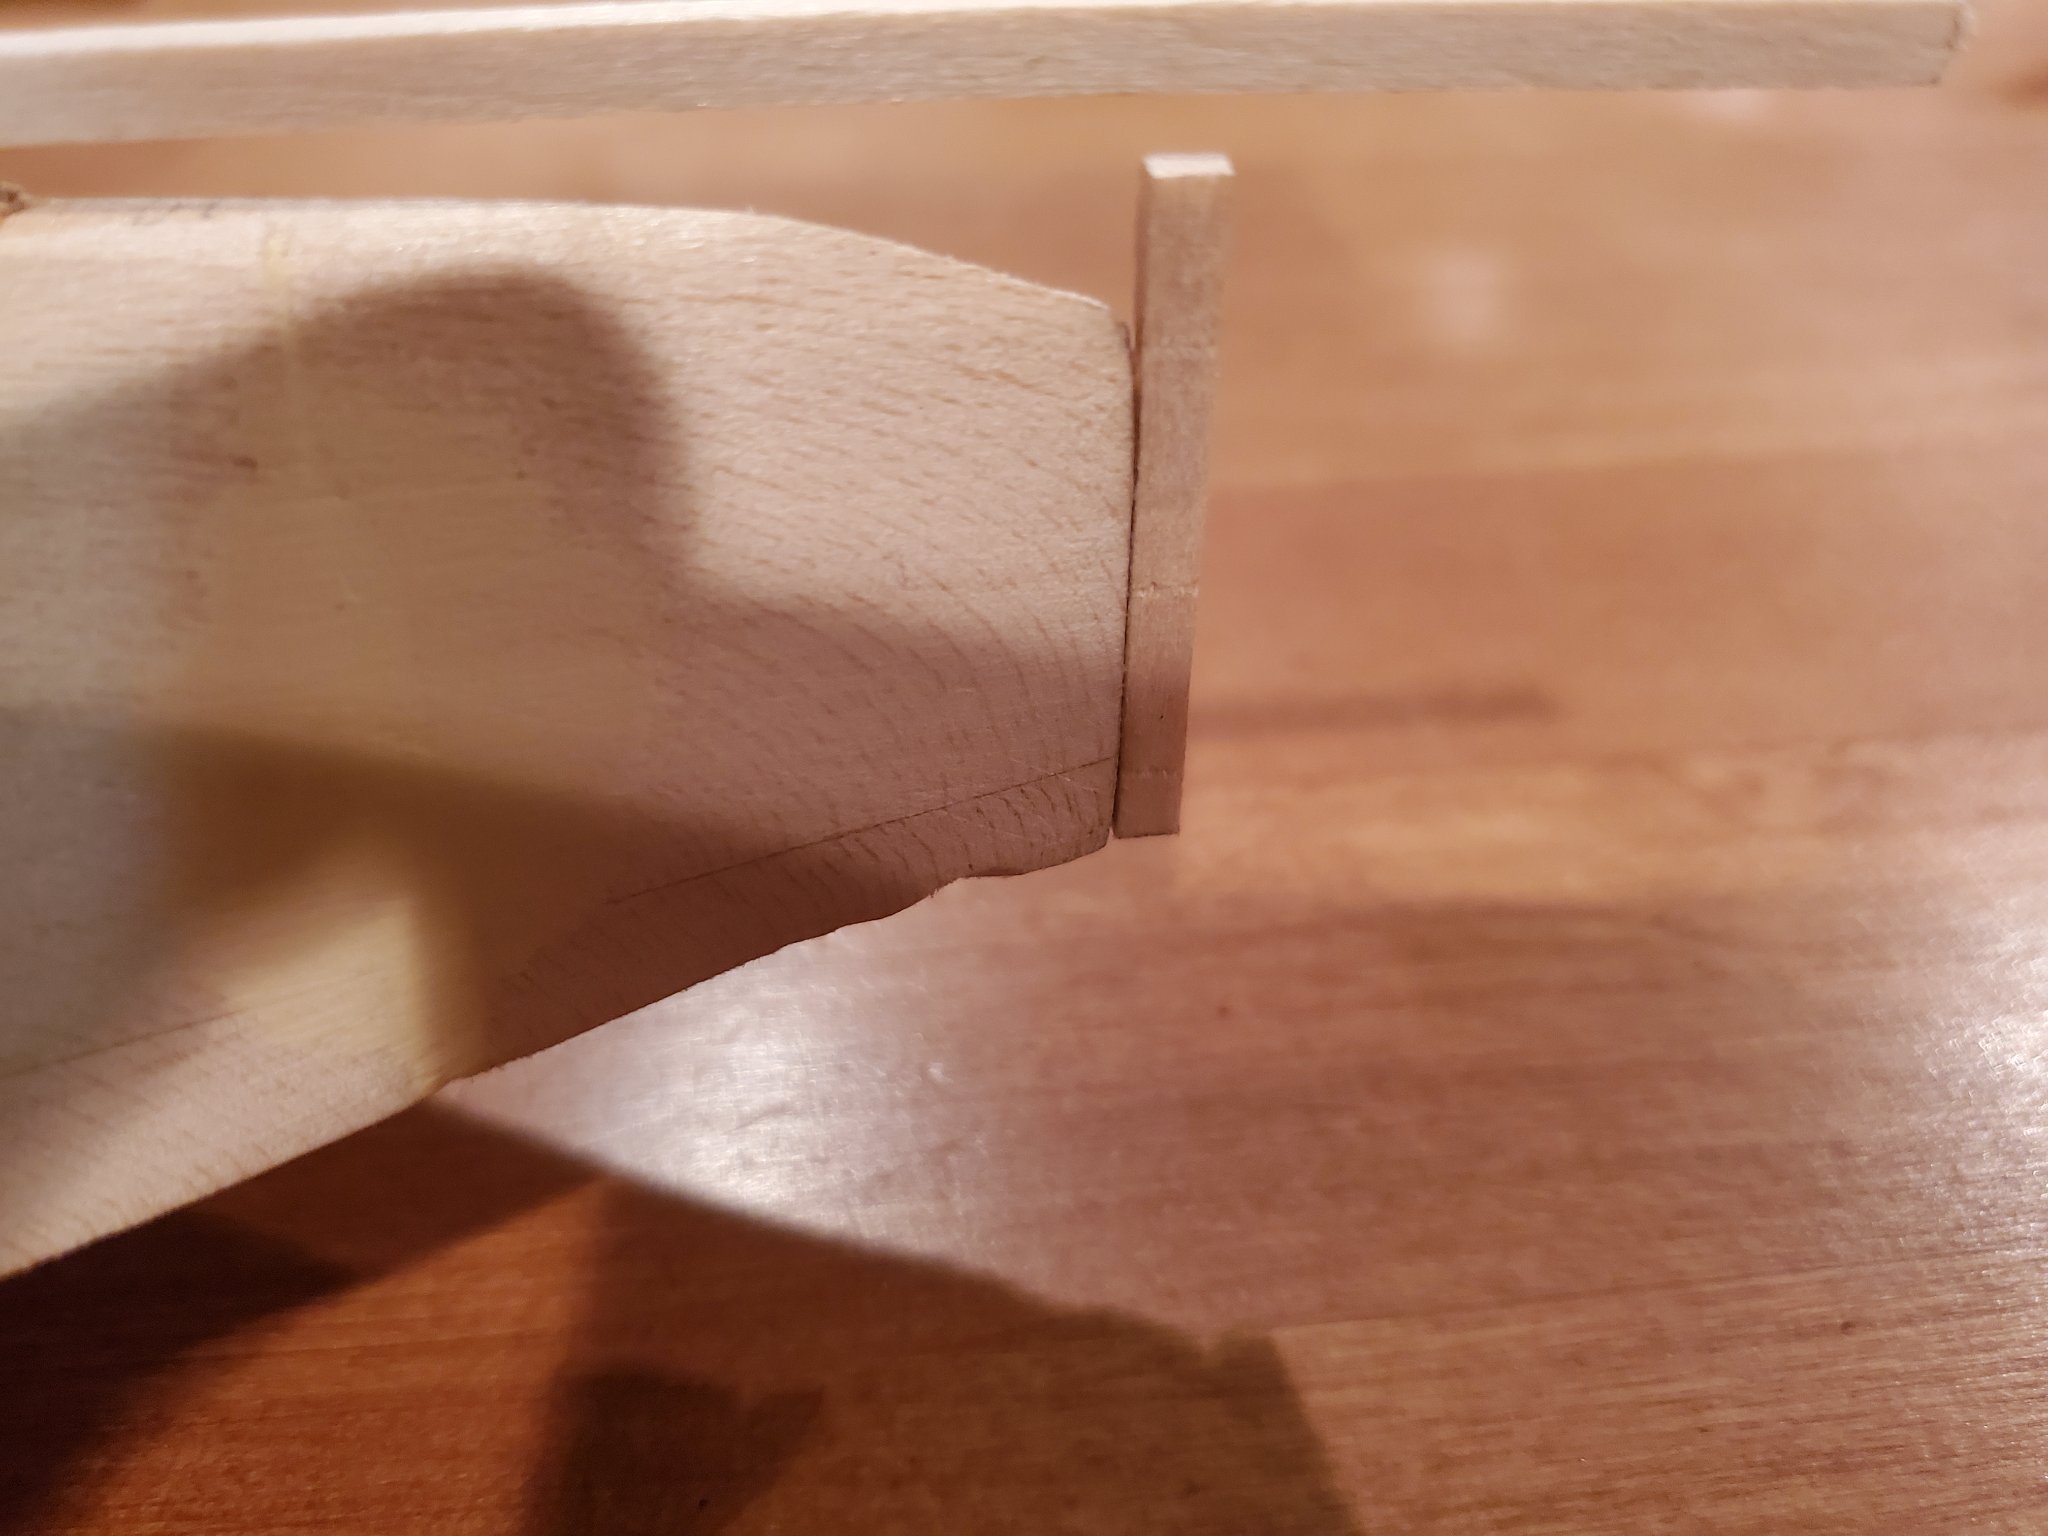
Pintles & gudgeons are not part of the kit. At 1/16 scale, we'll keep it simple. Hat tip to jre8655 and his post from 2013 - we will use a similar technique. Michael drilled holes with a #74 drill and glued in 4 pieces of brass wire. These will be used to connect the rudder to the post and should be concealed when complete.
-
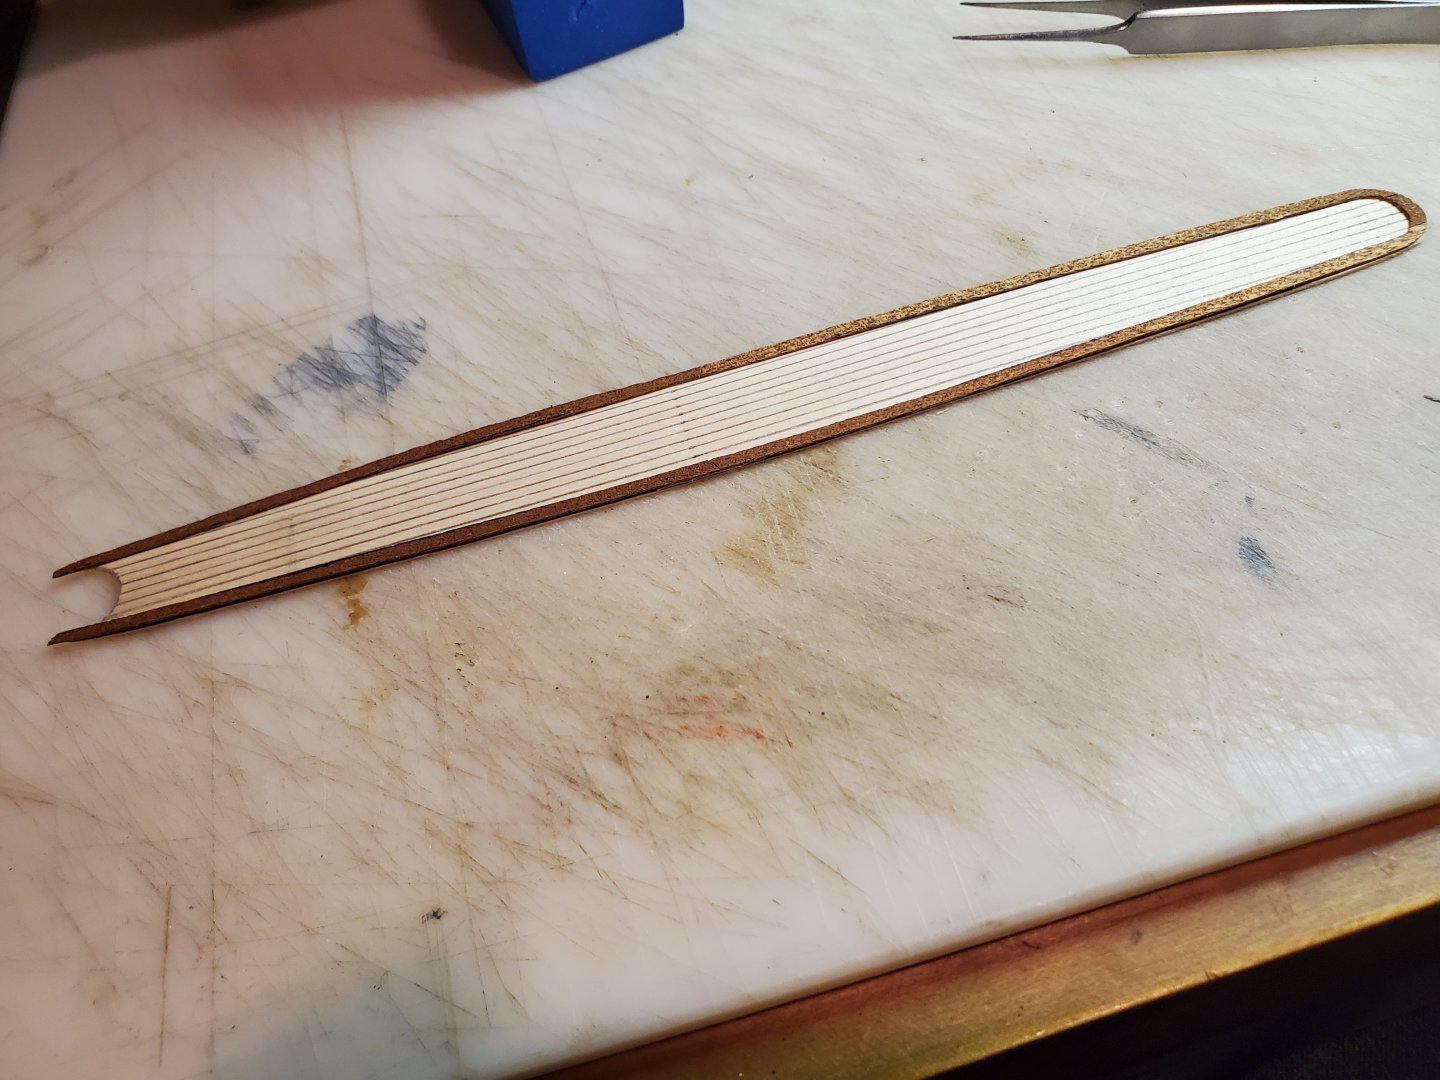
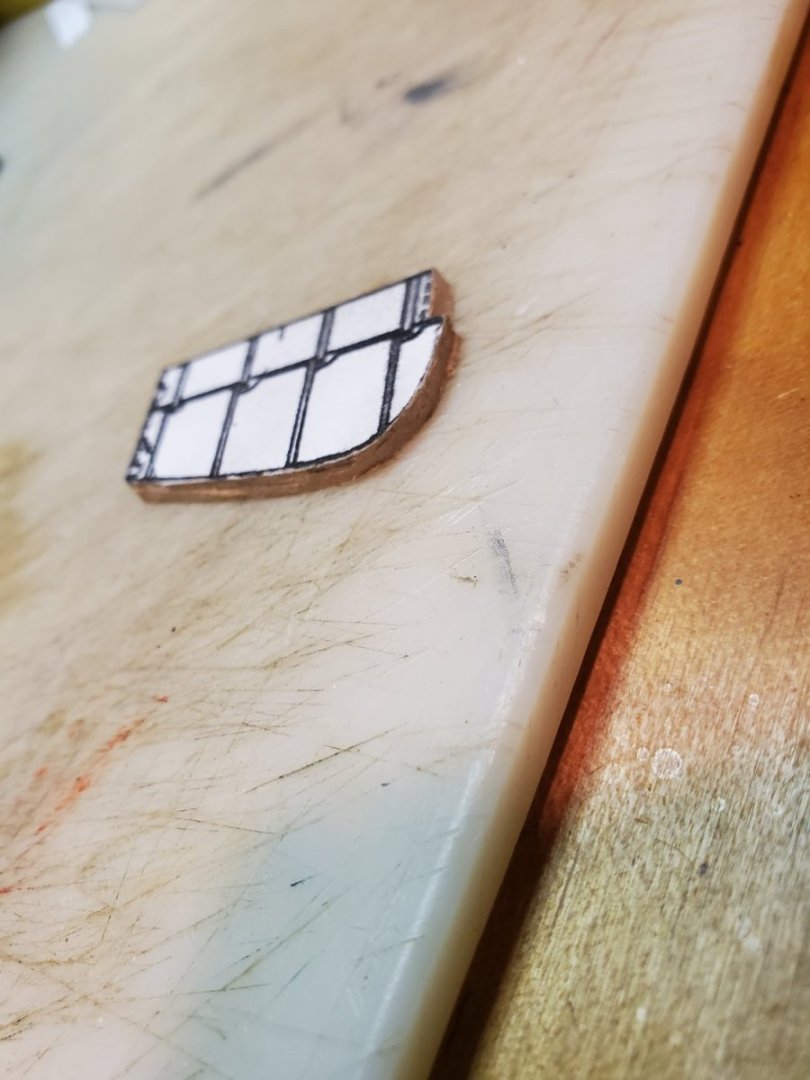
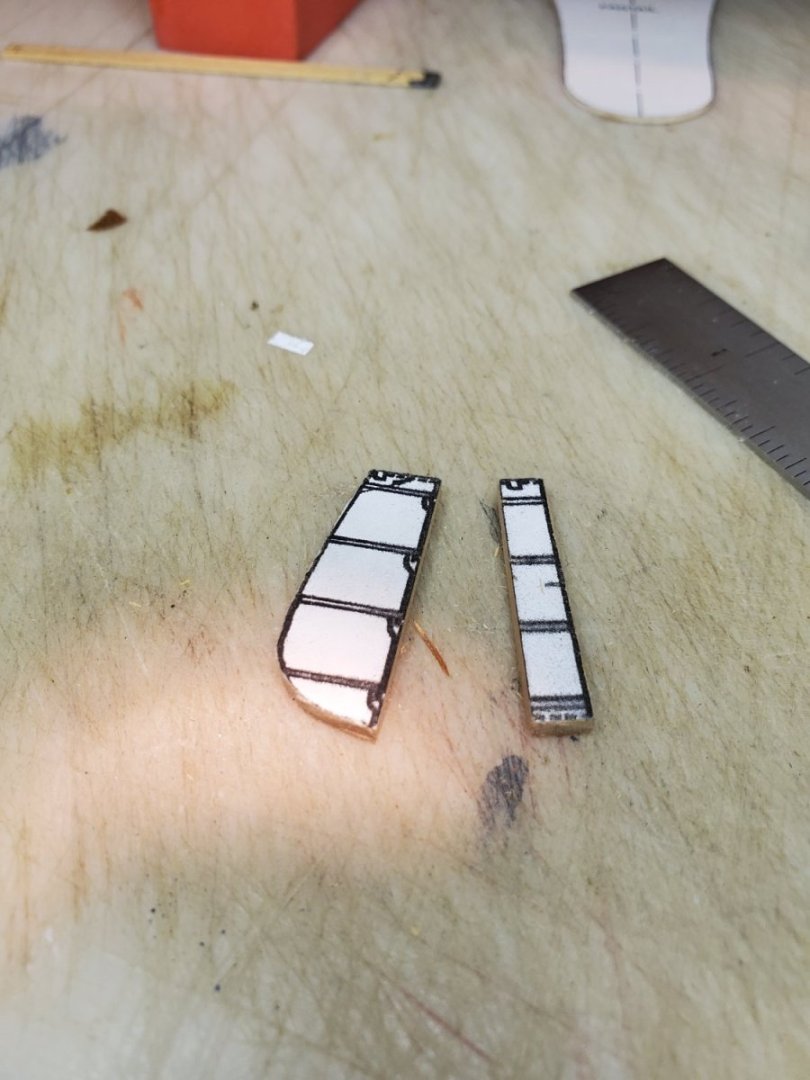
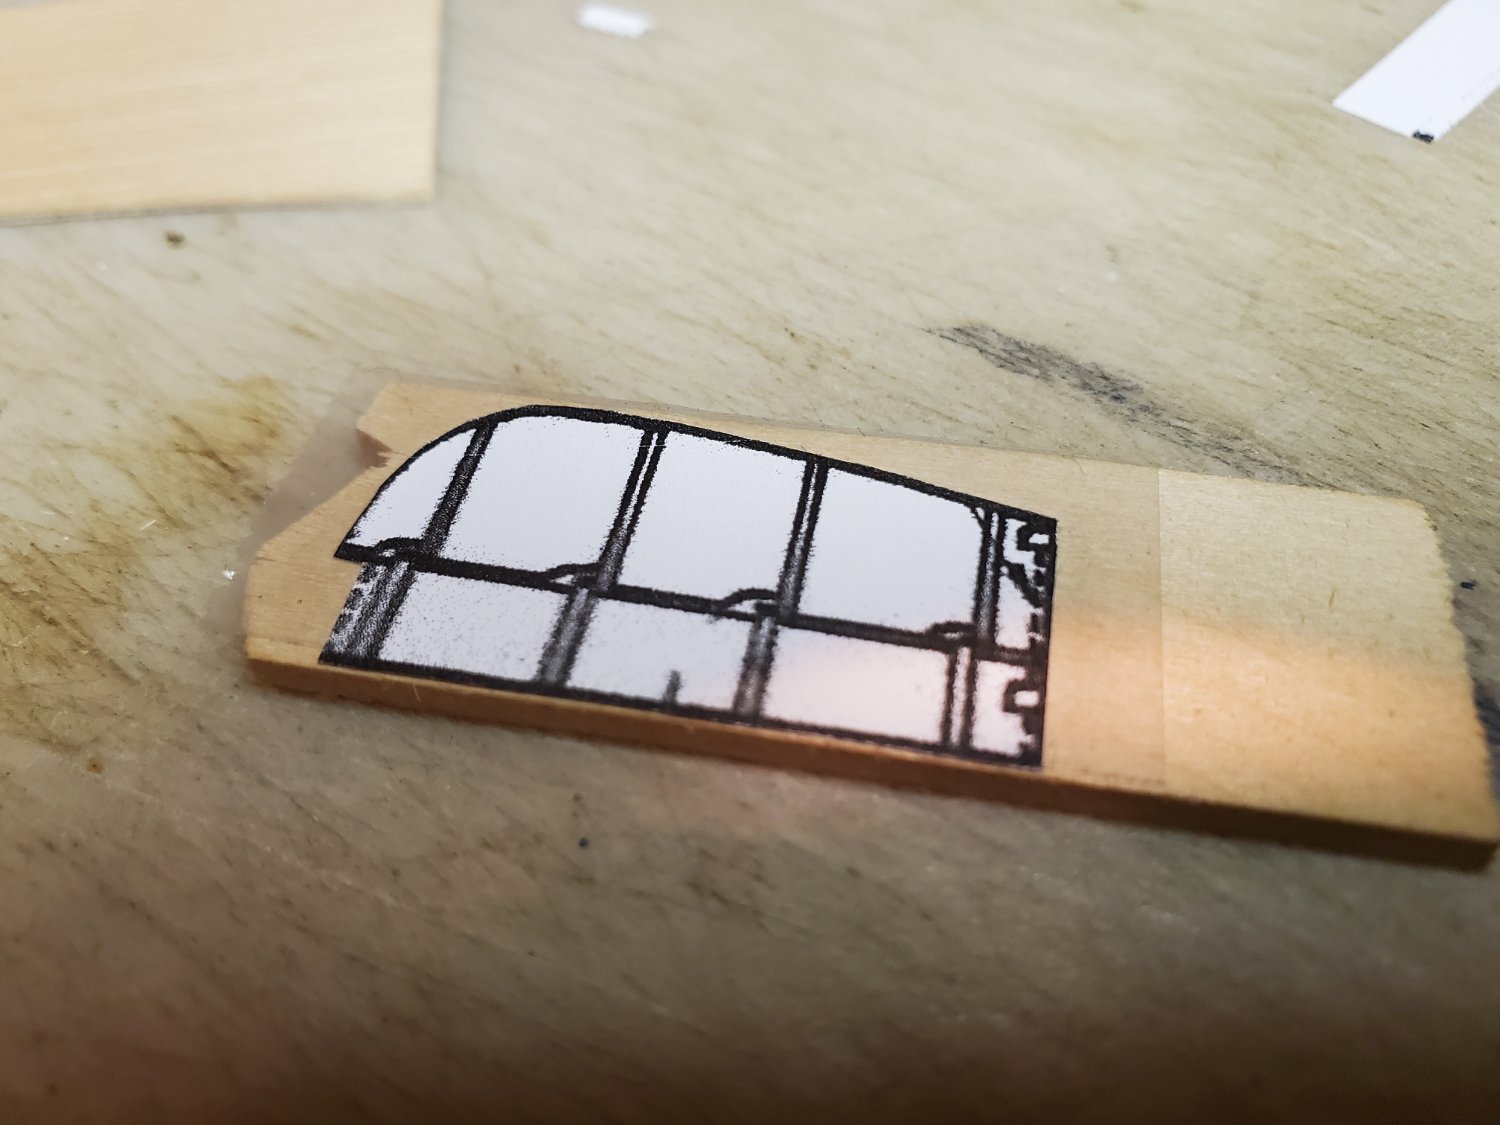
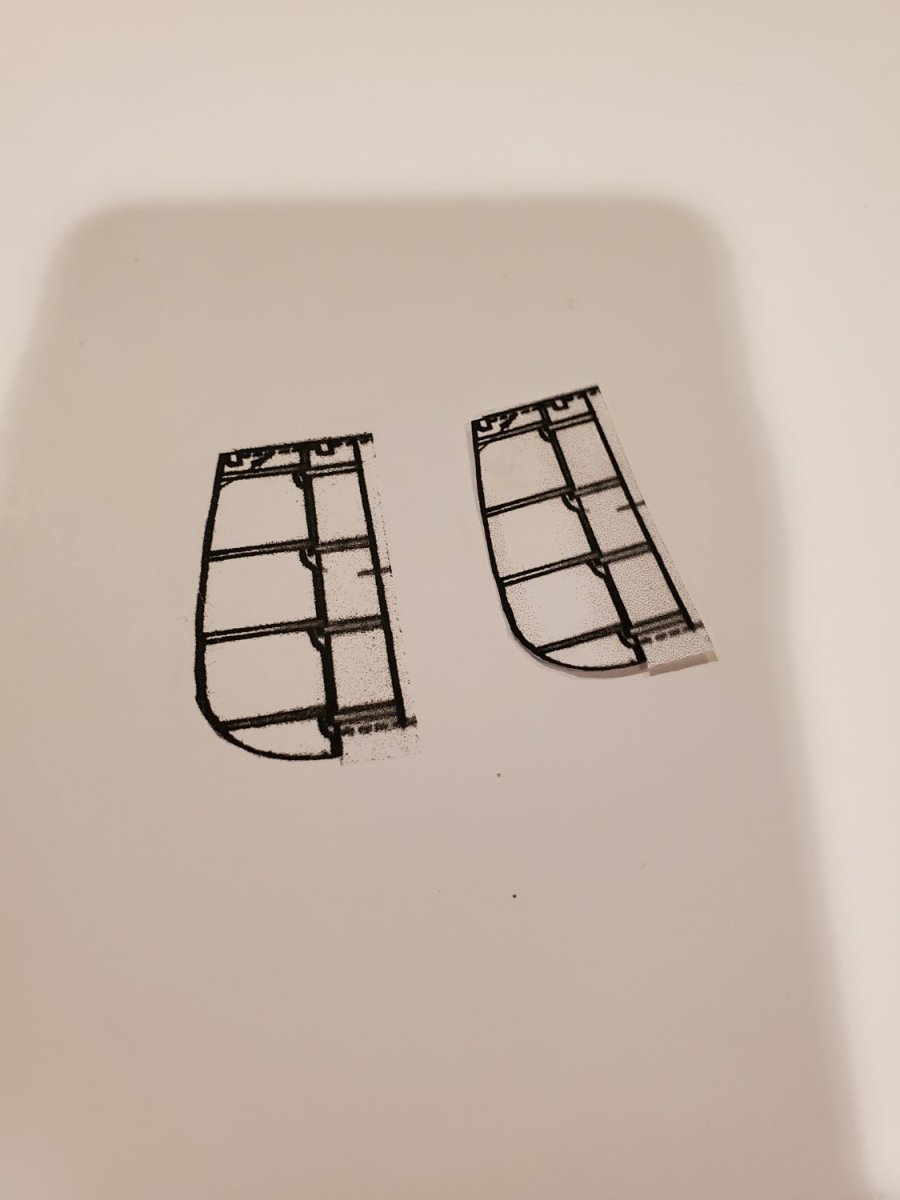
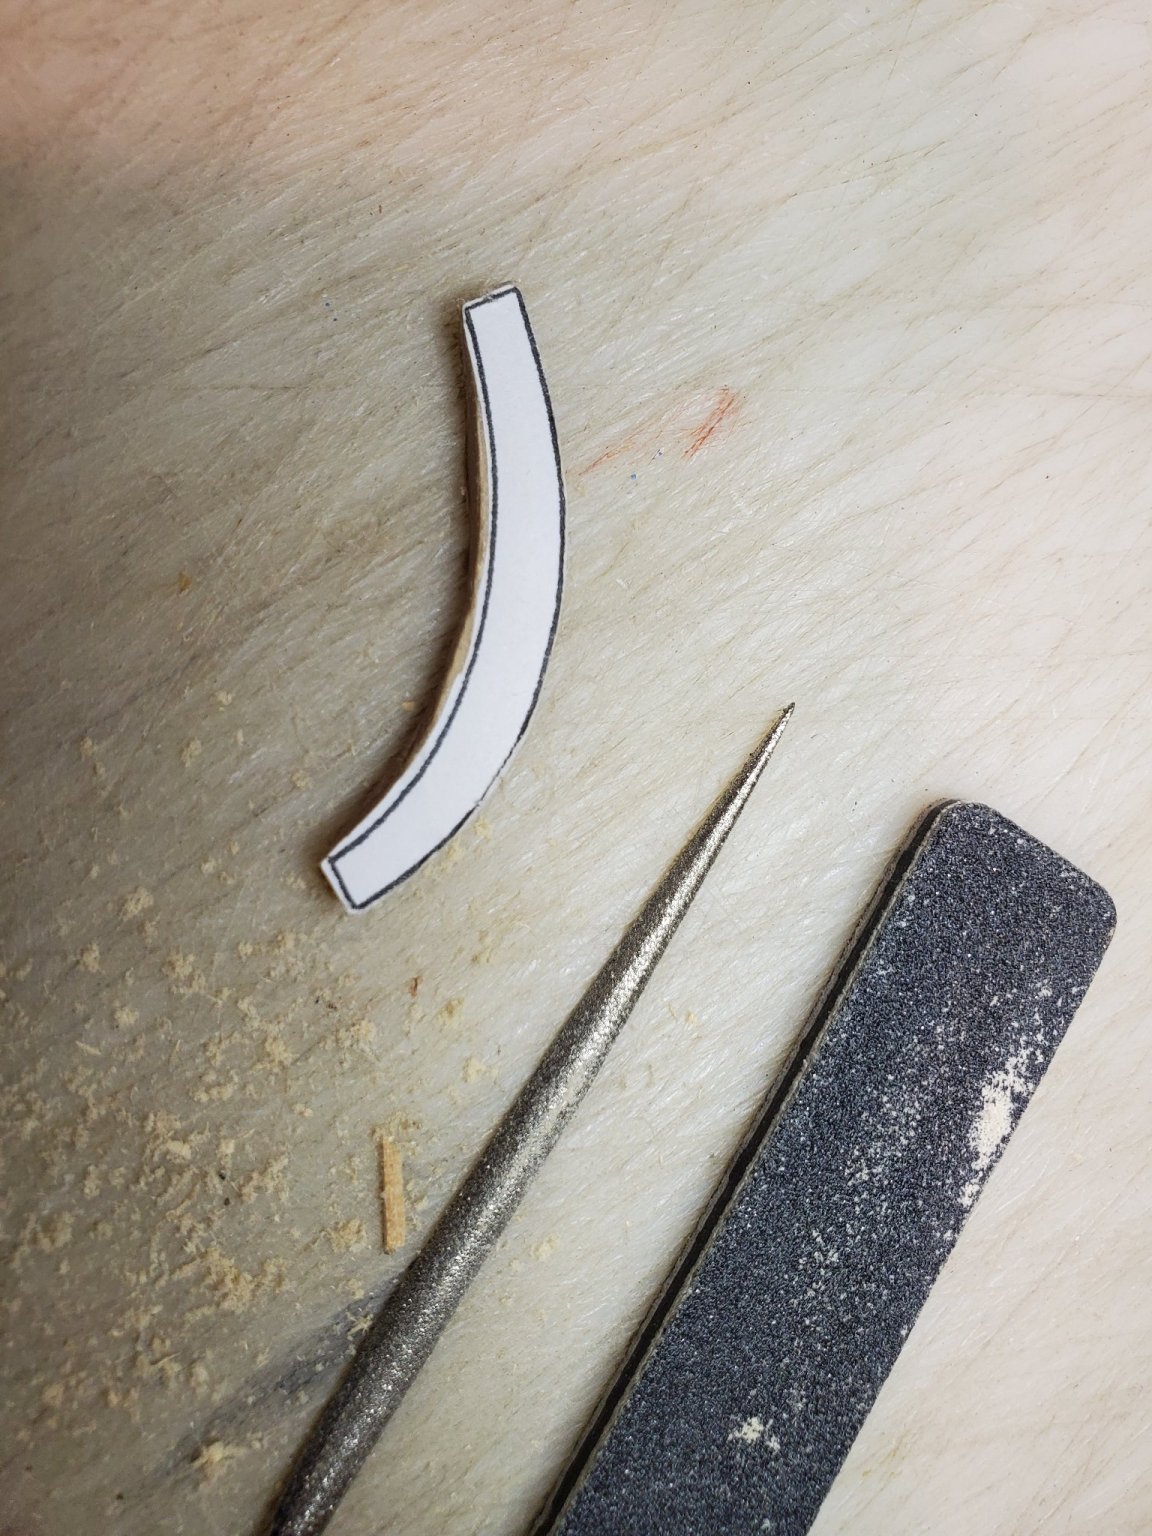
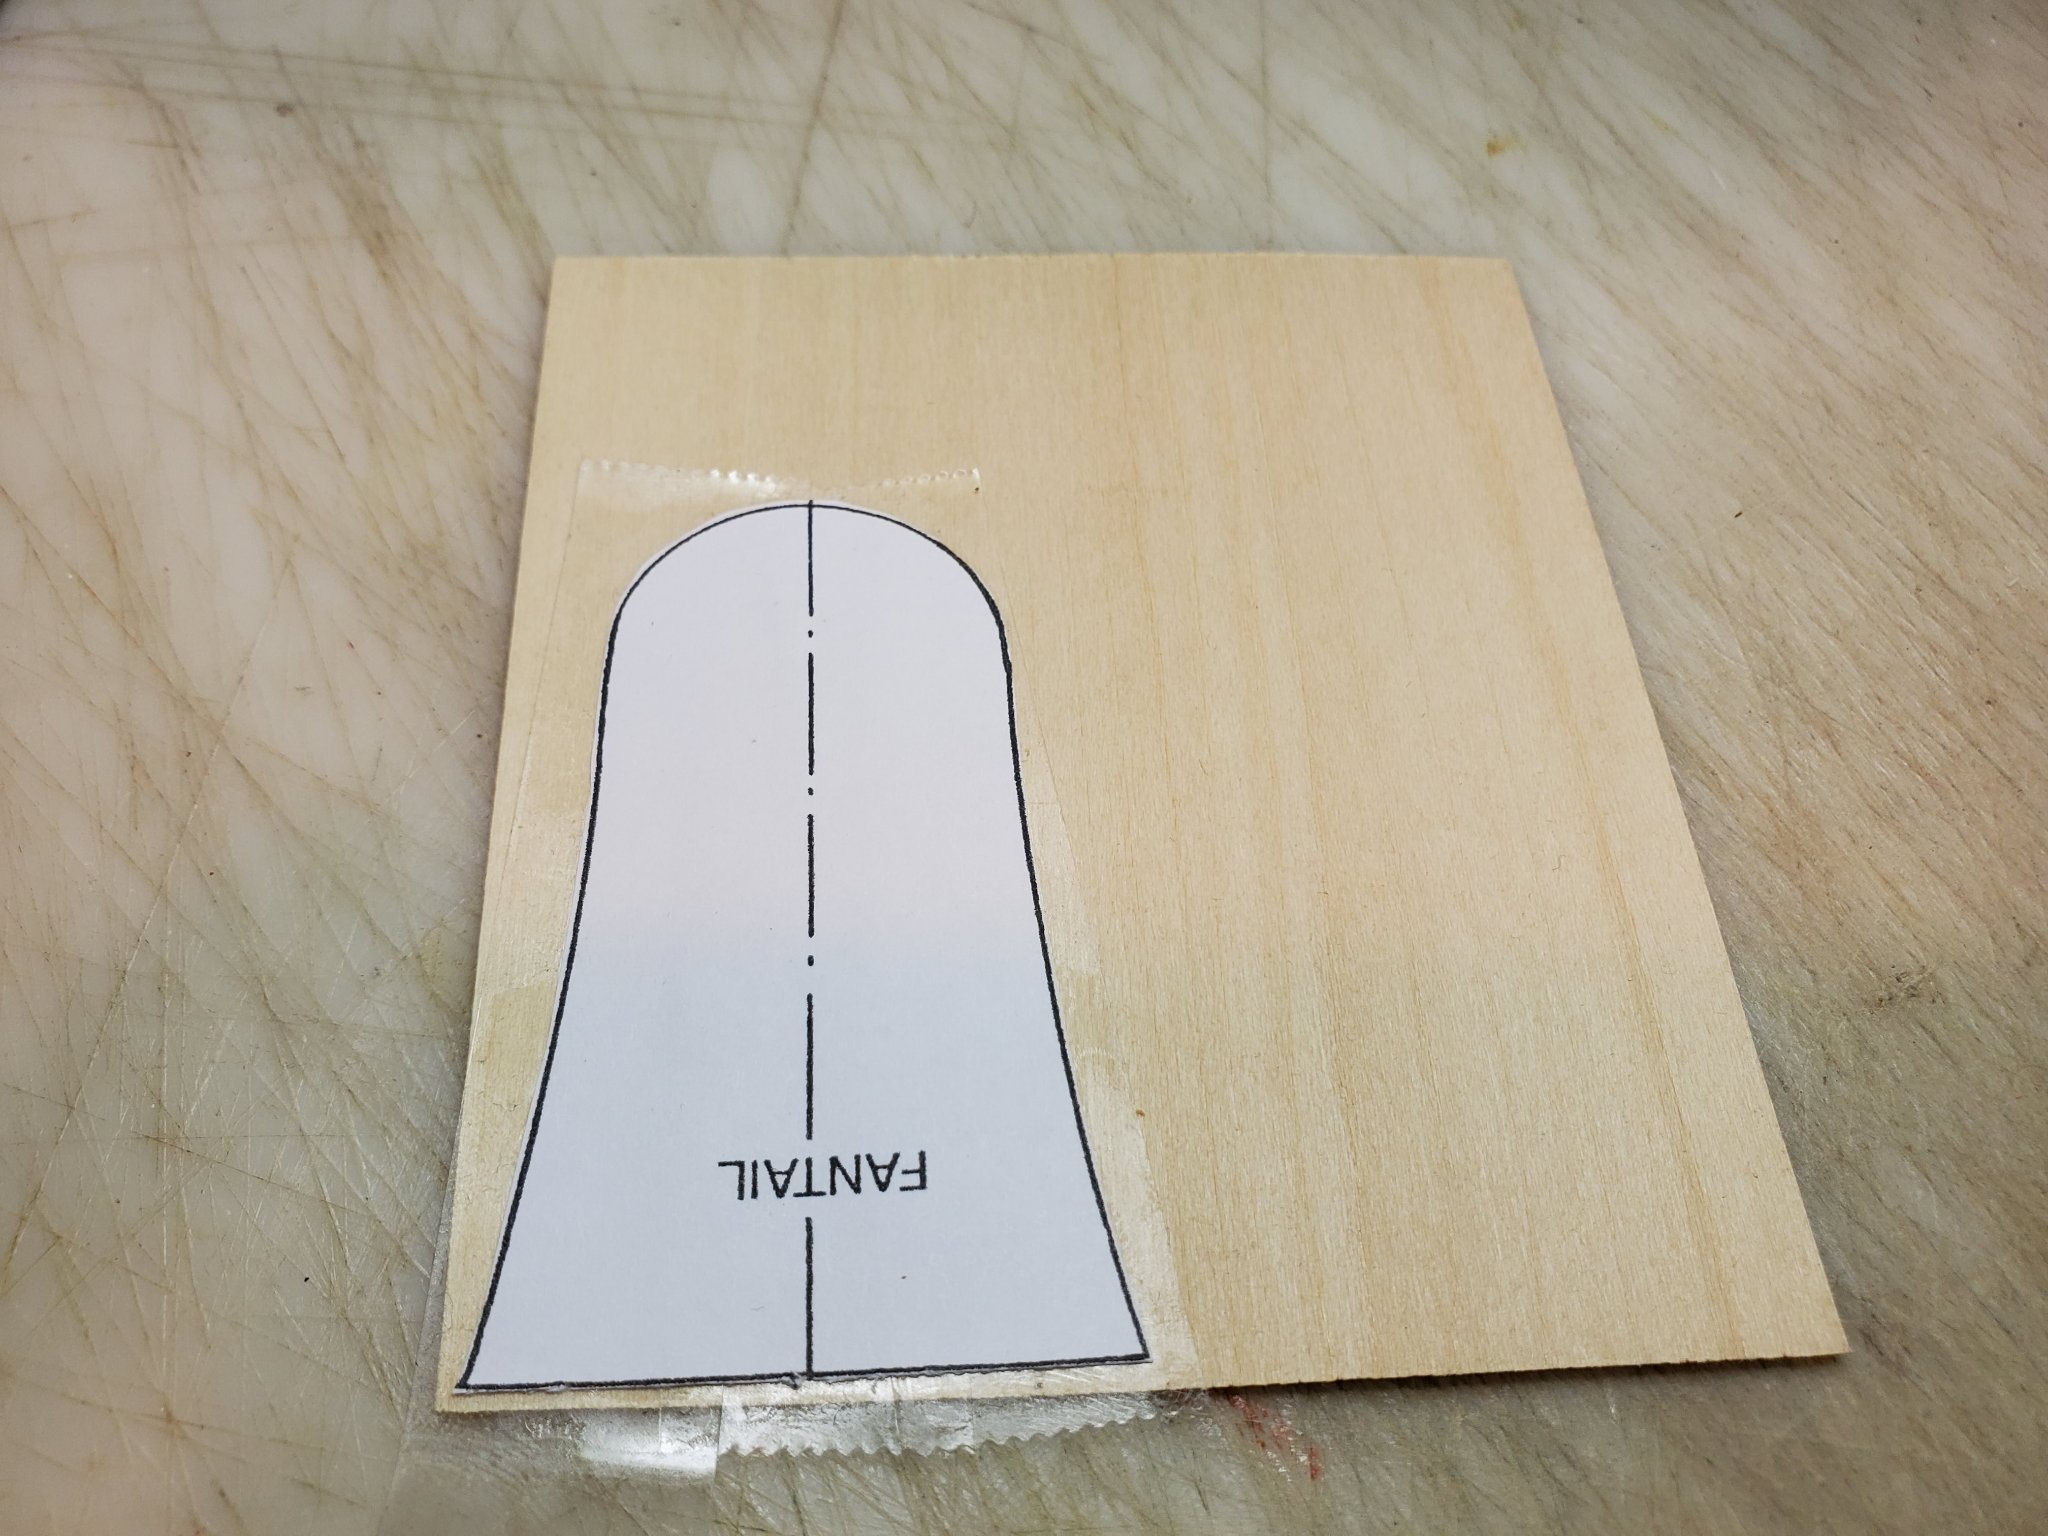
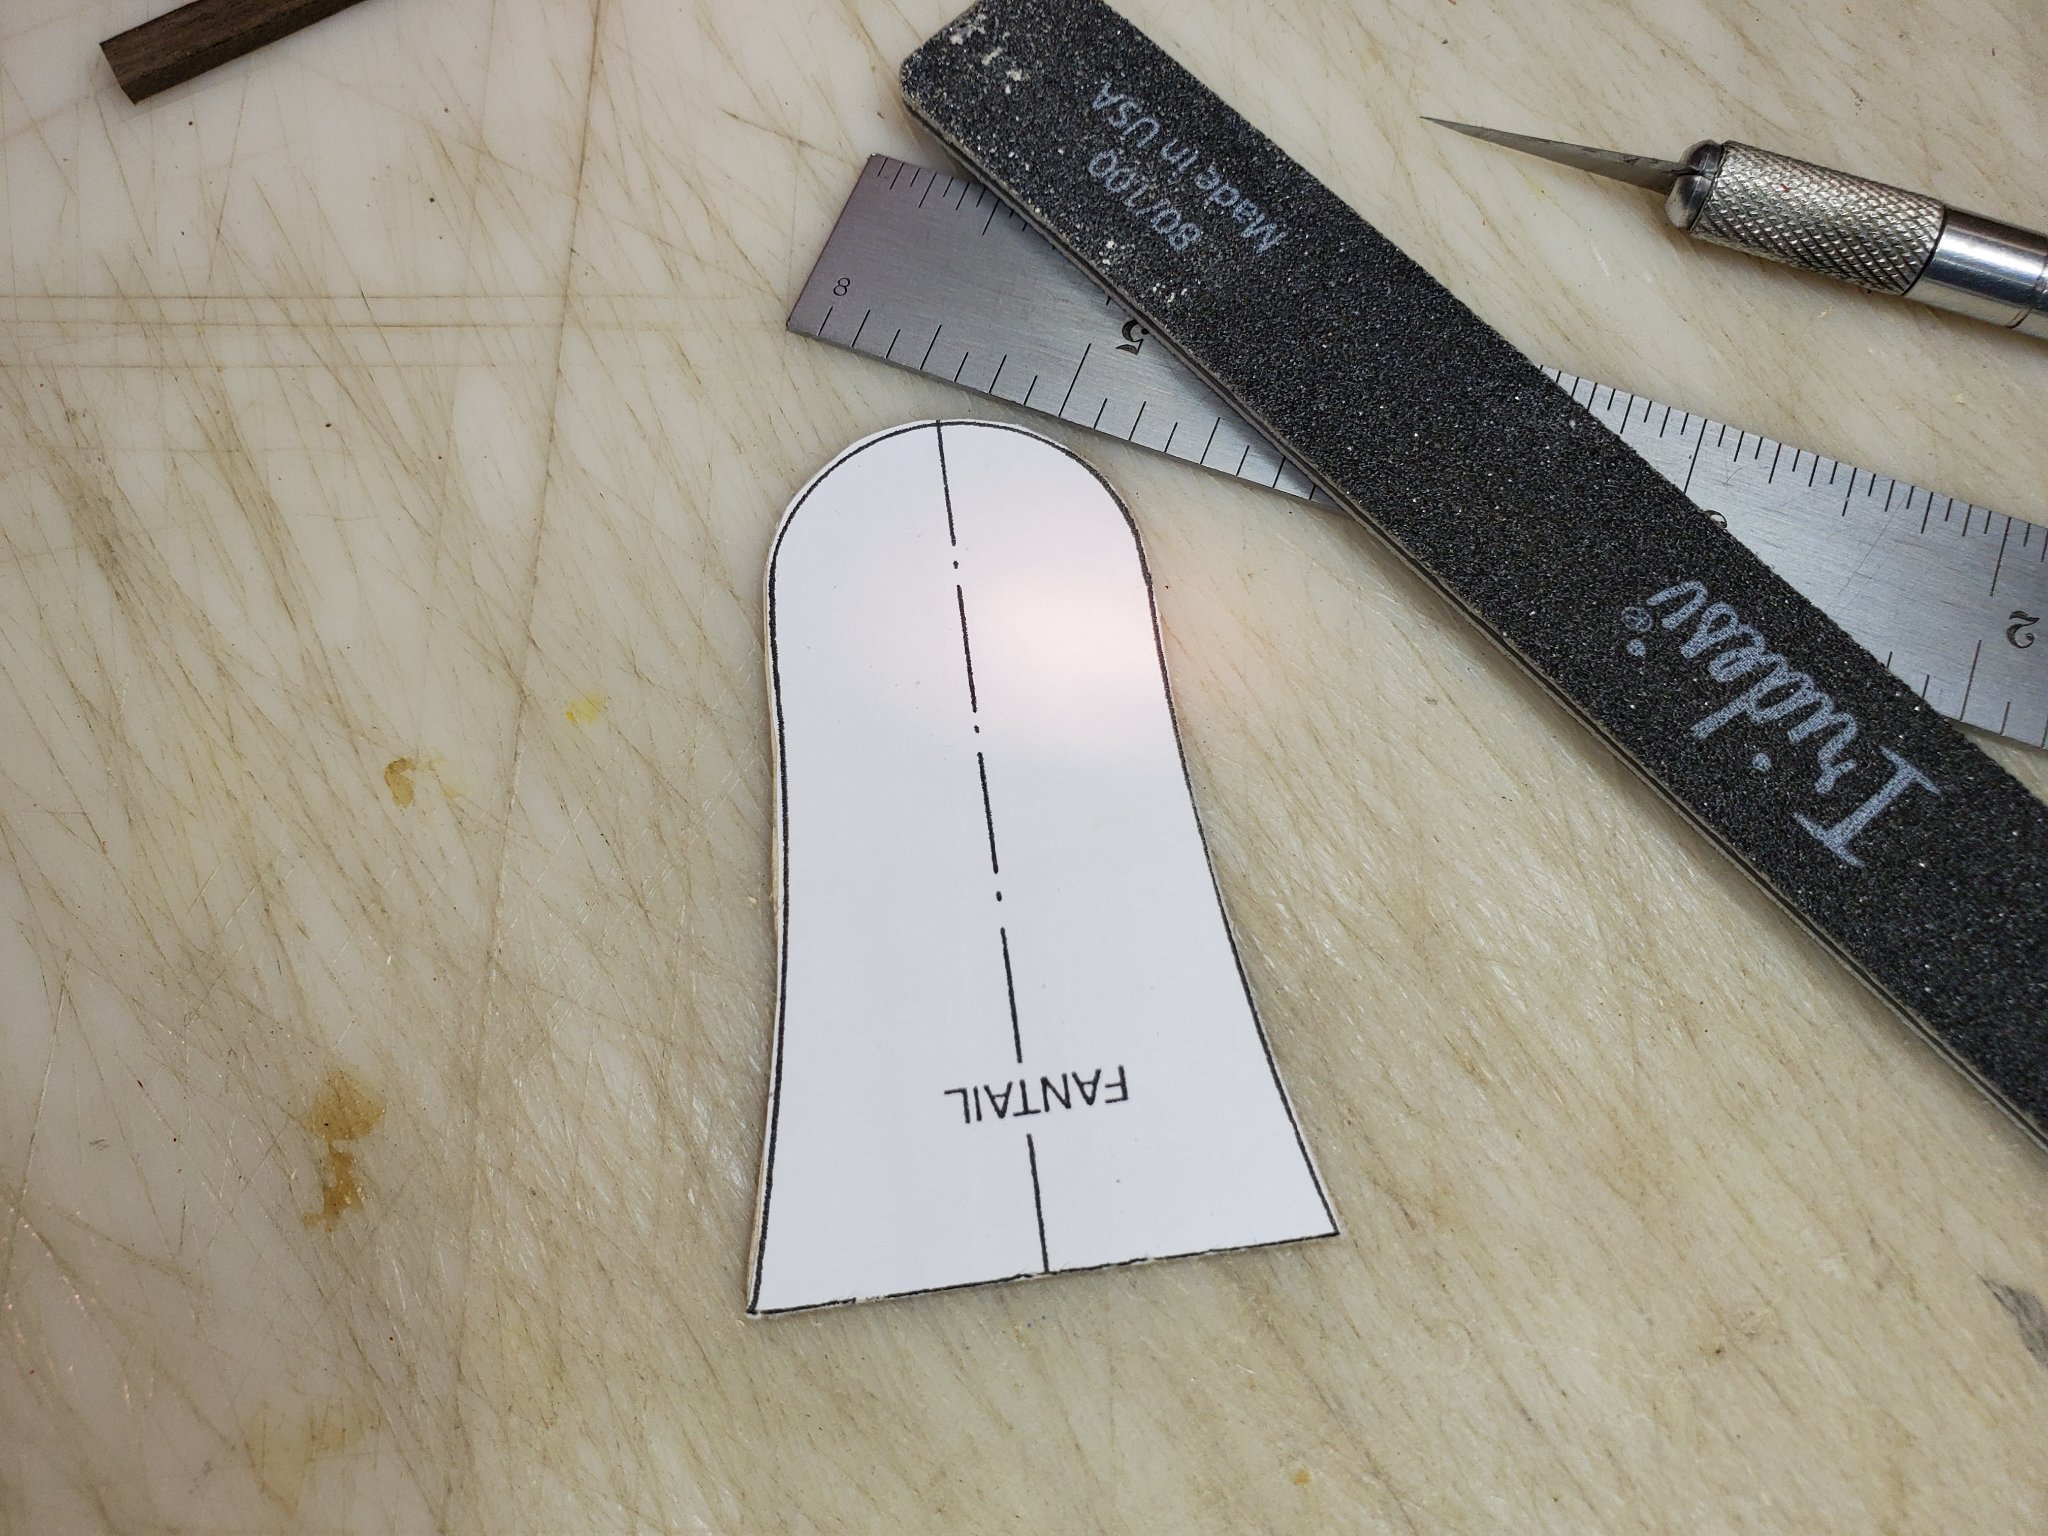
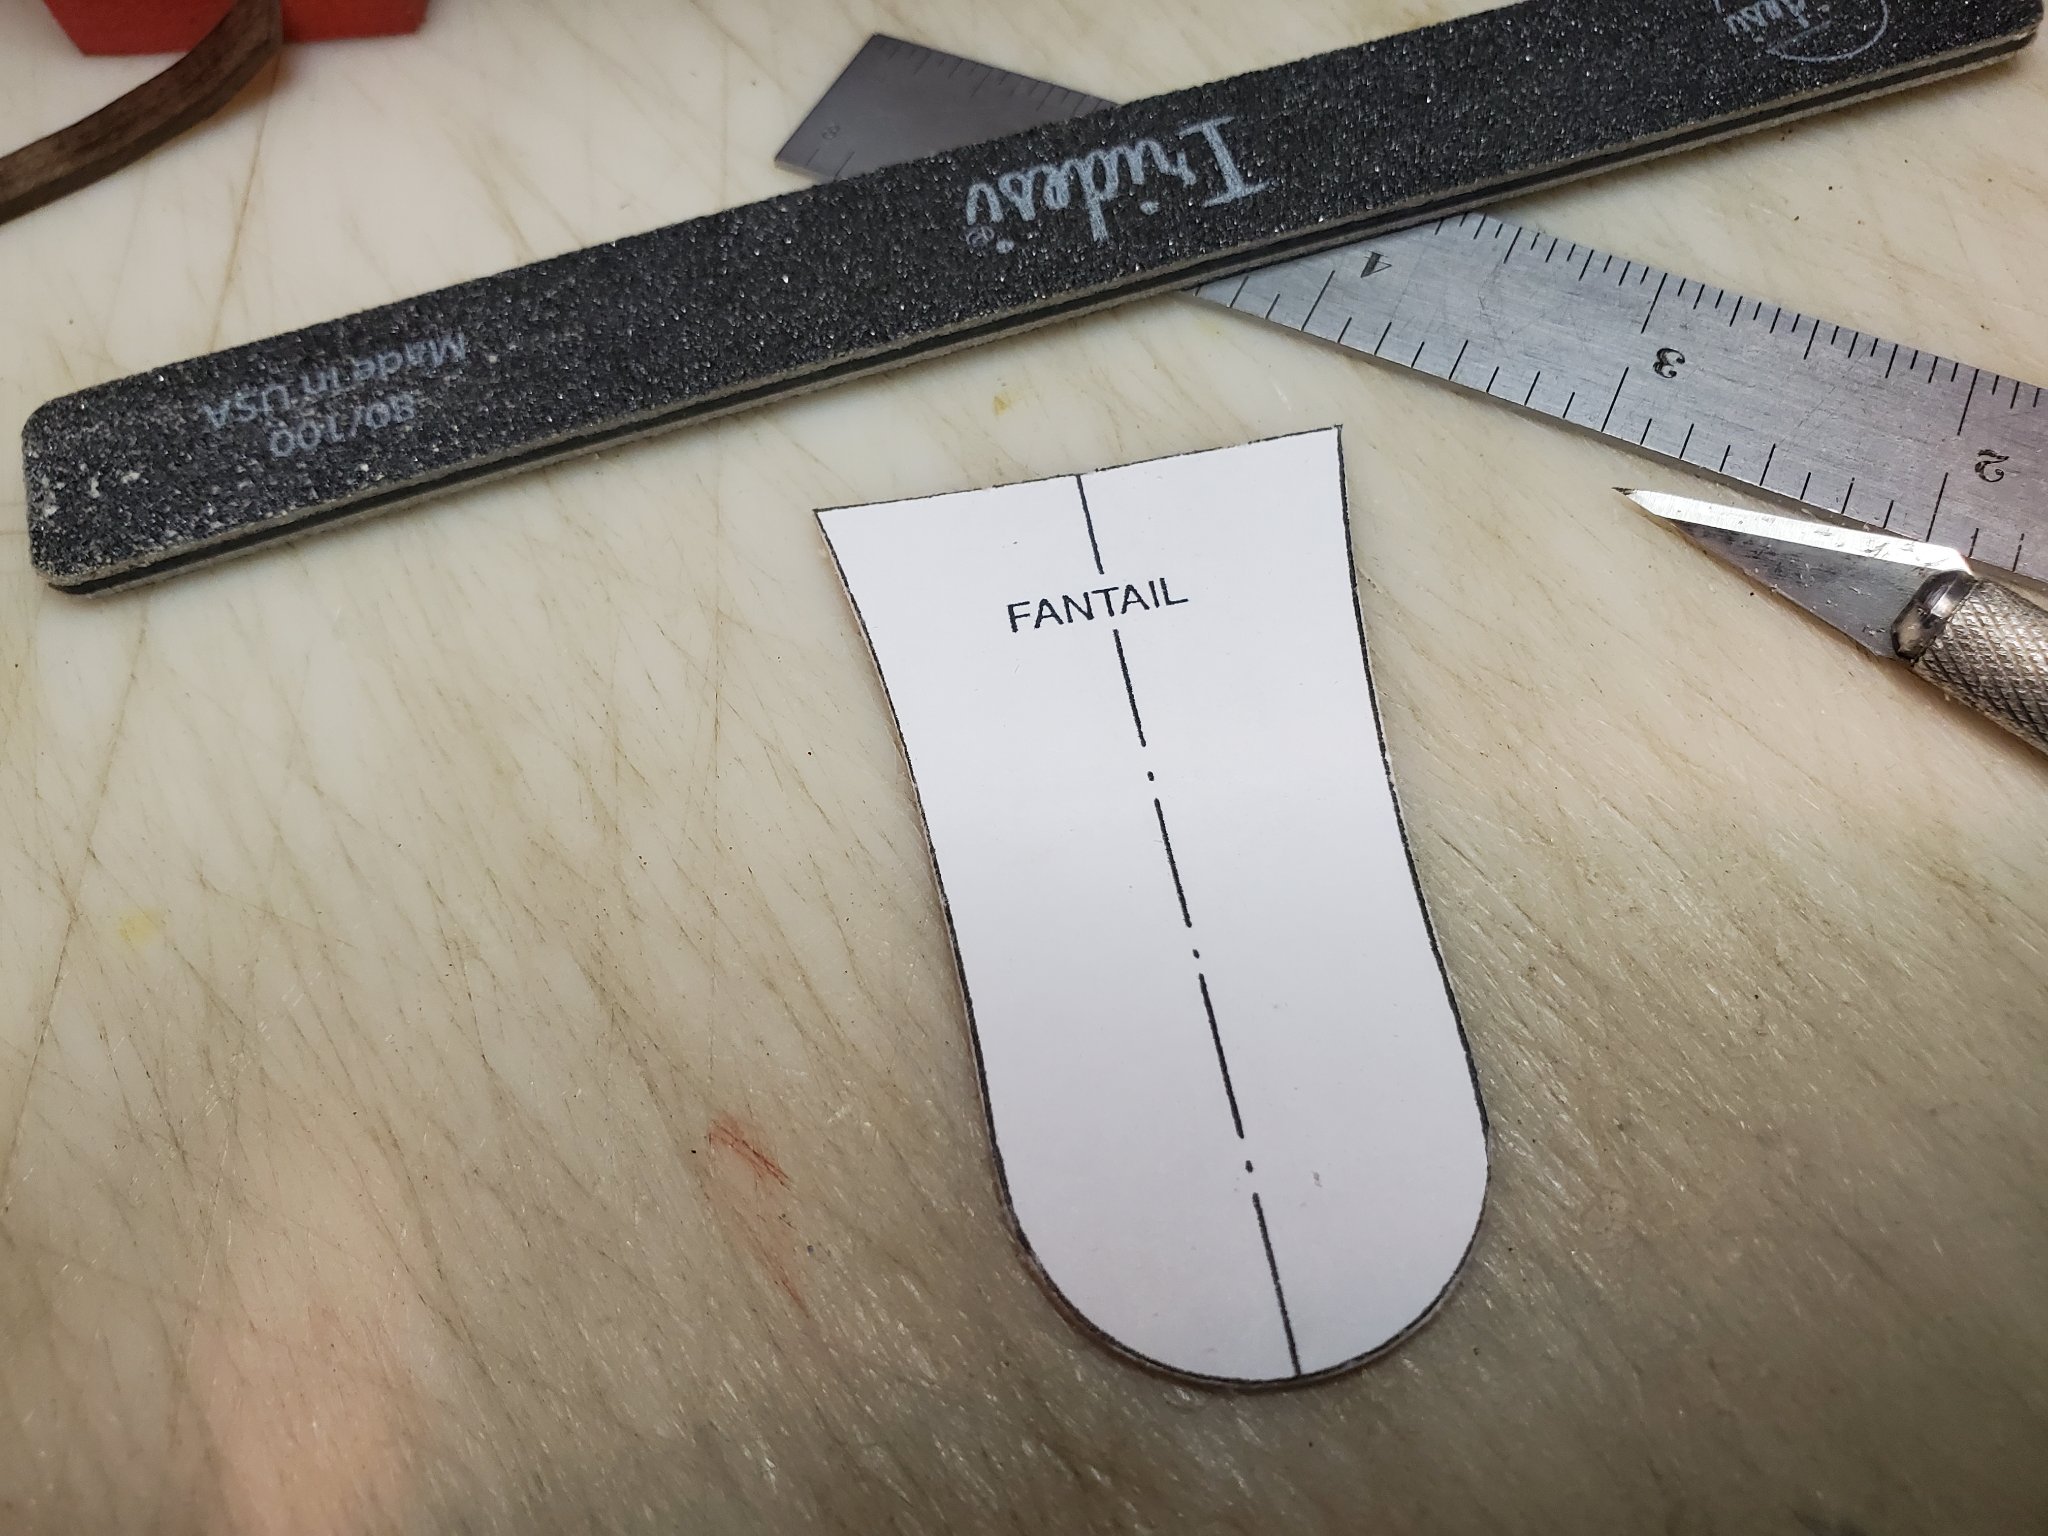
The new template fit perfectly and was attached to wood stock with two-sided tape and cut out, filed clean and then the post was separated from the rudder.

- mtaylor, Ryland Craze, Canute and 1 other
-
4
-
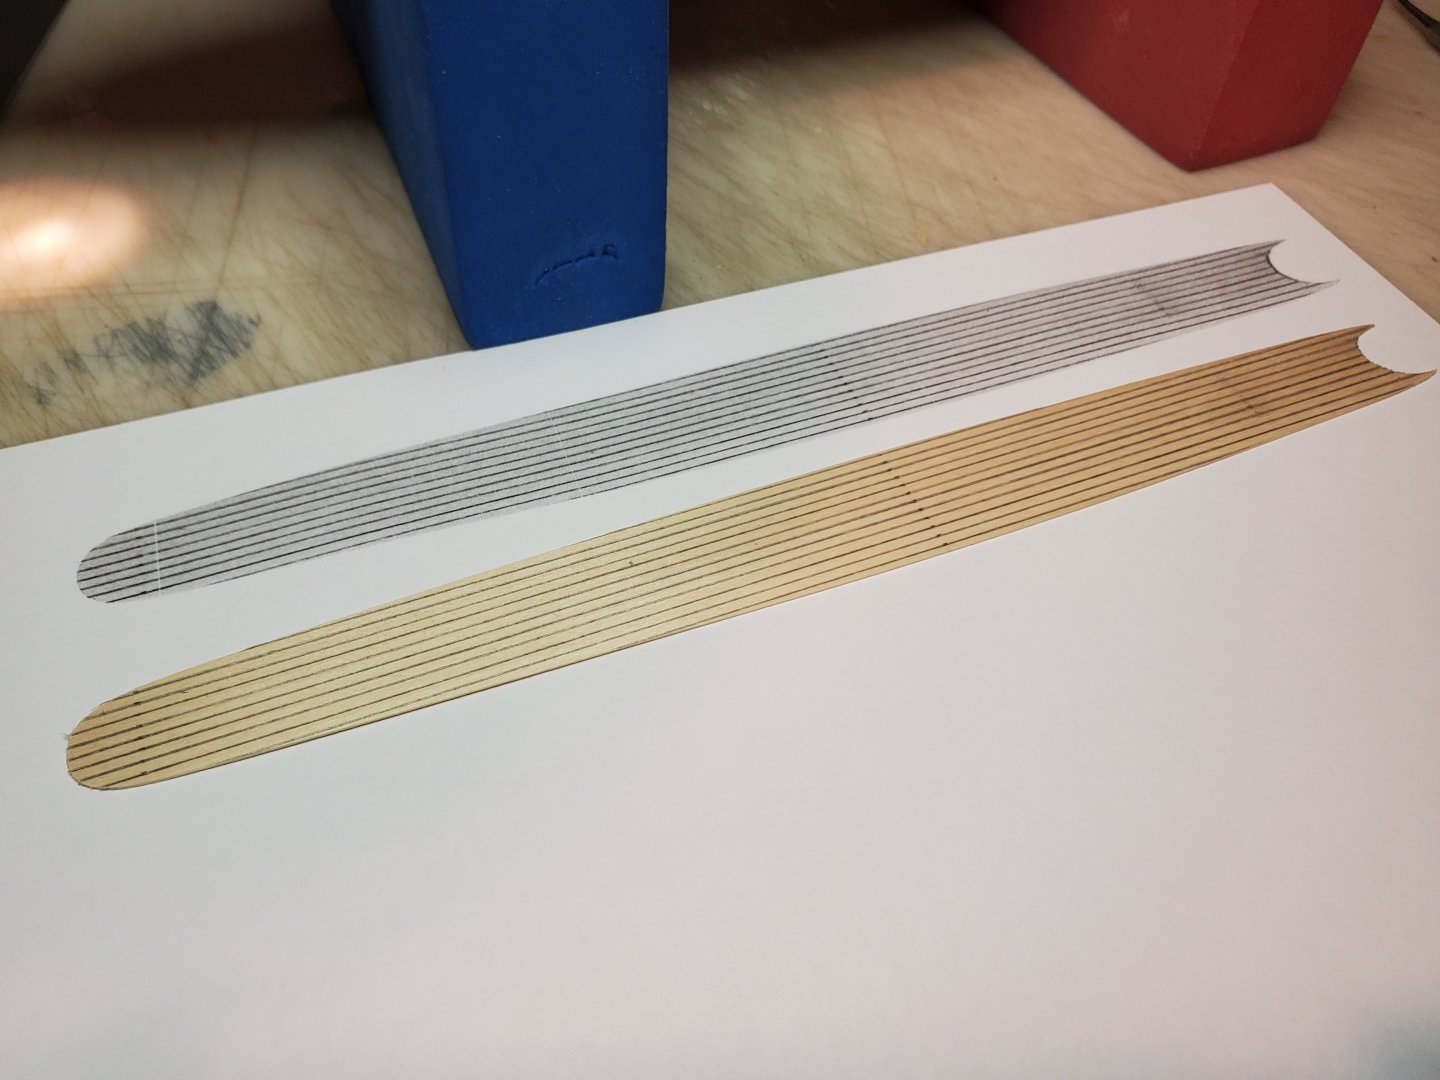
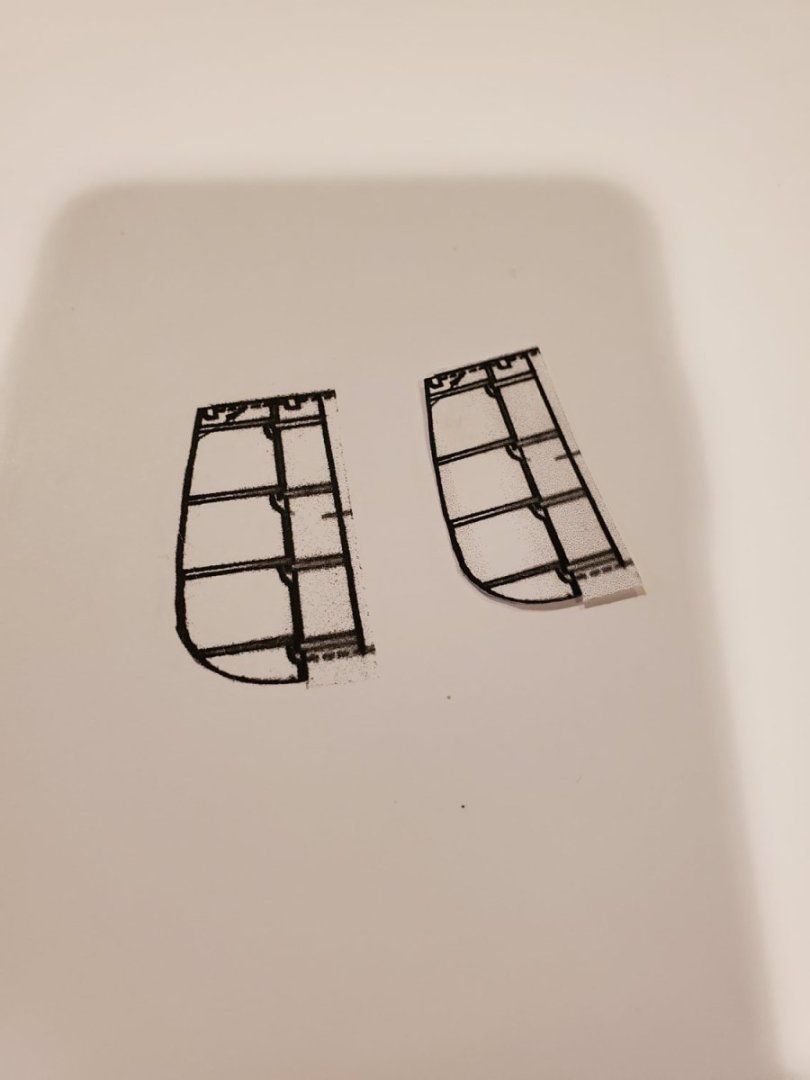
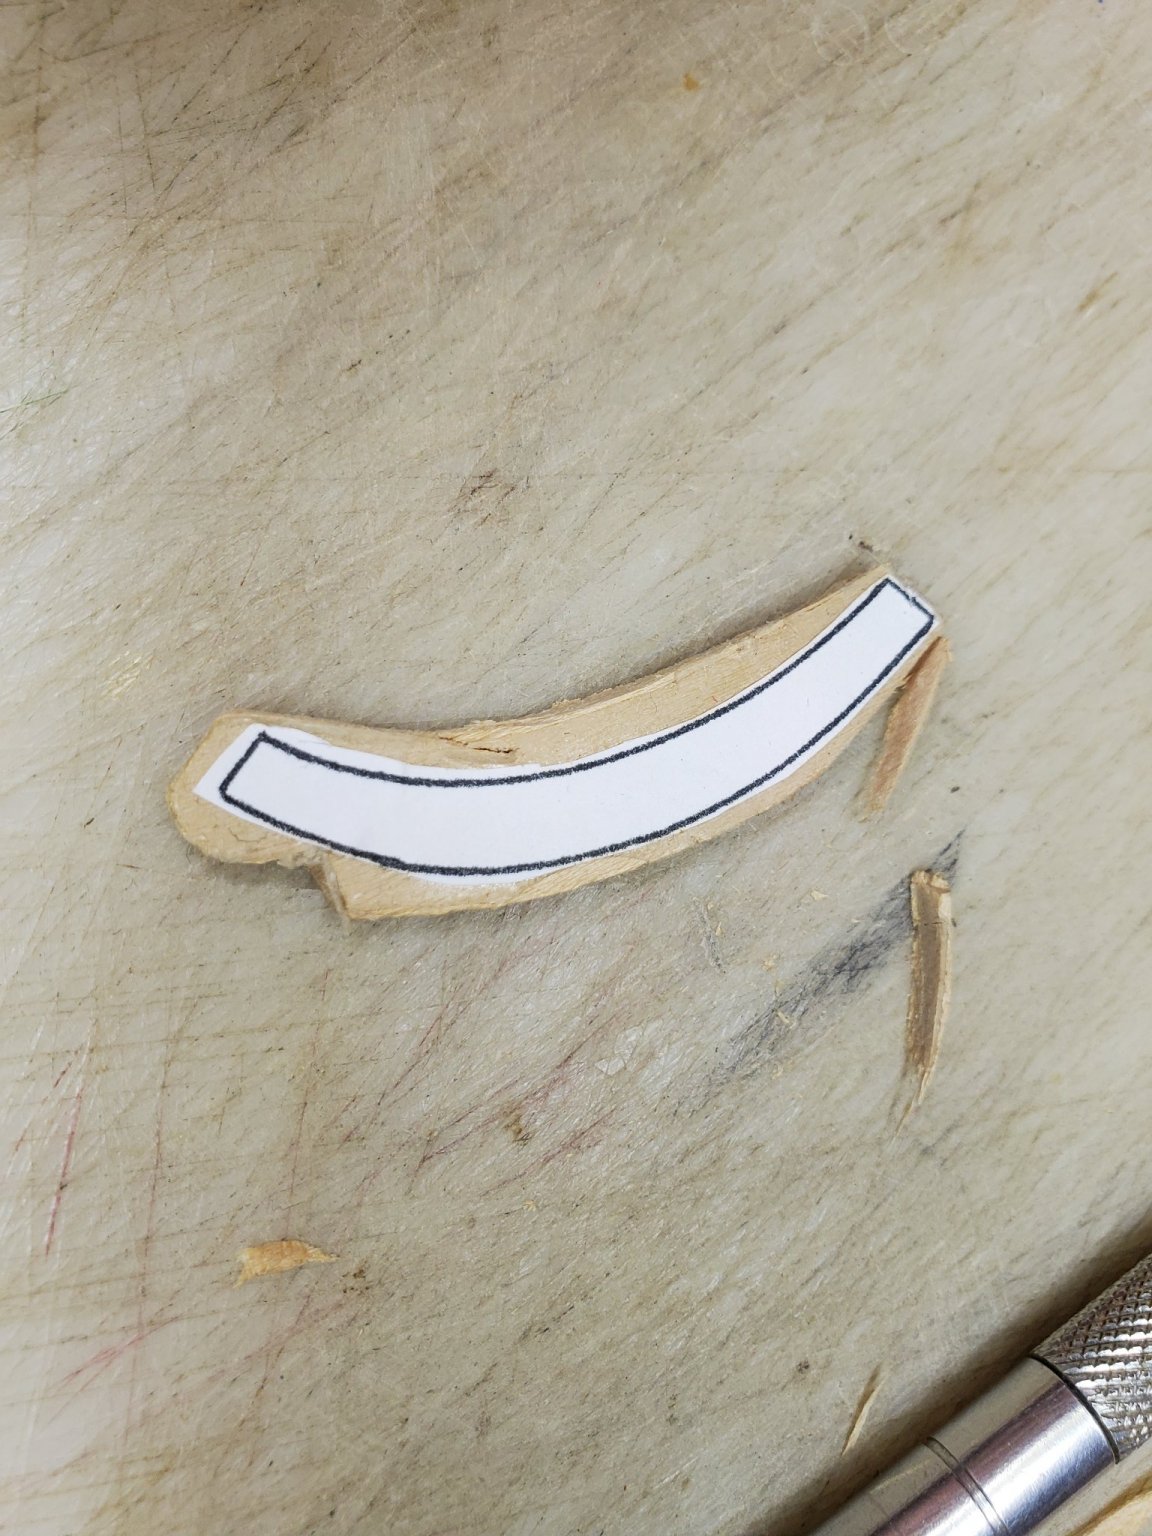
New template for rudder and rudder post copied at 112%, alongside original.
- Canute, Ryland Craze, mtaylor and 1 other
-
4
-
The rudder as depicted on the plans is too small for the area between the fantail and the keel, so we did a bit of math and determined a 12% increase in size would correct the problem.

-
After another long break Michael is returning to this model. During the break, he built the frame of the Chuck Passaro English Pinnace that he was given as a gift, and completed a model of USS Laffey DD-459, which took 1st place in the Junior division at the 40th annual NE Joint Clubs Ship Model Conference on April 29th in New London, CT. New pictures to this build log coming soon.
- Ryland Craze, mtaylor and Canute
-
3
-
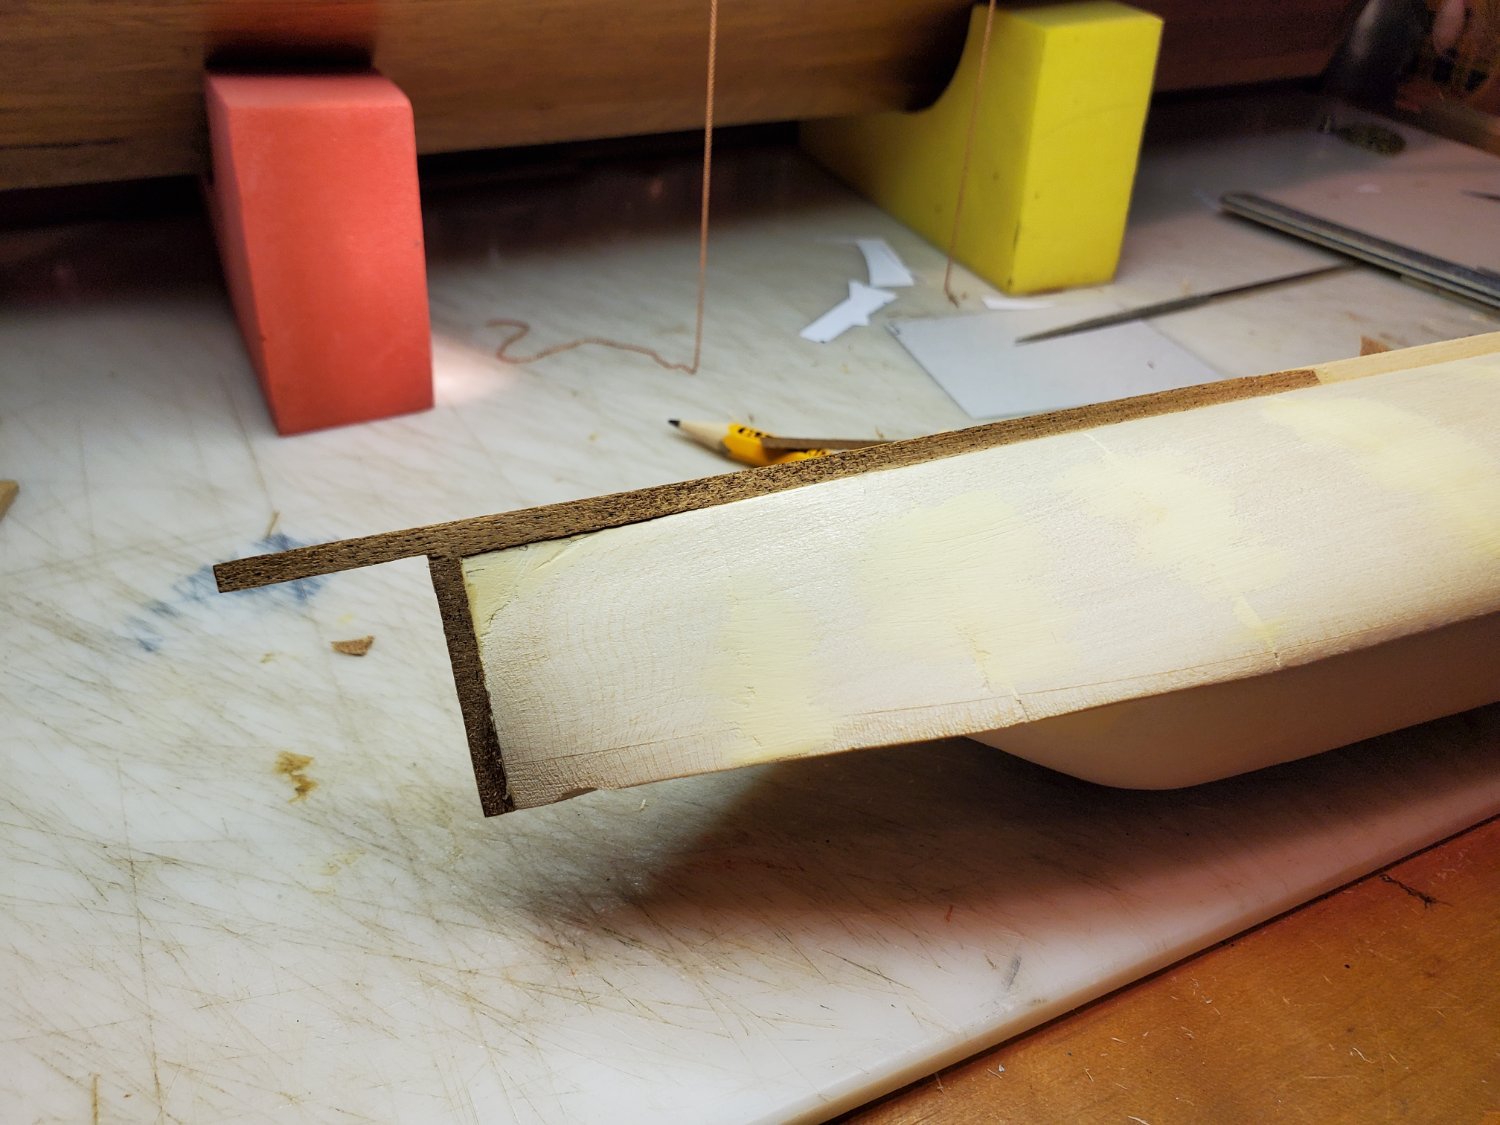
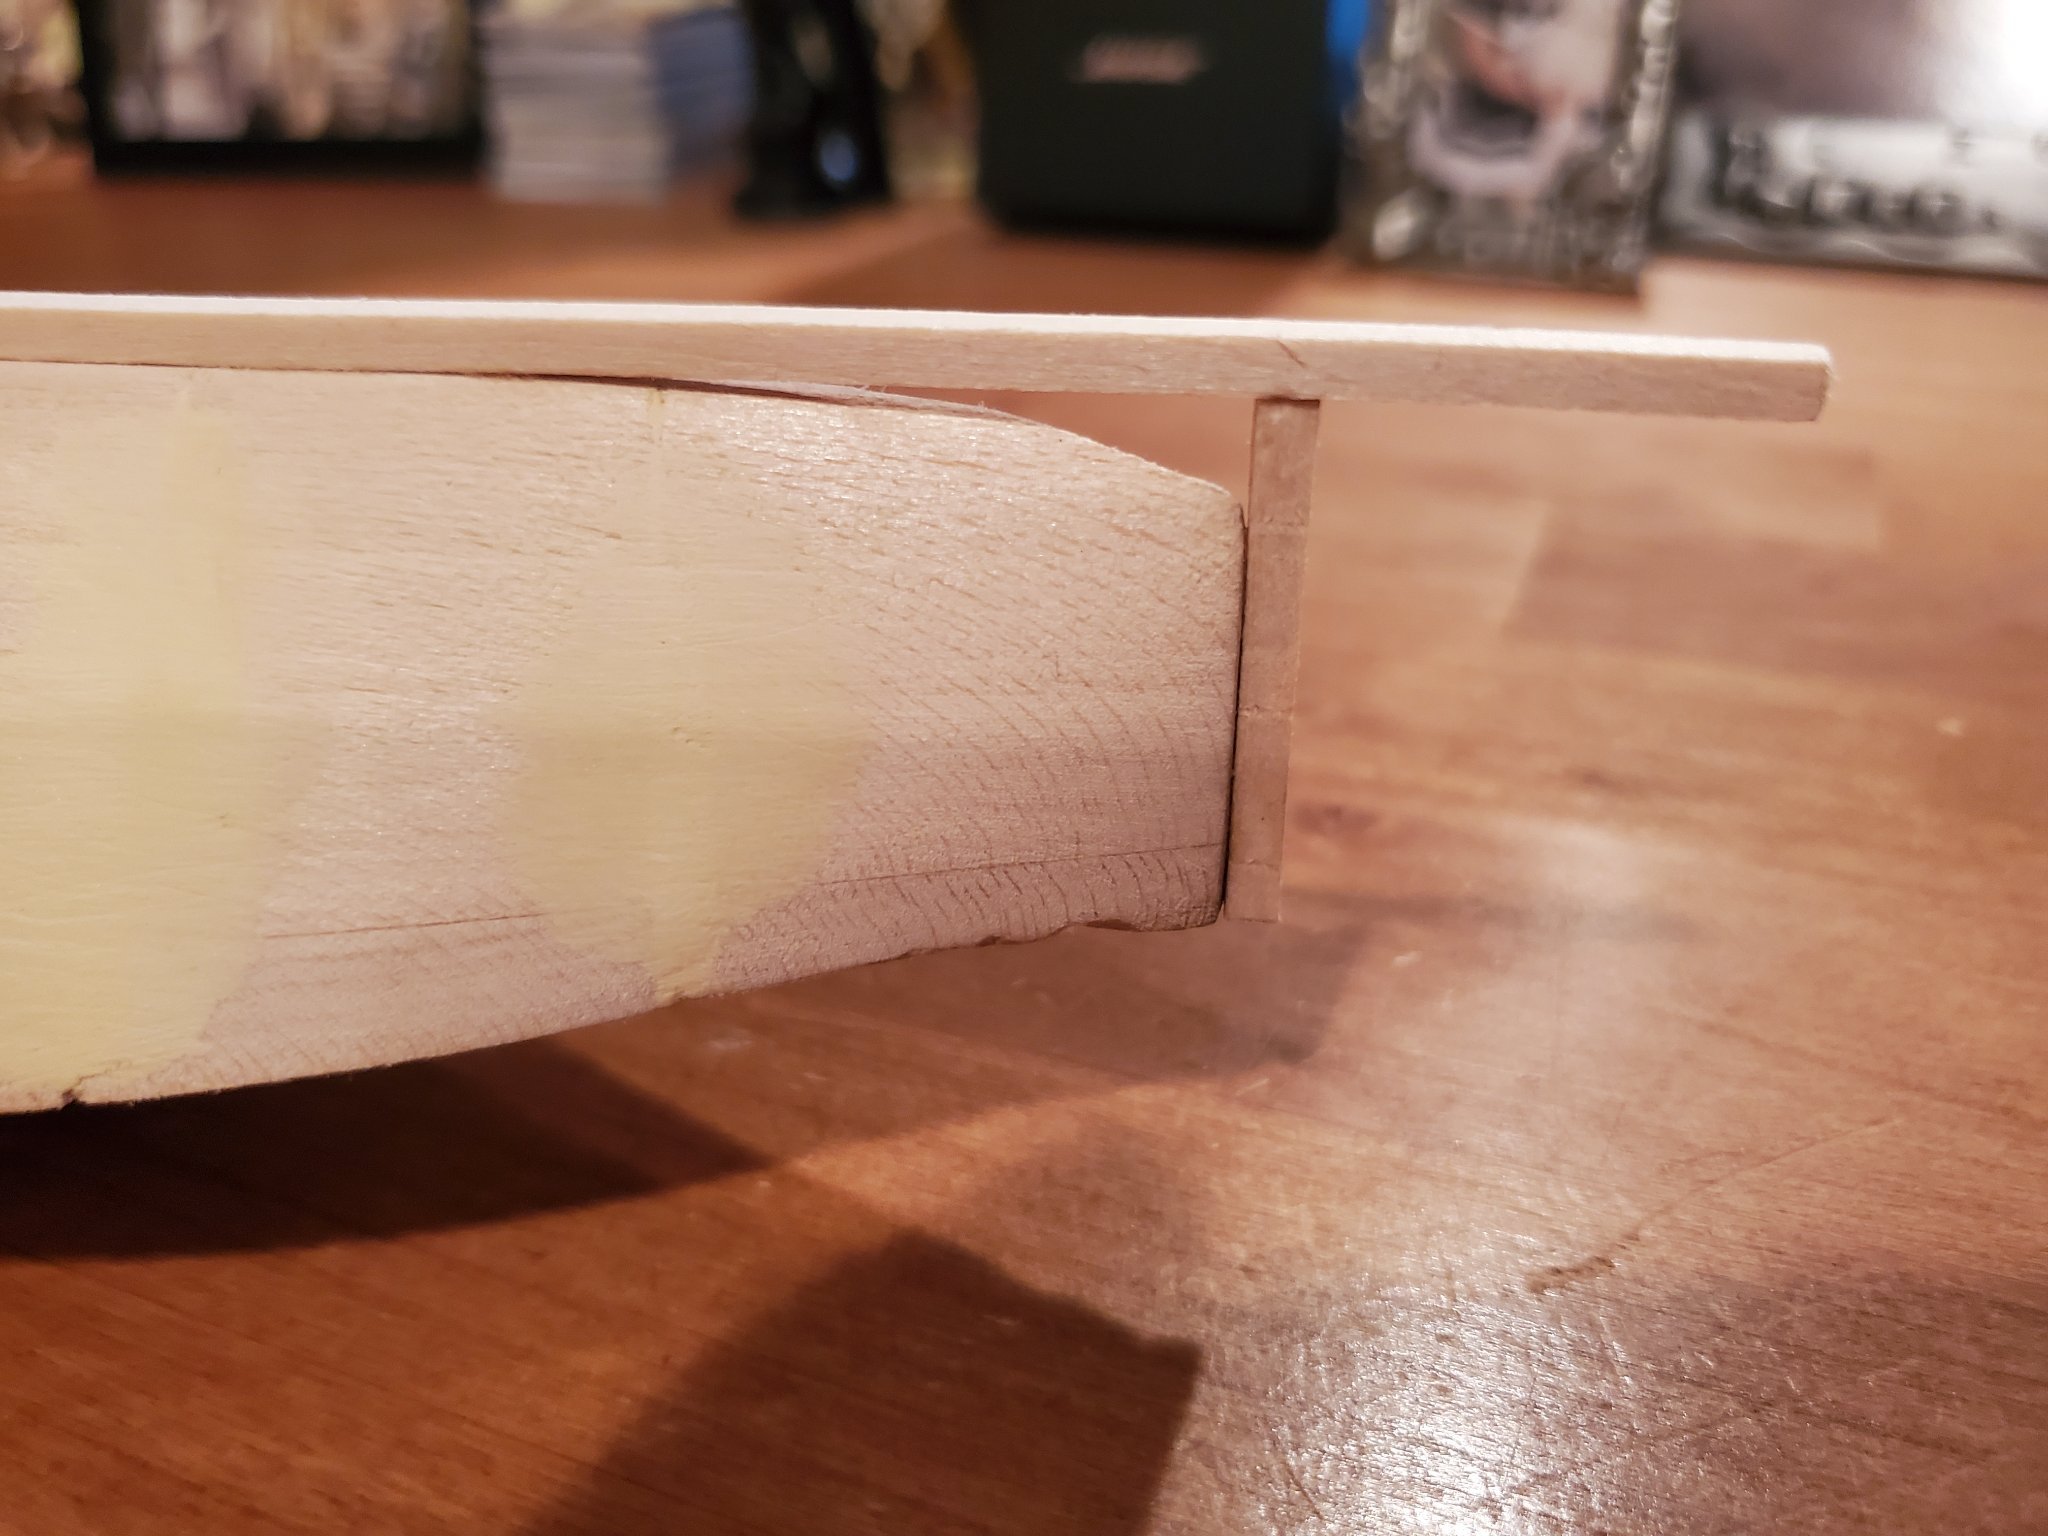
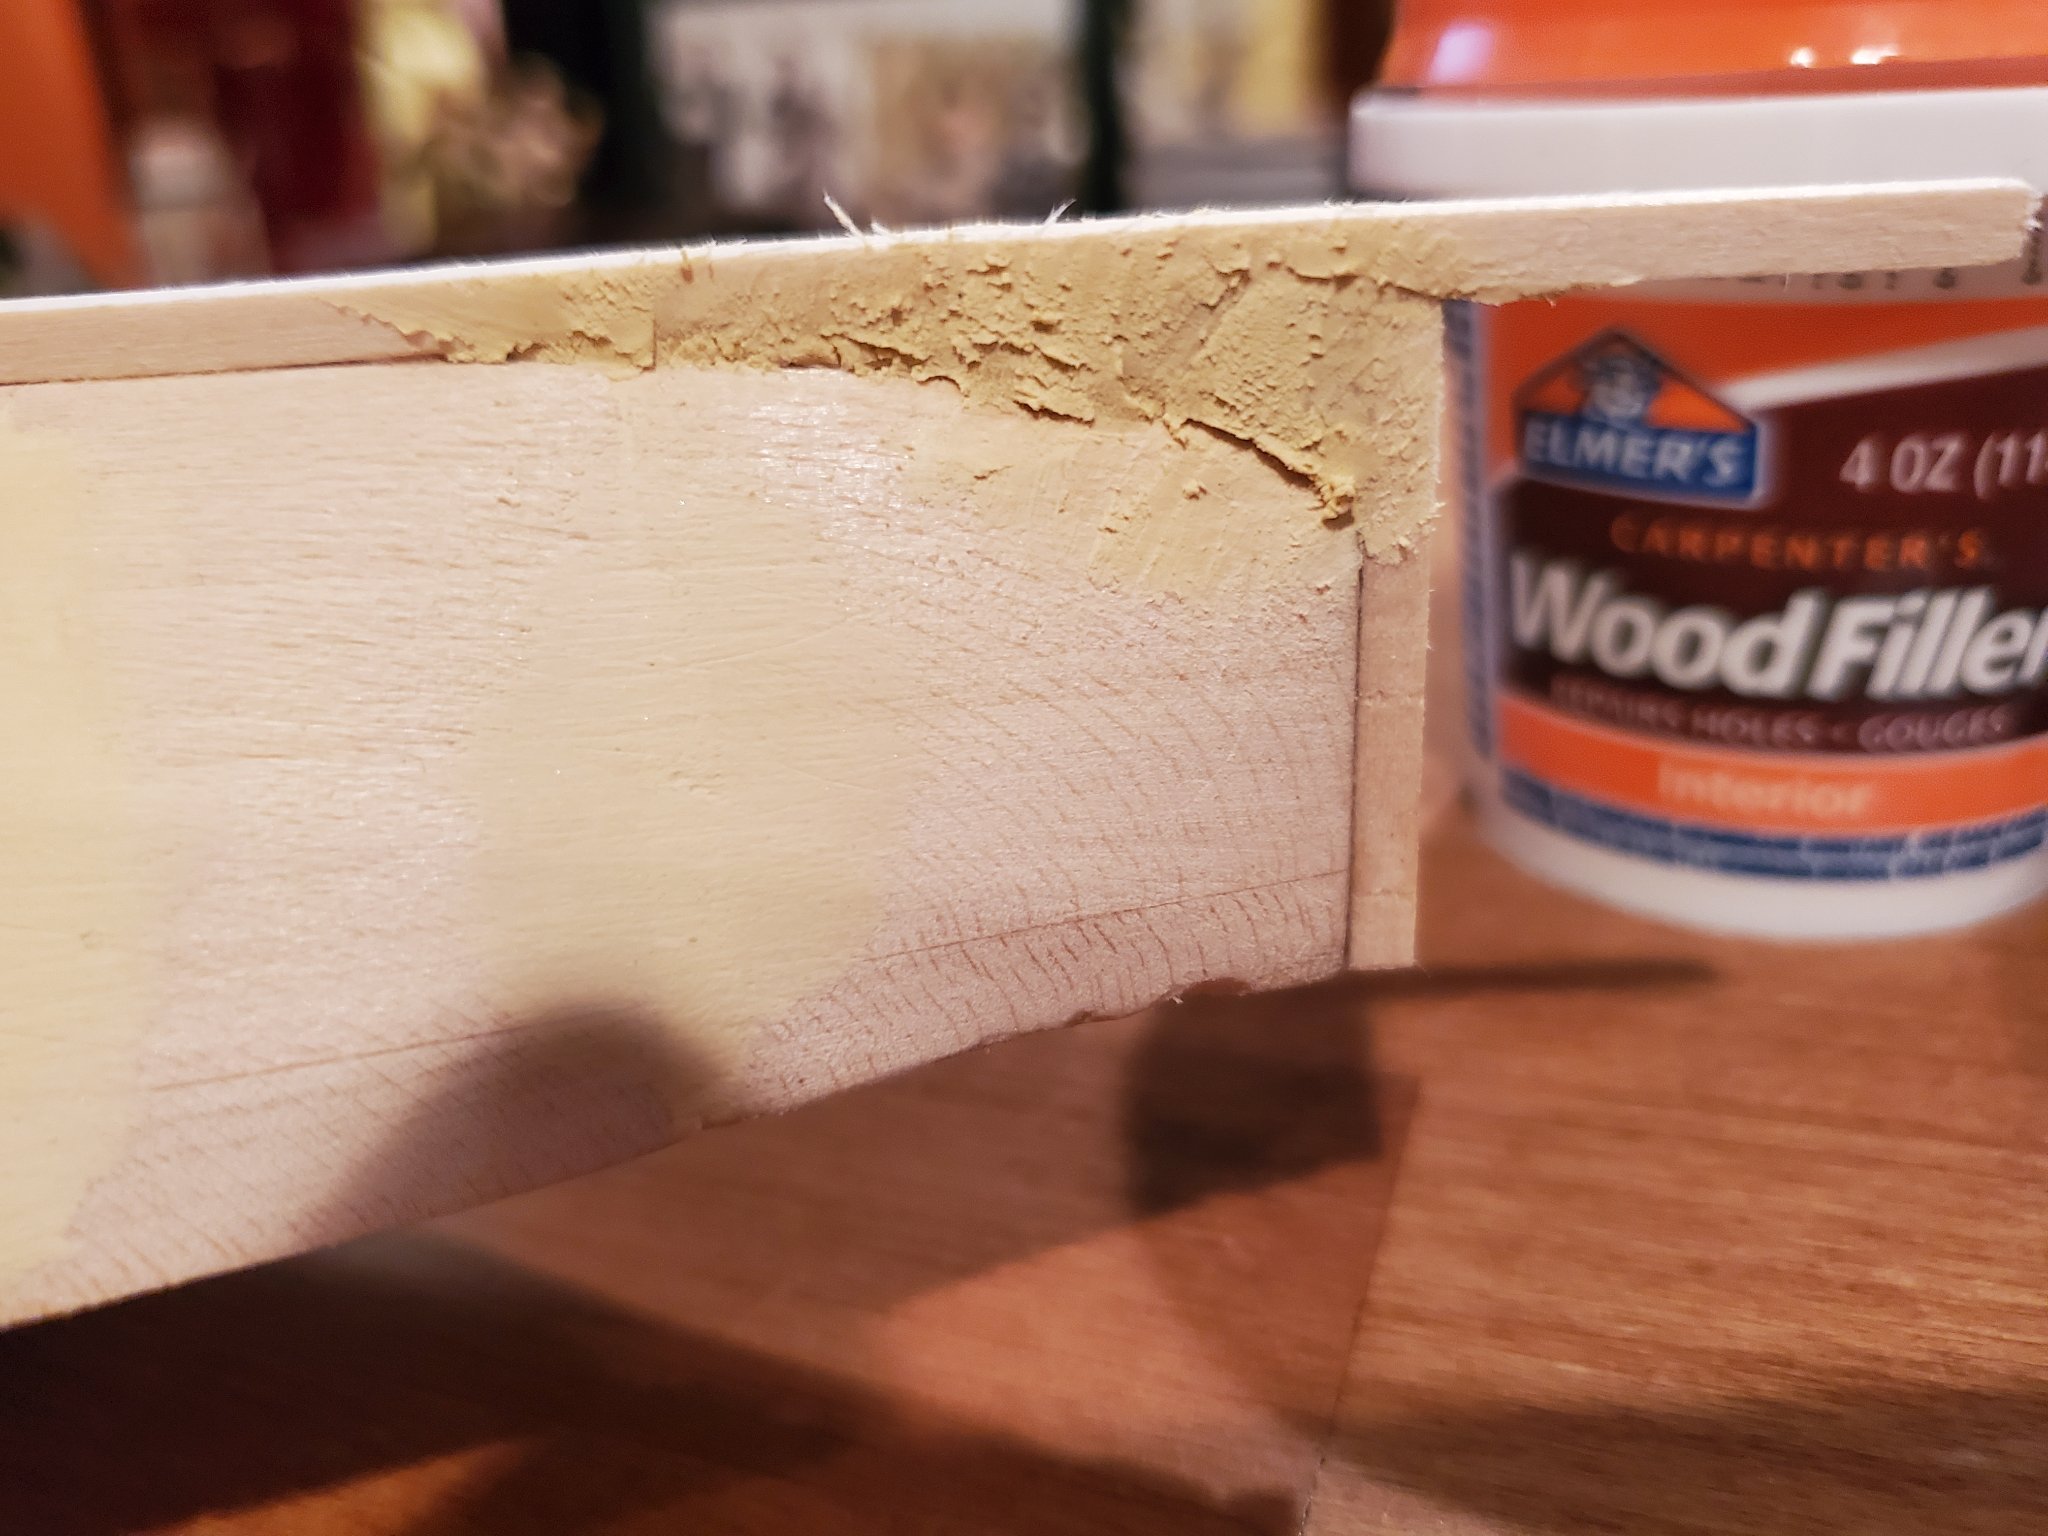
A gap between the keel and the hull at the stern will be filled with scrap wood strips and then finished with wood filler.

- mtaylor, GrandpaPhil, Canute and 4 others
-
7
-
-
-
Installing the stem.
Some building up of the hull with thin wood strips was required to get an appropriate fit. This will all be covered up when the copper plating is installed.

- Canute, GrandpaPhil and VTHokiEE
-
3
-
-
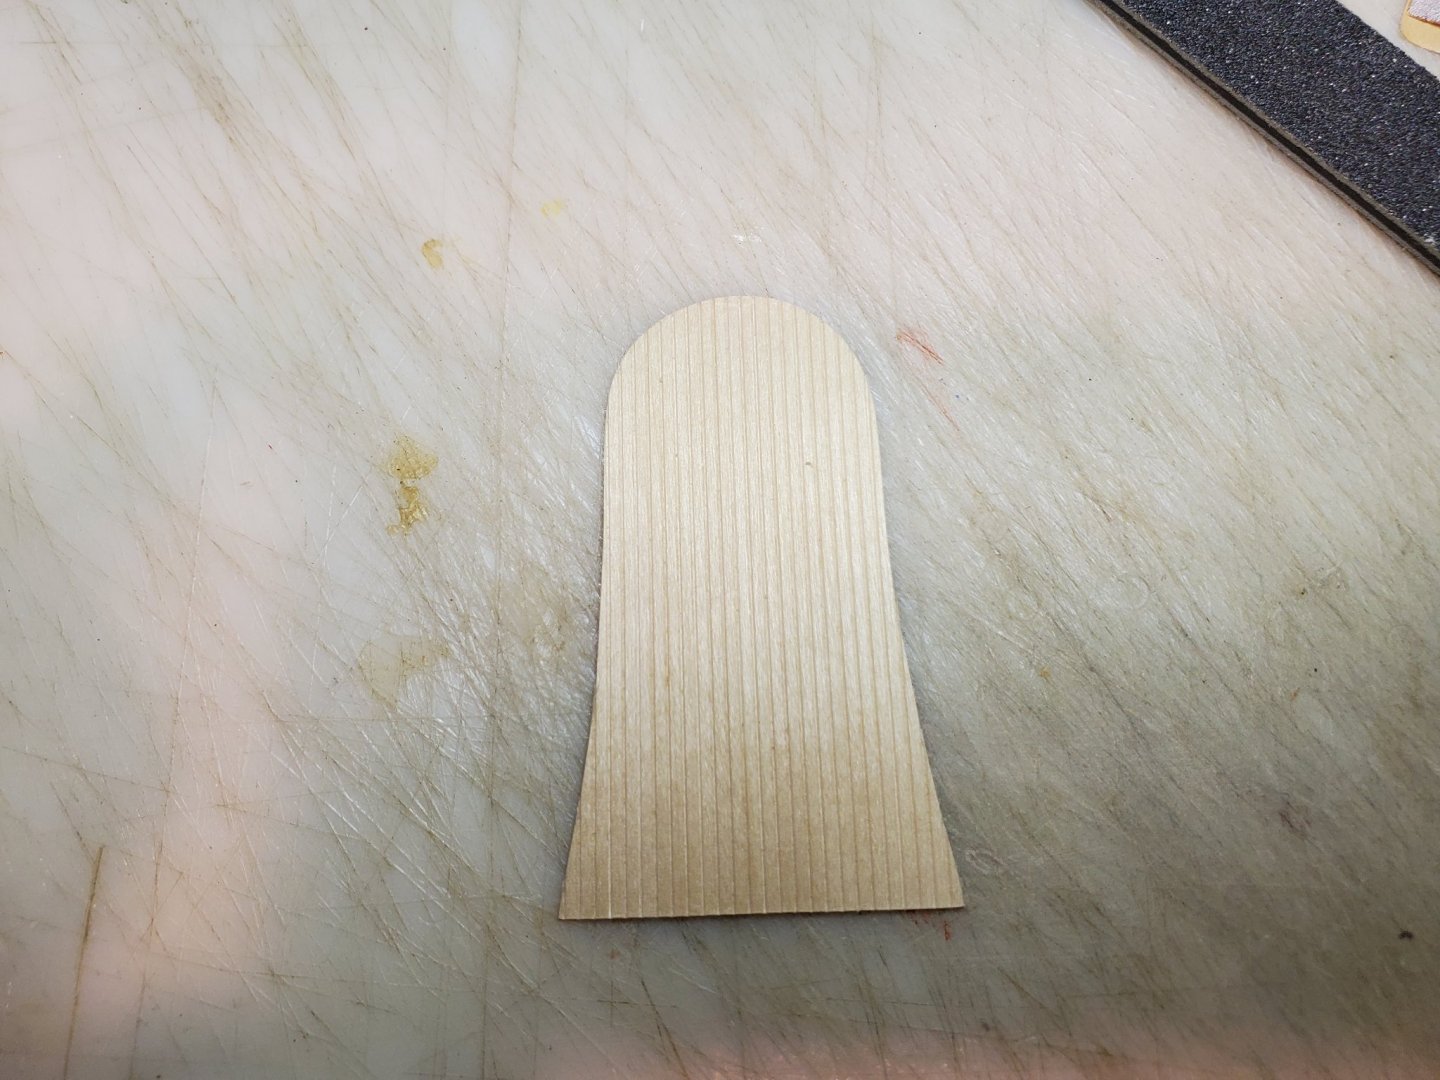
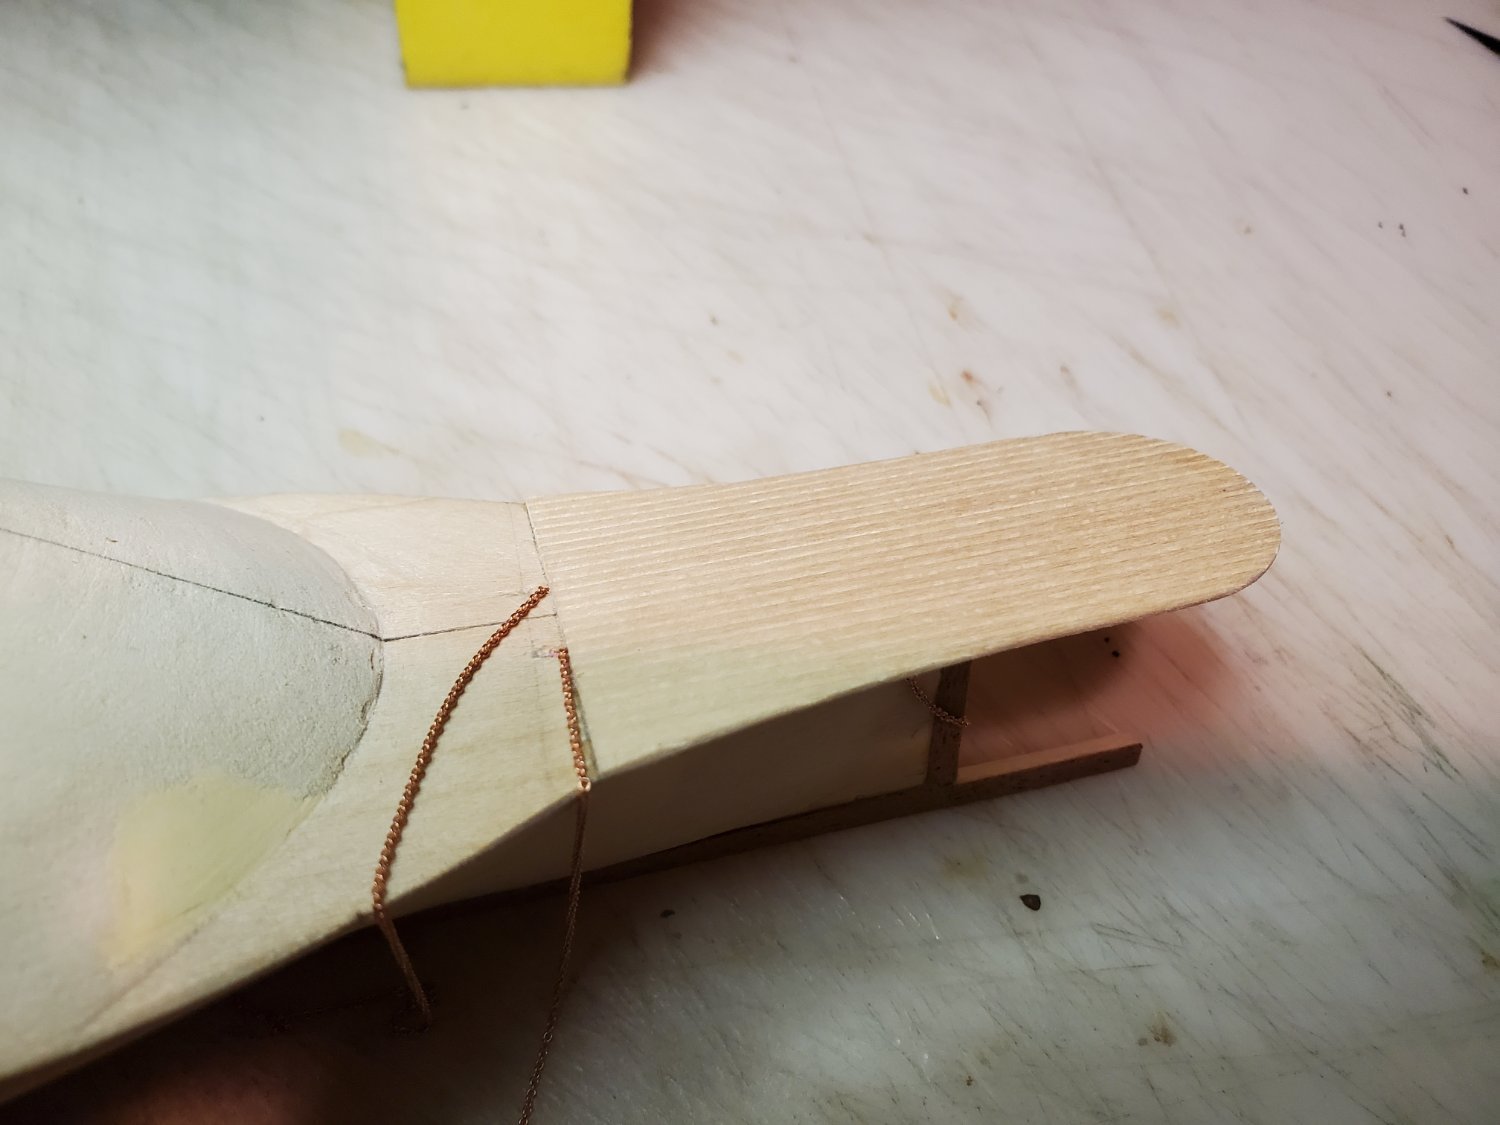
Making the fantail of the aft deck.


- gak1965, Ryland Craze, VTHokiEE and 4 others
-
7
-
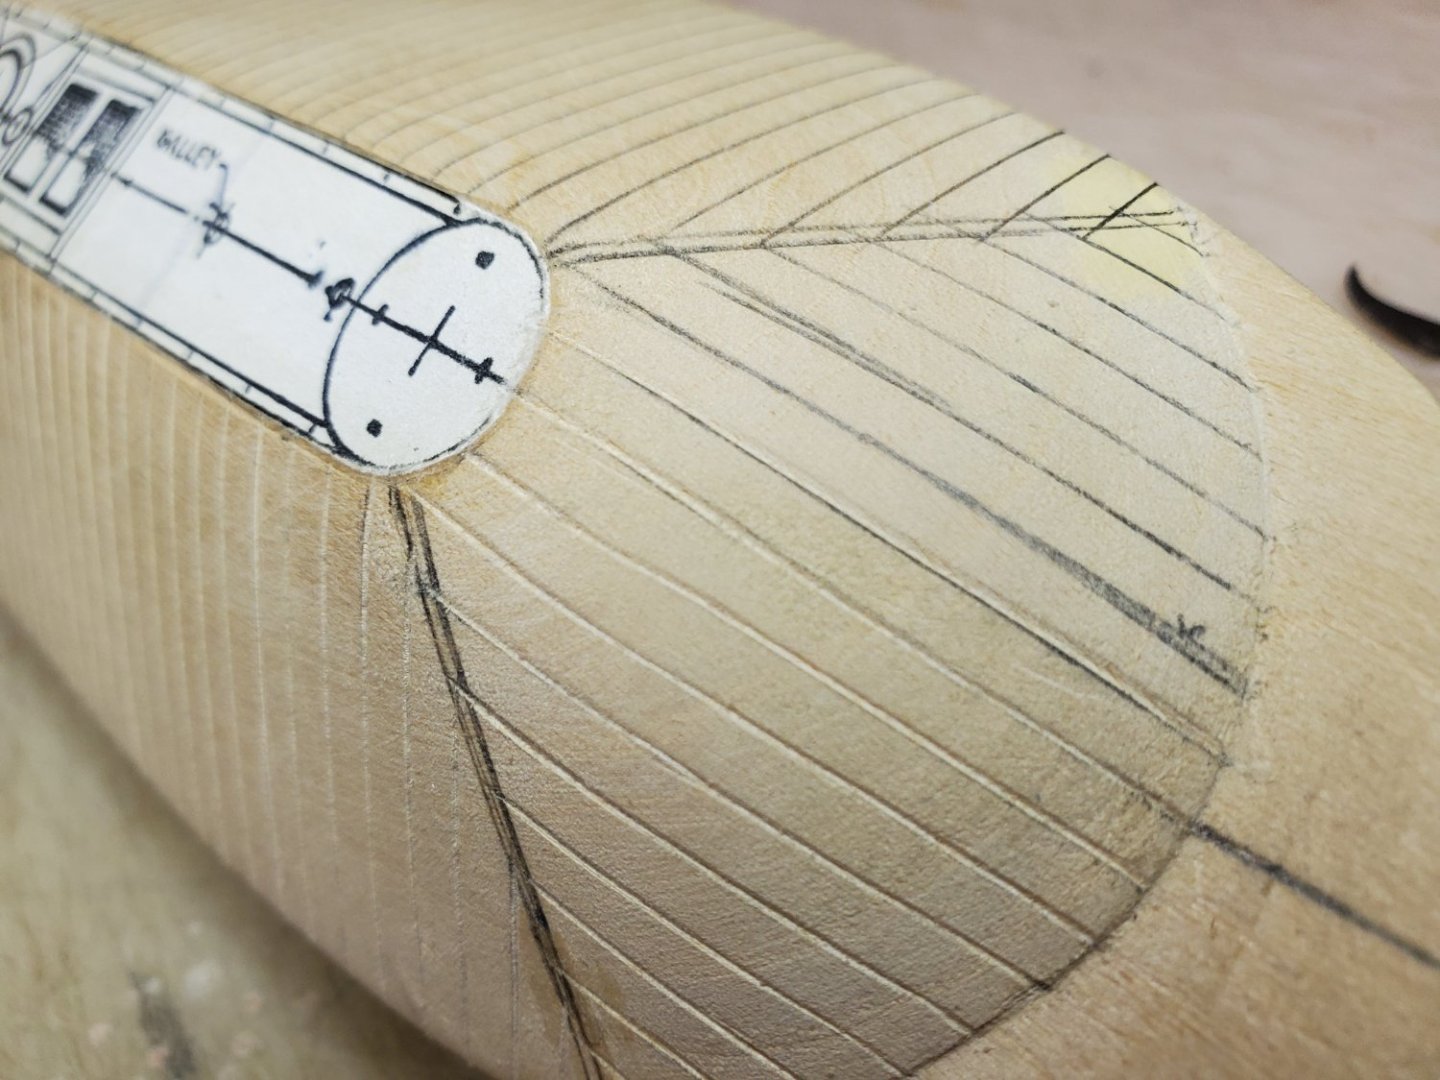
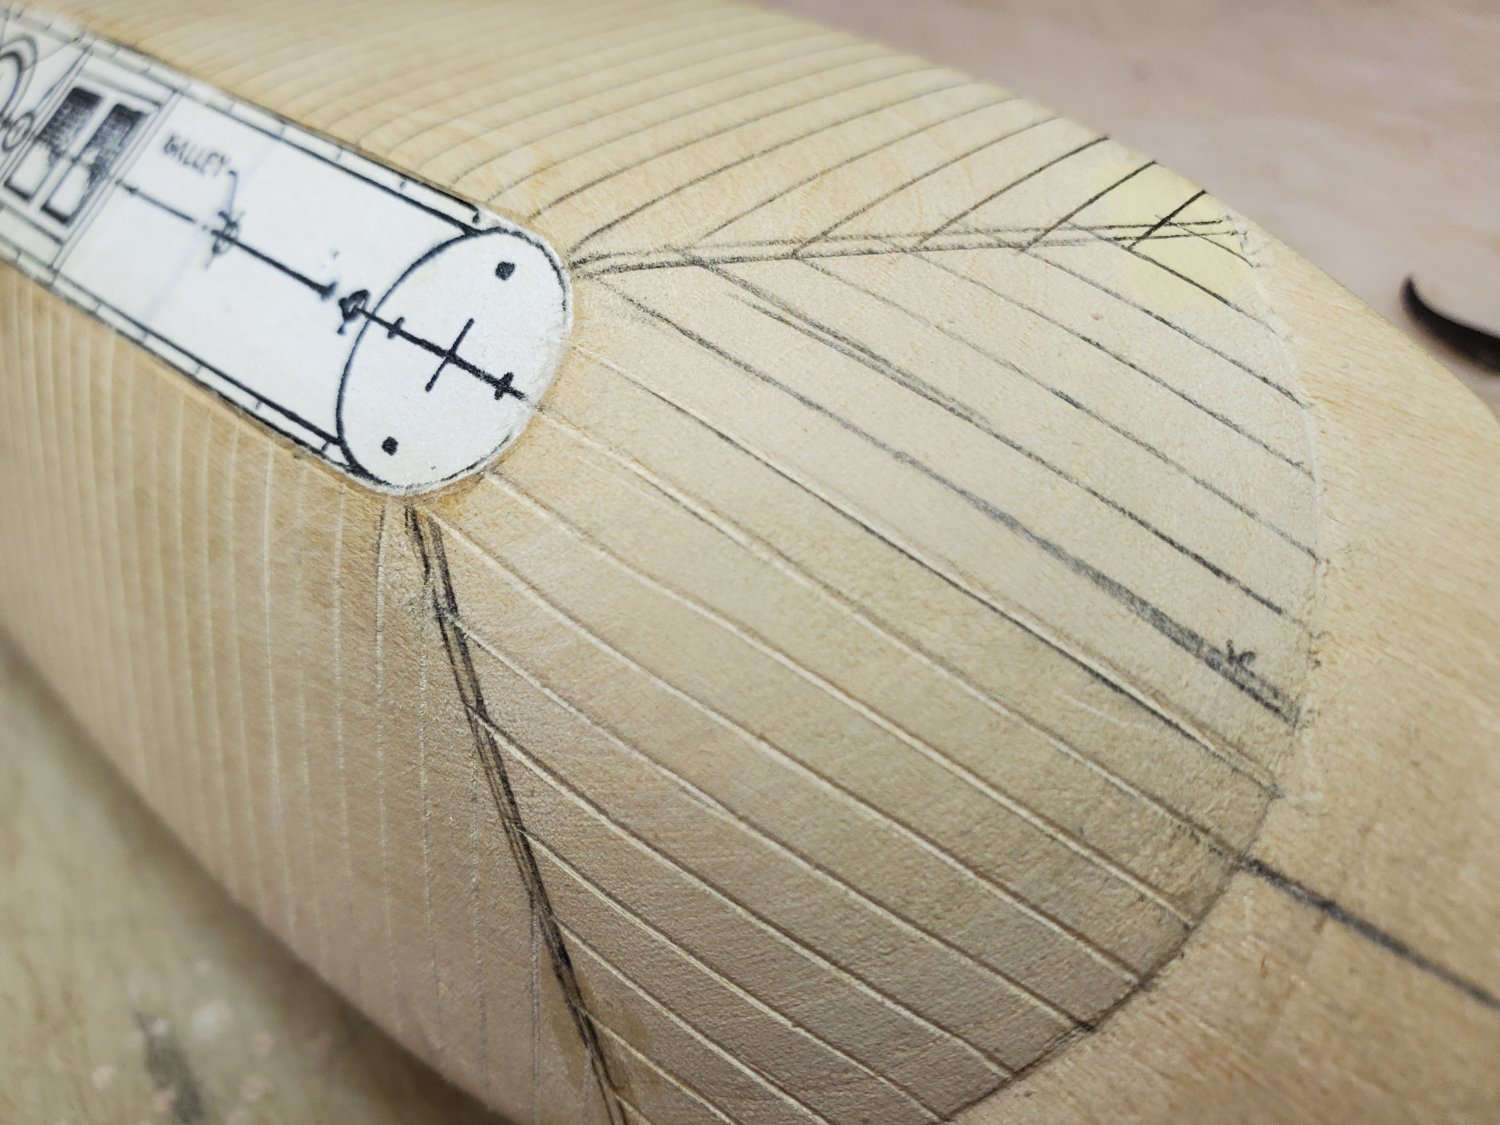
Final shaping of the bow with notch for the ram.

- VTHokiEE, Nunnehi (Don), mtaylor and 4 others
-
7


CSS Virginia by cgiacoppo - BlueJacket Shipcrafters - Scale 1:192 - My son Michael's first wooden ship build
in - Kit build logs for subjects built from 1851 - 1900
Posted
It was difficult to get the chain back through the hole. I ended up tying a piece of thread to the chain and then the other end of the thread to a piece of thin wire that I was able to push through. Once the end of the wire emerged with the thread, I used the thread to pull the chain through.