Jackson7
-
Posts
189 -
Joined
-
Last visited
Content Type
Profiles
Forums
Gallery
Events
Everything posted by Jackson7
-
Despite the fact that I no longer have to go to the lengths of boiling and bending planks, I still find my max pace per day is about two uncut planks worth of wood. It looks like things are going in the right direction, however. I have finished the center, and it is maybe 1 mm off toward the stern. But I don't think it's a big deal because it's not that visible.

-
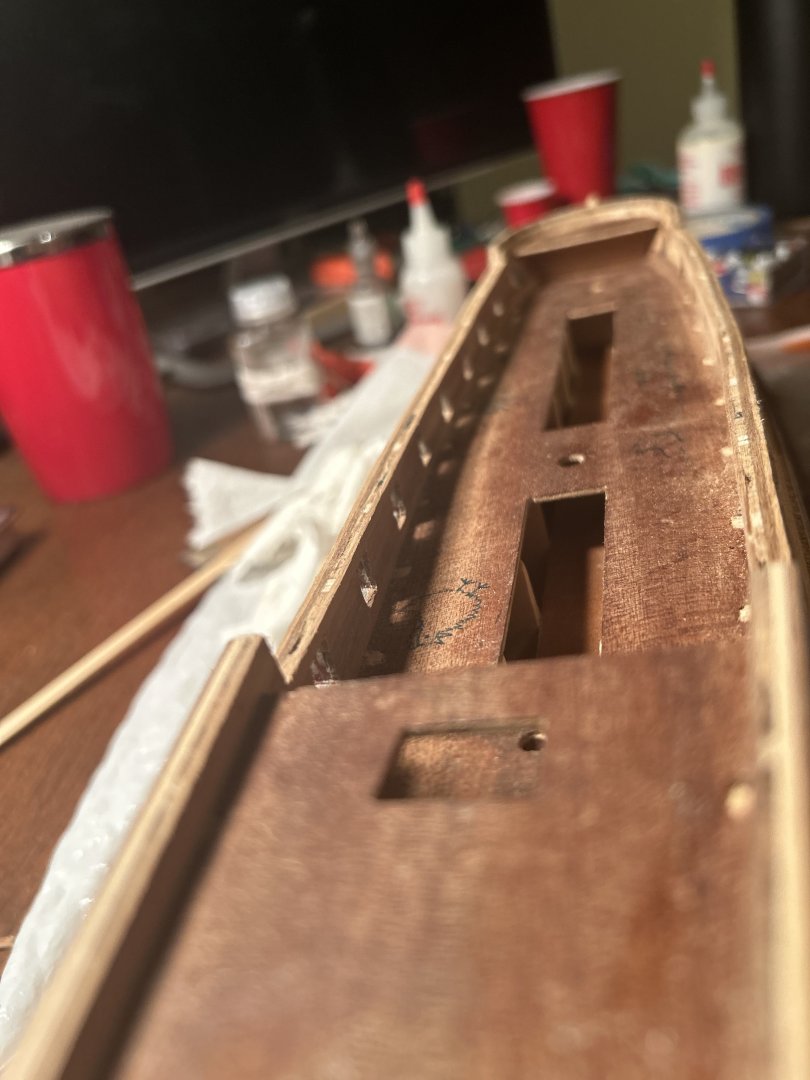
The advance slowly continues. As of now, the plan is to plank along the middle, then build outward from the sides and deal with all the fiddly bits that have to fit the ship's curves last. By doing it this way, I should leave myself a solid base to build out from. Of course, given that the ship supplies pieces that frame the deck against the sides, I most likely don't need to be too worried about getting the space between the two absolutely perfect. With luck, I should be able to plank all the way to the cabin doors in three or four days. After that, I think I'll build to the sides of the main deck.

-
Good news! I've put planks over the entire beginning of the ship, and it's perfectly centered for certain. Now I just need to countinue going down toward the stern.

-
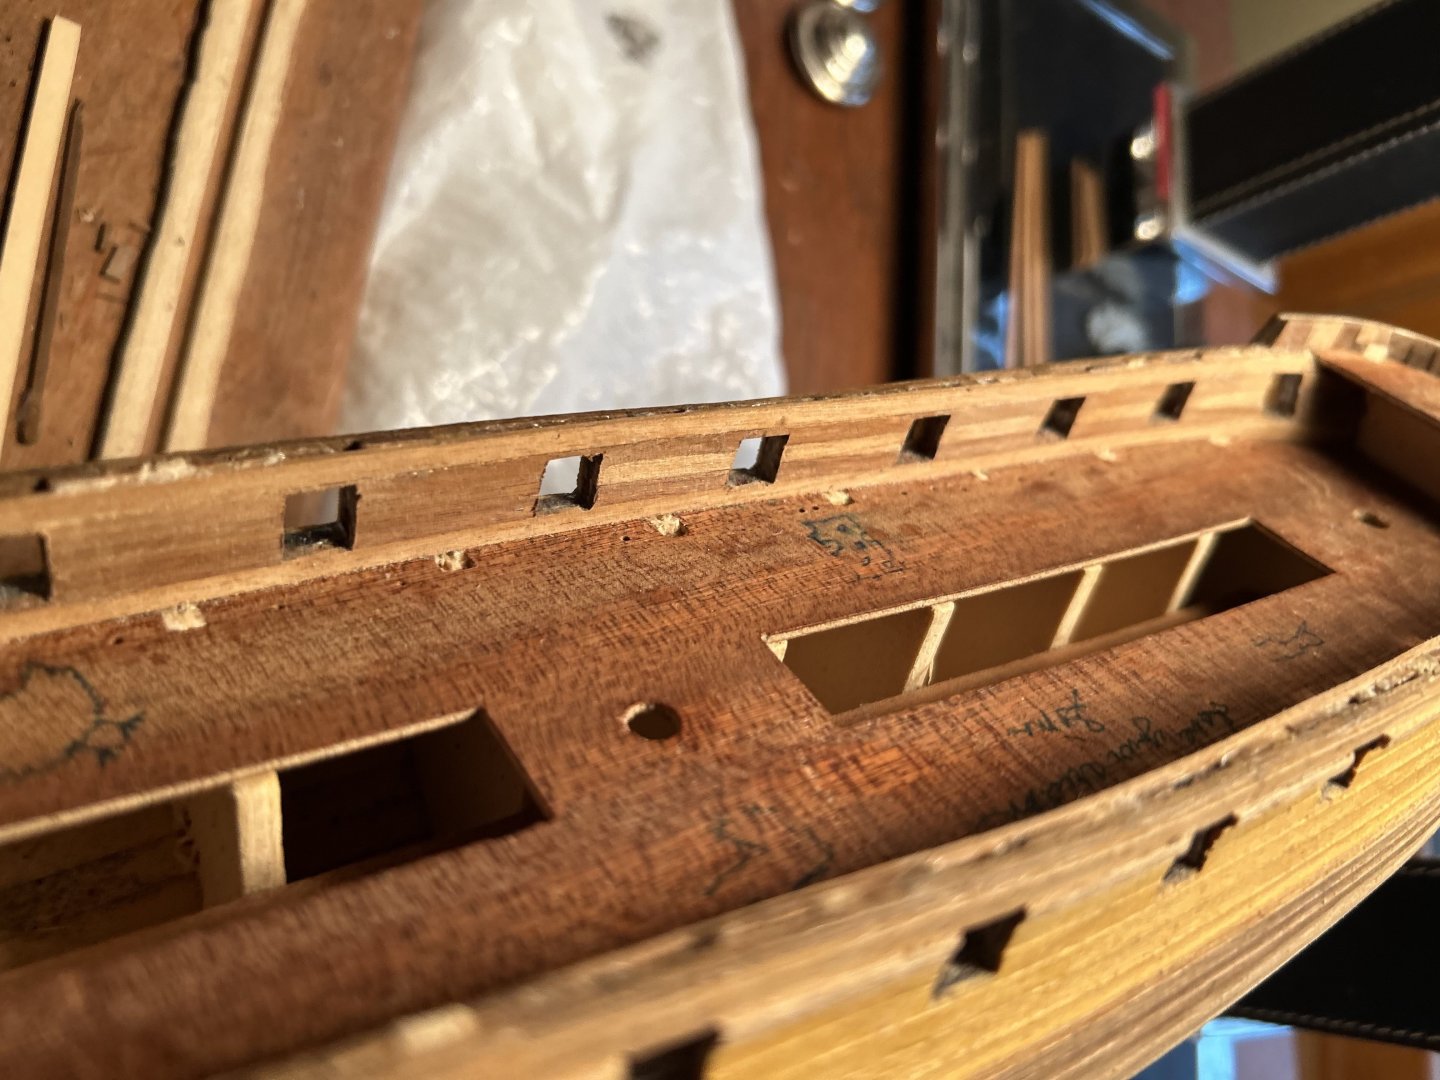
After careful measurement, I've started blanking the main deck. I've done my best to get the first four planks straight as possible. I think I've succeeded as best as I can for doing things by hand. These first four are important because they will serve as the cornerstone by which I will measure the rest of the ship.
-
After a few interruptions for important events, I'm back to work. Tonight I finished the foredeck. The lines between the boards comes from a colored pencil. The whole process with these deck planks is extremely straightforward. Although I can see now that the planks must've been slightly off center.
-
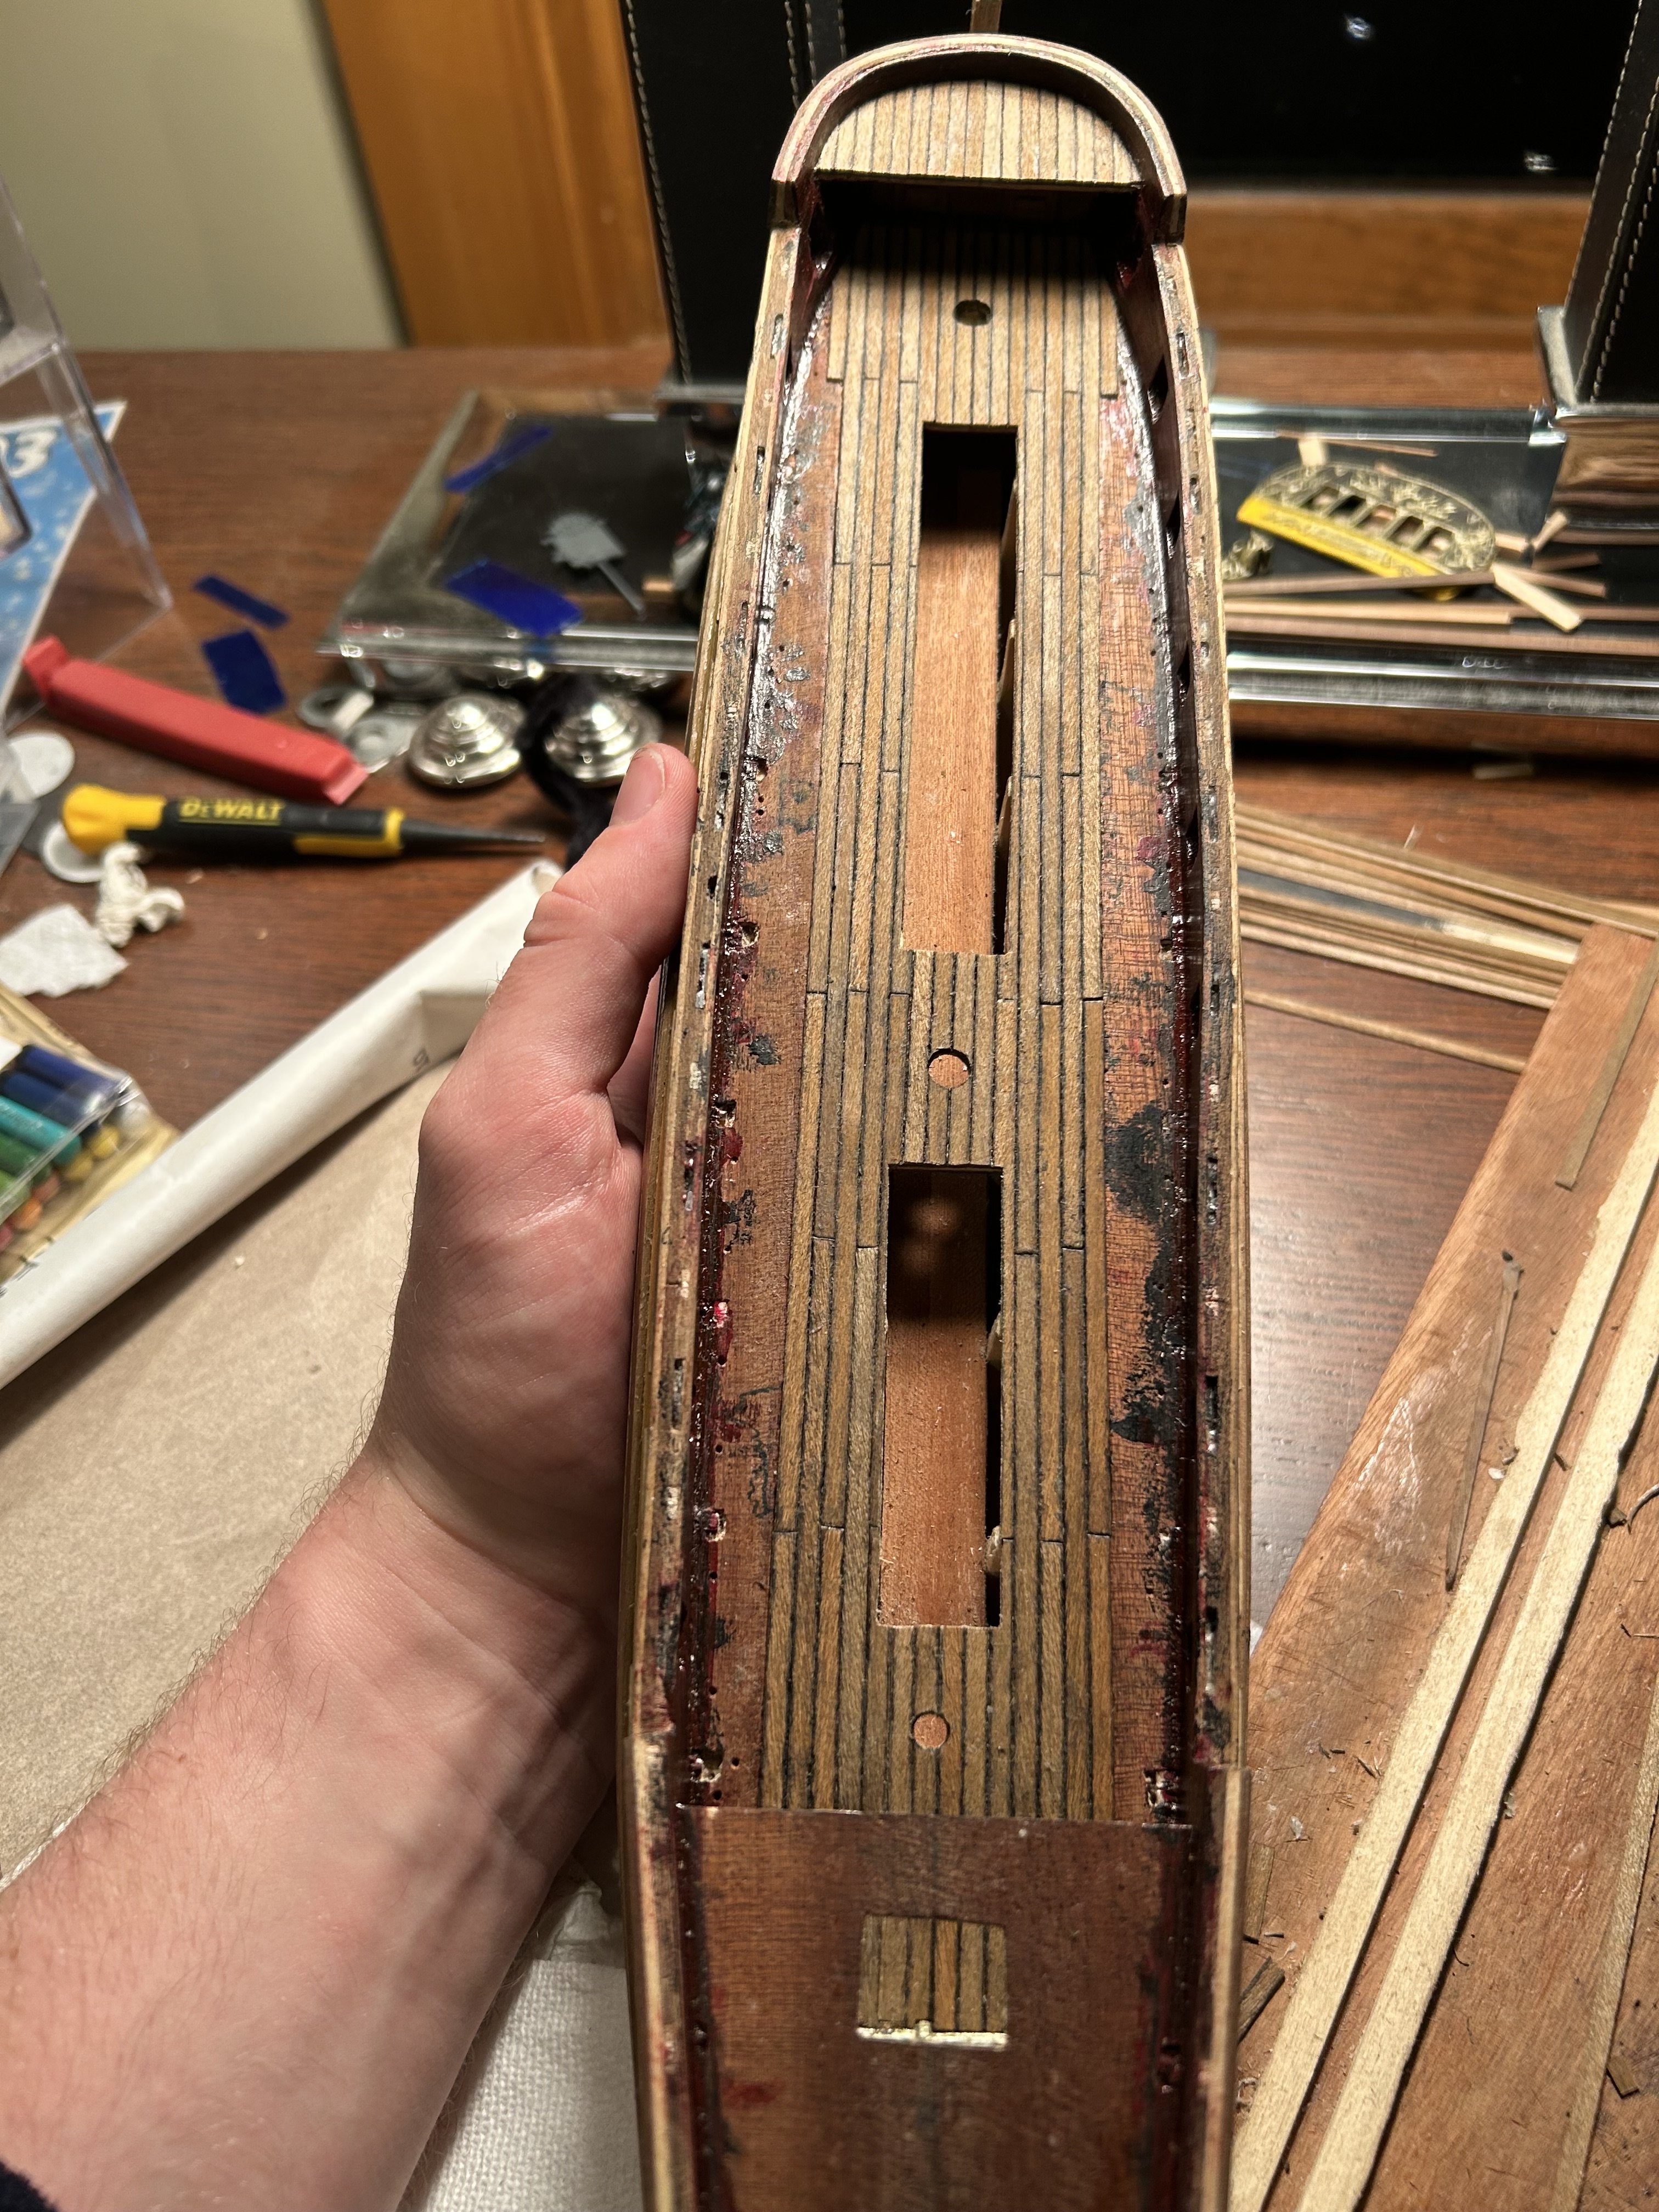
Today I've dyed the deck boards. All I had to do was soak steel wool in vinegar for two days, then brush the mixture onto the boards. After I use a colored pencil on the sides, they should be ready to go onto the deck.
-
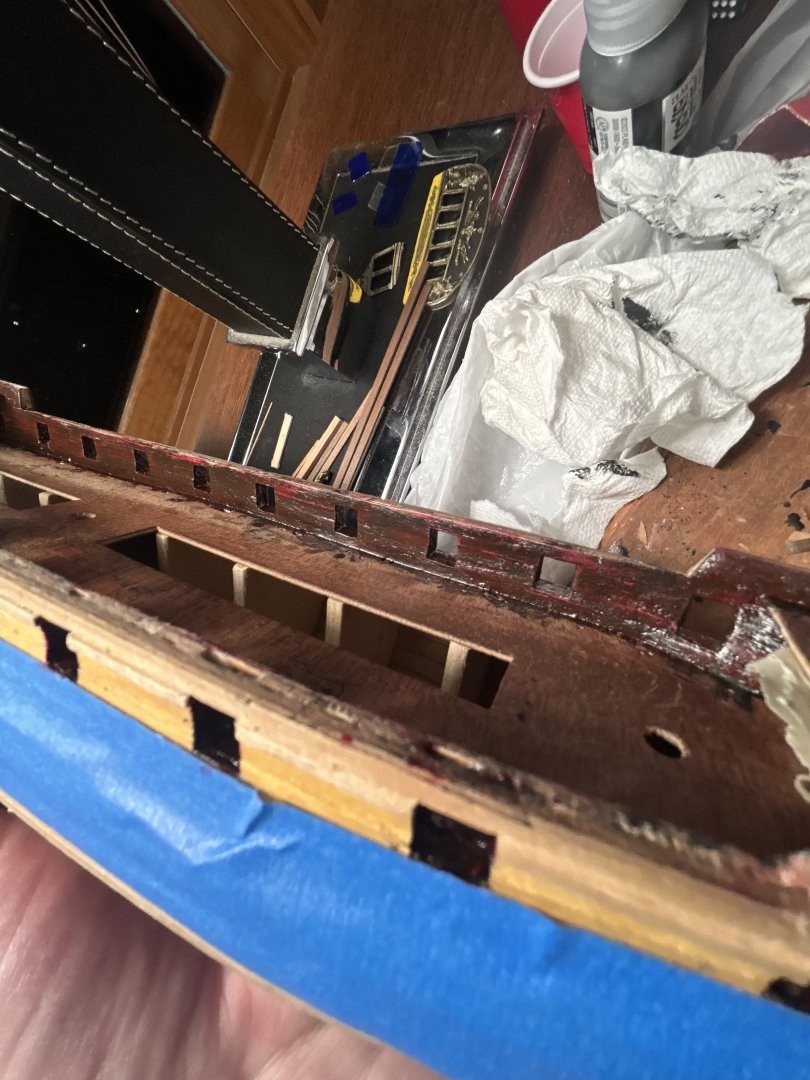
Just finished the second coat of red paint. I like how it looks a little weathered, and I don't think a third will do that much good. Once it dries, I'll get working on the deck.


-
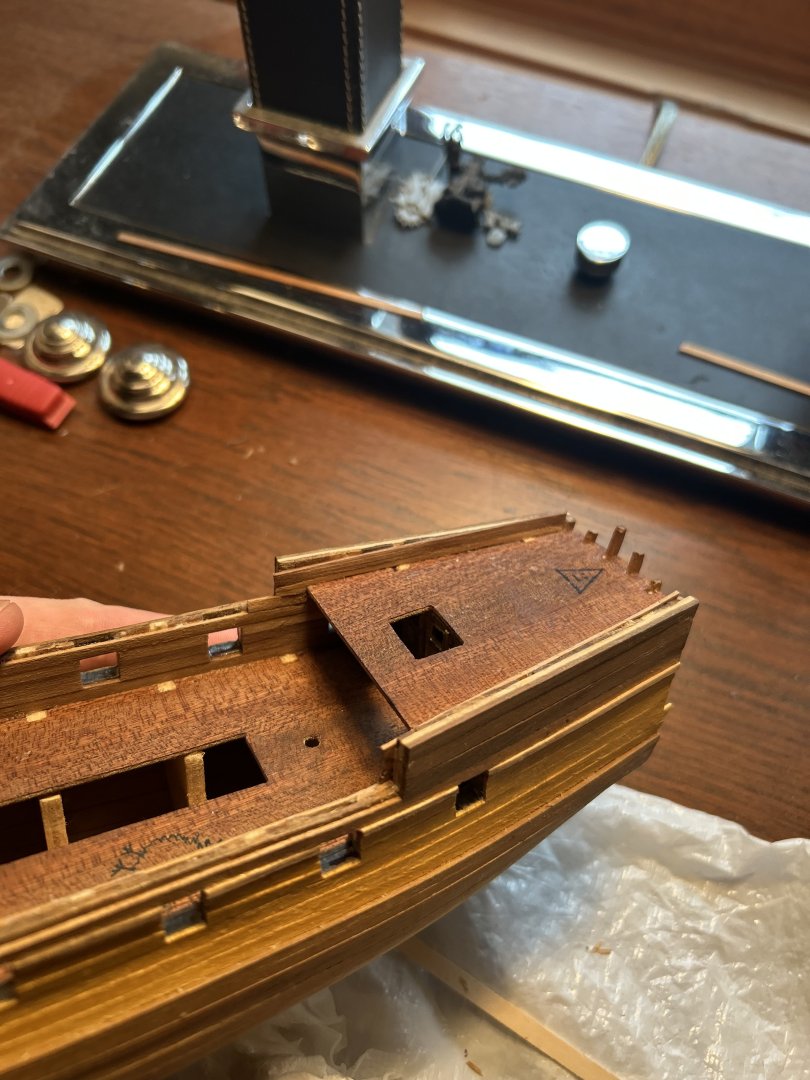
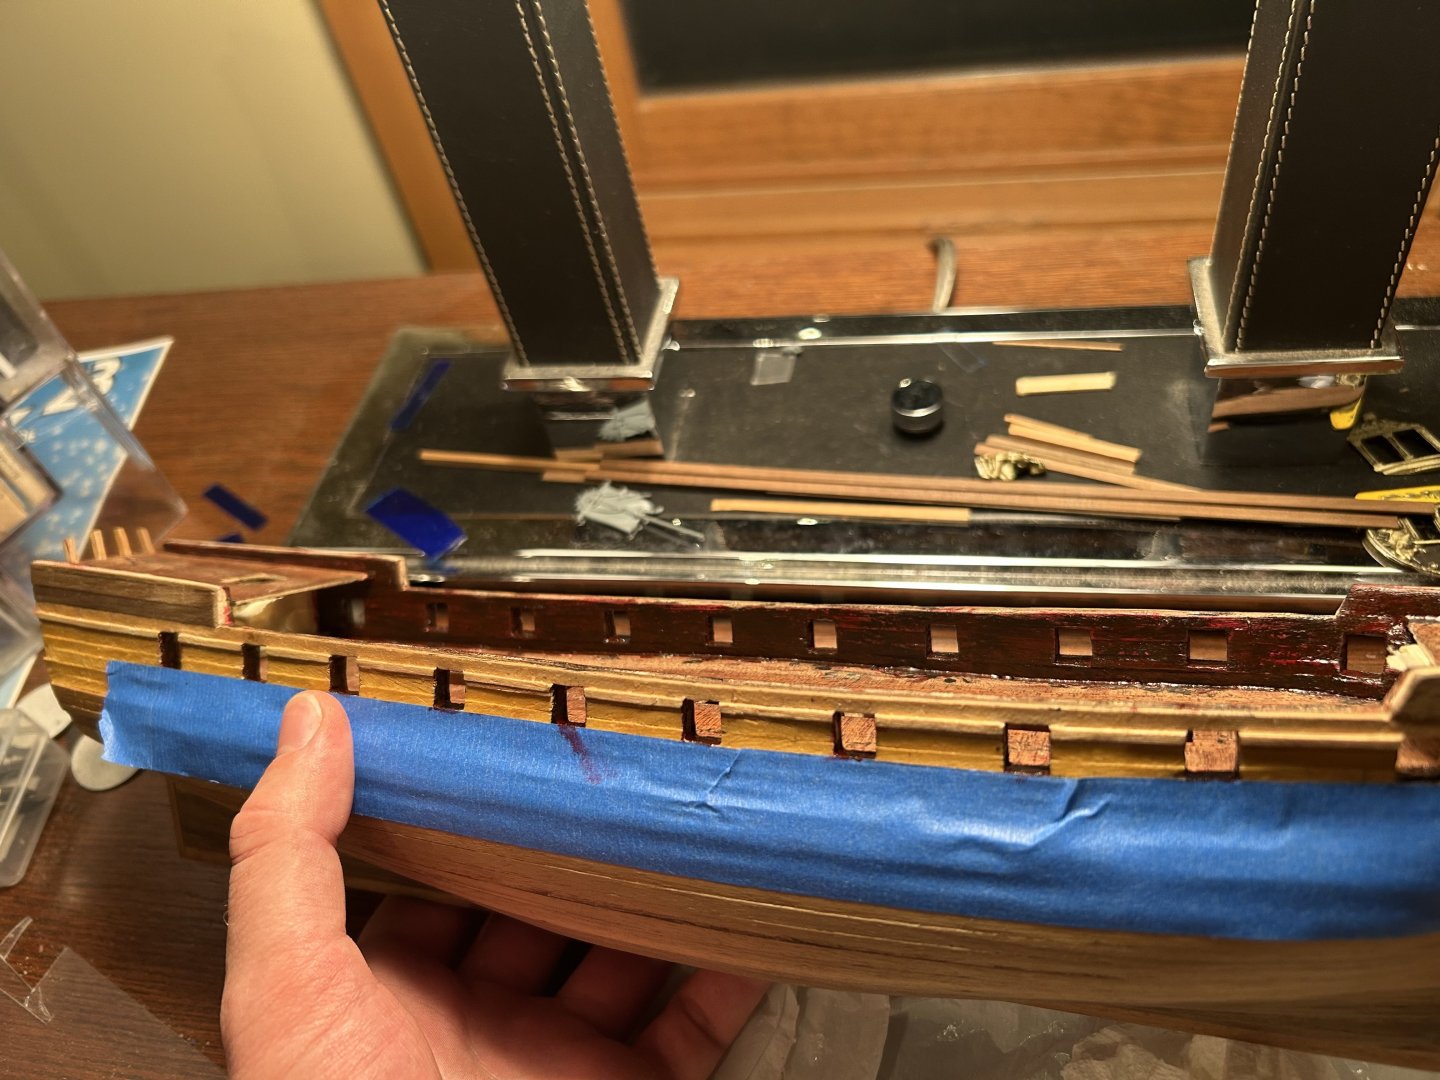
Much has transpired since the last update. I glued on the doors for the bow, primed the inner gunwales black, and painted them red. After it dries, I'll make the decision on whether it needs a second coat or if a more worn look is best.
-
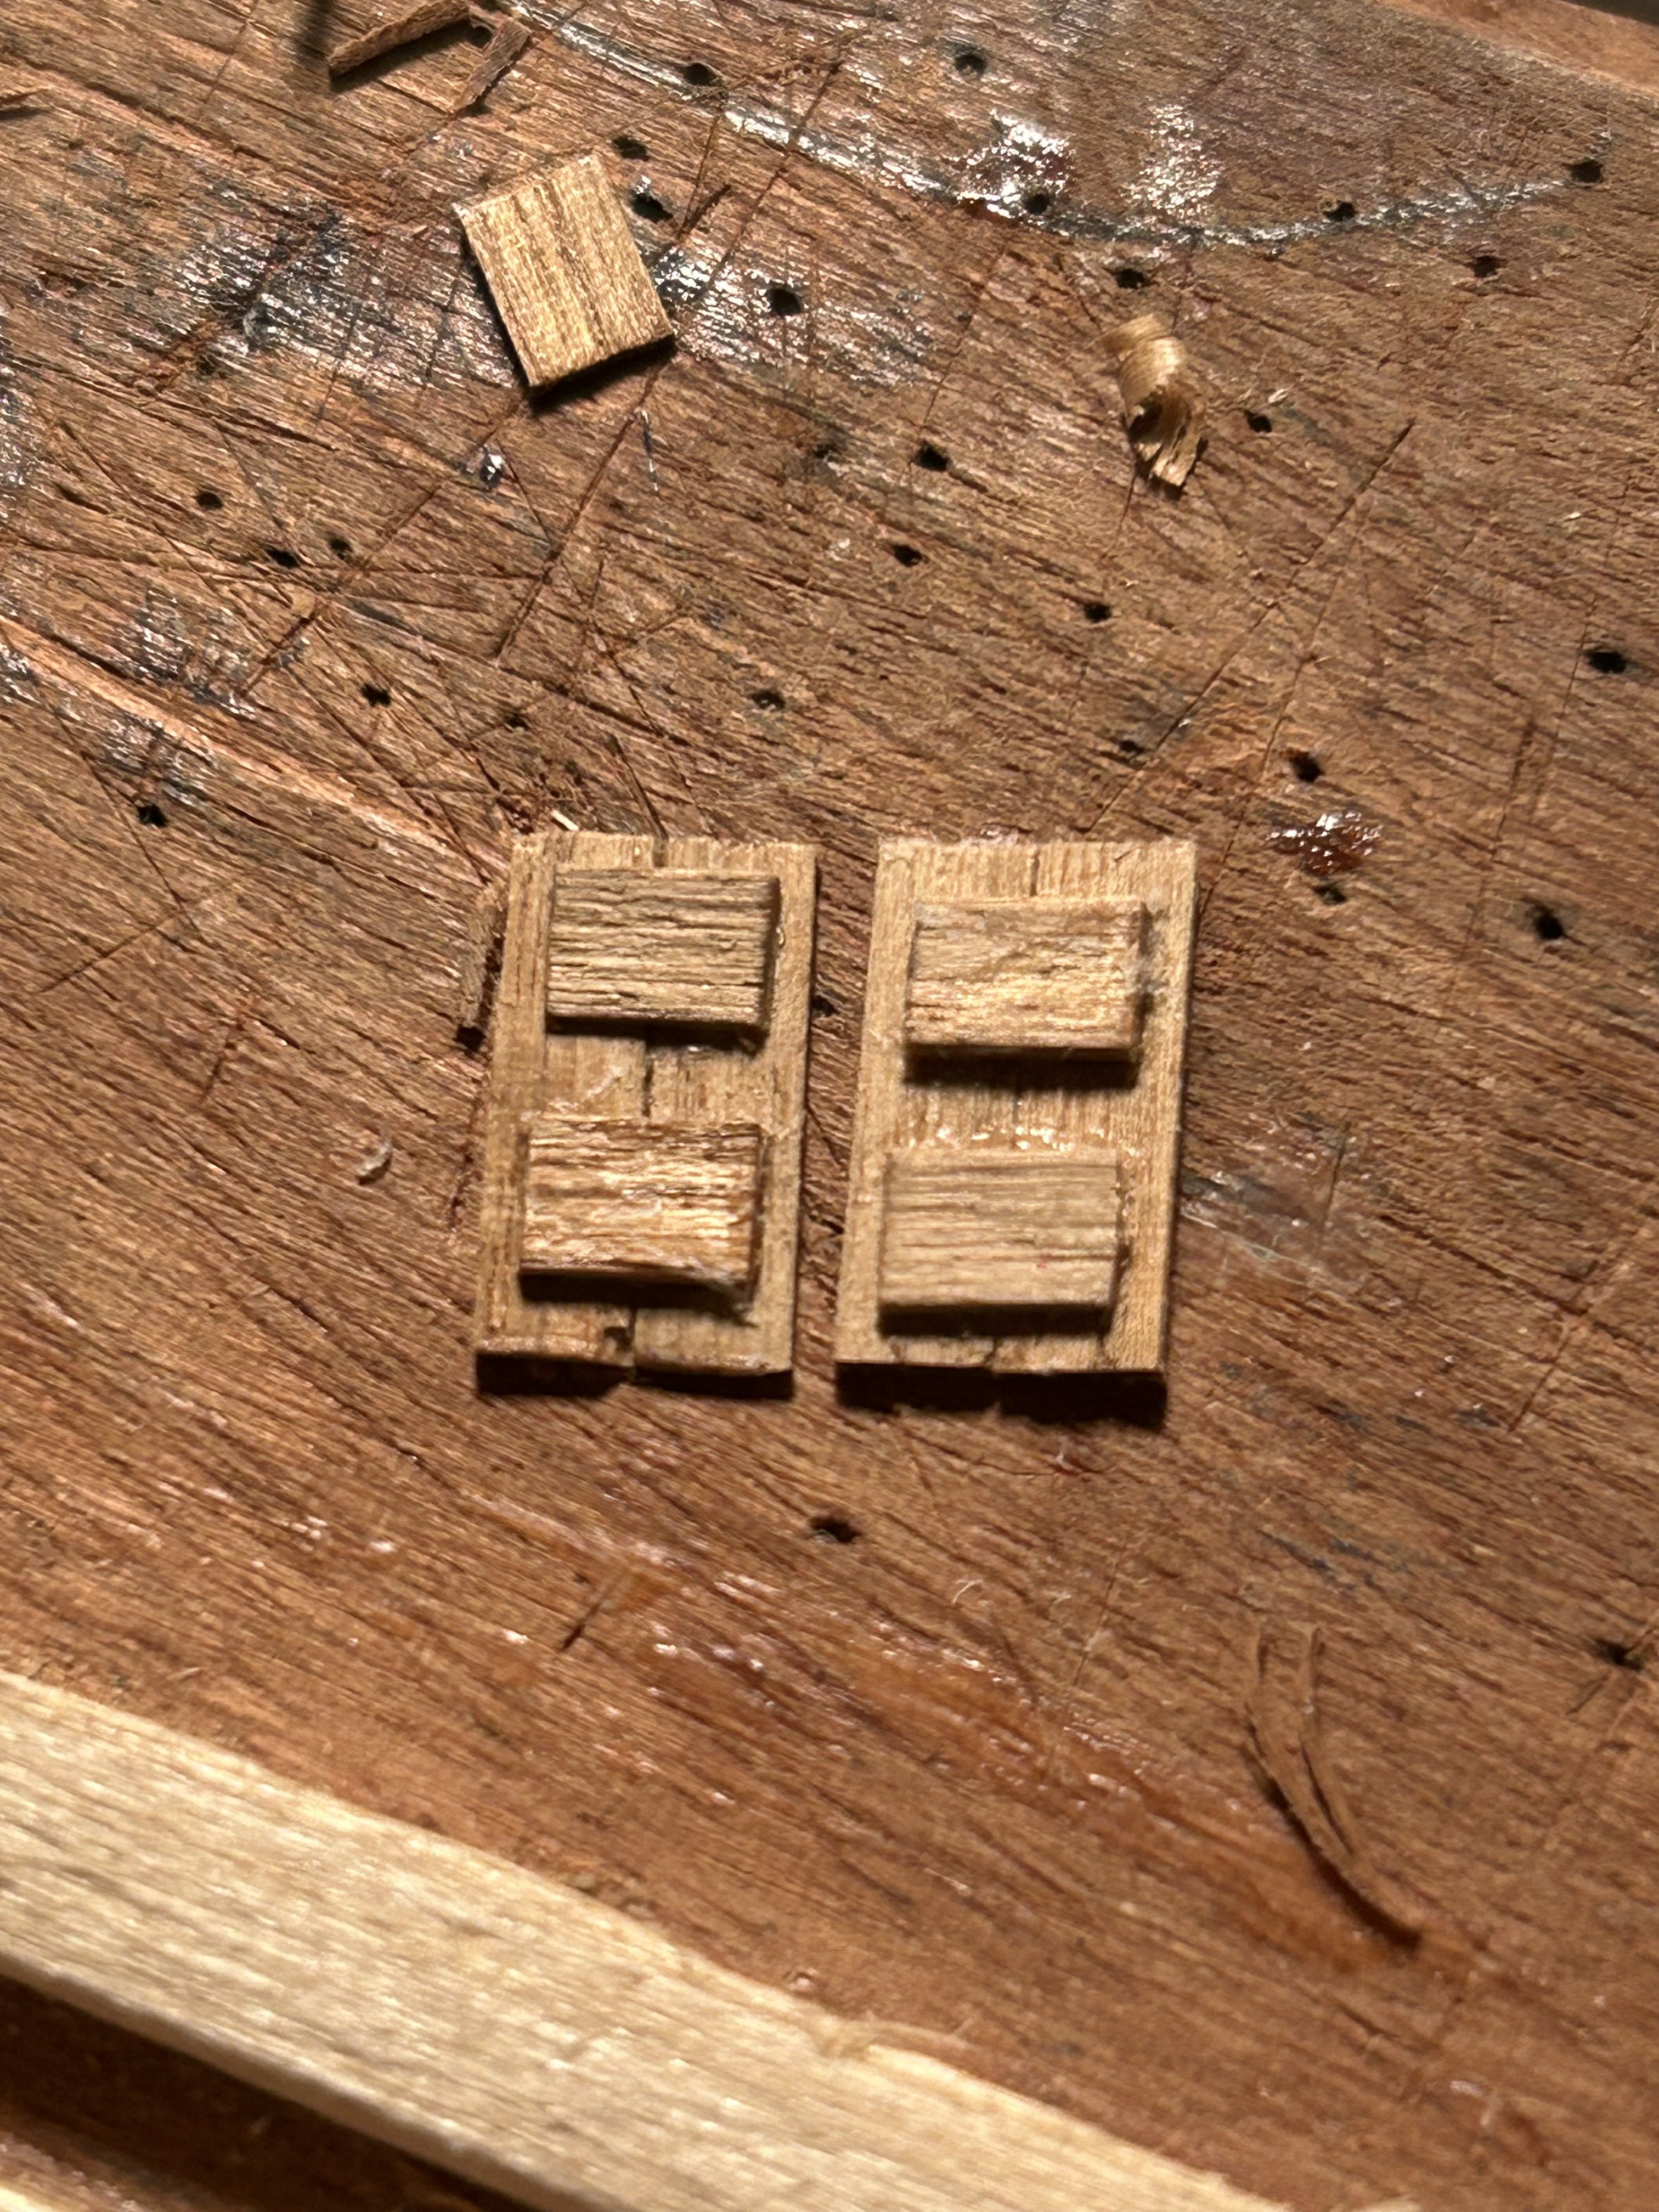
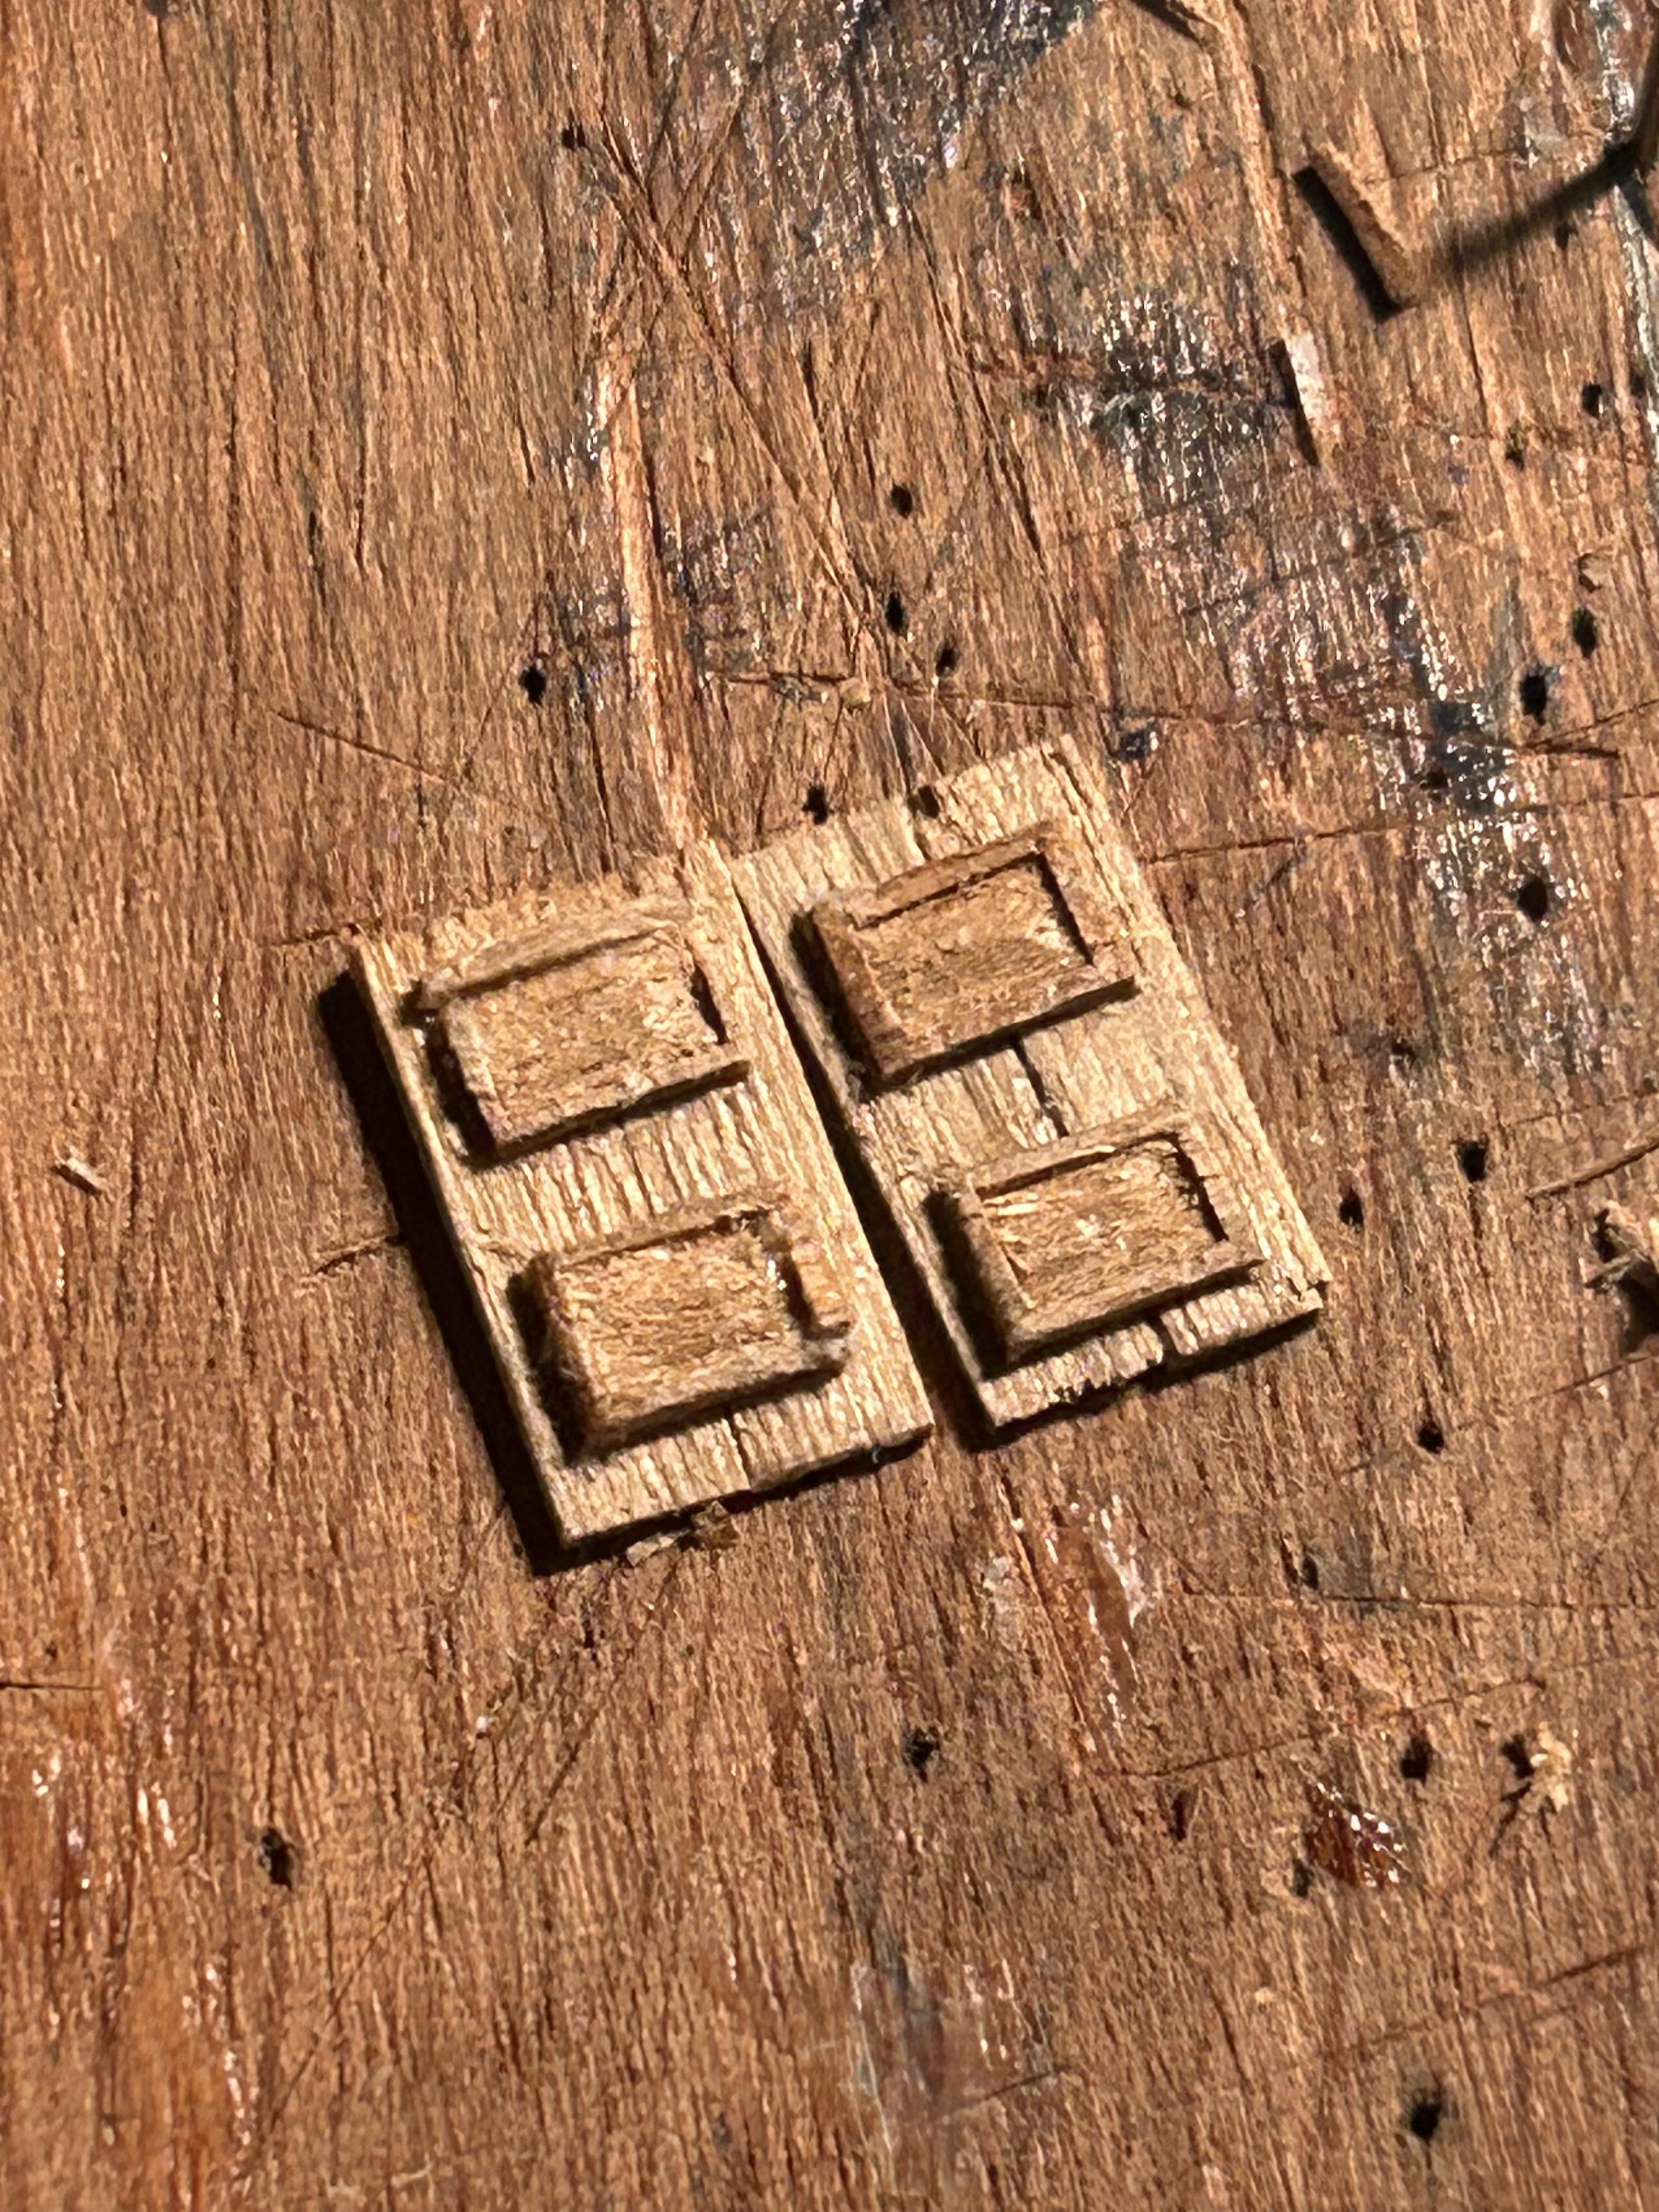
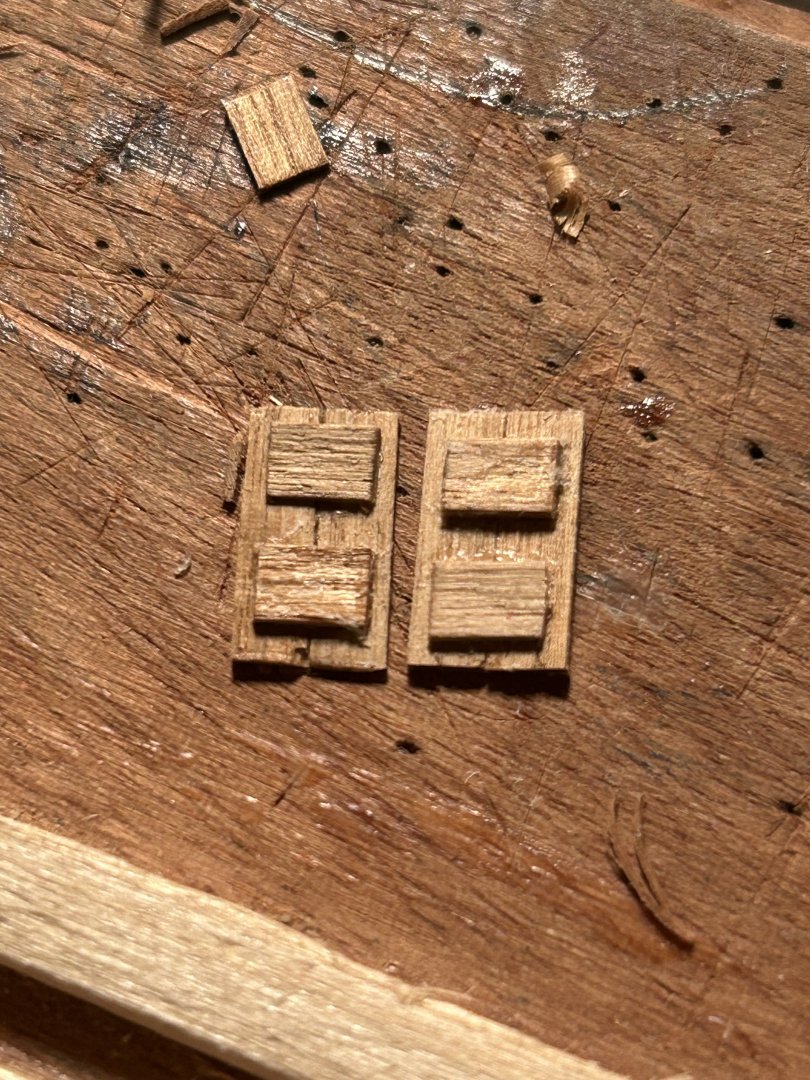
Seeing that the next step before putting on the rail is painting the gun ports red, I need to buy brushes. In the meantime, I realized a pair of doors for the forecastle would look nice. Here's what I've made. And done. Just a little carving and they become a lot better.

-
Judging from the posts of some others on the forum, it's better to finish all my gluing first before putting on wood oil. That said, I'll now keep going on the rest of the ship.
-
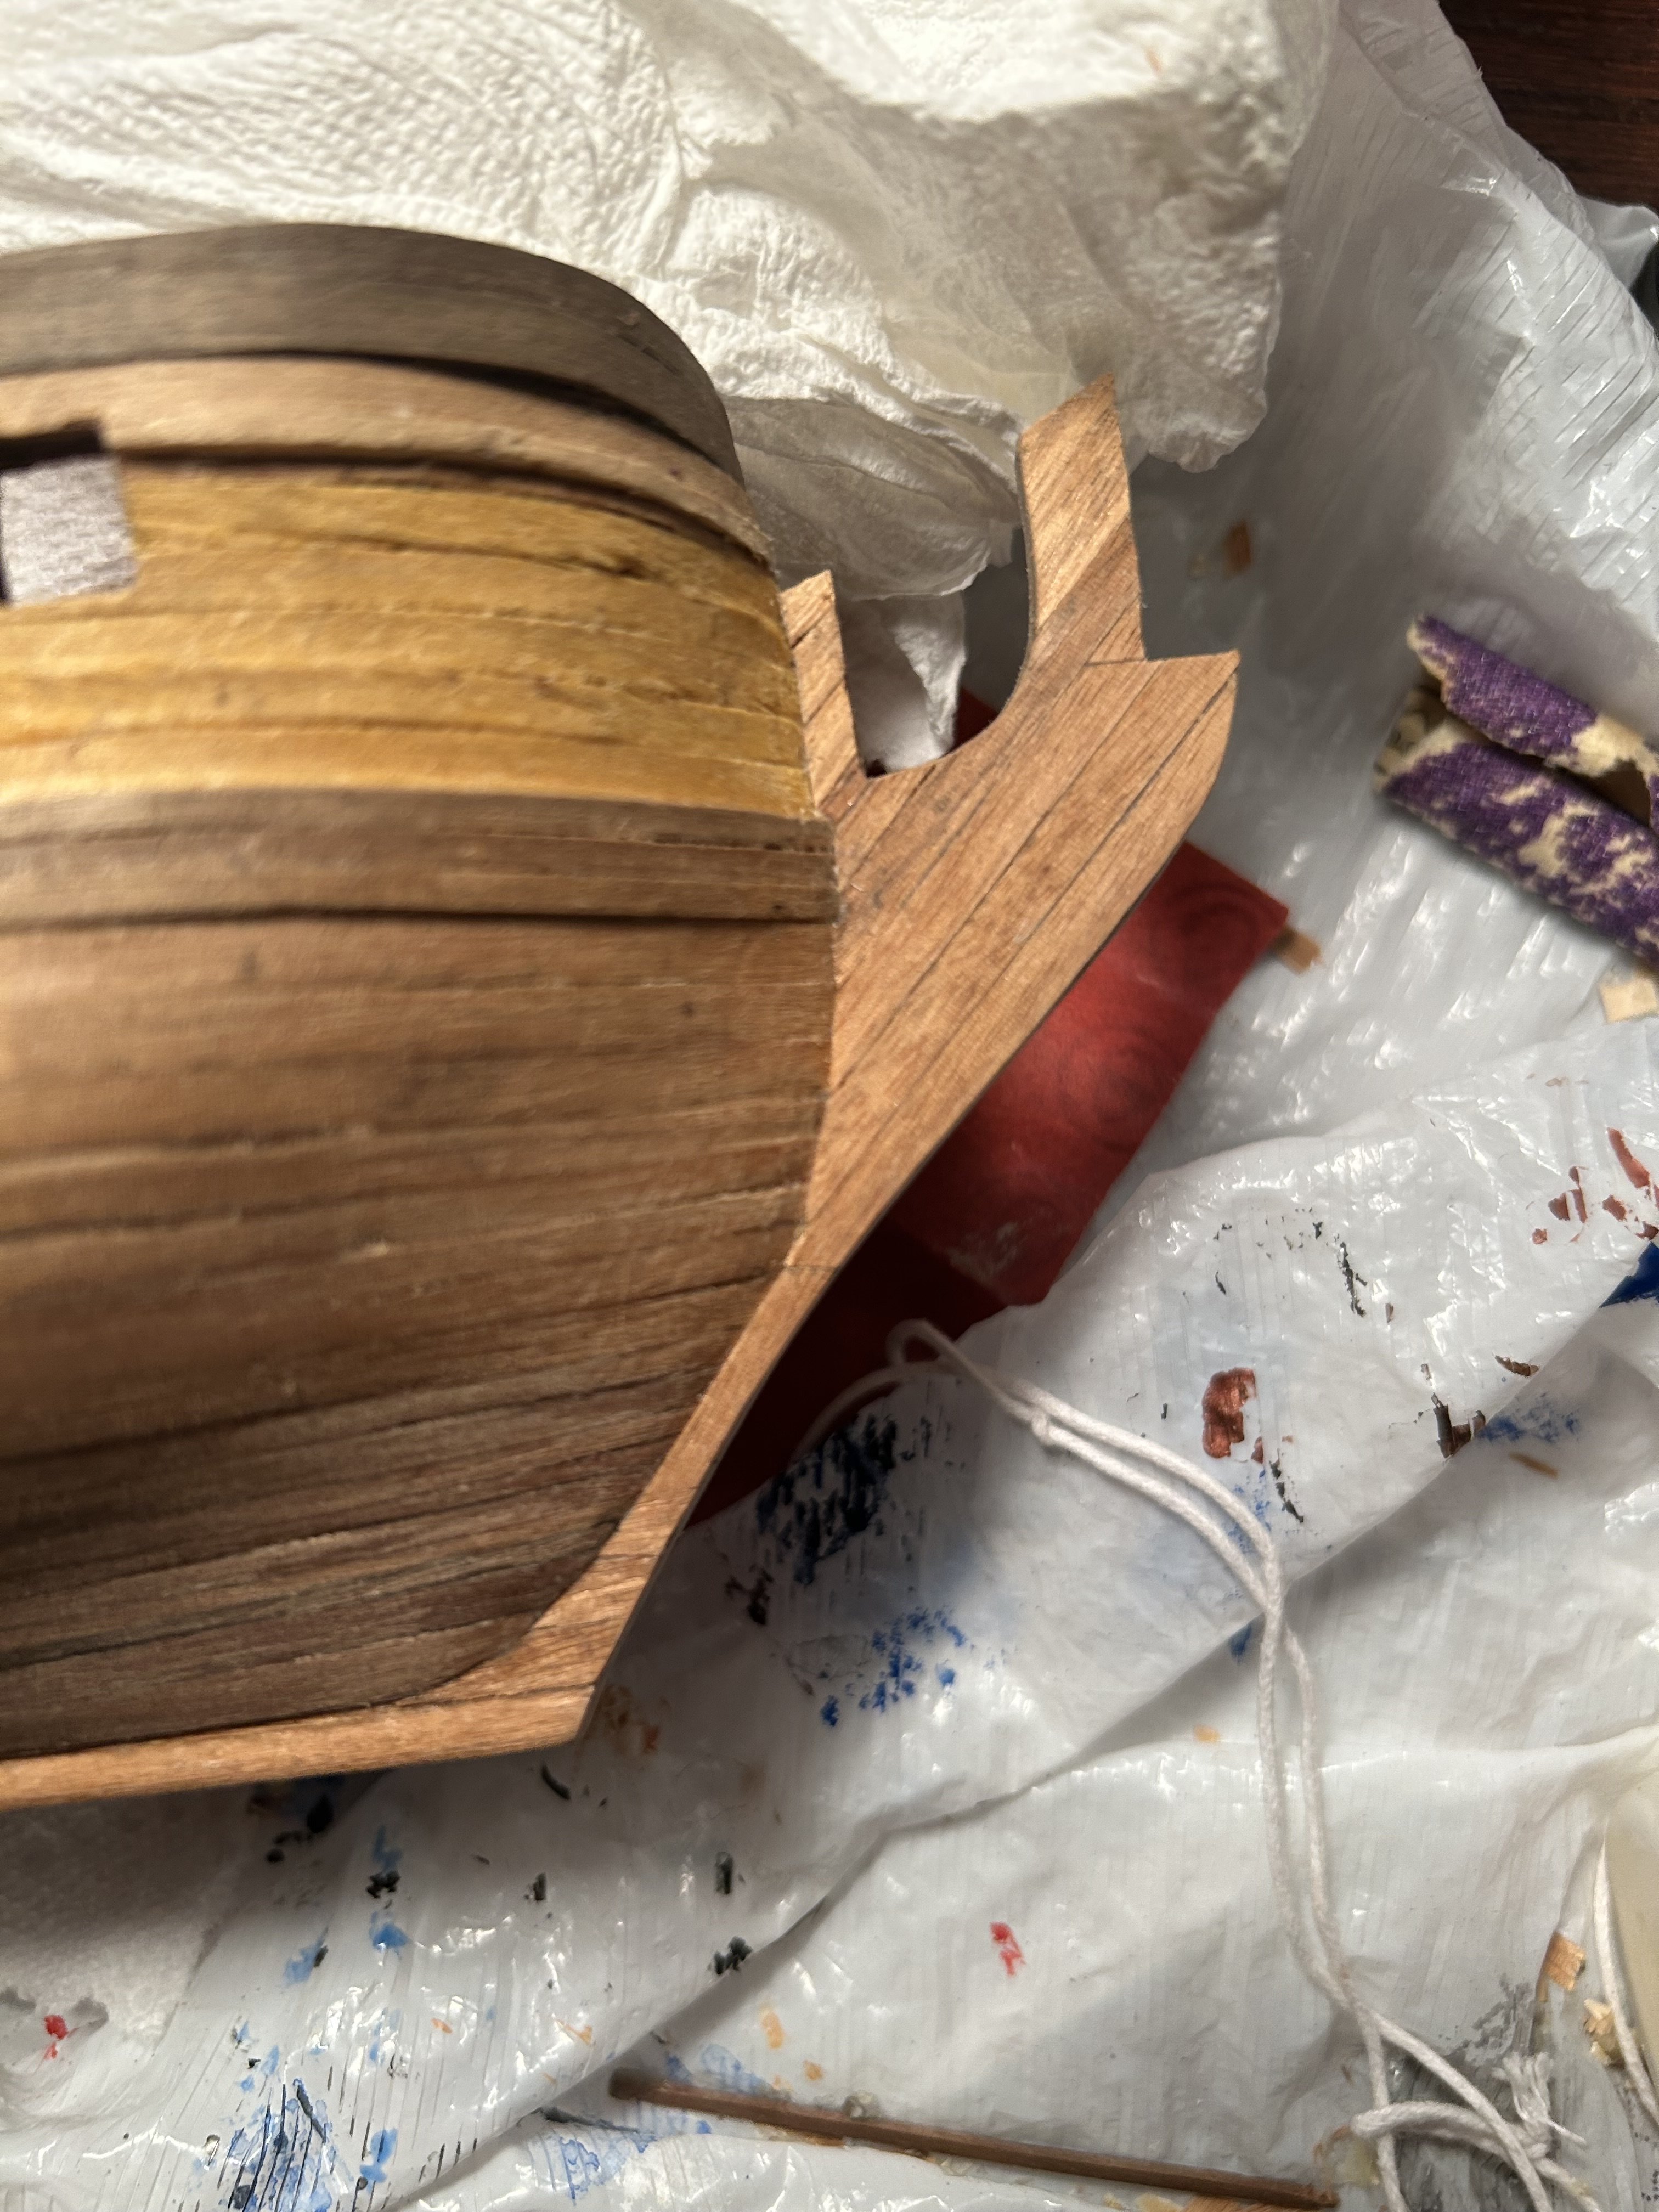
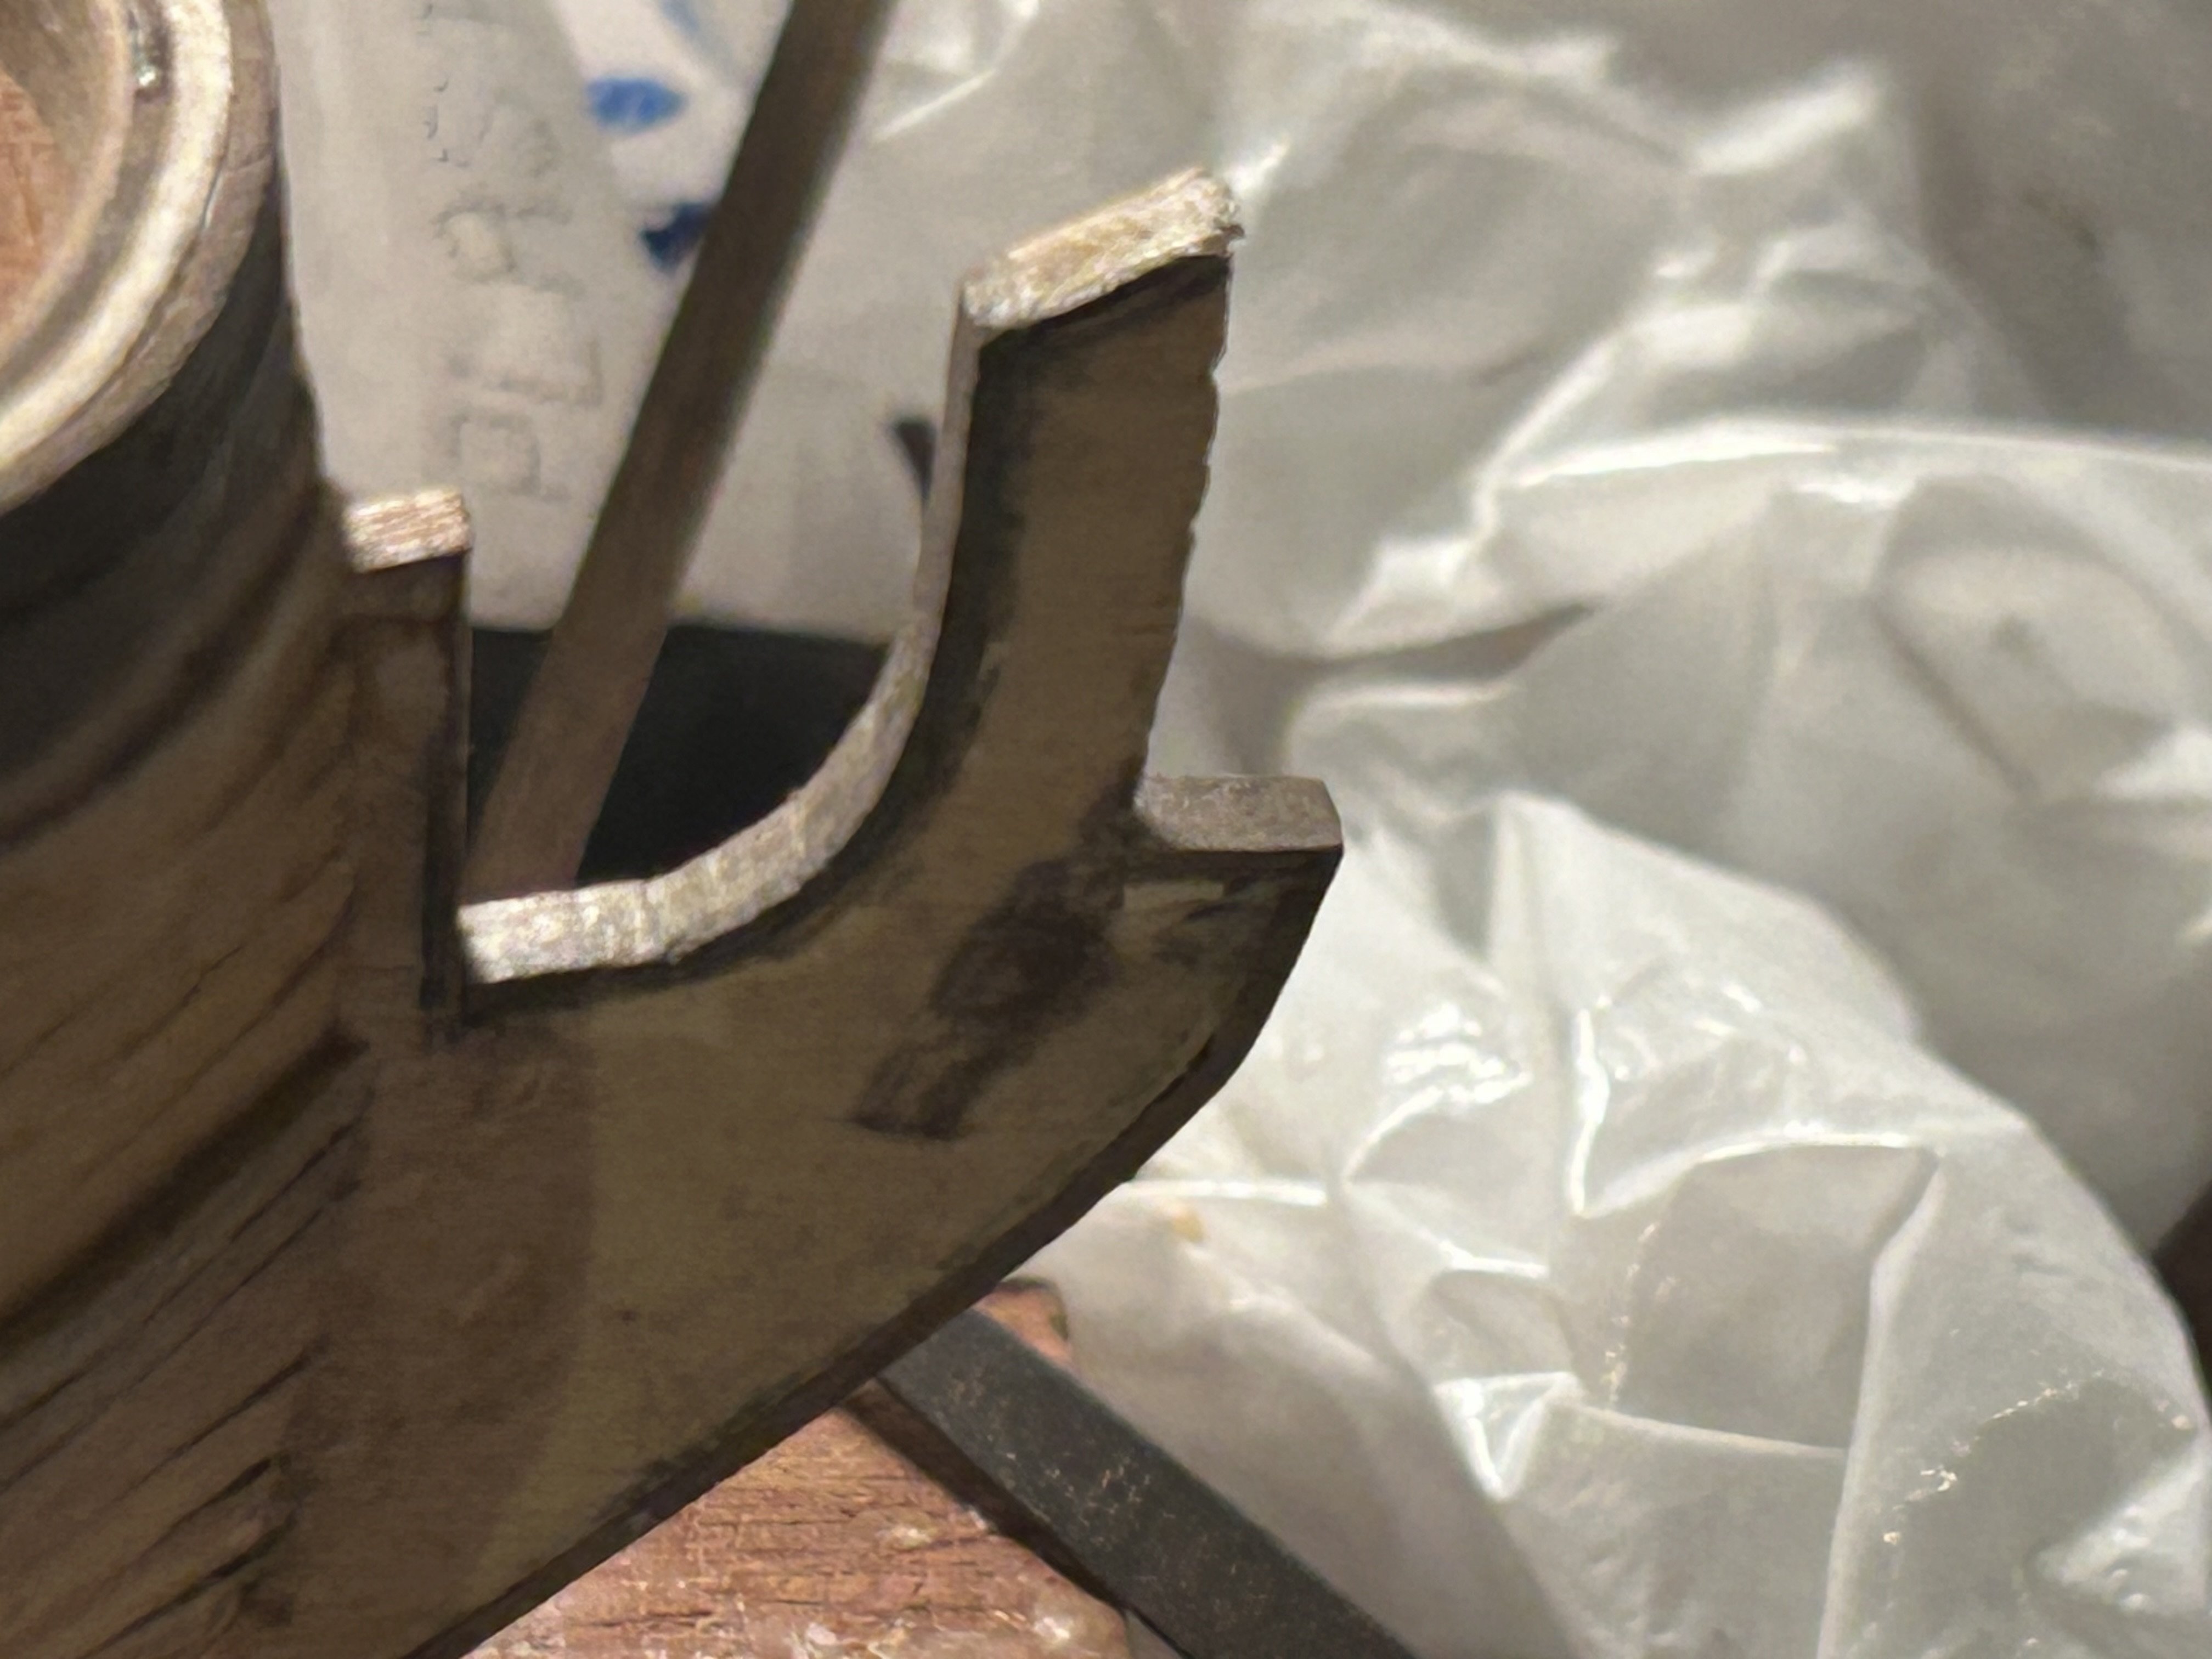
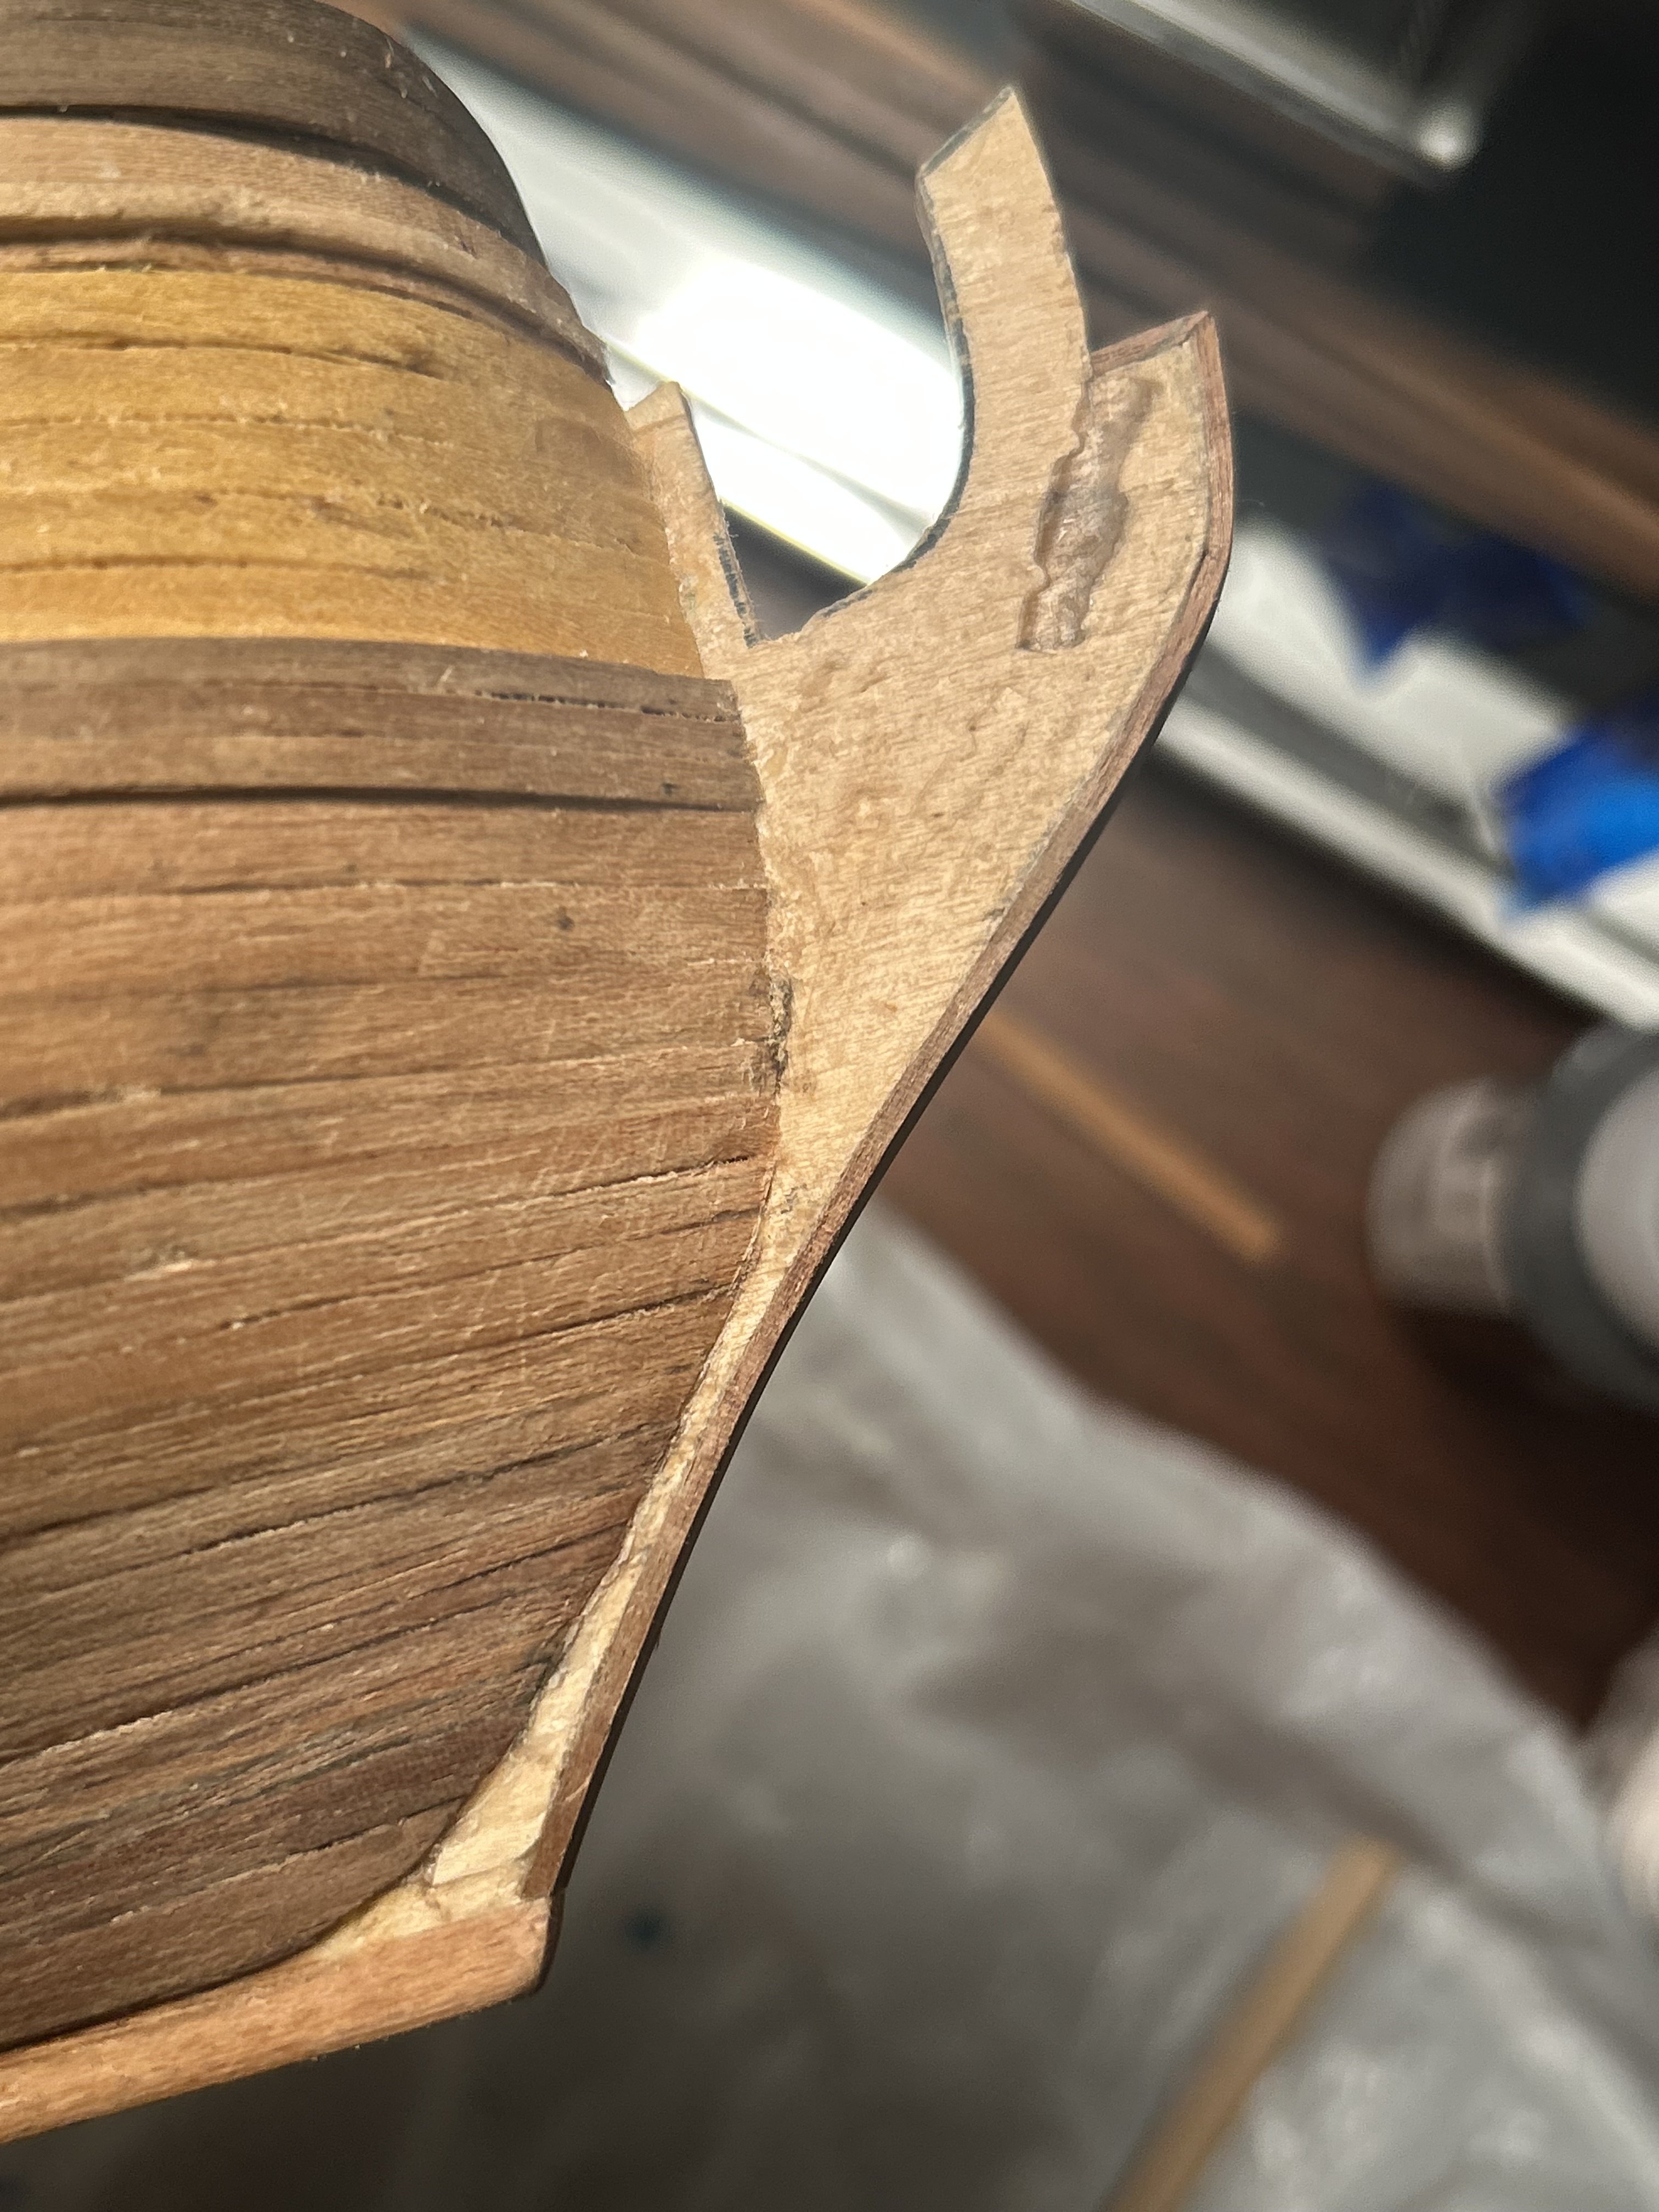
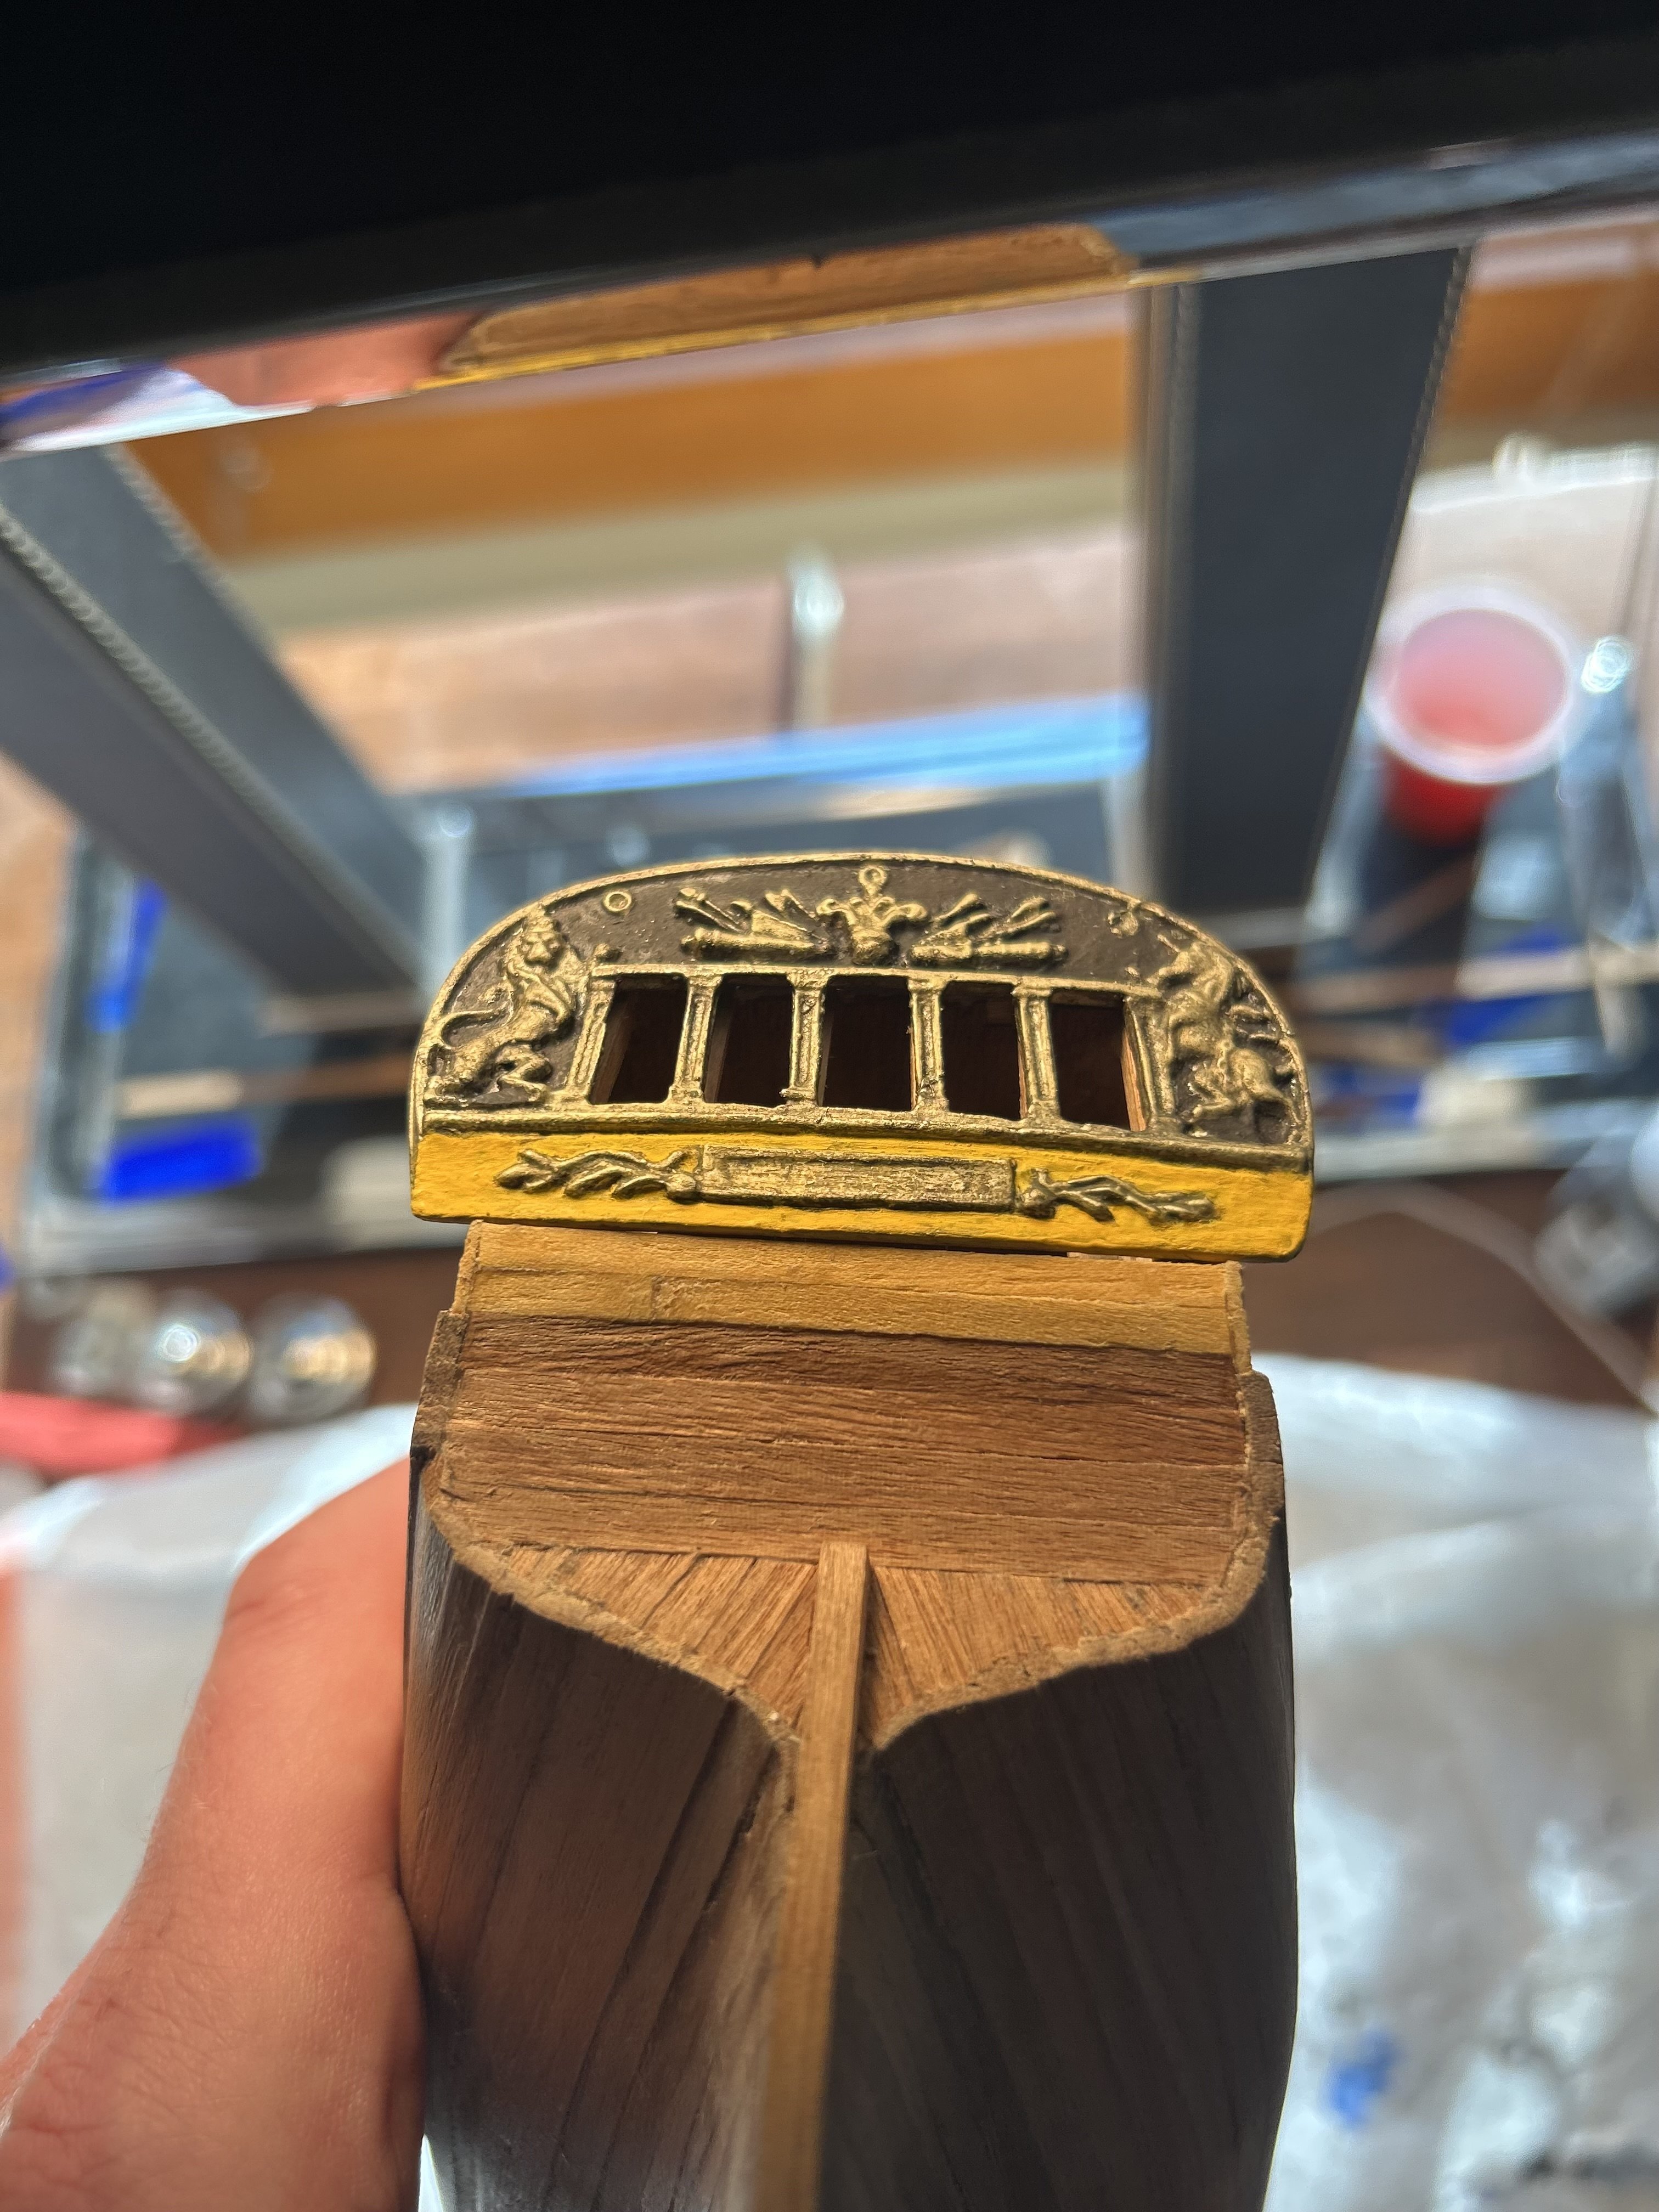
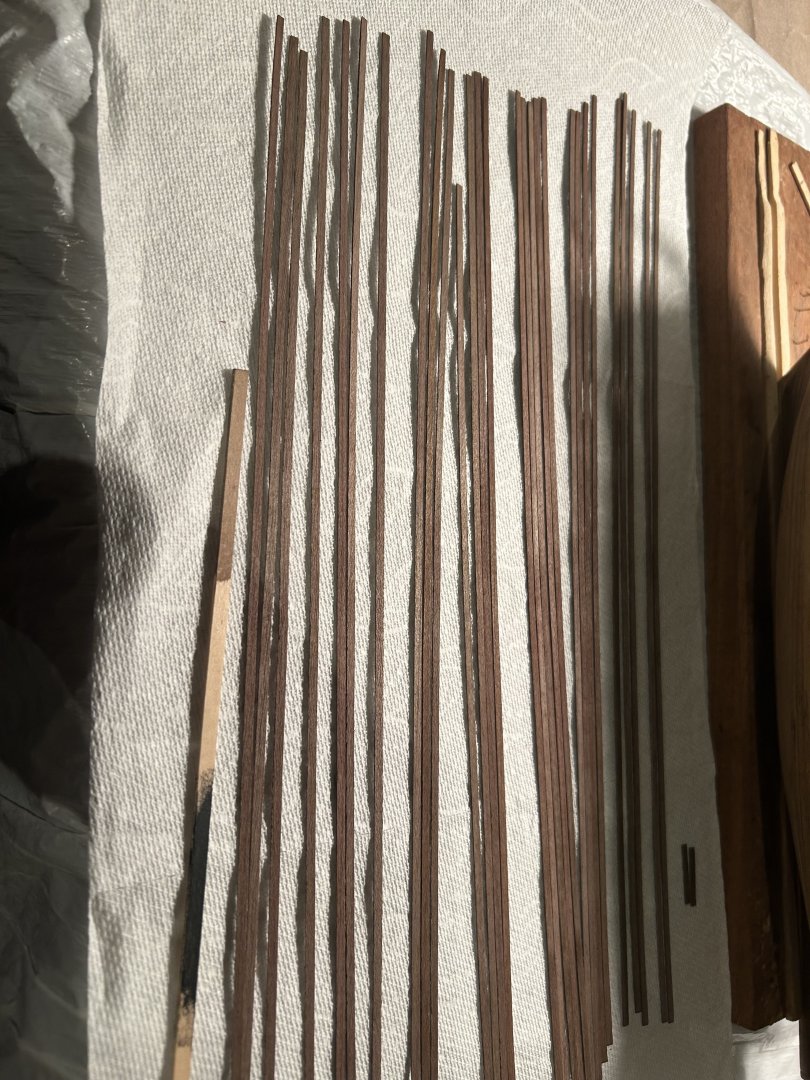
I decided to go with the 1mm scrap walnut. Yellow just didn't quite feel right. Overall, it went well. Just simple jigsaw puzzling and a little bit of sanding. It may not be perfectly historically accurate, but it looks good to me, so I'm keeping it. The knee of the head is one perfectly smooth line with the keel. It might be a few days until I reach the next step. Work is busy, I need to consider where to buy a clear oil or varnish of some sort, and make a final determination on whether I want to scratch build a rear transom and side windows. Right now, I know I don't have the scrap wood to do it, but I'm still leaning toward buying more and going for it.


-
Everything has been going well. The knee of the head is almost done. But I just ran out of .5mm walnut. This one's on Corel too. This setback gives me two options. The first is to plank up the rest of the knee of the head with leftover yellow scrapwood. I should have just enough. The second is to glue on my 1mm walnut and adjust it to shape with a knife. That shouldn't be a big deal. For now, I'll think it over.
-
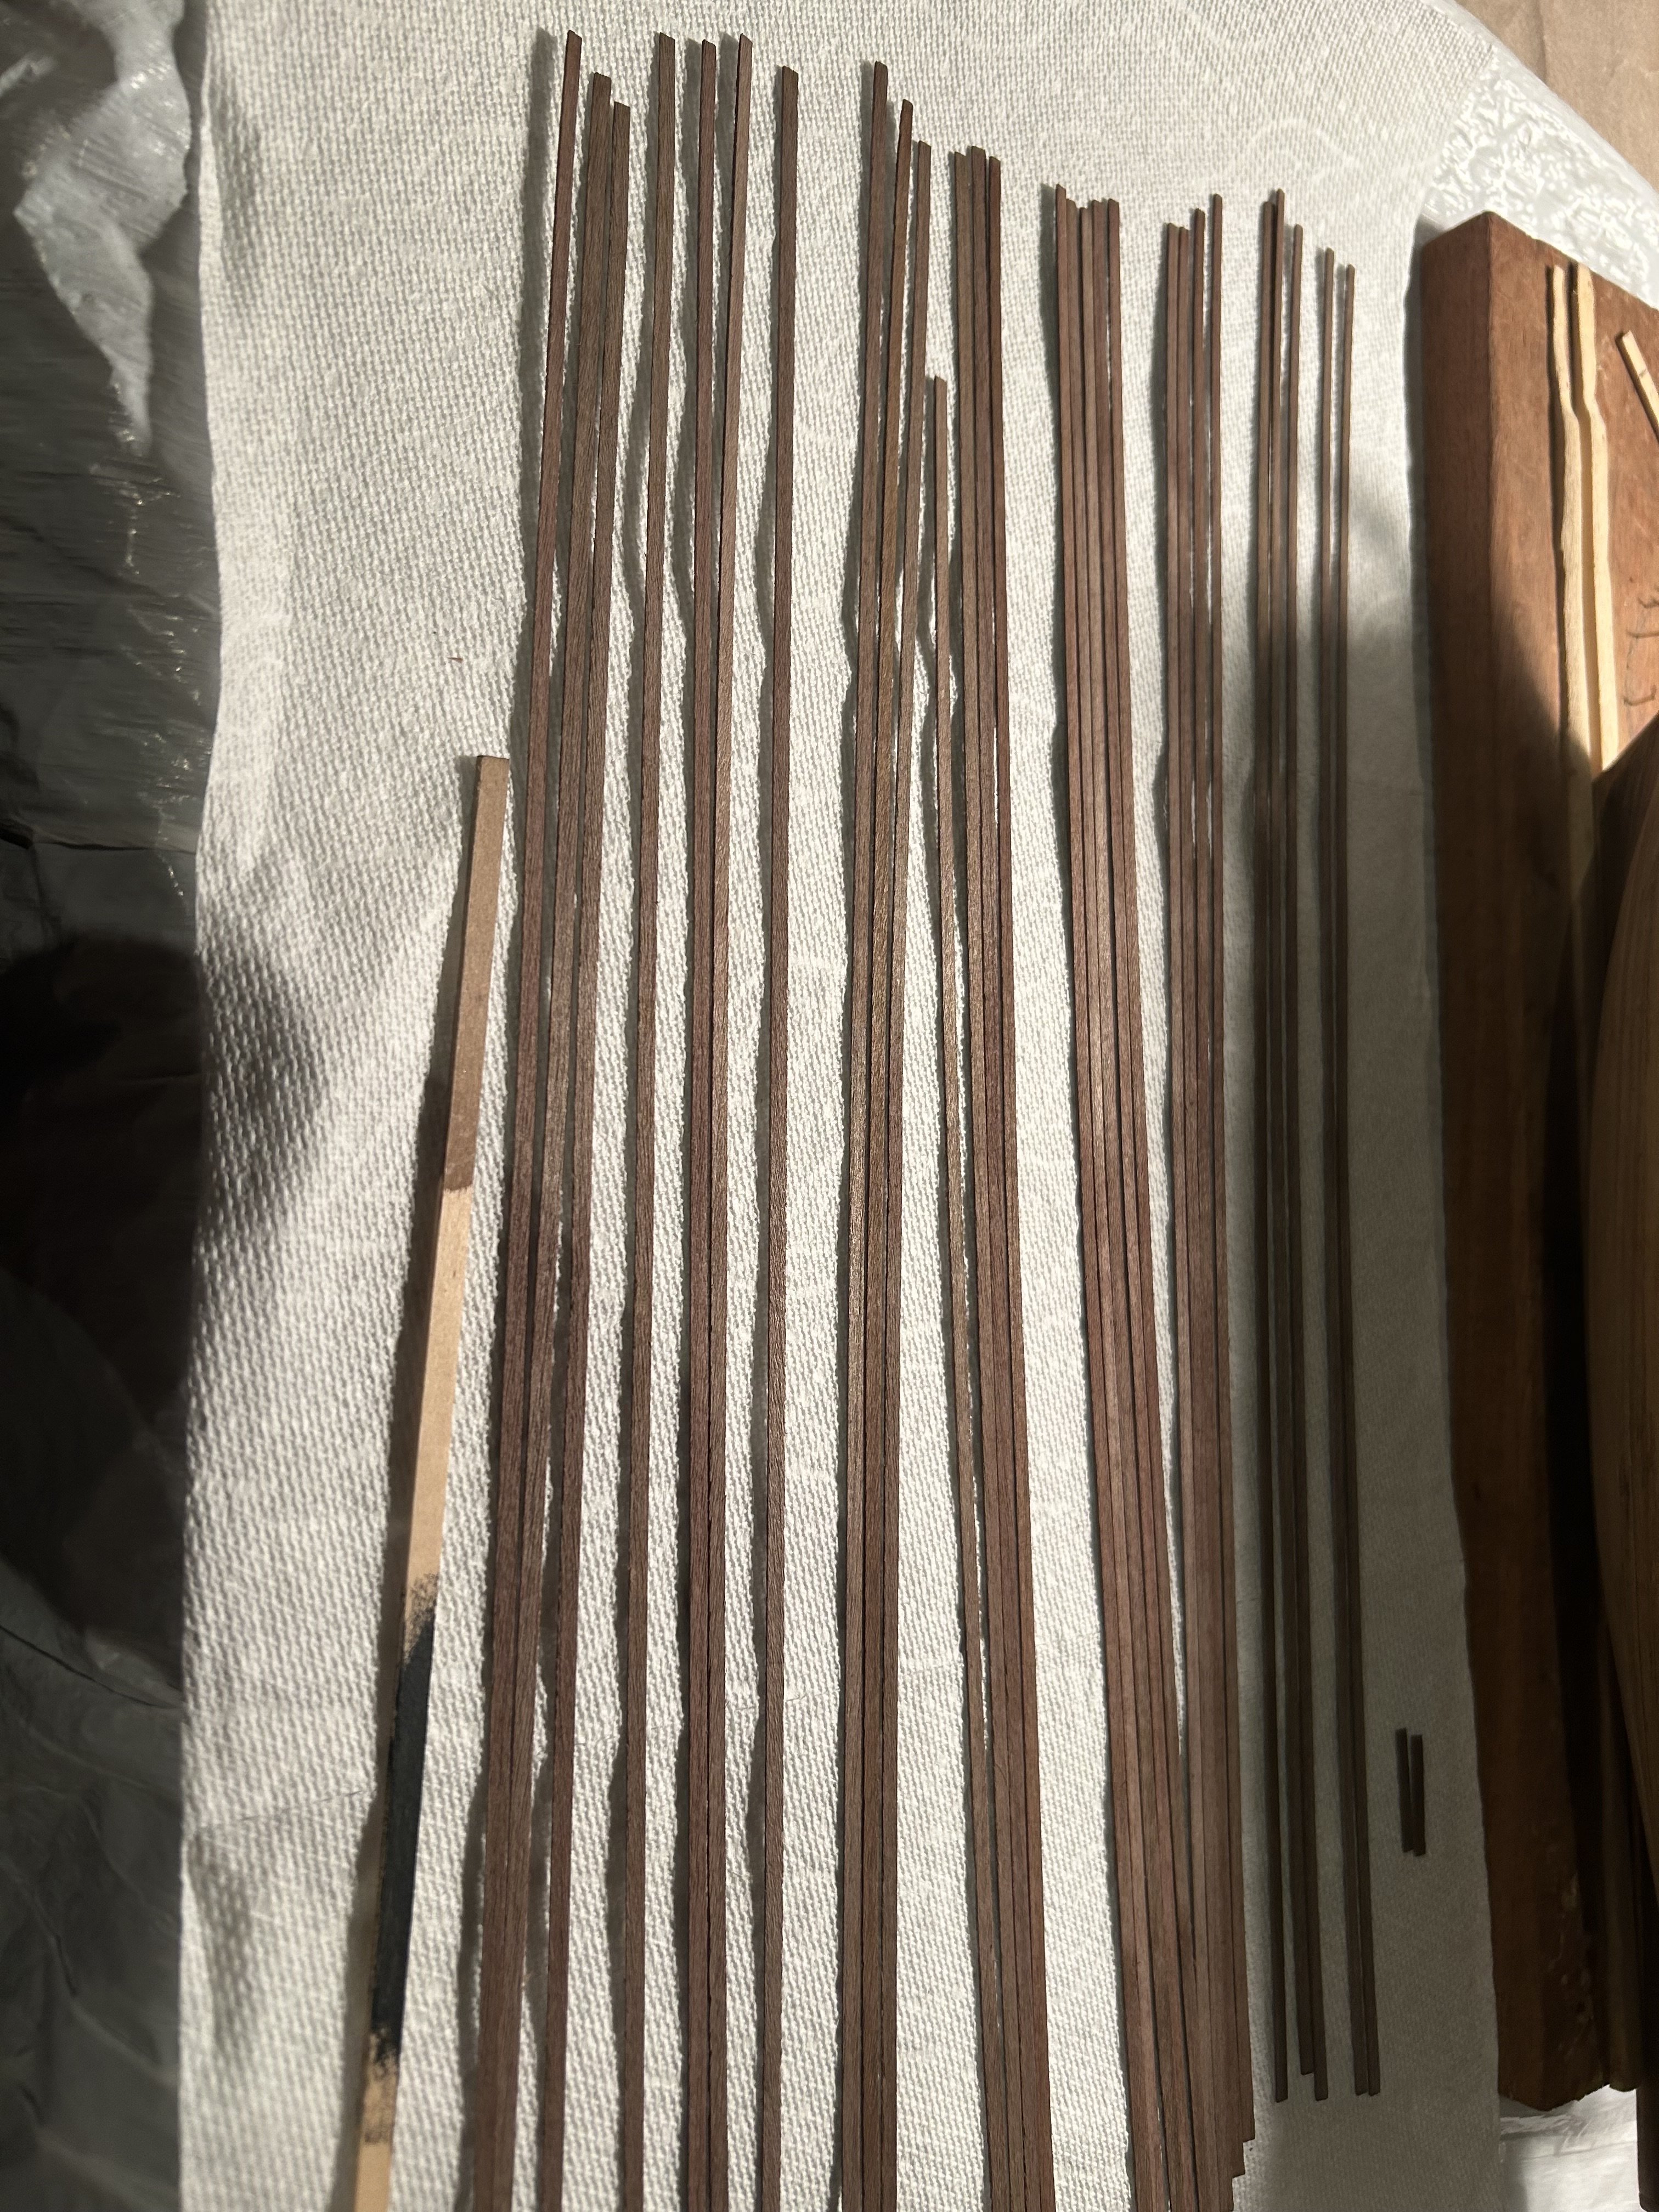
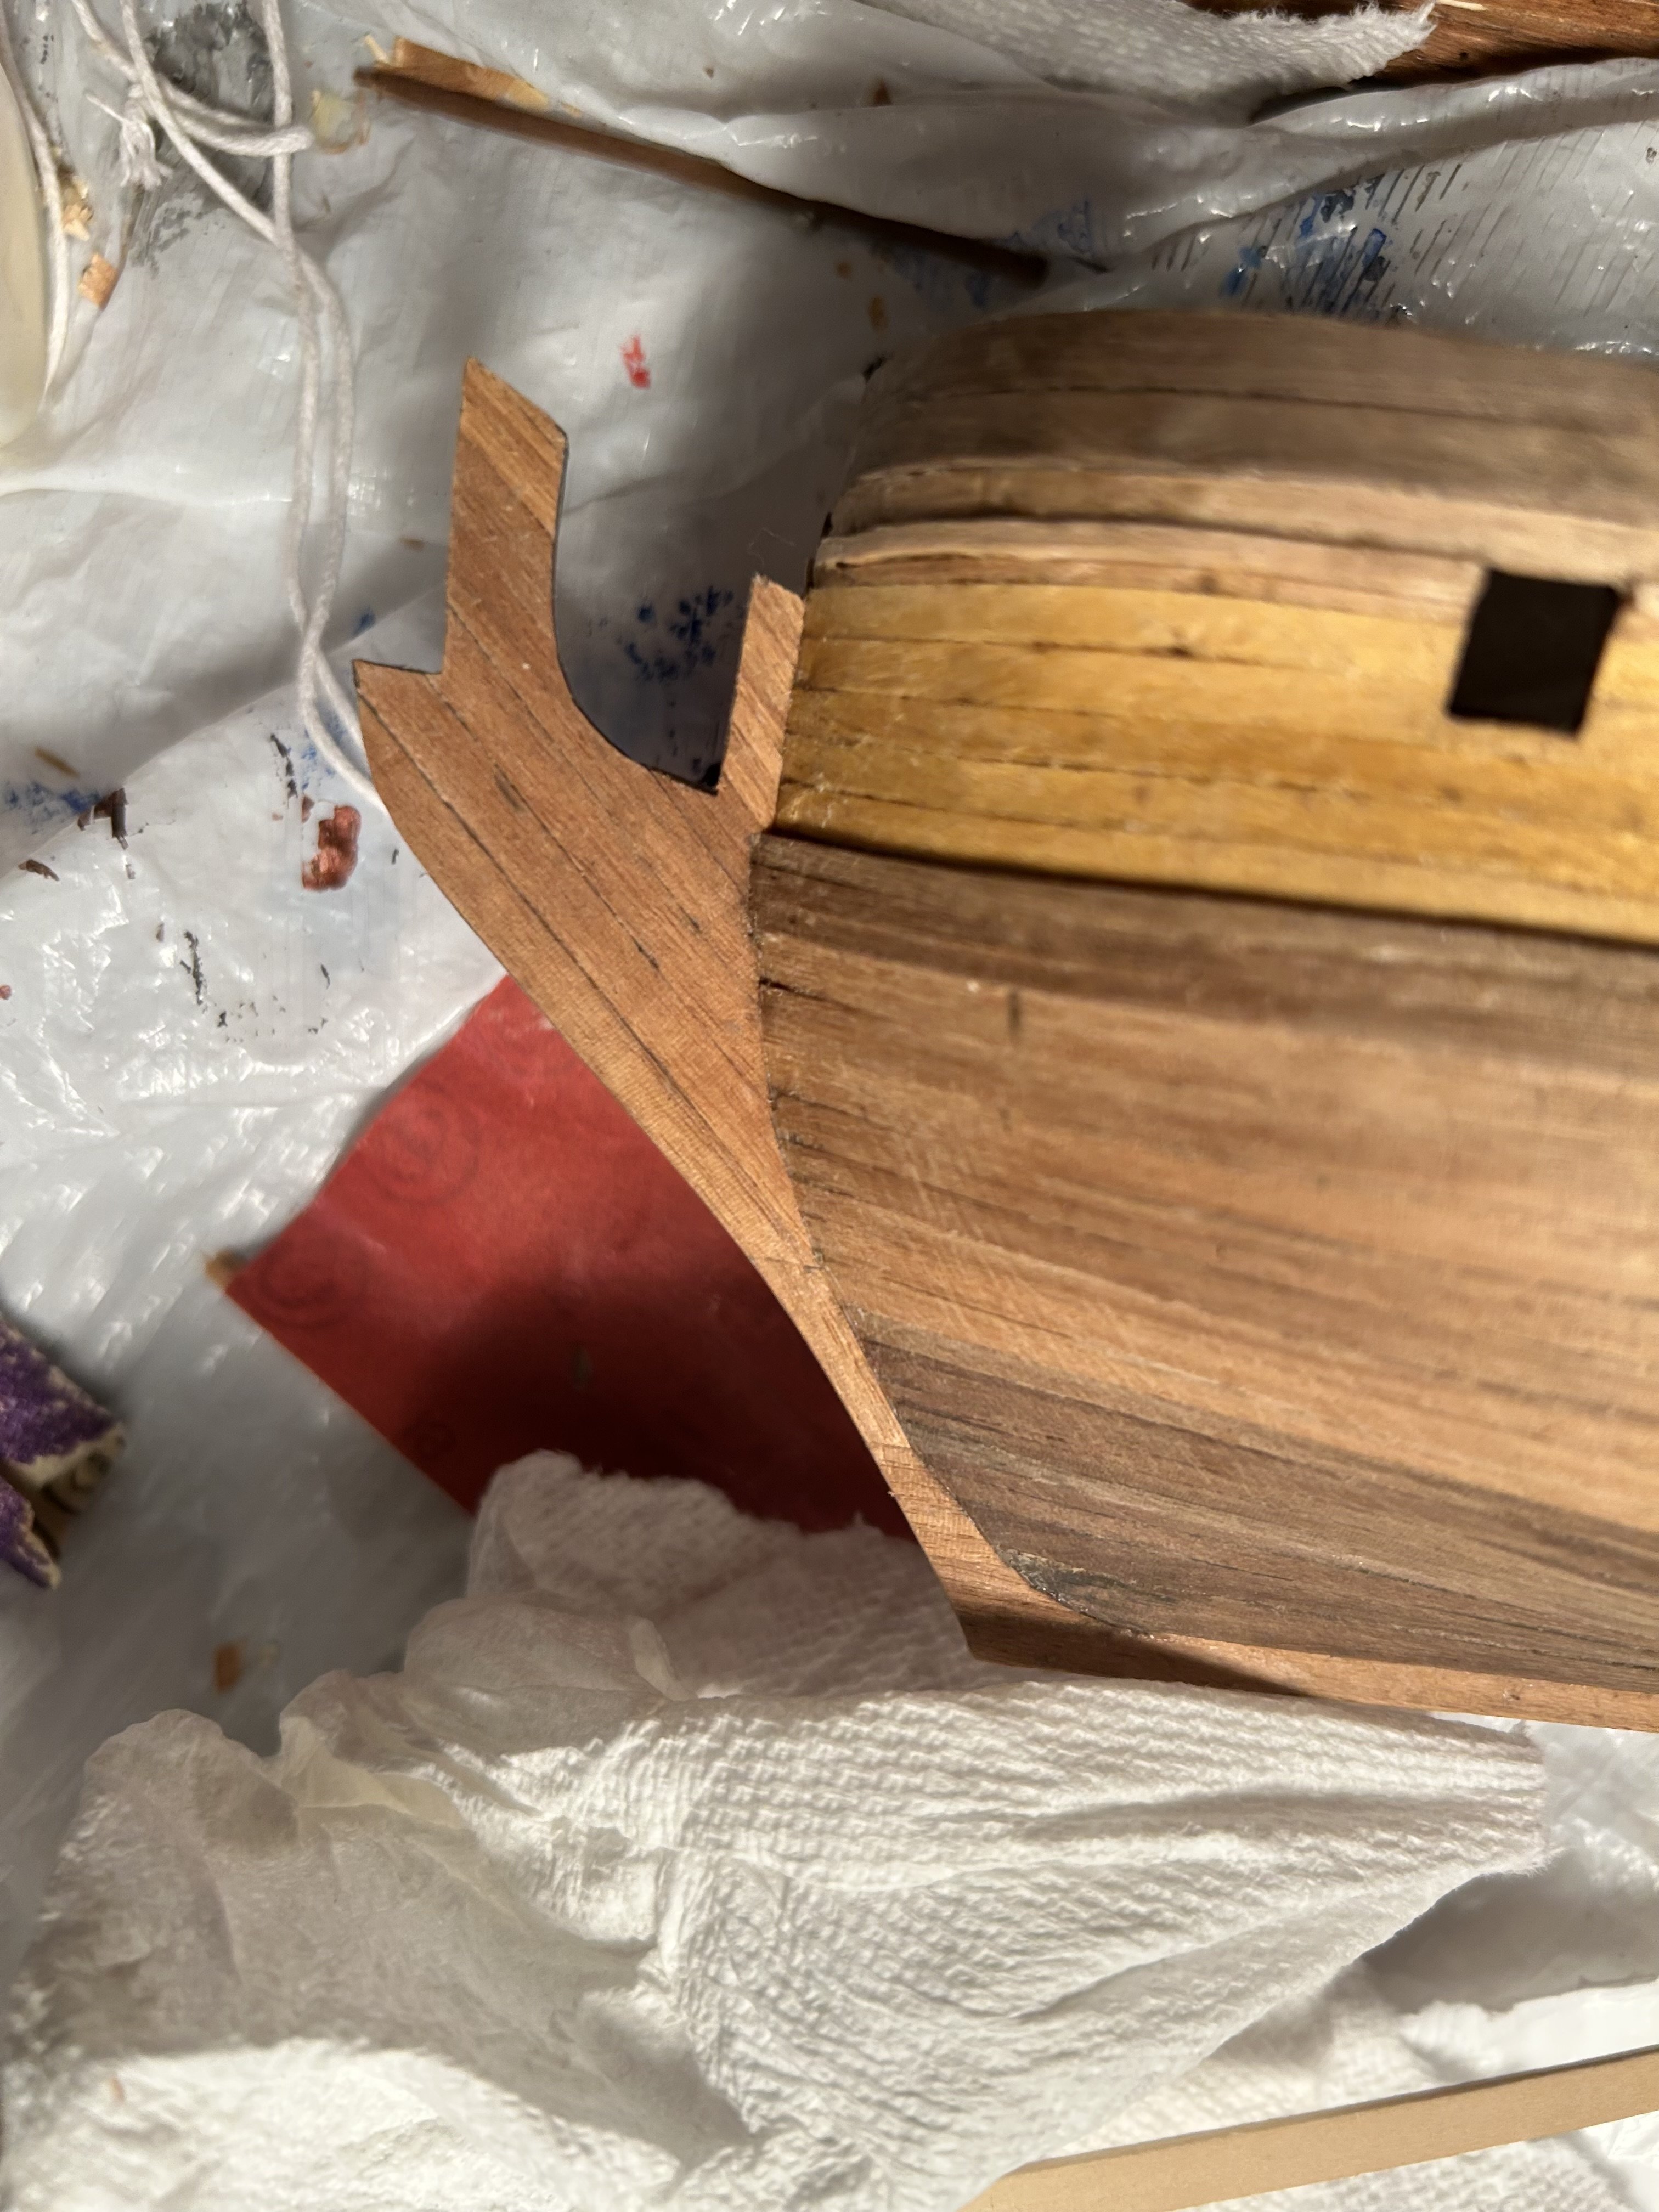
I've started planking up the knee of the head. So far, it's one of the easiest steps yet, albeit slightly on the slower side. I tapered it very slightly before planking, taking off maybe half a mm off each side. It may not be as much as I should, but I'd rather have it be thicker and more resilient than thinner and more breakable. I already don't trust it.
-
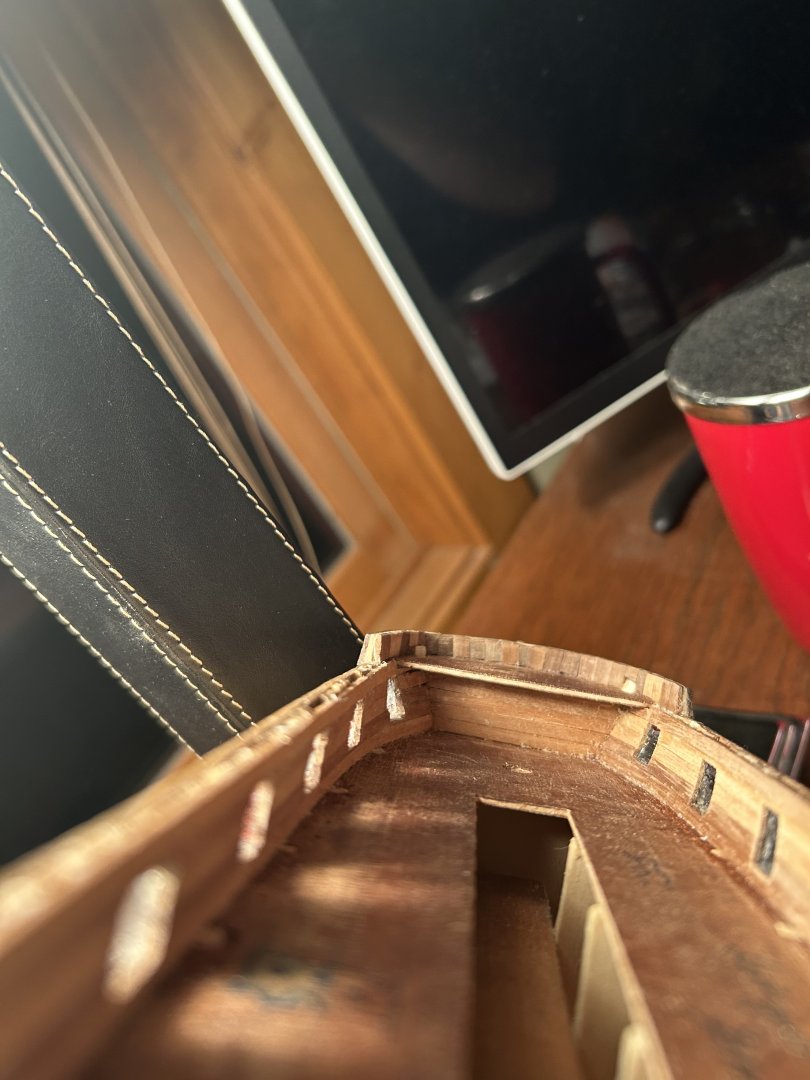
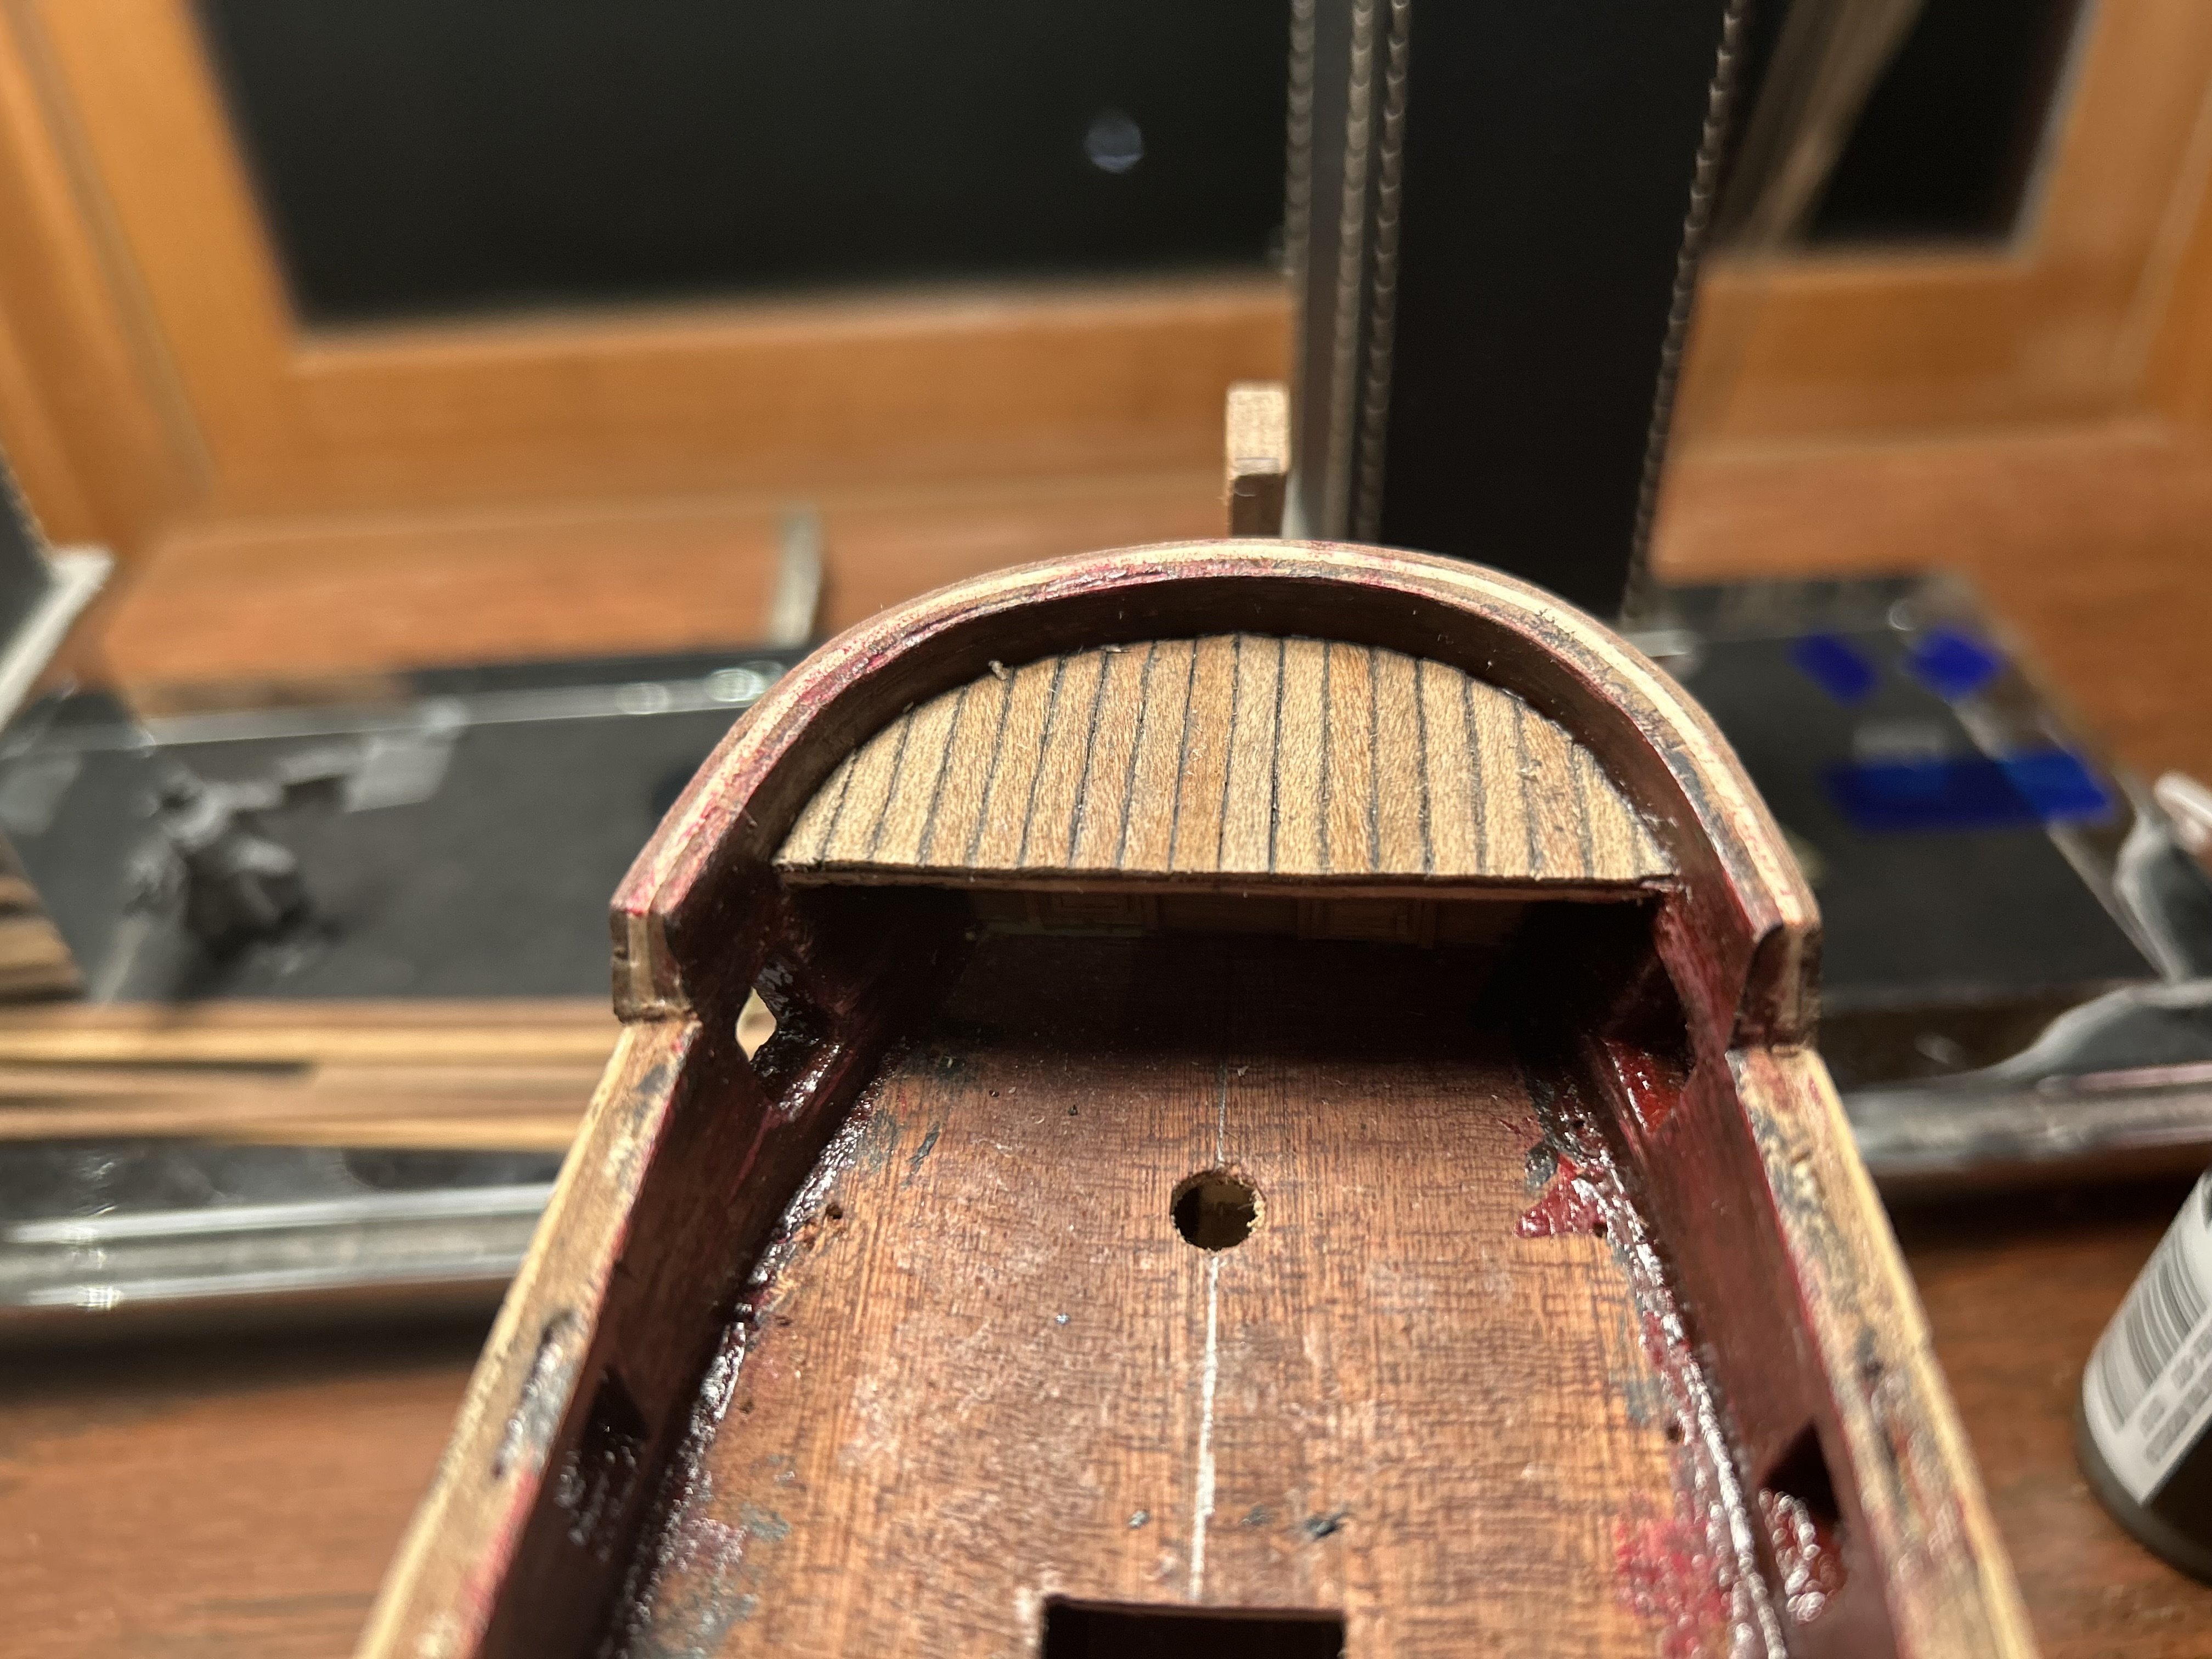
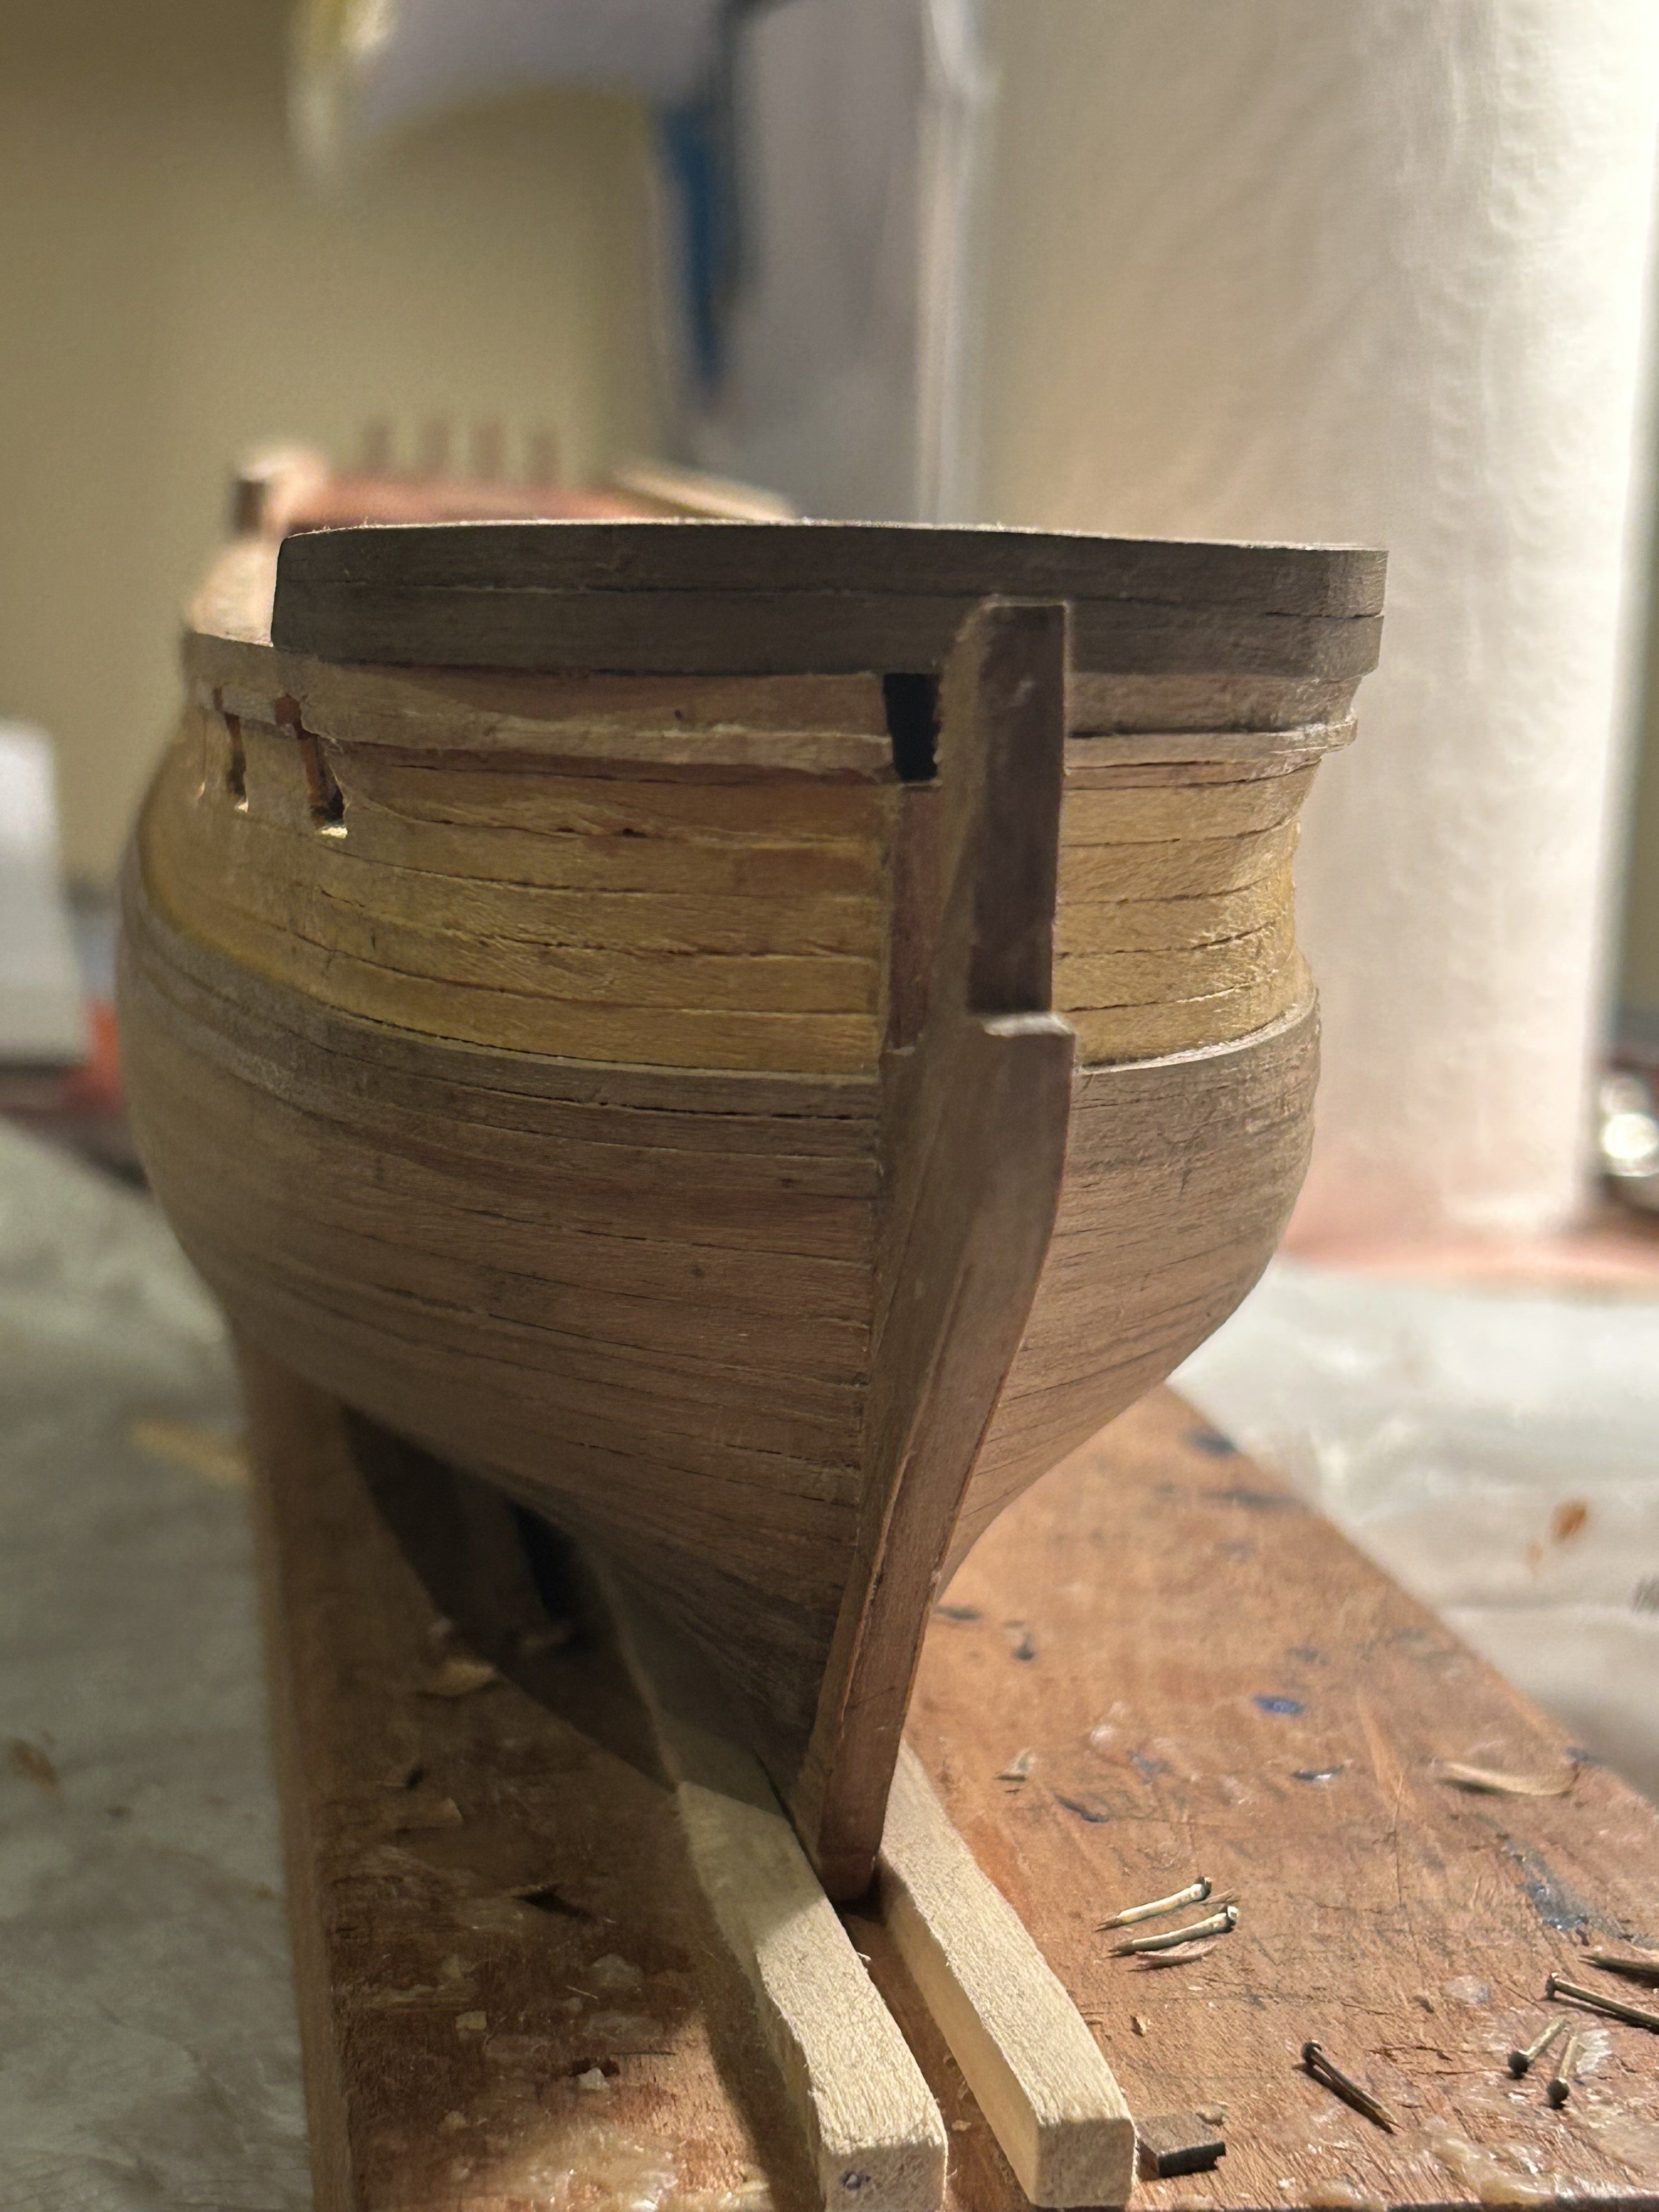
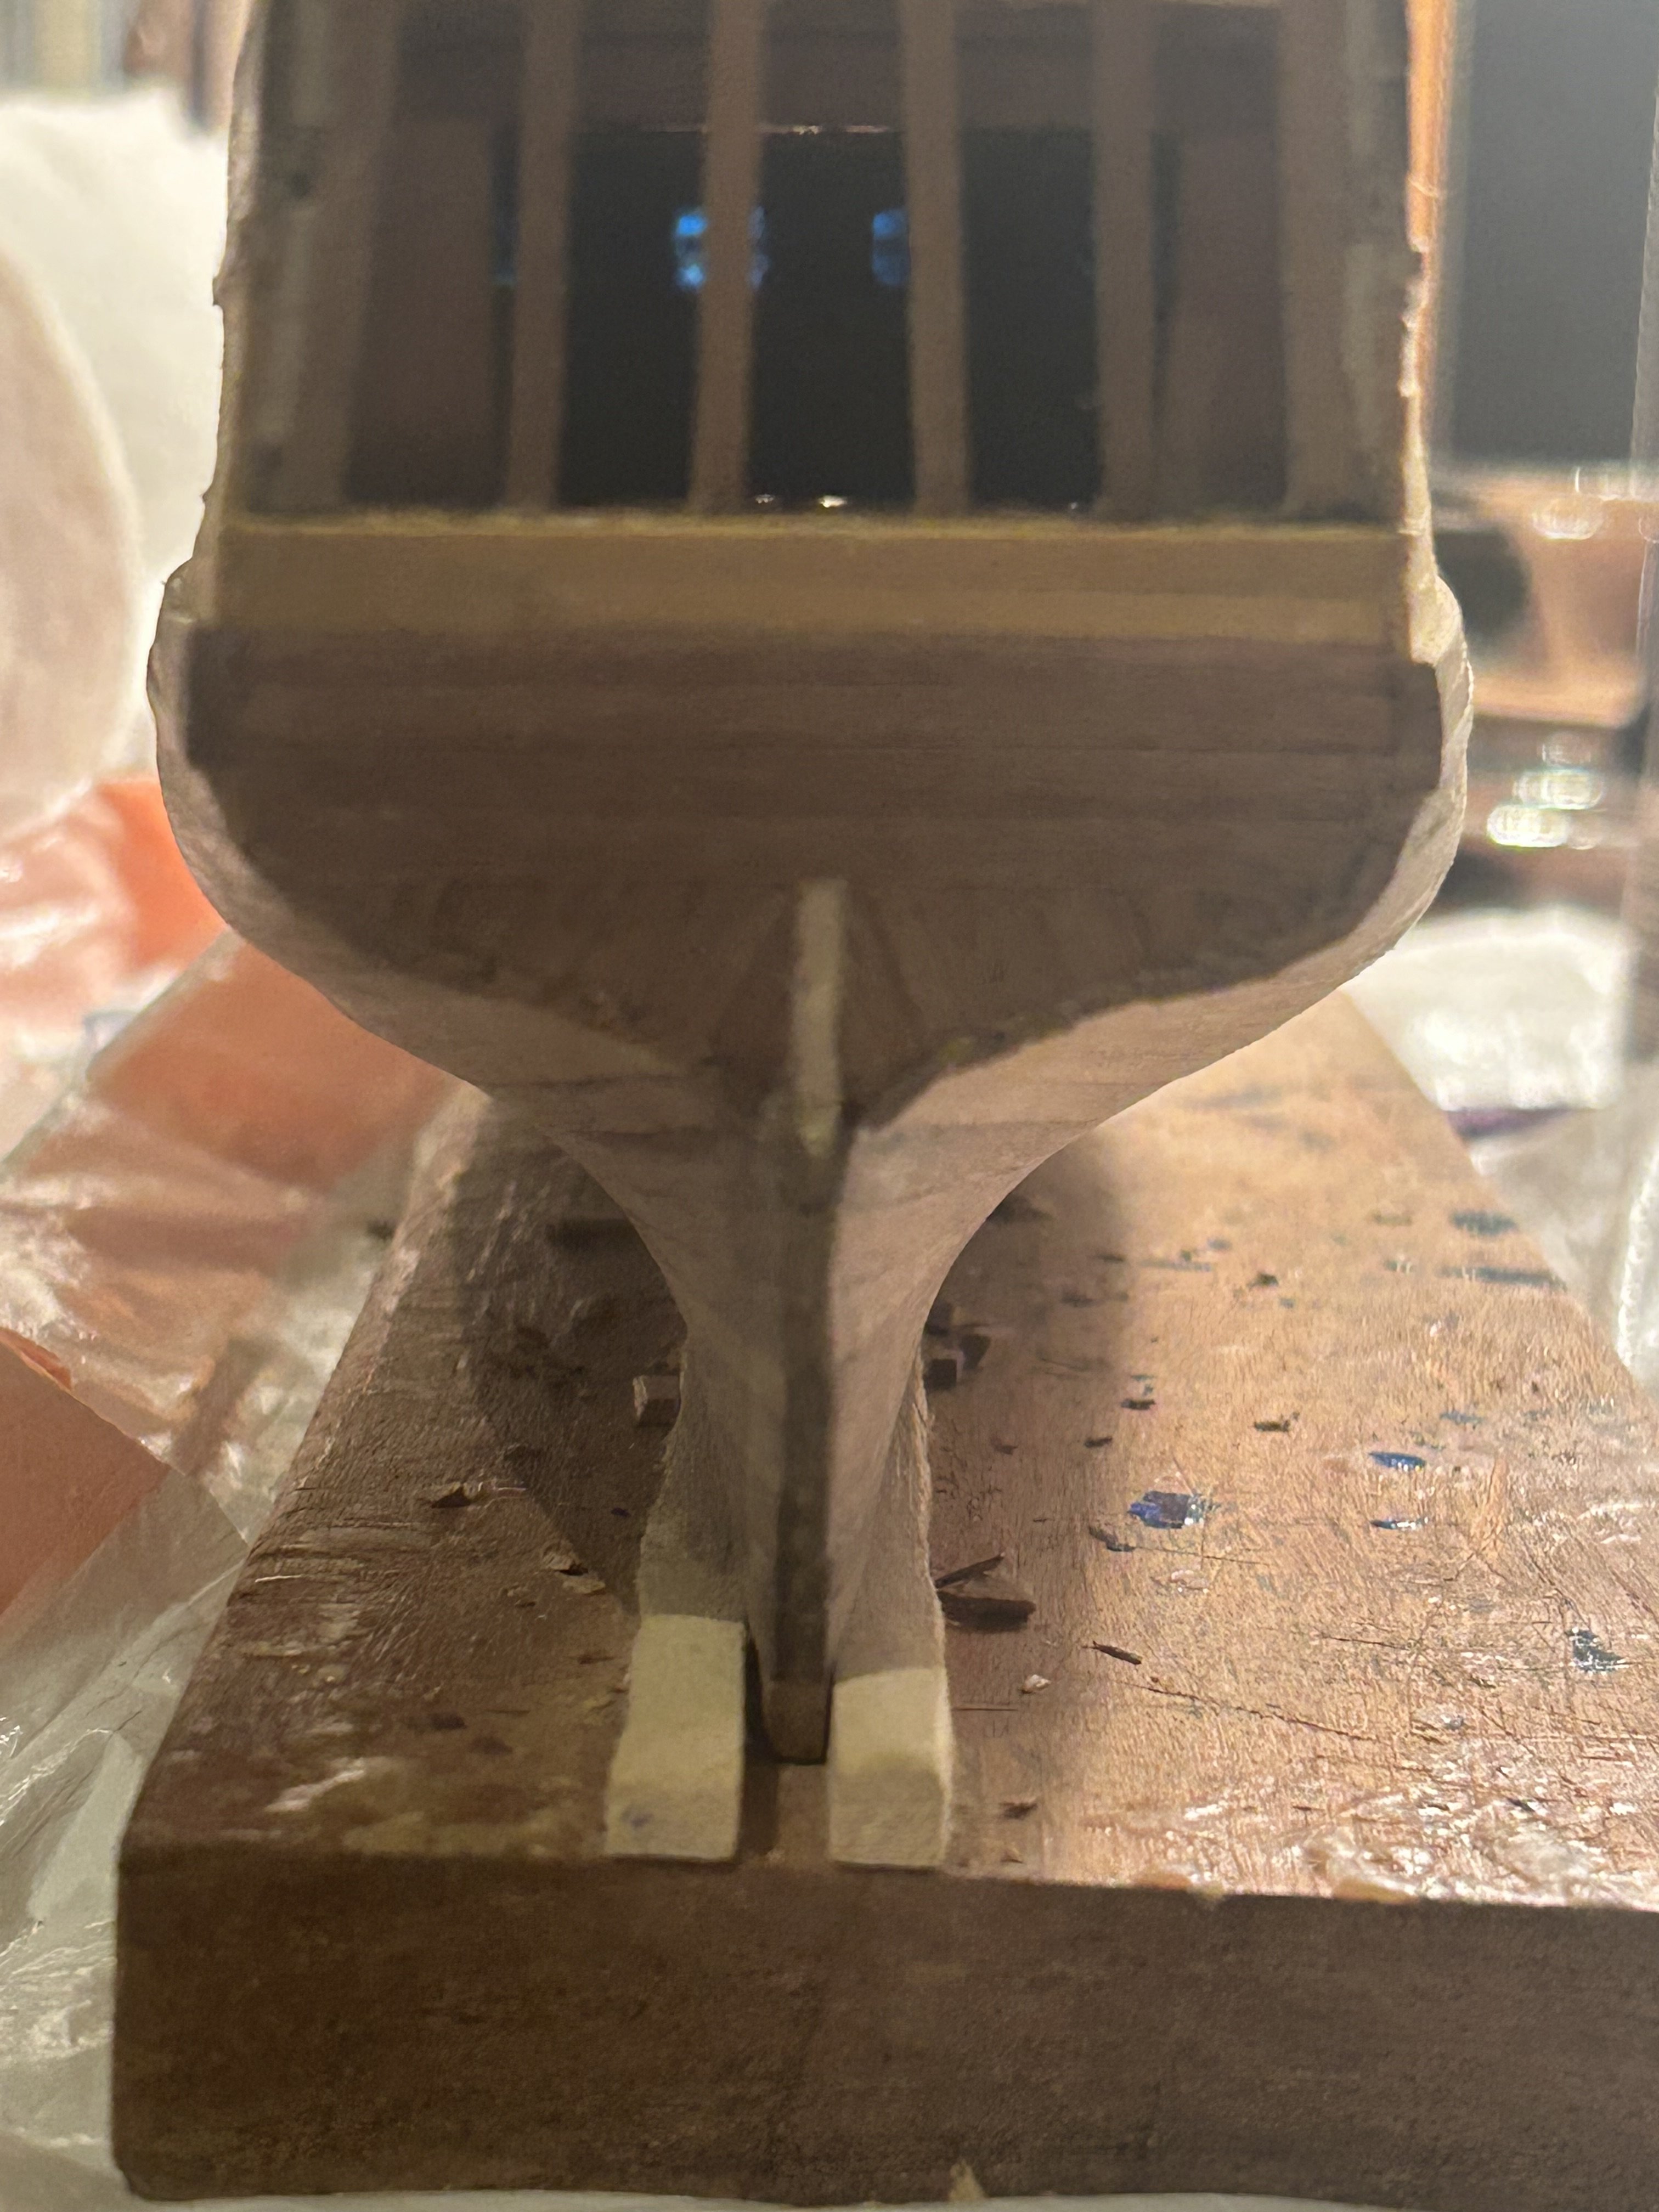
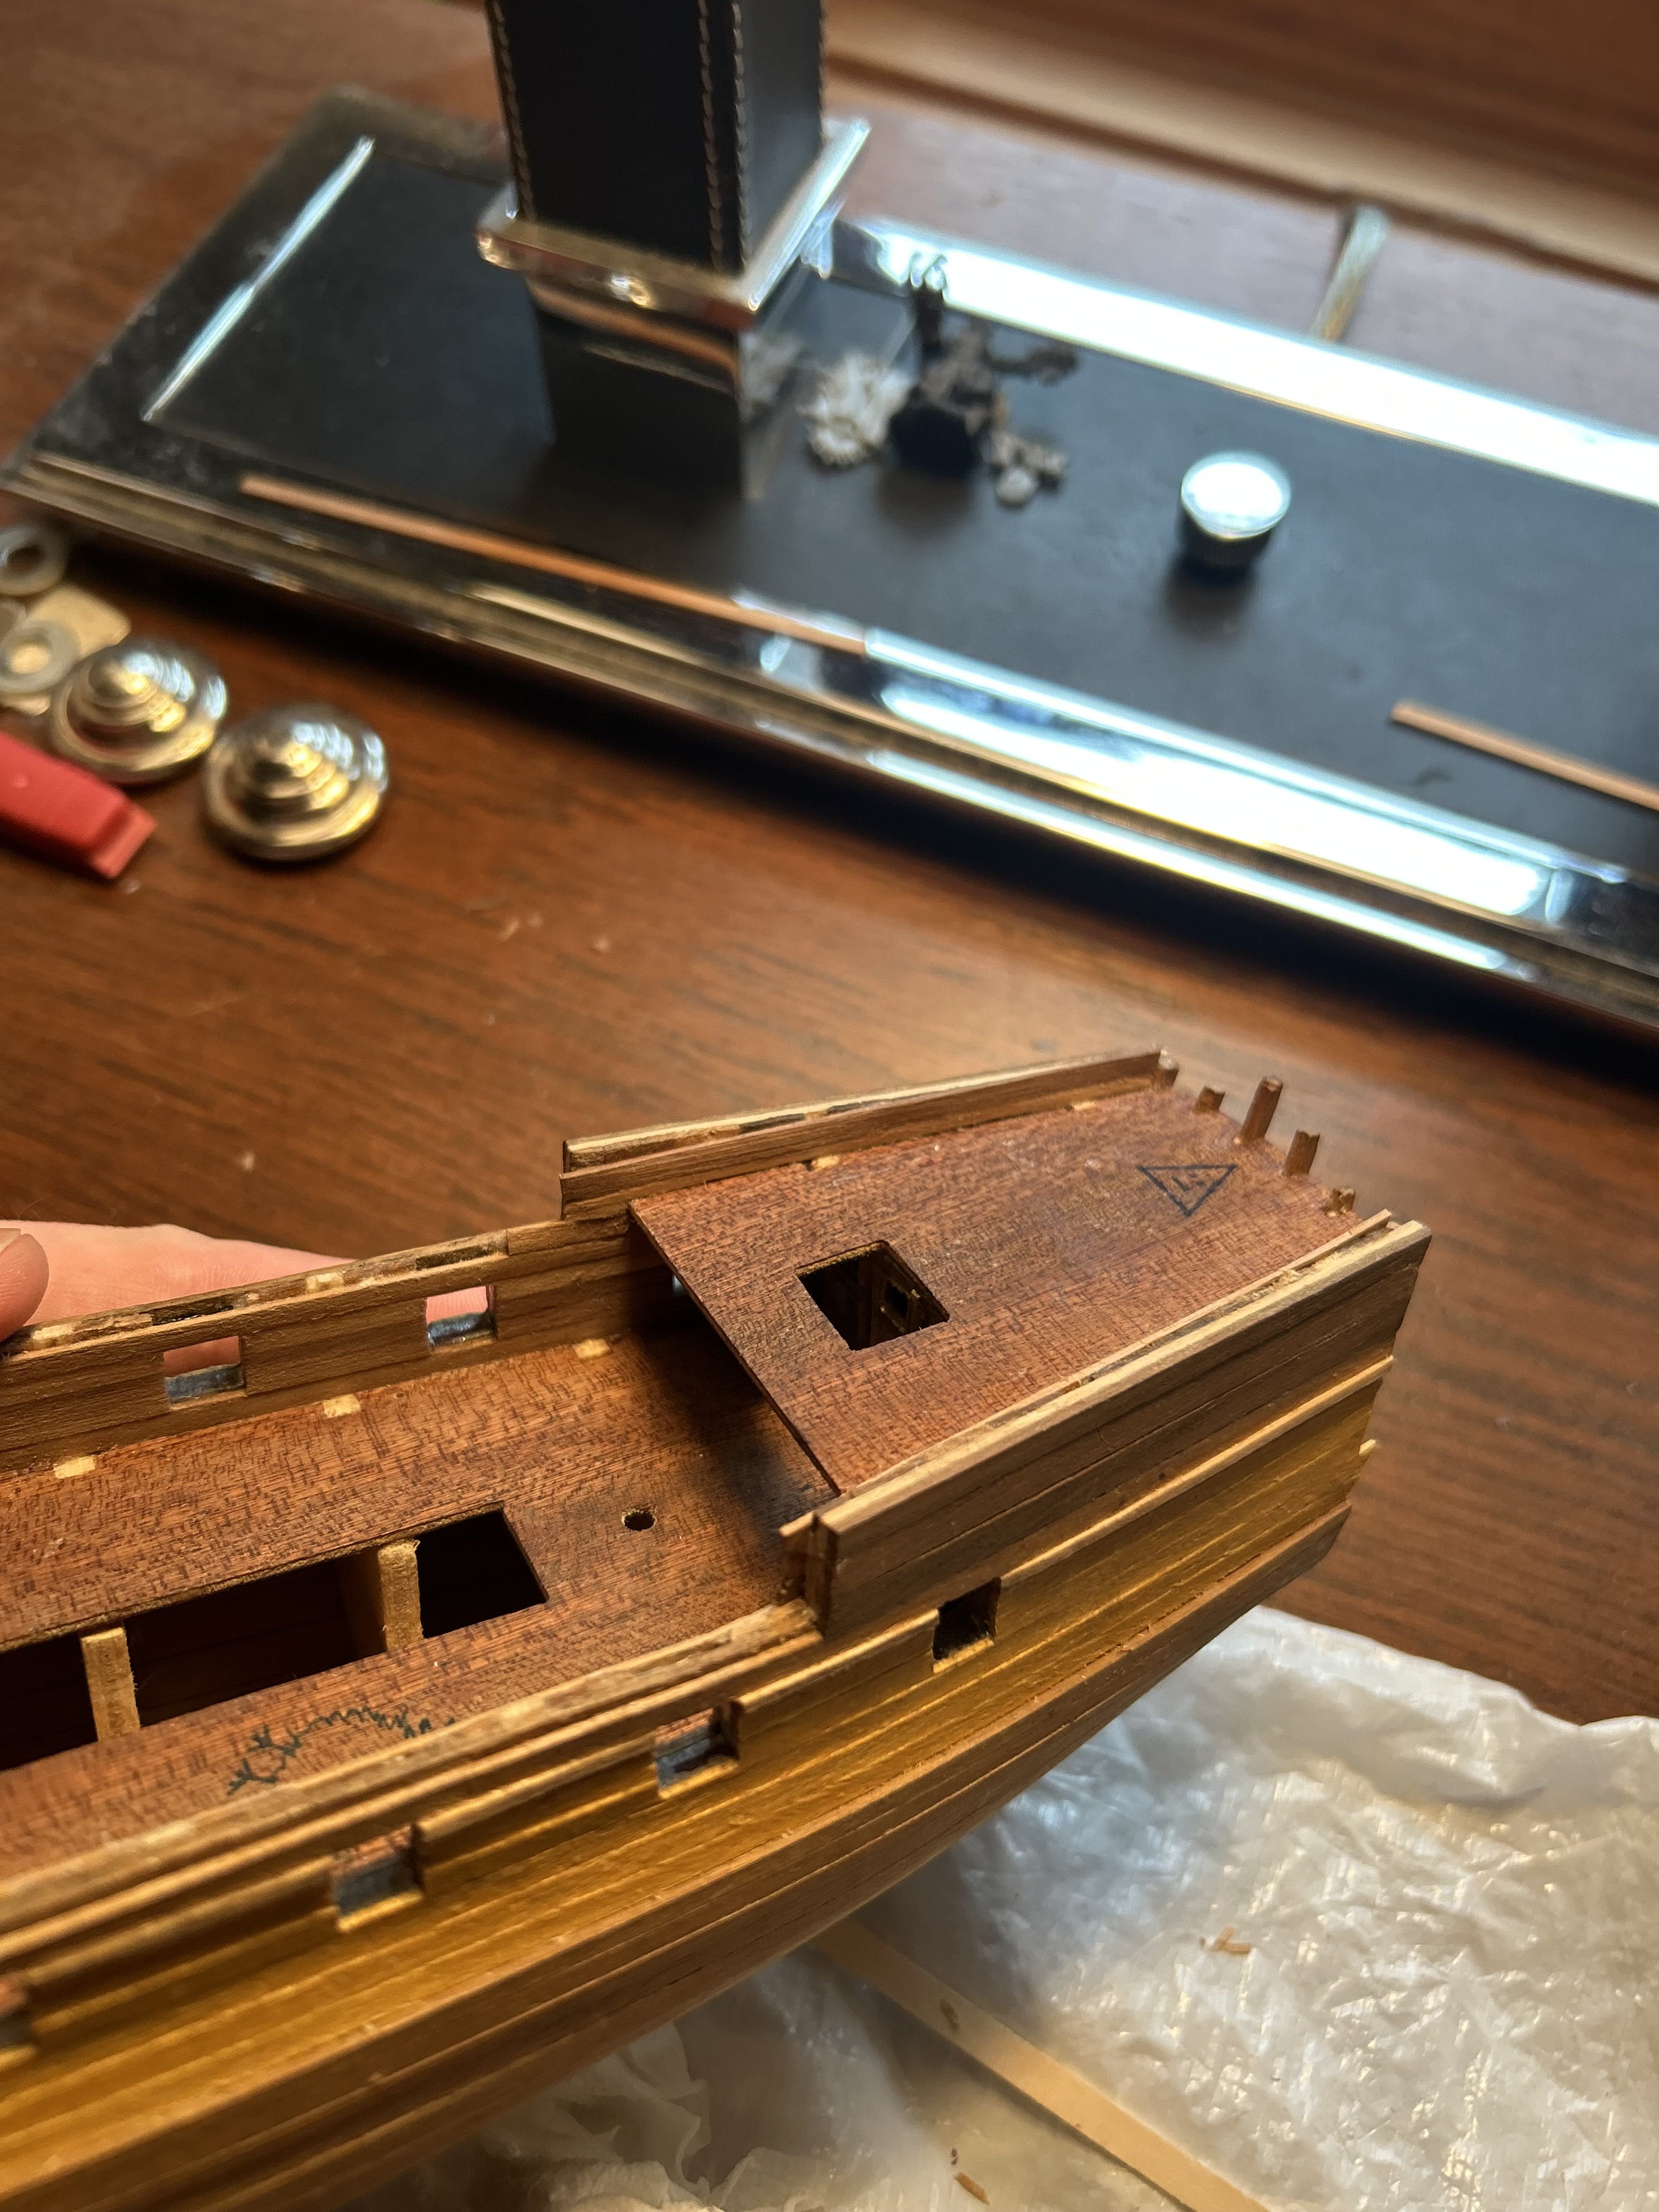
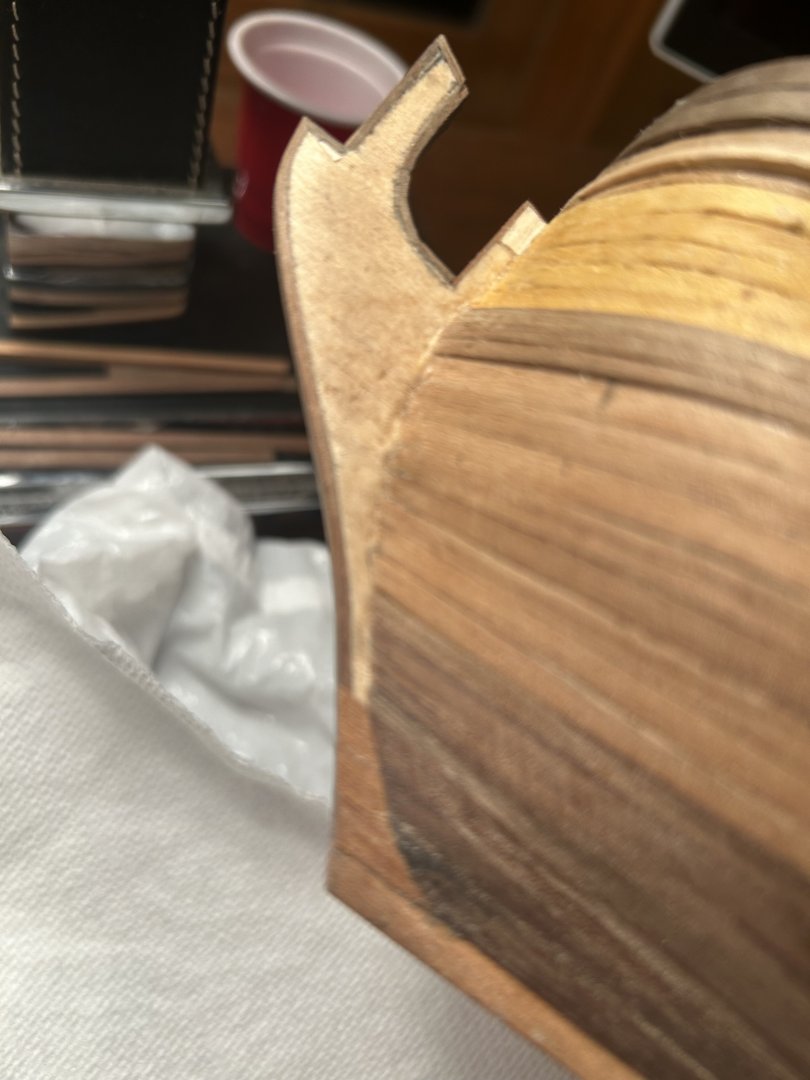
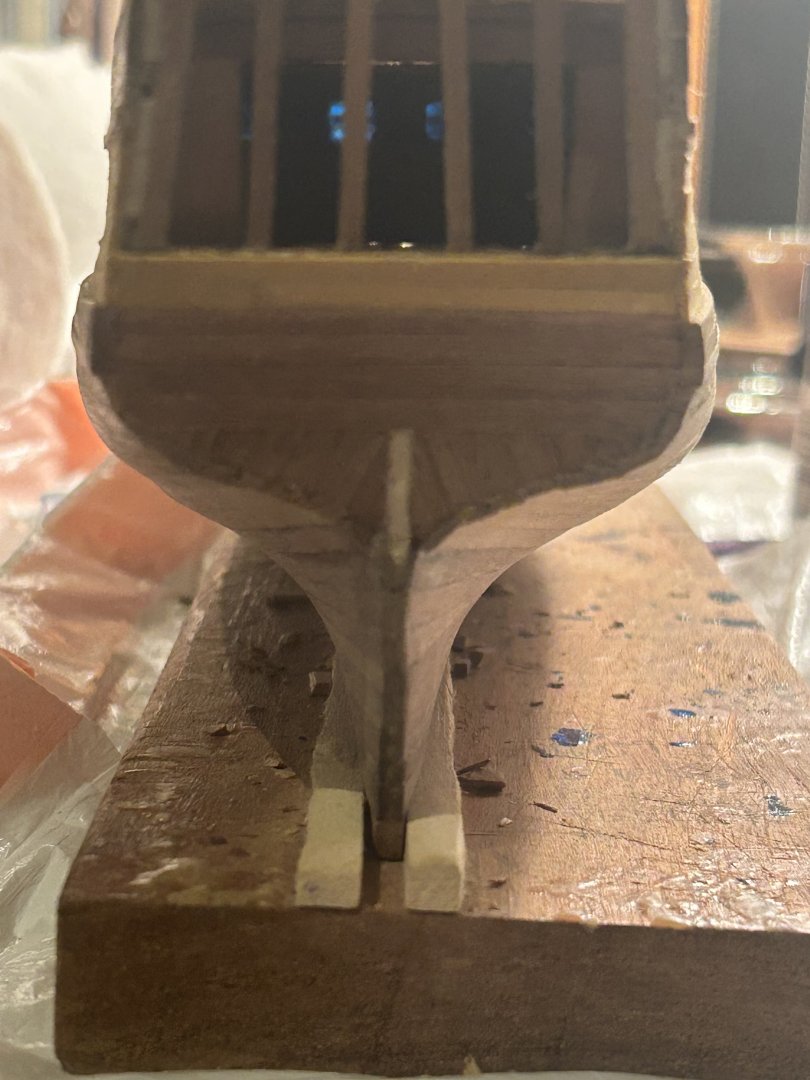
I'm sure now that this strategy is working. The front feels a little stiffer than it used to. I realized I measured wrong on the open spot for the figurehead, so I cut away more wood. Furthermore, I plan to put a last 1mm x 4mm piece covering the last uncovered section toward the bow. I think more is better for this method.

-
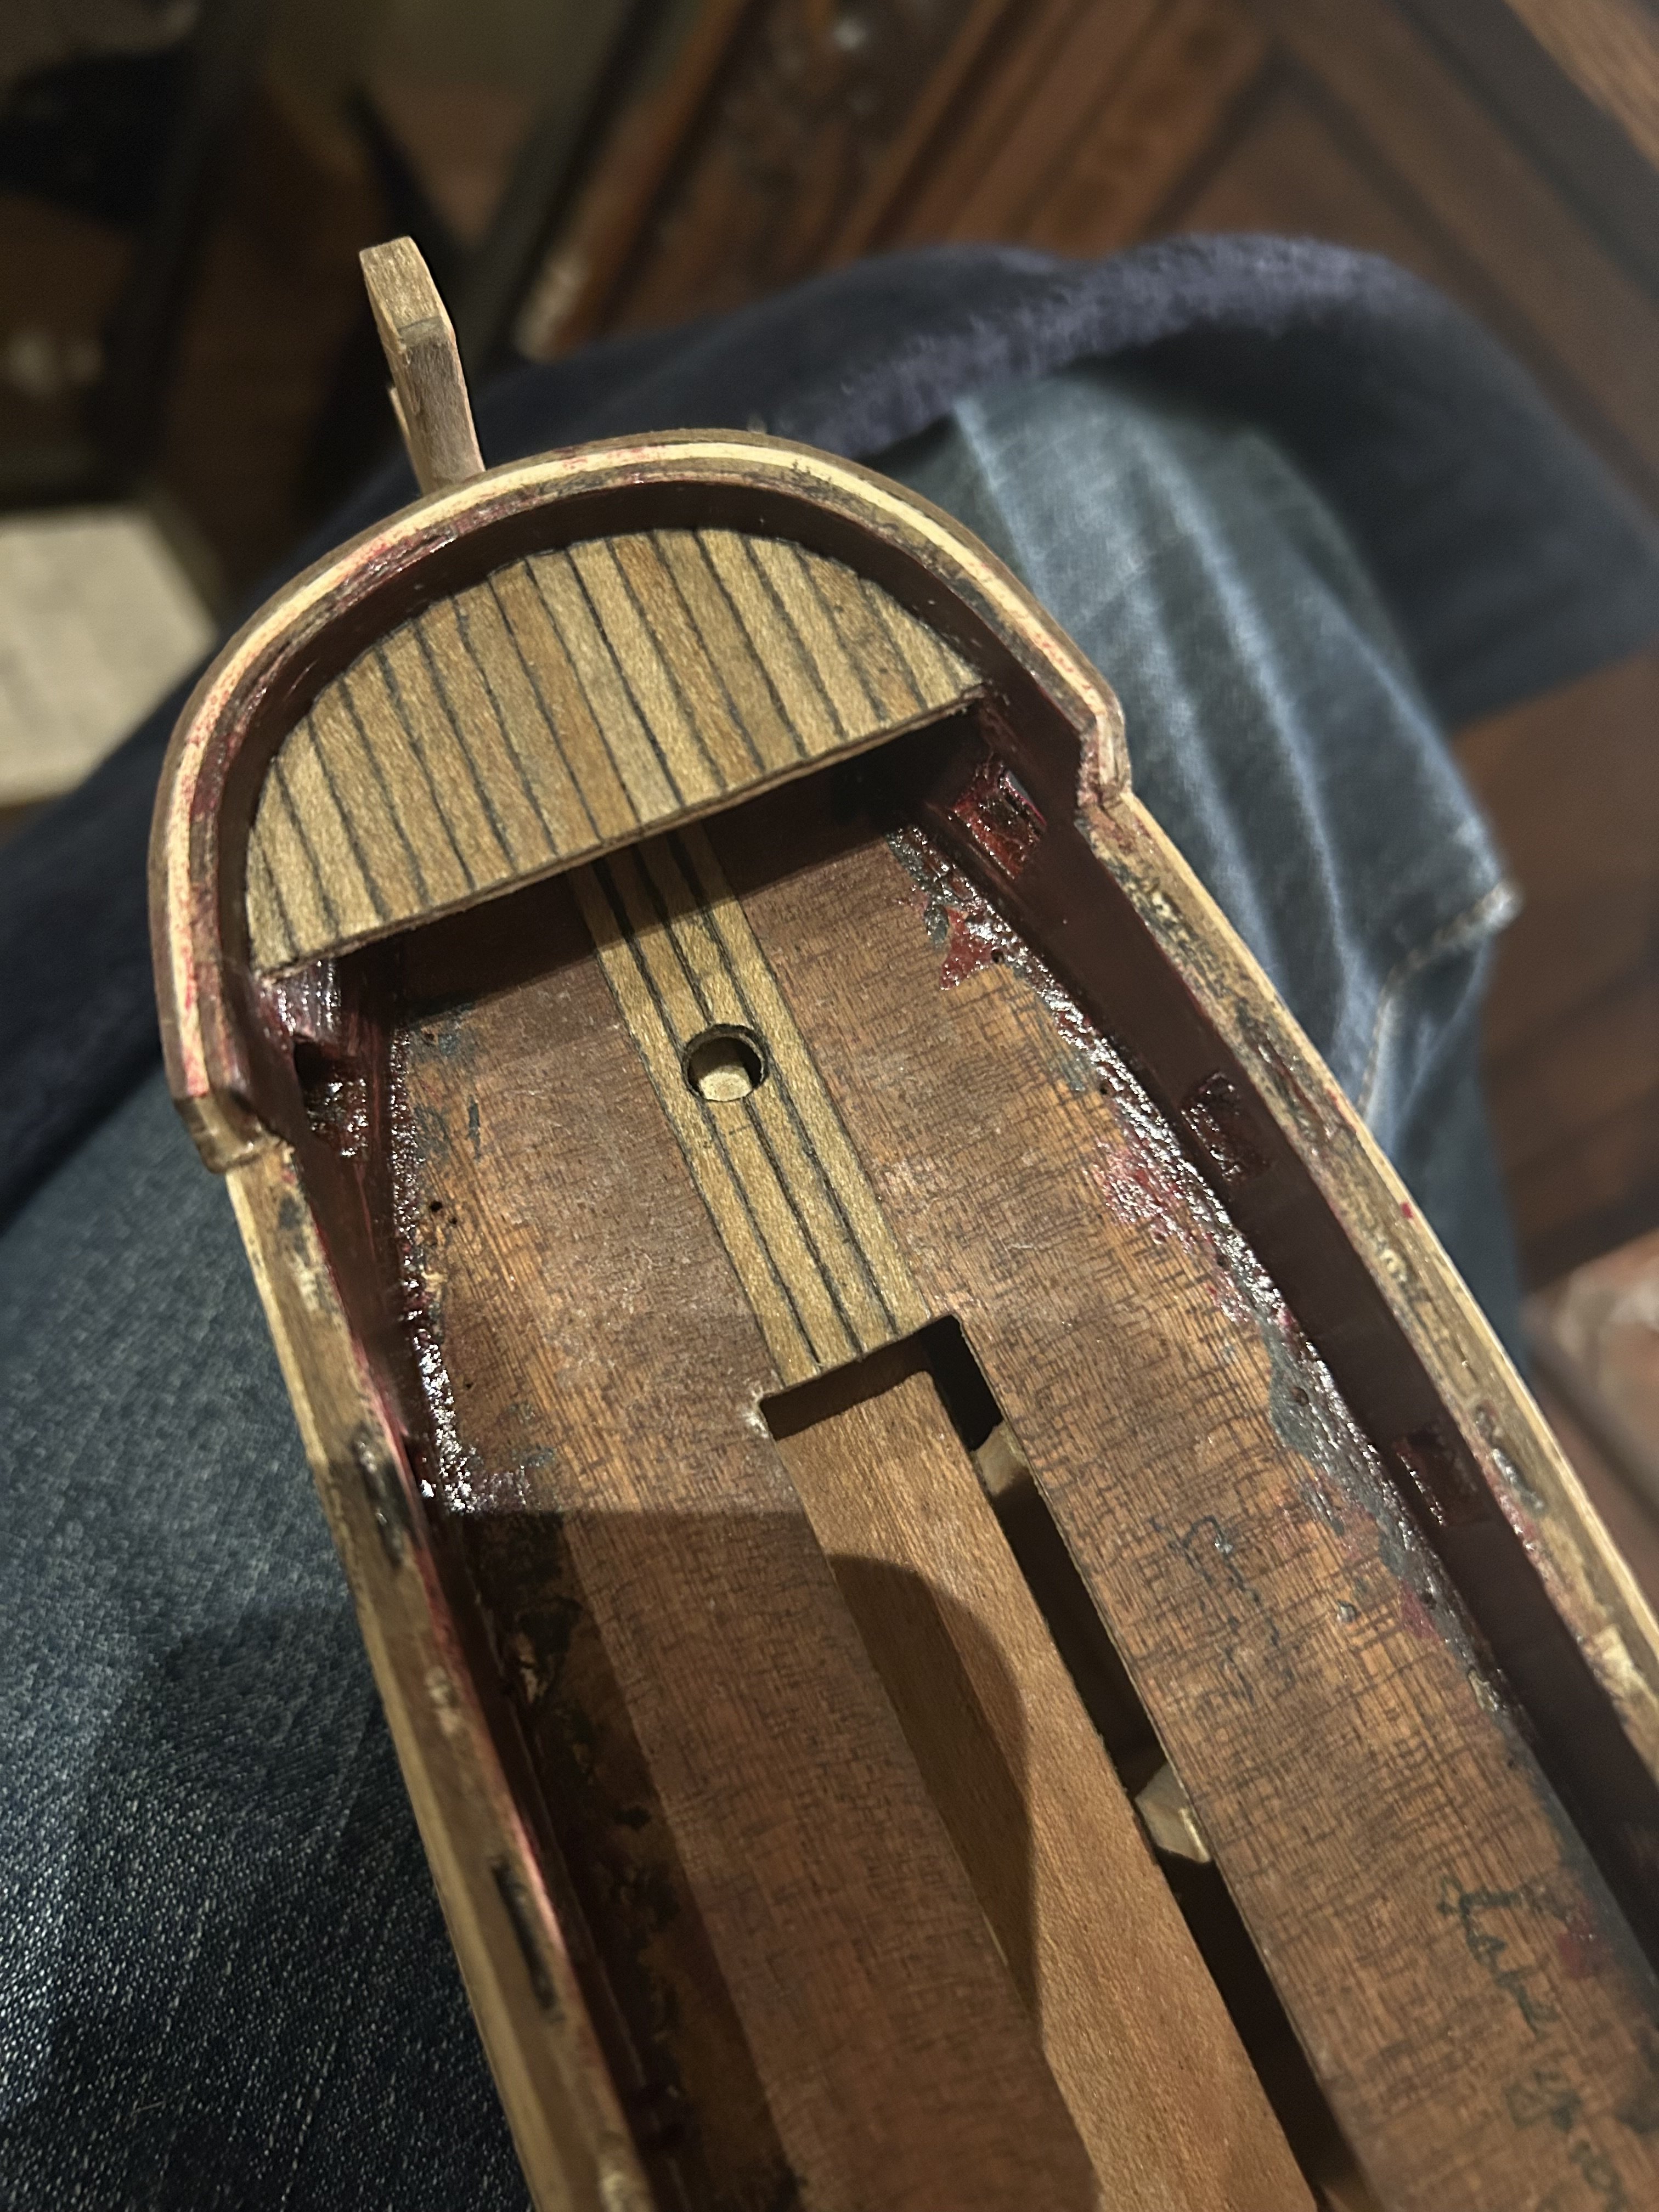
Success! It went pretty much exactly as planned. I think I will put in one more "spine" before the end into the U-shaped section of the bow, but it feels more stable with this piece on. Not sure how much of that is just in my head, but I like to think I am noticing something real.

-
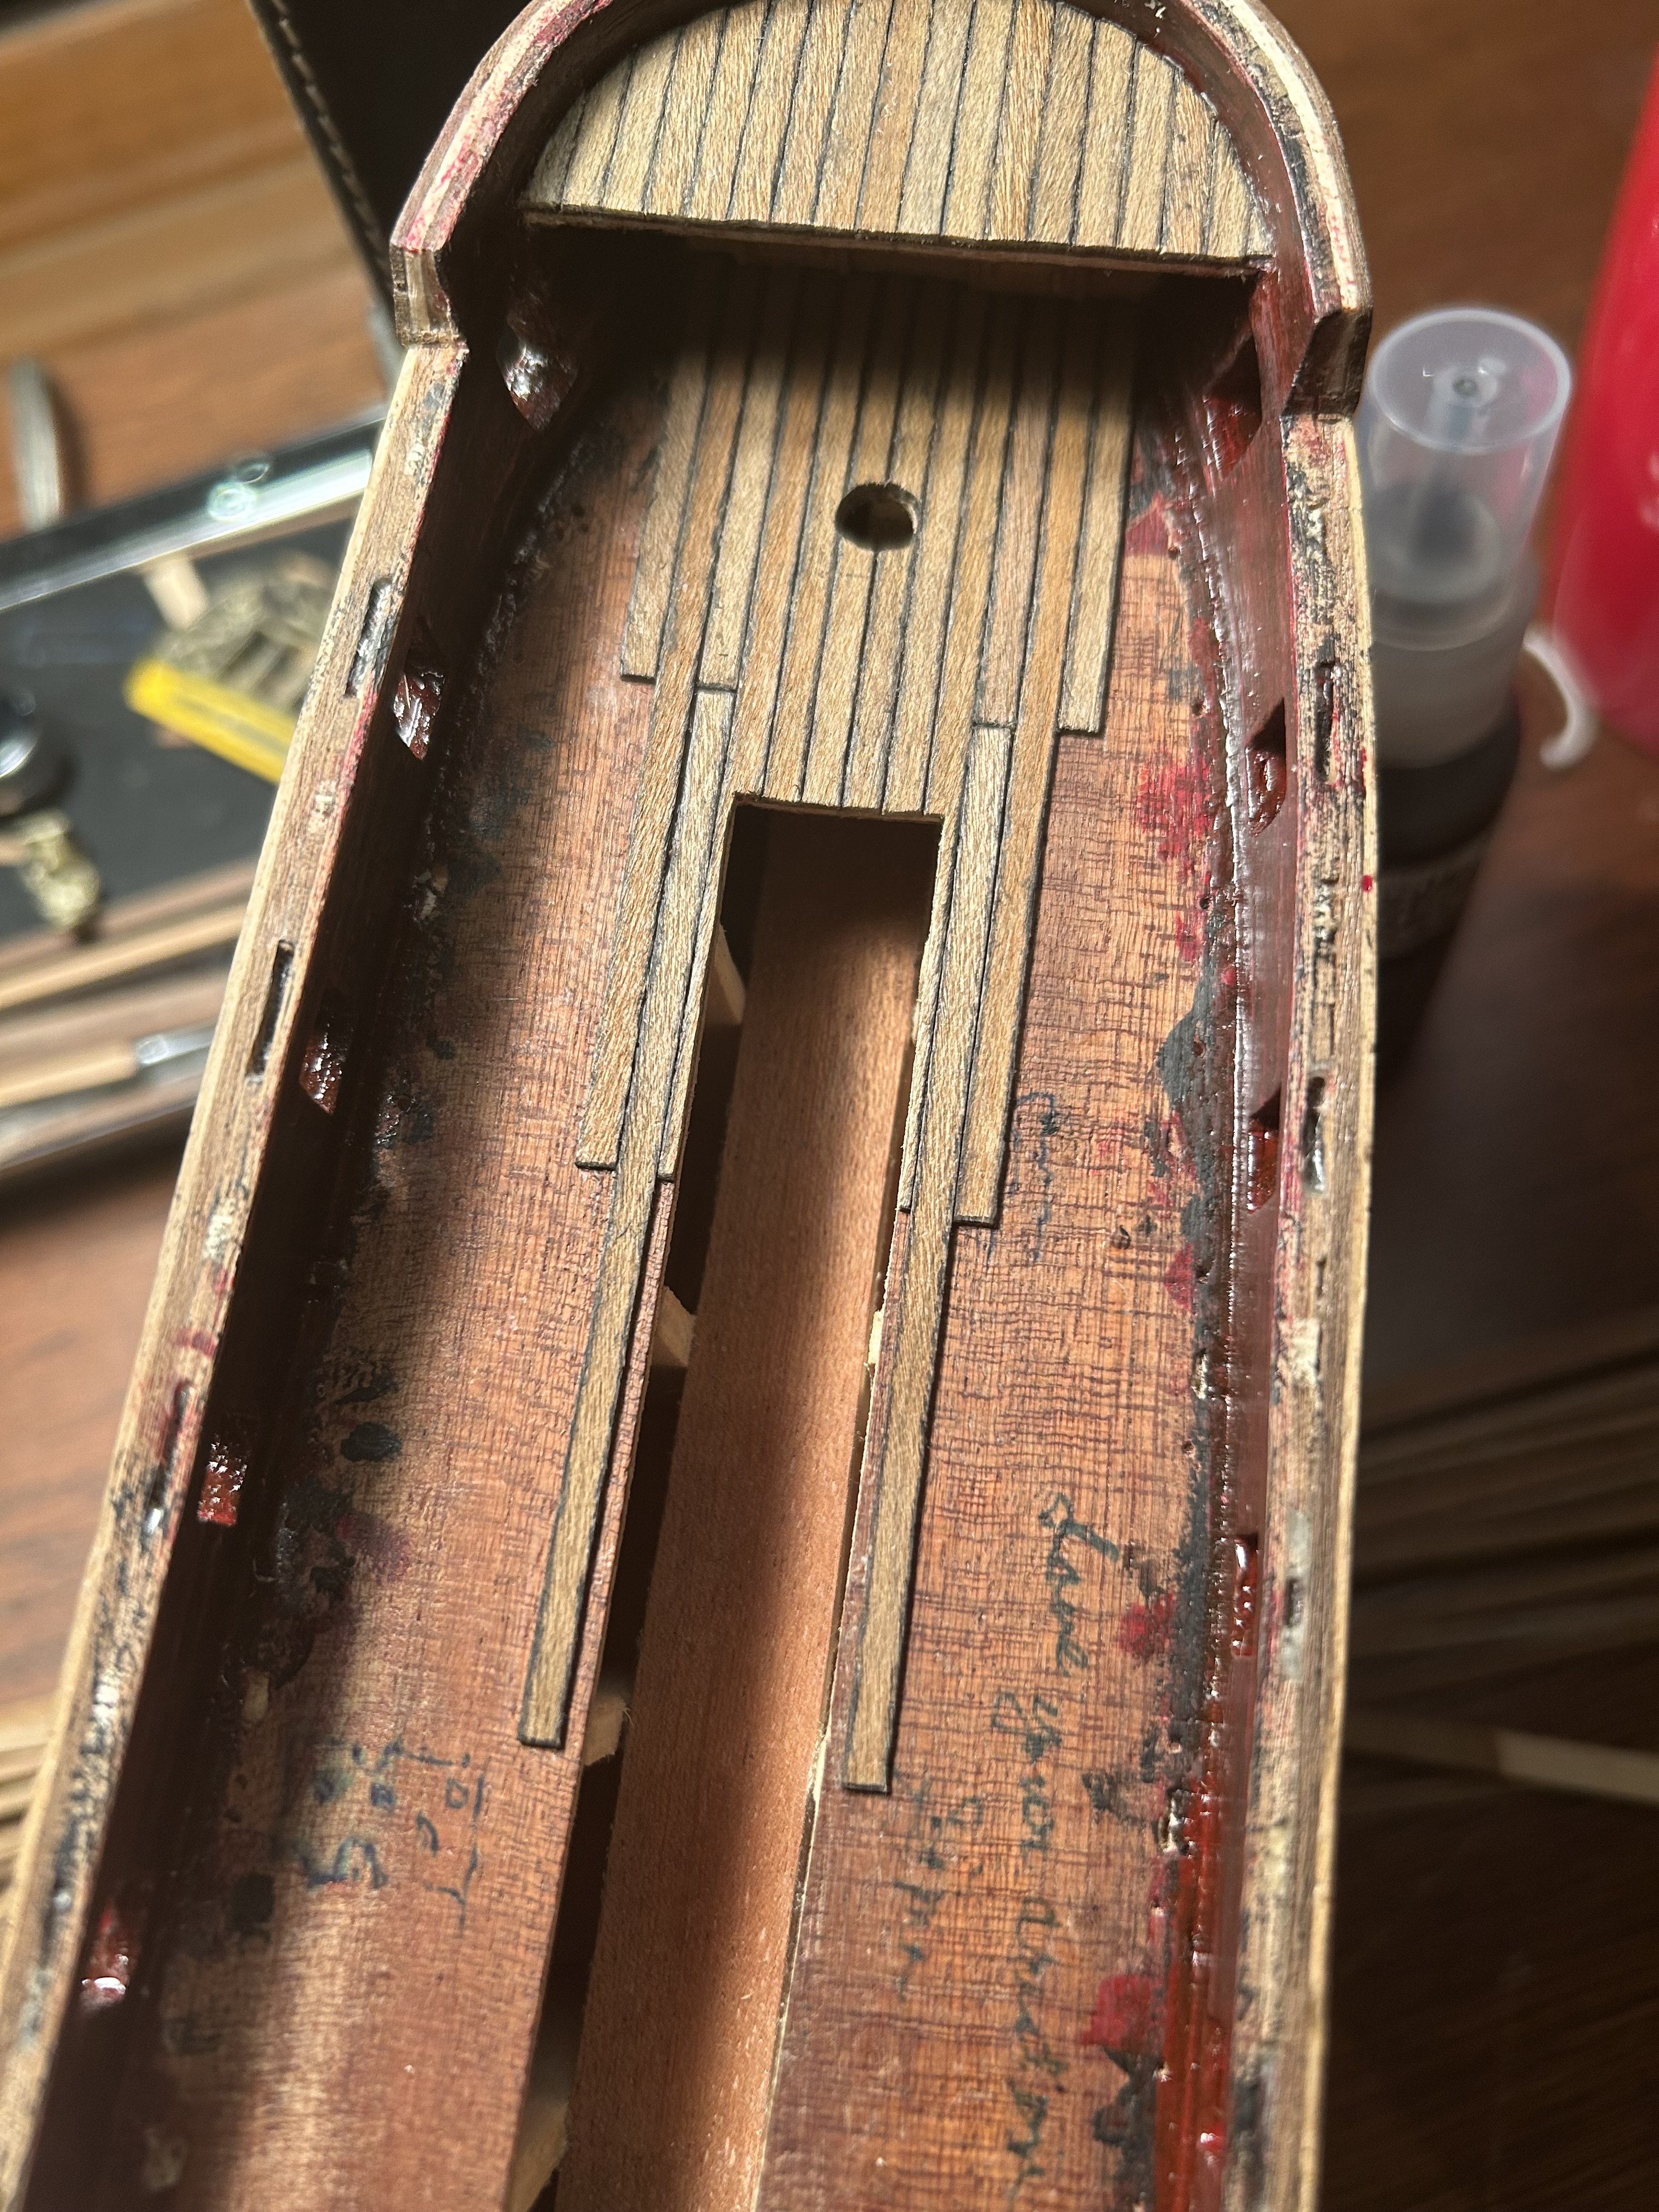
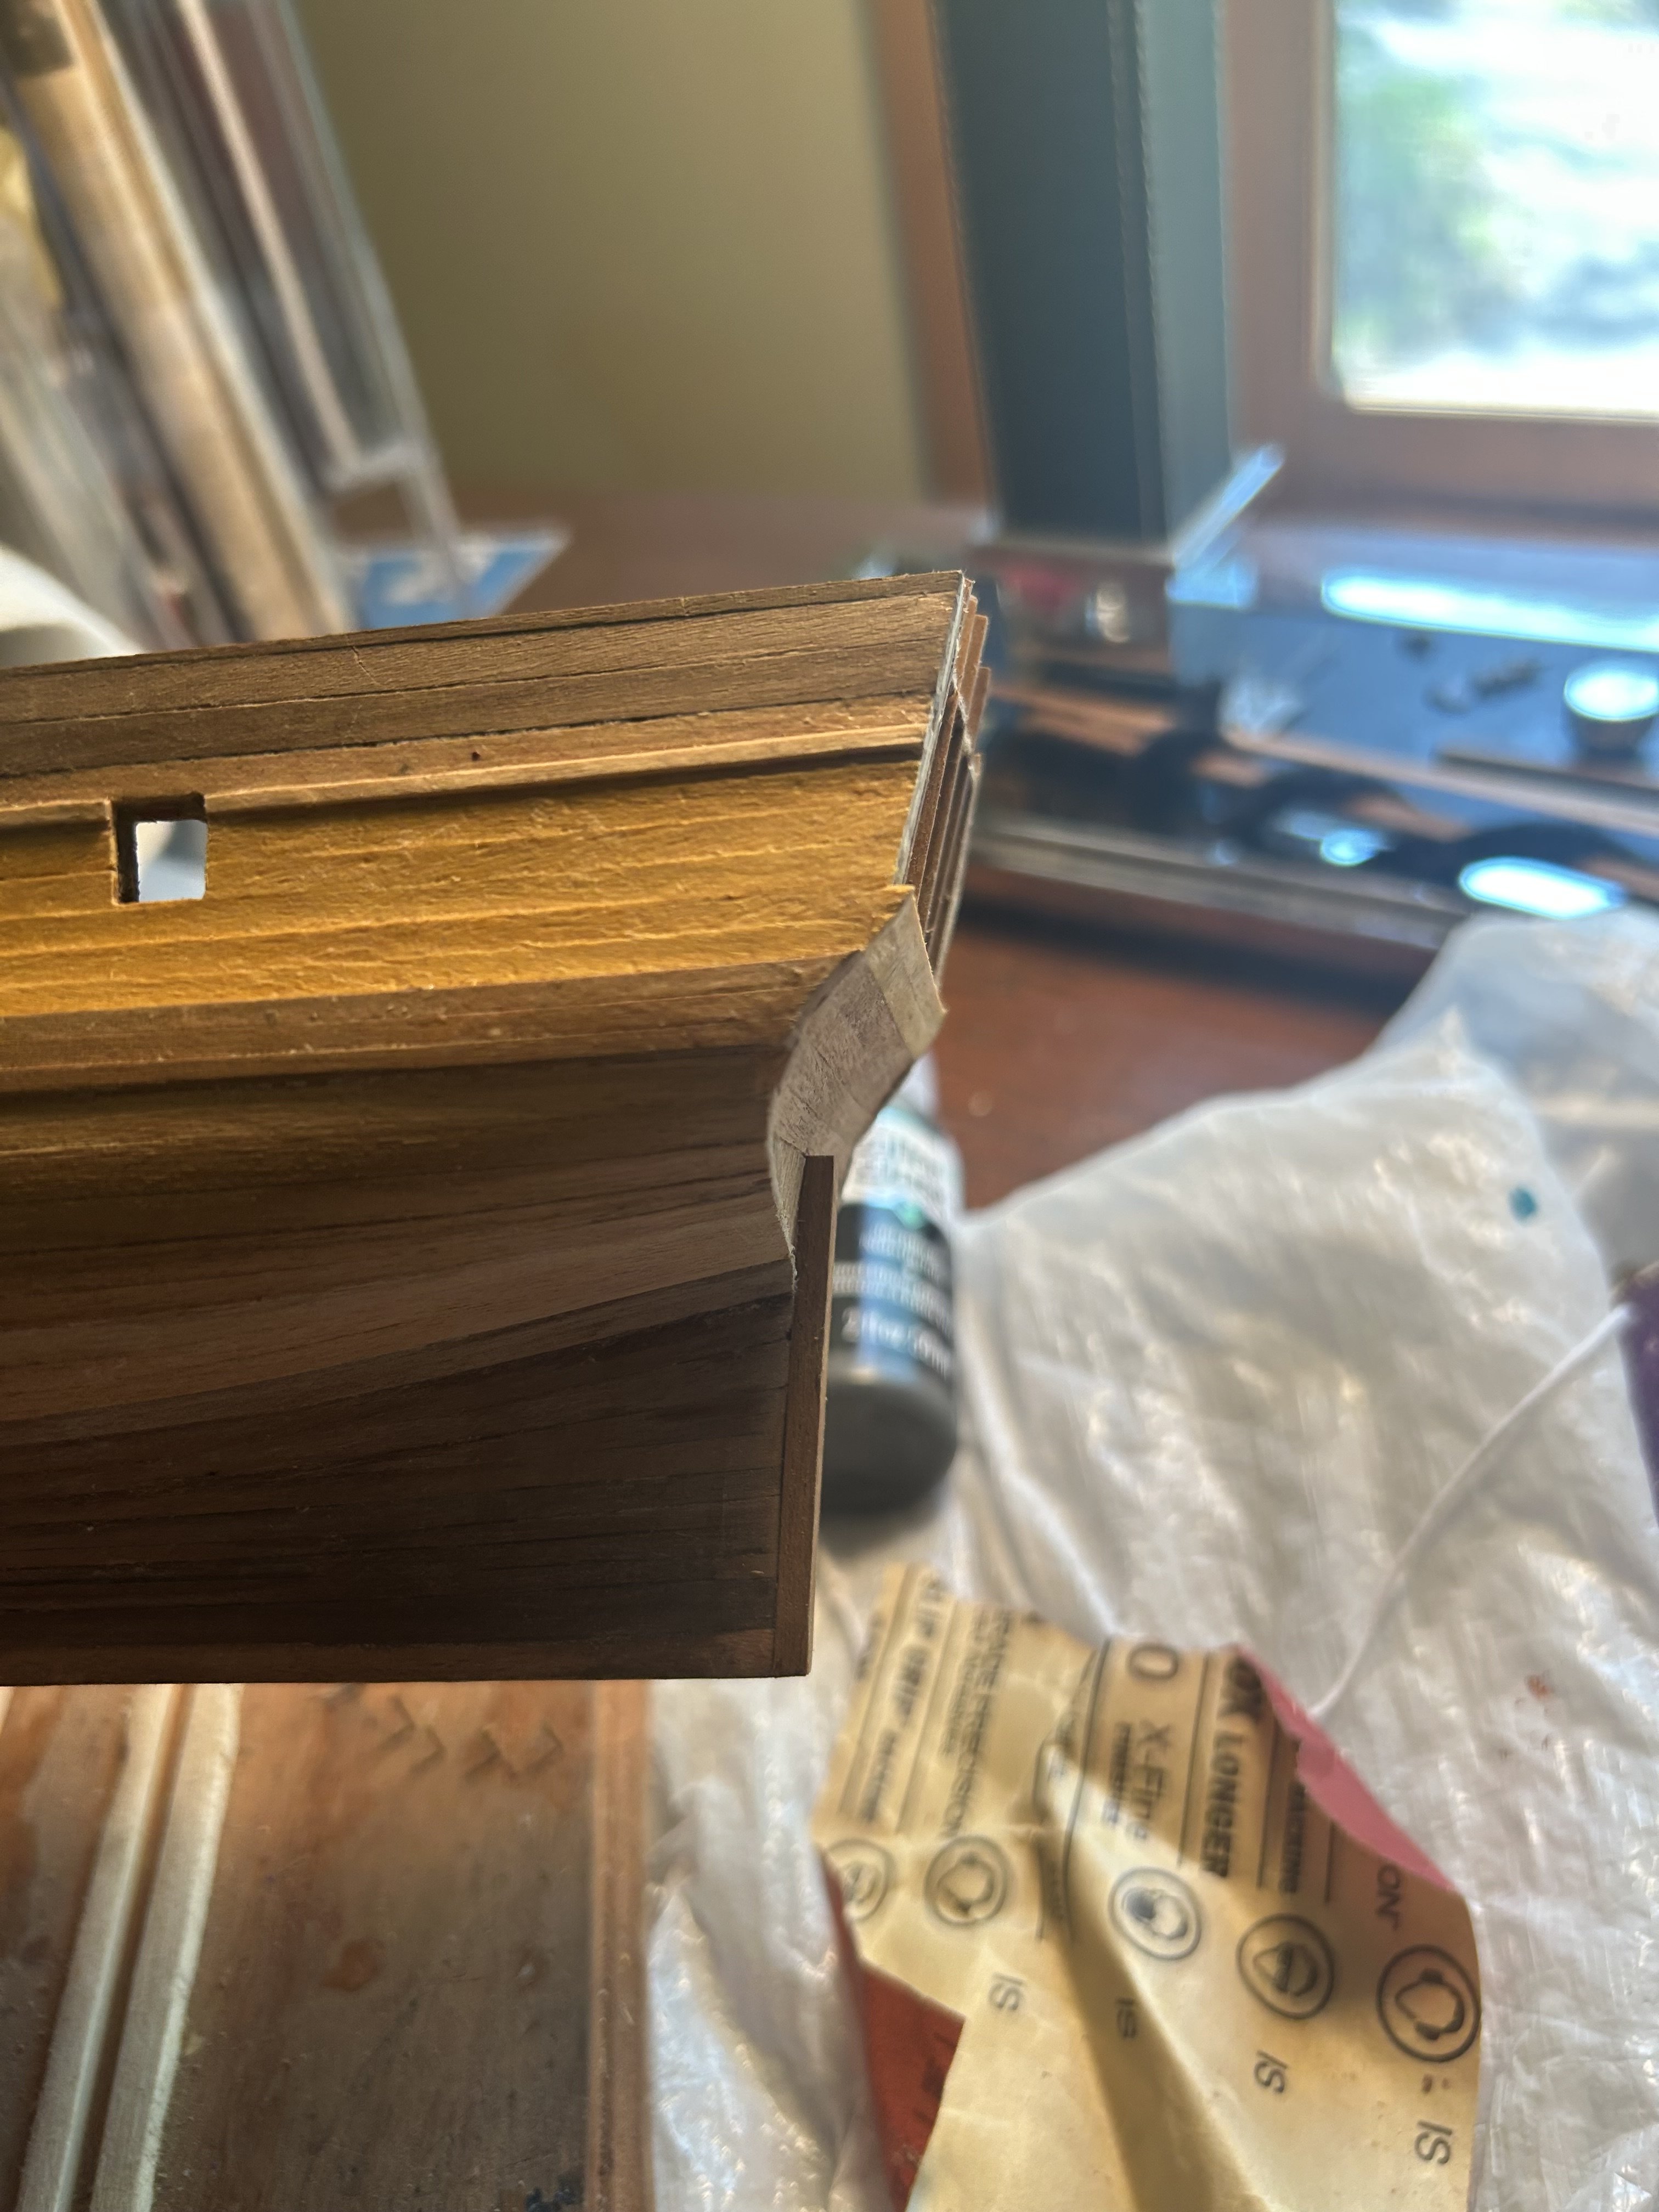
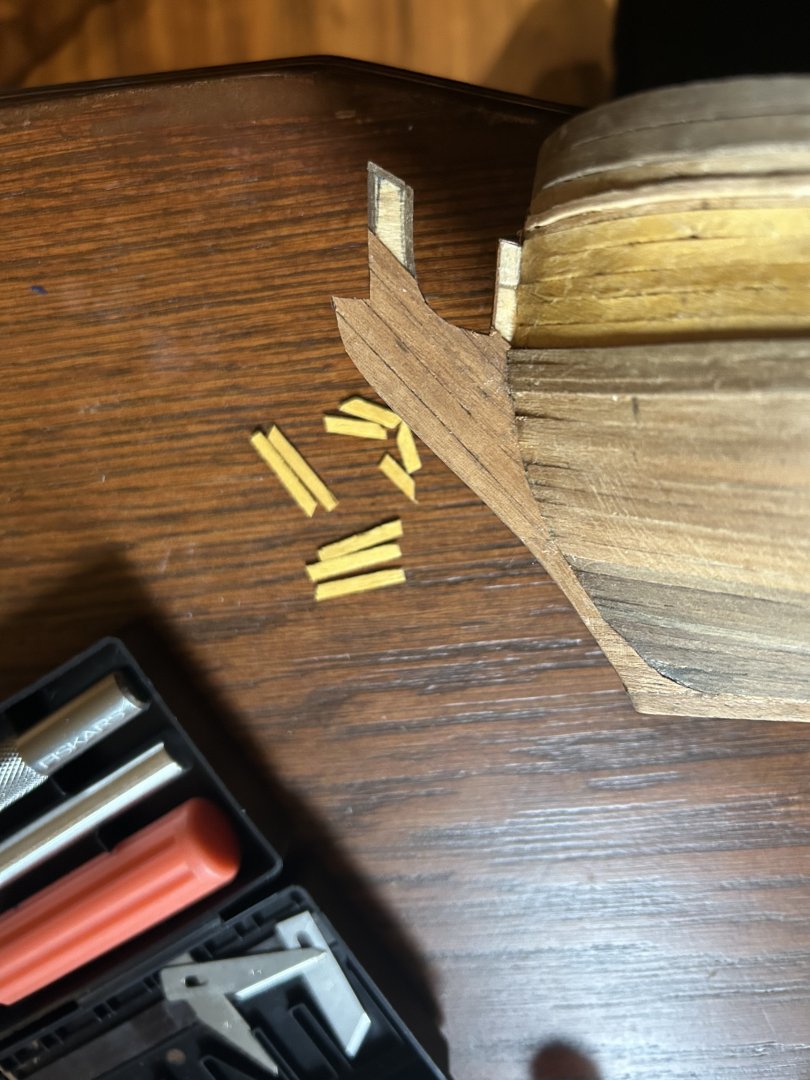
I now have a plan for the knee of the head. It was different than either of my previous solutions. And like all good plans, it involves skeletons. Here's the idea. Problem: The plywood for the knee of the head is weaker than it ought to be and has potential to bend. Solution: I was thinking about skeletons, and considering how we have a spine and ribs to hold up our body. Even if our internal organs aren't exactly firm and sturdy, they're kept in place by the things around them. If I apply this principle to the ship, it should work. Rather than gluing a thin veneer plank onto the front of the plywood, I will glue a sturdy bit of 1 mm x 4 mm scrap walnut planking. It will serve as a strong point to bound the plywood's shape. I'll cut the plywood to leave a spot for it. Then, I'll glue on the same veneer of pieces. But instead of connecting to a strong frame at the bow and not much at the front, they'll connect with the walnut at one side and the bow at the other. With all the glue and their sheer numbers, they'll effectively function as ribs to hold the entire project together. In theory, that should hold better than making the whole thing out of veneer strips, and not require the same radical amount of repair making my own parts would require. I've started already. If it doesn't work, I'll just have to go back to the full repair plan. But I like my chances.

-
Thanks! I have long given up on the idea of achieving perfection on this particular kit. That doesn't mean it's not fun. But I know what I'm in for and I'll fight this thing one step at a time.
-
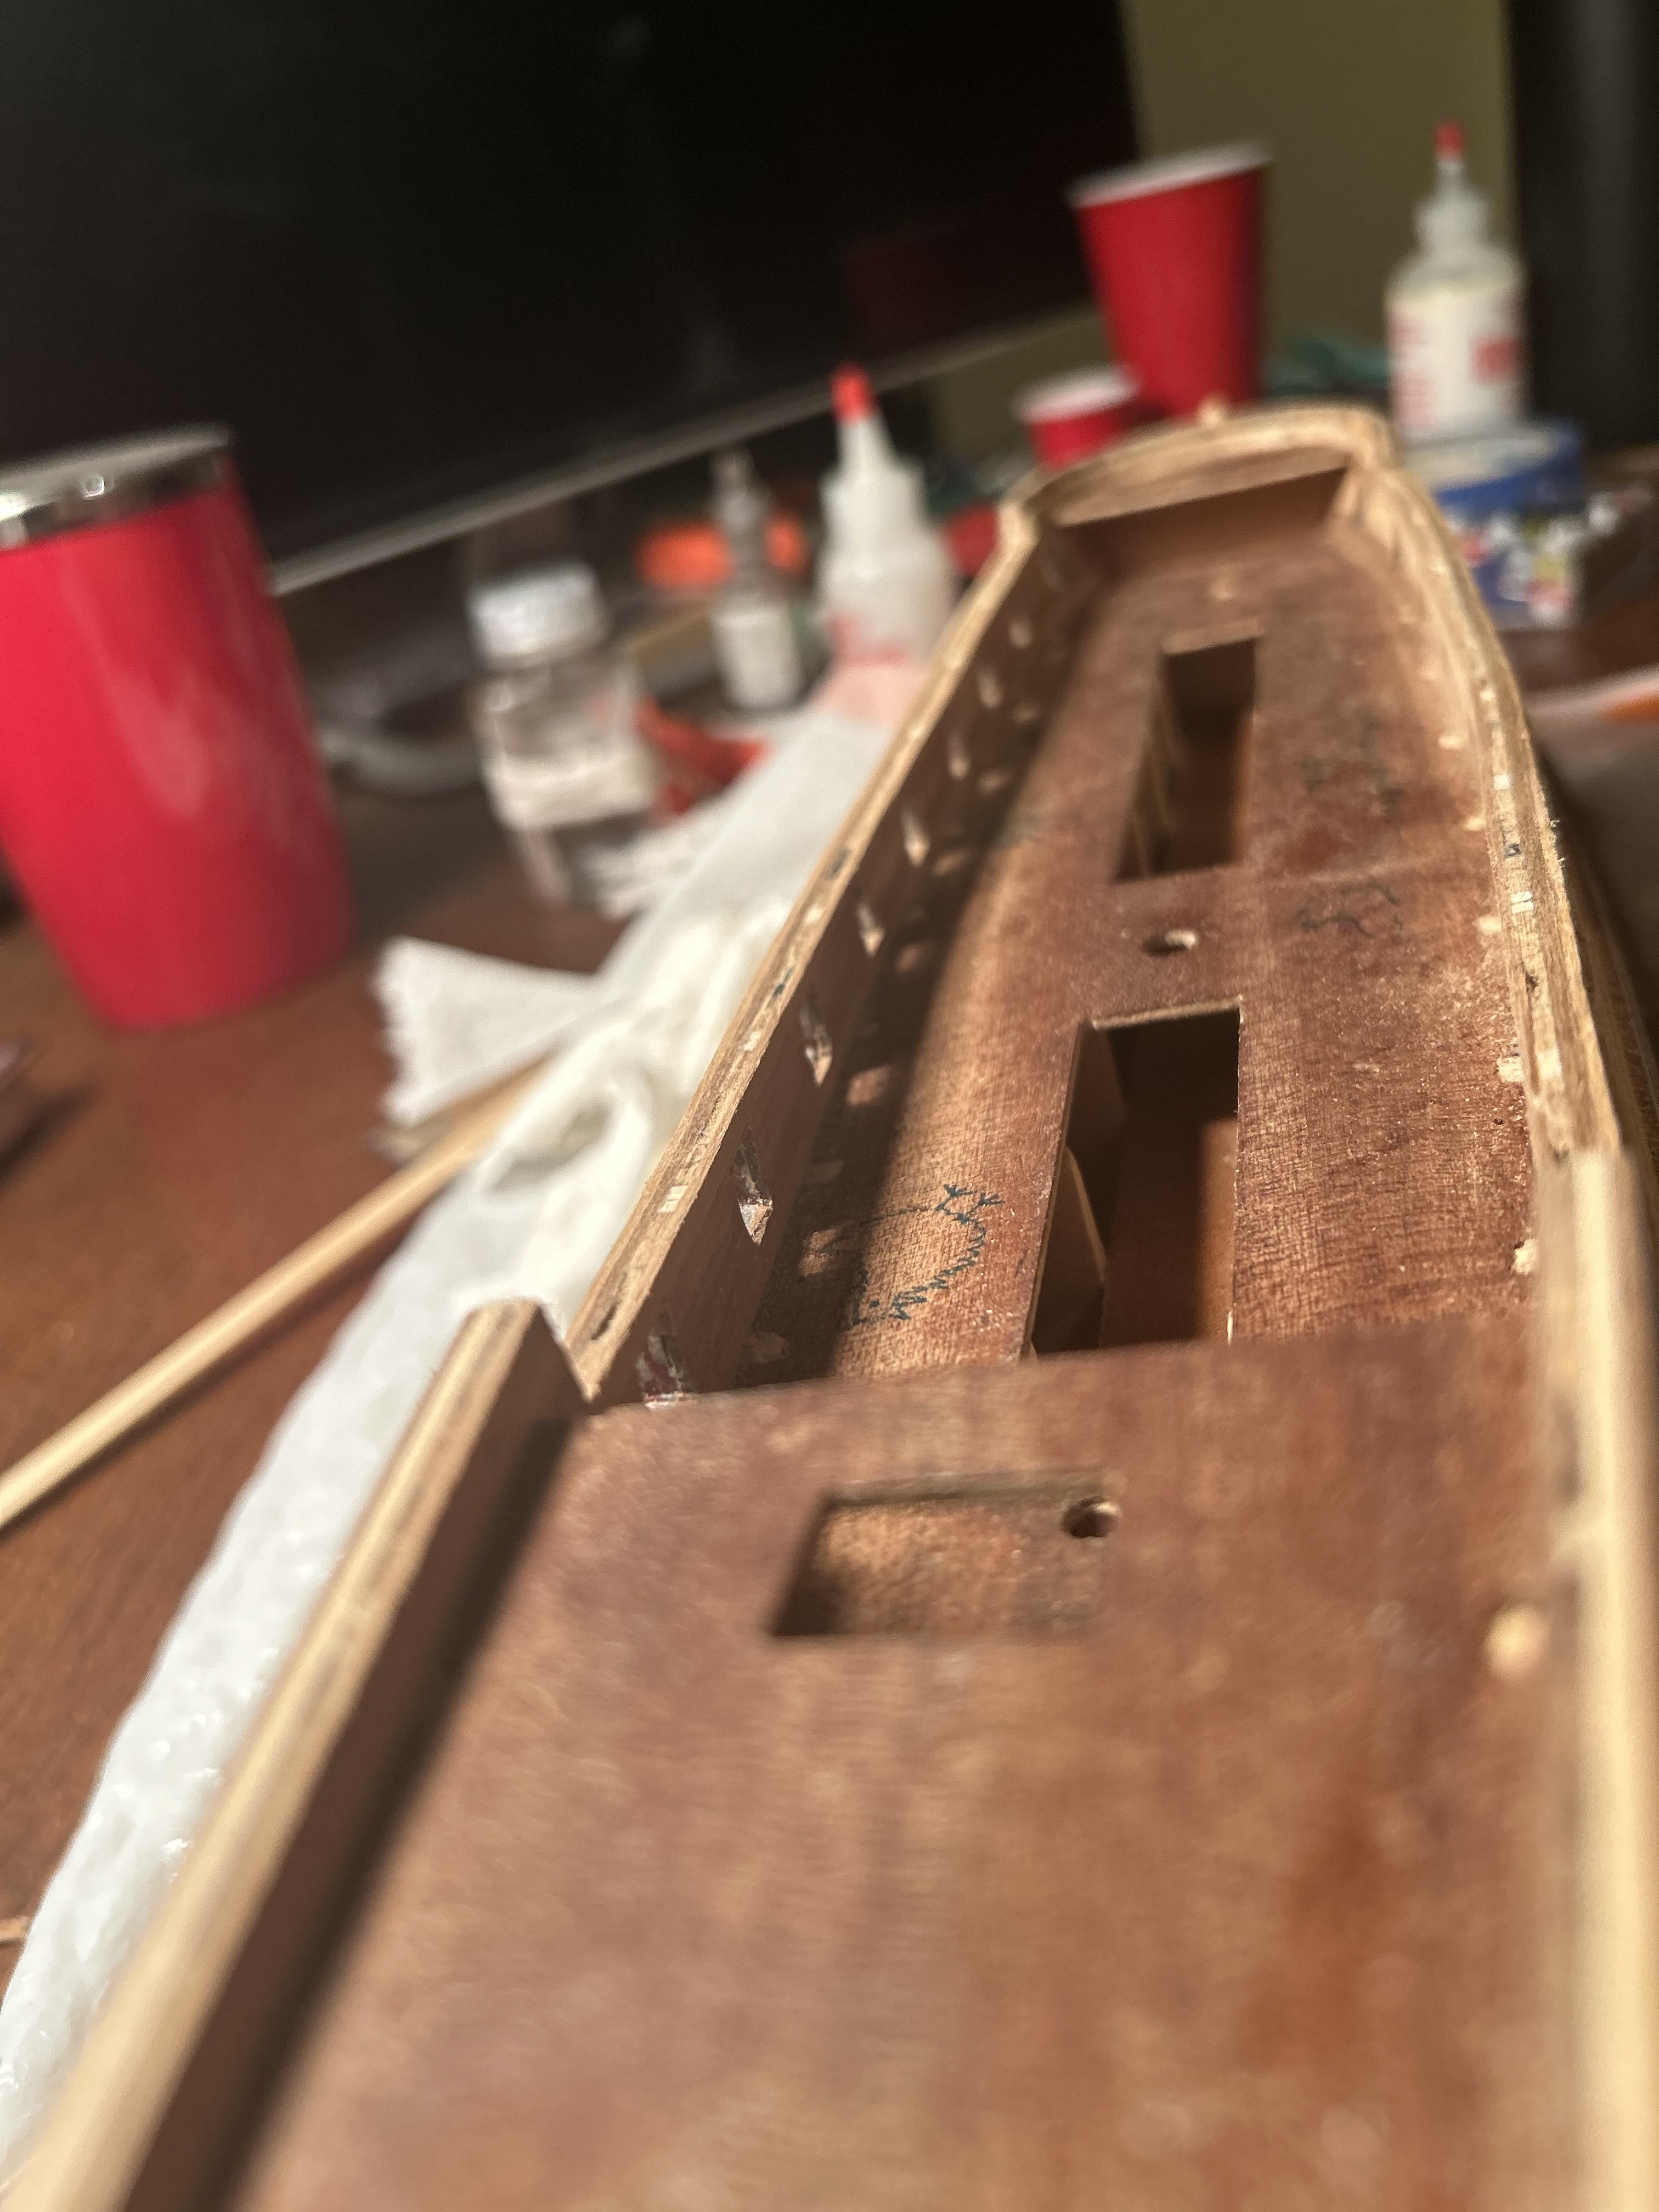
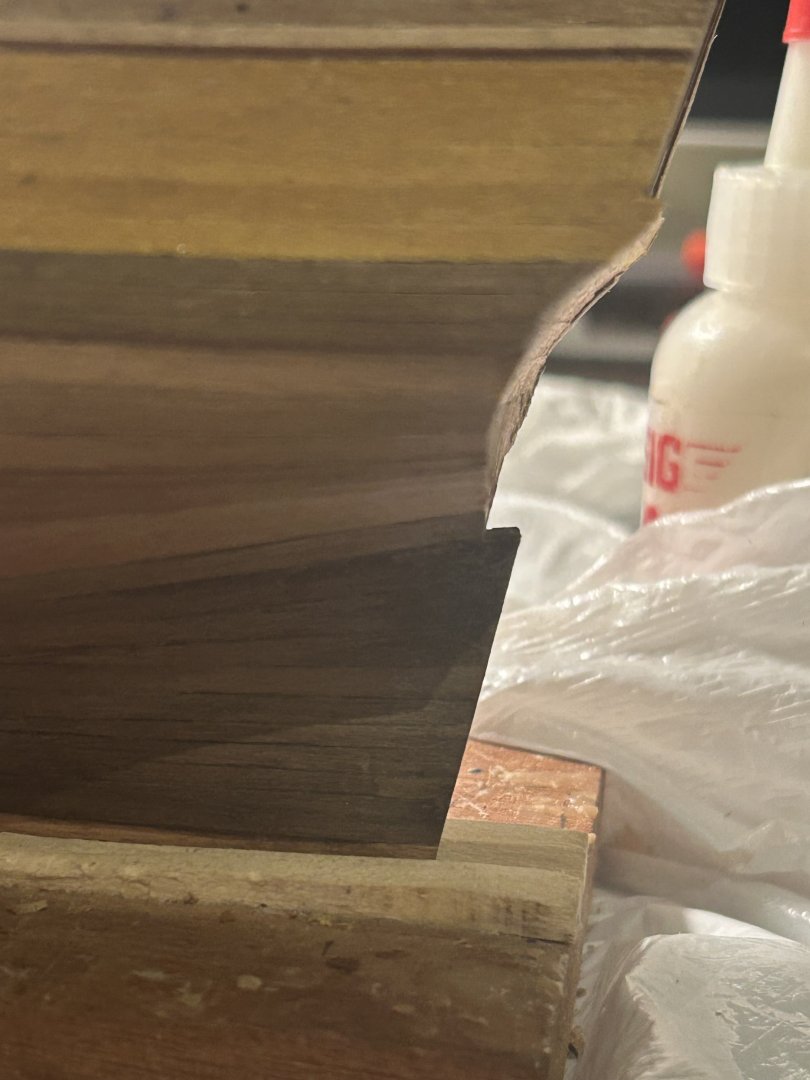
God's peace to you all this Good Friday. Progress continues. I trimmed away the stern planks and glued a bit of scrap wood over them. It worked about perfectly. I'm thinking a little about the transom. I've painted the one that comes with the kit. But I'm a little bit curious about how it would be like to build my own. Not sure if I want to risk it though. And paint goes a long way toward making it look nice.


-
Looks like y'all get a bonus post. Everything today went faster than I thought. The stern is basically finished. Except... It looks as if I will have to reshape the bottom planks to make a good attaching point for the rudder. Or find some other way to make everything fit in right. But for now, I've done everything I feel okay with doing in one evening. I'm too tired to commit myself to more knifework at this hour.
-
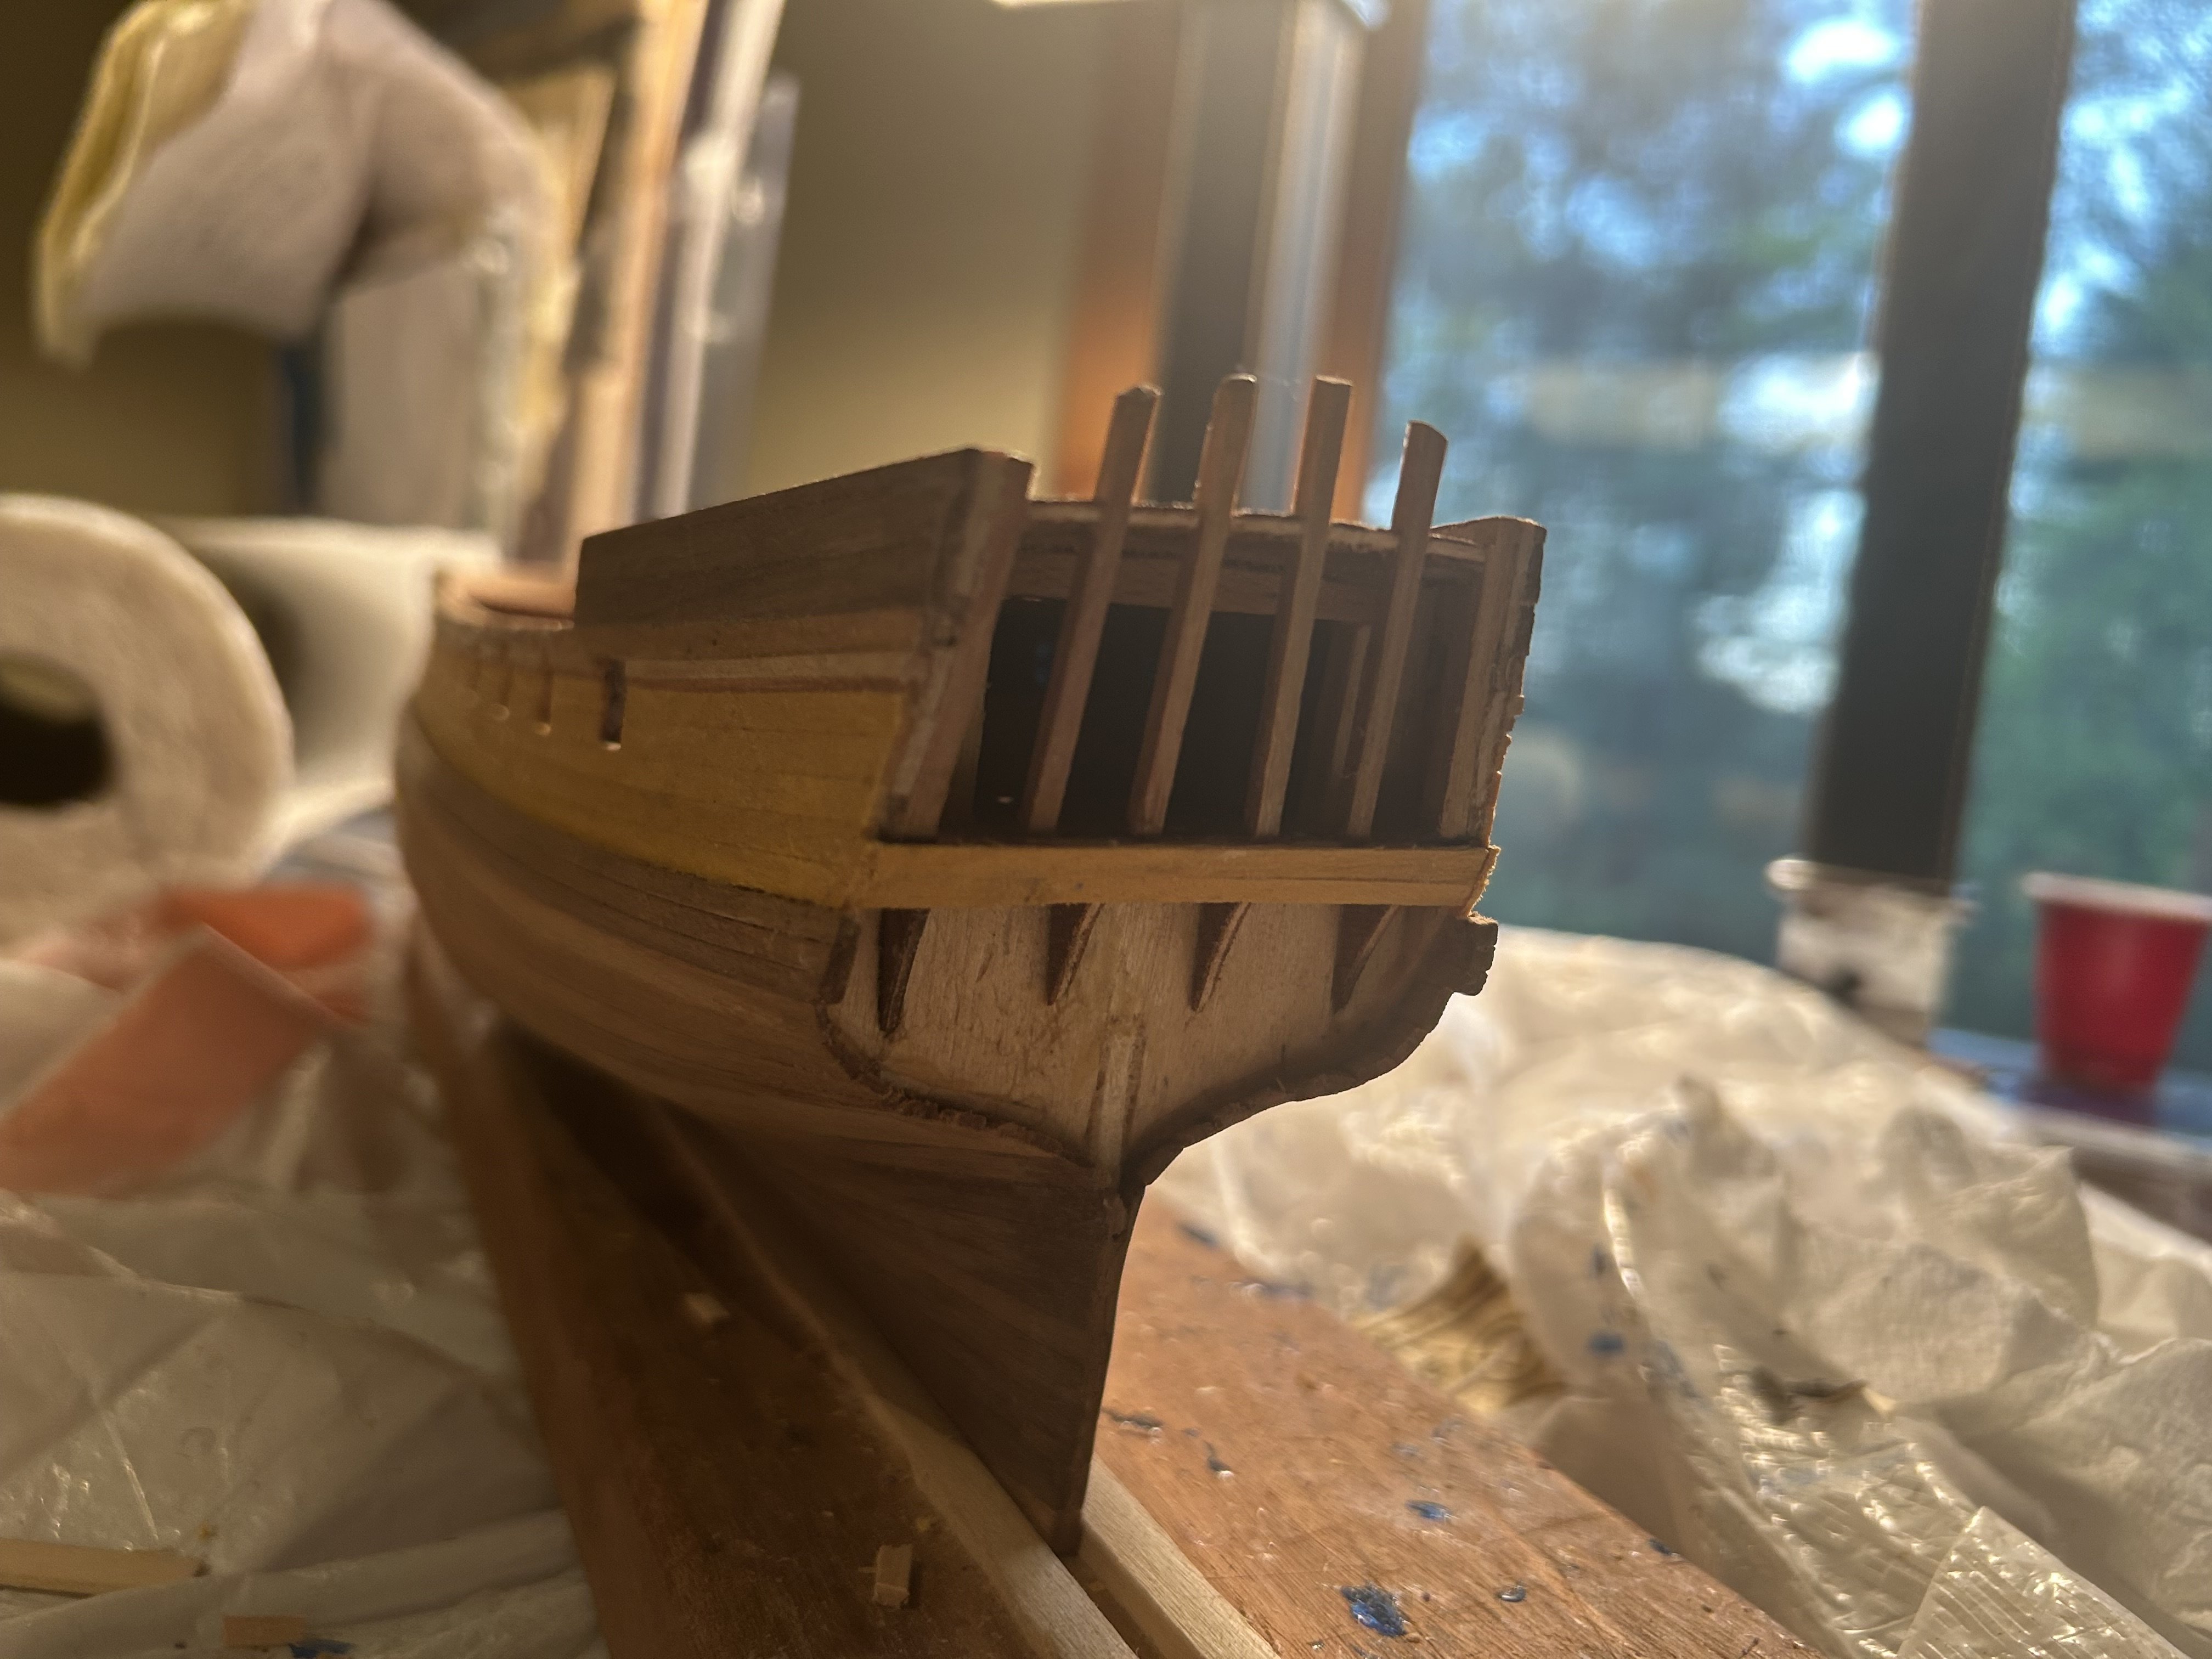
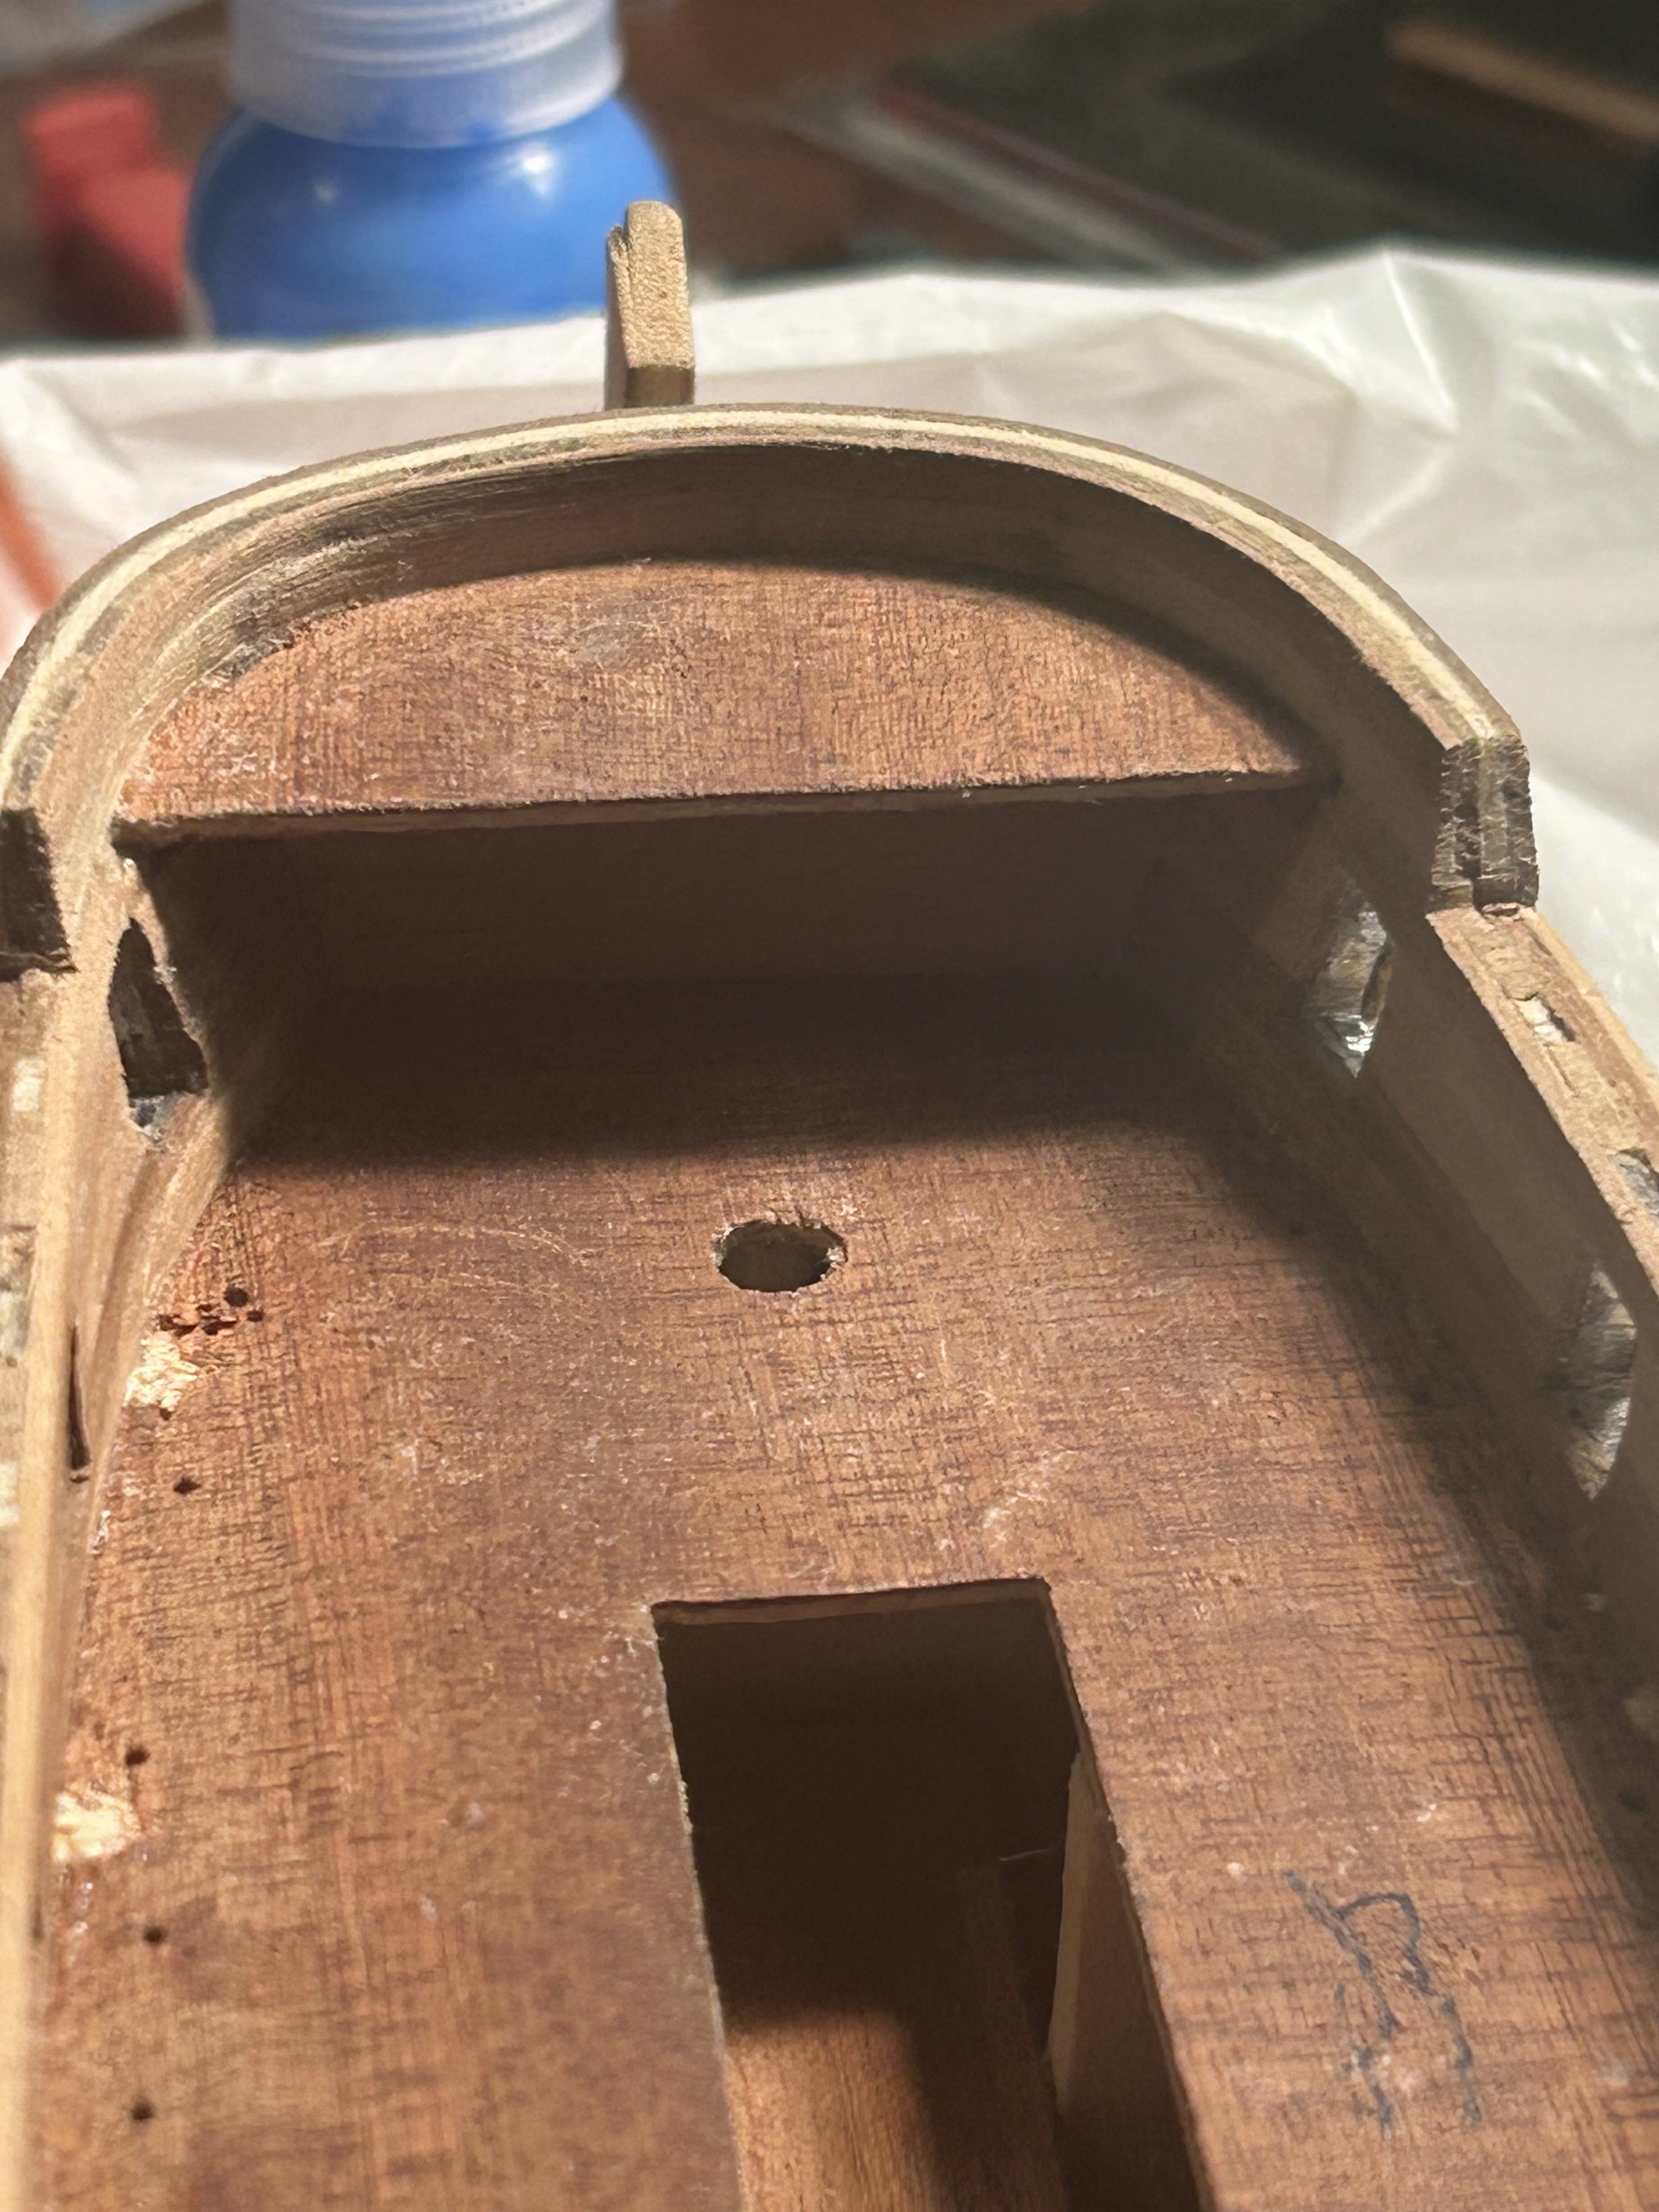
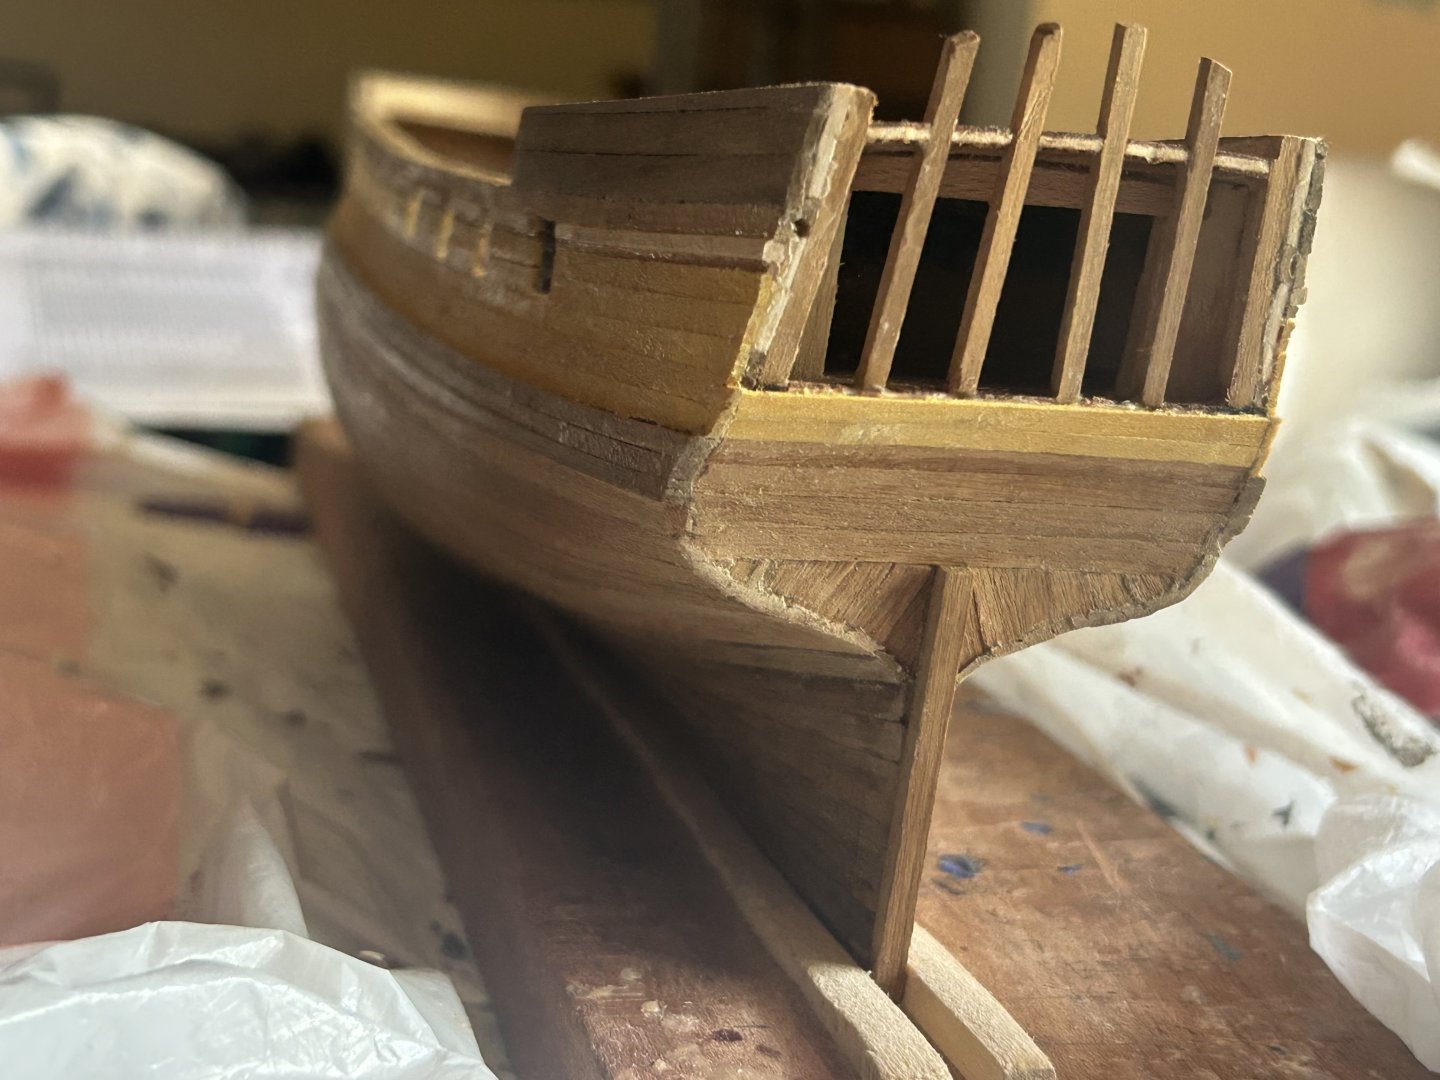
At last, I am back. I replaced the wood bits on the back that hold up the transom, and I'm beginning to plank down to cover the stern.

-
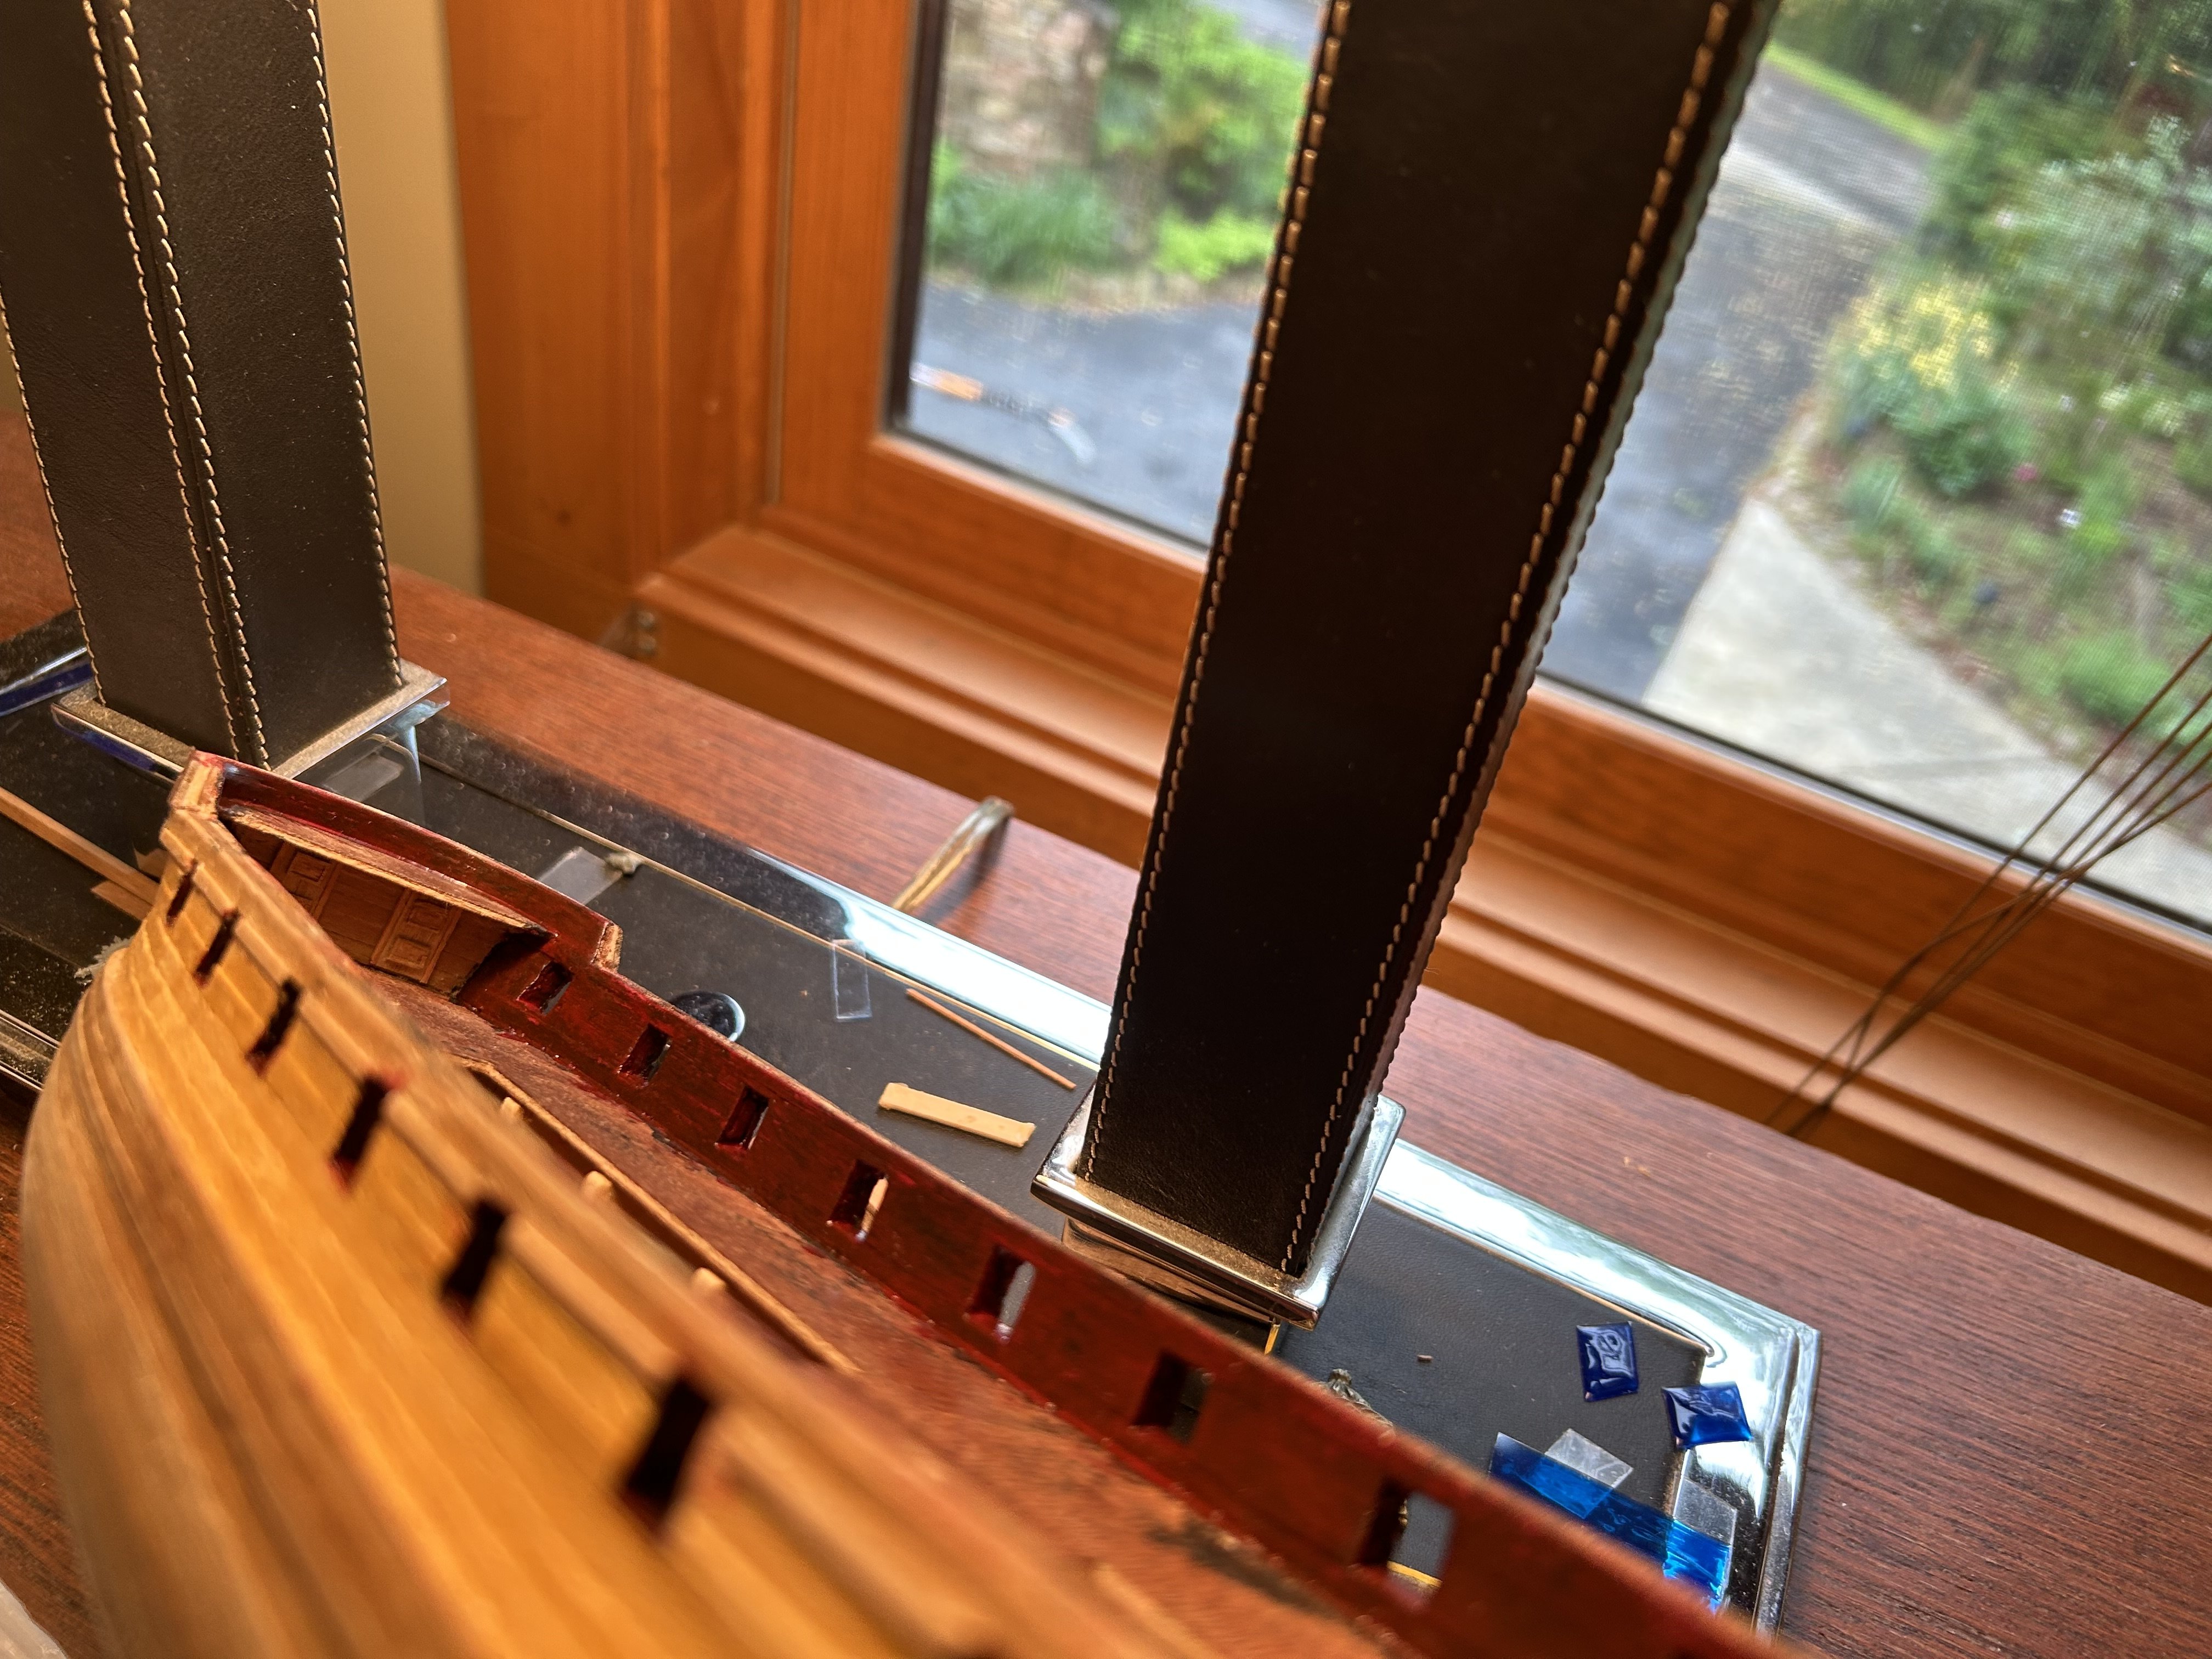
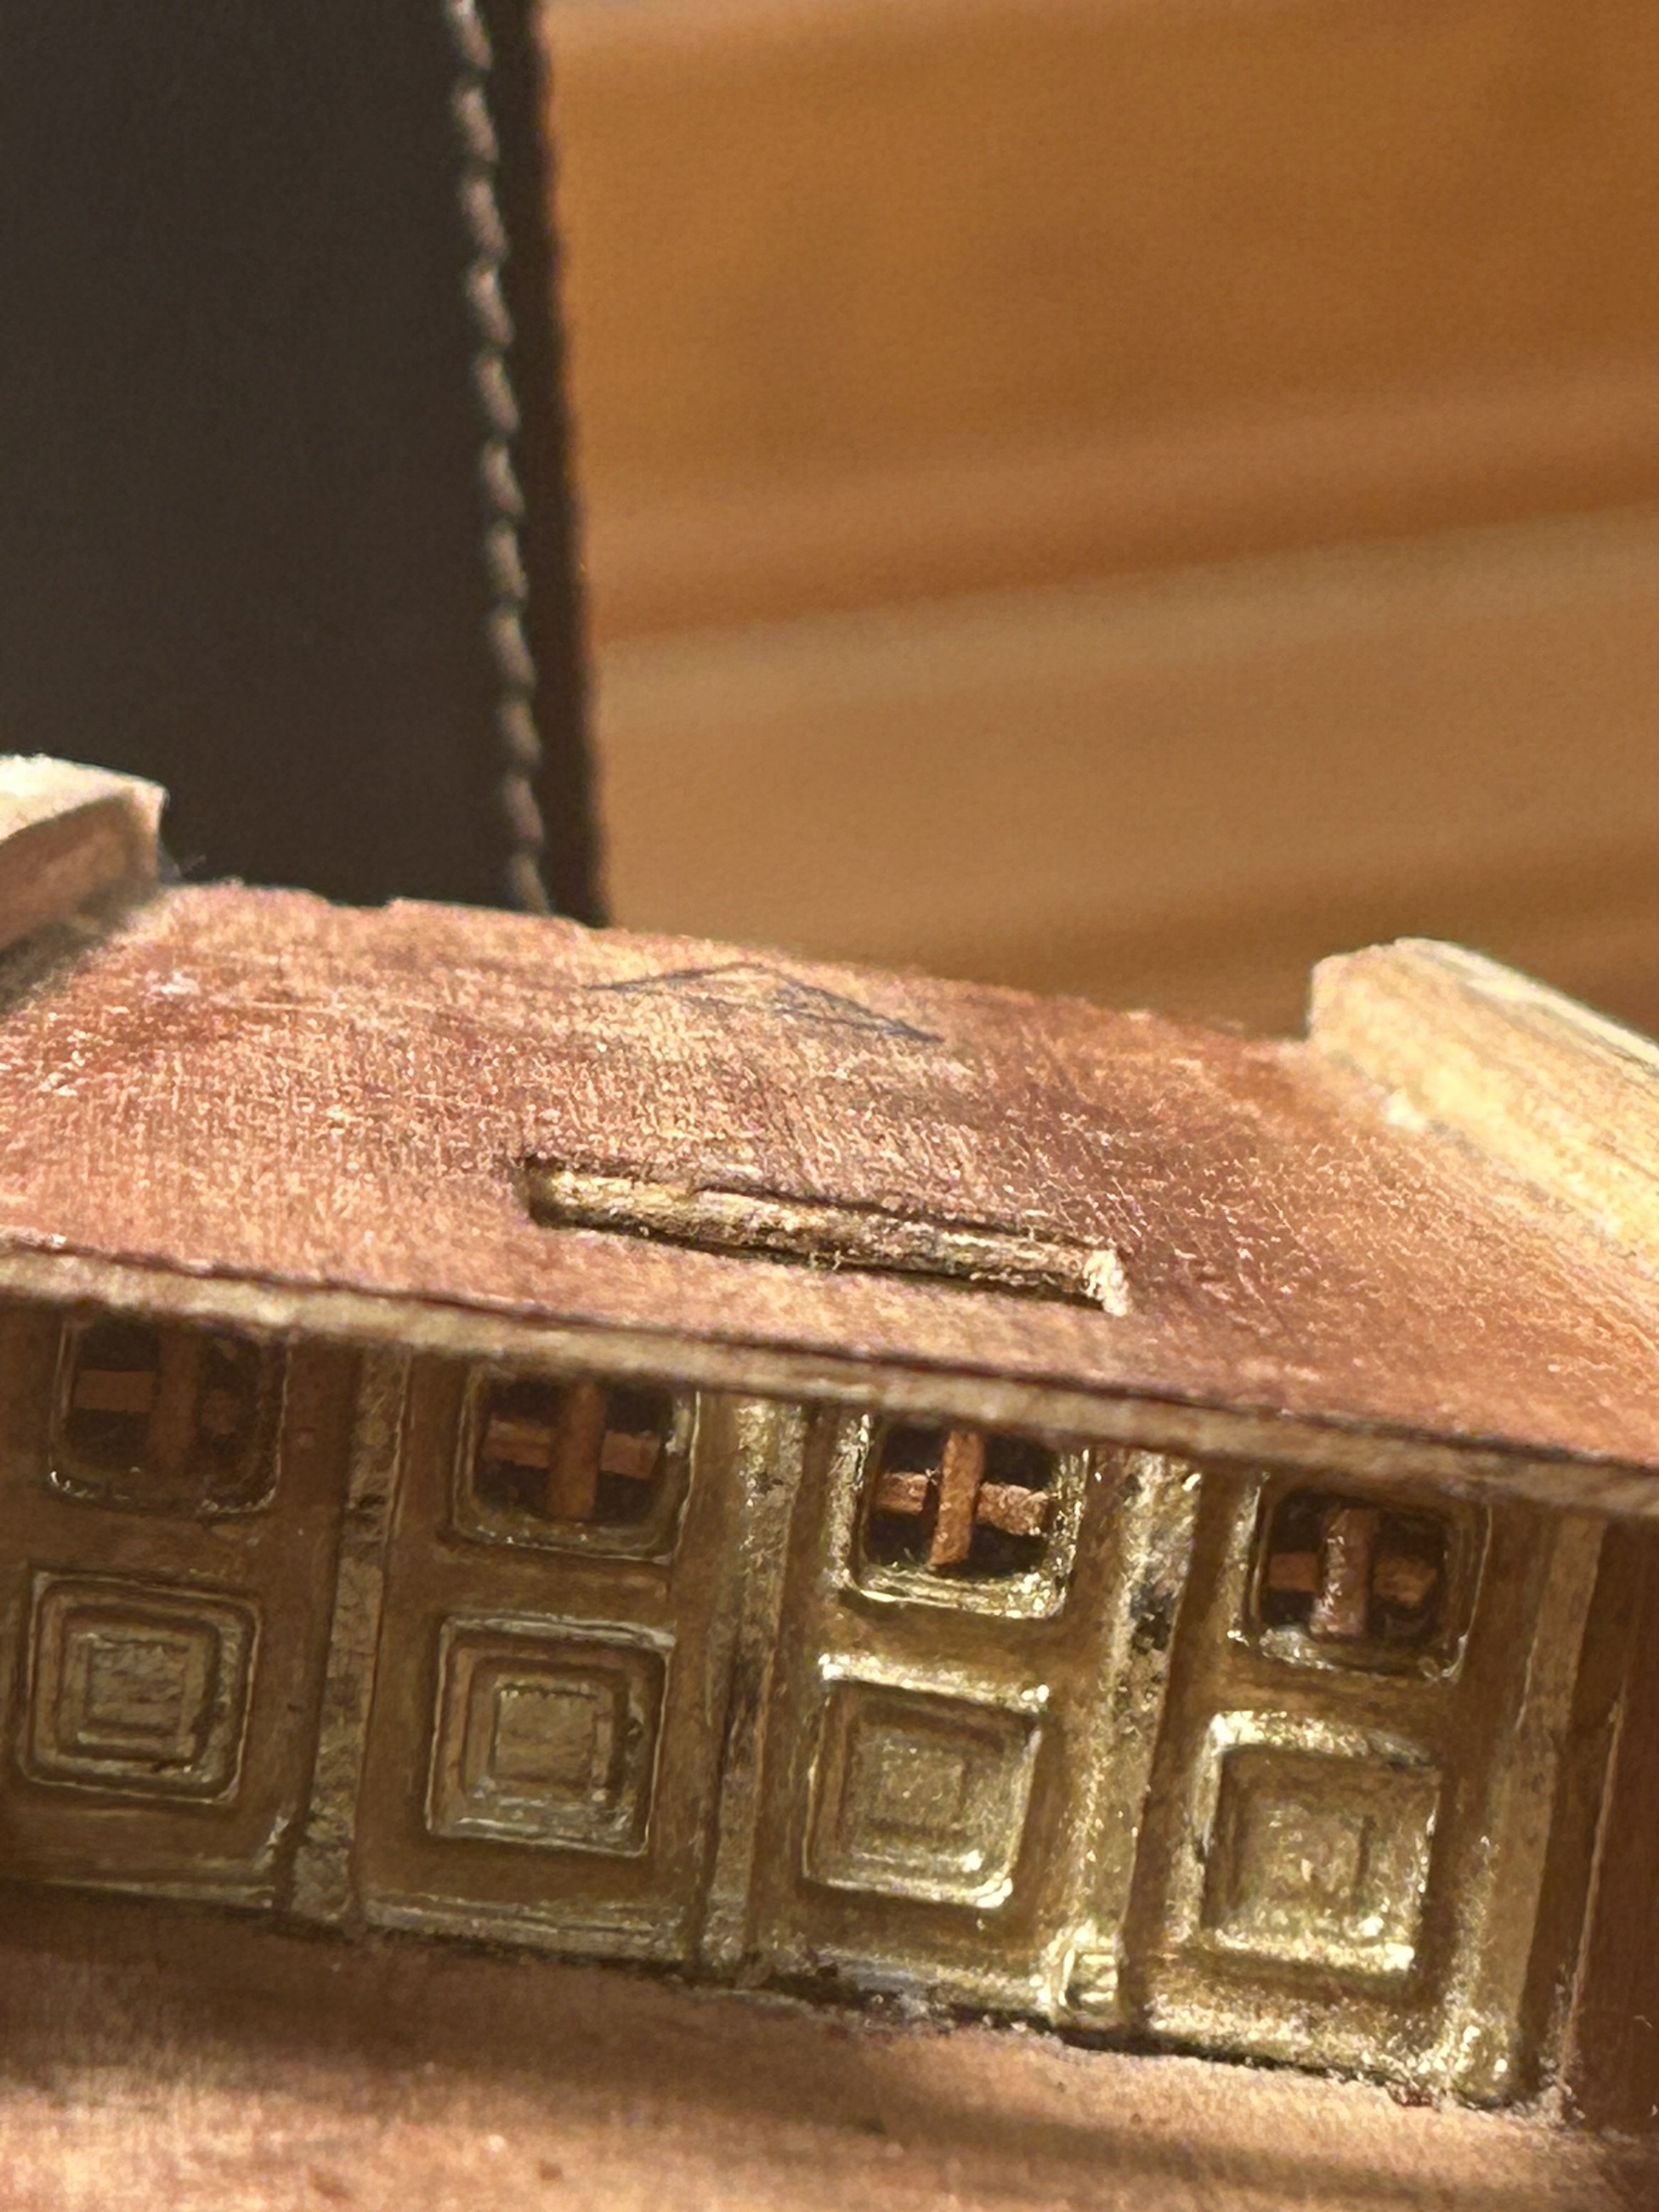
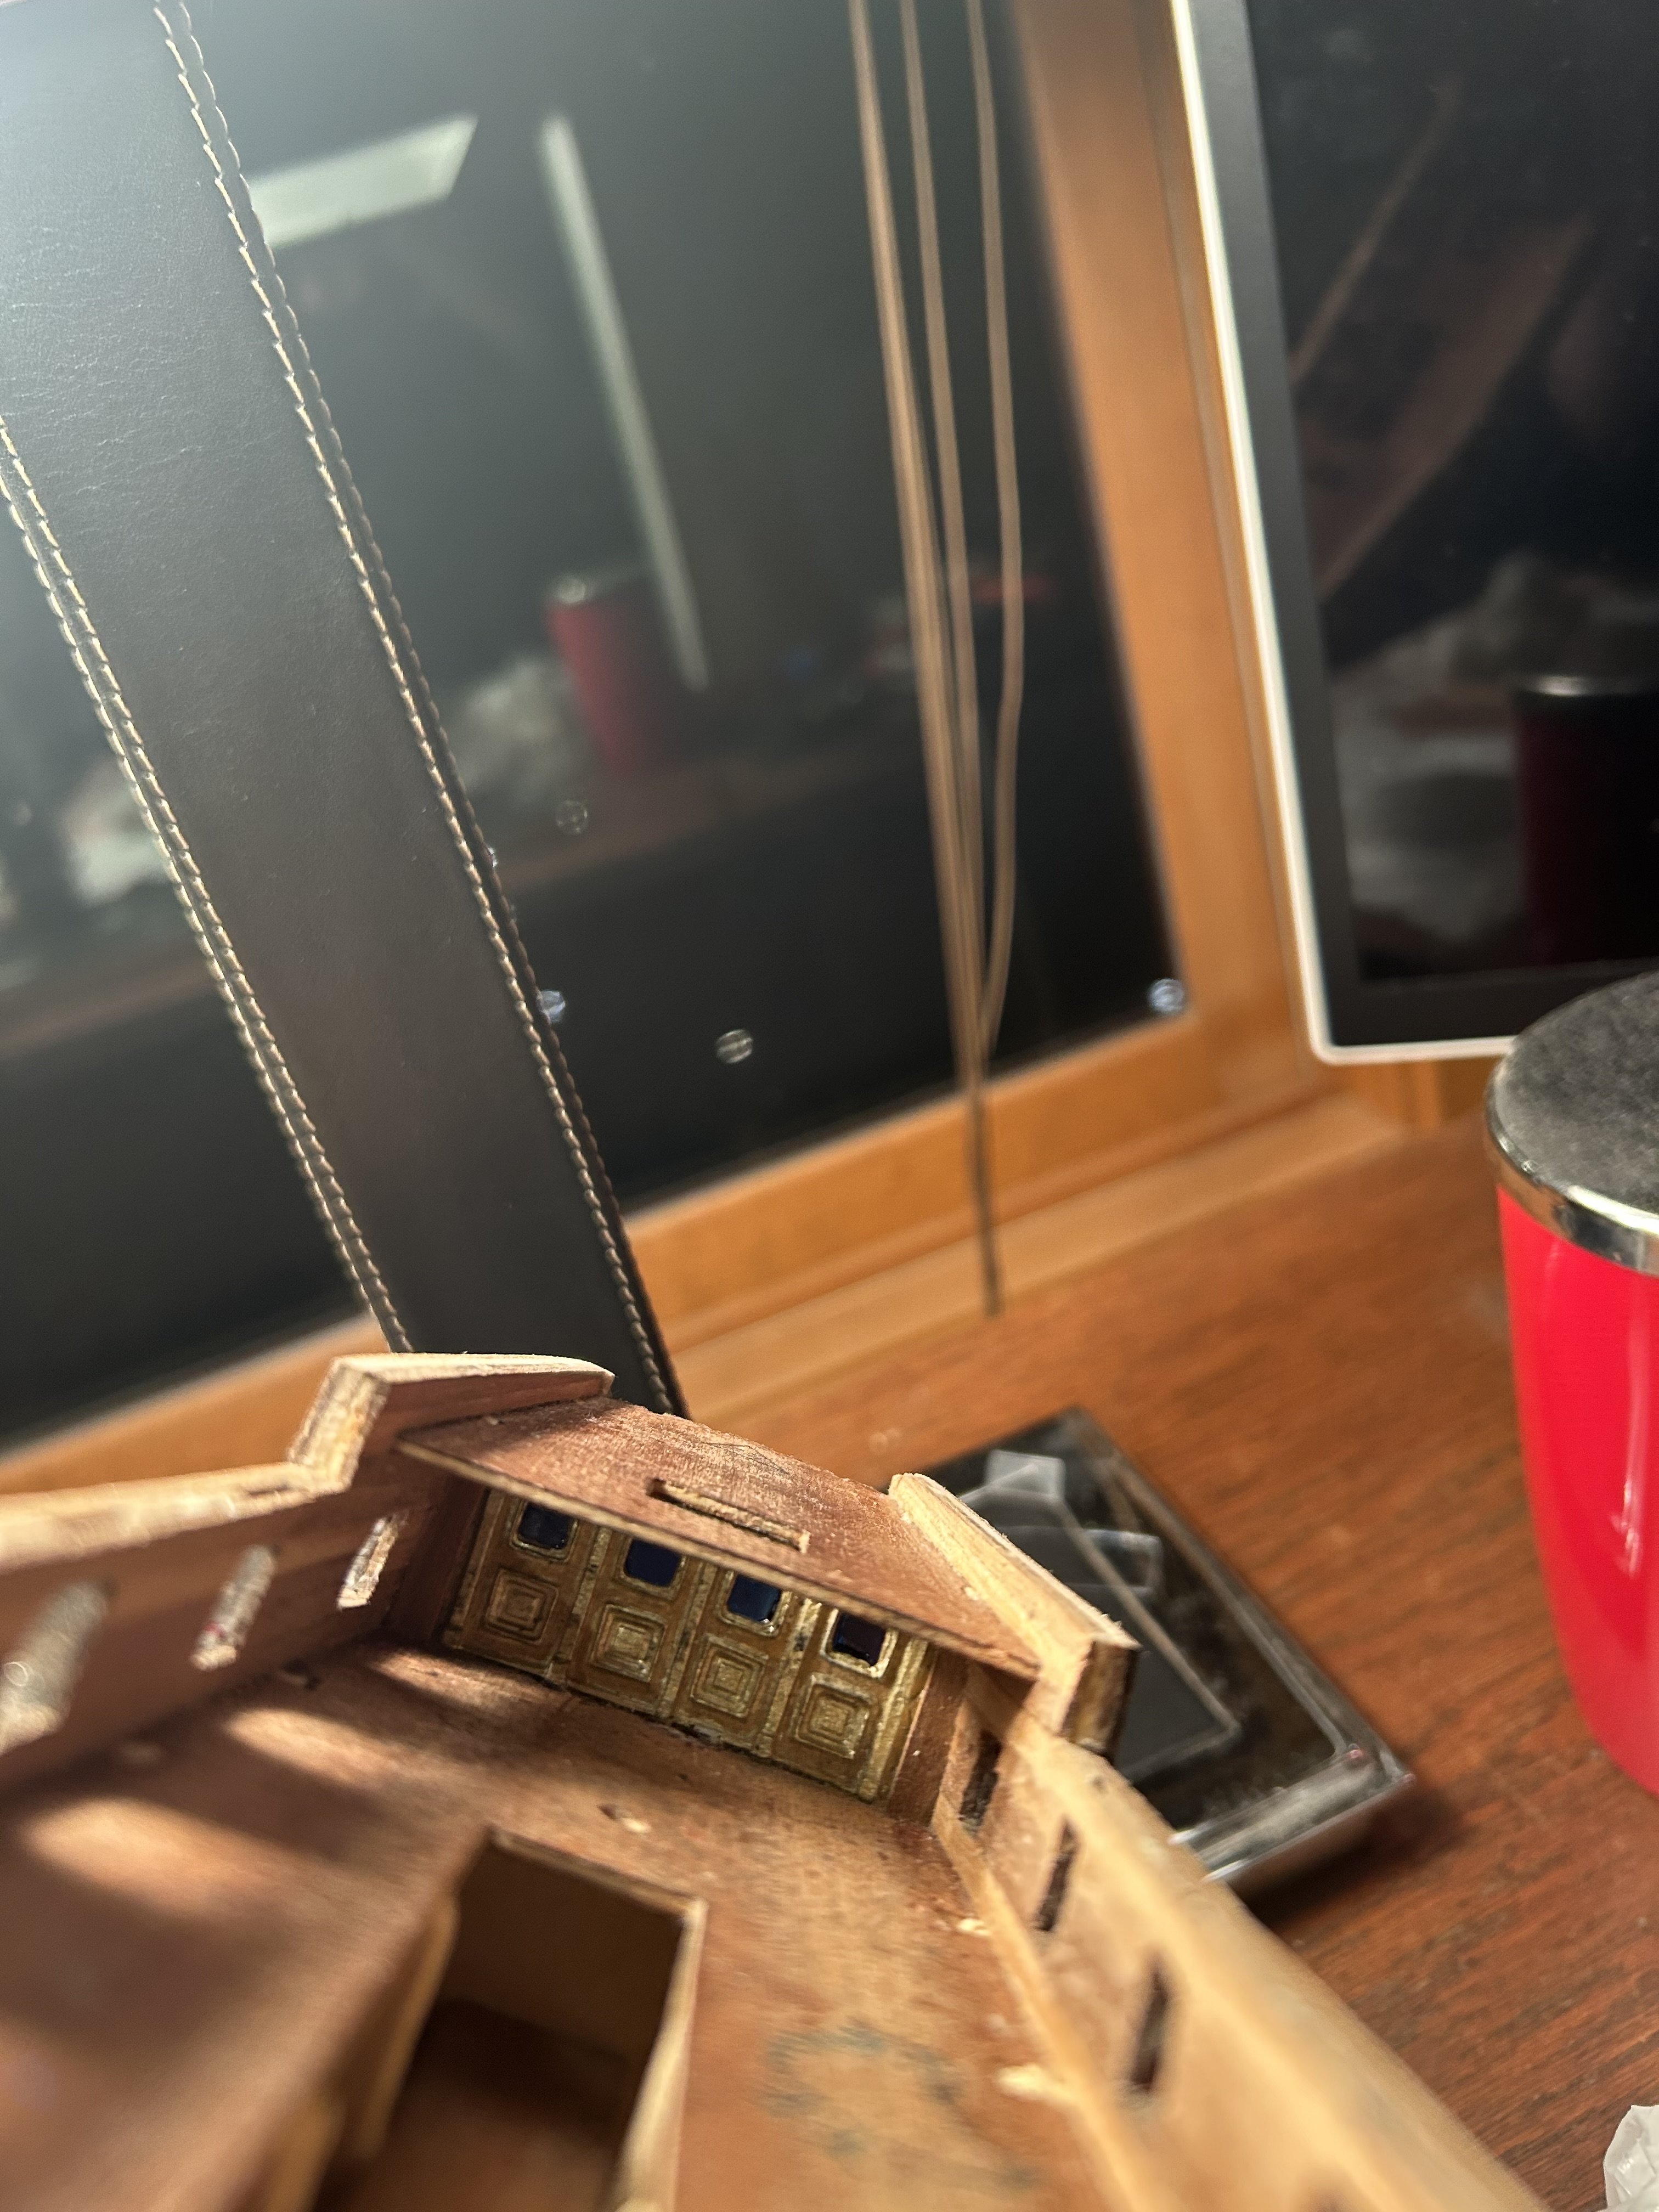
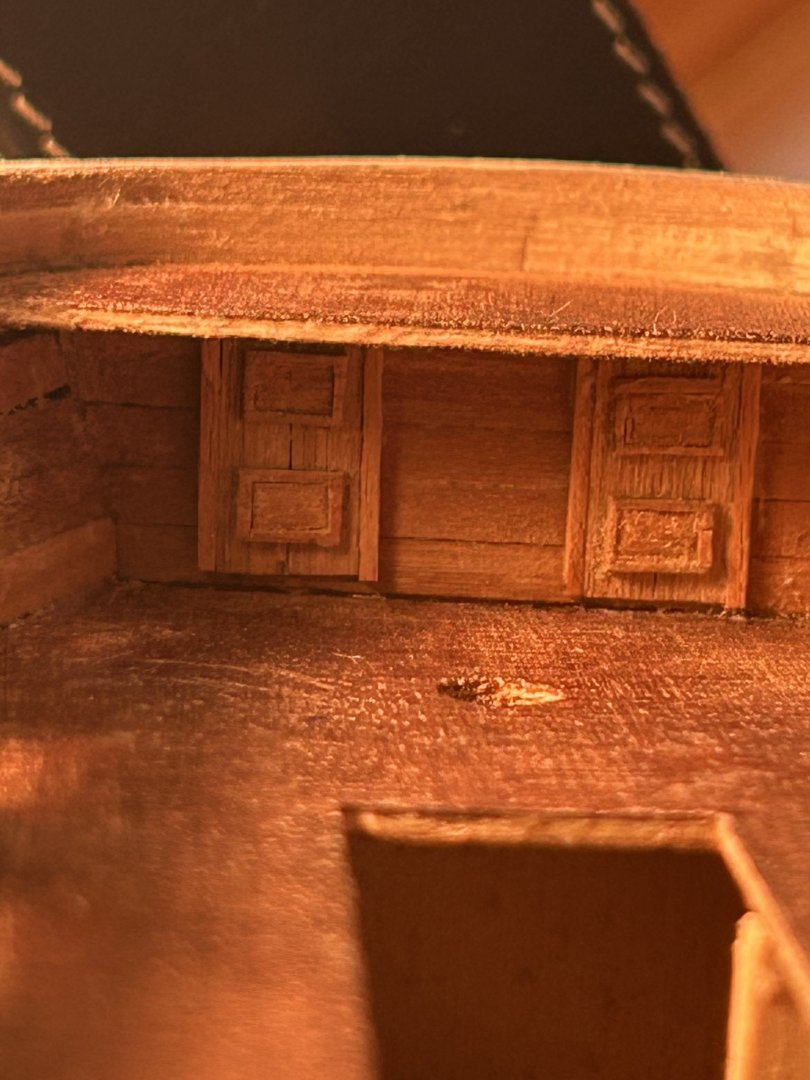
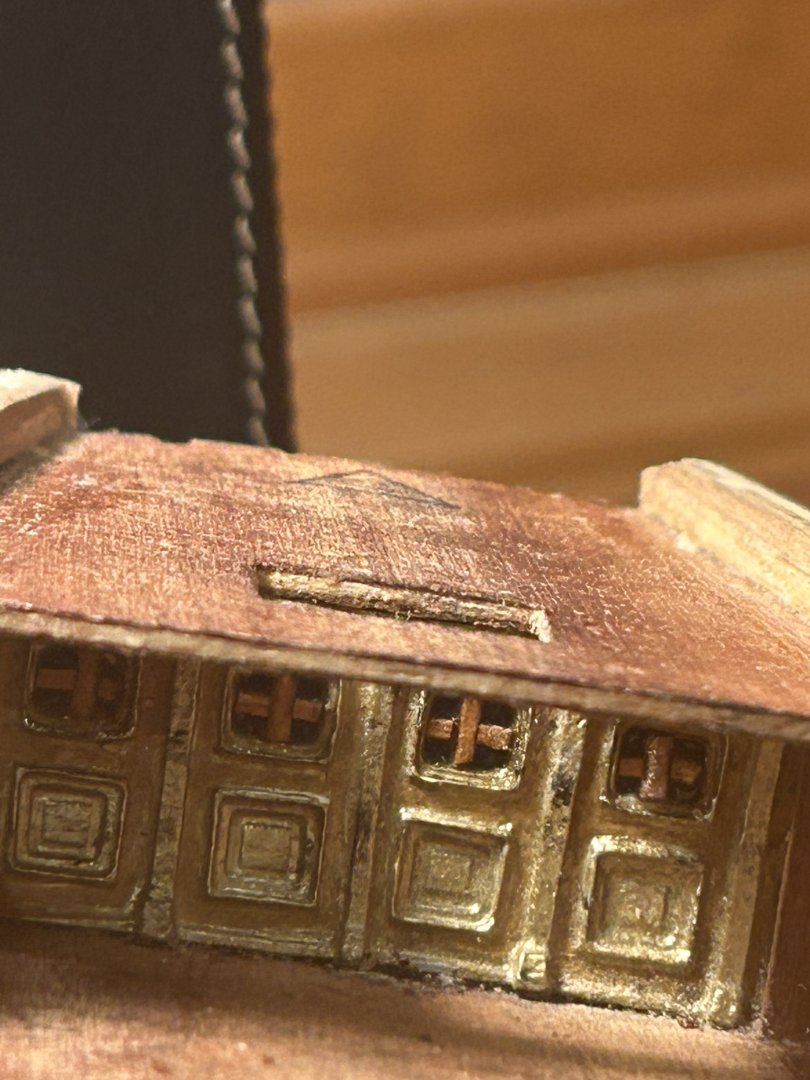
With intense amounts of effort, I replaced the windows that came with the original Greyhound. All it took was creating some faux stained glass from a plastic kit, dripping super glue onto it, and cutting out tiny pieces of scrap wood to make the window panes. If anyone else plans to do something like this, I would HIGHLY recommend doing so before putting on the poop deck. Trying to move the wood into place with an X-Acto knife blade tip was extremely difficult. The result isn't absolutely perfect, but it was good practice for the more visible sections and looks right from a distance. For the next ten days, I will be taking a hiatus from the Greyhound and going on a vacation. That said, the time has come for me to break with the instruction manual. When I come back, I won't start on the deck. Instead, I'll finish all planking on the outside of the ship, then put a coat of some sort of wood oil over the whole thing. Then, I'll paint the inner deck rails and gun ports red. After that, I'll get the deck done. I plan to soak the planks in vinegar when the time comes to give them a weathered look. Finally, I'll give the deck a coat of protective oil. This strategy will ensure I don't get any pesky red paint where it shouldn't be, and I will keep the complications to a minimum while putting on wood oil. As always, if somebody has any suggestions to make this plan work better, I'd be glad to hear them.
-
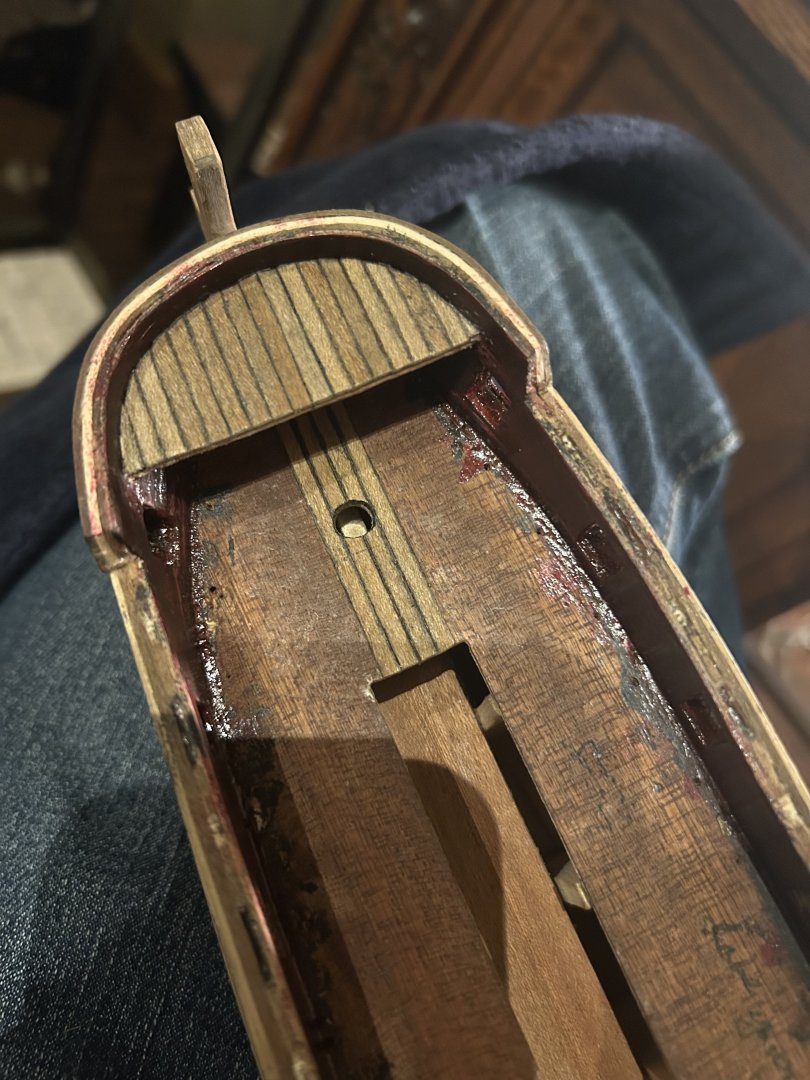
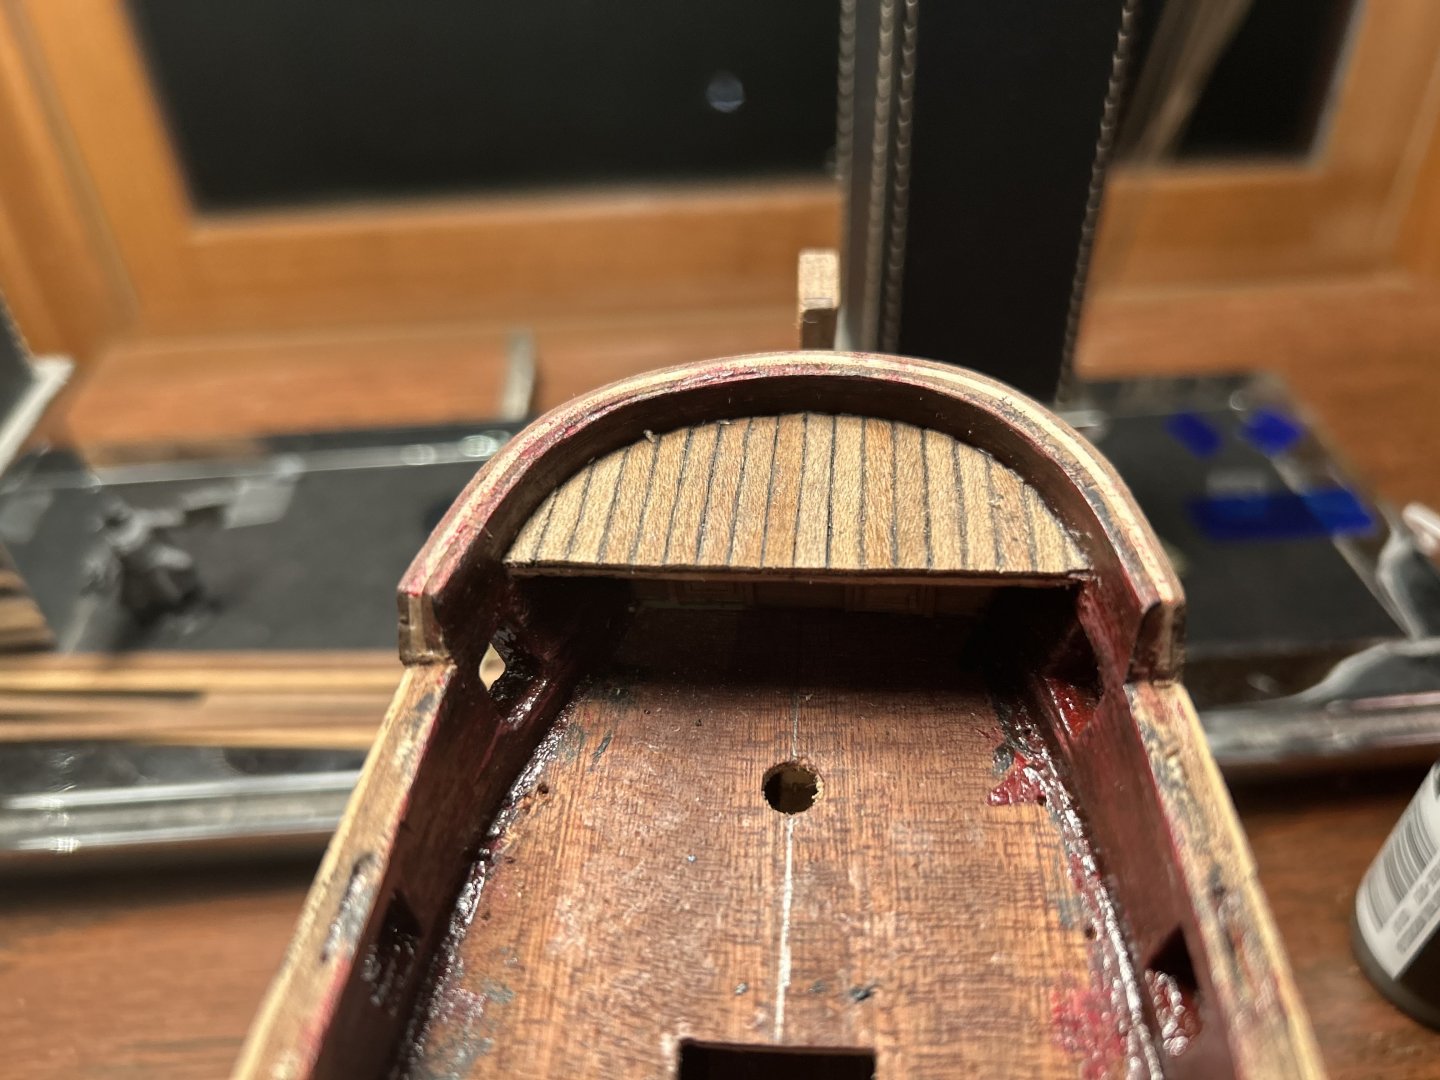
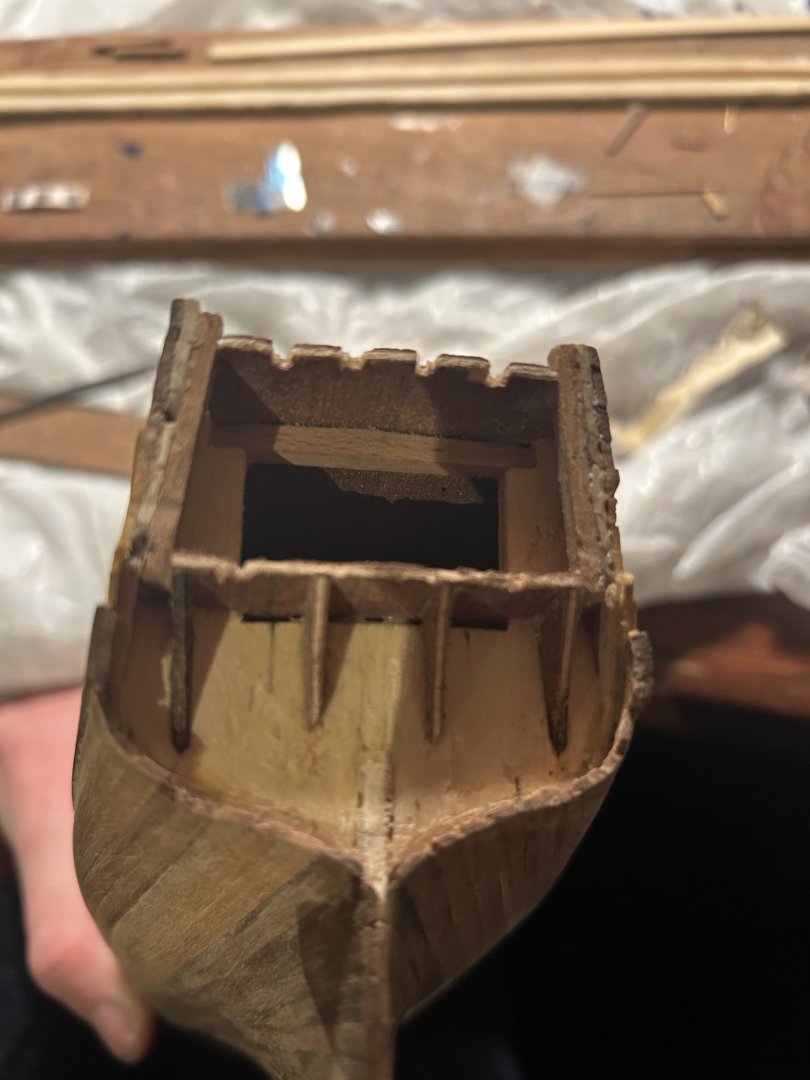
One more day on the clown show that is the Corel Greyhound... But on this ship of fools, I am most definitely captain. Someone who worked at Corel decided to have the brilliant idea of curving the back deck of a ship that will have a flat transom. I didn't think too carefully about this special decision during previous steps. It somehow never crossed my mind. Yesterday, I realized this problem existed and fixed it with razor blade and sanding file. To do so, I had to remove the pieces that will support the transom. Thankfully, this was just in time for replacing the windows on the doors to the stern cabin. The glass dye looks great. If the blue on them seems aggressively dark, it's simply because it's reflecting the sea. The window grille will come later.

-
At last! Phase 3 of the Greyhound is complete. Before I move on to next steps, I need to glue new glass to the doors under the poop deck. The old paper fell off... And to be honest, it was kinda garbage anyway. I bought some fake stained glass to substitute, and early experiments have gone well. I'll make window panes by gluing some scrap wood slivers over the windows.

-
Thanks, much appreciated! She definitely is getting there. Greyhound is definitely a monster, and as a first-timer I think my strategy has become "measure as best I can, then sand until it looks good despite its flaws. But so far, this strategy seems to be working very well. As of tonight, I have one plank left on the inside. I've boiled it and bent it, and I plan to put it on tomorrow.
-
Success! Both the port and starboard side are fully done, and I'm working on the last two planks on the curved section of the bow. I have enough planks to finish covering everything on the deck and still have a spare. It was close, but all is well.