-
Posts
1,291 -
Joined
-
Last visited
Content Type
Profiles
Forums
Gallery
Events
Everything posted by mtbediz
-

USS Constitution by mtbediz - 1:76
mtbediz replied to mtbediz's topic in - Build logs for subjects built 1751 - 1800
-

USS Constitution by mtbediz - 1:76
mtbediz replied to mtbediz's topic in - Build logs for subjects built 1751 - 1800
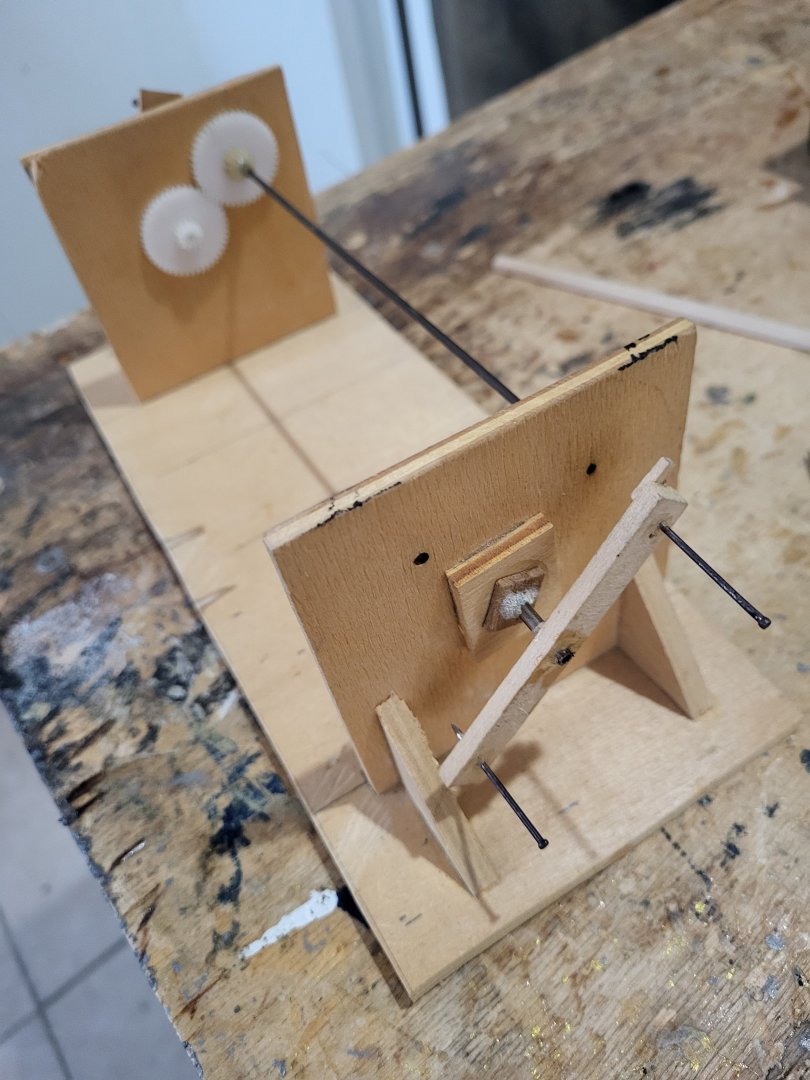
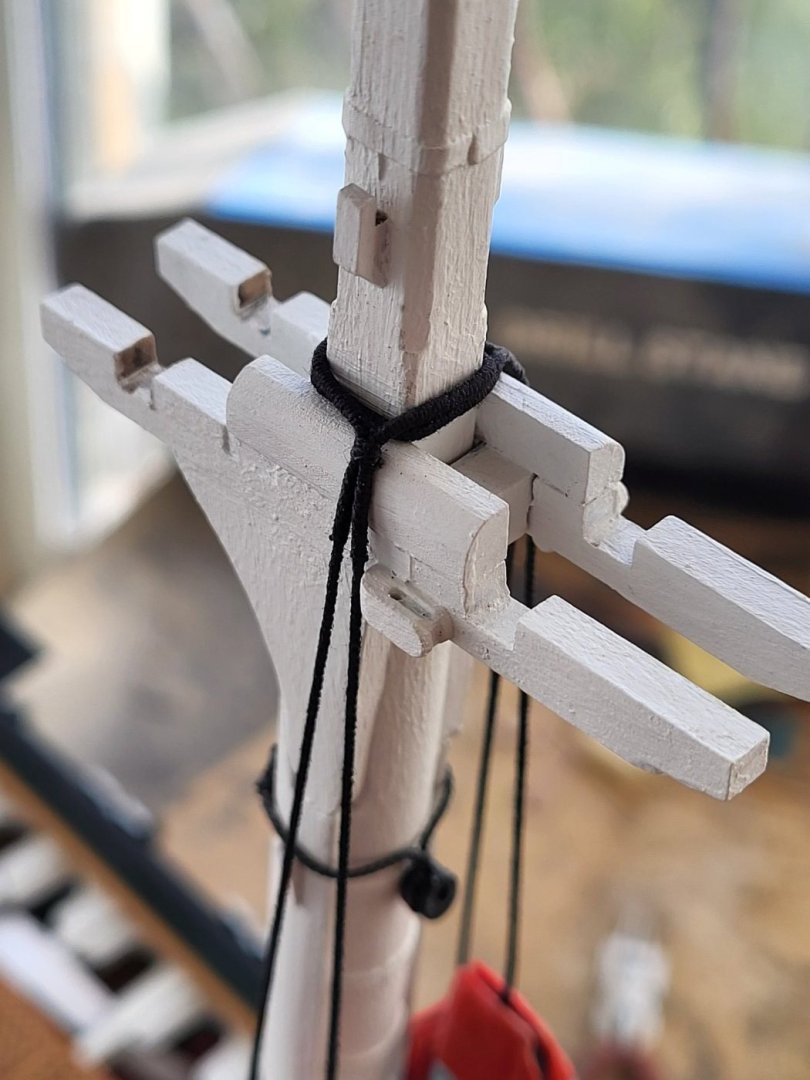
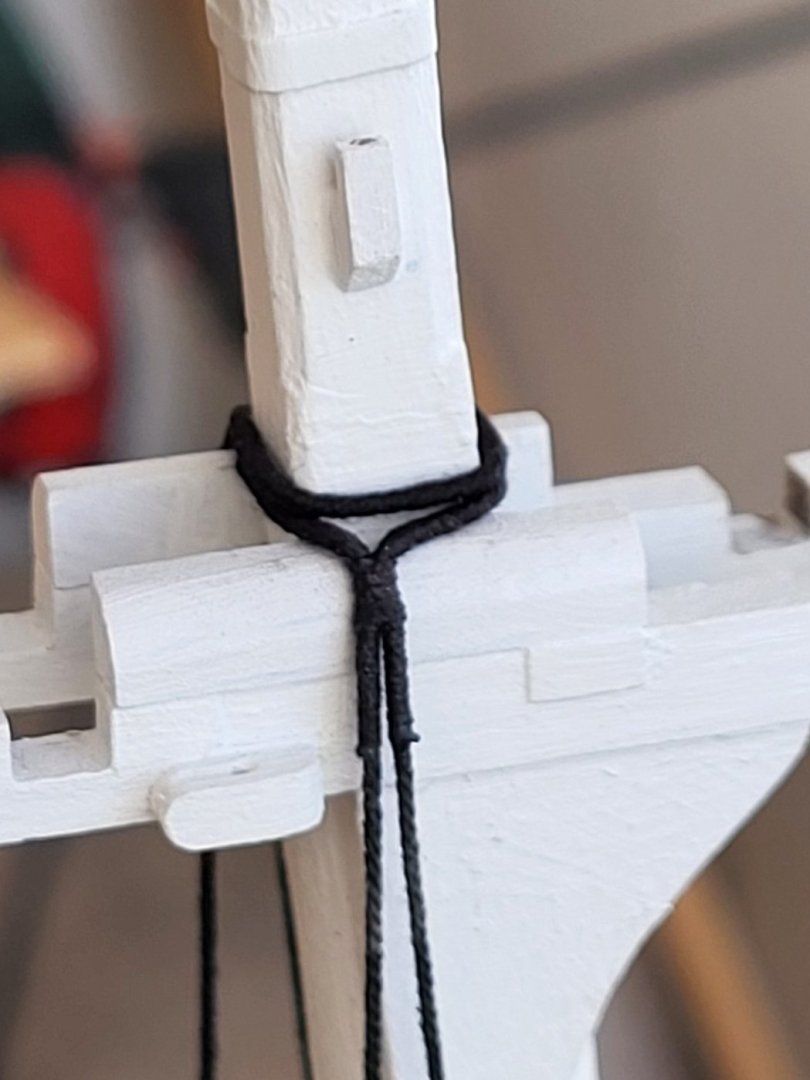
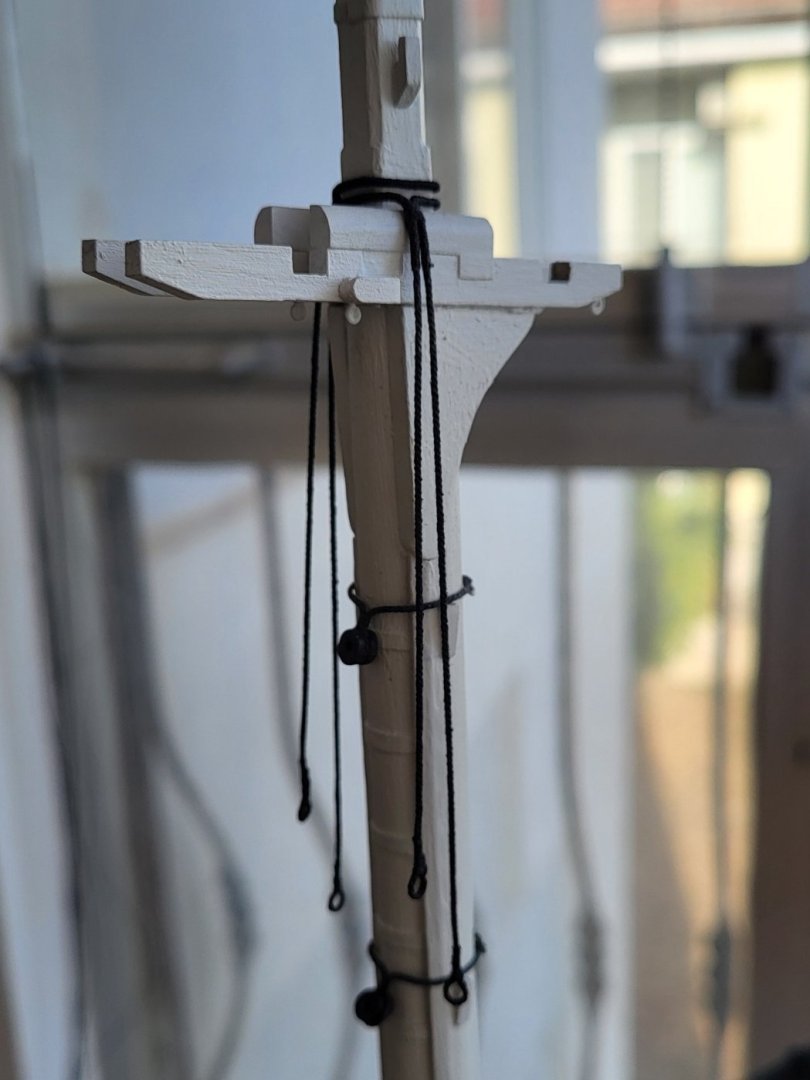
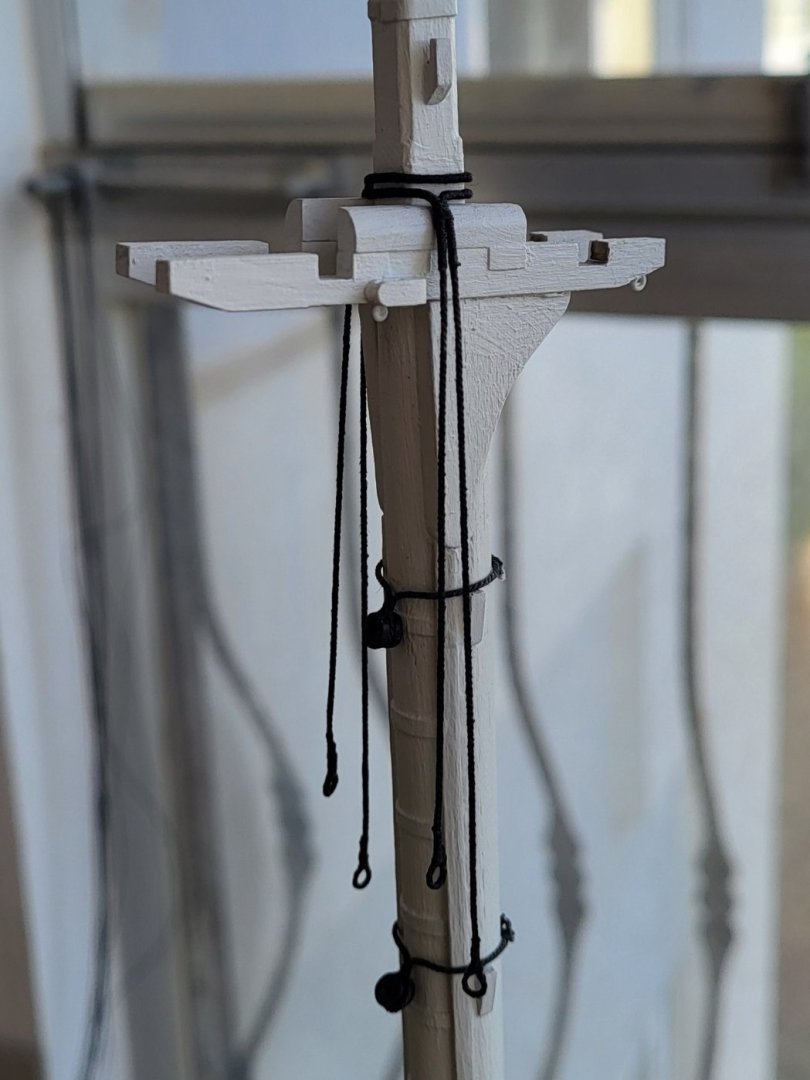
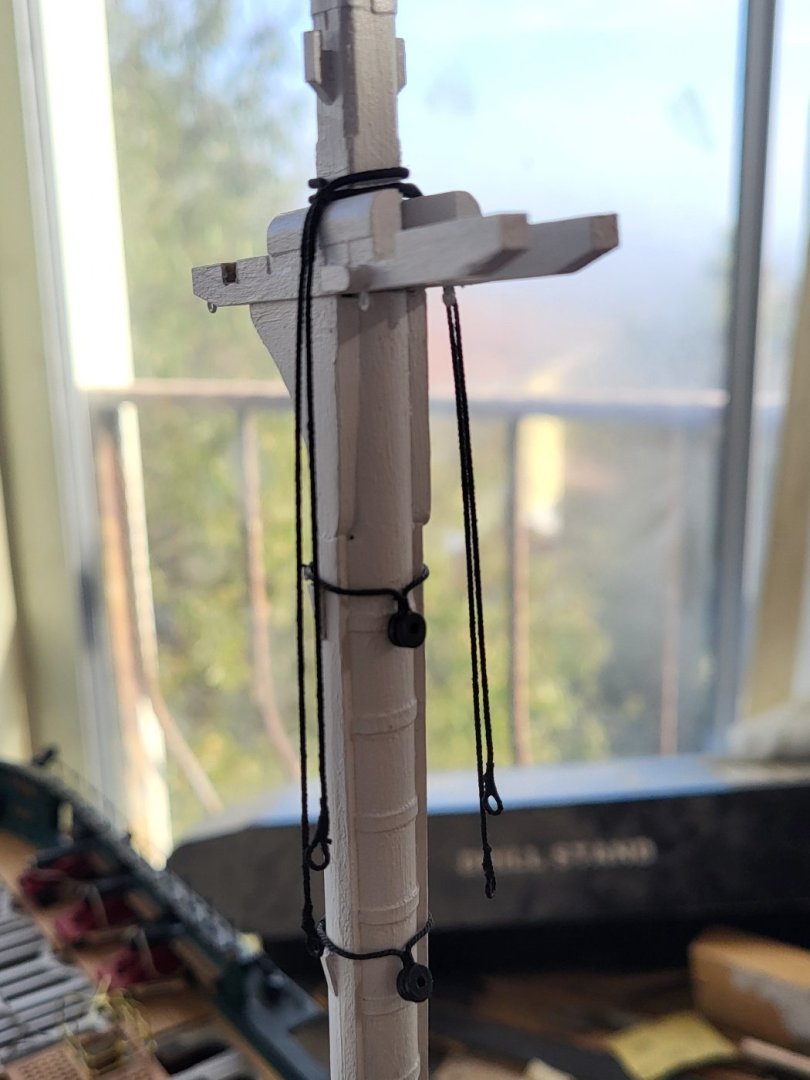
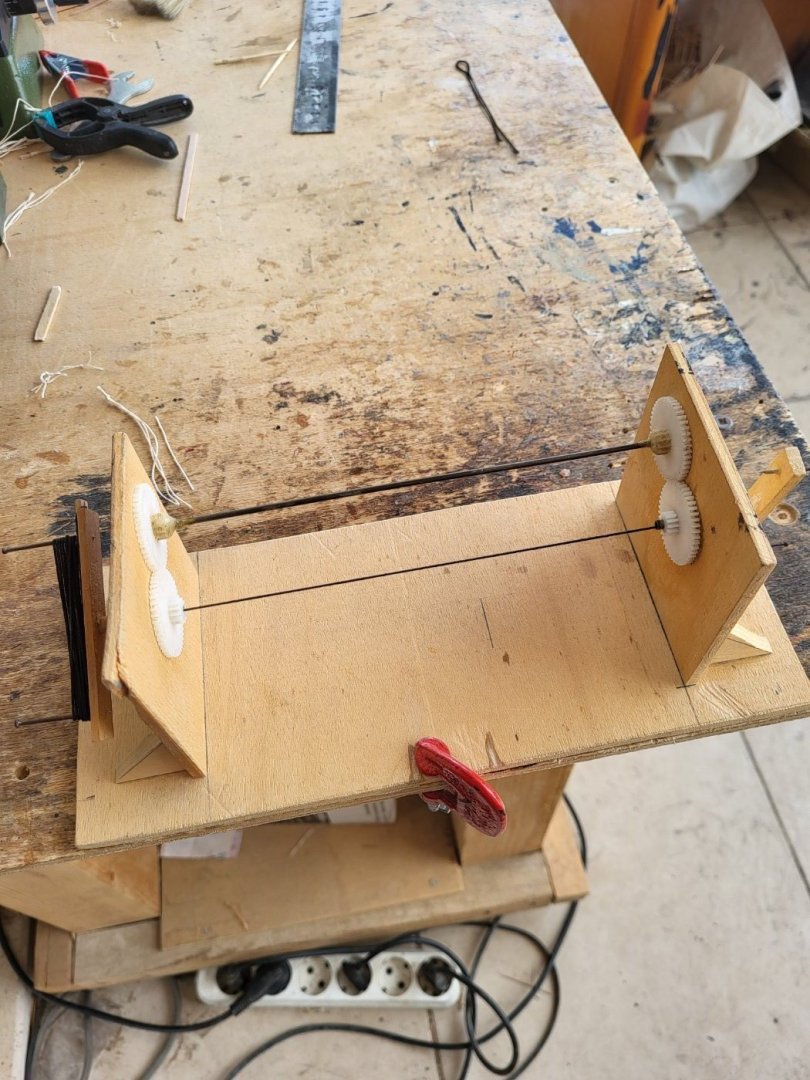
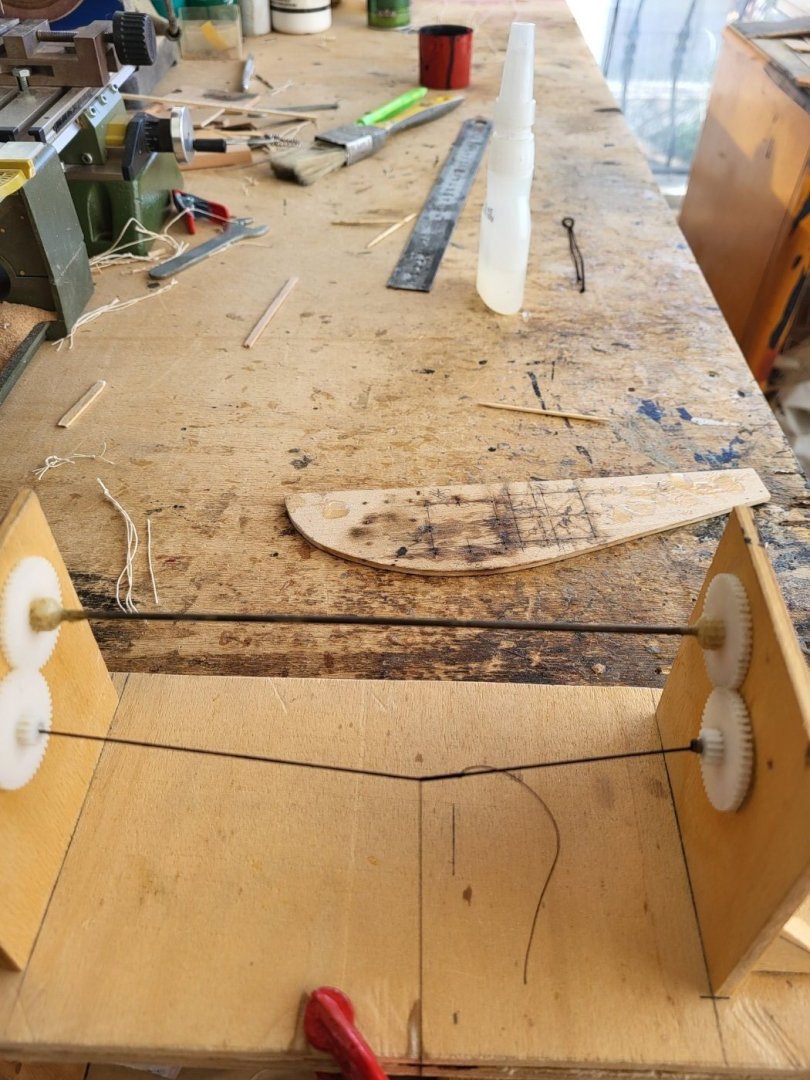
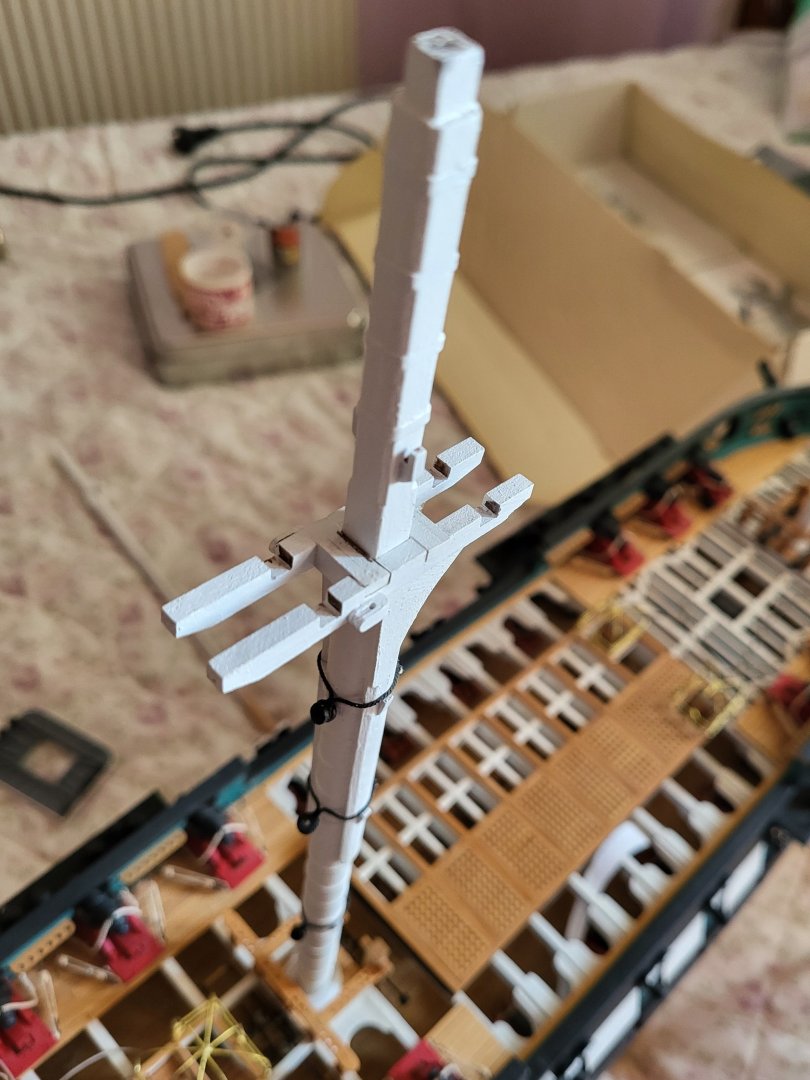
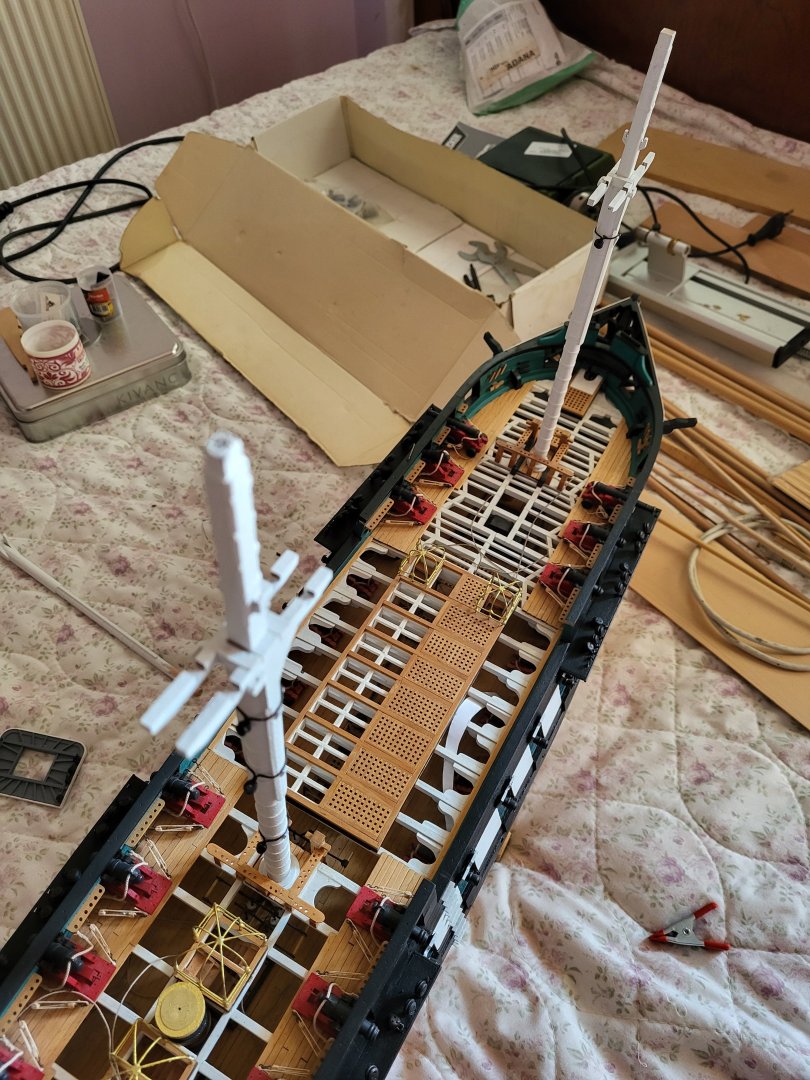
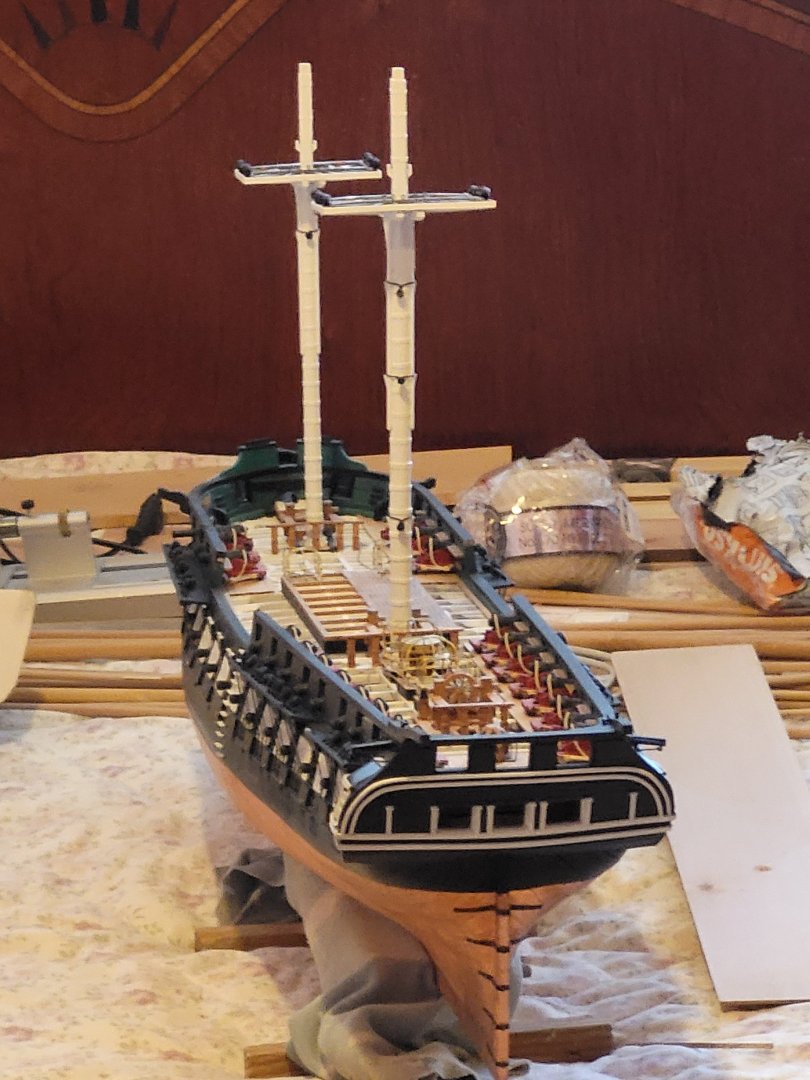
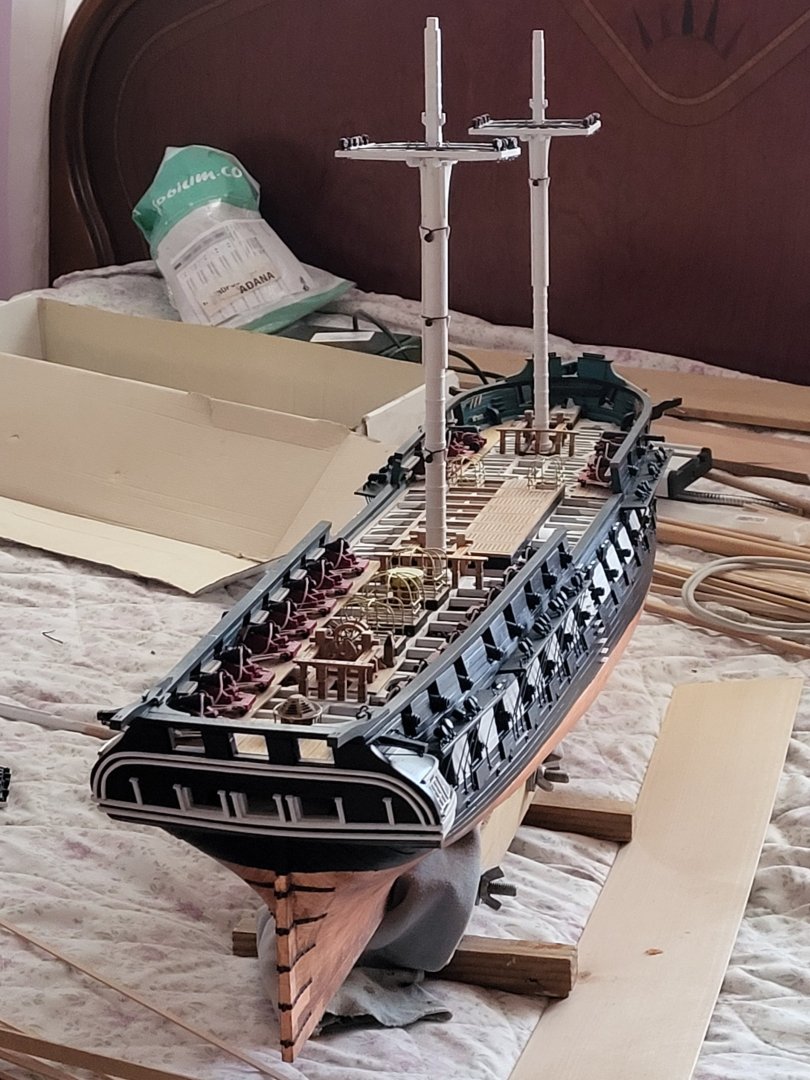
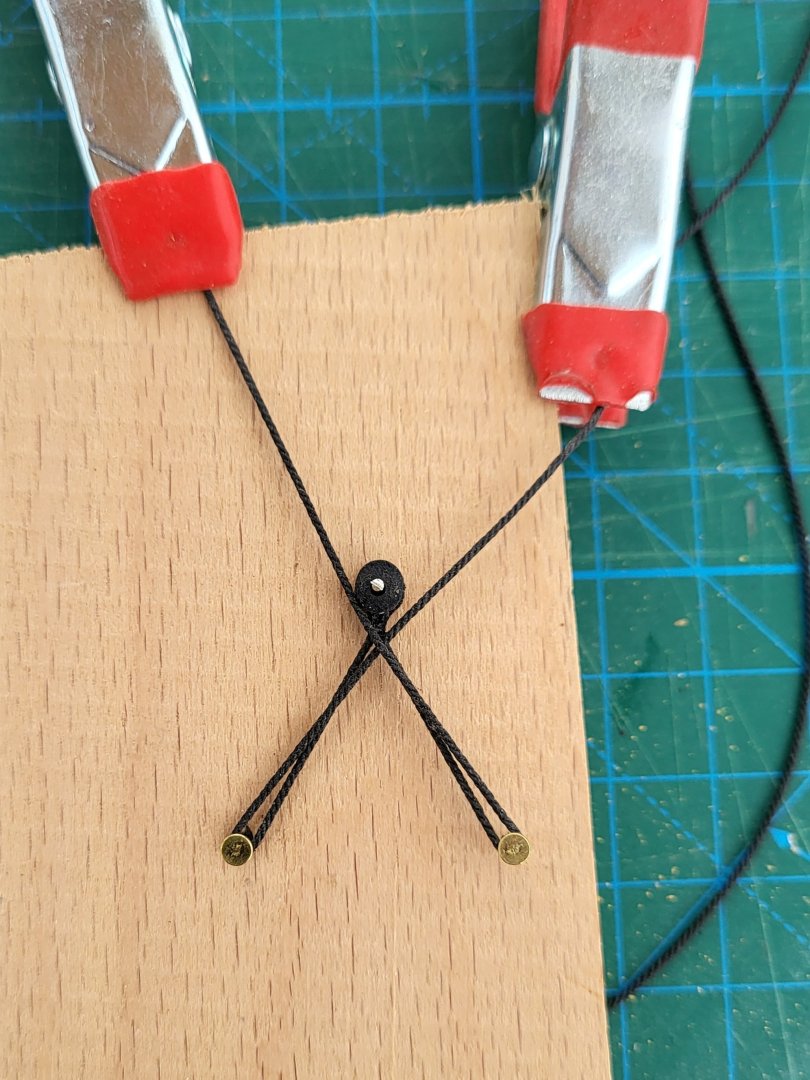
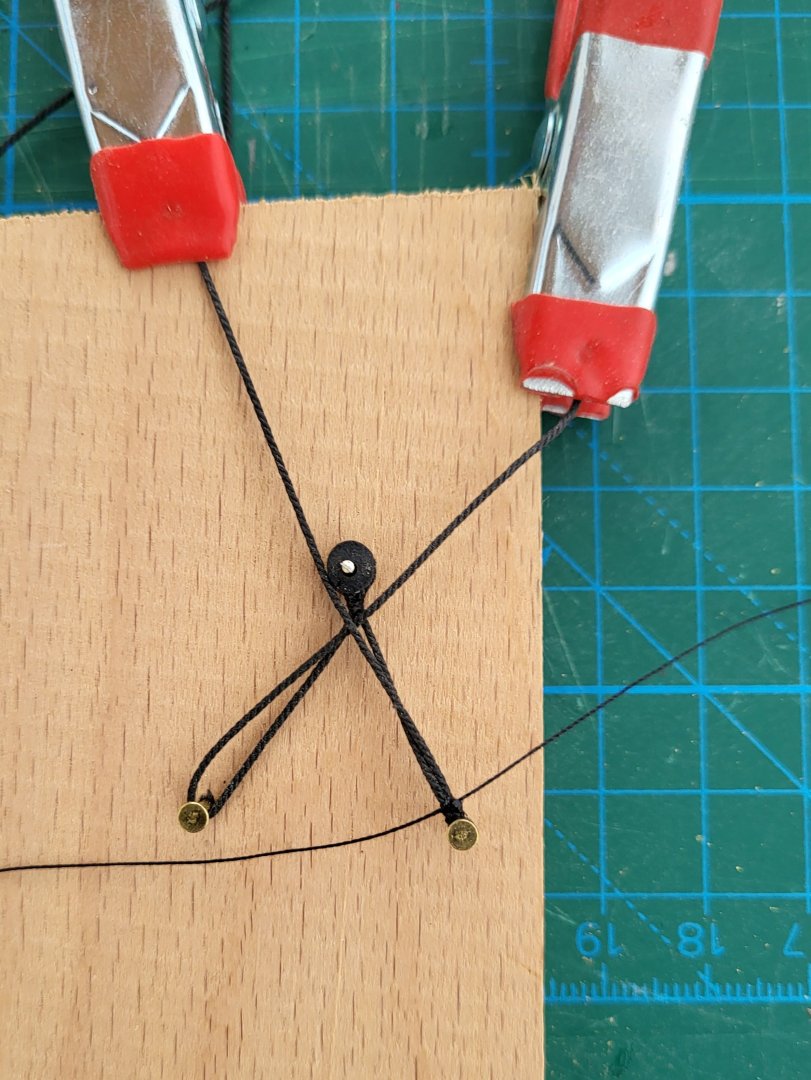
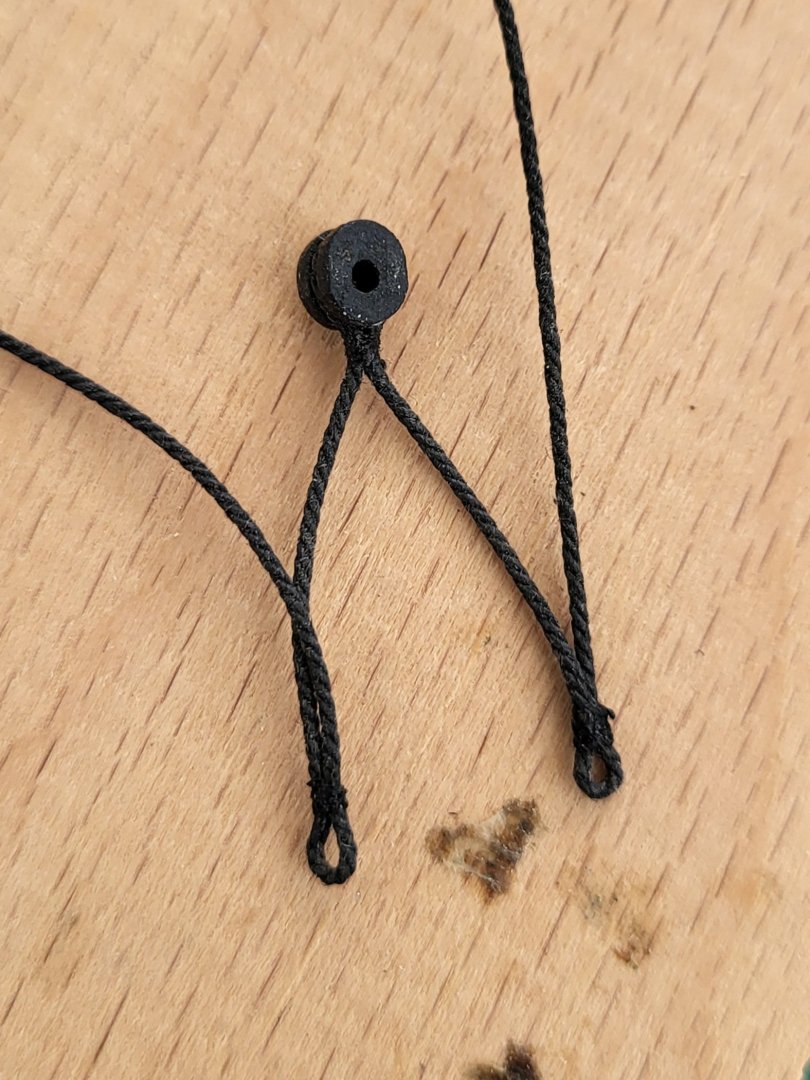
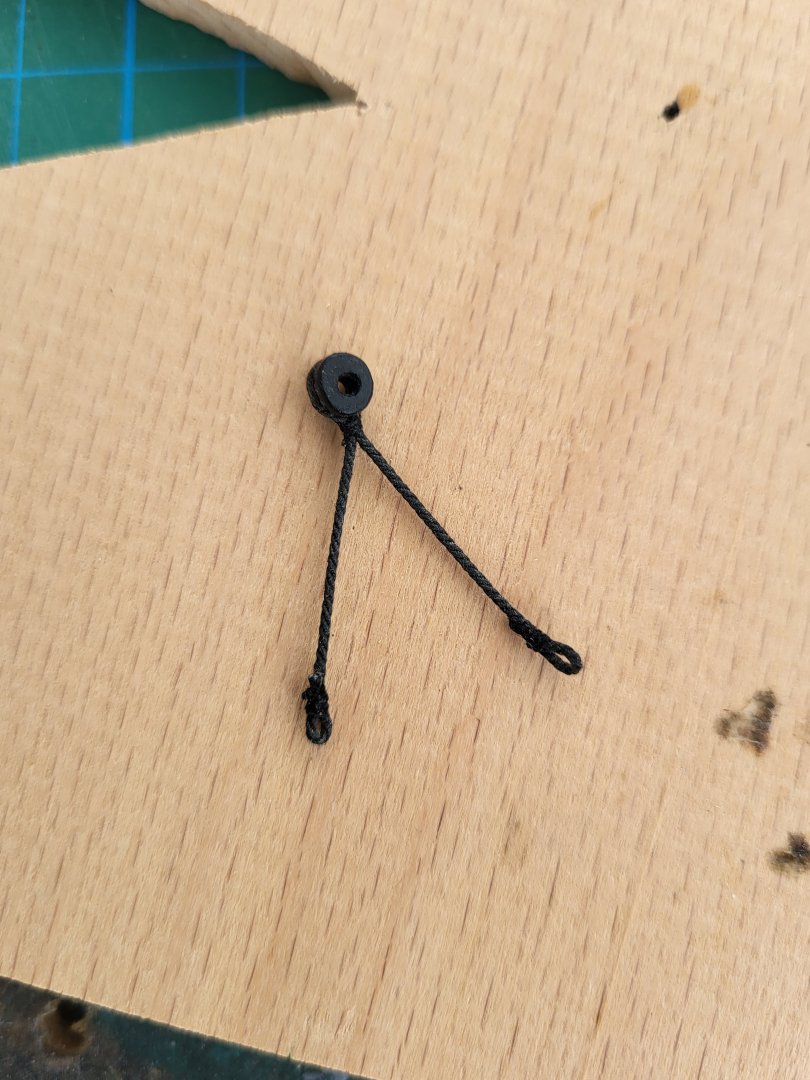
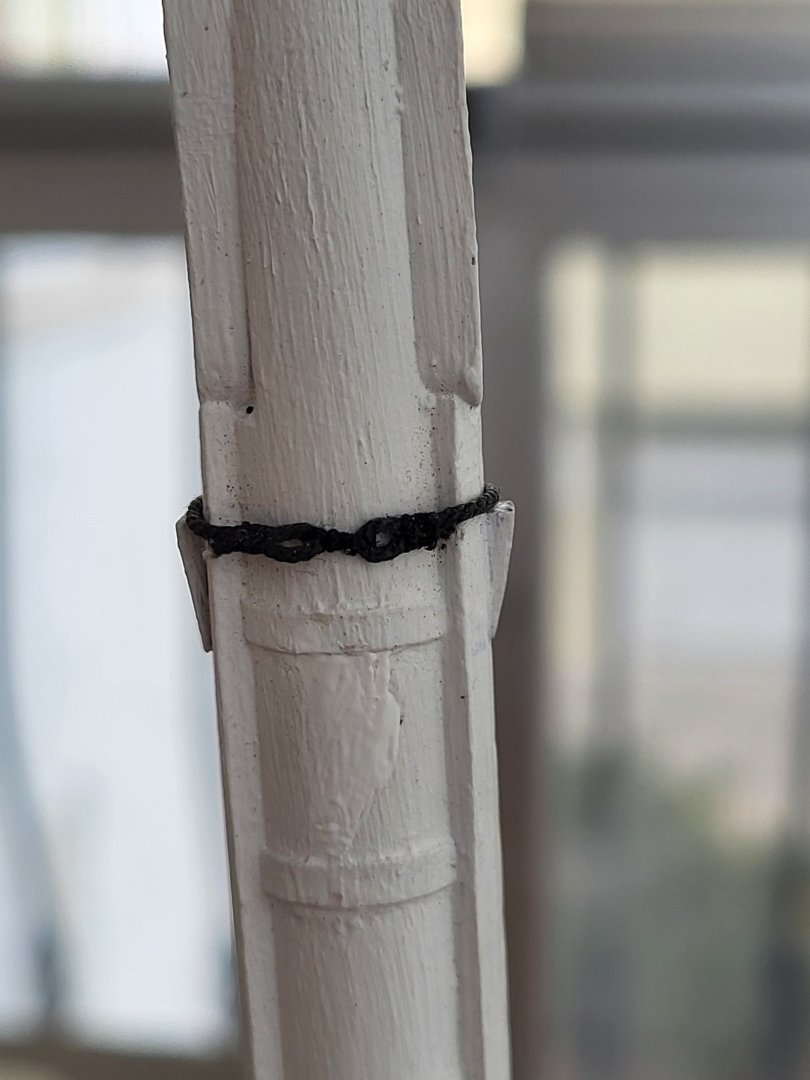
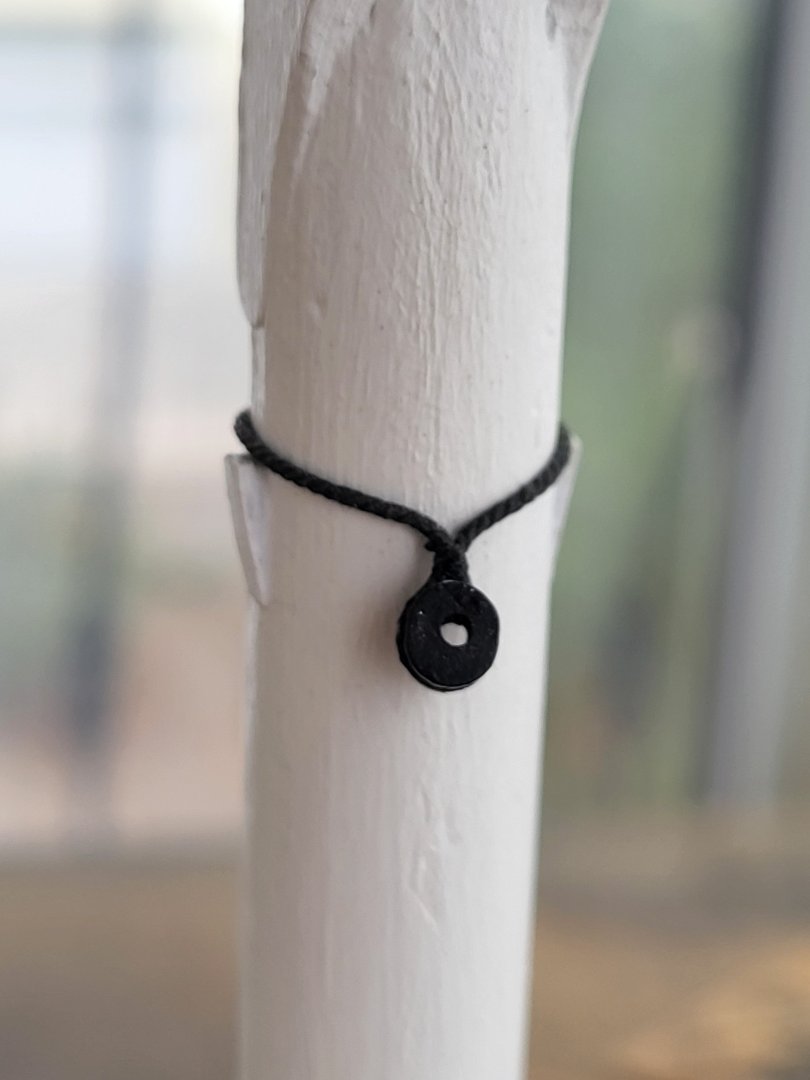
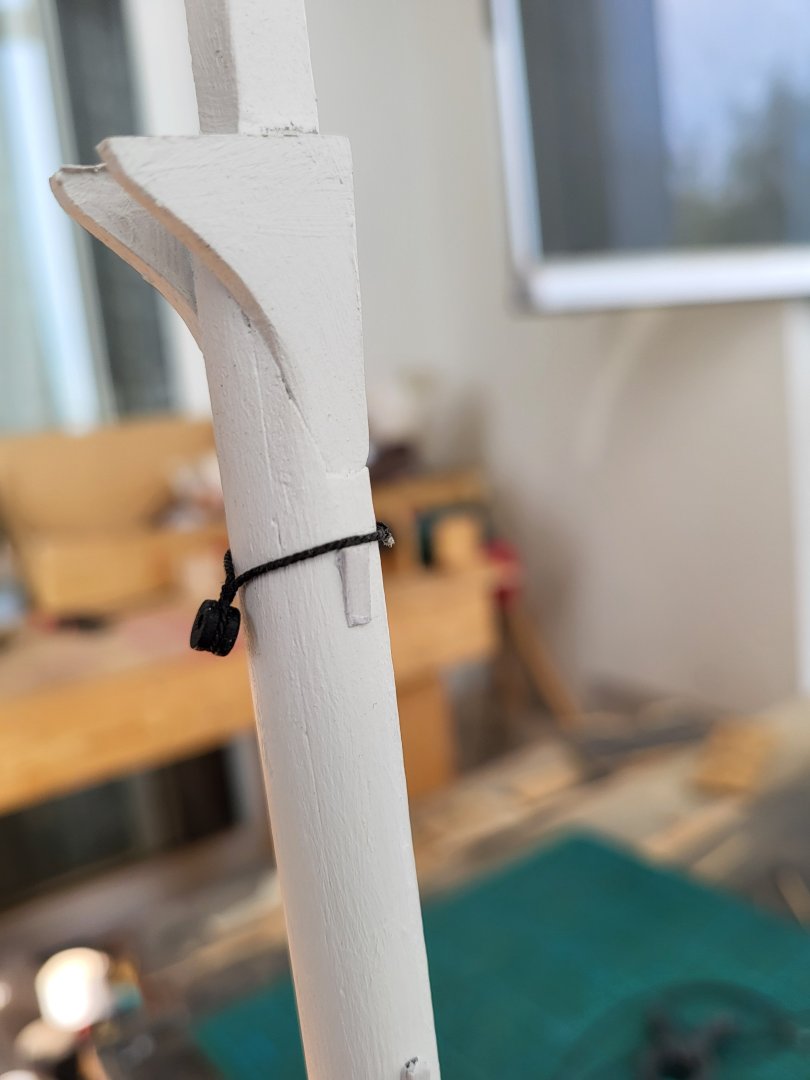
Now it's time to start rigging. There's no particular reason, but I'm starting with the main mast. I think it's just a matter of habit; I always start with the main mast, then work on the fore and mizzen. The main mast has now been set in place and glued securely. The pendants need to be prepared and hung before the shrouds. I didn't use thimbles for the pendants; I simply created a loop and stiffened it with CA. By the way, I didn't make the pendants as shown in the plans. If you compare them to the plans, you'll see what I mean. I chose a simpler method because they would be hidden under the shrouds and wouldn't be visible. When seizing the areas where the pendants are wrapped around the mast, I use the serving machine I made. Let me state now that I will not be adding the sails and therefore some of the ropes. -

USS Constitution by mtbediz - 1:76
mtbediz replied to mtbediz's topic in - Build logs for subjects built 1751 - 1800
-

USS Constitution by mtbediz - 1:76
mtbediz replied to mtbediz's topic in - Build logs for subjects built 1751 - 1800
You're right Peter, I forgot to mention Jon. -

USS Constitution by mtbediz - 1:76
mtbediz replied to mtbediz's topic in - Build logs for subjects built 1751 - 1800
Thank you. I too would have liked to visit the real ship, but it seems almost impossible because I am very far away, so I have to make do with the images on the internet. -

USS Constitution by mtbediz - 1:76
mtbediz replied to mtbediz's topic in - Build logs for subjects built 1751 - 1800
Thank you. Yes, there is a weight at the end of the thread going down. -

USS Constitution by mtbediz - 1:76
mtbediz replied to mtbediz's topic in - Build logs for subjects built 1751 - 1800
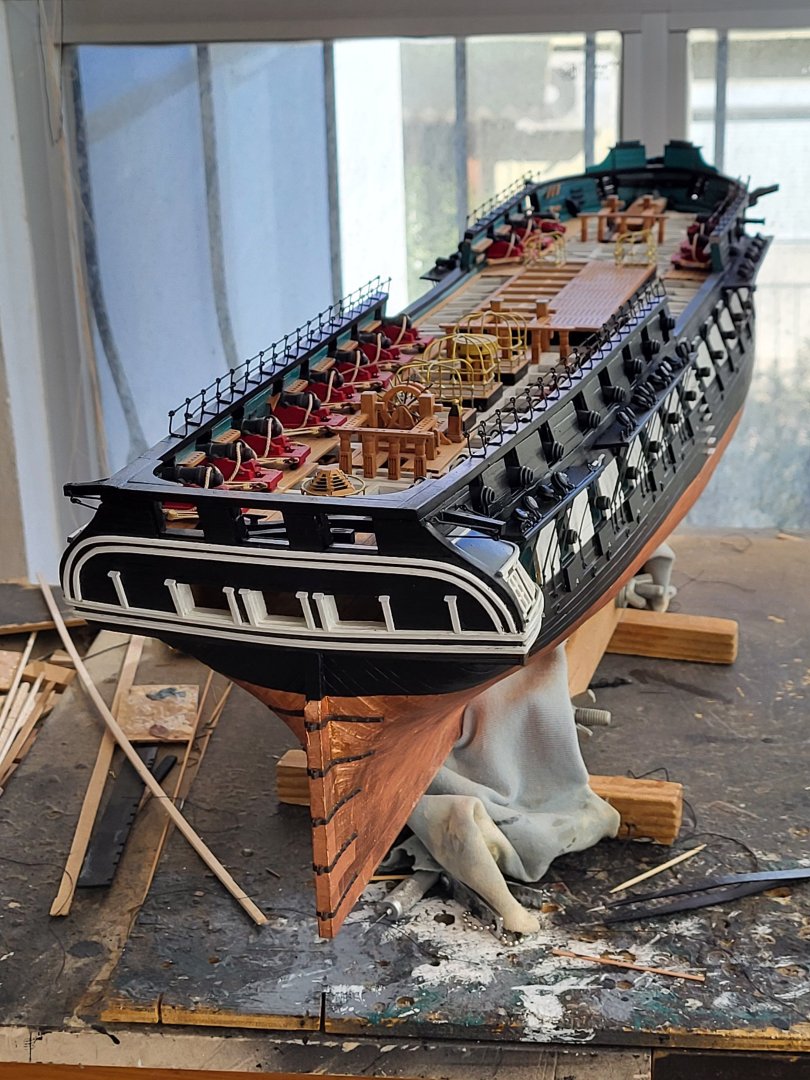
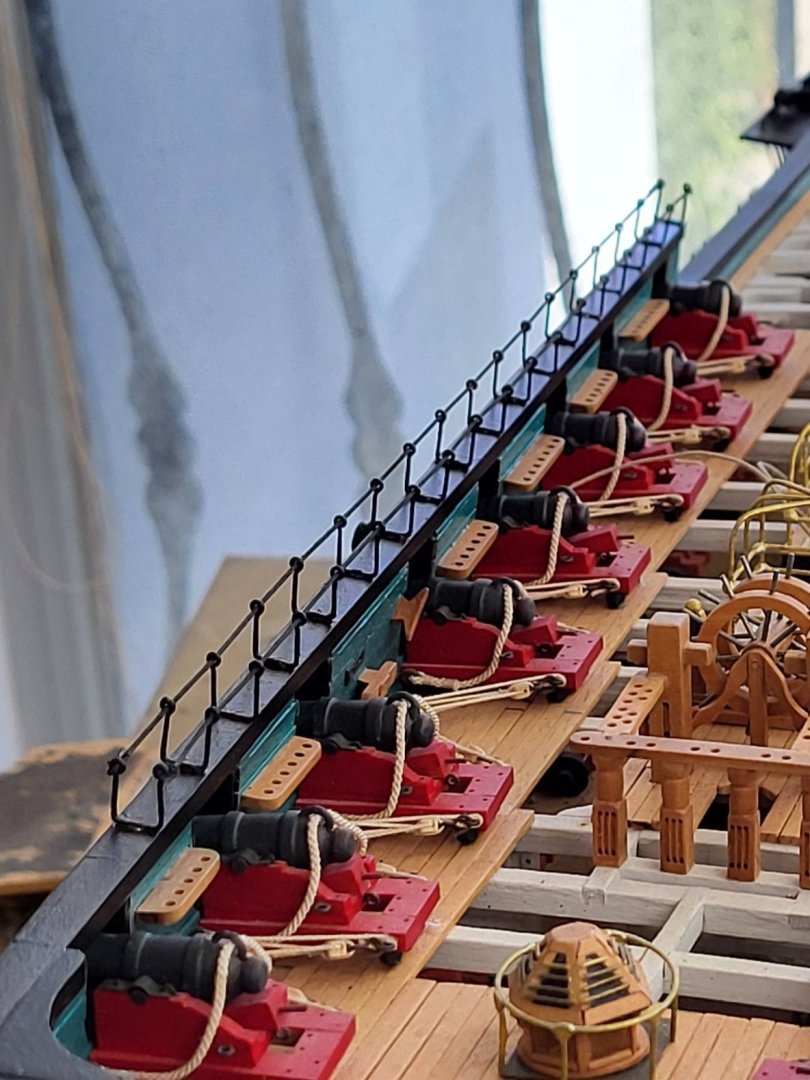
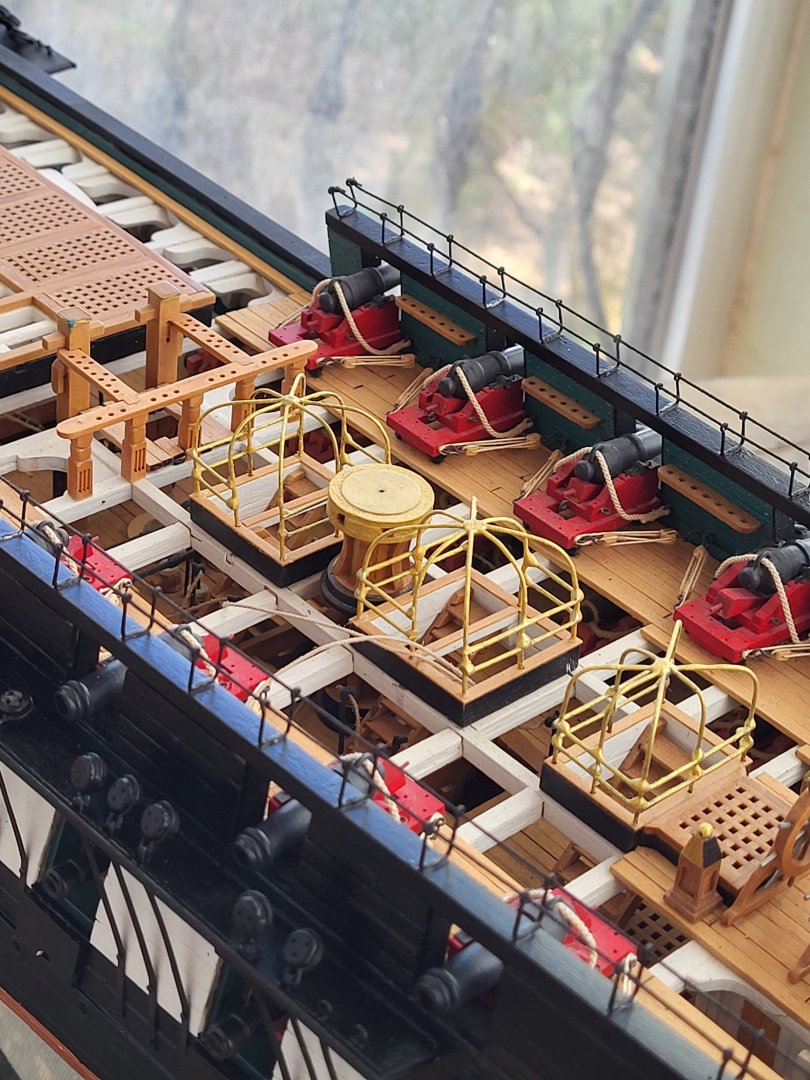
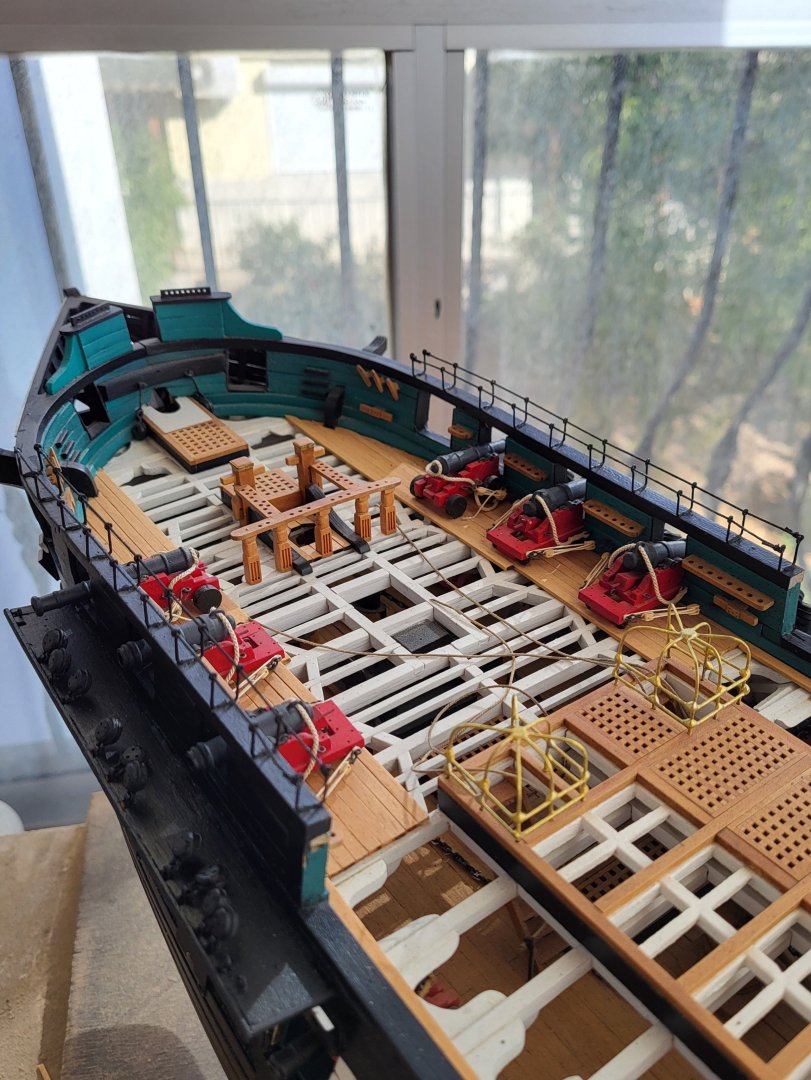
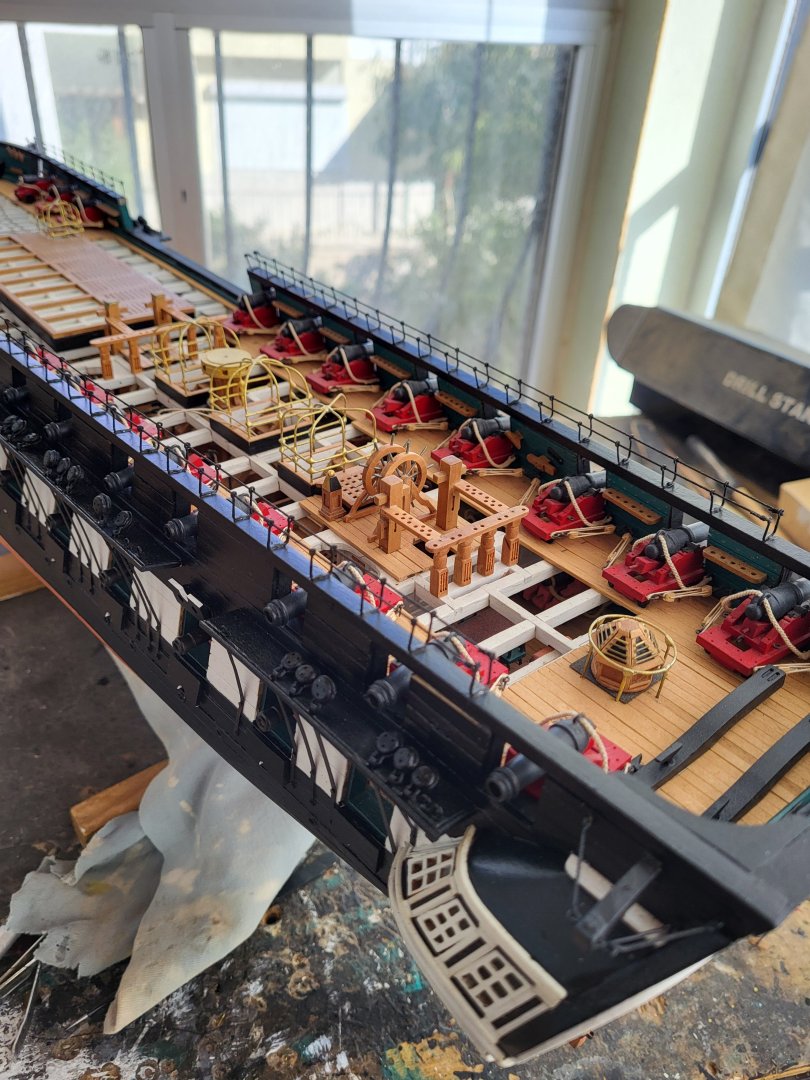
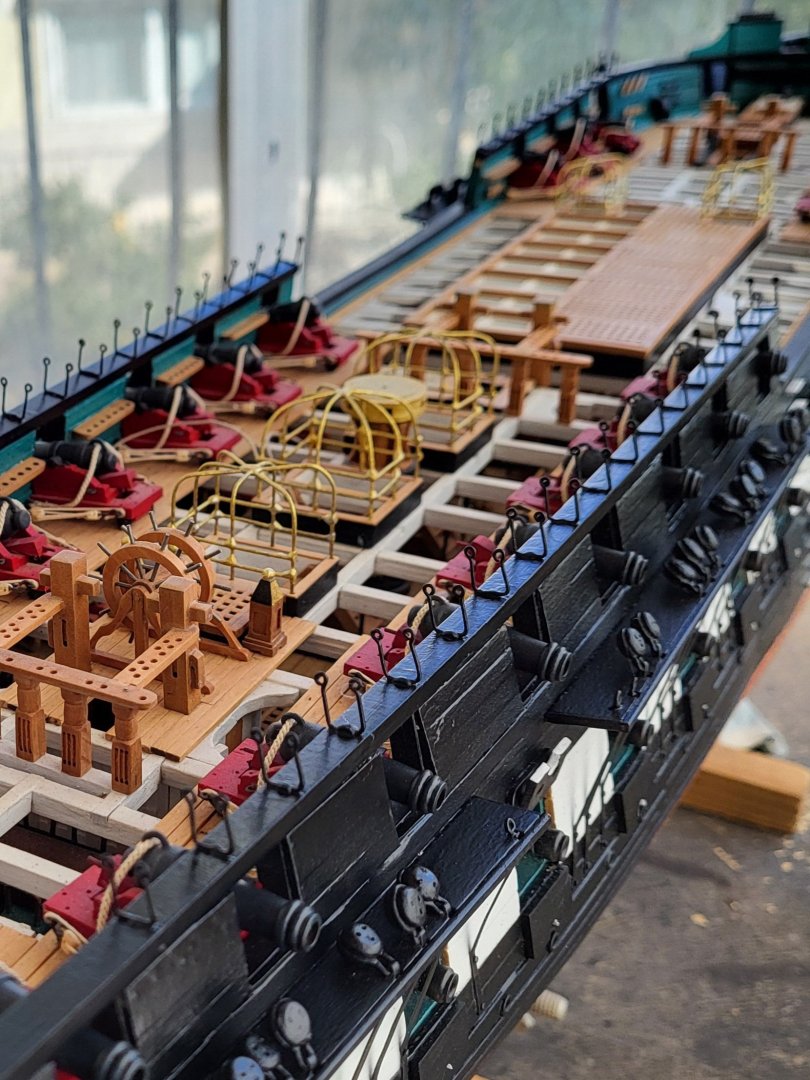
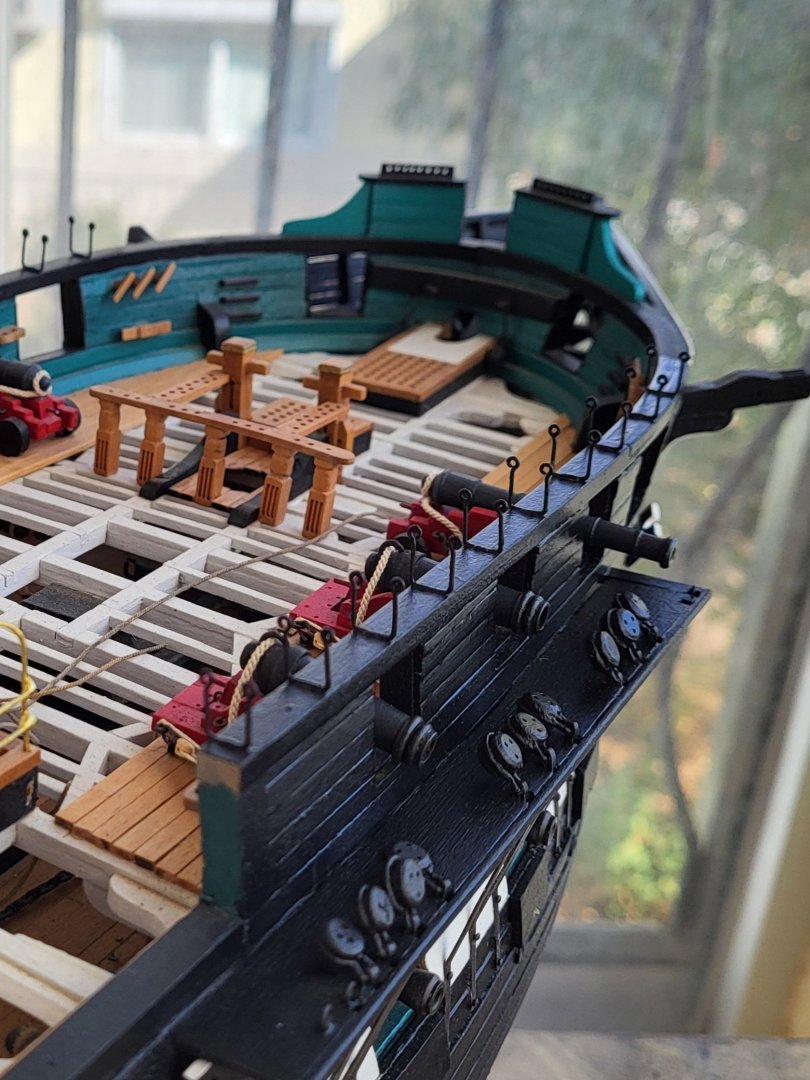
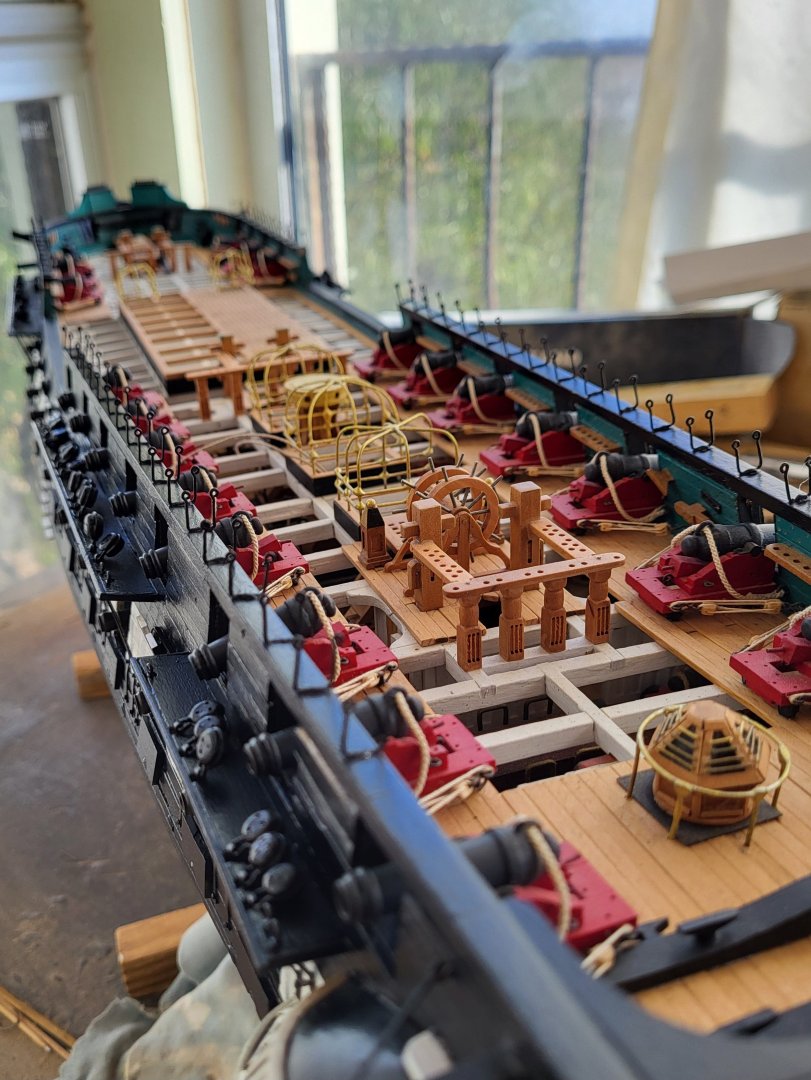
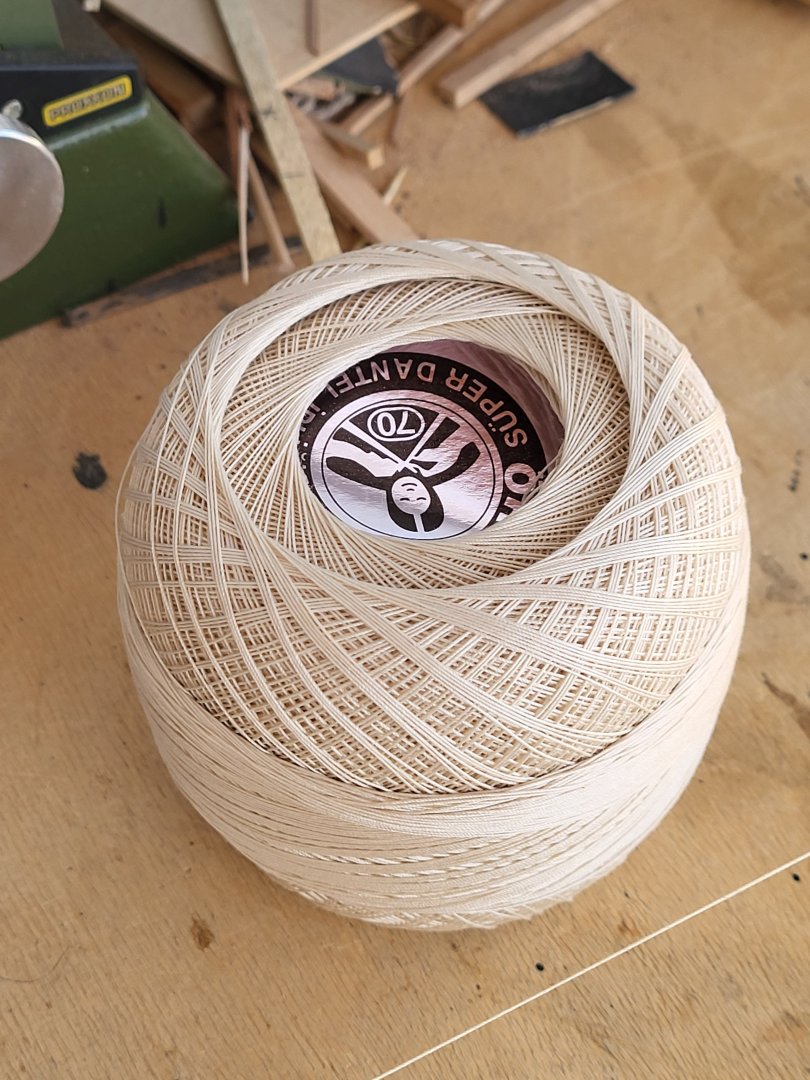
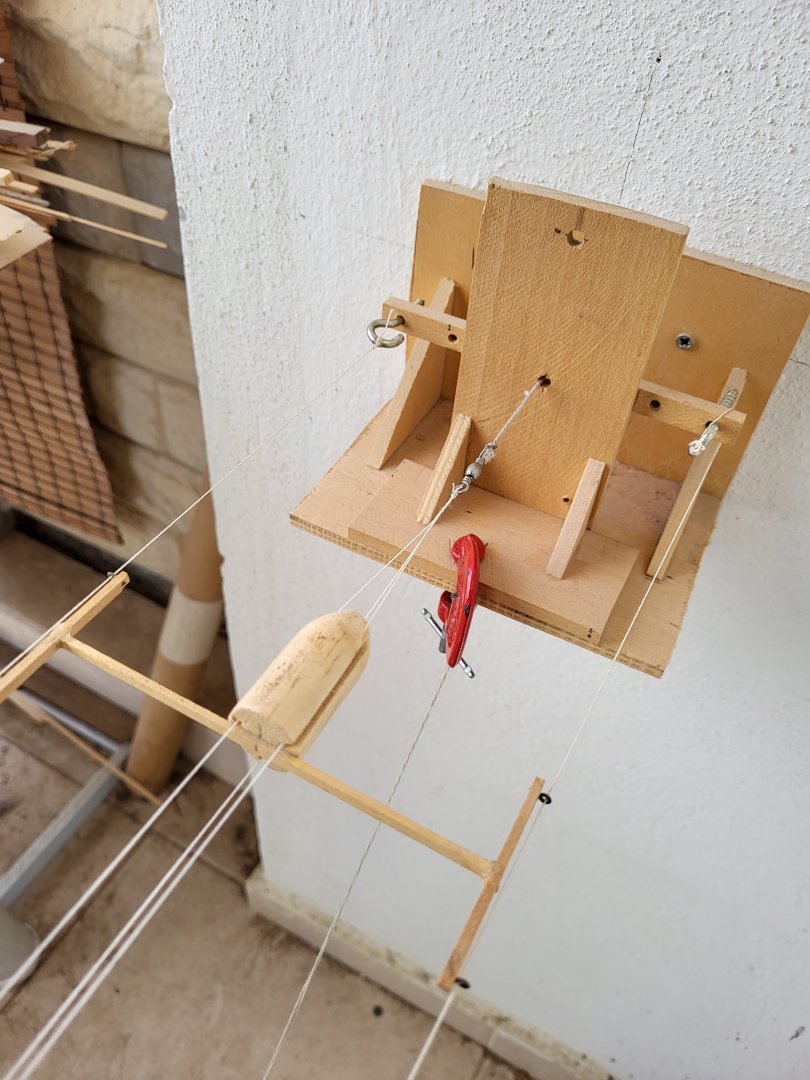
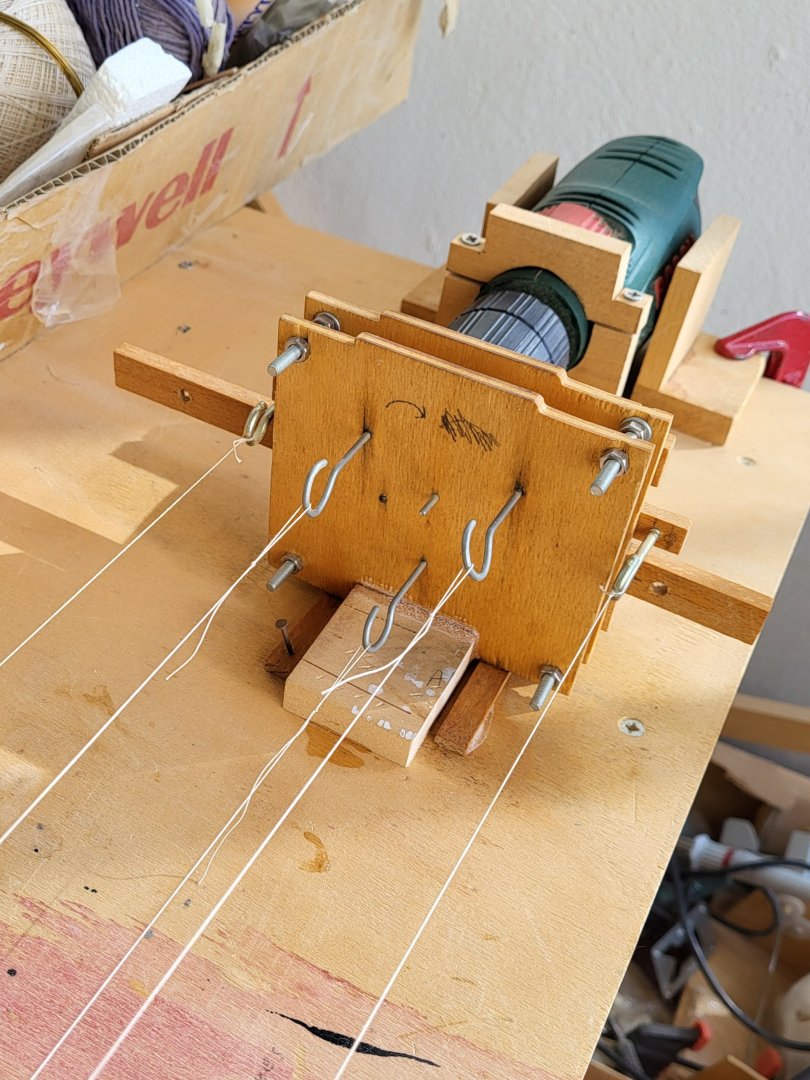
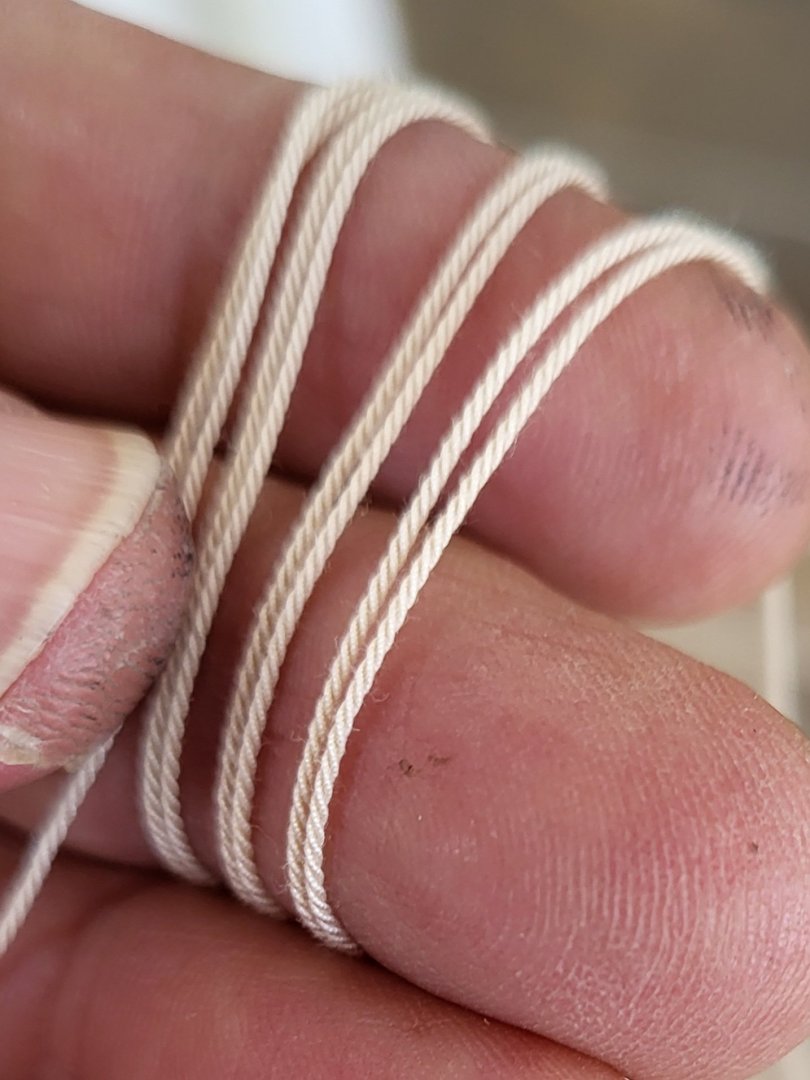
The hammock net frames are complete and I've started making ropes. I'm using a ropewalk I made myself. -
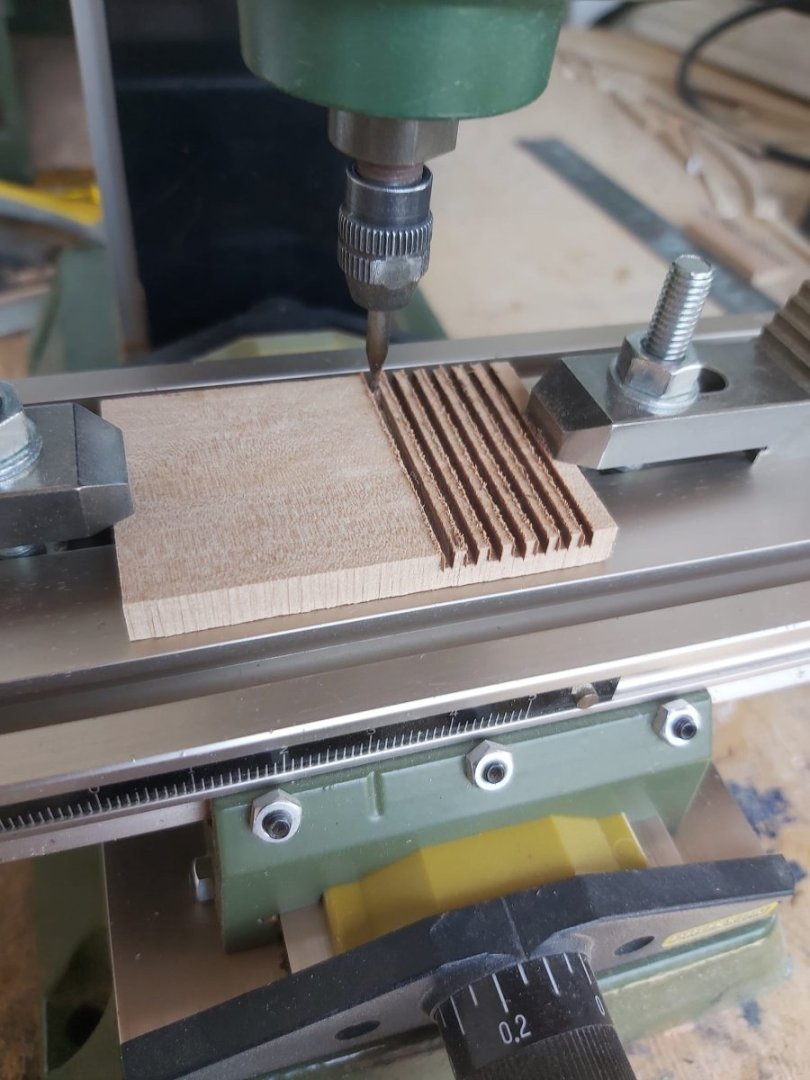
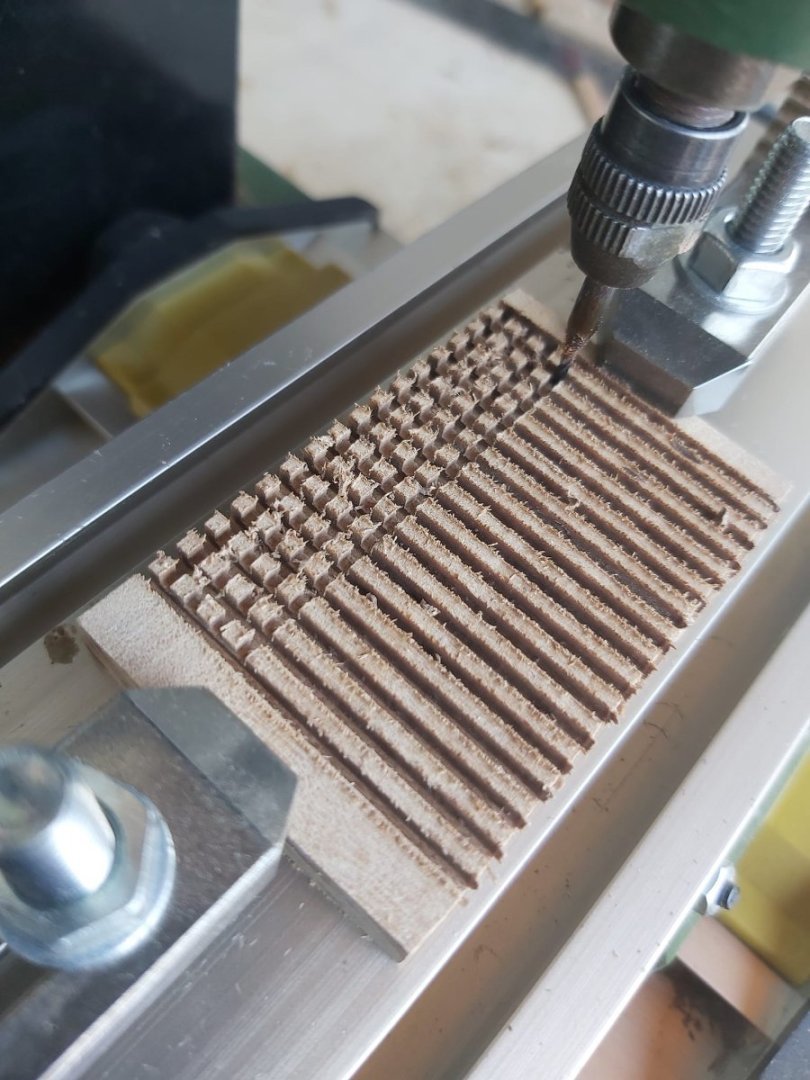
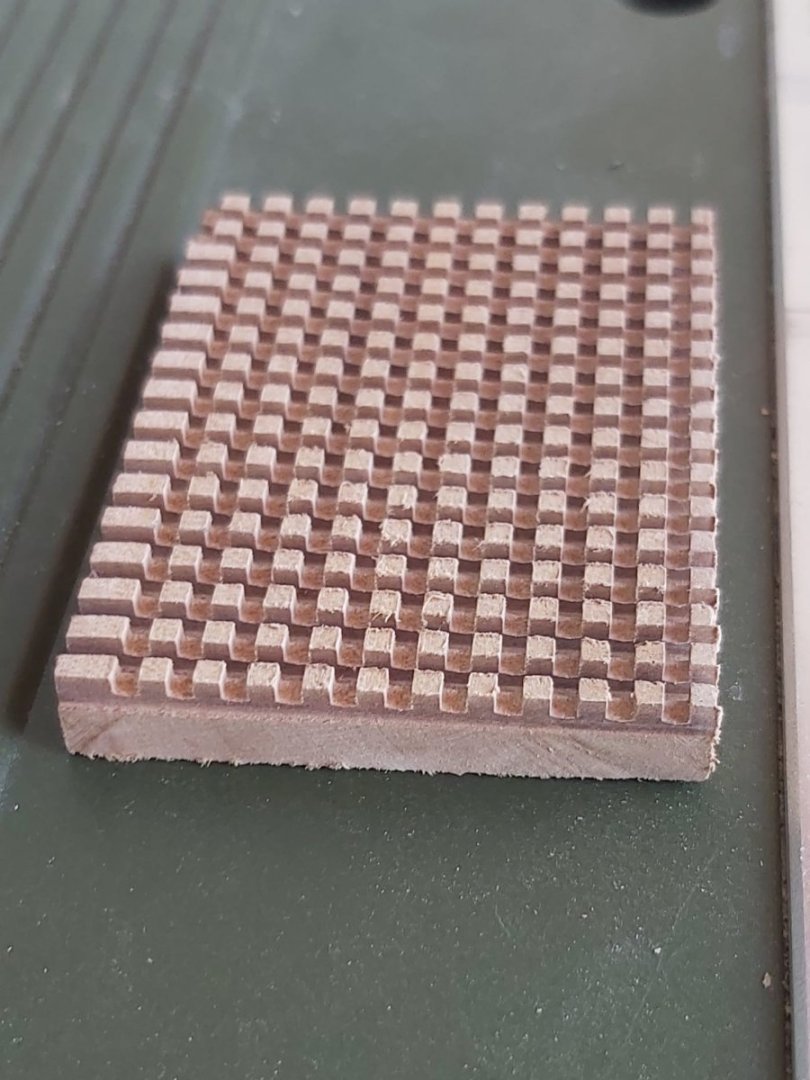
Everything is coming together perfectly, Greg. Although this may come as a belated remark, I would like to emphasize an important consideration when fabricating wooden grates: always begin by cutting the channels that run perpendicular to the wood grain, followed by those that run parallel to grain. Reversing this sequence significantly increases the risk of material tear out and splintering, particularly along the grain direction where the wood is more prone to splitting. This insight stems from firsthand experience and has proven critical in maintaining structural integrity and surface quality during fine woodworking operations.
-

USS Constitution by mtbediz - 1:76
mtbediz replied to mtbediz's topic in - Build logs for subjects built 1751 - 1800
Thank you Peter. -

USS Constitution by mtbediz - 1:76
mtbediz replied to mtbediz's topic in - Build logs for subjects built 1751 - 1800
Yes Greg, Anatolia (present day Turkey) is one of the world's oldest inhabited regions and has been home to numerous civilizations throughout history. Therefore, traces of civilizations that have existed in Anatolia from at least 15,000 years ago to the present day can be seen. In Turkish, our grandchildren call us "dede" while our children call us "baba". -

USS Constitution by mtbediz - 1:76
mtbediz replied to mtbediz's topic in - Build logs for subjects built 1751 - 1800
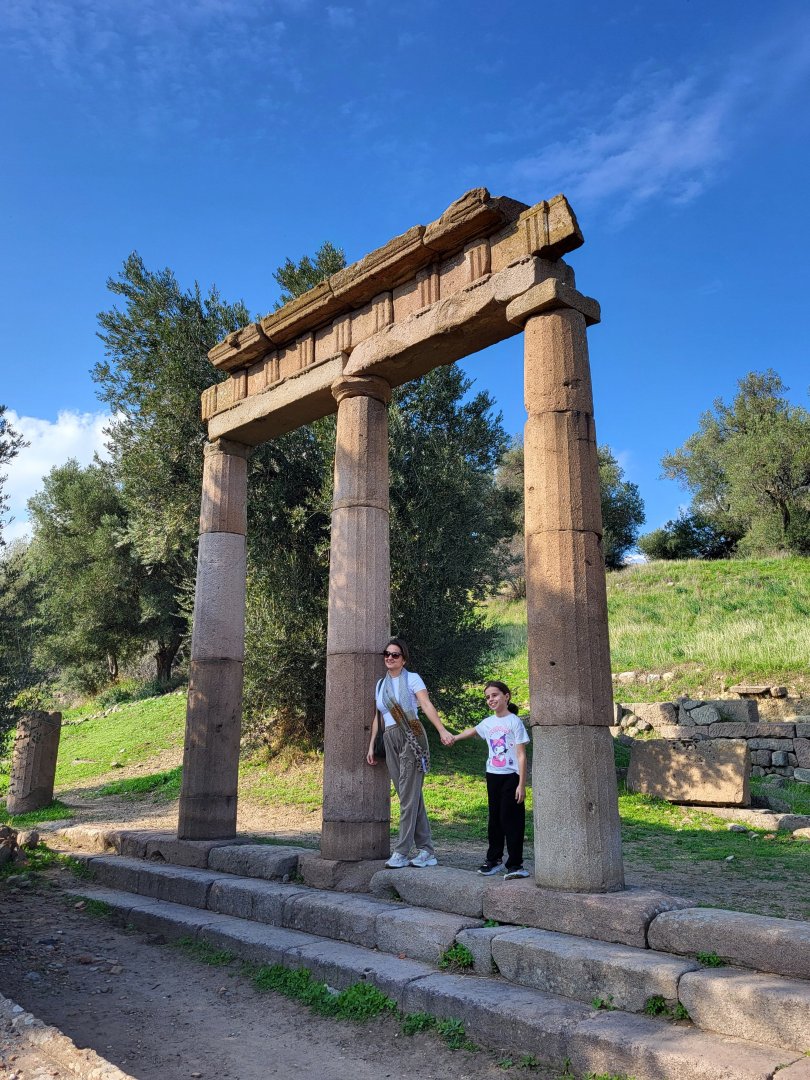
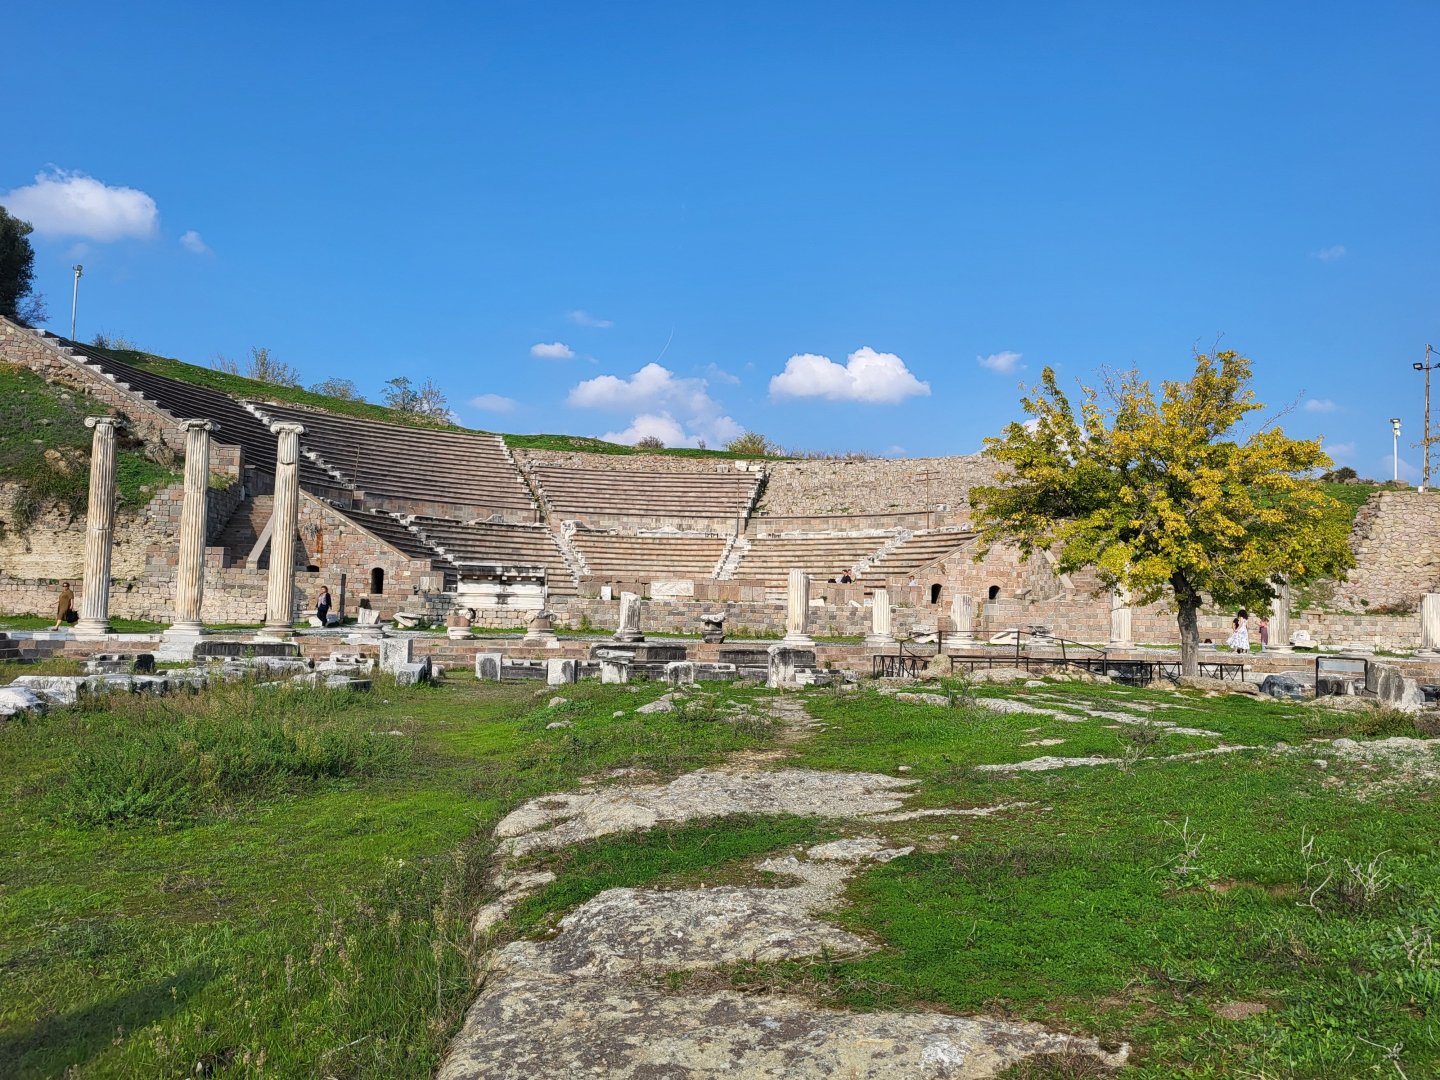
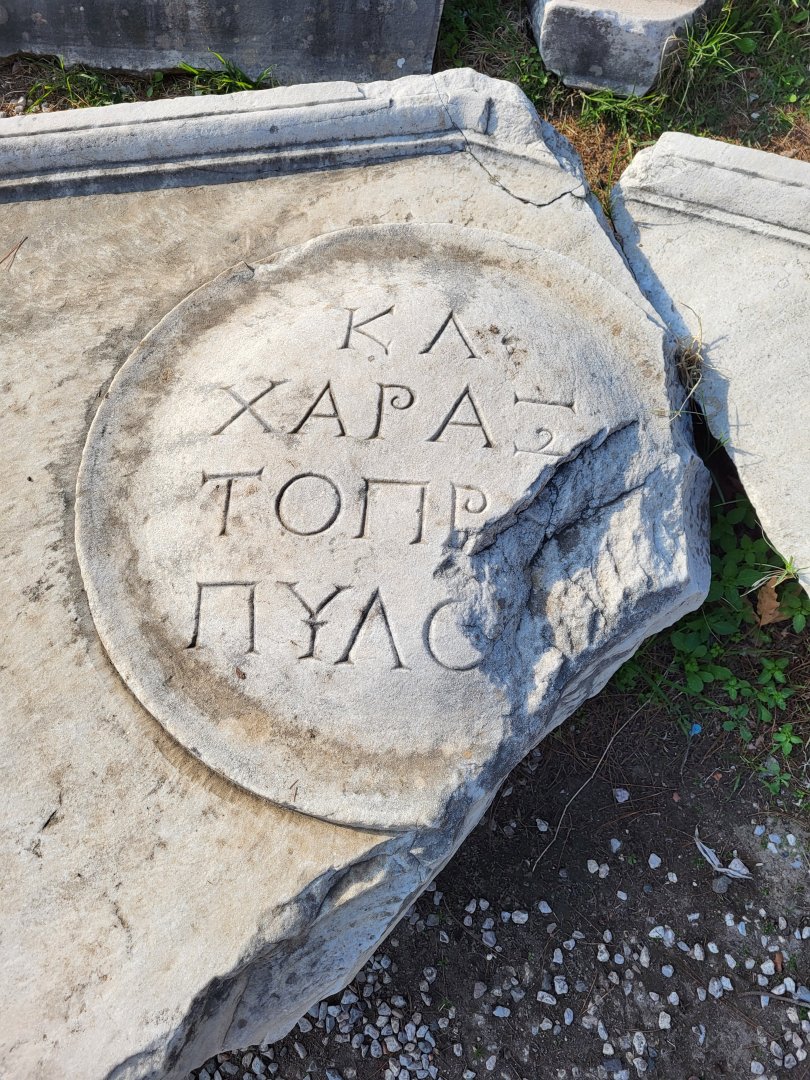
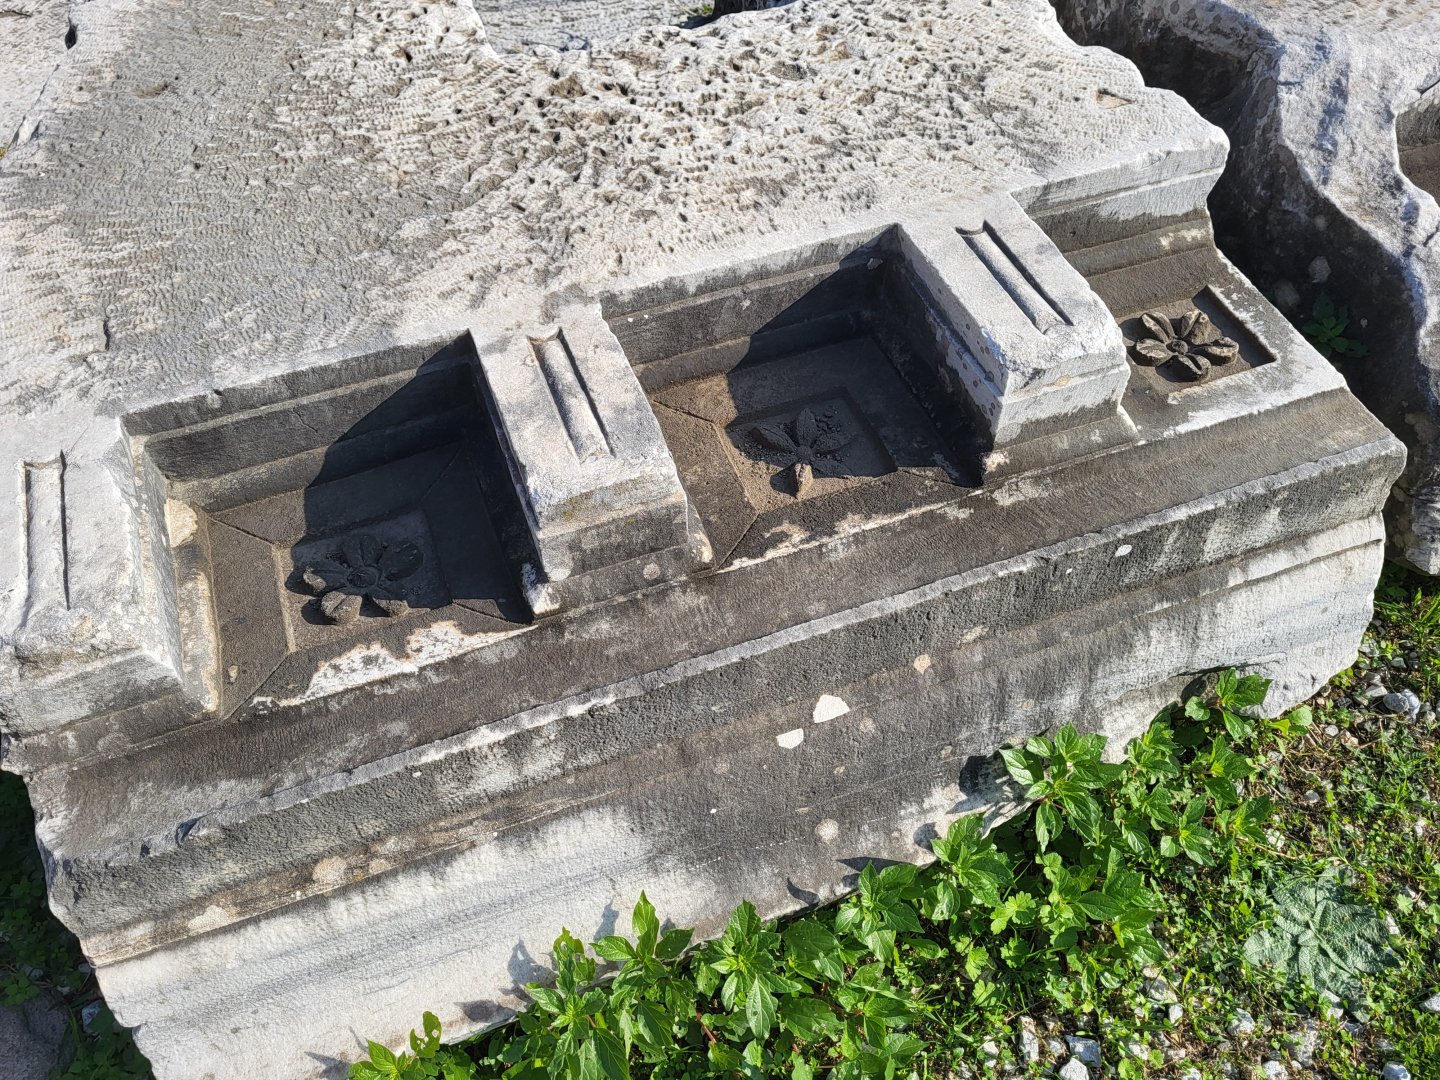
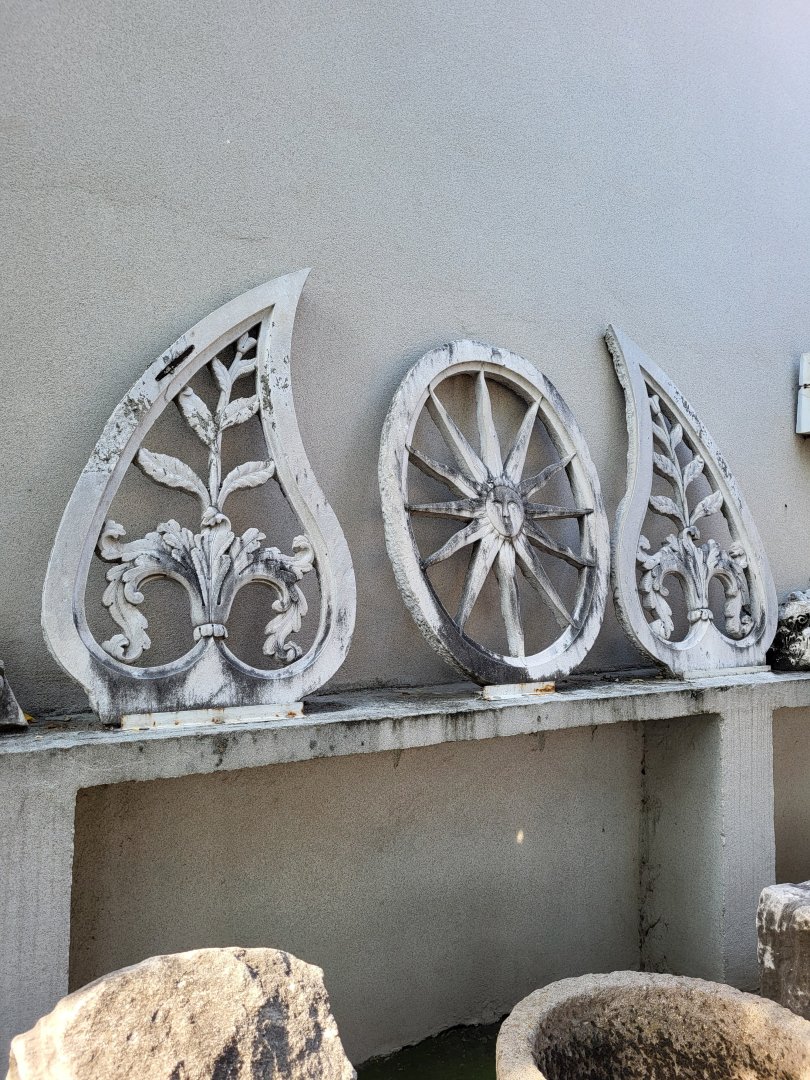
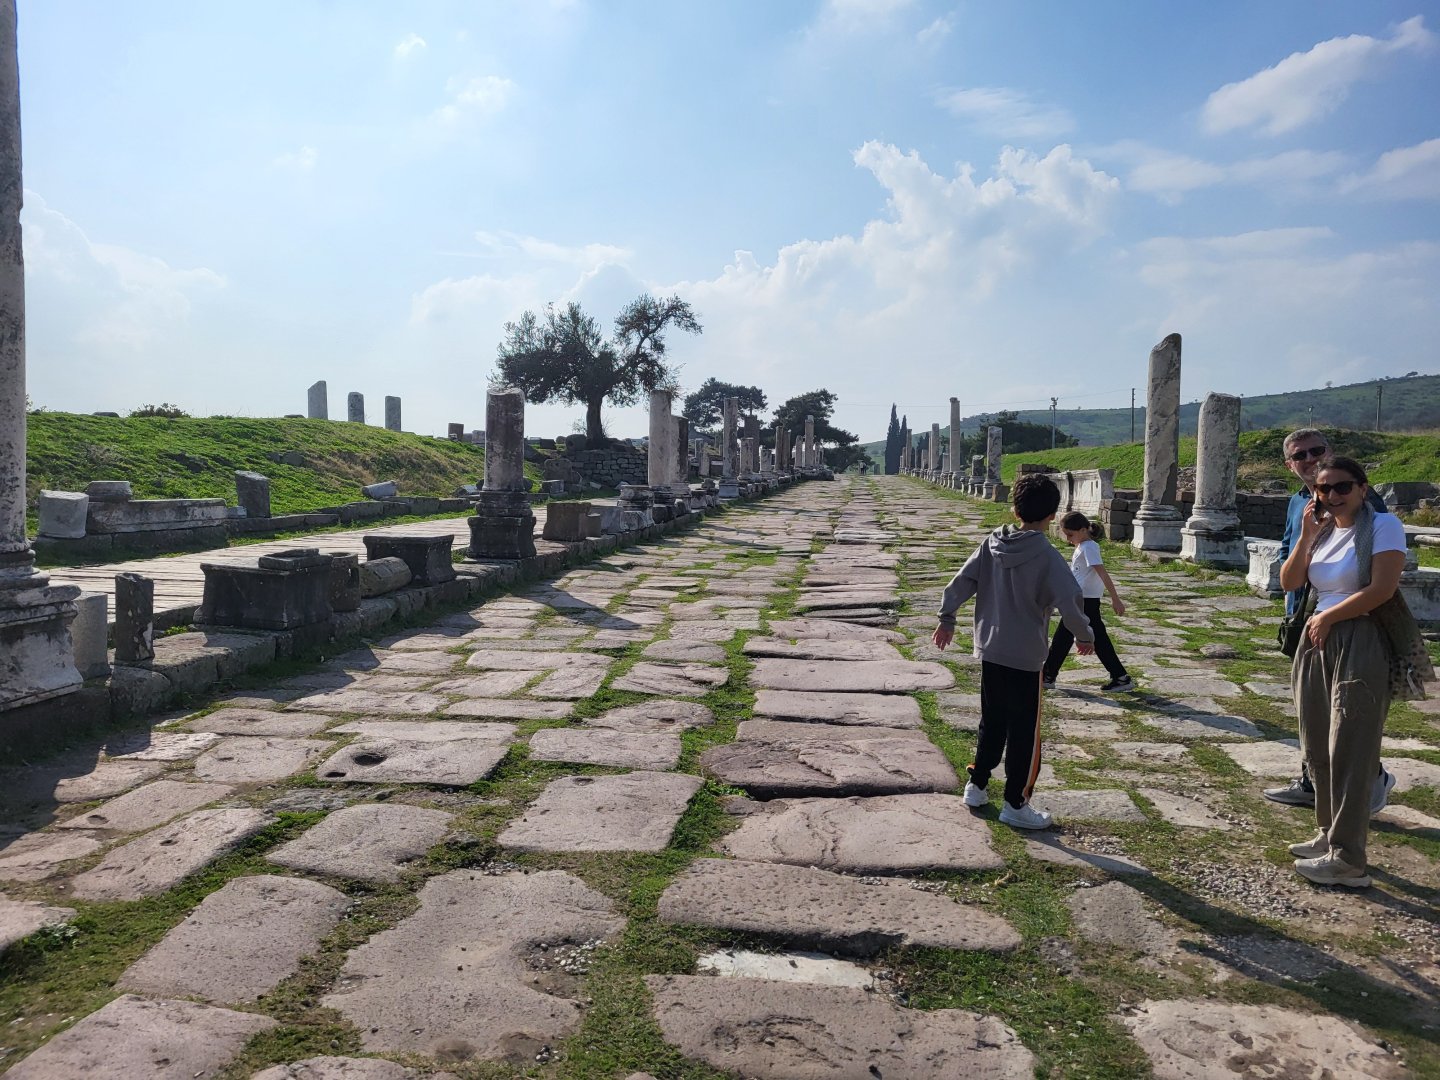
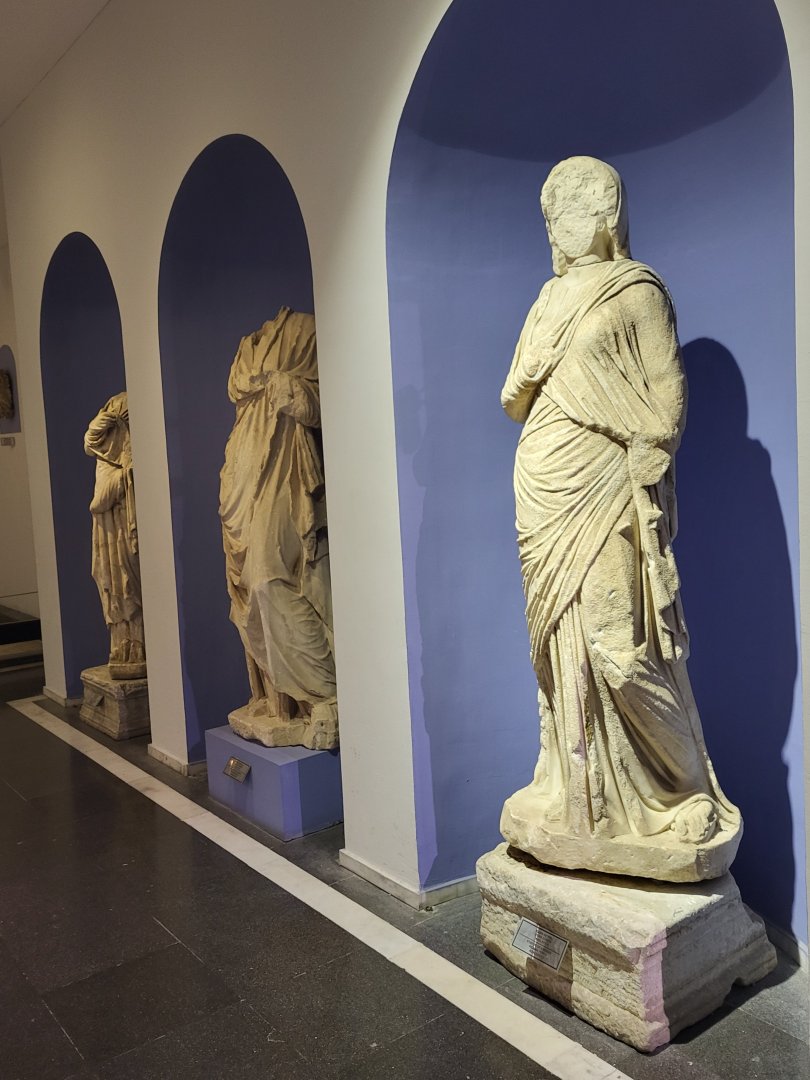
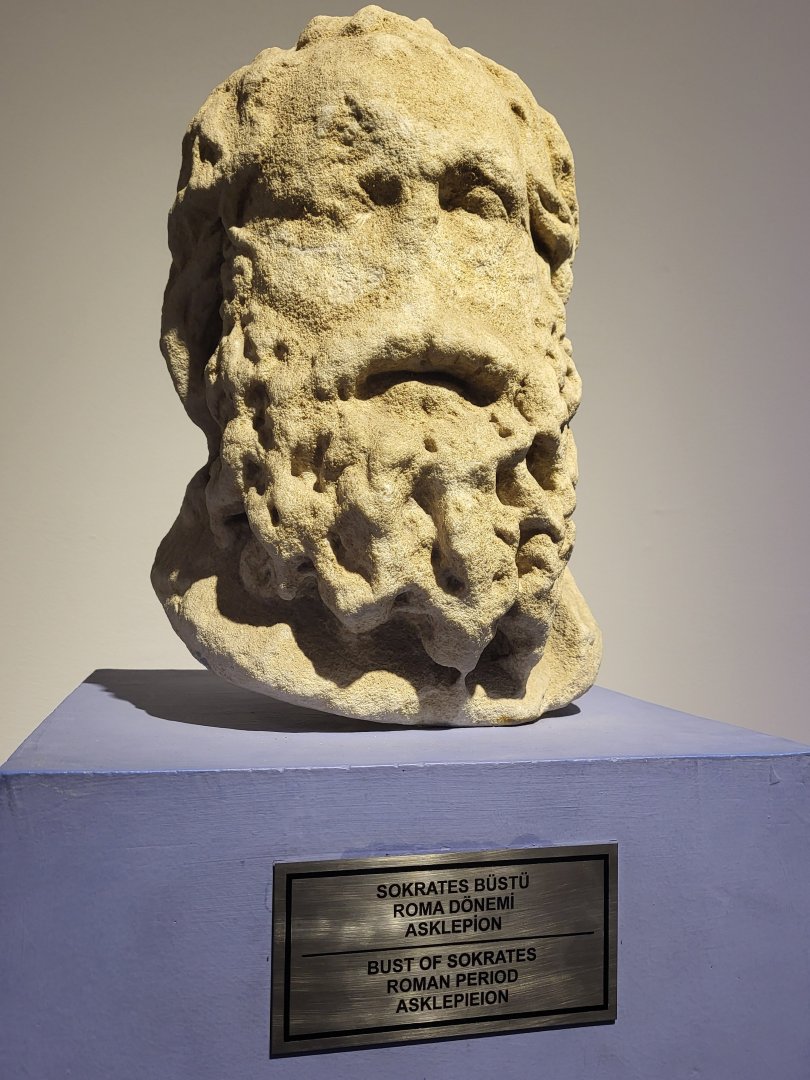
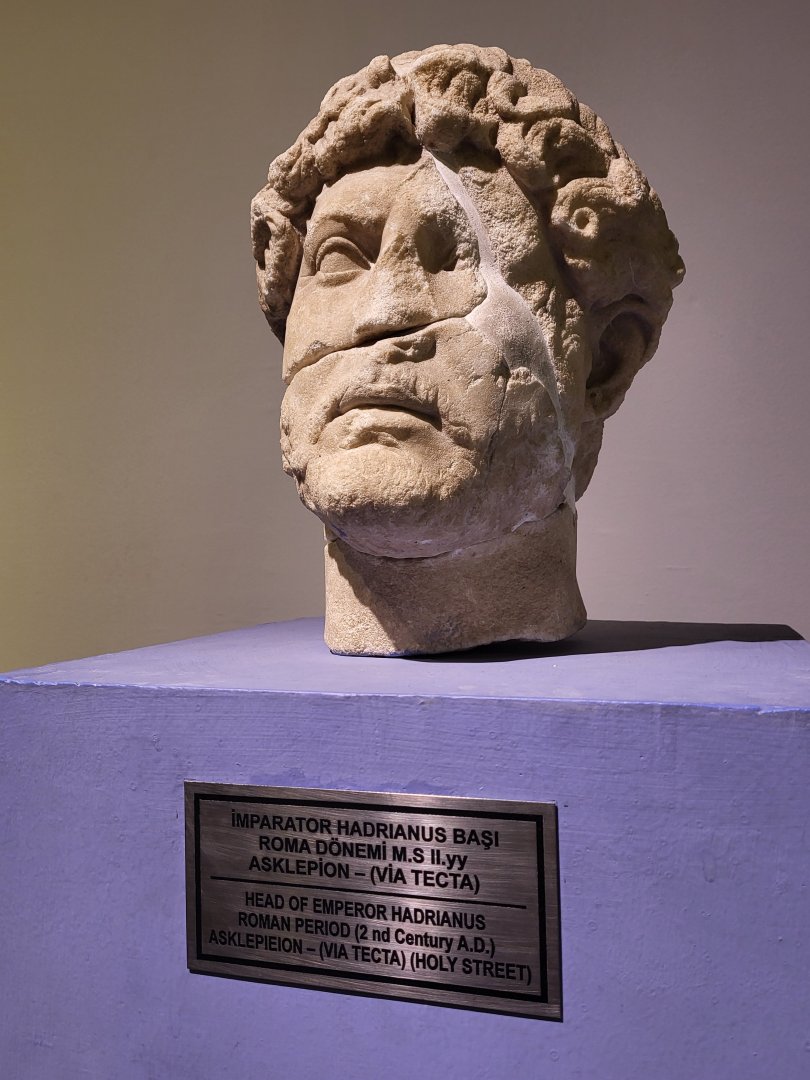
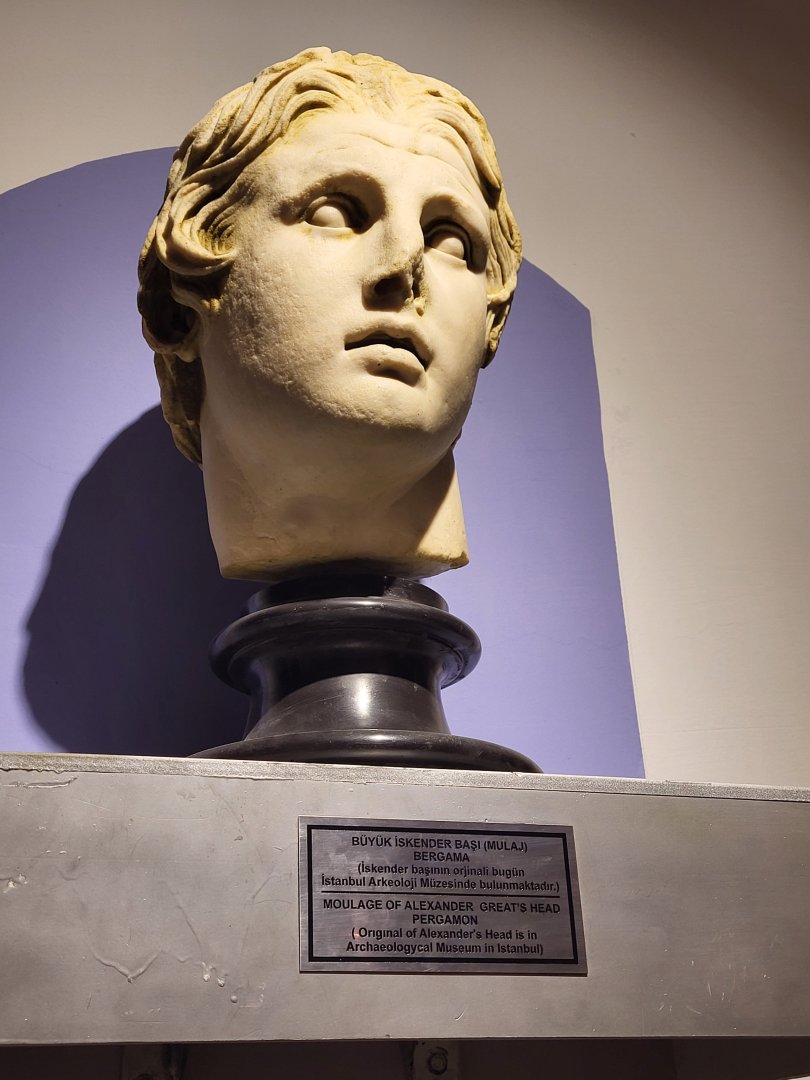
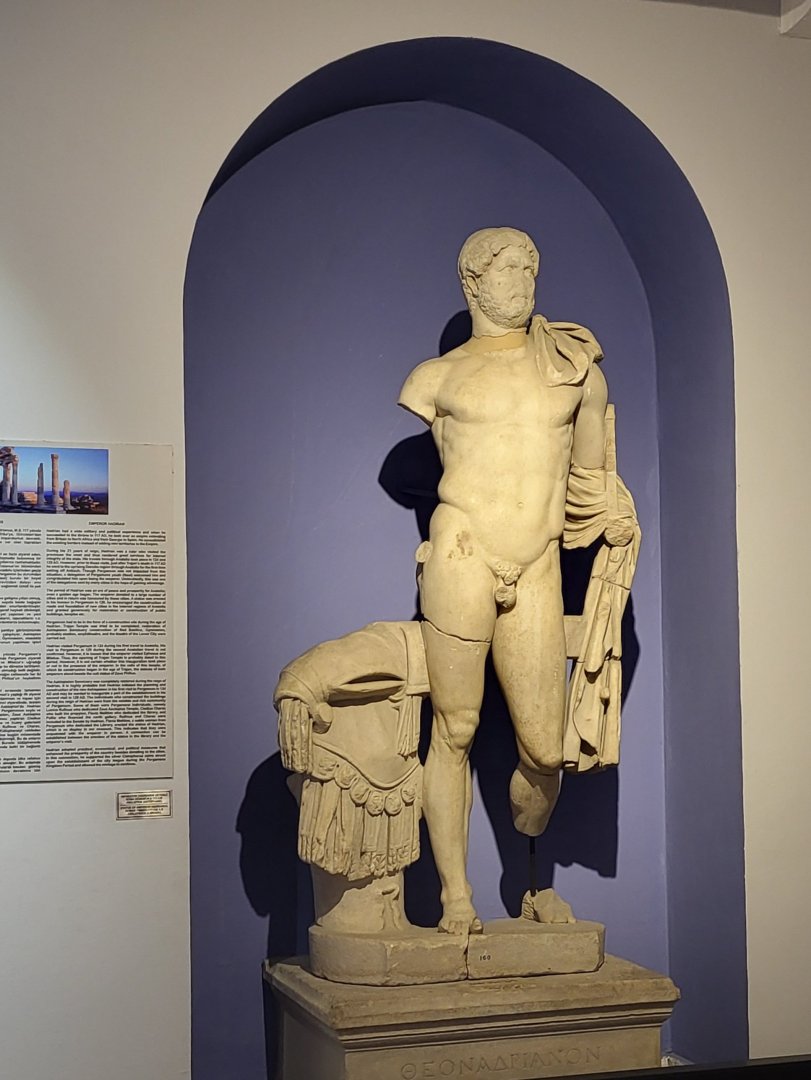
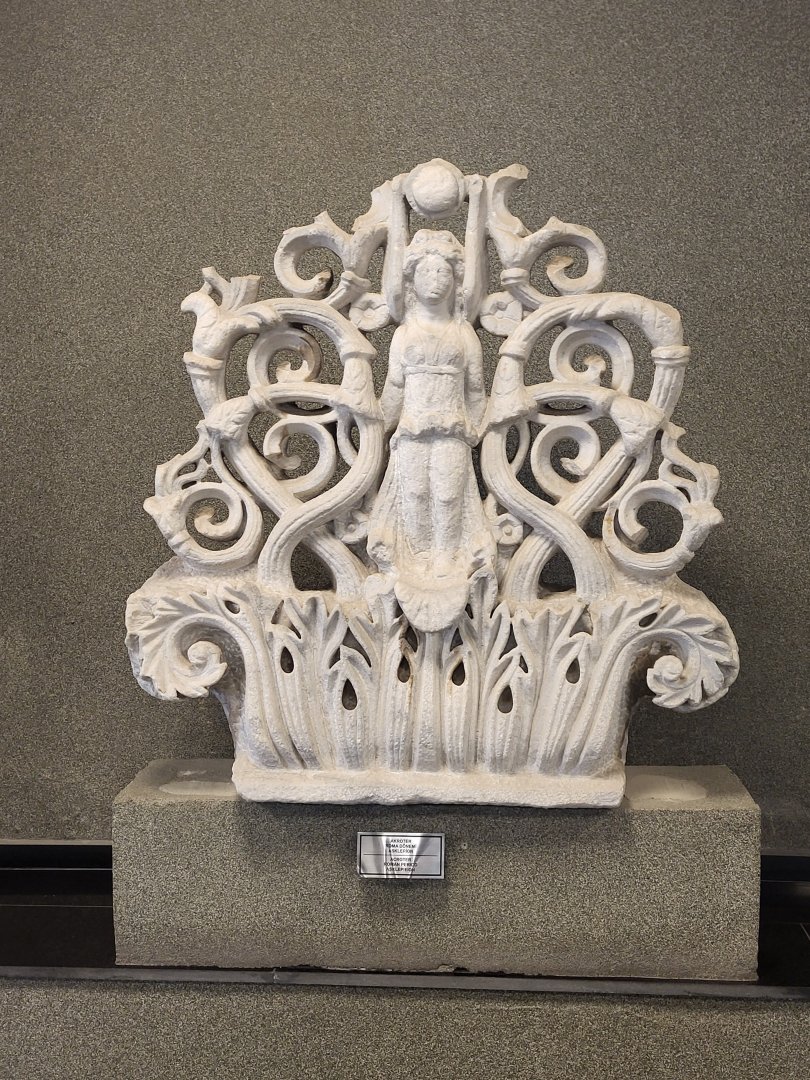
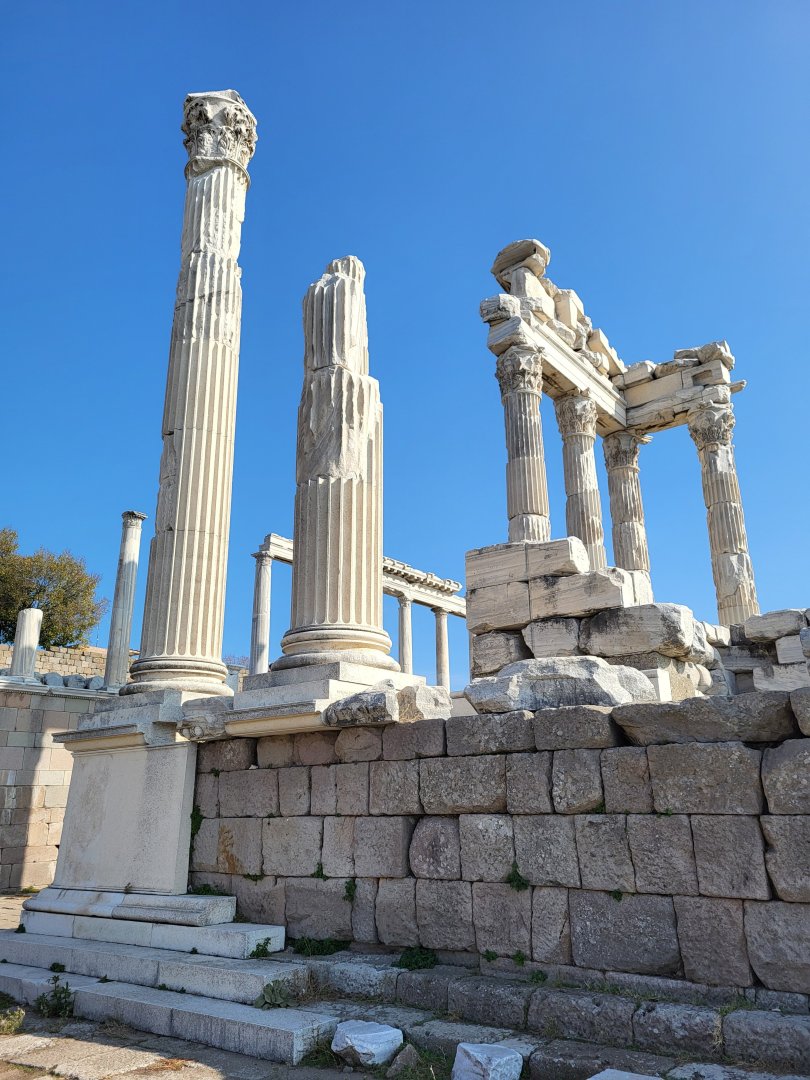
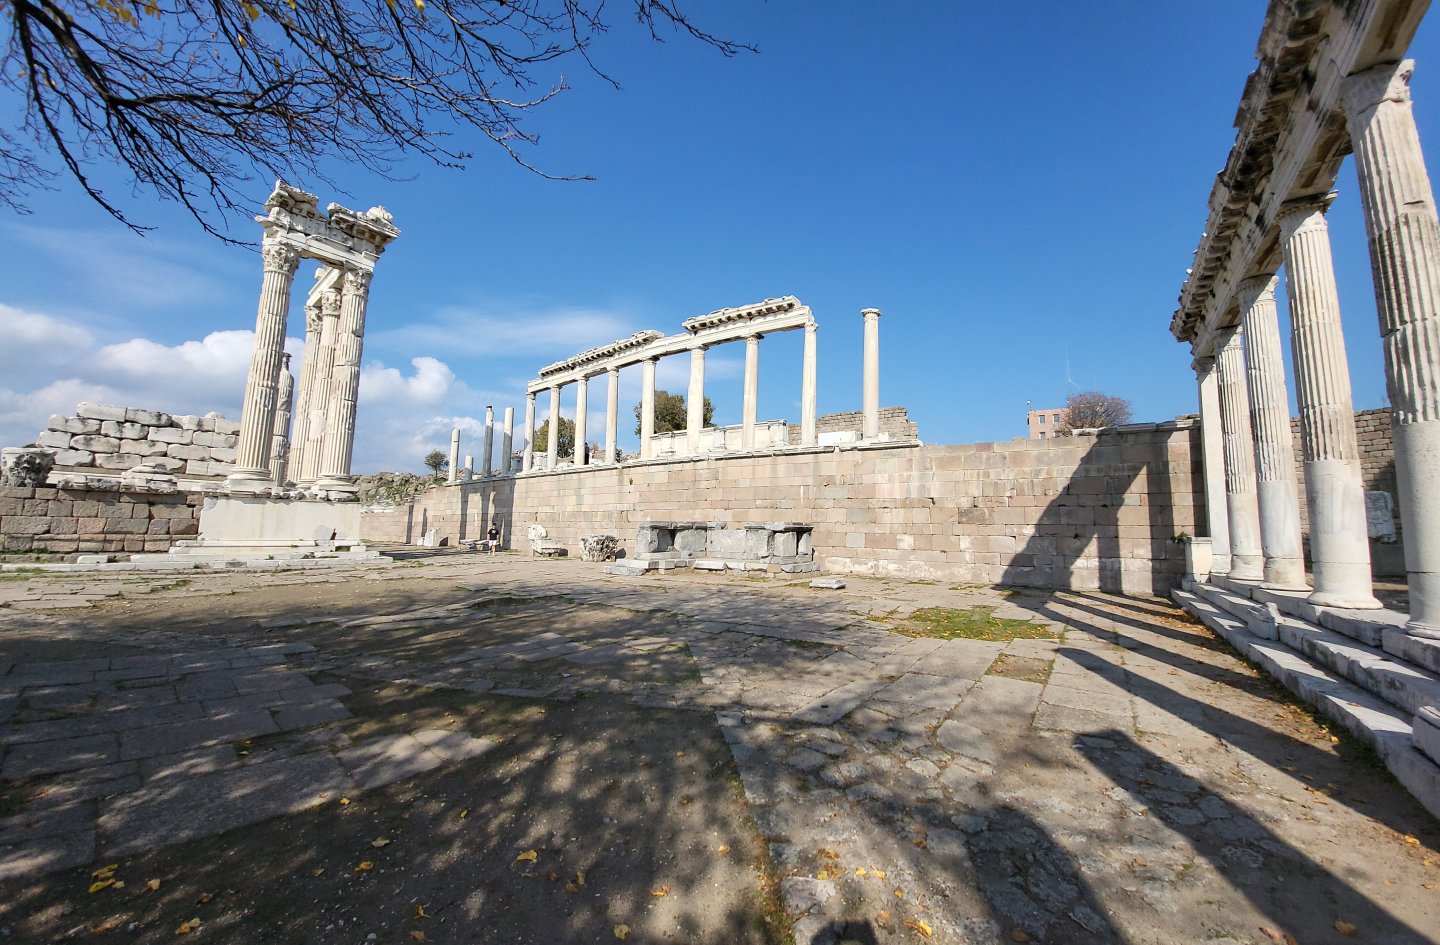
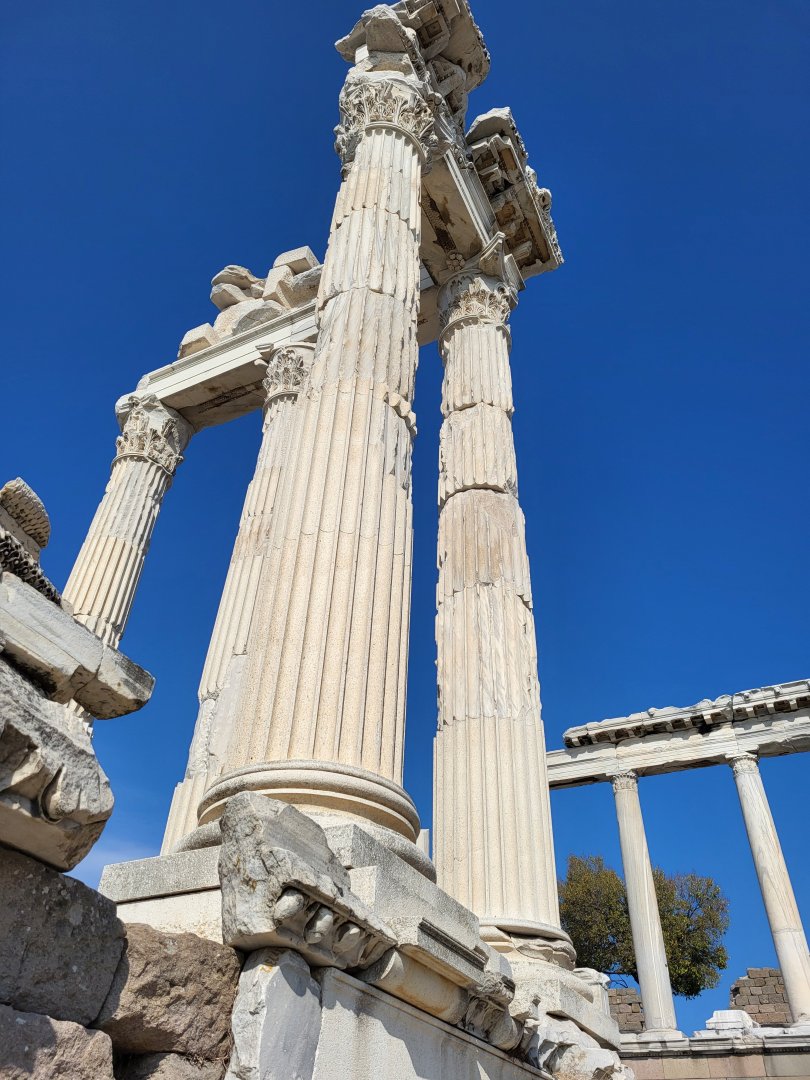
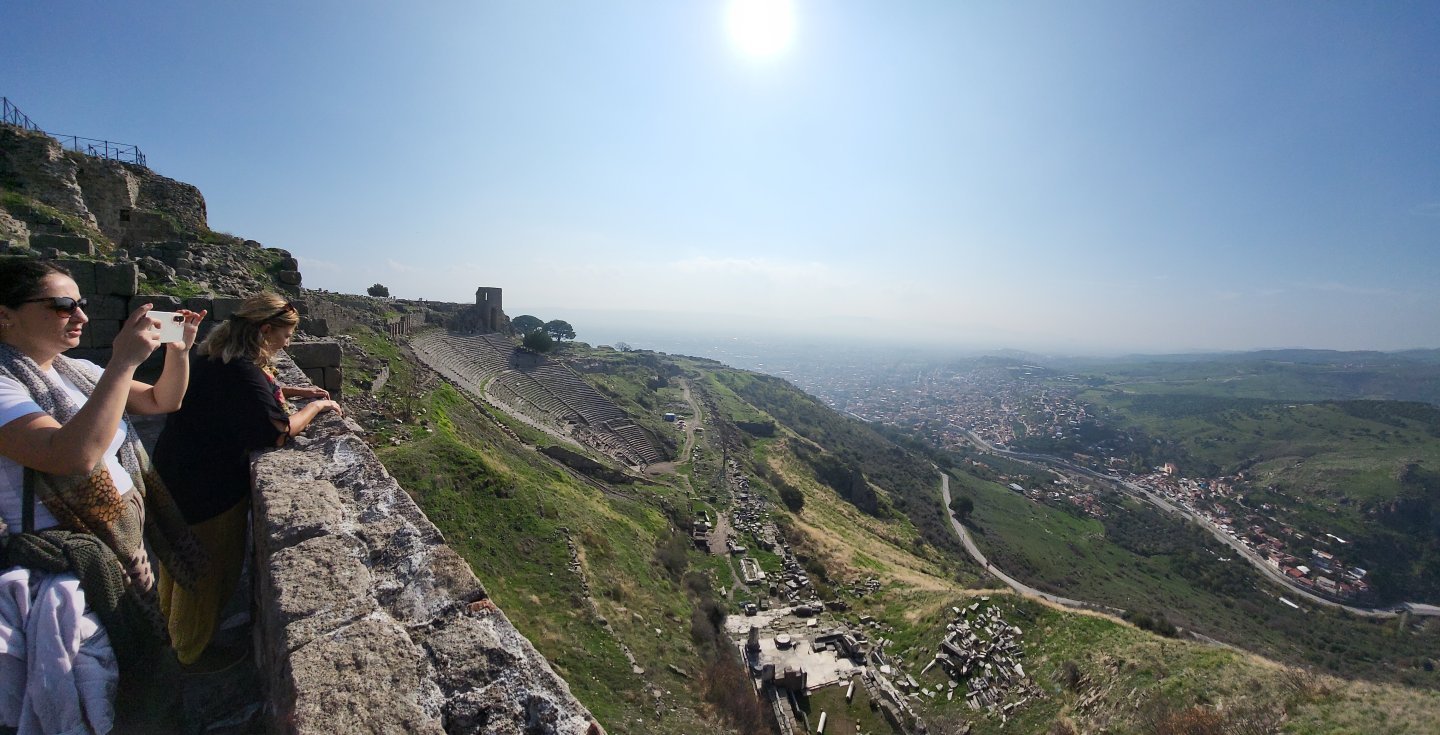
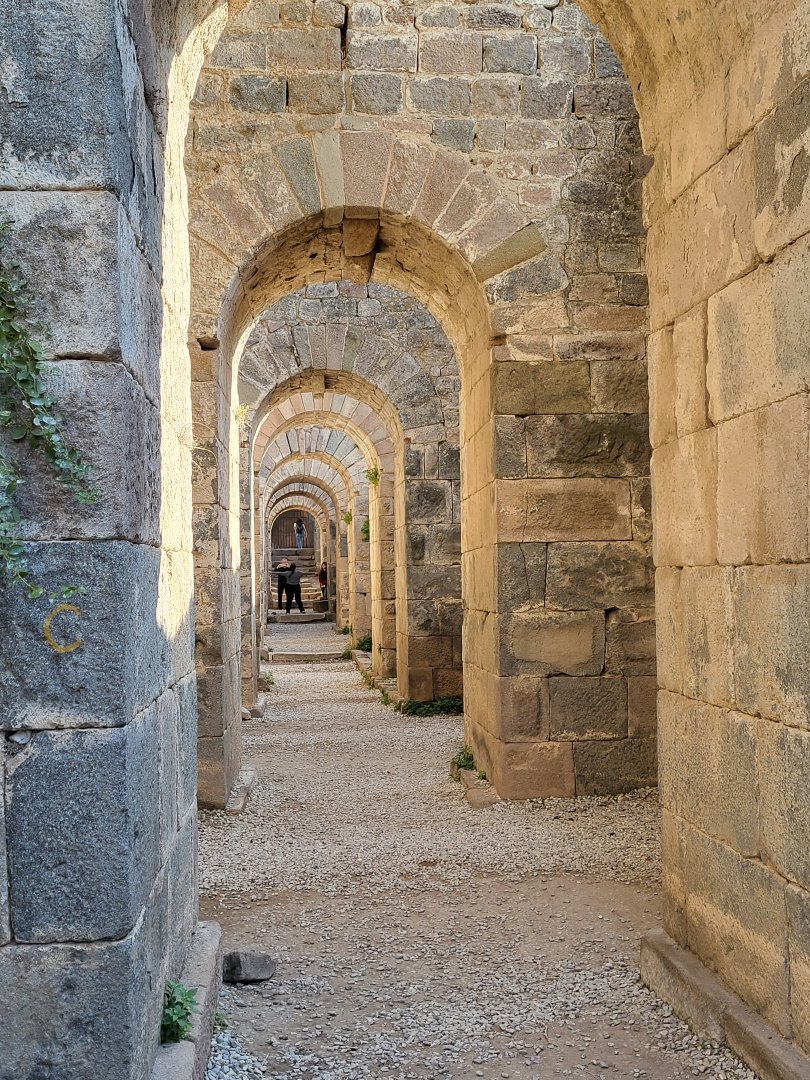
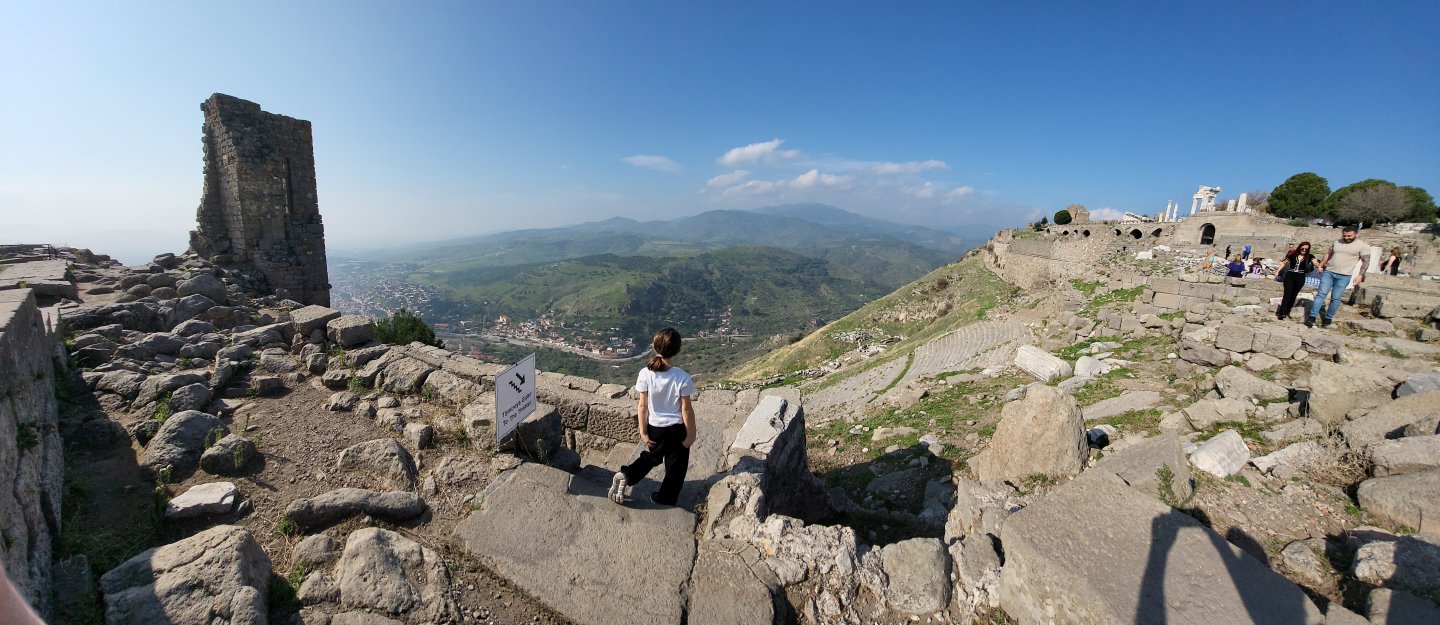
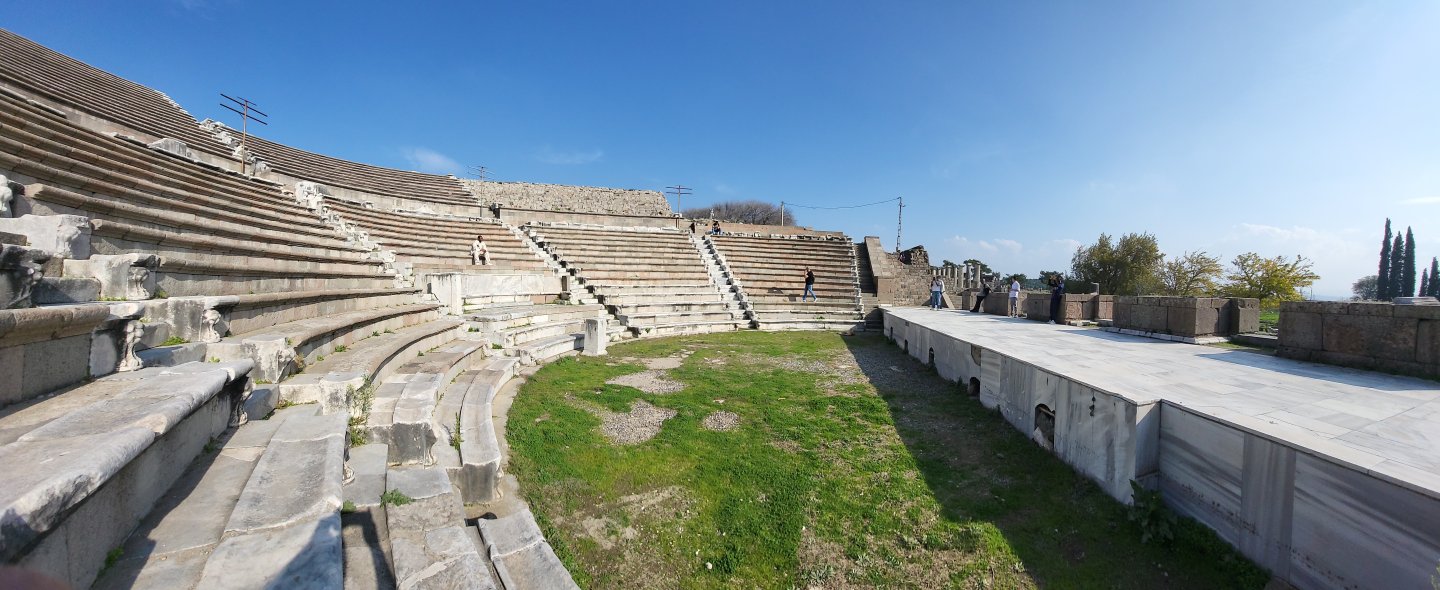
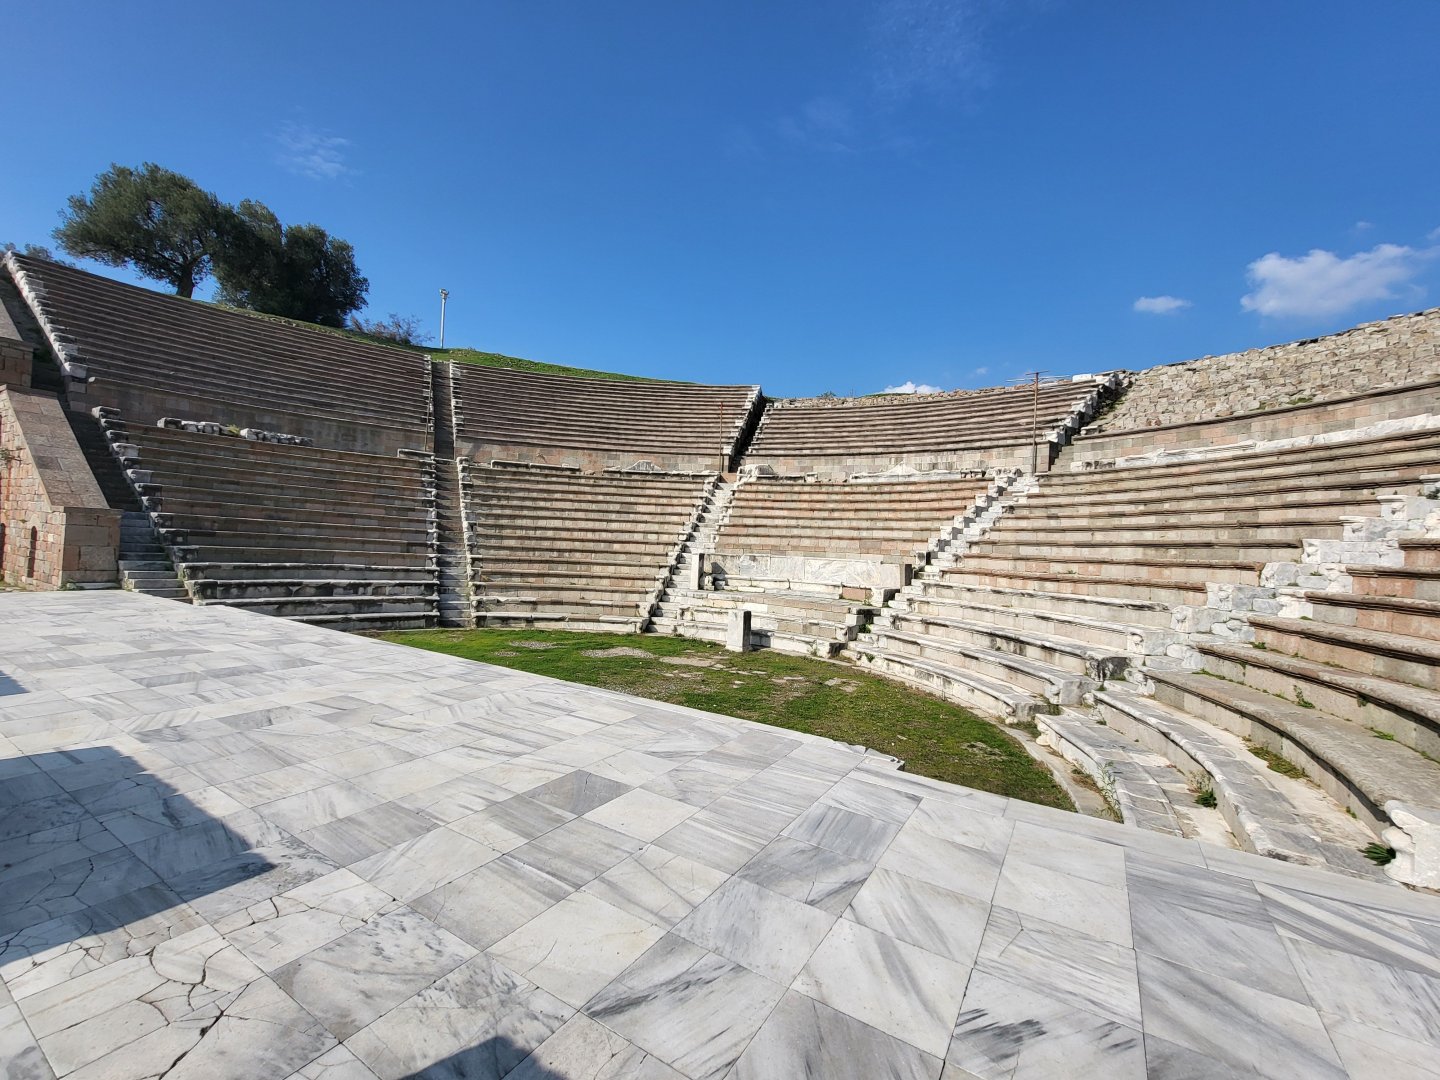
We're in Izmir (Smyrna) for a week to visit our daughter and grandchildren. Izmir, located on the Aegean Sea region, is Türkiye's third largest city. There are many historical and touristic sites surrounding Izmir, and yesterday we visited one of them, the ancient city of Pergamon. https://www.turkishmuseums.com/blog/detail/the-city-of-cliffs-pergamon/10089/4 -

USS Constitution by mtbediz - 1:76
mtbediz replied to mtbediz's topic in - Build logs for subjects built 1751 - 1800
Thanks, Greg. I've only been soldering for about a year. I use solder paste. It's a much more practical method. I am planning to use a piece of screen mesh inside the hammock cranes to represent the netting which I will be trying for the first time. -
Excellent planking, congratulations.
- 233 replies
-
- Model Shipways
- constitution
-
(and 5 more)
Tagged with:
-

USS Constitution by mtbediz - 1:76
mtbediz replied to mtbediz's topic in - Build logs for subjects built 1751 - 1800
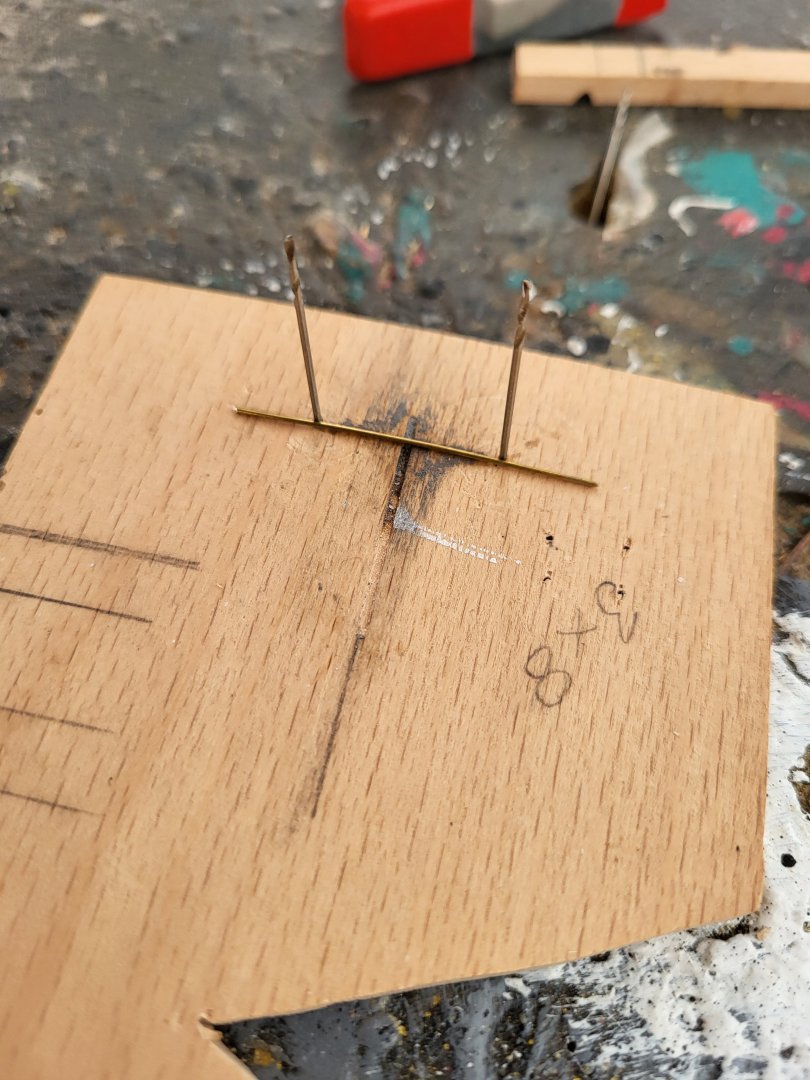
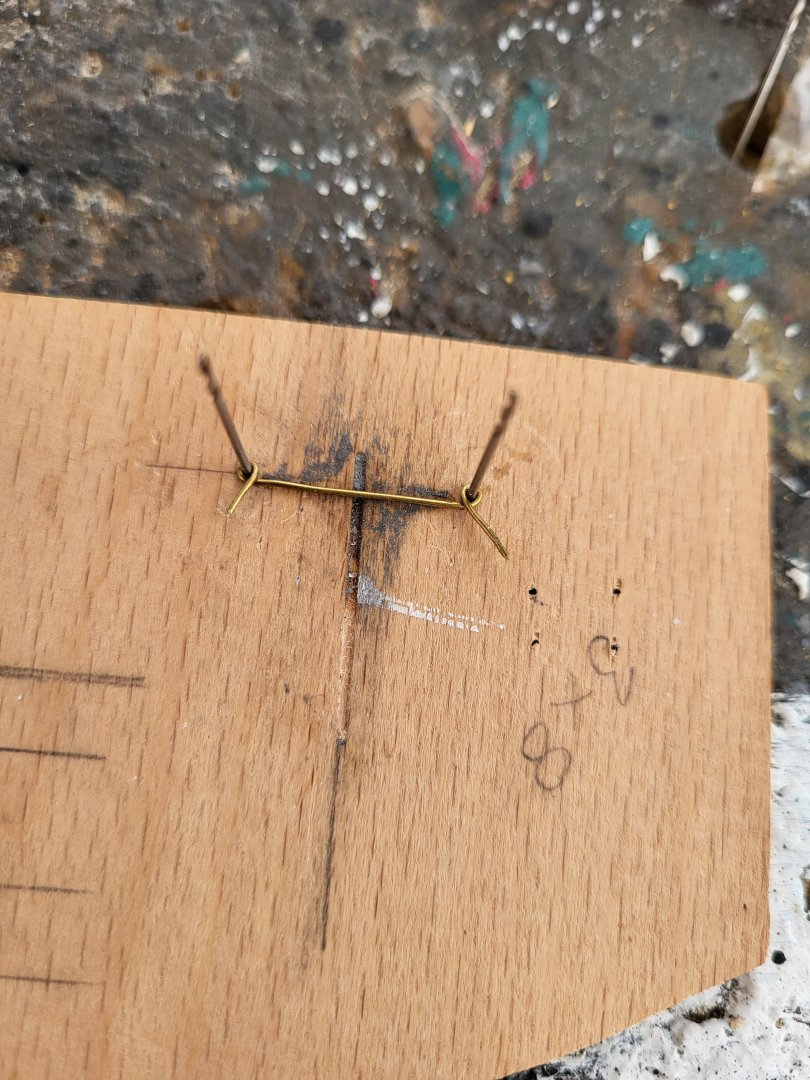
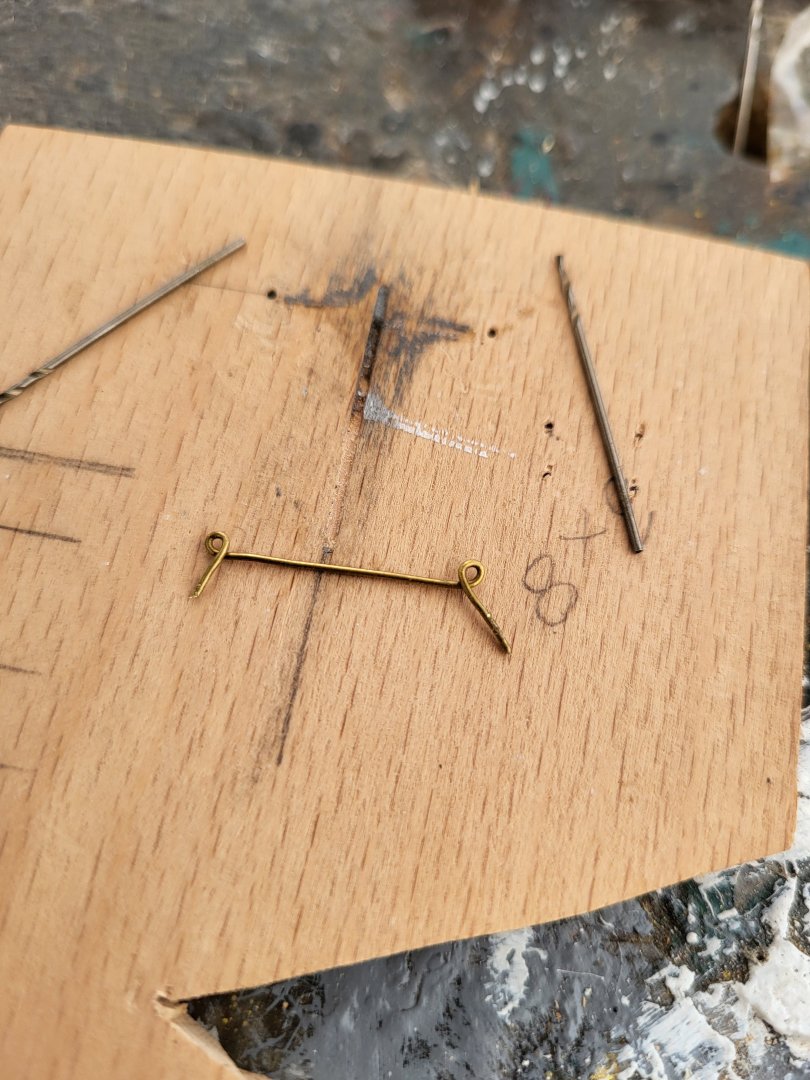
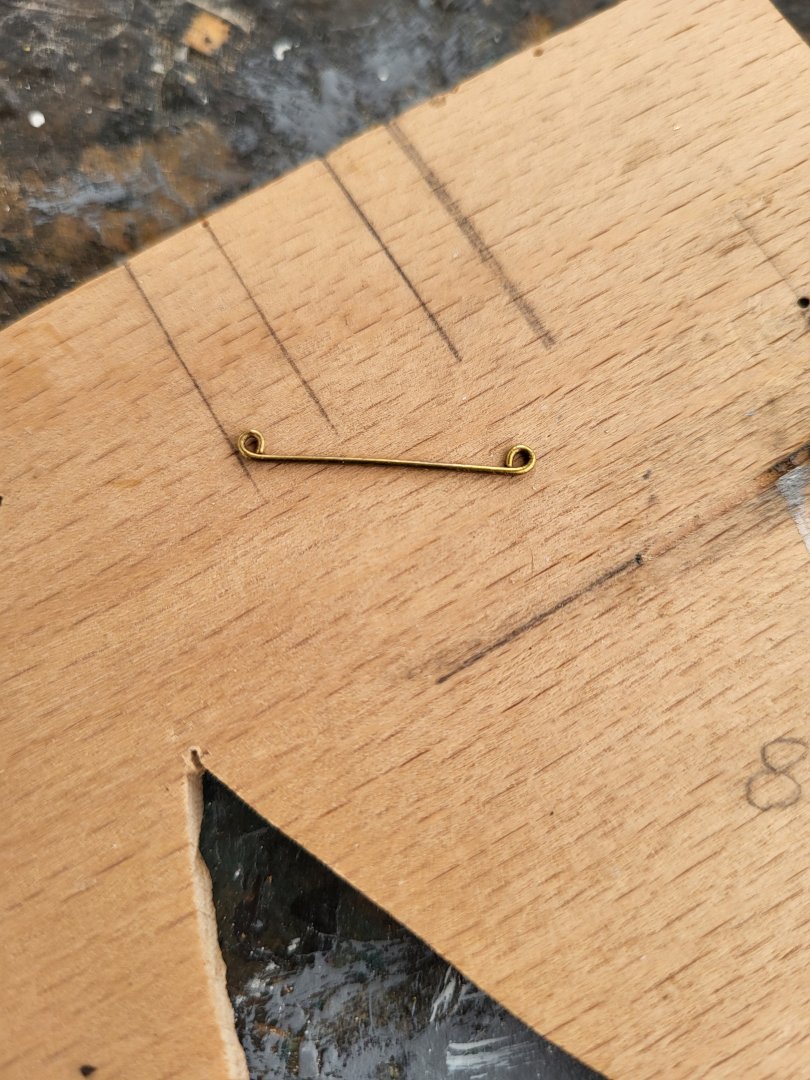
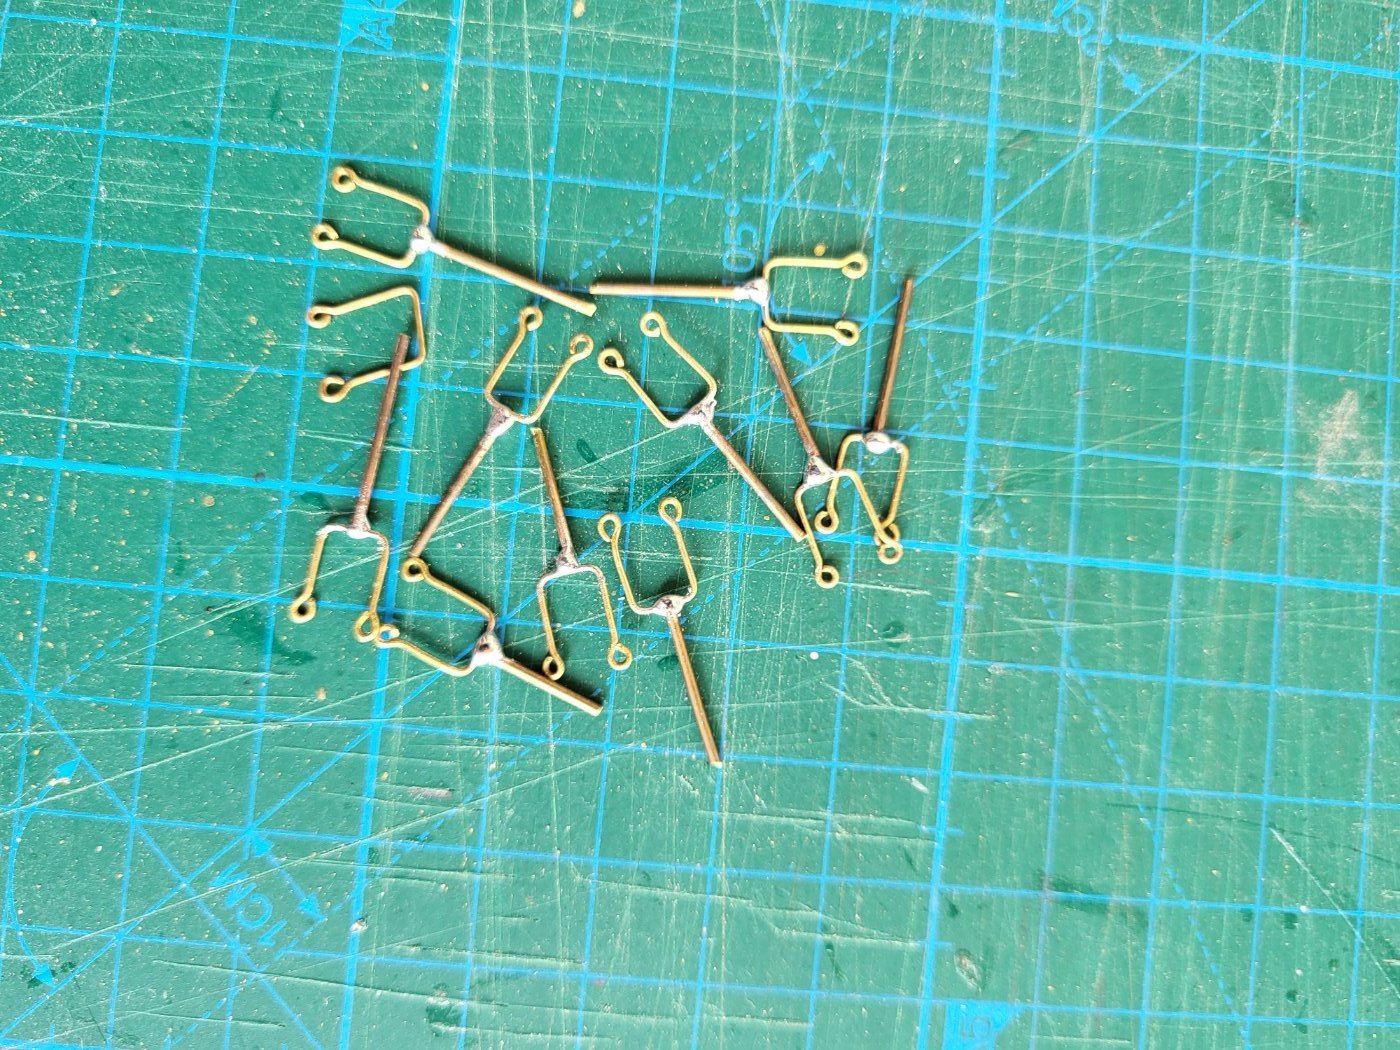
Thanks Peter, a few years ago, before I had the luxury of soldering, I made similar stancions of my Essex model like the ones in the photos. I can't show you how I did it or what kind of jig I used because I didn't take any photos but It probably wouldn't be too difficult to design a jig or jigs to do this. I'm sharing this with you to give you an idea. -

USS Constitution by mtbediz - 1:76
mtbediz replied to mtbediz's topic in - Build logs for subjects built 1751 - 1800
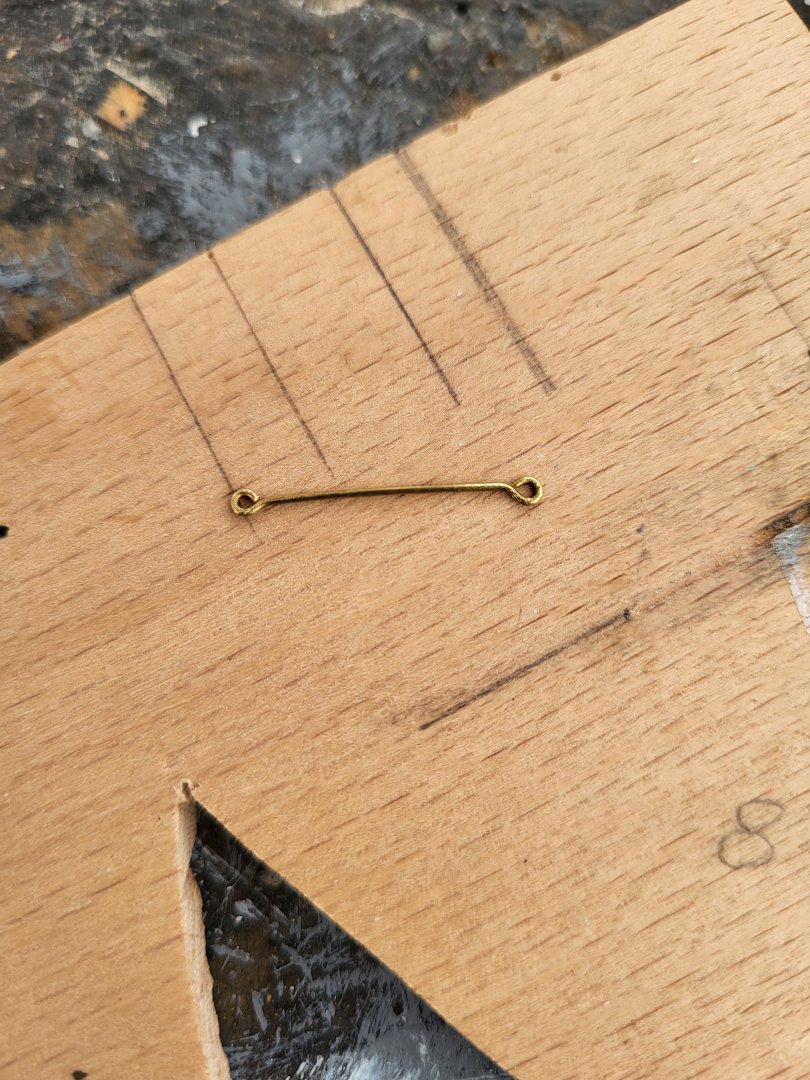
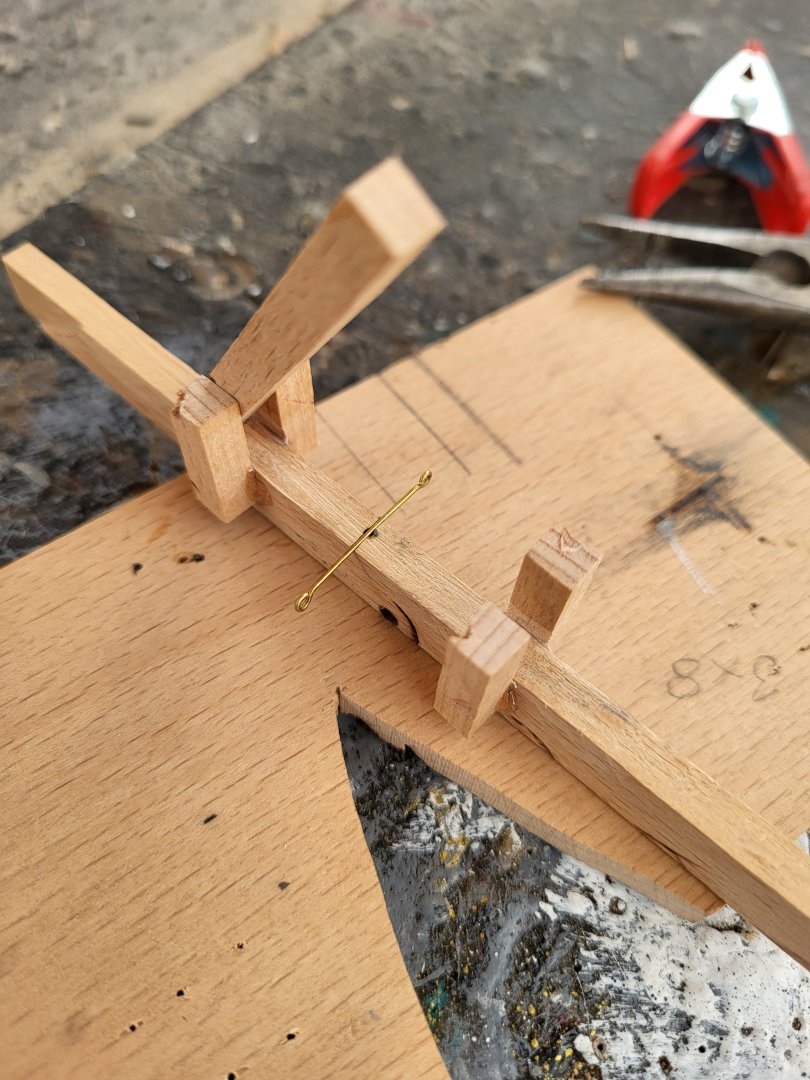
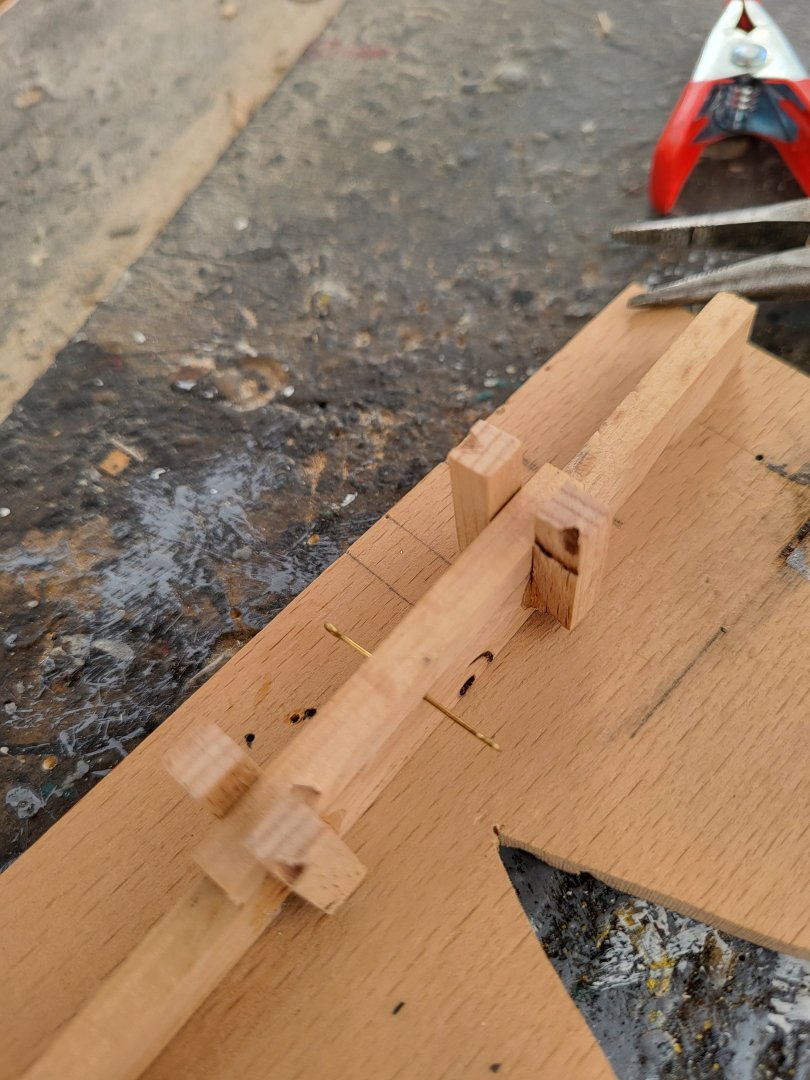
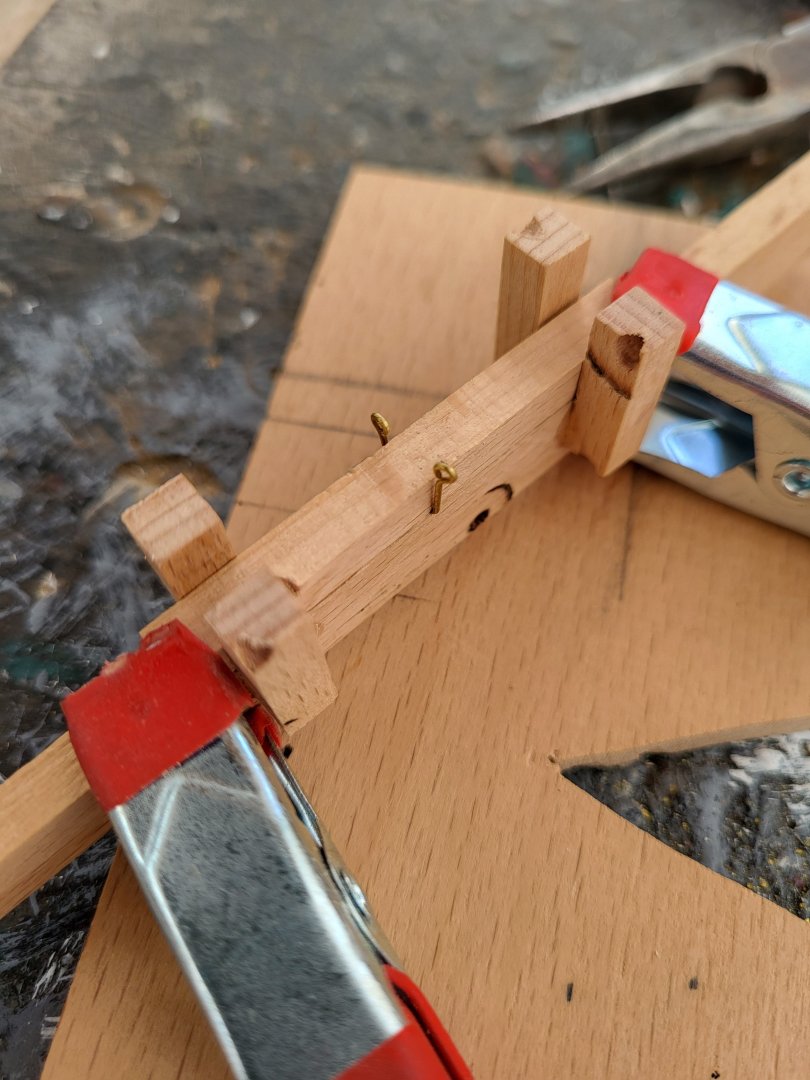
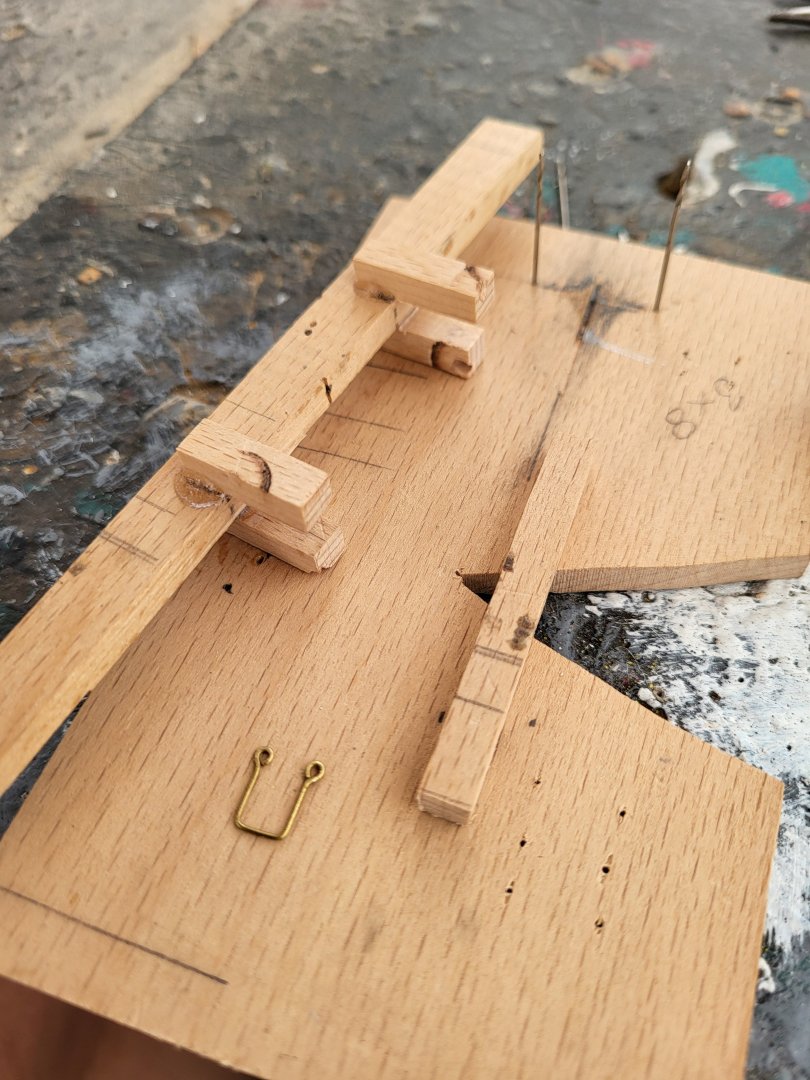
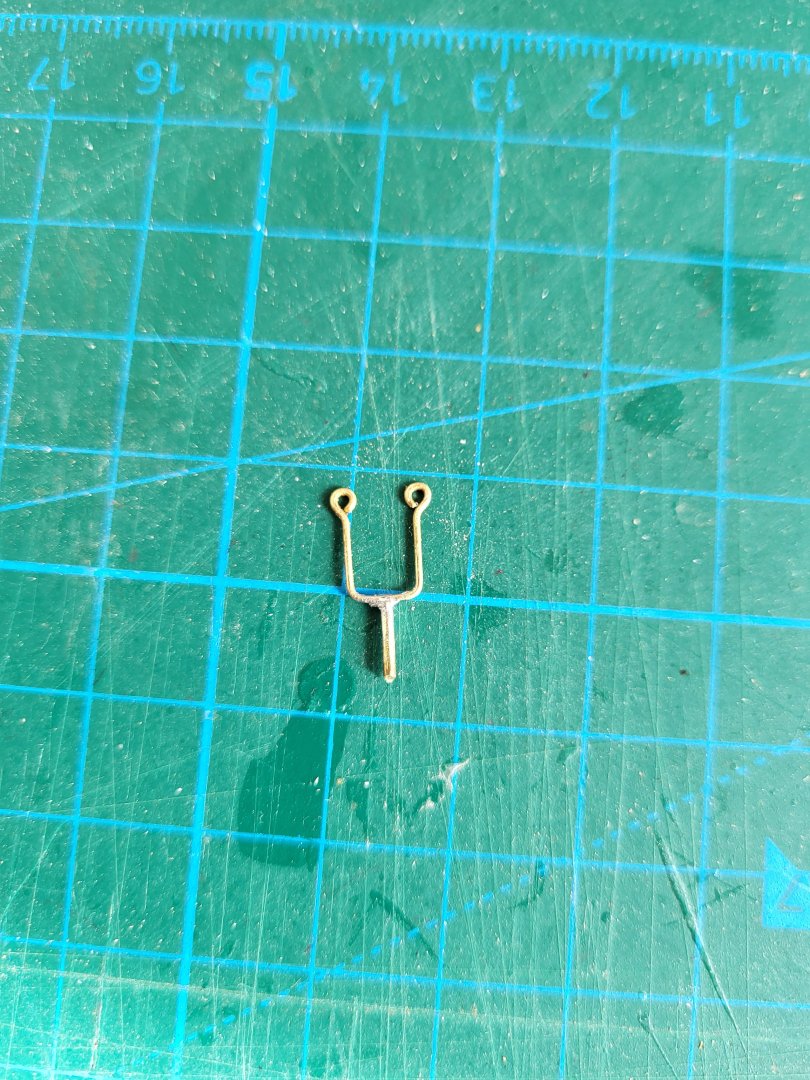
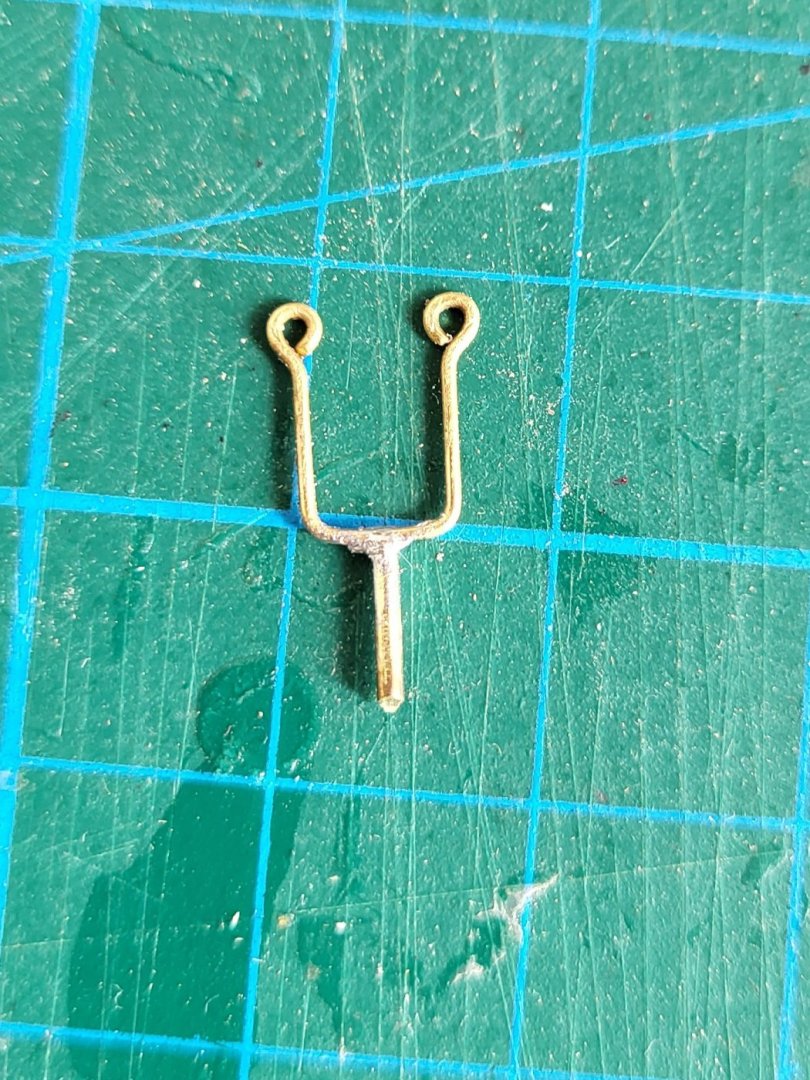
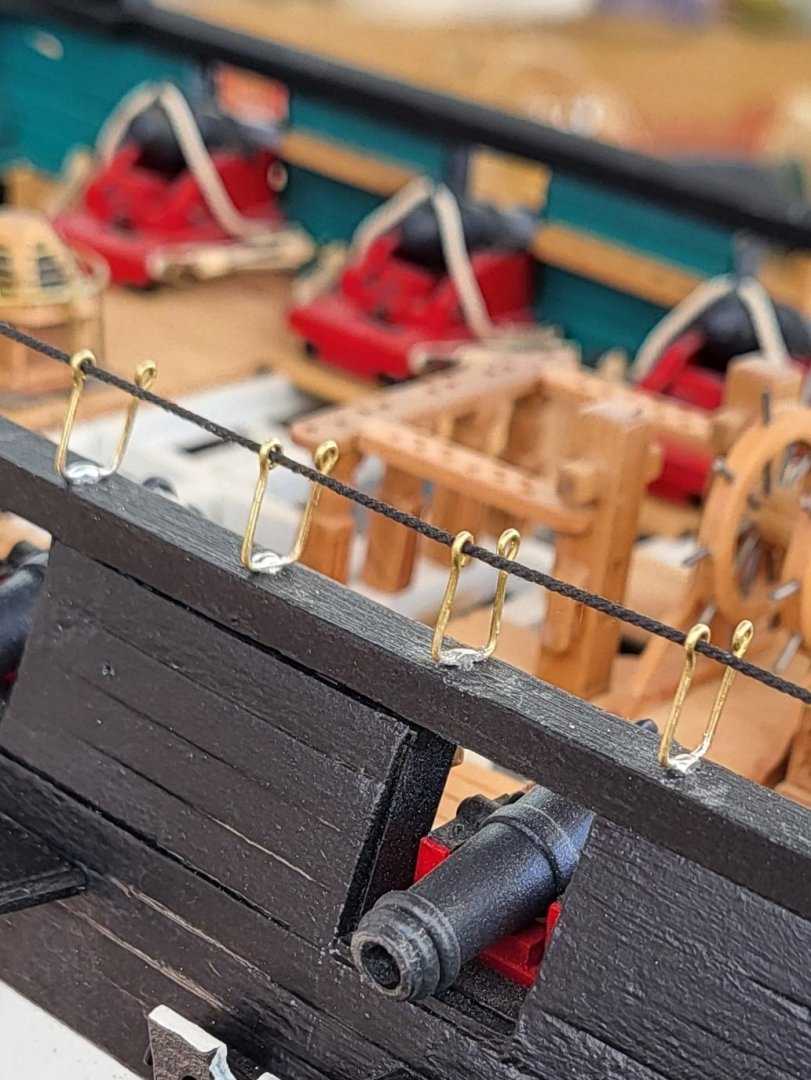
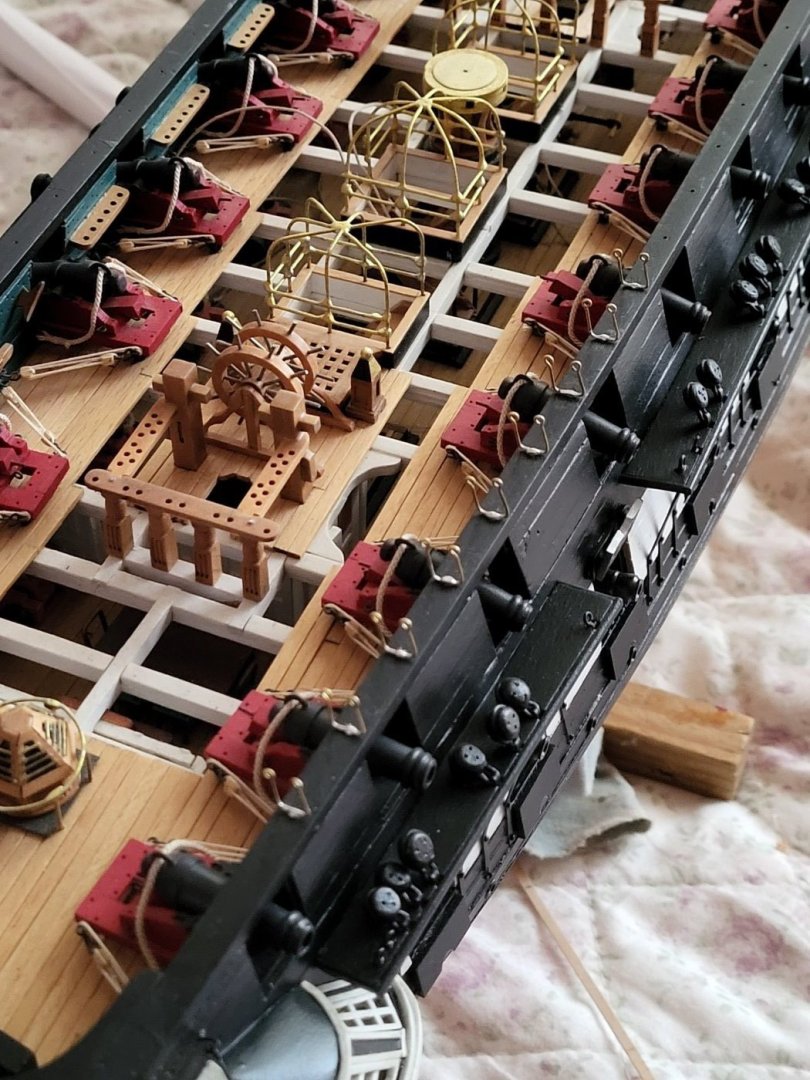
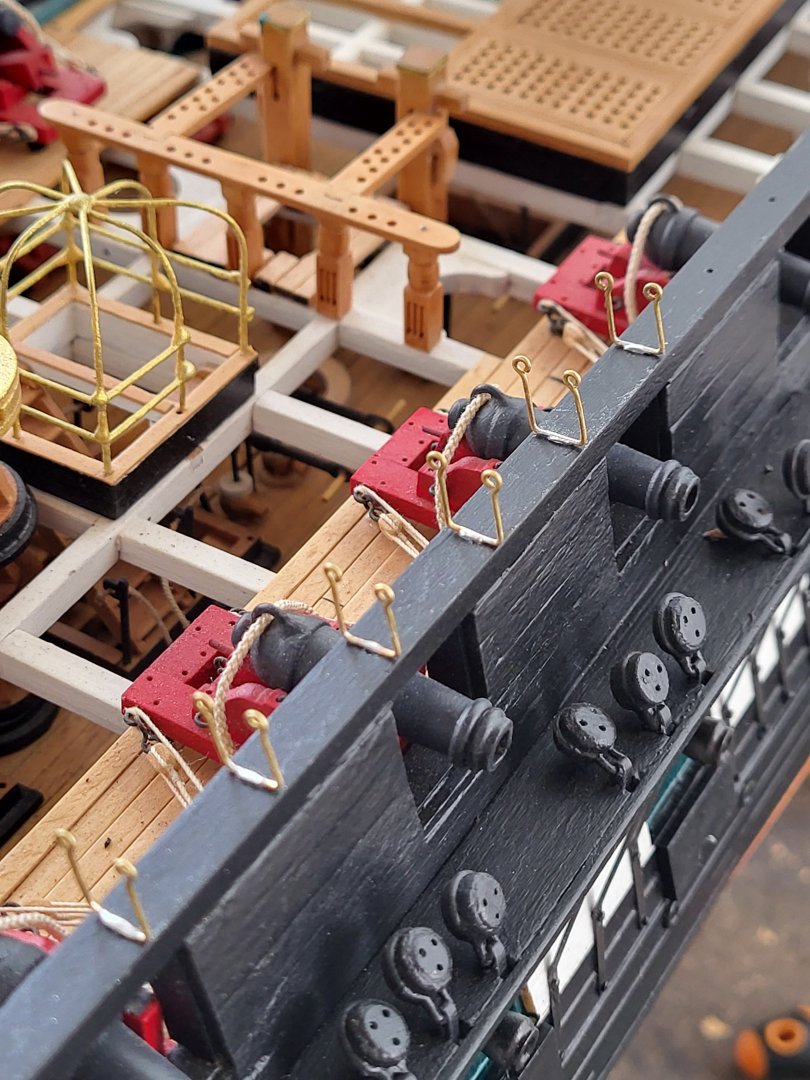
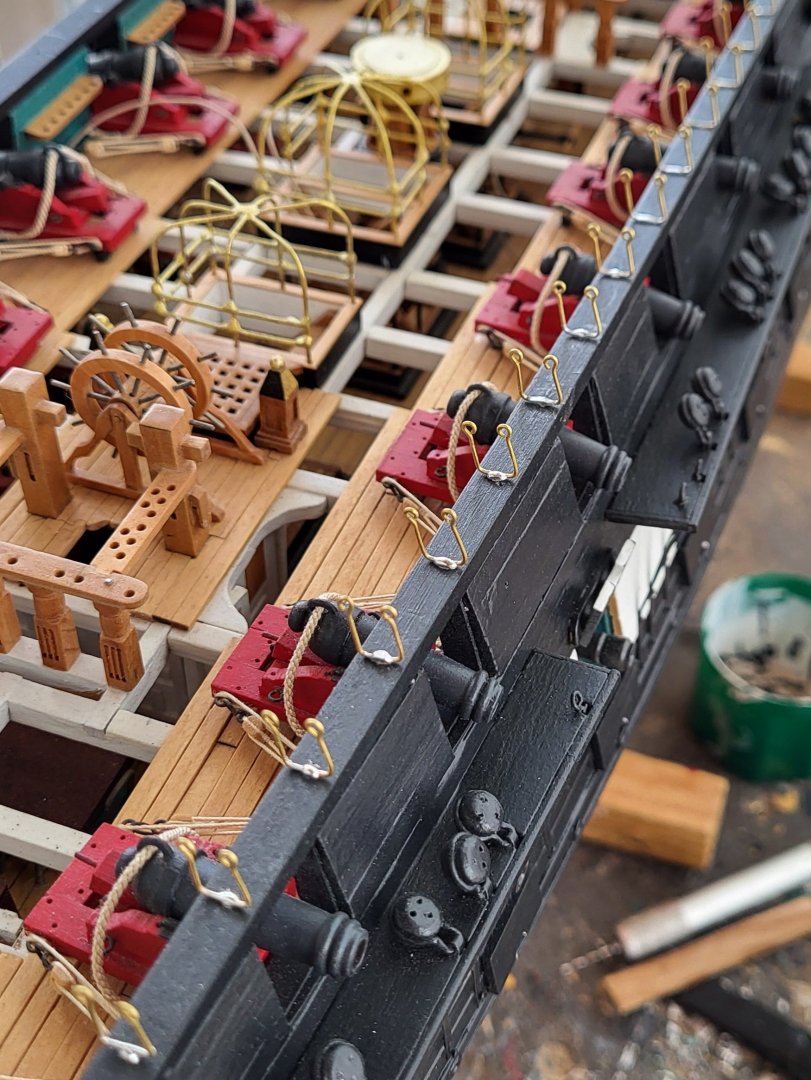
Thanks, Thomas. I used two jigs to make the stancions. One to create the loops and another to create the frames. I had to make these jigs because I needed to make 54 stancions, and they all had to be the same shape and size. Finally, I soldered the extensions. -

USS Constitution by mtbediz - 1:76
mtbediz replied to mtbediz's topic in - Build logs for subjects built 1751 - 1800
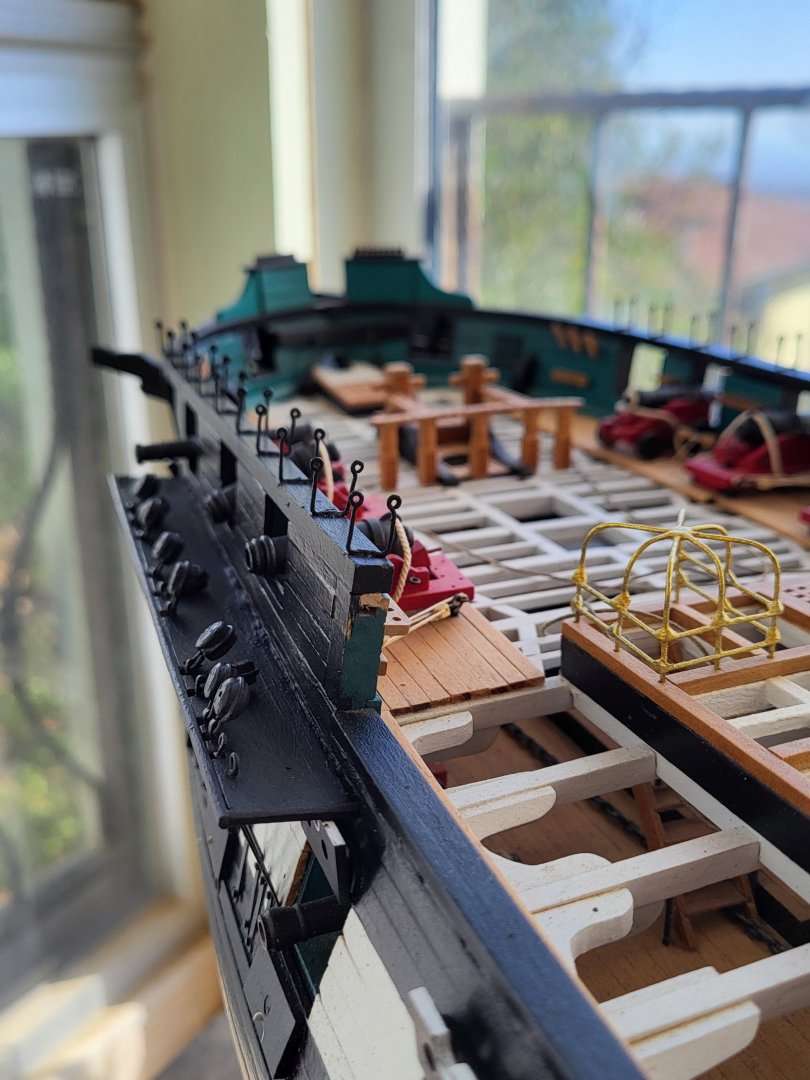
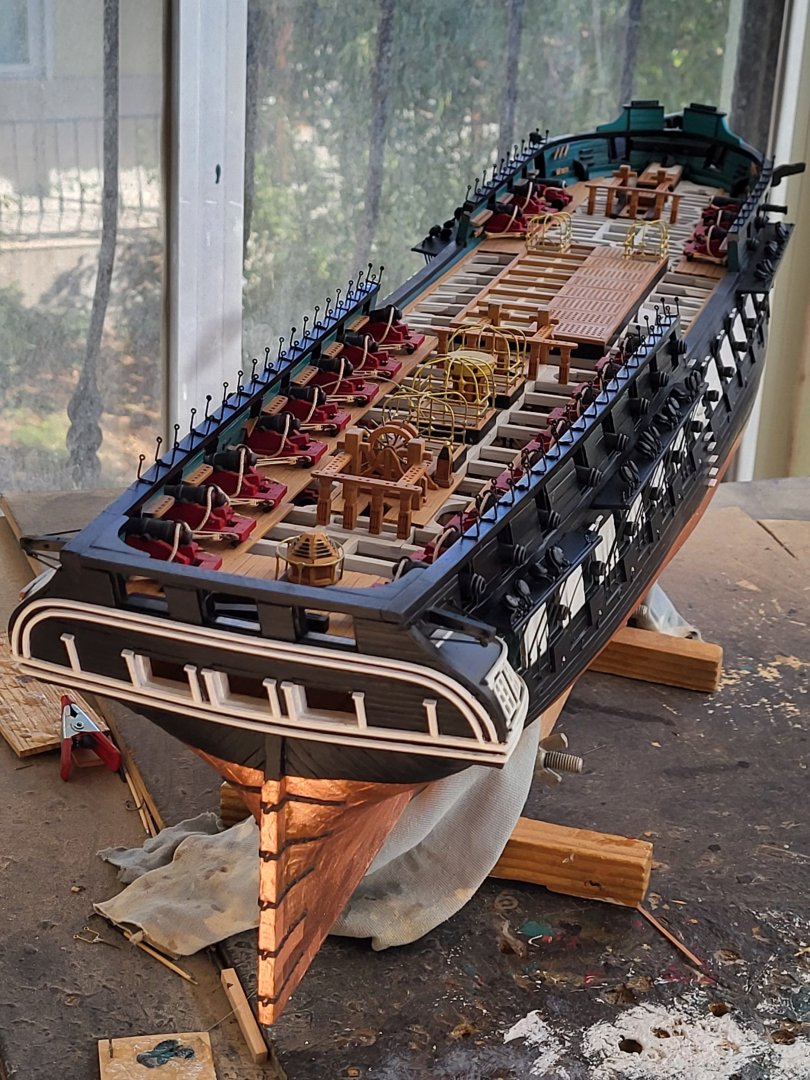
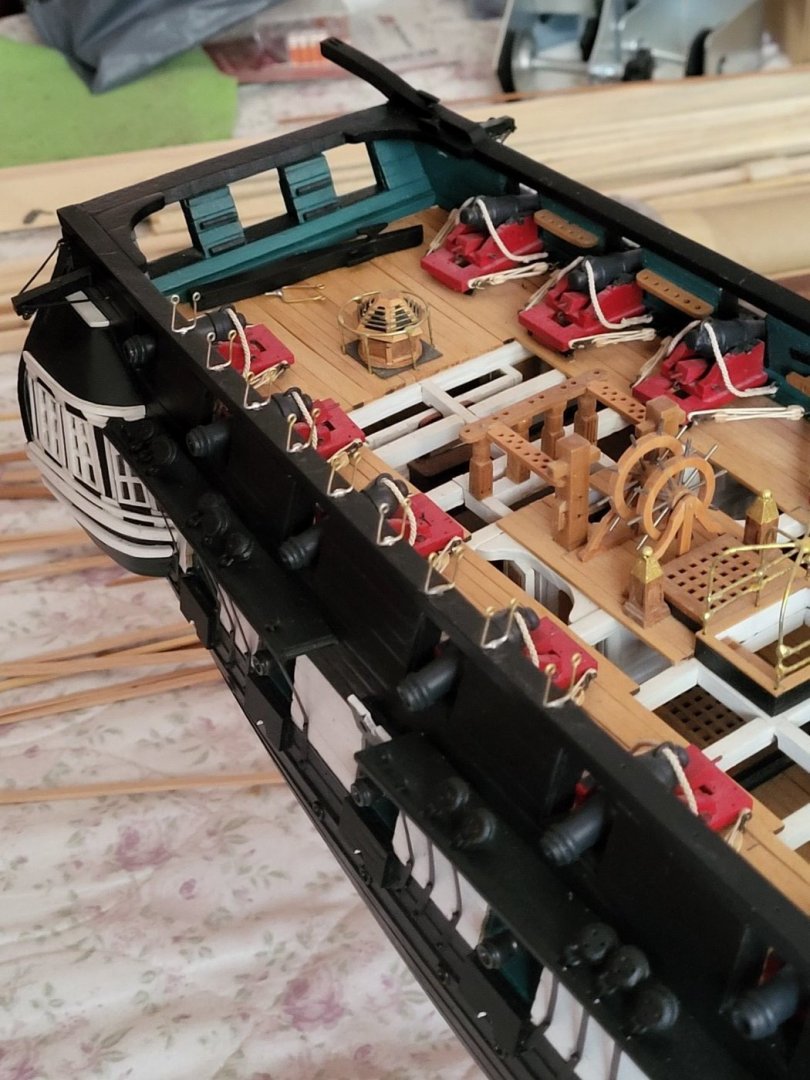
Before attaching the shrouds, I decided to make and install the hammock net frames. Once assembled, they will be painted black. The frames on the actual ship are made of square section forged iron, but since I don't have square-section brass wire, I am making them from 0.55mm round brass wire.There will be 54 of these made, and they all have to be the same shape and size. I'm using jigs to make them. -

USS Constitution by mtbediz - 1:76
mtbediz replied to mtbediz's topic in - Build logs for subjects built 1751 - 1800
Thank you, Jon. Proxxon really manufactures highly precise machinery. Using their milling machine, I can achieve cutting accuracy down to 0.05 millimeters. -

USS Constitution by mtbediz - 1:76
mtbediz replied to mtbediz's topic in - Build logs for subjects built 1751 - 1800
Thanks, Greg. I plan to build all the boats and put them in place. I think I'll make the ones on the main hatch unfixed so they can be removed if needed. -

USS Constitution by mtbediz - 1:76
mtbediz replied to mtbediz's topic in - Build logs for subjects built 1751 - 1800
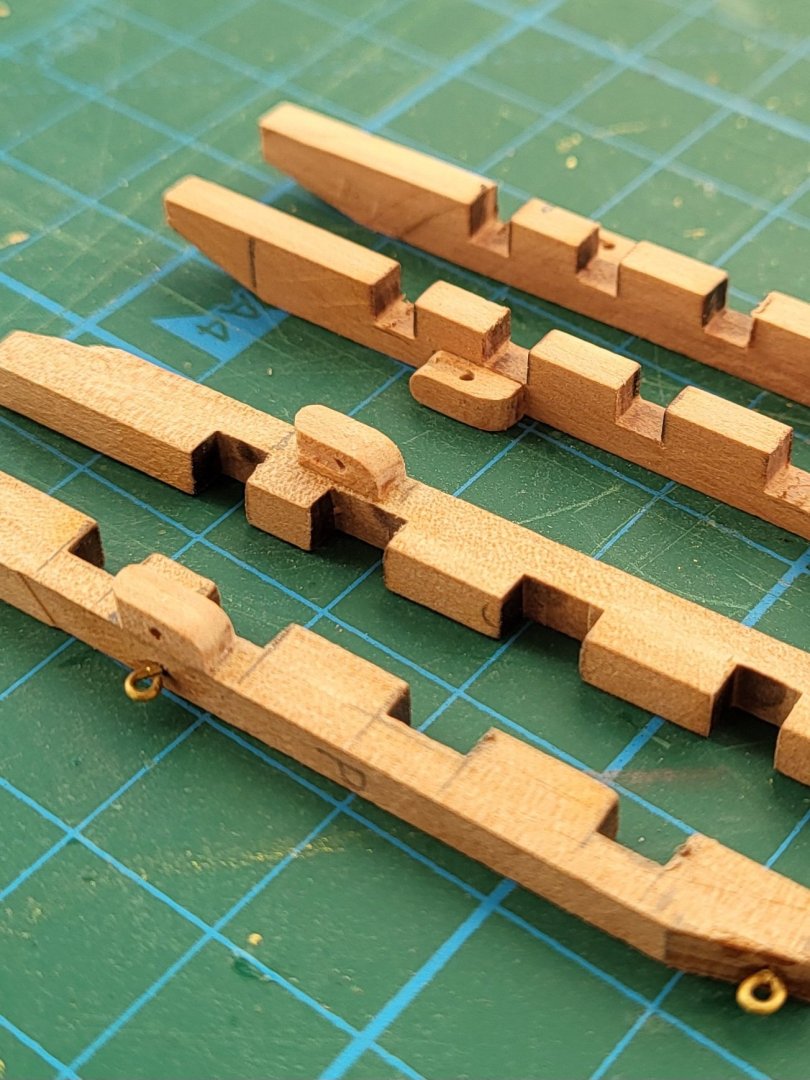
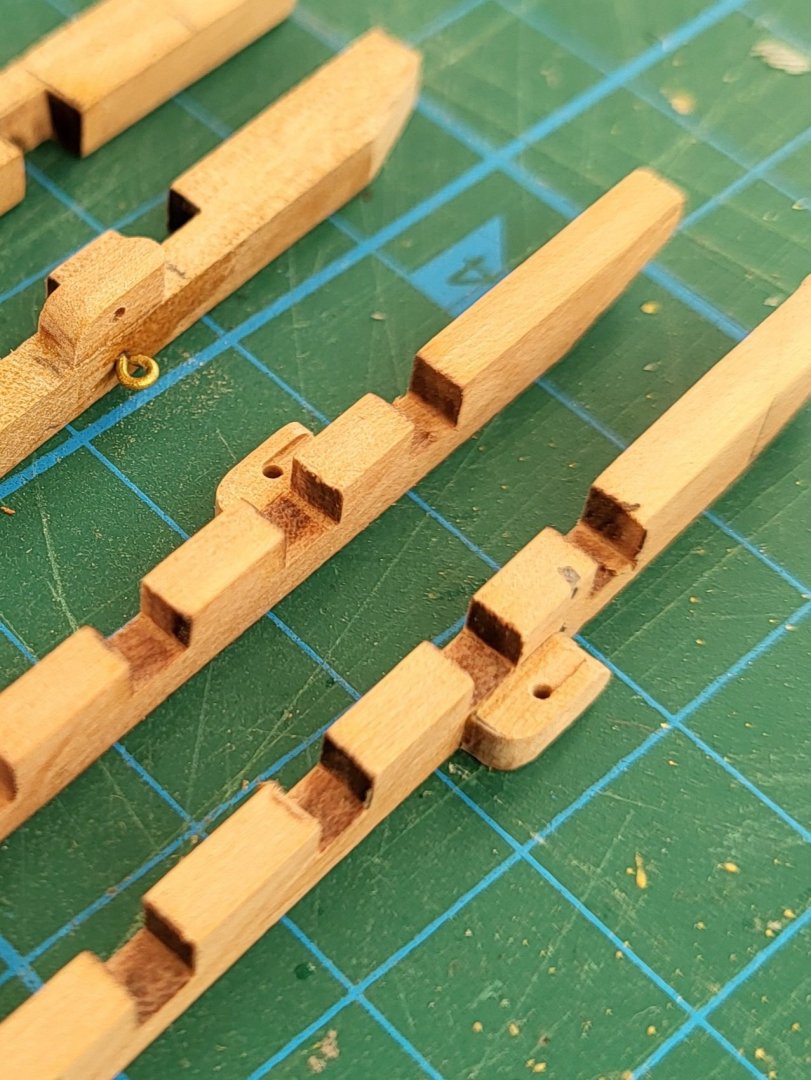
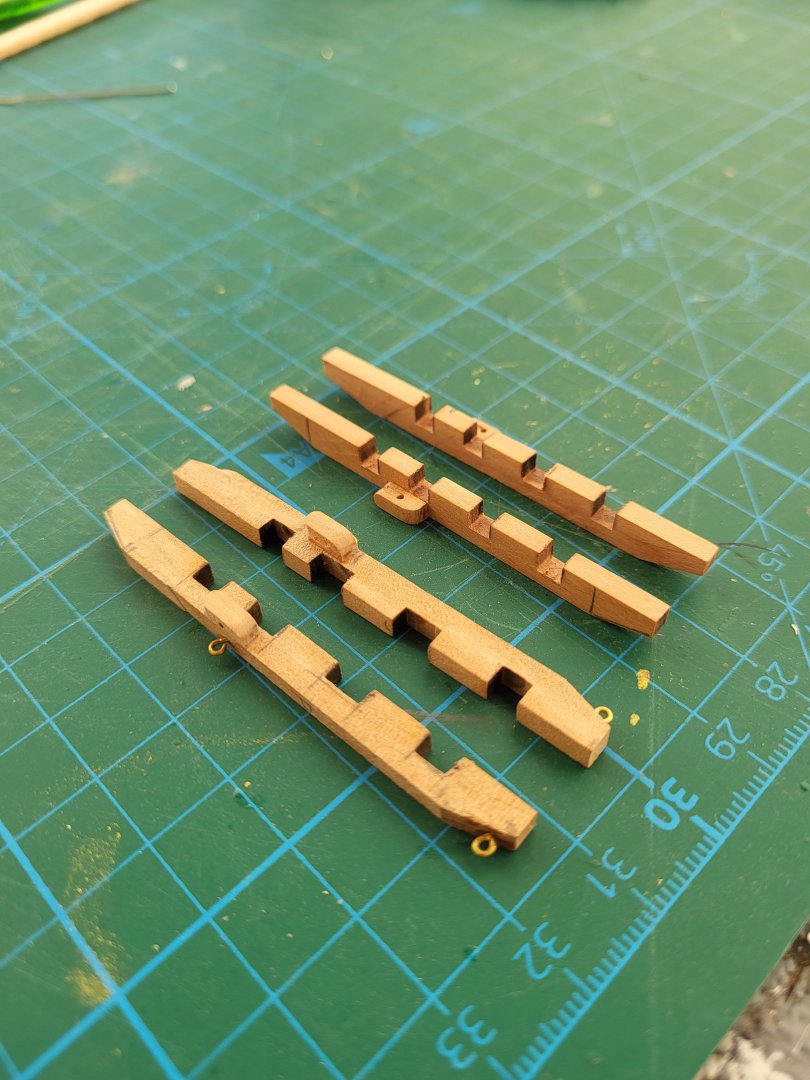
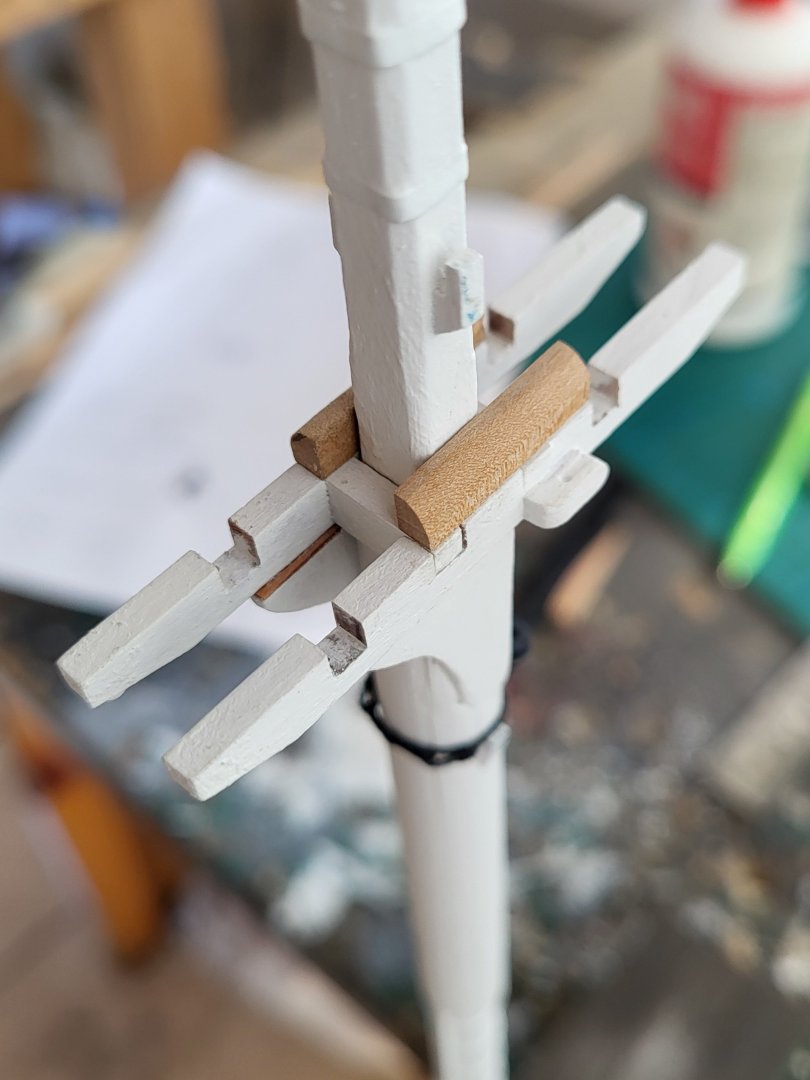
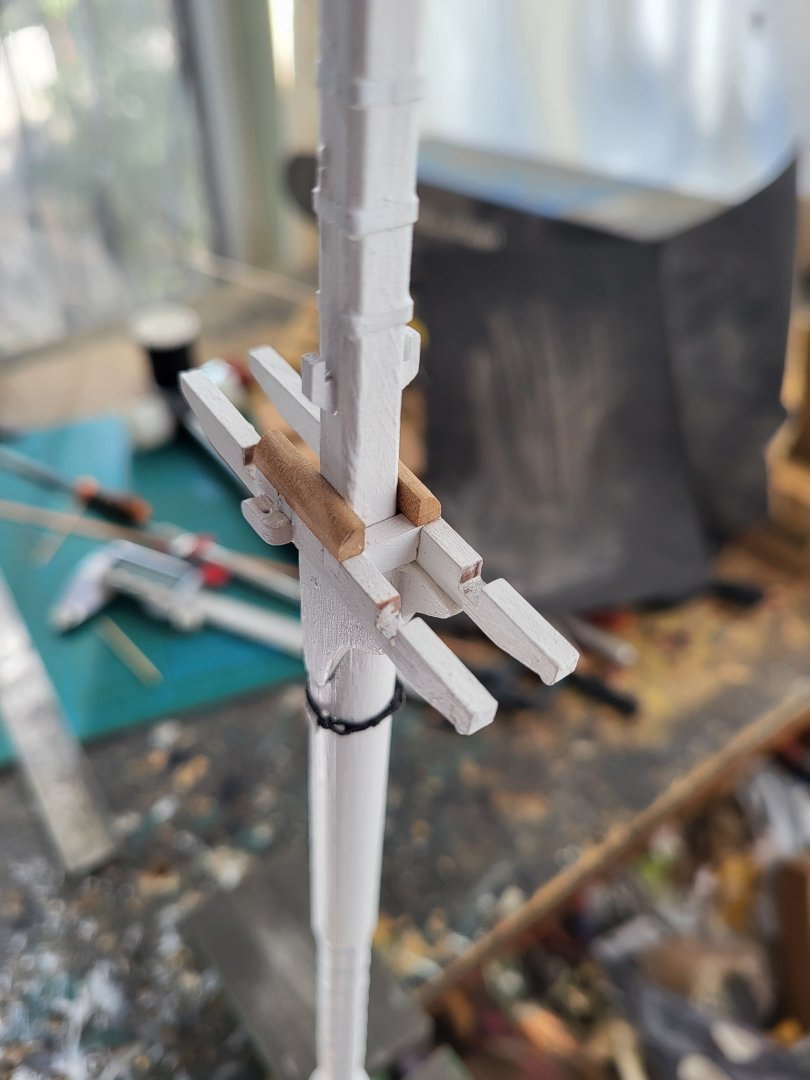
Thumb cleats, blocks with sheaves inside them, and bolsters were fabricated and fitted to the trestle trees today. As I always do, I drilled a small hole and a shallow channel to represent the sheaves. Once these fittings were in place, the main and fore trestle trees were glued to their respective masts. The platforms, however, have not yet been glued, they will remain separate until the shrouds are completed. -
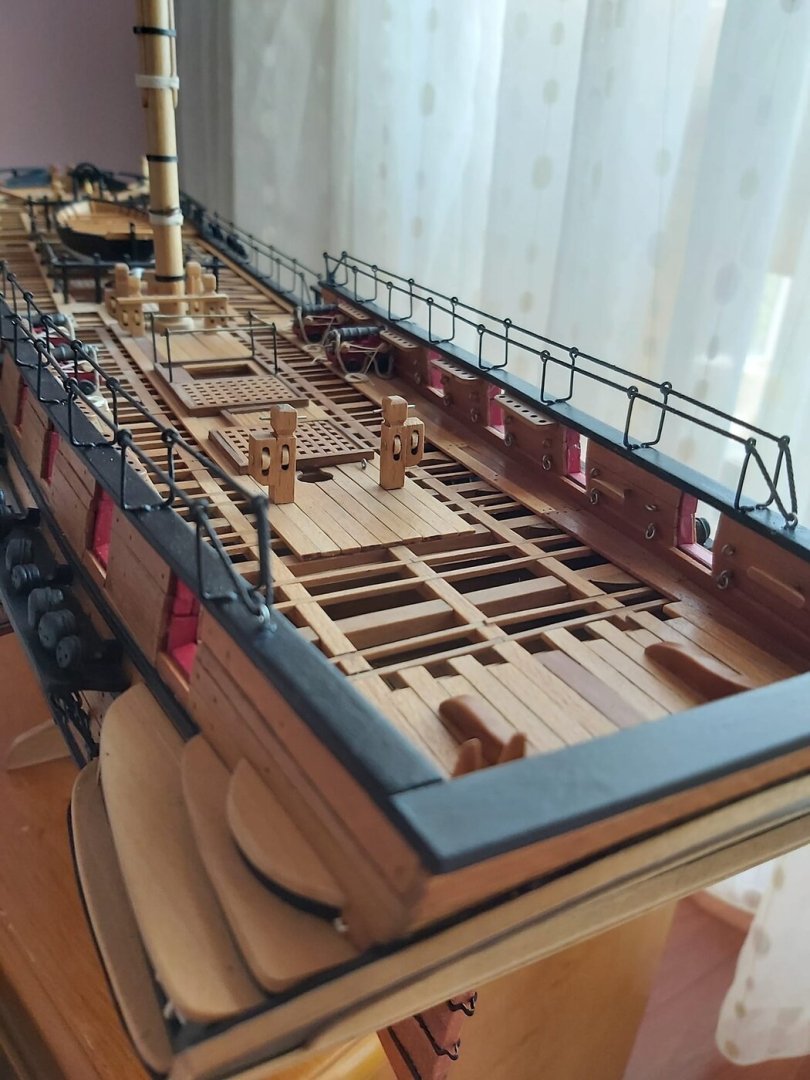
Hey Greg, you're making great progress. You're probably aware of this, but I still want to remind you that most of the work and details you'll be doing on the gun deck from this point on will be compatible with the details on the spar deck. You'll have a little more time to get there, but I want to remind you now, as mistakes made now will be painful later. You've cut all the beams on the bulkheads, something you should have done anyway. But if you reattach these beams in the same locations, some of them won't match the details on the gun deck and spar deck. If you check out post 968 in Jon's build log, you'll see what I mean; this is just an example. The placement of the spar deck support beams should be carefully chosen throughout the ship. You also know you'll need to add additional beams.
-

USS Constitution by mtbediz - 1:76
mtbediz replied to mtbediz's topic in - Build logs for subjects built 1751 - 1800
I'm lucky to have a completed Conny build here. XKen is a really good modeler. -

USS Constitution by mtbediz - 1:76
mtbediz replied to mtbediz's topic in - Build logs for subjects built 1751 - 1800
Thanks Jon! -

USS Constitution by mtbediz - 1:76
mtbediz replied to mtbediz's topic in - Build logs for subjects built 1751 - 1800
For trial purposes I formed a bobstay collar for the mast using a jig. I glued all the seizings with CA and trimmed excess ends. The result is good enough for me. I may have stolen some ideas from XKen. -

USS Constitution by mtbediz - 1:76
mtbediz replied to mtbediz's topic in - Build logs for subjects built 1751 - 1800
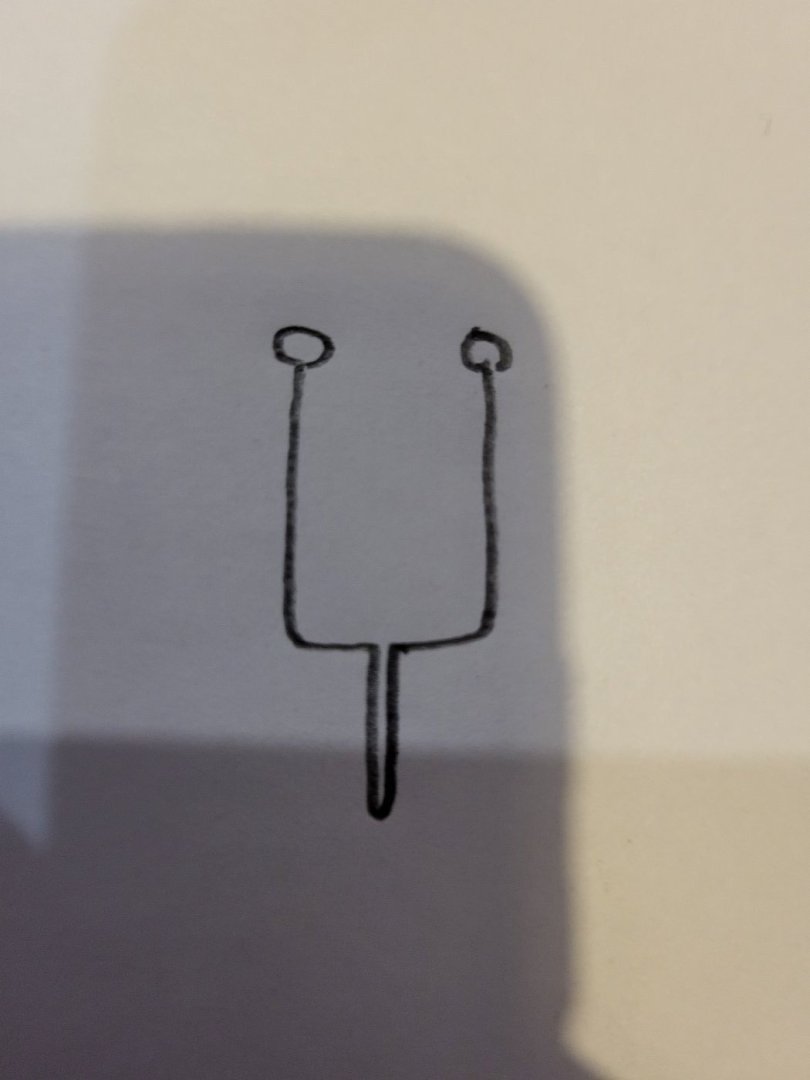
They appear to be elliptical openings rather than circles.
About us
Modelshipworld - Advancing Ship Modeling through Research
SSL Secured
Your security is important for us so this Website is SSL-Secured
NRG Mailing Address
Nautical Research Guild
237 South Lincoln Street
Westmont IL, 60559-1917
Model Ship World ® and the MSW logo are Registered Trademarks, and belong to the Nautical Research Guild (United States Patent and Trademark Office: No. 6,929,264 & No. 6,929,274, registered Dec. 20, 2022)
Helpful Links
About the NRG
If you enjoy building ship models that are historically accurate as well as beautiful, then The Nautical Research Guild (NRG) is just right for you.
The Guild is a non-profit educational organization whose mission is to “Advance Ship Modeling Through Research”. We provide support to our members in their efforts to raise the quality of their model ships.
The Nautical Research Guild has published our world-renowned quarterly magazine, The Nautical Research Journal, since 1955. The pages of the Journal are full of articles by accomplished ship modelers who show you how they create those exquisite details on their models, and by maritime historians who show you the correct details to build. The Journal is available in both print and digital editions. Go to the NRG web site (www.thenrg.org) to download a complimentary digital copy of the Journal. The NRG also publishes plan sets, books and compilations of back issues of the Journal and the former Ships in Scale and Model Ship Builder magazines.


