mtbediz
-
Posts
1,291 -
Joined
-
Last visited
Content Type
Profiles
Forums
Gallery
Events
Everything posted by mtbediz
-
 Welcome to the forum. The result you've achieved so far with limited hand tools on this challenging model is truly impressive. There are a few other modelers in this forum, including myself, who are building the same model and sharing insights. You might find inspiration by joining us and seeing how we tackle various challenges.
 -
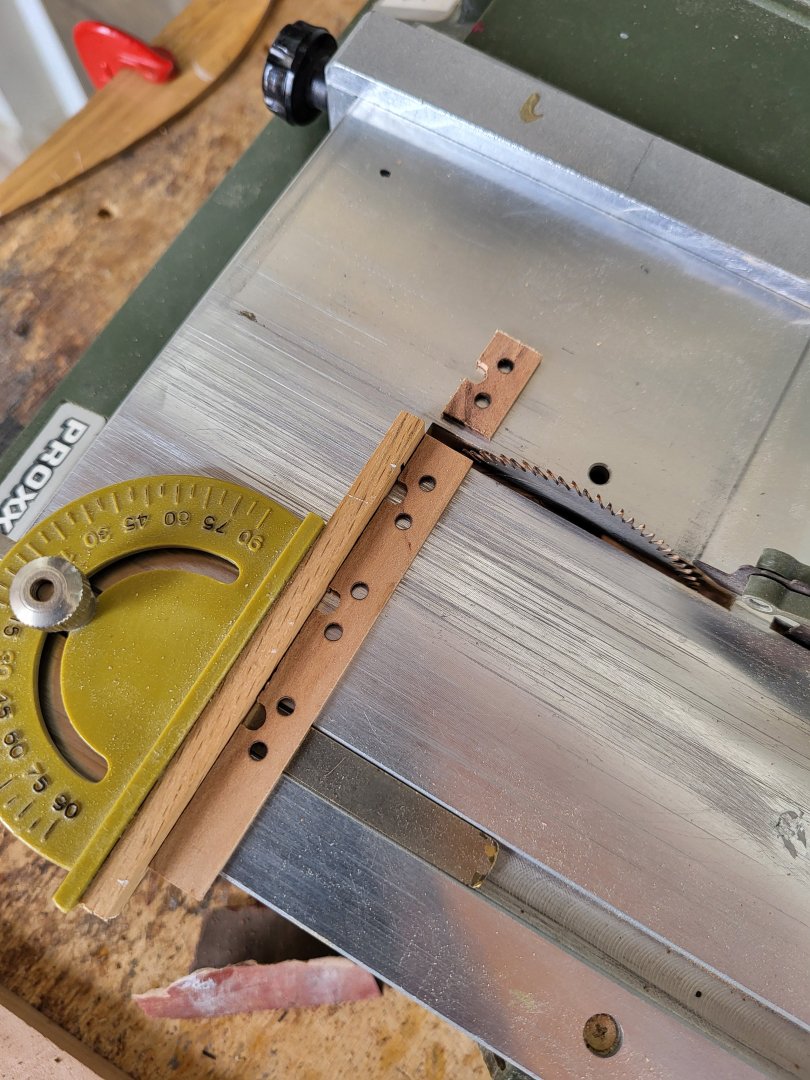
Sorry, Greg. I've been away for a while and didn't realize you'd started building the Constitution. I used a scroll saw to cut the gun-deck curves on the bulkheads.
-
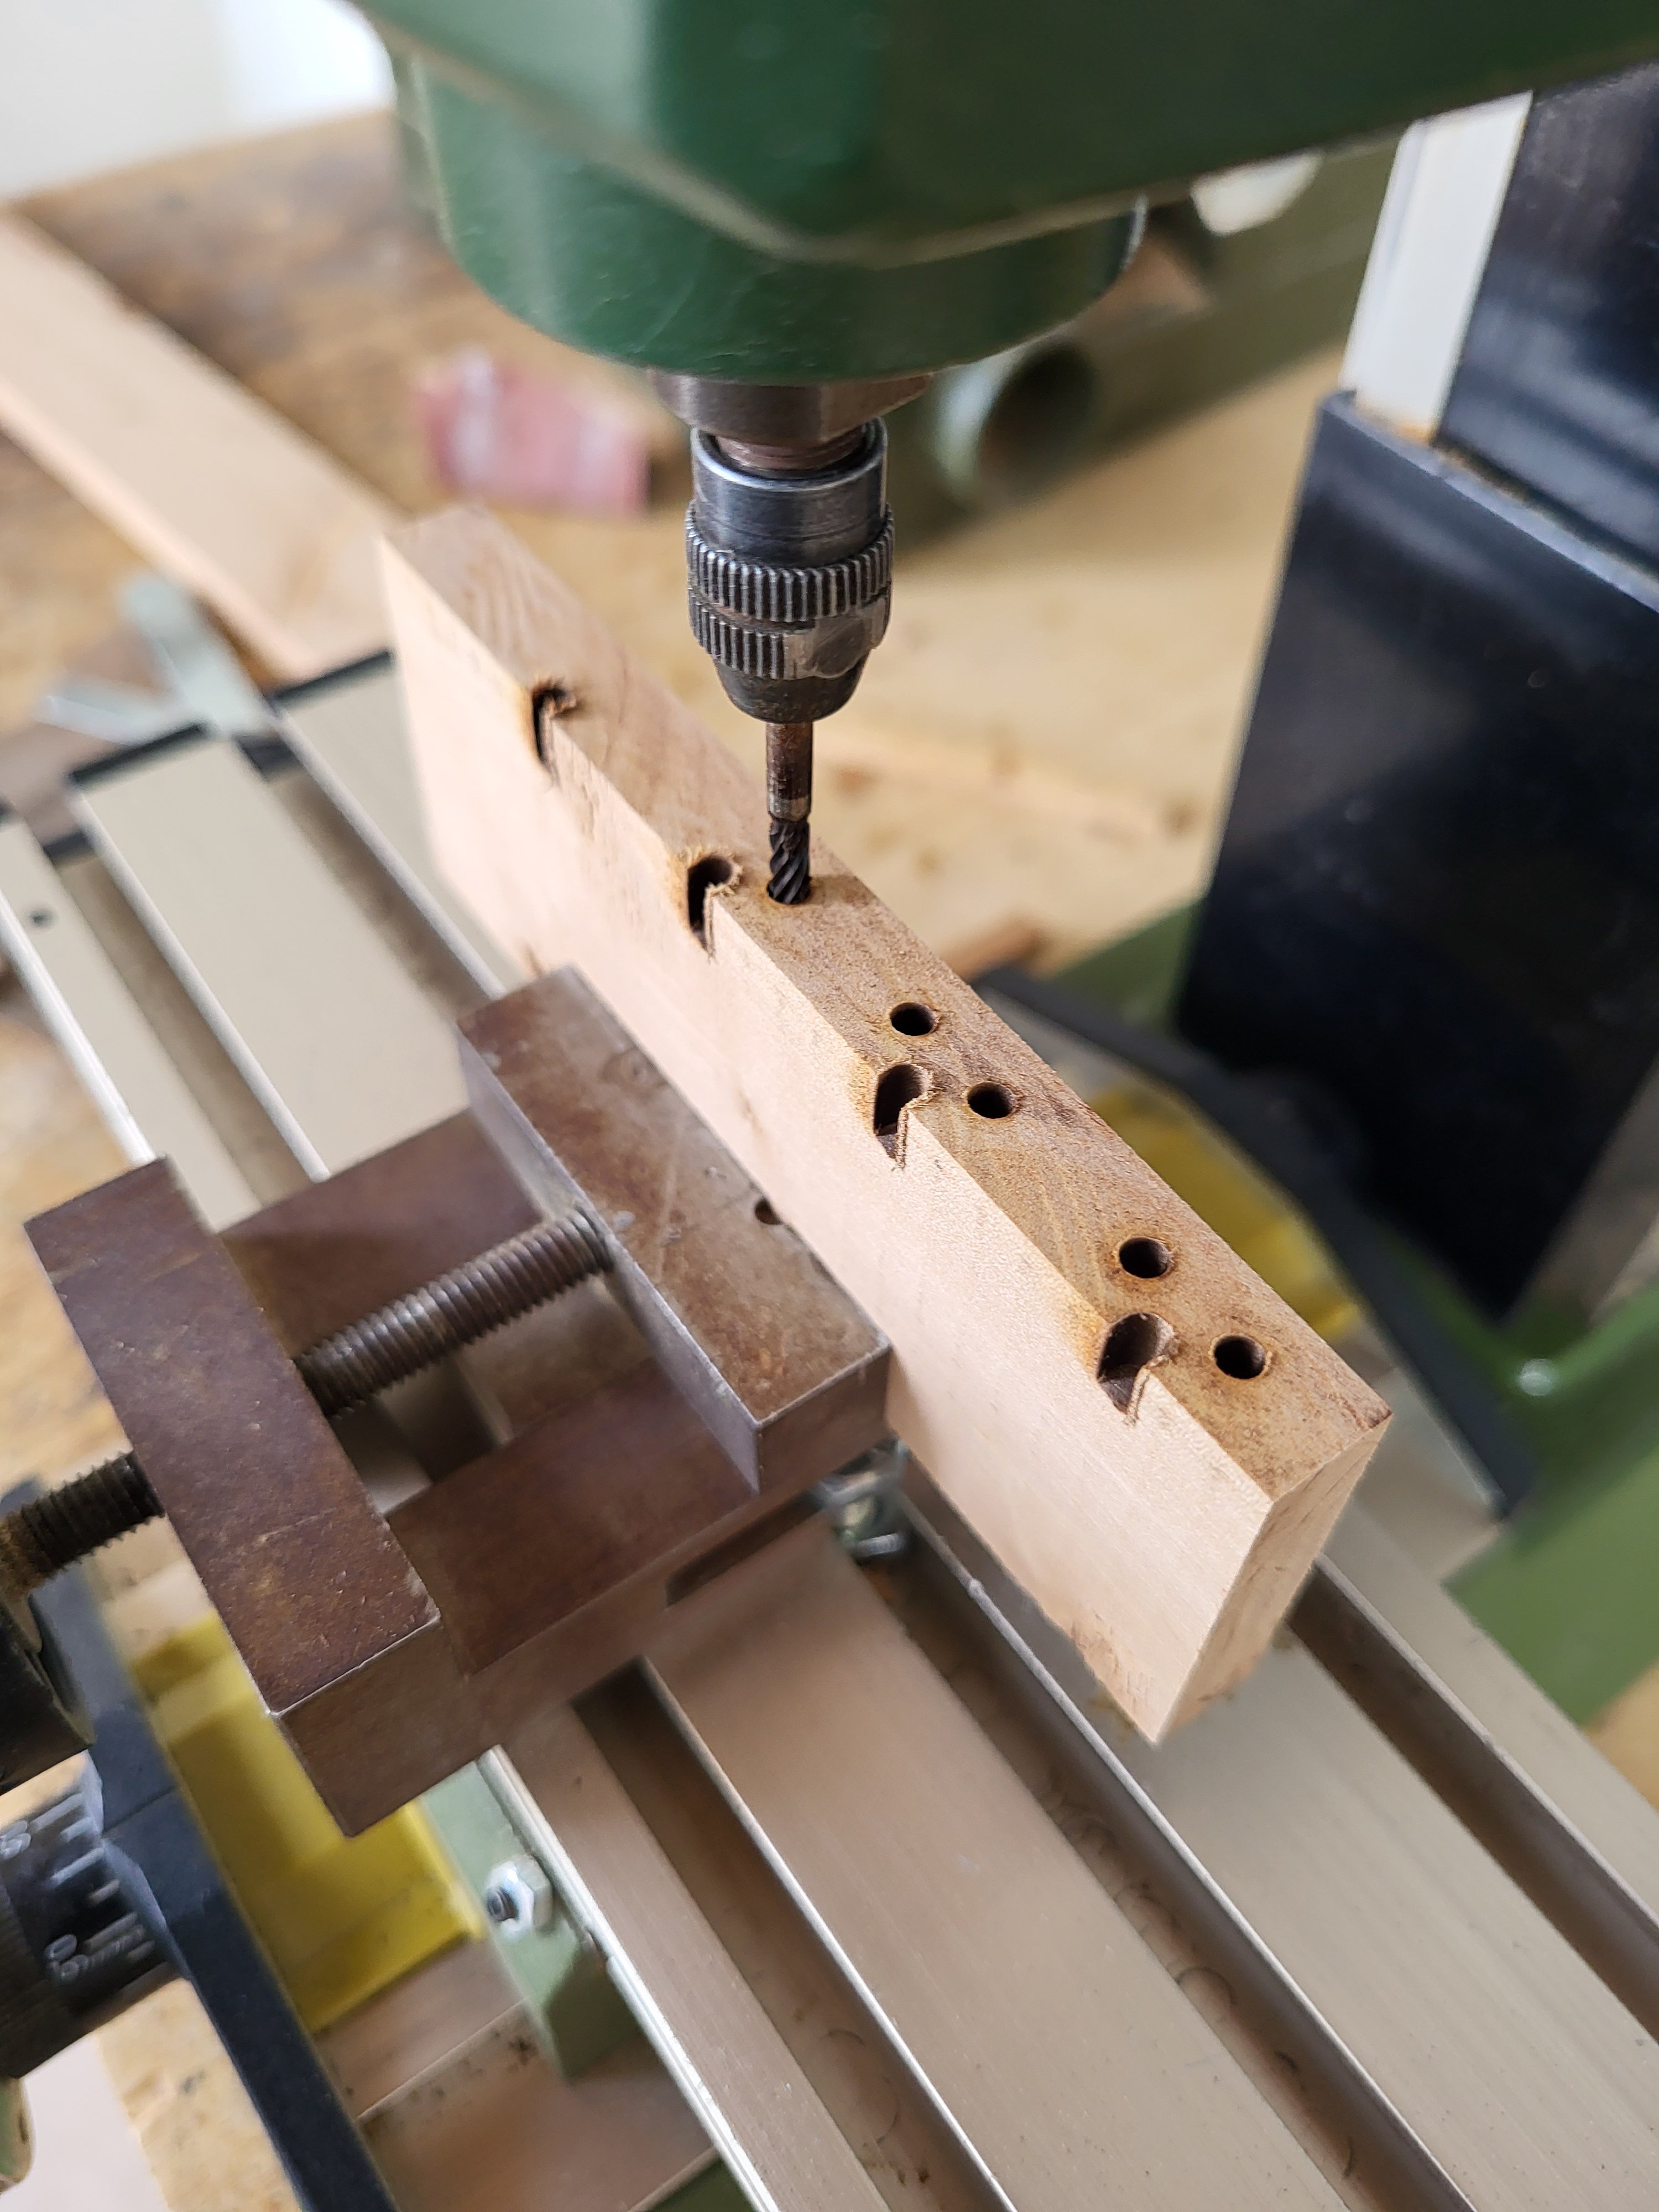
Greg, I have a reversible hand drill like in the photo. I use it when necessary.
.jpeg.bc306c64021d0ca9ec82ad14c1c7c8de.jpeg)
-
Peter, when drilling soft and thin woods before, turning the drill in the opposite direction helped me drill without splitting the wood. This information may come in handy in the future.
-
Let me also point this out, I cut the pieces a little larger and do fine tuning with sanding machine.
-
Drilling first and then cutting usually gives better results and reduces scrap. That's how I usually do it."

-
Your model looks great Peter. Just curious, did you ever consider leaving the gun port lids open?
-
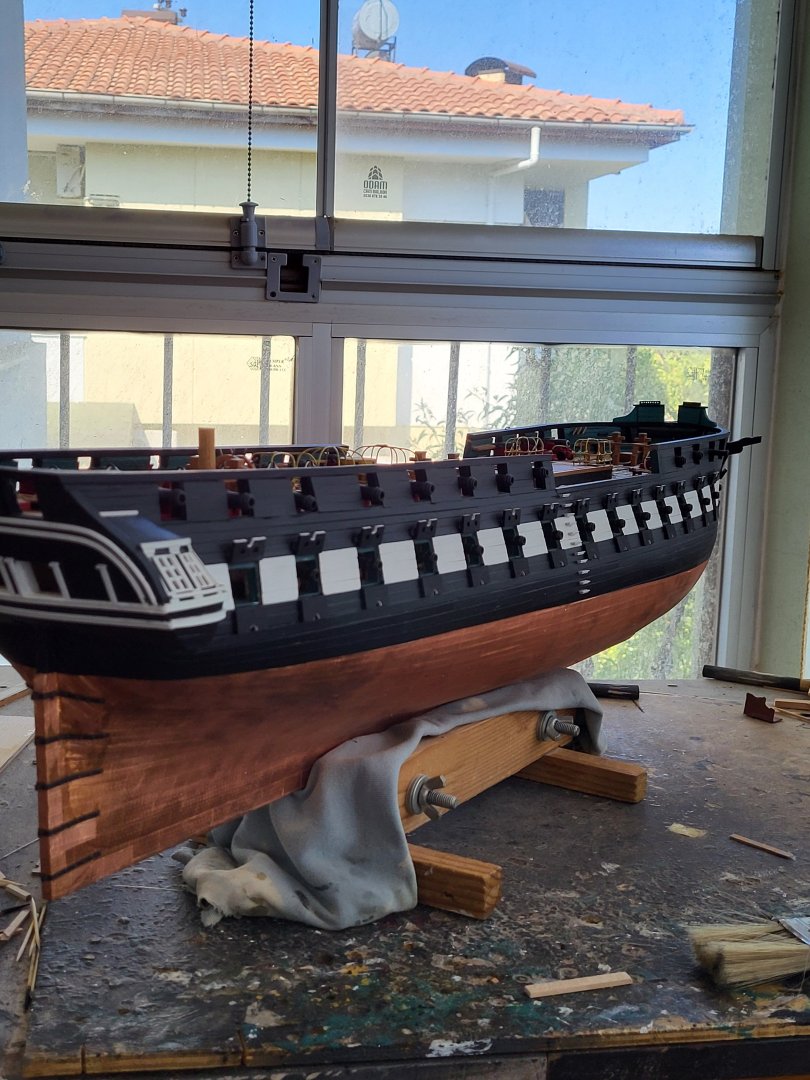
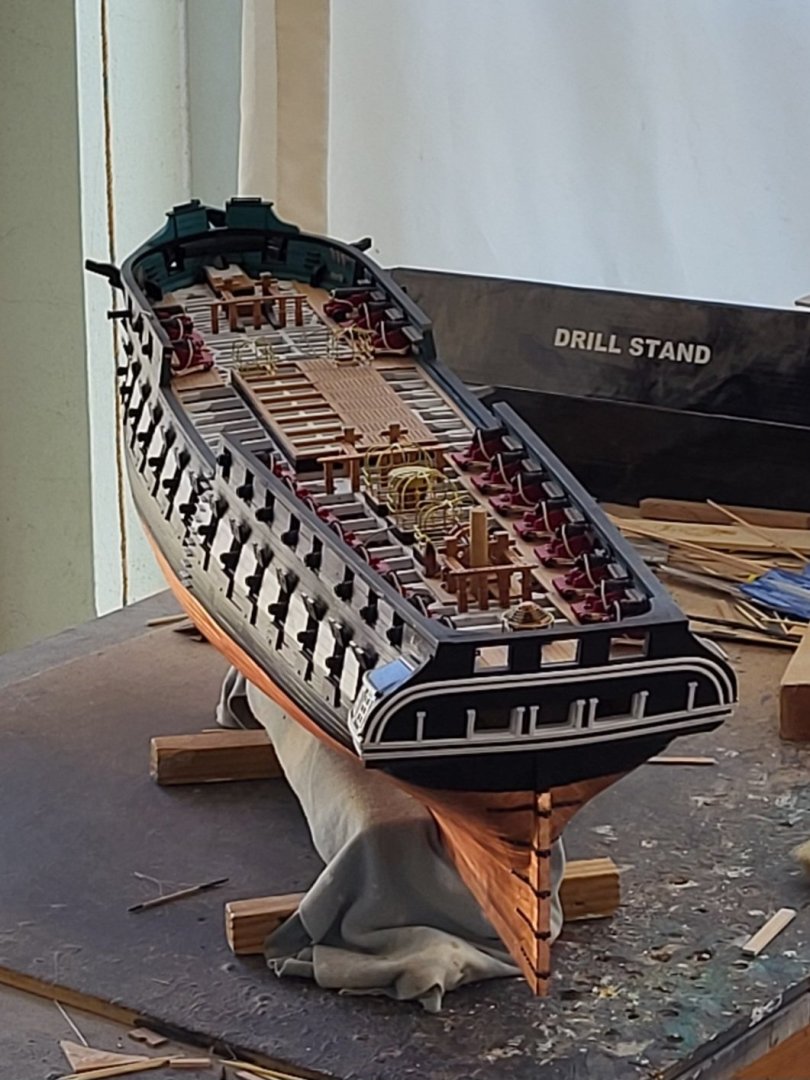
USS Constitution by mtbediz - 1:76
mtbediz replied to mtbediz's topic in - Build logs for subjects built 1751 - 1800
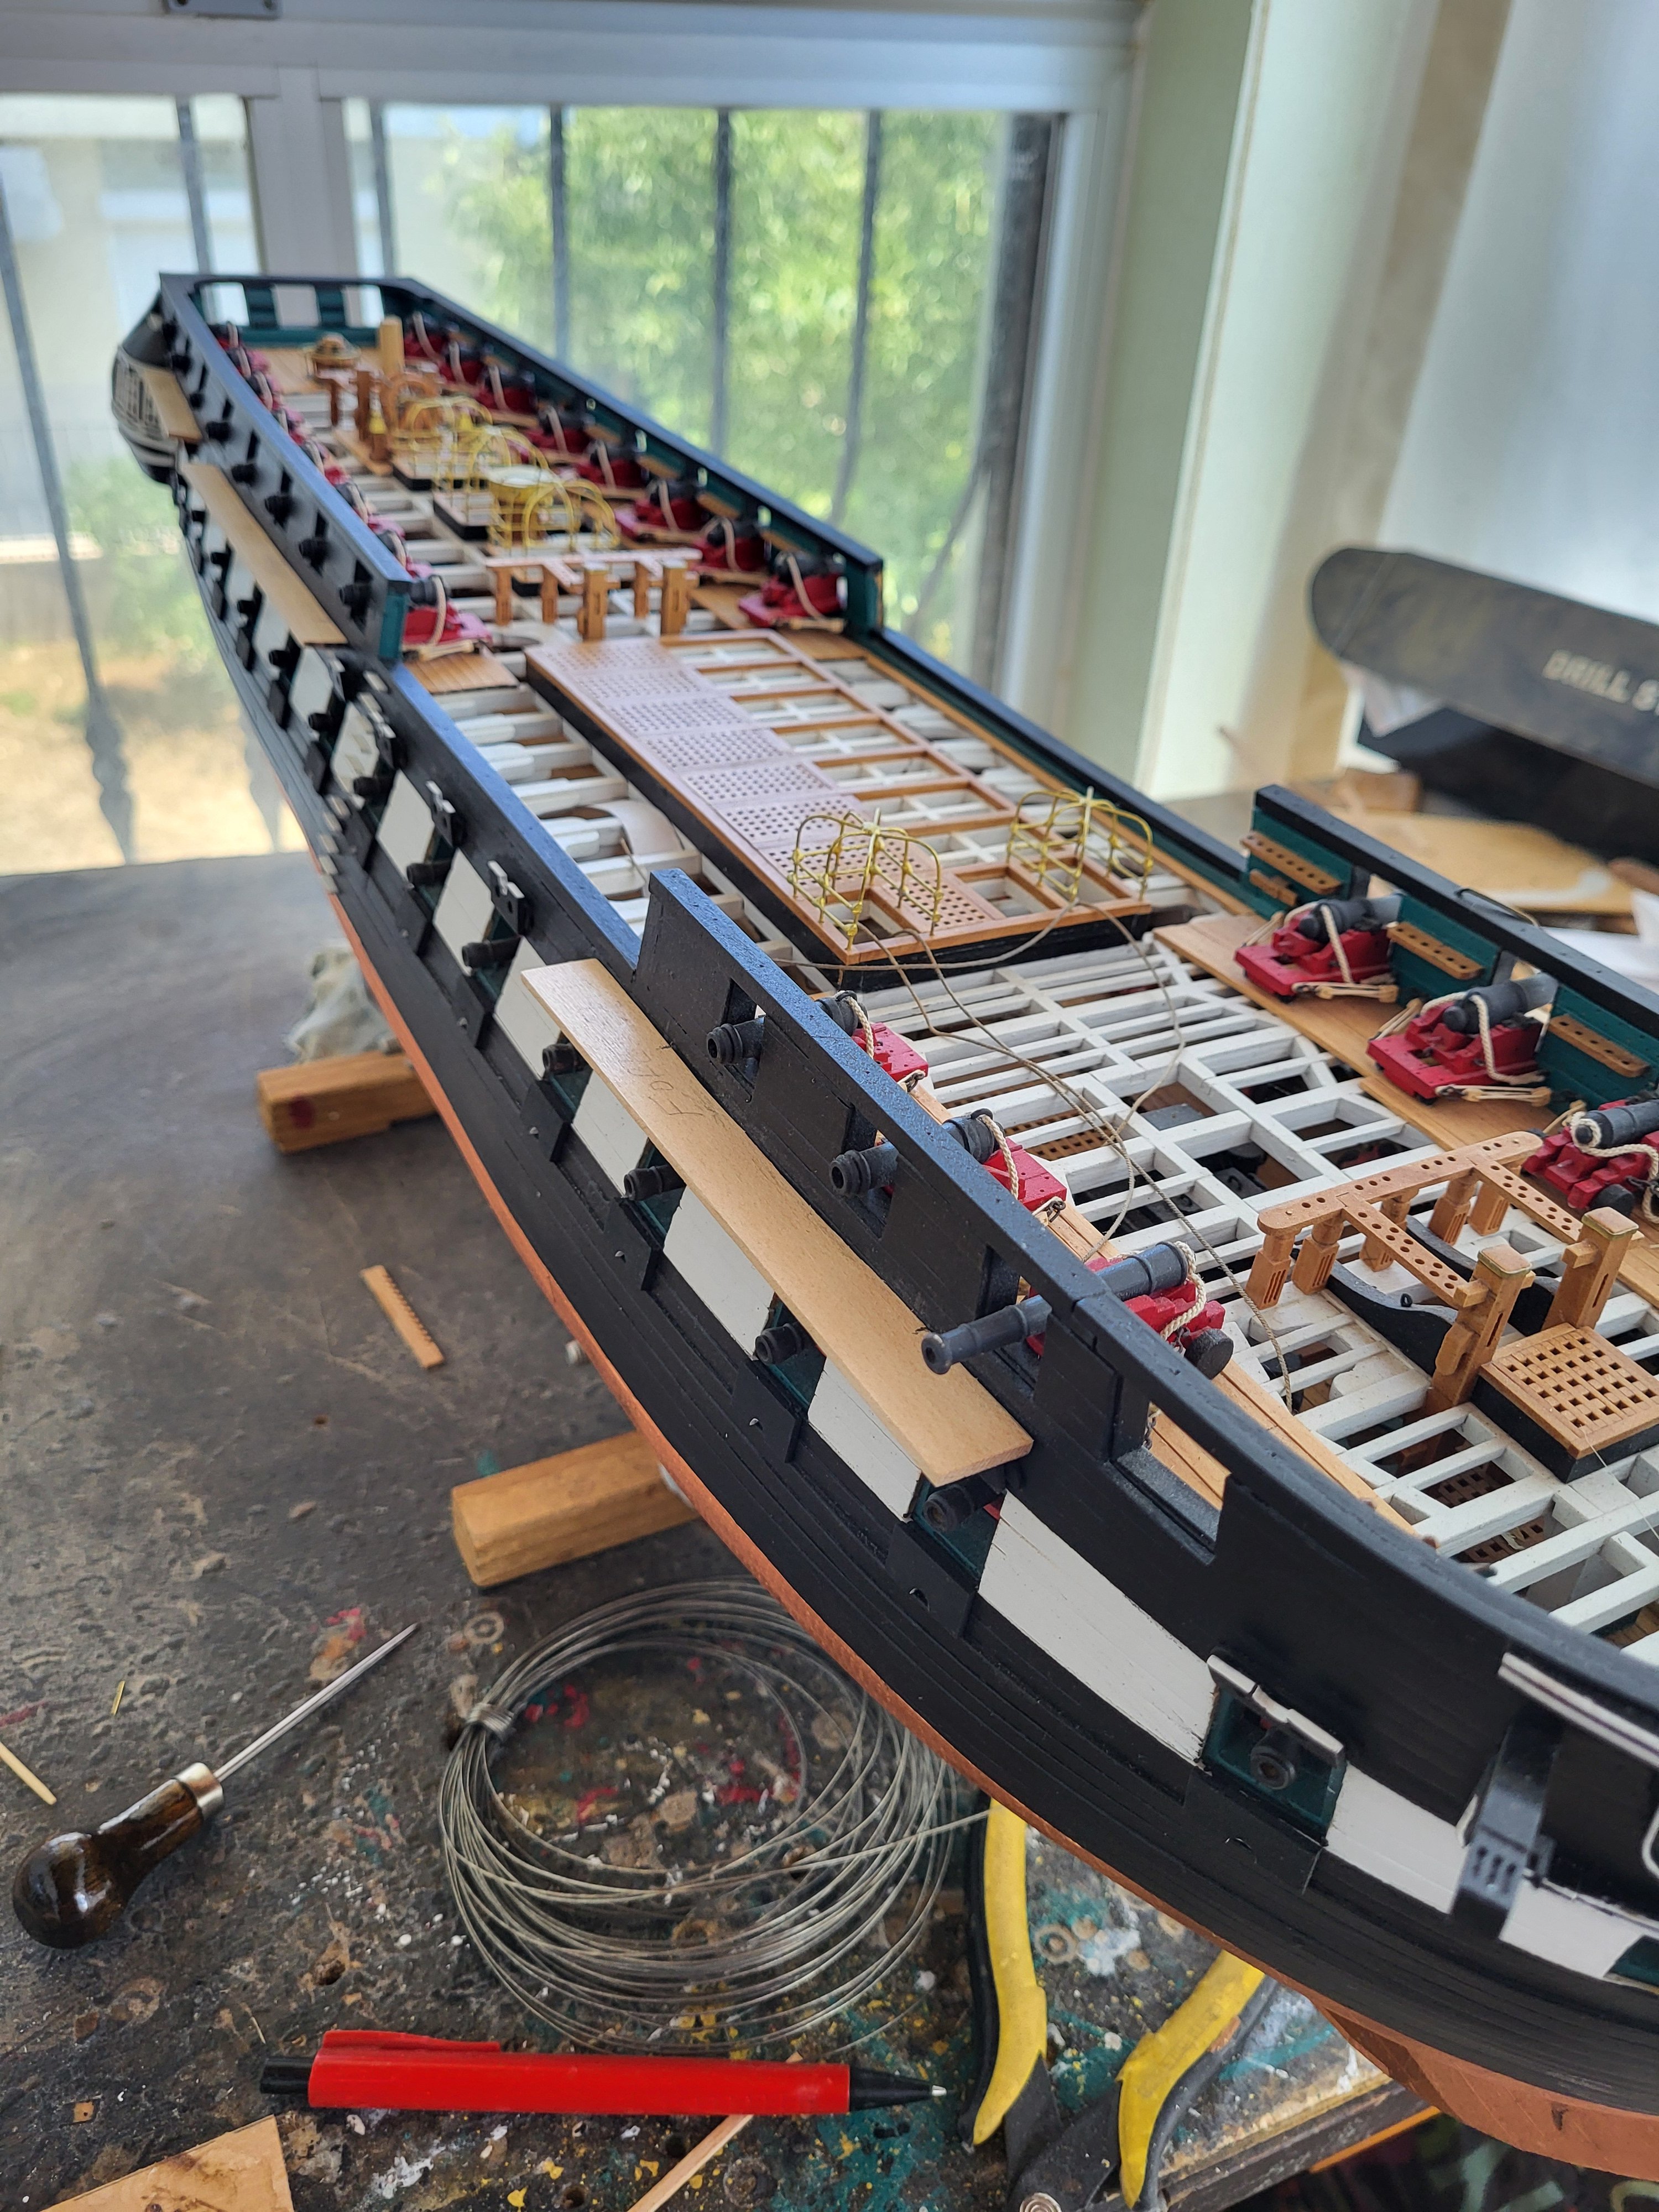
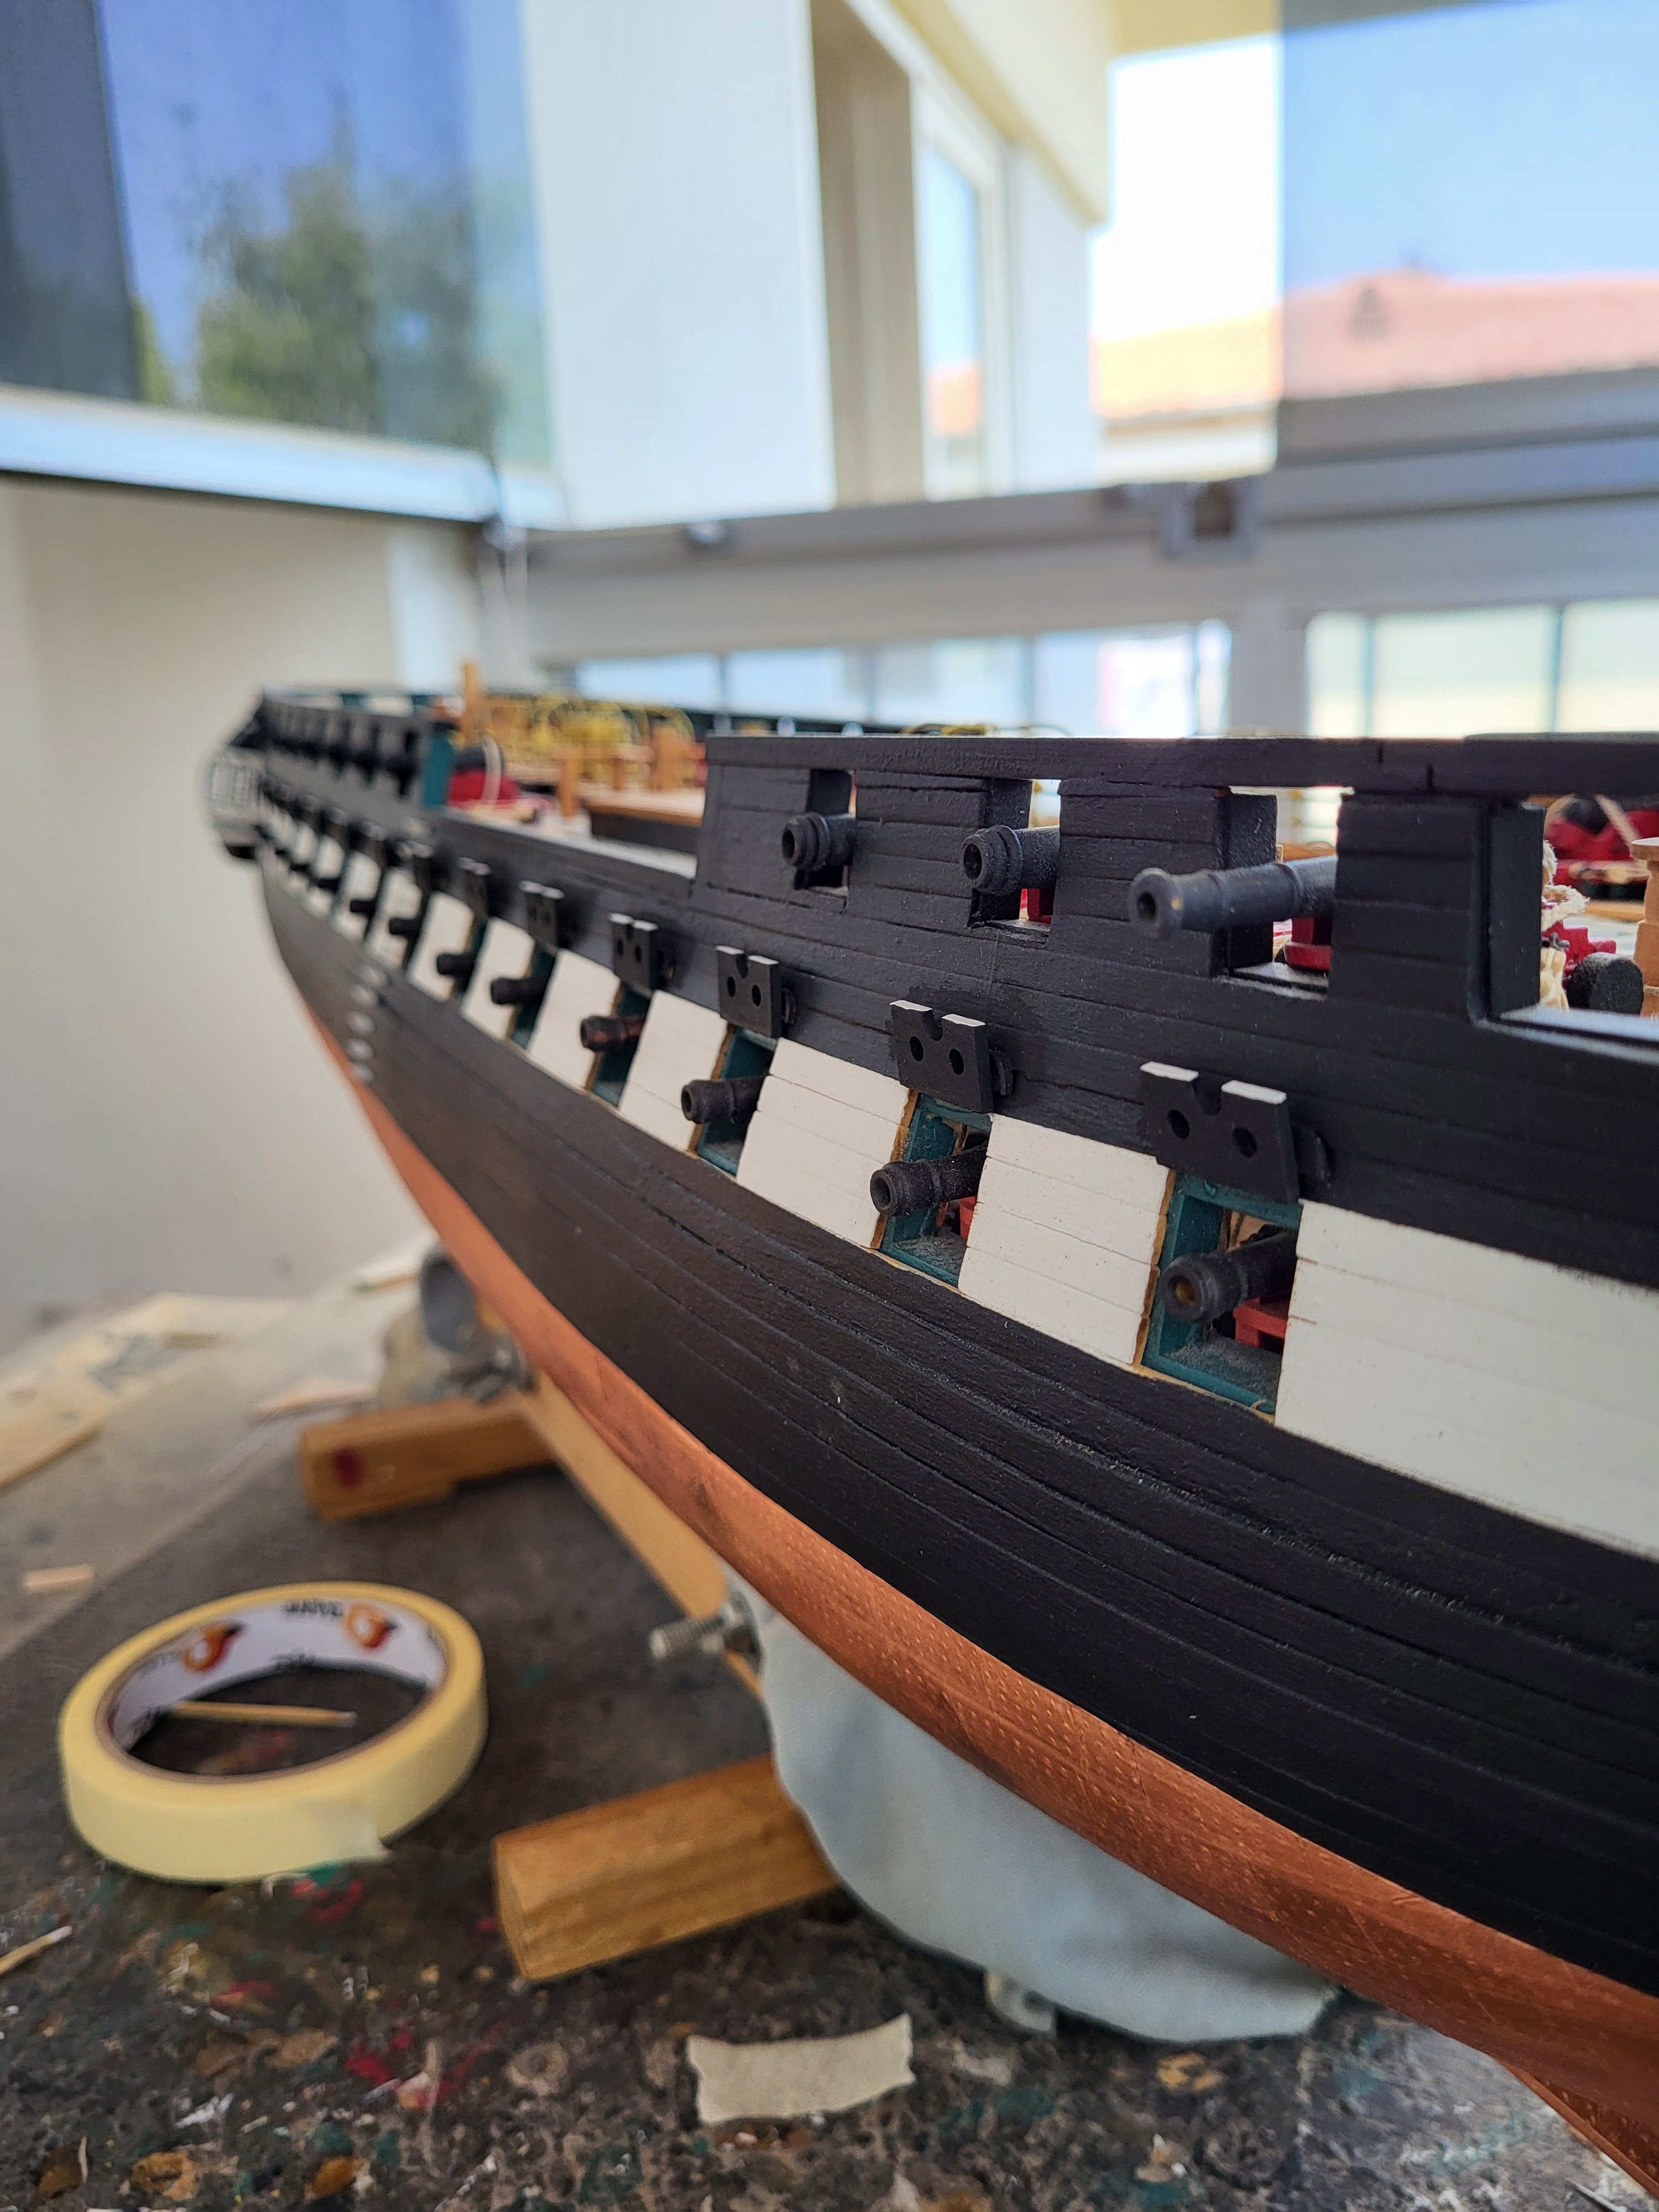
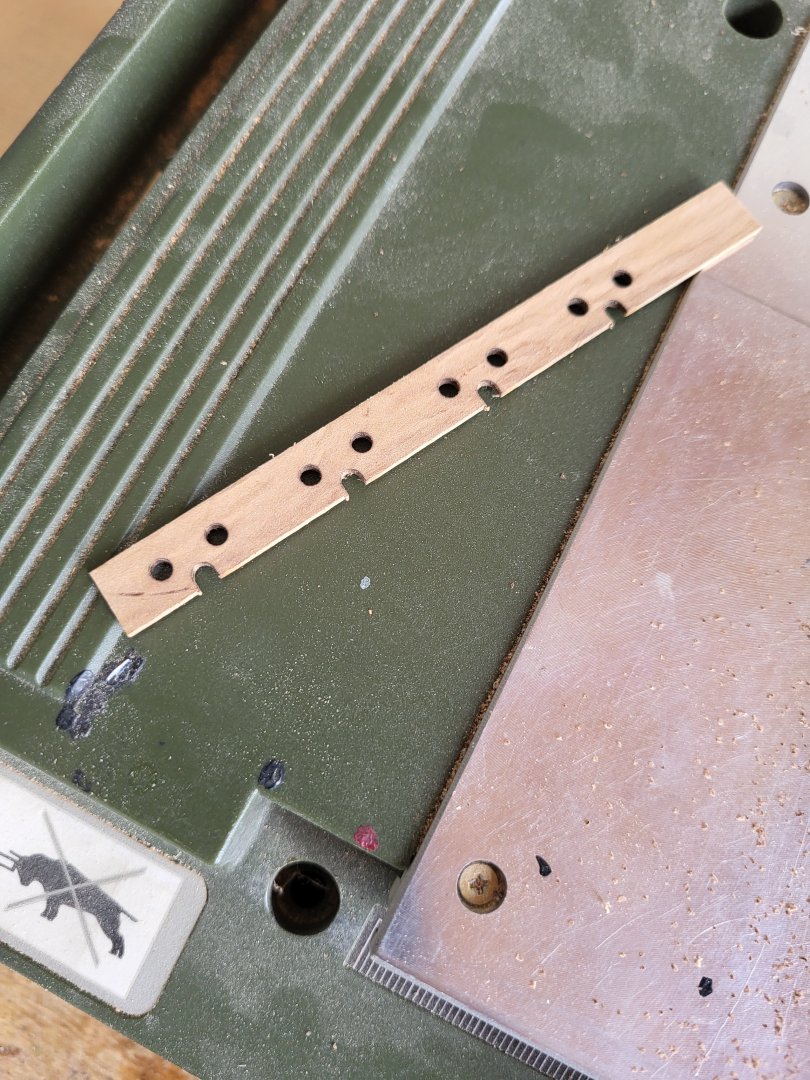
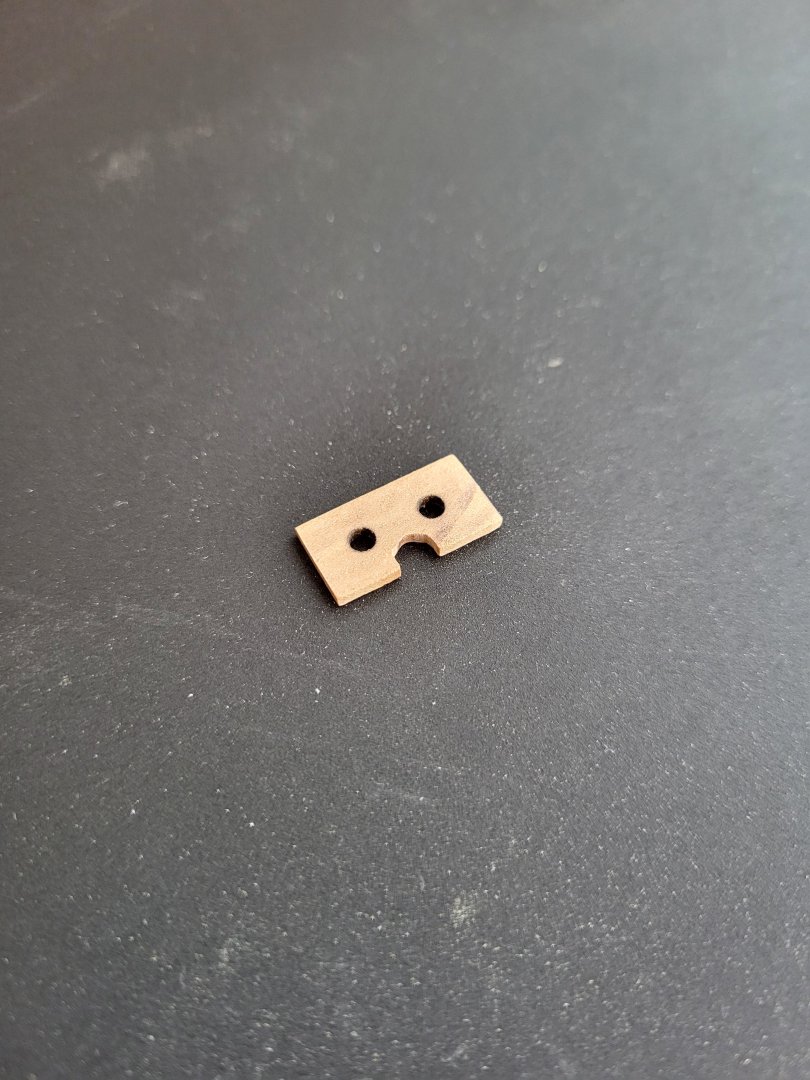
My mistake, sorry. When I said "I will remove them" I meant "I will remove the entire channels". Because I will cut the slots on the channels. These pins will also be there when the channels are permanently glued in place -
USS Constitution by mtbediz - 1:76
mtbediz replied to mtbediz's topic in - Build logs for subjects built 1751 - 1800
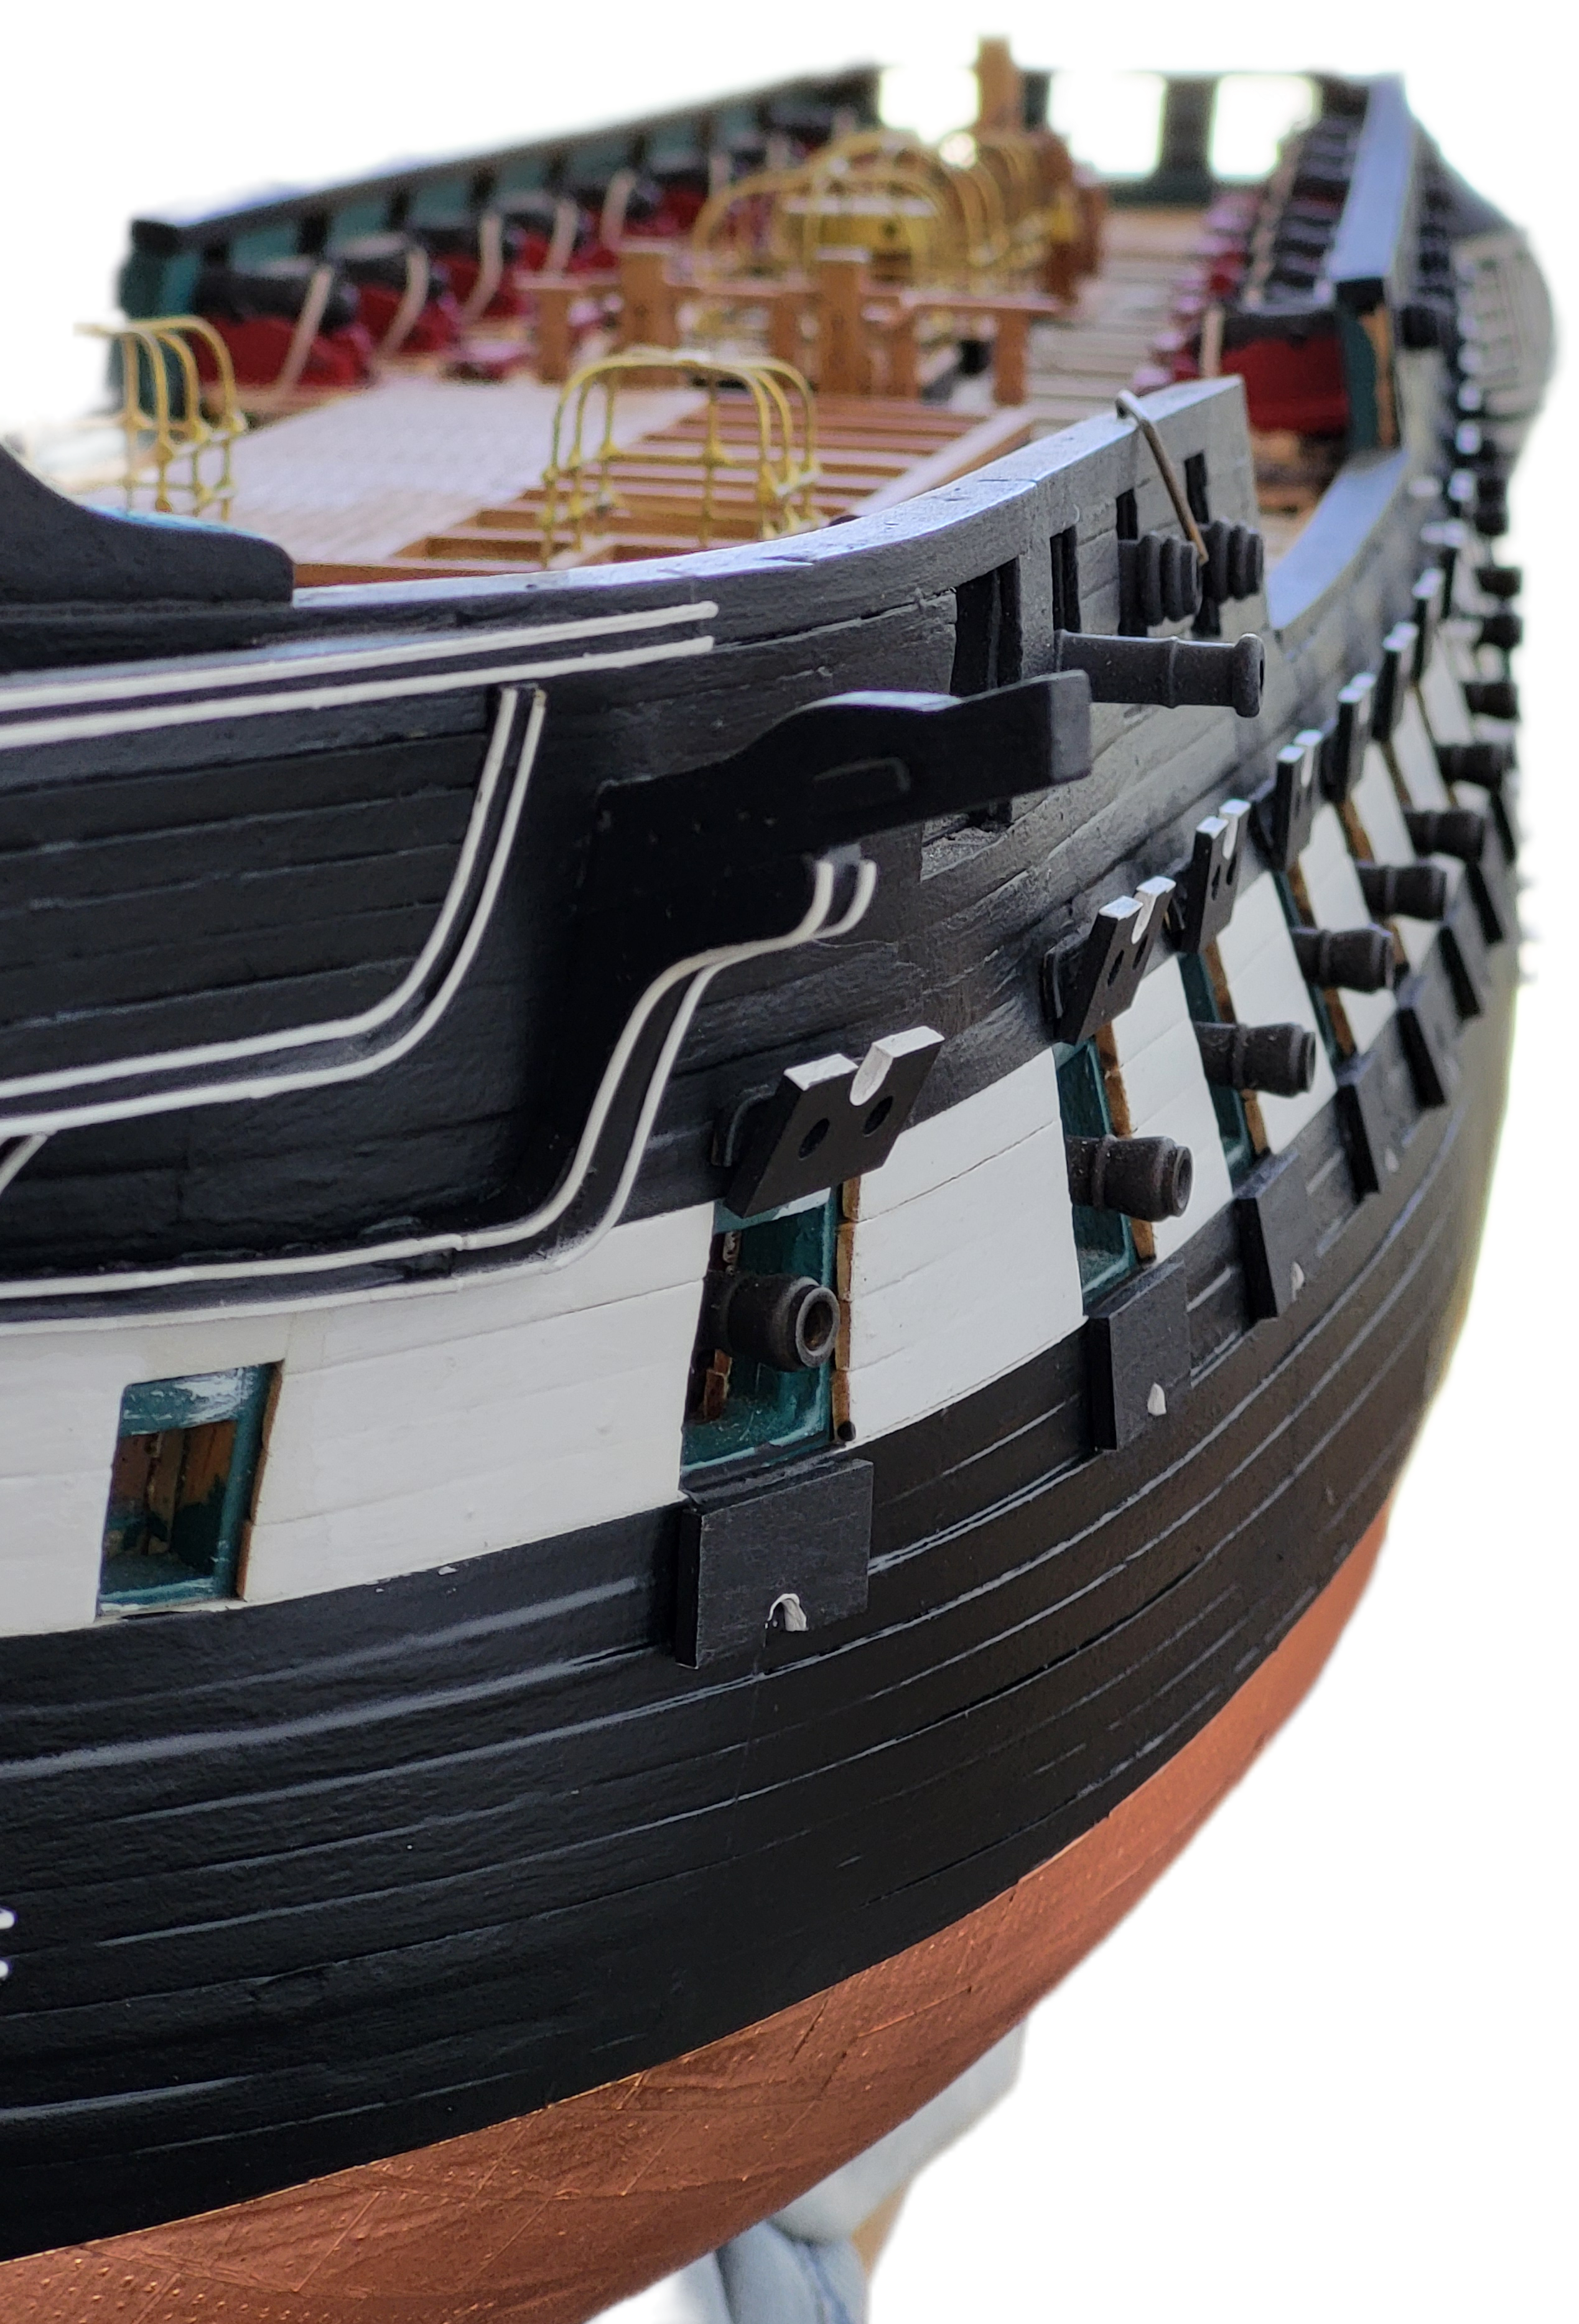
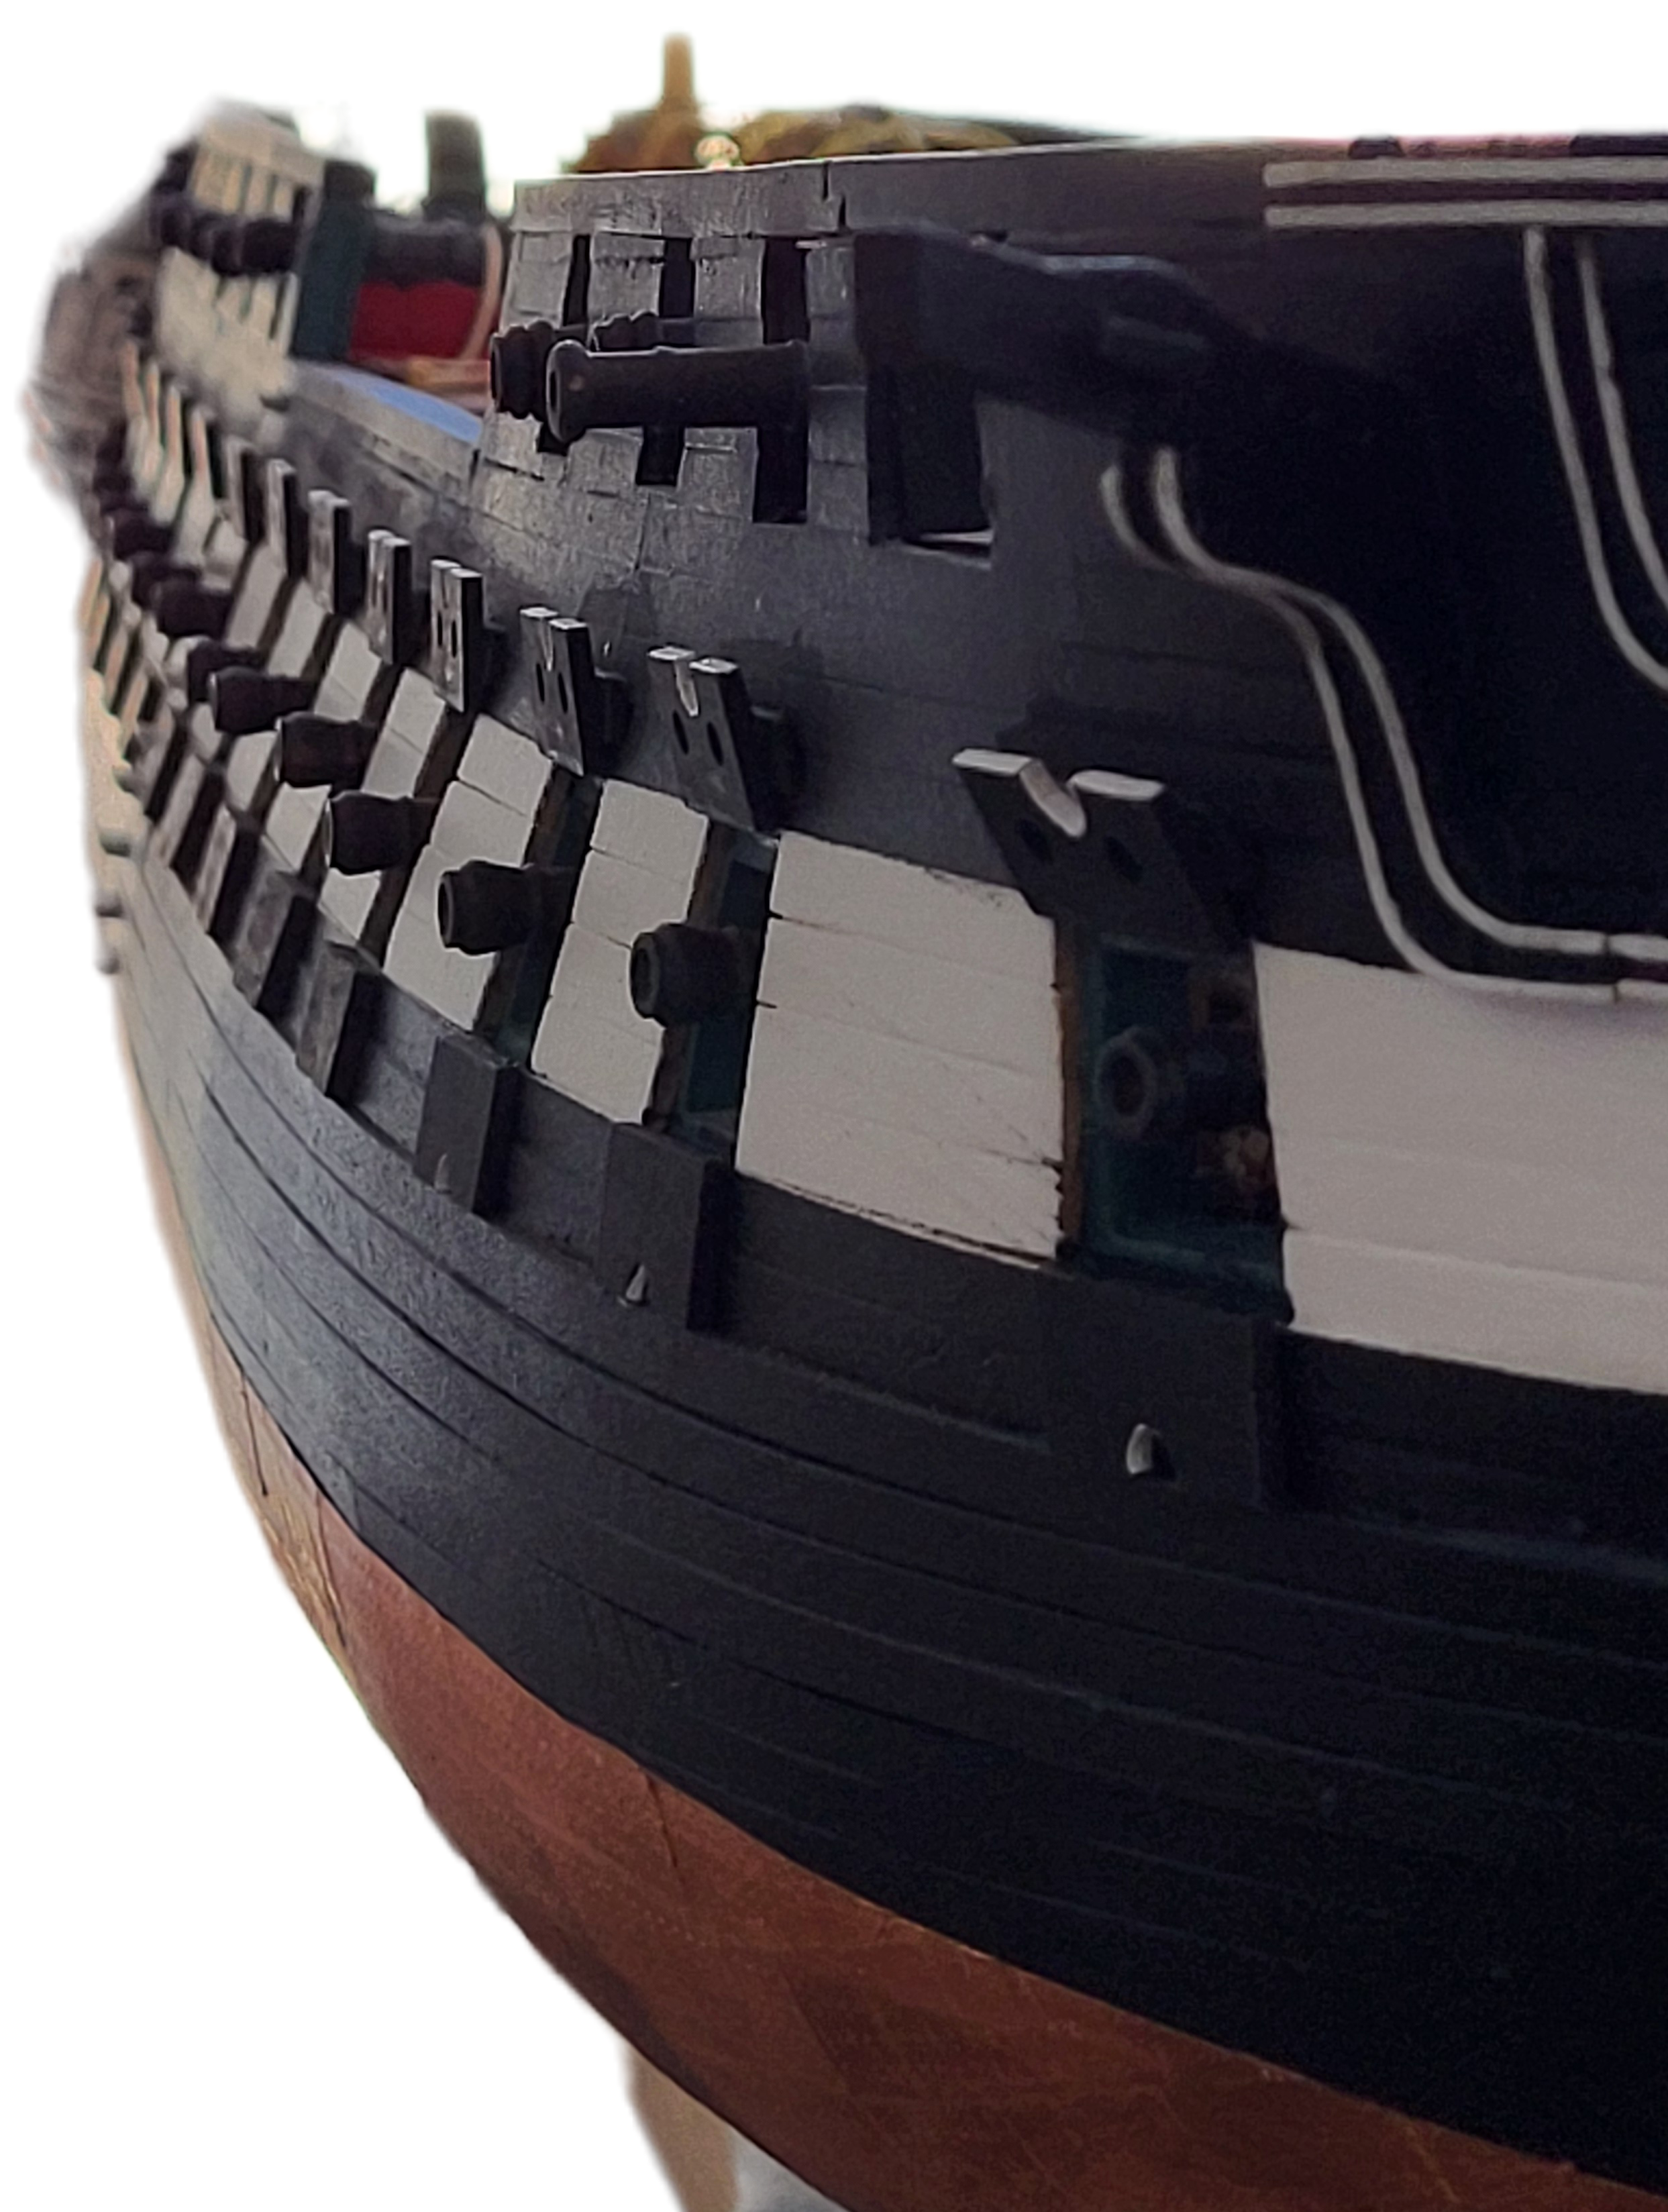
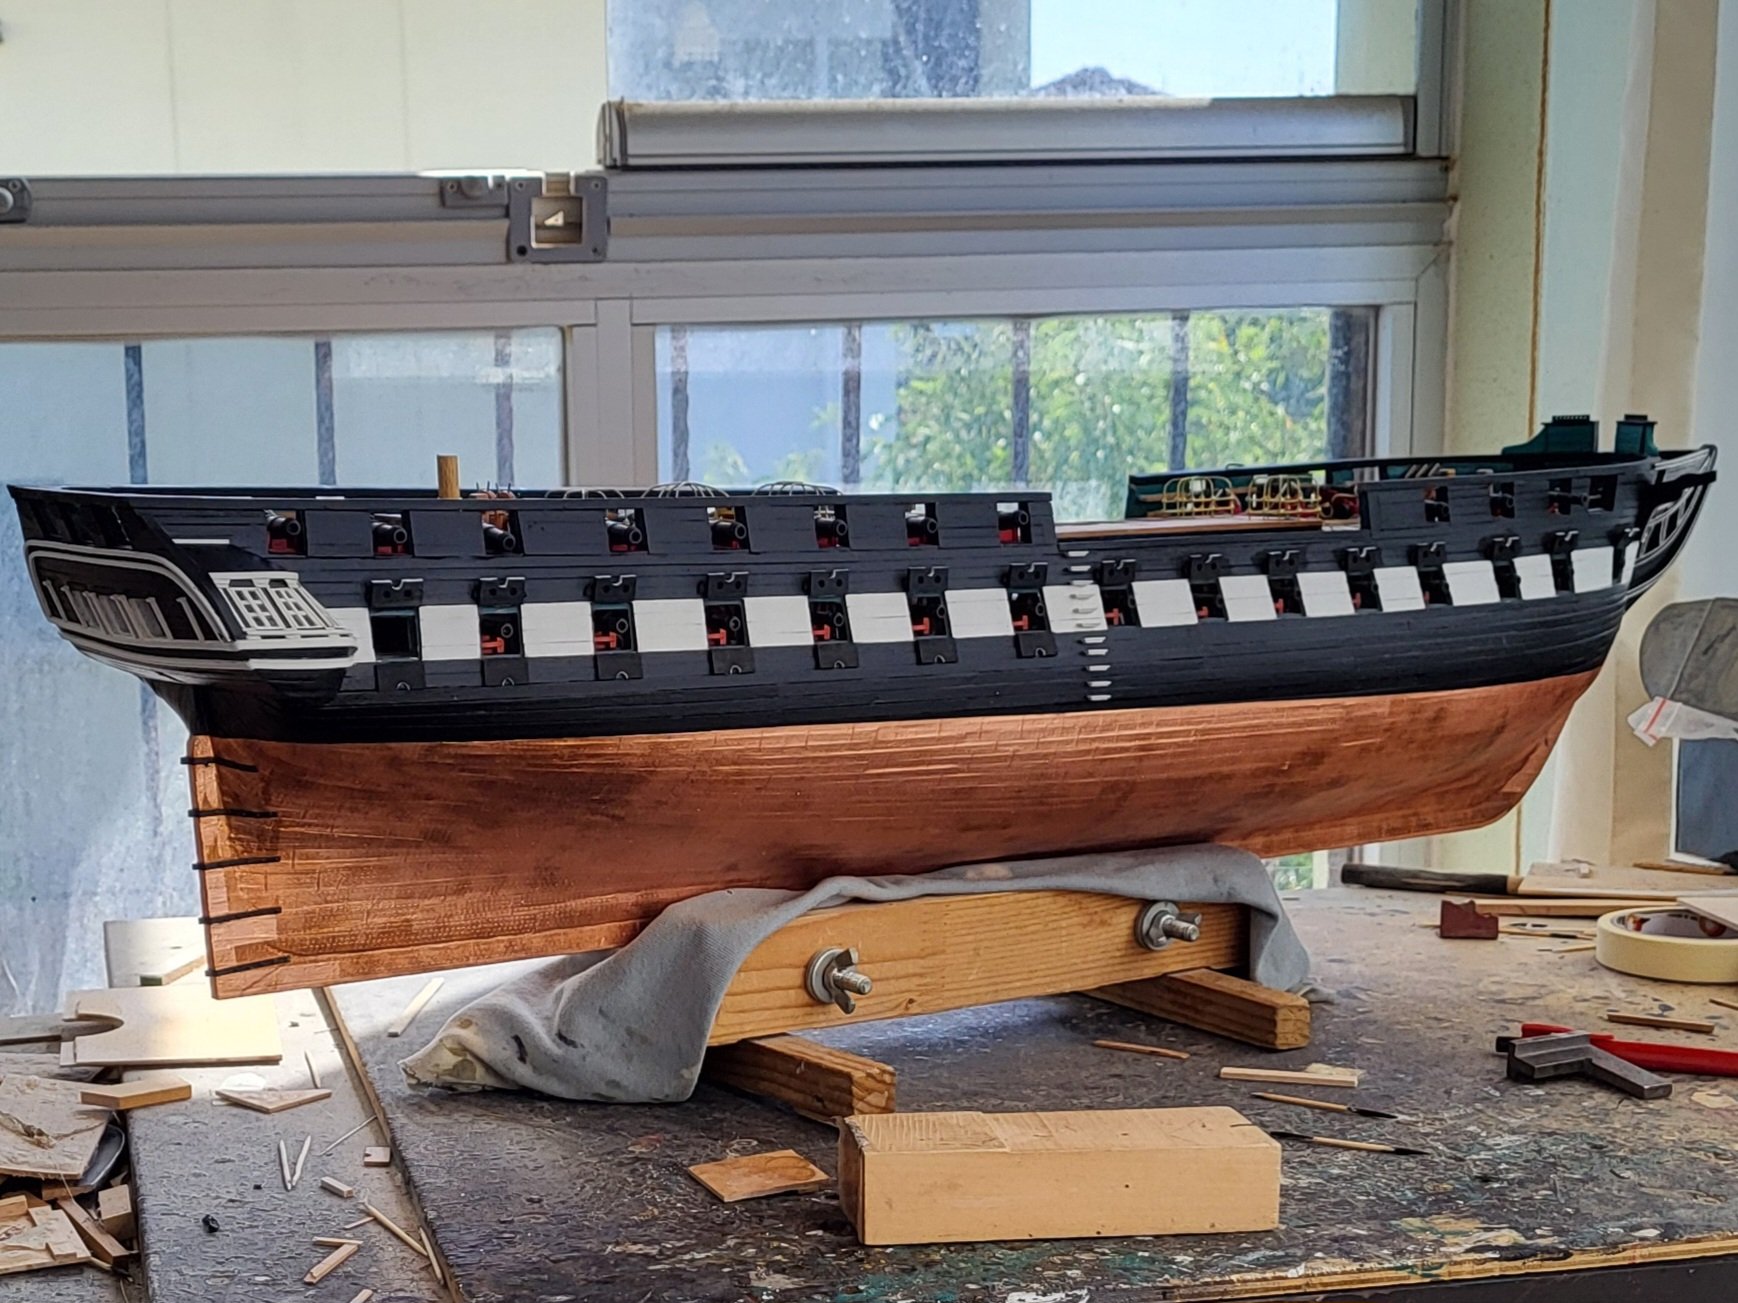
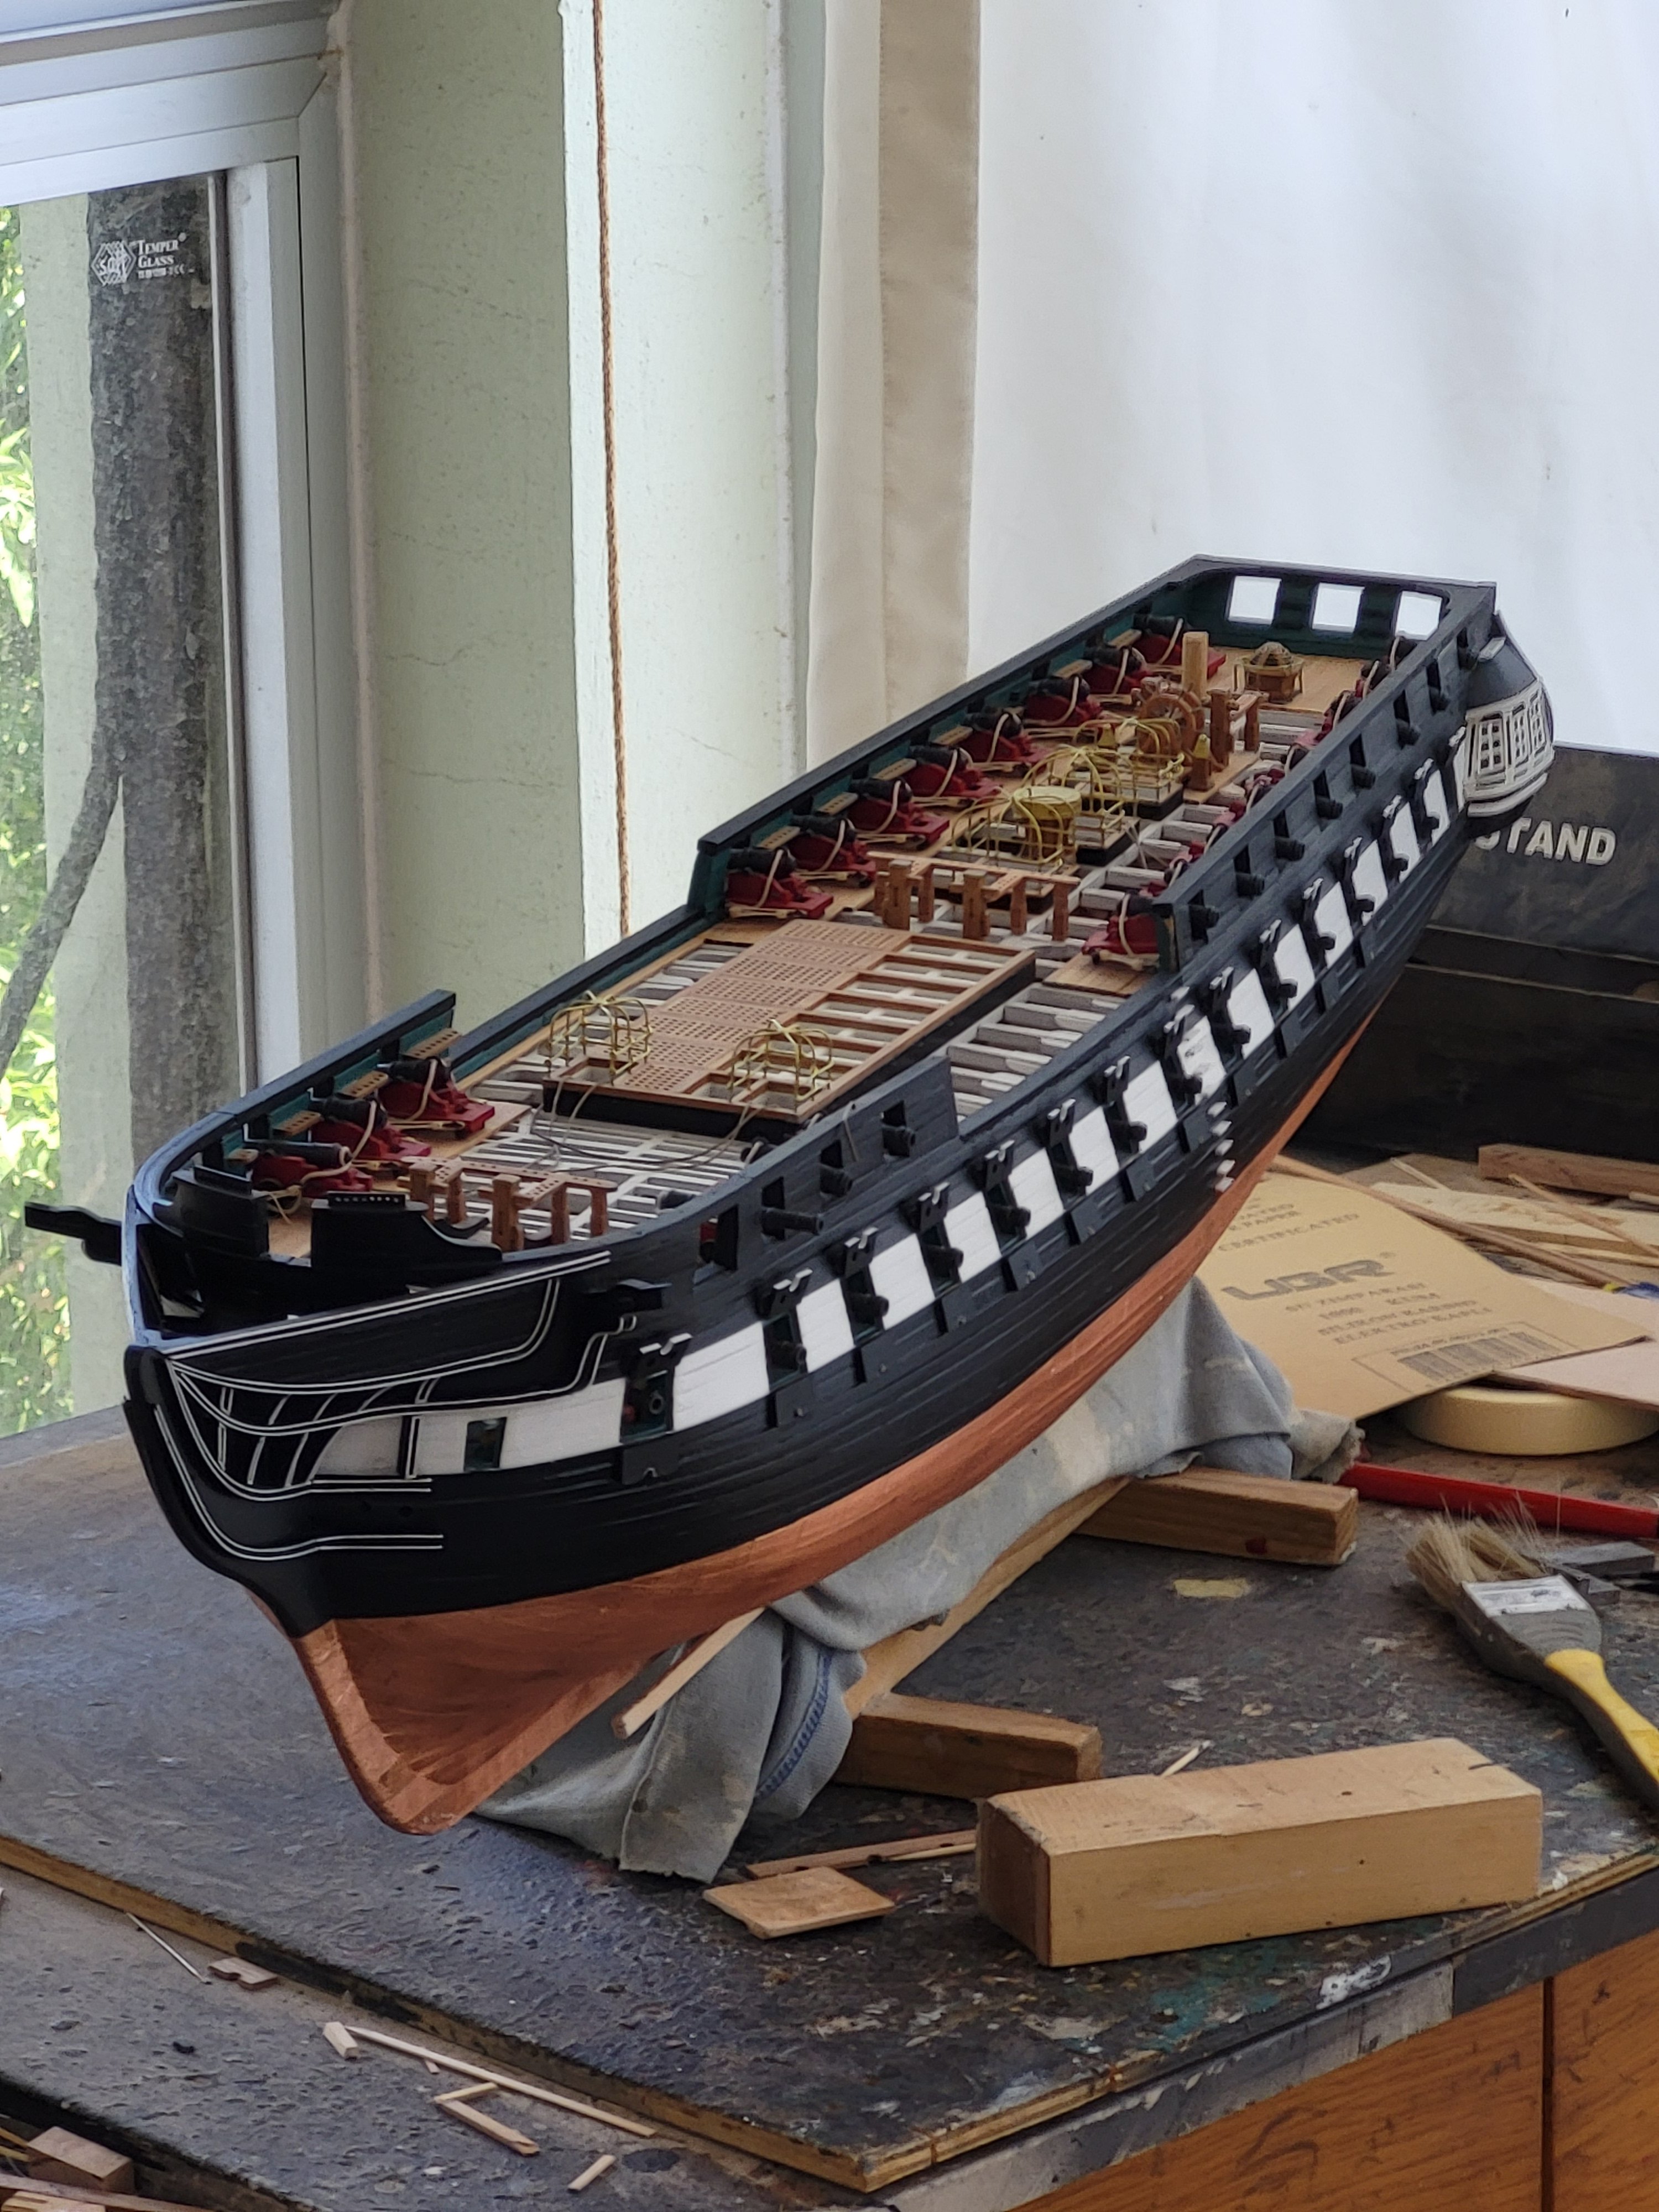
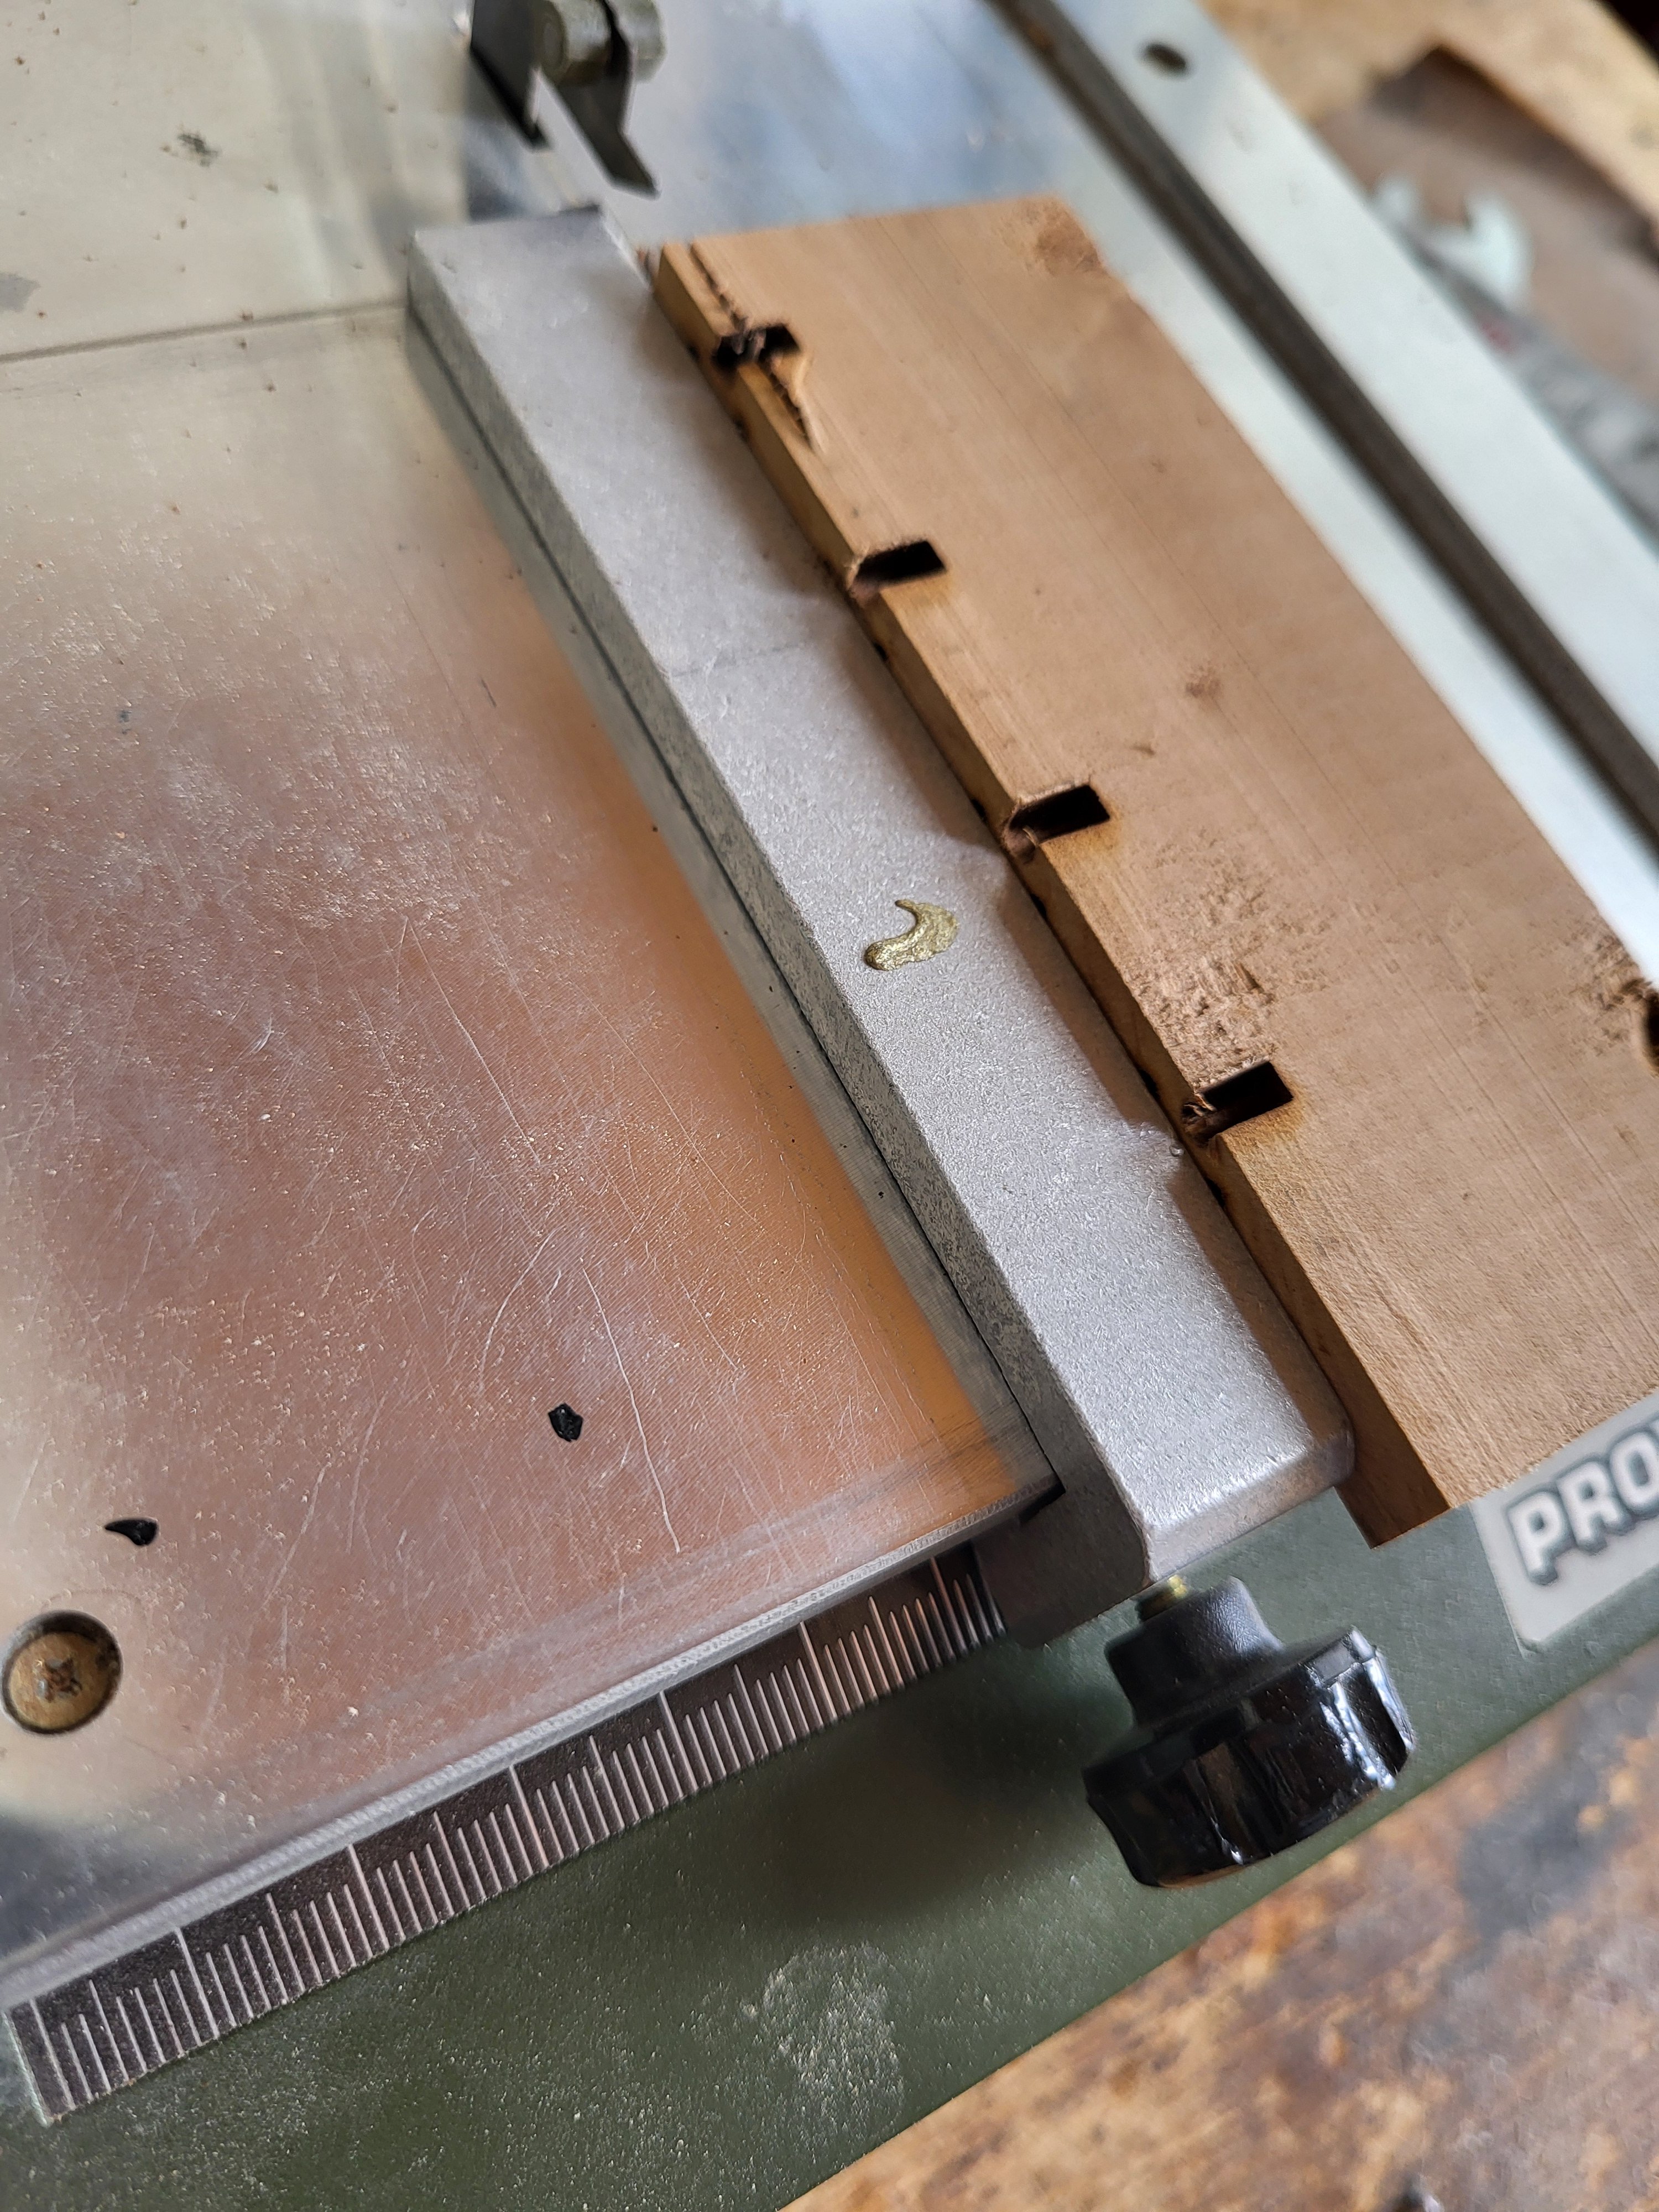
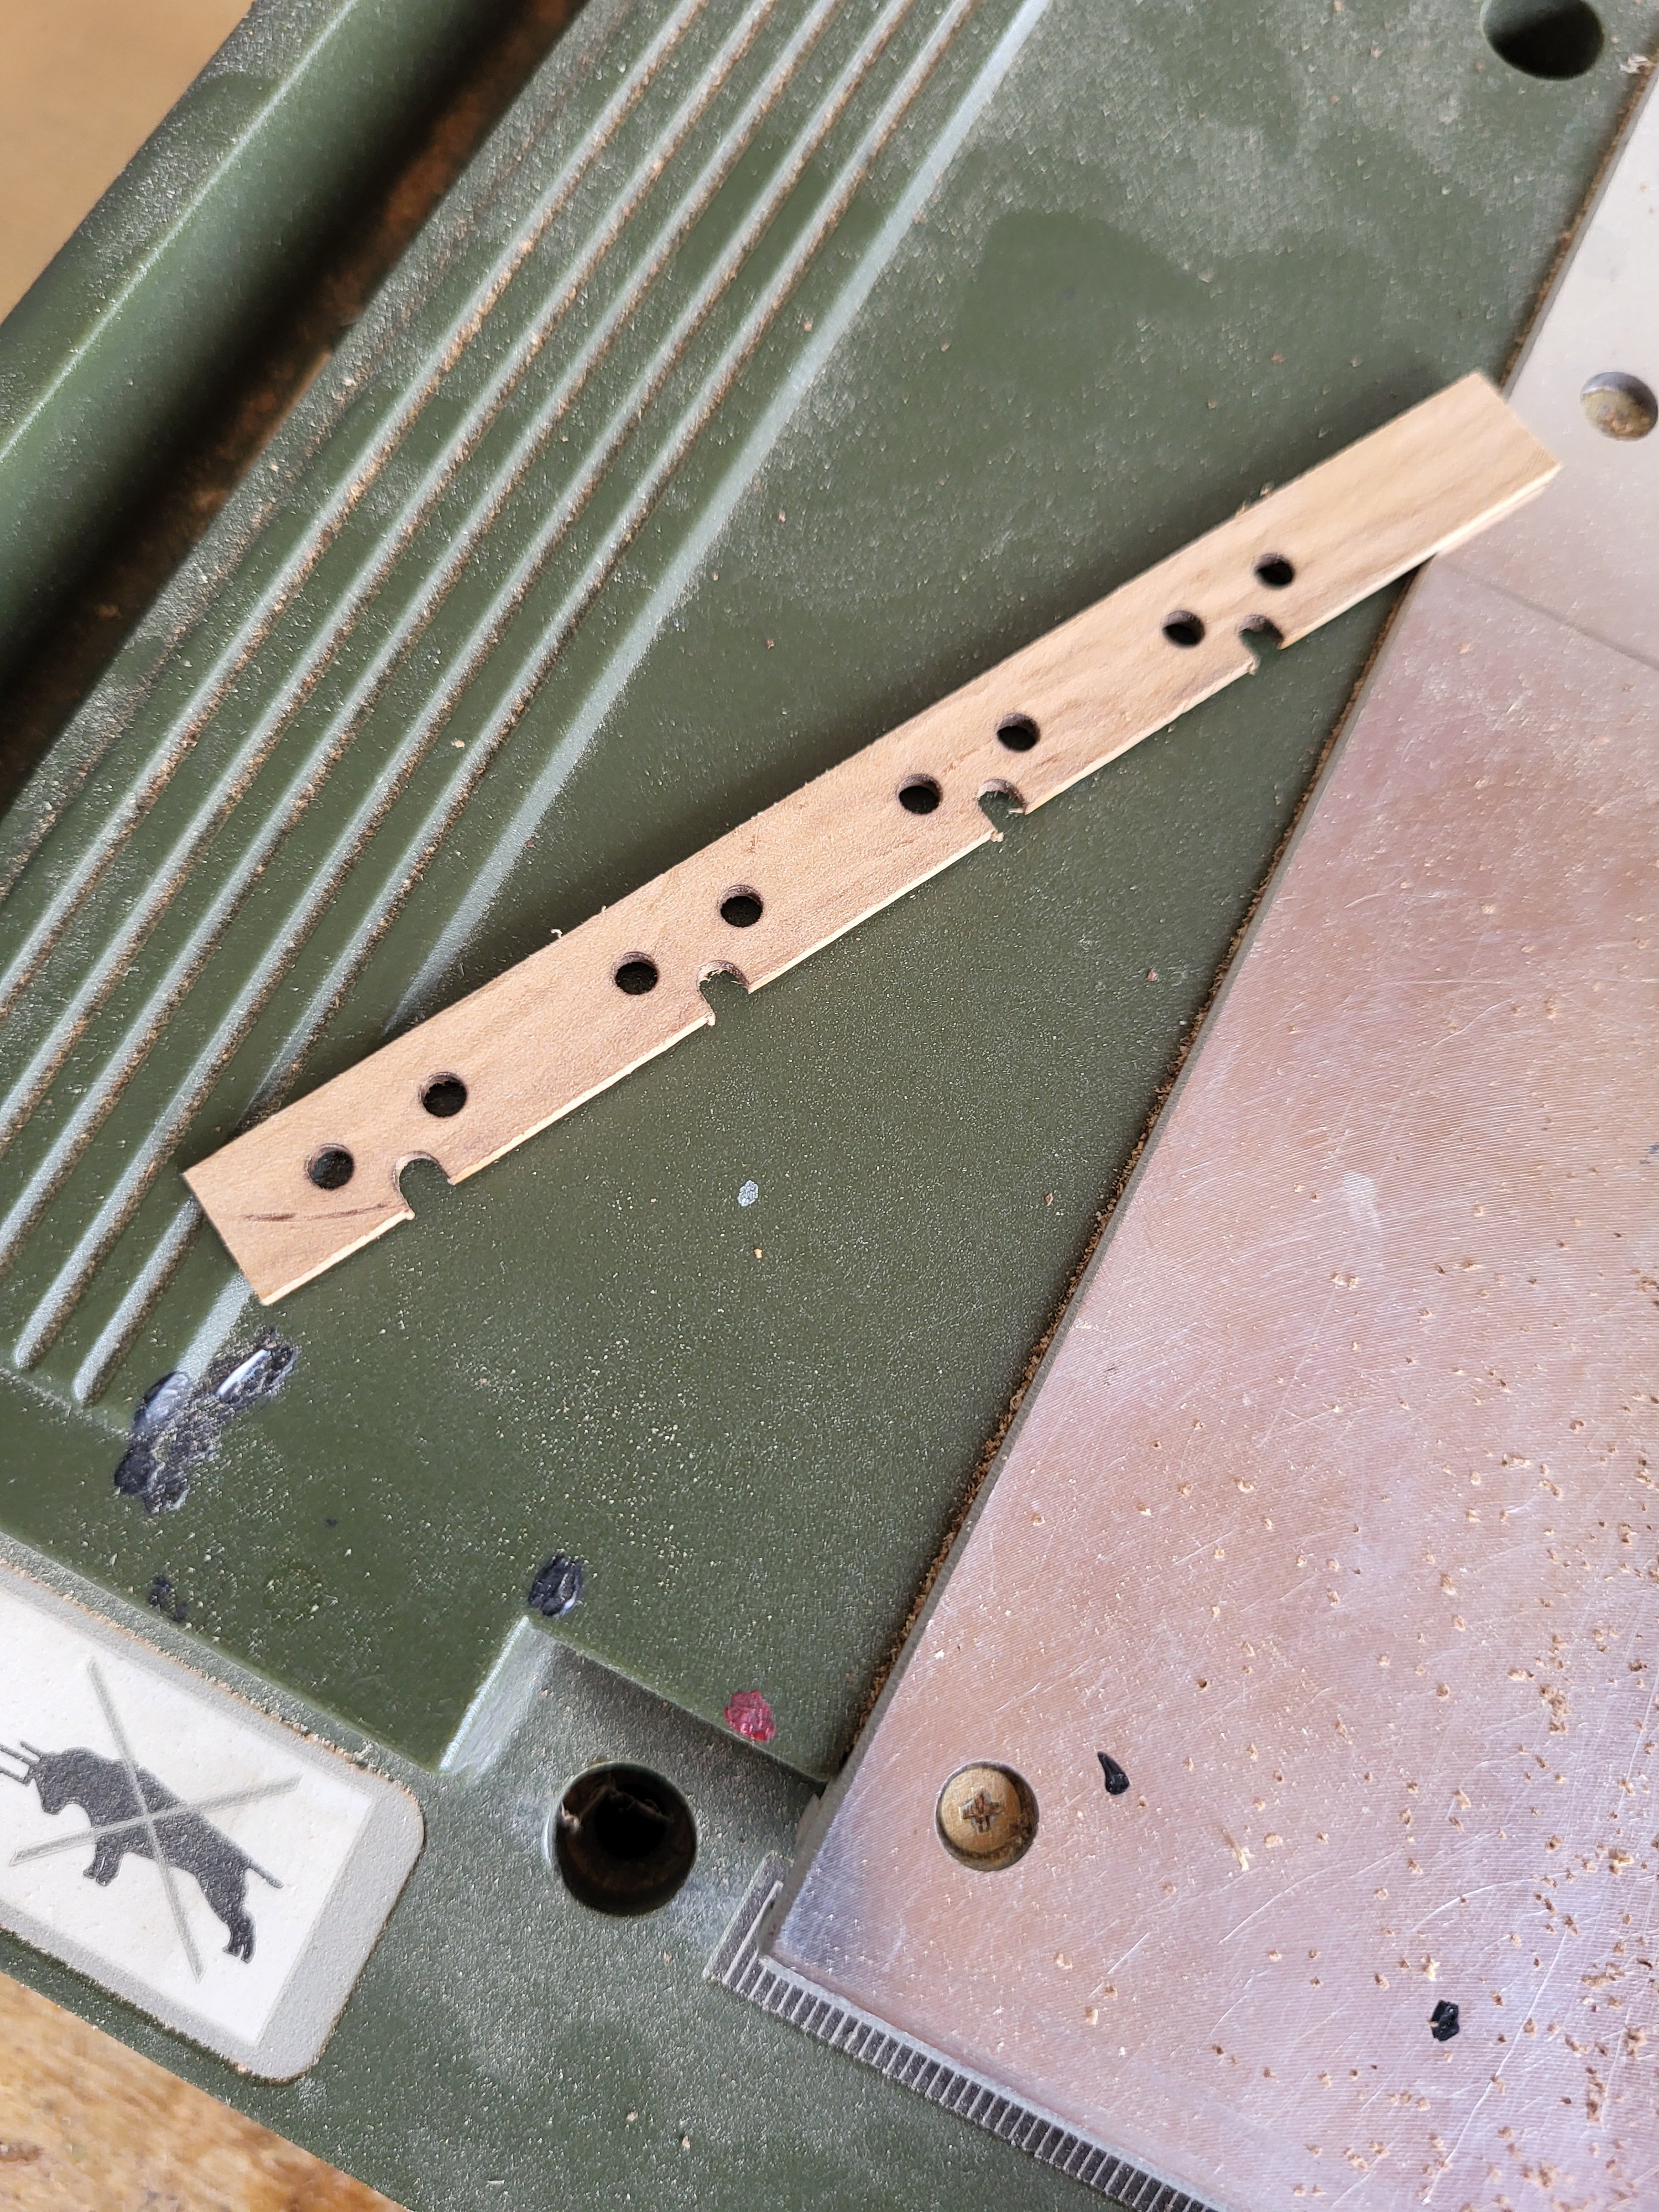
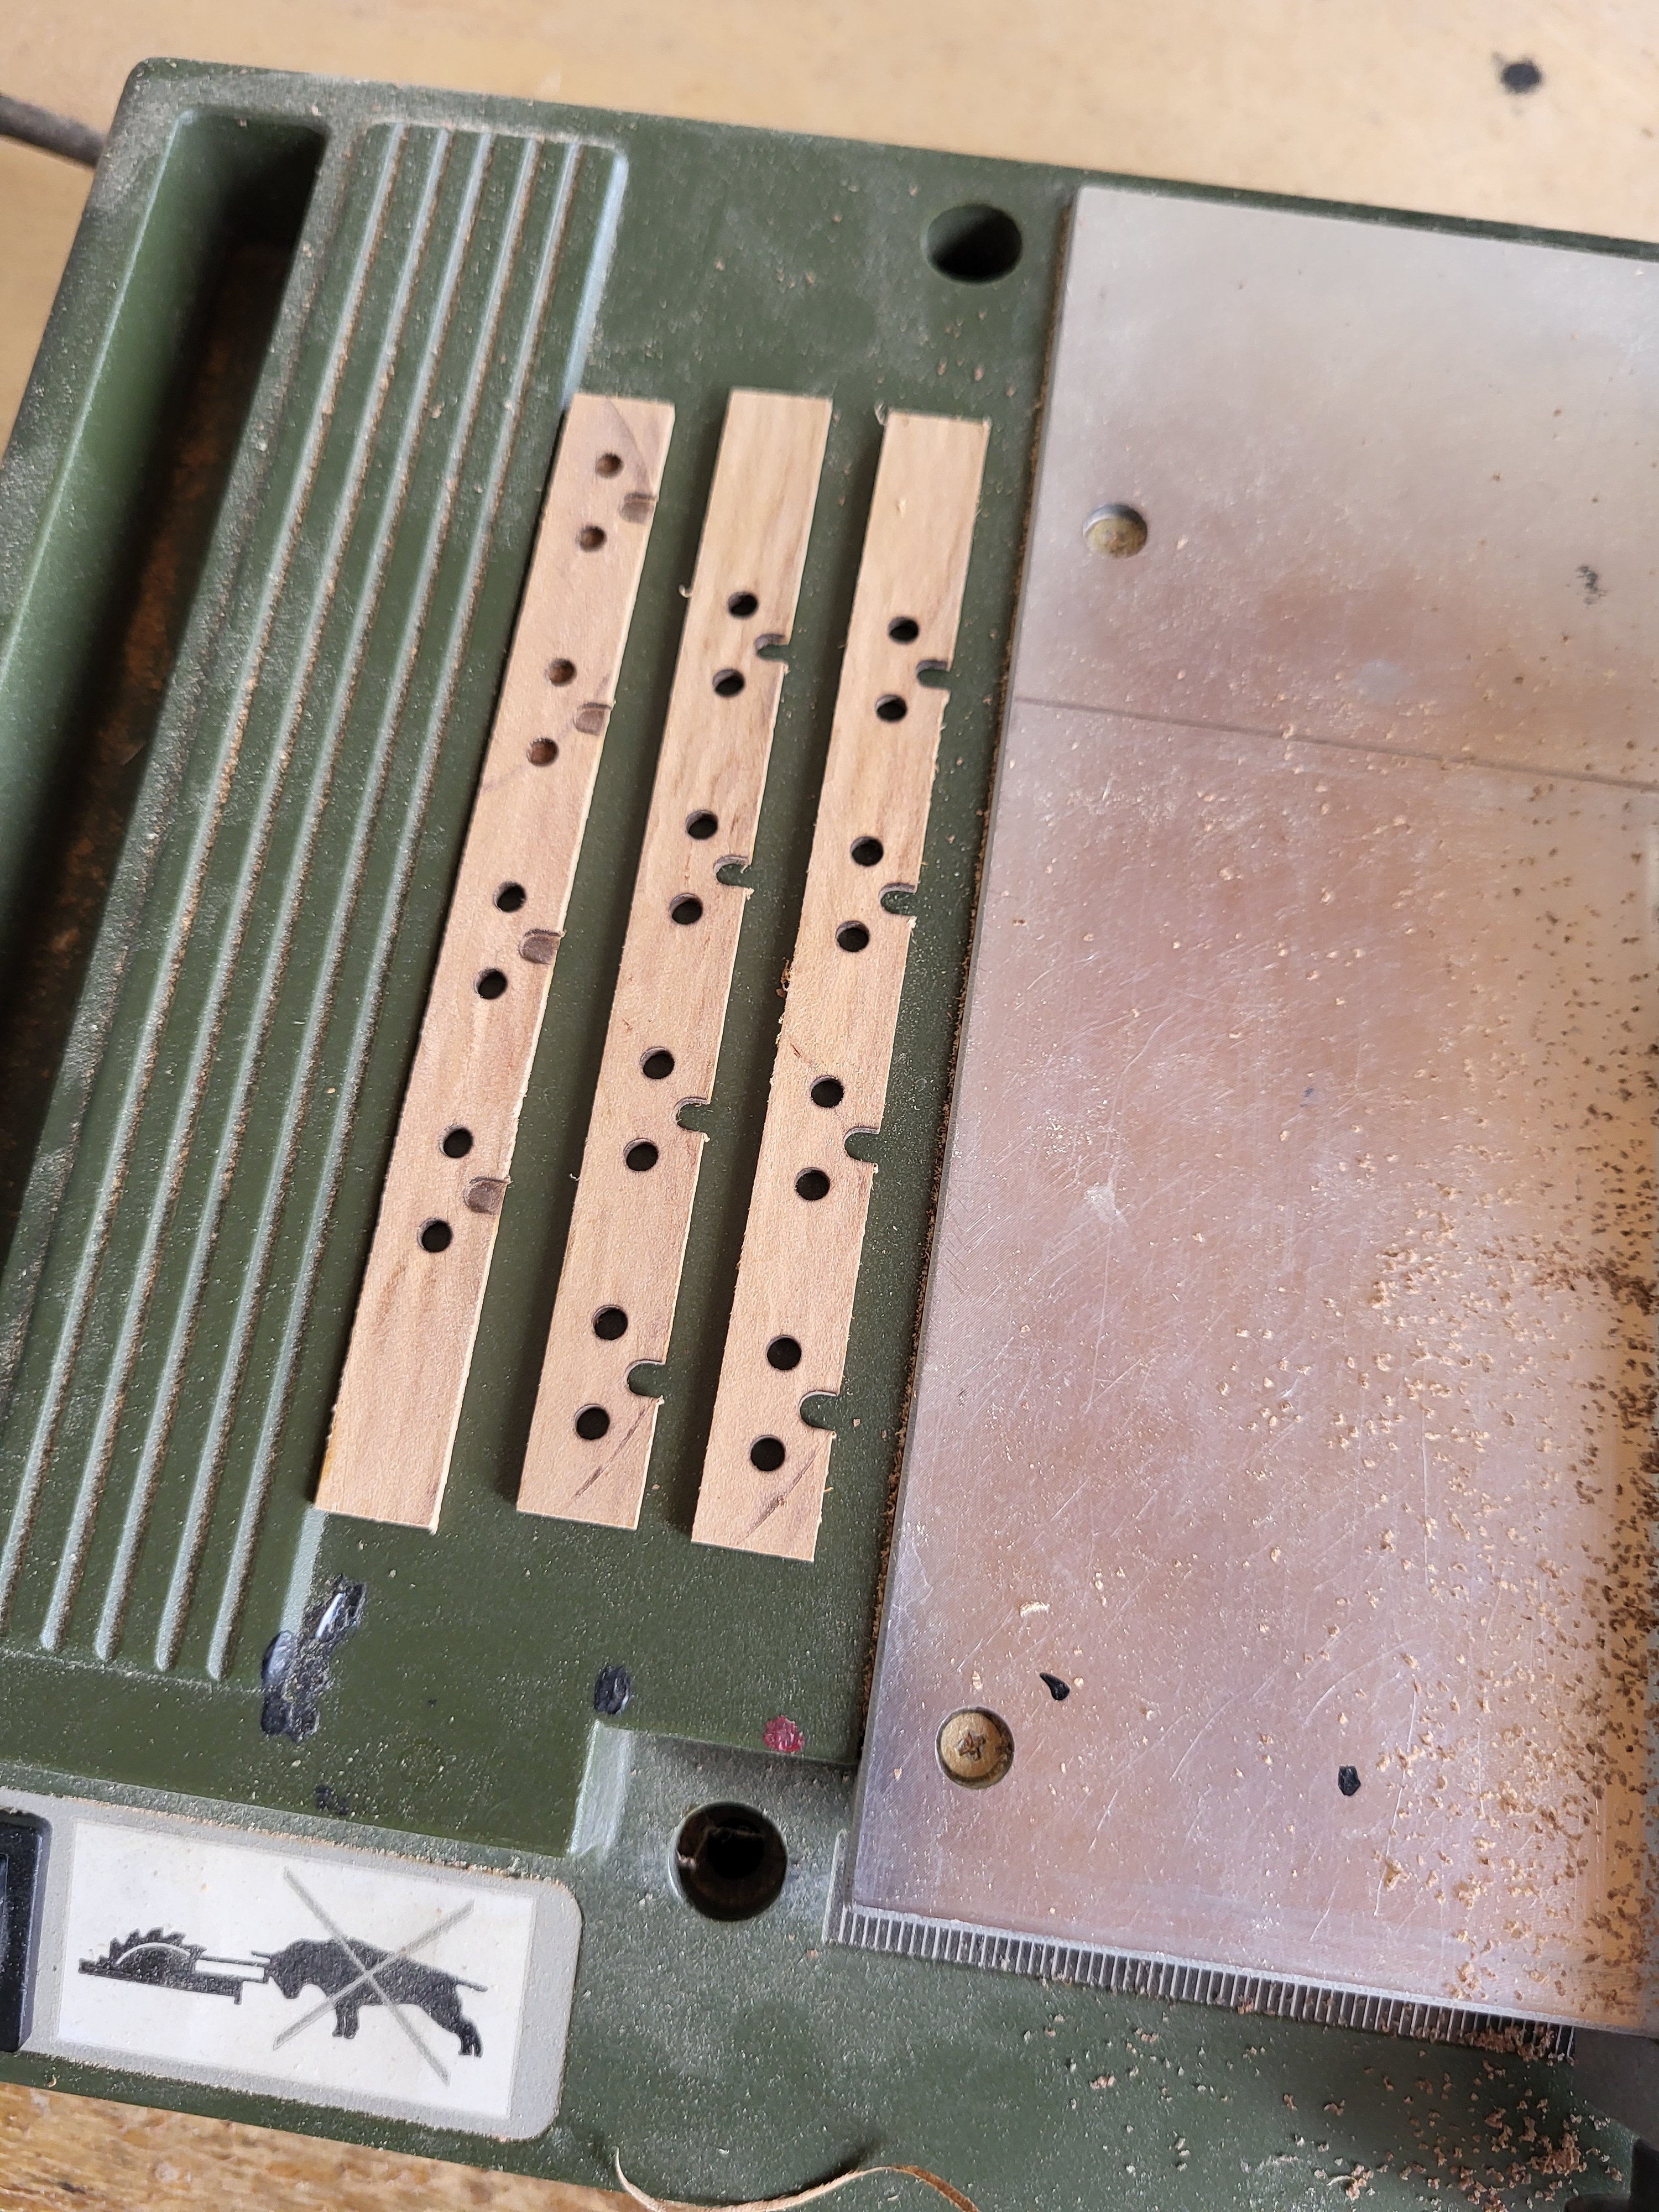
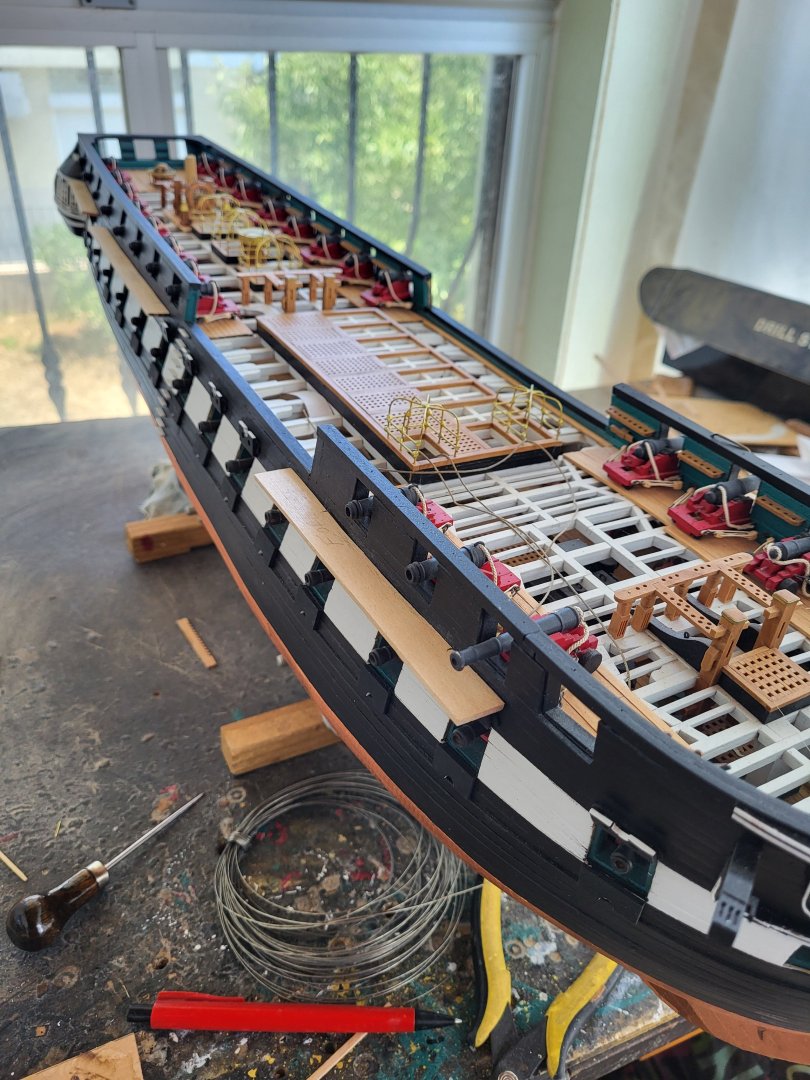
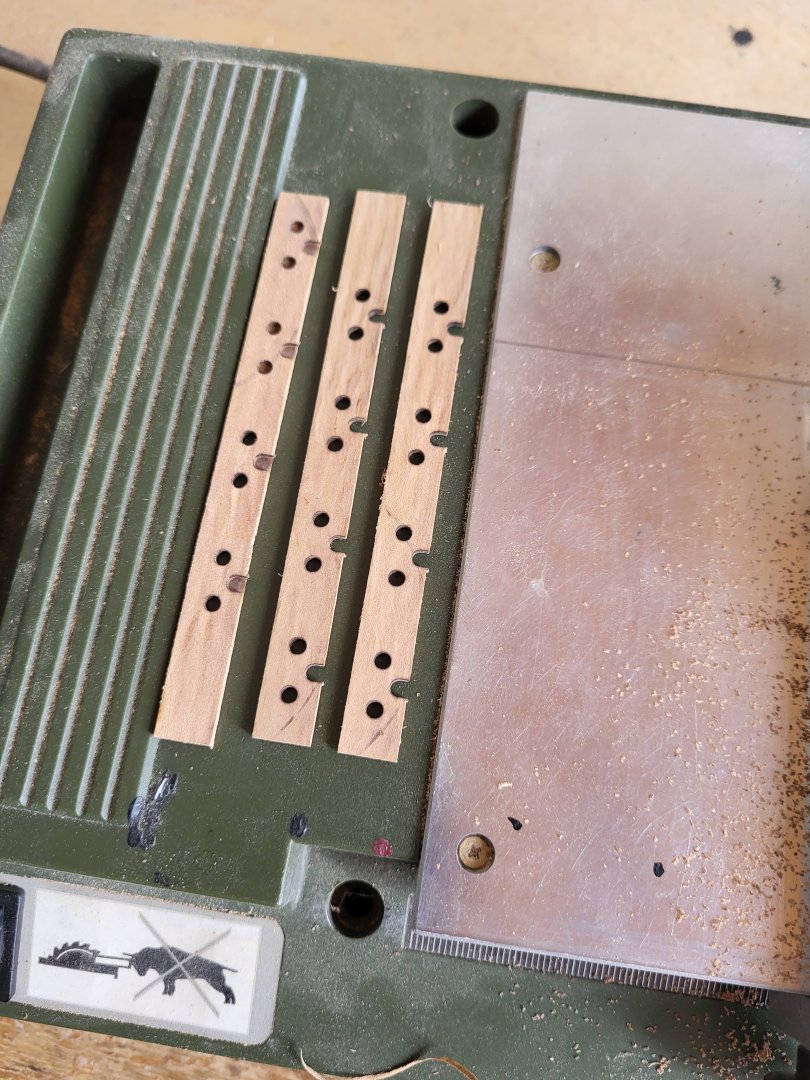
Based on the US Navy plans shared by Jon, I calculated the widths of the fore, main, and mizzen channels scaled to my model. These plans showed that all three channels have different widths. Accordingly, the fore channel is 16 mm wide, which is significantly wider than the main and mizzen channels. I don’t know the reason for this, but that’s how it is. I calculated the main channel to be 12 mm and the mizzen channel to be 11.2 mm. These measurements do not include the strip that will cover the chain plate slots. I cut the channels from 2.1 mm thick basswood sheet and temporarily attached them in place with pins. After marking the positions of the slots where the chain plates will be attached on the channels, I will remove them.


-
USS Constitution by mtbediz - 1:76
mtbediz replied to mtbediz's topic in - Build logs for subjects built 1751 - 1800
Thanks for your efforts, Jon. The navy plans will be sufficient for me to calculate the correct dimensions. Thanks again. -
USS Constitution by mtbediz - 1:76
mtbediz replied to mtbediz's topic in - Build logs for subjects built 1751 - 1800
Next Wednesday, I’ll be shutting down the shipyard again until September, Peter. I’m guessing you’ll catch up and surpass me easily. -
USS Constitution by mtbediz - 1:76
mtbediz replied to mtbediz's topic in - Build logs for subjects built 1751 - 1800
Thank you Jon. I've reviewed the plans again, and yes, there are some details, but I couldn't find any information or drawings regarding the width and thickness of the channels, which is what I need. I’d be grateful if anyone who can see these dimensions could let me know. -
USS Constitution by mtbediz - 1:76
mtbediz replied to mtbediz's topic in - Build logs for subjects built 1751 - 1800
Hello friends. I couldn't see the channel drawings in the MS kit plan sheets. Do they really not exist or am I just not finding them? Thanks. -
Your attention to detail is truly admirable. As for me, I just don’t have the patience to wrestle with tiny details, and I tend to dodge them whenever I can.
-
USS Constitution by mtbediz - 1:76
mtbediz replied to mtbediz's topic in - Build logs for subjects built 1751 - 1800
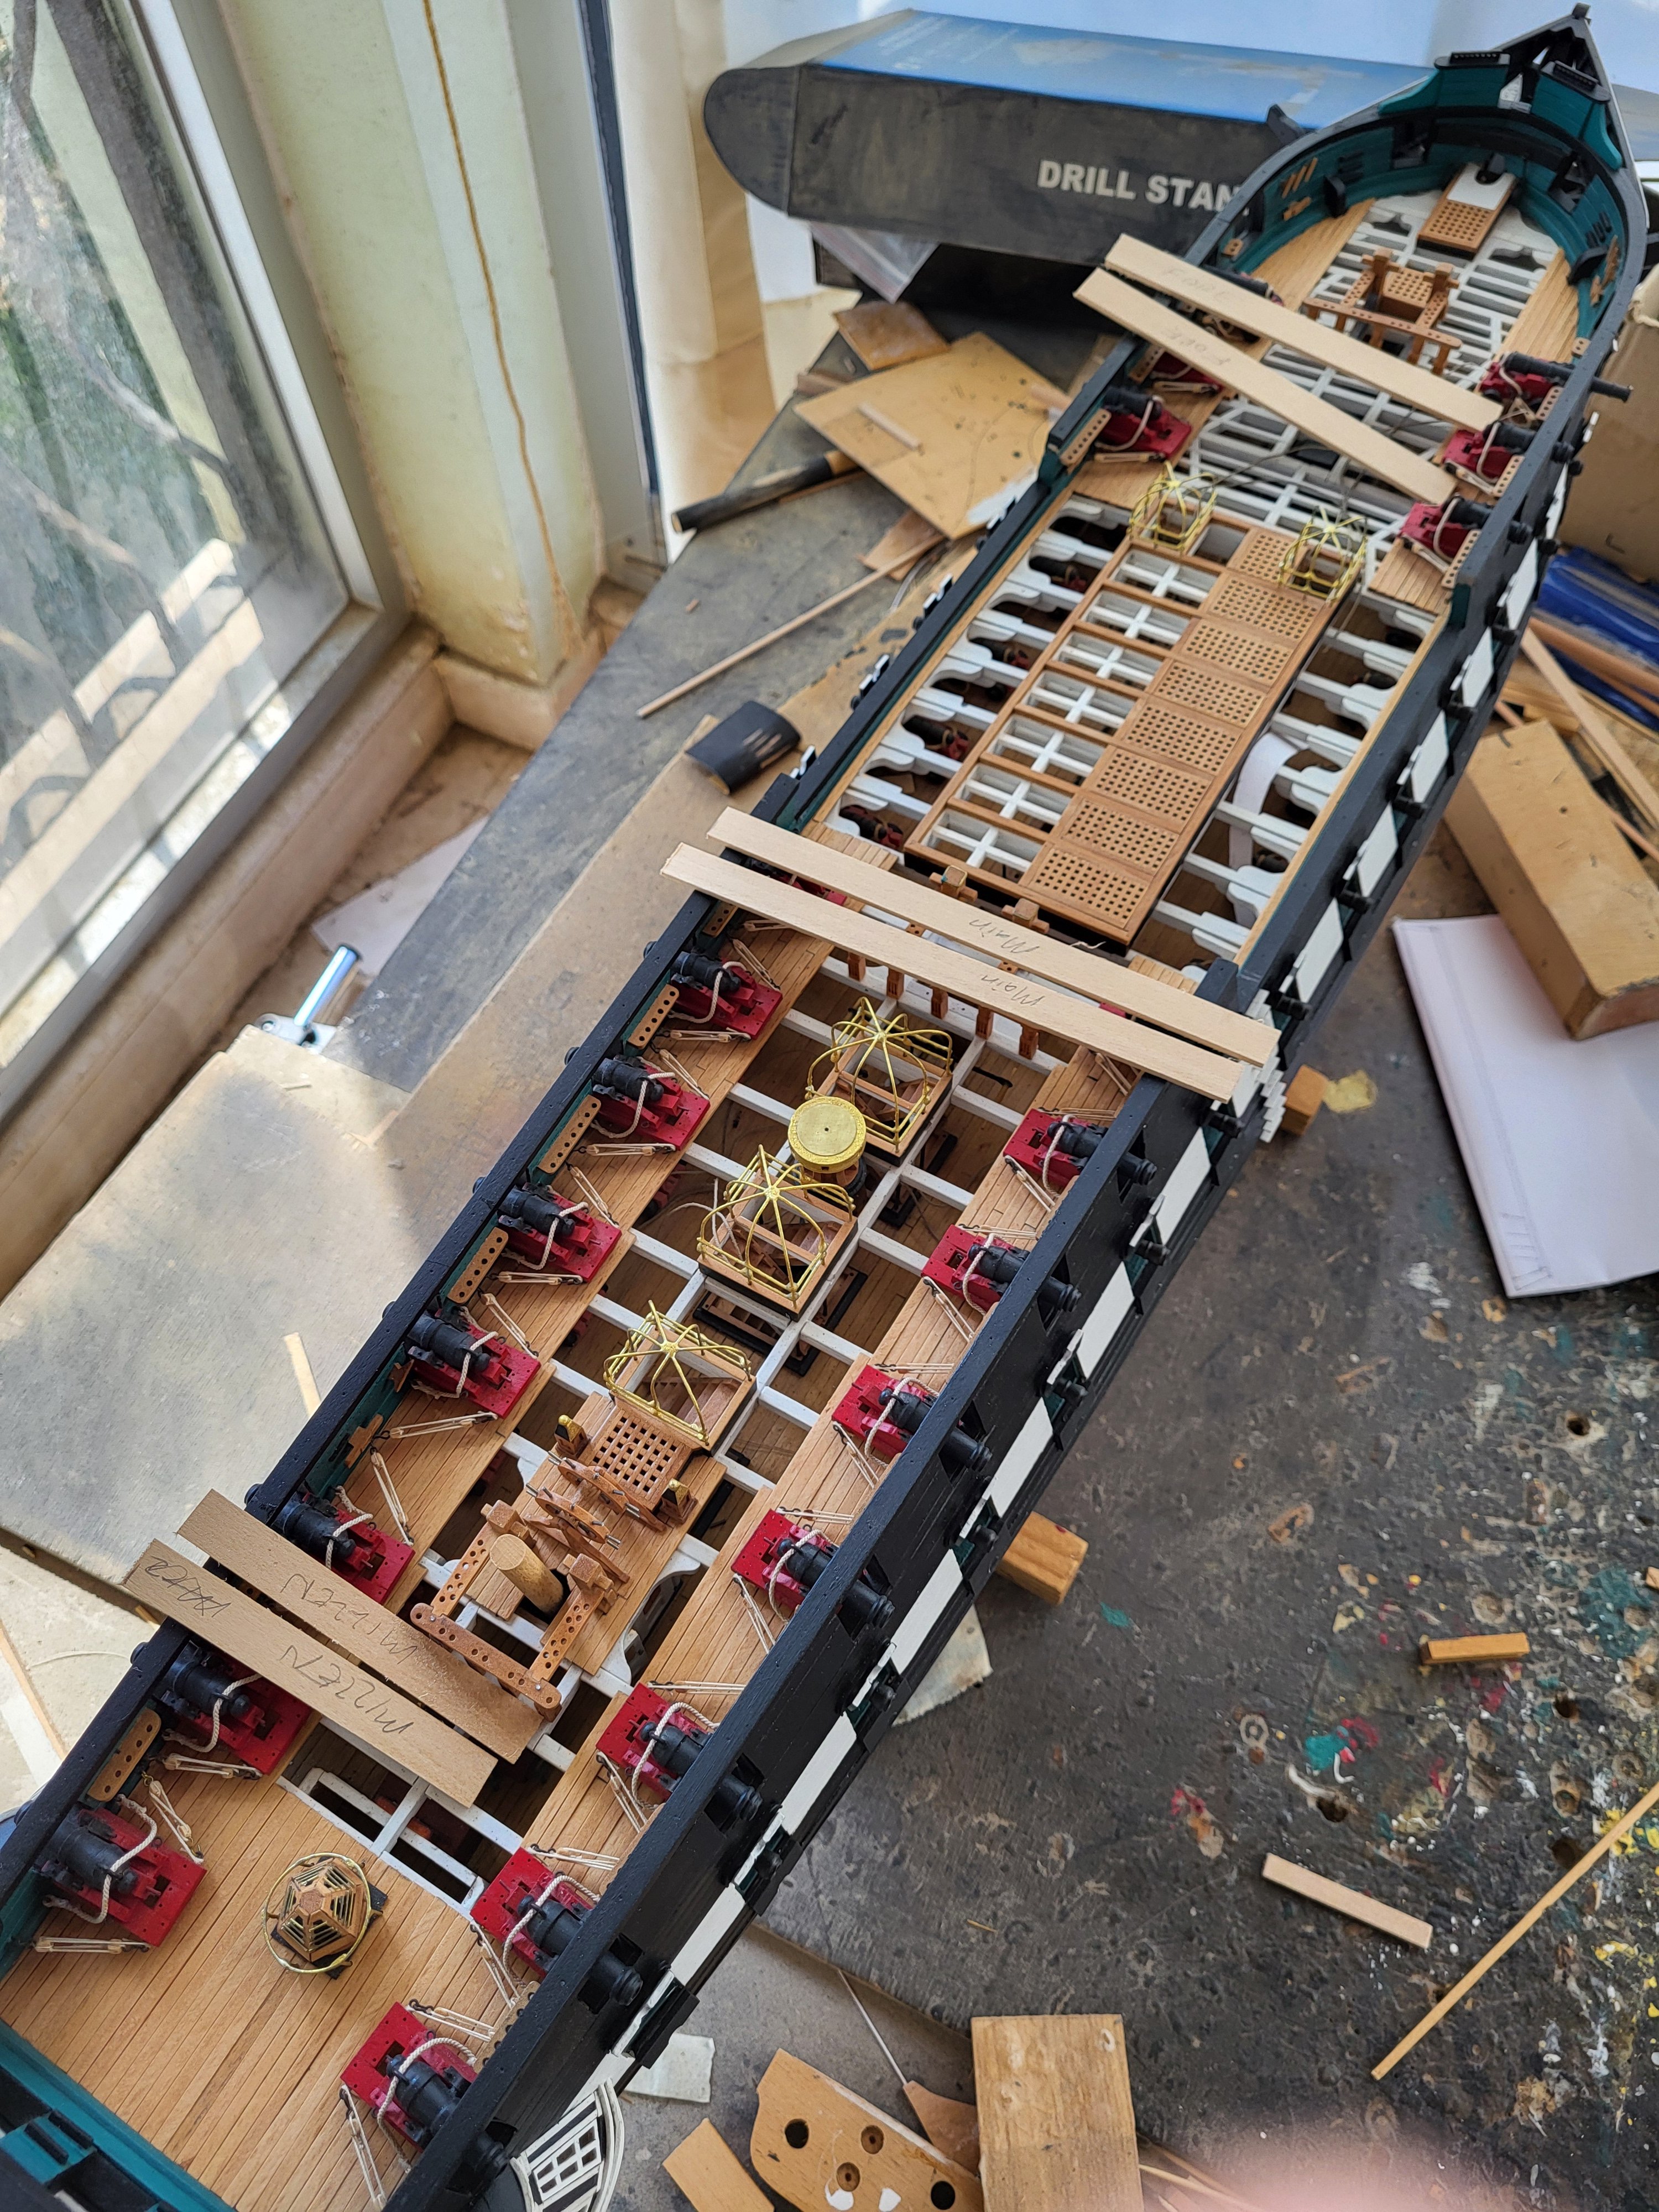
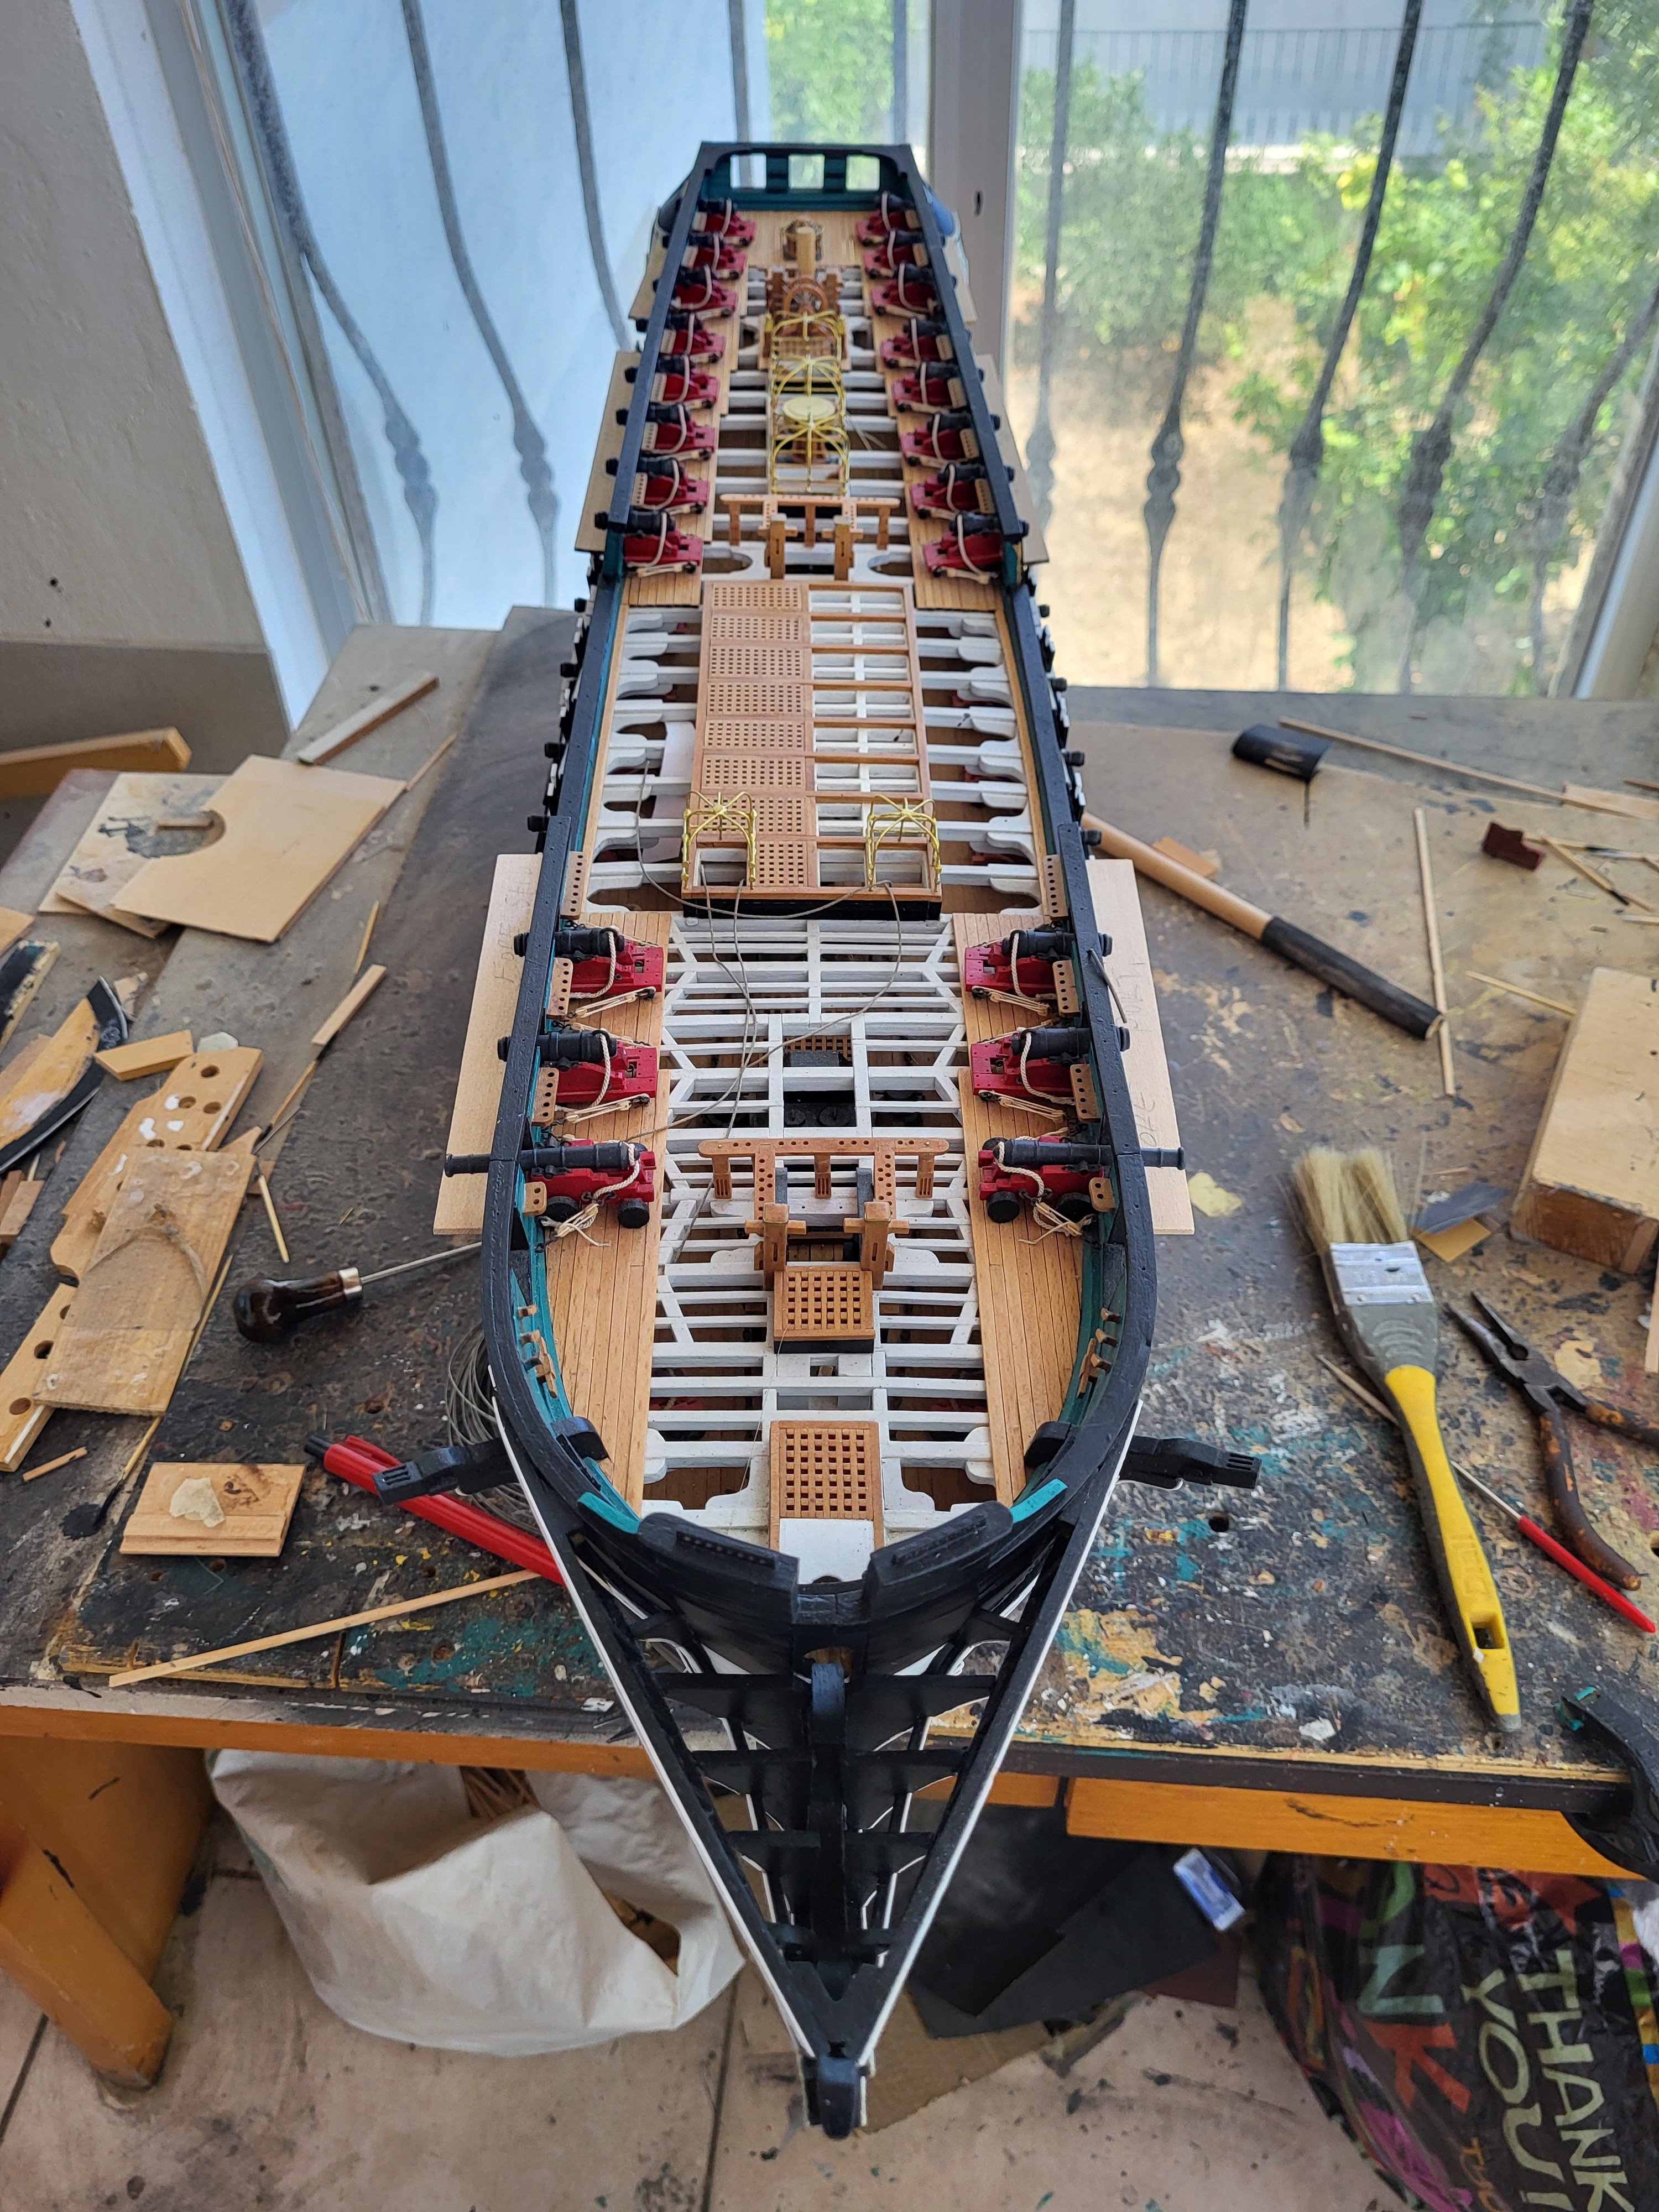
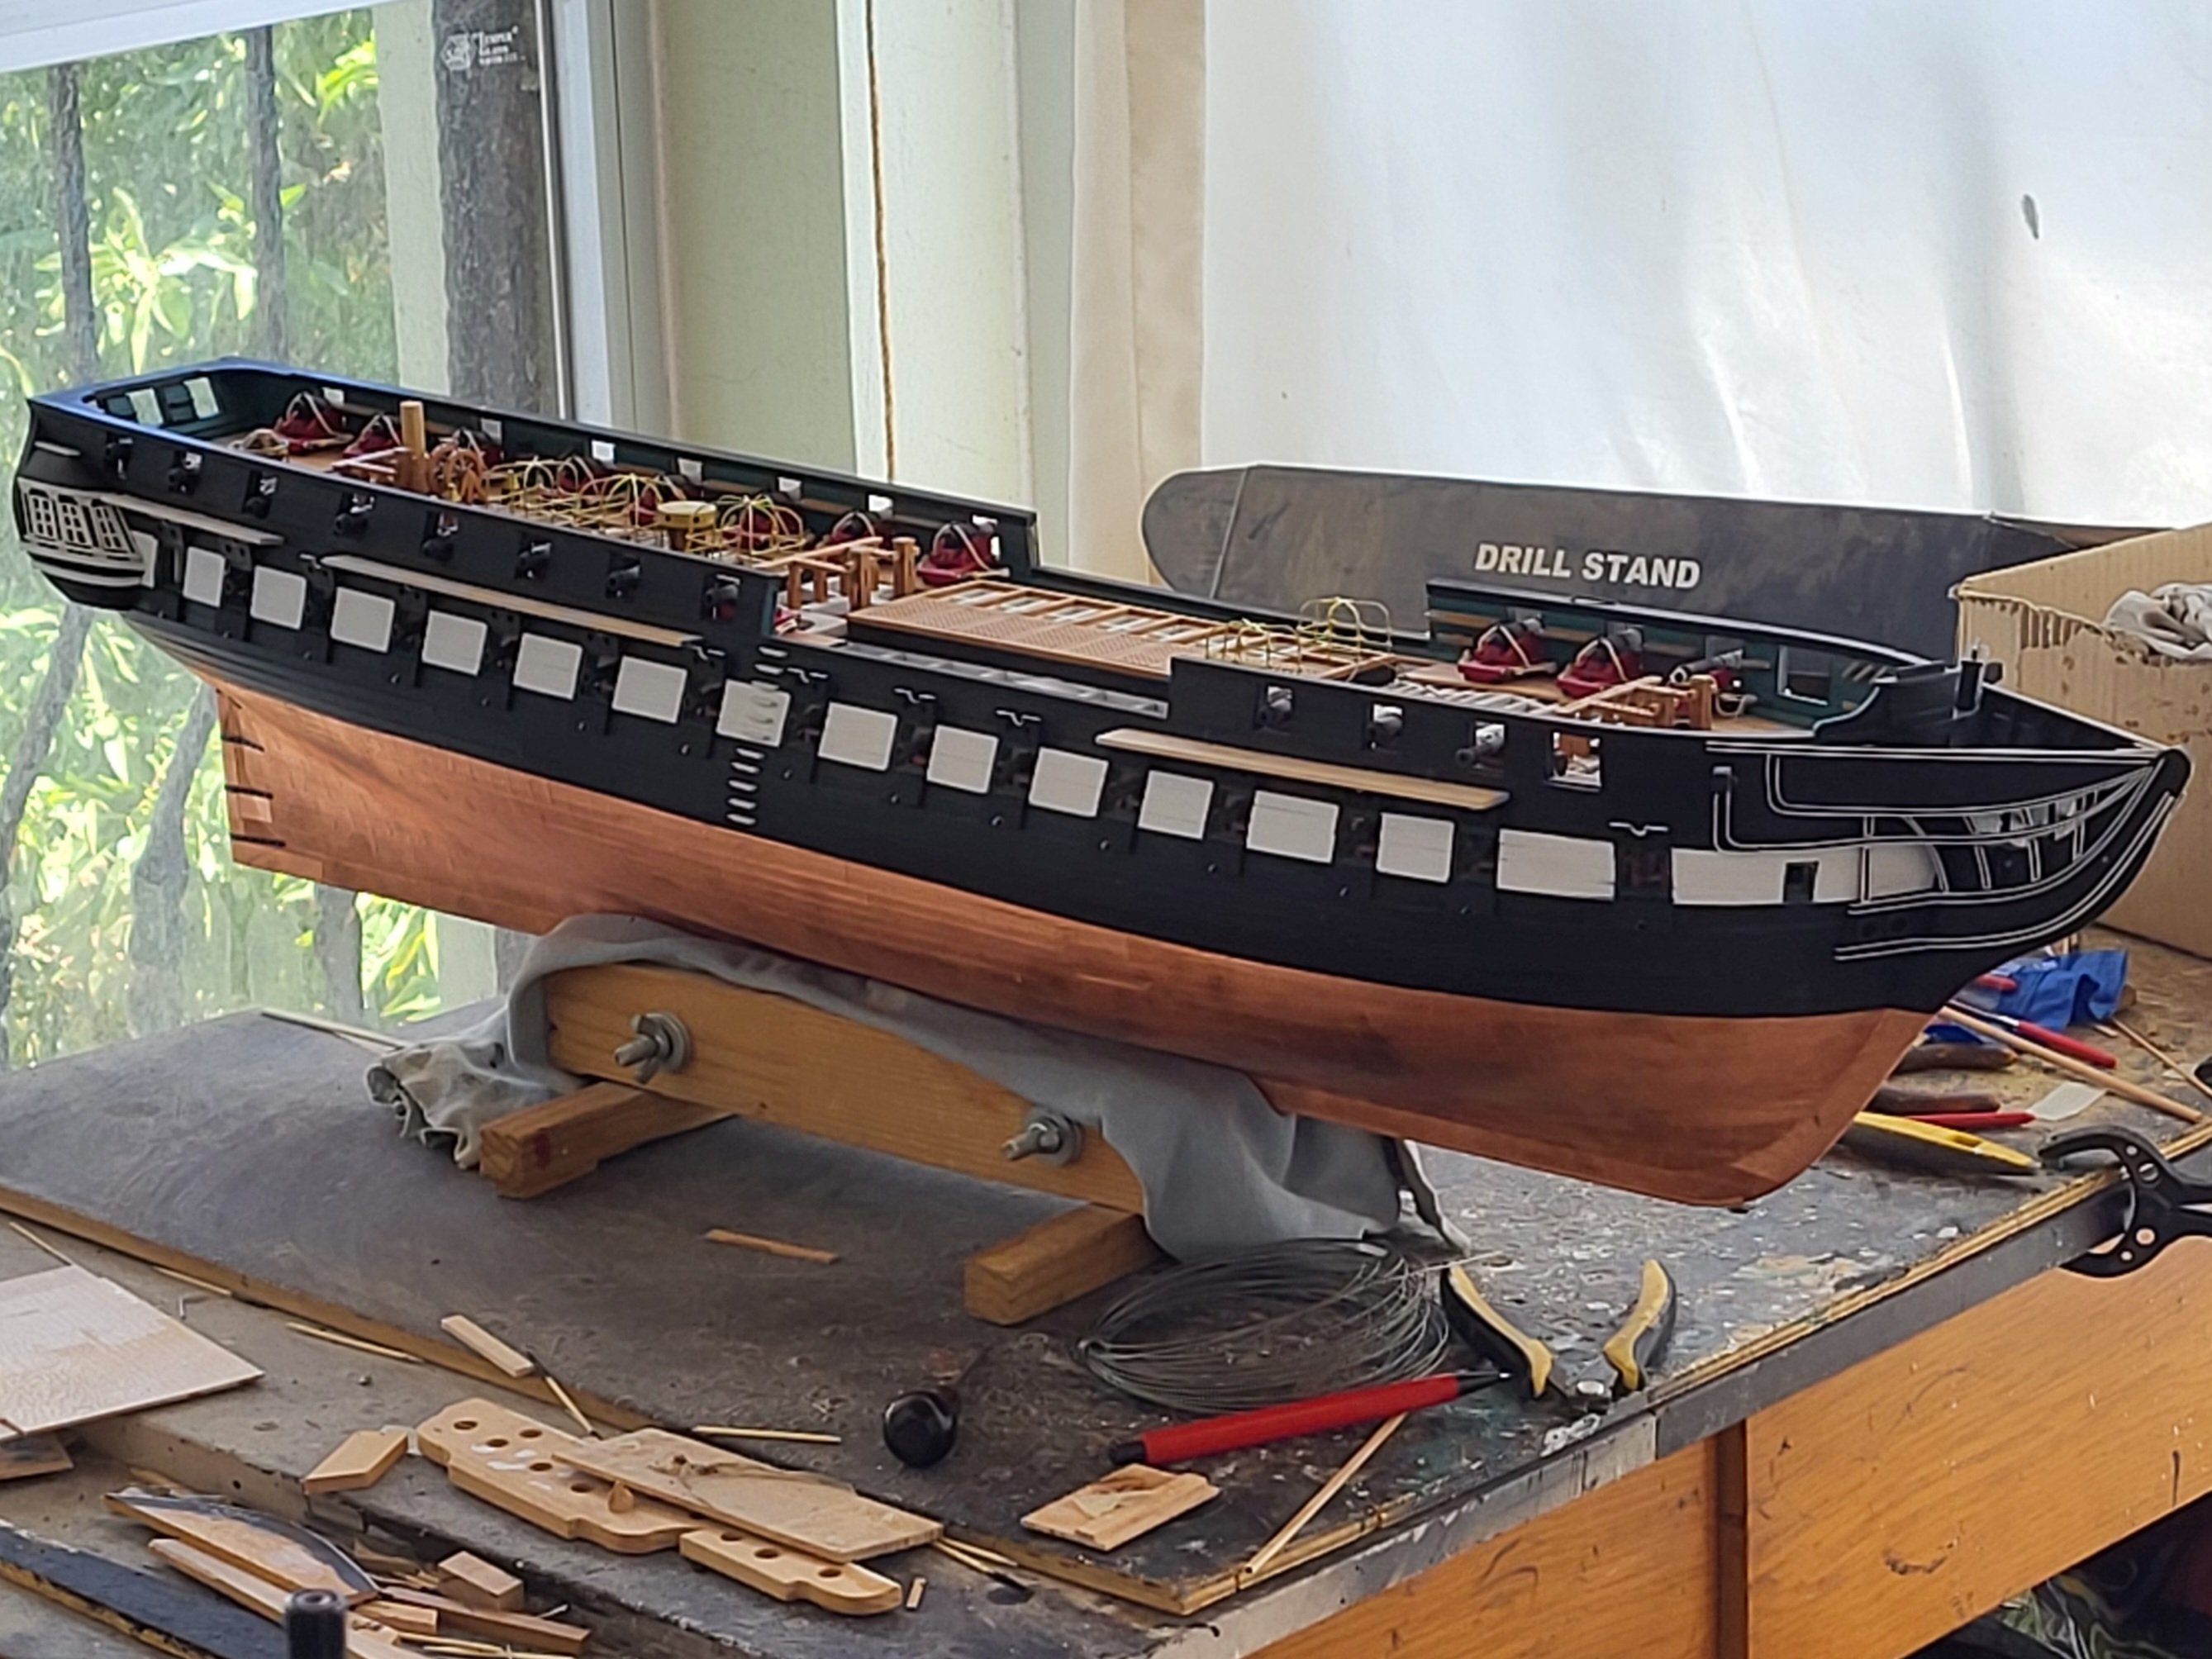
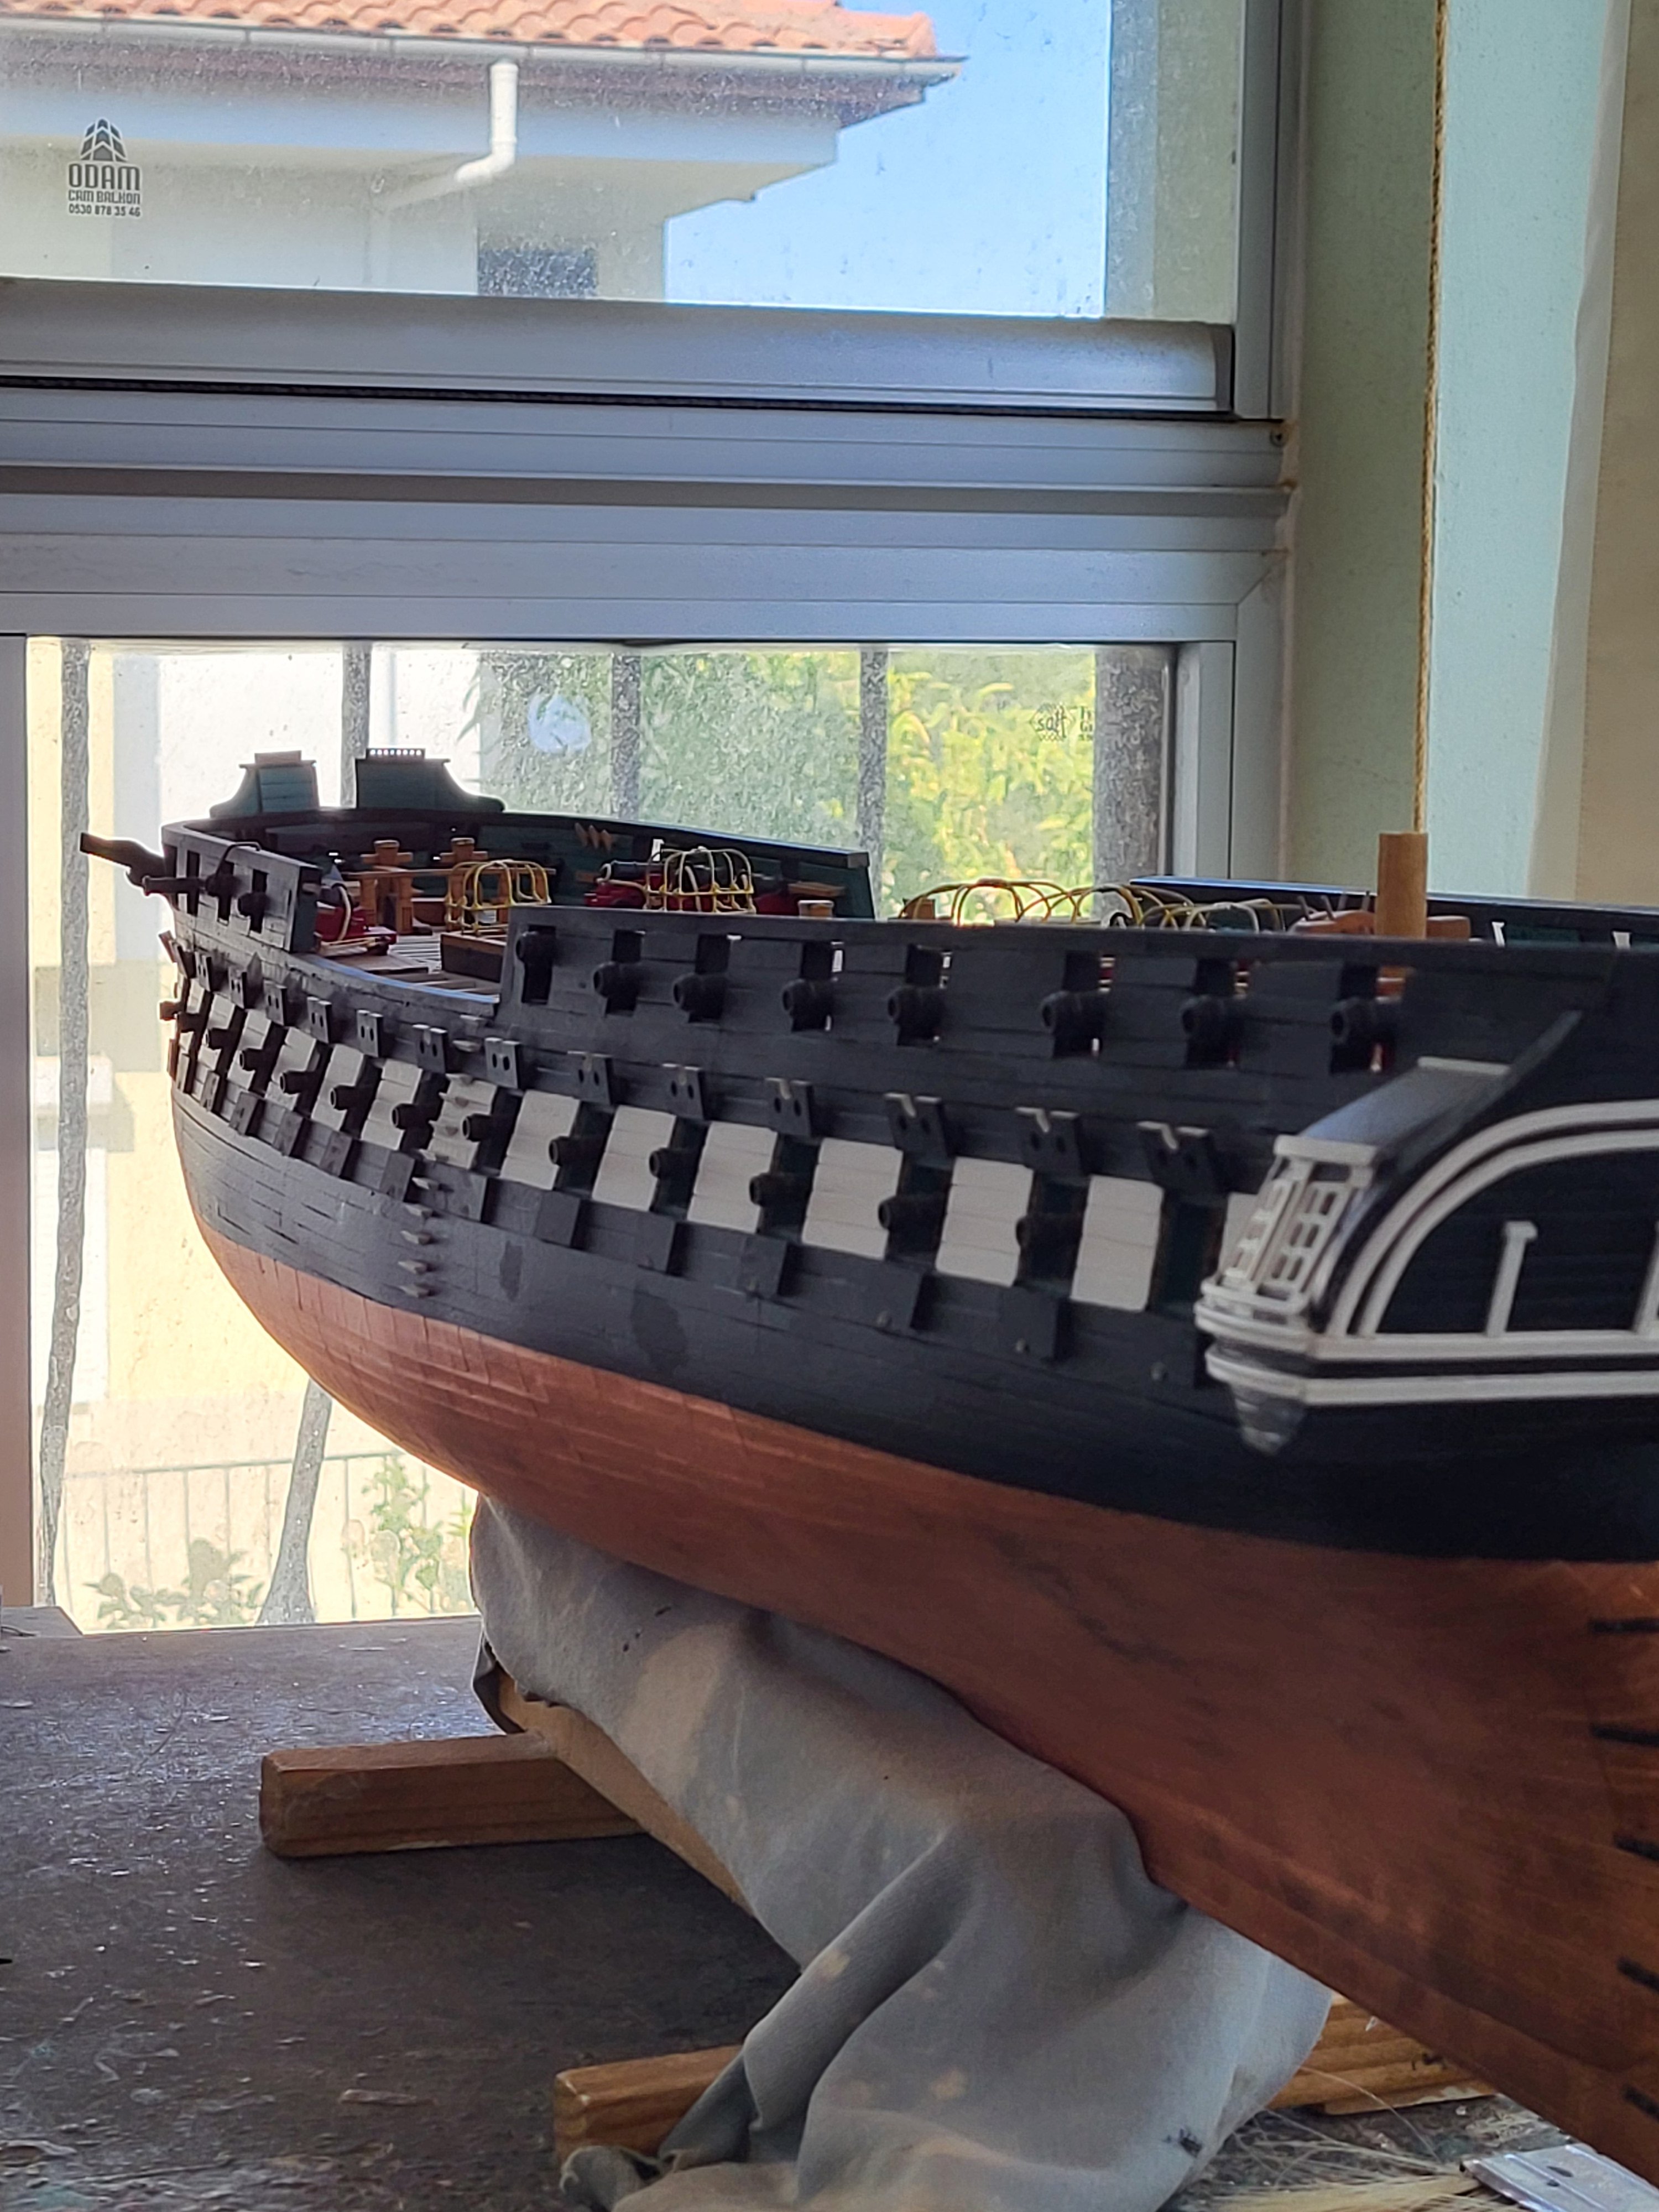
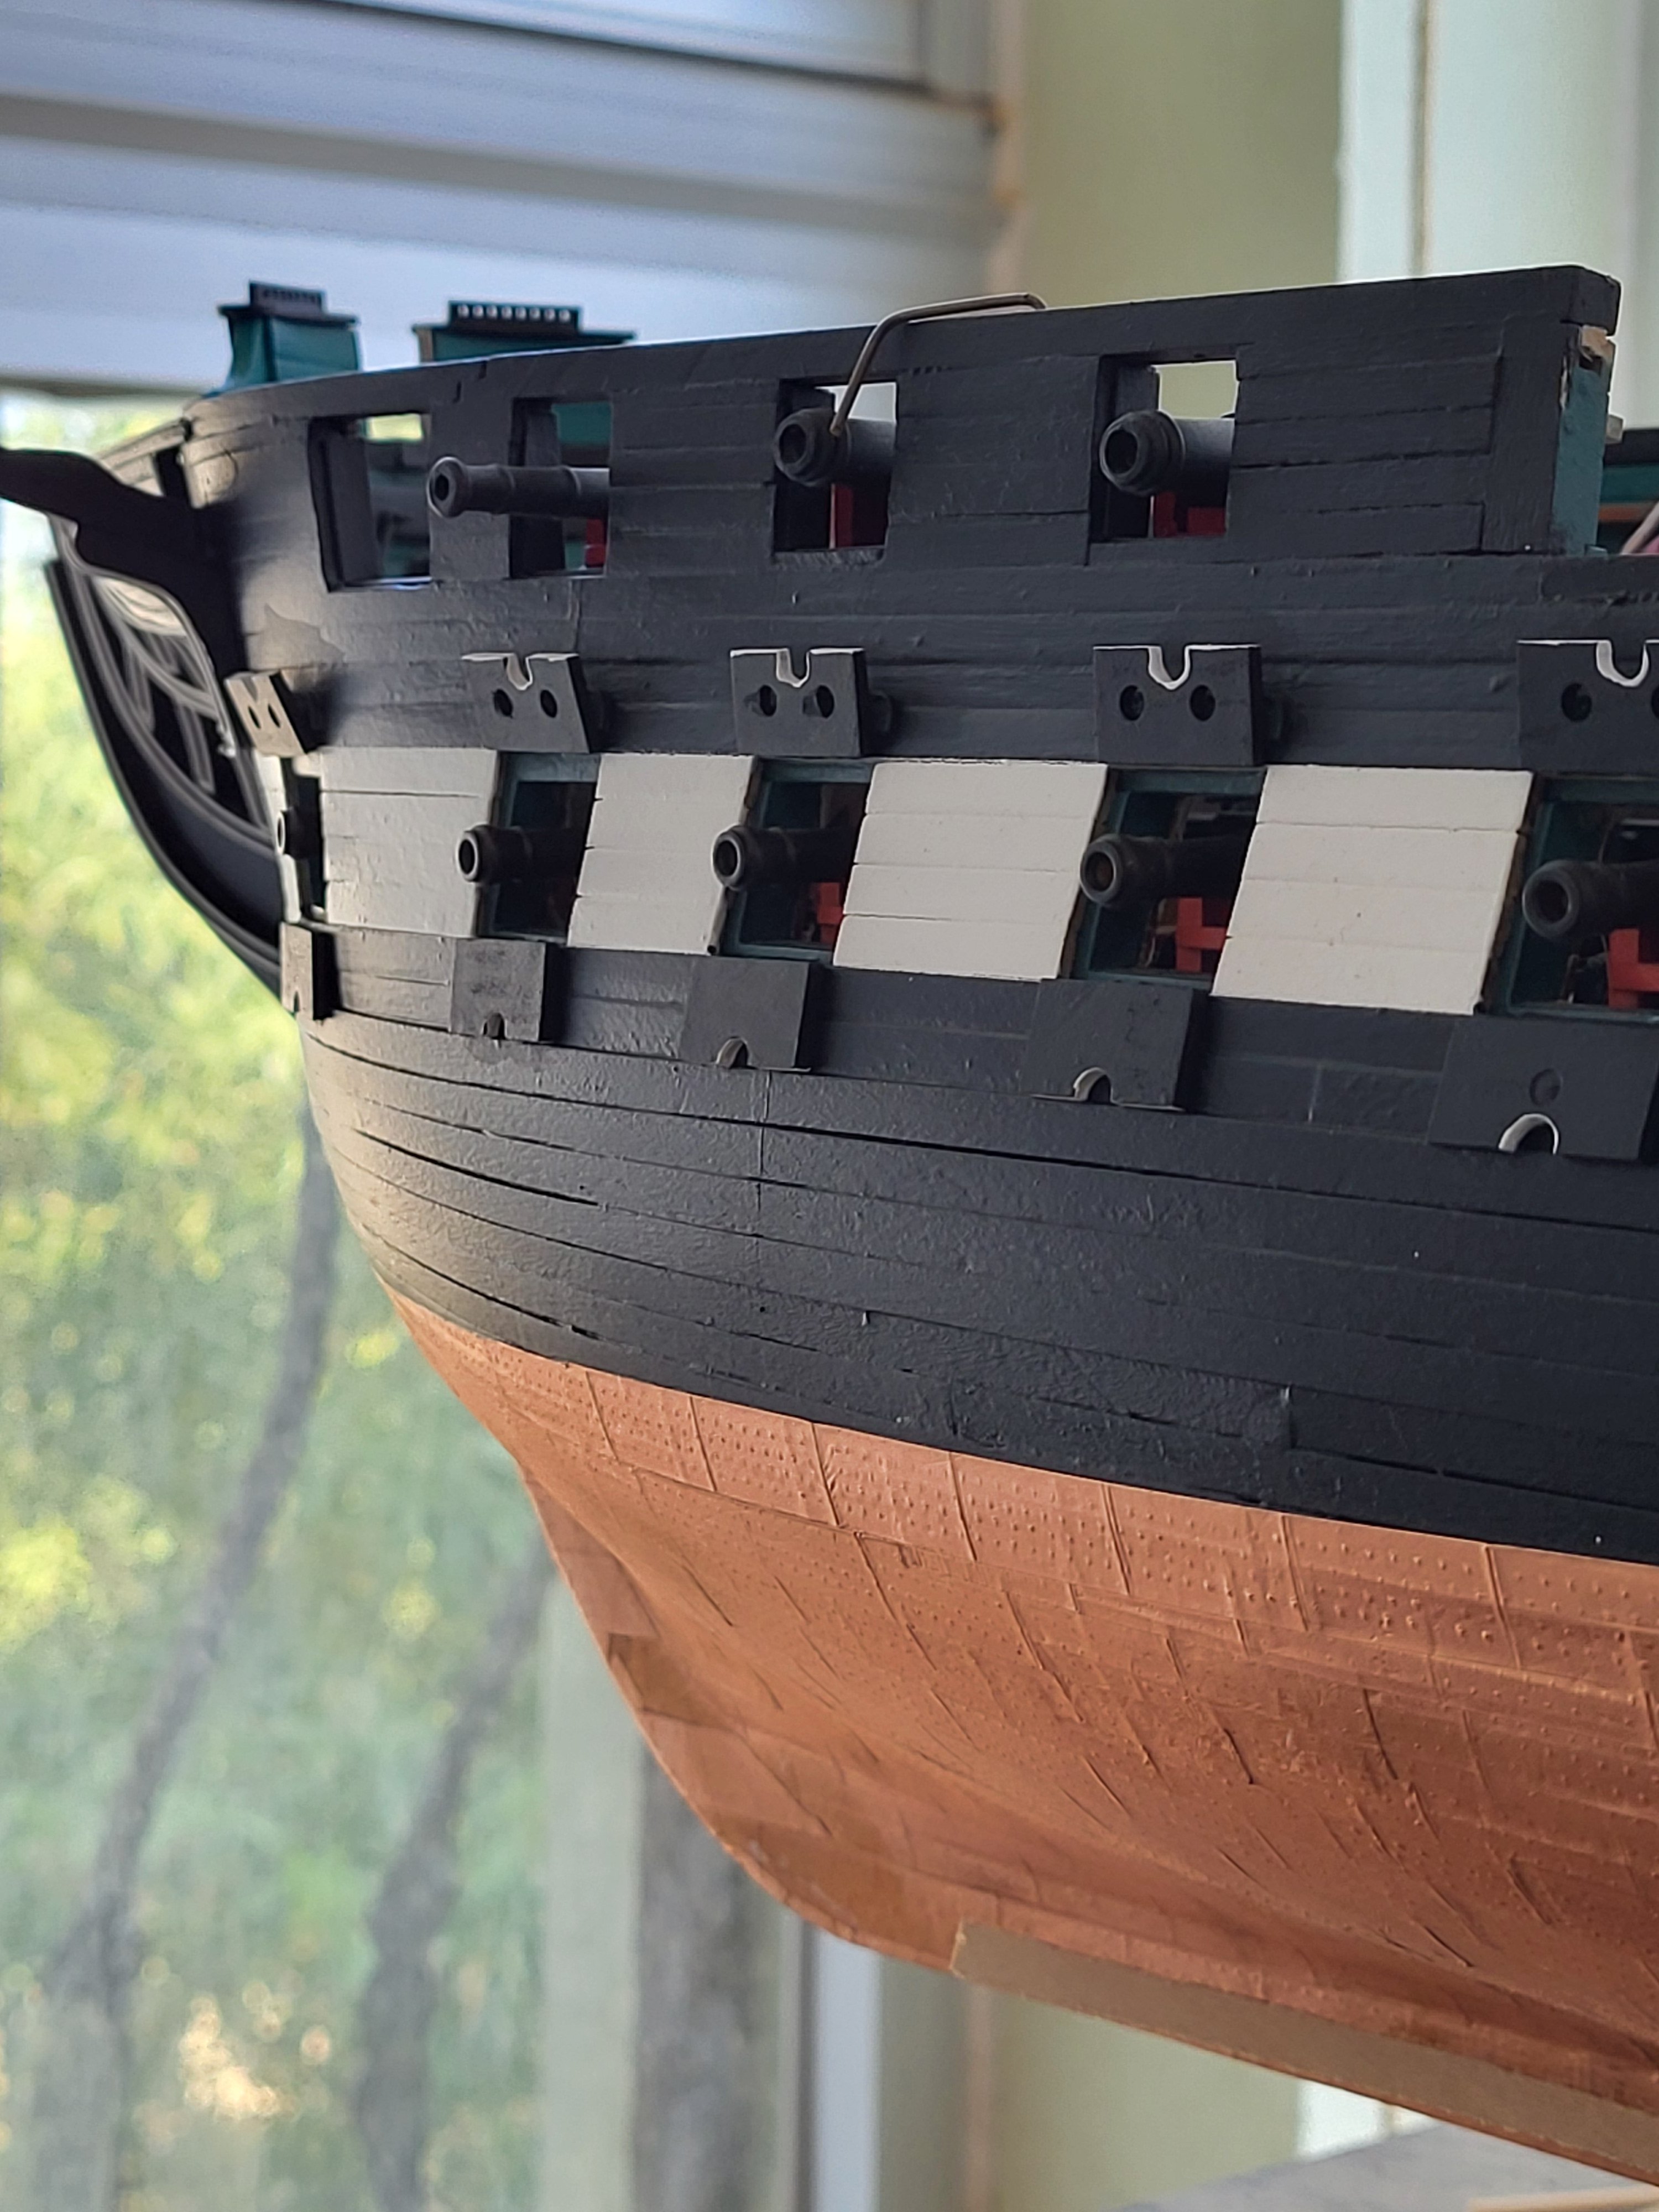
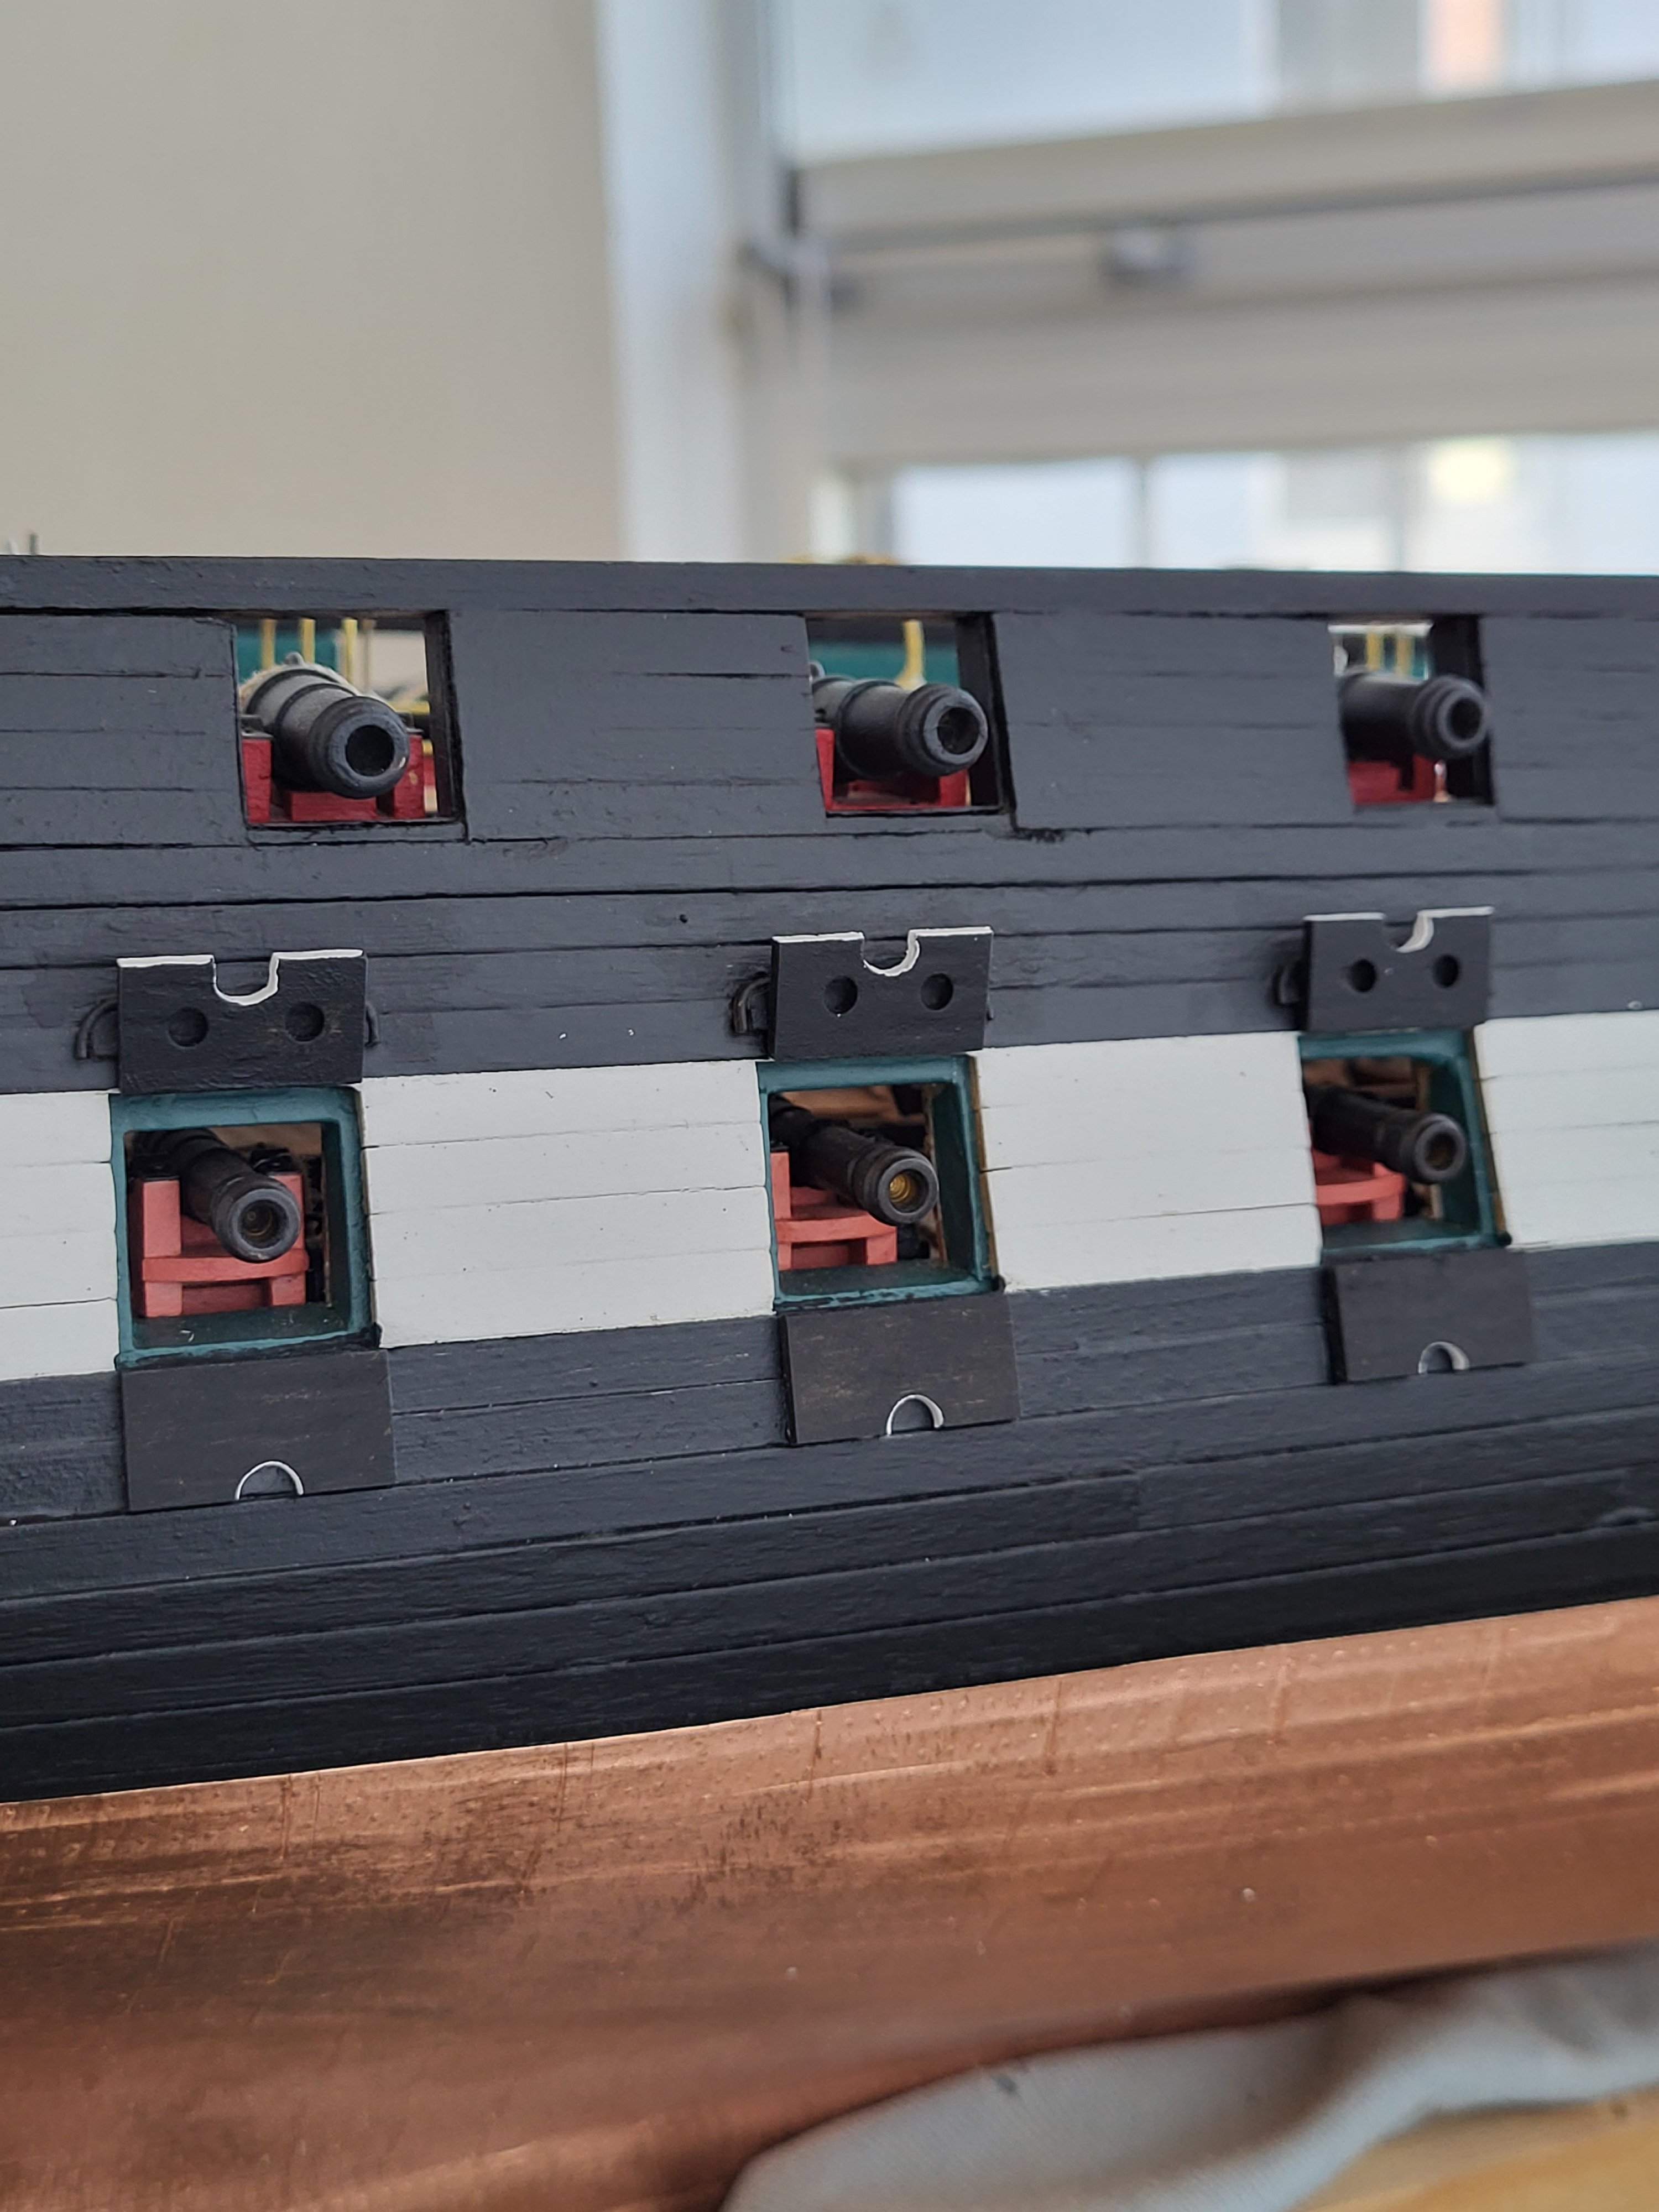
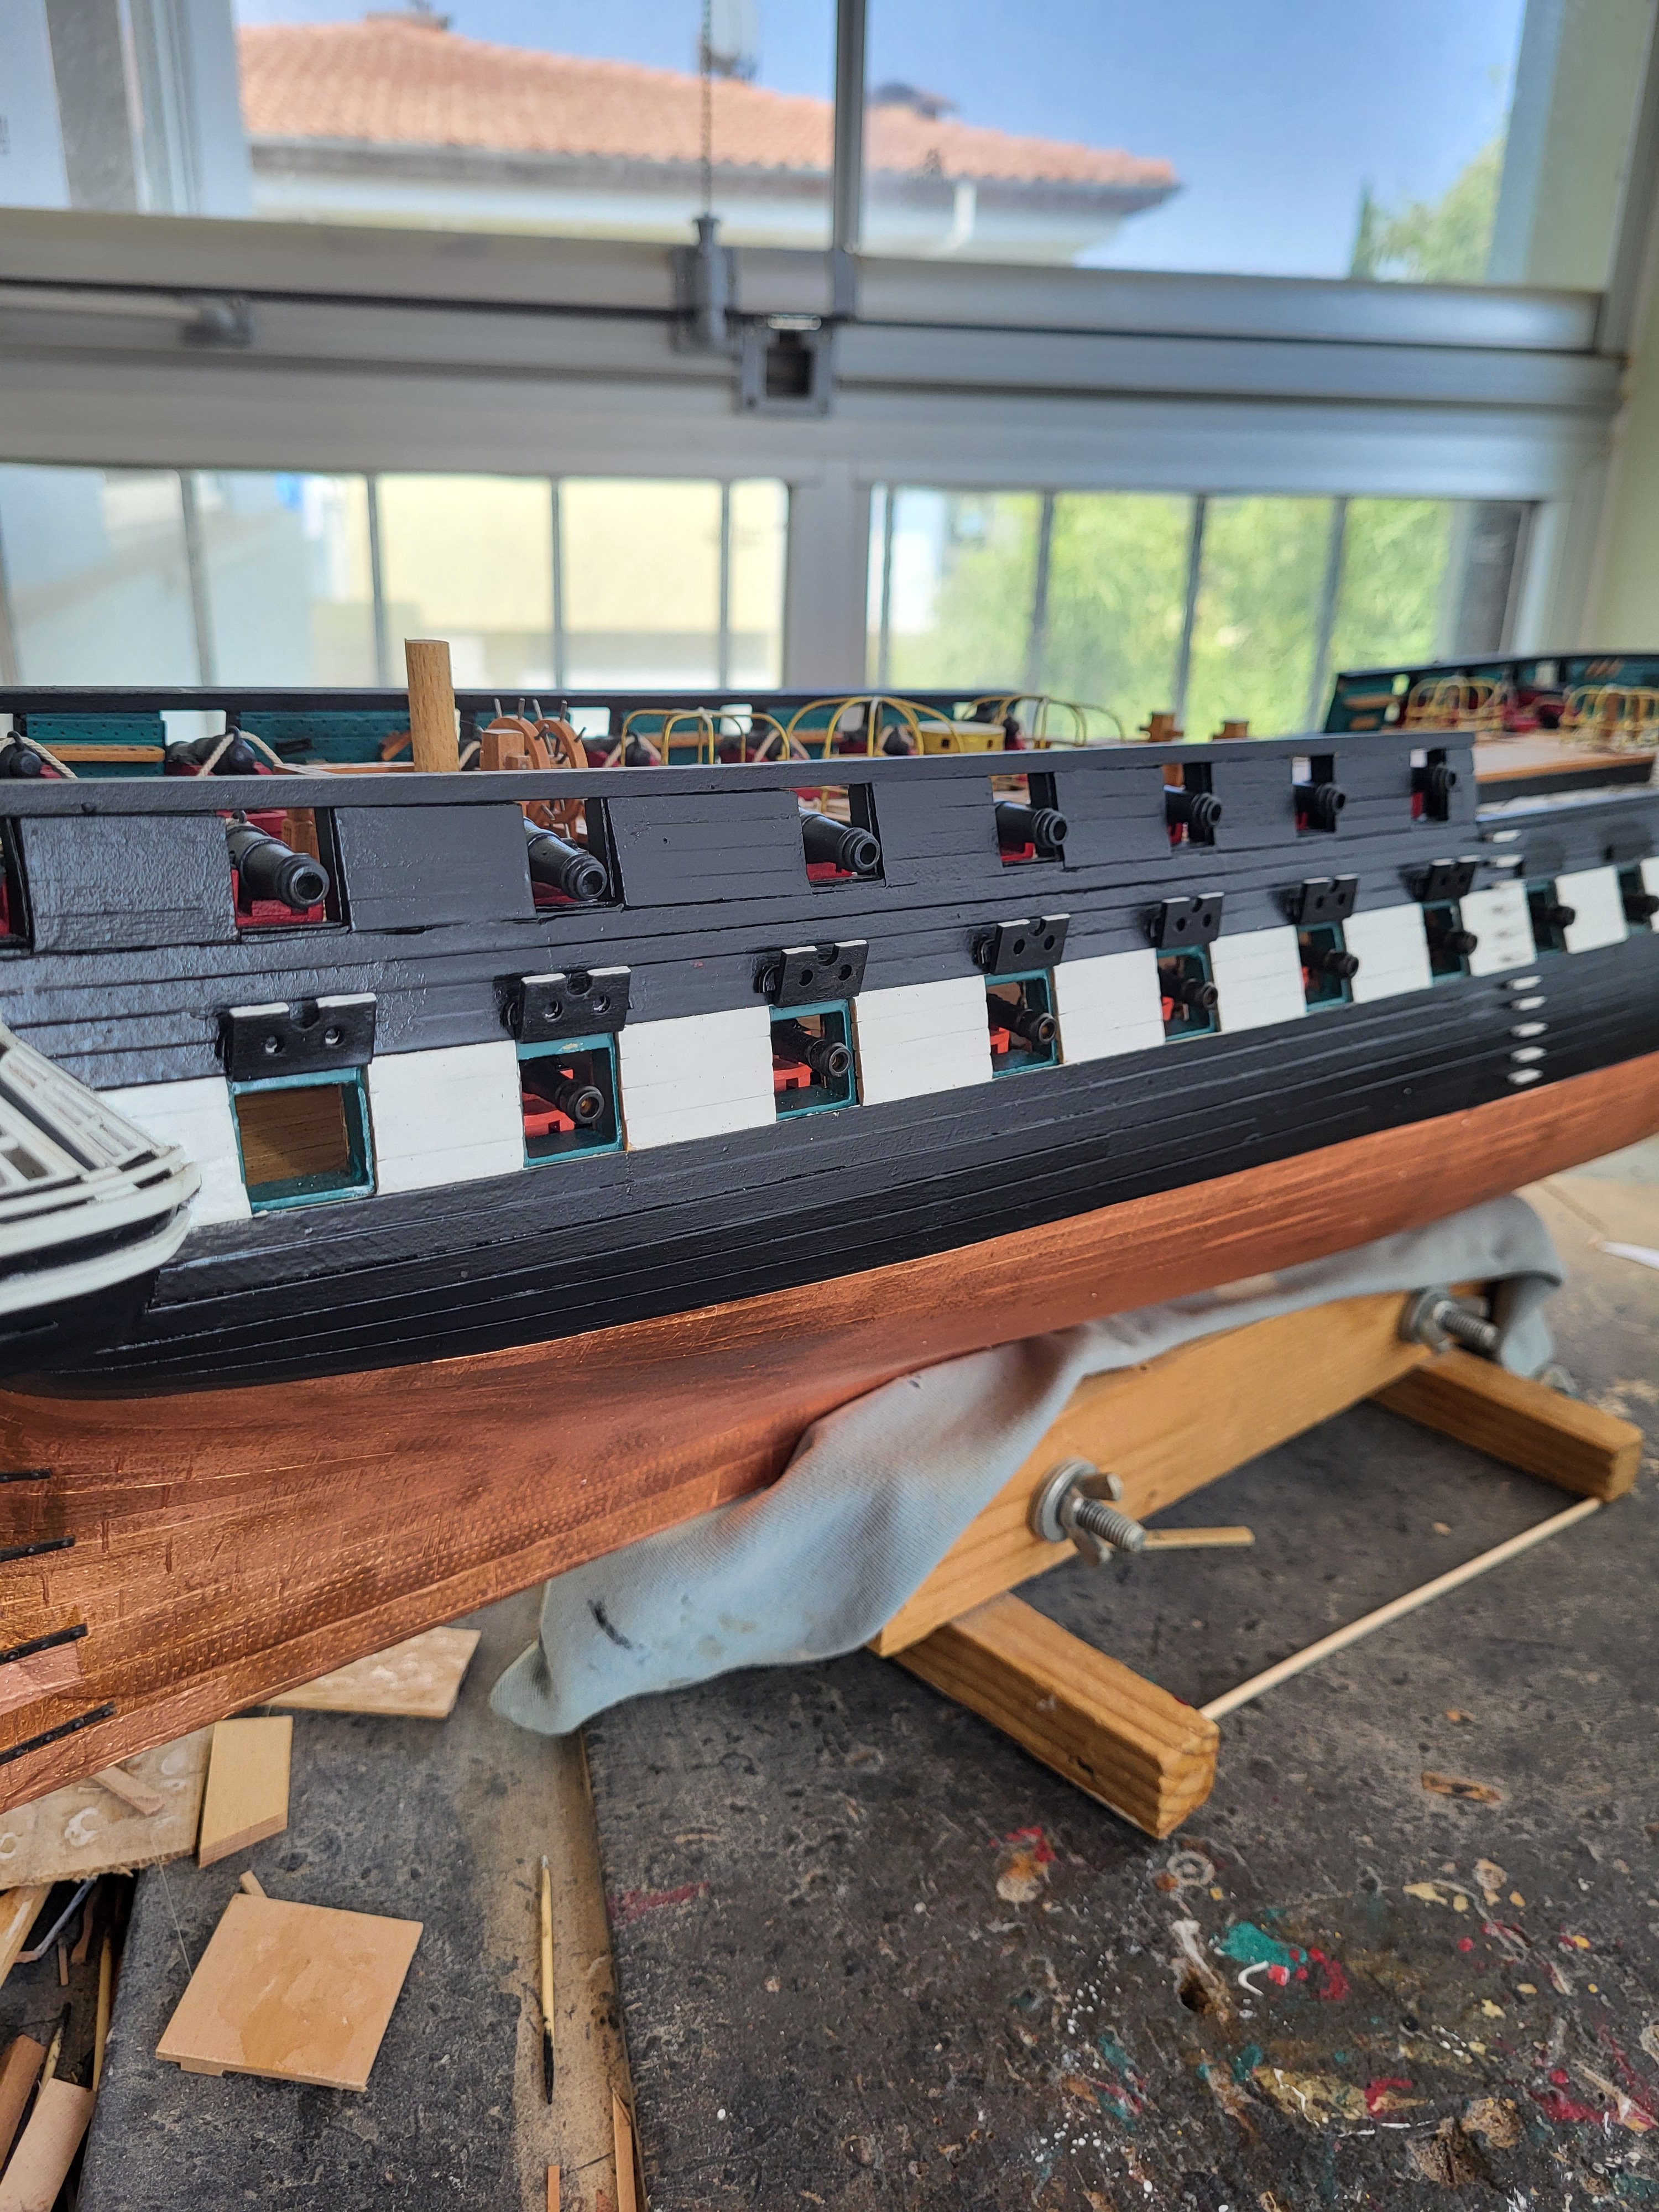
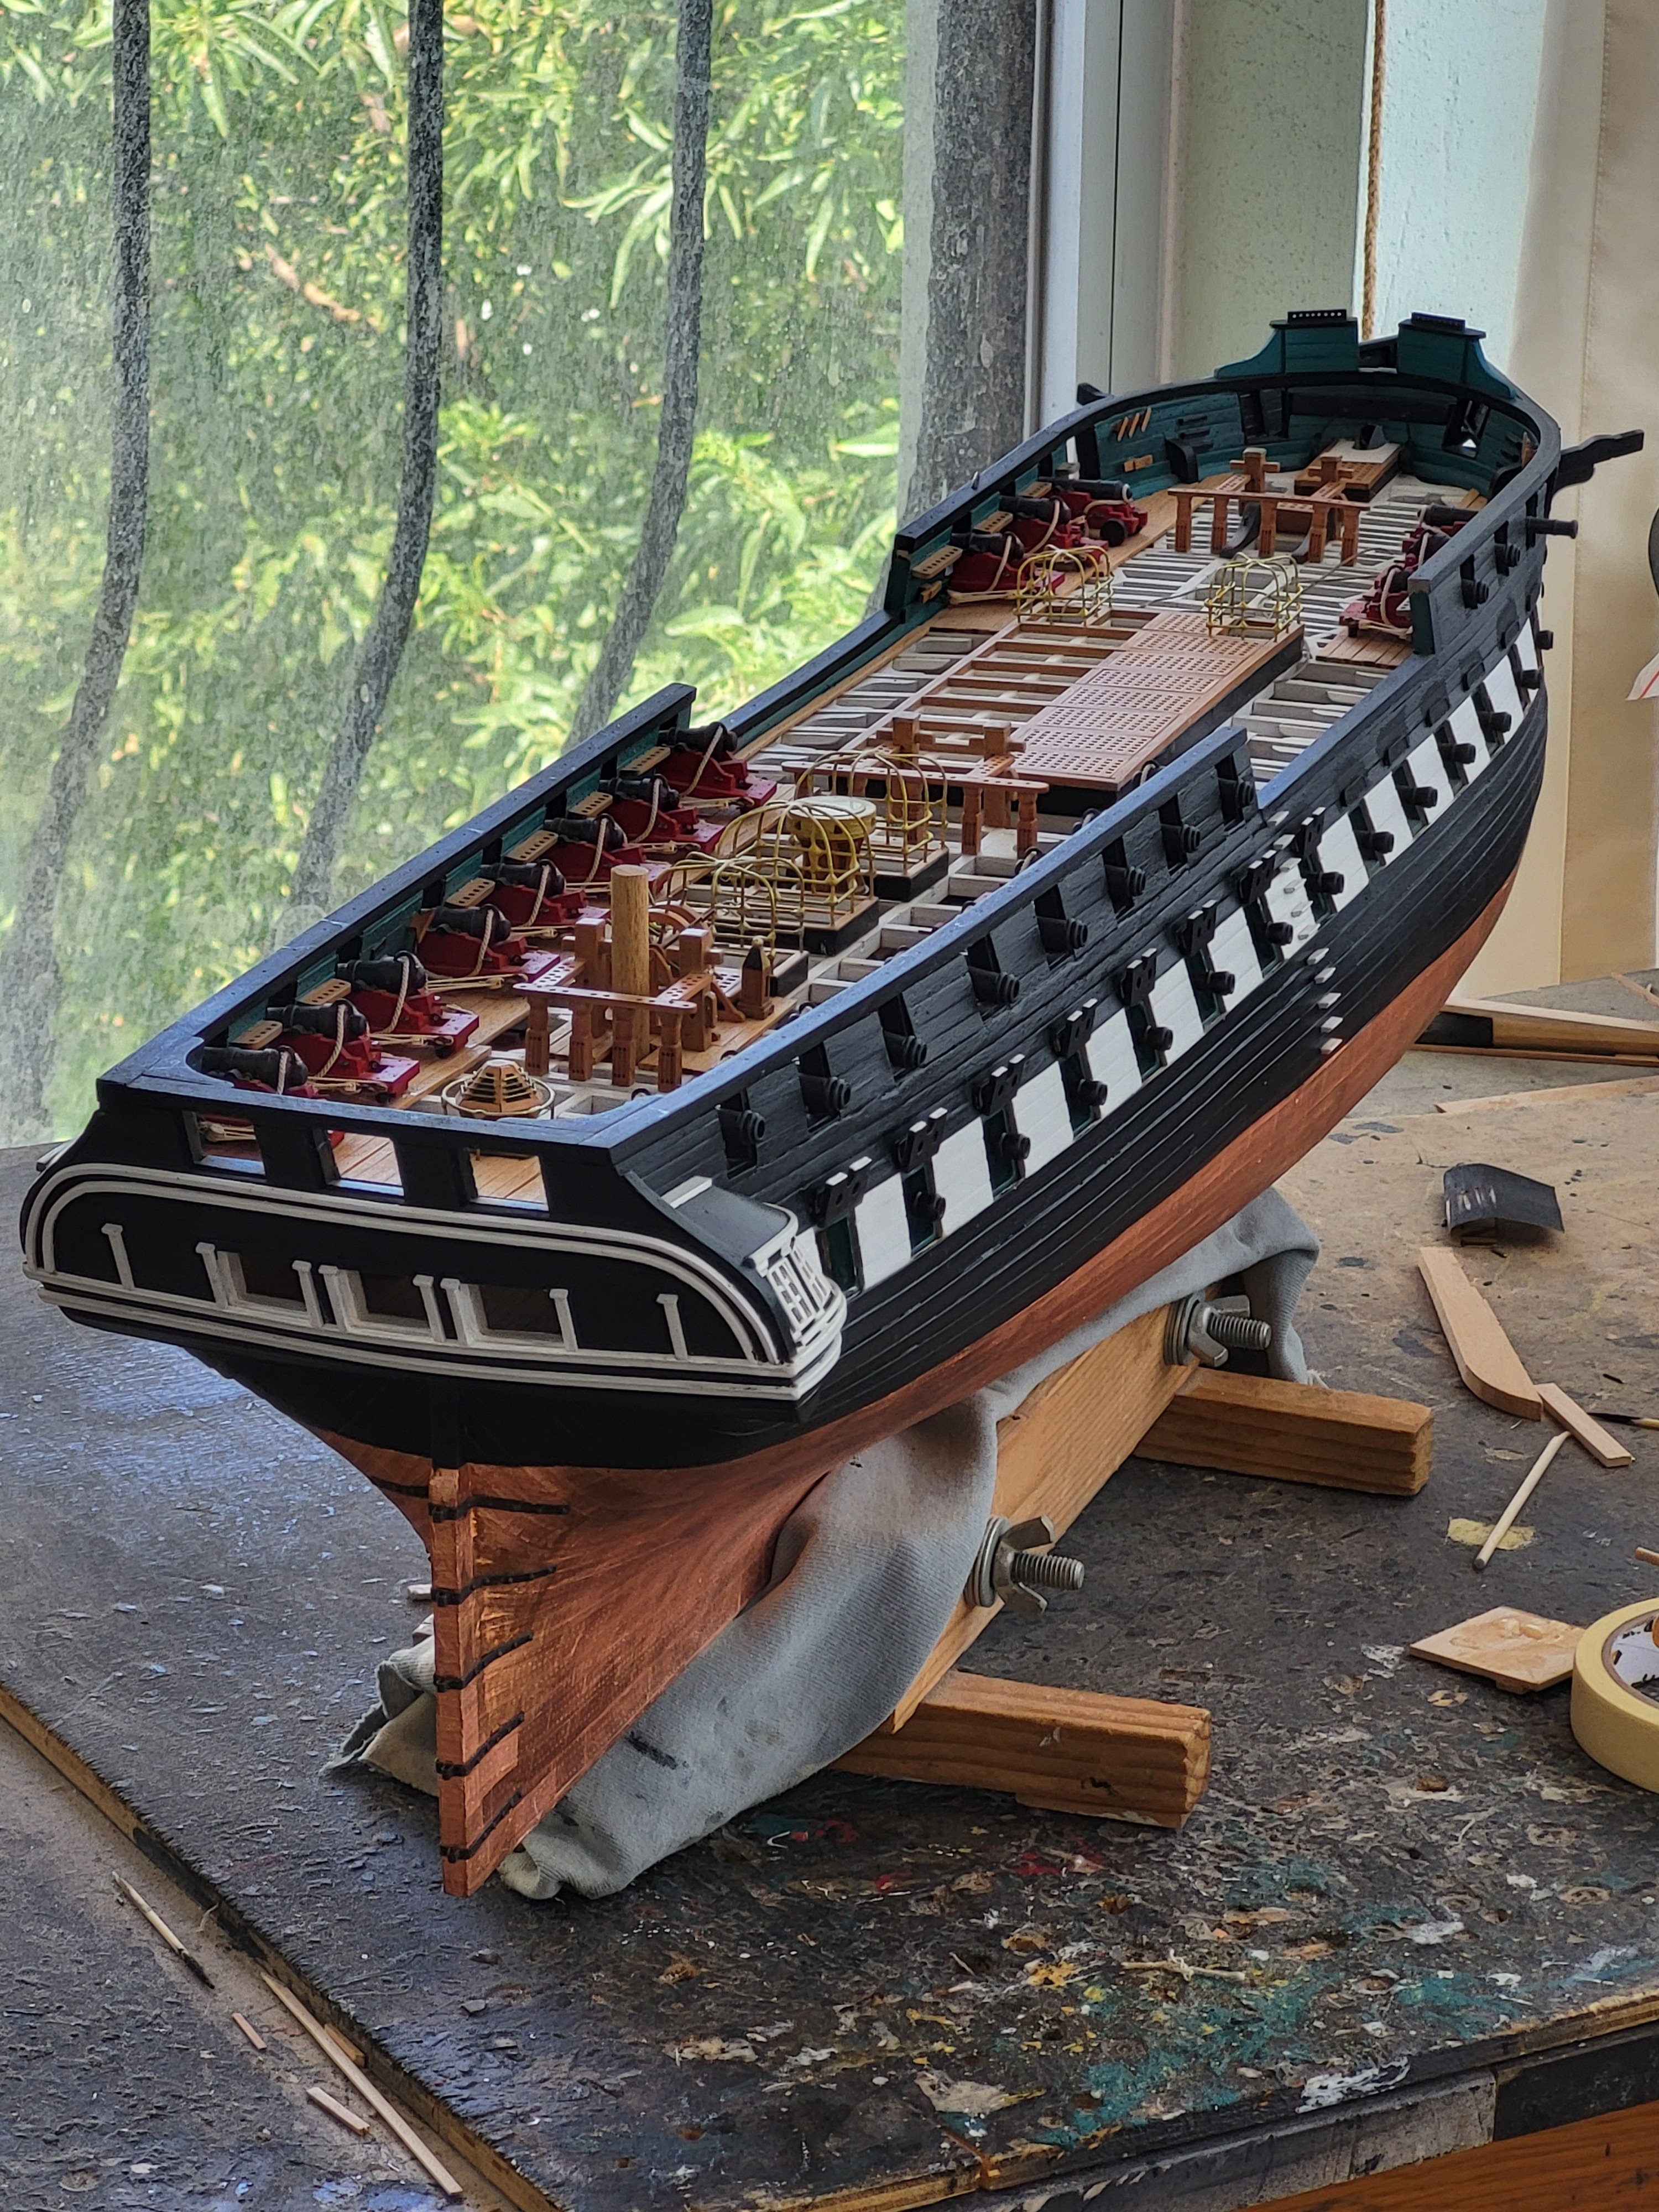
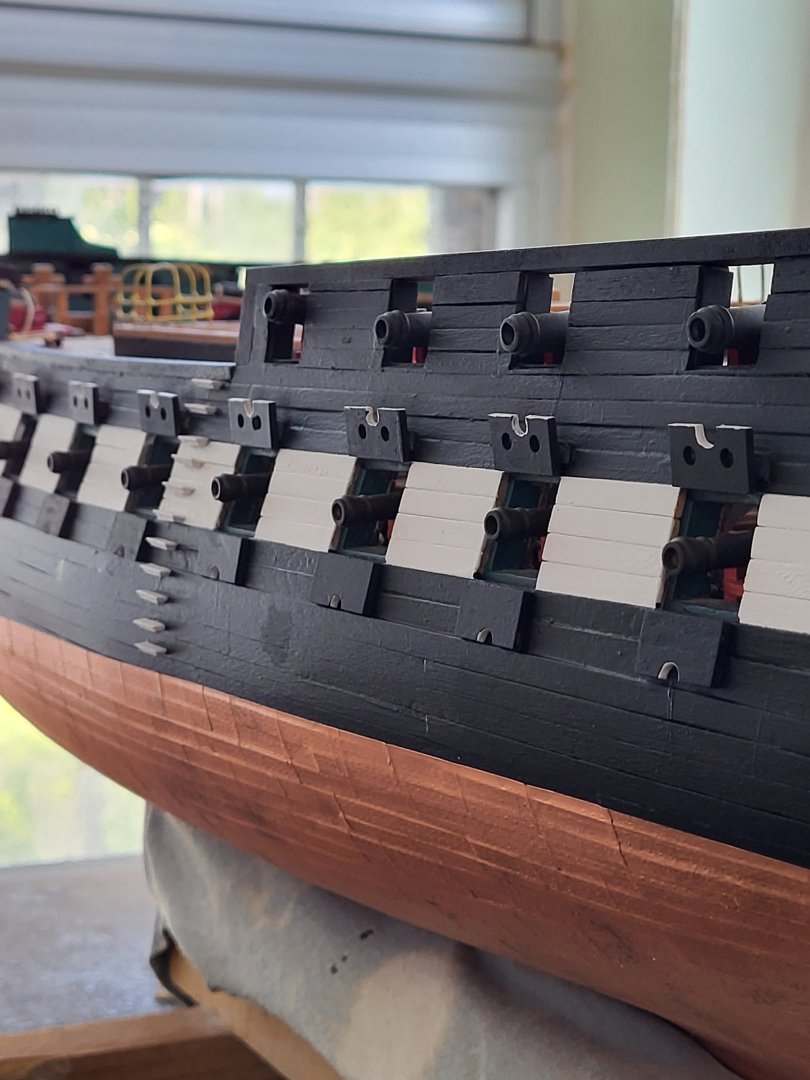
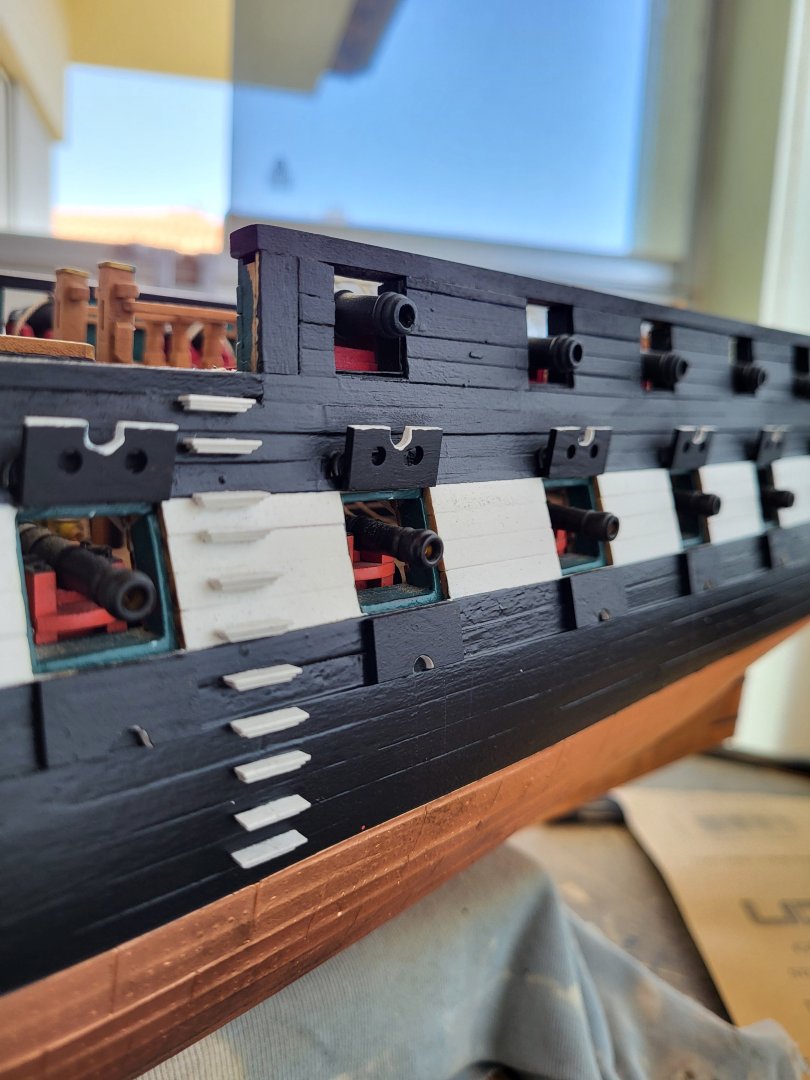
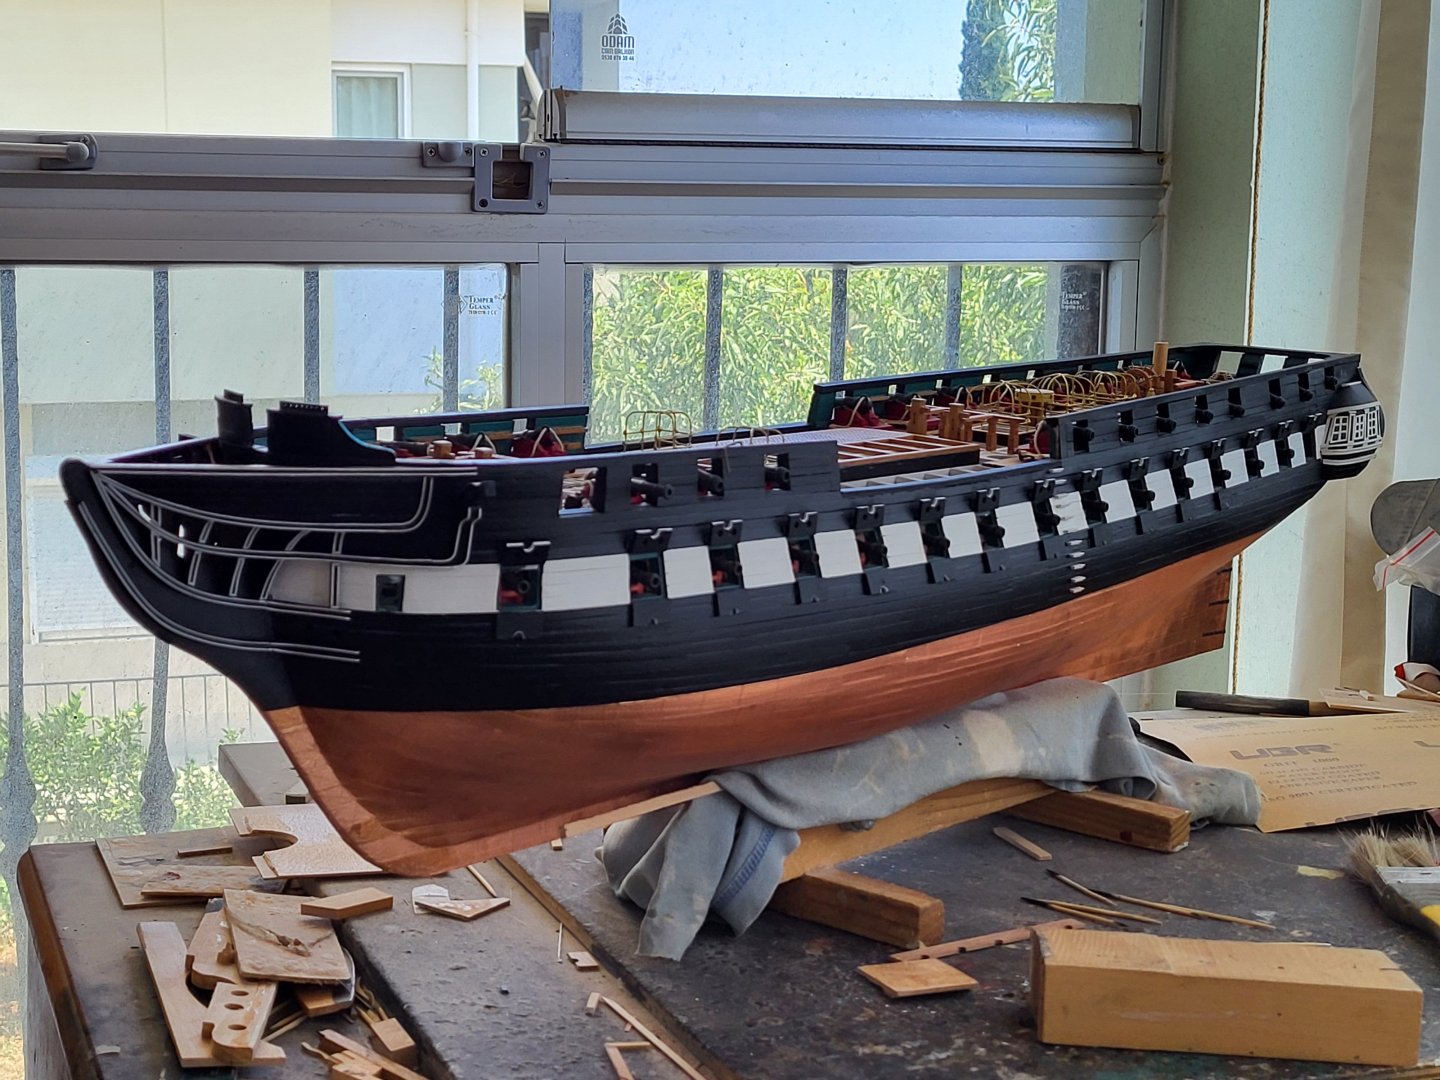
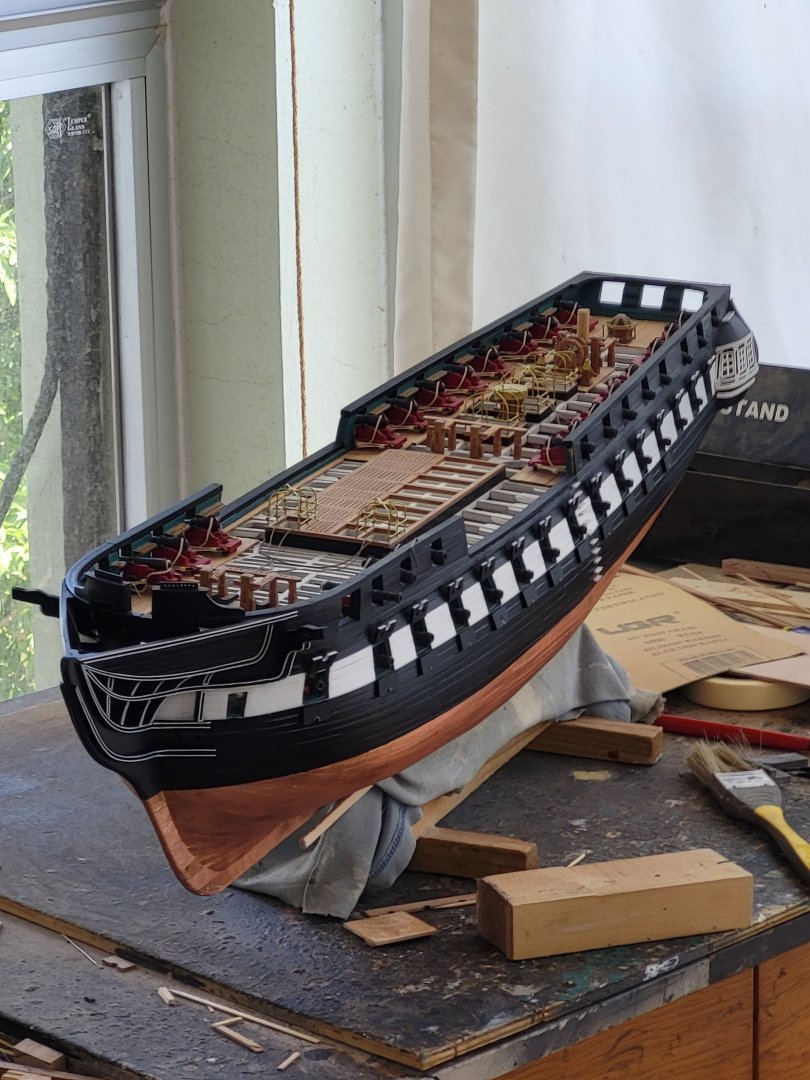
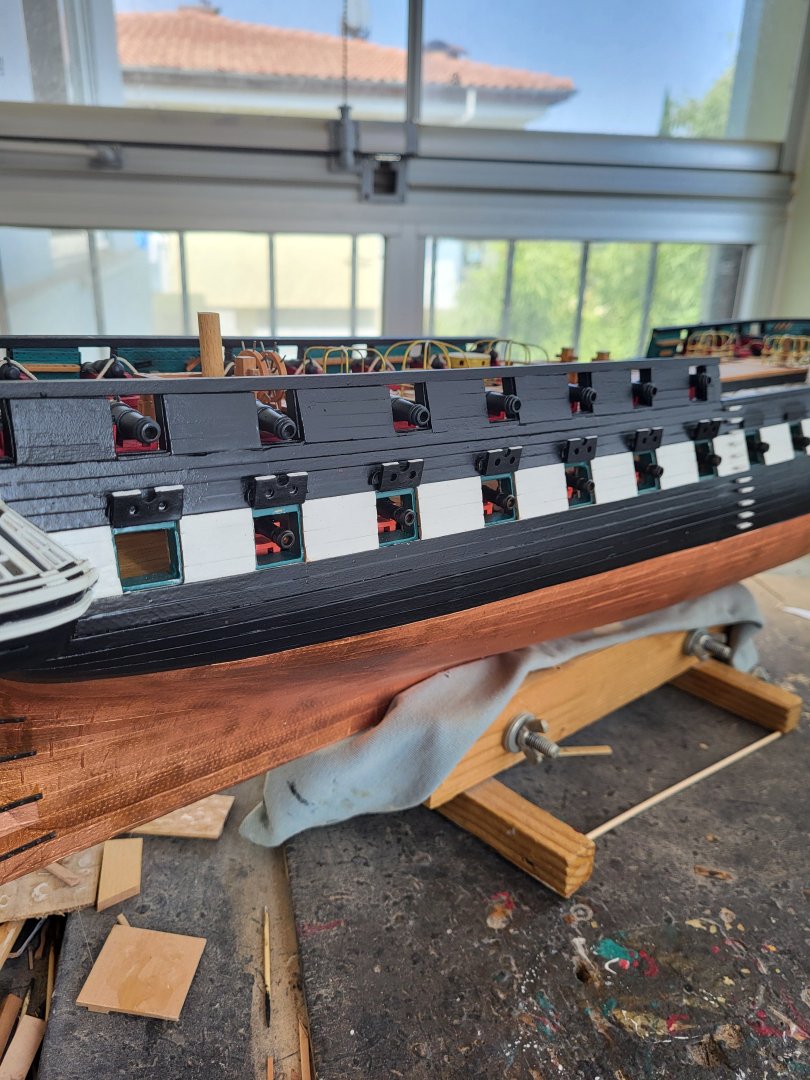
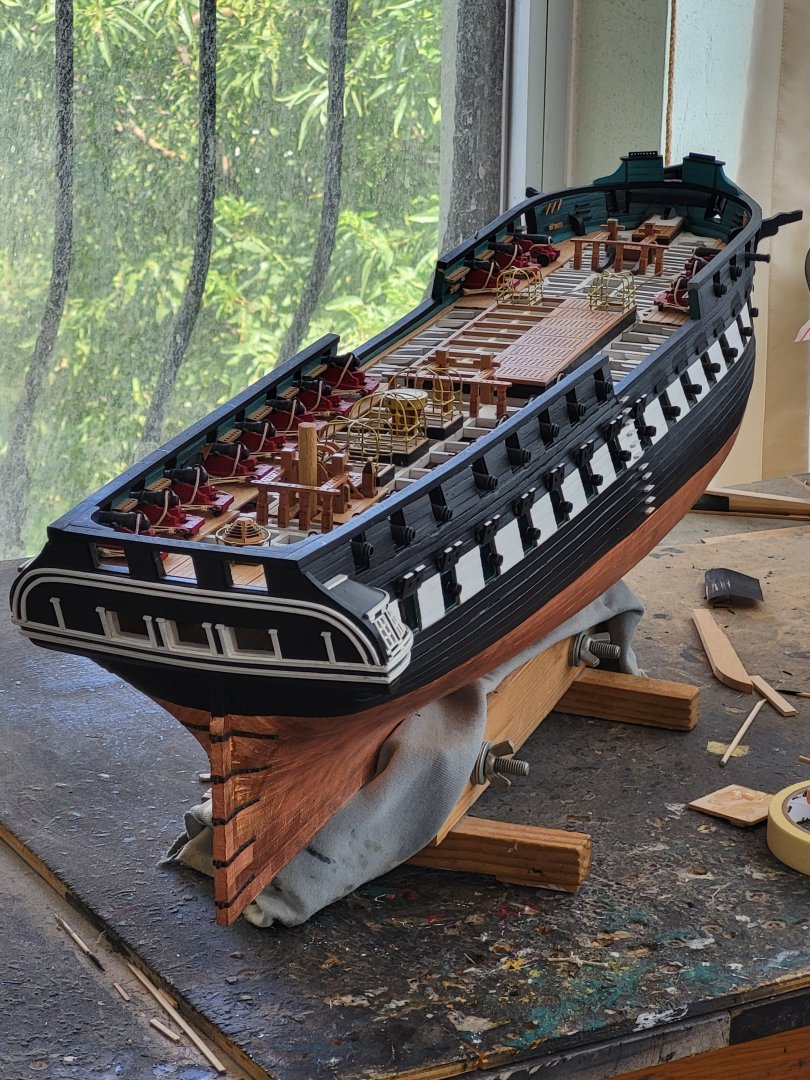
All gun port lids are complete. The next stage is to make the channels and chain plates.


-
USS Constitution by mtbediz - 1:76
mtbediz replied to mtbediz's topic in - Build logs for subjects built 1751 - 1800
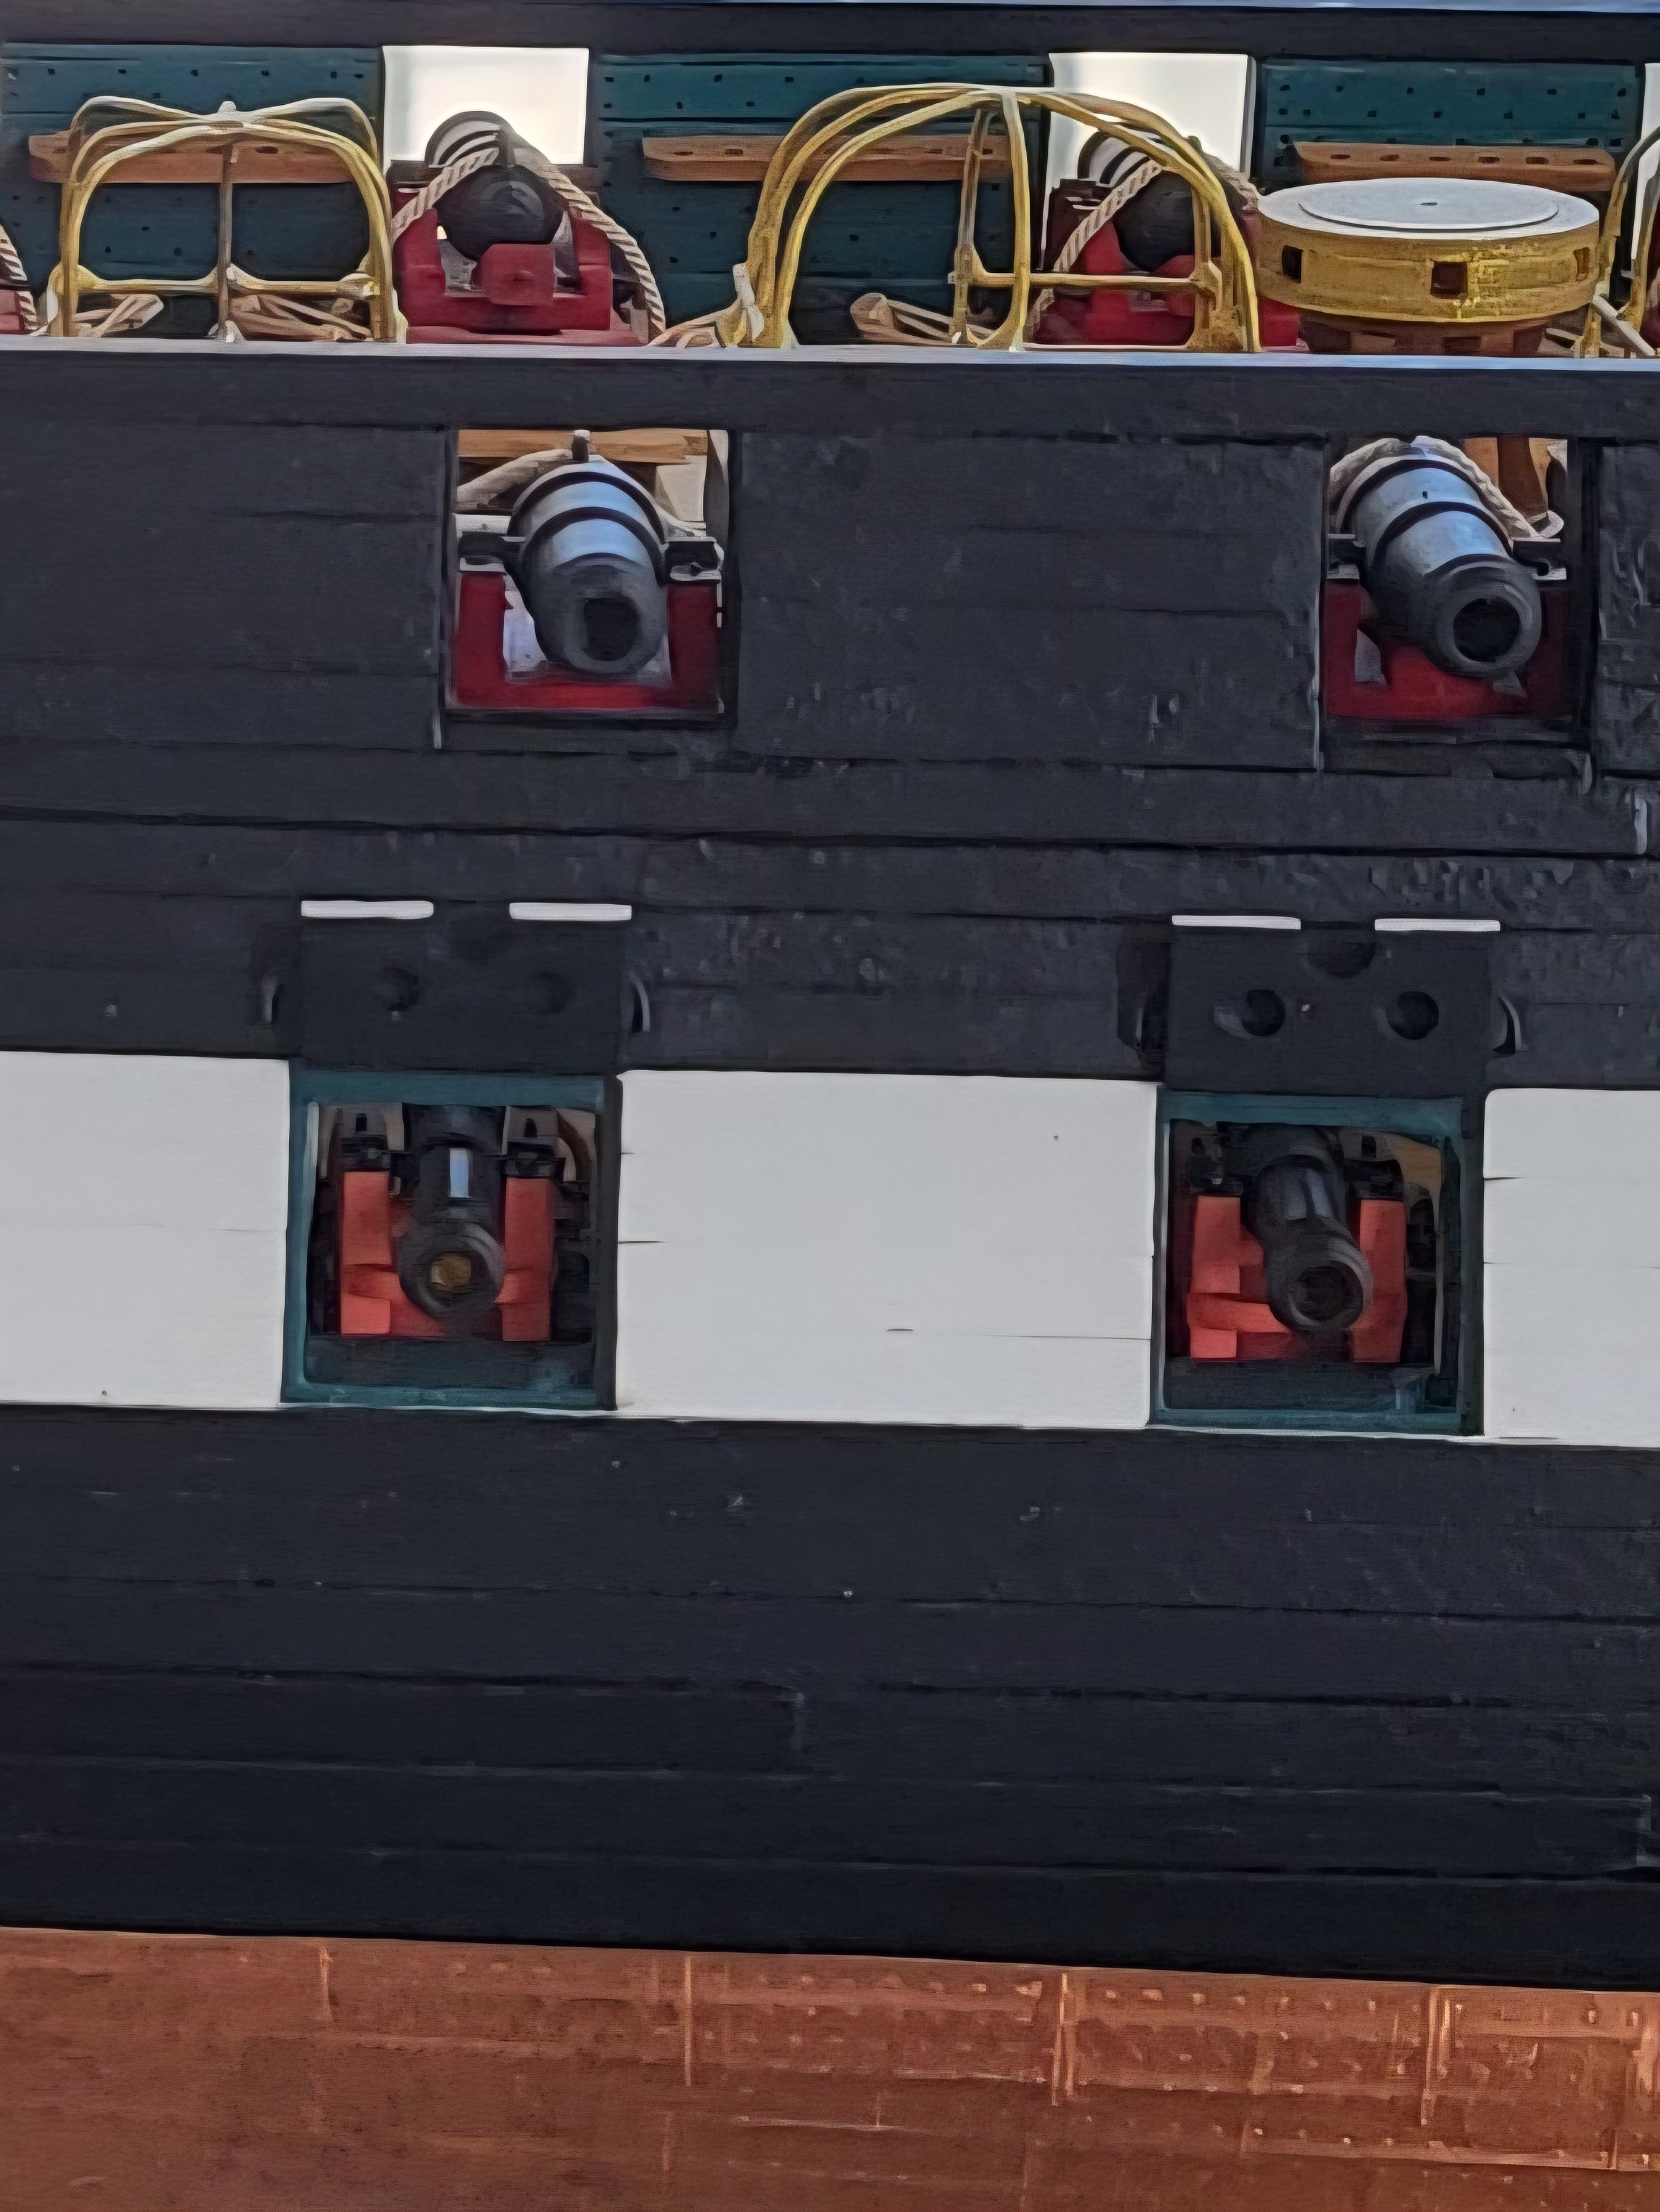
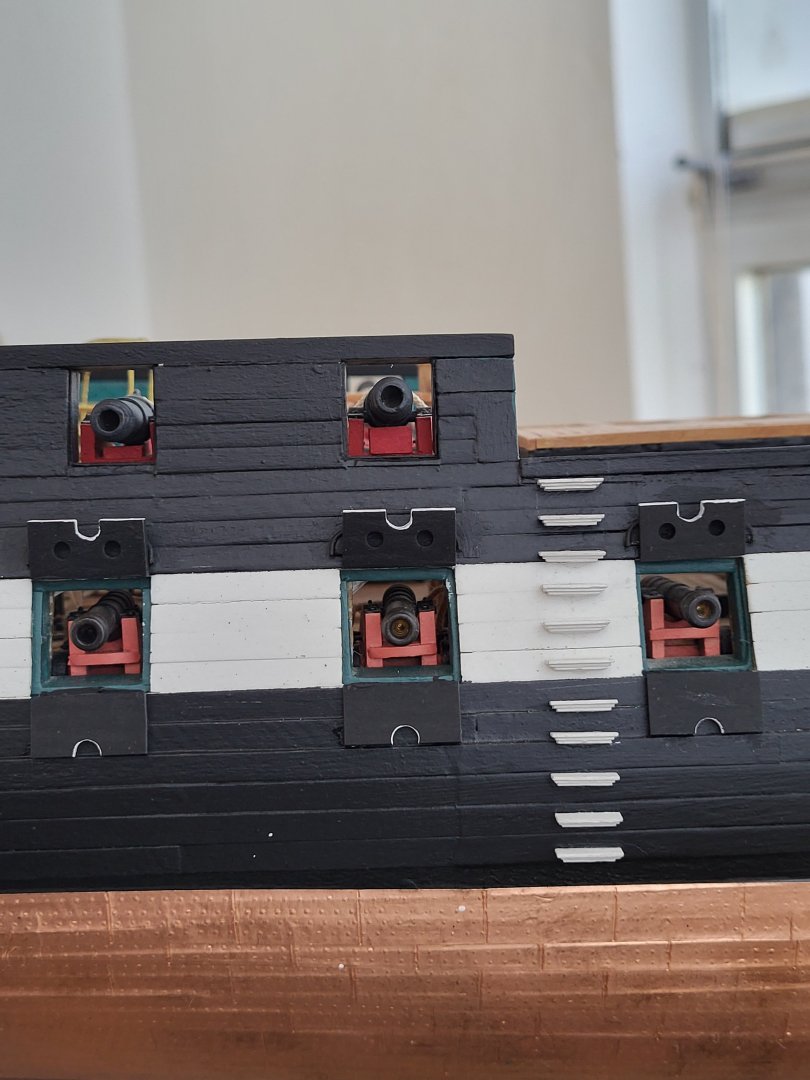
All upper lids have been completed, I am continuing the construction of the lower lids.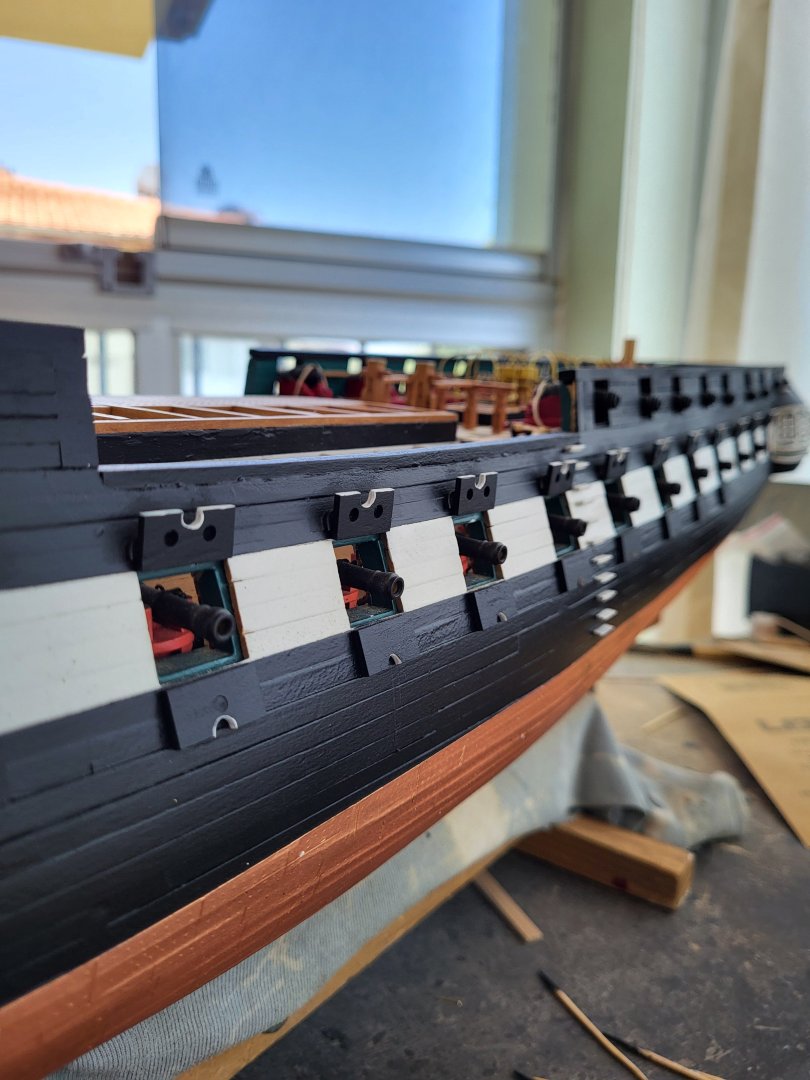
-
USS Constitution by mtbediz - 1:76
mtbediz replied to mtbediz's topic in - Build logs for subjects built 1751 - 1800
Yes, exactly that was the reason why I installed the curtains a little bit above the gun port. -
USS Constitution by mtbediz - 1:76
mtbediz replied to mtbediz's topic in - Build logs for subjects built 1751 - 1800
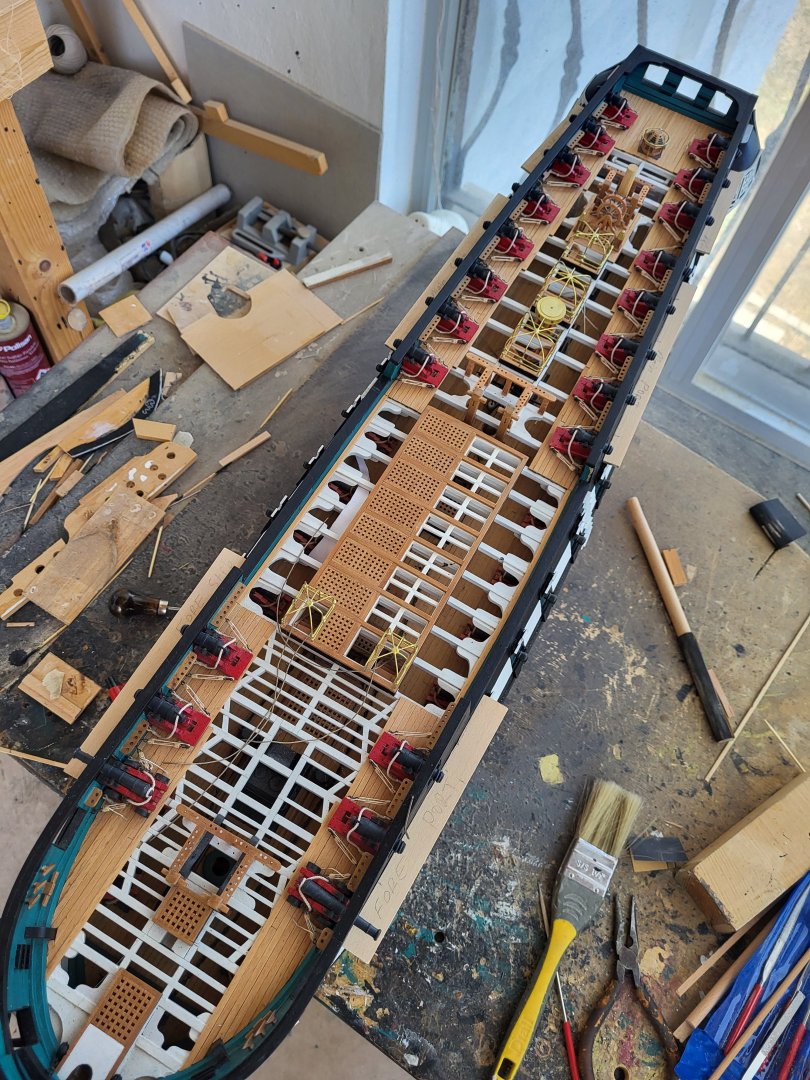
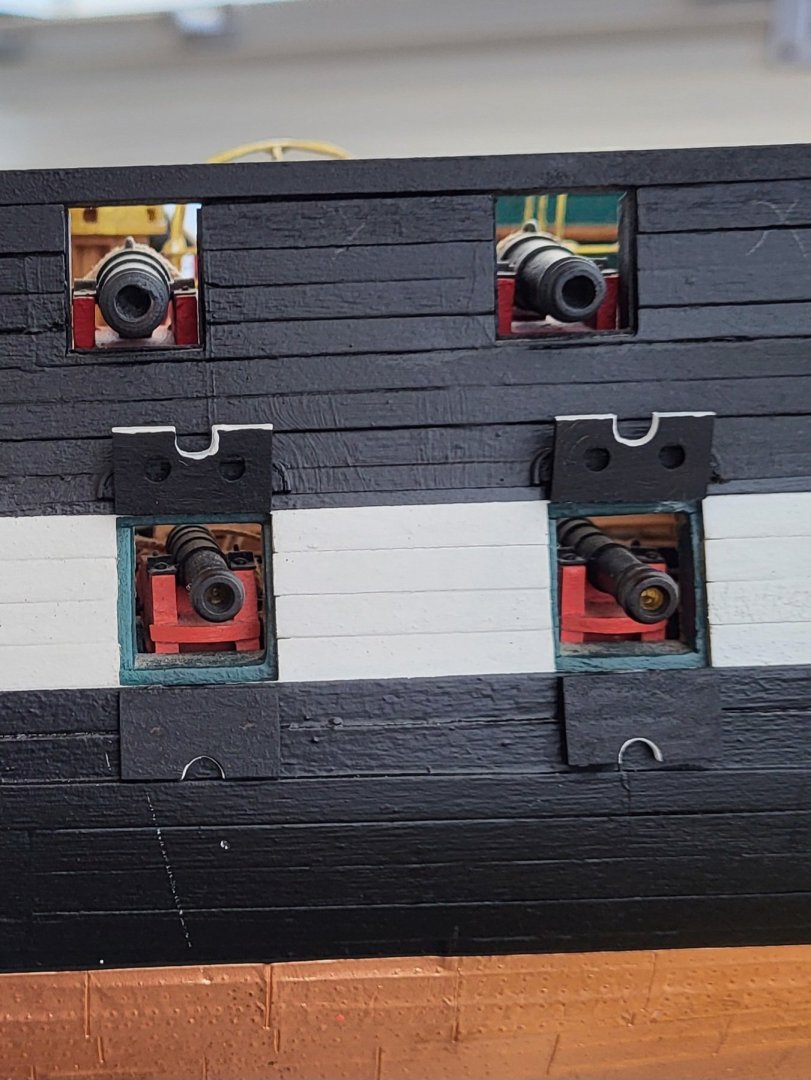
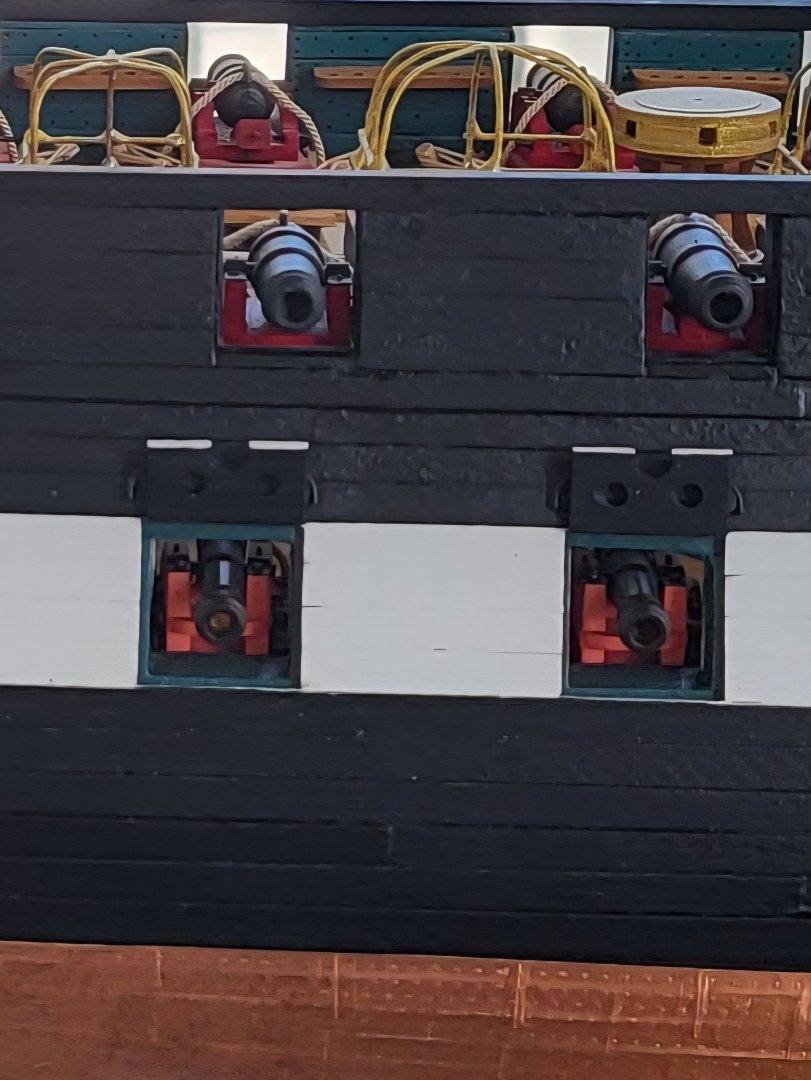
I'm back at the shipyard for a few days and took the opportunity to start making the gun port lids. I will leave the lids in the open position. I didn't add the lid hinges since they wouldn't be visible anyway. I glued the lids directly to the top of the ports.


-
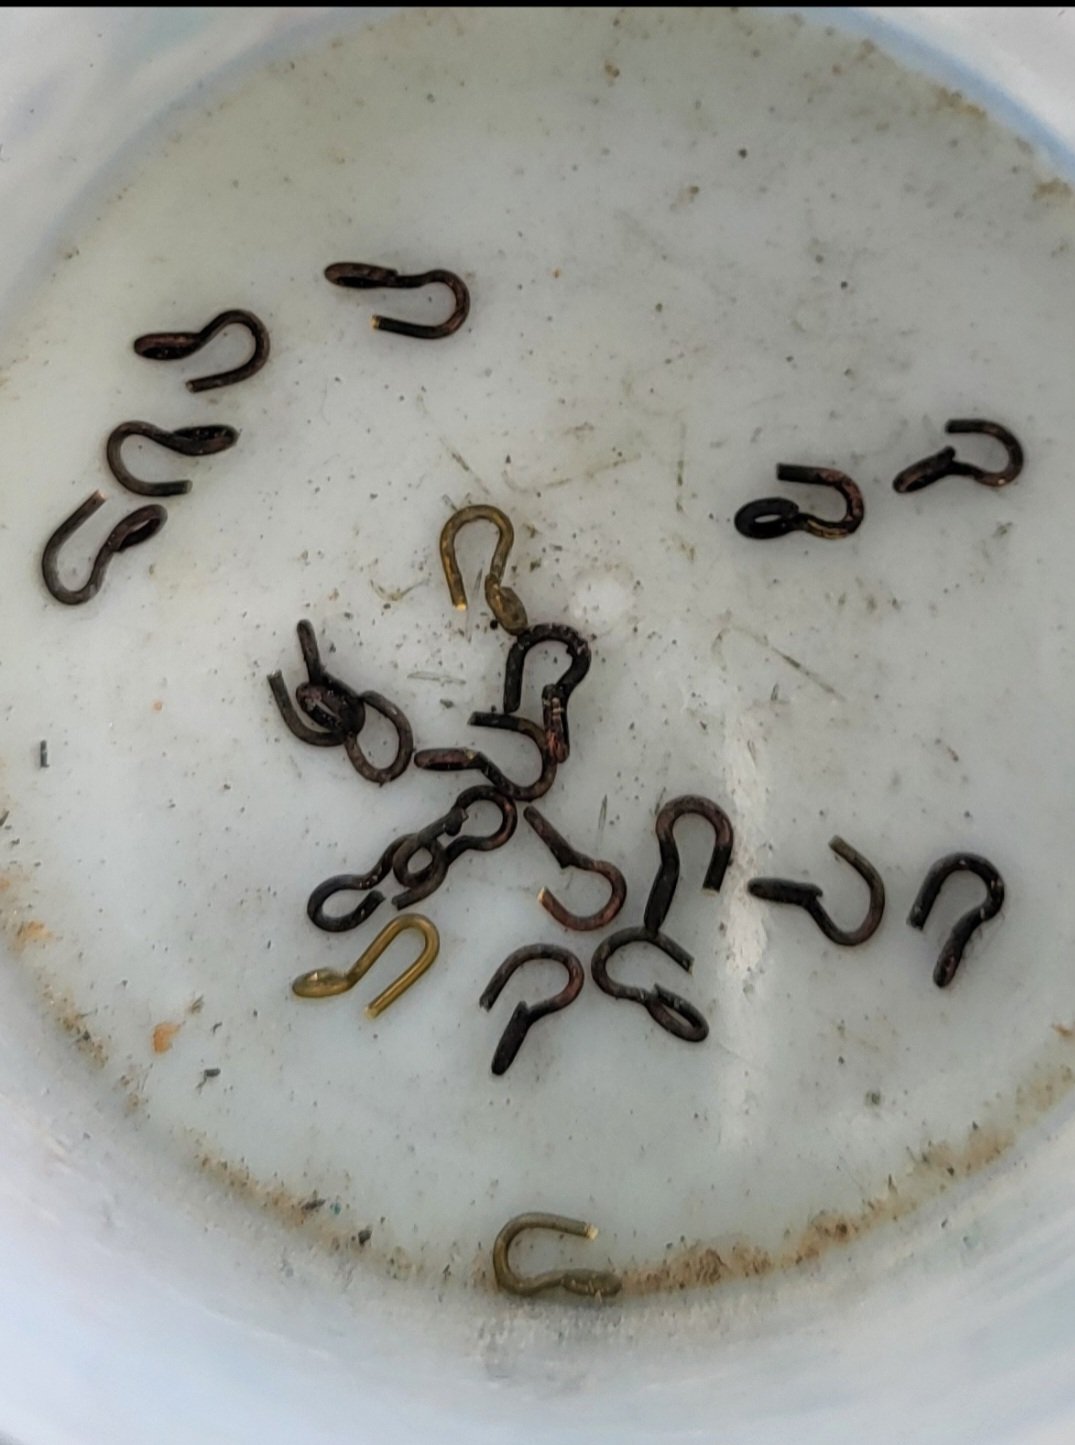
I think the photo I shared in my previous post, taken on the real ship, is being overlooked. In the photo, it is clearly seen that the hook is perpendicular to the eye. However, I apologize if I caused confusion on this matter. Of course, the model is Peter's and he is free to make it however he wants. Mine was just a suggestion.

-
Just a suggestion. If you can make the hook and the hole 90 degrees perpendicular to each other, it will look nicer and you will do it accurate.


-
I knew you would find a way to make this. Doing it without clamps is almost impossible.
-
Thanks for the explanation Peter, I liked your method. I am sharing my own method for the friends who follow. So it will be a second alternative for them. I pass the rope through the hole of the hook, wrap it around the block and tie a simple knot. I put a small drop of CA on the knot and cut the excess of the knot after it dries. Unless you look very carefully, it is almost impossible to see these knots on the model with the naked eye. This only takes me 1-2 minutes.


-
This is great news. I'm looking forward to you starting your Conny build.
-
Everything looks good and correct. I'm just wondering how you attached the hooks to the double blocks. My summer vacation has started but as you can see I am still here and following
-
Thanks for the reply.