mtbediz
-
Posts
1,291 -
Joined
-
Last visited
Content Type
Profiles
Forums
Gallery
Events
Everything posted by mtbediz
-
 I think it's a good solution, but don't forget to glue the strops to the deadeyes.
 -
USS Constitution by mtbediz - 1:76
mtbediz replied to mtbediz's topic in - Build logs for subjects built 1751 - 1800
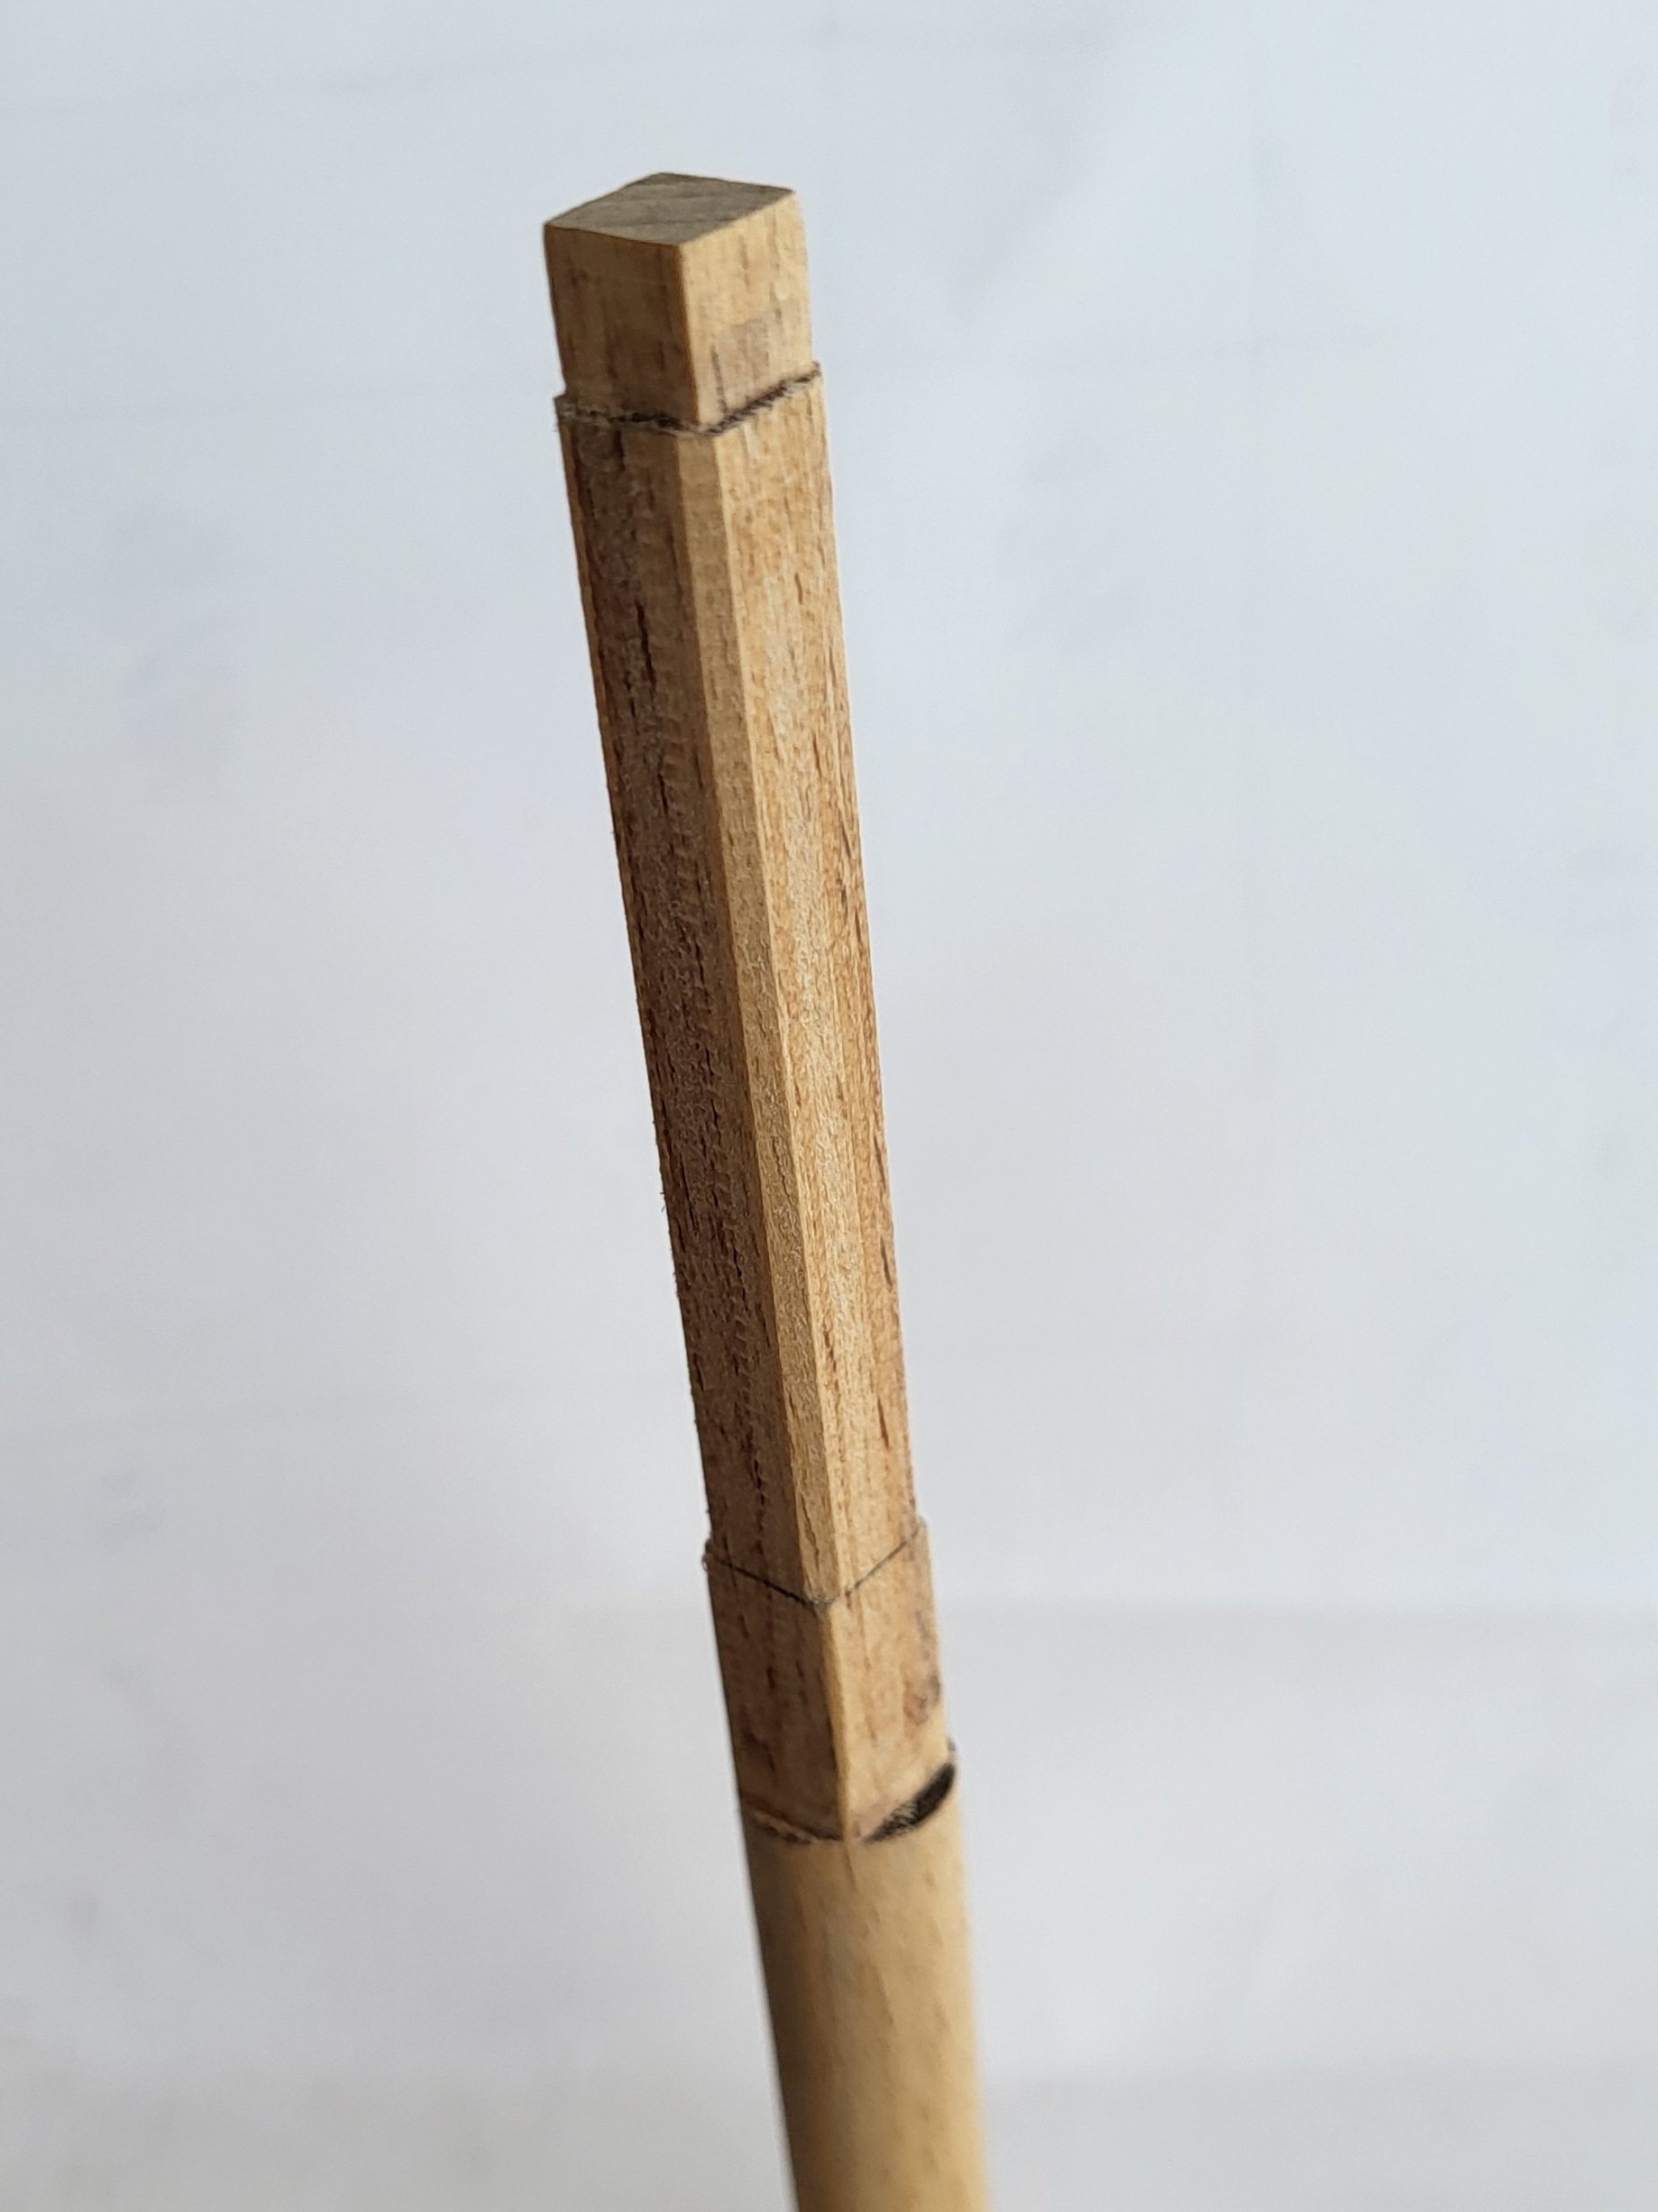
I began preparing the masts with the main mast. Using my milling machine, I squared off the top and chamfered the corners, as indicated in the plan. I don't know how much work is involved in completing this task yet. I think too much


-
USS Constitution by mtbediz - 1:76
mtbediz replied to mtbediz's topic in - Build logs for subjects built 1751 - 1800
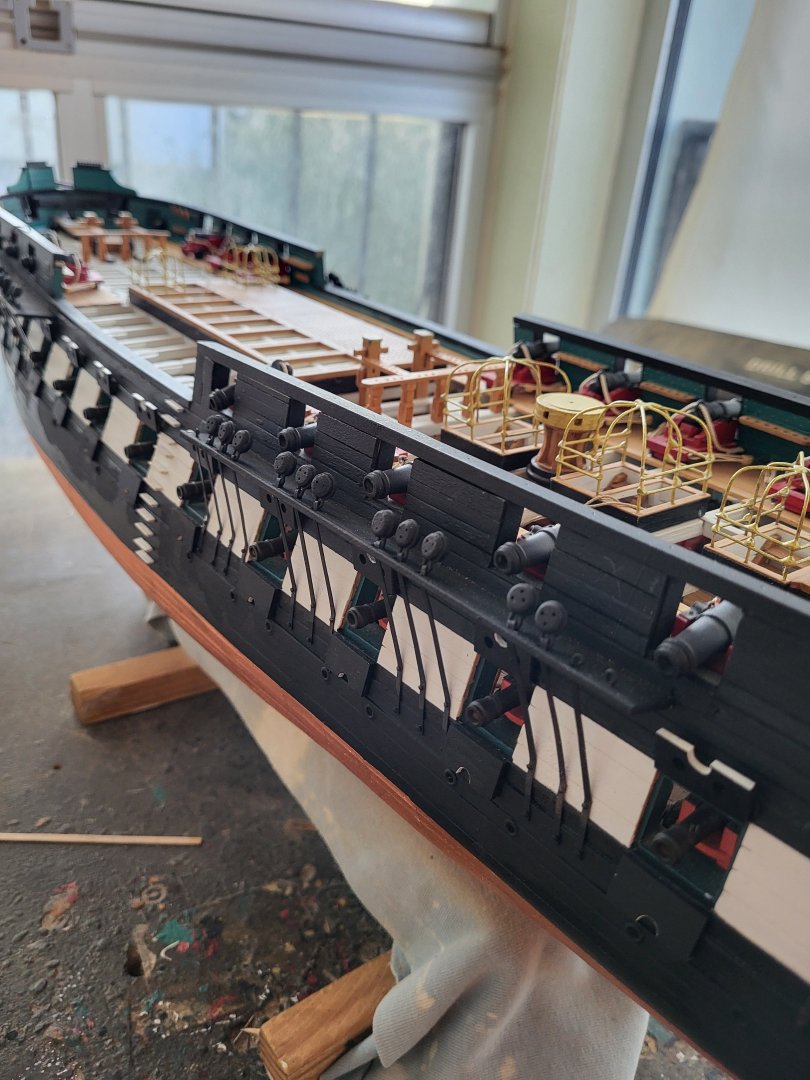
The wood strip caps were added to the channels and entire channels and plates were varnished.


-
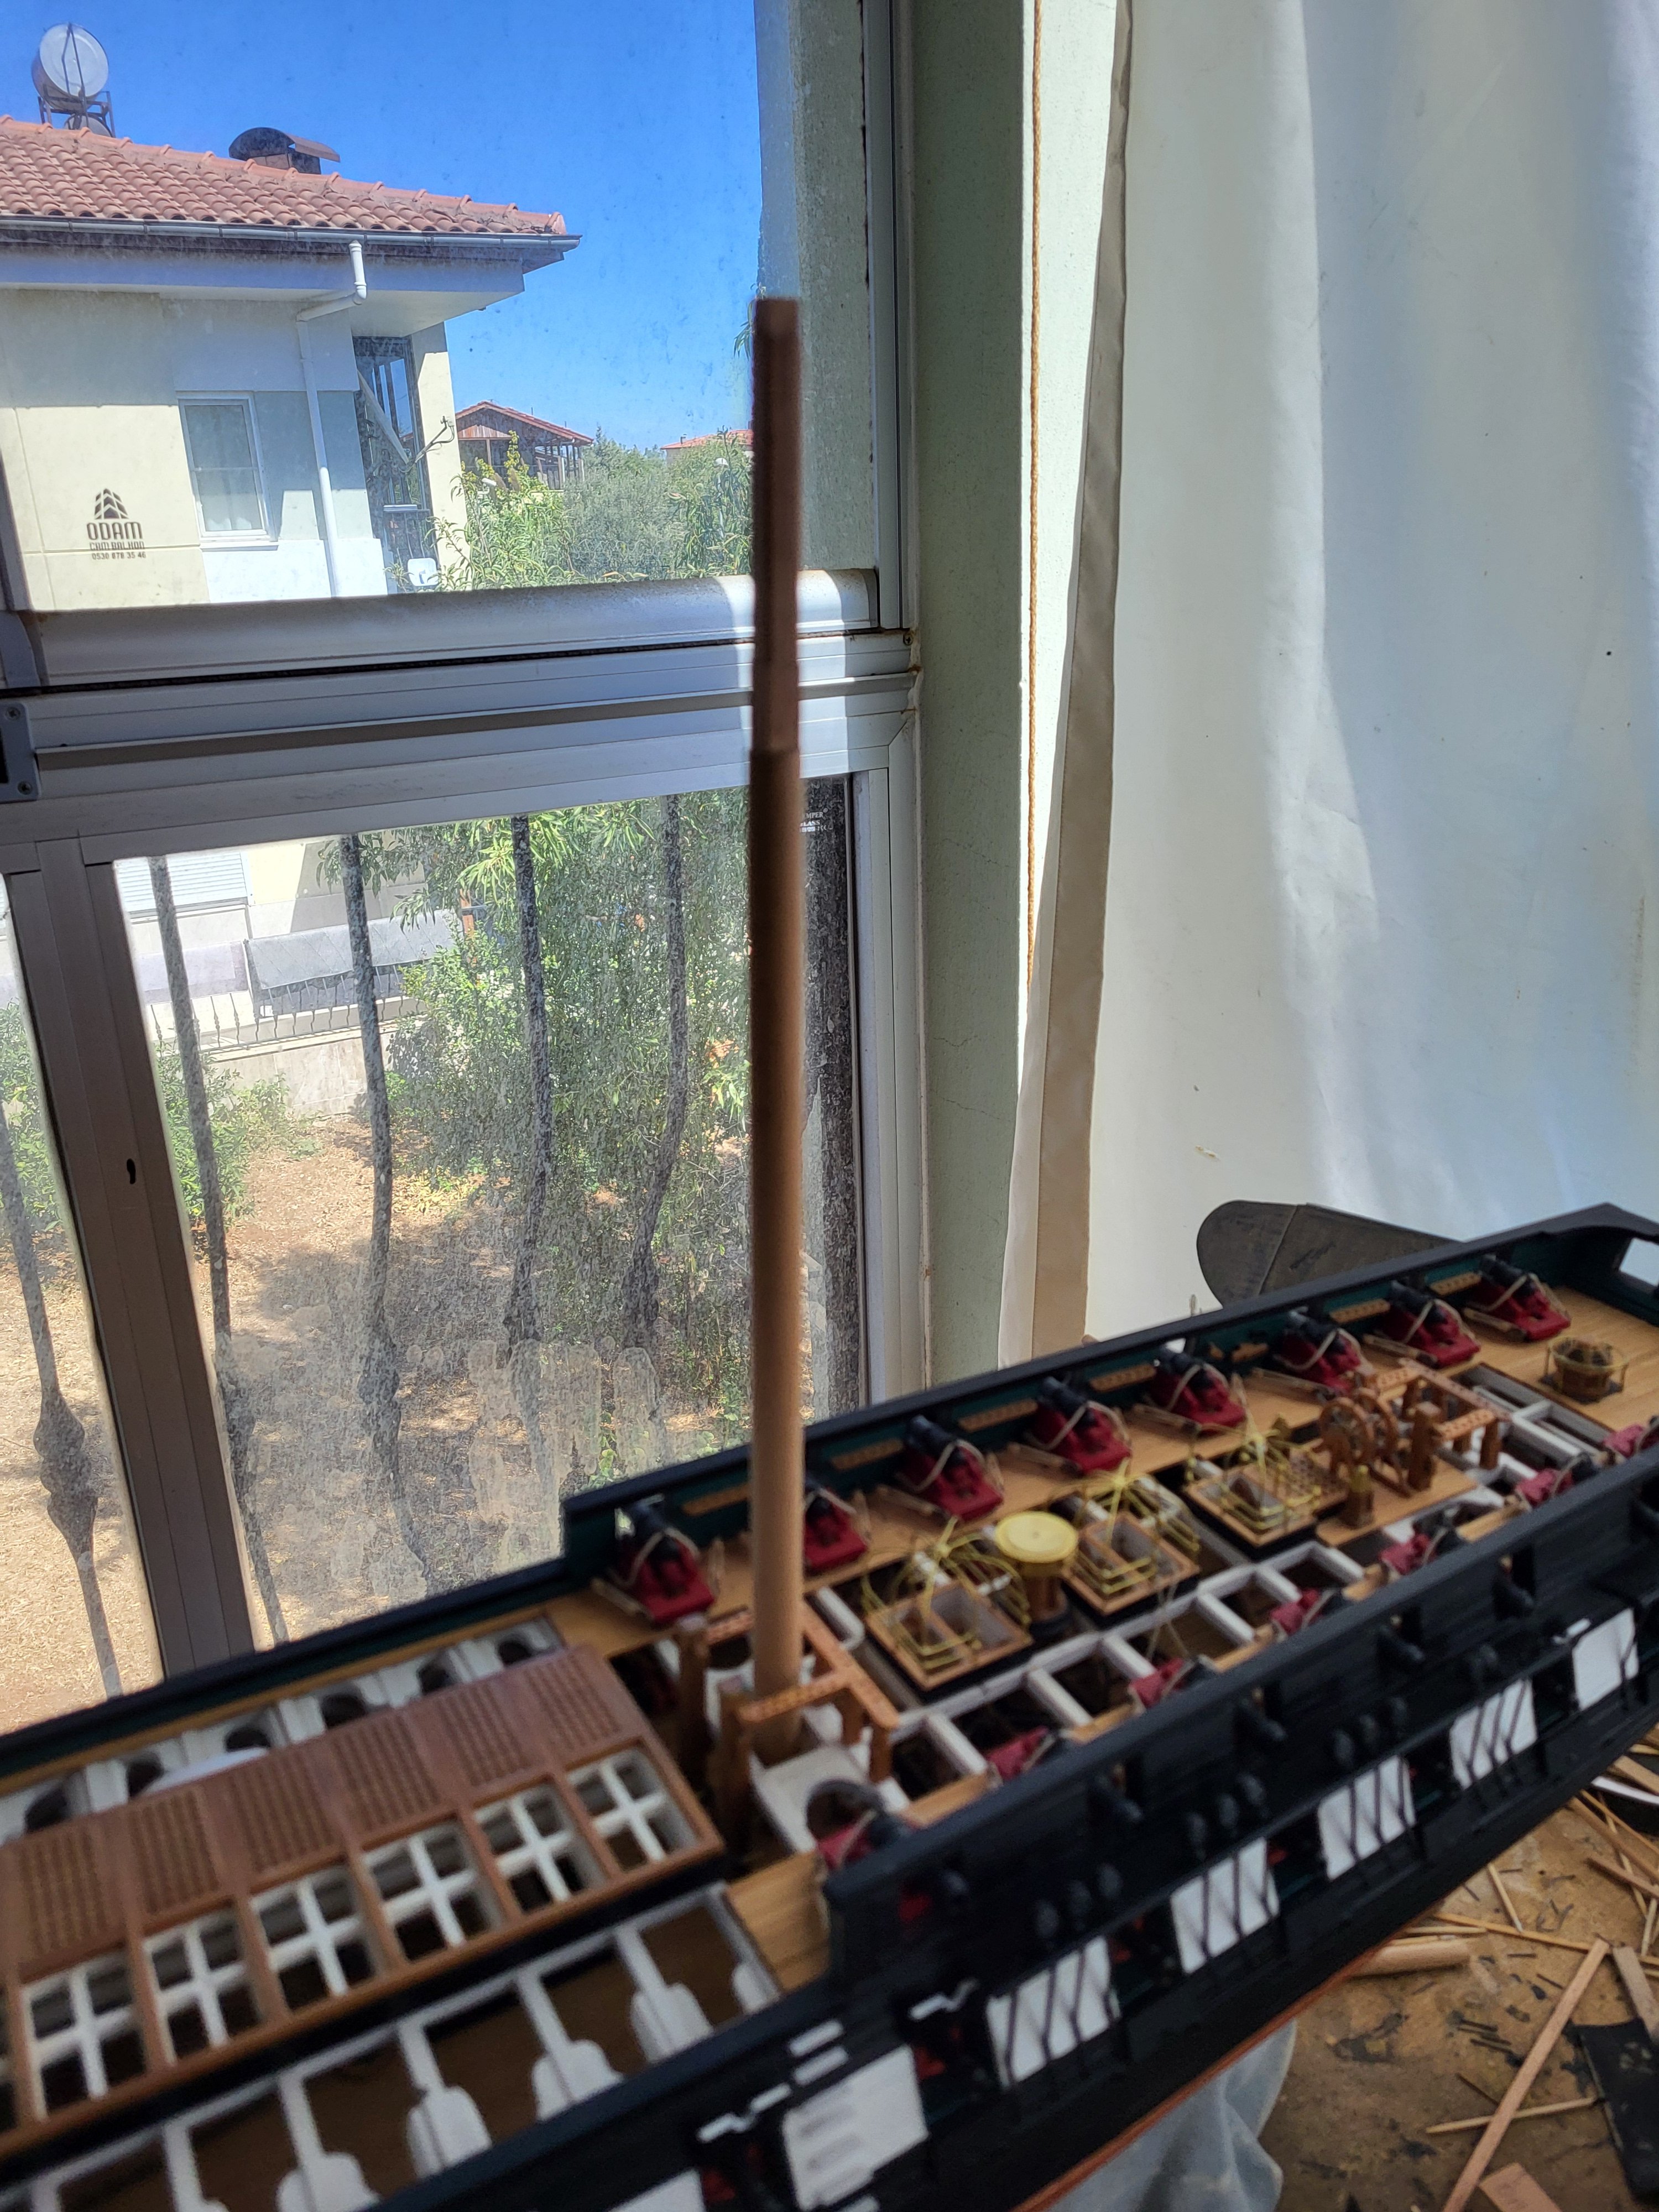
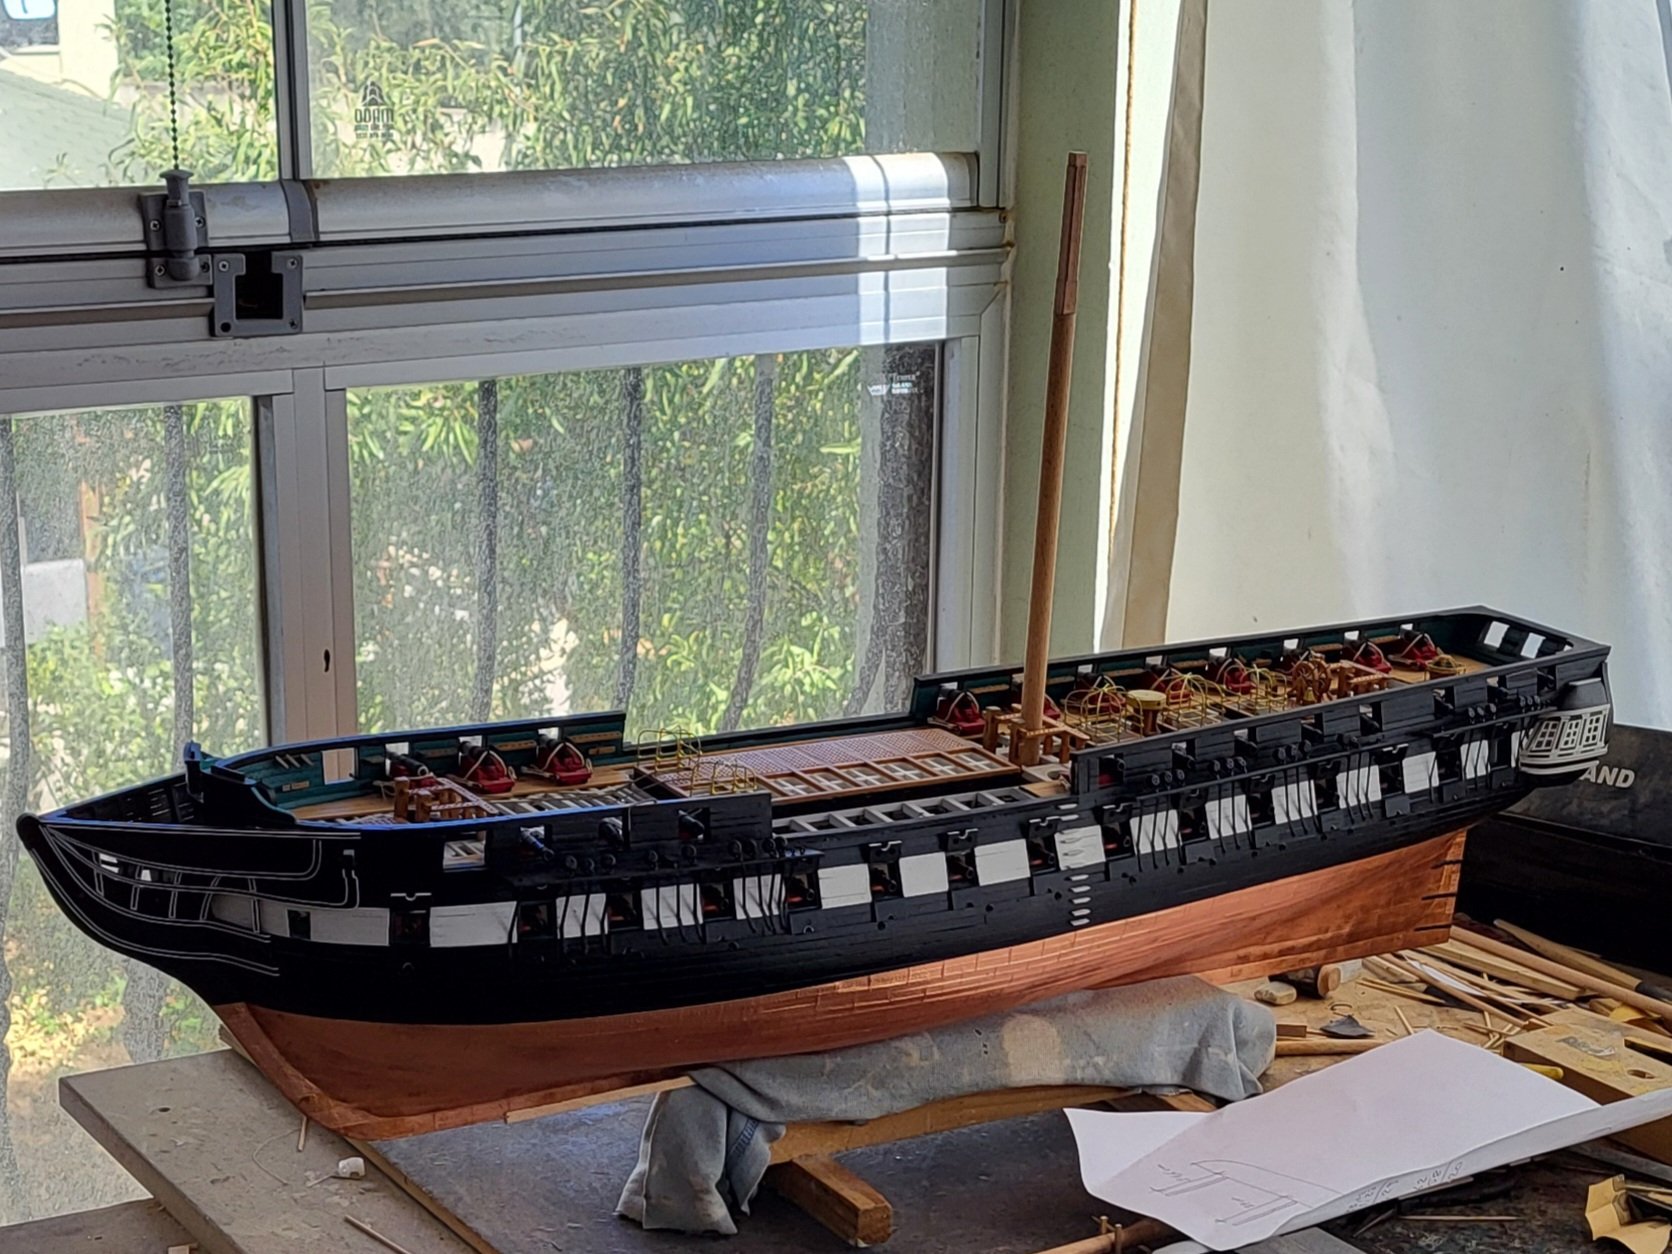
I installed the fife rails first, but now that I think about it, it makes more sense to put the masts in place first.
-
The Fife rails look great. Very clean work as always.
-
USS Constitution by mtbediz - 1:76
mtbediz replied to mtbediz's topic in - Build logs for subjects built 1751 - 1800
Thank you so much Jon. Great photos, taken from exactly the angles I was hoping for, they will be very helpful. -
USS Constitution by mtbediz - 1:76
mtbediz replied to mtbediz's topic in - Build logs for subjects built 1751 - 1800
Thank you Jon. -
USS Constitution by mtbediz - 1:76
mtbediz replied to mtbediz's topic in - Build logs for subjects built 1751 - 1800
Hi Greg, I would be very grateful if you could share photos of the details on the channels. Thank you. -
USS Constitution by mtbediz - 1:76
mtbediz replied to mtbediz's topic in - Build logs for subjects built 1751 - 1800
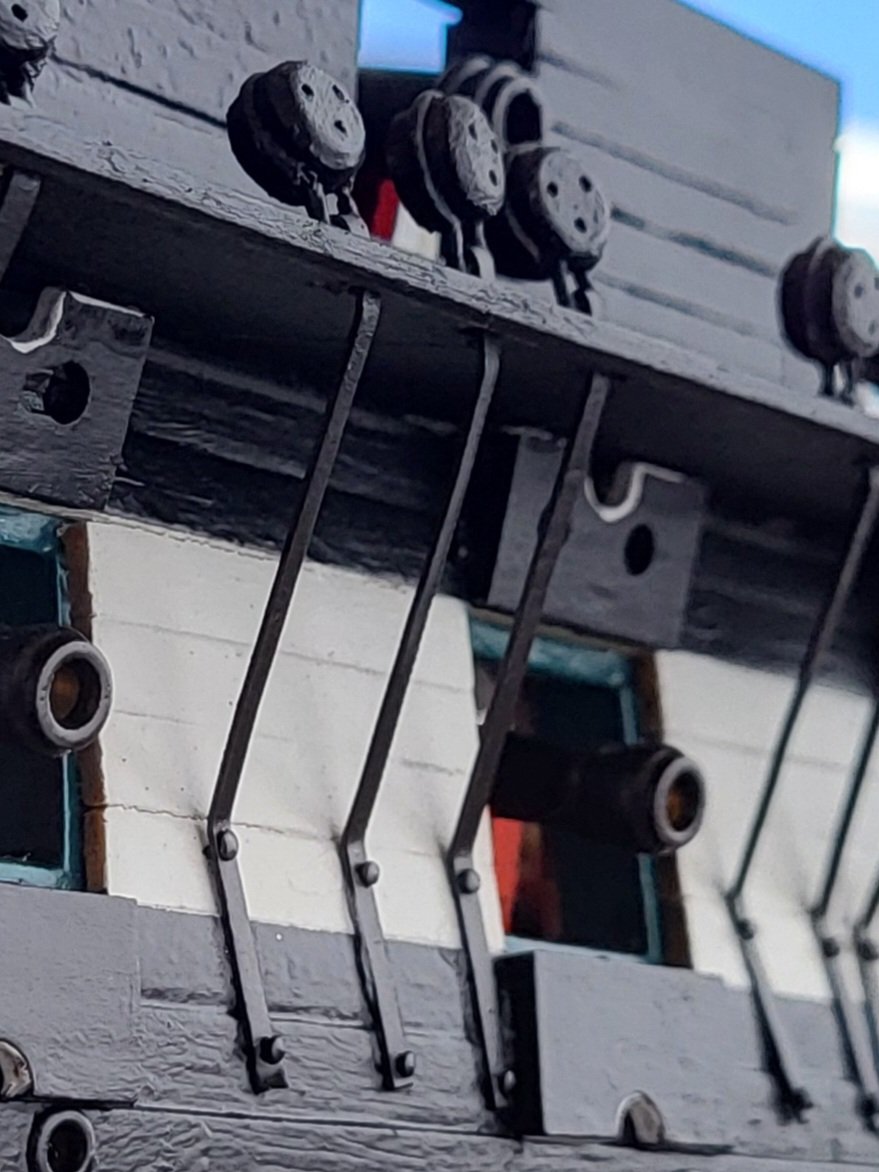
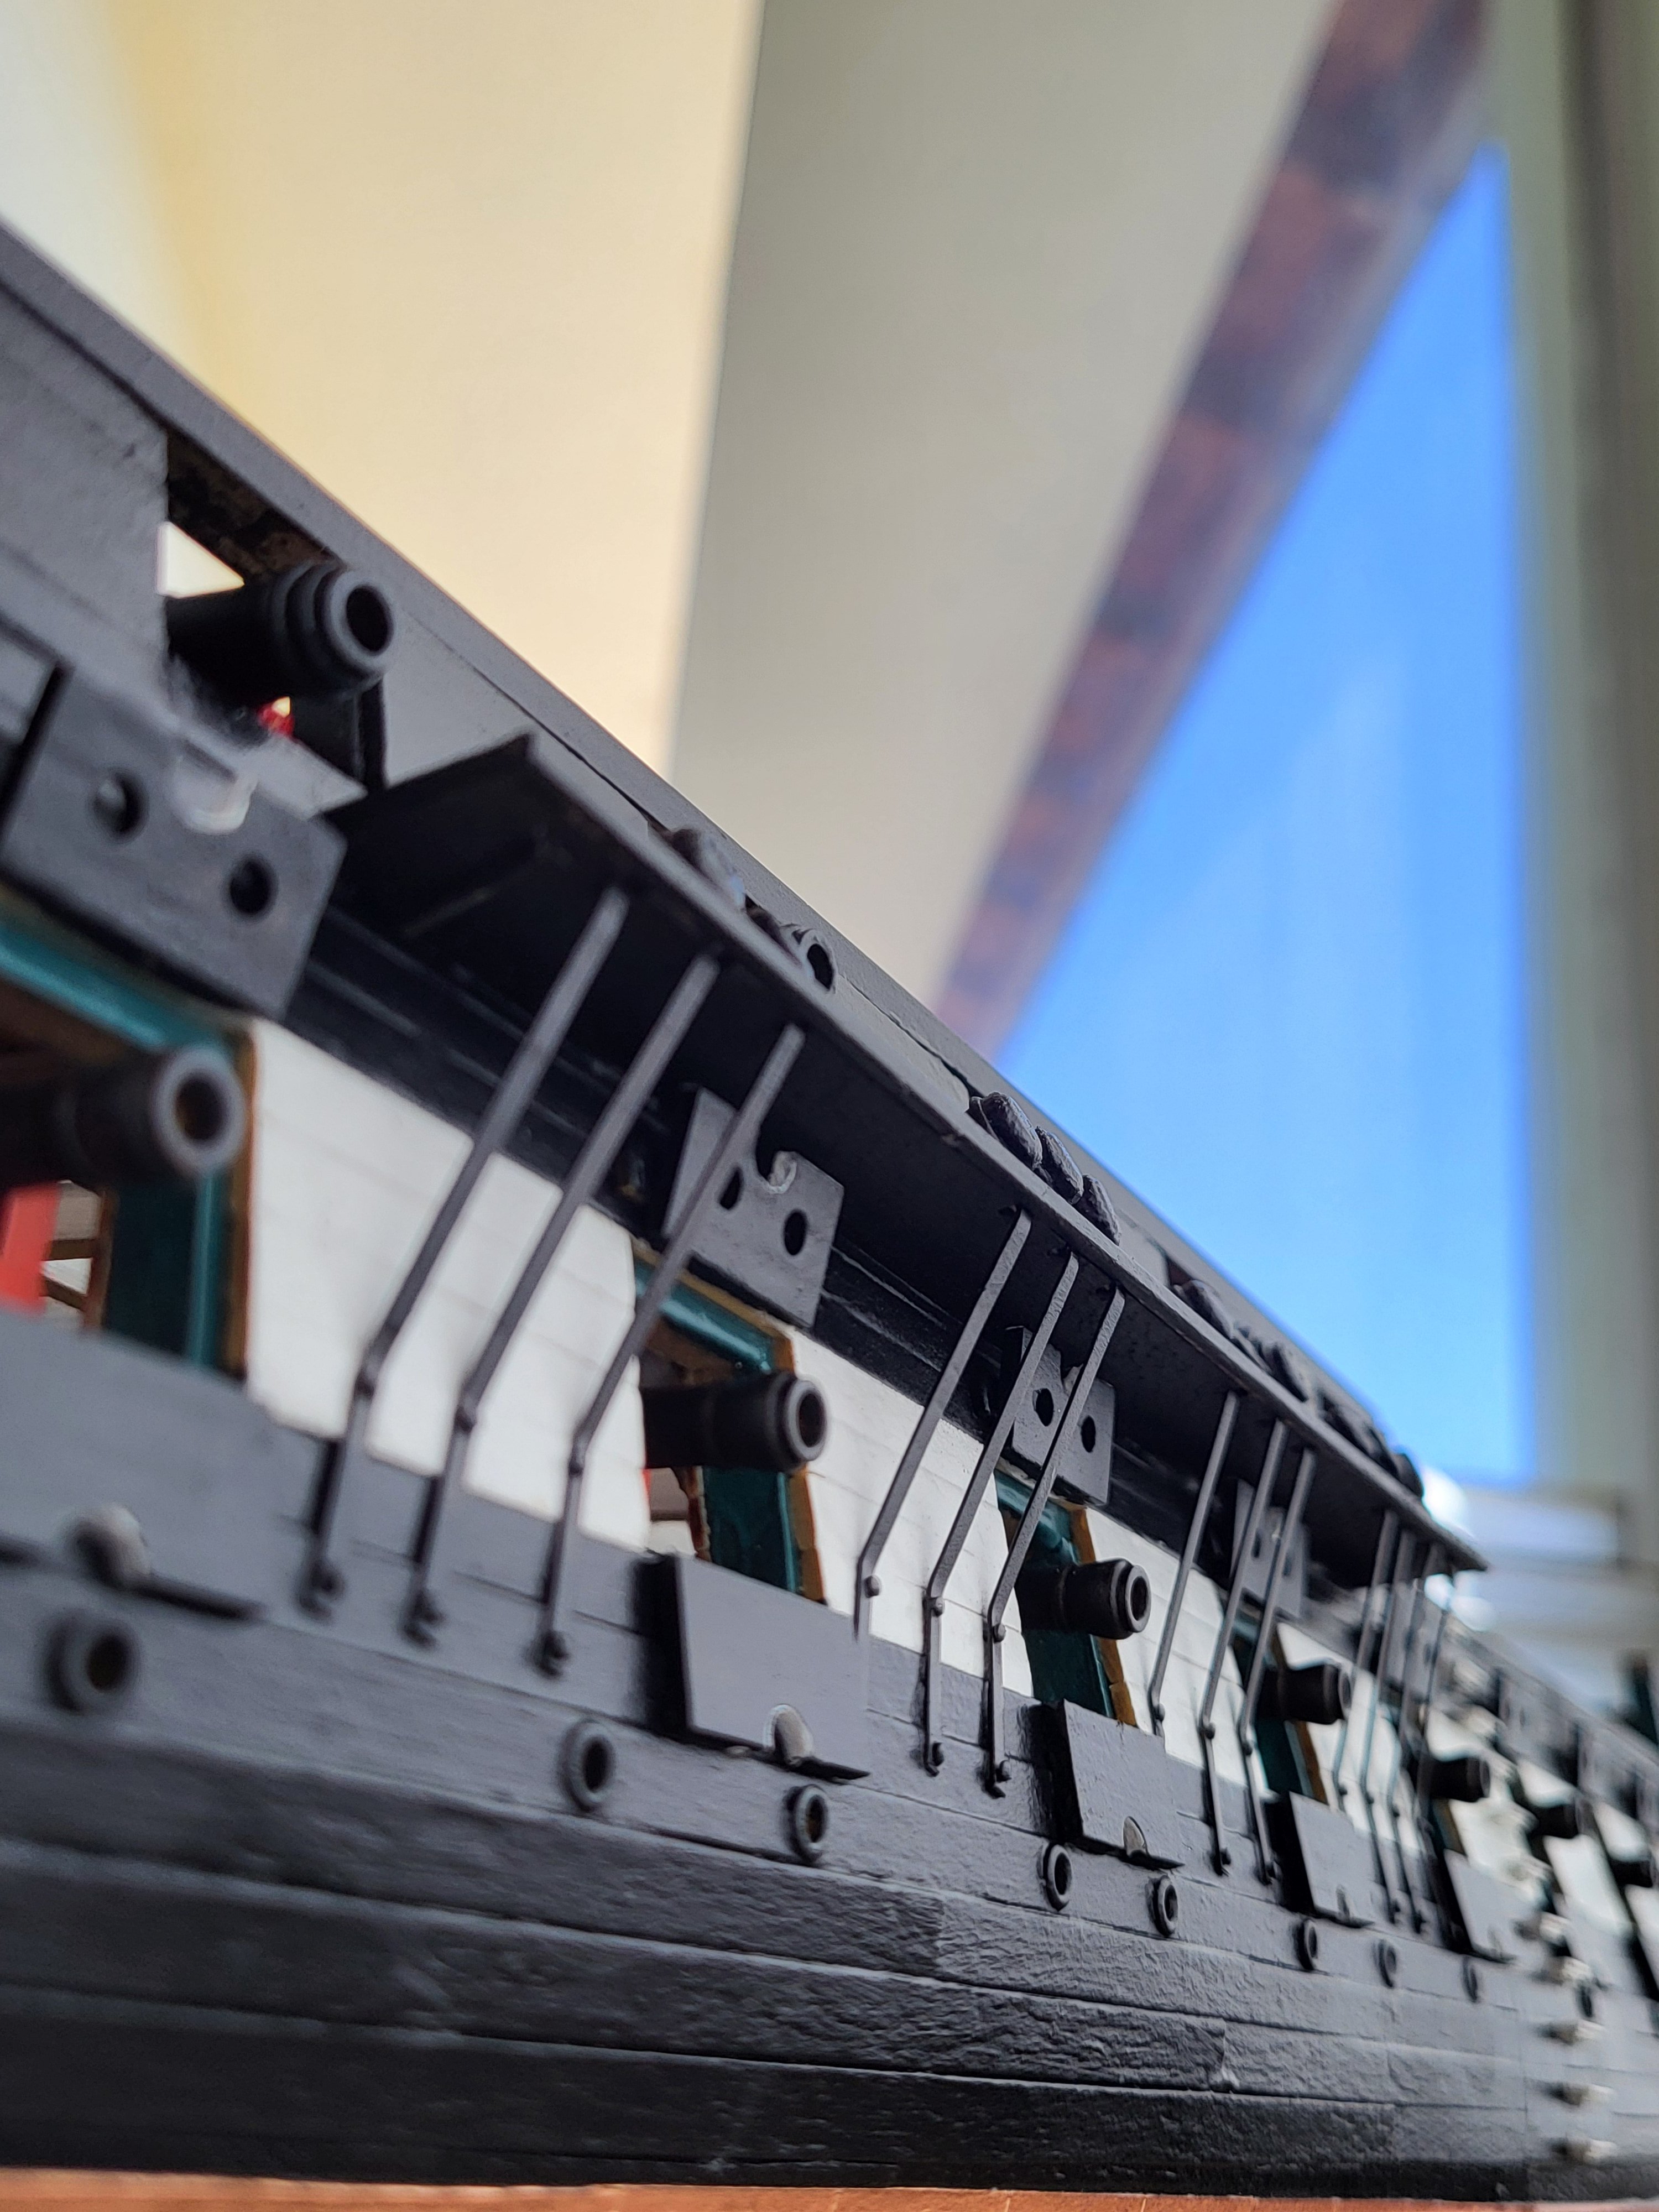
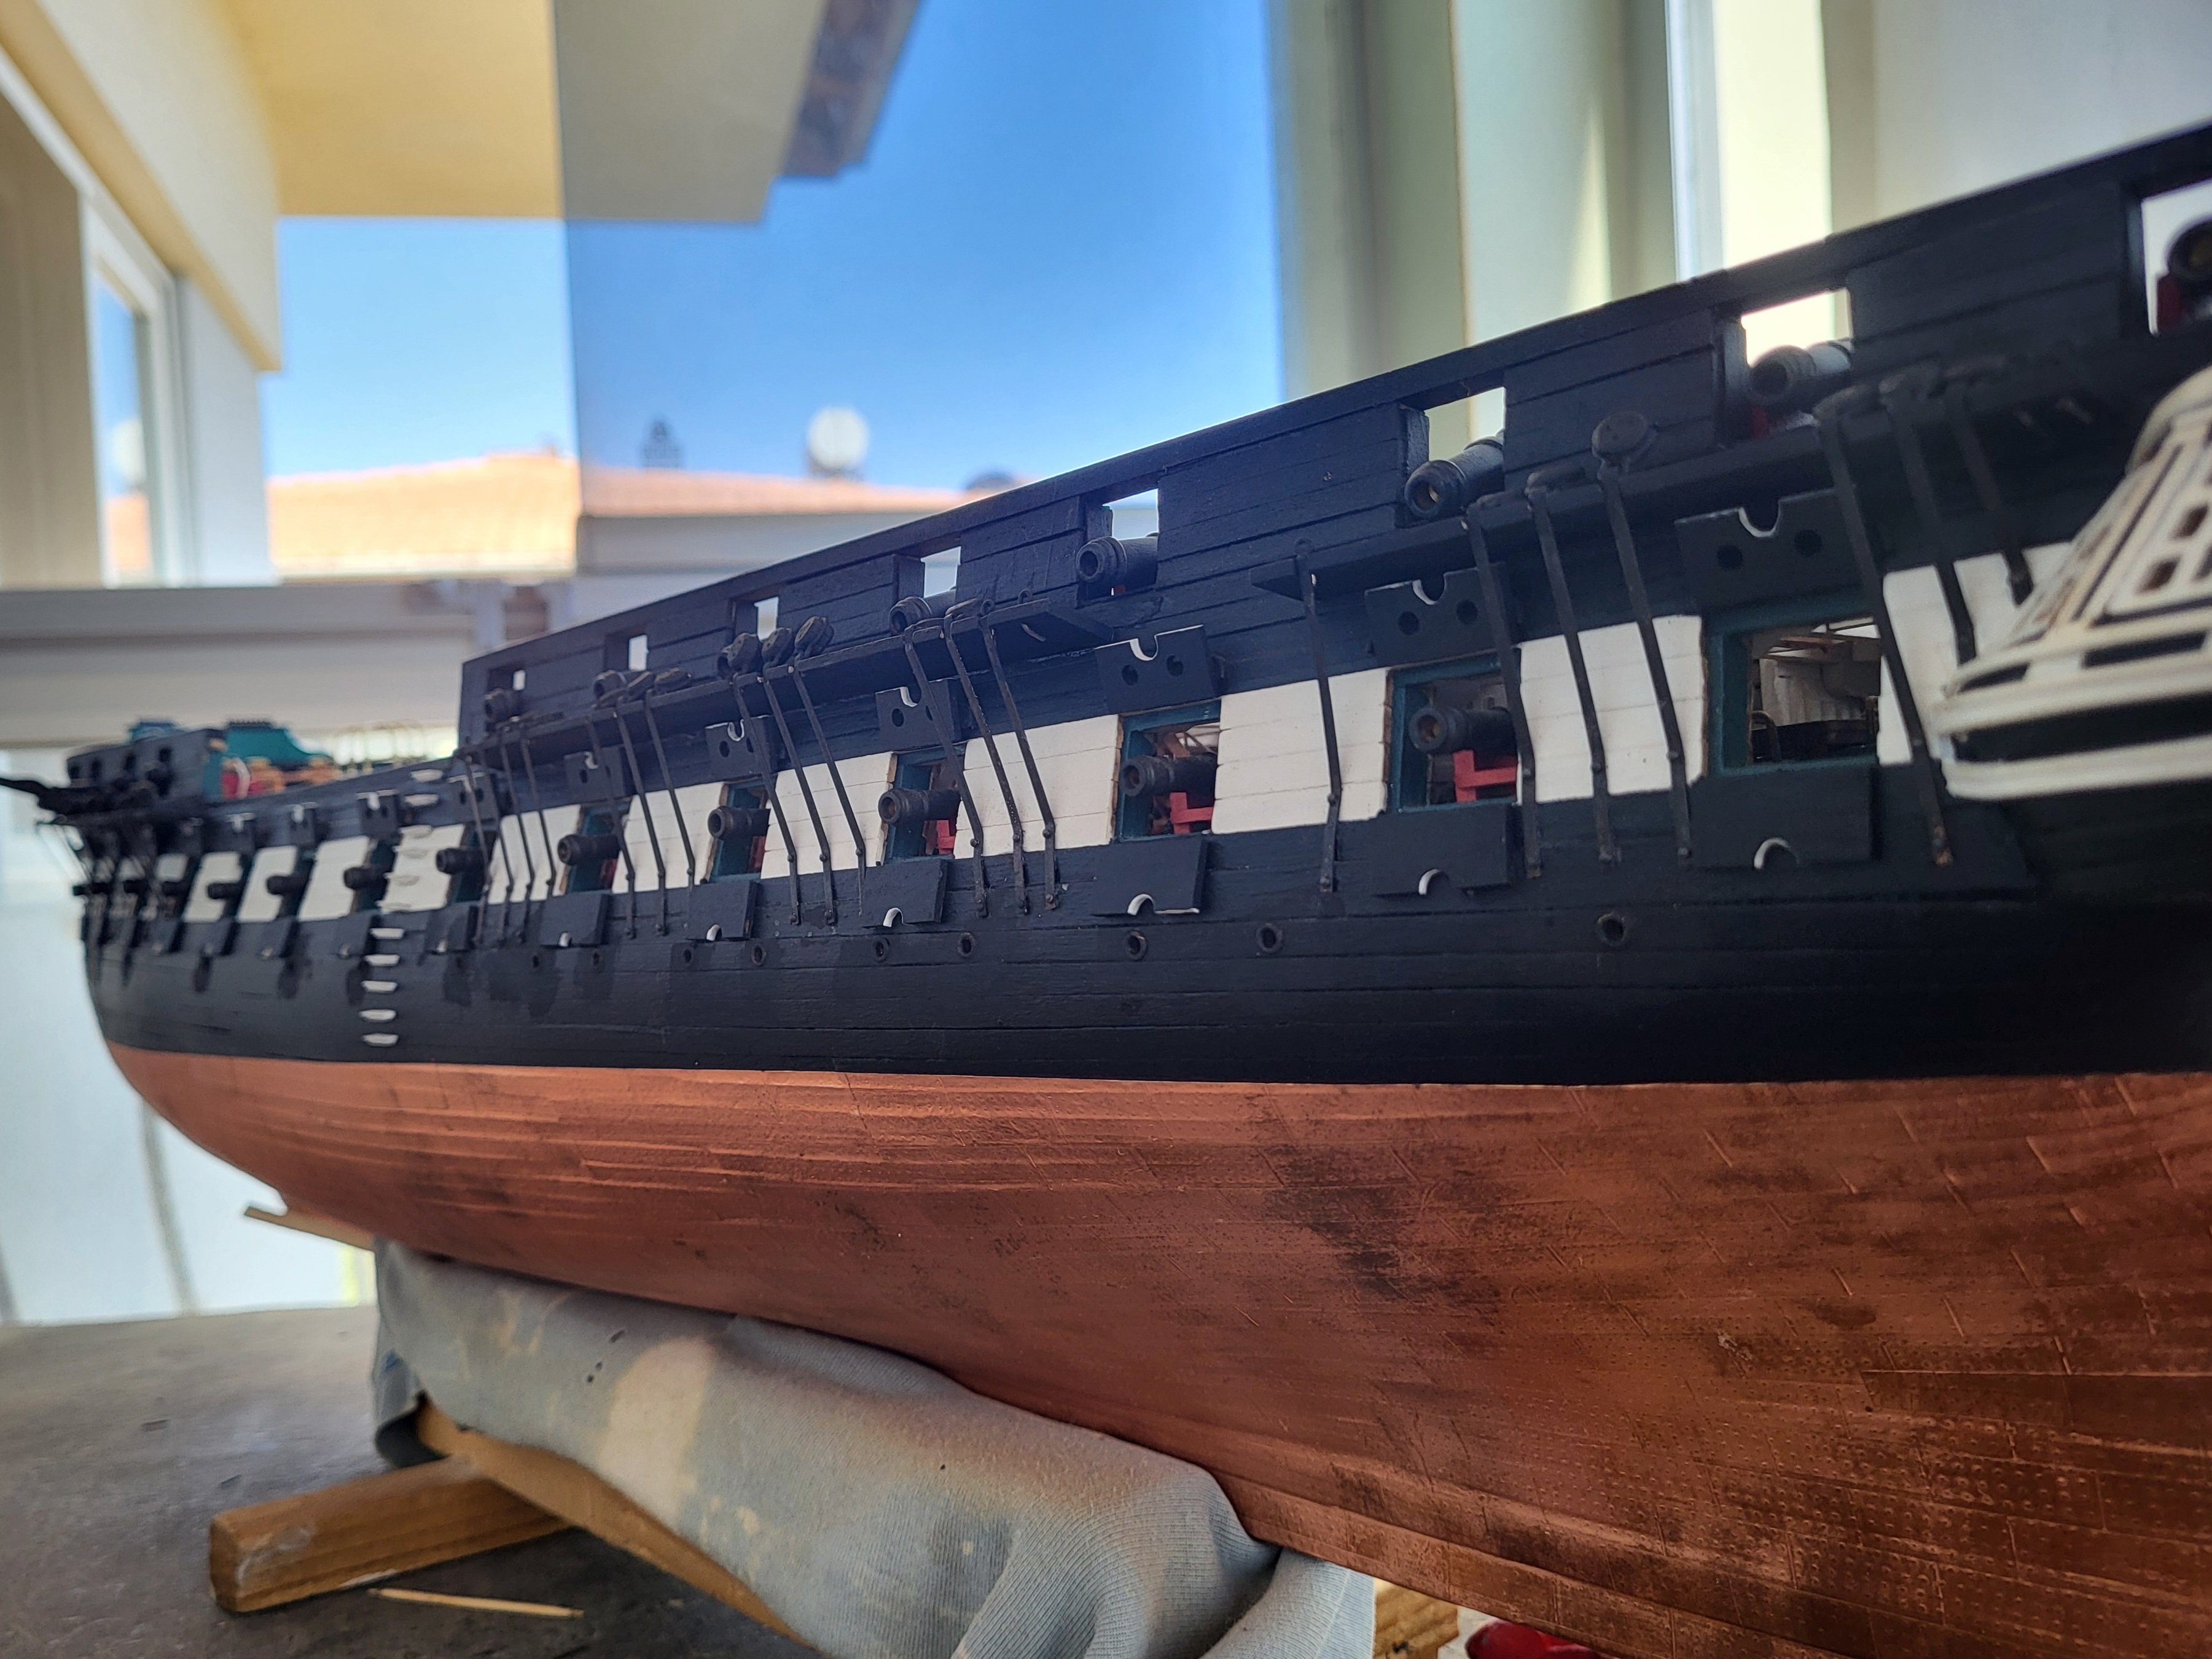
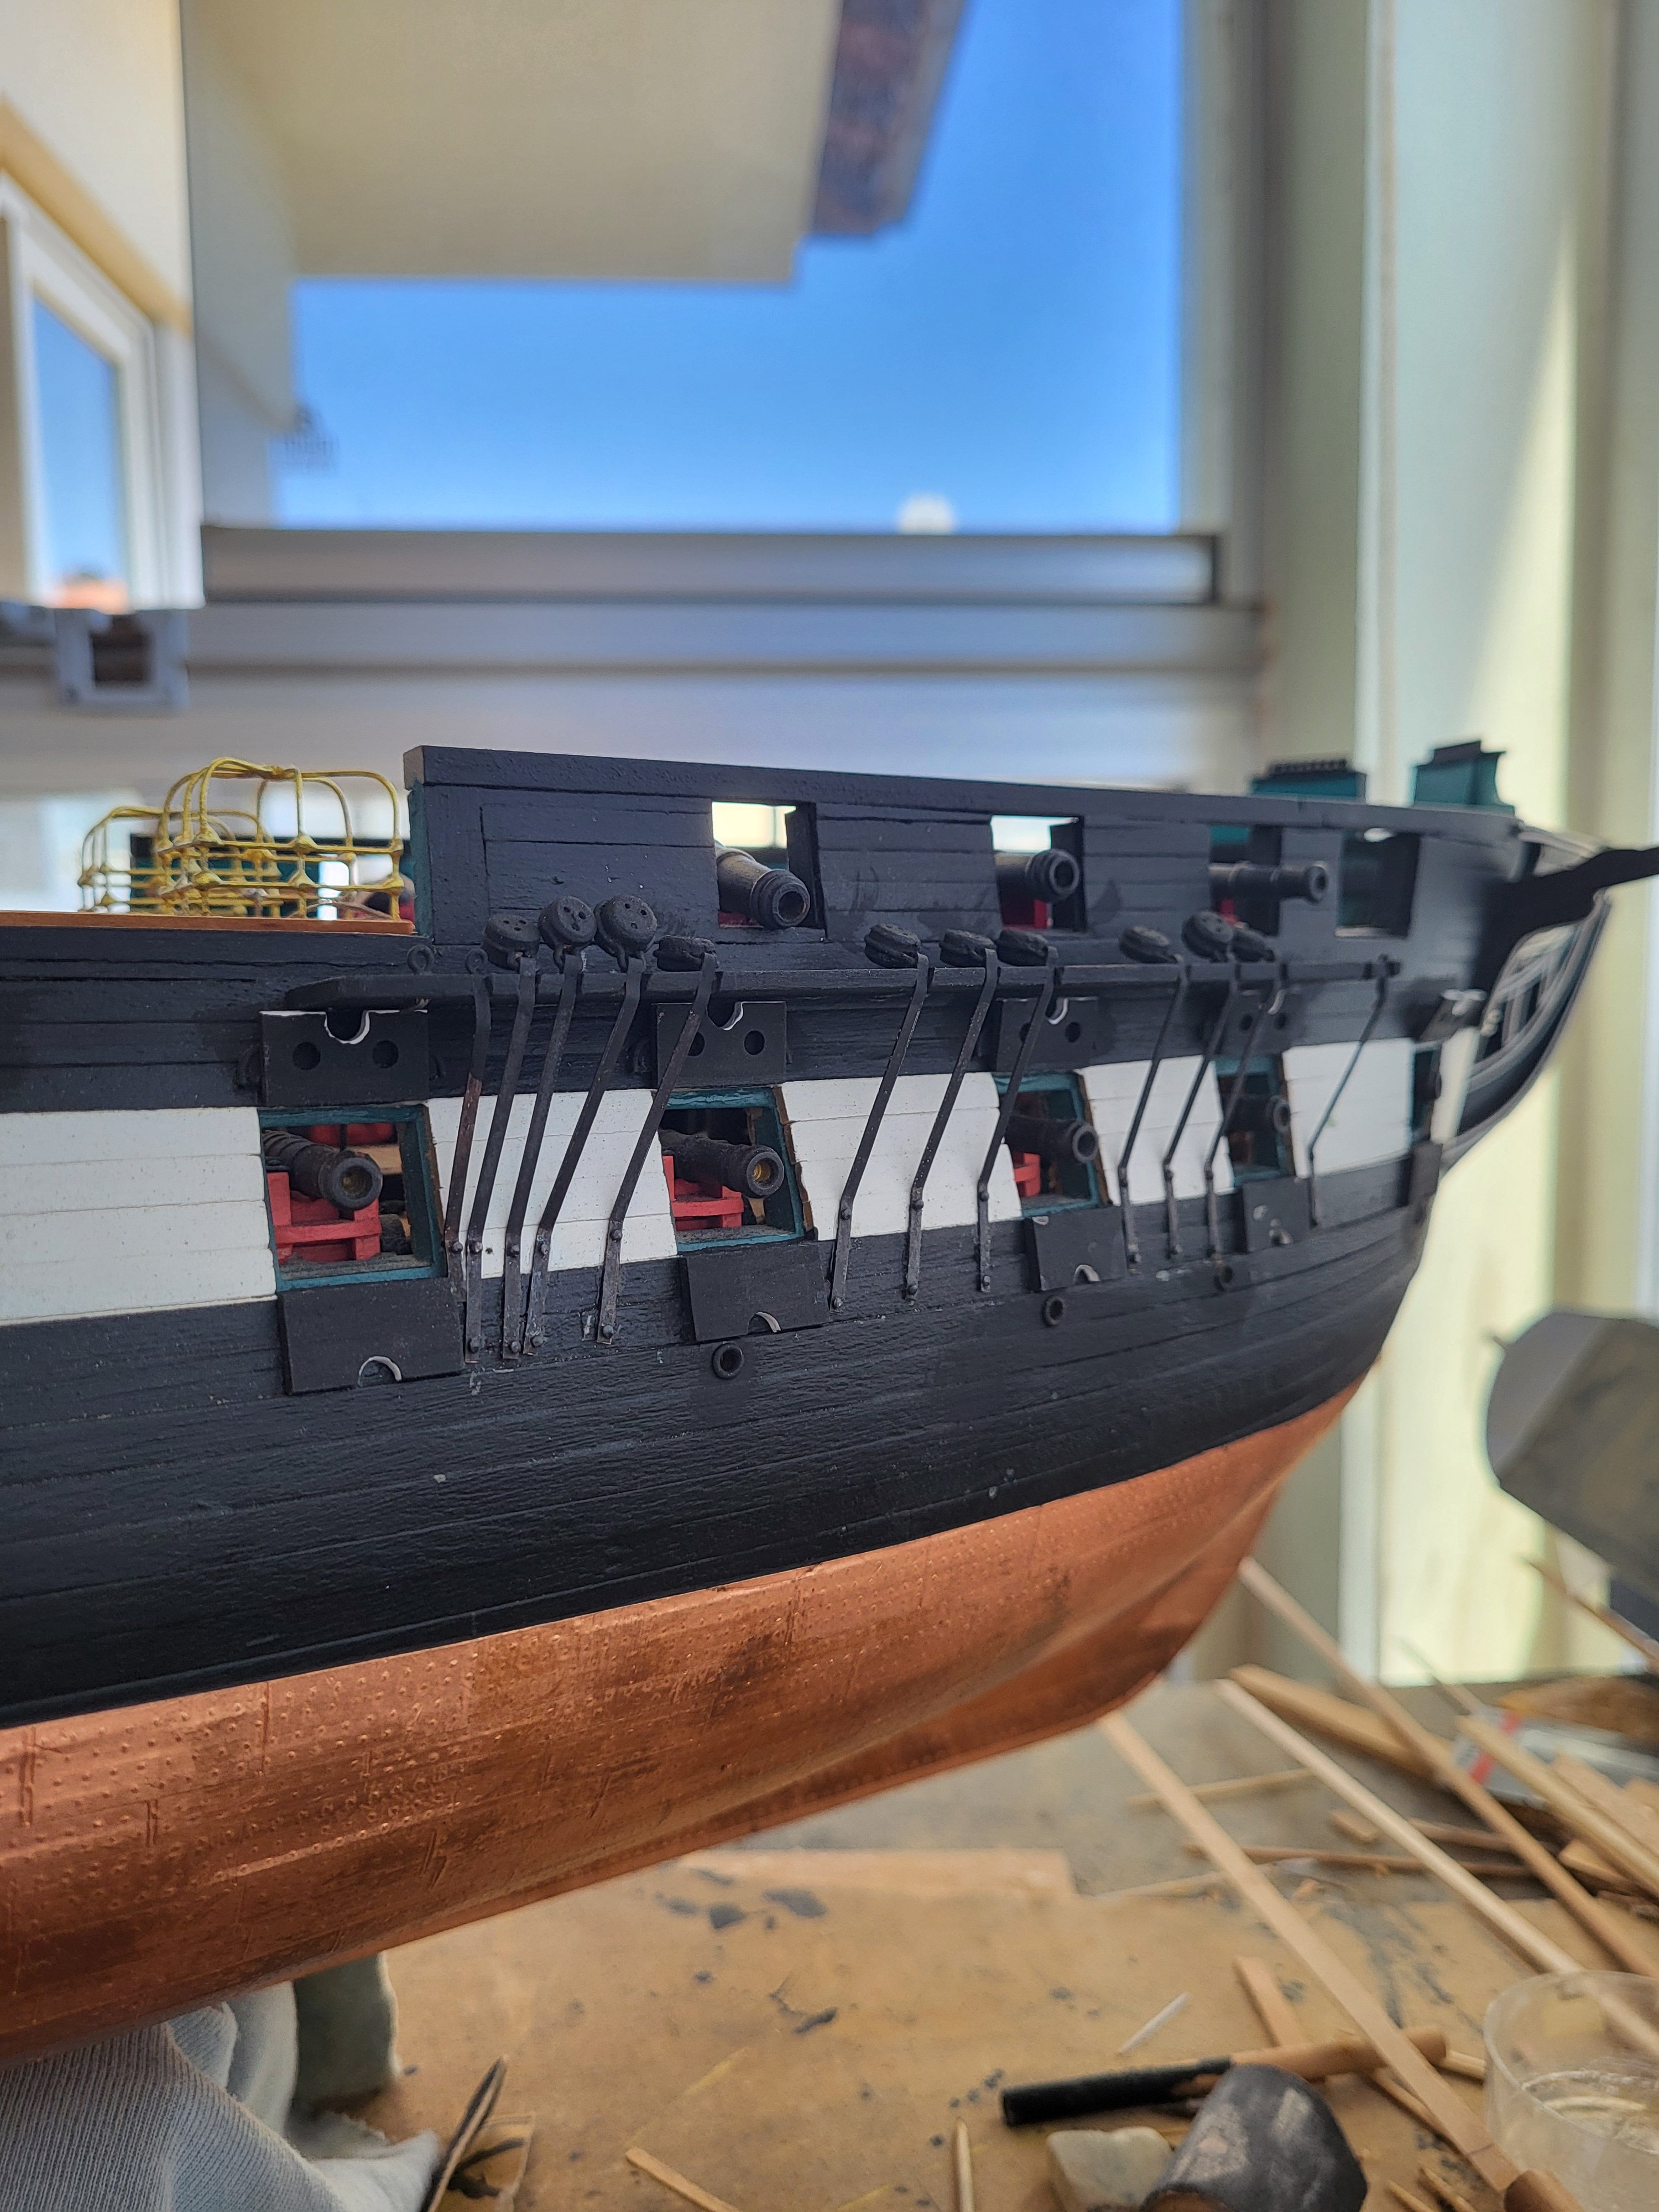
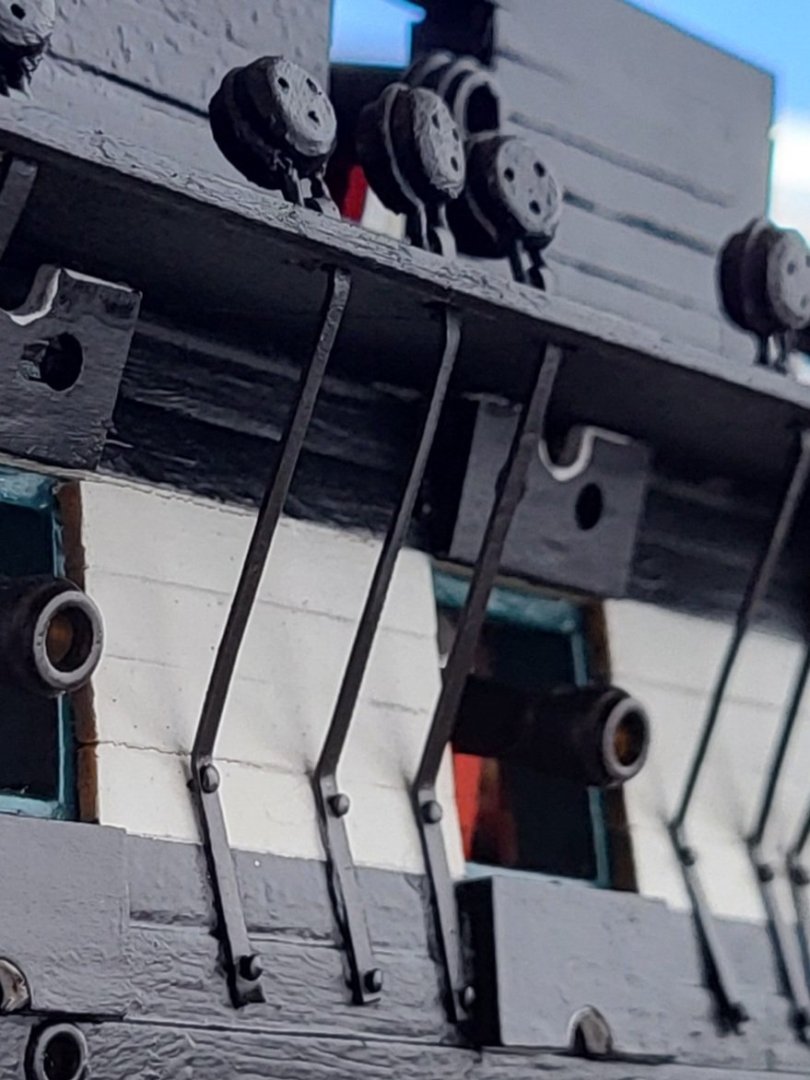
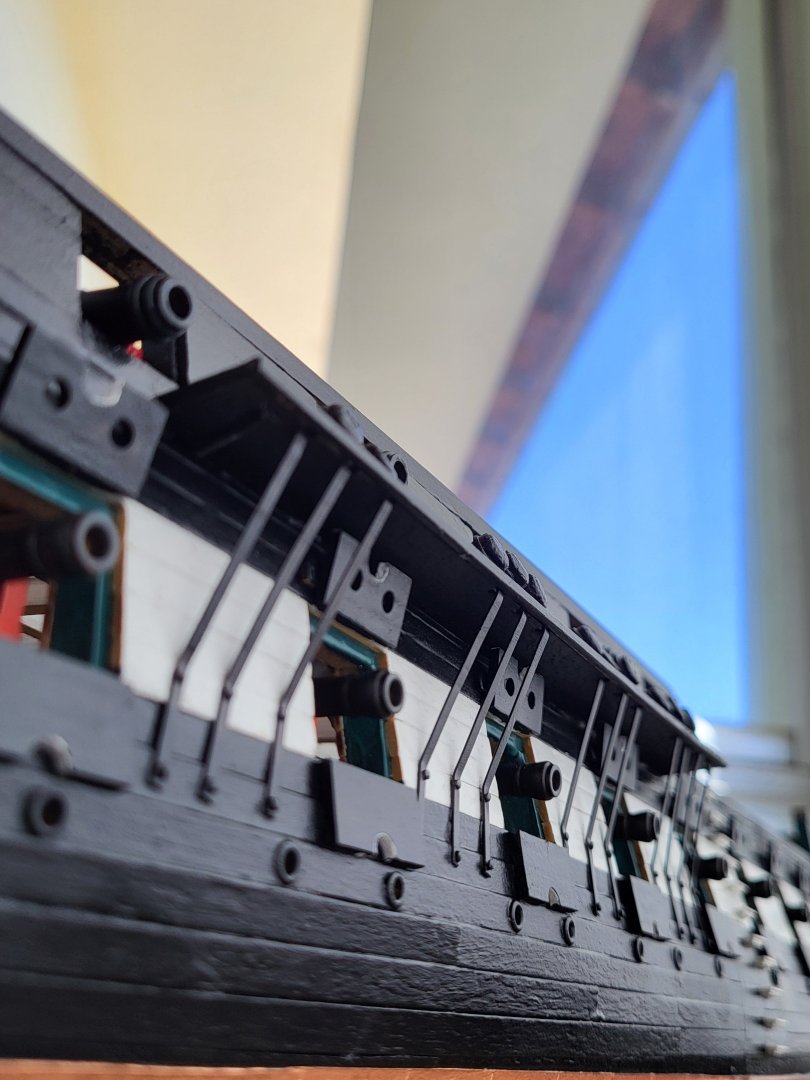
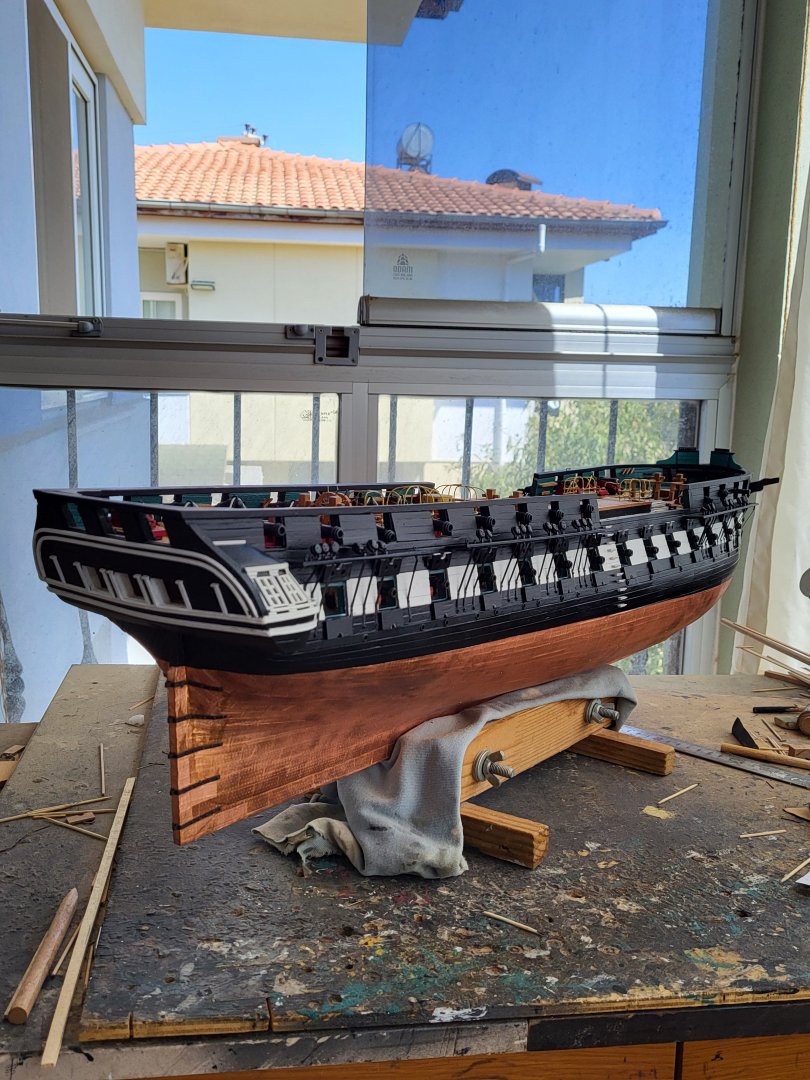
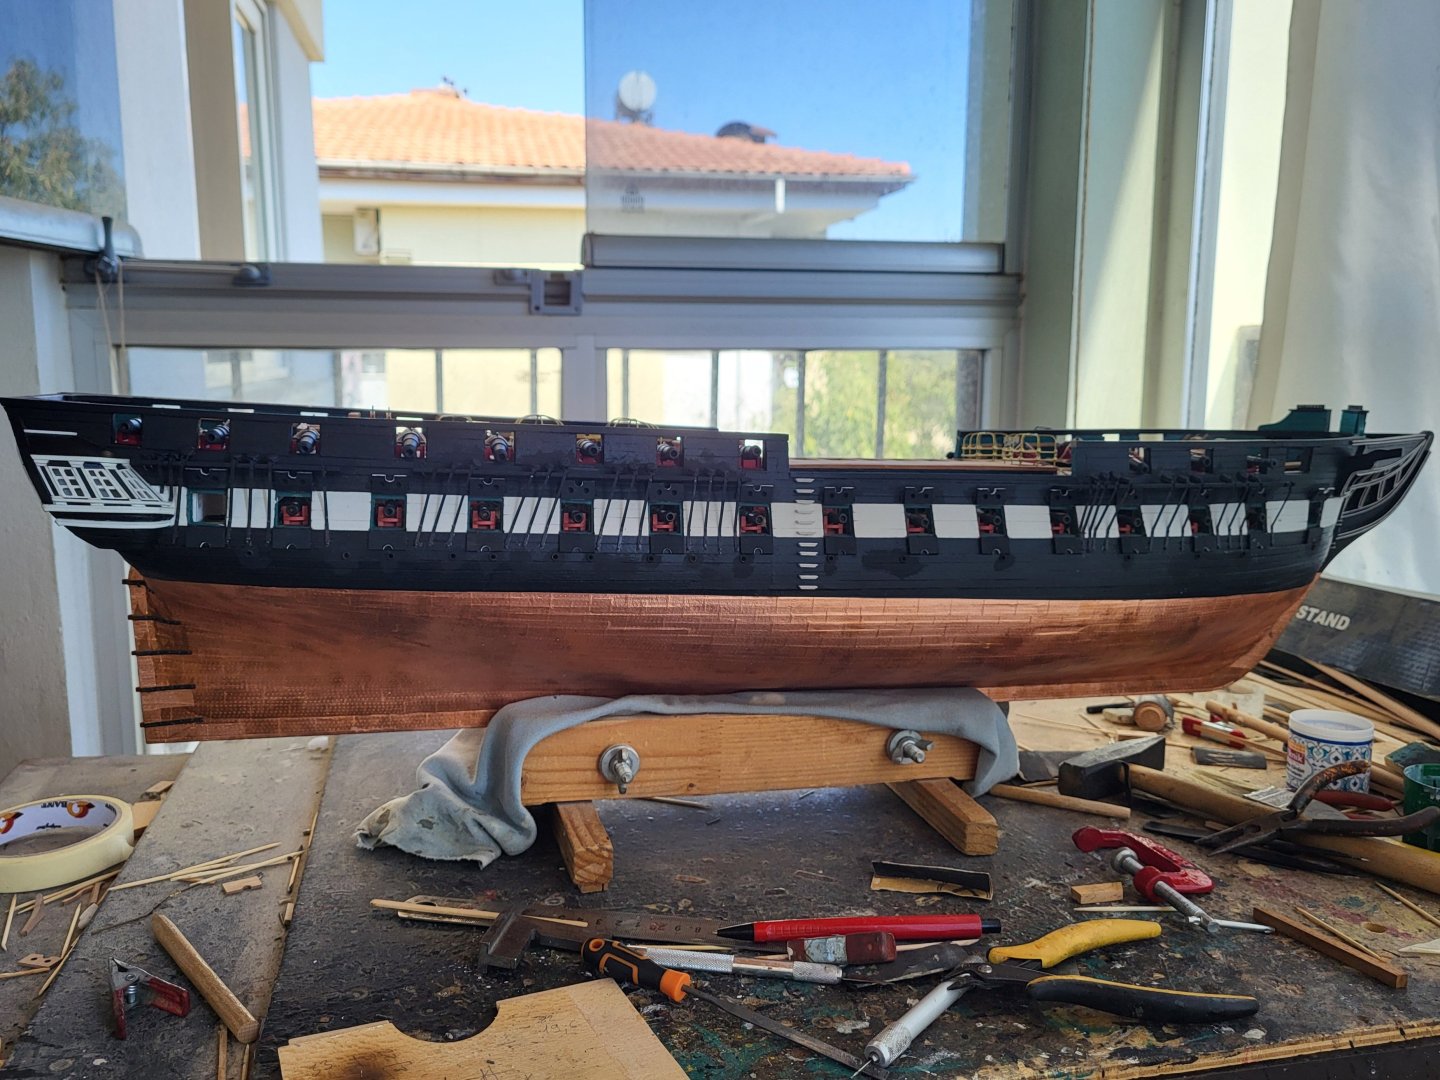
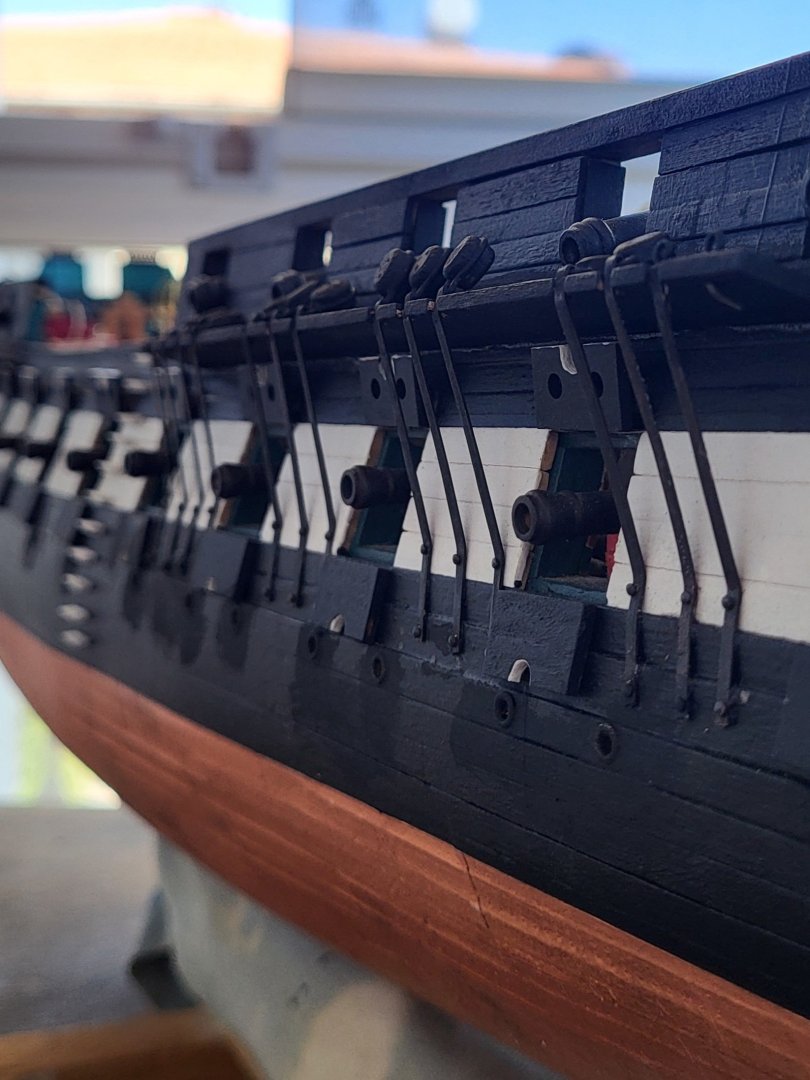
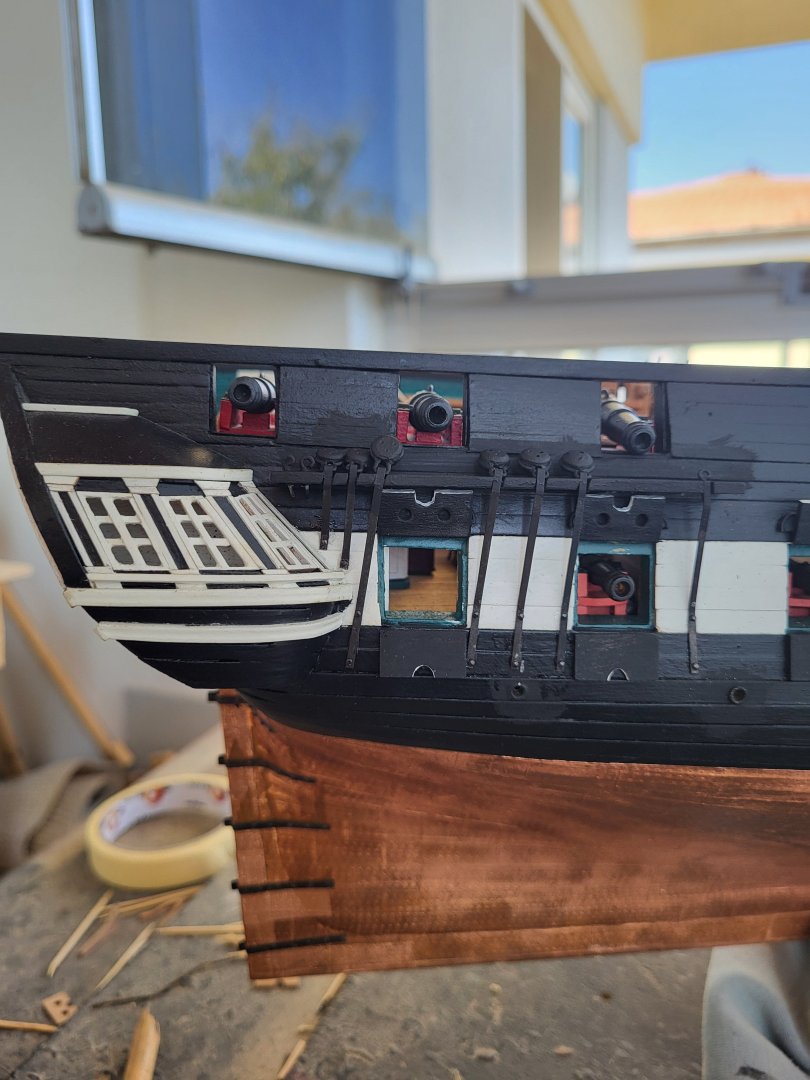
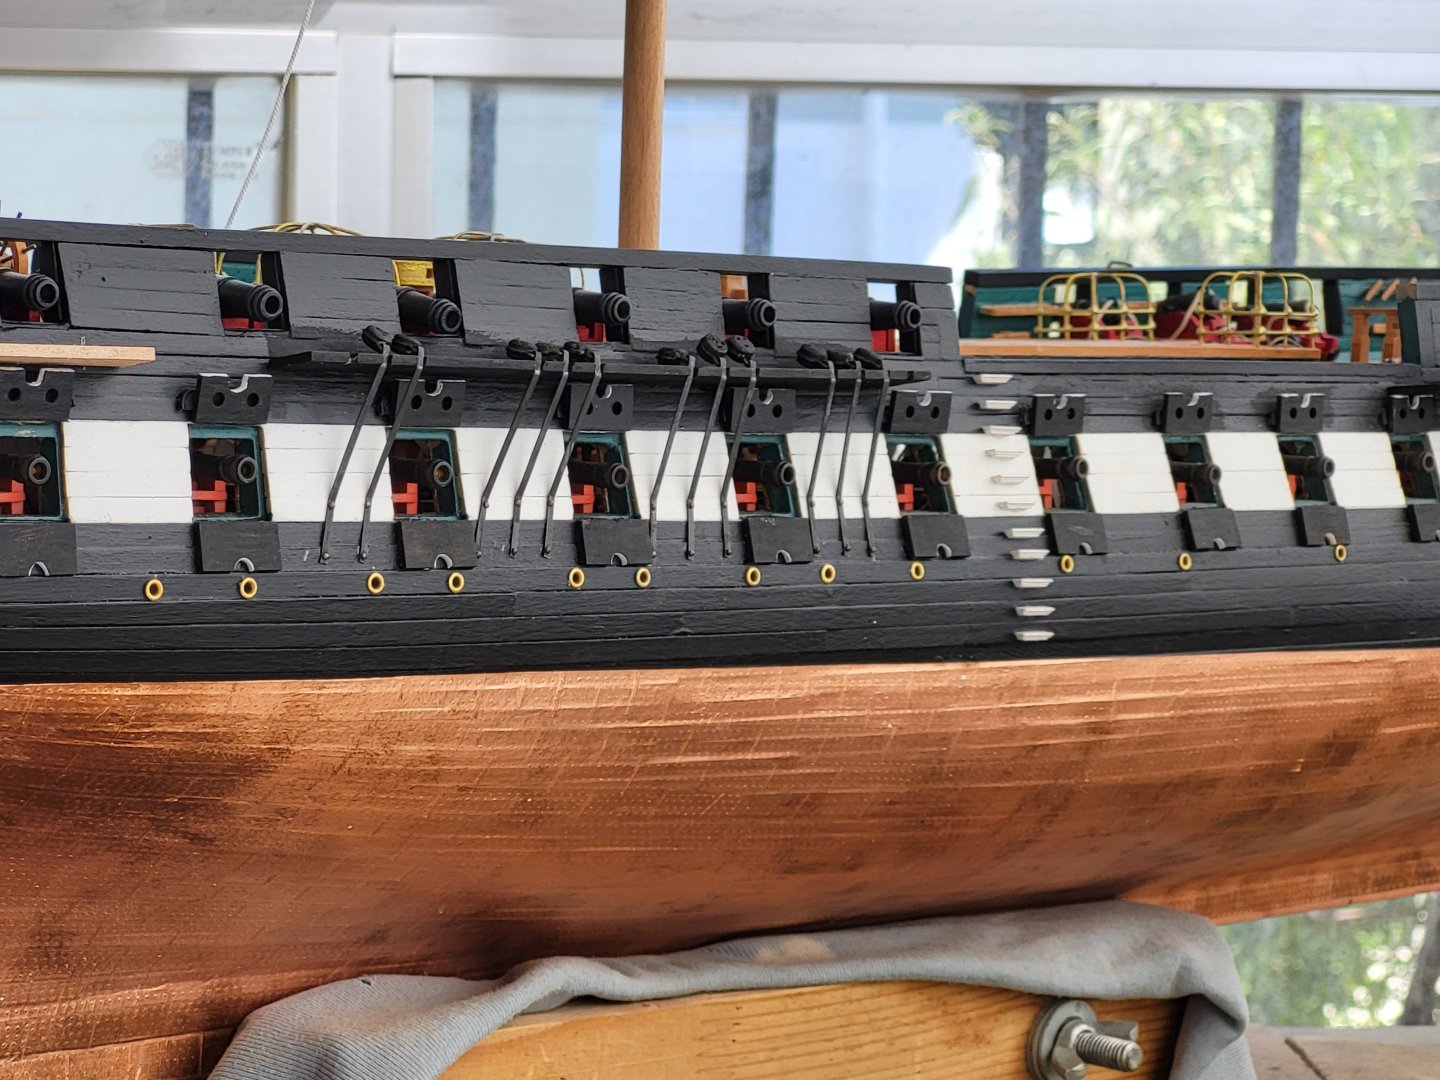
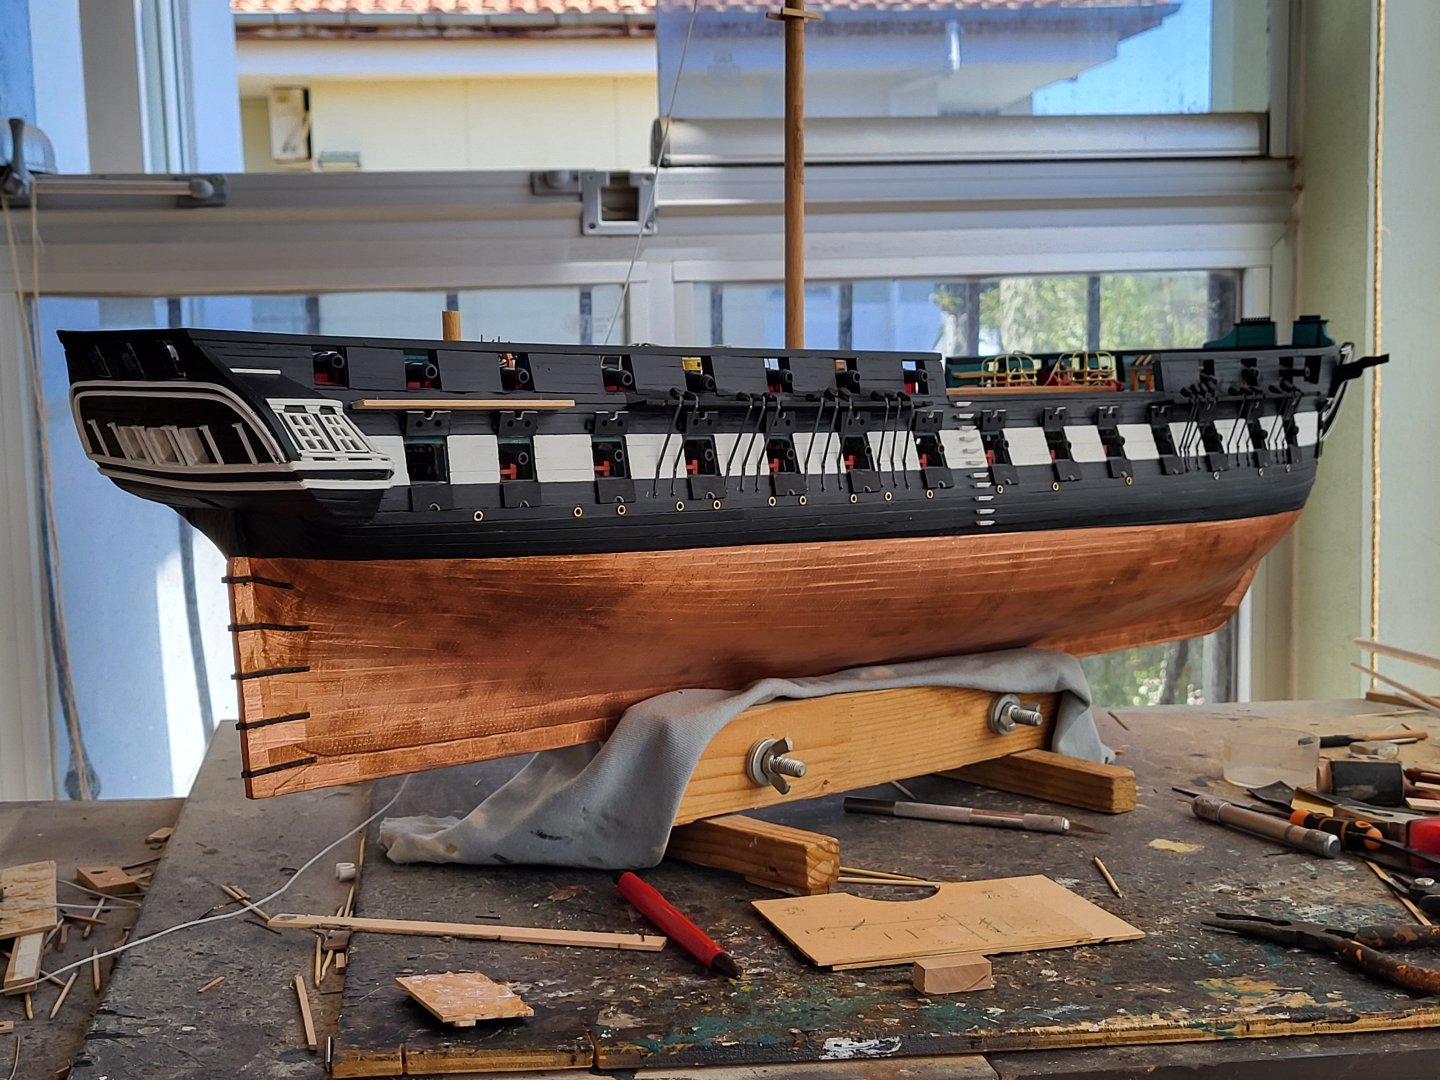
The fabrication and installation of the chain plates is complete. The entire job took 15 days. Unless I'm mistaken, a total of 64 chain plates were installed on the ship. It was a repetitive and somewhat tedious task, but it's finally finished.


-
I did it exactly as Greg described.
-
USS Constitution by mtbediz - 1:76
mtbediz replied to mtbediz's topic in - Build logs for subjects built 1751 - 1800
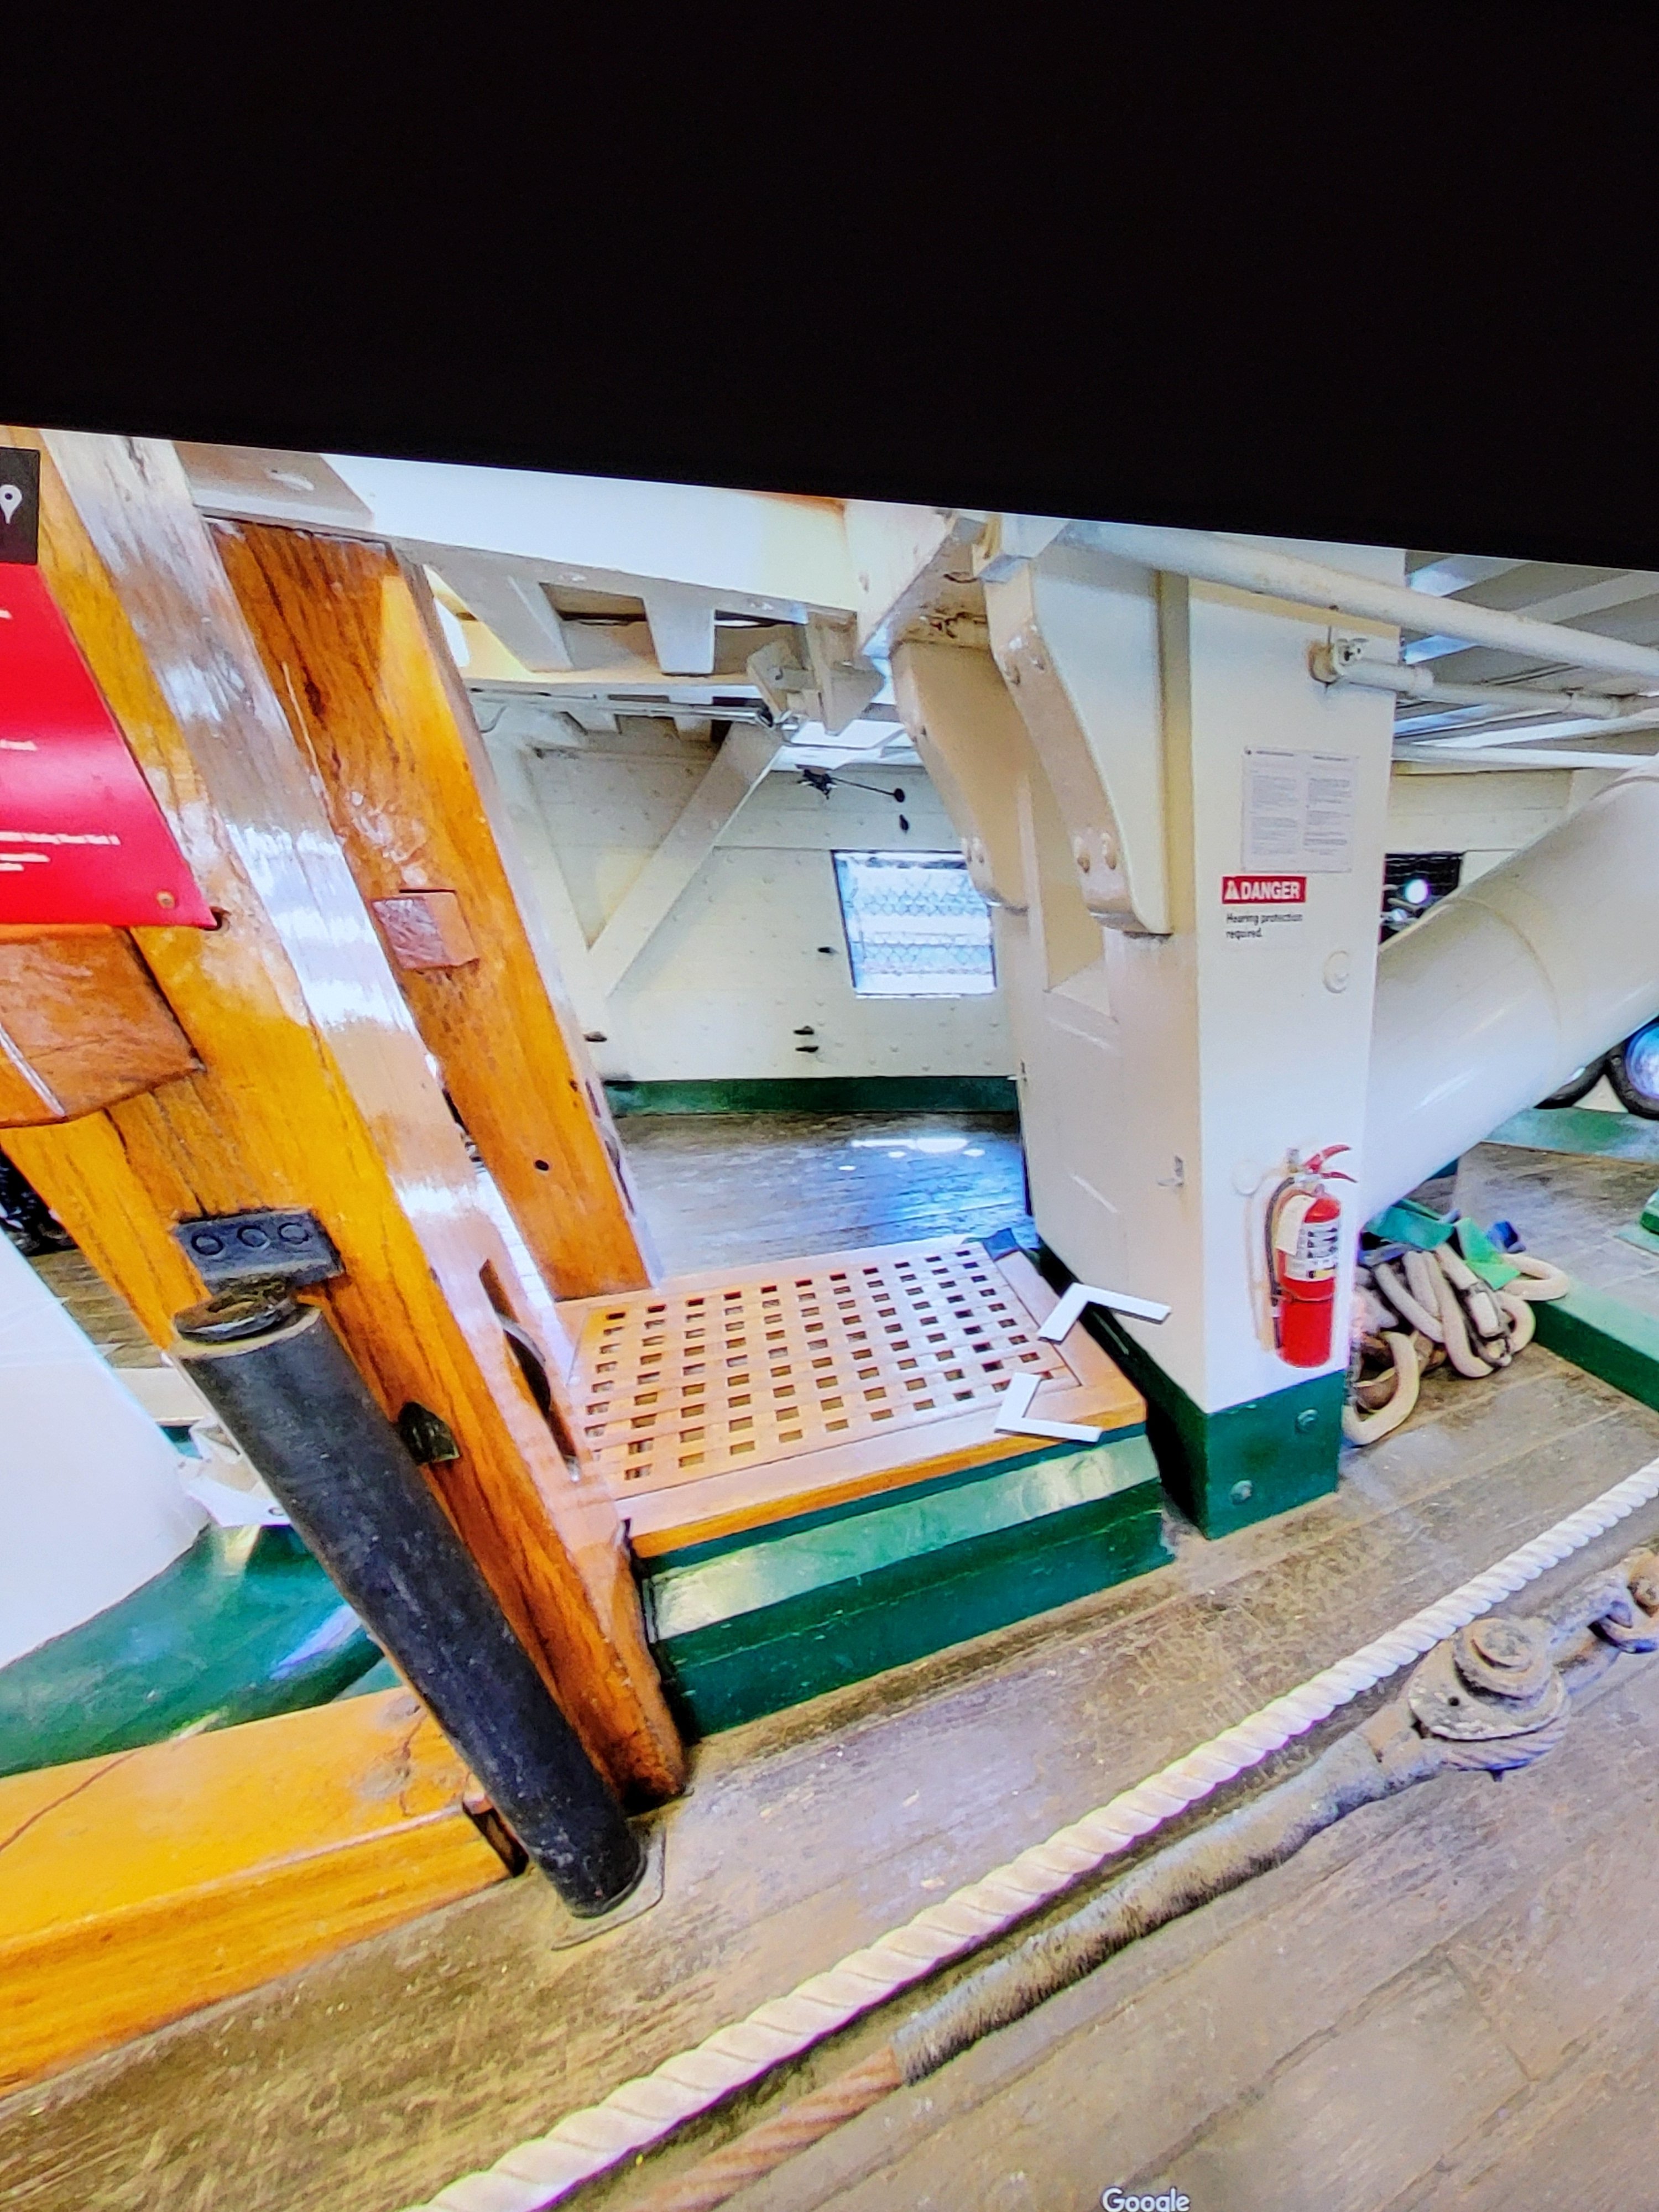
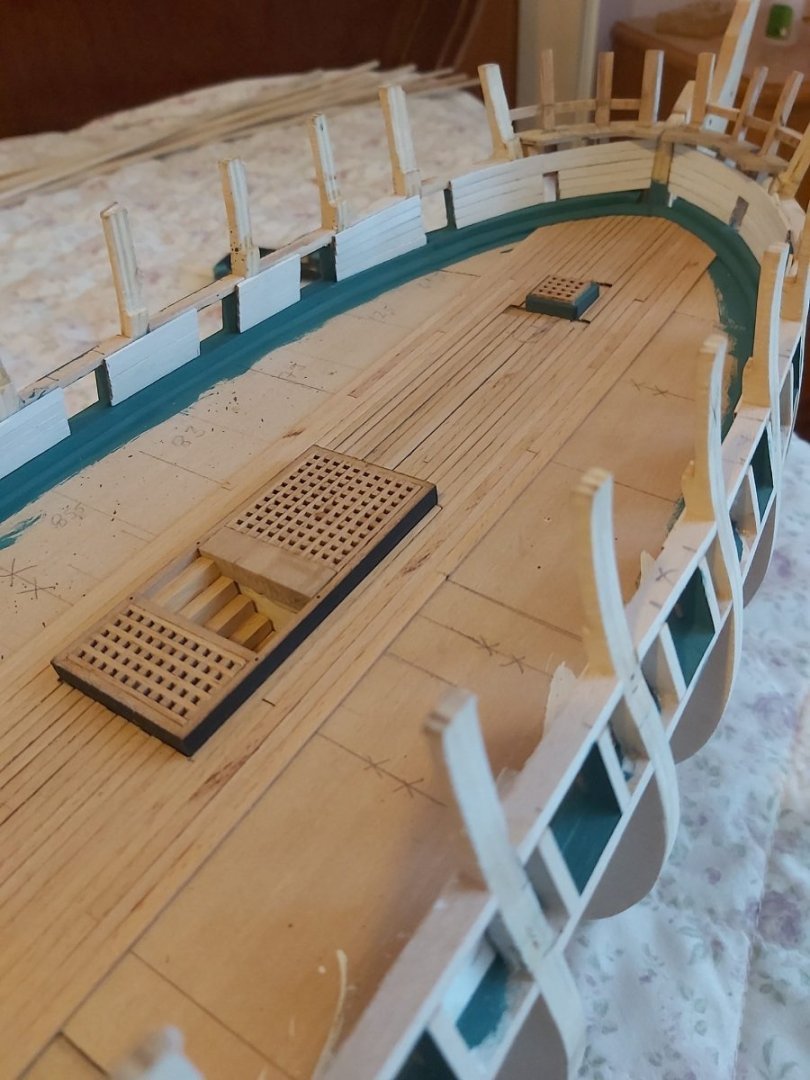
Peter is right, if you look at post #34 you will see that the grate on the bow has changed in size and shape. Actually, I am making a lot of things by looking at the images of the ship on the internet.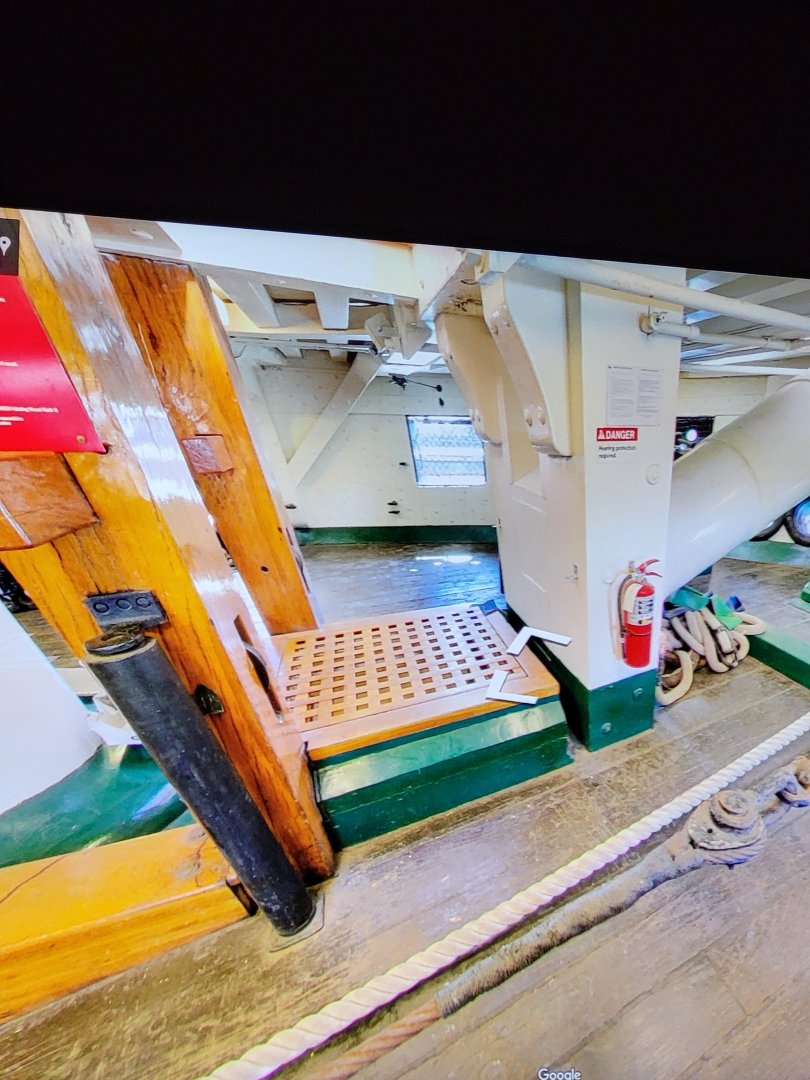

-
USS Constitution by mtbediz - 1:76
mtbediz replied to mtbediz's topic in - Build logs for subjects built 1751 - 1800
Sorry my friend, I didn't understand the question. -
Clever solution.
-
I bought 0.5-0.6-0.7mm cutters from Ali Express. They're not expensive, so I recommend them. You might need them again.
-
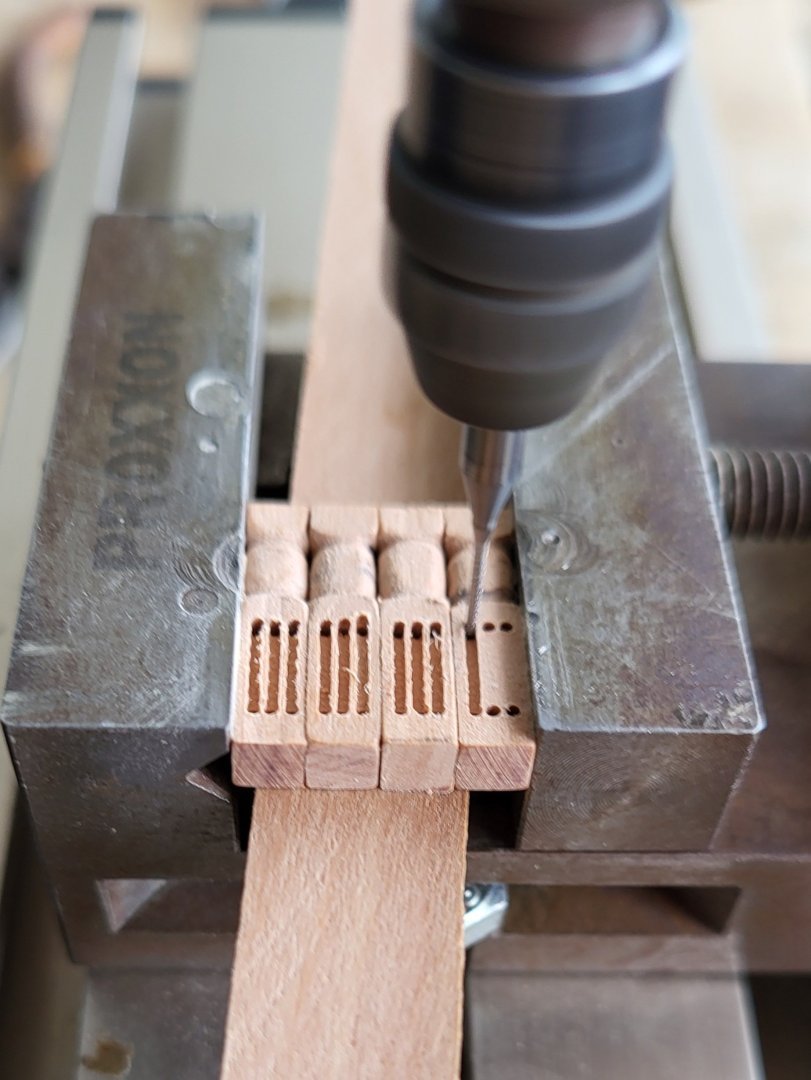
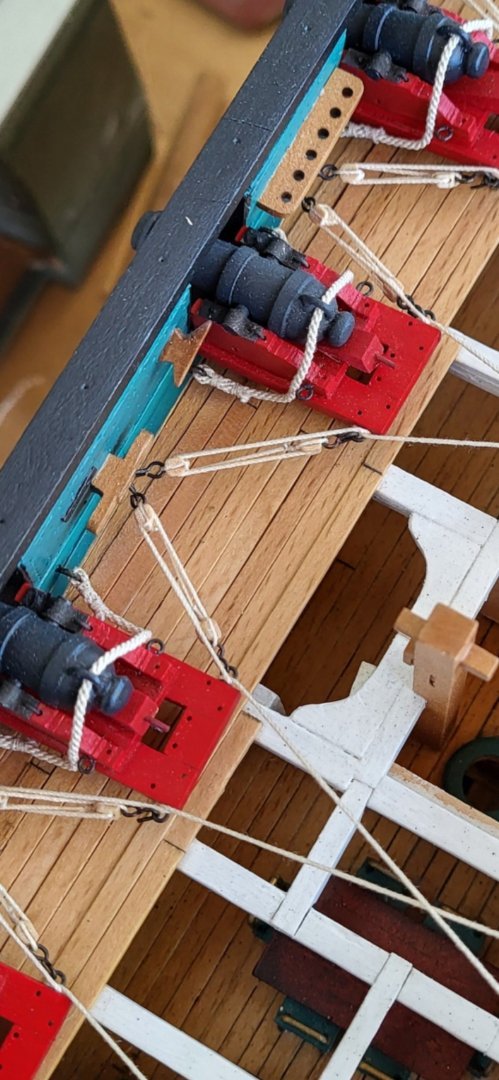
I used my mill with 0,6mm cutter to make the sheaves.
-
Unless you're adding sails, there are lot of belaying pins that won't be attached anyway. I'd leave the holes empty; it looks more natural.
-
USS Constitution by mtbediz - 1:76
mtbediz replied to mtbediz's topic in - Build logs for subjects built 1751 - 1800
I've often considered sourcing small parts like blocks and deadeyes, which are used in large numbers in sailing ship models, from external suppliers. Sometimes I wonder if all the effort I put into making them myself is really worth it. The quality of the rigging ropes truly makes a significant difference in the overall appearance of sailing ship models. Since I couldn't find a supplier in my country that offered the quality I was looking for, I started making the ropes myself. I was pleased with the results, so I’ve continued doing it ever since. -
USS Constitution by mtbediz - 1:76
mtbediz replied to mtbediz's topic in - Build logs for subjects built 1751 - 1800
Hi Turcic, I made the eyebolts myself. I used 0.6mm brass wire and the inner diameter of the eyelets is 1mm. -
USS Constitution by mtbediz - 1:76
mtbediz replied to mtbediz's topic in - Build logs for subjects built 1751 - 1800
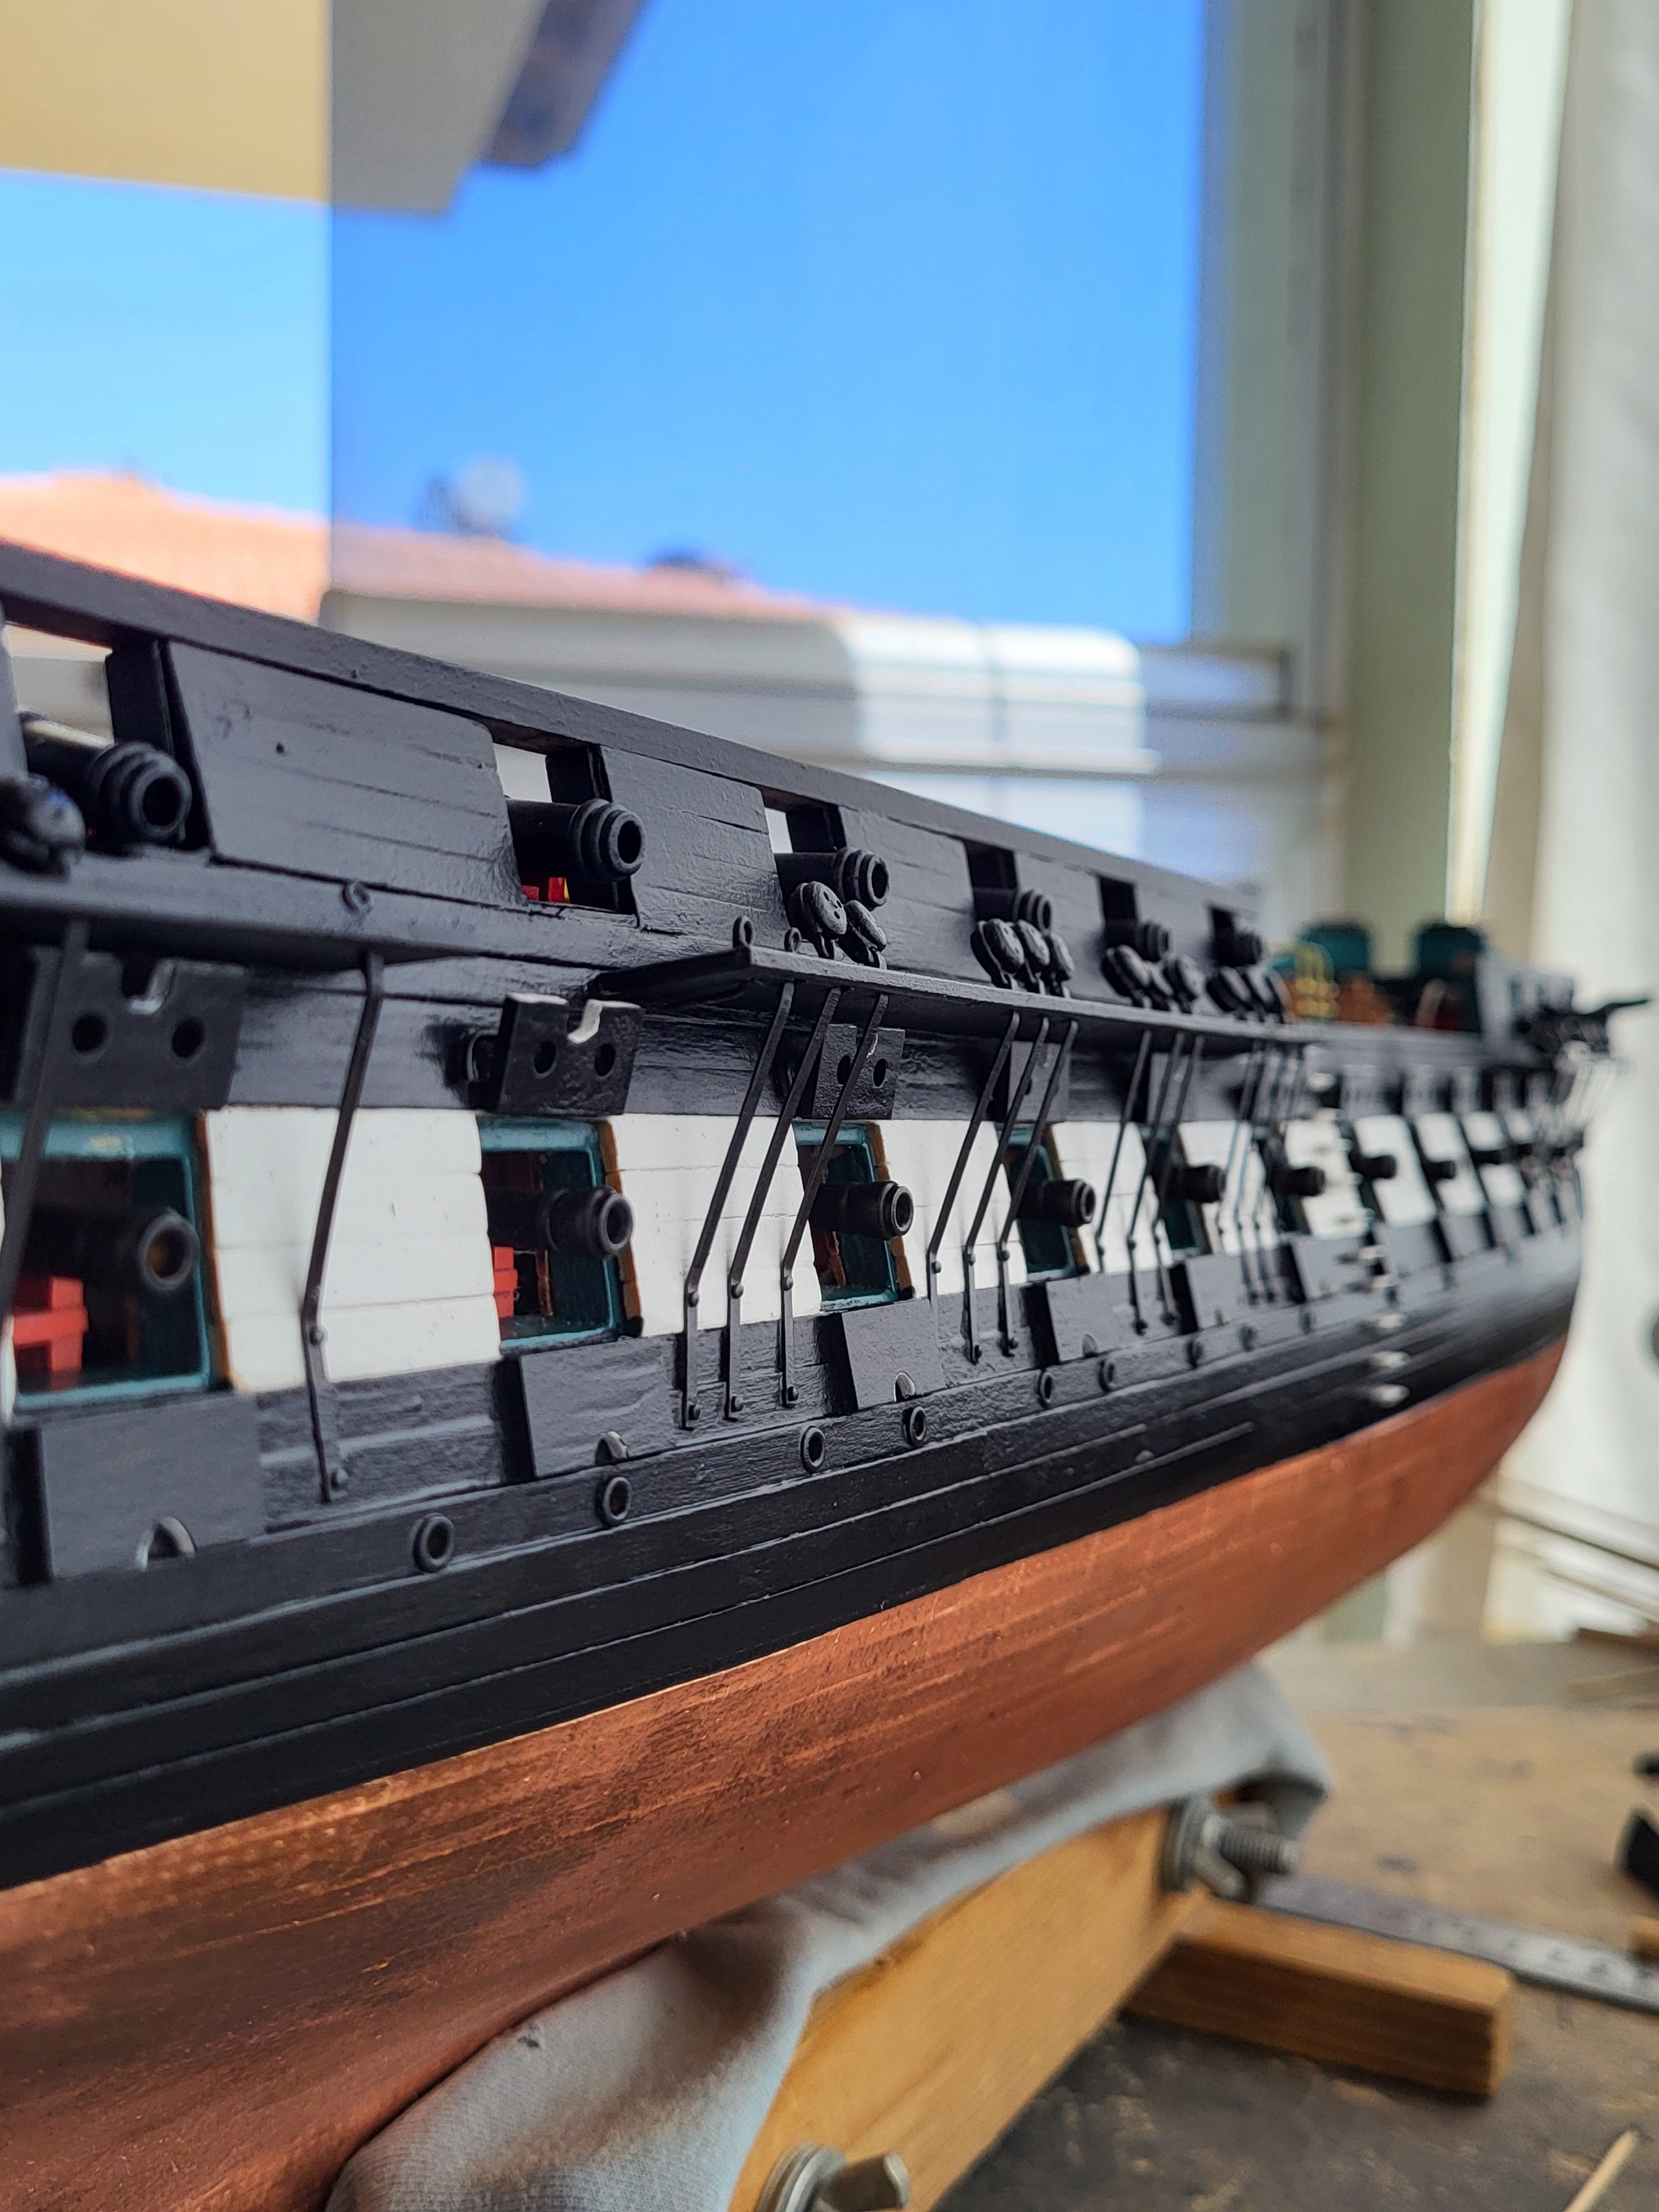
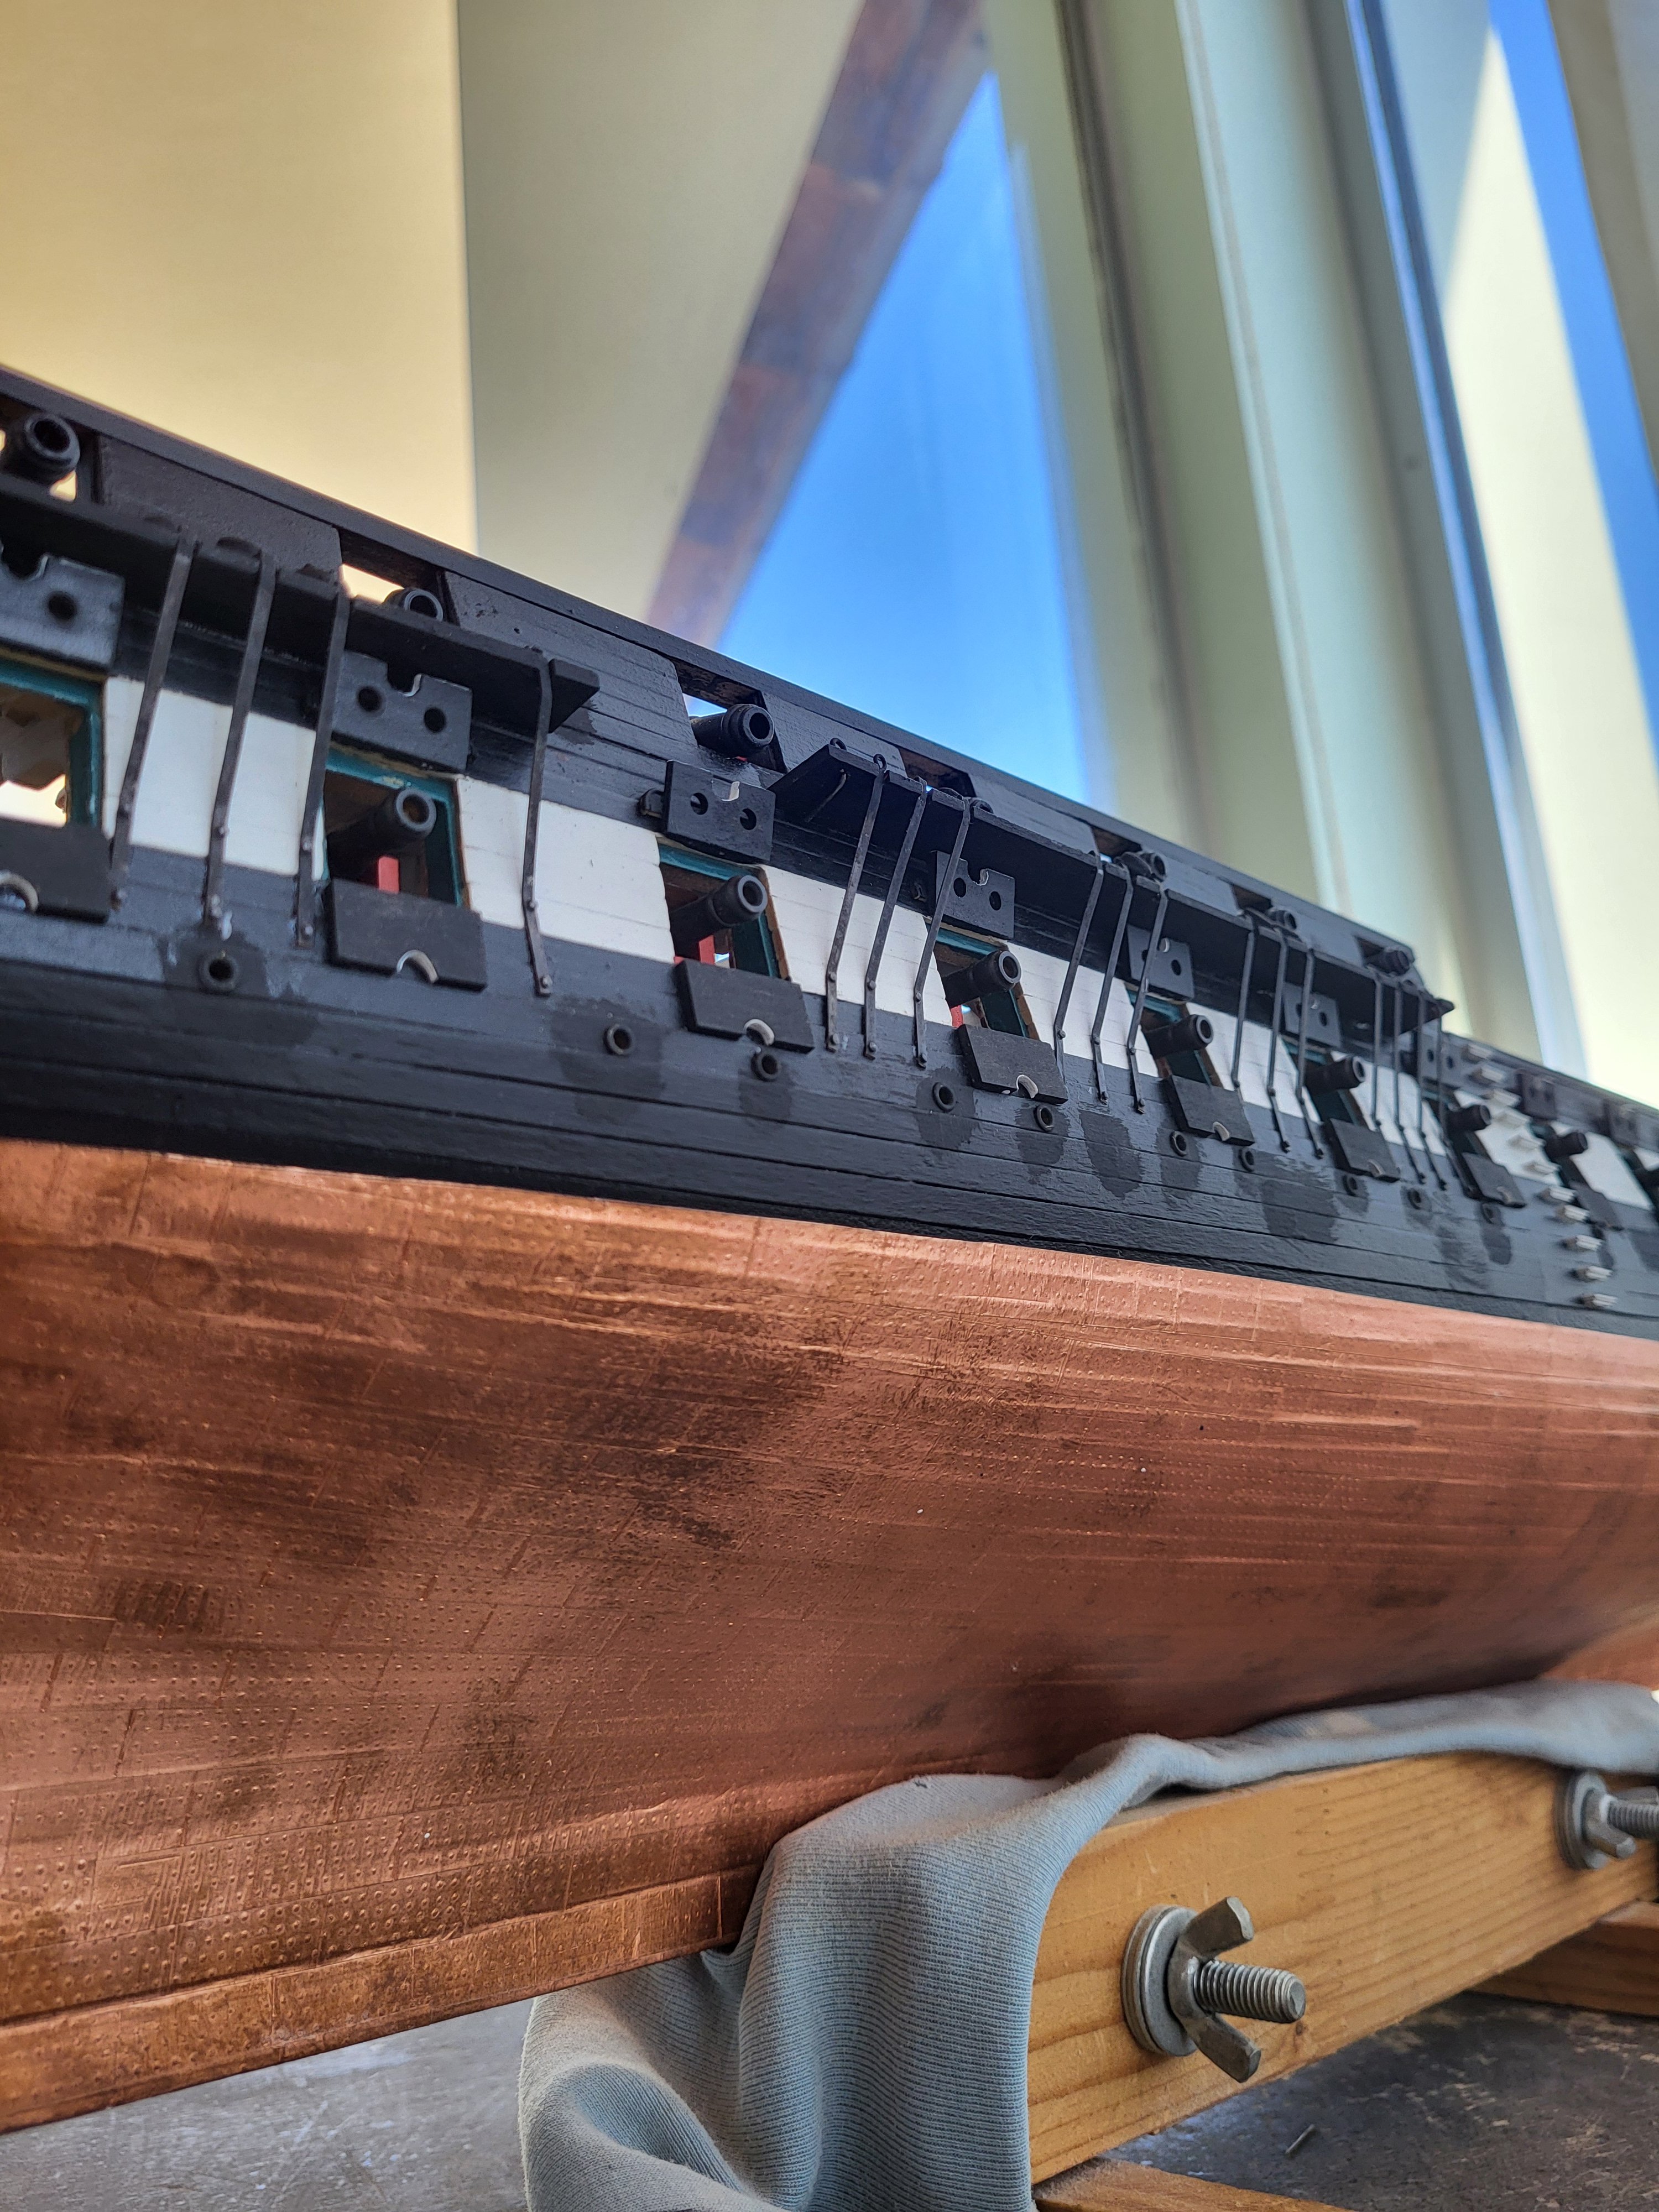
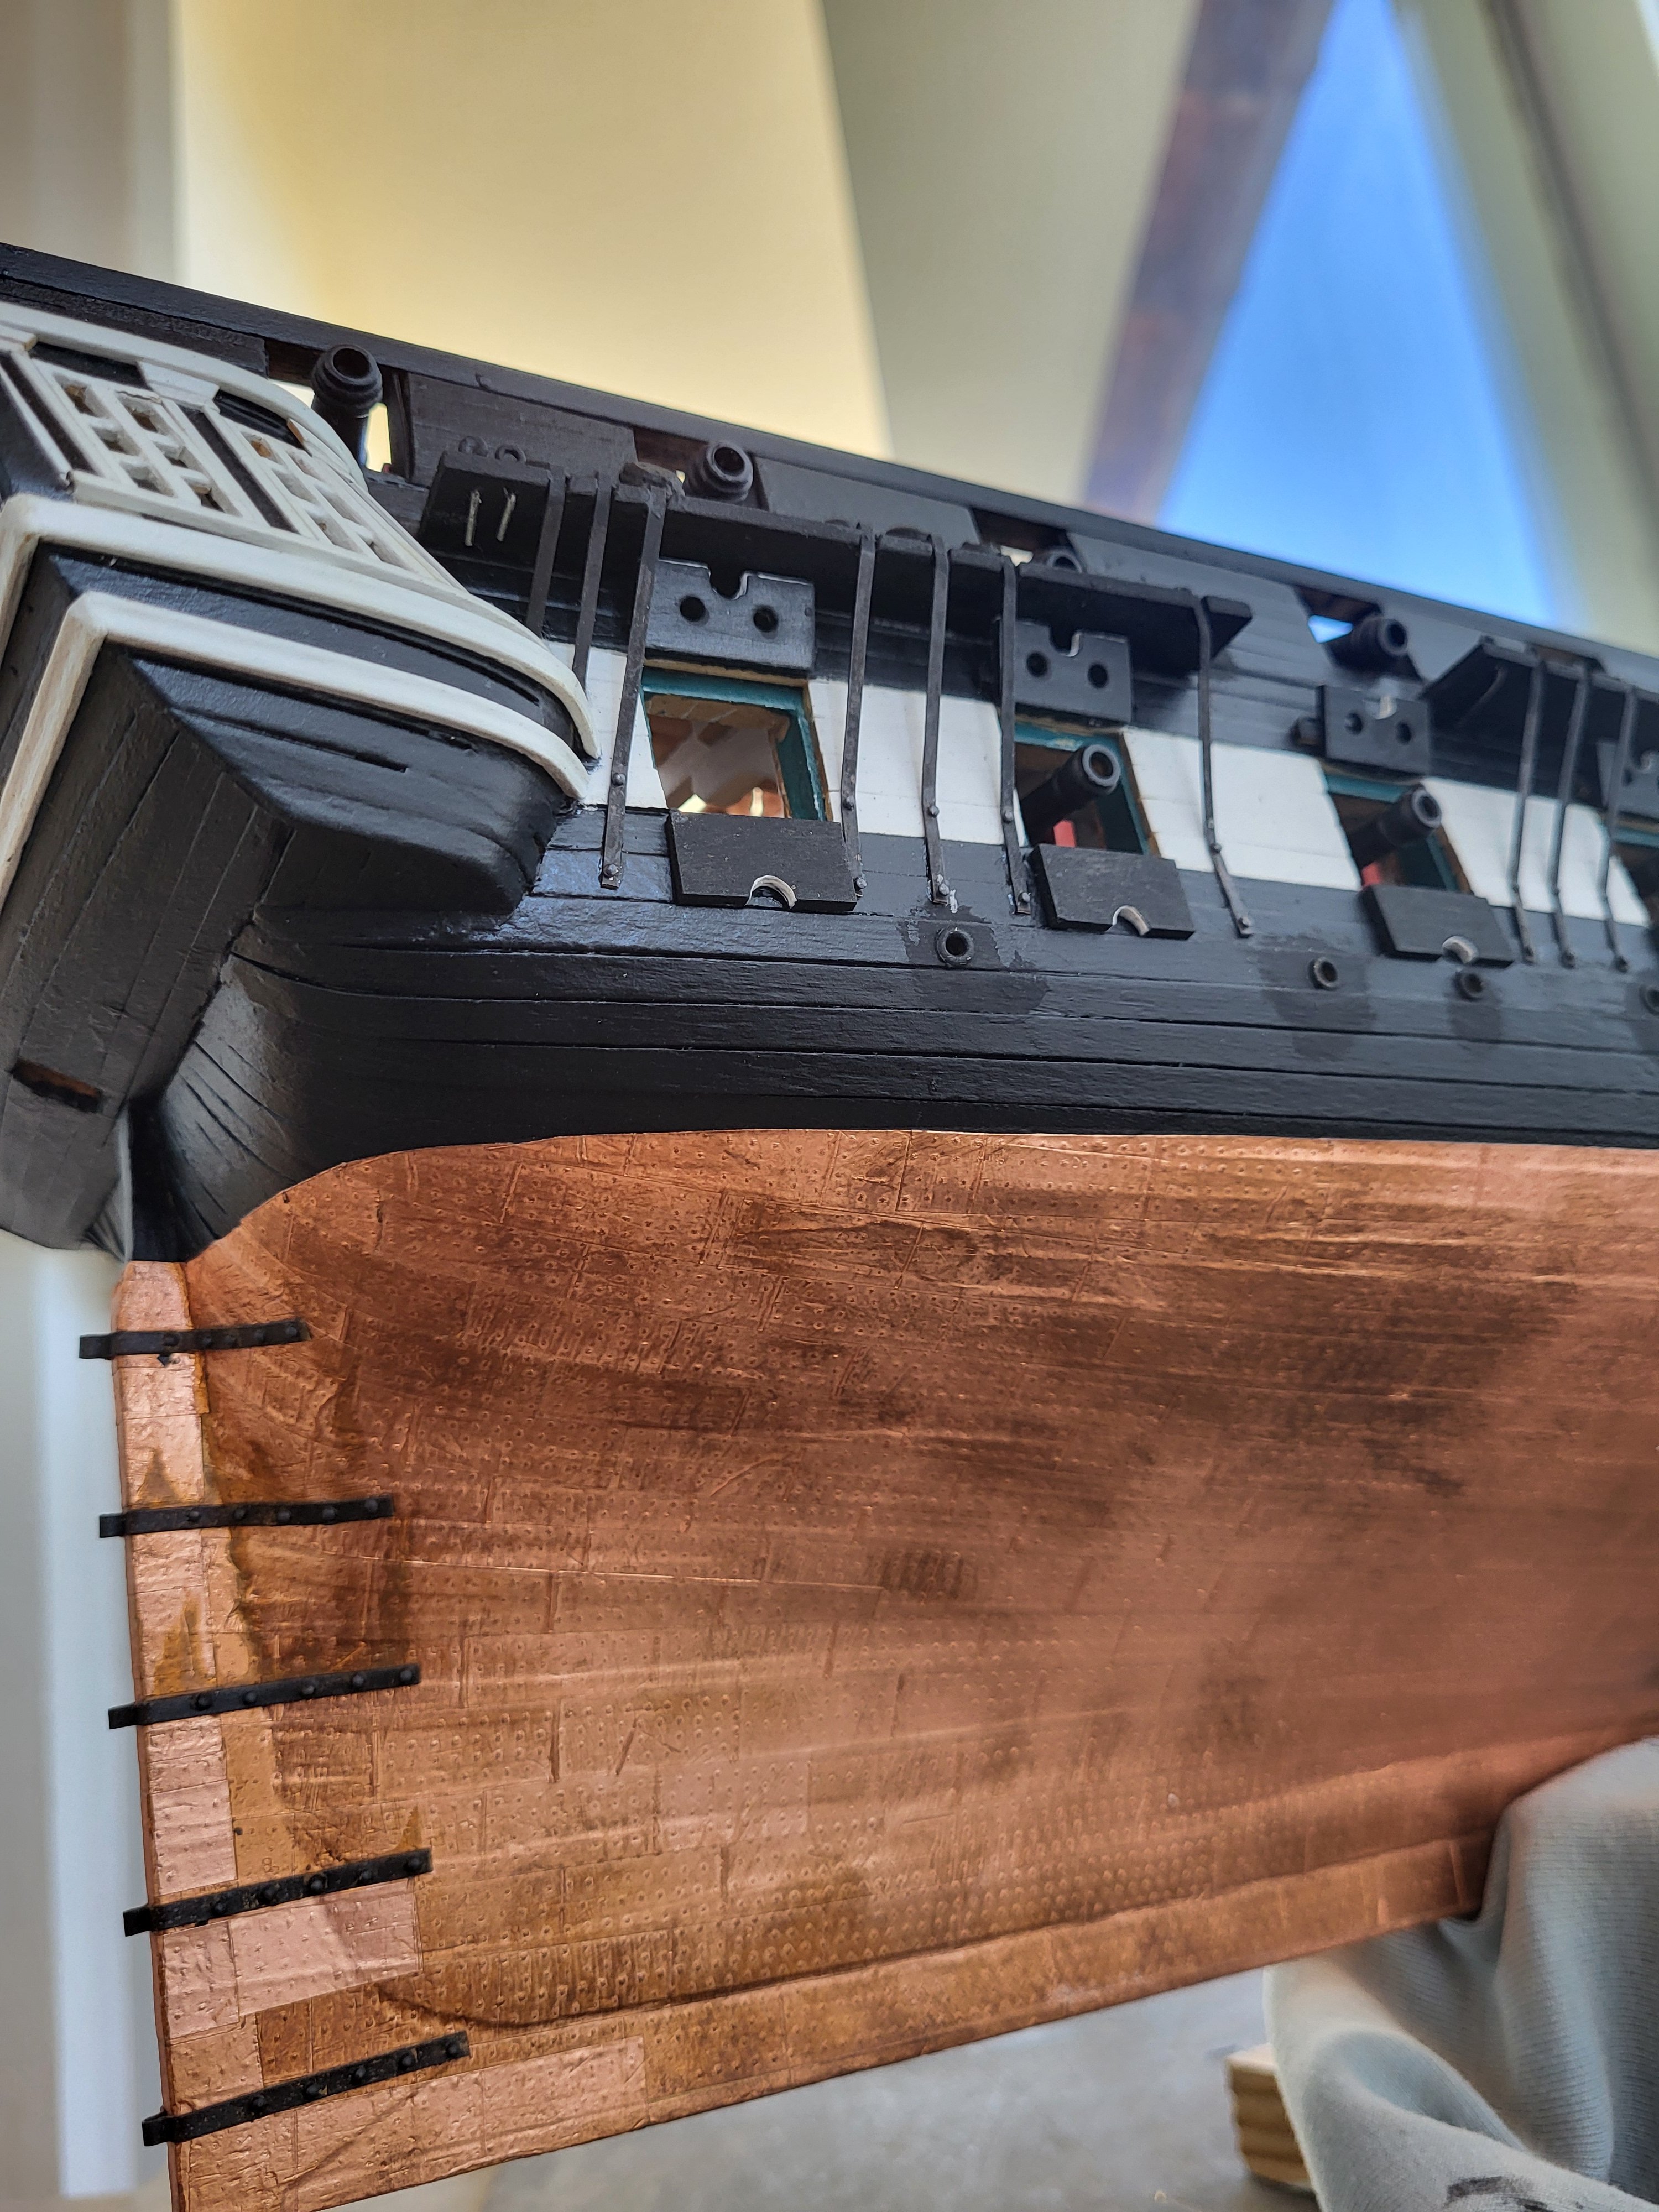
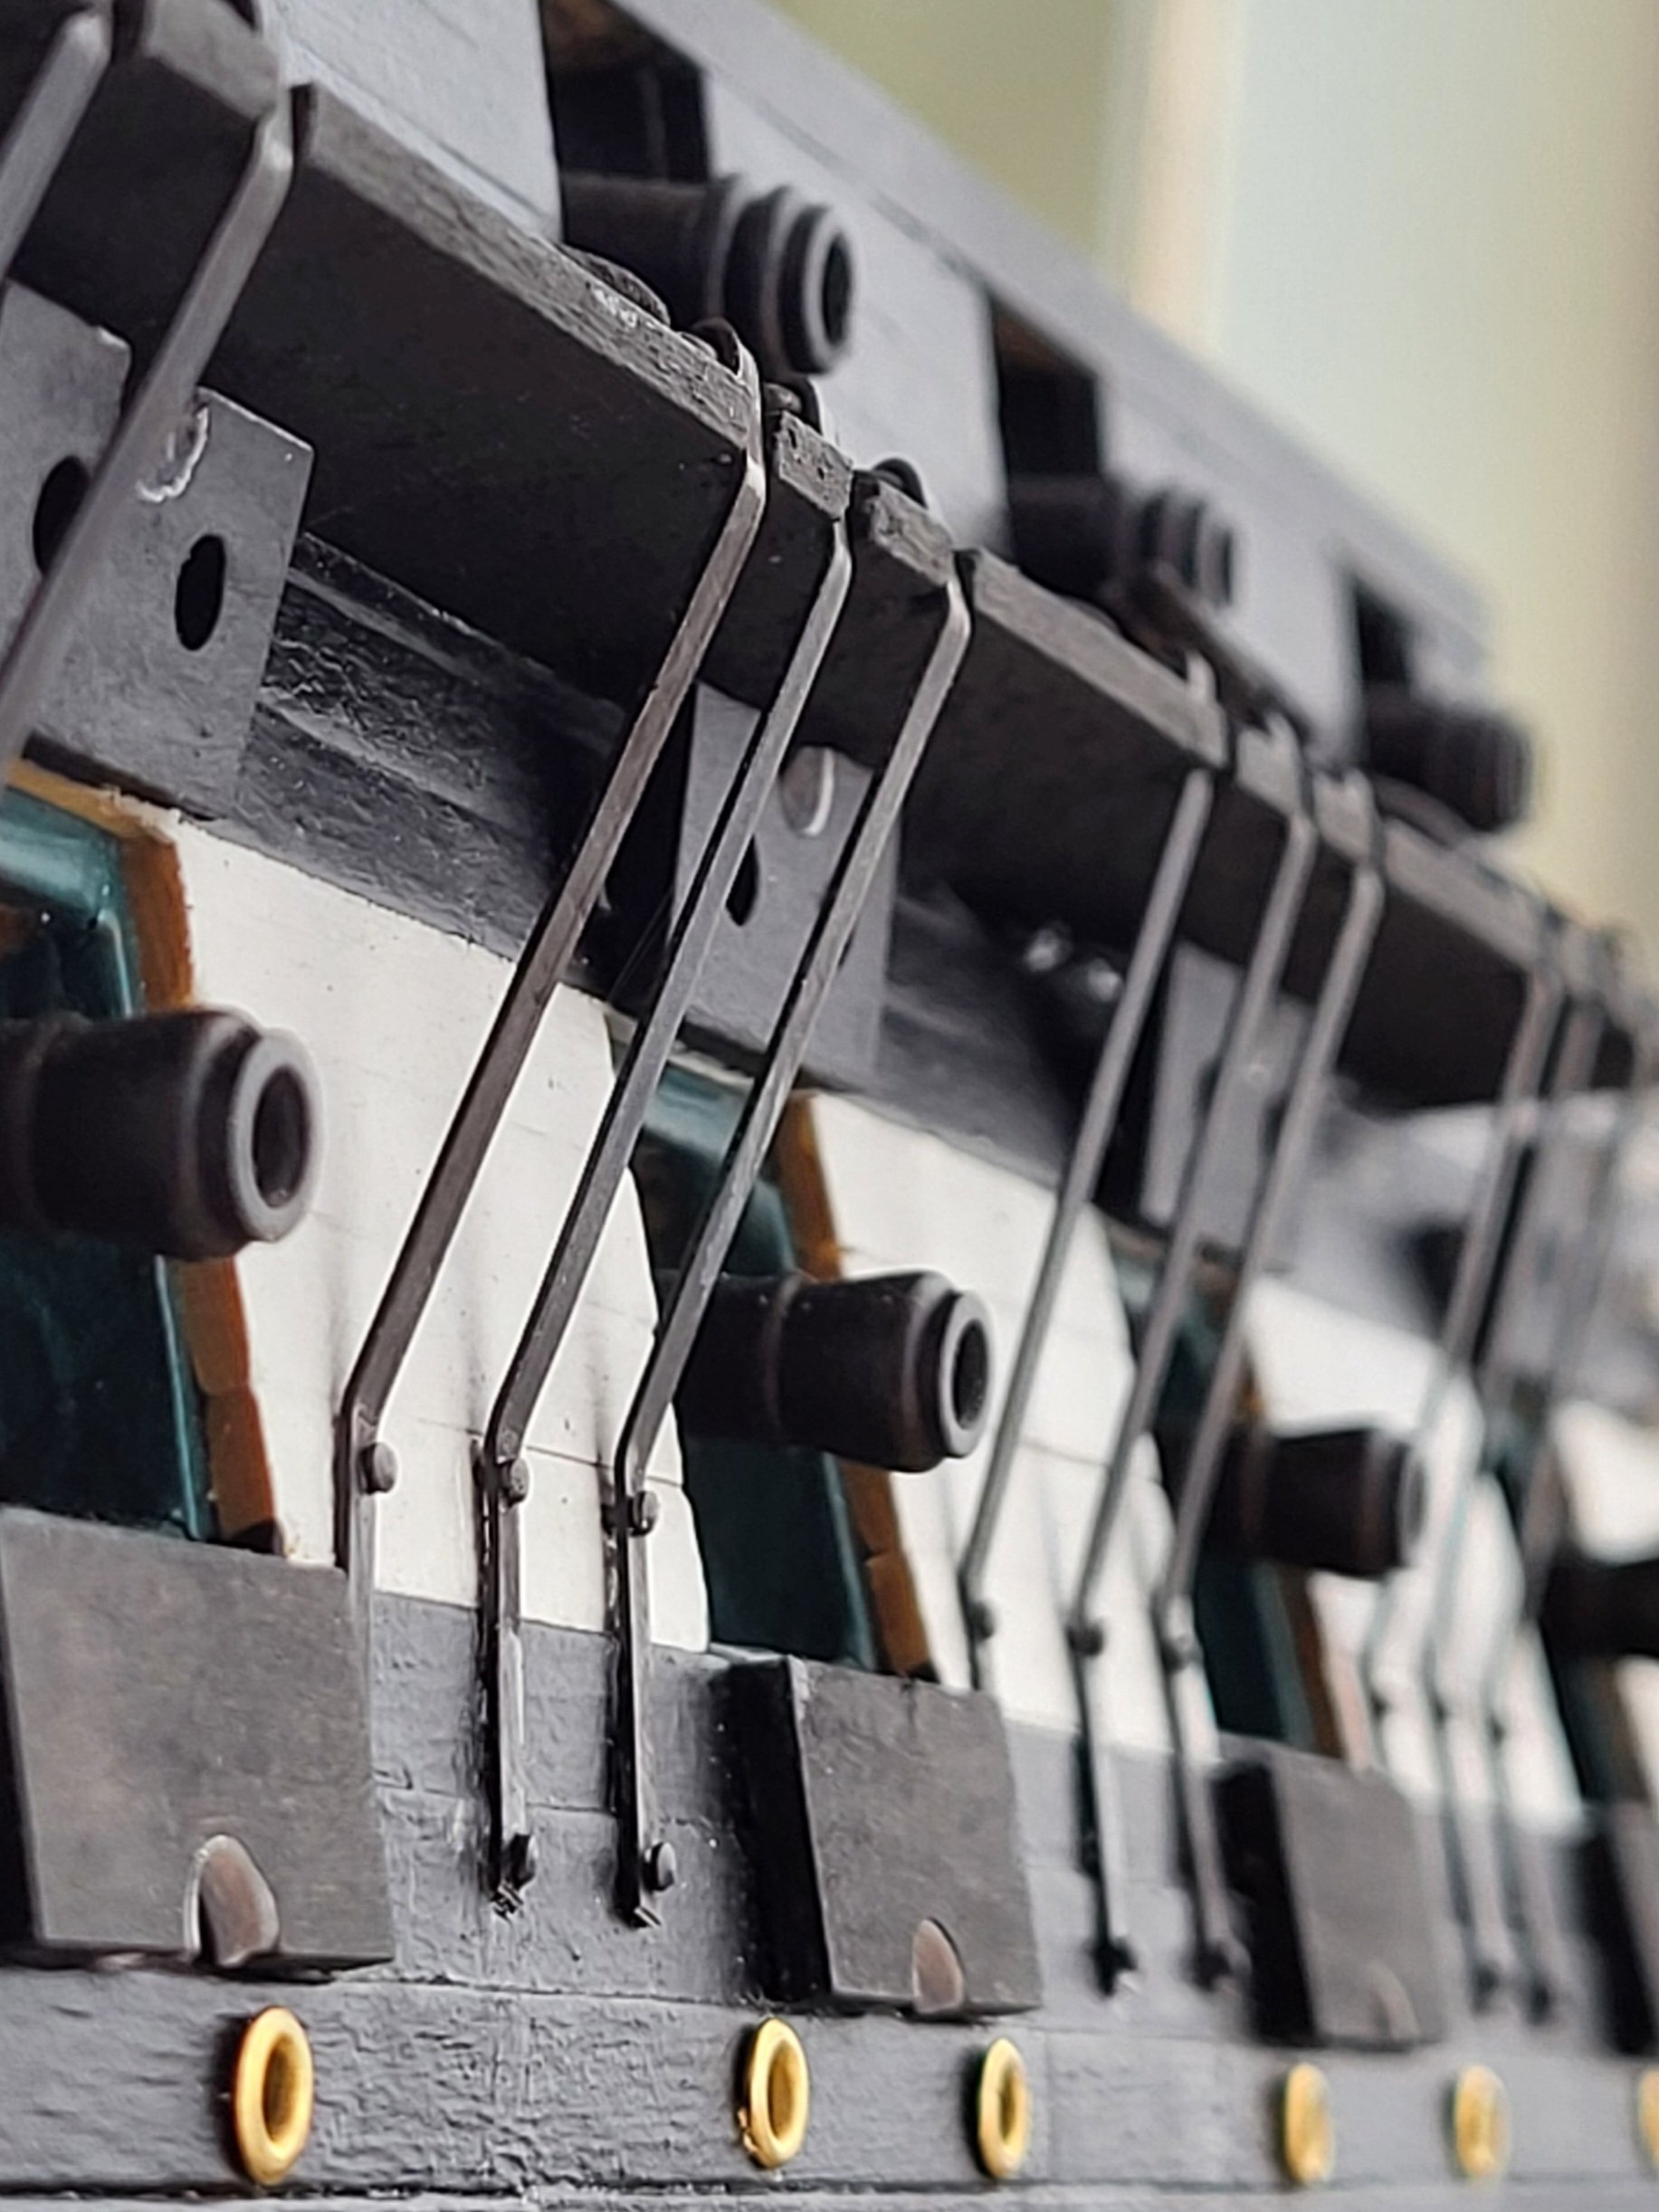
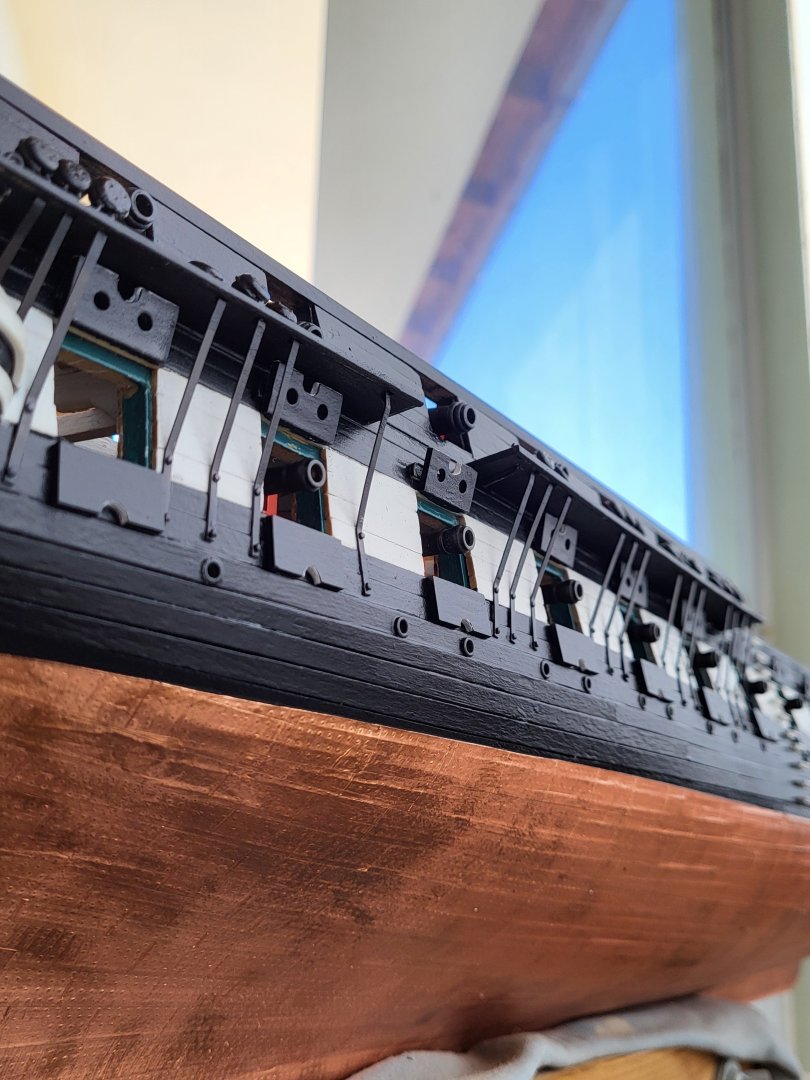
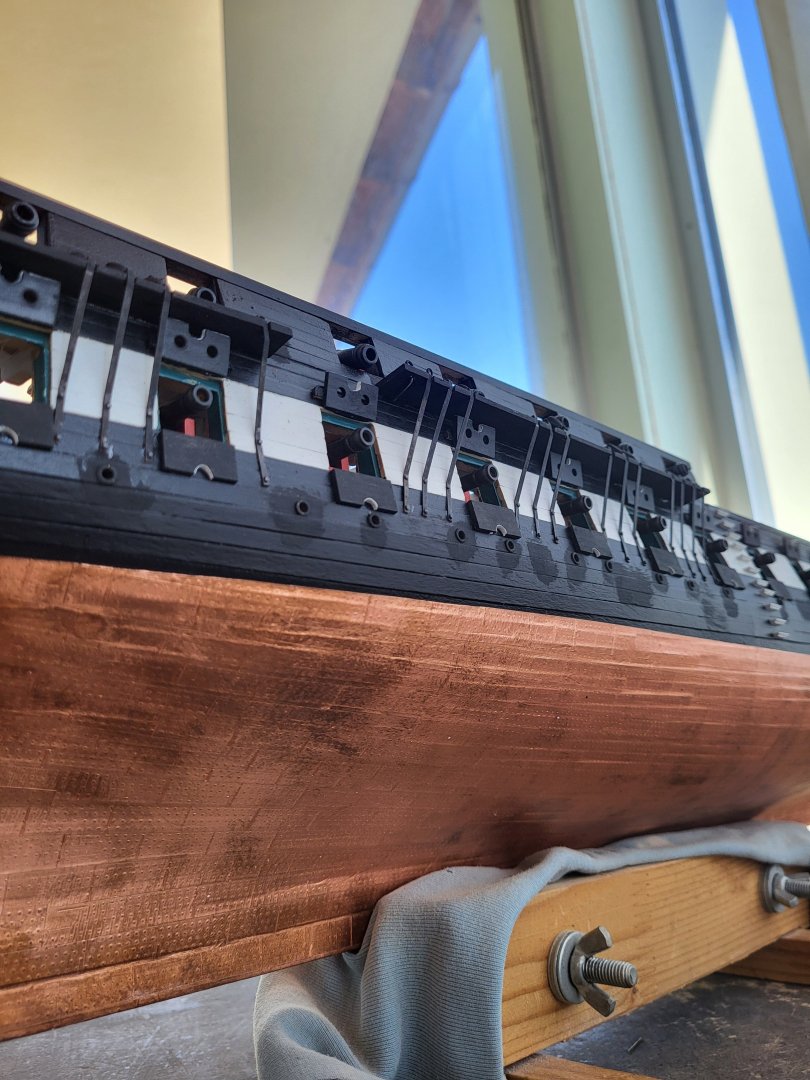
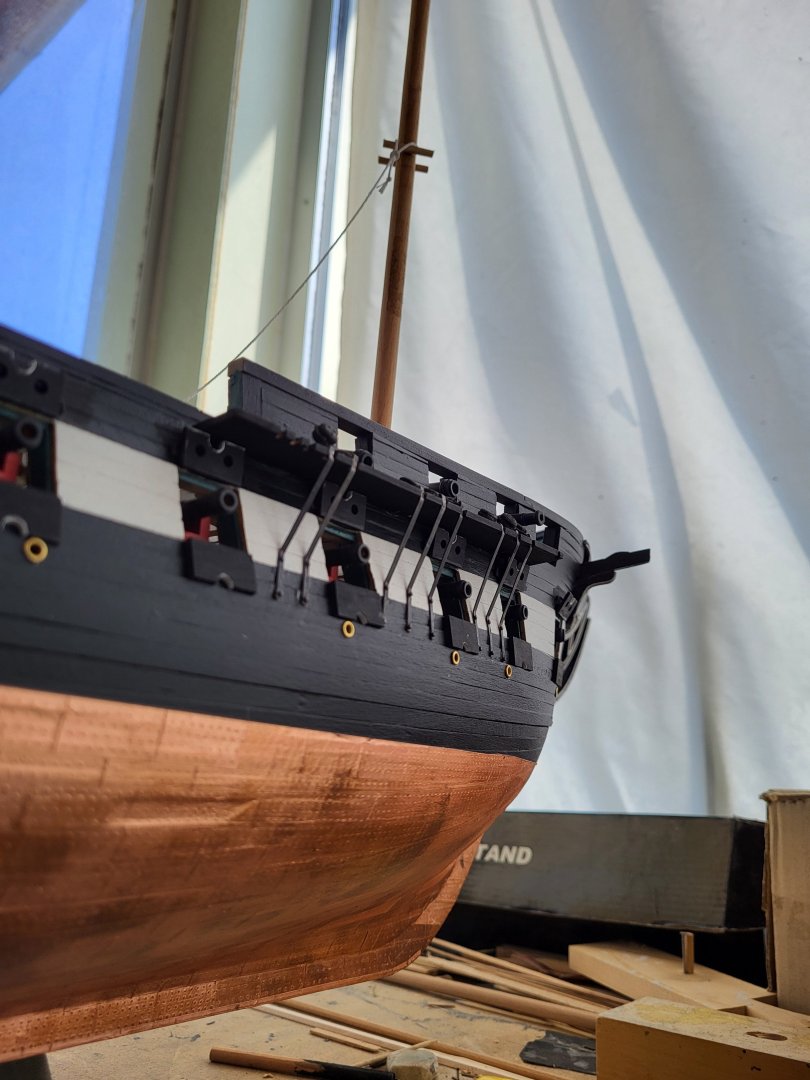
The chain plates and deadeyes have been mounted to the main channel on the starboard side.

-
The stancions look fantastic, Peter, very good job. I only worked with a miniature file set and some sandpaper when making them. I was just wondering what kind of cutters you used to make the stancions. I'm sorry they hurt your hands.
-
USS Constitution by mtbediz - 1:76
mtbediz replied to mtbediz's topic in - Build logs for subjects built 1751 - 1800
Prepare the tackle outside as shown in the photo and tighten it with a pair of tweezers after attaching it in place. This will make it much easier.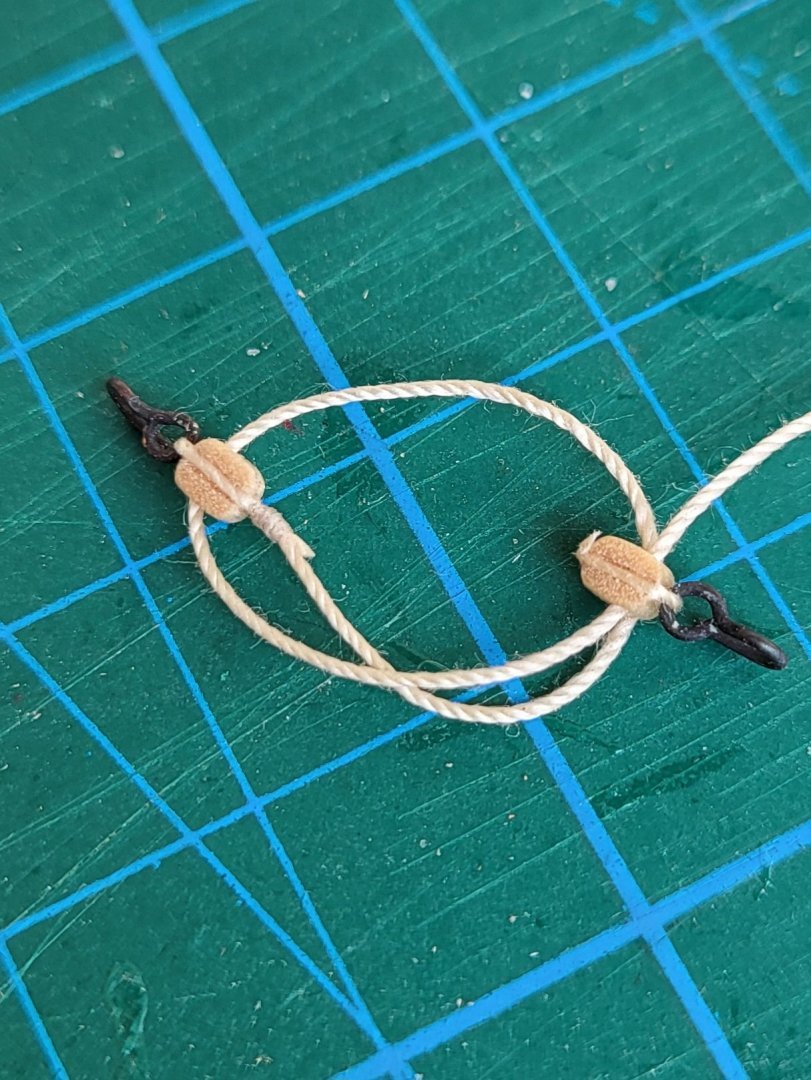
-
Here's what actually happened. When I first made the stancions, I tried using the three-jaw chuck on the lathe, but I couldn't get the square part to center properly, so I bought Proxxon's DB 250 lathe-compatible plastic four-jaw chuck and used it to make the stancions. I just realized I didn't show this in my build log. I see you have a four-jaw chuck, too, and can easily turn square parts. So, you won't need to make a shank.
-
USS Constitution by mtbediz - 1:76
mtbediz replied to mtbediz's topic in - Build logs for subjects built 1751 - 1800
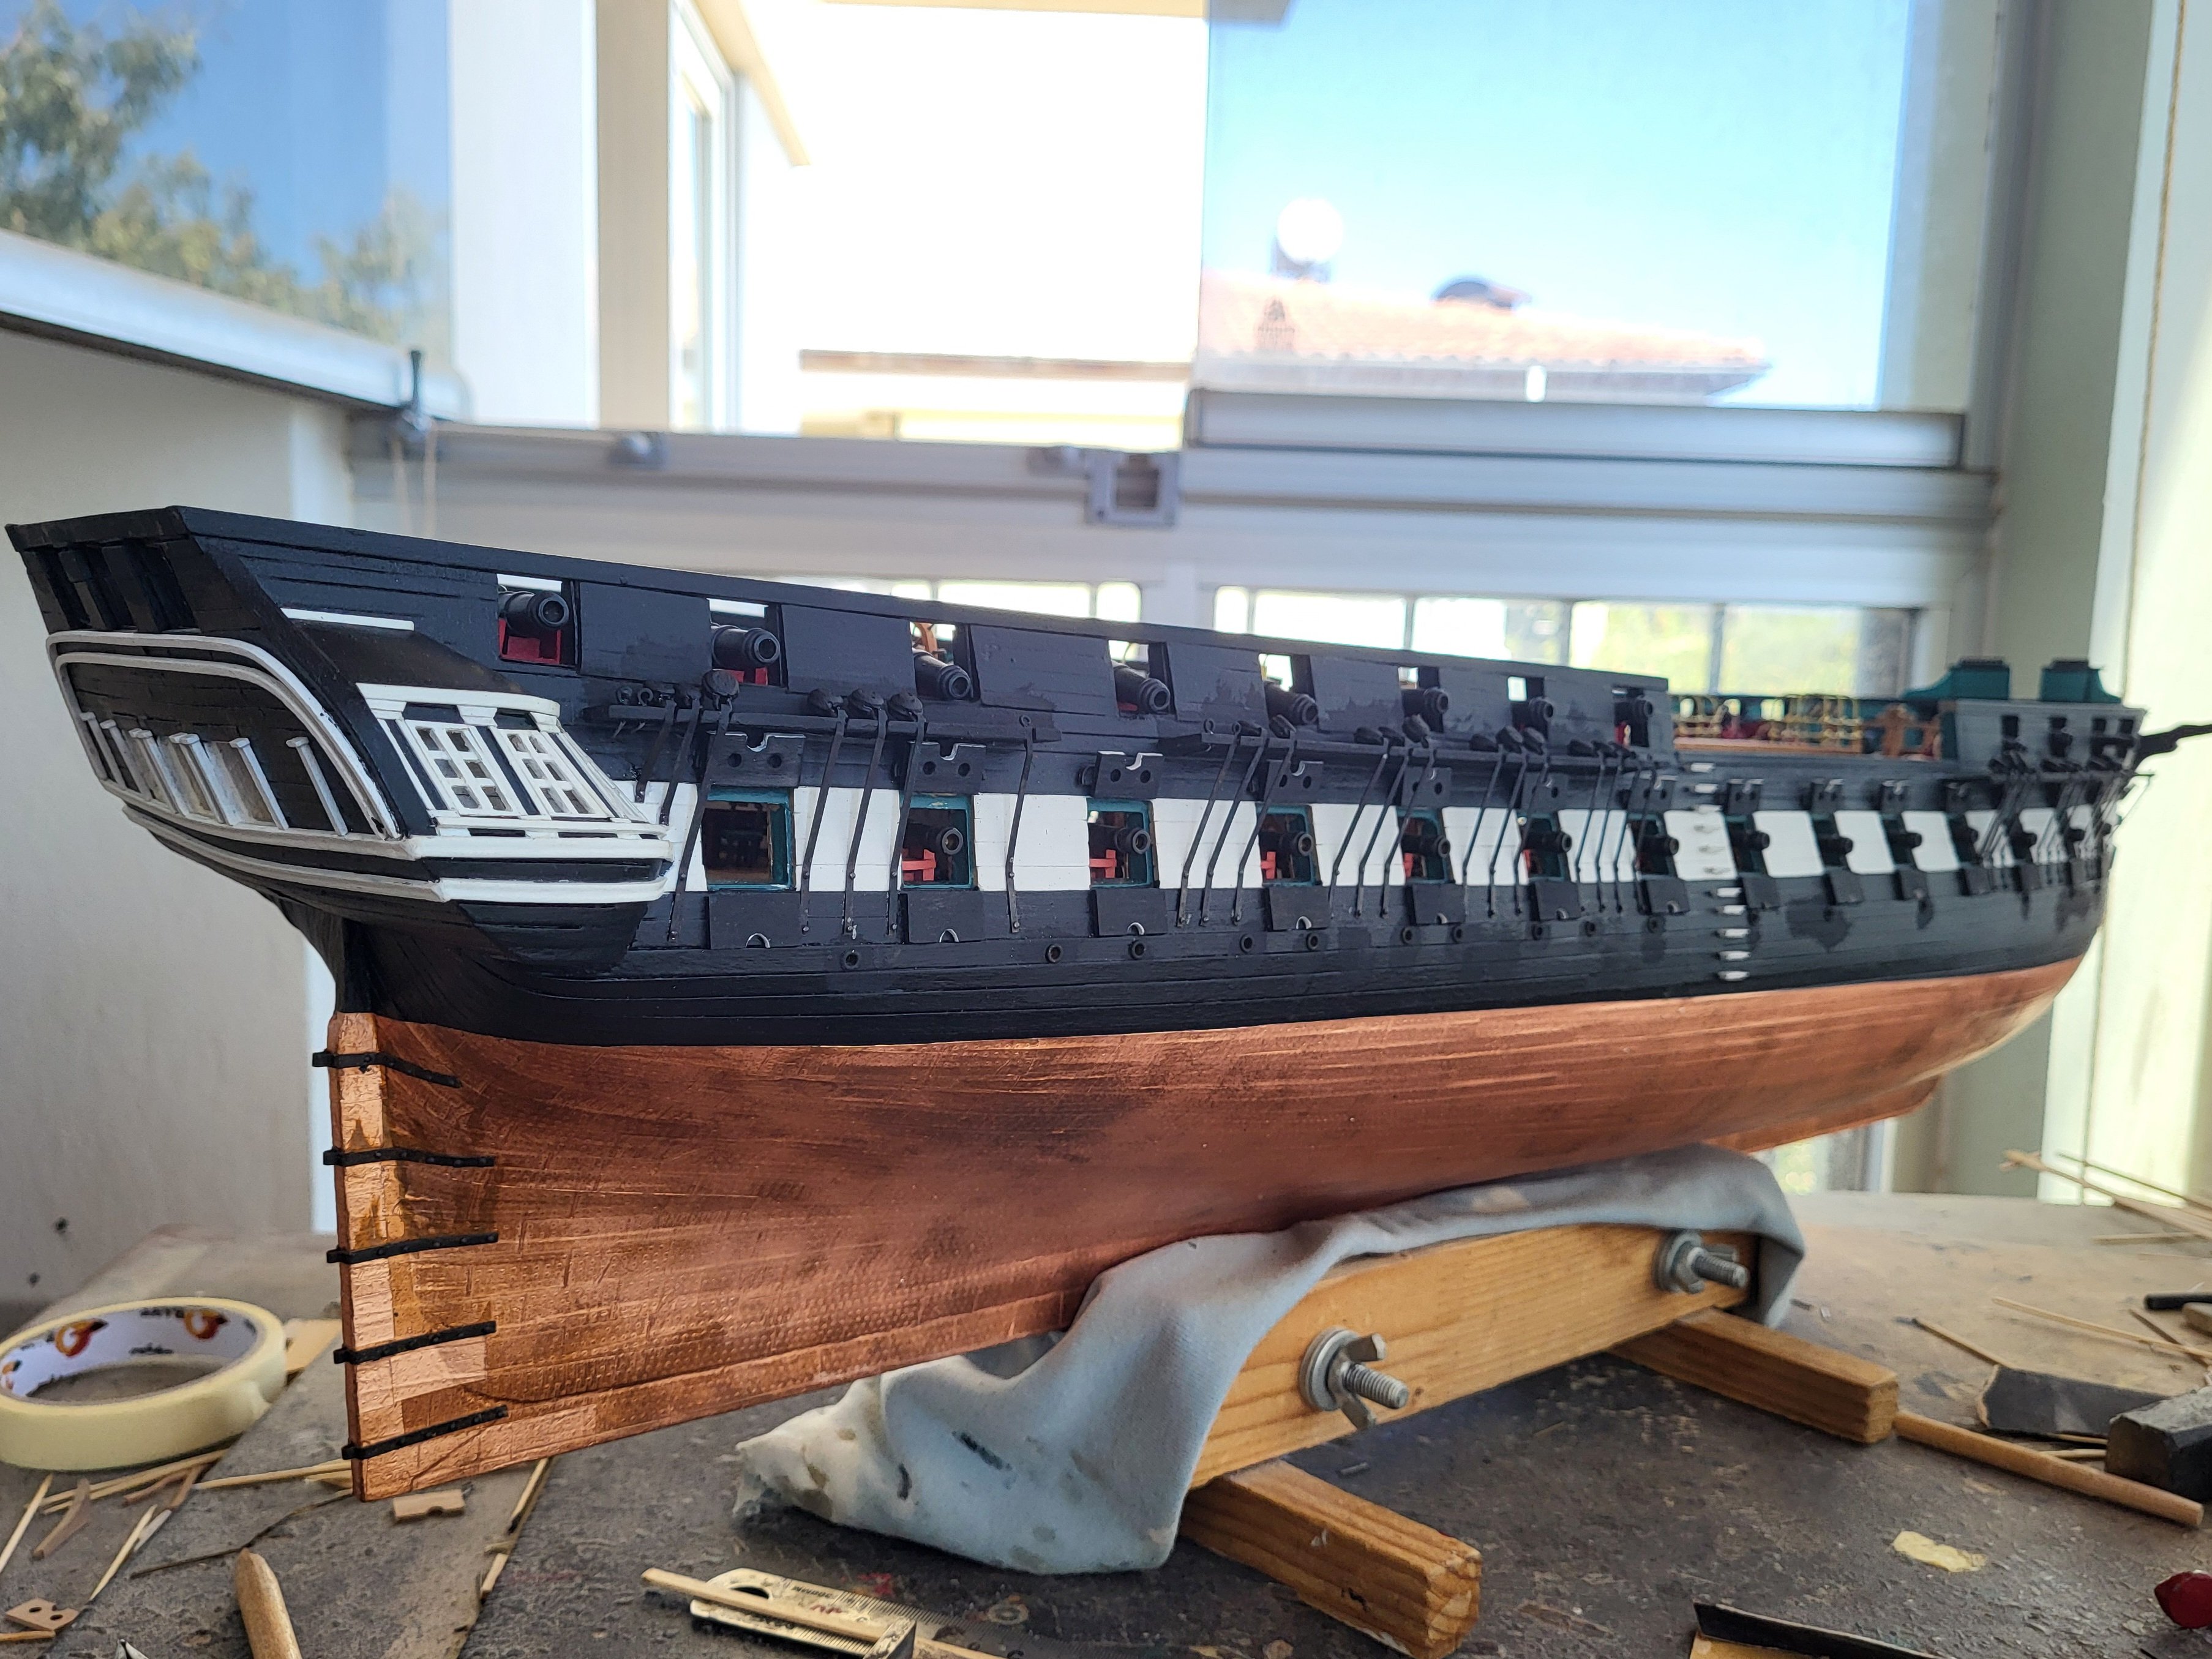
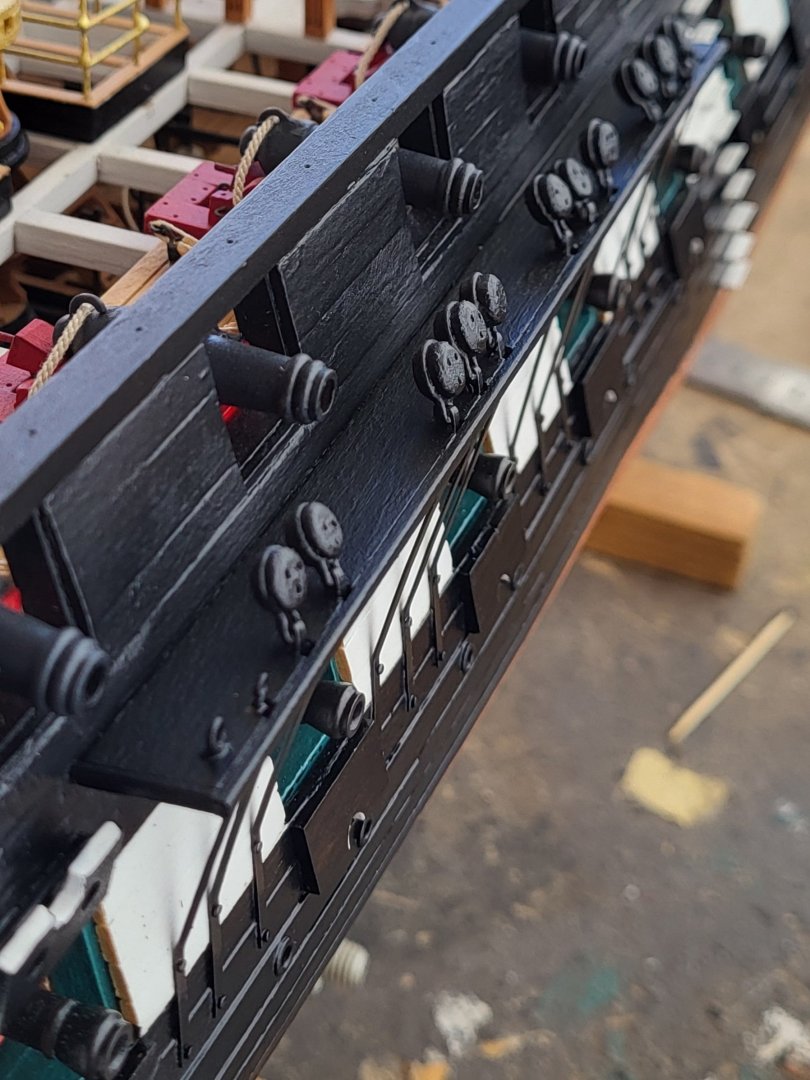
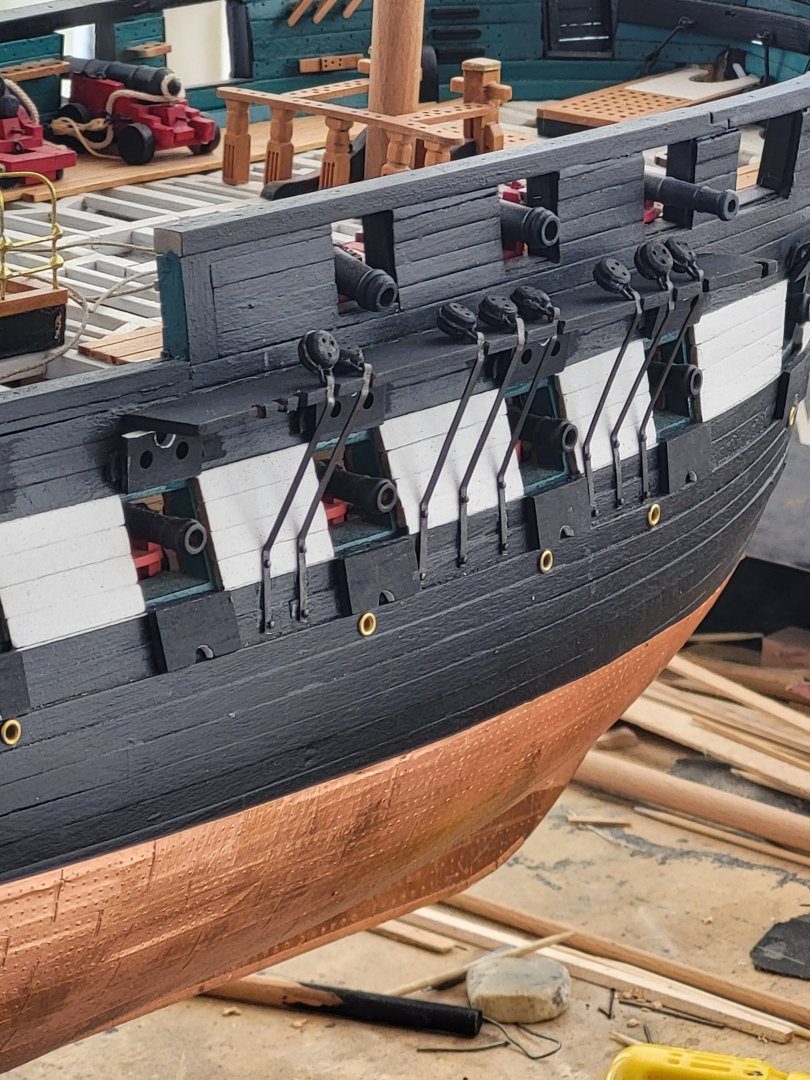
I started mounting the chain plates to the fore channel.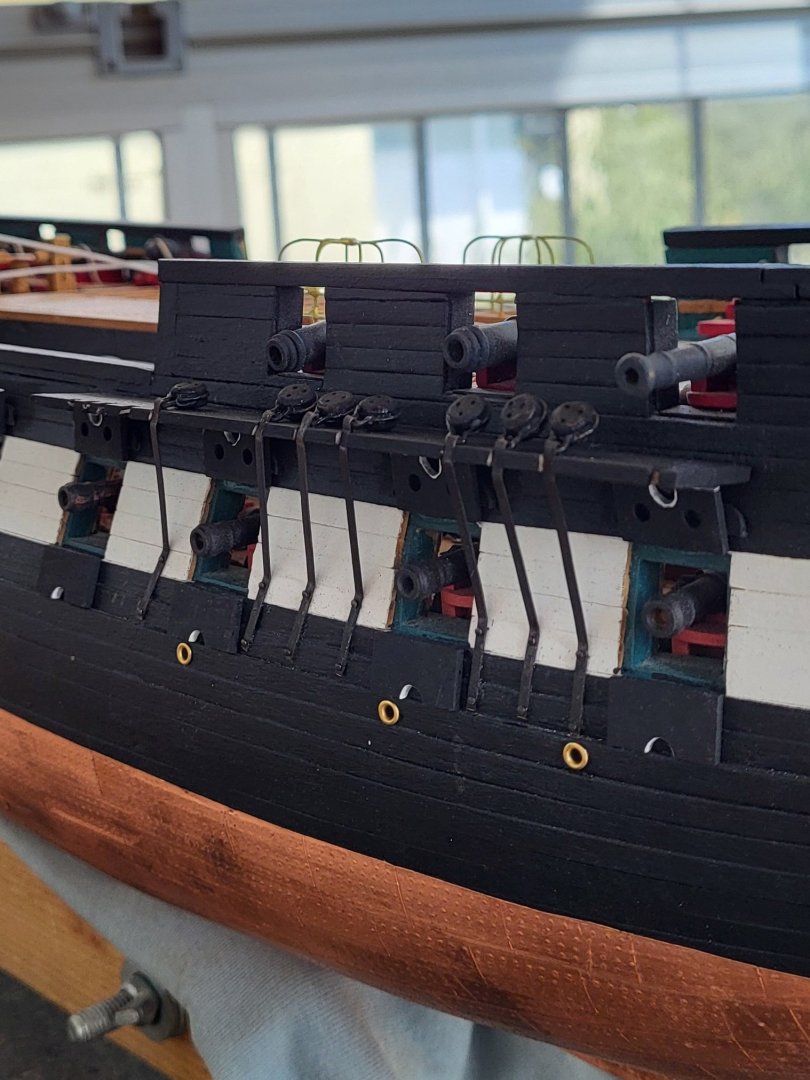


-
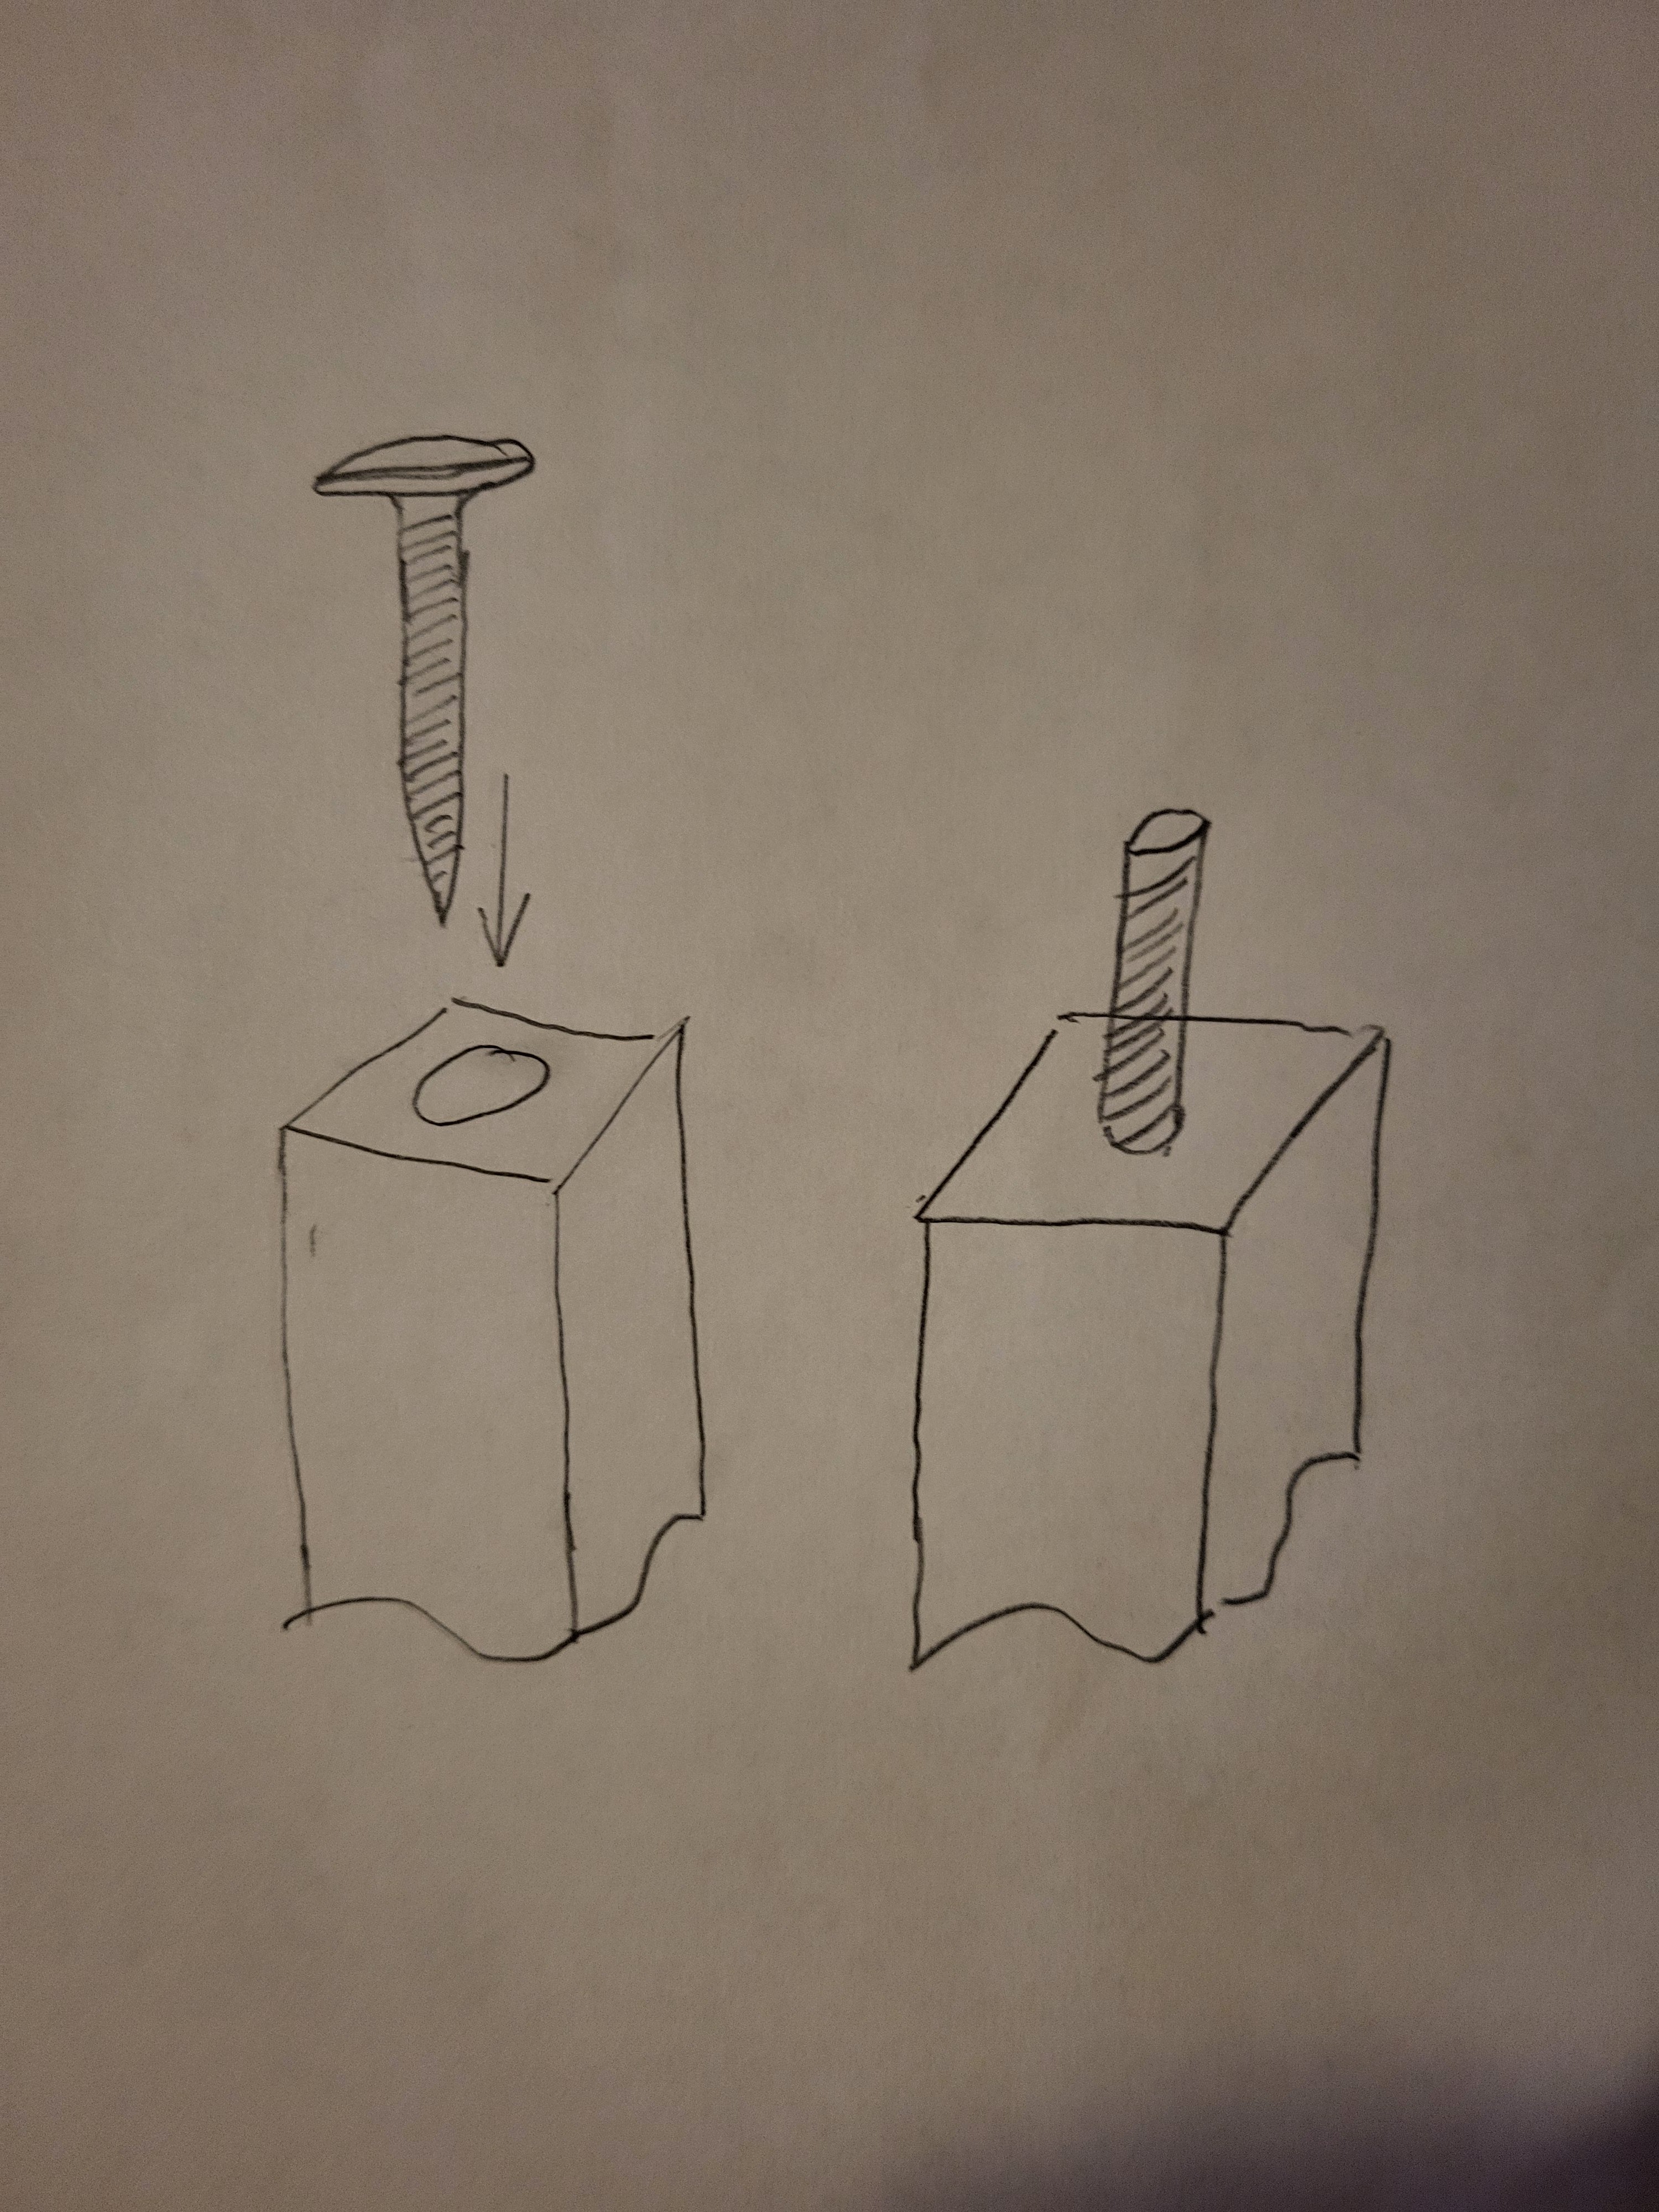
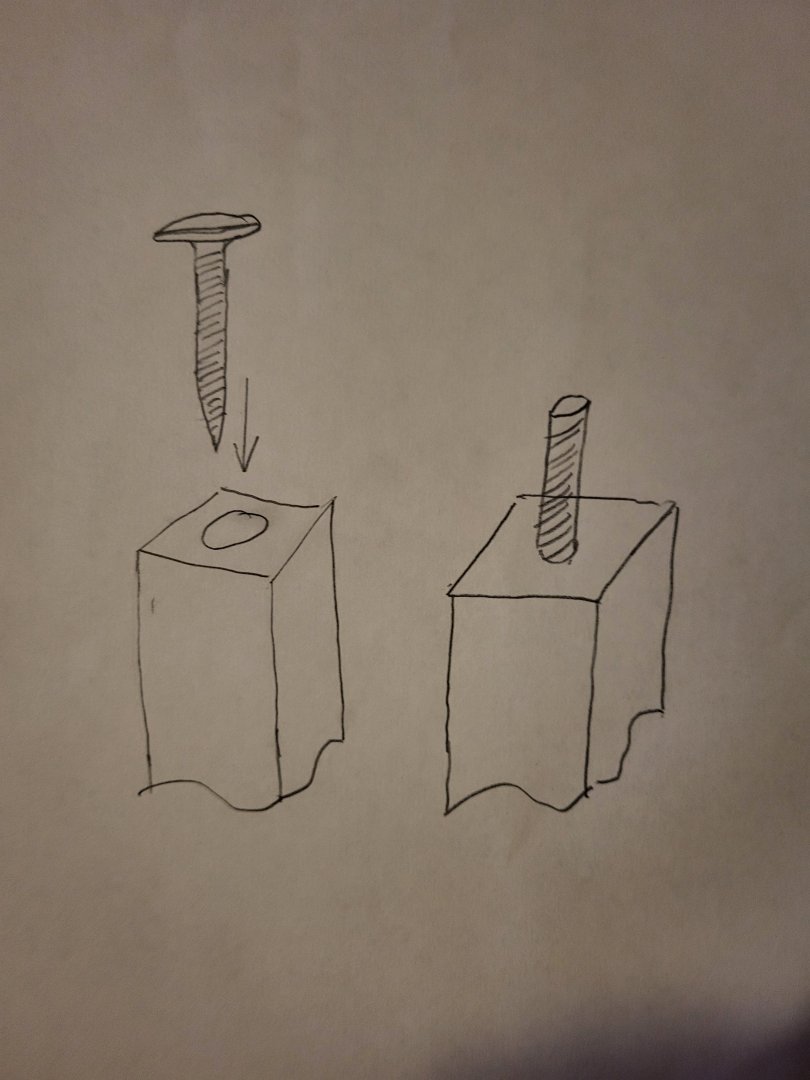
One more thing Peter. To mount a square workpiece in a three-jaw chuck, drill a hole at one end of the workpiece, insert a screw or stud of appropriate diameter, and cut its head to create a round shank. Then, clamp the shank into the chuck. There will be no loosening of the shank since the cutter will apply a force in the tightening direction to the screw while the workpiece is rotating. (Apologize for the terrible drawing. It was a bit rushed)
-
By the way, I sometimes use the milling machine as a lathe. I do this by clamping the workpiece in the chuck and the cutter in the vice. This way, I can move the workpiece (up and down) and the cutter as I please. In this case, the cutter does its job while the workpiece is rotating. Keep that in mind.