mtbediz
-
Posts
1,291 -
Joined
-
Last visited
Content Type
Profiles
Forums
Gallery
Events
Everything posted by mtbediz
-
 Nice detail.
 -
Thanks Greg, I'm planning to finish my vacation next week and go back to my shipyard. I really miss working
-
Hi Greg, you're adding gun deck details. Why don't you consider building the bowsprit bits, forward bits and chain stoppers from scratch in accordance with the original? You have the skills and tools to build them from scratch.


-
Looking good, Greg. This build log looks like it will be a good guide for future modellers who add a gun deck to this kit.
-
I left the bottom straight without thinking too much about it. Since the lids would be open anyway, they wouldn't be visible
-
To plank completely correctly, spiling is required, particularly from the lower end of the wales to the keel. However, we don't know if the wood Dave will use for the second layer planking will allow for lateral bending.
-
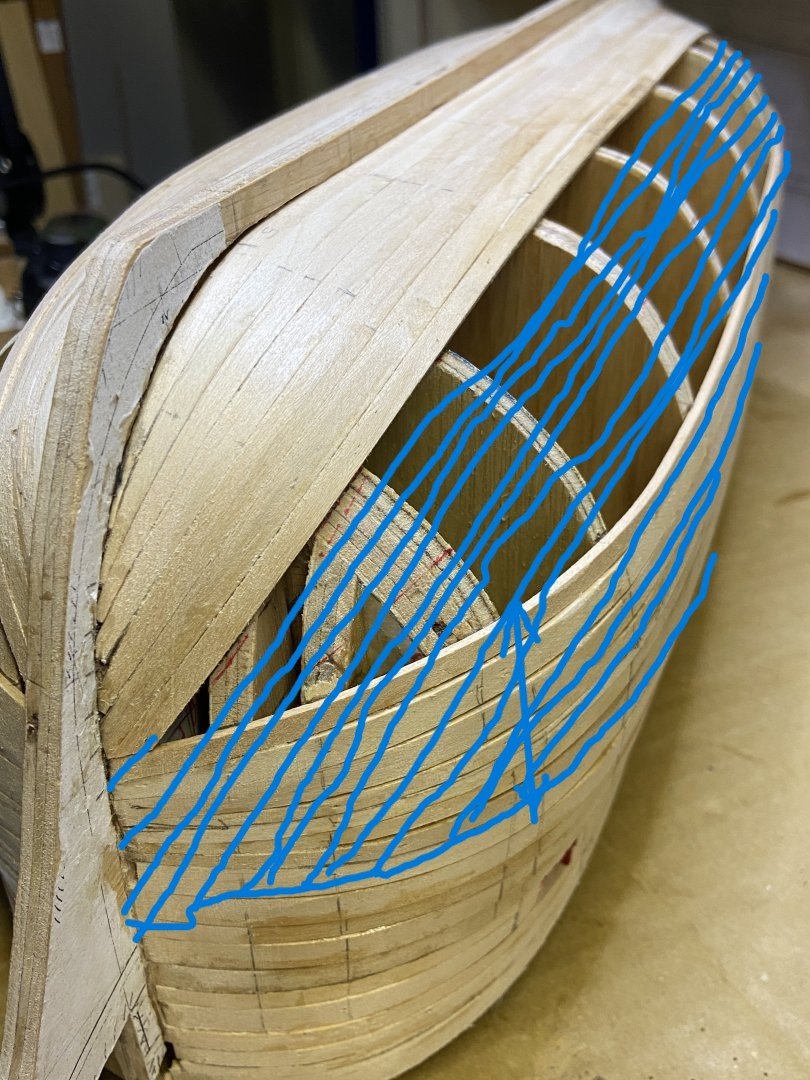
I noticed this too. Your ship has a Bluff bow. Making the garboard shorter seems difficult. To create a planking pattern that matches the photo you've attached, you can apply a planking pattern similar to the one I've tried to draw on your photo in the second layer. To do this, you could end the planking from the bulwark down to the lower end of the wales, then work your way up from the keel. Sorry, I am not good at drawing on the computer but I think you can understand what I wanted to show.
-
Everything is going well, Greg.
-
Yes, I guess with that thought, I also mounted the pin rails in place before the carronades.
-
USS Constitution by mtbediz - 1:76
mtbediz replied to mtbediz's topic in - Build logs for subjects built 1751 - 1800
Yes, Greg, I visited that historic monastery. It's an incredible structure. The Sumela Monastery is a Greek Orthodox church built in 386 AD. The exact time it took to complete is unknown. It's located within the borders of Trabzon province on the Black Sea coast of northern Türkiye. Detailed information about the church is in the Wikipedia link below. https://en.wikipedia.org/wiki/Sumela_Monastery -
USS Constitution by mtbediz - 1:76
mtbediz replied to mtbediz's topic in - Build logs for subjects built 1751 - 1800
Sorry for the late reply, Peter. I don't actually remember why I installed the pin rails before the carronades. It would probably have been more appropriate to install them after the carronades. -
Yes, this is the right approach. In my Essex model, I frequently encountered this question: "Well, didn't the sailors fall through these gaps?"
-
You're about to catch me! Carronades look awsome.
-
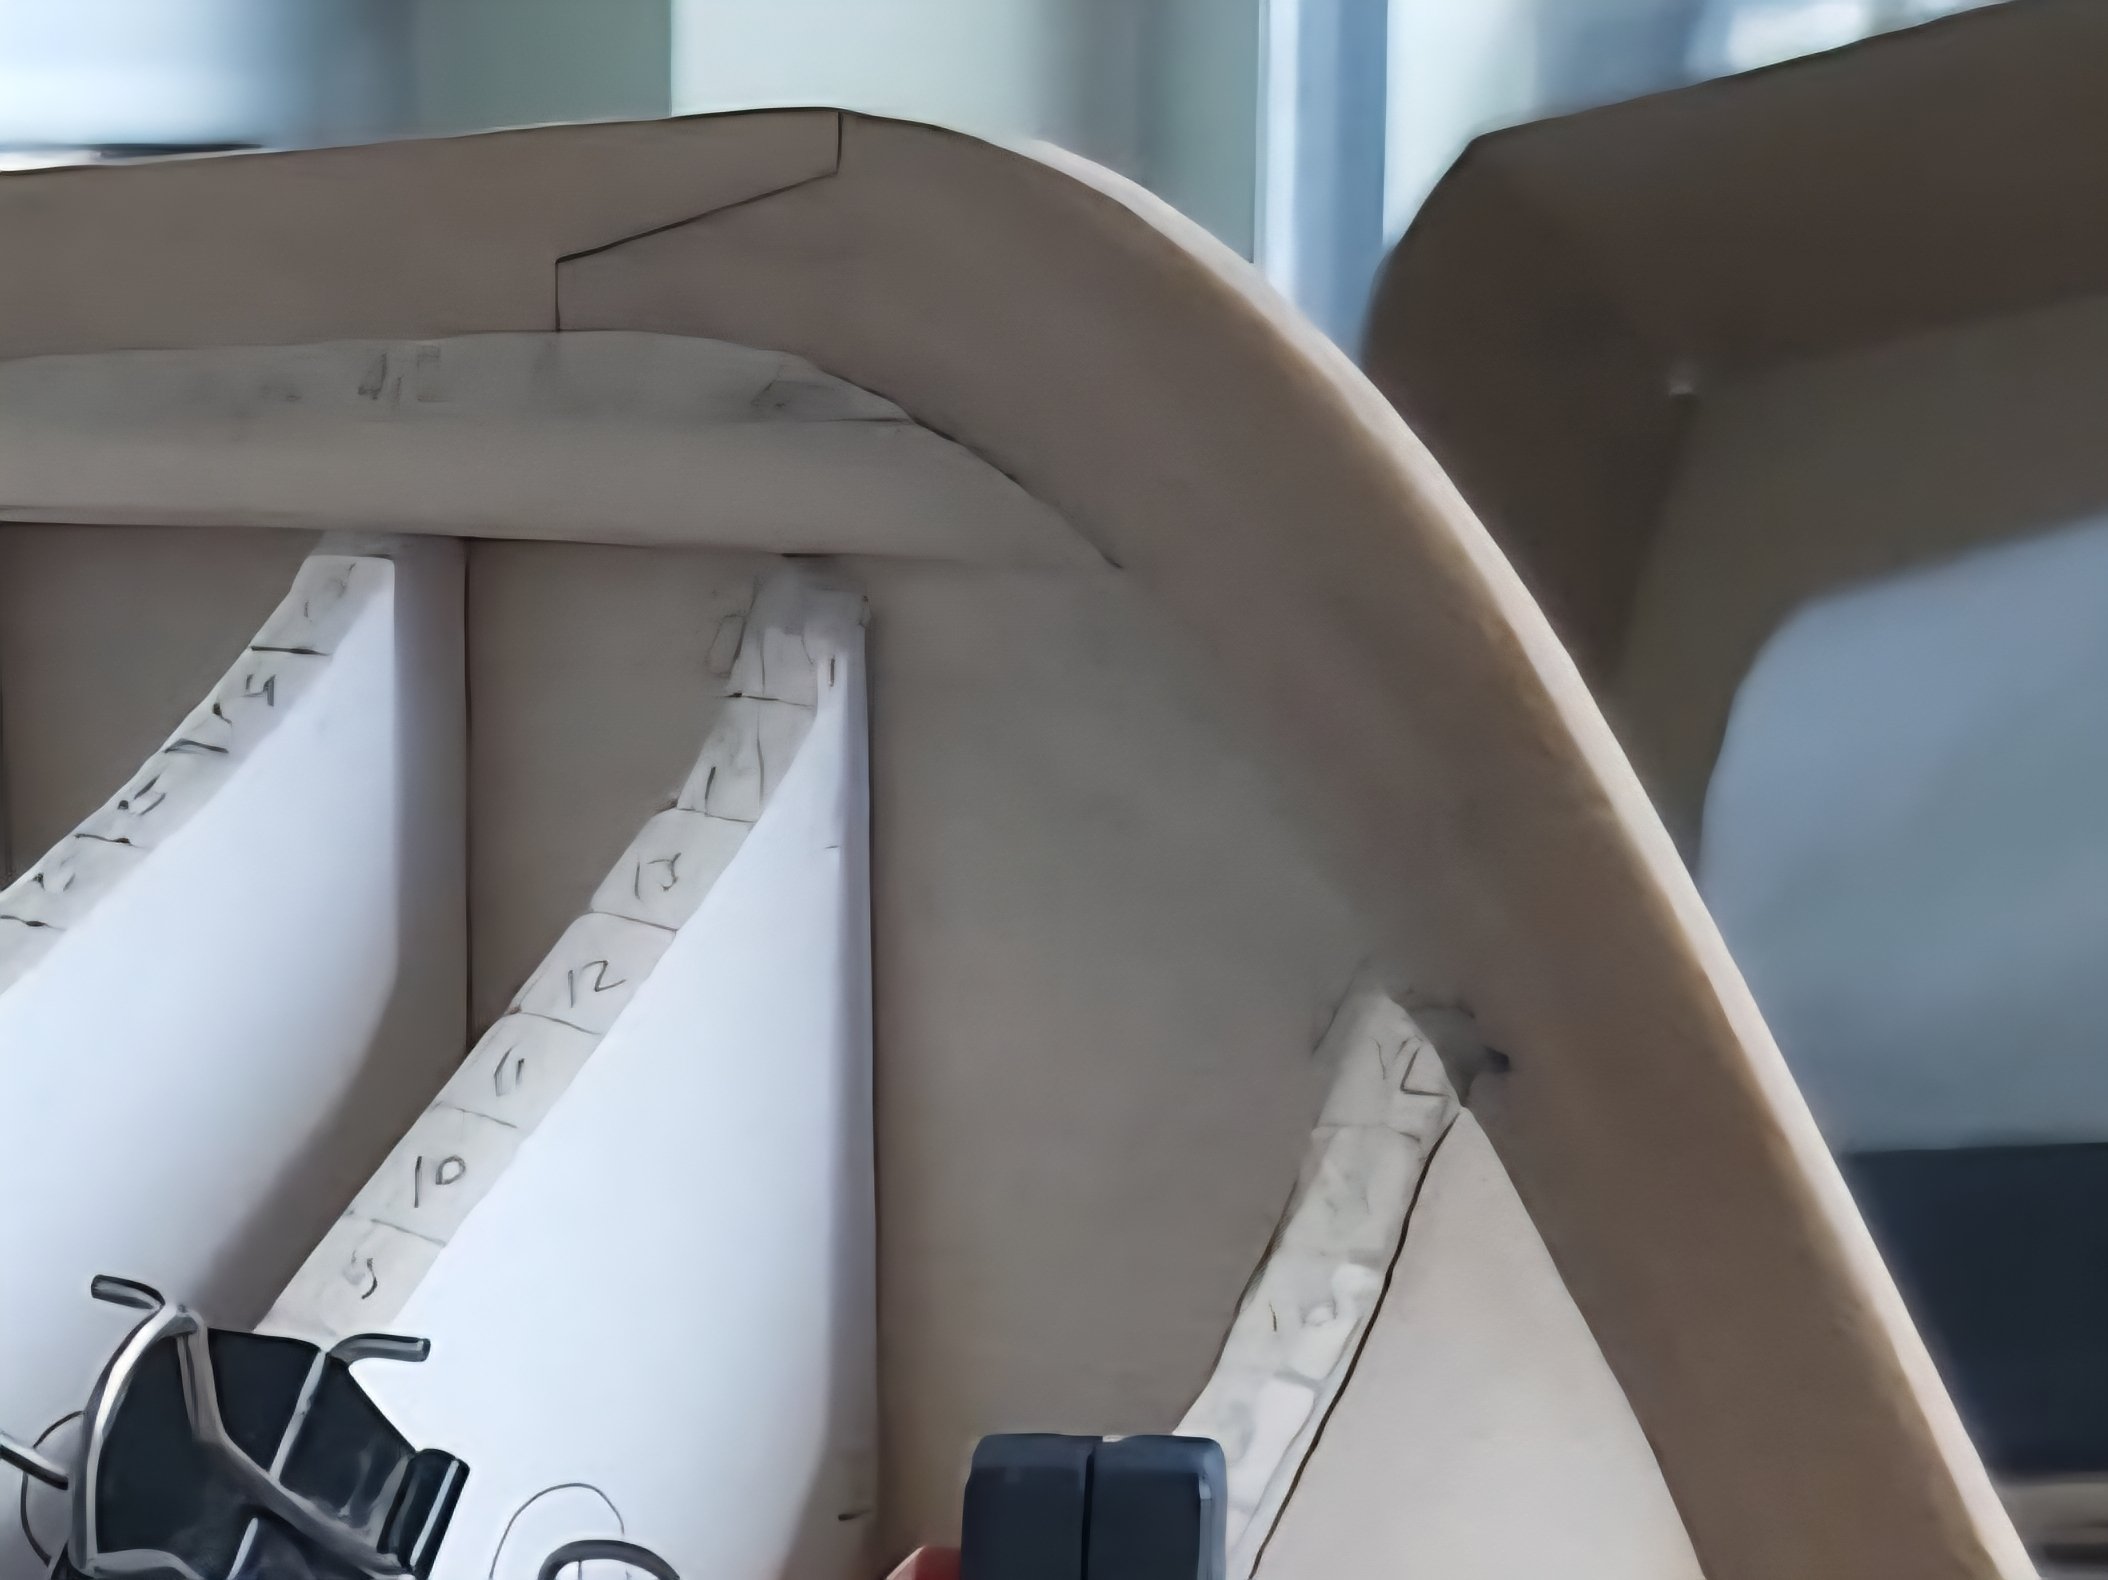
I only faired the first bulkhead in the bow before gluing it in place, because that one had a lot of sanding to do. I used my sanding macine to do it.
-
Yep, that's it! Straps look very nice.
-
USS Constitution by mtbediz - 1:76
mtbediz replied to mtbediz's topic in - Build logs for subjects built 1751 - 1800
Thank you so much my dear friend! -
USS Constitution by mtbediz - 1:76
mtbediz replied to mtbediz's topic in - Build logs for subjects built 1751 - 1800
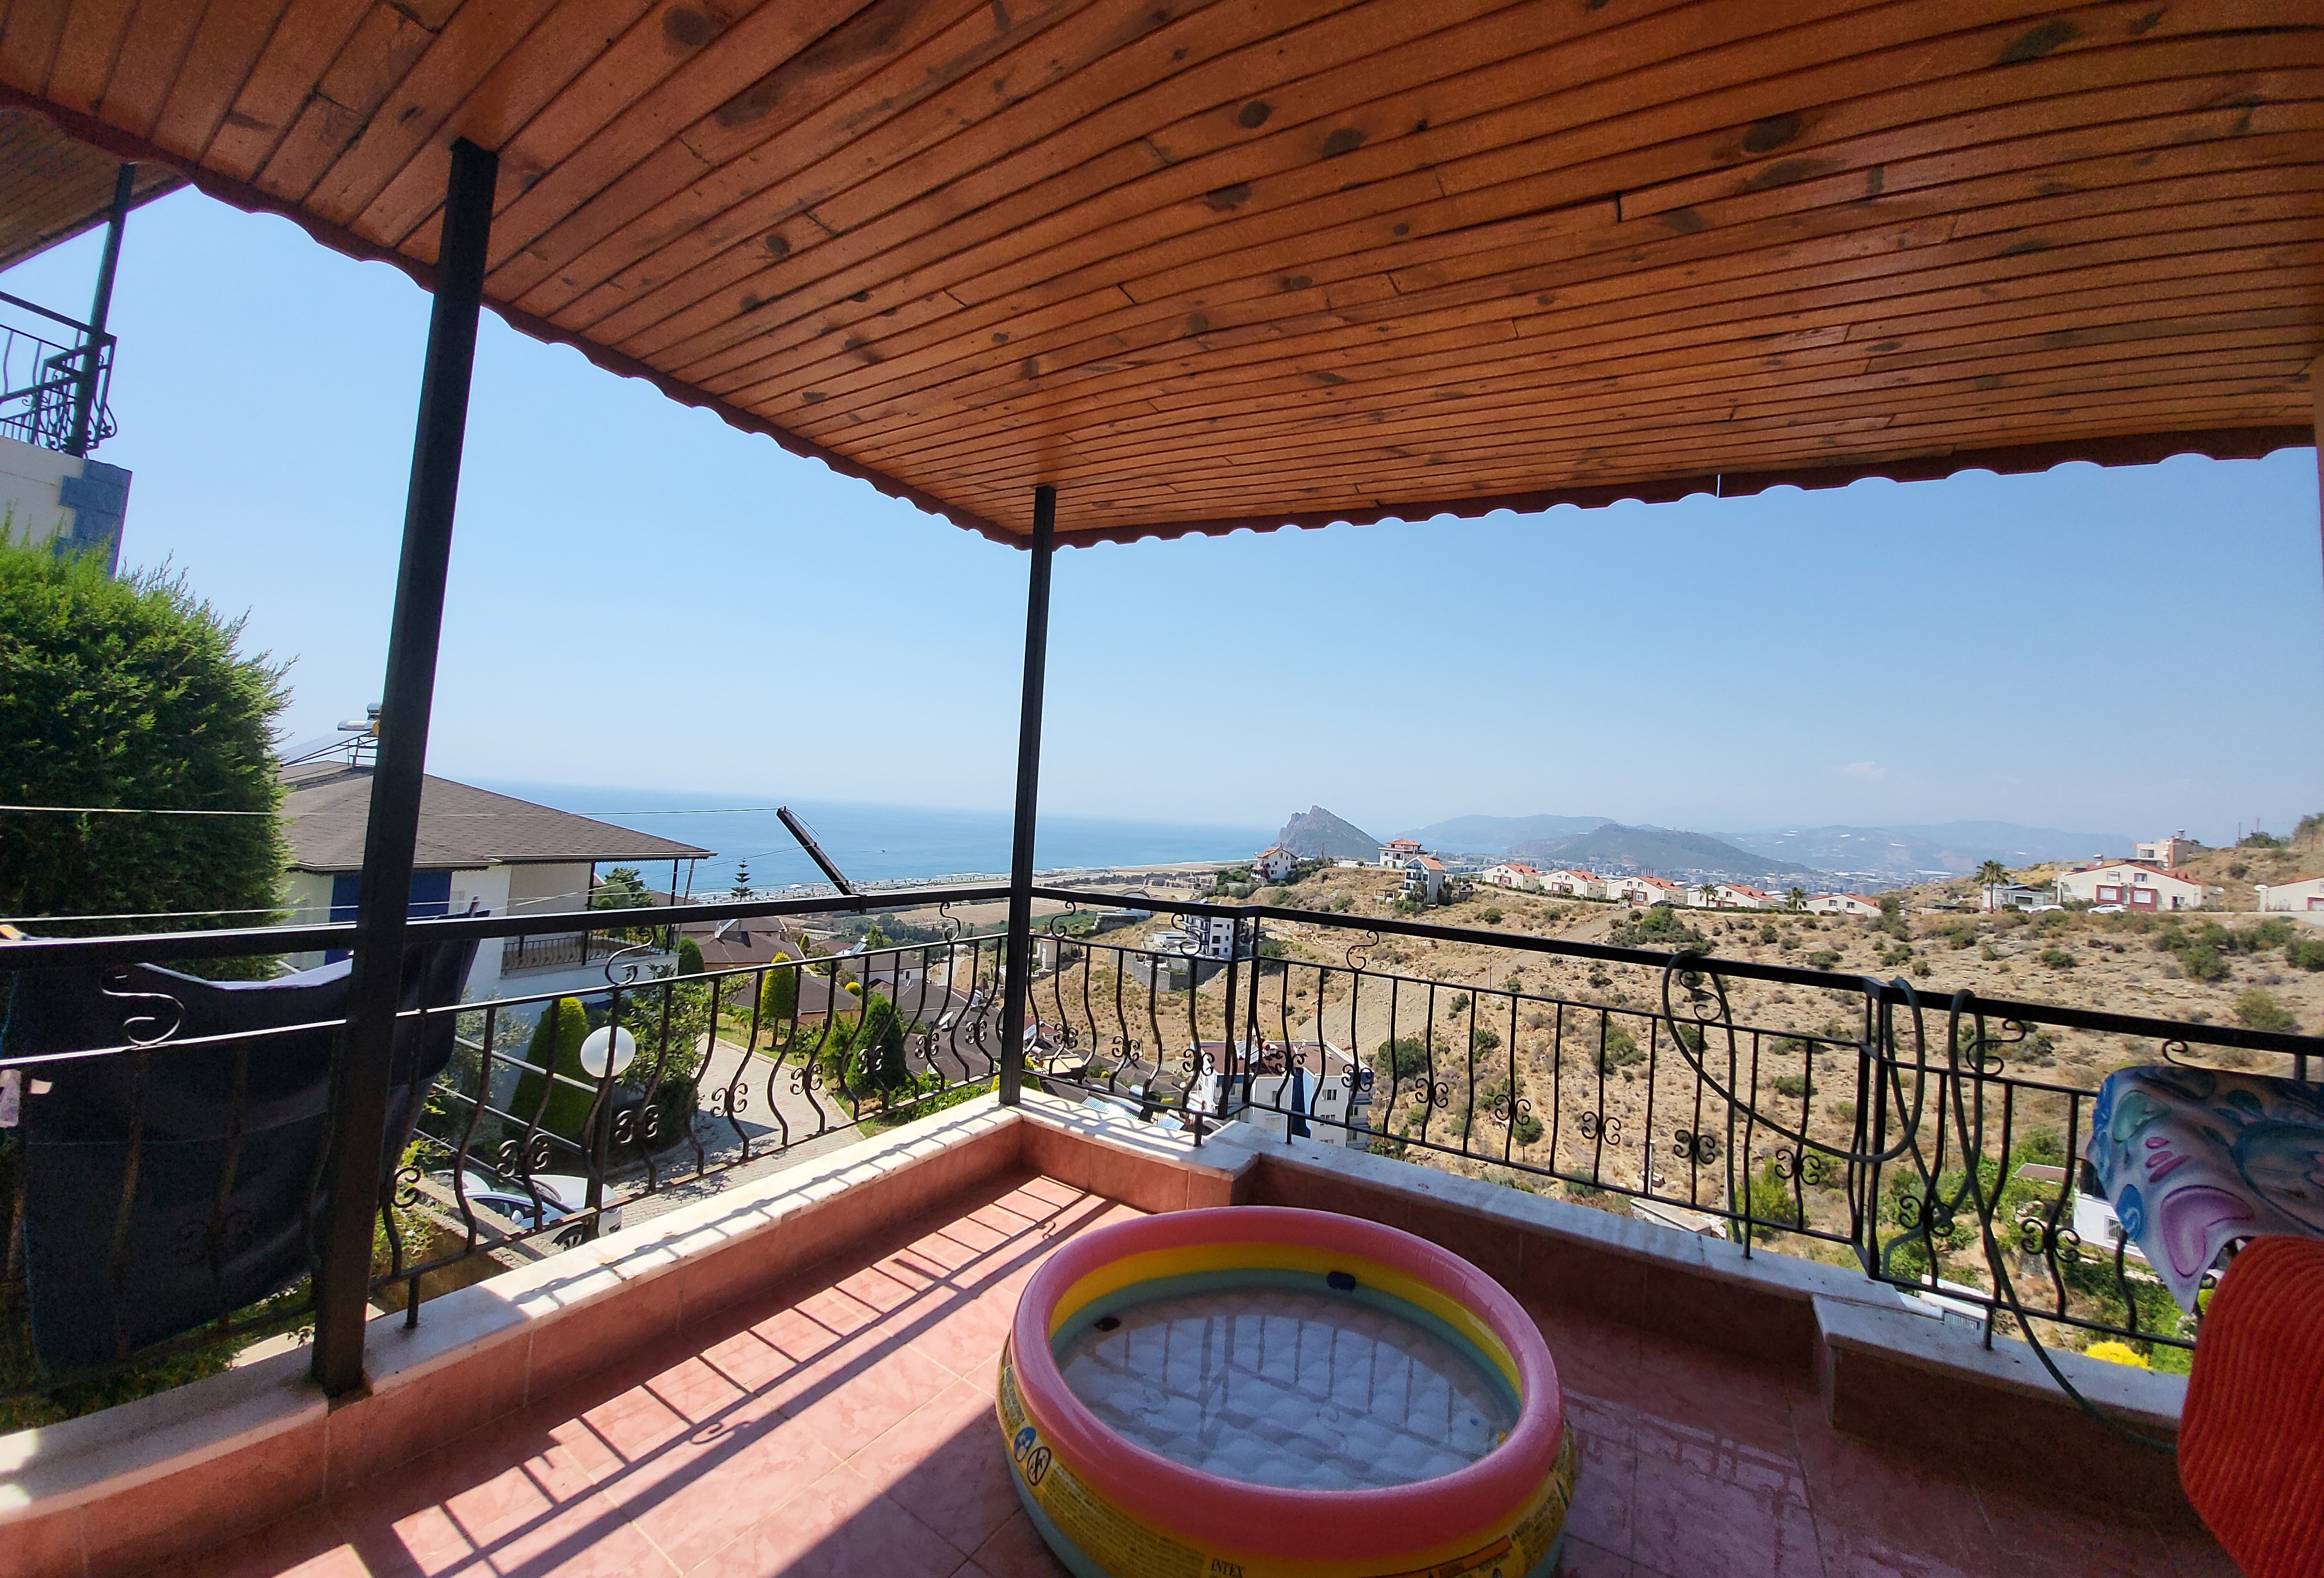
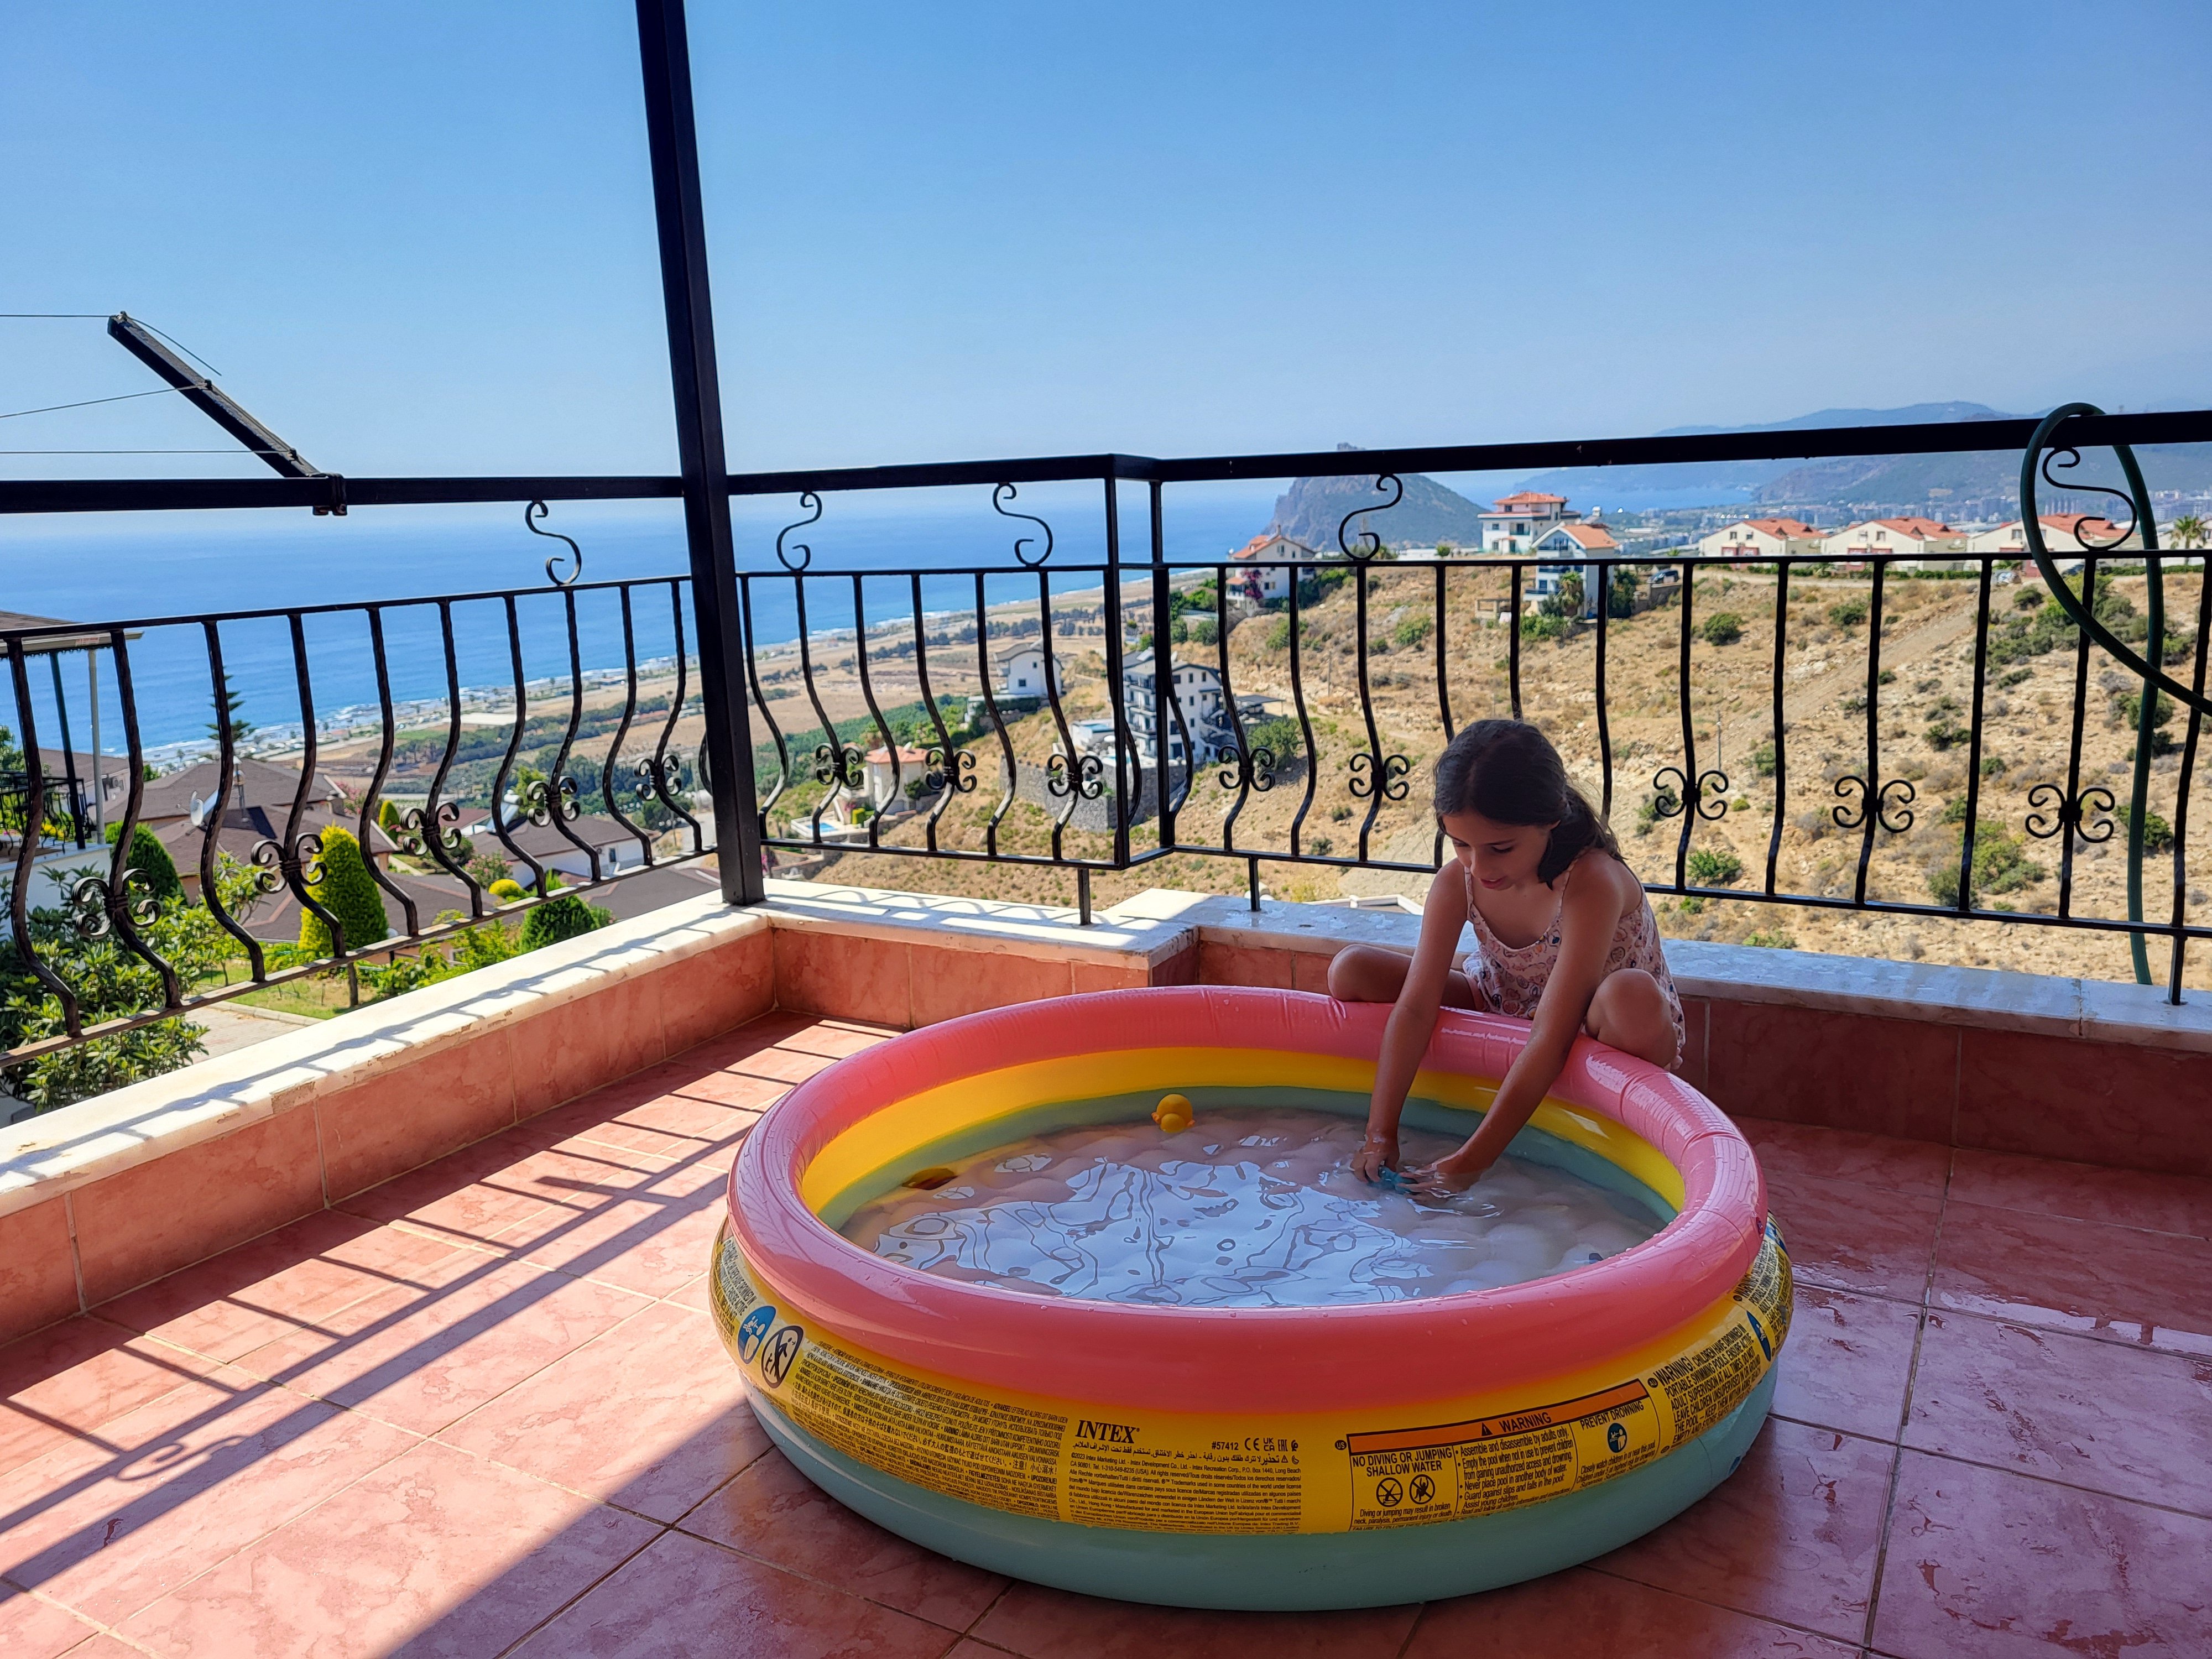
Not really! Just sitting by the pool, sipping my vodka and watching my grand daughter Bon appetit to you too. -
USS Constitution by mtbediz - 1:76
mtbediz replied to mtbediz's topic in - Build logs for subjects built 1751 - 1800
For sure it is hot! but not where I am sitting down right now -
USS Constitution by mtbediz - 1:76
mtbediz replied to mtbediz's topic in - Build logs for subjects built 1751 - 1800
Cheers from Antalya!

-
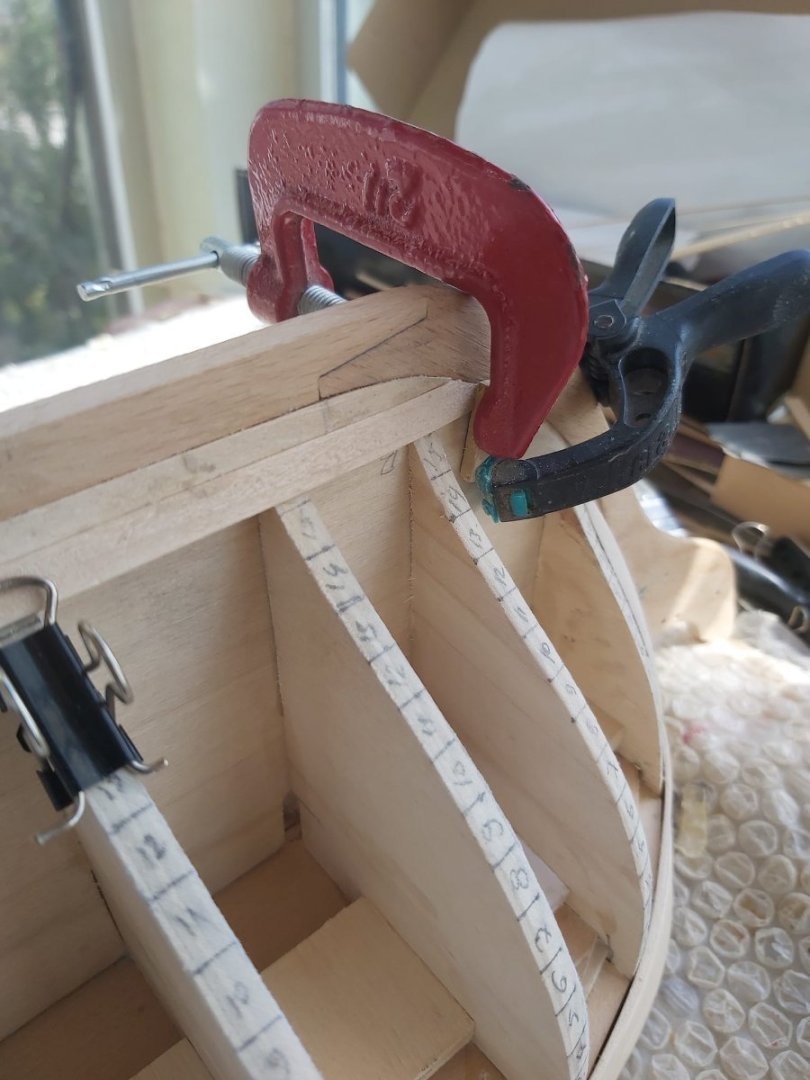
I hate to say it, but your garboard planks are unfortunately incorrect. They've climbed too high, which will cause plank congestion in the bow later. If you want to plank your ship correctly, remove the garboards now and remake them as shown in the photos. If your ship has a second layer planking, take this into consideration when making the second layer planking. Other than that, everything is going great so far.


-
I'm so sorry if I'm bothering you, Peter. I'm just trying to understand and help. I know you won't remake them all over. If you used pre-made eyebolts, it was even easier. All you had to do was to bend the hooks perpendicular to the eyelets. Just keep that in mind for future hooks.
-
I make the eyelet first, then bend the hook part perpendicular to the eyelet so I don't need to twist the hook. I know it's too late to tell you this, but keep that in mind; you'll want to try doing it like this on your next build.