-
Posts
1,346 -
Joined
-
Last visited
Content Type
Profiles
Forums
Gallery
Events
Everything posted by mtbediz
-

USS Constitution by mtbediz - 1:76
mtbediz replied to mtbediz's topic in - Build logs for subjects built 1751 - 1800
Thanks, Greg. I wish you and your family a healthy and happy new year! -
Of course, it's your model, and you have the right to build it however you feel happiest; I do the same. Looking at Mr. Hunt's model, his topgalant rail seems to go further than yours, blocking the cathead, so he must have passed the rope over it. I'd also like to point out that, although you didn't add it, there's normally hammock net on the topgalant rail, and it's impossible for the rope to pass over that. Again, I apologize, my intention isn't to bother you, I'm just trying to contribute to your model.
-

USS Constitution by mtbediz - 1:76
mtbediz replied to mtbediz's topic in - Build logs for subjects built 1751 - 1800
-

USS Constitution by mtbediz - 1:76
mtbediz replied to mtbediz's topic in - Build logs for subjects built 1751 - 1800
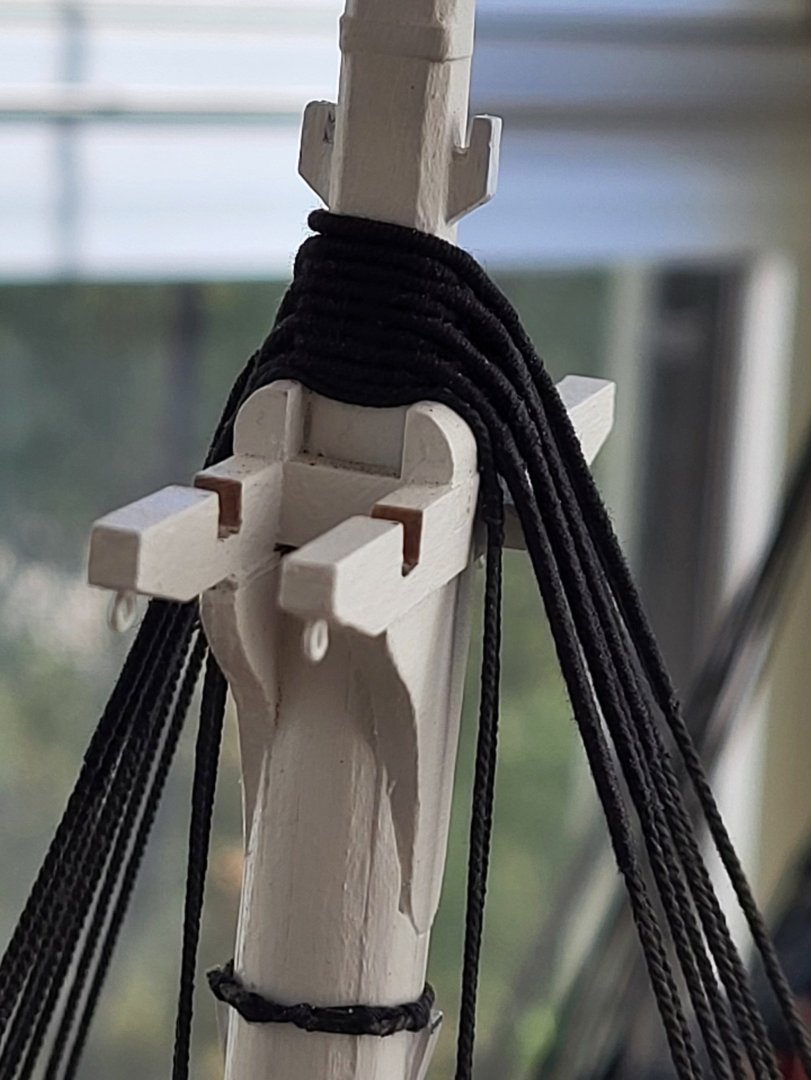
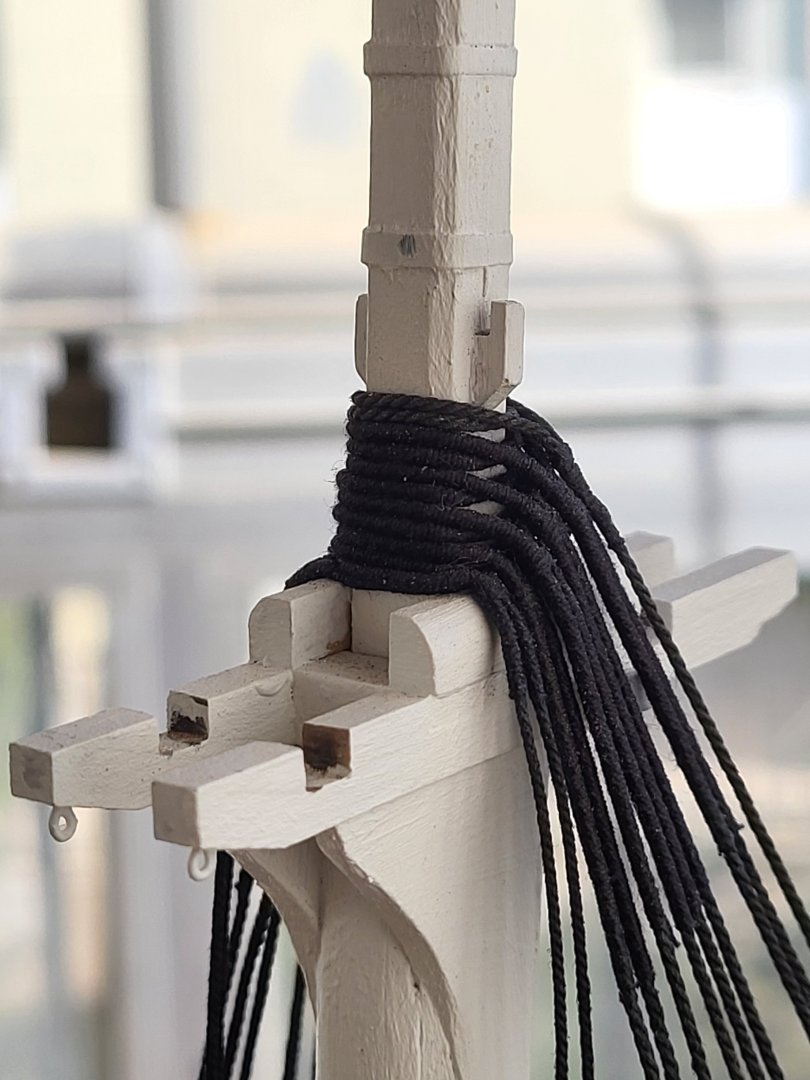
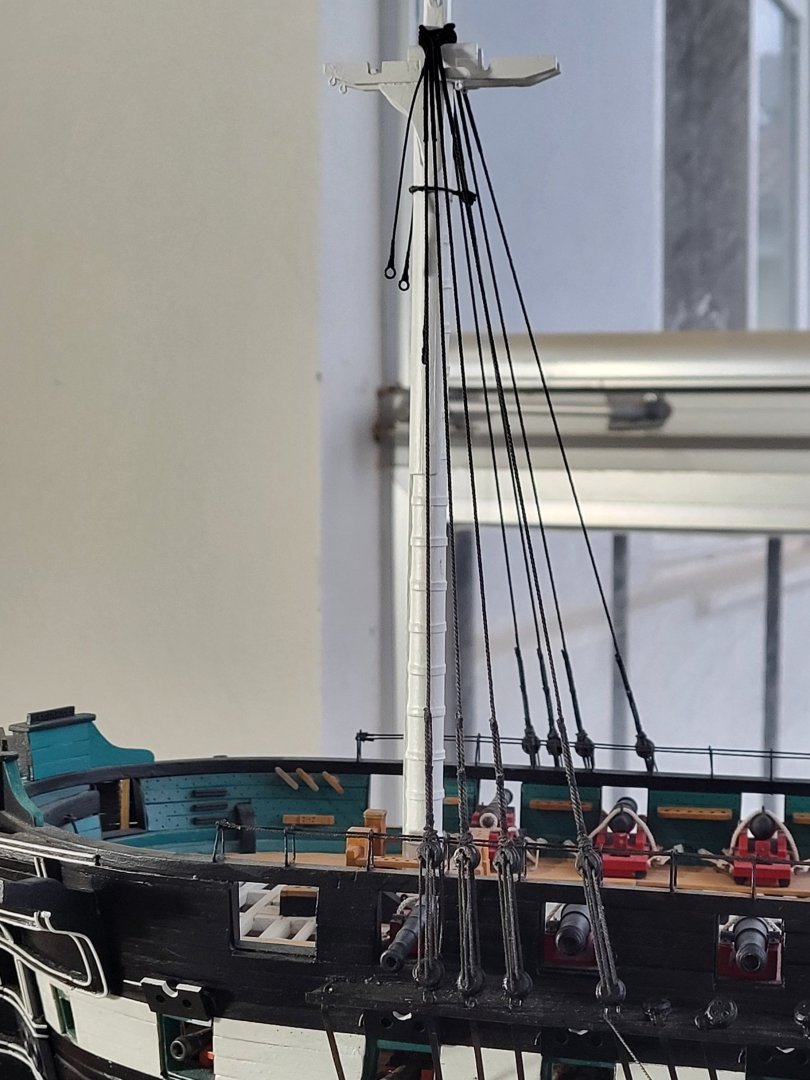
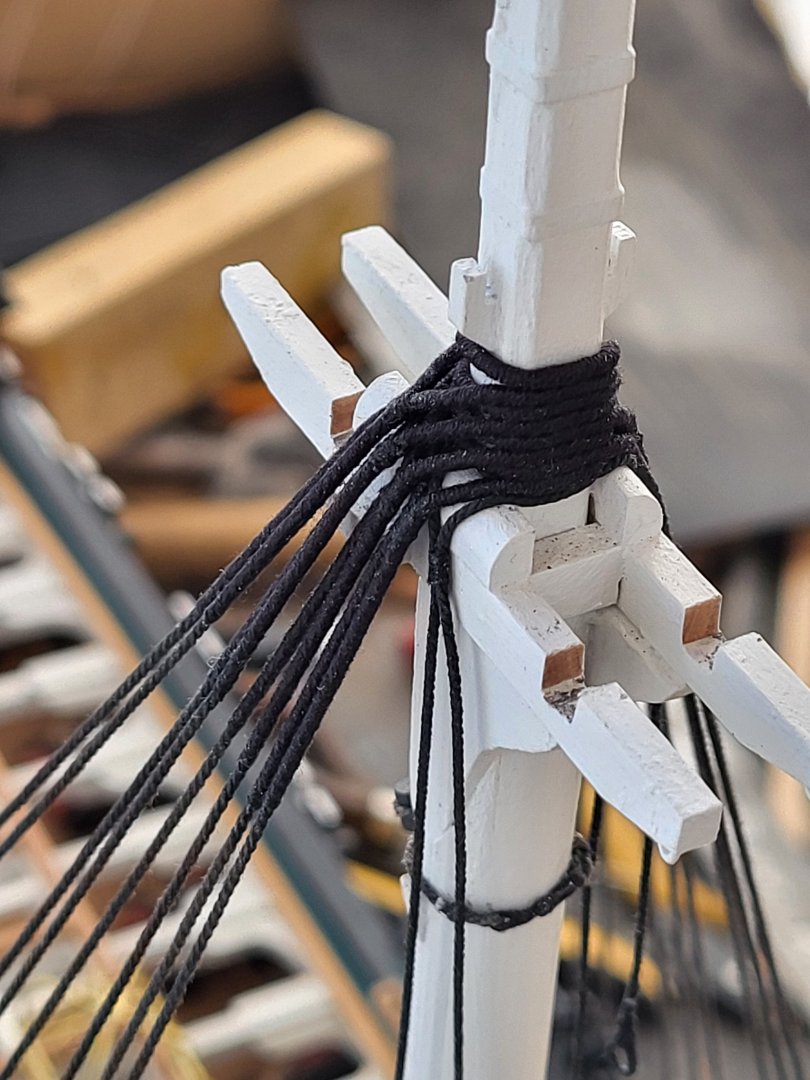
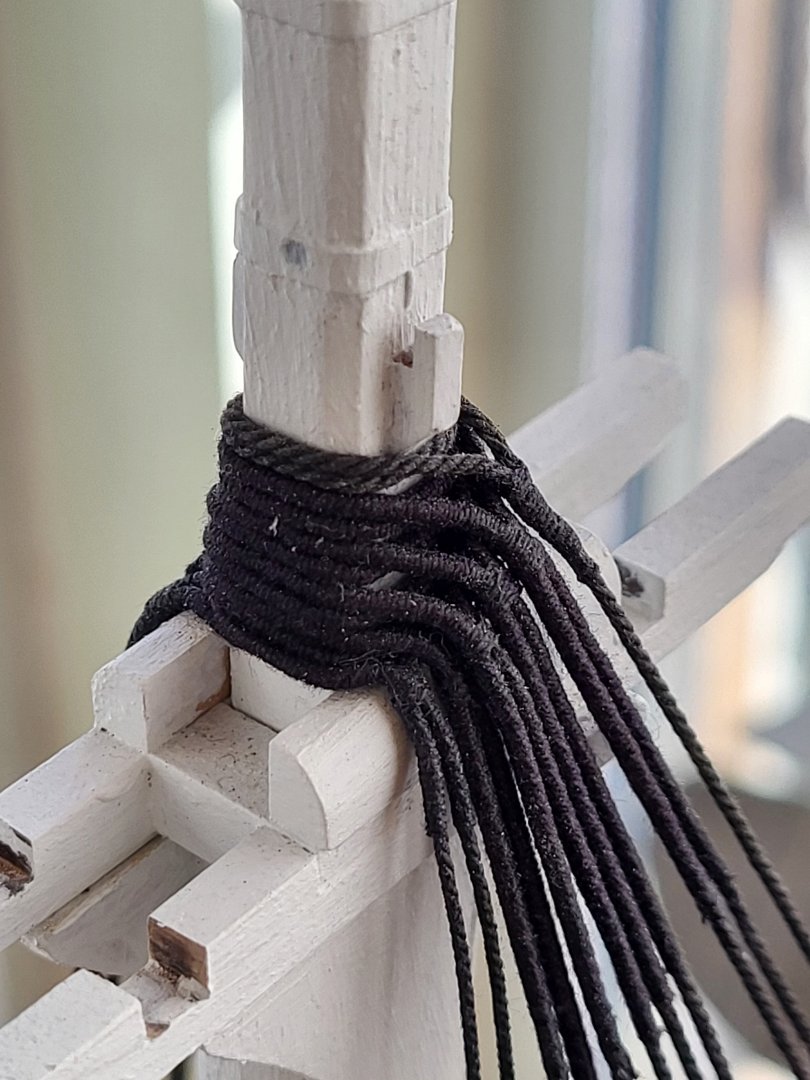
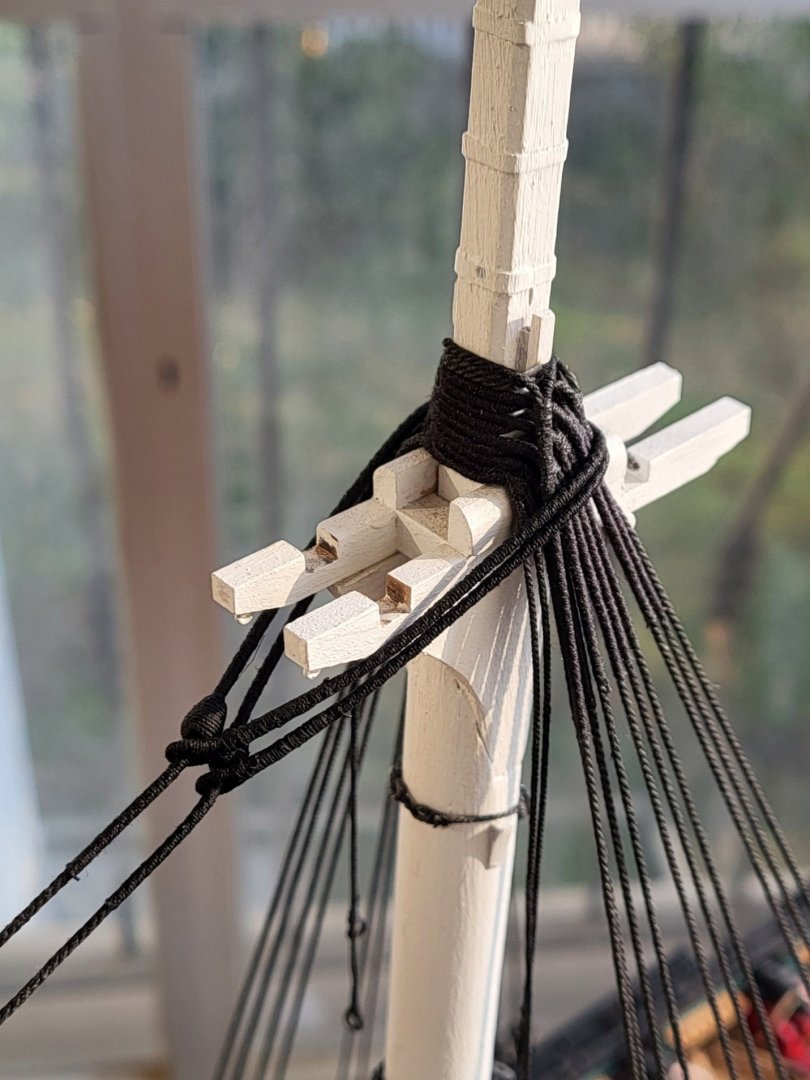
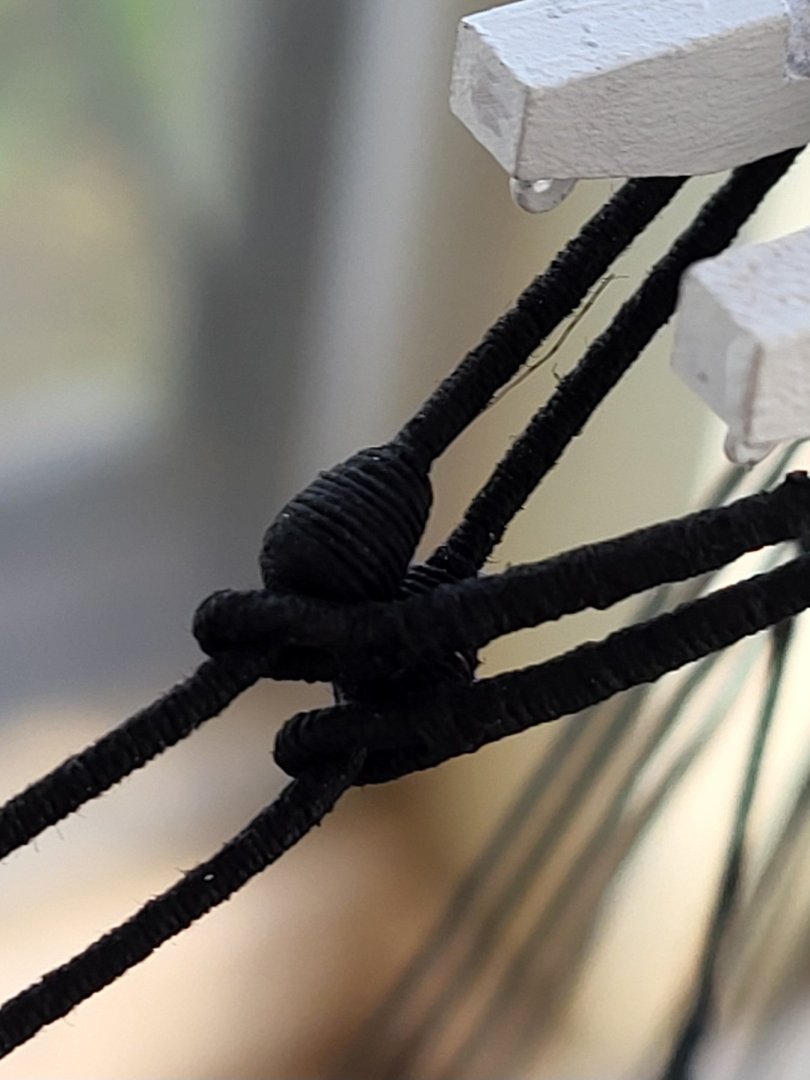
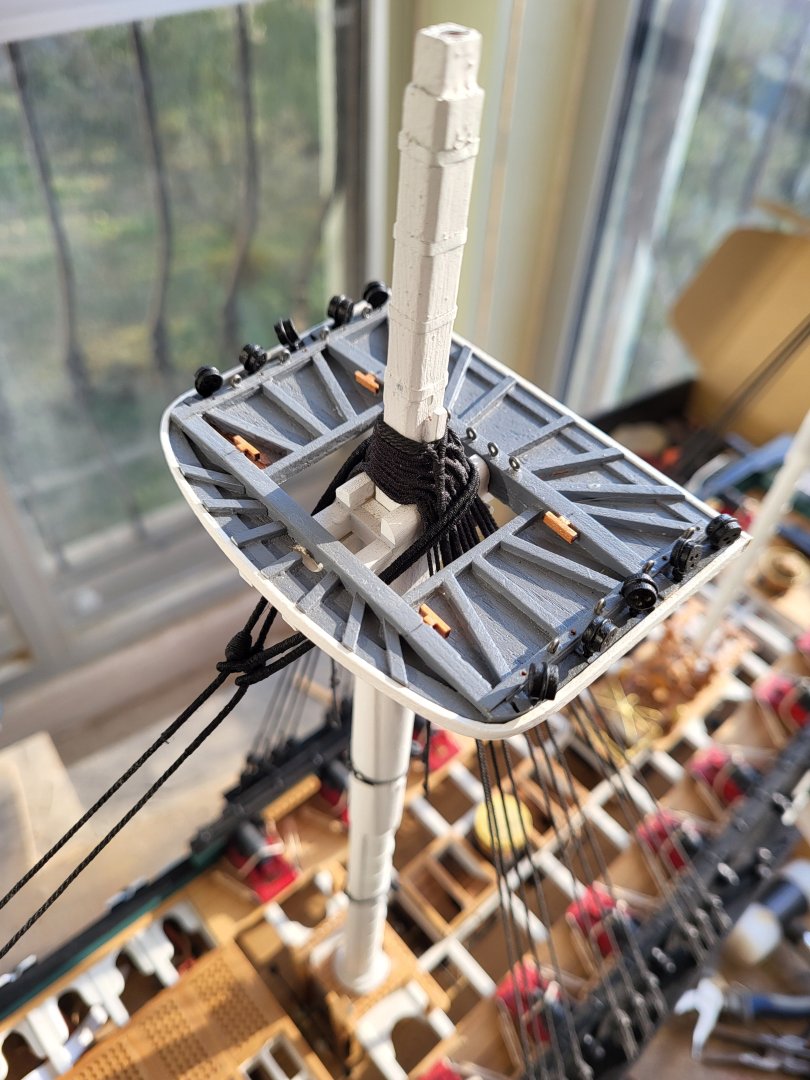
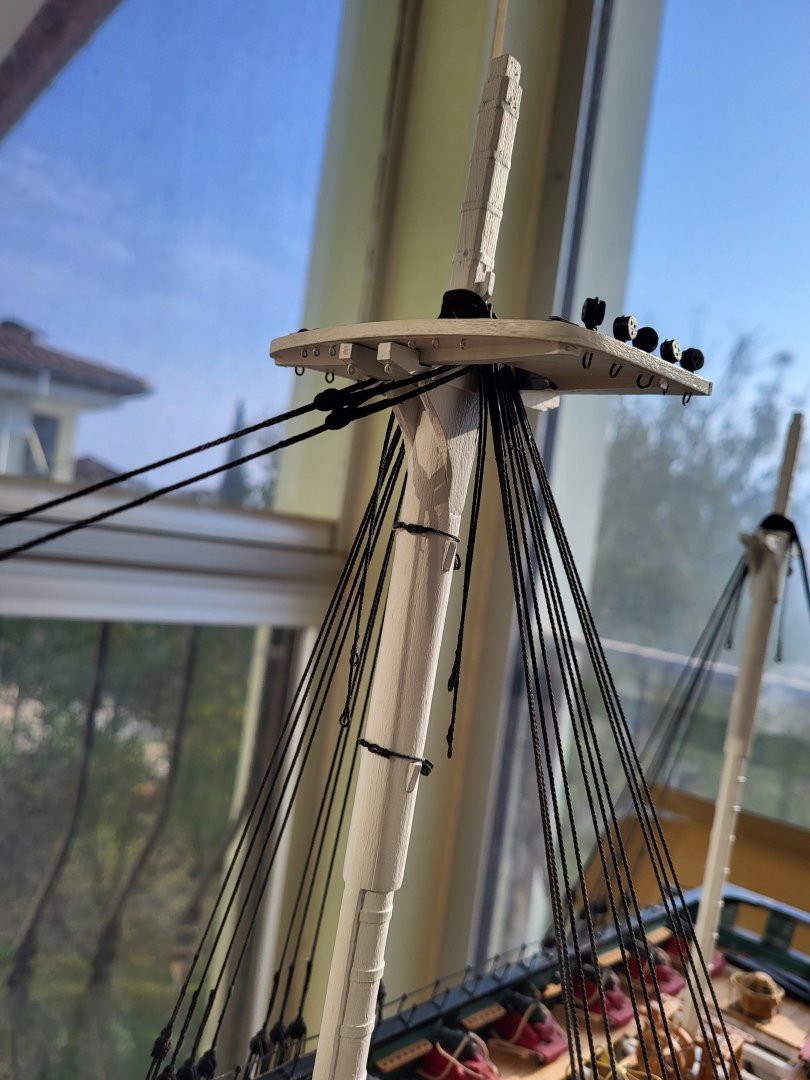
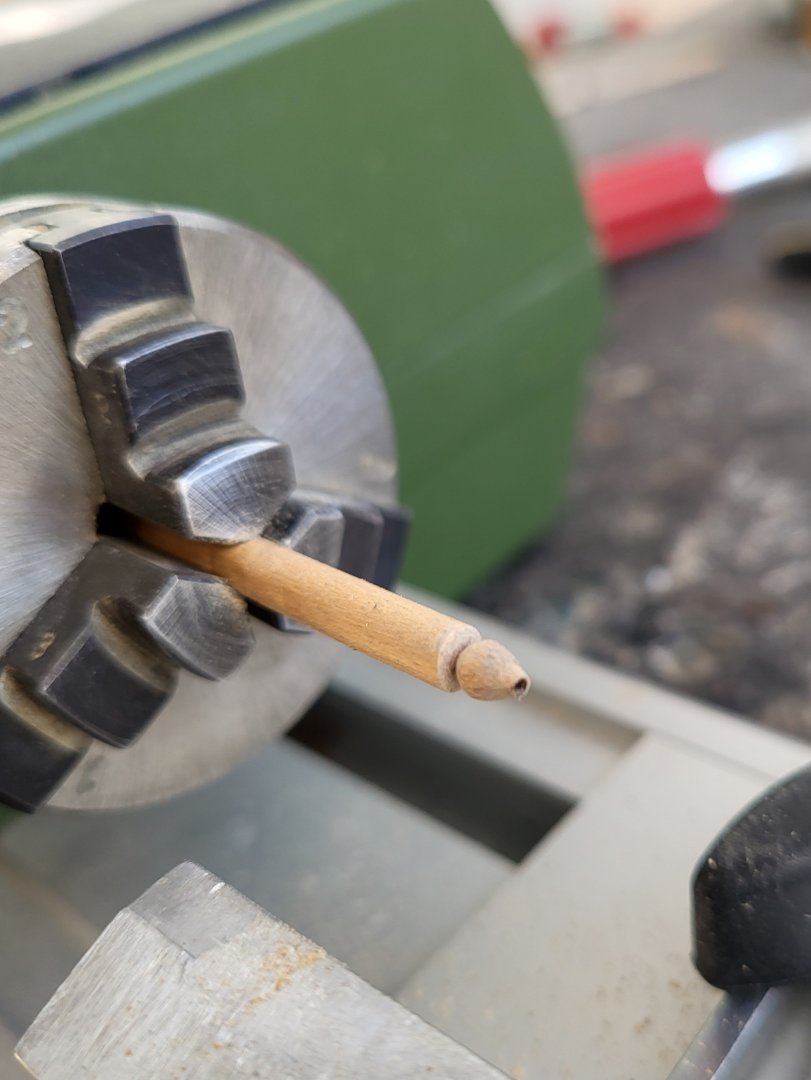
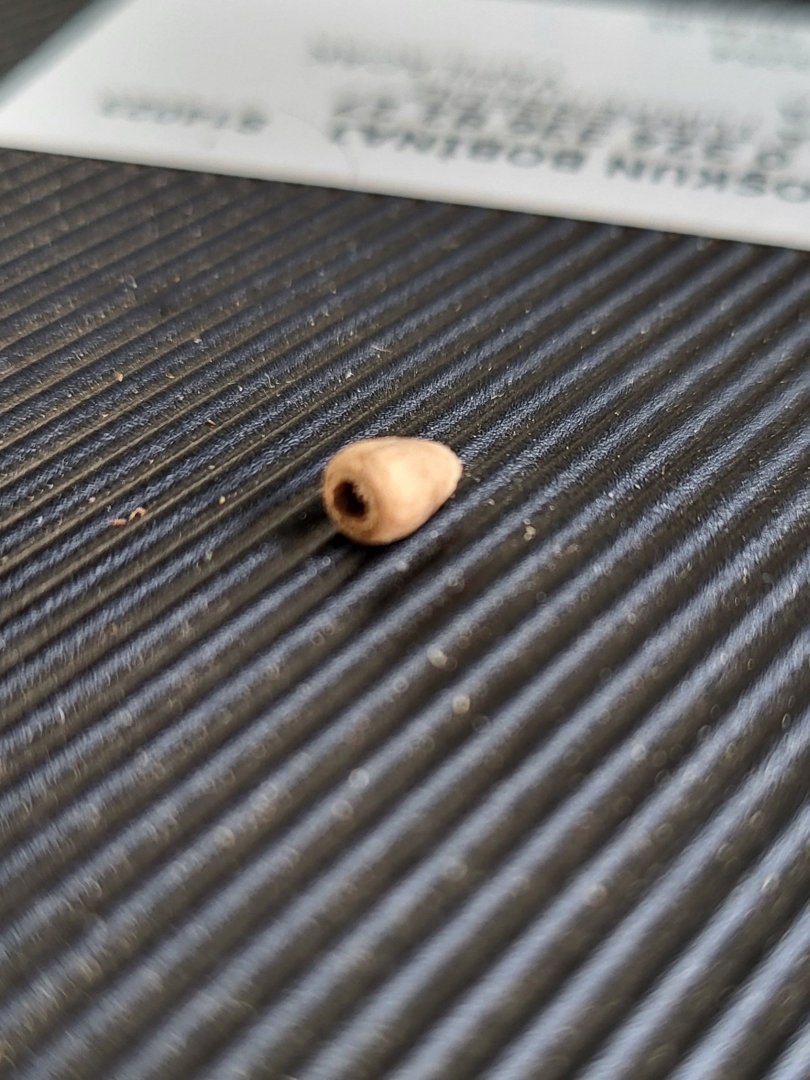
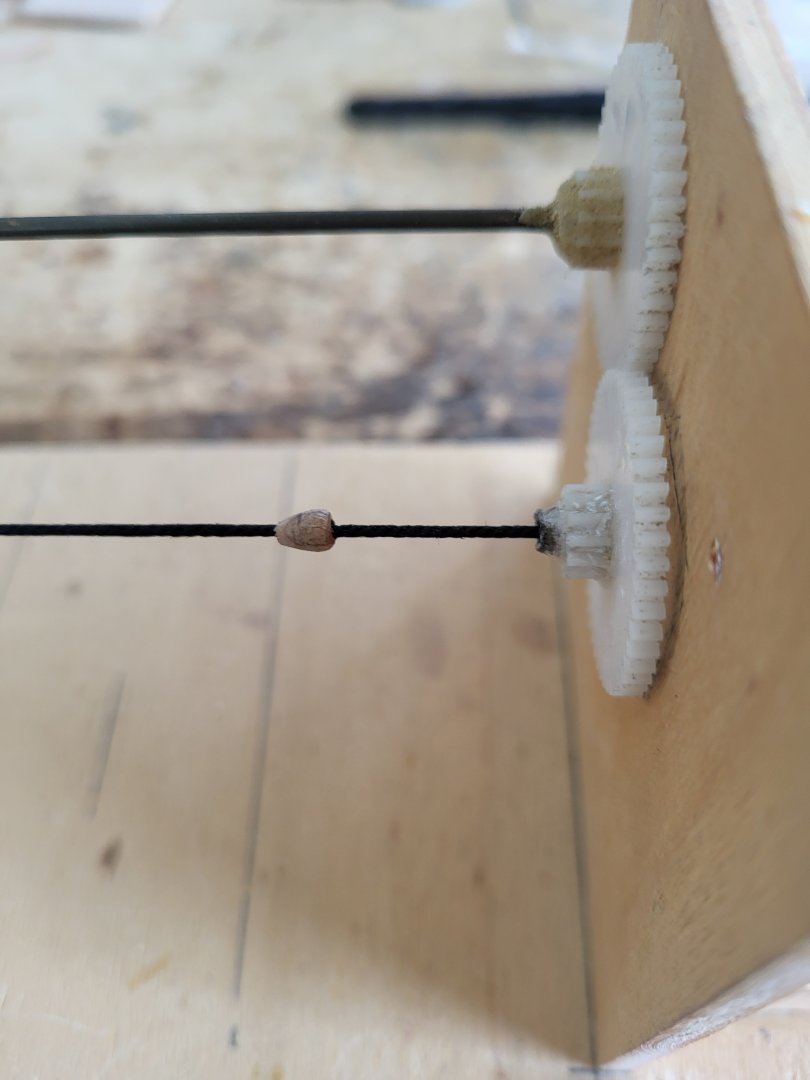
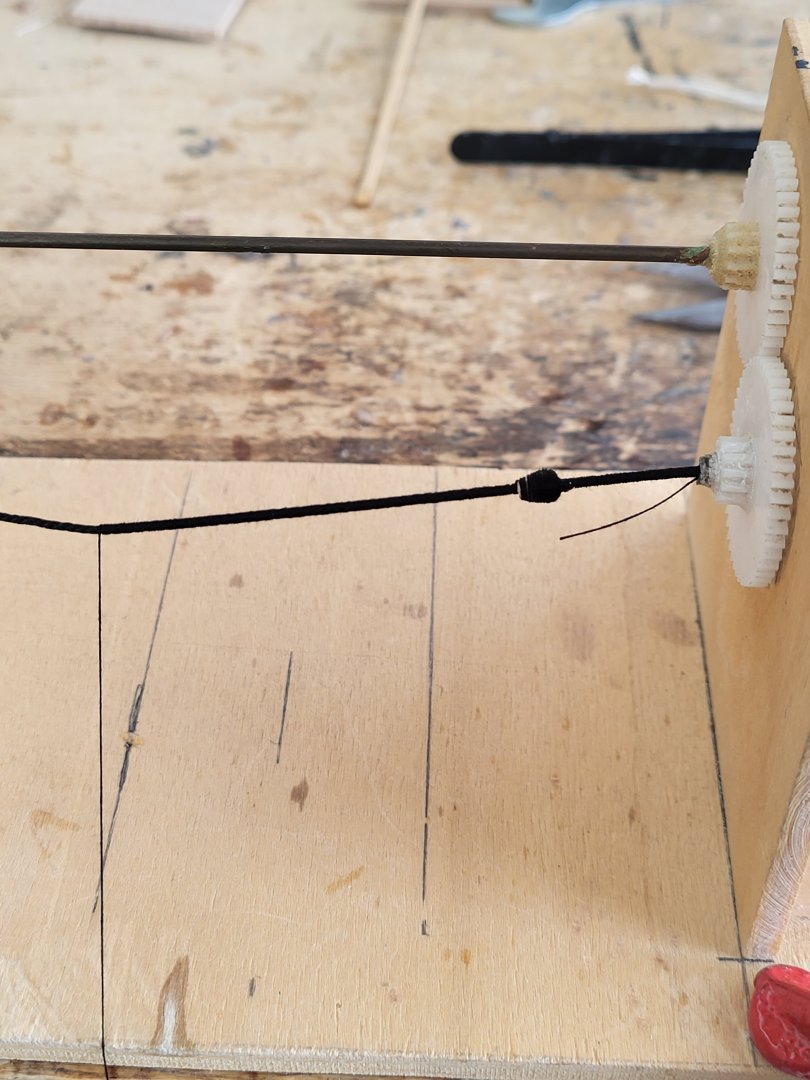
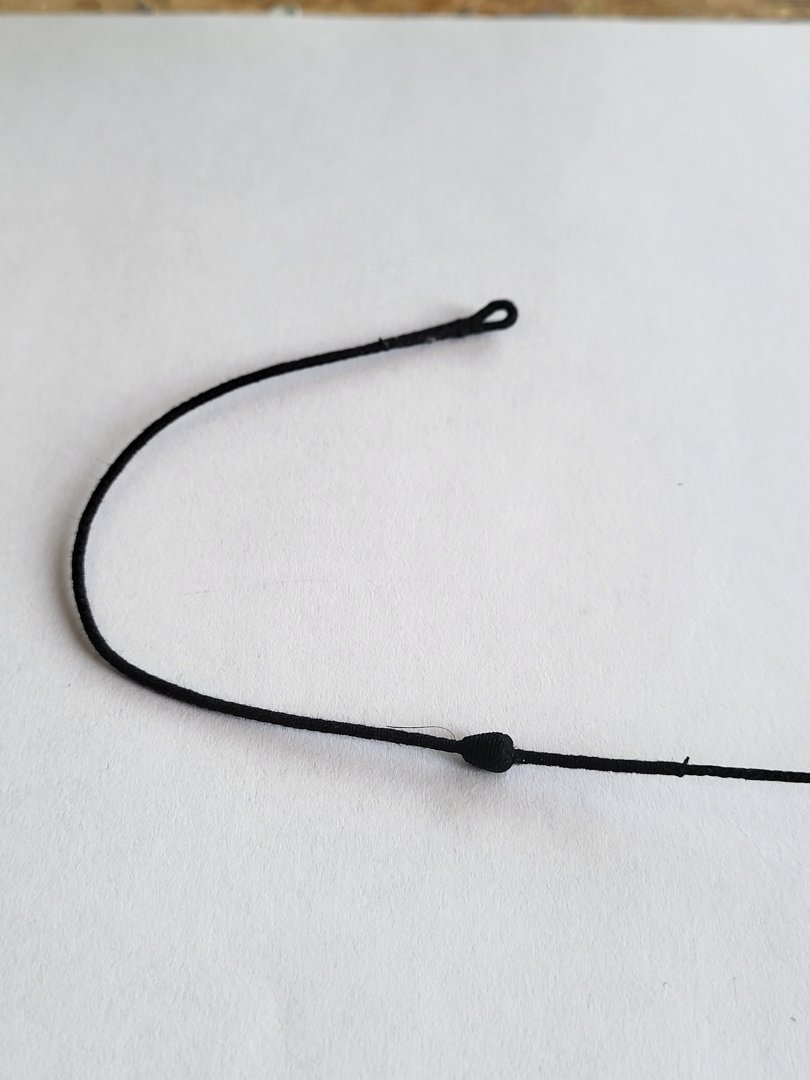
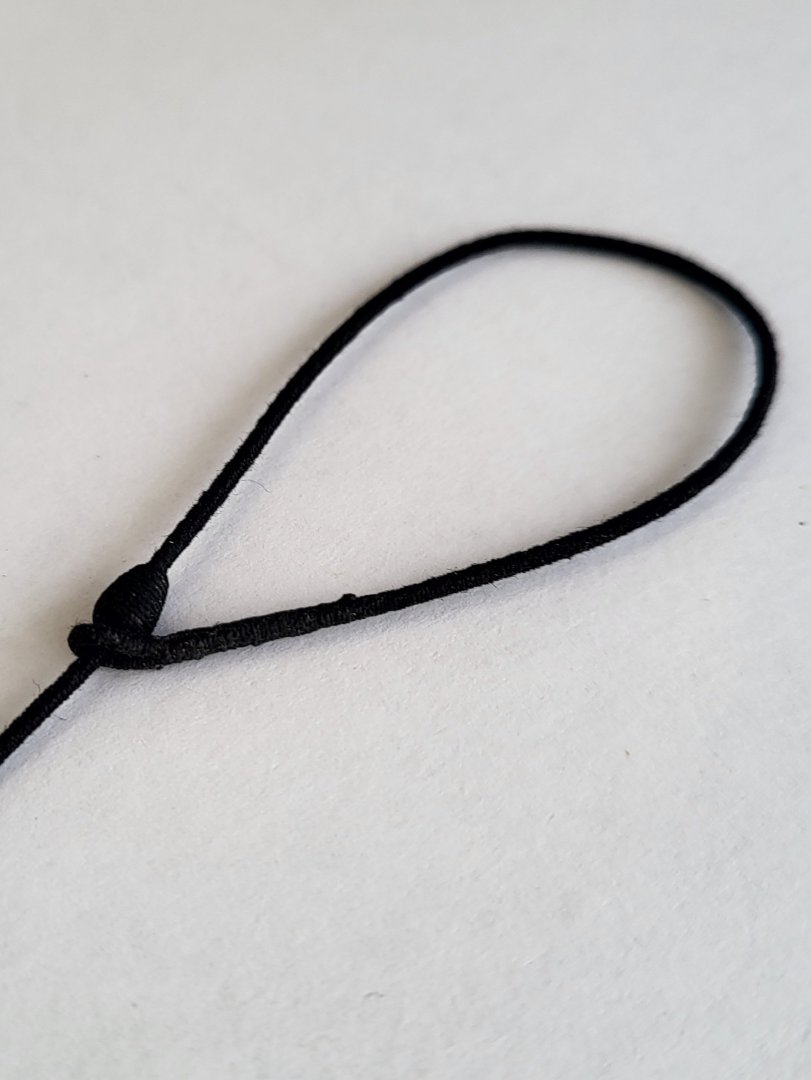
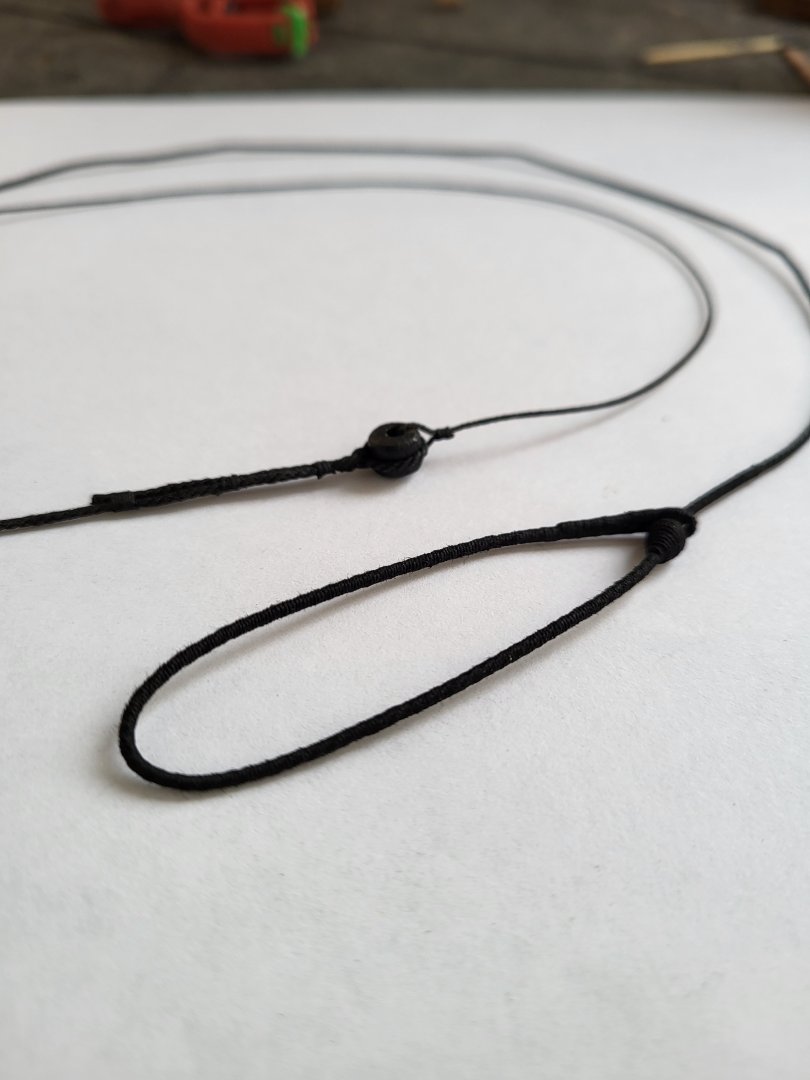
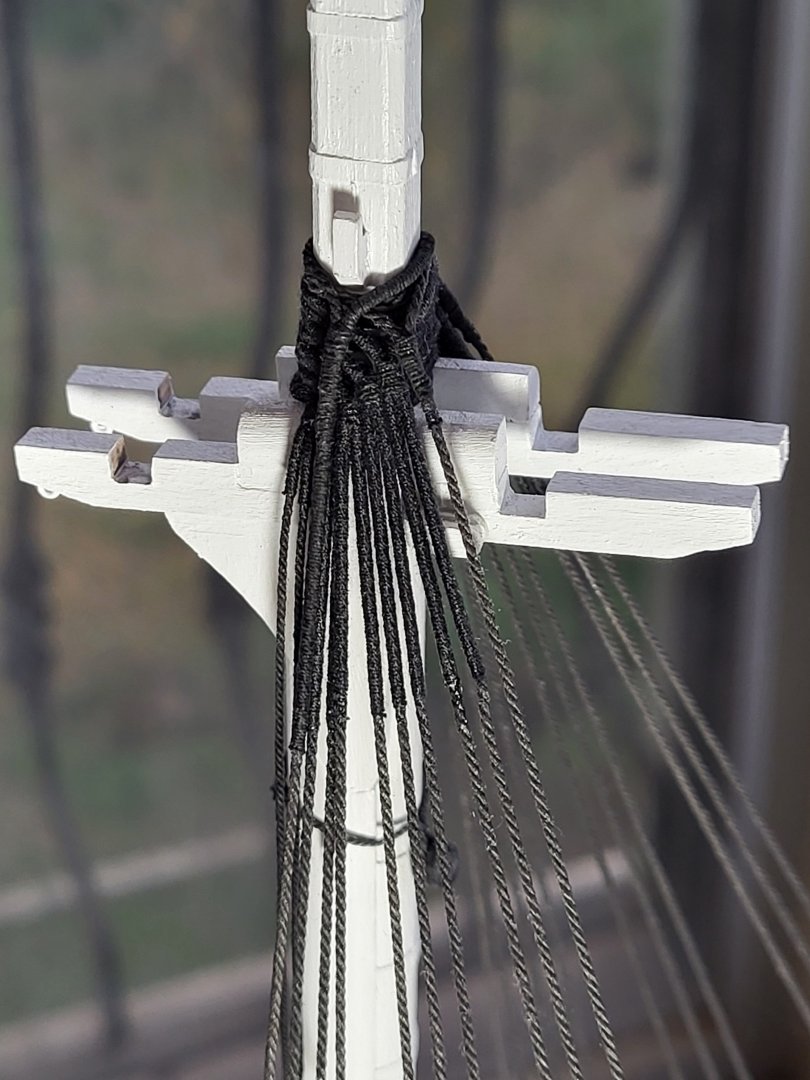
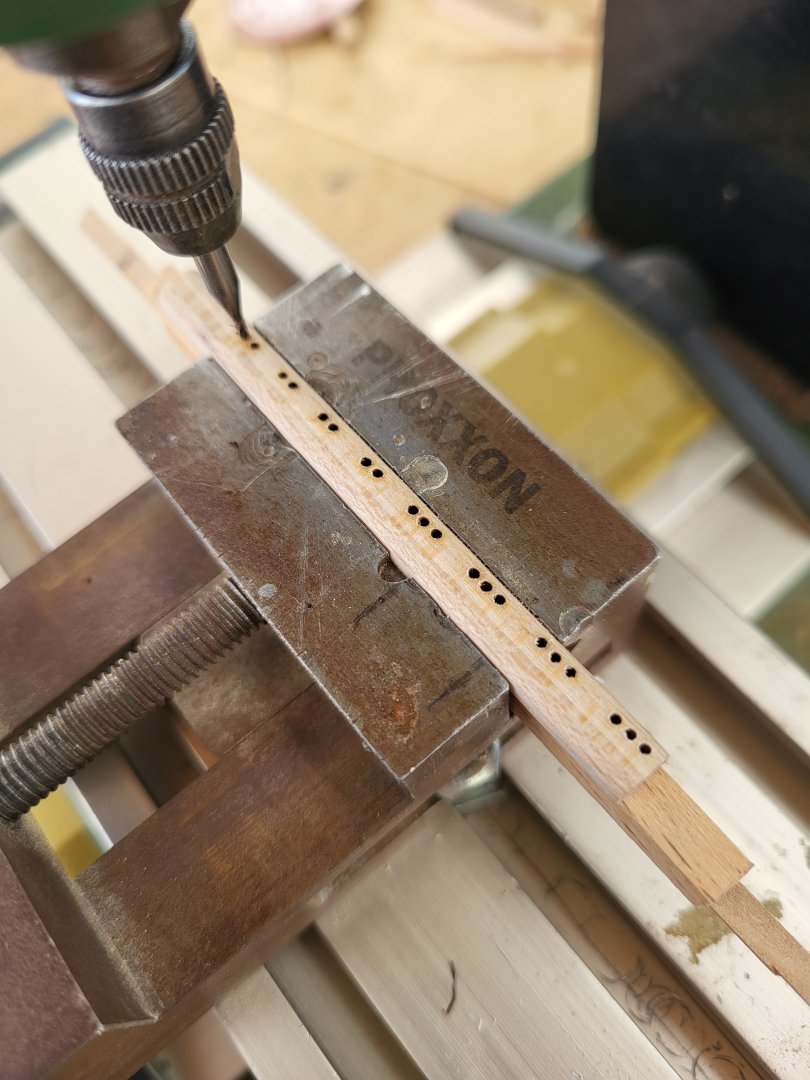
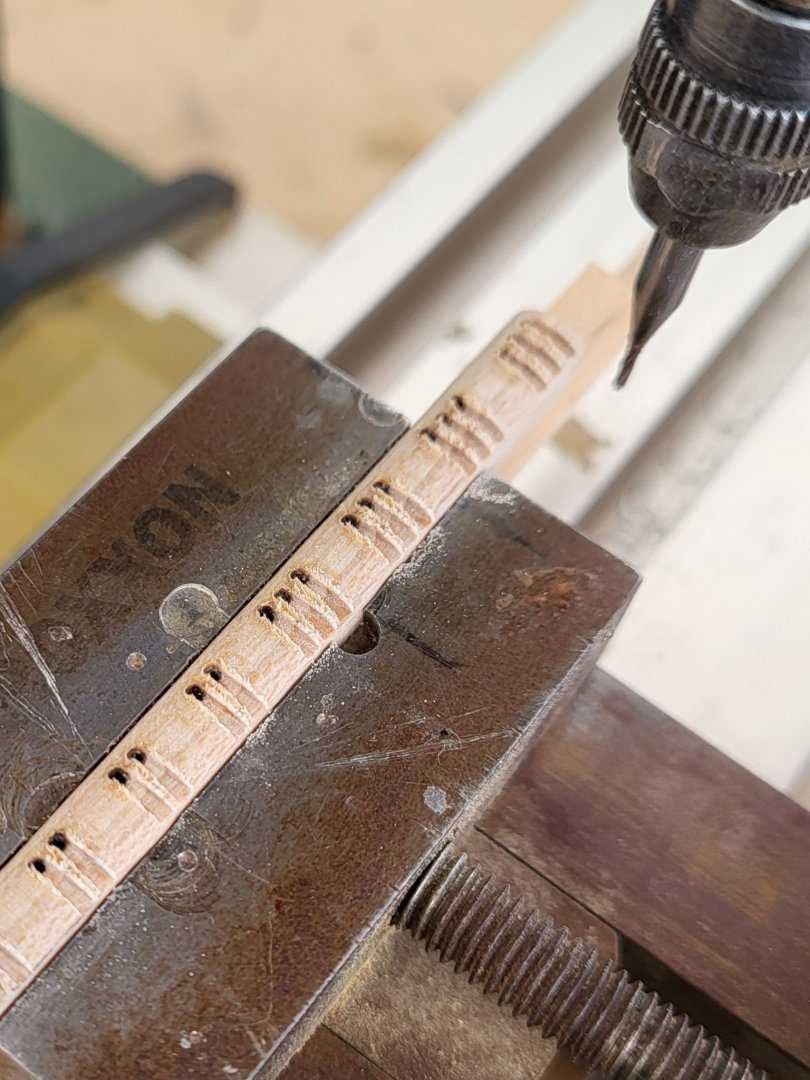
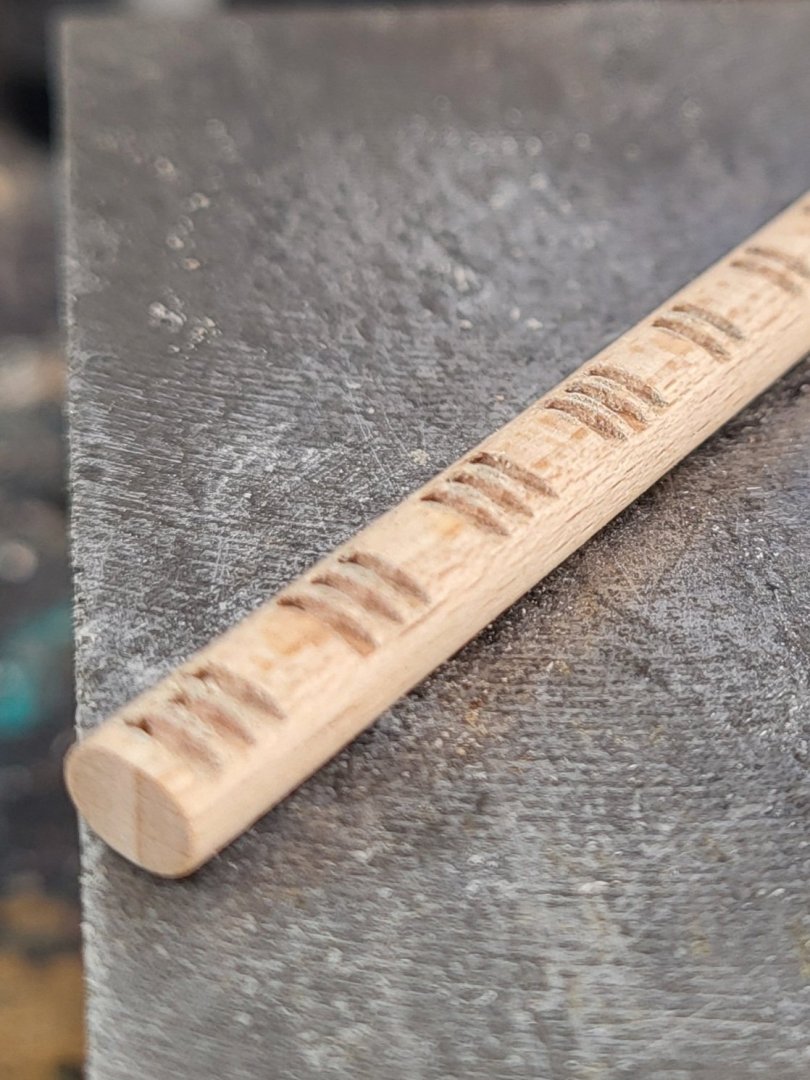
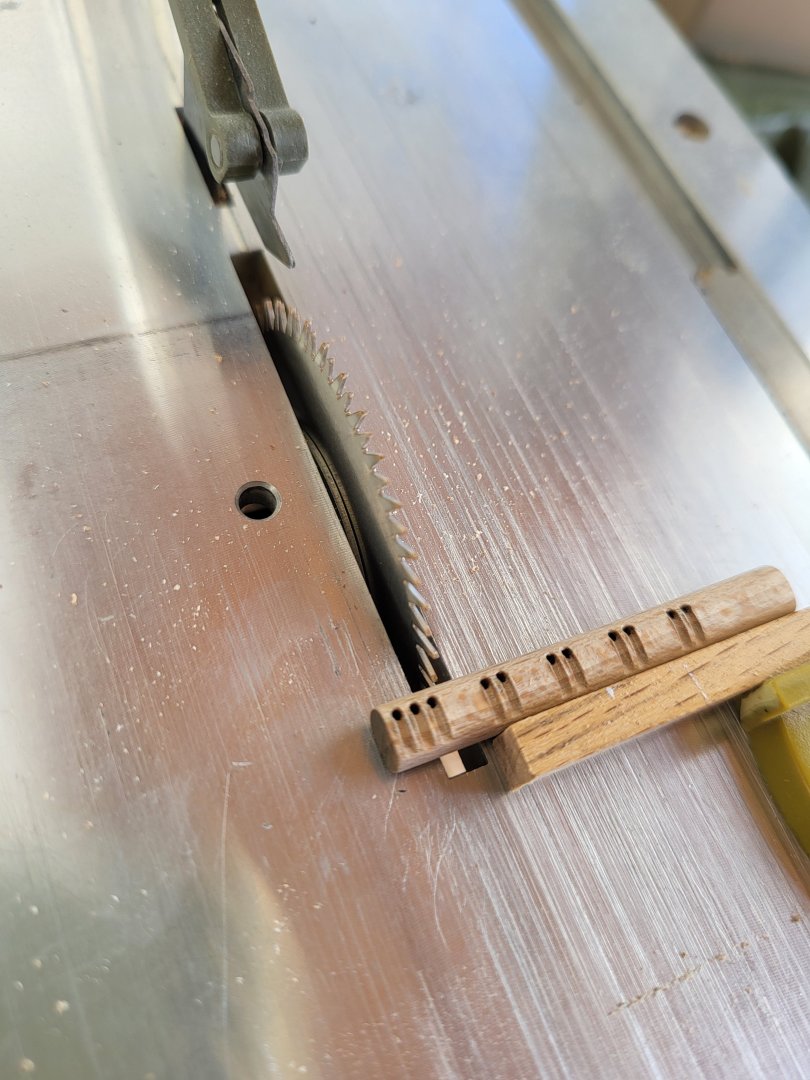
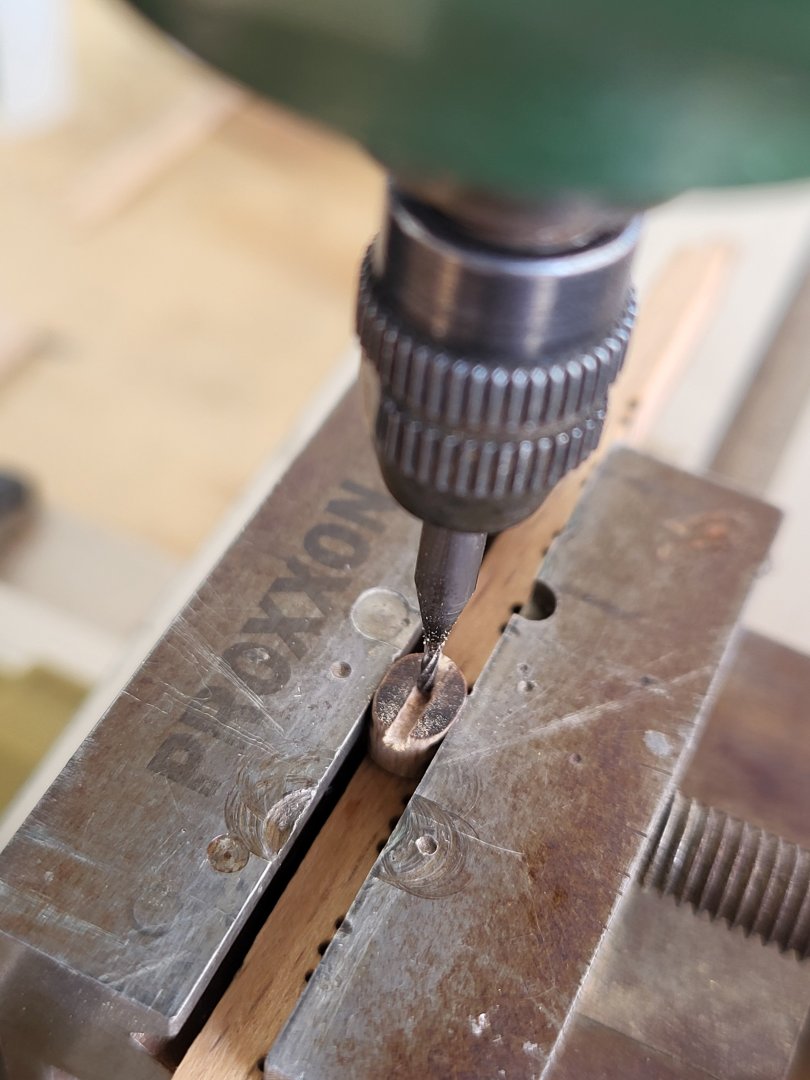
I prepared the main stays. To make the mice, I first drilled a 1.5 mm hole through the center of a 5 mm diameter dowel, then turned the dowel on my lathe. After that, I threaded a 1.2 mm rope through the hole in the mouse and seized it using my seizing machine. Next, I attached the 5mm bullseye I had made to the ends of the ropes and connected the lanyards to the bullseye. -

USS Constitution by mtbediz - 1:76
mtbediz replied to mtbediz's topic in - Build logs for subjects built 1751 - 1800
Thank you so much! -

USS Constitution by mtbediz - 1:76
mtbediz replied to mtbediz's topic in - Build logs for subjects built 1751 - 1800
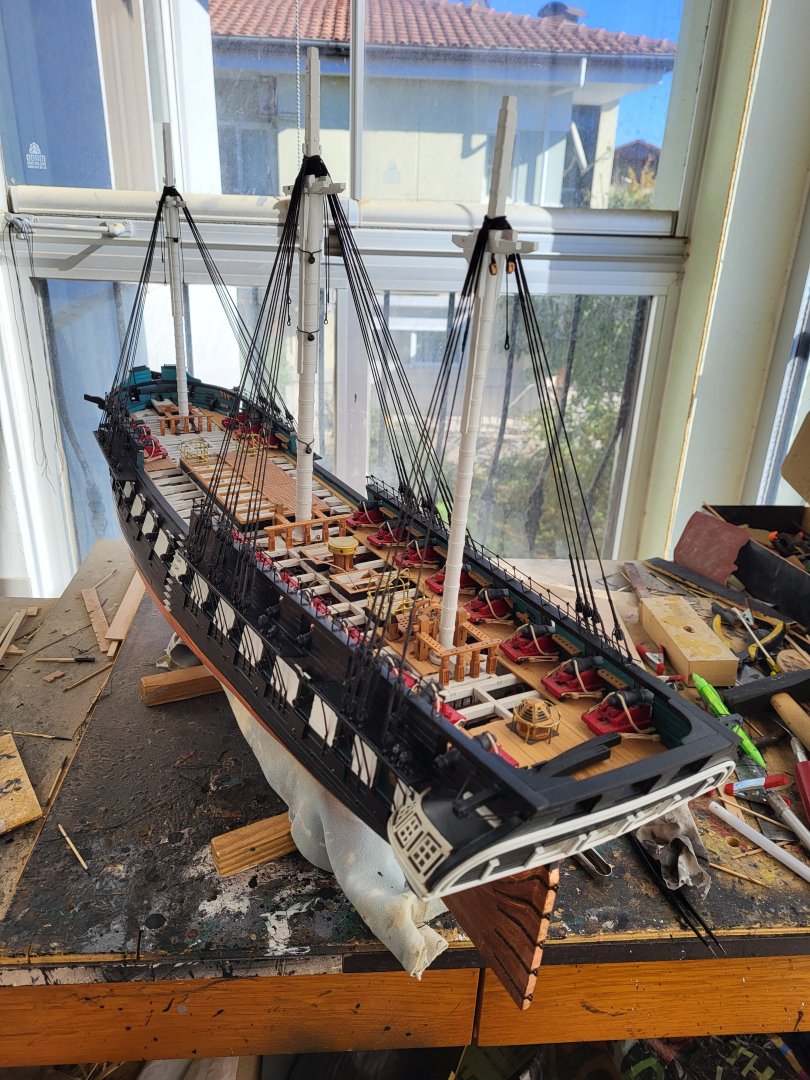
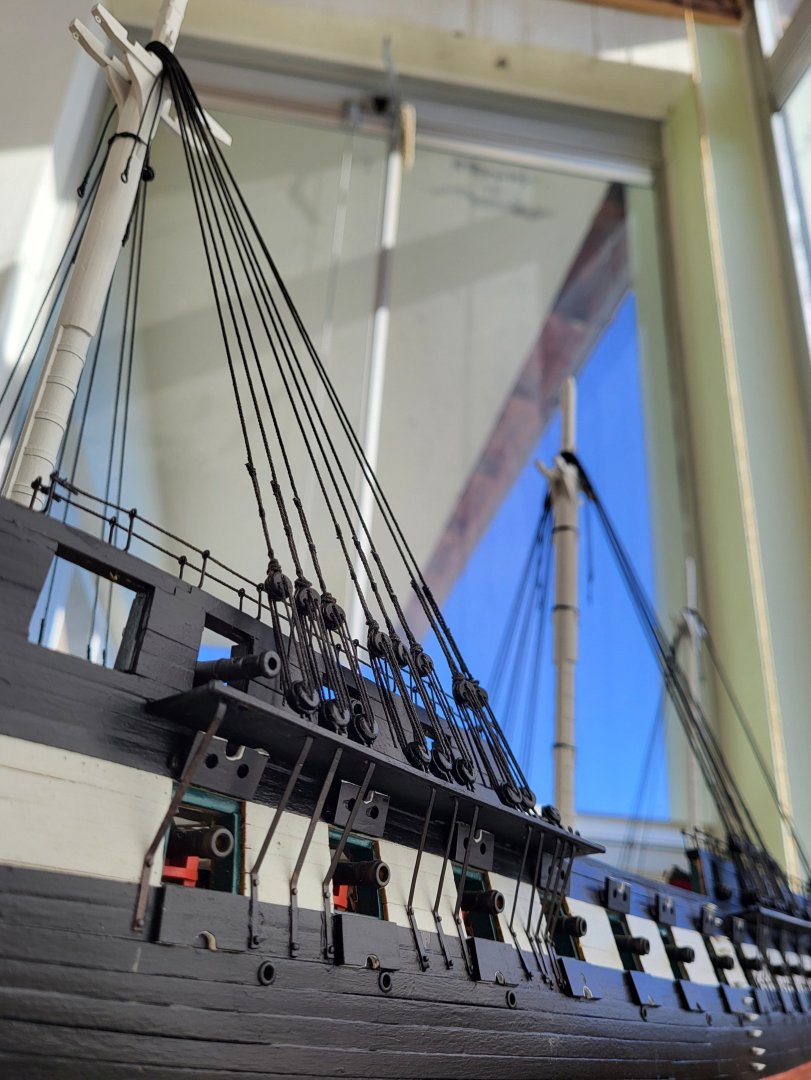
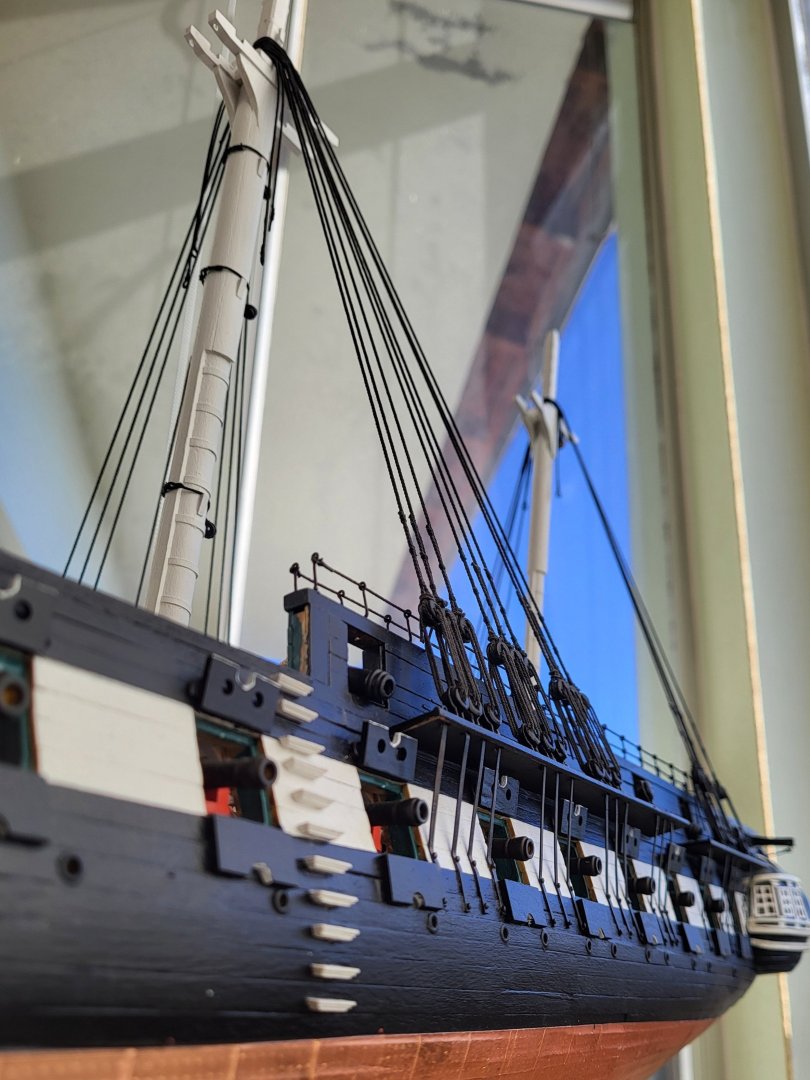
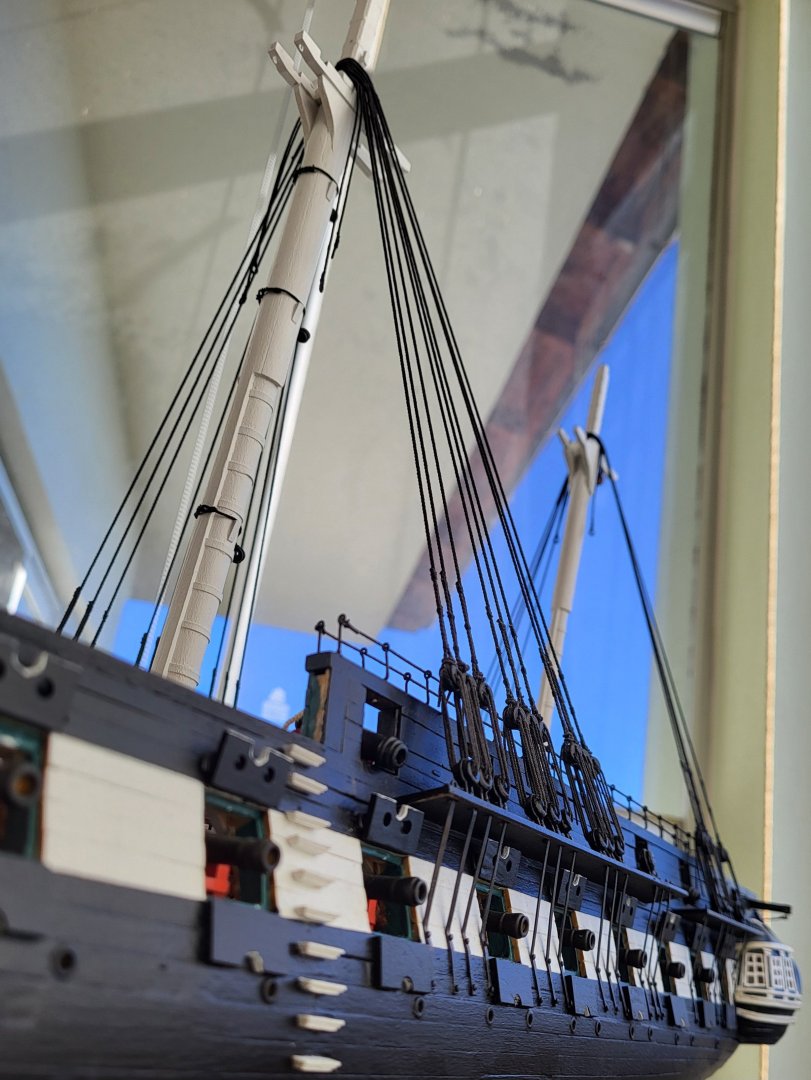
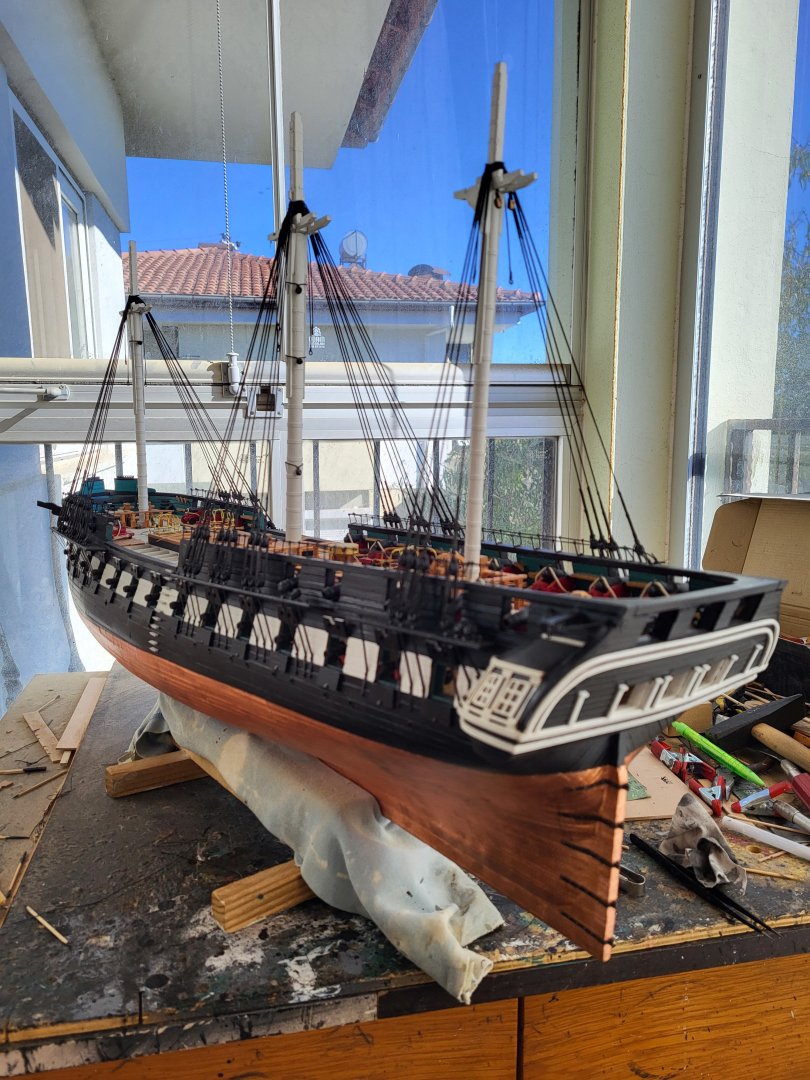
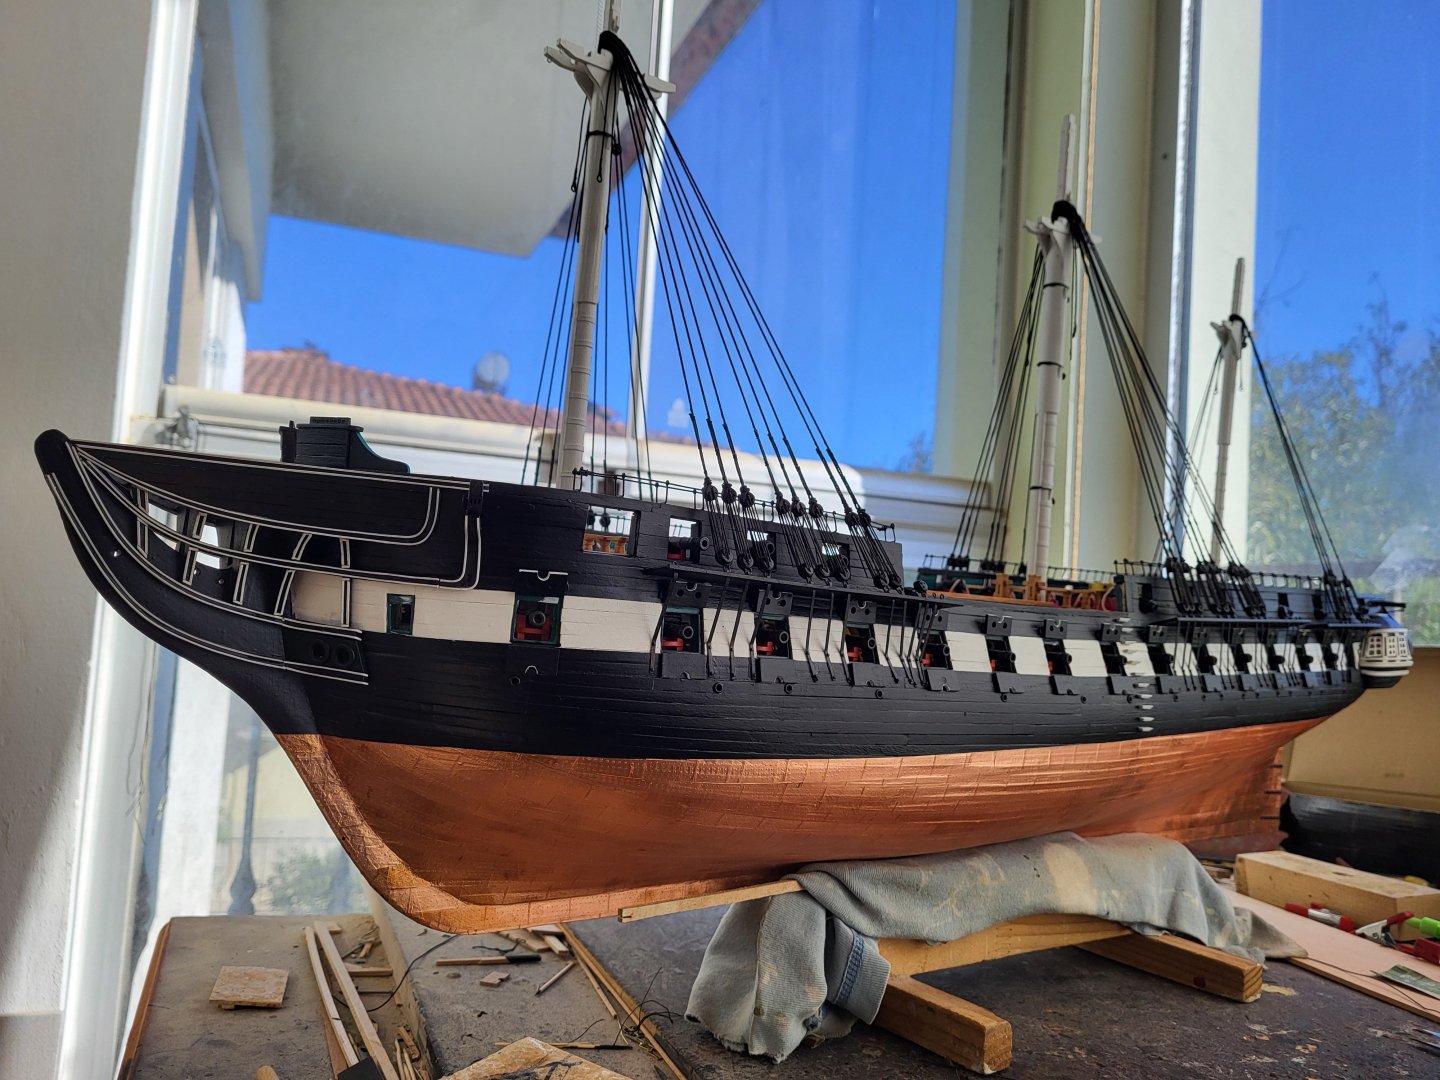
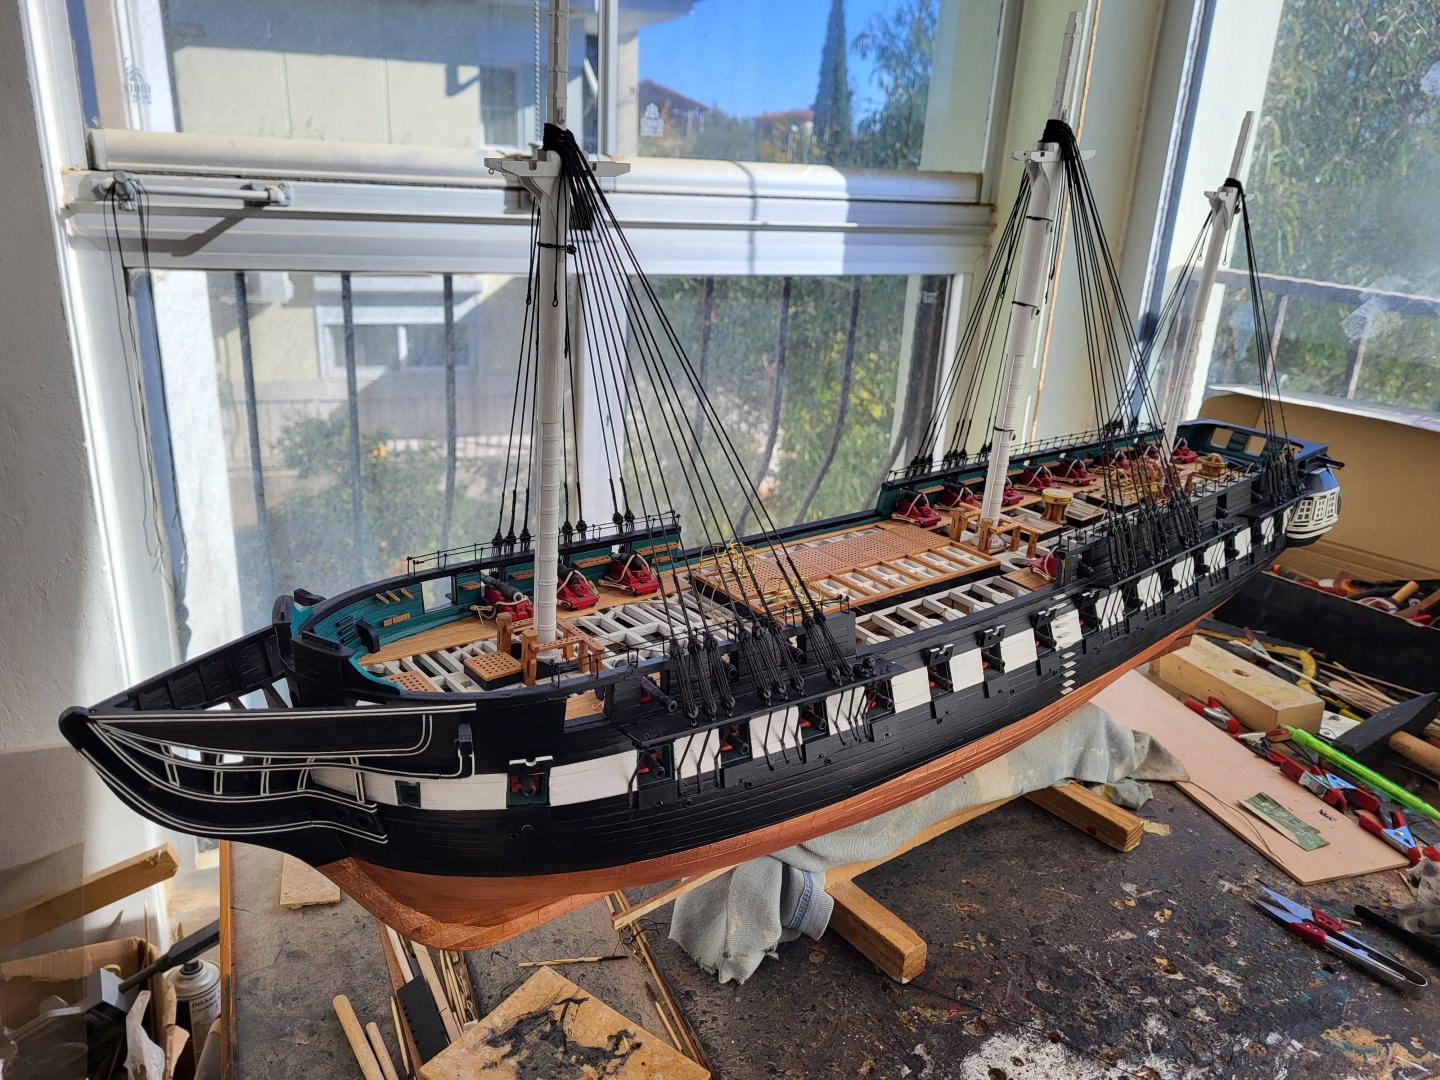
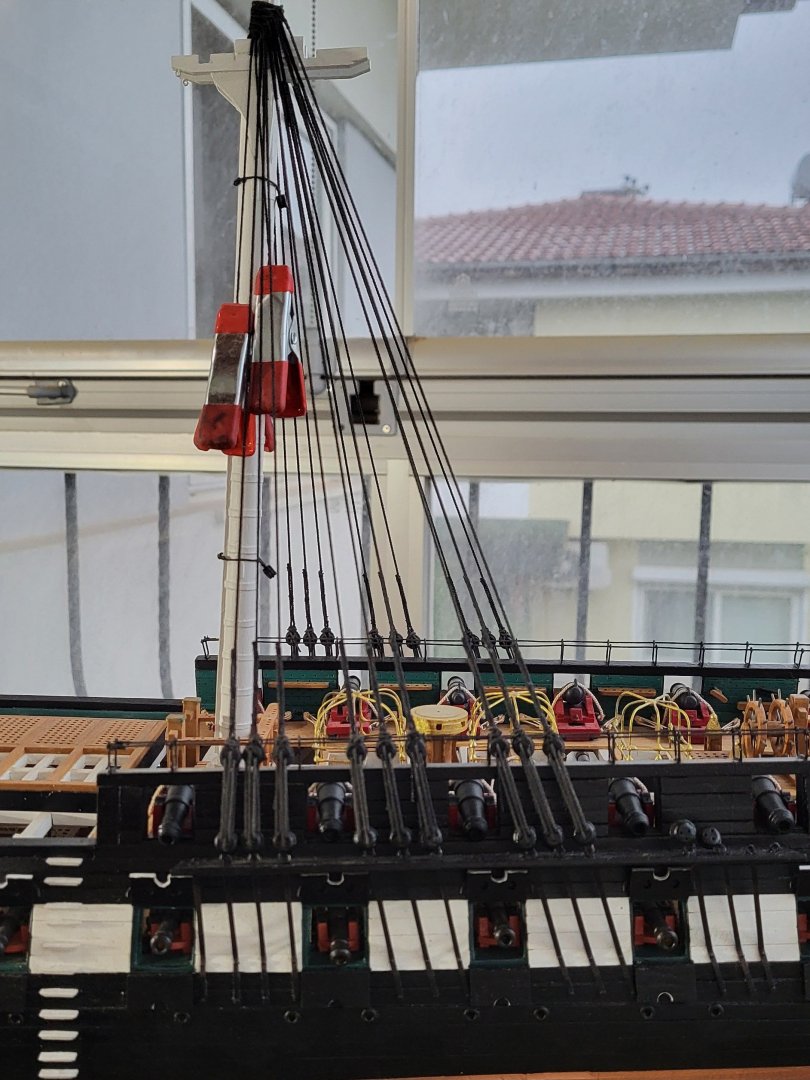
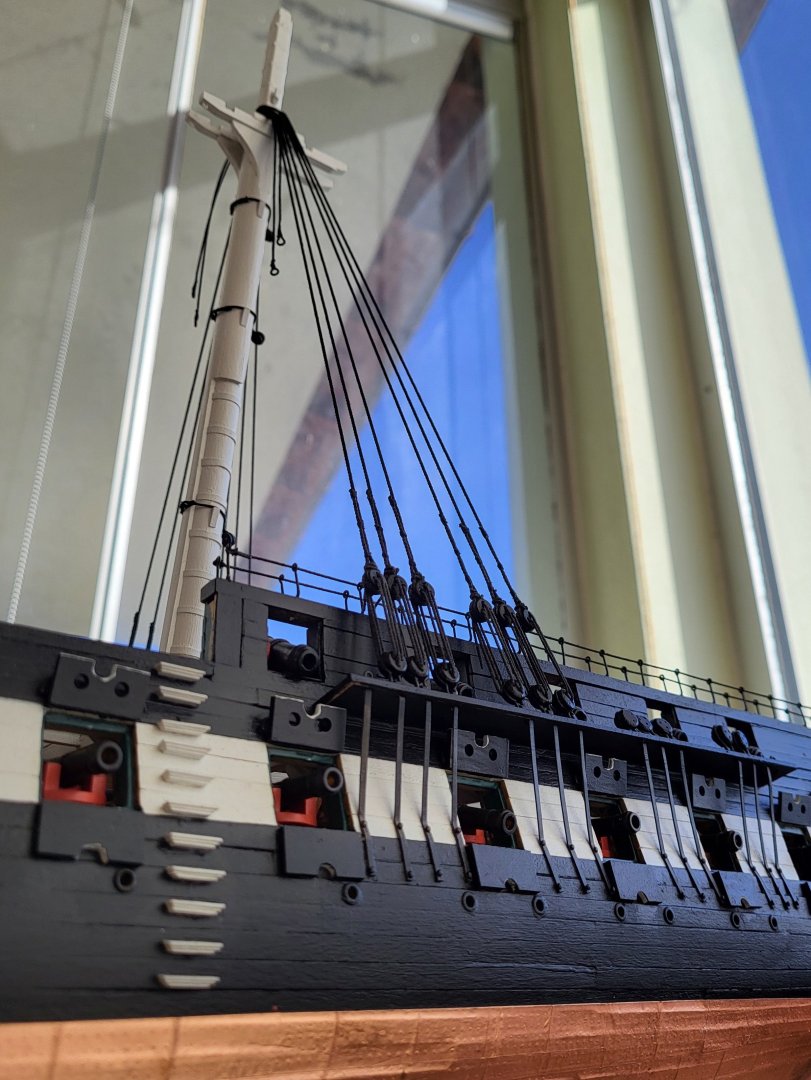
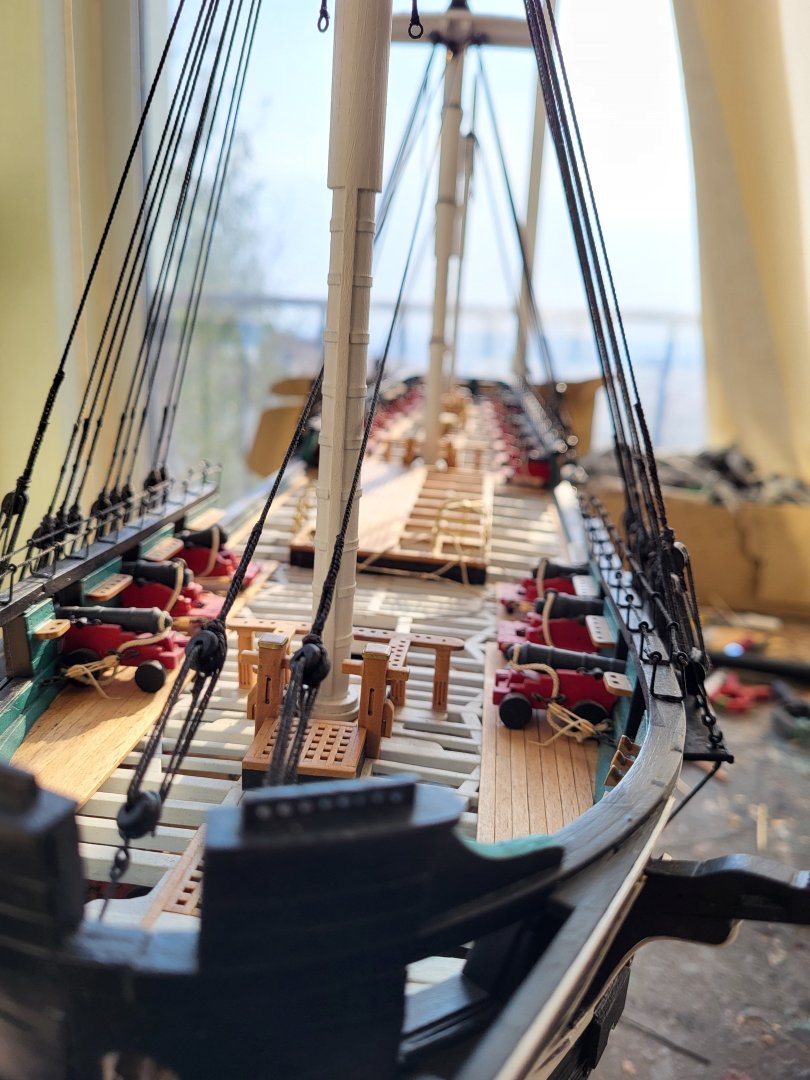
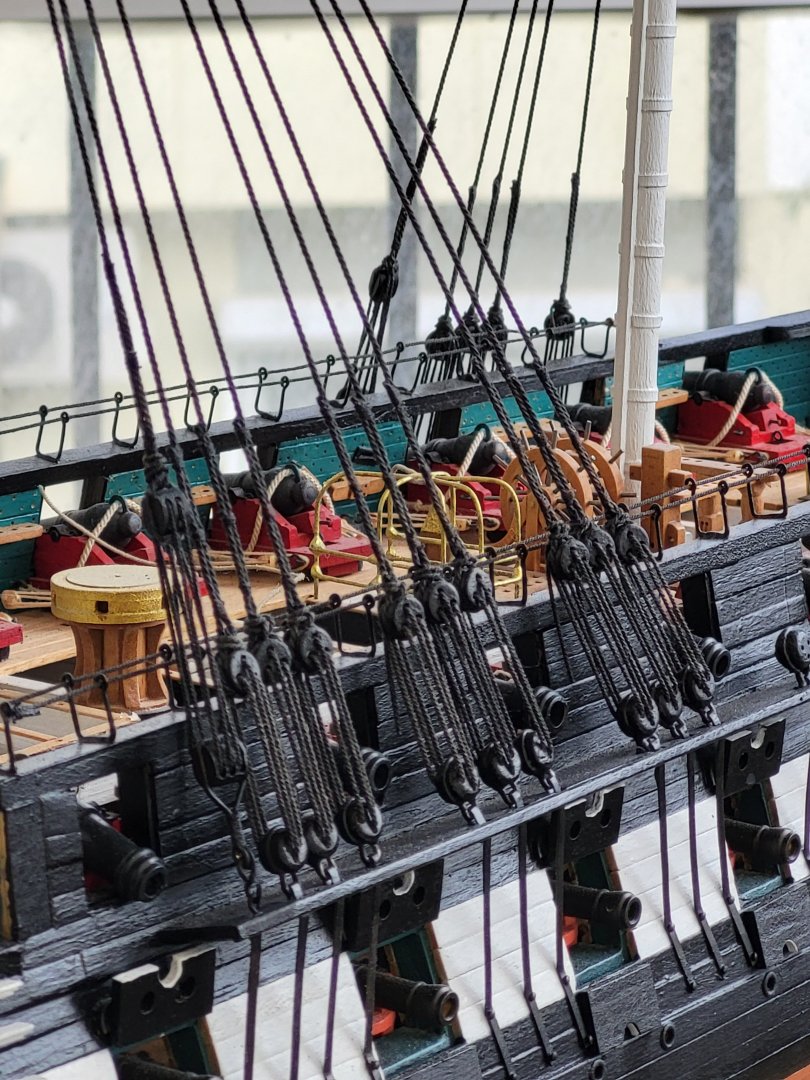
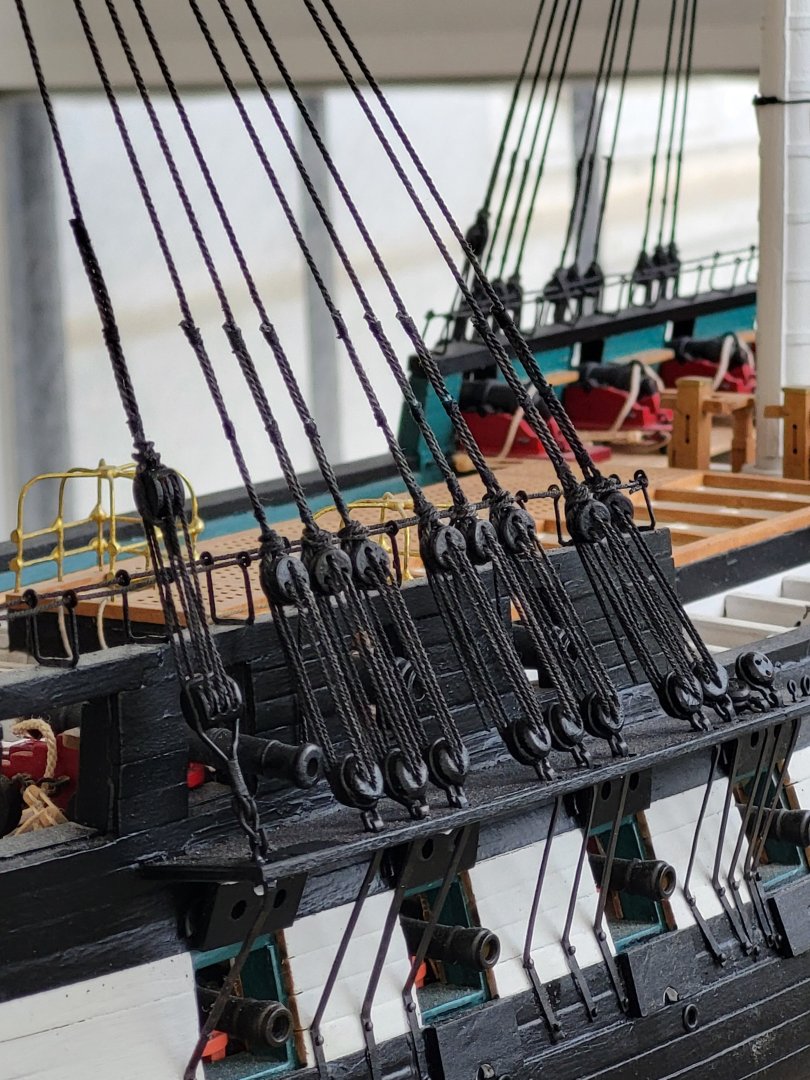
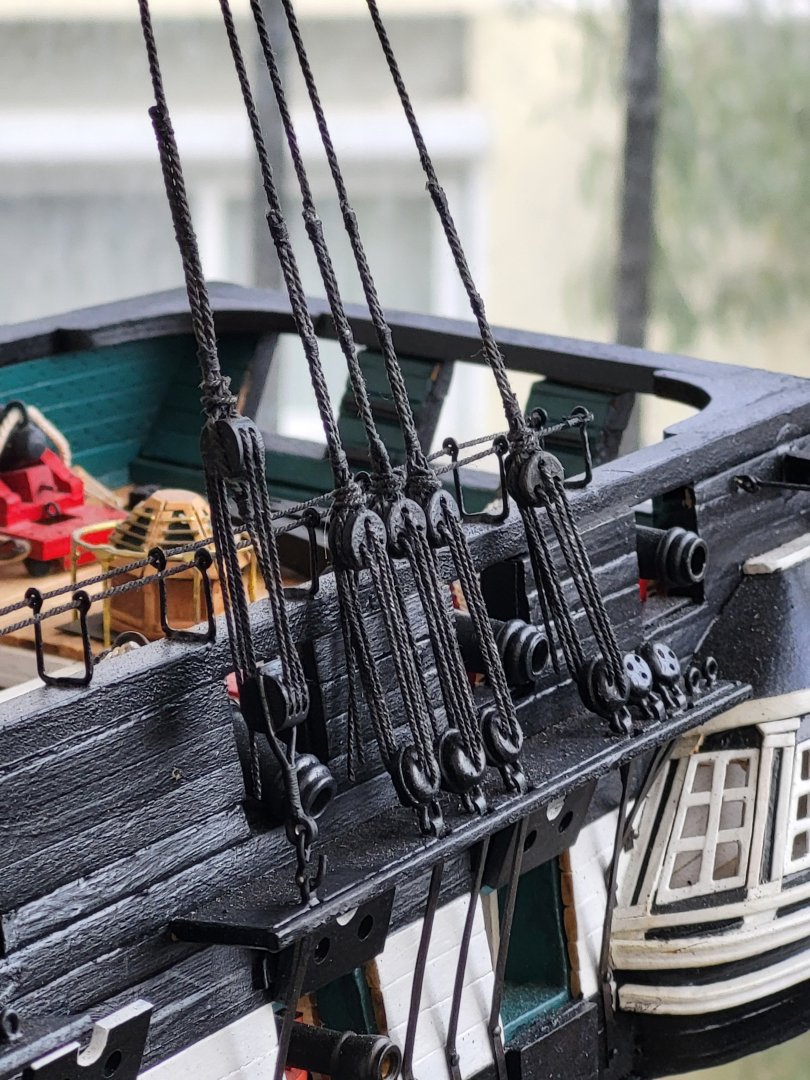
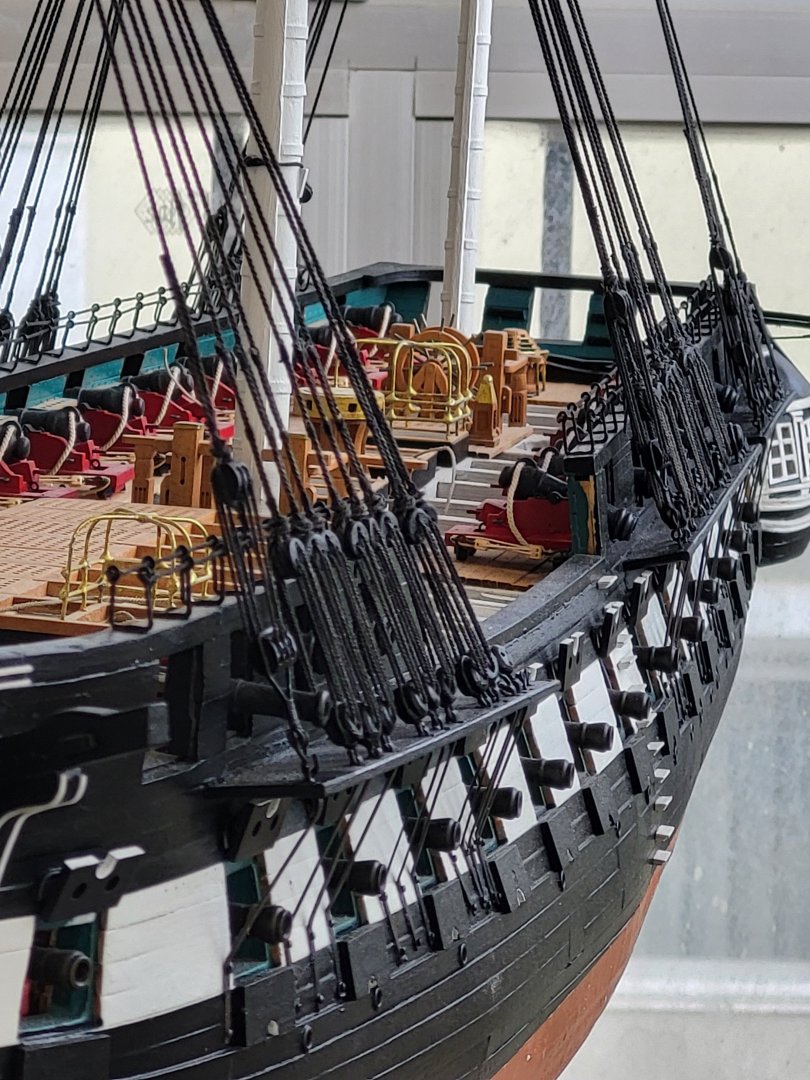
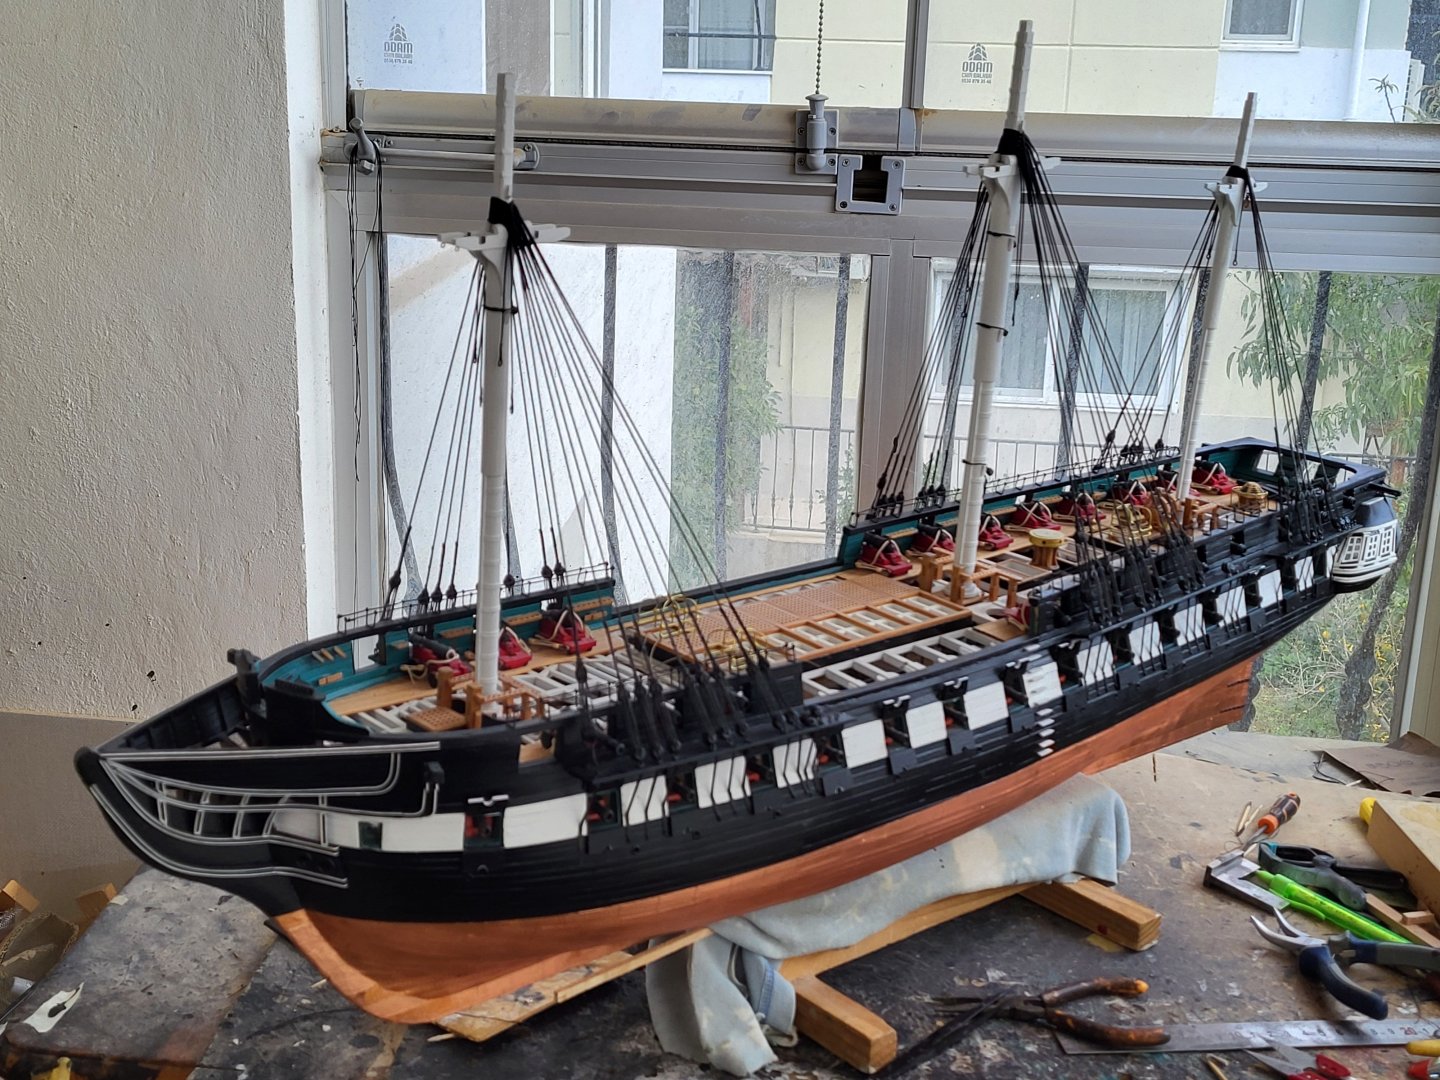
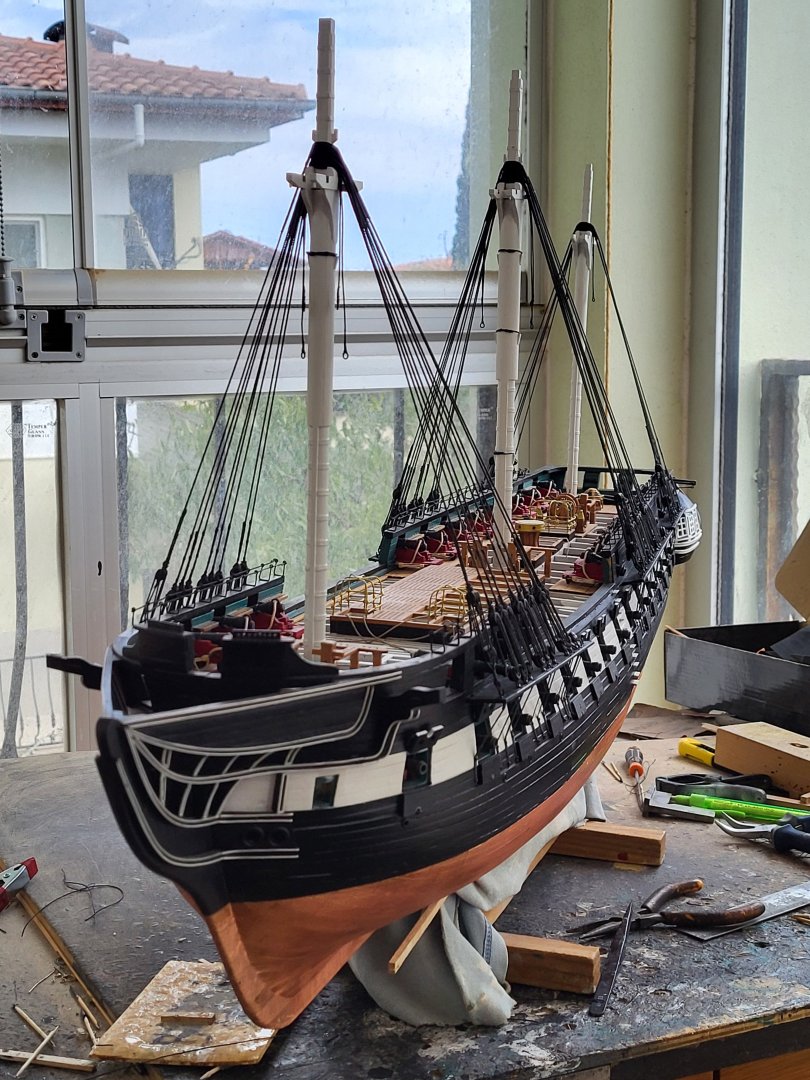
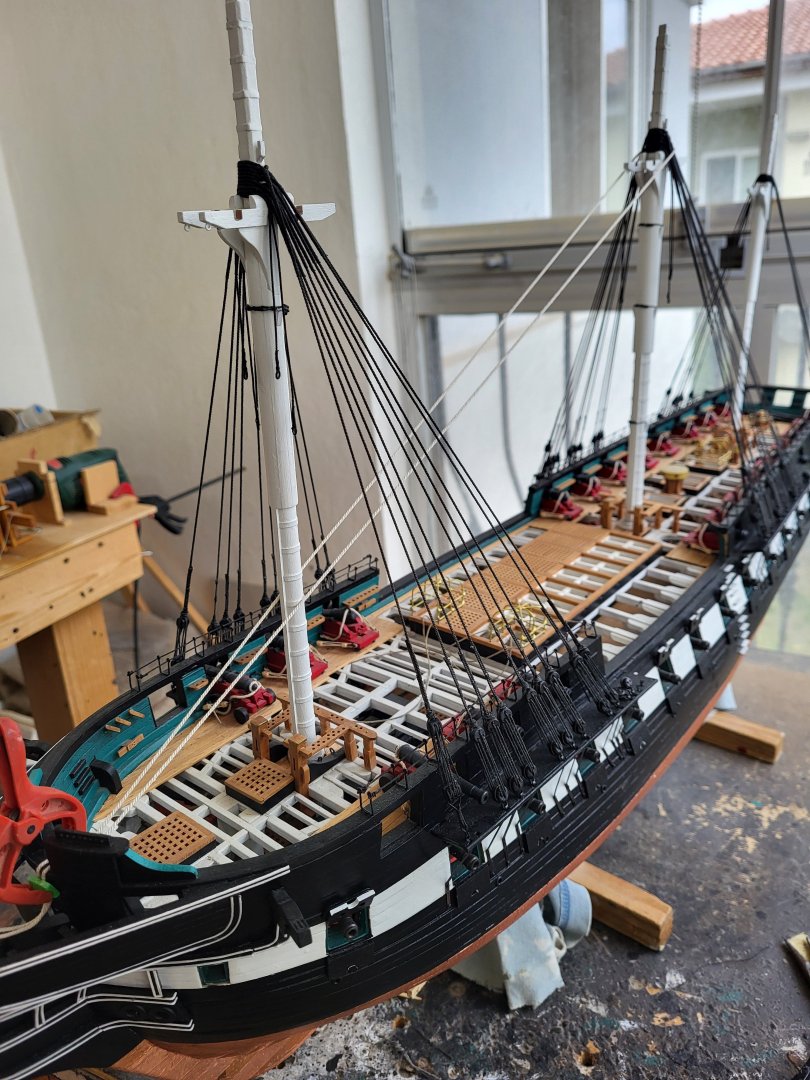
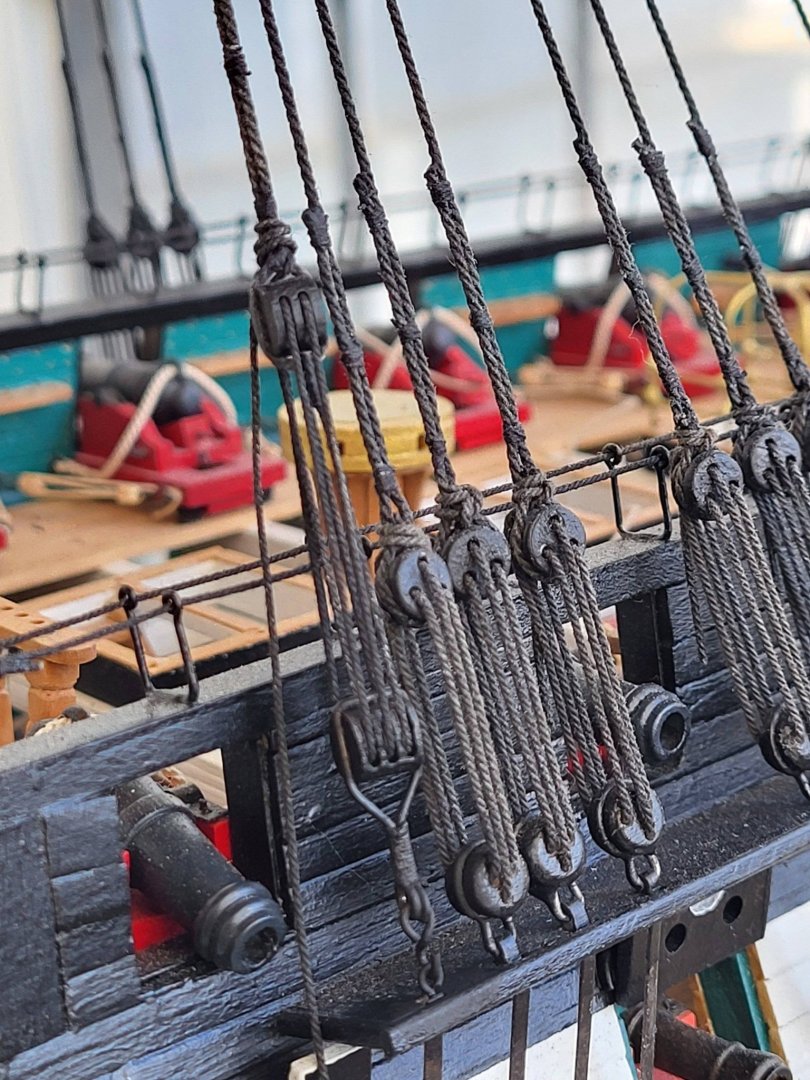
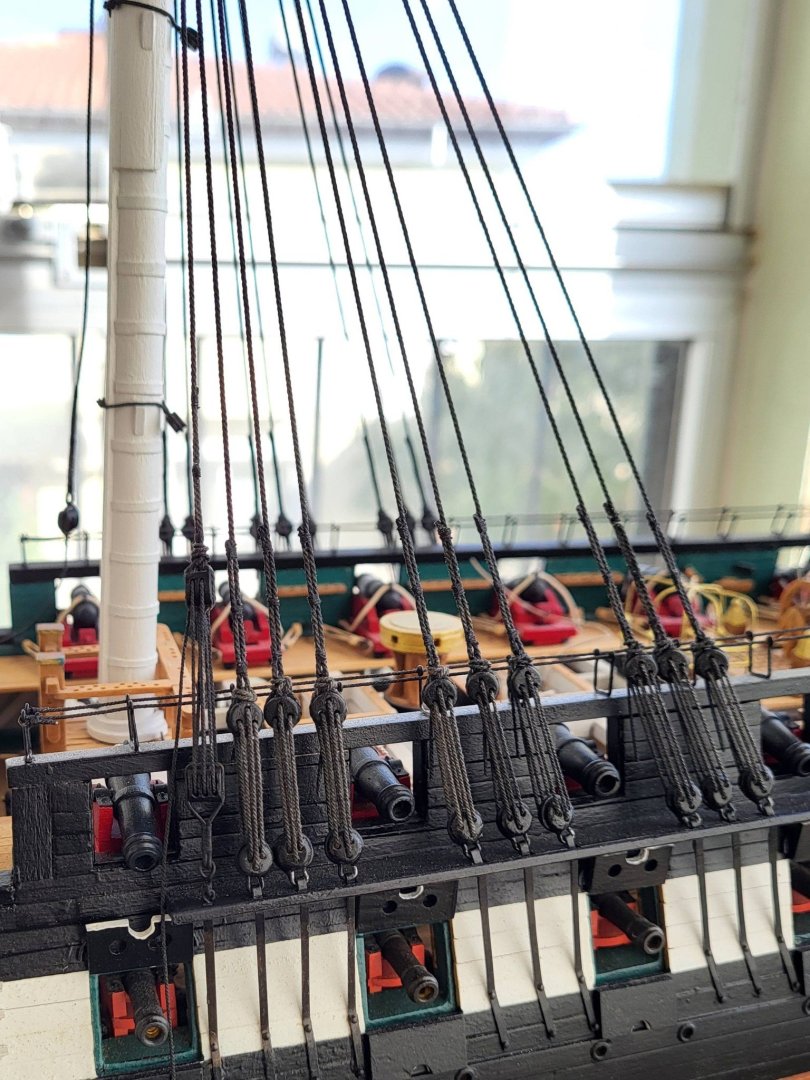
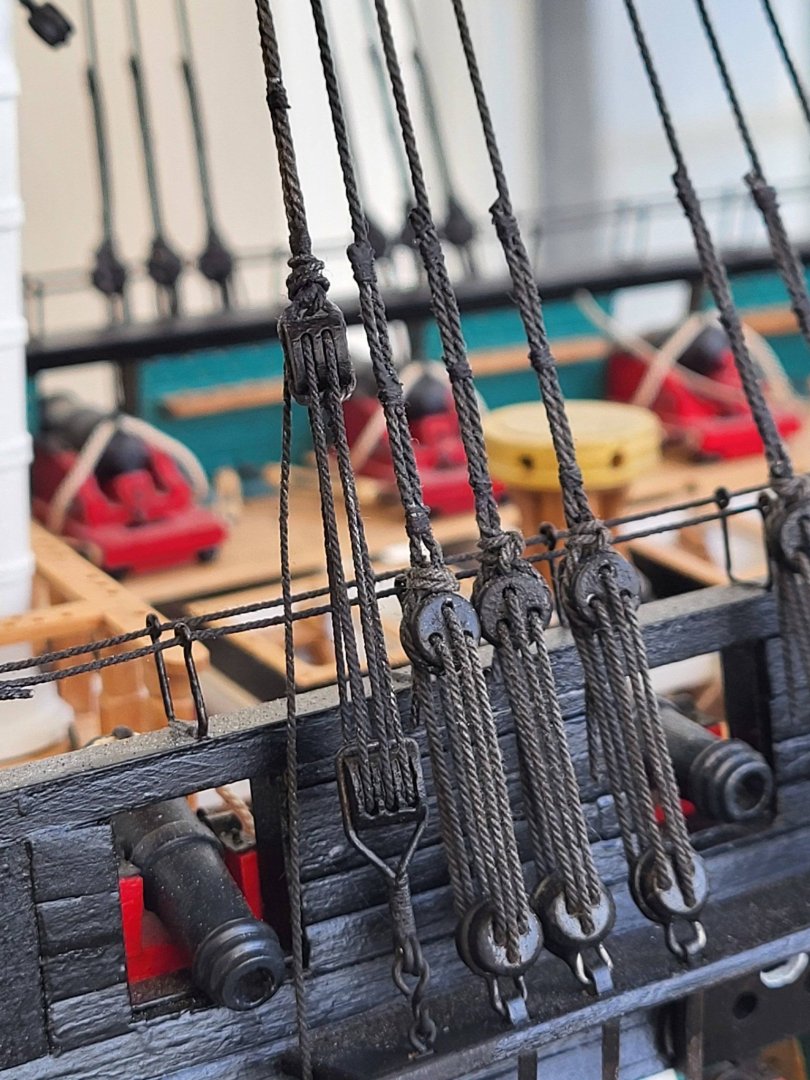
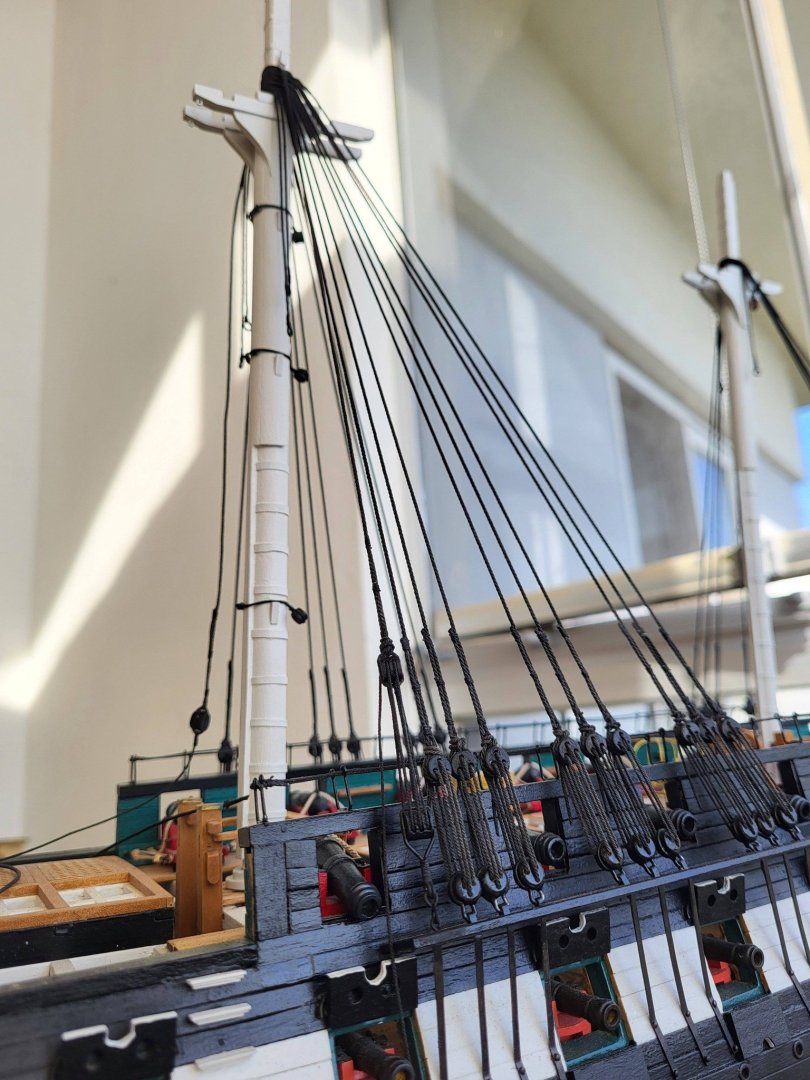
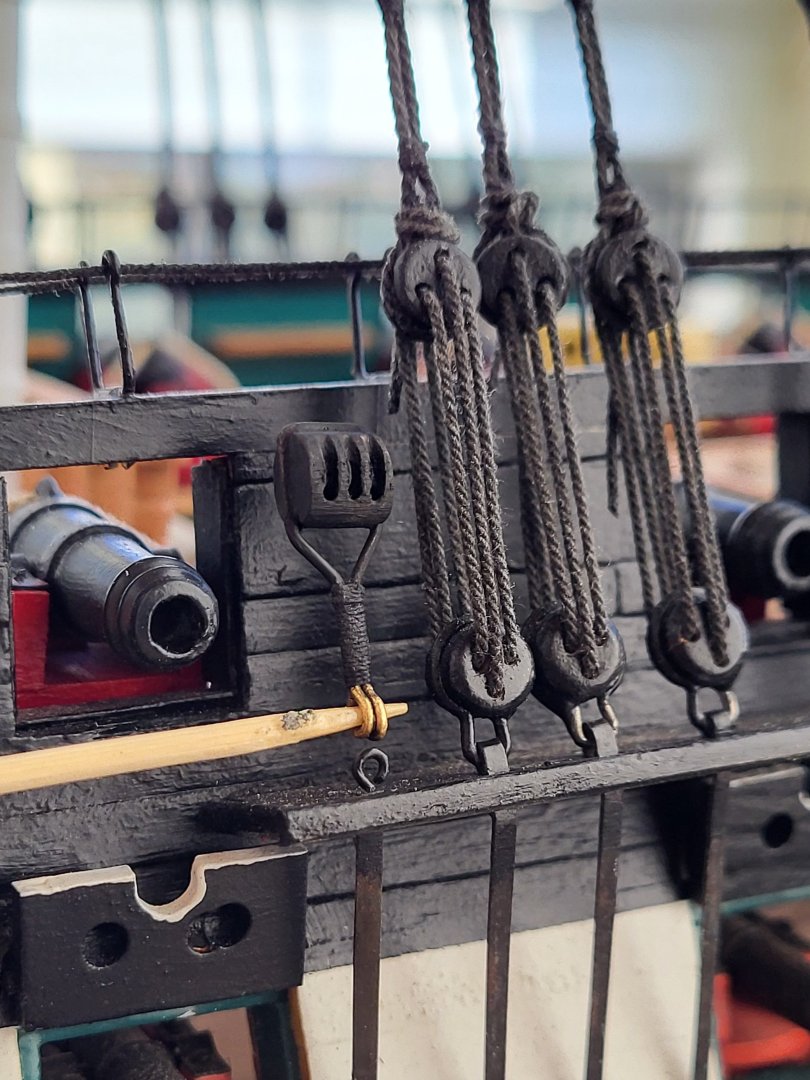
Dear friends, thanks for your nice comments and likes! All the lower mast shrouds and mast tackles are complete. I used 1mm rope for the shrouds and 0.3mm rope for the lanyards. The next task will be making the main stays. -

USS Constitution by mtbediz - 1:76
mtbediz replied to mtbediz's topic in - Build logs for subjects built 1751 - 1800
From what I understand, since this is on the lower masthead, we can say it's a mast tackle. Thanks for the information Phil. -

USS Constitution by mtbediz - 1:76
mtbediz replied to mtbediz's topic in - Build logs for subjects built 1751 - 1800
Thanks Greg. I can’t find what this is in the MS plans, maybe it doesn’t exist, or maybe I just missed it. That’s why I felt I had to point it out. If someone knows, perhaps they can inform us as well. -

USS Constitution by mtbediz - 1:76
mtbediz replied to mtbediz's topic in - Build logs for subjects built 1751 - 1800
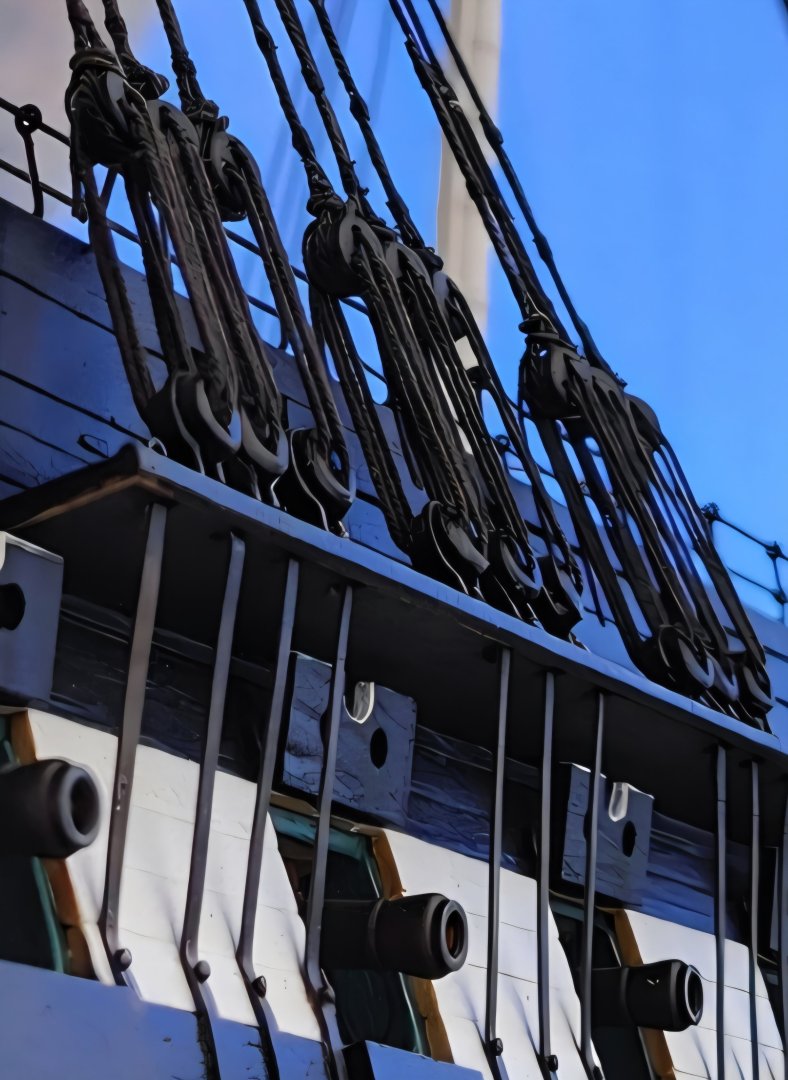
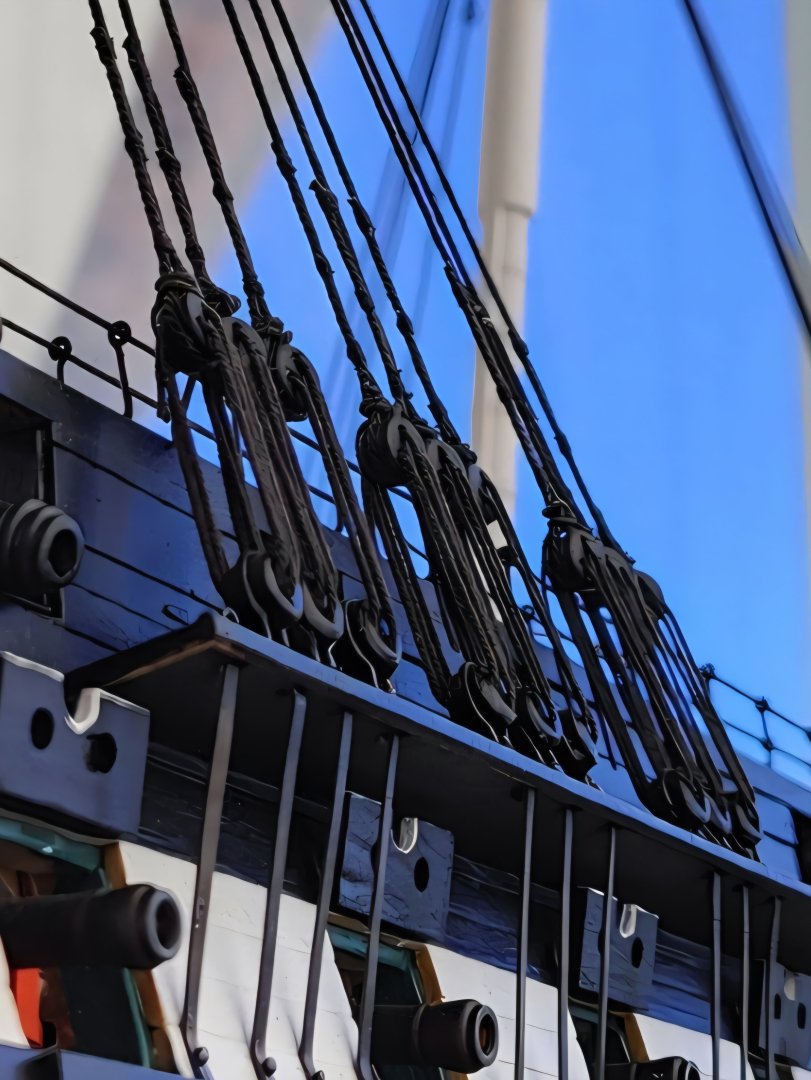
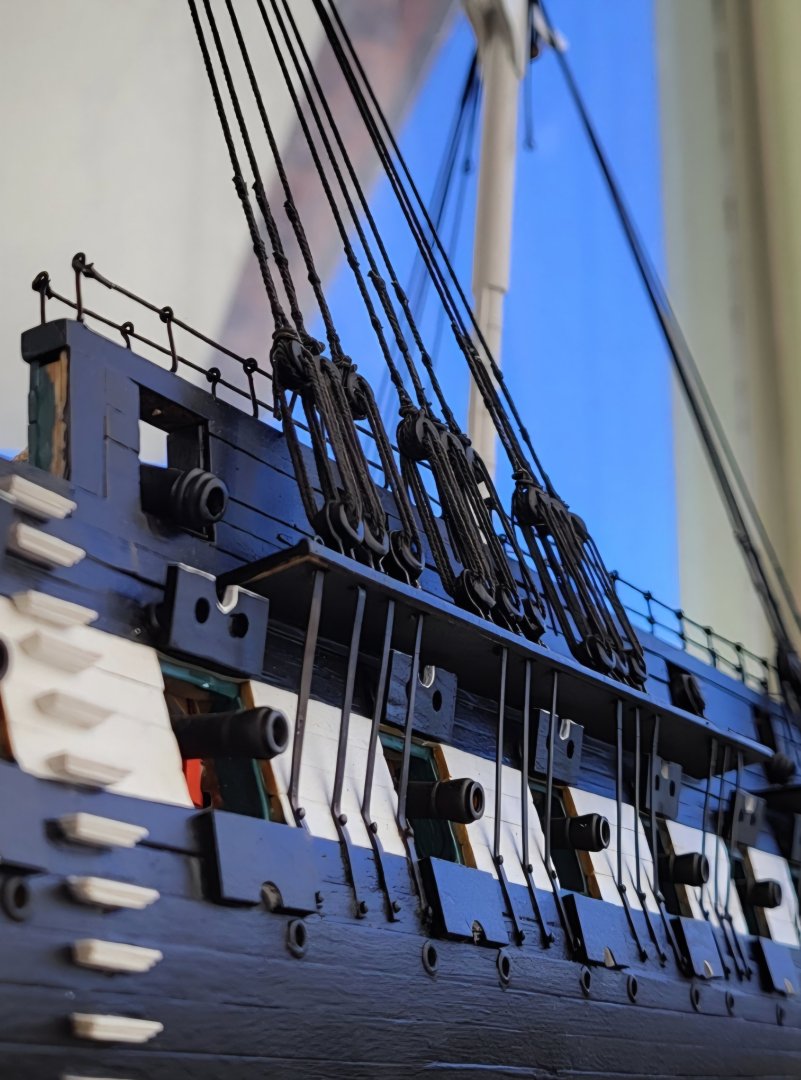
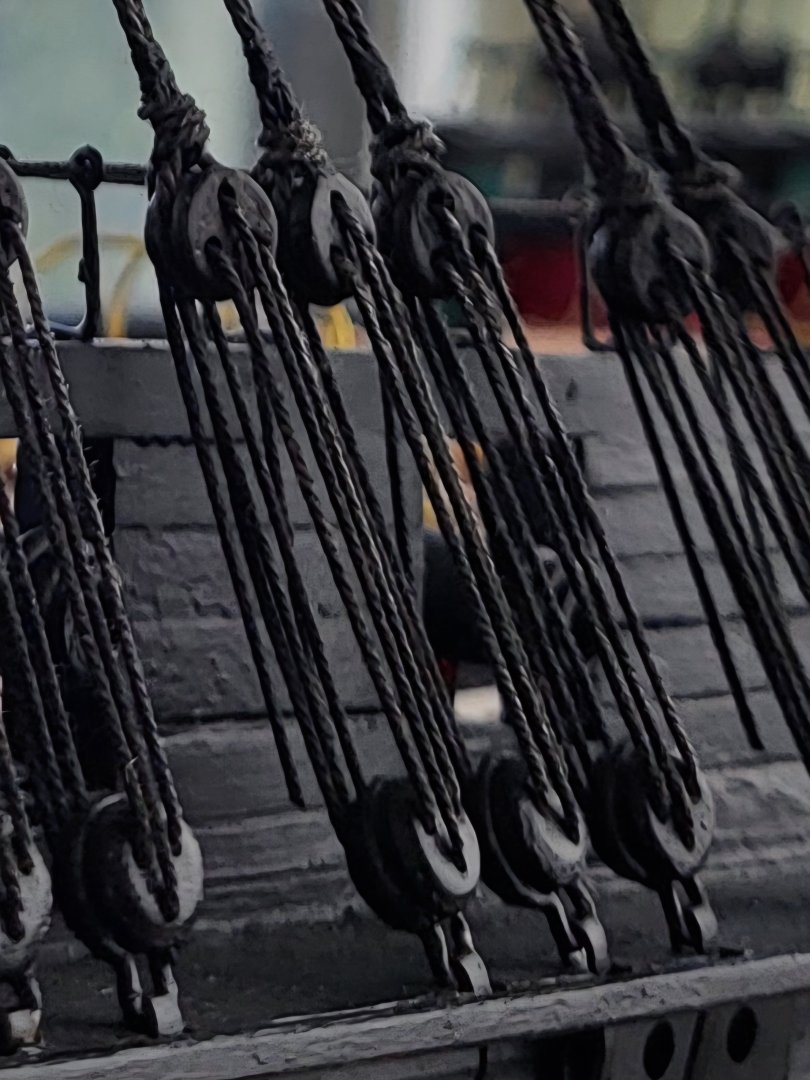
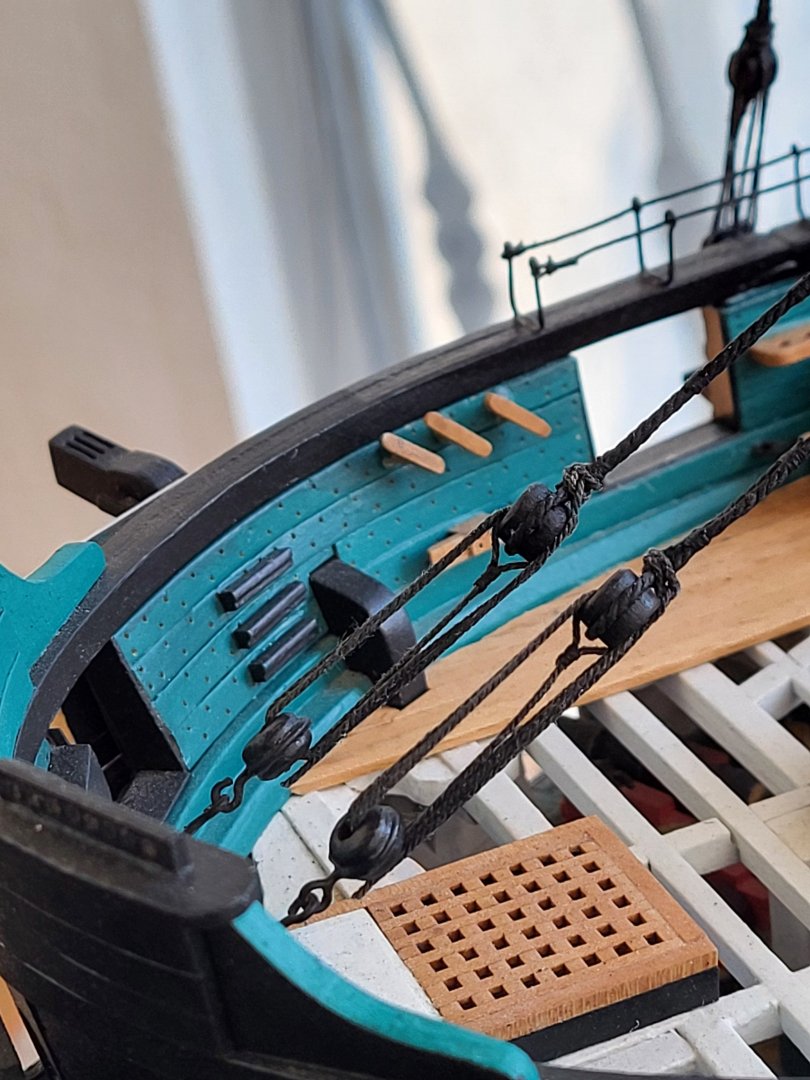
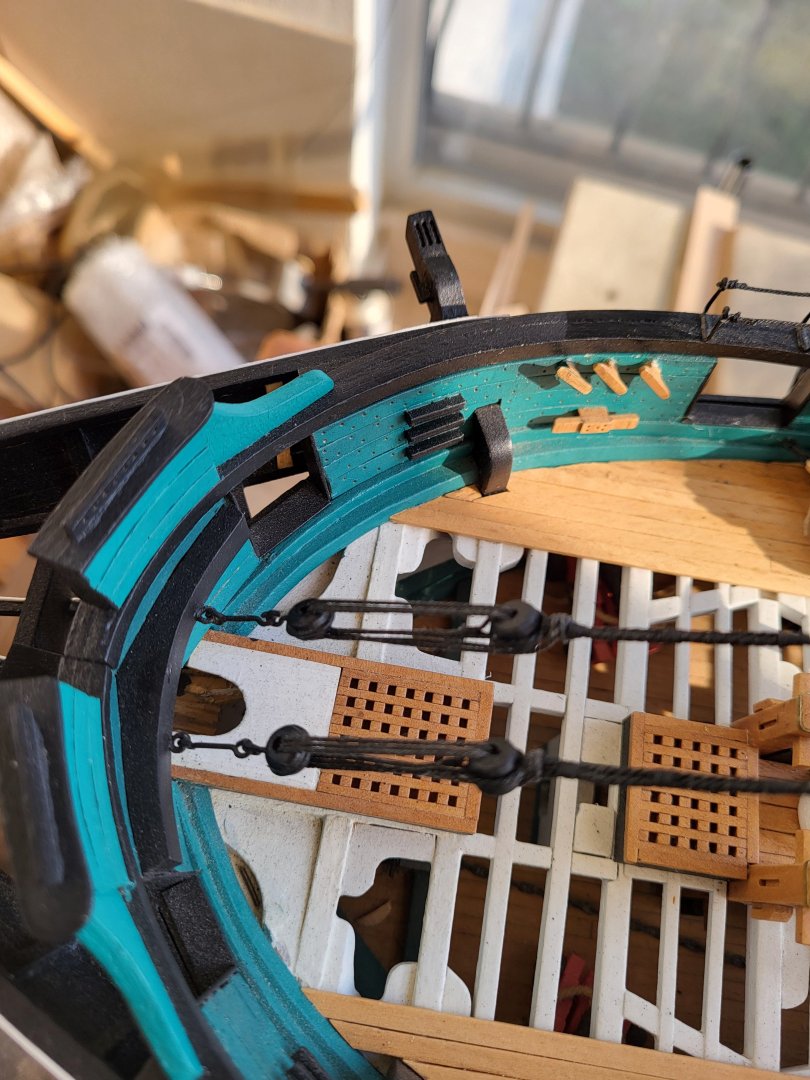
I mounted the tackle equipped stay on the port side of the main mast. By the way, I call this rope a stay, but I'm not sure if that's the correct name. -

USS Constitution by mtbediz - 1:76
mtbediz replied to mtbediz's topic in - Build logs for subjects built 1751 - 1800
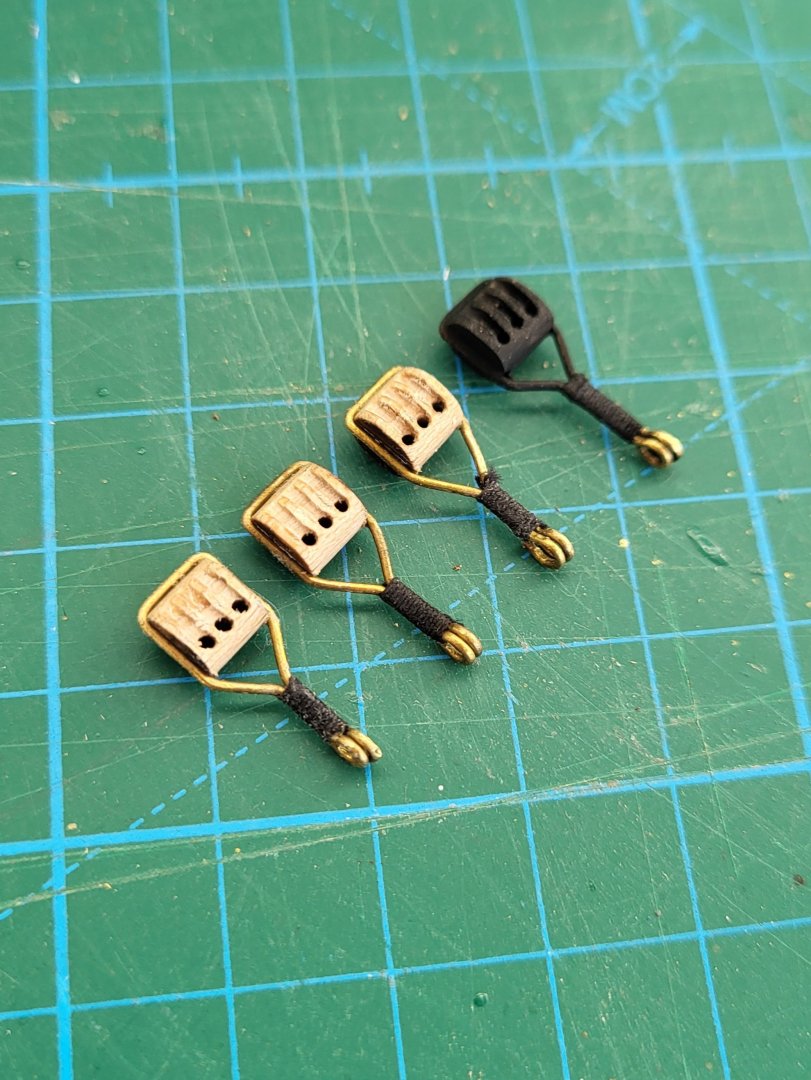
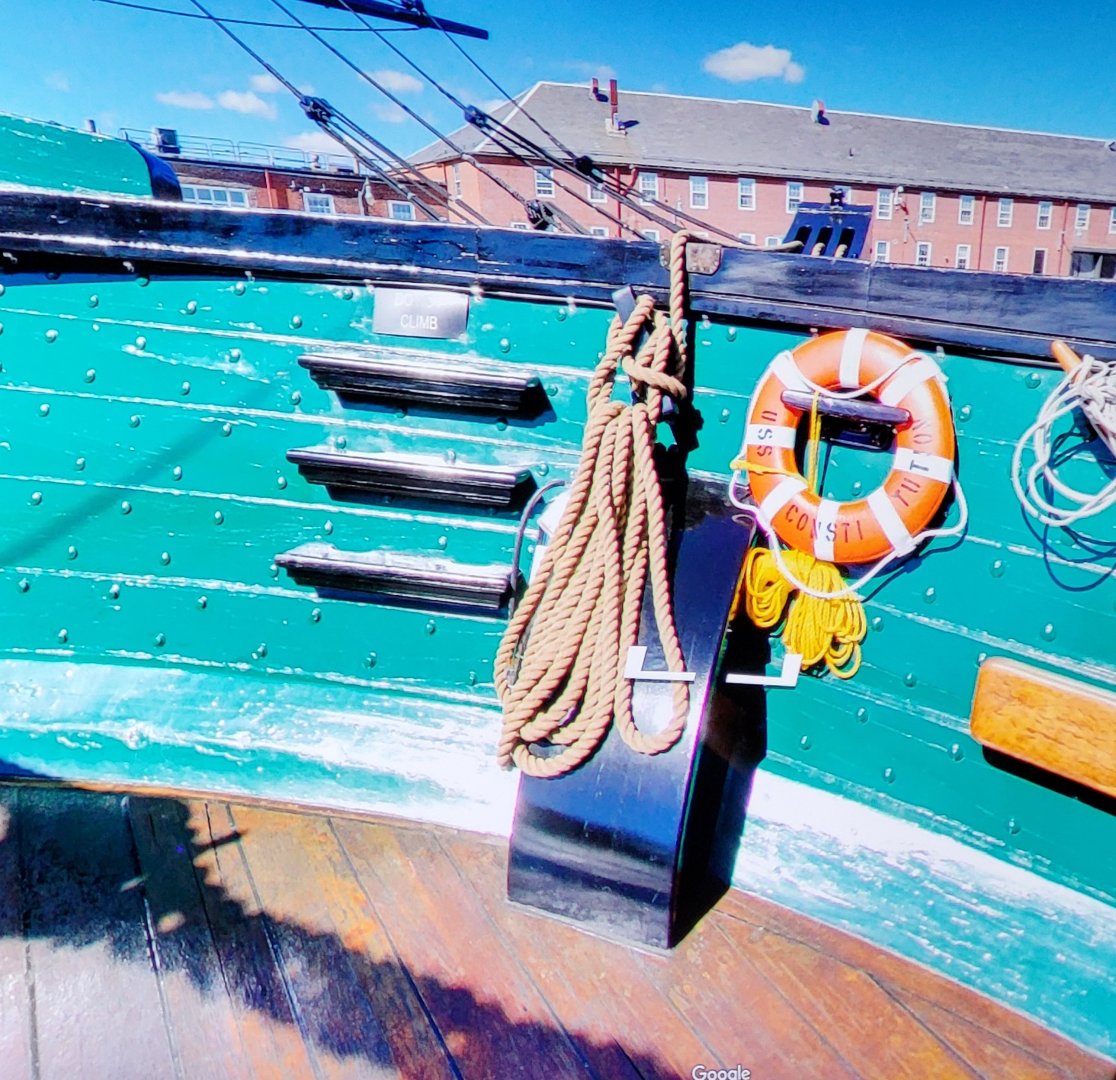
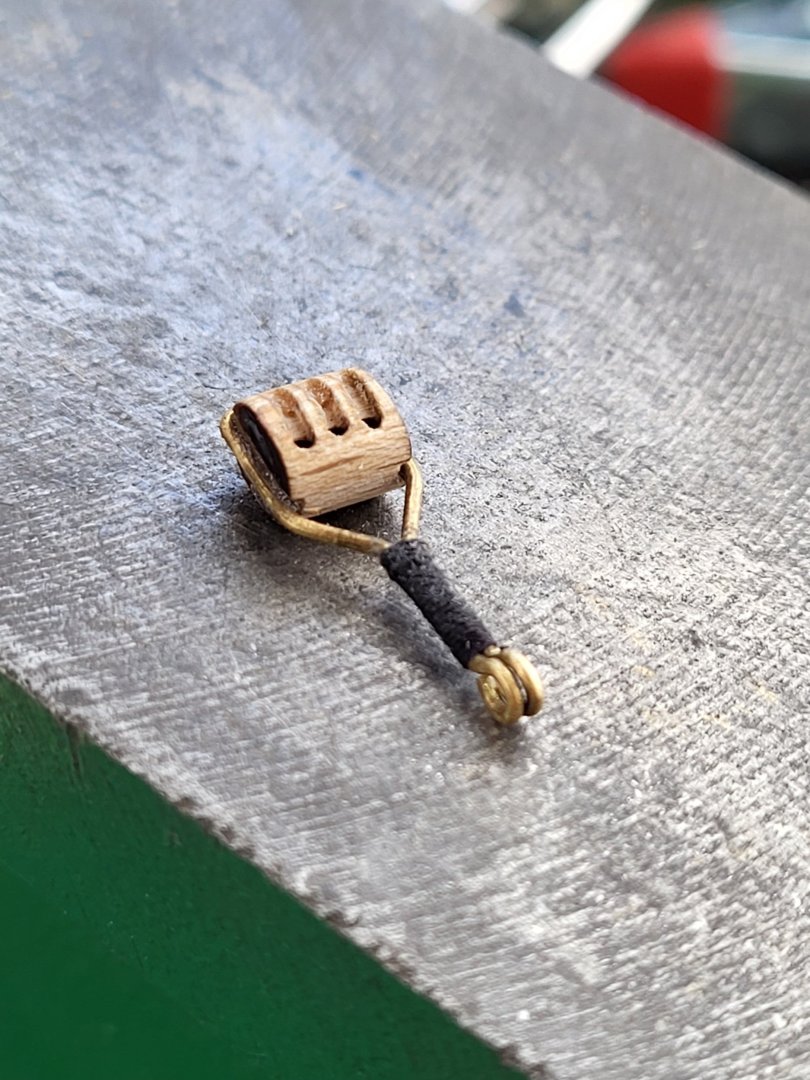
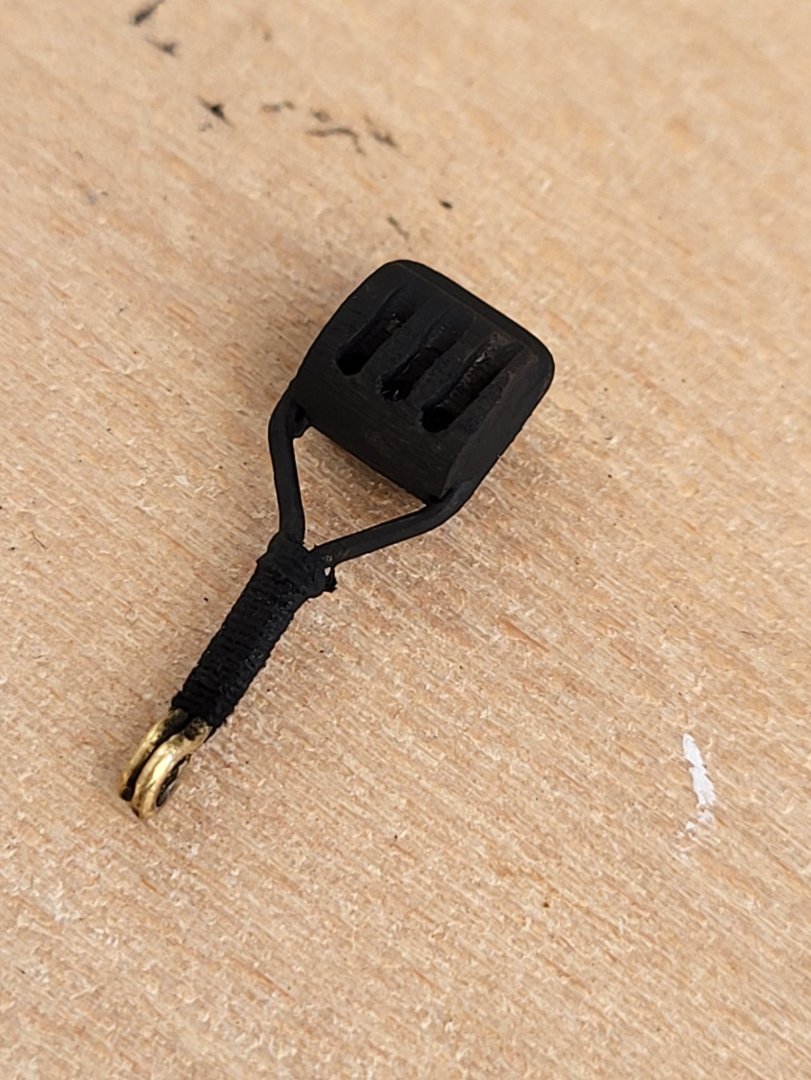
Jon, in the photos of the real ship, the triple block is connected to the eyebolt on the channel via a hook. I'll add a hook to the block as well. -

USS Constitution by mtbediz - 1:76
mtbediz replied to mtbediz's topic in - Build logs for subjects built 1751 - 1800
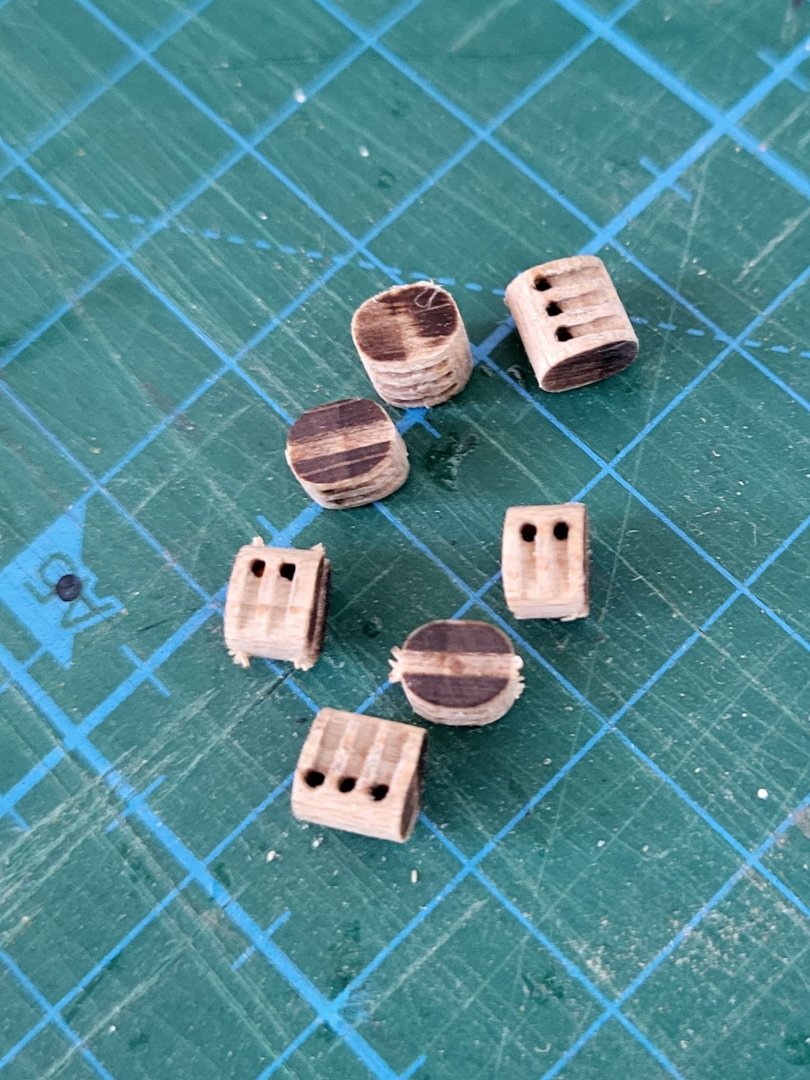
Dear friends, thank you so much for the nice commends and likes. I am fabricating the triple and double blocks for the stays with tackle. -

USS Constitution by mtbediz - 1:76
mtbediz replied to mtbediz's topic in - Build logs for subjects built 1751 - 1800
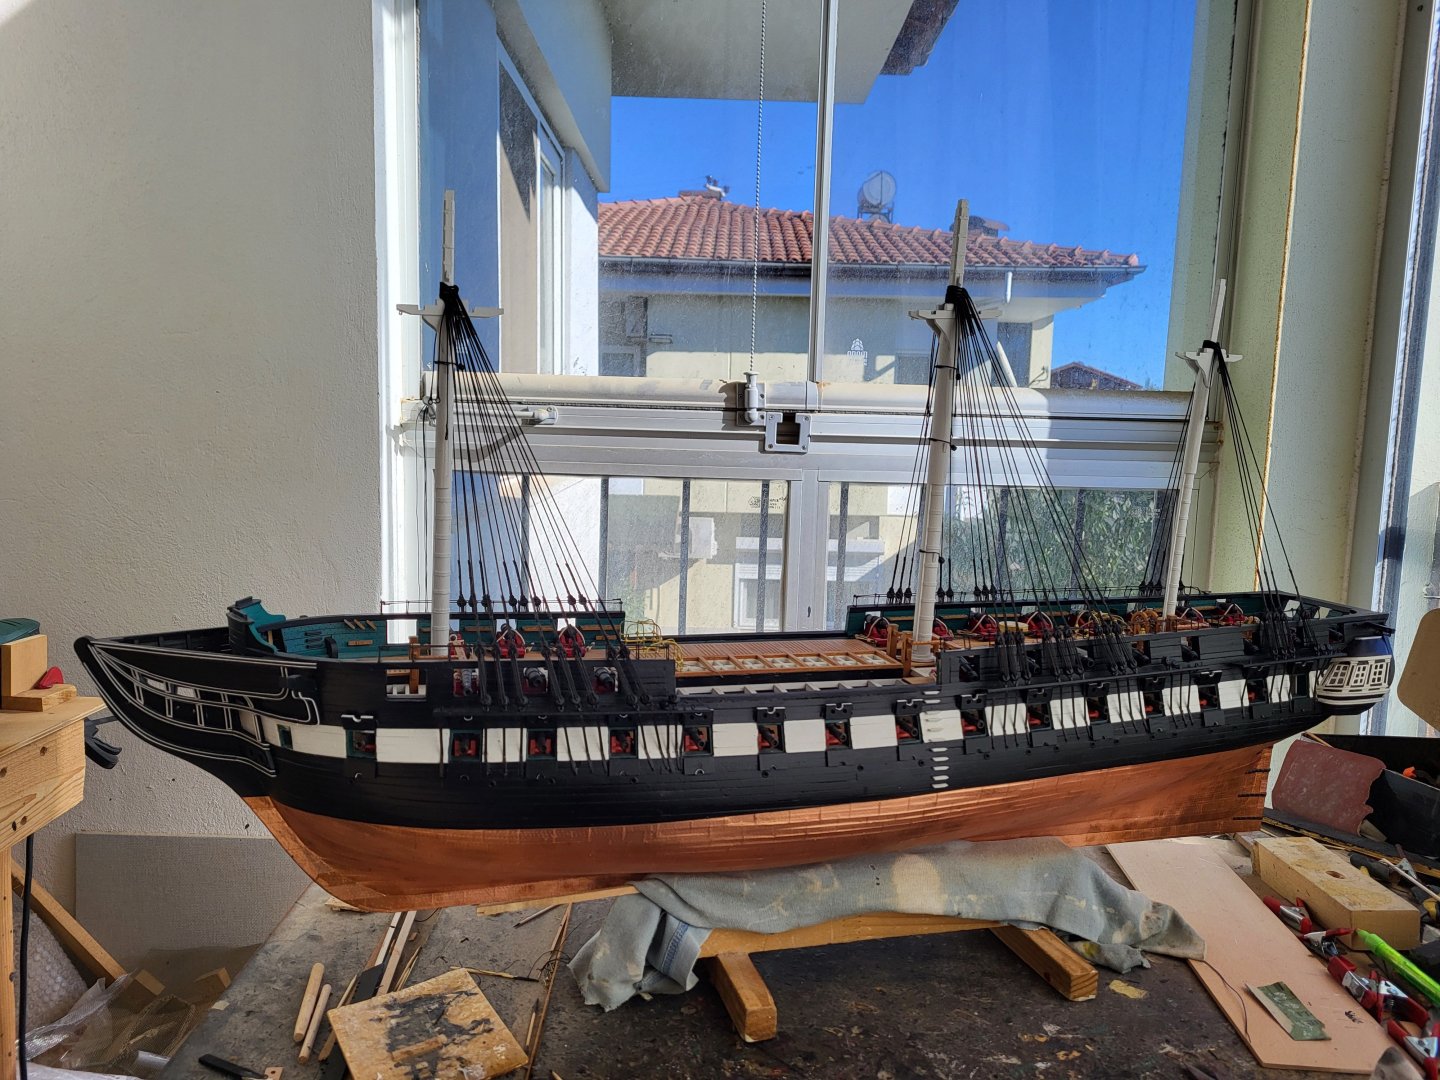
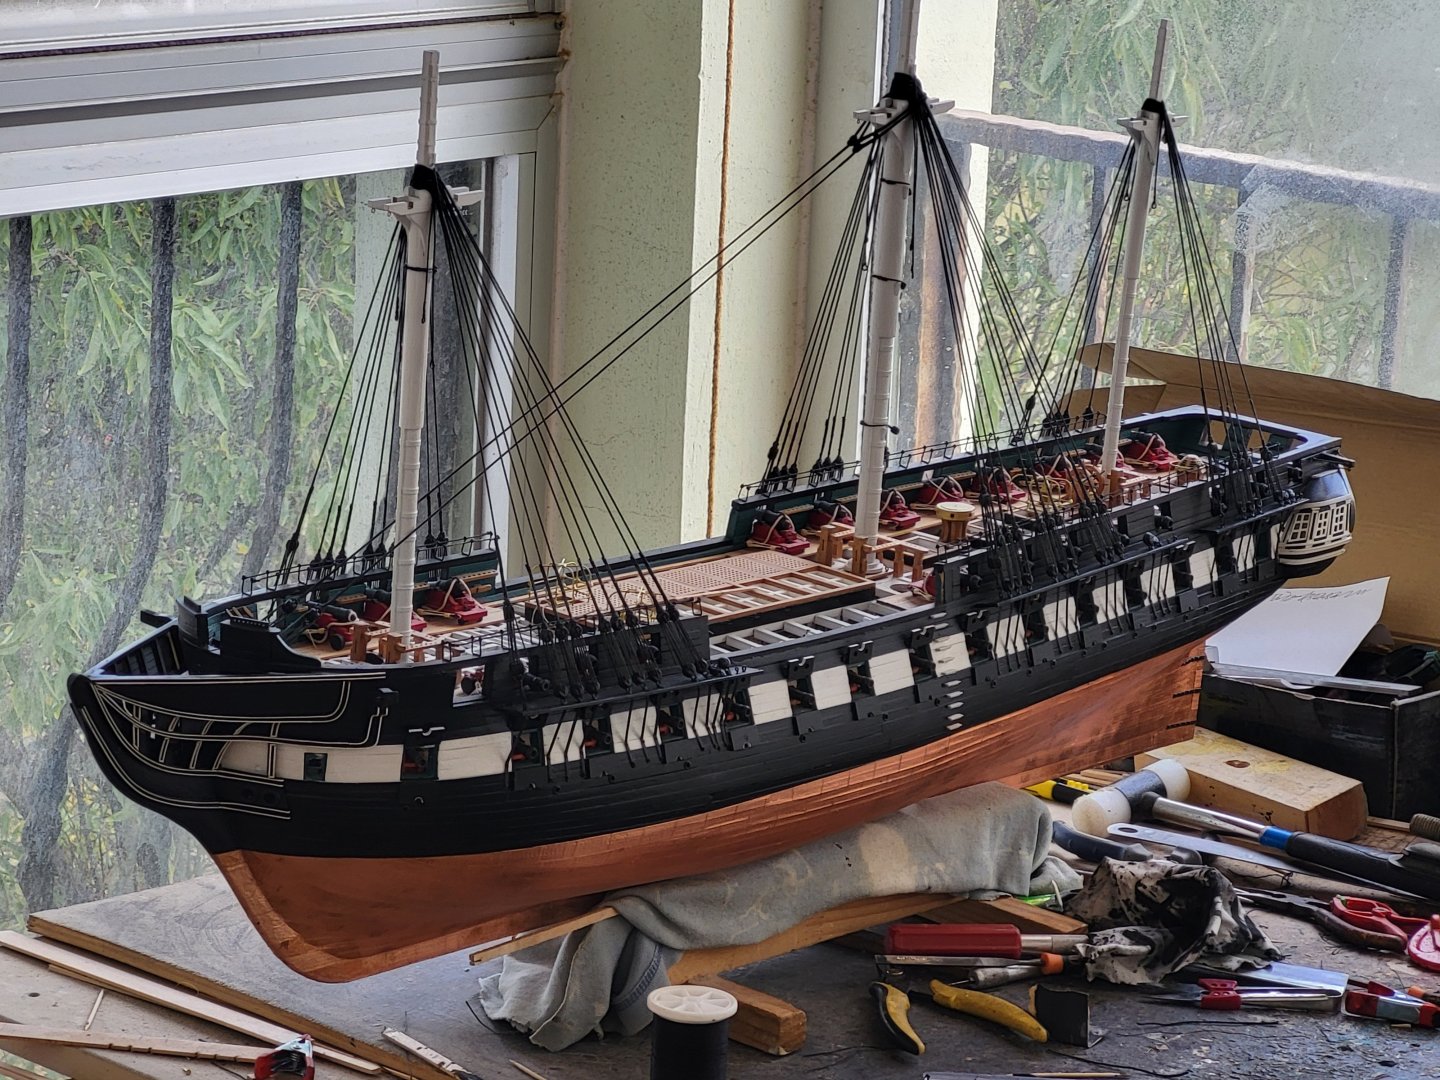
Is it just me, or is the ship starting to look like it belongs in Boston Harbor? With the rigging coming together, the overall silhouette is finally emerging. Little by little, she’s beginning to feel less like a pile of parts and more like a proper ship one that wouldn’t look out of place moored in Boston Harbor. -
If you plan to add horizontal, vertical, and diagonal knees as I did, these stubs and even the spar deck waterways will seriously bother you and may even block your progress. I wish you had cut those stubs off completely at the start and avoided adding the spar deck waterways at this stage. Unfortunately, since there is quite a long gap between your updates, we see that you have already completed many steps, which leaves us without the chance to give timely advice.
-
Hi Greg. Are you planning to fully plank the spar deck, or will you leave it partially planked like Jon and I did, so that the gun deck remains visible? If the spar deck beams are going to stay exposed, let me remind you that if you intend to reattach the beams you cut back into their original positions, some of them will not align correctly with the hatchways on the spar deck. I recommend that you plan your approach in advance, because the spar deck beams must also be aligned with the hatchways and other details on the gun deck.
-

USS Constitution by mtbediz - 1:76
mtbediz replied to mtbediz's topic in - Build logs for subjects built 1751 - 1800
I hope we can follow the construction stages of your new project here. -

USS Constitution by mtbediz - 1:76
mtbediz replied to mtbediz's topic in - Build logs for subjects built 1751 - 1800
Thank you so much Geoff. -

USS Constitution by mtbediz - 1:76
mtbediz replied to mtbediz's topic in - Build logs for subjects built 1751 - 1800
Thank you, Henry. I used Model Shipways' kit plans to build the frames and false keel, and online images of the actual ship for other details. I also used publicly available plans from the USS Constitution Museum website. https://ussconstitutionmuseum.org/discover-learn/modeler-resources/ -

USS Constitution by mtbediz - 1:76
mtbediz replied to mtbediz's topic in - Build logs for subjects built 1751 - 1800
I’m continuing to rig the shrouds. Since I have to make lots of knots, I can only complete one pair of shroud connections per day on each side. -

USS Constitution by mtbediz - 1:76
mtbediz replied to mtbediz's topic in - Build logs for subjects built 1751 - 1800
Thanks, Greg. As you know, I’m working on modeling the Constitution as she appears after the 2015 restoration, so I'm not sticking to any specific plan. Online images of the Constitution show the upper deadeyes slightly above the main rail. That's what I'm trying to achieve. -

USS Constitution by mtbediz - 1:76
mtbediz replied to mtbediz's topic in - Build logs for subjects built 1751 - 1800
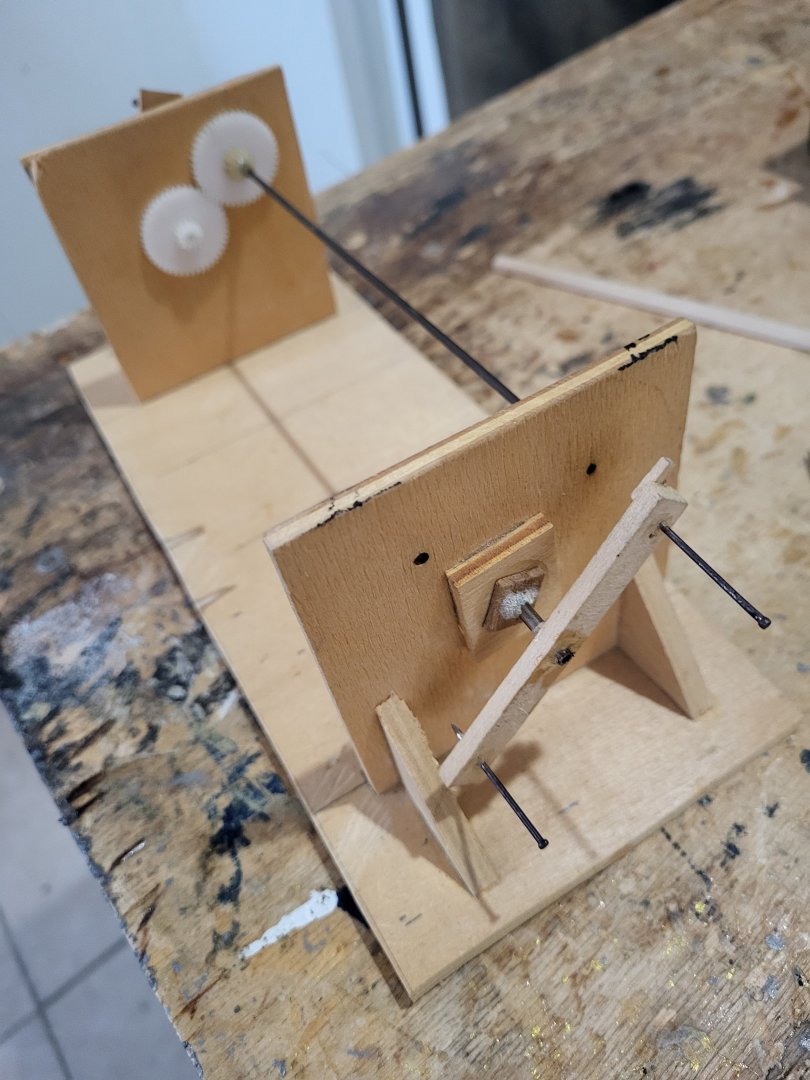
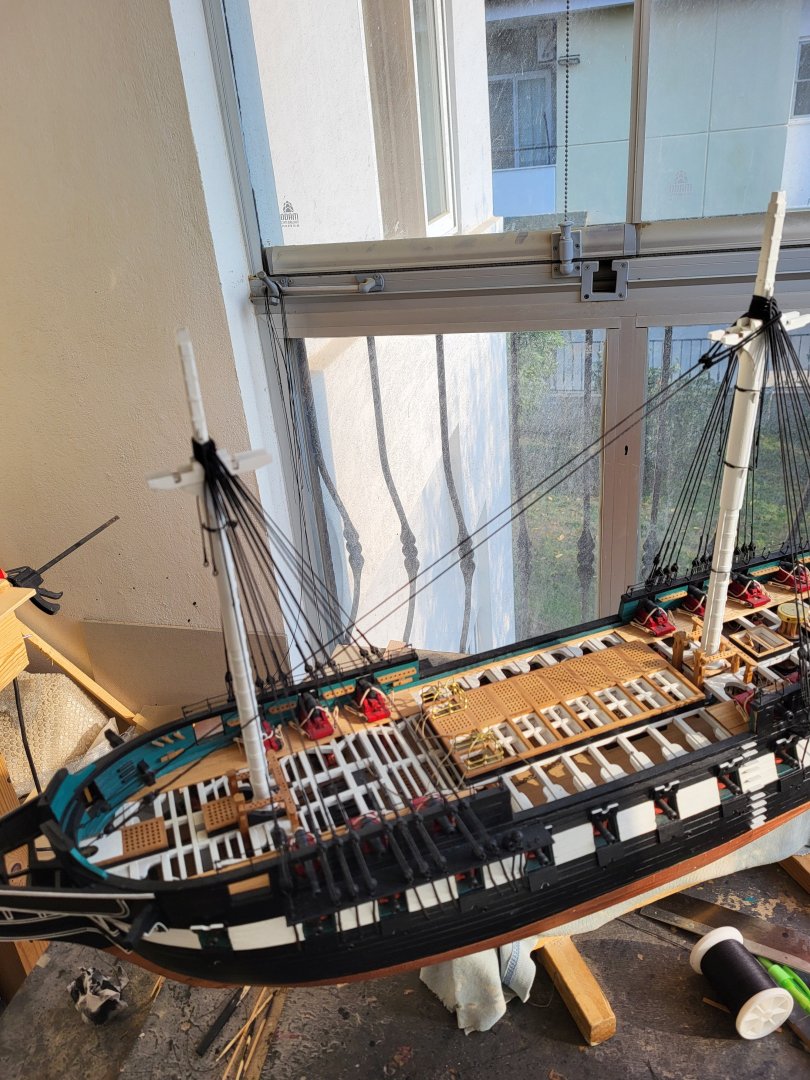
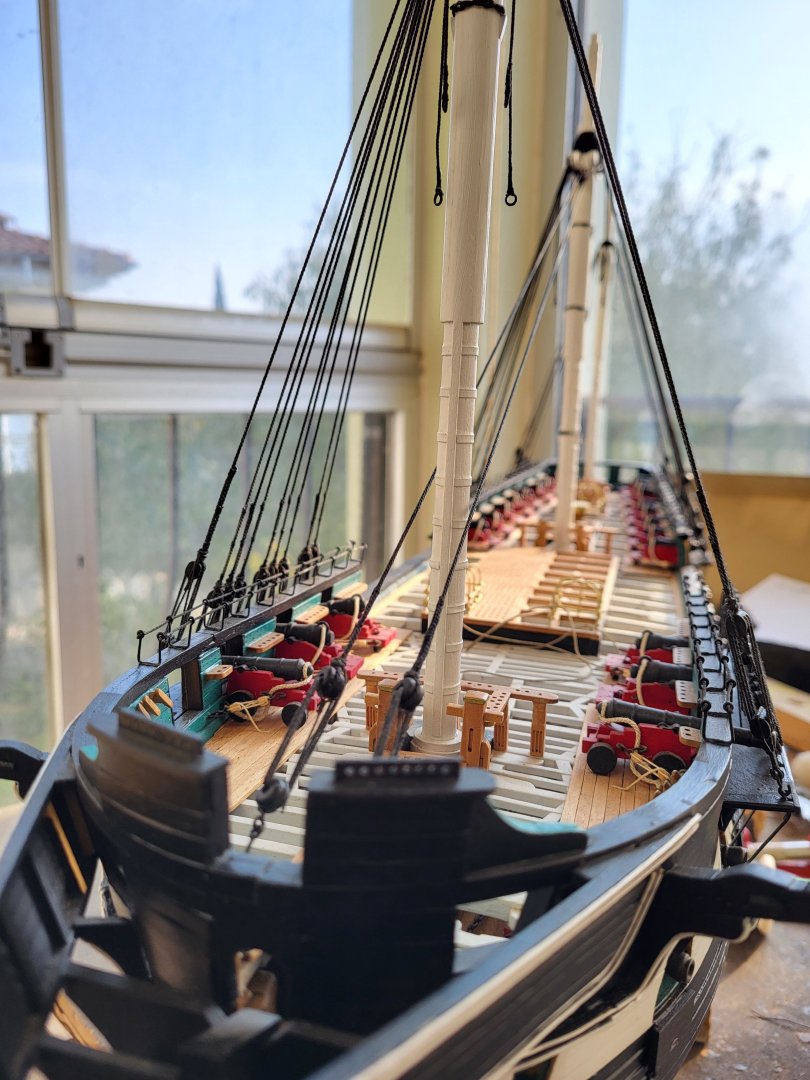
I started on the mainmast and started adding the shroud lines that I made. I started on the forward starboard side and worked side to side adding a pair at a time. To ensure equal spacing between the upper and lower deadeyes, I use a jig. I secure the upper deadeyes onto a wooden board with a pair of nails set at the same height, and then I attach the shrouds to the deadeyes. After that, I remove the deadeyes from the jig and complete the remaining three knots outside. Once the knots are finished, I pass the shroud back over the mast and connect the upper and lower deadeyes using the lanyard. -

USS Constitution by mtbediz - 1:76
mtbediz replied to mtbediz's topic in - Build logs for subjects built 1751 - 1800
I've slowed down a bit these days as I'm waiting for Peter's calendar project to be finished. I can't bear to see him fall too far behind in the race I tied some shrouds. -

USS Constitution by mtbediz - 1:76
mtbediz replied to mtbediz's topic in - Build logs for subjects built 1751 - 1800
About us
Modelshipworld - Advancing Ship Modeling through Research
SSL Secured
Your security is important for us so this Website is SSL-Secured
NRG Mailing Address
Nautical Research Guild
237 South Lincoln Street
Westmont IL, 60559-1917
Model Ship World ® and the MSW logo are Registered Trademarks, and belong to the Nautical Research Guild (United States Patent and Trademark Office: No. 6,929,264 & No. 6,929,274, registered Dec. 20, 2022)
Helpful Links
About the NRG
If you enjoy building ship models that are historically accurate as well as beautiful, then The Nautical Research Guild (NRG) is just right for you.
The Guild is a non-profit educational organization whose mission is to “Advance Ship Modeling Through Research”. We provide support to our members in their efforts to raise the quality of their model ships.
The Nautical Research Guild has published our world-renowned quarterly magazine, The Nautical Research Journal, since 1955. The pages of the Journal are full of articles by accomplished ship modelers who show you how they create those exquisite details on their models, and by maritime historians who show you the correct details to build. The Journal is available in both print and digital editions. Go to the NRG web site (www.thenrg.org) to download a complimentary digital copy of the Journal. The NRG also publishes plan sets, books and compilations of back issues of the Journal and the former Ships in Scale and Model Ship Builder magazines.




.thumb.jpg.c9f501e412e6544351d7eb9f74e2454f.jpg)
