rwiederrich
-
Posts
5,520 -
Joined
-
Last visited
Content Type
Profiles
Forums
Gallery
Events
Everything posted by rwiederrich
-
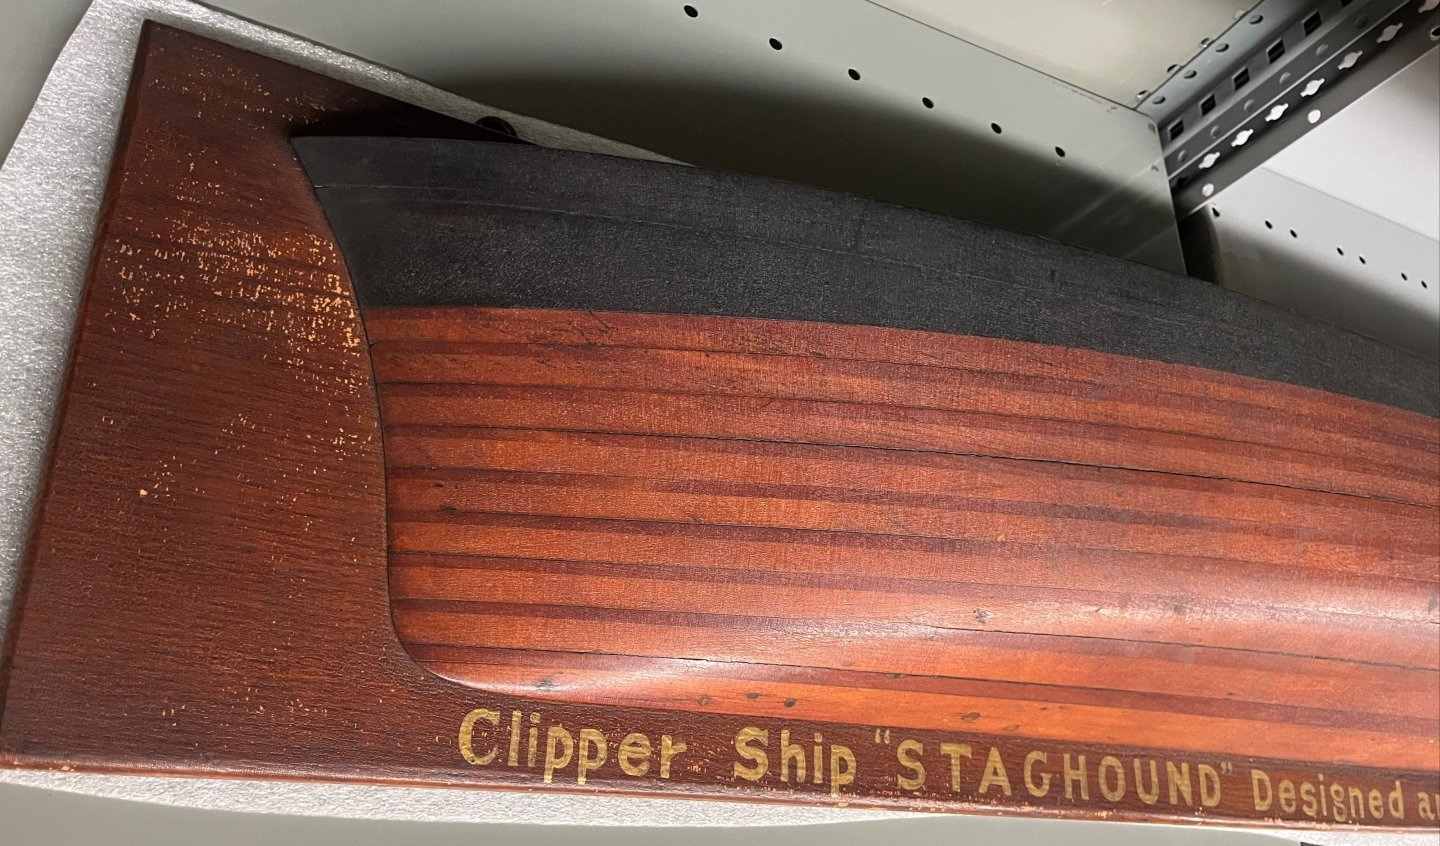
Thanks Pat. Still got minor planksheer moldings left to do and half round molding under the main rail. I corrected the stem, adjusted the hoods, and will be painting the hull black soon. Rob
-
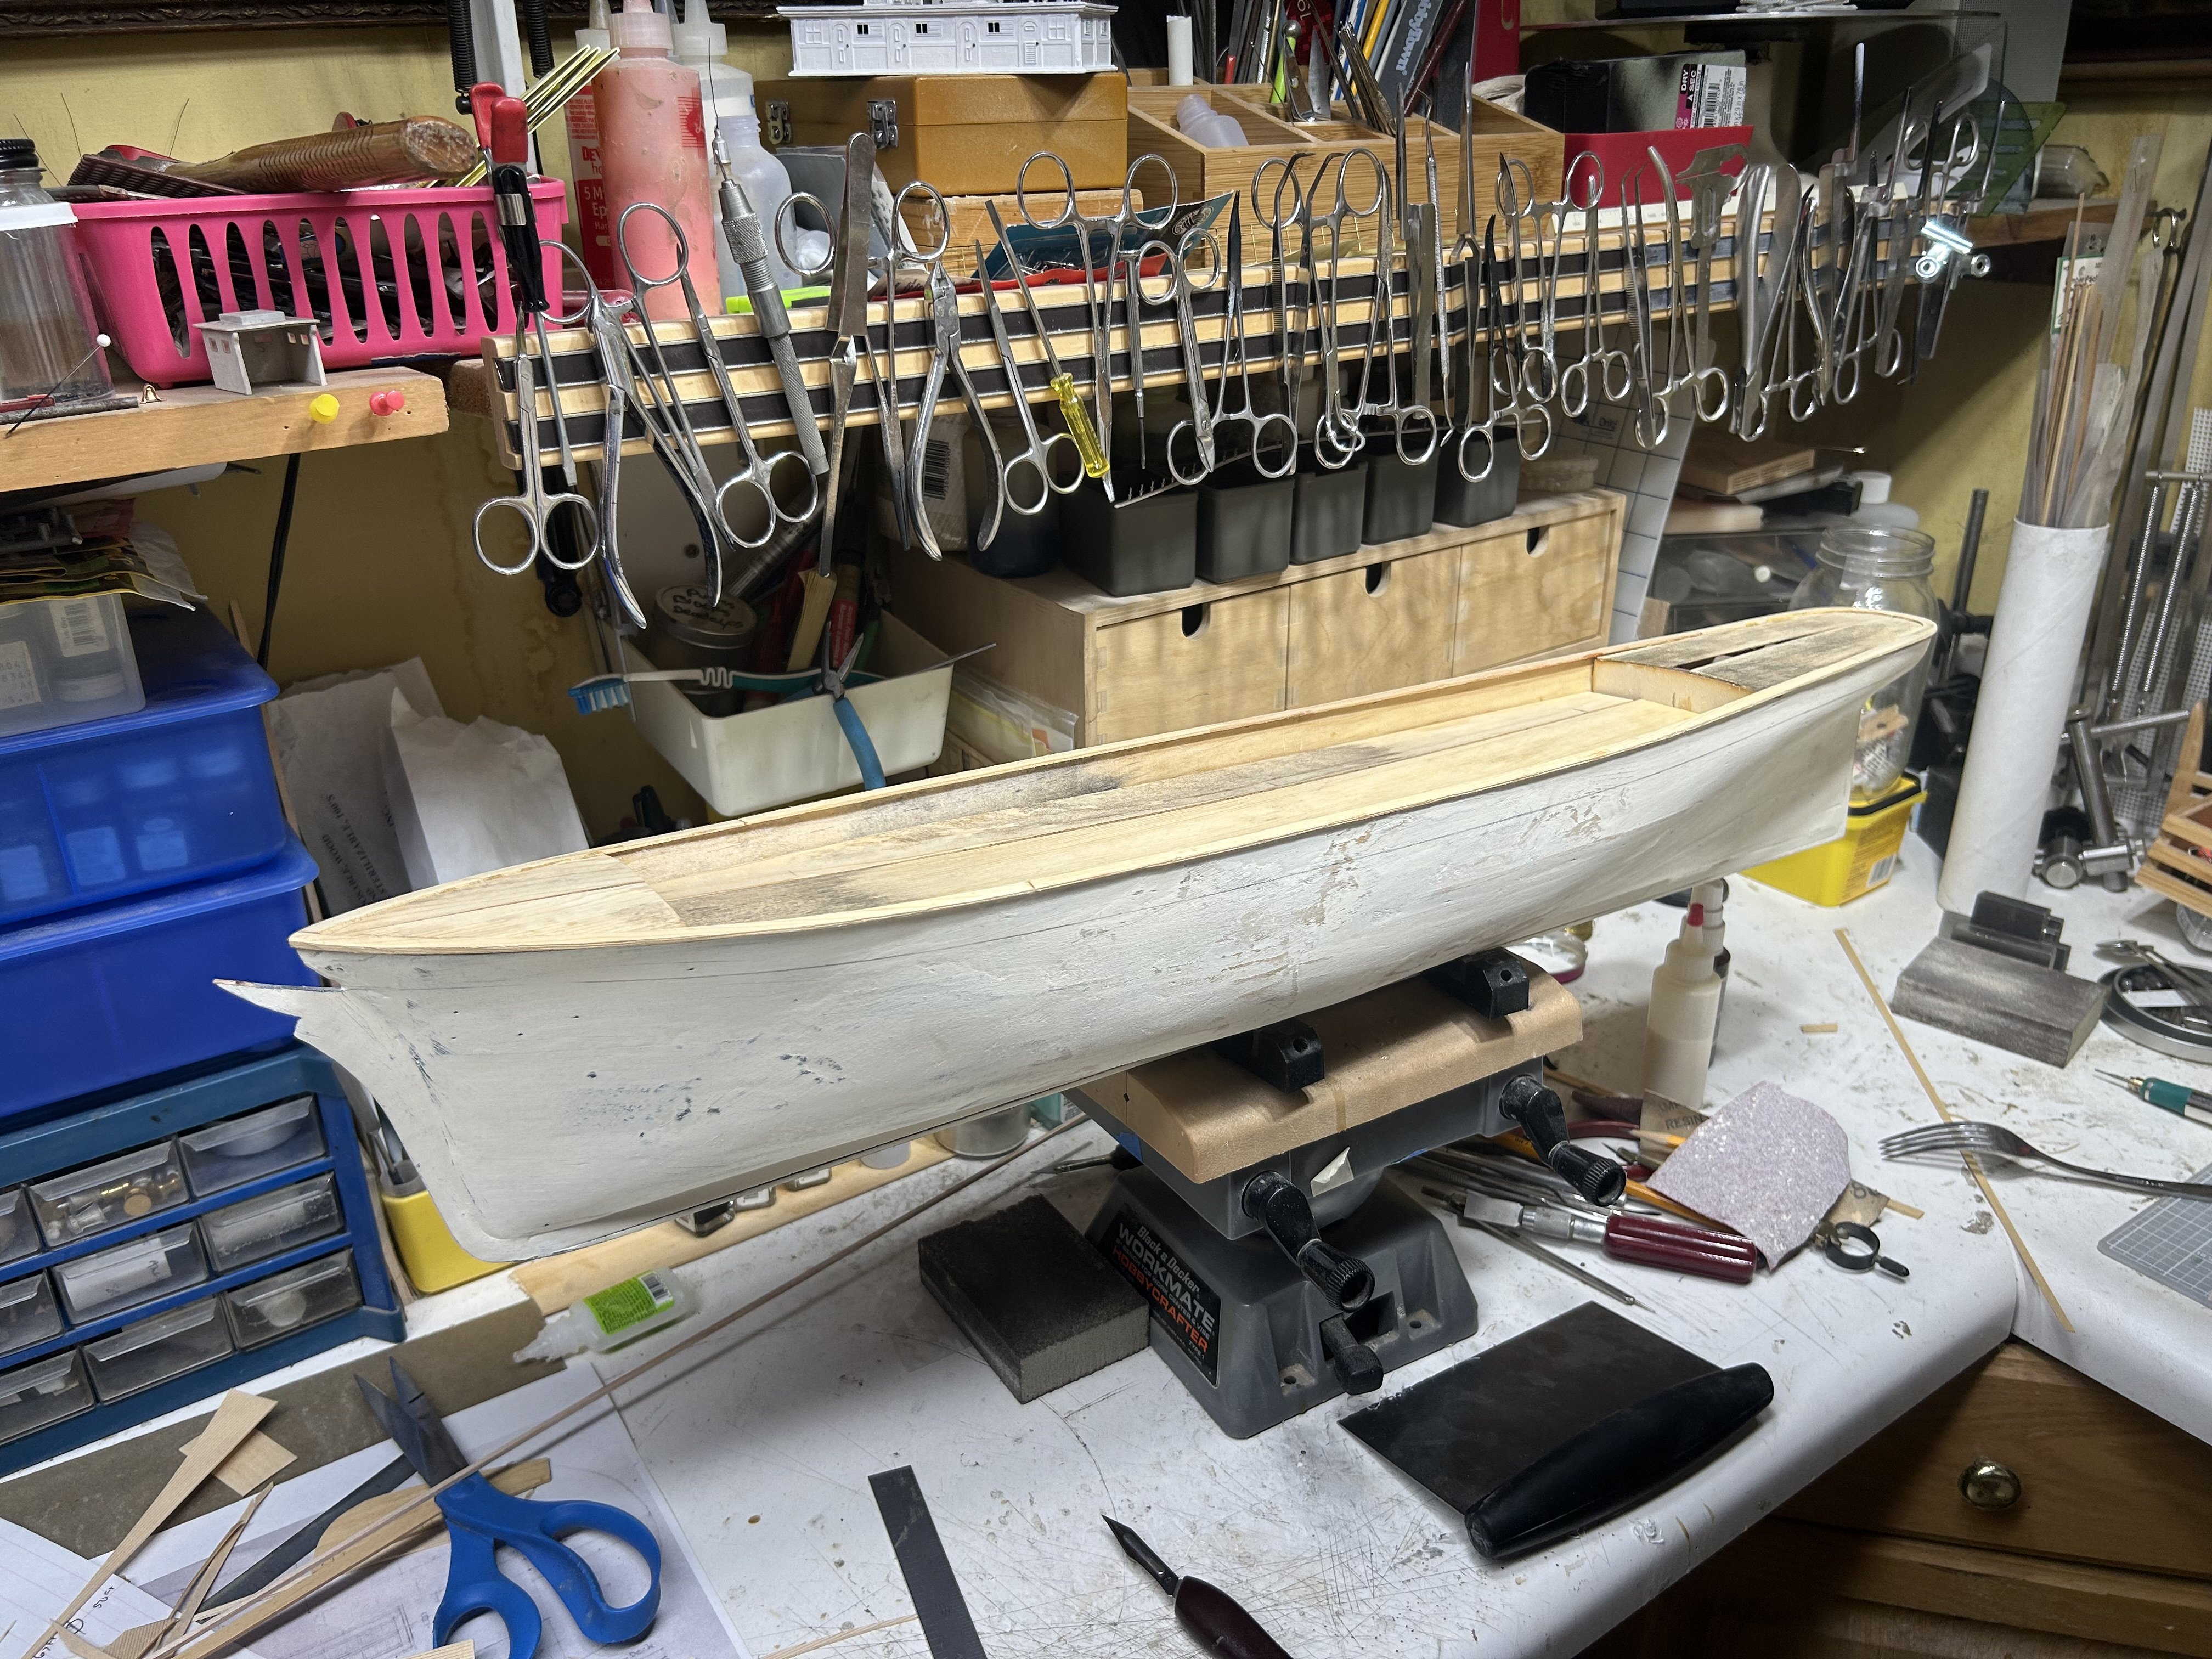
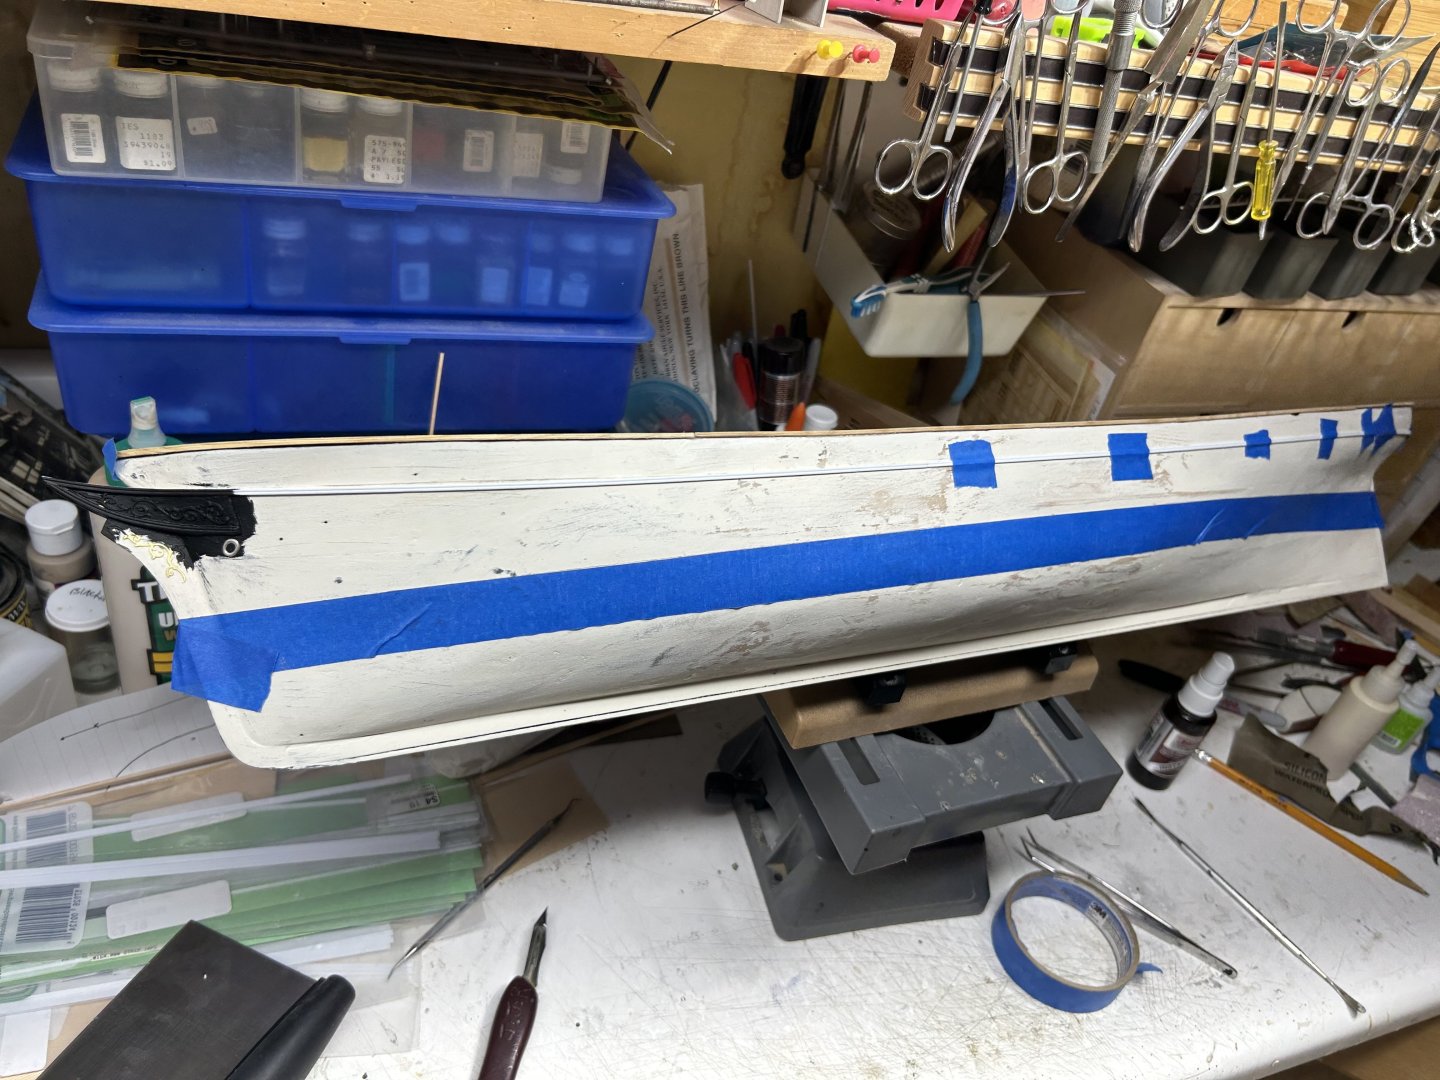
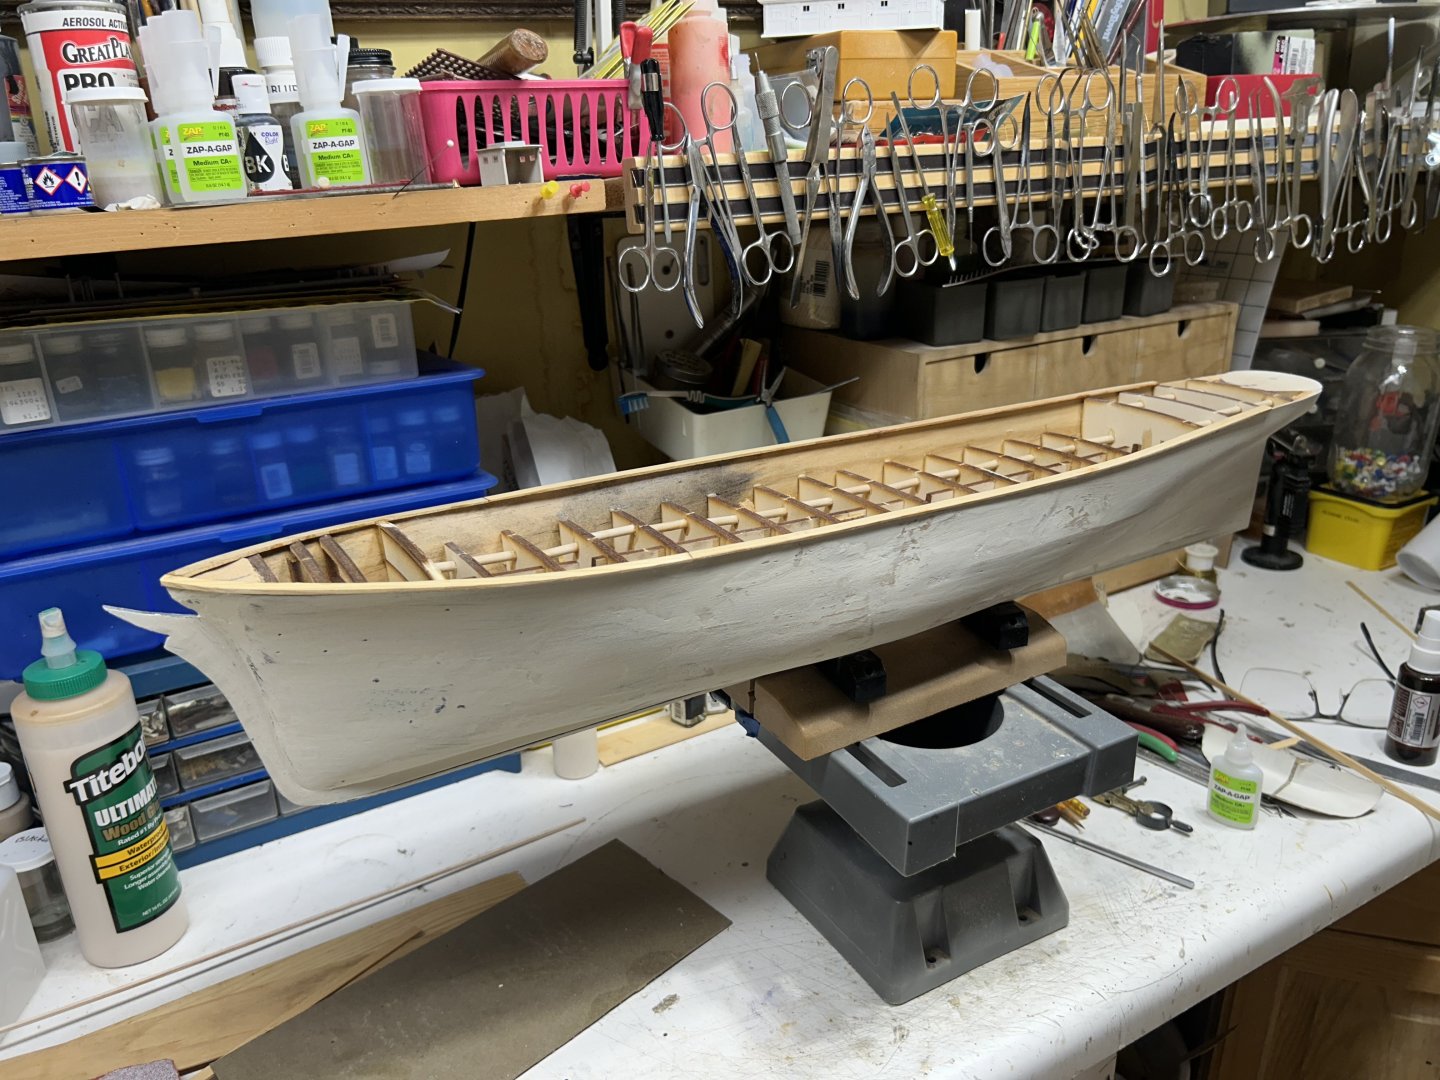
Did some work today. Adding the planksheer. Masked off the black hull. Rob

-
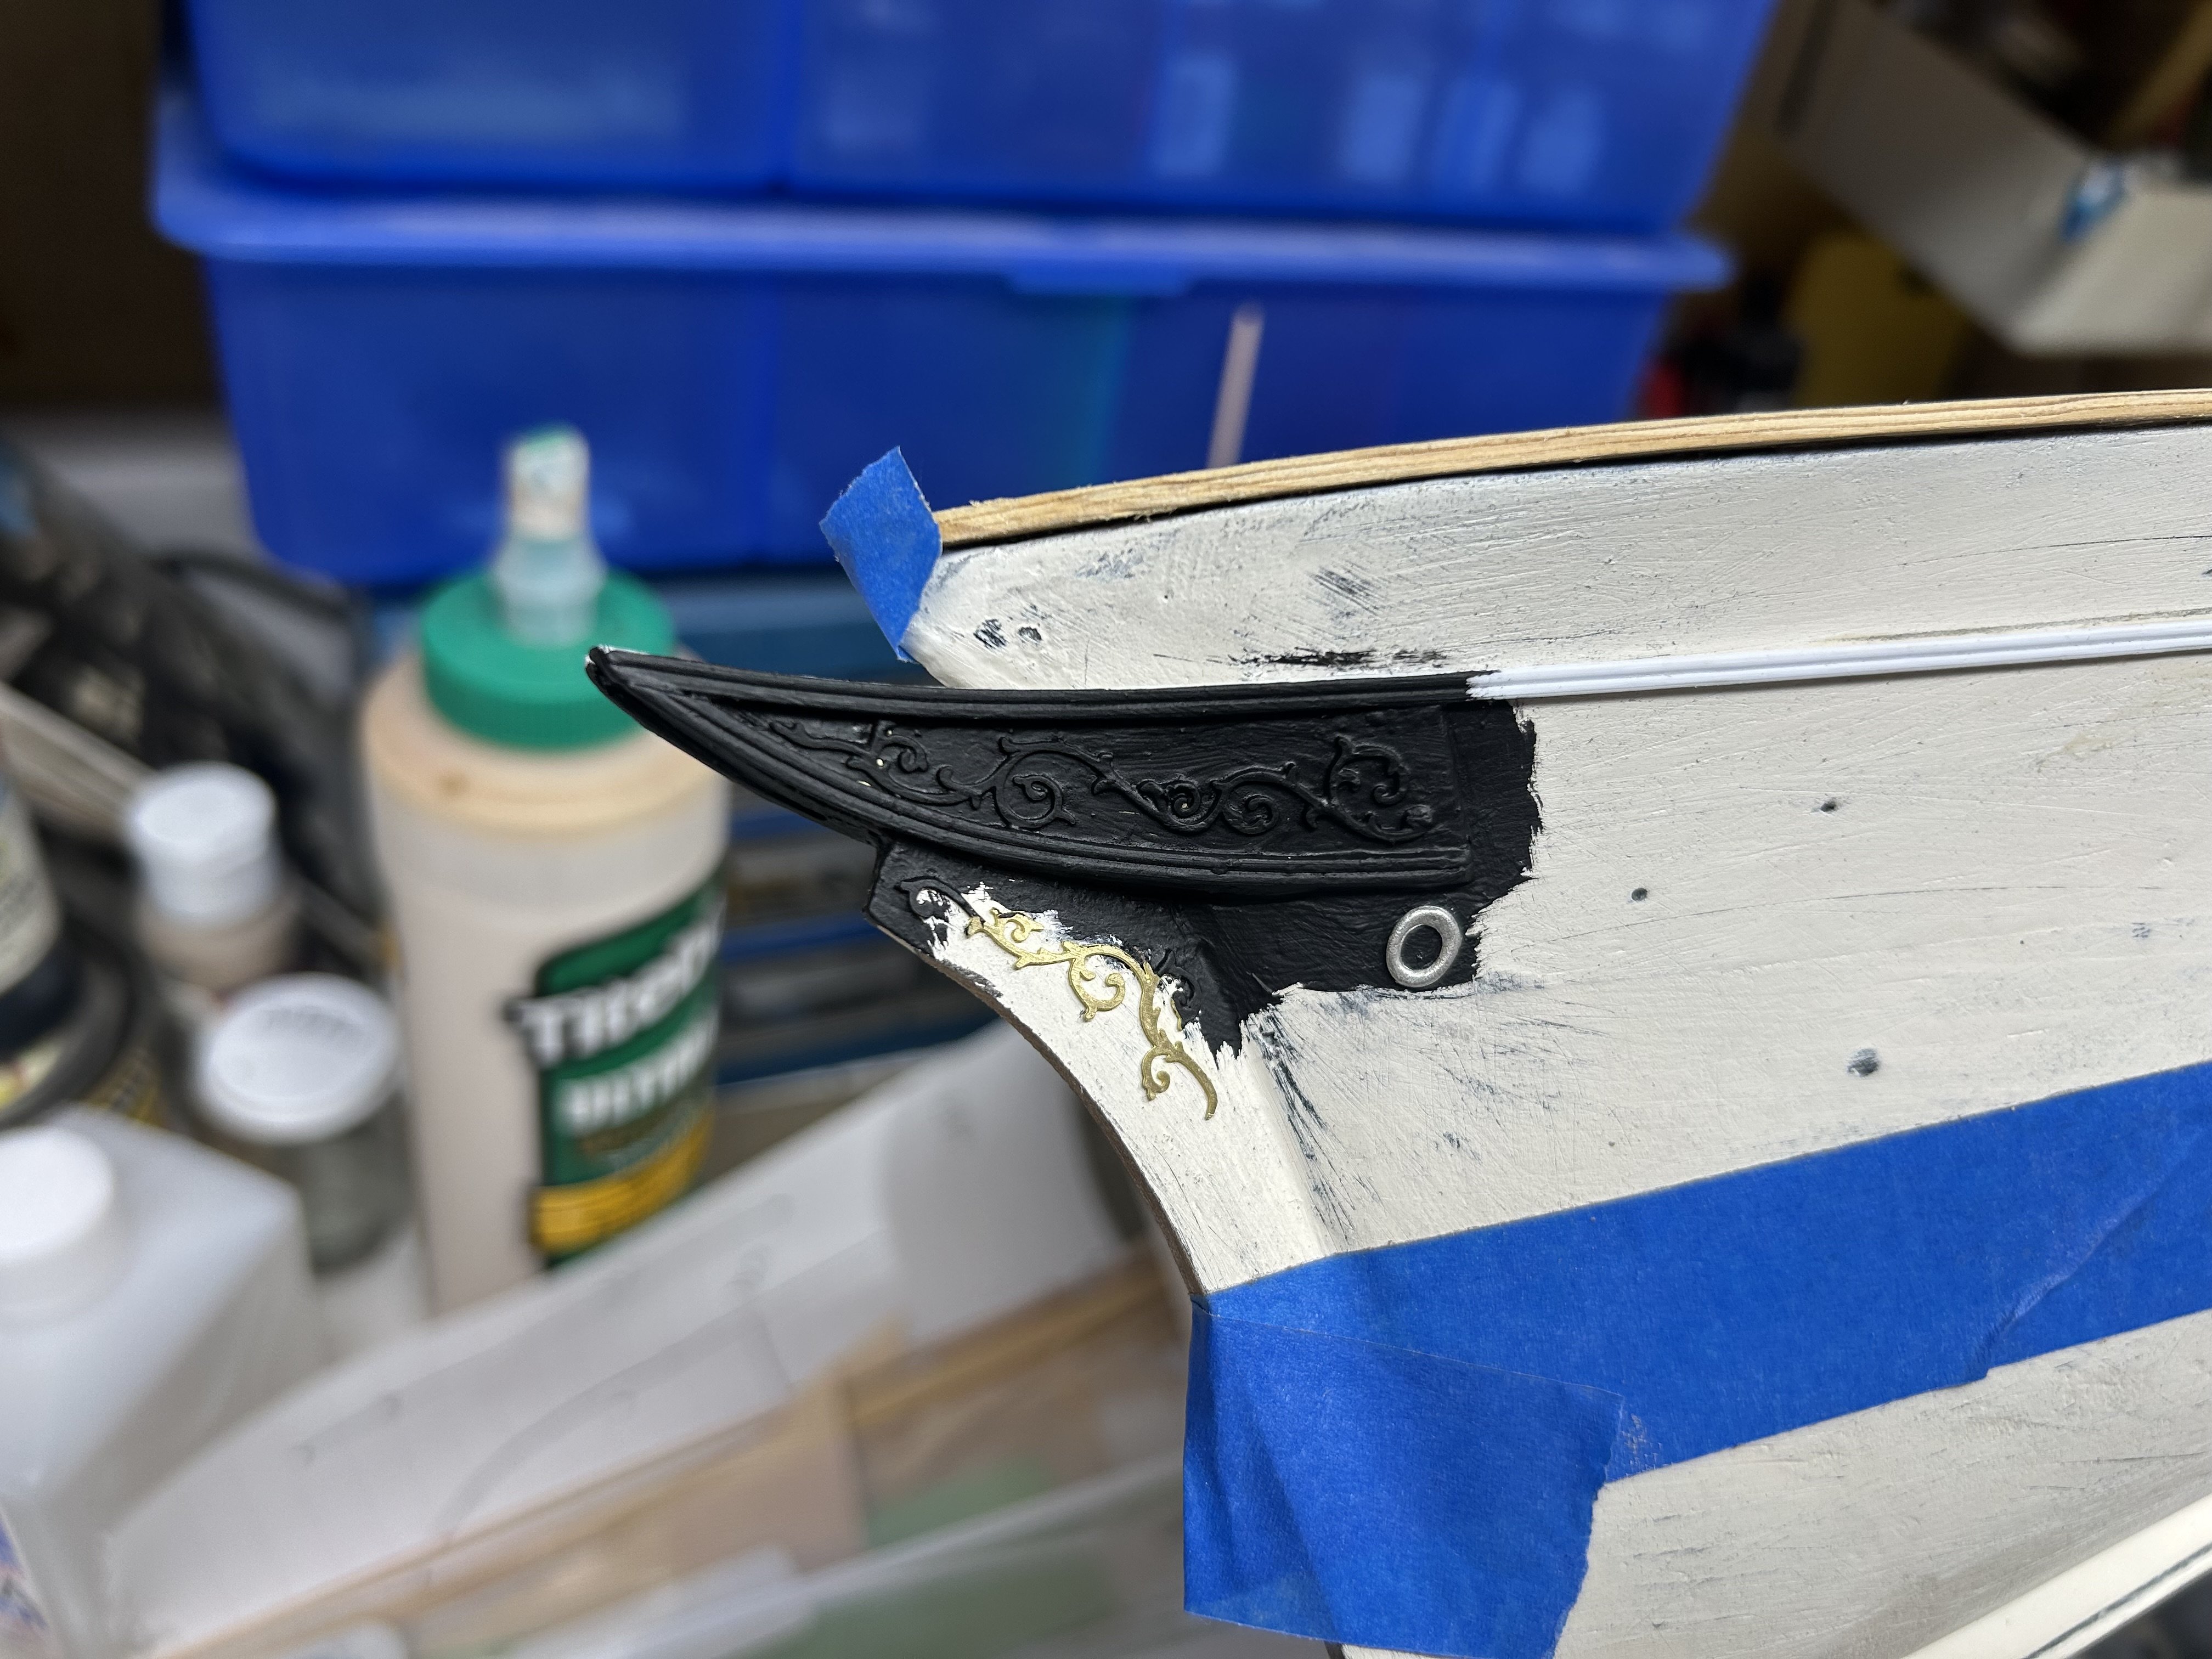
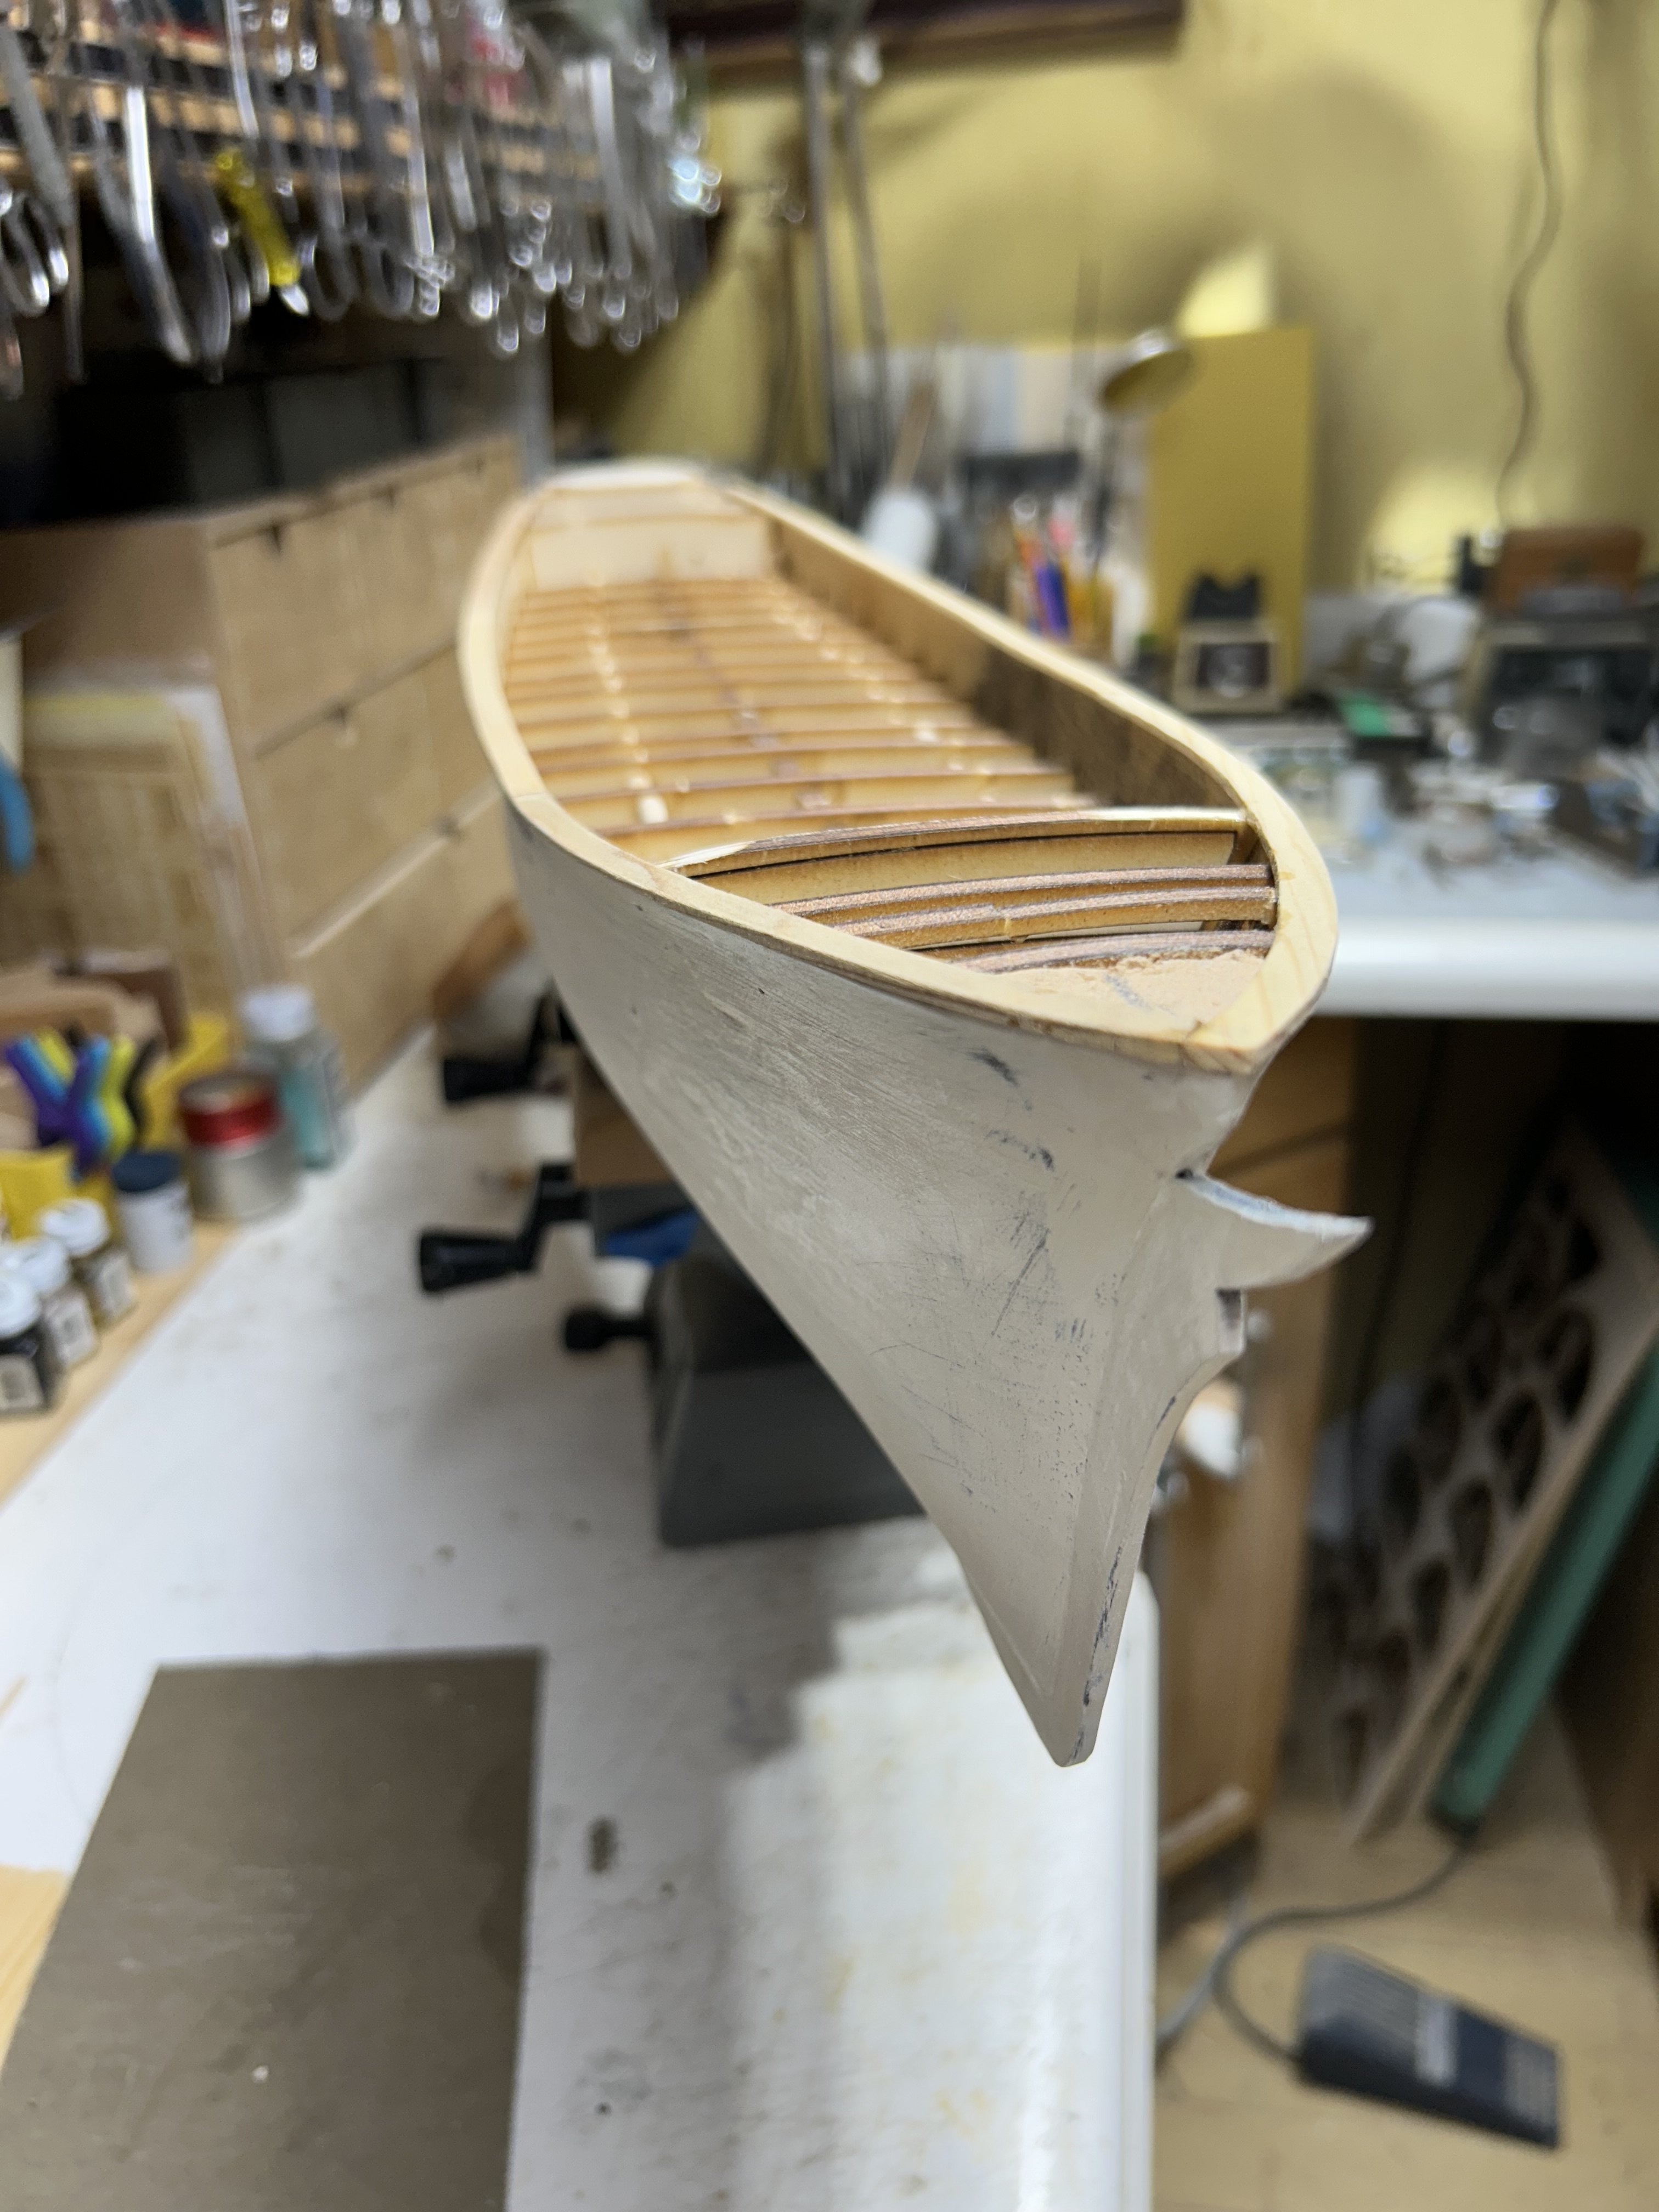
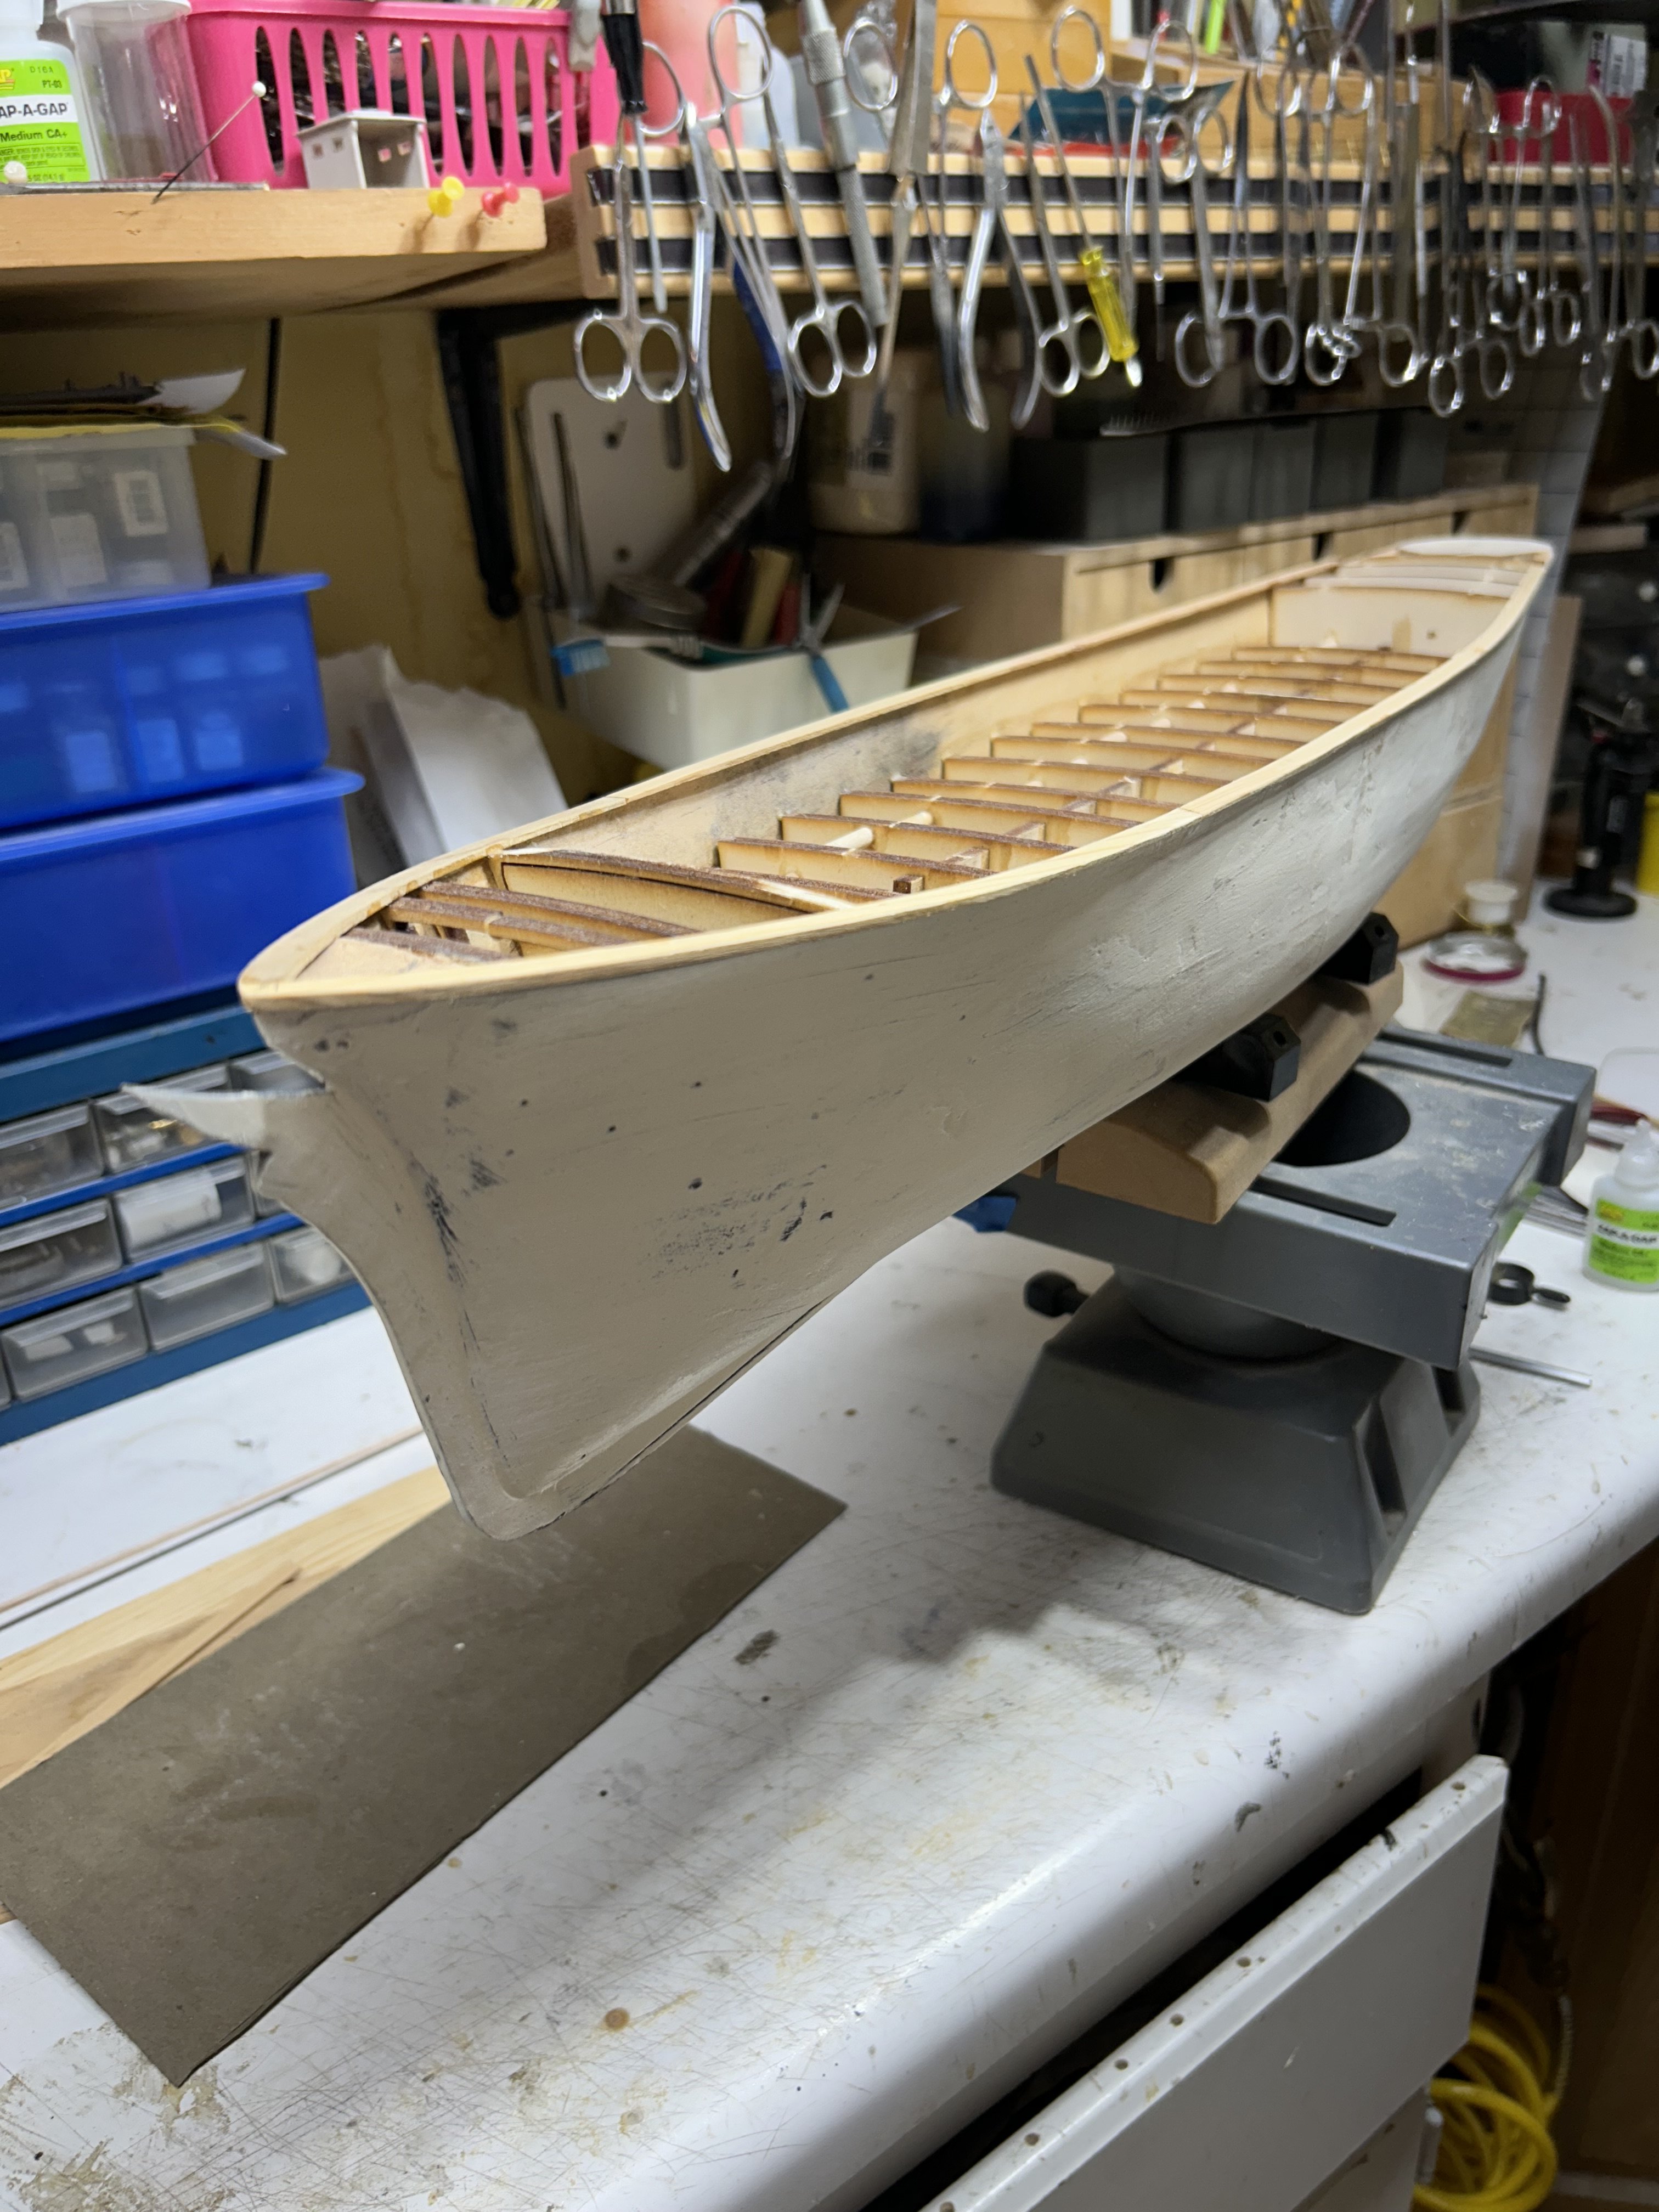
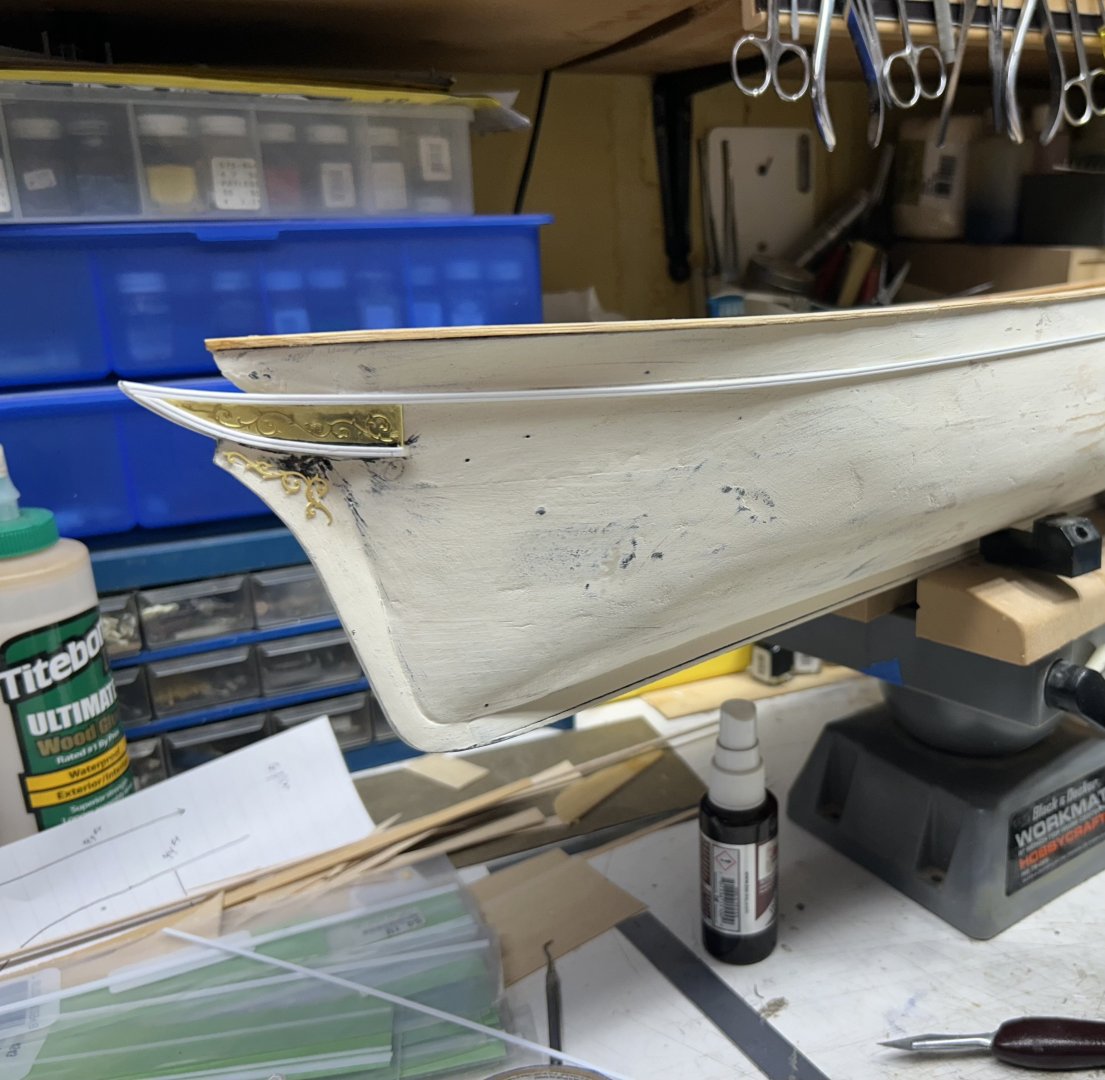
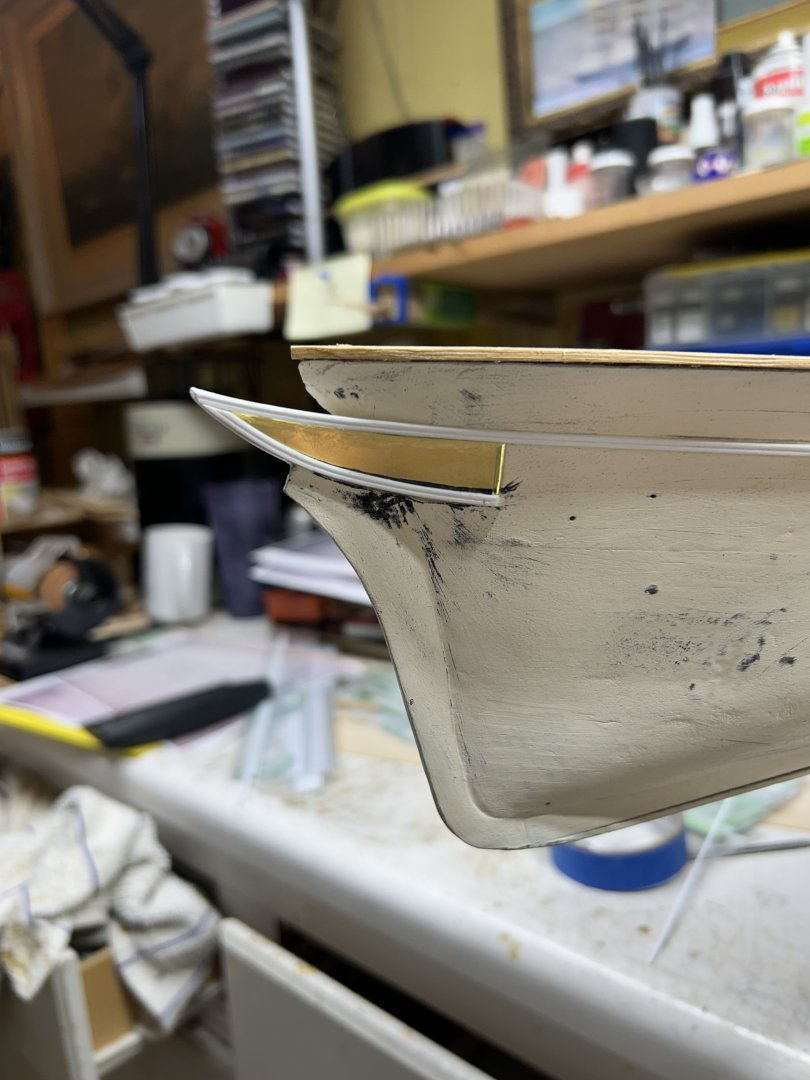
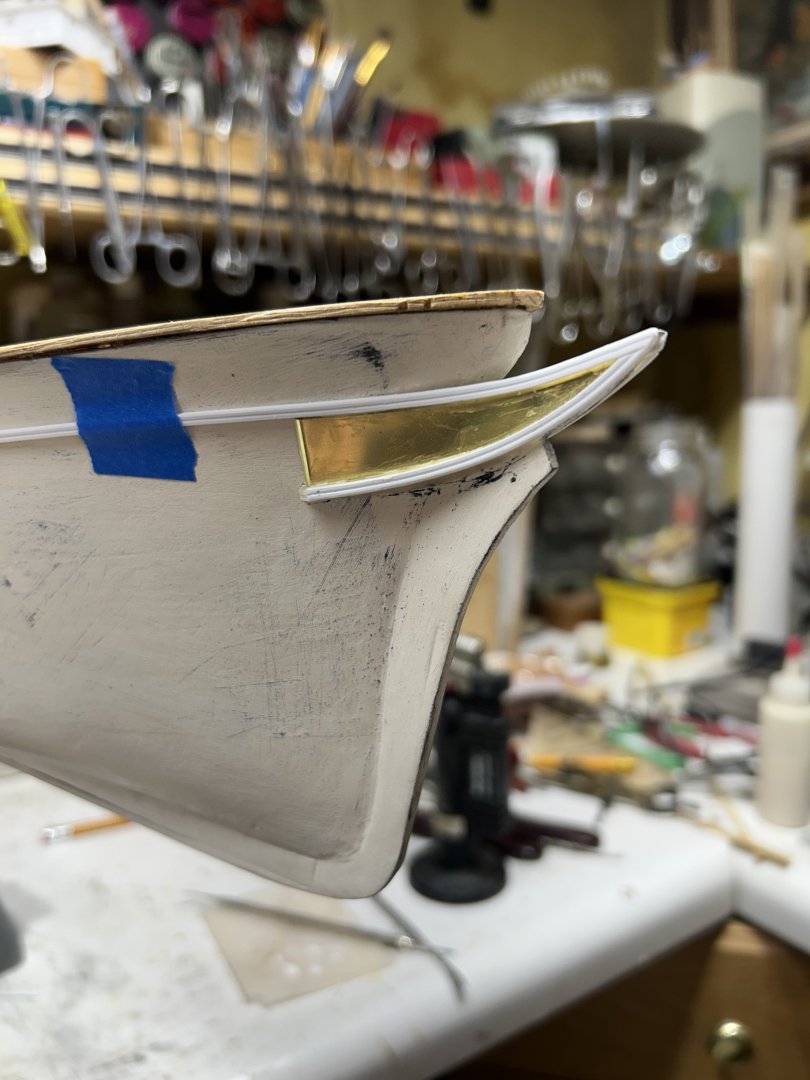
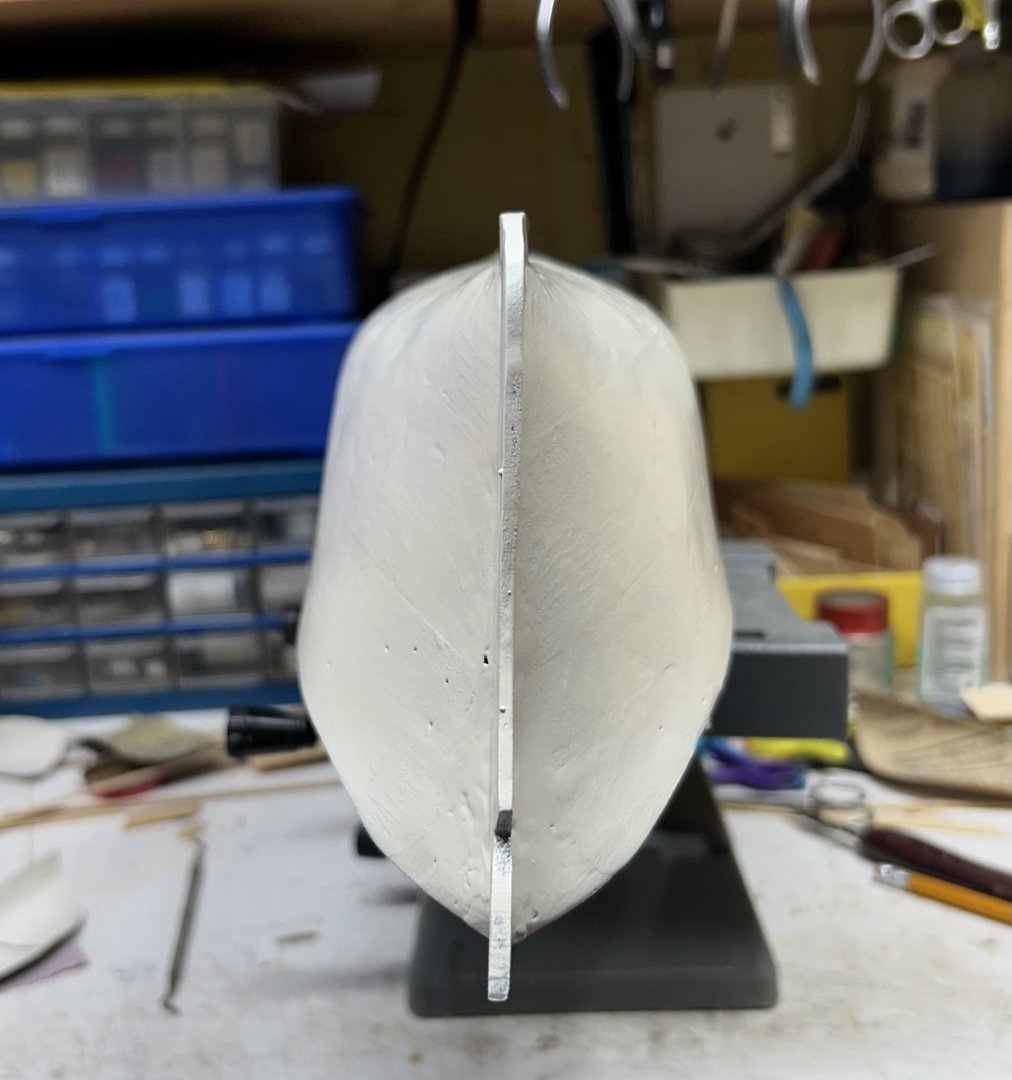
I cut it back and blended it into the cutwater.

-
I'm thinking of cutting in the angle a bit more. Cutting into the darker wood...to slightly harmonize the vertical and the curved. I think I might have added a bit to much to the curve...filling it out a bit too much. No problem. I'll add that to the several adjustments I need to make before moving on to finishing up the planksheer molding. Rob
-
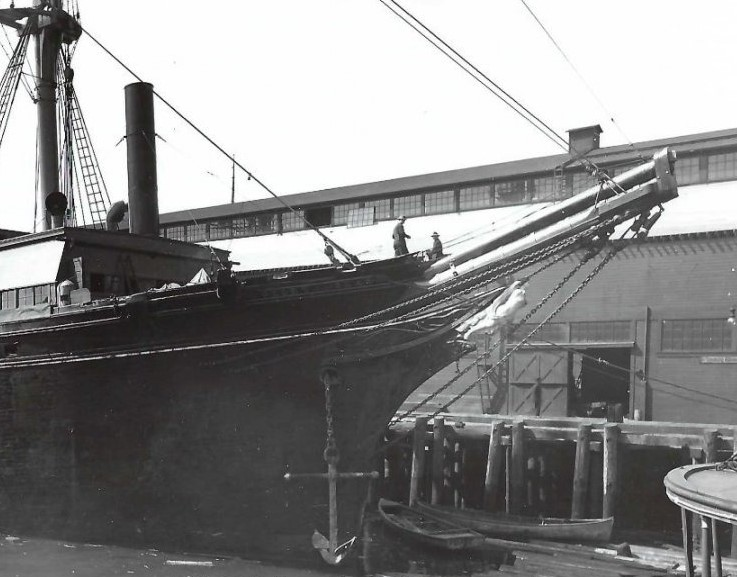
Problem is...the outer stem from the foot of the stem...is more vertical from McKay's half model, then these drawings depict. I went with McKay's half model profile. Double check for yourself. so are you saying your own drawing is incorrect? Rob
-
Rich. I see what you are saying....however, after great reflection and profiling from every painting we have of her....it appears to me that the correction I performed makes her stem more of the upward angle also described by McLean, "The cutwater is tapered to an angle". Are you suggesting I cut it back to my original curve? Back to the original stem line, I had originally cut...without the addition? I supose I could cut the stem back half way...to mimic more like Glory. Rob
-
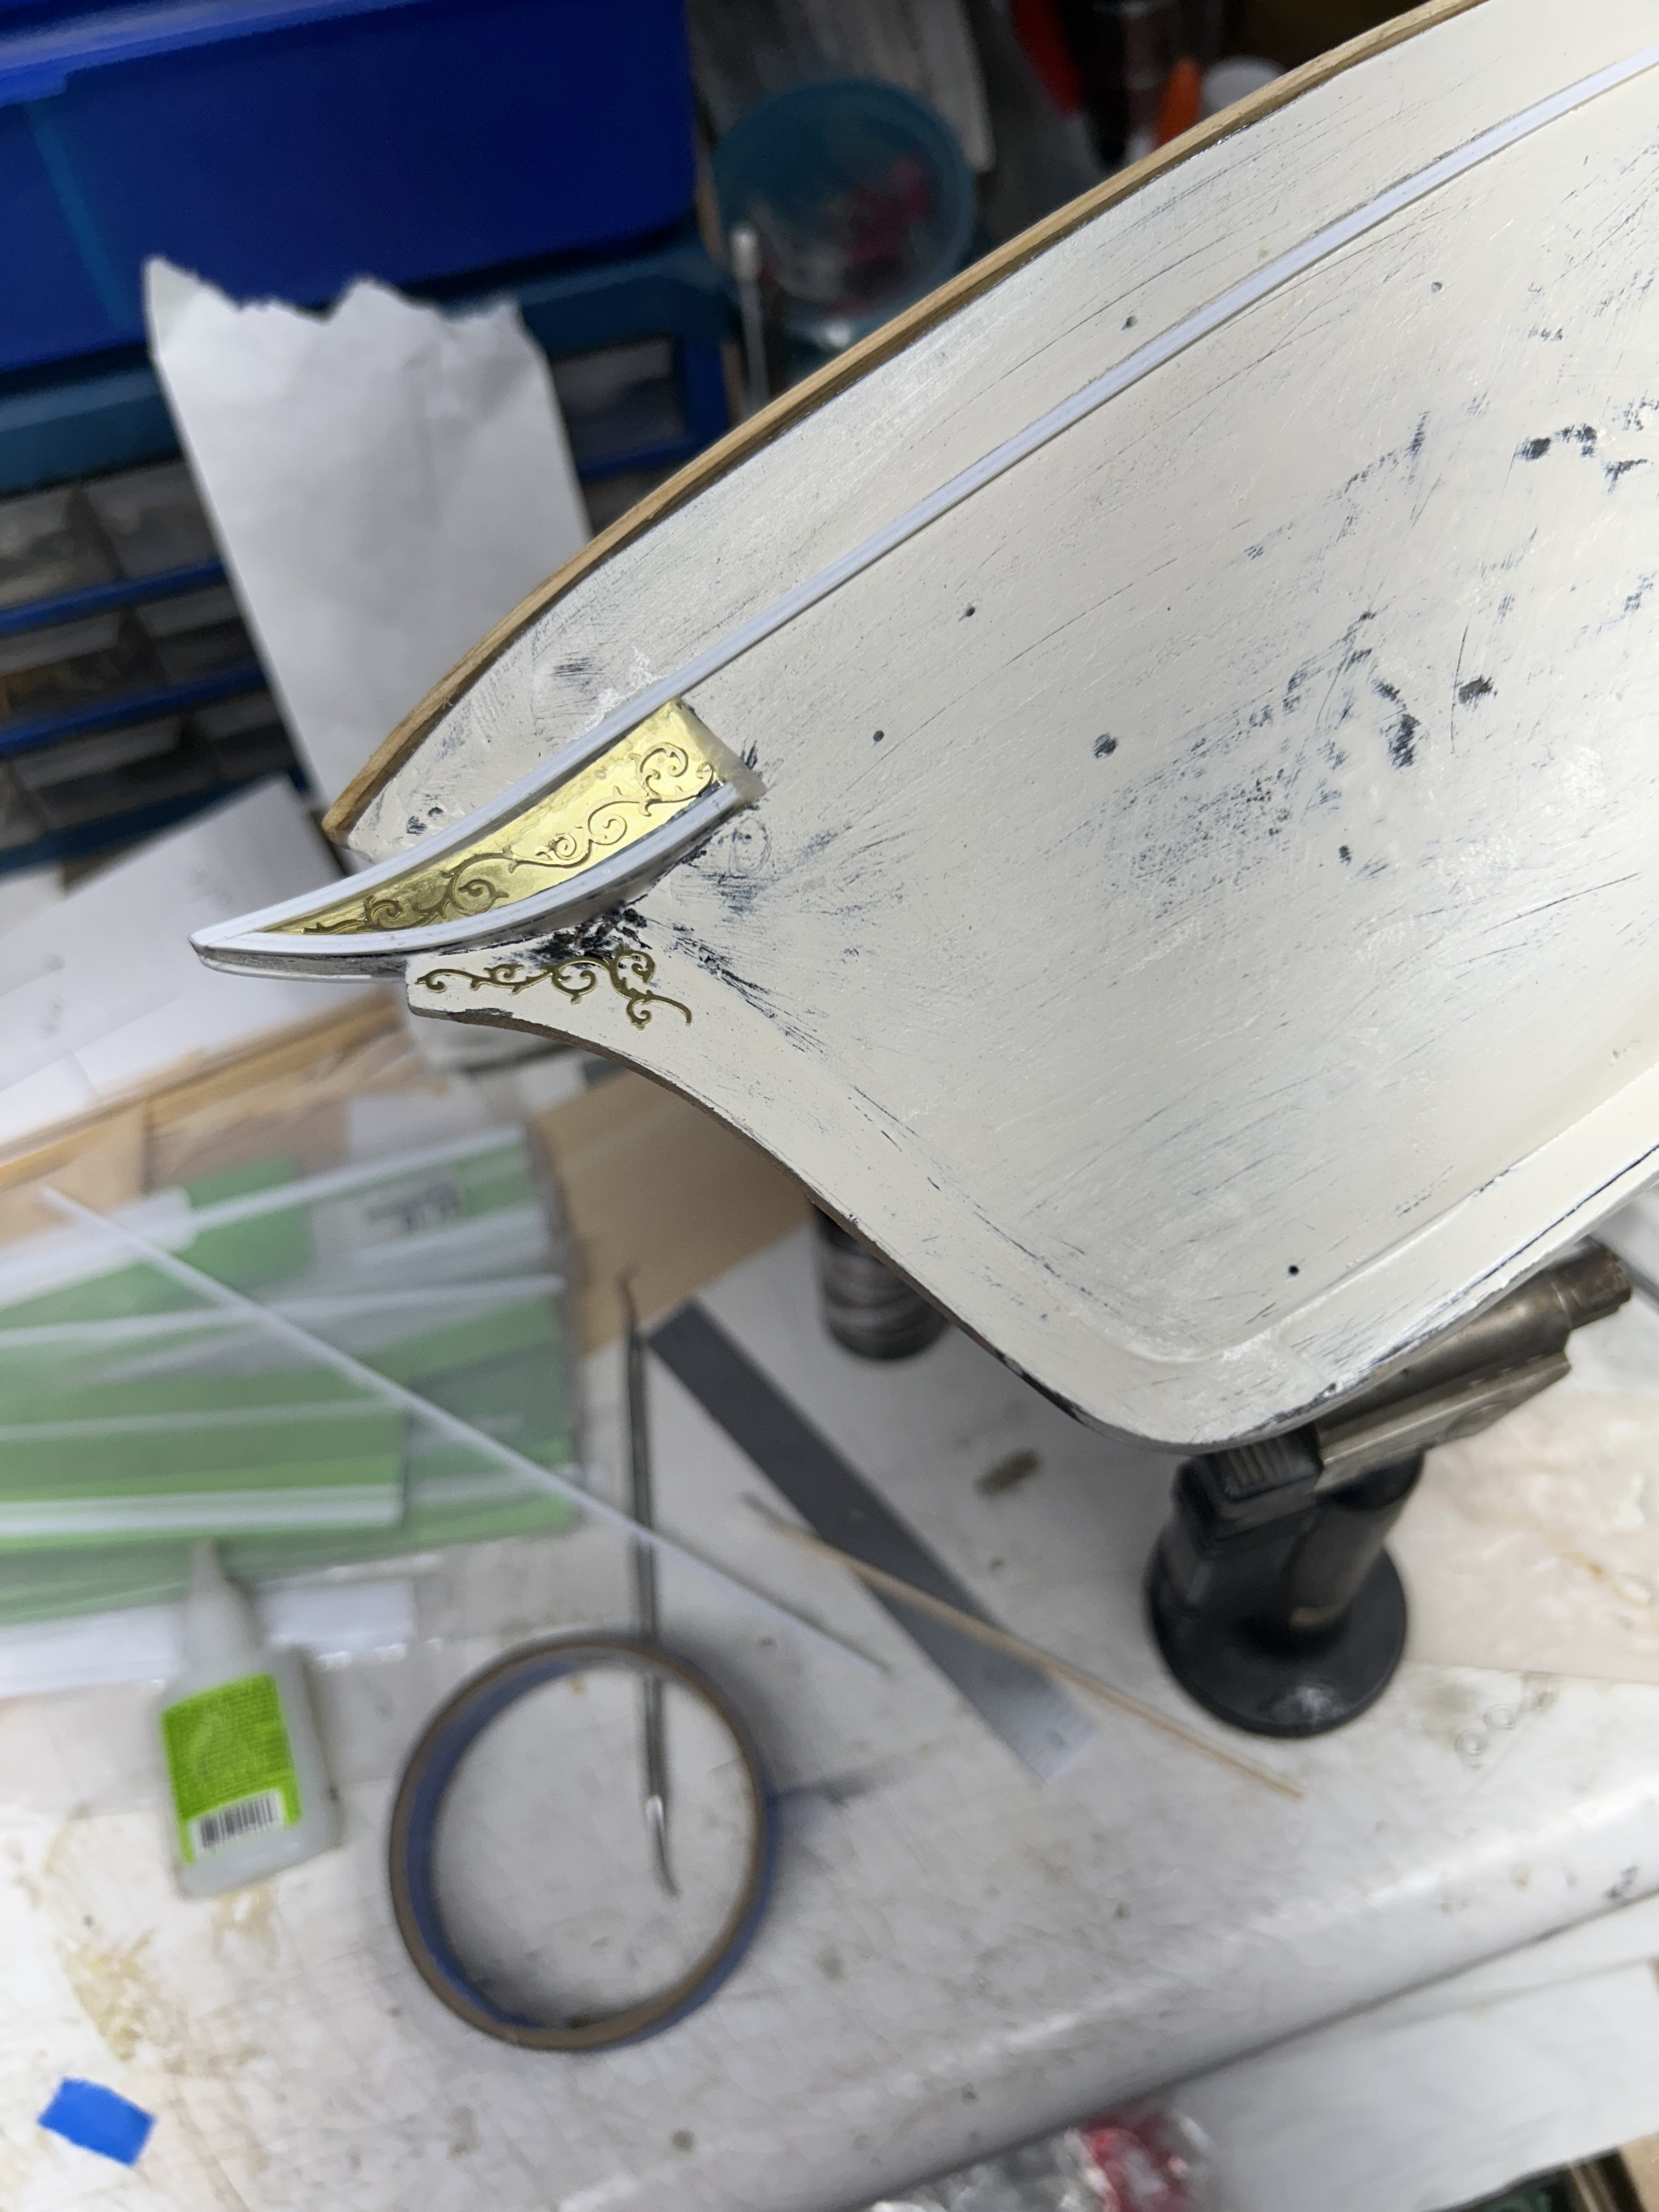
A little scroll work. Rob
-
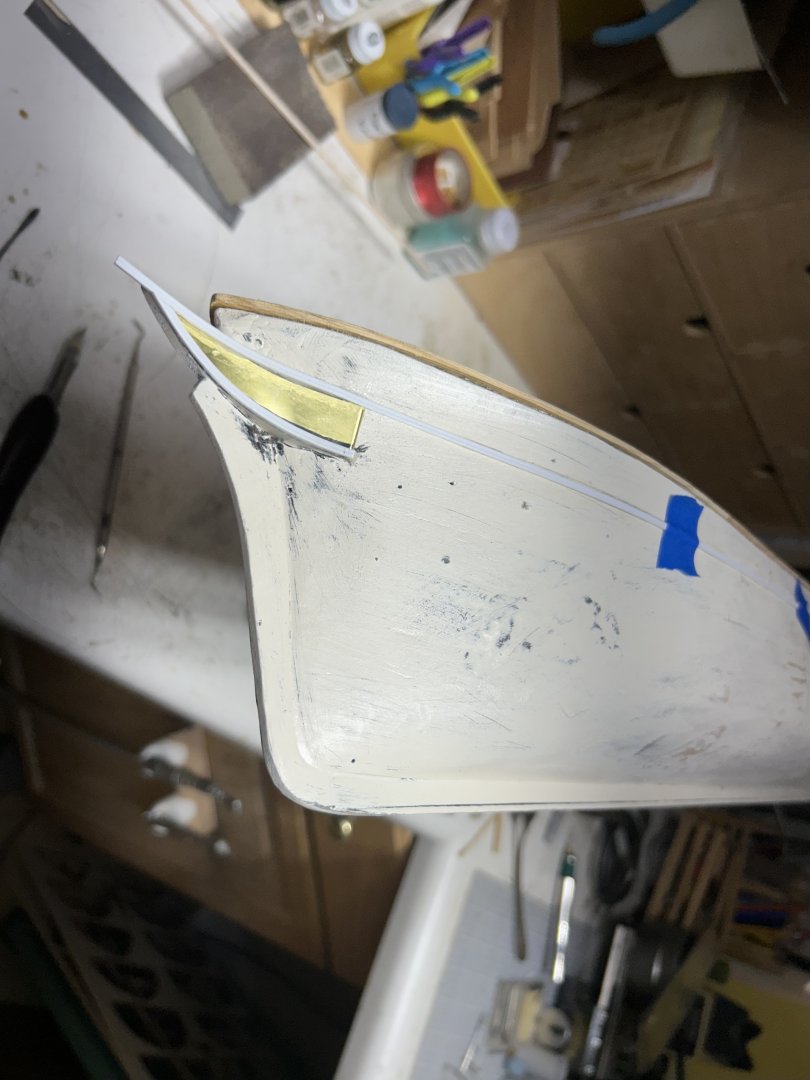
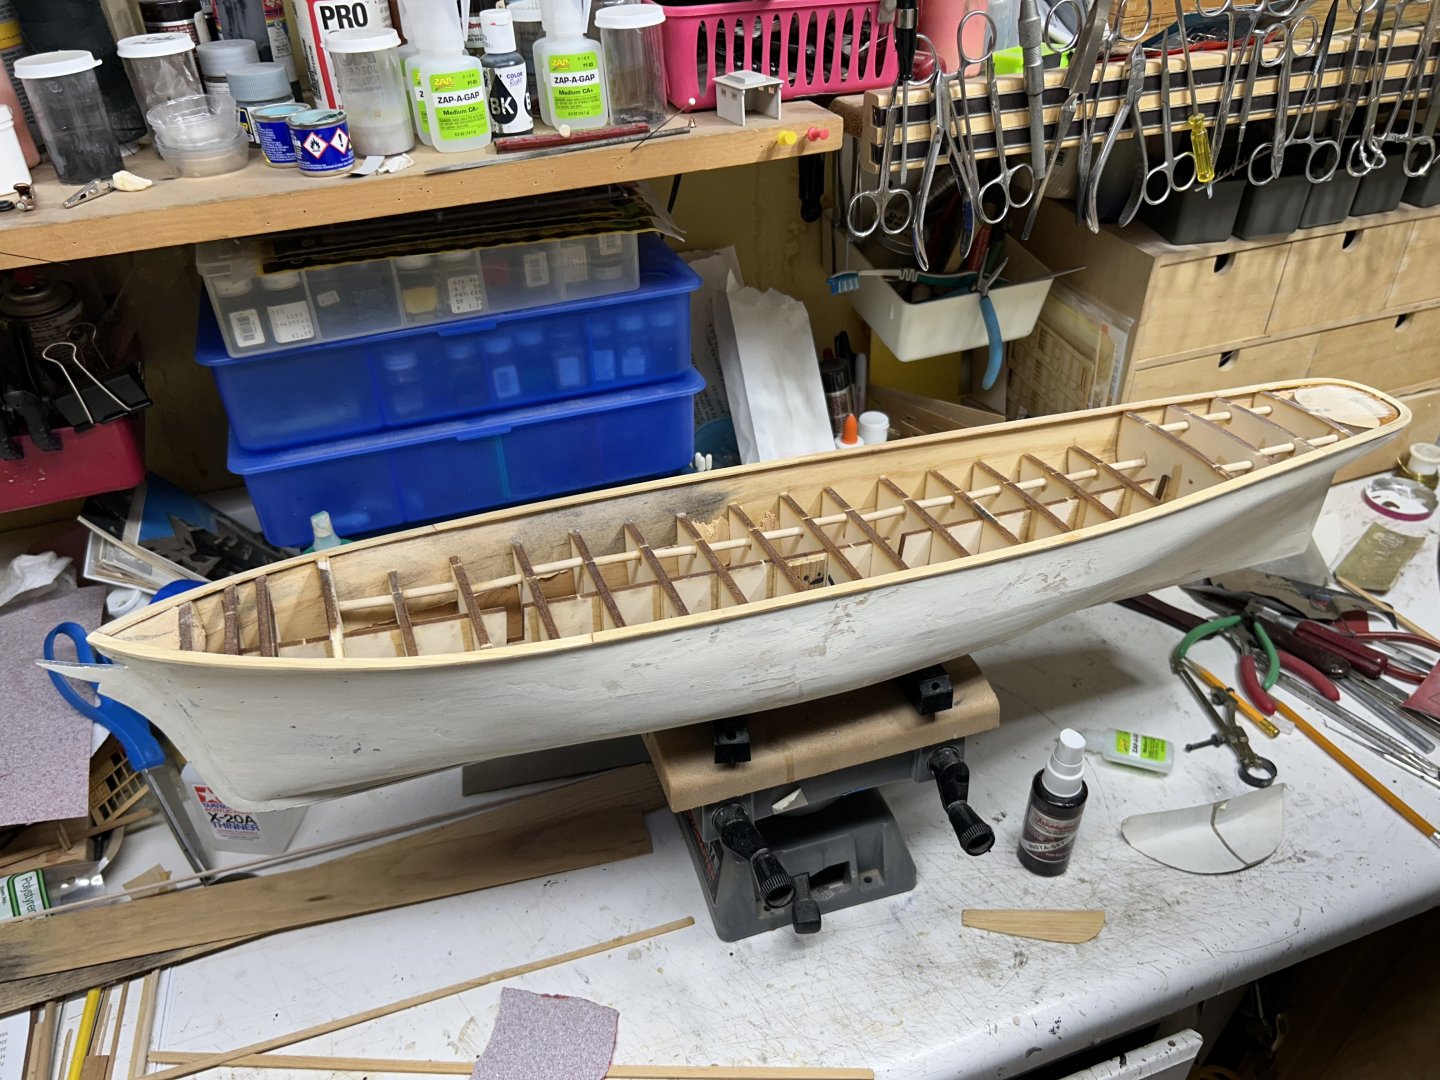
Both sides are done. Now to finish the plank sheet molding.
-
Fabed the port hood. Rob
-
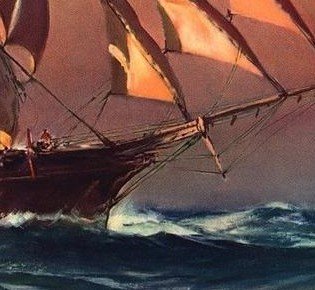
Comparing the stem of my Staghound to a painting of her....You can see the extent of the prow exerting itself forward of the knightshead. The *navel* hood and the figurehead are projecting far forward. I think I'm in the ballpark. Rob
-
Today's projected work schedule will include addition of the McKay *Hoods*....port and starboard. Once they are fabricated and installed, the addition of the leading planksheer moldings will be installed atop the leading edge of the *hood*. All the external moldings have to be installed prior to painting. Since the scroll work is unspecified, I can assume artistic license, in this matter. I prefer to get the external paint out of the way, prior to deck installation. Just makes keeping things over spray clean. Rob
-
Removed the weights and now I have one tiny sliver left on the poop deck. Got Bible study tonight so won’t be doing much more today. Have a great evening. Rob

-
Thanks a lot Grandpa.... I have been building them for over 50 years. Not perfect....but I do, the best I can. I guess, I've learned to know where to *cheat*. An still manage to pull it off. Rob
-
I'll just make sure the masts are pinned after they are turned. The pin will slip into the prepared hole in the deck. The bottom of the mast will be cut to the appropriate rake angle. That same angle will be drilled into the deck. When the boot is in place...you will never know. Rob
-
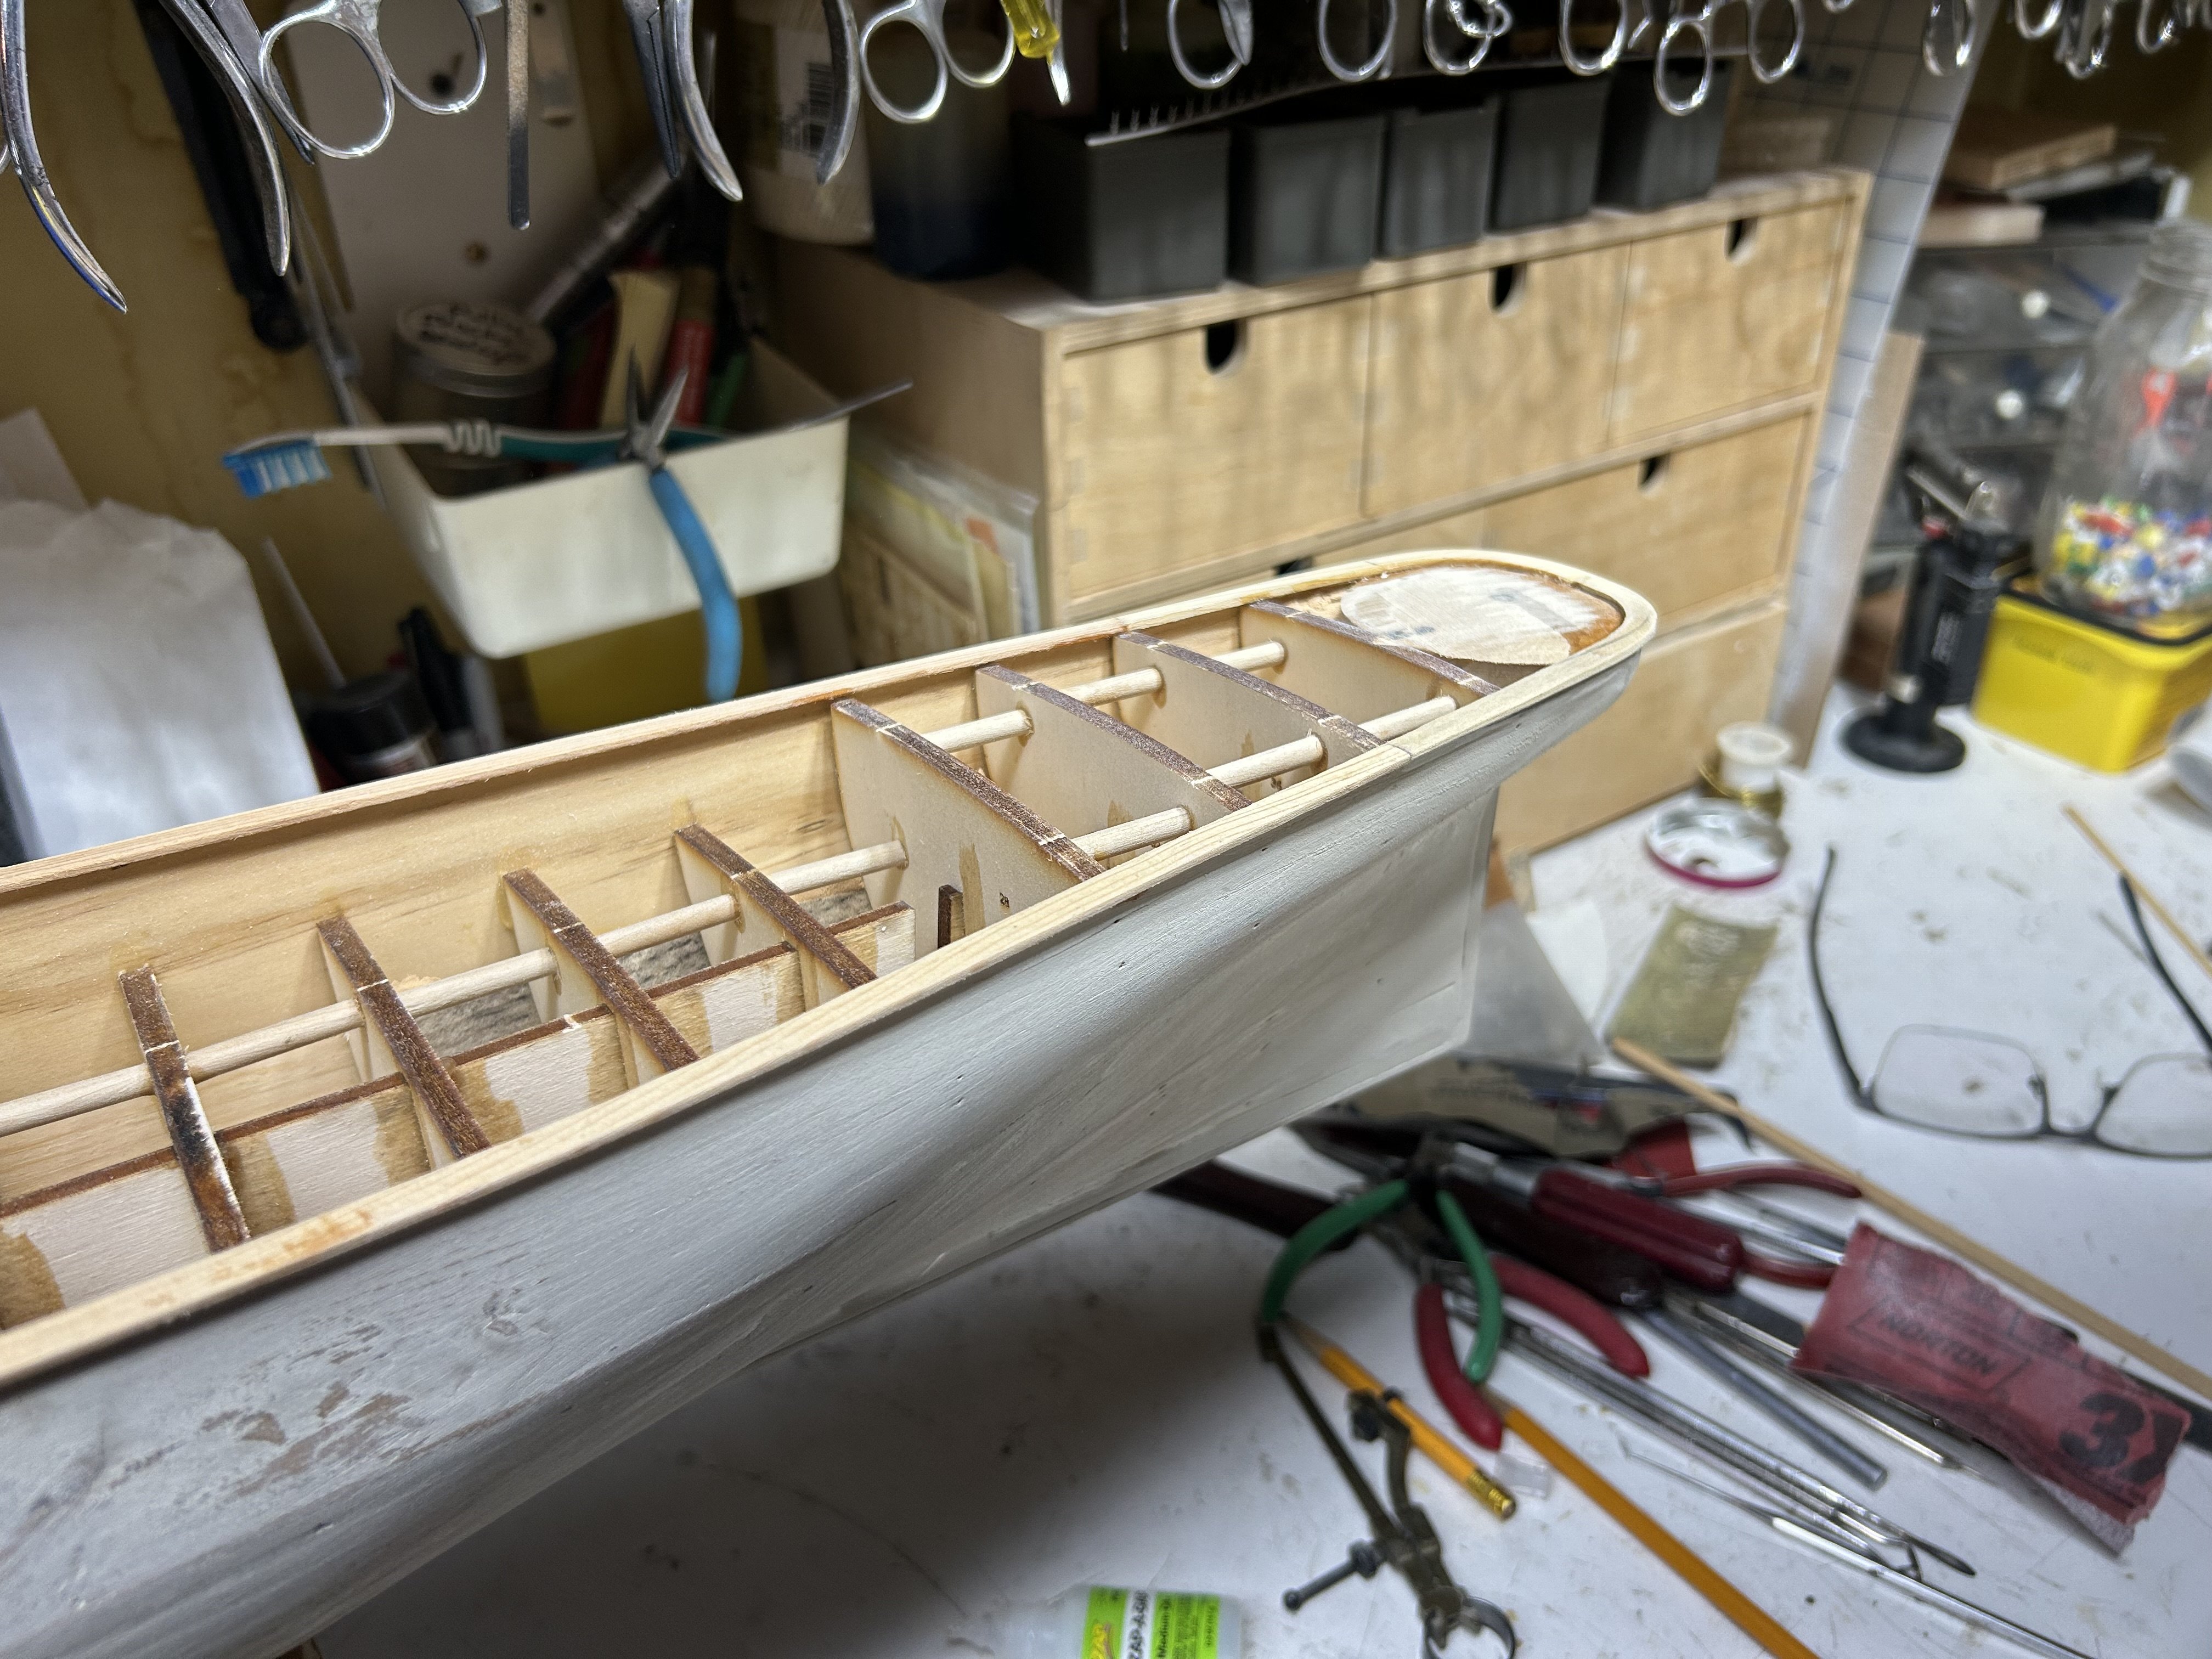
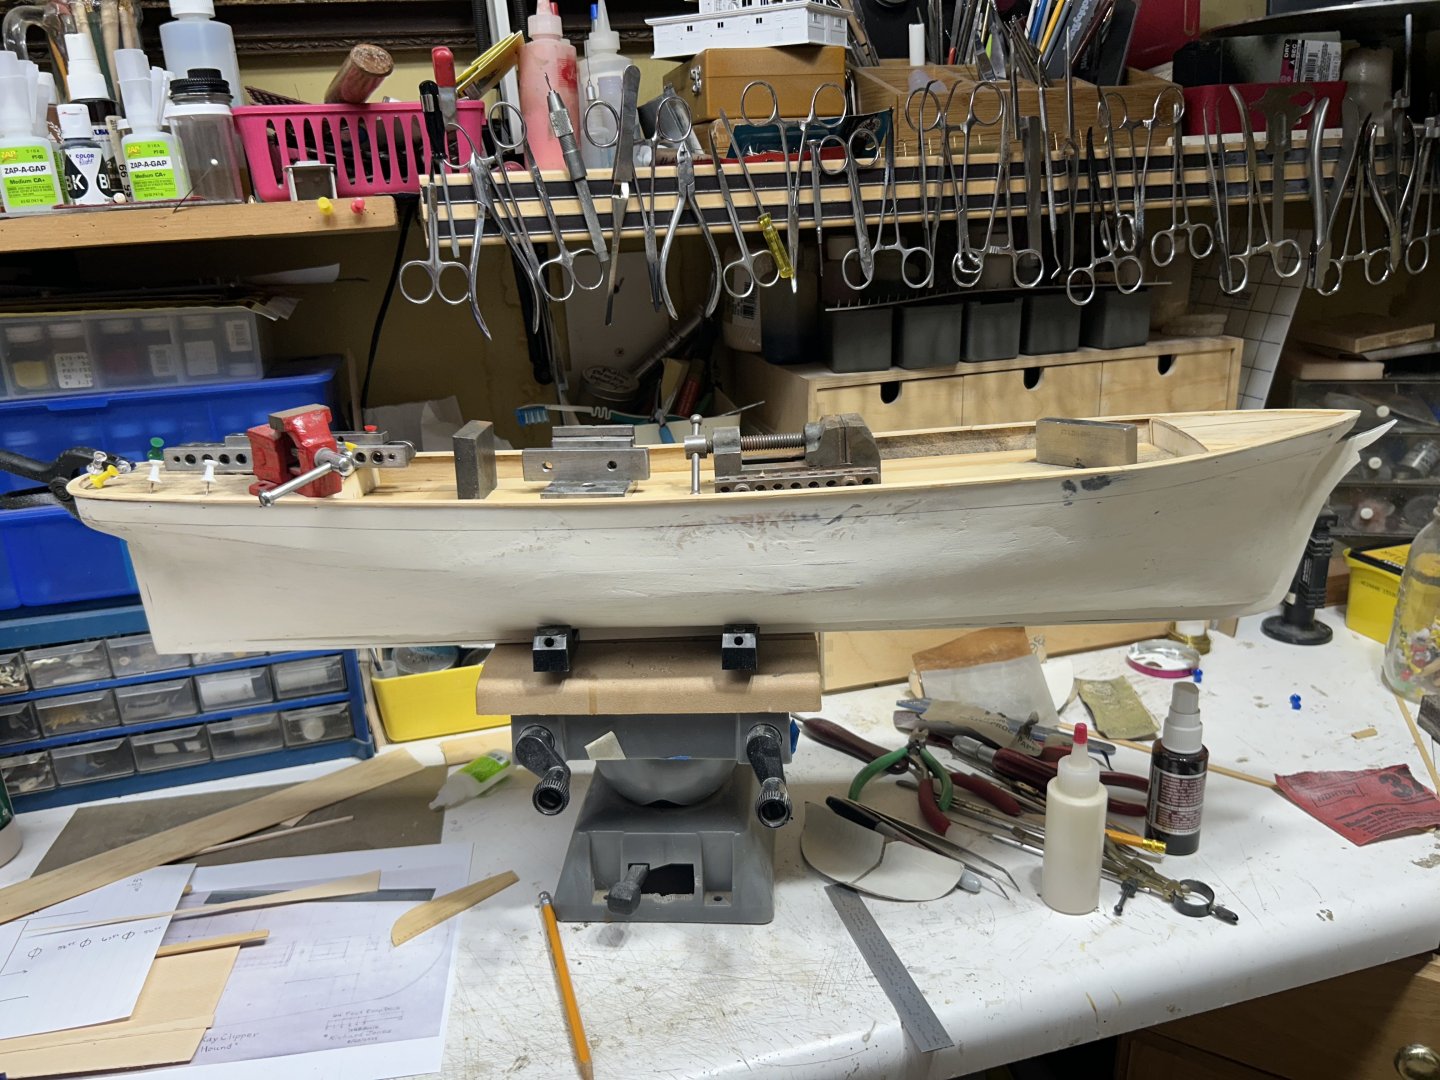
The forecastle and poop decks are level with the main rail...once I add the scribed decking. I will then add the 18" monkey rail with its cap. I think when all is dry within...I will begin shaping and carving the molding on the rail cap. It has a kind of carved out center....creating two lobes similar to the planksheer molding (currently where the line is drawn). This same trim look will be carved on the monkey rail cap as well. (The stern rail around the stern stanchions will also be carved) (at a later date). It's these little details that set the build apart. I need to address these issues before I paint the hull black. As I look at it now....there are so many small details that need to occur at the same time...or there abouts.
-
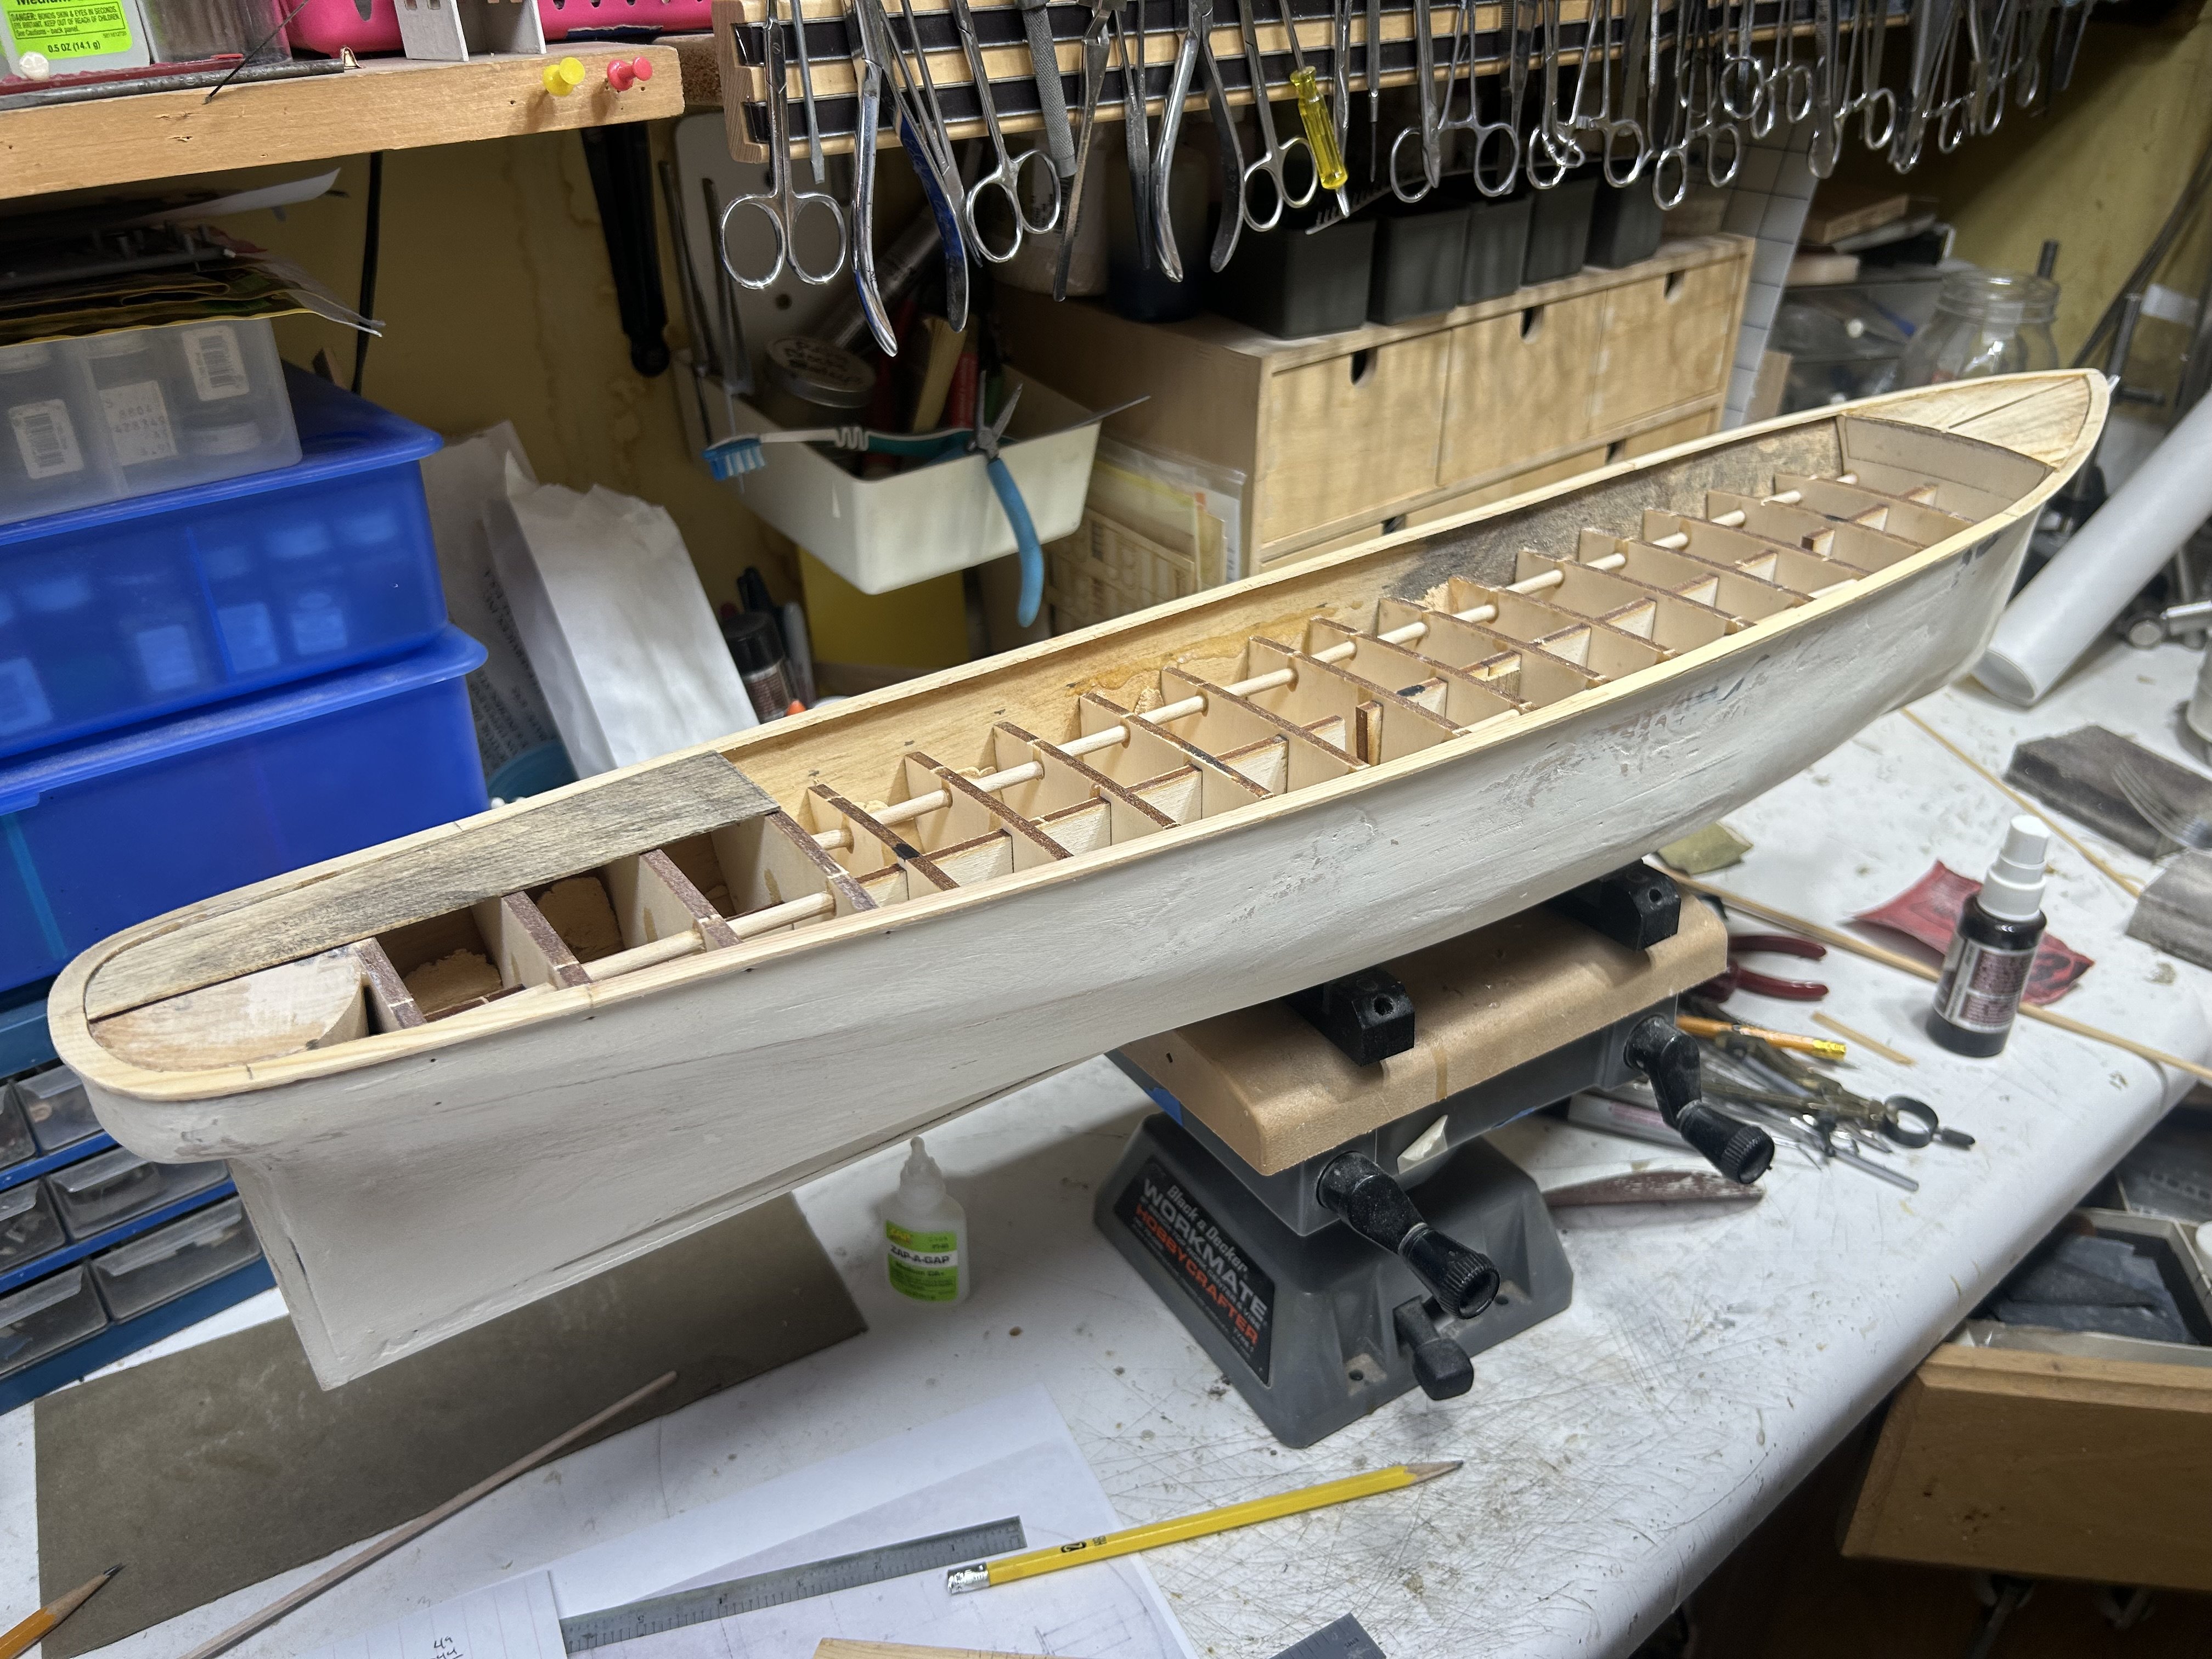
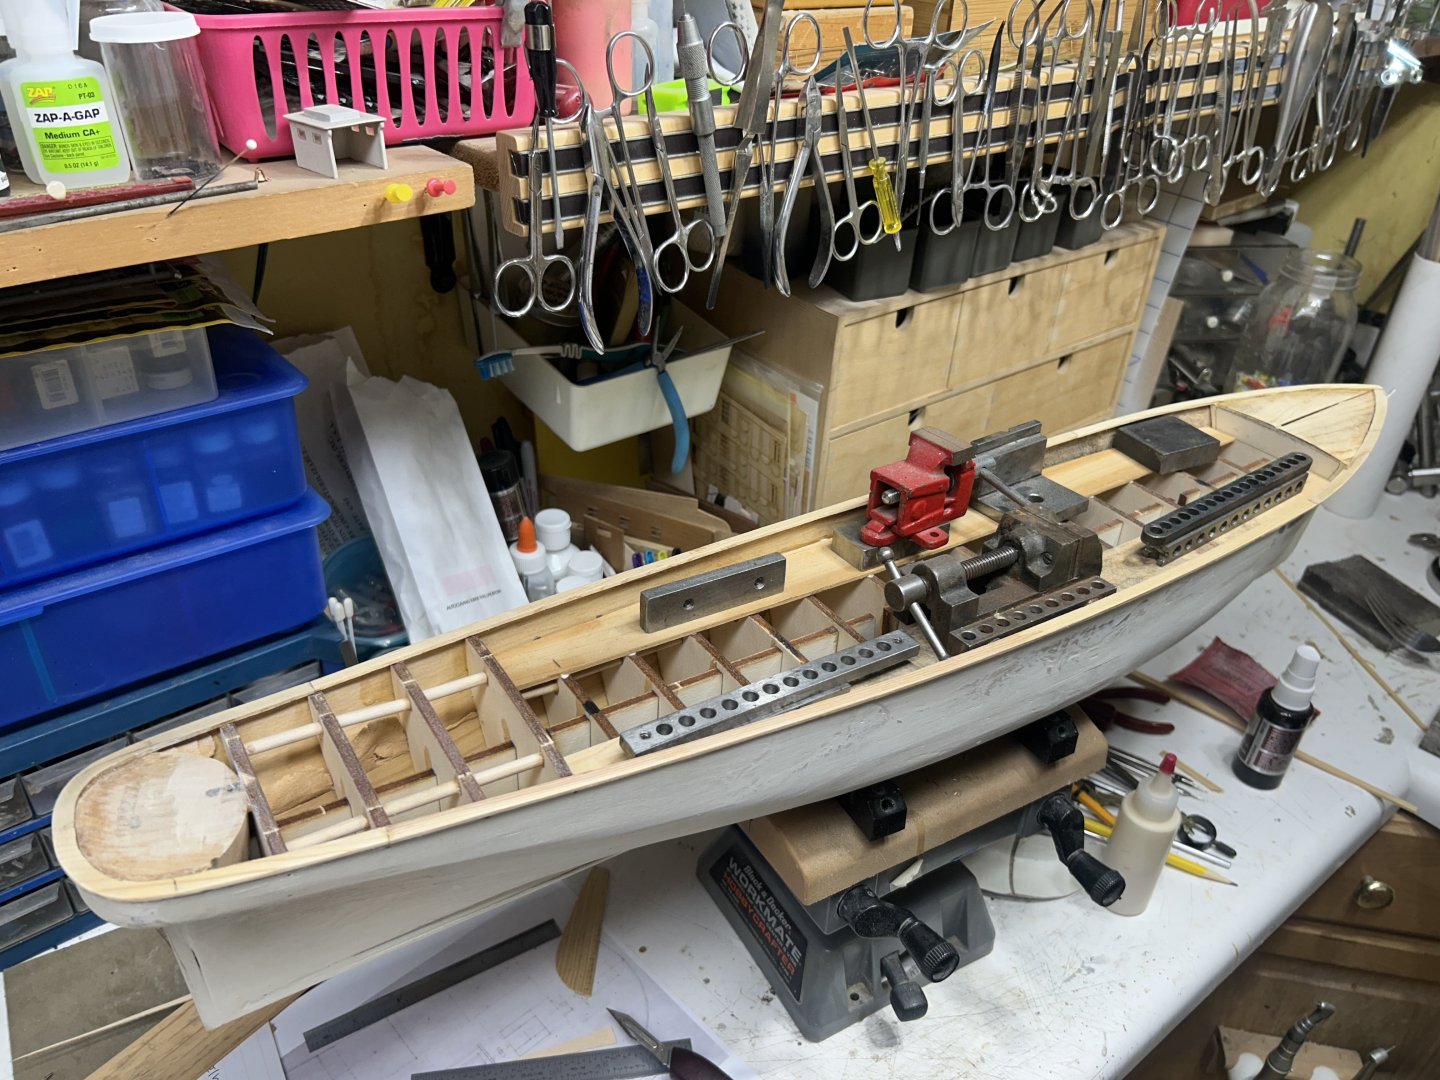
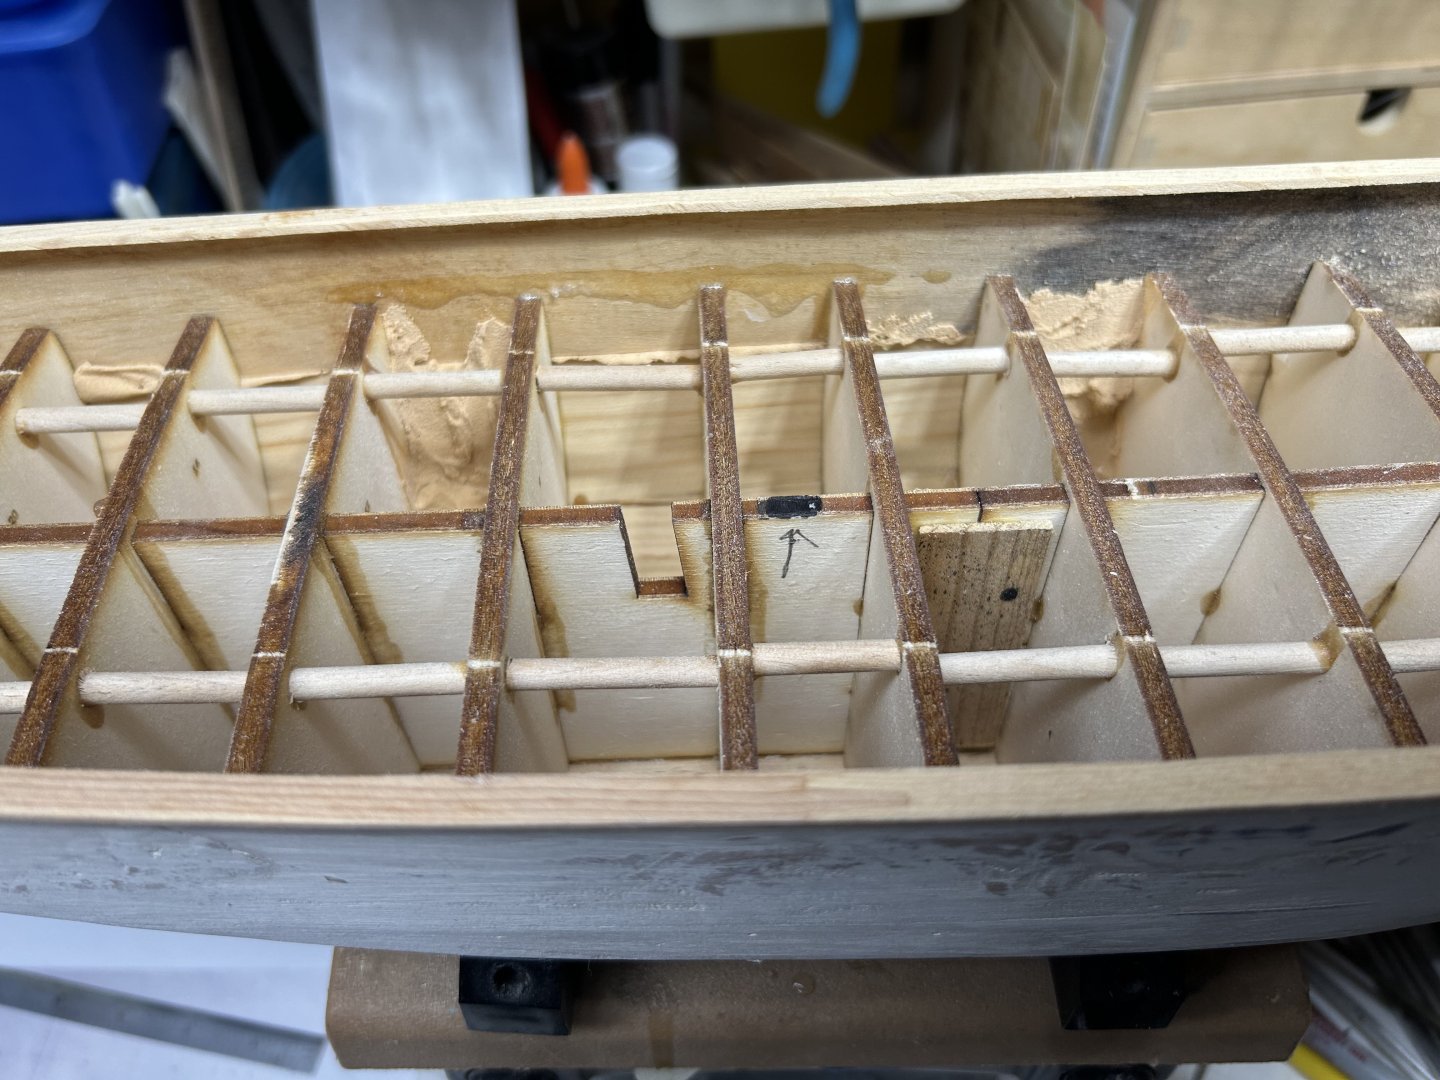
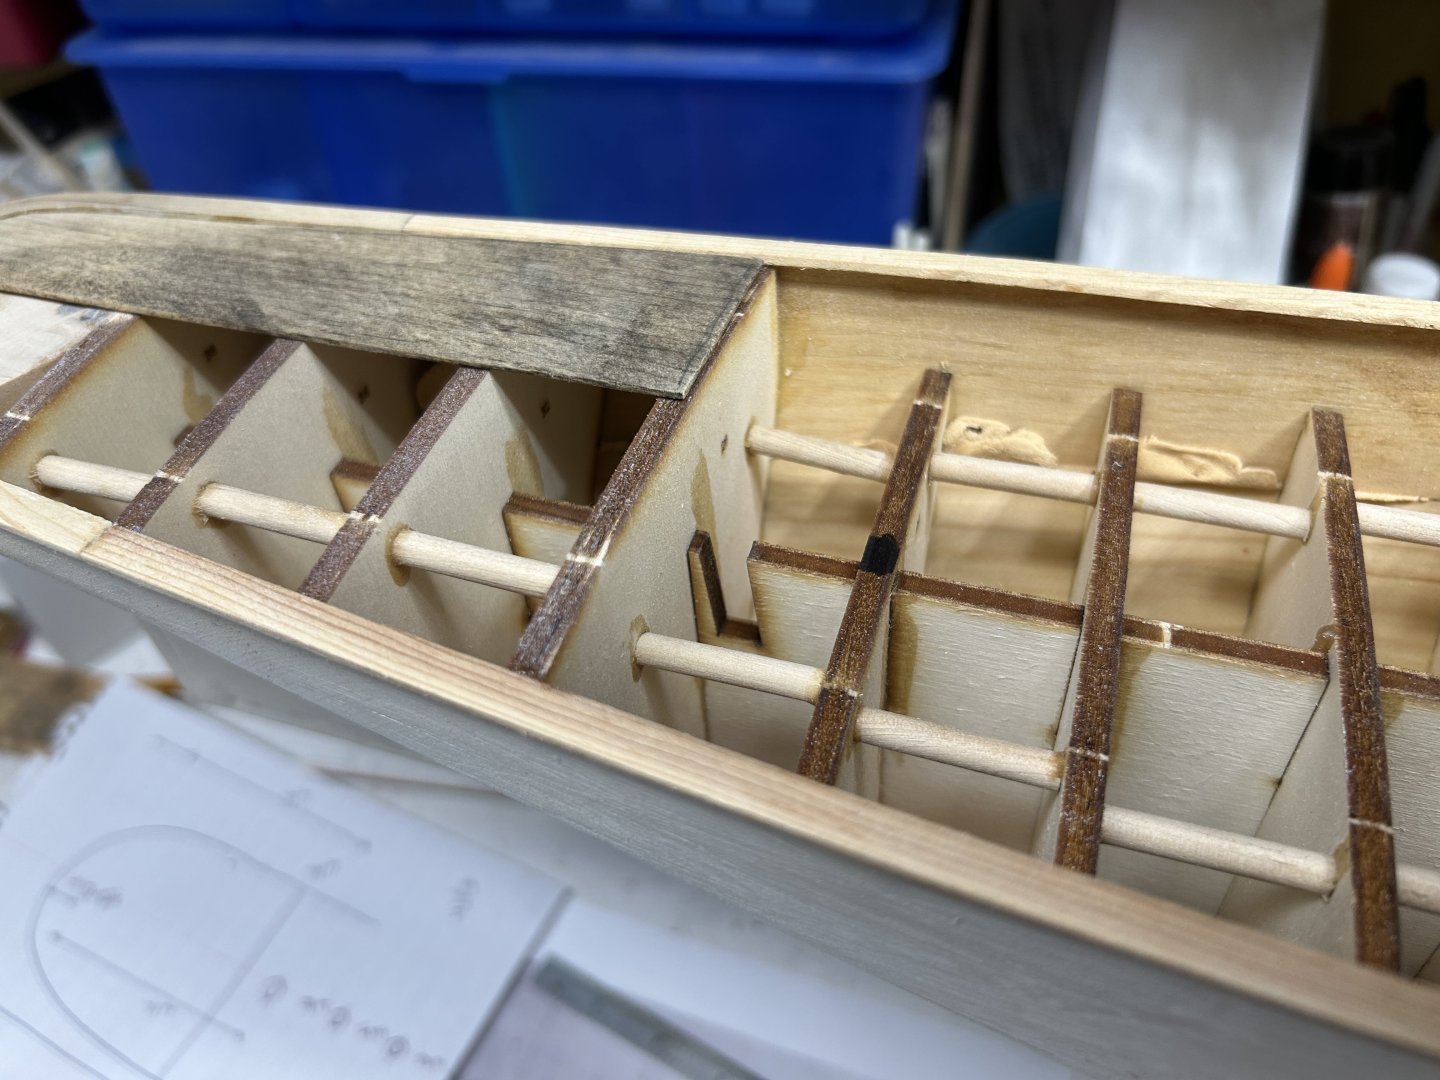
I’m drilling small wood pin holes in the deck and framing bulkheads to secure the masts to. They will work out nicely. Good advice. Being Sunday, I only spent time finish laying the sub flooring planks. They are 3/32” thick , Good and sturdy.
-
Thanks Rich. As , was with Glory of the Seas, the Staghound is a Joint adventure. I’m just the guy gluing it all together. Rob
-
Began to install the sub deck. Rob

-
Recalculating it looks like Vlad placed the masts in the incorrect location. I noticed it when placing the portico. It was off by 8 scale ft. The foremast began too far back from the stem. Everything was off by 8ft. Some images to show. The black dot is the correct location. Rob

-
Rich……..I told you it looks small because it is being held behind the cutwater. Optical illusion. Spent time adding the main rail cap. Rob


-
Thanks a lot Rick. Since we have no photos to aid me……the McKay model and McLean’s description is all I have to work with……. Oh and a little artistic license. Rob
-
Thanks
-
Looks like I’m right on track. Thanks Rob
-
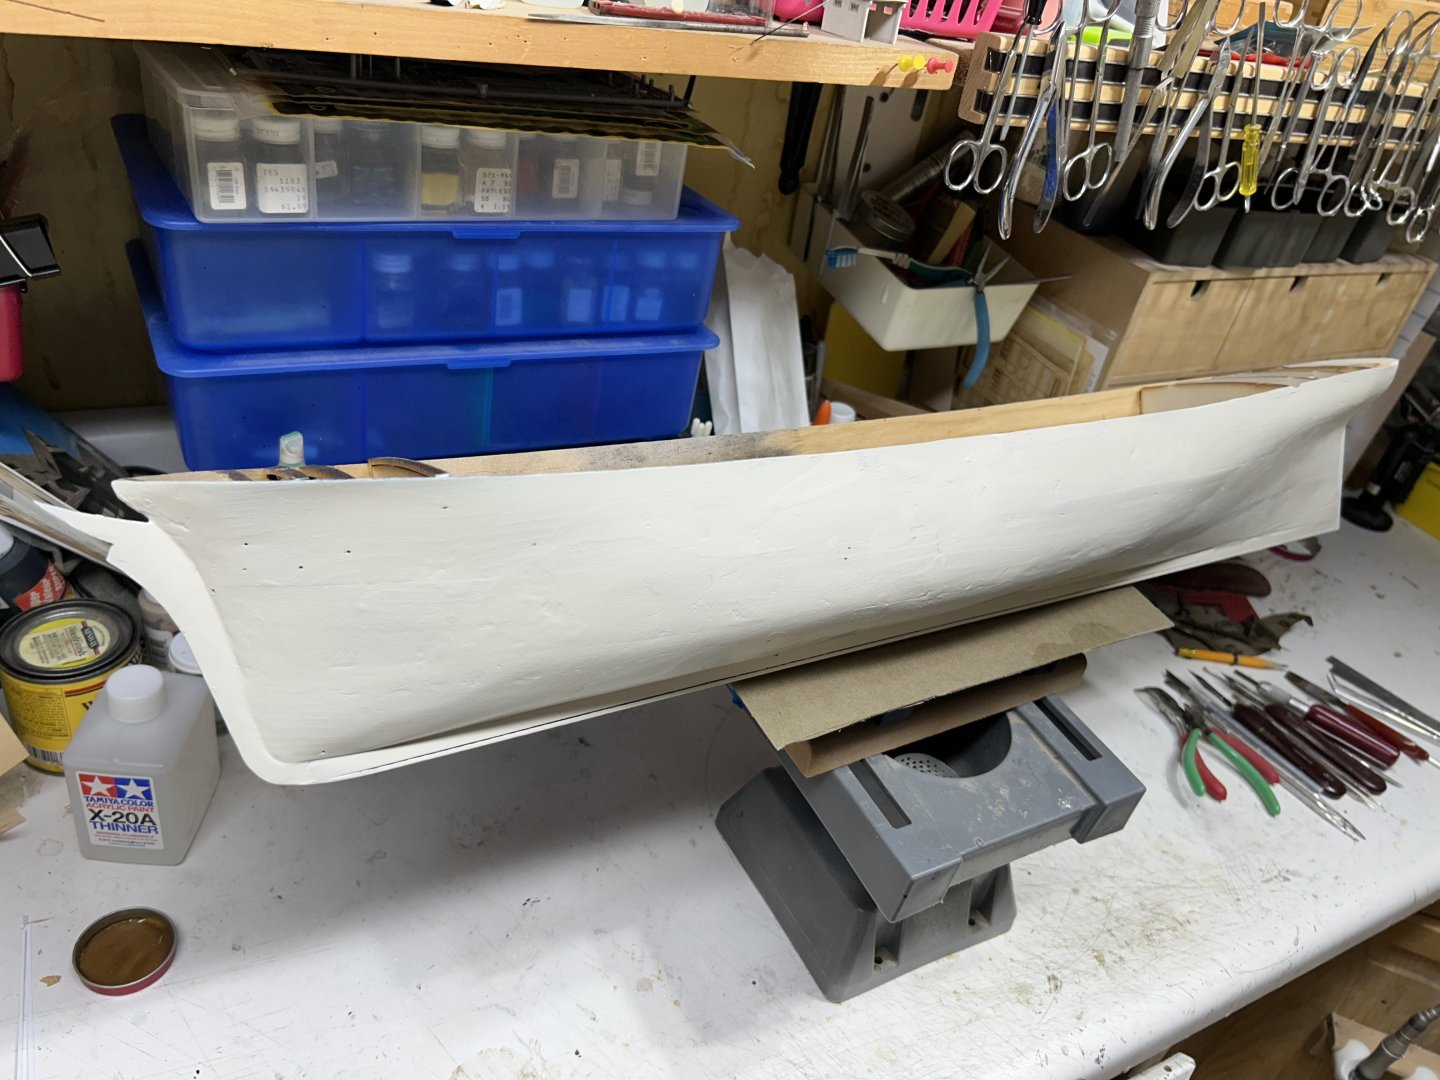
Sprayed on a primer to aid in contouring, and sanding.

-
Rich...recalculating my measurements...Her bulwarks are 6.5ft including the monkey rail. That means her main rail is at a height of 5.1ft where her poop and forecastle decking are located. Correct? Her planksheer sits atop her 12" waterways. I'm assuming her main rail is measured from the deck, not on top of the waterway? I am finalizing all these measurements so I can calculate the placement of the external planksheer Moulding, which is be 6" thick and 16" wide. Same size as the rail cap. fun, fun, fun... Rob