Rick Abramson
-
Posts
44 -
Joined
-
Last visited
Recent Profile Visitors
1,203 profile views


-
 Landlubber Mike reacted to a post in a topic:
USS Langley by Rick Abramson - Trumpeter - 1:350 - Plastic
Landlubber Mike reacted to a post in a topic:
USS Langley by Rick Abramson - Trumpeter - 1:350 - Plastic
-
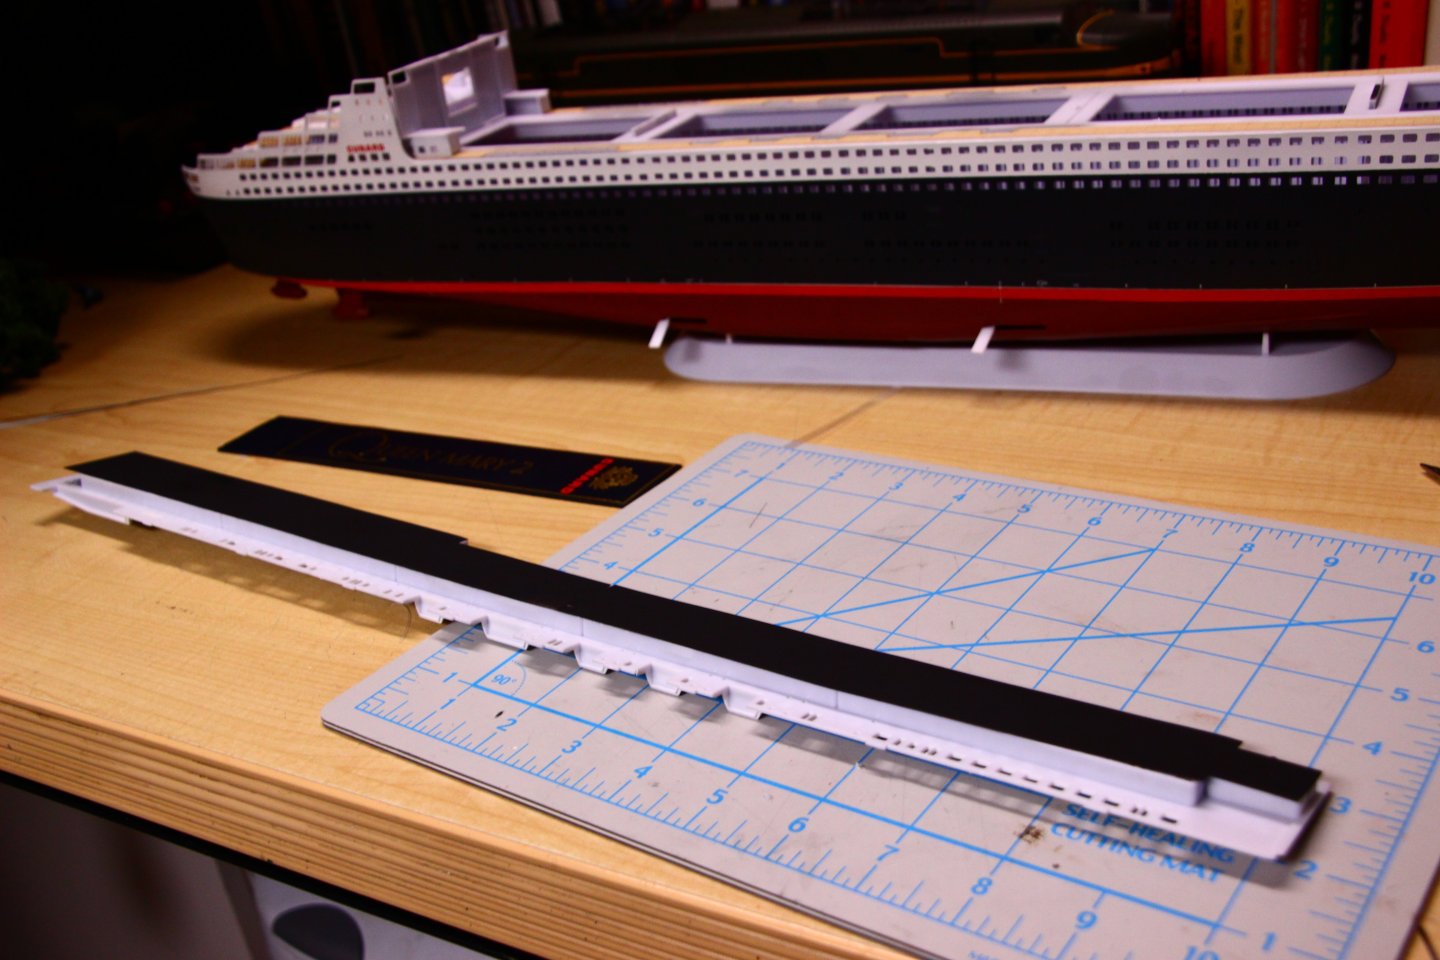
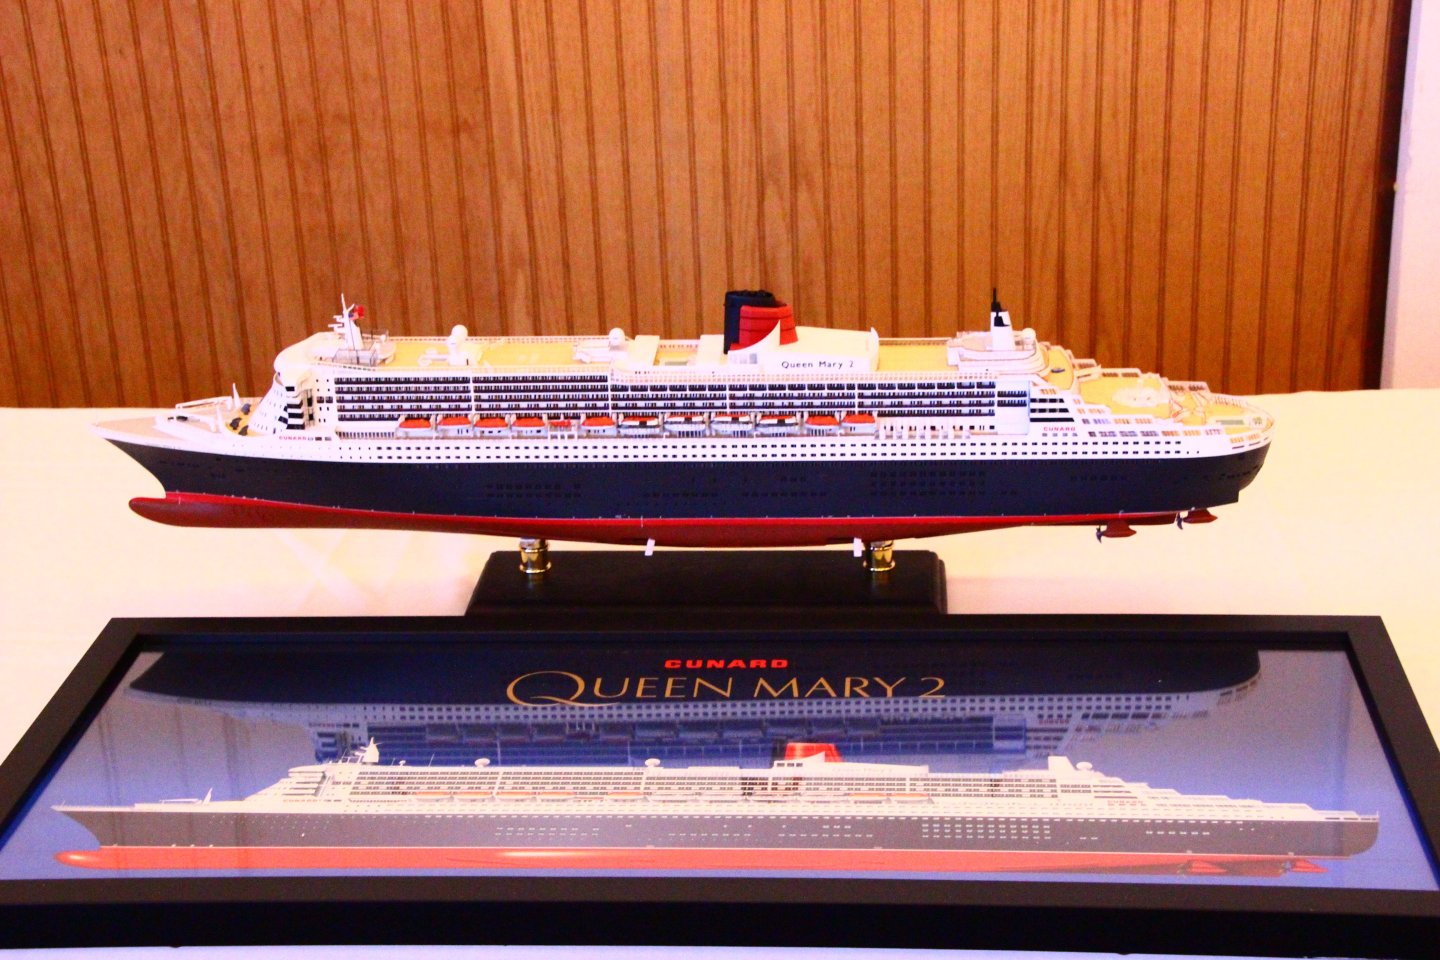
When I was building my 1:400 QM2, I noticed immediately you could see athwartships through the superstructure. I made a template of the inside of the balconies and cut clear acetate. I then painted one side of the acetate flat black which would be inboard. That did the trick!
- 33 replies
-
- 4
-
-
- Queen Mary 2
- Revell
- (and 3 more)
-
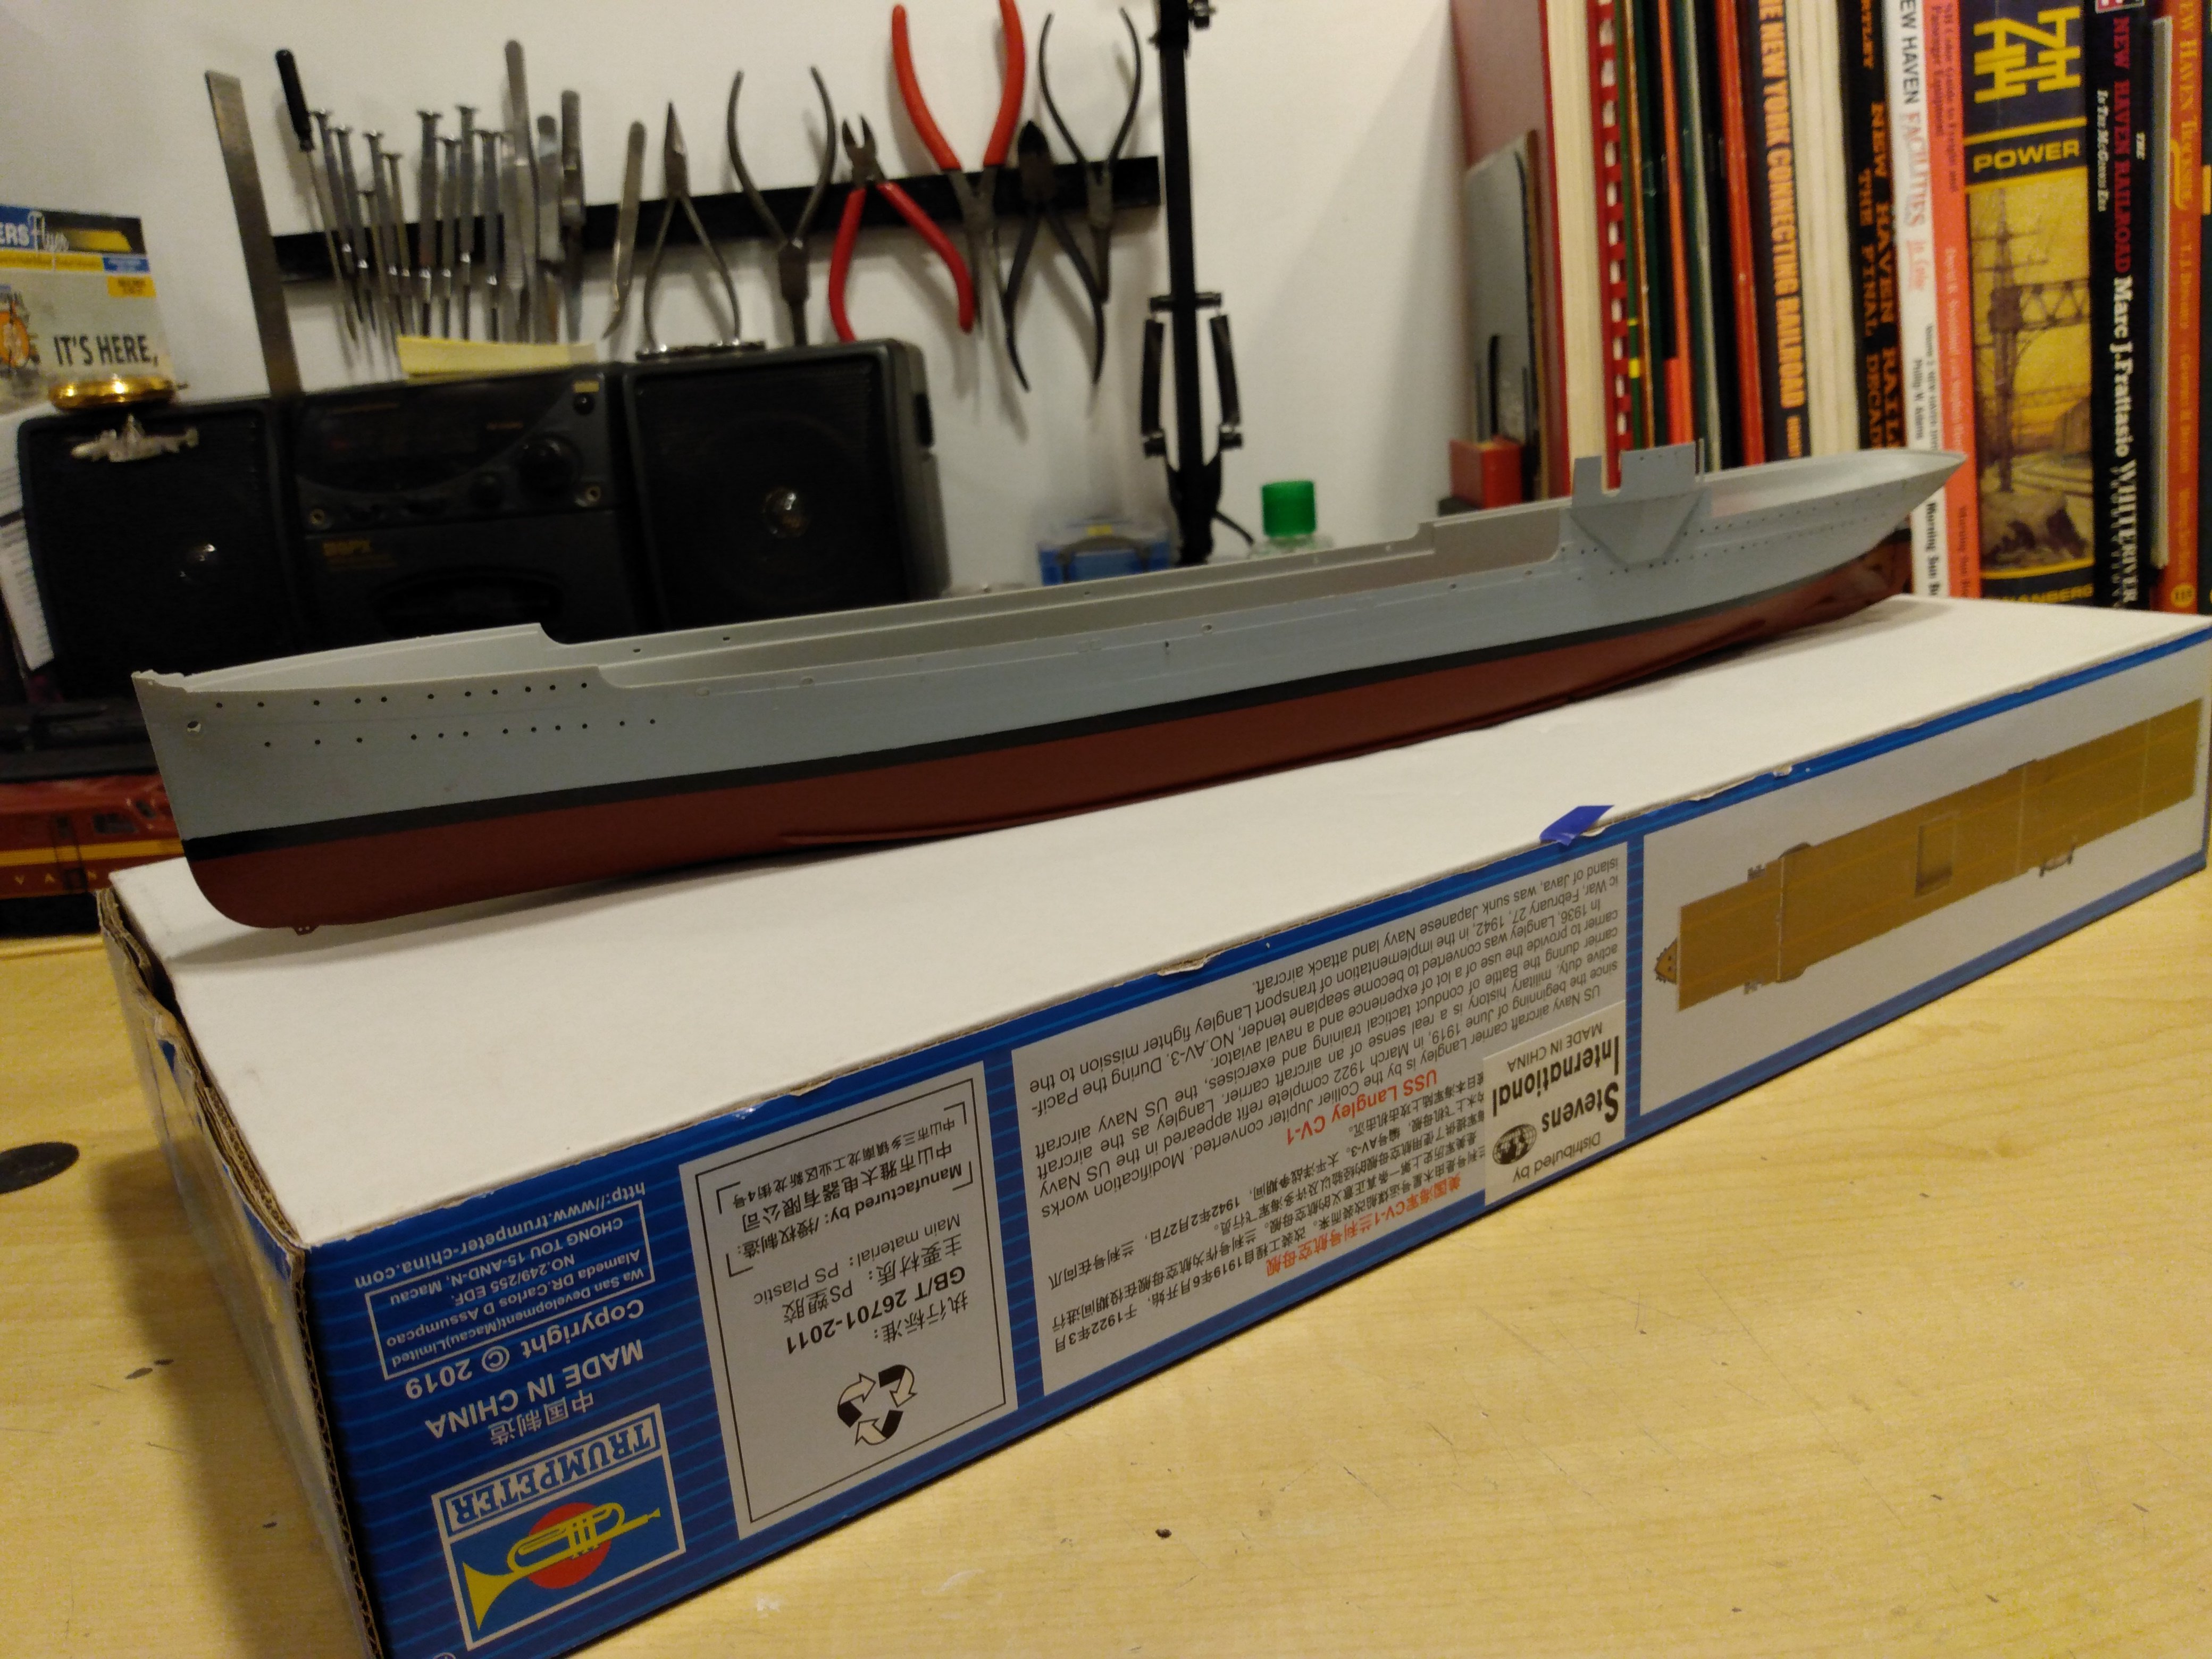
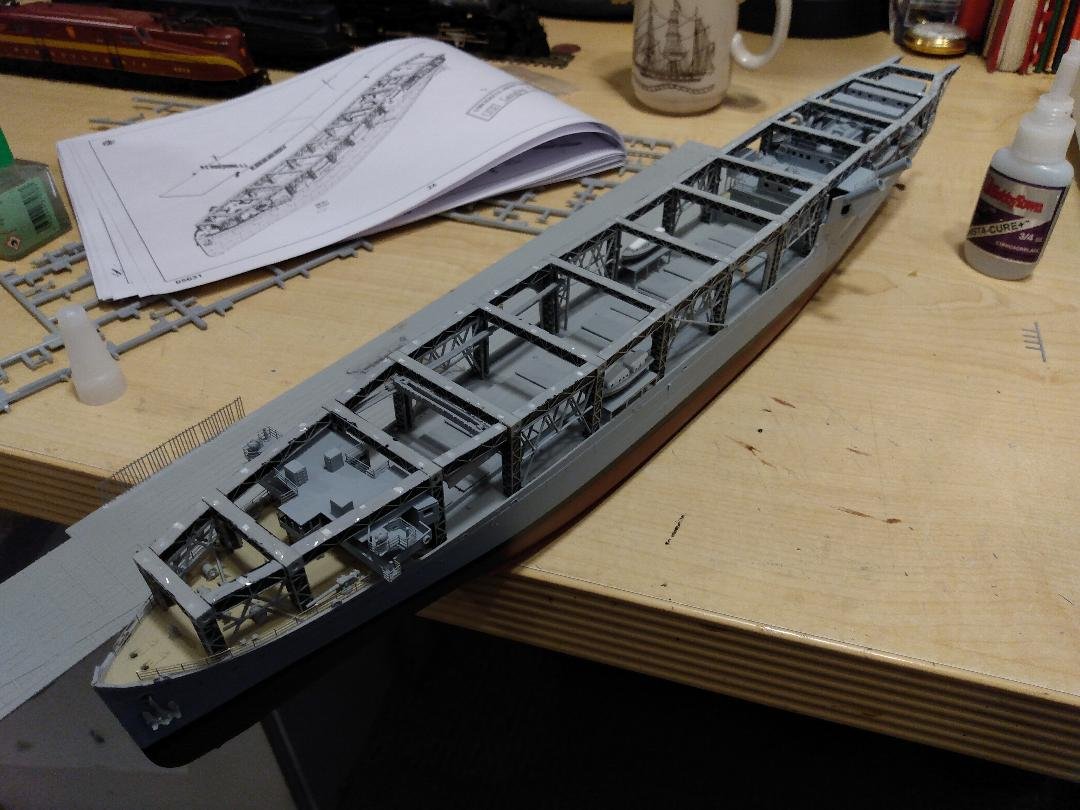
I airbrushed the entire model using TruColor paints' US Navy colors and also drilled out all of the portholes. The model came with nicely done photo etched parts. The girders supporting the flight deck are solid plastic castings with raised girder details. To create the "illusion" of open girders, I painted the girders gray, then painted them flat black. After the black had dried, I then took a pencil eraser and removed the black paint from the raised girder detail leaving what would be the open areas black.
-
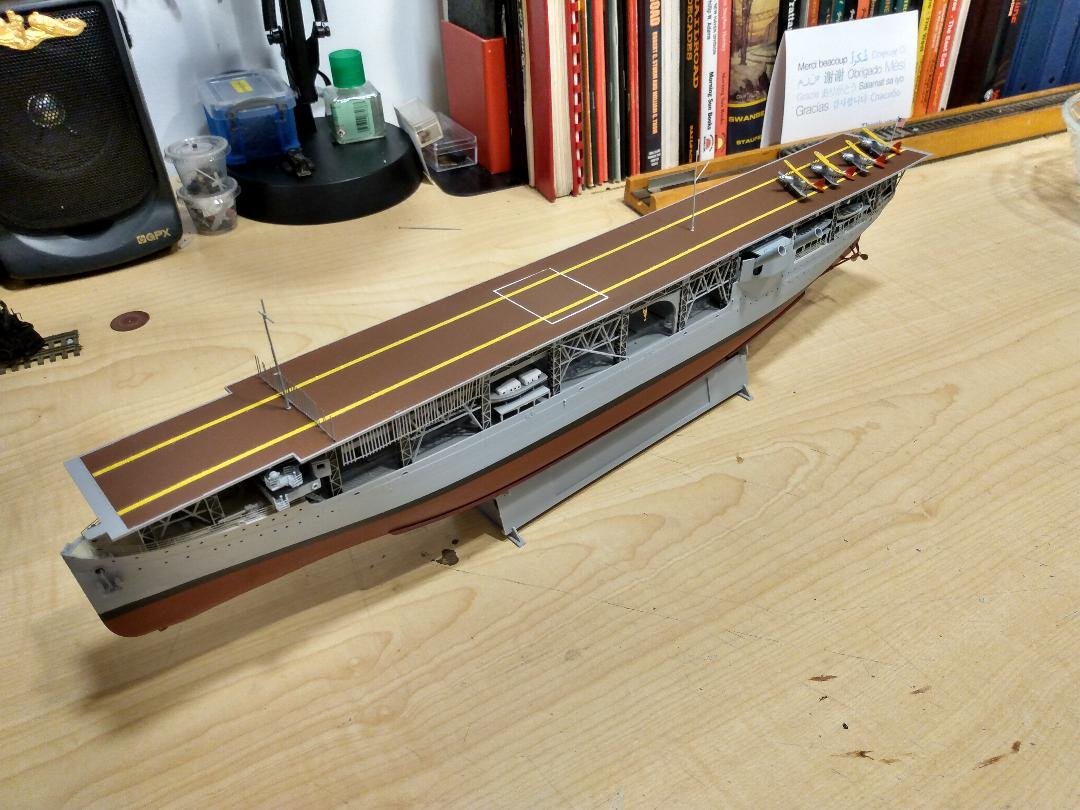
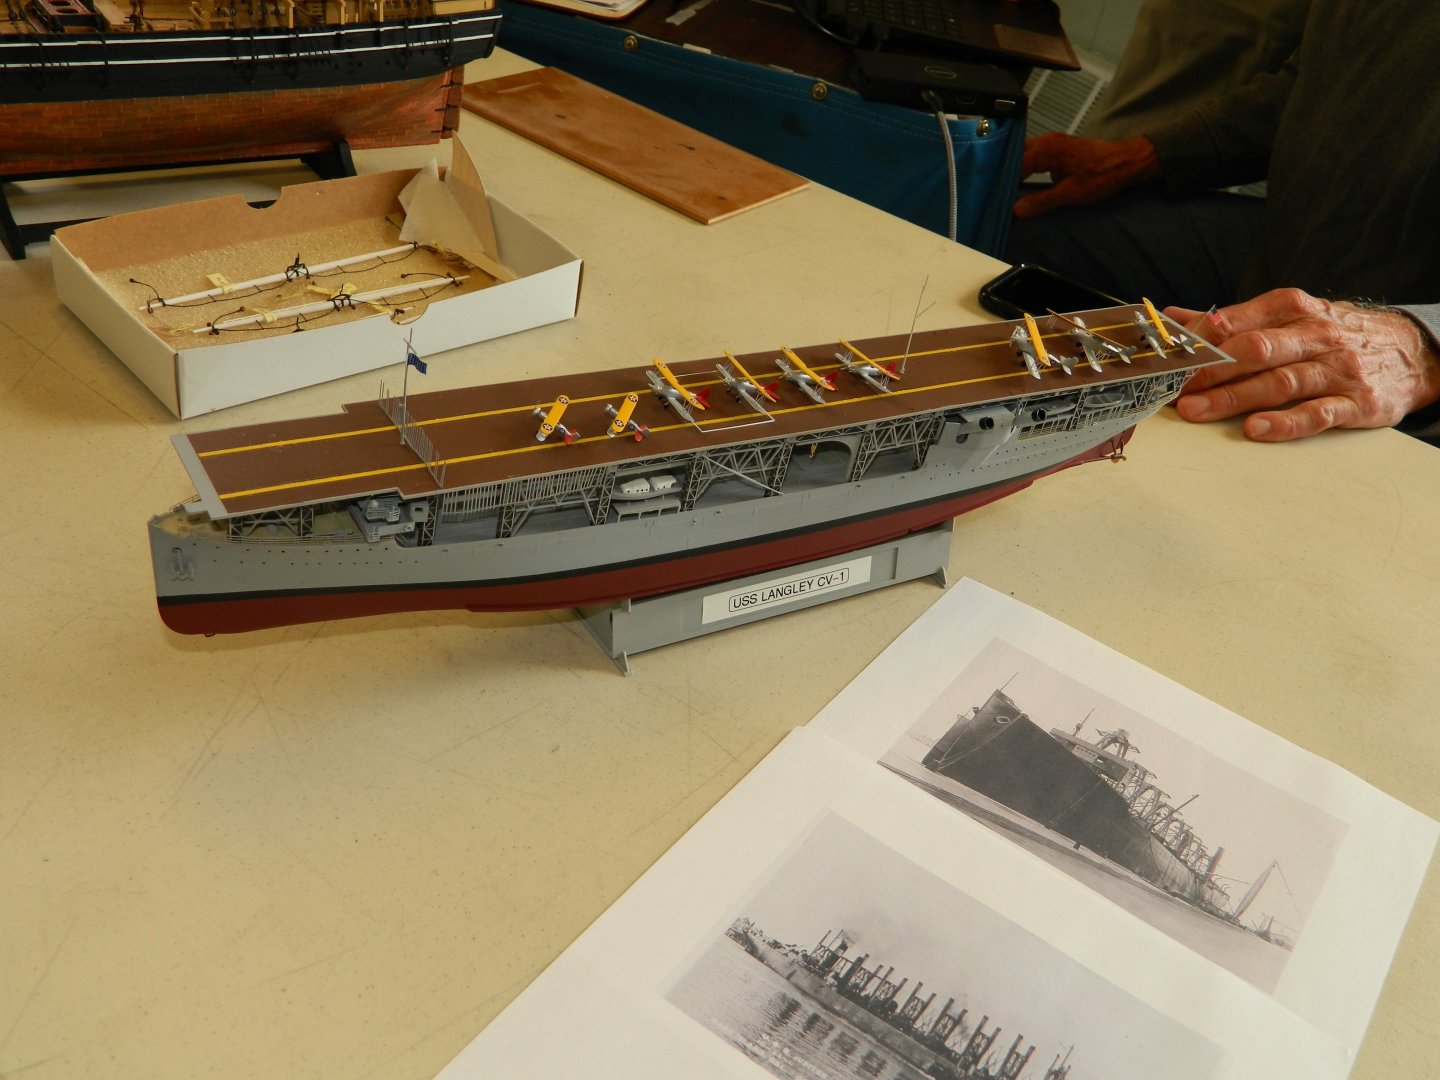
Assembly process for the Trumpeter 1/350 USS Langley, CV-1. The US Navy's first aircraft carrier. The Langley was converted to an aircraft carrier from the US Navy's collier USS Jupiter.

-
Understand the title change, good choice. Thanks, Rick
-
Thank you for your response. I definitely followed your suggestion. . . .much appreciated!! Rick
- 14 replies
-
- 1
-
-
- portland
- BlueJacket Shipcrafters
- (and 1 more)
-
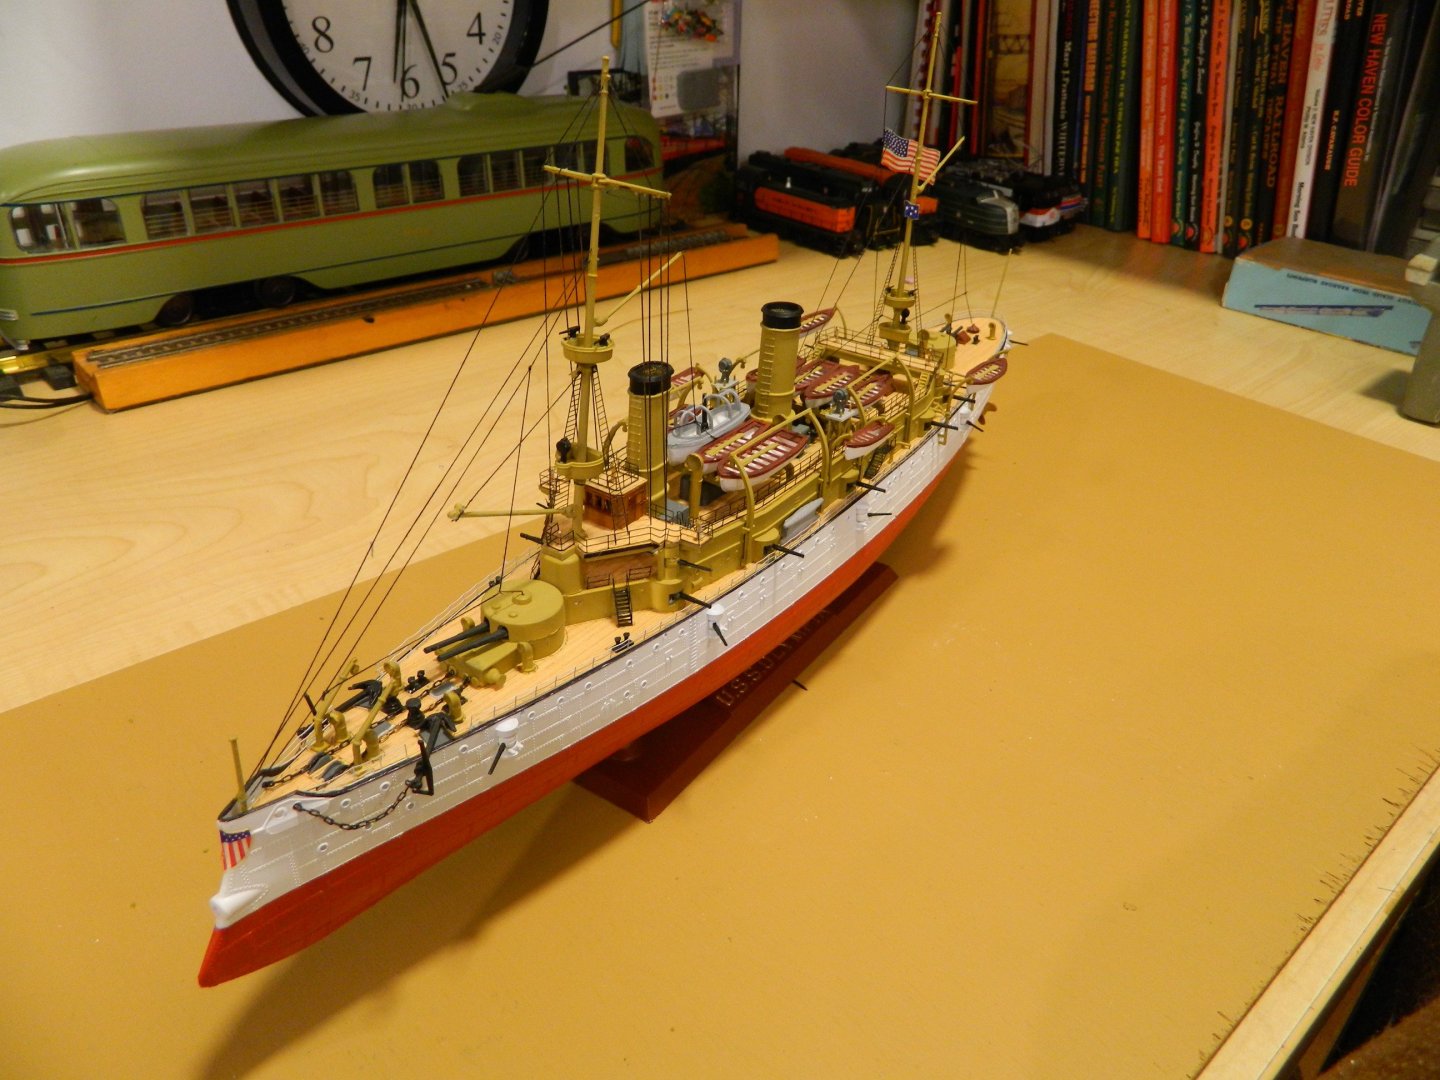
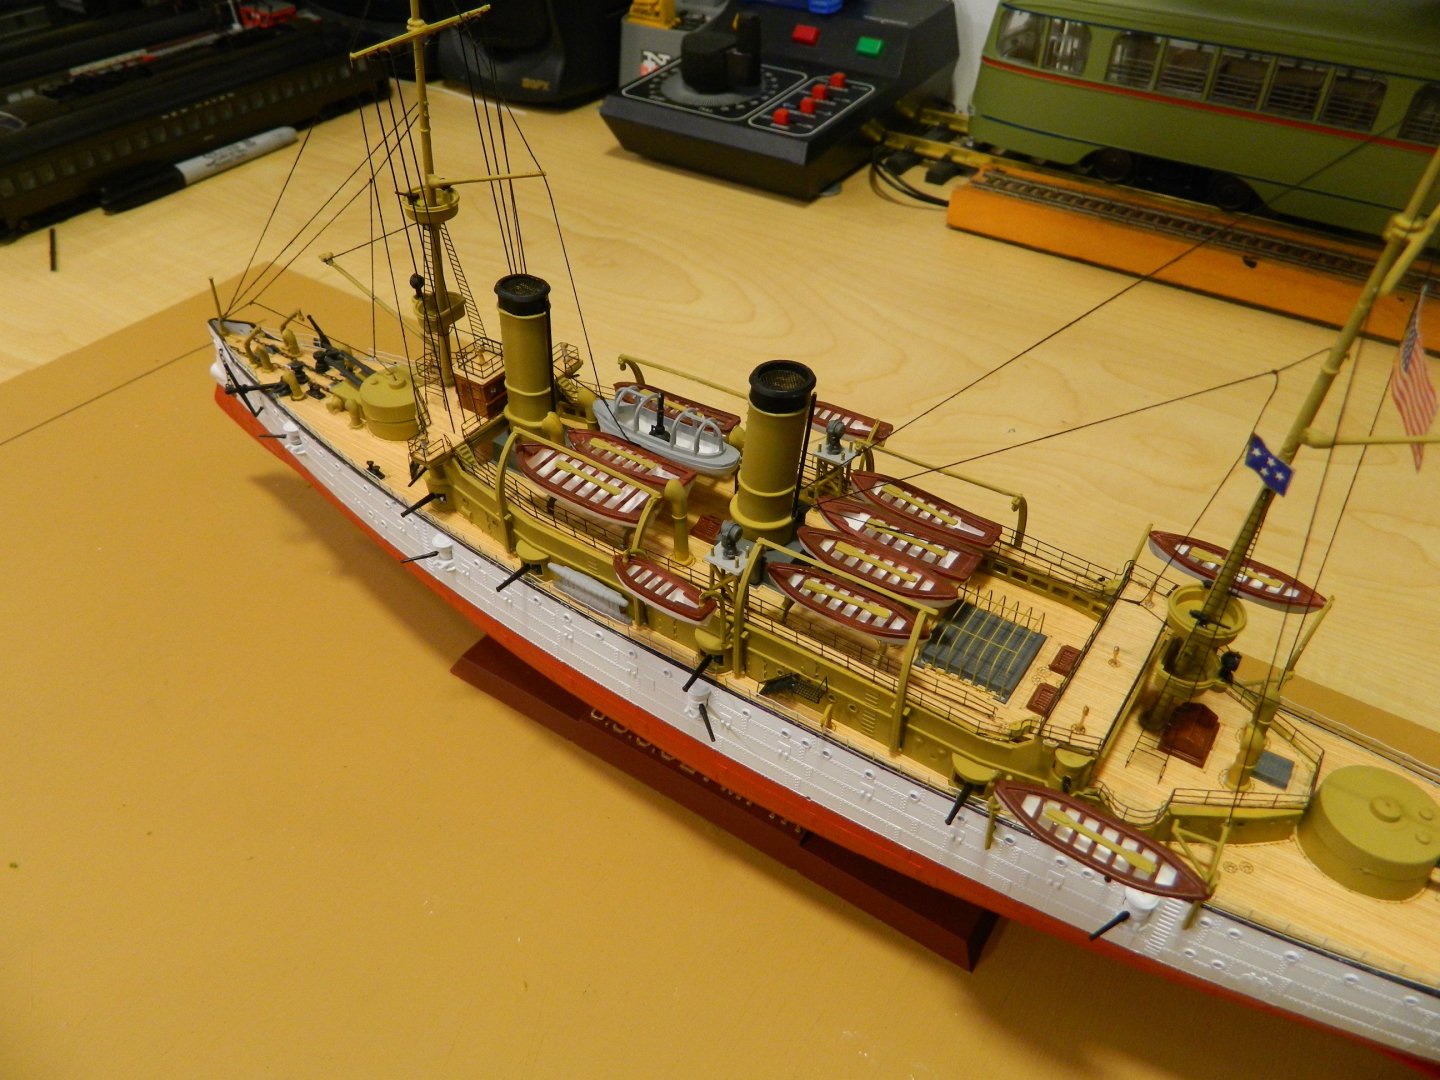
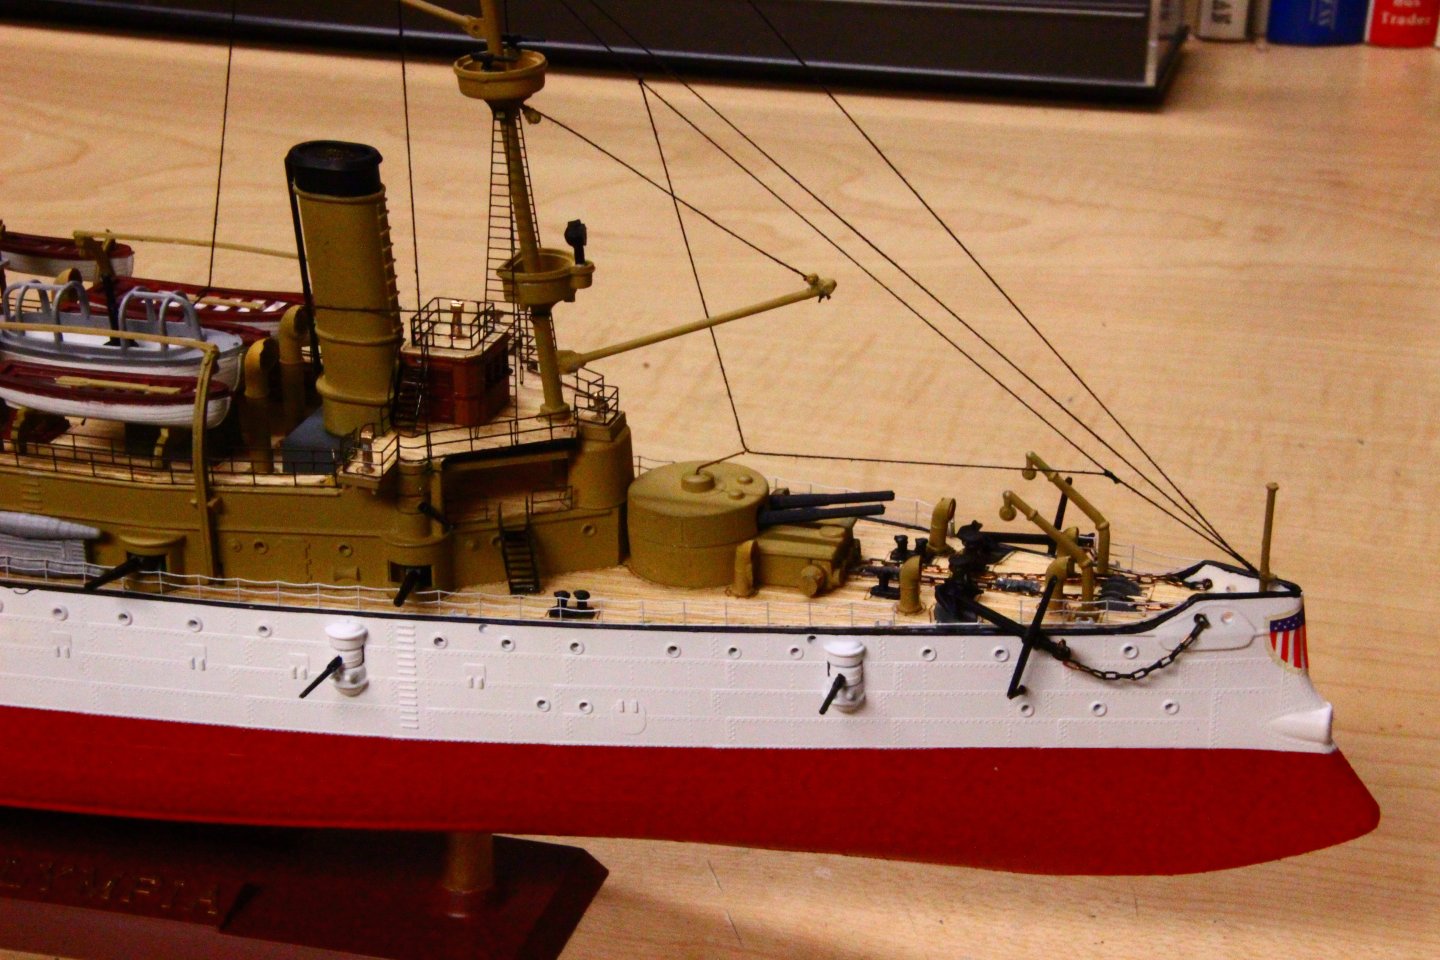
The Revell USS Olympia has been rated as the finest plastic model of this famous ship. I improved the model with laser cut wood decks and many photo etched parts. The model was airbrushed using Trucolor paints.
-
Just out of curiosity, is it a requirement that models presented here are to be wood only? My builds are mostly plastic. If plastic doesn't "qualify", I don't want to take up space here. If that's the case, no offence taken.
-
Thank you Norm on behalf of John and myself. To say the least, building this model is not a "pleasure cruise."
-
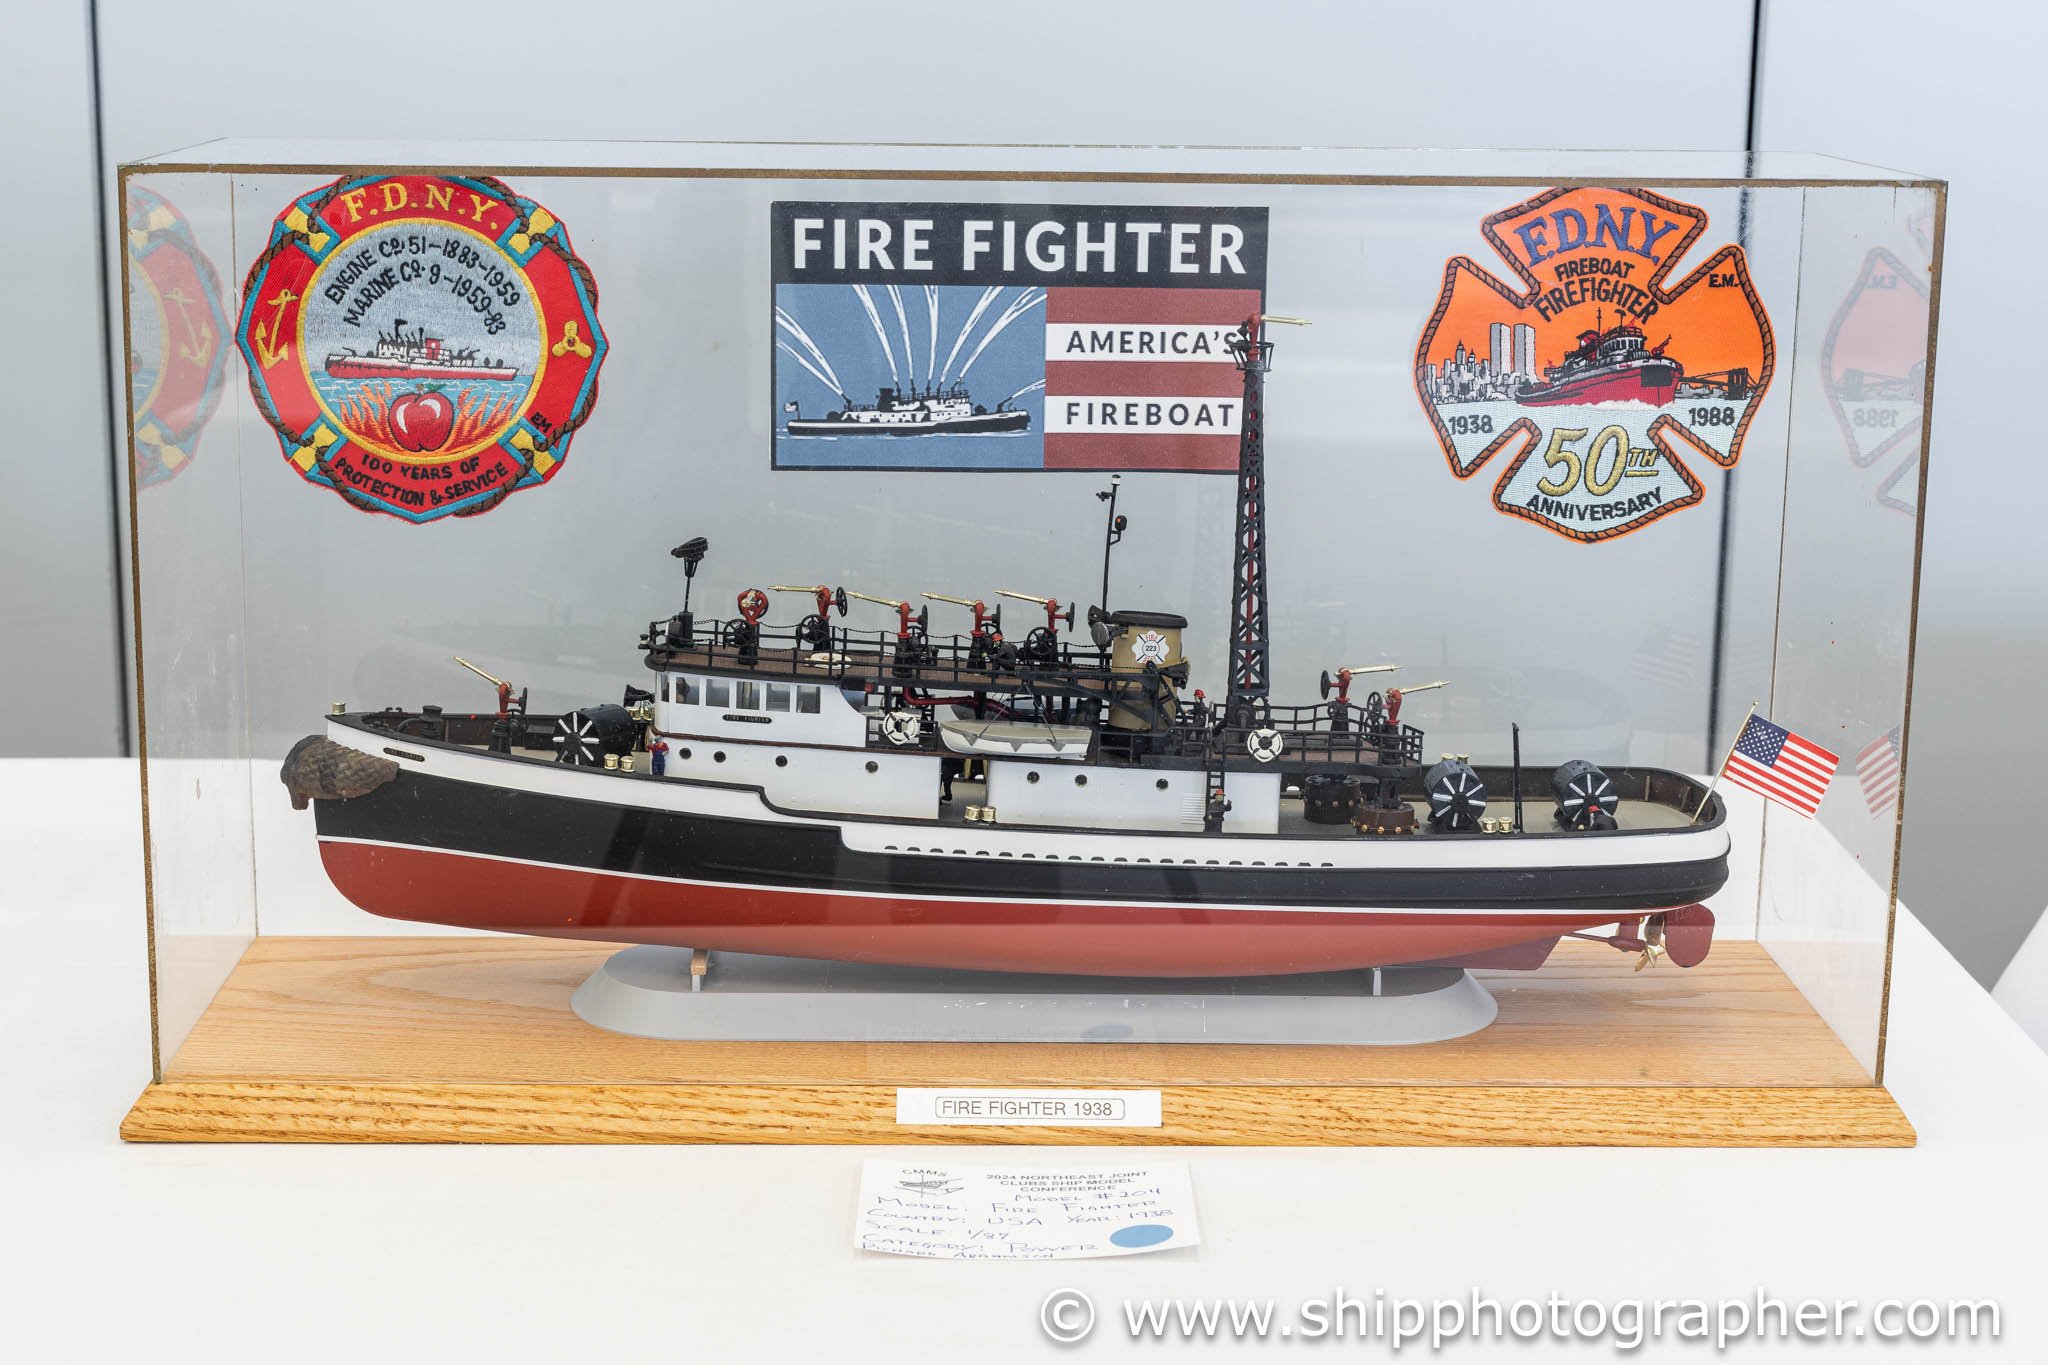
This is the original Revell model of the FDNY fireboat the "Fire Fighter." She was in service for 50 years and will eventually be on display at Mystic Seaport. Model 1/87 scale. All airbrushed with Trucolor paints.

- 14 replies
-
- 3
-
-
- portland
- BlueJacket Shipcrafters
- (and 1 more)
-
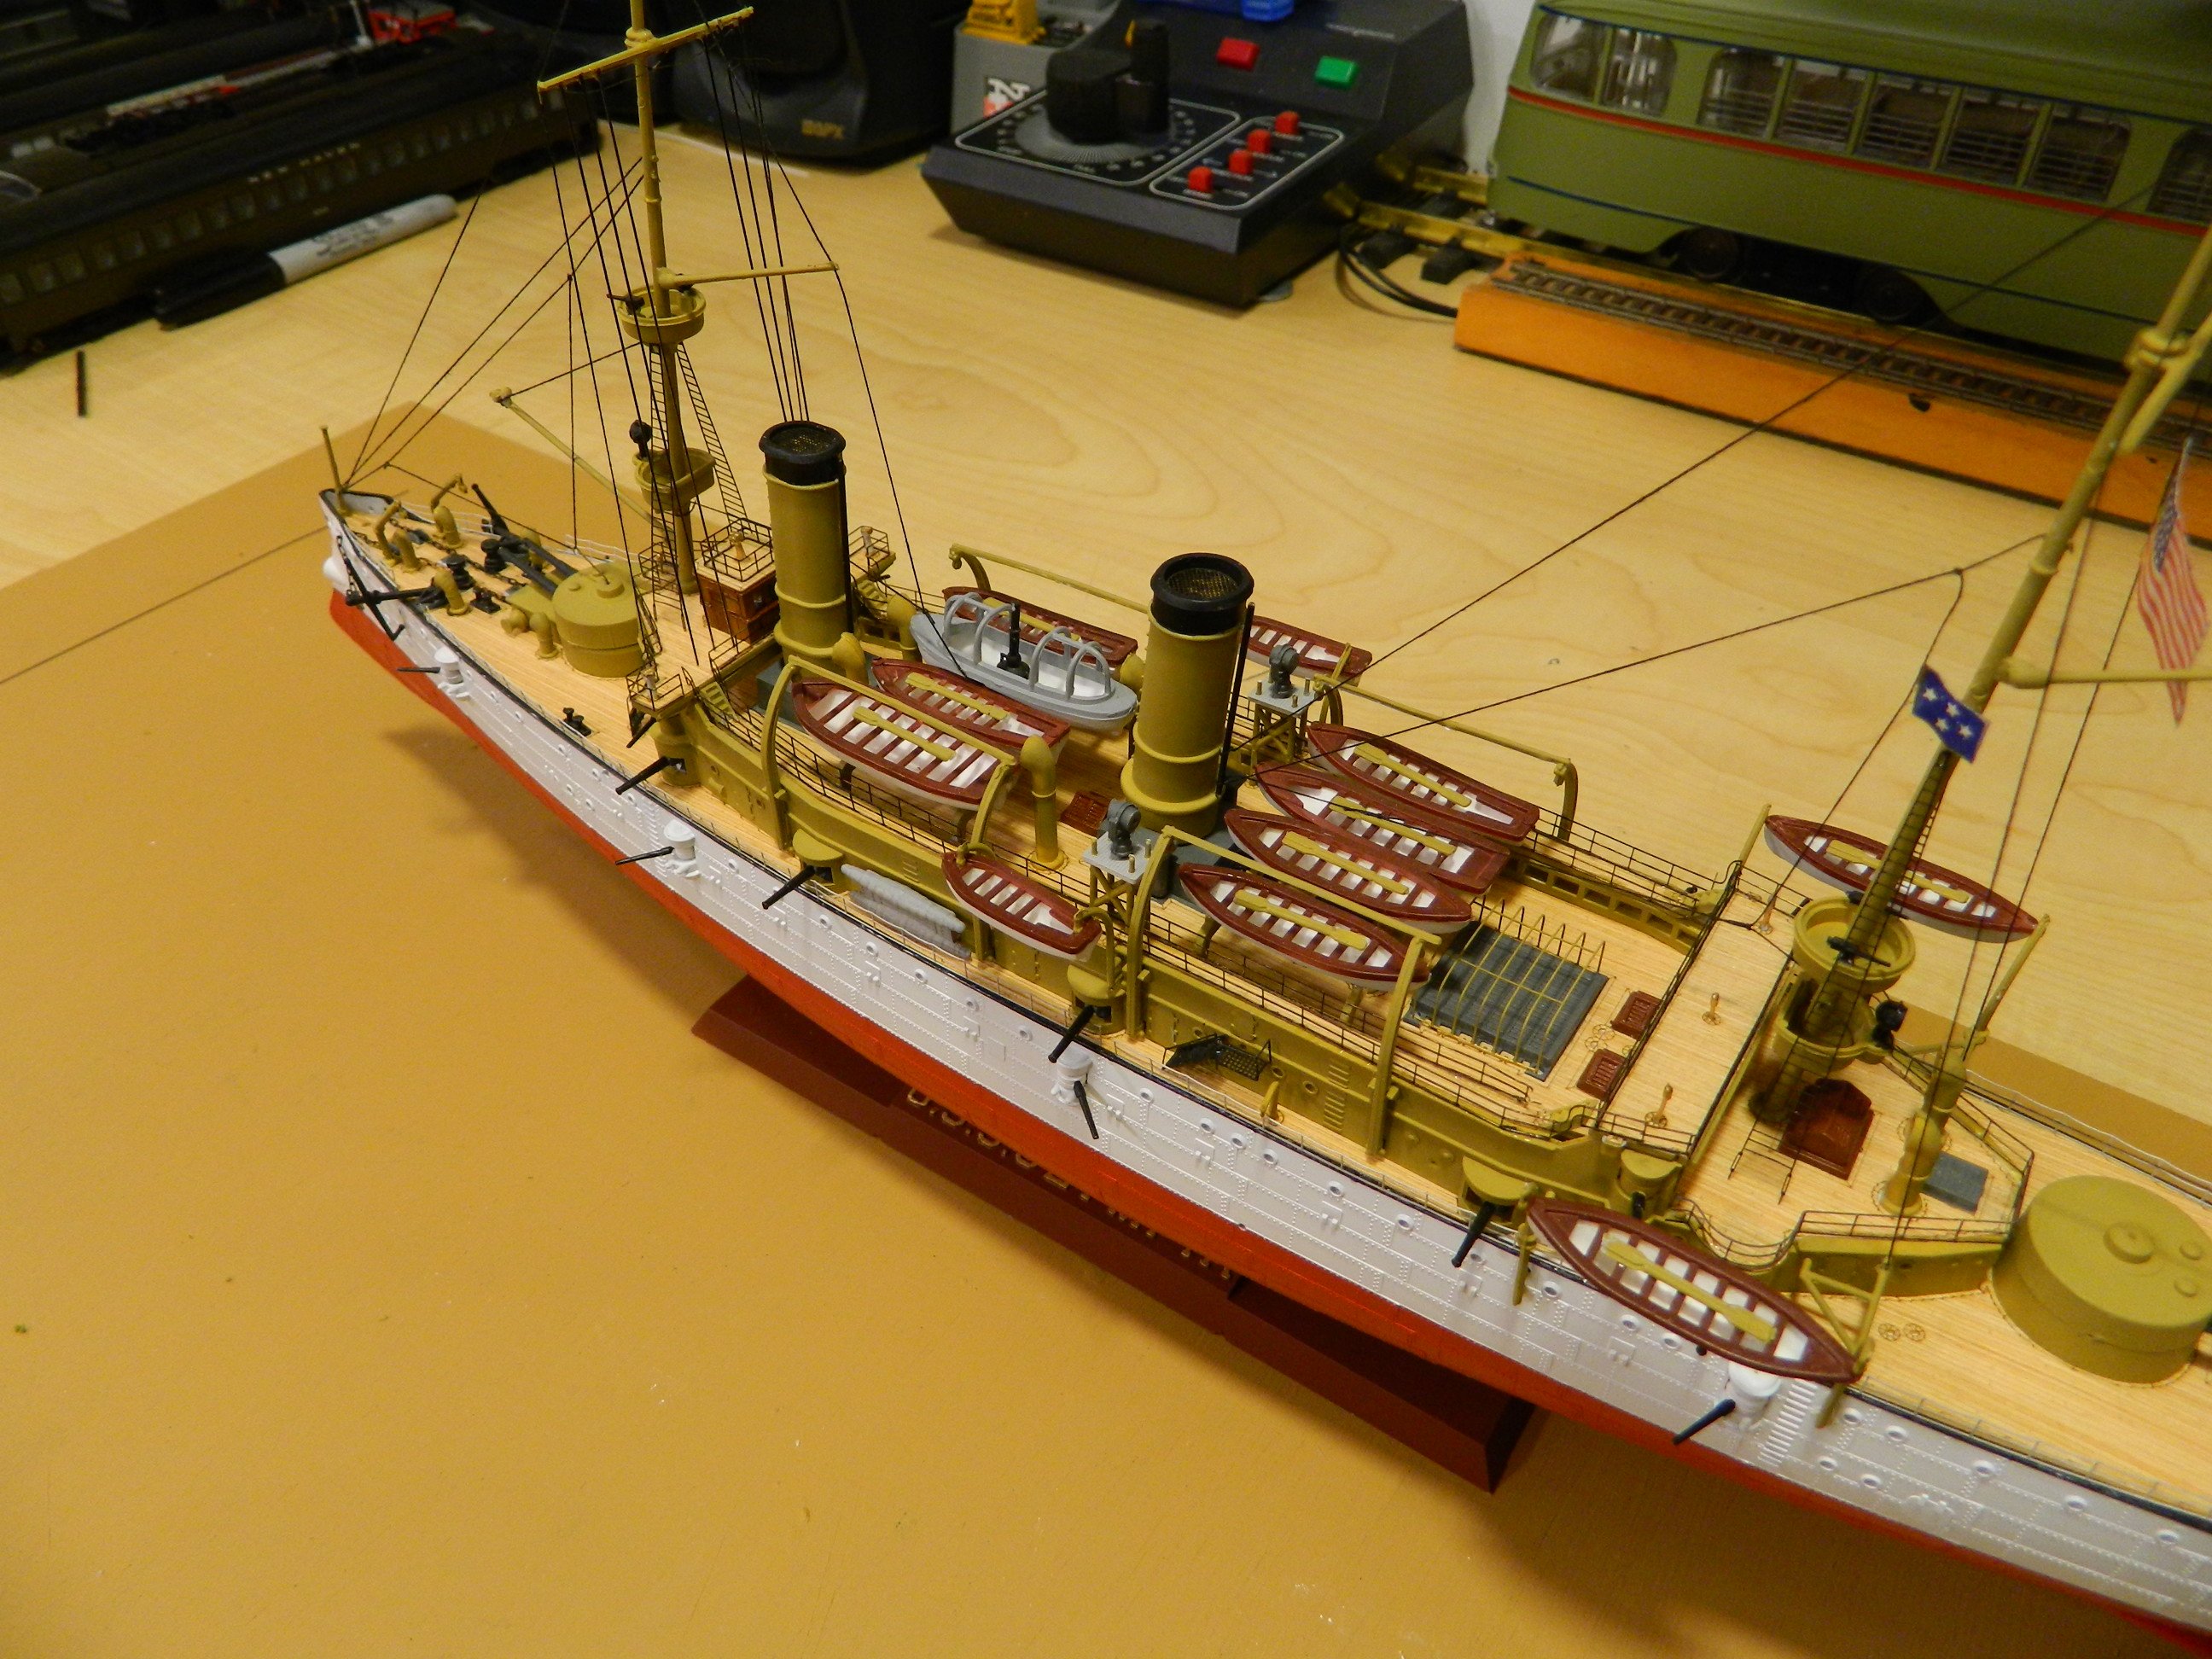
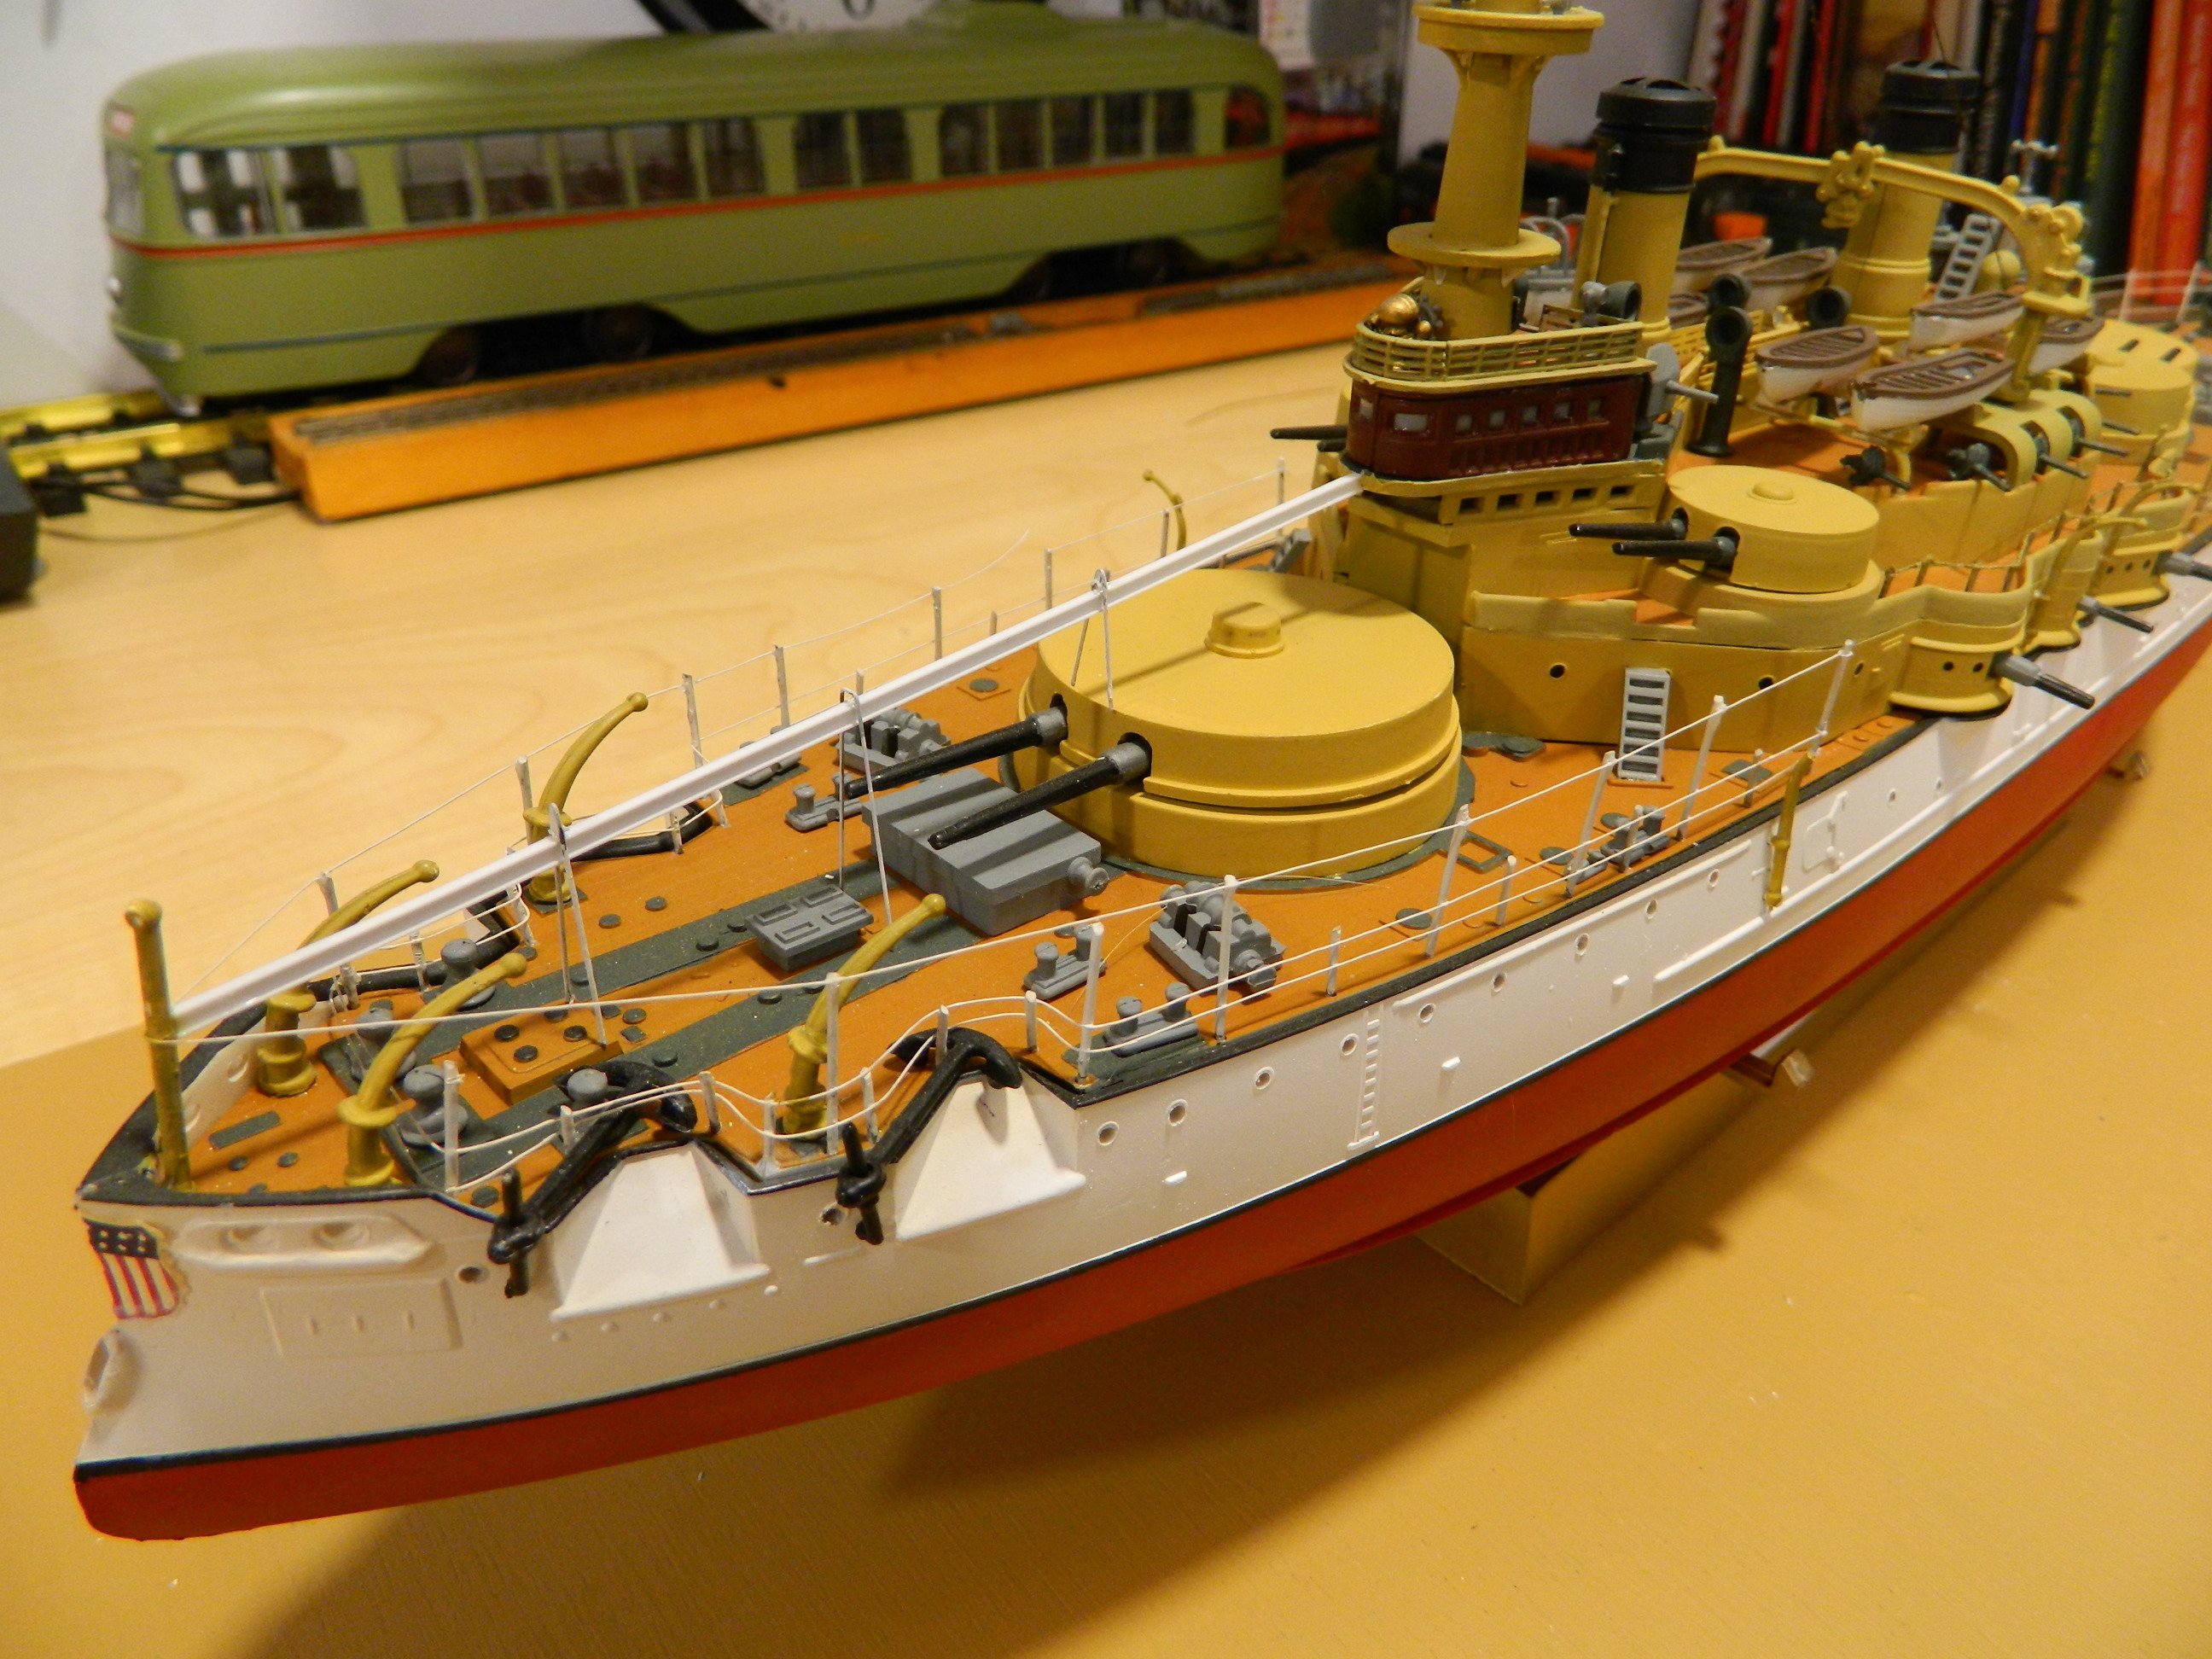
As info, that "I" beam like structure from the bridge to the bow was a removable support for a canvas cover to provide shade.
-
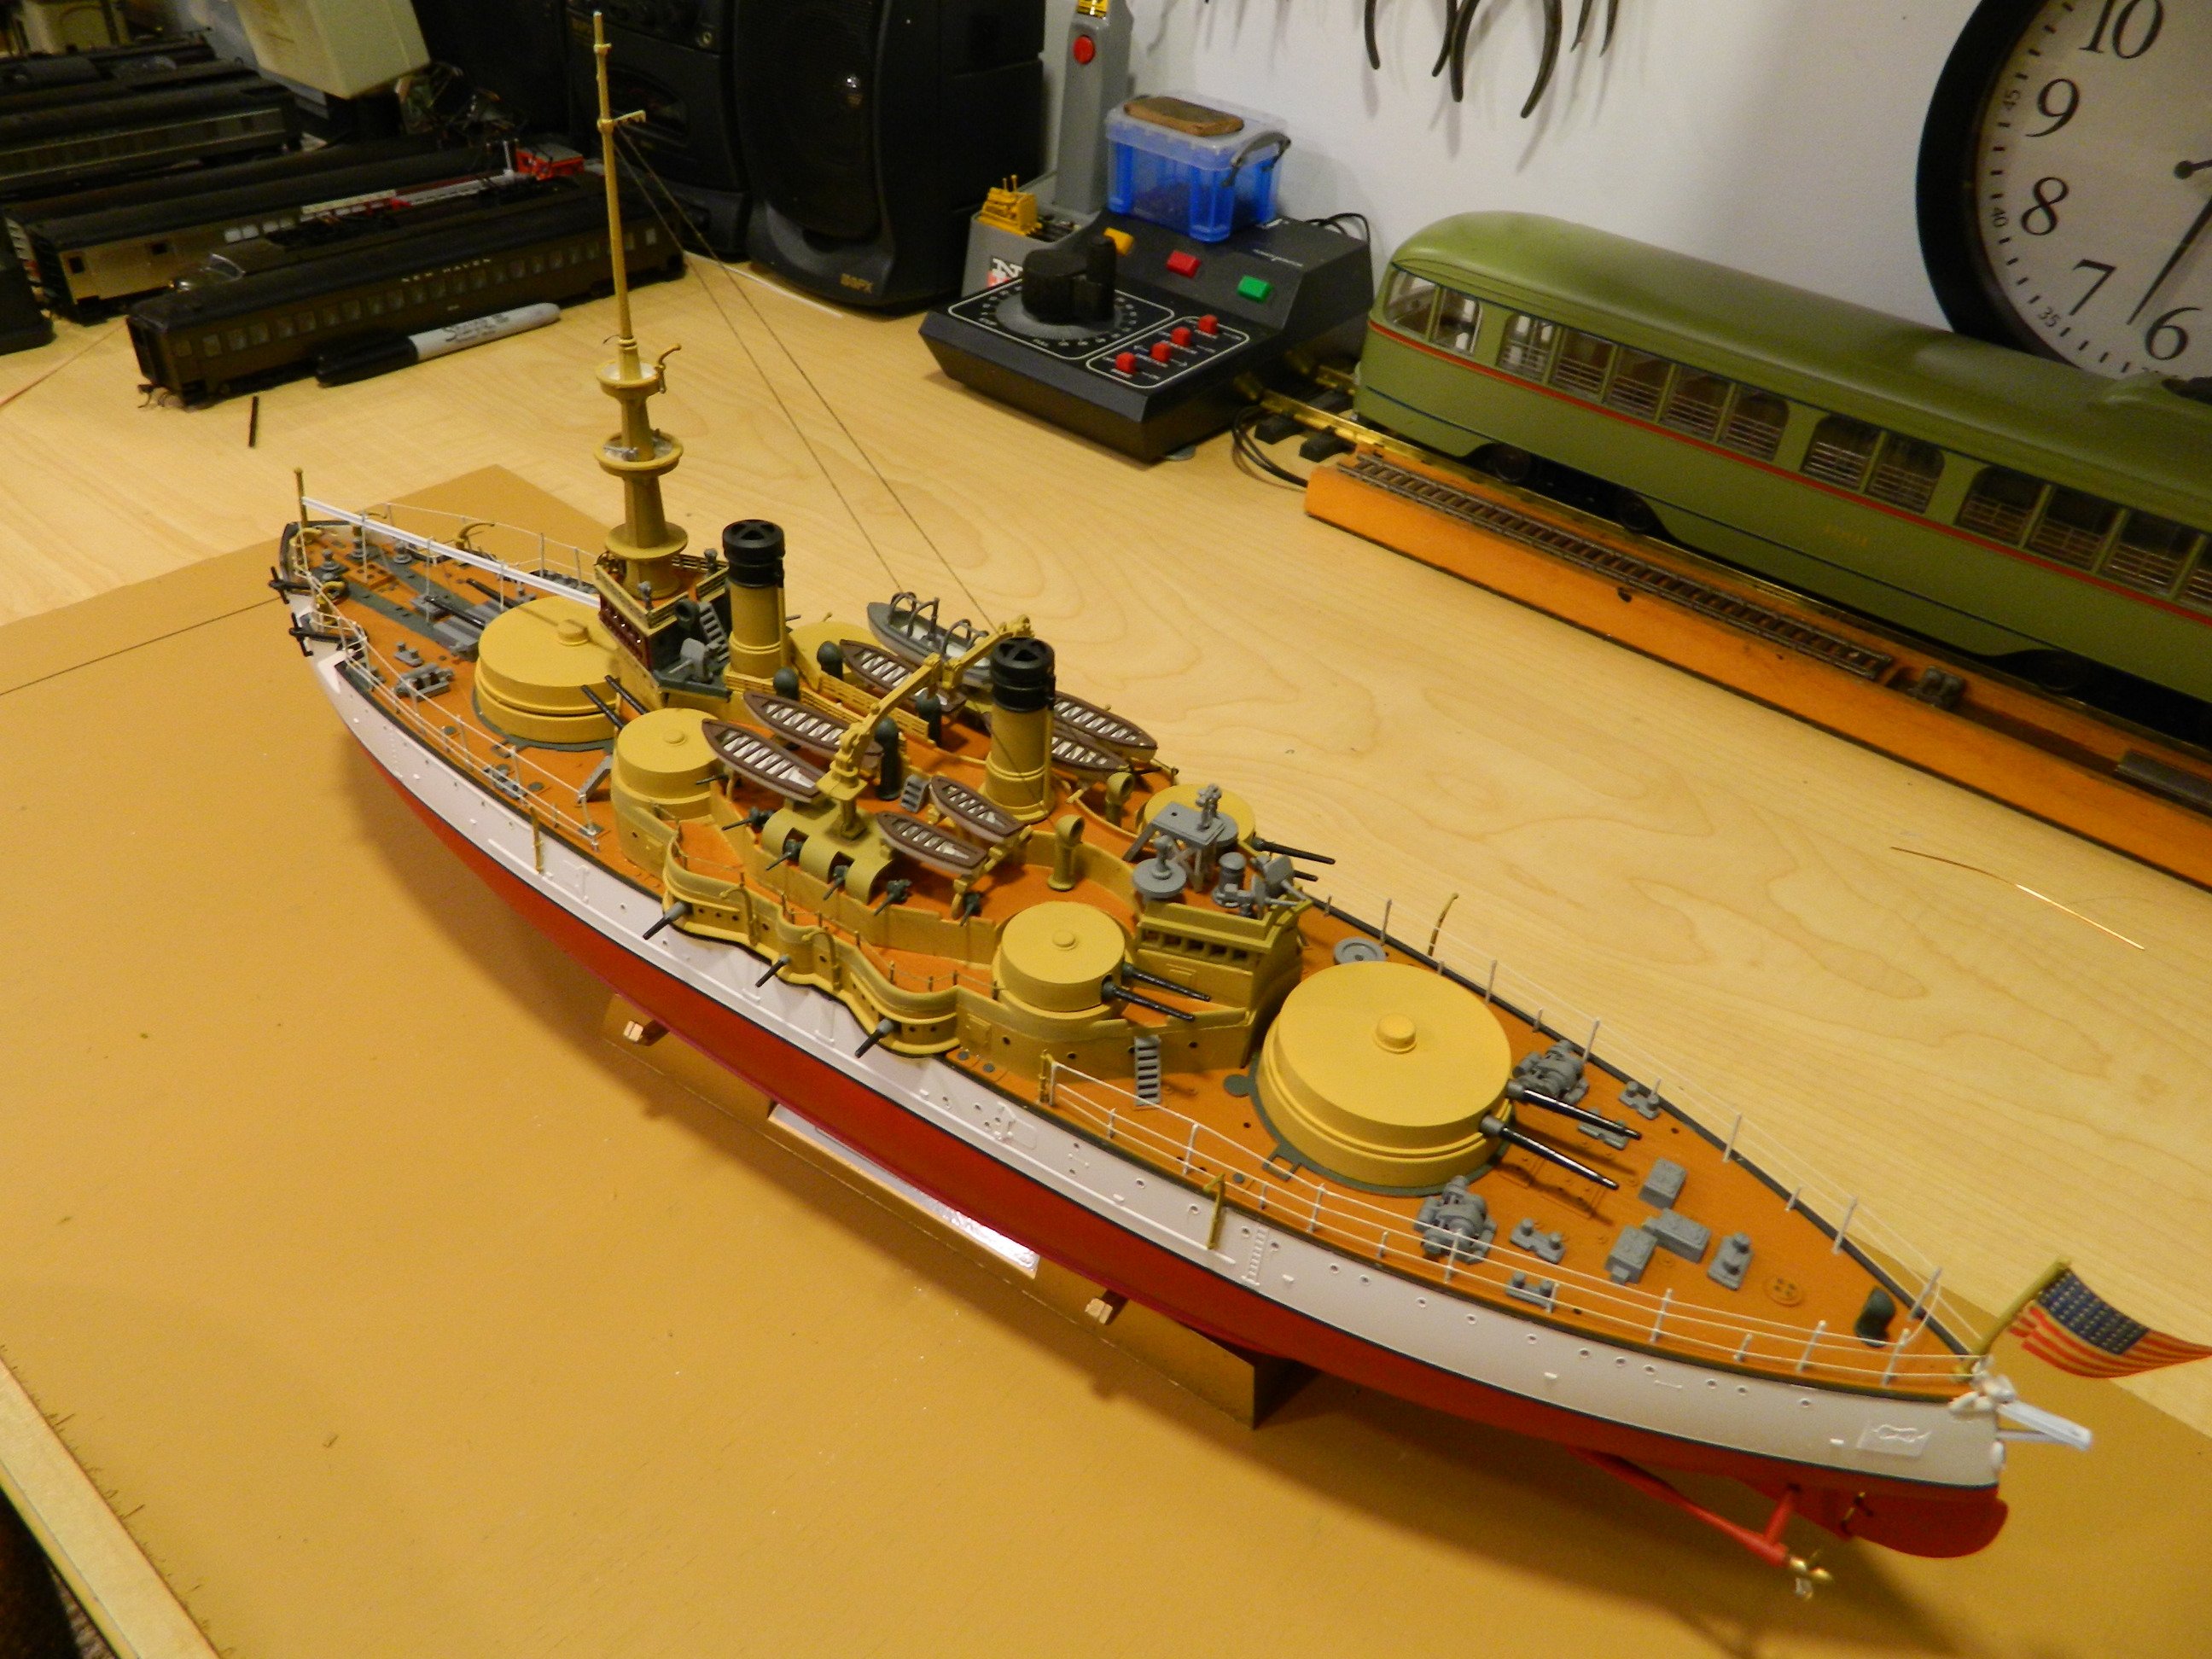
This is the original ITC model of the USS Oregon from 1959. Original price was $2.98!! I built this in 1977. I made all of the railings. The model was re-released by Glencoe Models. It does appear frequently on ebay. . .a bit more $$$ than $2.98.


- 14 replies
-
- 5
-
-
- portland
- BlueJacket Shipcrafters
- (and 1 more)
-
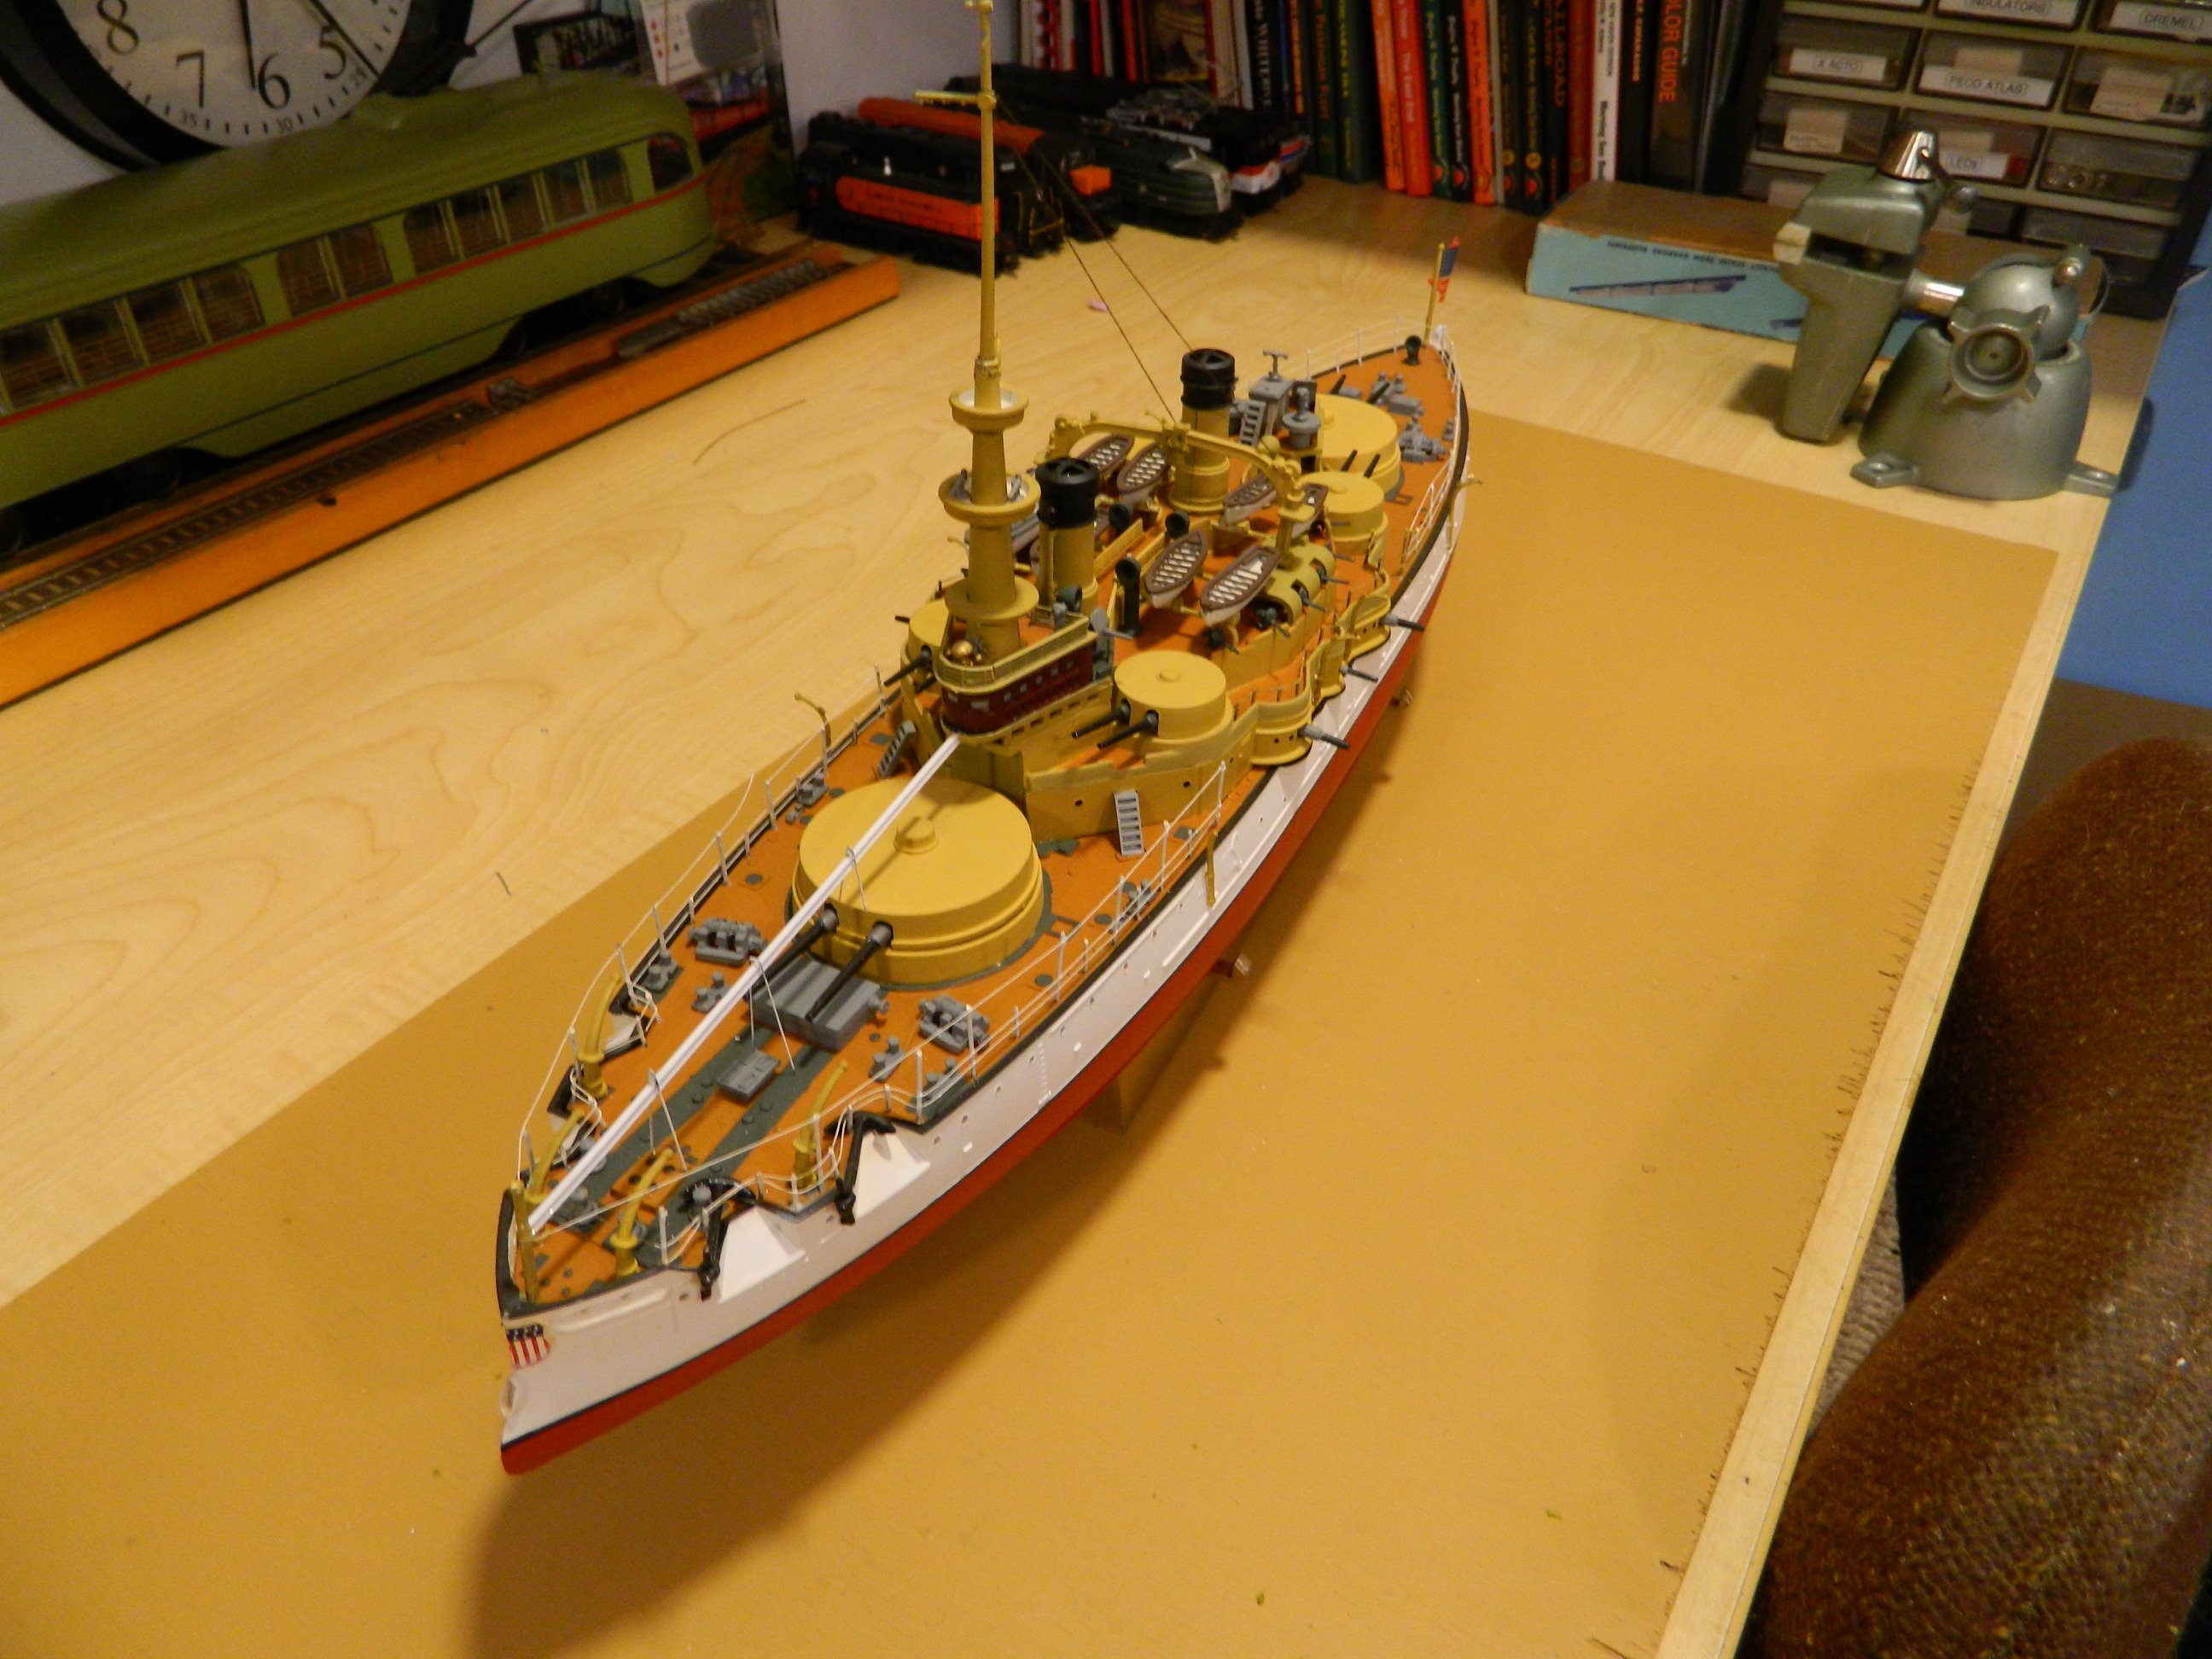
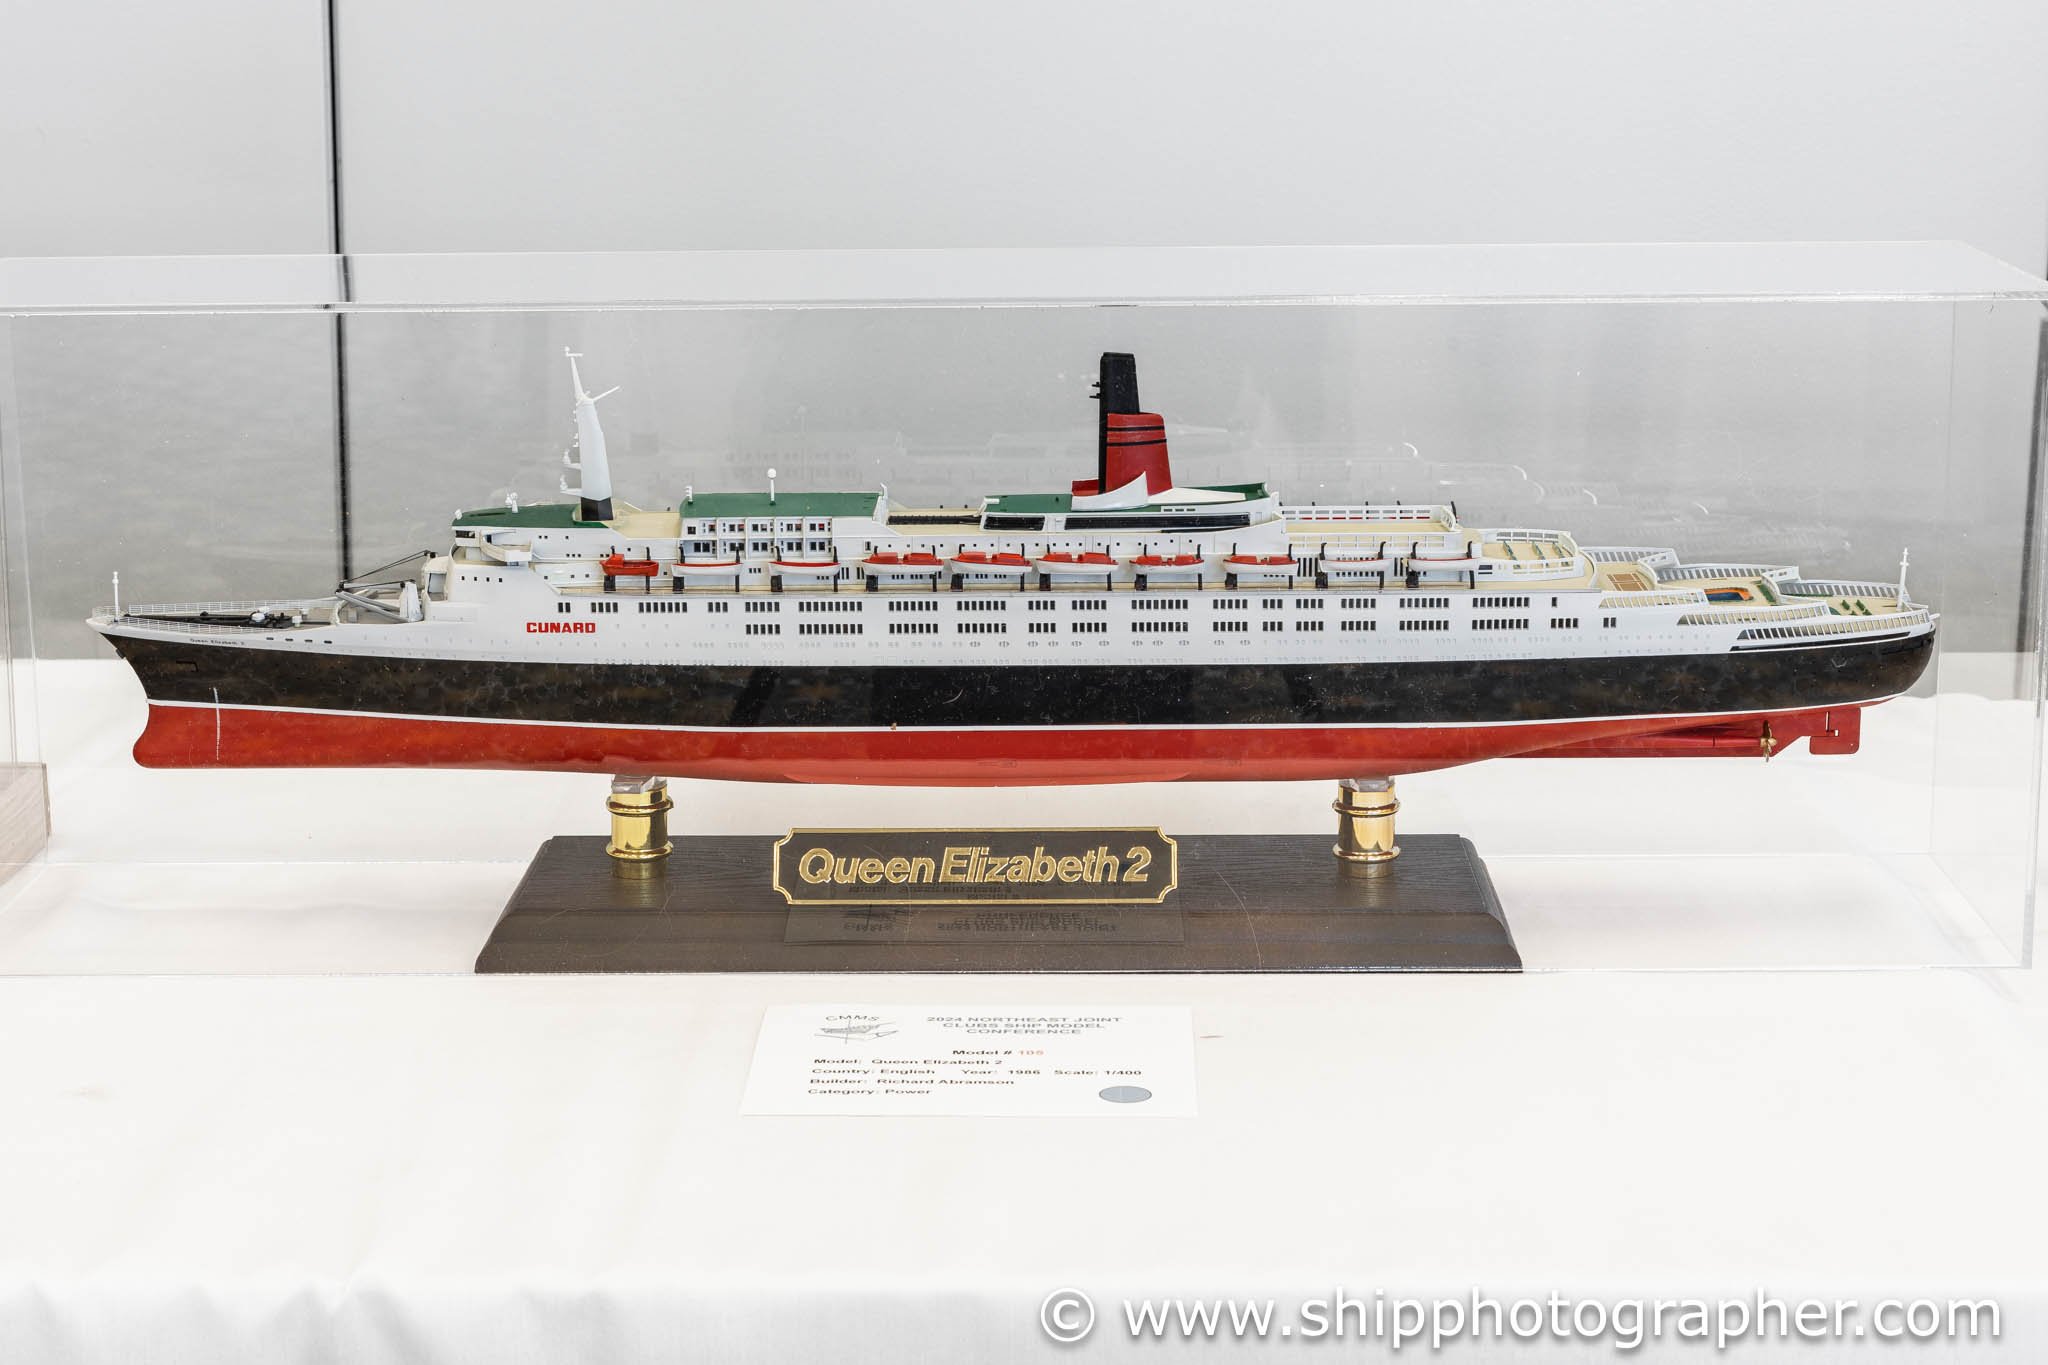
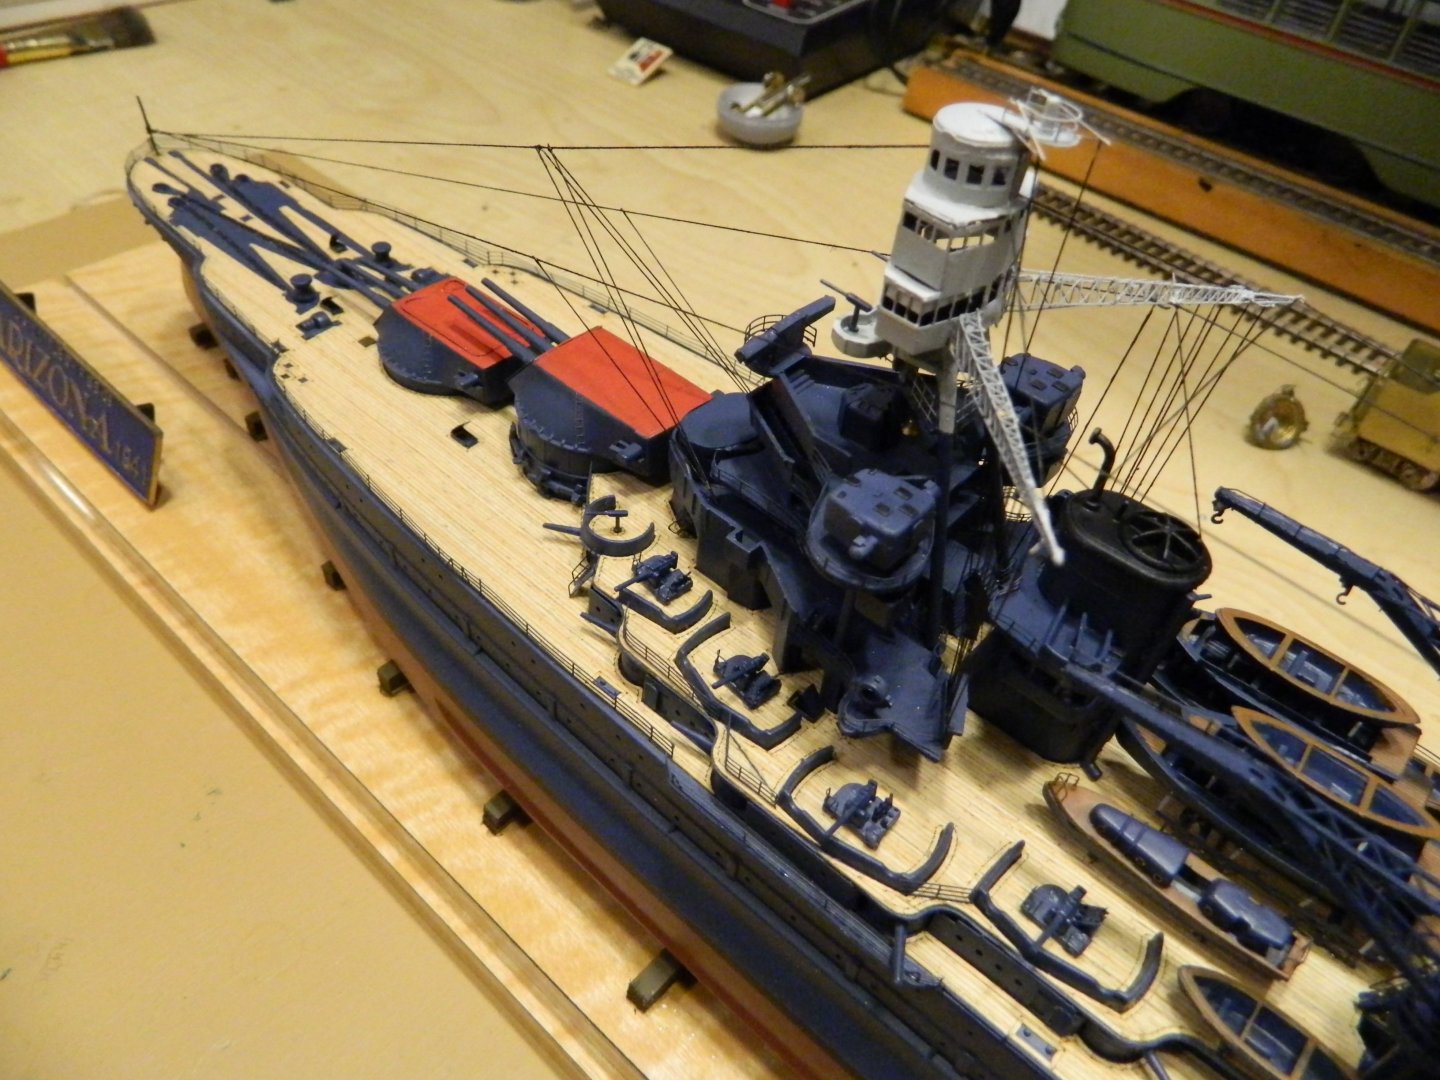
Chris, Eric and Don, thank you for your kind comments, much appreciated!! This "kit" is certainly not for the "feint of heart." It is basically a "scratch-building kit." Except for the Portland, I build usually in plastic. I attached some shots of my plastic builds., Top to bottom: QE2, QM2, USS Olympia, details on USS Arizona. The bridge and fighting tops on the Arizona are all photo etched parts.


- 14 replies
-
- 2
-
-
- portland
- BlueJacket Shipcrafters
- (and 1 more)
-
An additional note; the paper flags proved to be too heavy resulting in the flags flying in different directions. . .not good! I had decals made from the paper decals, they worked perfectly! Not only are they lighter than the paper ones, after installing the flag halyards with black thread, I then gave the thread a thin coating of ACC which stiffened the thread preventing it from twisting.
- 14 replies
-
- 1
-
-
- portland
- BlueJacket Shipcrafters
- (and 1 more)
-
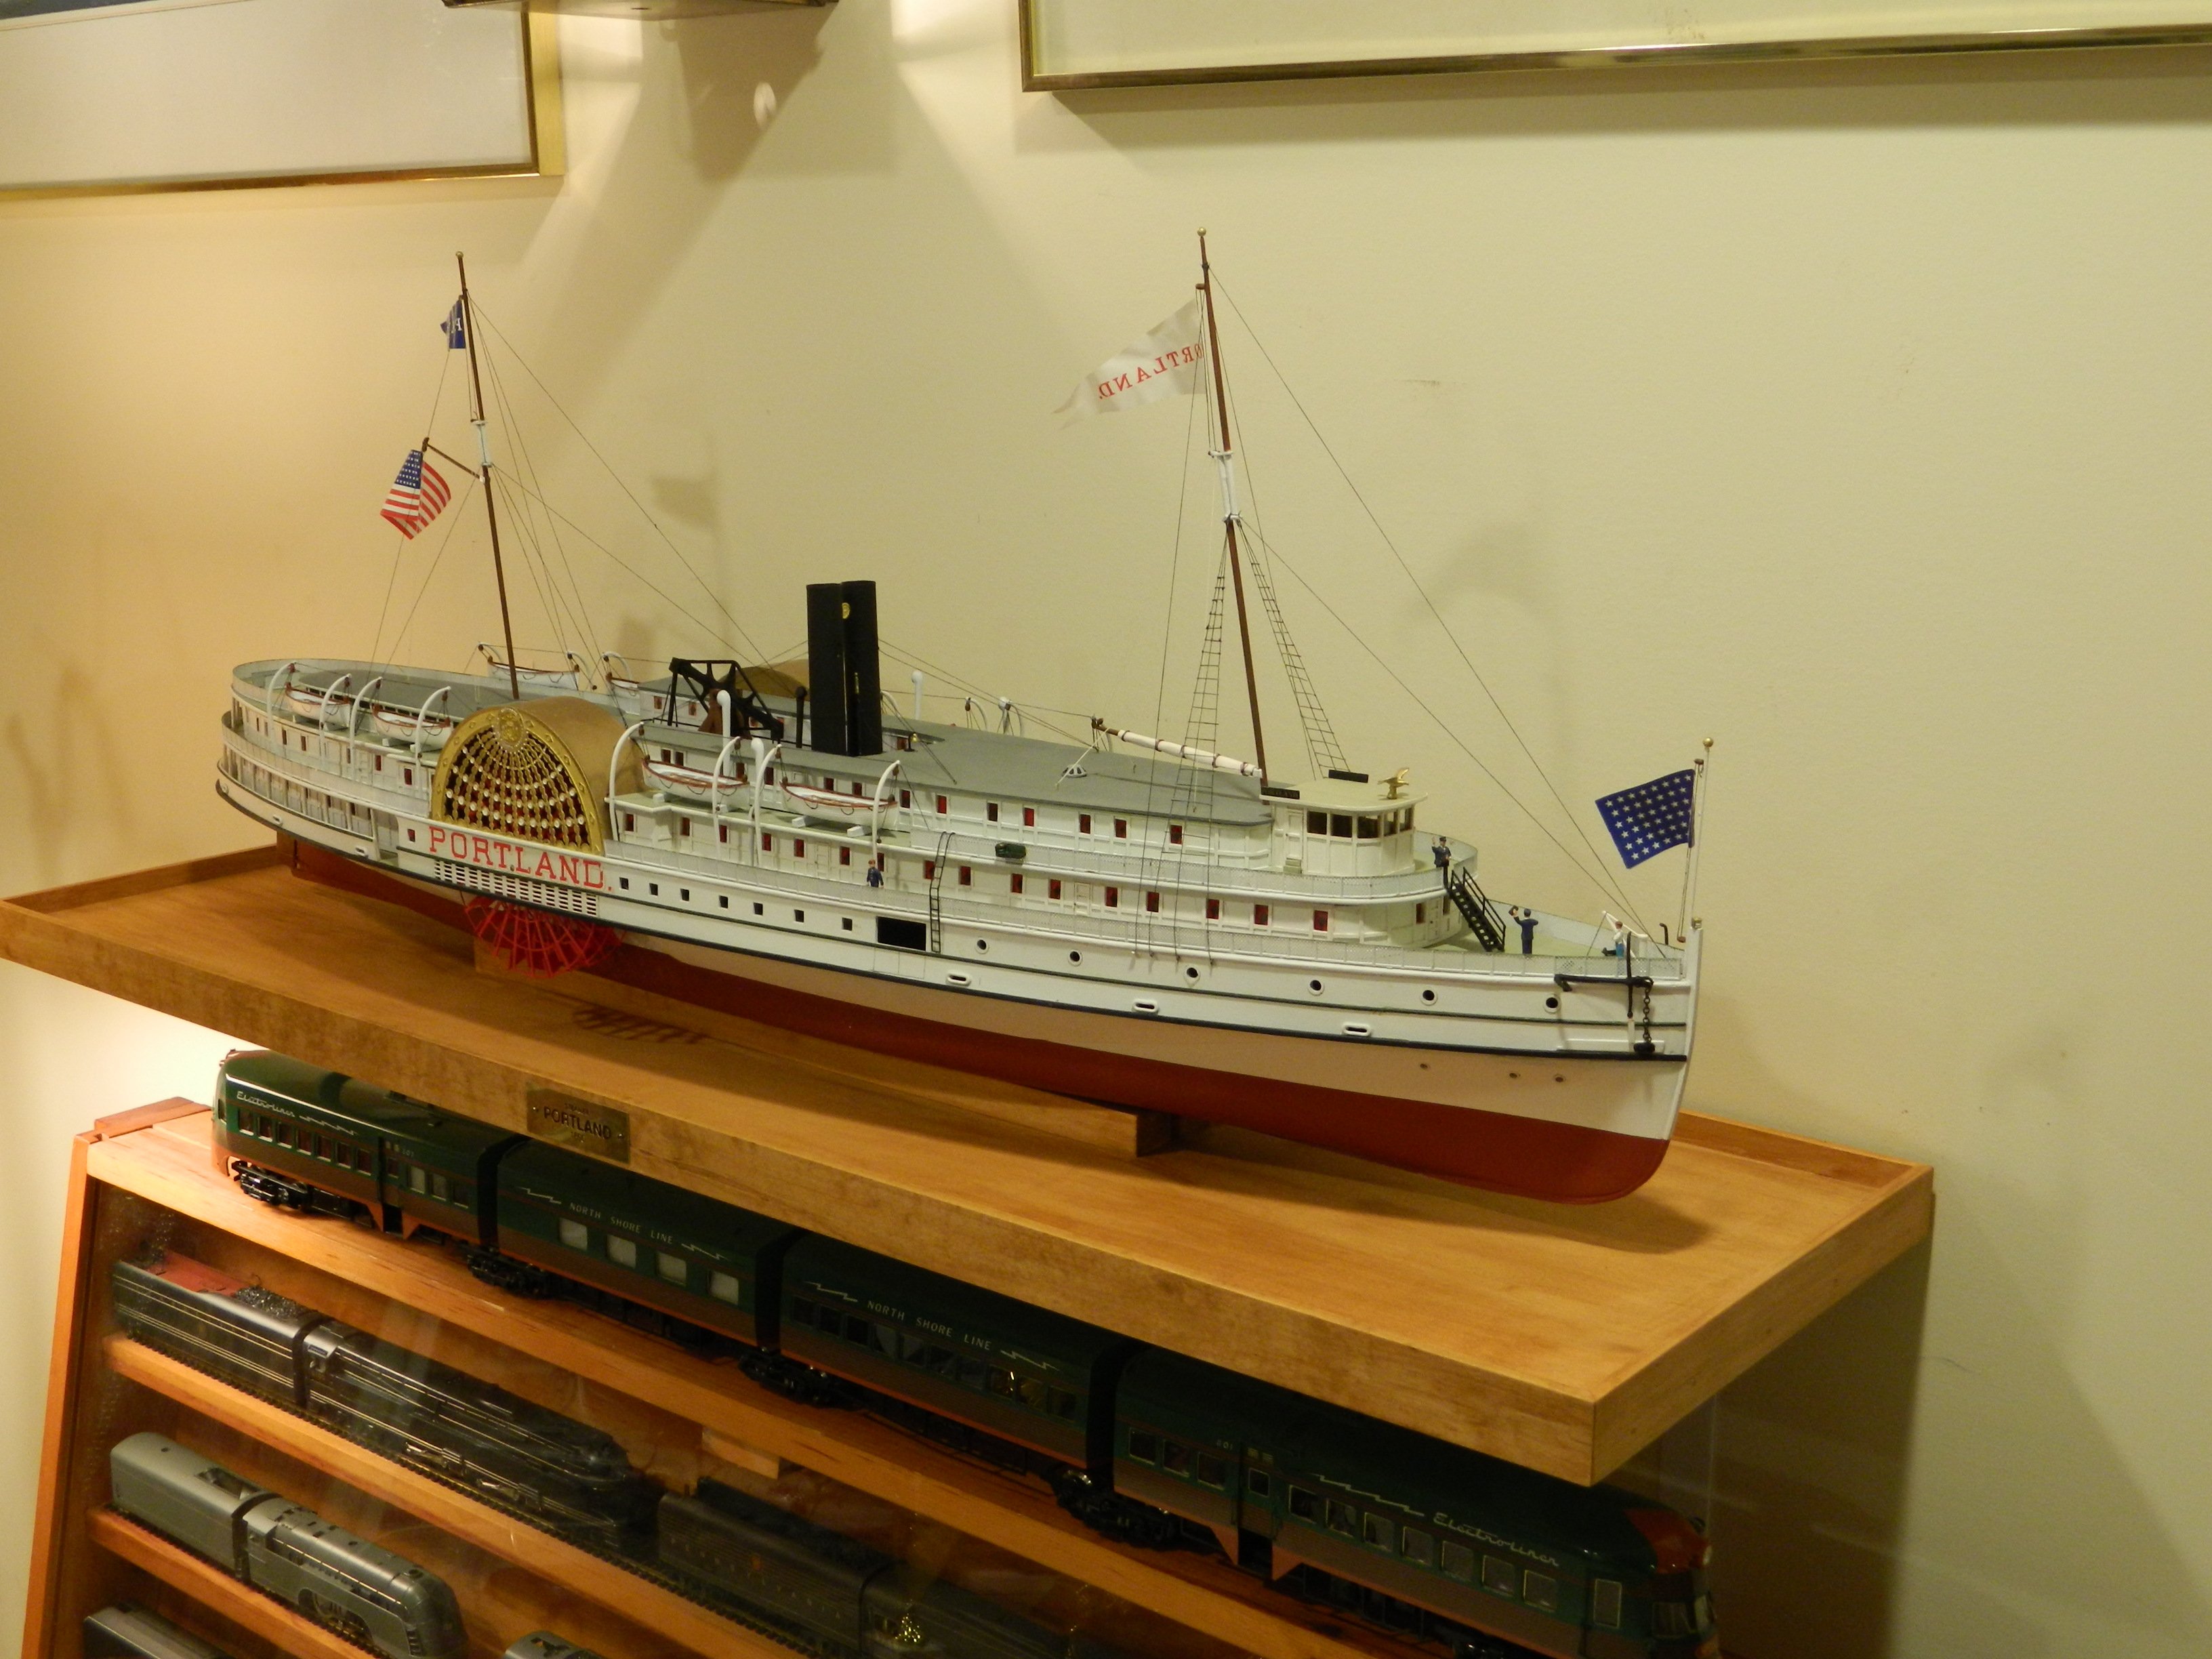
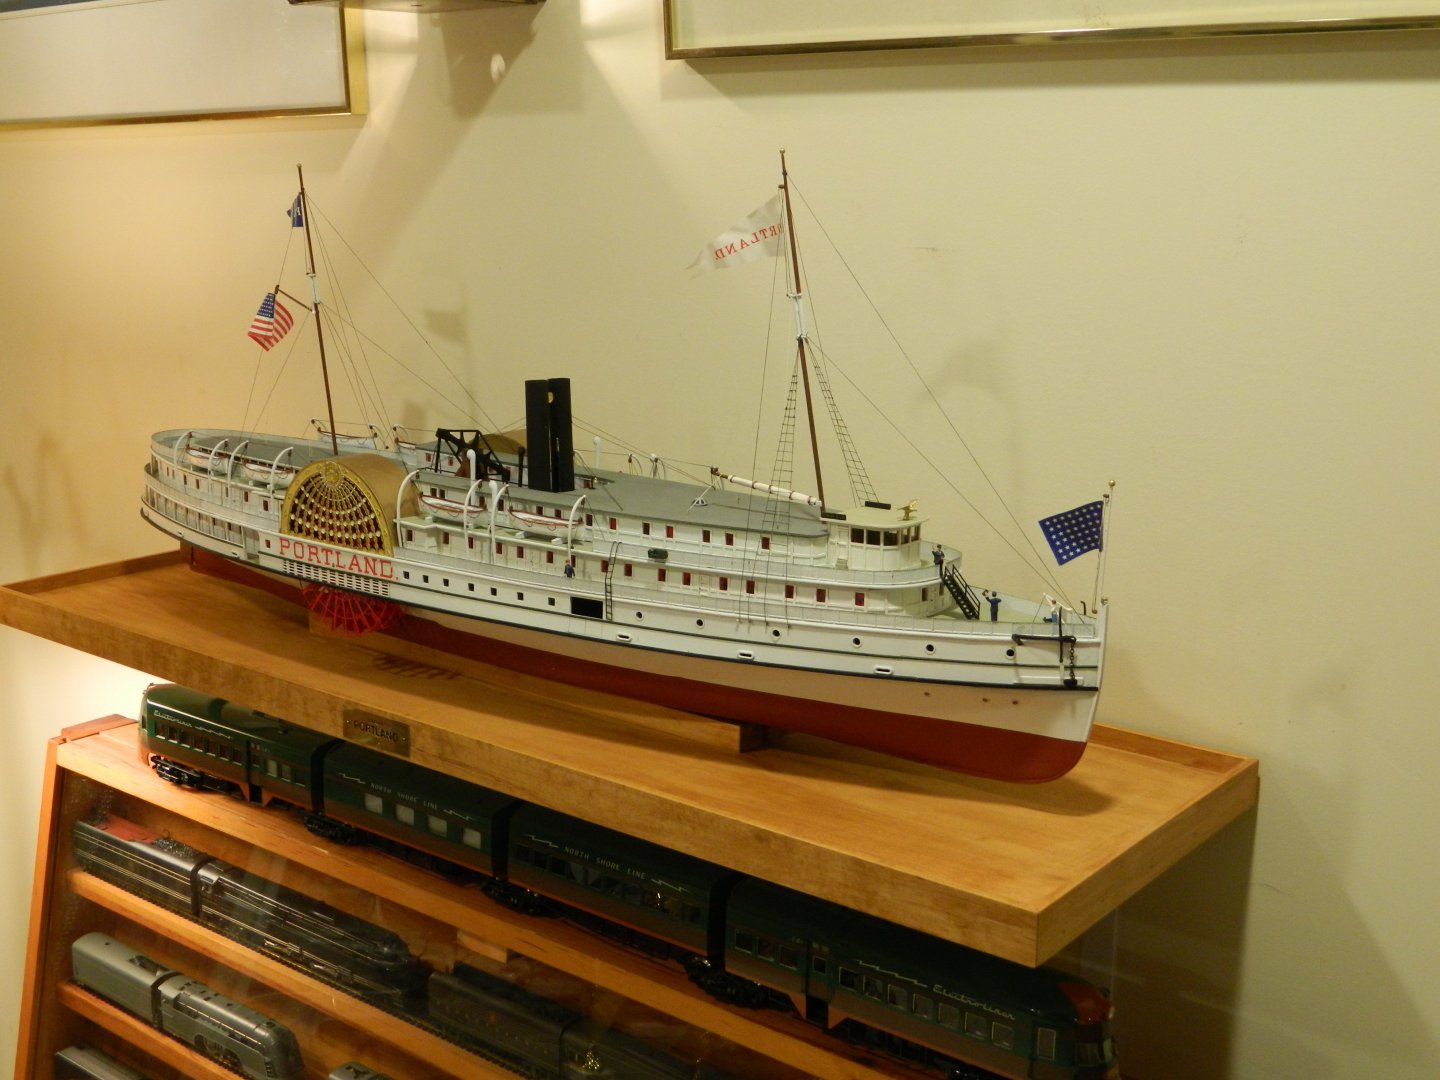
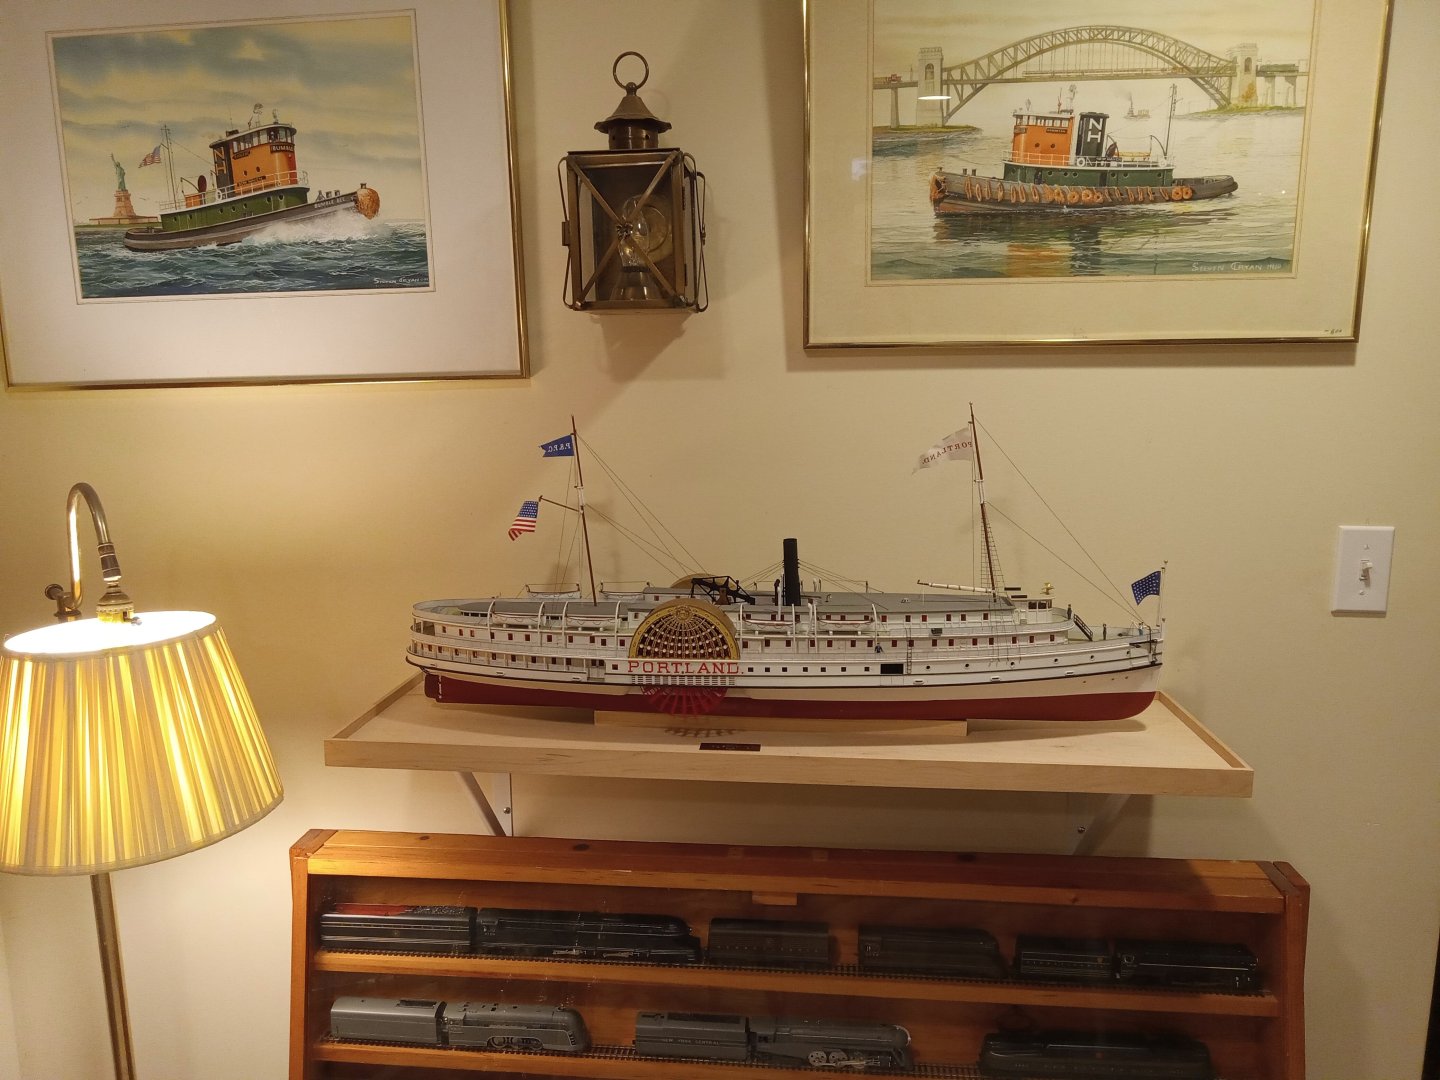
After a joint effort between John Elwood who began the Portland in 2016 and myself, who took over where John left off, the Portland is finally complete. I would never want to tackle anything like this again! Now awaiting the plexiglass cover. The second photo is before I stained the base.
- 14 replies
-
- 11
-
-
- portland
- BlueJacket Shipcrafters
- (and 1 more)
-
I have to agree with norm1116. This model is a horror show! The book of instructions is basically useless. A great model builder friend of mine began building it in 2016 and recently threw in the towel. A thick London fog is easier than the instructions. My friend completed about 80% of the model and gave it to me if I wanted to take it from where he left off. I did accept it and will try my best to complete it. I think it was easier for our code breakers in 1940 to decipher JN25, the Japanese naval code. MODERATOR'S NOTE: To see Rick's finished Portland, click here.