MORE HANDBOOKS ARE ON THEIR WAY! We will let you know when they get here.
×


mandolinut
-
Posts
125 -
Joined
-
Last visited
Content Type
Profiles
Forums
Gallery
Events
Everything posted by mandolinut
-
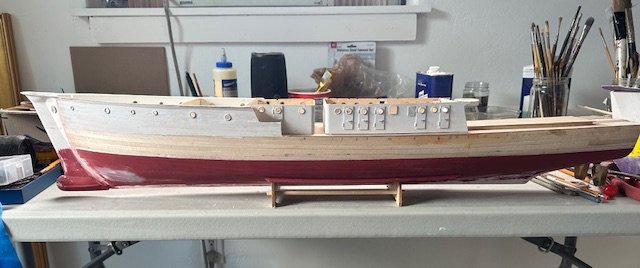
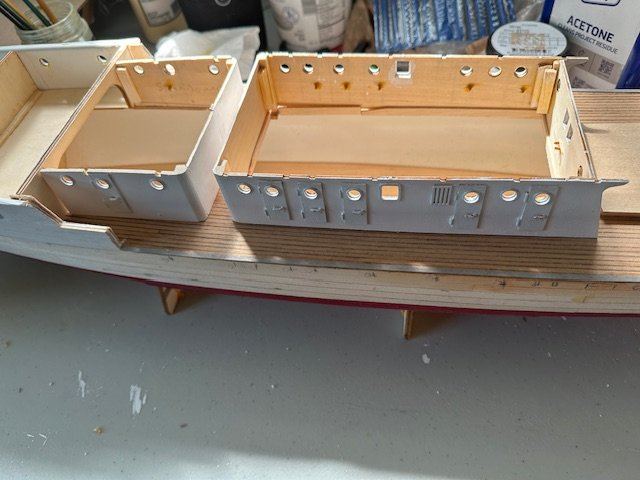
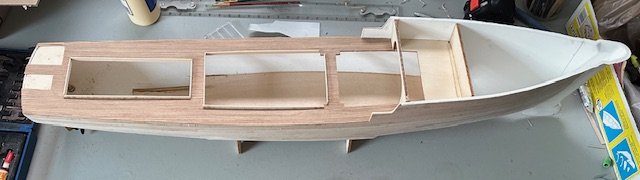
Thankyou Don, I ordered and received the helicopter you used. I may modify the tail section to look more like Calypso's. Previous Calypso builds by you and others have been my lifeline and inspiration. I glued up the lower cabins today and reinforced the corners and am quite happy with the results. Starting to look like Calypso.
-
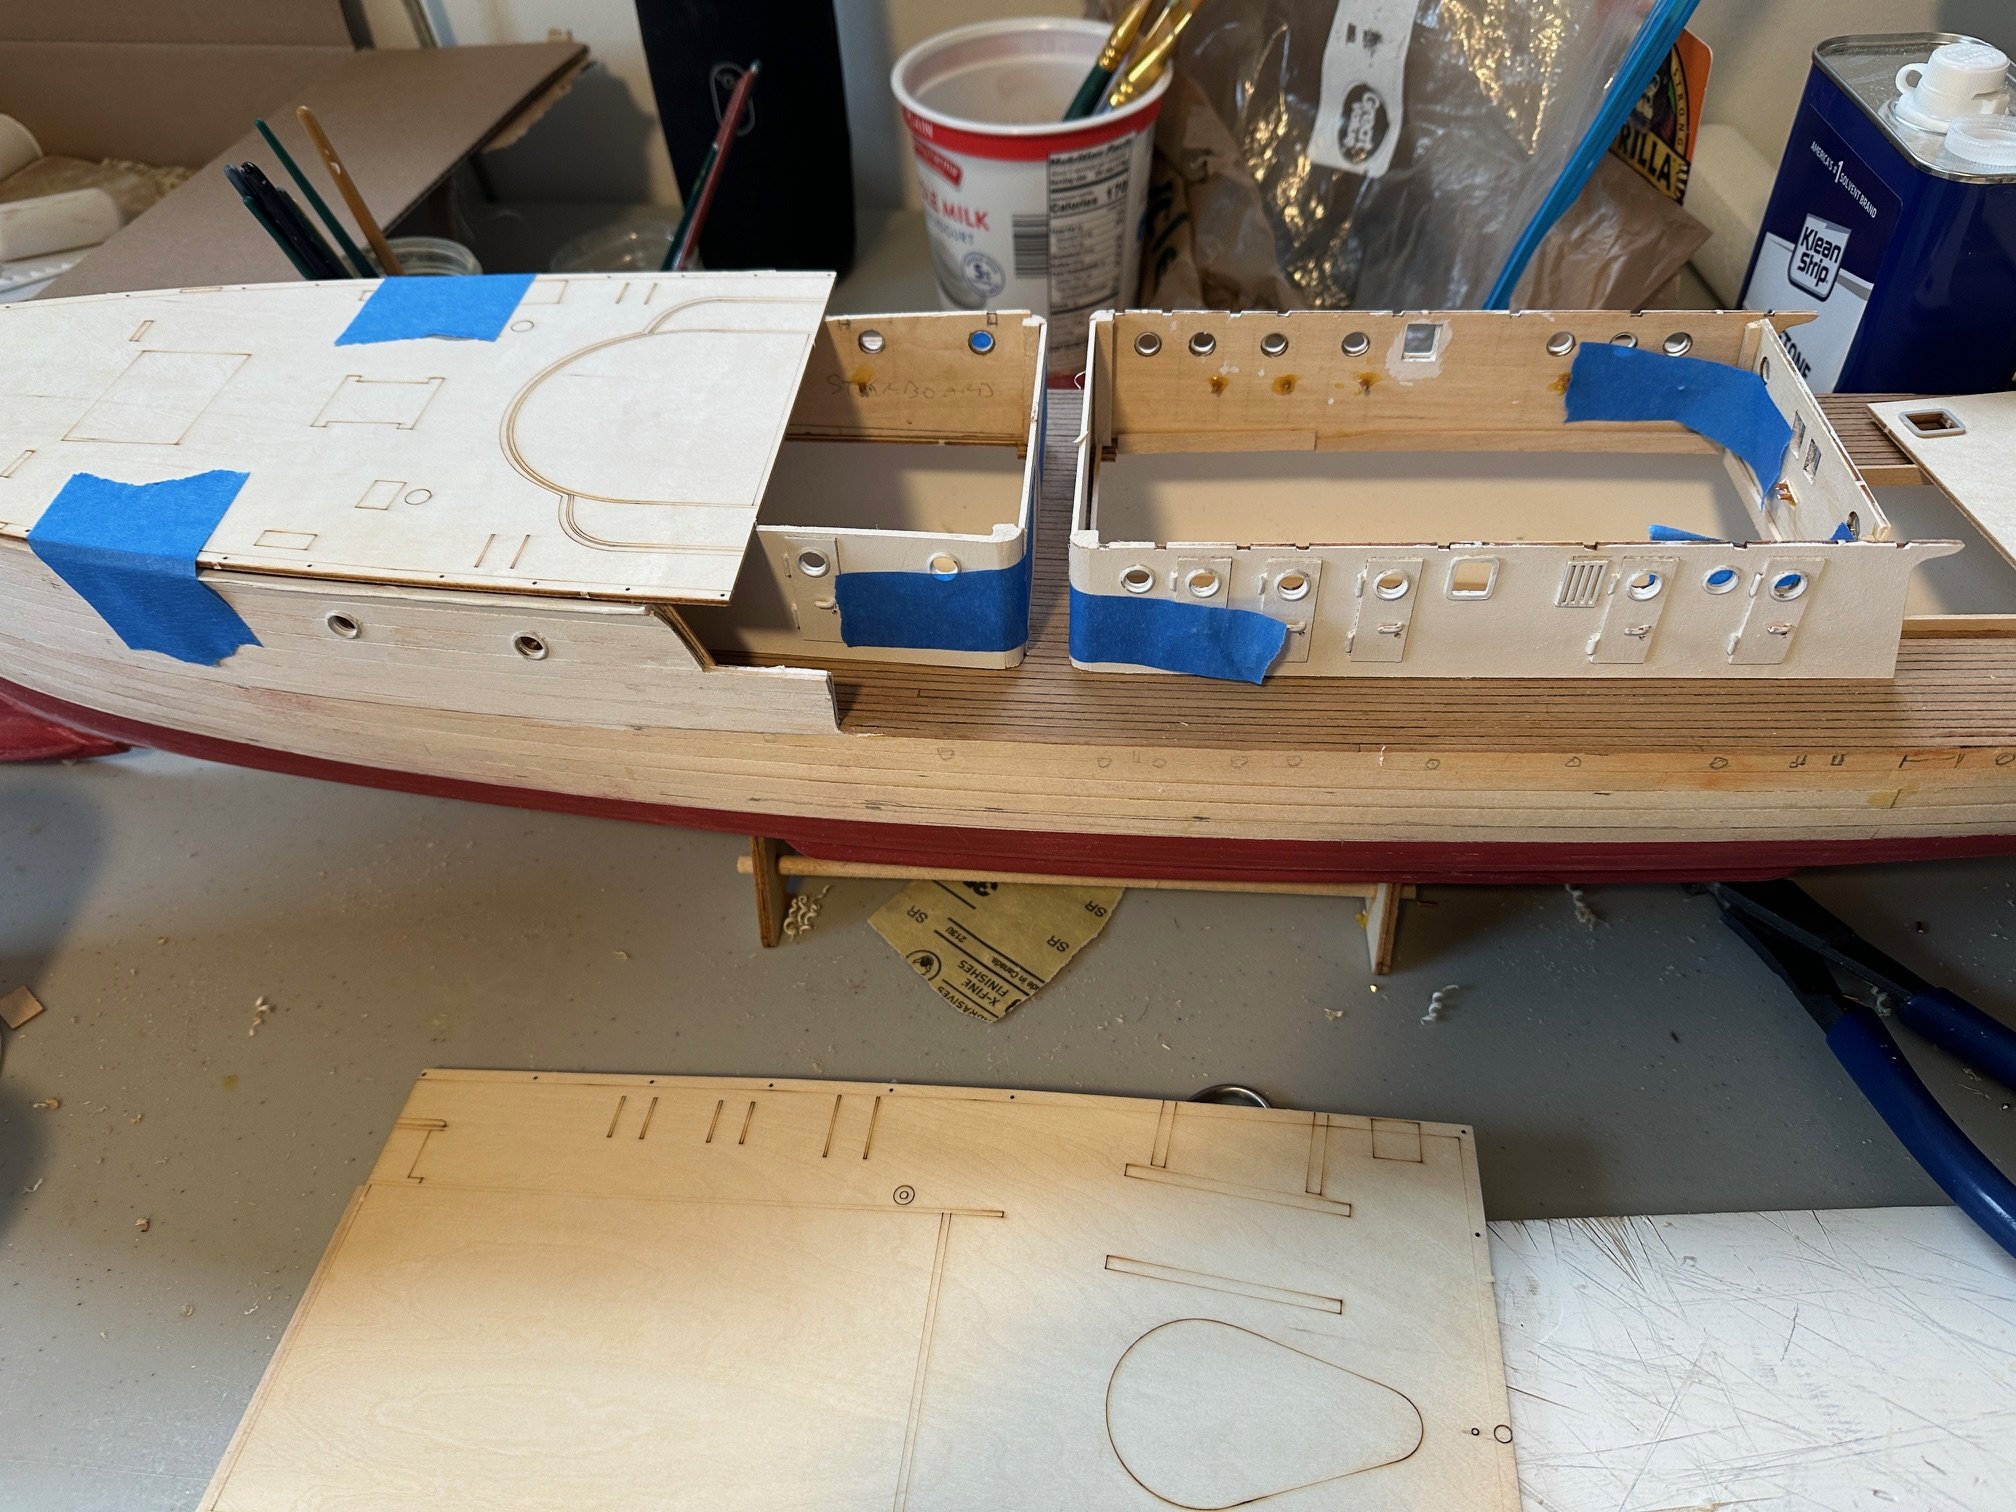
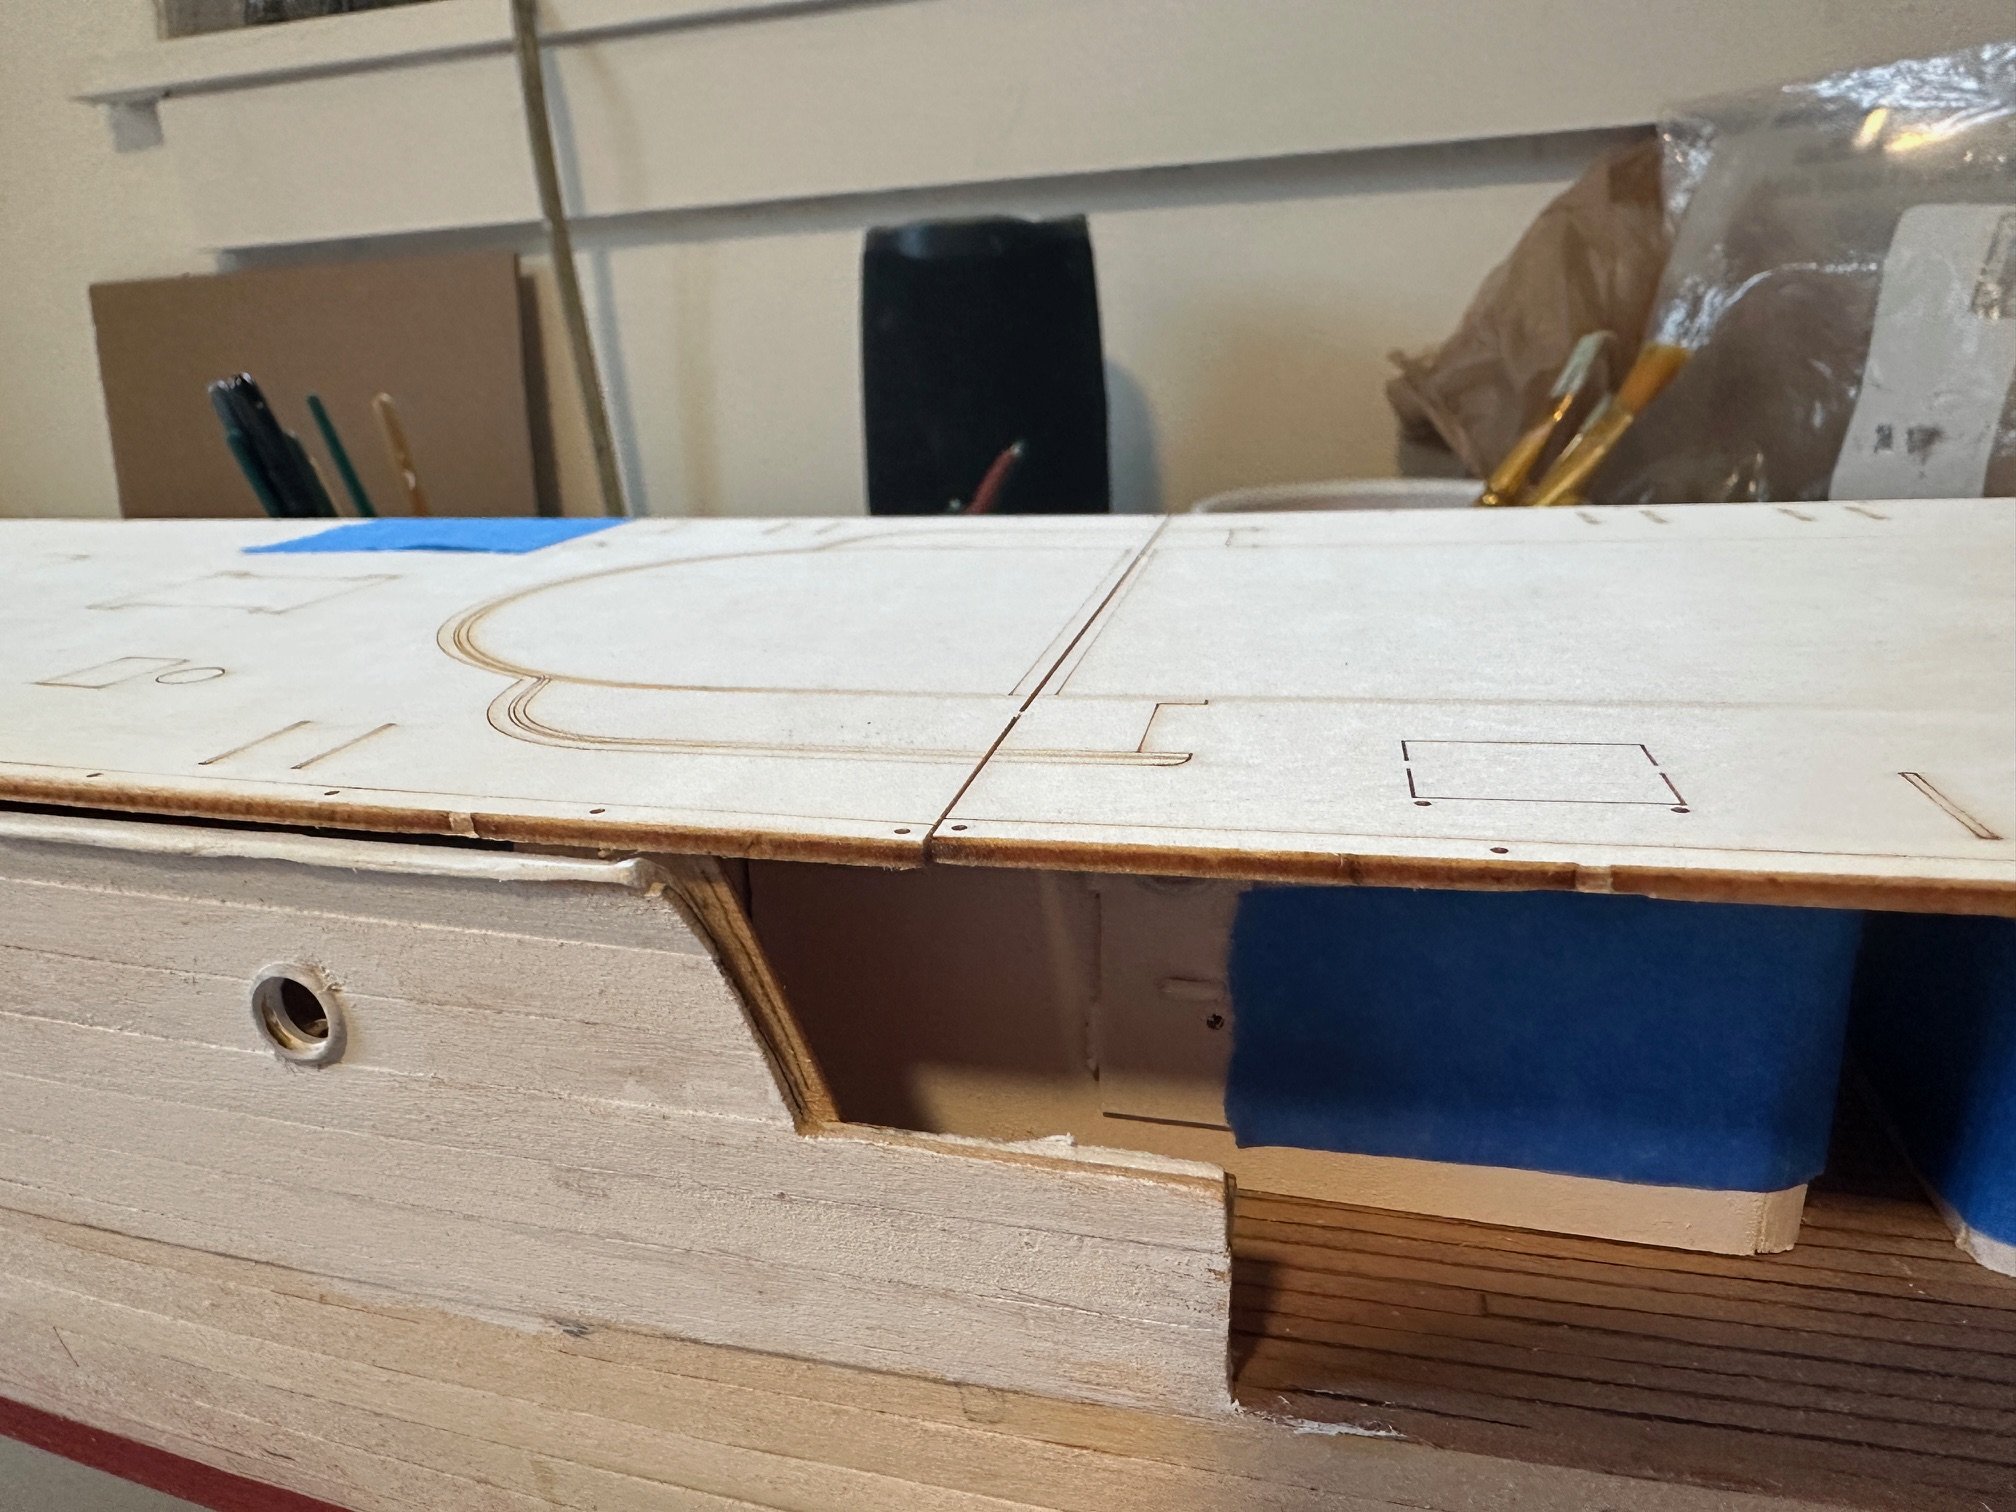
Today, I wanted to insure the upper forward deck, and the upper stern deck will line up. I dry fitted the lower cabins with painter's tape. Slowly sanded down the lower deck cabin wall tops until the two upper decks lined up. In addition, I added a cross piece under the forward aft upper deck to allow the two decks to interlock and align. This is thinking ahead since there is much more work to do on the lower deck and rails.


-
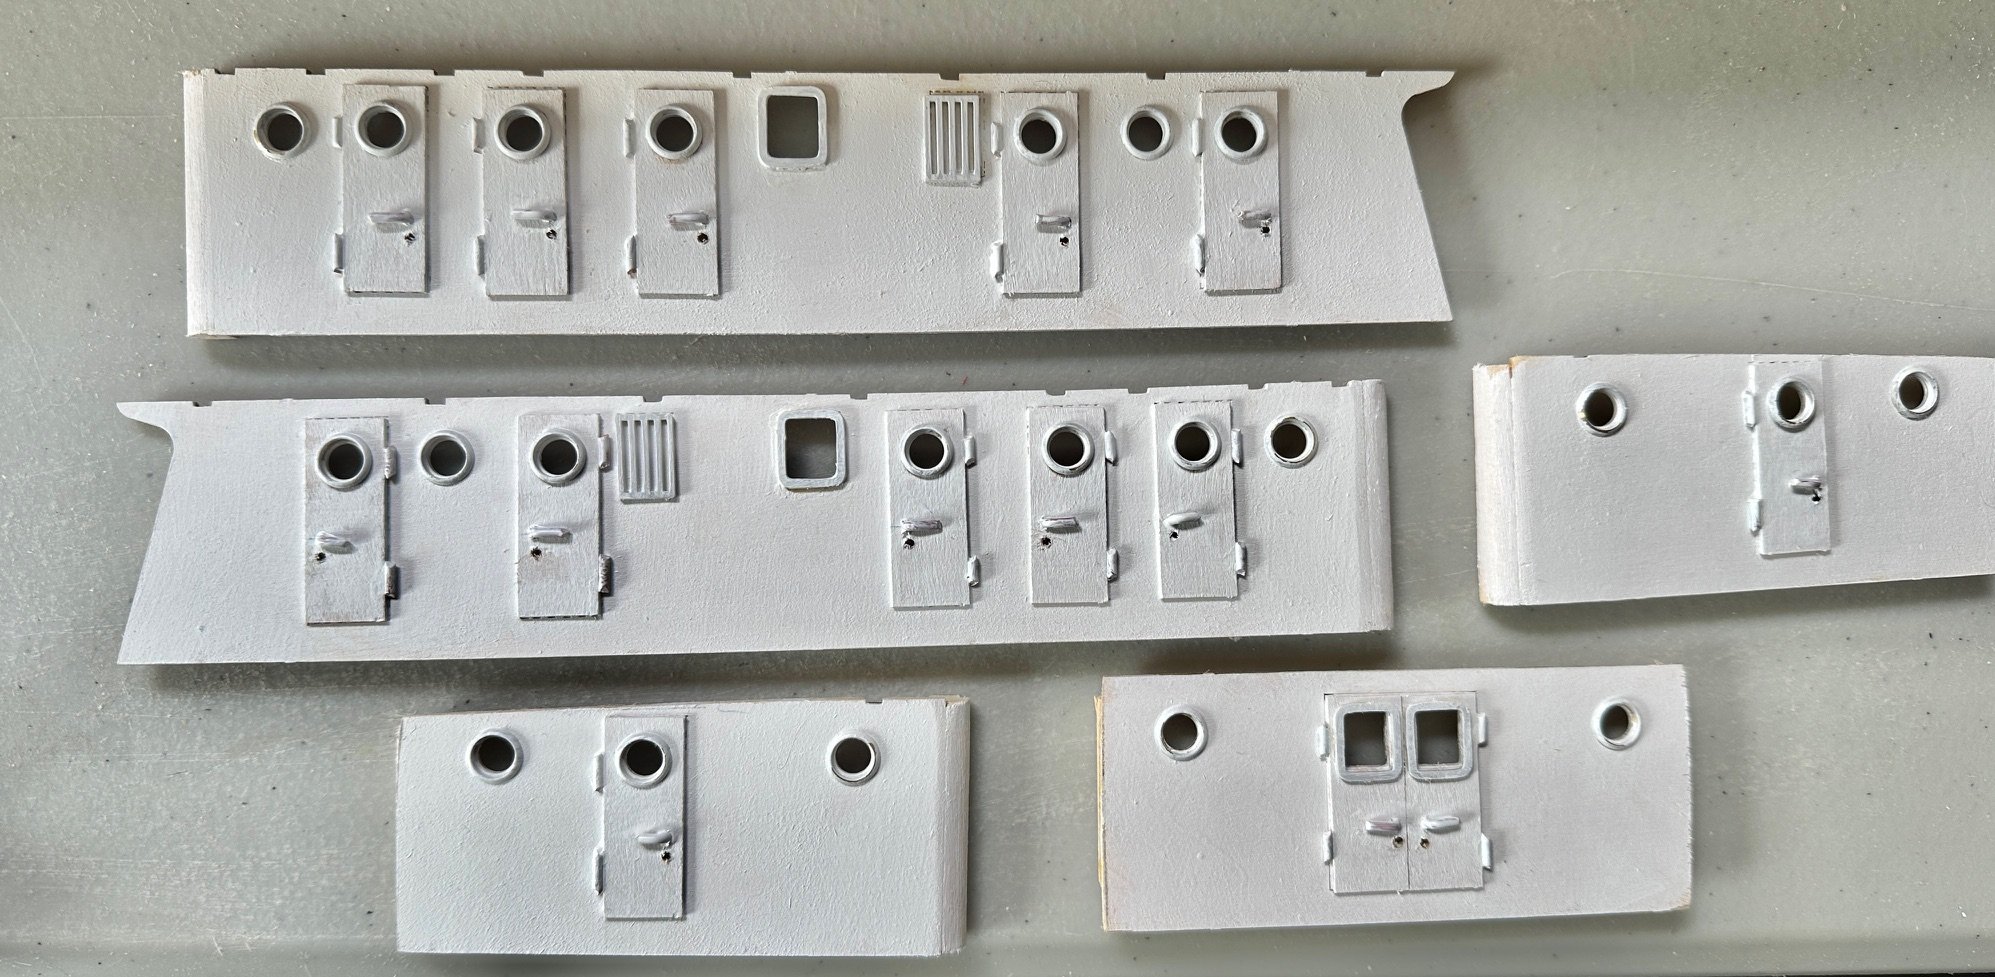
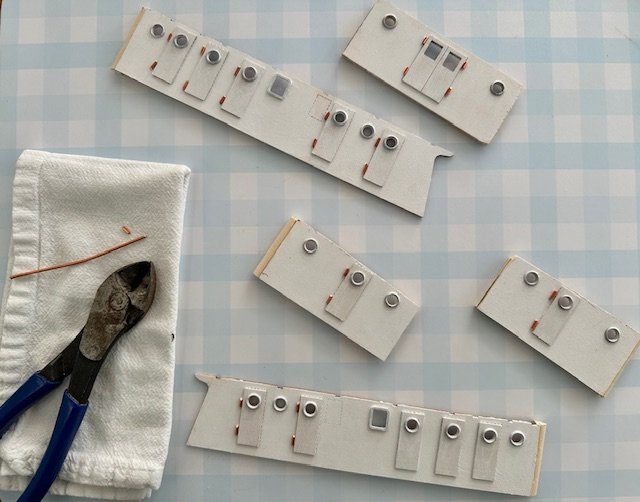
Today, I bent small pieces of copper wire at 90 degree angles to form door latches. Predrilled the doors for a tight fit and painted the result. Thanks to Xristo's Calypso build for the latch and lock ideas. I believe they add a nice touch.
-
Thankyou. That is helpful.
-
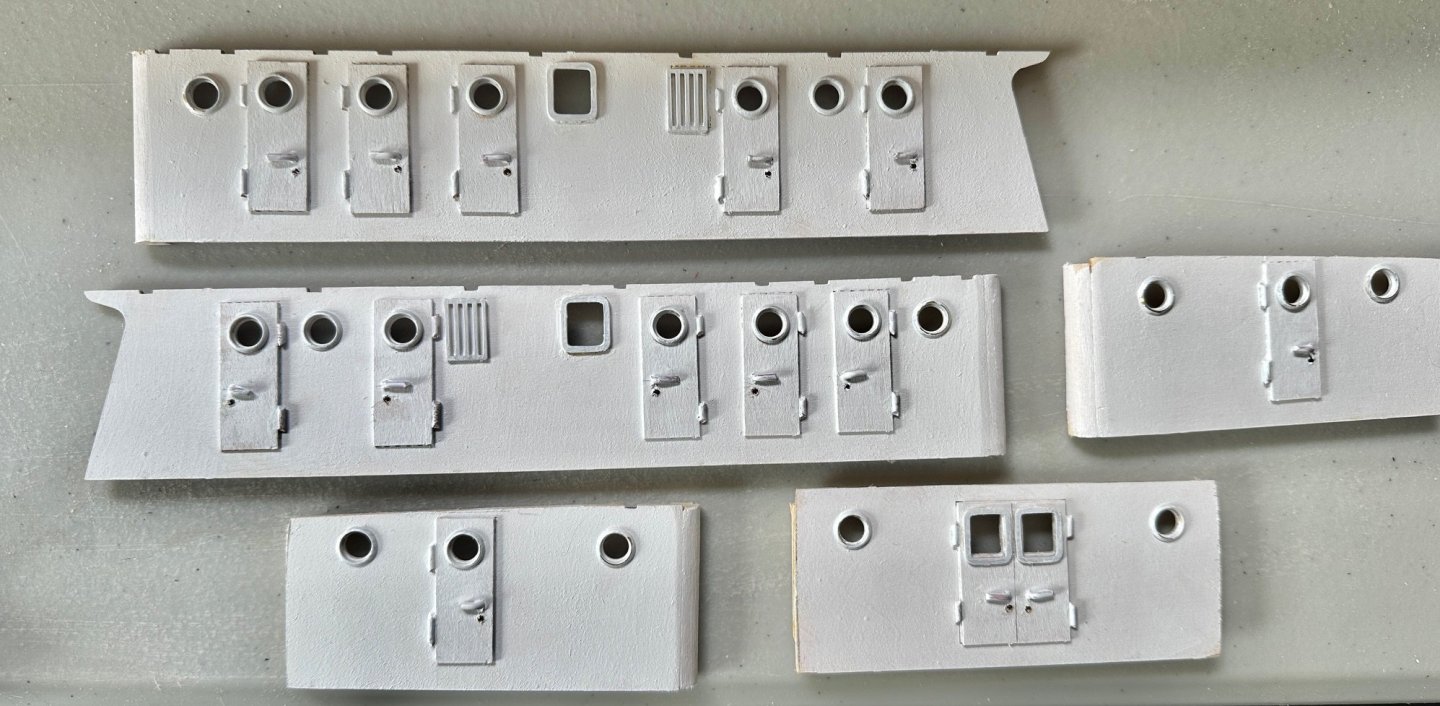
Added the doors and portholes and after light sanding, another coat of paint. Inspired by other people's posts, added door hinges made from copper wire.
-
If you want any help, I'll be happy to help as best I can. Hello Xristos, Thanks for your offer to help. I have added the doors and port holes to the main deck structures. I really like the added detail you have of the door hinges and door latches. I was thinking of using small pieces of copper wire for the hinges (your thoughts?) but am stumped regarding the door latches. Yours look great. I would appreciate if you could share your ideas. Patrick

-
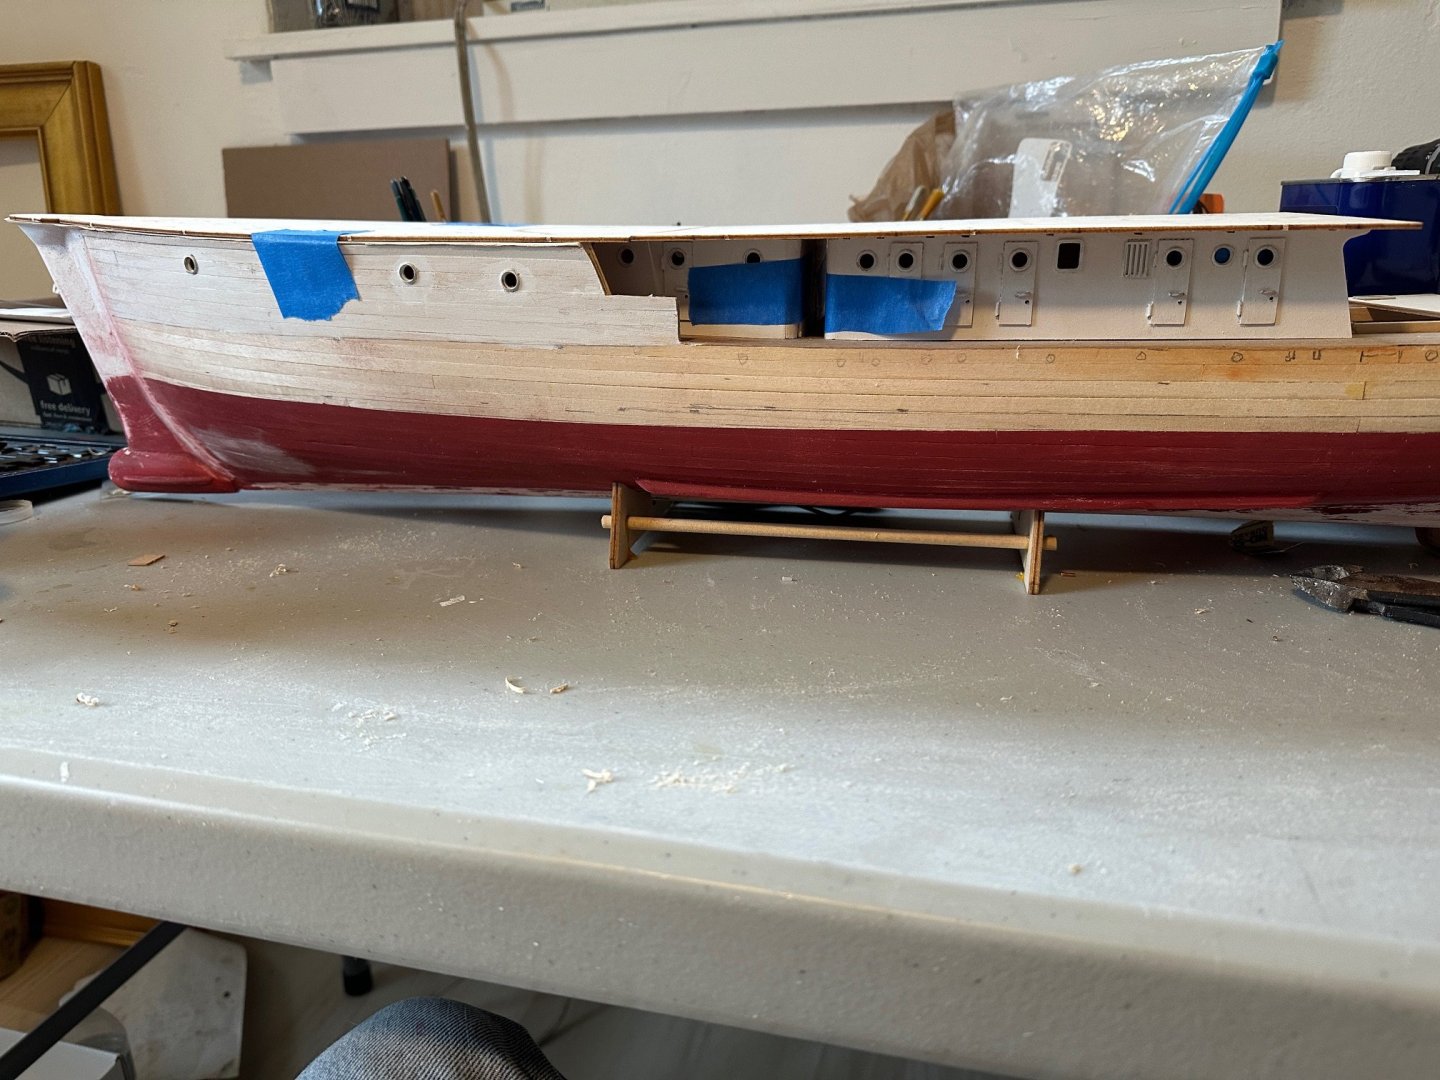
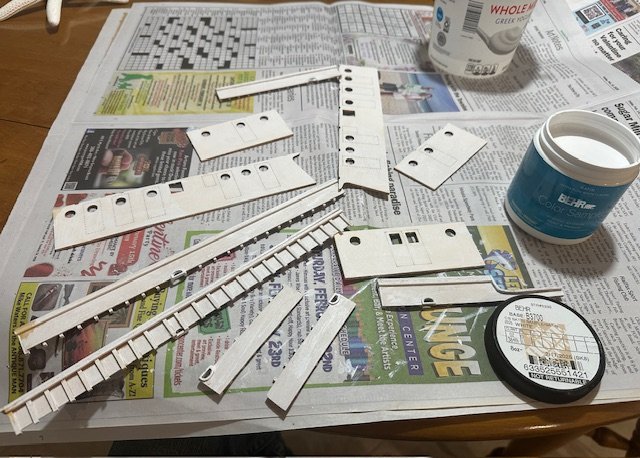
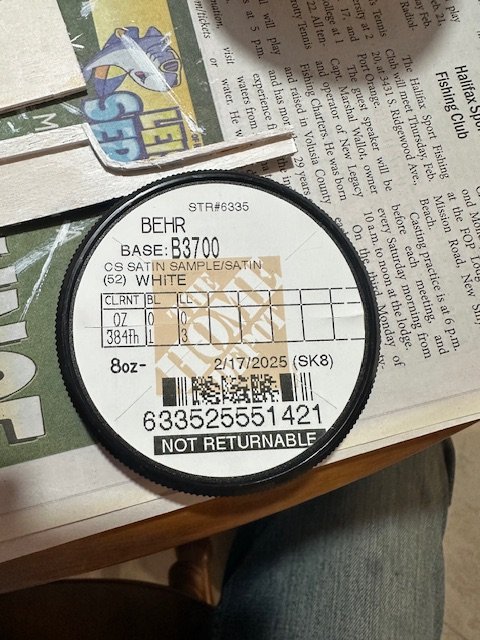
I have had good results in the past using Home Depot's acrylic sample paints. Lots of colors to choose from. The white choice was interesting. They have about 50 shades of white. I settled on one, believe it or not, just named "white". When held next to "Ultra Pure White", this tint is just enough off white to fit my taste. I went with a satin finish. Added a first coat to my rails, lower cabin sides, and upper hull. Enjoying the process. Will add bottom paint to the hull next and finish off with the black..
-
Coming along slowly. I worked on the gunwales today by adding the scuppers and the ribs. Calipers were very helpful to get the spacing correct. Next will be a handrail on top. Before I attach the gunwales to the deck, I will have to commit to a shade of white to paint this feature which I will also use on the ship's sides and cabins. There are a lot of whites out there.

-
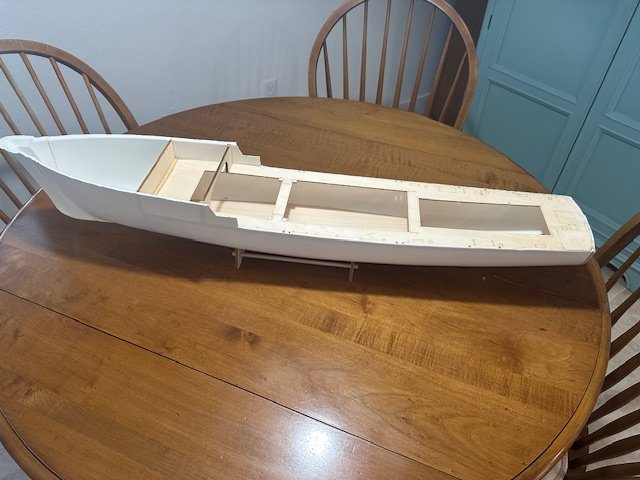
Thank you Hamilton. I finished up the planking on the lower deck today and added vertical supports around the deck openings to help support the eventual cabin walls. Enjoying the journey.
-
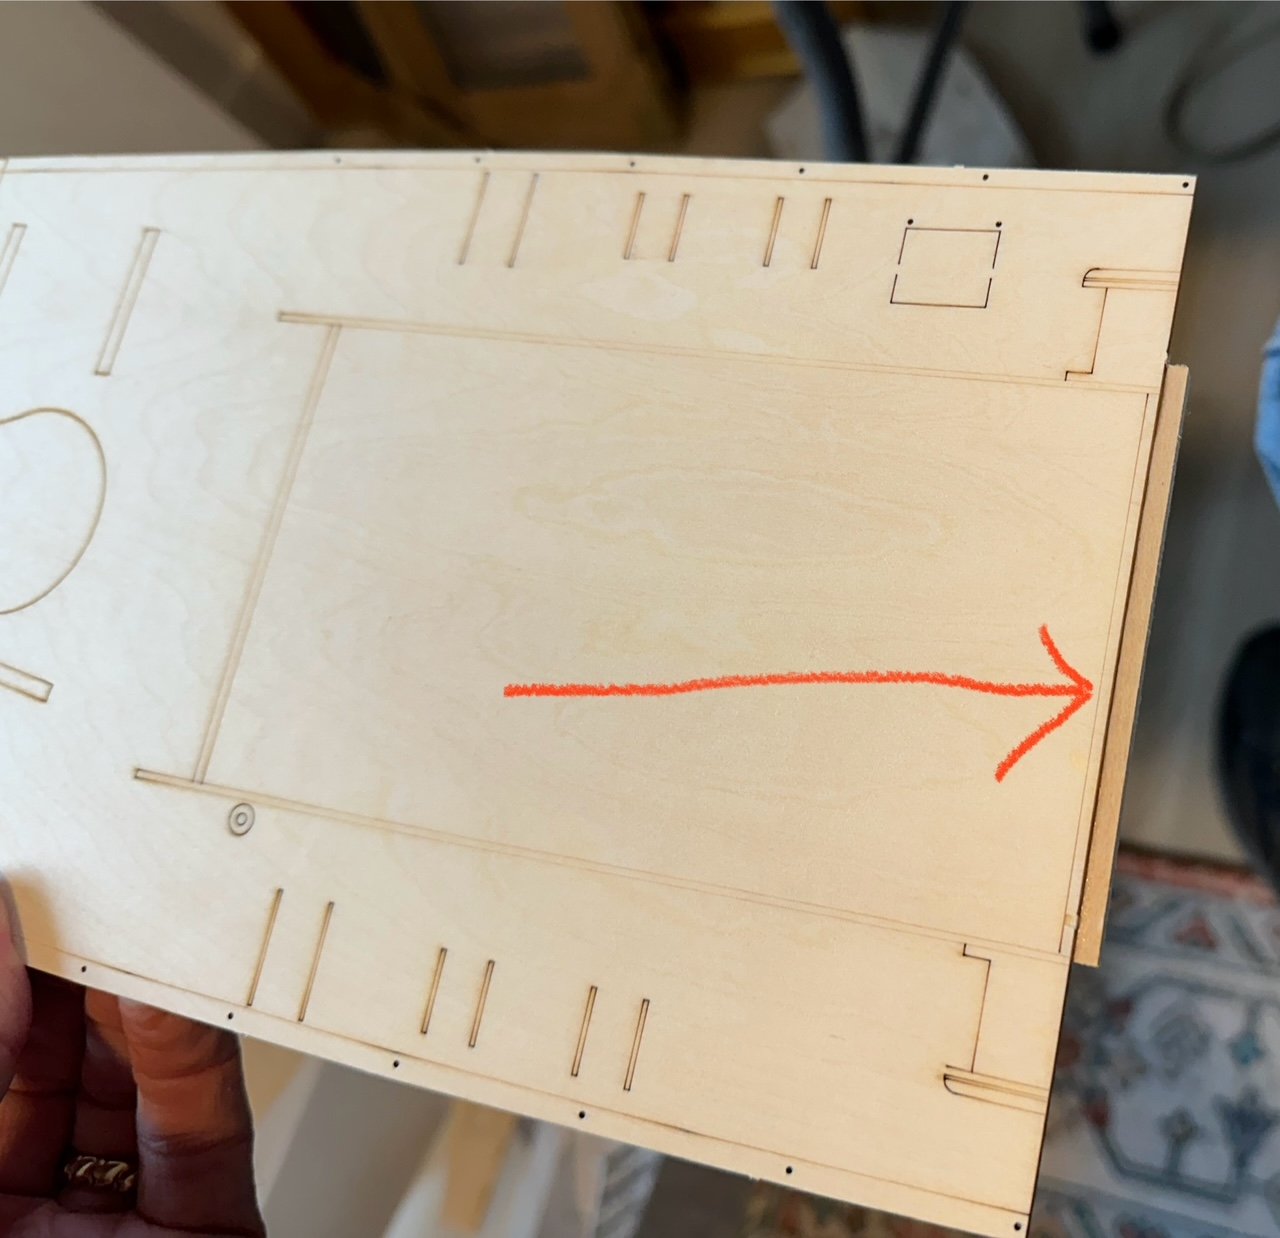
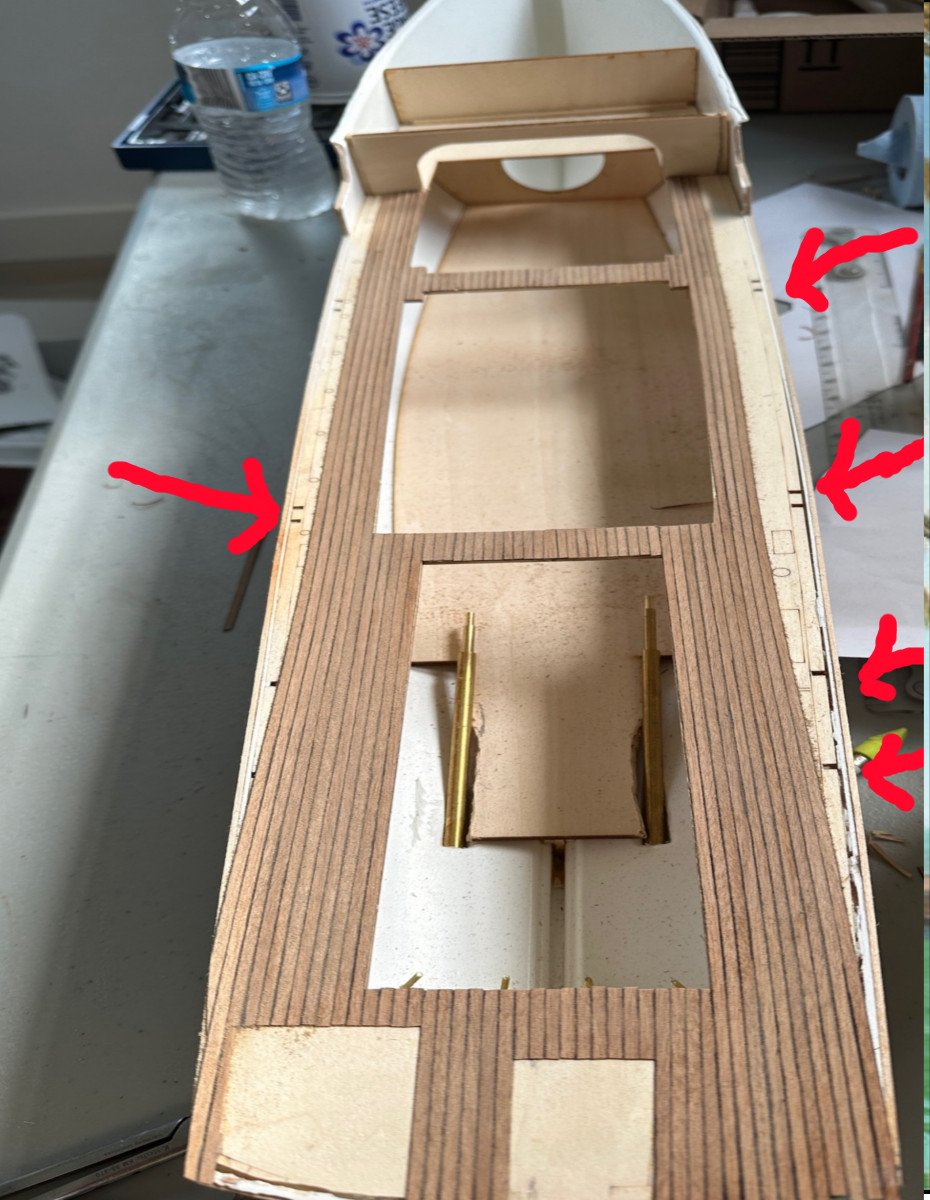
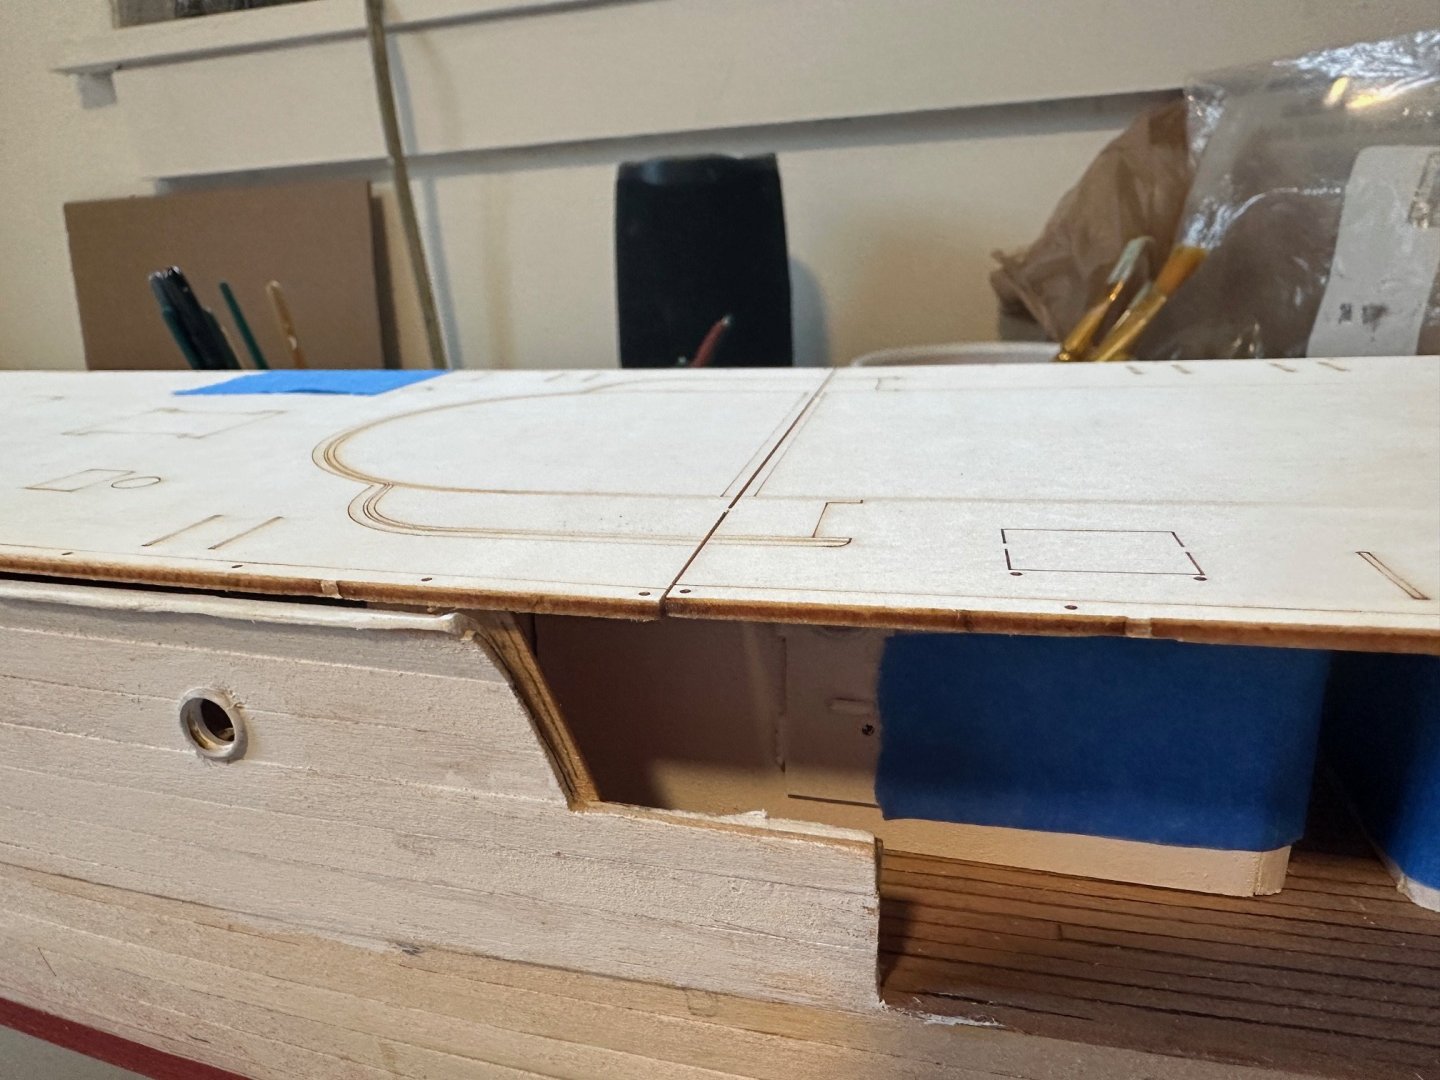
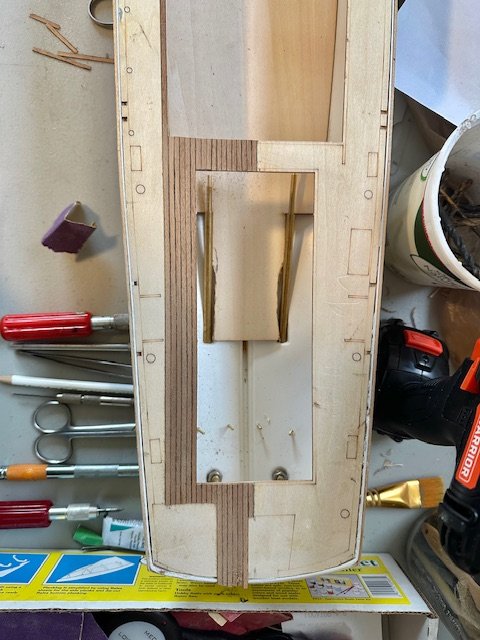
More progress on the deck planking today. She is starting to look like a wood ship. Thanks to those that have gone before me for the tip about planking the passageways. Loving the process. Does anybody know what the cut outs along the side of the deck are for? I marked them in red. I see nothing in the plans that line up. If they are necessary, I will retain them before decking to the outer hull. Thanks.

-
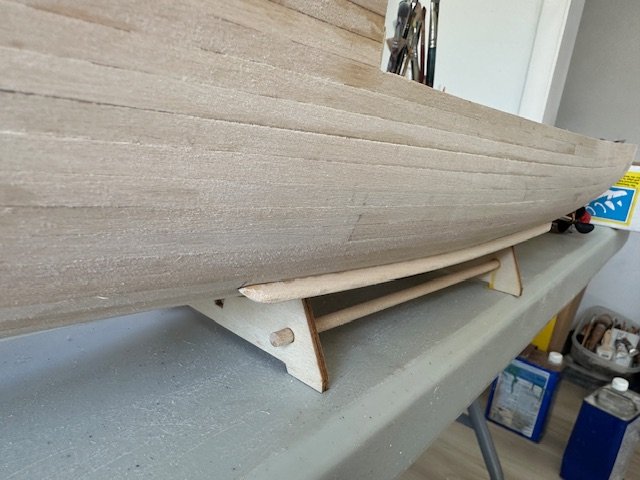
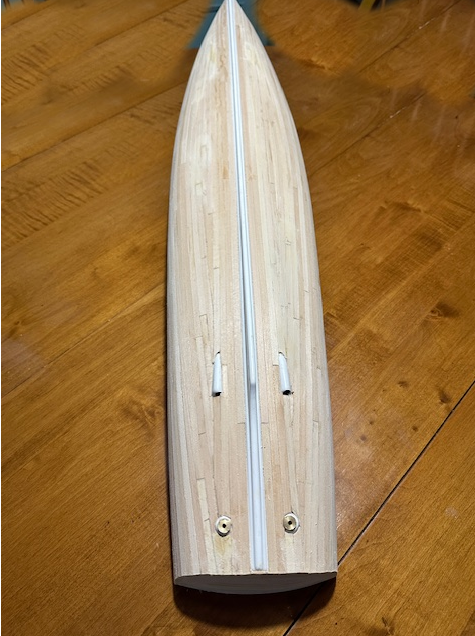
I was fortunate to have both time and desire the past few days to work on Calypso. Added the propellor shaft struts and housing for the shaft. Then carved and attached two horizontal stabilizer struts, one for each side of the hull. To begin the planking, I experimented using black thread between the deck planks as others have done or using a black marker along the edge of the deck planks as others have done. The black marker won out. Placing a centerline down the deck, I began the planking process with the first plank up against the centerline. This will take a little while. I am having a tough time from the illustrated instructions making out how to transition from deck planking to the outer scupper board. Any suggestions or photos would be helpful. I have looked at other build but cannot make out this detail. I am hoping to post enough step by step information with this build to help future Calypso builders see the various steps since there are no printed instructions with this model. The other Calypso builds on this site have been very helpful so far and inspiring!
-
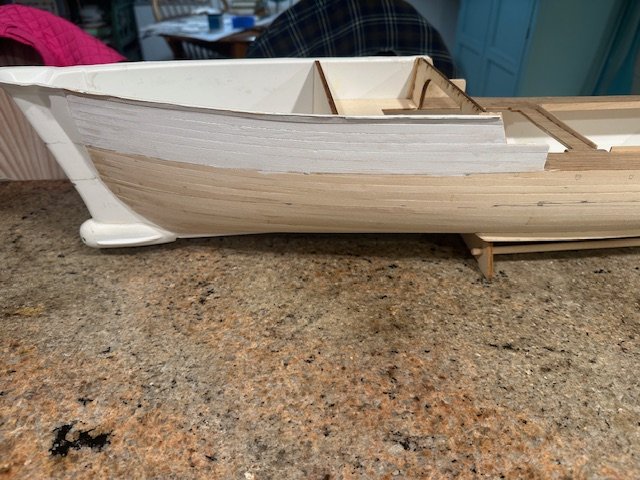
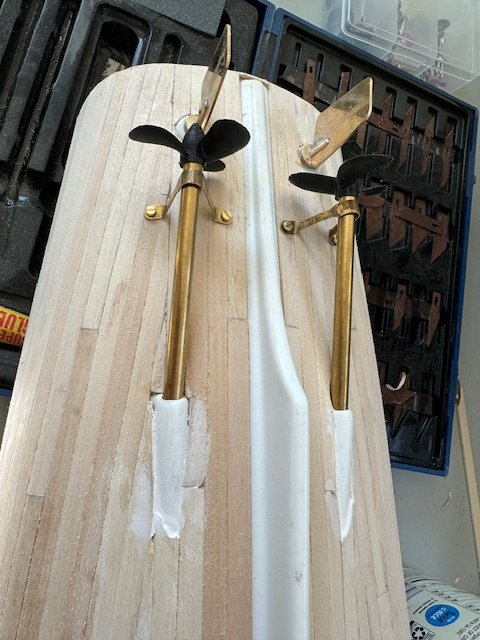
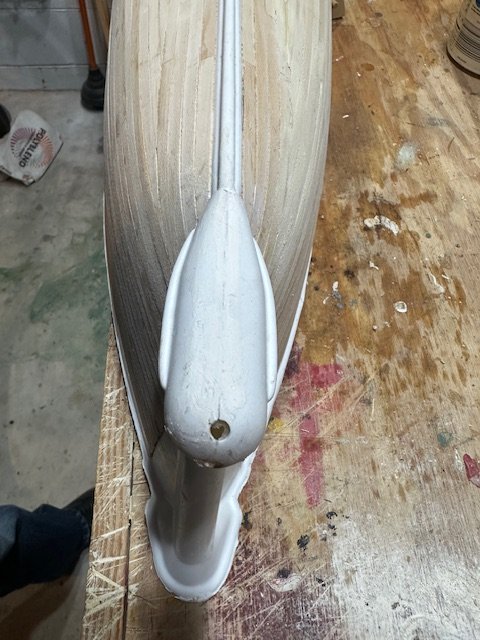
I had some time over the last few days and spent it attaching the brass rudders in anticipation of painting the hull. Also added and faired the observation bow nose. Now it looks like the Calypso I remember. To create the openings for the port holes, I marked where they would go and then heated up a pointed awl and created small dimples in the ABS rounded plastic nose where I would drill. That prevented my drill from dancing around the curved surface. I anticipated some separation in the two halves of the bow nose when drilling since the material is so thin and there is not much surface area to glue. Before I installed the nose, I glued some scrap ABS plastic strips across the seams on the inside which worked well. Also started with a small drill bit and worked my way up carefully. So far, so good. Cheers from Florida
-
Thanks so much Don. I checked it out and really like the helicopter model's detail and went ahead and ordered one. In addition to using the pontoons which I have, I guess I could change out the area behind the fuselage to look more like the original. I appreciate your response. Patrick
- 36 replies
-
- 1
-

-
- calypso
- billing boats
- (and 1 more)
-
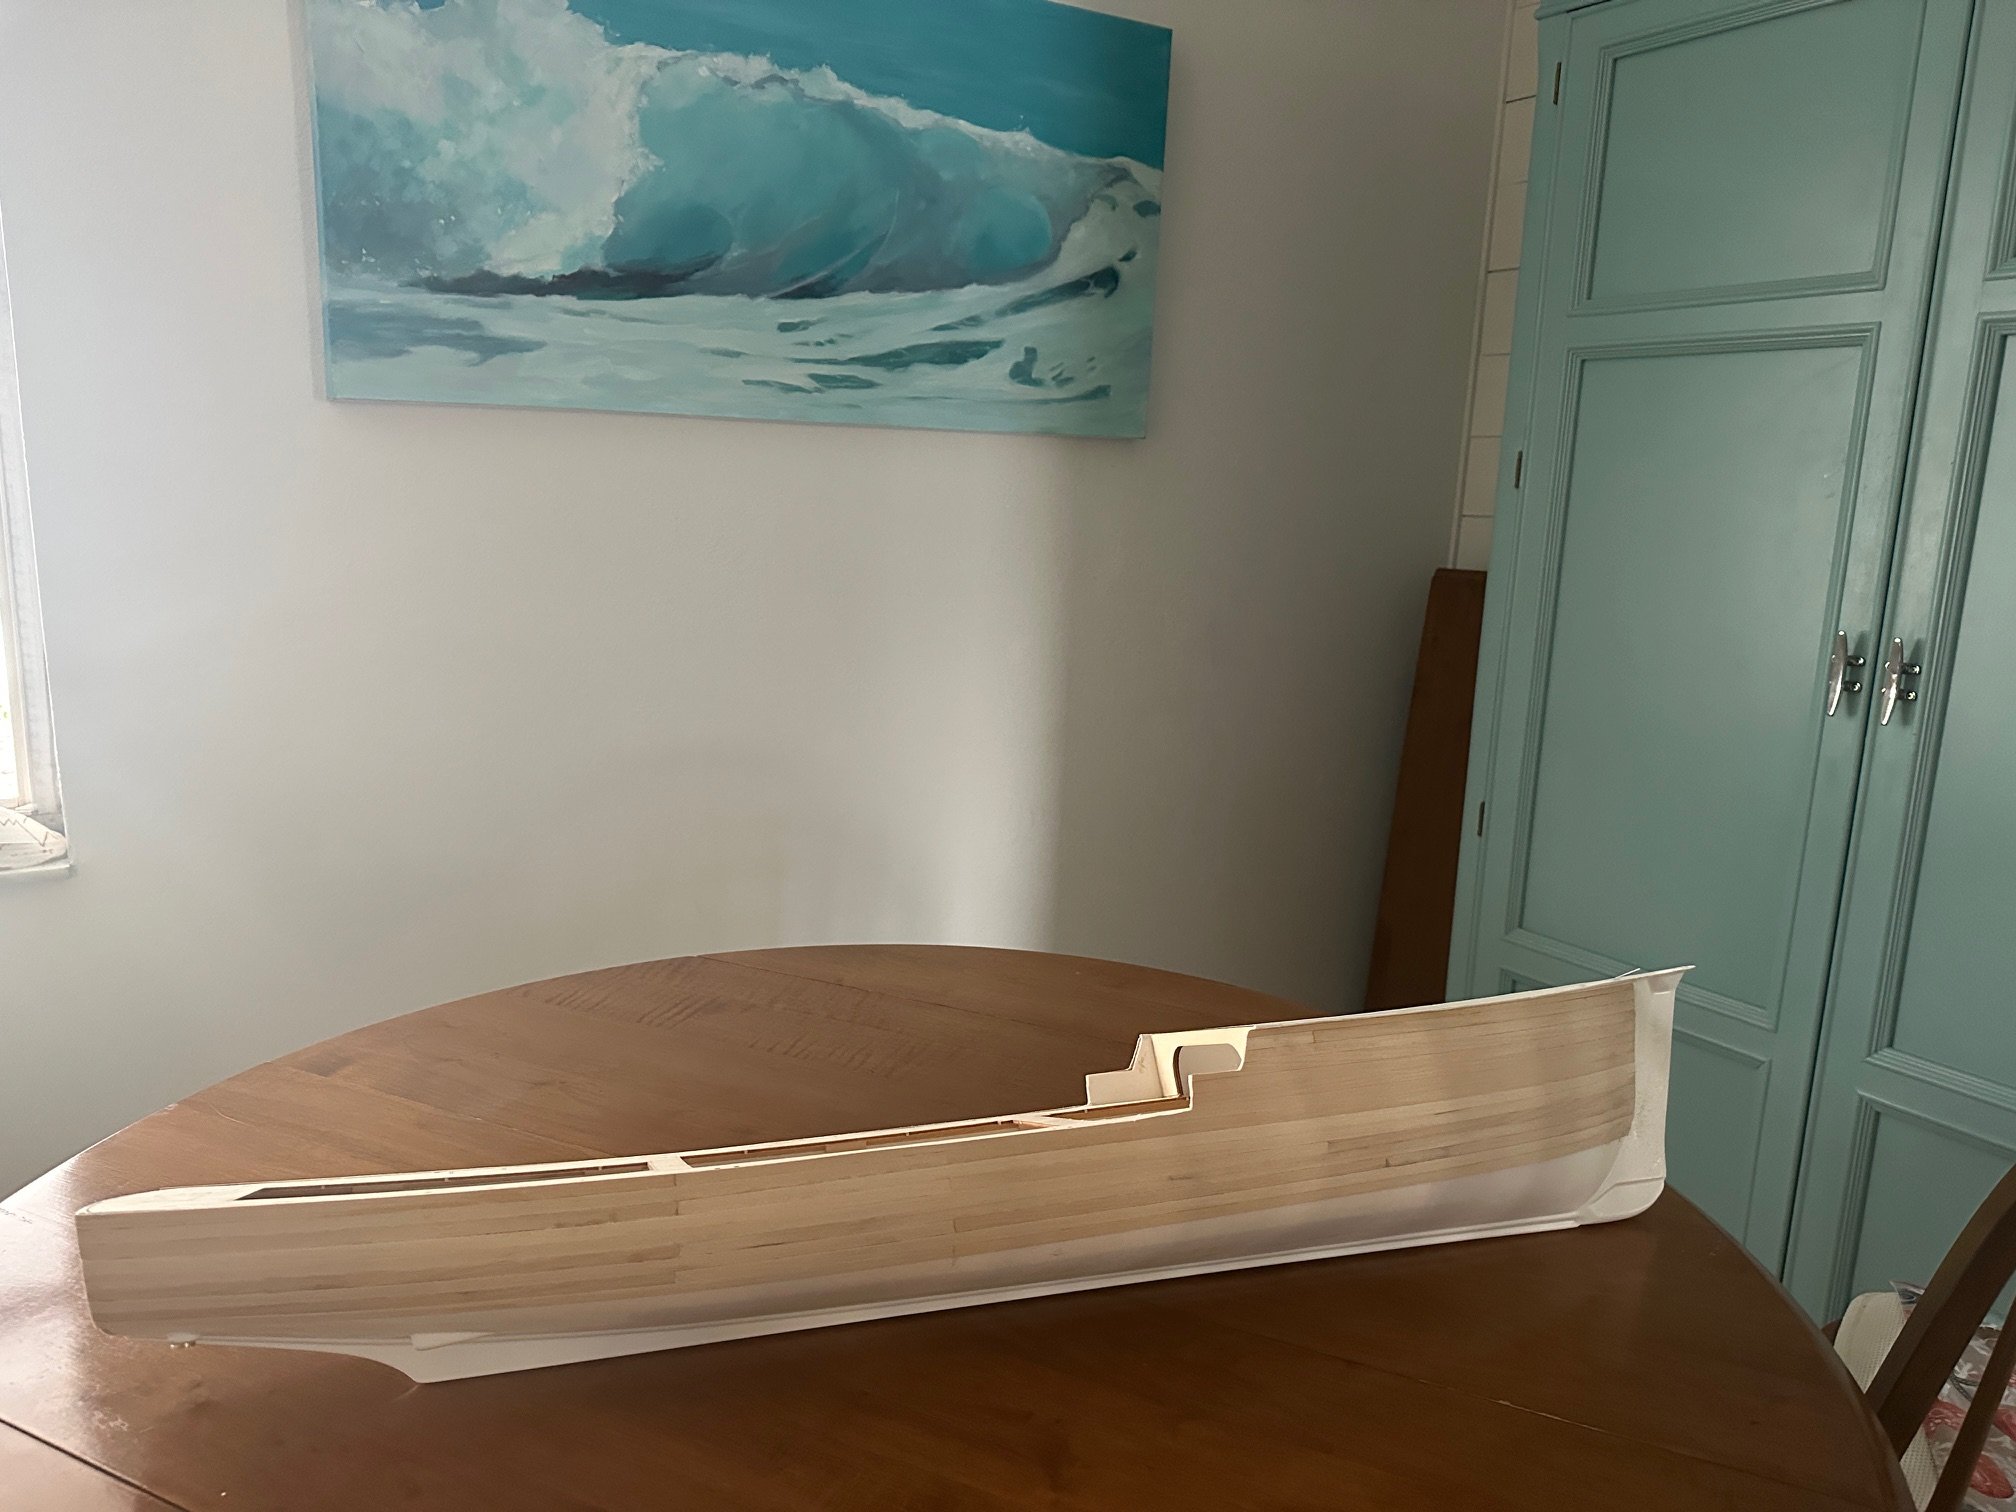
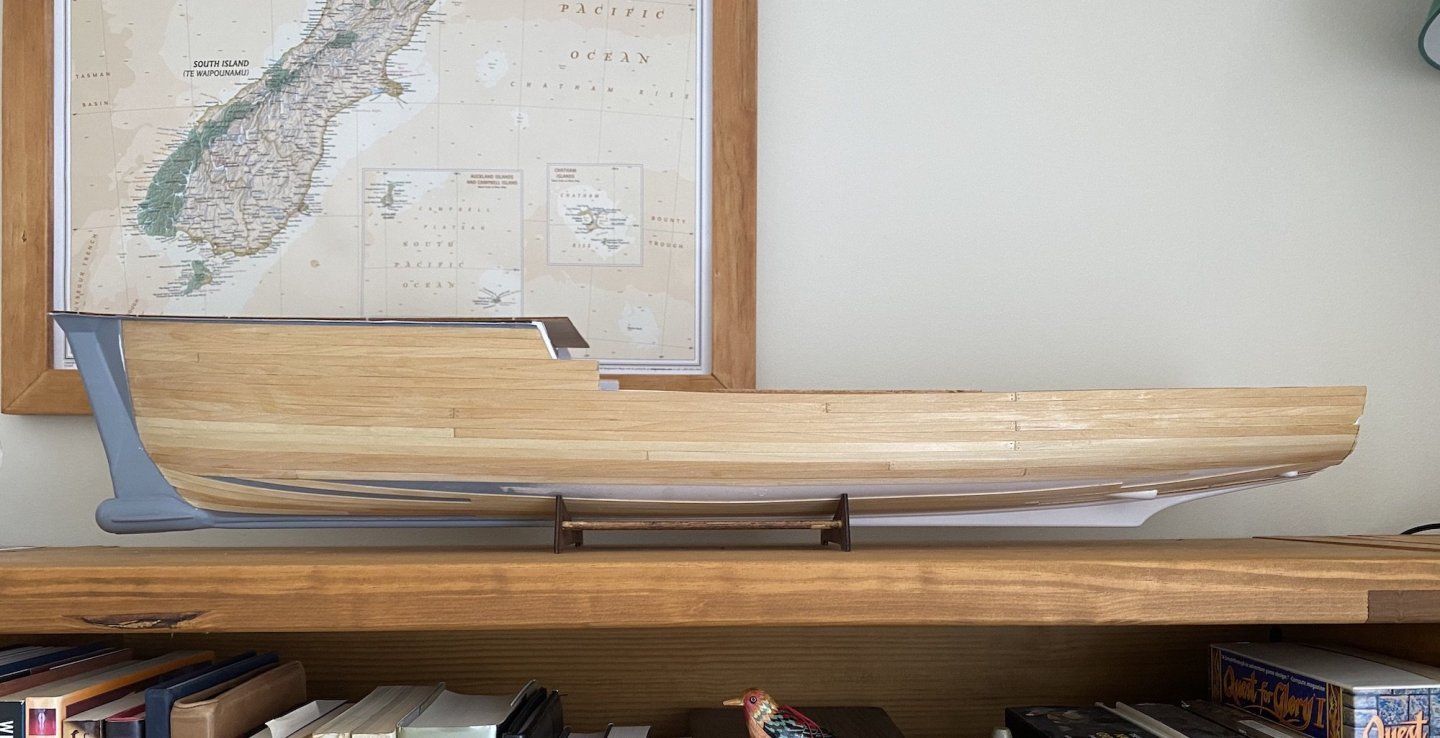
Thank you Yves and Don for the passageway information. I looked at some other Calypso builds on this site and now see the planked passageway. . It makes sense. I was able to finish up the planking of the hull today and began sanding and fairing. I am very happy that I decided to plank the hull as I look at the result. This will be a static model which made the wood planking an option. I will begin working on the forward observation bulbous bow next. I thought it best to leave it off during the planking stage to avoid damage.
-
Thanks so much Don. I will check it out. In addition to using the pontoons which I have, I guess I could change out the area behind the fuselage to look more like the original. I appreciate your responce. Patrick
- 36 replies
-
- 2
-
-
- calypso
- billing boats
- (and 1 more)
-
Hi Don, Enjoyed and inspired looked at your Calypso build. Unfortunately, my Calypso, purchased new, did not come with the helicopter fuselage. I have contacted the American distributor, and they say they have no parts and that I must contact the overseas parent company. I have reached out to them three times over a 5 week period with no response. Could you tell me more about your helicopter which looks great. Is this something still made that I might use as a replacement. Regards, Patrick
- 36 replies
-
- 1
-
-
- calypso
- billing boats
- (and 1 more)
-
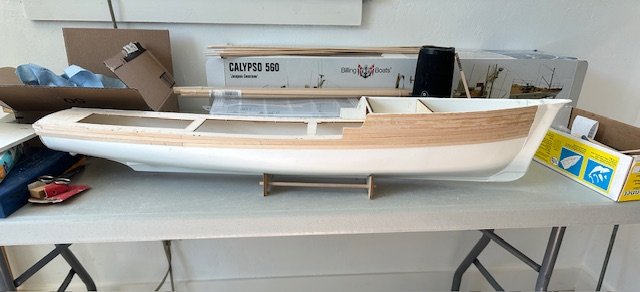
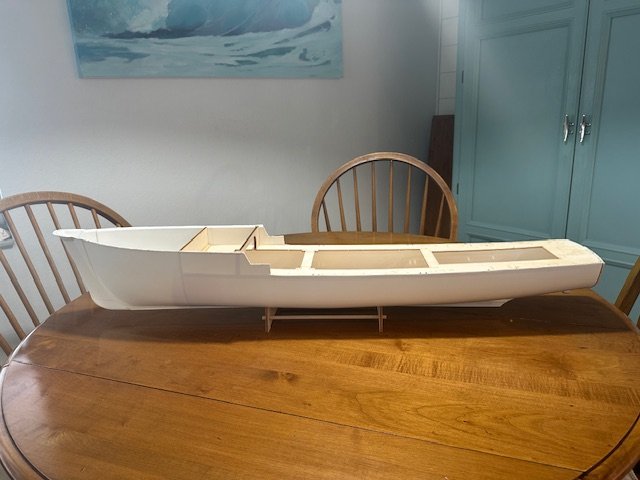
More progress today. The port side is also planked at the same level. I am an artist. The wave in the background is one of my ocean paintings.

-
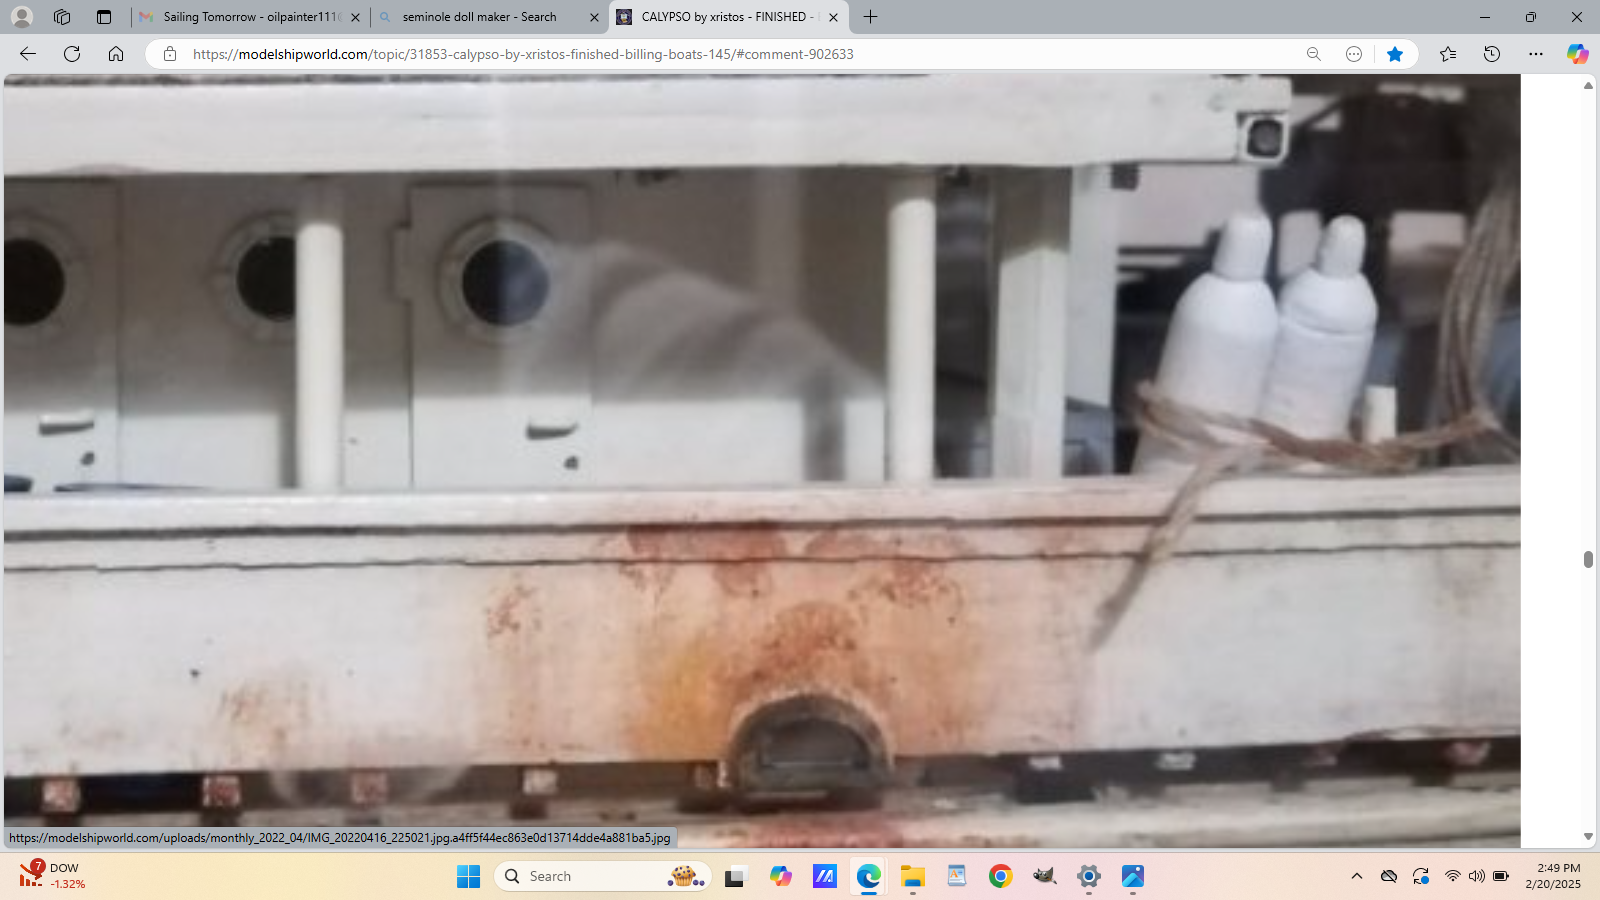
Thankyou Yves and Ryland. It is cold, damp and foggy here in Daytona Beach this morning so it should be another good day to add more planking. I am thankful for many things, most recently acetone to get the super glue off of my fingers :0) Like others that have built Calypso, I was inspired by Cousteau as a high school student in the 60's leading me to pursue a life of diving and ocean sailing. On my way sailing to the Florida Keys years ago, Iwas fortunate to see Calypso docked in Miami. Building this model will be a tribute to many fond memories. Here is an old photo of Calypso in Key West from a Google search.
-
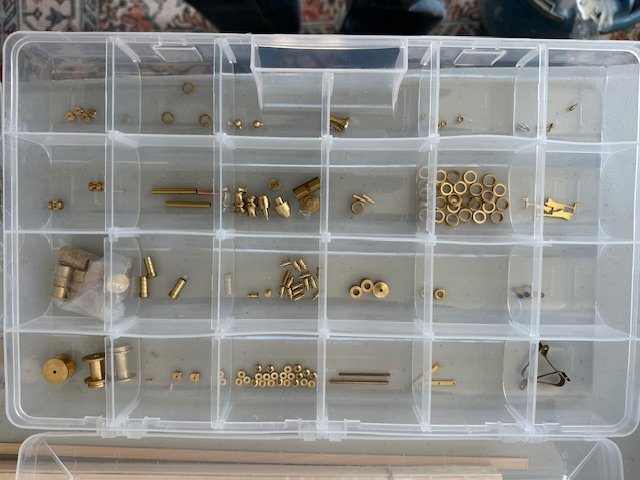
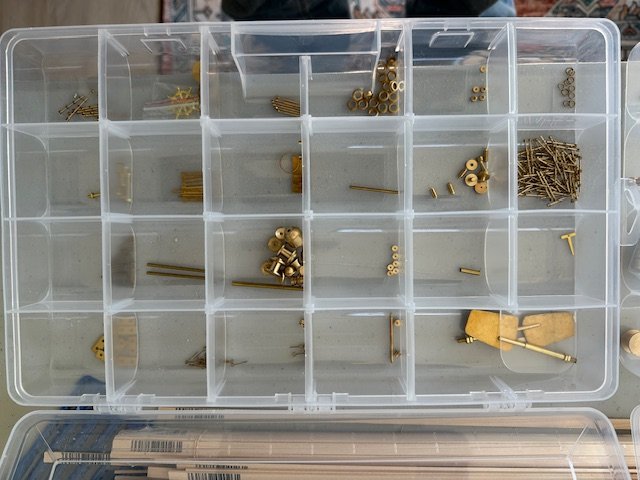
I began the planking of Calypso a few days ago. I find this part of the build to be very satisfying. She is starting to look like a ship. I picked up a few organizing trays to separate the various brass fittings into categories. I found it a bit overwhelming to see all of those brass parts mixed together in three plastic bags. This should really help when it comes time to find various parts. I am thoroughly happy building this historic ship with the exception of the lack of written instruction. I am also very grateful for all of the wonderful previous Calypso build posts on this site.
-
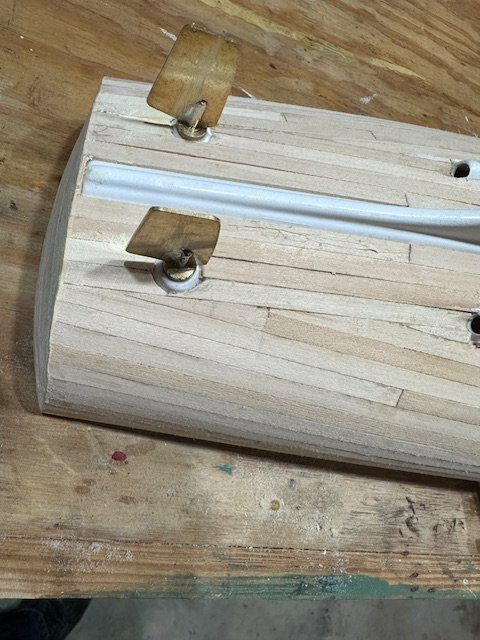
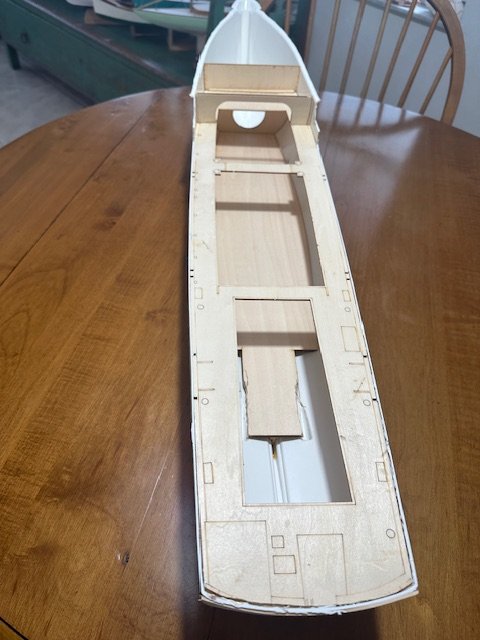
Made some progress over the past few days. Installed the rudder hardware housing. After adding wooden support strips running along the sides, forward bulkhead and stern, I installed the main deck. This really stiffened up the previously flexible ABS hull. Fine sanding the ABS hull along with Gorilla super glue is working well for my wood to plastic joints. I then added the second forward bulkhead which required a little fitting. With the hull stiffened and stable, I am looking forward to planking the hull.
-
I am following your build closely. I started building mine two weeks ago and agree the instructions leave much to be desired. Only draws picture with no explanation. My next step according to the pictured instructions was to glue the lower deck. If I had done that without seeing your post, It would have been difficult to install the rudders! Thanks for your pictures. Patrick (mandolinut)
- 70 replies
-
- 1
-
-
- calypso
- billing boats
- (and 1 more)
-
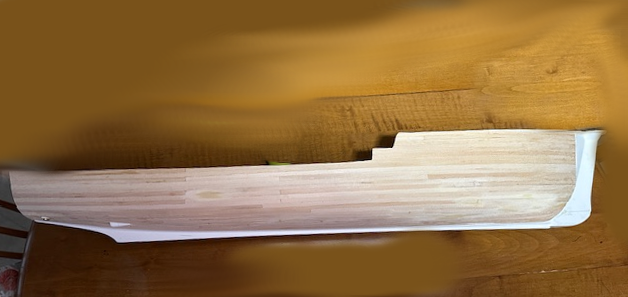
Thank you for that wonderful photo Yves, I glued the first two planks on the stern last night with Tight bond wood glue. This morning when I removed the clamps the wood came off as if never glued. Have to do some research for wood to ABS bonding. Superglue would work ,but I would like a little more working time to make minor adjustments. I saw a post where another member, Luekutus, planked his Calypso and left the bow unplanked. Here is a copy paste of his Calypso.
-
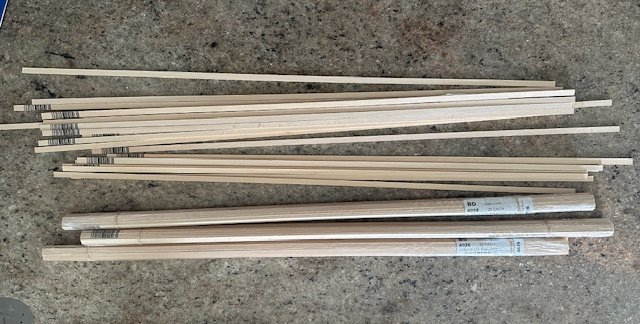
I received my shipment of basswood today to plank the outer hull of Calypso. These are 1/4" x 1/16" x 24". I ordered 80 strips so there should be plenty. Excited to start this part of the build. Needless to say, I would not be doing this if I was going to use the Calypso as an R/C model on the water.