Cjames
NRG Member-
Posts
5 -
Joined
-
Last visited
About Cjames

Recent Profile Visitors
The recent visitors block is disabled and is not being shown to other users.
-
 Cjames reacted to a post in a topic:
HM Cutter Alert by Glenn-UK - FINISHED - Vanguard Models - 1:64 scale - by Glenn Shelton
-
 Cjames reacted to a post in a topic:
Granado by RMC - FINISHED - Caldercraft - 1:64
-
 Cjames reacted to a post in a topic:
HMS Harpy 1796 (production prototype) by James H - FINISHED - Vanguard Models - 1/64
-
 Cjames reacted to a post in a topic:
Supermarine Spitfire Mk. VIII by Javlin - Tamyia - 1/32 - PLASTIC
-
 Cjames reacted to a post in a topic:
HM Brig-Sloop Flirt 1782 by Sjors - FINISHED - Vanguard Models - Scale 1:64
-
 Cjames reacted to a post in a topic:
HMS Sphinx 1775 by Hollowneck - FINISHED - Vanguard Models - 1:64
-
 Cjames reacted to a post in a topic:
HMS Sphinx 1775 by Hollowneck - FINISHED - Vanguard Models - 1:64
-
 Cjames reacted to a post in a topic:
HMS Cruiser by Wahka_est - Caldercraft - 1:64
-
 Cjames reacted to a post in a topic:
HMS Sphinx 1775 by brunnels - Vanguard Models - 1:64 scale
-
 Cjames reacted to a post in a topic:
USS Constitution by Flyfisher - BlueJacket Shipcrafters - 1:96
-
 FrankWouts reacted to a post in a topic:
HMS Sphinx 1775 by Ronald-V - Vanguard Models - 1:64
-
 FrankWouts reacted to a post in a topic:
HMS Sphinx 1775 by Ronald-V - Vanguard Models - 1:64
-
 PaddyO reacted to a post in a topic:
HMS Sphinx 1775 by Ronald-V - Vanguard Models - 1:64
-
 Erdict reacted to a post in a topic:
HMS Sphinx by Cjames - Vanguard Models - 1:64
-
 allanyed reacted to a post in a topic:
HMS Sphinx 1775 by Ronald-V - Vanguard Models - 1:64
-
 Blue Ensign reacted to a post in a topic:
HMS Sphinx 1775 by Ronald-V - Vanguard Models - 1:64
-
 mtaylor reacted to a post in a topic:
HMS Sphinx 1775 by Ronald-V - Vanguard Models - 1:64
-
 rvchima reacted to a post in a topic:
HMS Sphinx 1775 by Ronald-V - Vanguard Models - 1:64
-
 DonSangria reacted to a post in a topic:
HMS Sphinx 1775 by Ronald-V - Vanguard Models - 1:64
-
 Ronald-V reacted to a post in a topic:
HMS Sphinx 1775 by Ronald-V - Vanguard Models - 1:64
-
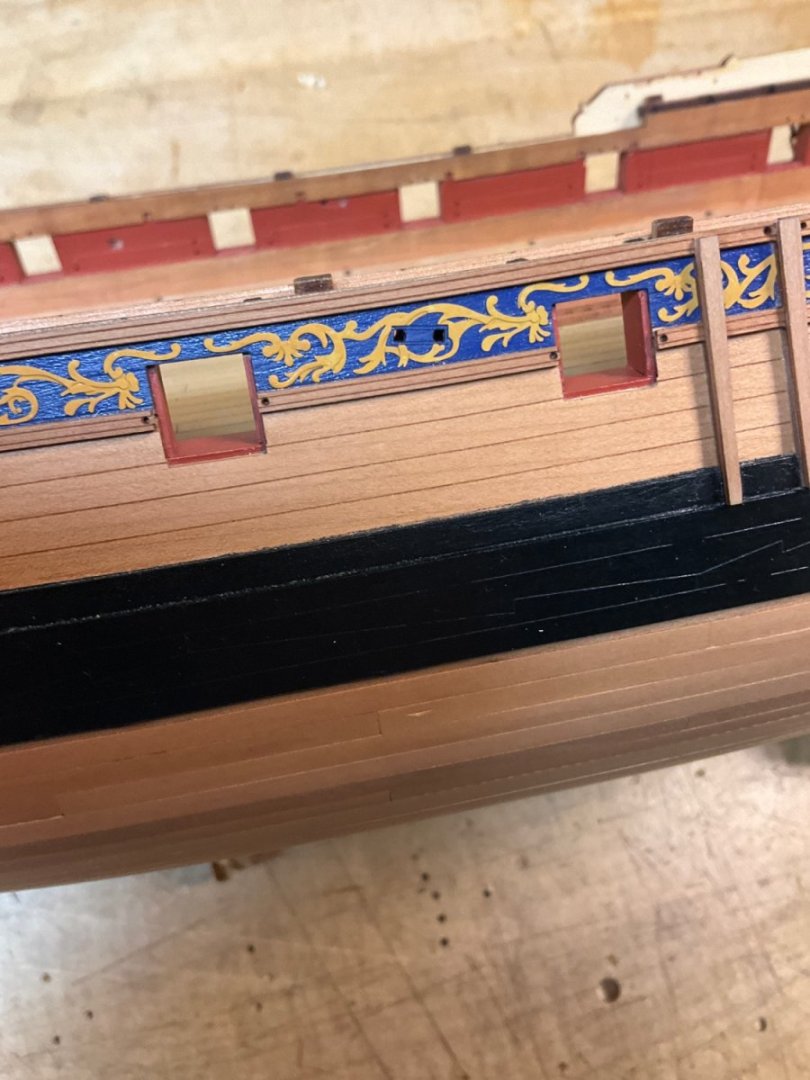
Hi Mugje. Re your question about gunport linings, I installed them on the bottom and sides of all the open ports. I used material a little less than 1/32 in and cut each individual lining from a pre-painted strip about 5/16 in wide. See below. I would complete the finish planking around the ports before installing the linings. You may have to sand the inner surfaces of the ports somewhat to match the exterior planking, and if you install the linings before doing that you'll have problems. I installed the linings the same way Blue Ensign did; bottoms first, then the sides. As he notes, the bottoms are easy, the sides not so much. Each side piece is angled top and bottom, and there are slight varIations in the angles for each piece. Do the best you can and plan on filling some gaps. Also one note. On my build the guns sit fairly low in the ports and with the linings installed the cannon barrels barely clear the bottom port sills. I would mock up one of the guns and test it with the material you plan to use for the linings before proceeding. Best regards. Cjames
-
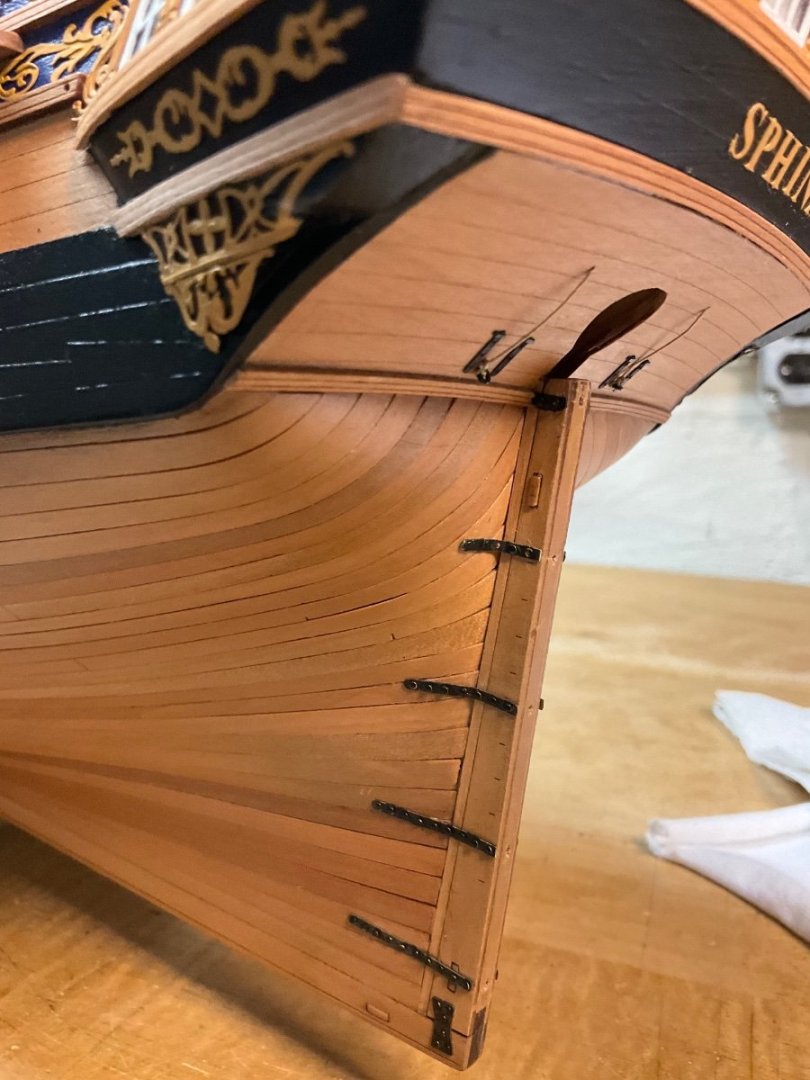
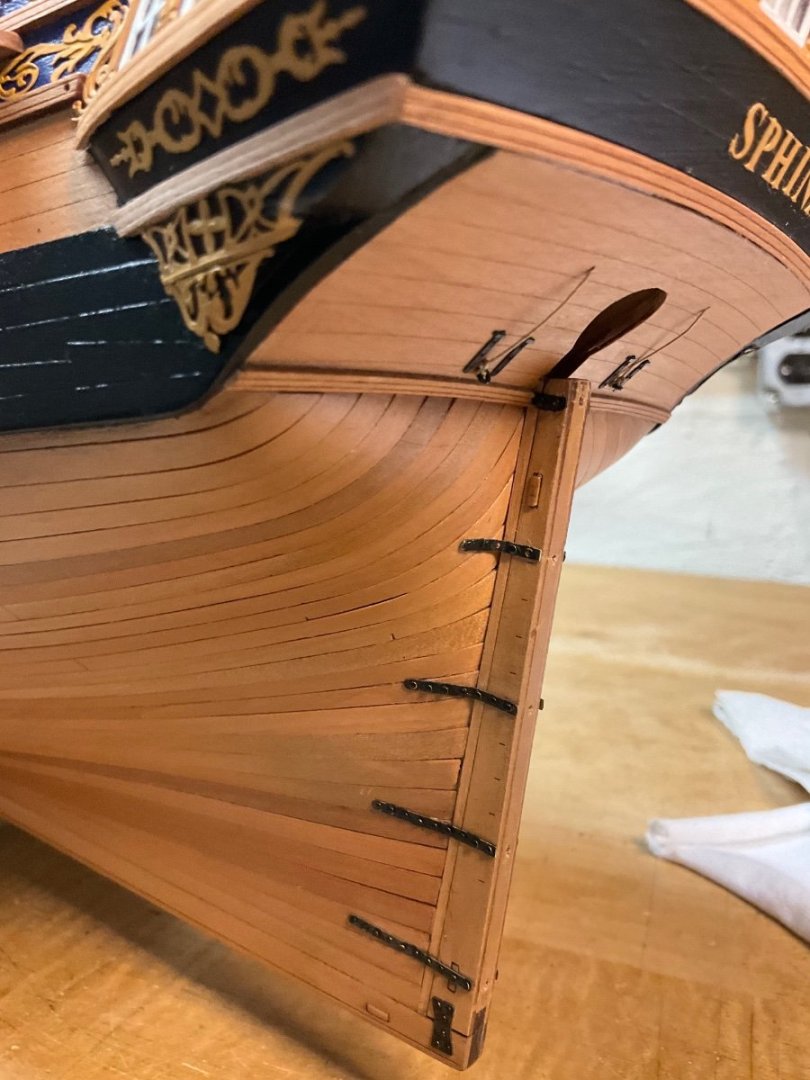
Hi Mugje. Your planking and stern facia pieces look good to me. Regarding your previous question concerning the apparent gap between the finish planking and the stern post, I had the same issue on my build and just inserted a strlp of pear to fill the area. You can see it clearly on the photo below.
-
Cjames started following HMS Sphinx by Cjames - Vanguard Models - 1:64
-
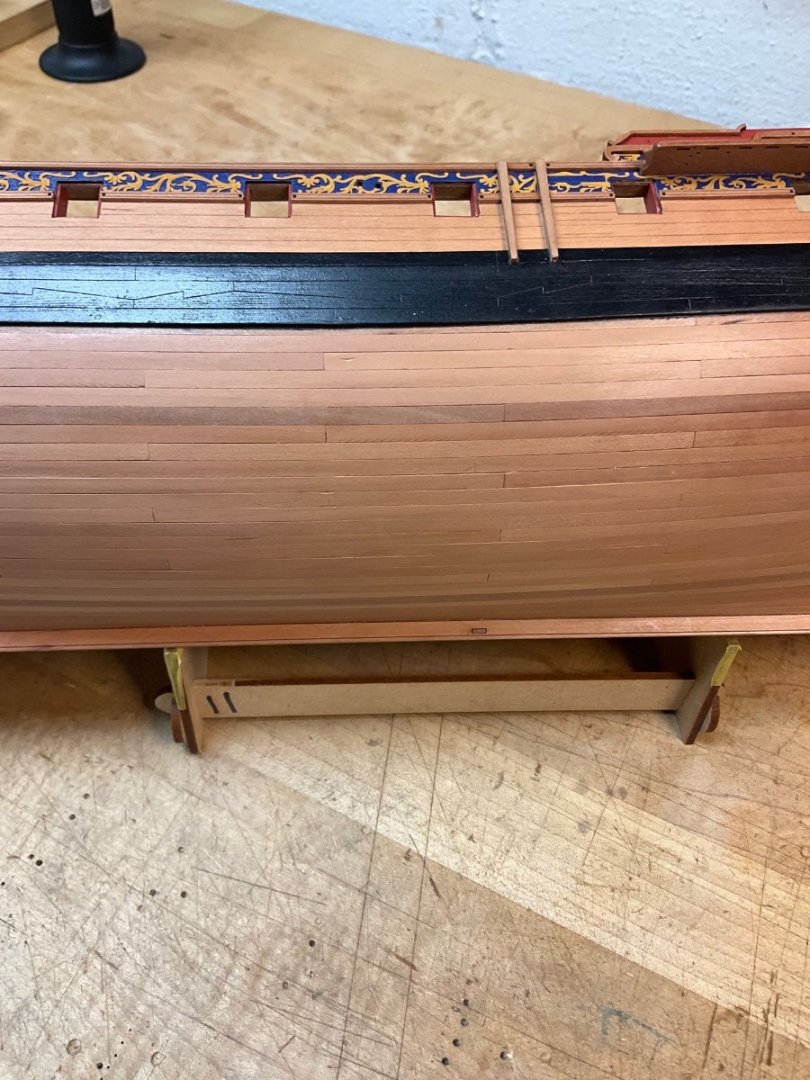
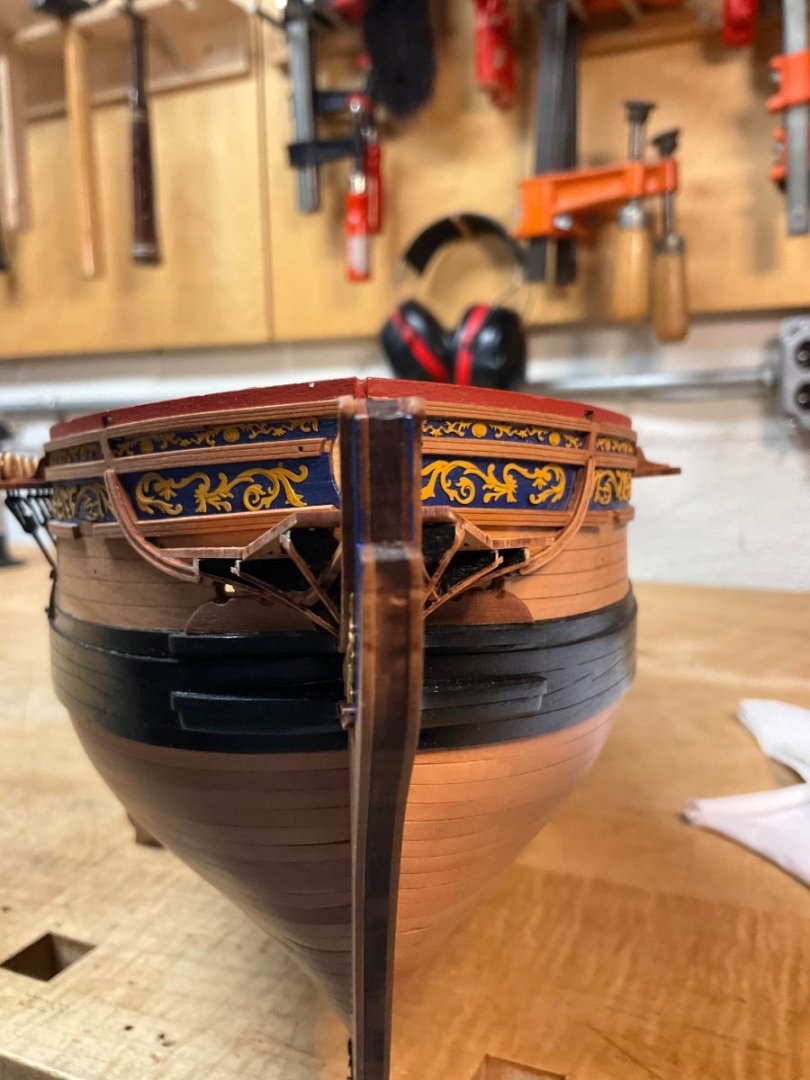
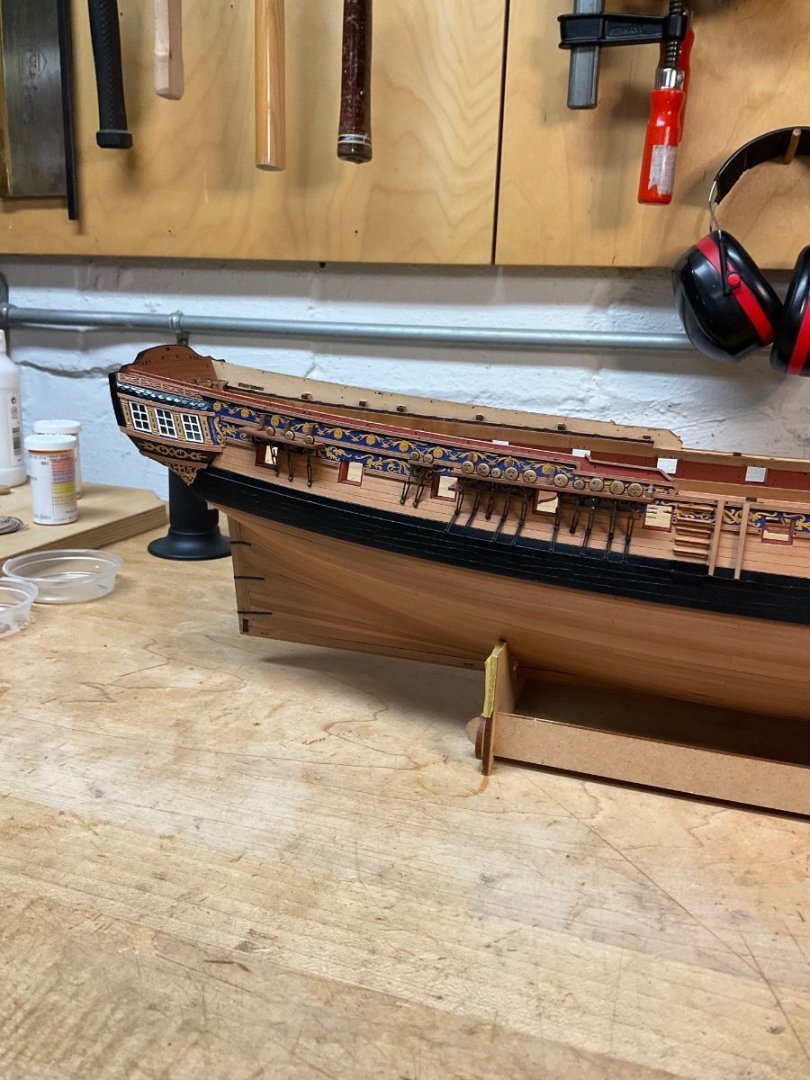
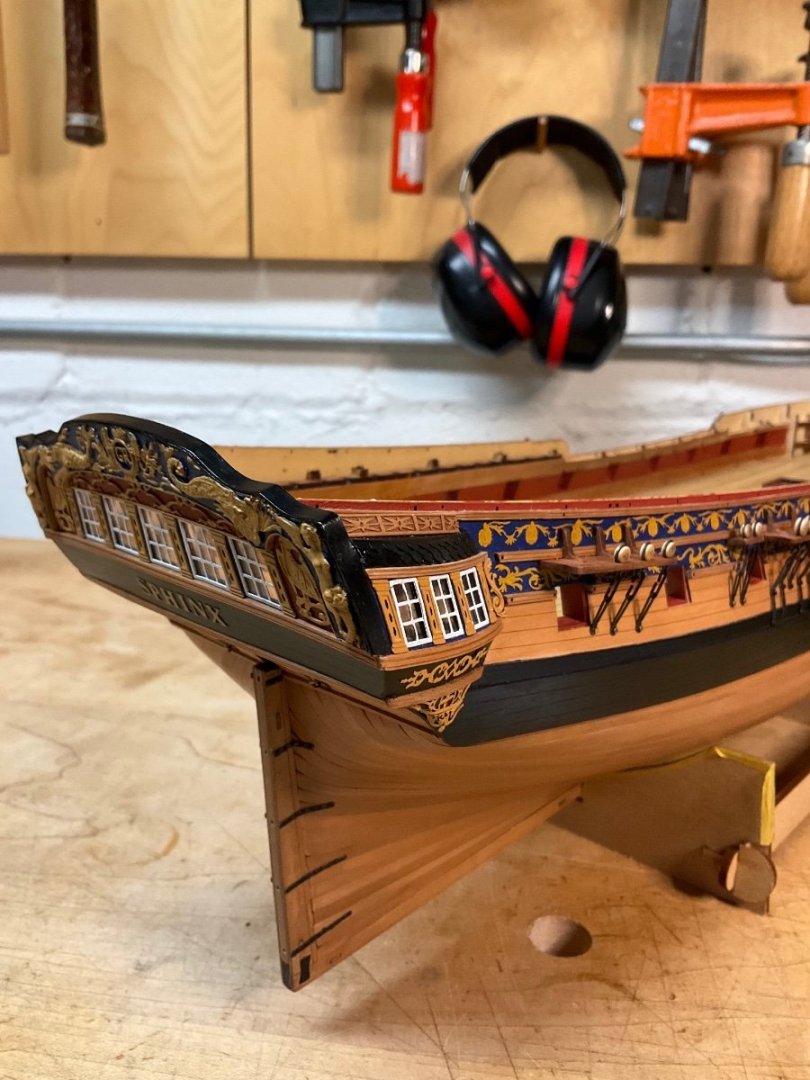
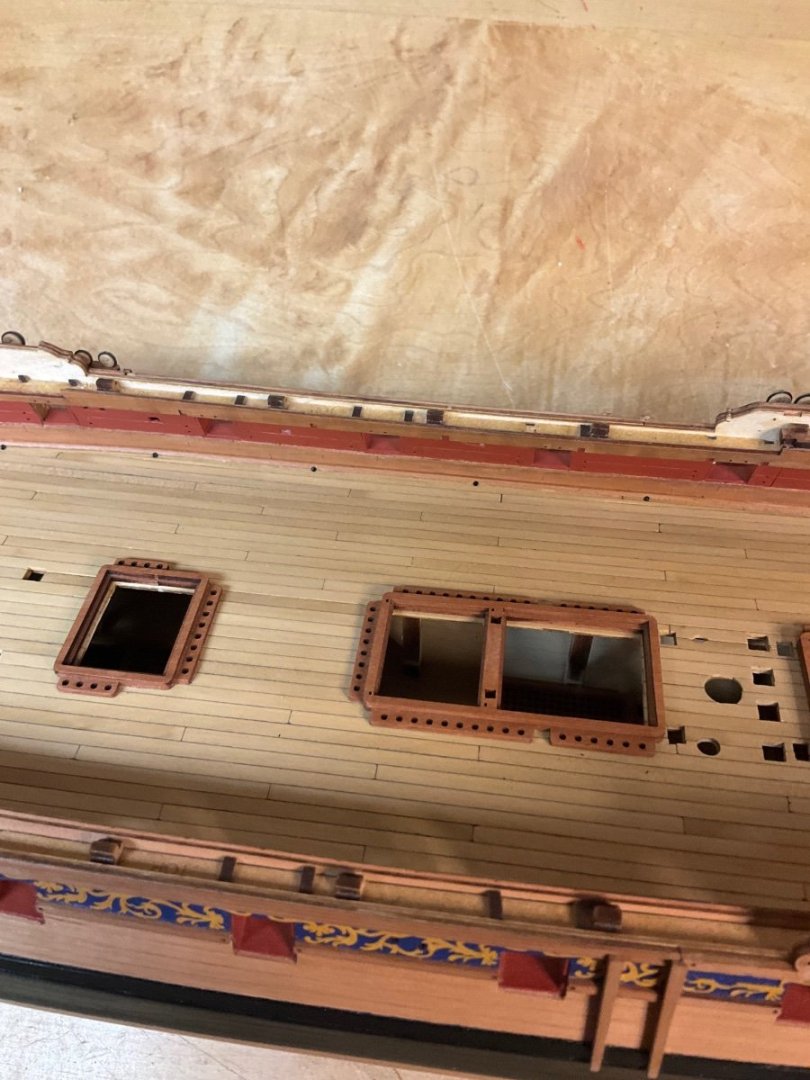
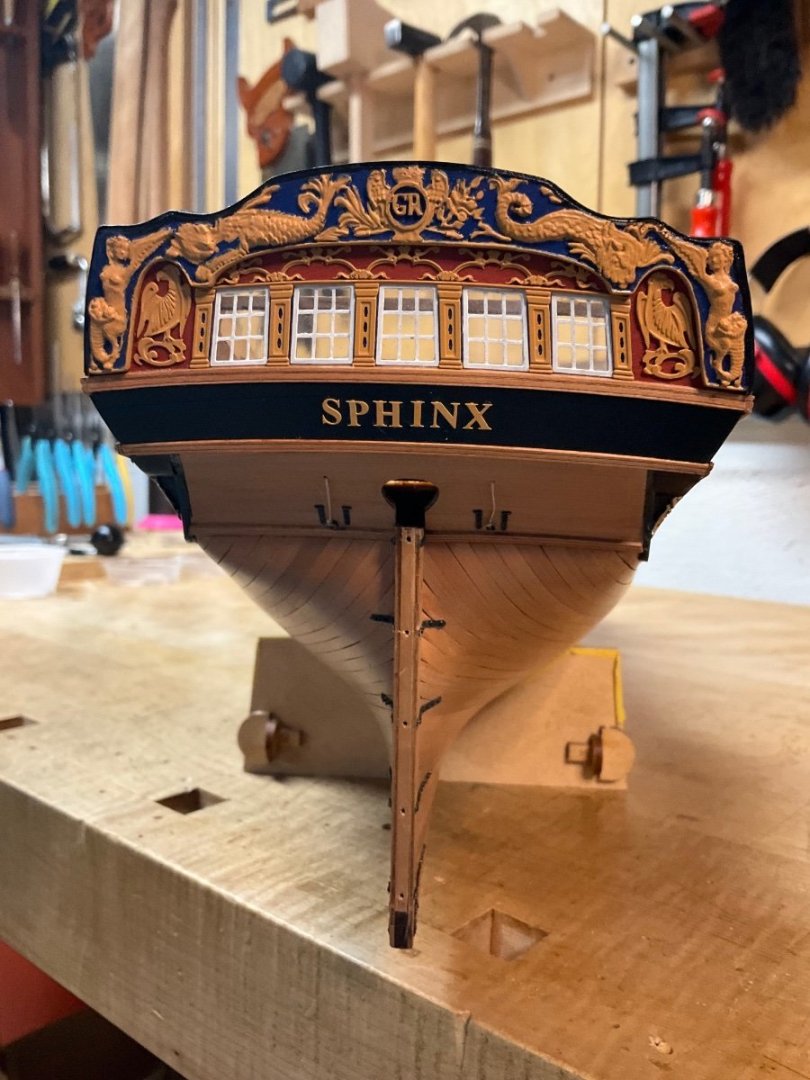
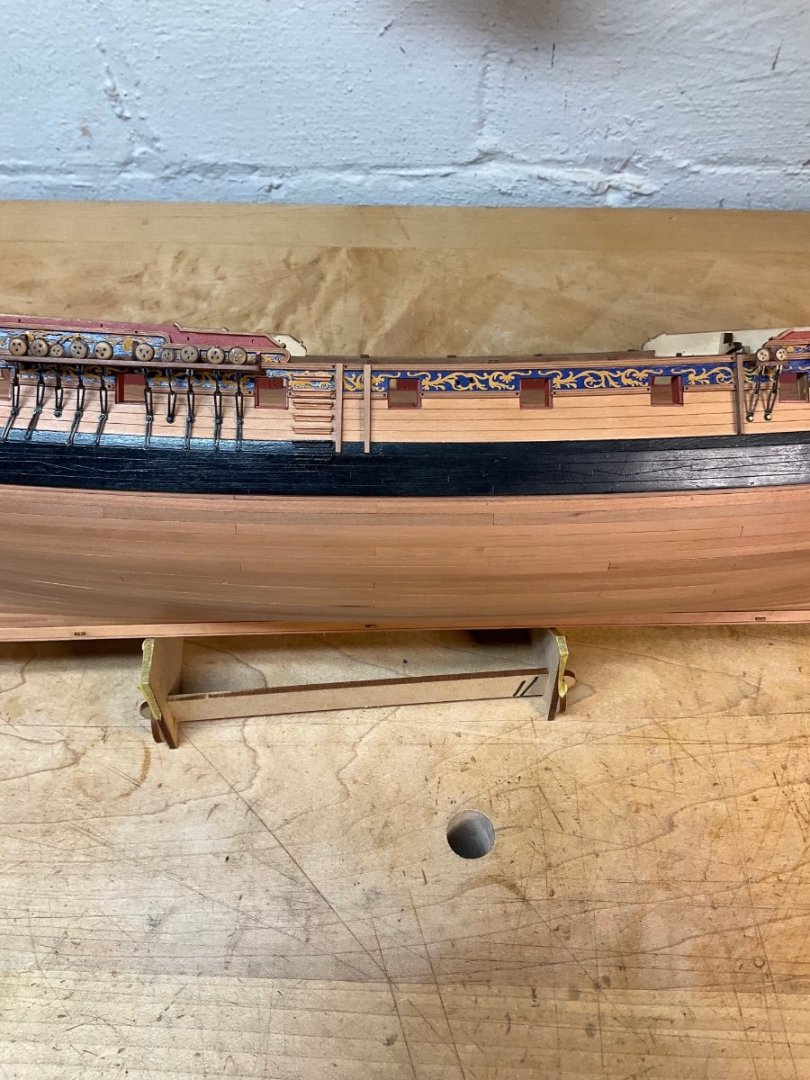
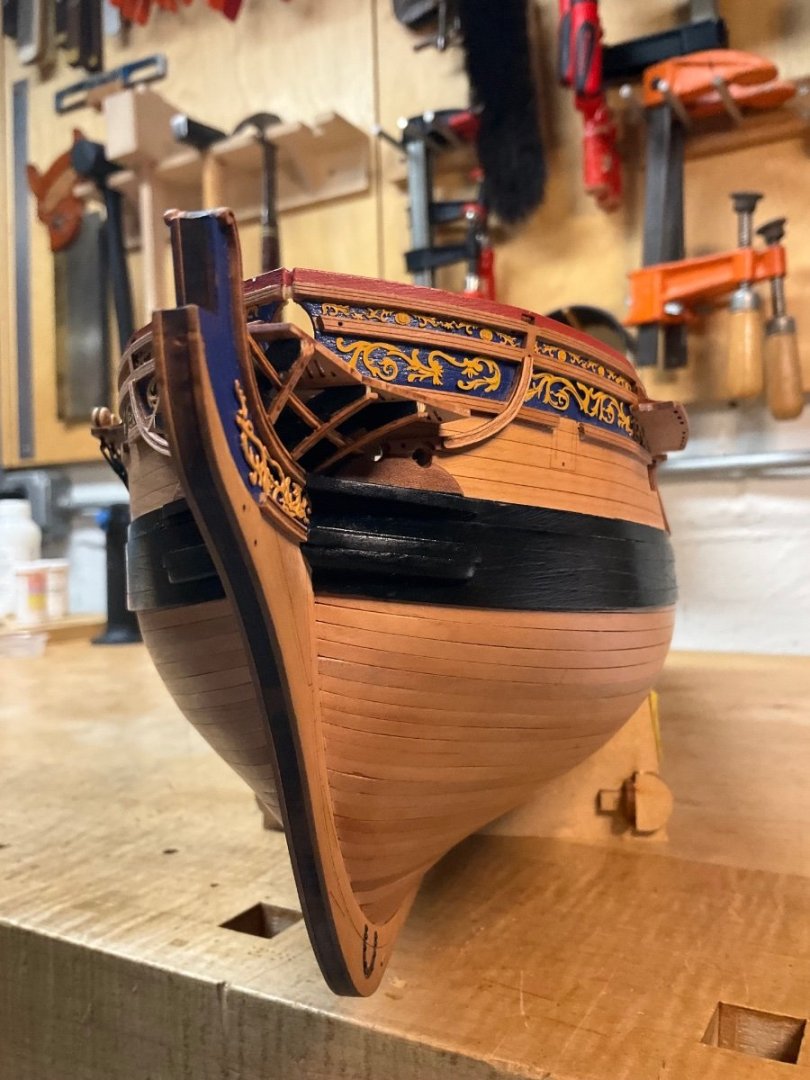
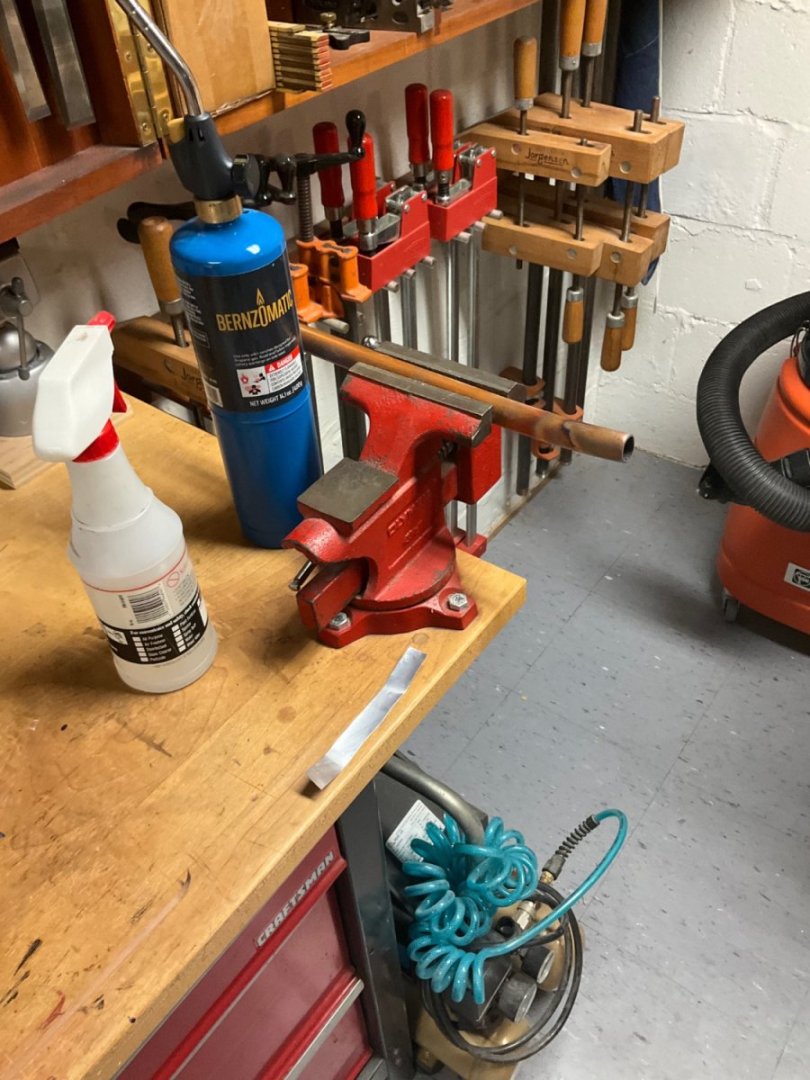
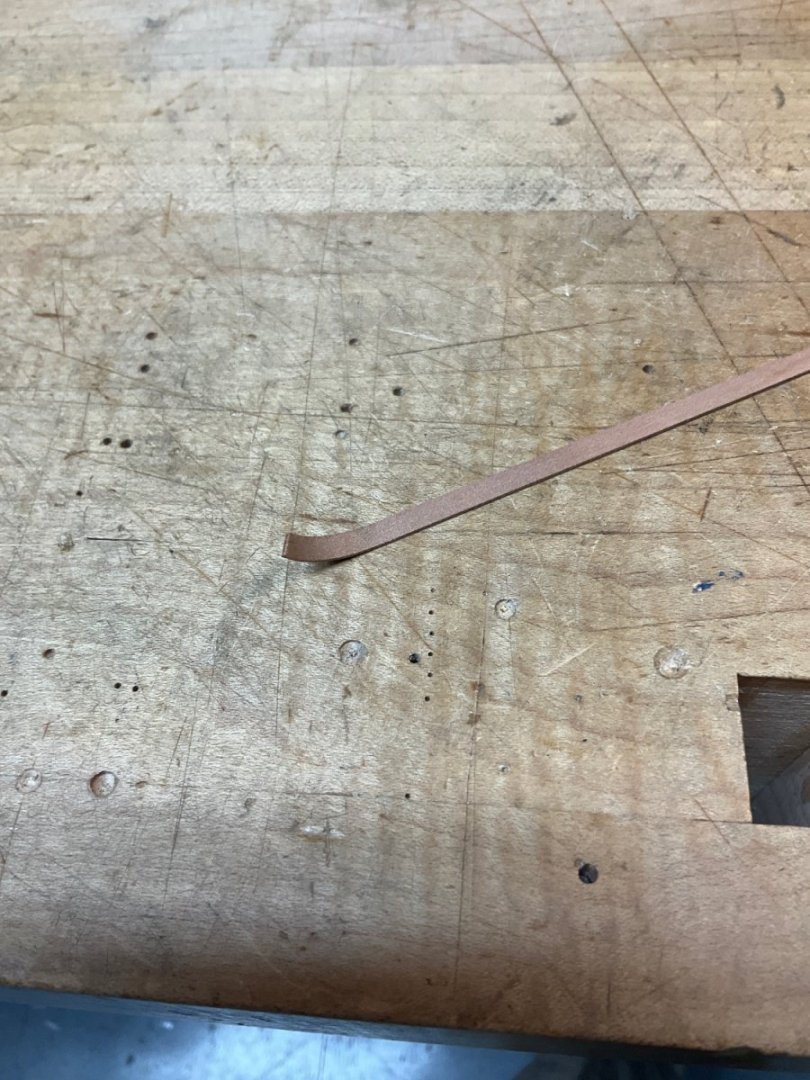
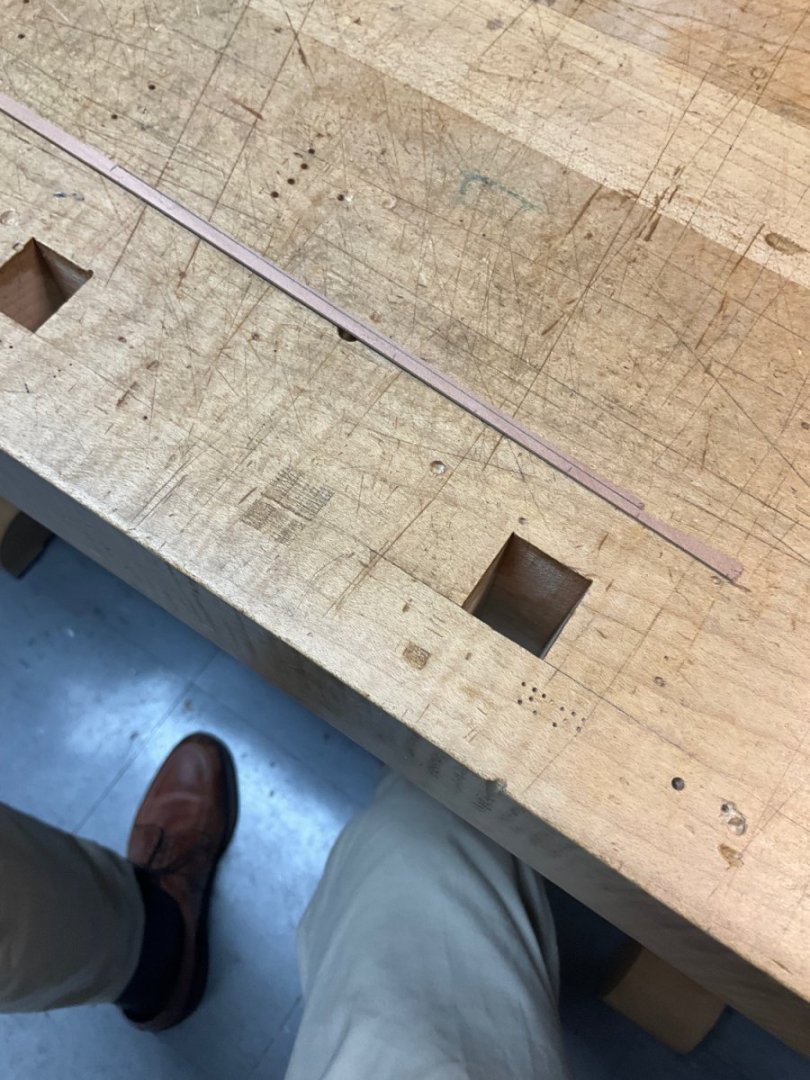
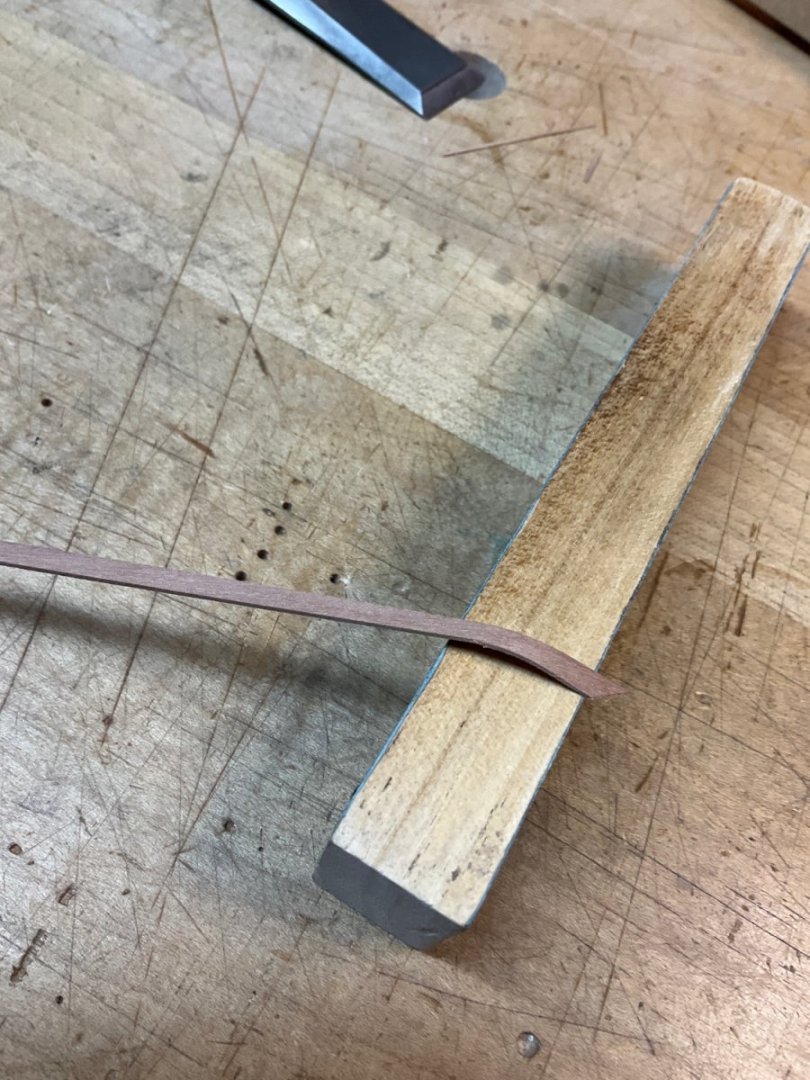
Hi all. This is my build log for HMS Sphinx from the Vanguard Models stable. As is evident from the photos below, a significant amount of work has already been completed. My goal for this log is to explain some of the procedures and techniques used in the build thus far, highlight those areas where I departed from the standard kit build, and cover the remaining work to complete the model in real time. Before jumping into that, I want to acknowledge those MSW members whose contributions have most influenced this specific project and shaped my overall philosophy on model ship building. These members are Chuck Passaro, Ron (Hollowneck), Maurice (Blue Ensign), Peter (flyer) and Bob (rafine). In mentioning these folks whose work has particularly influenced mine, I do not mean to slight in any way those many other members whose excellent work graces this forum. So this is the state of the build at present. My approach on color is to use it sparingly; a sort of less-is-more philosophy. I followed Hollowneck's approach as to which features to paint and which to leave natural. The colors used are admiralty (Caldercraft) flat black, iron black, french blue, red ochre and white, and Vallejo brown ochre. The finish is wipe-on poly. In my kit, there is a fair degree of variation in the color of the provided pear hull planks. This is highlighted in some of the photos. I don't blame the manufacturer for this as the kit design calls for filling and painting below the waterline. If I were to do it again, I would make more of an effort to color match the planks at least on on one side. As to the planking itself, I used the techniques developed by Chuck Passaro and demonstrated in several articles and videos on this site. Blue Ensign's logs for his Sphinx and Indefatigable builds also show the process, as do other logs. Basically, this calls for lining off the hull into sections, using a planking fan and tic strips to get the width of each plank at each bulkhead within each section, marking out and cutting the planks, and inducing a lateral bend in the planks at the bow to get them to lie flat along the bulkheads. Using these techniques, I was able to get a fairly good fit at the bow without too much trouble. The stern was more complicated. There were two issues. First, getting the planks both to bend smoothly under the counter and twist slightly to meet the lower counter piece at the required angle, and second, to work out the shape along the upper stern post where the planks narrow and then widen to meet the stern post. For me, shaping these four or five planks was critical to avoiding having to insert small triangular fillers to close up this area. For the planks running under the counter, I bent them over a heated piece of copper pipe using an aluminum shim to apply pressure to the top of the plank during the bending. To impart a twist to the bent section, I skewed the plank along the length of the pipe, applying more pressure to one edge. The set-up is pictured below. The shim is a piece off aluminum cut out of a coke can. Heat the pipe with the torch just for a minute or so, spritz the plank with water and pick up the plank with your fingers holding the shim over the section you want to bend. Slowly apply the plank to the pipe with the shim facing up and bend the plank/shim sandwich at an angle over the pipe. It only takes a couple of seconds. A sample plank bent in this manner is shown below. Some tweaking is necessary for a final fit, but you can see that the sample fits in the area below the lower counter pretty well. Looking at the above photo, the first nine or so planks that terminate at the counter are full width. Below these, the planks begin to narrow in width as they approach the stern post, then widen to full width as they meet the stern post. The general shape of the planks in this section is shown below. Here the shape has been marked on the plank and partially cut. I start with a vertical saw cut at the narrowest point where the two tapers diverge, then cut the tapers in the usual way. The photo of the stern section above shows nicks in a couple of planks in this area where the vertical saw cuts were a little too deep. The short taper at the sternpost has been cut, while the longer taper along the underside of the hull has yet to be formed. Here is a section of plank with both tapers cut and bent over a heated pipe as described above. I'll cover some more issues in later posts. Thanks Cjames
-
Hello everyone and Happy New Year. My name is Chuck James and I live in Alexandria Virginia. I've recently retired from federal service and have taken up wooden model ship building as a hobby. Before that, I spent much of my free time building period furniture reproductions. I'm currently building HMS Sphinx from Vanguard models. I plan to start a build log soon and hope to get to know many of you virtually in the coming months. Thanks Cjames
About us
Modelshipworld - Advancing Ship Modeling through Research
SSL Secured
Your security is important for us so this Website is SSL-Secured
NRG Mailing Address
Nautical Research Guild
237 South Lincoln Street
Westmont IL, 60559-1917
Model Ship World ® and the MSW logo are Registered Trademarks, and belong to the Nautical Research Guild (United States Patent and Trademark Office: No. 6,929,264 & No. 6,929,274, registered Dec. 20, 2022)
Helpful Links
About the NRG
If you enjoy building ship models that are historically accurate as well as beautiful, then The Nautical Research Guild (NRG) is just right for you.
The Guild is a non-profit educational organization whose mission is to “Advance Ship Modeling Through Research”. We provide support to our members in their efforts to raise the quality of their model ships.
The Nautical Research Guild has published our world-renowned quarterly magazine, The Nautical Research Journal, since 1955. The pages of the Journal are full of articles by accomplished ship modelers who show you how they create those exquisite details on their models, and by maritime historians who show you the correct details to build. The Journal is available in both print and digital editions. Go to the NRG web site (www.thenrg.org) to download a complimentary digital copy of the Journal. The NRG also publishes plan sets, books and compilations of back issues of the Journal and the former Ships in Scale and Model Ship Builder magazines.

