king derelict
Members-
Posts
3,286 -
Joined
-
Last visited
Content Type
Profiles
Forums
Gallery
Events
Everything posted by king derelict
-
Absolutely beautiful Bulldog Dan. The finish is immaculate and realistic too. Great work. after five days stuck in Amsterdam because of the snow, flights cancelled at Schiphol and NS trains cancelled for days Im finally on my way to Berlin where the weather is also due to deteriorate. I got to know Amsterdam a bit better though alan
-
Hi Mike The tweezers look pretty good. They are nice and thin at the tips so easy to slide under delicate PE. Nicely made I look forward to trying them. I bought some nice looking fine point tweezers off eBay a while back but they turned out to be some off brand instead of the brand name in the description. They are okay but the points are very thick and clumsy so they don’t get used a lot. Happy New Year alan
- 39 replies
-
- Five Star
- Akitsu Maru
-
(and 1 more)
Tagged with:
-
I seem to have been very slothful during the Christmas period with not much getting done on Monmouth. I added a slightly darker wash in the shadows of the waves and painted a coat of gloss medium over the whole thing. I’m still undecided about the overall color being too light and I thought the gloss might help me decide. I’m tempted to start adding the wave crests and foam and see how it shapes up. I’ve been looking for the bag of teddy bear stuffing that I used for my Flower corvette but I can’t find it anywhere so Ive ordered more. I’m writing this sitting in Atlanta airport waiting for the flight to Manchester. I will be in Europe for three weeks so no progress until later in January. Happy New Year all alan
-
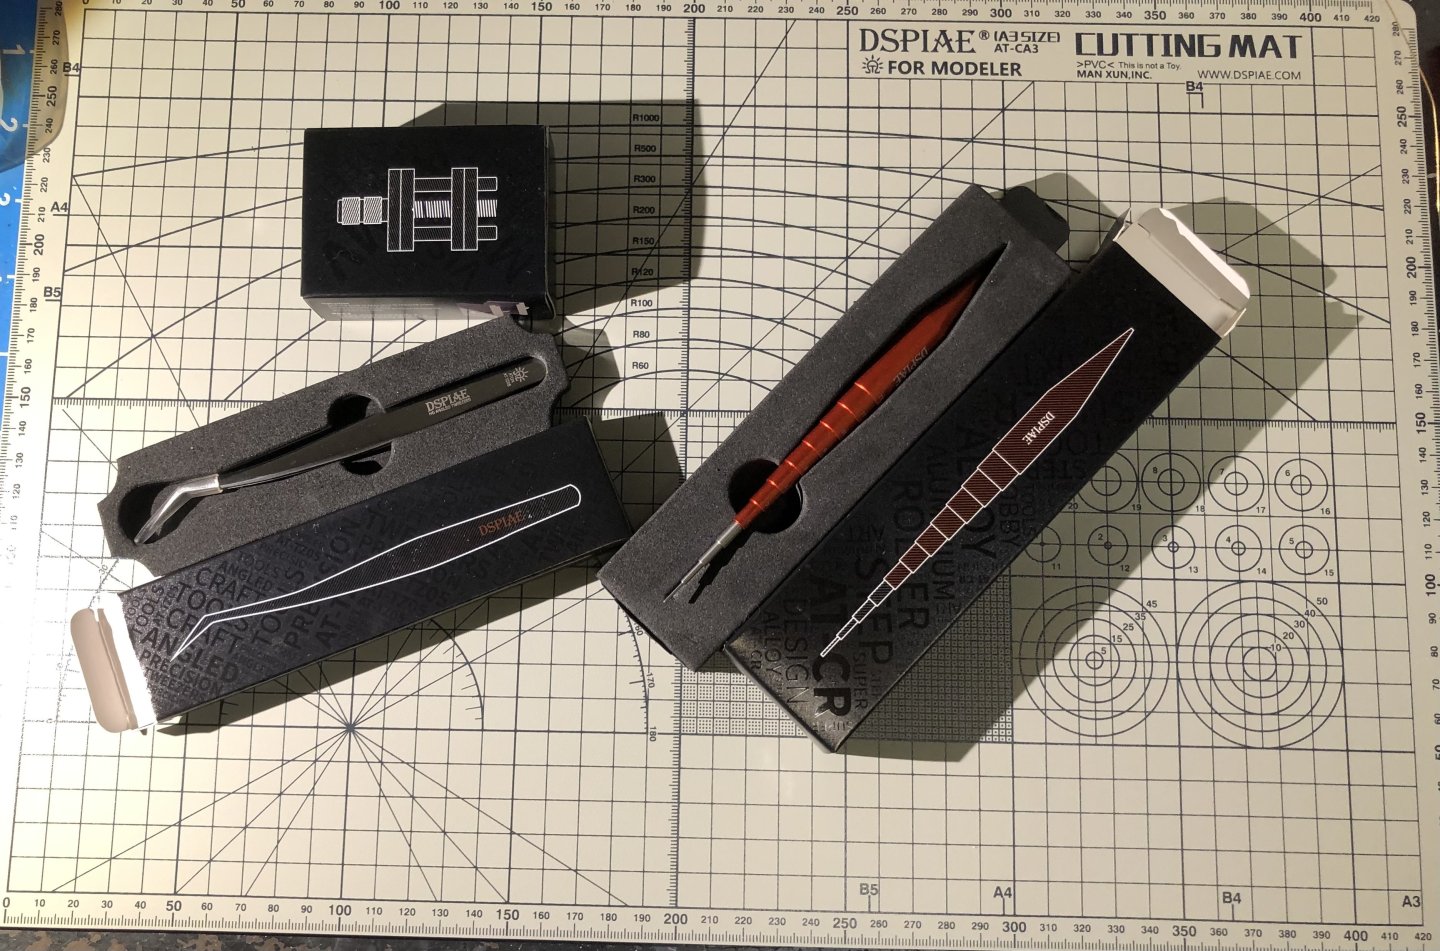
Oh with all this flat rate shipping stuff I had to make it worthwhile. So a few more DSPIAE bits join the tool chest. New cutting mat, angled tweezers and rolling tool along with the Vice which is very nice, another one may go on the new year shopping list. I’m impressed with the quality of the tools, they look like they will last. Happy Christmas alan
- 39 replies
-
- Five Star
- Akitsu Maru
-
(and 1 more)
Tagged with:
-
Thanks Andrew, I’m beginning to think that I might have bitten off more than I can chew but it will be interesting. Happy Christmas and a joyous New Year alan
-
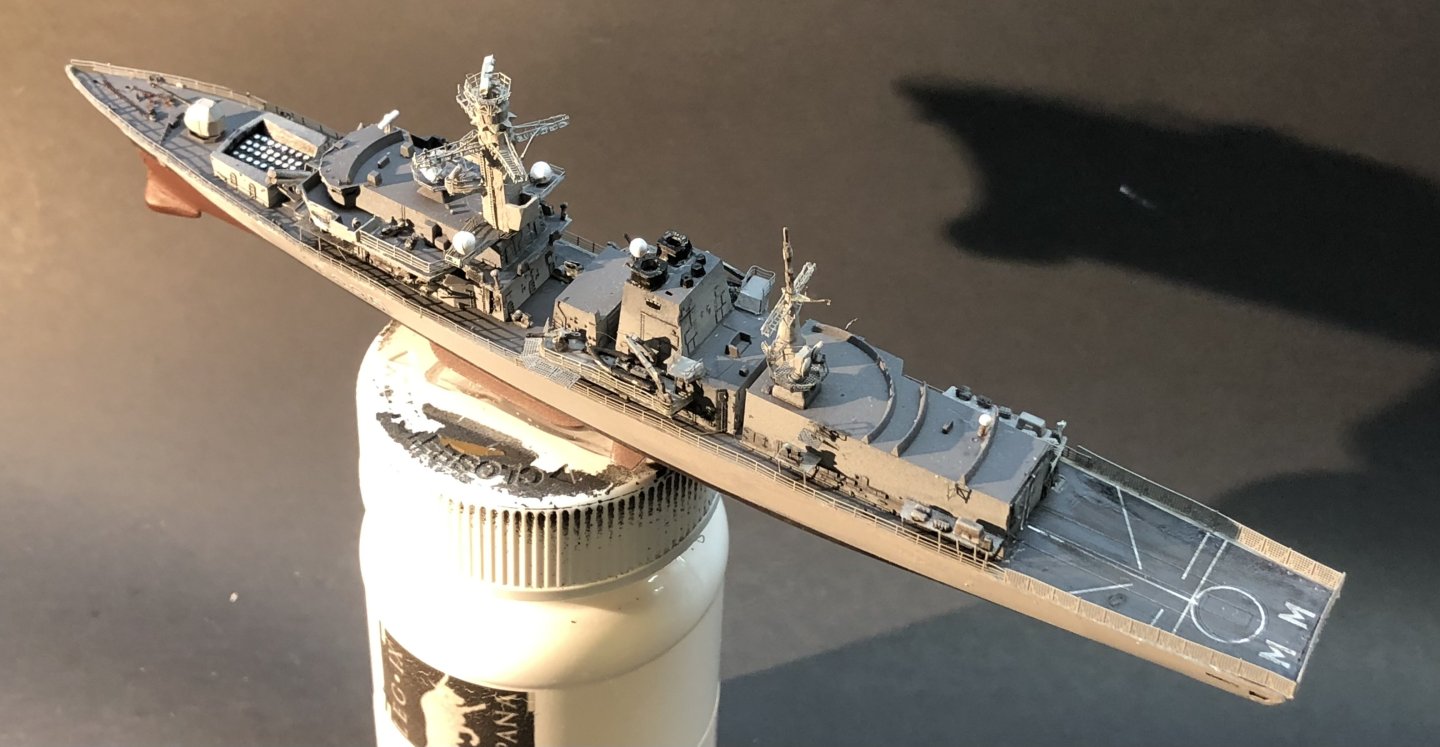
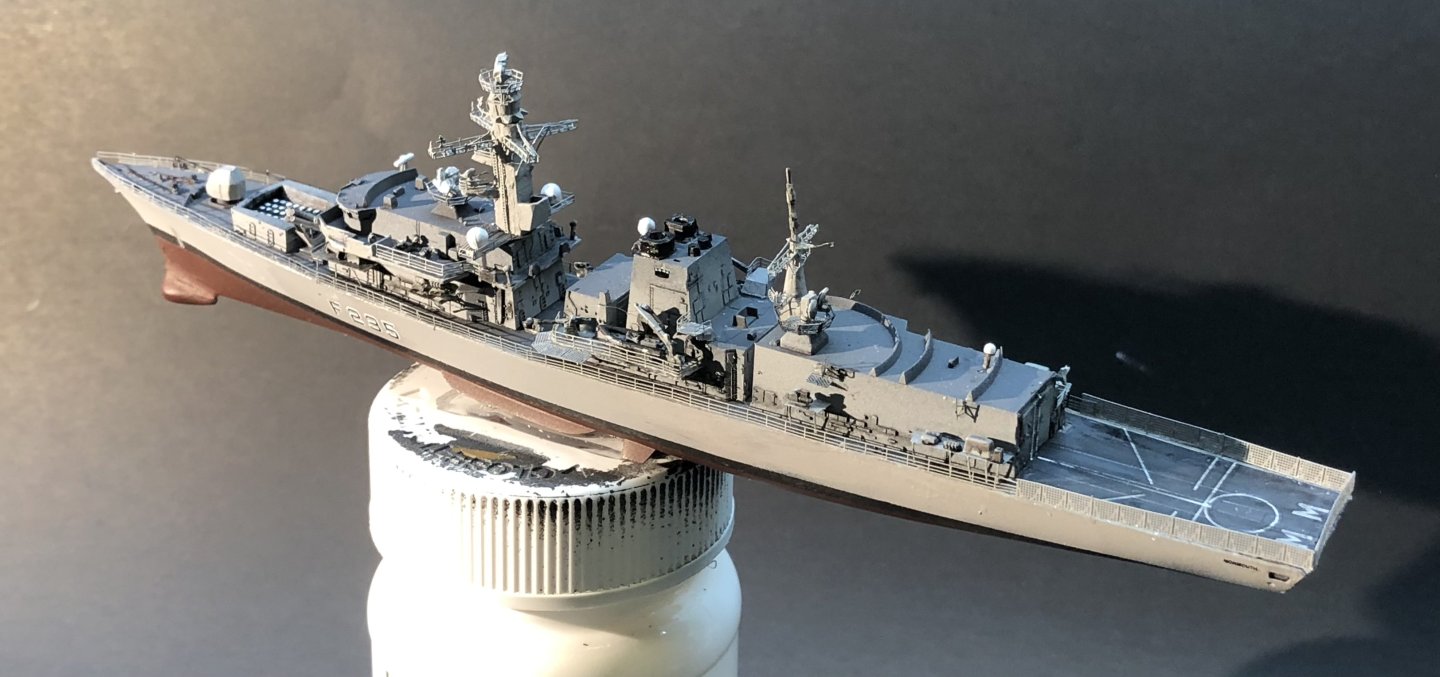
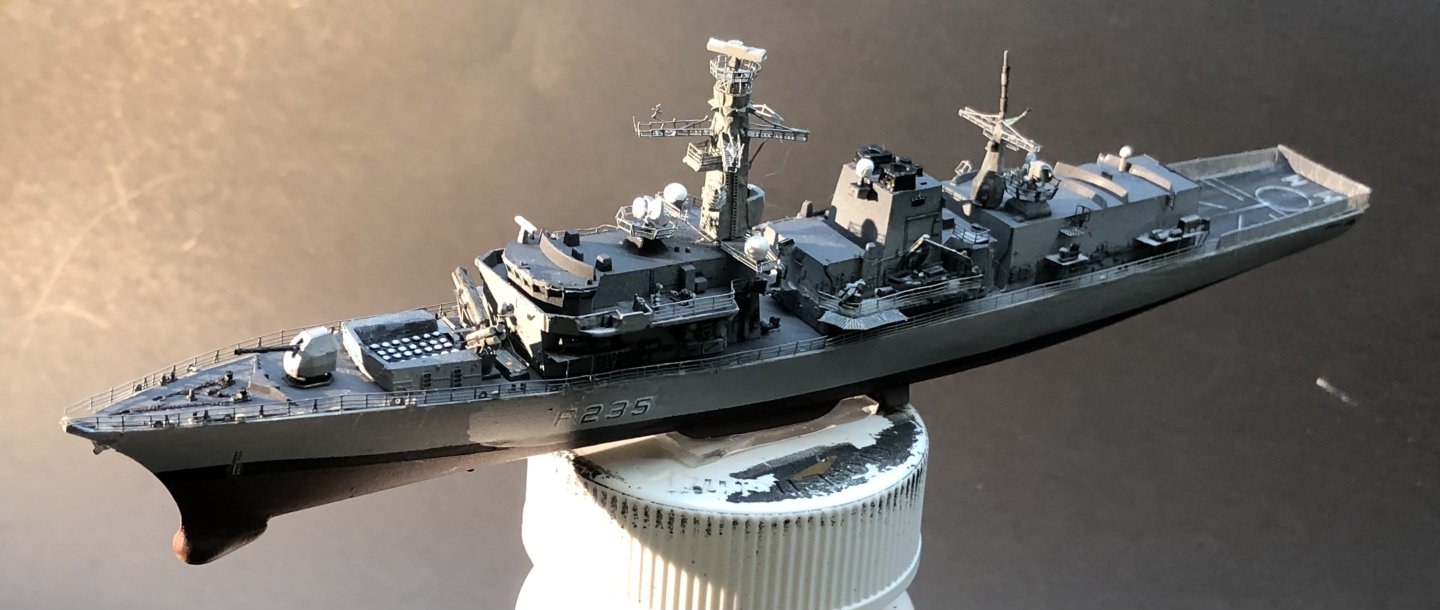
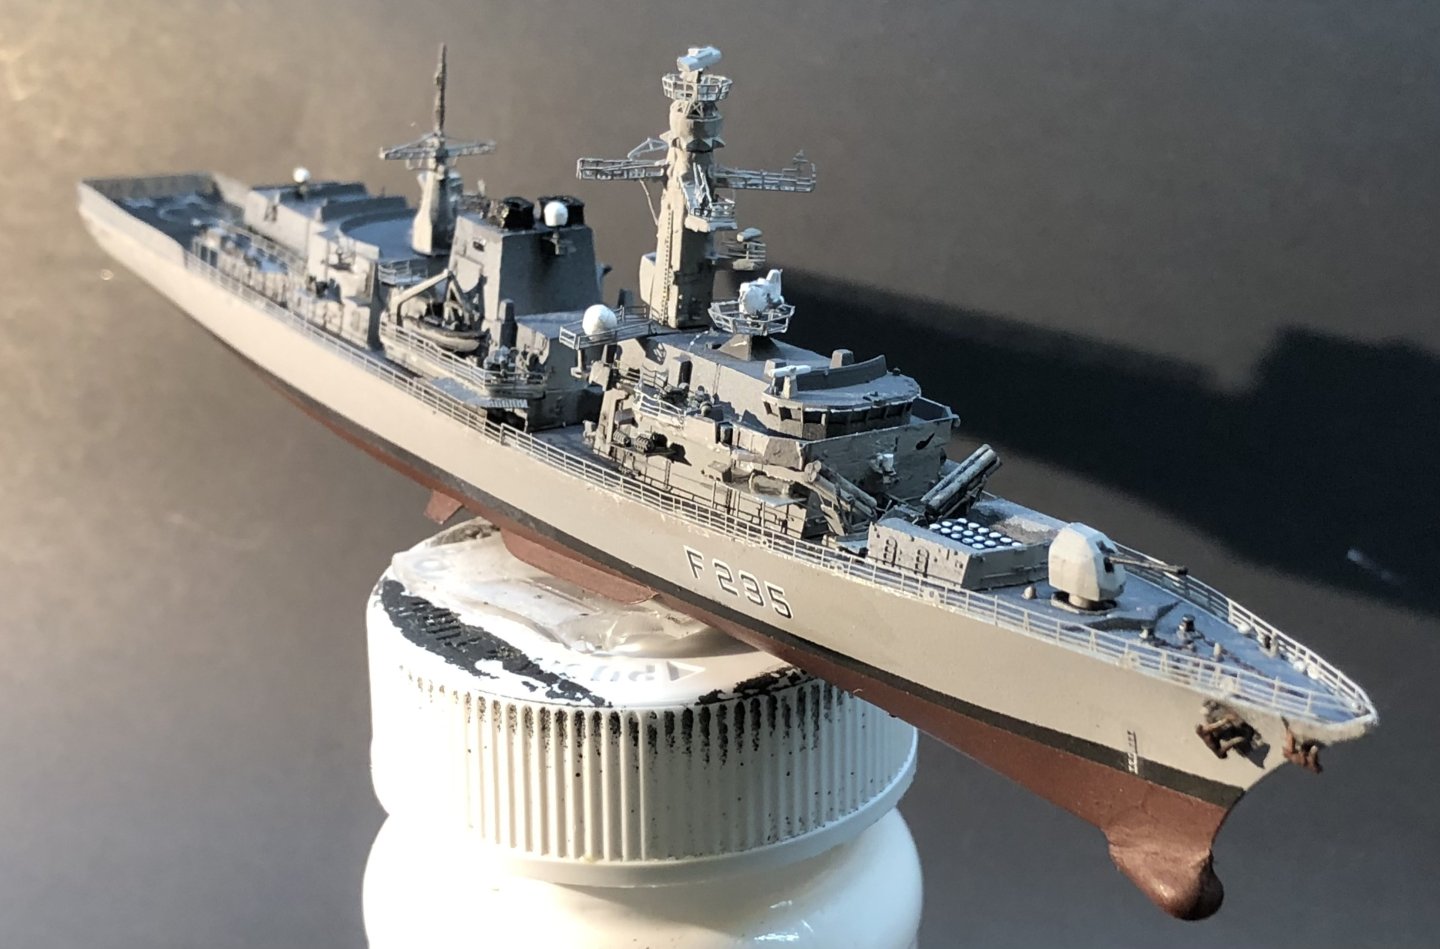
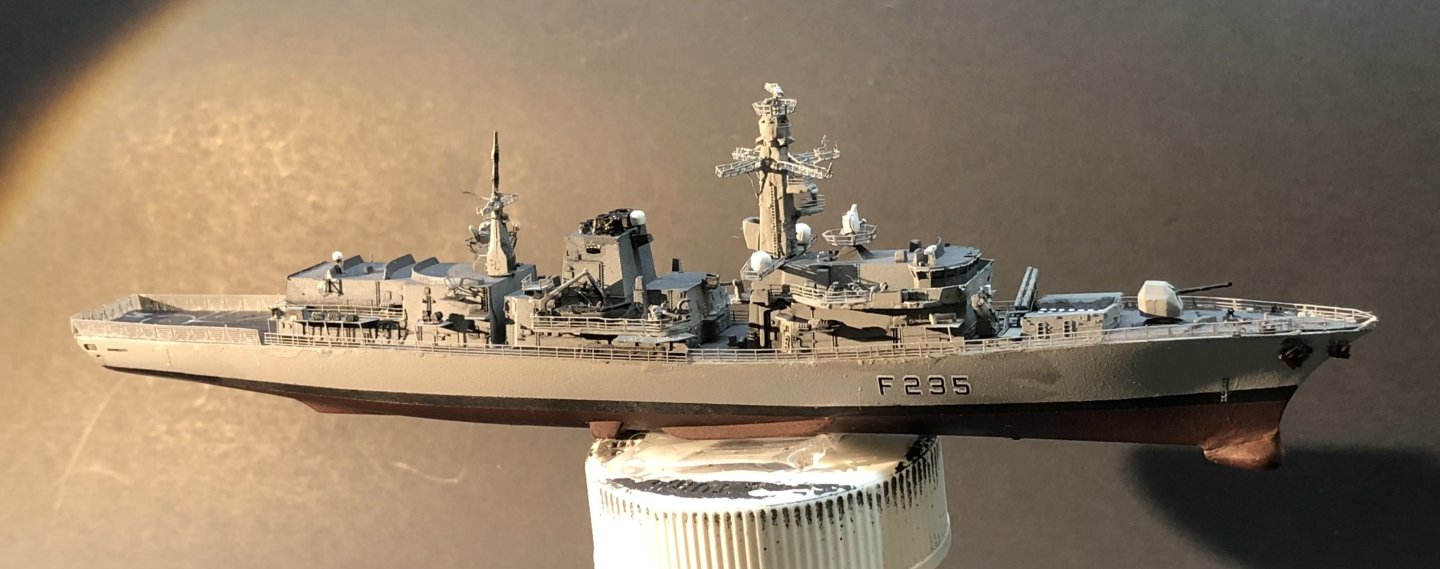
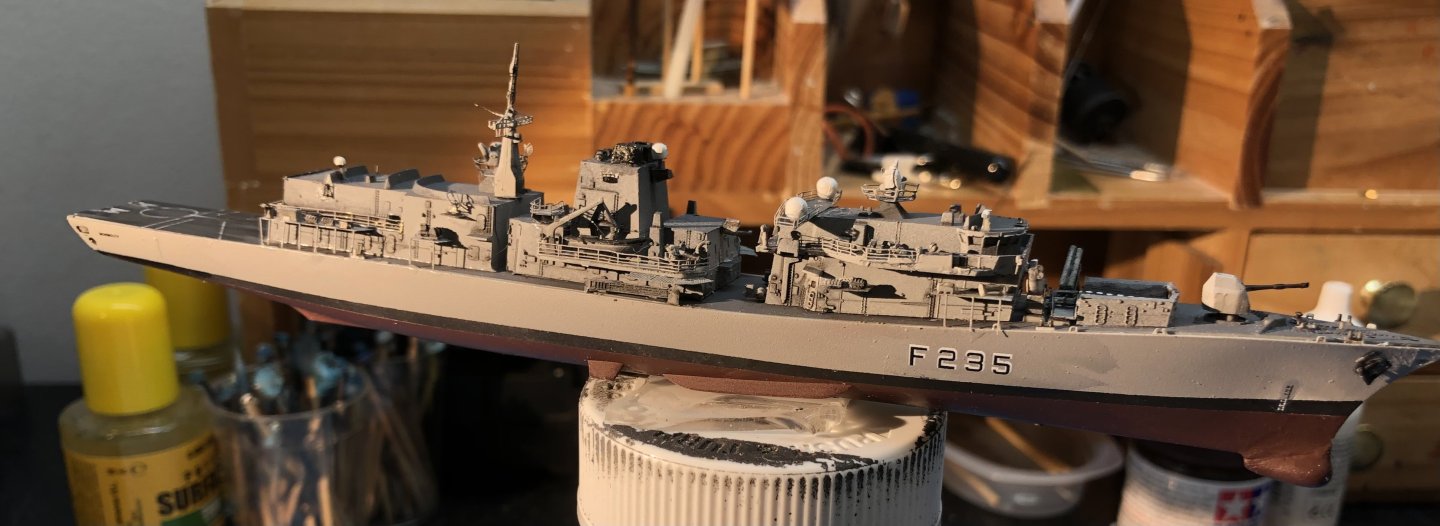
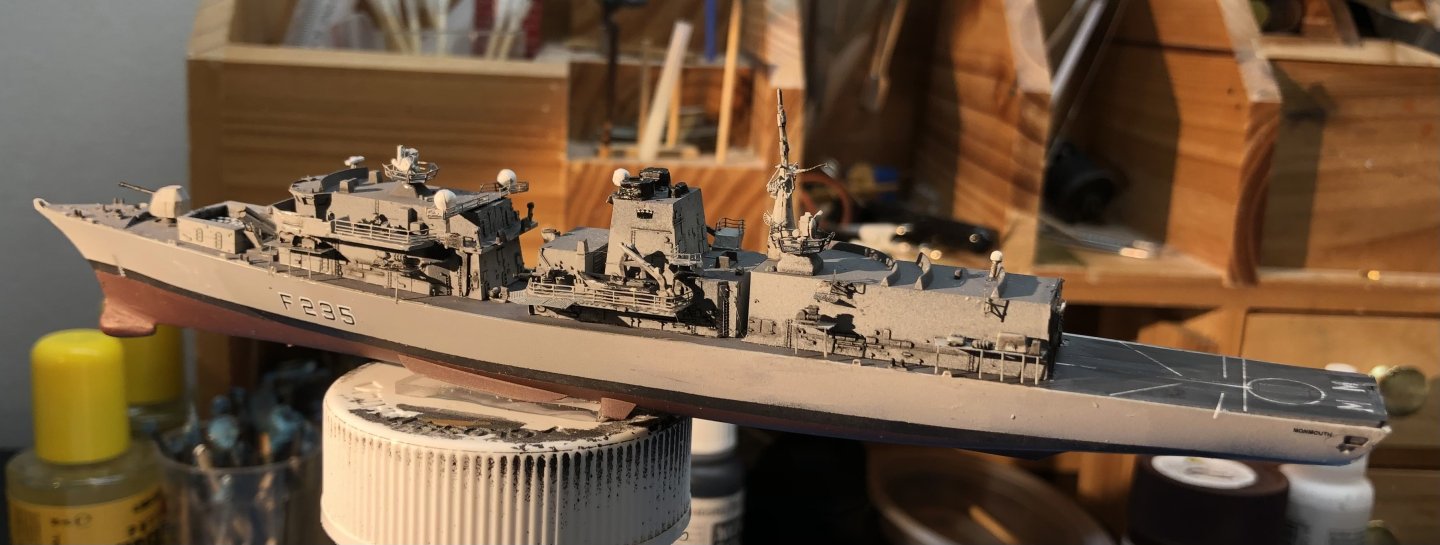
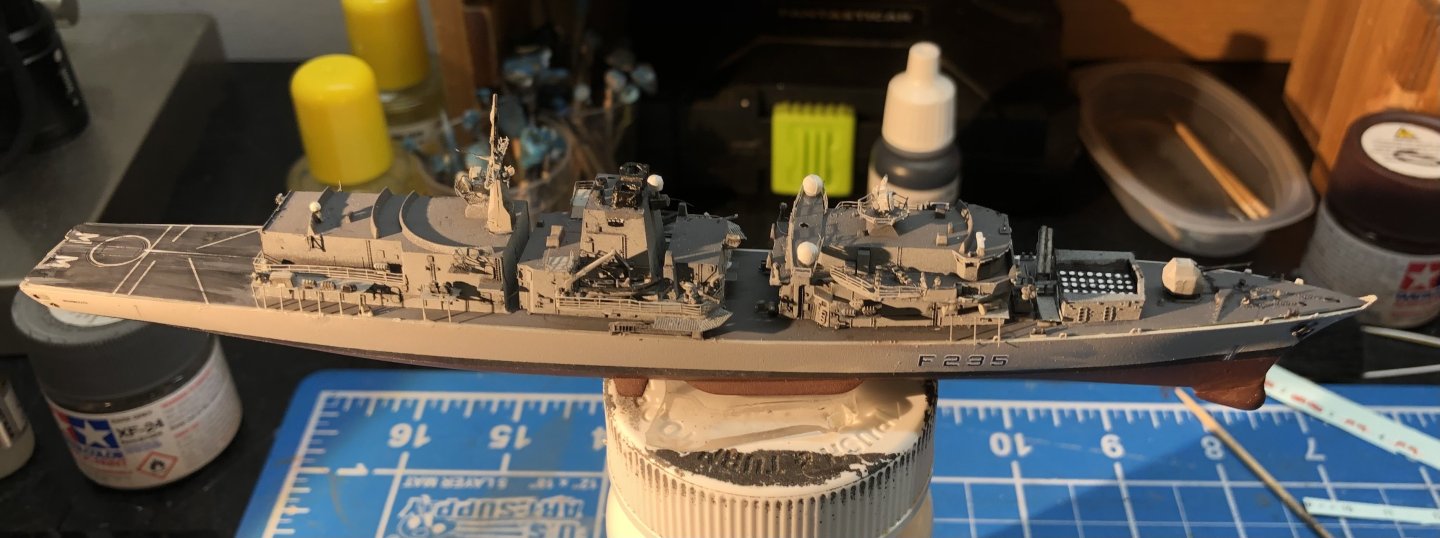
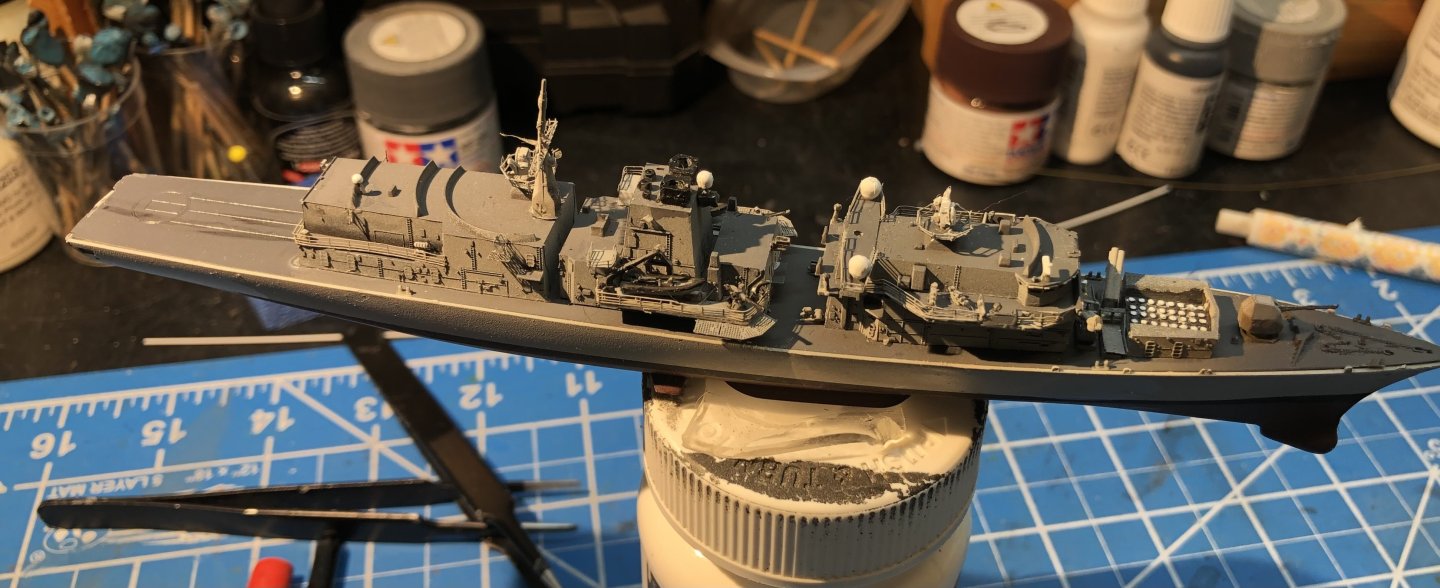
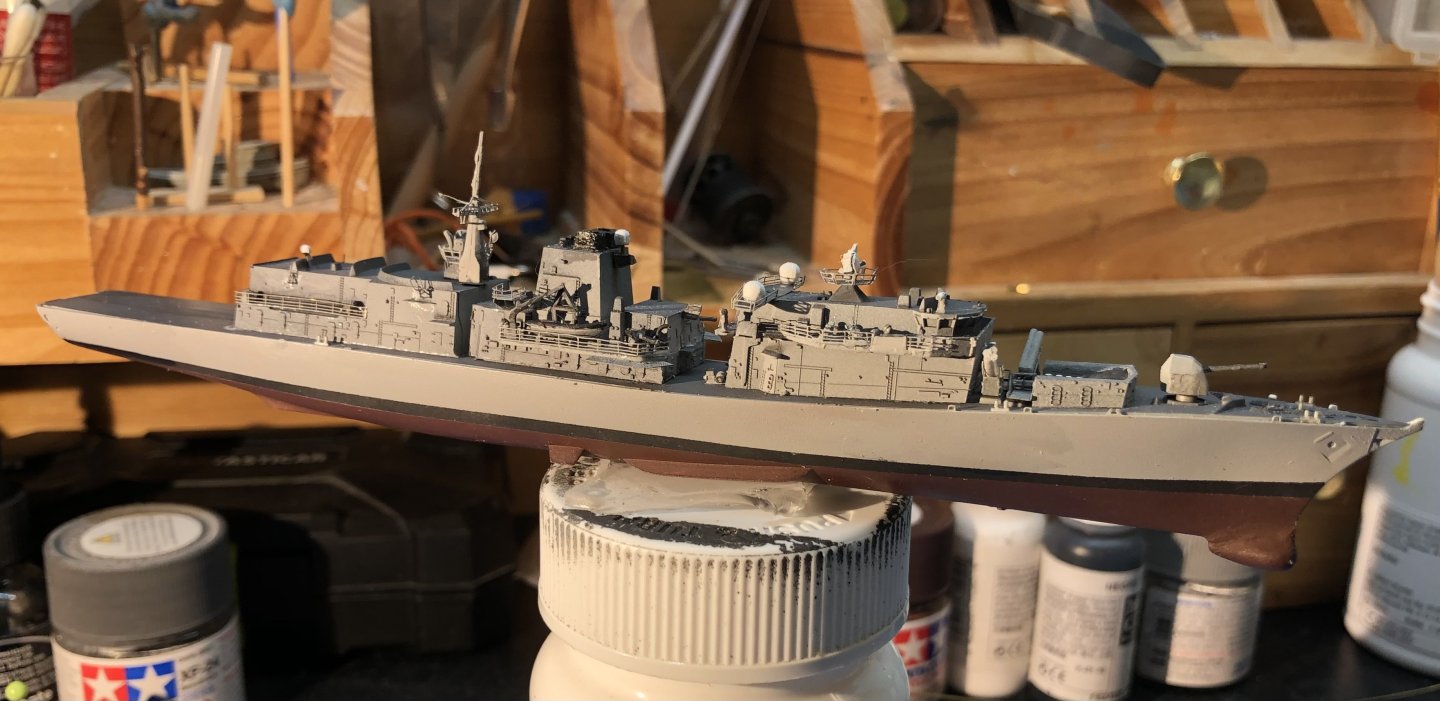
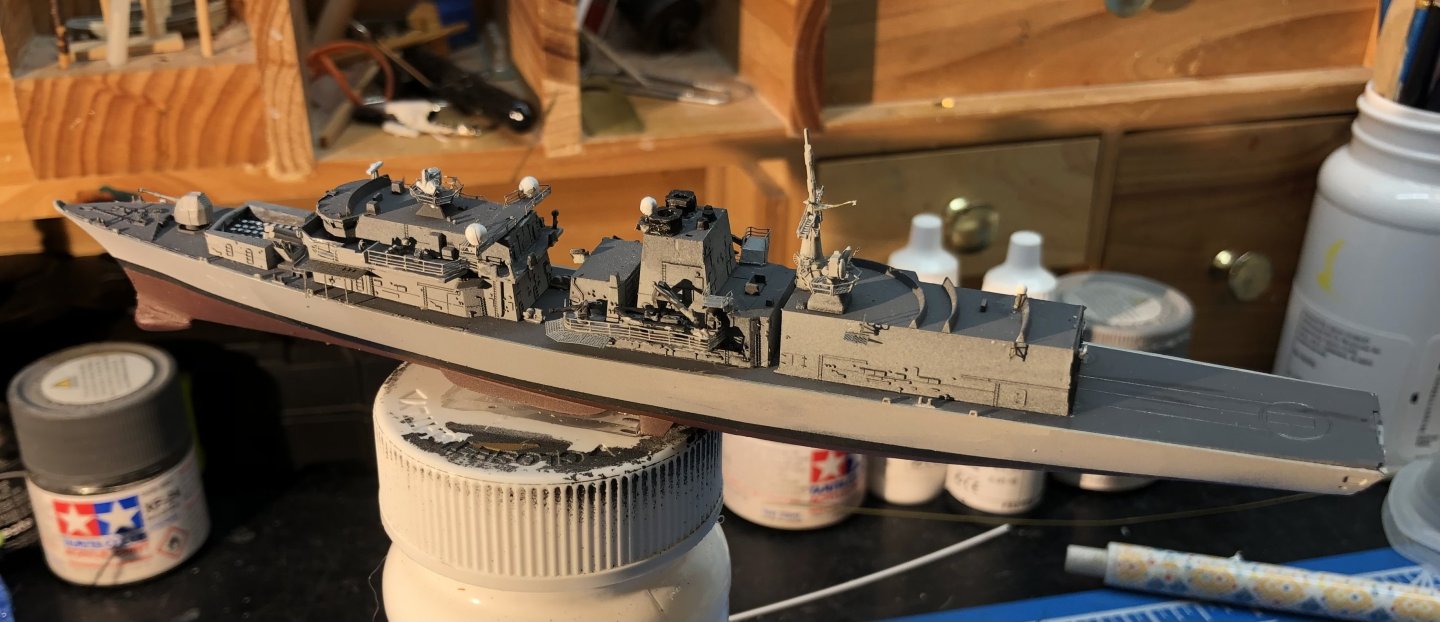
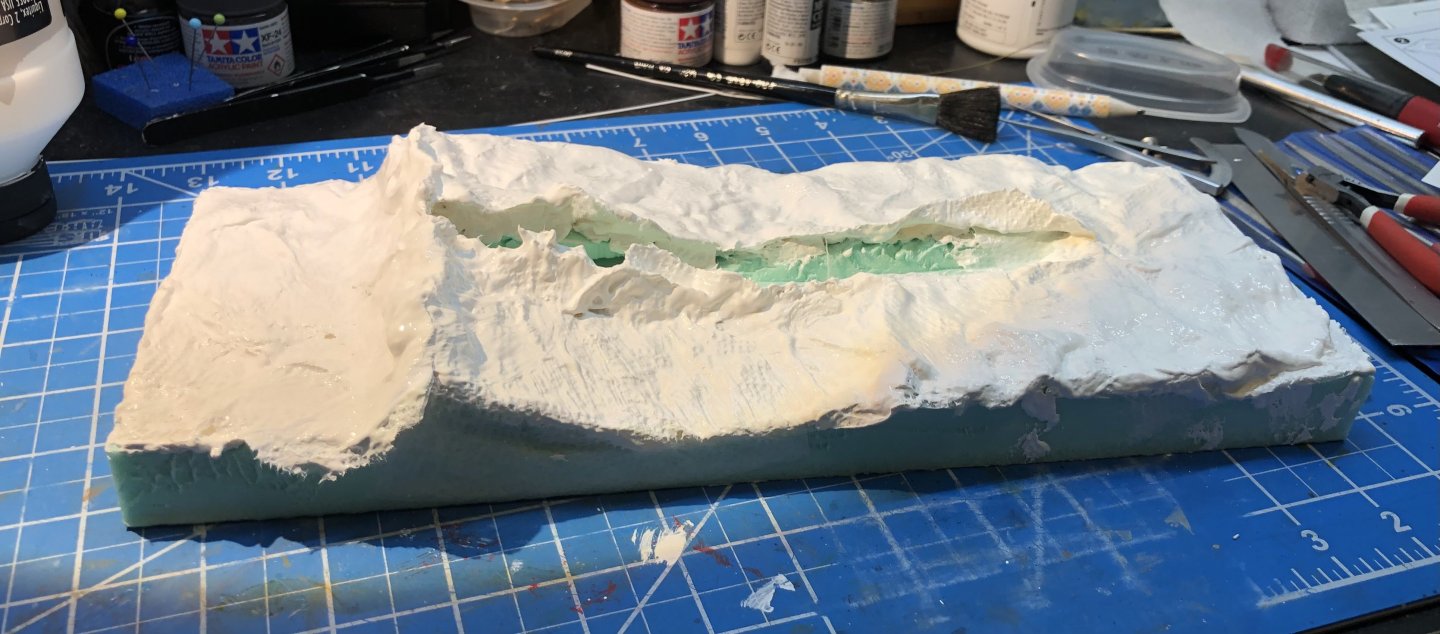
Time at the bench seems to be at a premium these days. Christmas preparations and booking my travel to Europe immediately after has taken more time than I expected. My father is recovering well, eating, sleeping and pain free just a bit frail walking any distance. I guess they taught those WWII paratroopers how to land properly. So I’ll squeeze in a trip to Berlin to say goodbye to a friend there moving to Japan and then a quick visit to Warsaw and Krakow. Anyway, Monmouth! I finished the deck railings. The WE PE is very thin and extremely easy to deform so this was a bit of a breath holding exercise. I put the flight deck nets in the raised position. The back netting needed to be reduced in width to agree with the Trumpeter dimensions but it was easy to trim a little from both sides. At last the foremast was mounted and with some minor touch up I think the ship is complete. I haven’t done any real weathering, she looked pretty good while she was with us. I’ve been fiddling with the seascape too. The pattern on the paper towels showed through the gesso so I added a layer of toilet tissue and obliterated it as well as tidying up some of the wave shapes. After another coat of gesso it looked reasonable so started adding colour. I used a light grey green mix and added some darker grey in the depths. I’m thinking it may be a bit too light so may add a darker shade but I was thinking a churning sea would be quite aerated and a lighter color. I might add the white wave crests and foam and see how that goes. A bit trial and error at this point. Thanks for looking in, for the likes and comments. alan
-
Looking very good. The neat rigging and excellent deck details really make the model stand out. alan
- 74 replies
-
- Nordkap
- Billing Boats
-
(and 2 more)
Tagged with:
-
The crumpled foil gets rid of any absolute flat surfaces on the seascape but I think the paper and dilute glue can do the same thing and is more controllable. I think it’s easy to overdo the wave heights in 1/700 too so they all foil needs to be fairly restrained. alan
-
That seems to be the conundrum. One way or the other something catches up with you. Masking the deck can be miserable and time consuming and still ends up with some areas still being tricky to paint. Thanks for Vallejo Atlantic Blue information, I’ll look into it. I think Mig Ammo also do range of ocean colours (they seem to do a range of colours for everything else) I’ll go with grey green as the base color for the sea. Thanks alan
-
I don’t seem to have a lot of time at the workbench, not sure why. Anyway the seascape is sidelined while I work on the ships details. All the side decks have been added, along with the raft barrels. The WE PE sheet provides tiny supports for the barrels and after painstakingly bending them into shape, losing them, finding them and adding the kit barrels I decided I didn’t like them. They set the barrels far too high on the side decks compared to the photos of the real ship so they all had to be ripped off. Ive put a thin black oil wash to highlight the details and to tone down the white markings on the flight deck. The remaining tasks are the anchor chains, the deck railings and placing the foremast. Thanks for looking in, the likes and comments. alan
-
Well it is Christmas so I ordered one. Thanks very much for the information Mike. I’m sure it’s going to be very useful for dealing with fiddly substructures. Of course with flat shipping rates you can’t just buy one item.😁 alan
- 39 replies
-
- Five Star
- Akitsu Maru
-
(and 1 more)
Tagged with:
-
Congratulations Mike. The rear mast assembly is a gem. The vice you are using looks very handy, what make is it. Alan
- 39 replies
-
- Five Star
- Akitsu Maru
-
(and 1 more)
Tagged with:
-
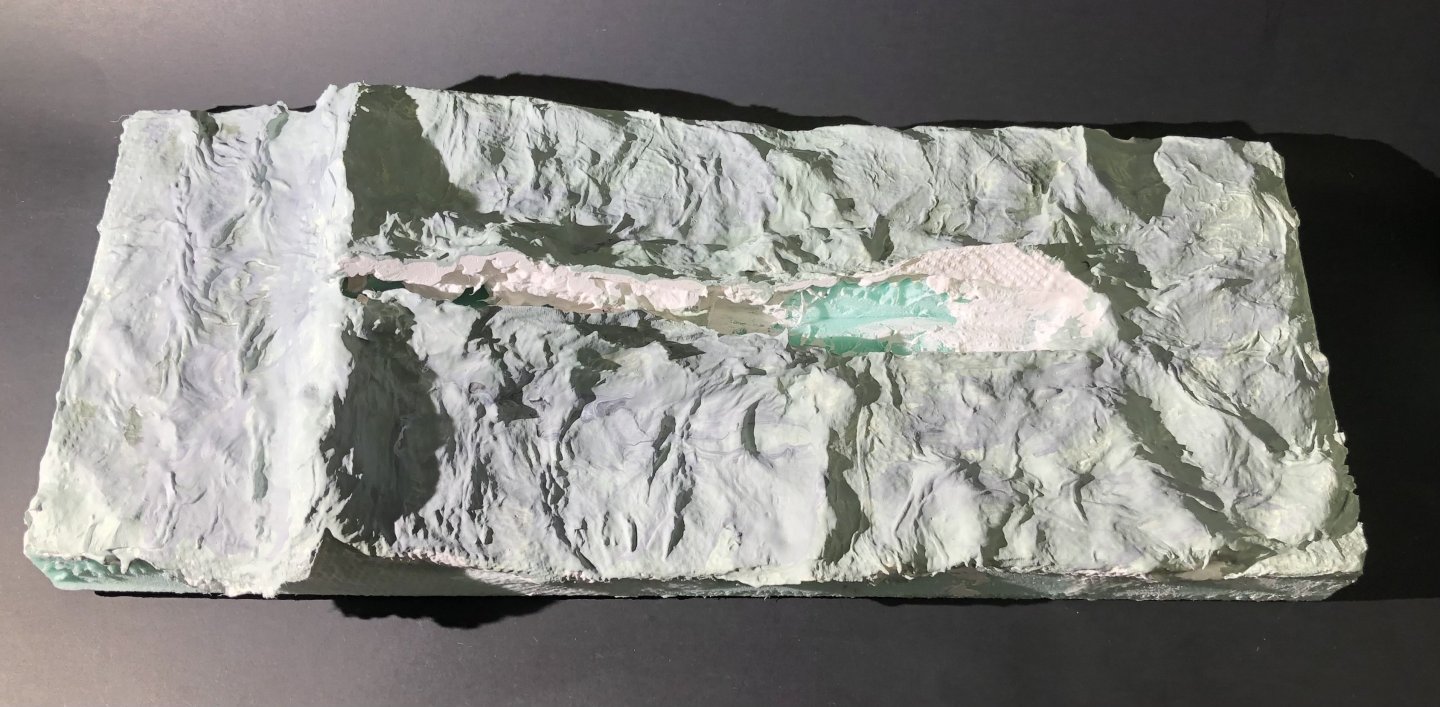
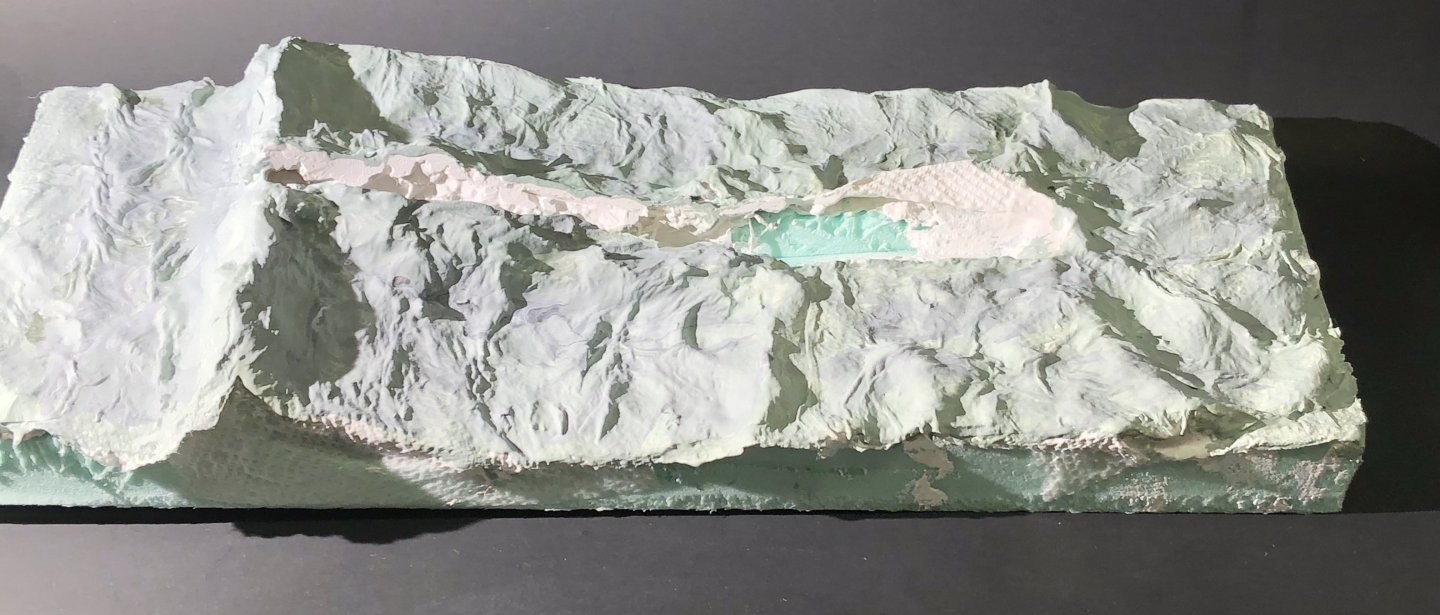
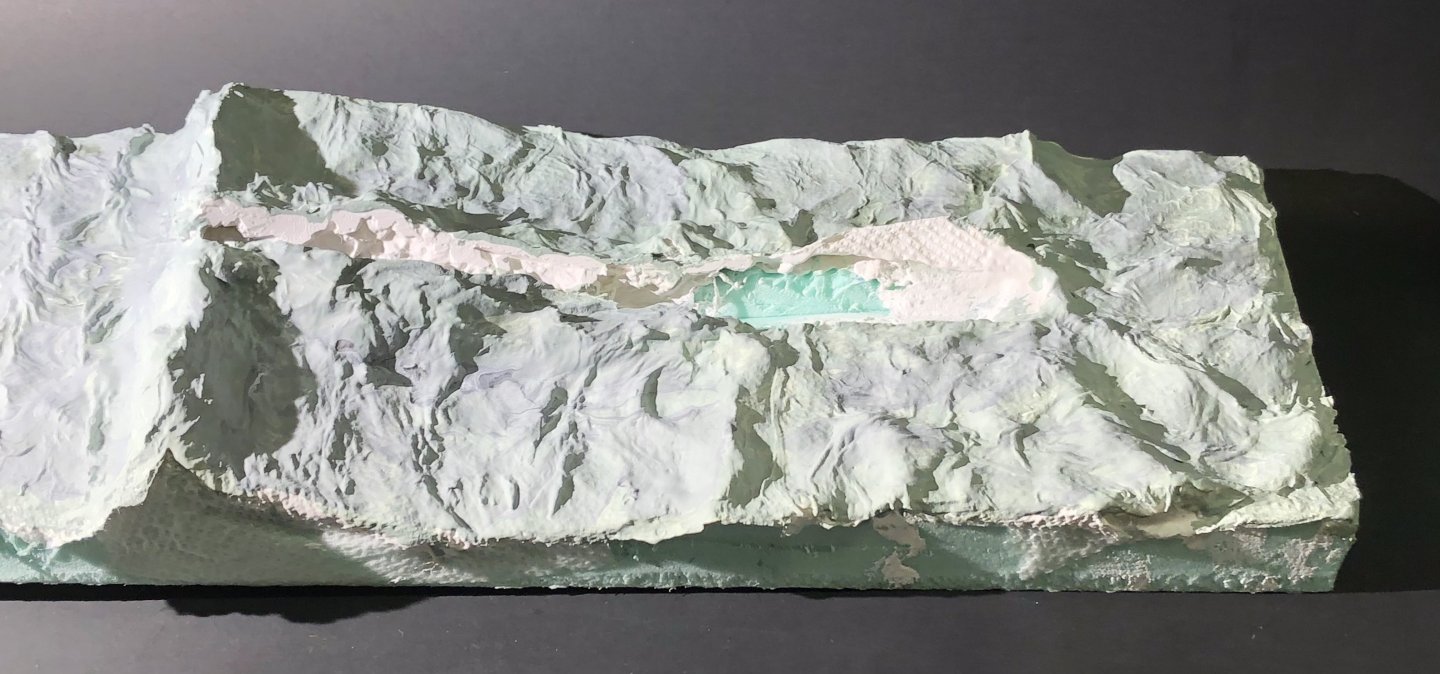
I realized that I could use the hull from Monmouth 2.0 as a fit check on the seascape which would let me continue with the build of the model itself. So, the three main superstructures were added along with the gun and Harpoon missile launchers. I made a mistake in build planning, completing the structures separately meant that they were very fragile and hard to grip firmly when placing them on the deck. A total of five small pieces detached in the process but were all found and reinstalled. The major remaining task is to add the side decks and the barrel life rafts. Oh and the dreaded foremast. i put a coat of gesso on the seascape and I think it’s going in the right direction. The next decision is to decide on the base colors for the water. North Atlantic under heavy cloud suggests to me that it should be shades of grey green, lighter where air is mixed with the water. Thanks for looking in, the likes and comments. alan
-
Thanks Mike, I’ve tried the crinkled foil approach and it works well. I like the papier-mâché way because you can push the wet paper around to create small ripples and waves with some control over the process. I think toilet paper, paper towels, newspaper all work but you have to be careful to eliminate any patterns on the paper towels. You are right about the addition of another layer of paper towels, I’m going to add some gesso and see what it looks like. alan
-
Thanks Mike, that’s sort of my intention but the lighting doesn’t show it up as well as it looks in real life. I think some adjustments will be needed once I get some gesso on and can really see what I’ve got. alan
About us
Modelshipworld - Advancing Ship Modeling through Research
SSL Secured
Your security is important for us so this Website is SSL-Secured
NRG Mailing Address
Nautical Research Guild
237 South Lincoln Street
Westmont IL, 60559-1917
Model Ship World ® and the MSW logo are Registered Trademarks, and belong to the Nautical Research Guild (United States Patent and Trademark Office: No. 6,929,264 & No. 6,929,274, registered Dec. 20, 2022)
Helpful Links
About the NRG
If you enjoy building ship models that are historically accurate as well as beautiful, then The Nautical Research Guild (NRG) is just right for you.
The Guild is a non-profit educational organization whose mission is to “Advance Ship Modeling Through Research”. We provide support to our members in their efforts to raise the quality of their model ships.
The Nautical Research Guild has published our world-renowned quarterly magazine, The Nautical Research Journal, since 1955. The pages of the Journal are full of articles by accomplished ship modelers who show you how they create those exquisite details on their models, and by maritime historians who show you the correct details to build. The Journal is available in both print and digital editions. Go to the NRG web site (www.thenrg.org) to download a complimentary digital copy of the Journal. The NRG also publishes plan sets, books and compilations of back issues of the Journal and the former Ships in Scale and Model Ship Builder magazines.


