king derelict
-
Posts
2,078 -
Joined
-
Last visited
Content Type
Profiles
Forums
Gallery
Events
Everything posted by king derelict
-
Rightly so; it looks great Alan
-
Thank you Bob for the suggestions and you are right I should have looked around first. I am a bit of a mug when it comes to shopping. Walmart even has free shipping Arrg. I never thought of Walmart for this sort of tool but I see they have a comprehensive range of jewellers tools. I have a bit of a love / hate relationship with Micro Mark. They have some inherently useful things but as you noted; their prices are a bit fierce and sometime the quality isn't the best. I have a handful of their products however and generally I'm pleased with them. I have a small bench vice similar to the one you show which is pretty reliable and a set of the magnetic hands which are definitely useful at times. Many Thanks for your help Alan
-
Thanks Jack I ordered the hand vice from MicroMark and managed to escape their site with only one other item falling into the basket. Thanks Jack Alan
-
Its going to be an interesting experiment fo me!
-
Well holding the figures on a piece of rod didn't work so well. Nabopolassar fell off while I was spraying teh black primer coat. Nothing that can't be fixed and probably better that it failed at an early stage. I'm thinking I should glue the bases on and use them in a fixture going forward. Alan
-
You did a wonderful job of a challenging kit. Congratulations, its beautiful Alan
-
Jack, that could be the answer. I drilled a hole in the underside of the figure and I’m thinking I might be able to hold it on the end of a piece of rod or old drill bit. Maybe using a pin vise or a cork. Another sacrifice to modeling, the need to drink a bottle of wine Alan
-
Glad to see you OC. Your skills are going to be called on to help Alan
-
Glad you are here, Jack. I’ll be leaning on your expertise I’m sure alan
-
The walls look like real weathered whitewash. Great work. Alan
-
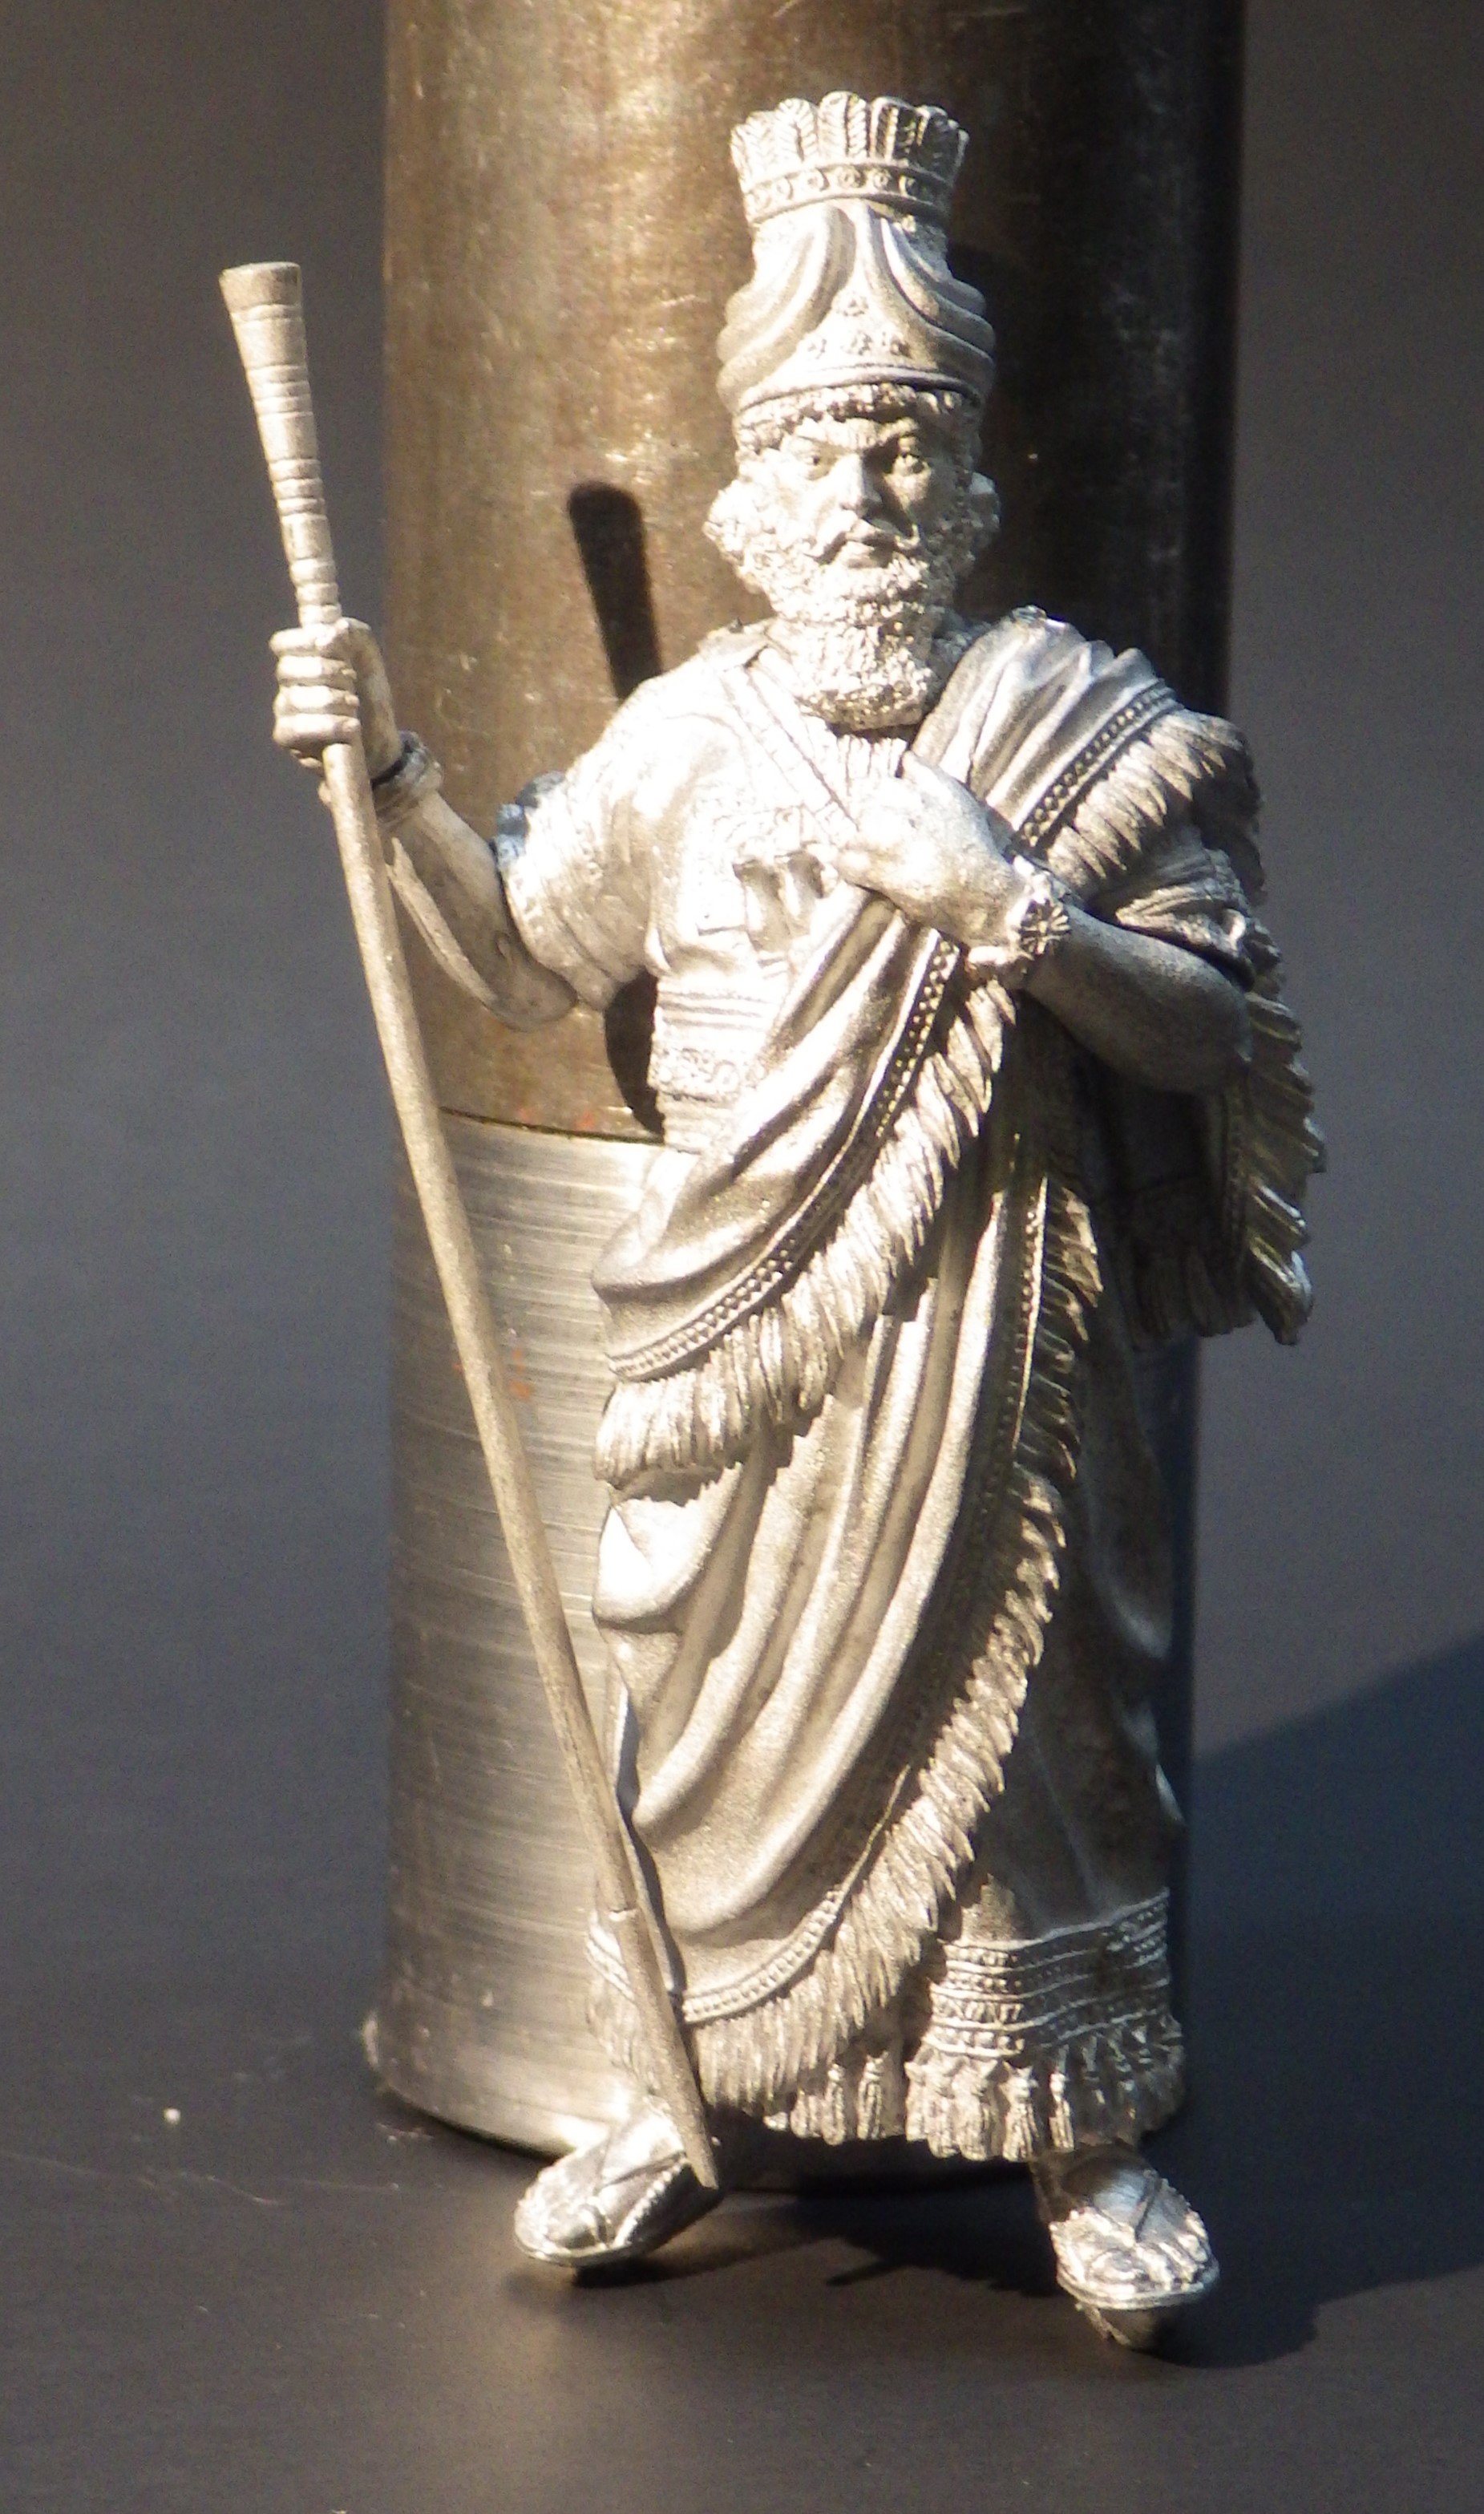
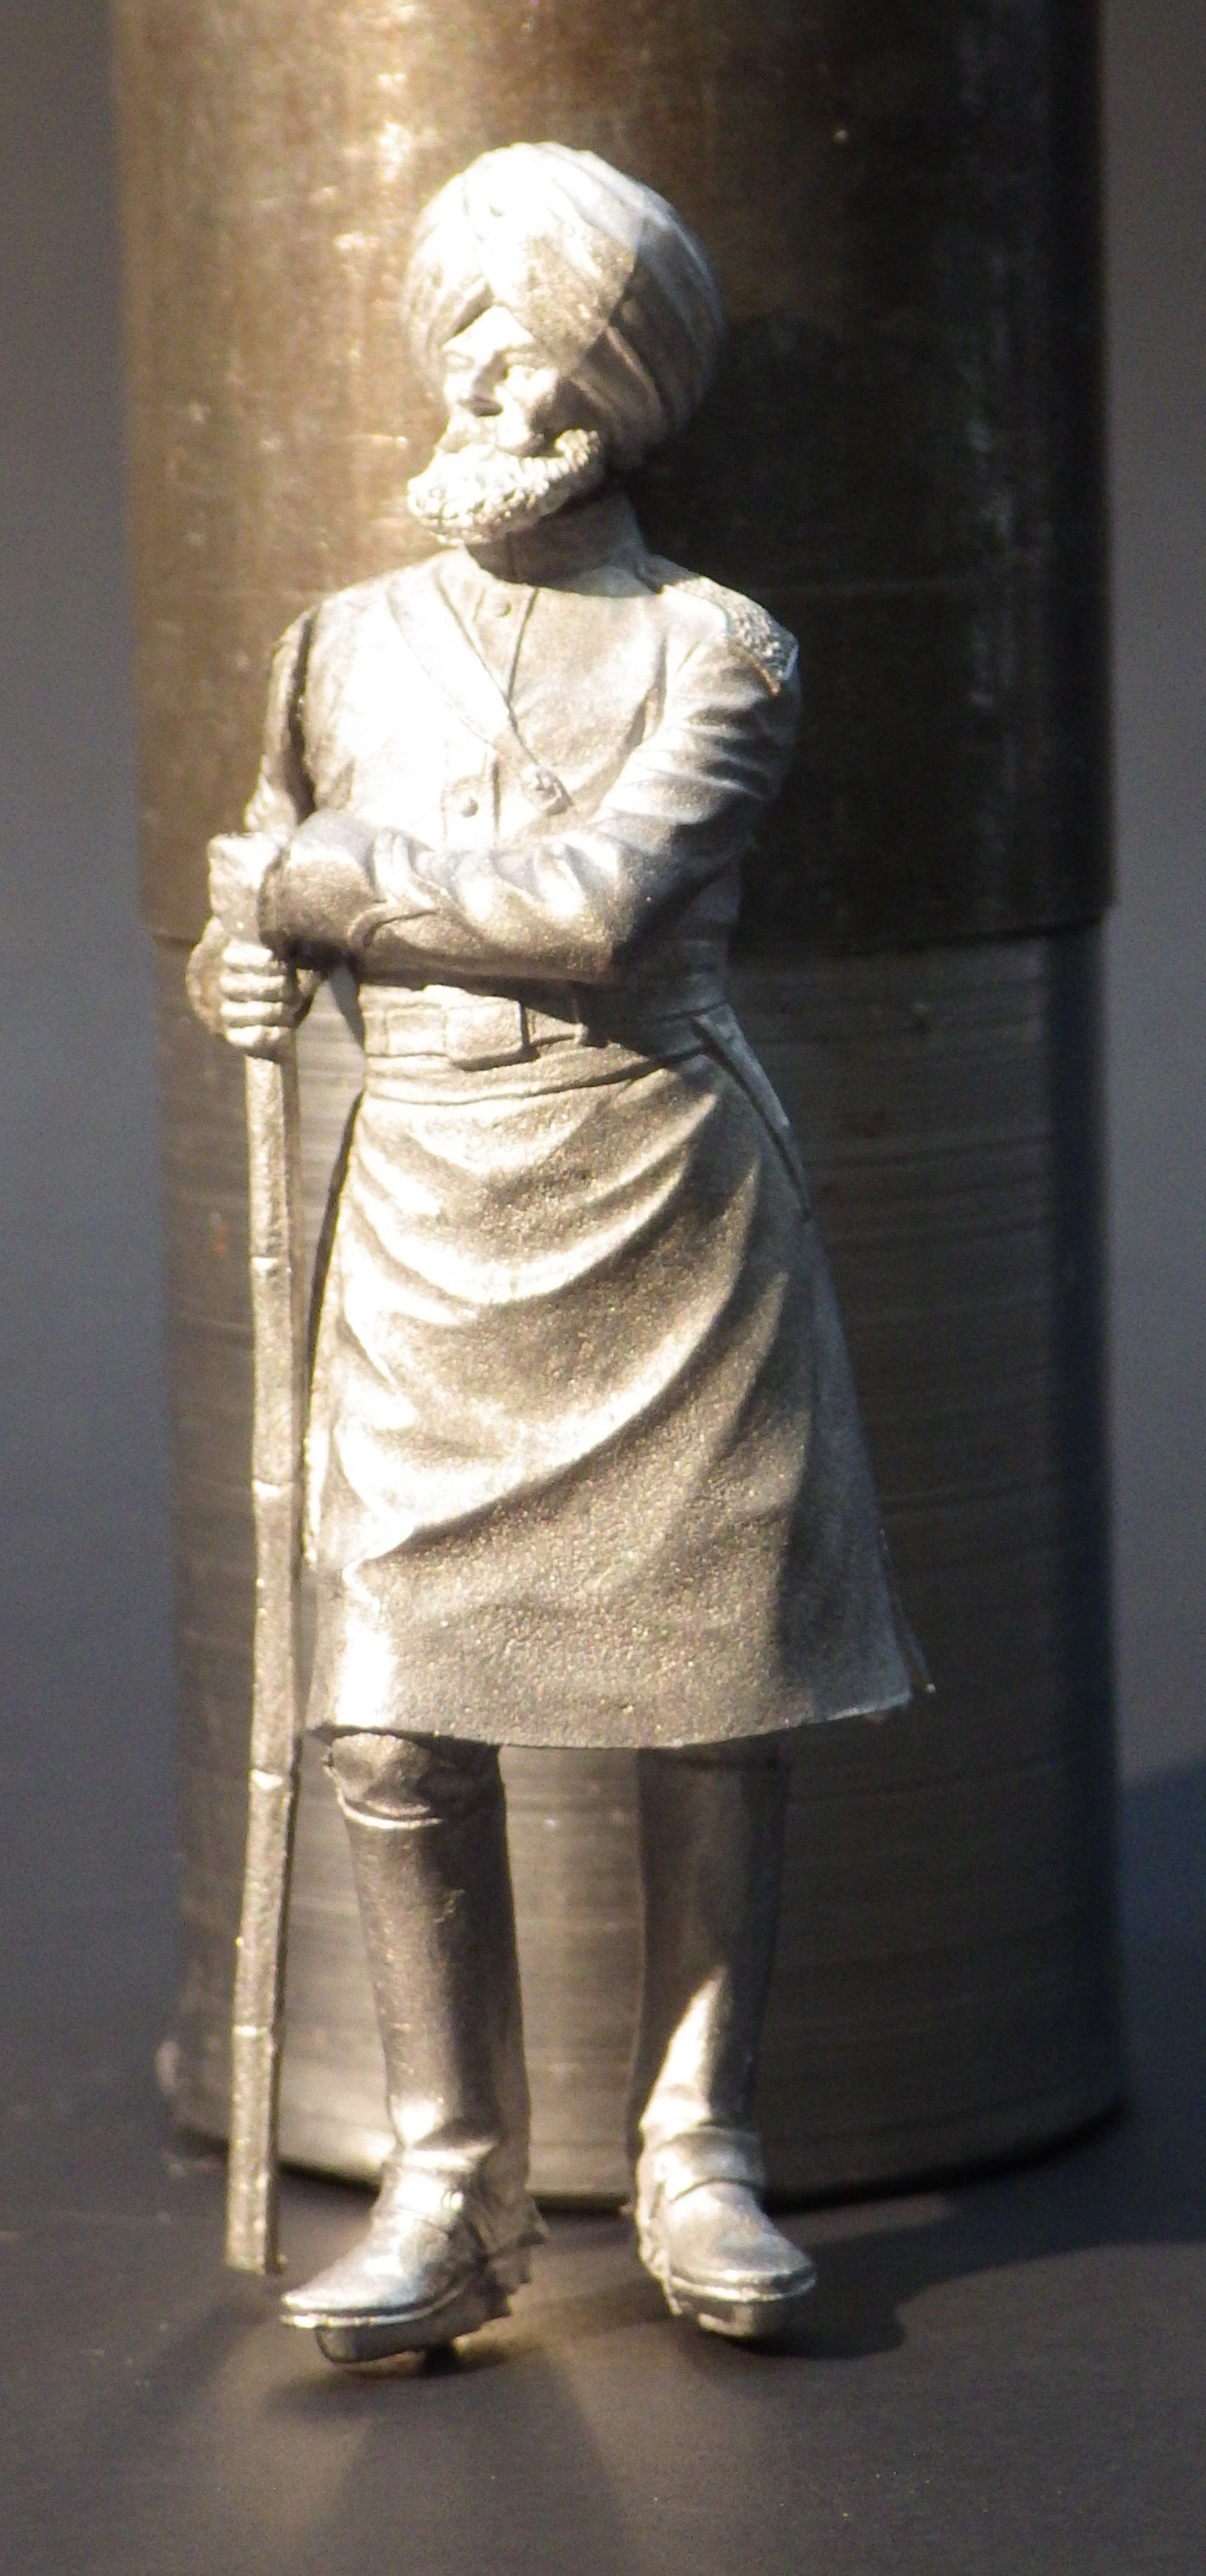
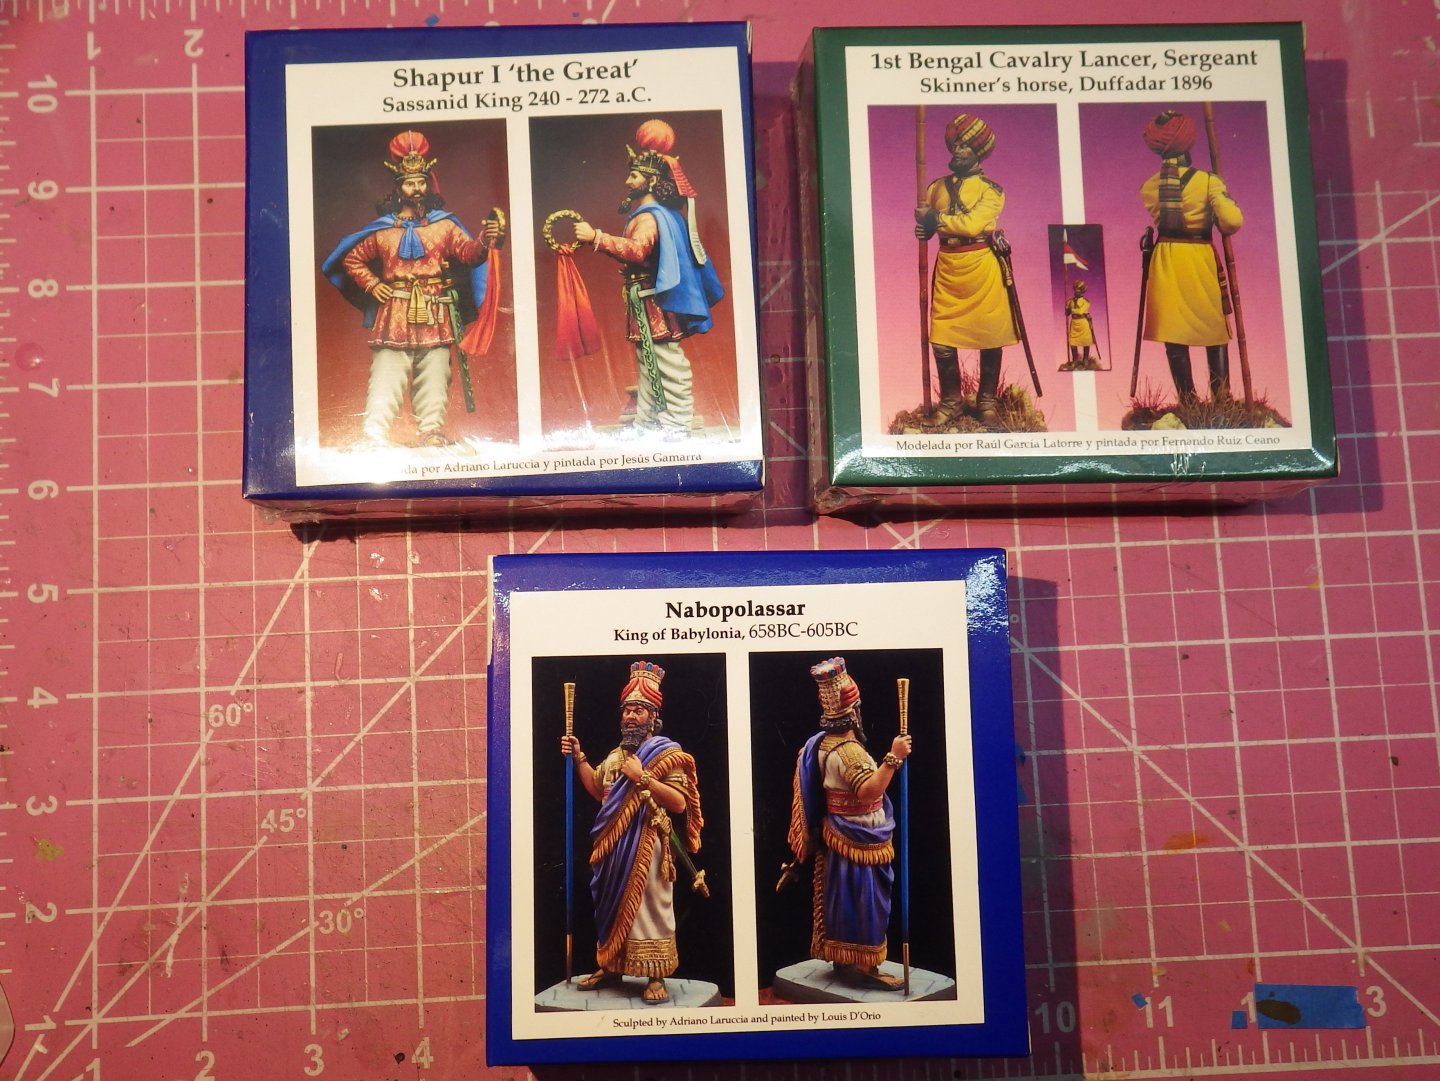
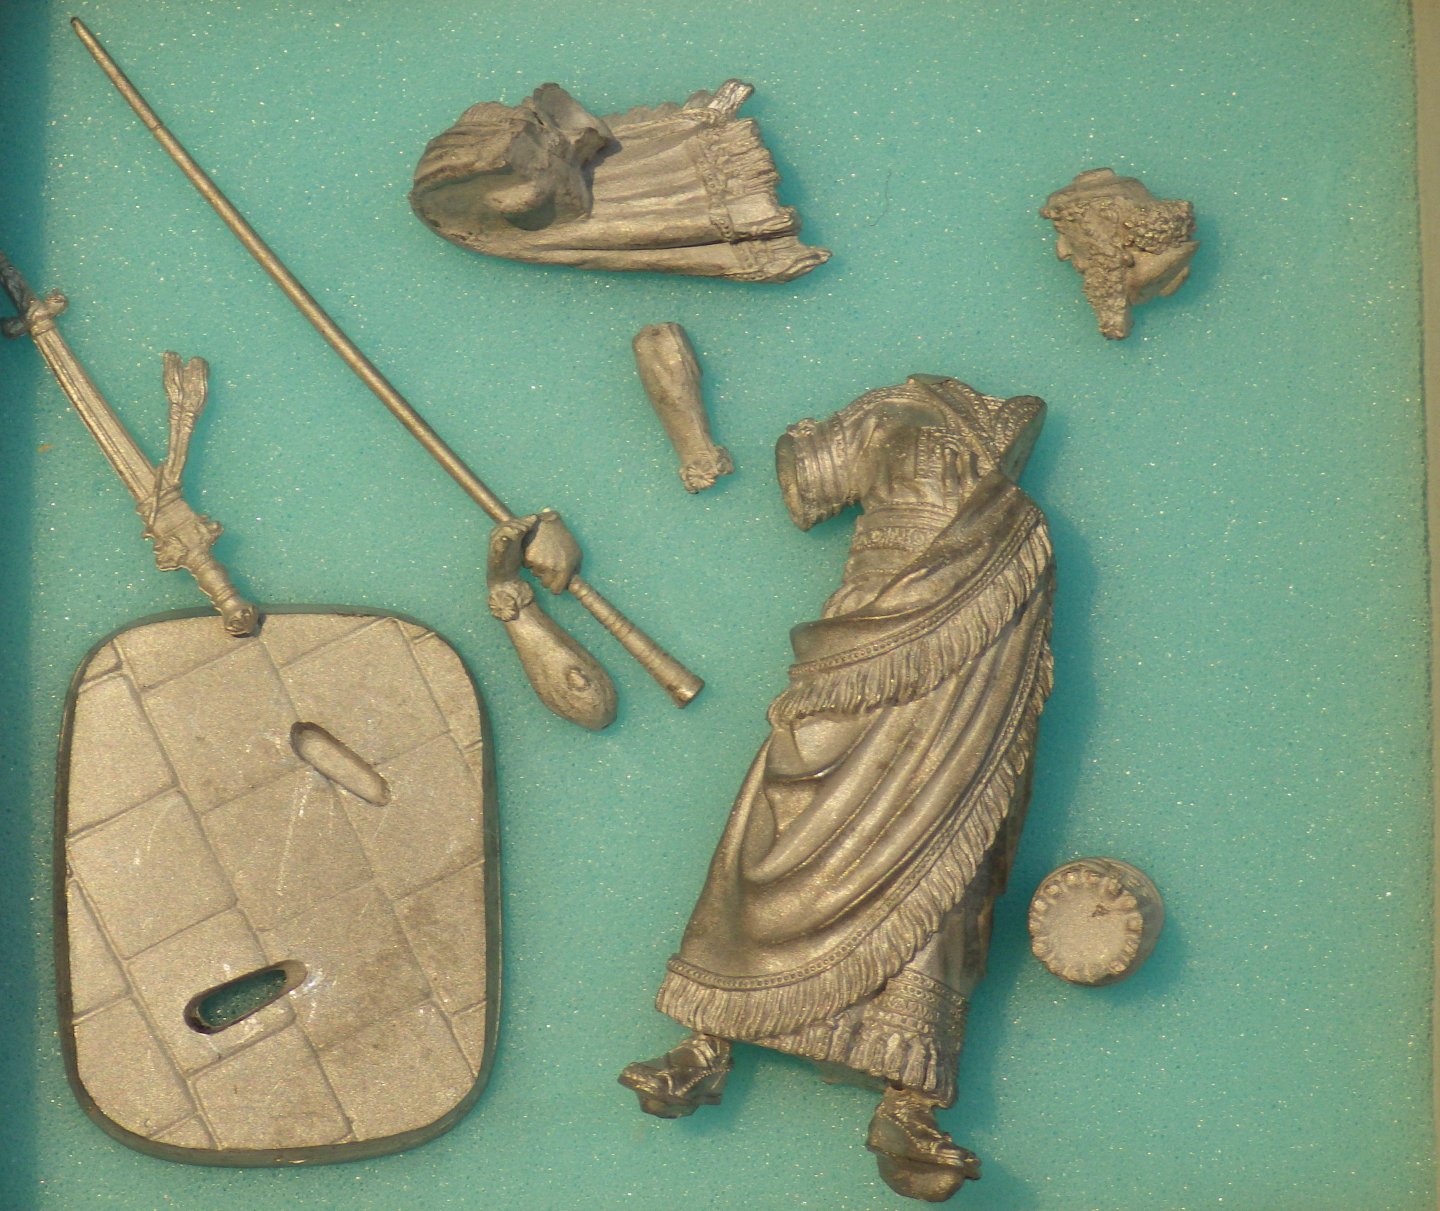
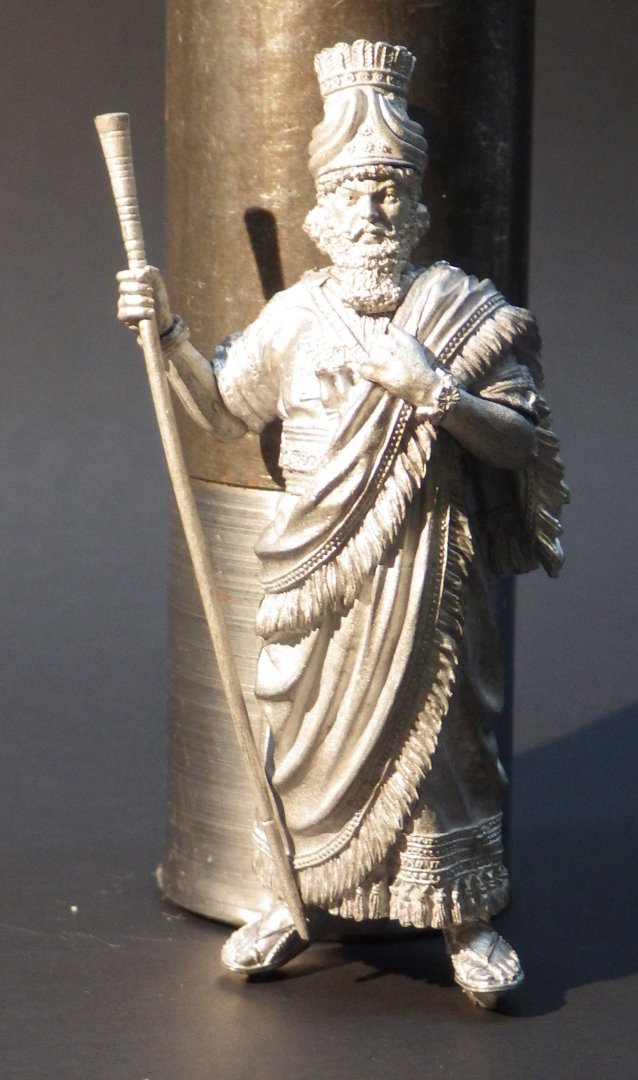
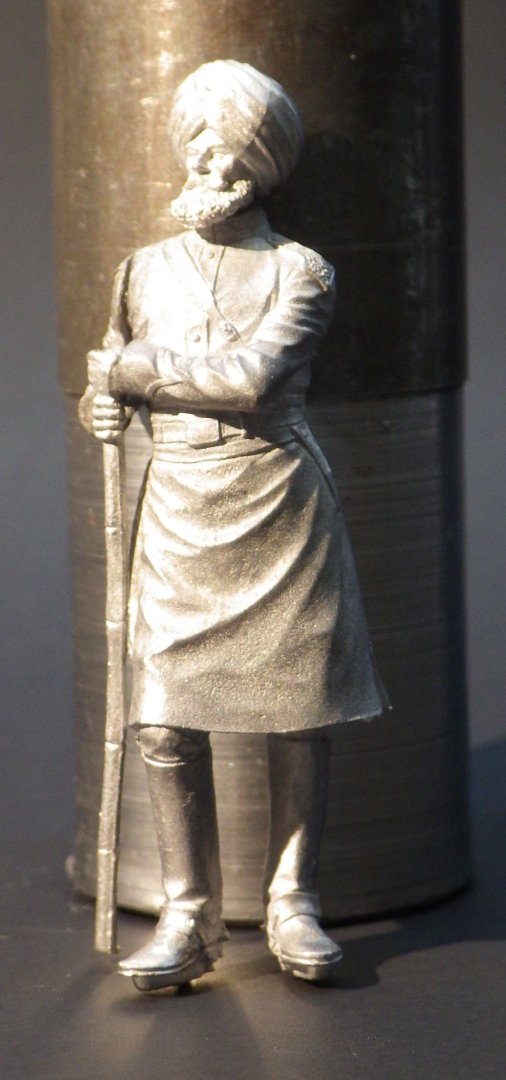
I am getting a bit frustrated with only being able to work on the Flowers for short periods because I forget what I am doing or just don't have time to complete something. so I thought I would try this as something that can be worked on in short sessions. I have been amazed by the expertise of the figure painters here and have wanted to try a figure in its own right rather than the 10mm and 1/72 figures in my dioramas Art Girona is a Spanish company making figures across a wide spectrum of subjects and they seem to be superbly sculpted. The prices including shipping from Spain didn't seem too crazy so I ordered three figures to try my hand with The contents of the Nabopolassar box shows some of the great detail\ I was highly impatient and assembled both the Skinners Horse figure and the Nabopolassar one. Nabopolassar went together very easily with everything fitting well. The lancer was harder and even with some careful filing there are some joints that will need filling. I'm not sure what would be the best putty; possibly thick CA or CA with a powder addition to thicken it. Although the figures are the same scale Nabopolassar is significantly taller than the Bengal lancer. I used CA glue which seems to be holding okay. I'm trying to work out how to hold them for painting. They are heavy so I don't think the usual Blu Tac will work. Both figures come with bases which I had planned to leave until the end thinking it would make painting easier but maybe I should attach them and use the base to hold them while painting. I'm sure I will be back to the community for help as I progress. Thanks for looking in Alan
-
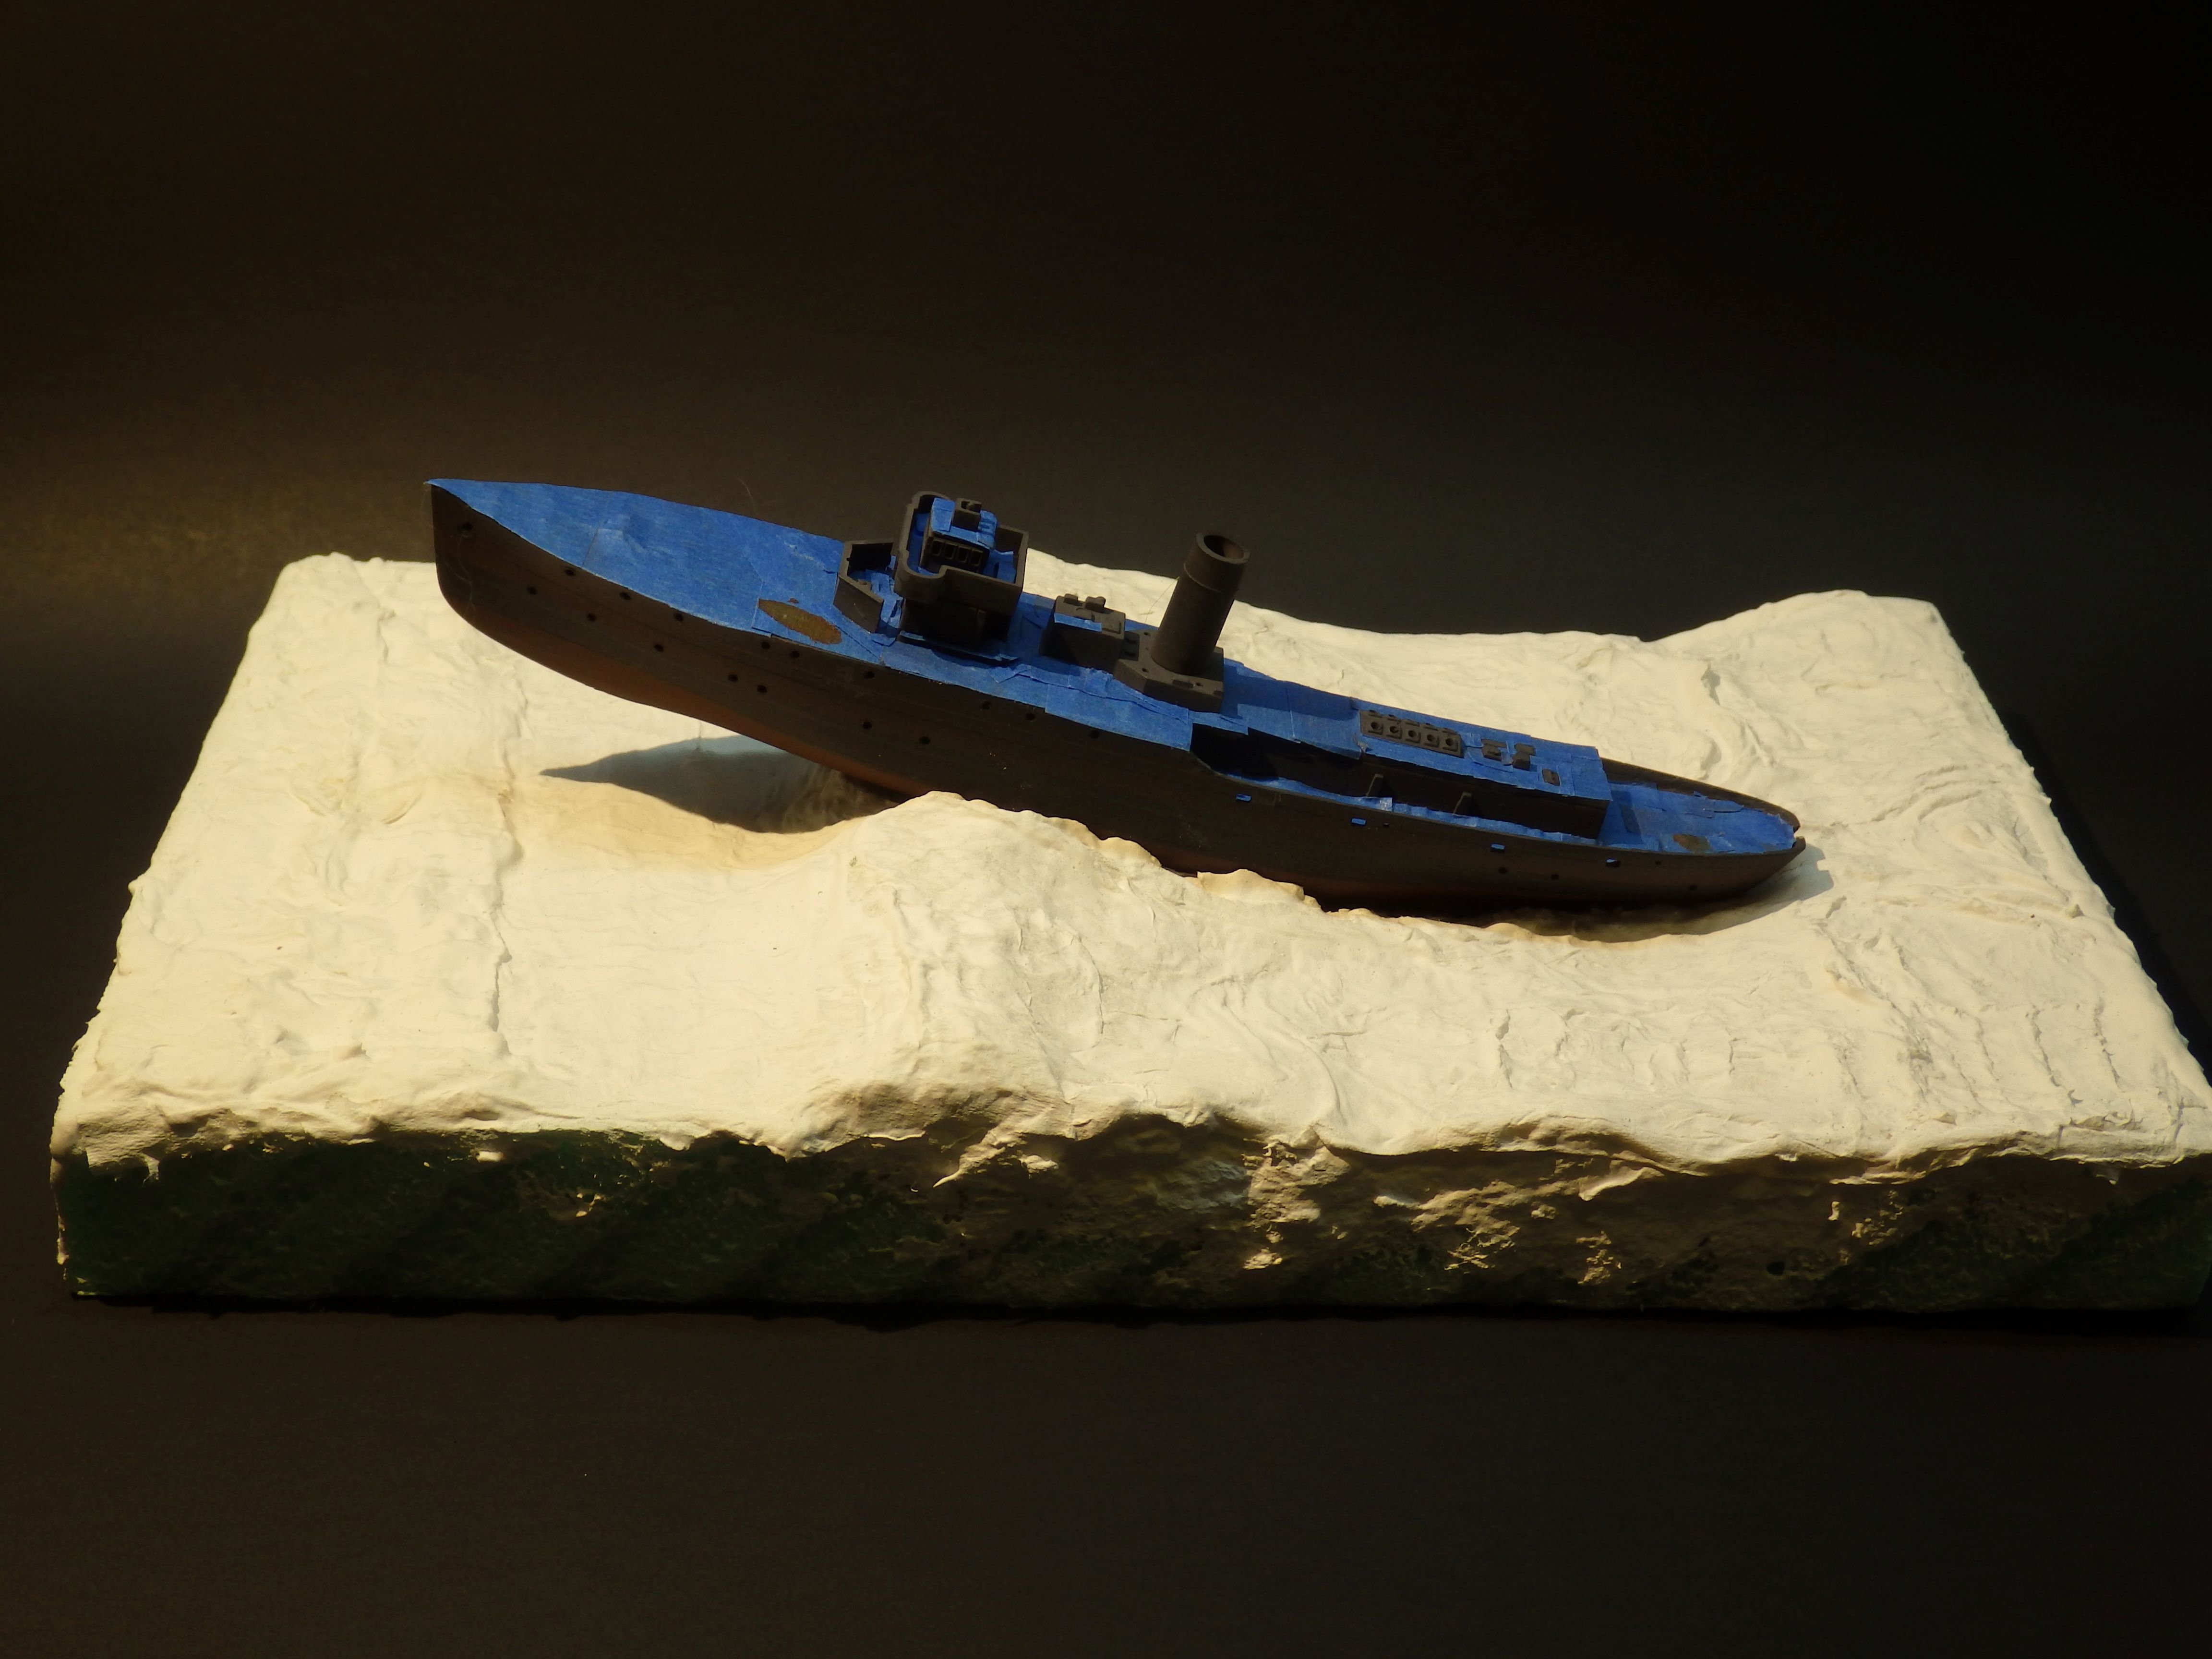
I'm still slowly working away at this one. We have had a bit of down time on the test stand so I had a few hours during the last few mornings before work. I covered the base with toilet paper soaked in diluted white glue and pushed it around with the brush to make the wake and small wave patterns on the surface. Once this had dried I gave it a coat of gesso ready for painting. I continued with Zinnia, painting the lower hull and deck. I am working on masking the decks ready for the first coat of paint on the hull. The kit instructions call for a three colour scheme of light and dark grey with Western Approaches green. Zinnia has the early bridge configuration so I am not sure how much of the PE will be used. I'm trying to decide on the base colours for the sea. I'm aiming for North Atlantic with overcast skies so I am leaning towards dark grey / green rather than blue grey. I need to go back and look at some deployment photos. Thanks for looking in and for the likes and comments Alan


-
Thank you OC. I'm still learning. I can see what I want in my head but getting it made is still a bit of an adventure. Good fun though and thats teh main thing Alan
-
Westland Sea King HU.5 by chadwijm6 - Airfix - 1/48
king derelict replied to chadwijm6's topic in Non-ship/categorised builds
The base is really effective and sets the model off very well. The model itself is an excellent build. Congratulations Alan -
AMC DH9 by davec - Wingnut Wings - 1/32
king derelict replied to davec's topic in Non-ship/categorised builds
I would not have thought of that but it has teh potential to solve some of my masking problems. Thank you for the tip. Alan -
I like the "in the shop" solution. It would be a shame to hide that beautiful paint work Alan
-
Another great build starting. Lovely aircraft Alan
-
Happy Birthday Craig The cake makes it all worthwhile. I have two months to go so I'm practising. having senior moments. The Ferrari is excellent by the way. I think your yellow one looks more realistic than the red one Alan
-
The cavalry figures work so well in the landscape. great work Alan
-
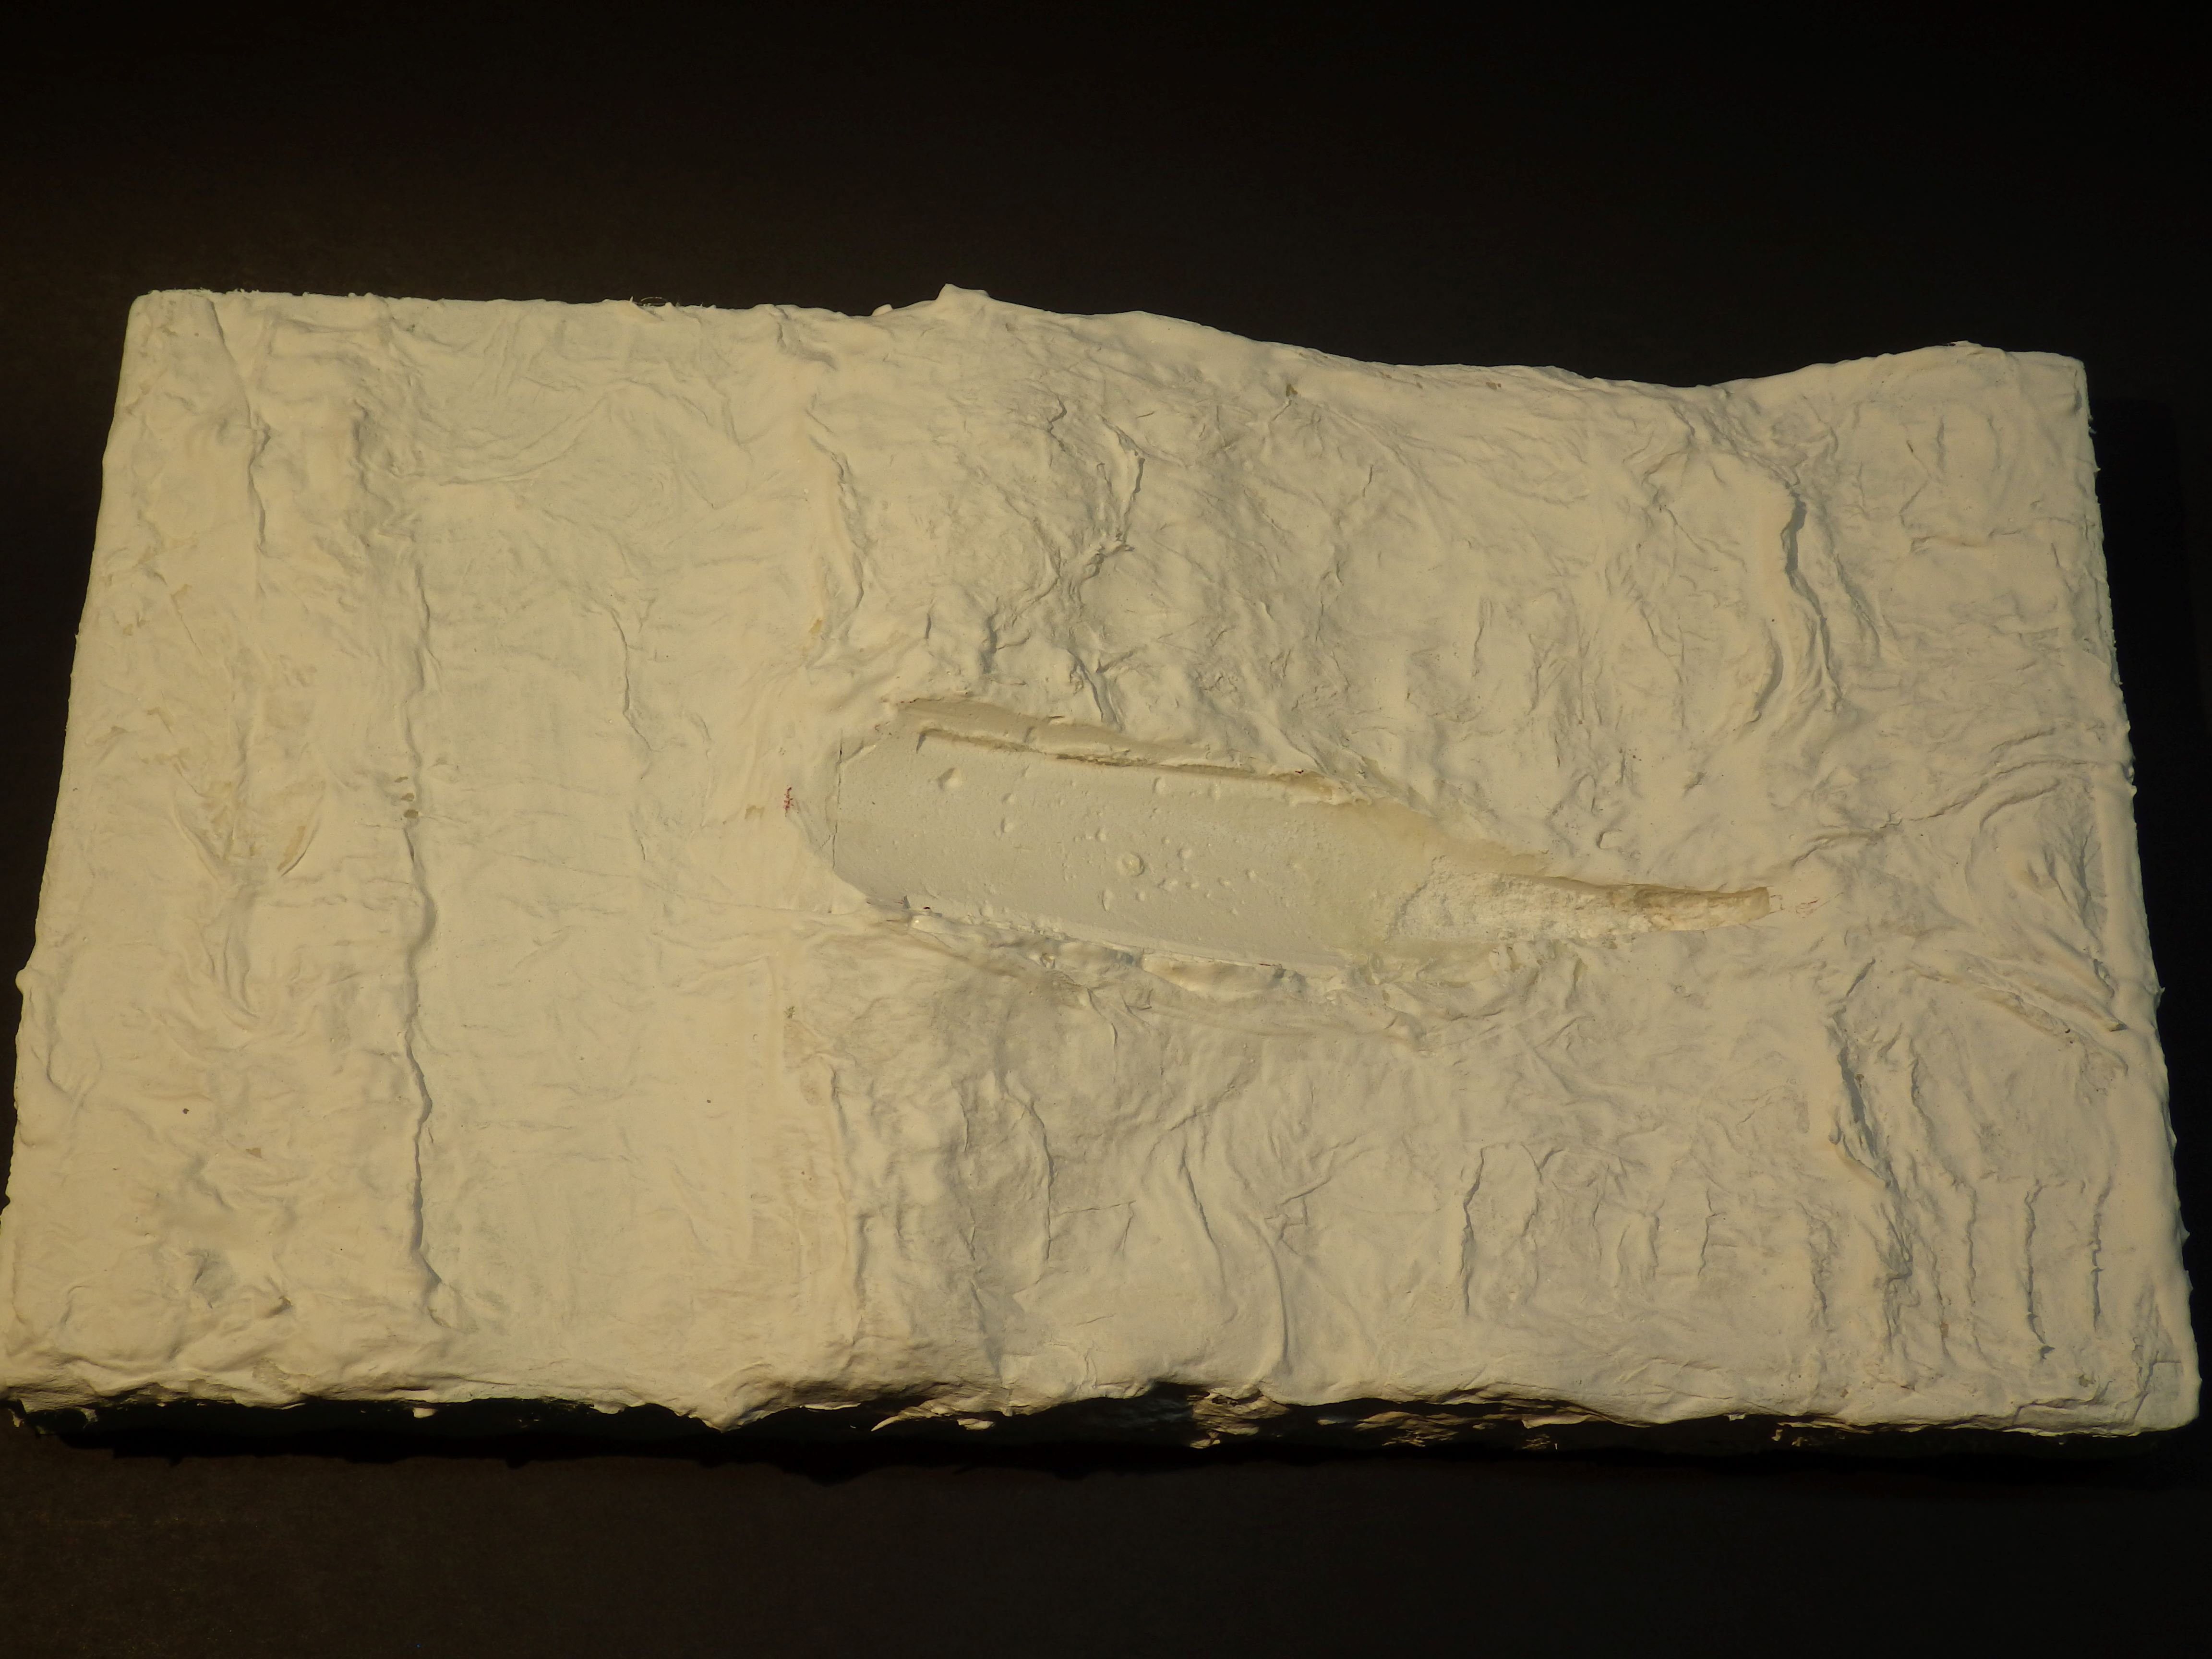
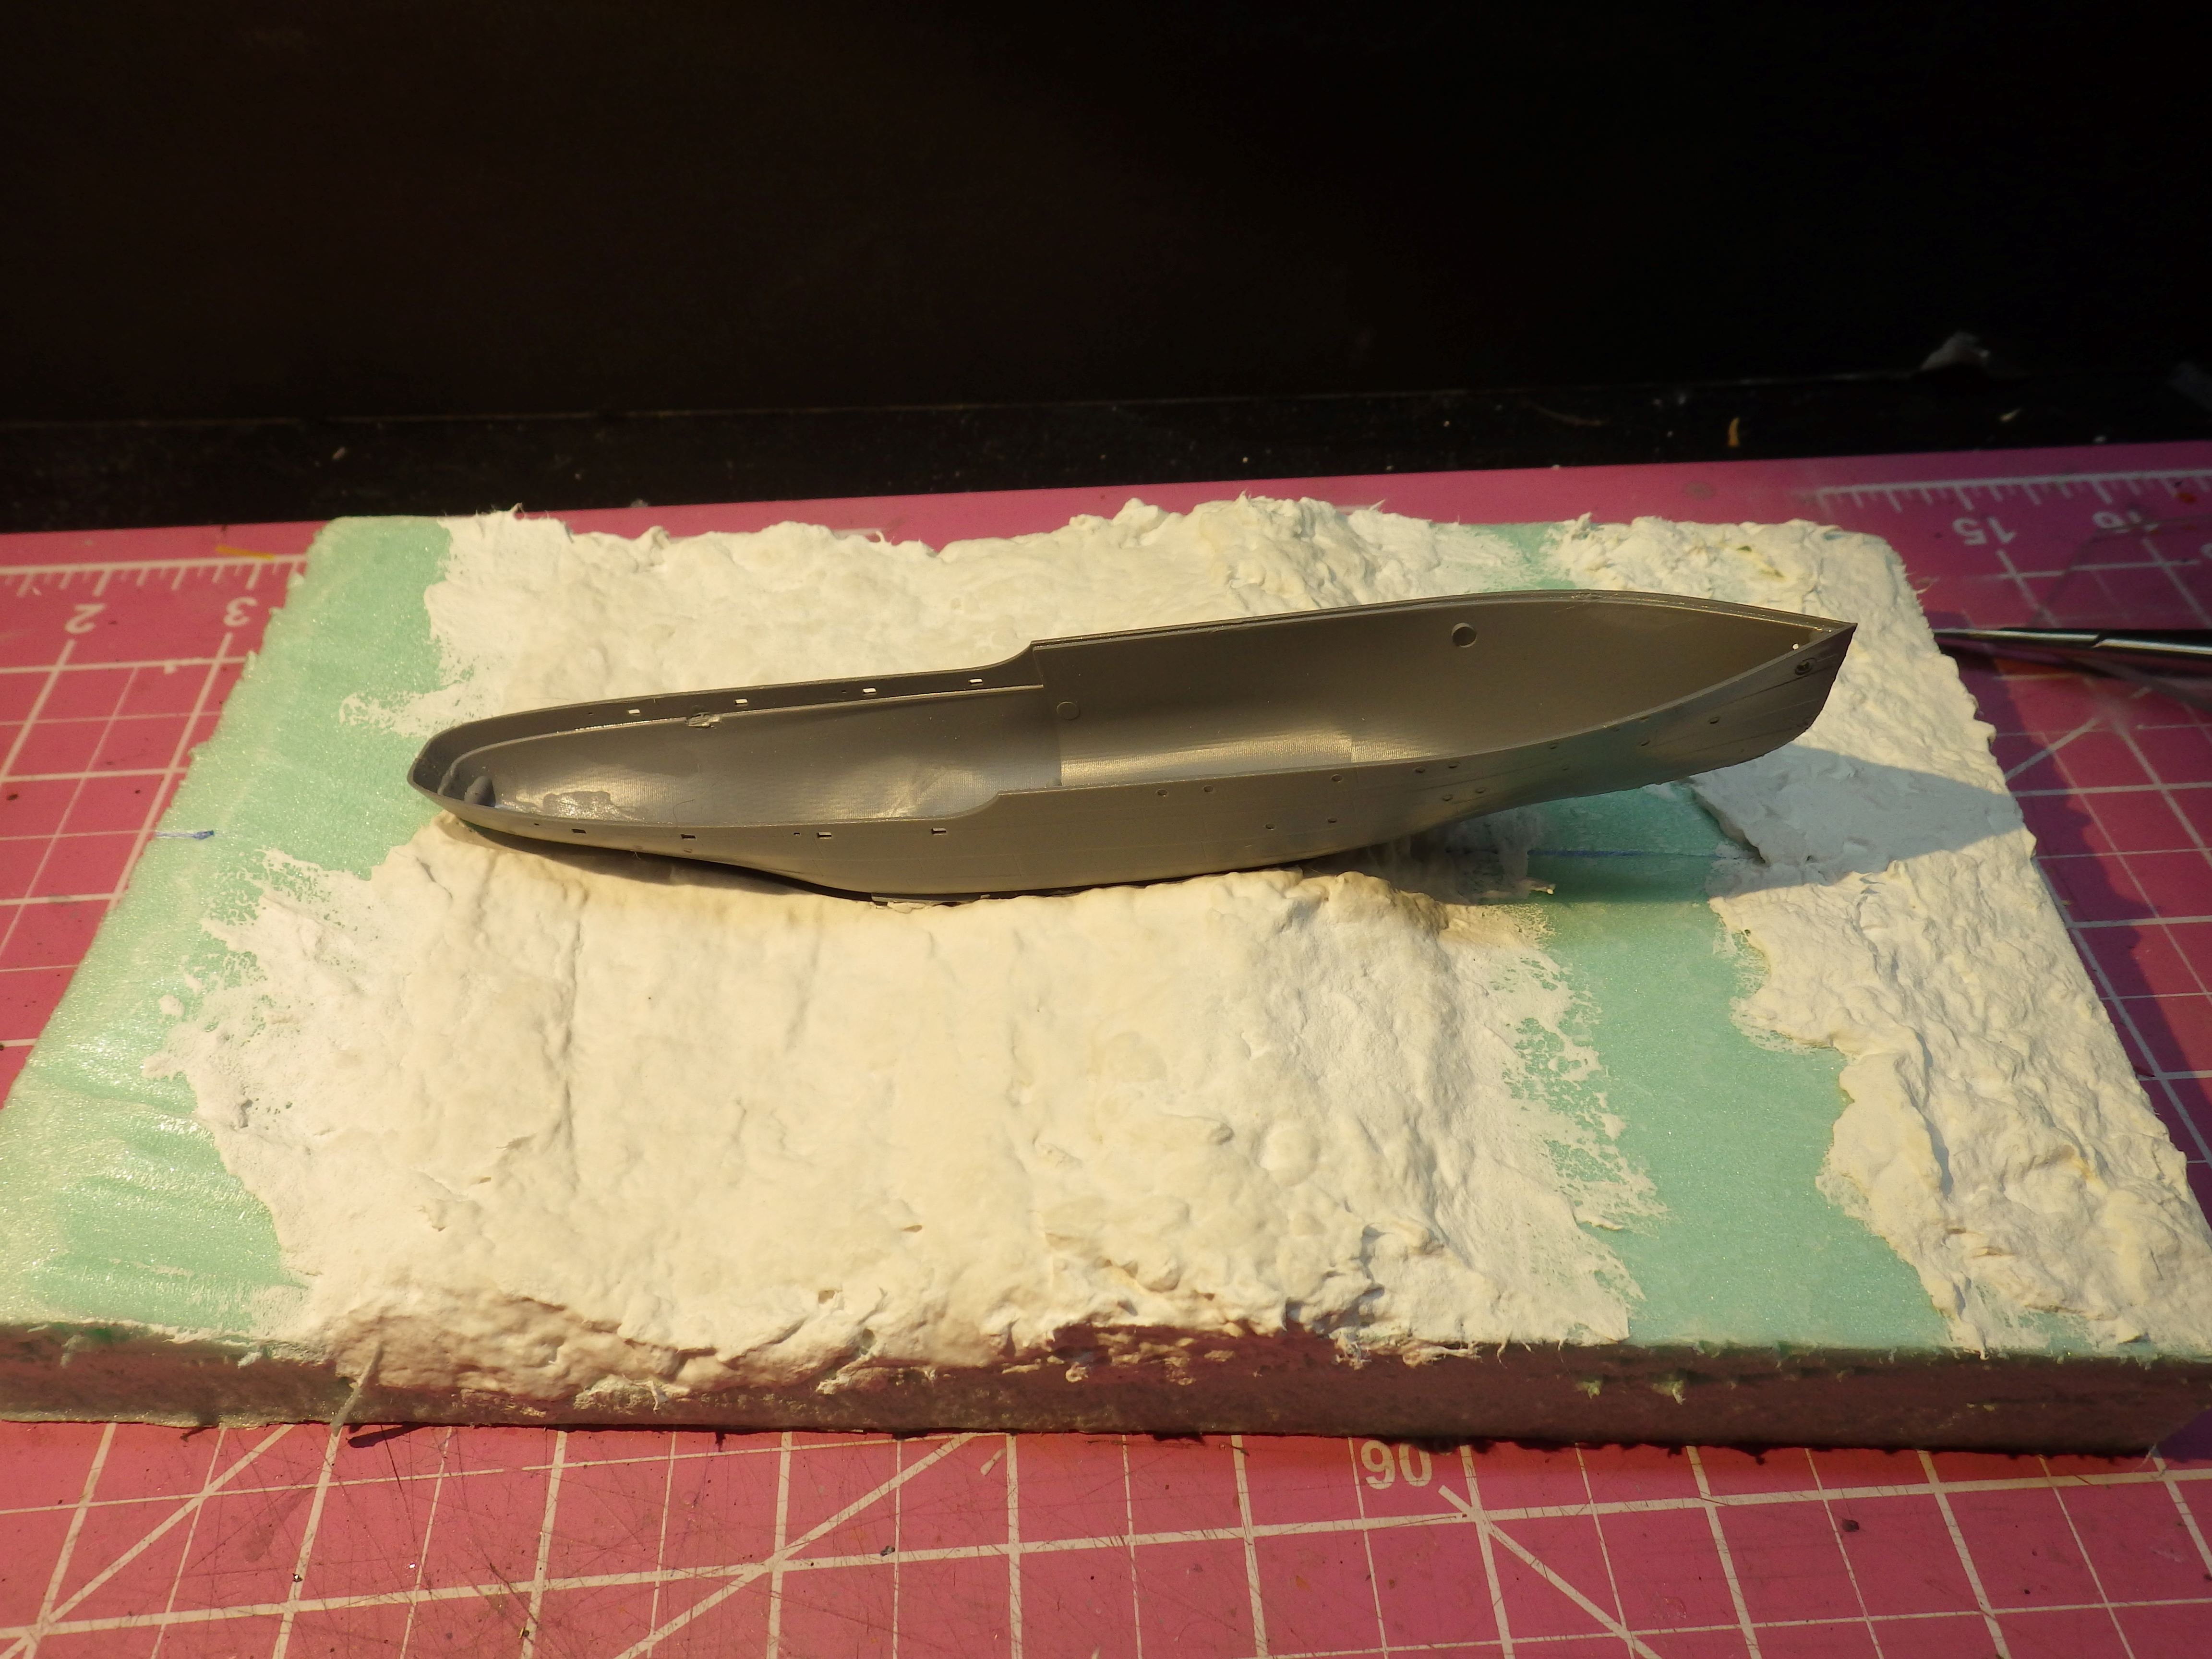
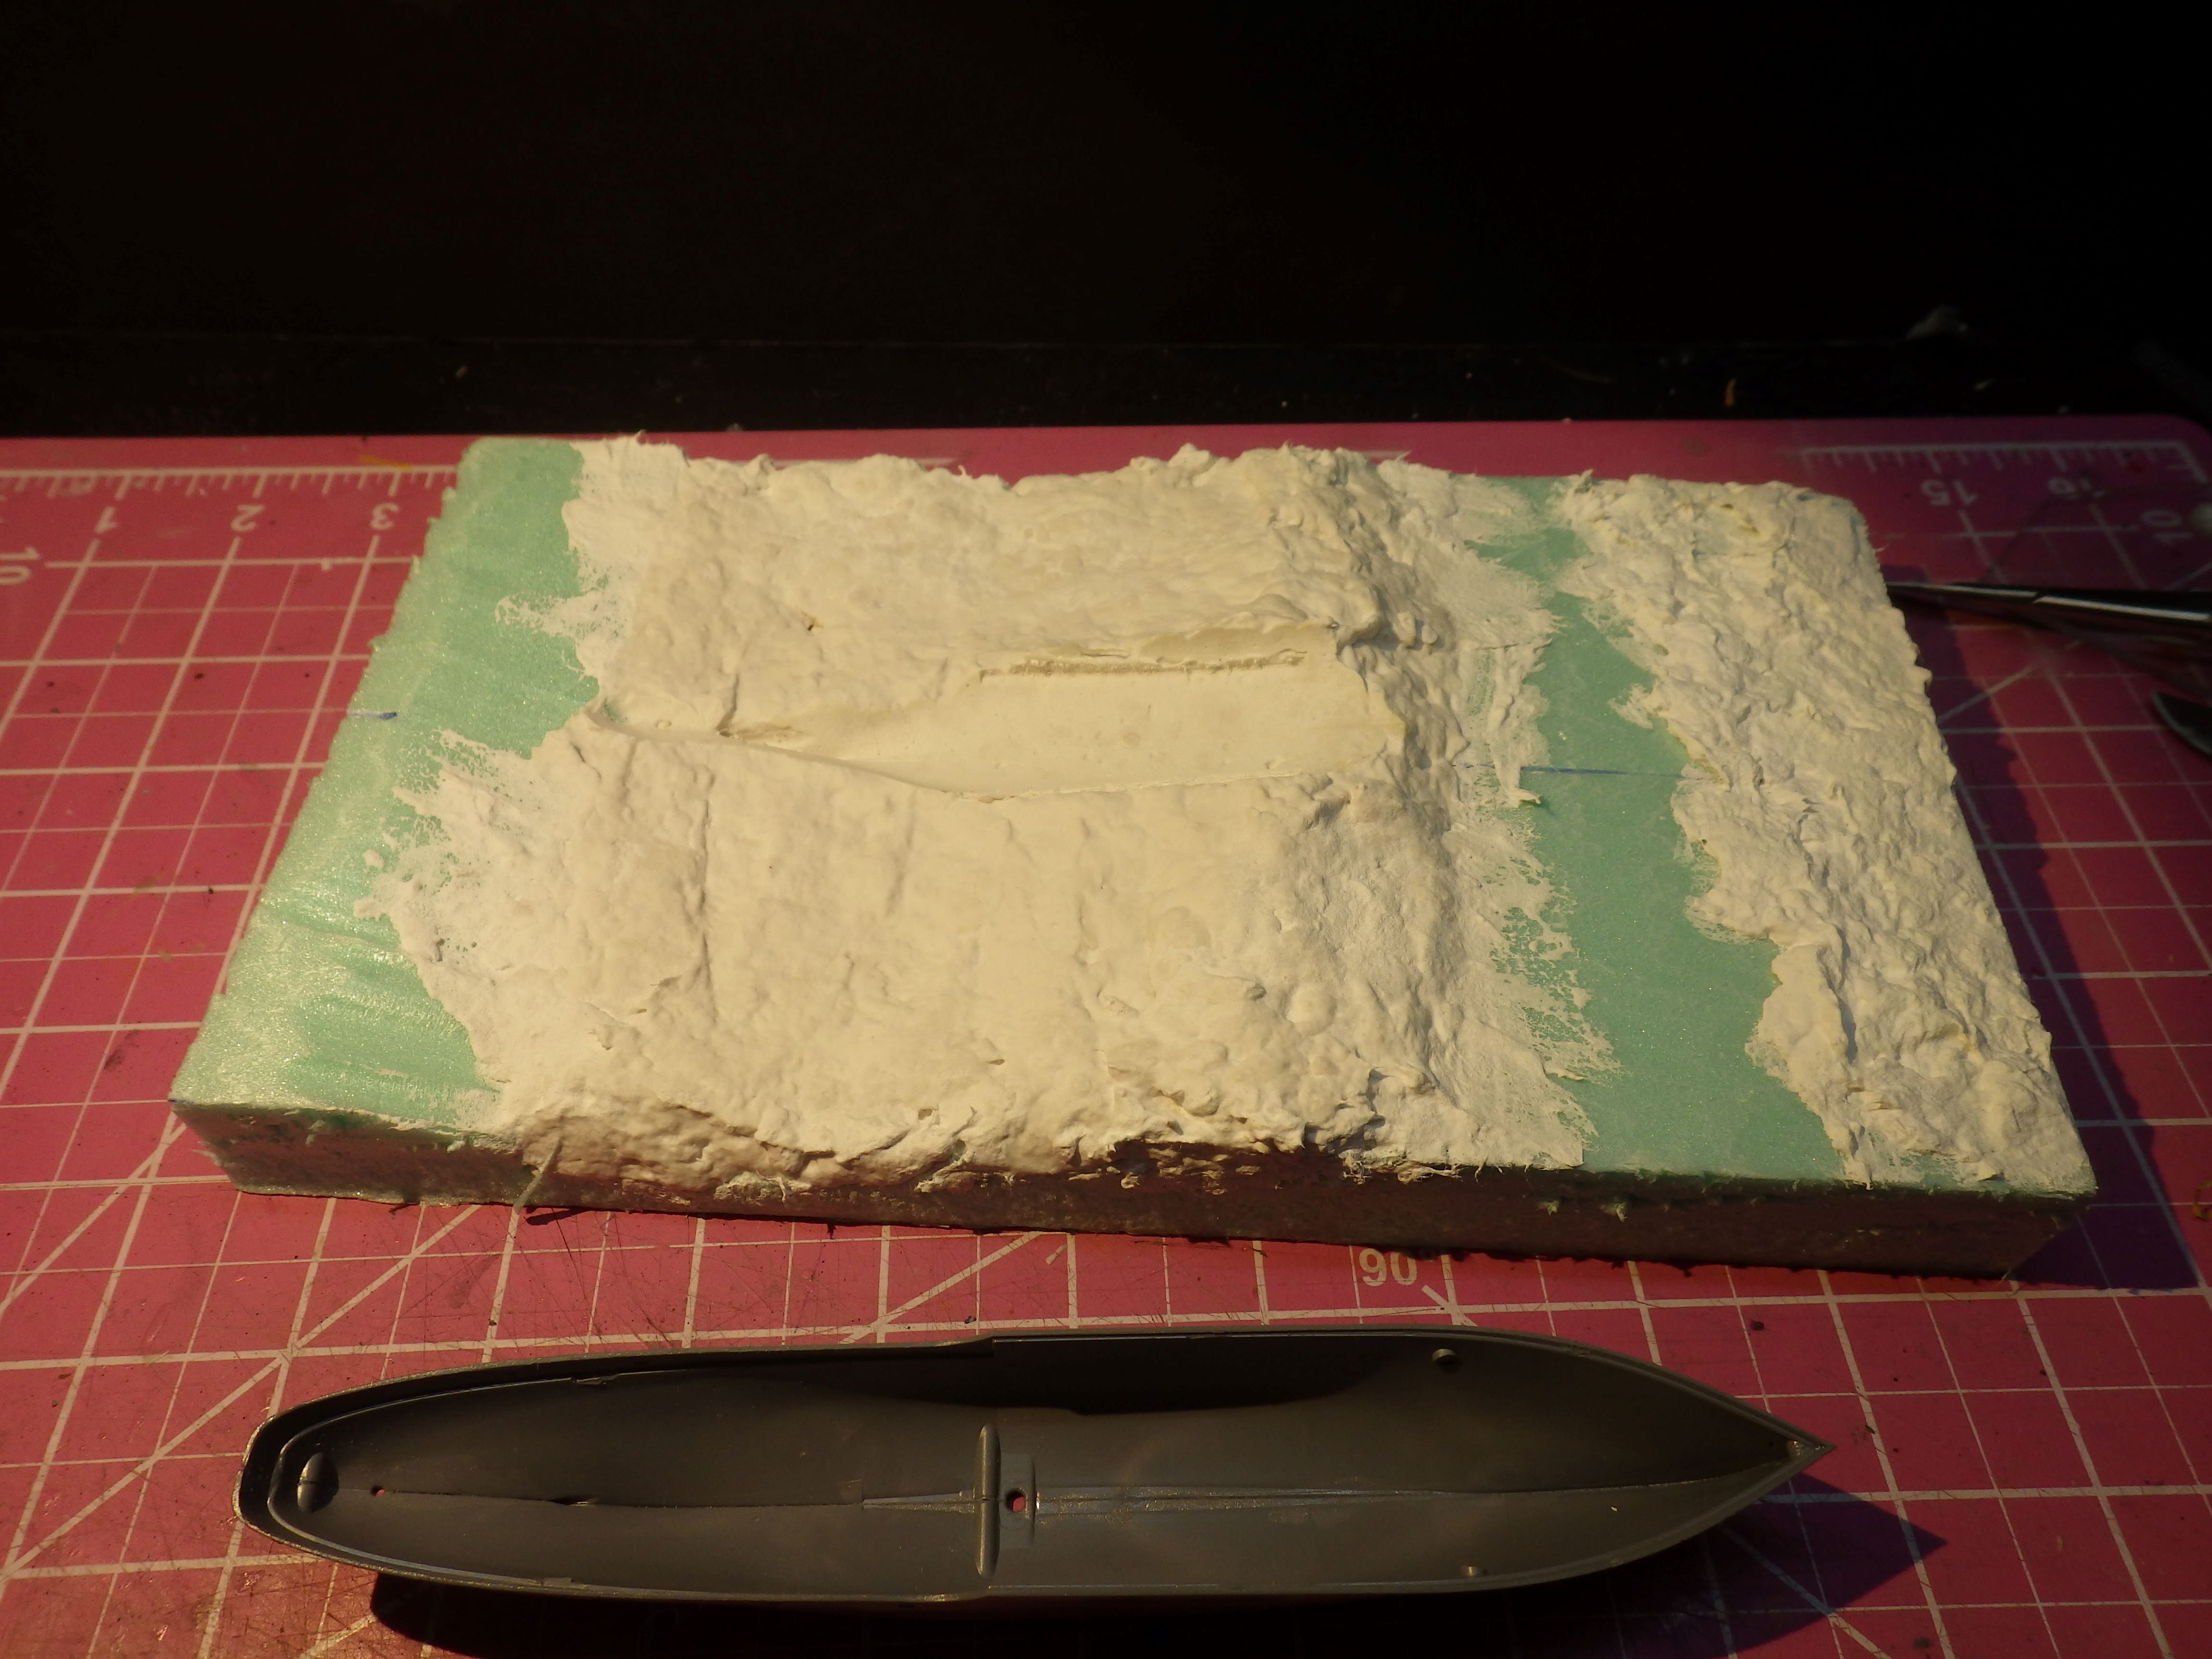
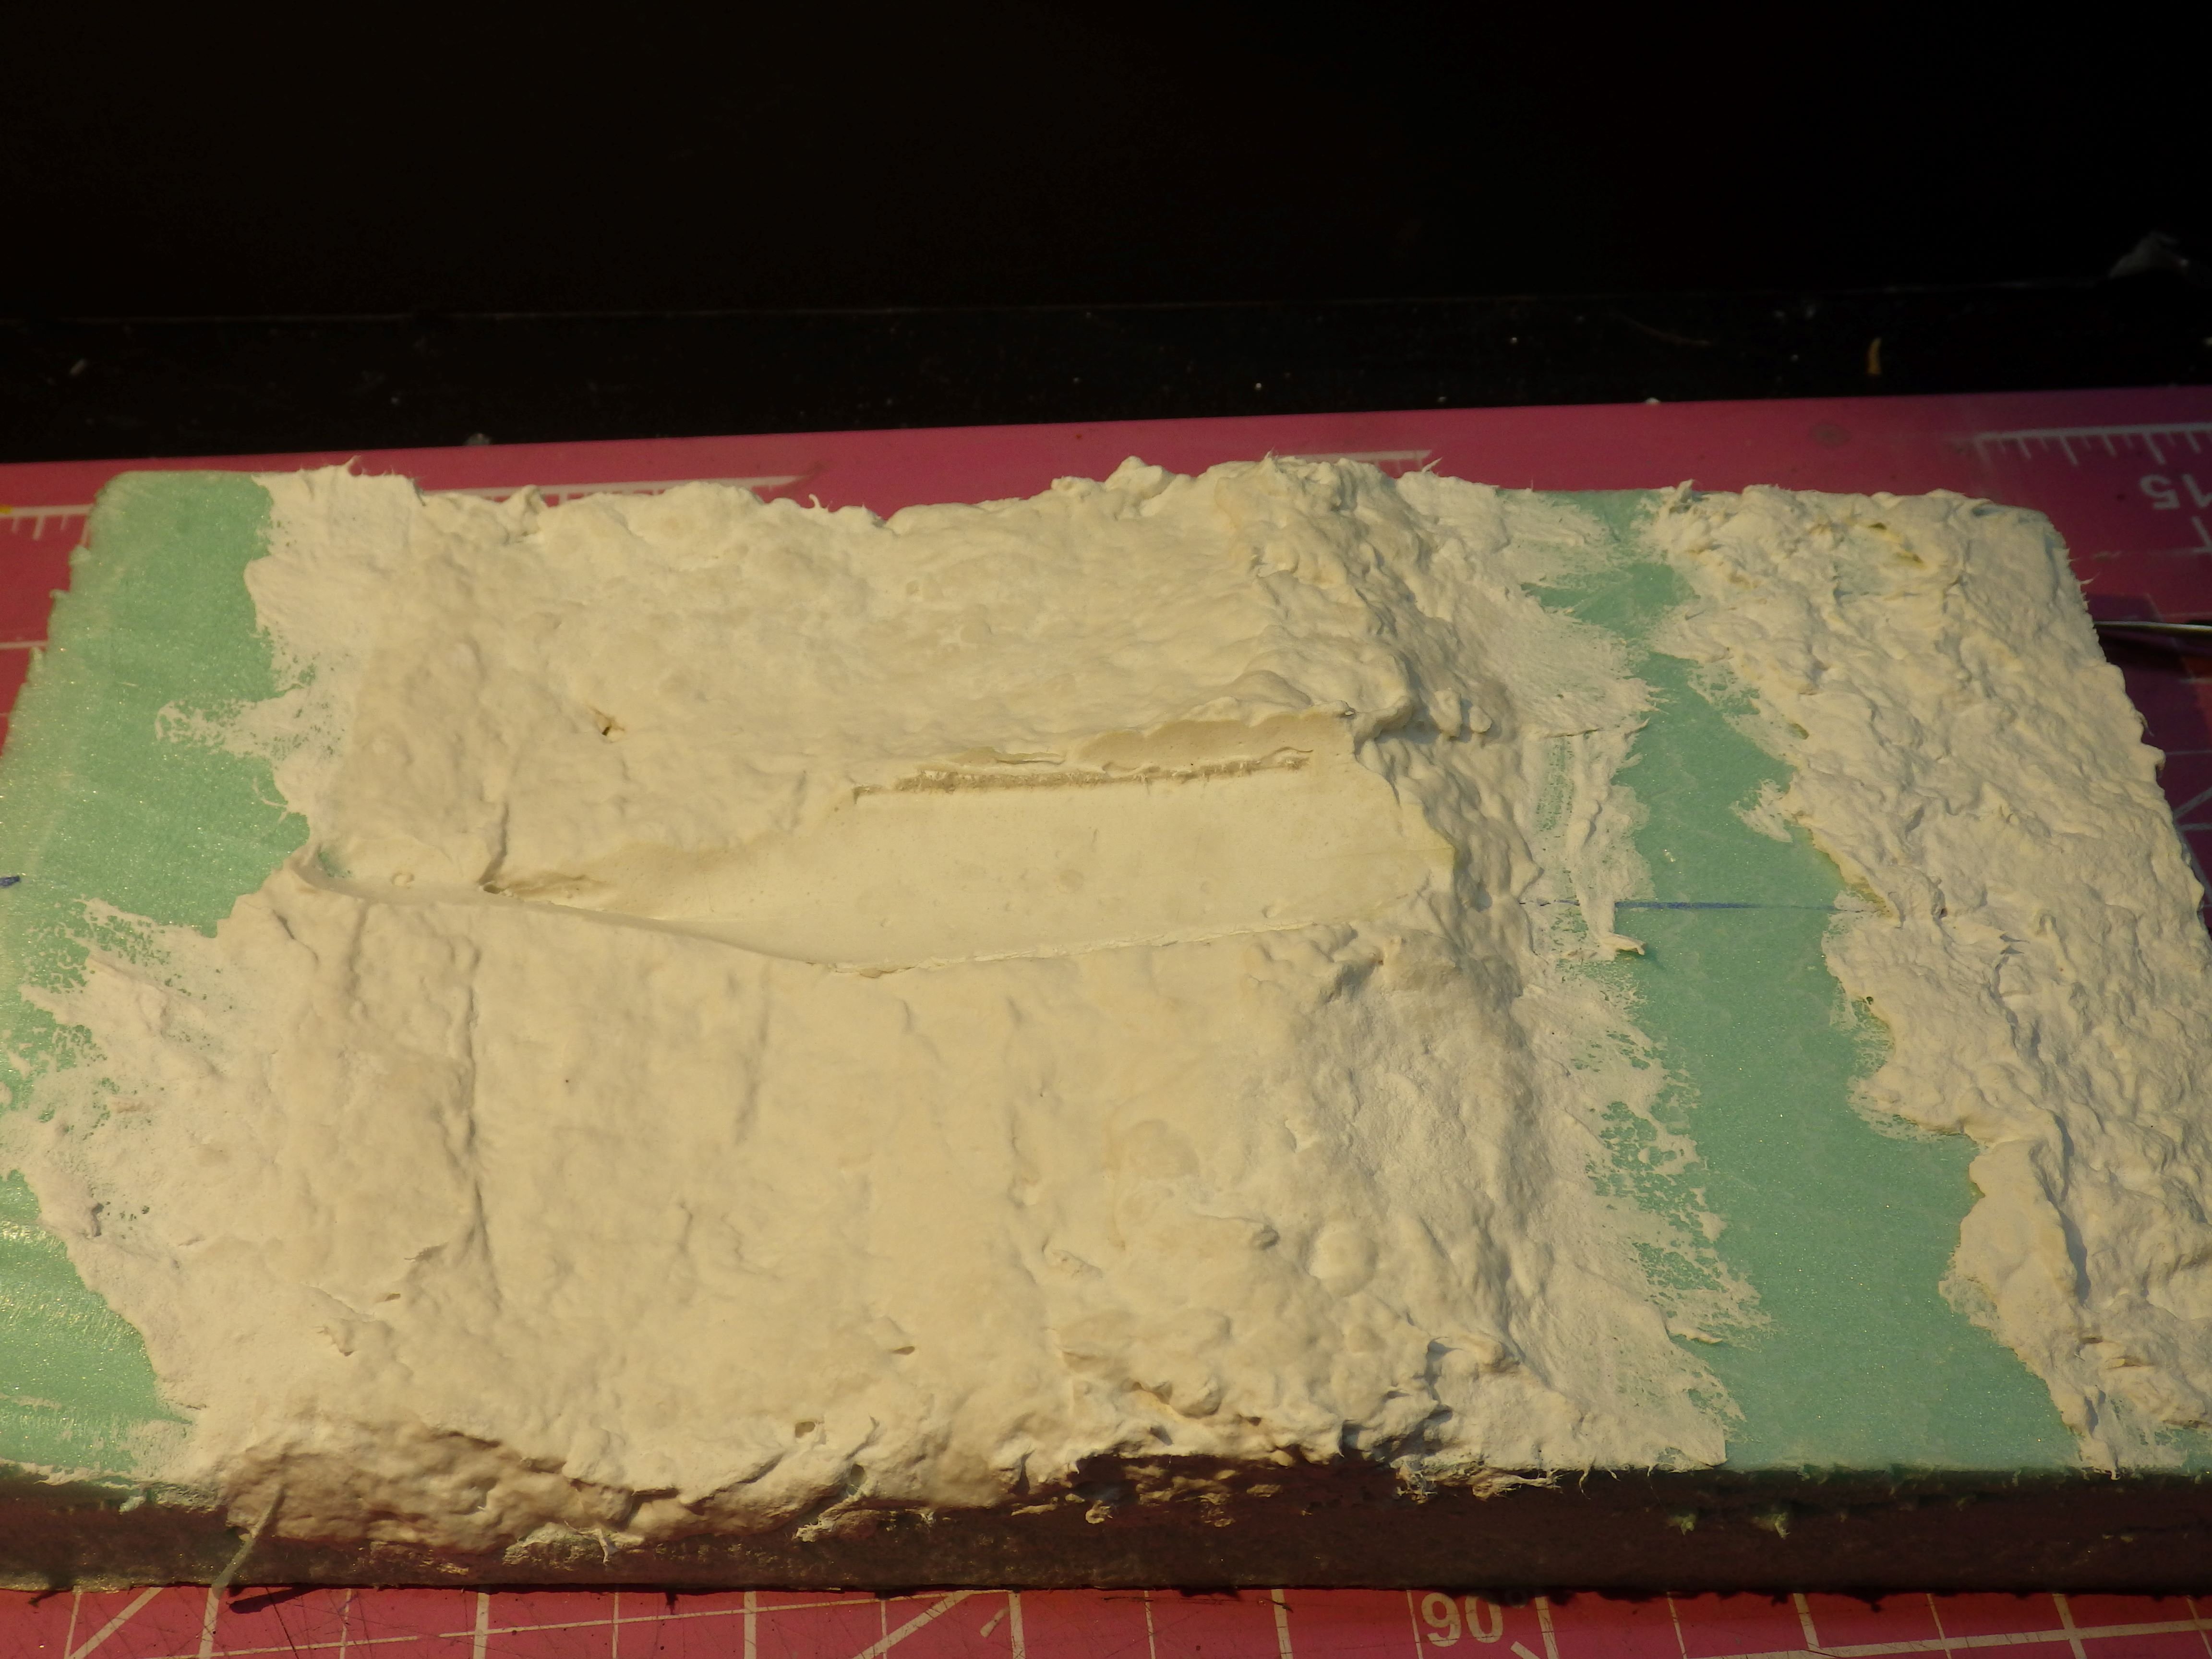
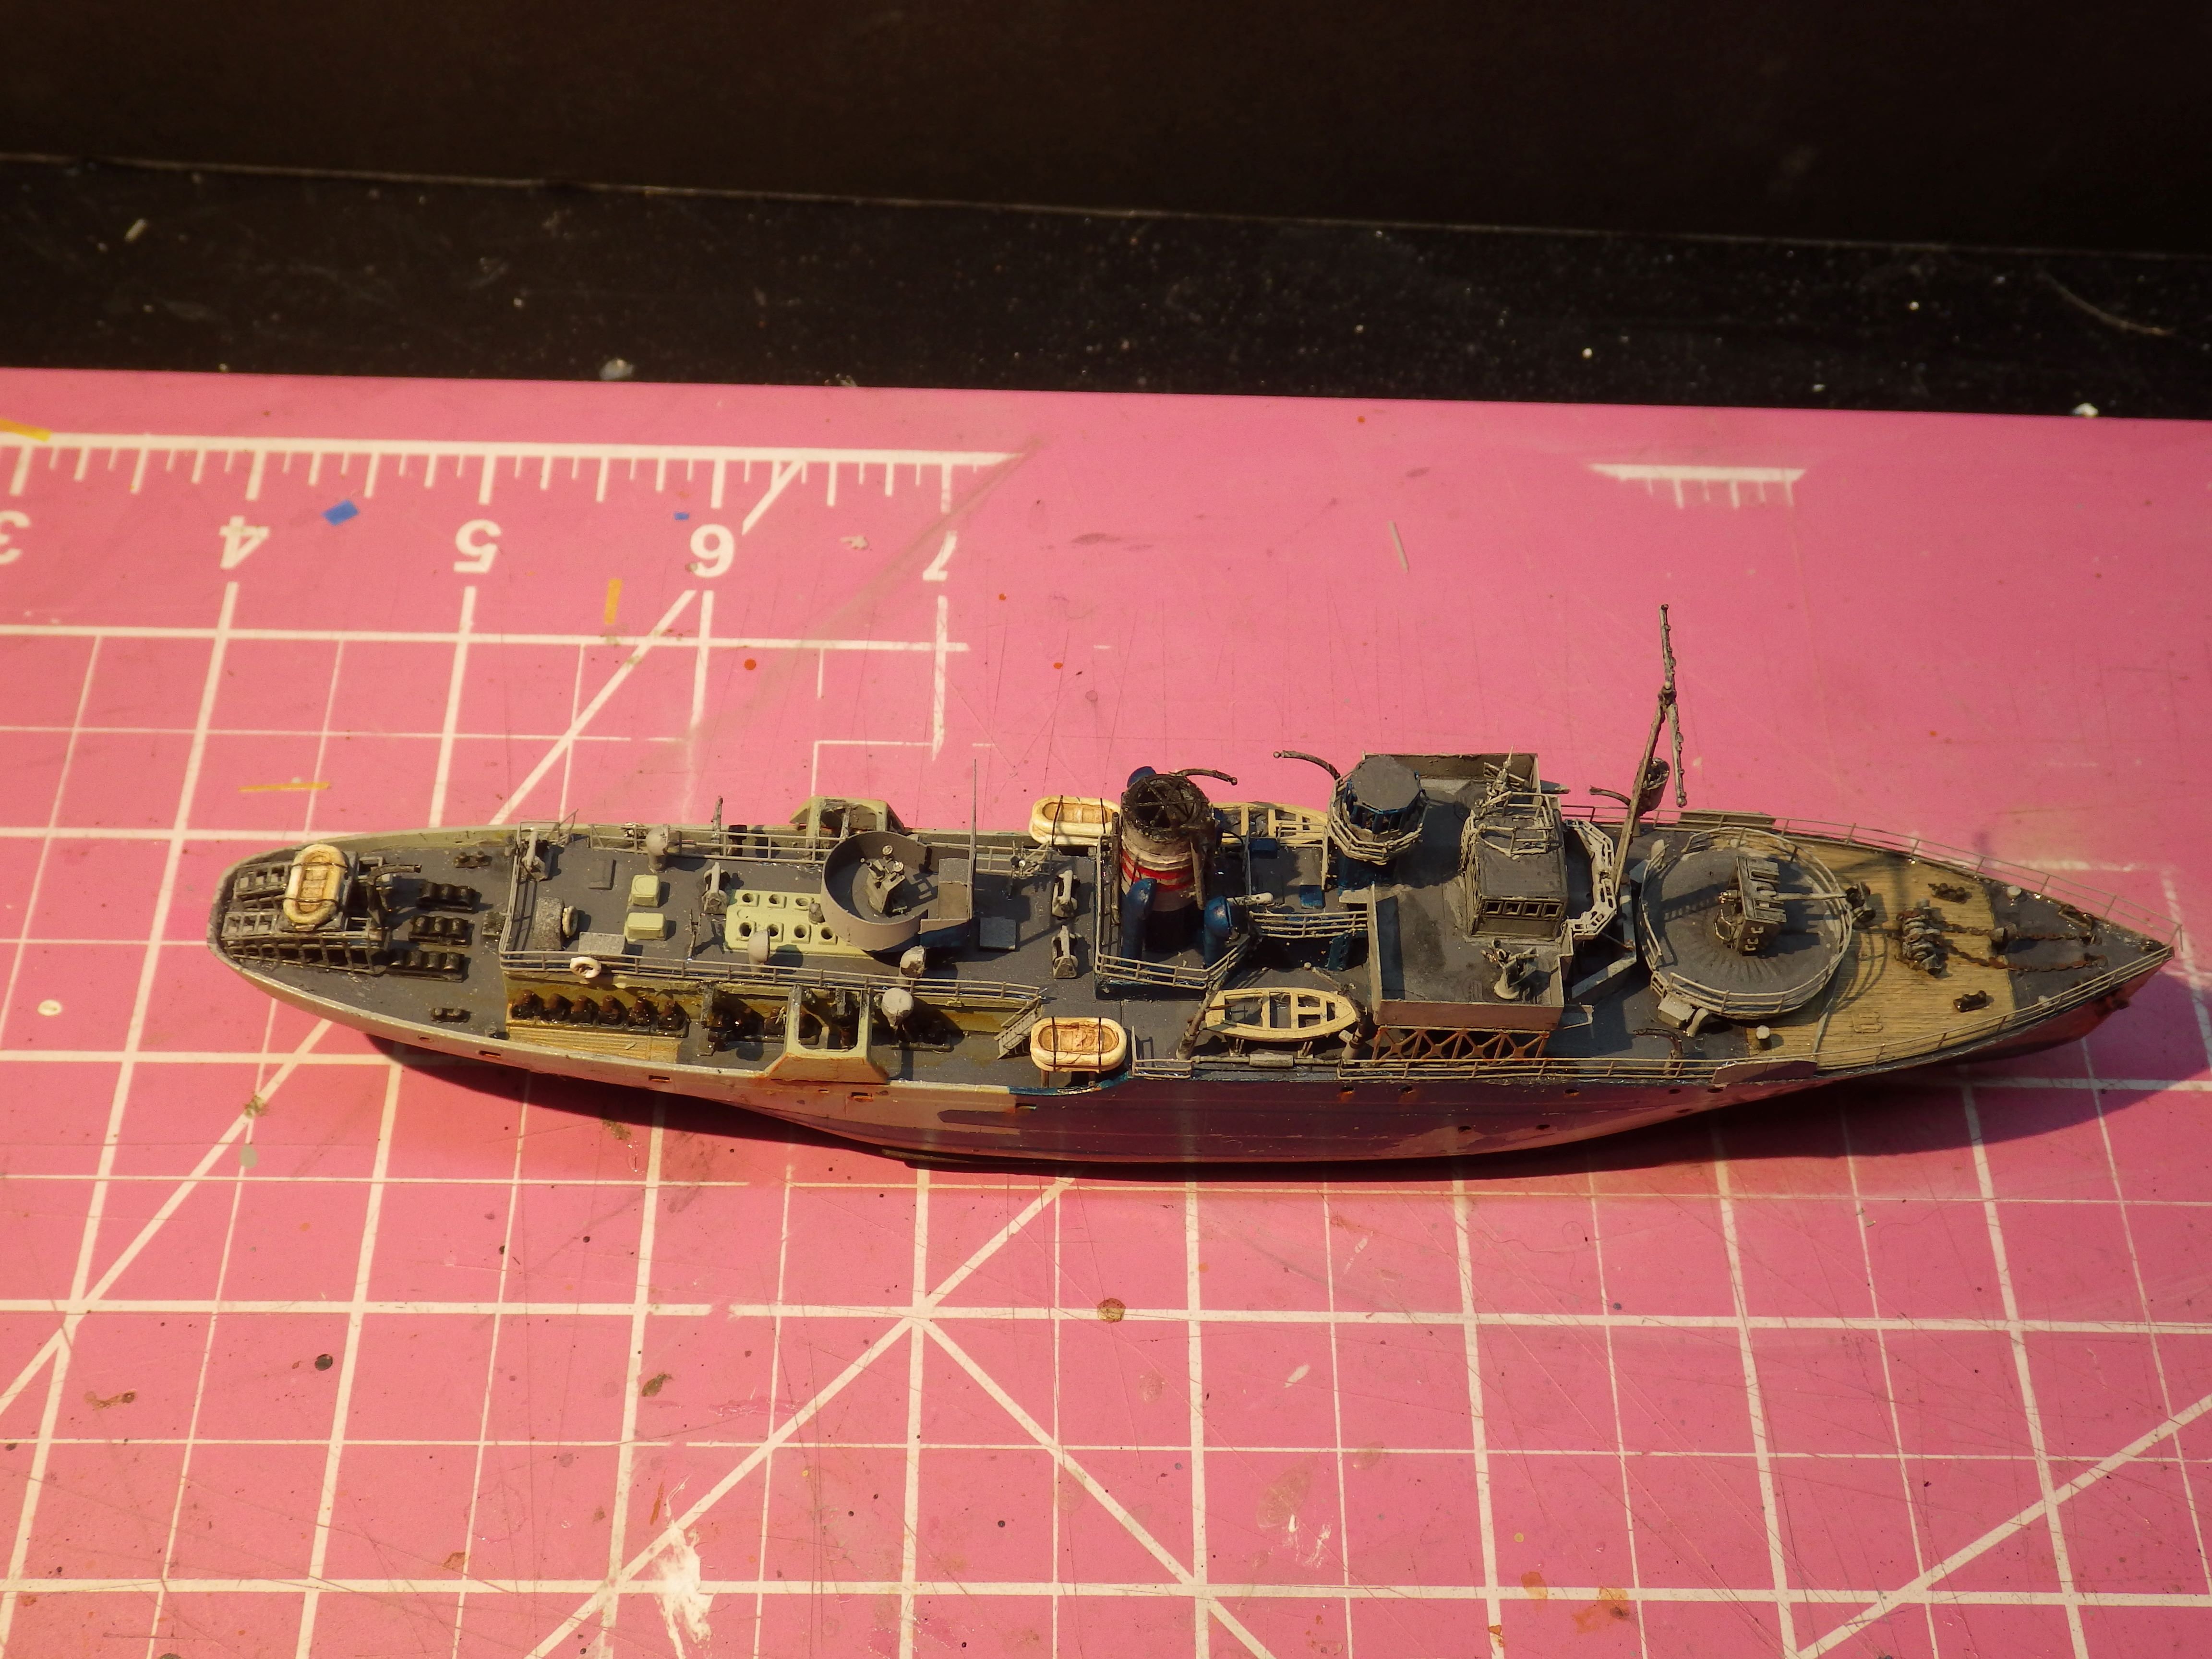
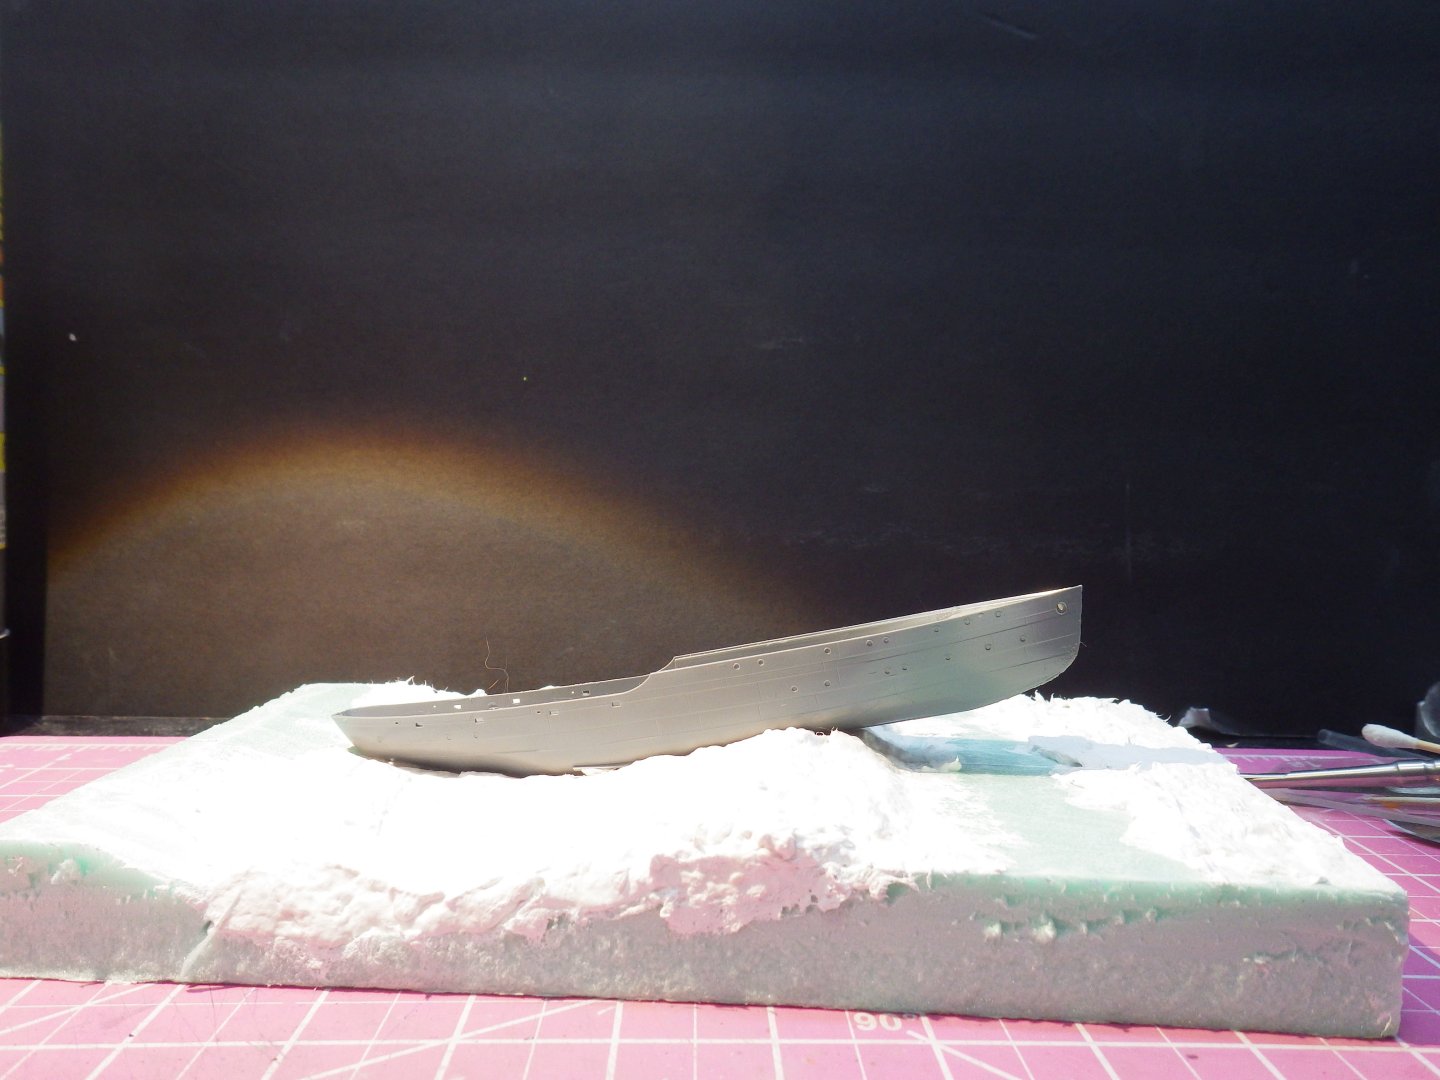
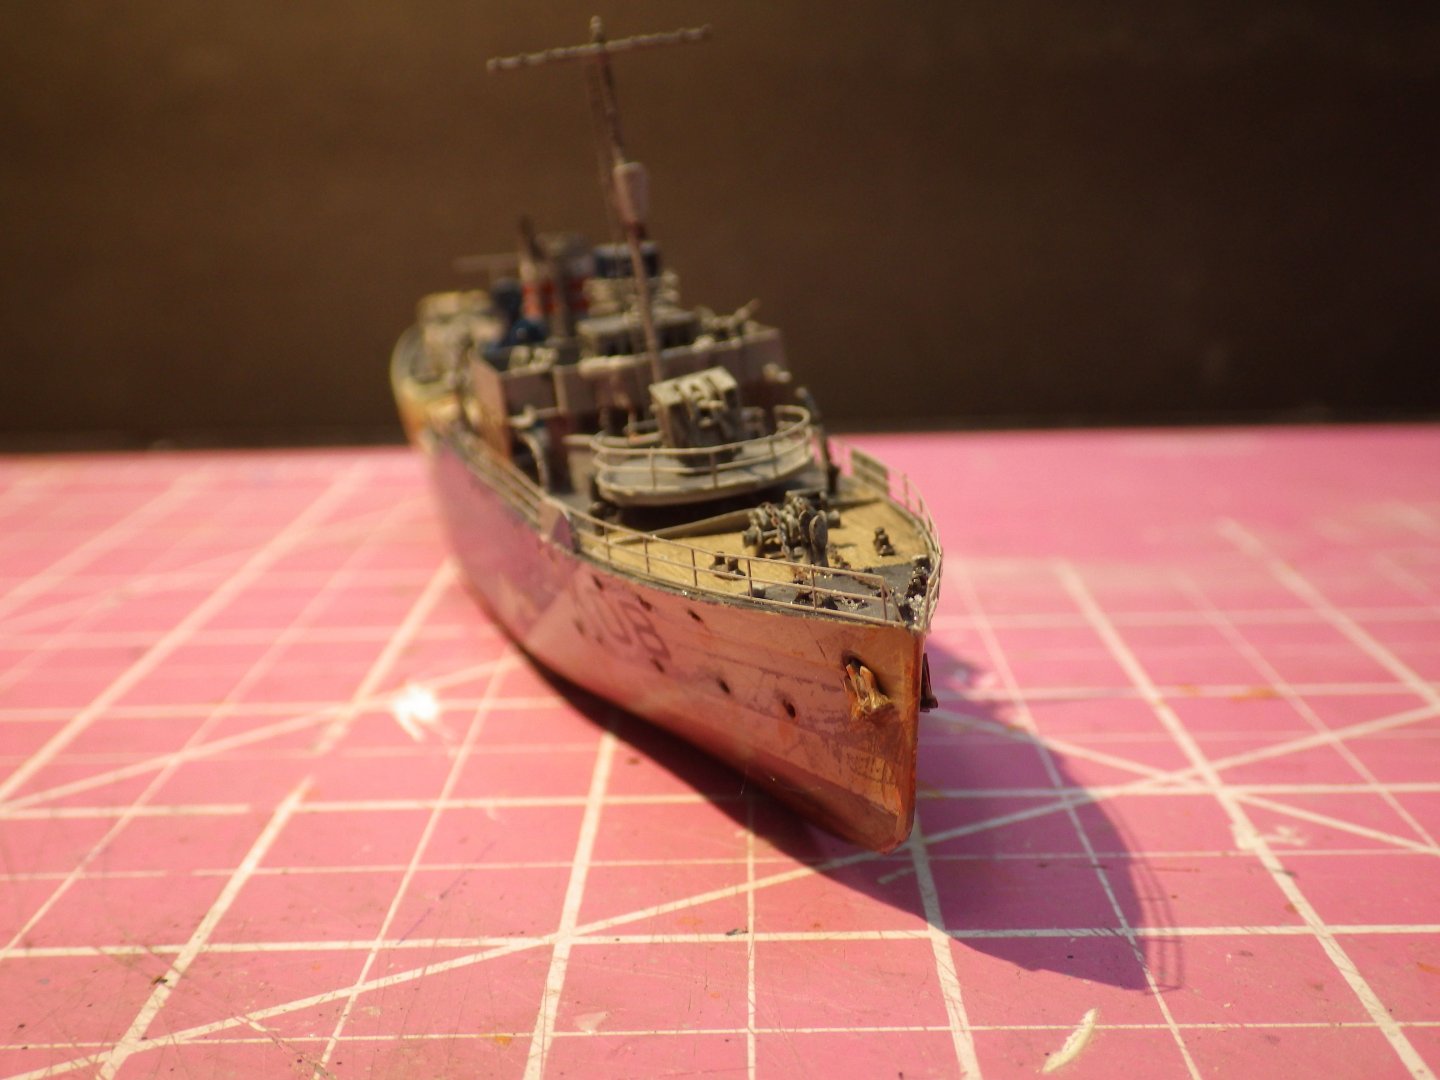
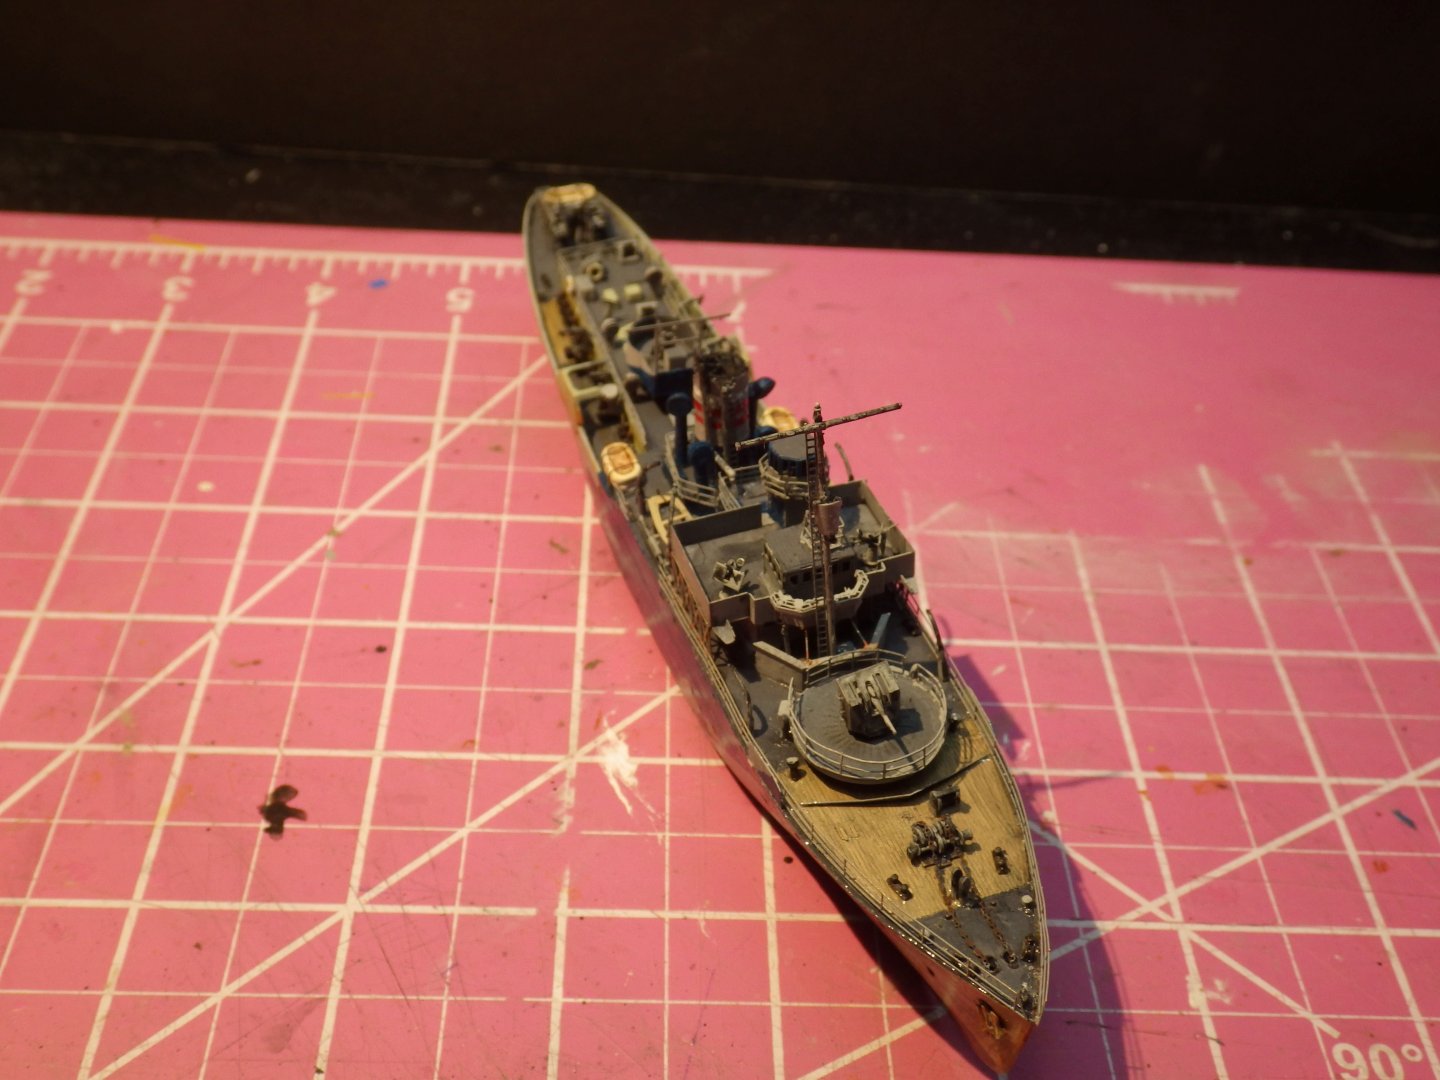
A little more progress to report. The remaining work on Spiraea suddenly seemed to come together quite quickly. I added the railings, Carley floats, boats and guns and I think she is almost finished. The decals were added. Pretty basic and not one of the better bits of the kit. They took a lot of soaking and were reluctant to slide into place. They also needed a lot of solution to soften and sit down. Thankfully there were only a few to place. I need to put a matte coat on to finish it. I have the ensign to add but I am waiting to complete before doing that. In the meantime I am contemplating a couple of last items - adding basic rigging. I am rather hamfisted at rigging and dread ruining the model trying. - air brushing a light coat of grey filter to merge the details together. In the meantime I added some Sculptamold to the base to get the basic shape of the seascape. I wasn't going to risk using Spiraea in the wet Sculptamold so I made up the hull of HMS Pennywork and gave it a light coat of olive oil before pressing it into the base. After 24 hours of drying I was happy that the hull popped out cleanly leaving a nice impression for the hull. Pennyworts hull has been cleaned in soapy water and put back in the box for later. The base still needs a little more time to dry and then I'll smooth it a bit by adding a mix of tissue and diluted white glue and also form the details of the waves. I need to start thinking about how to work the spray. Cotton wool seems a possibility but I need to experiment first. Thanks for looking in and the likes Alan


-
Your dry brushing brings out the roadway texture very nicely. Alan
-
The photos really capture the feeling of the moment alan
-
Thank you OC. Its amazing how much I had forgotten while I was working on the castle. I'm fairly happy with this so far but I am glad I hadn't dived back into something like Flyhawks Illustrious Alan