king derelict
-
Posts
3,292 -
Joined
-
Last visited
Content Type
Profiles
Forums
Gallery
Events
Everything posted by king derelict
-
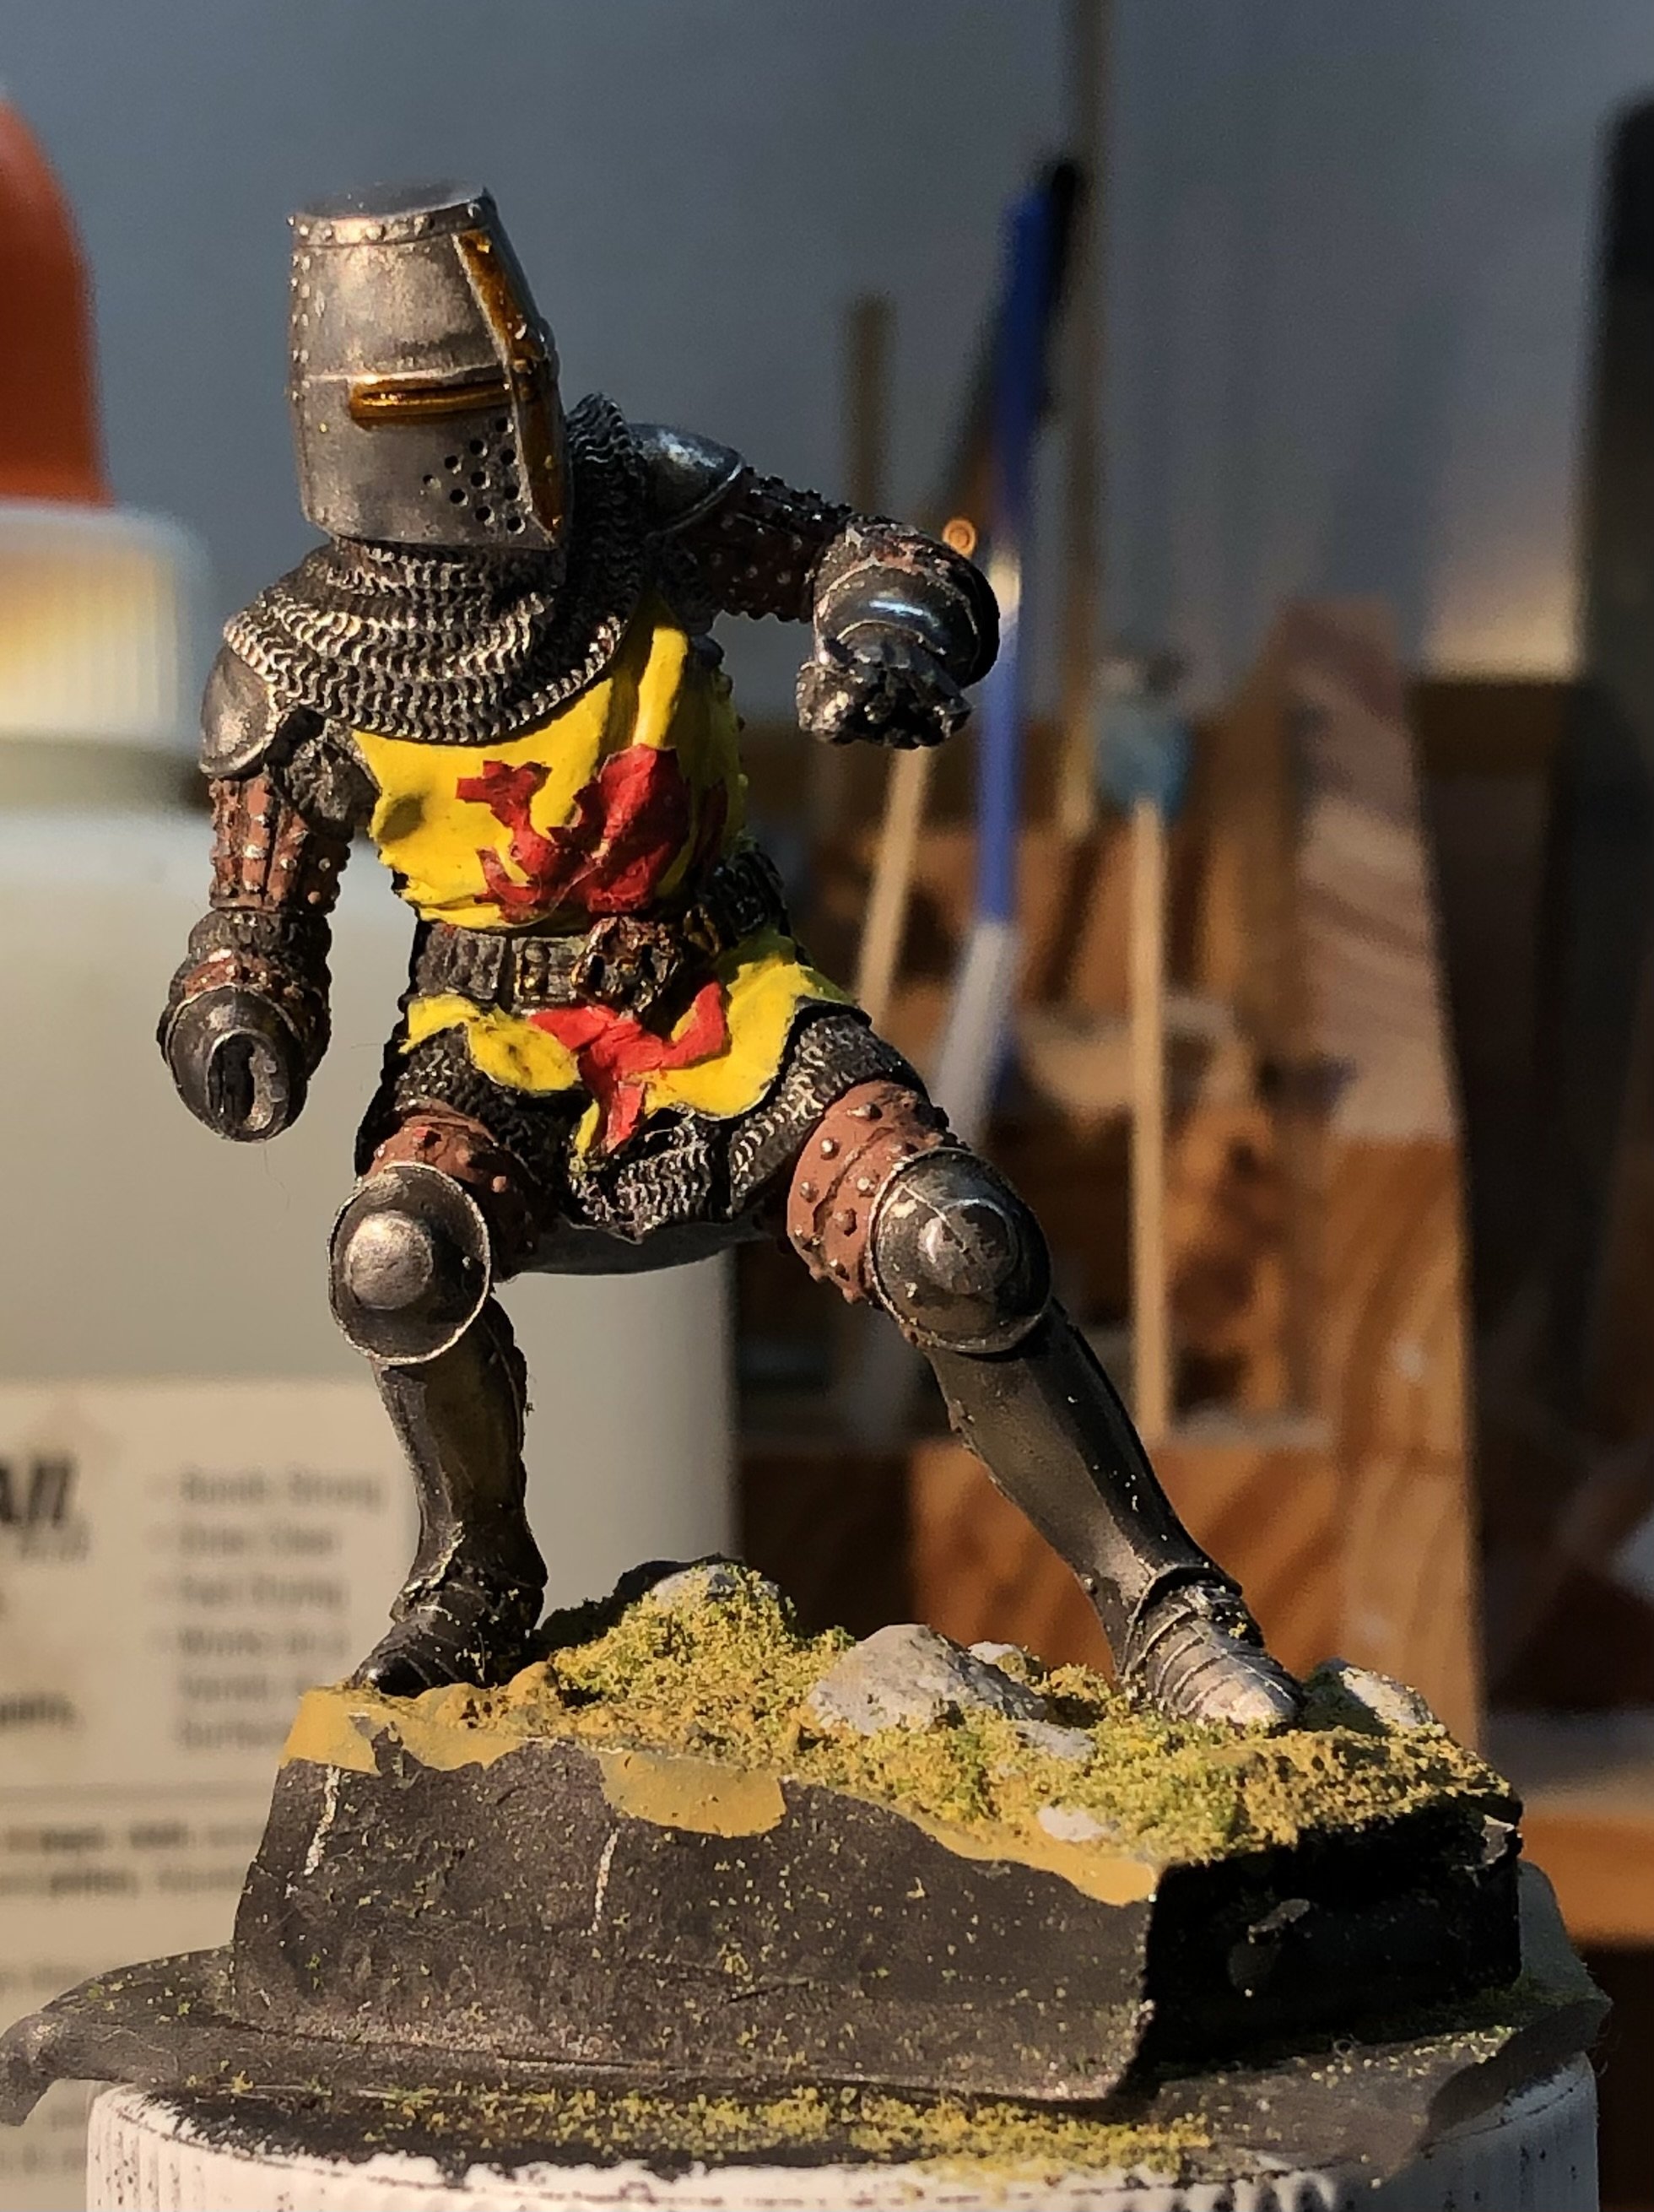
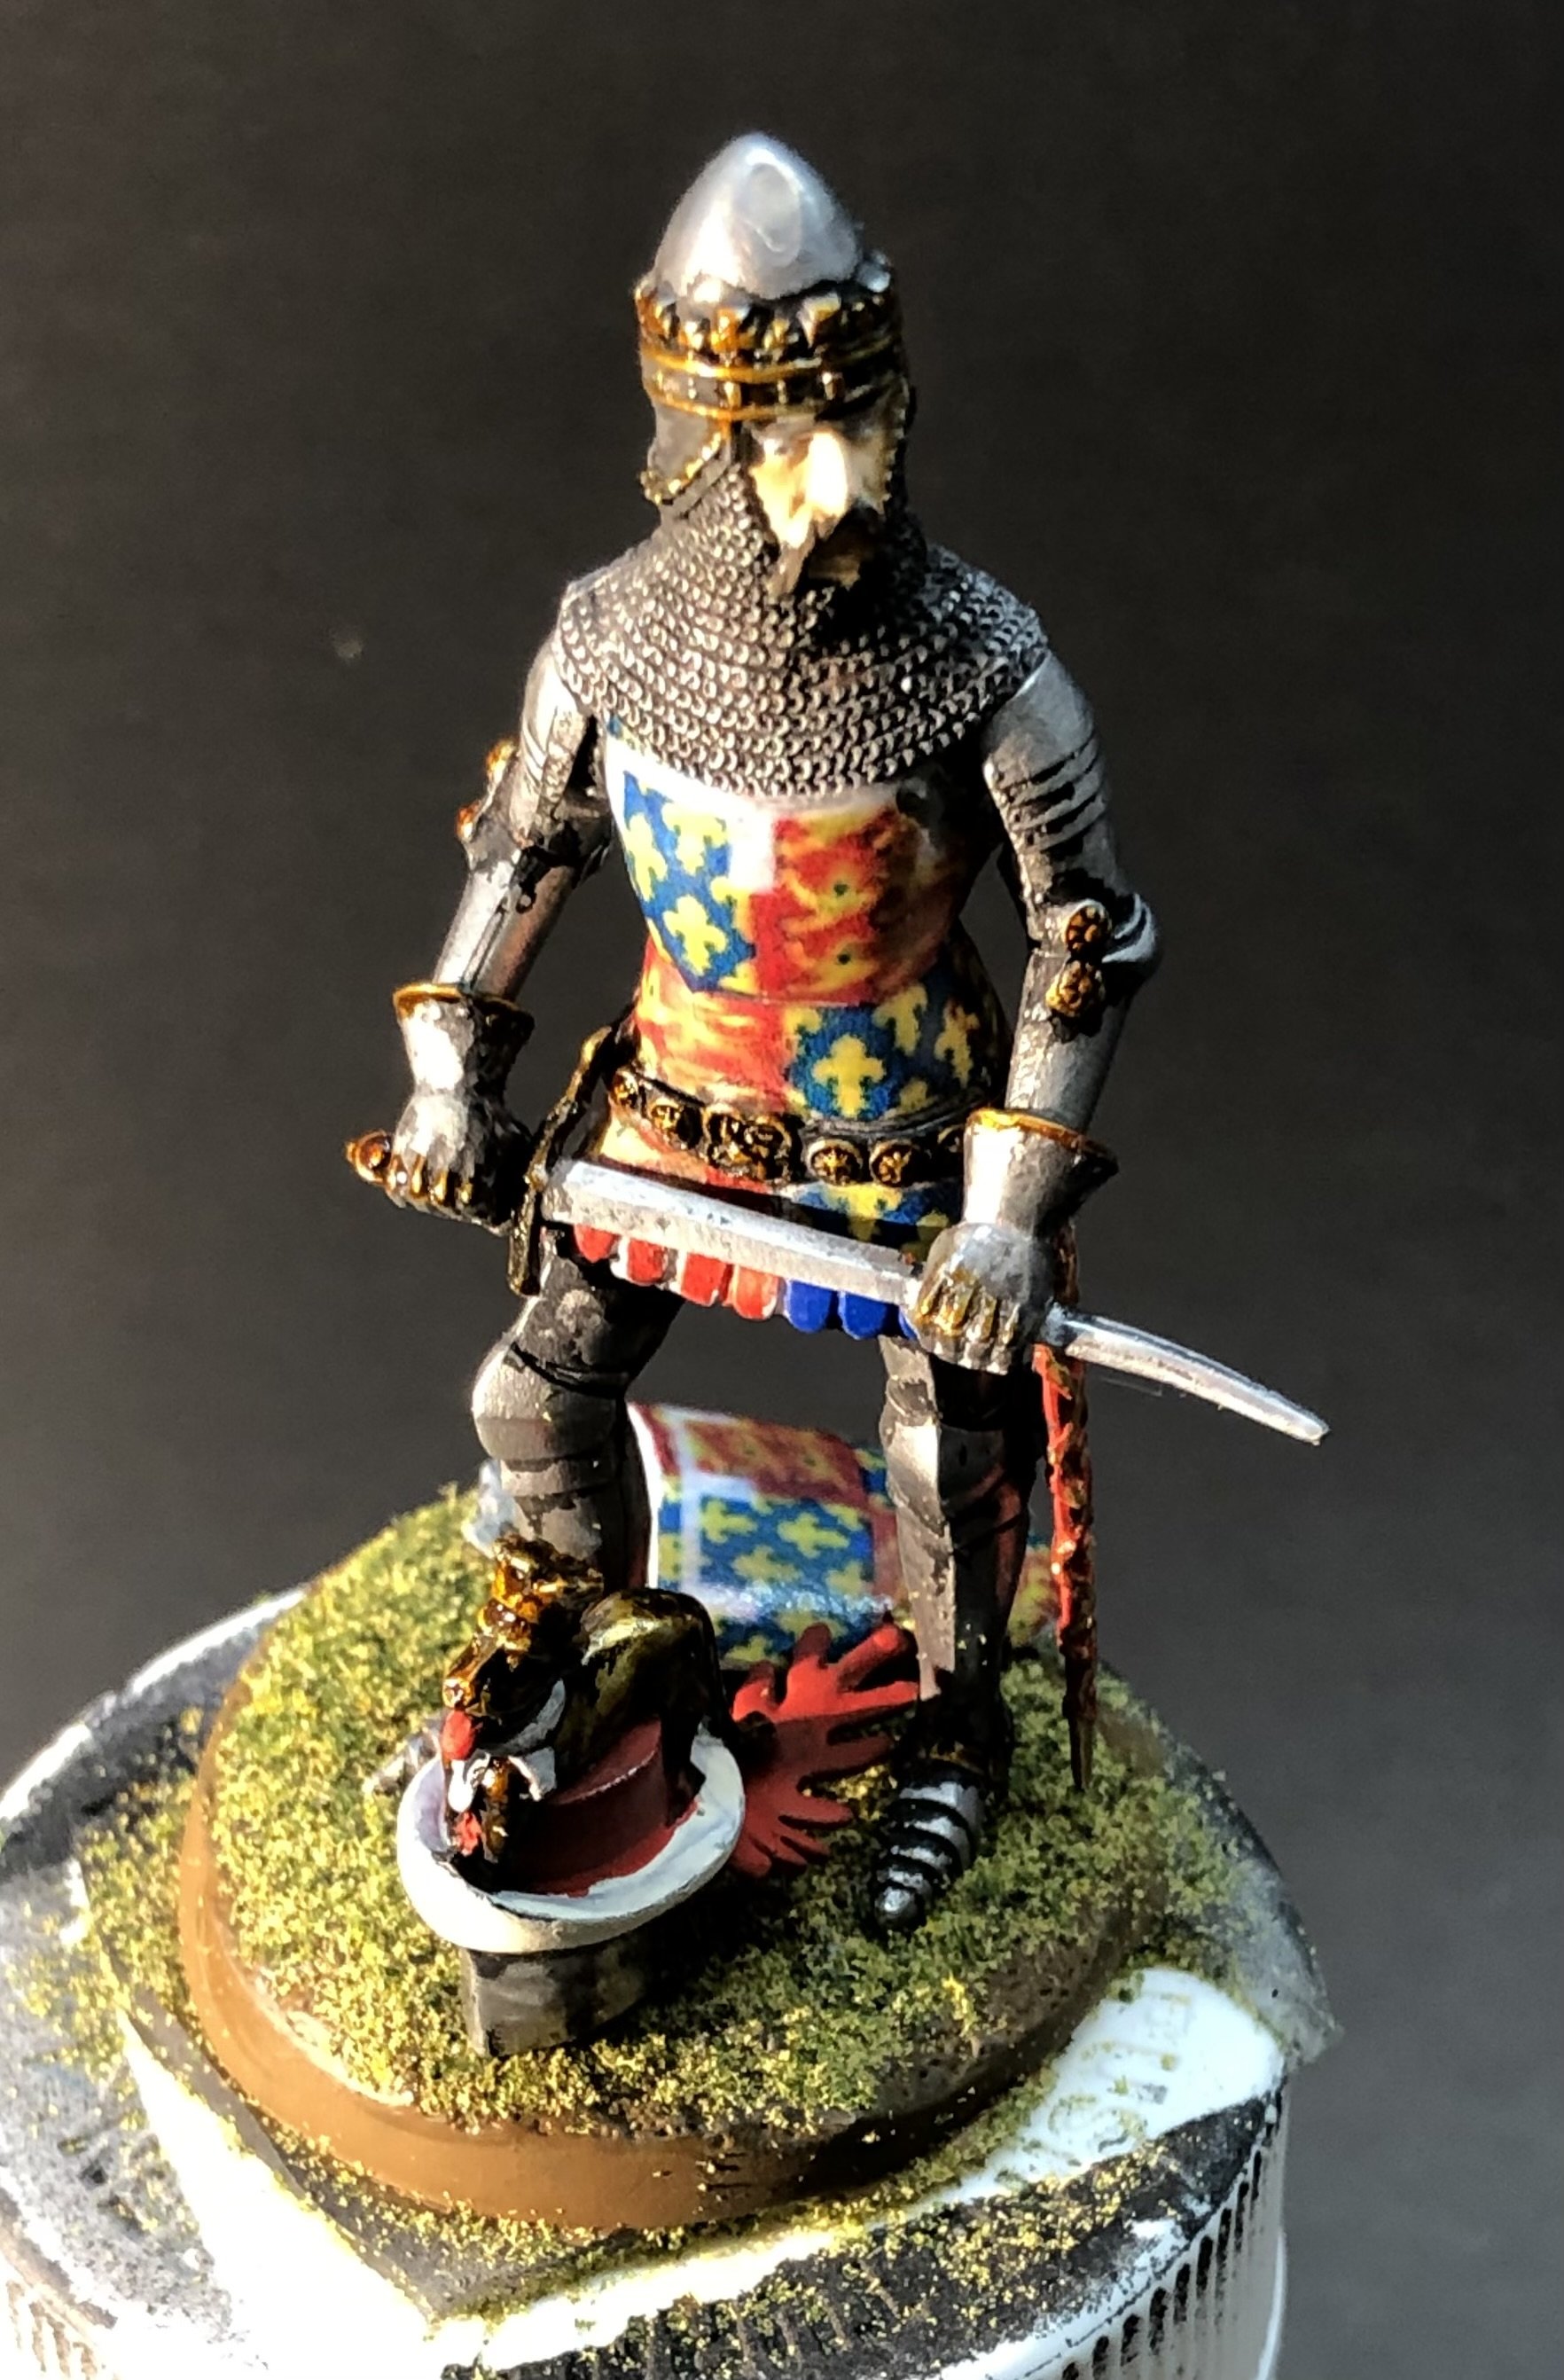
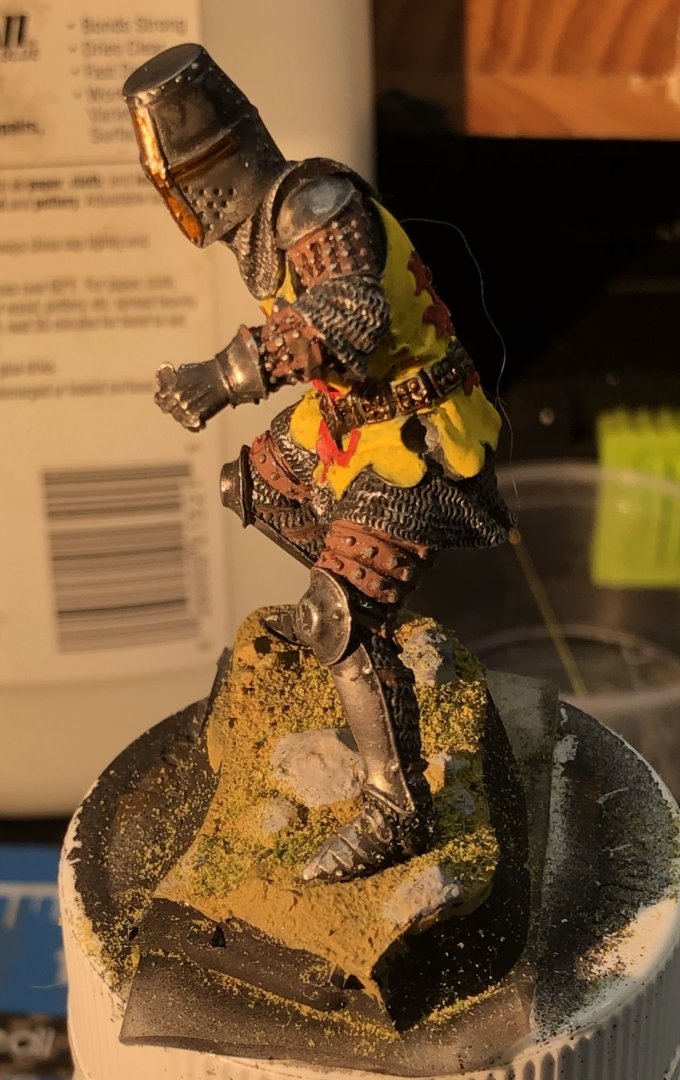
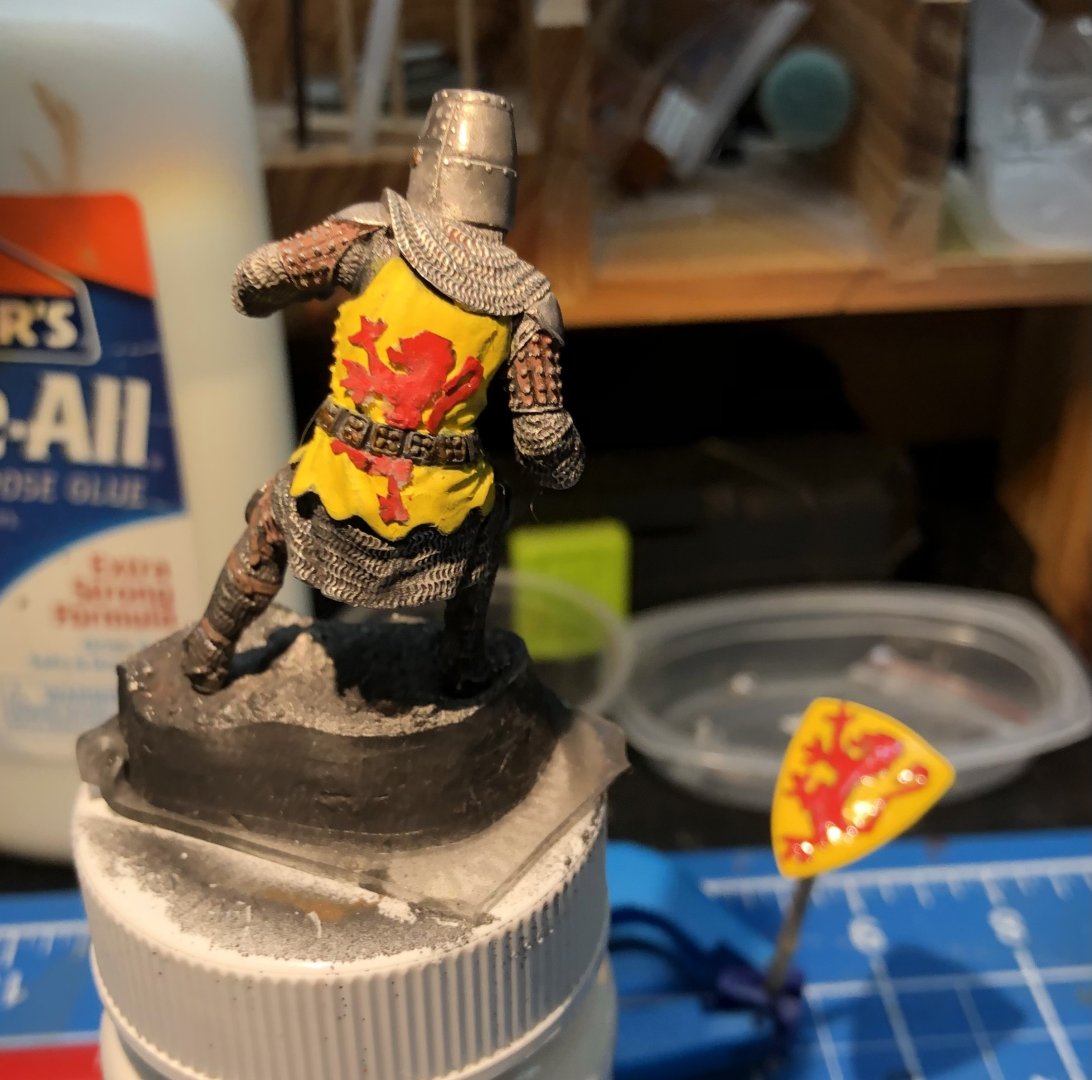
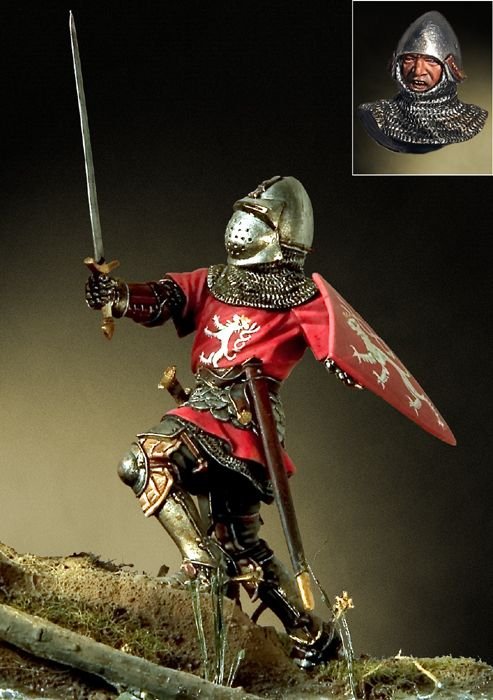
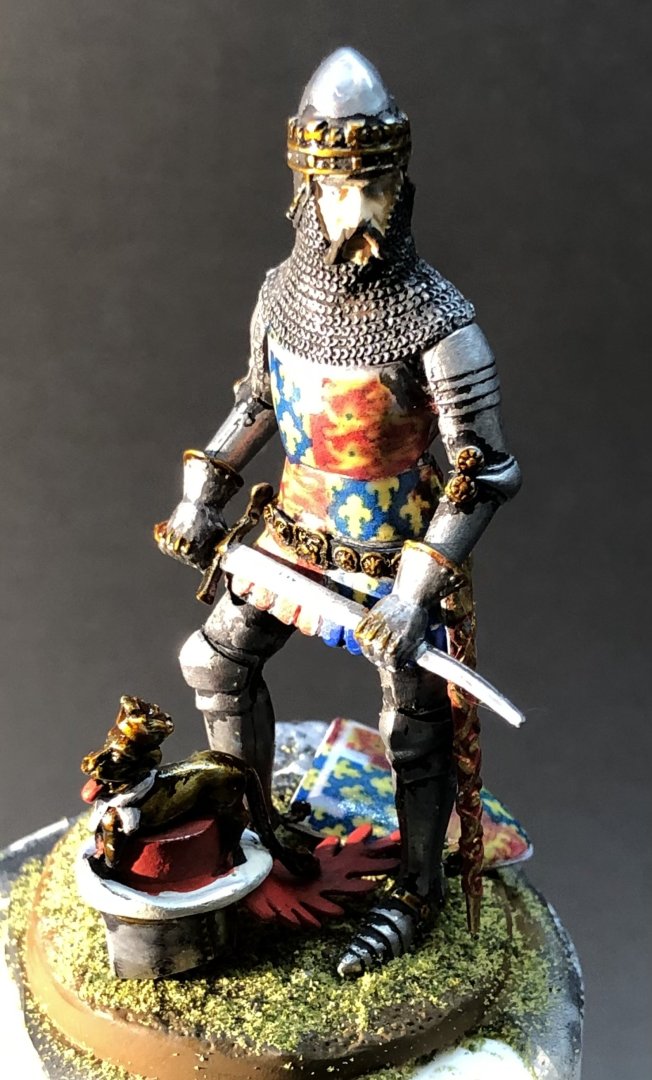
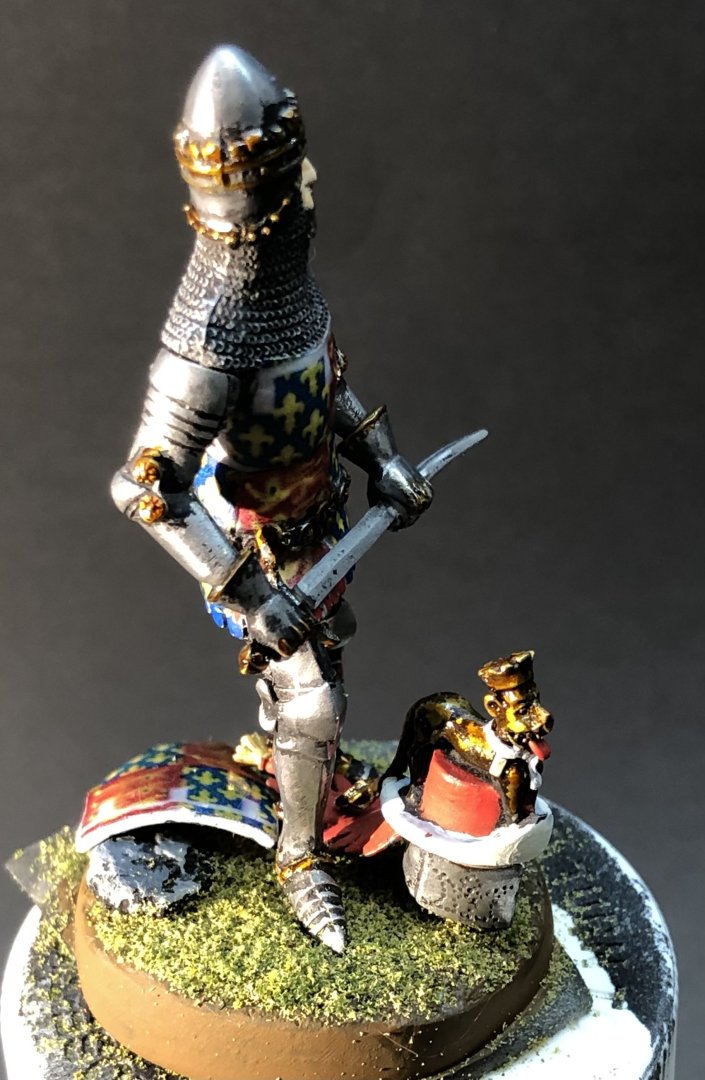
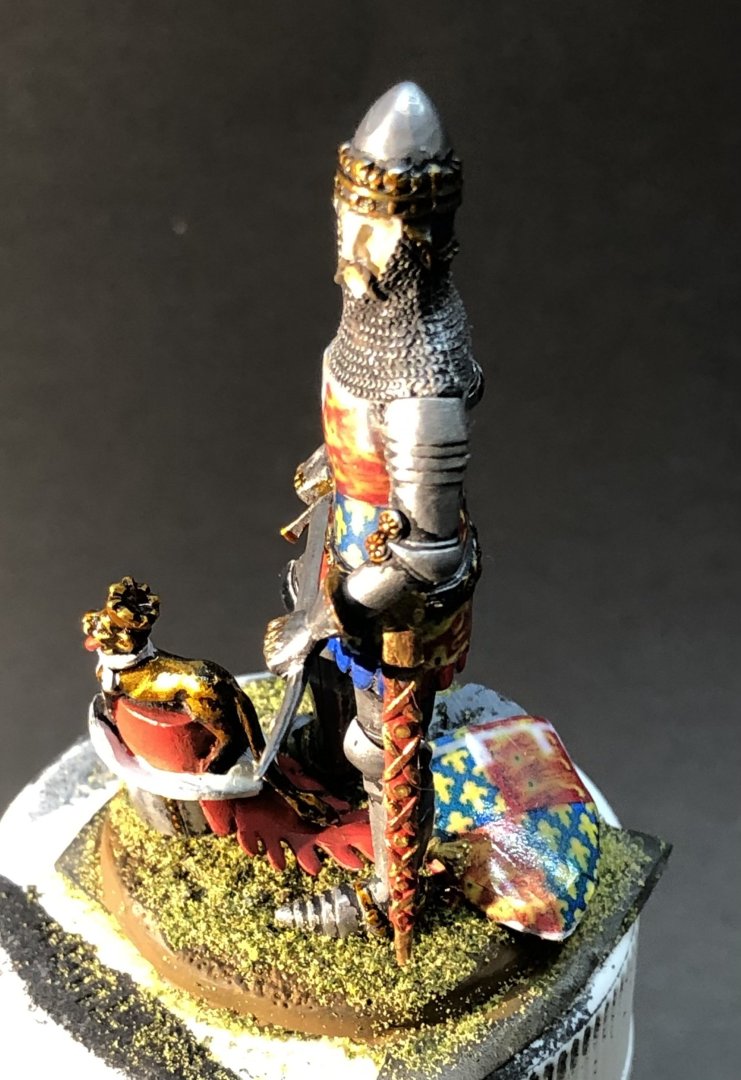
I’ve cut up and added the lion to the front of the surcoat. Somehow it now looks a little low but otherwise it went well. I used a lot of diluted white glue to get the lion to sit in the creases. I started working on the base. I used yellow ochre and picked out the rocks with sky grey which I scrubbed with a cotton bud while it was wet which’s to add extra tones to the rocks as the underlying colour comes through. A bit of grass has been dotted around and I may add a couple of tufts of long grass but I’m assuming stuff like that probably got a good trampling. sword is ready to add, the dagger needs finishing and we’re almost there. Thanks for looking in, the likes and comments alan


-
Thank you very much Phil. I think the lions are about as near to card modeling as I will ever get. 😁 alan
-
Thank you very much OC, I’m glad to have the lions finished. alan
-
Congratulations on a magnificent ship Phil. The details are amazing and the result rivals anything built in other media. Terrific work and an enjoyable log for us spectators. alan
- 288 replies
-
- 4
-

-

-
- Card
- Pre-Dreadnought
- (and 3 more)
-
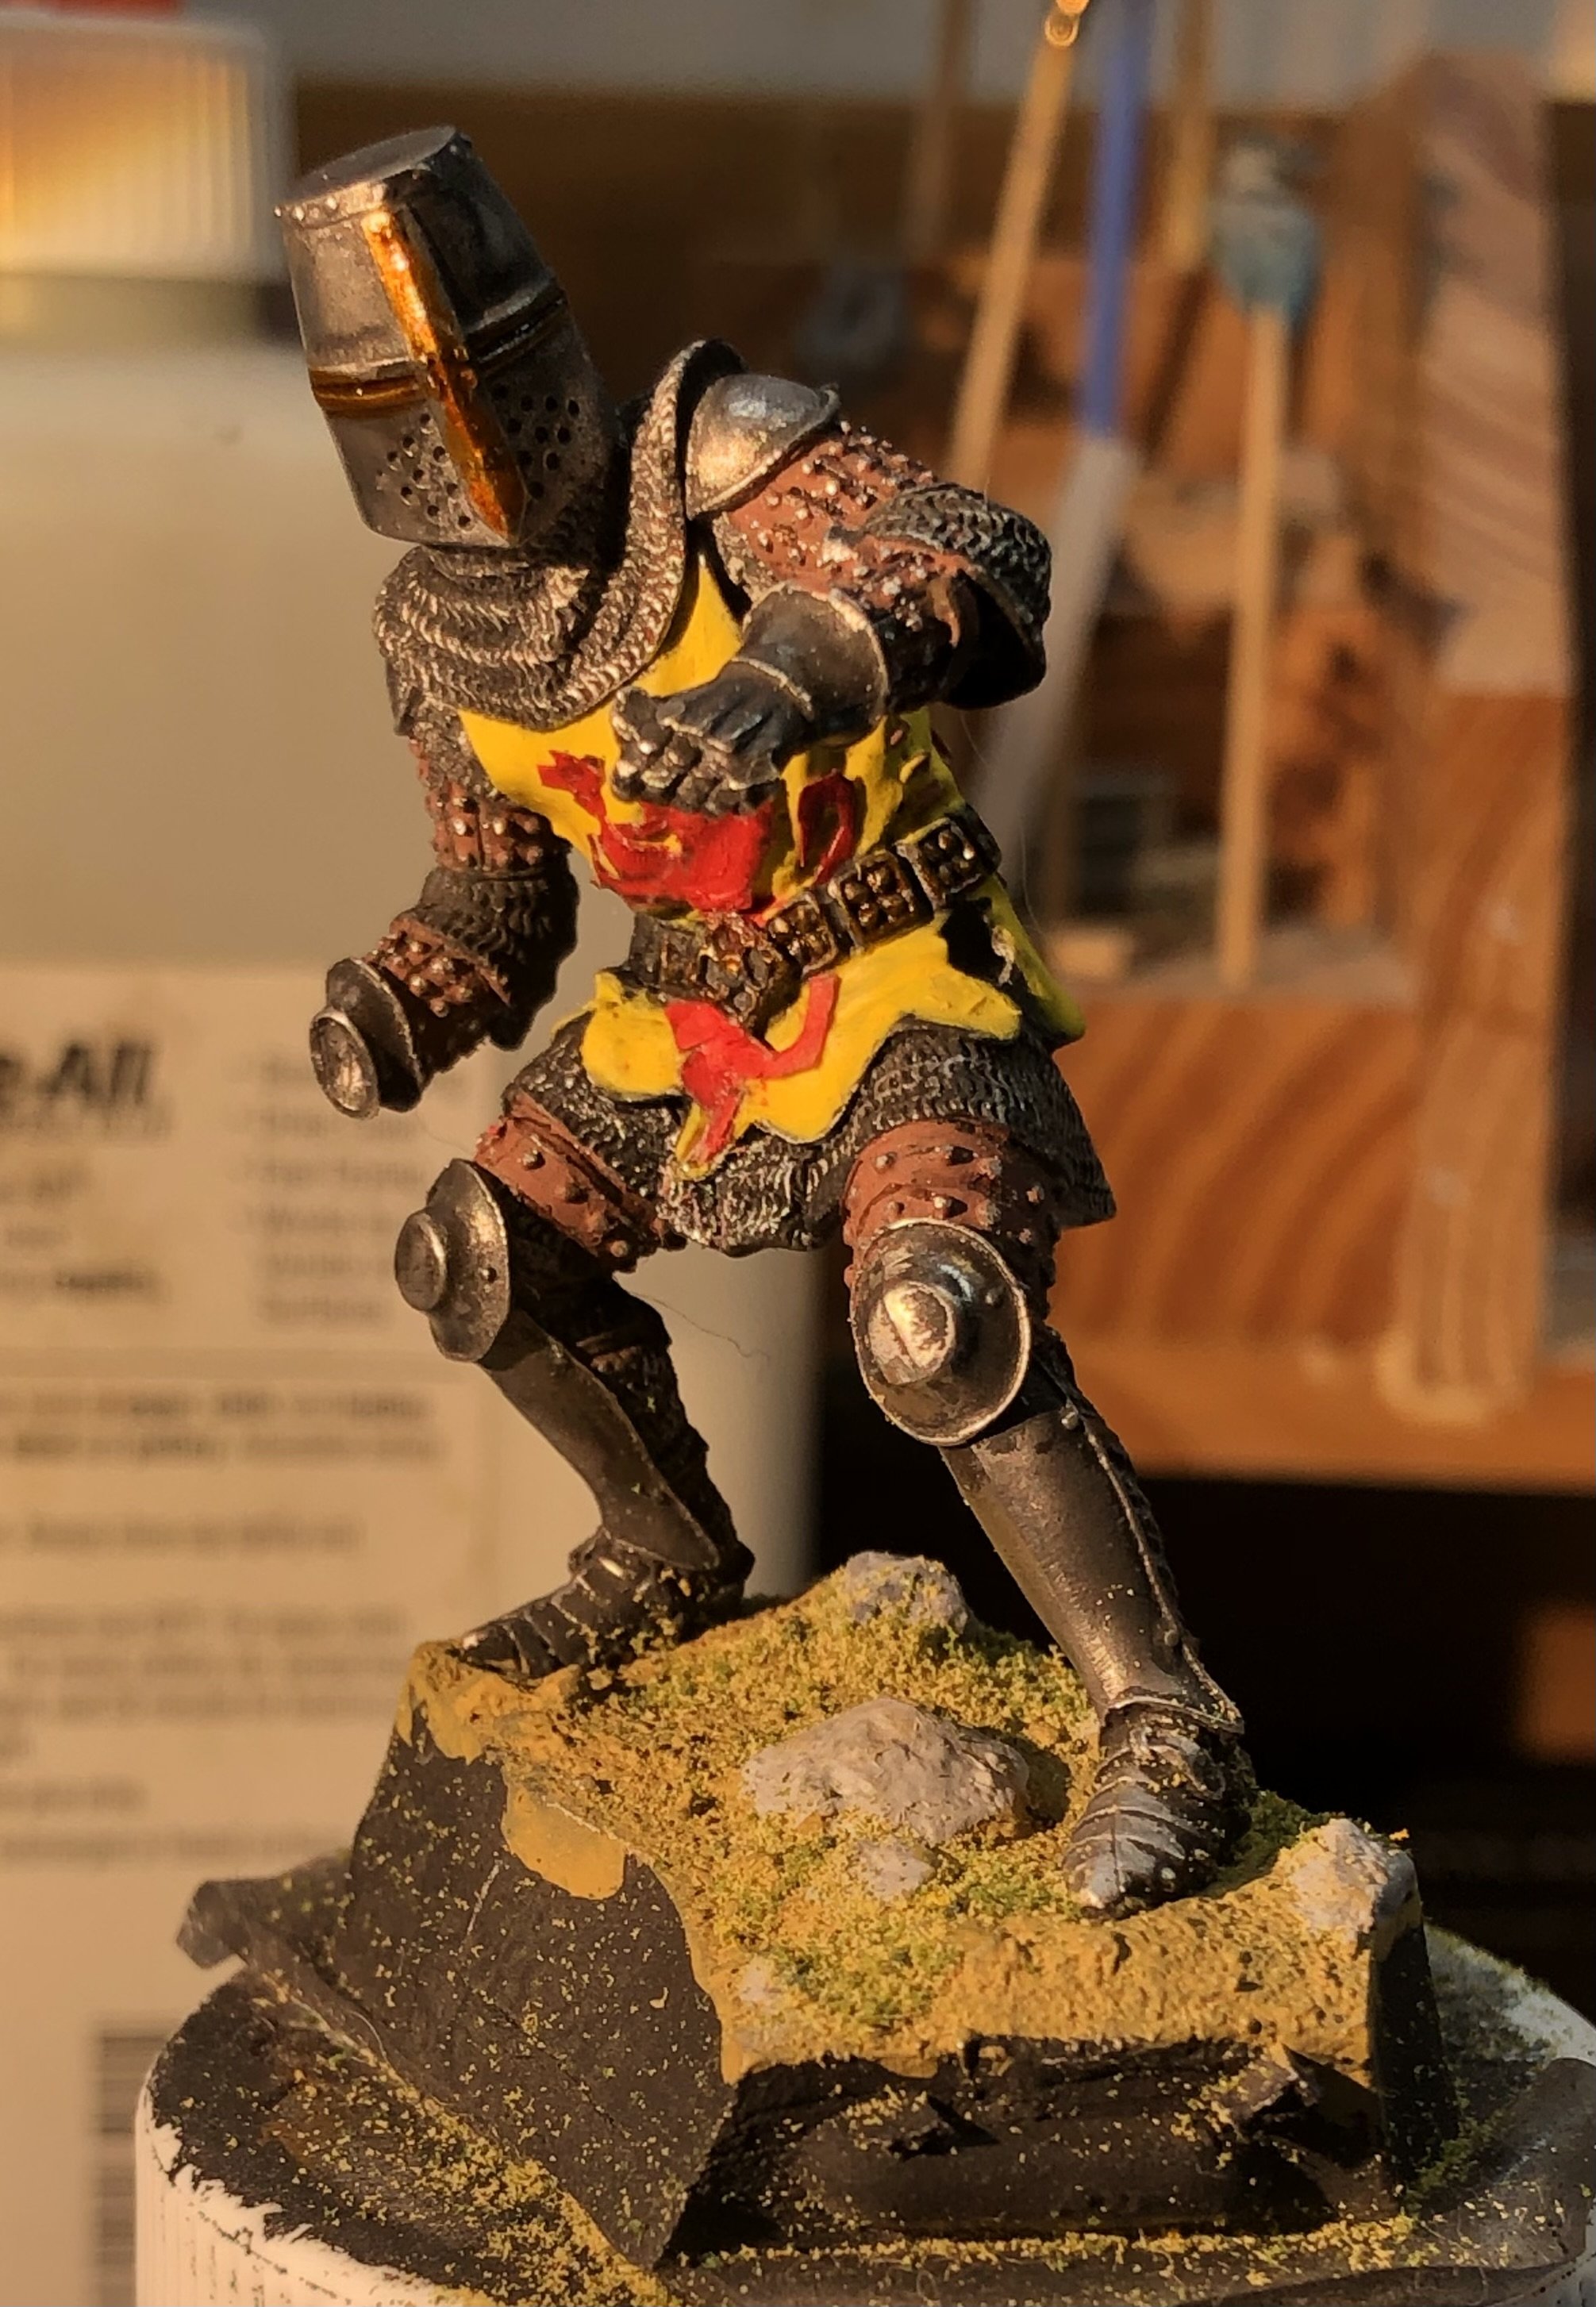
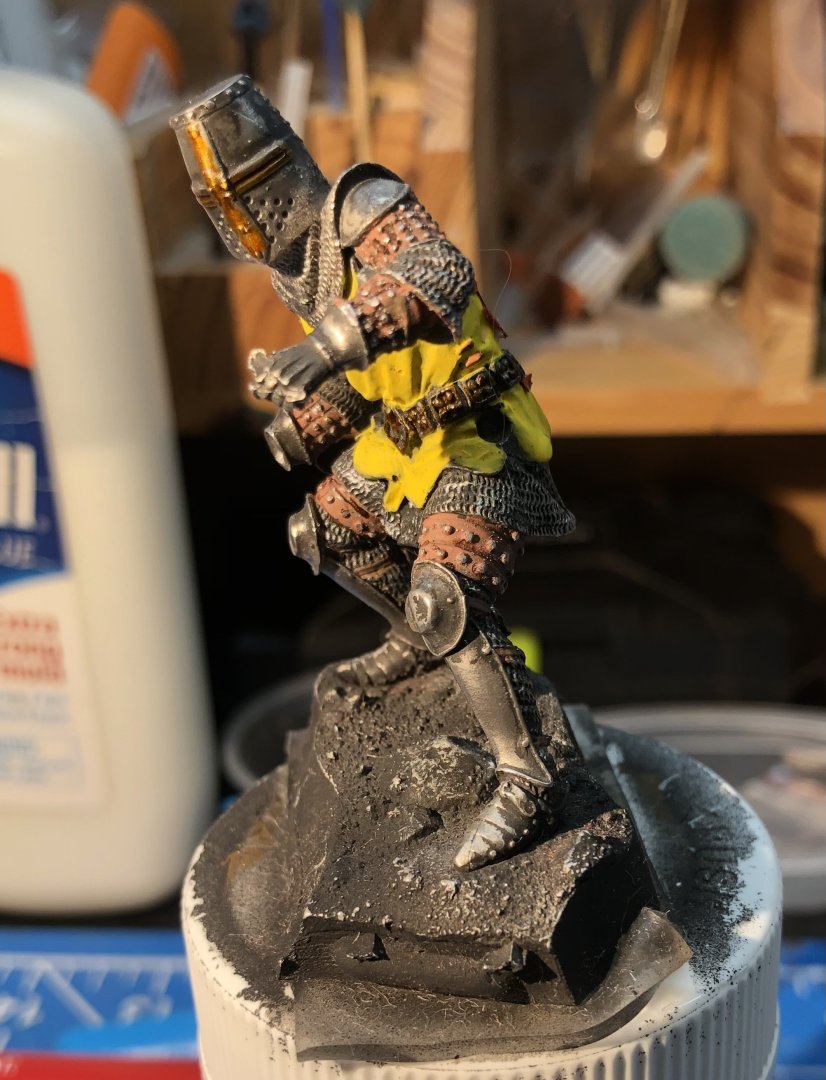
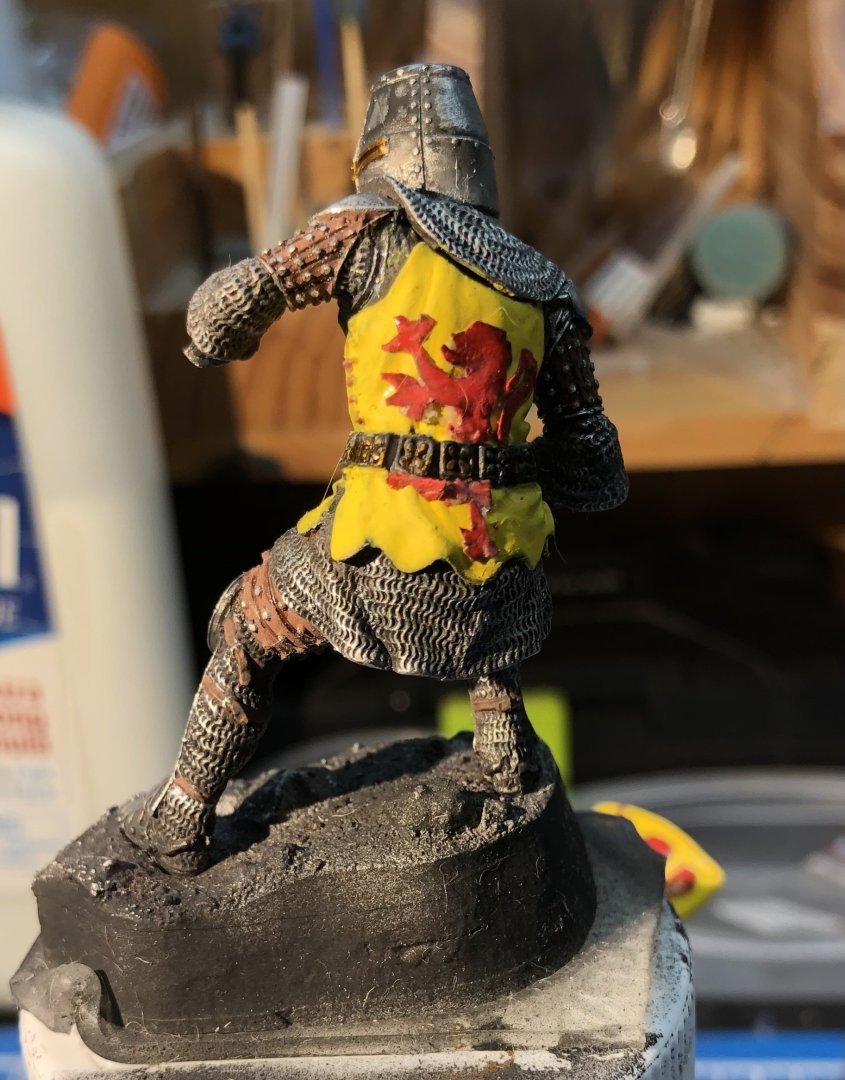
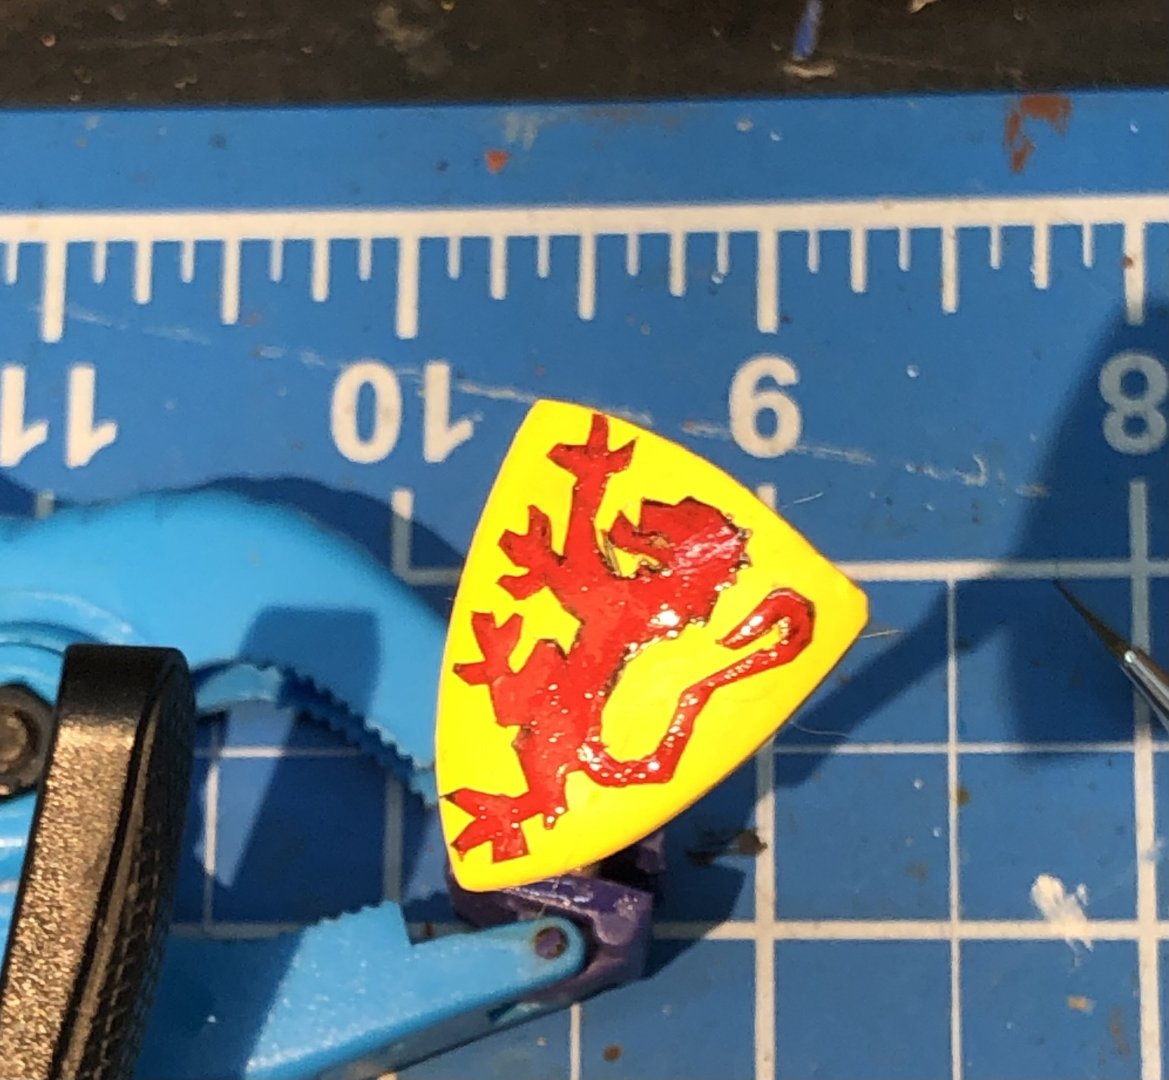
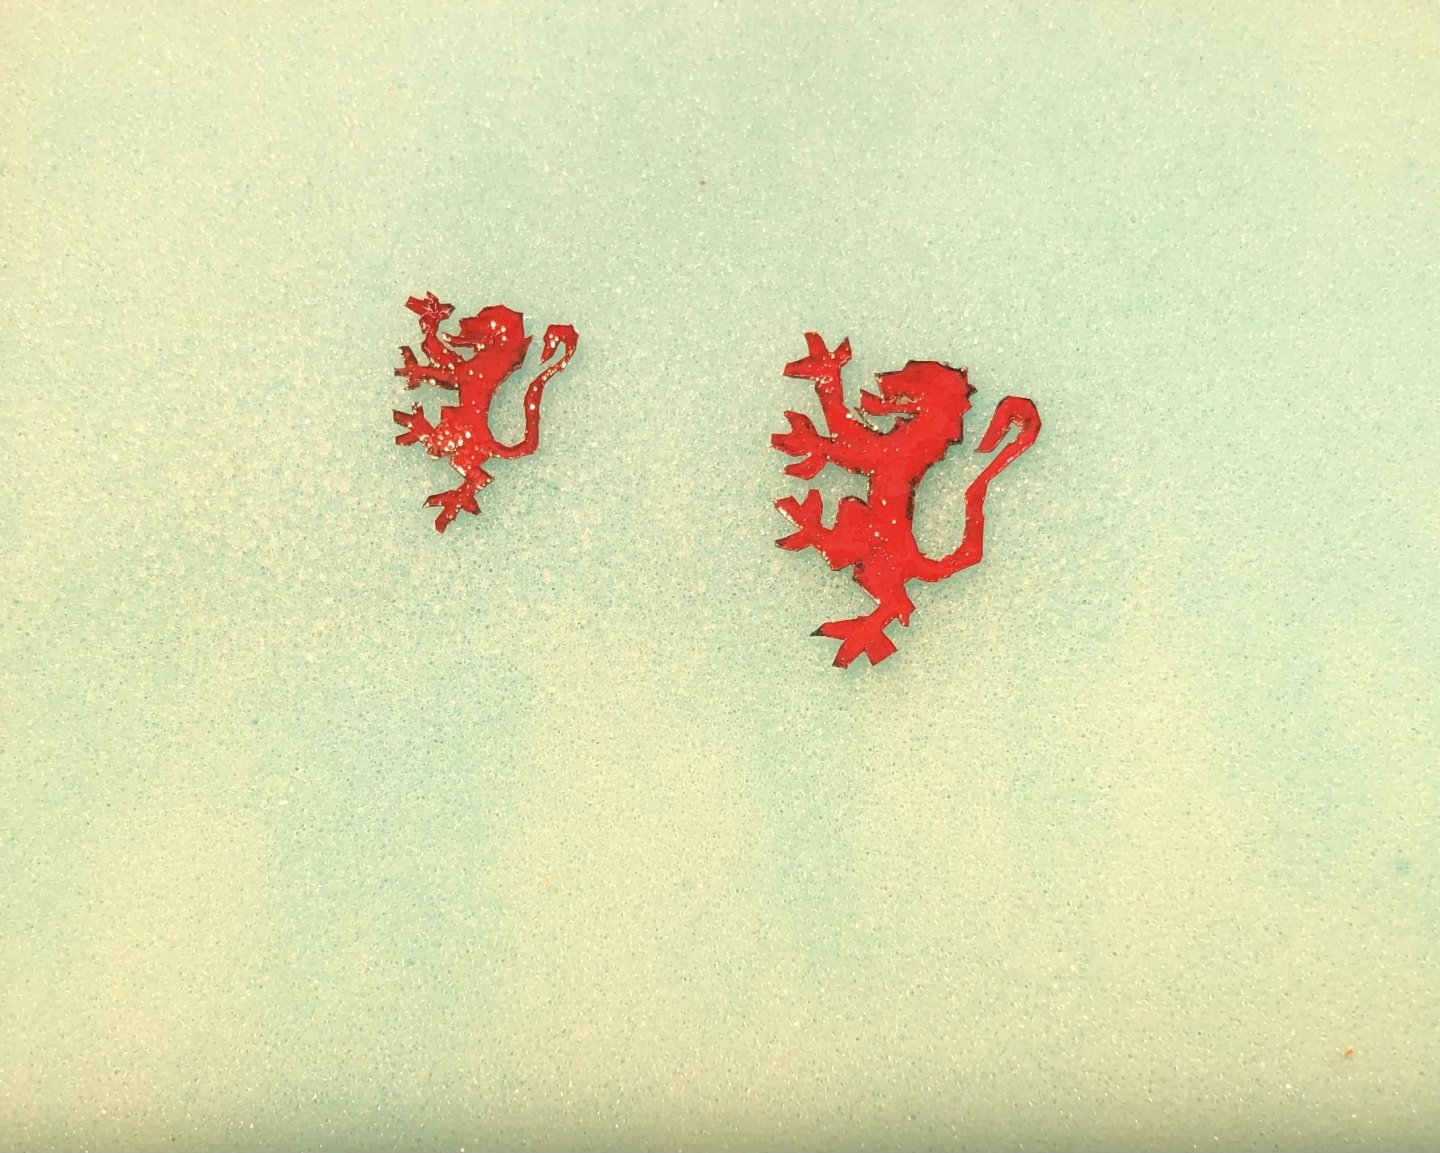
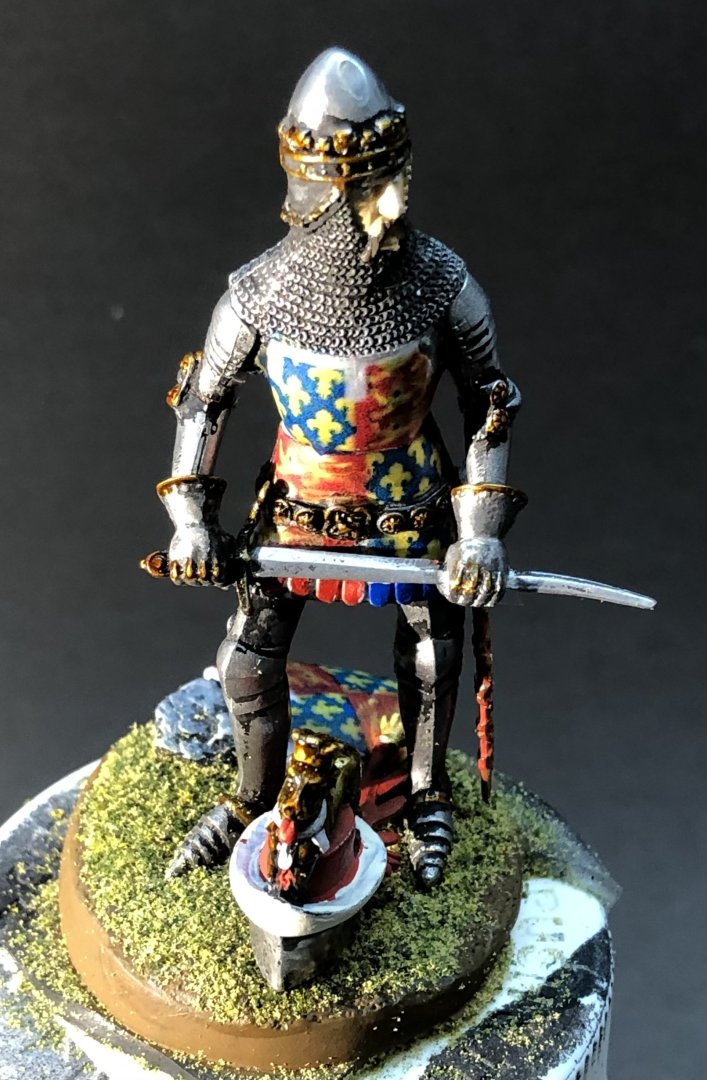
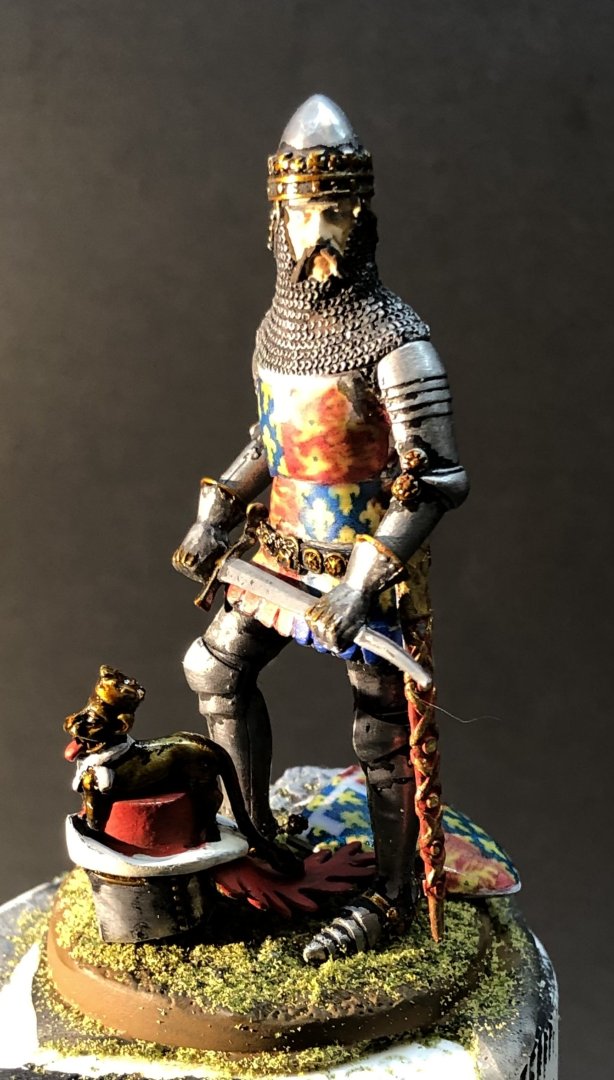
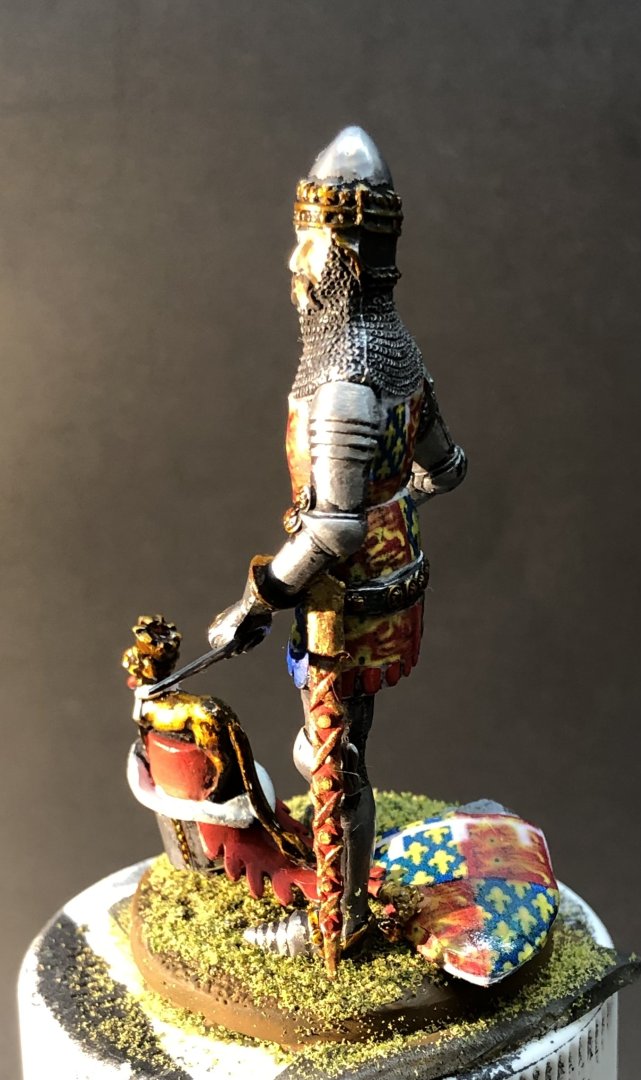
Over the weekend I steadily built up the layers of yellow on his surcoat and shield. It was worth it, apart from uniform coverage it developed a nice deep gold tone. With new blade I cut the lions out from the shield drawings and sealed them. The larger one will go on the shield and the other on the surcoat. I need to cut out a third lion as I assume the device is on front and back. The lion has been placed on the shield using diluted white glue. Once dry it got a couple of coats of gloss clear spray. white on the lion is just reflections from the lights. I moved onto the back of the surcoat which required cutting up the lion to account for the belt. I soaked the cut out in water to soften the paper to help it conform to the folds of the cloth. I think I need to touch up some bits of the red but otherwise it works. The front is going to be tricky working around his arms and more folds. I also detailed the leather strip armor on his arms and legs by touching up the studs with a small fine sanding pad. Off to the side are the battle axe, sword, dagger, spurs to be finished off and added. Thanks for looking in, the likes and comments. alan

- 39 replies
-
- 10
-
-

-
Lotus 49C by DocRob - FINISHED - Ebbro- 1/20 - Plastic
king derelict replied to DocRob's topic in Non-ship/categorised builds
A beautiful model Rob. It looks excellent in spite of the frustrations during some of the builds. Very nostalgic for me, I loved the cars of that period. As always, the stunning photography complements the beautiful model Rob. Alan -
Thank you very much OC. Making progress slowly. alan
-
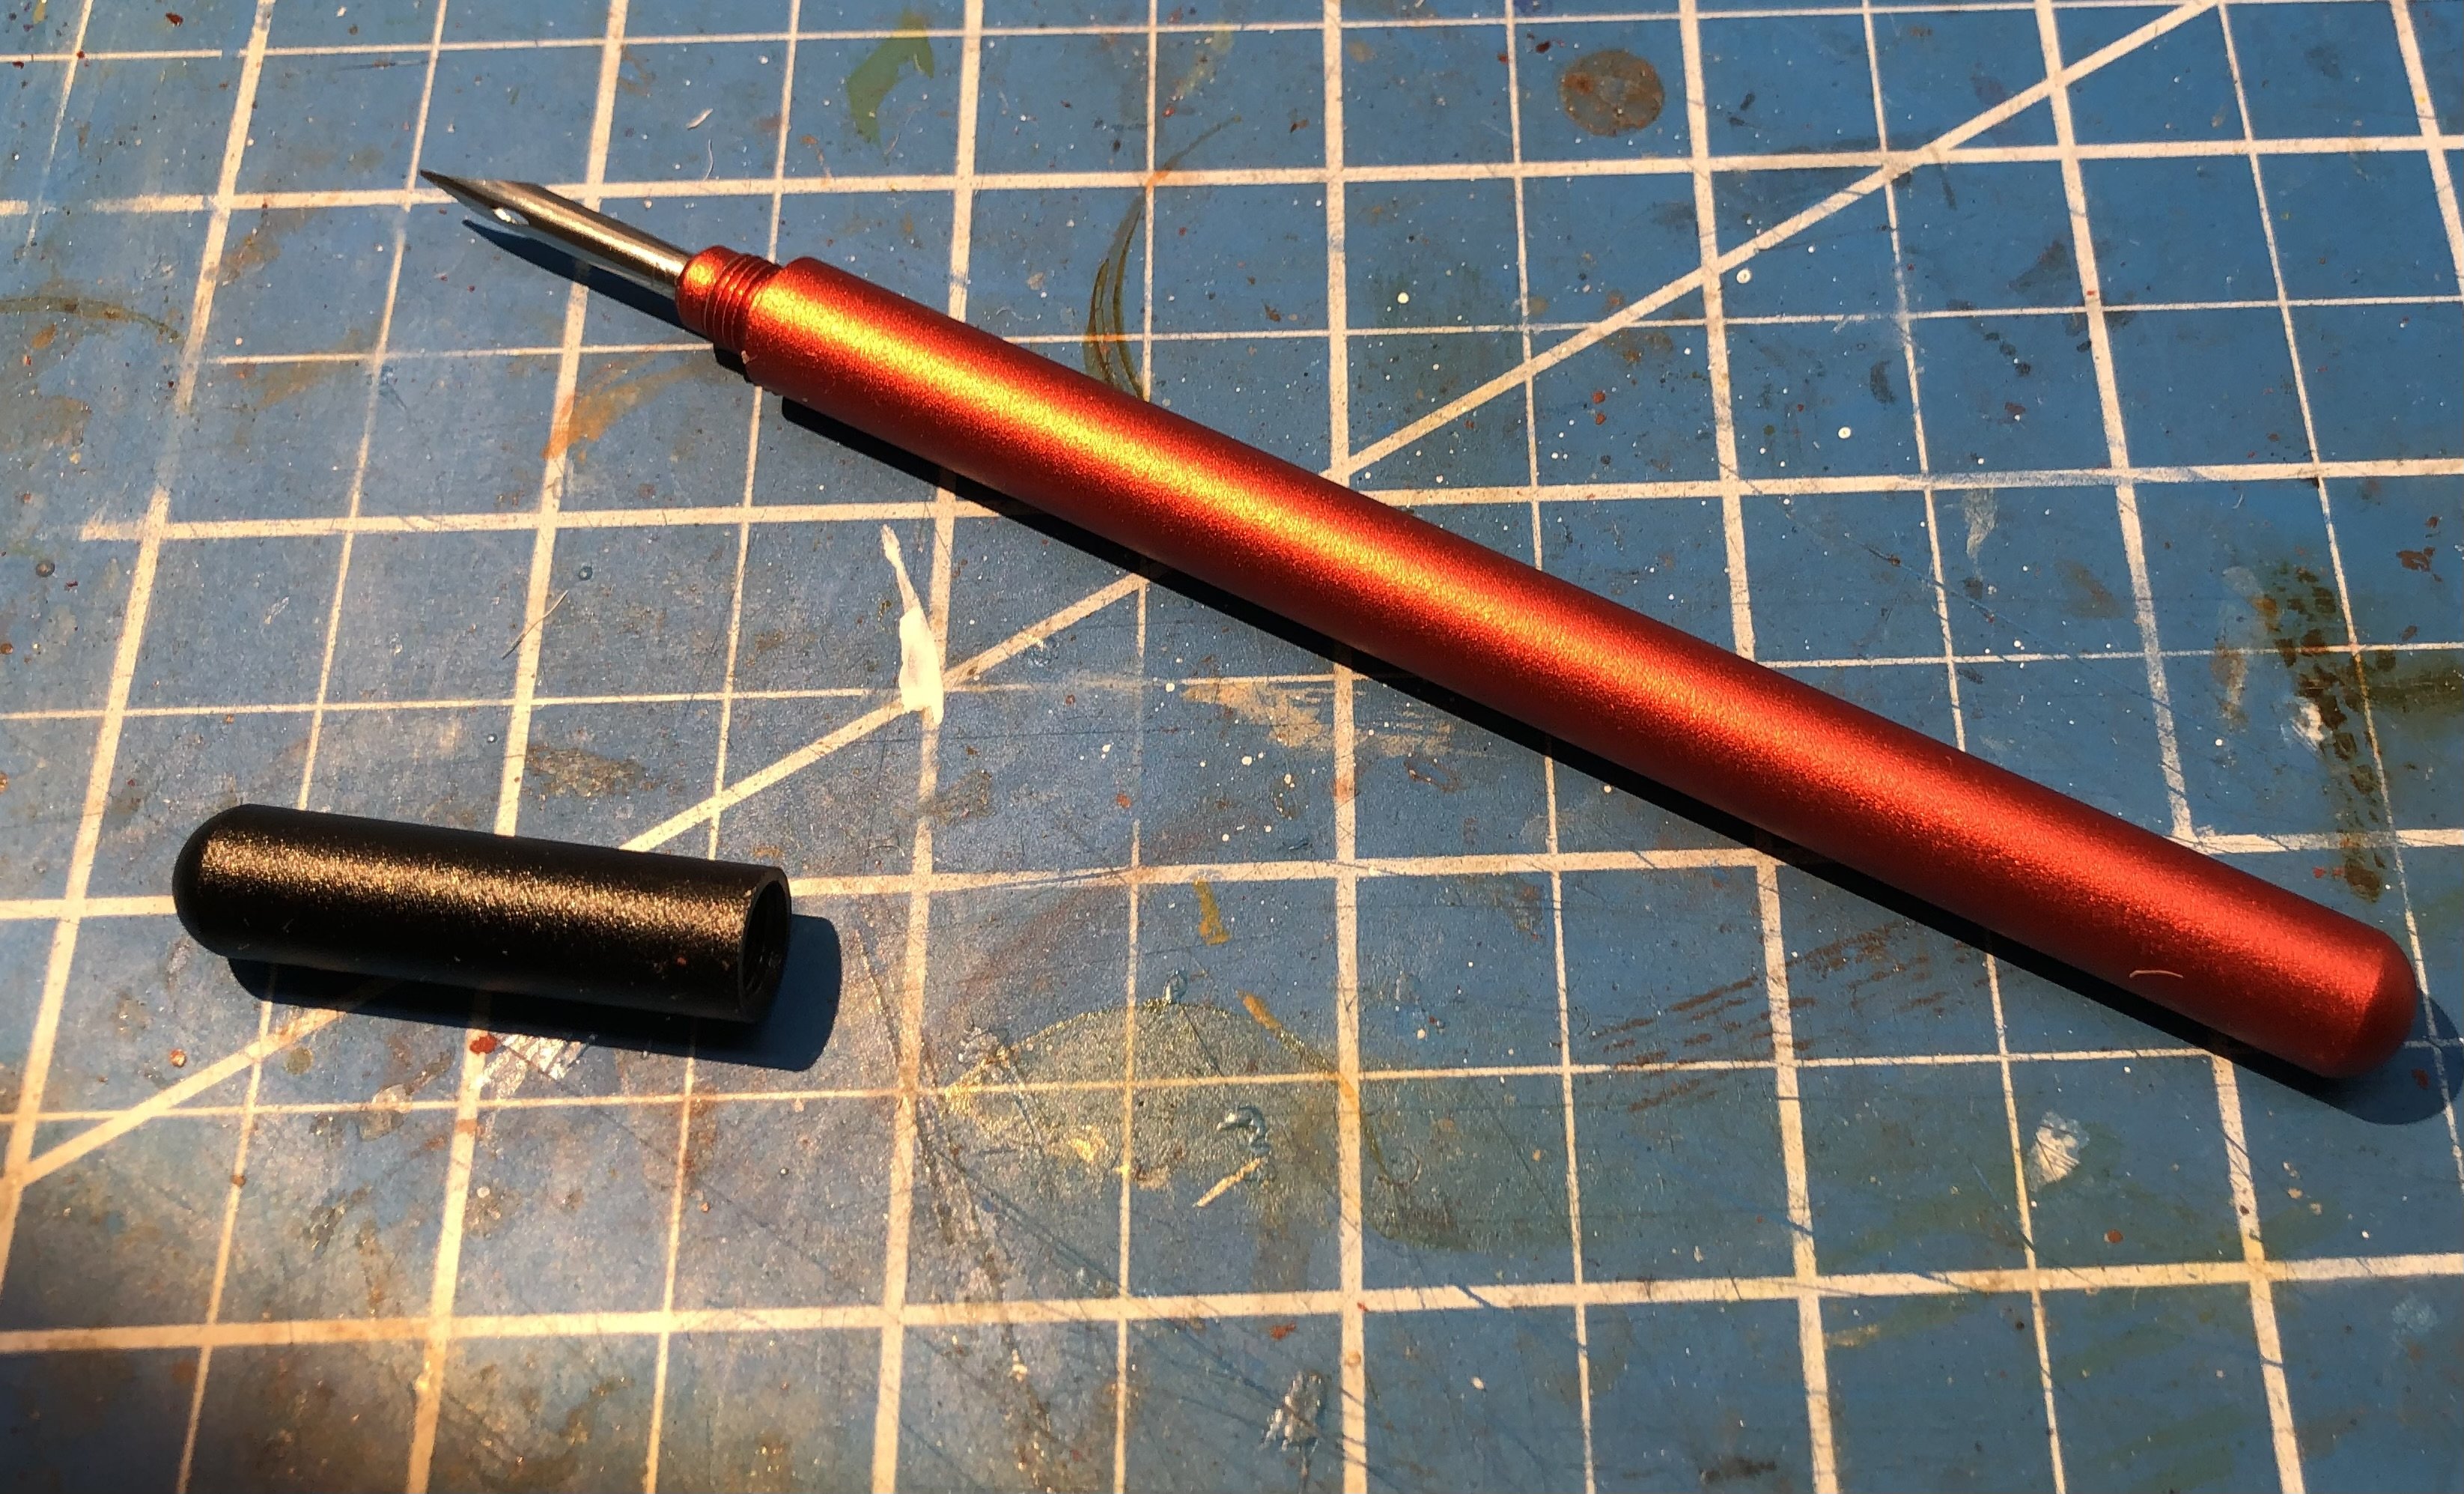
You are exactly right. It’s a dip ink pen only with an aluminum body. I remember them well from school days along with the ceramic ink well that fitted into the hole in the desk. Ink was supplied at the start of lessons by the Ink Monitor. I looked on eBay for school style dip pens but they are considered antiques and command some very silly prices, especially the nibs. It seemed to work well with acrylic inks for a shortish session and with my unstable hands I can get a thinner more confident line compared to a brush.
-
I still think it’s amazing. Cutting out little red lions for my German knight is driving me dippy enough. alan
- 288 replies
-
- 4
-
-
-
- Card
- Pre-Dreadnought
- (and 3 more)
-
Super nice work on the structure for the tilt alan
-
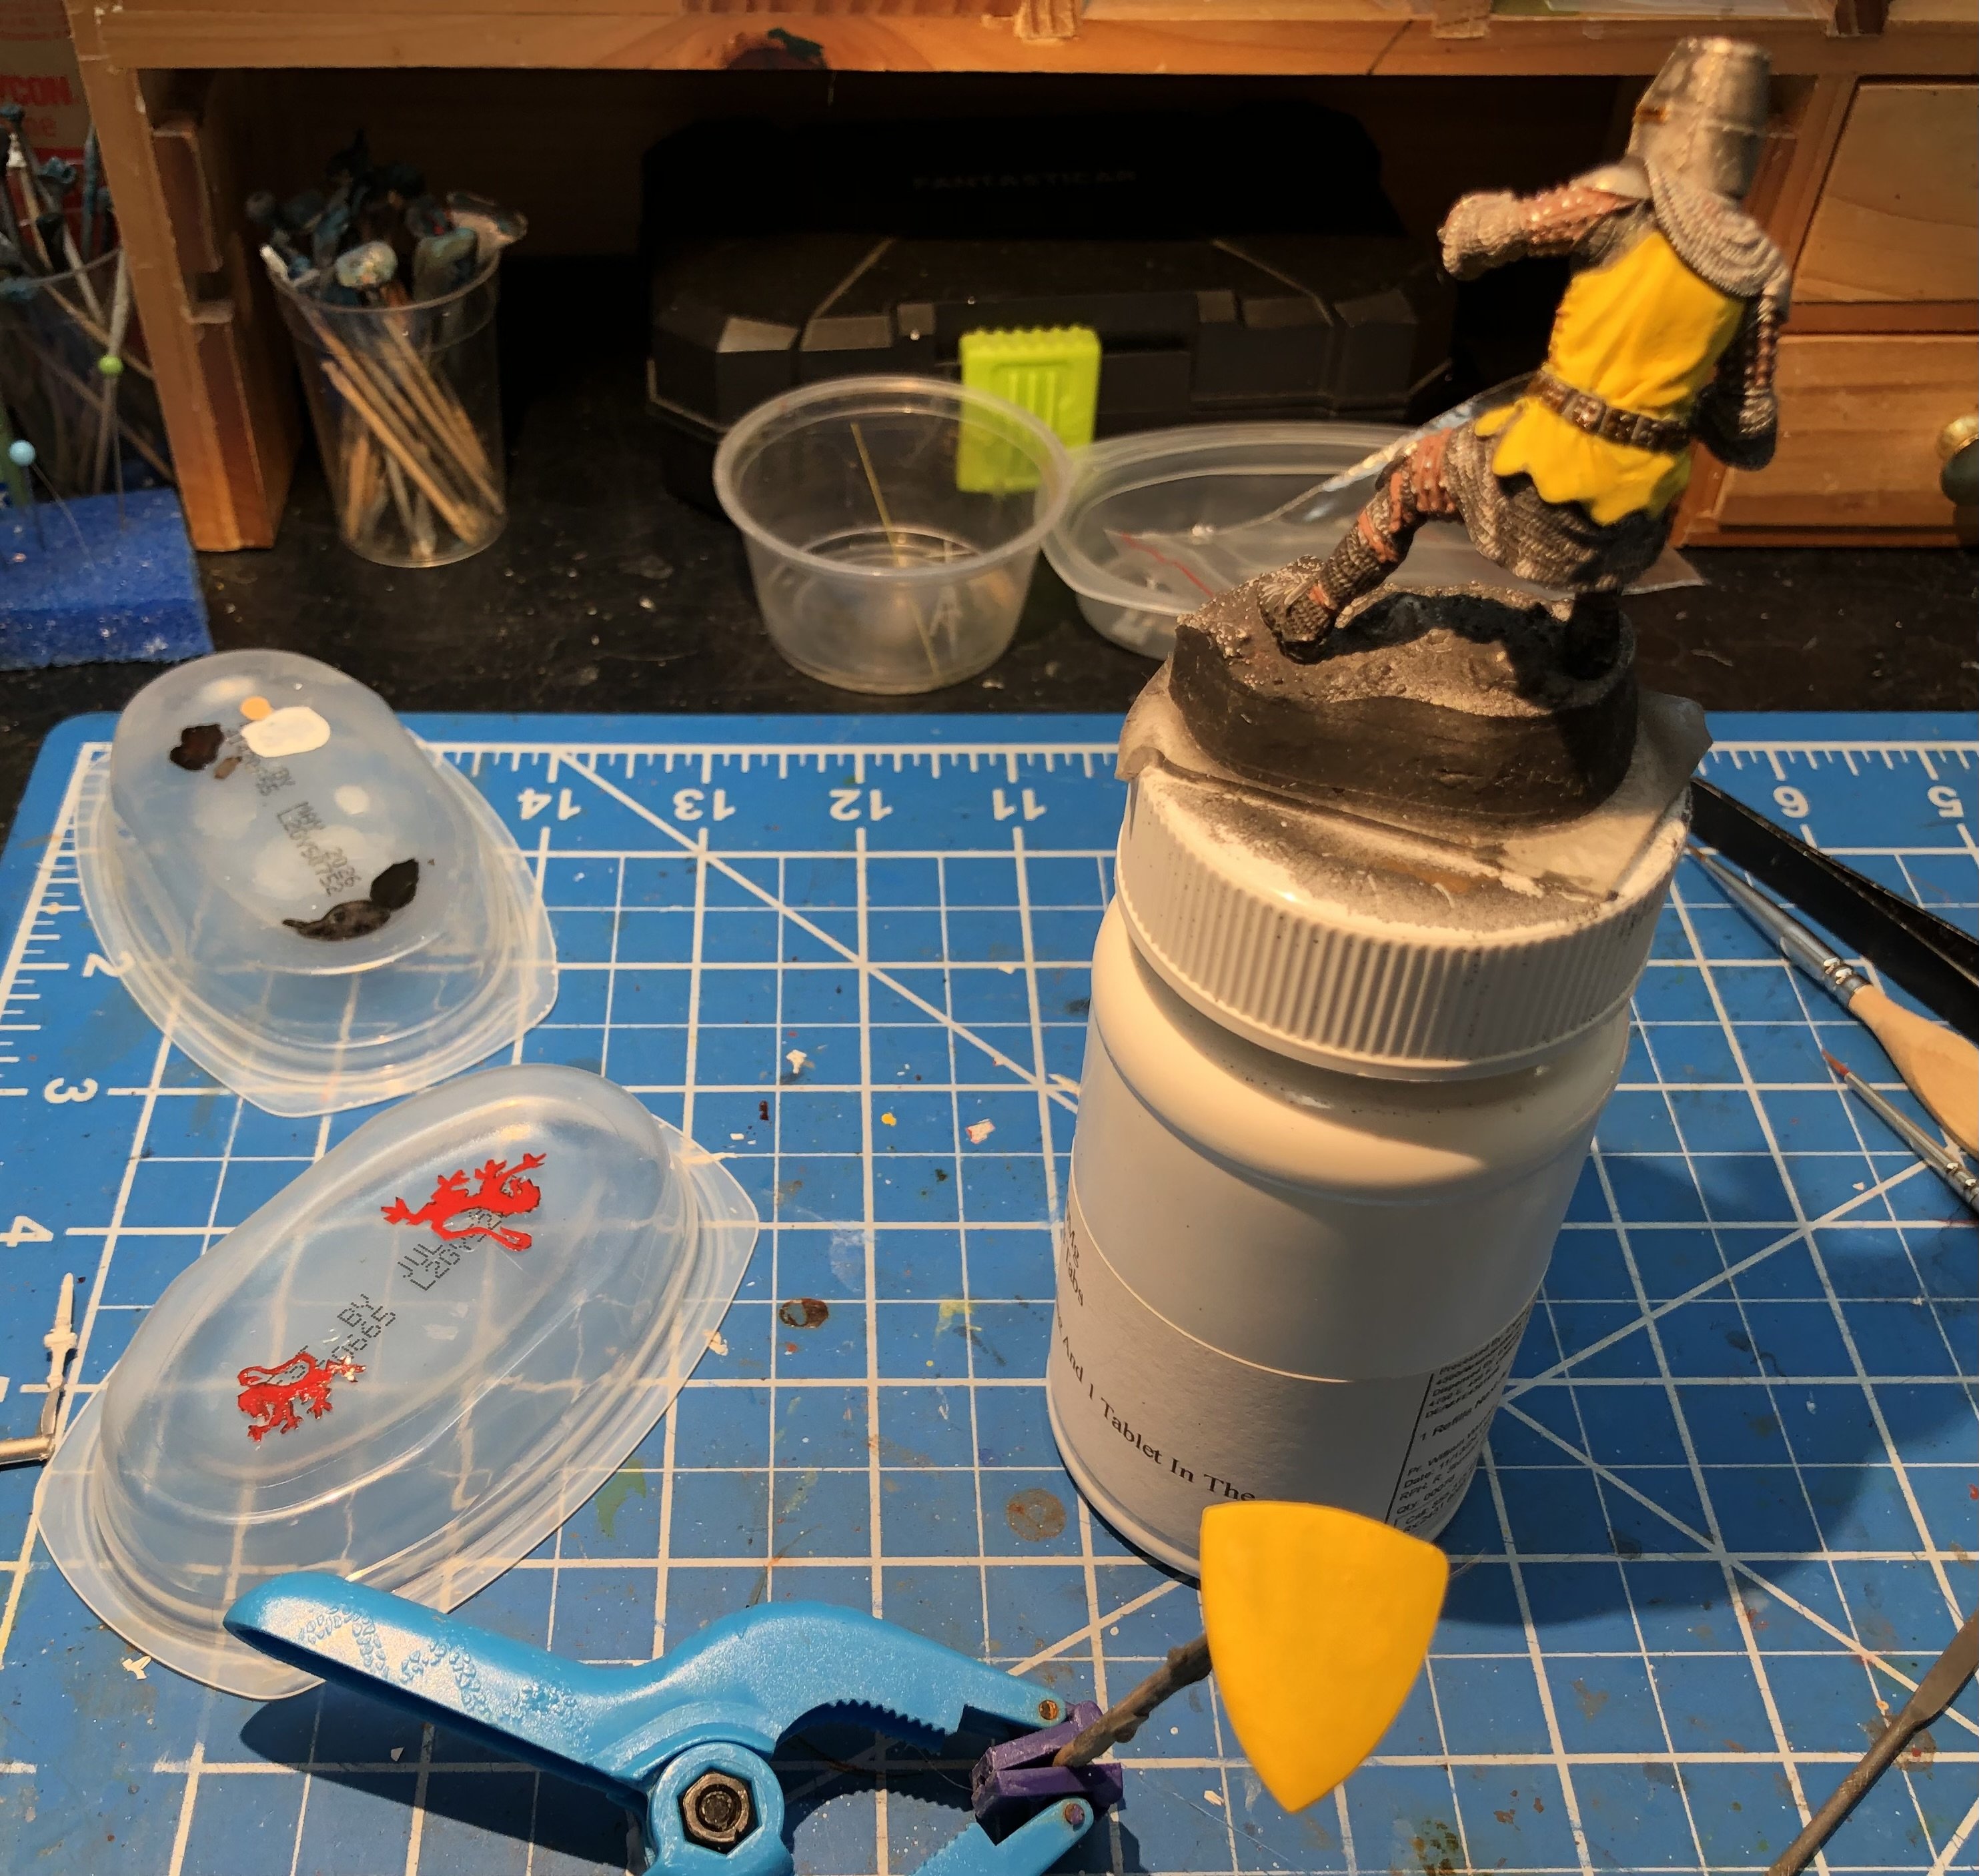
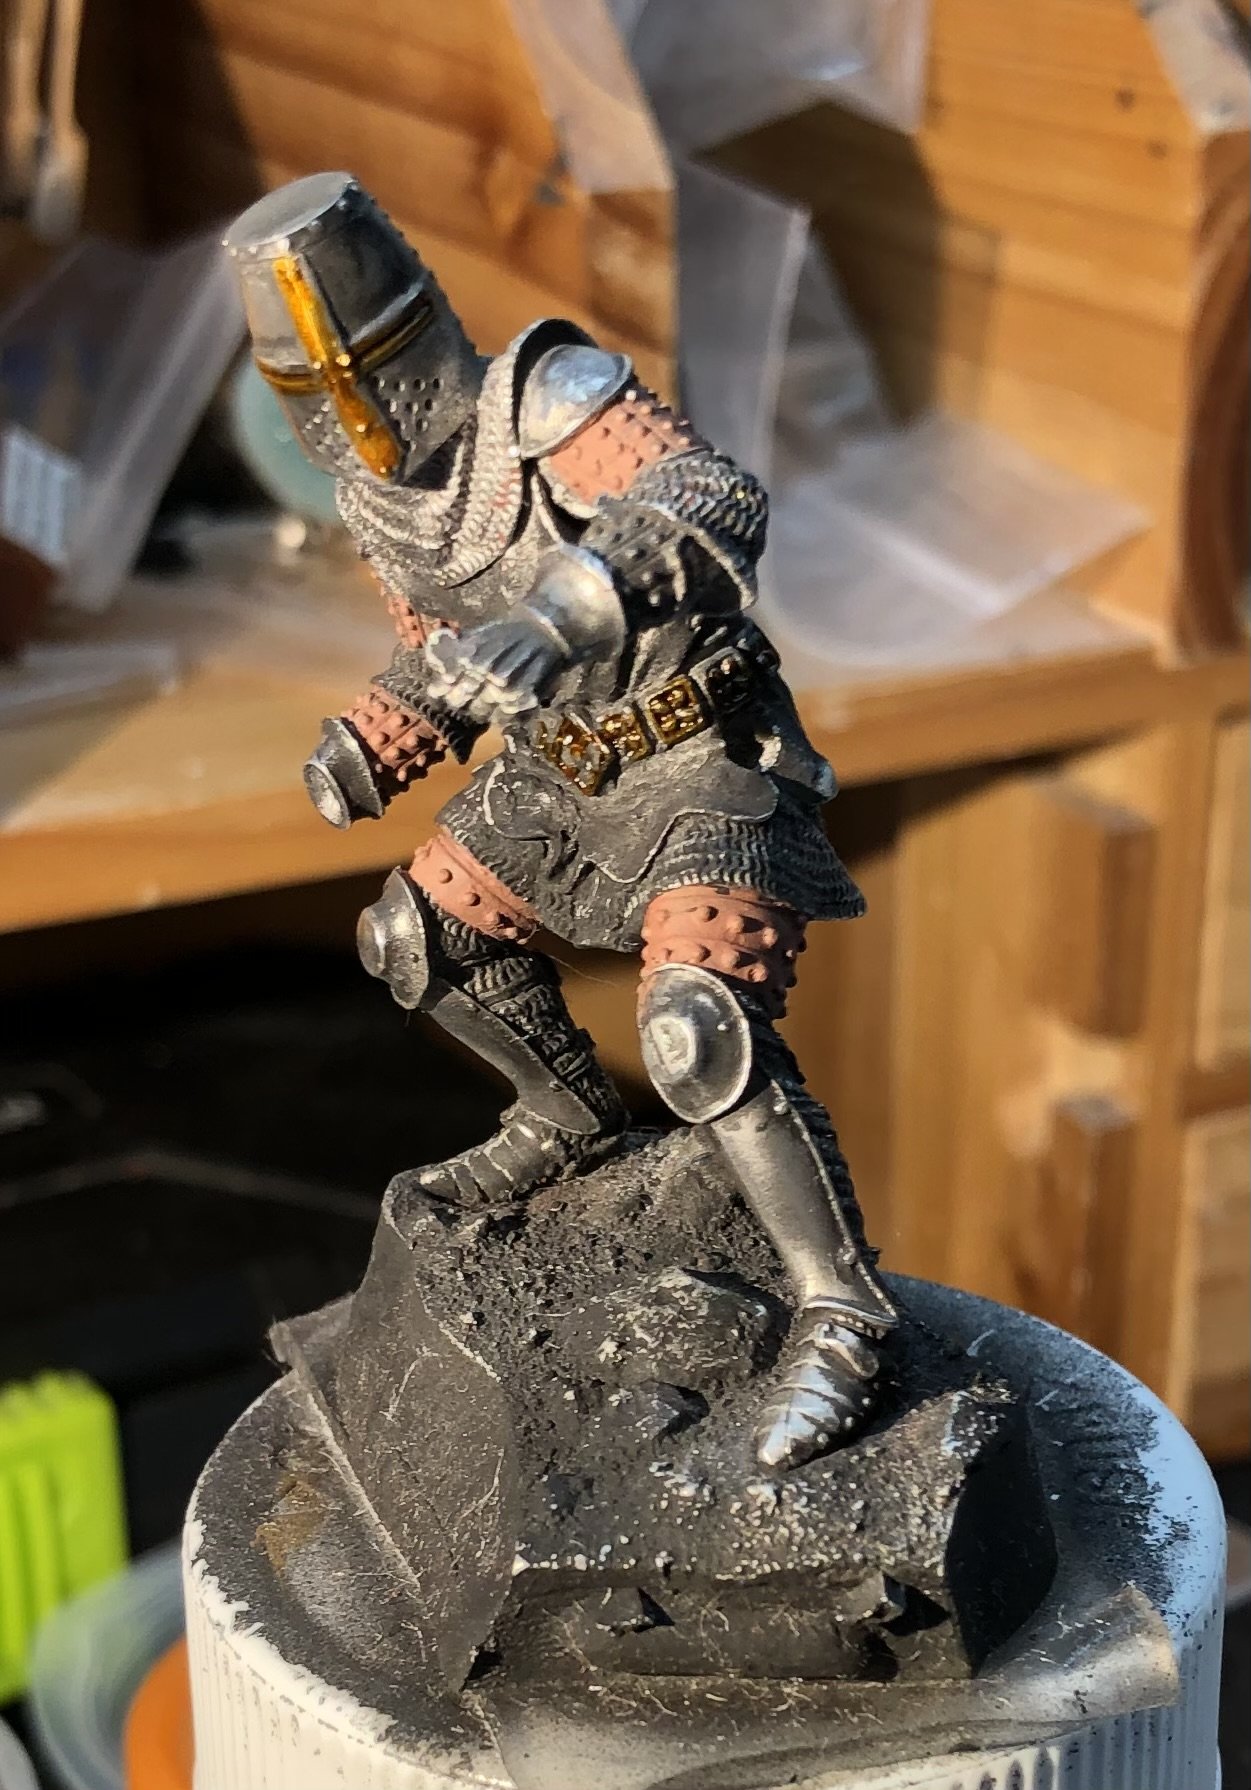
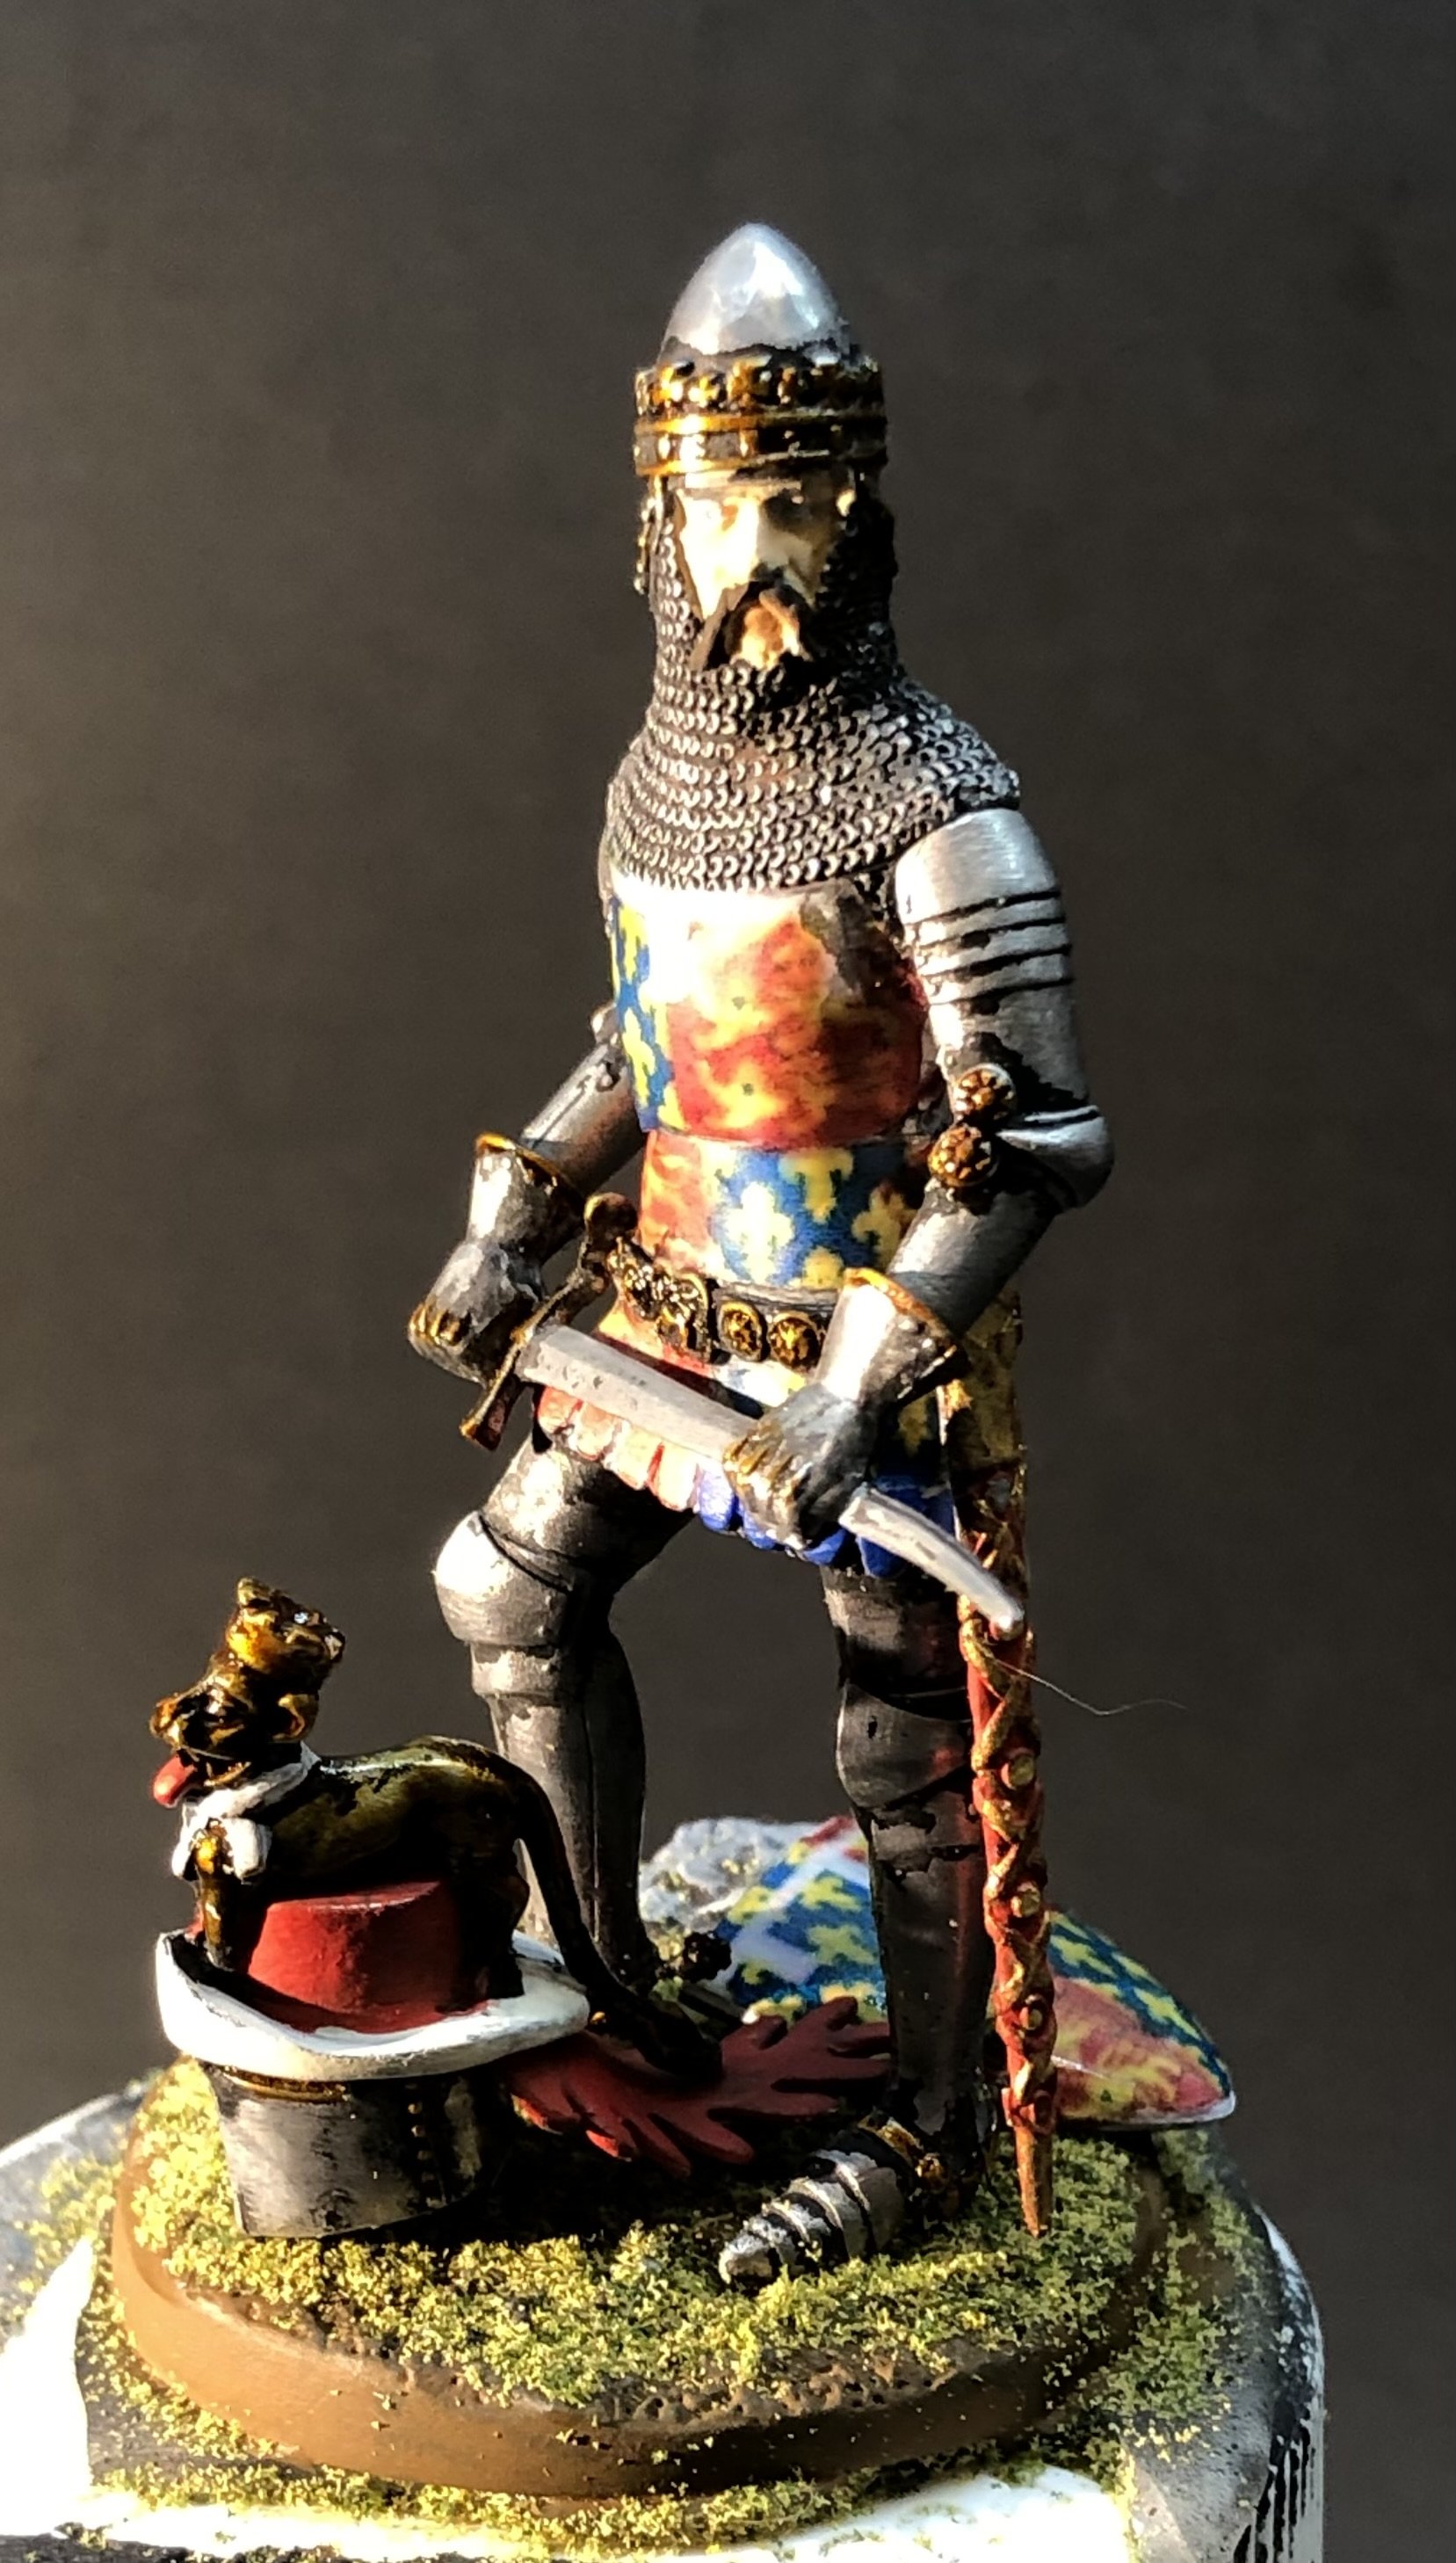
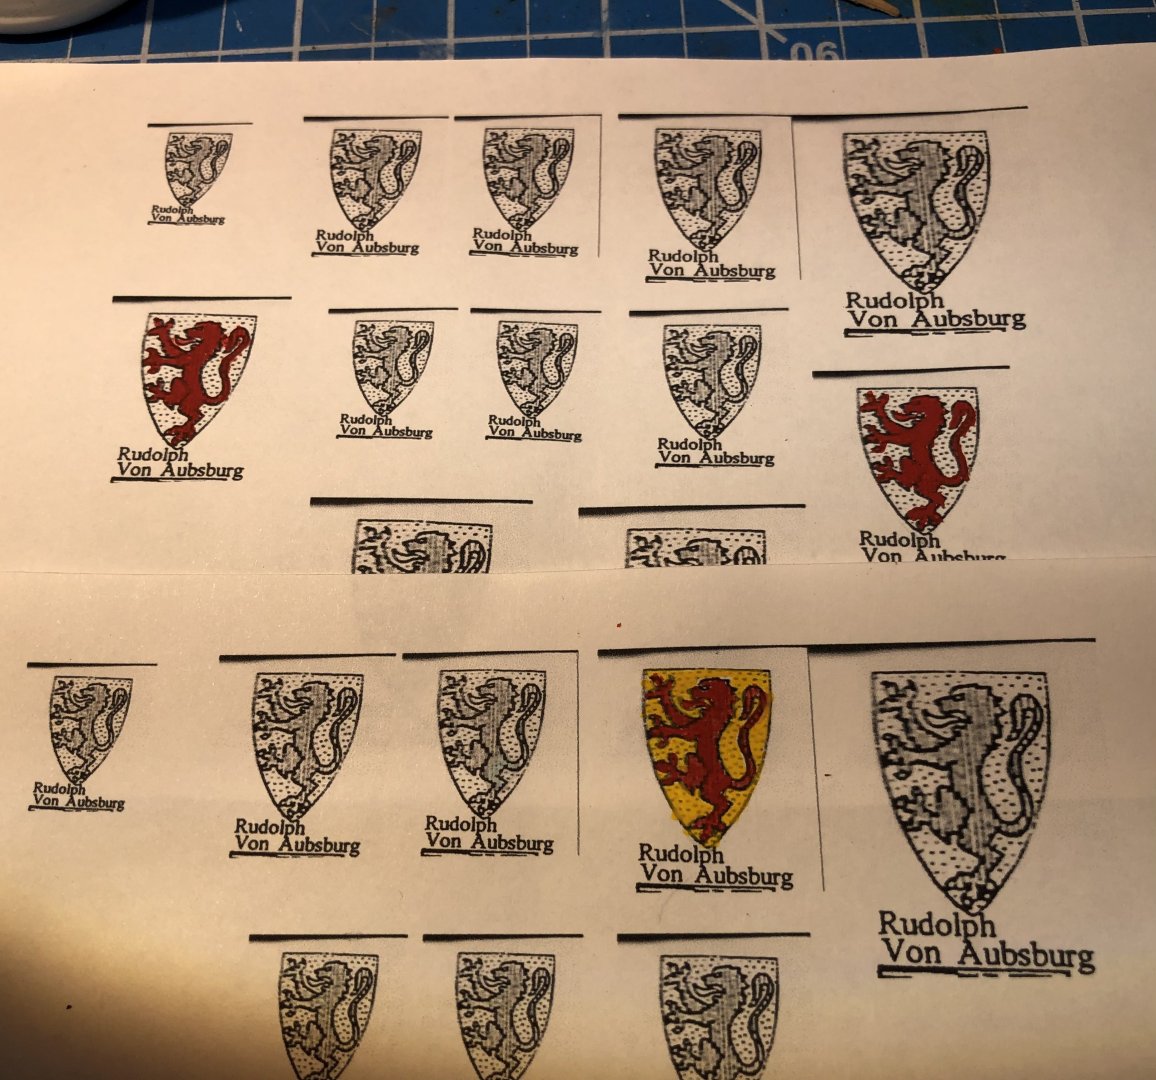
The modeling day was mostly spent experimenting. I acquired this DSPIAE panel line pen and tried it out to add burnt umber acrylic ink between the pieces of the leather armor on his arms and legs. It turned out to be easy to use and obtain a thin line without the unevenness of a brush (at least in my case). The first few coats of yellow have been added to his surcoat. I’d forgotten what a pain yellow is to work with. I printed out several of the Von Aubsburg devices at different sizes and painted one completely and others just with the red lion. The idea is to try cutting it out and applying it directly to the shield and surcoat. We shall see how that works out. The shield has been primed and received it’s first coats it yellow. But I think there is more in my future. Thanks for looking in, the likes and comments. Alan


-
I haven’t seen one on the Pegaso website but that would look stunning in combination with the knight. I do like dragons
-
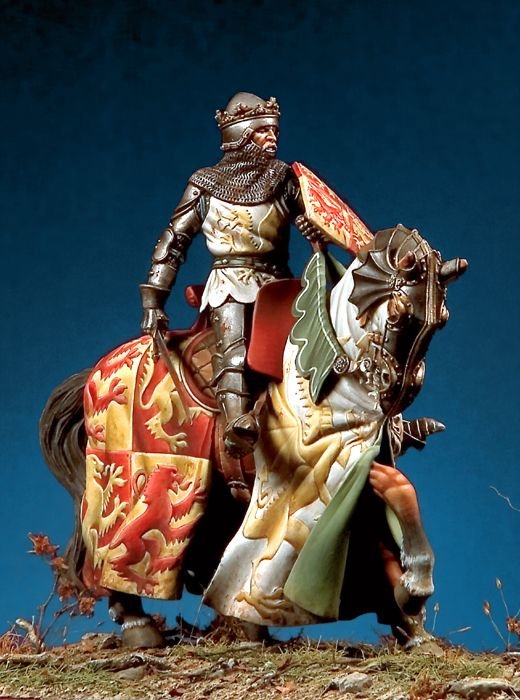
Yeah, he’s going to be a problem sat in the display case with the current rather indolent collection. Pegaso recommends that he be paired with this chap. They both obviously have unresolved issues alan
-
Hi Ken. Pegaso has a great range of medieval figures with some very challenging paint schemes. I do rather desire this one. Although I have no idea how I would tackle the horses caparisons. On the other hand the painting of the horse is greatly simplified. Thankfully it’s our of stock. alan
-
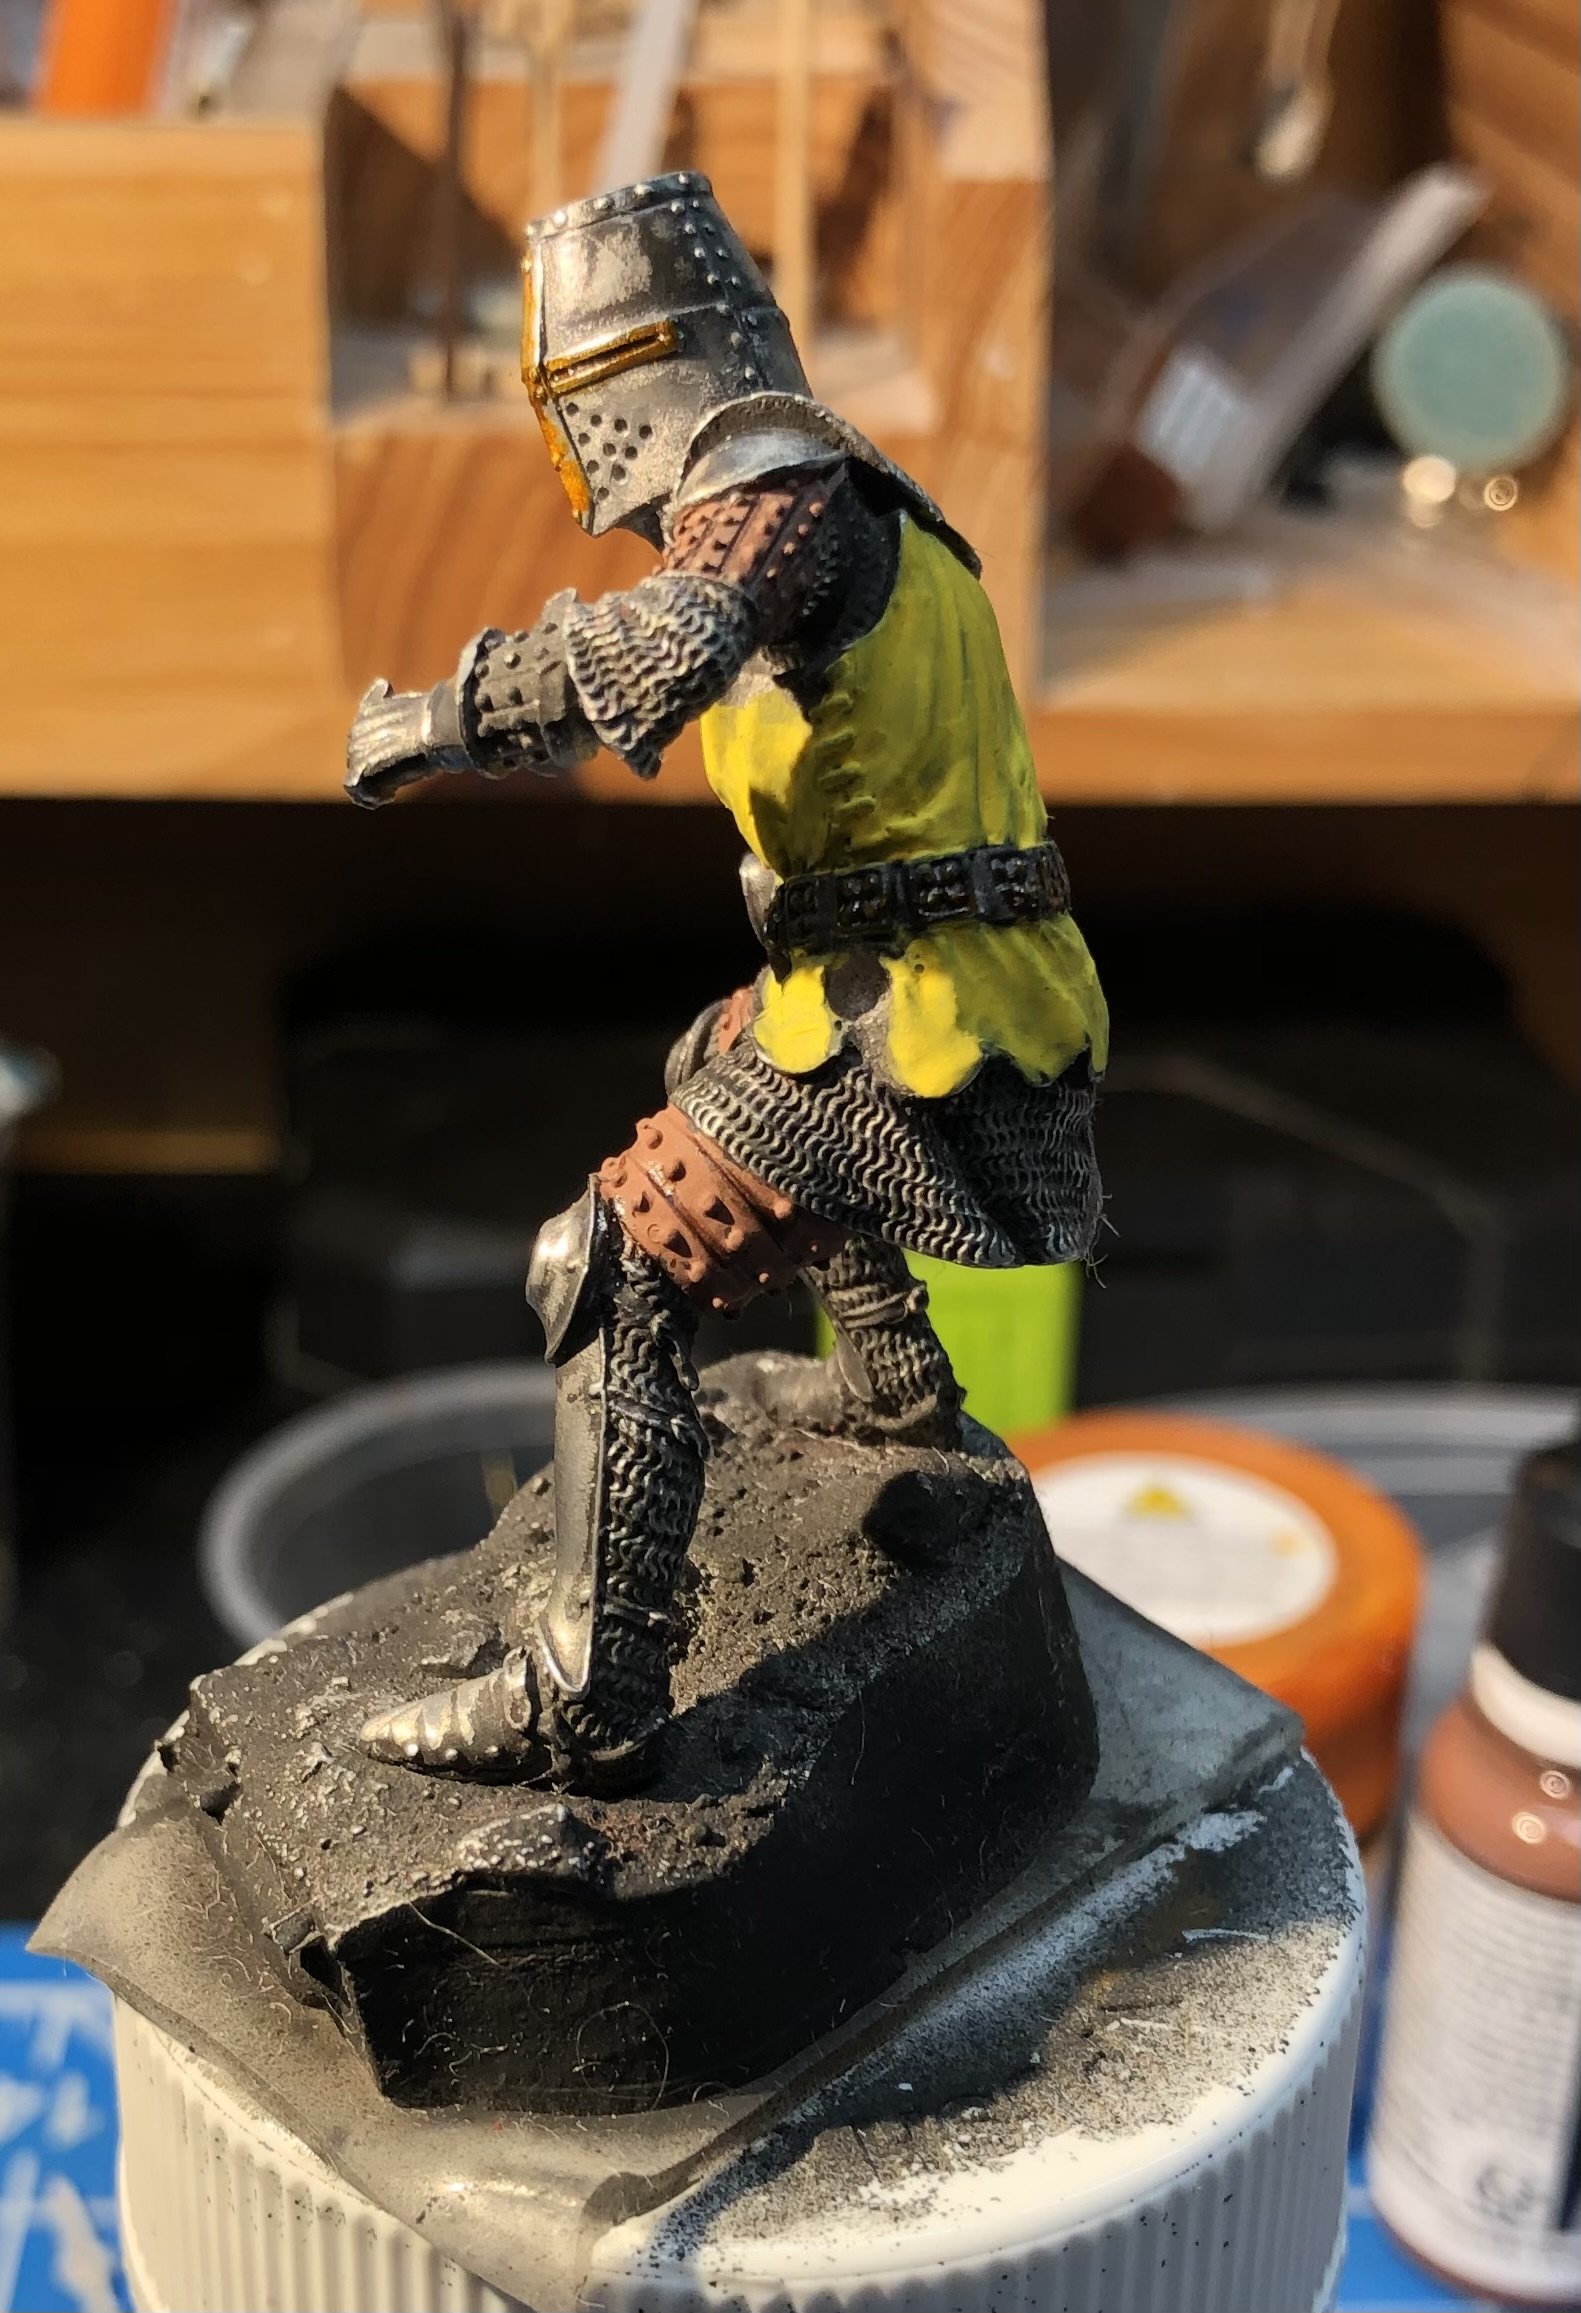
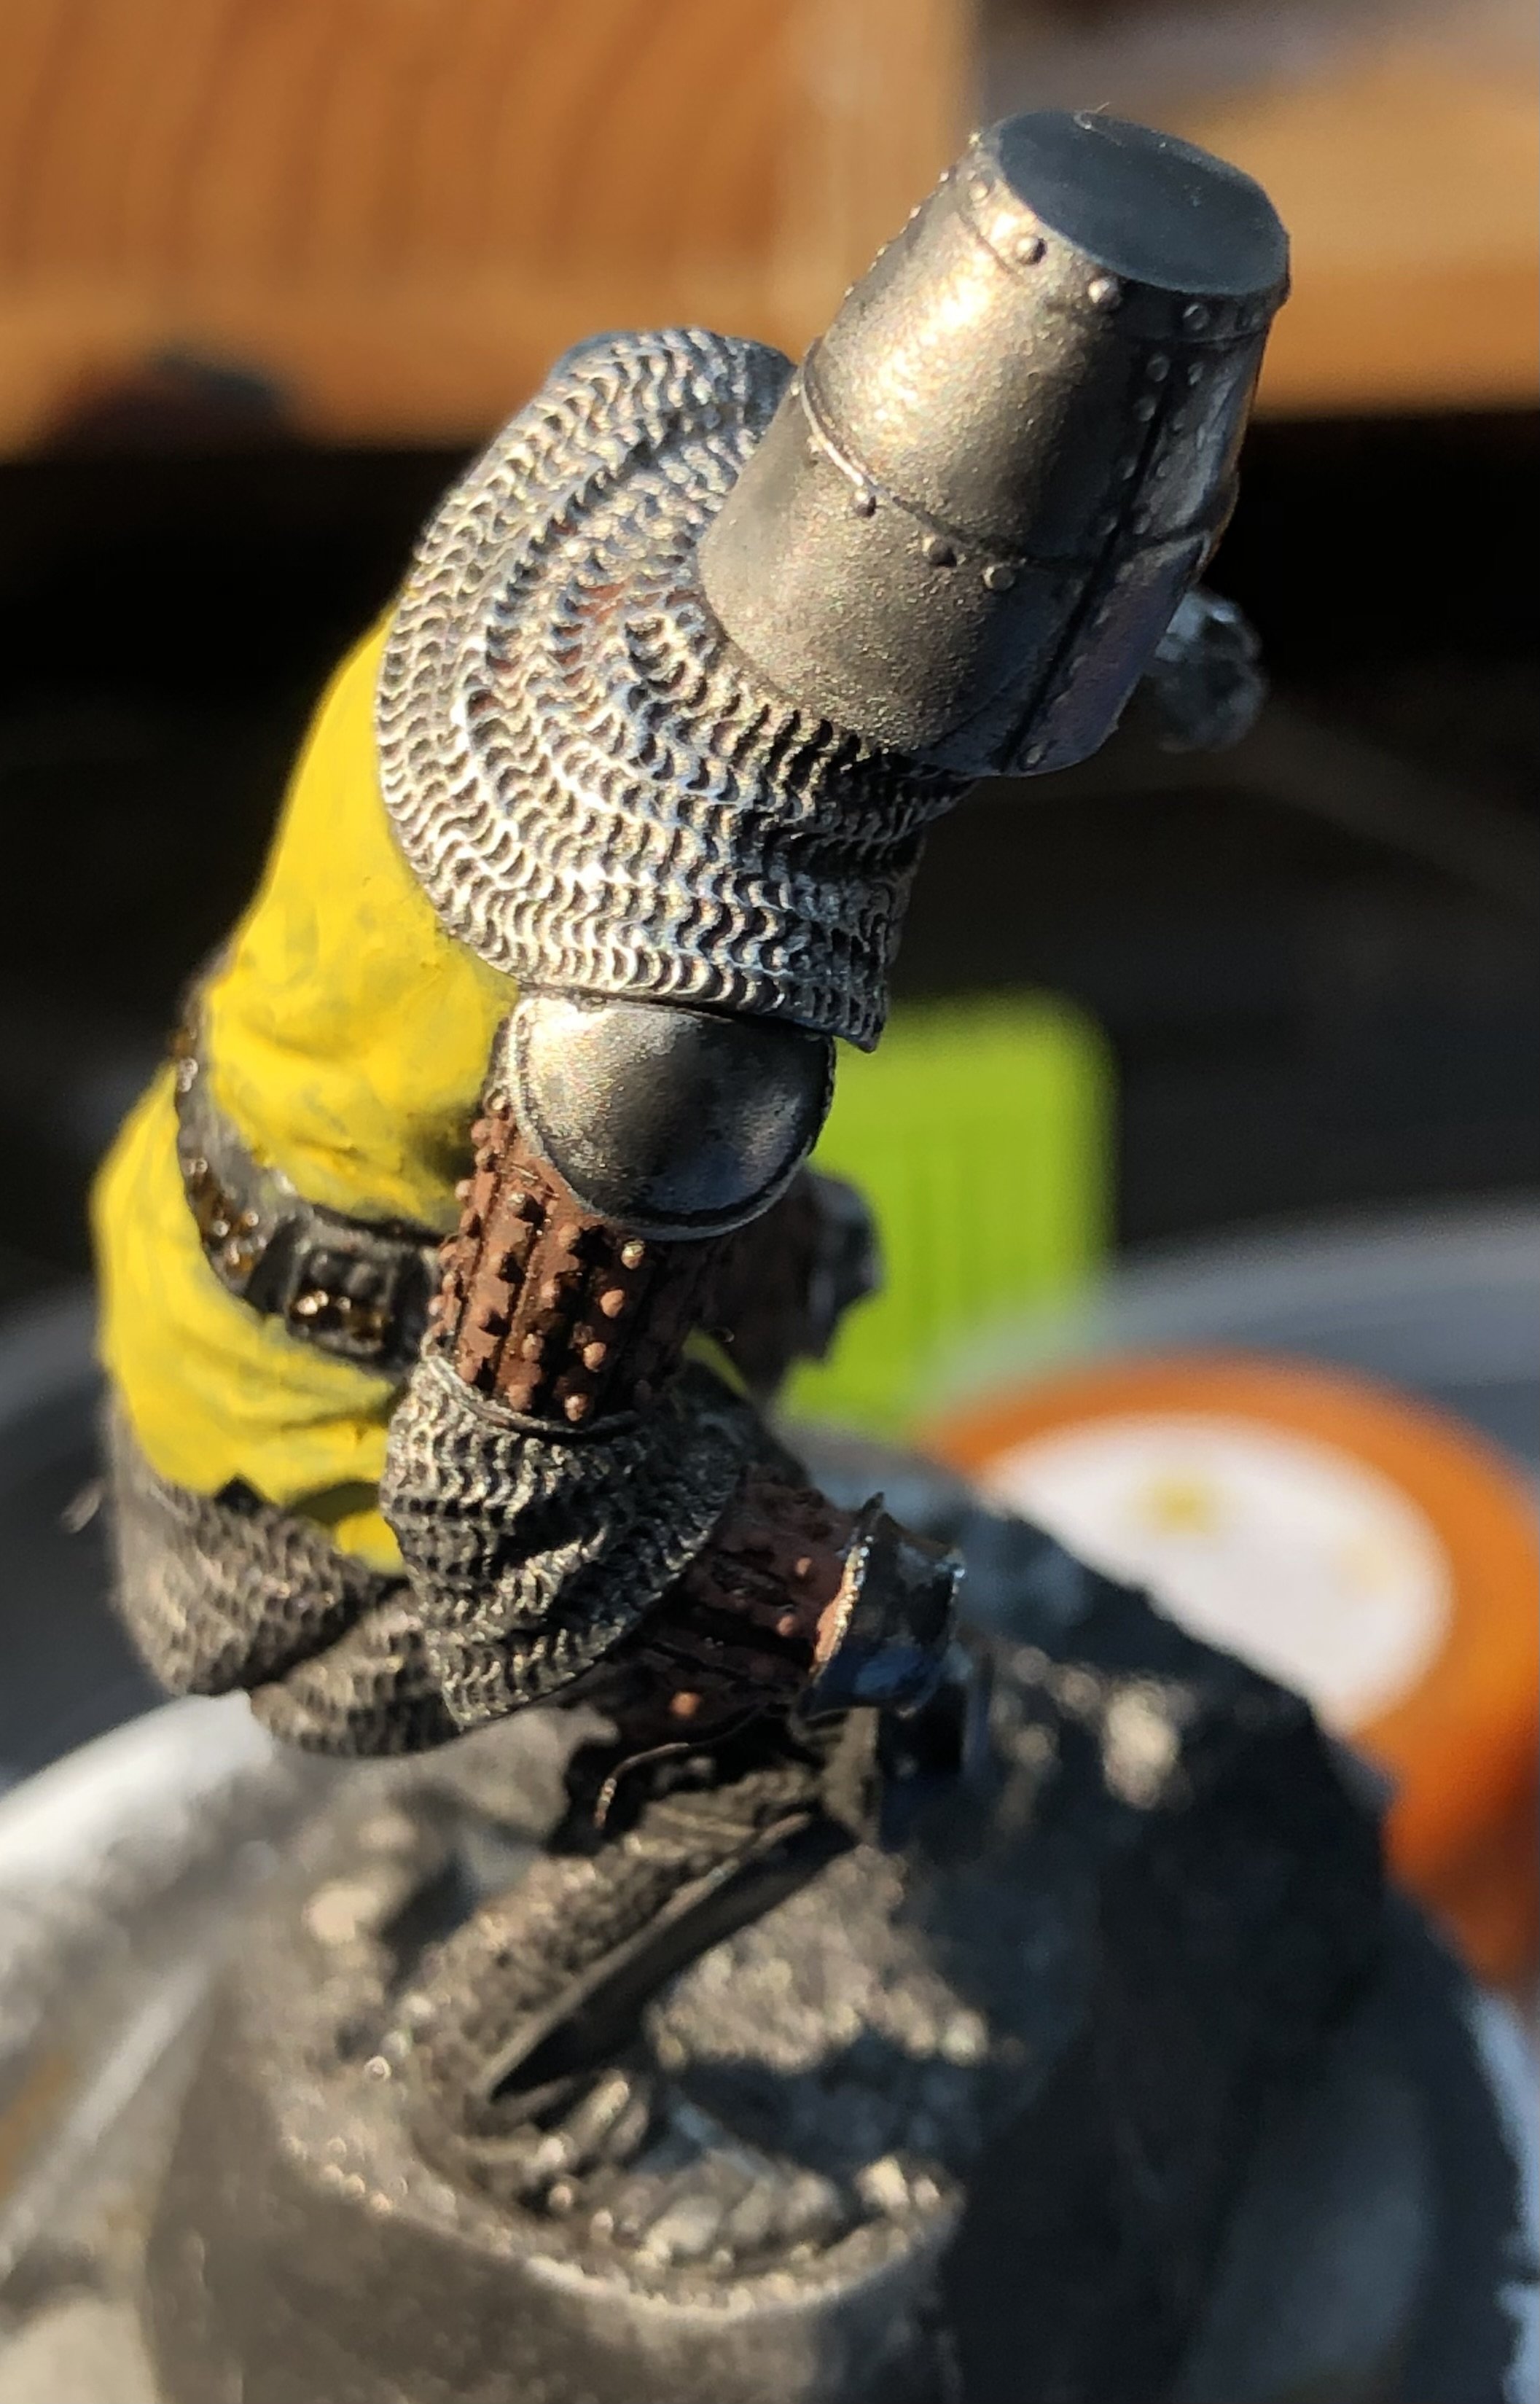
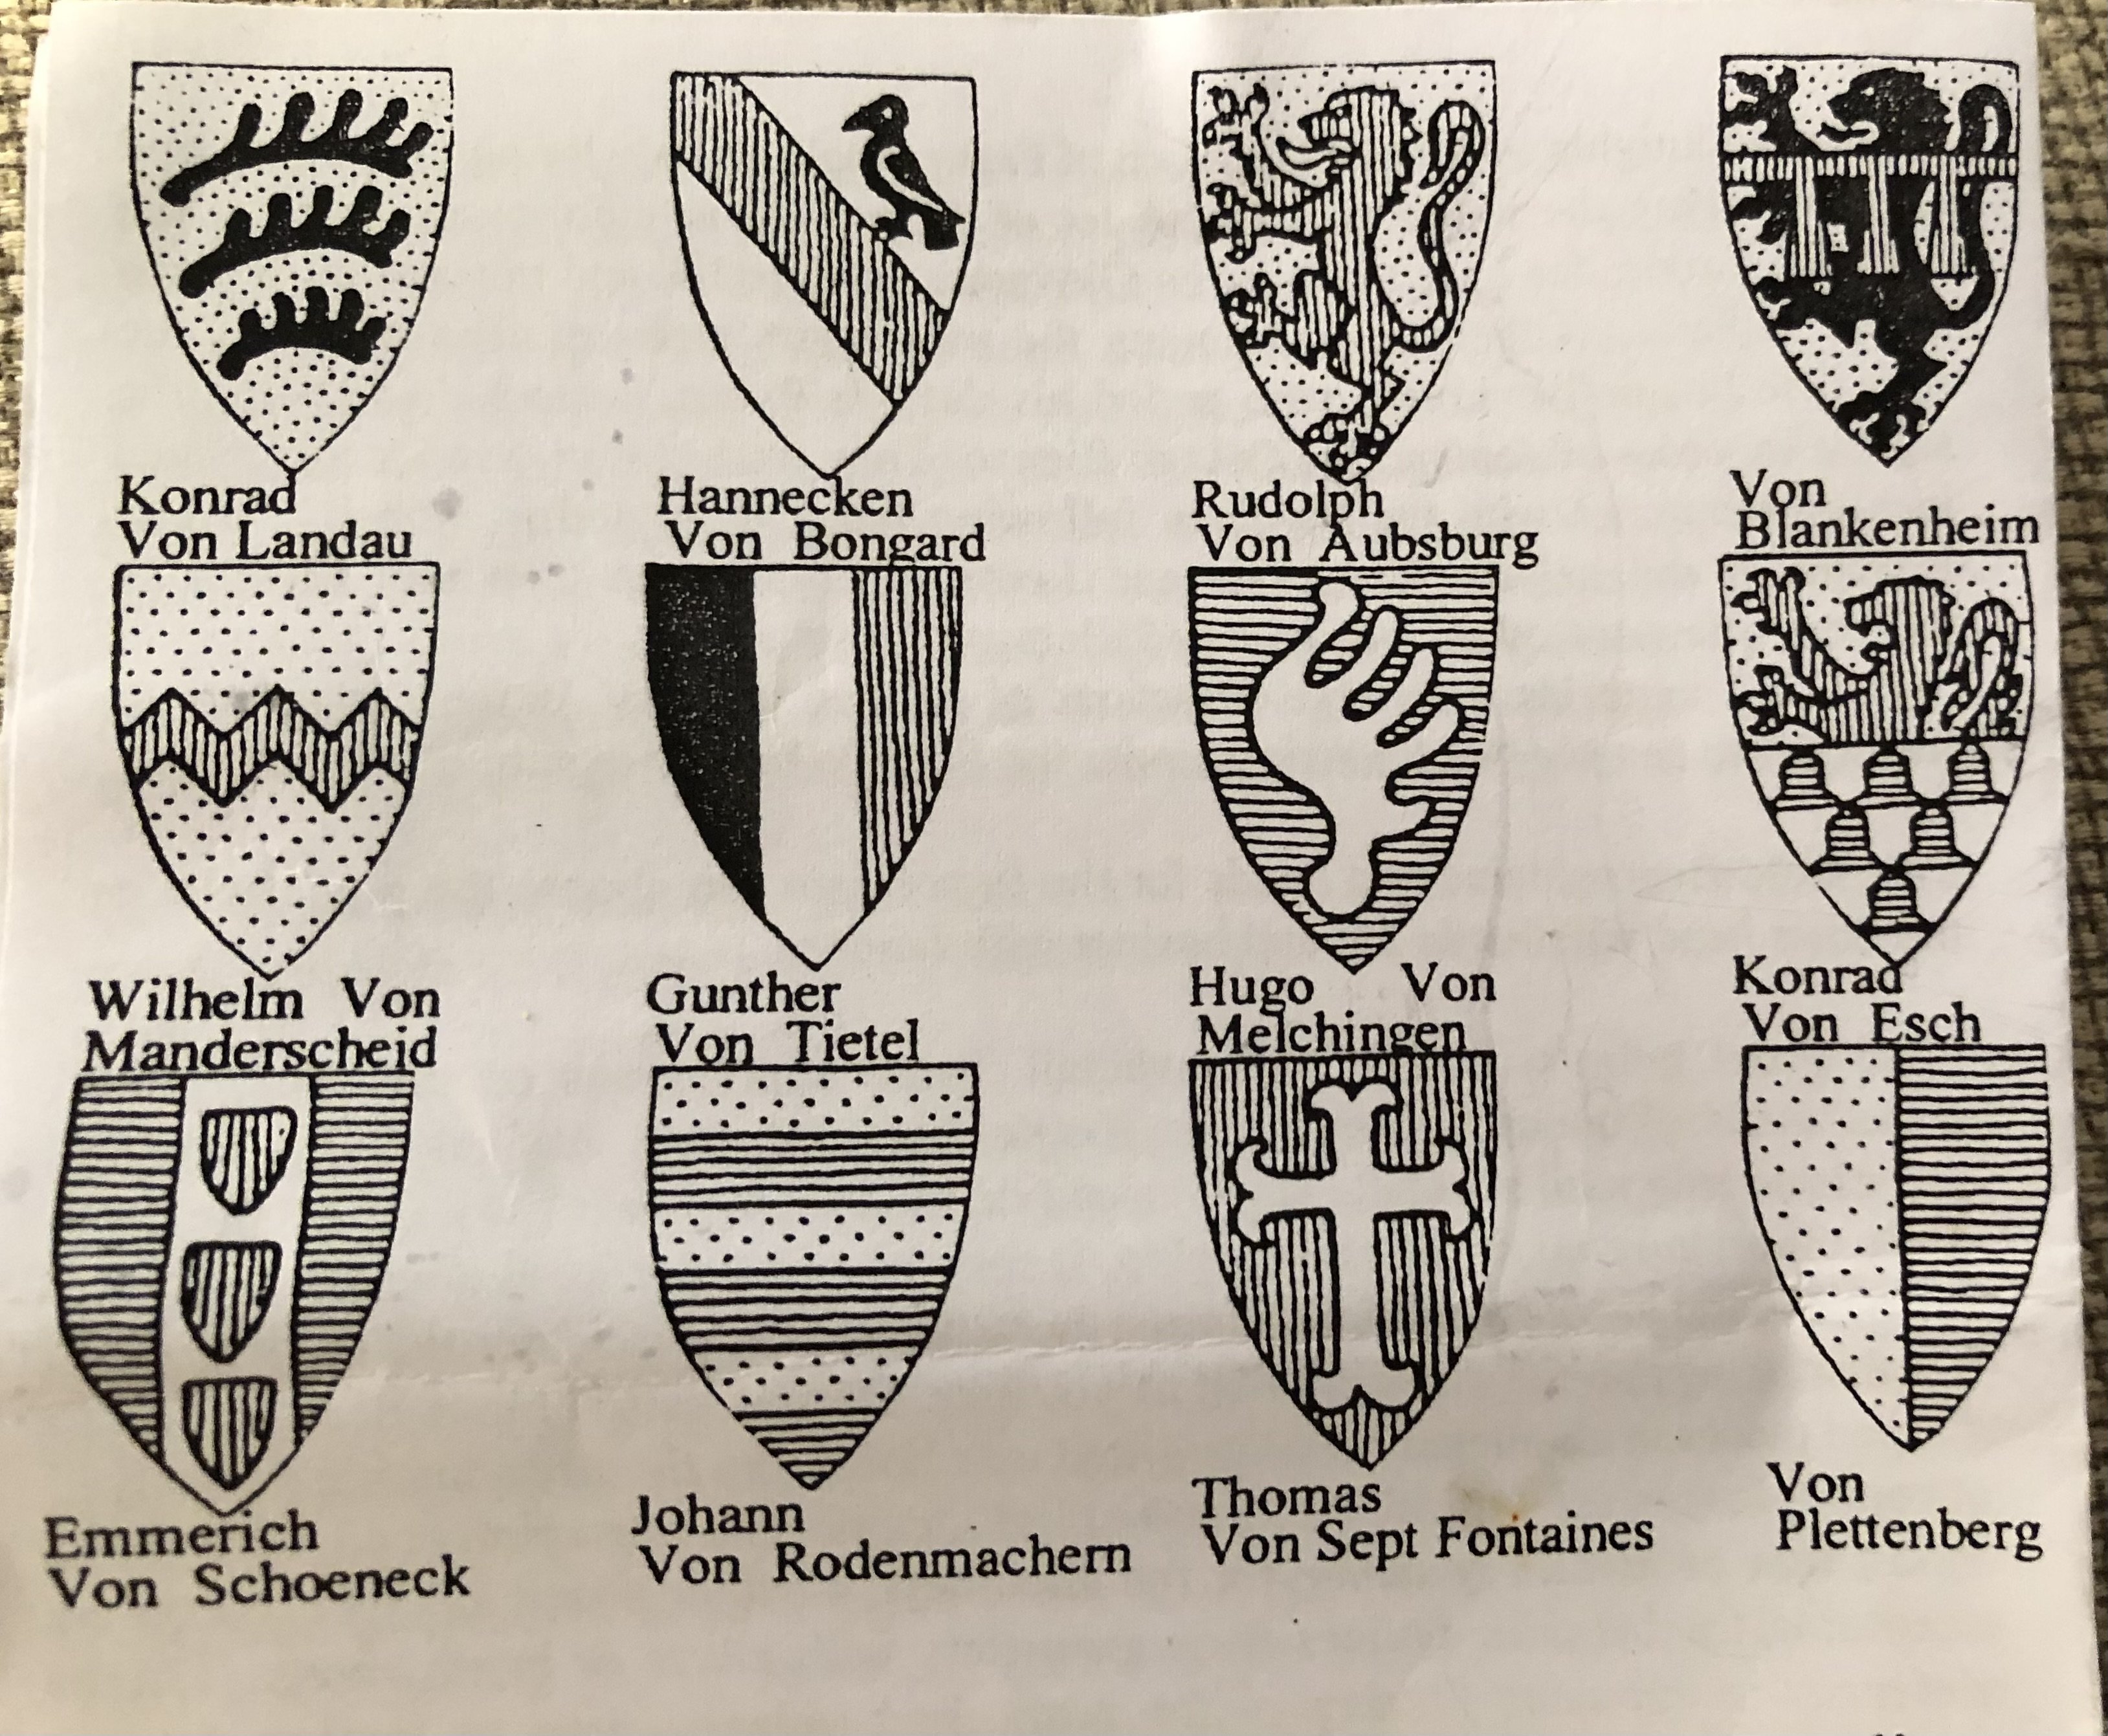
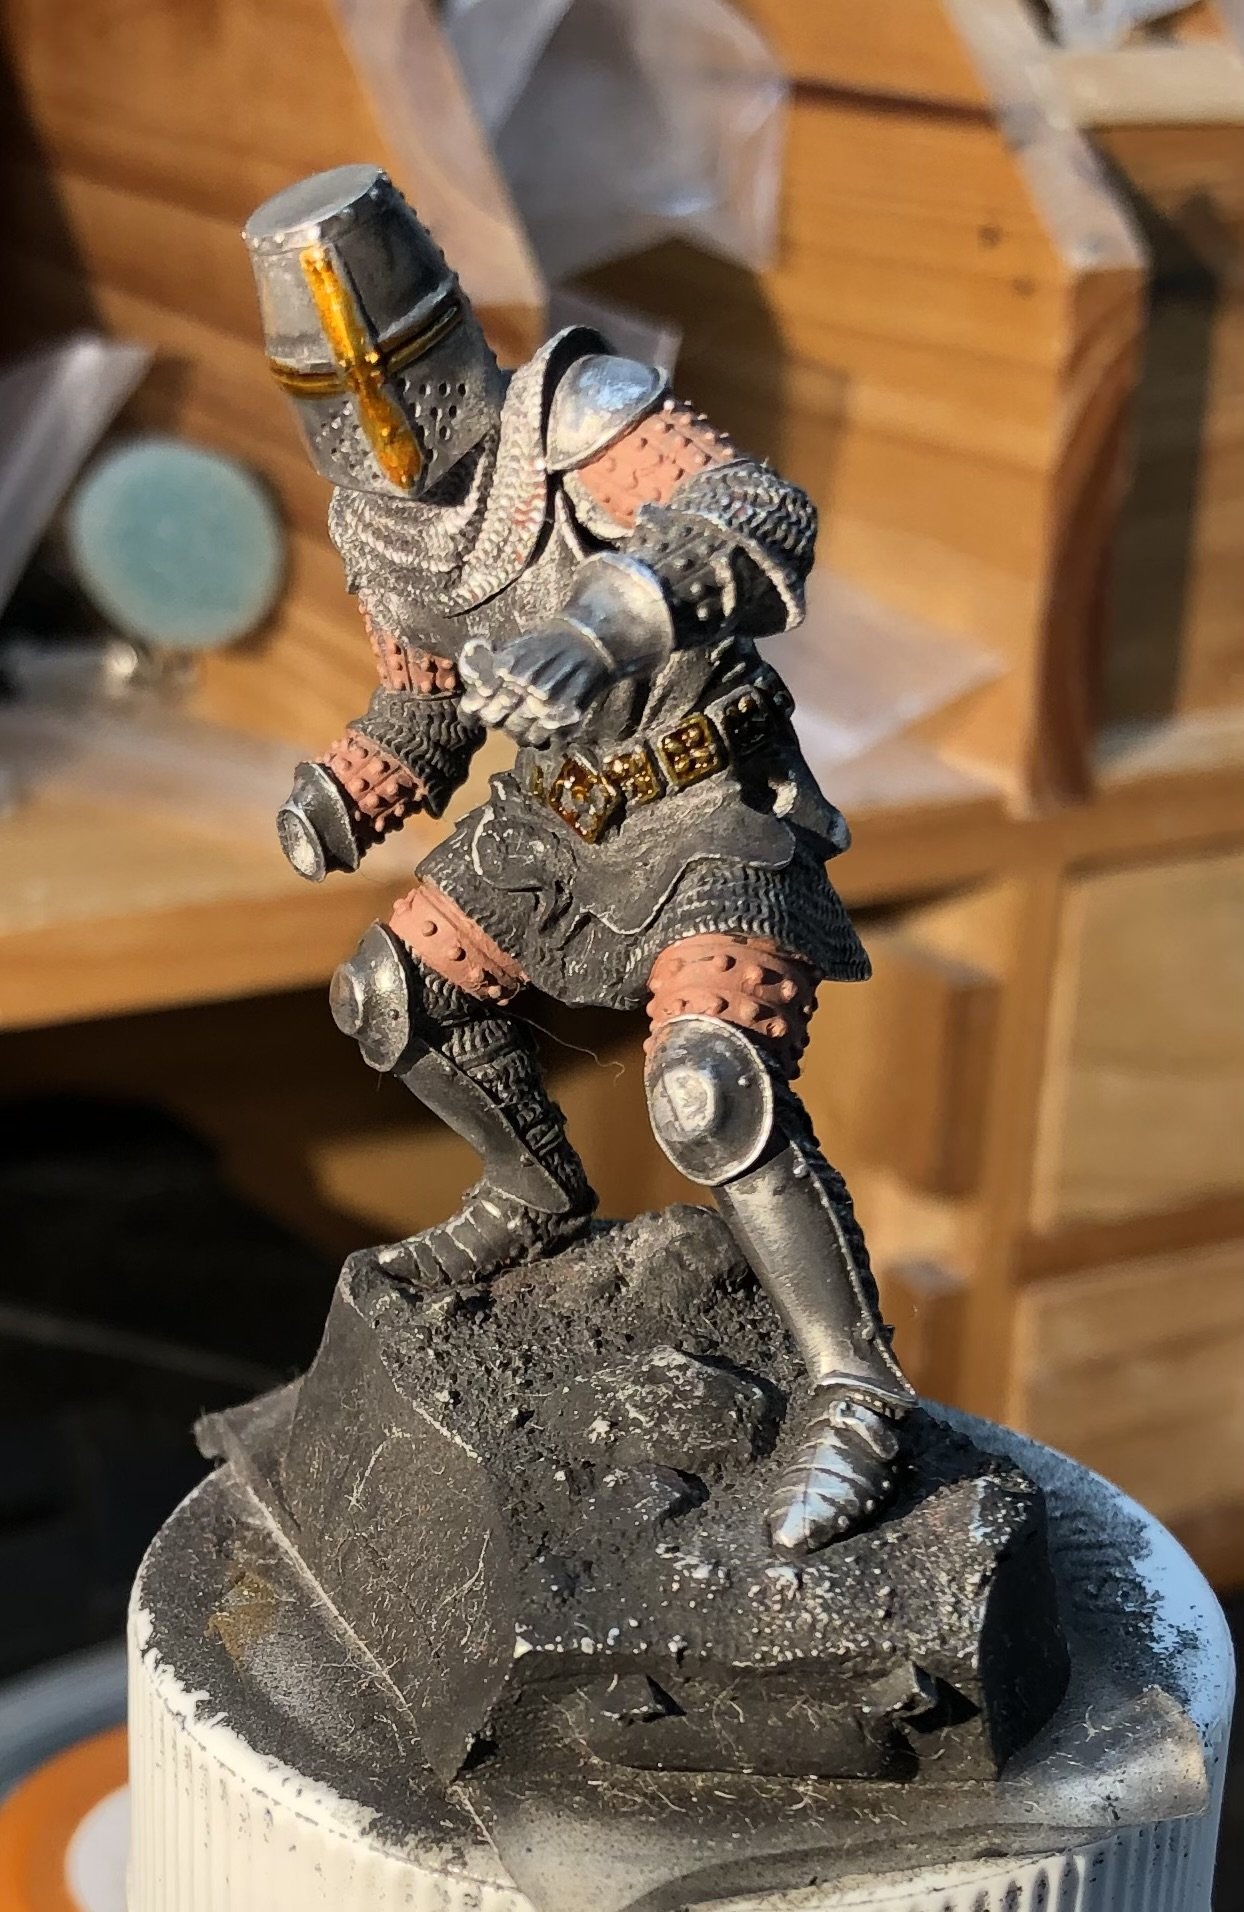
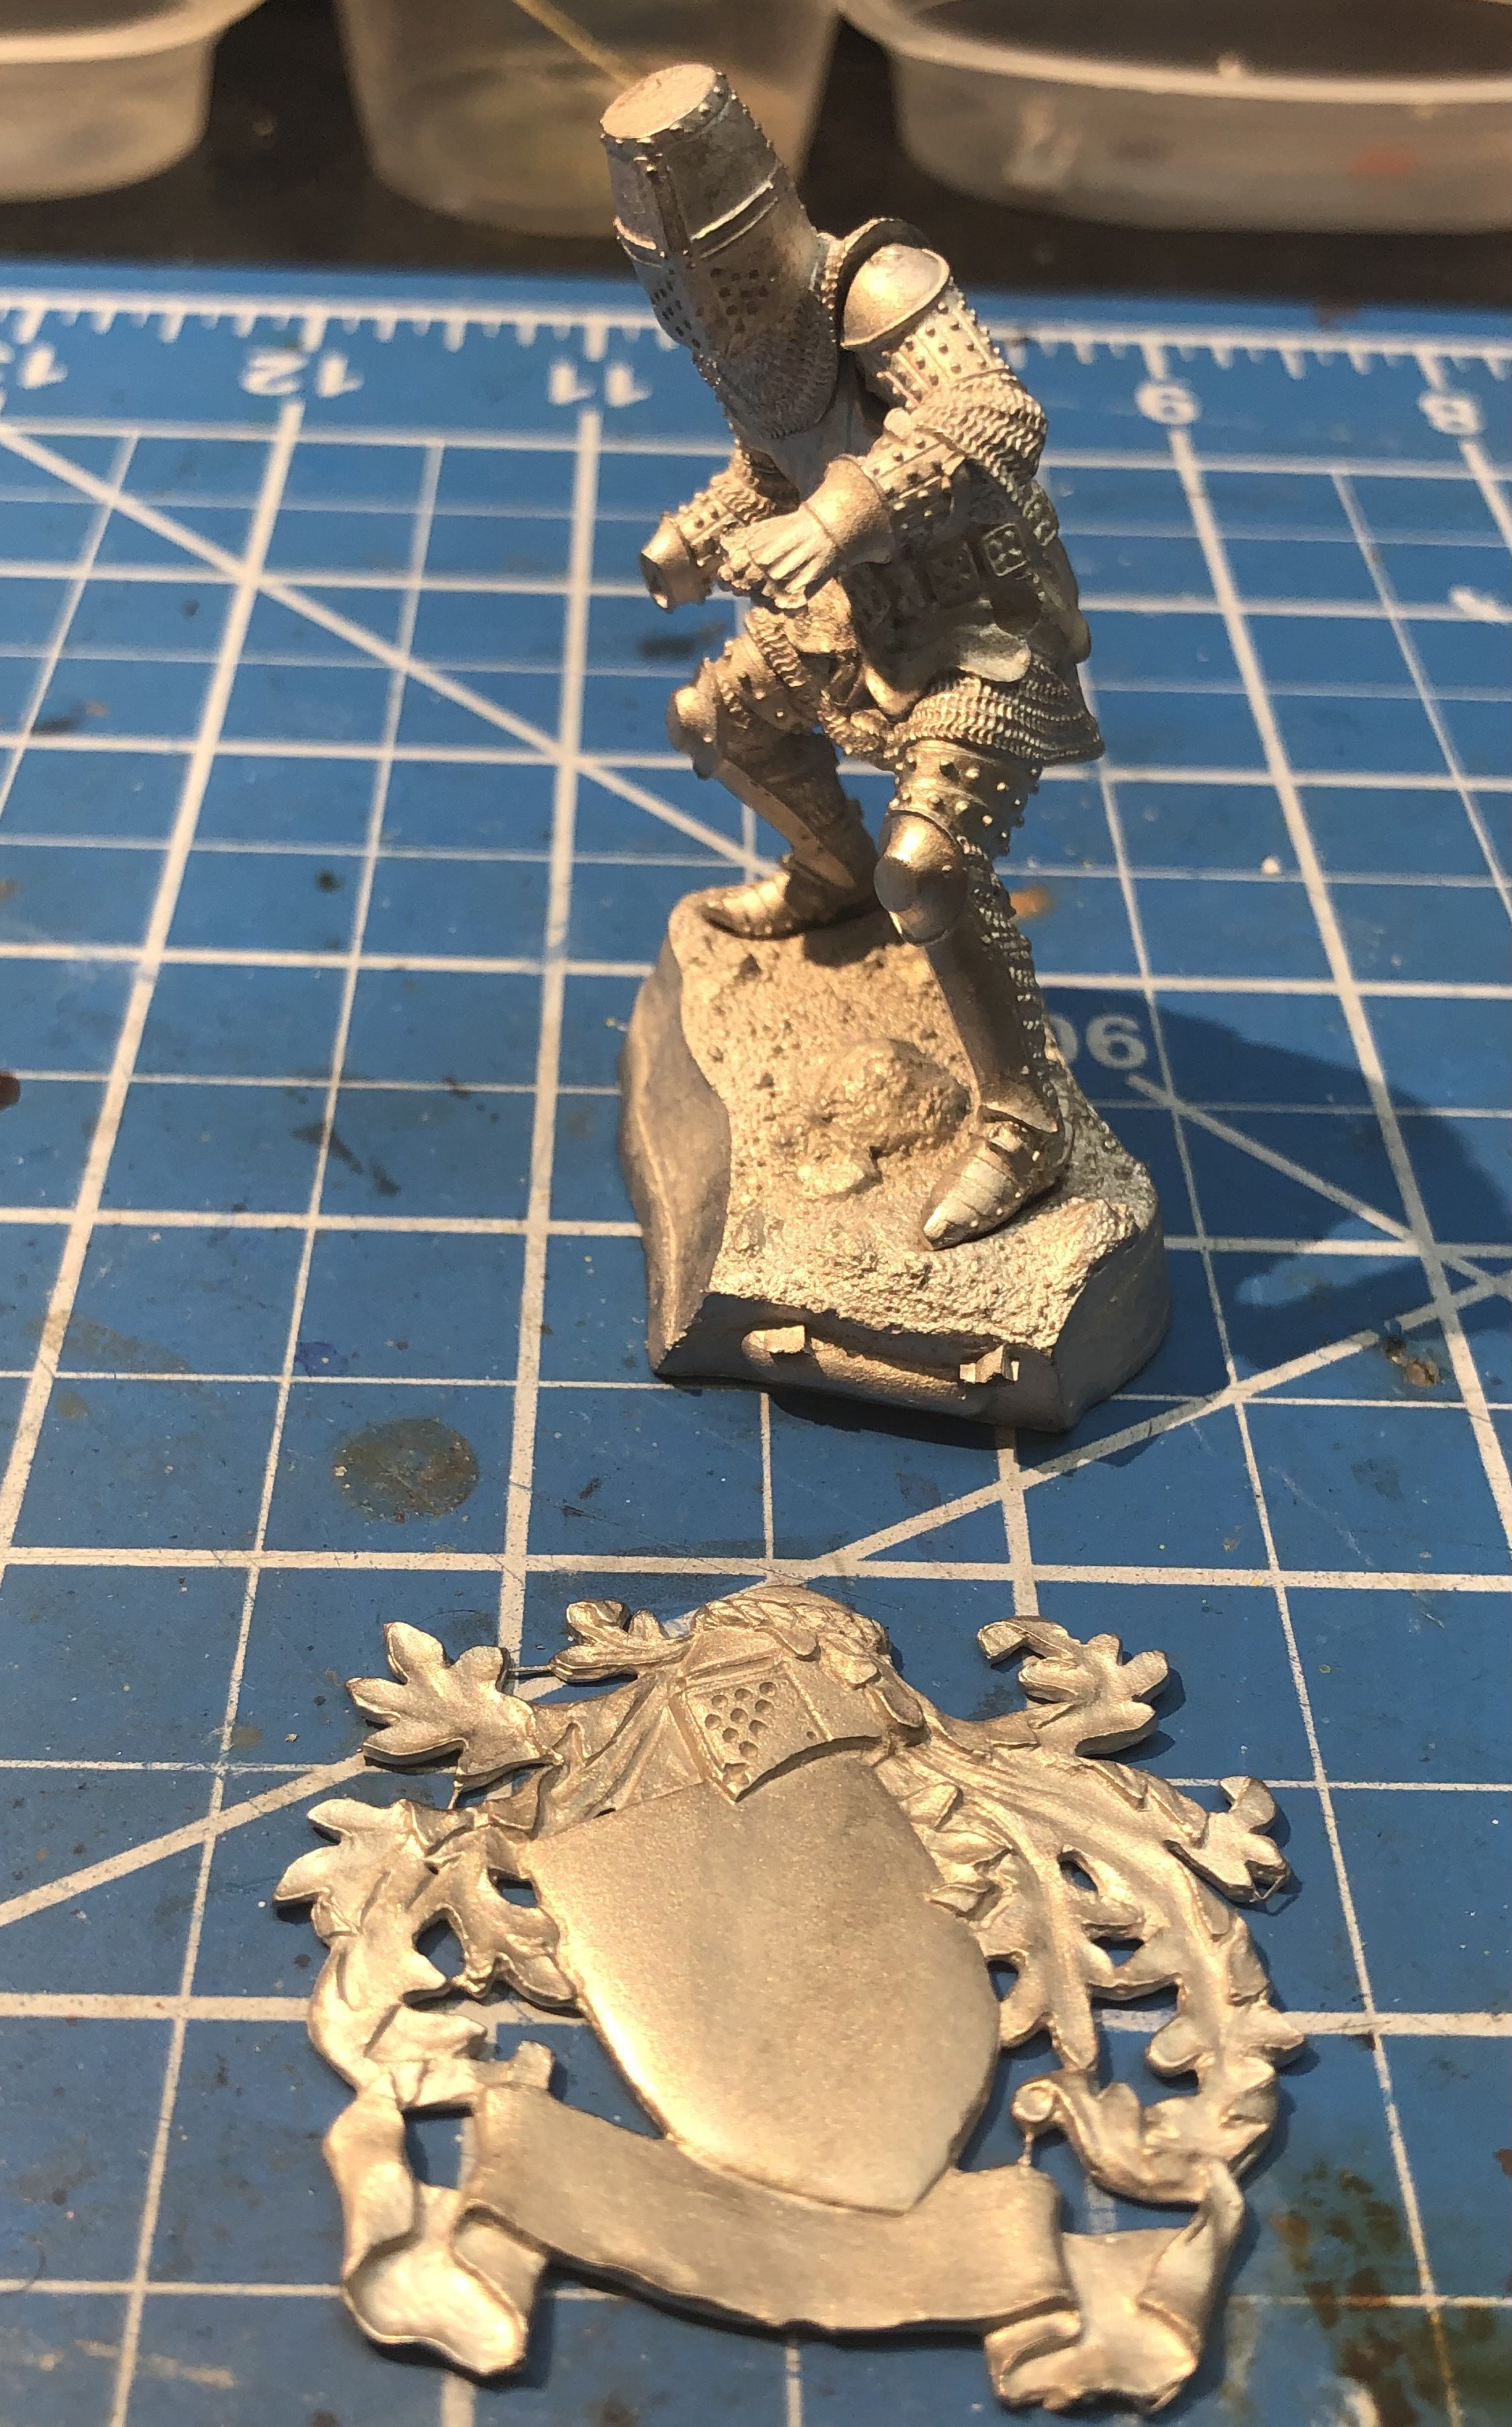
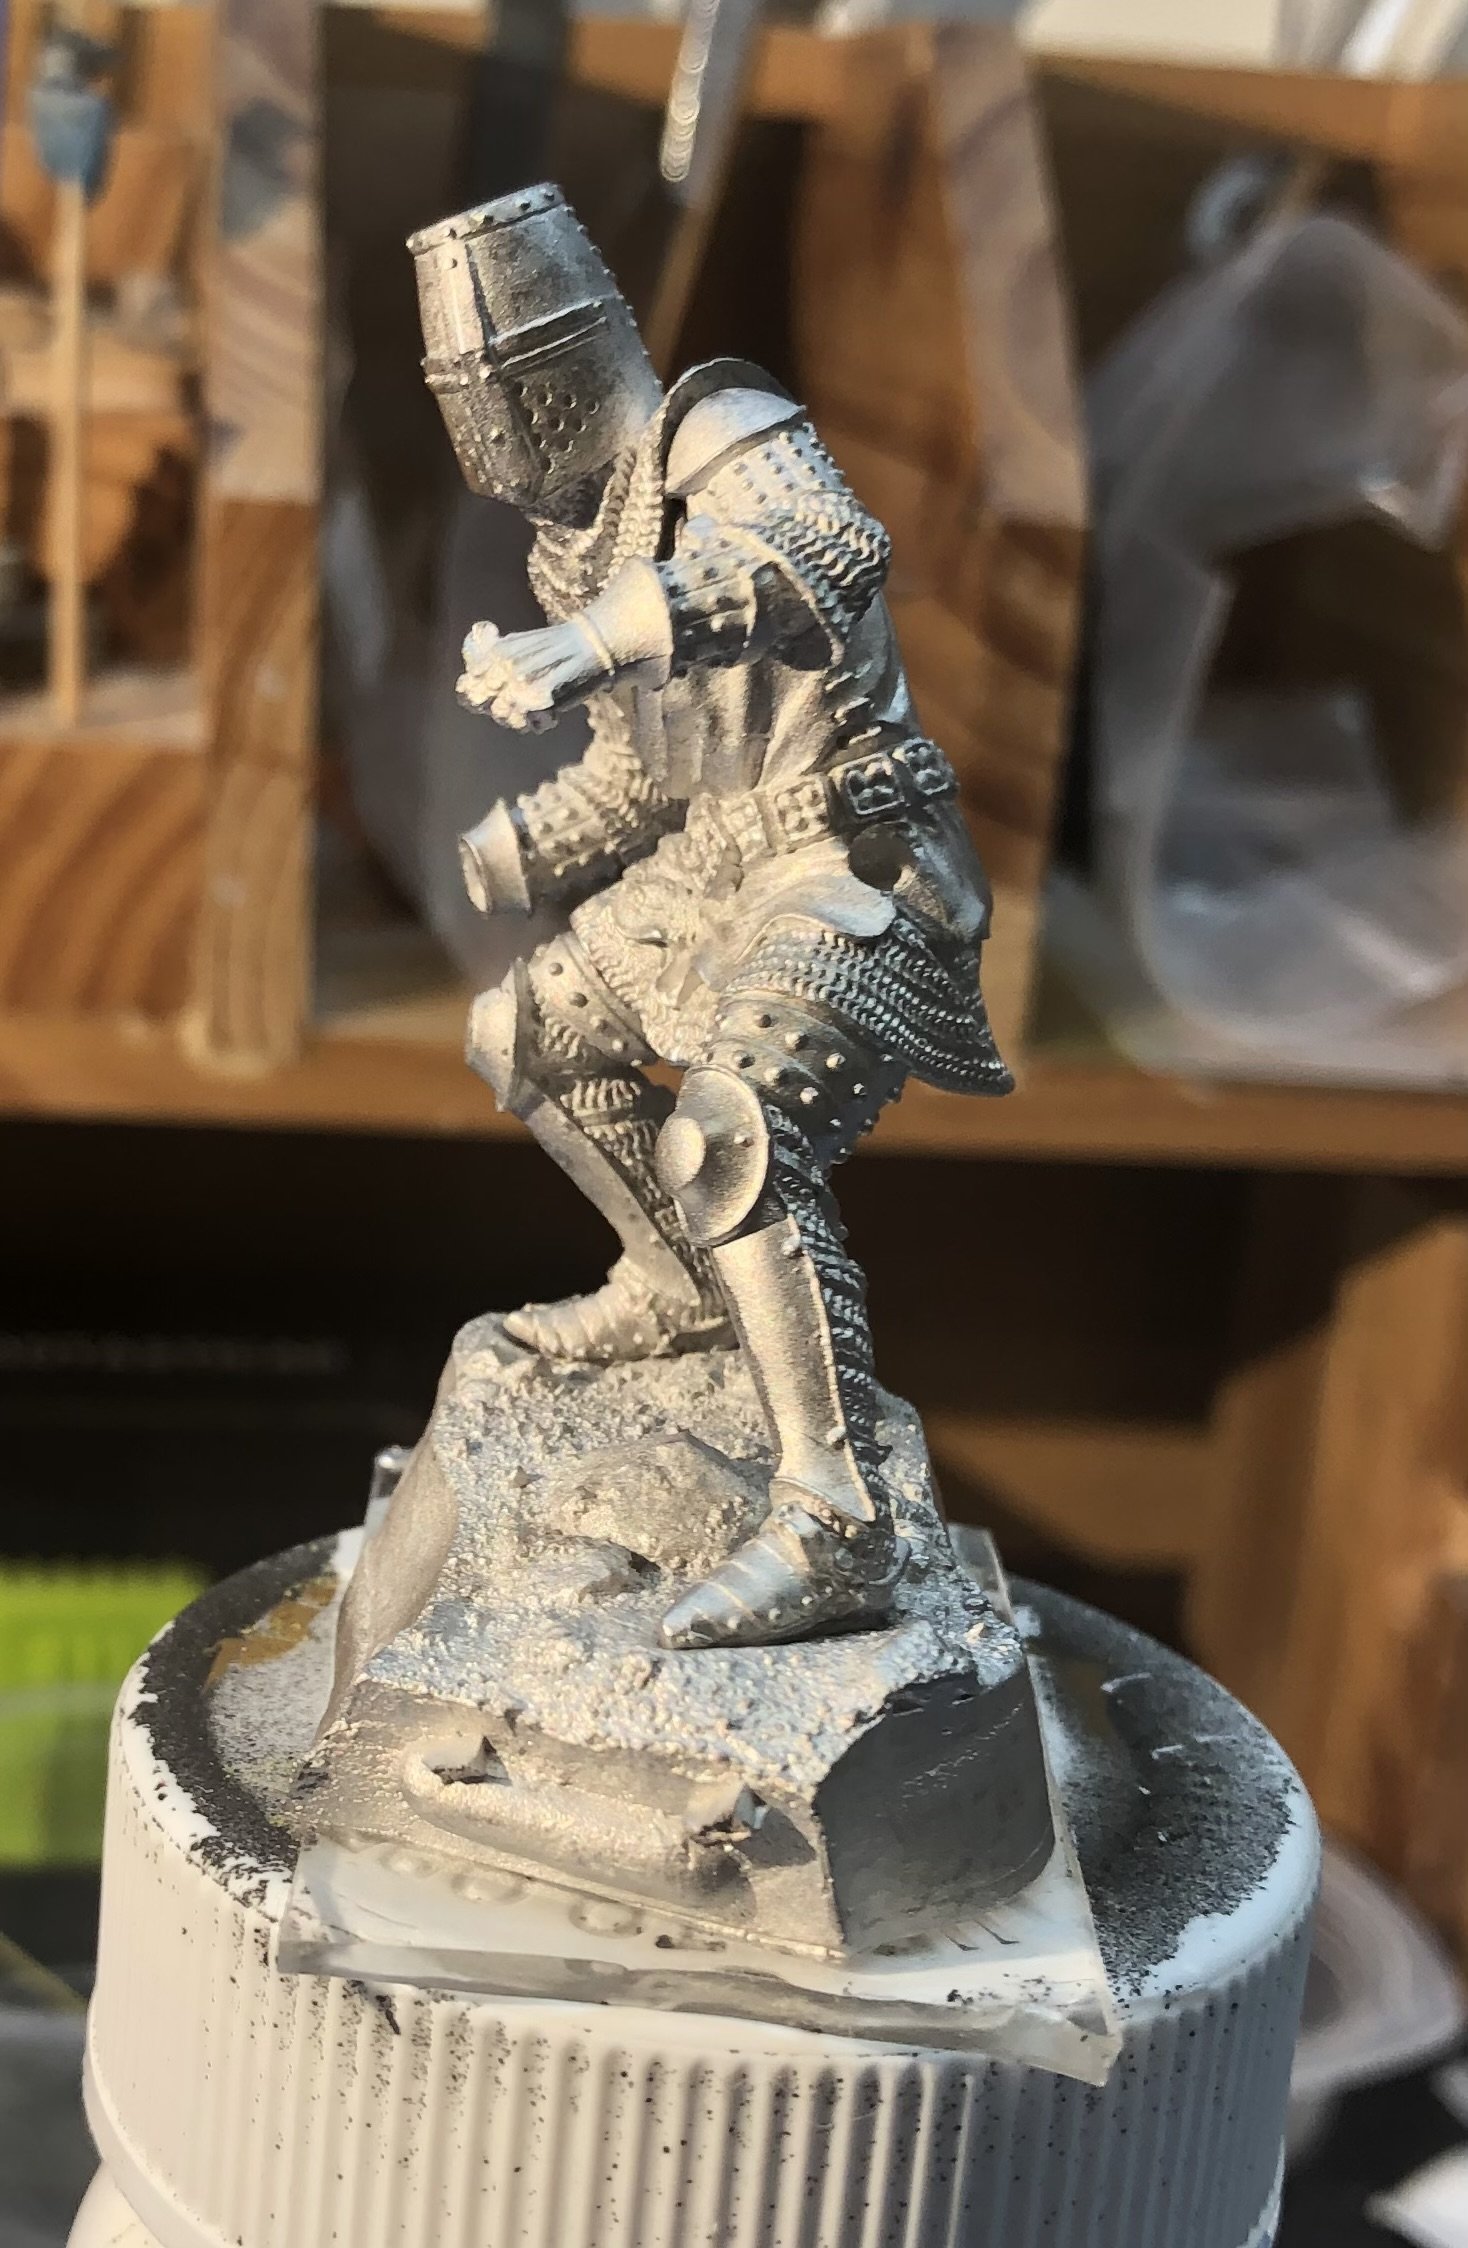
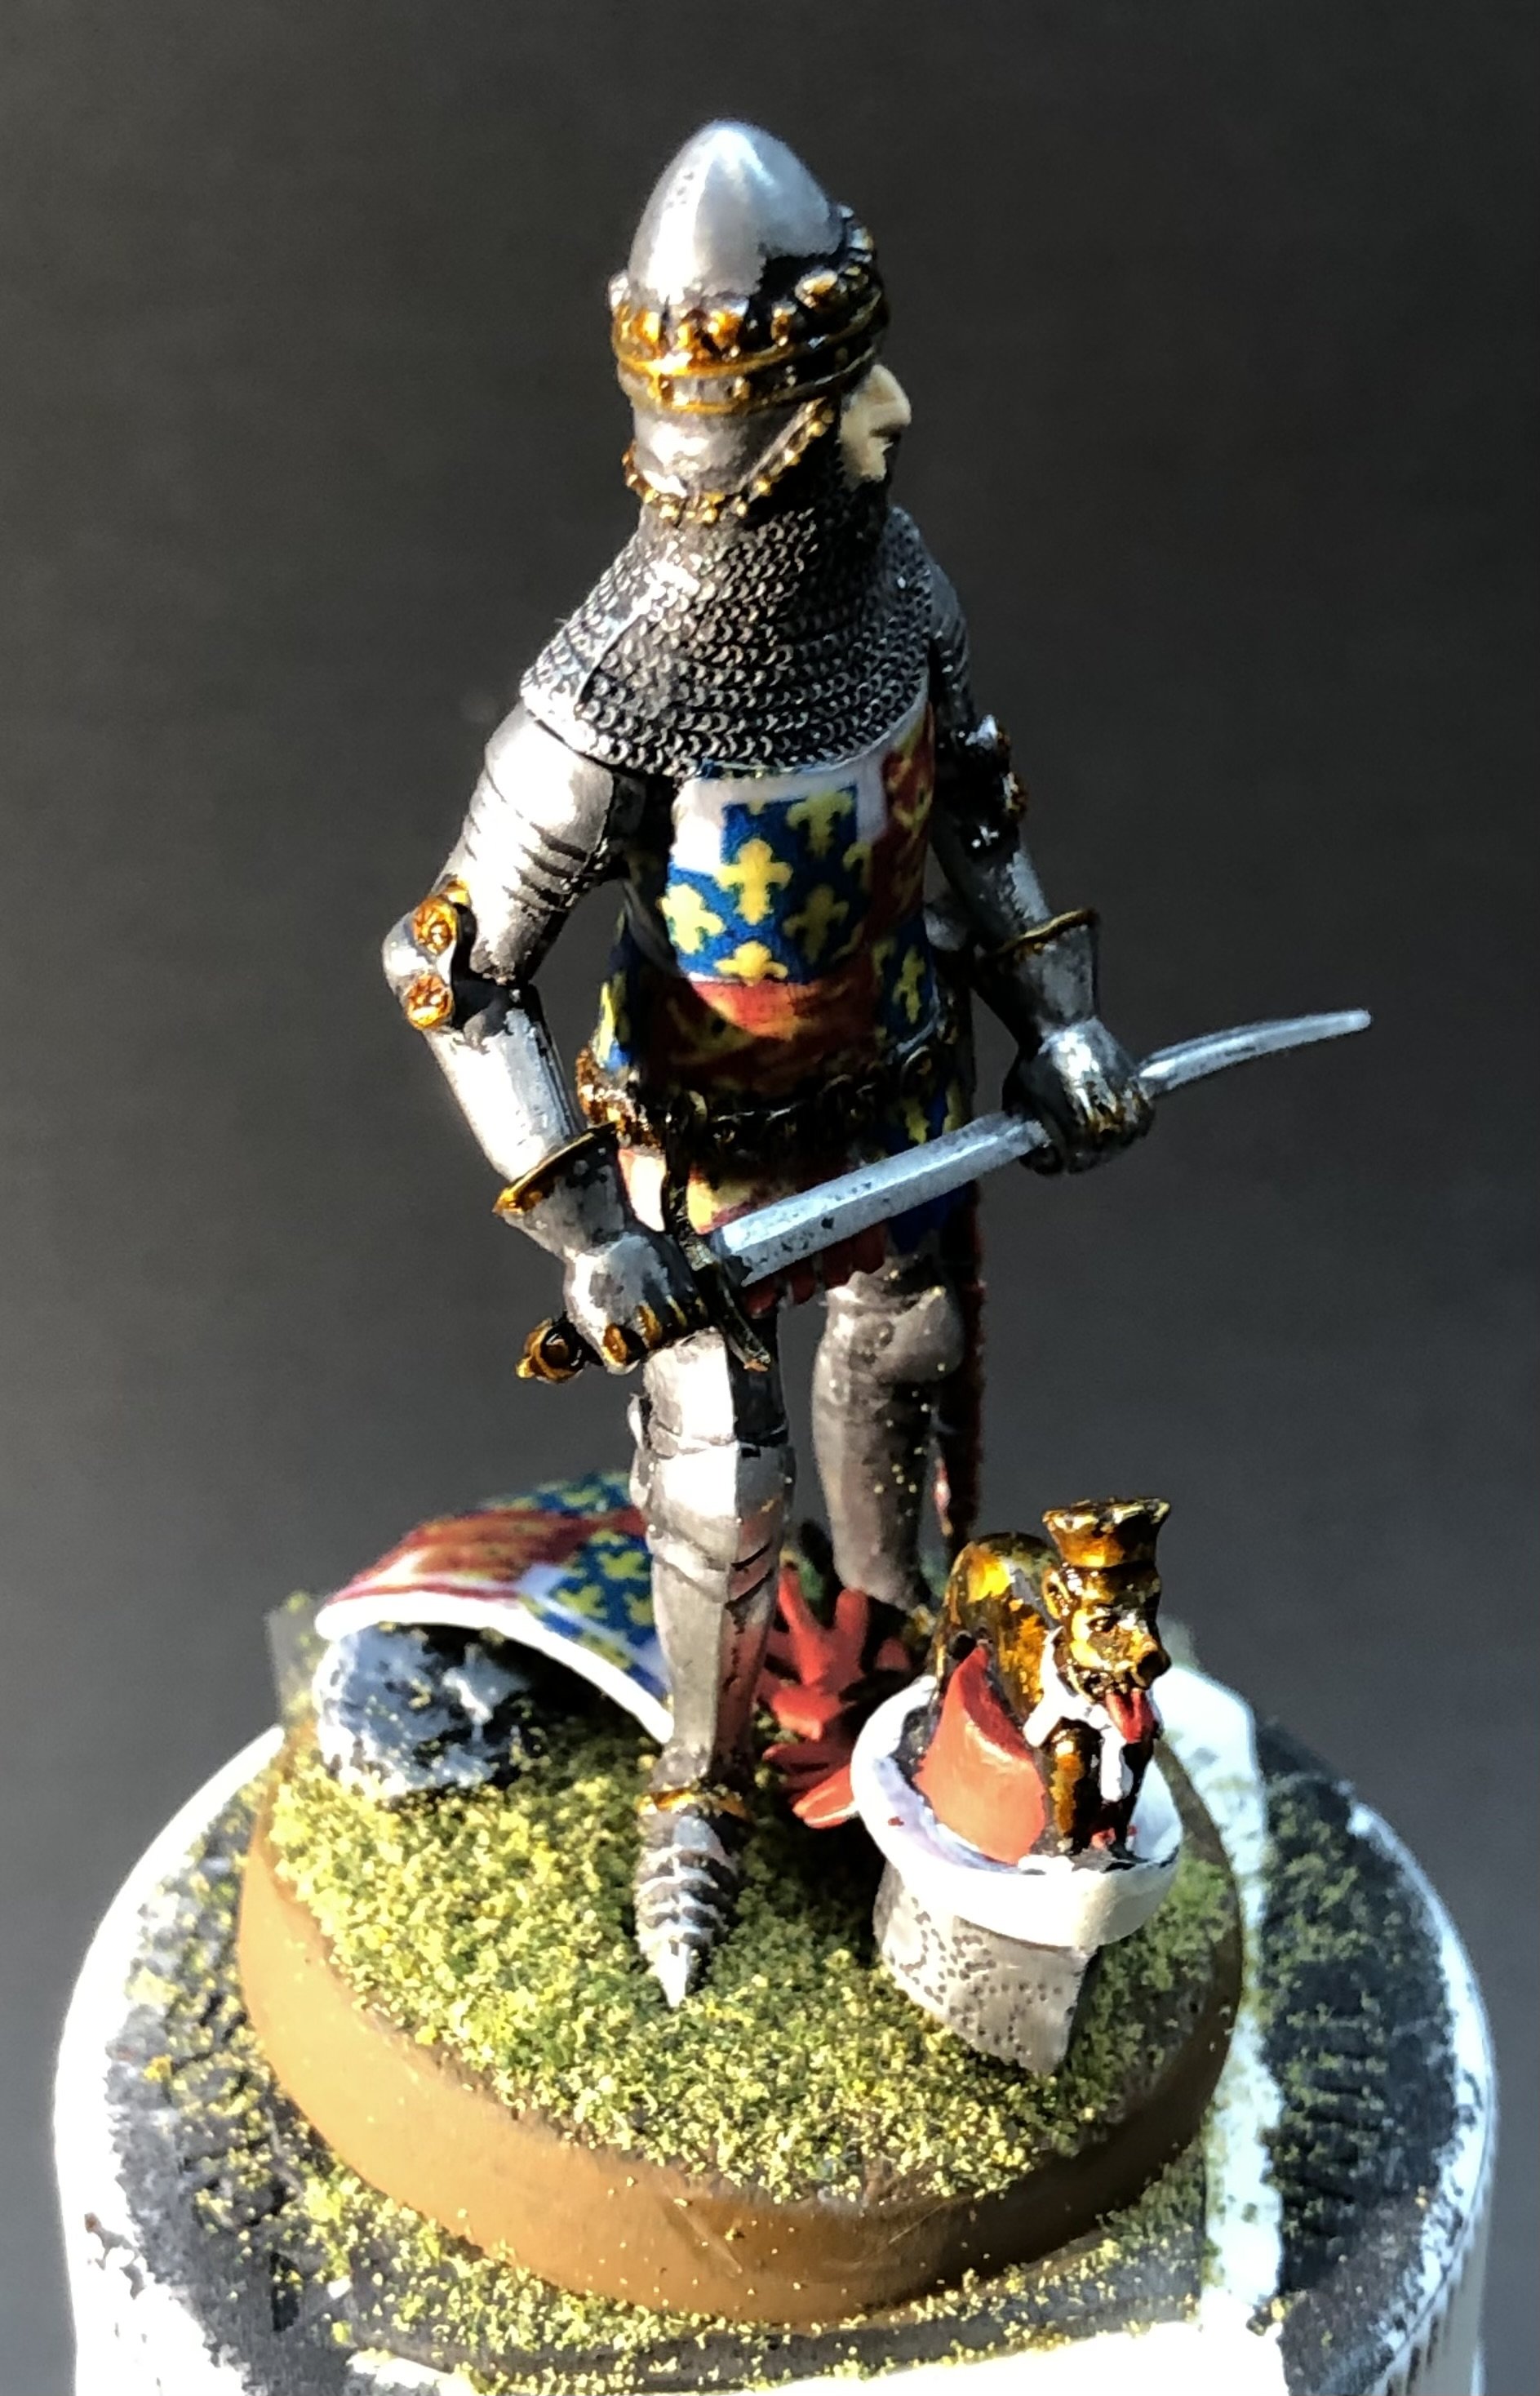
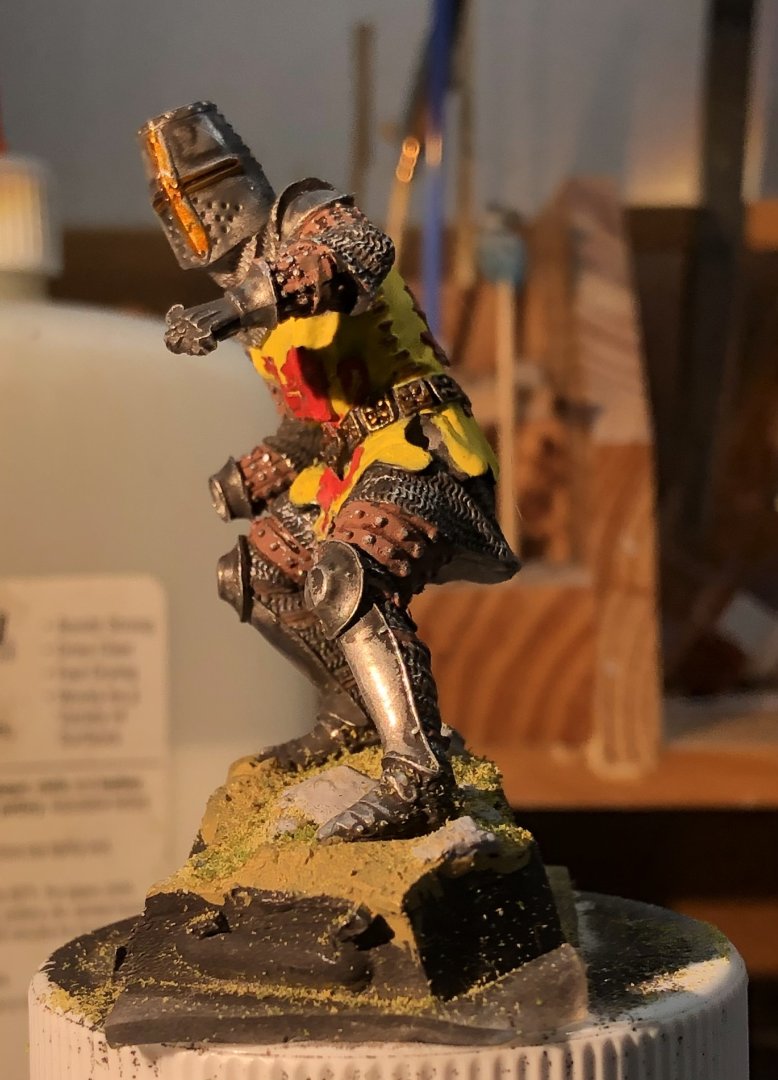
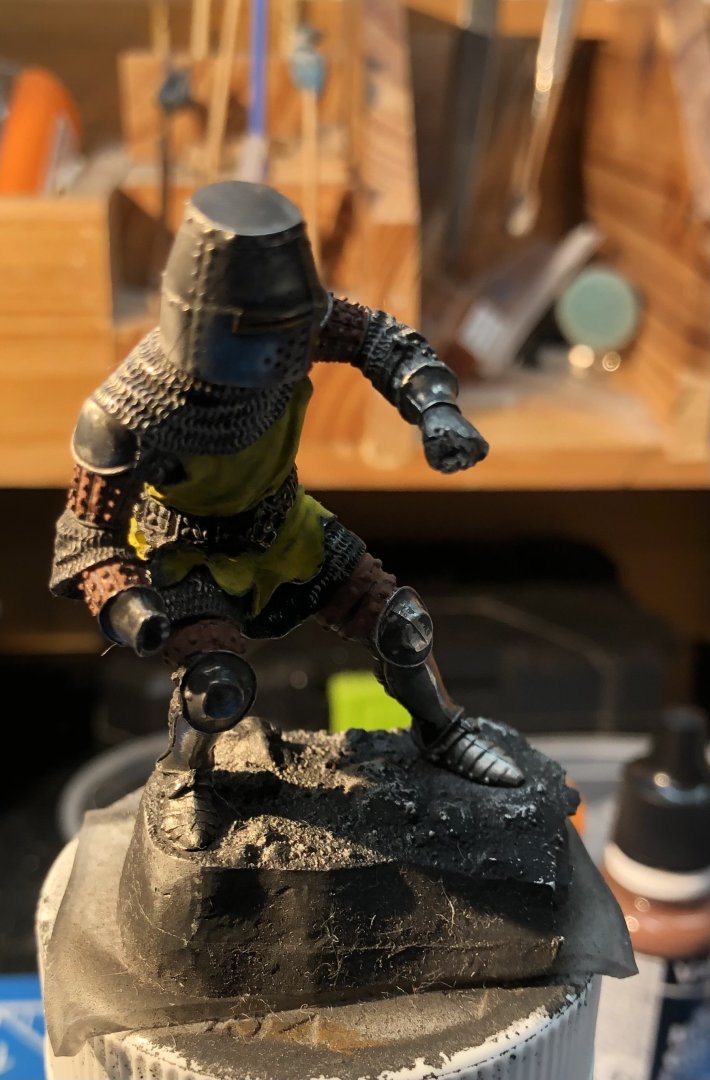
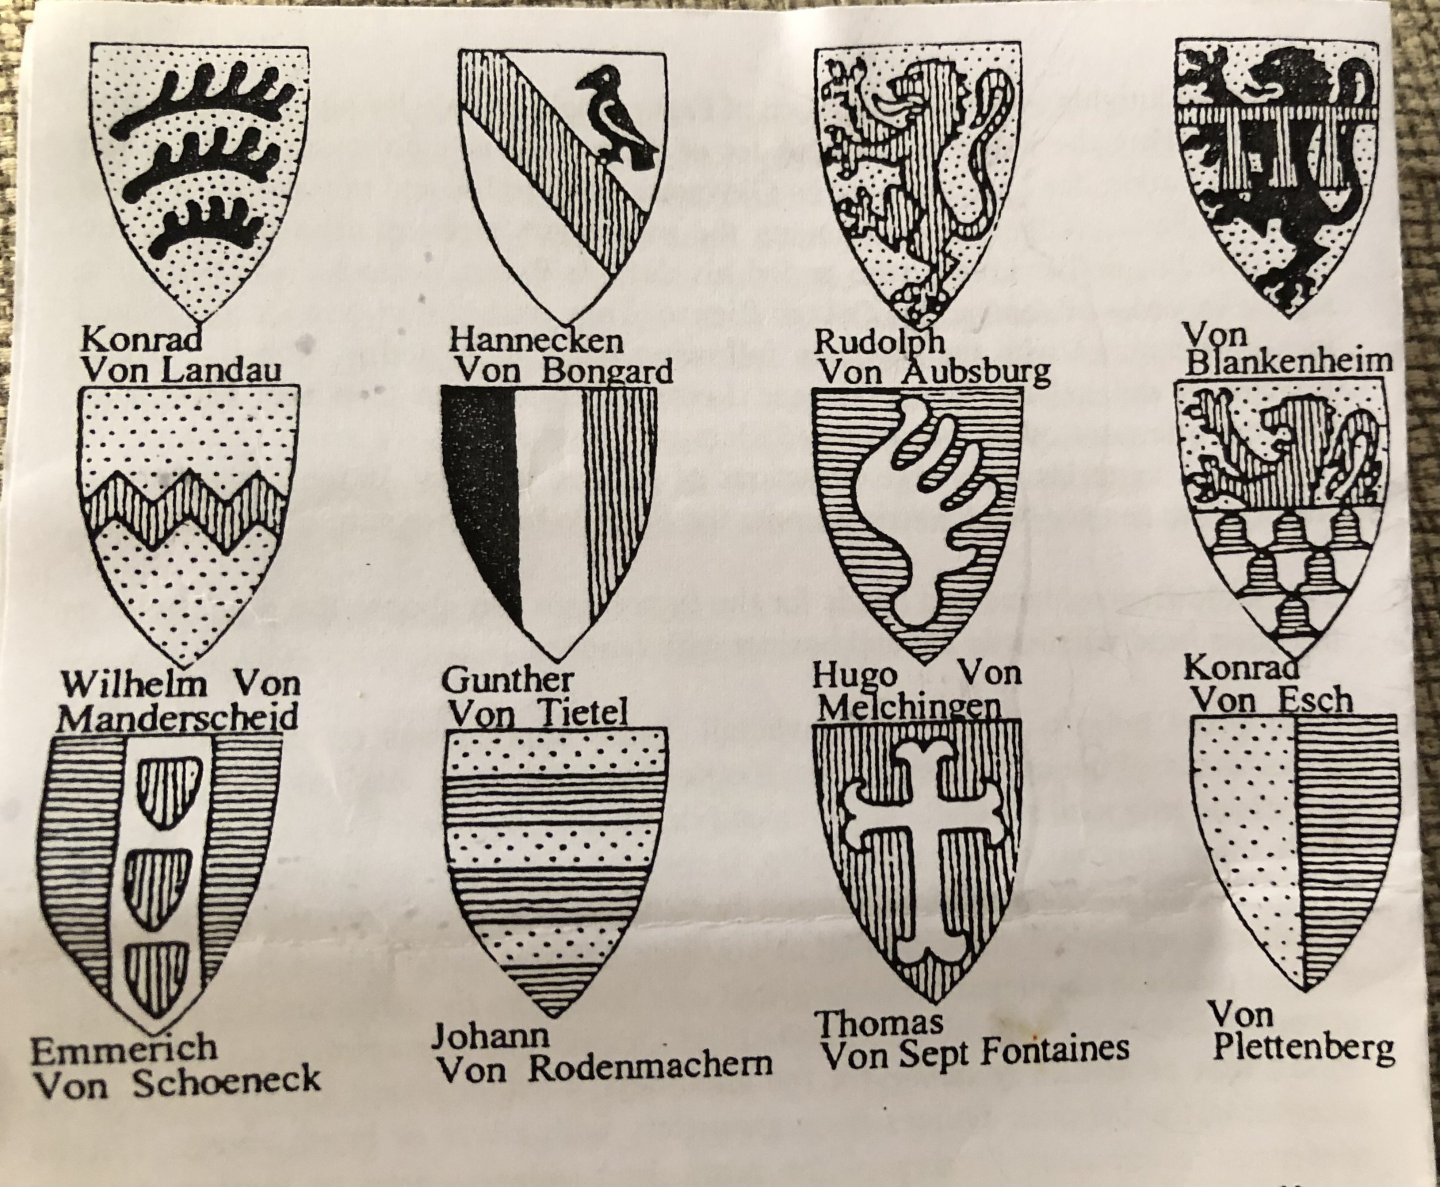
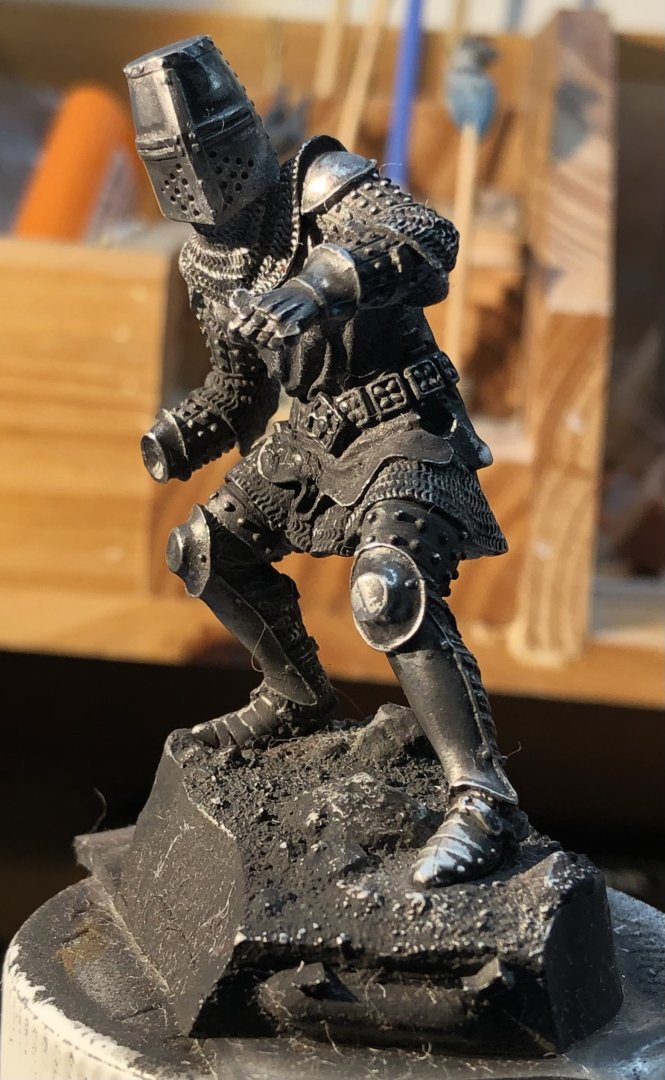
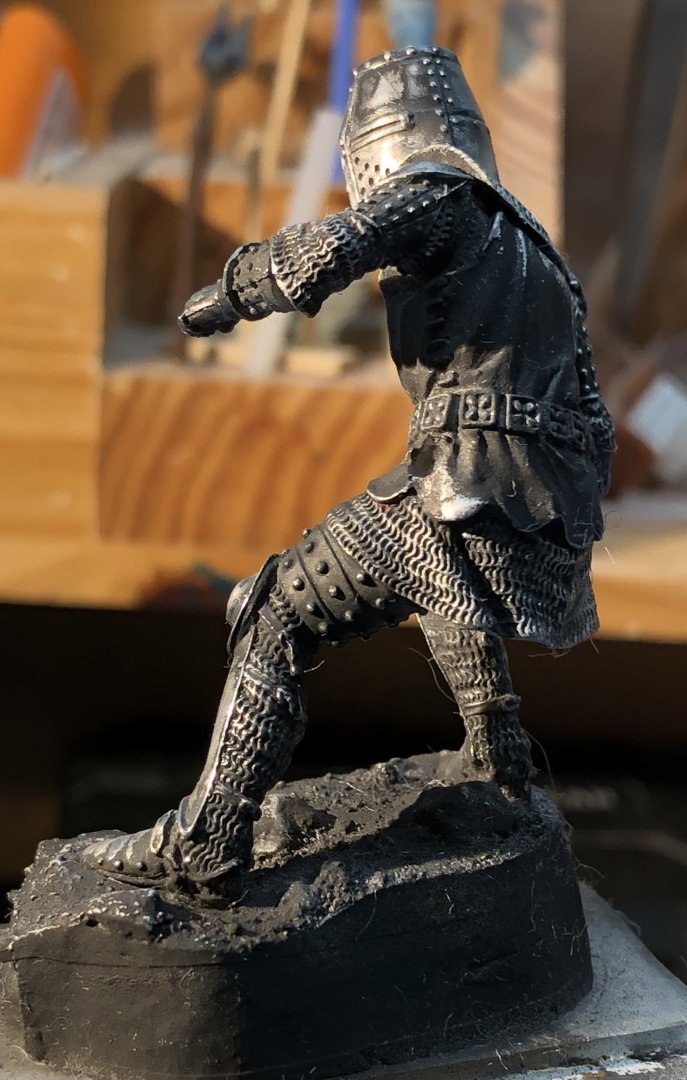
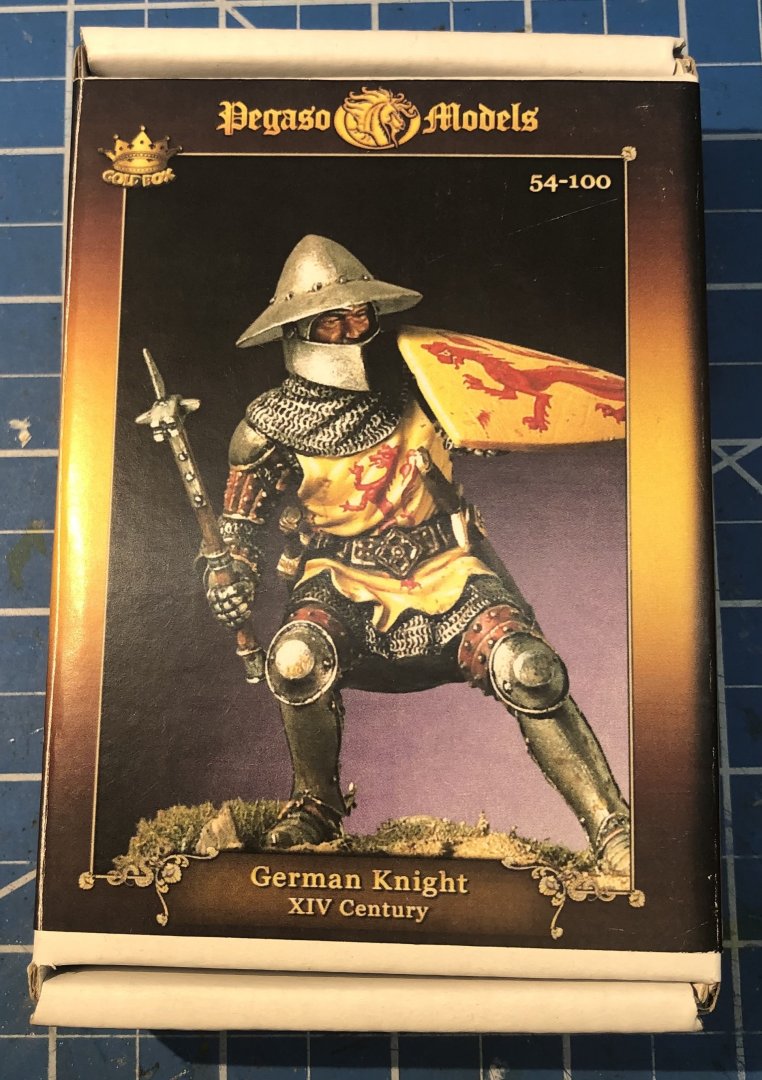
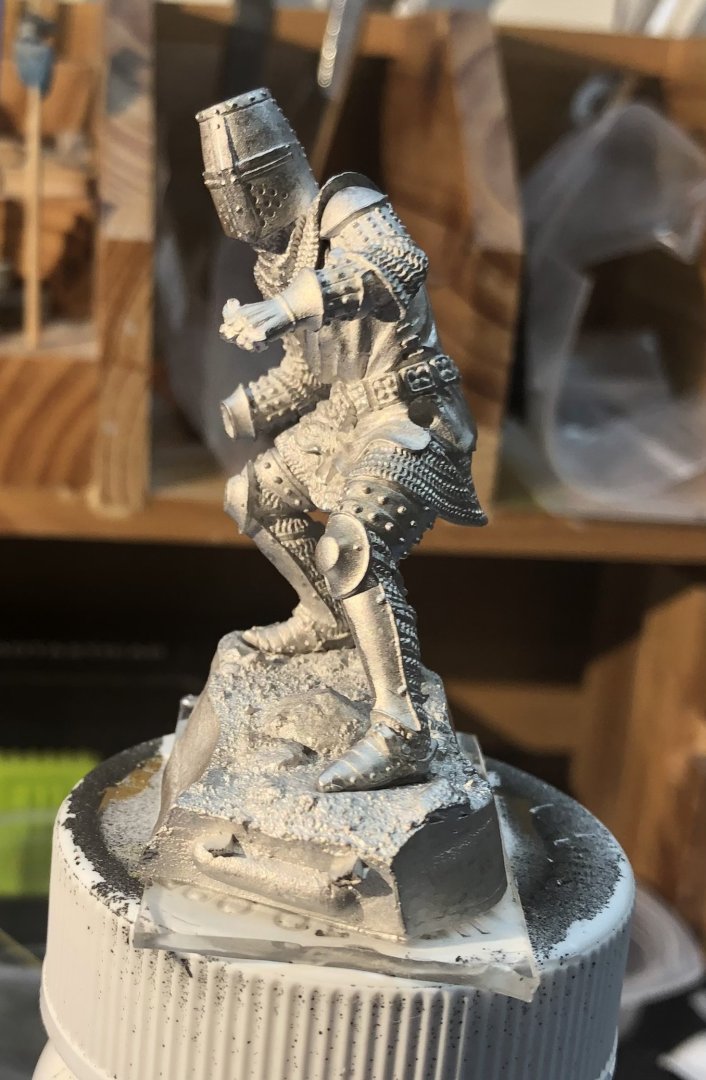
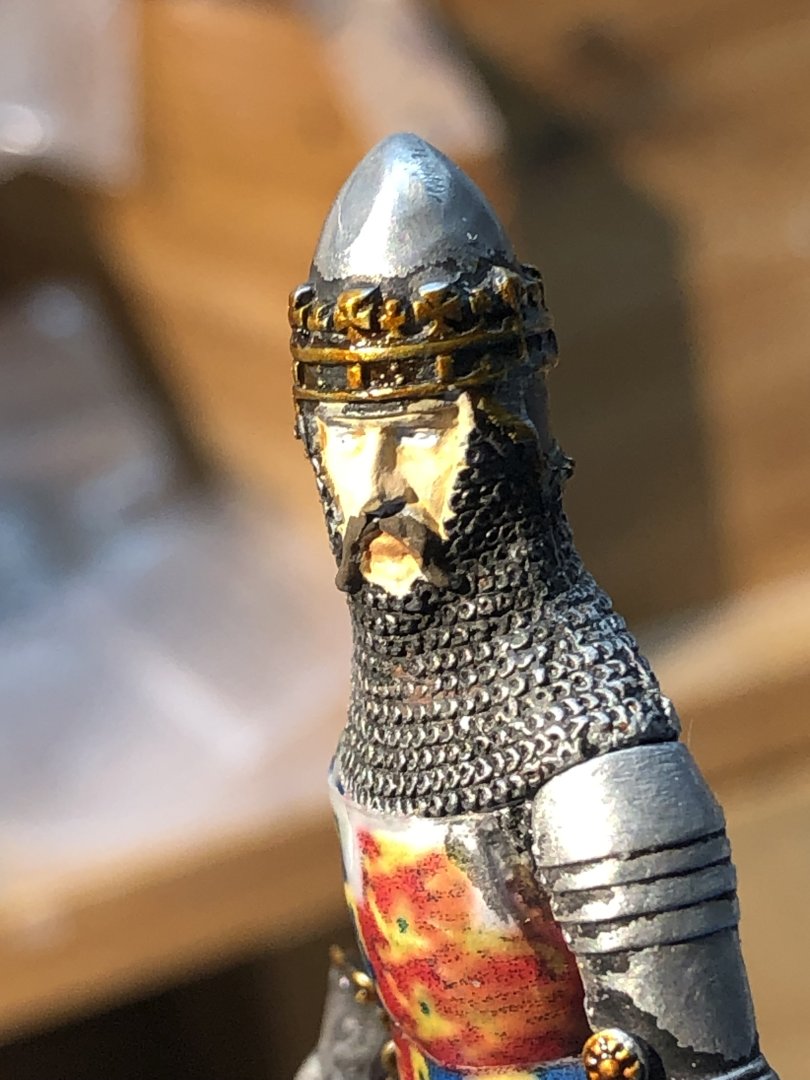
This is the last of my Pegaso kits unfortunately. It’s a bit more of a dynamic pose than I usually choose but I wanted to work on my armor skills and this looked like a good fit. kit comes with two options for the head, one with an open kettle helmet and the other with a helm. I elected to go with the helm. kit also includes shield and surround presumably to create the coat of arms. majority of the figure has been built up and received a coat of black primer. The fit of the parts is good and it was not necessary to use pins to hold the limbs in place while gluing. I’ve polished the plate armor with a rotary tool and jewelers rouge and the chain mail with cotton buds to achieve a lesser polished look. This is where I am at now. The details on the helm have been picked out with Tamiya clear orange ans has the belt and the leather armor on the arms and legs has been blocked in. The next decision is to decide which knight to pick. Pegaso provide details for 12 different knights My current choices are Von Plettenberg which I think I can paint convincingly or Von Aubsburg which will require trying to go the route of using decals. I might try the decals and see how it works out. Thanks for looking in. alan


- 39 replies
-
- 11
-
-
-
Thank you very much Mike. alan
-
Thank you very much OC, my last Pegaso kit coming up. alan
-
Thank you very much Phil alan
-
Thank you very much Ken. I just found that Andrea models produce a mounted version of the Black Prince which looks very nice. Sorely tempted, I want to try to paint a horse Alan
-
Great work on the funnel details alan
-
The Zodiac looks really good. alan
-
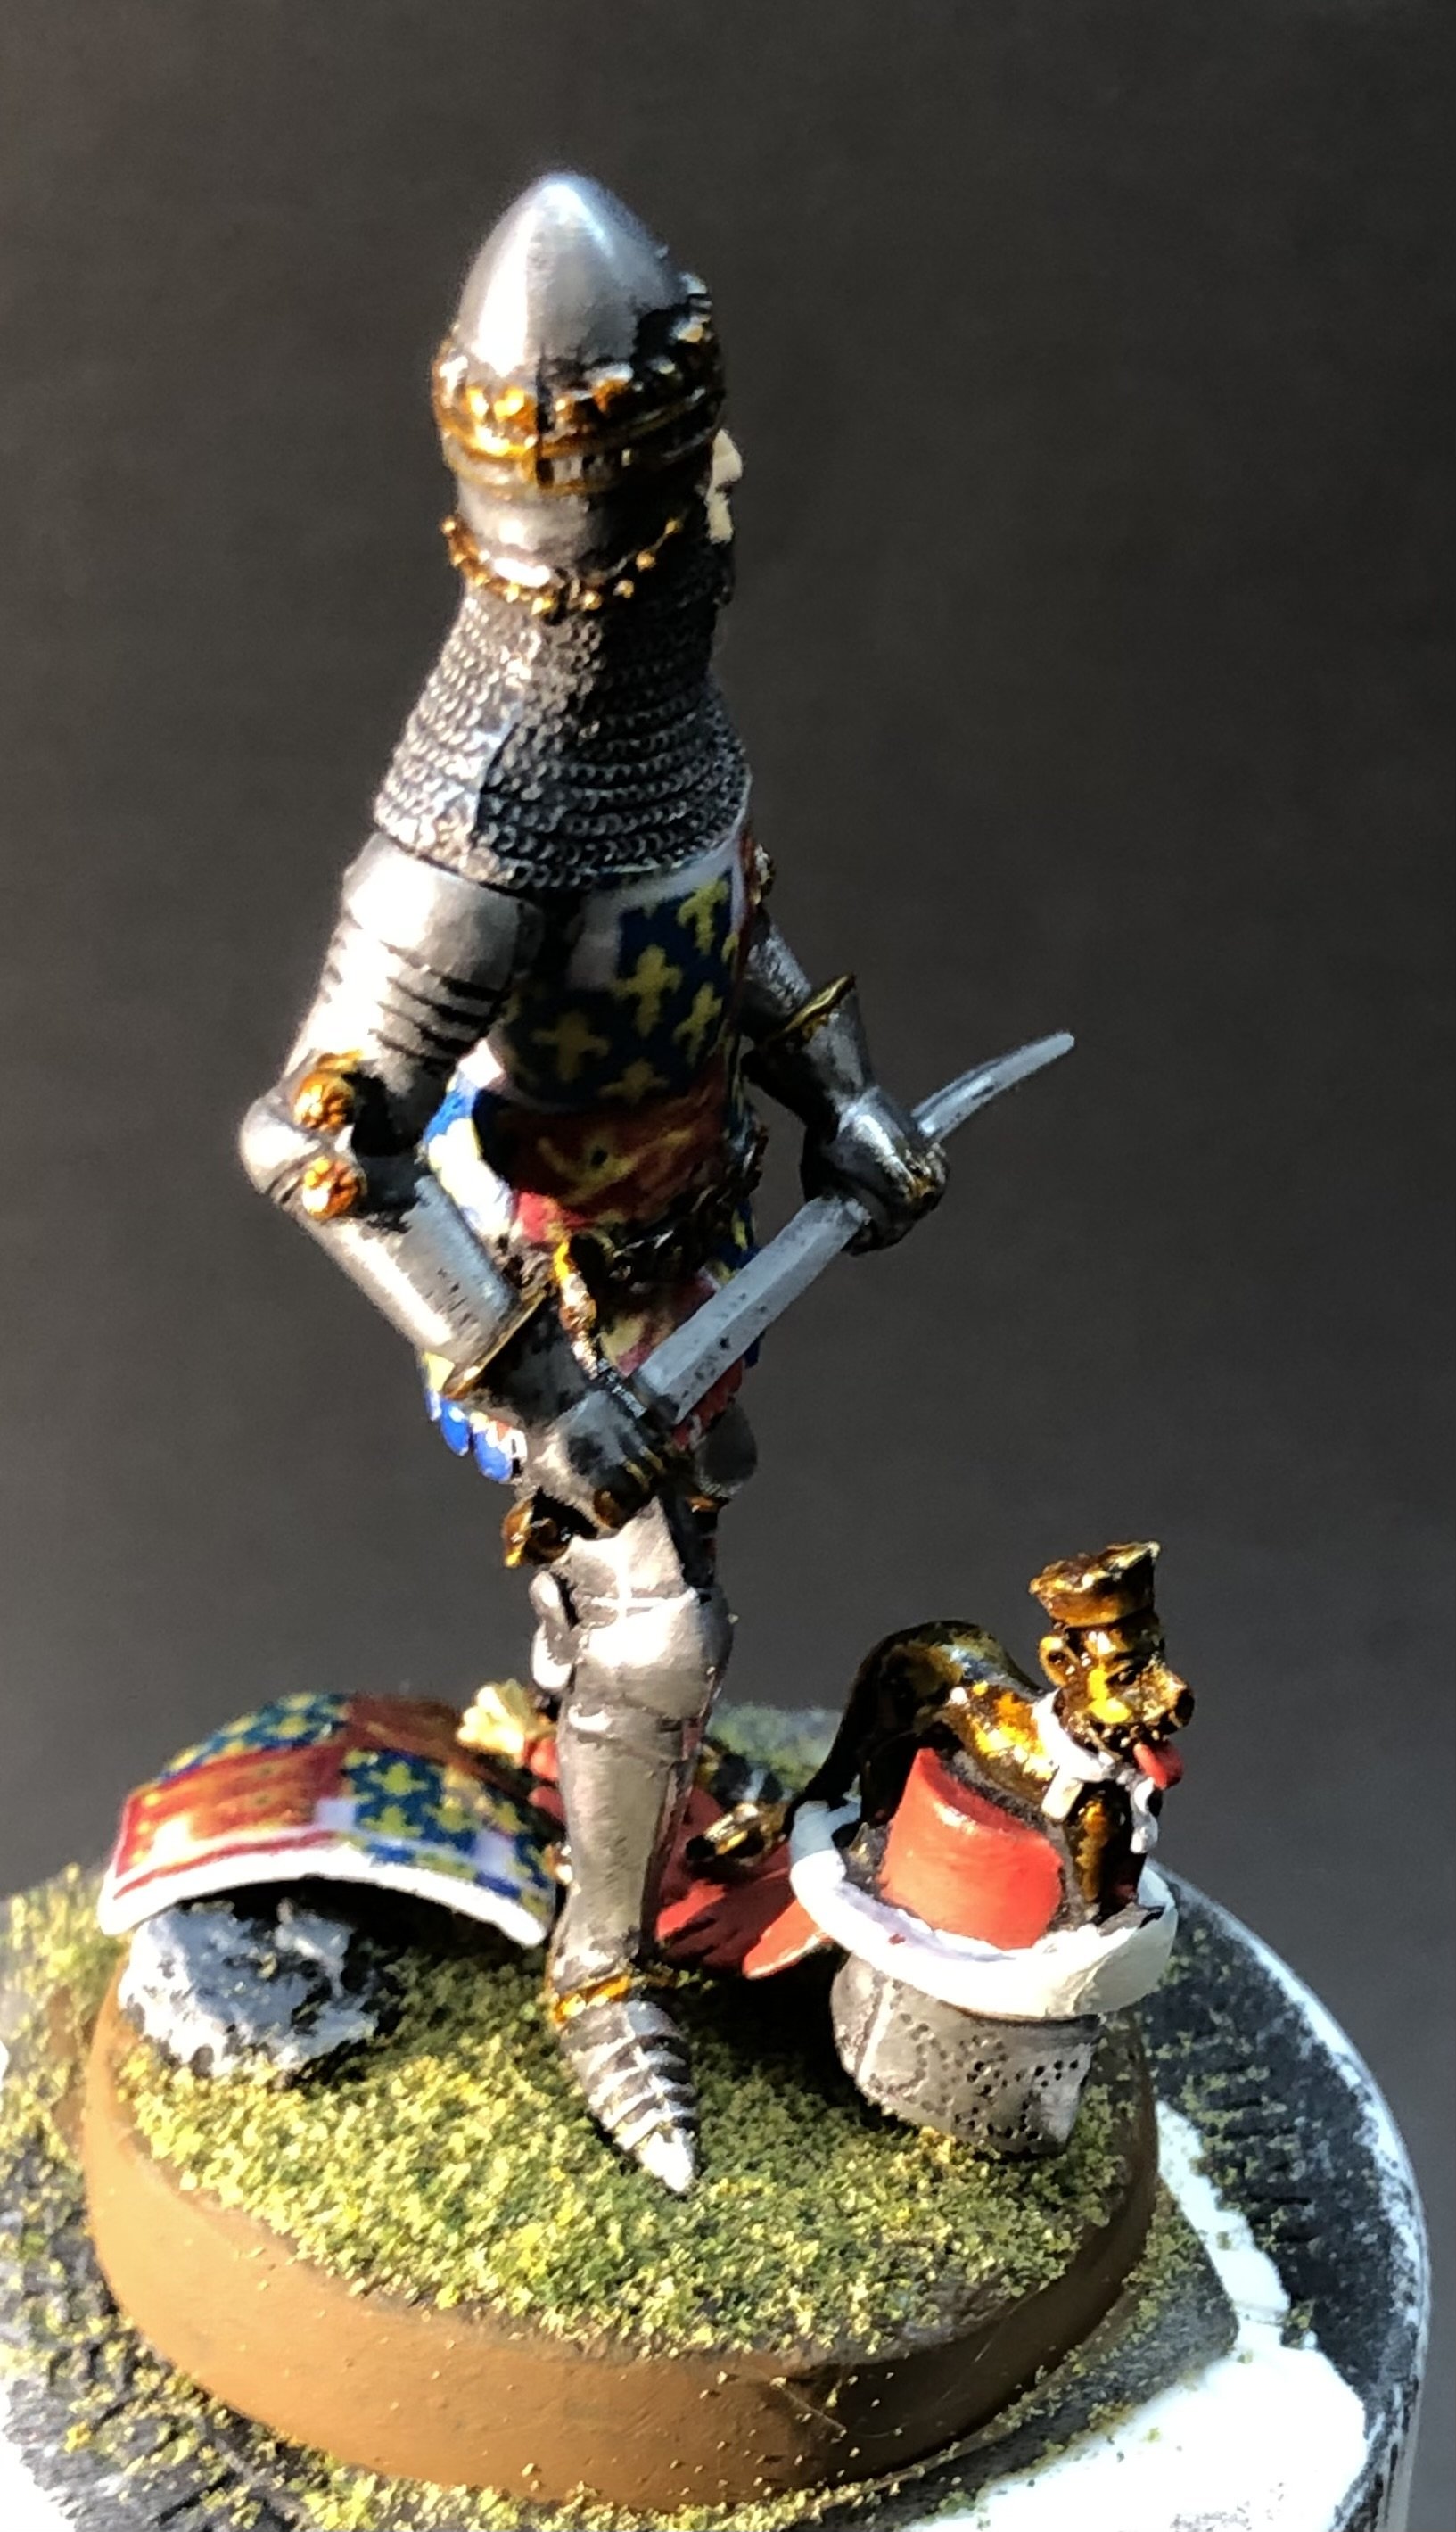
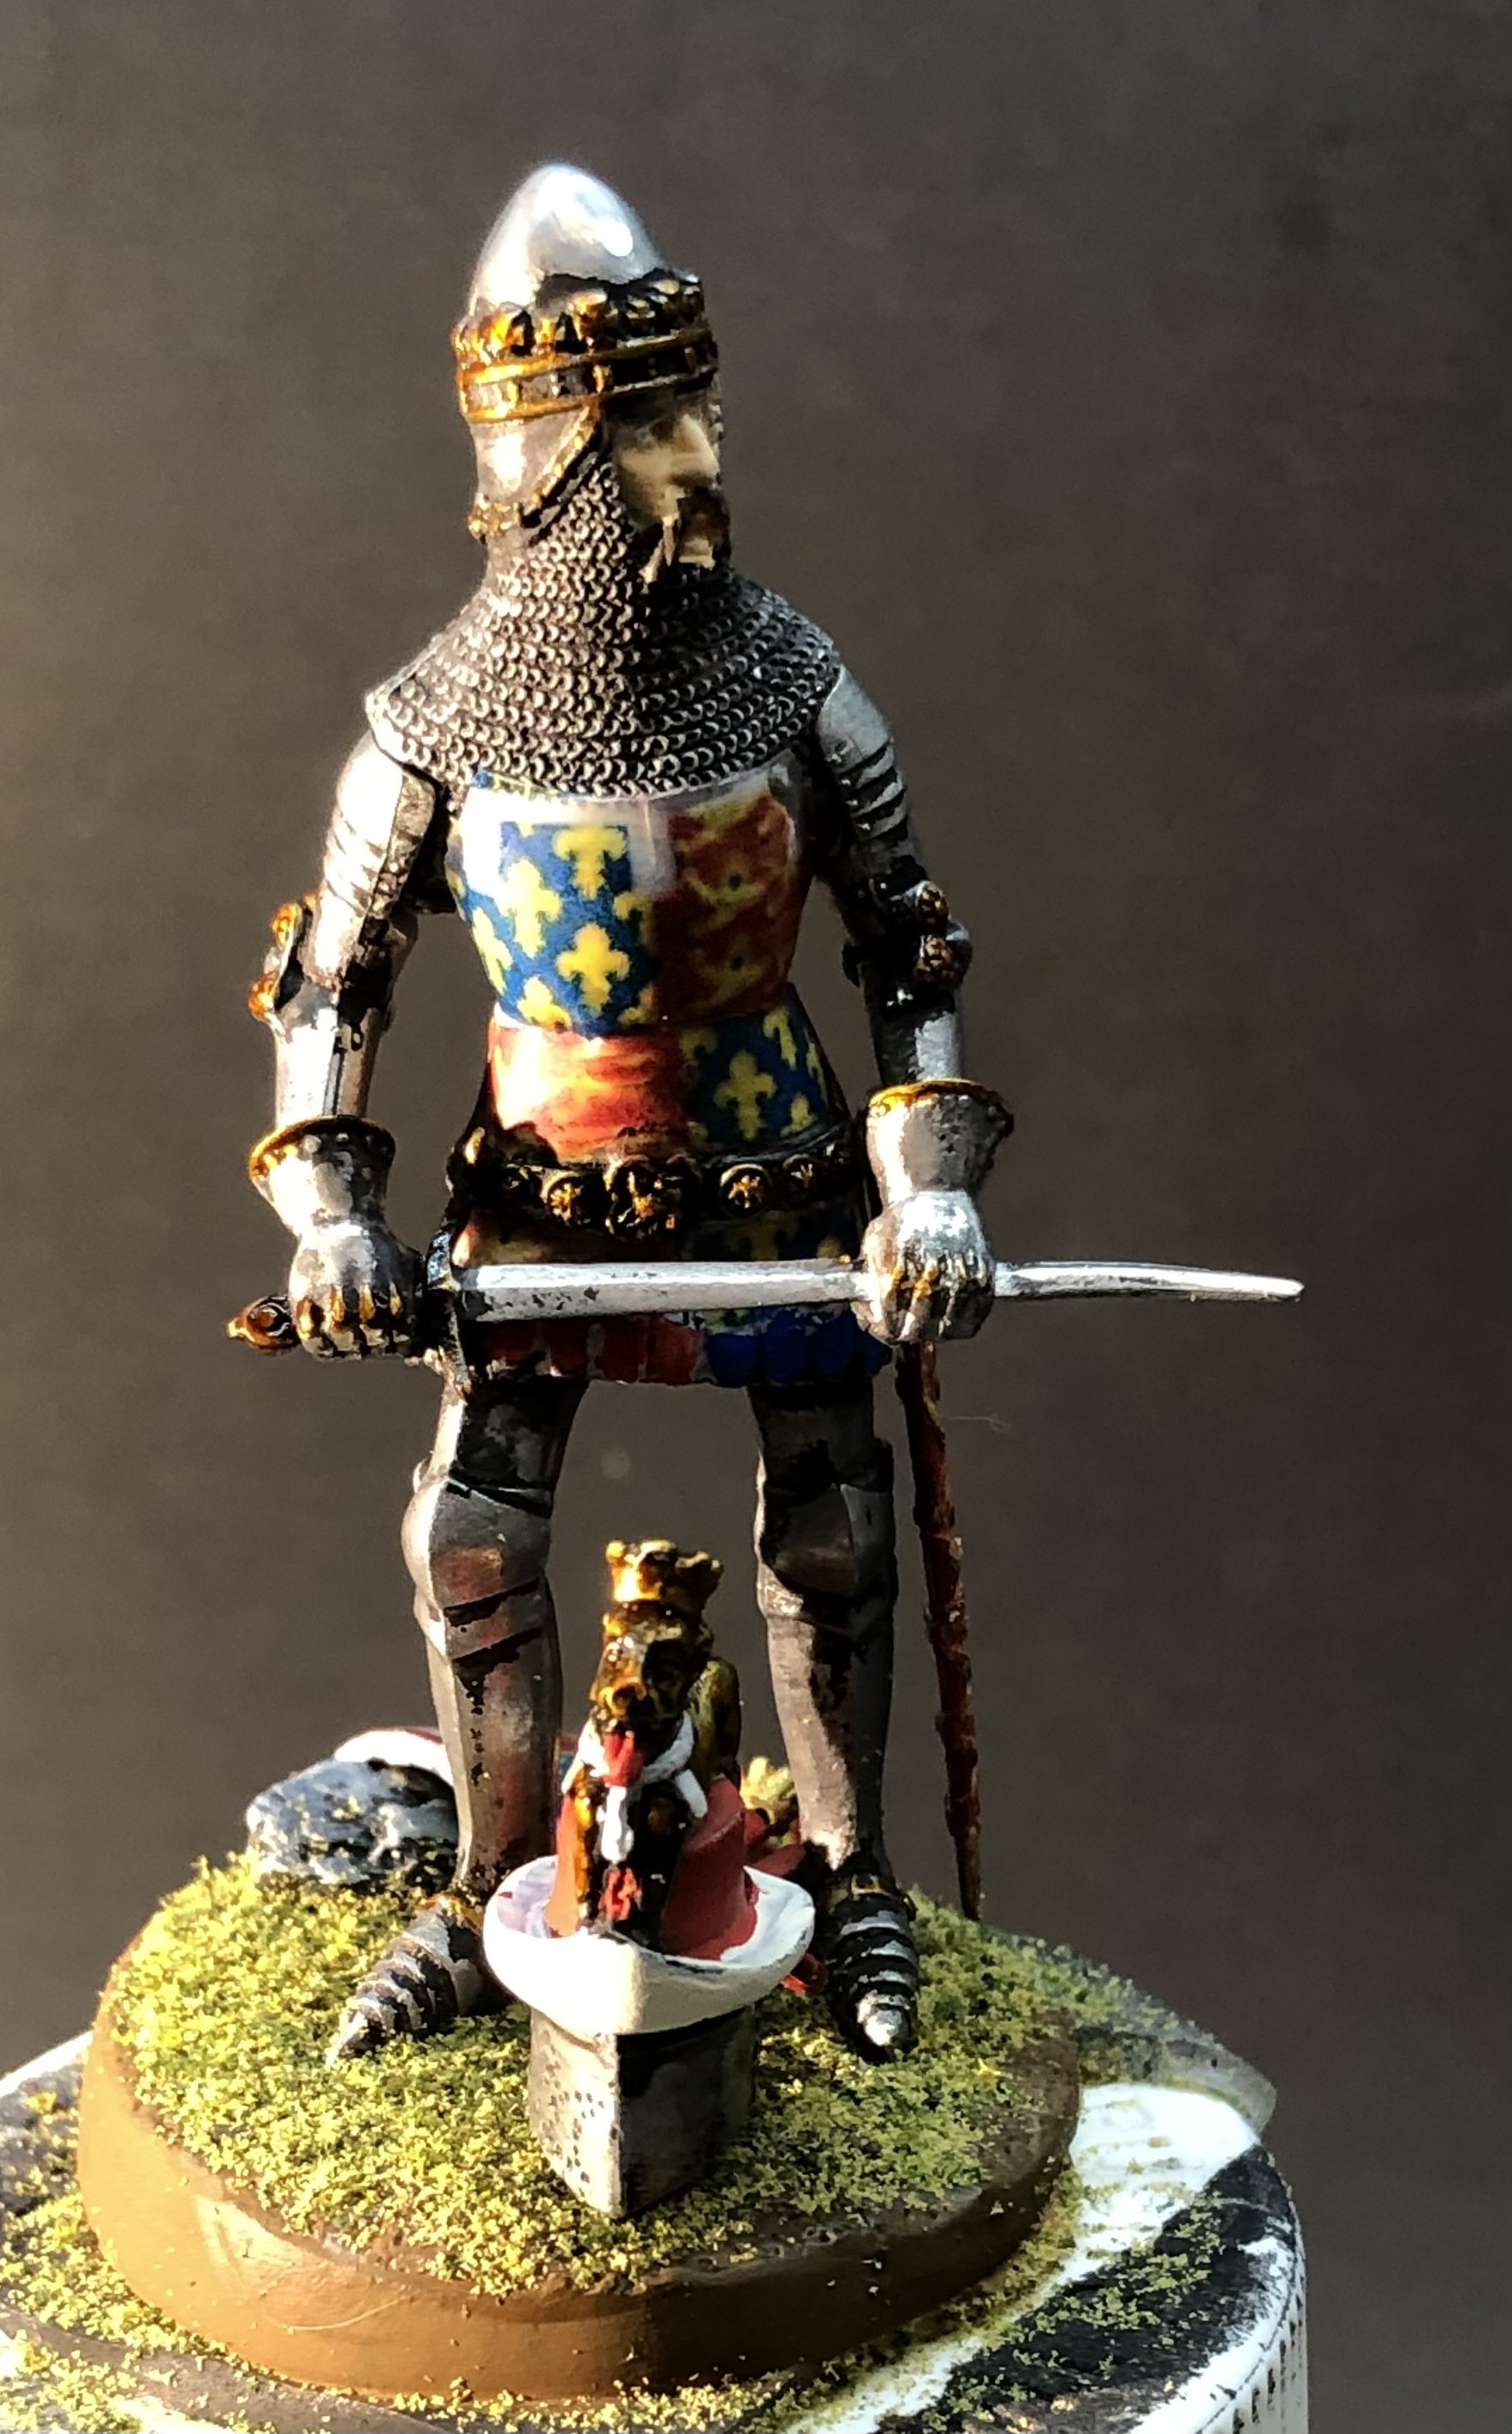
I think this one is finished. I added dark and light skin tones to the face and blended them while wet. A couple of the photos look like there is a problem with the chin area but it seems to just be an artifact of the photo. The larger face image is more representative. I tried a lighter pupil color, I quite like it but it is not as visible at a distance. I coated the base with the usual Woodlands Scenics yellow and green grass mix. I didn’t add anything else. The shield and helm has to be added to the base and there isn’t a lot of space to spare. The figure went together quite nicely. I didn’t have to add rods to connect the pieces. The armor came out pretty well, the decals are the least enjoyable part of the project but there is no way I could freehand the surcoat and shield. Thanks for looking in, the likes and kind comments. Now I’m trying to decide whether to attempt another figure (I have Pegaso German knight which looks nice) or a return to the maritime world. Alan


-
Thank you very much OC. The last details are in progress. alan
-
It just looks better and better as the details pile up. I still can’t imagine doing those railings myself. alan
- 288 replies
-
- 4
-
-
-
- Card
- Pre-Dreadnought
- (and 3 more)
-
The engine pods look very nice. alan