king derelict
-
Posts
3,292 -
Joined
-
Last visited
Content Type
Profiles
Forums
Gallery
Events
Everything posted by king derelict
-
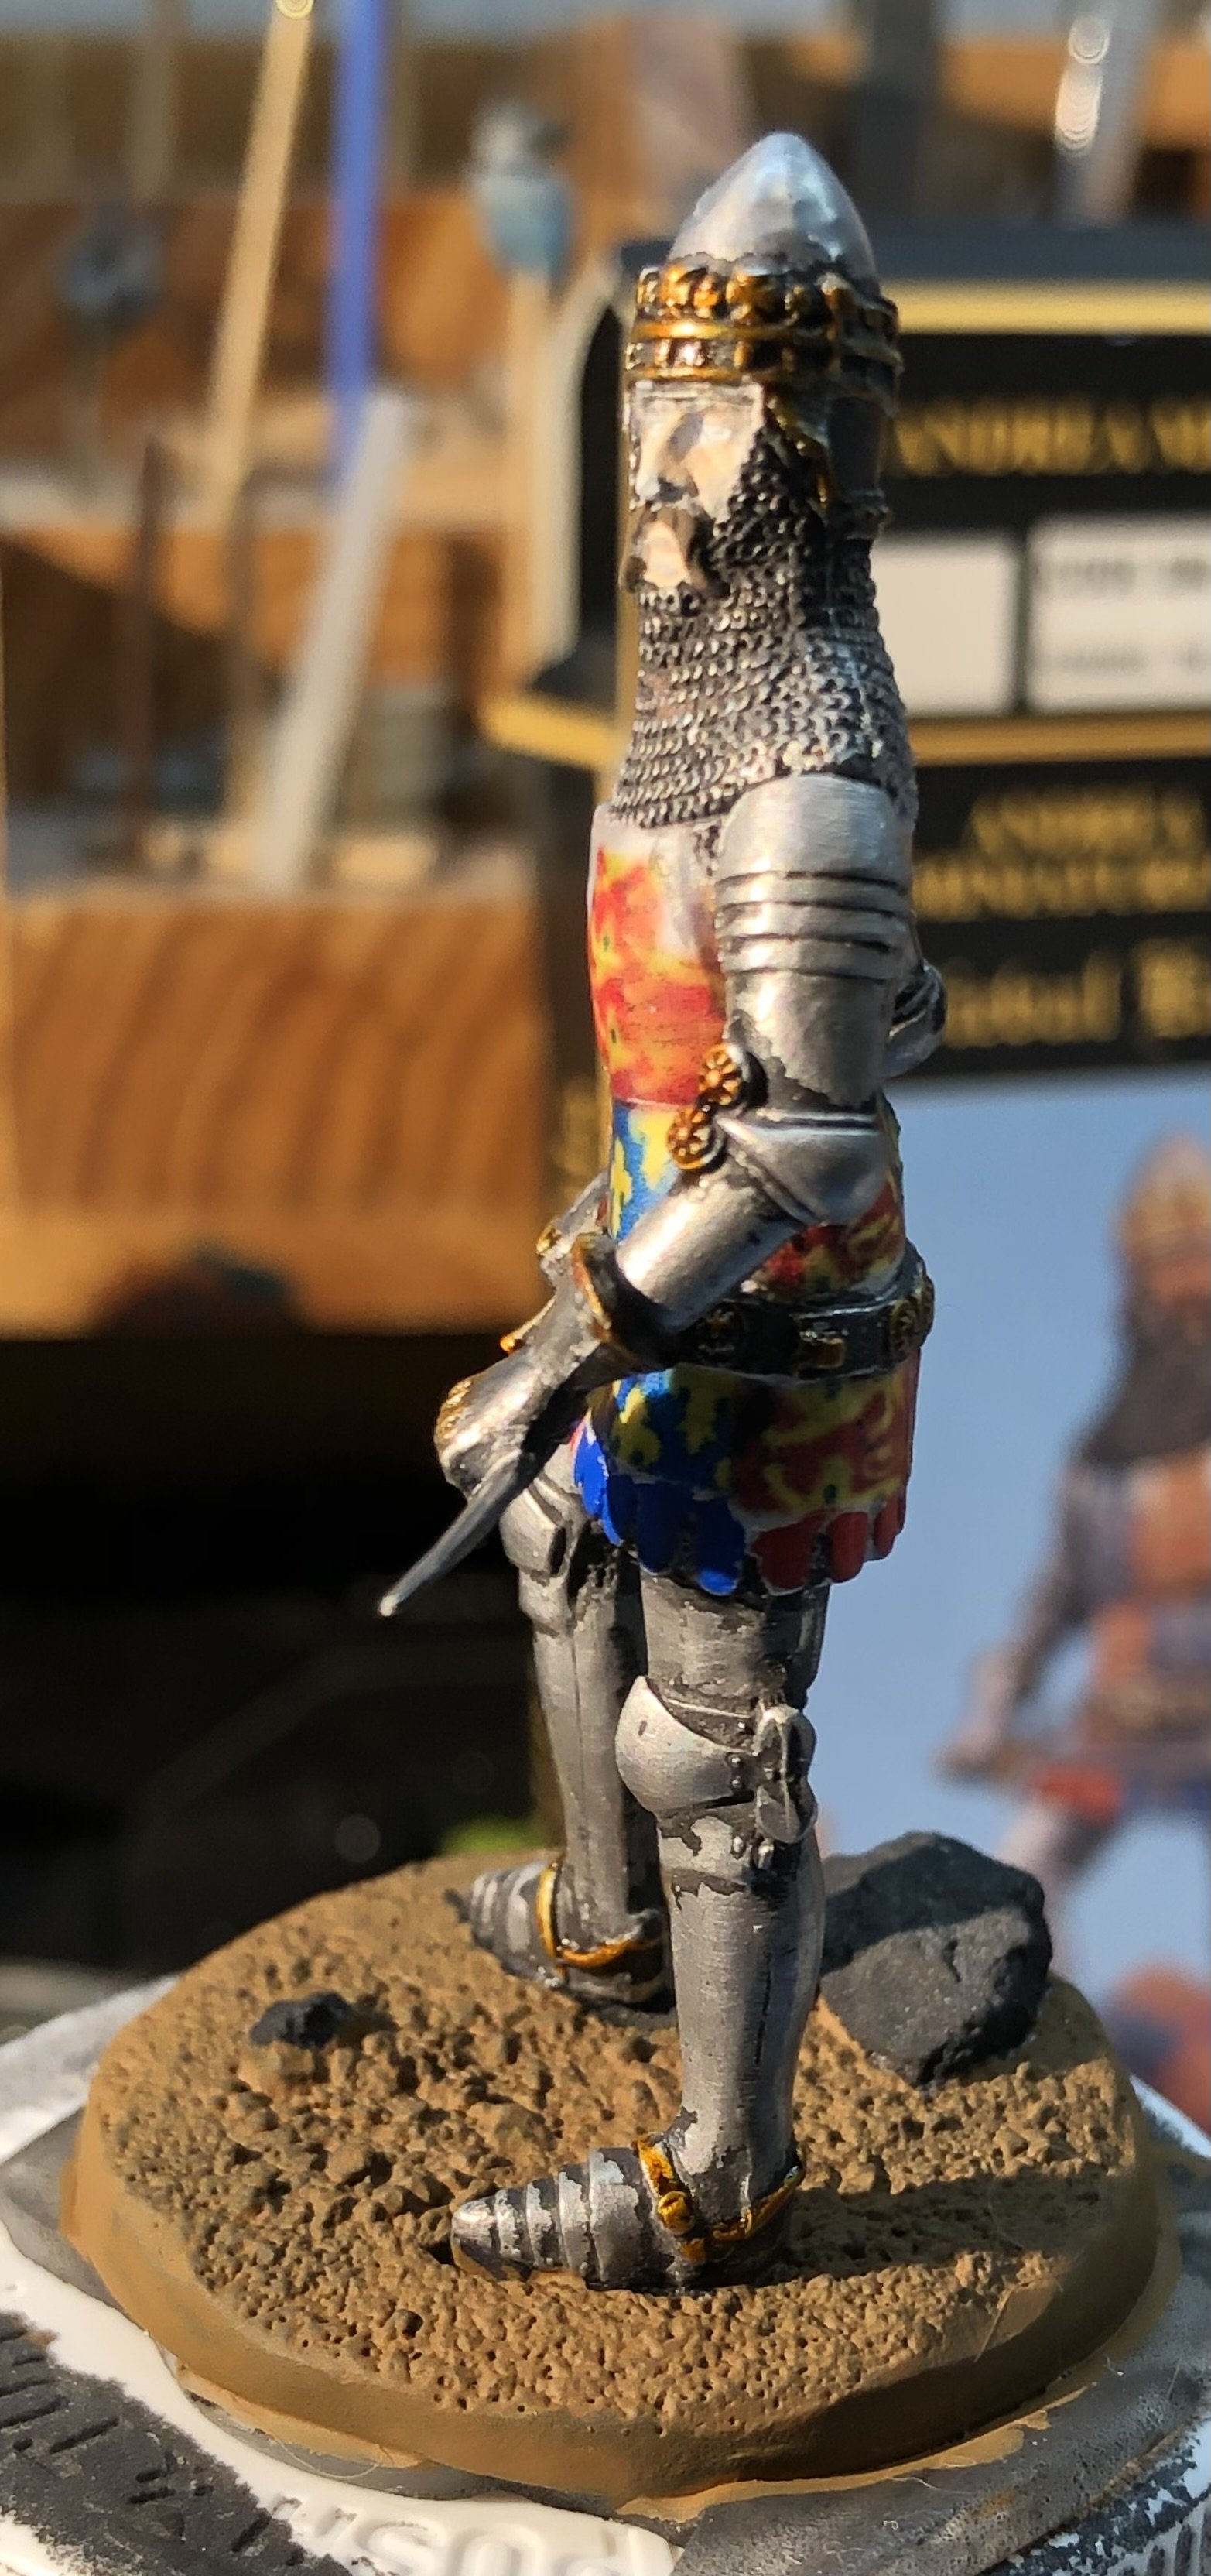
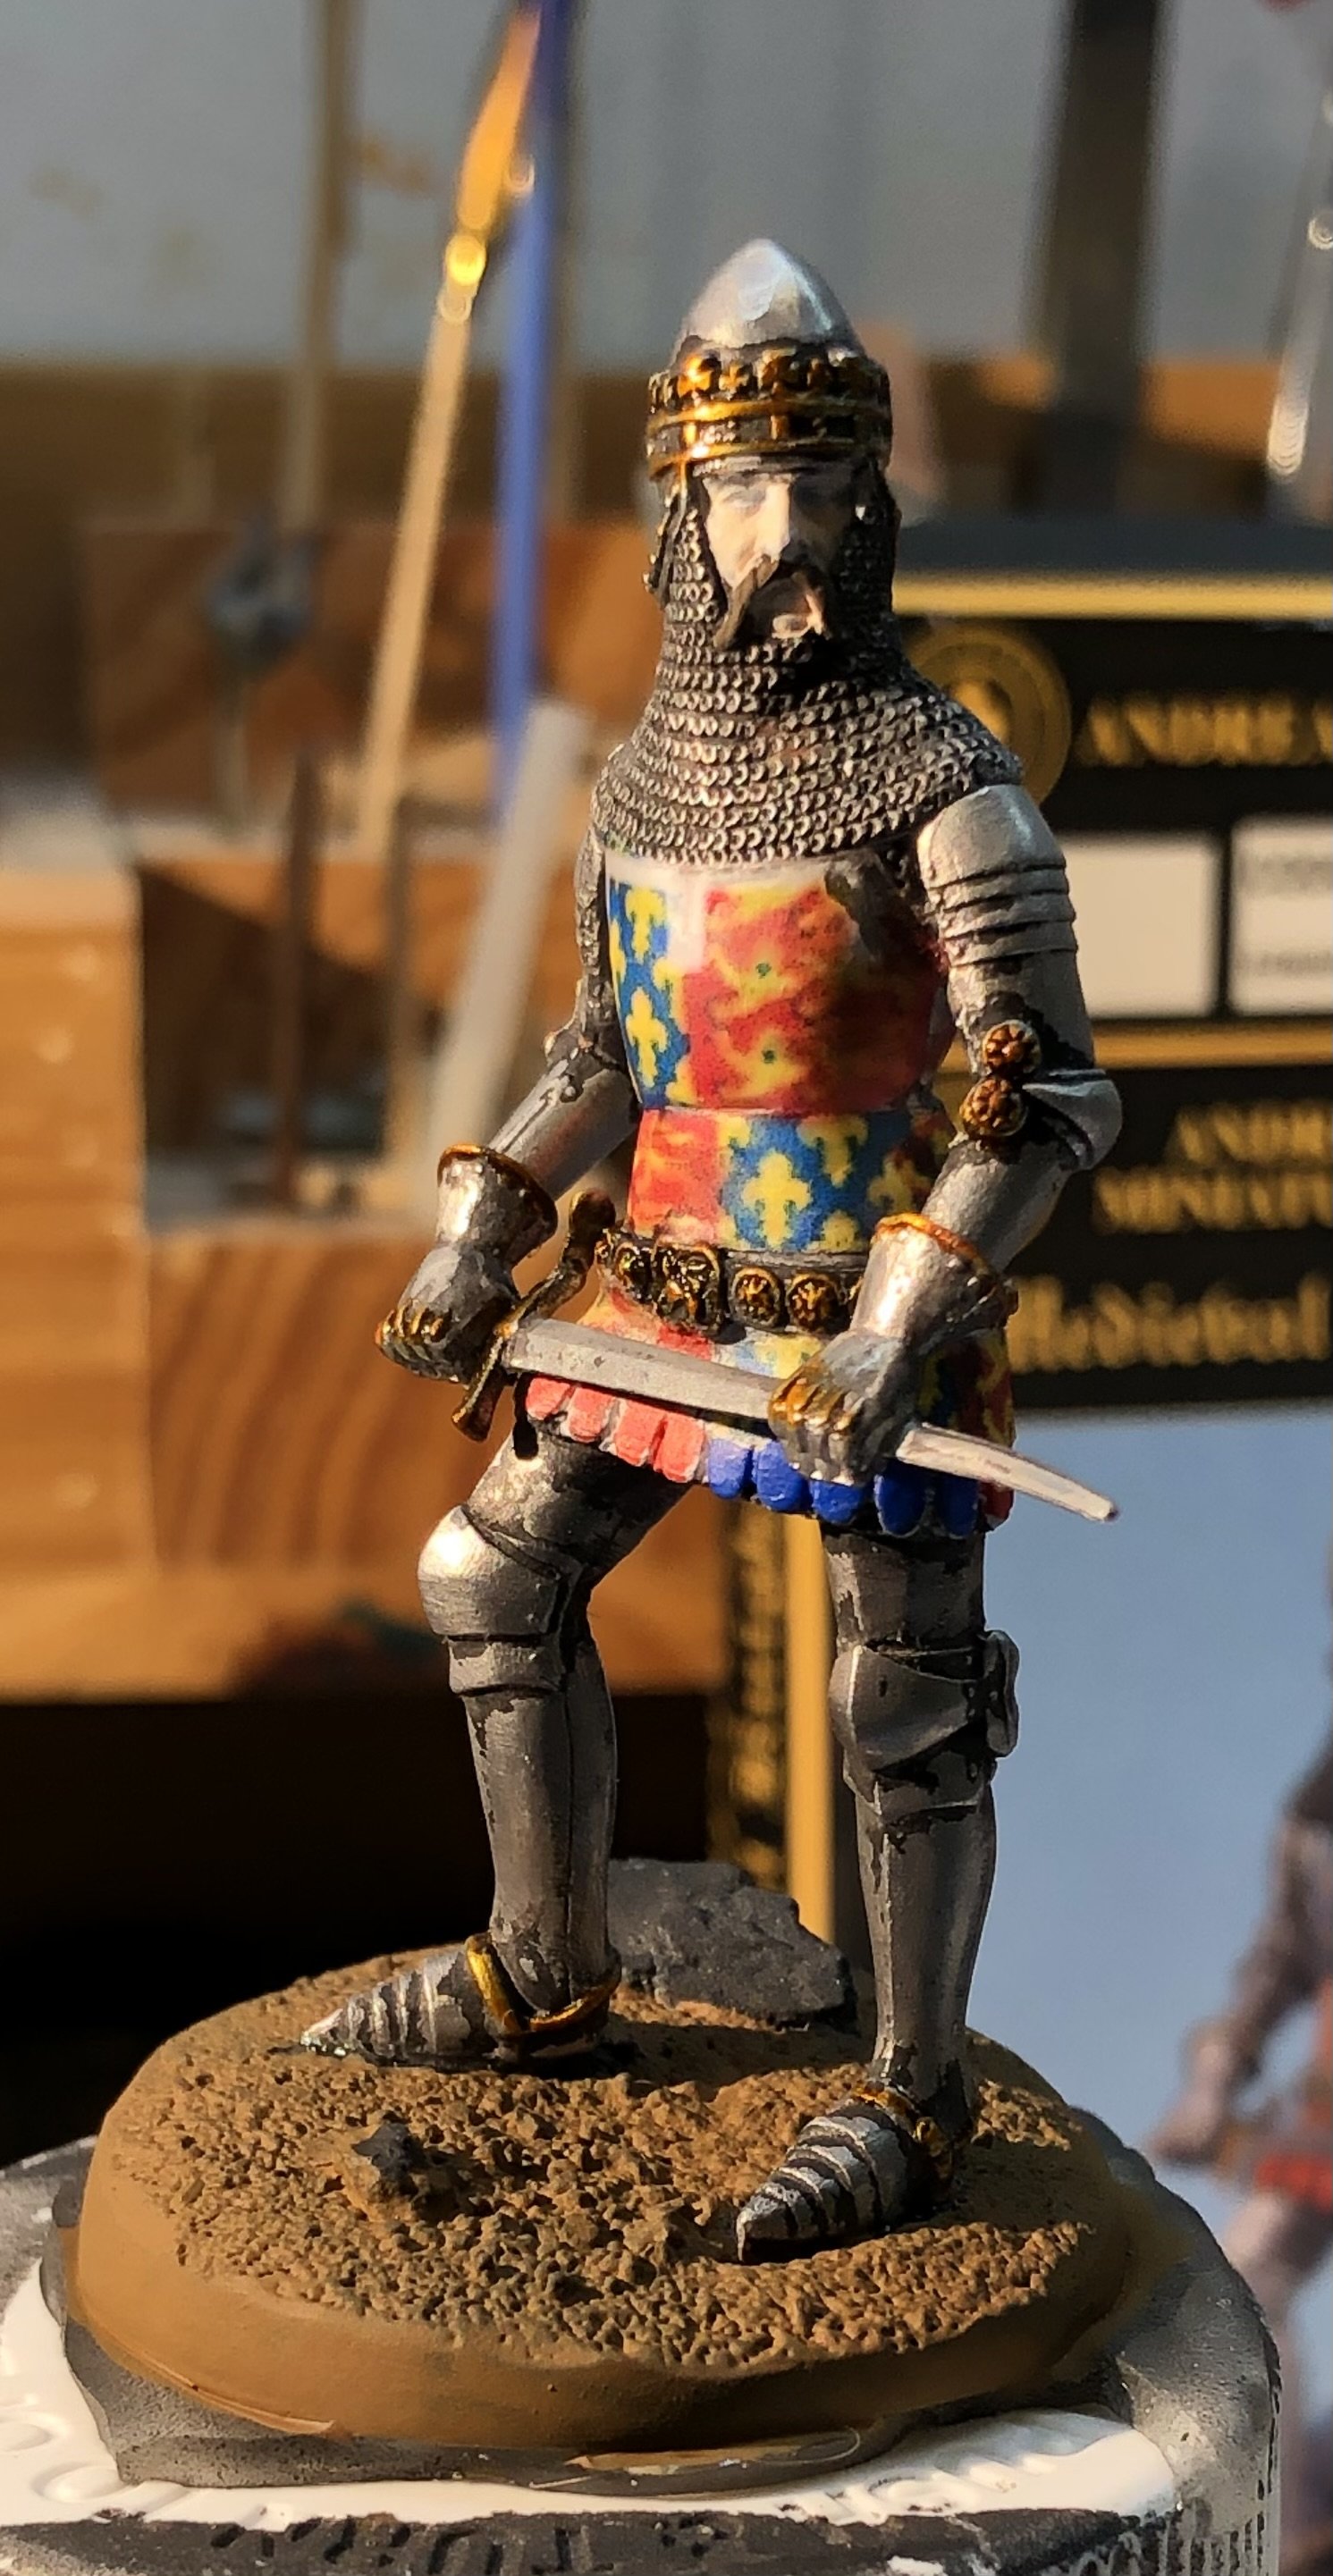
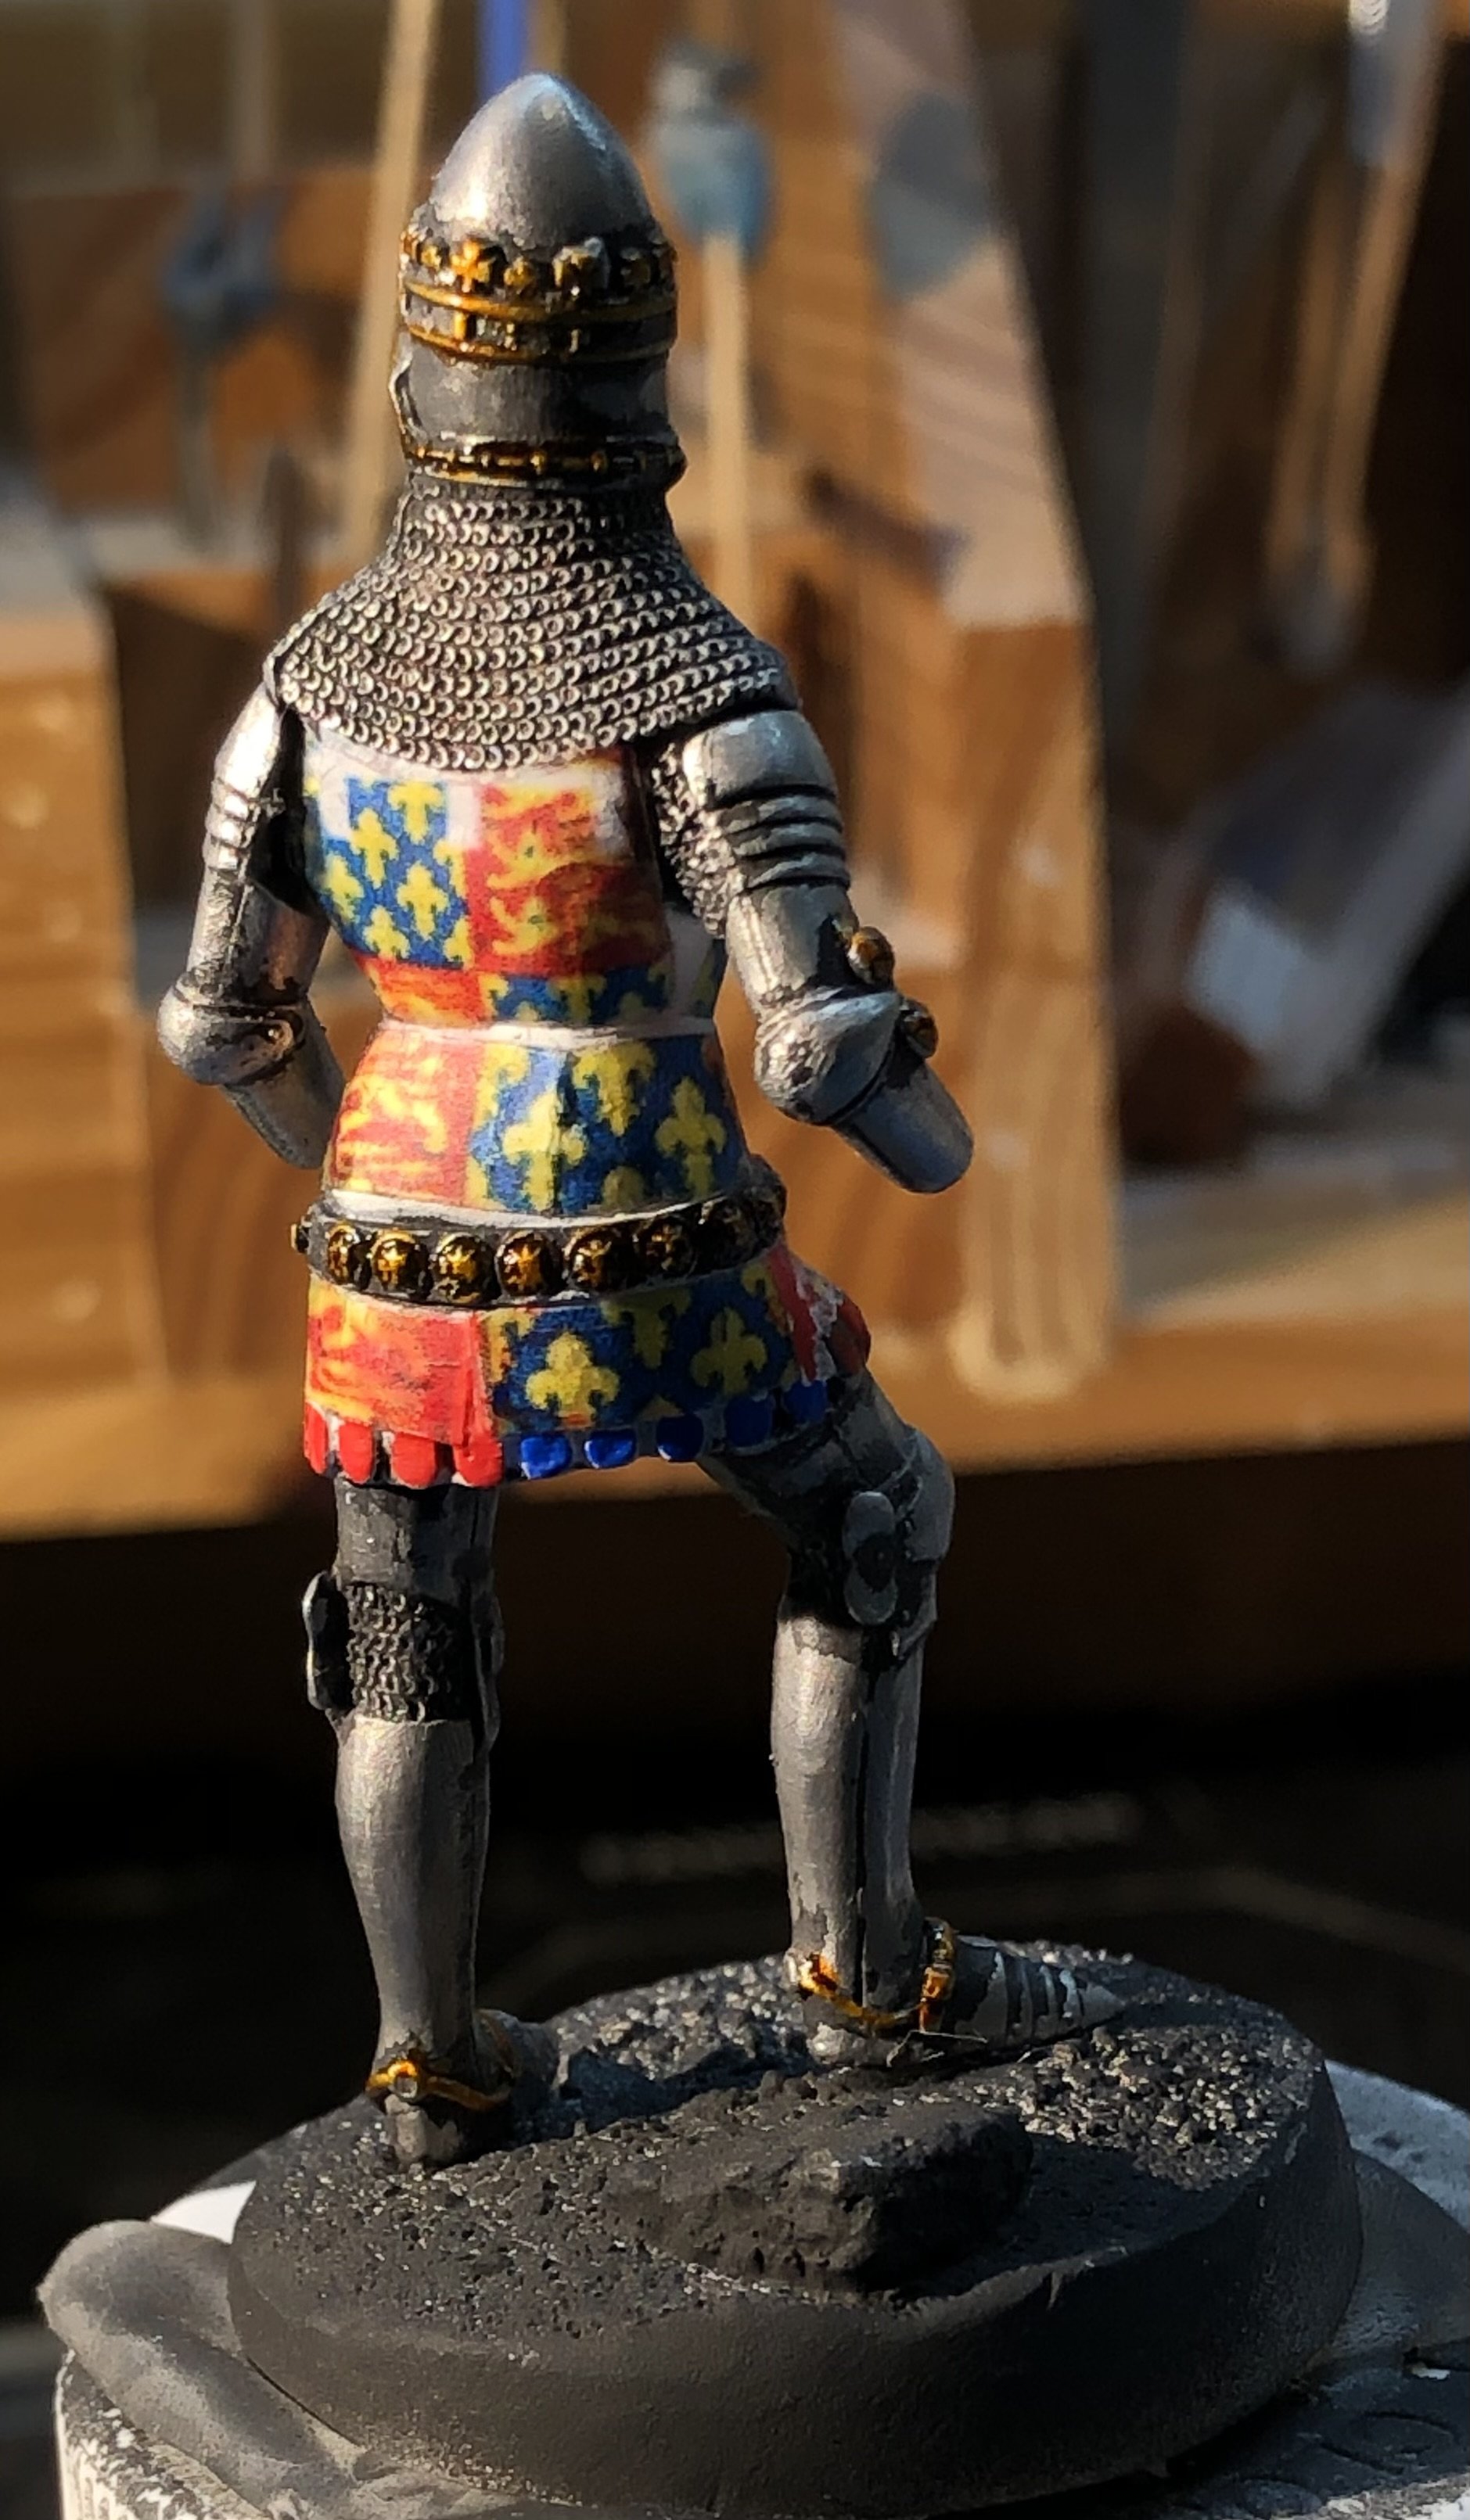
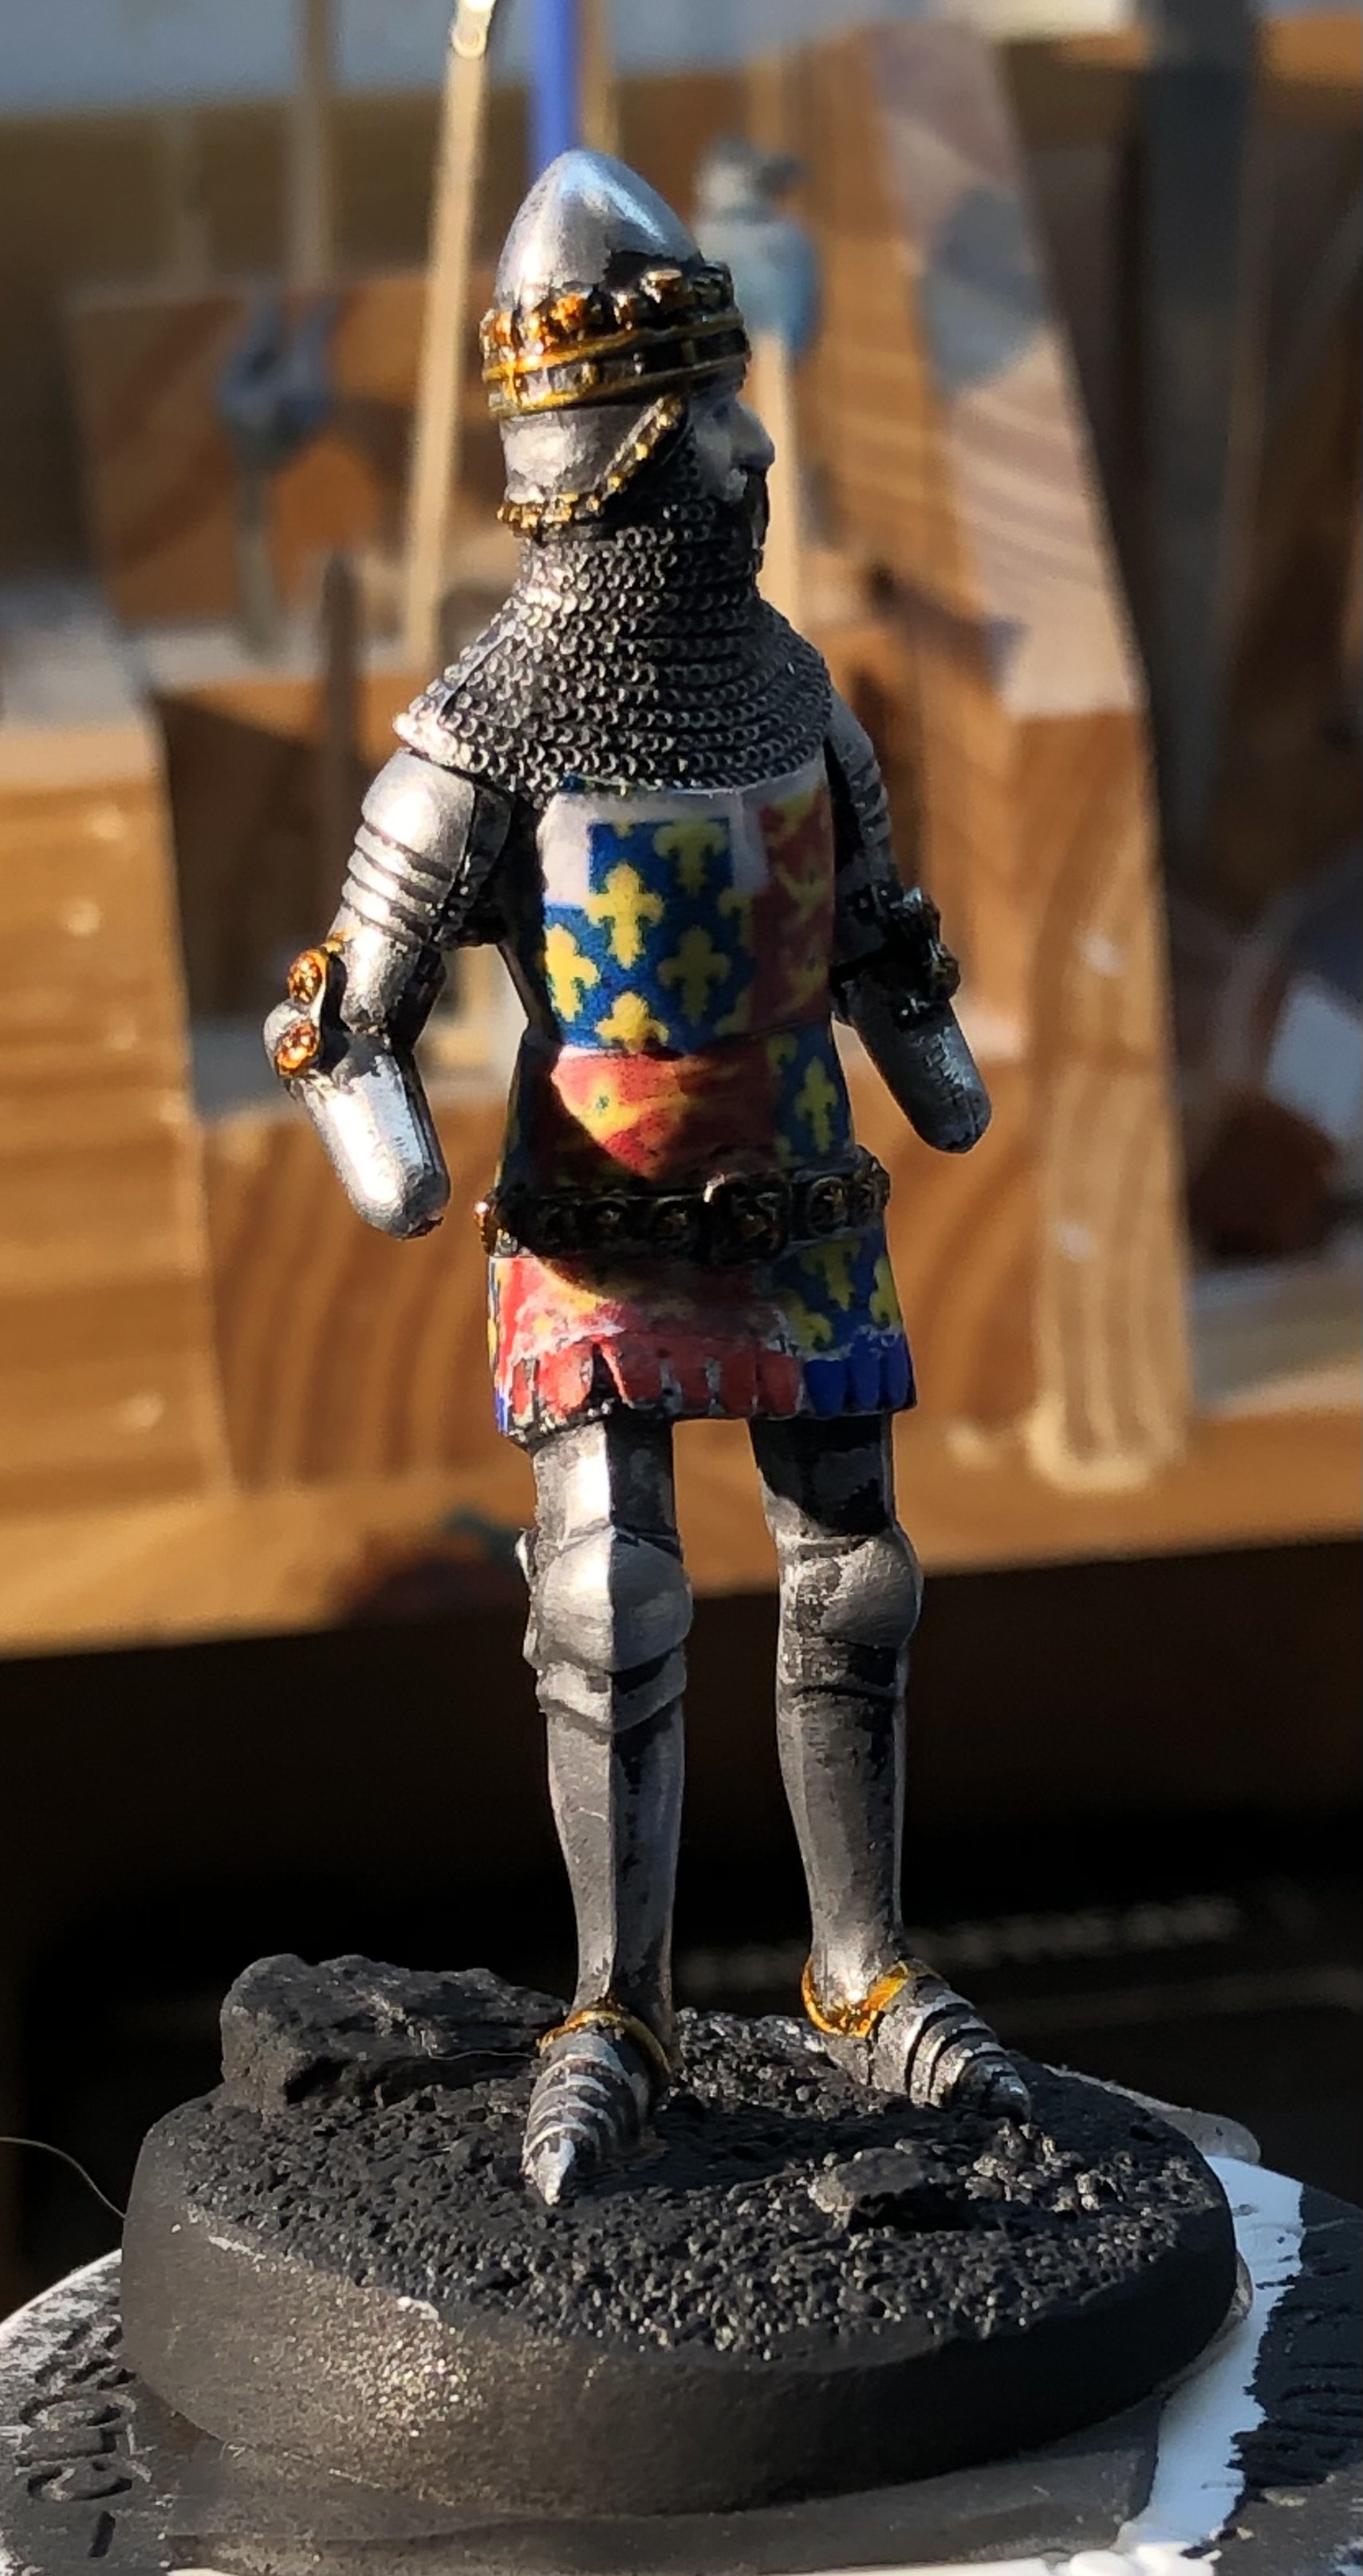
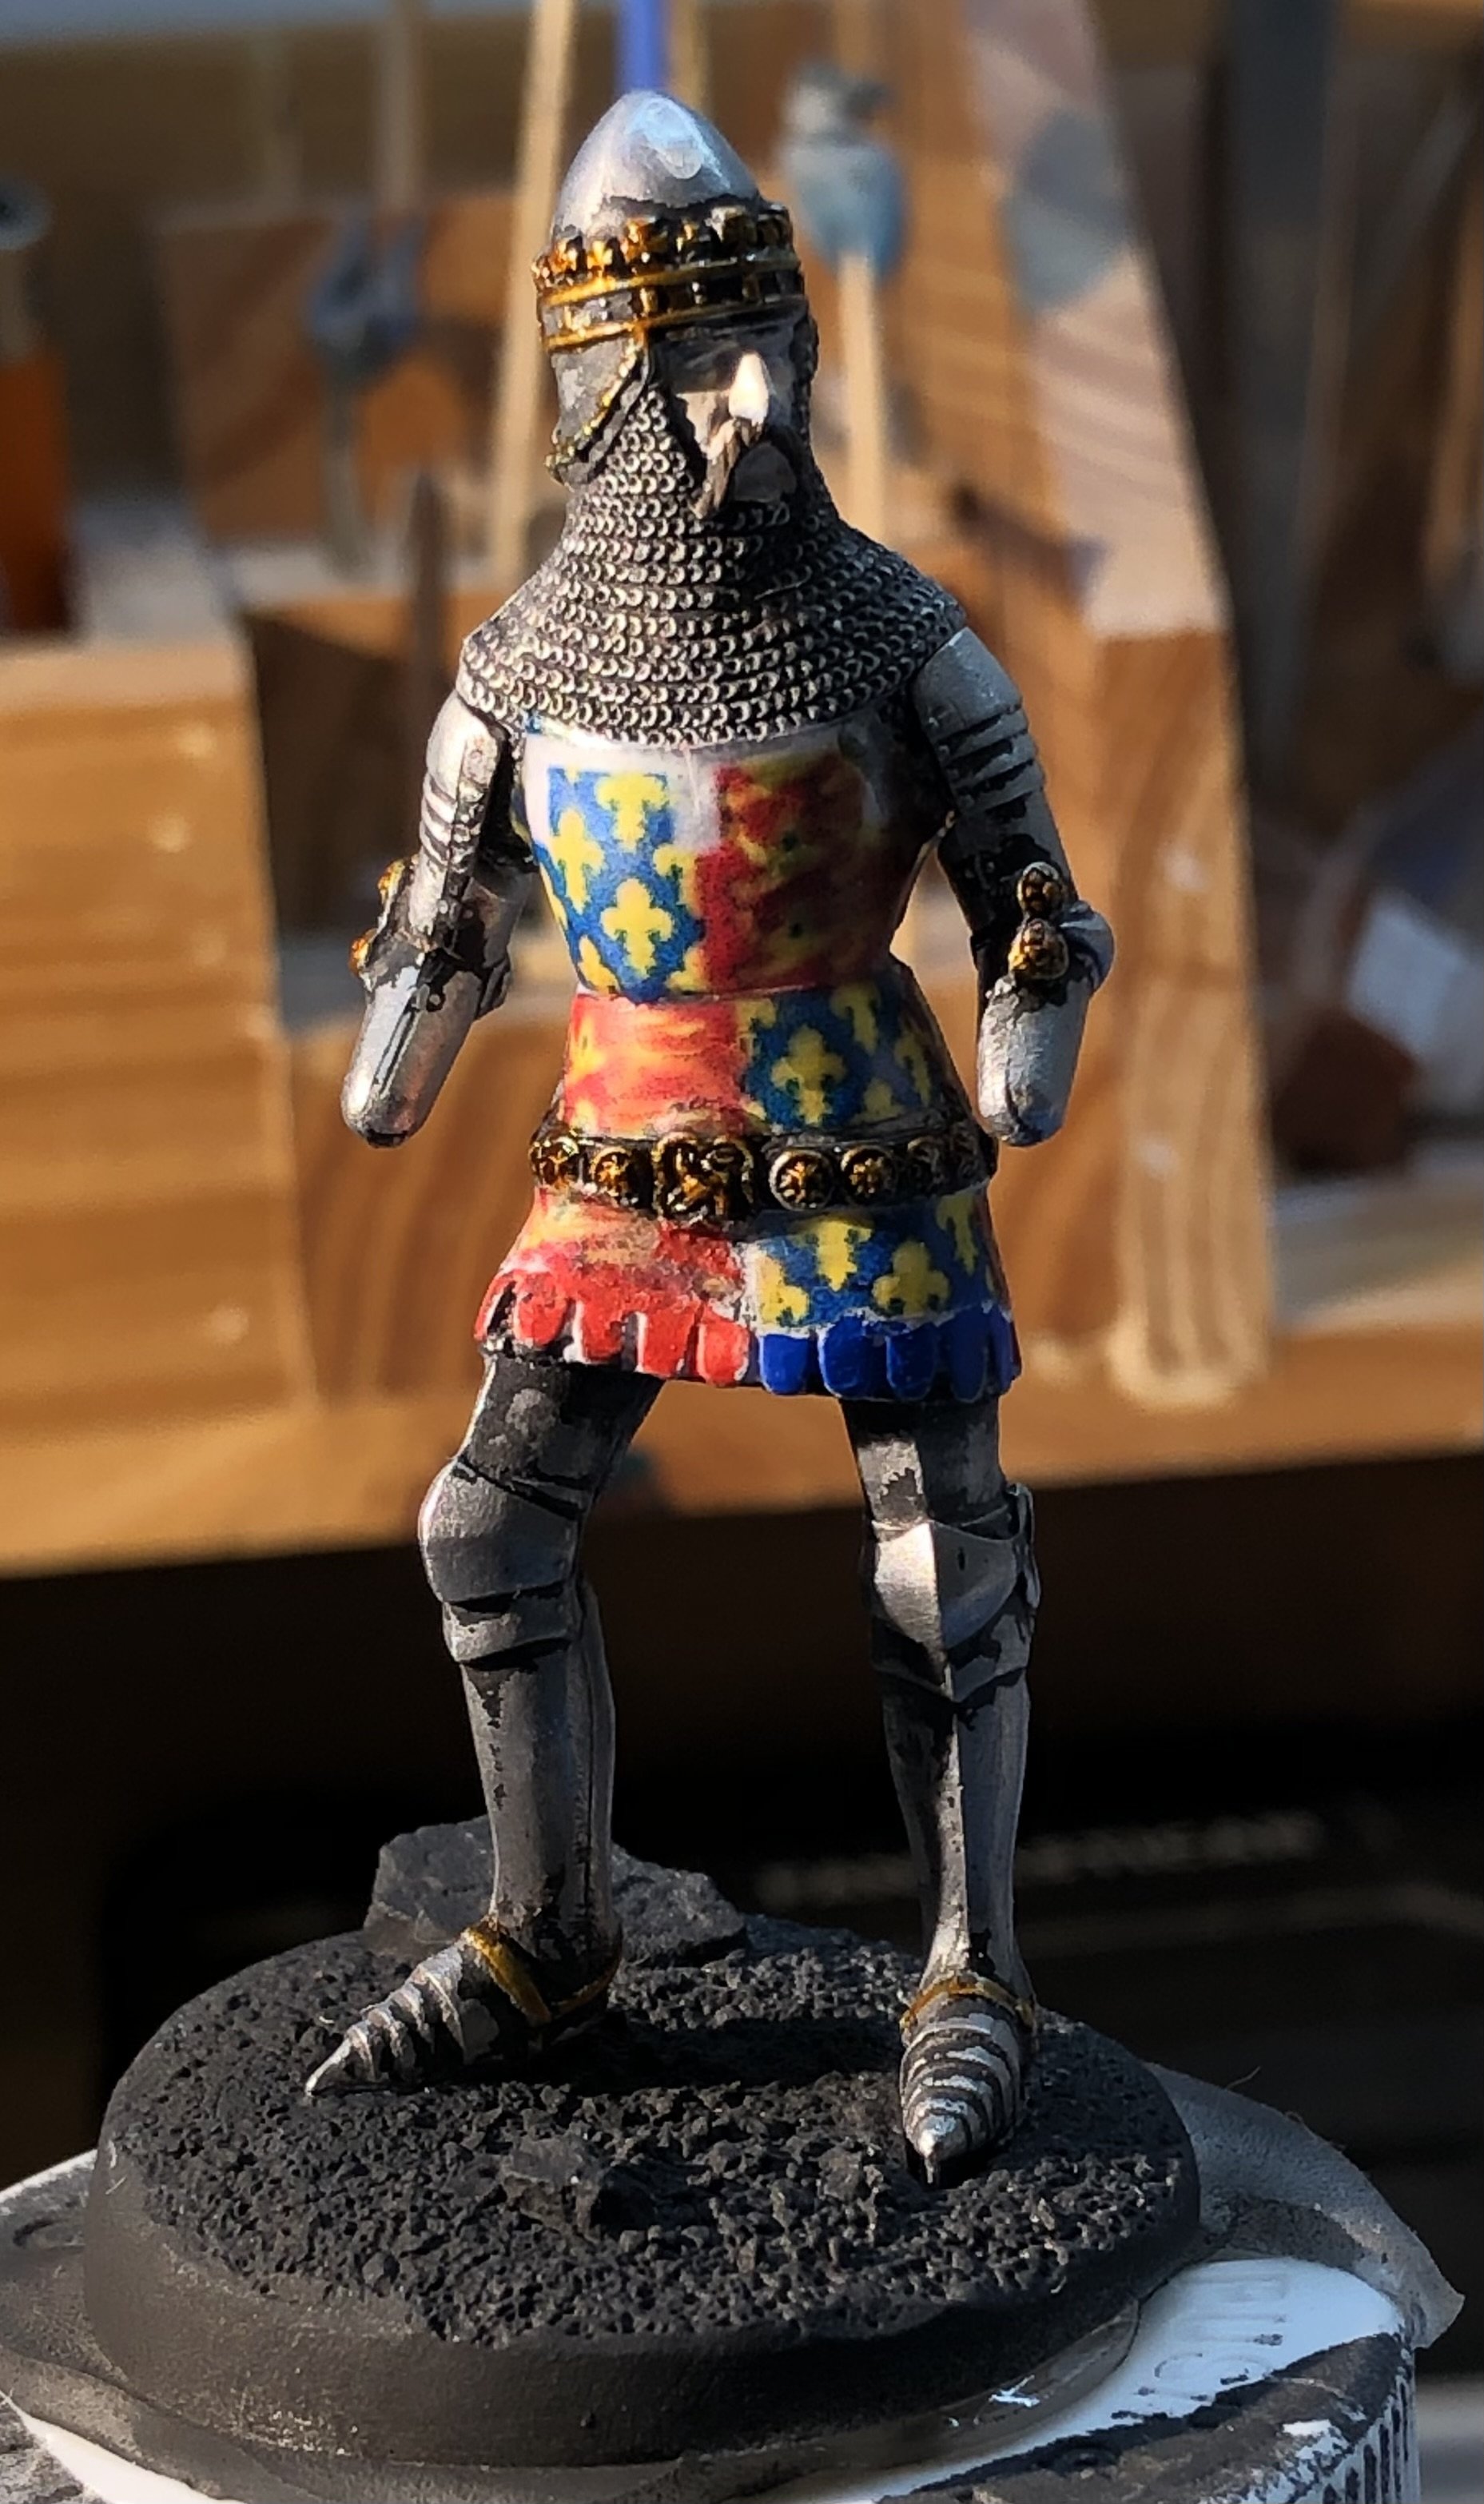
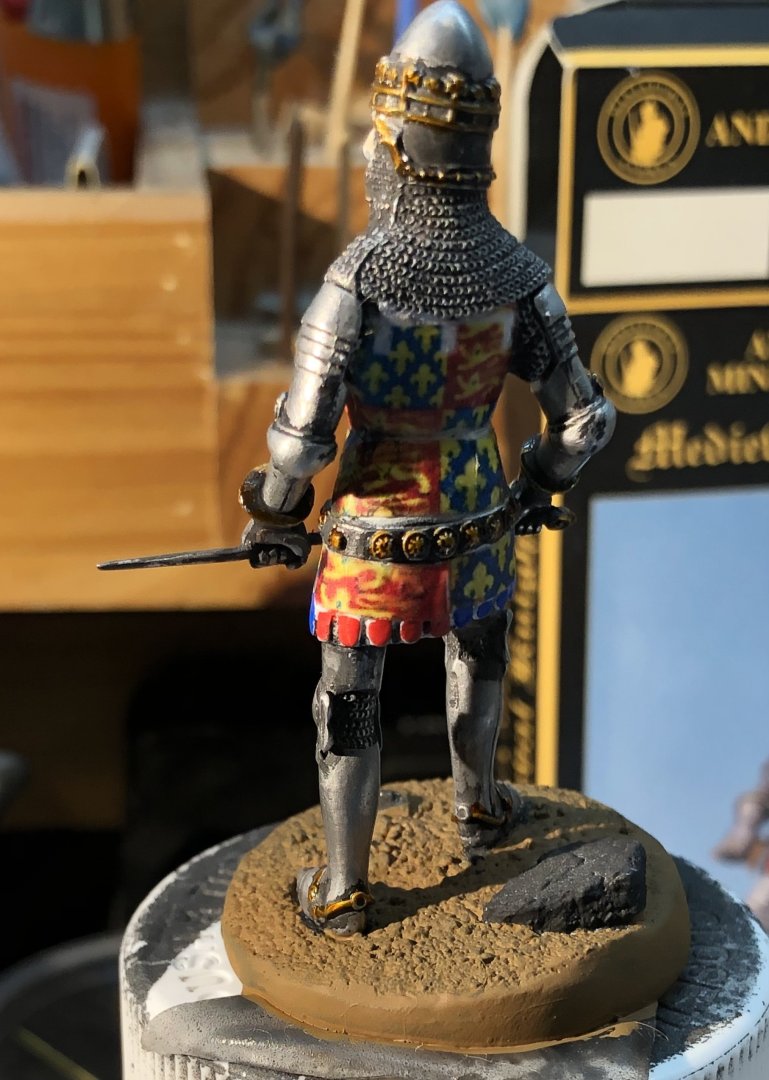
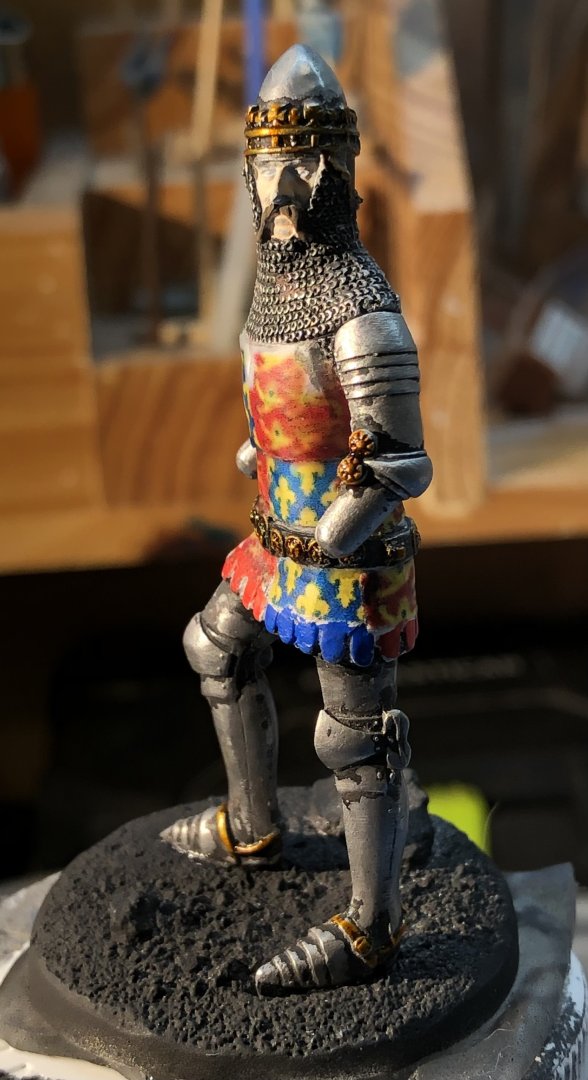
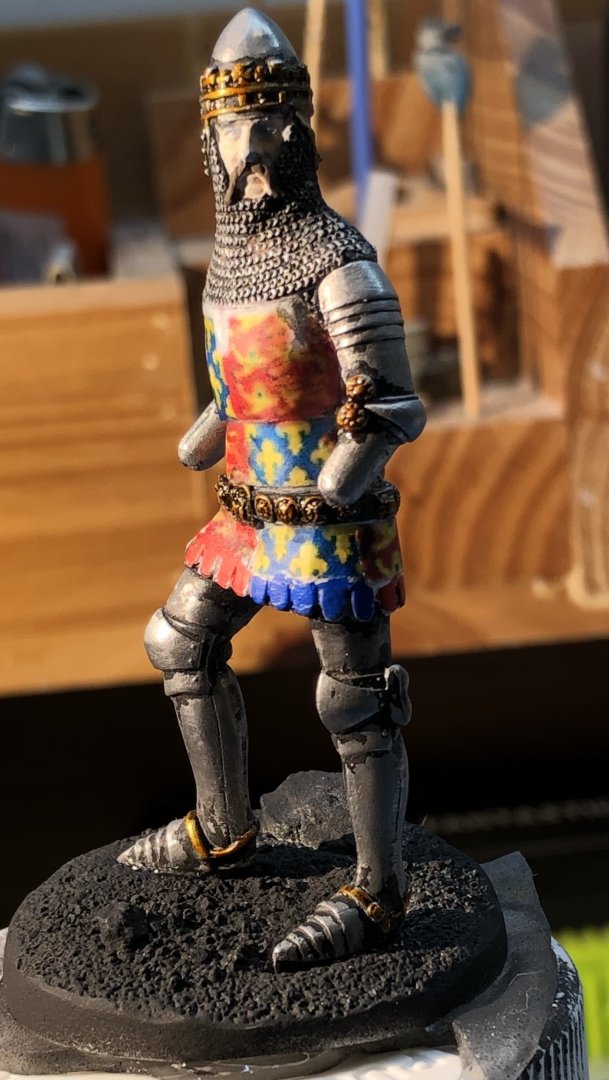
A little more progress today. I started work on the base, it’s probably easier now than when the spurs and scabbard are in place. I polished the gauntlets and sword and painted the gold details. They have been added to the figure and now the remaining details need attention. More work is needed on the face too. I glued the drape to the back of the helm, I think it’s ready to be added to the base. Thanks for looking in, the likes and kind comments. alan


-
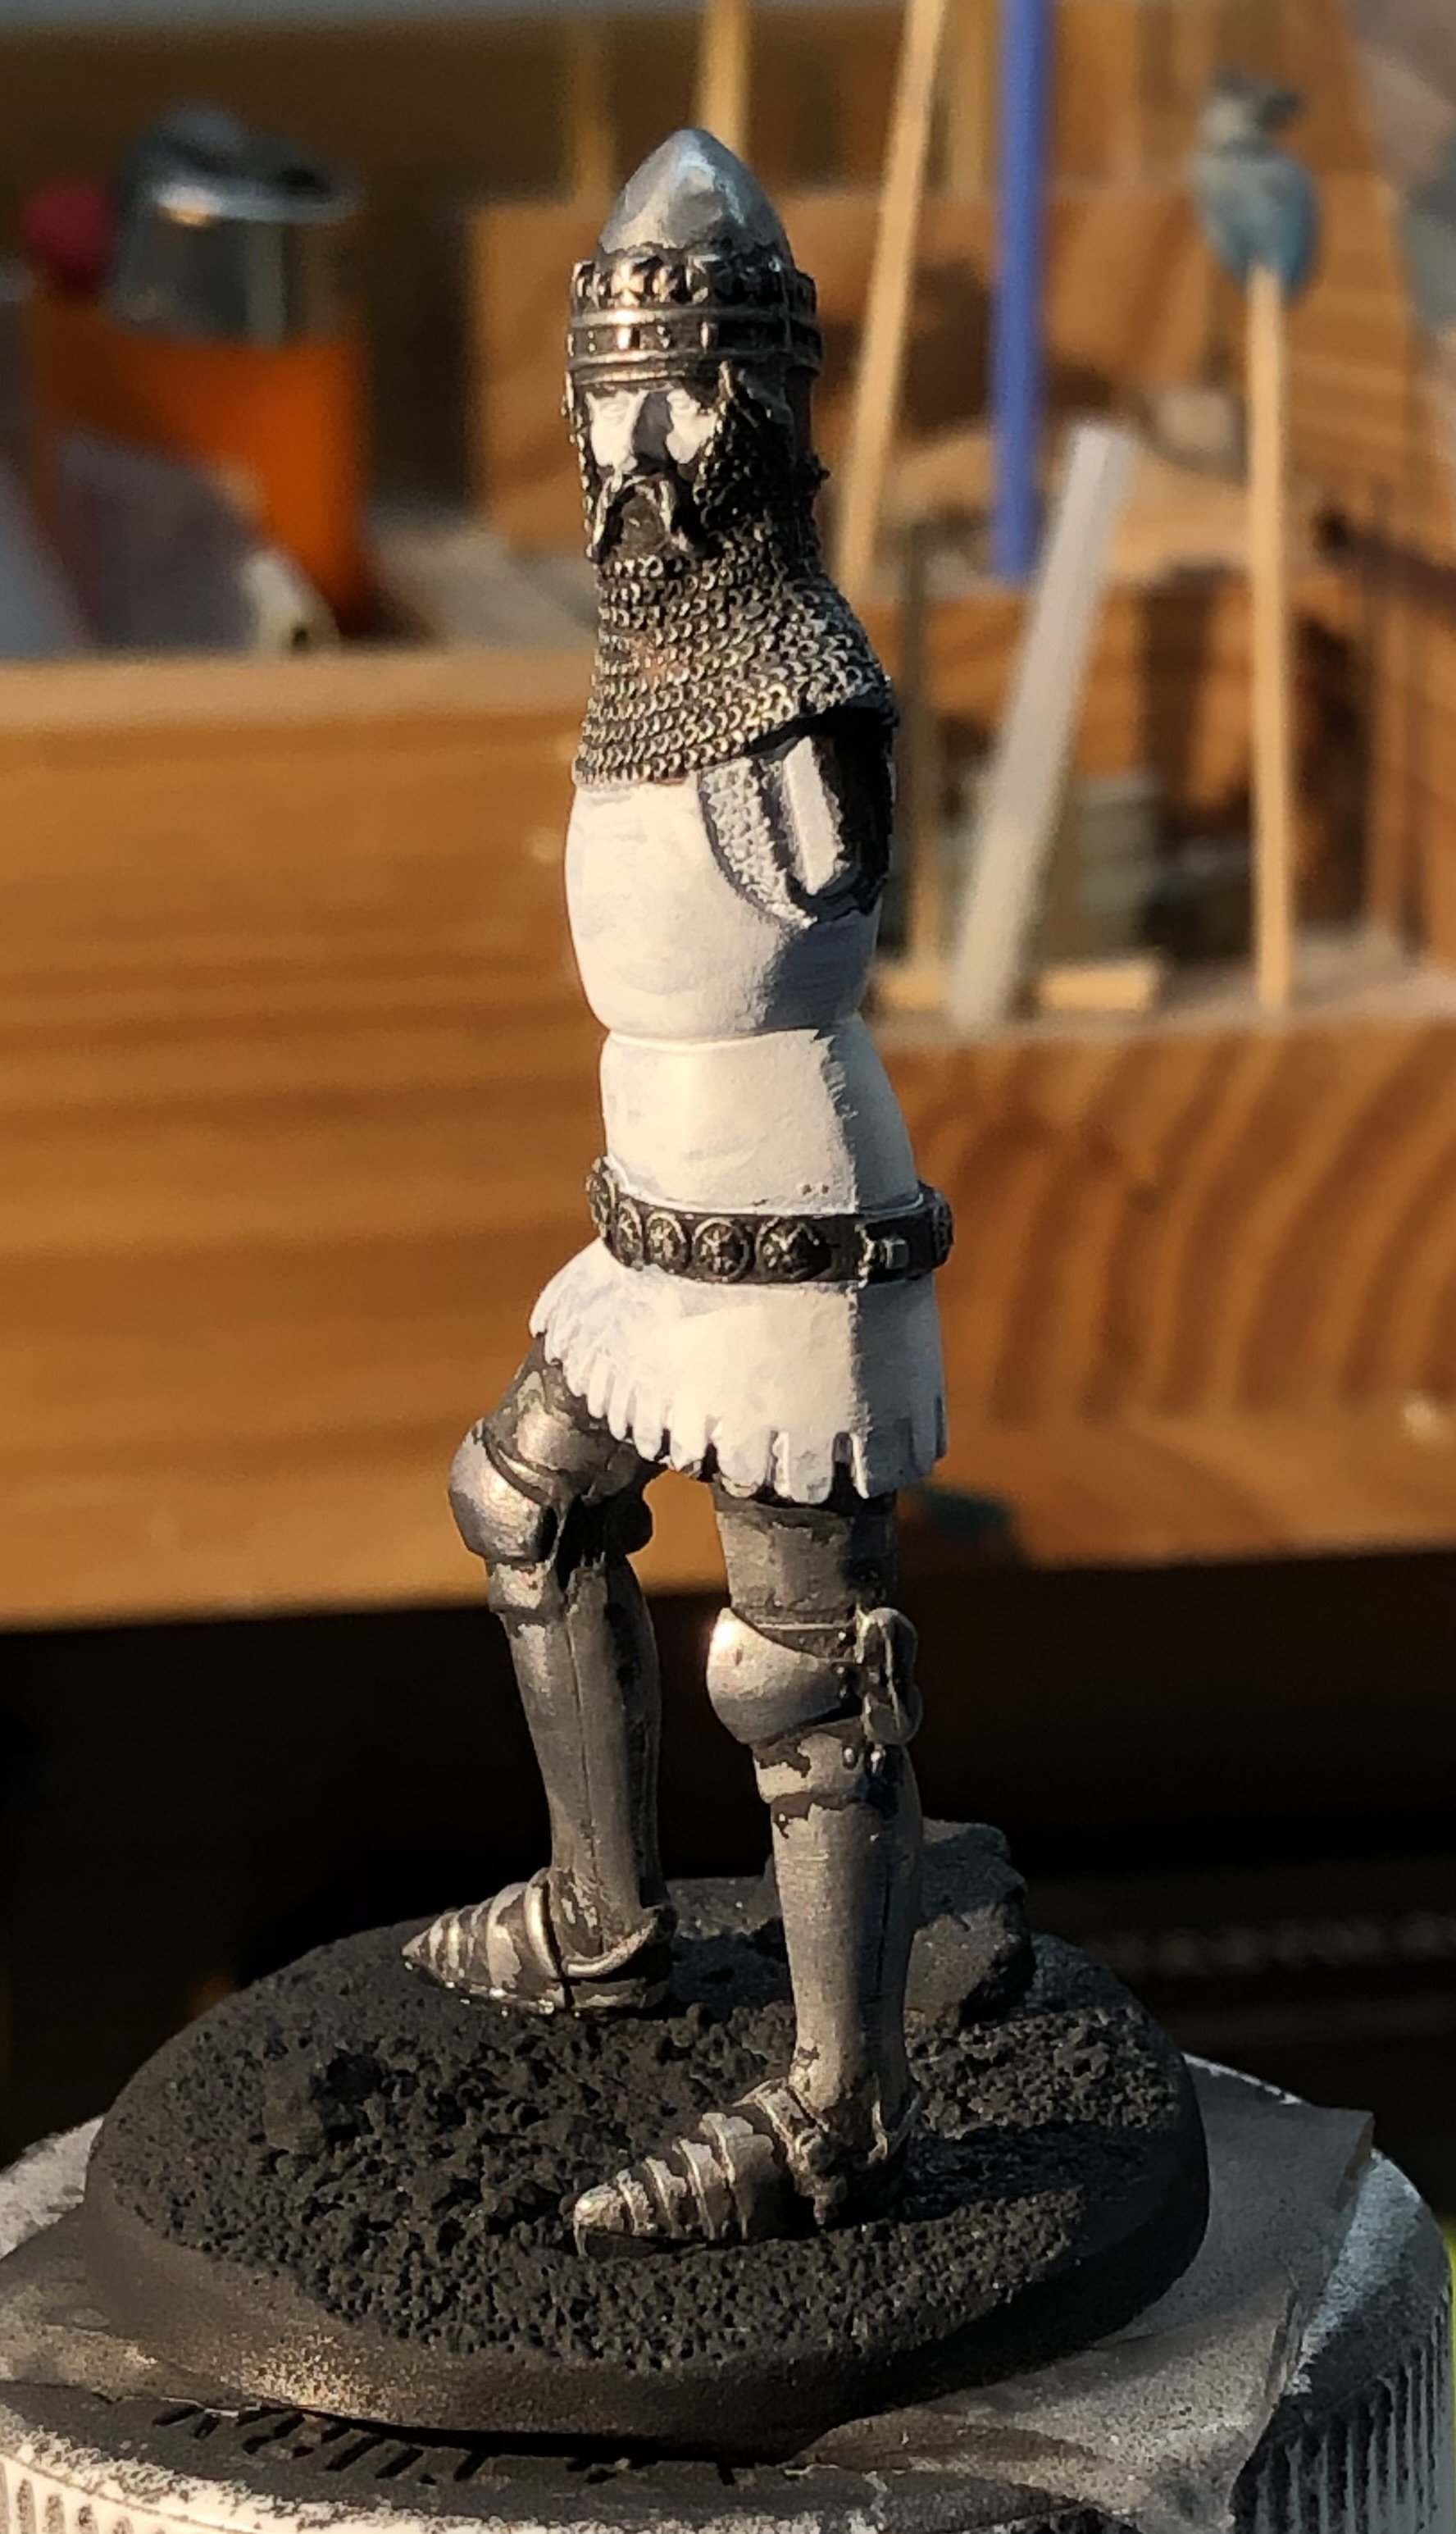
I finished the decals on the surcoat to my relief. Trying to shape them and patch the quarters of the devices was frustrating. In the end I think it’s acceptable although the emblems are a bit soft. I gave it all a coat of clear matte finish to look more like cloth and also to seal the decals. I started painting the bottom of the surcoat and the paint was running up behind the decals. The red looks like a good match but the blue needs a bit of work. I added the arms and a dry fit suggests the hands will fit the spacing. A little bit of gold on his belt, the fixtures for his spurs and I added his mustache. The face needs the lips and darker skin tones. The hands, sword and scabbard need to be polished or painted. The helm has been detailed and mow needs the drape attached behind it. That’s the strange looking thing that I showed earlier in the thread. My reading suggests that the helm is actually part of his jousting rig rather than a combat helmet. It does look a bit of a liability. Thanks for looking in, the likes and comments. Alan


-
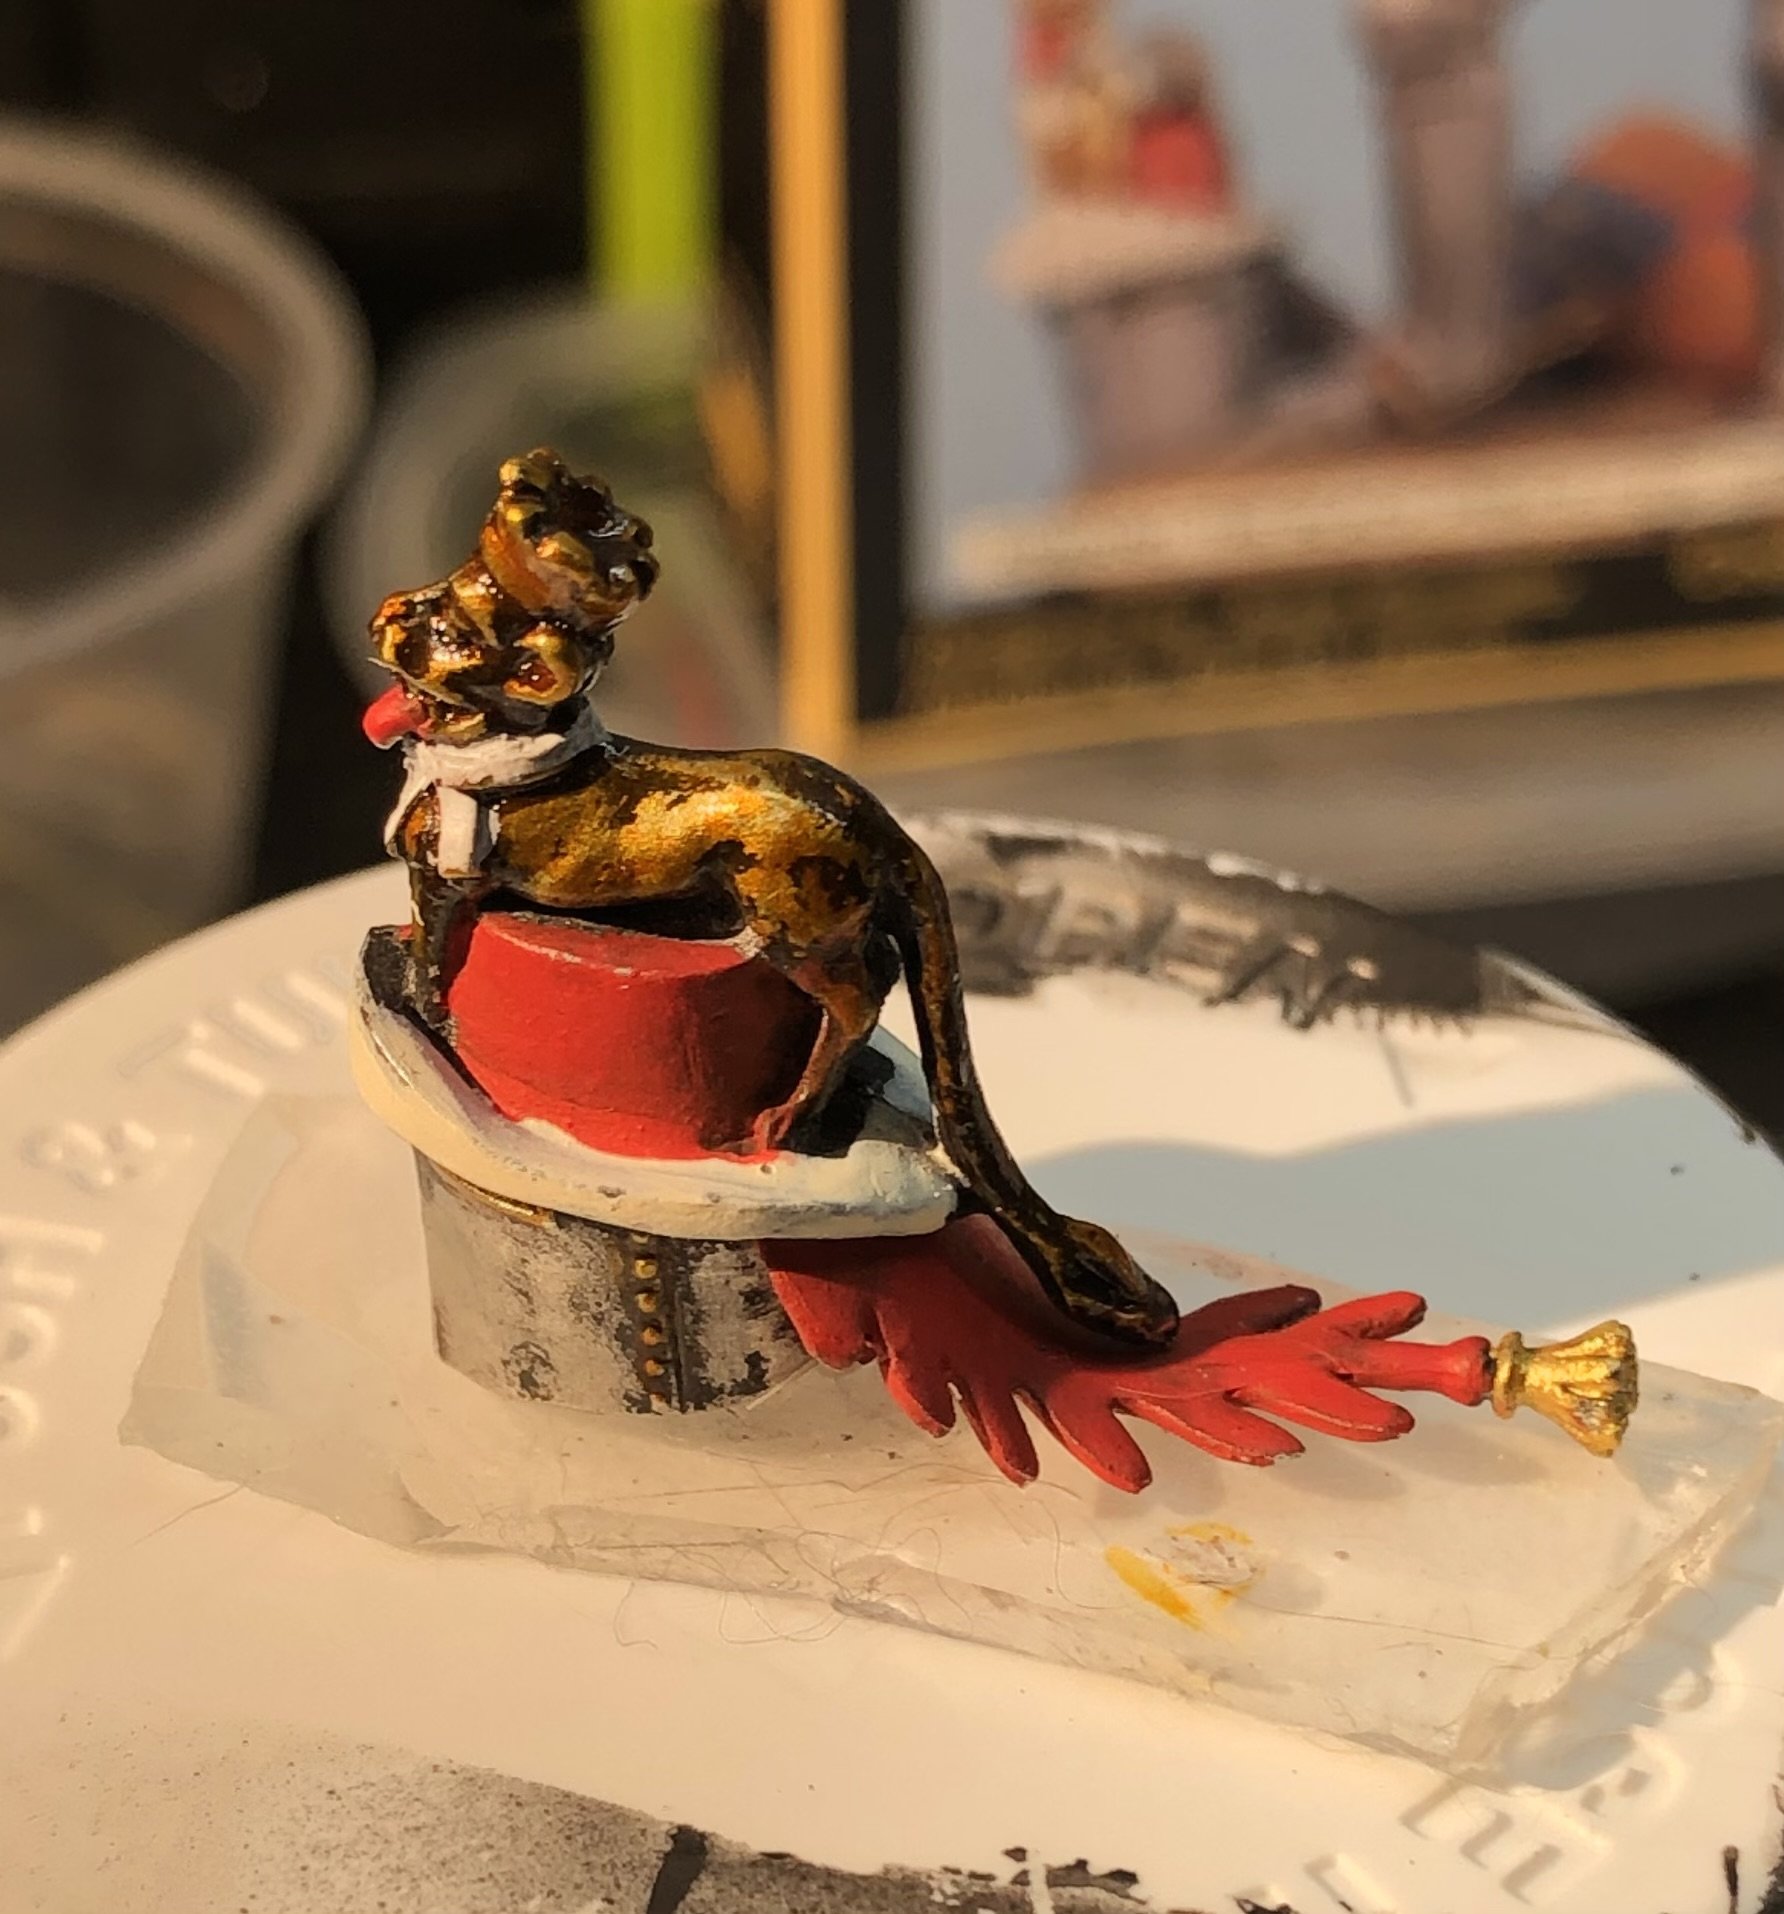
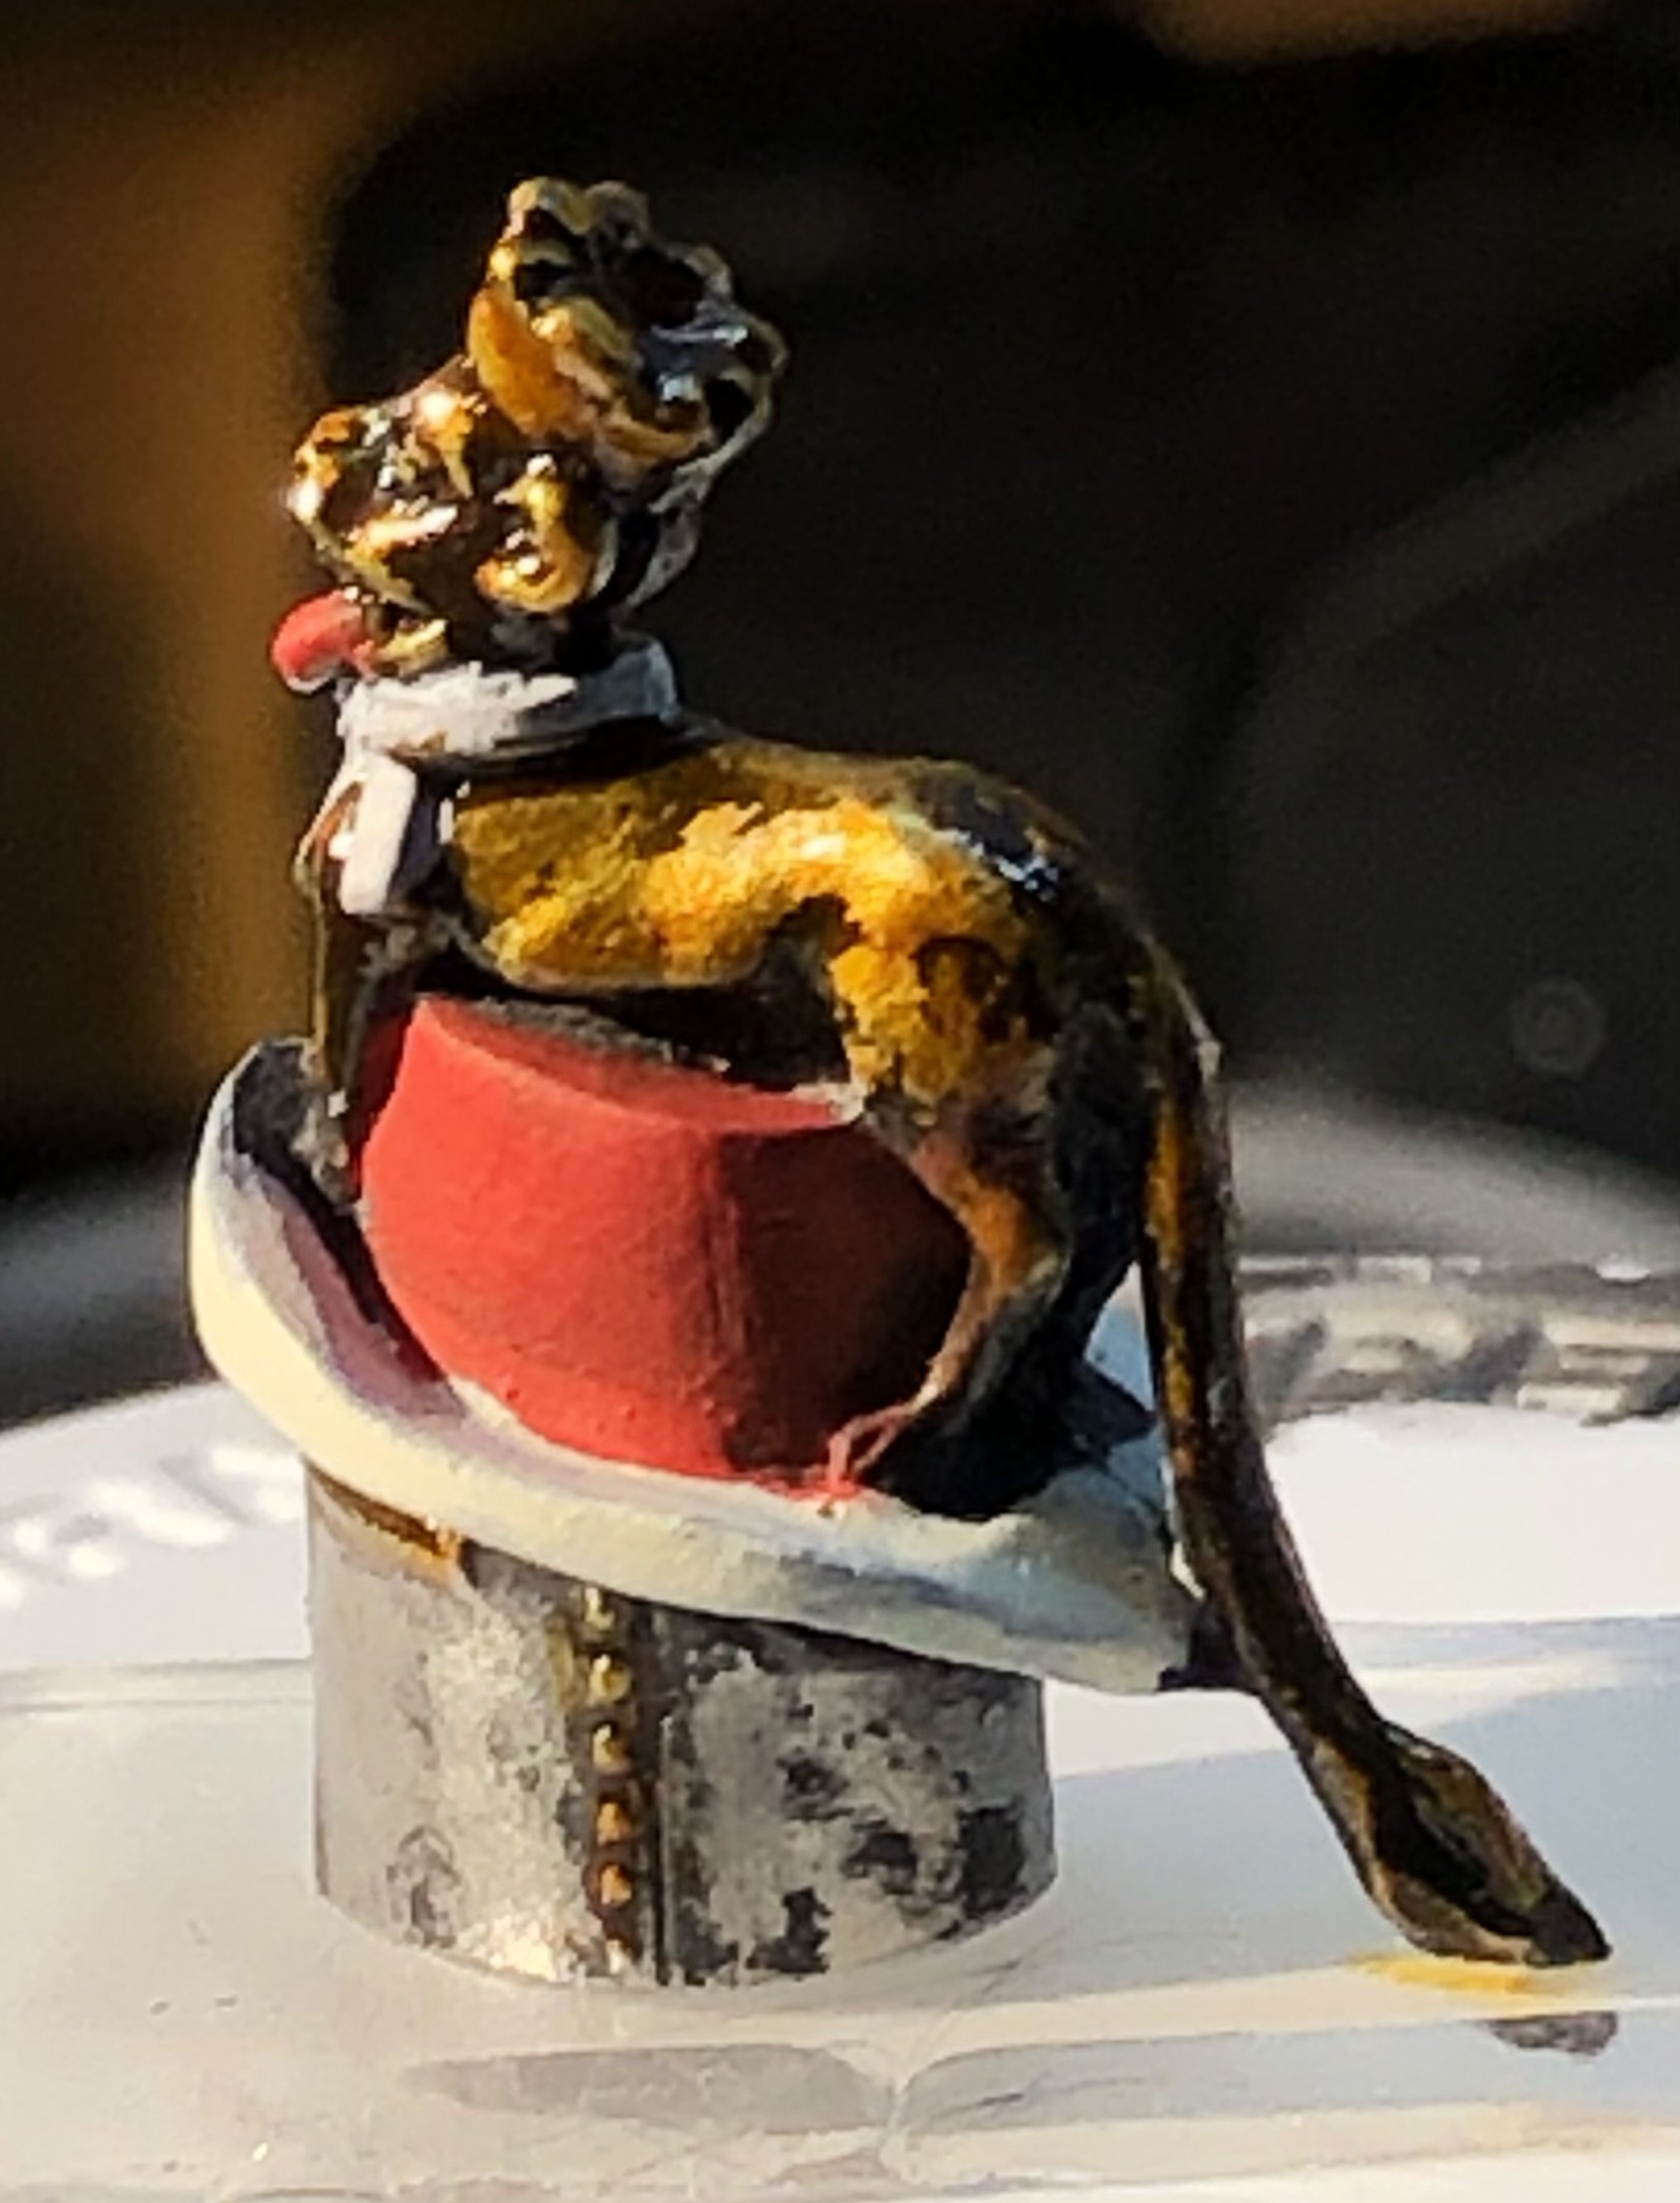
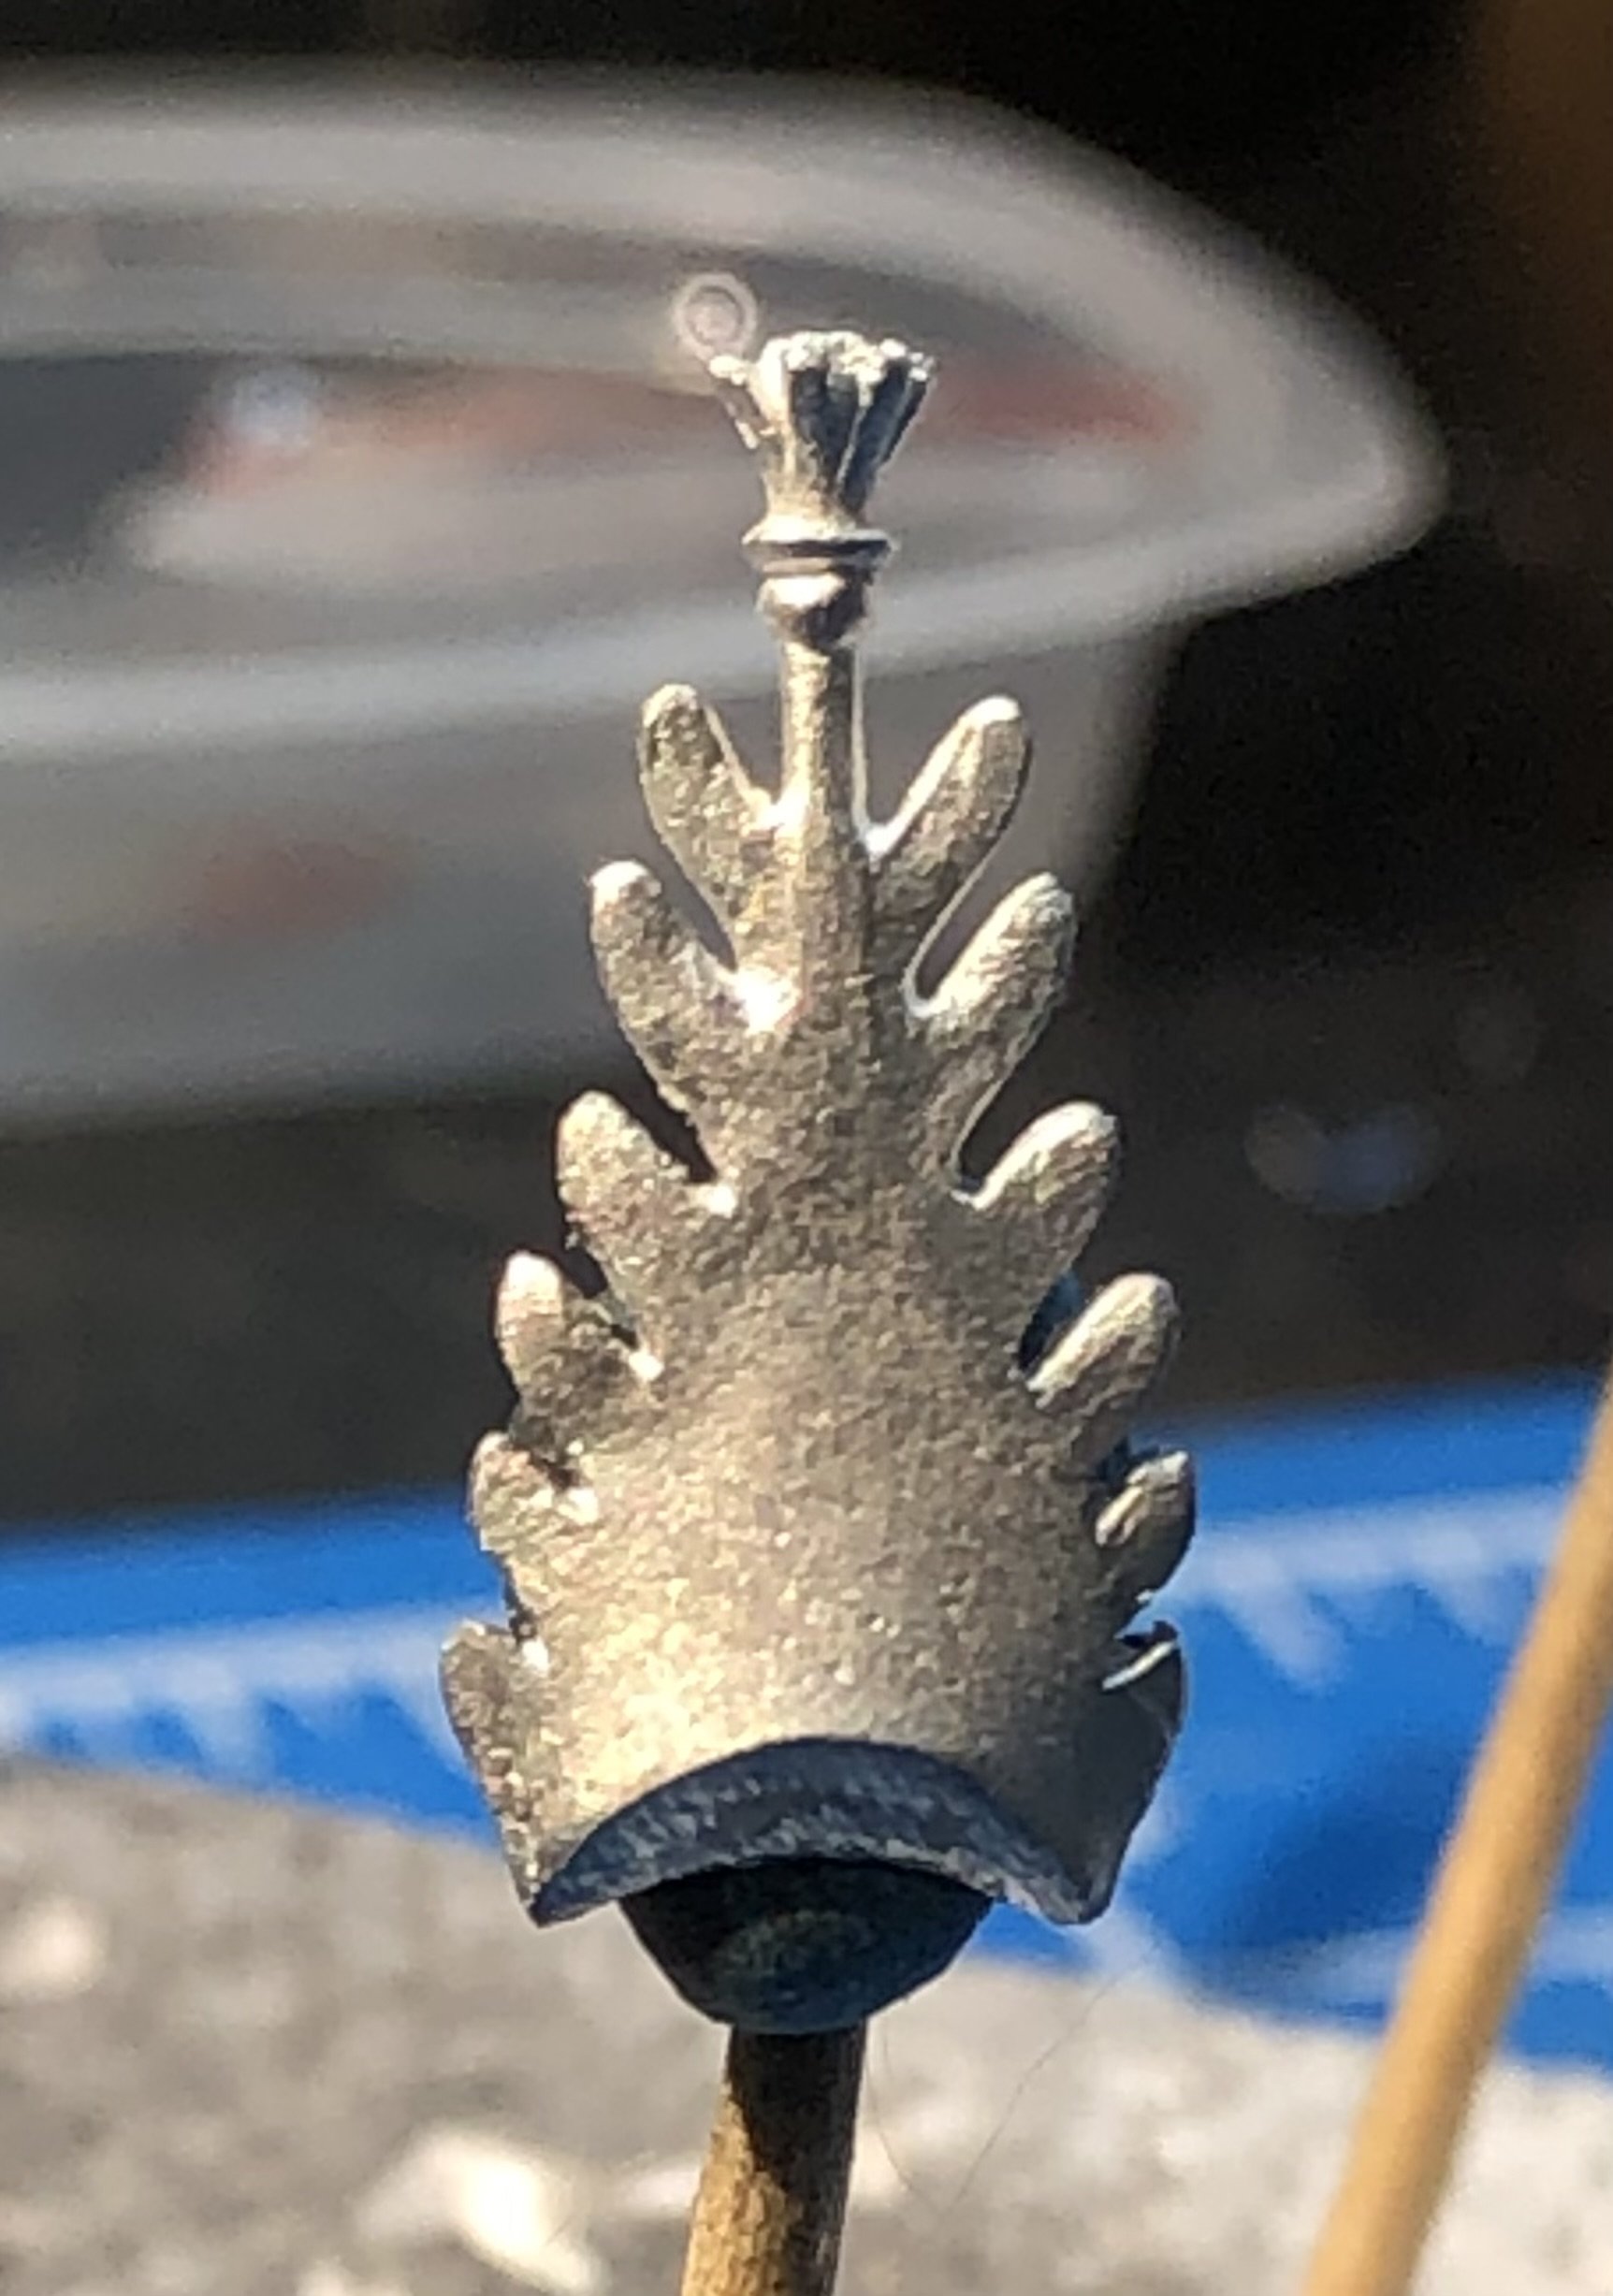
Hi Ken. Opinions seem to be divided amongst the historians. It’s been said to be a lion and the animal at his feet on his tomb to be a bulldog. However as you say the Plantagenet emblem was the leopard and most opinions are that his surcoat emblems are leopards, the animal on his tomb is a leopard and the mascot on his helmet is a leopard. I’ve looked at the photos of his helm displayed in Canterbury cathedral and the animal is very similar to the model, not immediately obvious as a leopard but I imagine the craftsmen of the day didn’t have a lot of ready images of leopards to work off. alan
-
A little more progress over the weekend, mostly fiddling with the decal paper. I’ve printed the Black Prince coat of arms in several different sizes to use for the shield and the surcoat. I used Mod Podge clear acrylic spray to seal the decal paper and it worked really well, no crazing of the design and a good solid coat. It seems to have deepened the color too. i added the decal to the shield and it fitted nicely with the decal solution taking care of the curves in the shield. ive put the first two pieces of the surcoat in place, I’m going slow here because I don’t want to mess up the pieces already applied so I’m letting everything set fully. I’ve started putting the base skin tone on his face and I have started on his helmet. The mascot has been polished and painted with Tamiya clear orange, the main part of the helm has been polished and accented with the clear orange. Quite a bit more to do to the helm. Andrea models make a bust of the Black Prince wearing the helm and it appeals to me a lot but I don’t think it’s feasible to get one sent to the US. Thanks for looking in, the likes and comments. alan


-
Thank you very much OC. He’s an interesting subject. alan
-
Lotus 49C by DocRob - FINISHED - Ebbro- 1/20 - Plastic
king derelict replied to DocRob's topic in Non-ship/categorised builds
Hi Rob This is your usual stunning work and I have a fondness for the Lotus cars of this time and the Cosworth engines. Regarding the Ford logo, have you tried a silver pencil. I used to use them a lot with aero gas turbines for marking blades for inspection and future checks because they will remain visible after extensive engine running . They look like a standard pencil but have a silvery “lead” which is fairly soft and transfers easily. Welders use them extensively. They are available cheaply on Amazon and might save a lot of frustration. I hope this is useful. alan -
Hi Popeye, yes these are 54mm white metal kits from Andrea models in Spain. Nicely sculpted and a great range of subjects but now difficult to get because of the international shipping issues. Alan
-
Thank you very much Jack. Polishing the metal looks more metallic than paint. alan
-
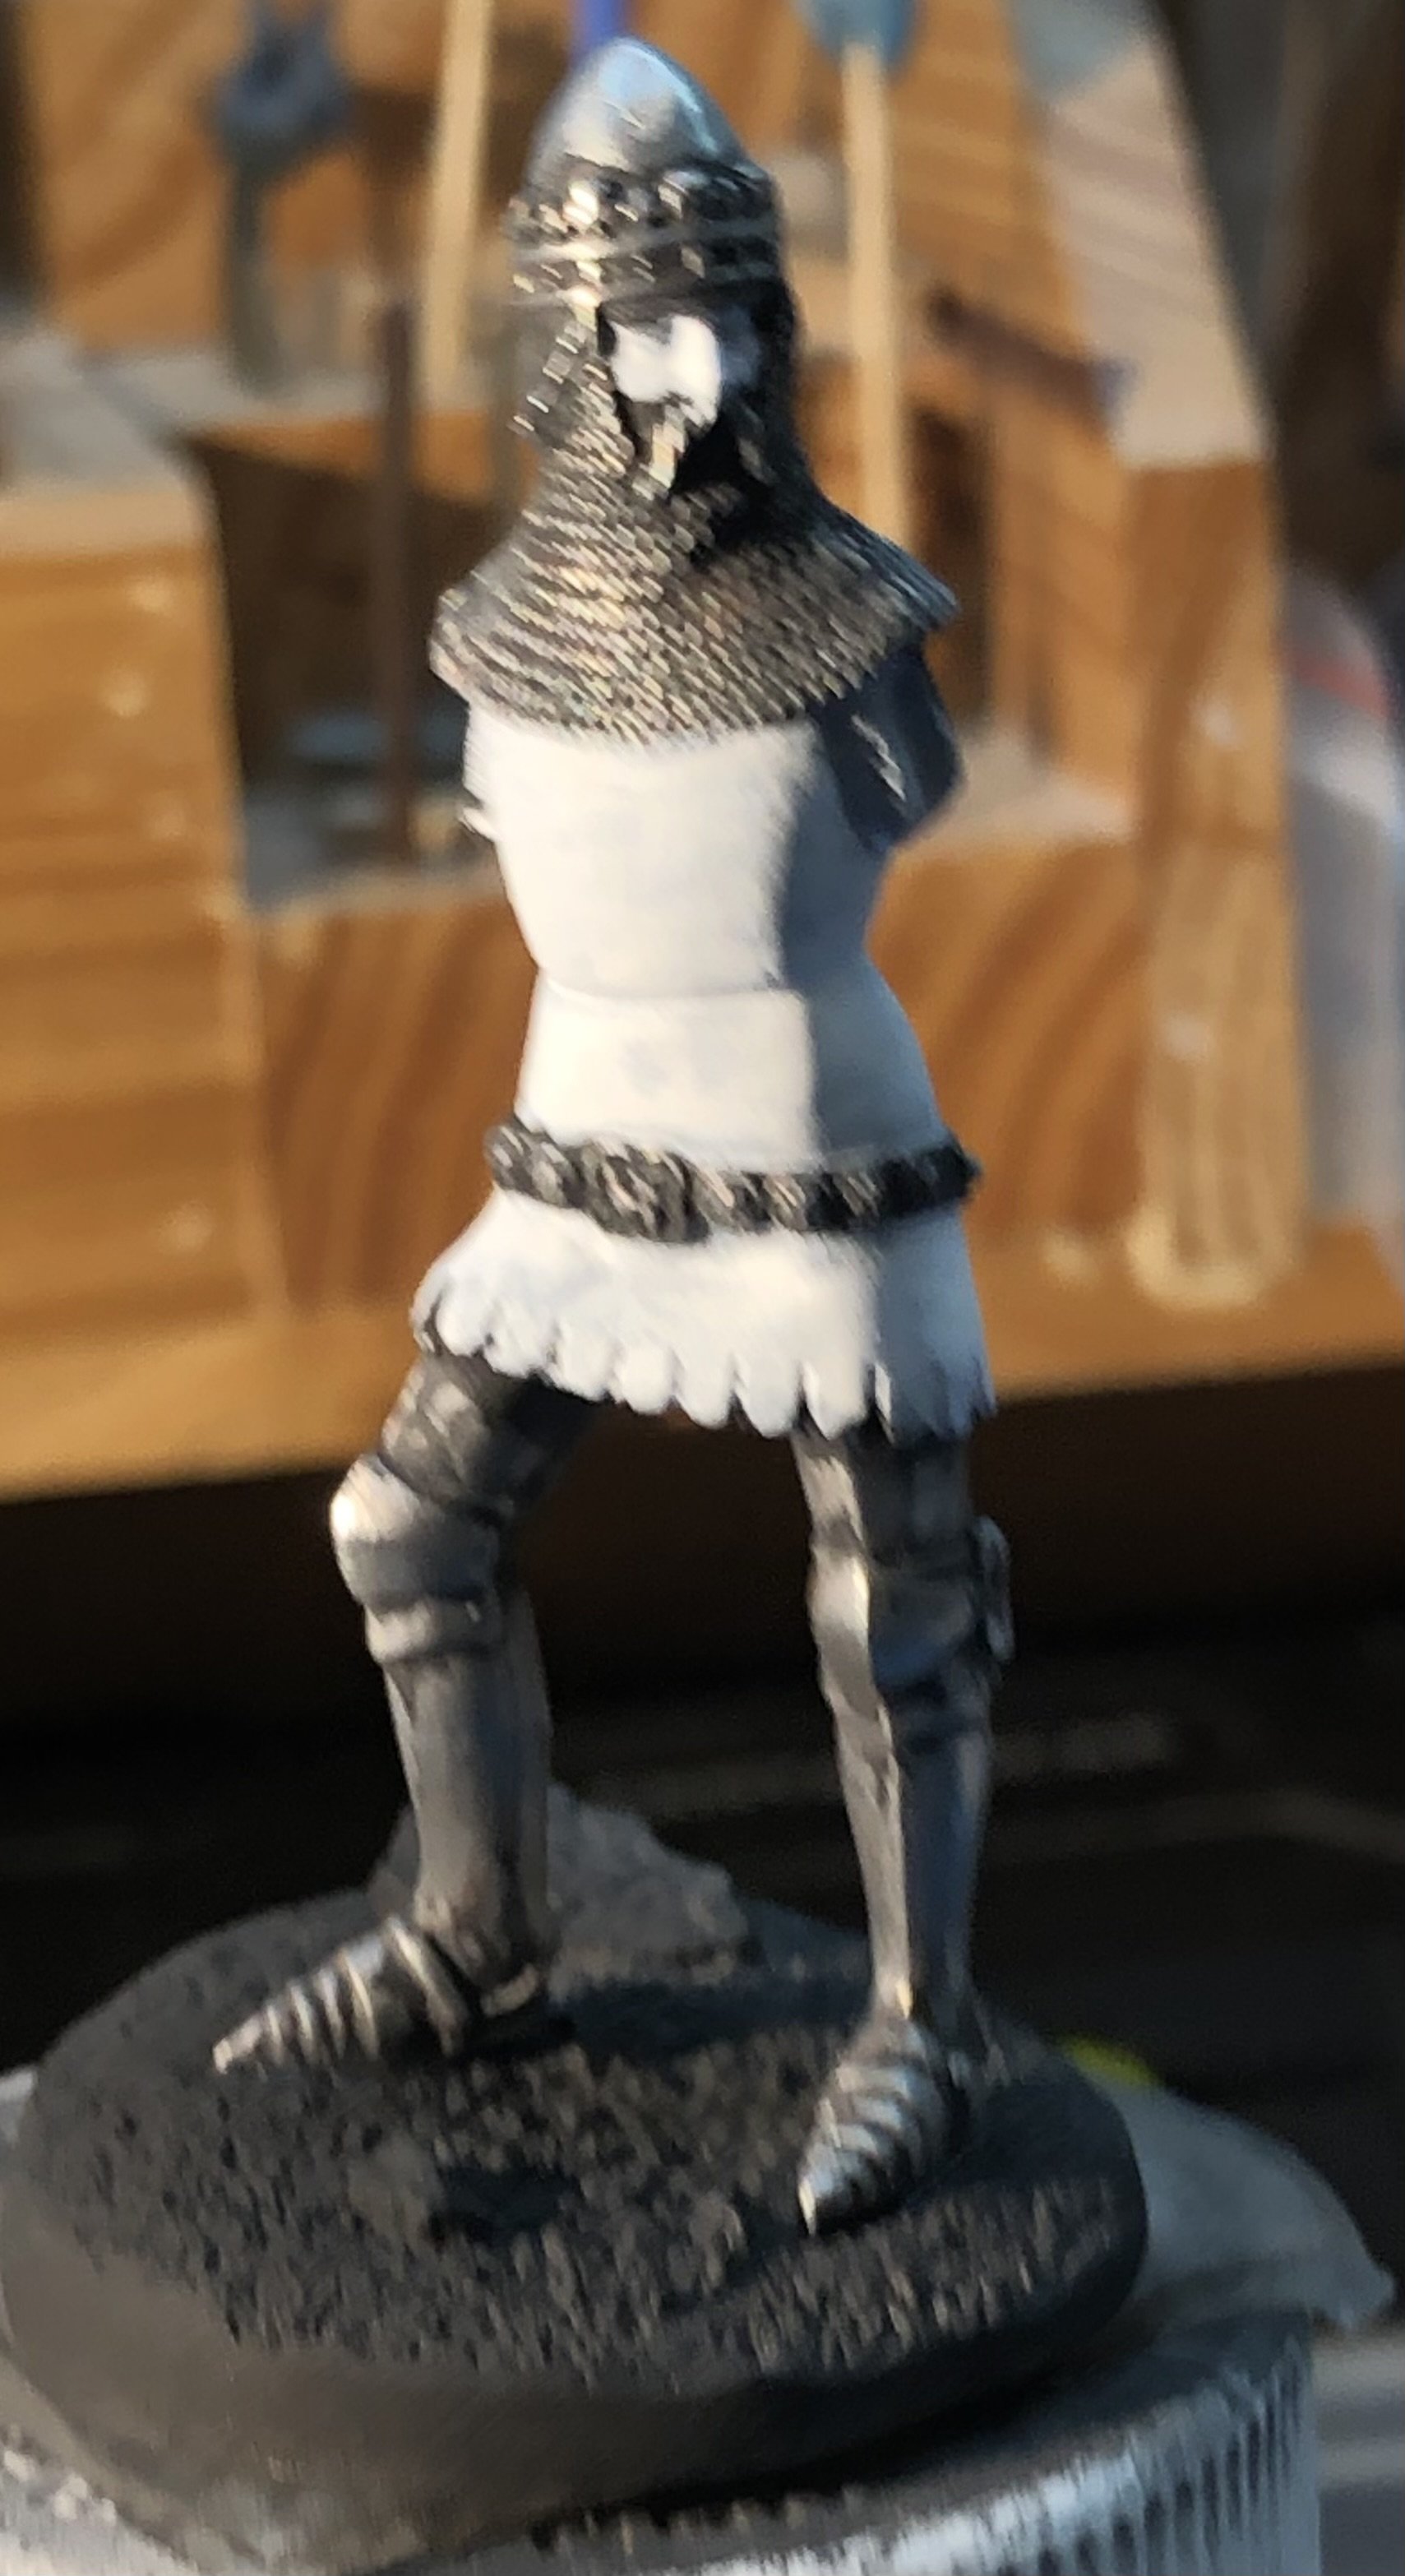
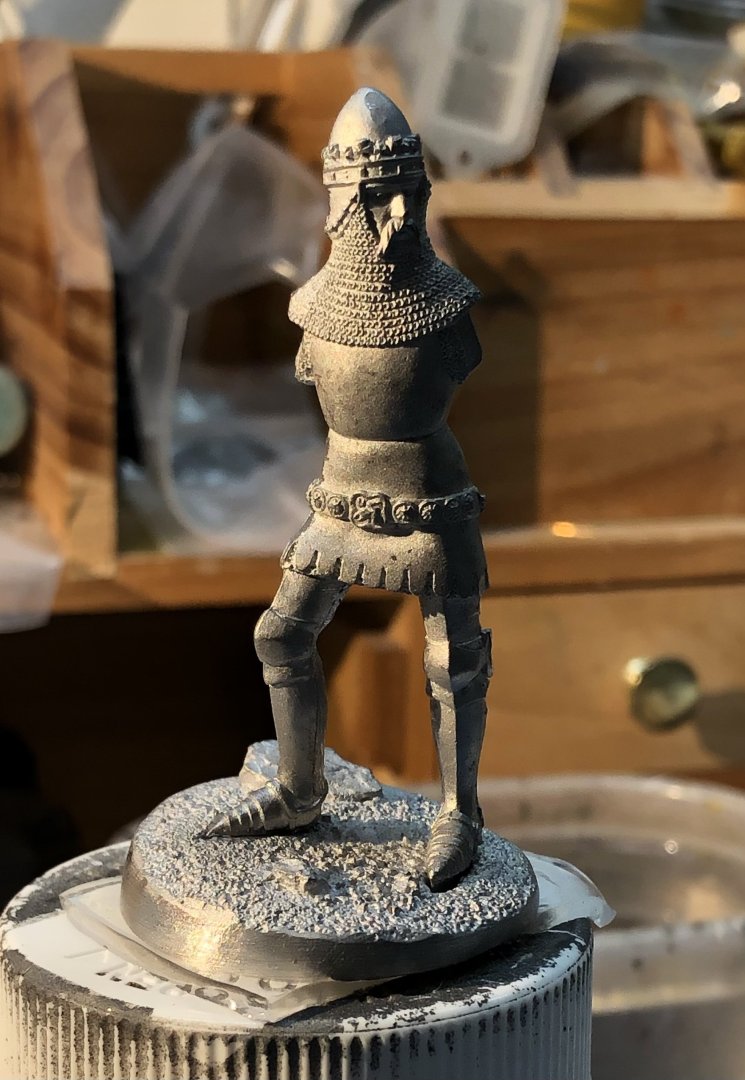
After priming I polished the armor and chain mail leaving the black in the recesses to add a bit of depth. I used a polishing bit in the mini rotary tool for the plate armor and a cotton bud for the mail. Both were loaded with red polishing compound. The rotary tool is a bit fierce for the mail and can remove a bit of the detail. The surcoat was given a coat of white as the base for the decals. Ive found the Black Princes coat of arms (or achievements as we medievalists say😀) online and printed them several times at a suitable size on the decal paper. Ive ordered some acrylic clear coat spray and I’m hoping for better results than using the airbrush and AK acrylic clear coat. The face got a brush of white to help me see the details especially the eyes. I can start working on the crown and face while I wait for the clear coat spray. Thanks for looking in, the likes and comments. alan


-
Glad to have you here Ken. The Black Prince was an enigmatic character, the king that never was. As I understand it he succumbed to dysentery in the end, I imagine a consequence of armies in the field. alan
-
Thank you very much OC. I’m quite liking these Andrea figures. alan
-
Thank very much Mike. It’s a nicely posed figure alan
-
Thank you very much Andrew. Andrea have a wide range of interesting figures. The problem now is getting hold of them alan
-
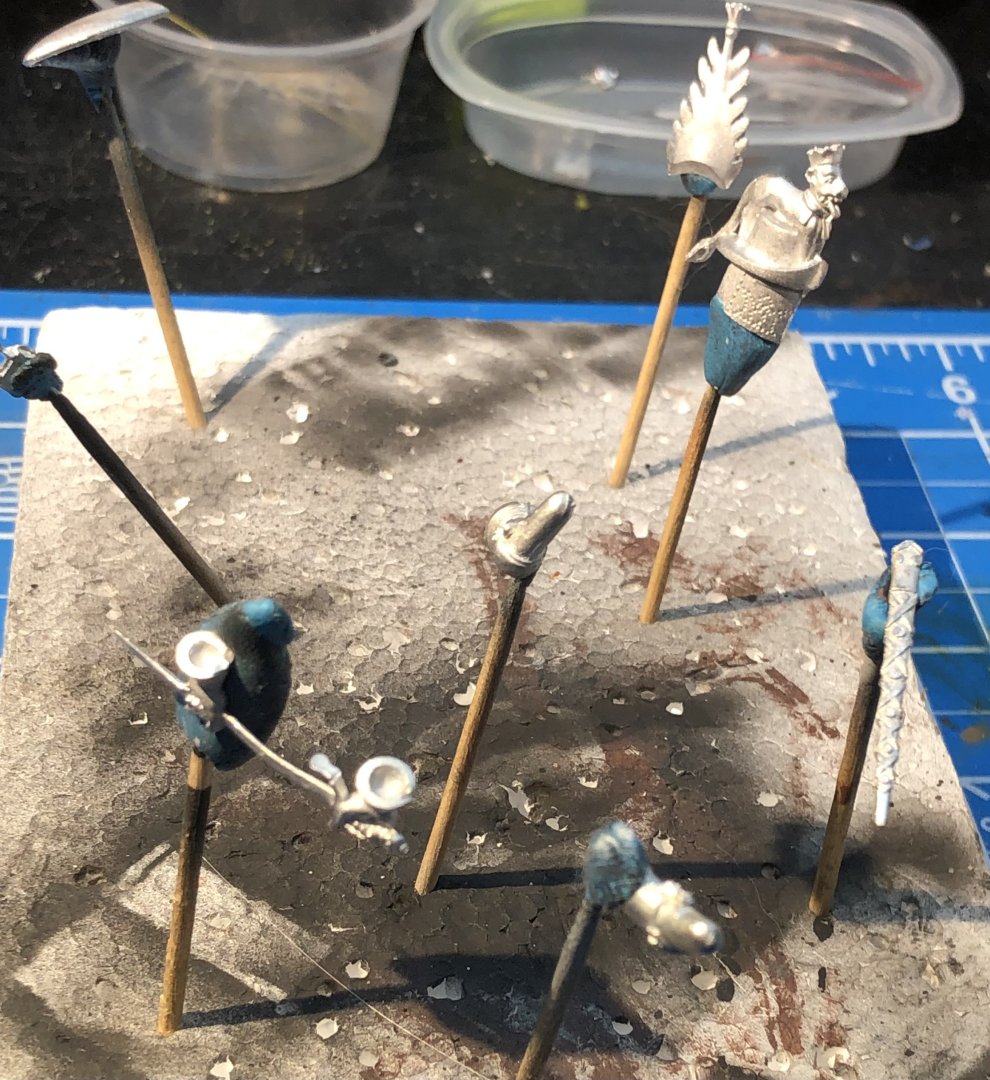
Here we go again, another Andrea model in 54 mm. A bit more modern this time. All the way to the 14th century. This will be Edward the Black Prince son of Edward III, highly successful commander of the English armies during the Hundred Years’ War with victories at Crecy and Poitiers to his name. He died of illness before his father resulting in his son taking the throne as Richard II. I had thought that he earned the nickname of the Black Prince because he wore black armor into battle but I gather that is probably not correct and the nickname was not current during his lifetime. It was over two hundred years after his death that the first occurrence of the name is found. It is widely believed that he earned the nickname for his ruthless behavior as commander in the field. So I can put the gloss black paint away and plan on polishing the metal instead. I think I will be trying to use the decal paper again for his shield and surcoat. Incidentally, my reading notes that the Black Princes shield, gauntlet, helmet and surcoat are displayed in Canterbury cathedral. The helmet does look black but after six hundred years it may have dulled or been restored in line with the black armor theory. I have prepared the parts for a black primer coat and then I’ll start polishing This last bit intrigues me but after studying the pictures on the Andrea Models website I think I have worked out what it is for. Thanks for looking in. Alan


-
Thank you very much Phil. A bit different to the usual standing figure alan
-
That’s great work. You have built a beautiful ship. I especially like the sails which always seem to be a difficult thing to make realistic on a model. The rigging compliments them being so neat. Congratulations. log was great too alan
-
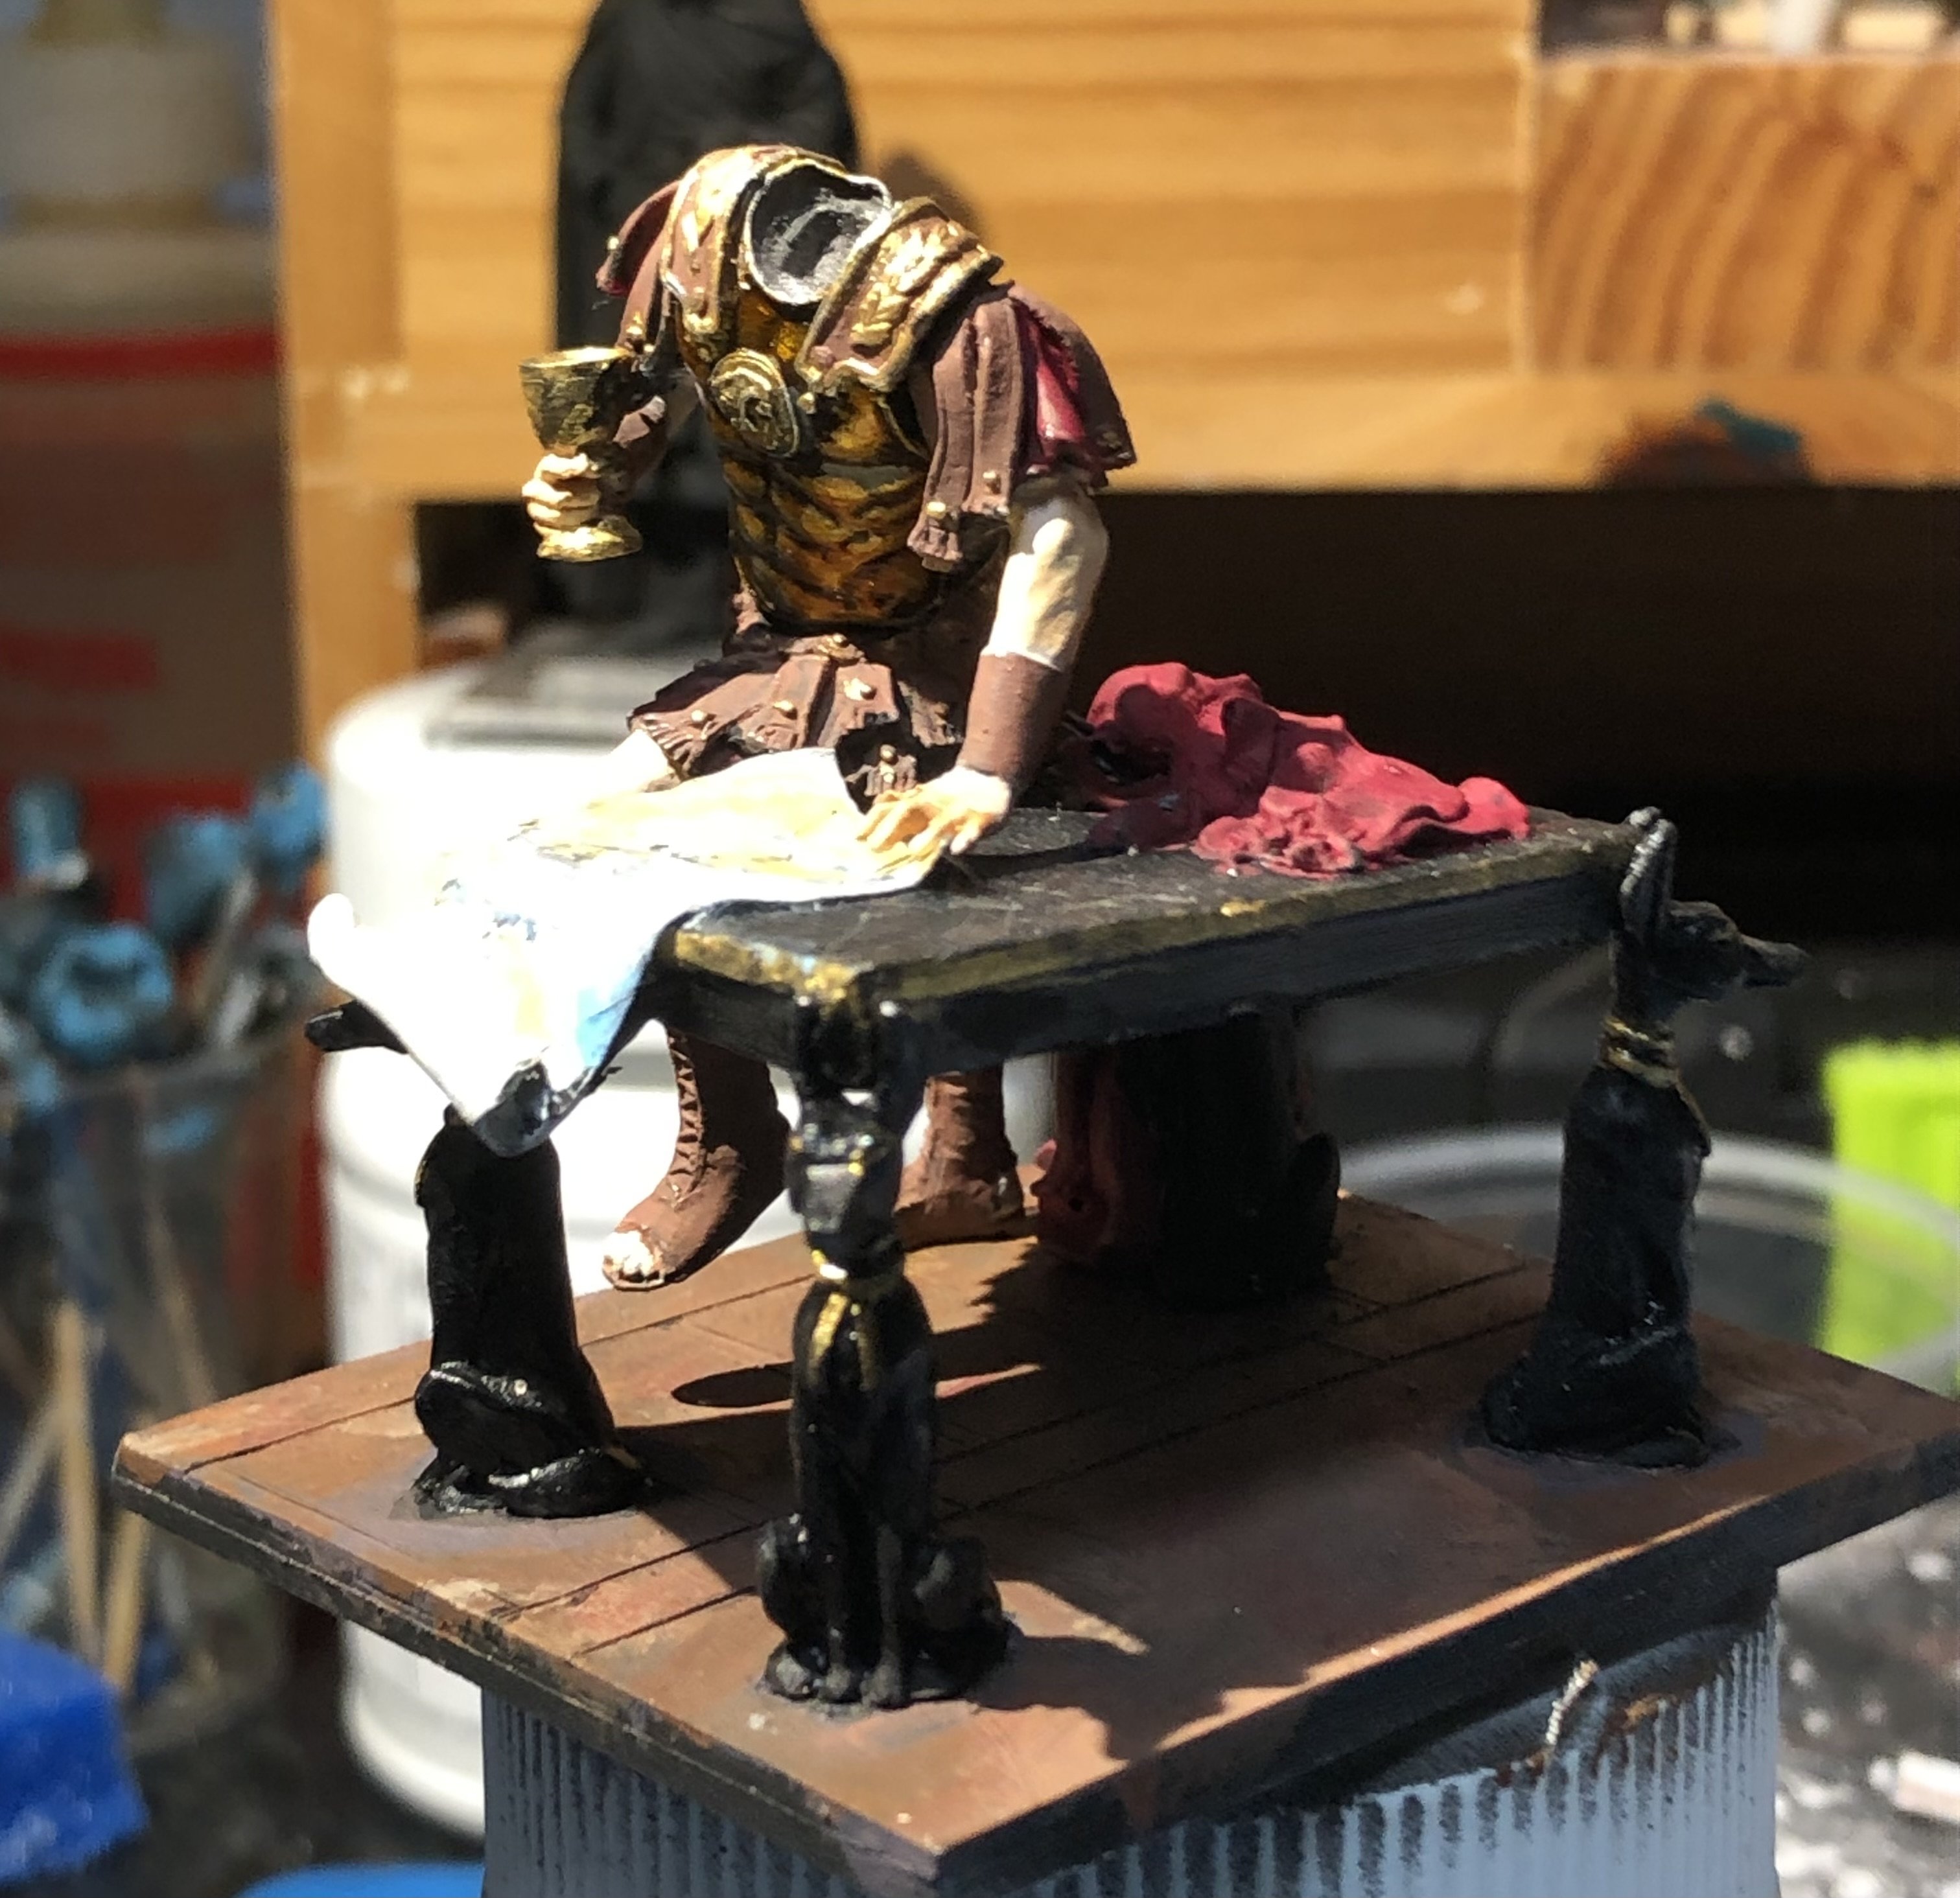
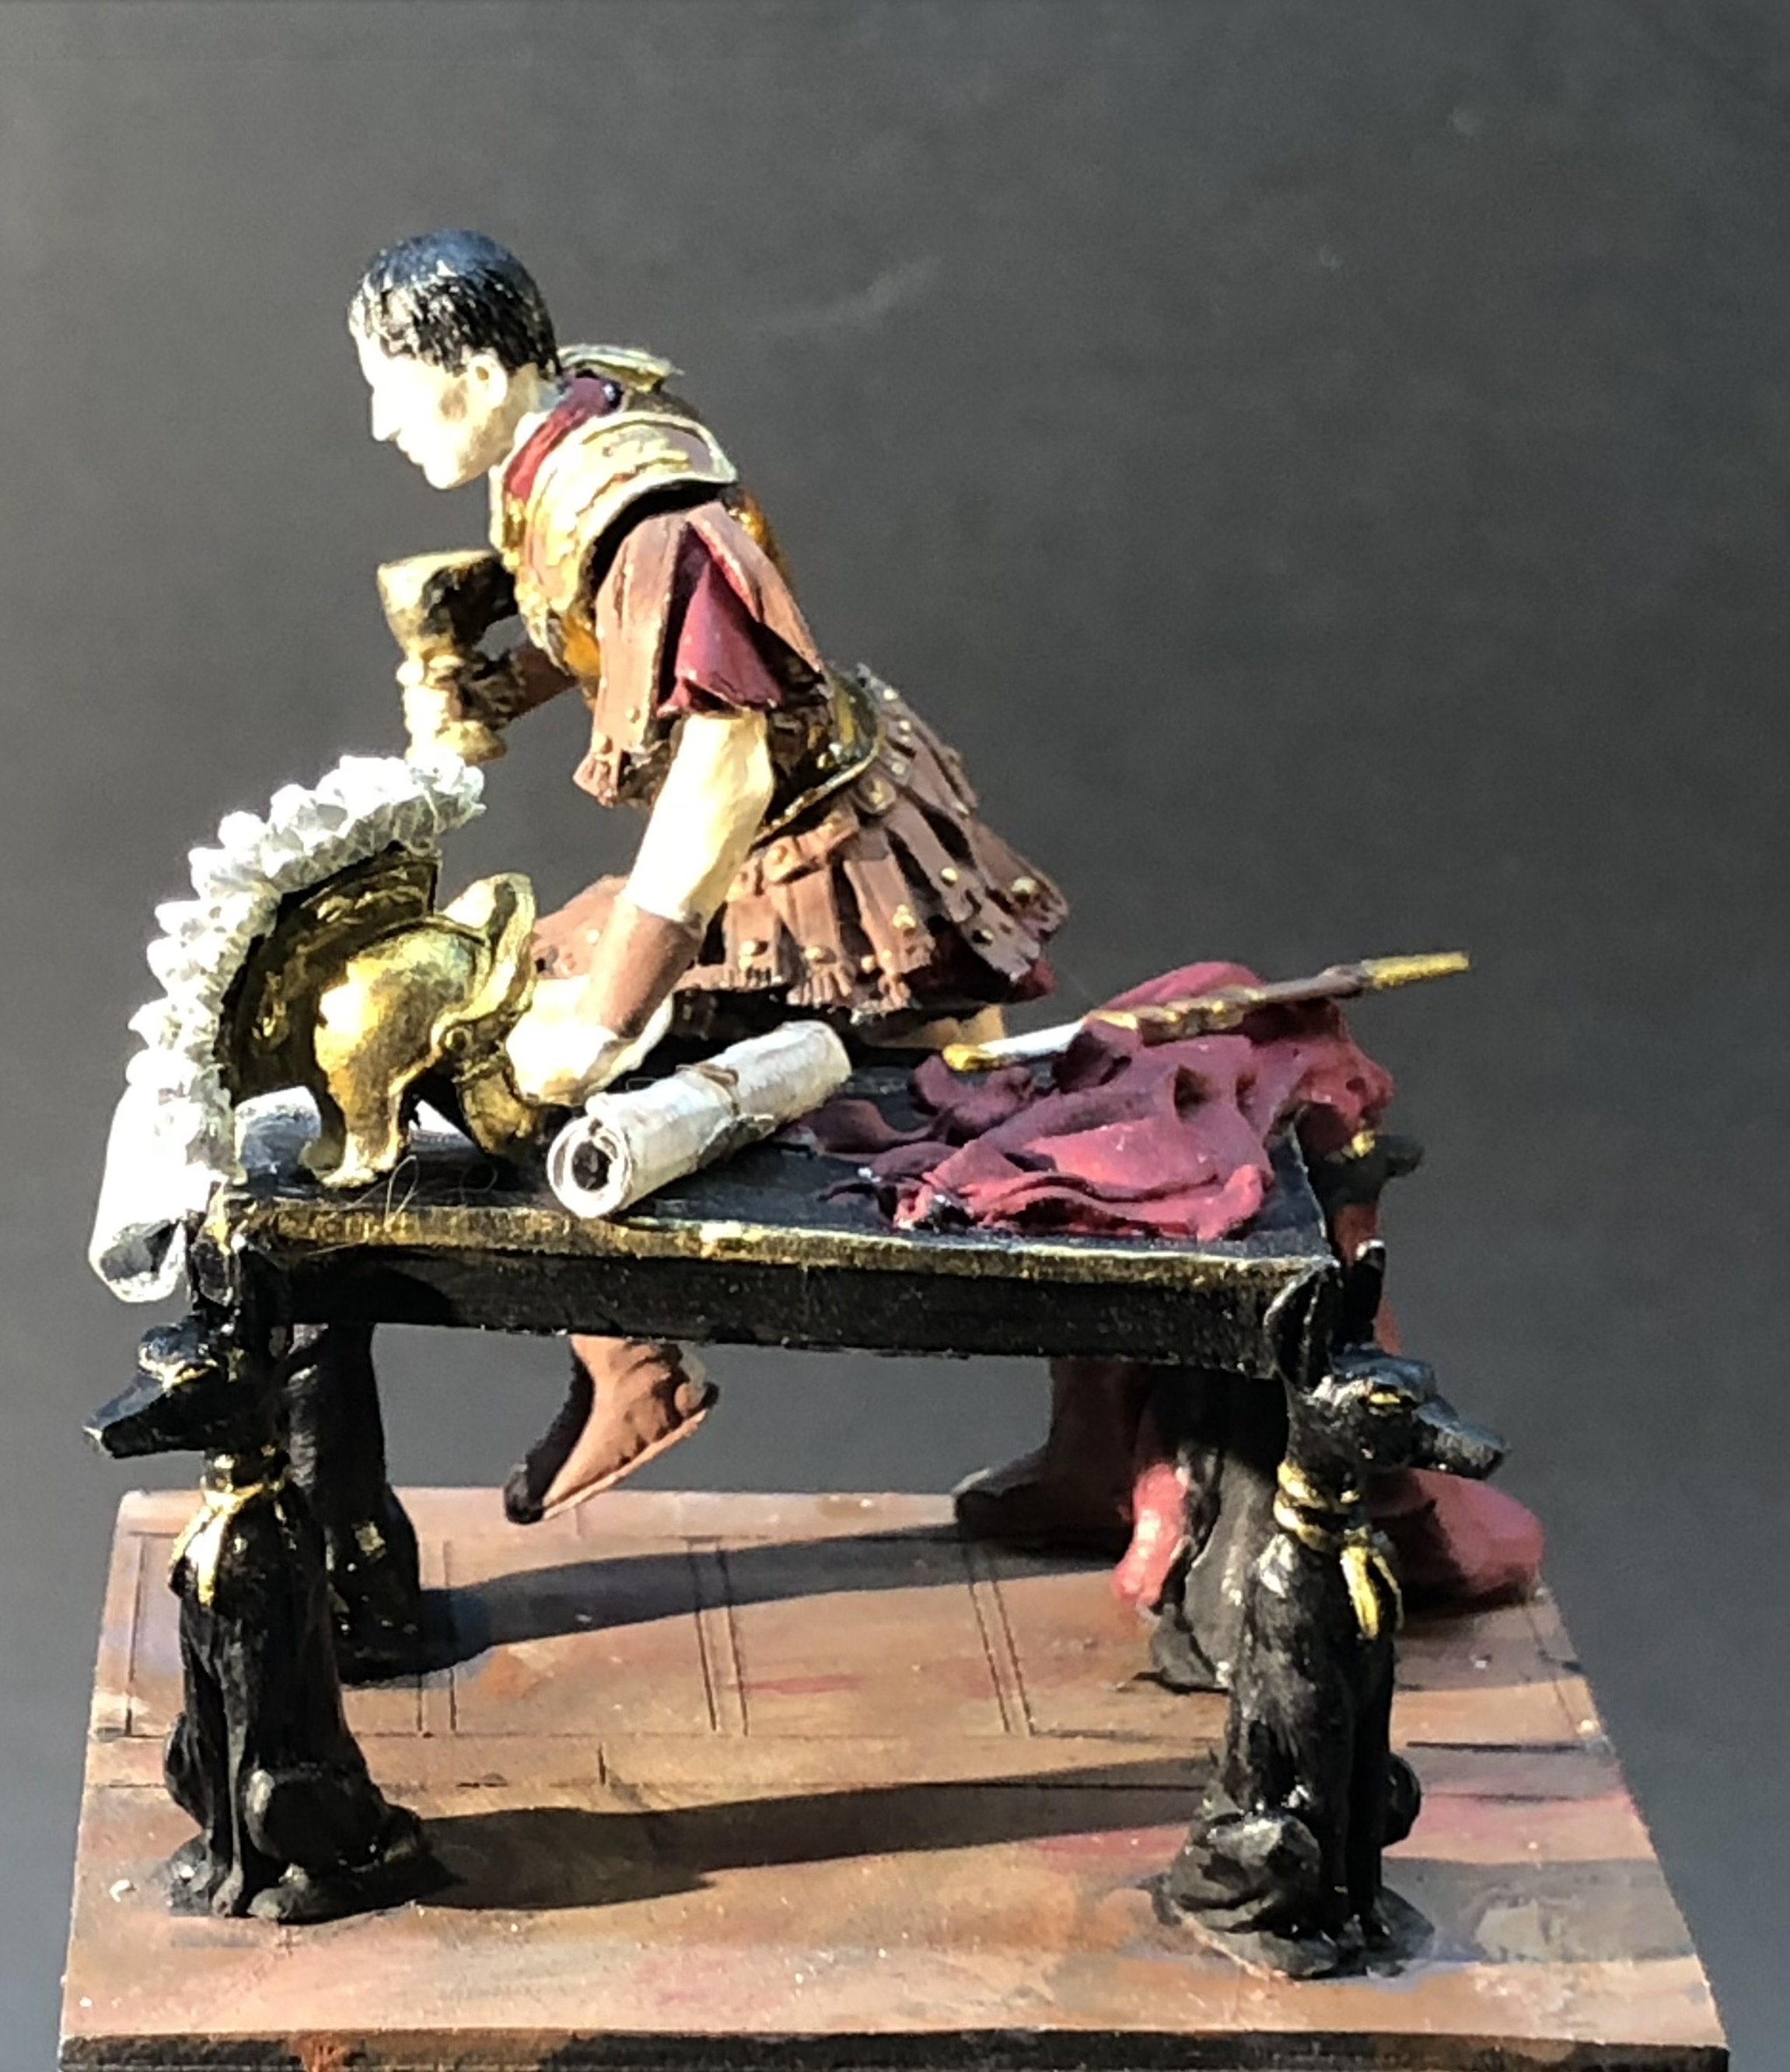
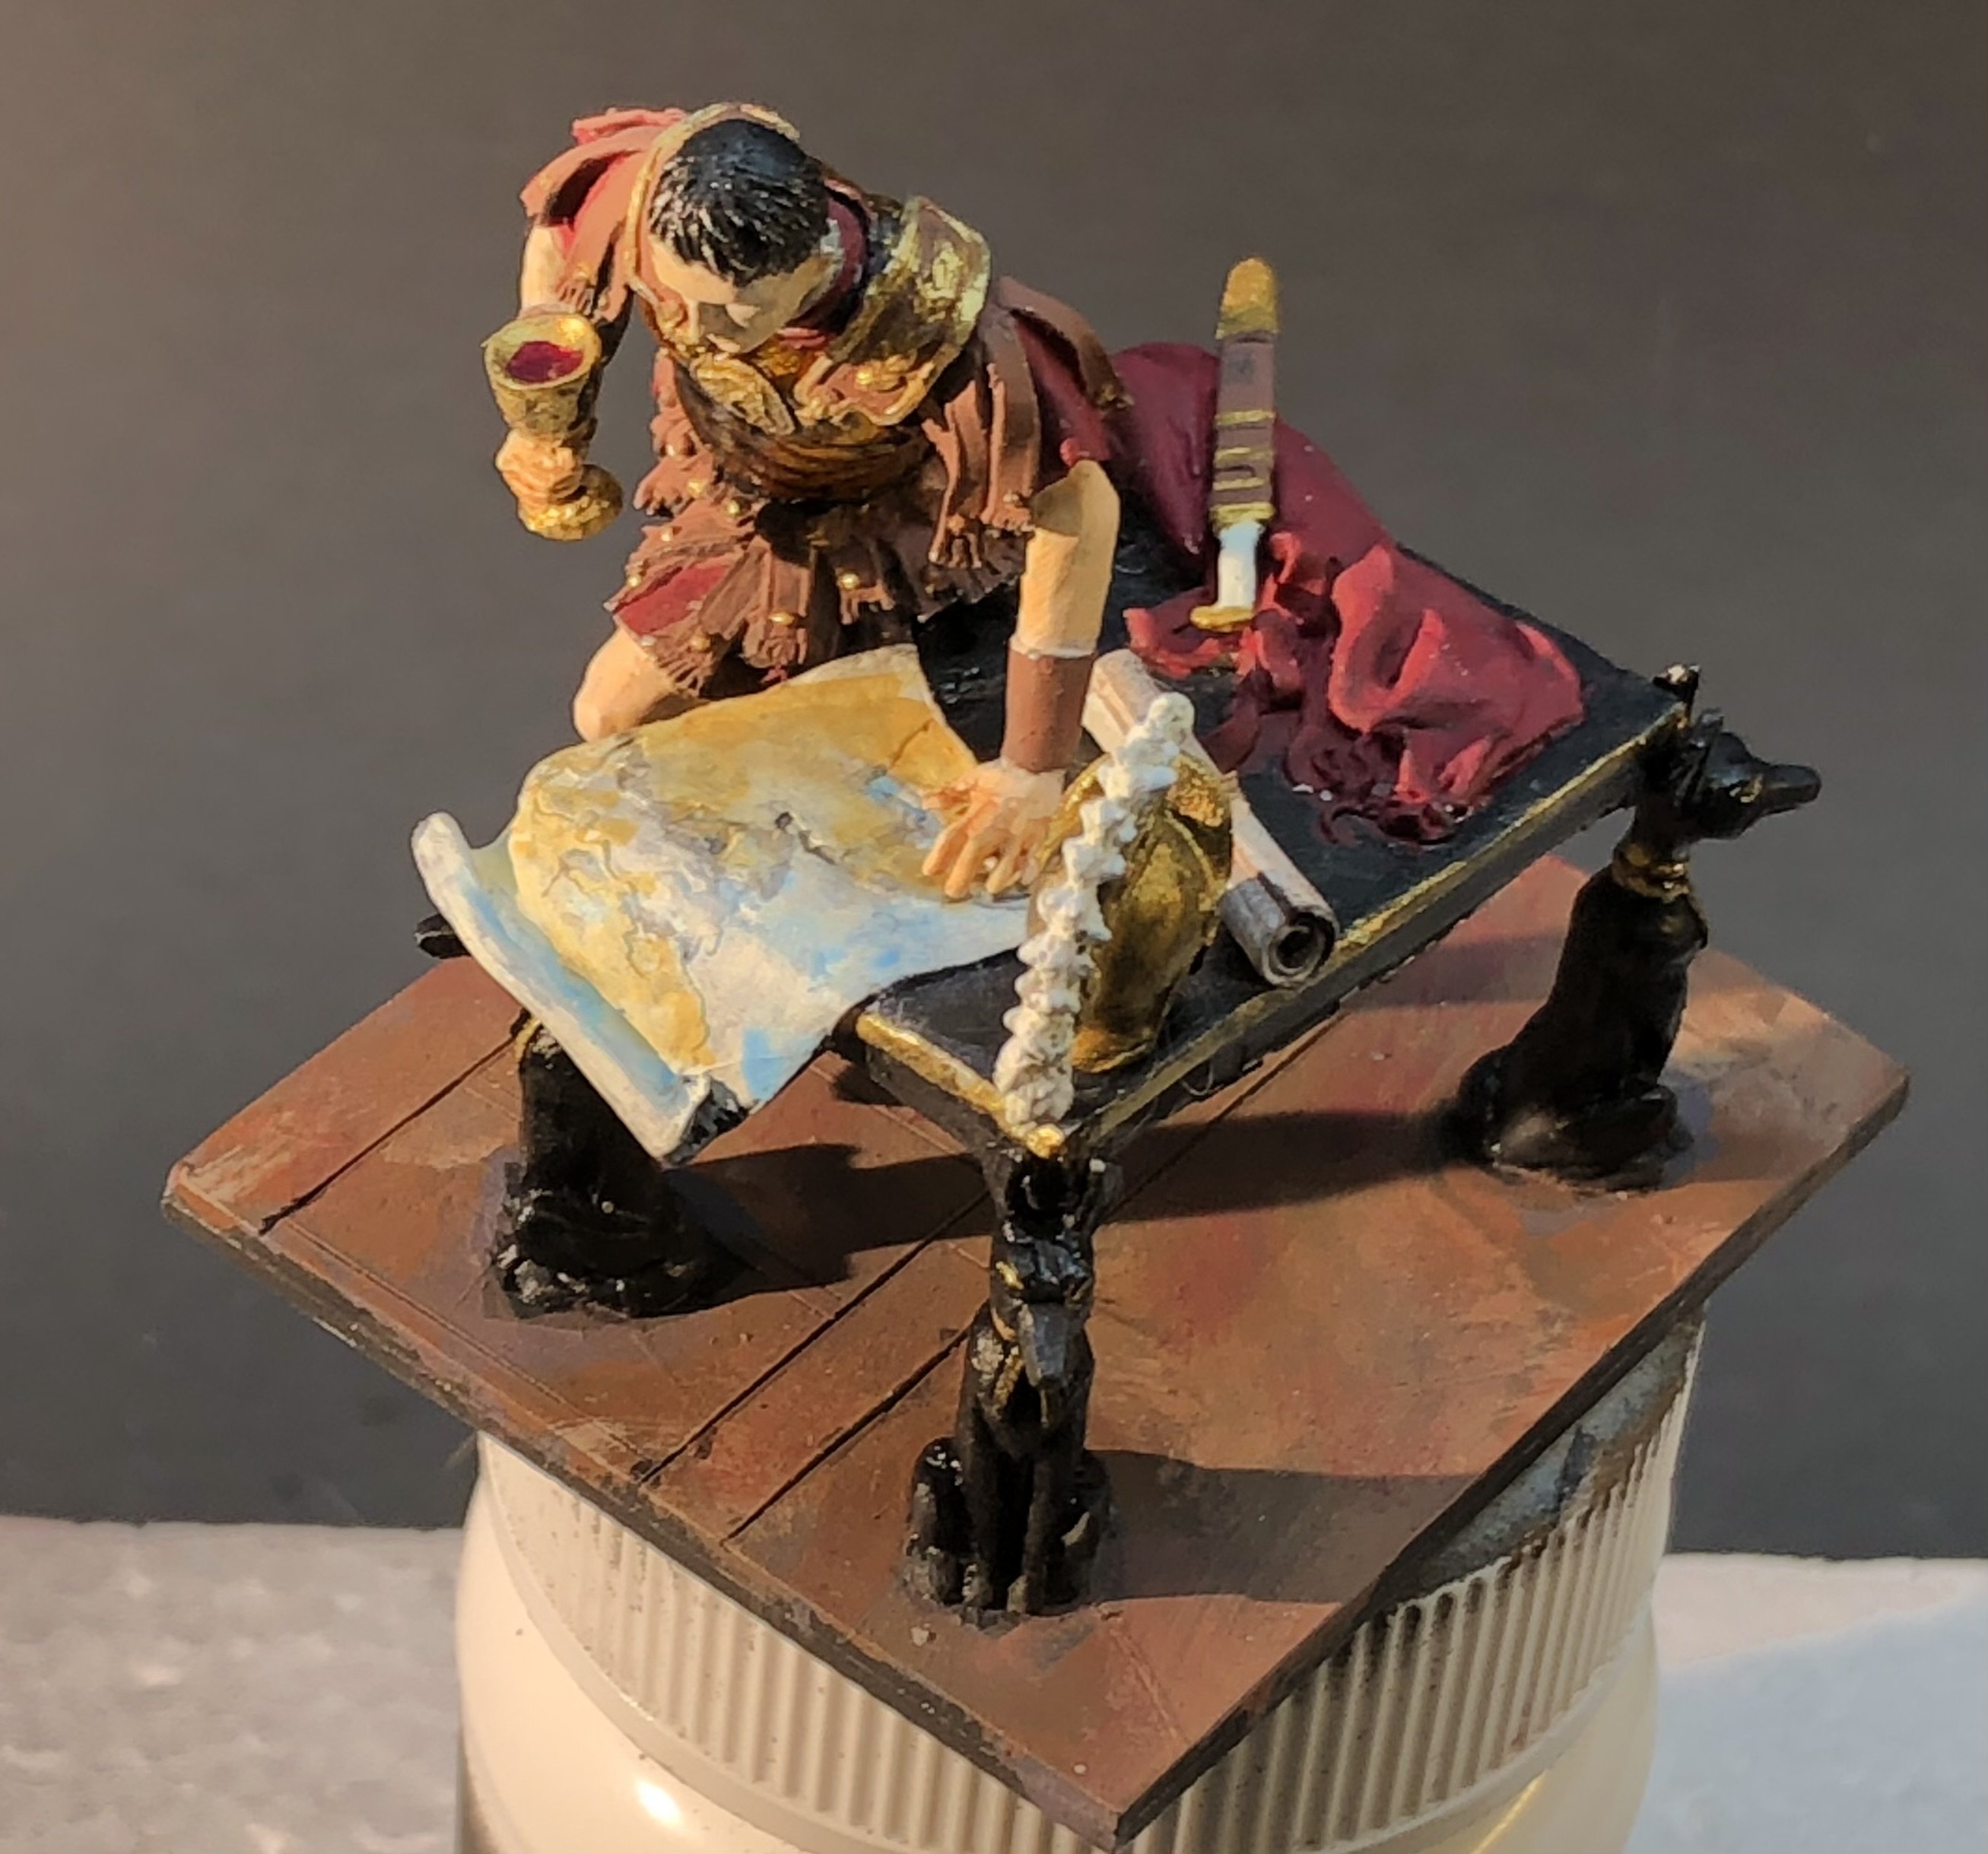
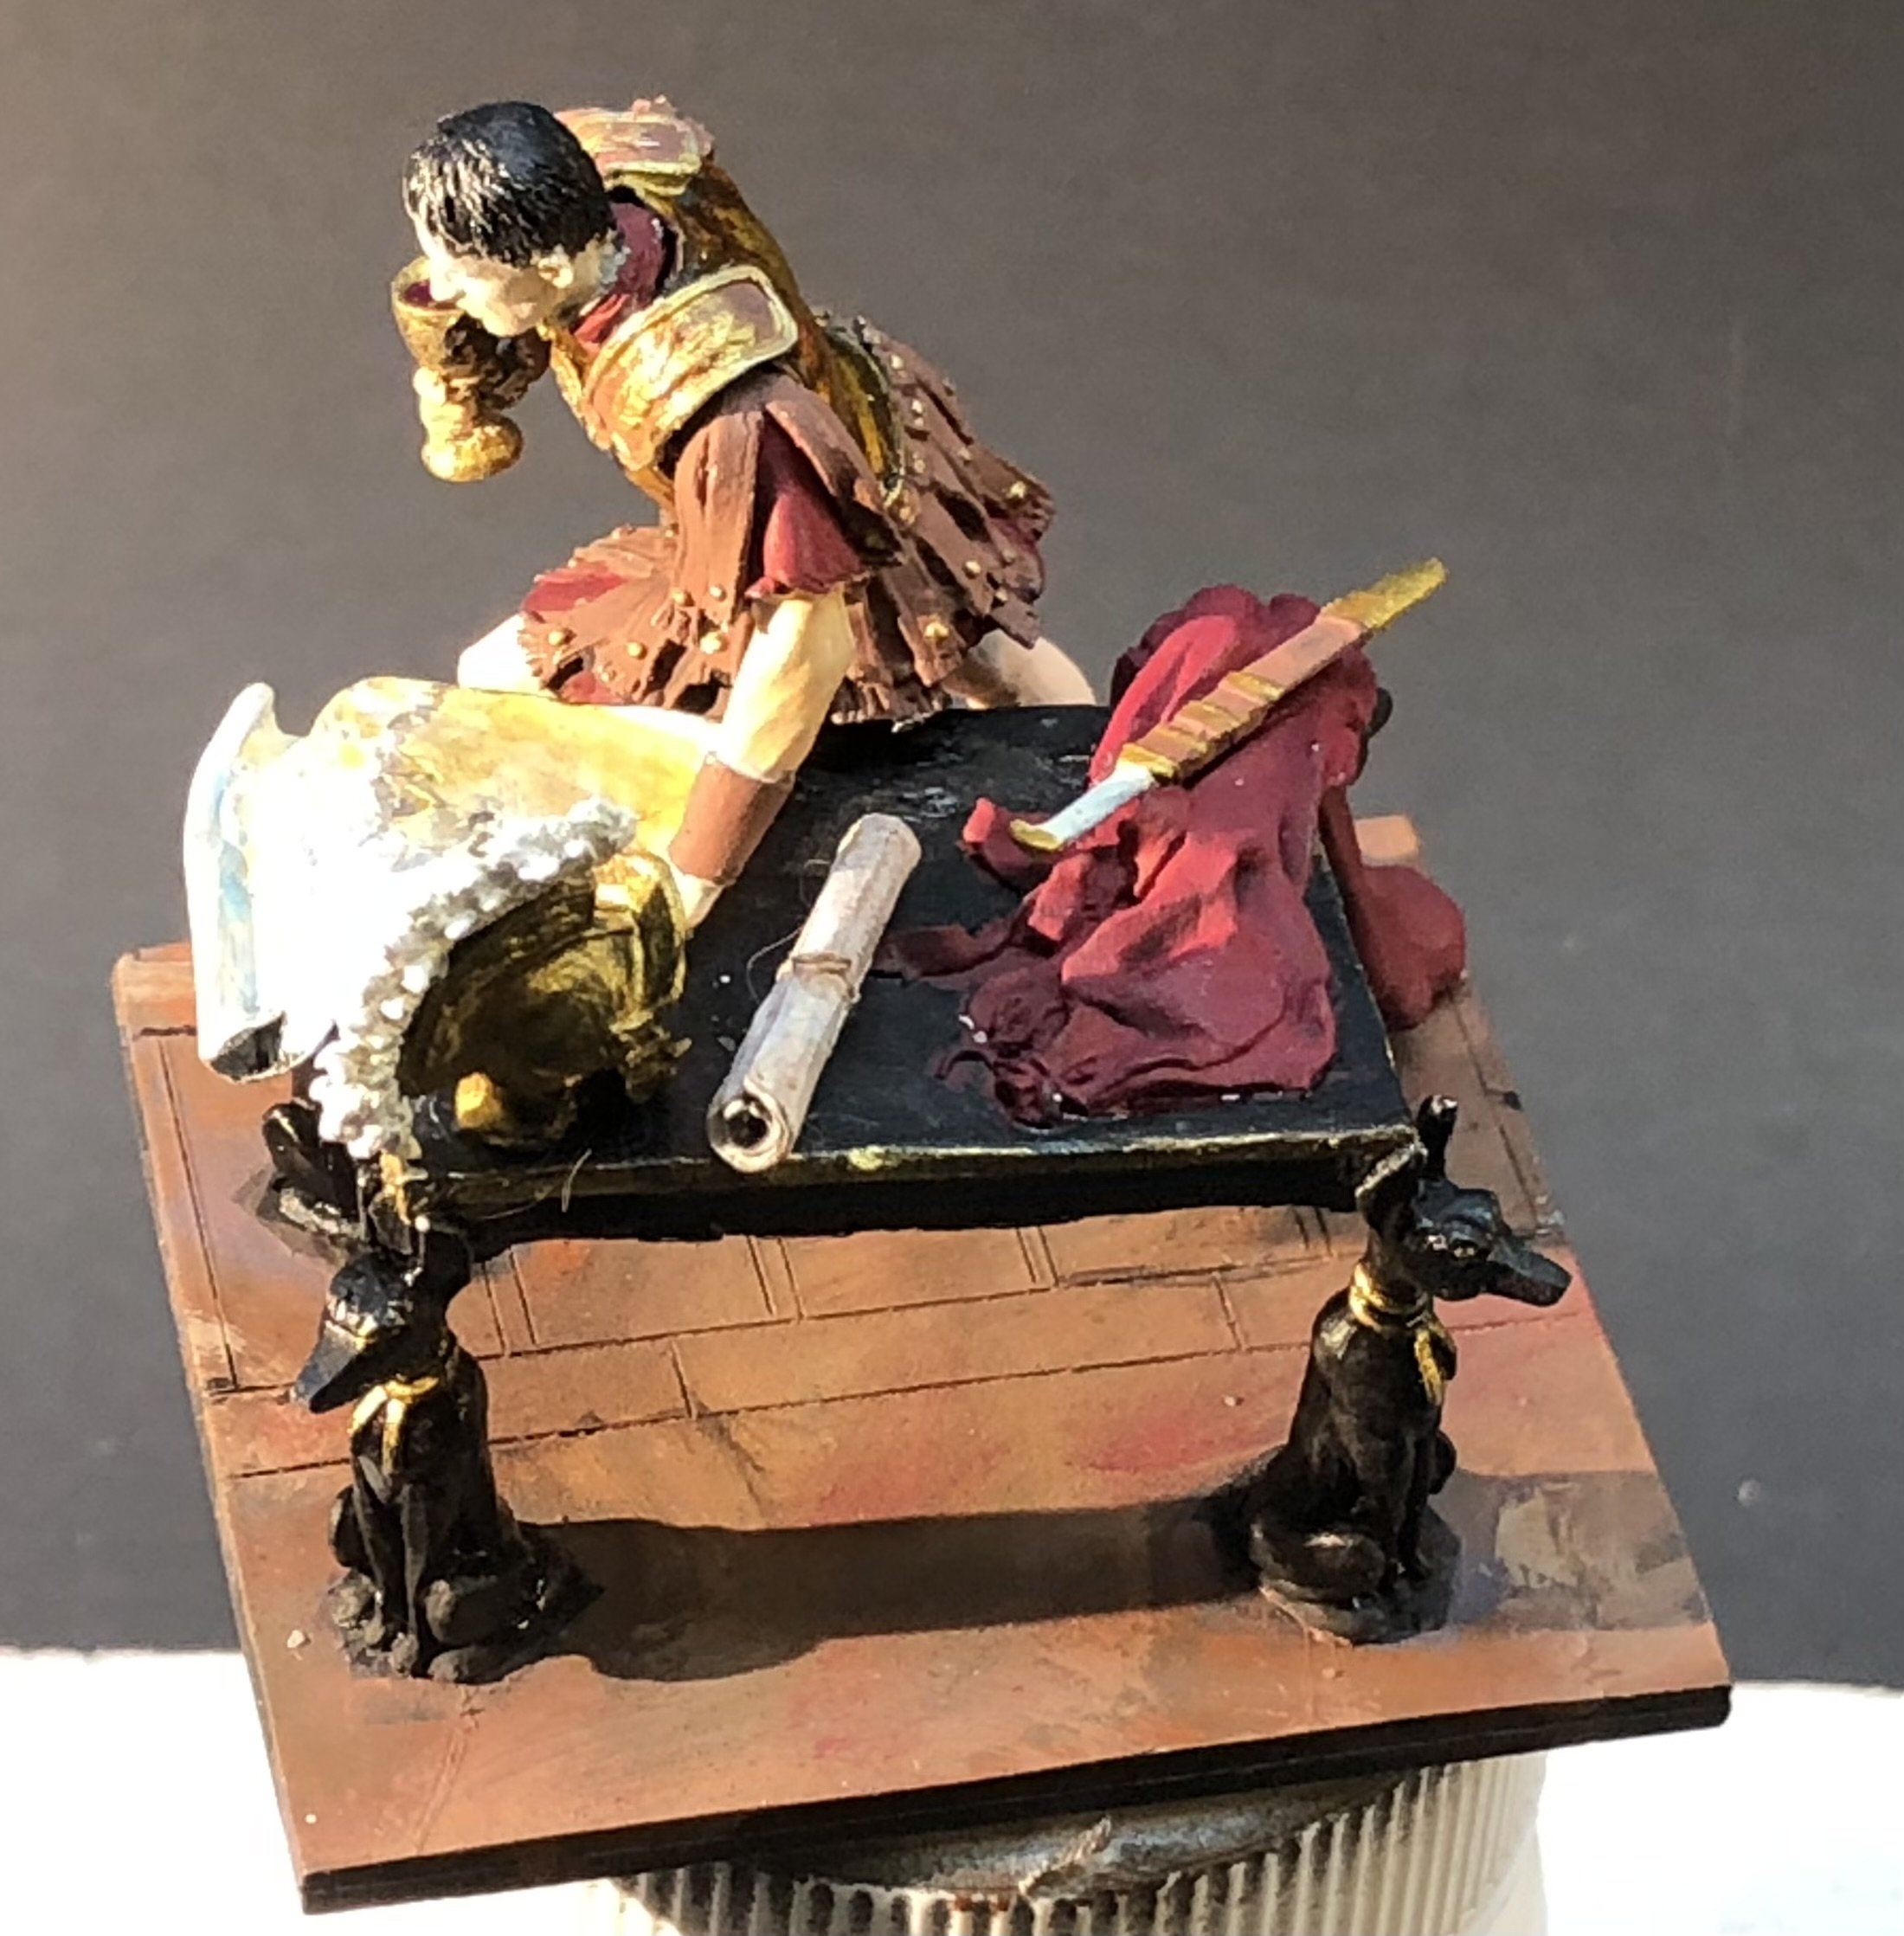
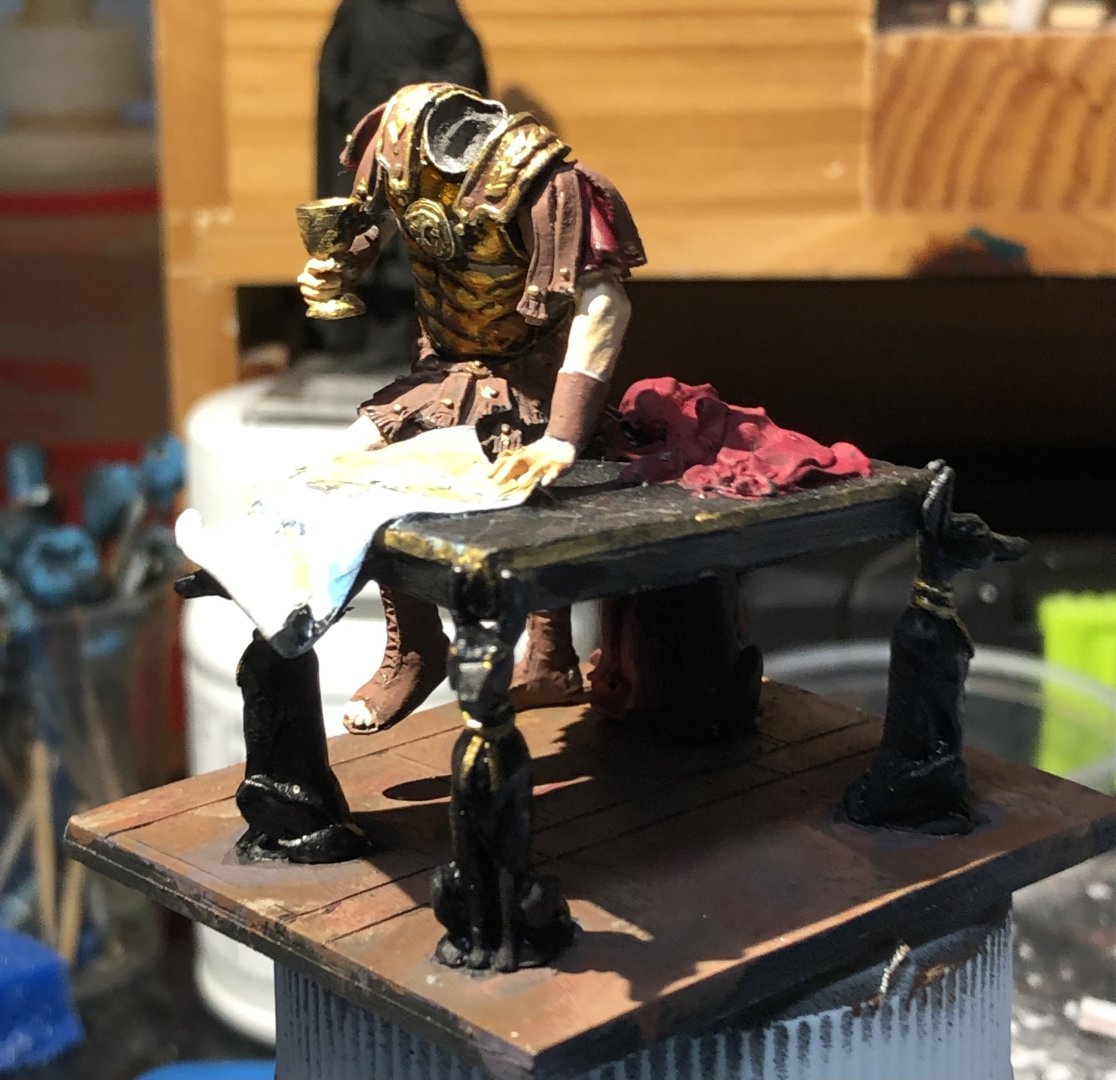
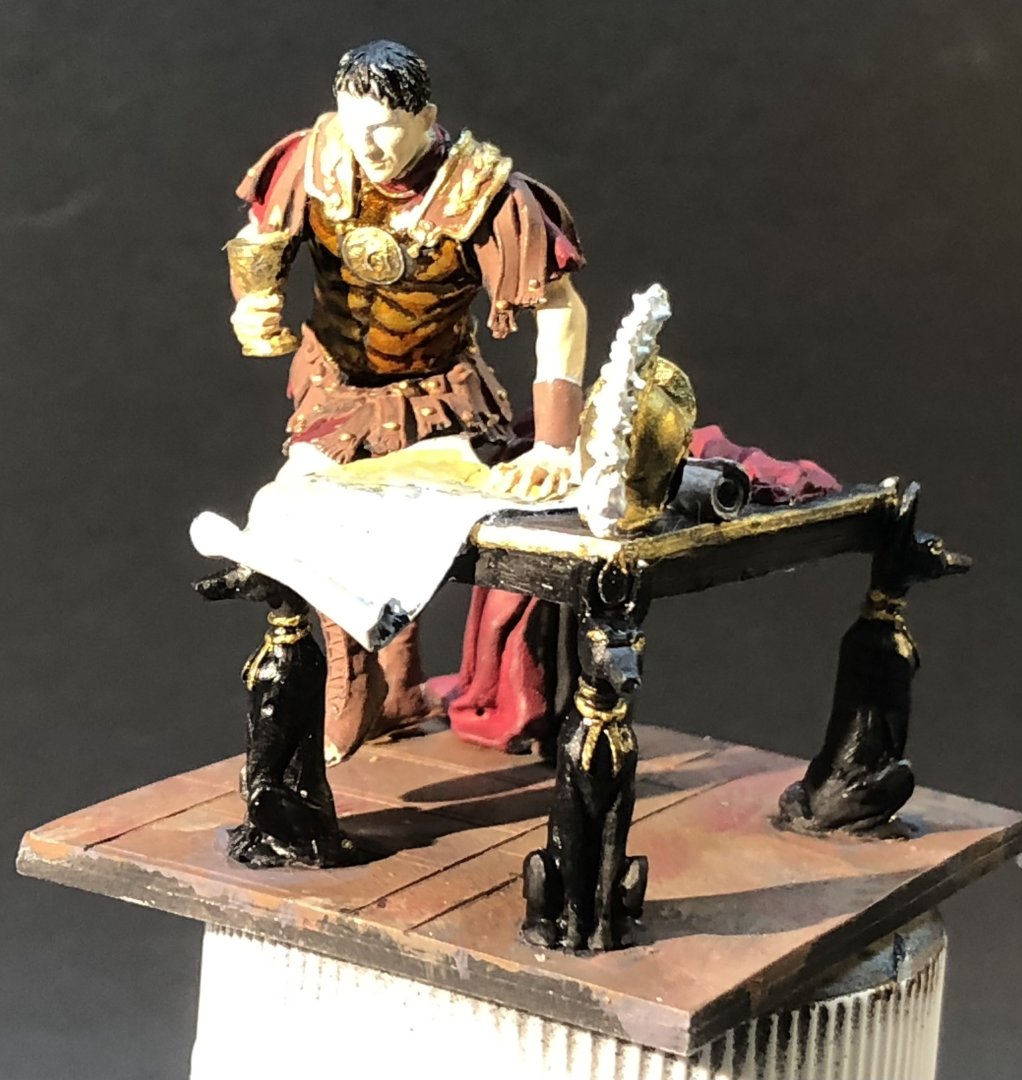
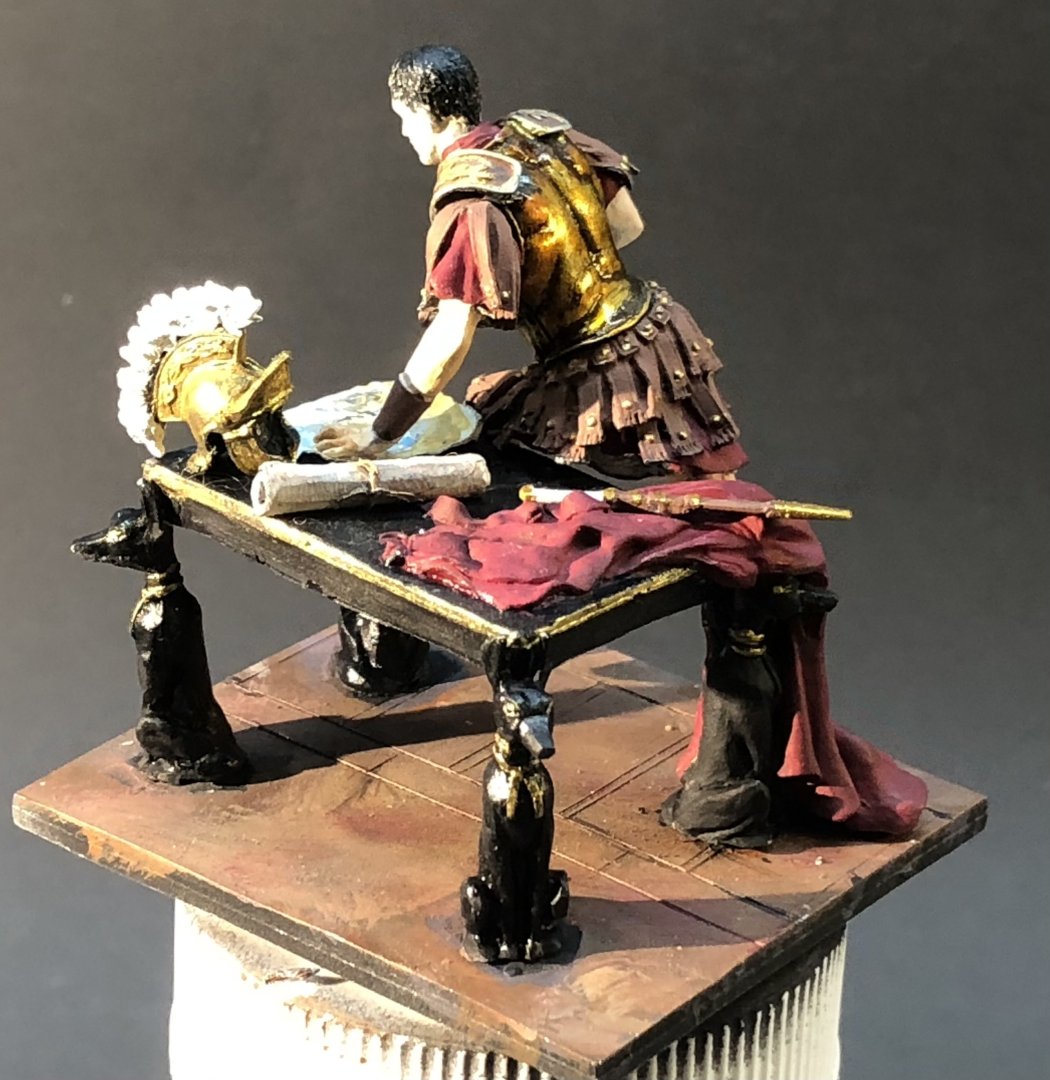
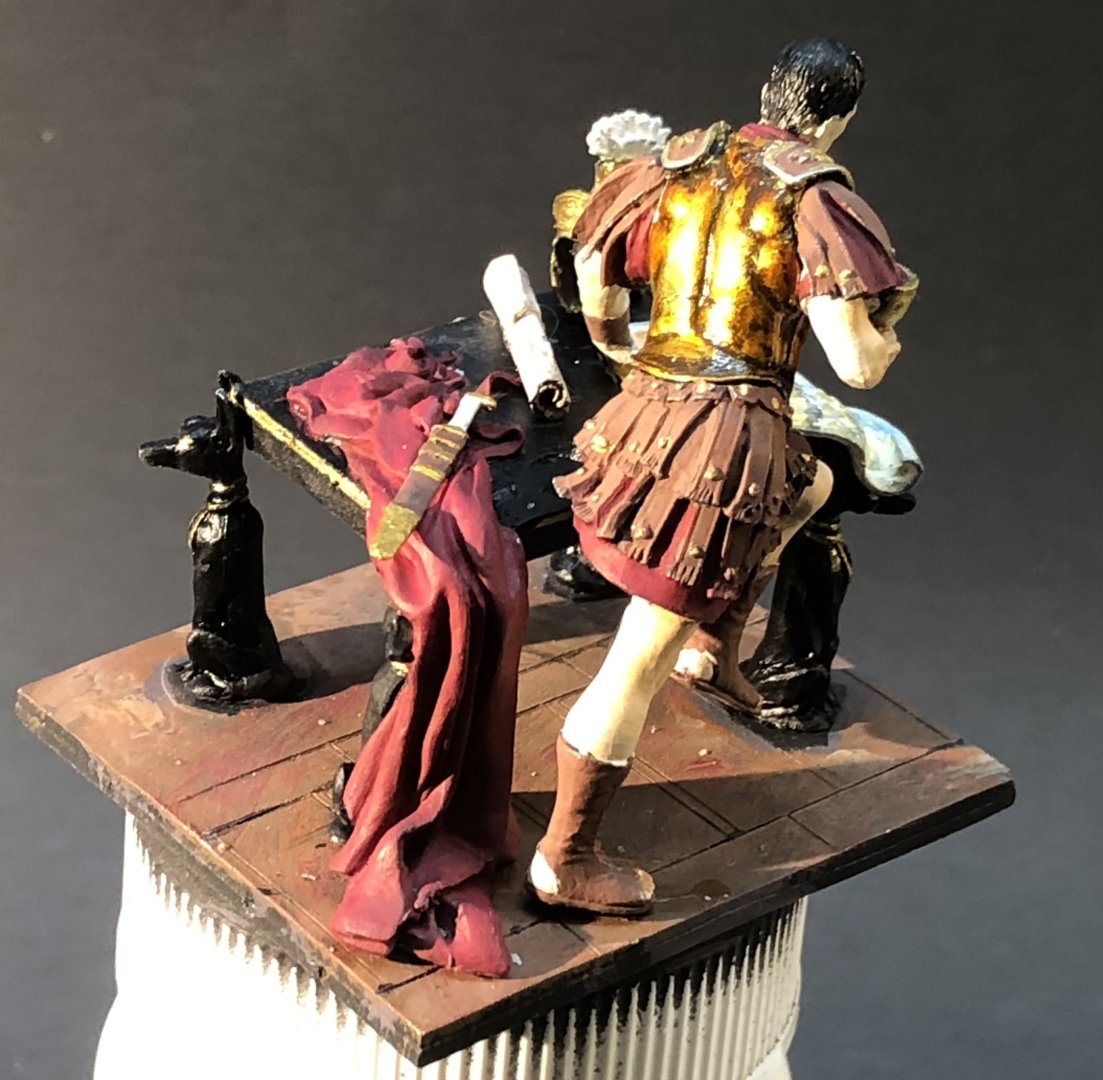
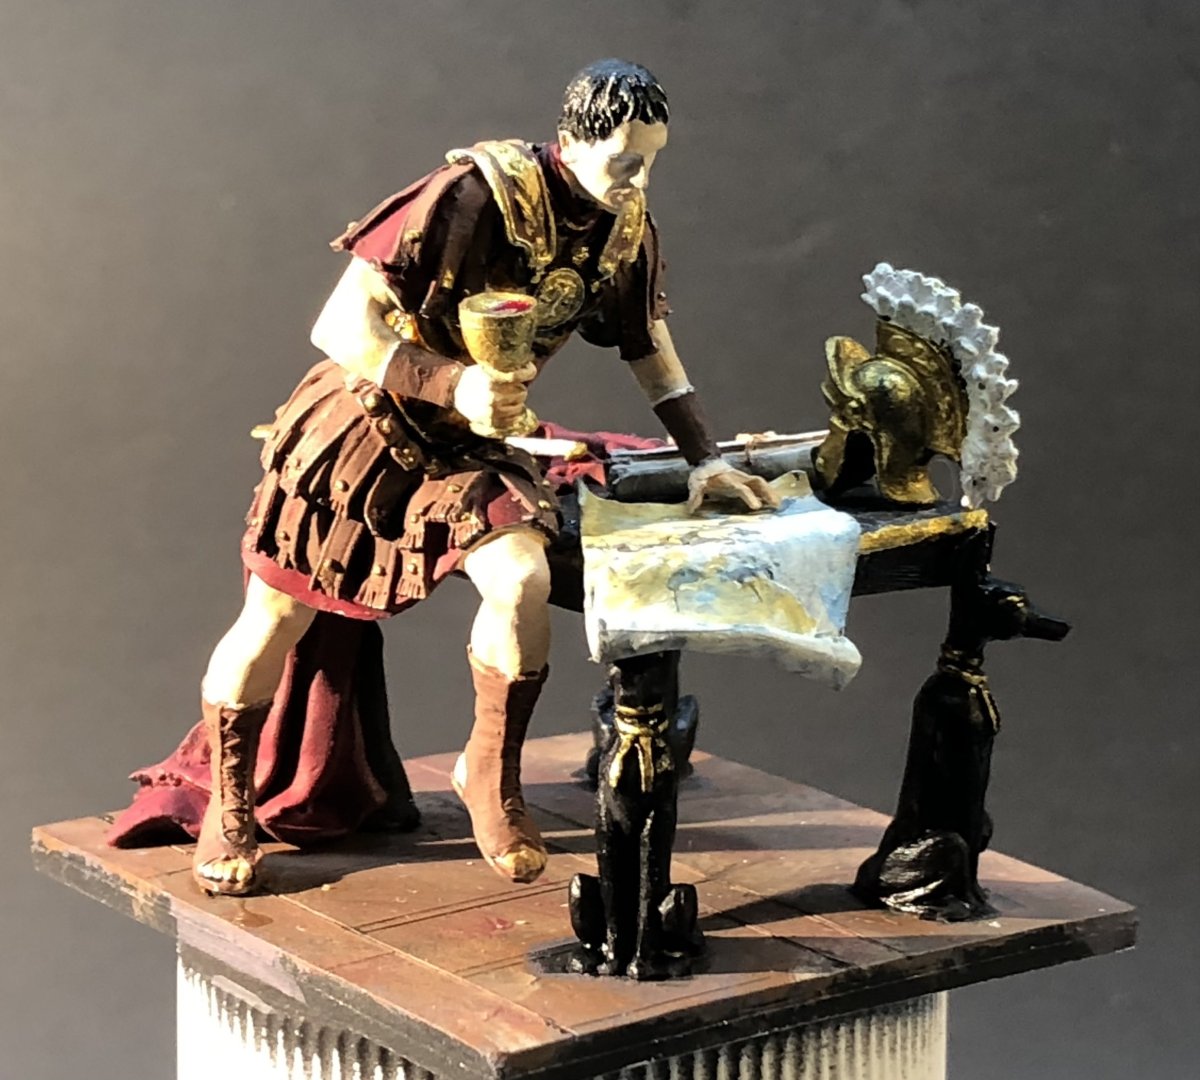
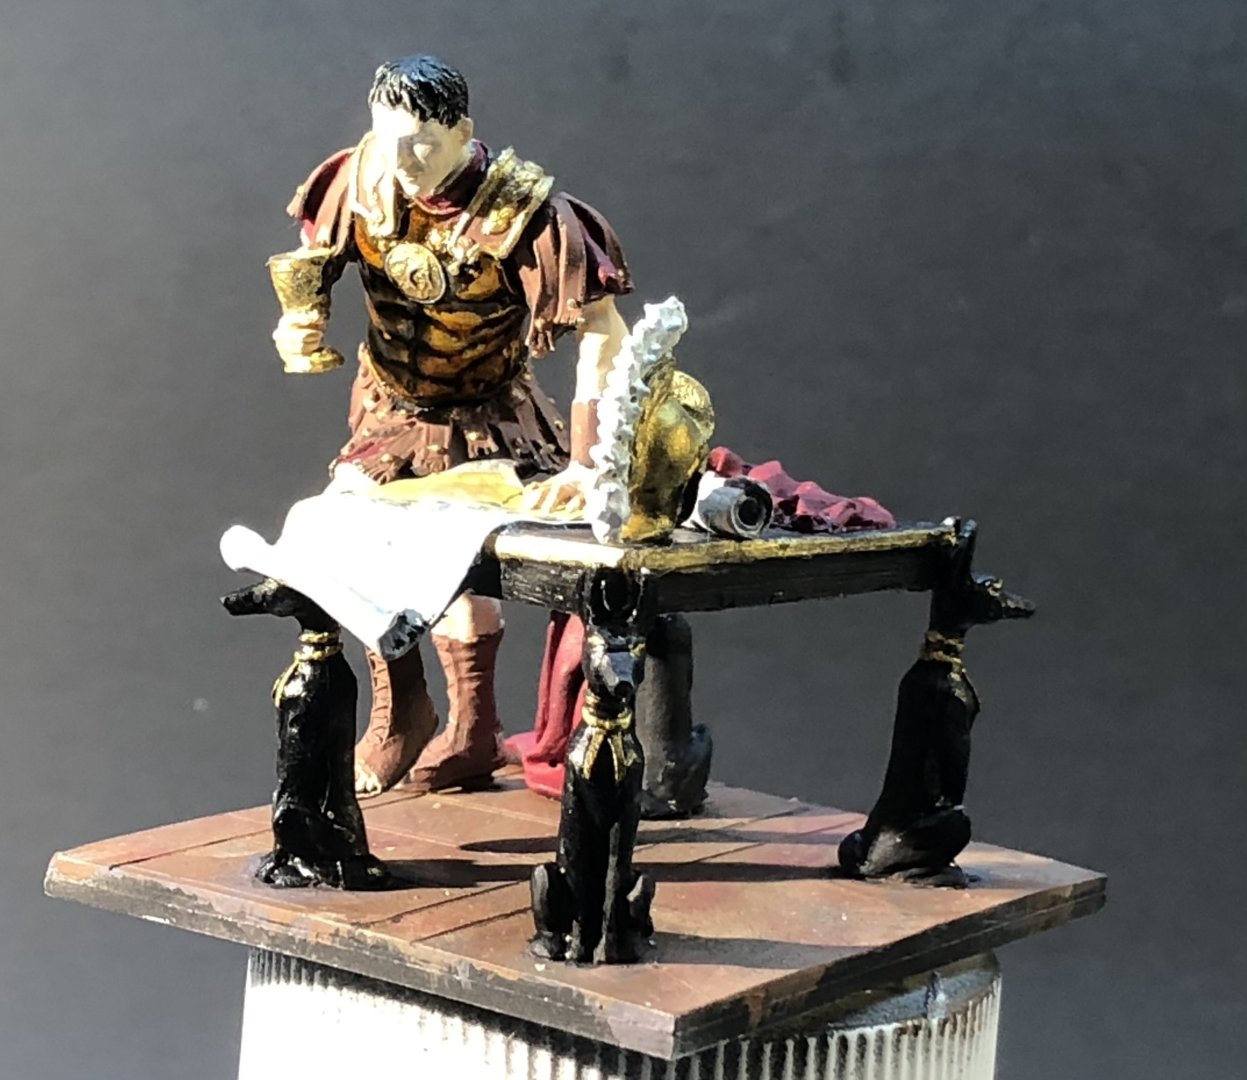
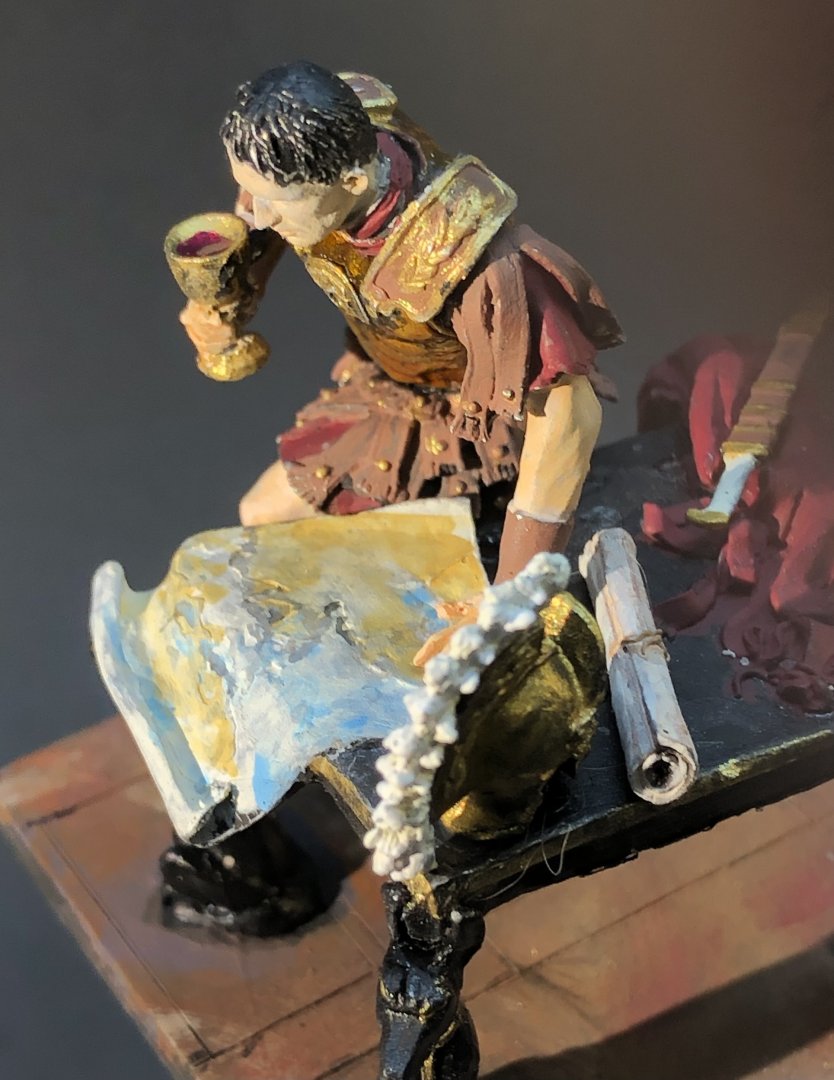
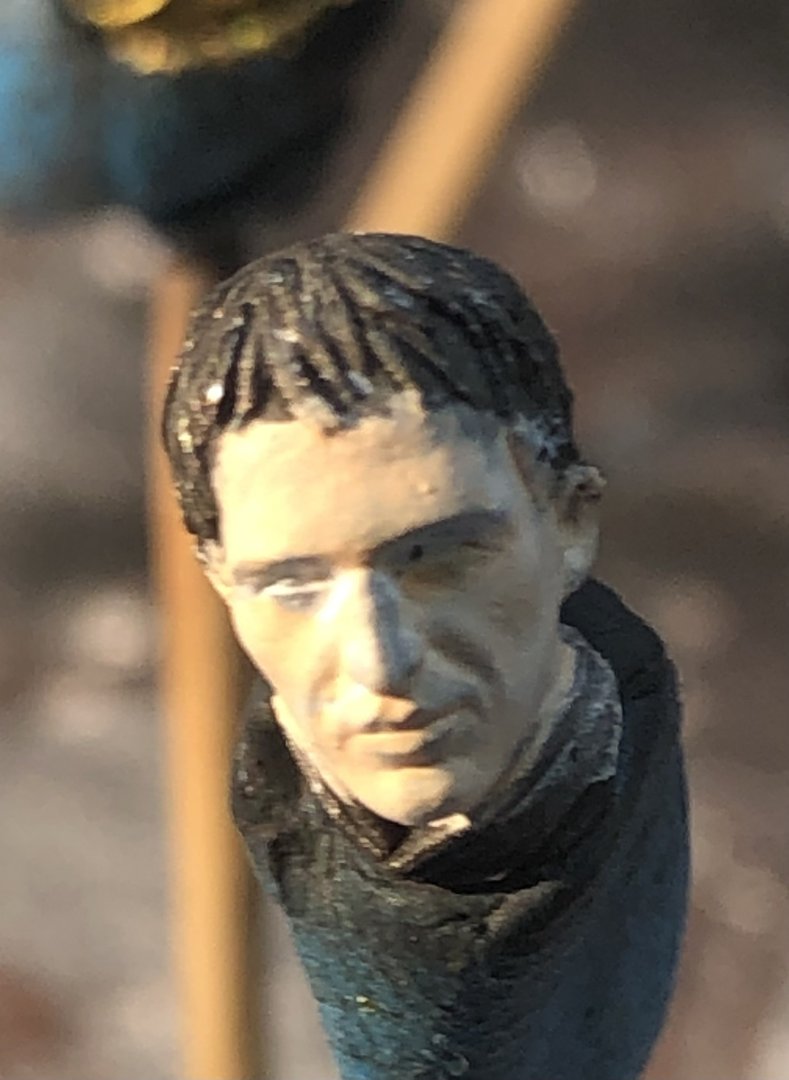
As usual not much was accomplished during the weekend but I did get Mark placed on the table and his arms were added. It all fitted together very well and looks pretty natural. I added darker skin tones to his face, painted his lips with Burnt Sand instead of my usual Red Leather. It’s a paler color but on this face I like it. I painted the hair and gave it a coat of satin gloss. The sword, rolled maps, and helmet were finished and everything was put in place. I mixed a drop of violet acrylic ink with some gloss medium and with the end of a cocktail stick I dropped some into his wine cup. i think that qualifies him as finished. thanks for looking in, the likes and kind comments Im tempted to try another Andrea figure before returning to the dockyard. alan


-
Thank you very much OC. I was initially a bit disappointed with the Andrea figures but this one is really quite nice and an interesting display. alan
-
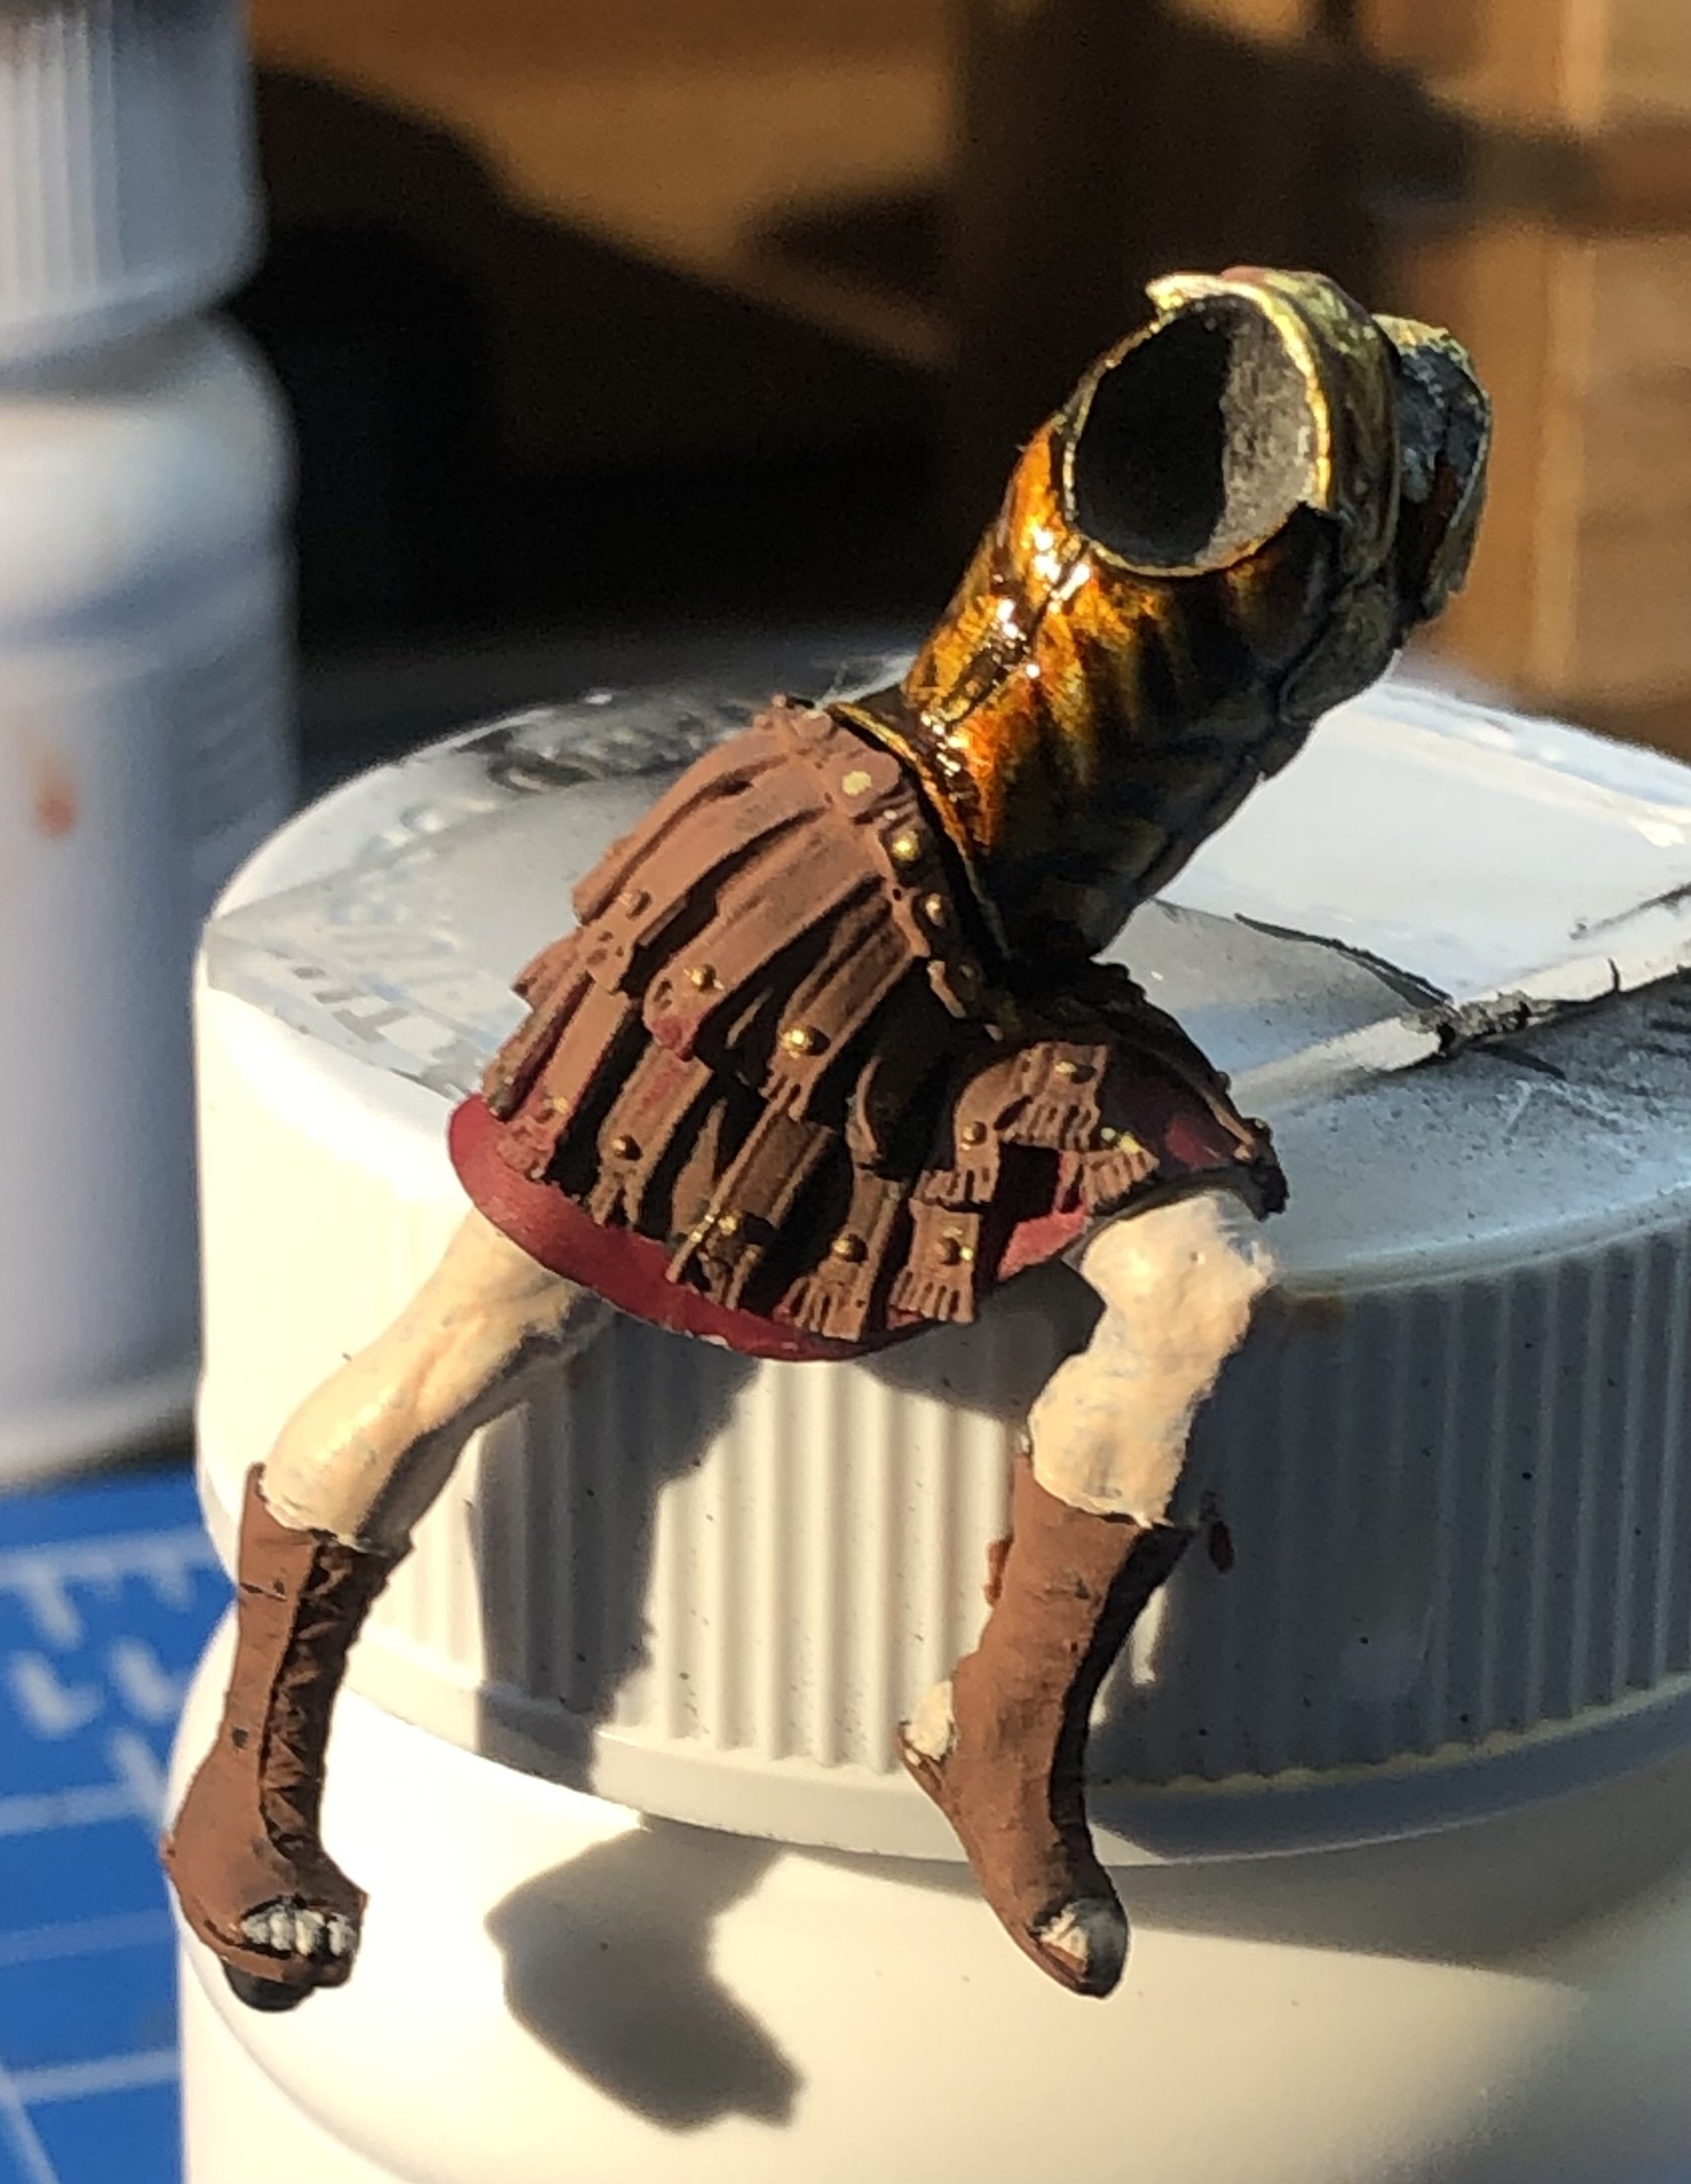
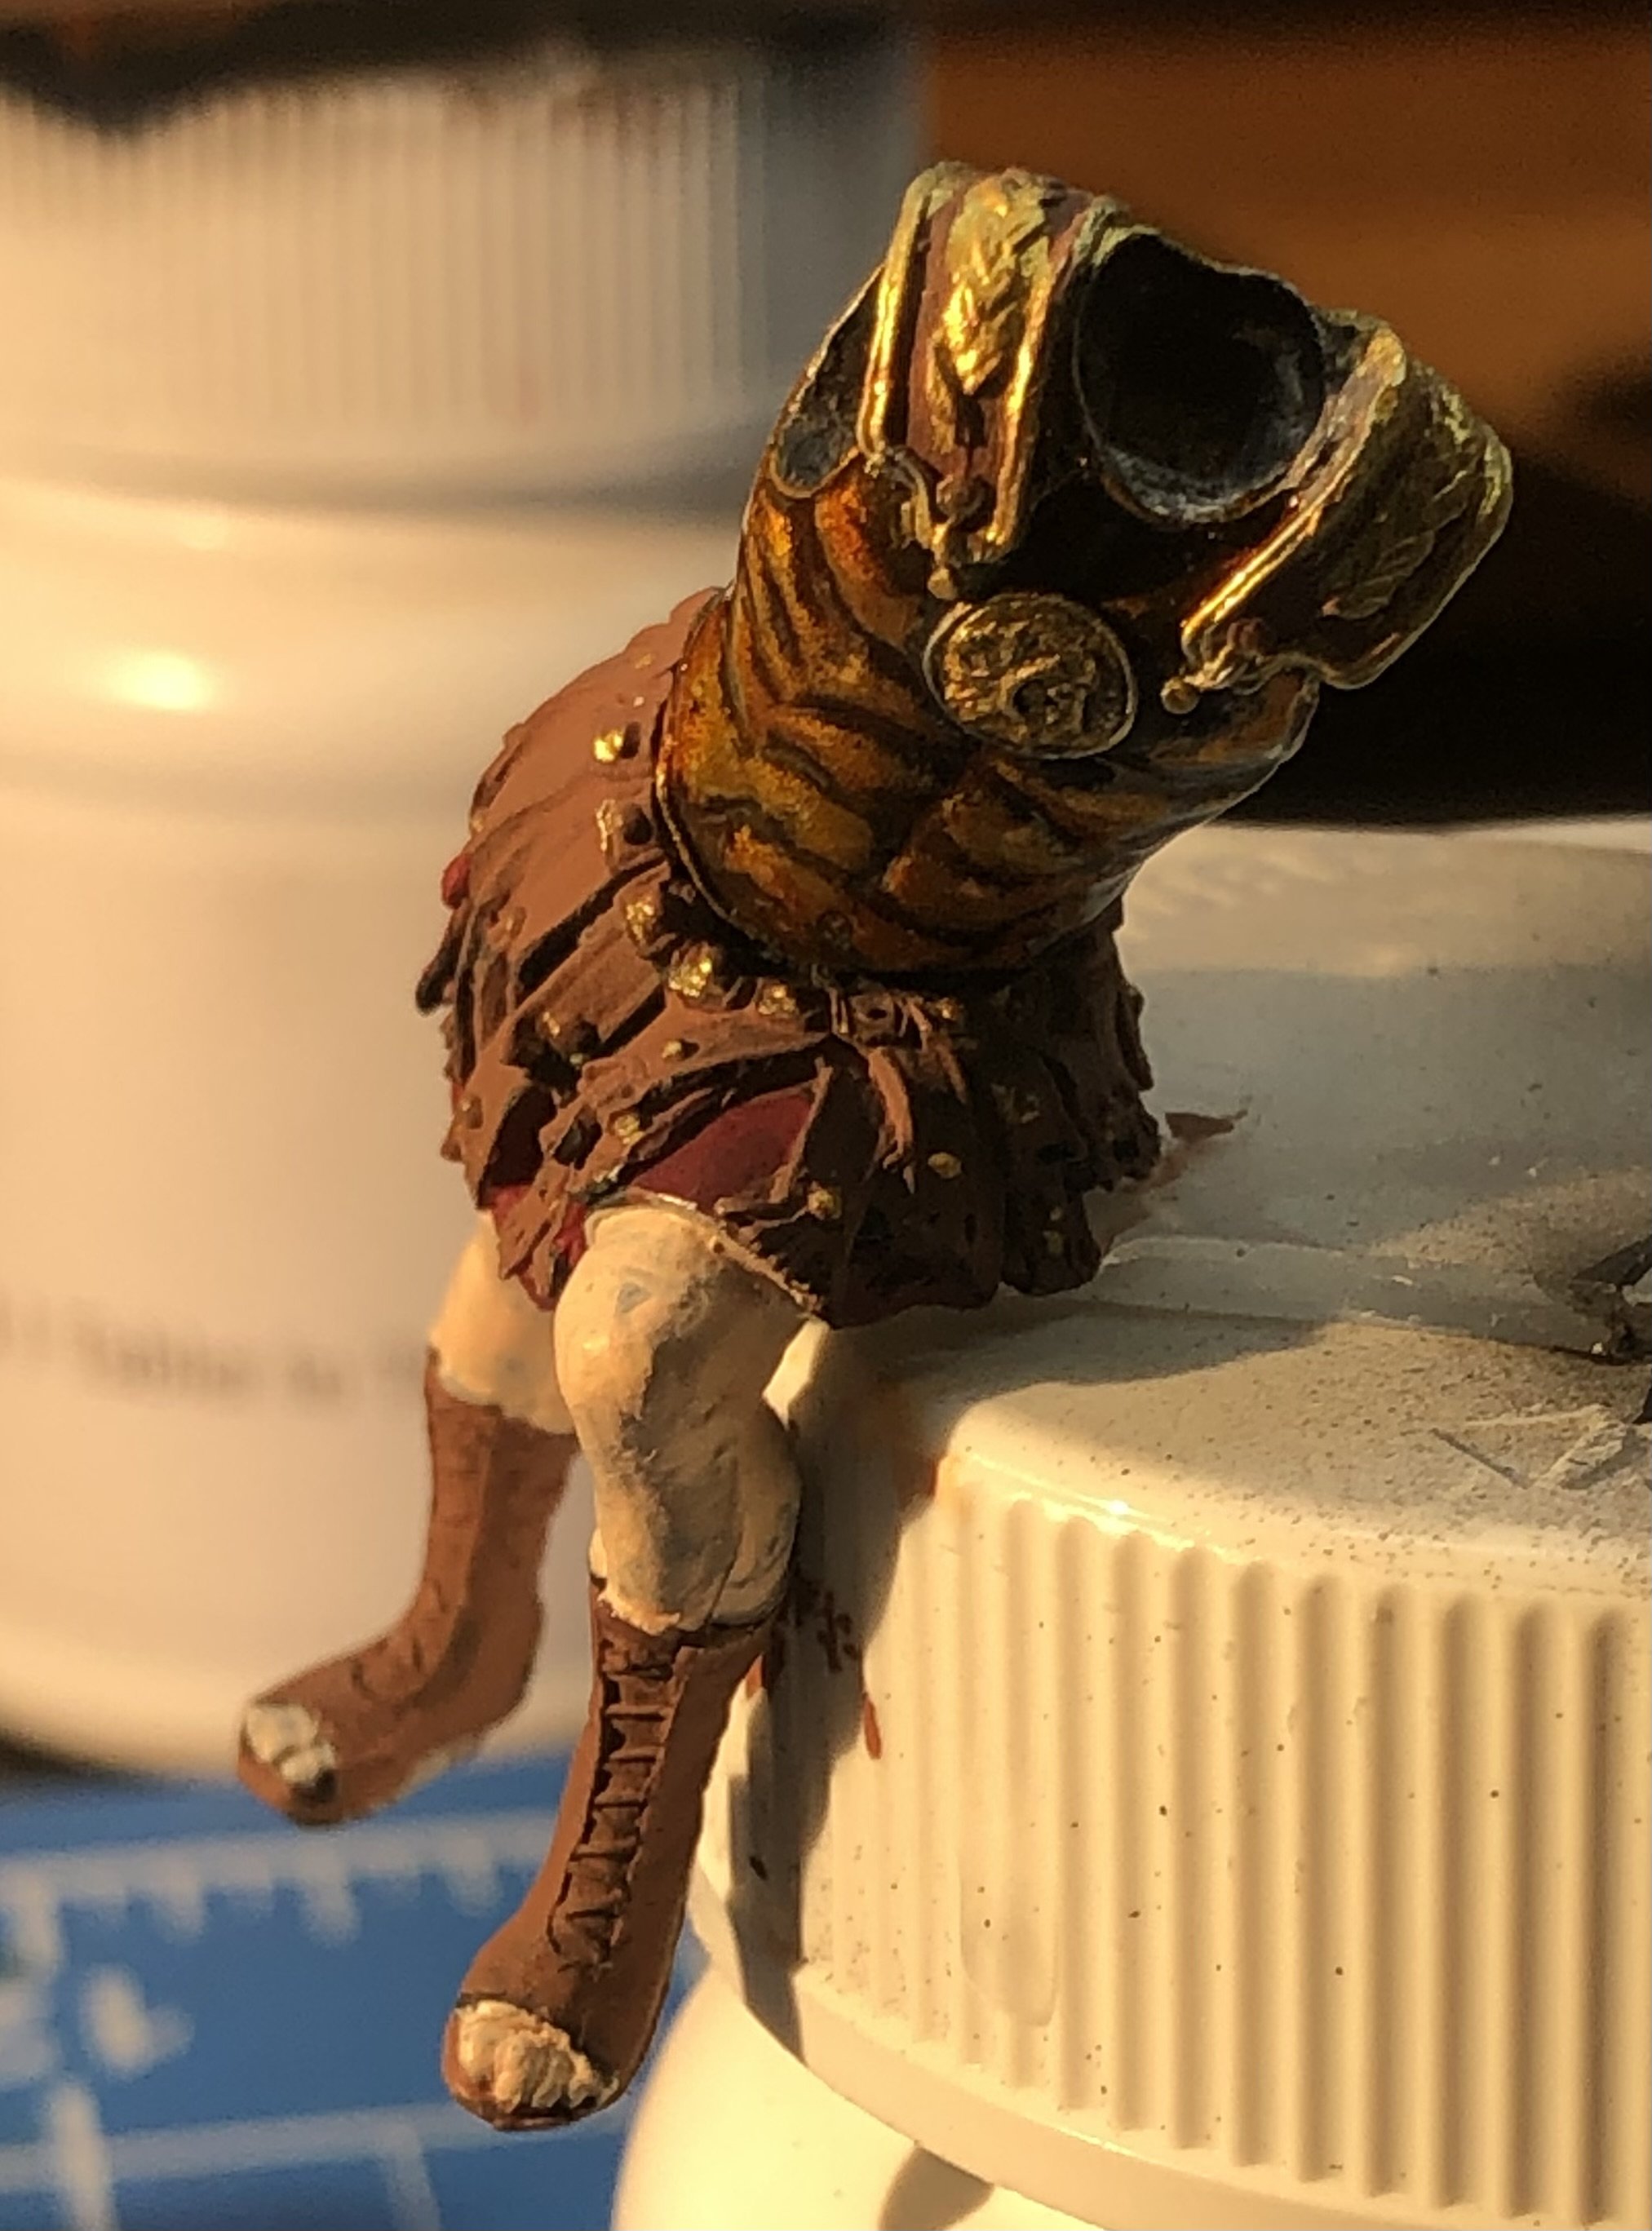
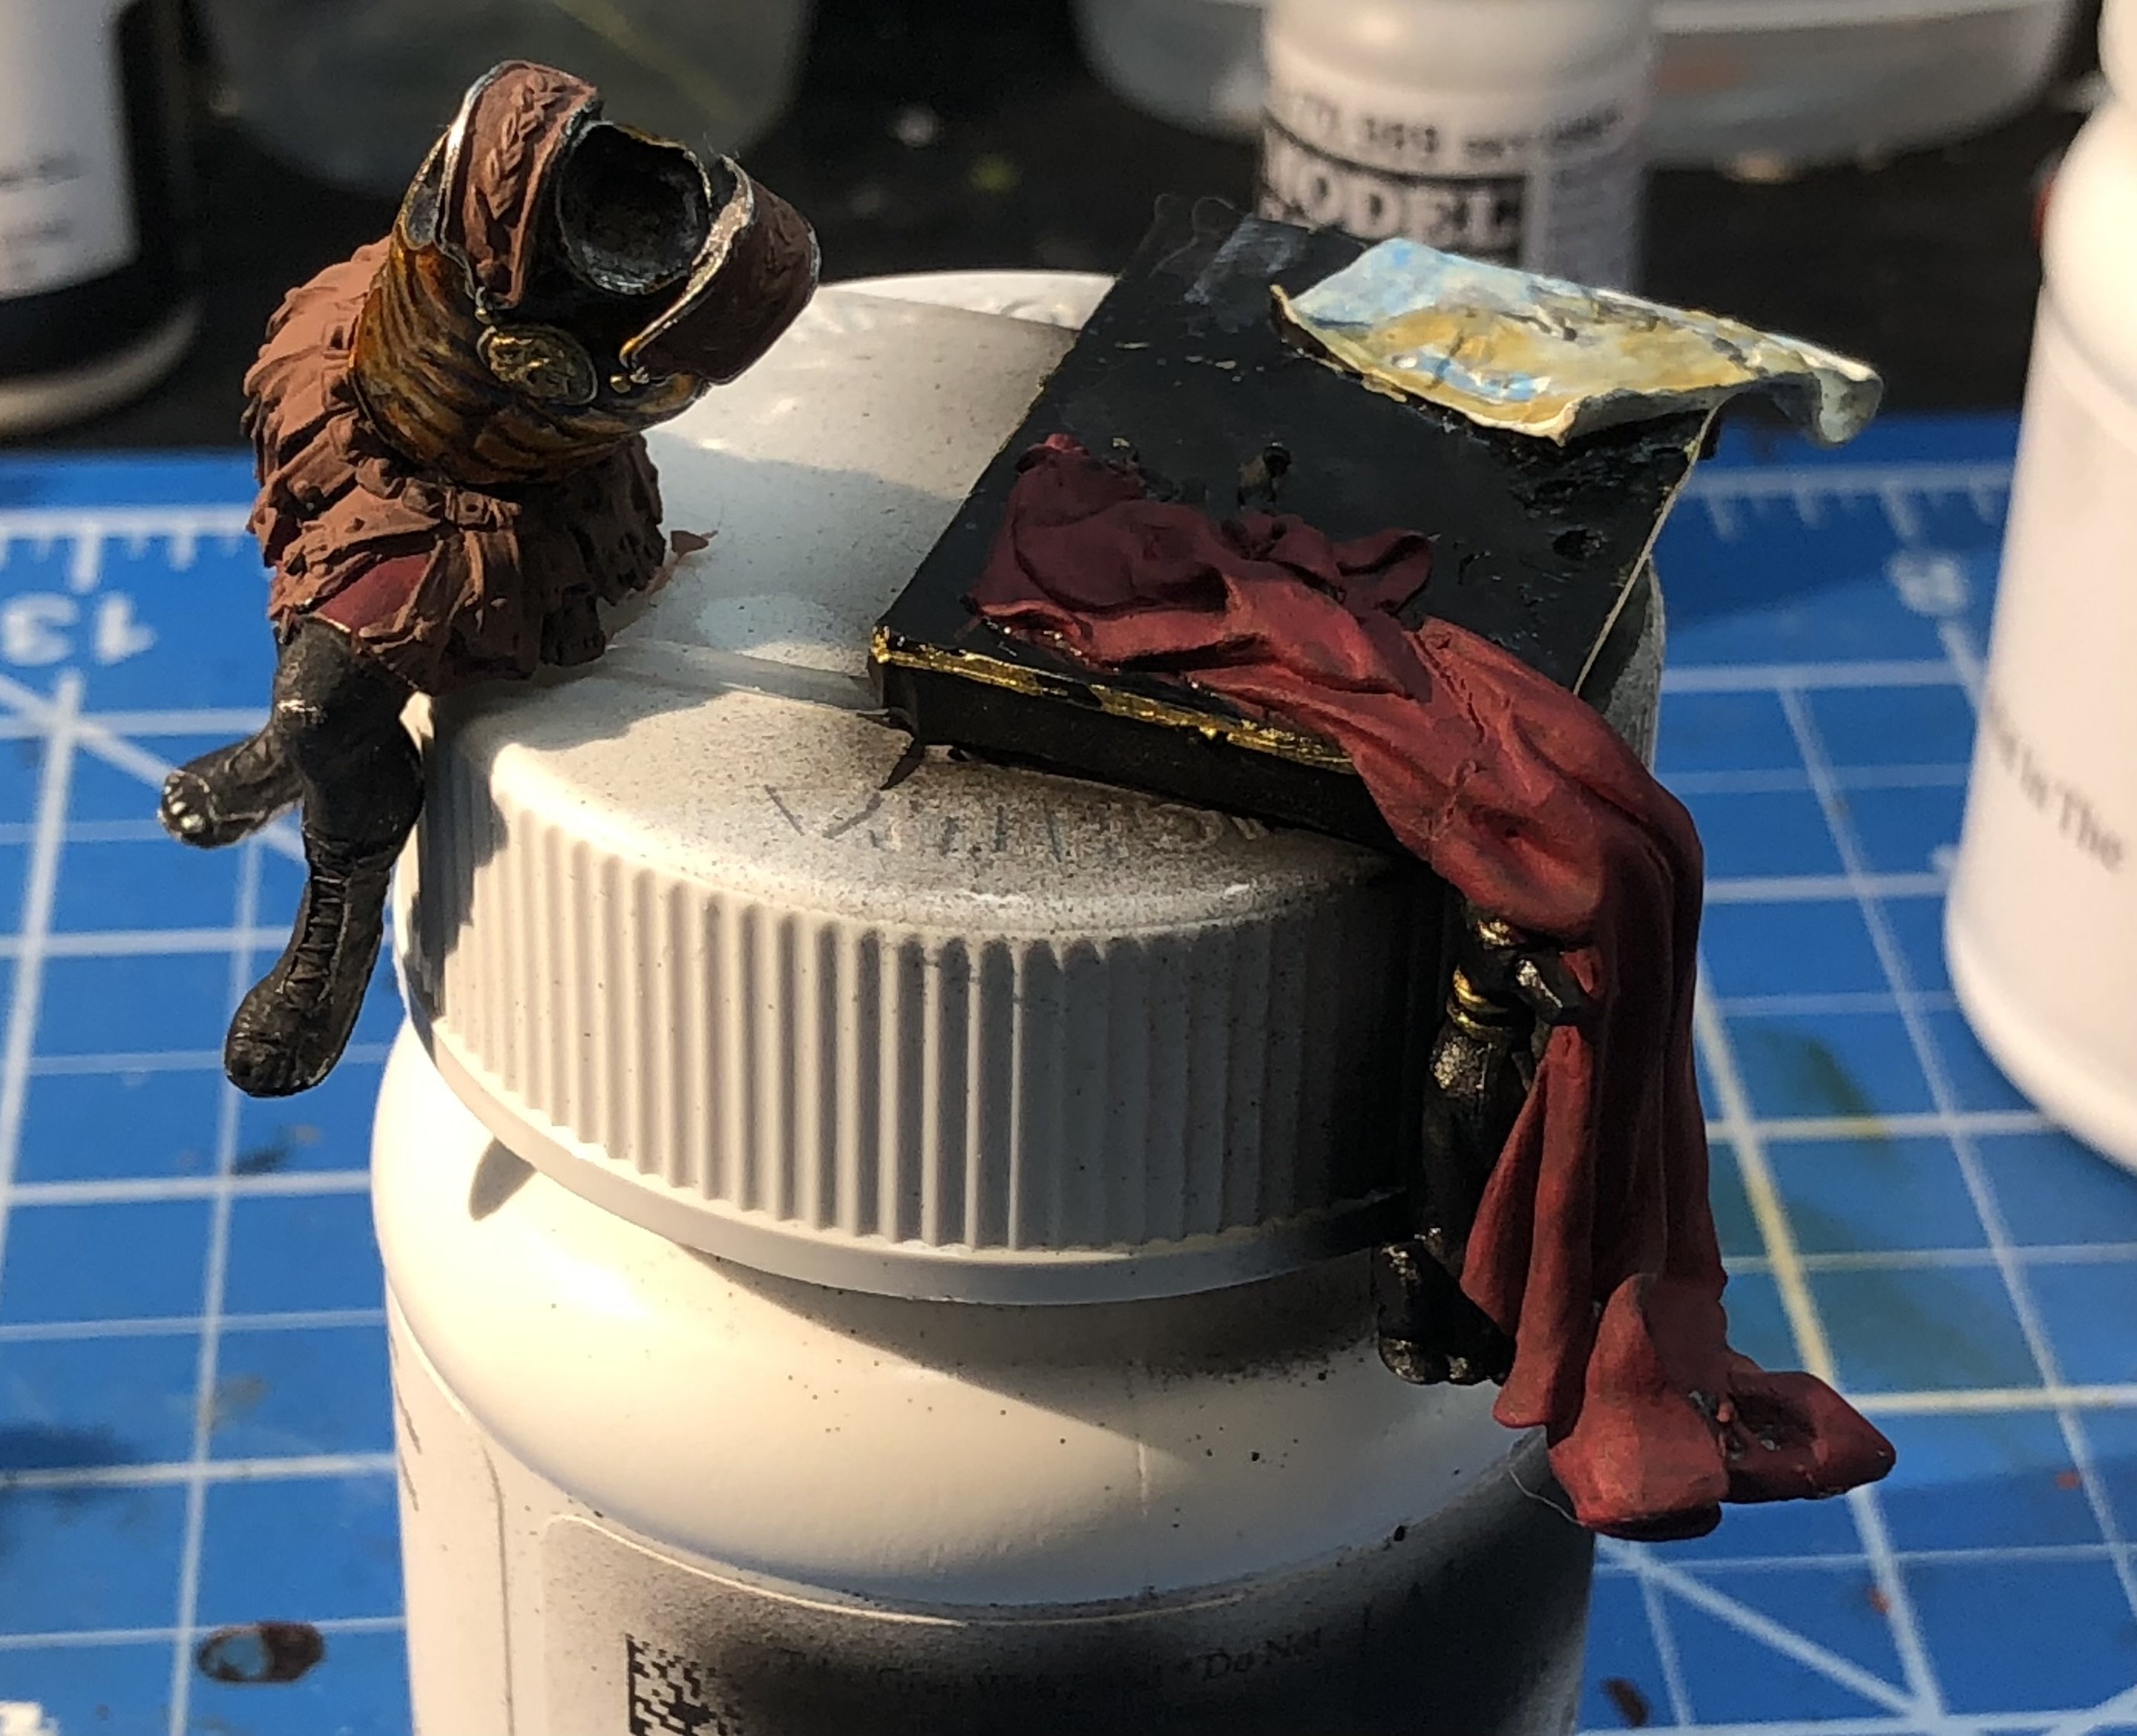
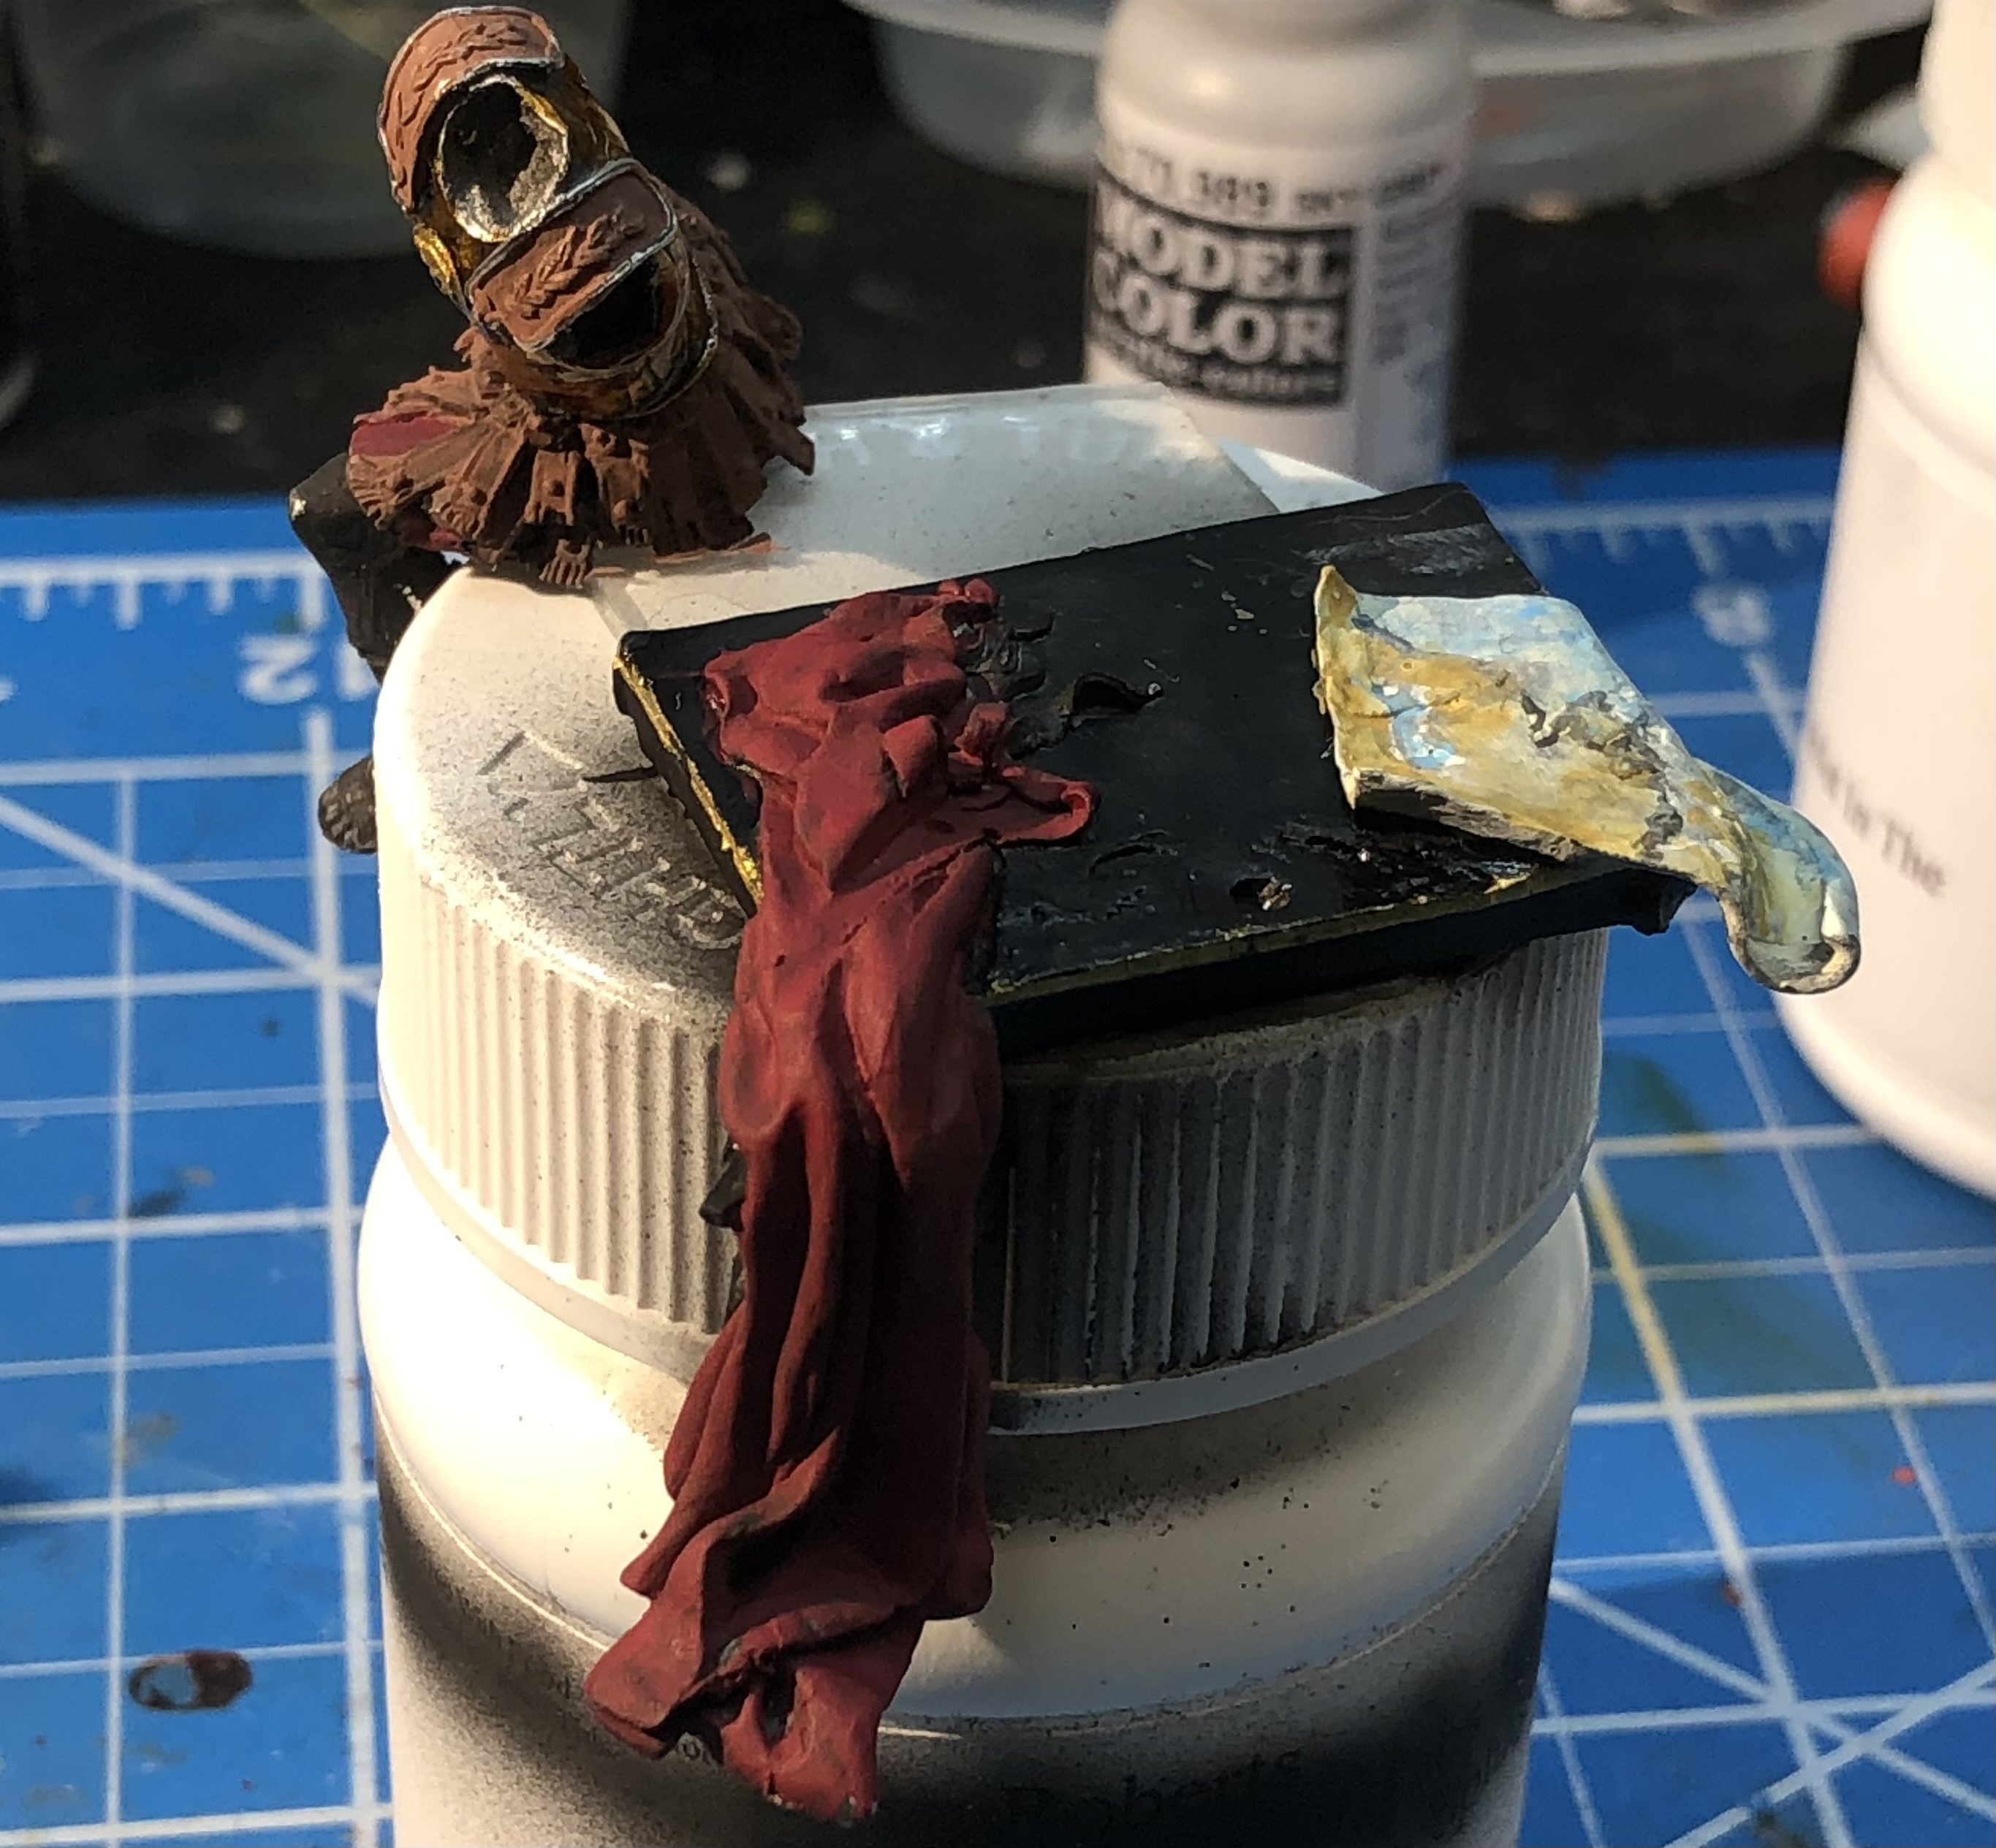
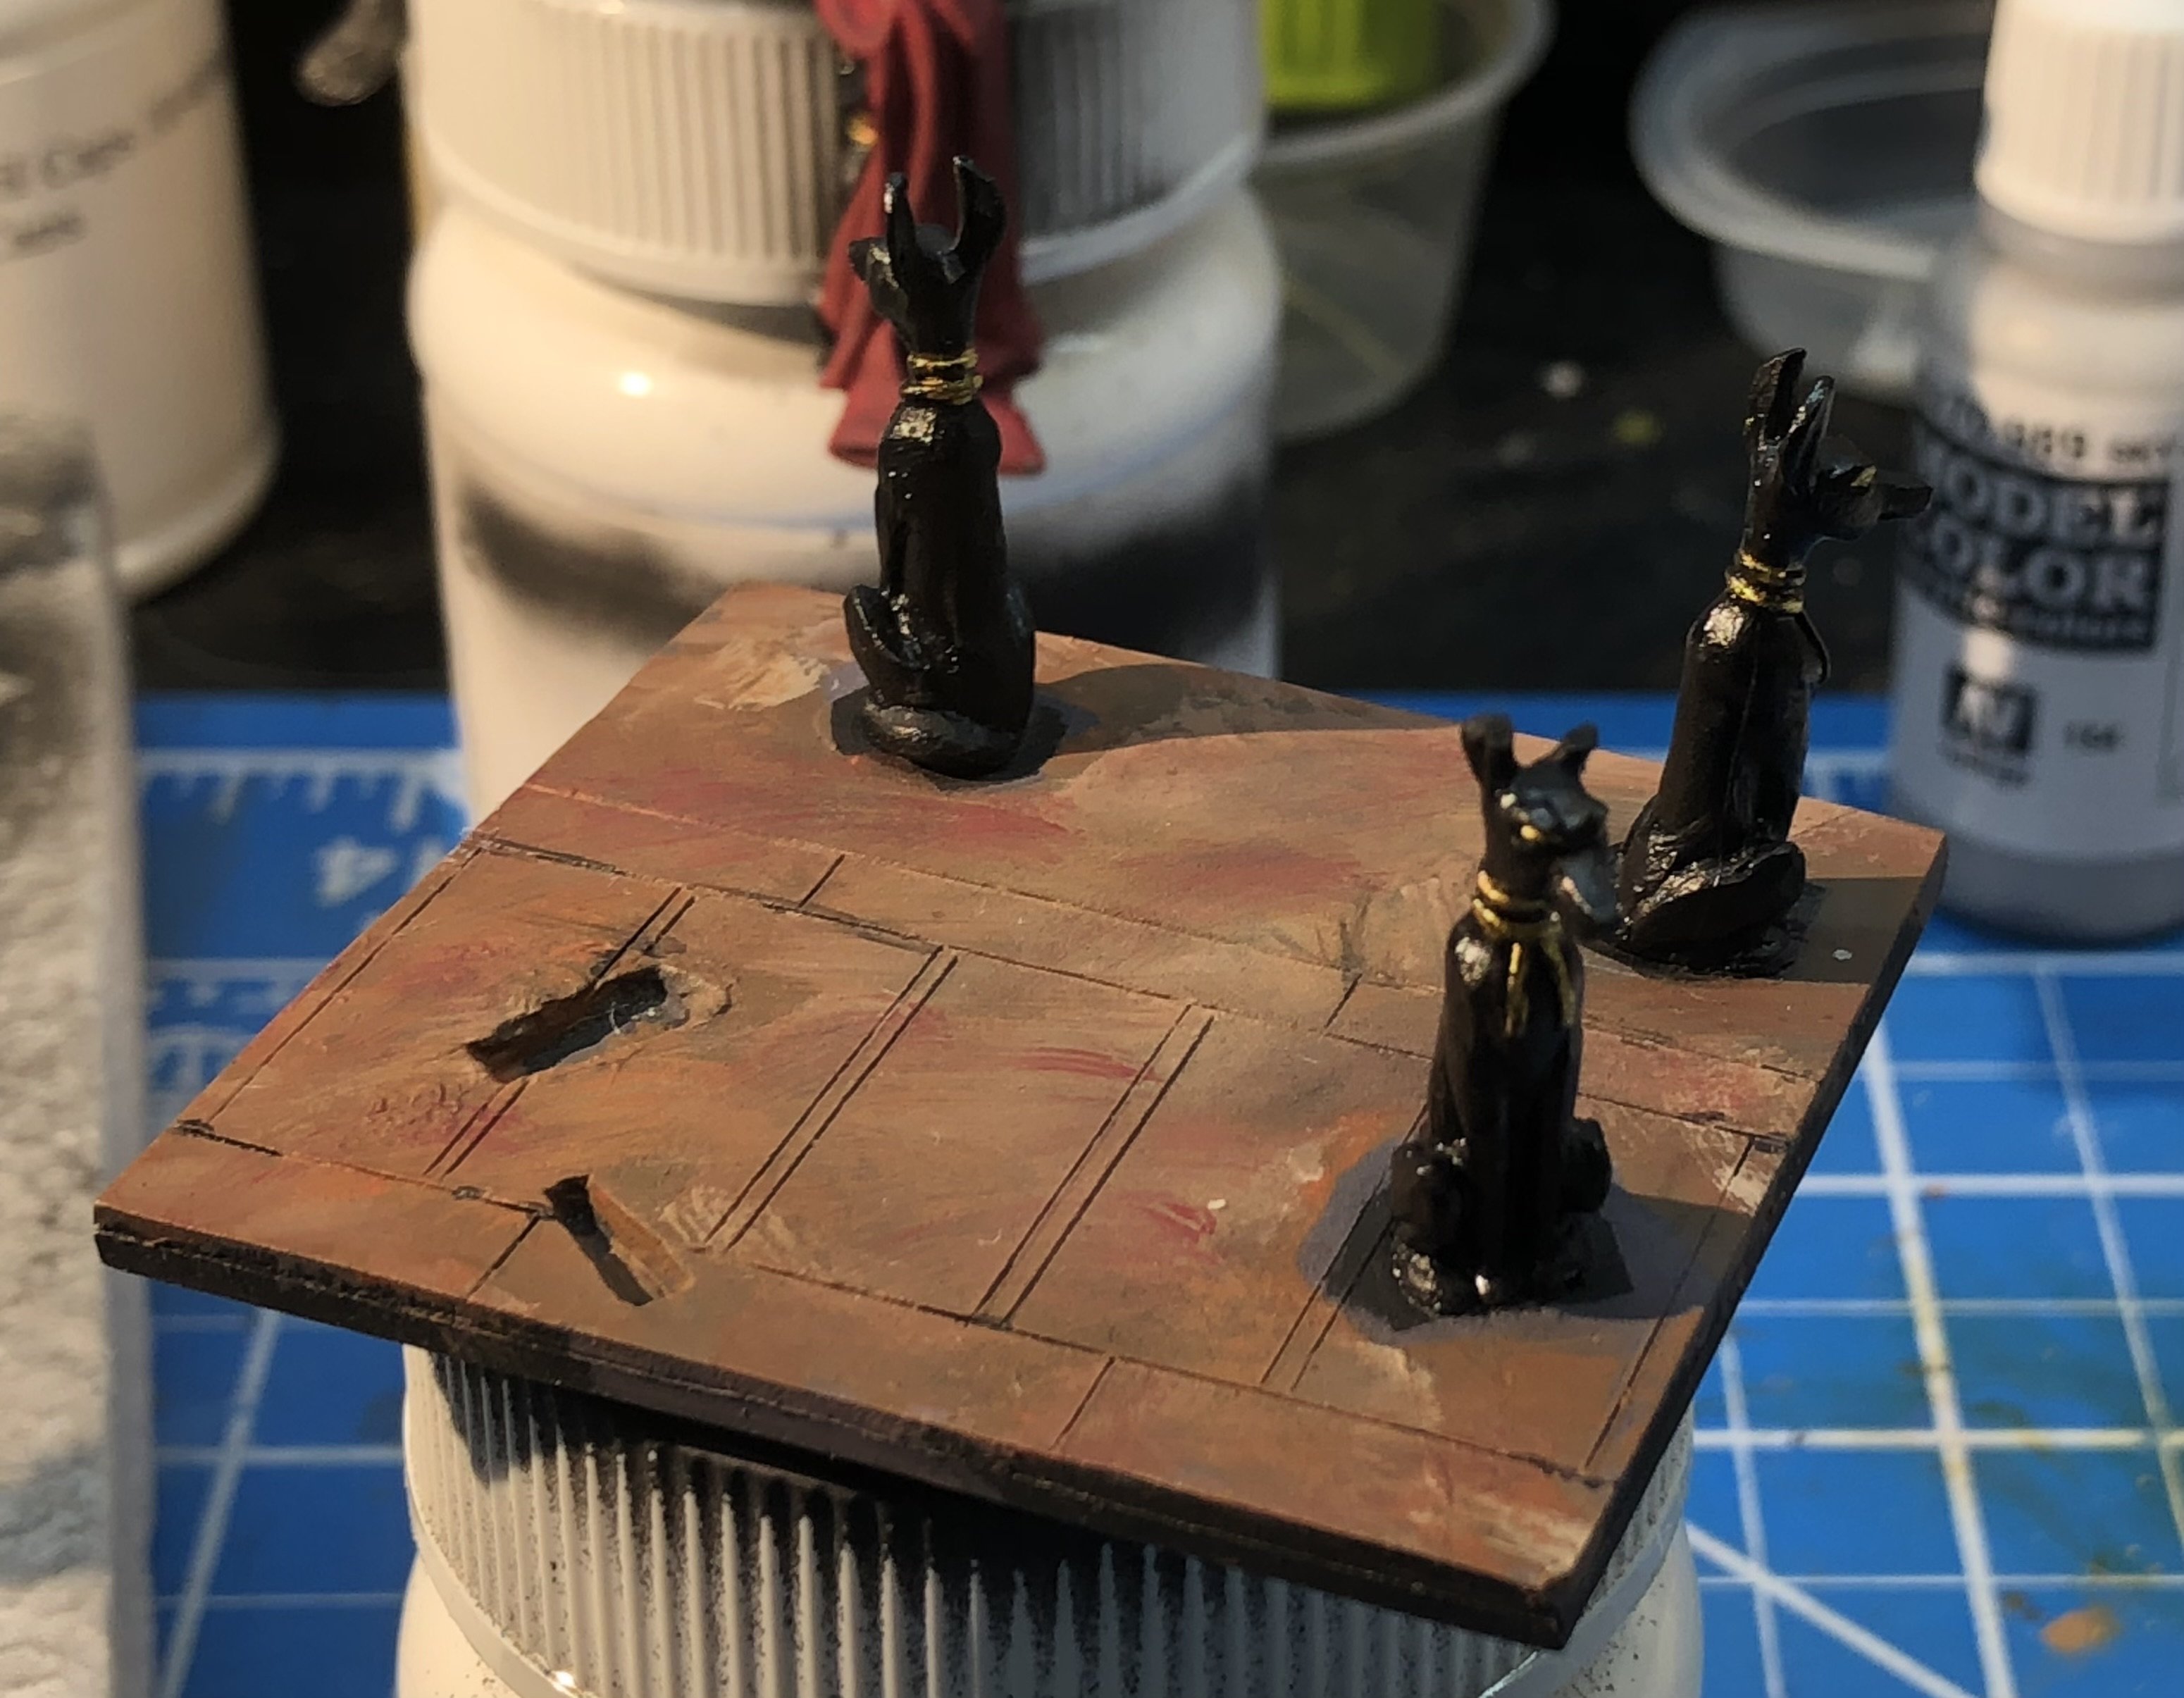
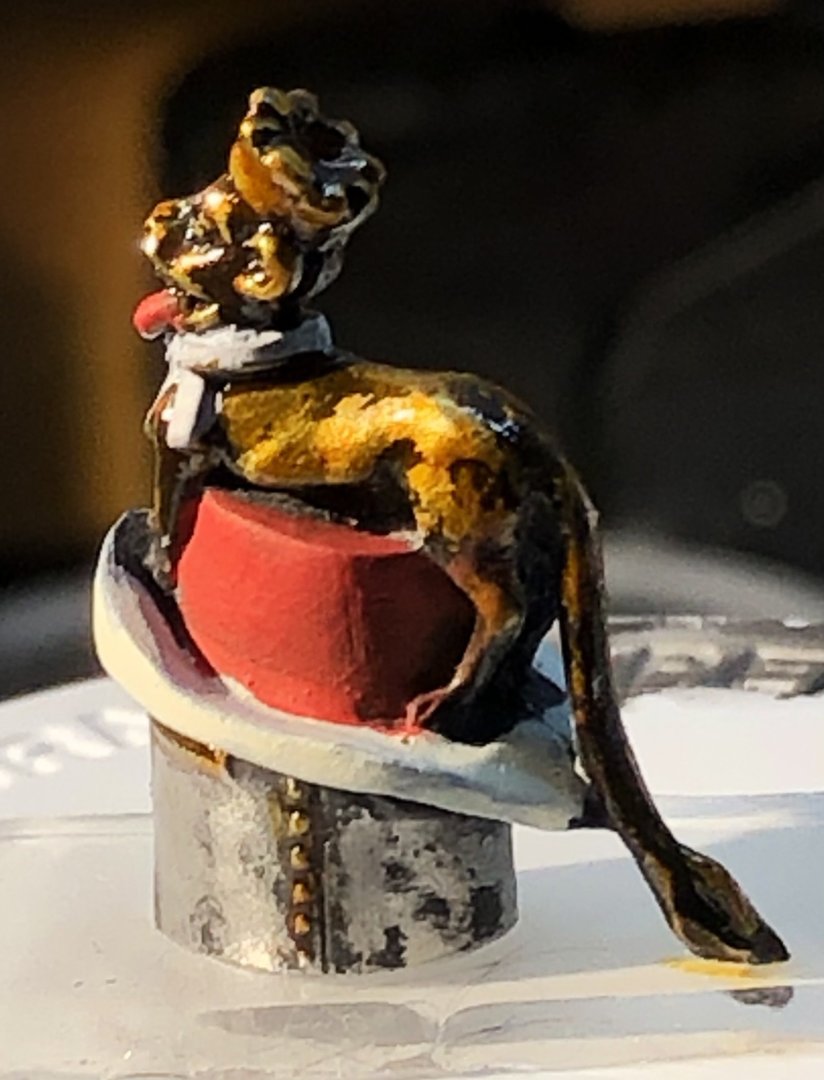
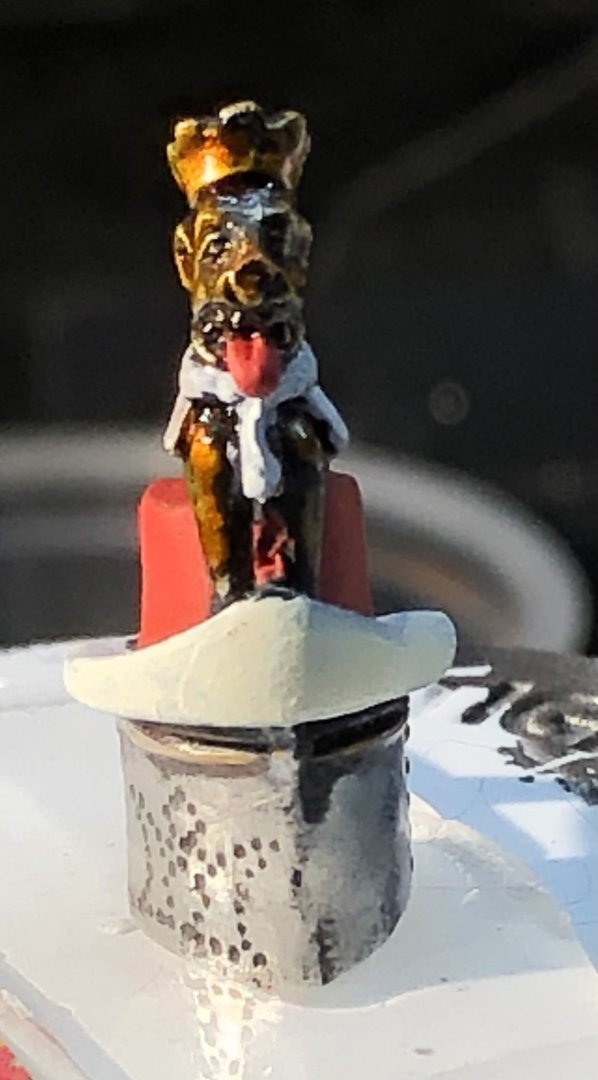
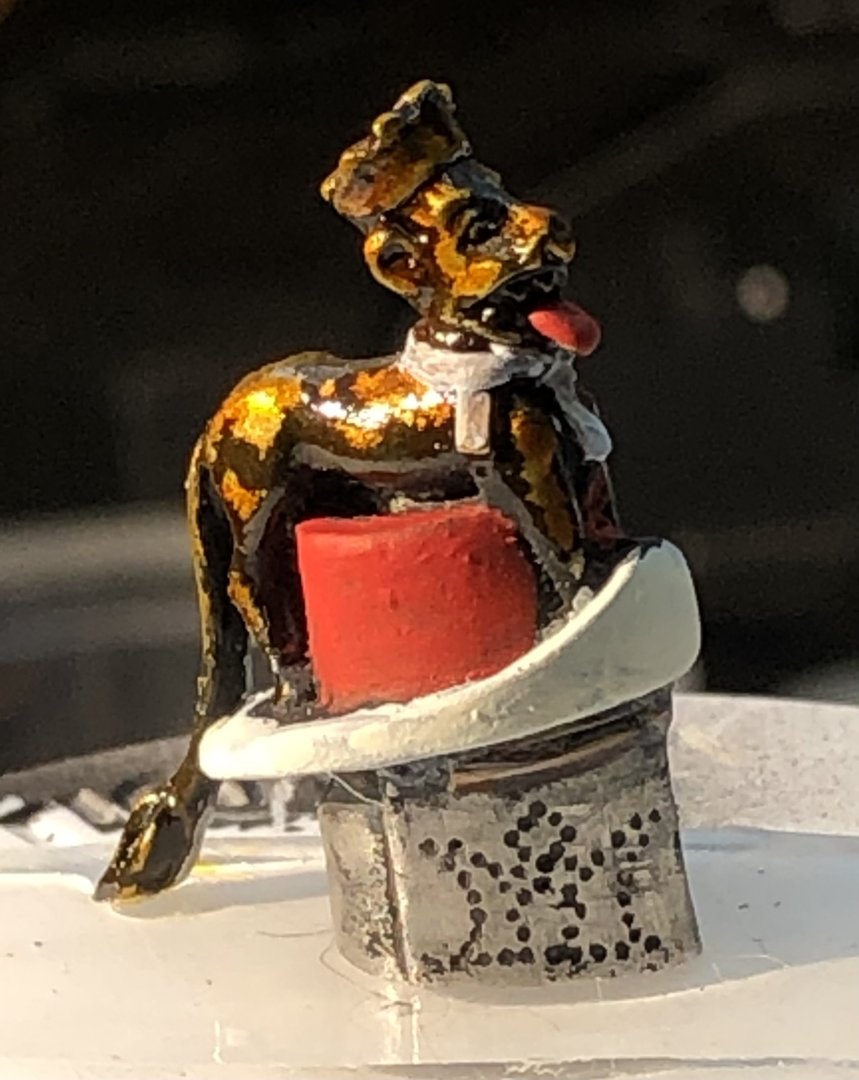
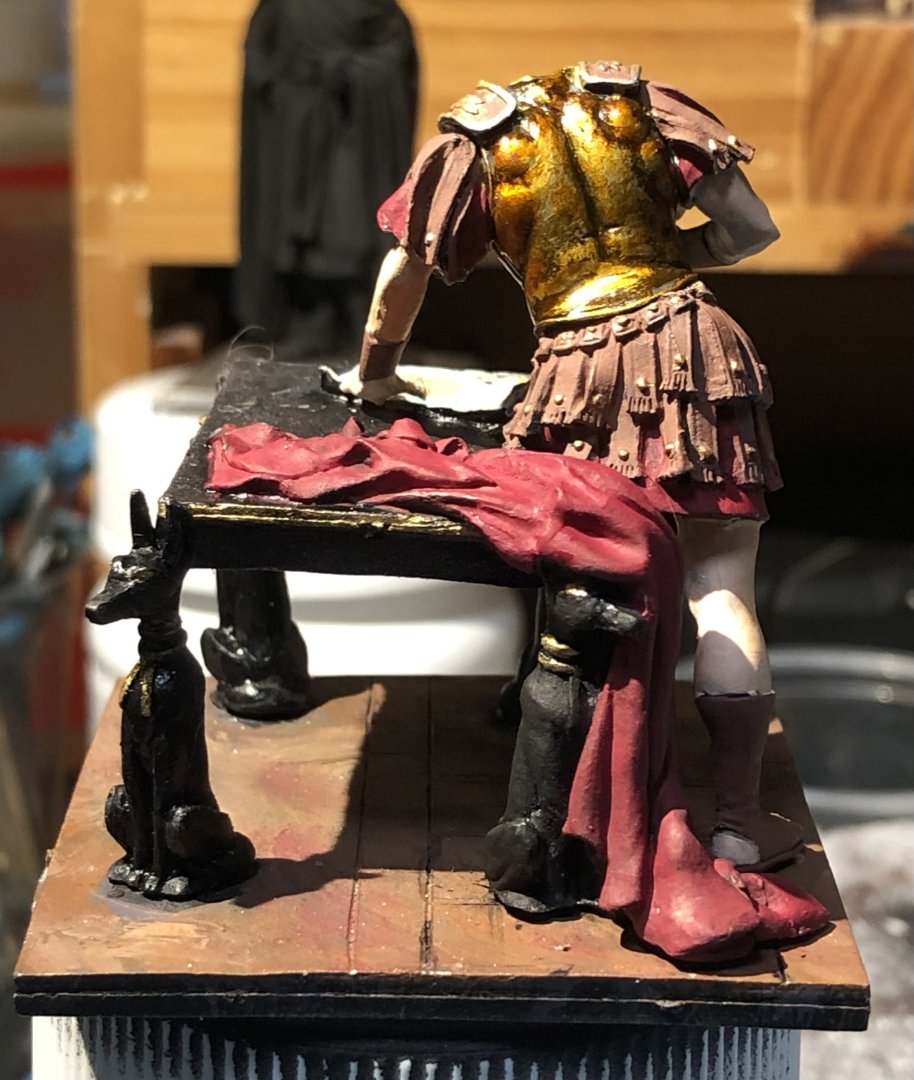
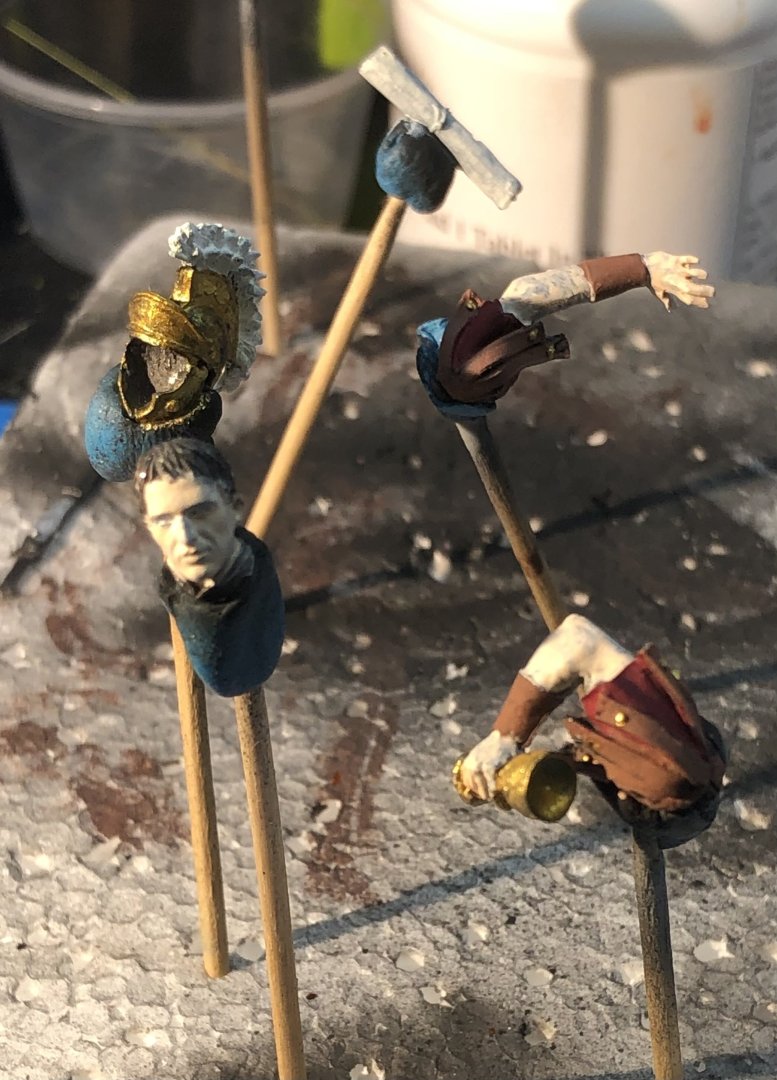
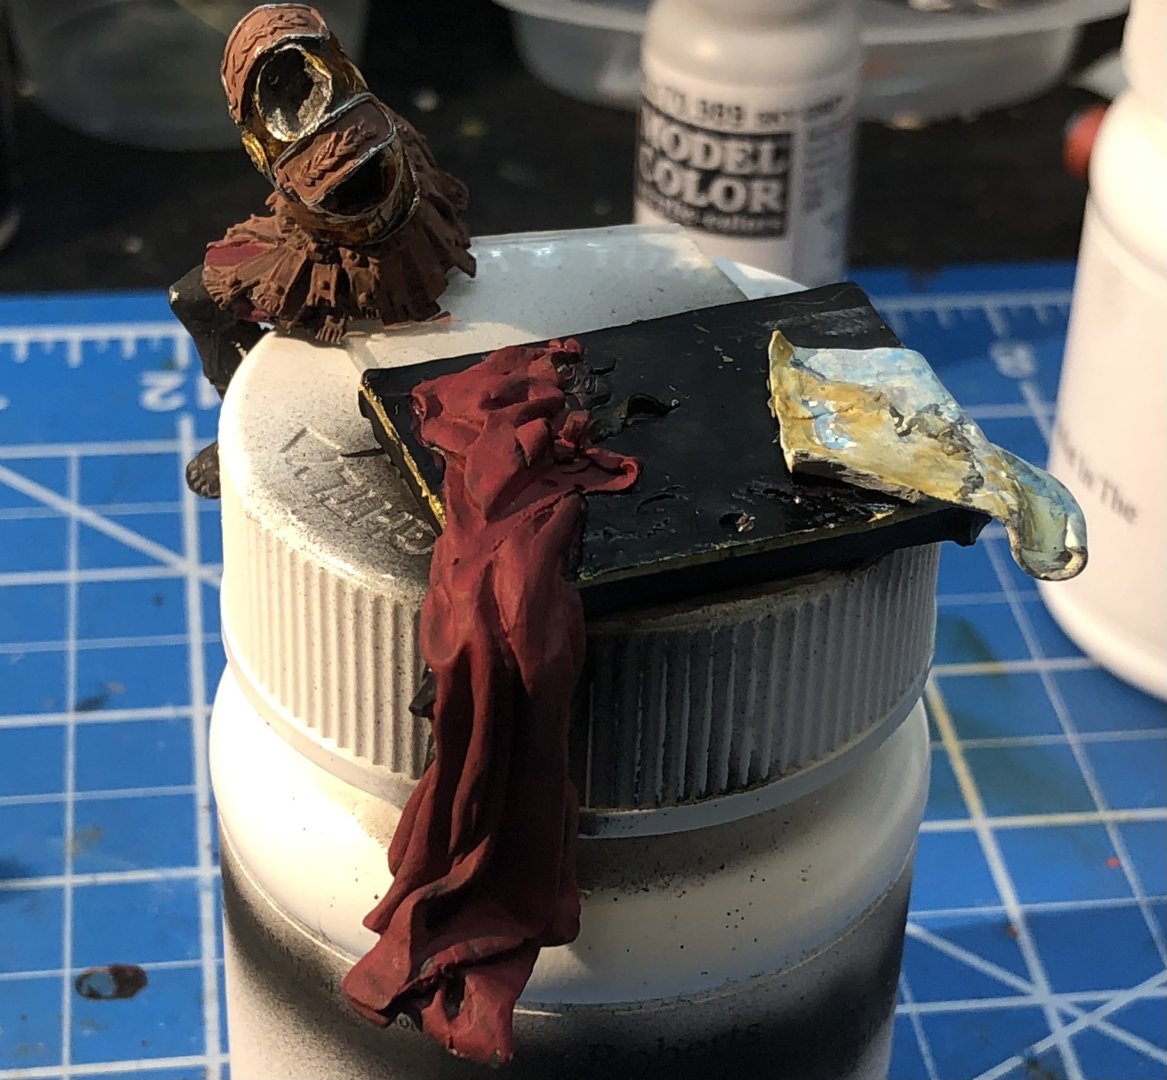
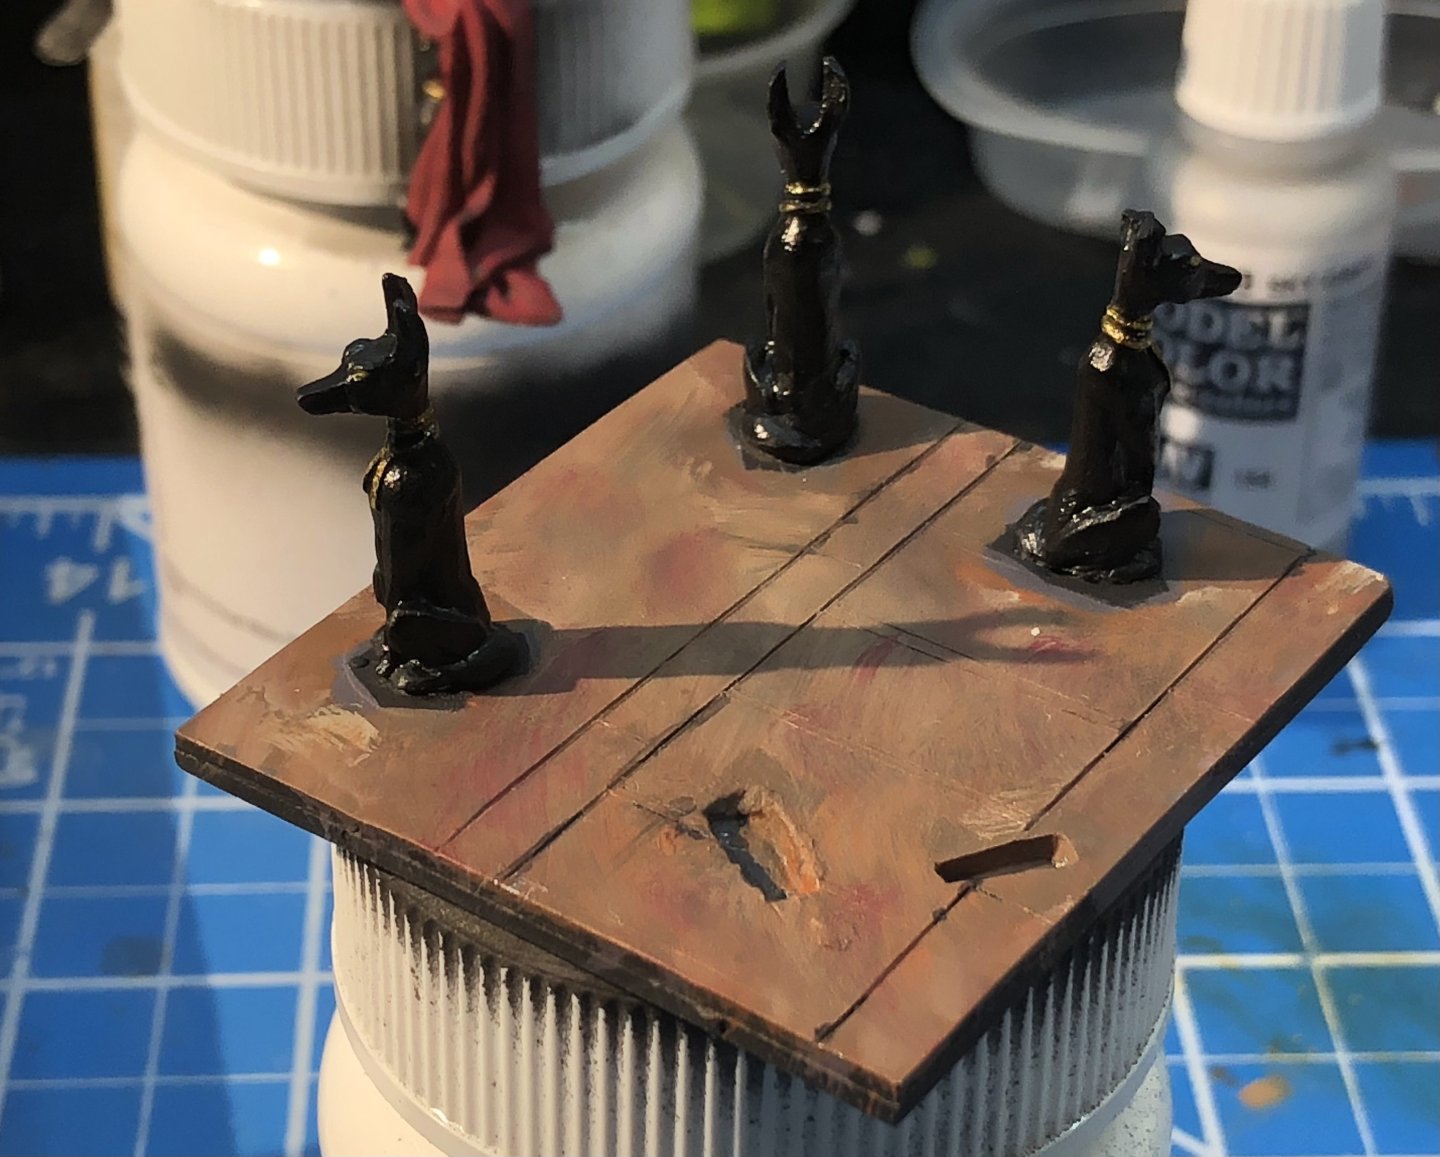
Started making some progress in various directions. The jackals got a coat of black then a satin clear coat after picking out their gold collars and eyes. The floor tiles were painted to look like marble. I used a thin red wash and then swirled sky grey, red and aramanth red together. I was a bit unsure but after it dried I think it looks good. table top was trimmed with gold and also given a satin coat. The cloak was painted red and the map detailed. i put an initial ivory layer then washes of desert sand, and sky blue and a very small amount of diluted black acrylic ink. And the fourth jackal now peeps out from the cloak. The table top has been glued onto the base. There are little pips that hold it between the jackals ears. The fit needed a bit of work but it did eventually go together. The basic glazes have been applied to Mark. The skin tones need more shading. I’m not sure if his shoulder pads should be leather or metal. I went with leather to allow the gold embellishments to have some contrast. Using the edge of the pill container is working quite well as a holder while I paint but I’m going to have finish off some of the inaccessible spots afterwards. other bits have had the basic shades applied The face has been given the initial colour and shading. Hair next. Thanks for looking in, for the likes and comments. Alan


-
Thank you very much Jav. I’ve mostly been getting my figures from Art Girona, Andrea Models and Pegaso. Pegaso have some really nice medieval figures but they are only 90 mm so a bit small. Art Gironas biggest figures are only 70 - 75 mm. There is also the problem of getting hold of one with shipping issues into the US. I’ve only got a handful left now. alan
-
Nice welsh boy
-
He managed to get a lot of living into his life. I’m reading this latest Harry Sidebottom novel to stay in the mood. 266 years after Mark but quite fun. alan
-
Thank you very much OC and welcome. This one is going to be interesting with the need to incorporate the figure into the rest of the bits and pieces. Lots of separate bits to paint. alan
-
Looking forward to seeing this one develop. I love the aircraft of the early jet age. The designs always seem to suggest that there are no limits, higher, faster, further. Great stuff. alan