


Michael G
-
Posts
47 -
Joined
-
Last visited
Content Type
Profiles
Forums
Gallery
Events
Posts posted by Michael G
-
-
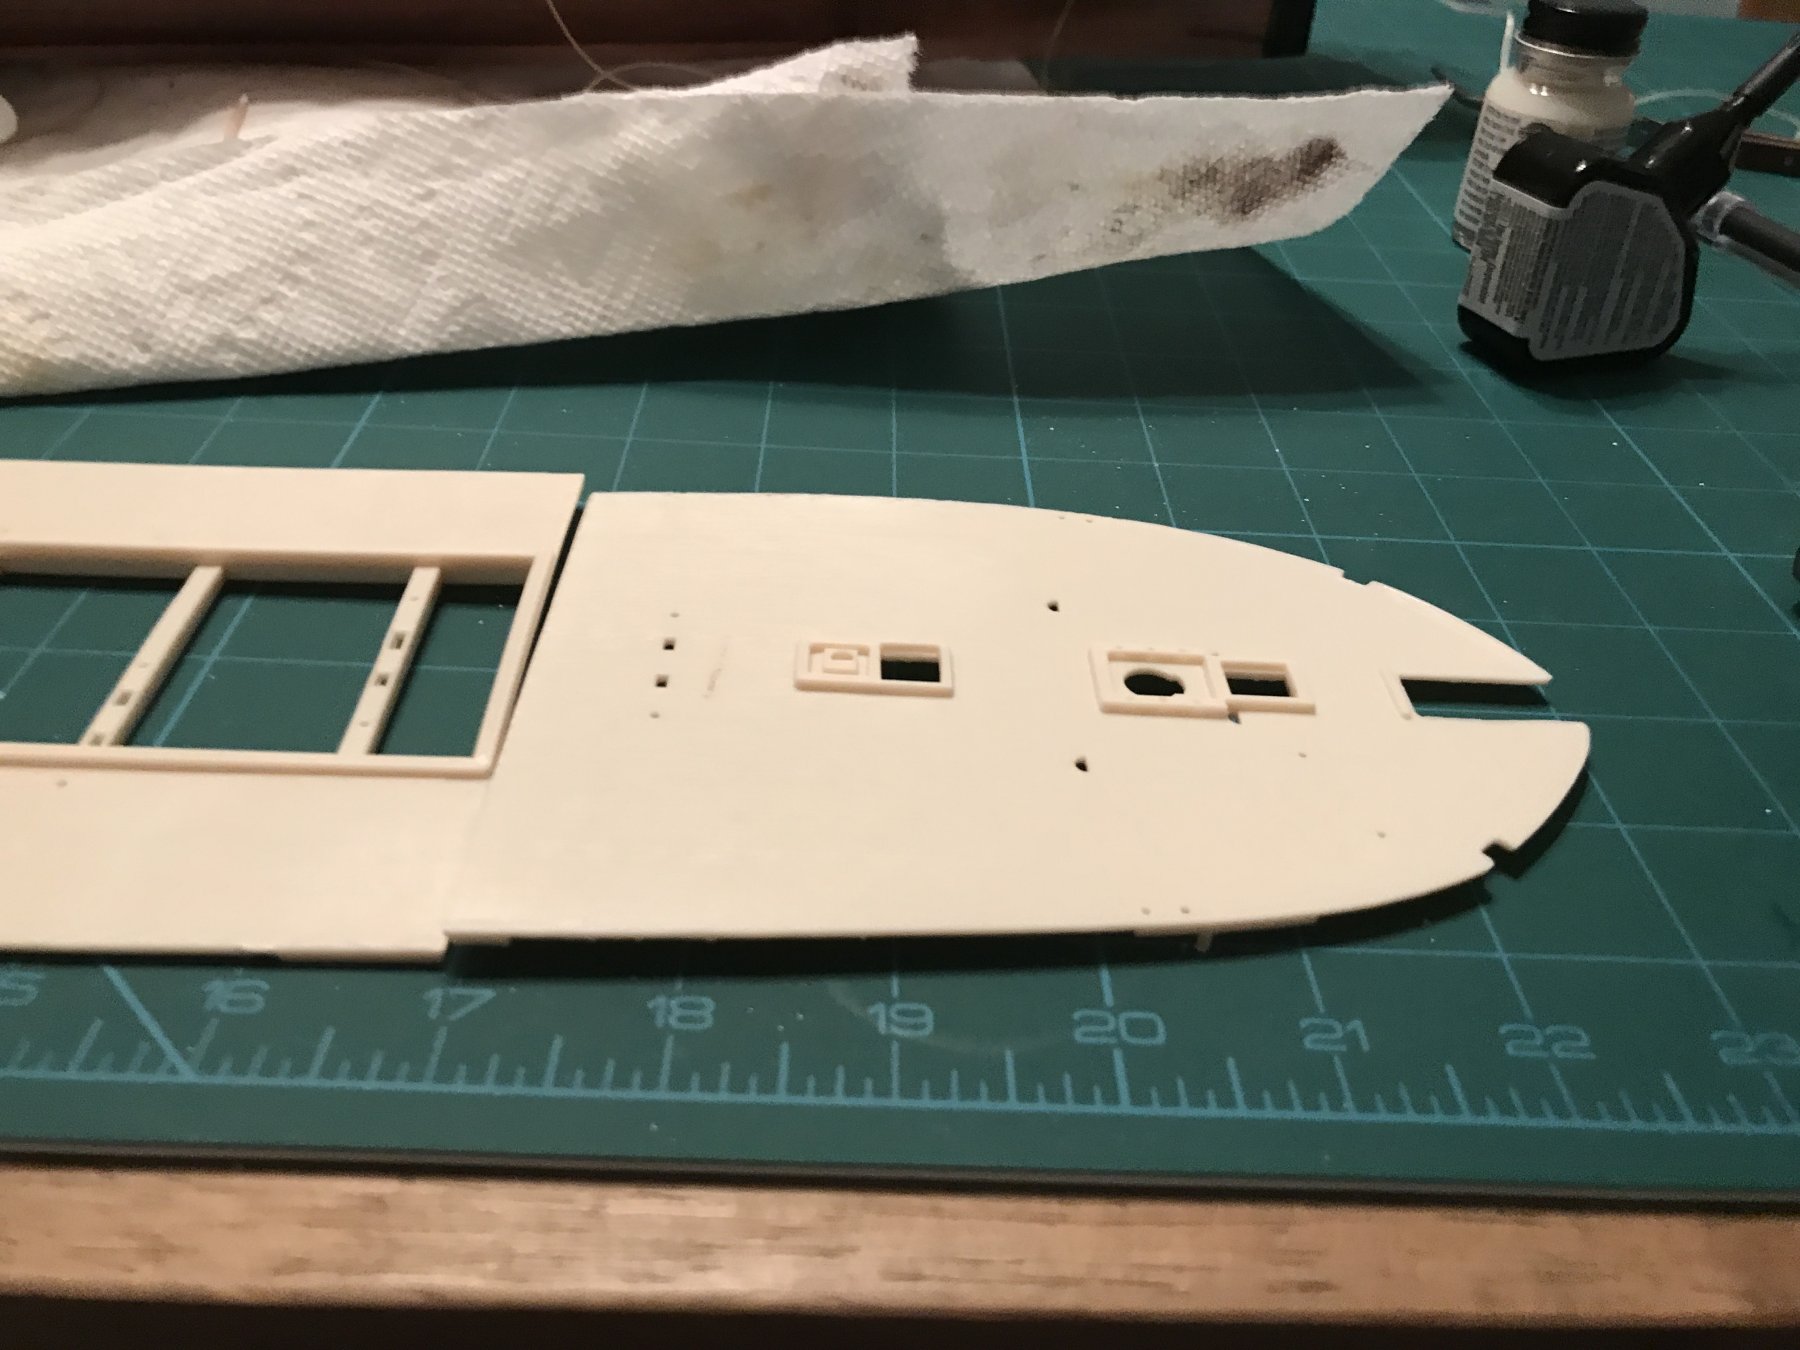
I feel like an update is in order. I'm still here! My wife started a new job, school started back up, and things have just been nuts. The only thing I've managed in the past 2 months is getting the spar deck pieces cemented together and painted. That was following the completion of the lights in the cabin and along the gun deck. I need to find a pedestal to mount to before going much further.
Anyway, I haven't given up or anything. I'll be back!
-
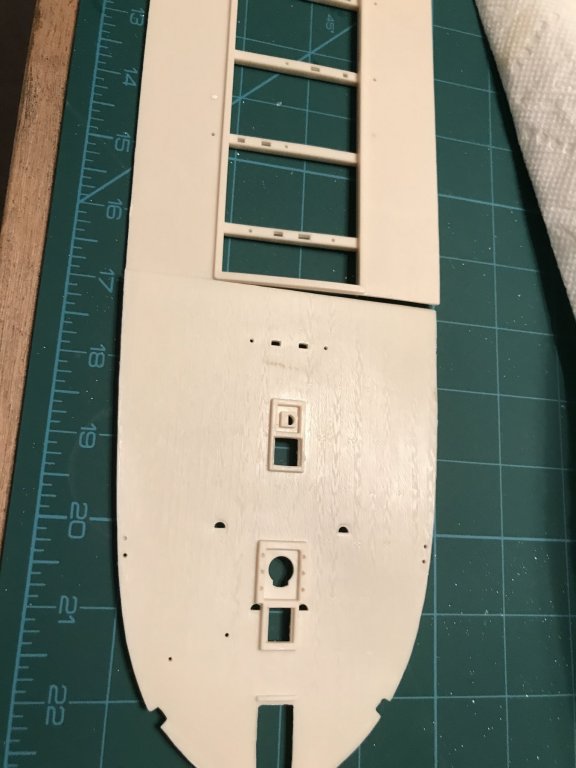
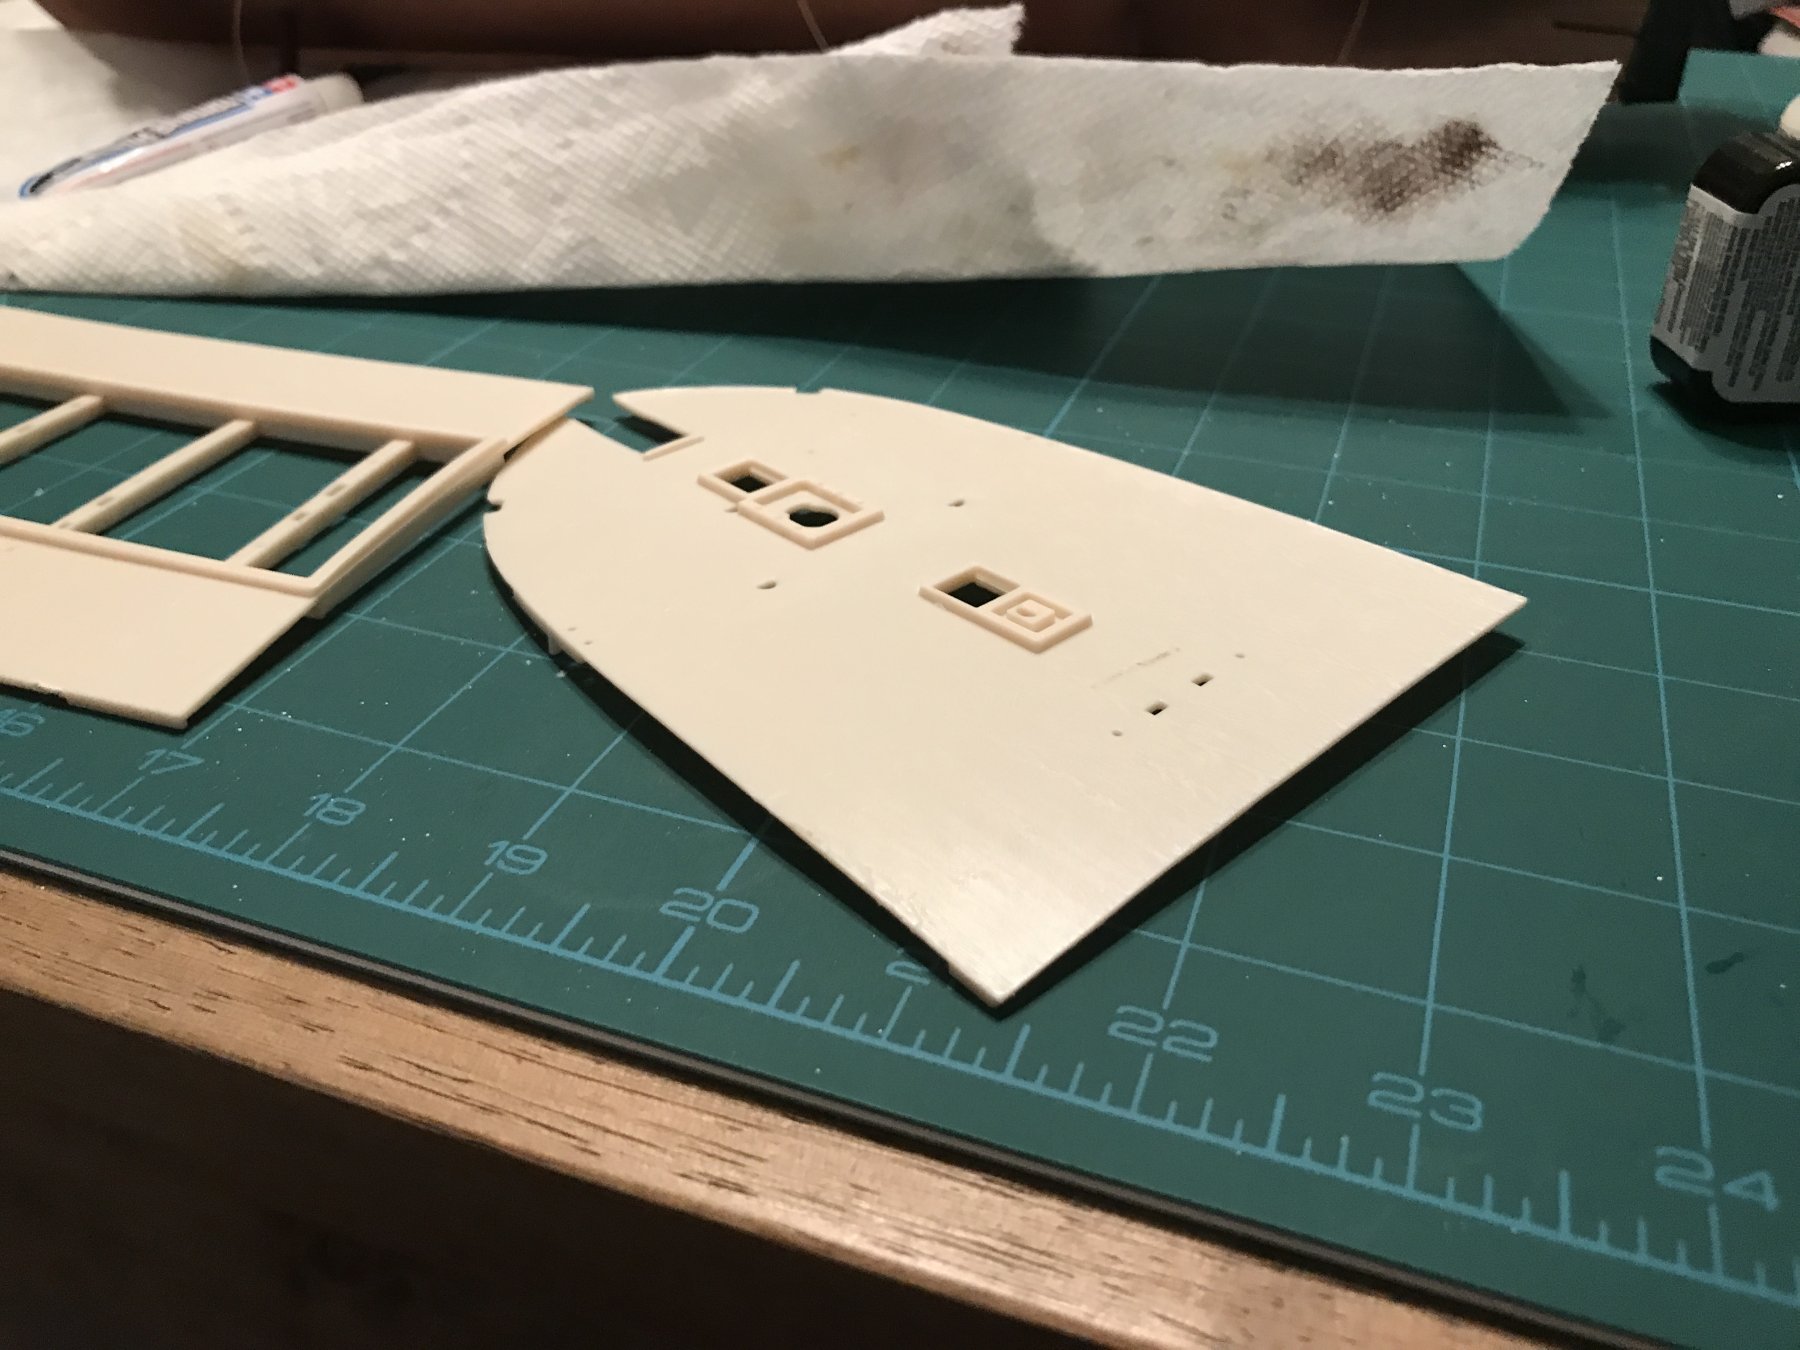
It looks like the weights I put on this overnight actually helped a little bit. I had heated it up with a hairdryer and then set them on top of it. Here's some pictures though, as it appears to still have a bit of a twist to it. It may not be a big deal now, but I am also may try the very hot water approach.


-
Has anybody dealt with plastic pieces that are slightly warped? I'm wanting to move onto the spar deck, but the front of the 3 pieces has a slight twist to it. It's frustrating me, and I'm concerned about it. I've currently got some weights sitting on it, and I ran a hair dryer over it quite a bit, trying to straighten it, but I'm not sure it's working.
Any tips?
-
8 minutes ago, lambsbk said:
If you installed the nuts into the hull when you glued the 2 halves together the choices are limitless. If not then pedestal mounts.
Dave
I did! Any cool ideas? Keep in mind this is my first project of this nature (other than the smaller Revell USS United States), and I am not yet terribly handy if I compare to some of the other pretty amazing builds I've seen.
-
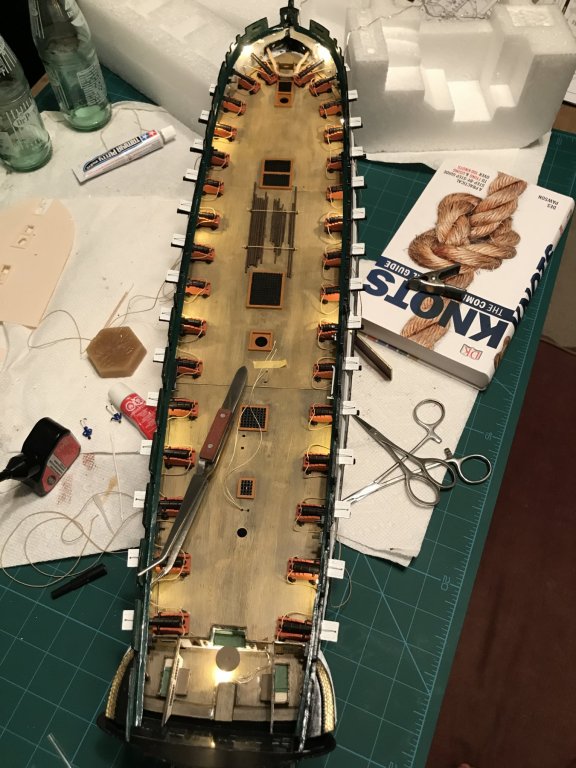
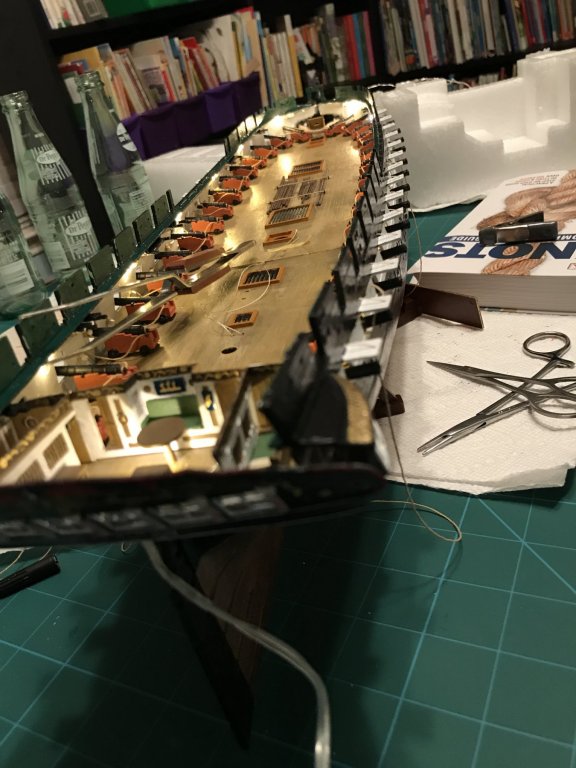
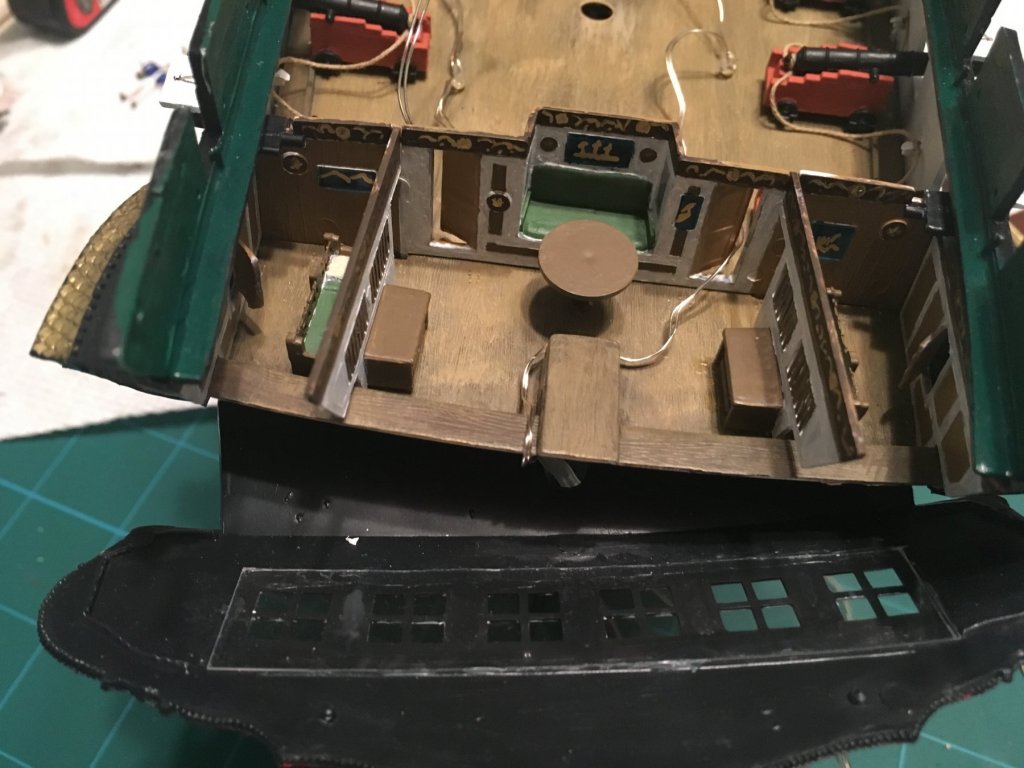
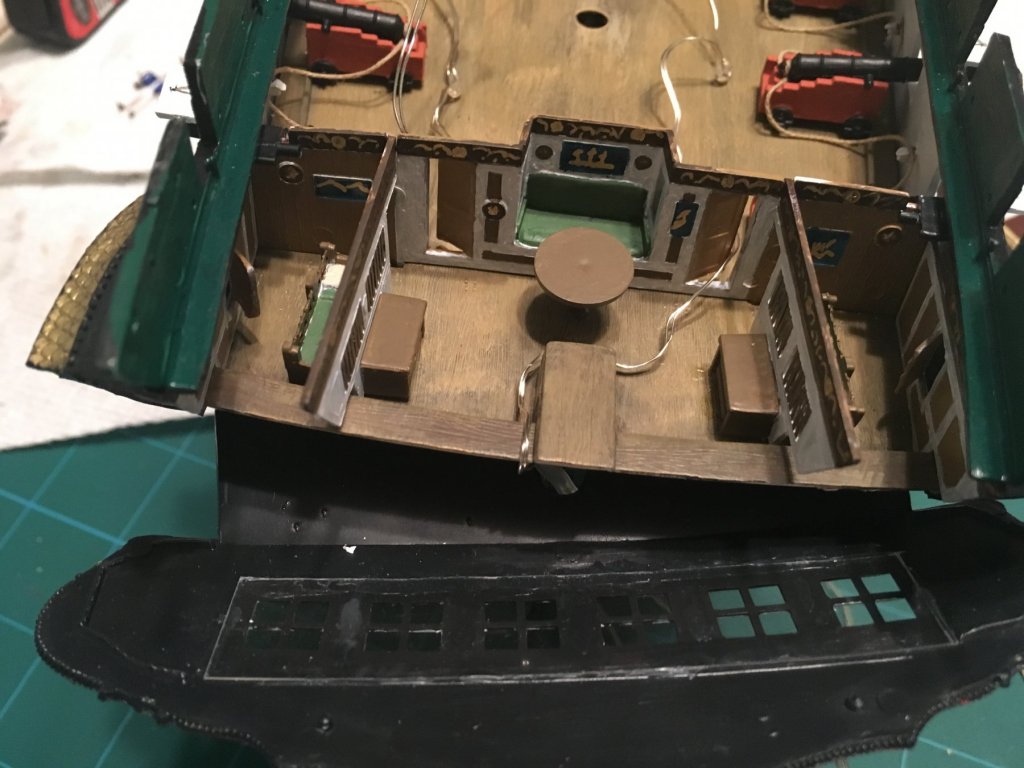
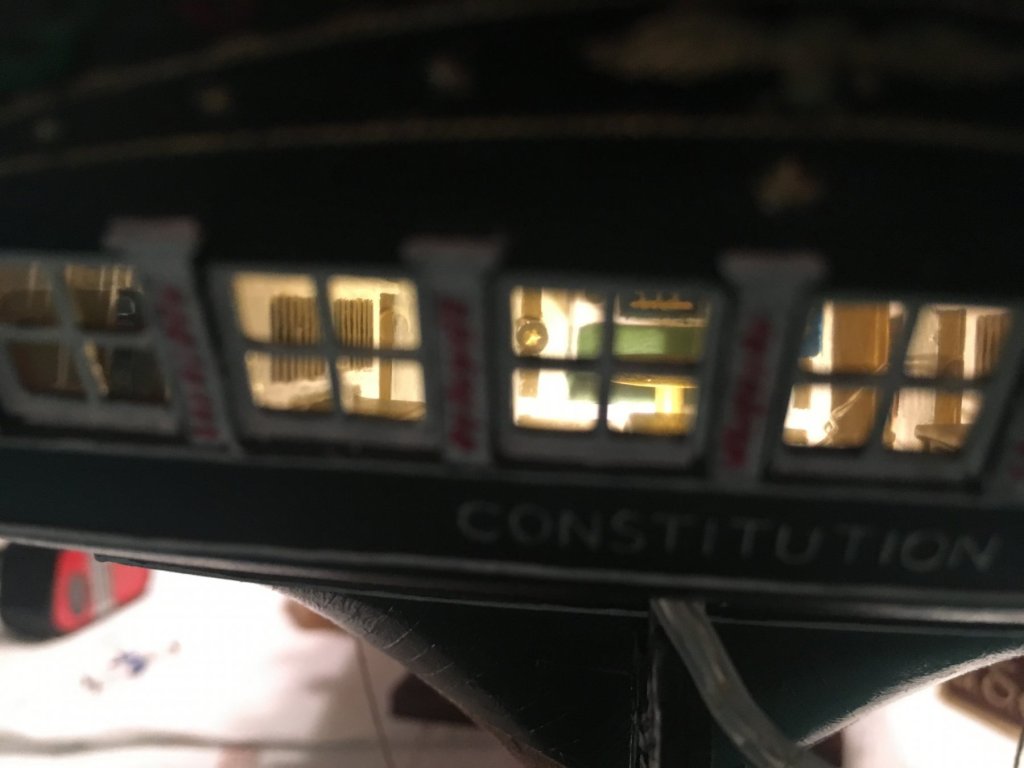
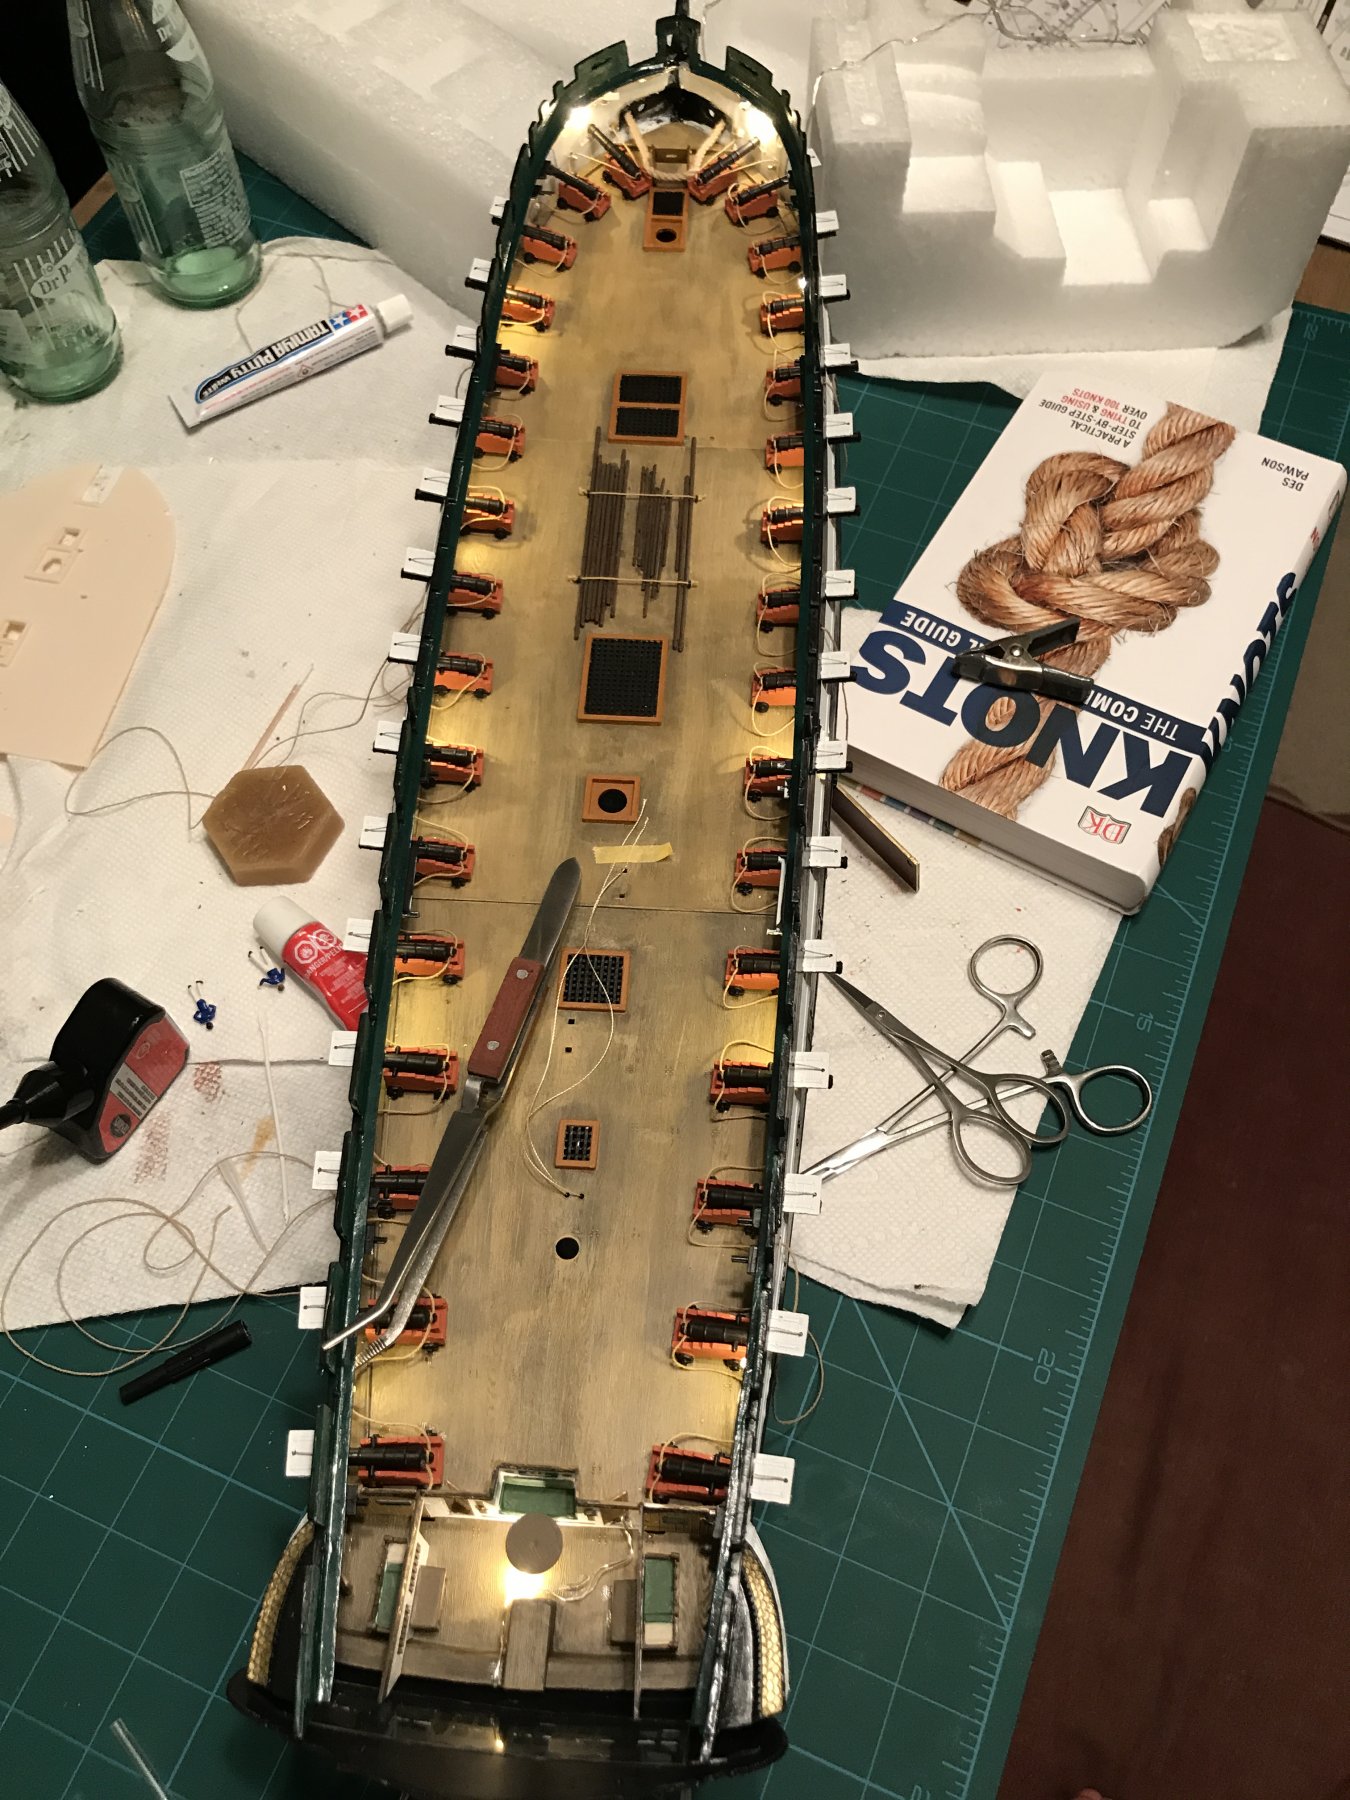
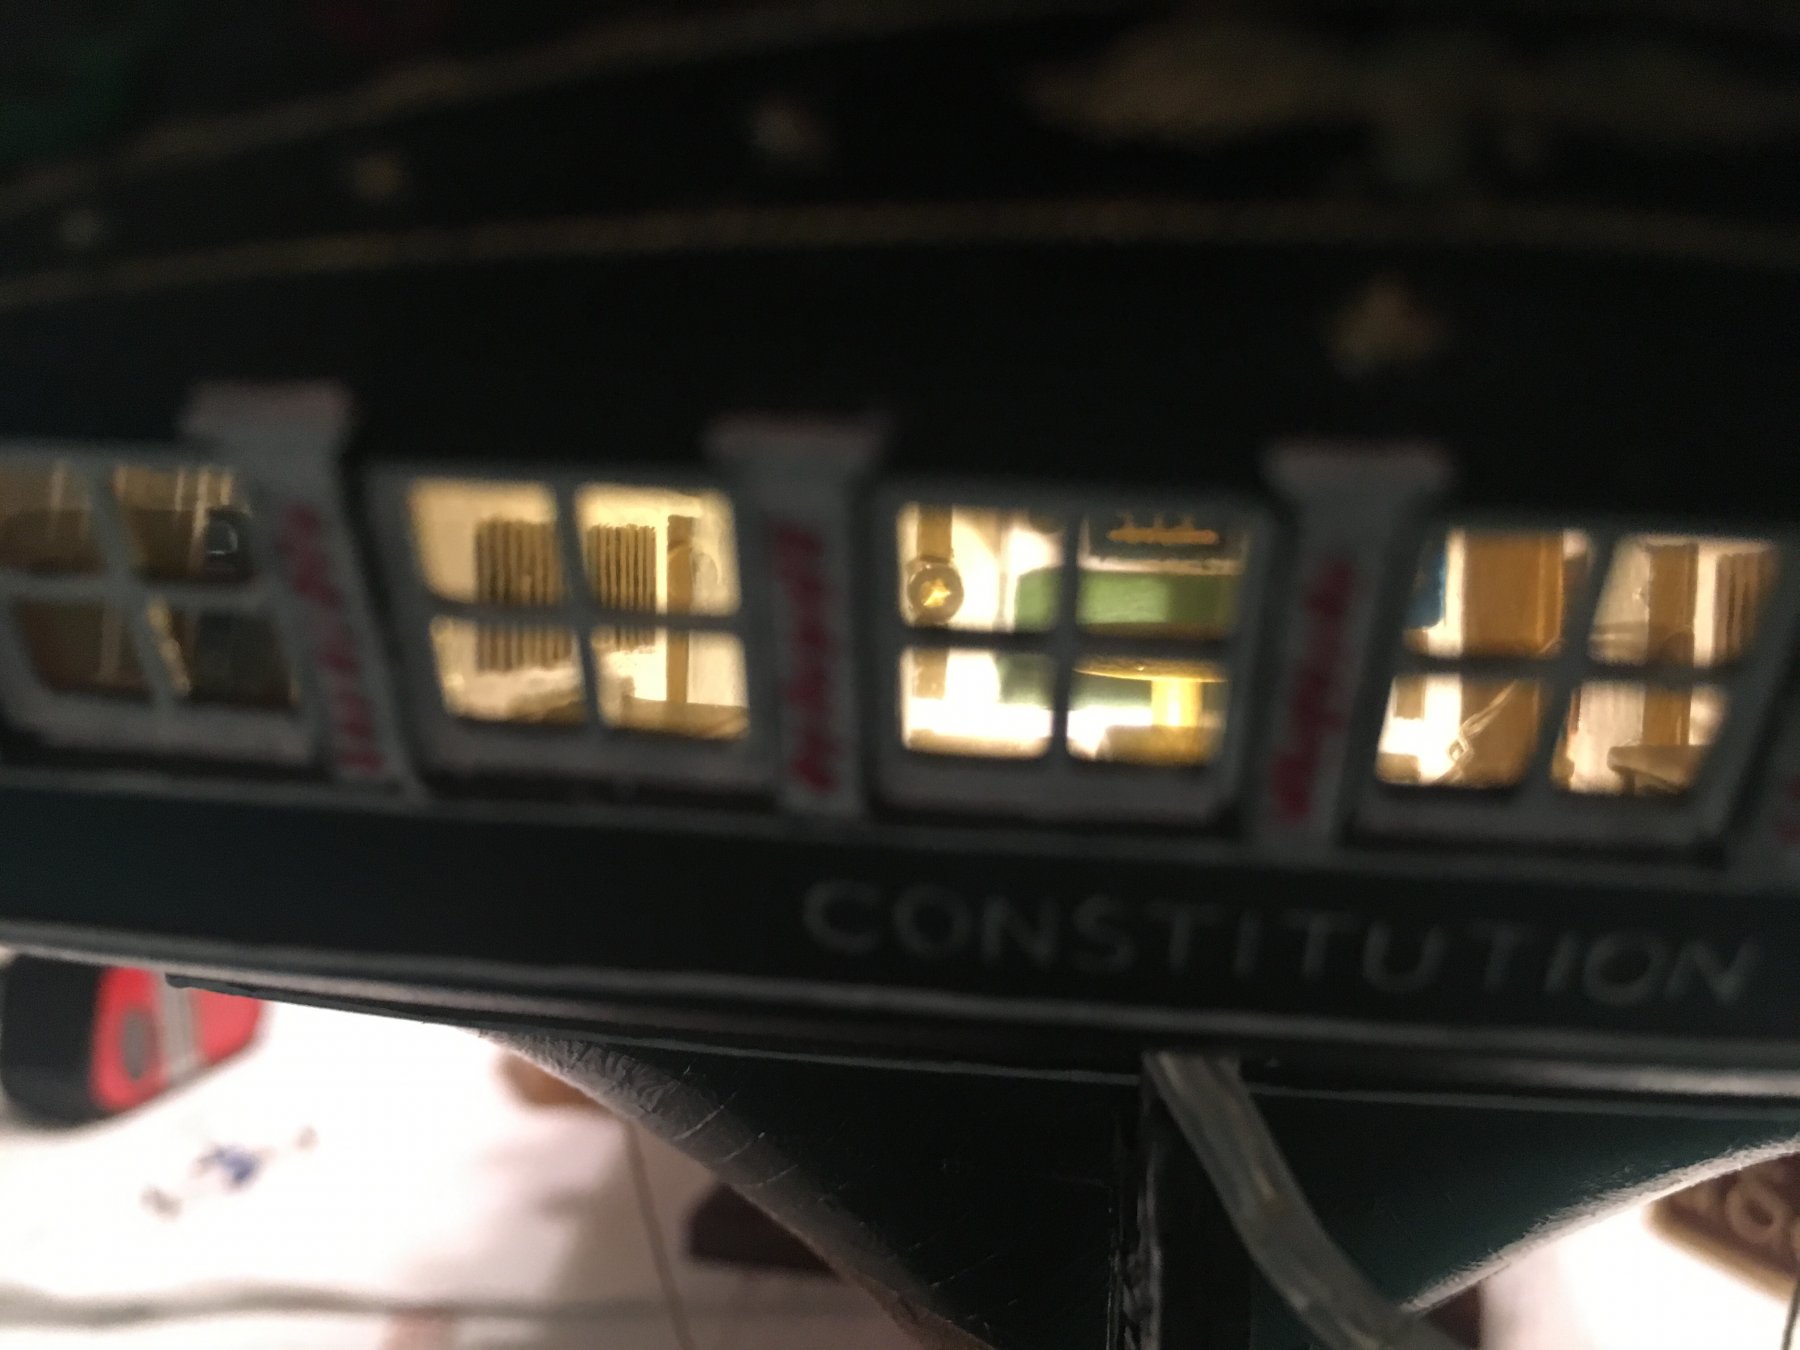
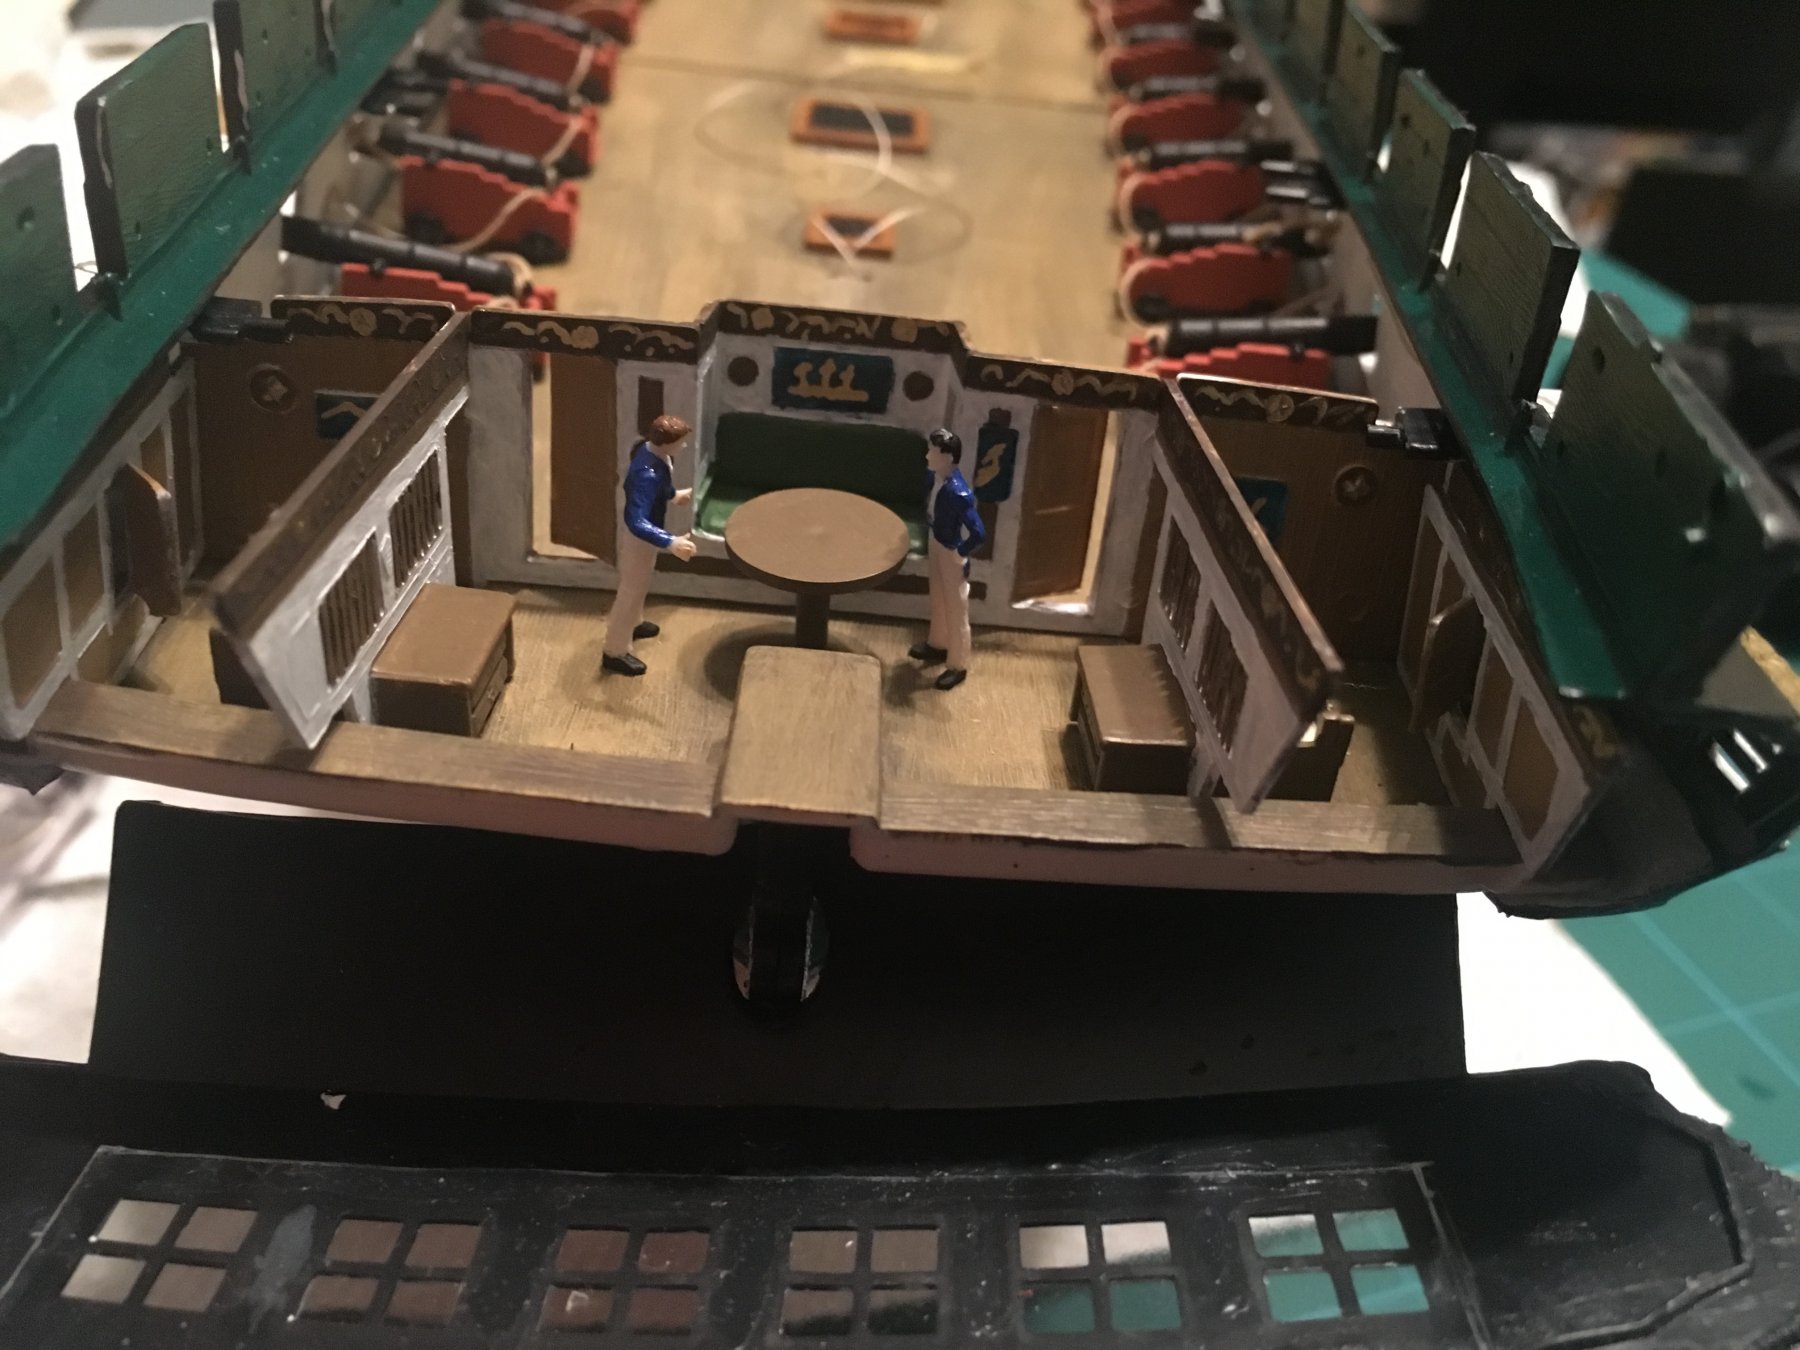
The lighting is installed! The pictures are not great, but you get the point. I still need to determine what I'll do for dampening the lights. Thank you for the suggestions. Most of them are fine, but a few are placed in a manner in which they are too obvious, like in the cabin.
The other thing I need to do before I go further is a base. Any thoughts on that? What have others done? A block of wood at Home Depot (I don't have any fancy saws or cutting tools)? I thought maybe I could find a decorative base and drill up through the bottom. Any input welcome.
-
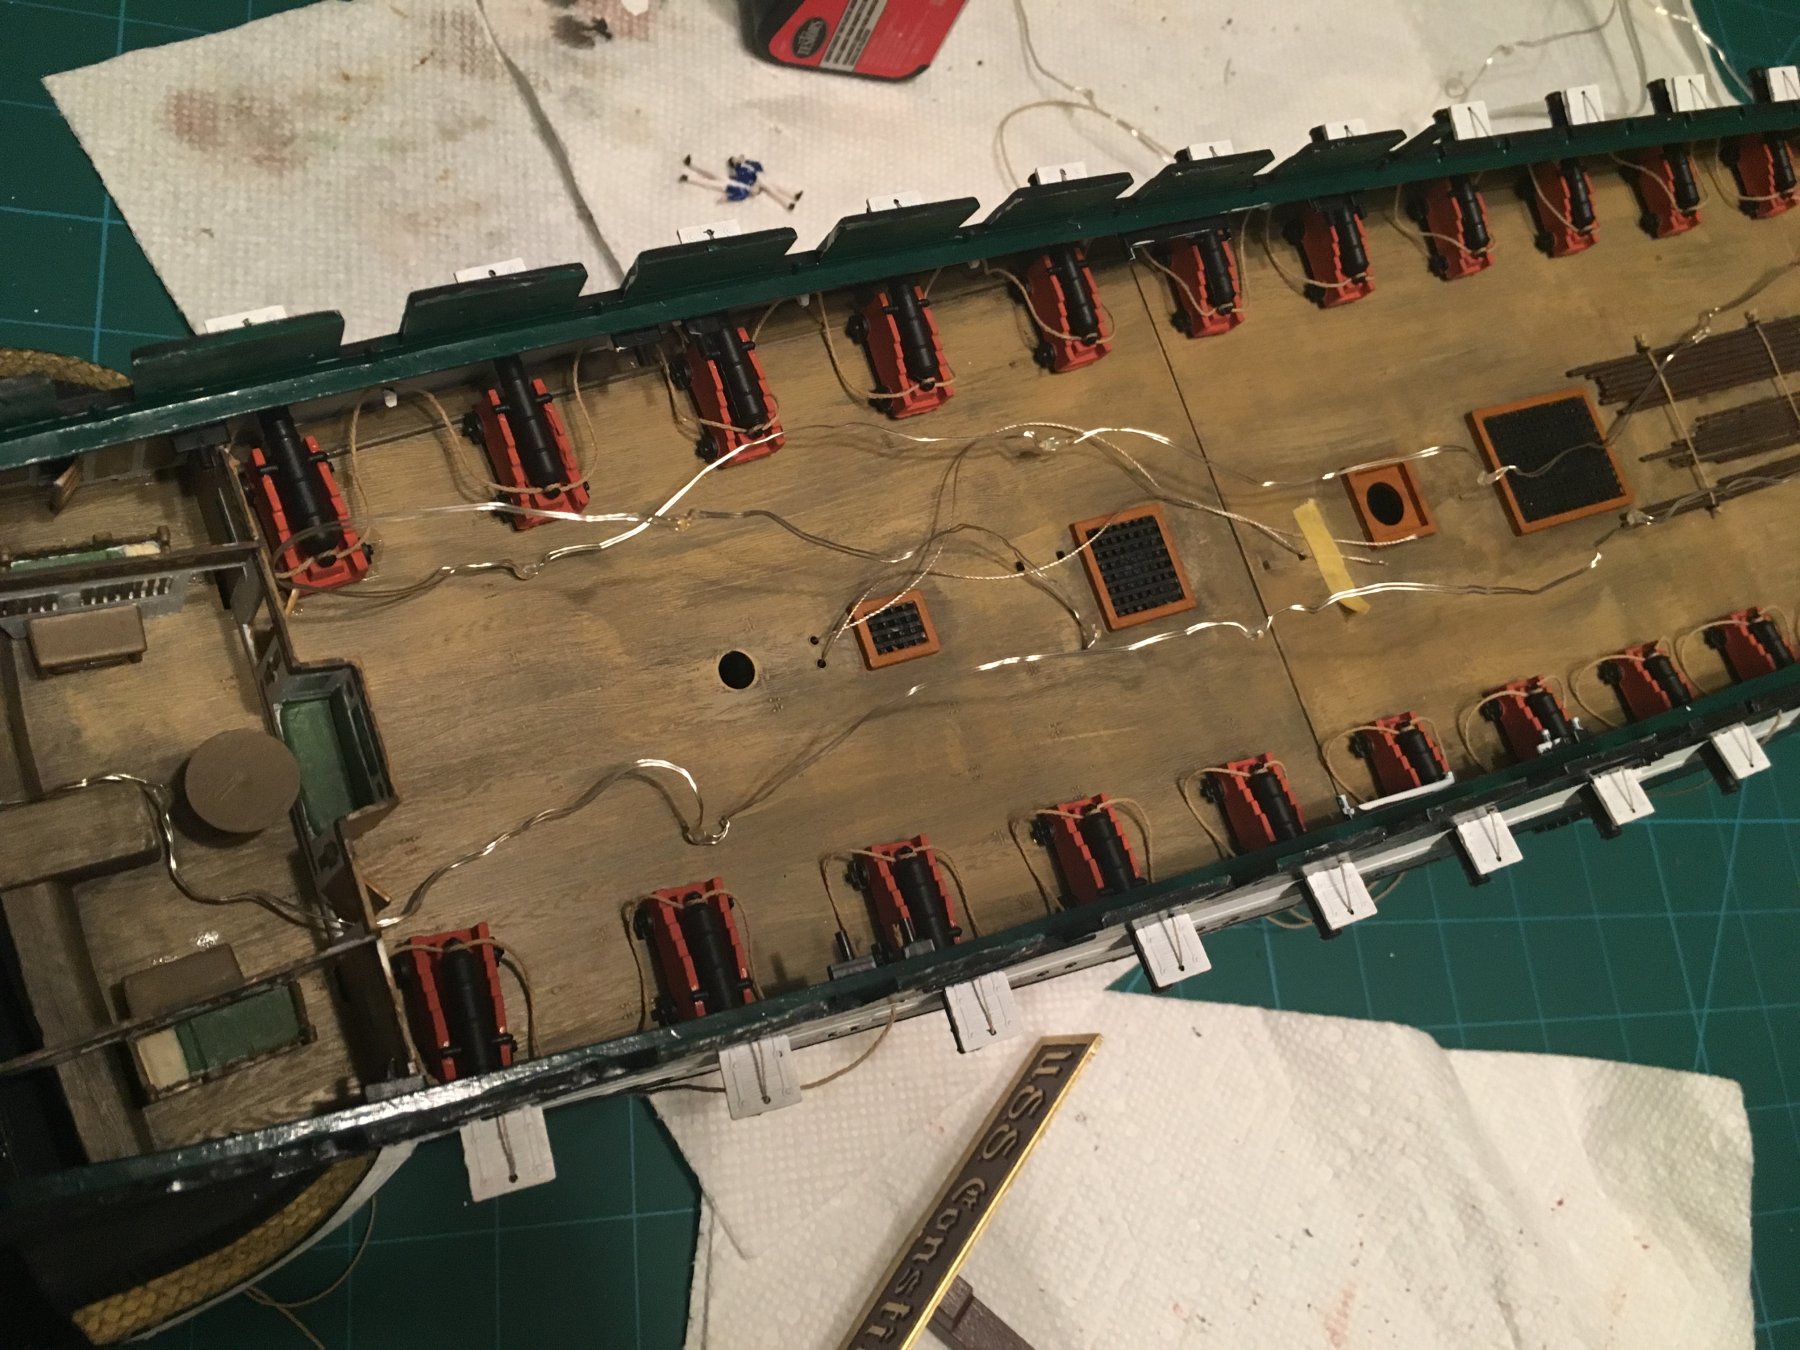
The lights are coming along nicely (sorry no pics yet...soon). I am gluing them up against the bulwarks right underneath where the spar deck will go. I do have a question though! The only problem area I see is that when I look through a gun port hole, I will have bright spots from the lights up against the other side from the actual led's. Any ideas for damping down the brightness of the bulbs? I was thinking maybe my clear gloss or something would dampen it a bit without affecting it too much. I don't want to hurt the lights of course or create a burn hazard.
-
20 hours ago, popeye the sailor said:
have you thought up a way to hide the wires as they run along the mid ship opening on the spar deck? if you affix them along the inner bulwarks, you'll still have the lights and the wires and stuff will be hidden
That is likely what I'll do. I haven't started on it yet other than pushing the wire up through the spaces, but just about any other way I do it would create bright spots as you look in through the ports.
-
Wow...Dave, your model build is stunning! I'm at a crossroads of despair and motivation after seeing it
")
My next step, following securing the lighting, is the spar deck. It's another piece I have put off and agonized over because I want to lessen the seams, and I want my wood grain to look good, yet I don't yet have the skill or experience to come close to what you did! One day...
-
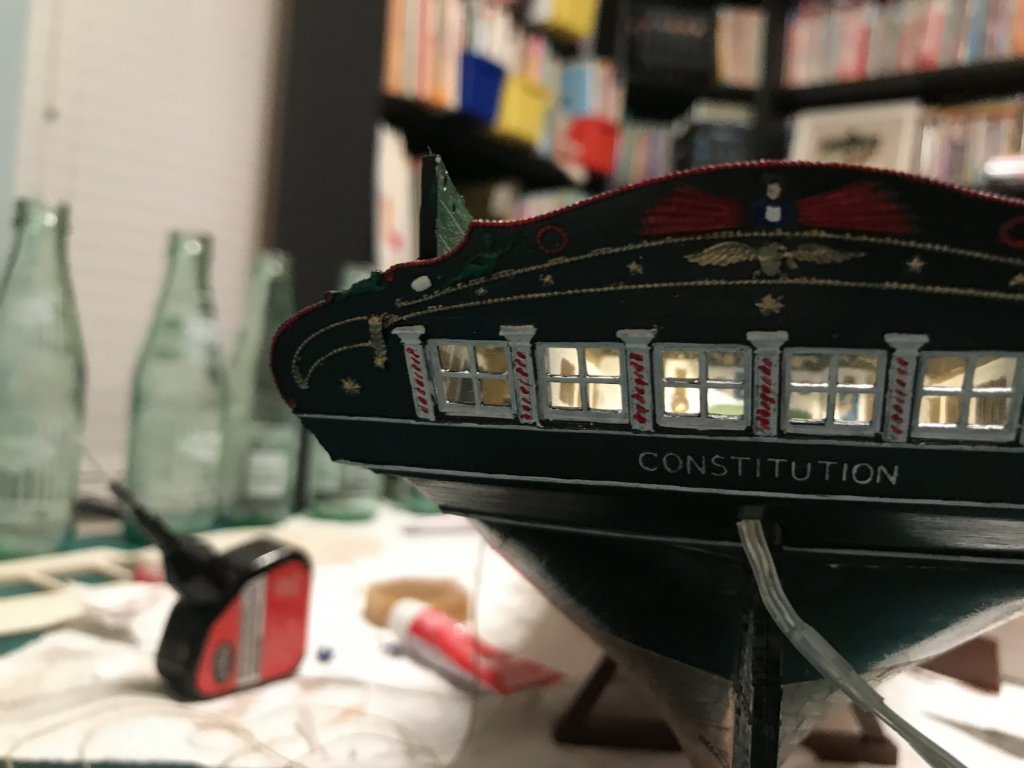
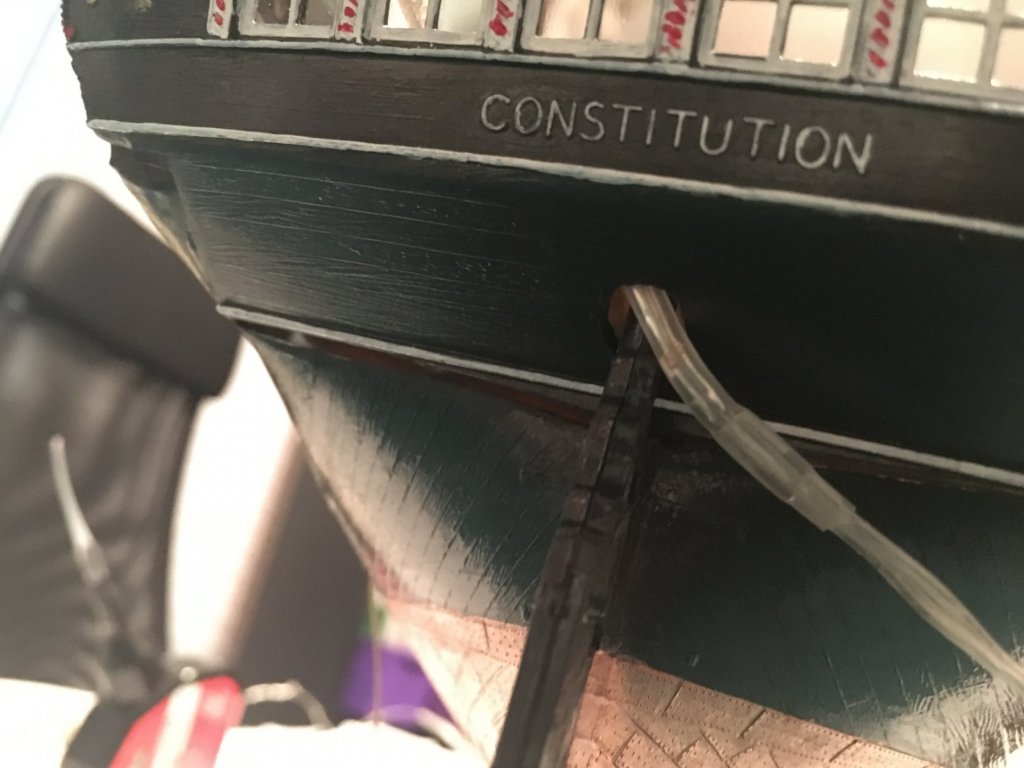
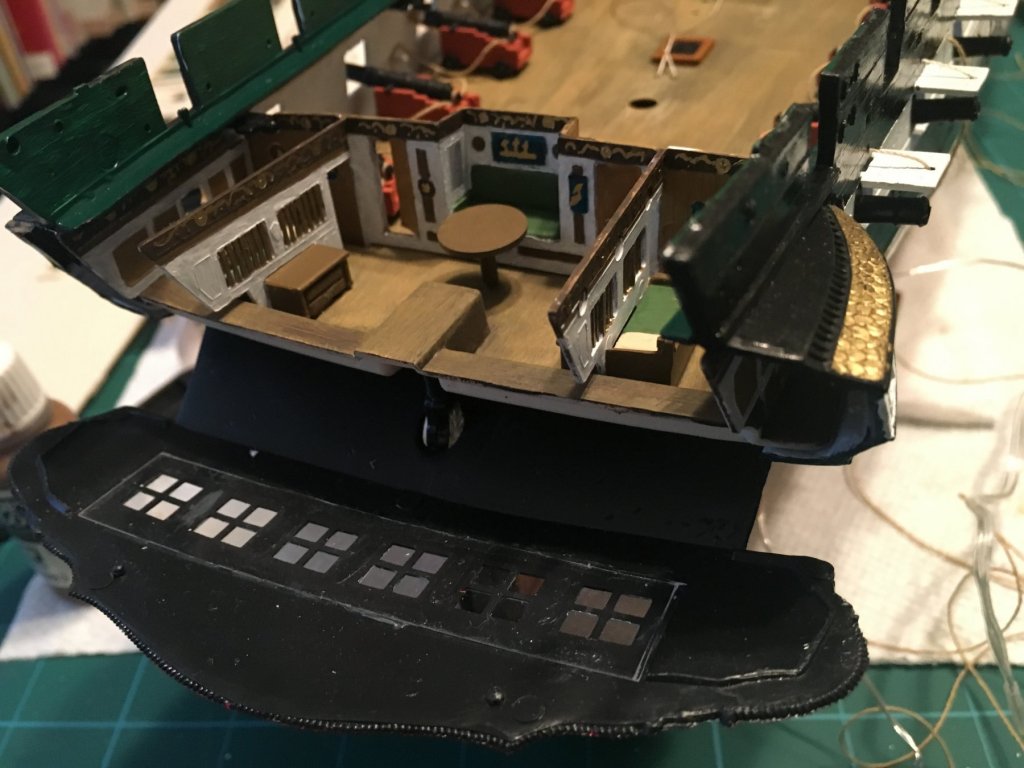
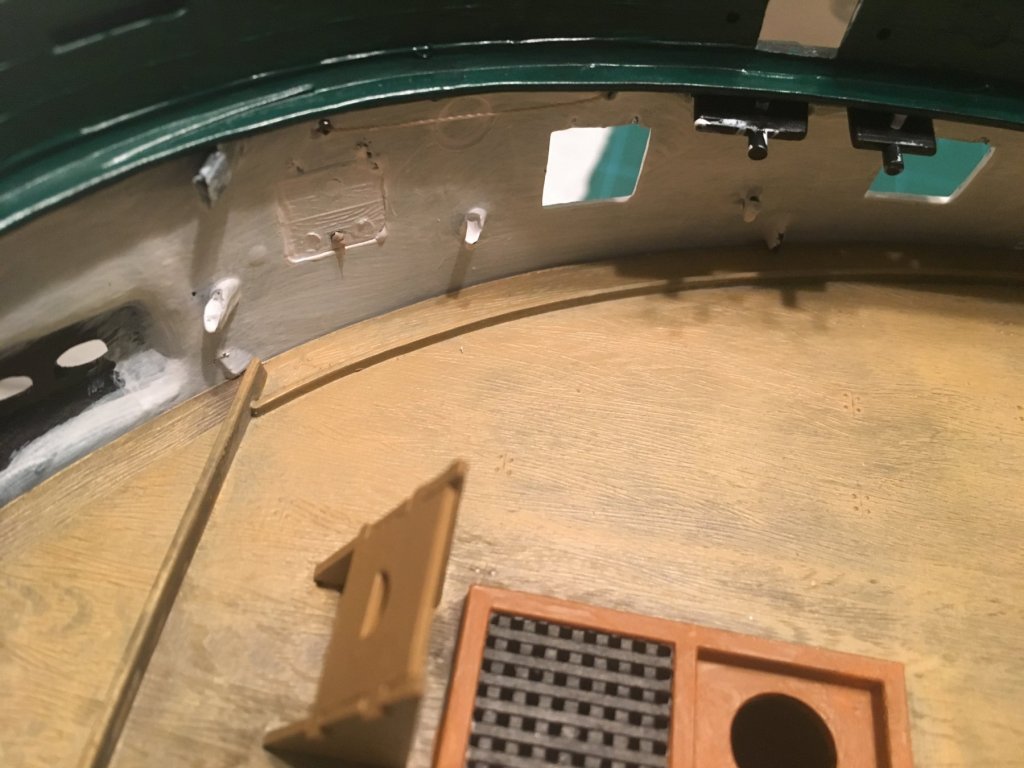
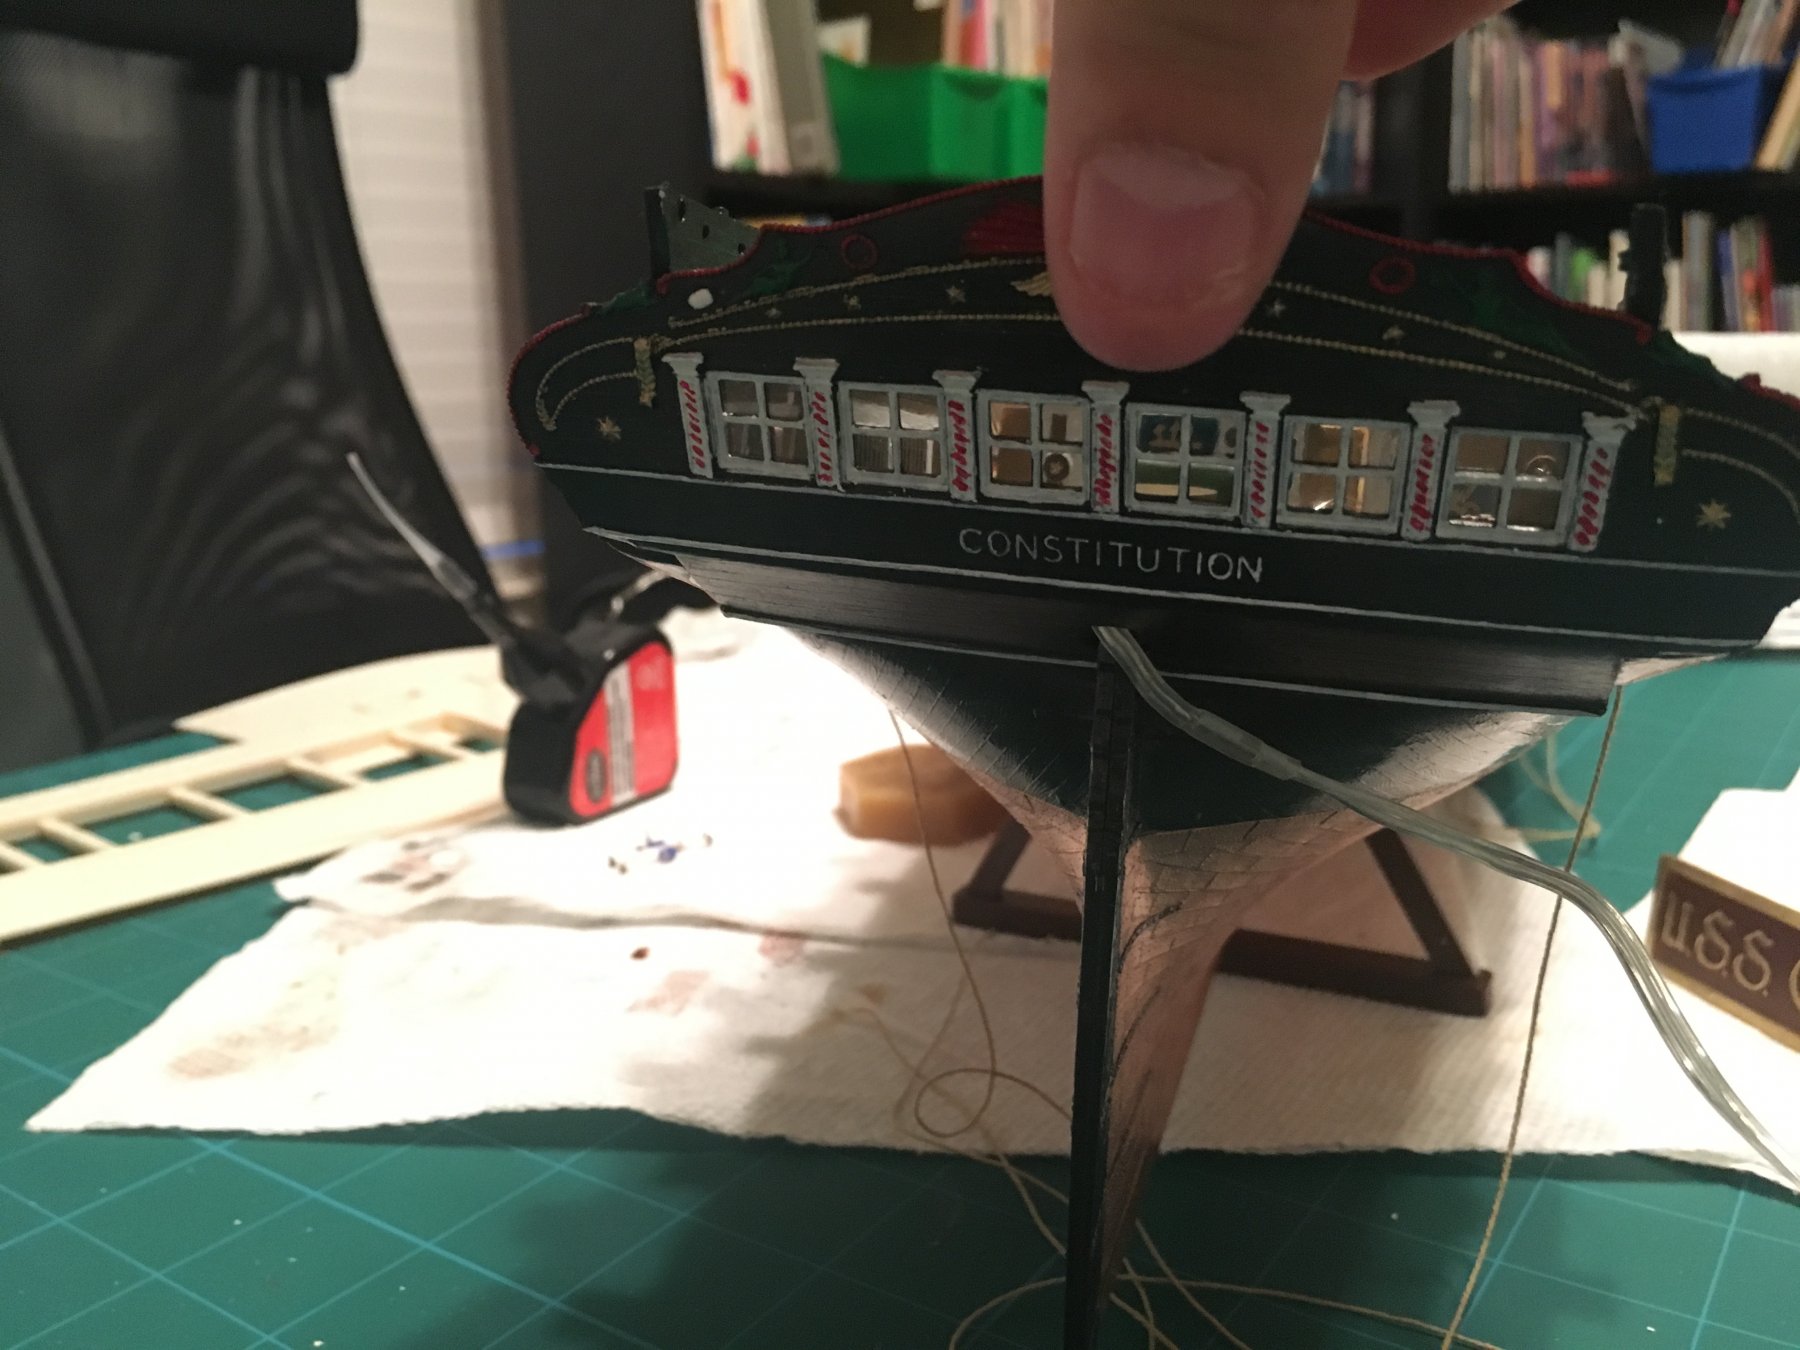
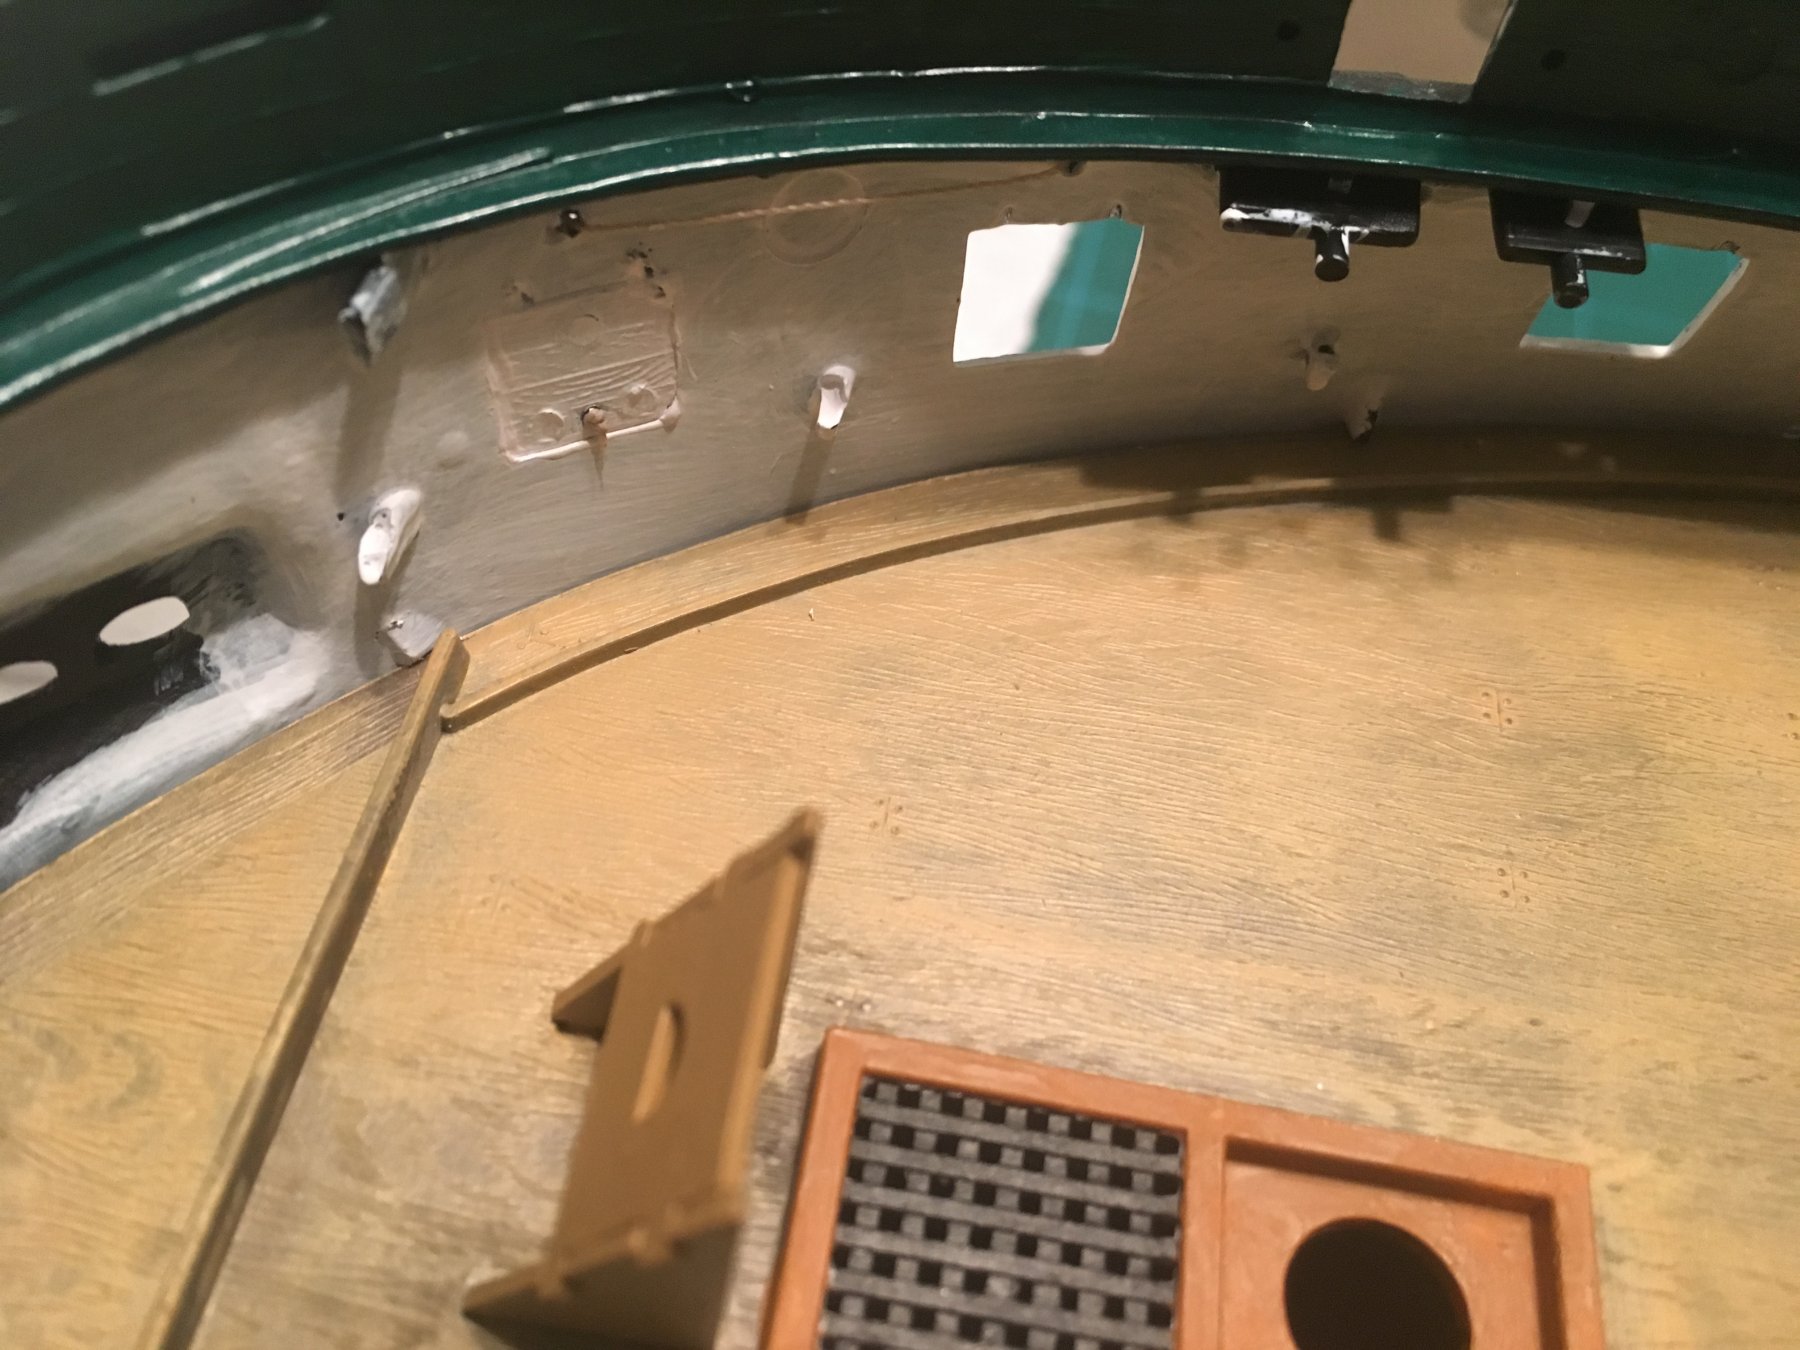
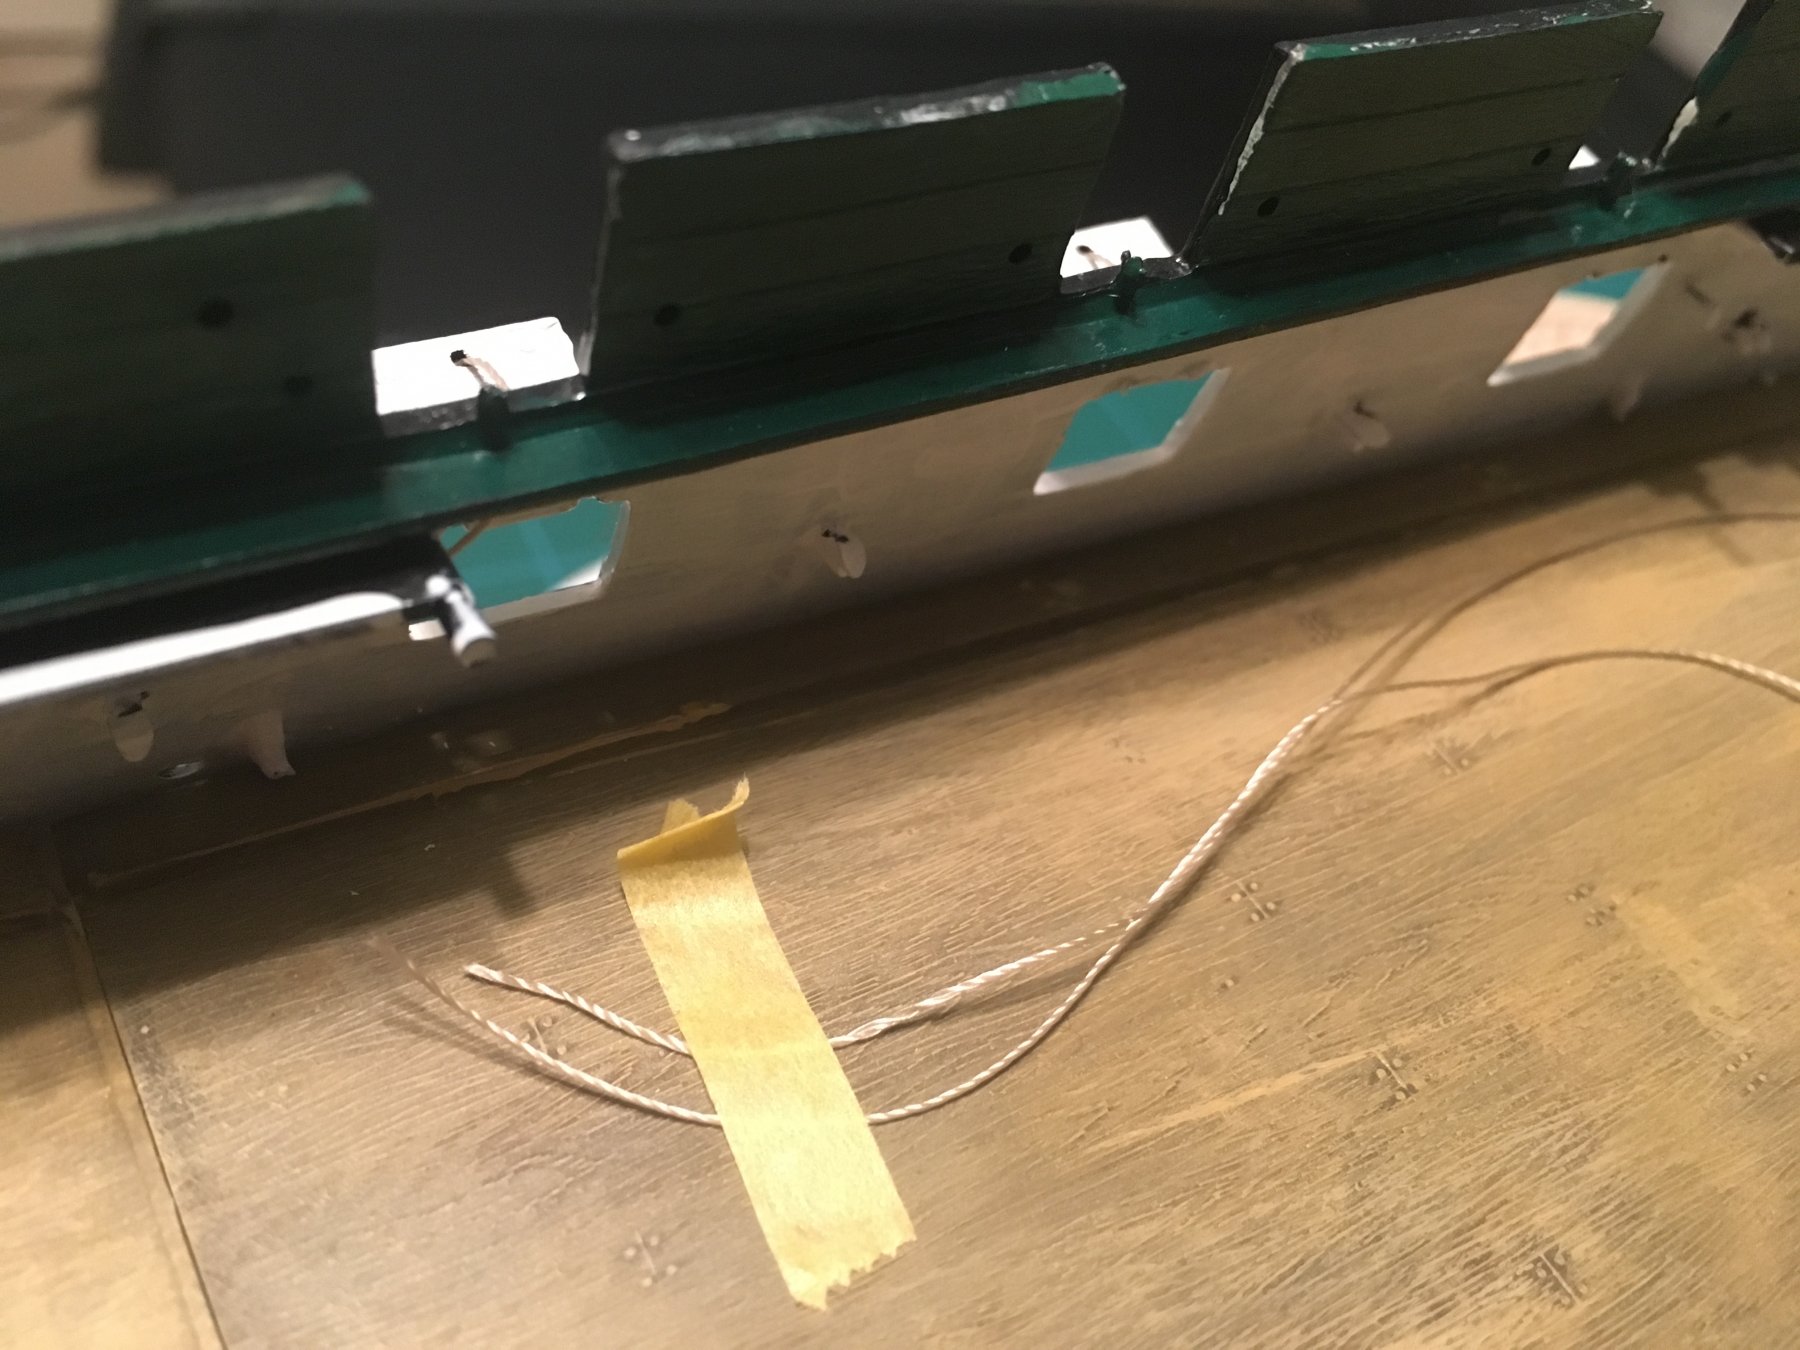
Eureka! The opening where the rudder enters the underside of the cabin wall is just enough to fit the strand through! It will of course have a little wire coming out the back, but I can run that to whichever side of the rudder makes the most sense when I finally display it. Now I need to figure out how to carefully attach and secure the lights, but at least I have made it to that point. I have been agonizing over this for weeks! The last photo is me holding the pieces in place with the light on to show the effect.


- popeye the sailor and lmagna
-
 2
2
-
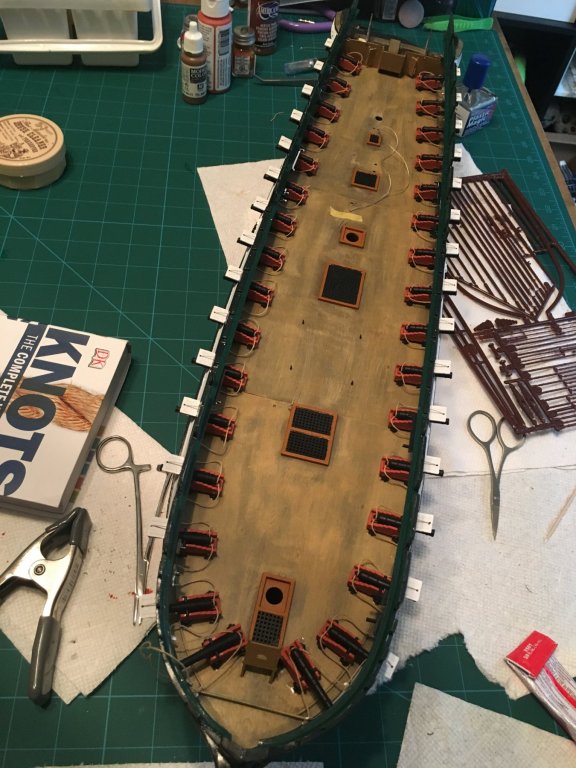
So many helpful comments - thanks for all the input! I'm slow going on this light thing because I need to block off a good chunk of time to carefully work through my options. Very hopeful that I can get up through the hull. In the very beginning, I did enclose the nuts in the bottom of the hull in preparation for eventually mounting this, but it looks like I will need to fully flesh that out now if I want to make the lighting work.
I'm hoping to be able to focus on this in the next week and a half or so - screwing with this thing upside down at this point is not ideal because my fingerprints show all over the copper part to the point I will probably have to repaint it, and I've got to be very careful with the port covers and just in general not to break anything. Meaning I need to probably get out into the garage rather than in my office to do this.
Thanks all, and stay tuned!
- popeye the sailor and lmagna
-
2
-
7 minutes ago, Alex1201 said:
Is it thin enough to stick to the bottom of the spar deck without being visible? Then you could get to it through the holes under the boats to change batteries, or maybe even flip the switch?
Is the switch on the battery pack?
Where did you find that?
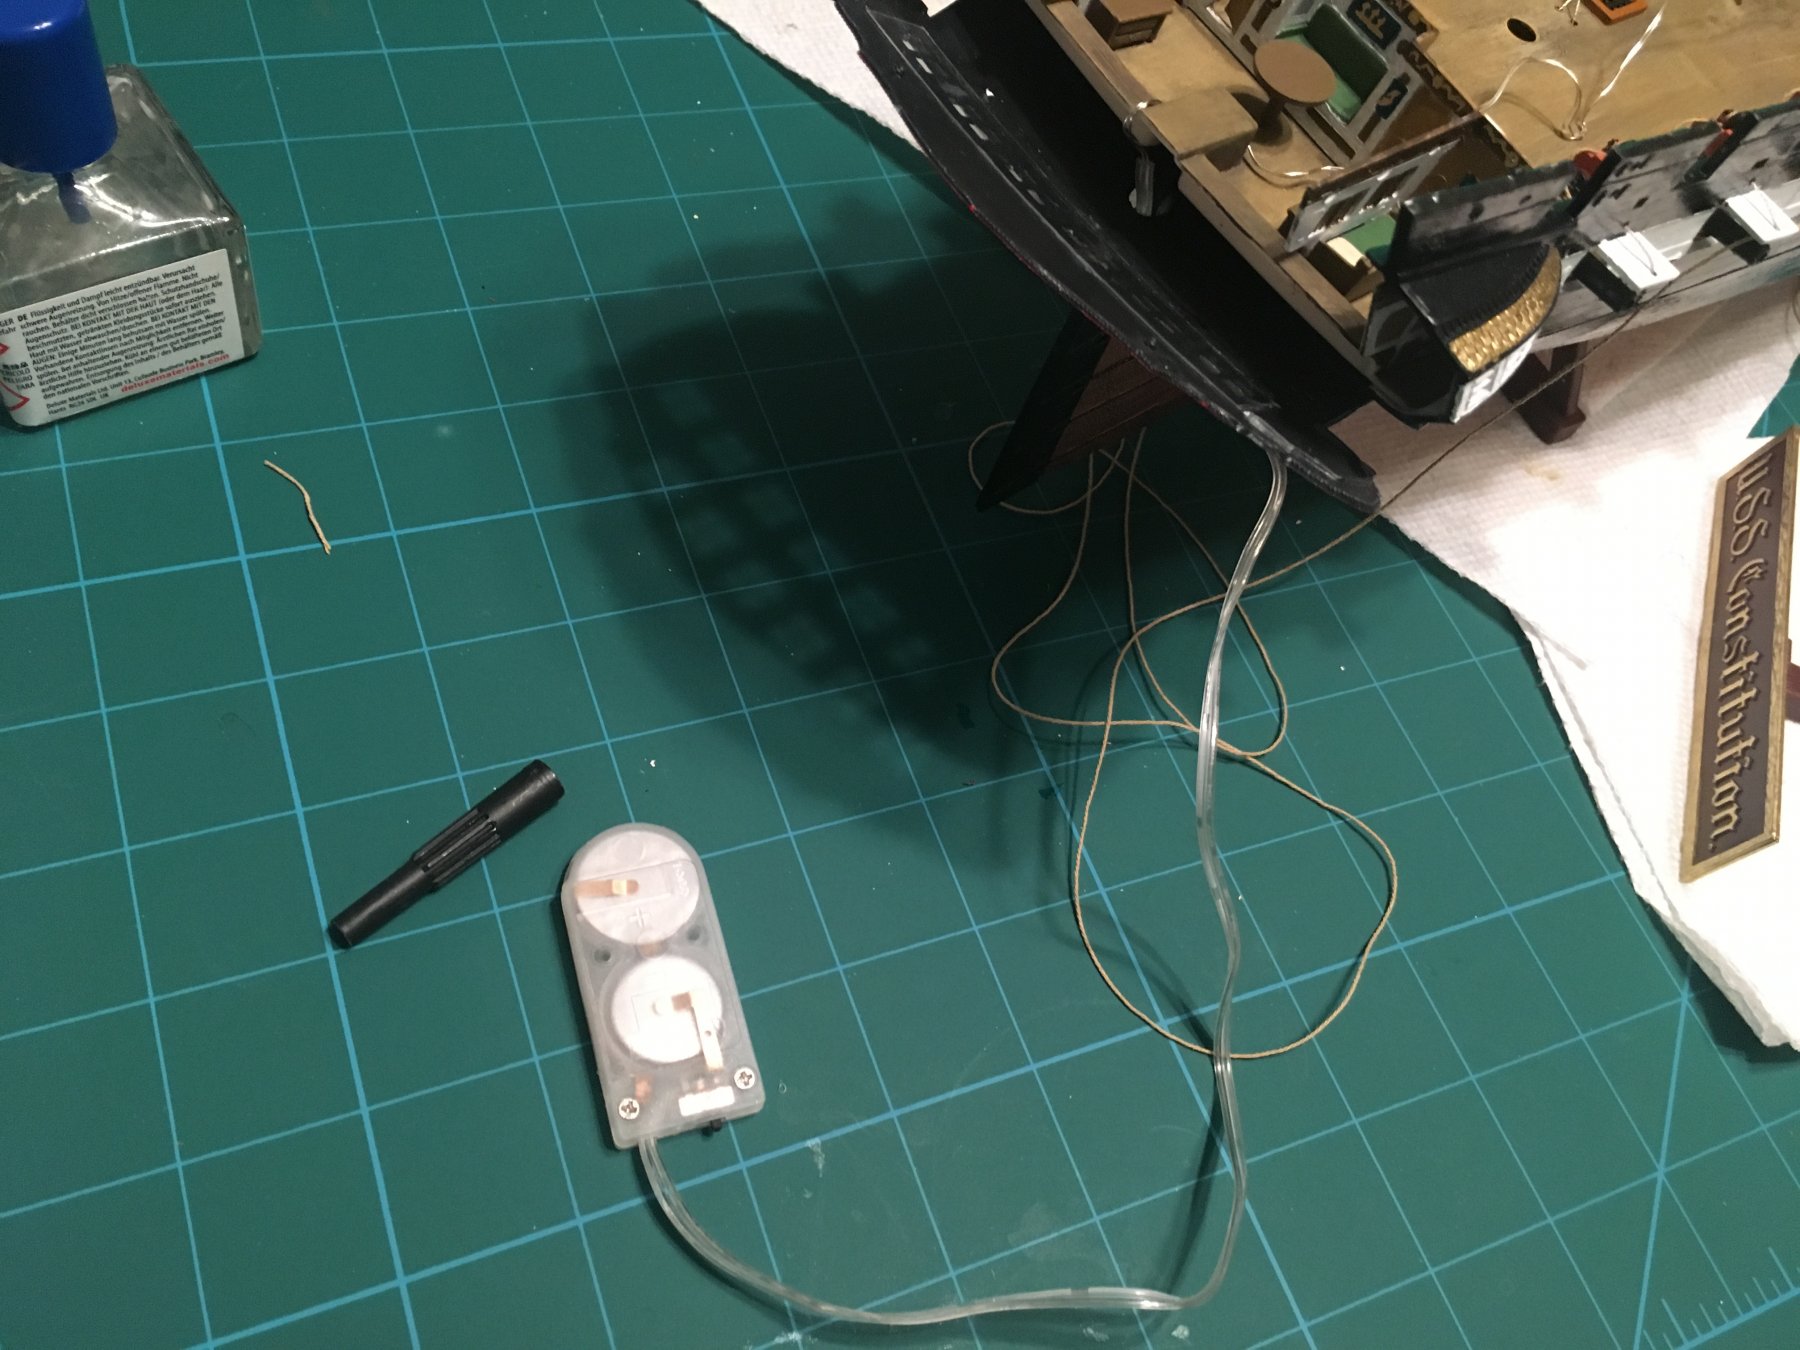
I got it on Amazon, 2 of them for $7! I'll put the link at the bottom of this post. The battery pack is 2"x1" by some really thin thickness, and the switch is on it's head (on the thin side). If I had planned a little further ahead, I would have run it through the hull, but I'm not sure that will be doable at this point without some damage. I may try though. I like that option best if I can make it work. Other than the battery pack the thickest parts are the actual lights, and they're maybe 1/8" (they're kind of a weird lopsided teardrop shape)
If I just needed the switch, I'd hide it under the spar deck, but when I need to change the batteries that wouldn't work (I don't think). Where you mentioned was actually my first thought, but as I look at it more, I just don't think it will work once all of the rigging is up - I'm afraid it will be too difficult to reach in and maneuver it without breaking something. I also thought maybe I'll put it there where I can just reach the switch, then leave it off unless I am showing it off, and hope the batteries last forever...but I don't like that risk.
As I've been typing, I've decided I want to try and get in through the hull. It's a bit risky, but since the gun deck is not glued in place, maybe I can make it work. I think I'll try to go up through the space for the screws. If that does not work, I'll probably try to go out the back of the cabin, and down towards the rudder. Not ideal, but I think the tradeoff of having a light in the cabin and potentially throughout the gun deck is worth it.
Thanks for the input! Here's the link:
https://www.amazon.com/gp/product/B00VFMC5GE/ref=oh_aui_detailpage_o04_s00?ie=UTF8&psc=1 -
I am hoping I can elicit an opinion or two here. I found a string of tiny lights powered by a small battery pack. I could put it in there and let it go, but when the batteries die that will be it. I am trying to come up with a way to have access to the battery pack when the ship is complete.
My options are to have the battery pack hang out one side of the ship, which would ideally be the "back" side when it is eventually displayed, or to run the string through one of the gun ports in the front or back, or to run it through the cabin. If I do any of these the battery pack will just hang out, but I'm hoping not terribly visibly. One other option is to somehow hide it on the deck, perhaps in a canoe. However, doing that it will be smack in the middle of the ship somewhere. I would just have to disguise it the best I could. I don't know that that's a realistic option once I have all the rigging up.


-
4 hours ago, Ulises Victoria said:
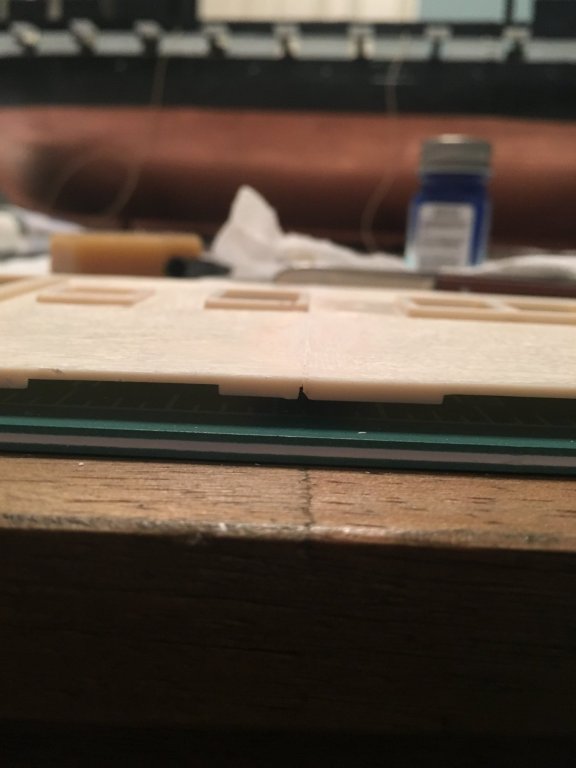
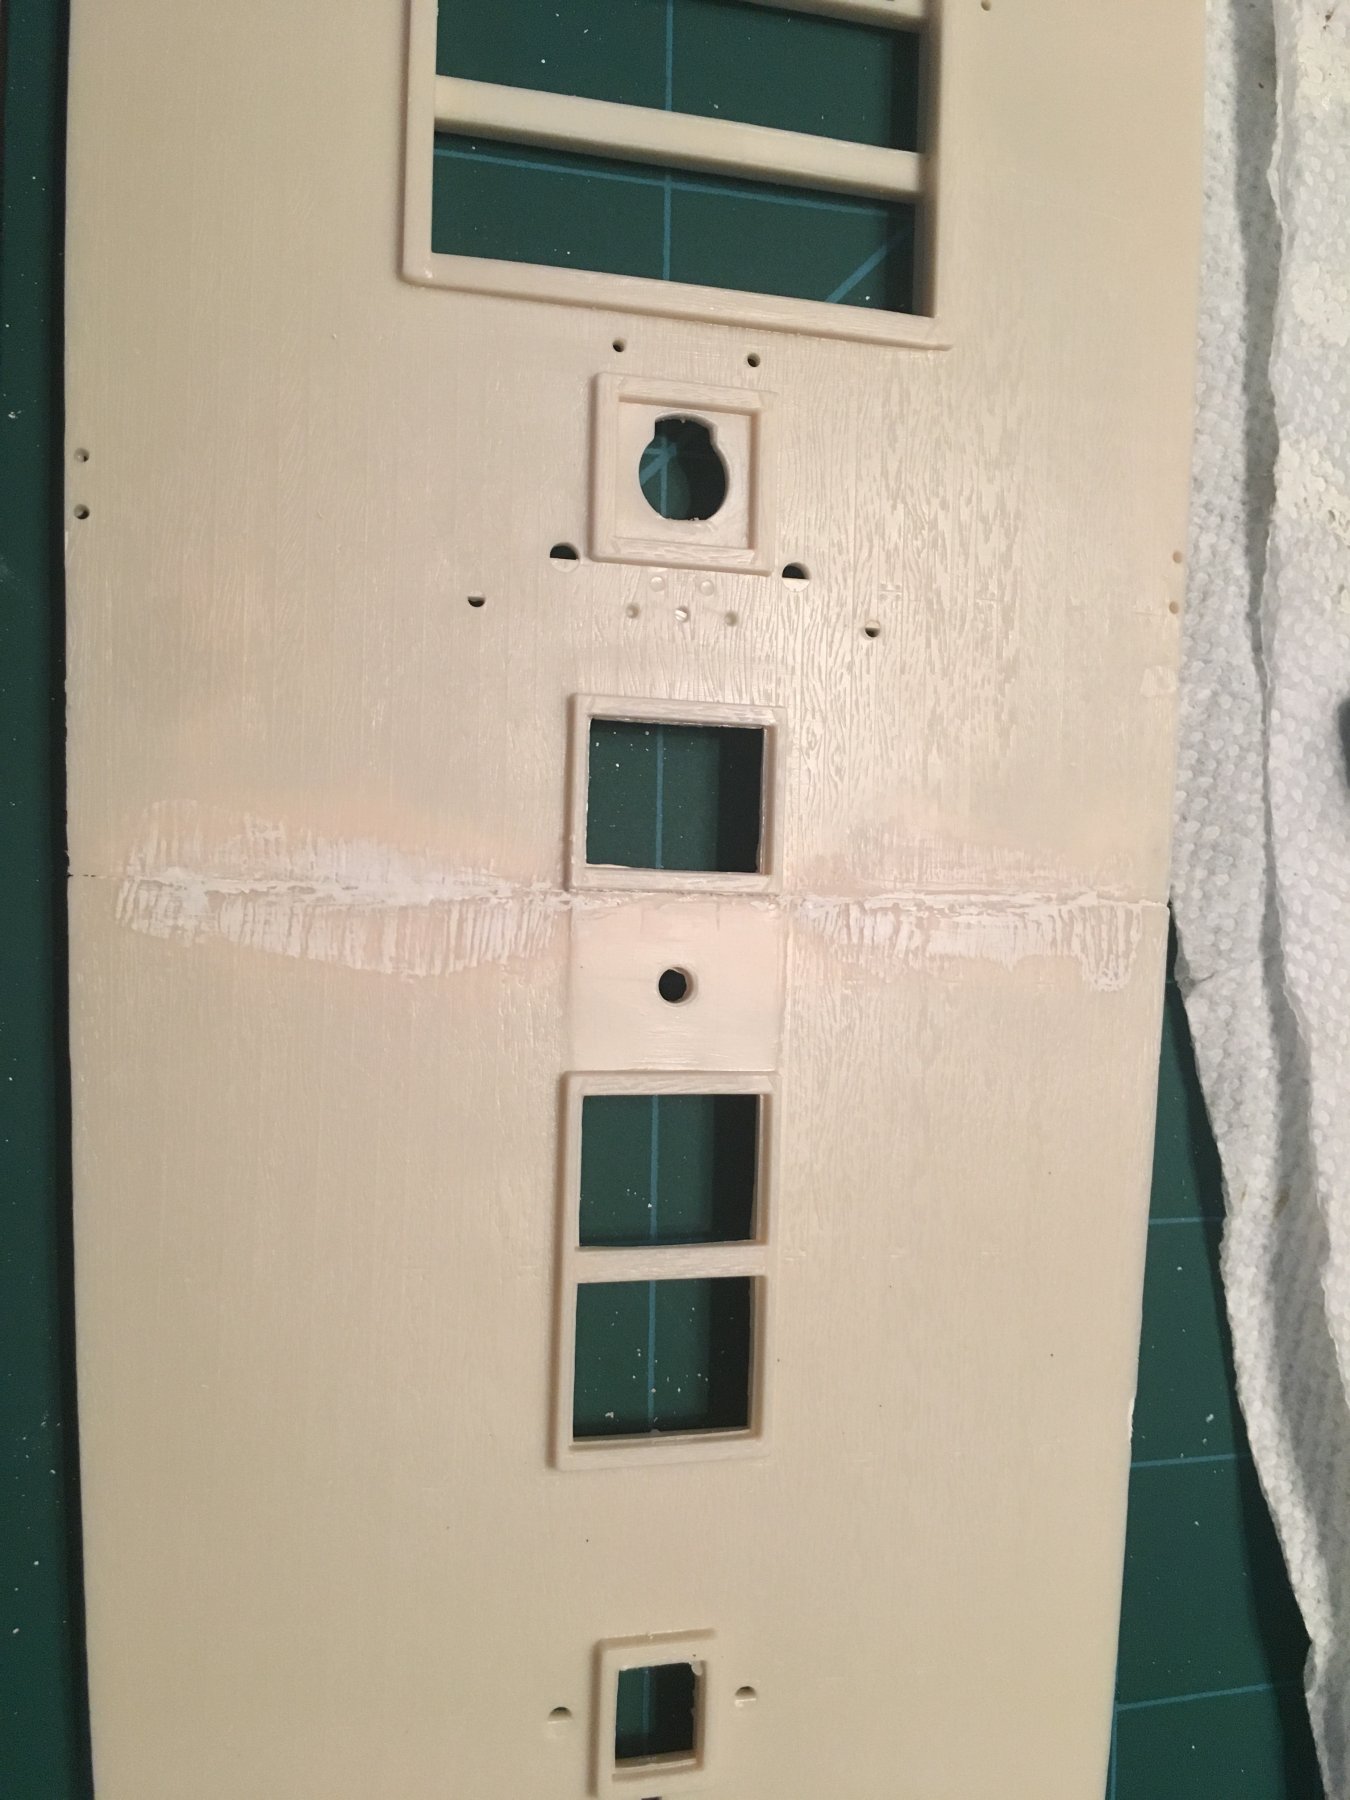
Hello Michael. As far as I can see, there is a line that will be seen in the joints at this moment.
What kind of putty/filler are you using?
I have to say making those joints disappear has to be one of the toughest jobs a modeler can attempt. You have to make the joints not seen and at the same time, not to erase the wood grain marks.
You may try to dilute your putty a bit so it can fill the joints more easy.
You have the right idea when scratching the putty residue to replicate the imprinted wood on the plastic, only I'm sorry to tell you, that's one hell of a job to accomplish right!
In a worst case scenario, I would put a very thin and narrow piece of plastic all along the seams trying to simulate a reinforcement that most likely was not in the real thing. I most of the time prefer to do something that is out of reality but that looks good, instead of let something to be seen and that I just don't feel comfortable with. Not many people will notice that, I can assure you, and we...
well... we will forgive you!
Hope this helps and wish you the best of luck!
It's a tamiya white putty. Never used anything like this before. Not sure how much of the log you've read, but this is only my second venture into model ships, my first being much simpler in the 1/150 scale uss United States. All of my experience so far comes from advice from people like you!
In hindsight I think I should have immediately wiped all the putty from the surface, but I've already messed that up, taking some texture off with the mineral spirits and allowing too much putty to dry on the surface. I will soon test the paint. I wanted to see if I could figure out a lighting solution before I go much further though (see my previous post).
Amyway, thanks for the tips, and I'll keep you posted with my results.
-
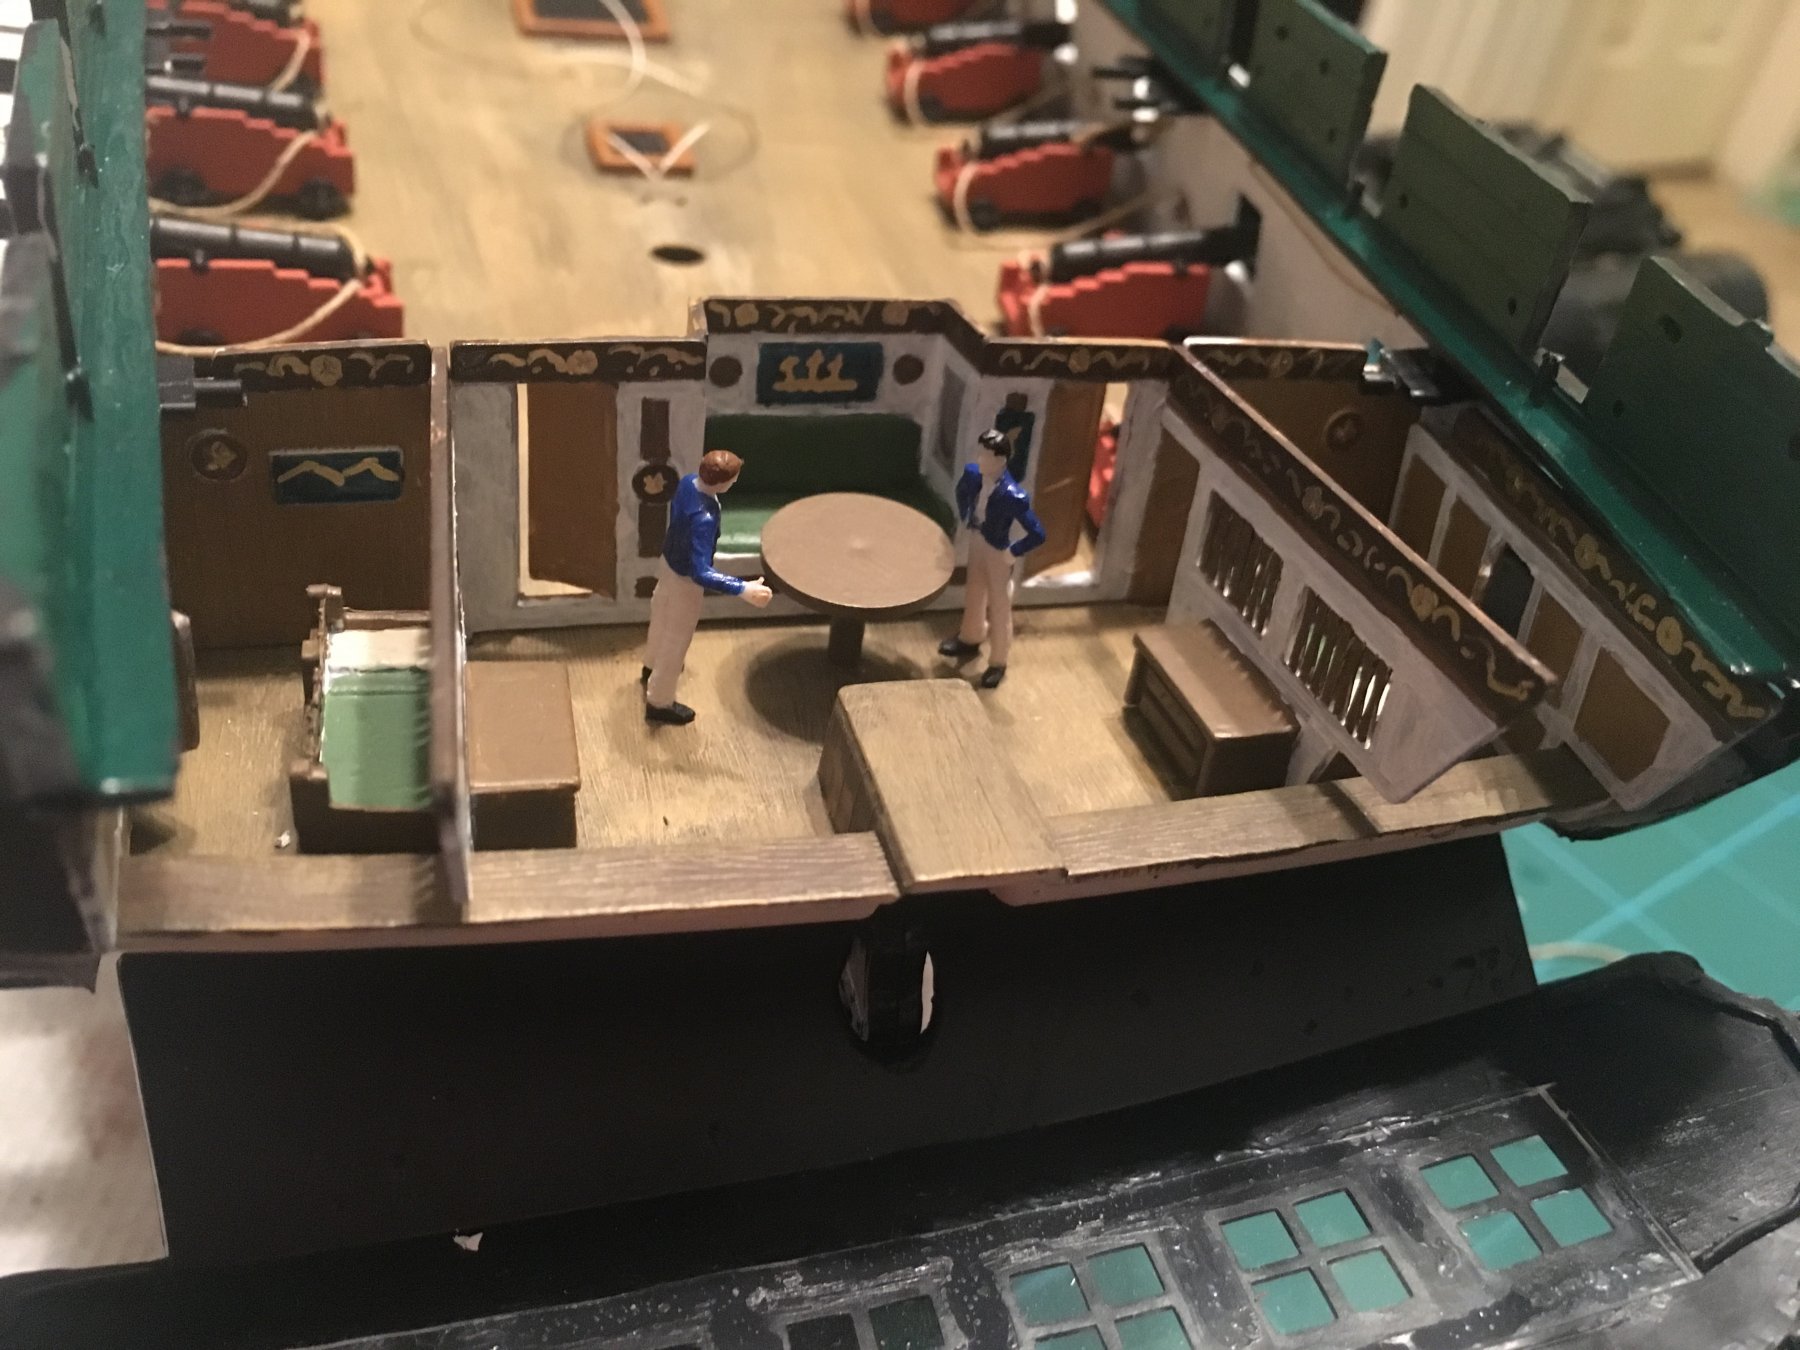
I have a couple guys prepared for the cabin (see pics), and I'm considering placement, and I realize there is just about zero light once the spar deck is installed. I want to illuminate the cabin. I've seen some other pretty advanced set up's with people putting LED light strips throughout the gun deck, but I don't know that I have the skill to pull off what I have seen. Any ideas or tips on illuminating the cabin? That's really all I'm concerned about is being able to see something when I look in the back window. I was hoping to find something like a single wireless LED dot or something like that.


-
34 minutes ago, Ulises Victoria said:
Just remember this: Paint paints!
")
Paint doesn't work as a filler or sealer or mask...
In many cases, paint just accentuates what you are trying to hide.
Best regards
Ulises
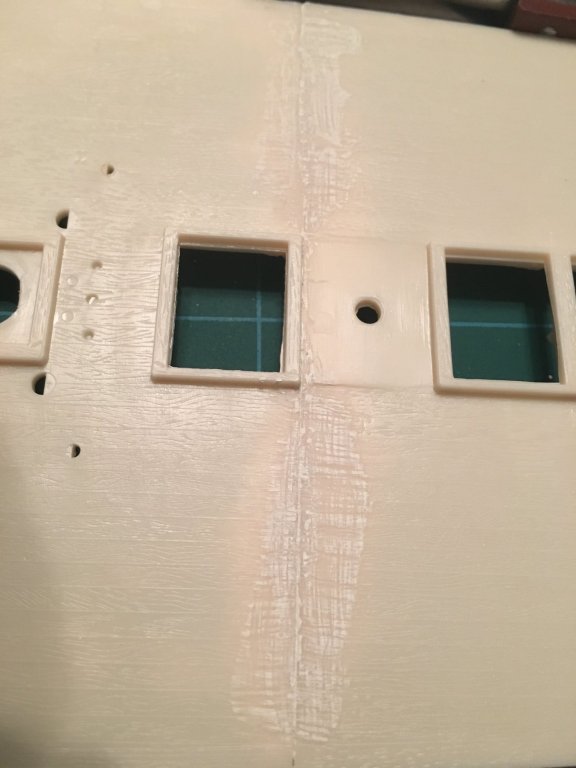
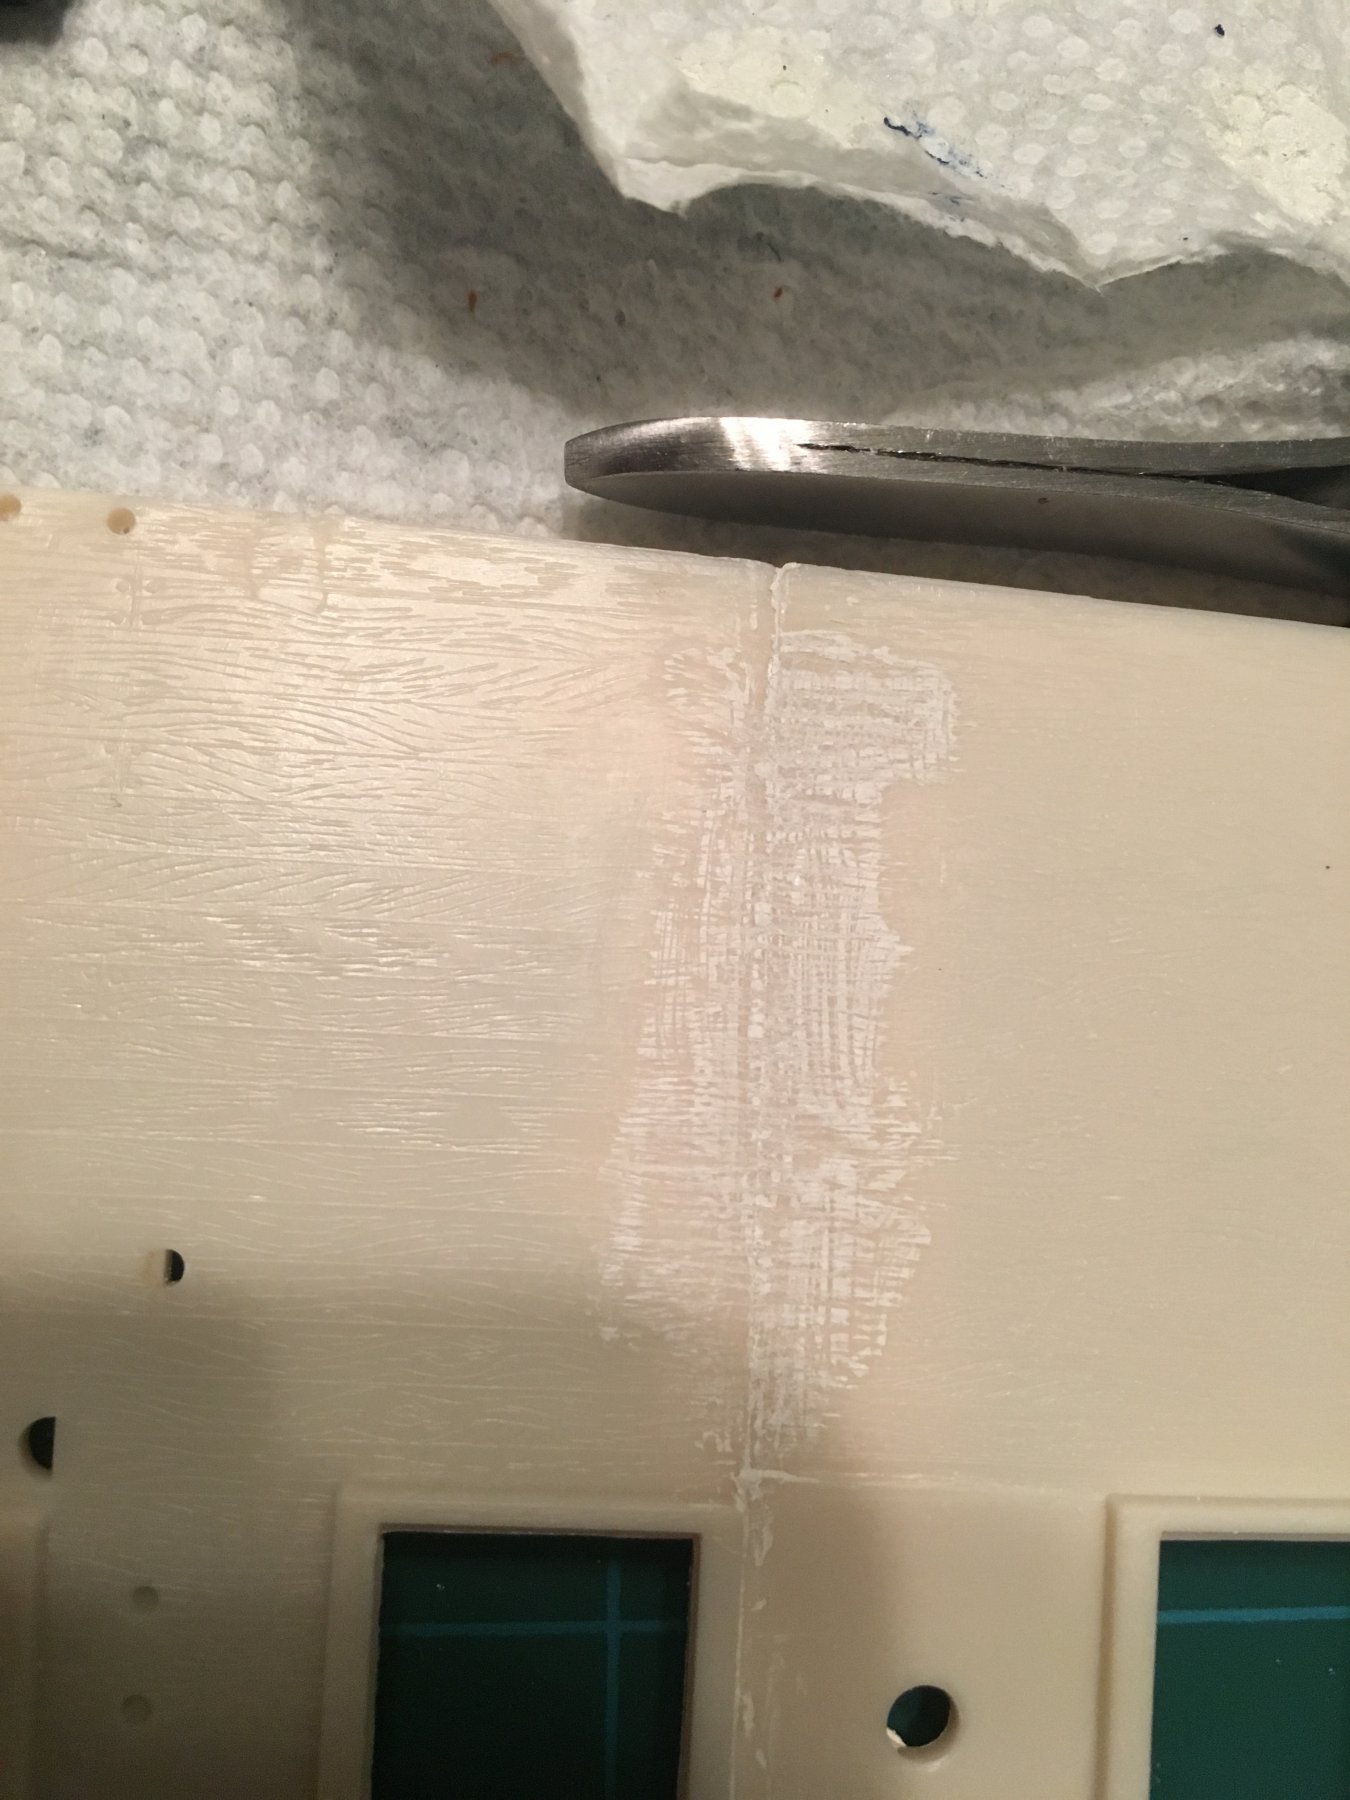
Do you have any suggestions? I have done my best to not allow the putty to hold any texture or anything, but I did have to scrape it off and do it again, which led me to mess up the built-in wood texture in the plastic. I am just hoping that does not show.
Here are a few pictures close up of the first seam. I tried to do it from the bottom and fill it up towards the top in order to avoid it showing too much on the surface, but you can see my horribly failed first attempt where I scraped a bunch of it off. You may not be able to tell but I also ate away some of the texture with mineral spirits.

-
I am going to document this for better or for worse. I have put some putty in between two of the upper deck pieces to see if I can help lessen the seam. My first attempt ended in me doing my best to sand and scrape off putty because I accidentally separated them. I have to hope that the paint covers this well enough in the end... fingers crossed!

-
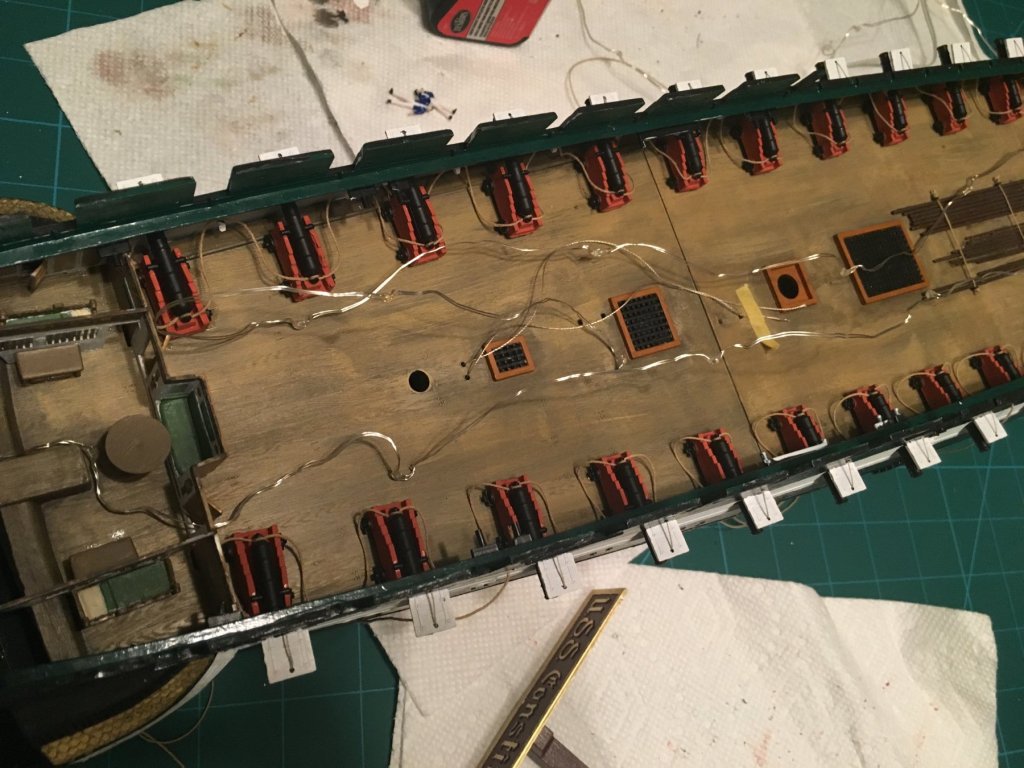
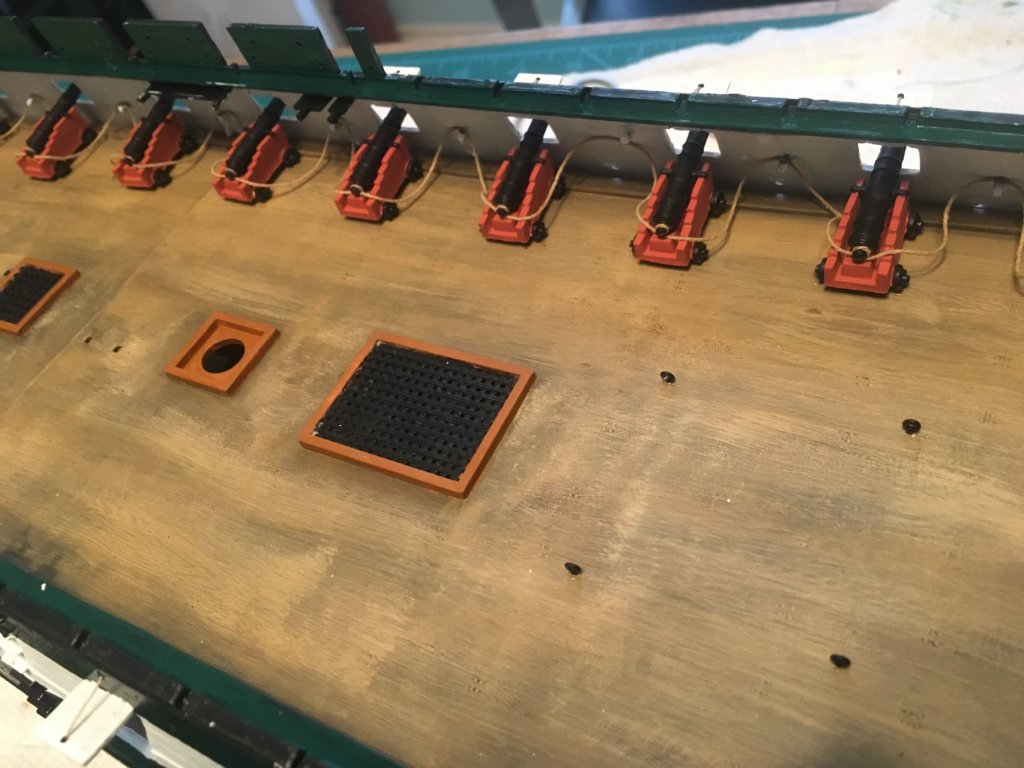
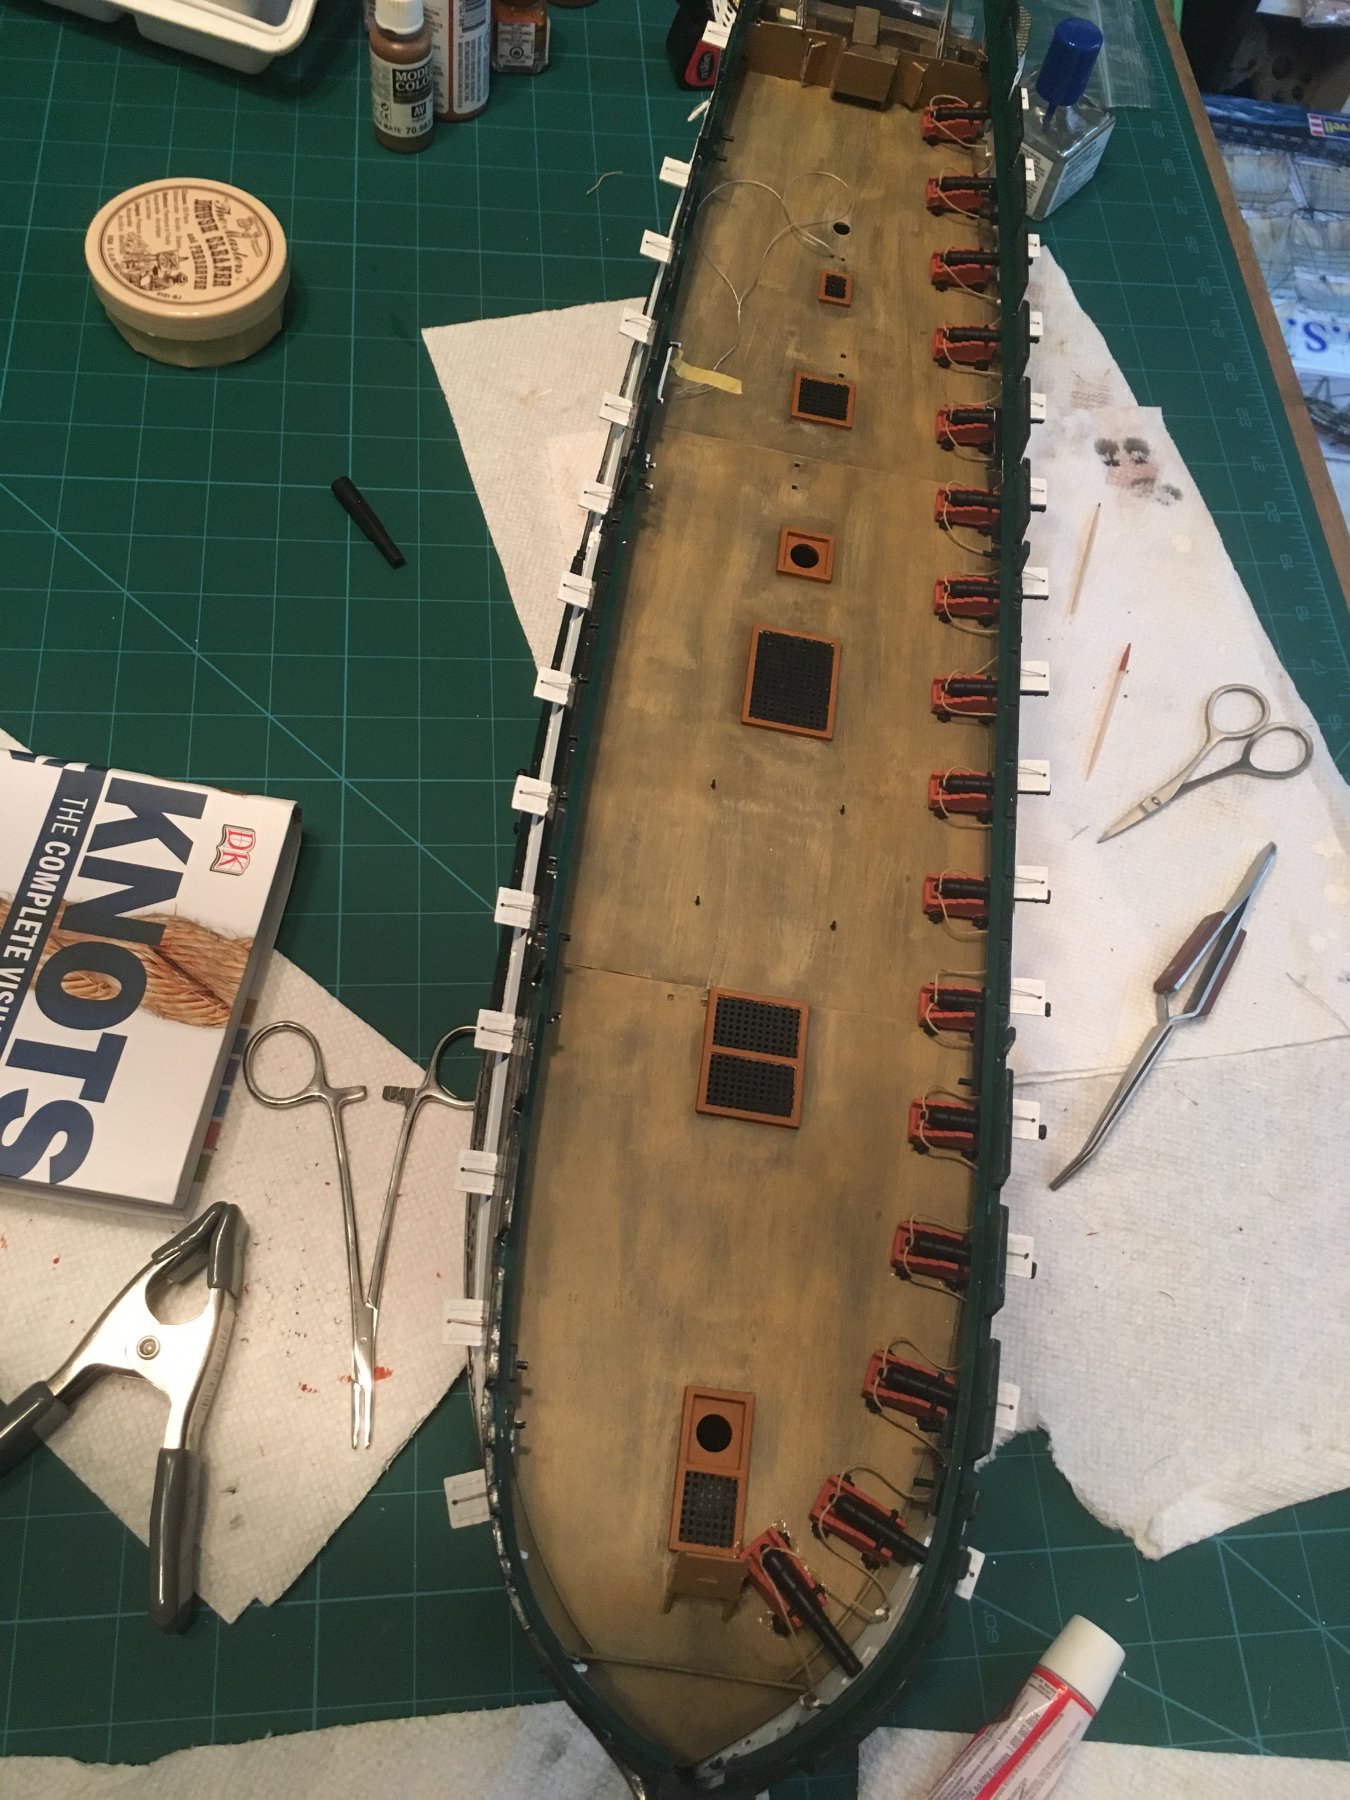
All 32 guns are installed on the gun deck! Hooray!
I have a dumb question for anybody who has done this build before. There is a step that requires lashing some sail yards to the deck. It appears there are 20 total pieces. I don't see these needed anywhere later but for some reason I have a fear that I'm going to put something here that is needed later. Anybody recall the step? What about the color of these things? No paint call out in the instructions.
-
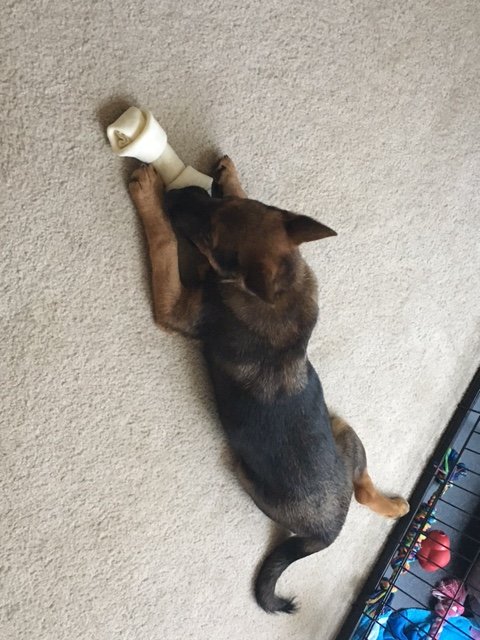
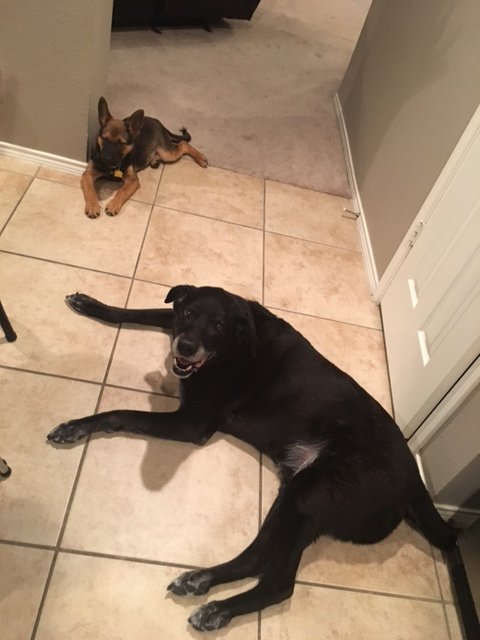
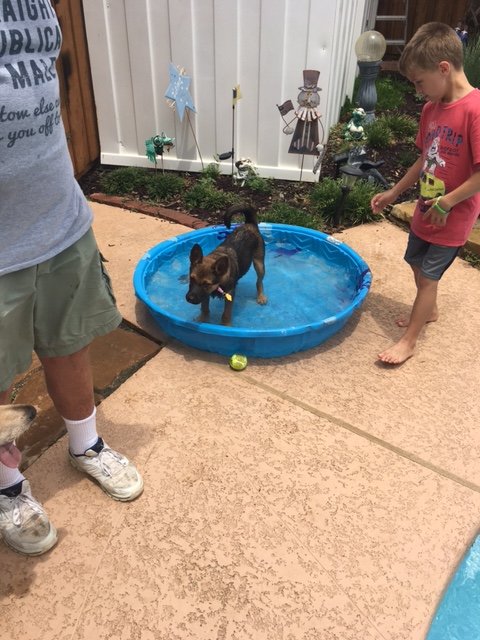
Just a quick update for anyone following this. Since we got back from vacation we've had a few things going on, then we decided to get a puppy! So that's been a pretty full time job...I've gotten some more cannons secured (I think I have 6 left, still on the gun deck), but it's been slow going. I hope to have some updates soon! Here's some puppy pics (a couple of the old lab as well) in the meantime because why not!


-
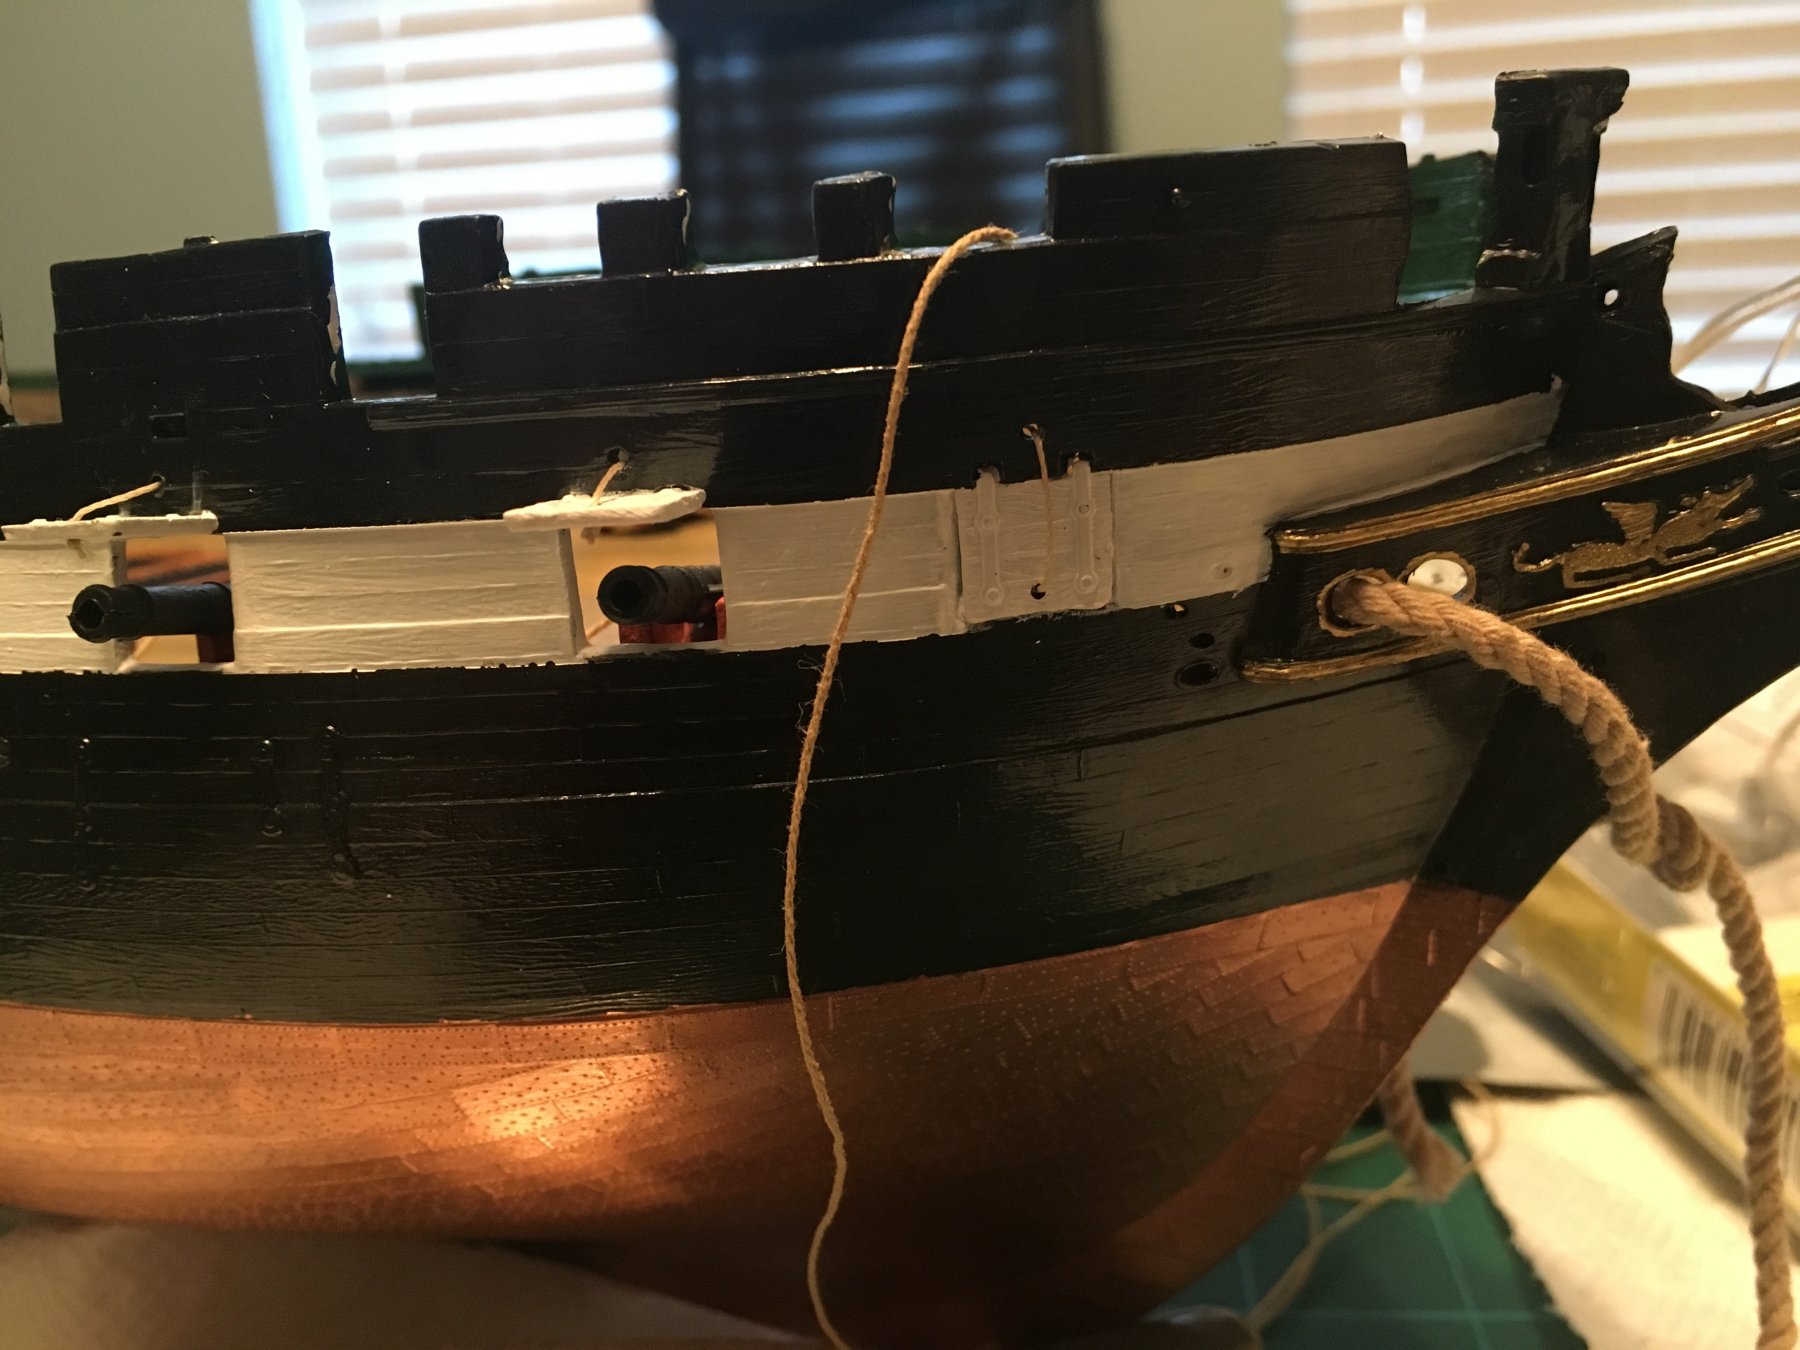
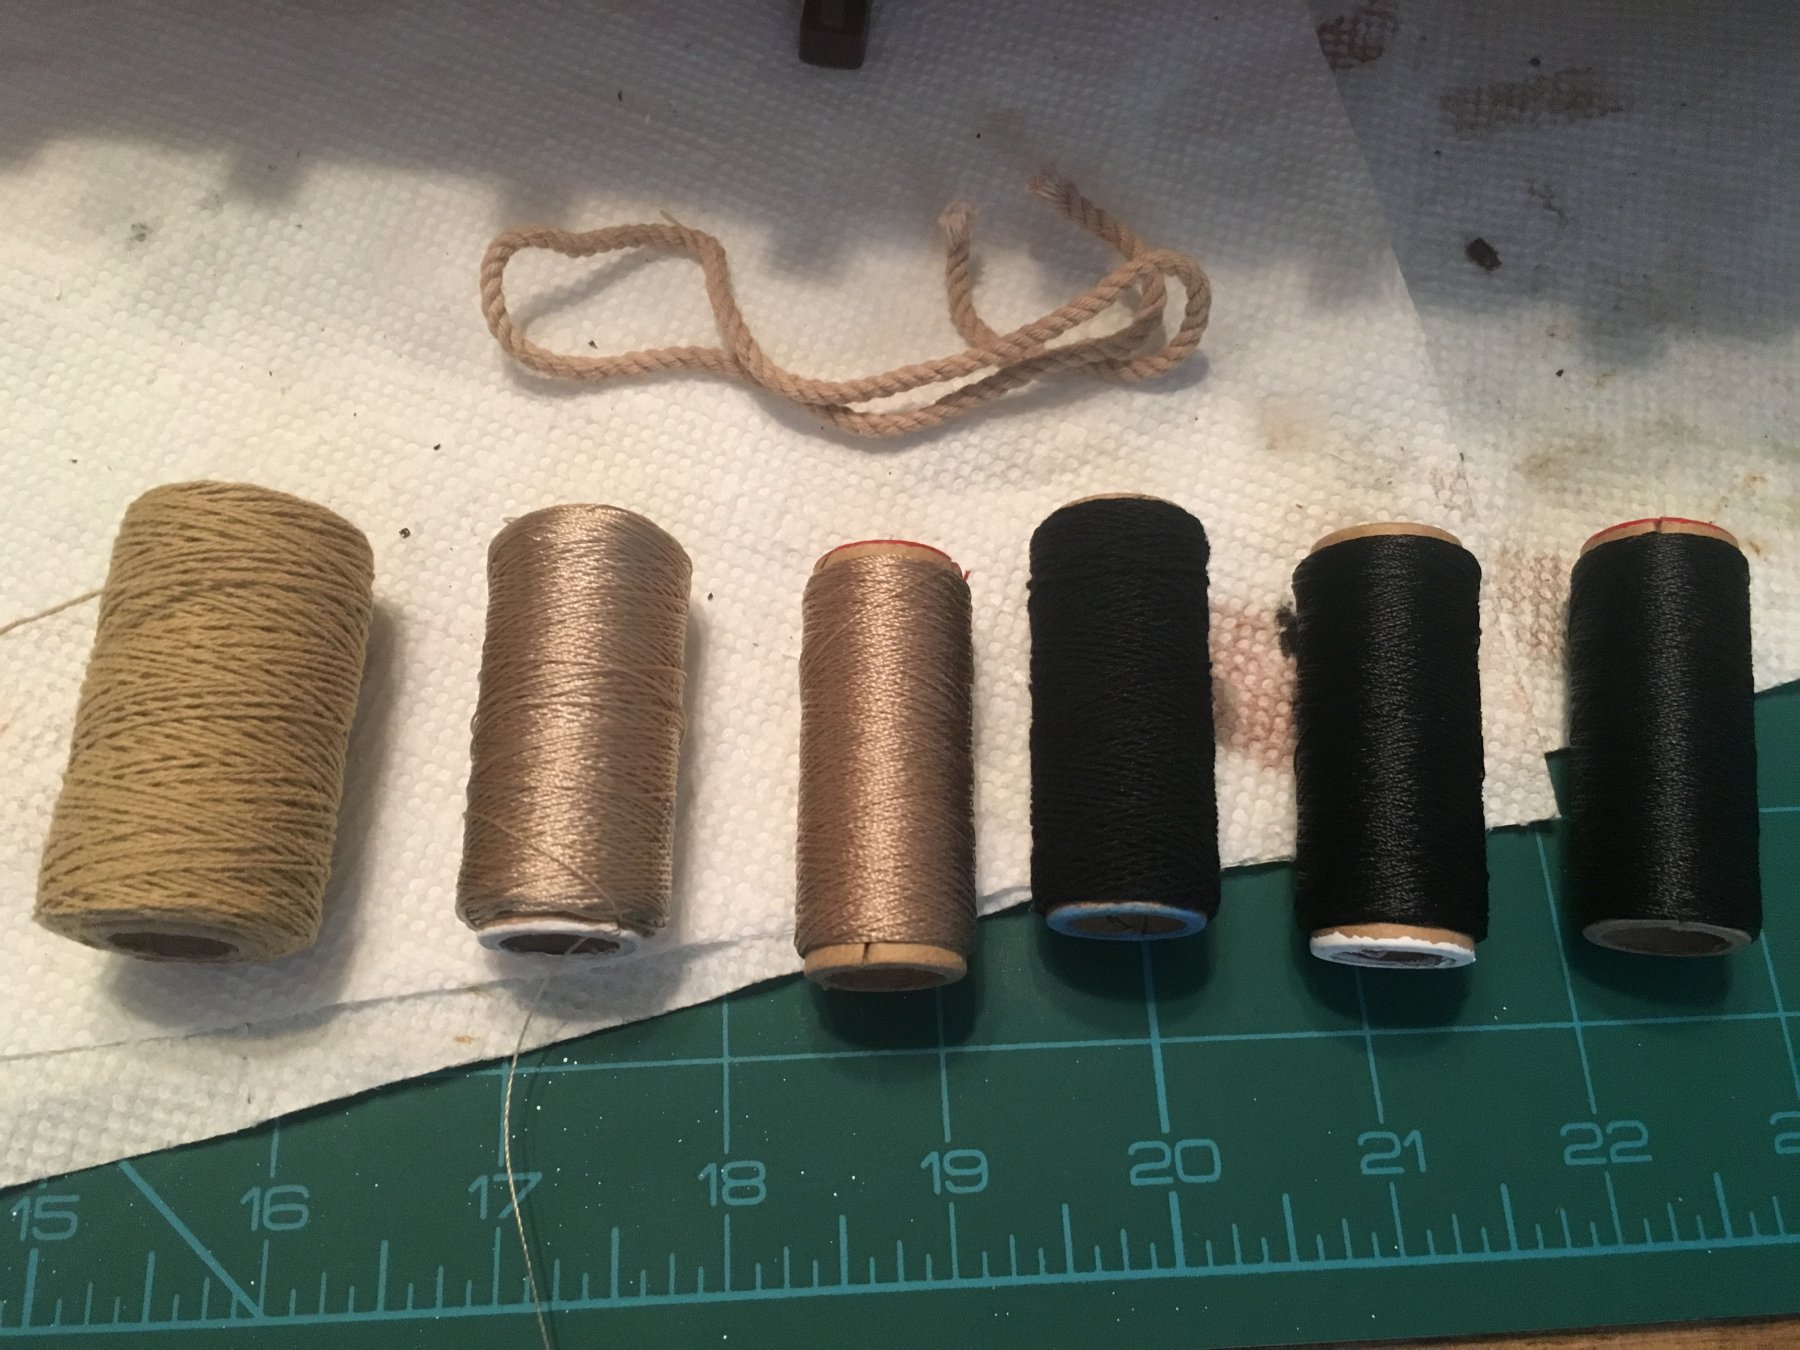
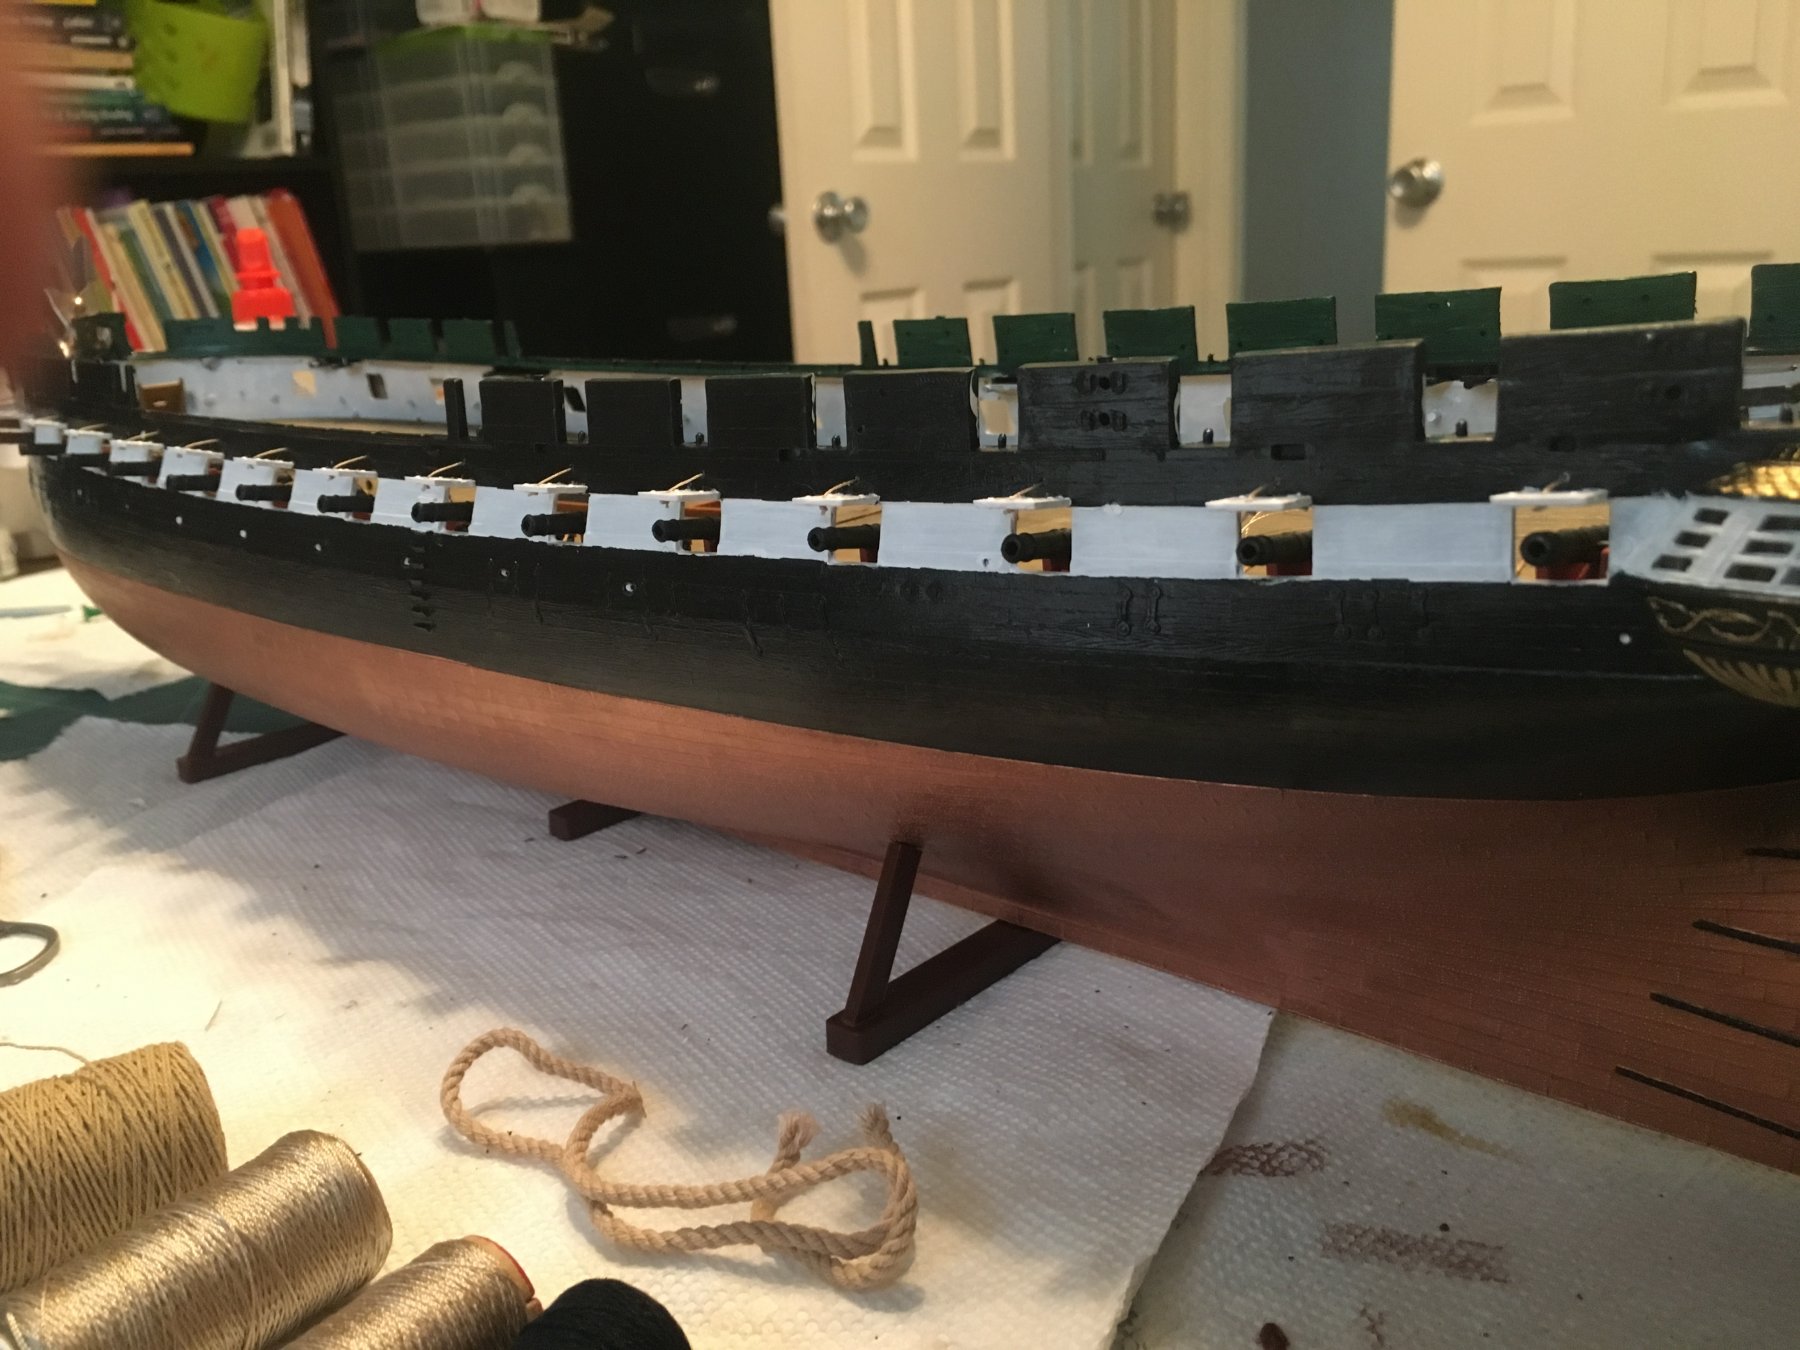
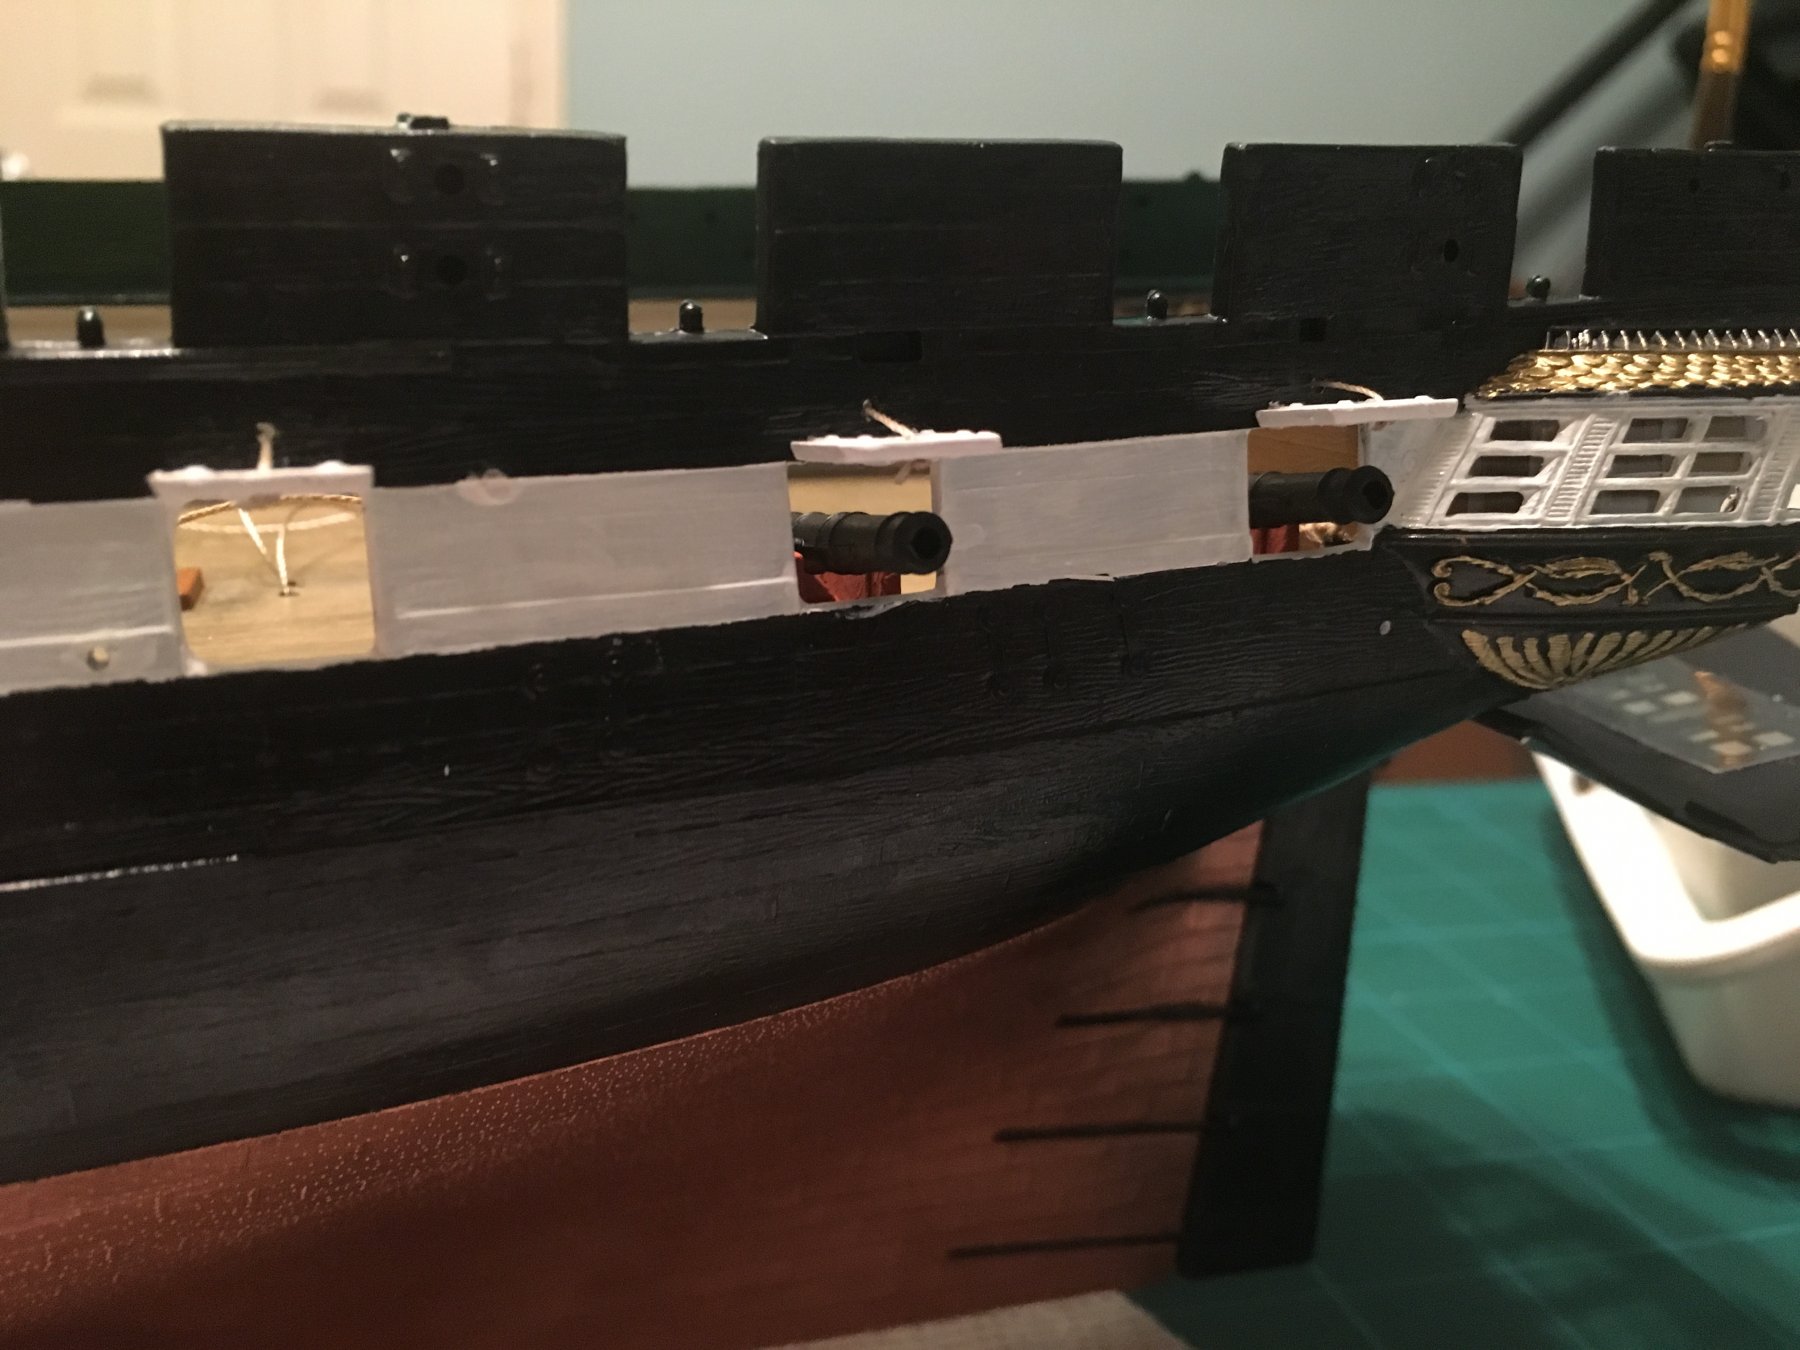
I'm back from vacation and back to the ship! I've completed the first row of gun deck guns. Not too bad, just glued the rope to the nubs on the ship. The one at the front at the closed port was the most difficult. Hard to get glue in there. I added a picture of the thread provided as well. 6 total, small, medium, and large of Black and Tan. Plus a thick anchor piece. The rope used for this step is the large tan.


-
3 minutes ago, Alex1201 said:
Michael, enjoy your cruise!
Test run looks good. Is that thread that came in your kit?? Mine looks nothing like that.
It is. That is the medium sized 10. C I believe. I got I think five different spools (not home now). Leaving tomorrow!
-
14 hours ago, modlerbob said:
I built the Revell Constitution many years ago while I was in college. I didn't finish it until three years later. All that work on the gun deck including the Captains cabin ends up being not visible after everything is closed up. I rigged every gun but should have spent more time securing them to the deck. After 43 years about half a dozen of them came loose and move around whenever the model gets moved. The cannons that can be seen through the openings on the spar deck where the ships boats are stored should get the most attention to details. You are doing a great job so far.
Here is a shot of mine from 9 years ago when she was 35 years old.

I like it! Did you use the molded ratlines? I've seen pics of older ones where they're plastic, but kind of loose. My kit is just a molded plastic, but I think I'm going to make them out of thread. I may be crazy being fairly new to this, but it can't be worse than some of the other rigging.
Thanks for the tip though. I will make sure these suckers are glued down!
-
12 hours ago, Alex1201 said:
Looks great!
It looks like there are slight indentations on the top of them?
If not, like you say, creating a notch would be tricky now.
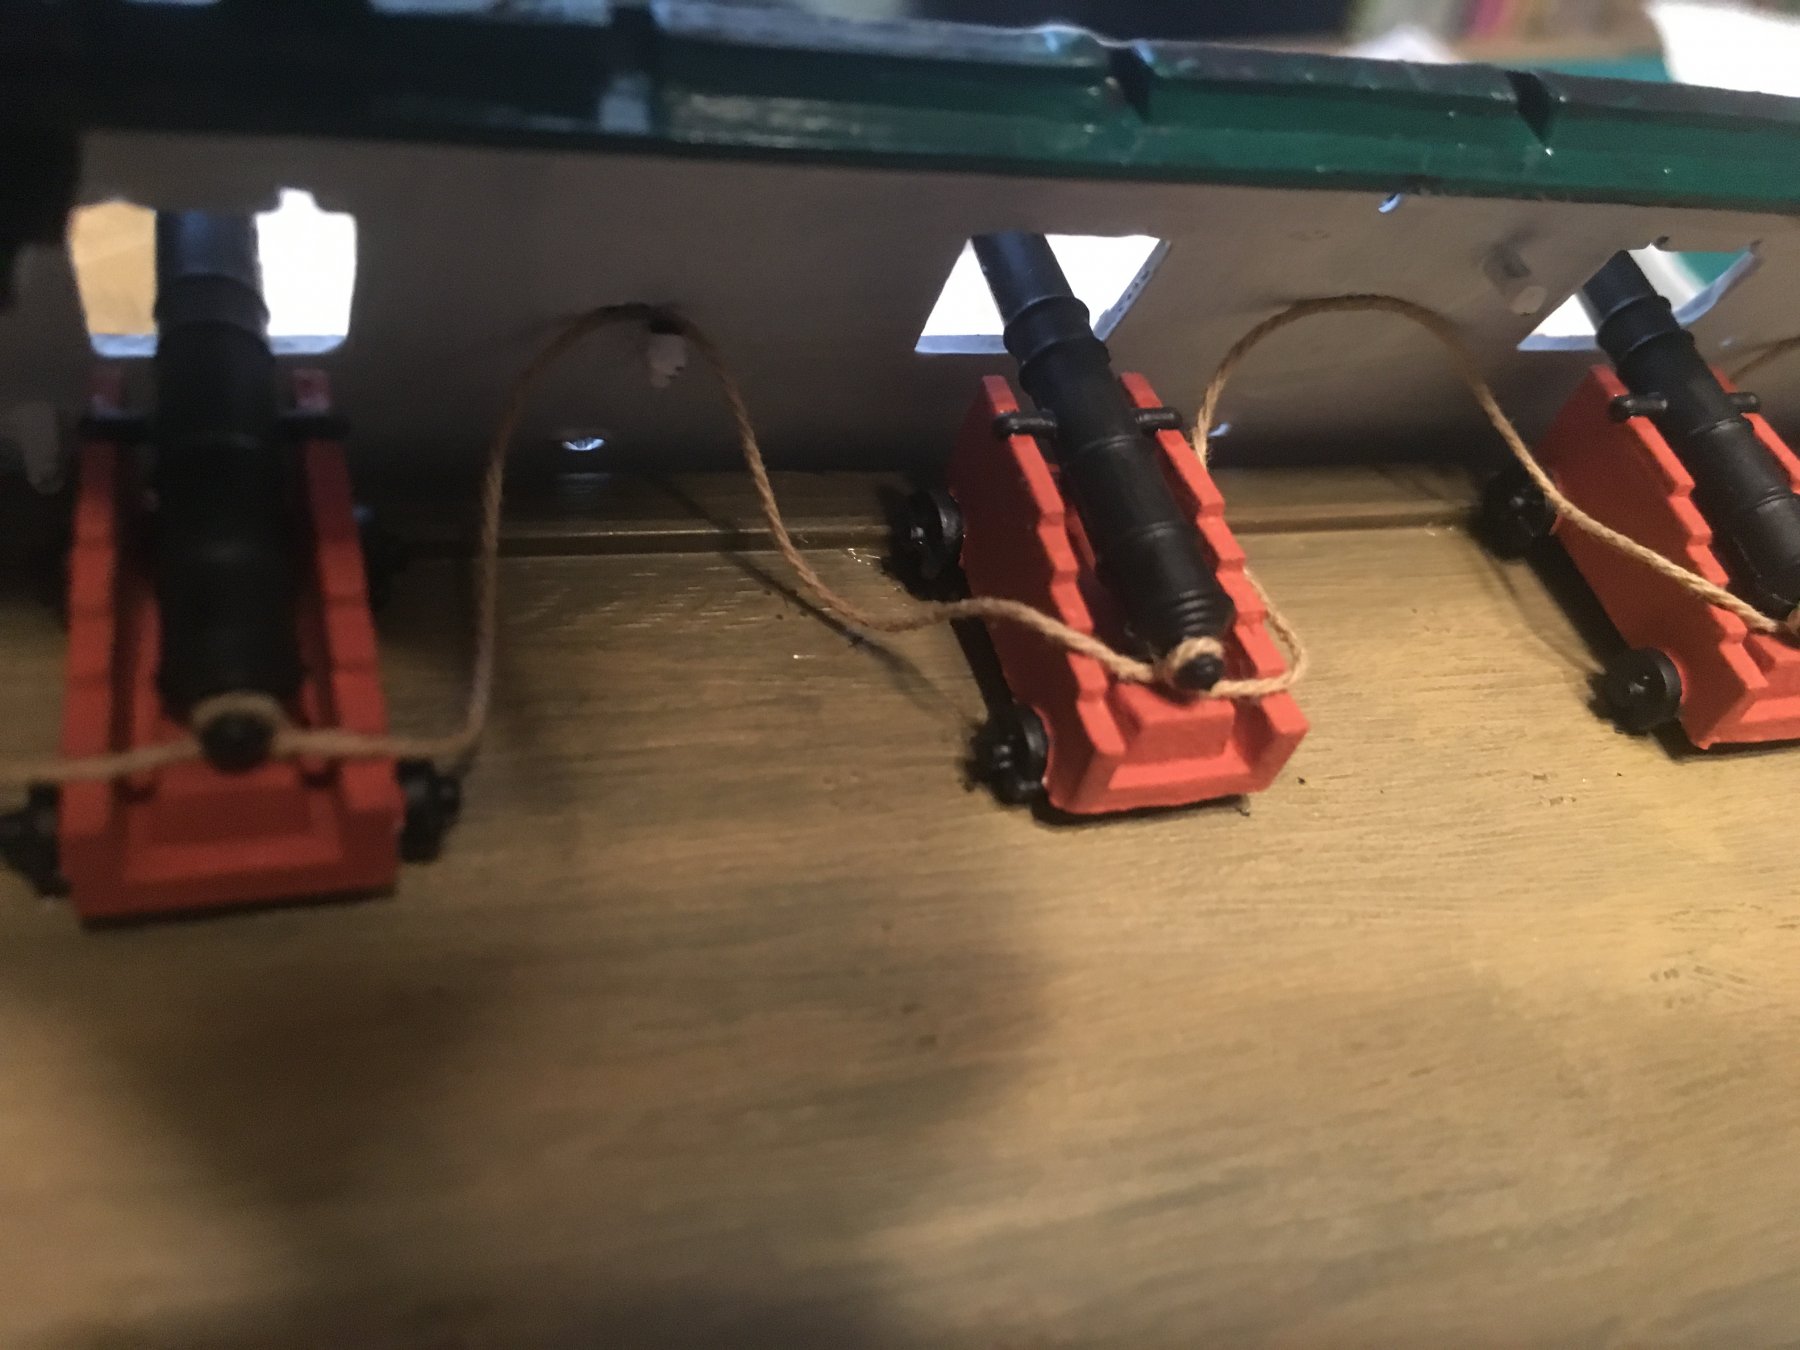
Most people do seem to mention gluing each knot and waiting. If you use CA, doesn't take long. Also note this isn't load bearing. If carriages are glued down, there won't be tension on those lines. Also note, they should be slack in the outboard position. The old directions show them tight. I downloaded the newer ones and they have it right. They don't adjust the length when the cannons move out, so they should hang loose.
Another option might be to glue on a tiny piece of plastic on the top of the pegs to create a hump to catch the knot?
Most of mine have a tiny notch and I plan to knot and CA glue. May try to file a small notch in the smooth ones.
Not expecting it to go well. Ha
The knots should be there, but in reality only a few of them are actually useful. Like the idea of gluing additional plastic, but I think I'll just glue them. After all this is not even visible when all is said and done.
So here's my test run pics. Nothing is glued down yet, but I think this will work nicely. Sadly for the ship, but not for me, I go on a cruise in 2 days for a full week! So this is the last you'll see for a couple weeks most likely.


-
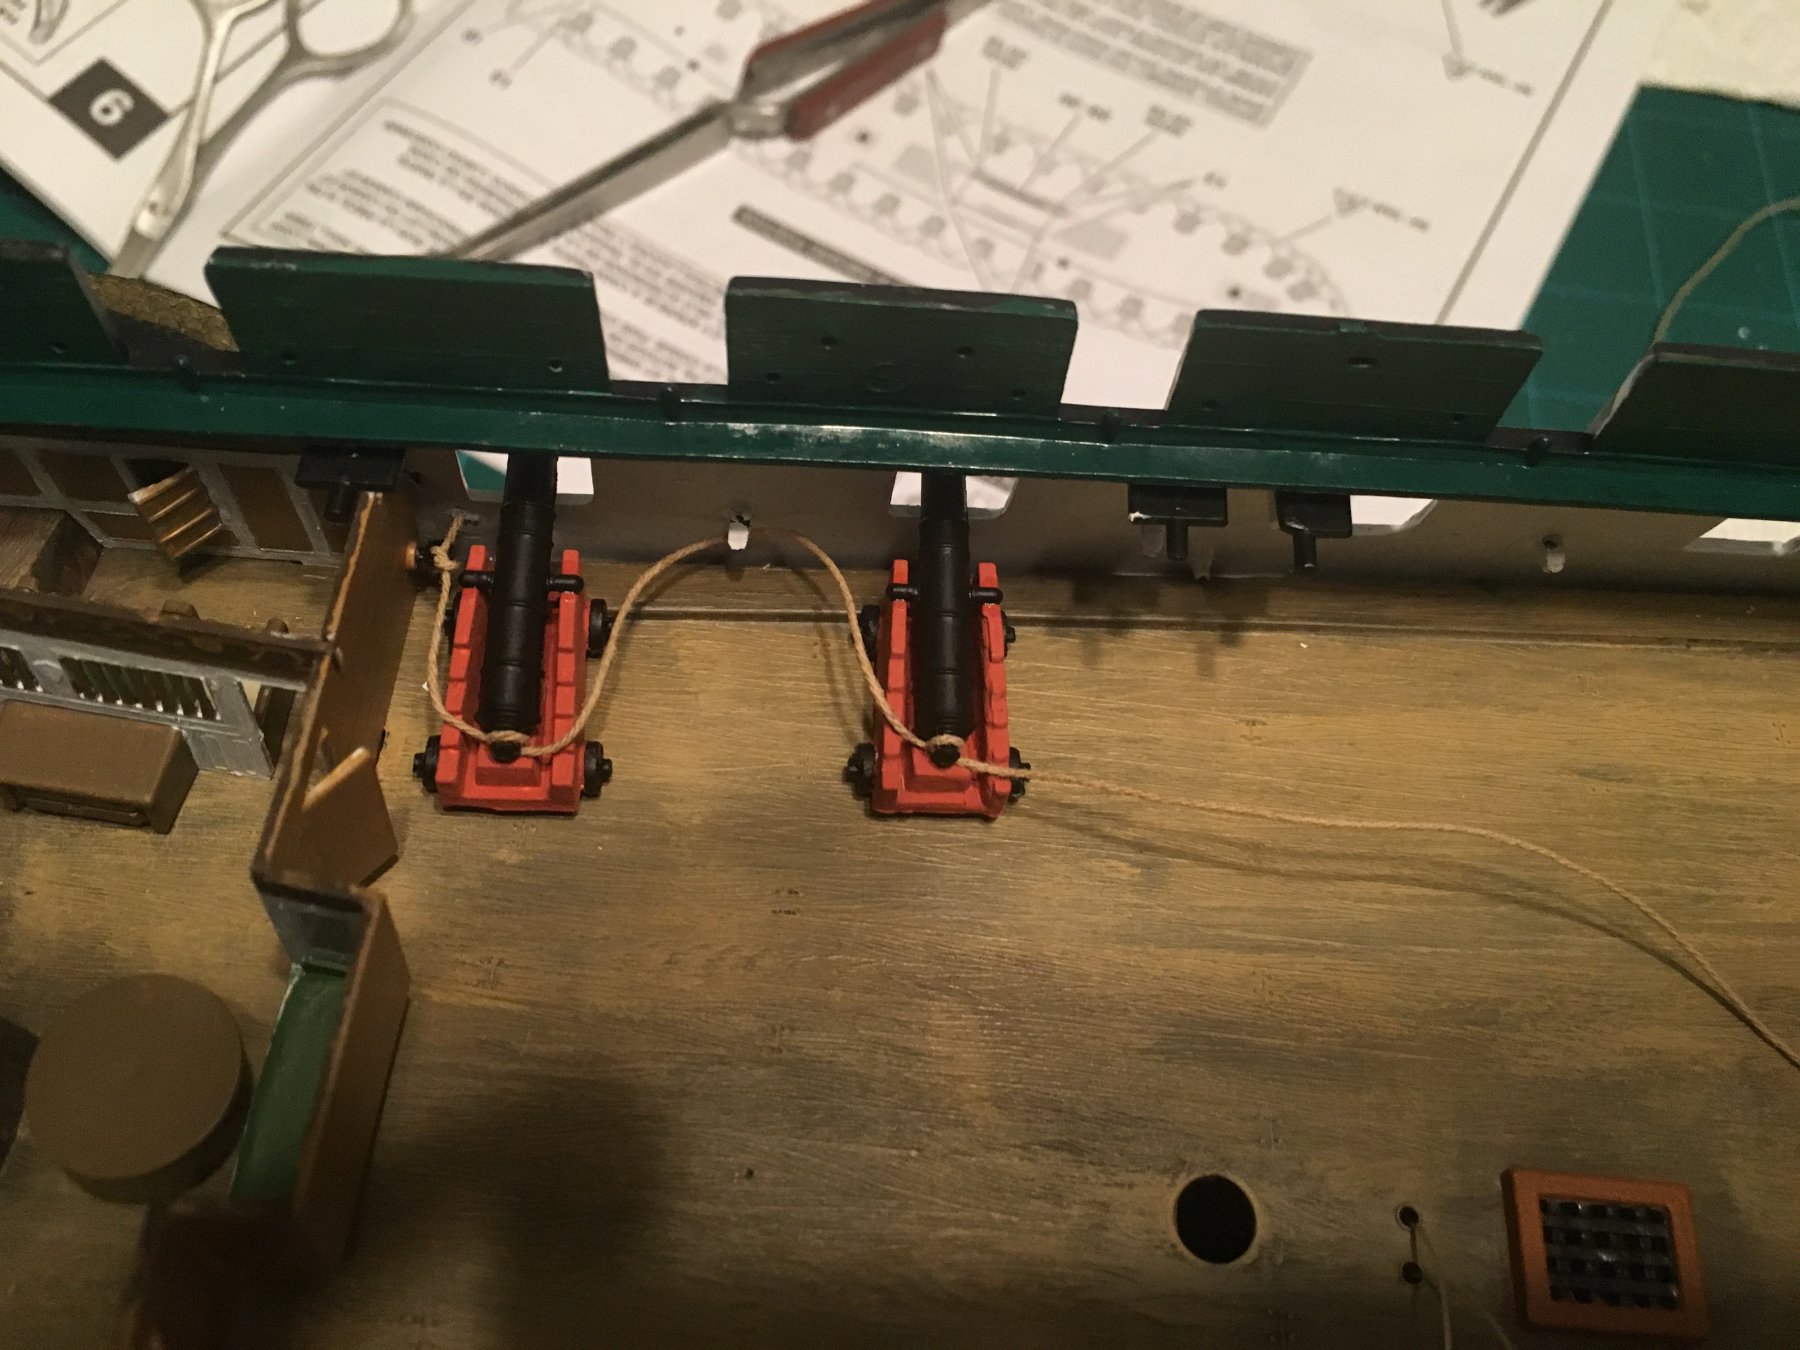
The canons are all complete and ready to go onto the ship. I have a question for anybody who's done this build. The cannons have a thread that goes from each one to the side of the ship and back all the way down. I added two pictures here. All these are are little nubs. There's really not any catch on any of them. In hindsight I would have whittled away at them before putting the hull together, but it's too late for that. Any ideas for this? How have others done this? I'm thinking I may have to just one at a time and blue and hold the thread on the nubs.

- russ, popeye the sailor and docidle
-
3
-
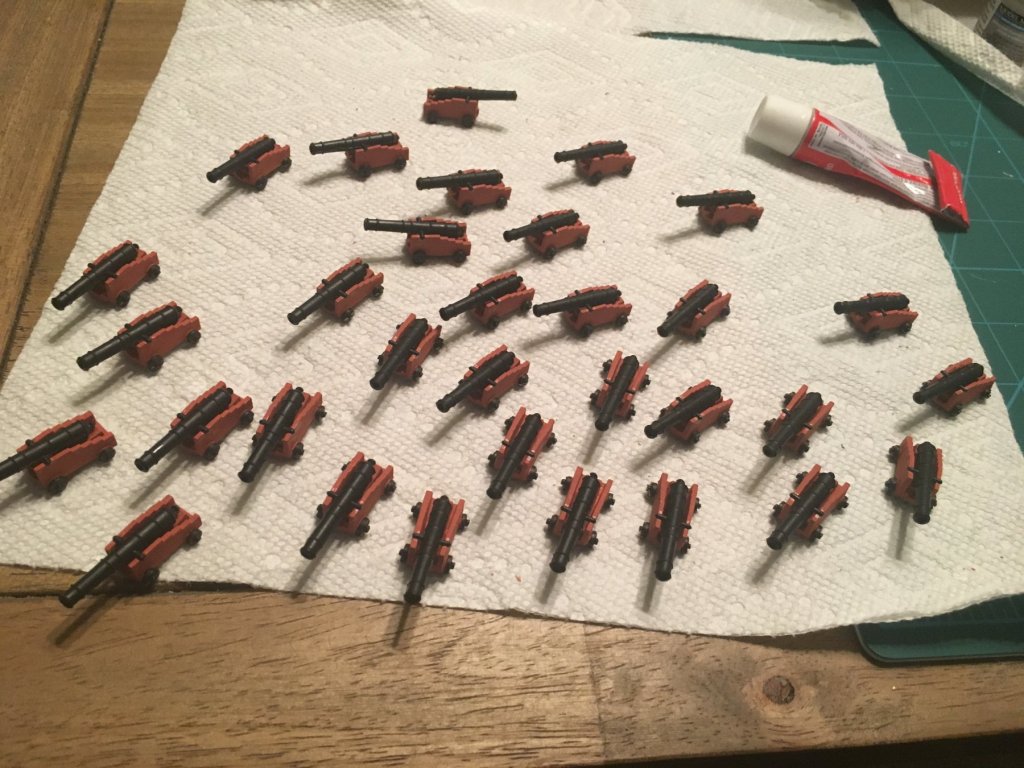
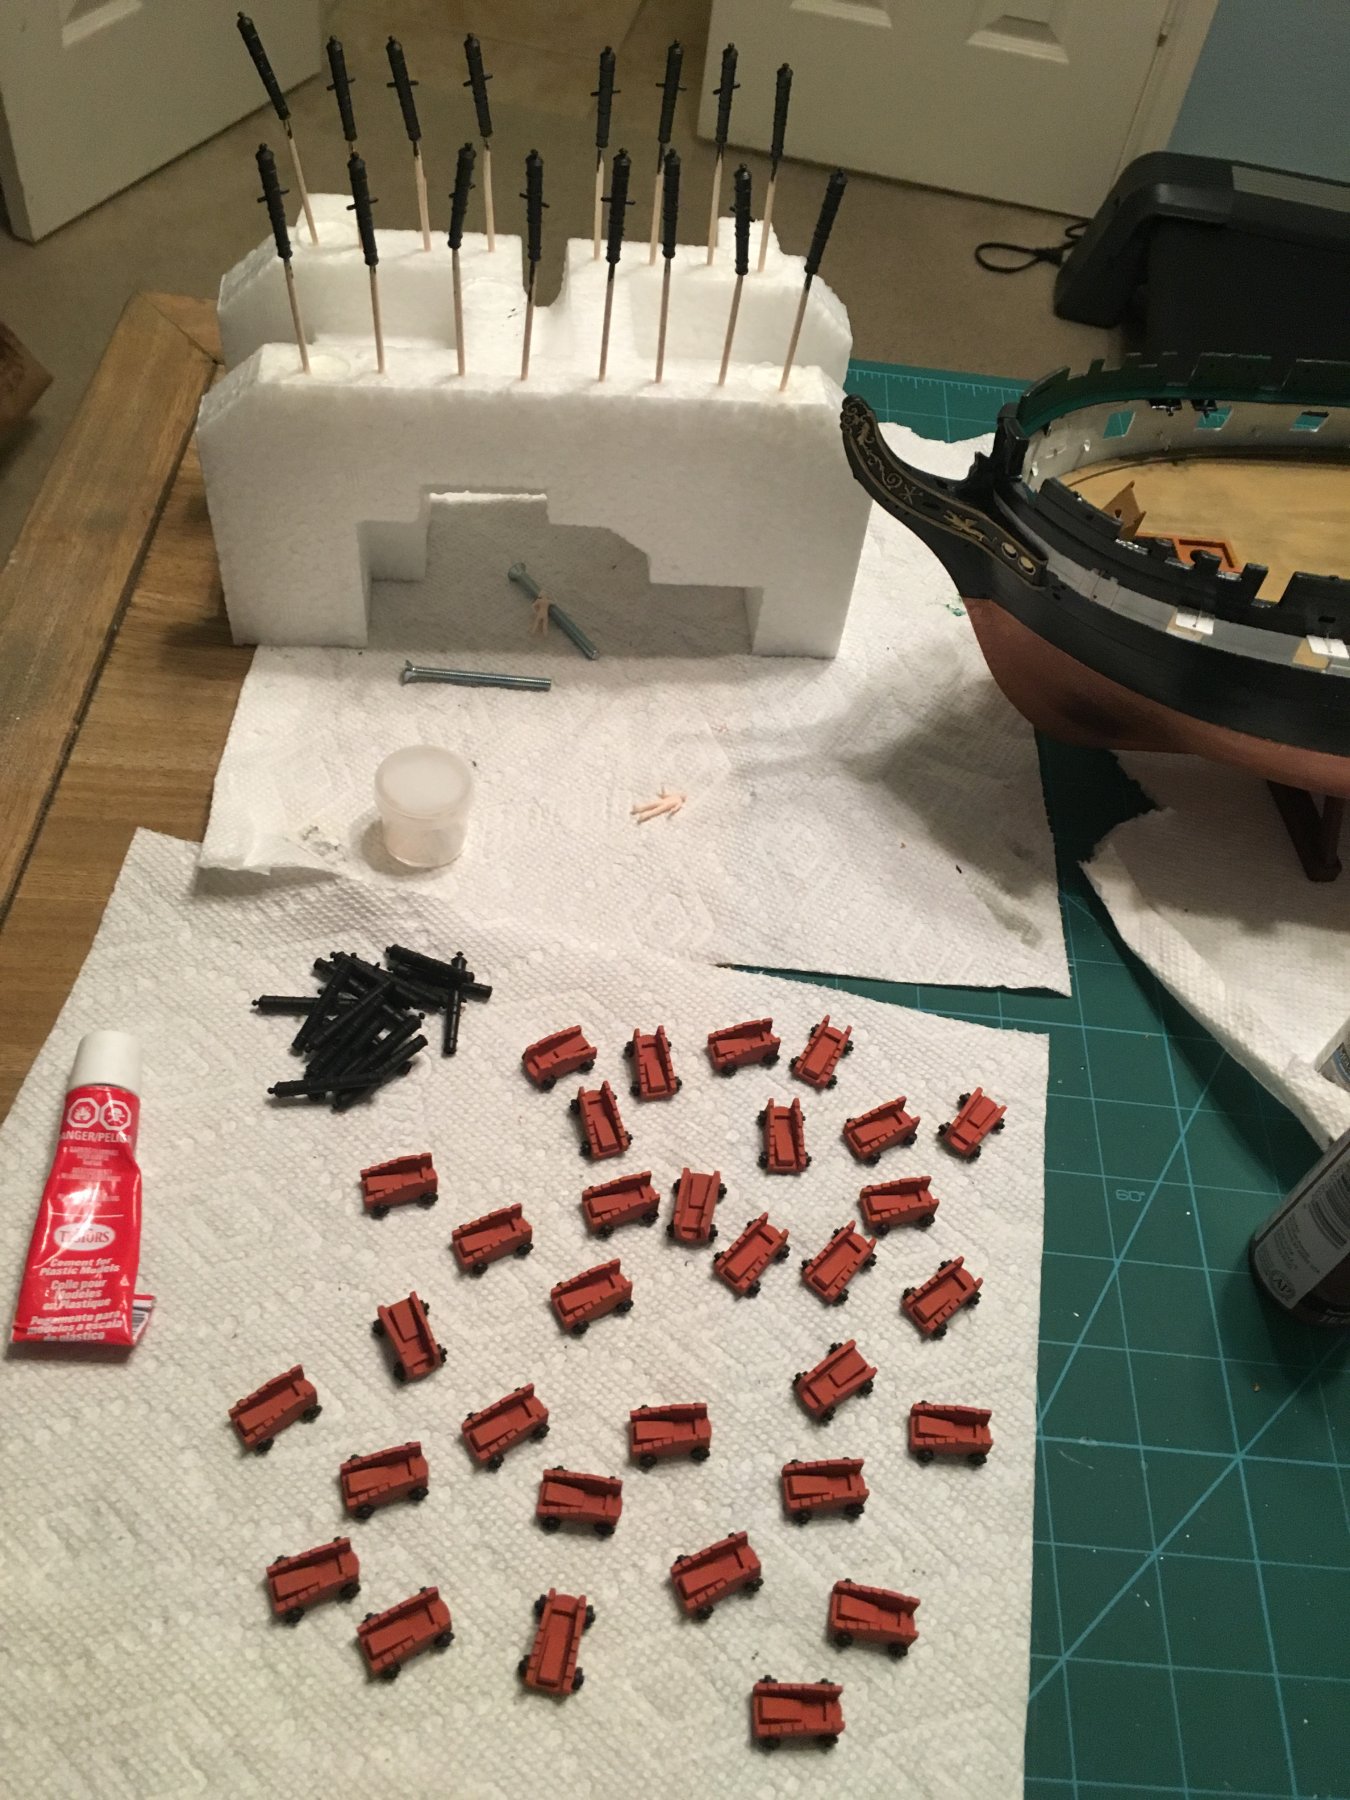
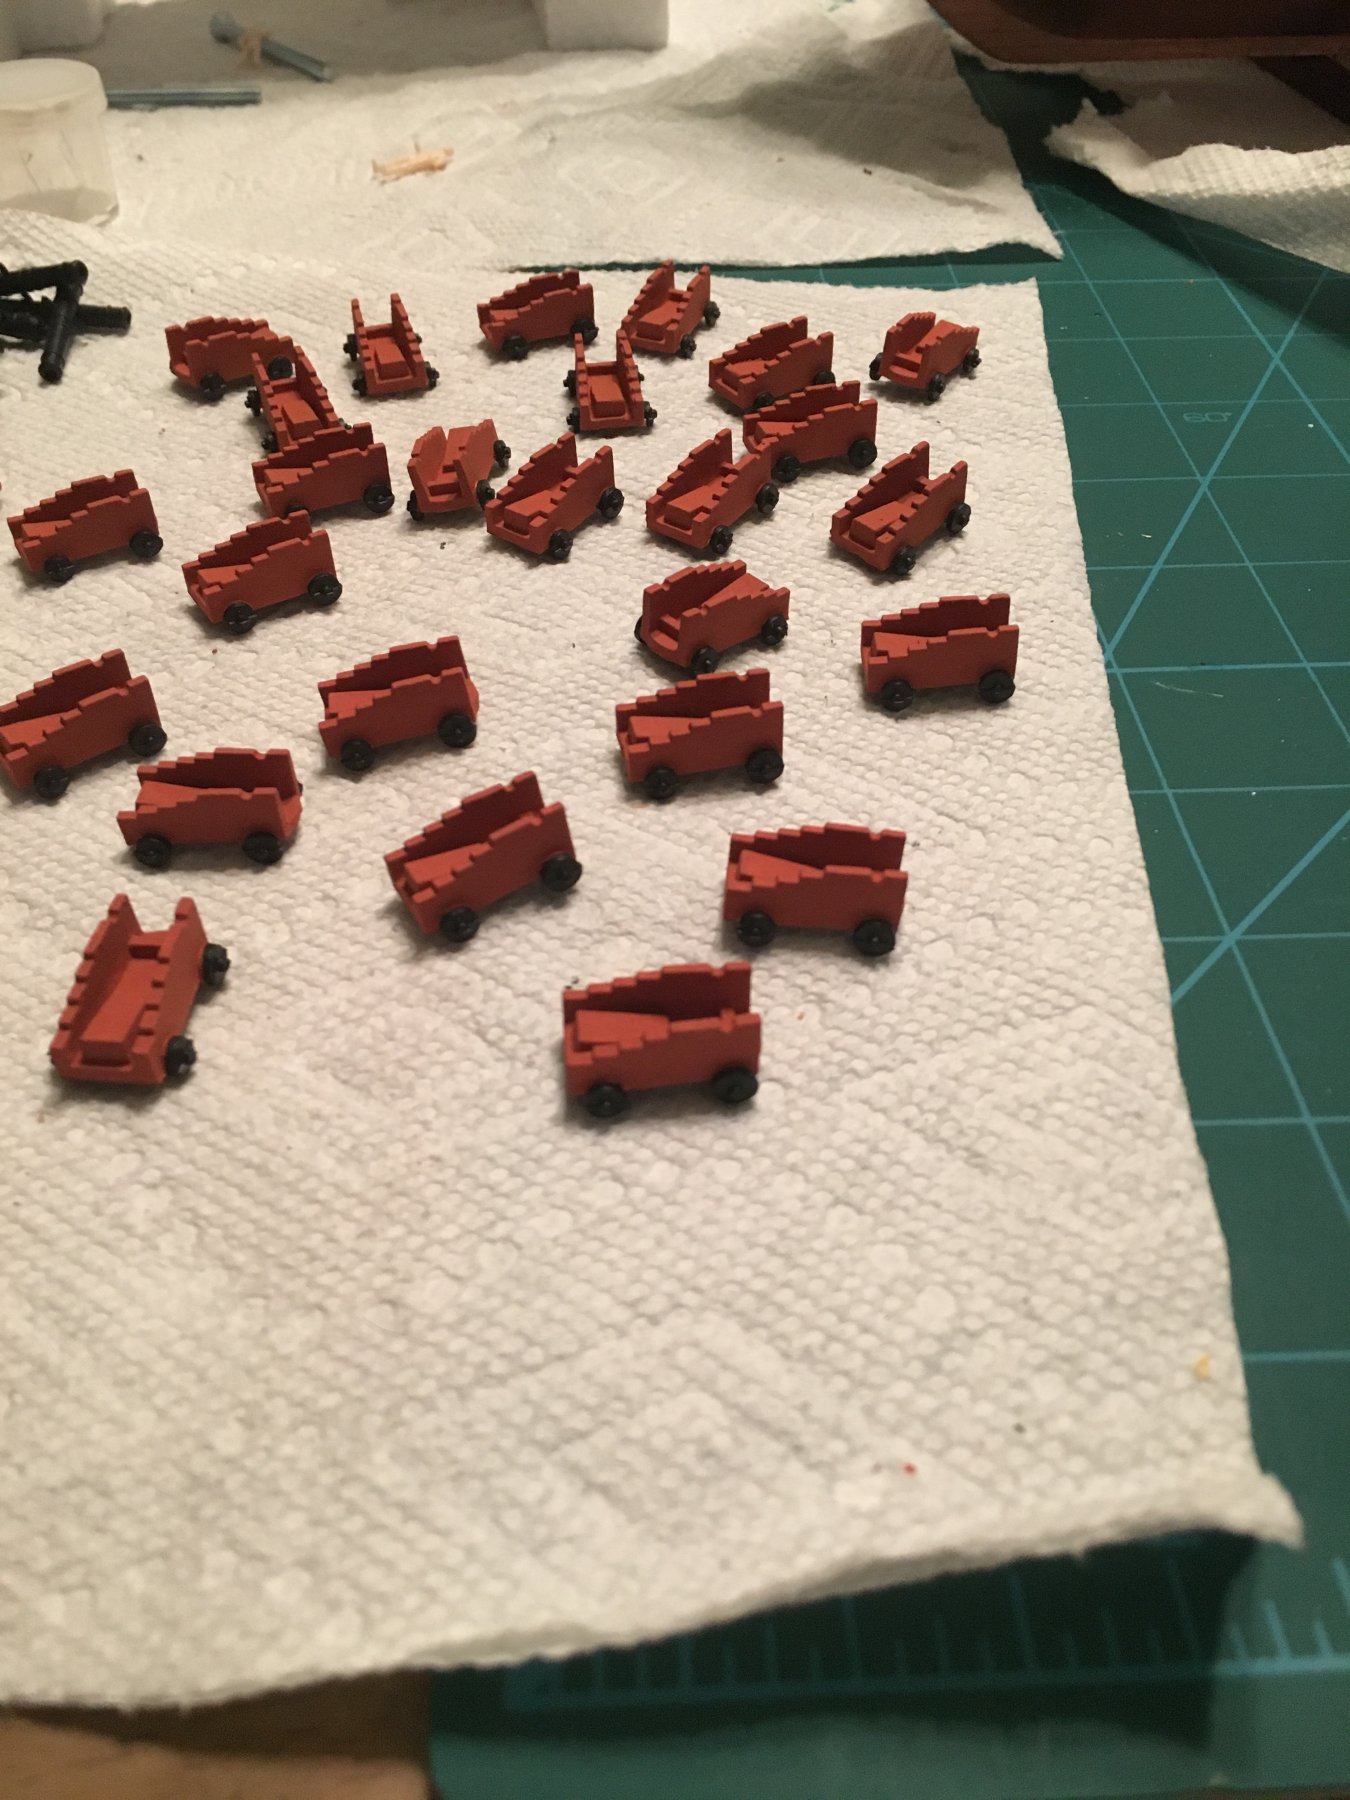
Cannons and carriages are fully painted! Going on vacation next week so I may not get to the point of putting them on the ship, but may try to put the two pieces together.
Happy with the color. Terra cotta with a few drops of burnt sienna mixed in.


USS Constitution by Michael G - Revell - Scale 1:96 - PLASTIC - Newbie Build!
in - Kit build logs for subjects built from 1751 - 1800
Posted
For anybody following this, I am giving another update. My ship build has been on hiatus due to personal/family circumstances. My office space has been completely taken over (that's where I'm building it). It looks at me every day wondering when I will get back to it, and the answer is soon enough, but I still am at a point where I can't do much.
So the build has not been forgotten and it has not been scrapped. I hate that I've been on hold for so long. I often wondered how people's build logs could have such huge gaps in them....now I know!
Thanks for following, and see you soon!