HOLIDAY DONATION DRIVE - SUPPORT MSW - DO YOUR PART TO KEEP THIS GREAT FORUM GOING! (Only 44 donations so far out of 49,000 members - C'mon guys!)
×
modelshipwright
-
Posts
299 -
Joined
-
Last visited
Content Type
Profiles
Forums
Gallery
Events
Everything posted by modelshipwright
-
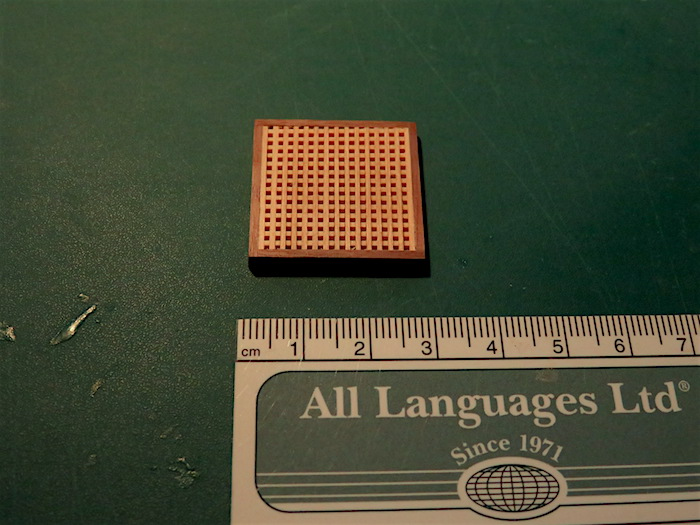
 The next grate is now completed after edging and sanding. This is the grate shown being fabricated above and is to be located on the Mizzen deck. The sanding must be done across or at 90 degrees to the inlaid strips to prevent the tiny square protrusions from breaking off. There is one protrusion that broke in the larger grate that I had to glue back in place. Being 1/32" square, it was not easy to get it back. I rubbed a very light coat of tung oil on the grate being careful not to let the oil get into the holes. It darkens the grate slightly. More to follow...........
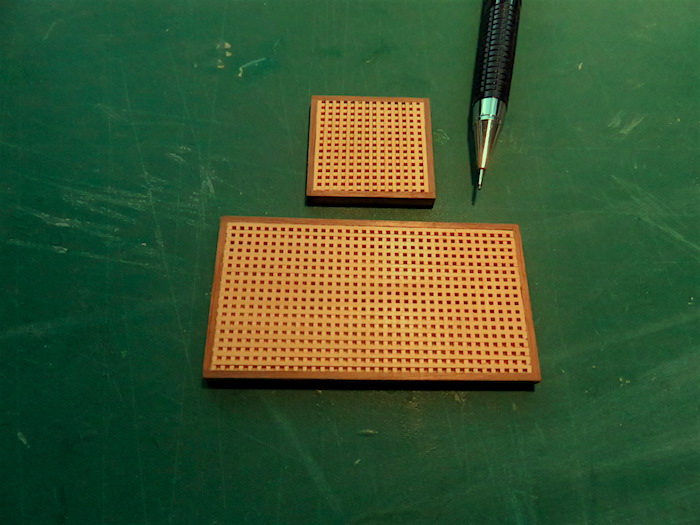
- 382 replies
-
- 6
-

-
- sovereign of the seas
- carving
- (and 1 more)
-
The grate has now been sanded down and trimmed with edging and ready to mount on the deck. Now onto the next grating. More to follow.........
- 382 replies
-
- 6
-
-
- sovereign of the seas
- carving
- (and 1 more)
-
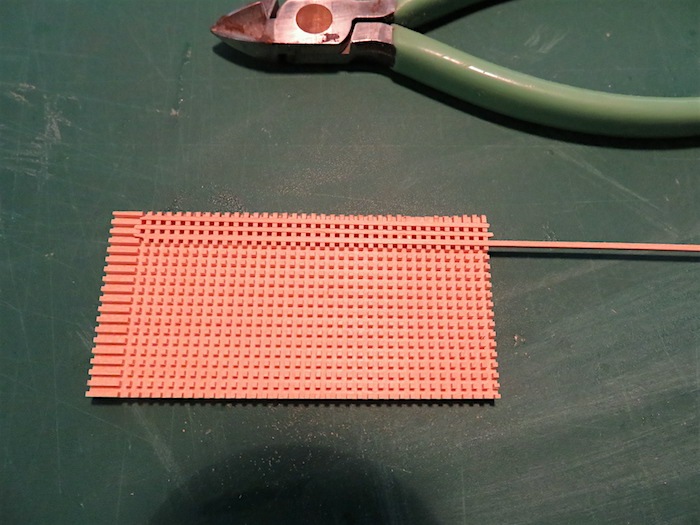
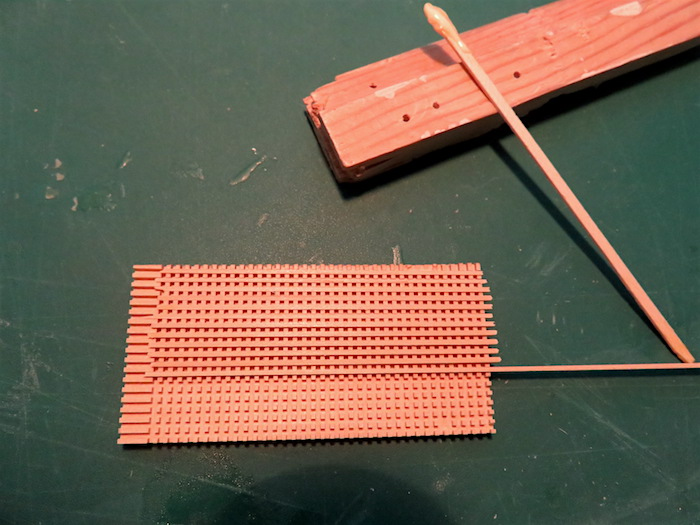
After creating the grid, I cut strips 3/32" wide and a little larger in height which will complete the grid formation. I lightly glued the bottom of the strip and layed it in the groove across the piece. Continue for all remaining groves. This is a very delicate operation as the tiny square protrusions are easily broken off if you are not careful. The piece with most of the strips in place. As the piece is thicker than the depth of the holes, it creates the illusion of holes going right through when the light hits it. All that remains is to sand down the top surface to the level of the protrusions and trim the edges. More to follow...........
- 382 replies
-
- 5
-
-
- sovereign of the seas
- carving
- (and 1 more)
-
Thanks for the kind comments everyone. Bill
- 382 replies
-
- 2
-
-
- sovereign of the seas
- carving
- (and 1 more)
-
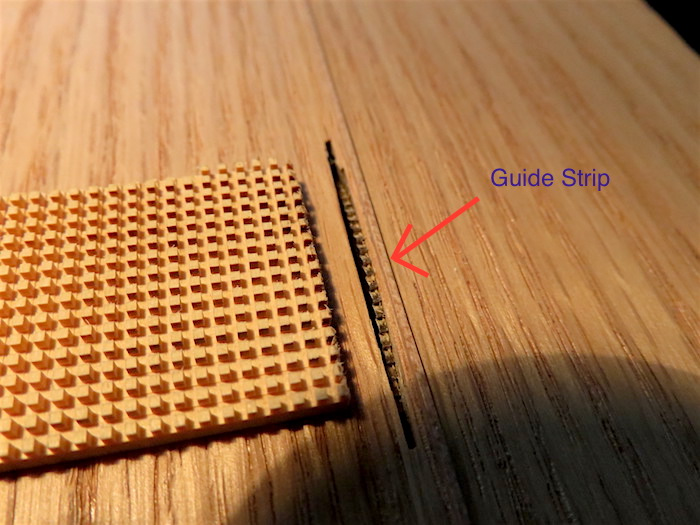
As a diversion from carving, I moved to making grates for the deck openings. The first photo shows a jig for cutting the openings in a piece of boxwood. The imbedded strip in the plywood is the same thickness as the saw blade, 3/32" which relates to 2 1/2 " at 1"78 scale. The saw blade protrudes through the plywood jig. The depth of the cut is slightly deeper than 3/32". You start by making a cut with the block of wood against the guide strip as if it was a fence. Then saddle the strip with the first cut and make the second. Continue until you have cut all grooves required. Then rotate the piece 90 degrees and repeat the process. This creates a grid of tiny square protrusions. This photo shows the jig with a block of boxwood in process. More to follow..........
- 382 replies
-
- 12
-
-

-
- sovereign of the seas
- carving
- (and 1 more)
-
And here is the duplicate carving mounted on the starboard side. More to follow.............
- 382 replies
-
- 10
-
-
-
- sovereign of the seas
- carving
- (and 1 more)
-
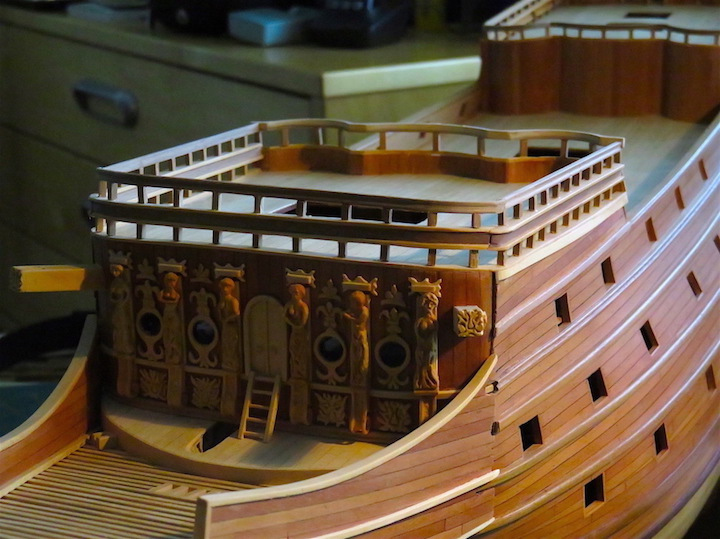
This photo shows the completed carving mounted on the hull. It serves as an ending to the wales etc. The vertical grooves in the base of the carving were carved and then finish filed with a rifler file. More to follow........
- 382 replies
-
- 10
-
-
-
- sovereign of the seas
- carving
- (and 1 more)
-
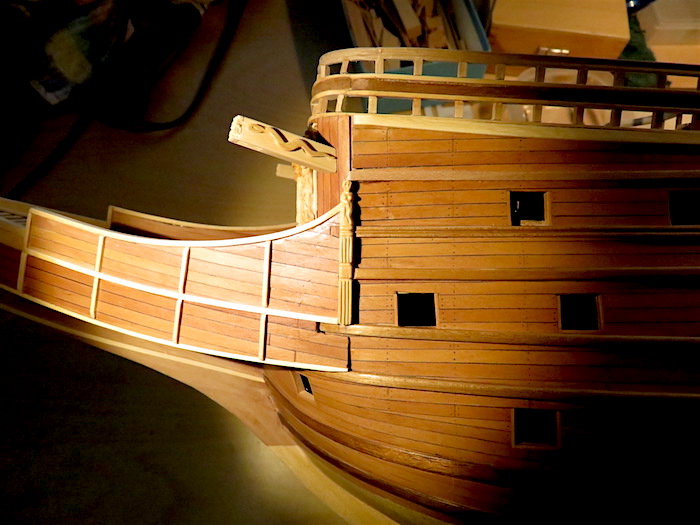
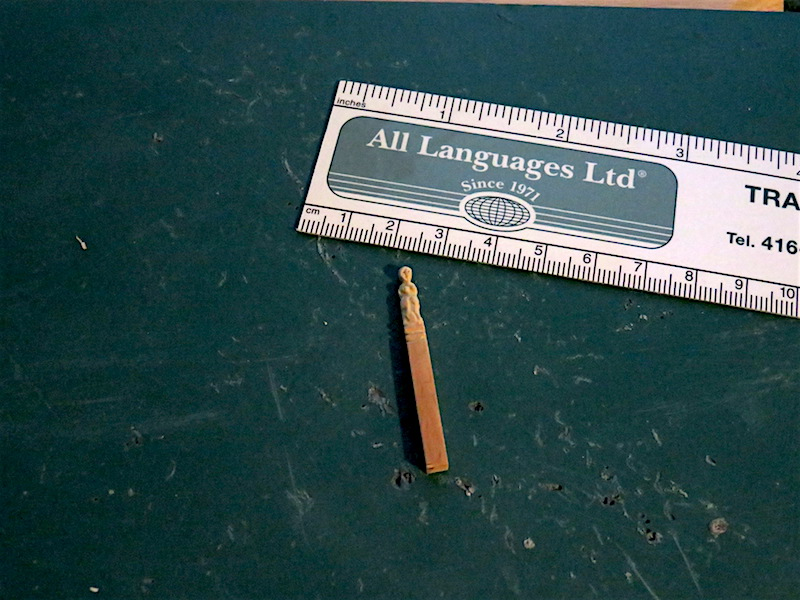
This photo shows a Boxwood blank being carved that will go between the beak and the main hull and cover up the joints currently showing in that location. It is on the port side and will have a twin for the starboard side. More to follow............
- 382 replies
-
- 10
-
-
-
- sovereign of the seas
- carving
- (and 1 more)
-
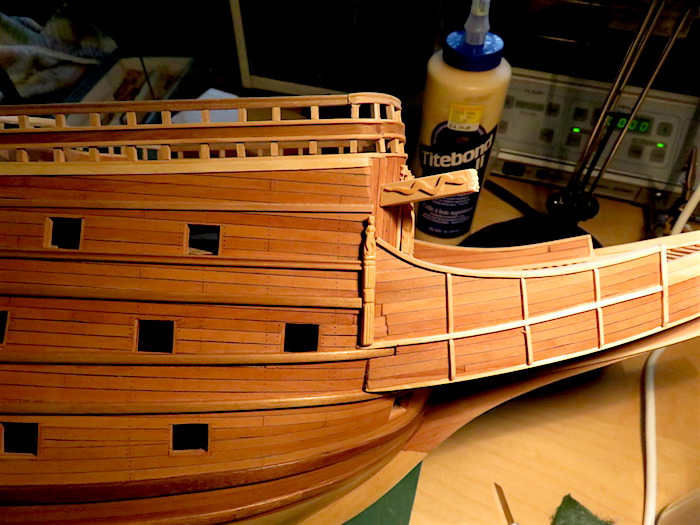
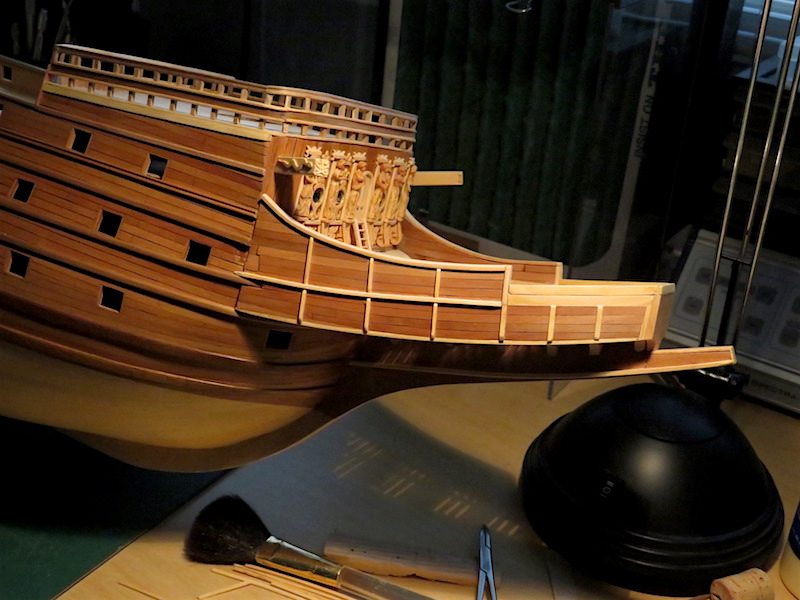
I fabricated strips of Boxwood to section off the sides of the beak head ready for the carvings that follow. This pic shows the starboard view. The port side is fitted with the same sections. More to follow.............
- 382 replies
-
- 10
-
-
-
- sovereign of the seas
- carving
- (and 1 more)
-
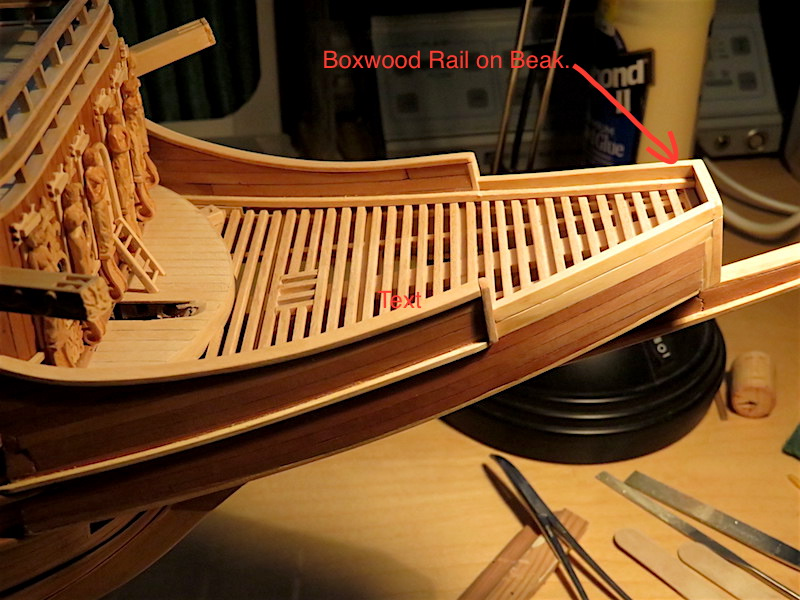
I finally got around to finishing the railing detail on the beakhead this morning. Three boxwood strips complete the enclosure of the beak area. More to follow............
- 382 replies
-
- 11
-
-
-
- sovereign of the seas
- carving
- (and 1 more)
-
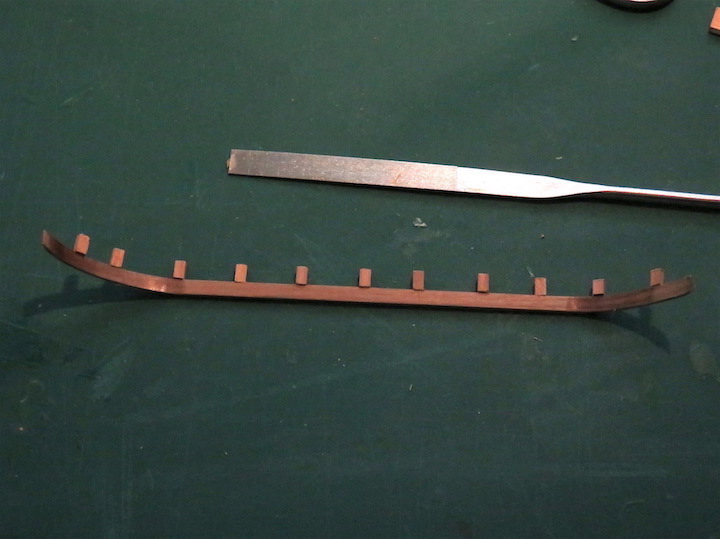
The following photos show the addition of the upper railing on the mizzen deck. It is fabricated from Mansonia, African Walnut, and is on a base of Boxwood. More to follow............
- 382 replies
-
- 12
-
-
-
- sovereign of the seas
- carving
- (and 1 more)
-
It may take a day or two to get that organized Chuck. Got to dig through photos etc. Regards, Bill
- 382 replies
-
- 2
-
-
- sovereign of the seas
- carving
- (and 1 more)
-
I am familiar with that plan and have a copy of it. bill
- 382 replies
-
- 3
-
-
- sovereign of the seas
- carving
- (and 1 more)
-
Well Dave, a leap of faith to build SOS with your own ornamentation has now come to completion and it is a magnificent rendition for sure. I may have said this before but there are few modellers who would take this course taking into account historical accuracy from research and carving your own sculptures. Congratulations on a beautiful model. Best Regards, Bill
- 962 replies
-
- 3
-
-
- sovereign of the seas
- ship of the line
- (and 1 more)
-
Well done Dave, a model to be truly proud of. Regards, Bill
- 962 replies
-
- 6
-
-
- sovereign of the seas
- ship of the line
- (and 1 more)
-
Hi Dave, Another source that will really help you with the running rigging is another volume by R.C. Anderson called "Seventeenth Century Rigging" from Model & Allied Publications Ltd. The book is long out of print but may be found on one of the used book sites. It as specific references to The Sovereign and illustration foldouts. Hope that helps, Bill
- 962 replies
-
- 5
-
-
- sovereign of the seas
- ship of the line
- (and 1 more)
-
She is looking magnificent Dave. Regards, Bill
- 962 replies
-
- 4
-
-
- sovereign of the seas
- ship of the line
- (and 1 more)
-
Many thanks to everyone who commented on the model. Regards, Bill
- 35 replies
-
- 5
-
-
- pirate ship
- pirateology
- (and 1 more)
-
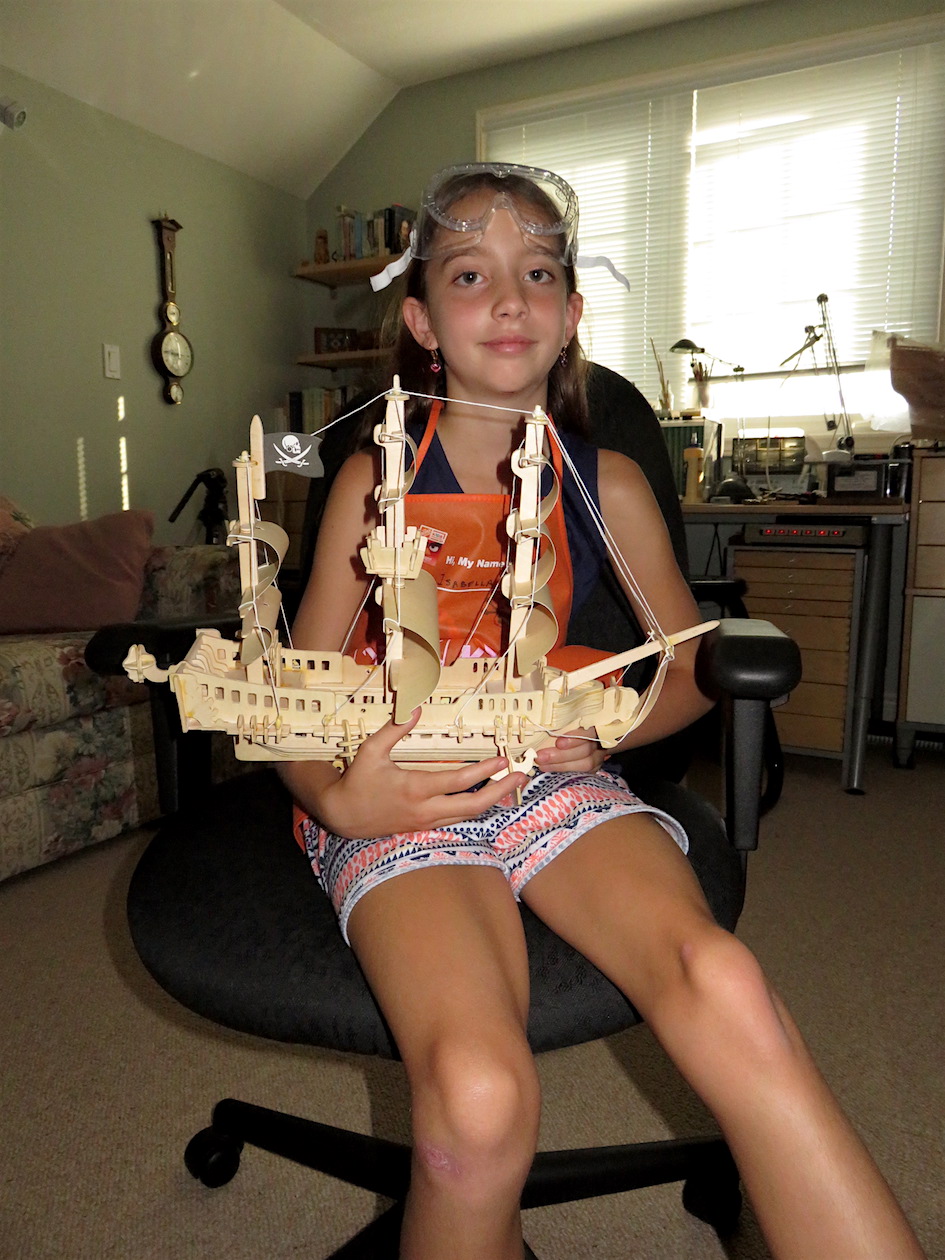
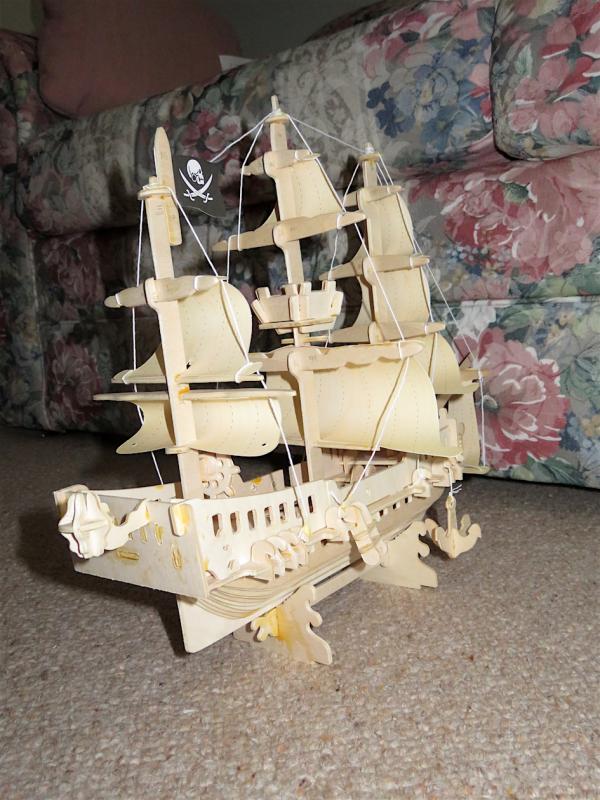
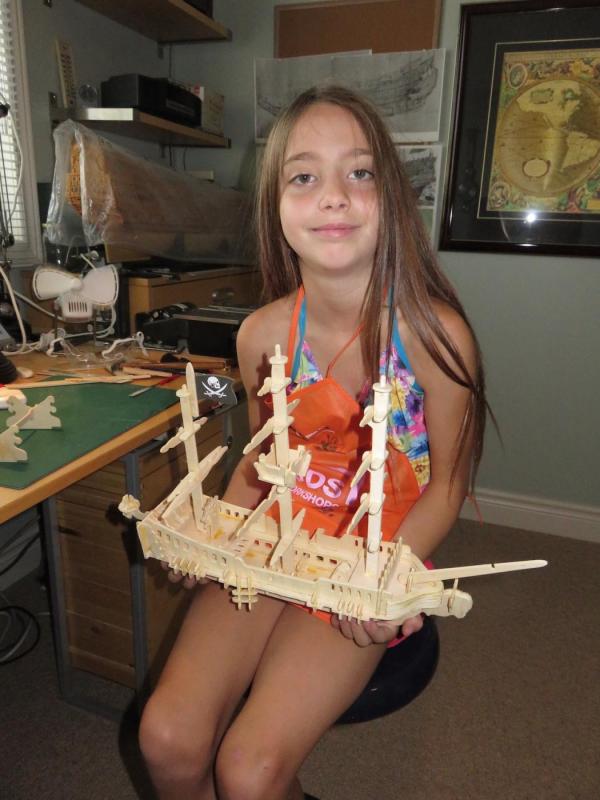
Today we are takng Isabella back home to mum and dad with her completed ship model. She is very proud of her accomplishment and wants mum and dad to see it. Thank you to all of you who commented in this thread. She was very excited to see that people from Australia, the USA, Canada and Great Britain, would be interested in her ship. It has opened up a whole new world to her and I am grateful for your support. Lastly, I highly recommend building a model with a child. It is such a special feeling watching her keen interest in building sometiing like this. Thanks again, Bill
- 35 replies
-
- 8
-
-
- pirate ship
- pirateology
- (and 1 more)
-
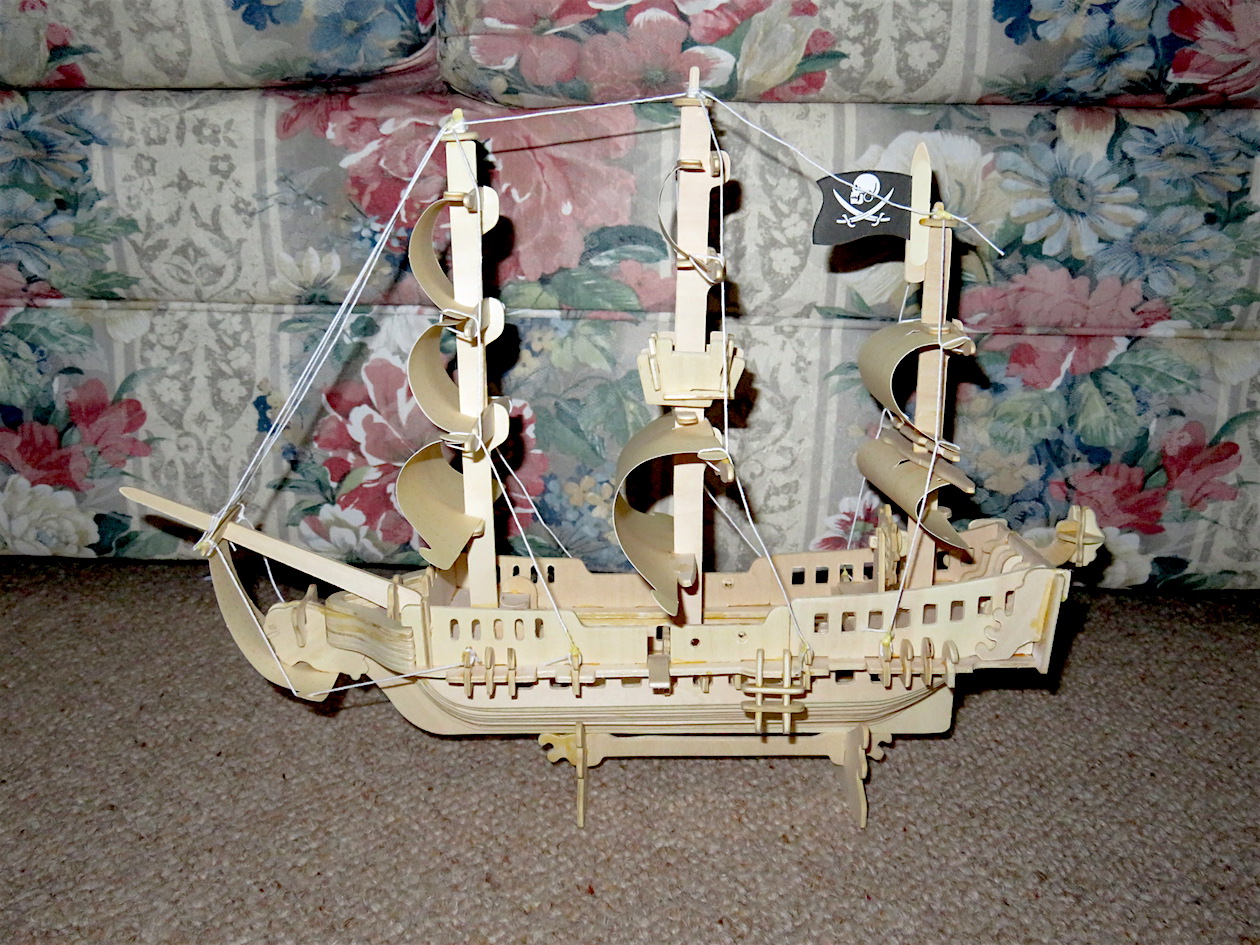
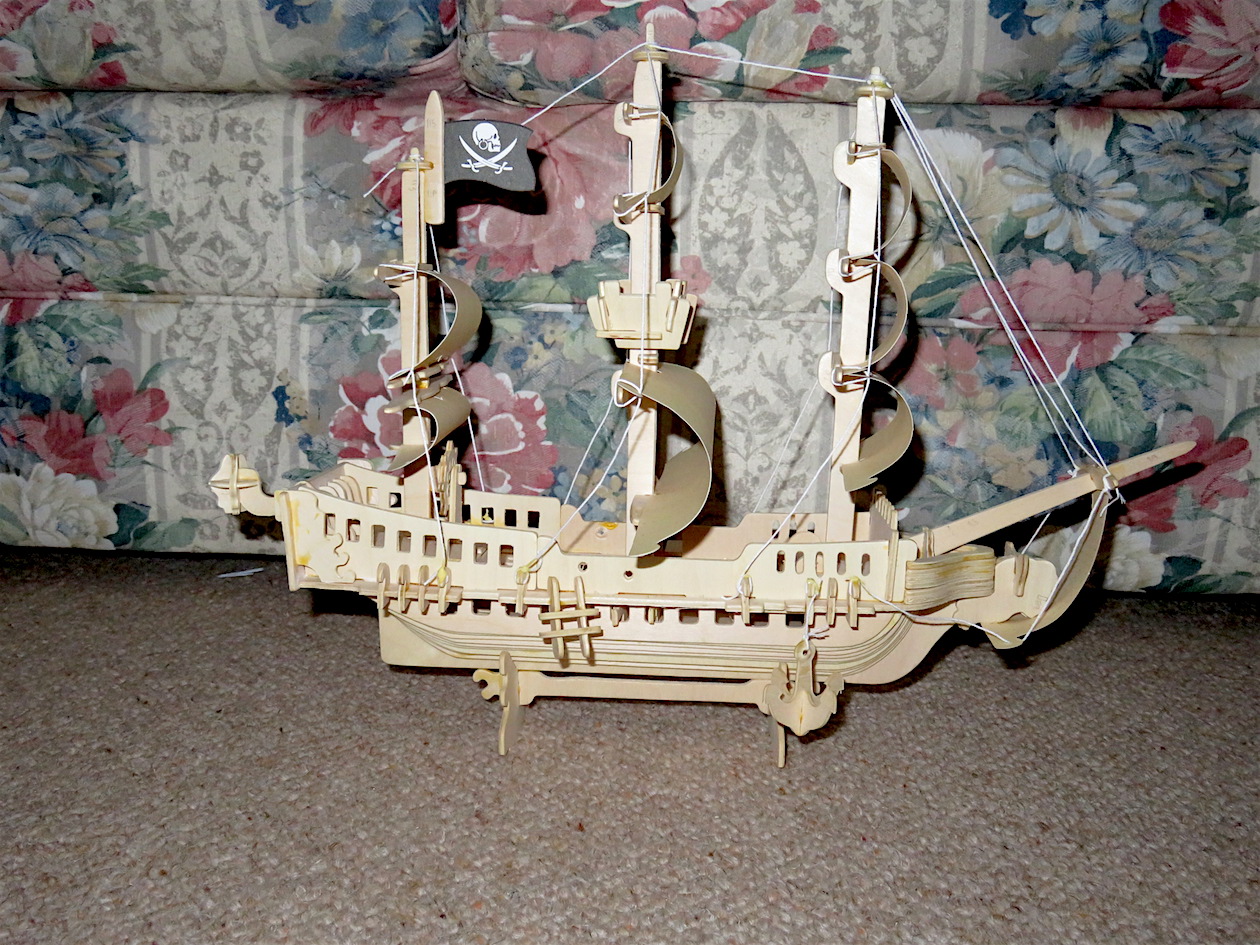
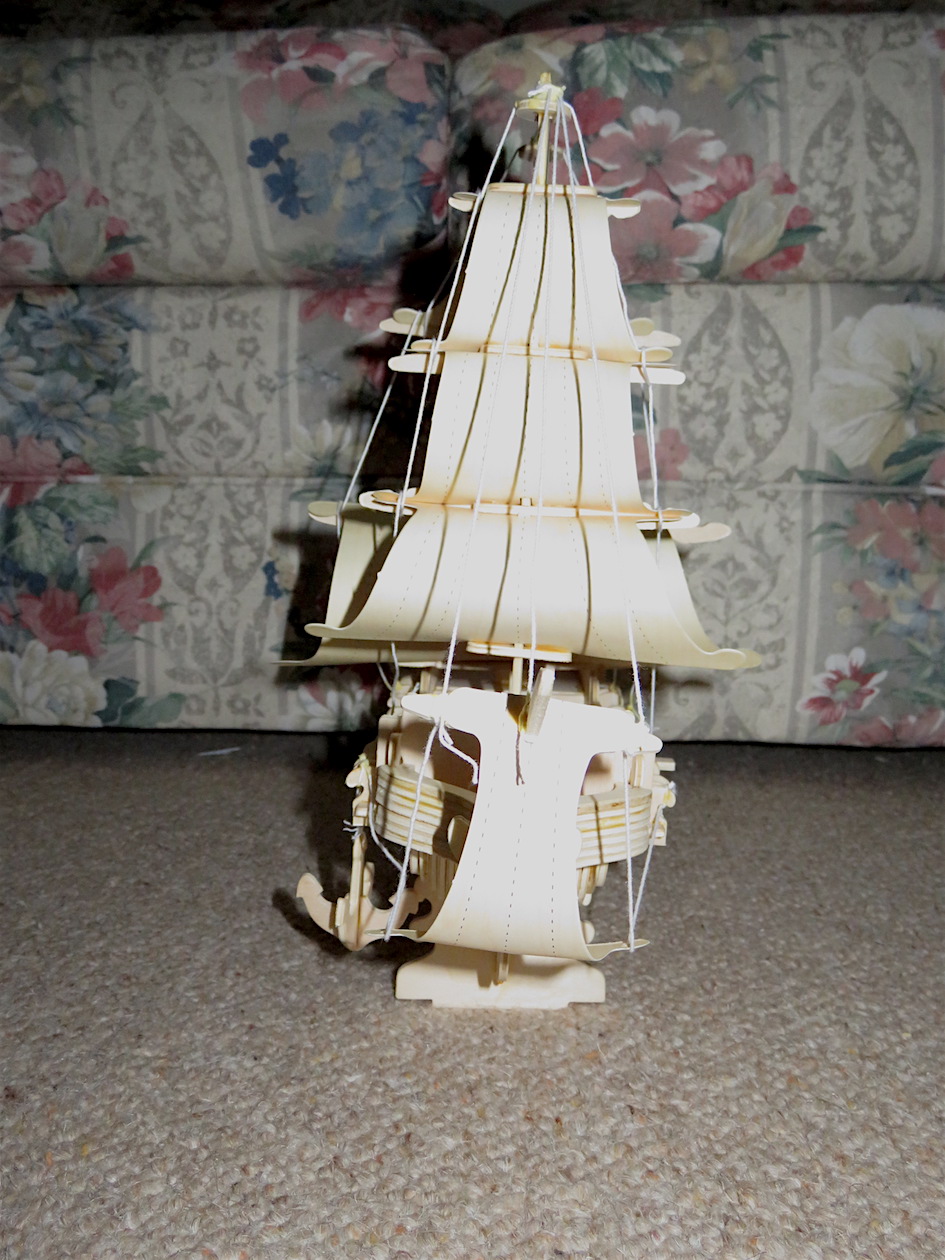
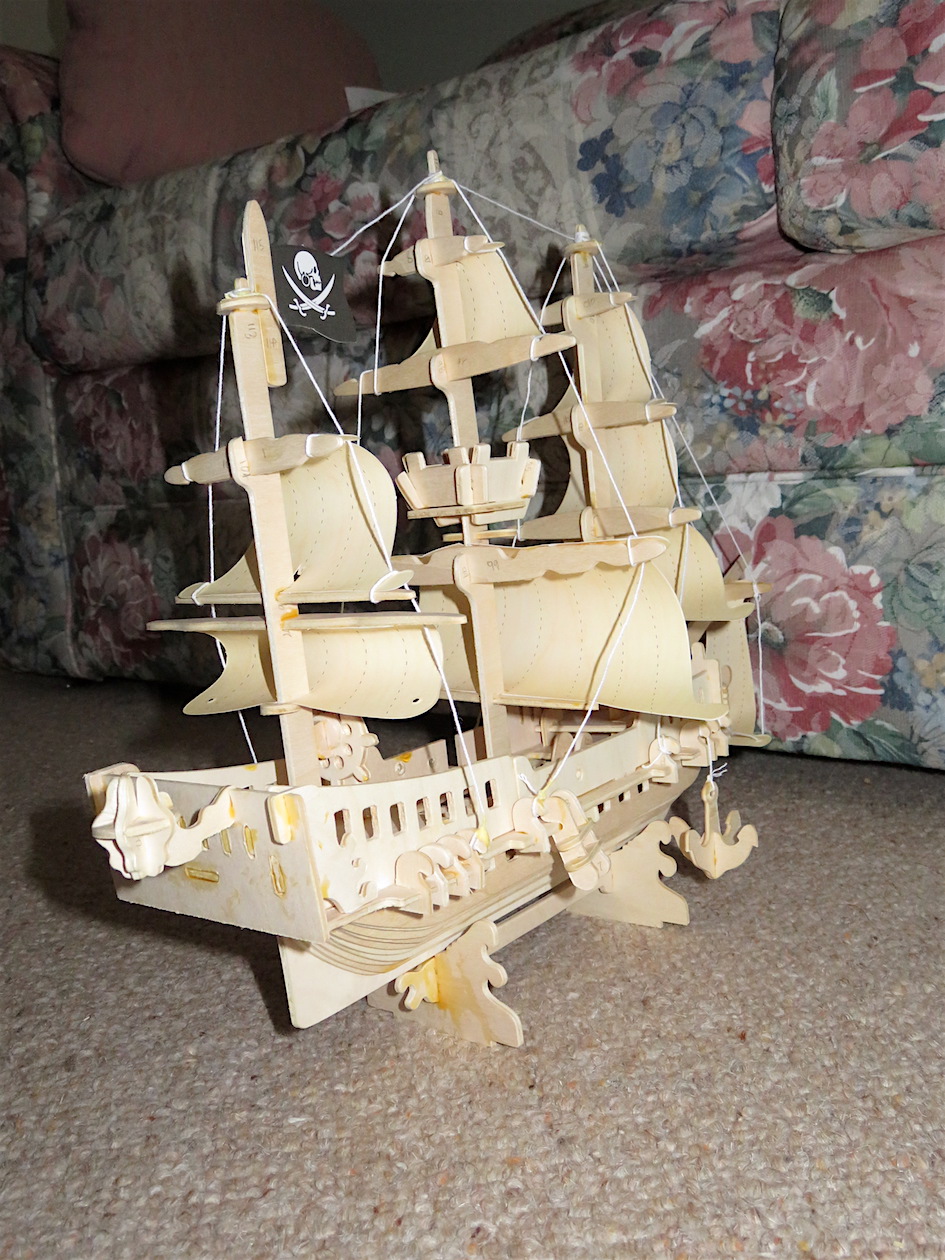
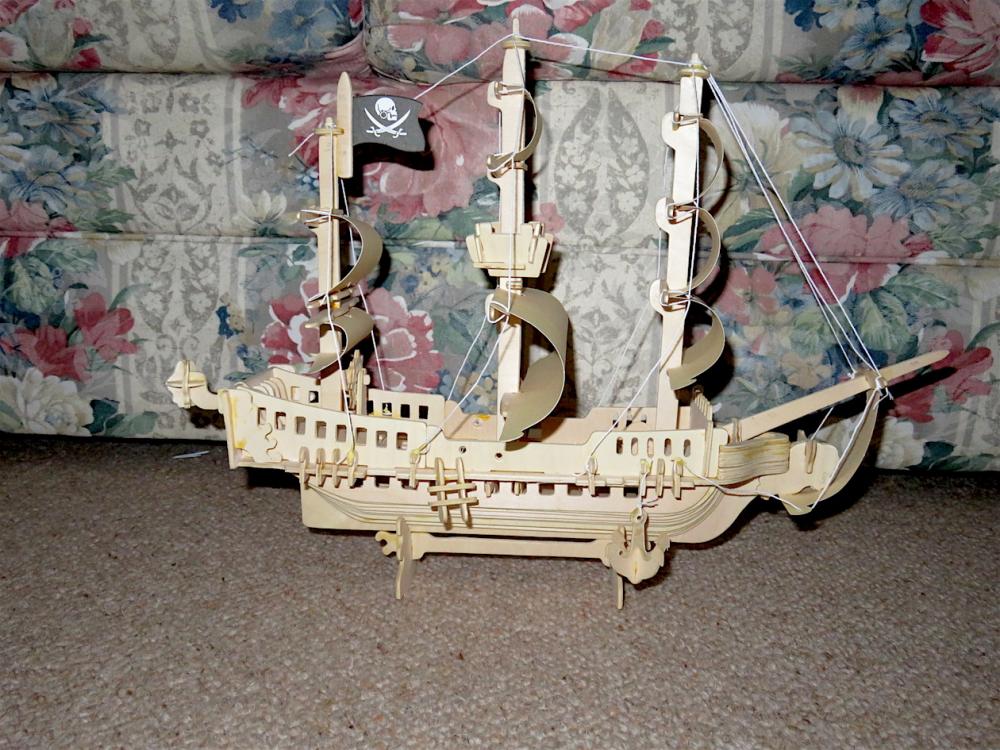
So here is the finished model of the boat ,showing the left,the right,the front and the back of the boat. Here is me with my boat PS. thank you for all the nice comments and for all the support even when the boat parts would't go together. Isabella


- 35 replies
-
- 13
-
-
- pirate ship
- pirateology
- (and 1 more)
-
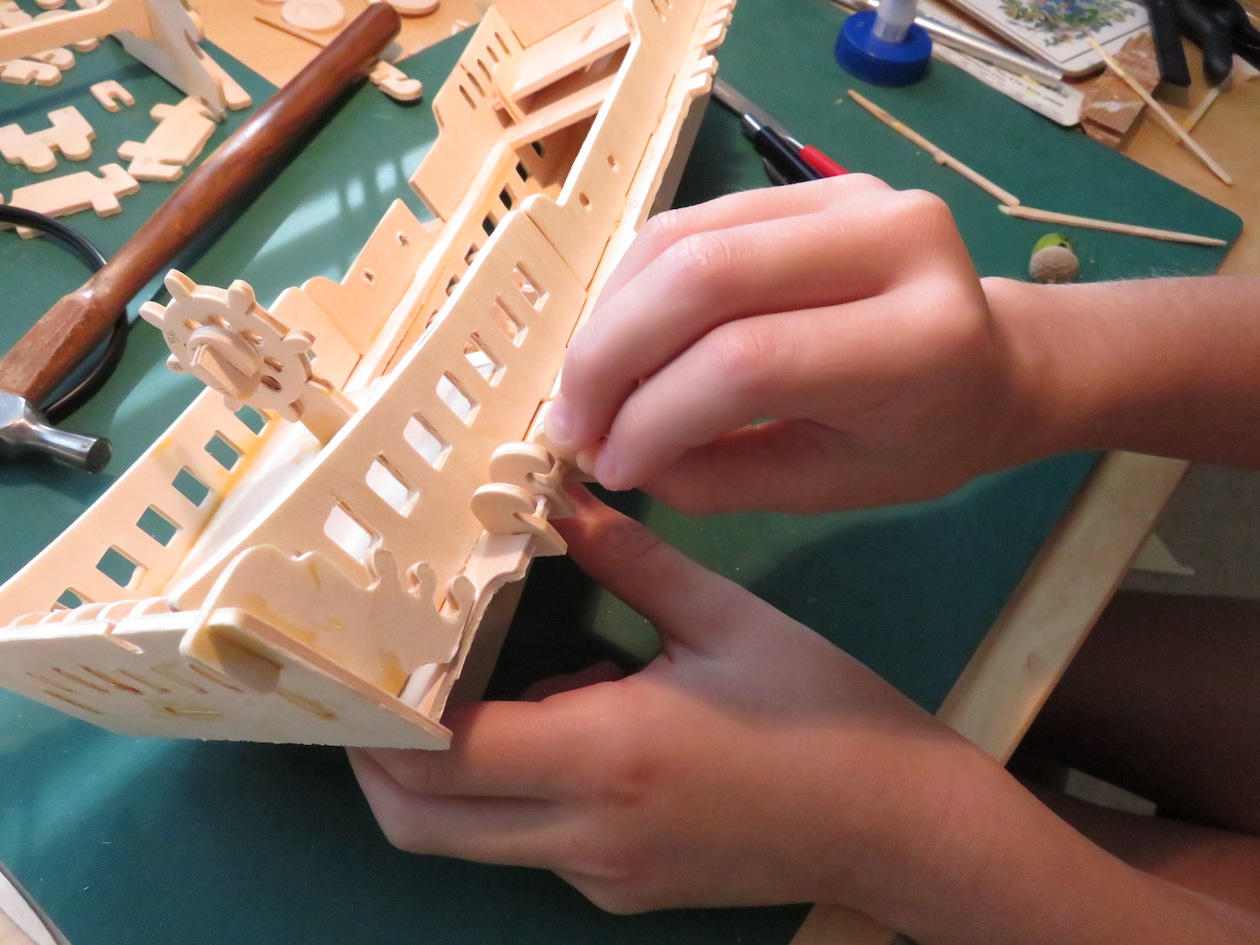
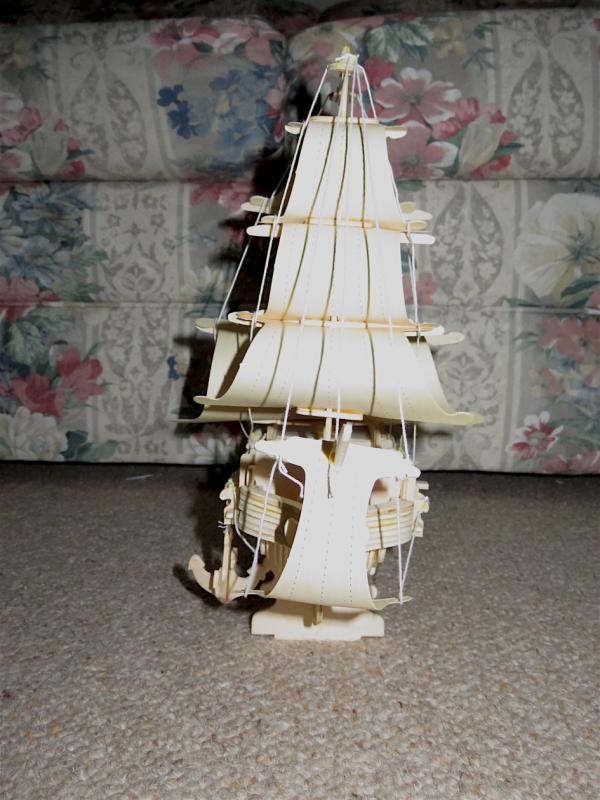
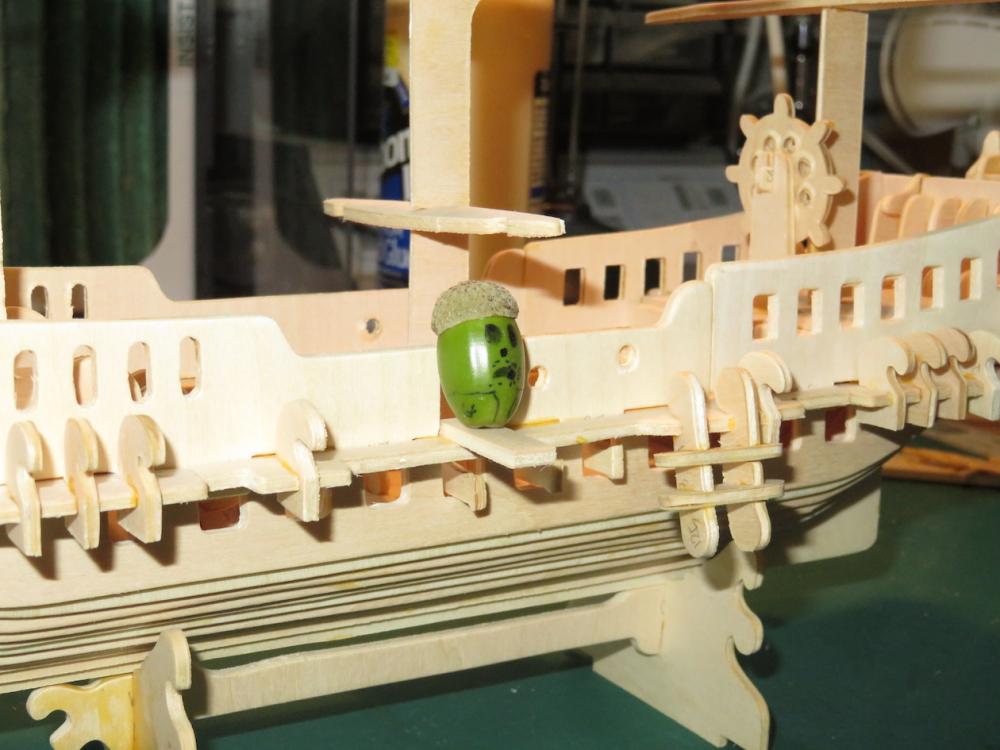
Thank you for all the nice comments, but it is not finished yet. We still have to put the sails on the masts. Here are some photos of me gluing the sides, as well as with the mast assembled and an acorn pirate walking the plank we added to the ship. With the mast glued on. Acorn pirate walking the plank. Isabella More to follow..... we are going swimming as it is hot.

- 35 replies
-
- 9
-
-
- pirate ship
- pirateology
- (and 1 more)
-
They only gave us 6 cannons. I am going to add more pirates made out of acorns I found in grandpa's backyard. Isabella
- 35 replies
-
- 4
-
-
- pirate ship
- pirateology
- (and 1 more)
-
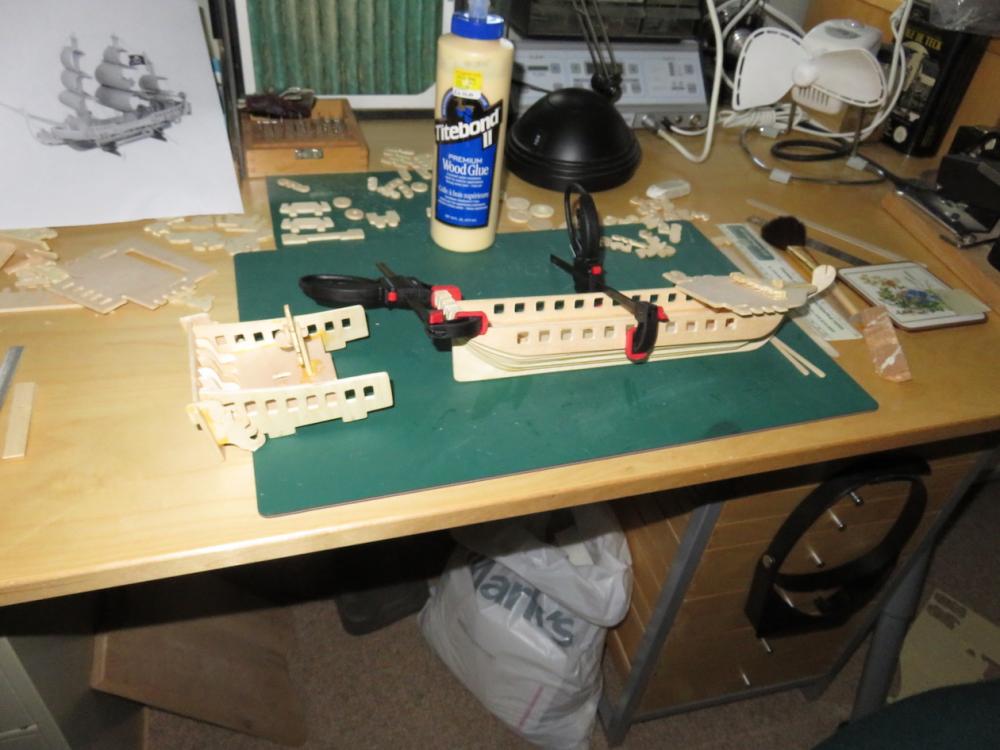
Second day and still no instructions Haaaaaarrrrrrrr The next photo shows the hull and stern quarters ready to assemble. We put six cannons on the gun deck and assembled and glued the ship's wheel which is shown in place. Next we have the stern section glued to the hull and further deck pieces glued in place. I am having lots of fun putting this together. I hope you like it. There is no plank to walk prisoners to the deep blue sea so we are going to add our own plank. Isabella More to follow.................

- 35 replies
-
- 18
-
-
- pirate ship
- pirateology
- (and 1 more)