HOLIDAY DONATION DRIVE - SUPPORT MSW - DO YOUR PART TO KEEP THIS GREAT FORUM GOING! (89 donations so far out of 49,000 members - C'mon guys!)
×
vulcanbomber
-
Posts
396 -
Joined
-
Last visited
Content Type
Profiles
Forums
Gallery
Events
Everything posted by vulcanbomber
-
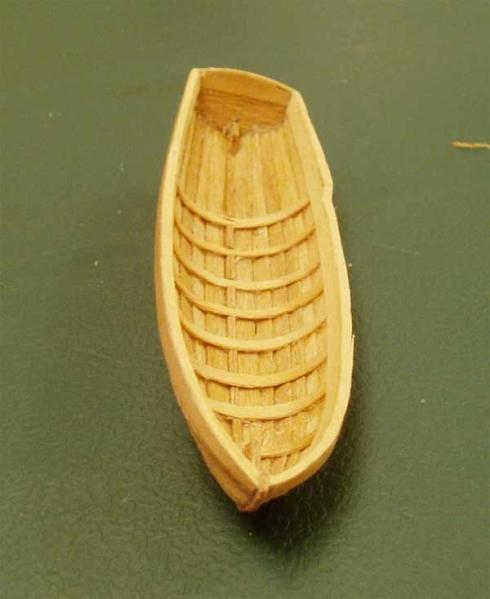
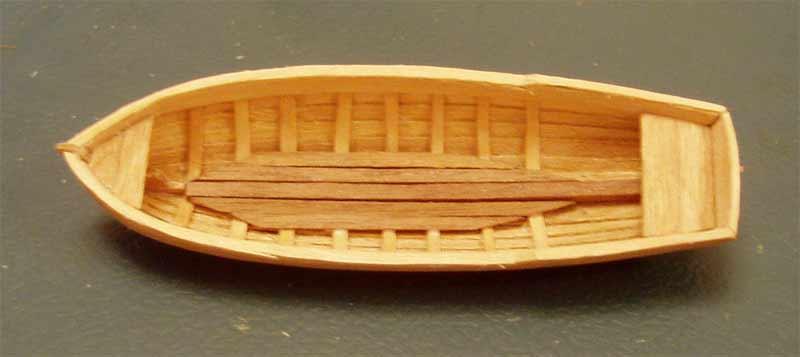
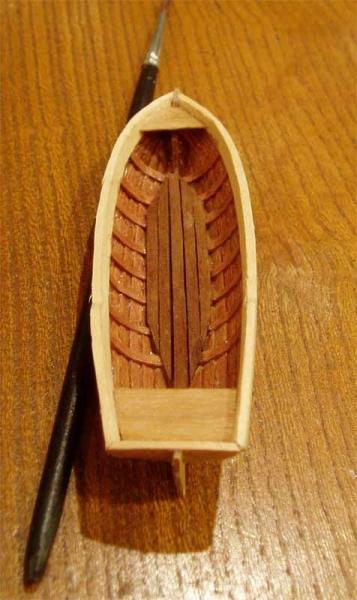
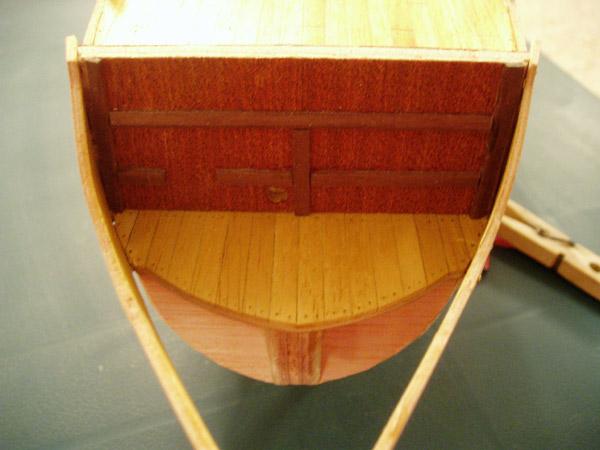
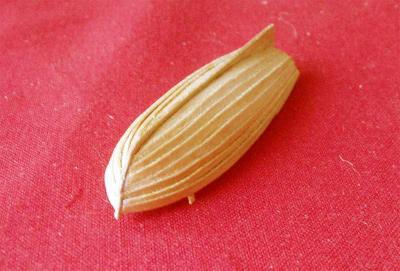
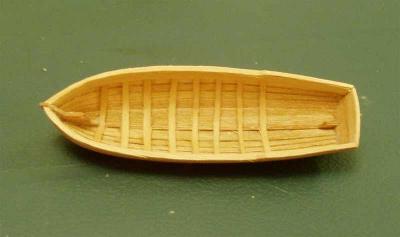
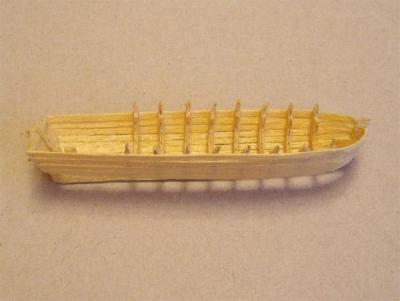
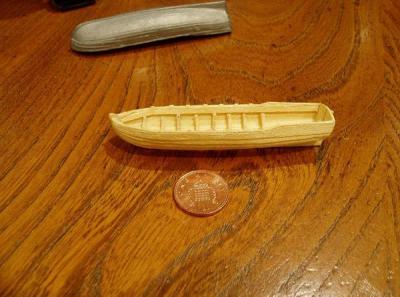
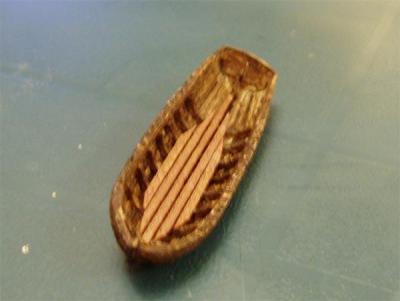
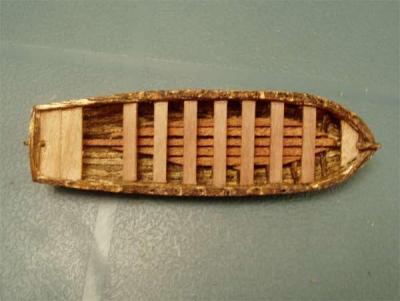
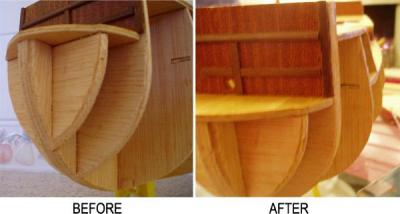
Encouraged by a very good friend who donated some cheery I made a better version, I again made a keel by gluing strips of the cherry together and made some rough bulkhead (Not shown) then I planked it. Once the planking was complete, I carefully removed the bulkheads and cut some thin strips of cherry and glued them in to simulate the 'ribs': Once they were glued in I added a strip around the inside and a capping on top, just to neaten the top edge: Next I added the seats at the stern and bow and the flooring then stained the inside with cherry stain:


- 122 replies
-
- 1
-

-
- finished
- artesania latina
- (and 1 more)
-
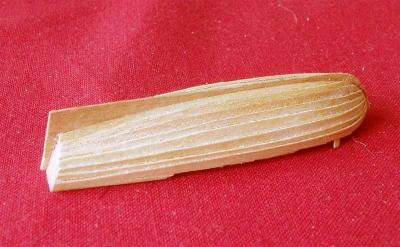
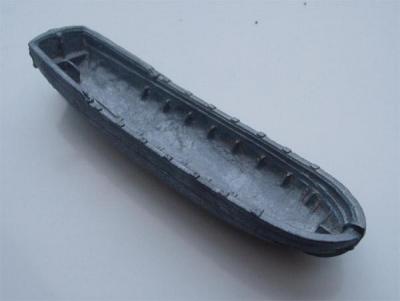
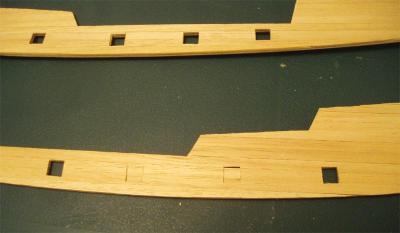
I was getting nearer and nearer to having to start the first planking, it was making me nervous, so to put it off for as long as I could i decided to make my own ship's boat as I hated the ugly metal one included in the kit: First I made it from off cuts of the deck planking strips. I made rough keel and a set of bulkheads, cuting them as narrow as I could and then planked the outside. before trying to reduce the 'ribs' the bulkheads made: I wasn't happy with it and so I scrapped it, reused the keel and made new bulkheads and planked it all again, I was happier with this one and proceeded to kit it out and stain it:
- 122 replies
-
- 1
-
-
- finished
- artesania latina
- (and 1 more)
-
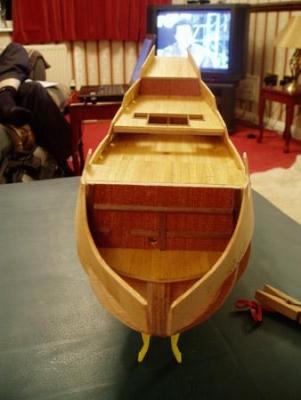
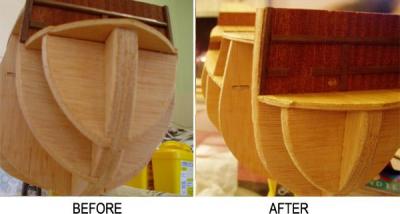
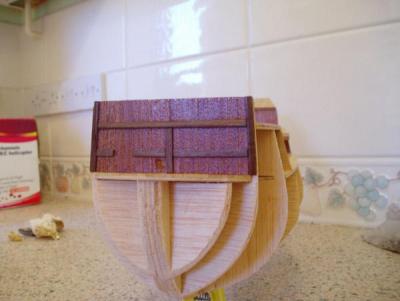
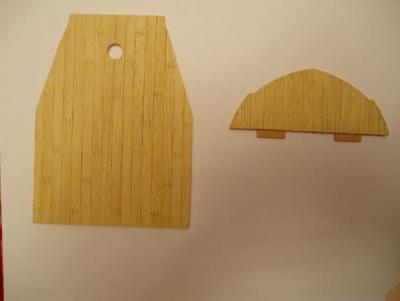
I decided to put another layer of planking inside the bulwarls, mainly to disguise the damage by the gunport and also to strengthen it: Next I planked the transom and attached it to the stern:

- 122 replies
-
- 1
-
-
- finished
- artesania latina
- (and 1 more)
-
Thanks guys, Yes, I'm going to repost my San Fran again in full. Mark, yup, we're back! It's certainly bringing back memories re-posting this log. Will also start on my Pegasus soon too. Robbyn, I'm glad my log helped you with your build. How far are you along and I'll try and catch up as quick as I can for you. Hamilton, It's good to know that it was a help to you and yes you remebre correctly, she is on top of the fish tank.
-
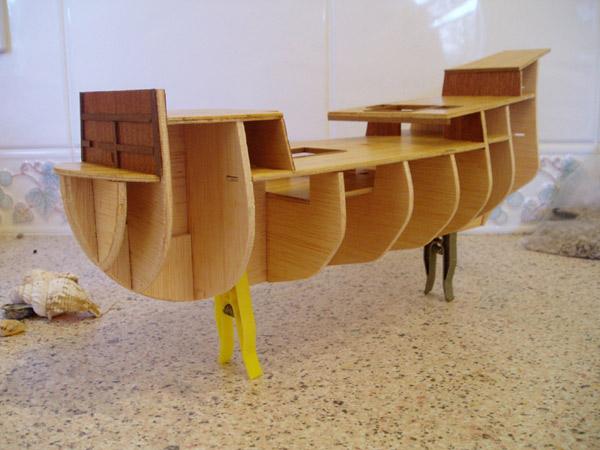
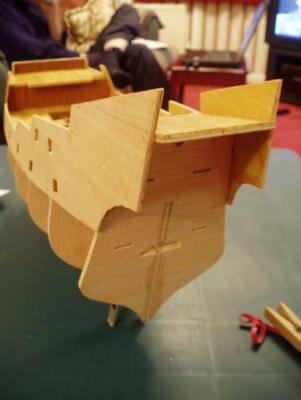
With encouragement from my new found friends and some confidence returning I attached the port side bulwark: This is one of the differences between my San Fran and the San Fran II. The beak. The bulwarks don't end at the side of the forcastle as they do on the San Fran II, but continue all the way forward creating the beak: The rear of the ship and the bulwarks:


- 122 replies
-
- 1
-
-
- finished
- artesania latina
- (and 1 more)
-
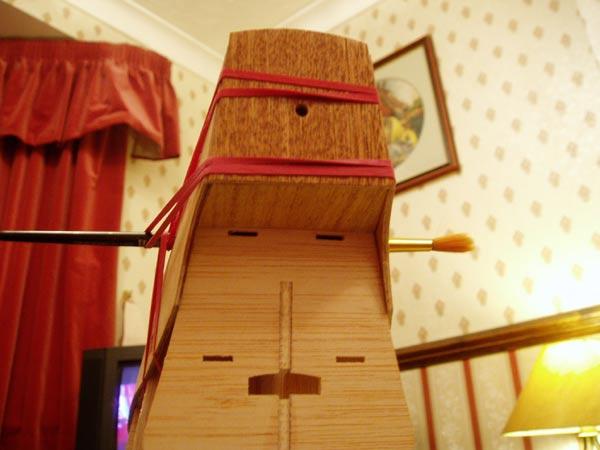
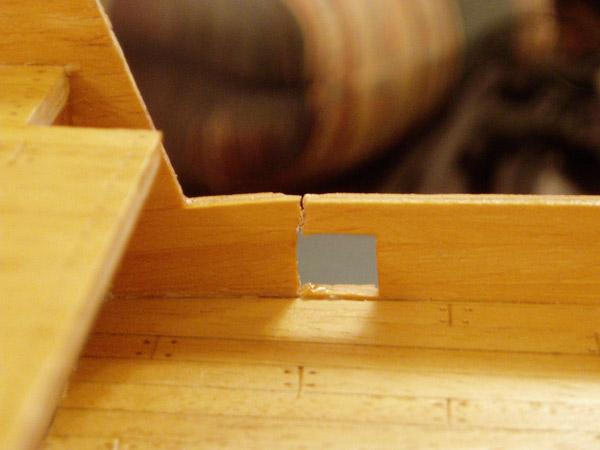
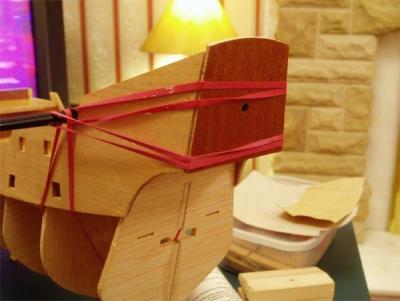
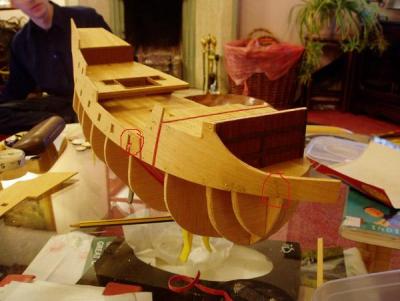
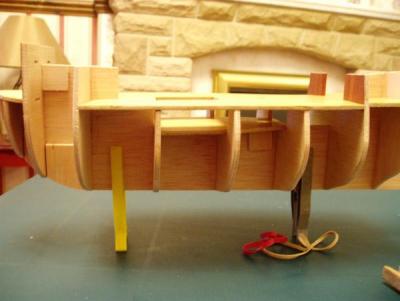
Next the keel and bulkheads were sanded in preparation for attaching the bulwarks and hull planking: The bulwarks were planked on the inside: Next I attached the bulwark (rubber bands are your friends!) The beak and gunport snapped (See red circles): The crack near the gunport: It was at this stage and with the damaged bulwark that I lost my confidence and began to dispair, No matter how I tried I couldn't seem to get it right, at this point I received so much help, support and encouragement from MSW members that they picked me up and helped me through it all. If it hadn't been for this great site, the model would have ended up in the bin!

- 122 replies
-
- 3
-
-
- finished
- artesania latina
- (and 1 more)
-
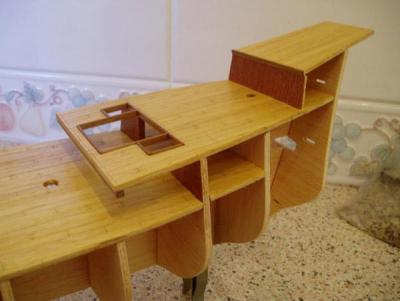
Next the quarter deck and poop deck were planked and added and the poop bulkhead planked: The beak had the decorative strips added:

- 122 replies
-
- 1
-
-
- finished
- artesania latina
- (and 1 more)
-
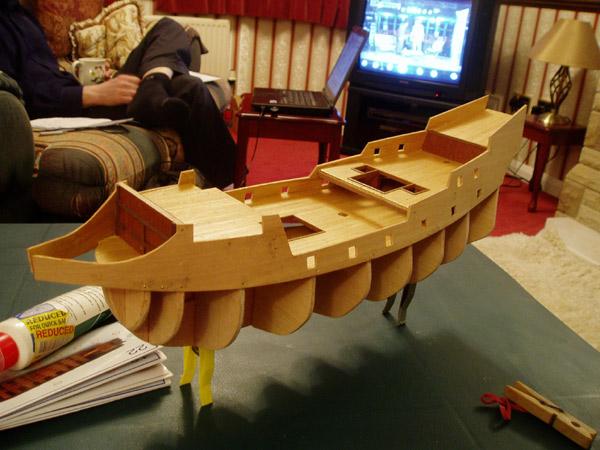
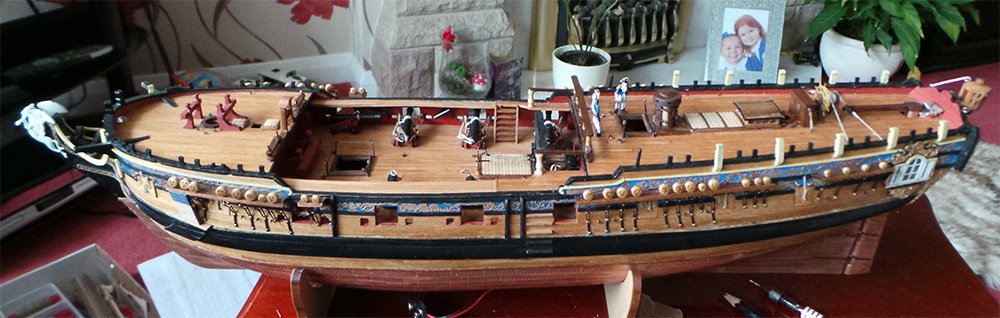
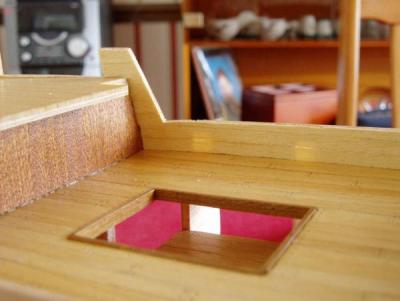
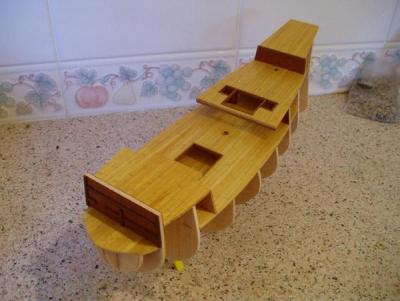
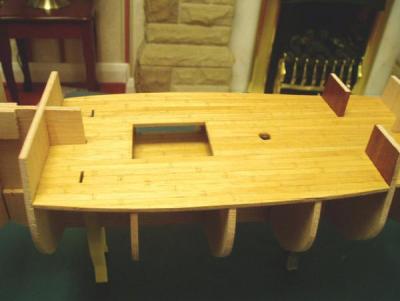
The next stage was to plank the decks, there were three the lower one, the beak, the forcastle, the main and the poop deck. I wanted to simulate calking and the easiest method I seemed to find was by running a pencil down one edge of each plank. I cut the planks to a scale length and staggered them (I now know the pattern is incorrect, but it was a learning curve. ) The trenails I made by using a sharp pointed object (actually a pickle fork!) then turned the point of a pencil in the hole to darken it slightly. The results you can see below: I added the decks to the keel and bulkhead assembly: The bulkhead at the bow and under the poop deck were planked with sapeli: A close up of the main deck:
- 122 replies
-
- 2
-
-
- finished
- artesania latina
- (and 1 more)
-
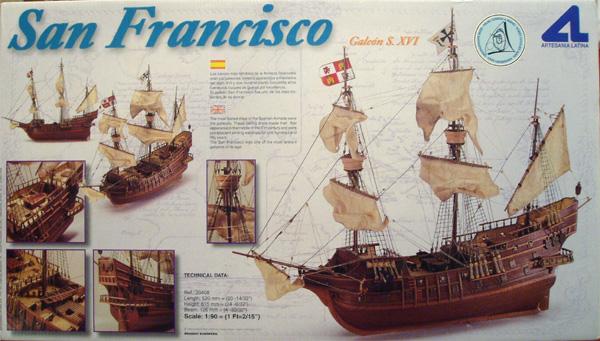
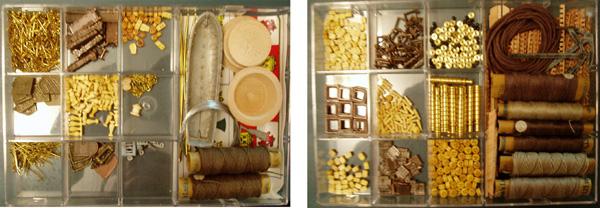
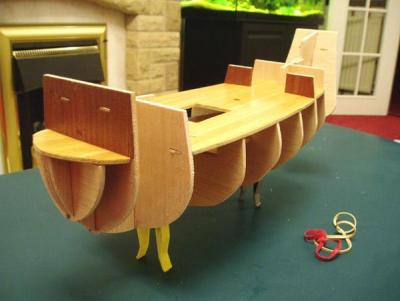
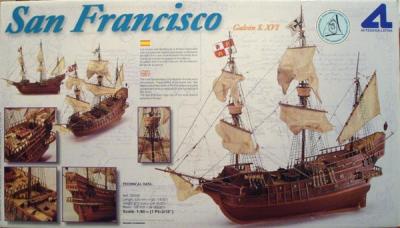
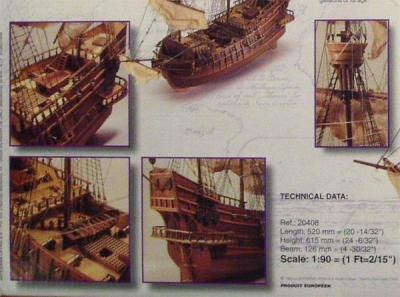
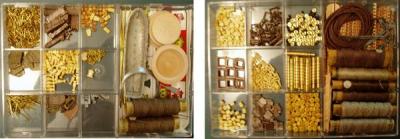
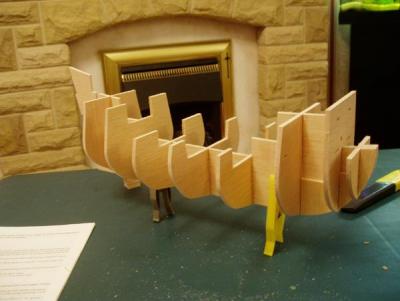
This was my very first build. It is the original version of the San Francisco, not to be confused with the San Francisco II, there are slight differences, the main one being the hull which is double planked with basswood and Sapeli veneer, whereas the San Fran II is single planked with mahogany. I didn't like the gun carriages that came with the kit and with help from other members made my own which were more in keeping with the era of the ship. I also made changes to the rigging, the kit instructions, for me, were too simplified so I did a lot of research and added more accurate rigging. I learnt a lot from this build and she now sits in pride of place in my lounge. The box: The Box: Inside the box: First the bulkheads were dry fitted, checking for fit and adjusting if neccessary before gluing in place. It is important to make sure the keel is straight and the bulkheads are at a 90deg angle to the keel to prevent problems with planking later.
- 122 replies
-
- 3
-
-
- finished
- artesania latina
- (and 1 more)