vulcanbomber
-
Posts
396 -
Joined
-
Last visited
Content Type
Profiles
Forums
Gallery
Events
Everything posted by vulcanbomber
-
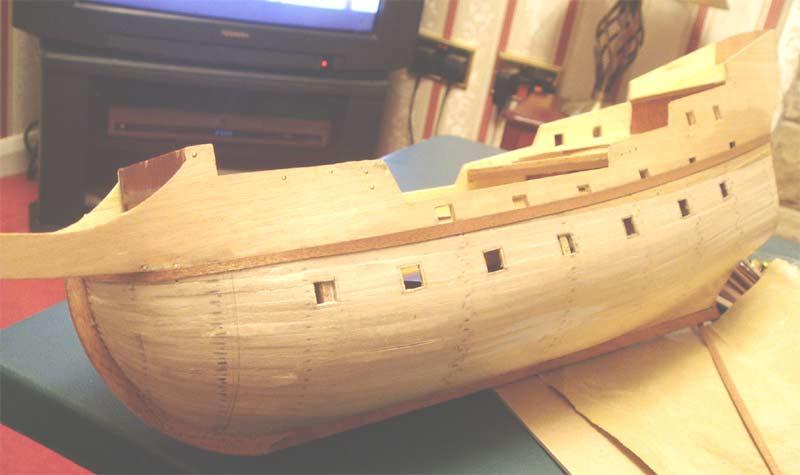
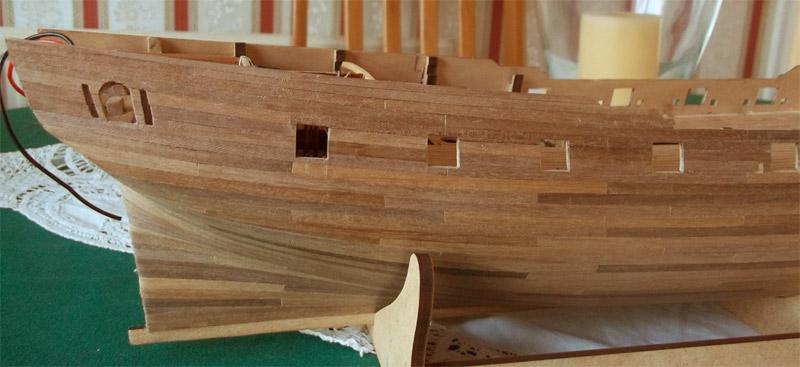
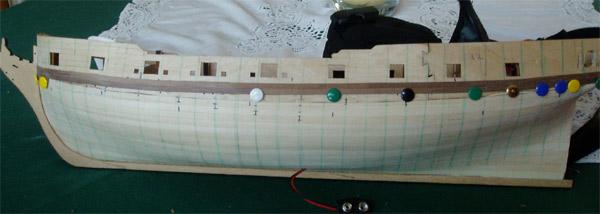
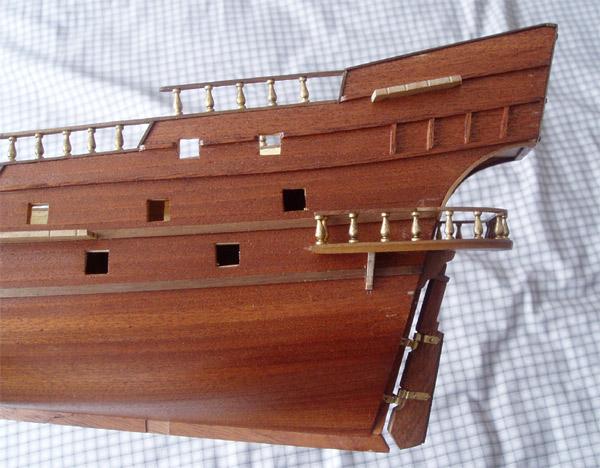
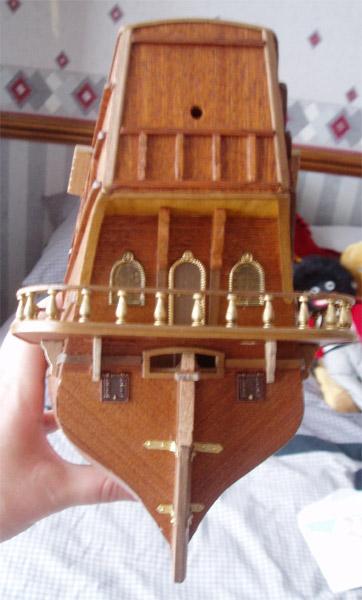
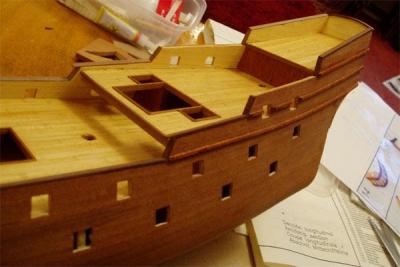
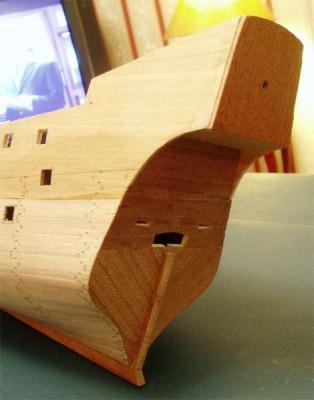
Hi Derek, If I remember right, I marked the line with a pencil, then when I was happy, I used my craft knife and cut a 'v' then used a rounded file to finish it off. Thank for looking in. After a good sanding: Planking the bulwarks (Pegs have many uses!): Once second planking was completed, I used the plans to work out where the quarterlights were located so that I could open them up, enabling anyone to see into the great cabin:

- 161 replies
-
- 5
-

-
- pegasus
- victory models
- (and 1 more)
-
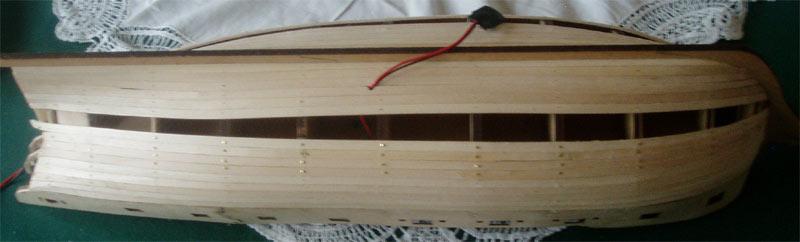
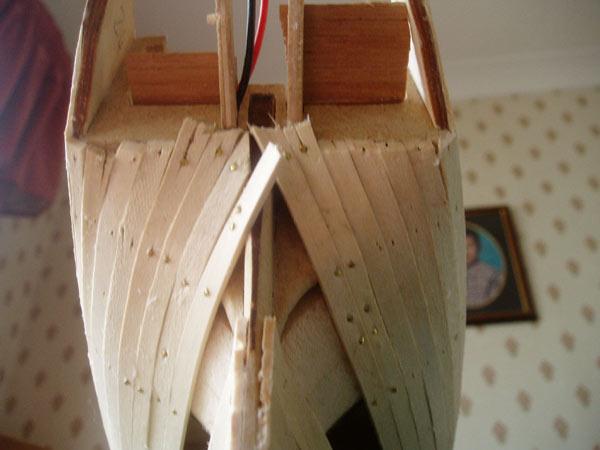
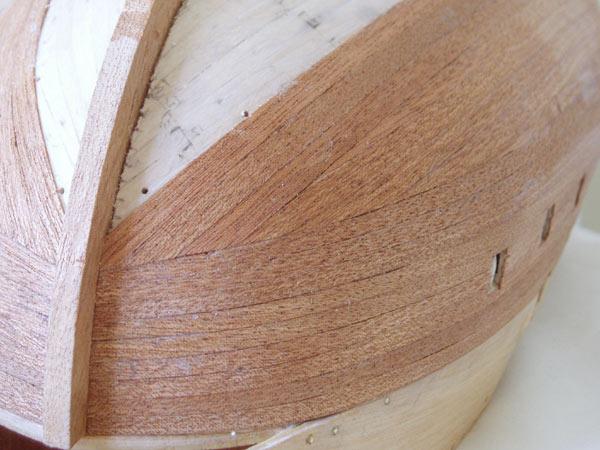
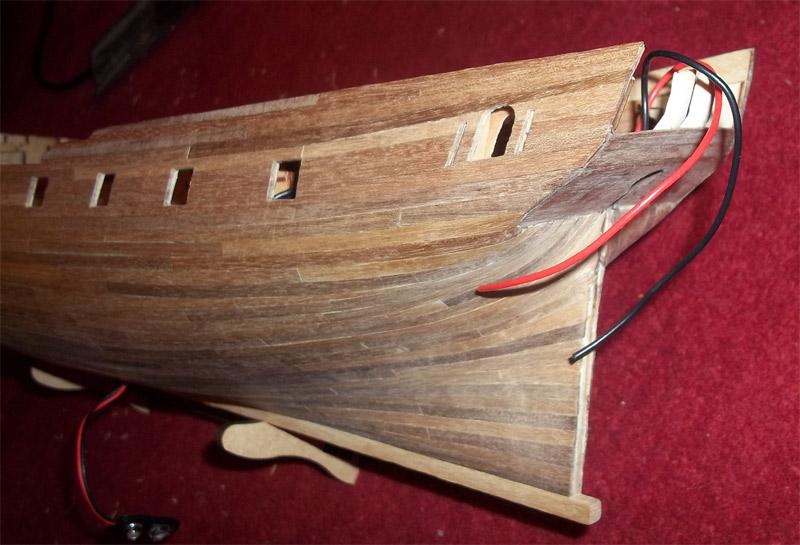
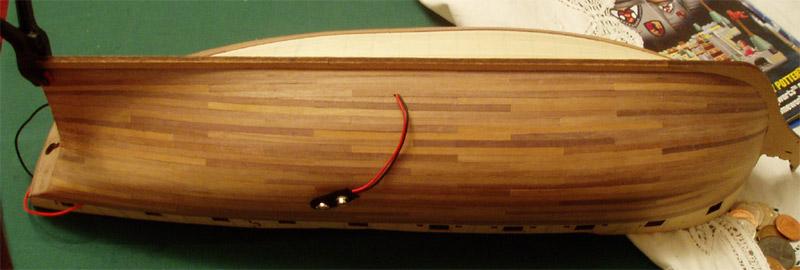
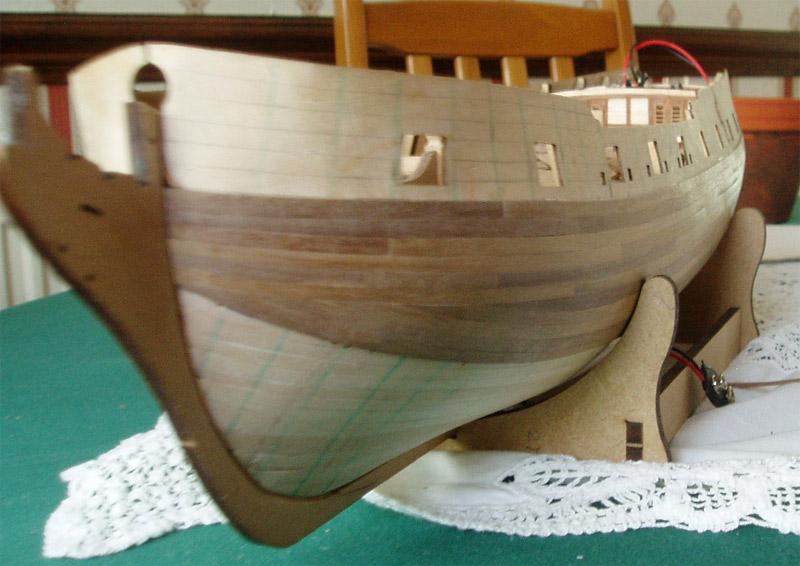
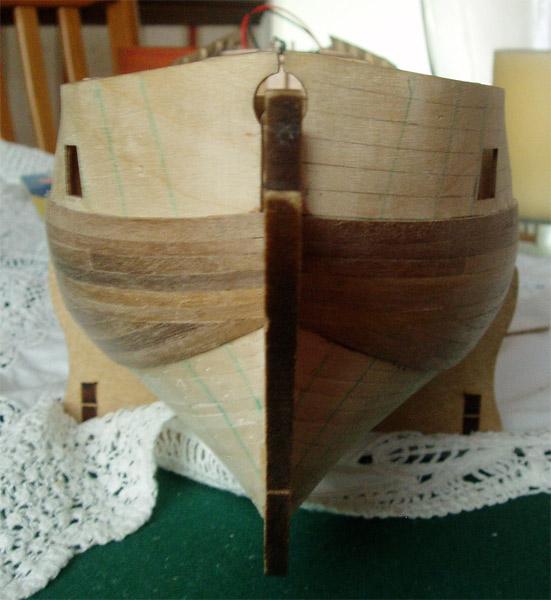
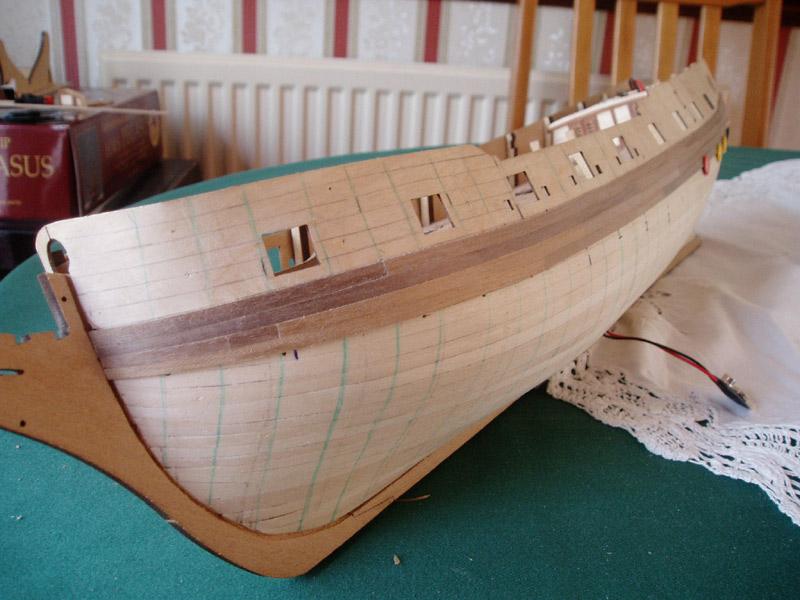
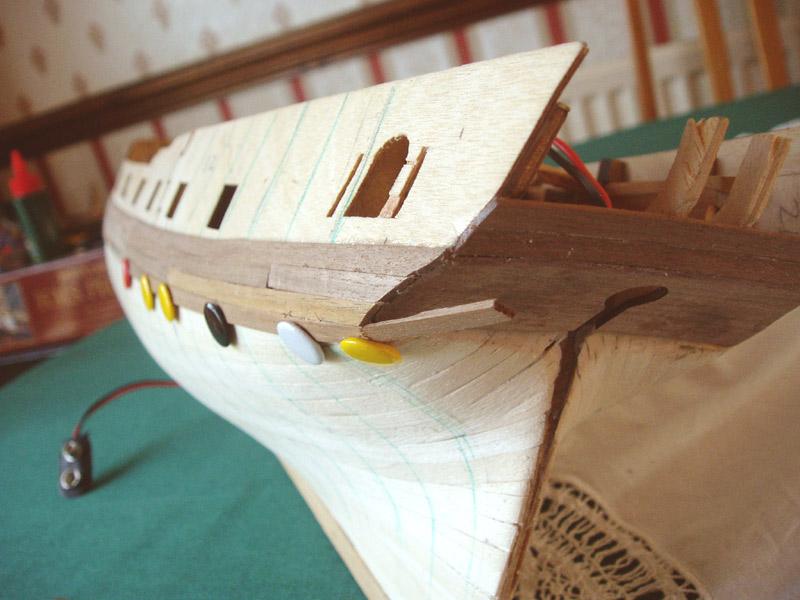
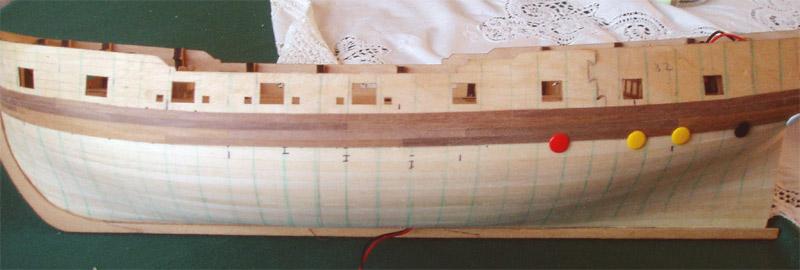
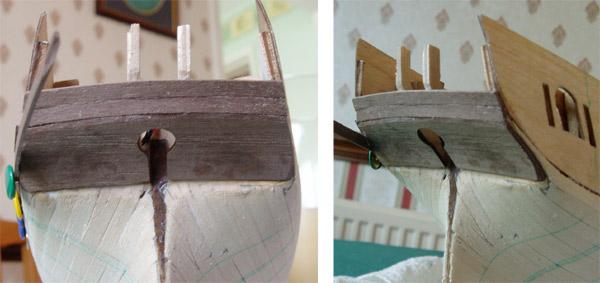
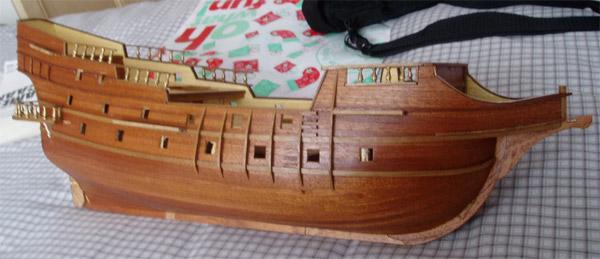
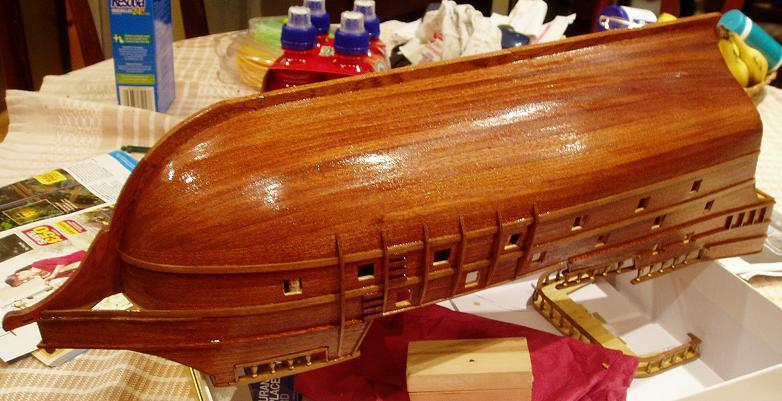
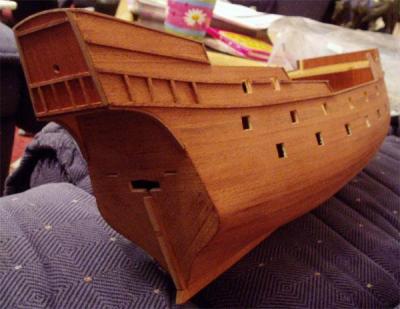
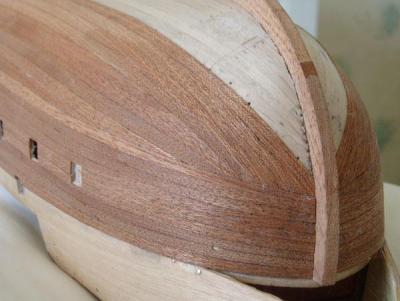
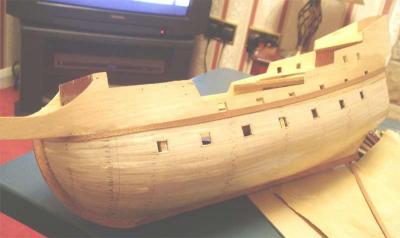
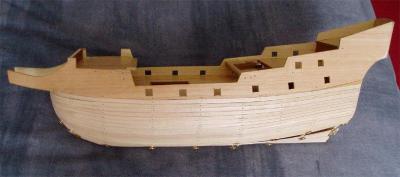
Port side almost completed: Close up of the bow: Port side finished, phew! : Another good view of the bow, you can see where the rows met with row 6 and the tapering of the planks at the bow: Starboard side half done: Starboard side finished, yay! : Now just need to plank the bulwarks.


- 161 replies
-
- 4
-
-
- pegasus
- victory models
- (and 1 more)
-
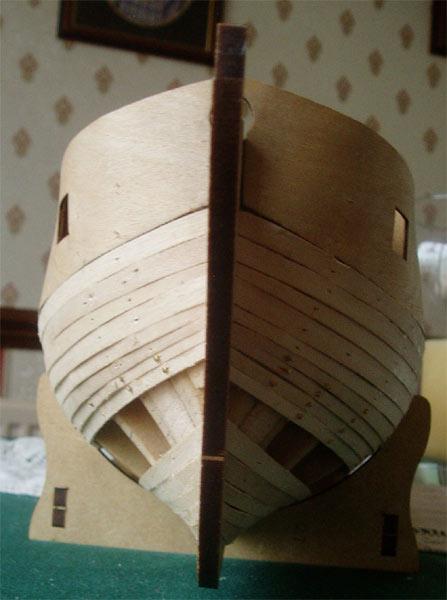
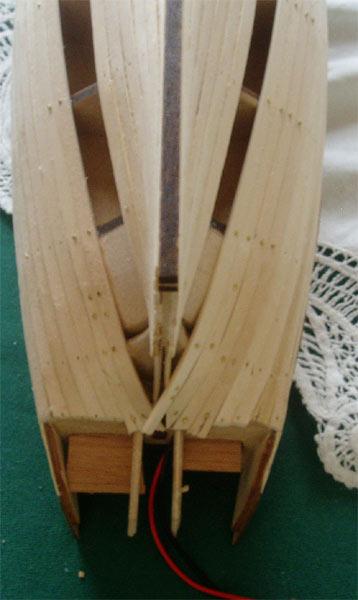
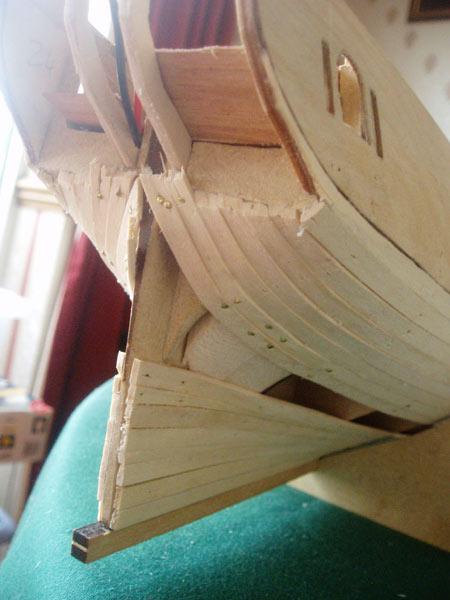
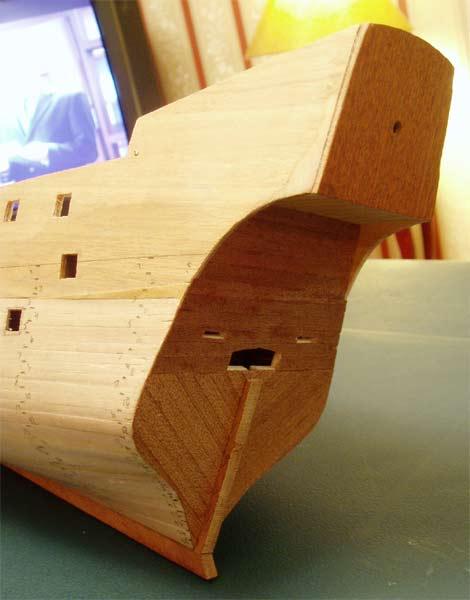
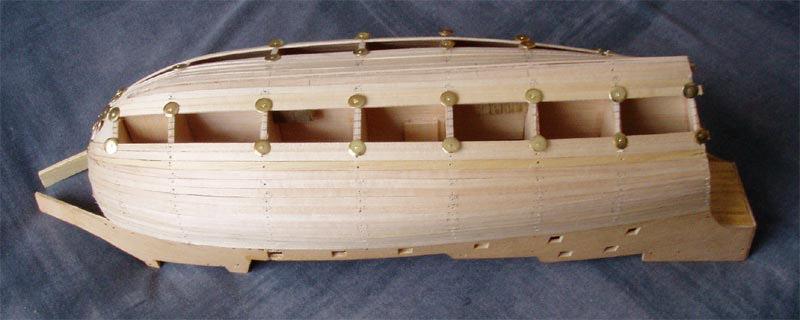
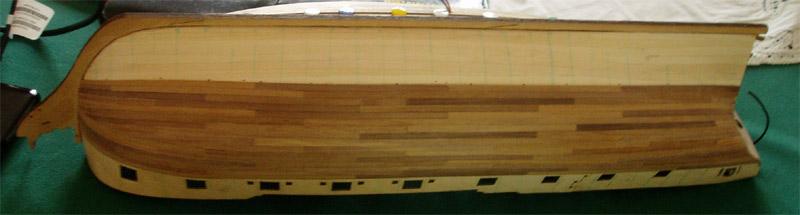
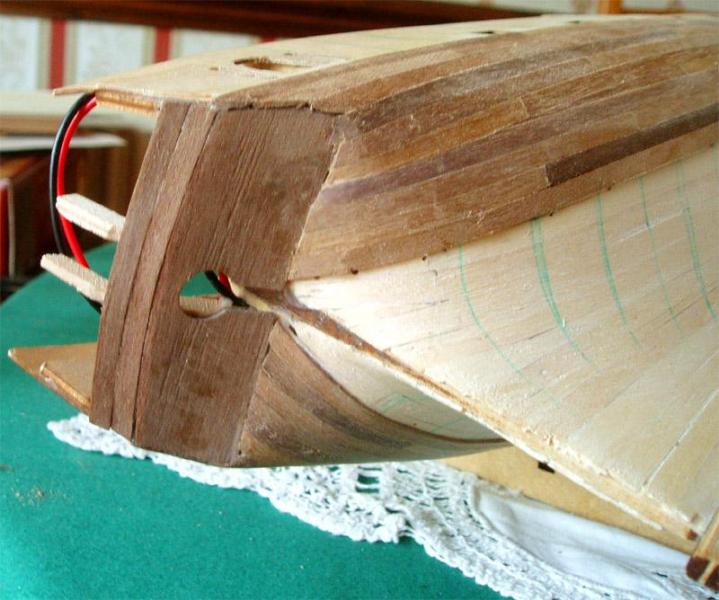
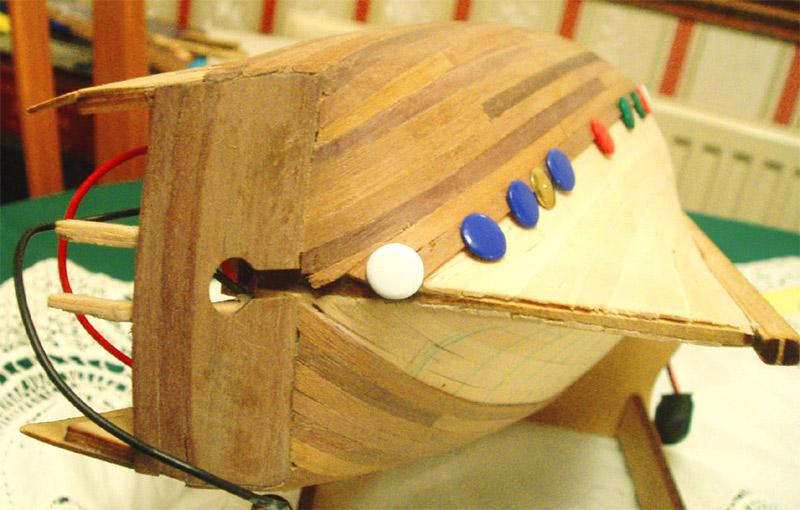
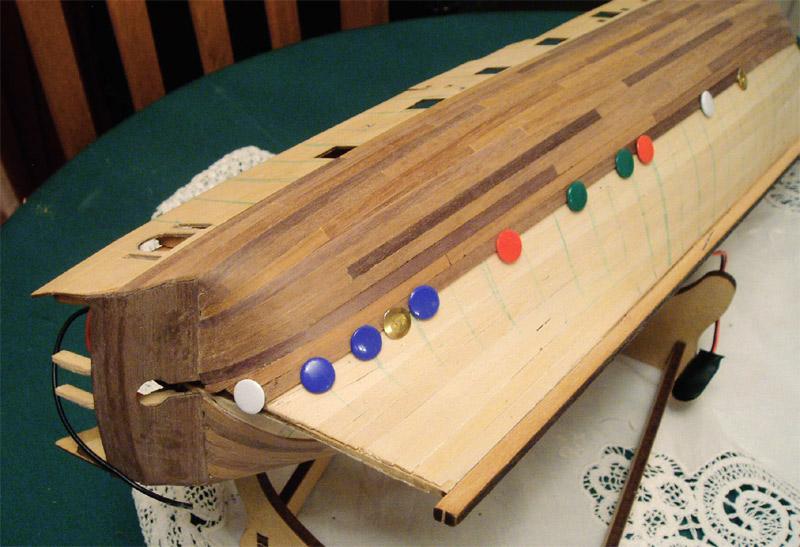
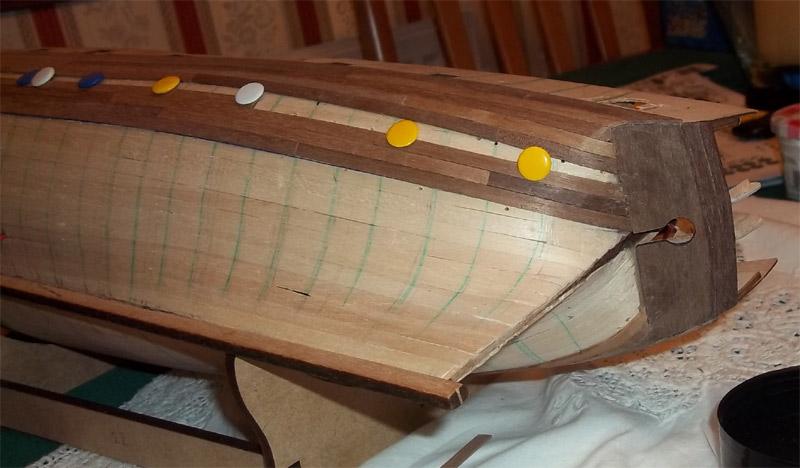
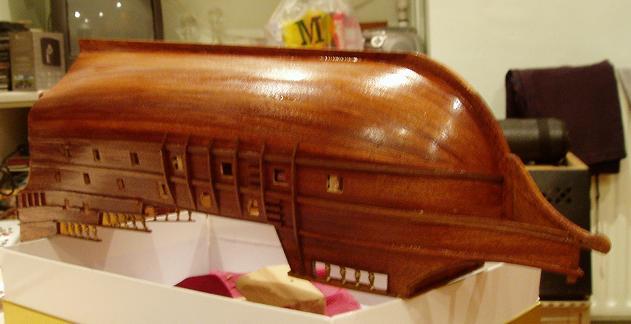
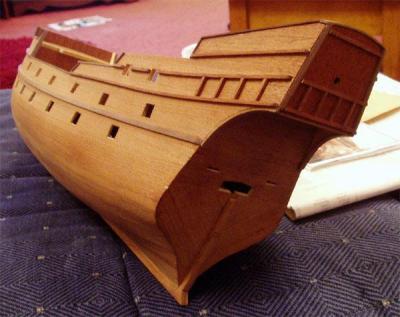
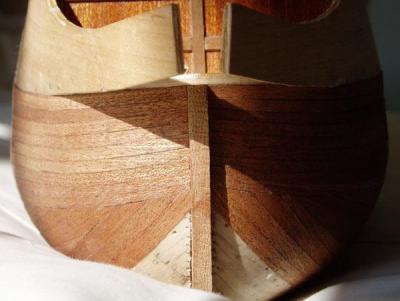
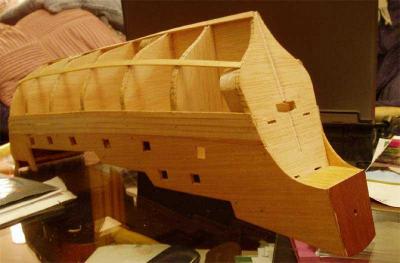
Second planking continued: You can see at the bow where rows 7+ finished against row 6: It took a lot of patience to shape the planks at the stern, using plenty of steam helped to bend the planks: About half way: Finally getting to the easier part of the stern. Just needed a small steeler:

- 161 replies
-
- 2
-
-
- pegasus
- victory models
- (and 1 more)
-
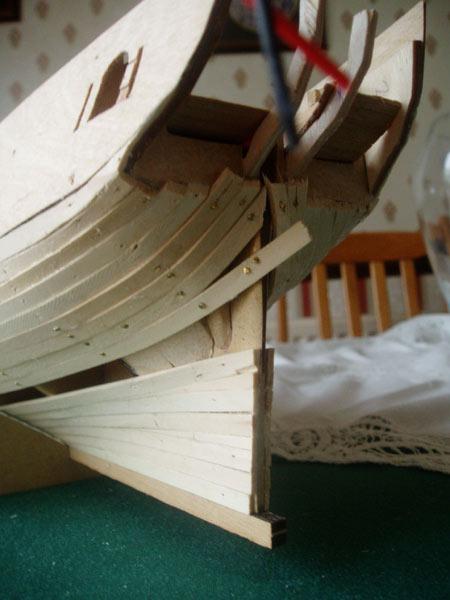
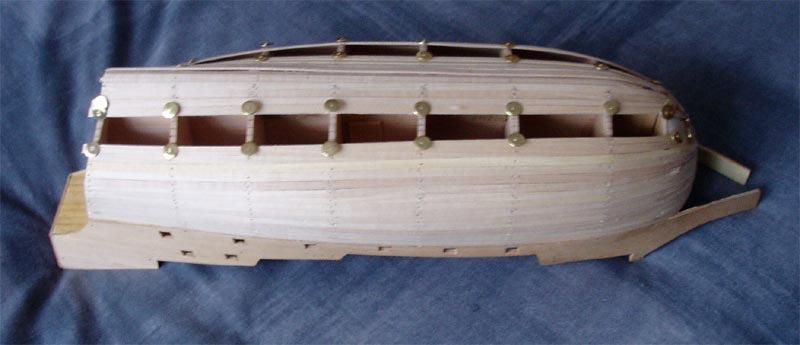
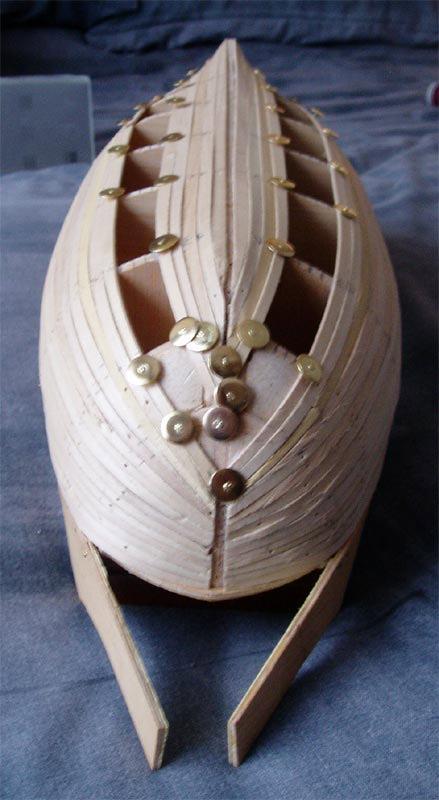
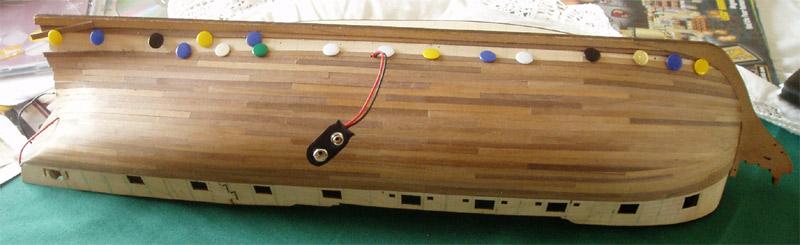
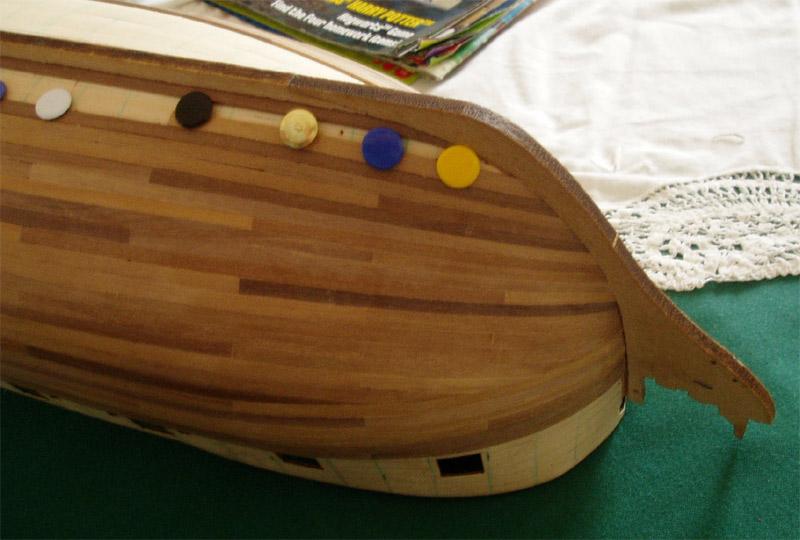
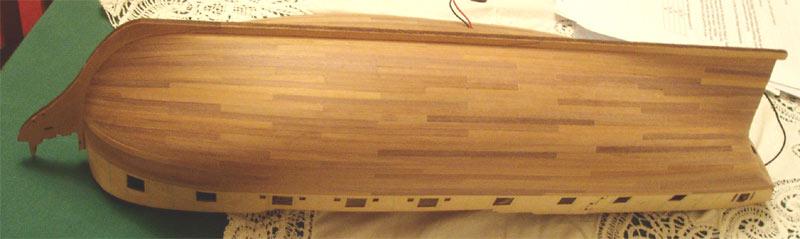
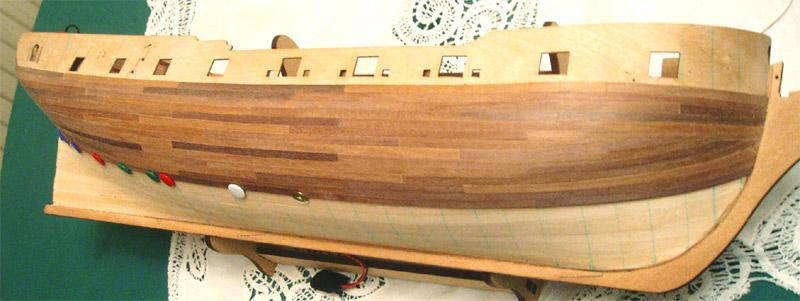
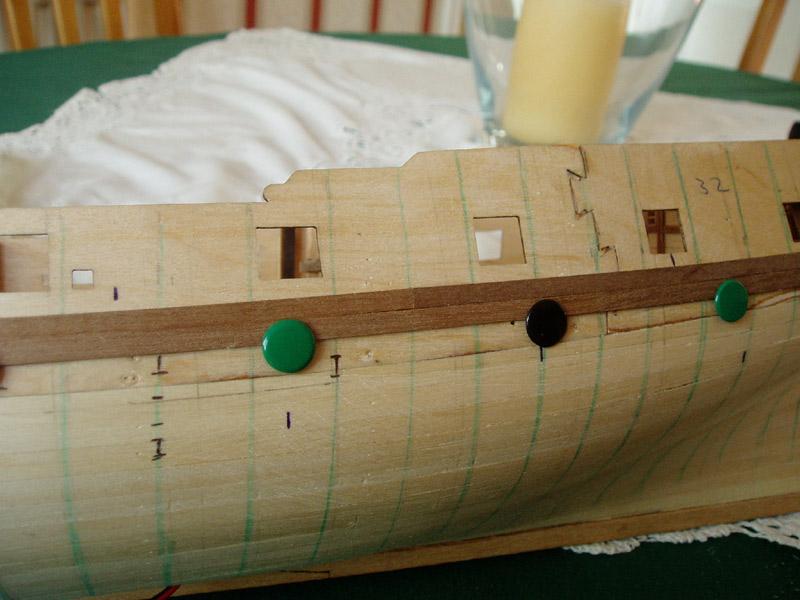
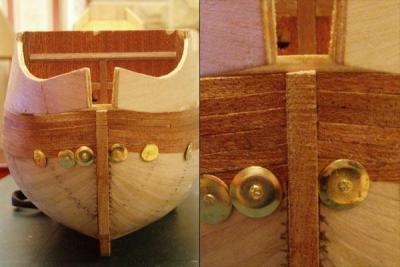
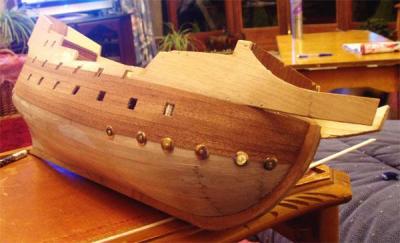
Thanks for looking in guys. vths, I can't remember what I used for the wale, it was whatever the instructions said to use. Floyd, no, they're flat headed drawing pins. Hi Aldo, updates coming up now! Continuation of the second planking: First four rows completed: Making the curves at the stern was.... interesting!: The first six were straight rows, after that the following rows ended against the first band, this was to prevent the planks from clinkering:

- 161 replies
-
- 2
-
-
- pegasus
- victory models
- (and 1 more)
-
So glad you reposted the Pegasus log, I refered to it quite a bit during my build and now I can continue to do so. I just hope she looks even half as good as yours.
-
The San Fran does provide a good experience for first attempts at planking. i know it was quite a learning curve when I planked mine. I found you can plan as much as you like, but sometimes you just have to let the planks run the way you want them to, especially with the thinner veneers. You've made good progress, keep up the good work.
-
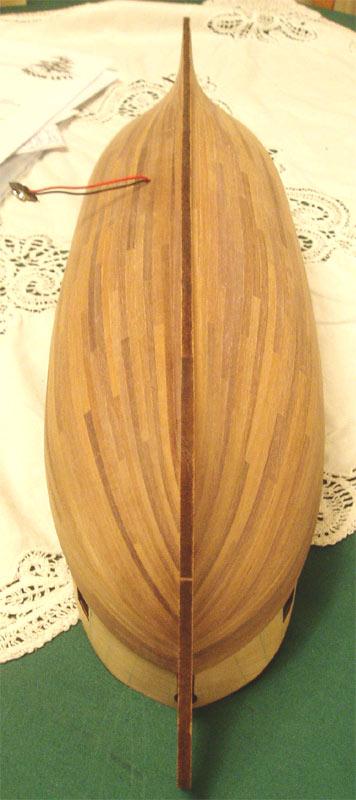
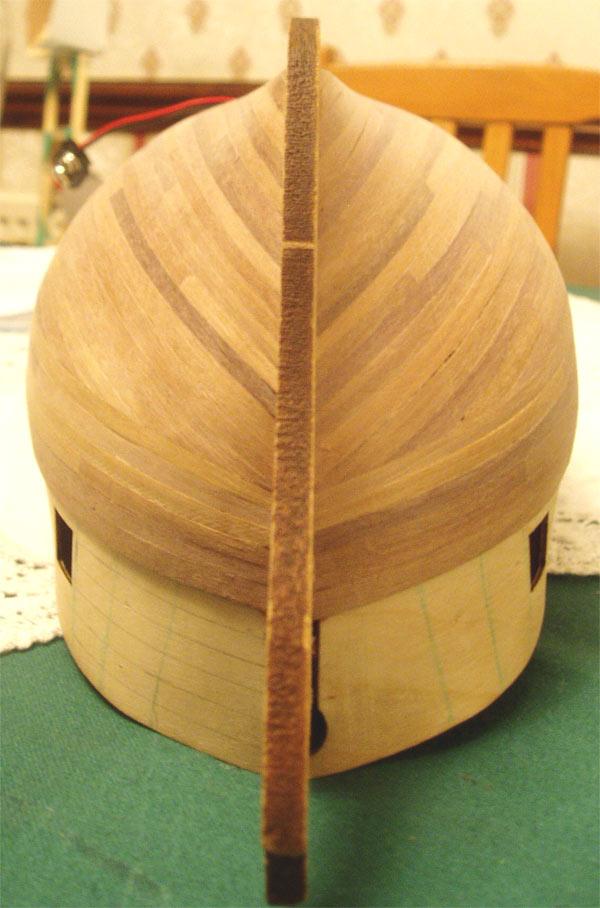
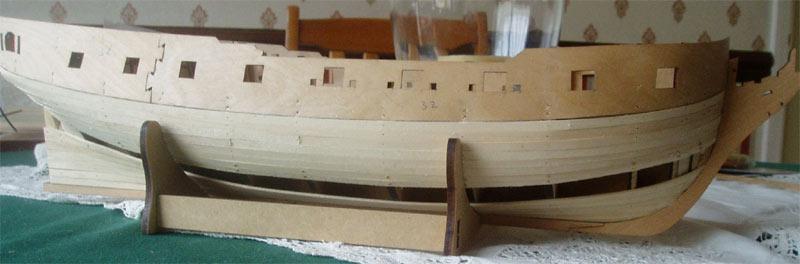
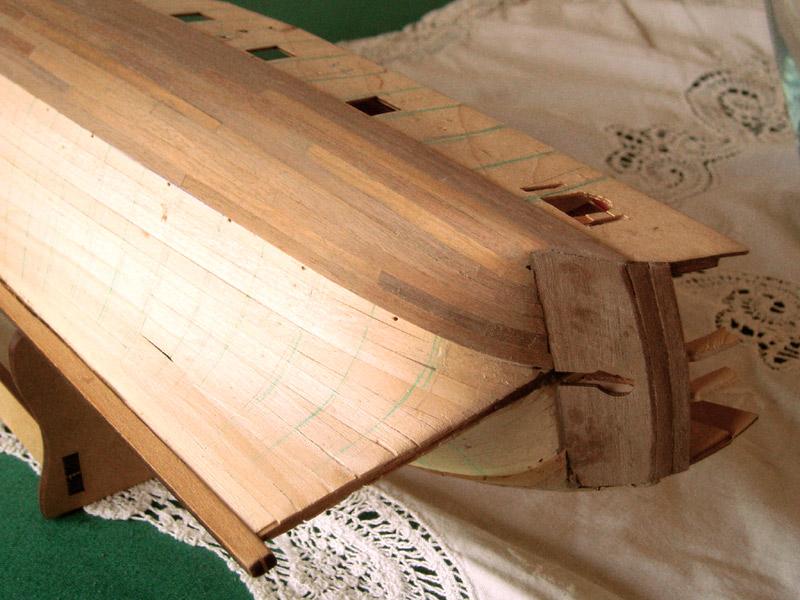
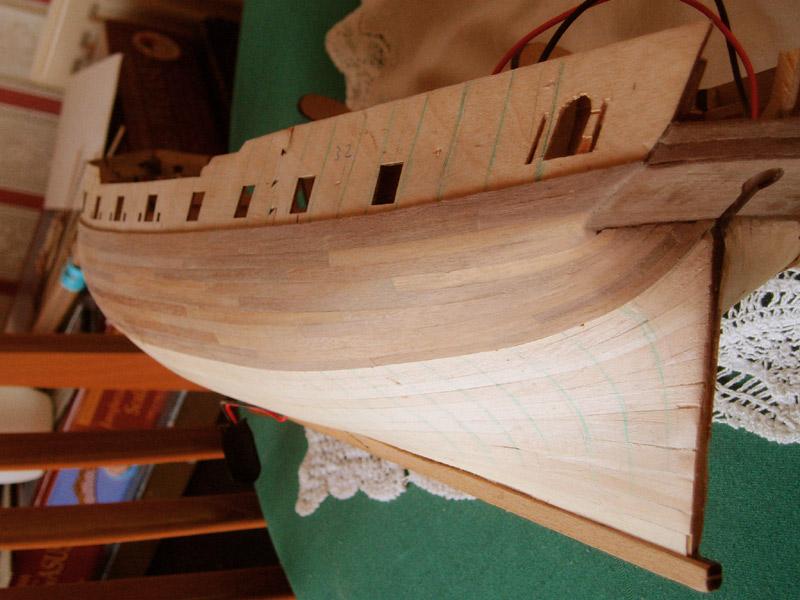
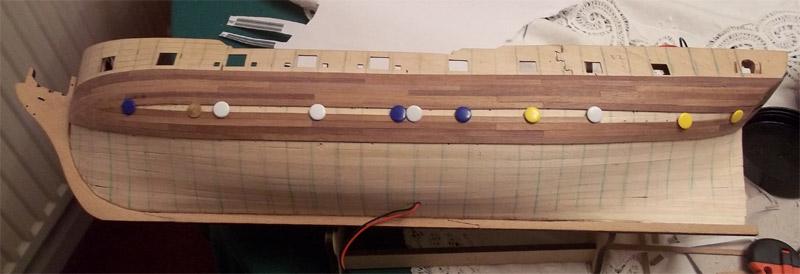
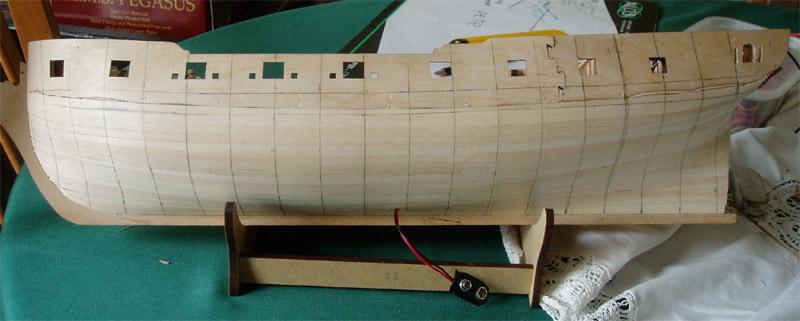
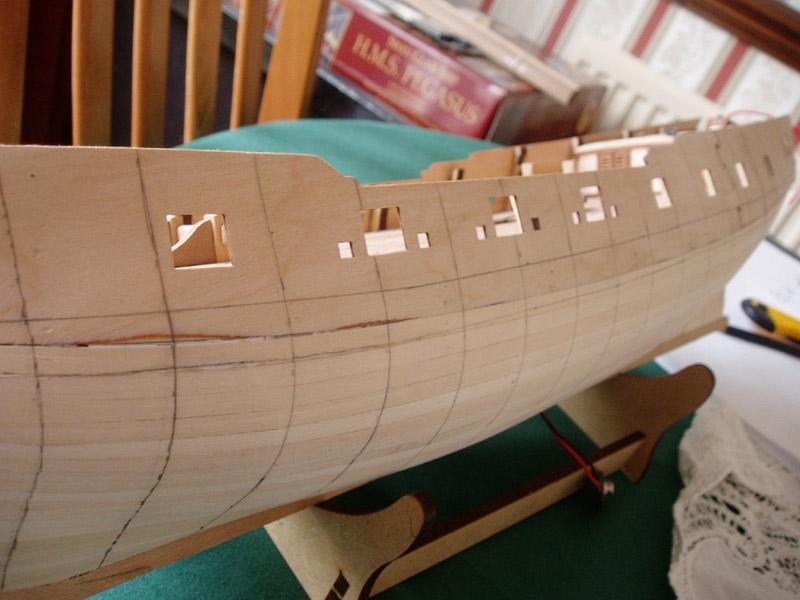
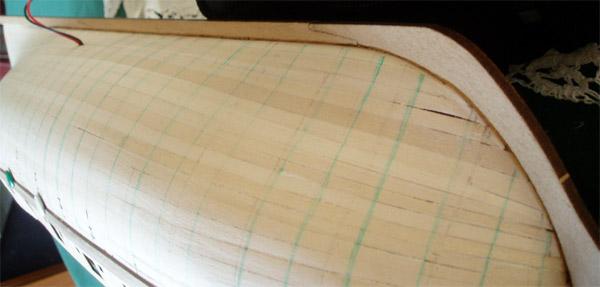
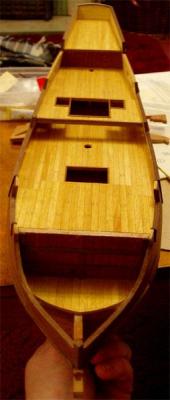
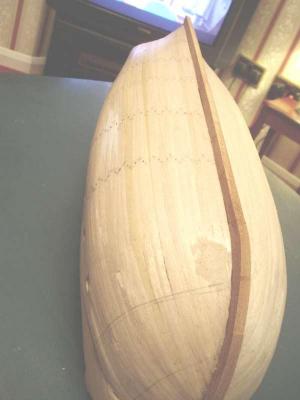
Once planking was complete, it was sanded smooth: I decided to do the second planking in scale lengths. with th ehelp and advice of another member, I marked out the planking pattern on the hull:
- 161 replies
-
- 2
-
-
- pegasus
- victory models
- (and 1 more)
-
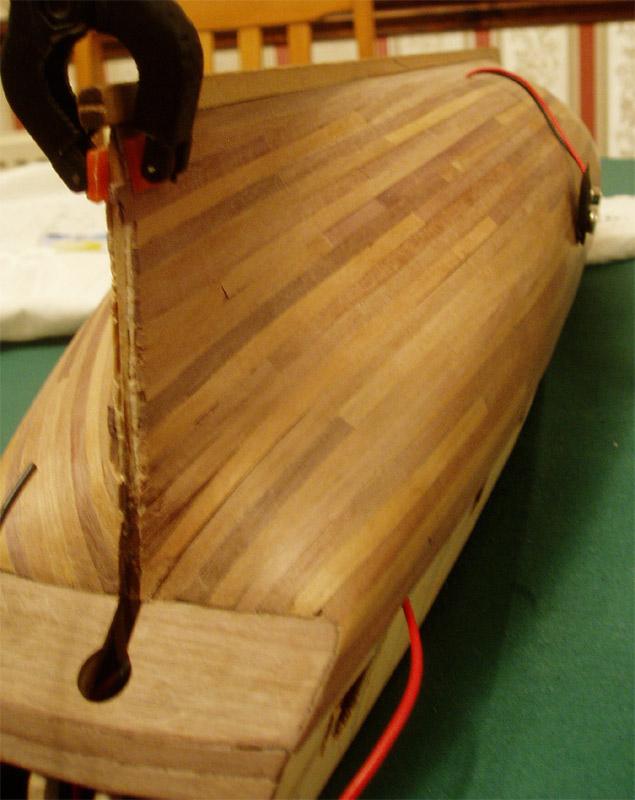
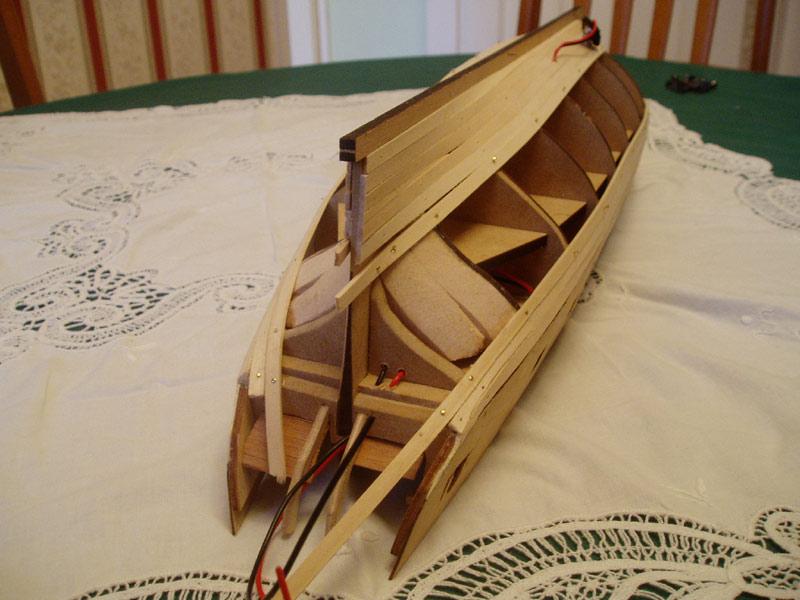
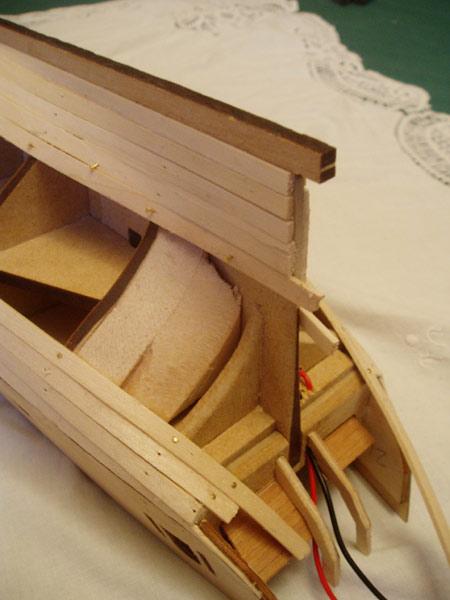
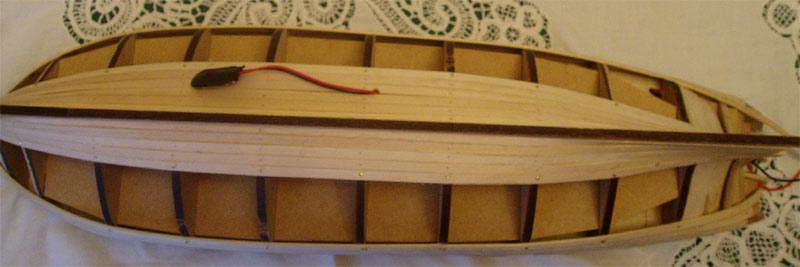
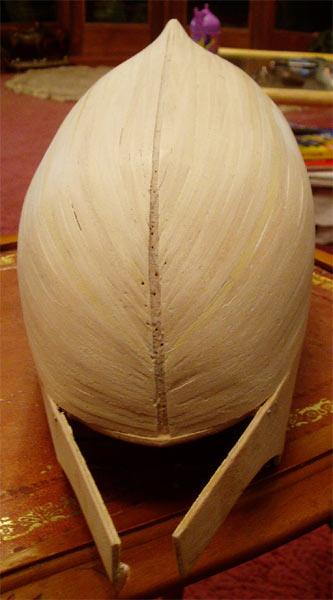
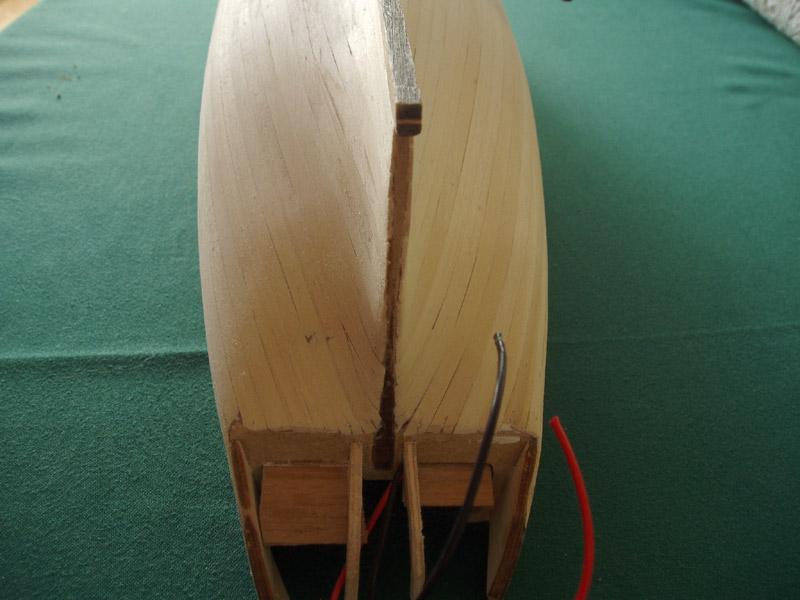
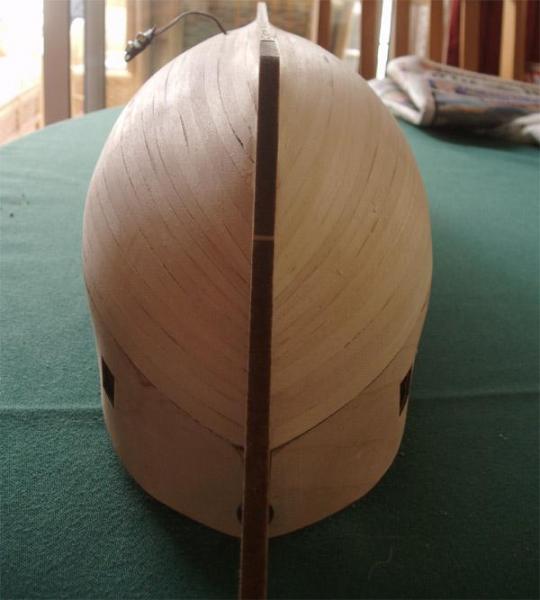
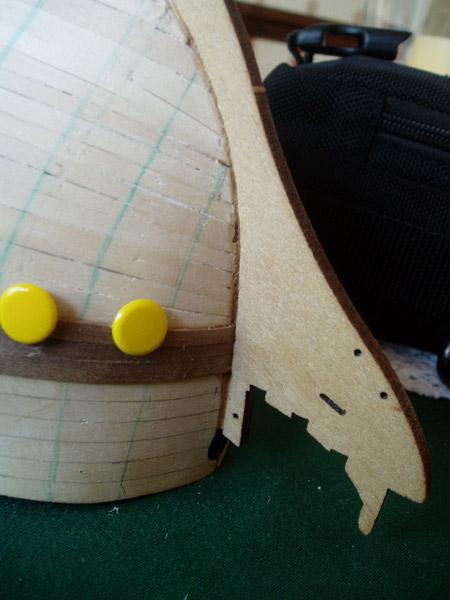
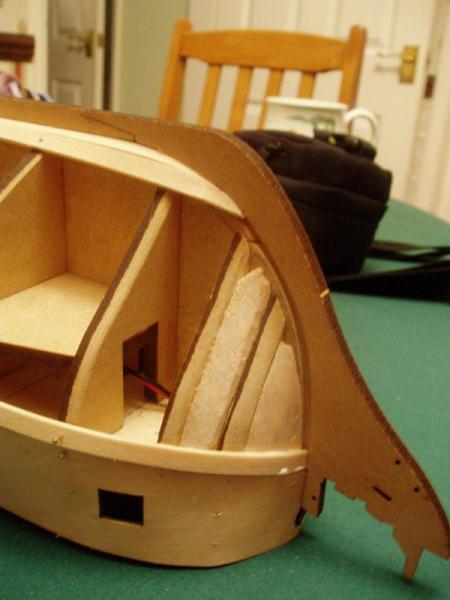
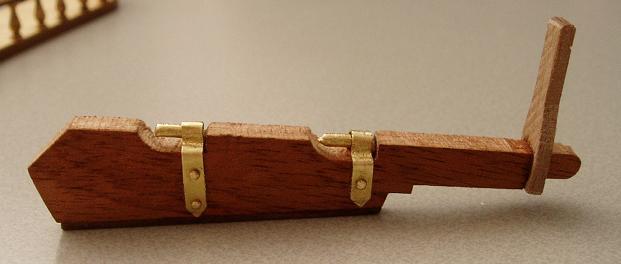
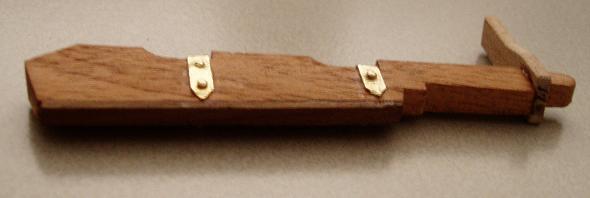
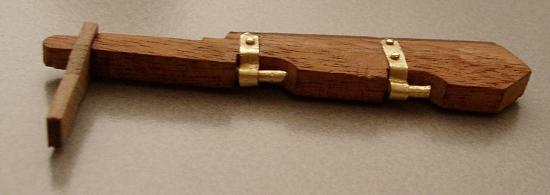
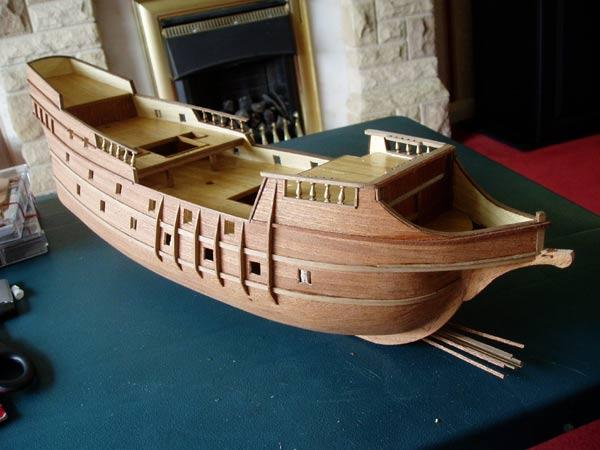
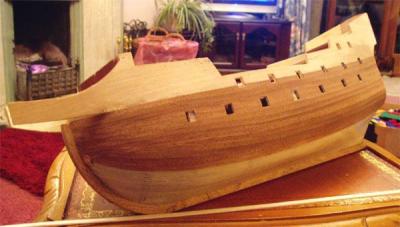
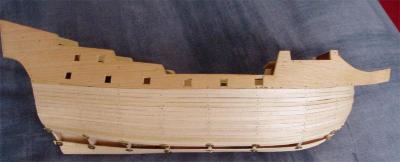
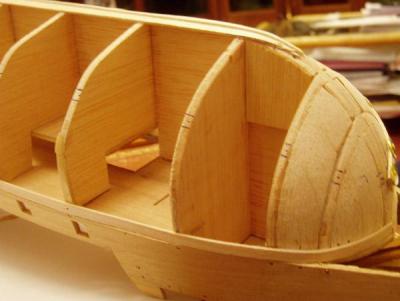
My second build is the Pegasus by Victory Models. I wanted something a bit more challenging, but not something that would be out of my skill range. i also love the lines of the Swan Class ships. Some of you may remember that I modified the stern to be able to create the captains cabin. The rear bulkheads were redesigned to make this possible. I also wanted to fit out the forcastle and I have incorporated led lighting in both areas. Unfortunately I can't find the first set of photos, so this log starts with the first planking. With this build I decided to have a go at making a rabbet and bearding line:

- 161 replies
-
- 3
-
-
- pegasus
- victory models
- (and 1 more)
-
Thanks Sherry, I missed your post amongst all my updates! Posting the log is certainly bringing back some memories, I can remember you giving me advice in my old log Arthur.
-
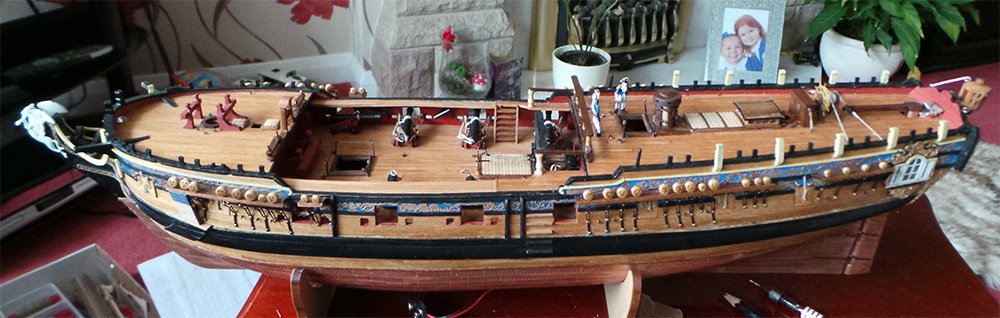
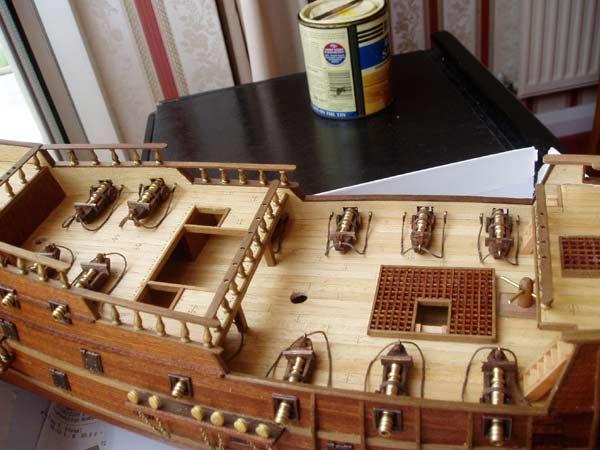
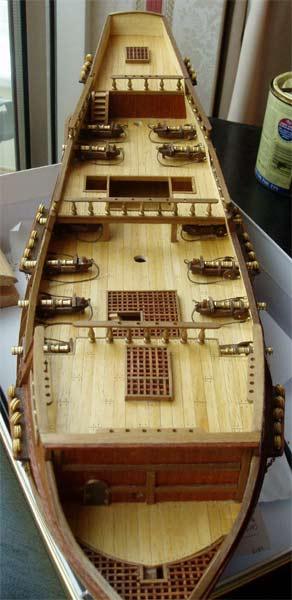
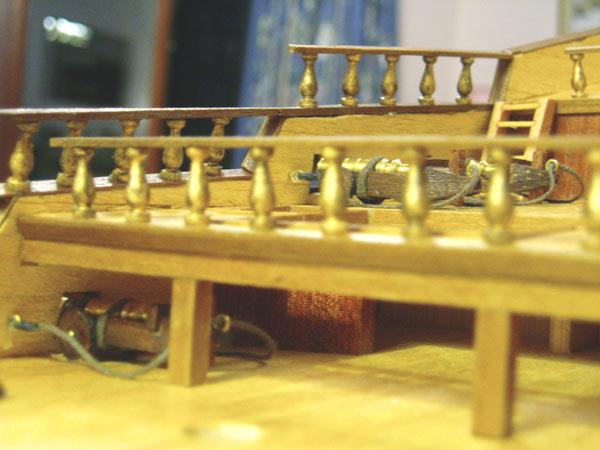
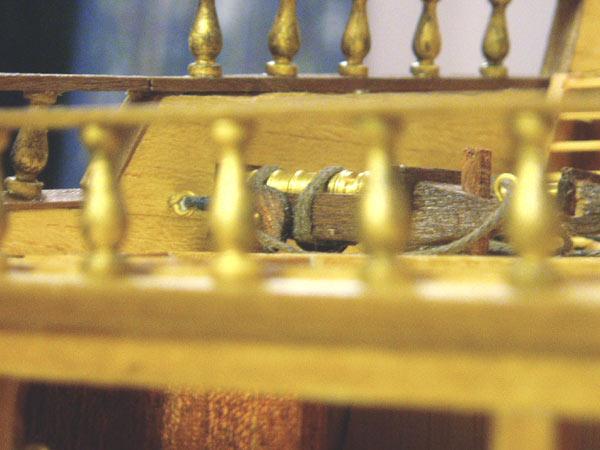
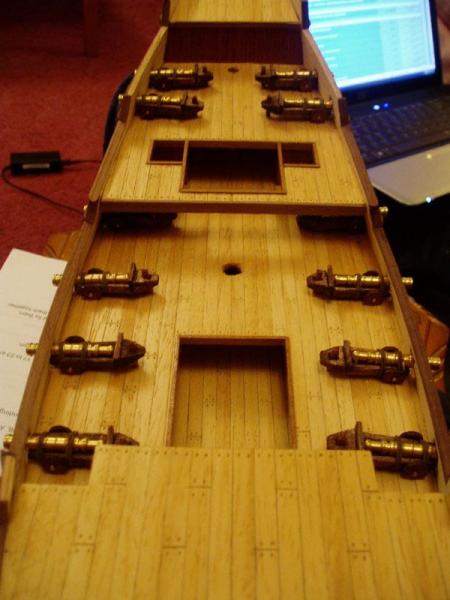
Starboard side cannons in place: Port side being attached: With gratings, capstan and stairs in place alongside cannons:

- 122 replies
-
- 2
-
-
- finished
- artesania latina
- (and 1 more)
-
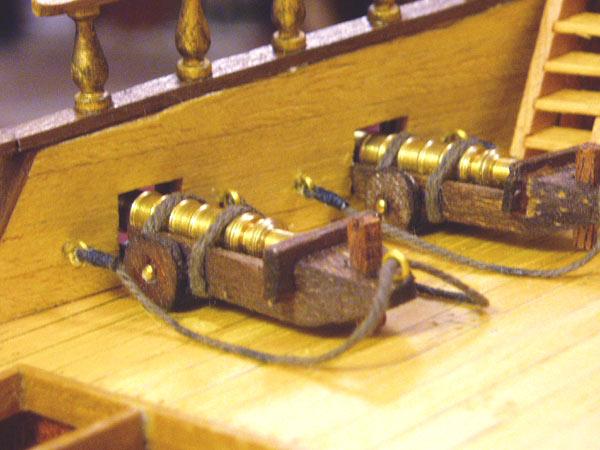
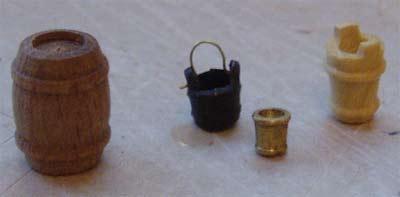
Comparing the buckets against the cannons to decide which ones I wanted: Cannons attached to the deck, complete with breaching ropes:


- 122 replies
-
- 2
-
-
- finished
- artesania latina
- (and 1 more)
-
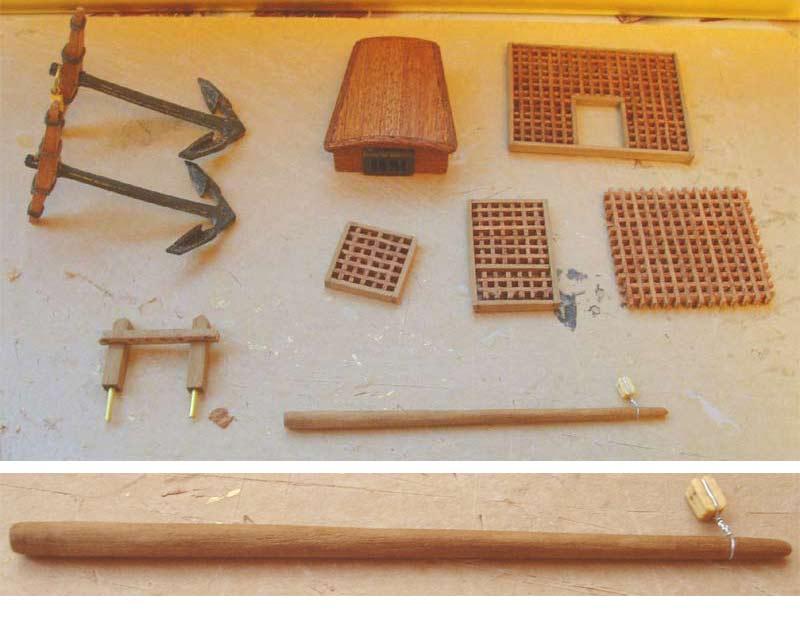
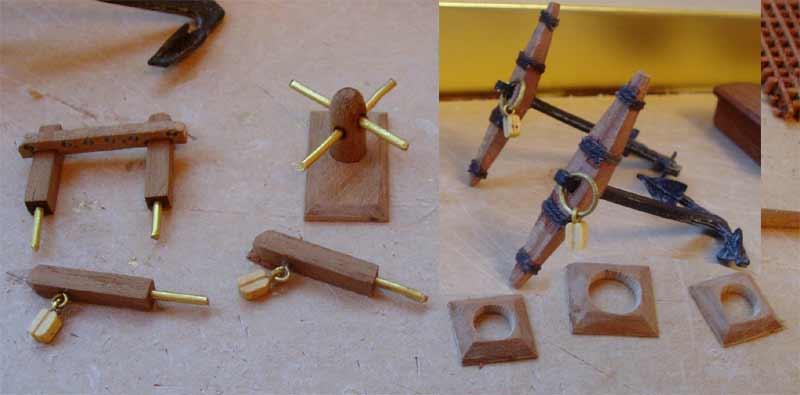
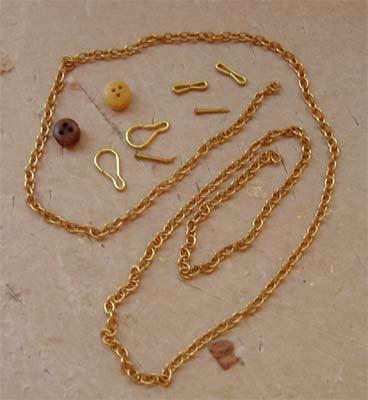
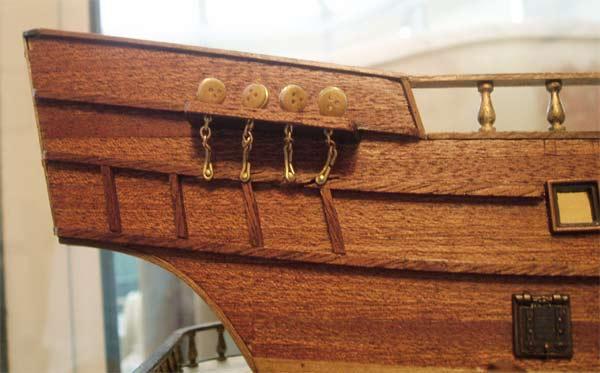
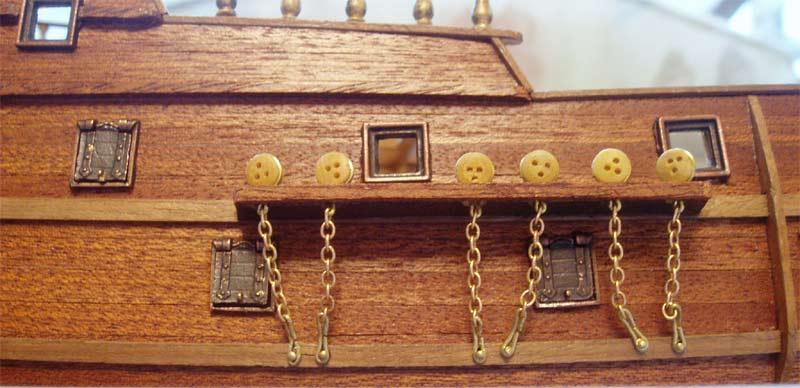
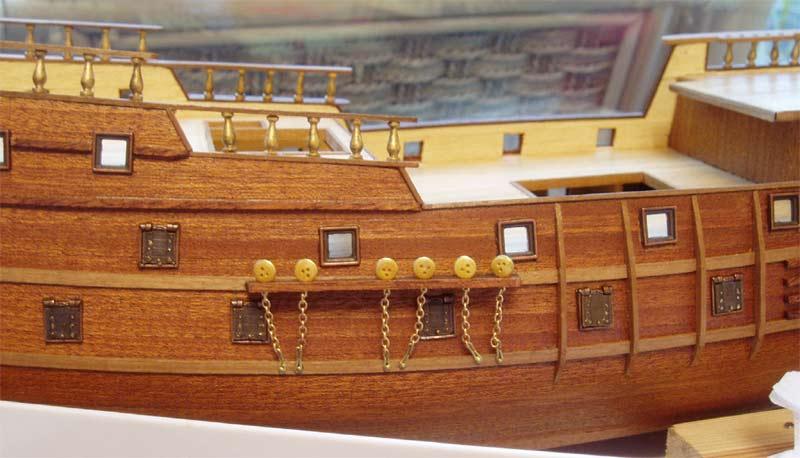
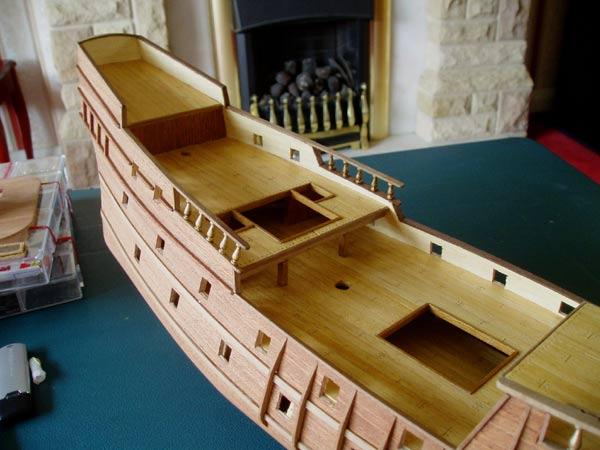
Now the fun part, making the fittings. Here the capstan, catheads, bitts, anchors and mast rings made: It's been that long ago, I can't remember what some of the parts are called! Here we have the anchors and bitts again, helsmans shelter? gratings and the stern boom? I didn't like the method that was to be used for attaching the deadeyes for the ratlines, the instructions said to use thread. Again, that wasn't good enough for me, so I bought some brass strops and chain and I ordered some light wood deadeyes which I preferred over the walnut ones: While I was in the buying mood, I also purchased some buckets, and barrels. i wasn't sure what size buckets to have so I bought a variety for comparison: Deadeyes in place with the much better looking strops and chain:

- 122 replies
-
- 2
-
-
- finished
- artesania latina
- (and 1 more)
-
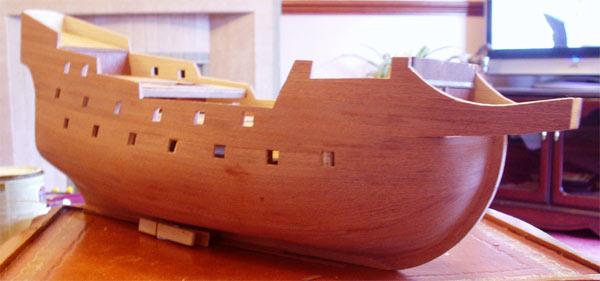
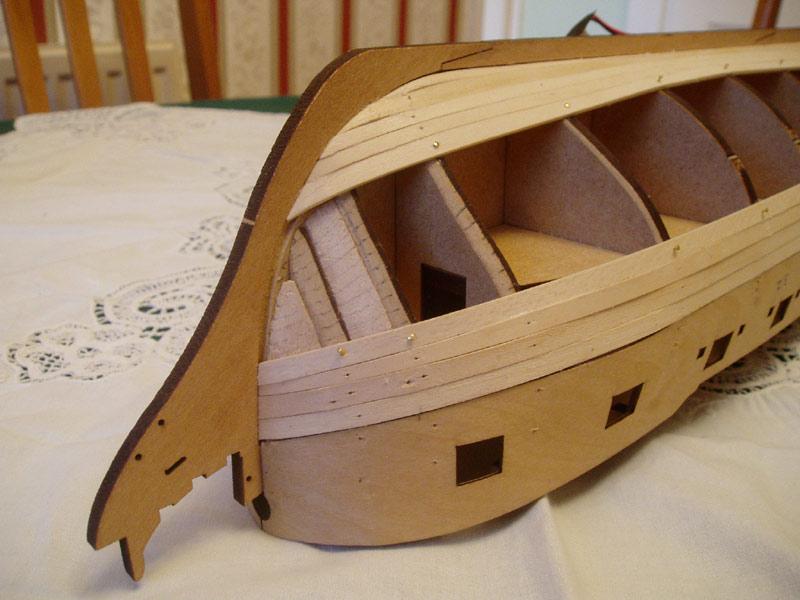
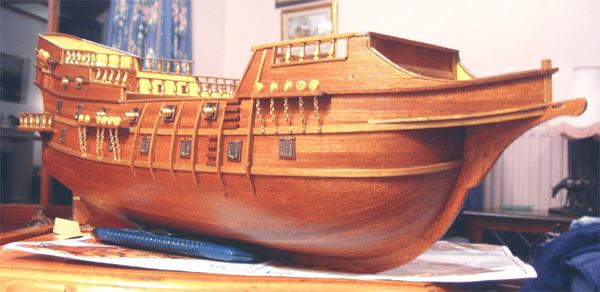
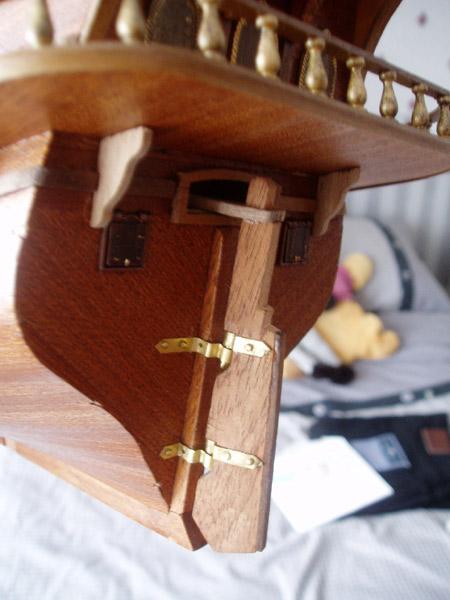
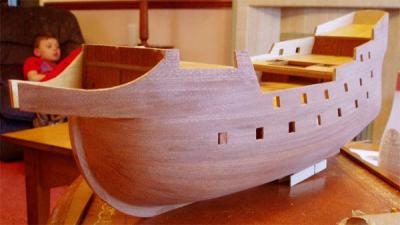
Did I mention attaching the rudder was a tight fit?! General views of the build so far: Gun ports and channels and steps fitted:


- 122 replies
-
- 2
-
-
- finished
- artesania latina
- (and 1 more)
-
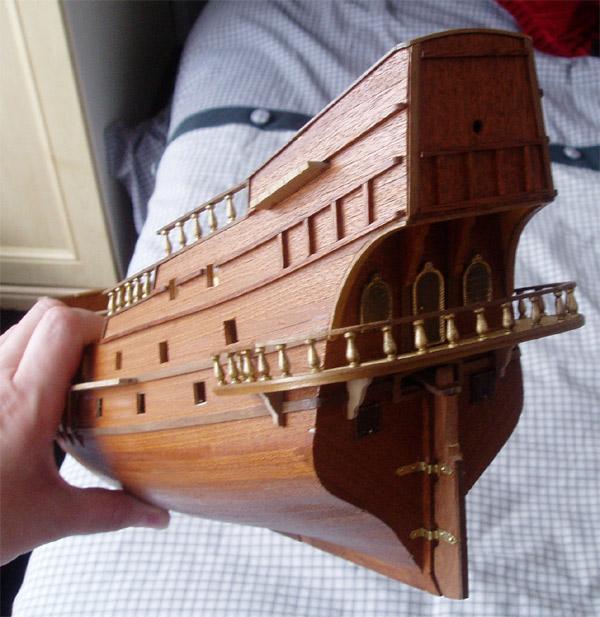
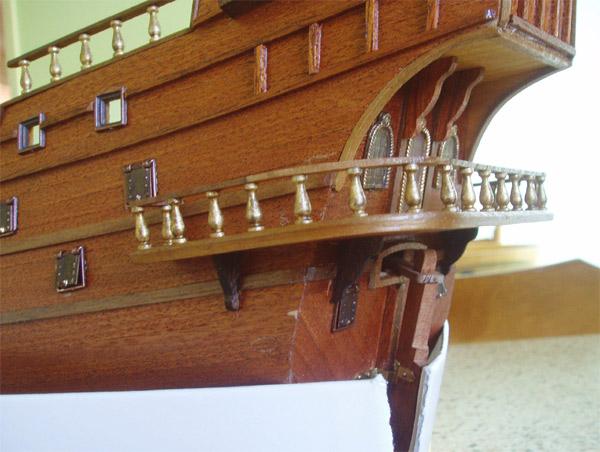
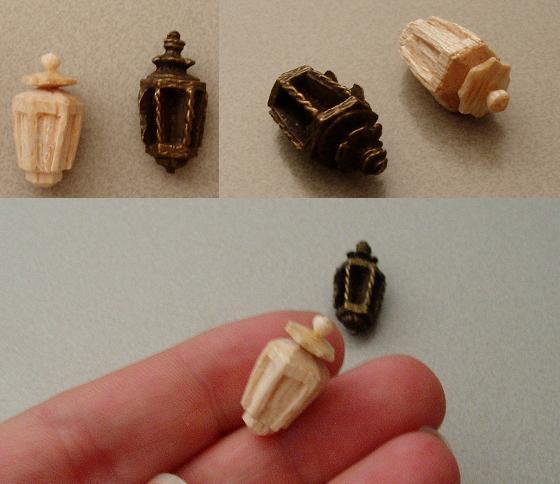
I didn't like the metal lantern either (what a surprise, what did I like? ) so I made another from balsa: Next I varnished the hull in clear varnish: Then came time to fit the balcony and its supports: And the metal decoration at the stern:

- 122 replies
-
- 1
-
-
- finished
- artesania latina
- (and 1 more)
-
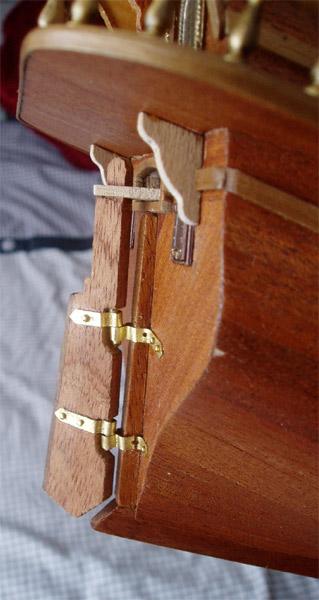
Next was making the balcony and rudder. And yes the brass pins were a little tight when it came to attaching the rudder, I'll remember to check that the next time!
- 122 replies
-
- 1
-
-
- finished
- artesania latina
- (and 1 more)
-
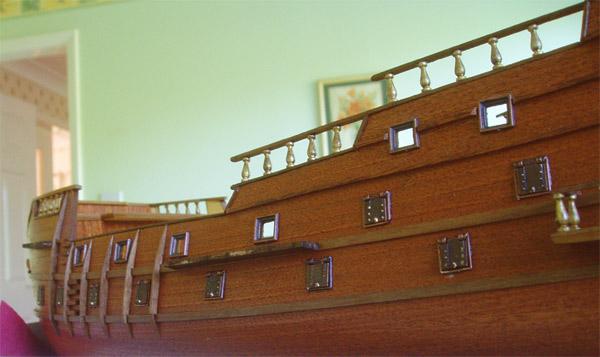
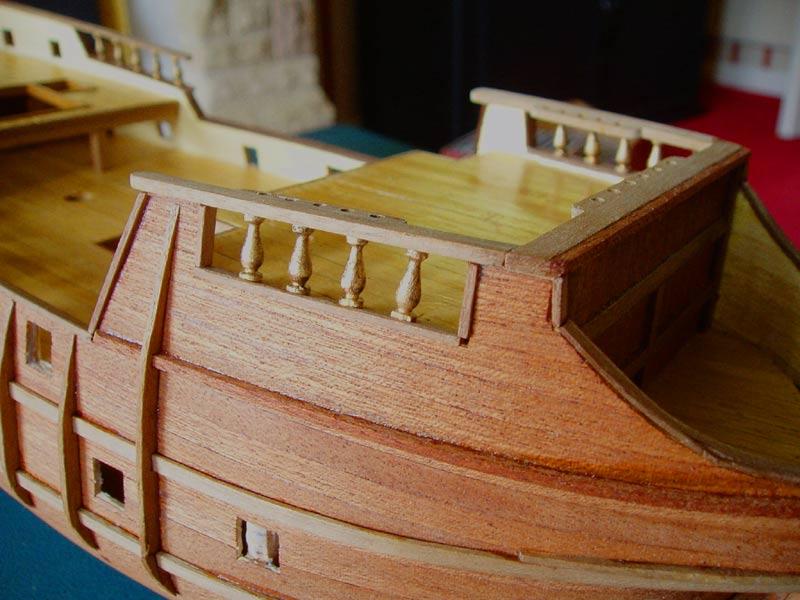
Next i added the little shaped posts and the rubbing rails and other bits and pieces on the hull:

- 122 replies
-
- 1
-
-
- finished
- artesania latina
- (and 1 more)
-
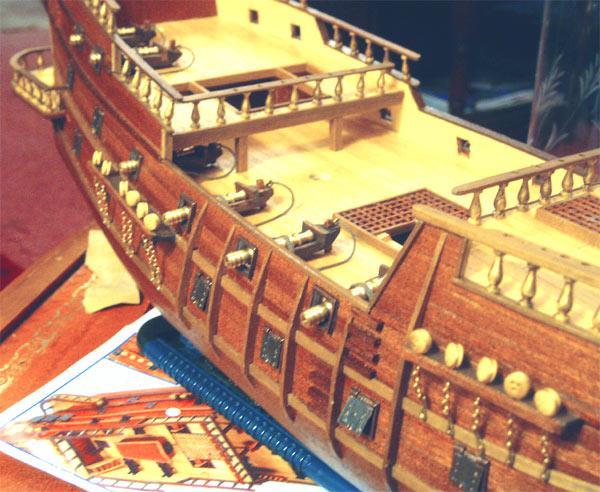
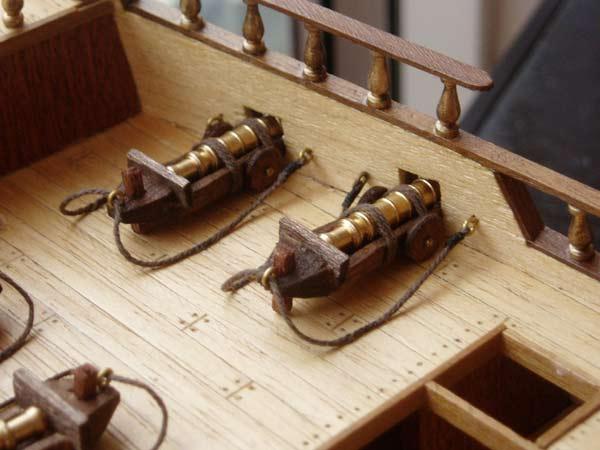
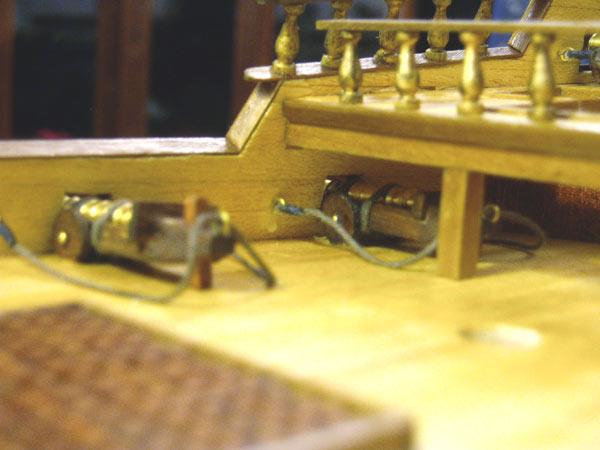
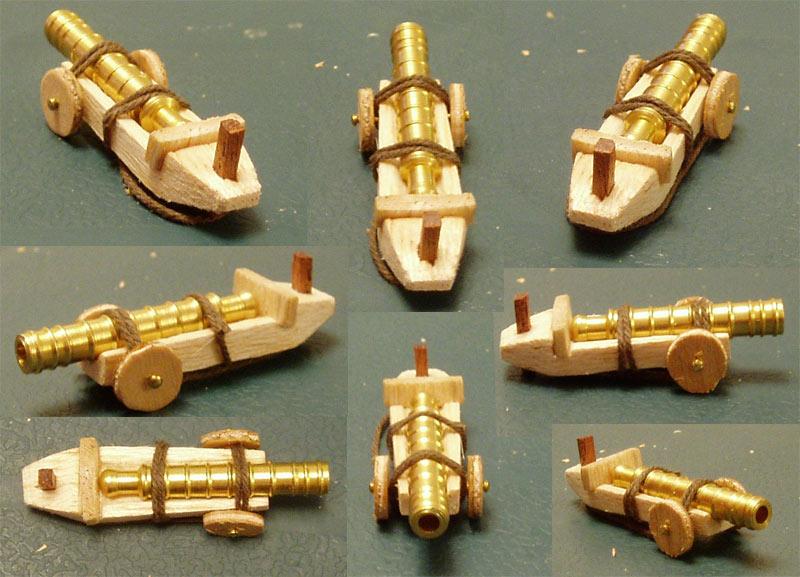
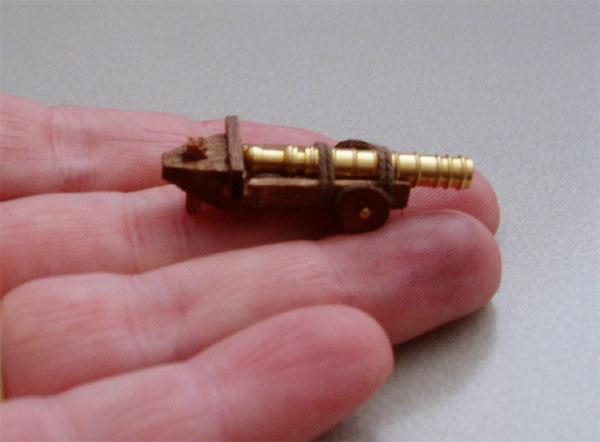
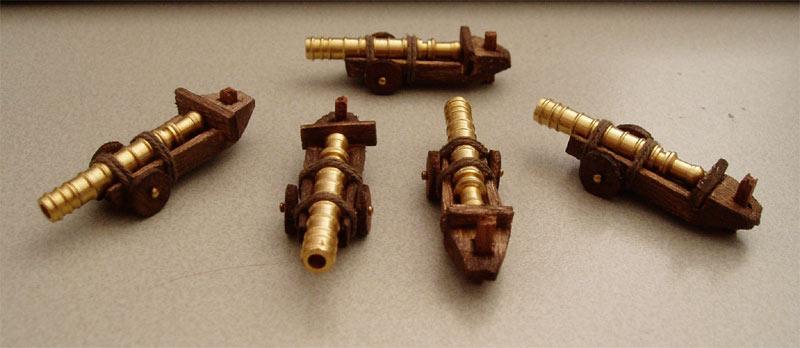
Thanks for looking in on my log guys, your continued support is always welcome. Now where was I? Ah yes, planking finished and decorations attached, I moved on to the guns and their carriages. As I mentioned in my first post, I didn't like the carriages provided, infact they were more like sleds, so after some discussion with other members and some research, I came up with a more probable design., based loosley on the Mary Rose cannon carriages. They were made out of balsa which was easy to carve, but also very fragile, but I liked the end results. First prototype, unstained: First five stained and completed with rope bindings: Size comparison: In position on the deck: Next I painted the brass shields and decorations:

- 122 replies
-
- 1
-
-
- finished
- artesania latina
- (and 1 more)
-
Now was the easy part, planking the bulwarks, I breathed a sigh of relief, but the planking wasn't as bad as I'd feared! Now it was time for the fun parts, I completed the bow and added the capping rails: Also the wales, rubbing rails and other decoration:


- 122 replies
-
- 1
-
-
- finished
- artesania latina
- (and 1 more)
-
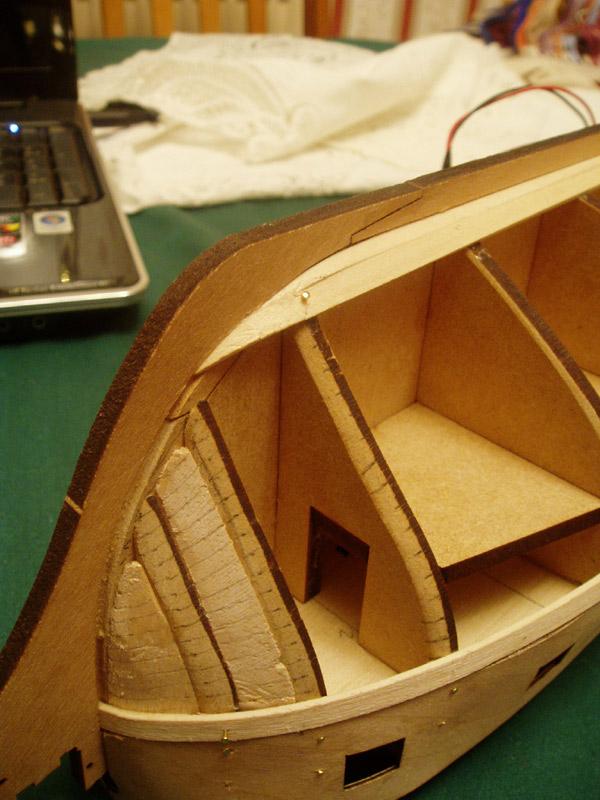
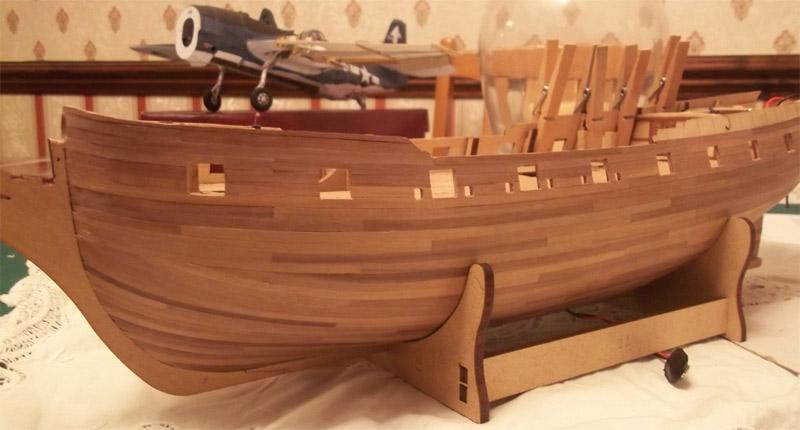
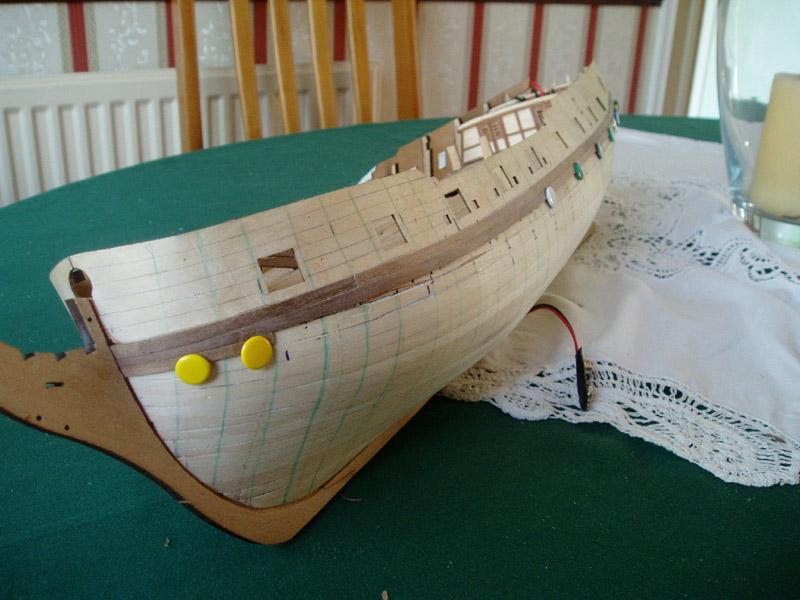
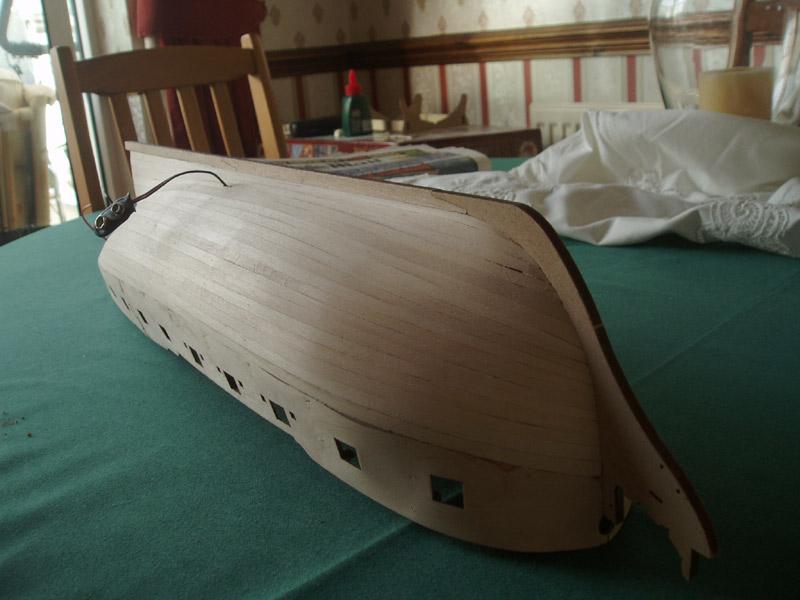
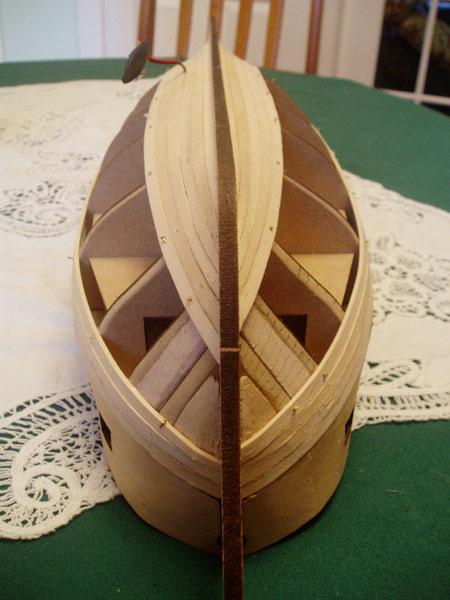
I quickly found that the markings I placed on the hull didn't help me at all and it was a case of 'make it up as I go along'! The first nine planks I didn't taper or tapered very little: It was here that I realised the planking wouldn't go as planned, the thin veneer really had to lie naturally along the hull, it couldn't as easily be shaped without it breaking. So I placed the next strips and let them lay naturally and trimmed them to fit: I continued planking, allowing the strips to follow the hull naturally:


-
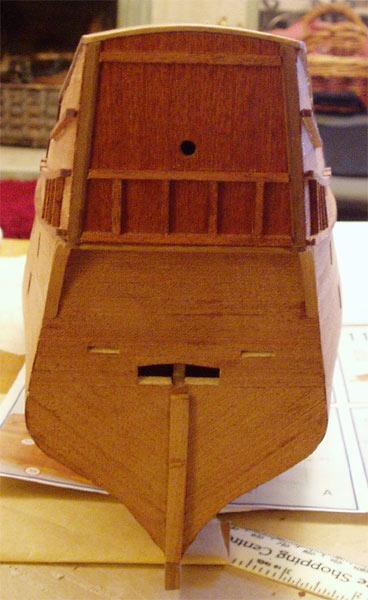
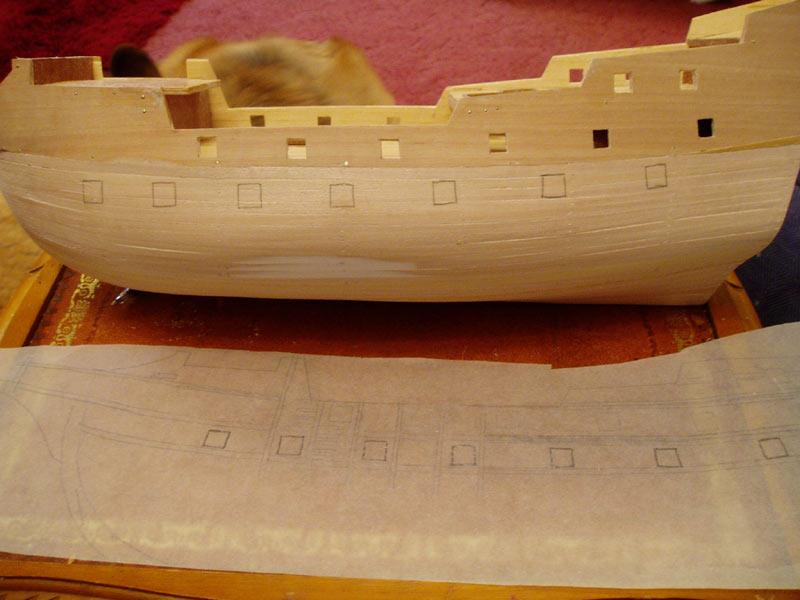
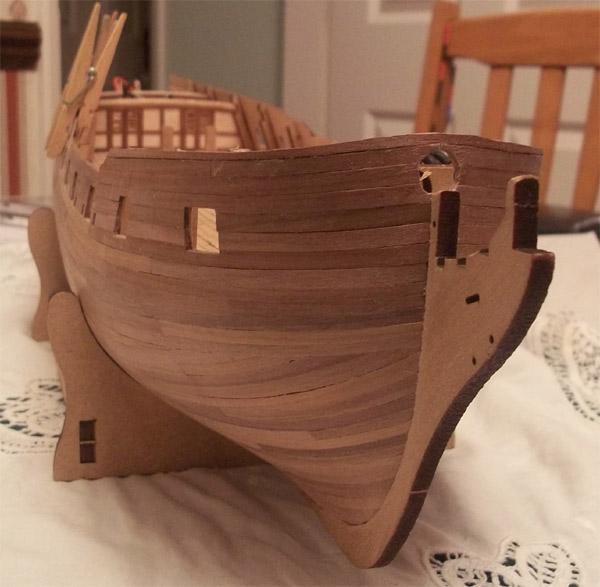
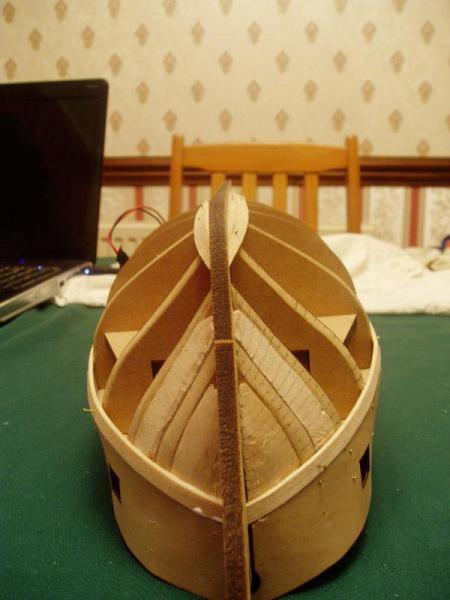
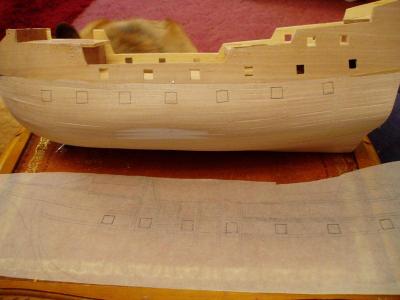
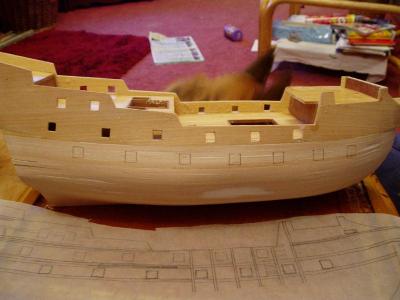
After ensuring a smooth surface I gave the hull a liberal coat of diluted PVA glue to ensure the planks were firmly attached in preparation for the gunports, I had to plan where to place the gunports, I used a piece of tracing paper and traced the upper part of the ship and the location of the ports and transferred this to the ship, then cut the ports out: Next I attached the keel: Thank planked the transom: And added the rudder post: Now it was time for the second planking. I followed the same rules at the first planking by measuring and marking the sections, then placed the first strip of second planking tight up under the beak and let the plank run naturally along the hull to the stern:

- 122 replies
-
- 1
-
-
- finished
- artesania latina
- (and 1 more)
-
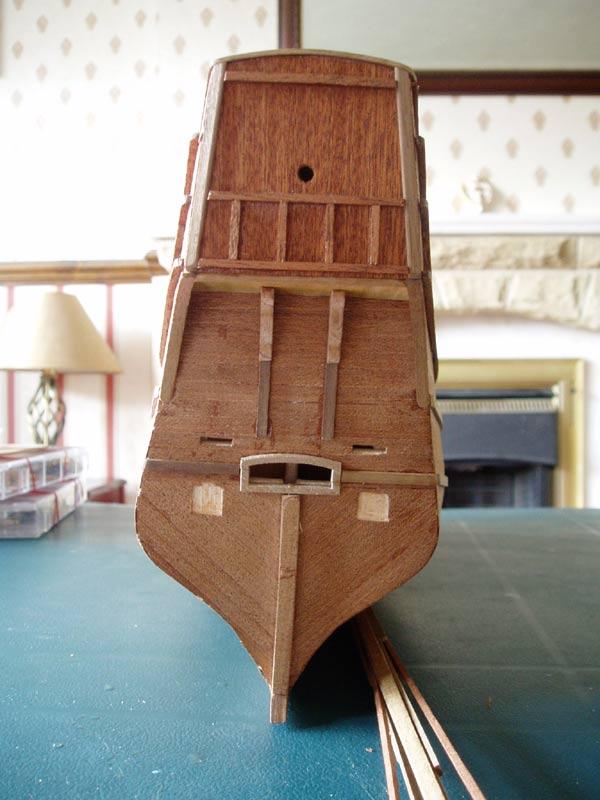
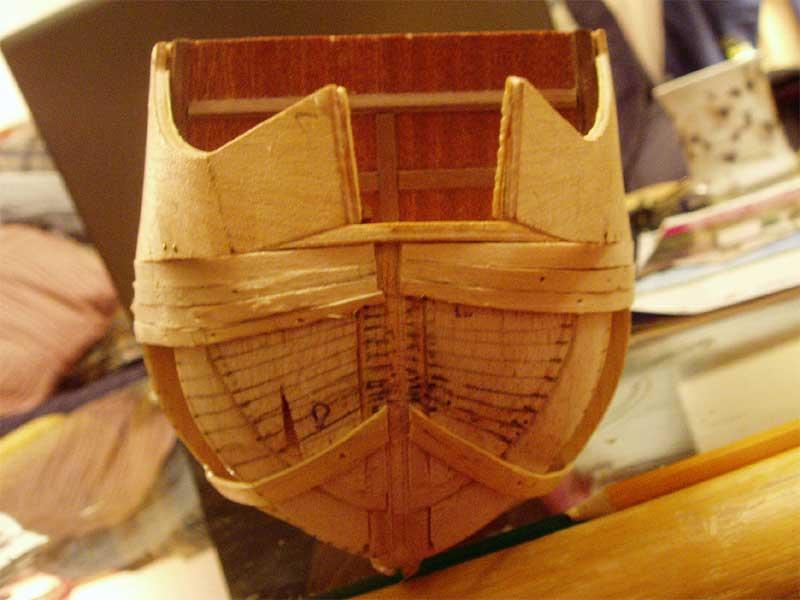
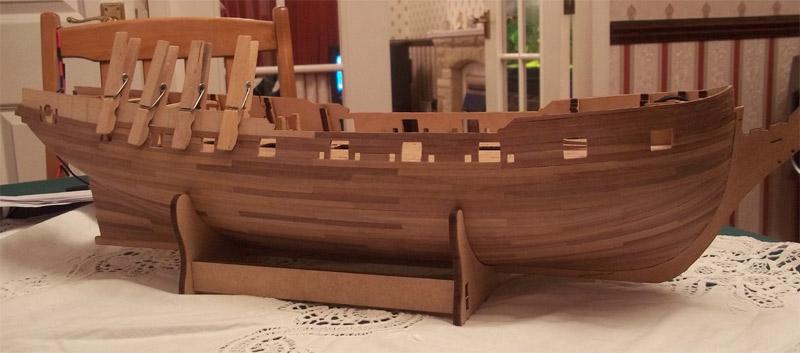
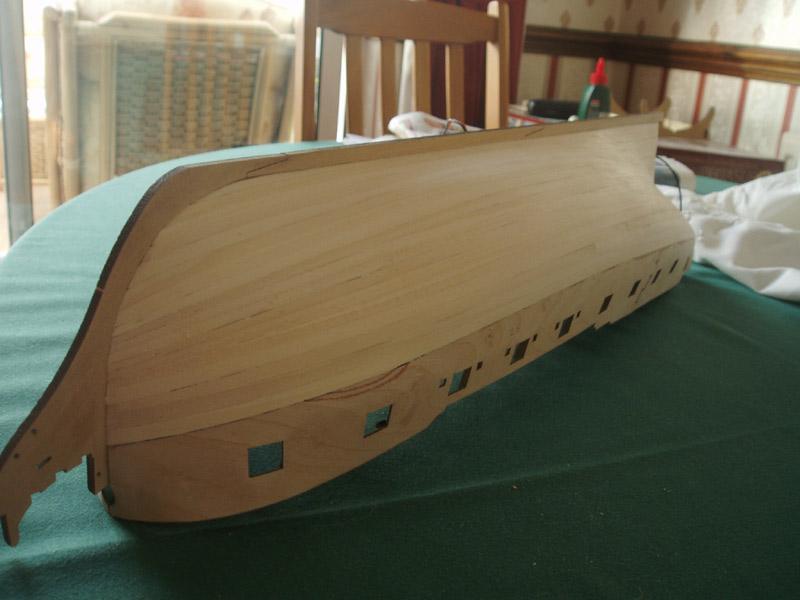
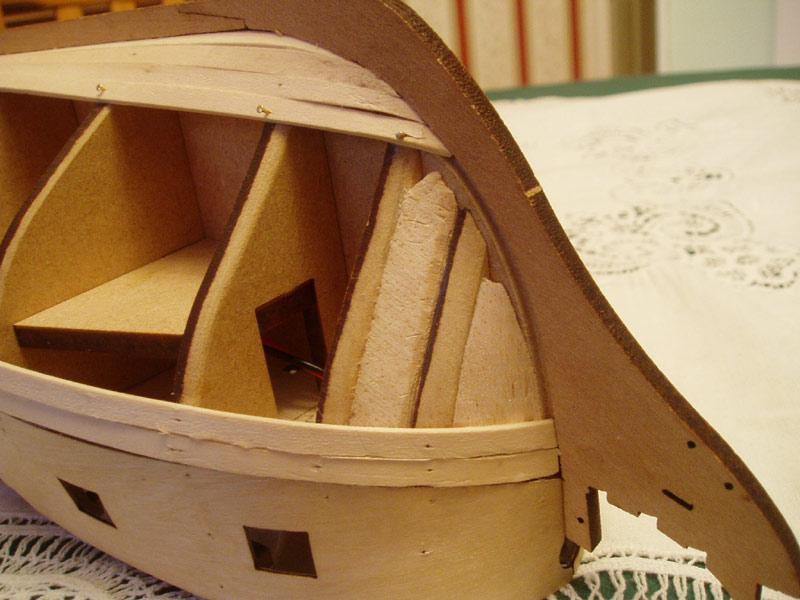
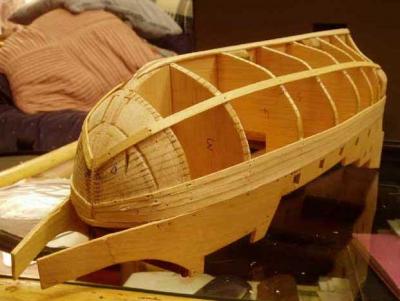
The stern needed less trimming: I continued planking the gap and when it was closed started the gap between the midway point and the keel: Once the planking was finished, I gave it a really good sanding. It is important to get the surface as smooth as possible to have a good base for the second planking, otherewise every dip and bump will be noticible when the second planking is finished:


- 122 replies
-
- 2
-
-
- finished
- artesania latina
- (and 1 more)
-
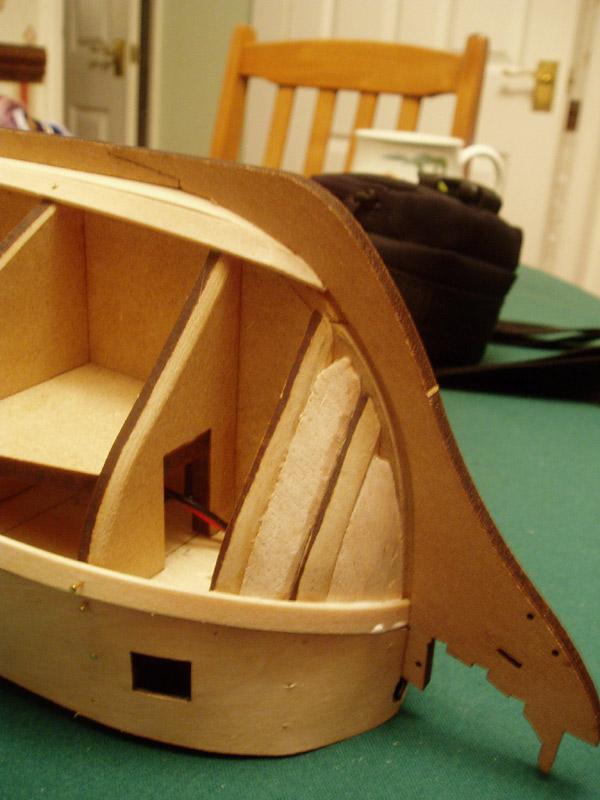
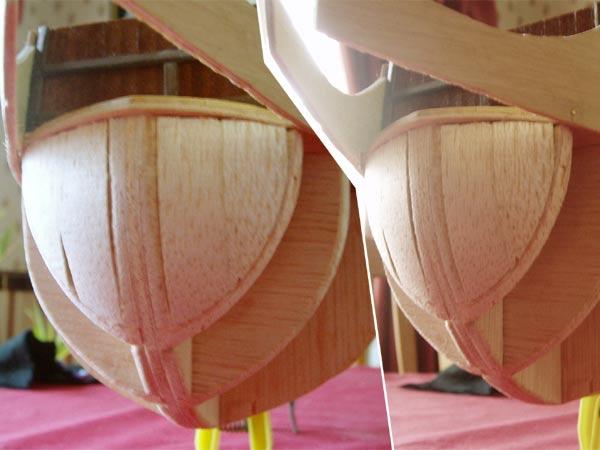
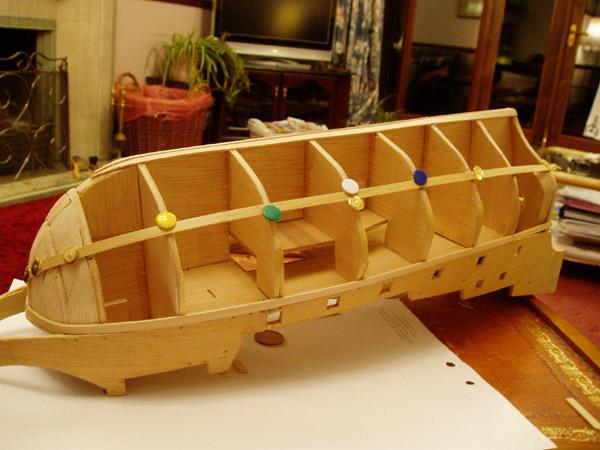
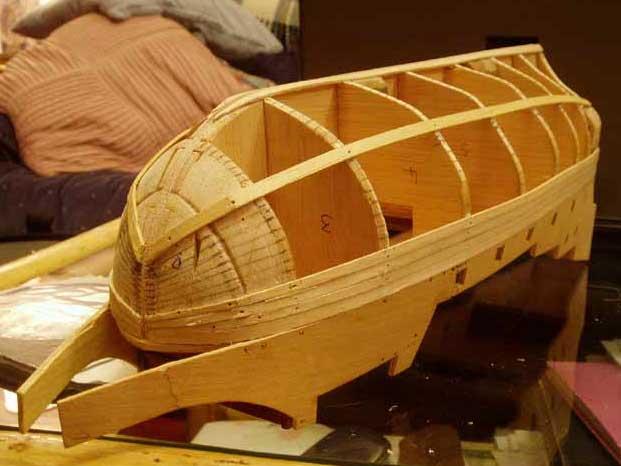
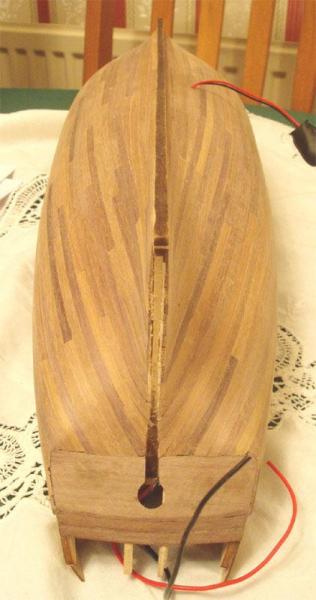
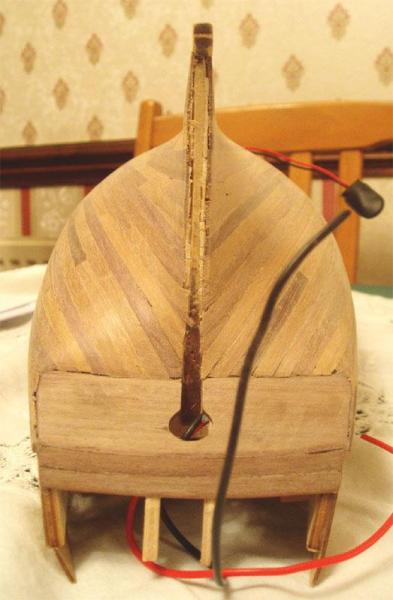
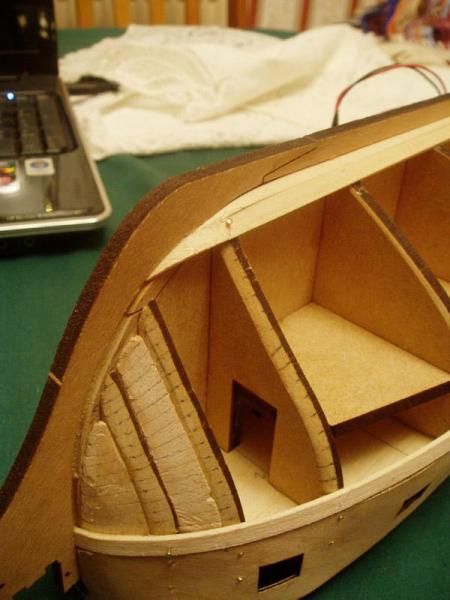
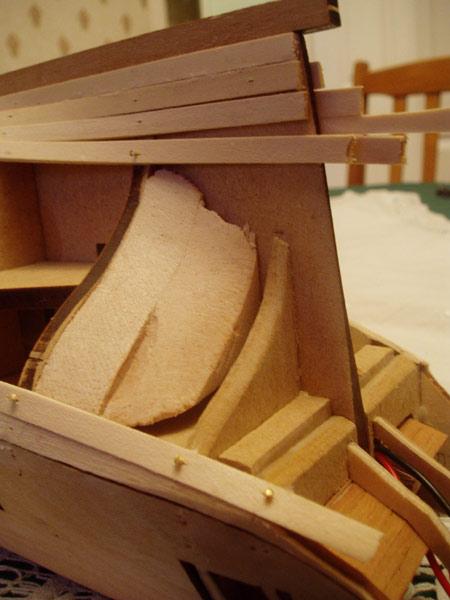
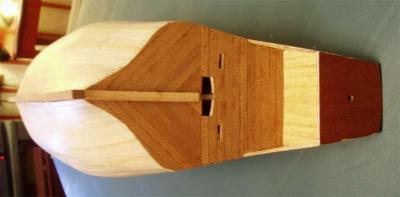
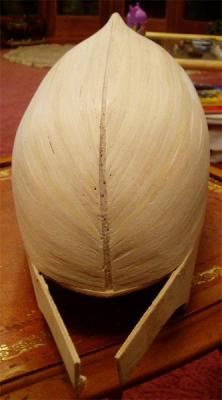
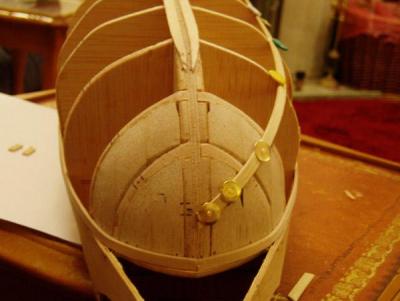
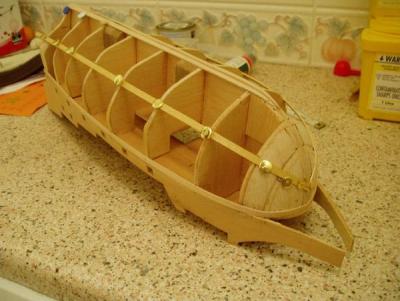
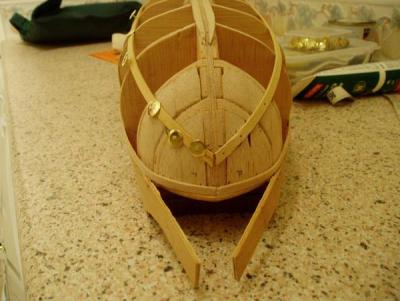
Now came time for planking. After reading the tutorial I followed the advice of several members and used balsa to fill in the bow and stern to give more surface area to attach the planking to: Next I attached the garboard planks (The first plank next to the keel) and the first planking strip below the bulwarks. Then I measured the halfway point on the bulkhead between these two planks: Then I attached a plank along this line: It was after posting these pics that a member pointed out that the ends finished too far up and would make the bow too crowded. I corrected this as you can see in the next pic: Next i measured the largest distance between the middle and the bulwark planks and divided it by the width of the planking material, this gave me the number of planks needed to fill that area. The next stage was to measure the other bulkheads and divide the result by the number of planks used, that then gave the width the plank needed to be trimmed to. Bearing in mind you shouldn't trim them to less than half their width. You can see how much the planks need to be tapered at the bow:


- 122 replies
-
- 1
-
-
- finished
- artesania latina
- (and 1 more)
-
Hi Robbyn, I'll try and do the planking stage for you. Hi John, Yes, I'm getting there, slowly but surely!
-
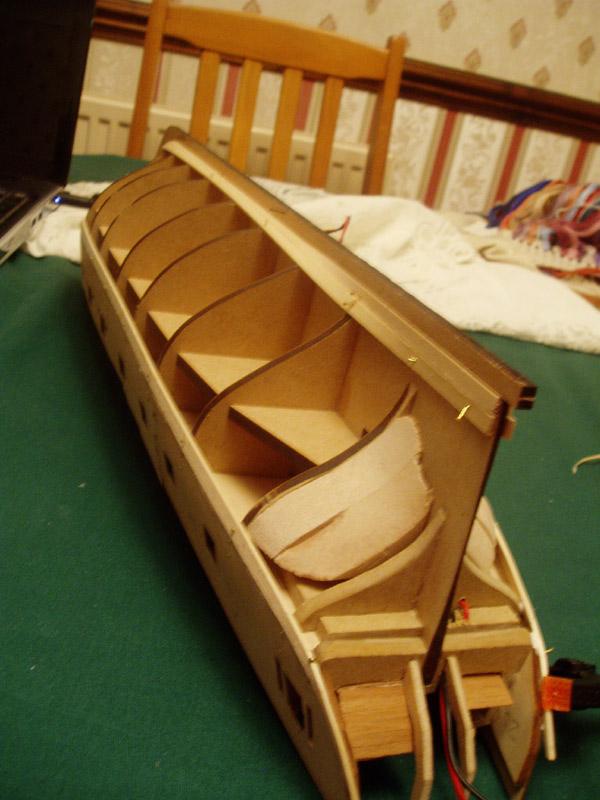
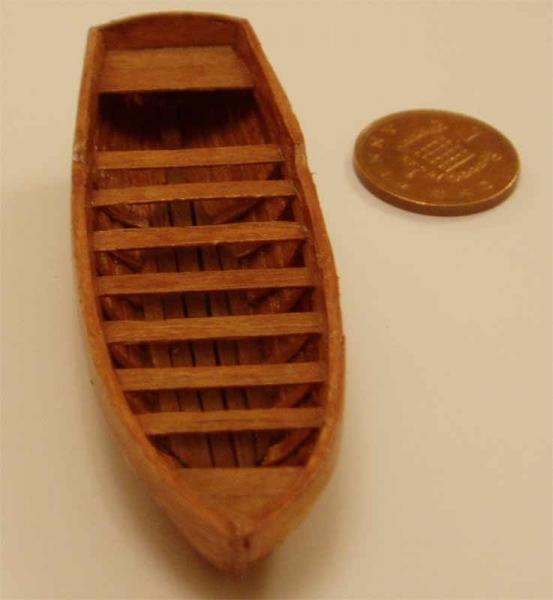
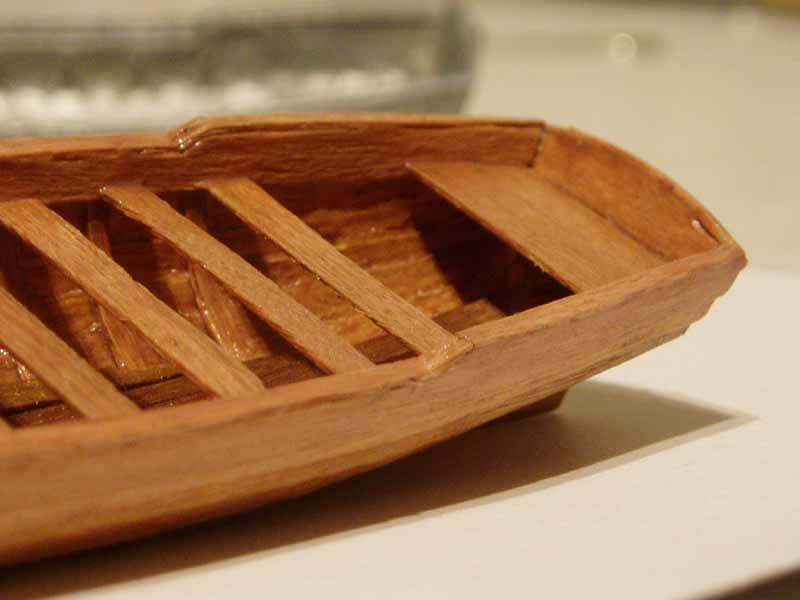
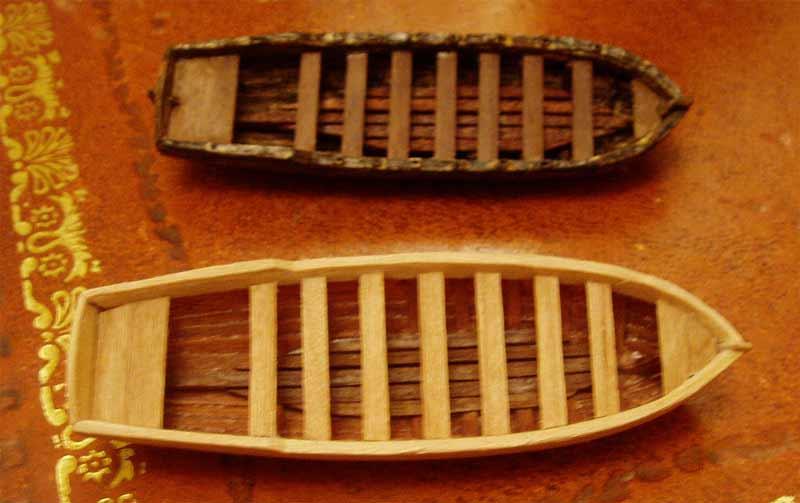
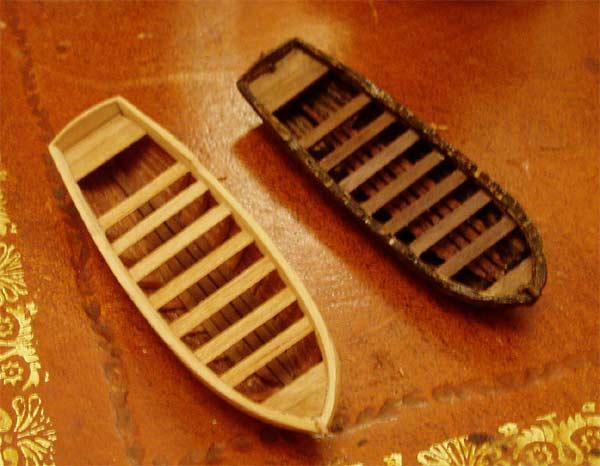
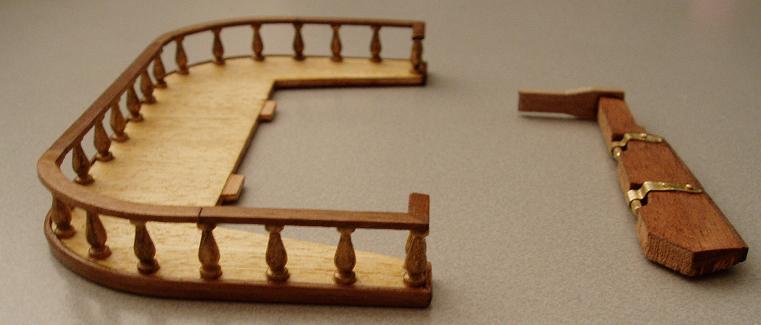
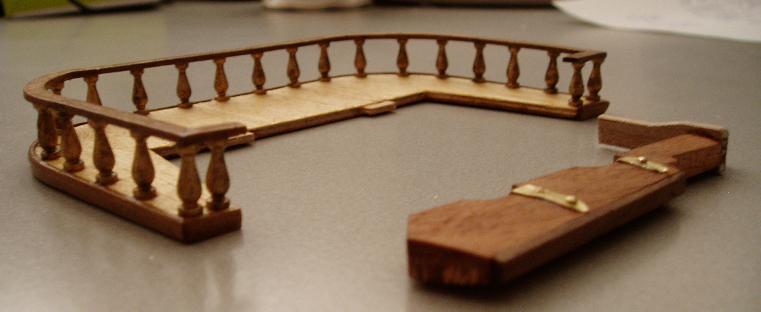
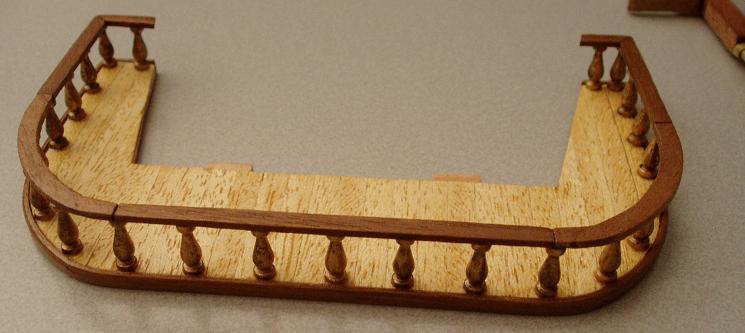
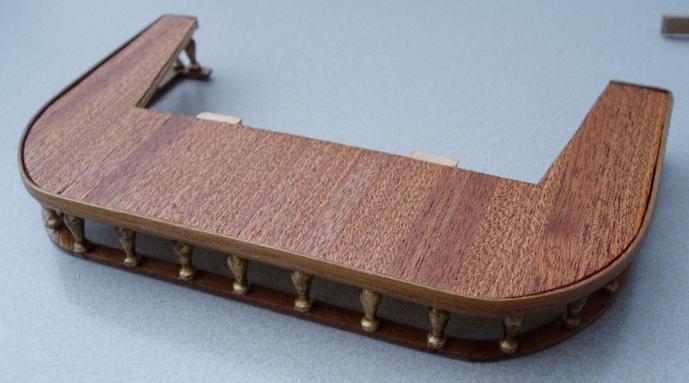
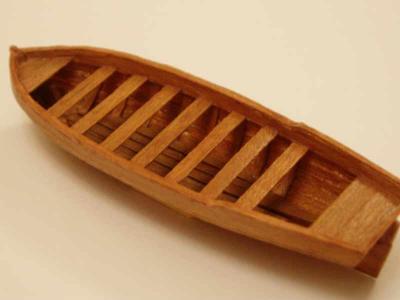
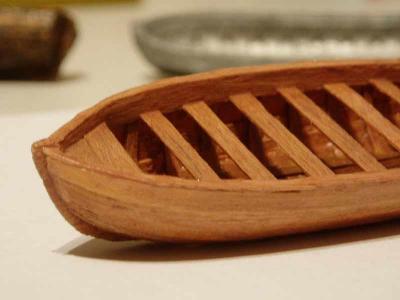
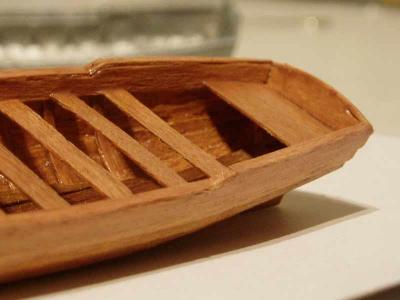
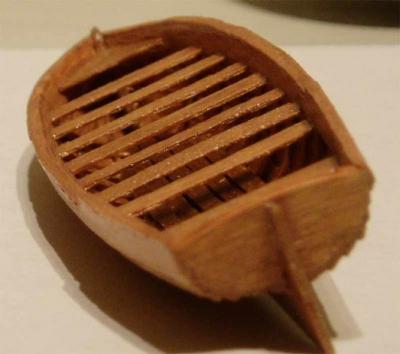
Finally the rest of the seats were added: Next to version number two: Stained and varnished.... Finished! Now I couldn't put it off any longer, it was time to start the planking, this is where the planking tutorial helped me.


- 122 replies
-
- 2
-
-
- finished
- artesania latina
- (and 1 more)