


Torstein
-
Posts
16 -
Joined
-
Last visited
Content Type
Profiles
Forums
Gallery
Events
Posts posted by Torstein
-
-
Just found myself a chair a few rows back. You are a comfortable 6-7 month ahead of me, so while I learn from your experience, you might still have clear memory of issues if I need help. Immediate edit - when. I need help.
Currently I’m no further than gluing the keel and cutting the rabbet line. Might add a couple of bulkheads tonight.
i see you’re airbrushing the hull - would it be possible to get a smooth finish using regular paintbrushes, or do I have to apply for further equipment funds from the admiralty? New gear is always fun...
-
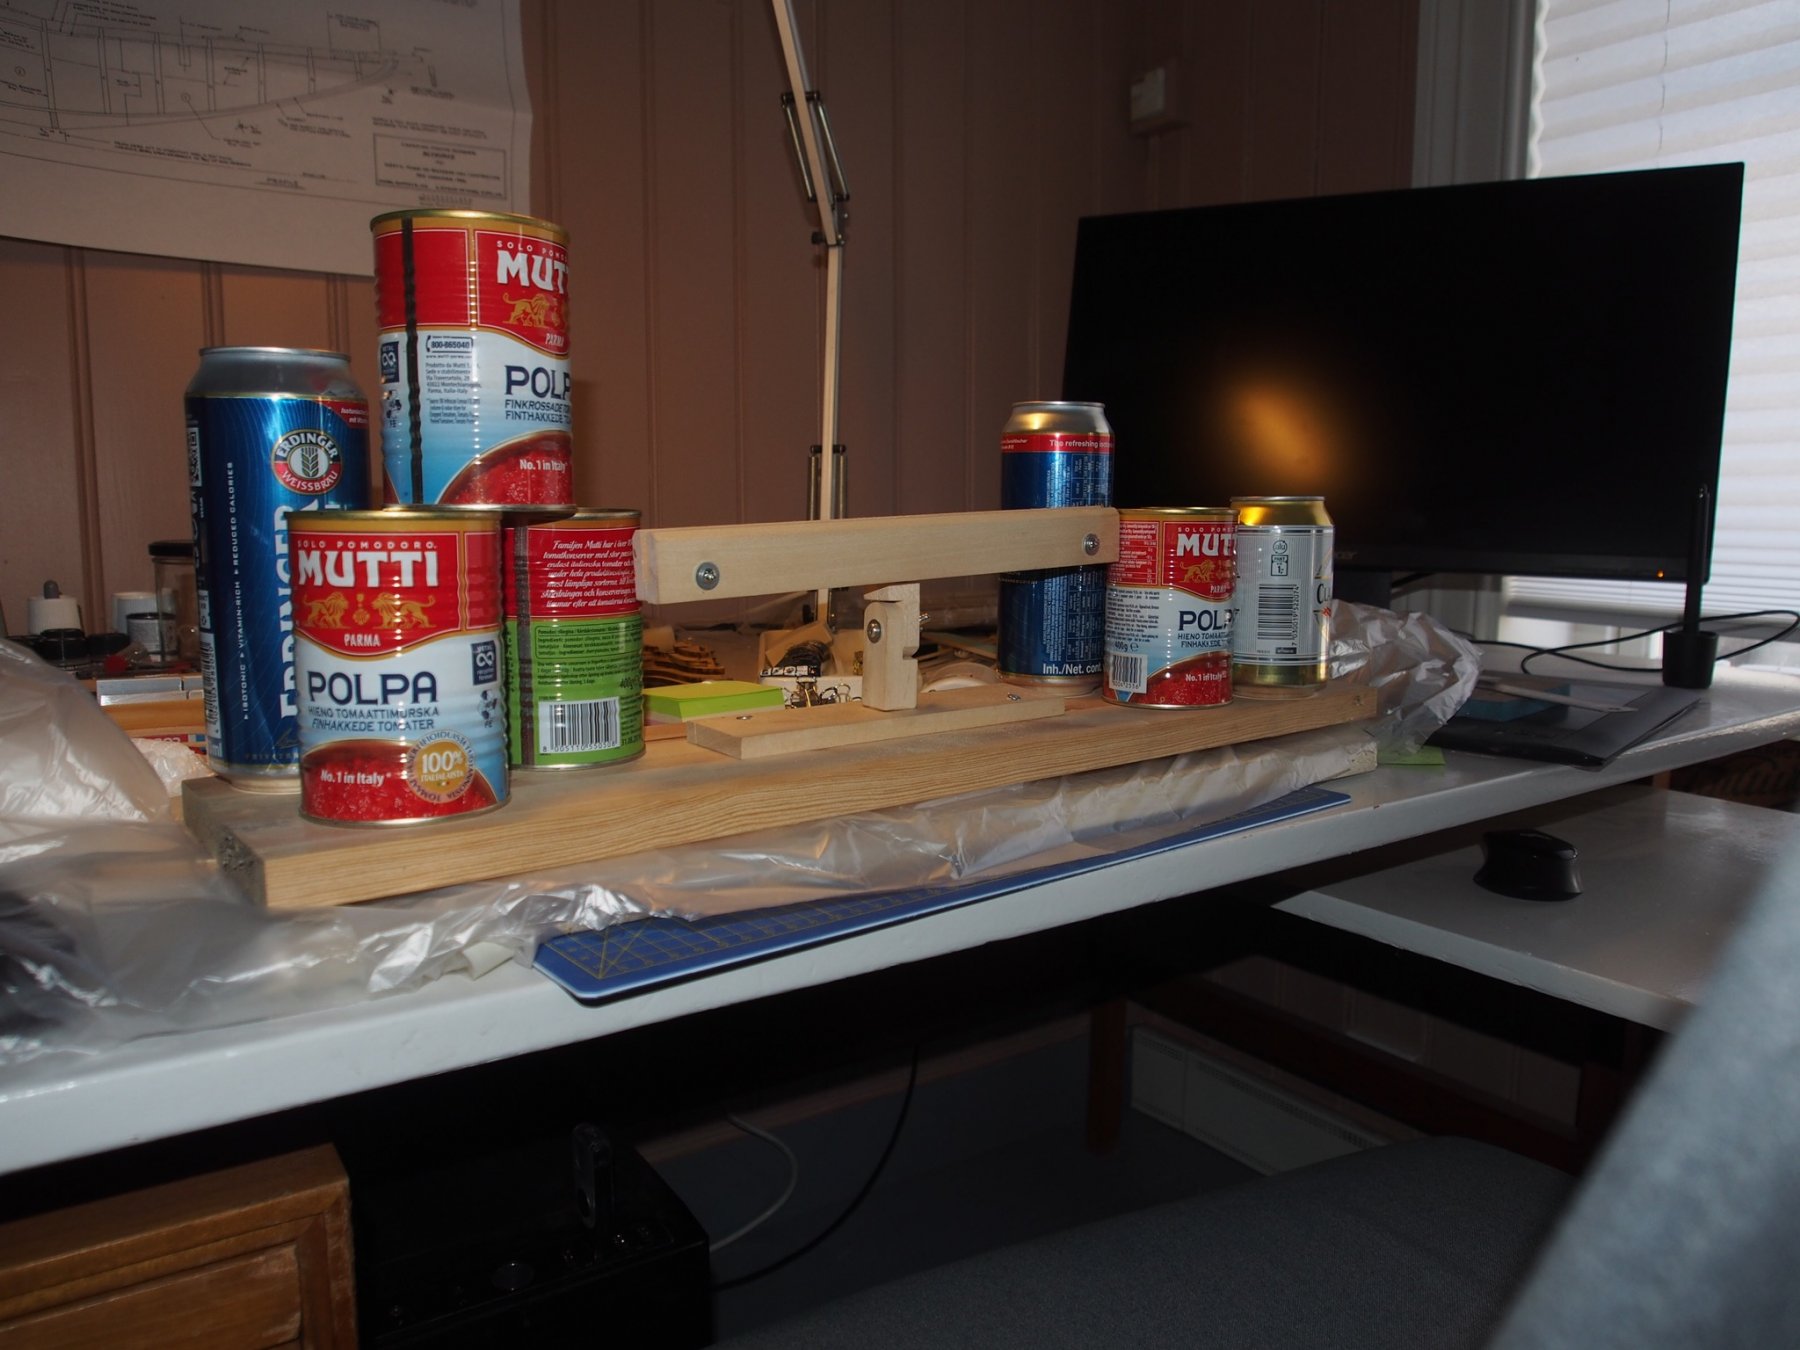
Nothing gets done if I never pick up the glue so... here’s glueing the keel. Guess the tomato soup will have to wait for a few hours.

-
It is by Model Shipways. From what I've read it's supposed to be a good build. I might turn that to shame :-P
Regarding pics:
I've done the rabbet cut and put it all together. Haven't put any glue on yet, just testing the waters. However I've already hit the first issue which I assume is common for all the builders of this model: The bulkheads B through E are a bit larger than they needed to be so there will be some adjustments to be done.
As you can see the bulkhead extends below the rabbet cut. I doublechecked on the 1:1 plans and they are actually showing the same thing there. So this isn't only me.
But on the good side the keel is nice and straight. Some glue, some waiting and I'll be ready to do some sanding.
-
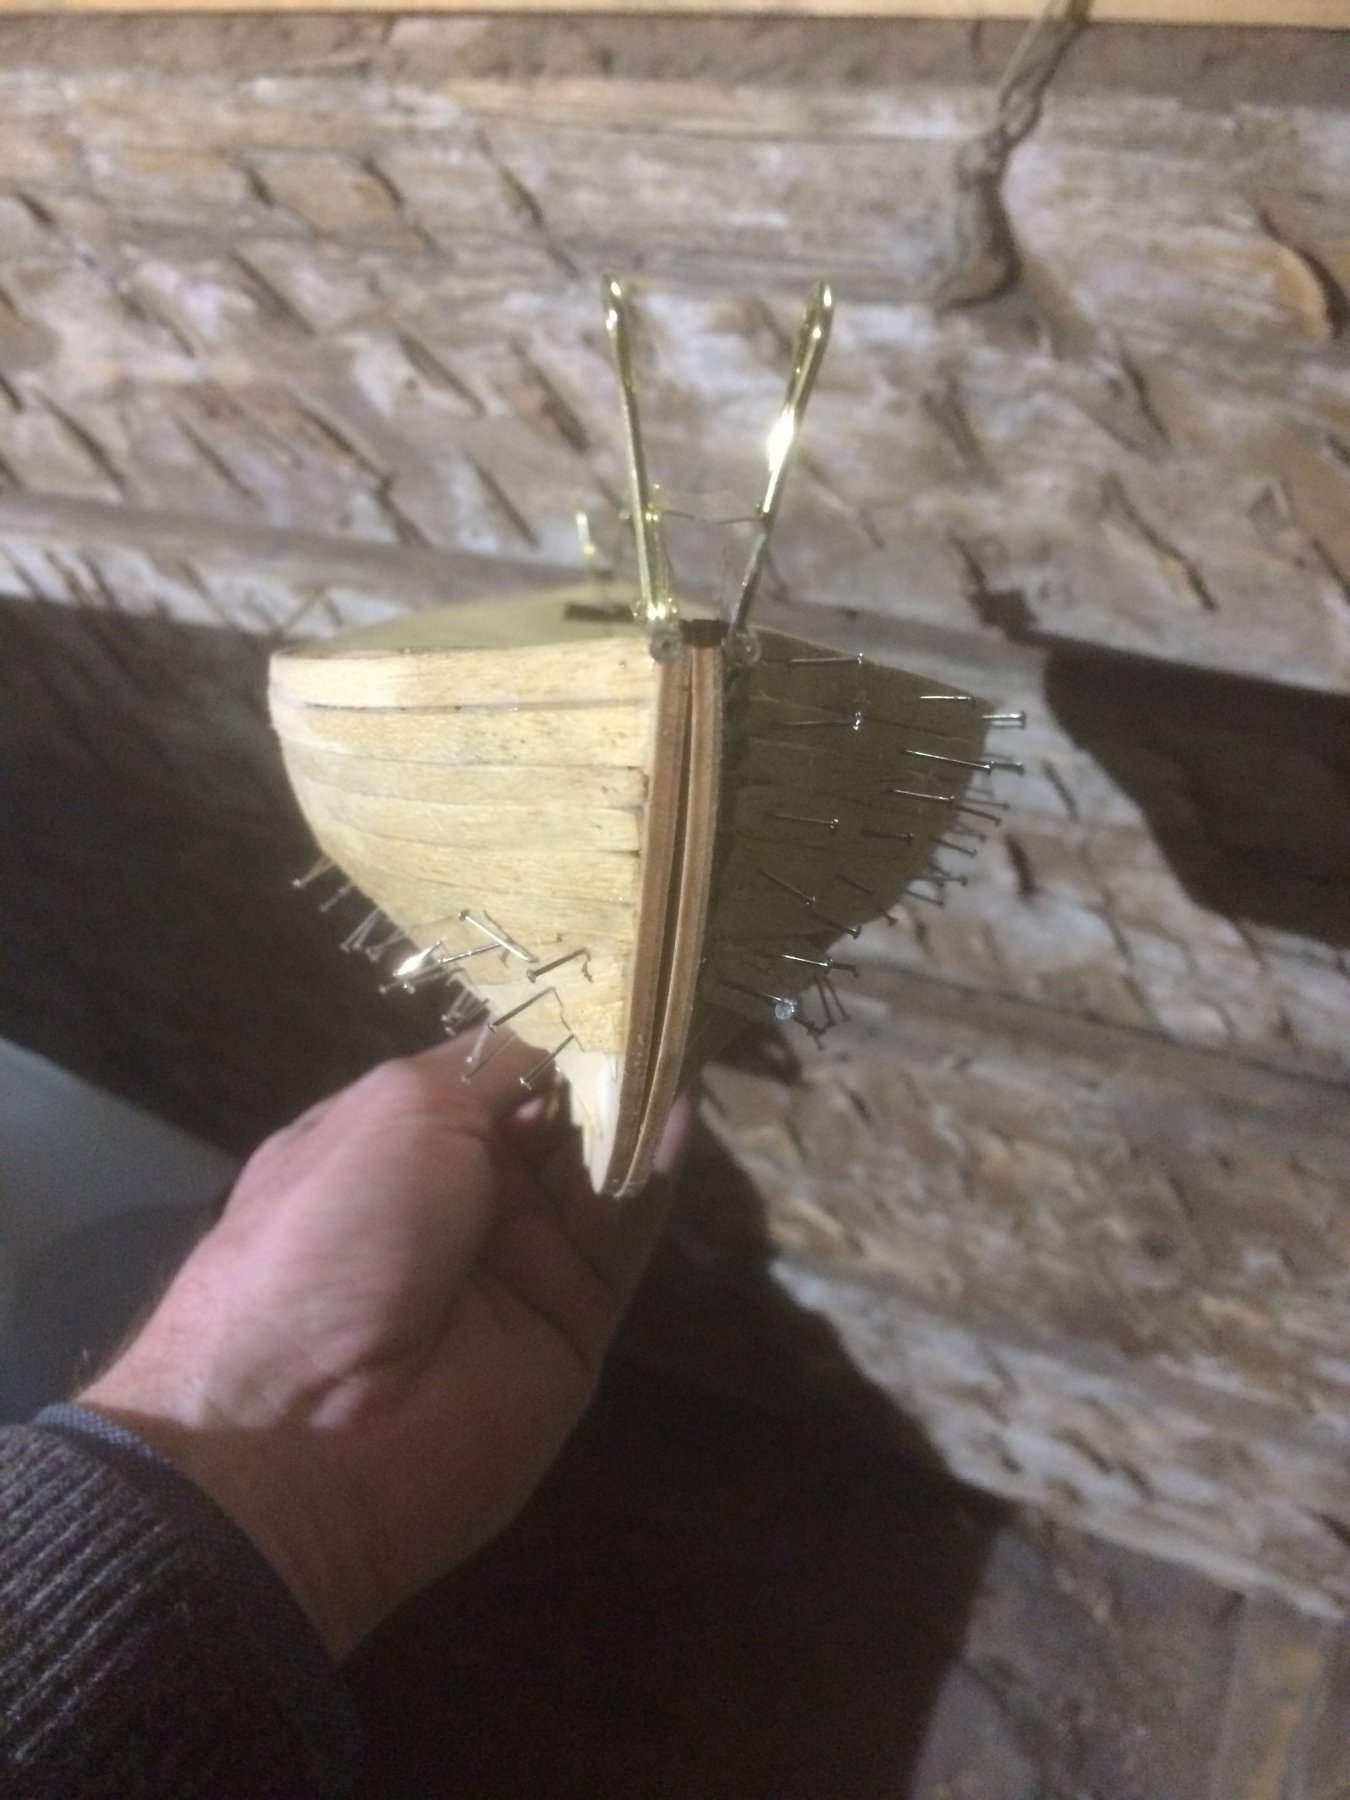
Bluenose has a rather fragile stern, so I hope to do most of the sanding without any fear of breaking it. I assembled everything dry and i think i could attach the planks temporarily while still be able to remove one bulkehead at a time for course adjustments. The final adjustments will be made when everything is glued up.
-
So - after several hours without a model in the drydock (which is actually a lie - it just wasn't out of the box yet) I've started my Bluenose build.
I haven't got further than seperated the keel and bulkheads from their sheets yet, and started some careful sanding to get rid of burn marks before my first questions pops up.
1. Do you cut the rabbet line before or after you have assembled the keel? I'm leaning towards before to make the handling easier.
2. Do you bevel the bulkheads any before you add them to the keel, or do you do all the beveling after assembly? I'm wondering if assembling the jkeel and put everything temporarily in place and then bevel a little bit here and a little bit there until everything is smooth is my plan - unless someone persuade me otherwise.
-
I never figured out how to put text in between images after the edit while previewing disappeared, so here is the rest of my story.
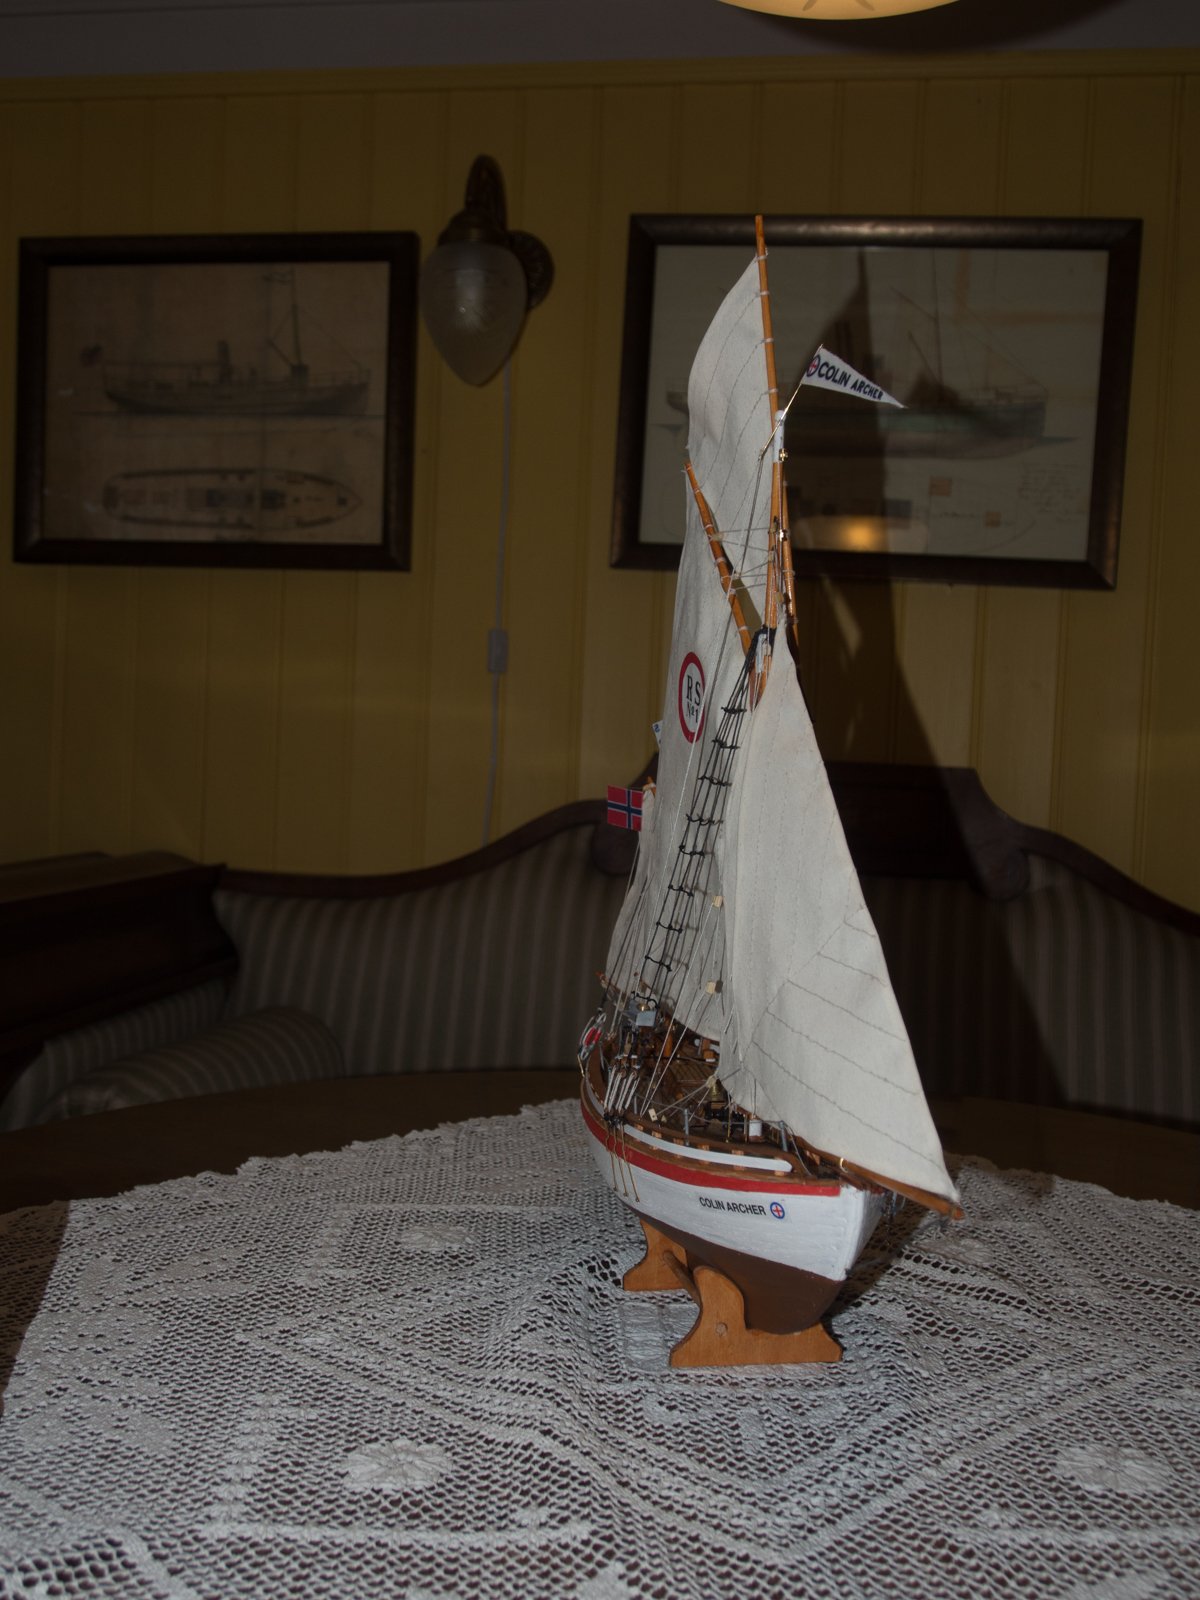
The rigging went down and I've put it back up again (cue Tubthumping - Chumbawamba)I'm don't think I'll do much on the model for quite a while. I want to build a nicer stand for it, but in the meantime what was in the kit will have to do. I got other fish to fry :-)
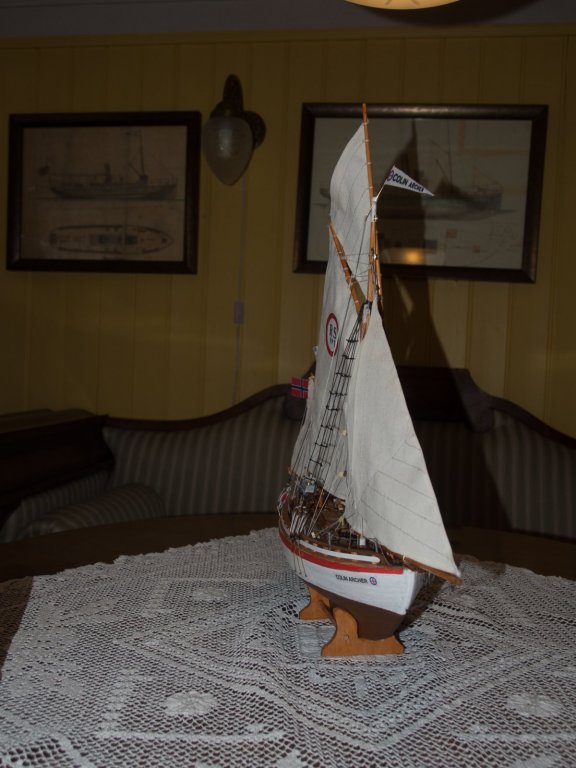
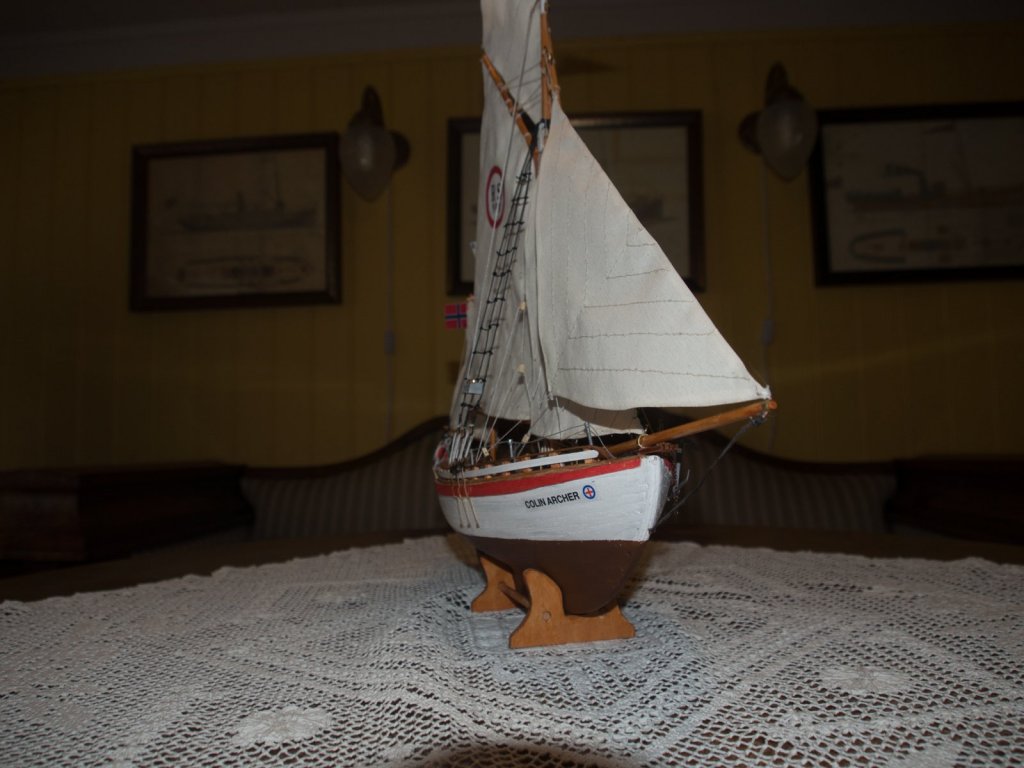
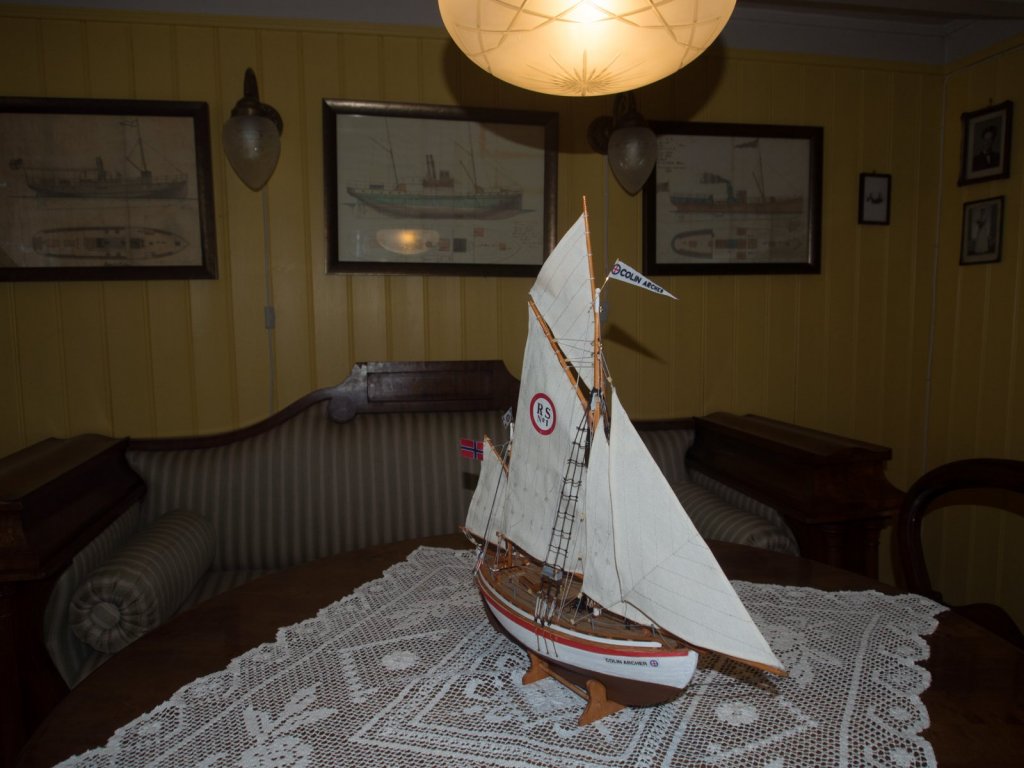
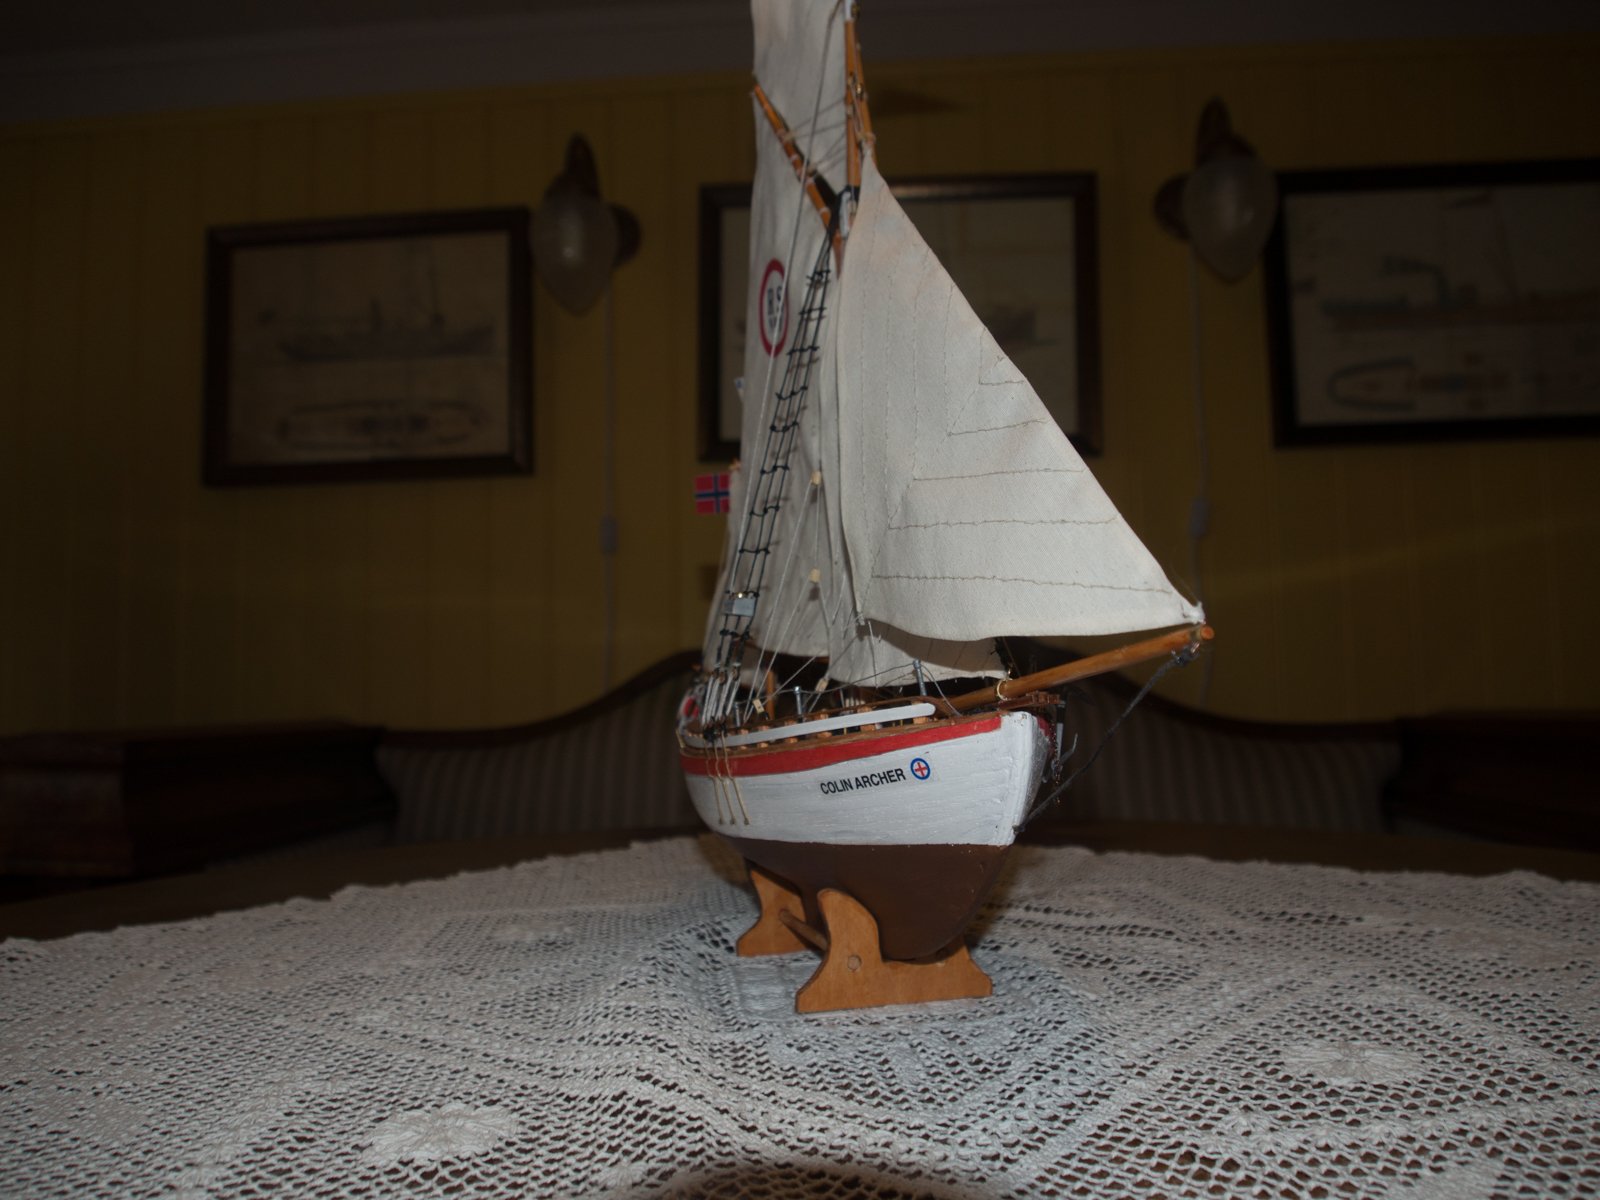
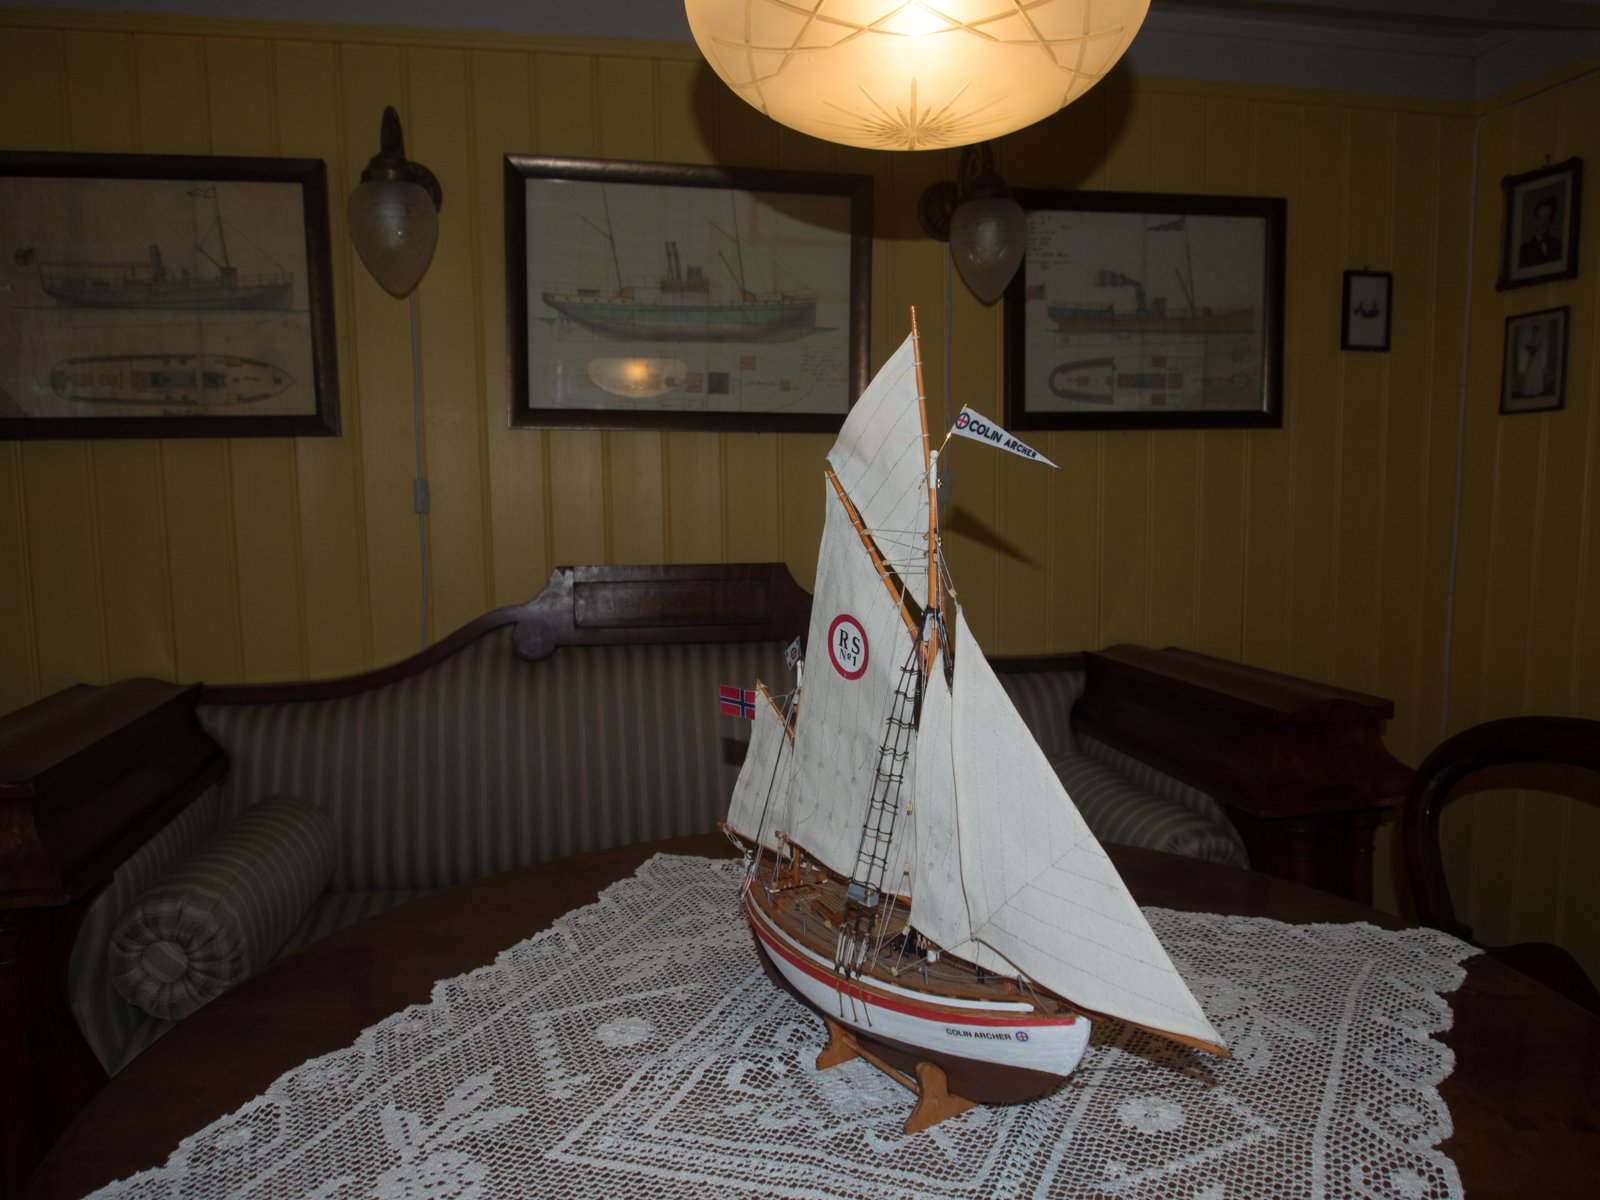
So now the vessel is standing proud in the living room - not were it was originally intended, but who cares at this point. Some pictures of the final results:


-
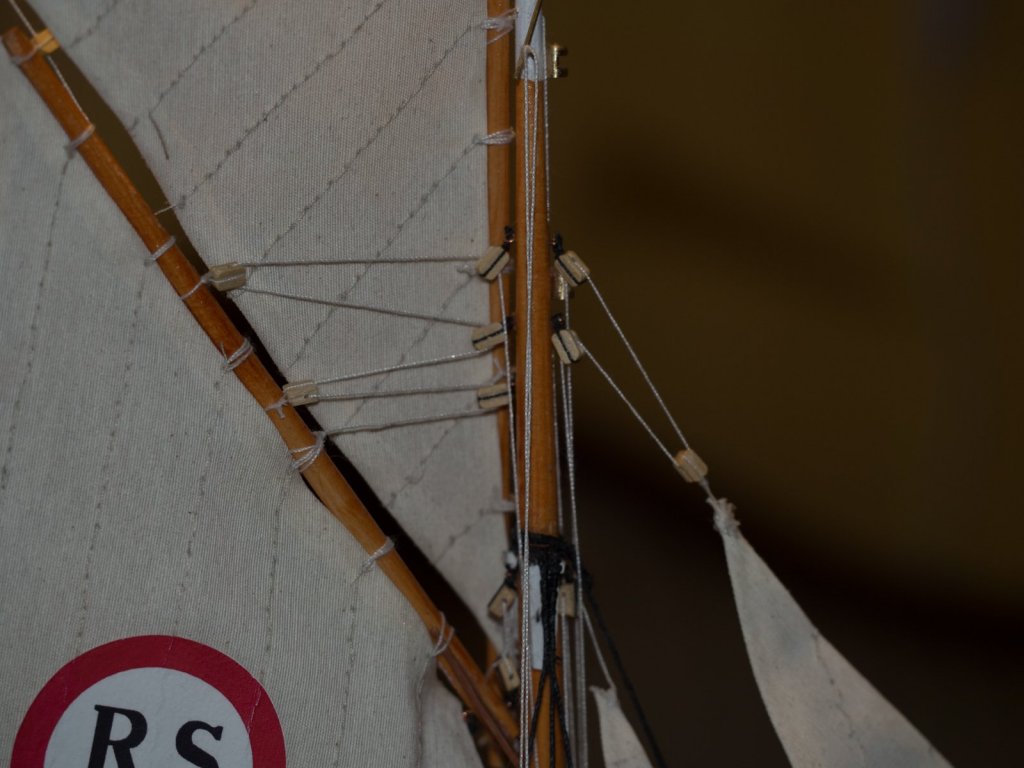
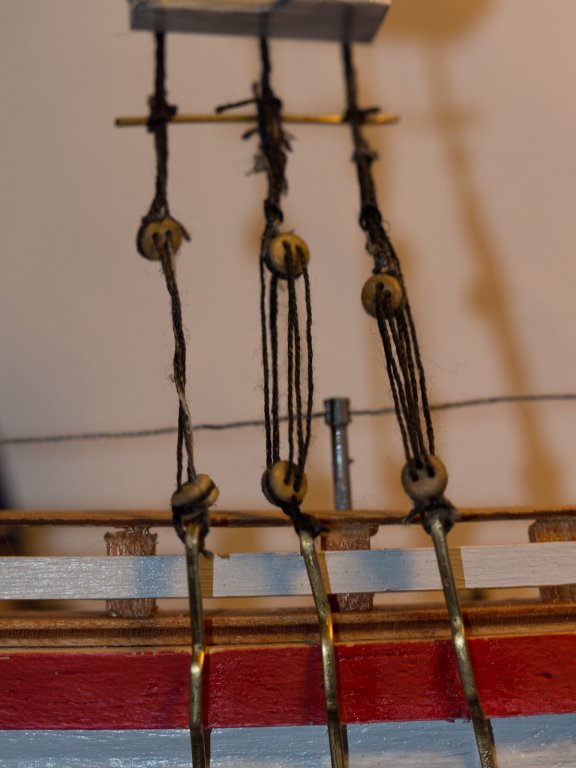
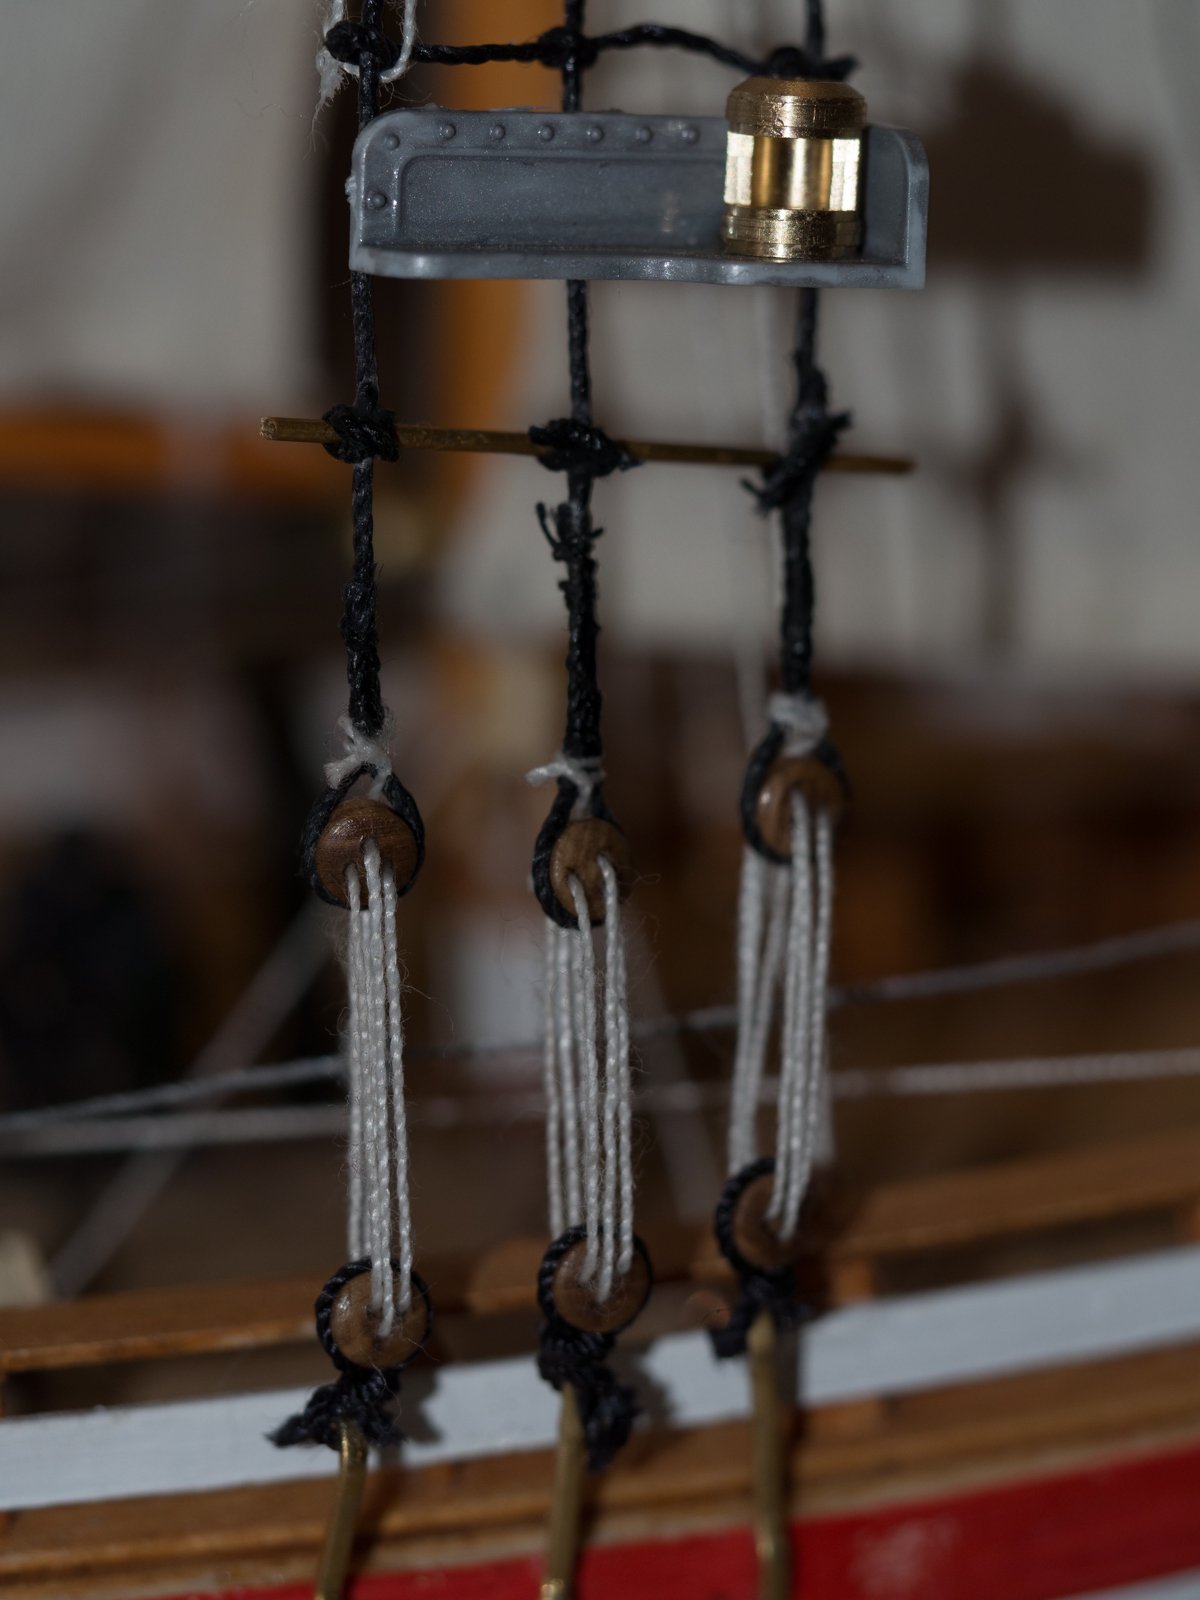
So - I ended up cutting away all the rigging and started over hoping that second try would end up a bit better than it did on the first run. My first decision was that I didn't want tp bother with painting og dying the ropes as I had done with some of it previously, which meant that the rope for the deadeyes ended up being white. If it is suposed to be black - than regard it as a makeshift repair with available resources :-)
Anyways - lets start with the main reason I decided to redo the rigging : uneven and to be frank - really ugly tigthening of the dead-eyes. Let's just pretend I had found a bottle of rum when this happened.
-
5 hours ago, popeye the sailor said:
sorry to hear about the rigging issues.........Billing is not very good at showing all the particulars. I've build many Billing kits........even though they are my favorite kit, their instructions are a bit derelict who is 'they' BTW? you've done a swell job with the hull and deck work.........I'm sure you'll figure out the proper rigging.
«They» are possibly an imaginary group of critics which I am sure mean well, but are very annoying at times :-)
-
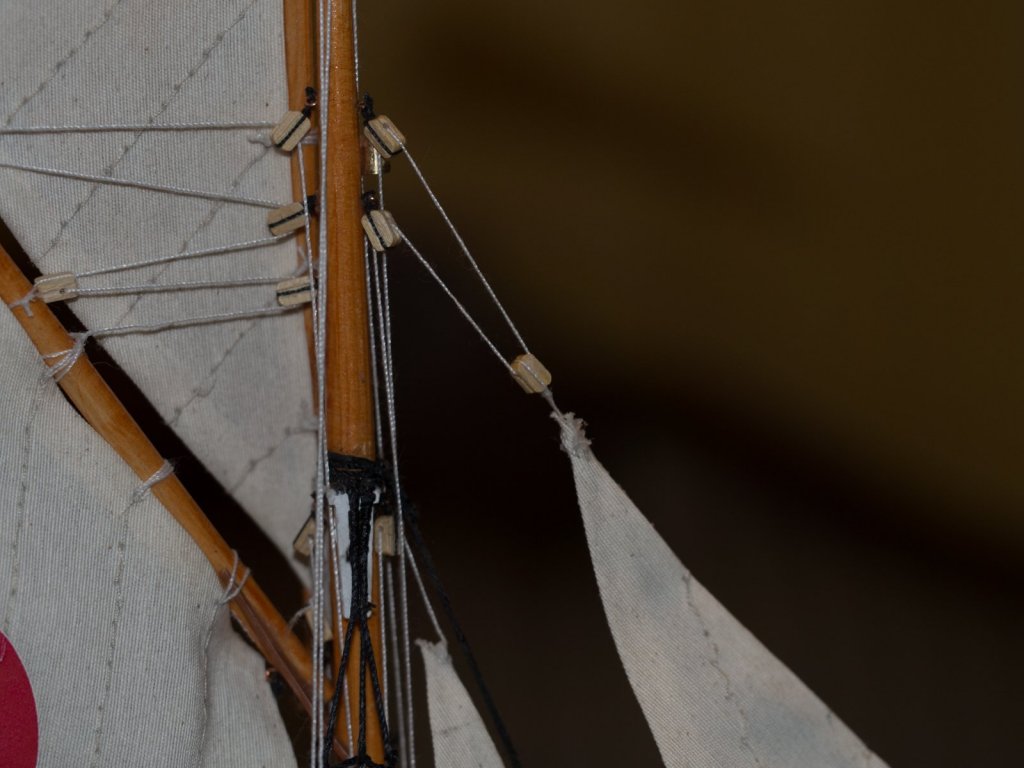
So, I haven’t posted in a while. The current status is that I’m having a bit of a trouble at the drydock. The masts has been raised, the standing rigging is up, sails has been sewed... and than the lightning struck.
An unwanted healt and safety inspection of the vessel lead to a strict ban on launching! The rigging was not up to standard, they said. Would not stand the strain during bad weather, they said. So to get the OK on the vessel I have to take down the rigging and redo it. •insert favoritt expletive•
I kinda blame both myself and my eagerness to push forward, but also in part the instructions in the kit which didn’t mention in a word how the deadeyes should be attached to the chainplates nor the lanyards. And for the threading, I just hoped Nothing really mattered (humming along)... . It did...
Long story short : The whole thing did not look good at all.
Anyways, I’m now taking down one line at a time and trying to get it right. I dont have much rope left, so I steal it from my next project (the line wont be used there for at least a year) And I got myself some spare deadeyes as the installed ones were a bit filled in with CA which made that a blocking issue.
-
-
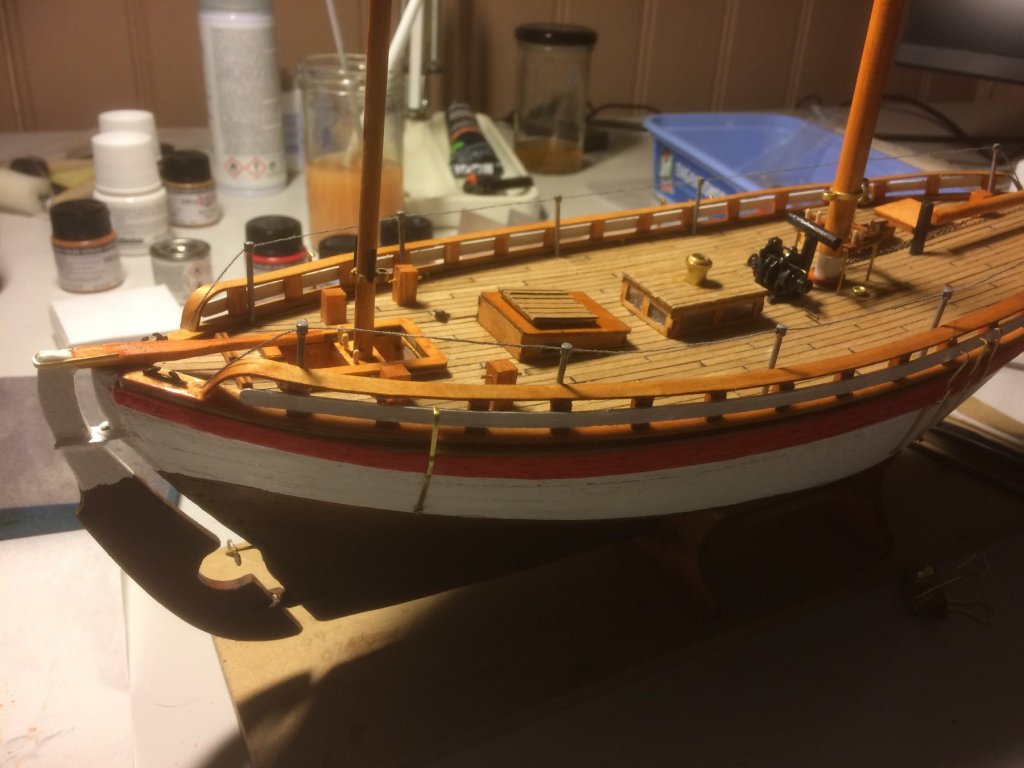
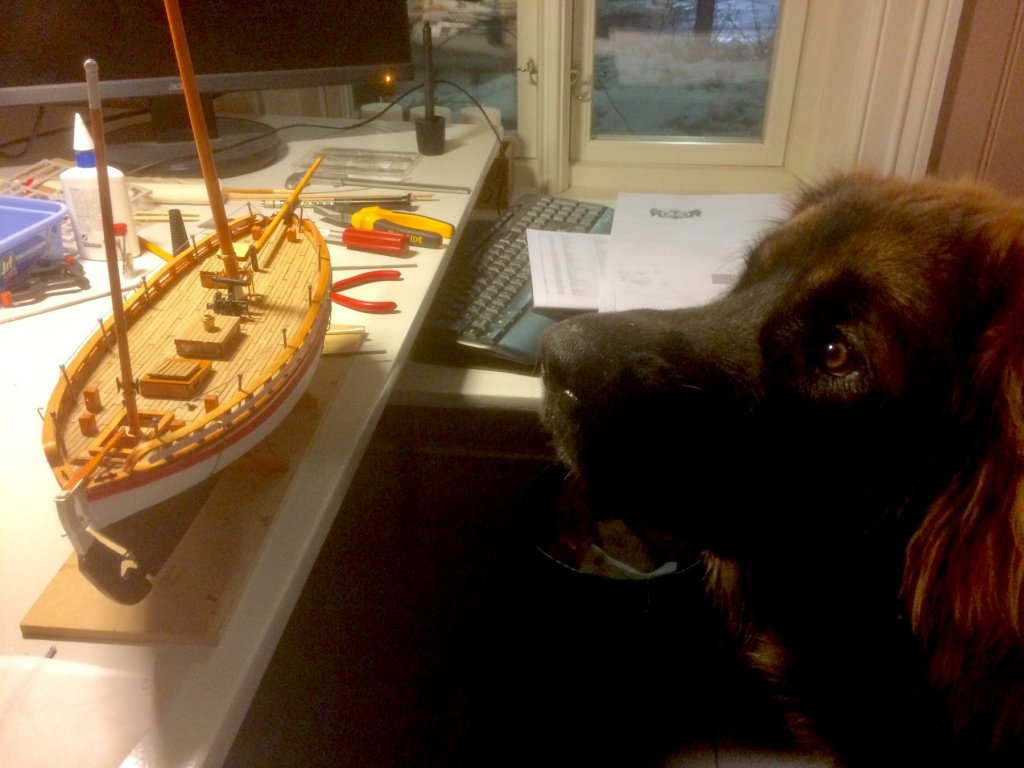
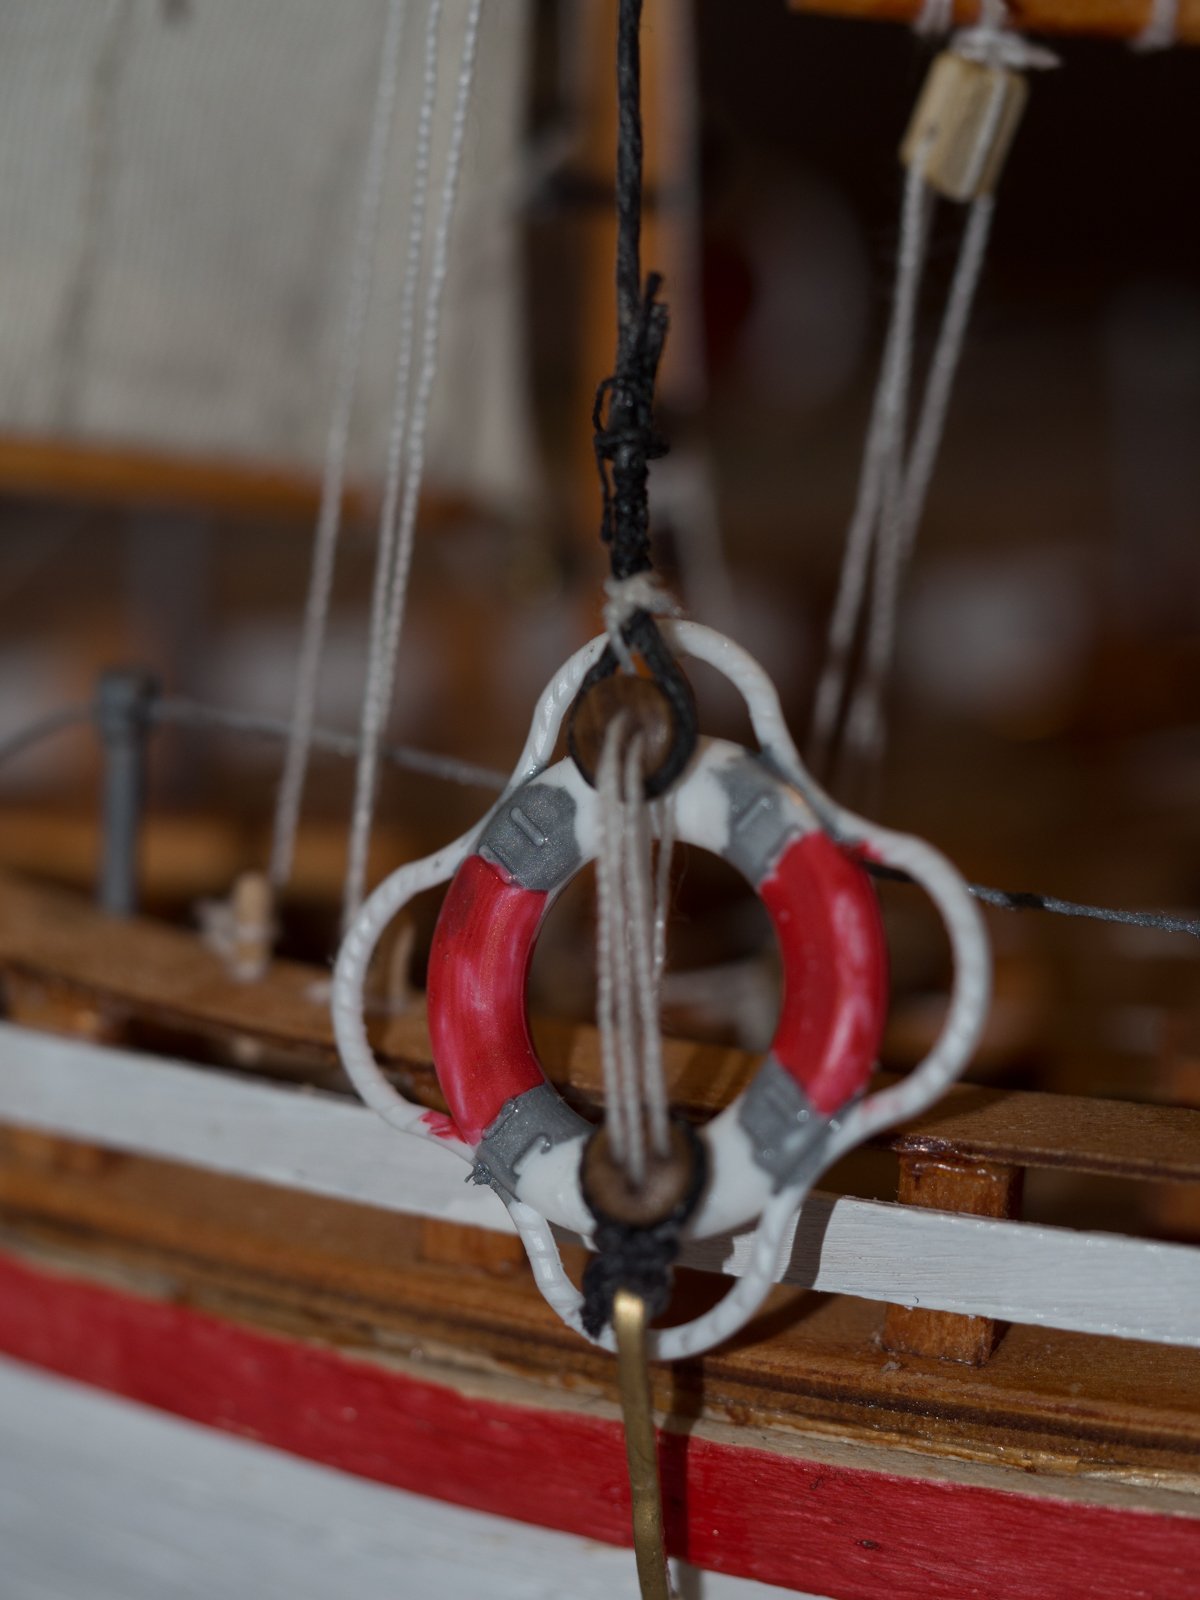
Hull painted and Starting adding various bits and pieces on the deck. It is actually starting to look like a boat.
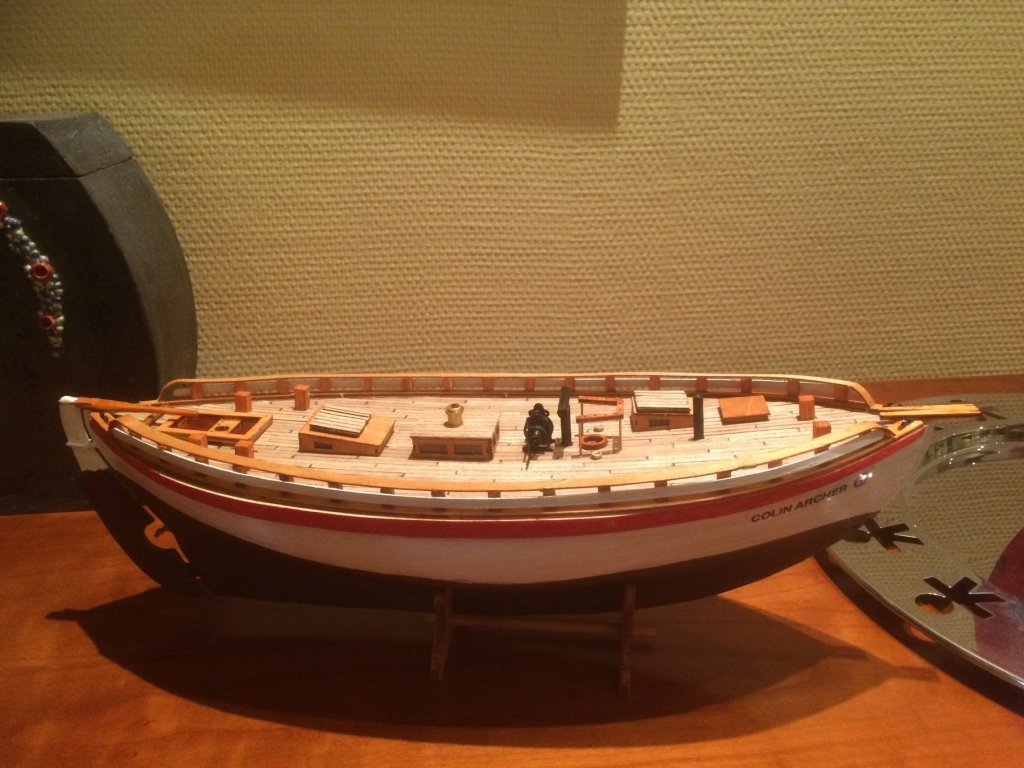
And even more thingamajigs are added while I drag out the time before I have to tackle the rigging.
The dog are either admiring my work or planning some devious actions...
-
-
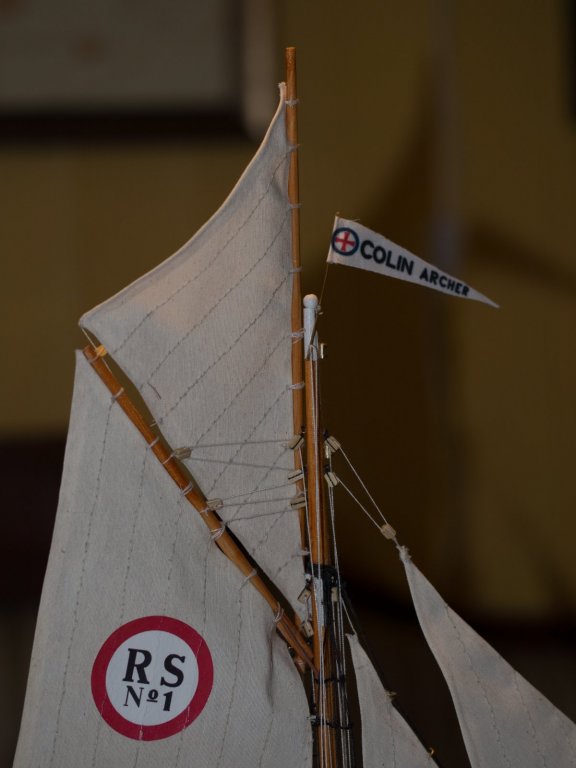
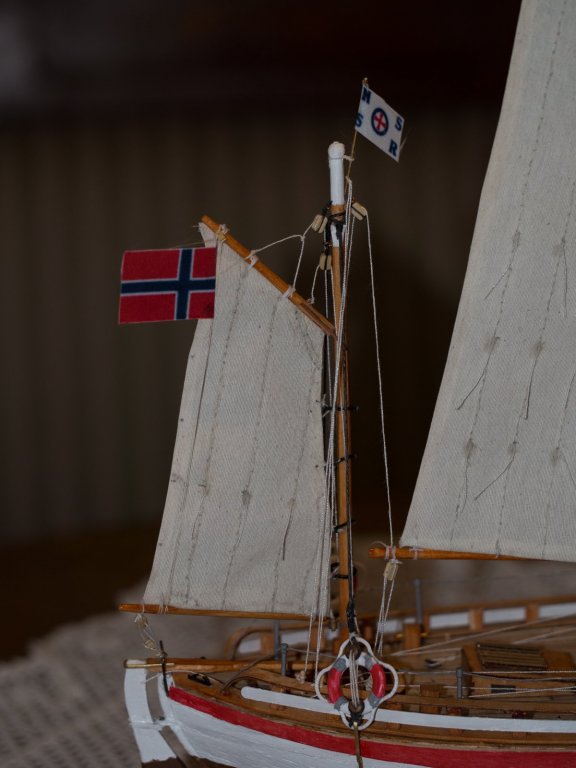
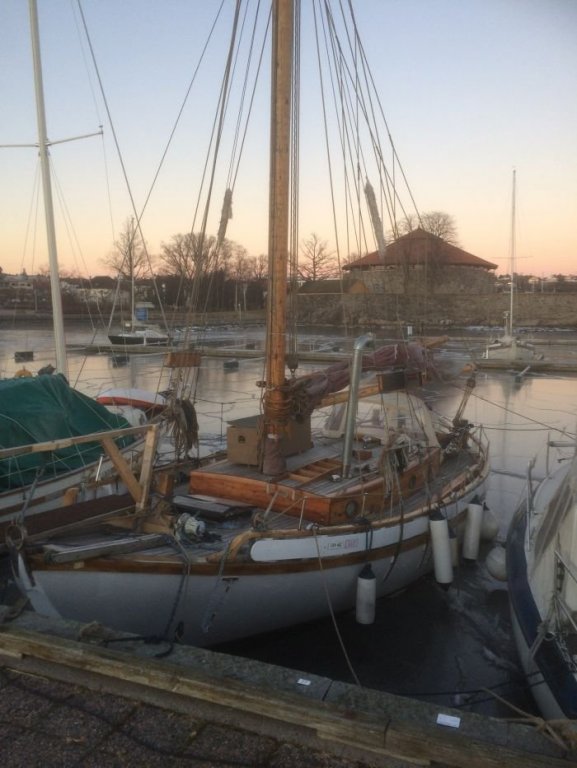
I had a quick walk with the dog down to out nearest harbor and I came across this beauty - It ain't the Colin Archer and it's a sloop instead of a ketch - but still - there is an uncanny resemblance. Basically, variations on the "Colin Archer-theme" is quite common in these parts of the woods. A few years ago the local Colin Archer club celebrated 40 years with almost 200 members and 90 vessels.
- Elijah, popeye the sailor, IgorSky and 1 other
-
 4
4
-
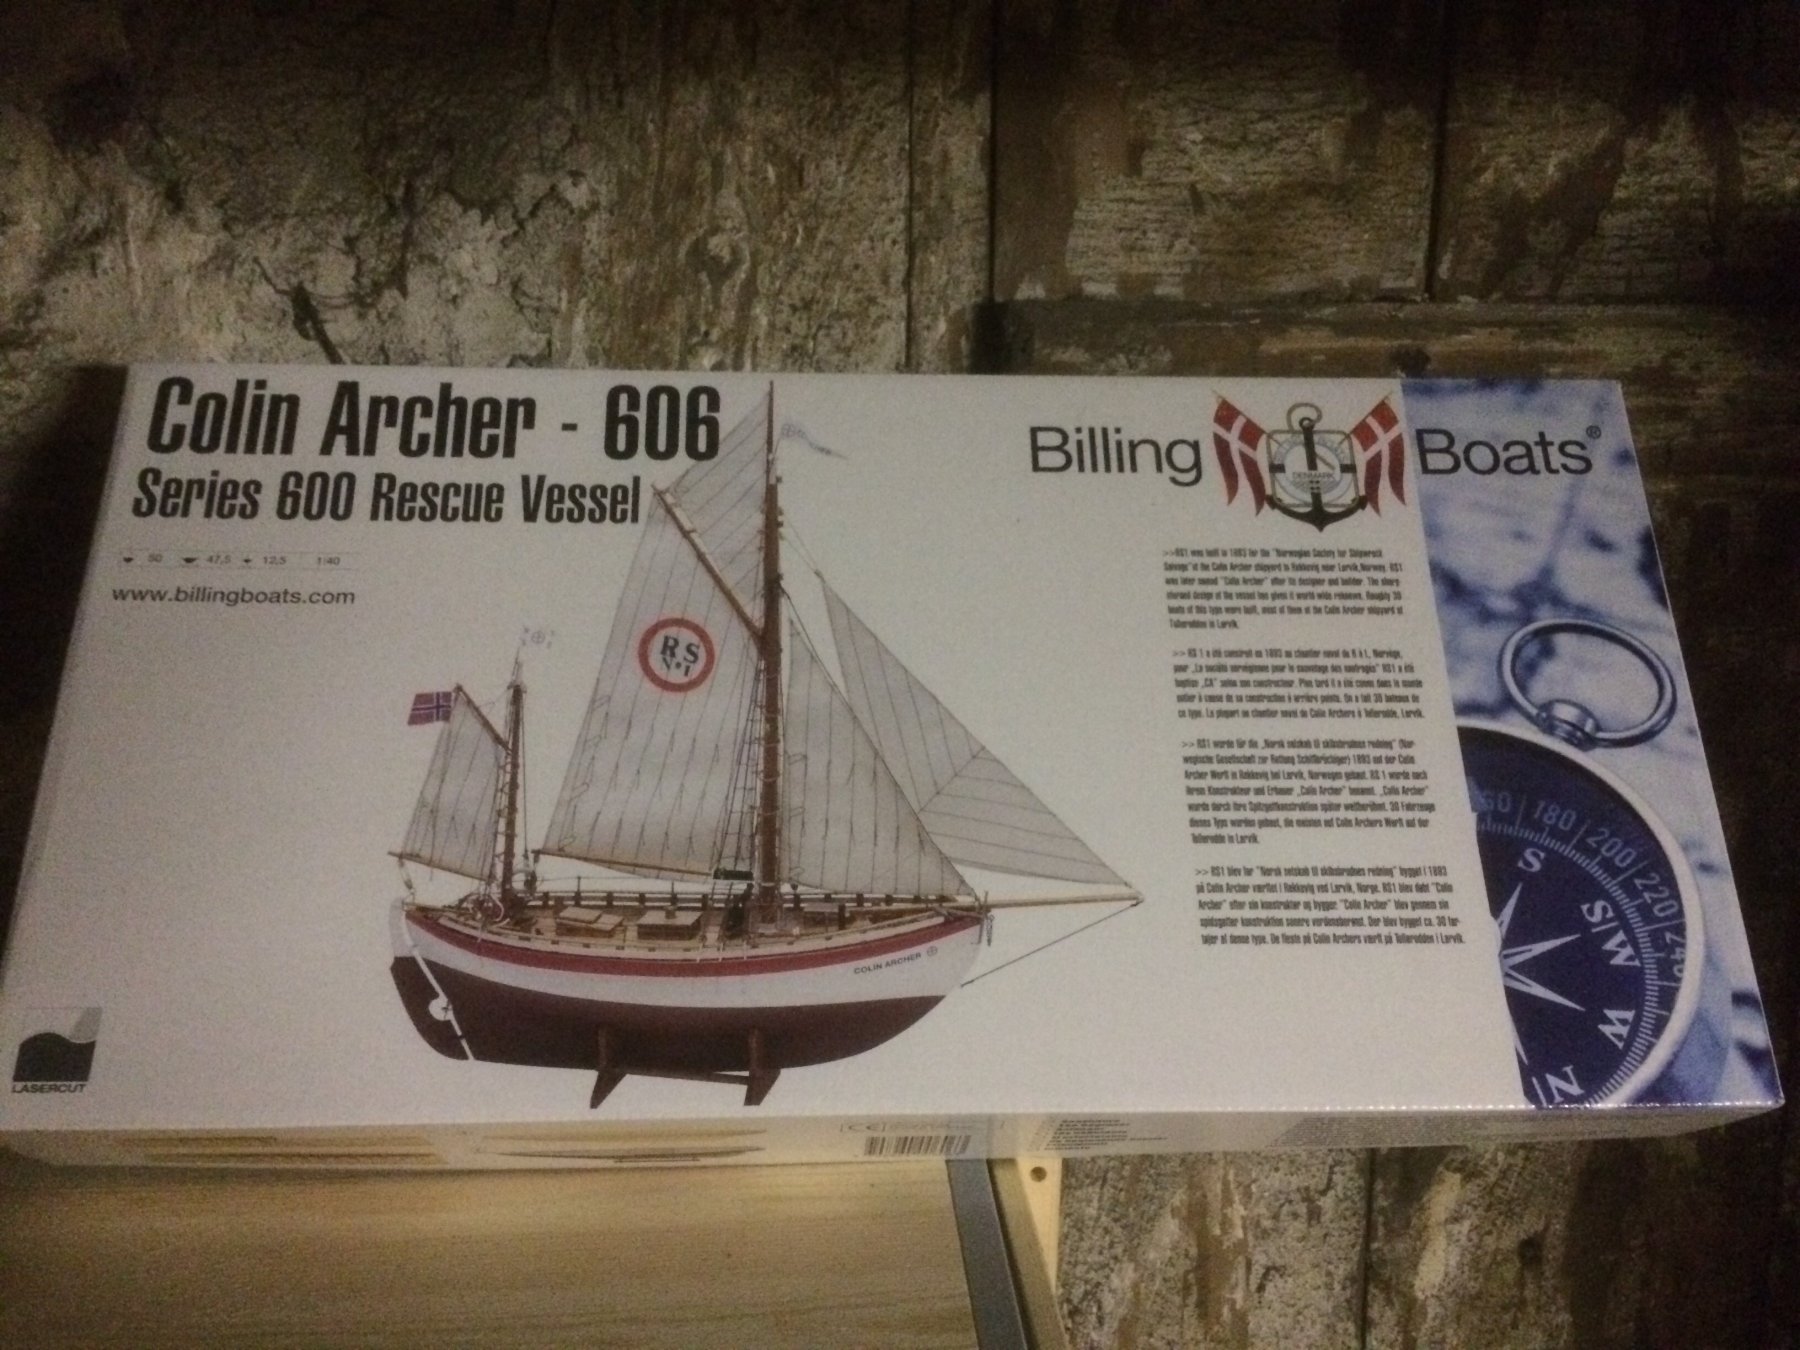
This whole story began as I got the Billing boat kit of the Colin Archer as a birthday present in the beginning of January.
Eager and without any idea of what I was getting myself into I carried the box down to my little den in the basement where the magic is supposed to happen. A box of plywood will somehow be transformed into a magnificent piece of naval history. Or that's my initial plan anyways. I have to say at this point that previous experience with any build kits has been blobs of glue with pieces of a plastic aeroplane hidden inside and an occasional successful Lego car. All this means that you should expect horrible errors but hopefully with small successes sprinkled in for good measure.
So - lets get the log started.Picture of box:

Instead of the content of the kit, which I didn’t take a picture of, here’s an overview of the dry dock area. No need to worry about the place getting dirty, but a horrible place to loose stuff on the floor as it consists of cobblestones and sand.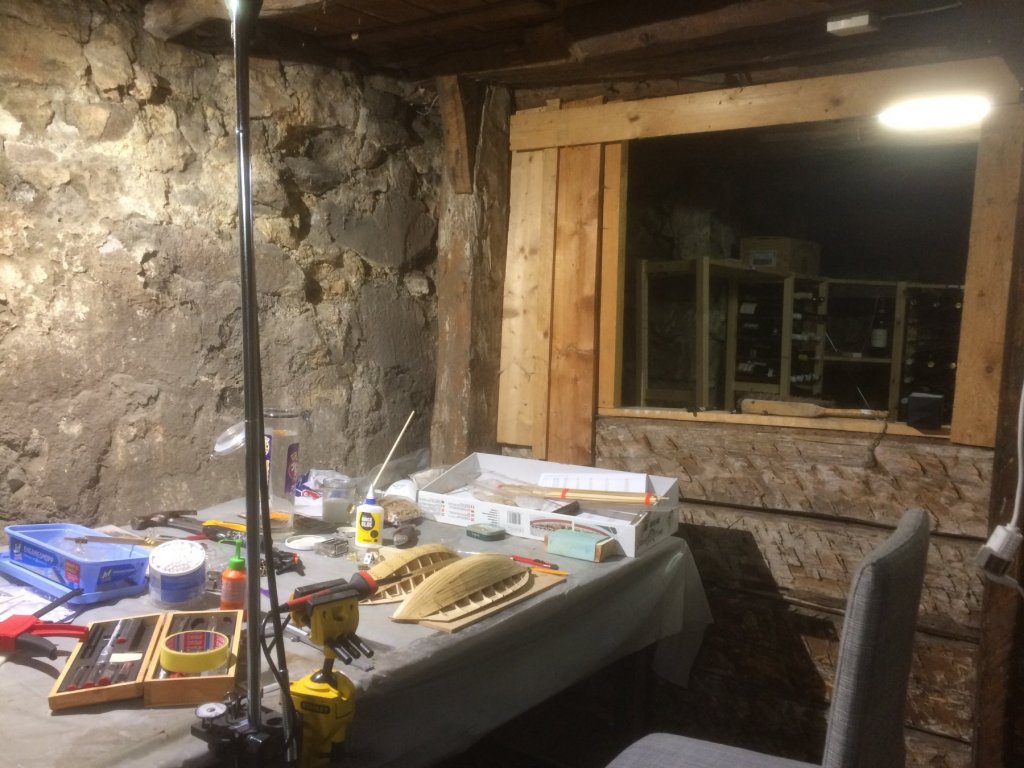
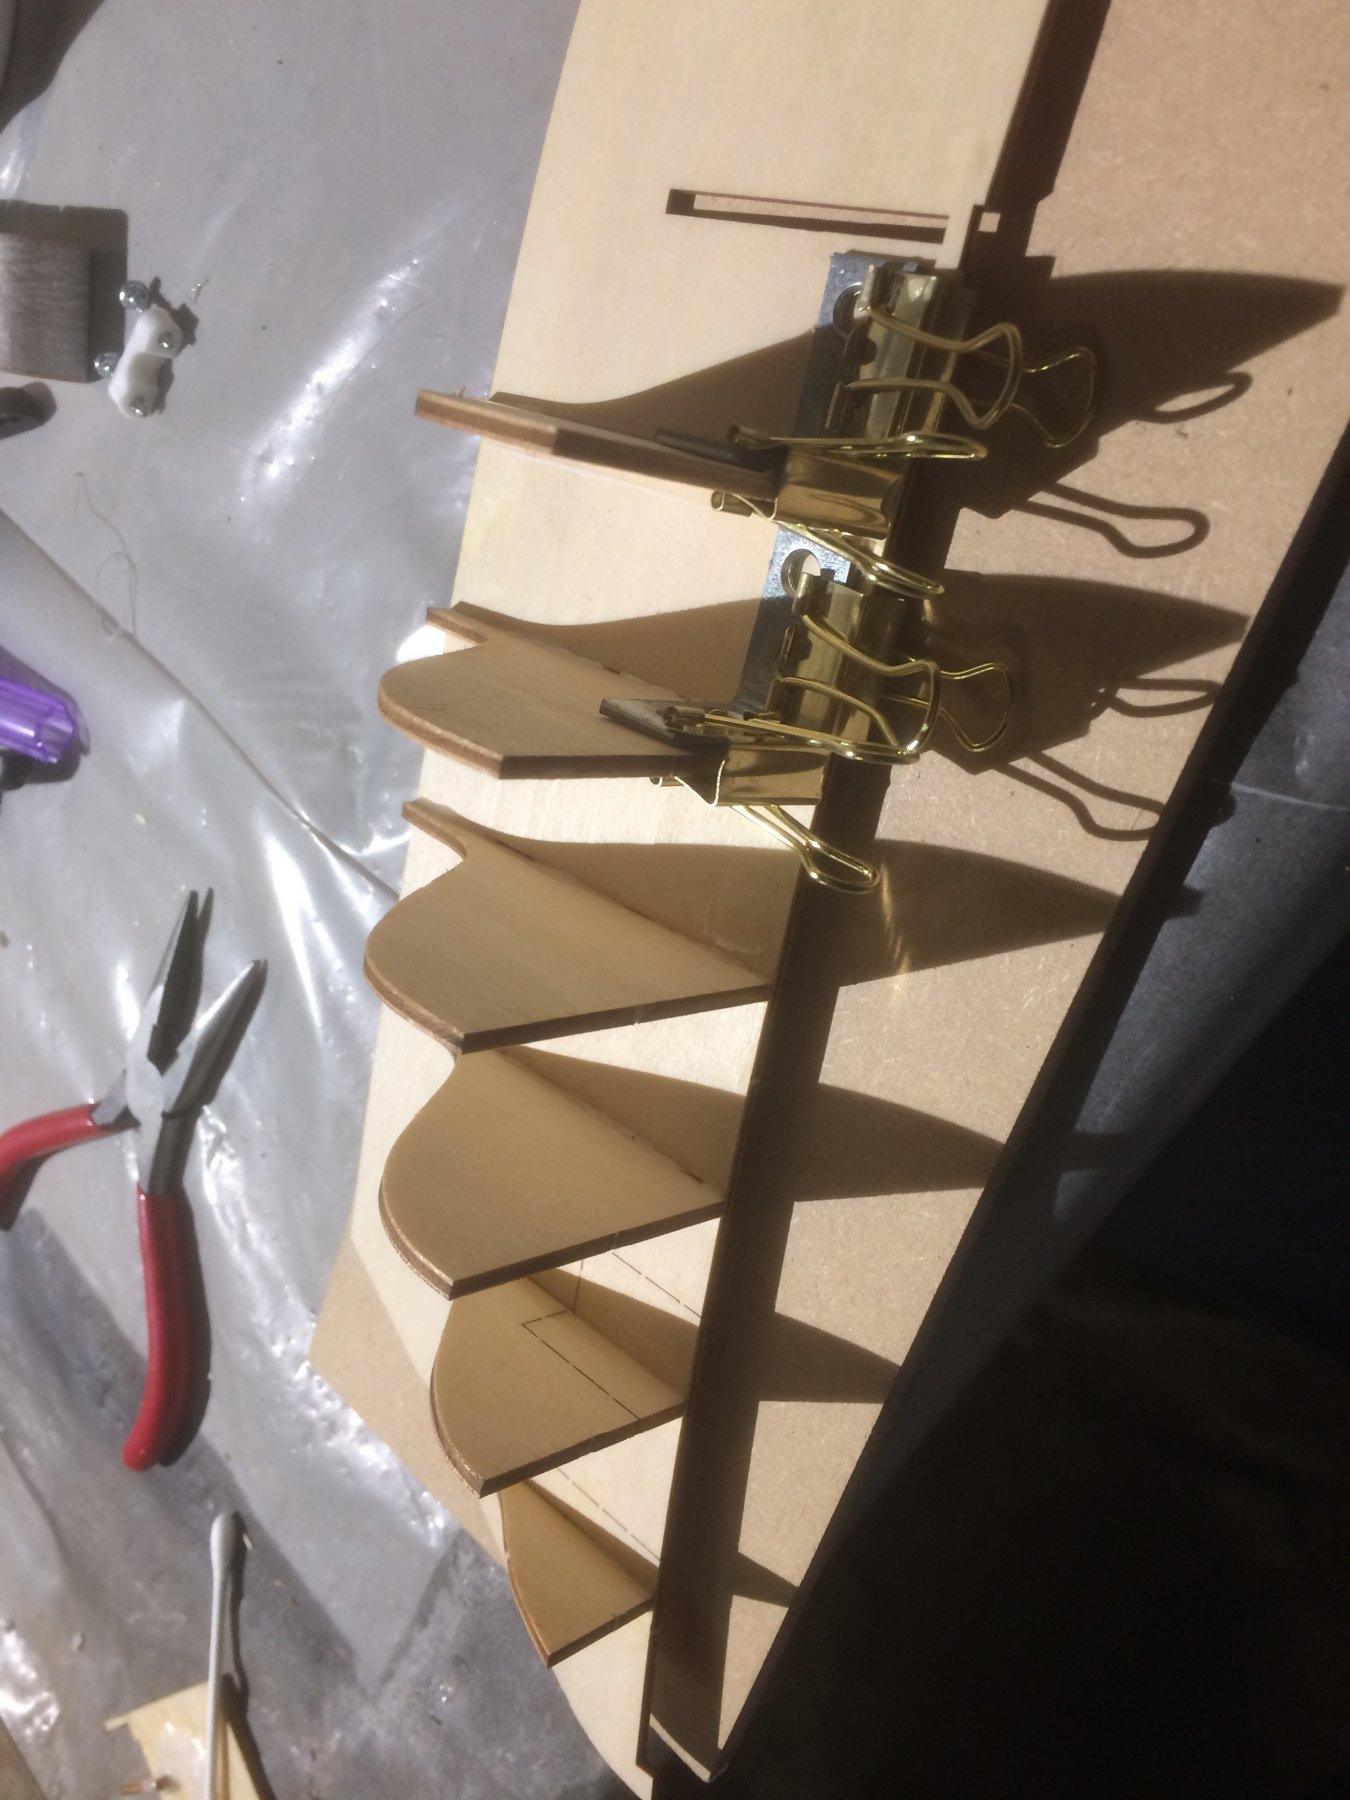
The kit is not a standard keel and bulkhead, but rather two halves which after planking should form the complete hull.
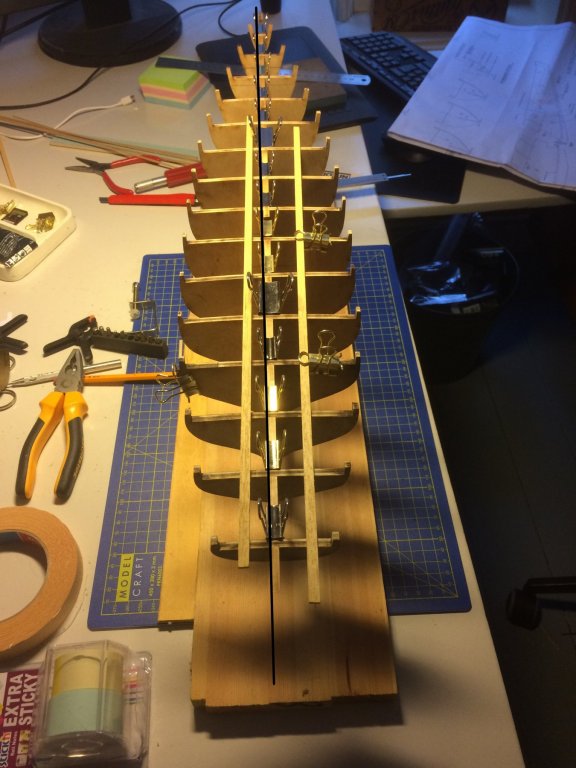
I used some tiny angle irons and paper clips to help get the bulkheads straight:
I will go back and forth between port and starboard side for the images, so don't be confused.
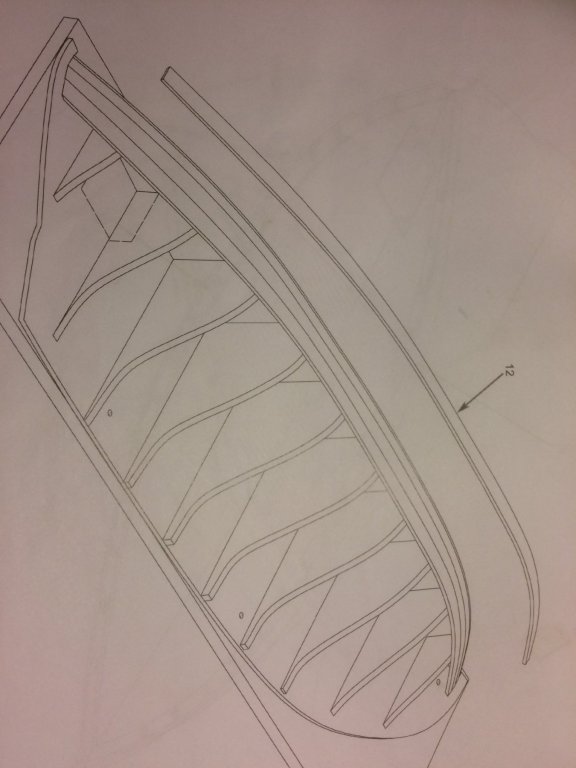
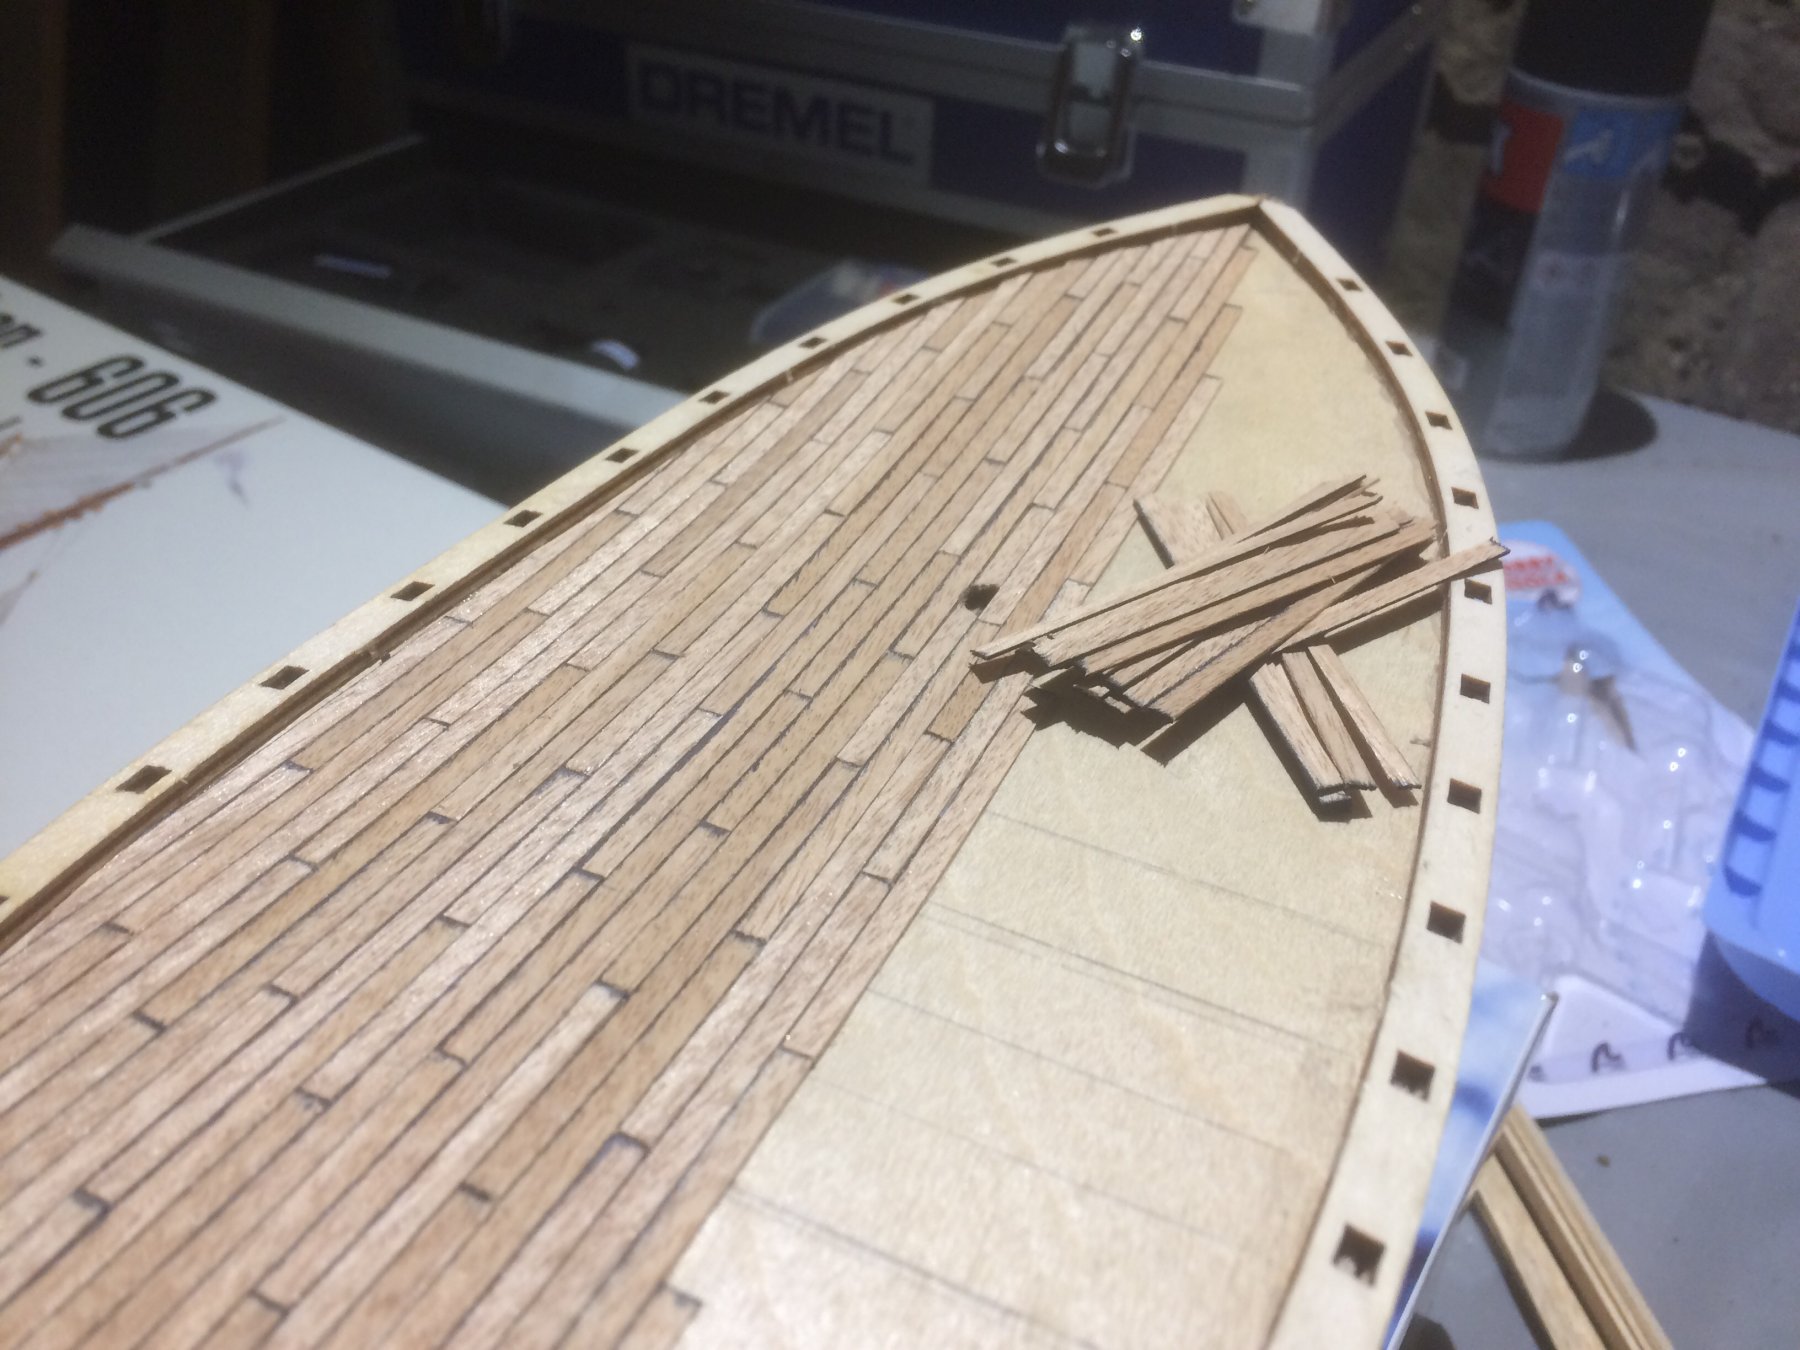
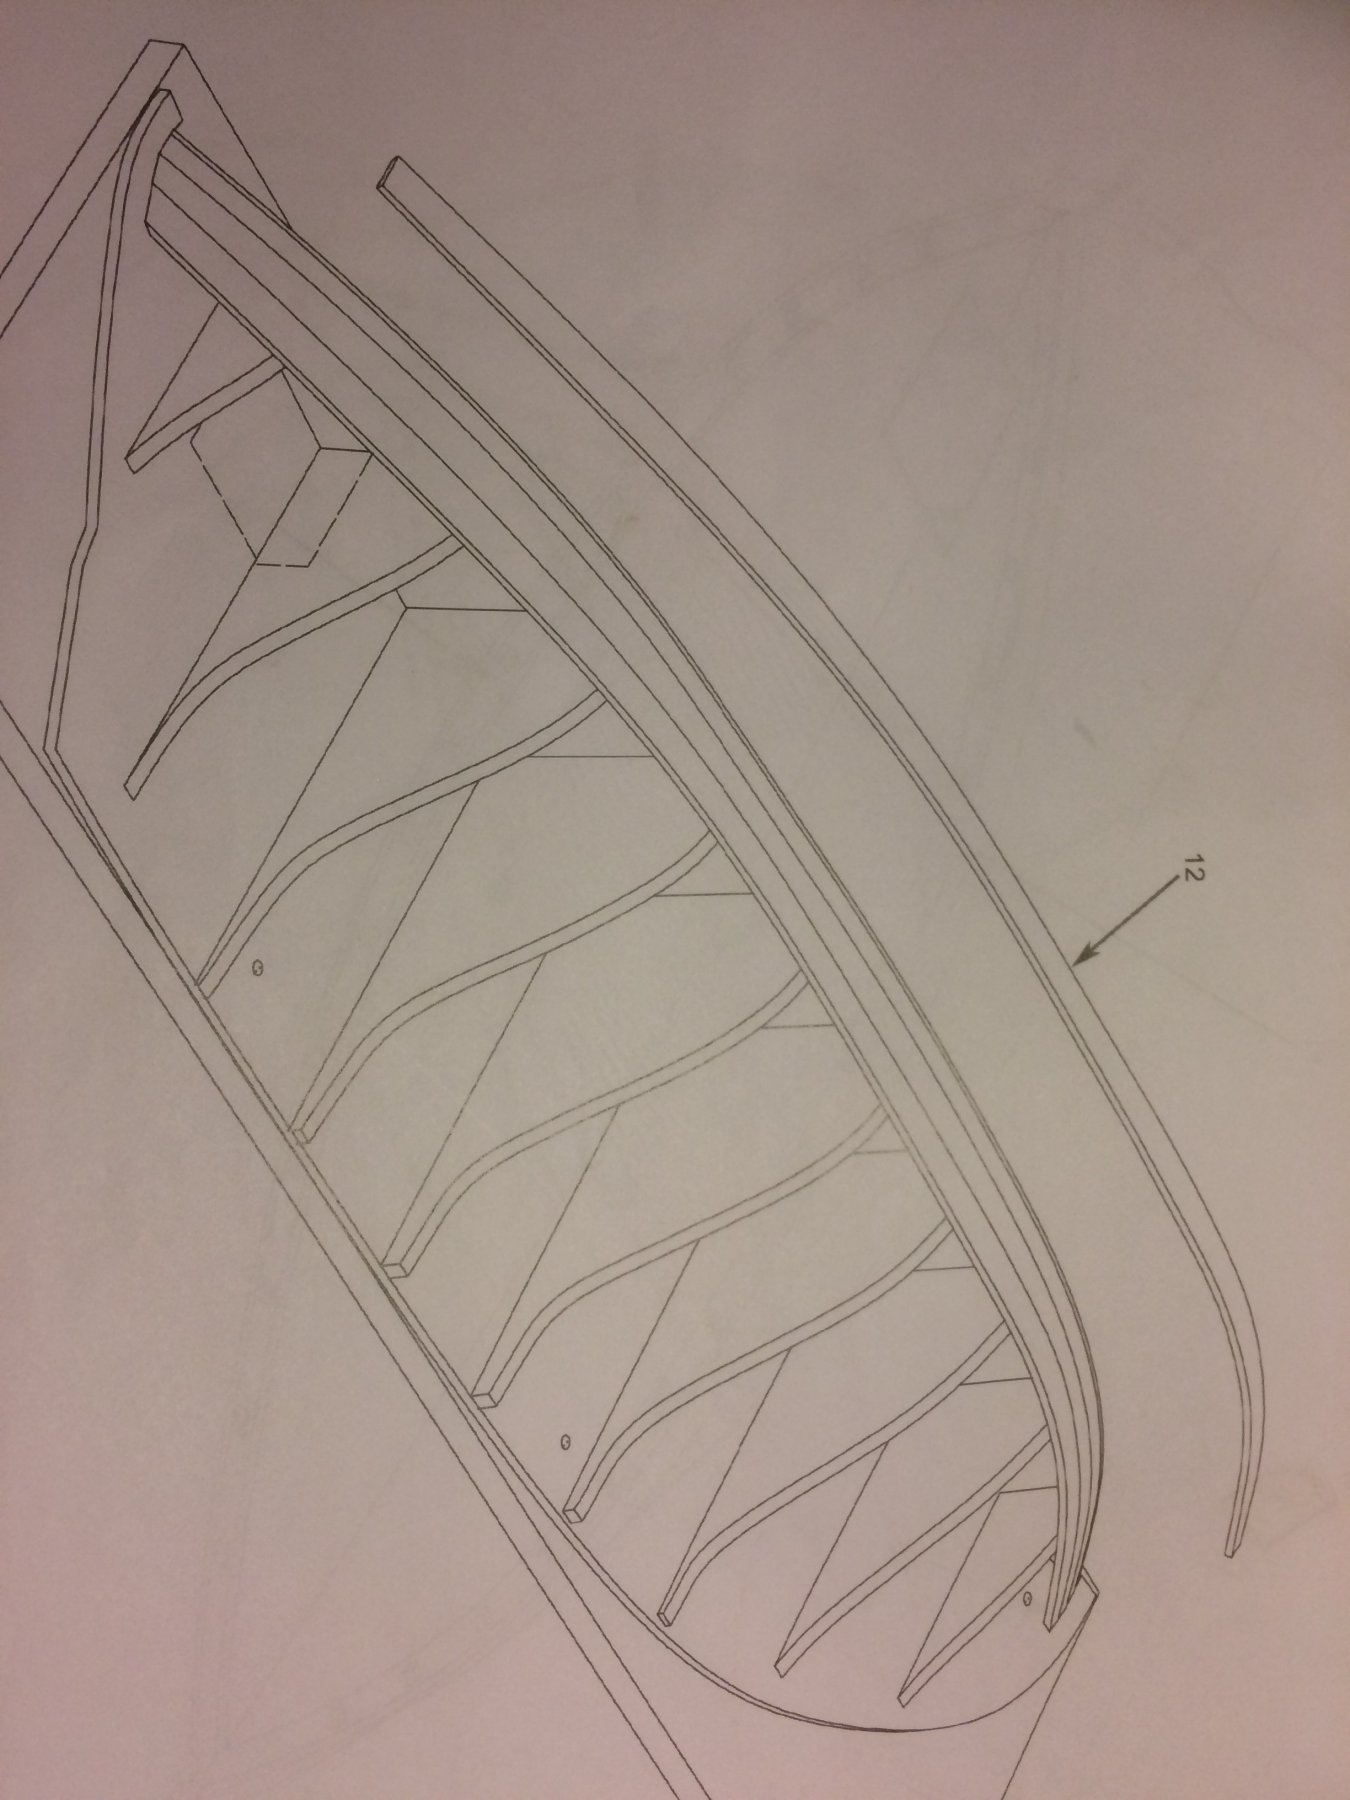
After sanding and shaping the bulkheads the next up was the planking. Any information on how to perform this task was almost non-existent in the instruction manual, so I went with my gut feeling. I have to admit that at certain times I felt that I might have confused gut feeling with stomach flue - I was not at all sure I was doing the right thing.For those who have never seen the elaborate instructions Billing Boats provide for planking the hull on a beginners set - here it is in all its glory. In the next schematic the whole hull was planked and sanded.
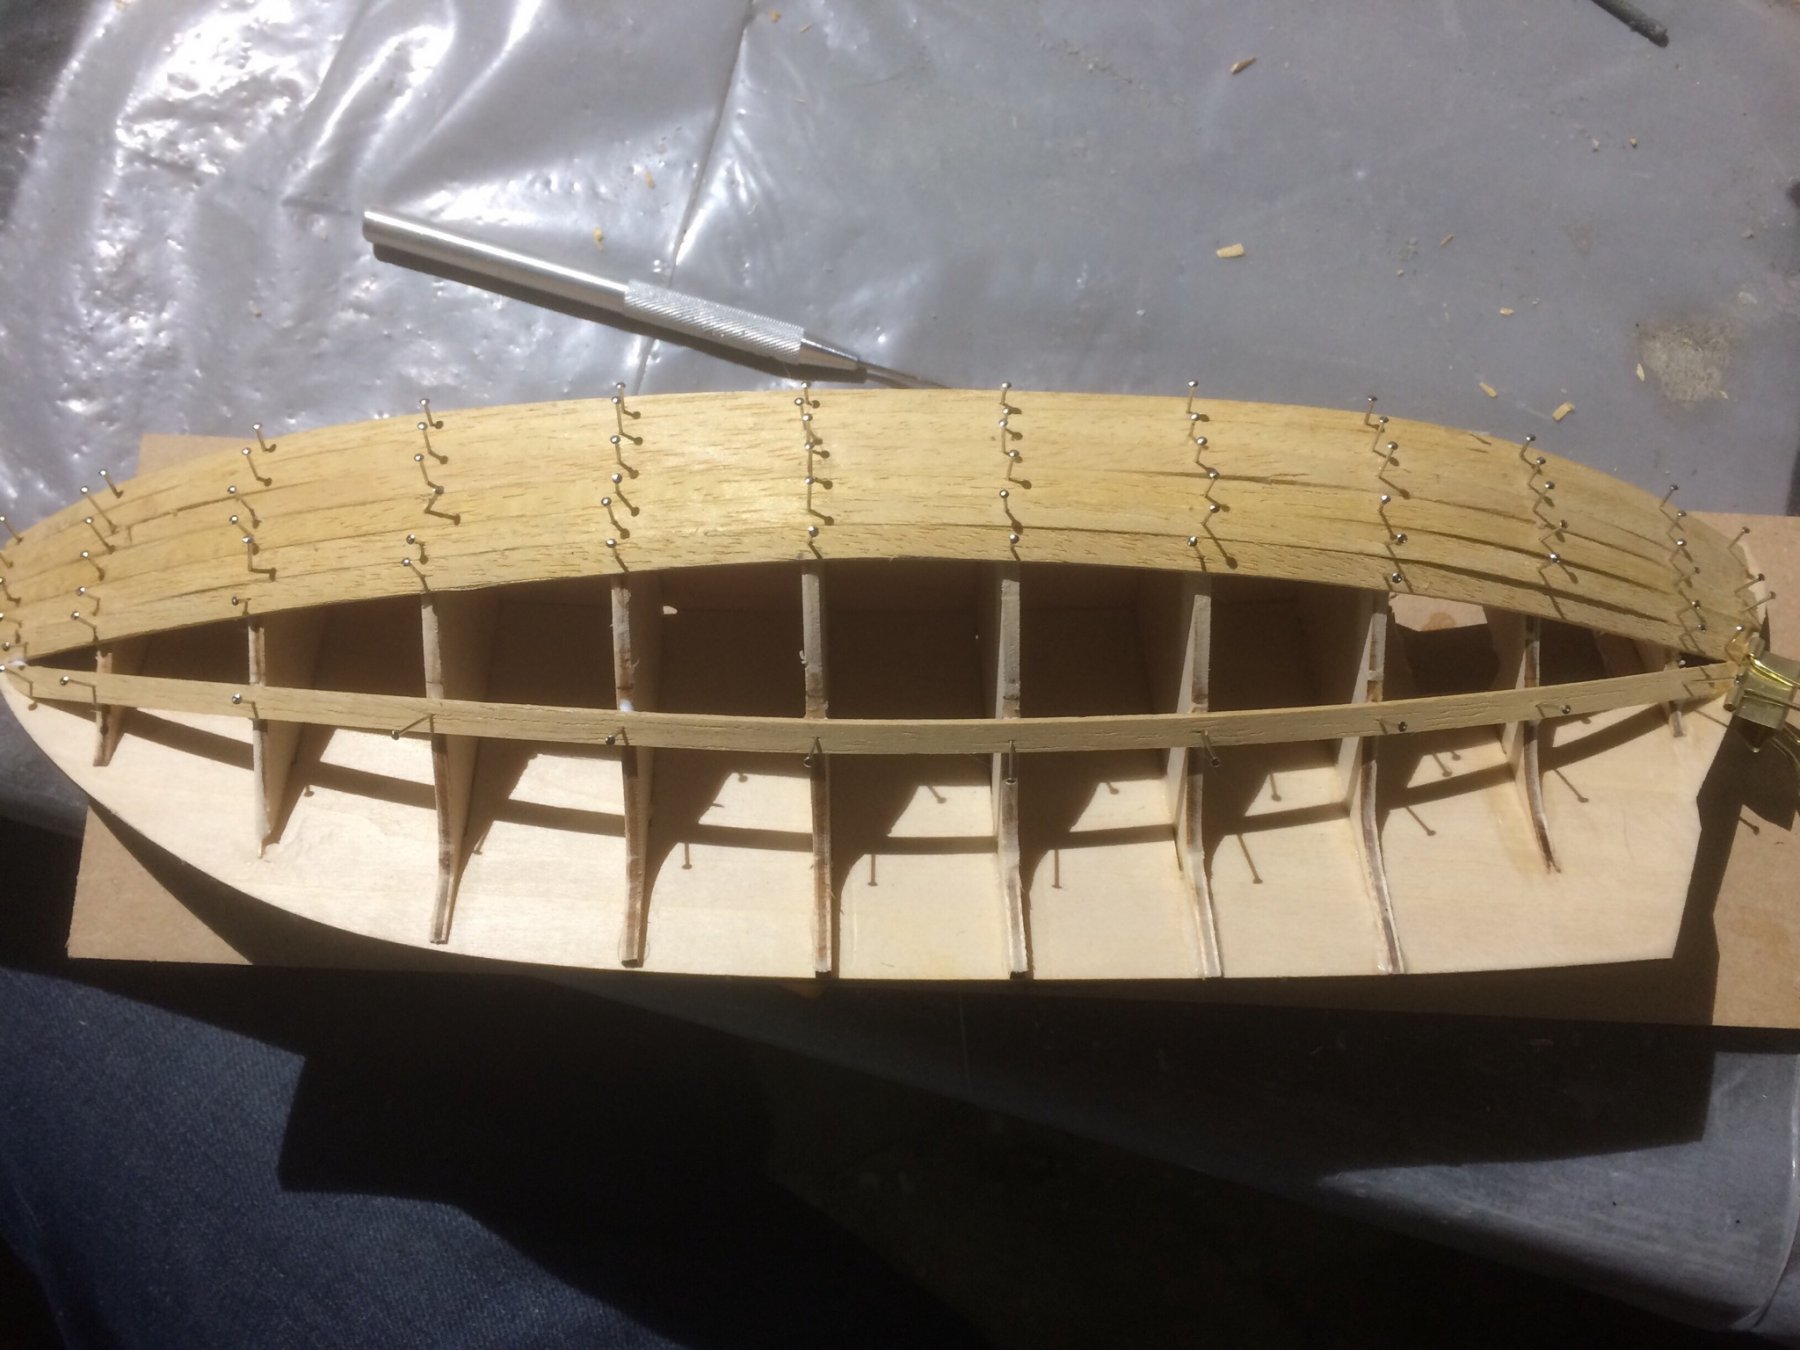
5 planks down - so far so good.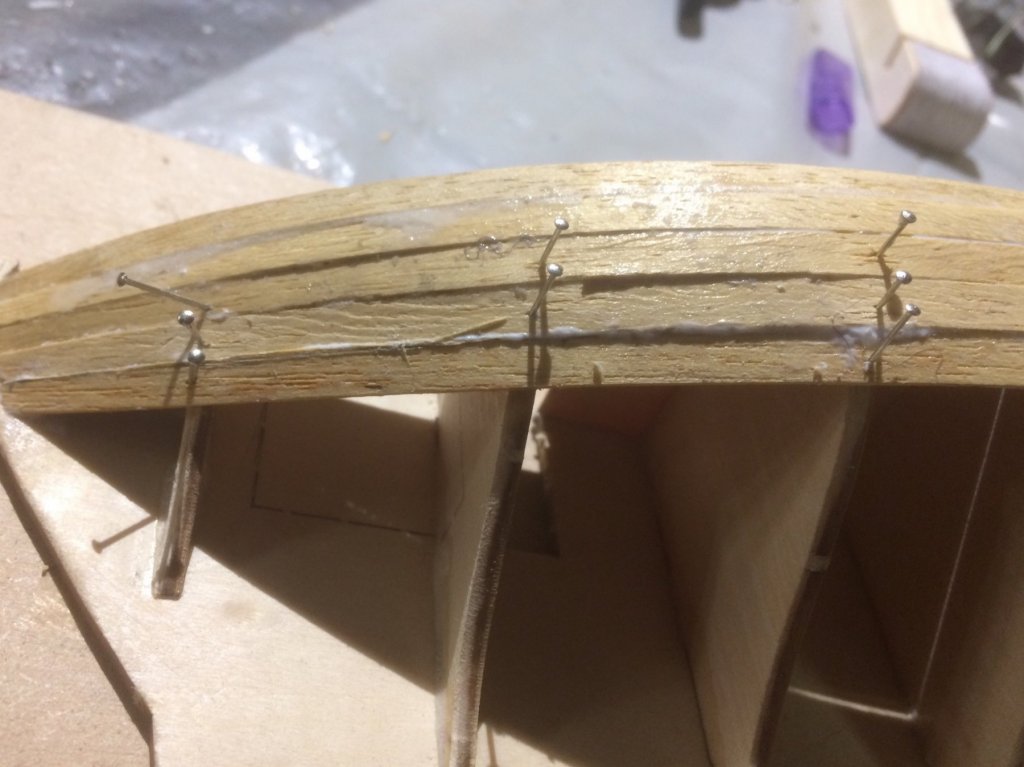
And almost immediately after I hit a block in the road. The hull shape changed so rapidly that I had no chance whatsoever to bend the planke to follow the last one. At this point I decided that if the plank won't bend to my wishes - I'll have to bend to the planks. I decided to put the next plank where it fell naturally. I've later seen pictures of other builds which seem to do the same thing.

Next up was filling the void with planks which actually was easier that I initially thought it would be. The last plank ended up being too narow for my liking so instead I joined two planks before gluing them into place.

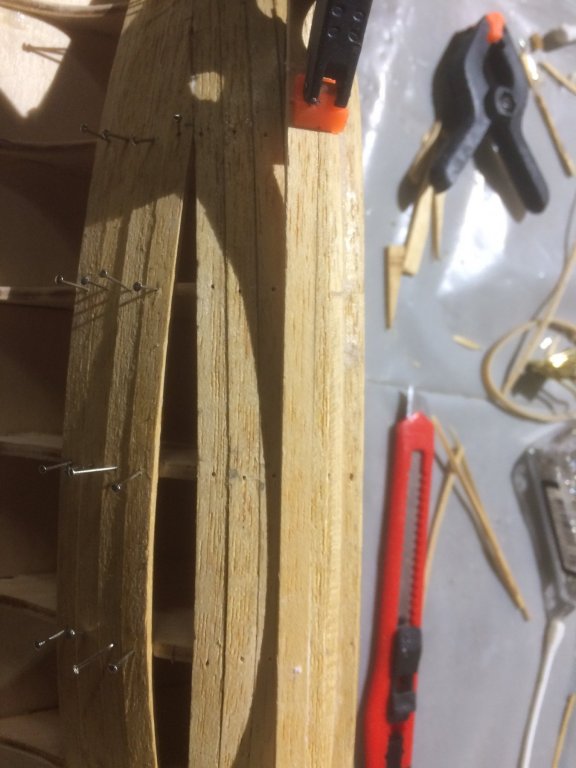
Some of the tapered planks had some difficulties with staying in place so I used some helping bits while the glue cured.
 n
n
-
Hi there!
I became a member of this site a few days ago, so thought it would be about time I walked around and shooked hands.
I’m a medium aged guy (I thought medium aged sounded younger than middle aged, not that it matters) from Norway. I have to admit that I haven’t been doing any model building since I was about 10 years old, and even then calling it building is a bit of a stretch. Like for every other kid at that time, plastic kits of fighter planes tendens to appear around christmas time, and ended up in the garbage bin three weeks later as a blob of half-and-half airplane parts and glue. Most of the time at least a quarter of the pieces ended up stuck to my fingers.
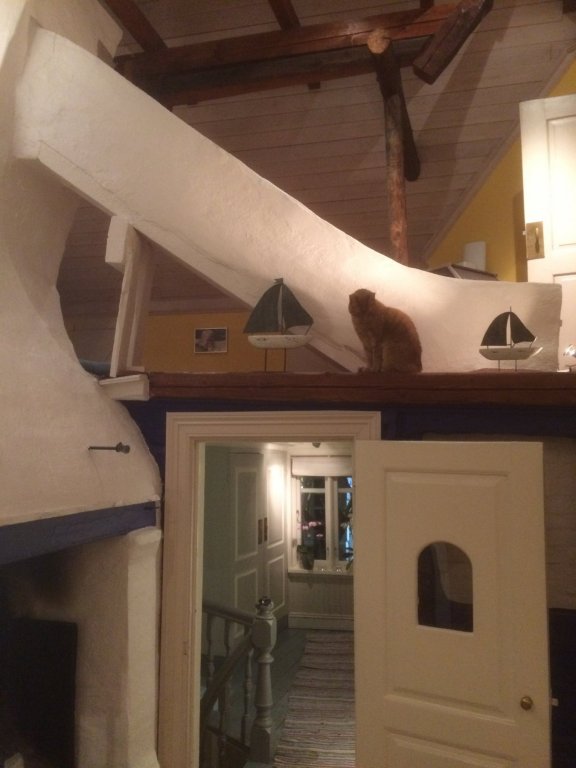
Anyways, some 40 years later me and my wife - I understand they are aptly considered as the admirality, had a discussion on what could liven up and function as some sort of decoration up on the loft. As you can see there is some history between these walls, so a bit of history to keep the cat company wouldn’t be amiss.
We have livet close by the sea all our lives, and owned 3 boats ourselves I thought a model of one would’t be half bad. So I searched around and came upon this model of the Colin Archer - a Norwegian vessel used as a rescuing vessel along the coast. After all it was marked “beginner” so how hard could it be?
Well, you all know I was in for a surprise. And a lot of fun.
I reckon I will need help from you from time to time if not on the current project, definitely on the next. Because there will be more.
Looking forward to read all your posts, and join in on discussions from time to time.
And I’ll get started on my first build log after I’ve poured myself a glass of wine. See you over at the build log...


Bluenose by Torstein - Model Shipways - scale 1:64
in - Kit build logs for subjects built from 1901 - Present Day
Posted · Edited by Torstein
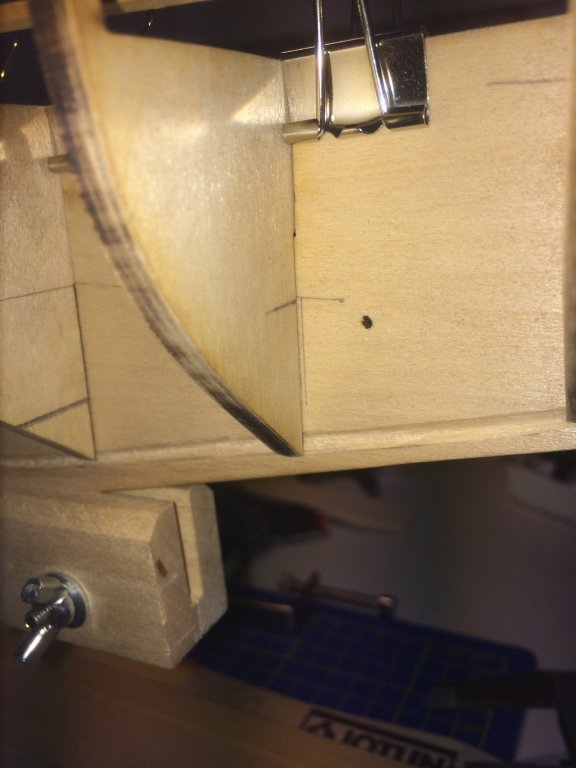
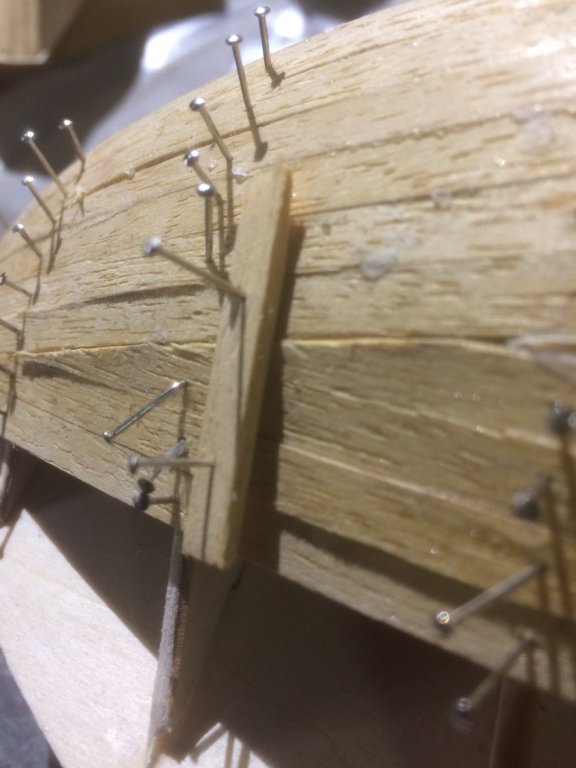
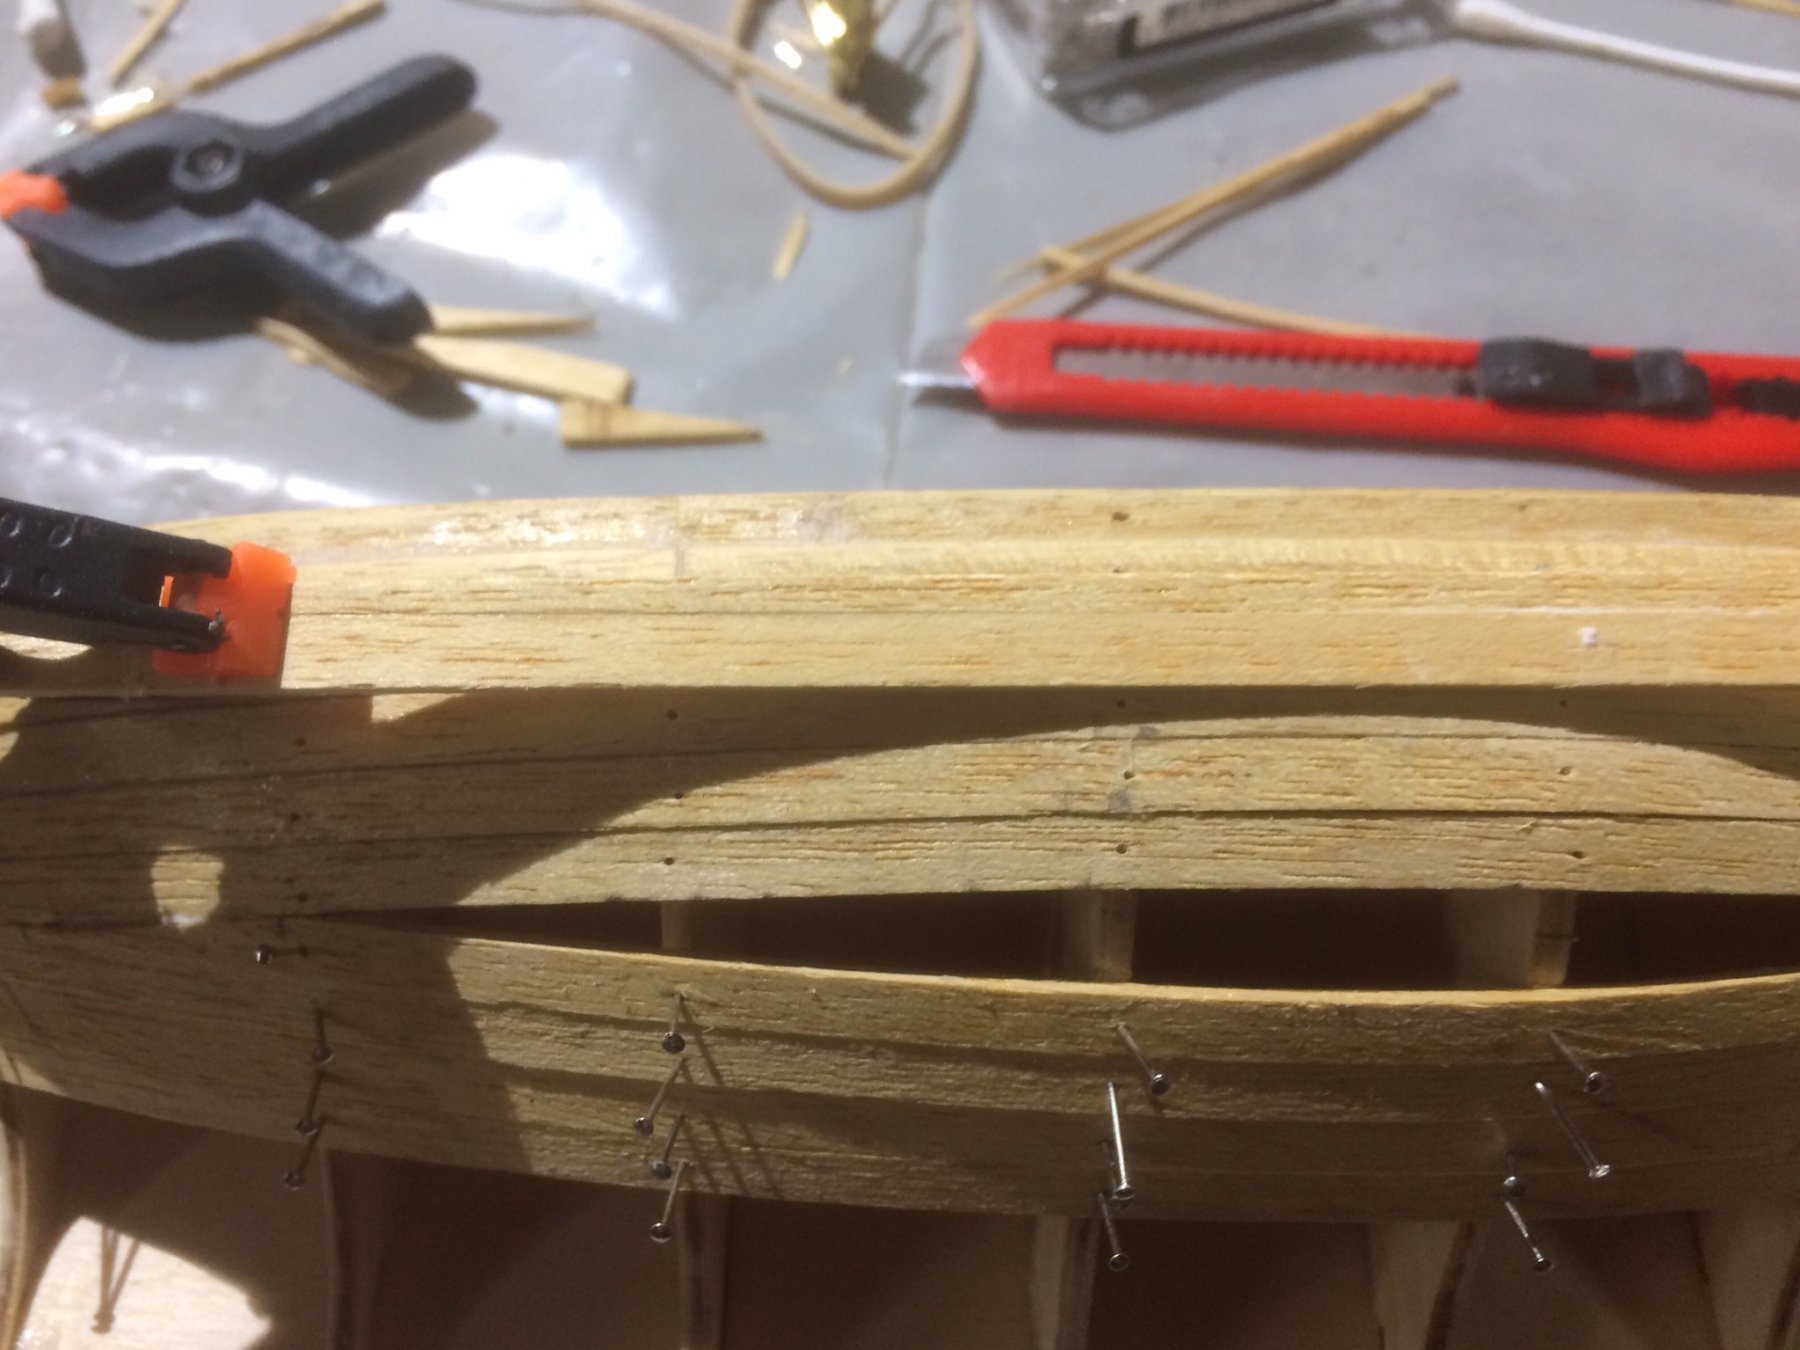
Assembly of the keel and bulkheads are done.
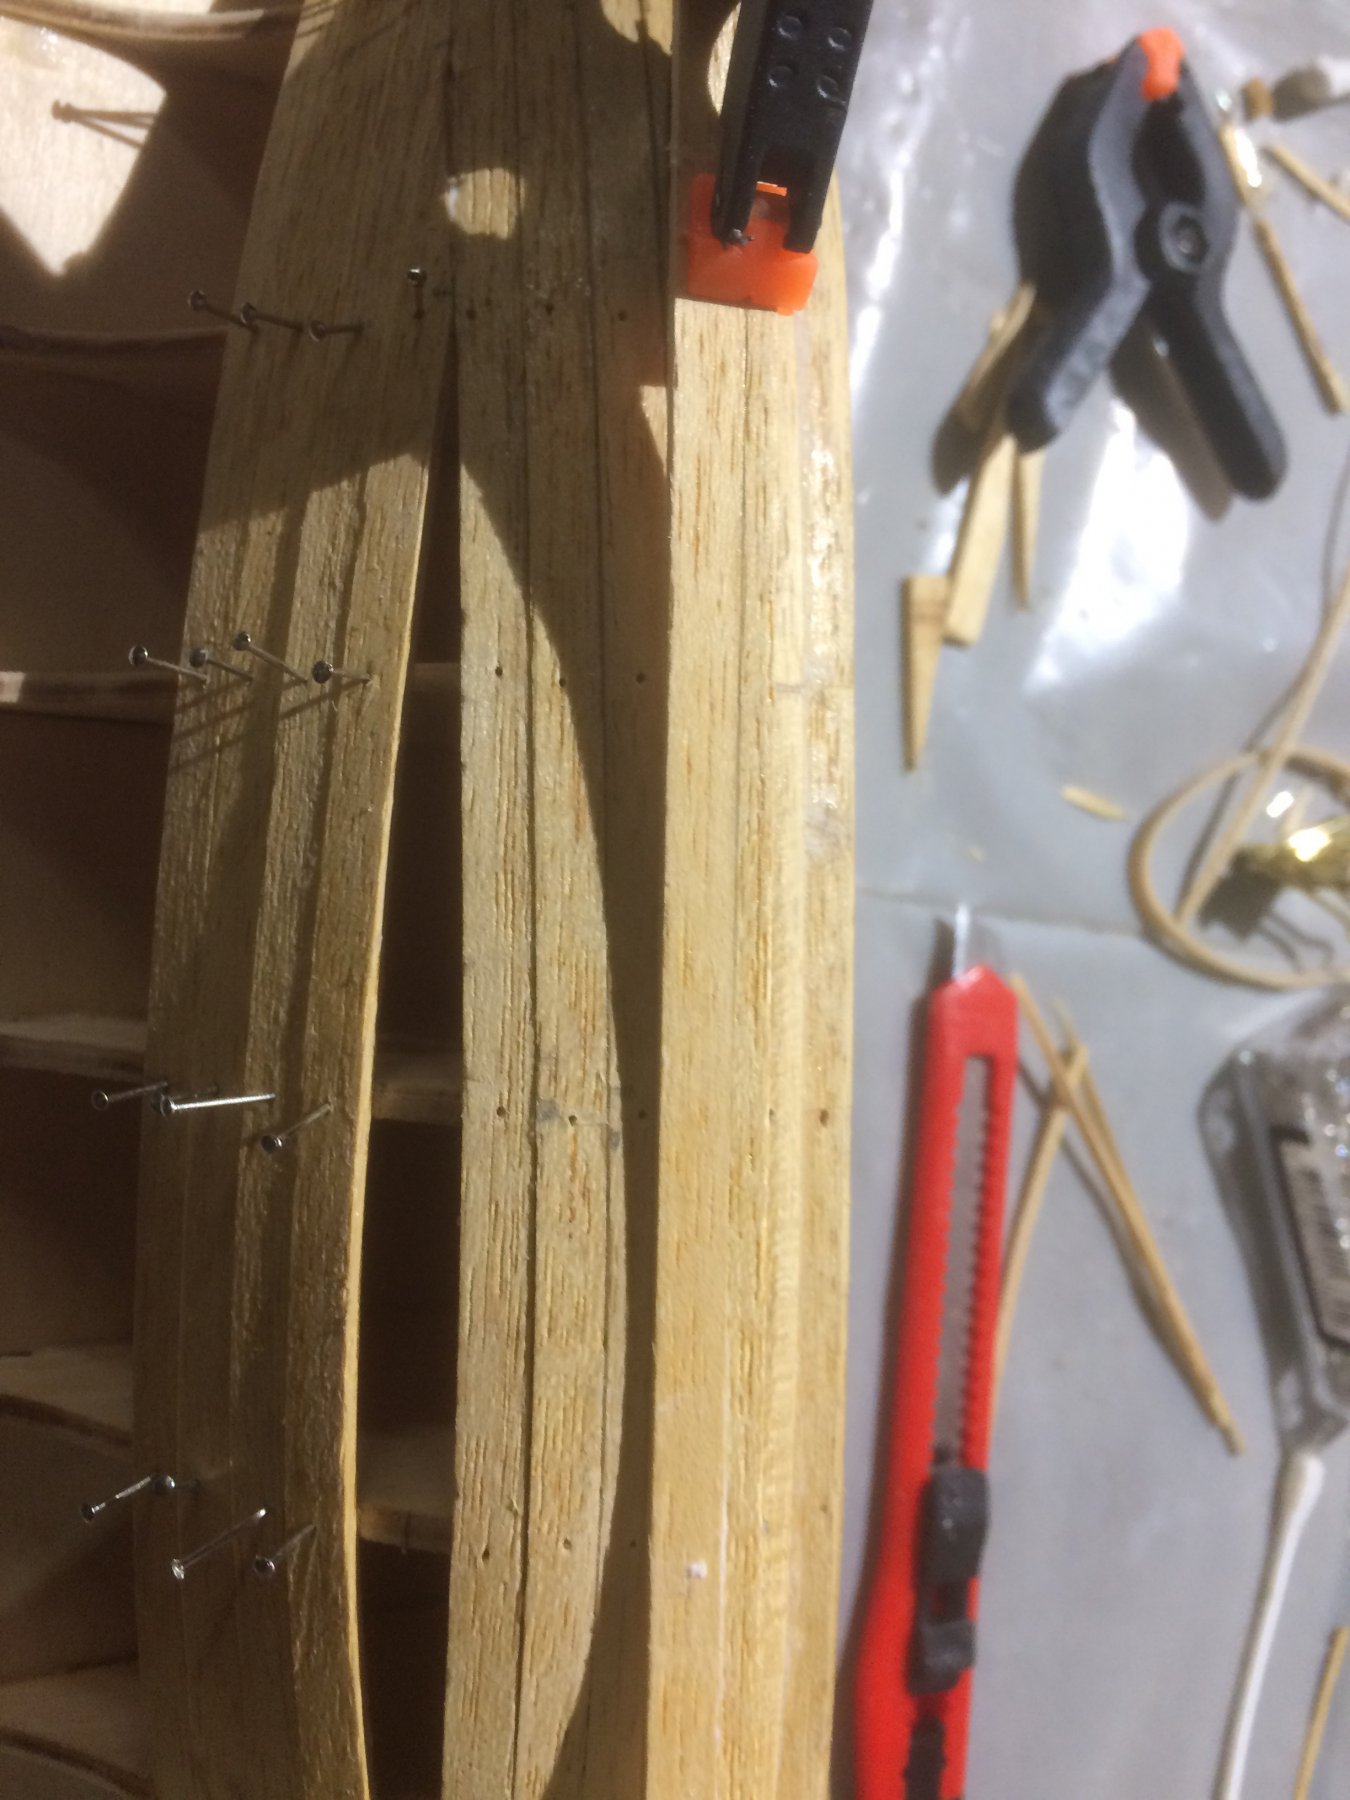
I noticed afterwards that one of the bulkheads was a few degrees away from square on the keel. For a few minutes I considered panicking until I remembered ,my trigonometry. The small discrepancy would not lead to any significant changes in distance of the planking surface to the keel. Breath out and continue.
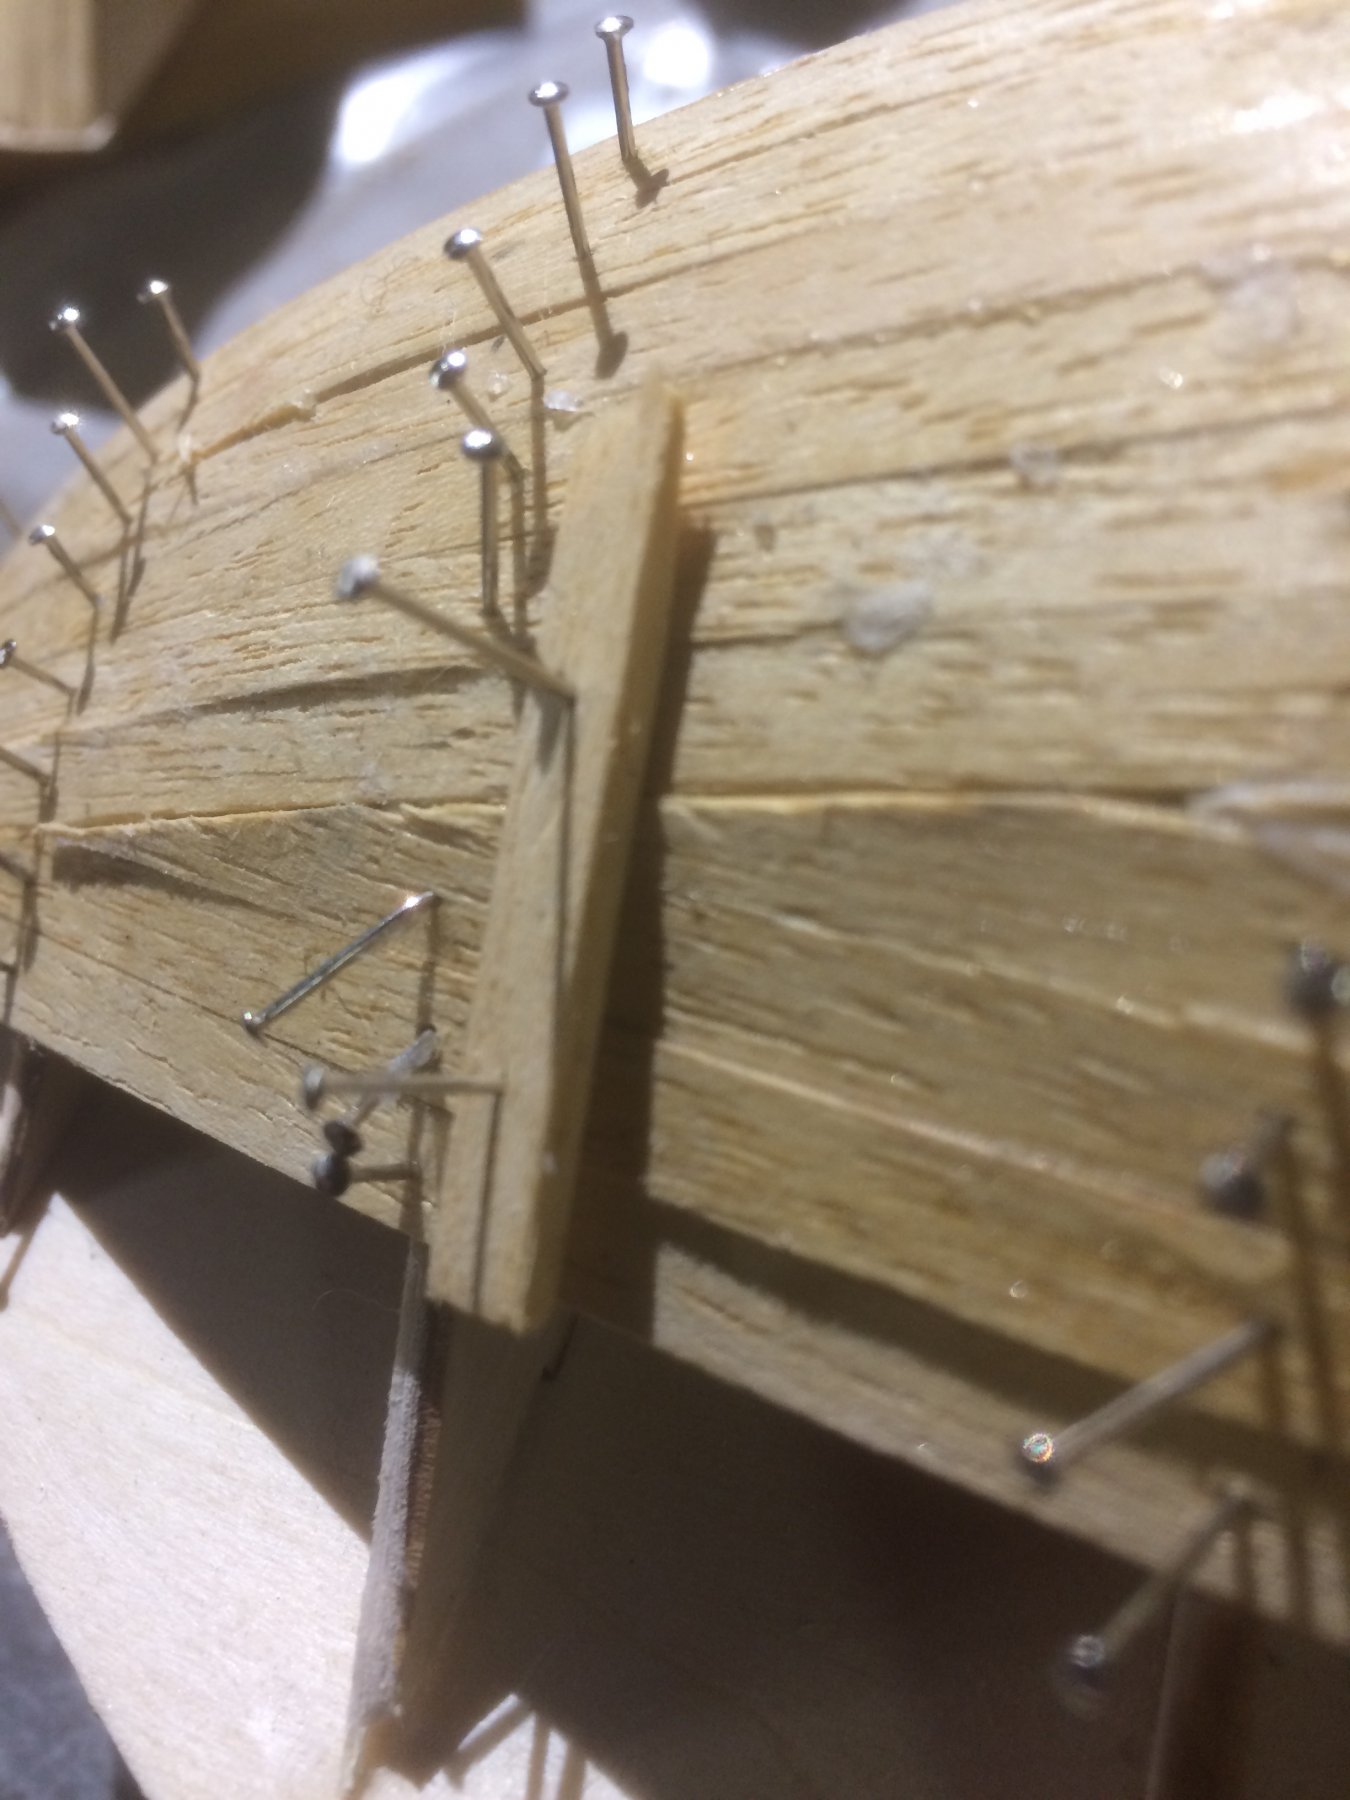
I have added some small pieces of scrap to either side of the keel joints as well as at the point where the rudder goes. I had a bit of a nightmare about breaking the stern off while handling the boat.
While sanding I also added some planks to help stiffen the whole thing.
next up - bulwarks... and probably some other stuff.
Hmm, how do I get rid of the last photo? Tried editing, but it keeps coming back.