HOLIDAY DONATION DRIVE - SUPPORT MSW - DO YOUR PART TO KEEP THIS GREAT FORUM GOING! (Only 36 donations so far out of 49,000 members - C'mon guys!)
×
spider999
-
Posts
75 -
Joined
-
Last visited
Content Type
Profiles
Forums
Gallery
Events
Everything posted by spider999
-
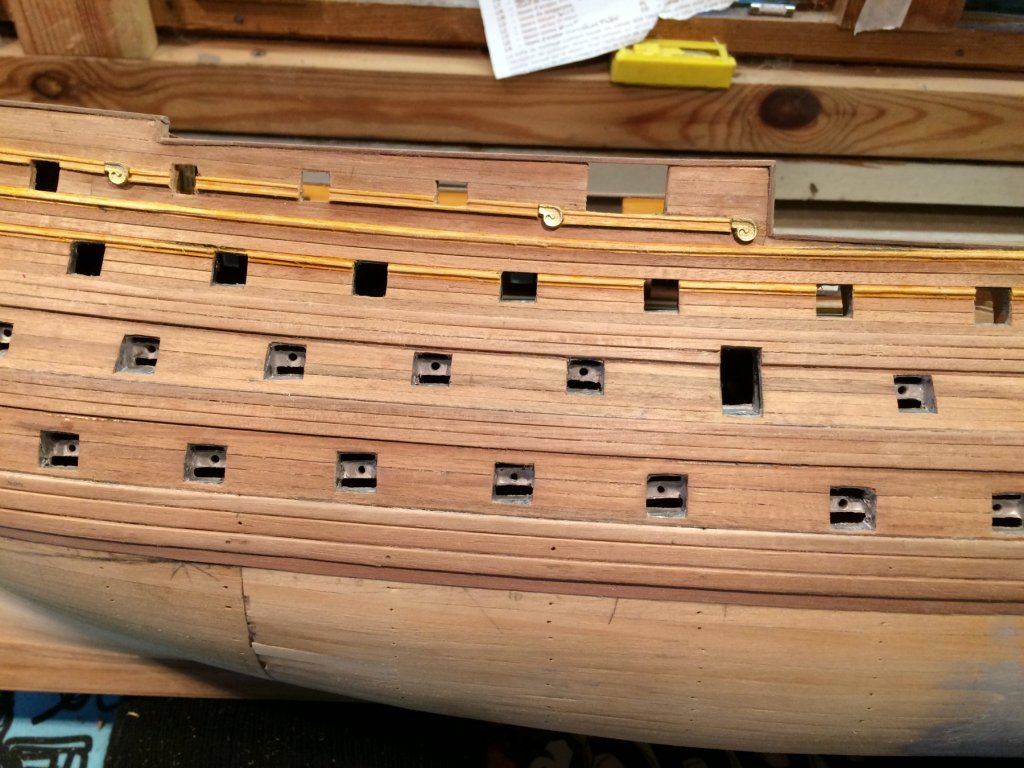
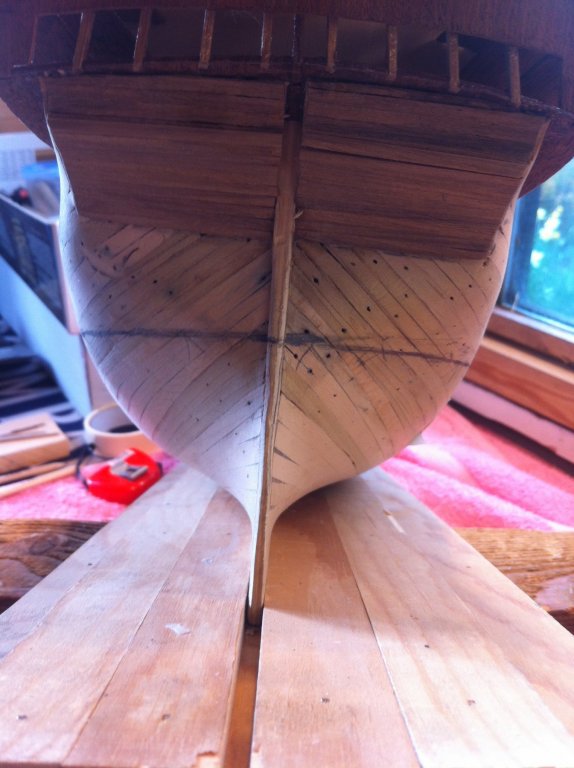
 am laying her up in dry dock for a while till i finish a couple of outstanding jobs in the house, should be back aboard her by xmas...... here are some pics of progress so far: The curly bits might not be in exactly the right place, but what the hell, like i keep saying, i only bought the kit to tie the knots!!!!


-
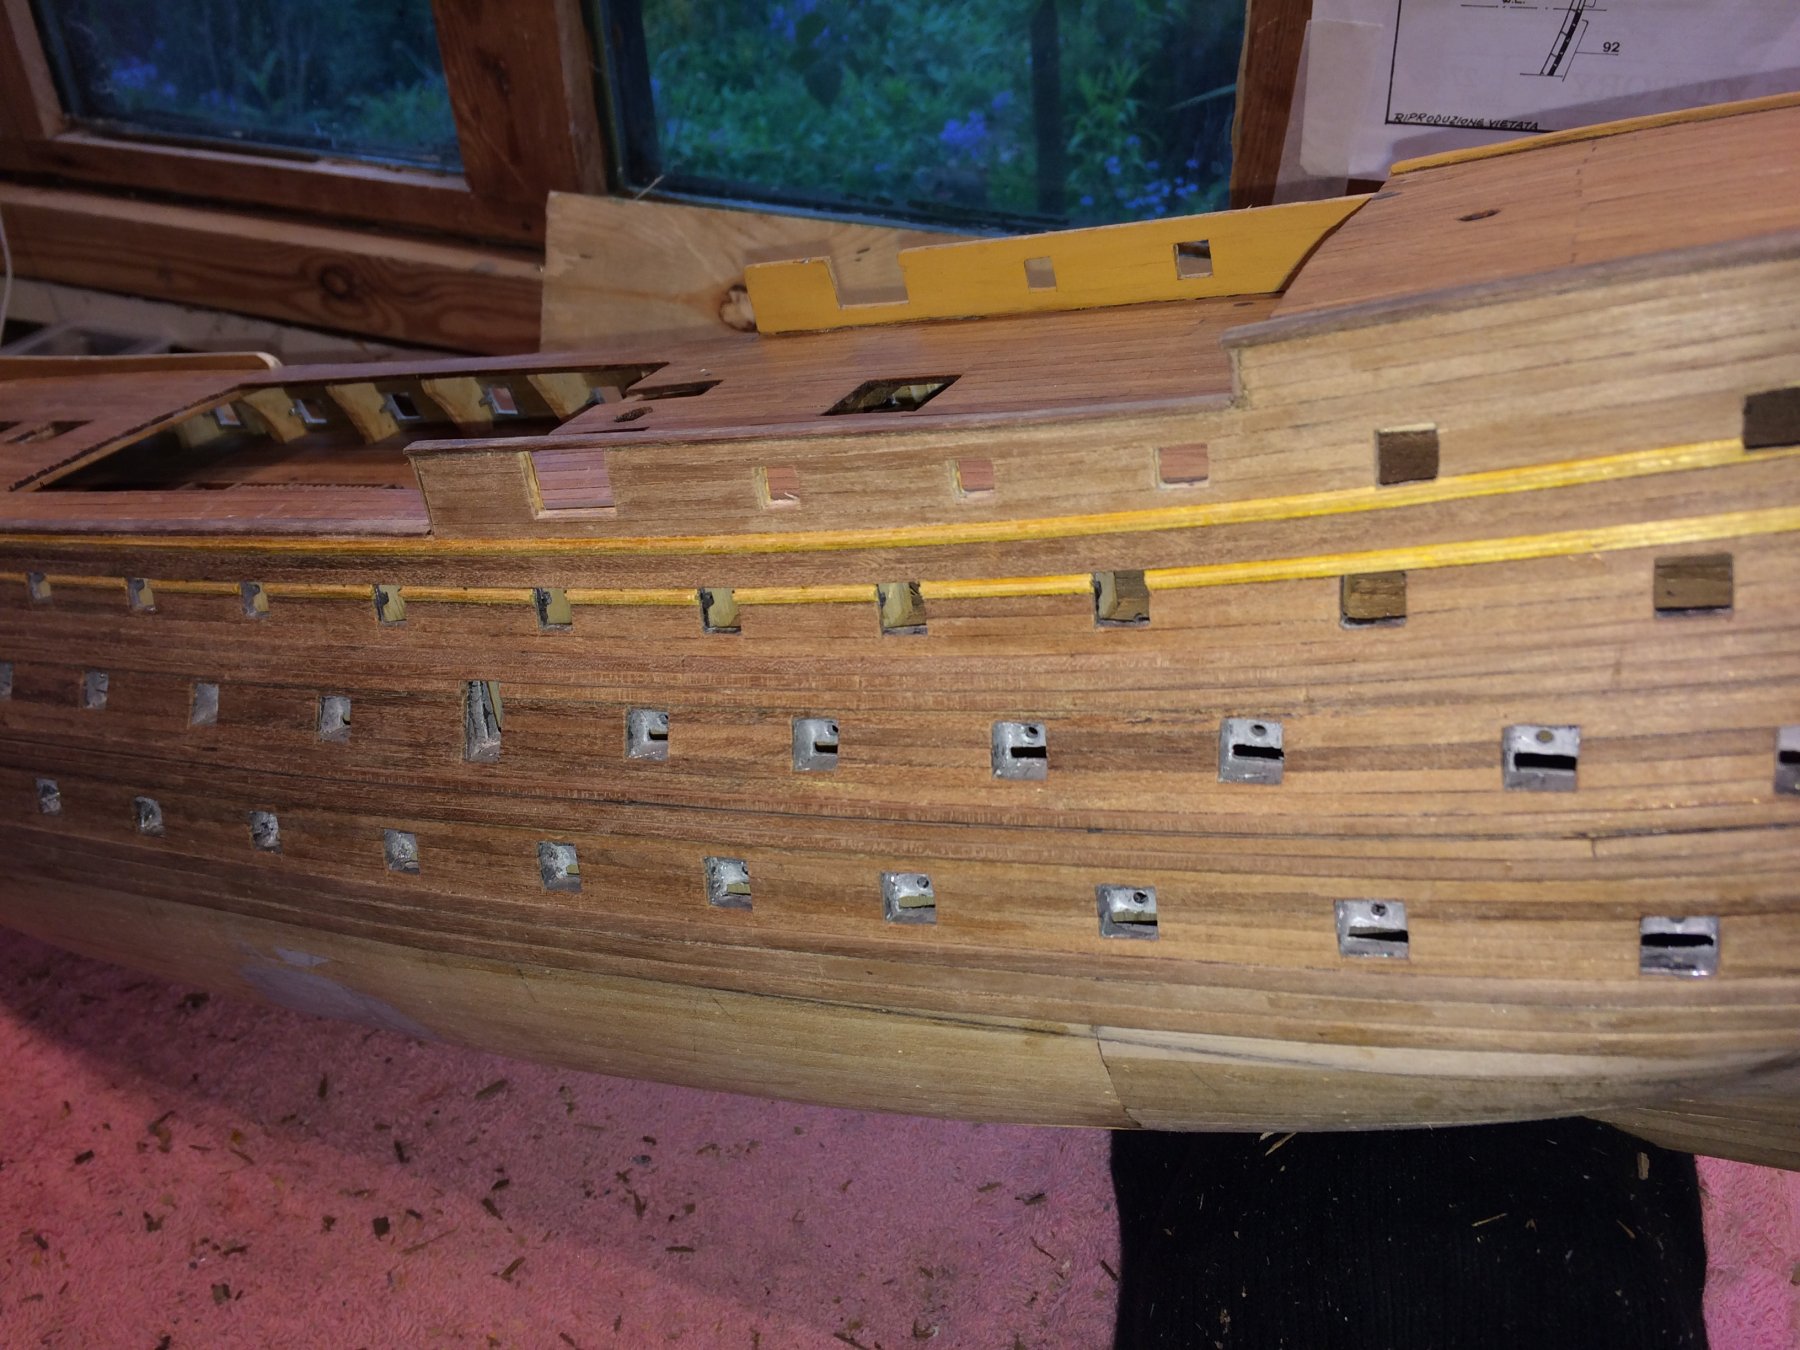
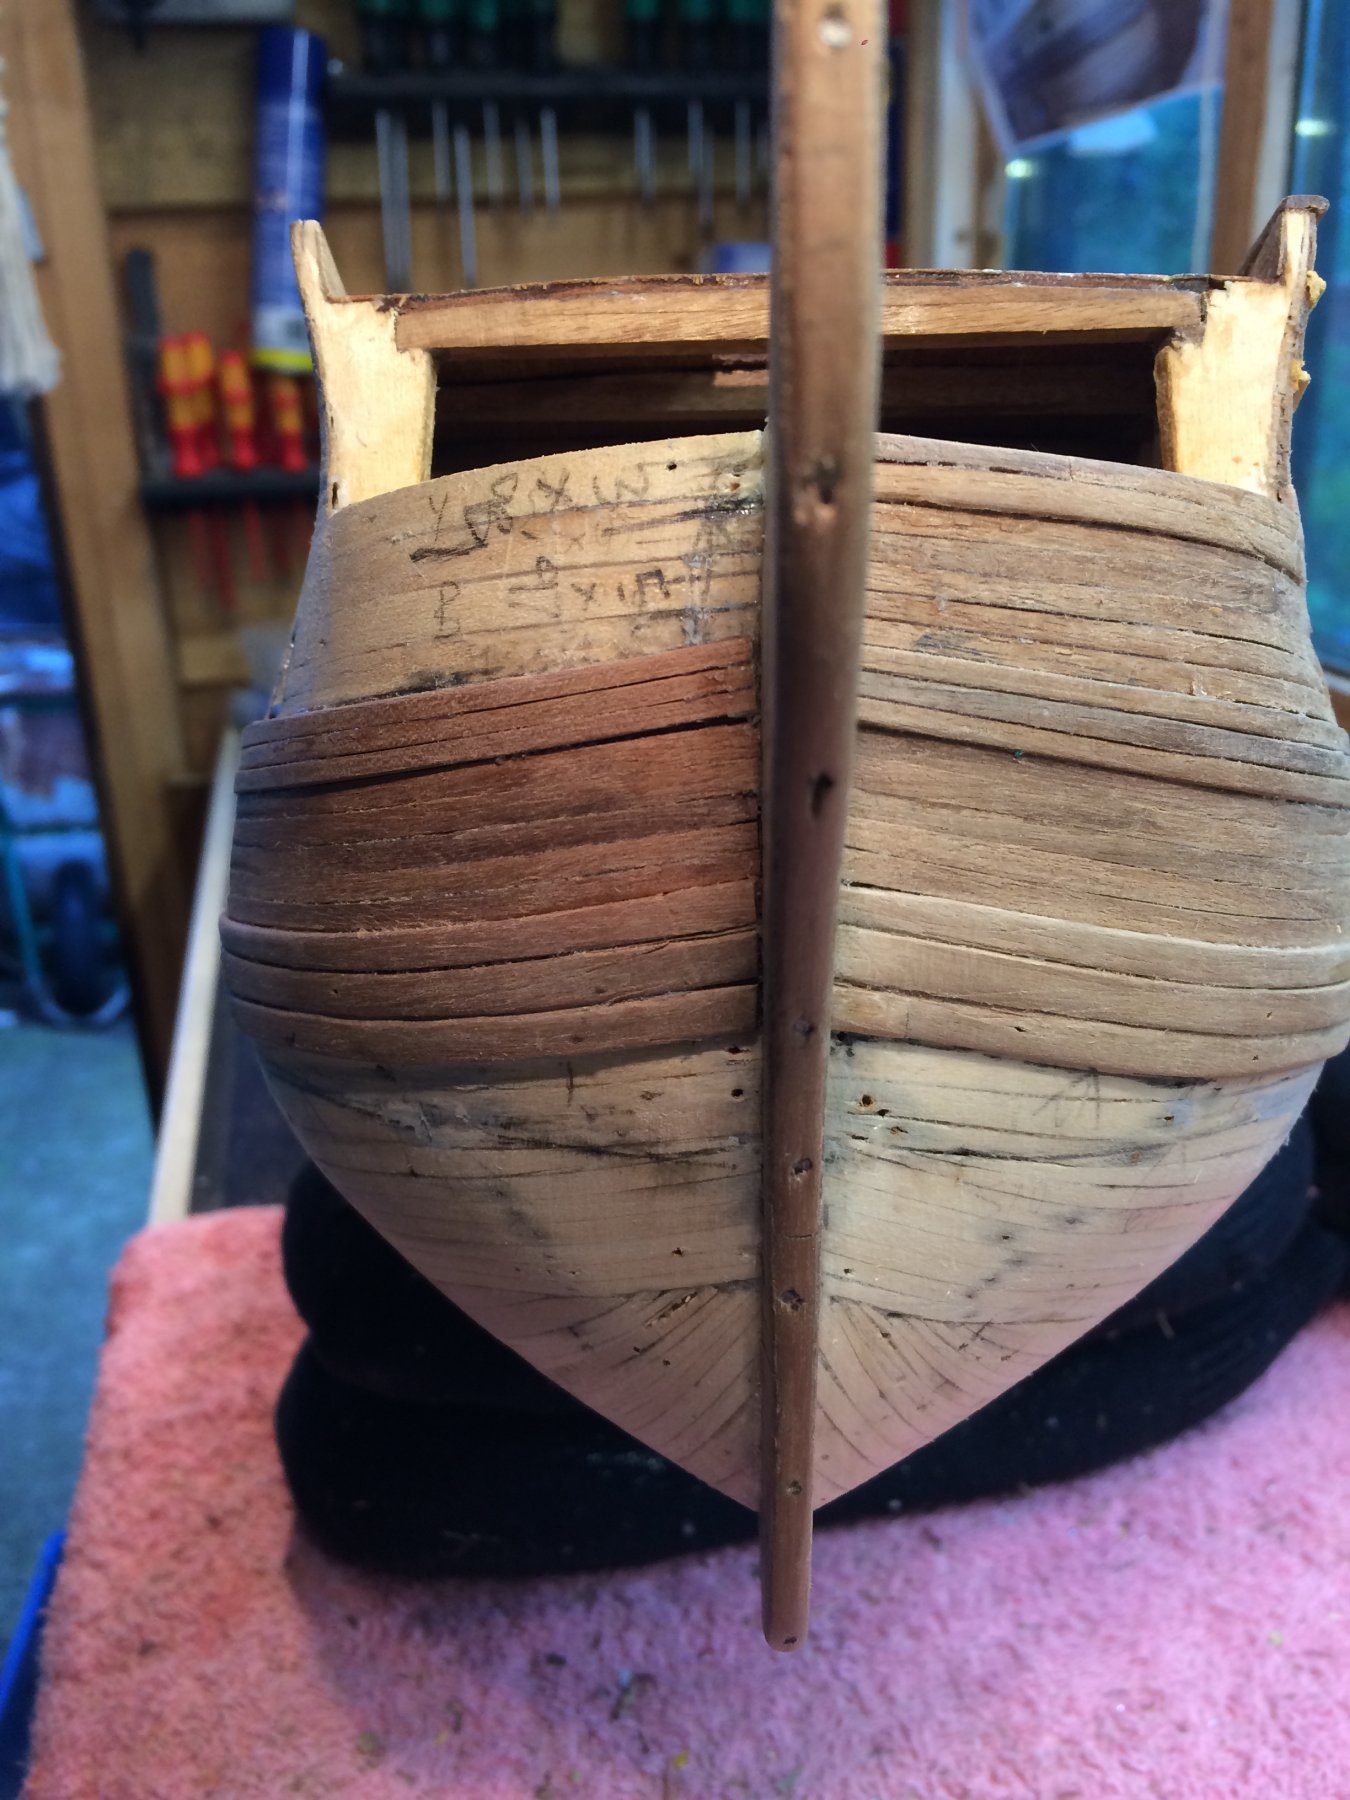
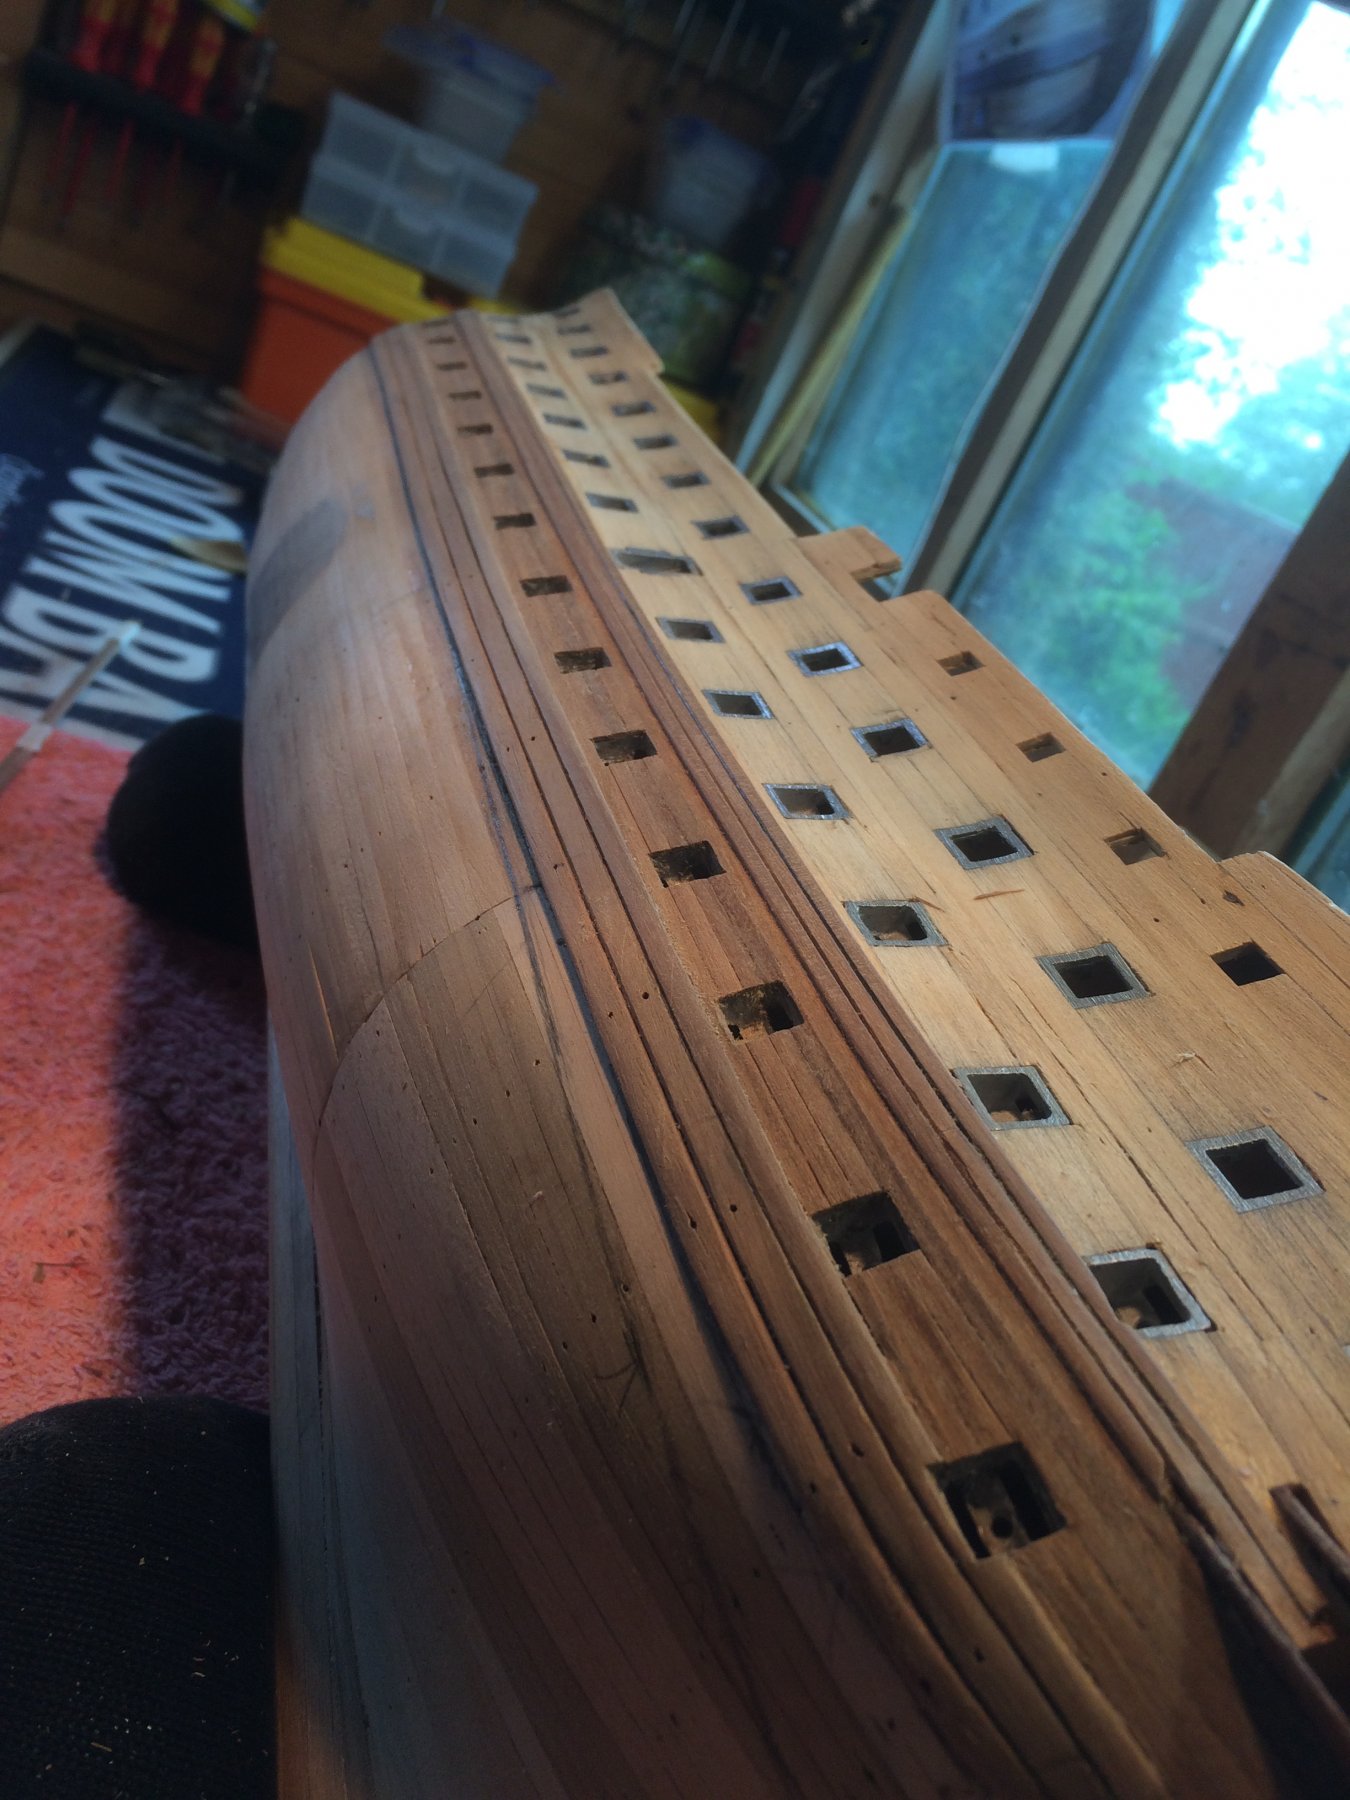
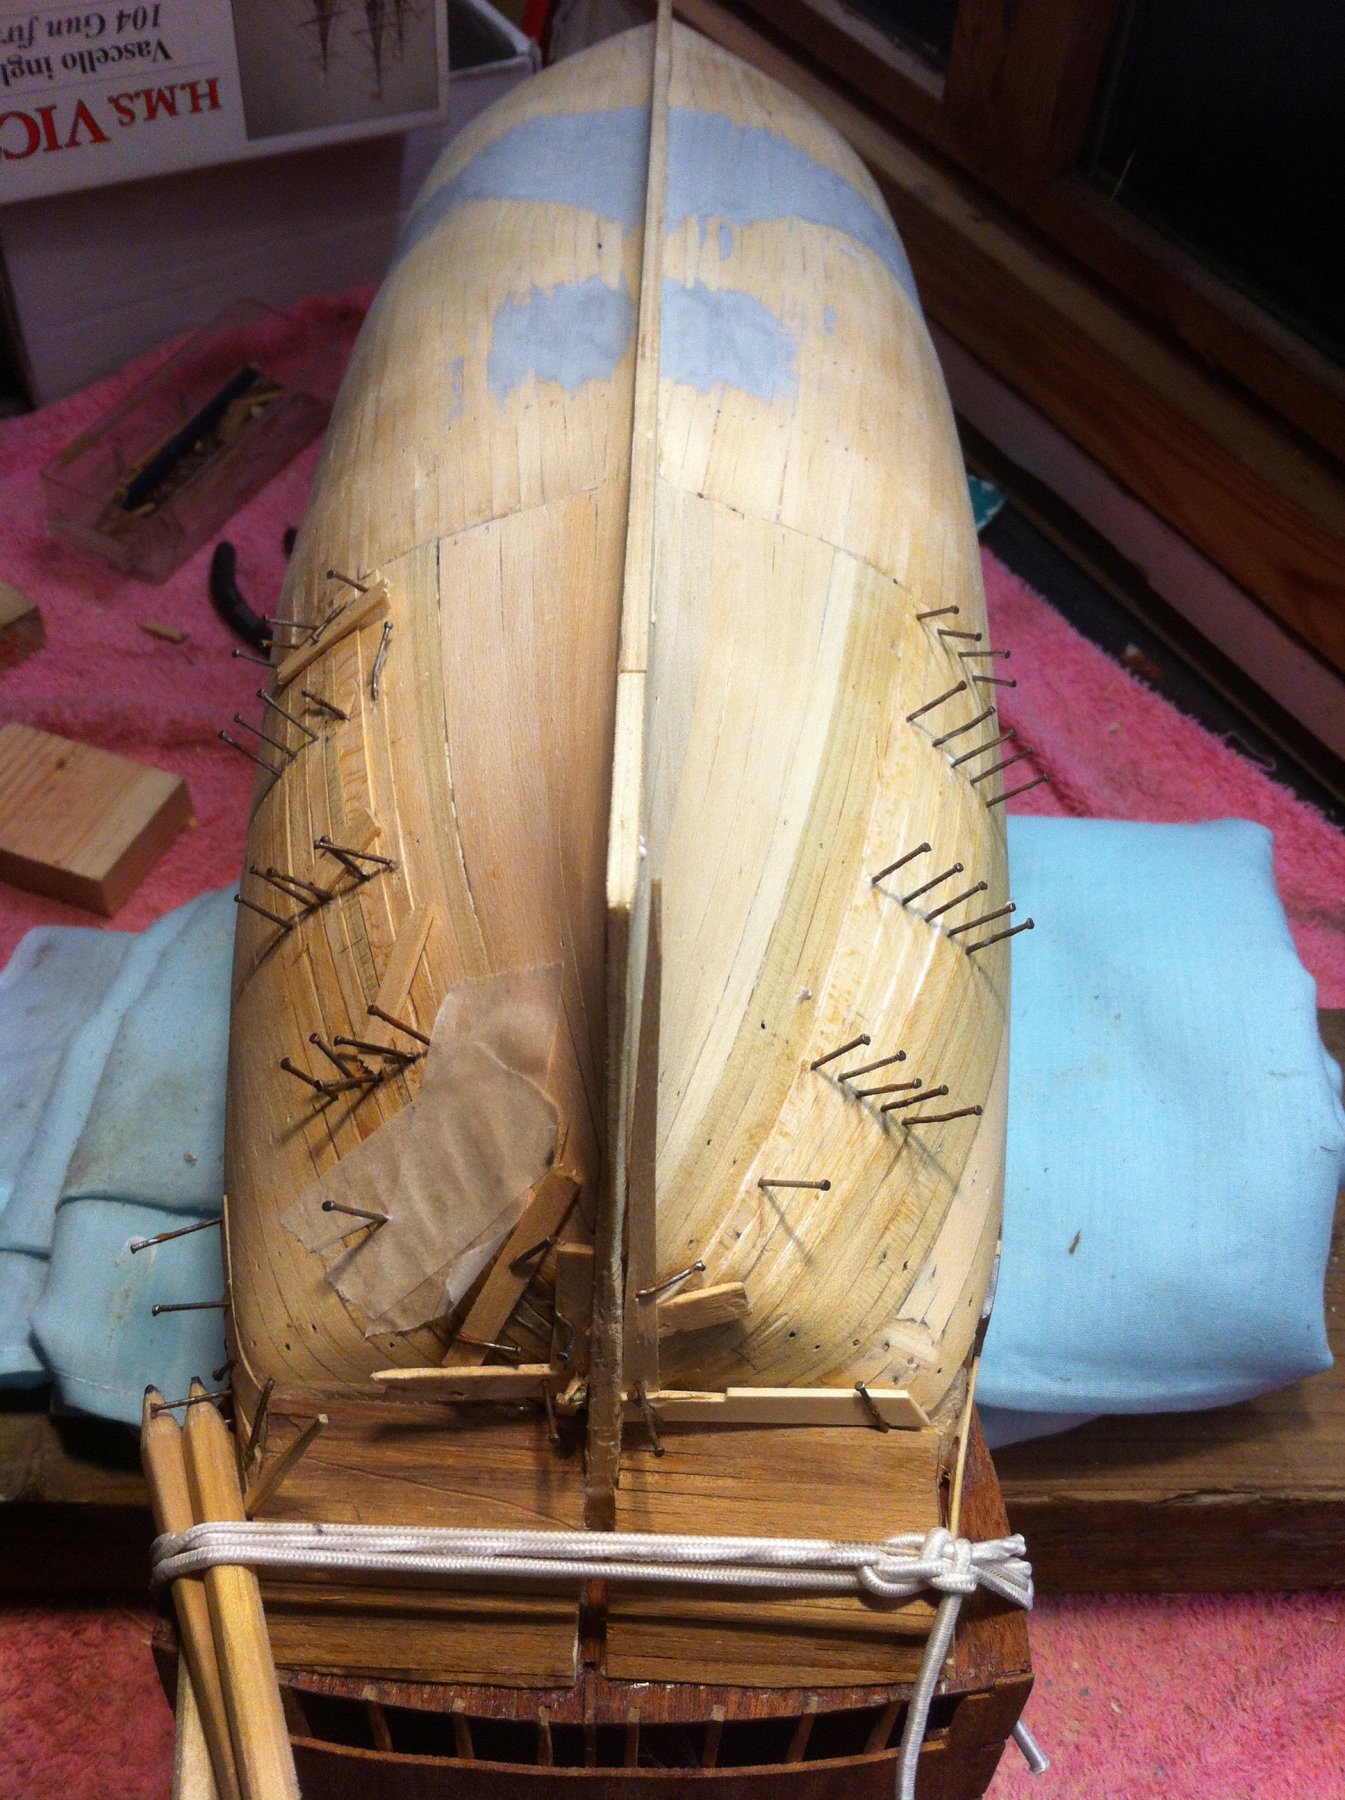
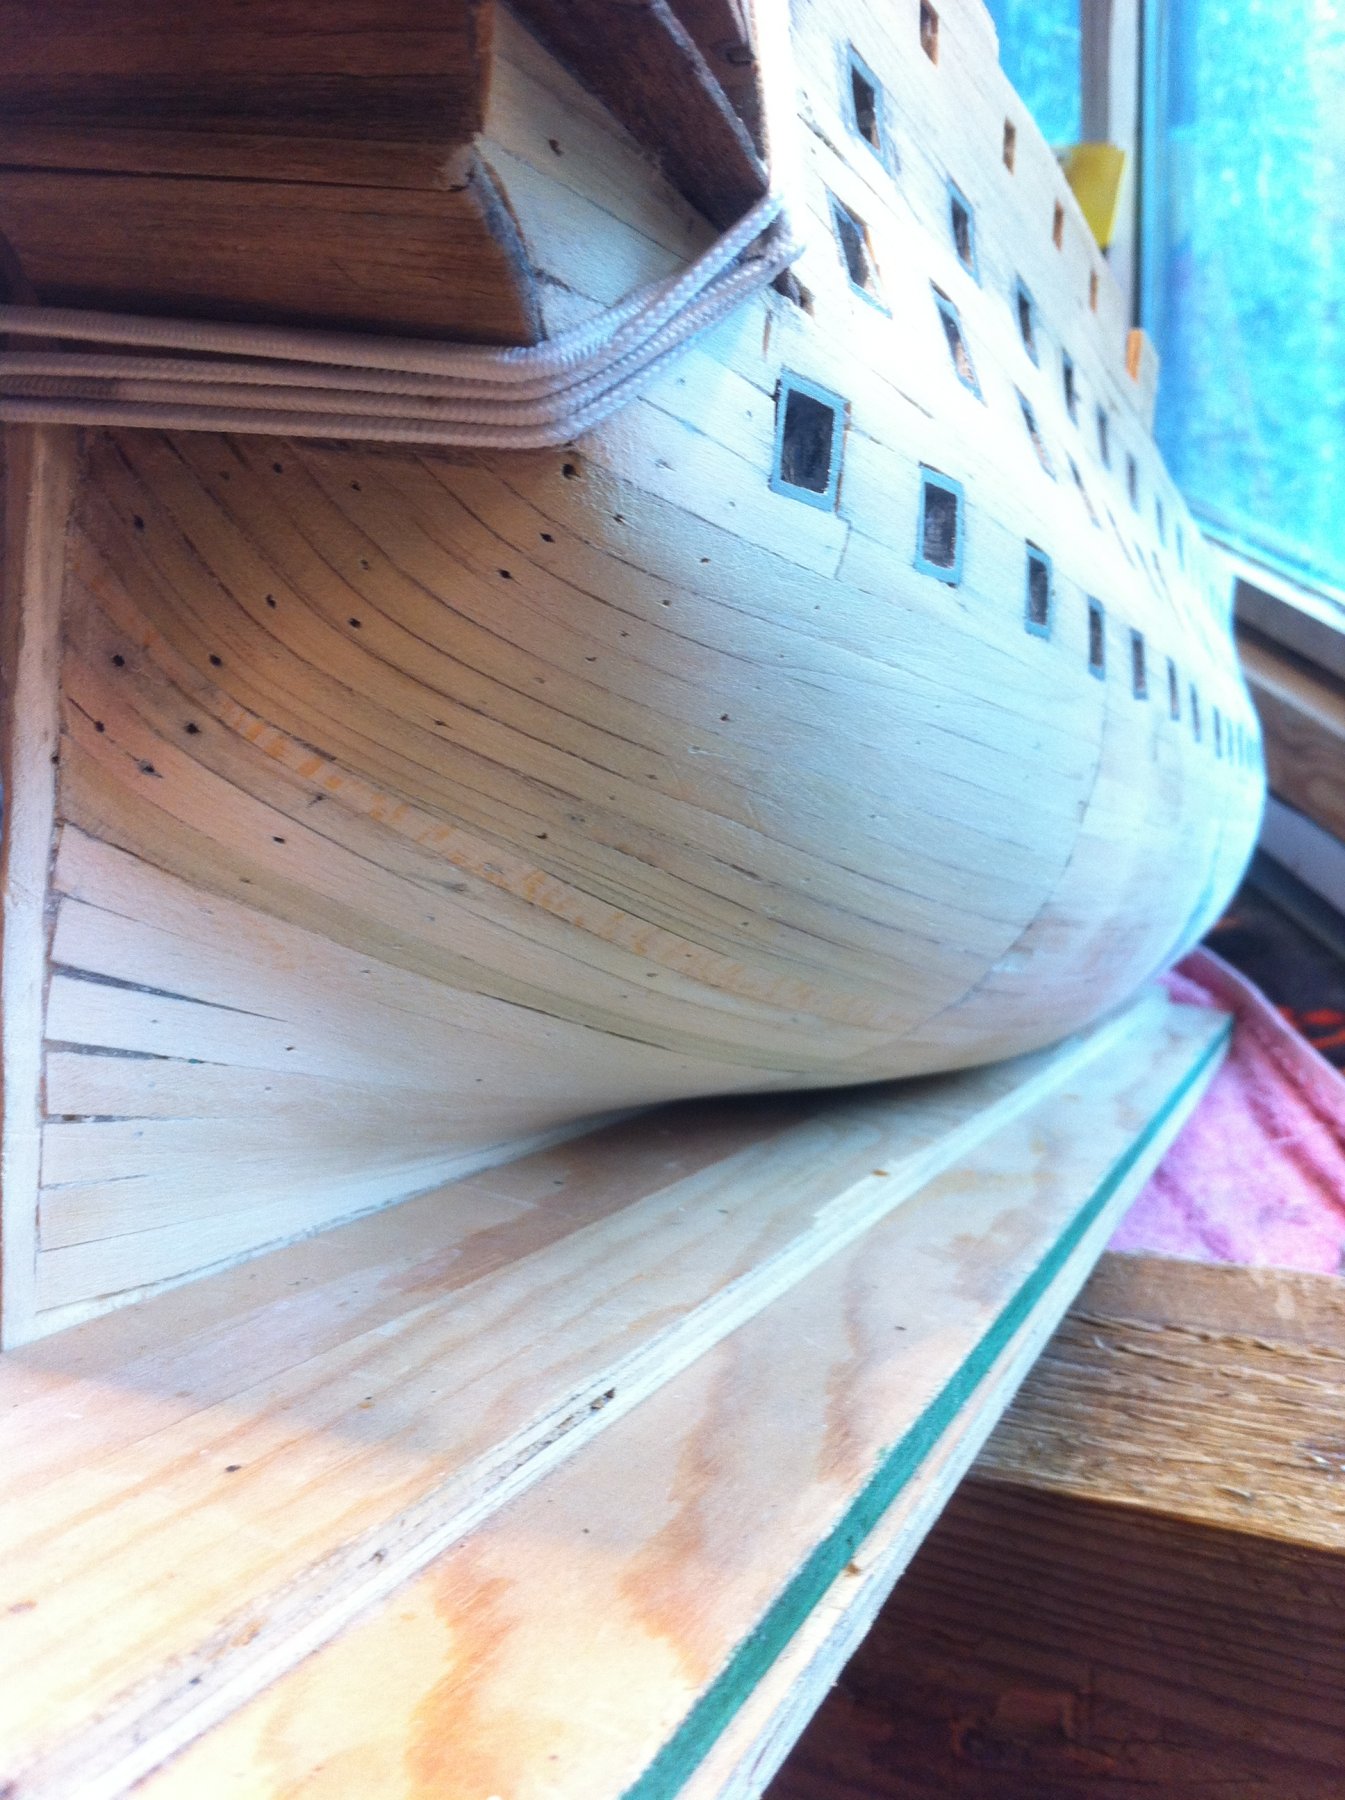
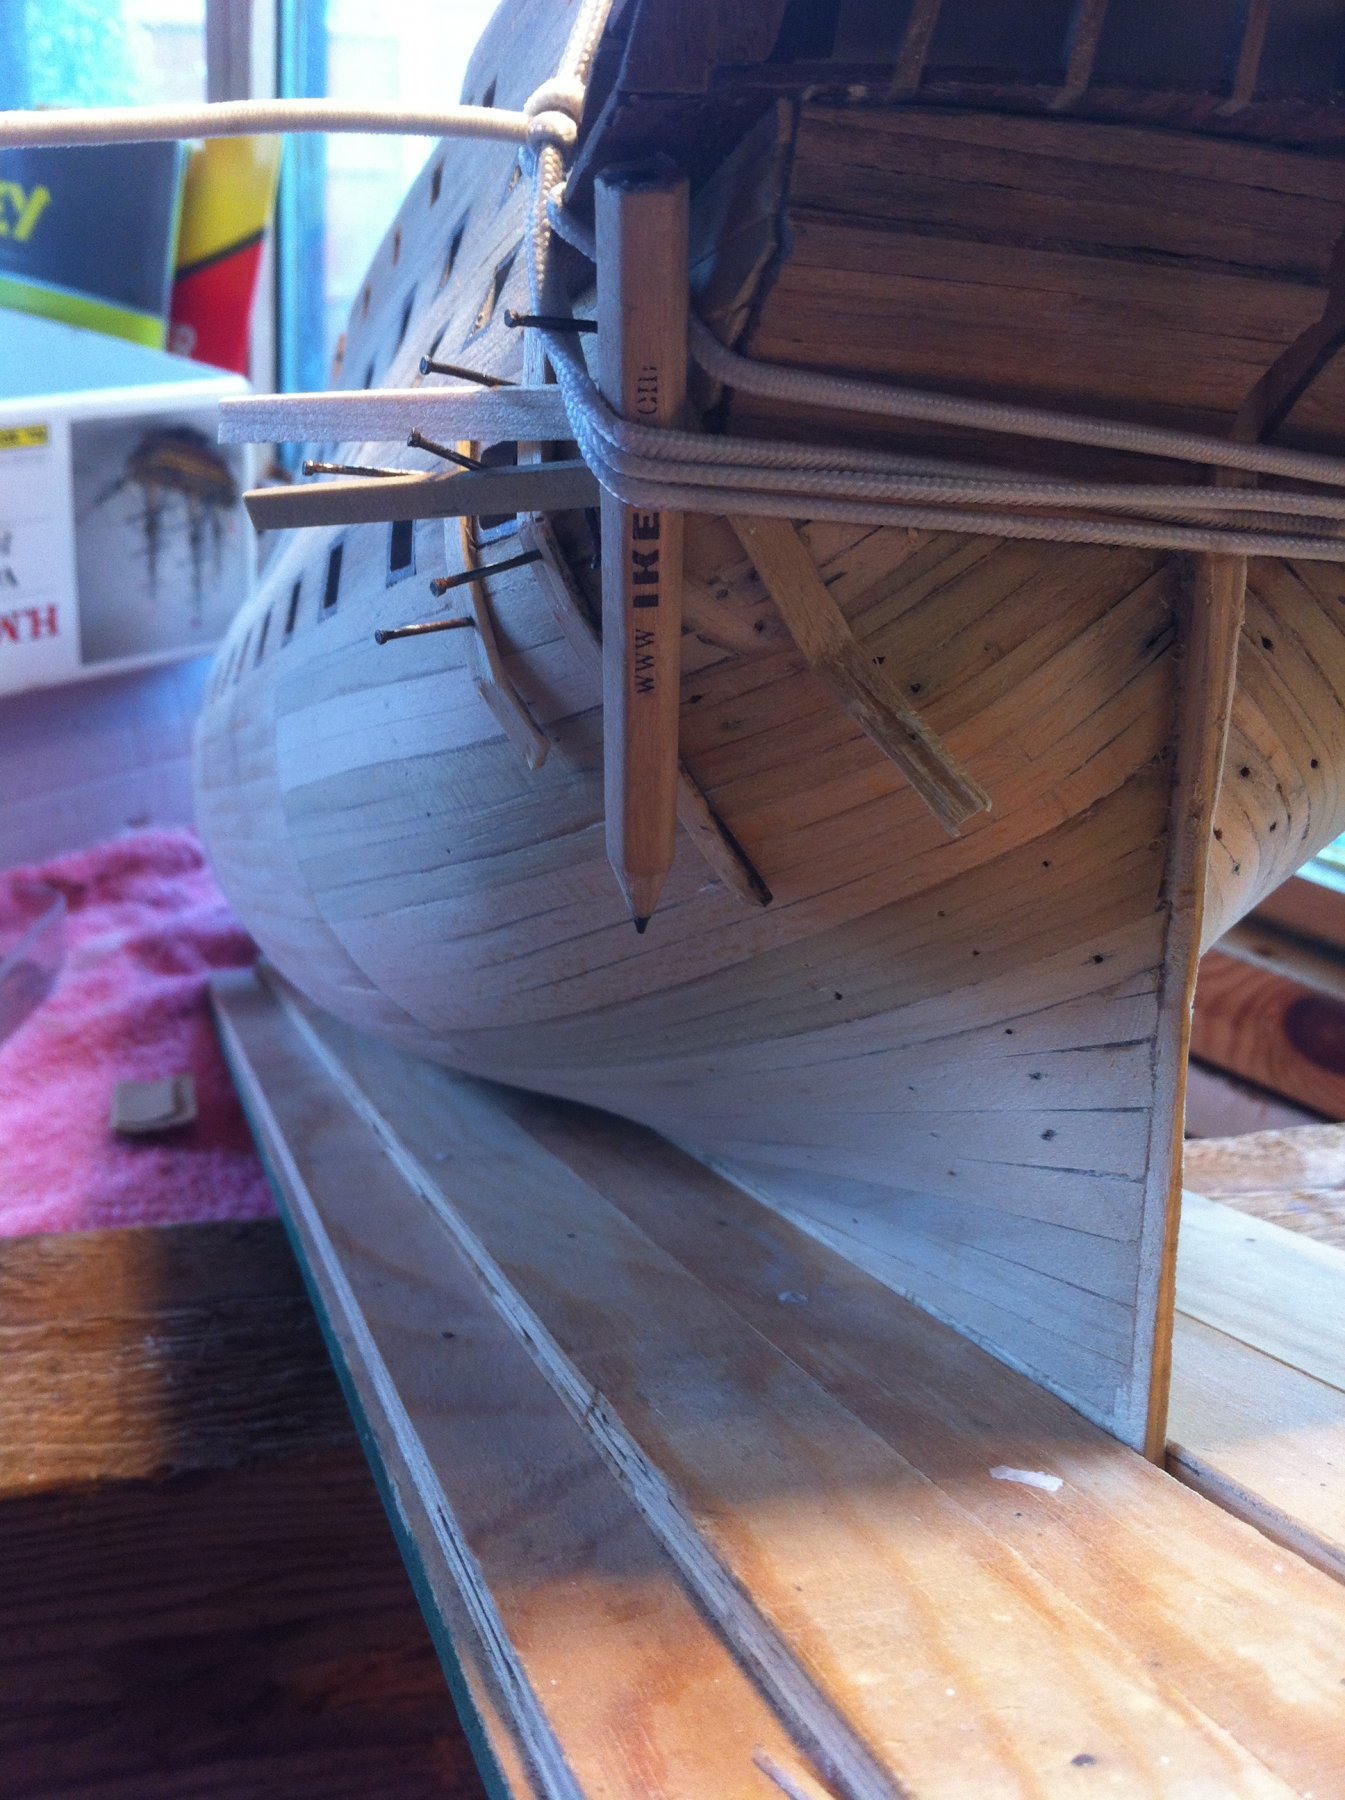
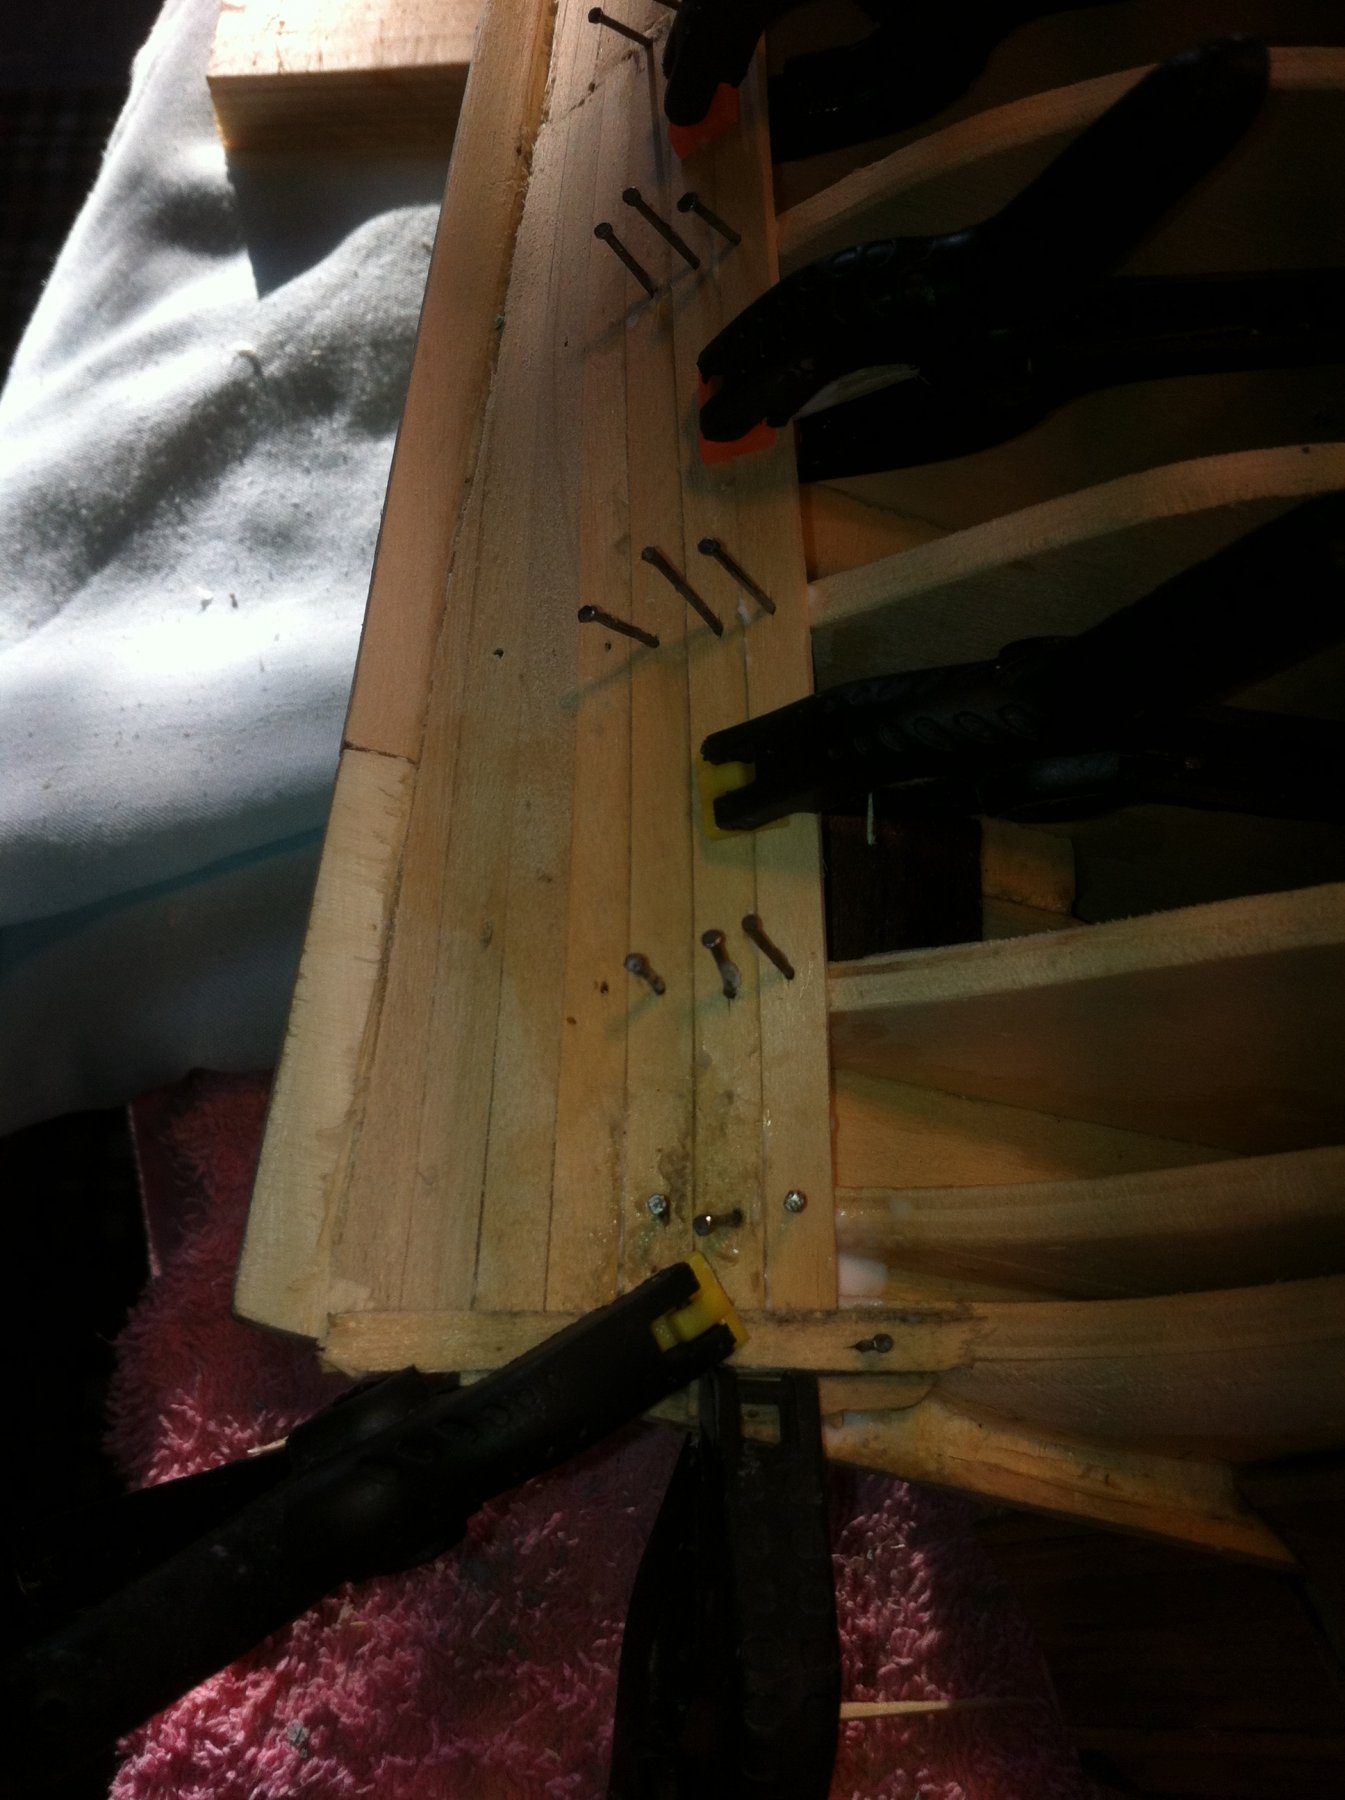
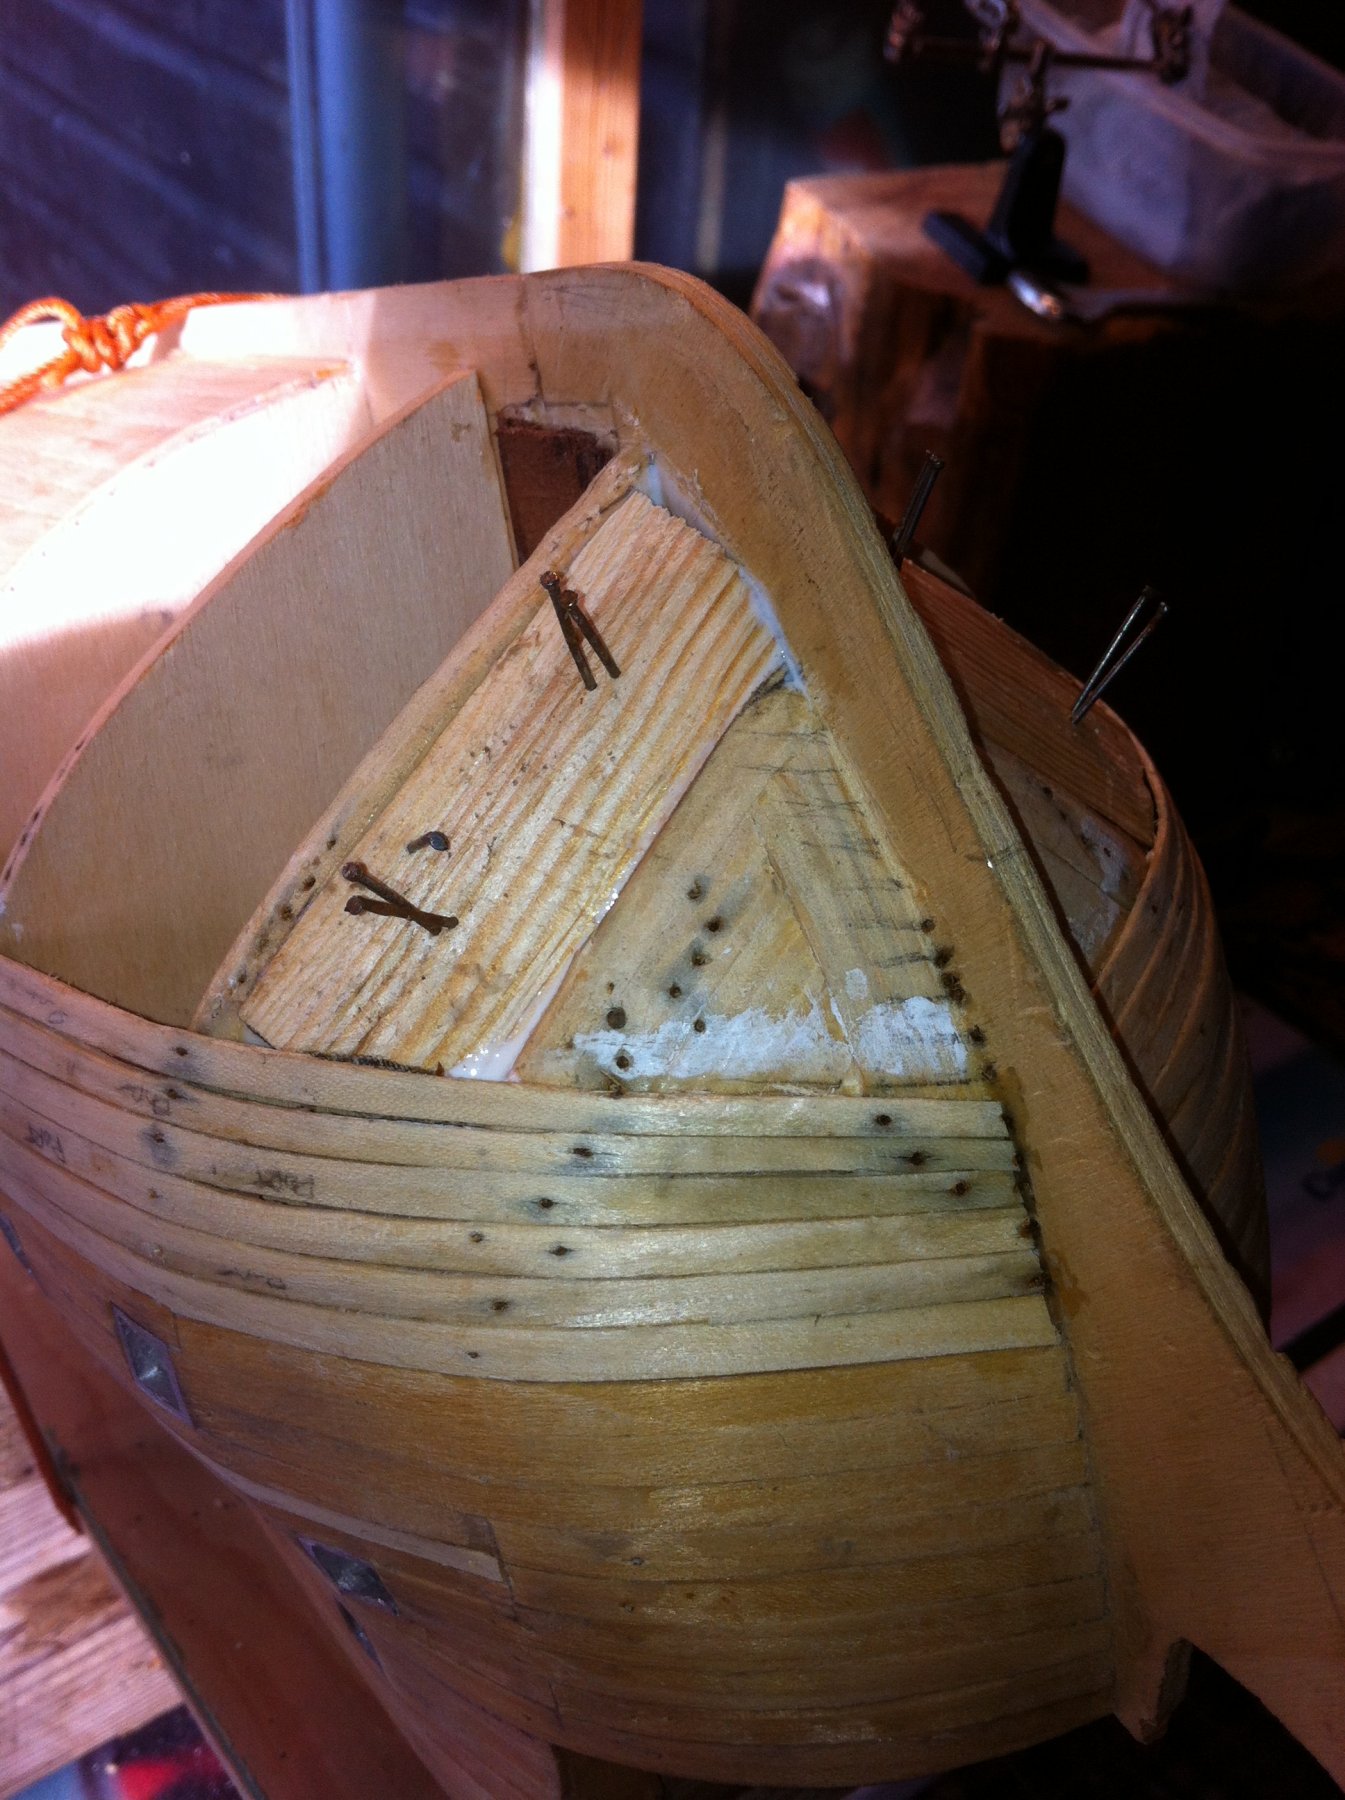
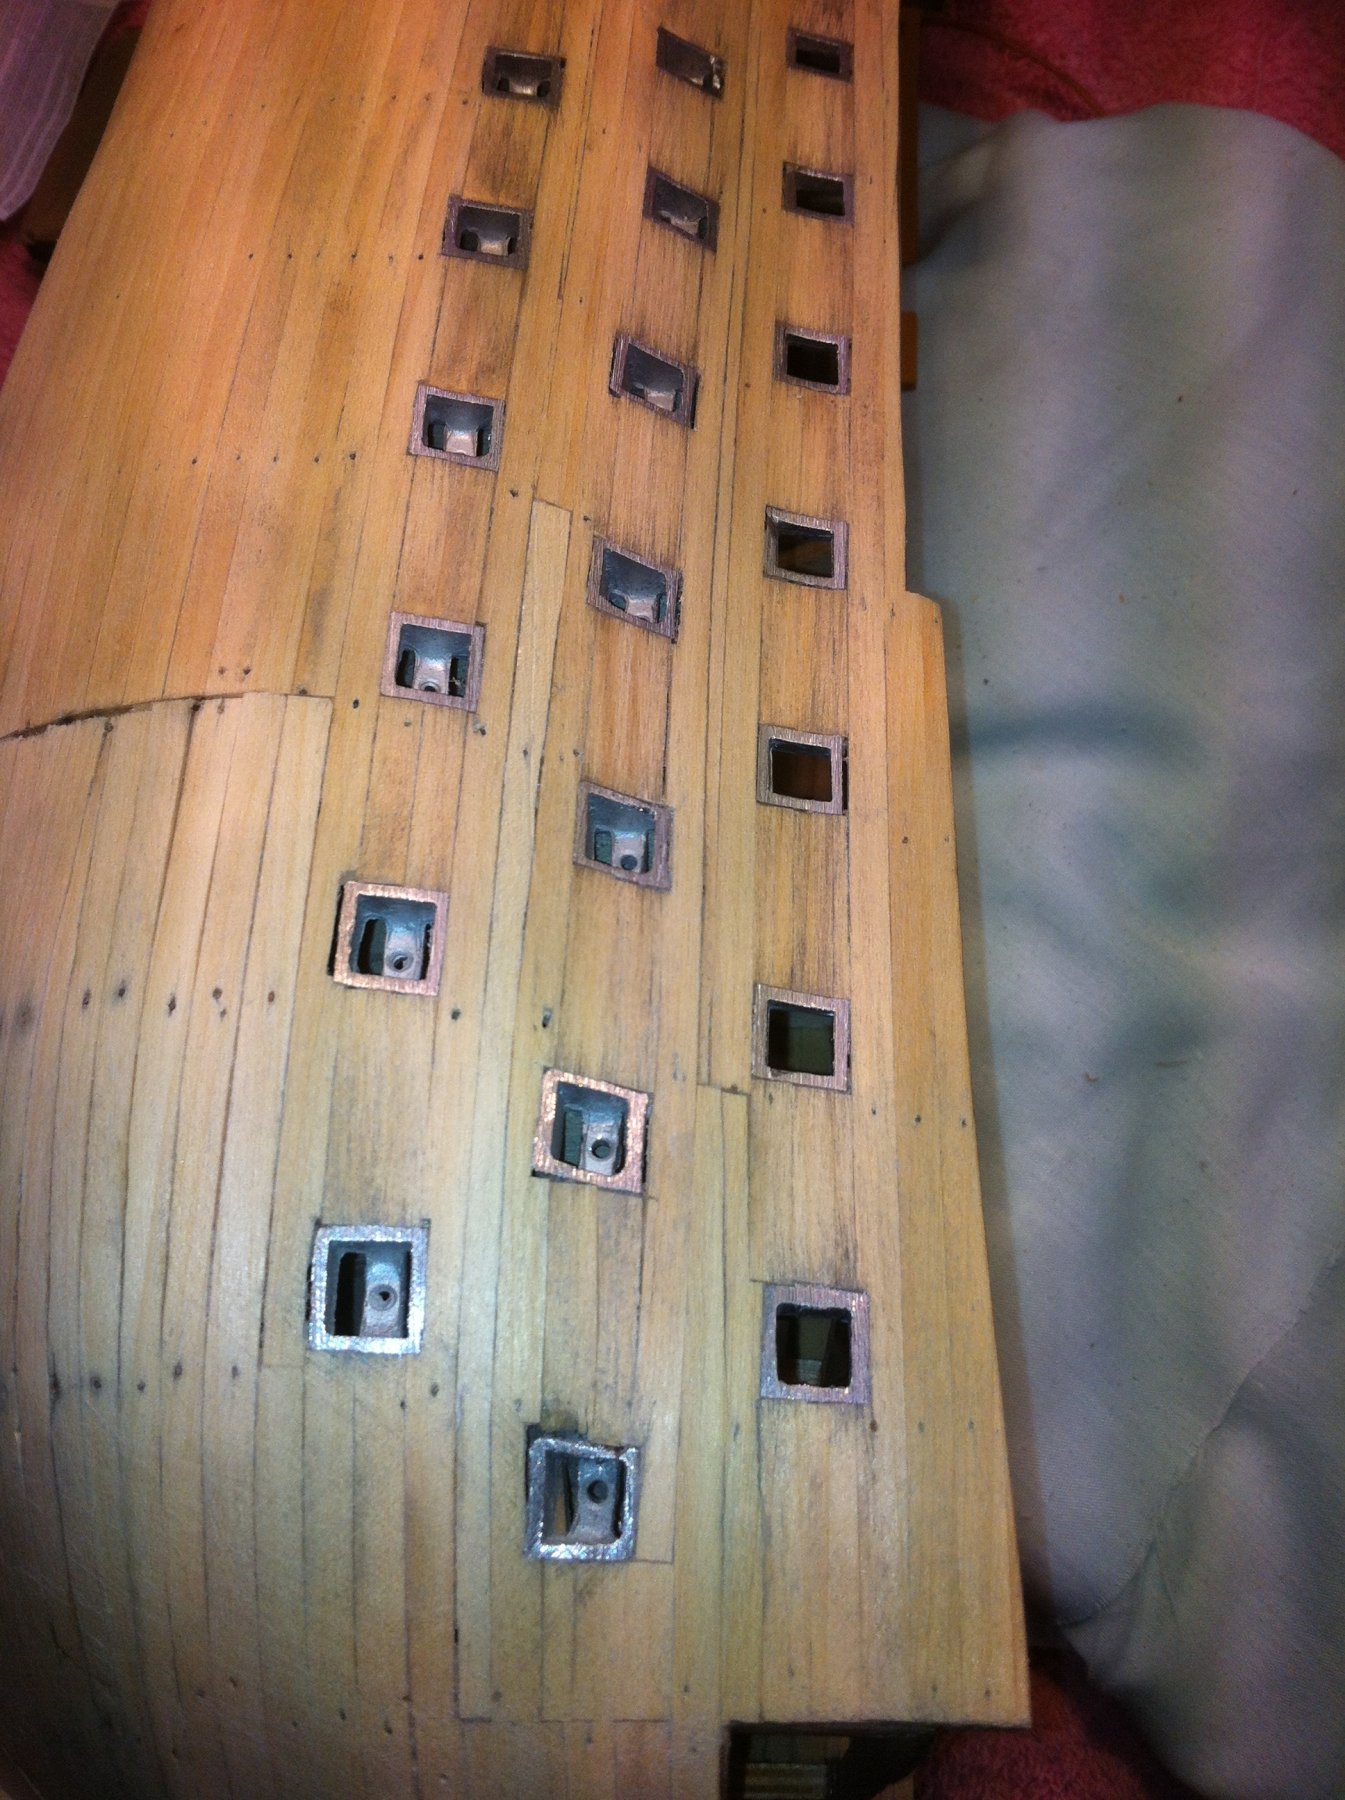
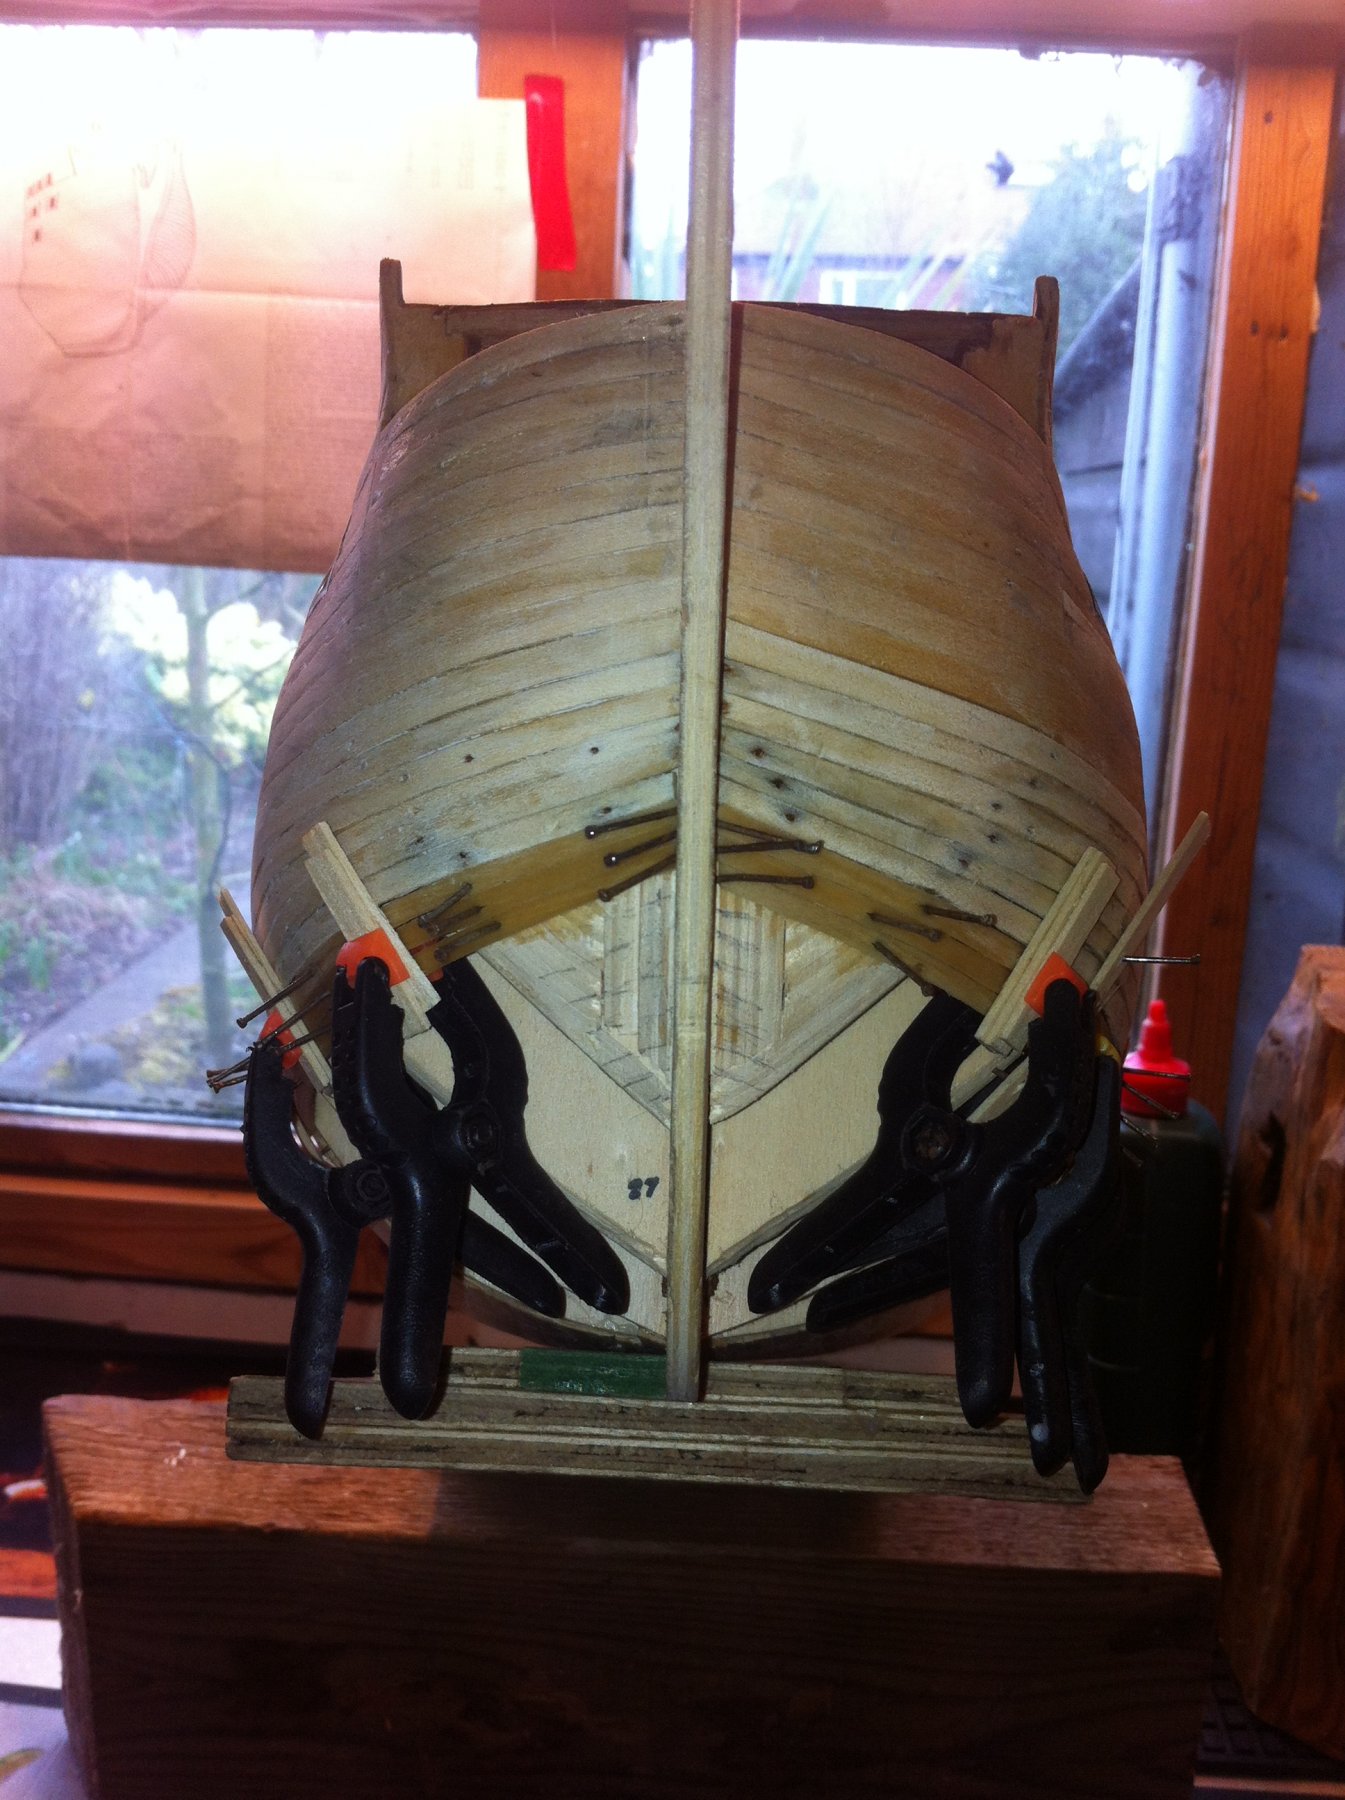
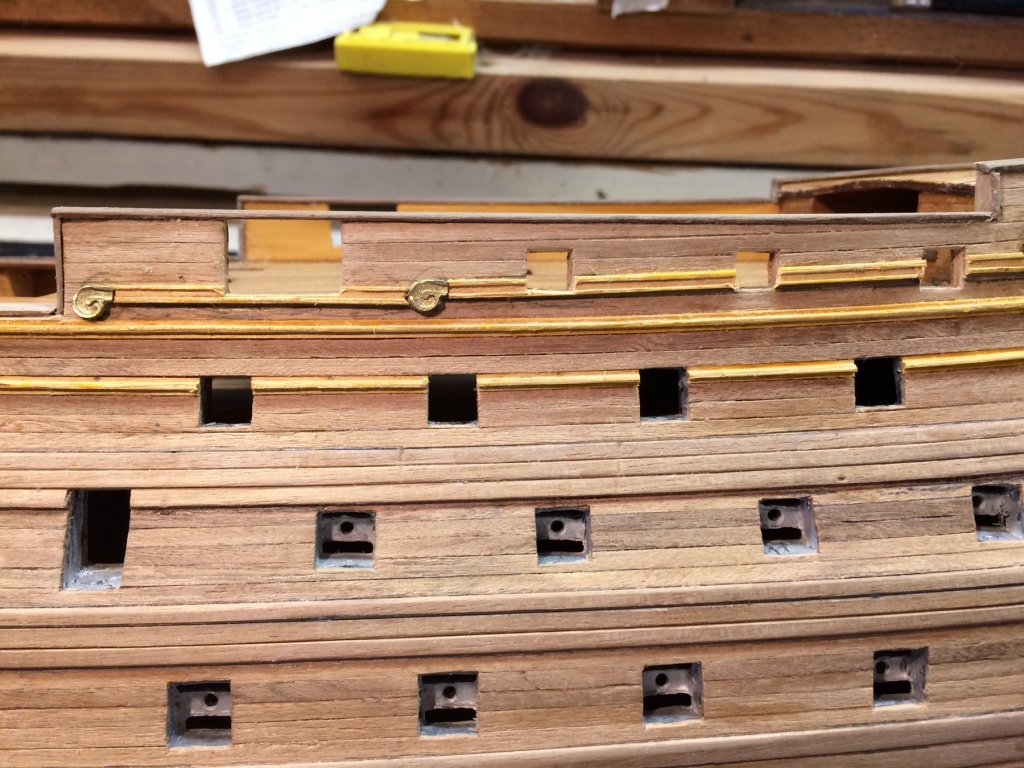
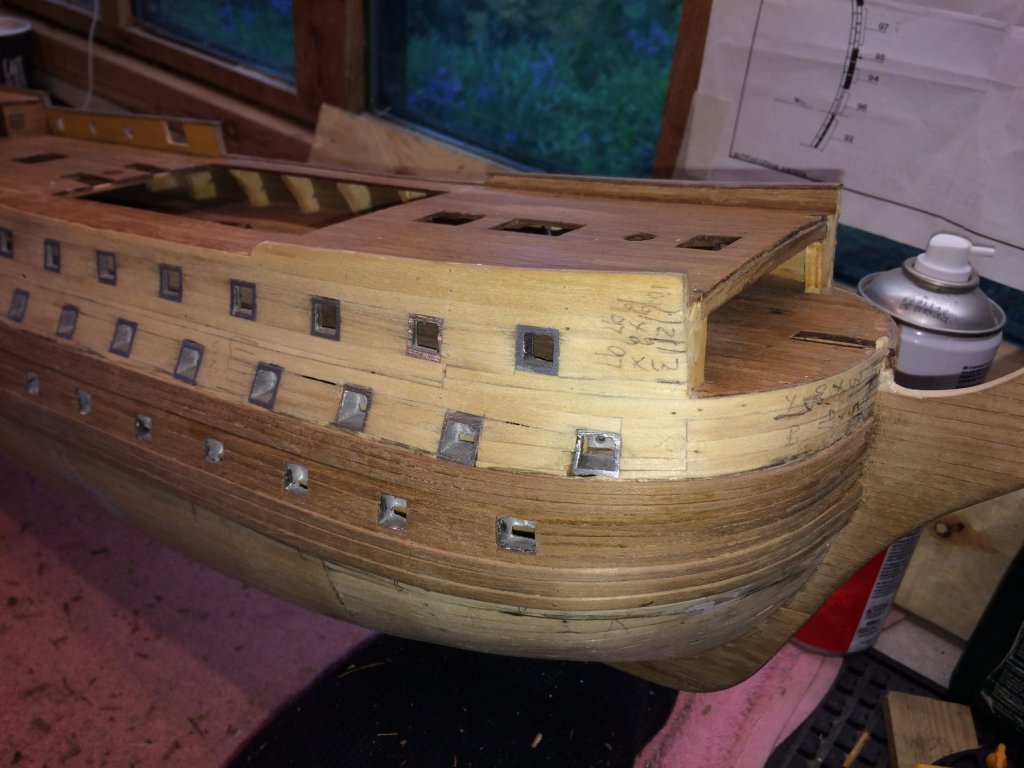
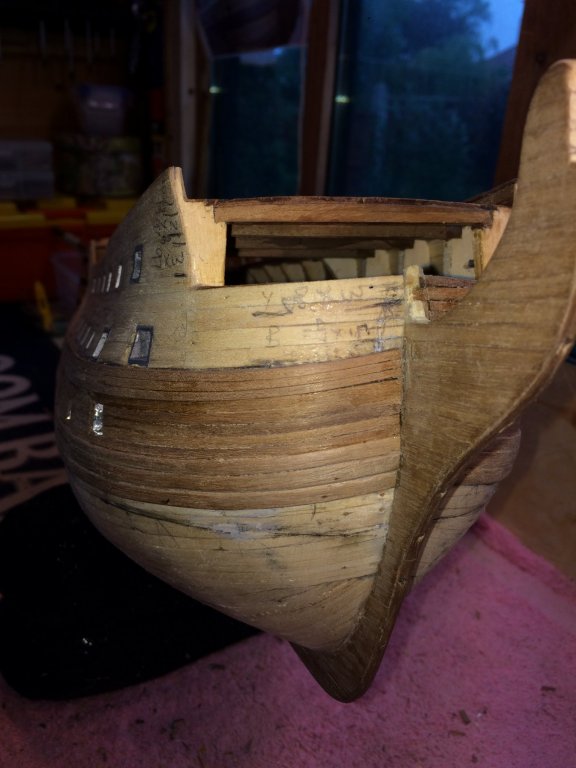
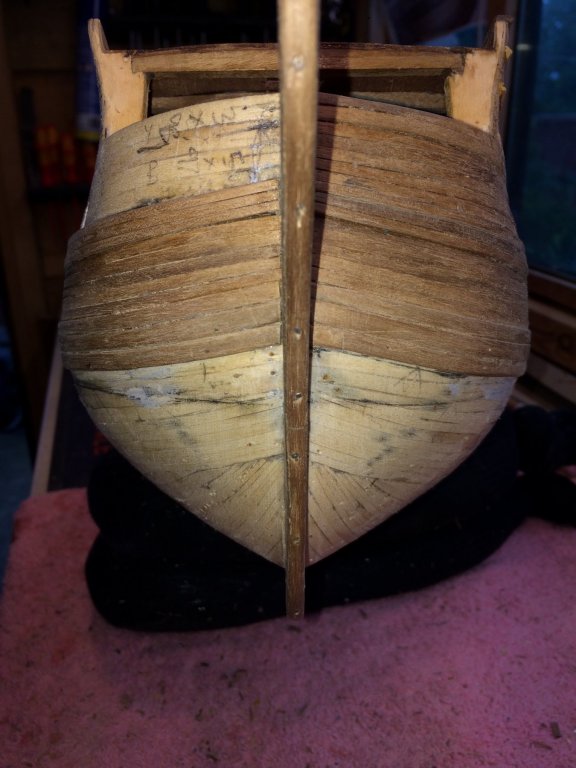
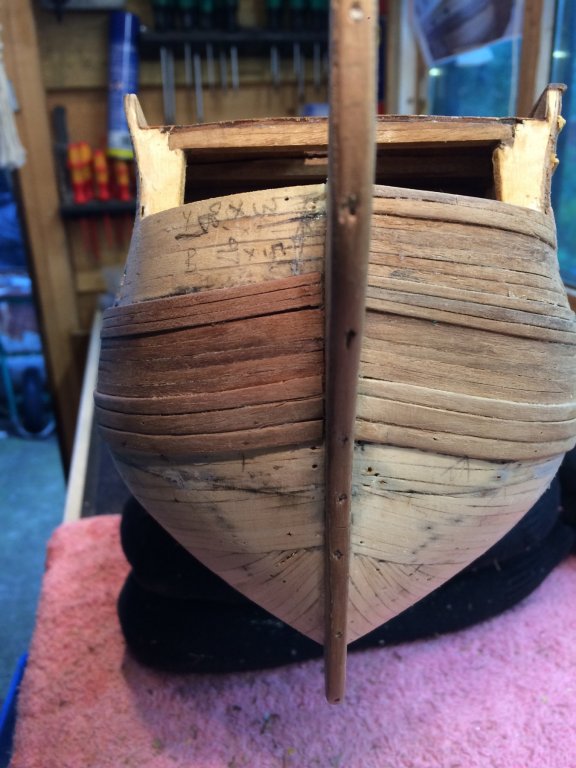
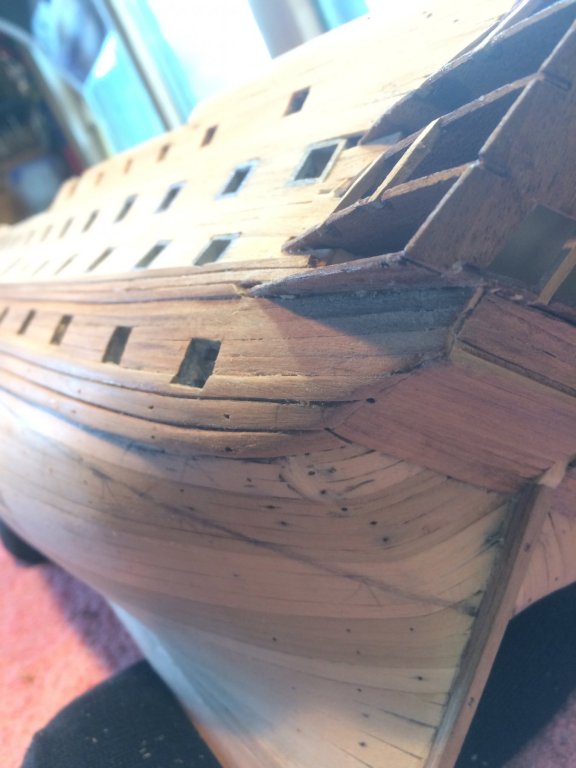
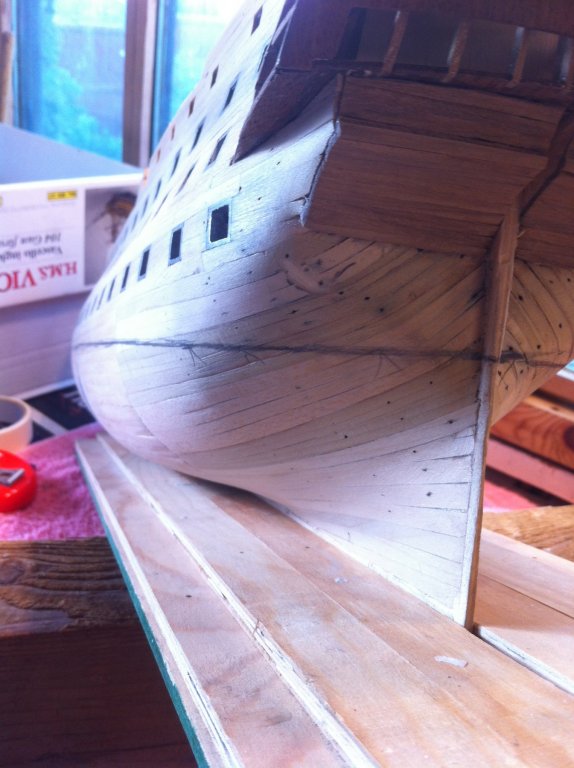
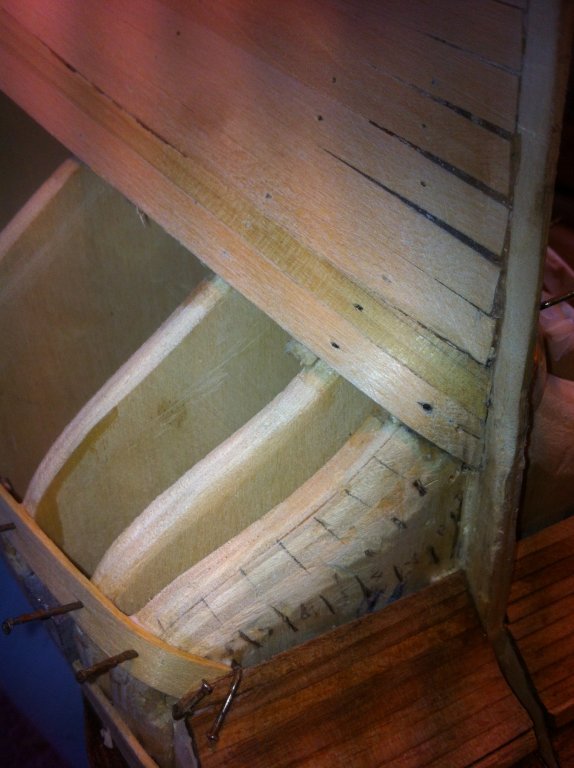
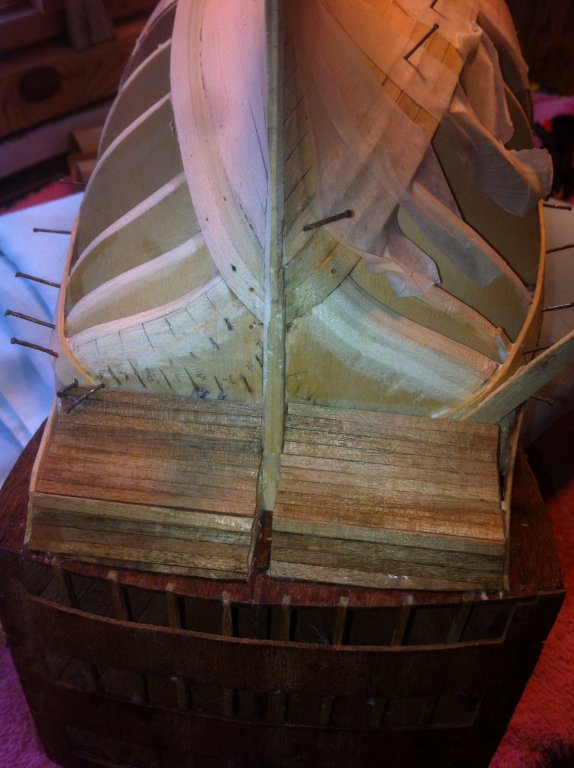
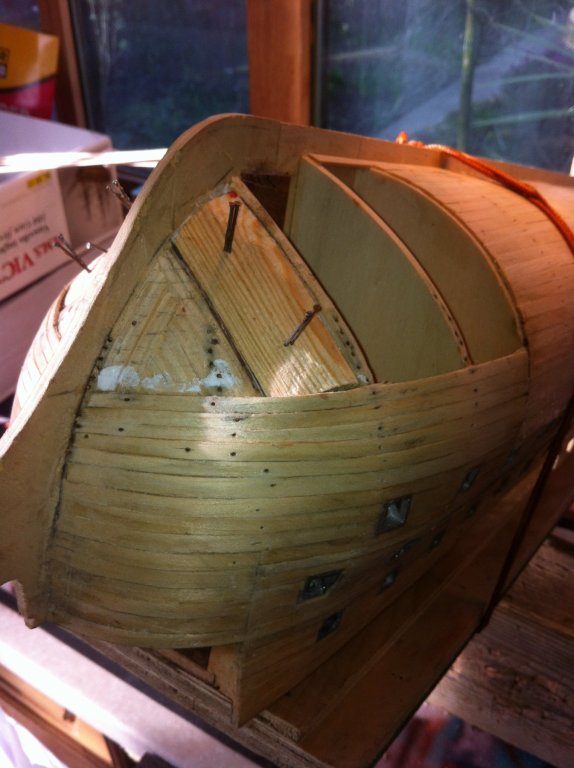
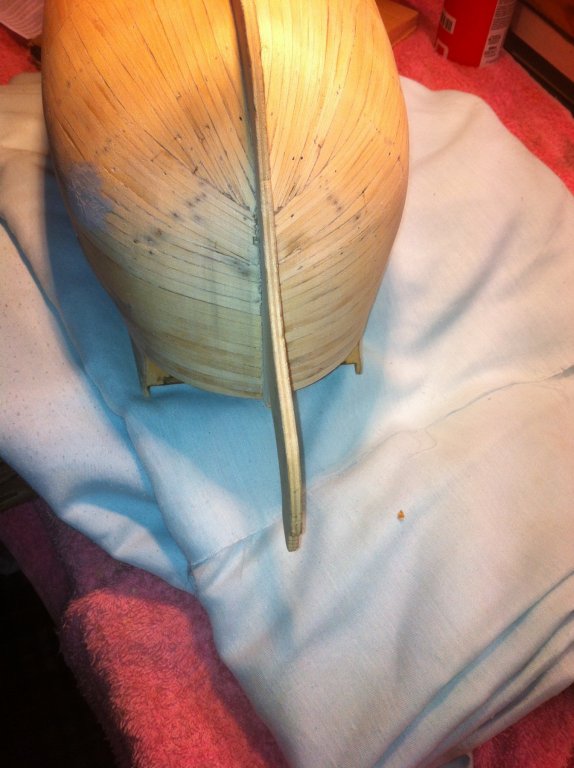
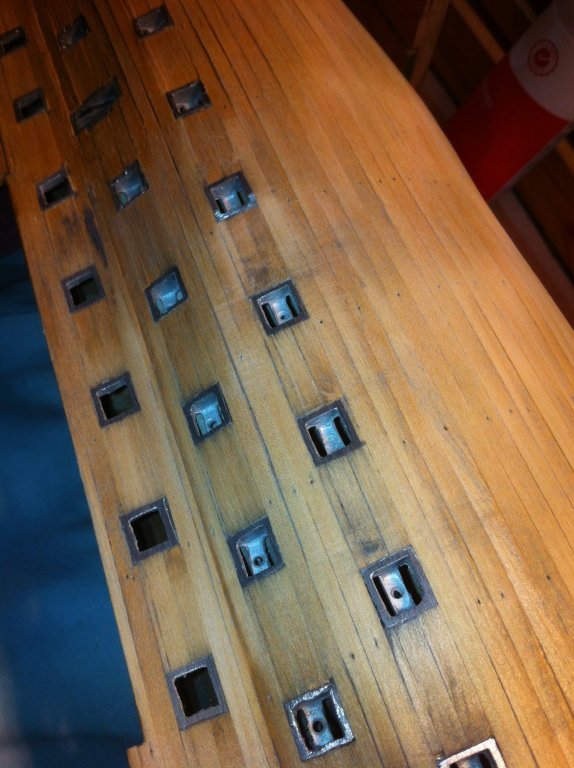
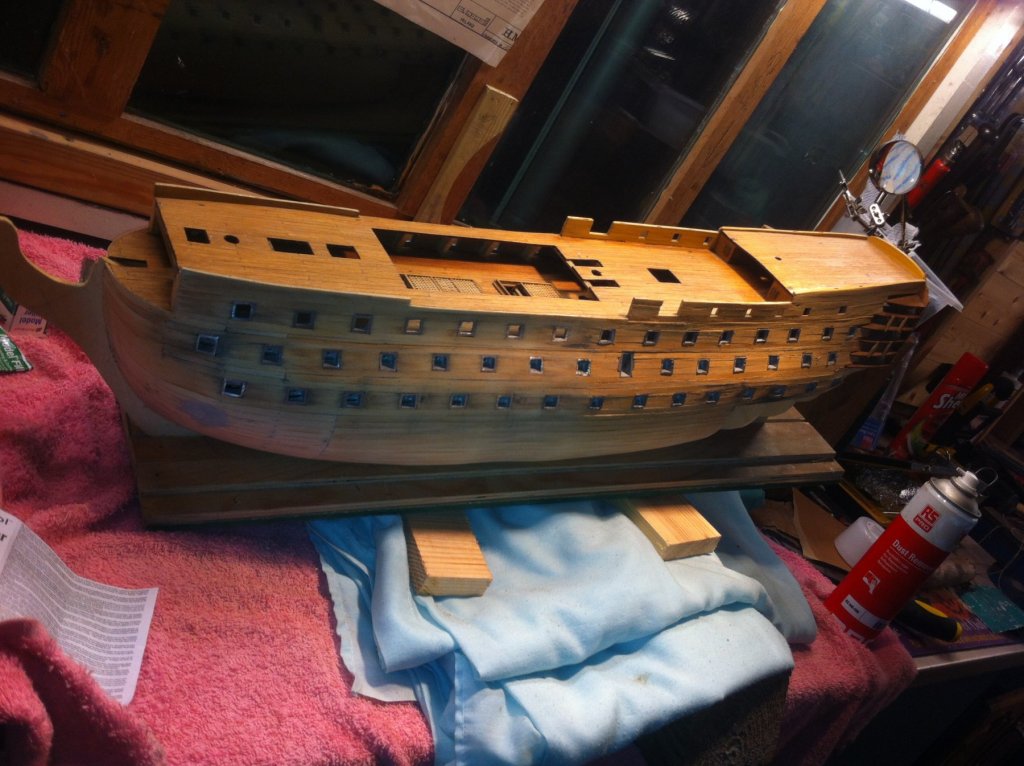
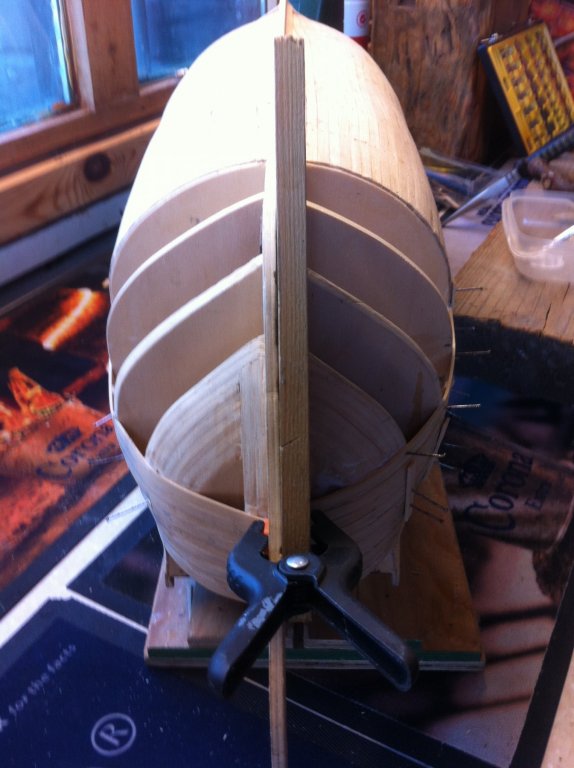
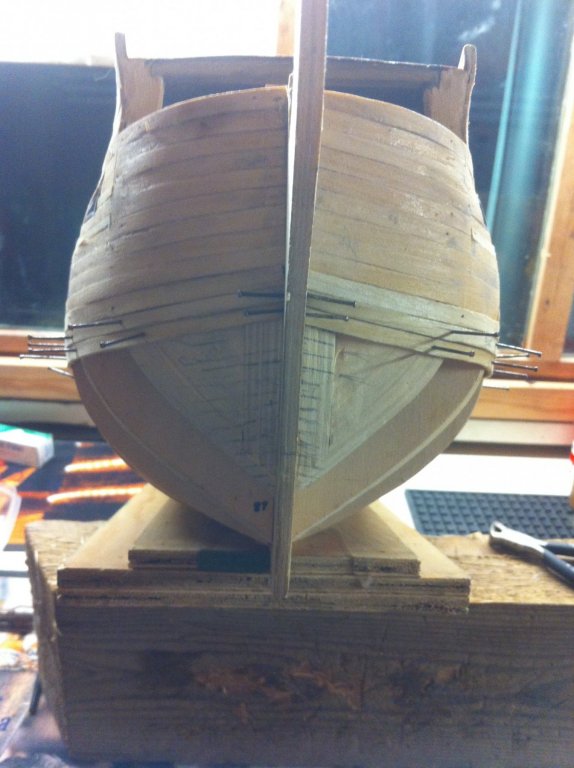
Progress so far, managed to keep both sides in line with each other, at the bow. it is starting to feel a bit like a model boat now. It doesn't have the clean crisp lines that YT has managed to achieve on his build, but rather the patina'd look of a battered old sailing ship!!!


-
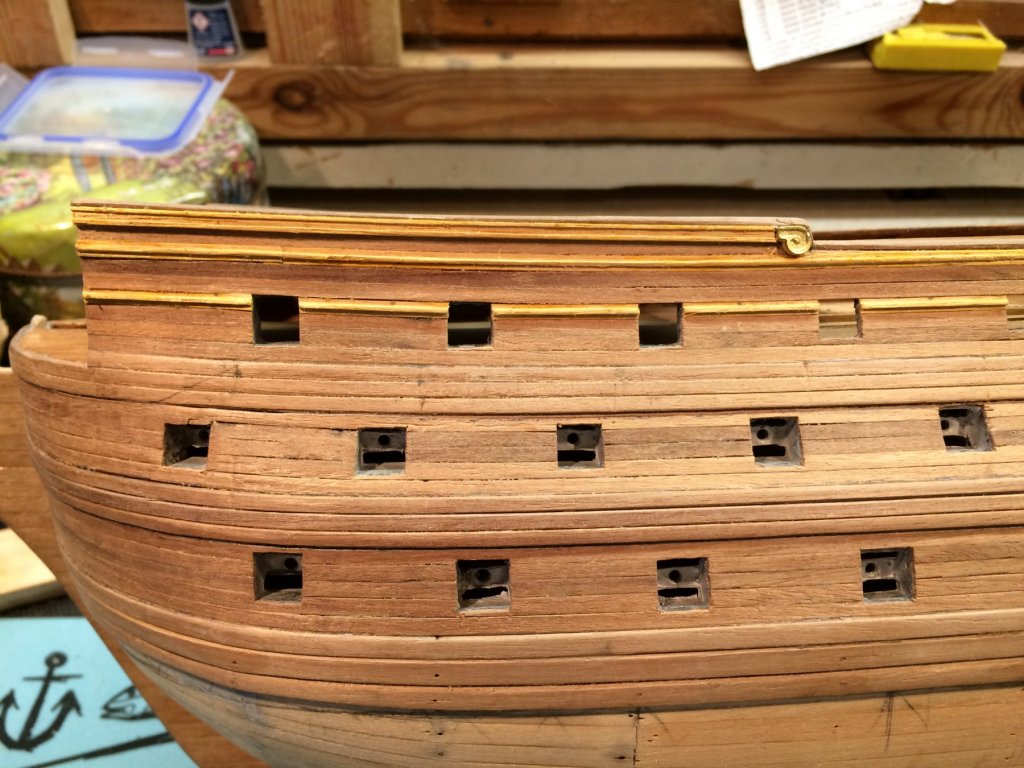
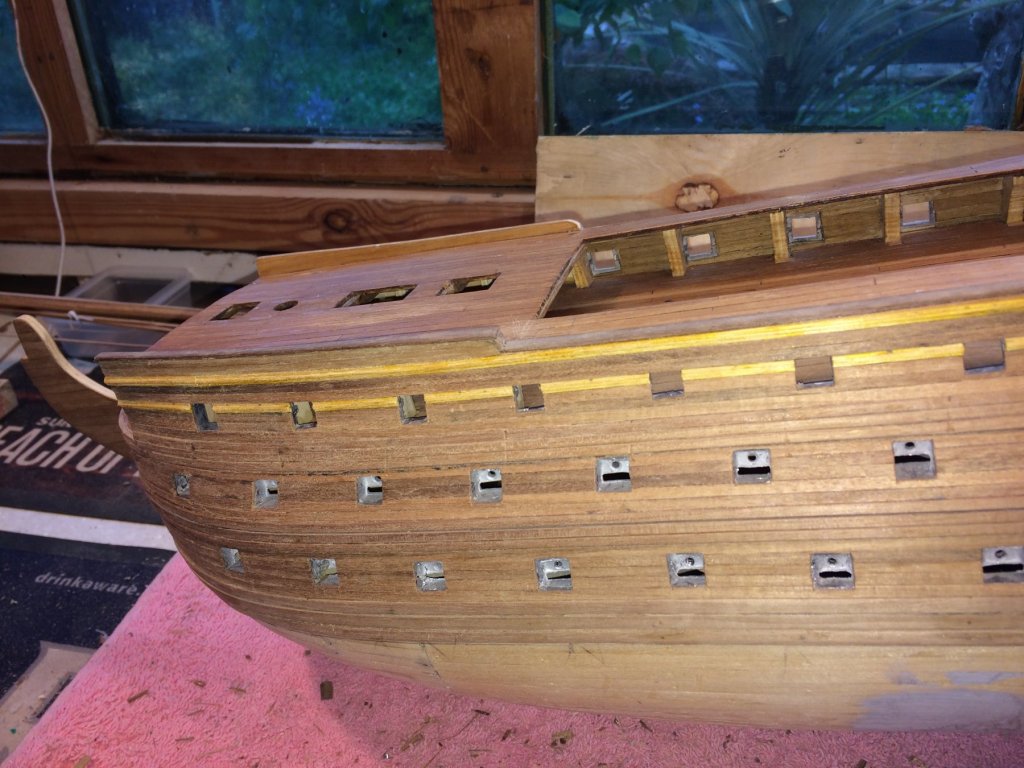
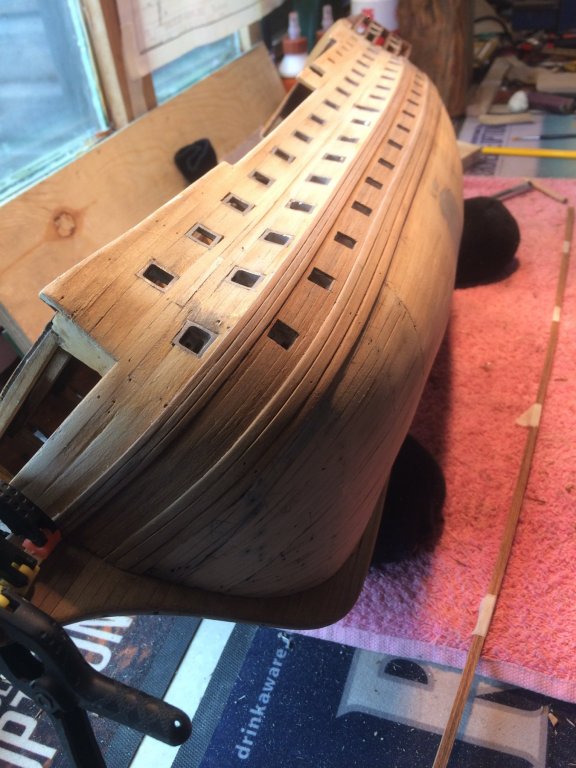
Managed to get to the top of the first side, think I will do the other side same then tackle below the waterlines..

-
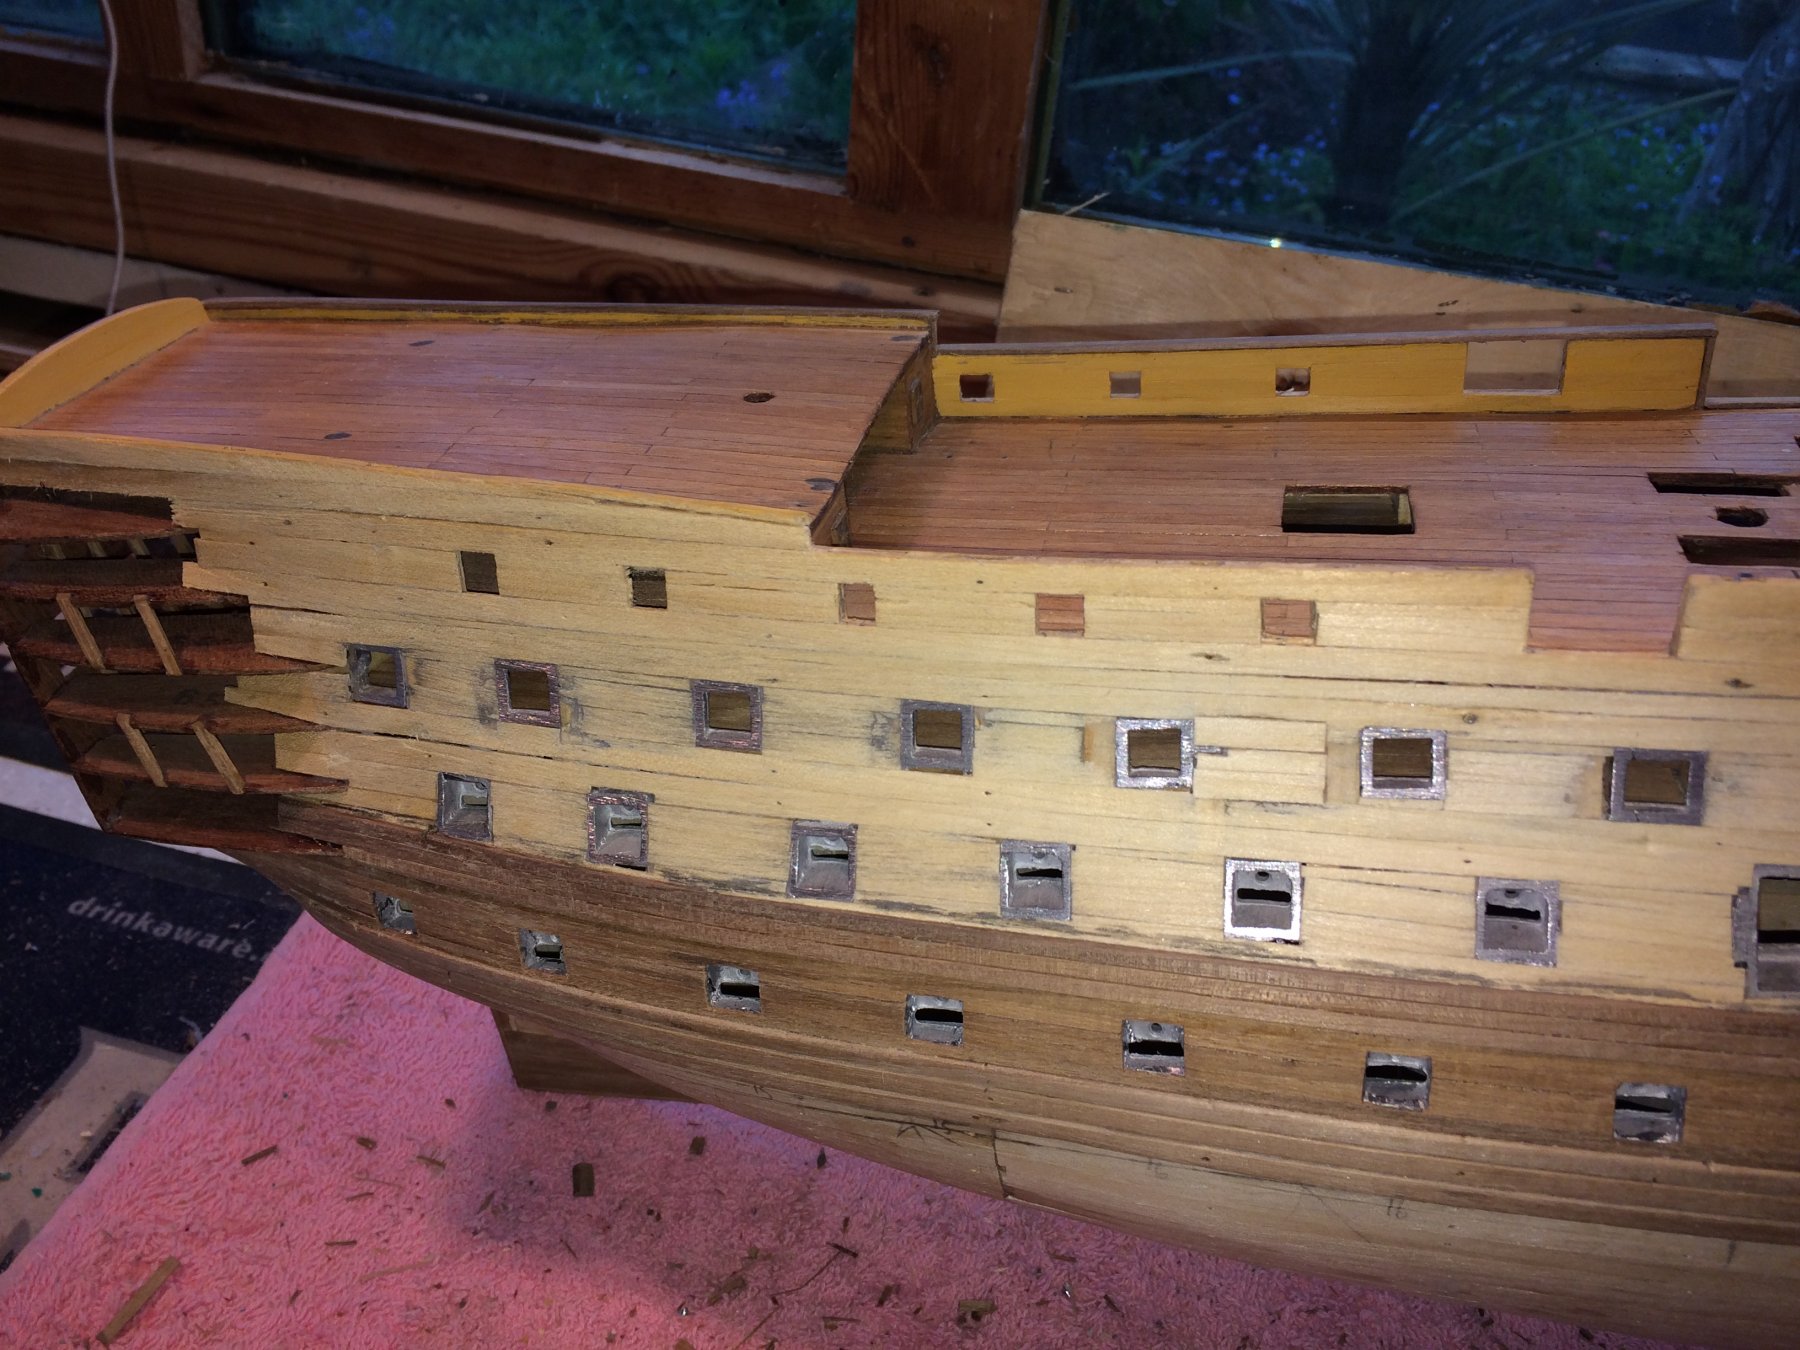
Thanks for that YT, I am just winging it really, using the mamoli plans but referring heavily to your log, I have made a decision regarding the green tiles versus just planking and have decided to do one side of the boat as per the original, painted black and gold/yellow, and putting all the green tiles below the waterline, and the other side unpainted, with the planking all the way down to the keel. Pretty much the same as the model displayed on the real ship in some of the photos i posted on your log. I get the best of both worlds that way. If i decide to eventually go with the paint job I can just paint it!!! I am not too bothered that it wont have the little green tiles both sides, as I have said before, I just want to get my hands on the rigging..
-
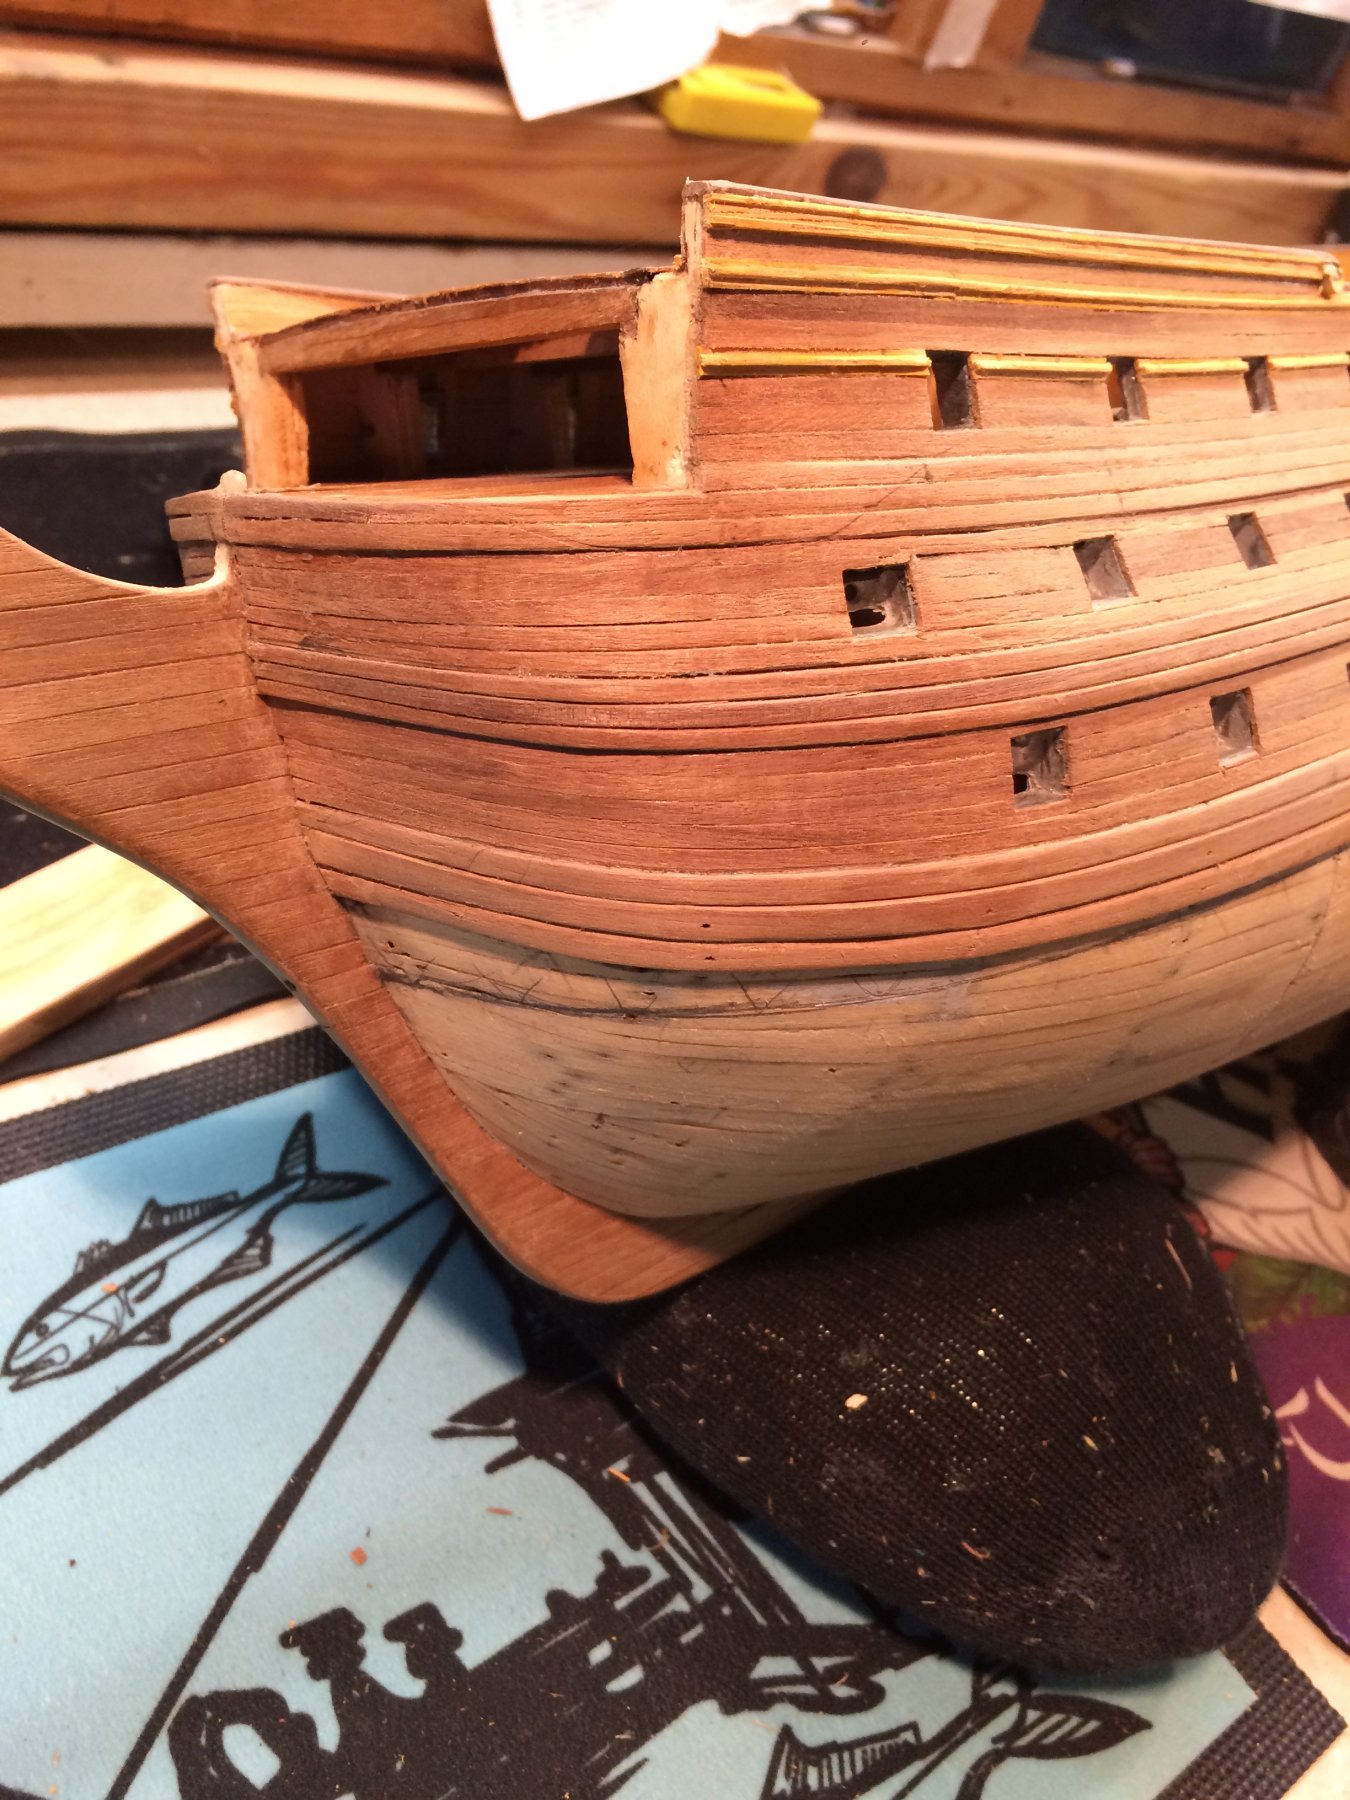
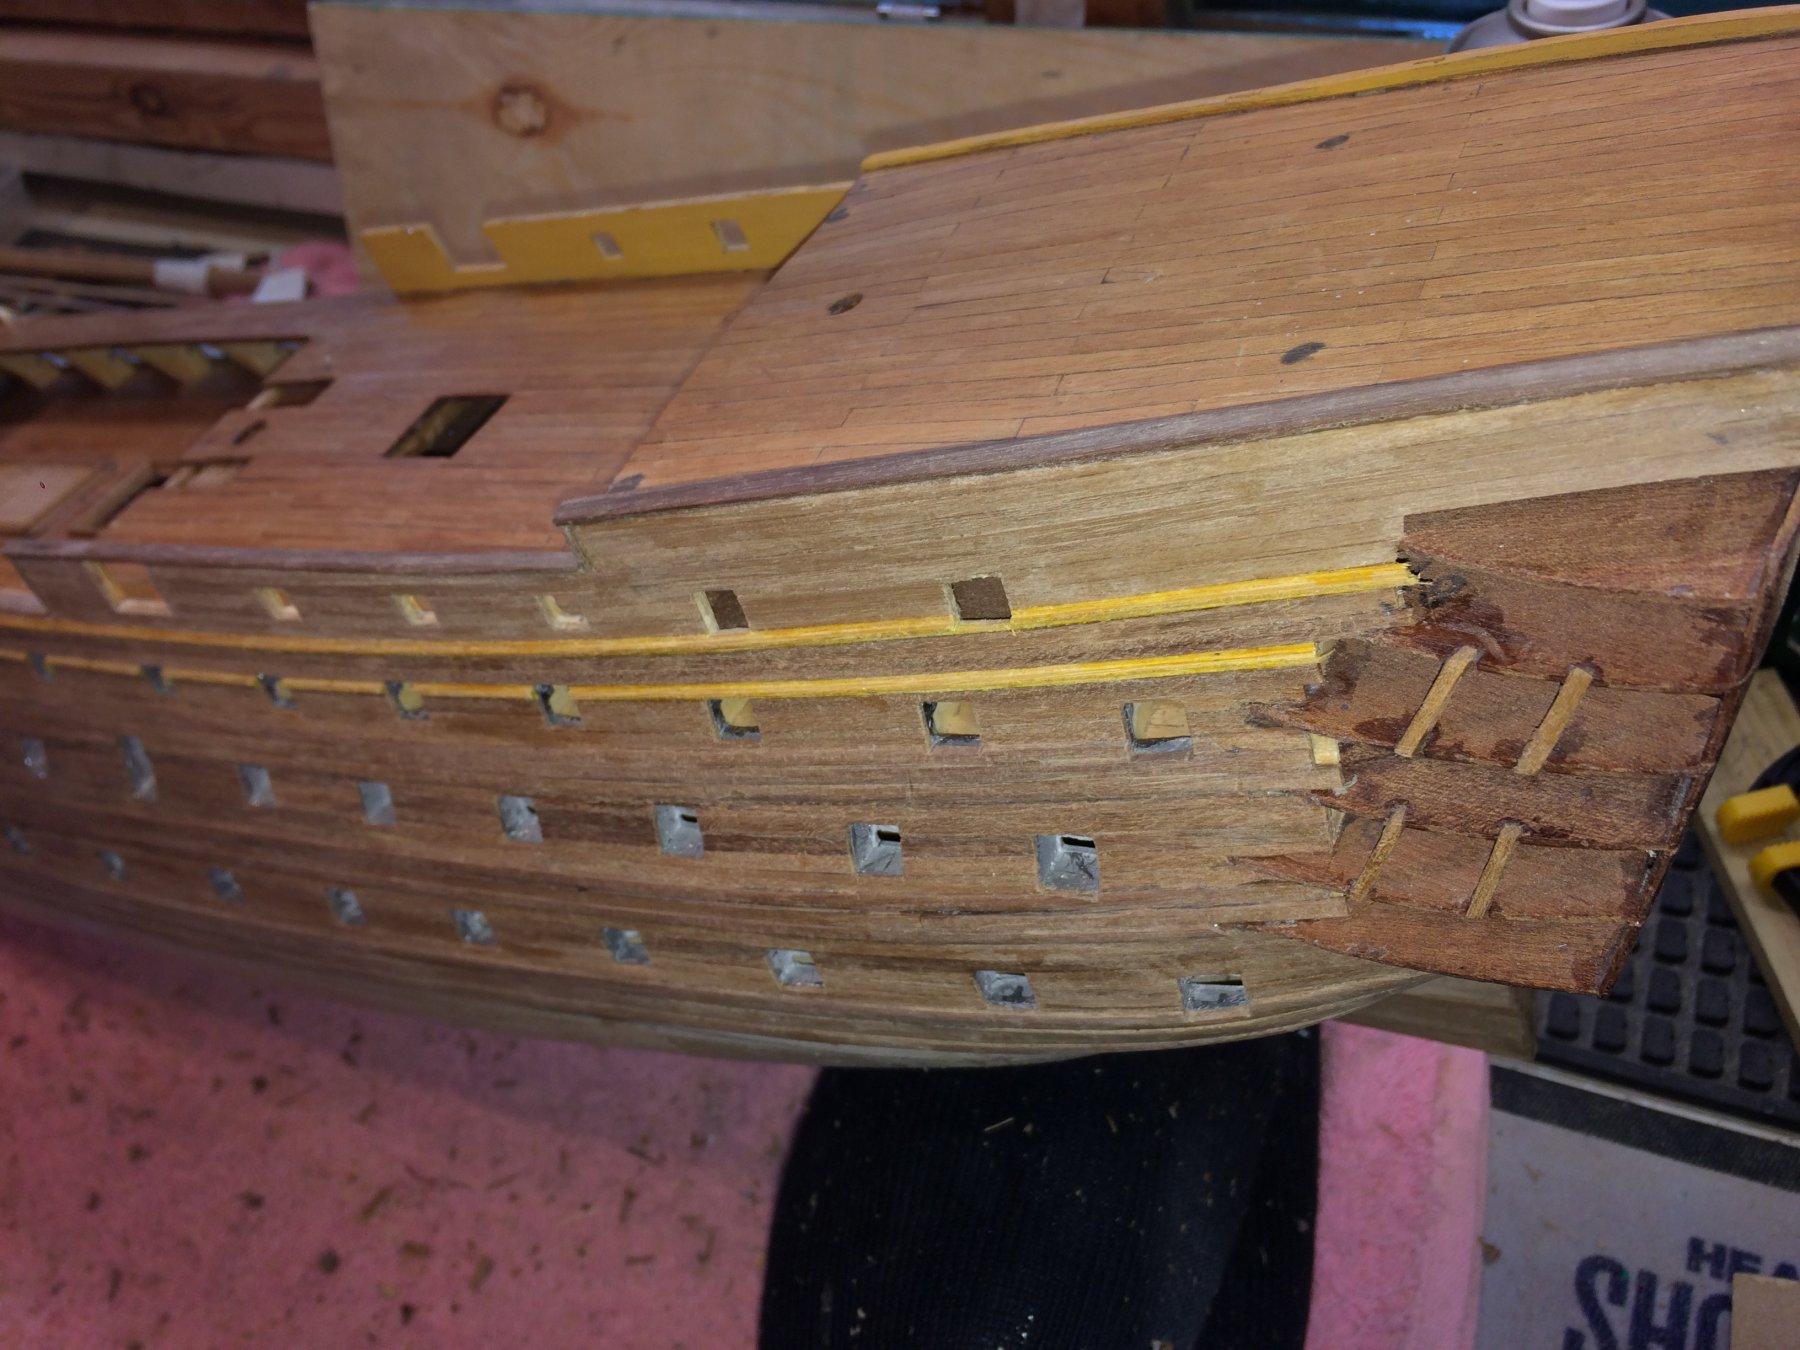
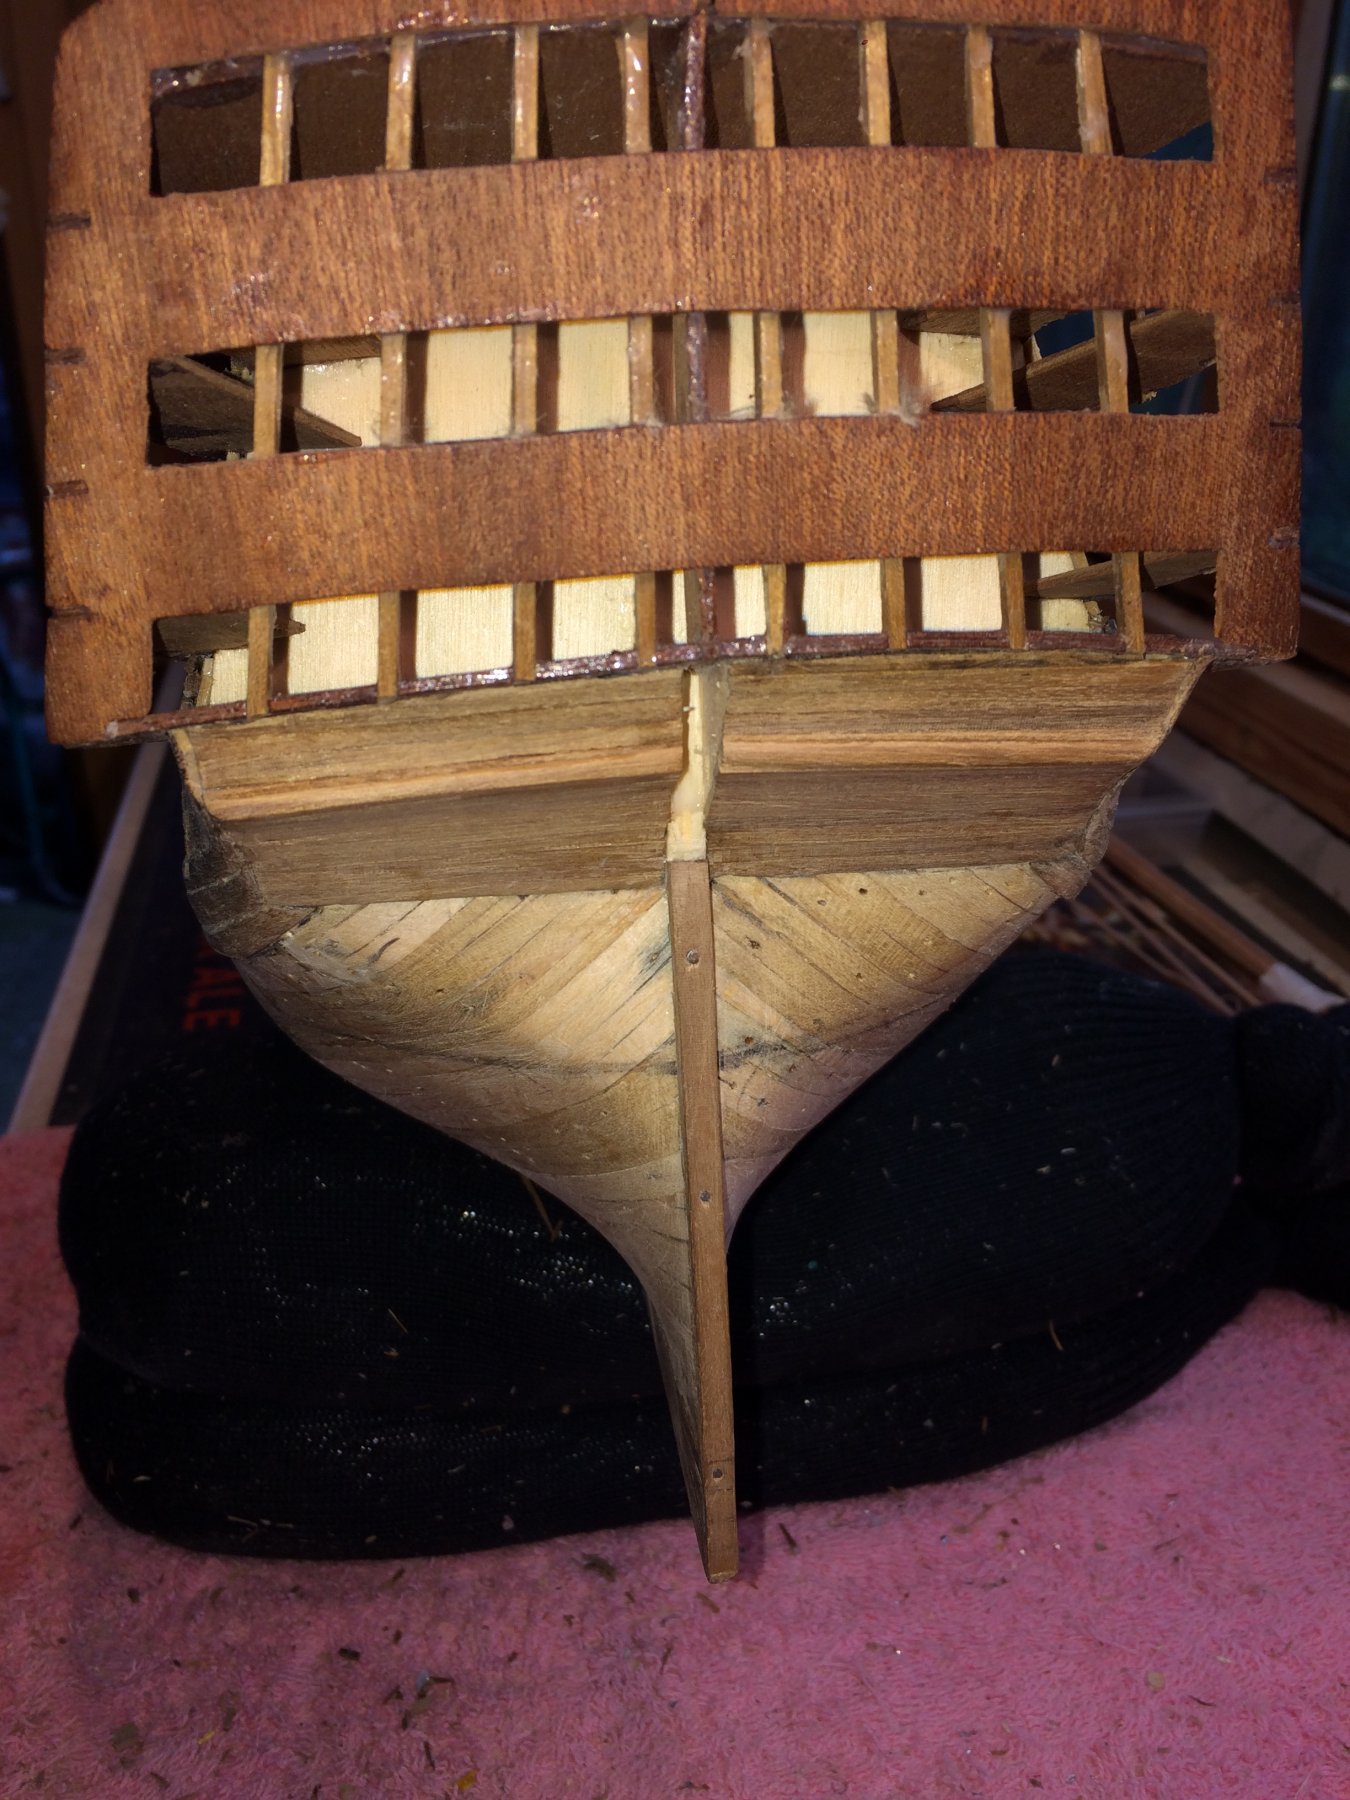
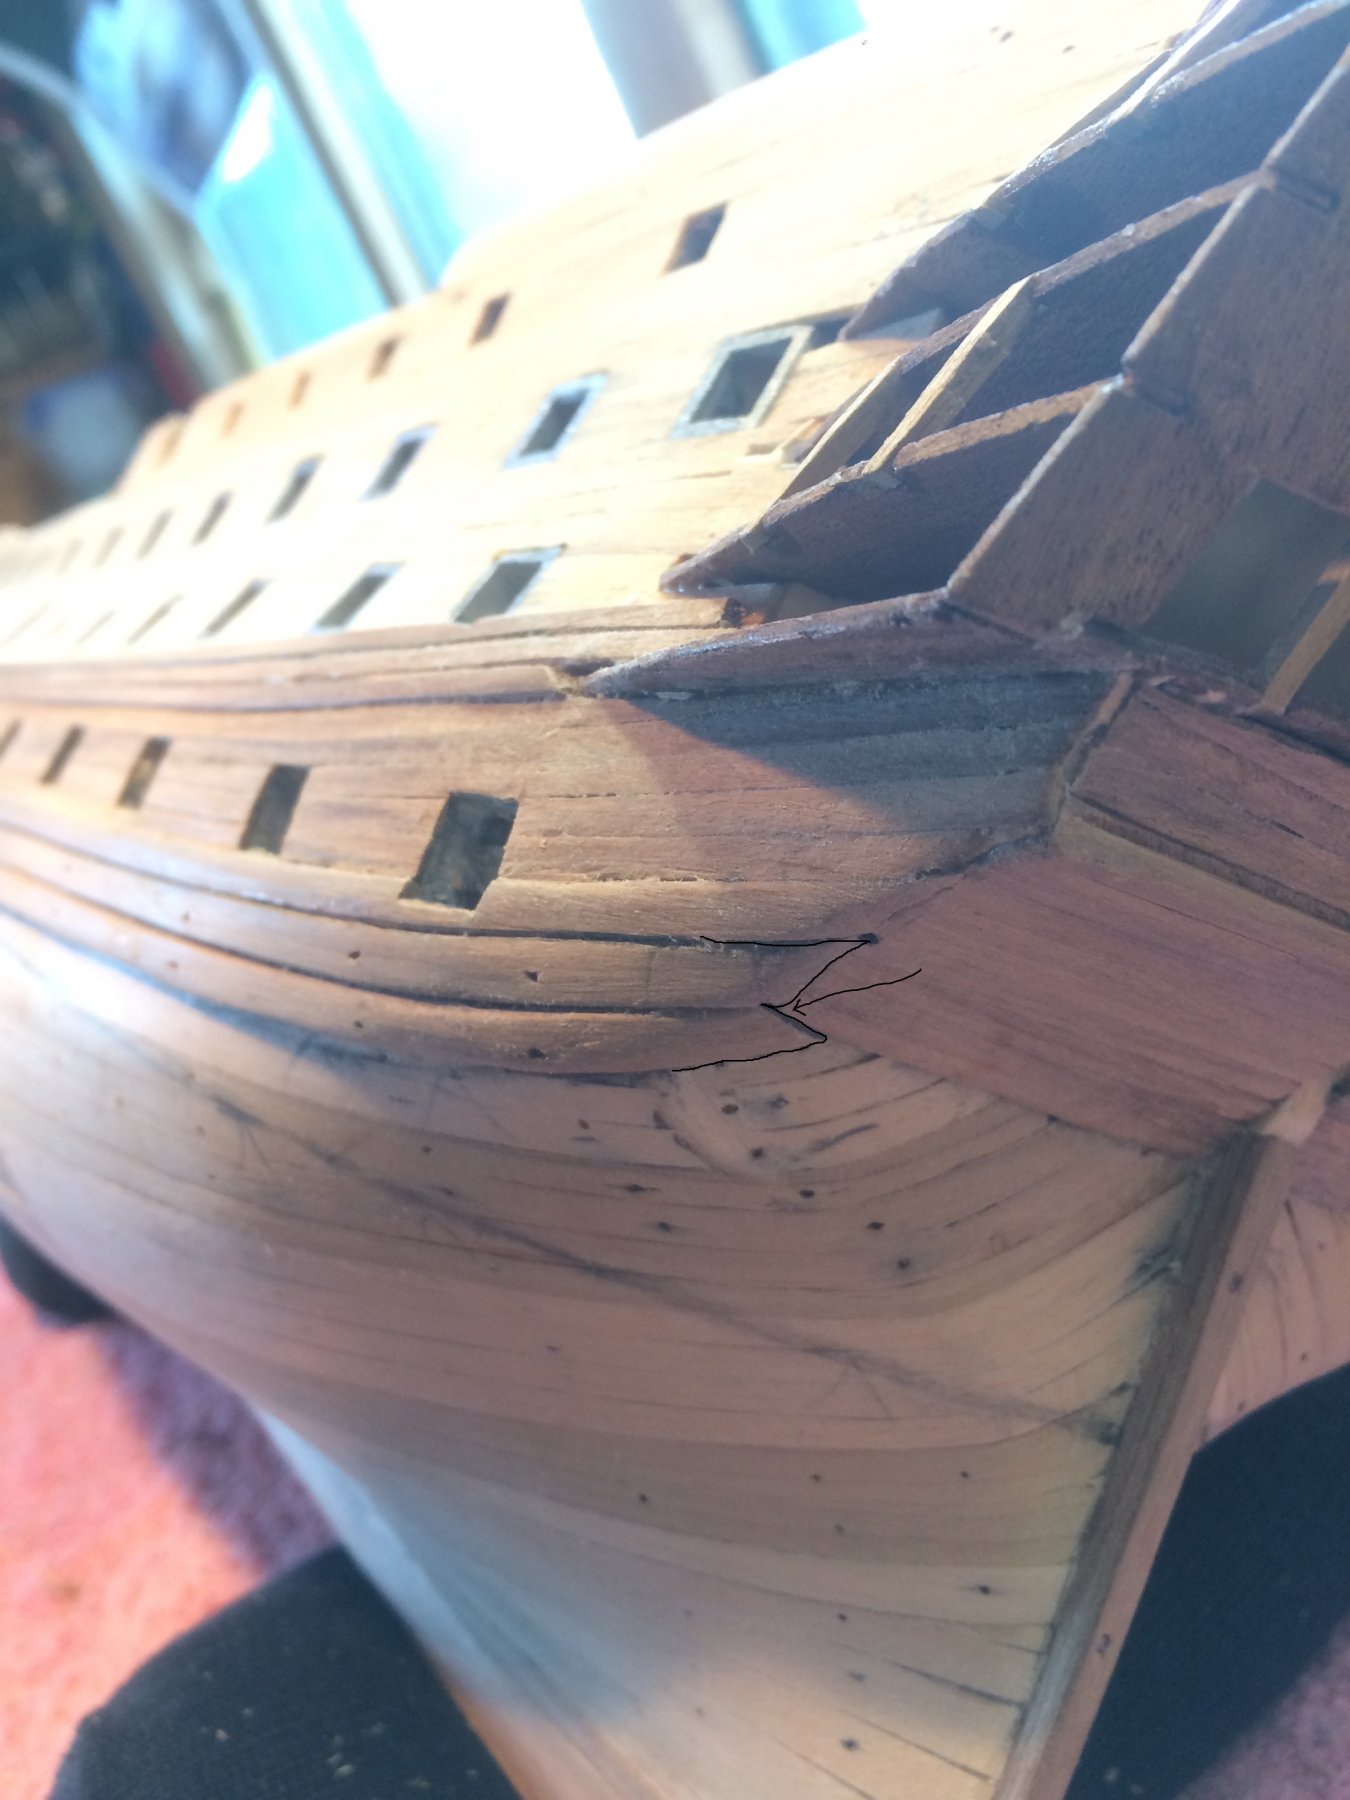
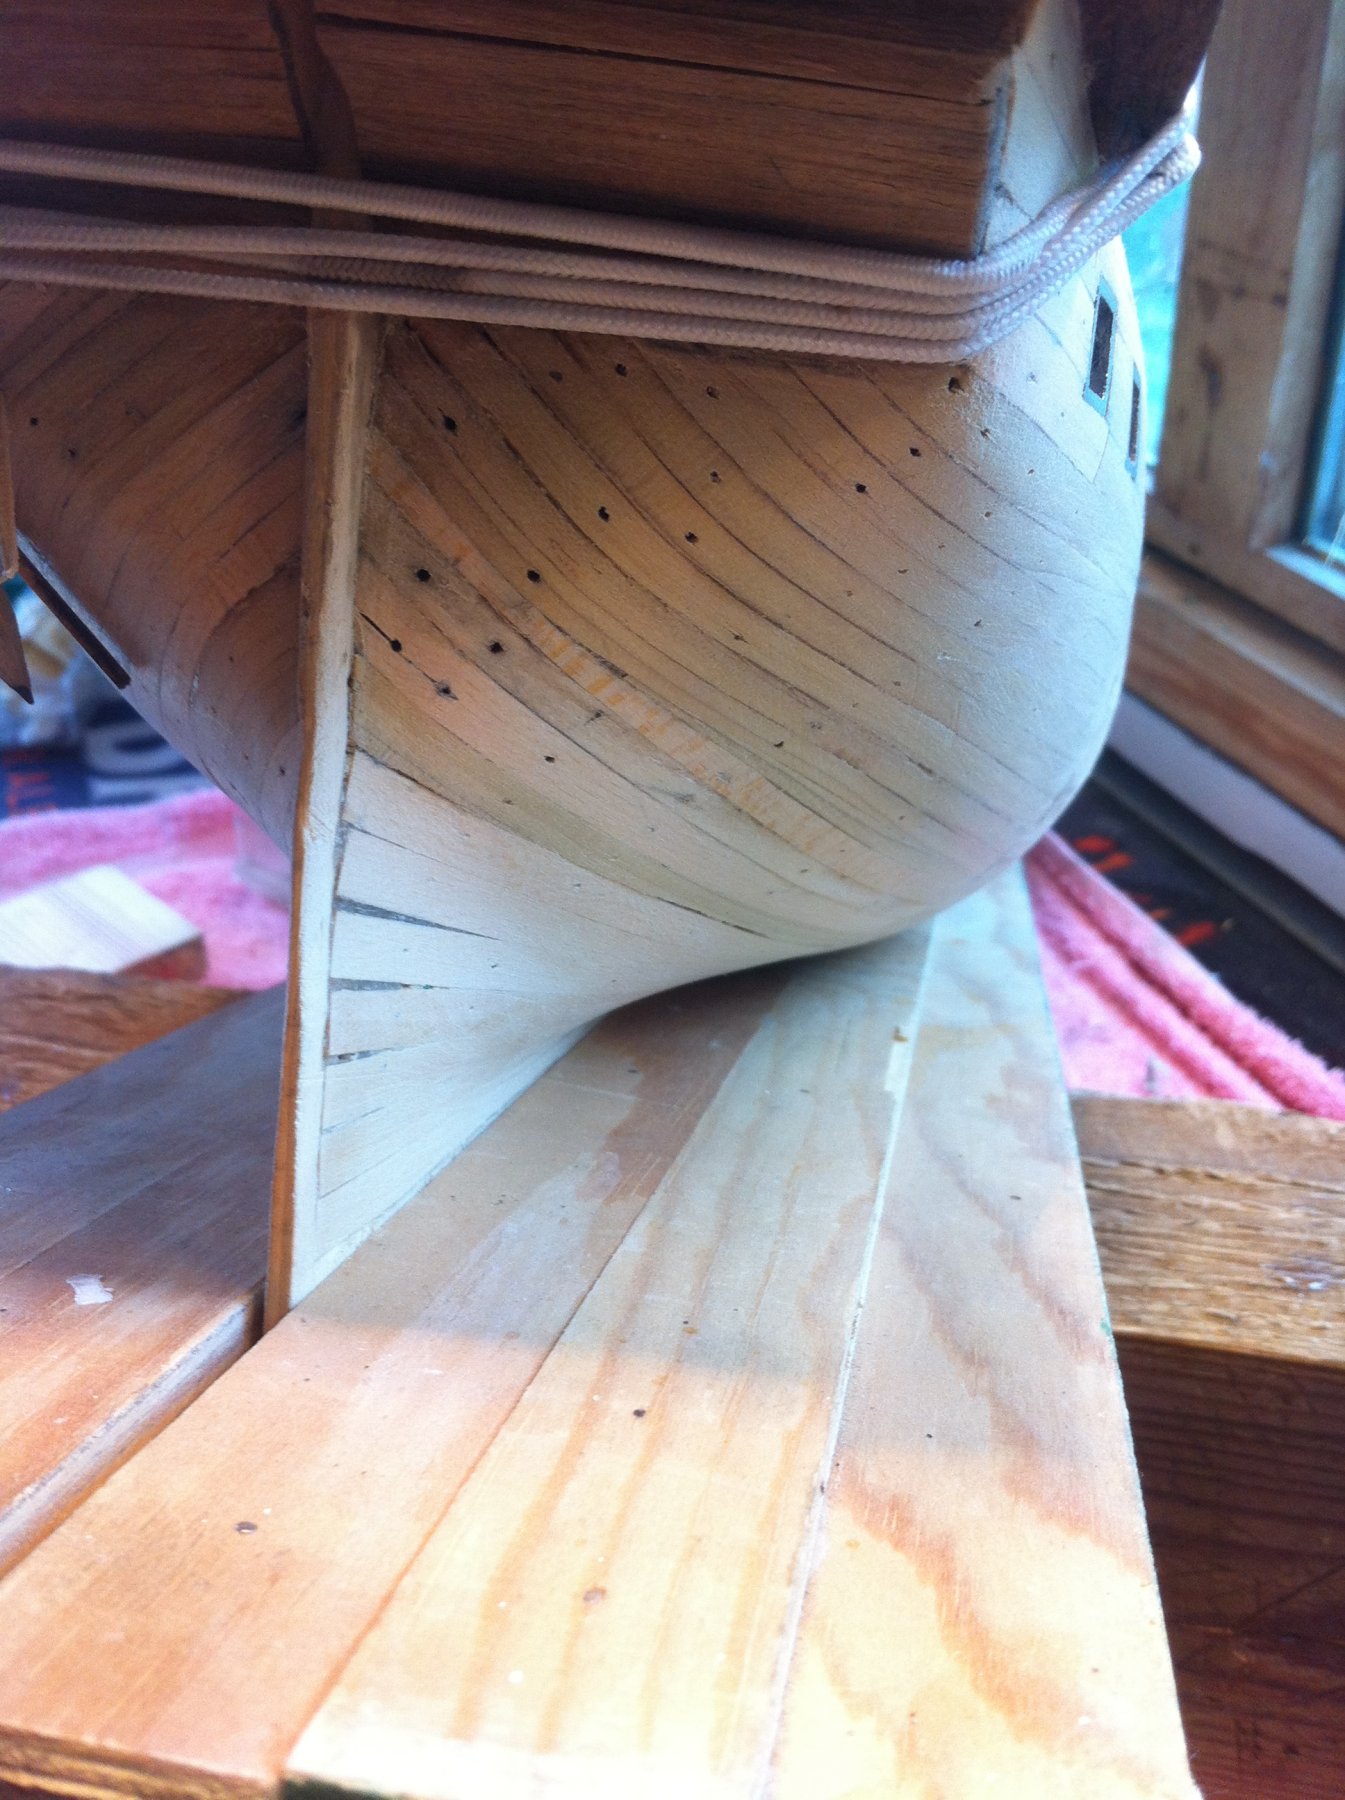
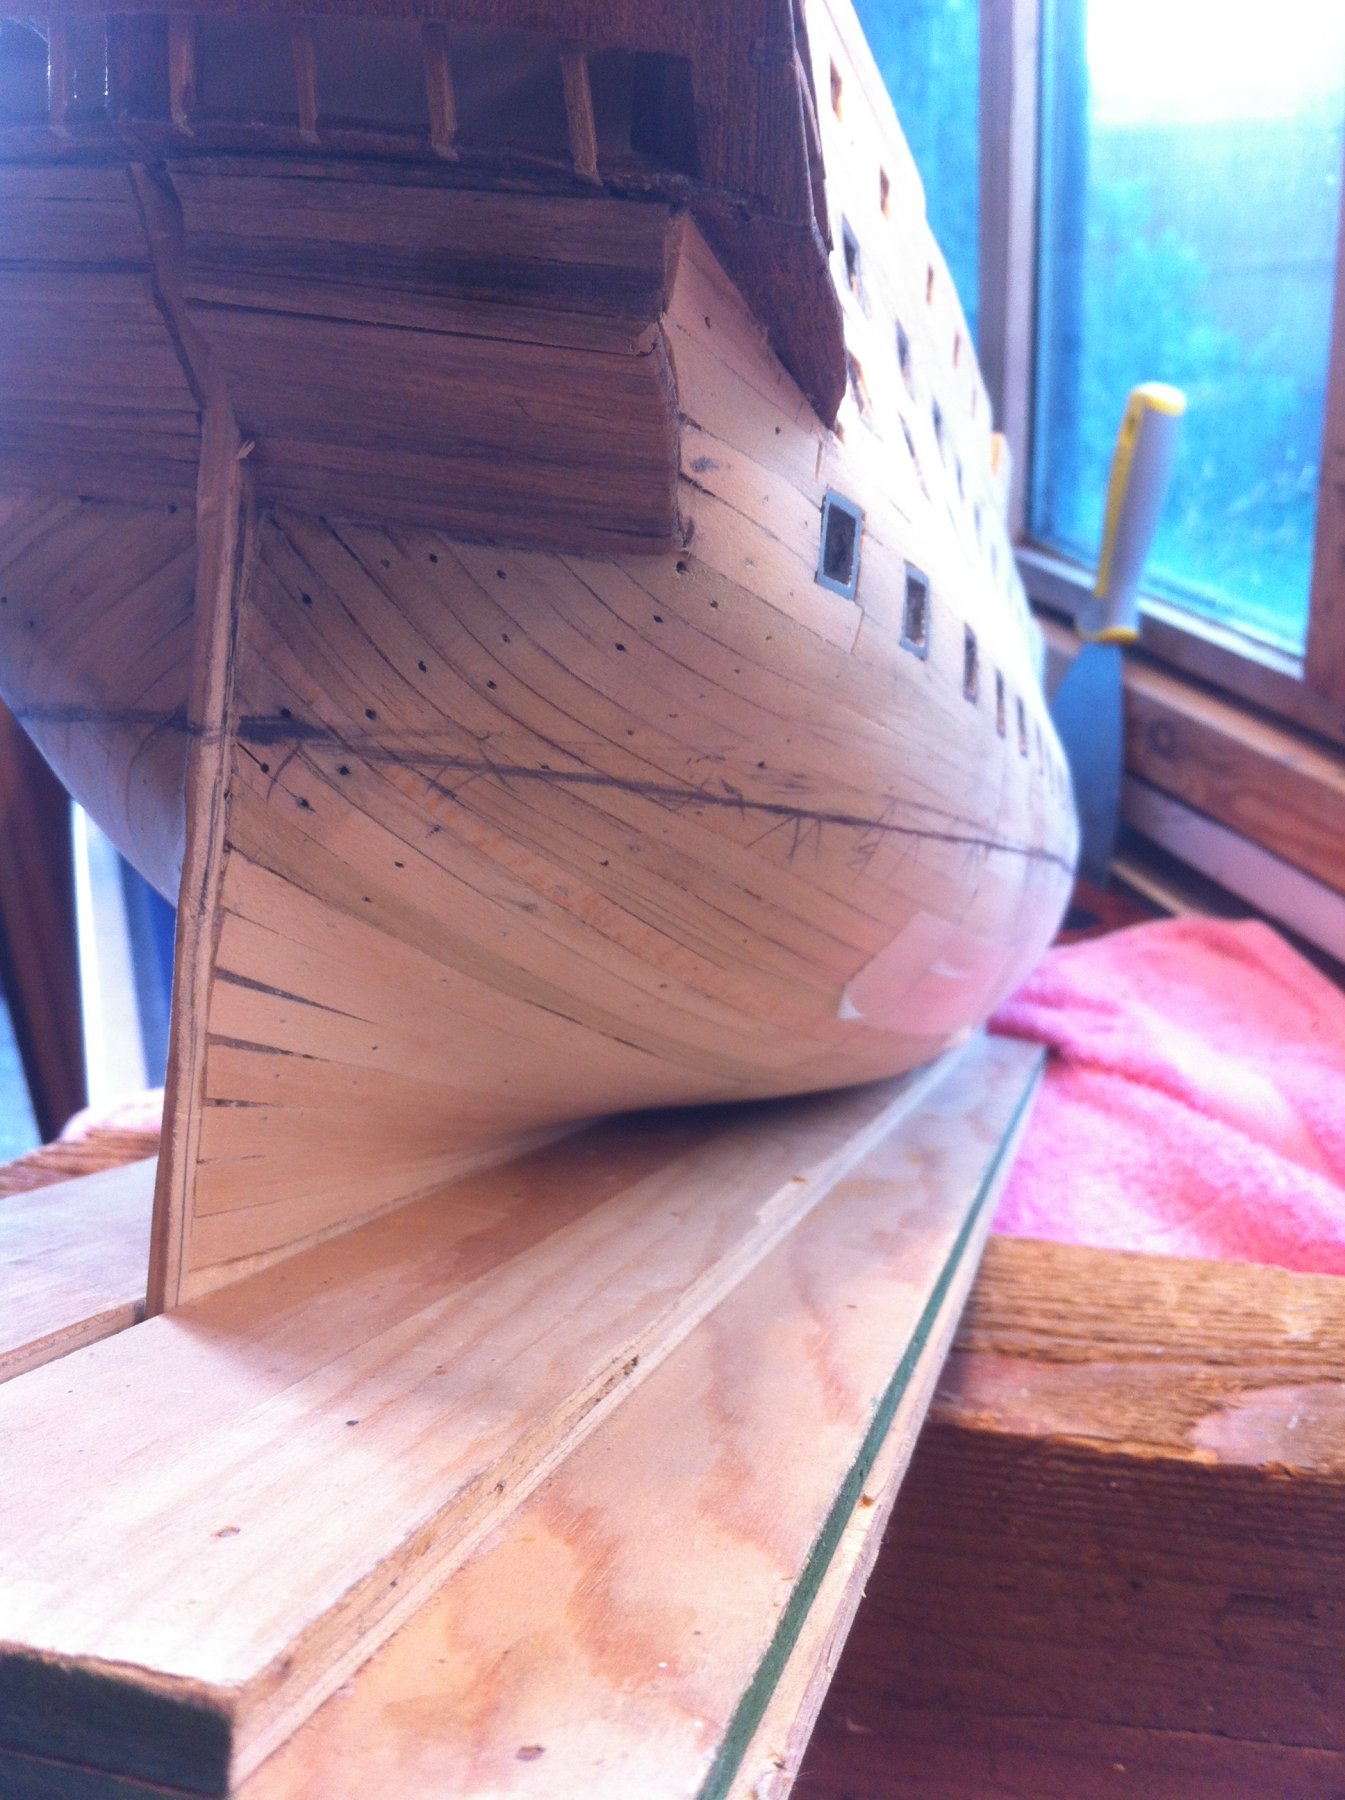
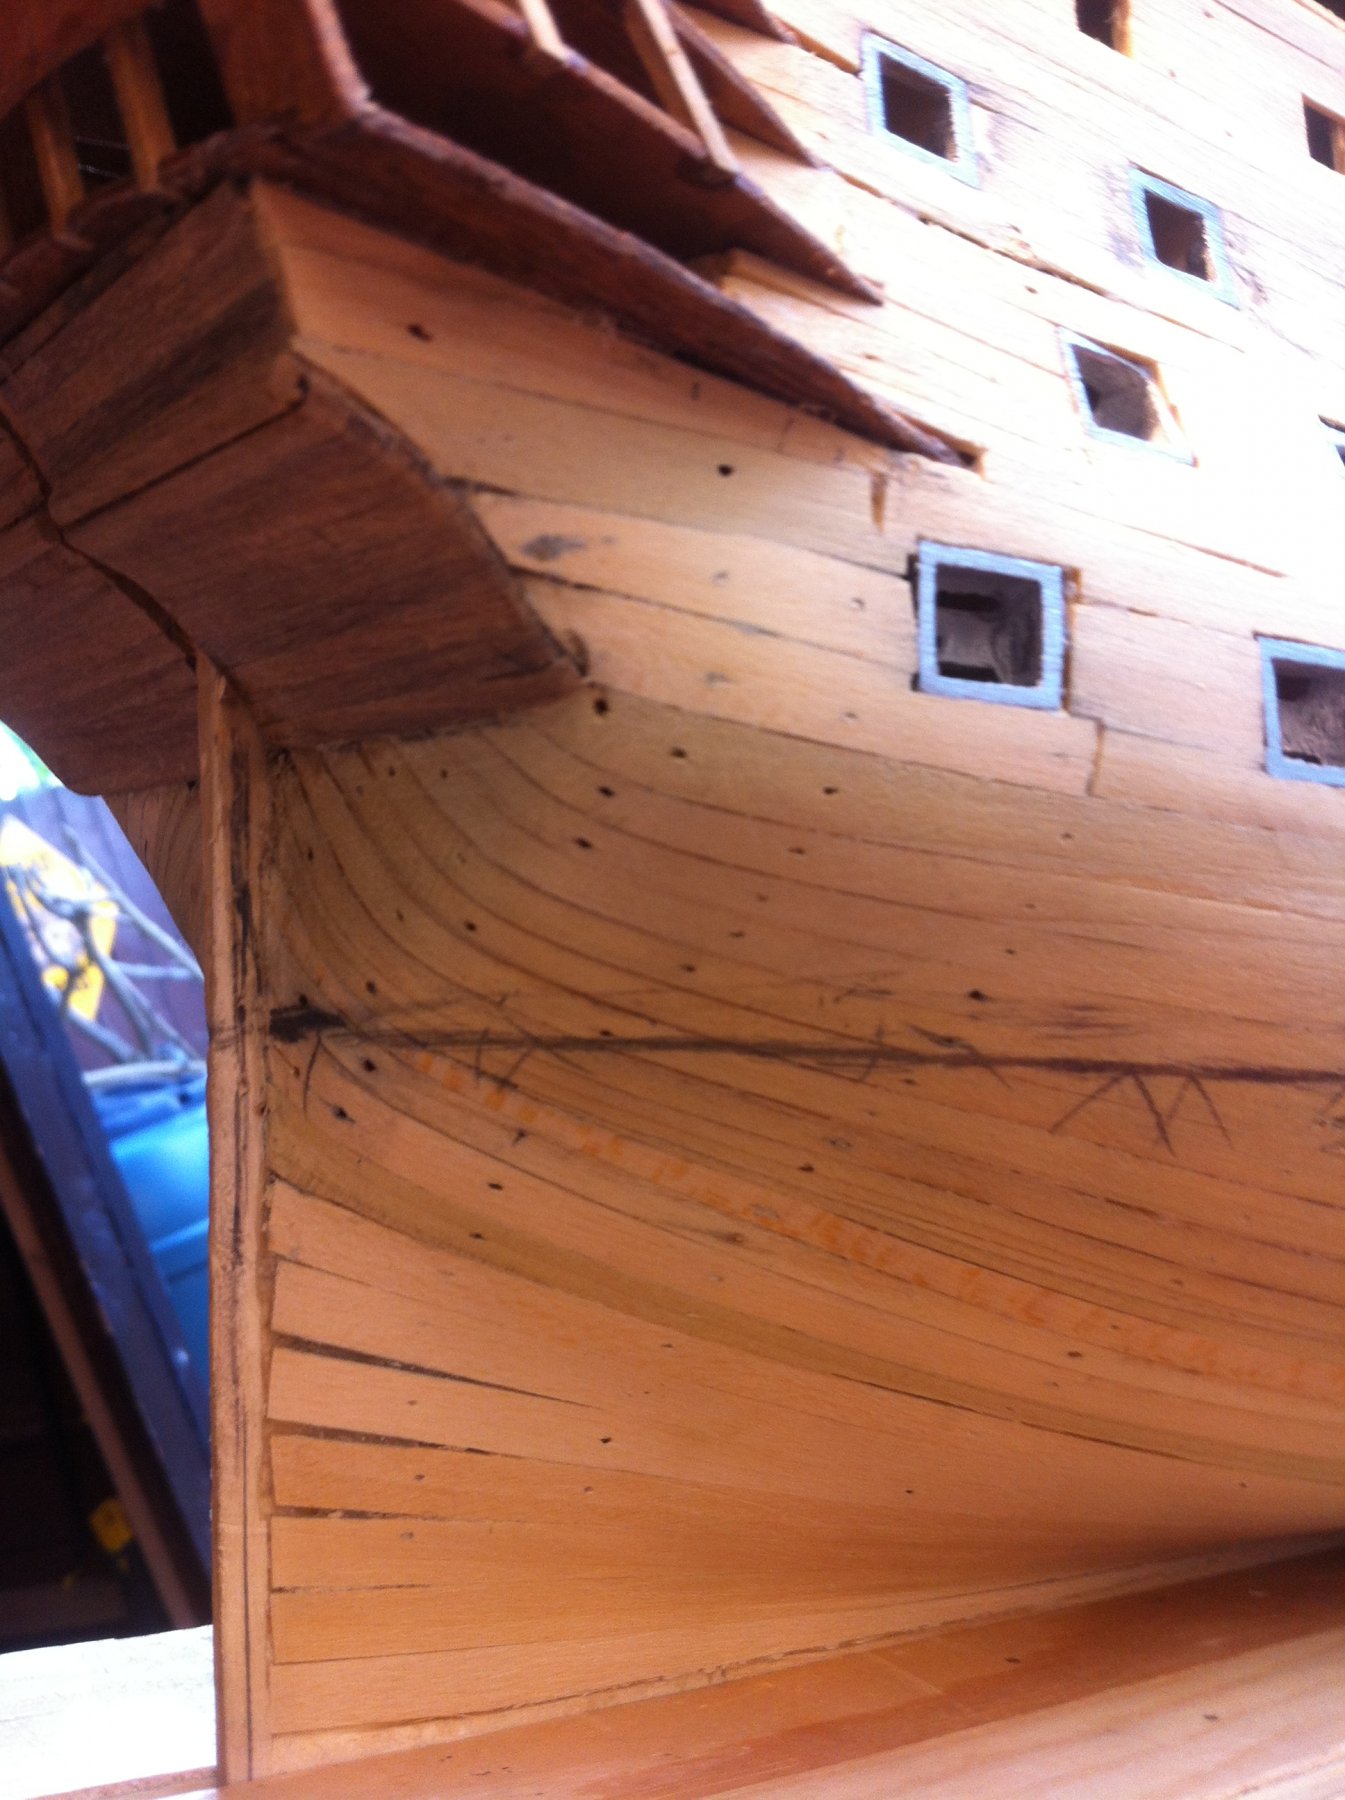
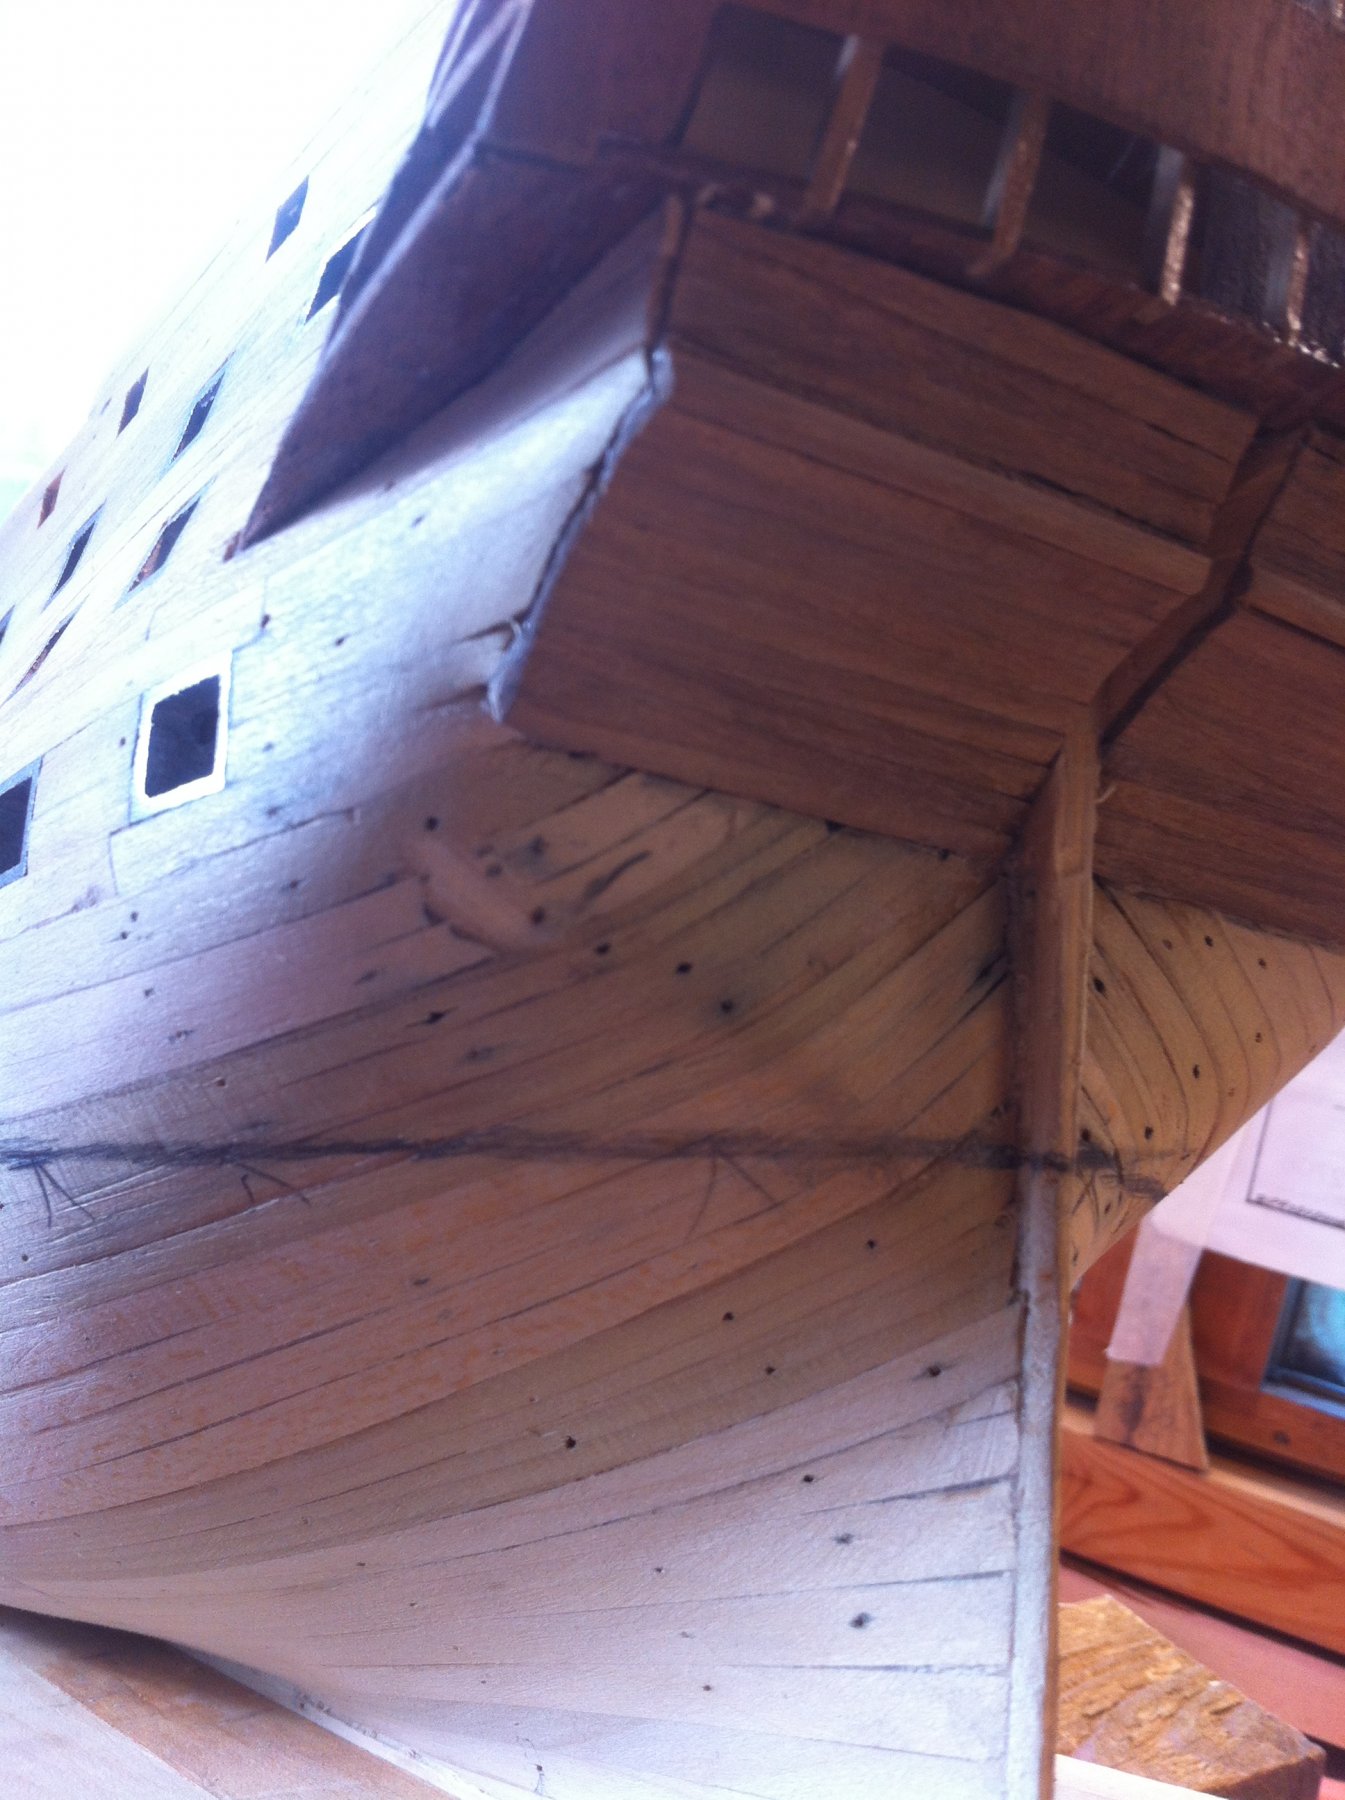
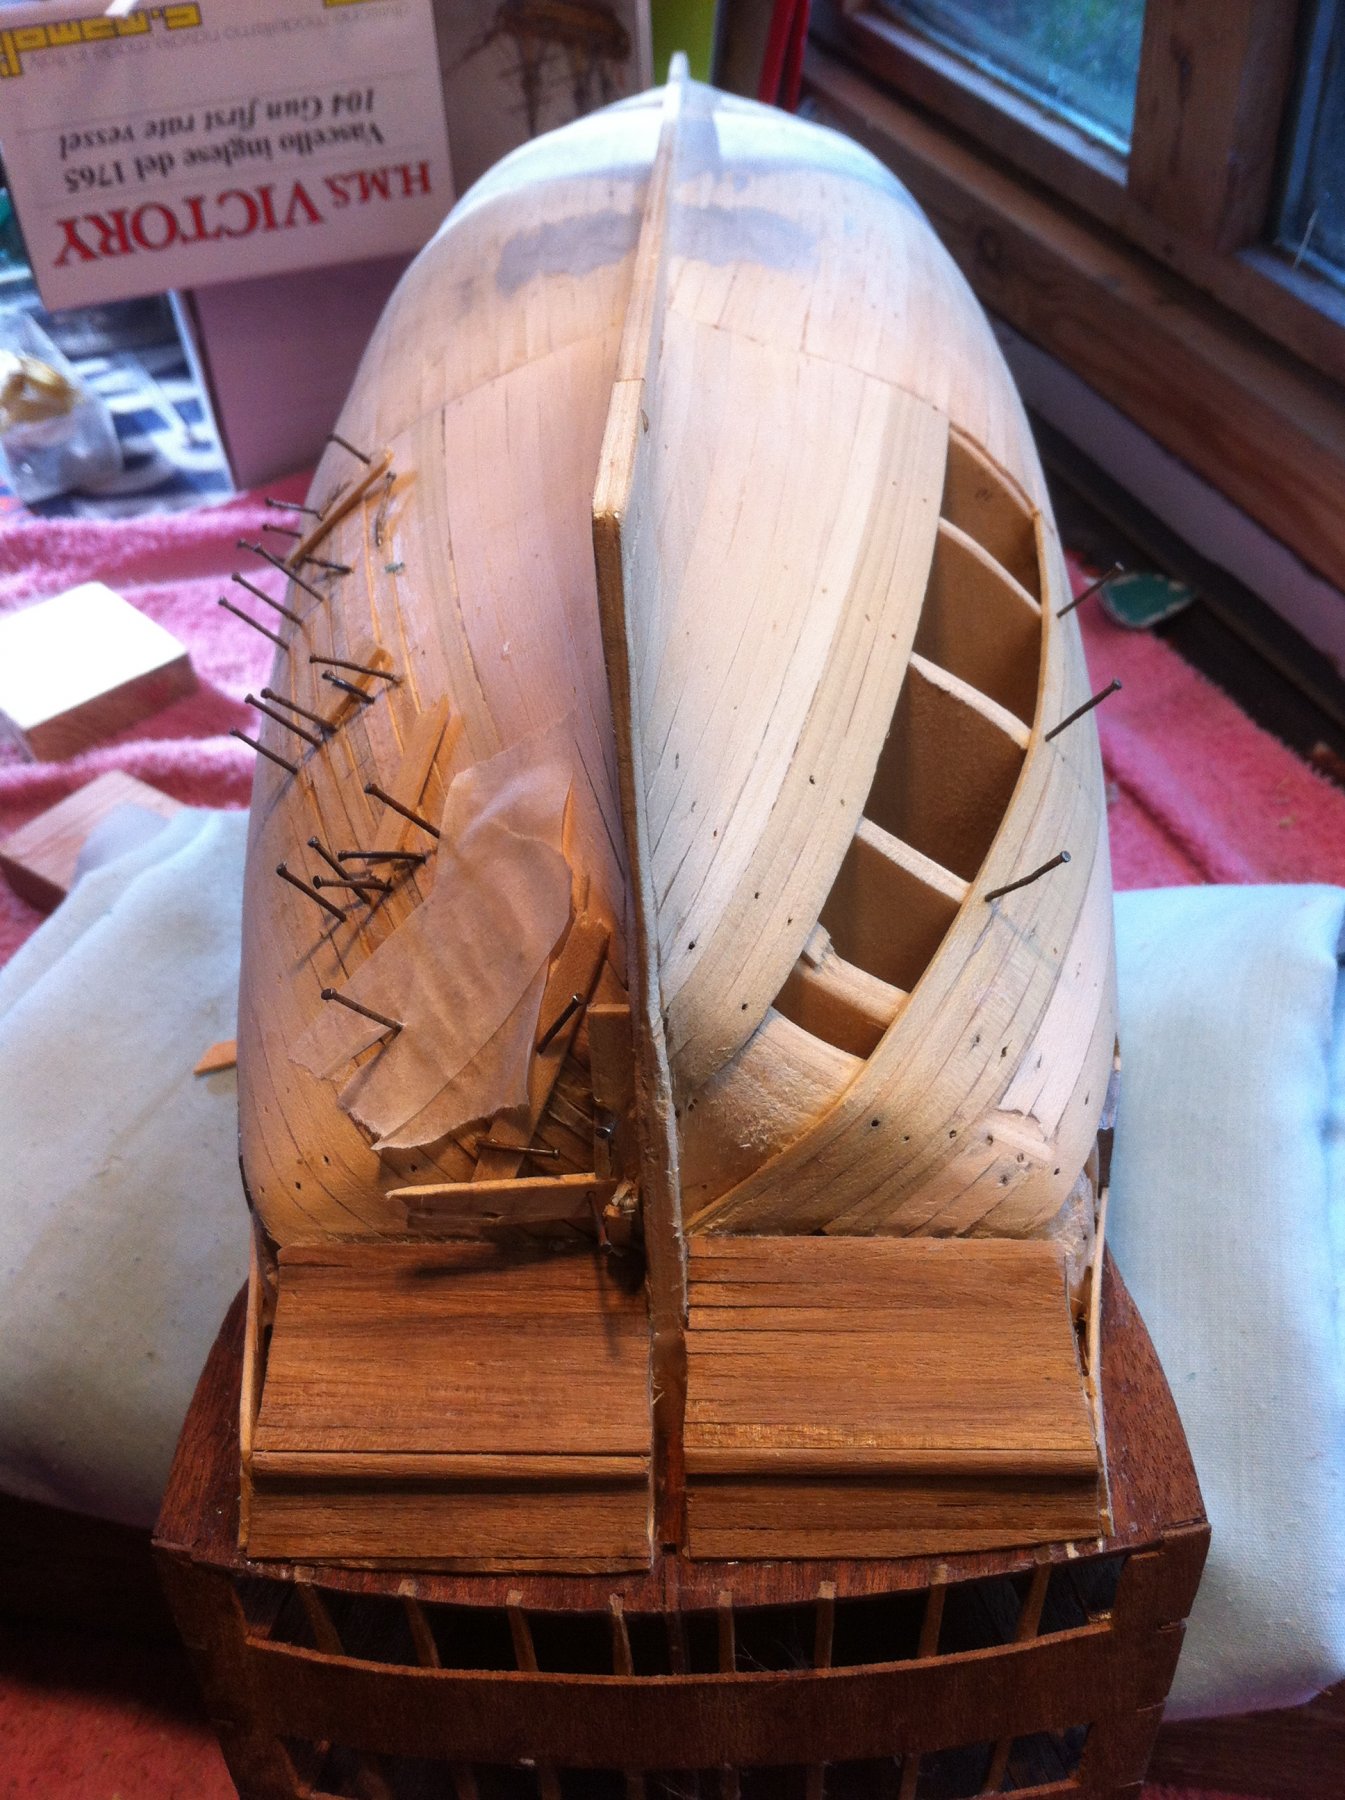
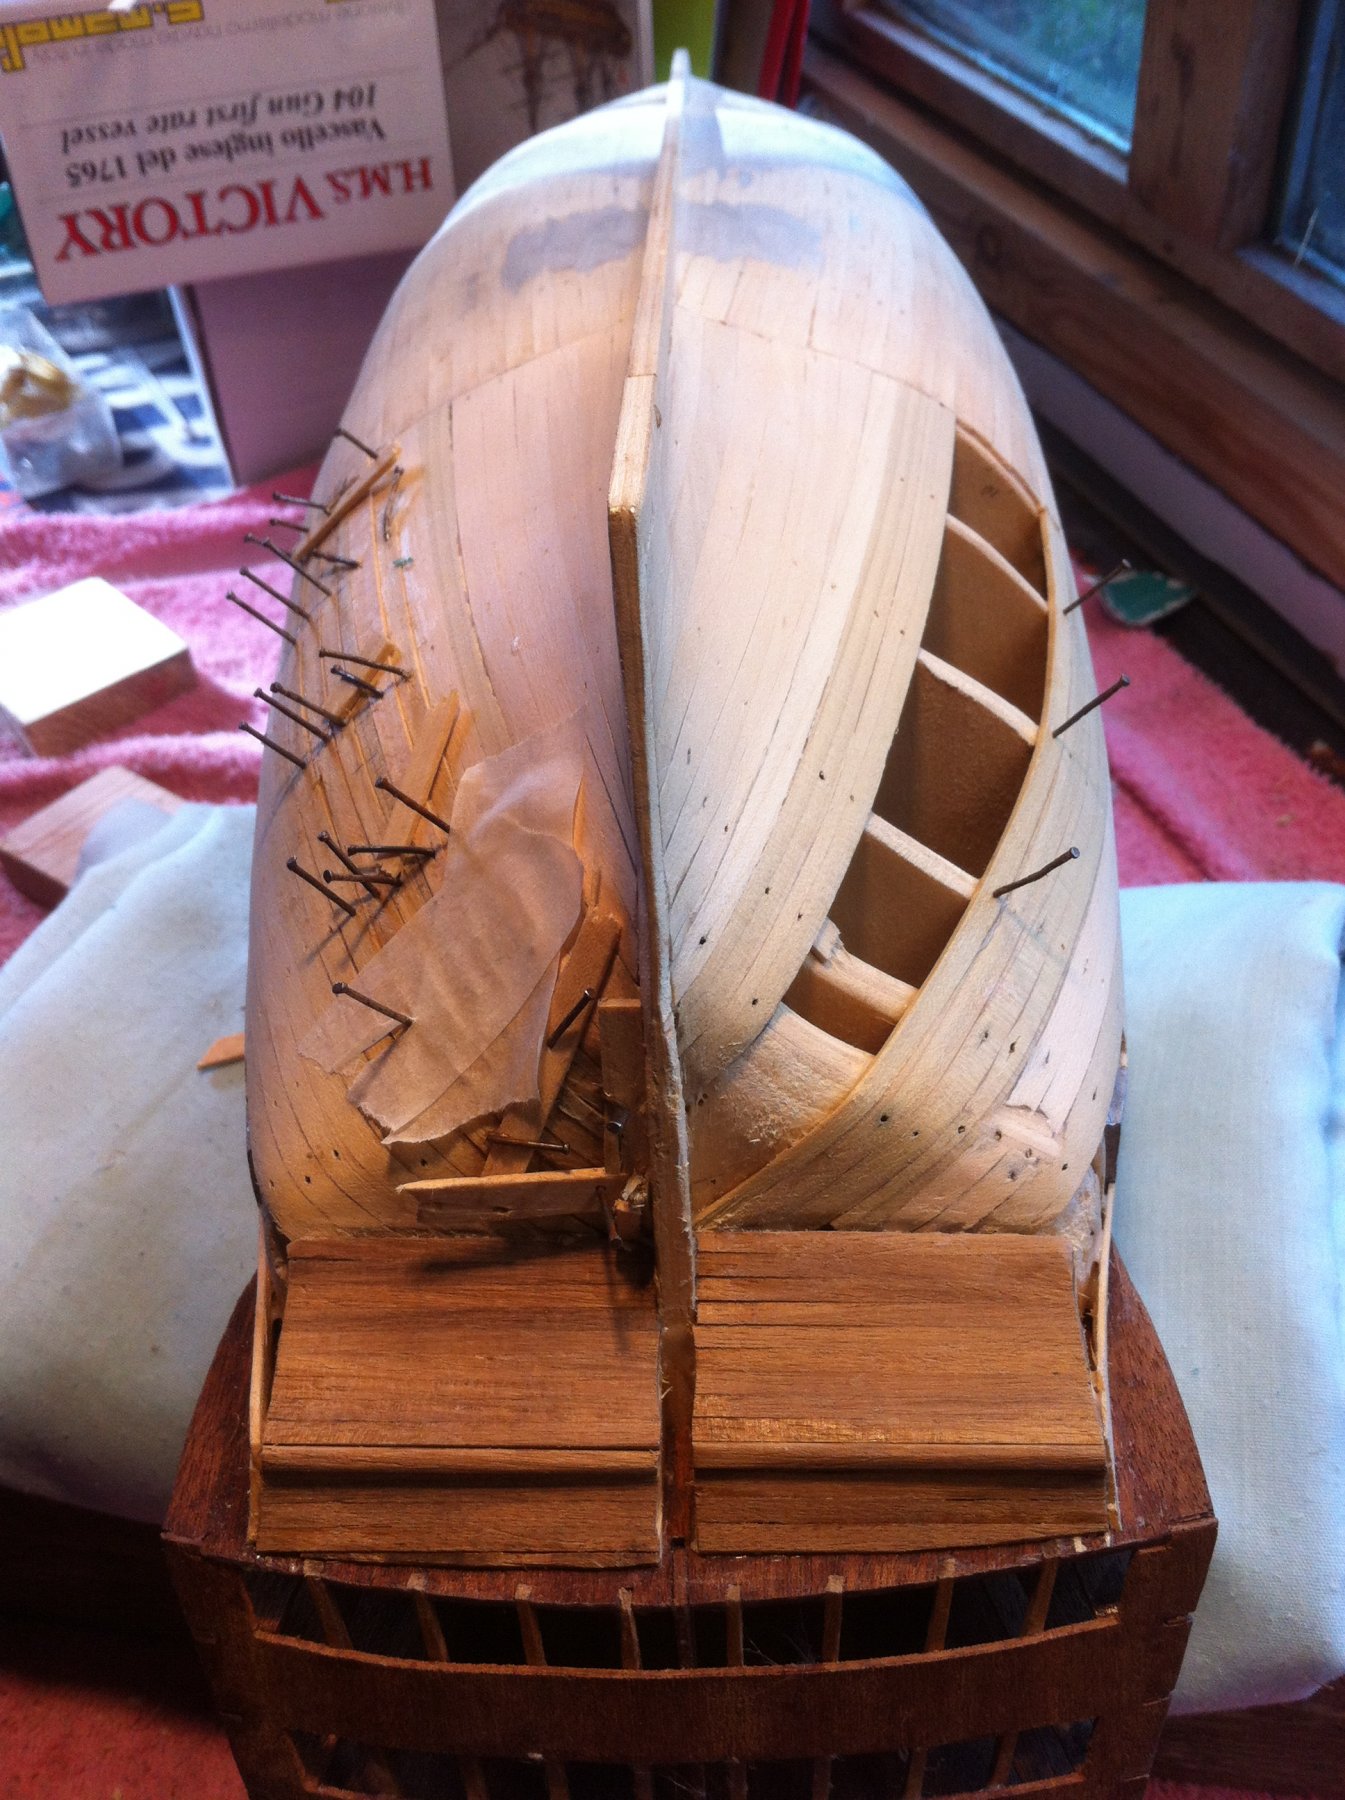
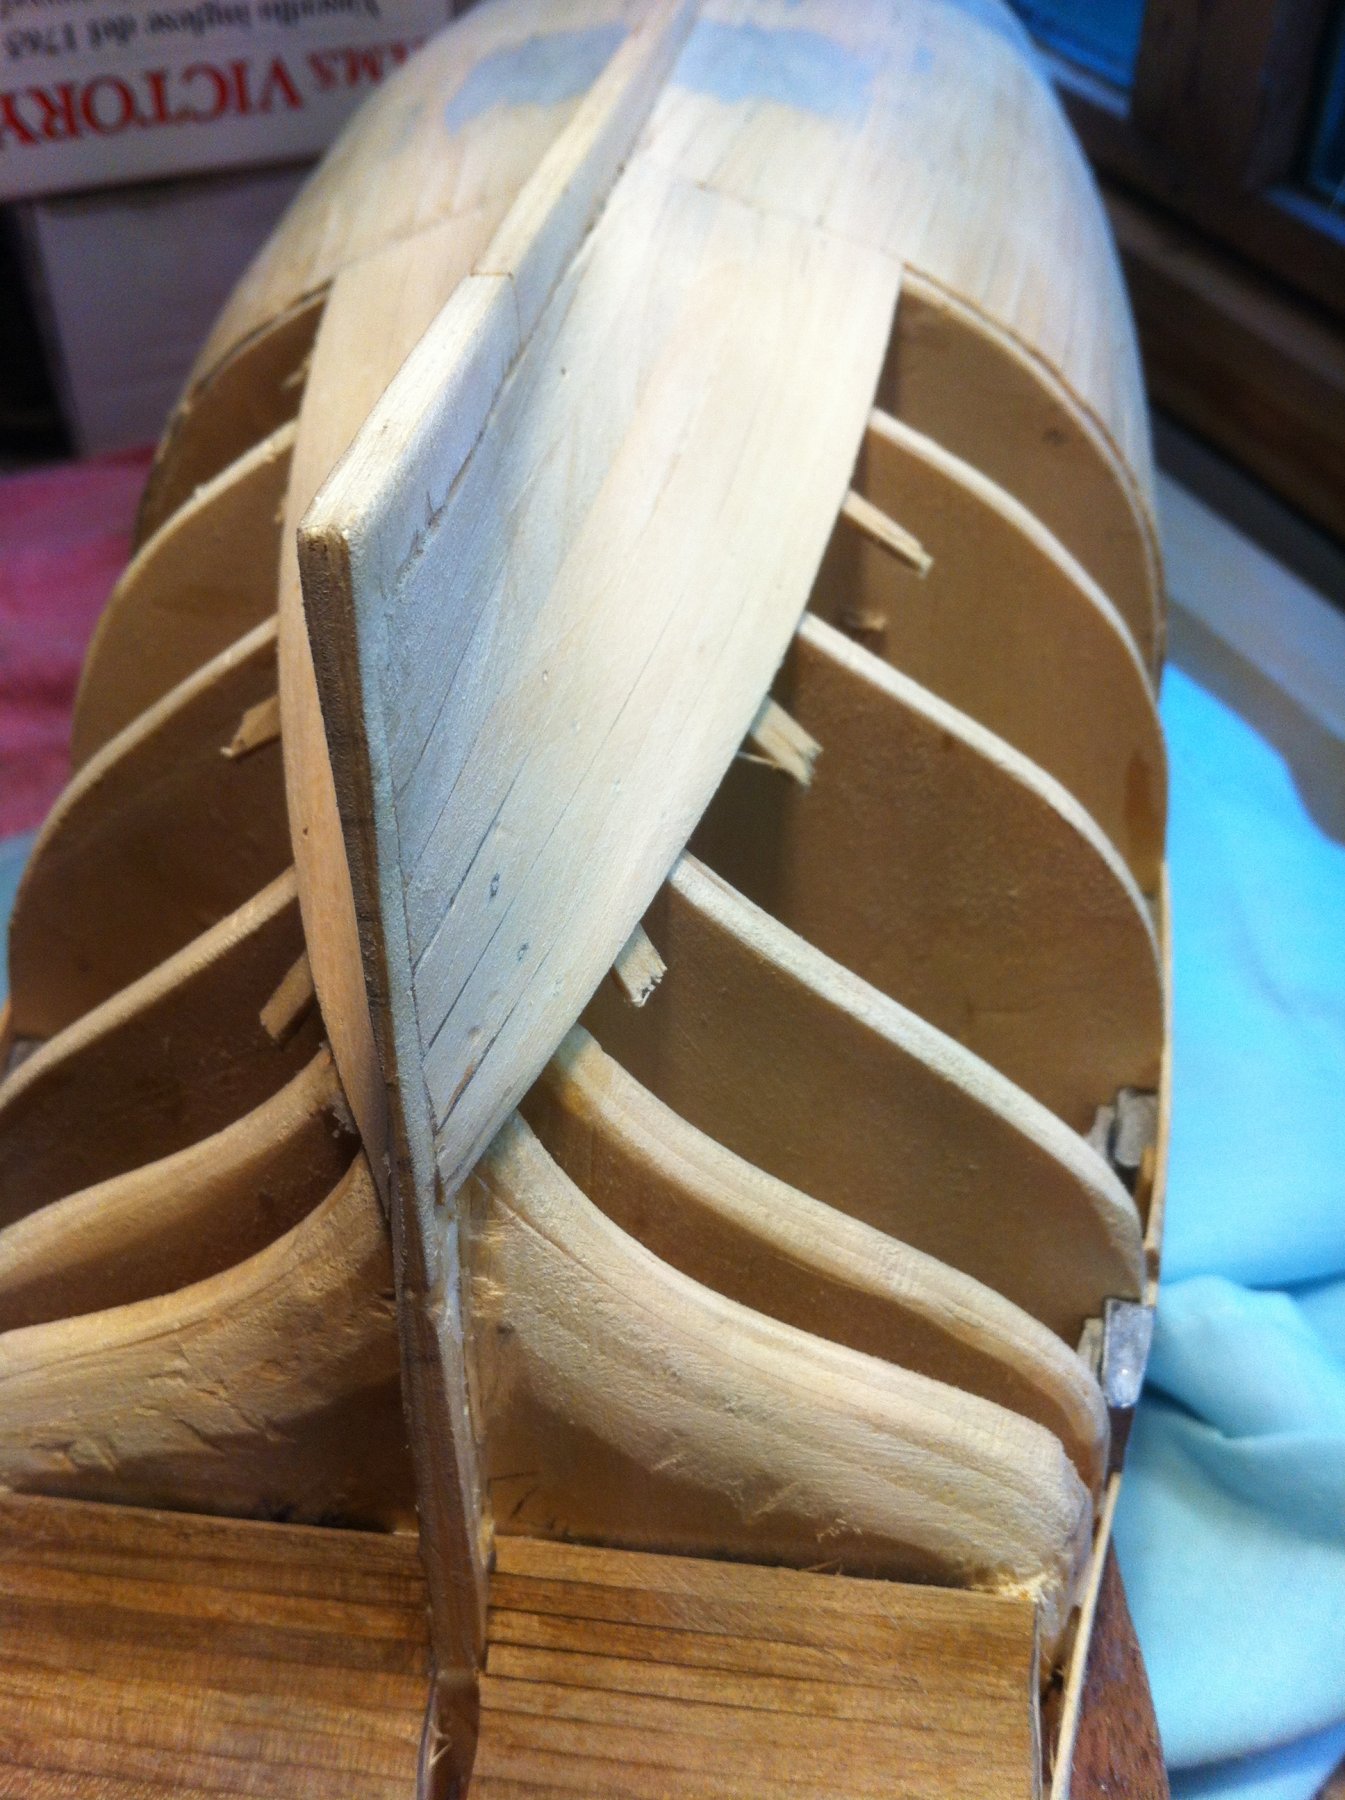
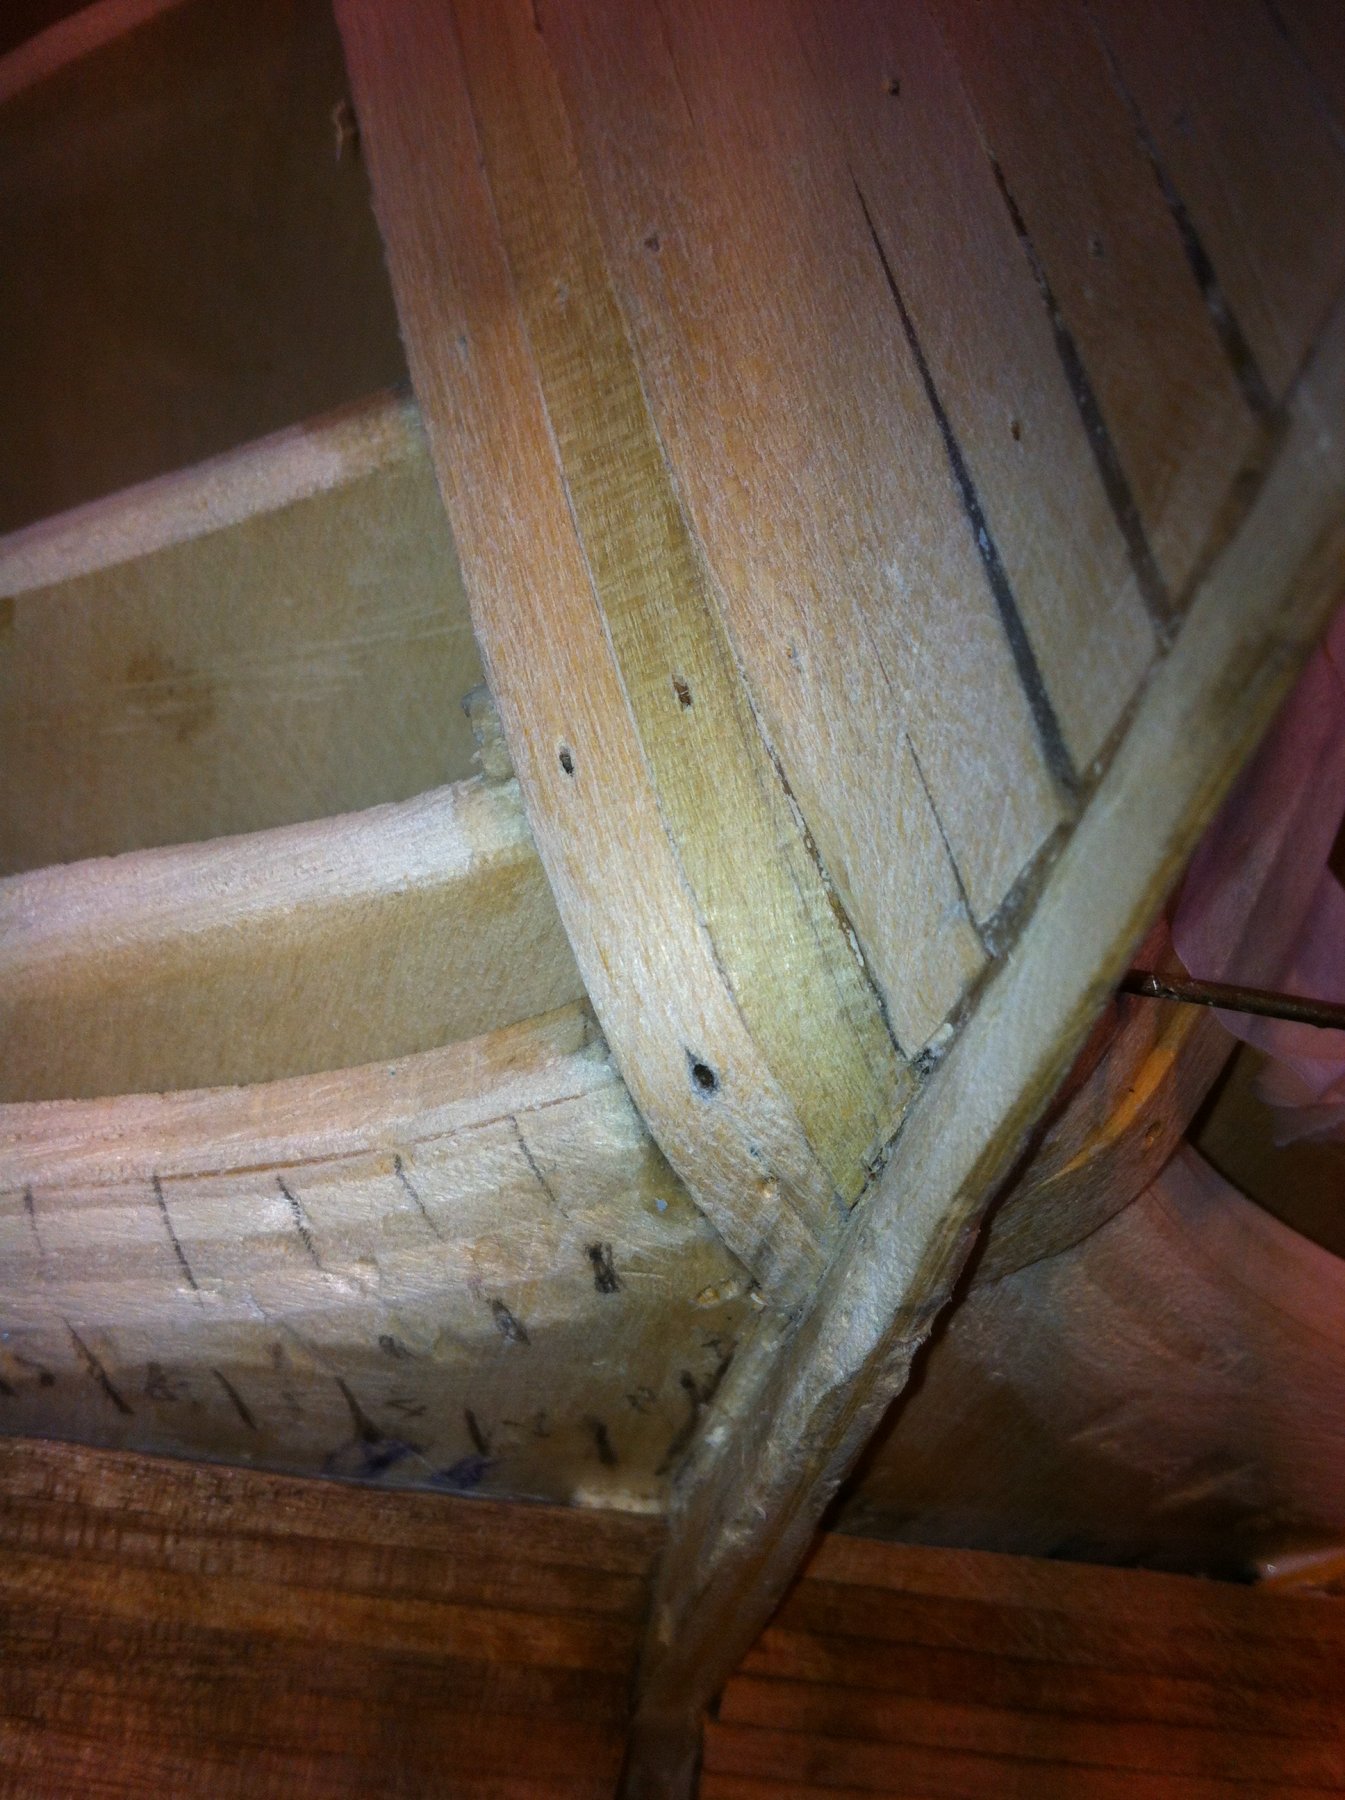
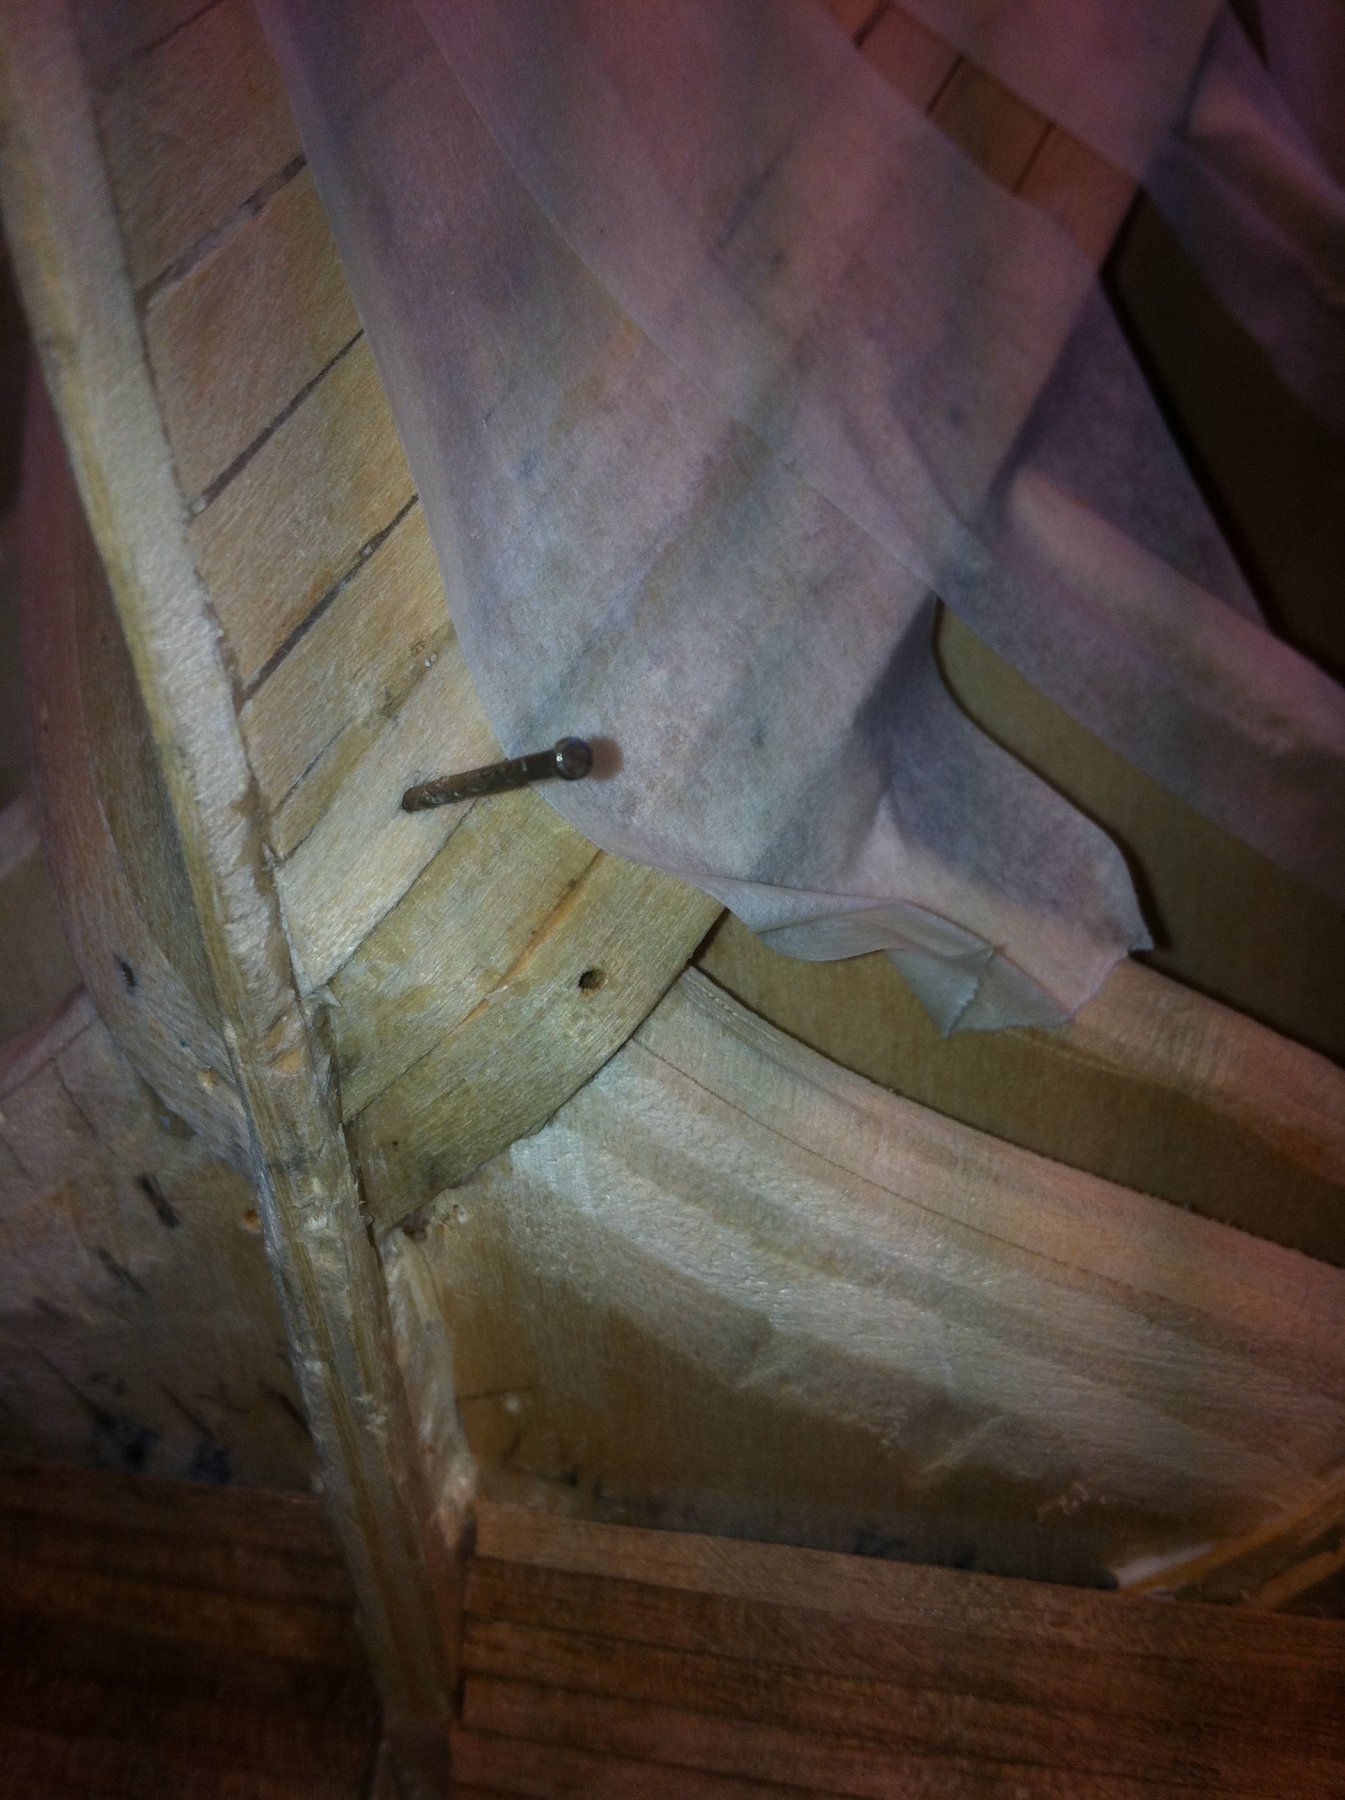
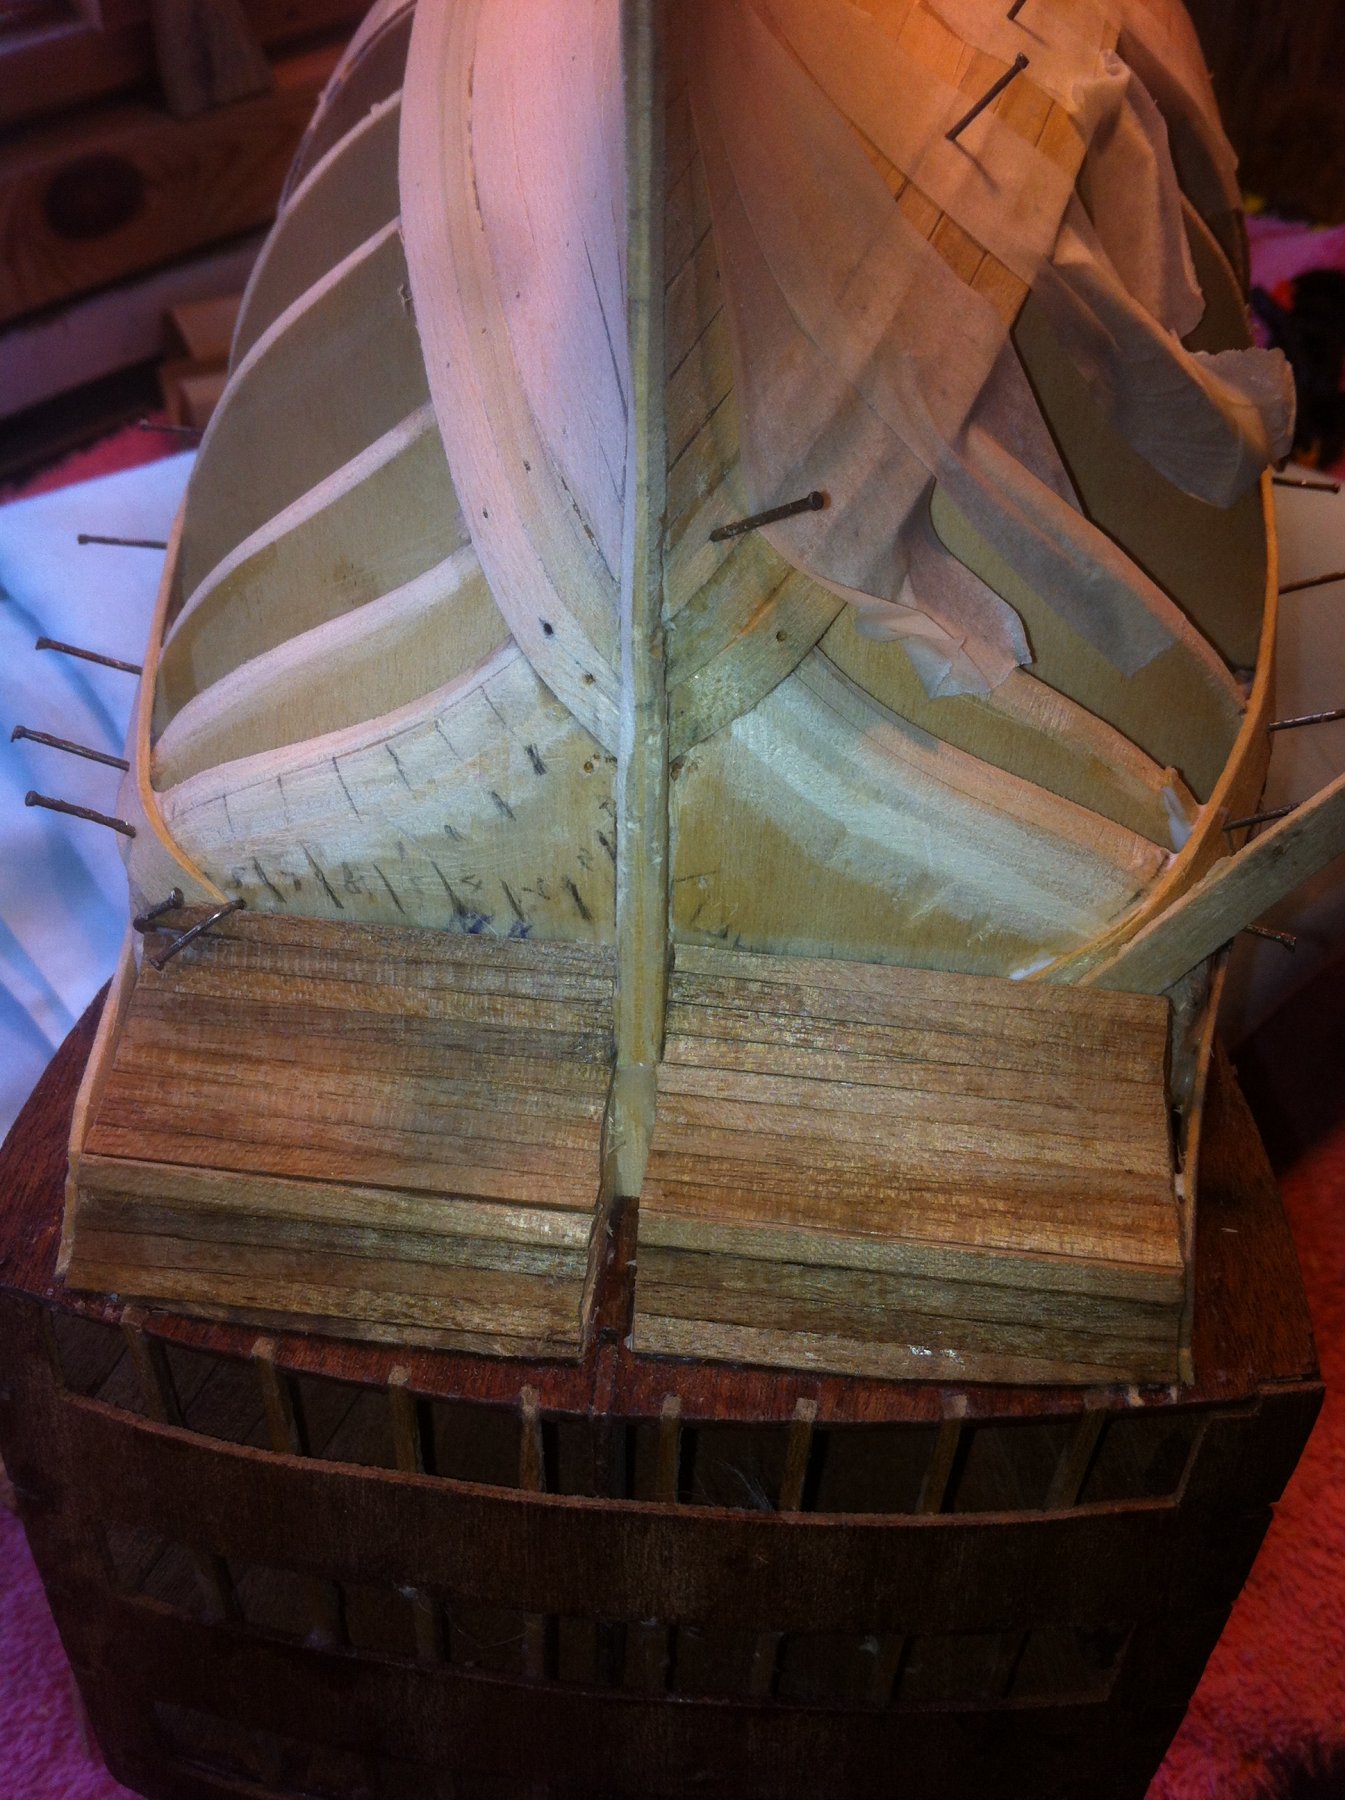
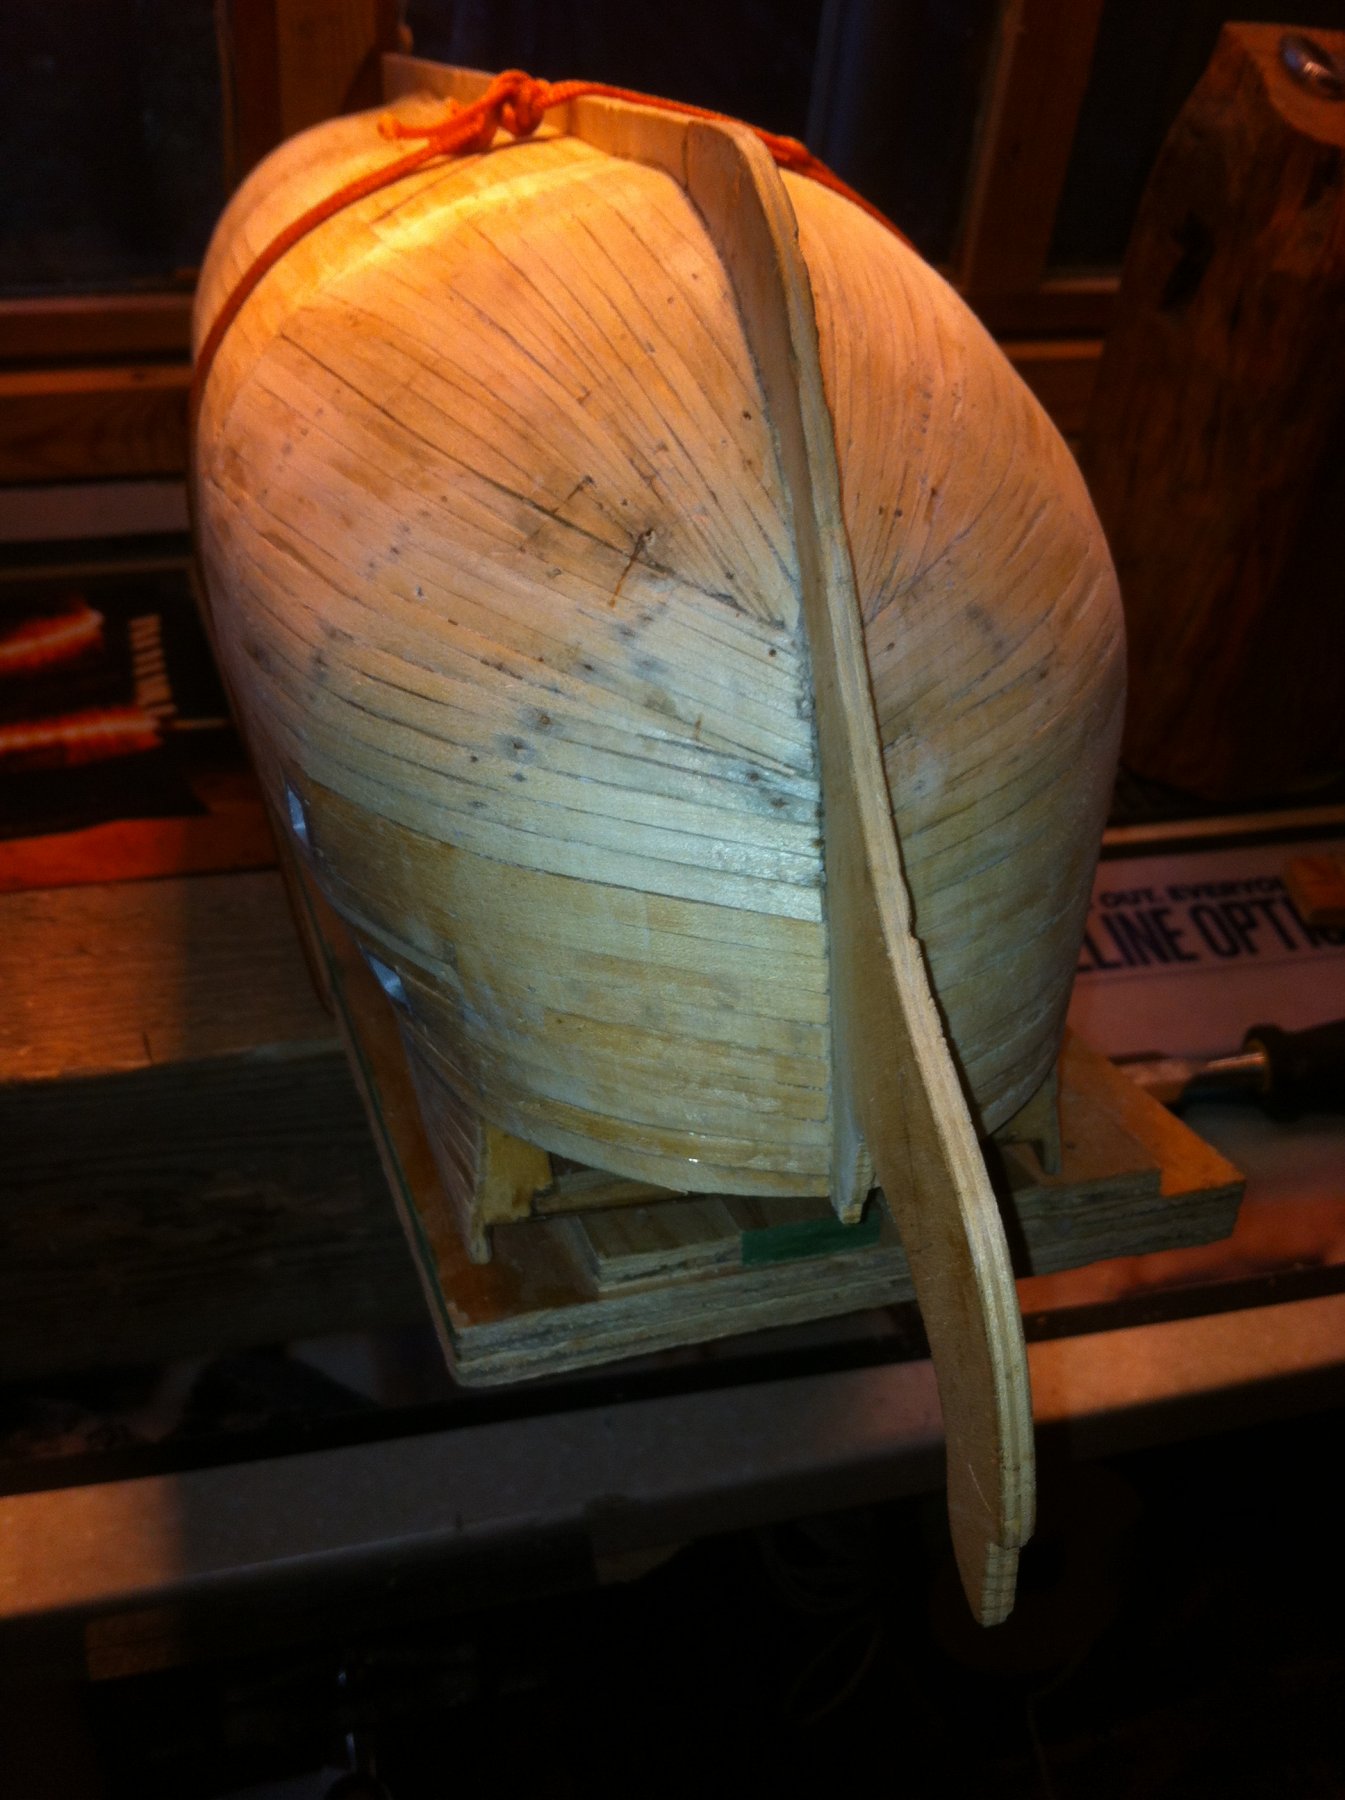
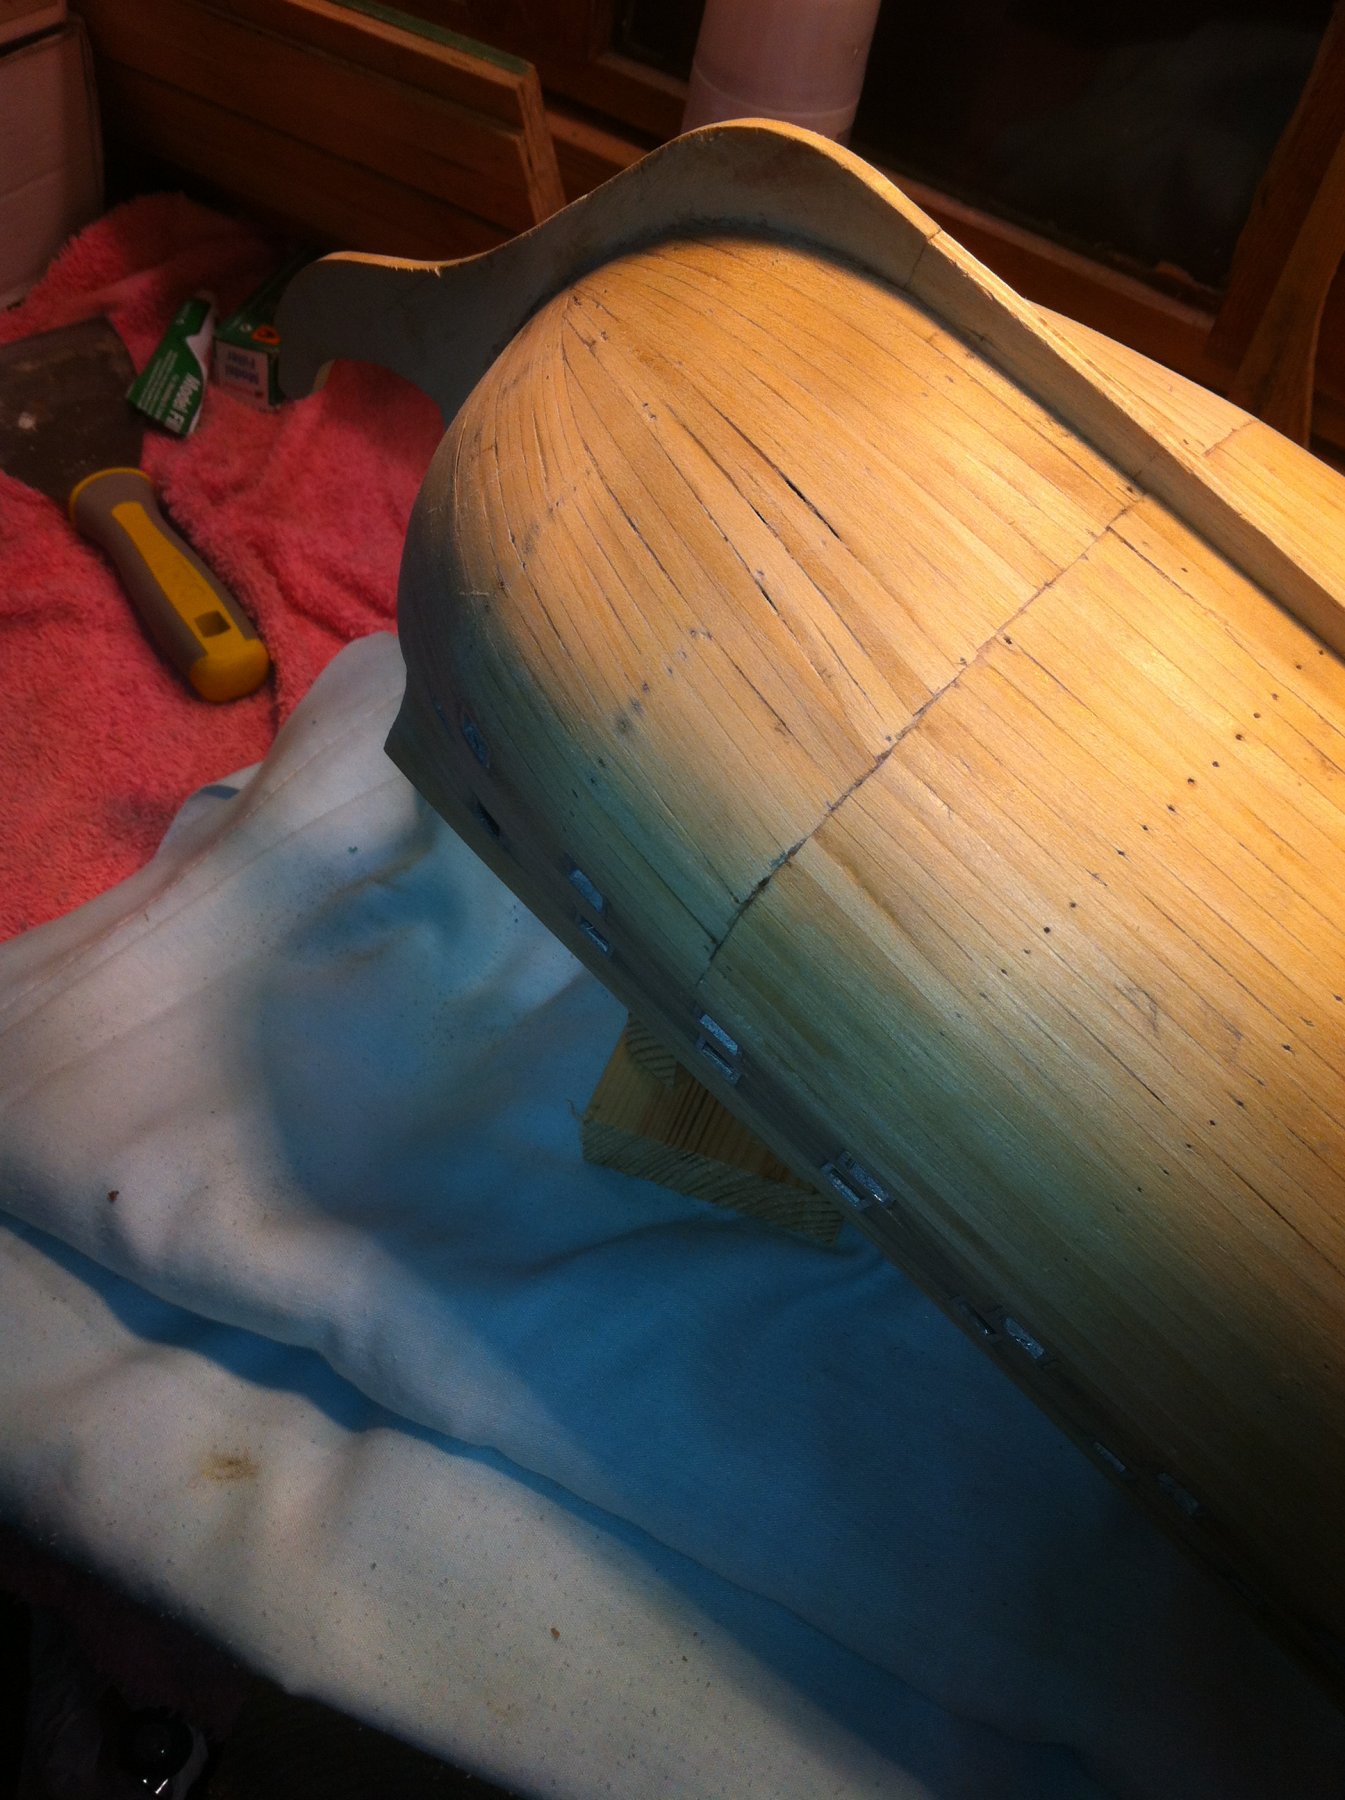
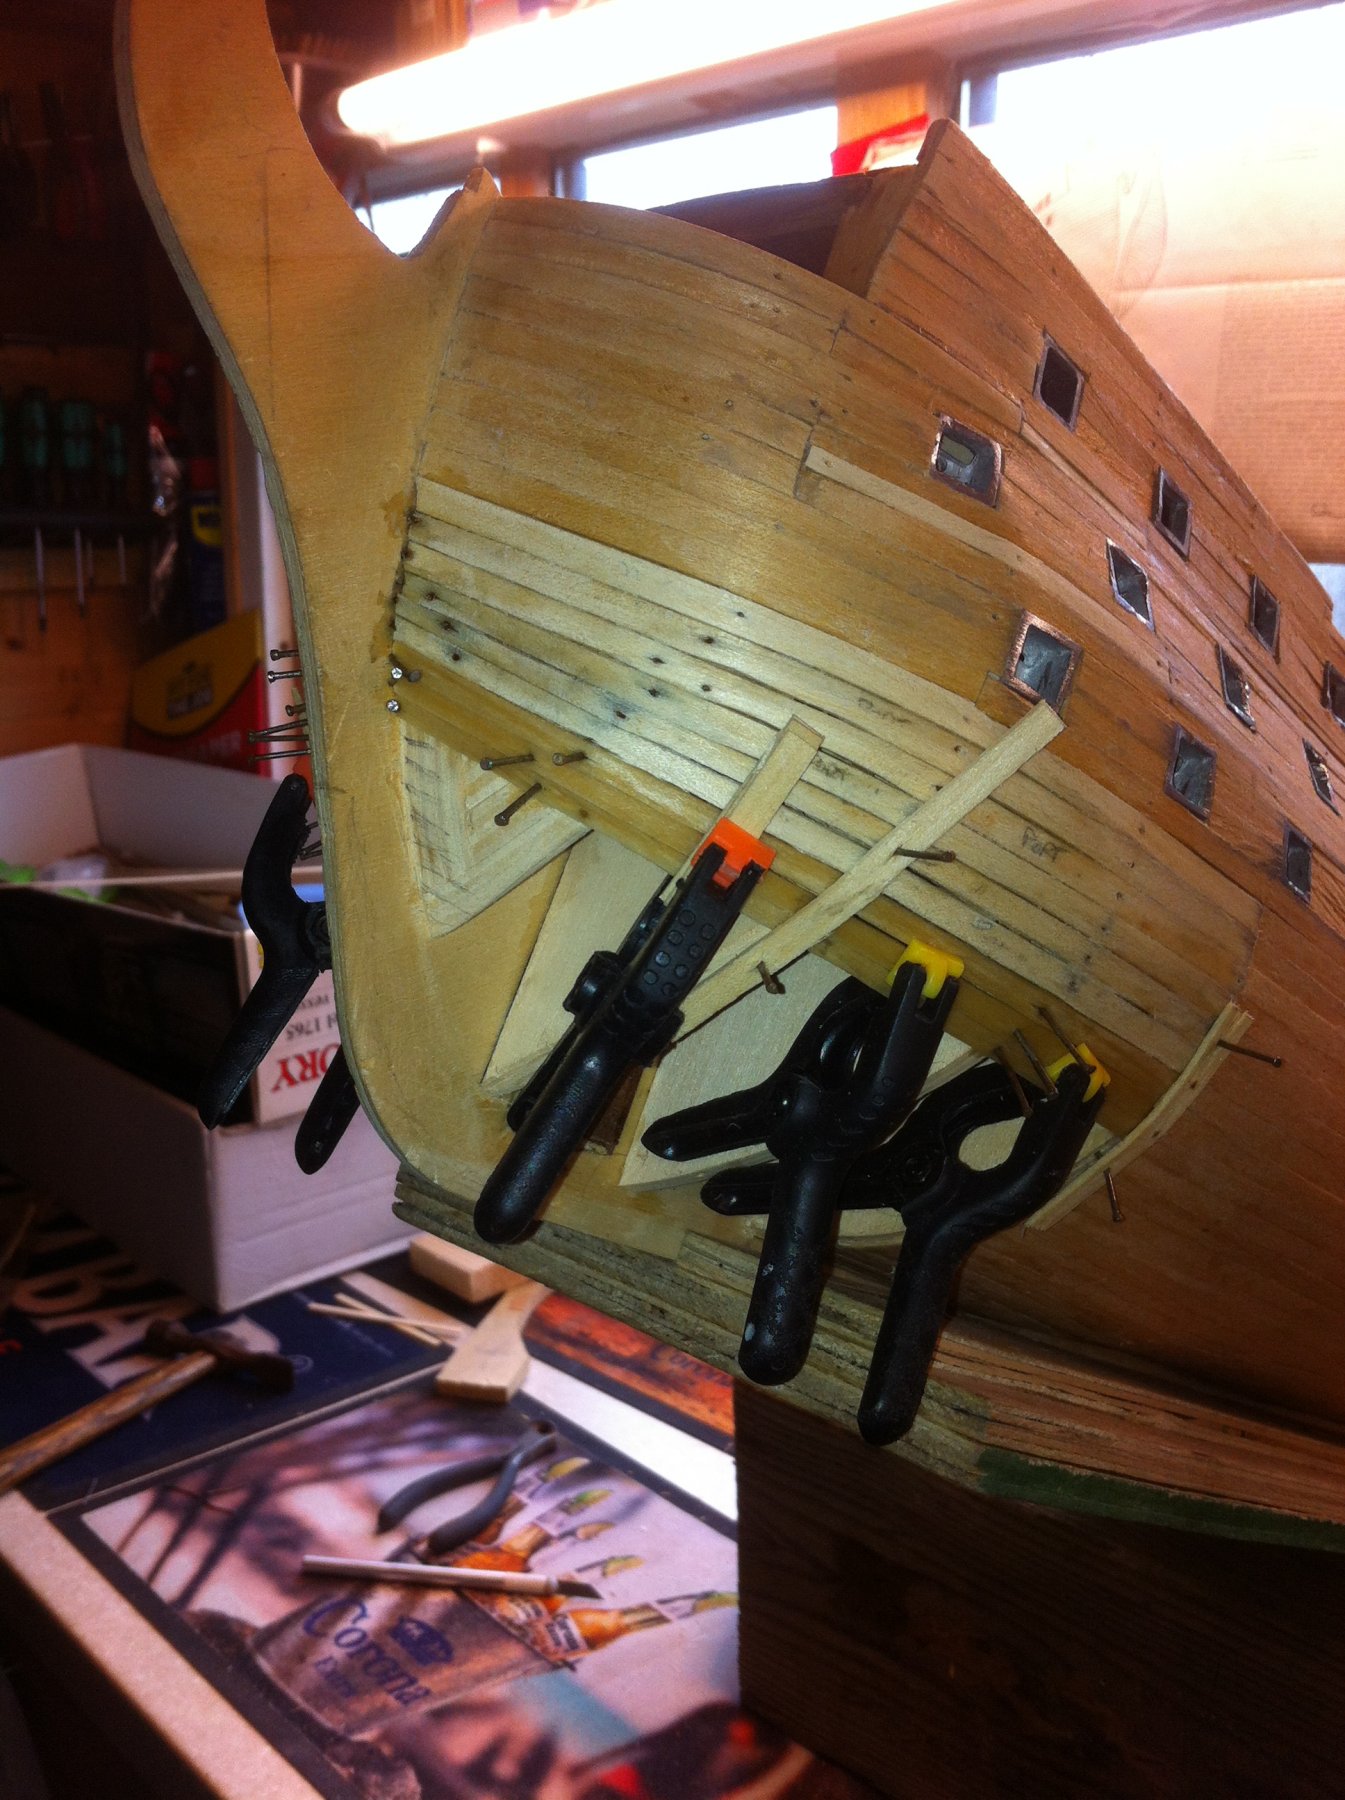
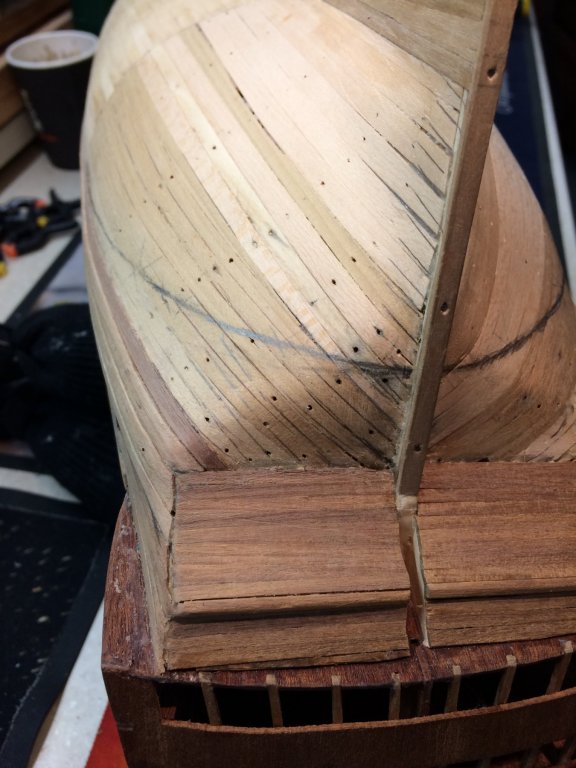
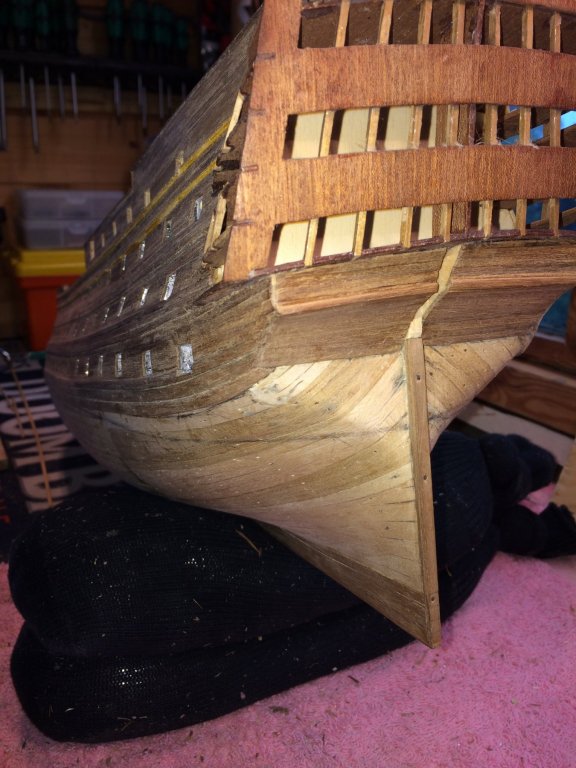
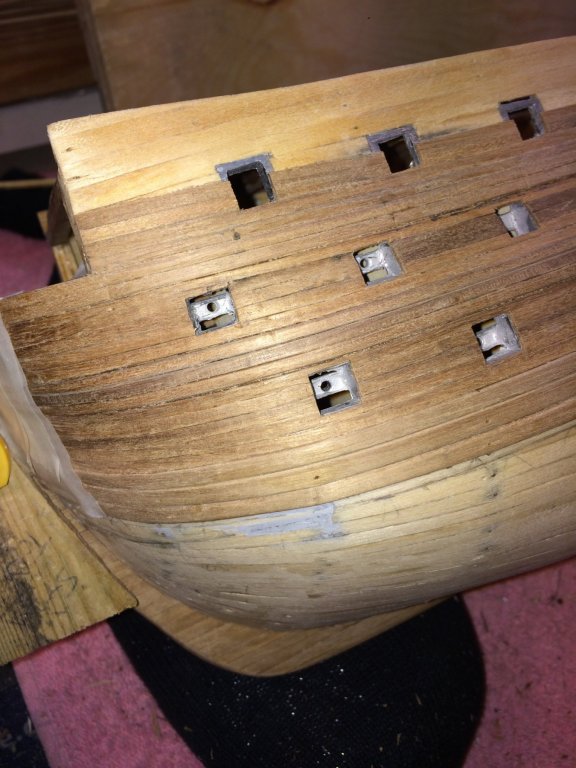
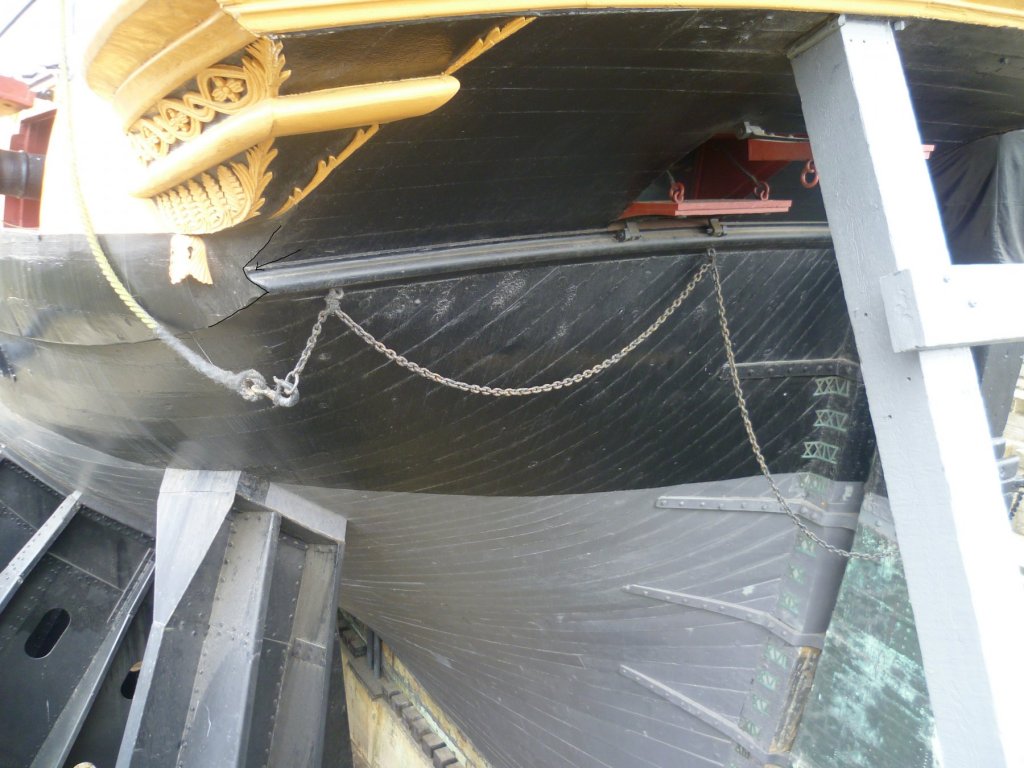
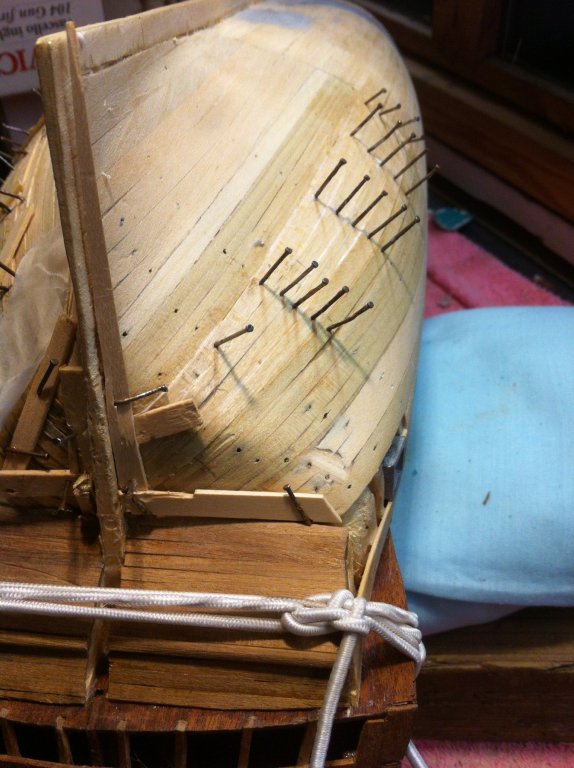
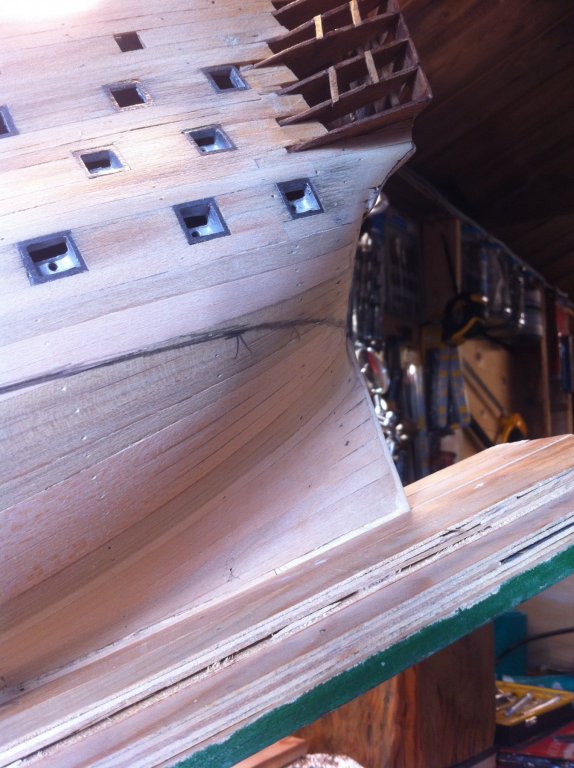
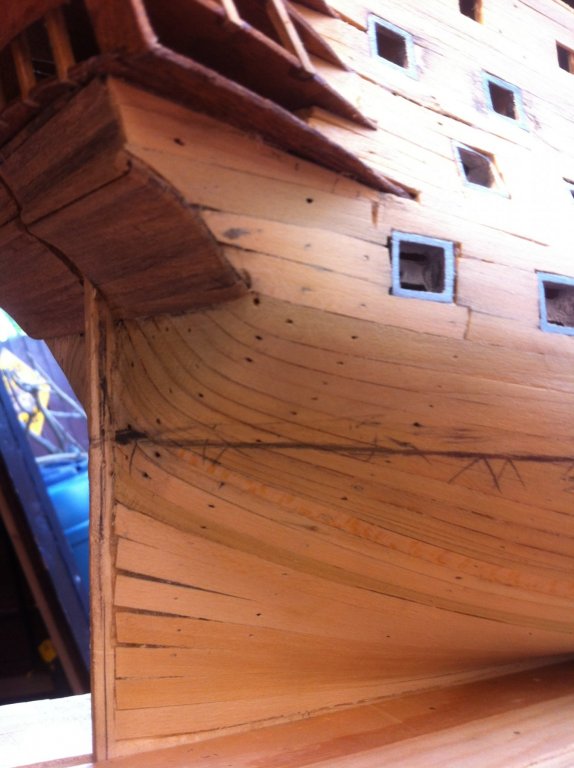
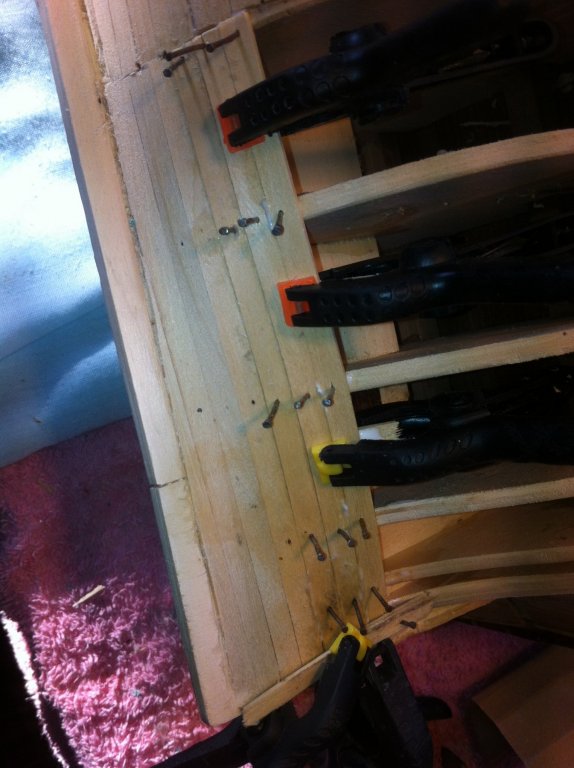
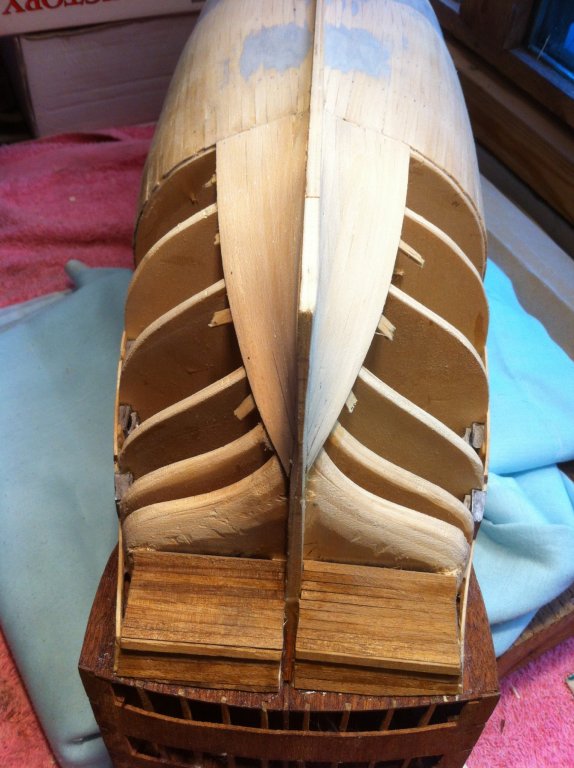
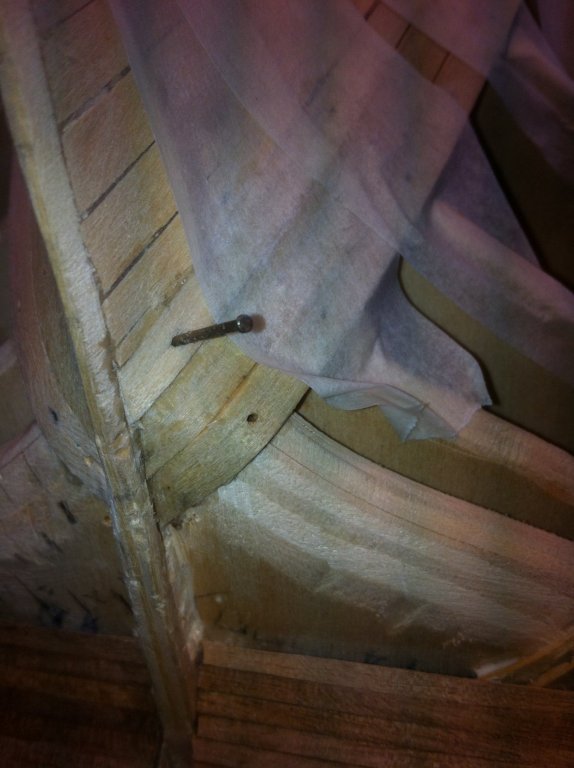
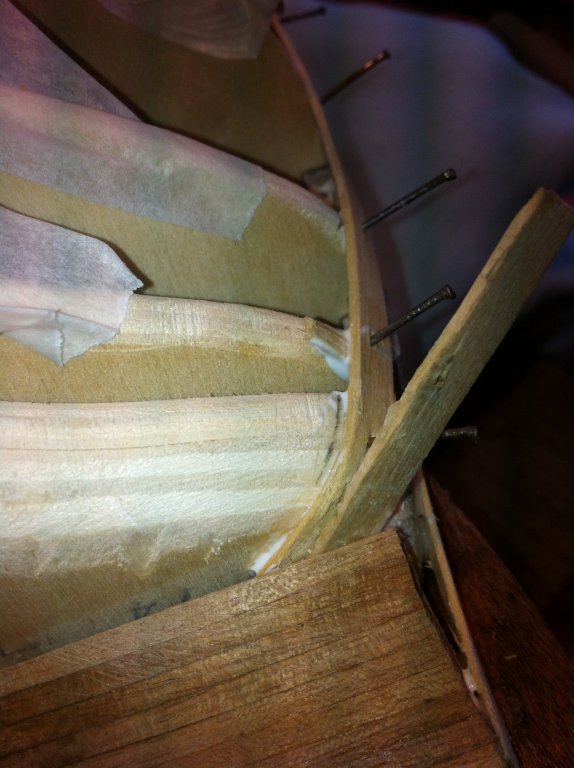
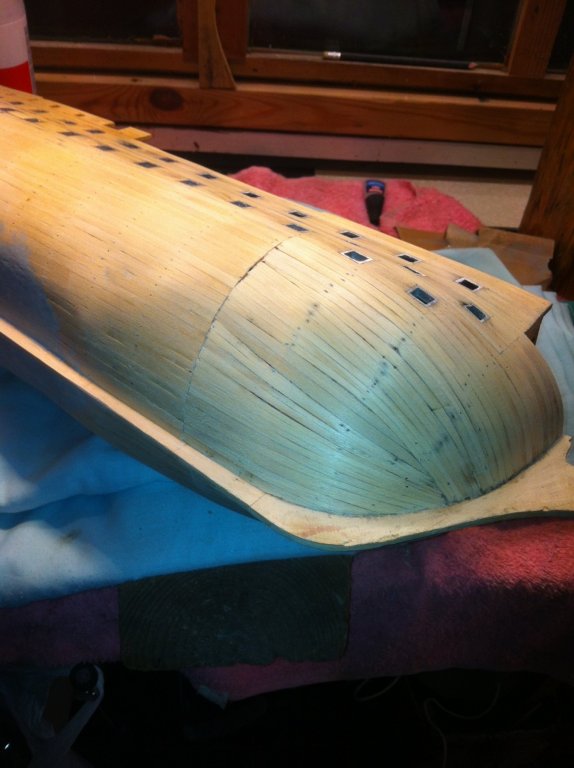
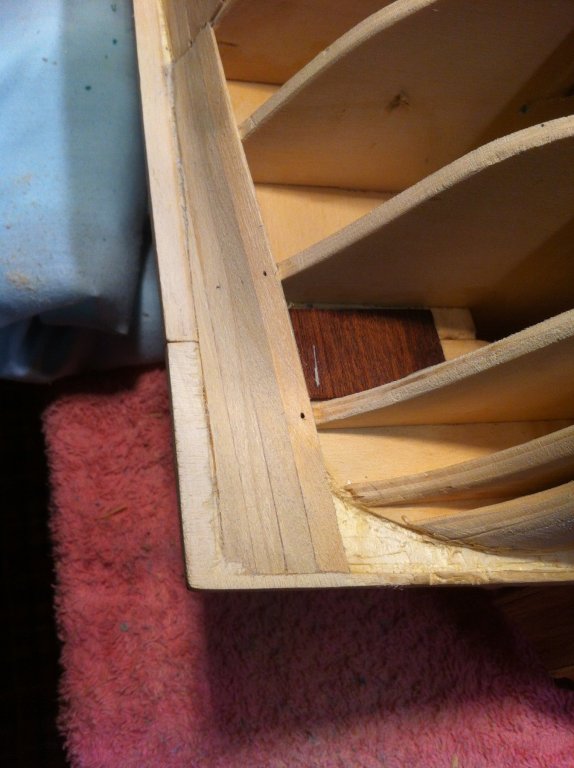
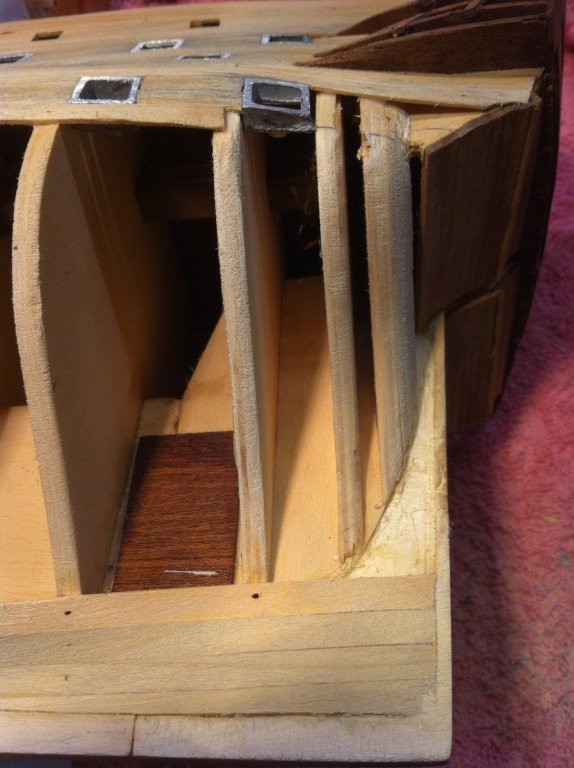
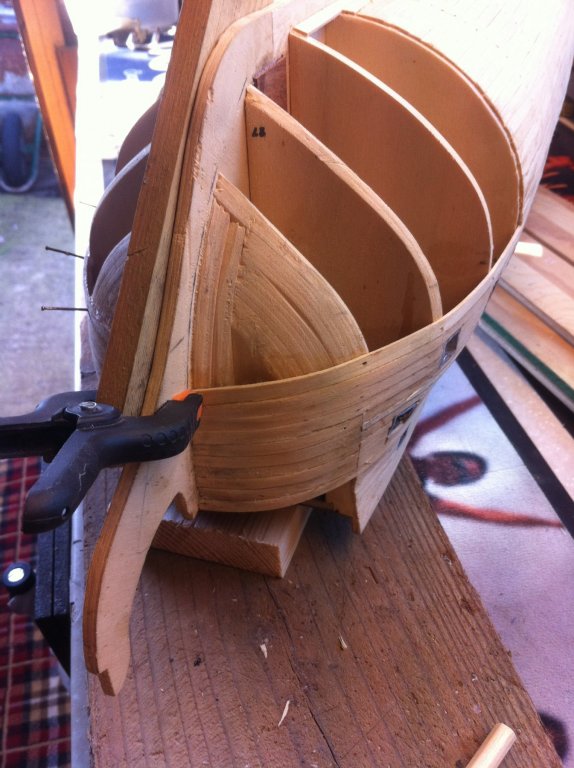
I wasn't too sure how or where to finish the bottom plank of the bottom section, YT has it flush with the bottom of the rear sloped section, but looking at some of my pics of the ship herself it seems to "birdsmouth" around the corner itself, see pics, so i thought "why not",

-
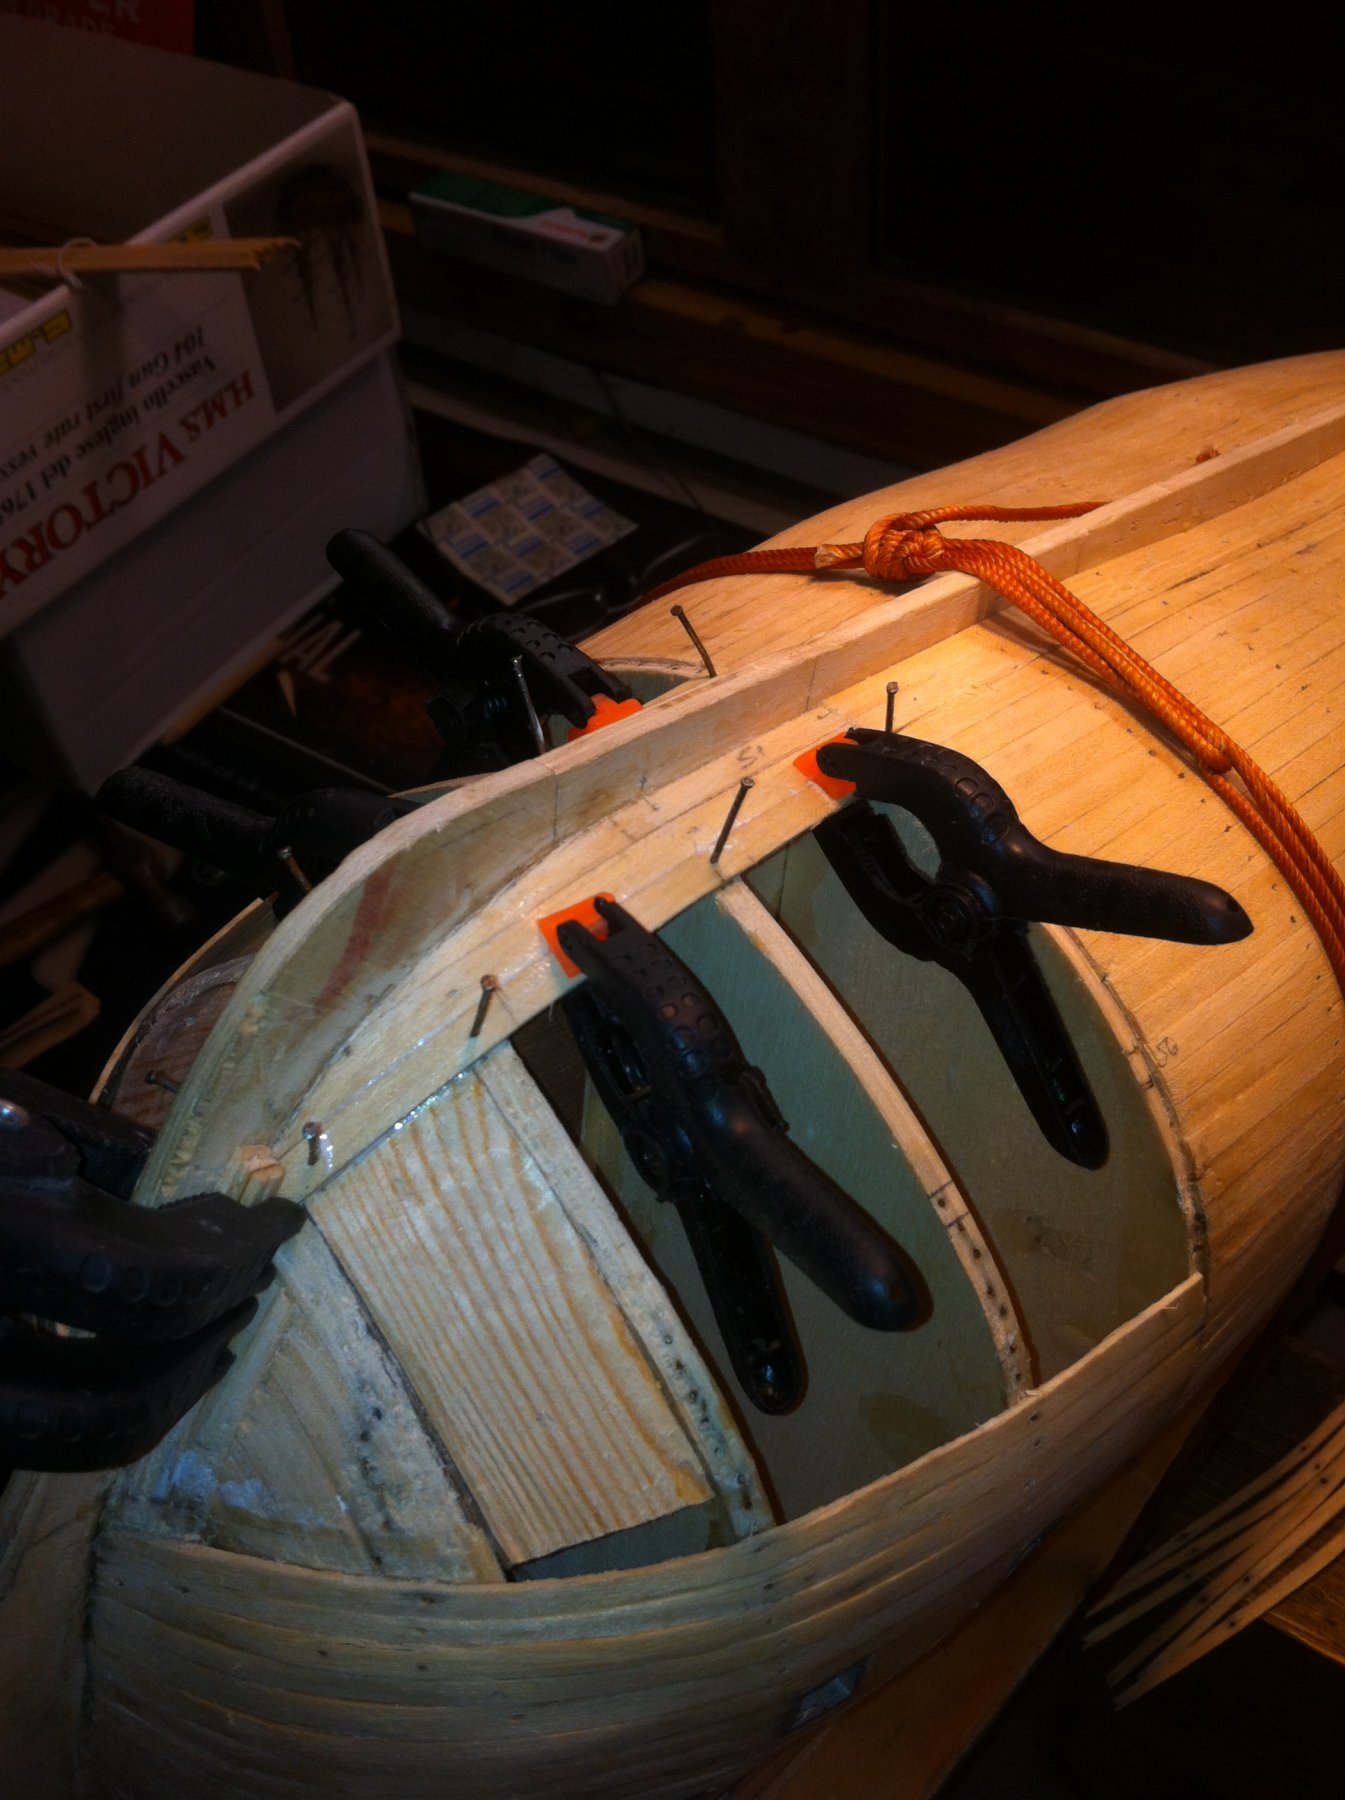
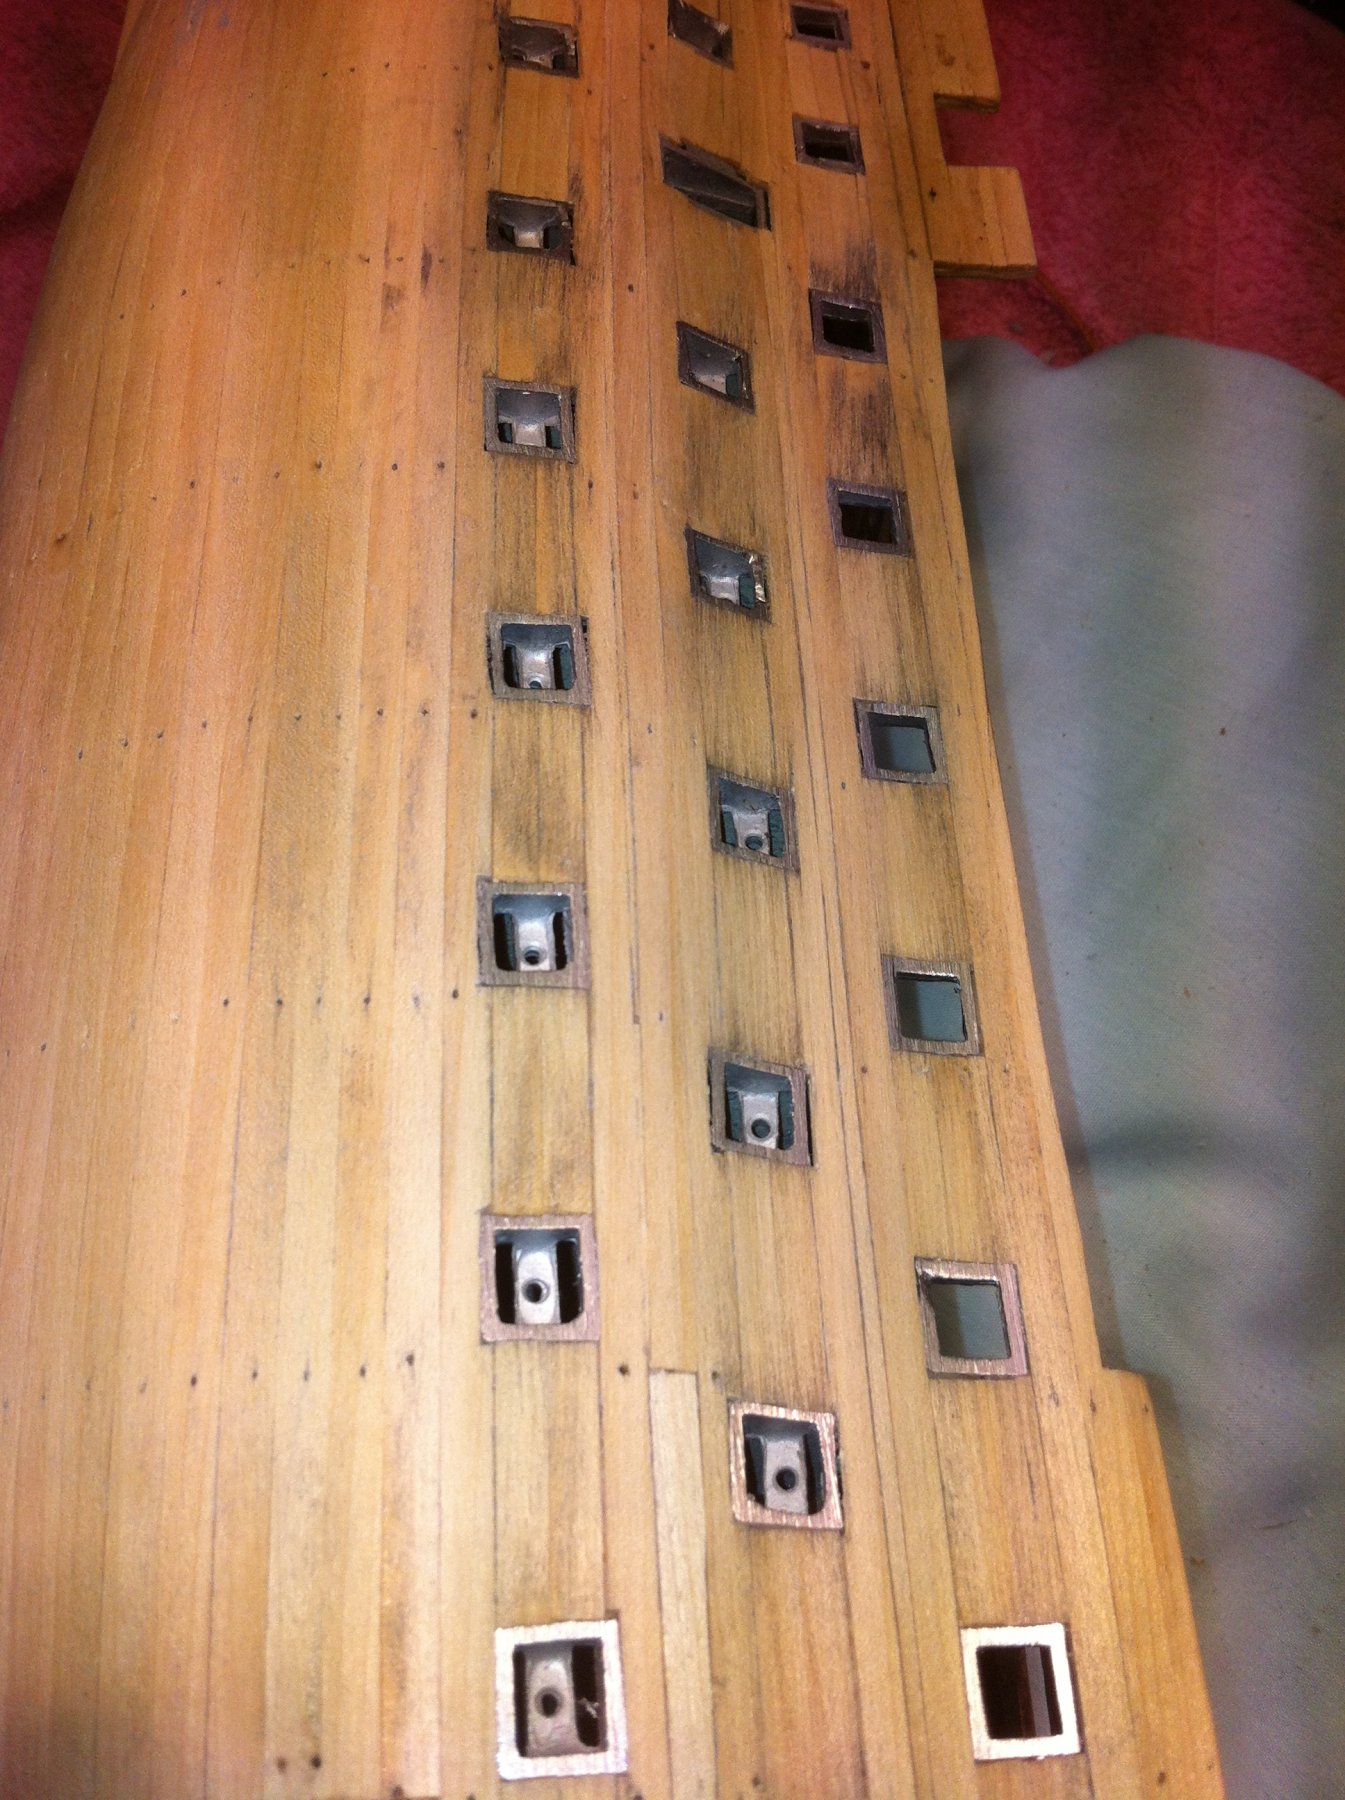
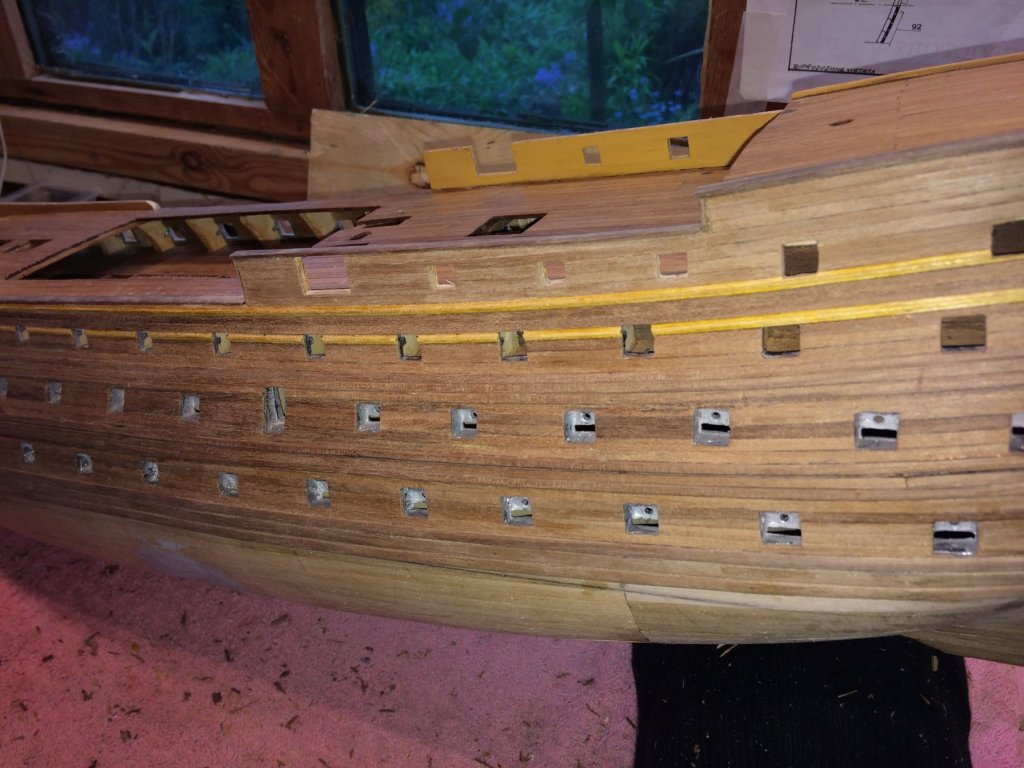
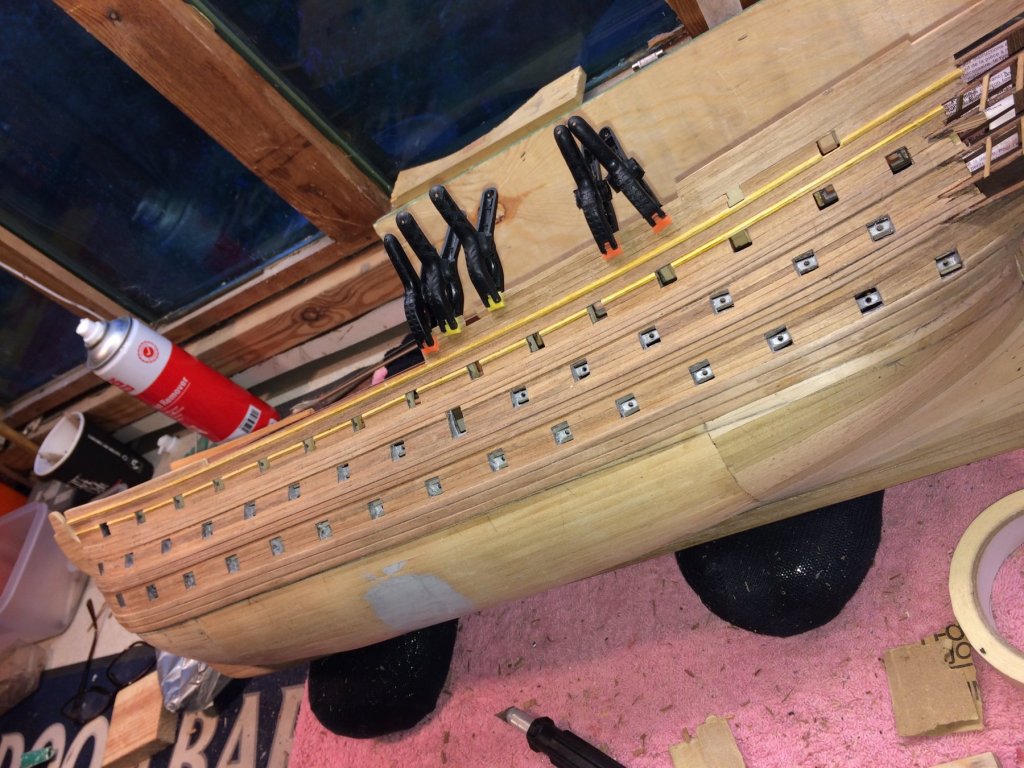
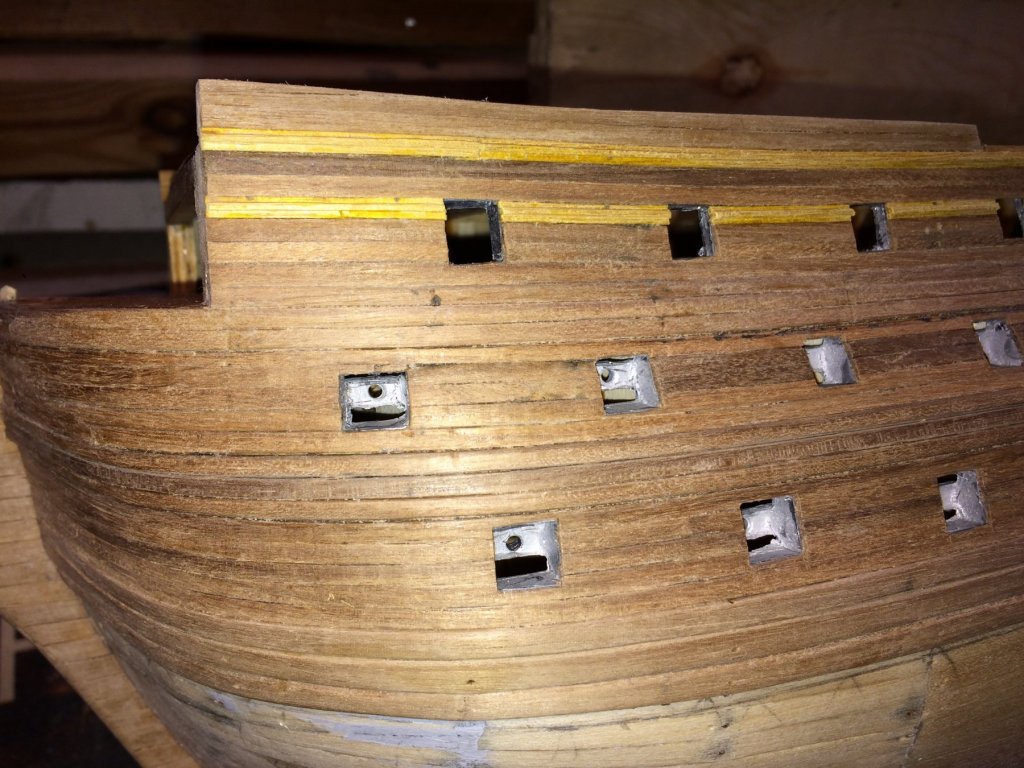
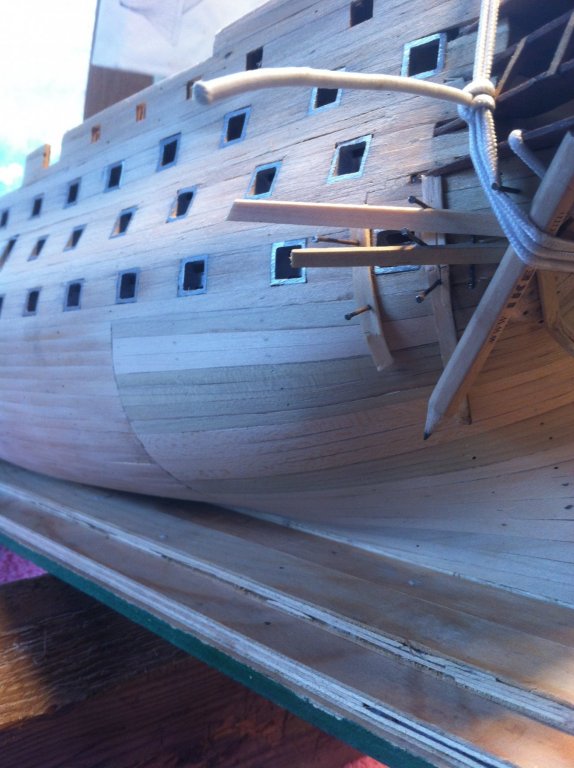
Started work on the outer planking, still inspired by YT's build, good reference material.


-
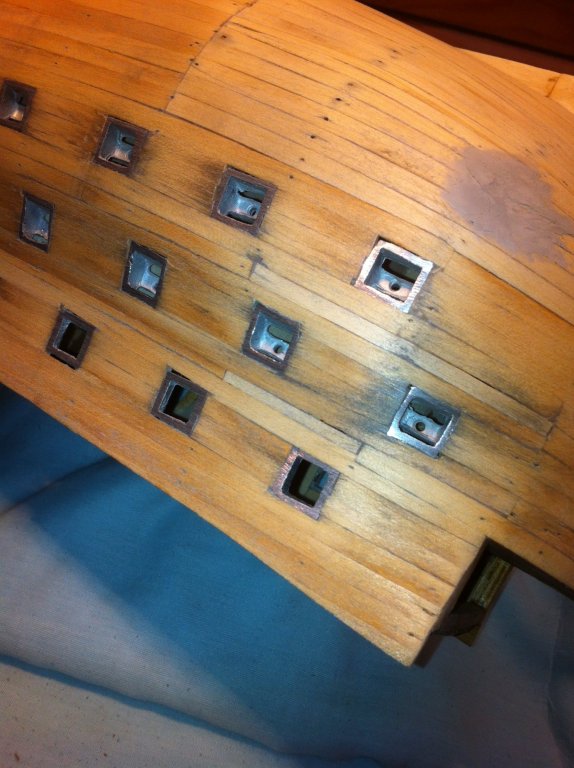
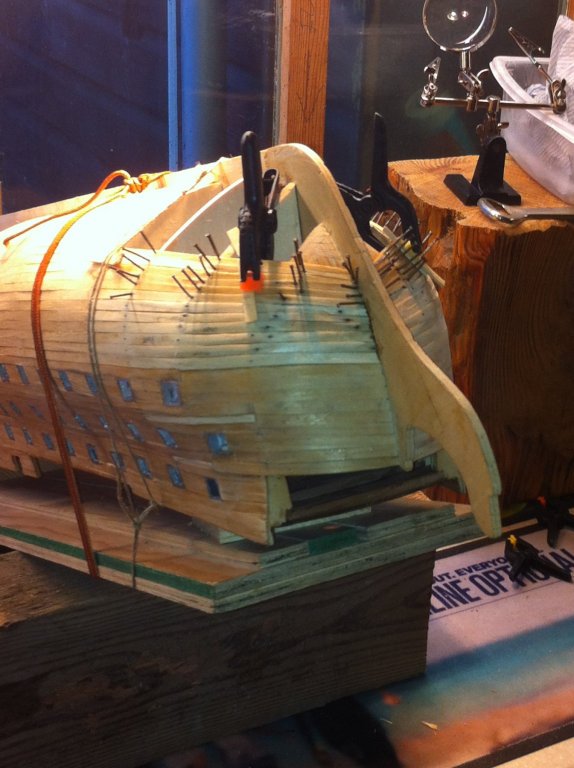
I think we can call it a wrap for the first layer. moved onto page 4 of the instructions.... still not sure if I want to go with the green tiles or just carry the planking all the way down to the keel. inspiration anyone???!!!


-
managed to get one side done, dont think i got the curves quite right but as i said before it is only to give me a blank sheet to work on the hardwood outer layer.


-
YT, thanks for that mate, it's not on par with yours but wait till i get started on the rigging, I am going to try and give Gill a run for his money!!
-
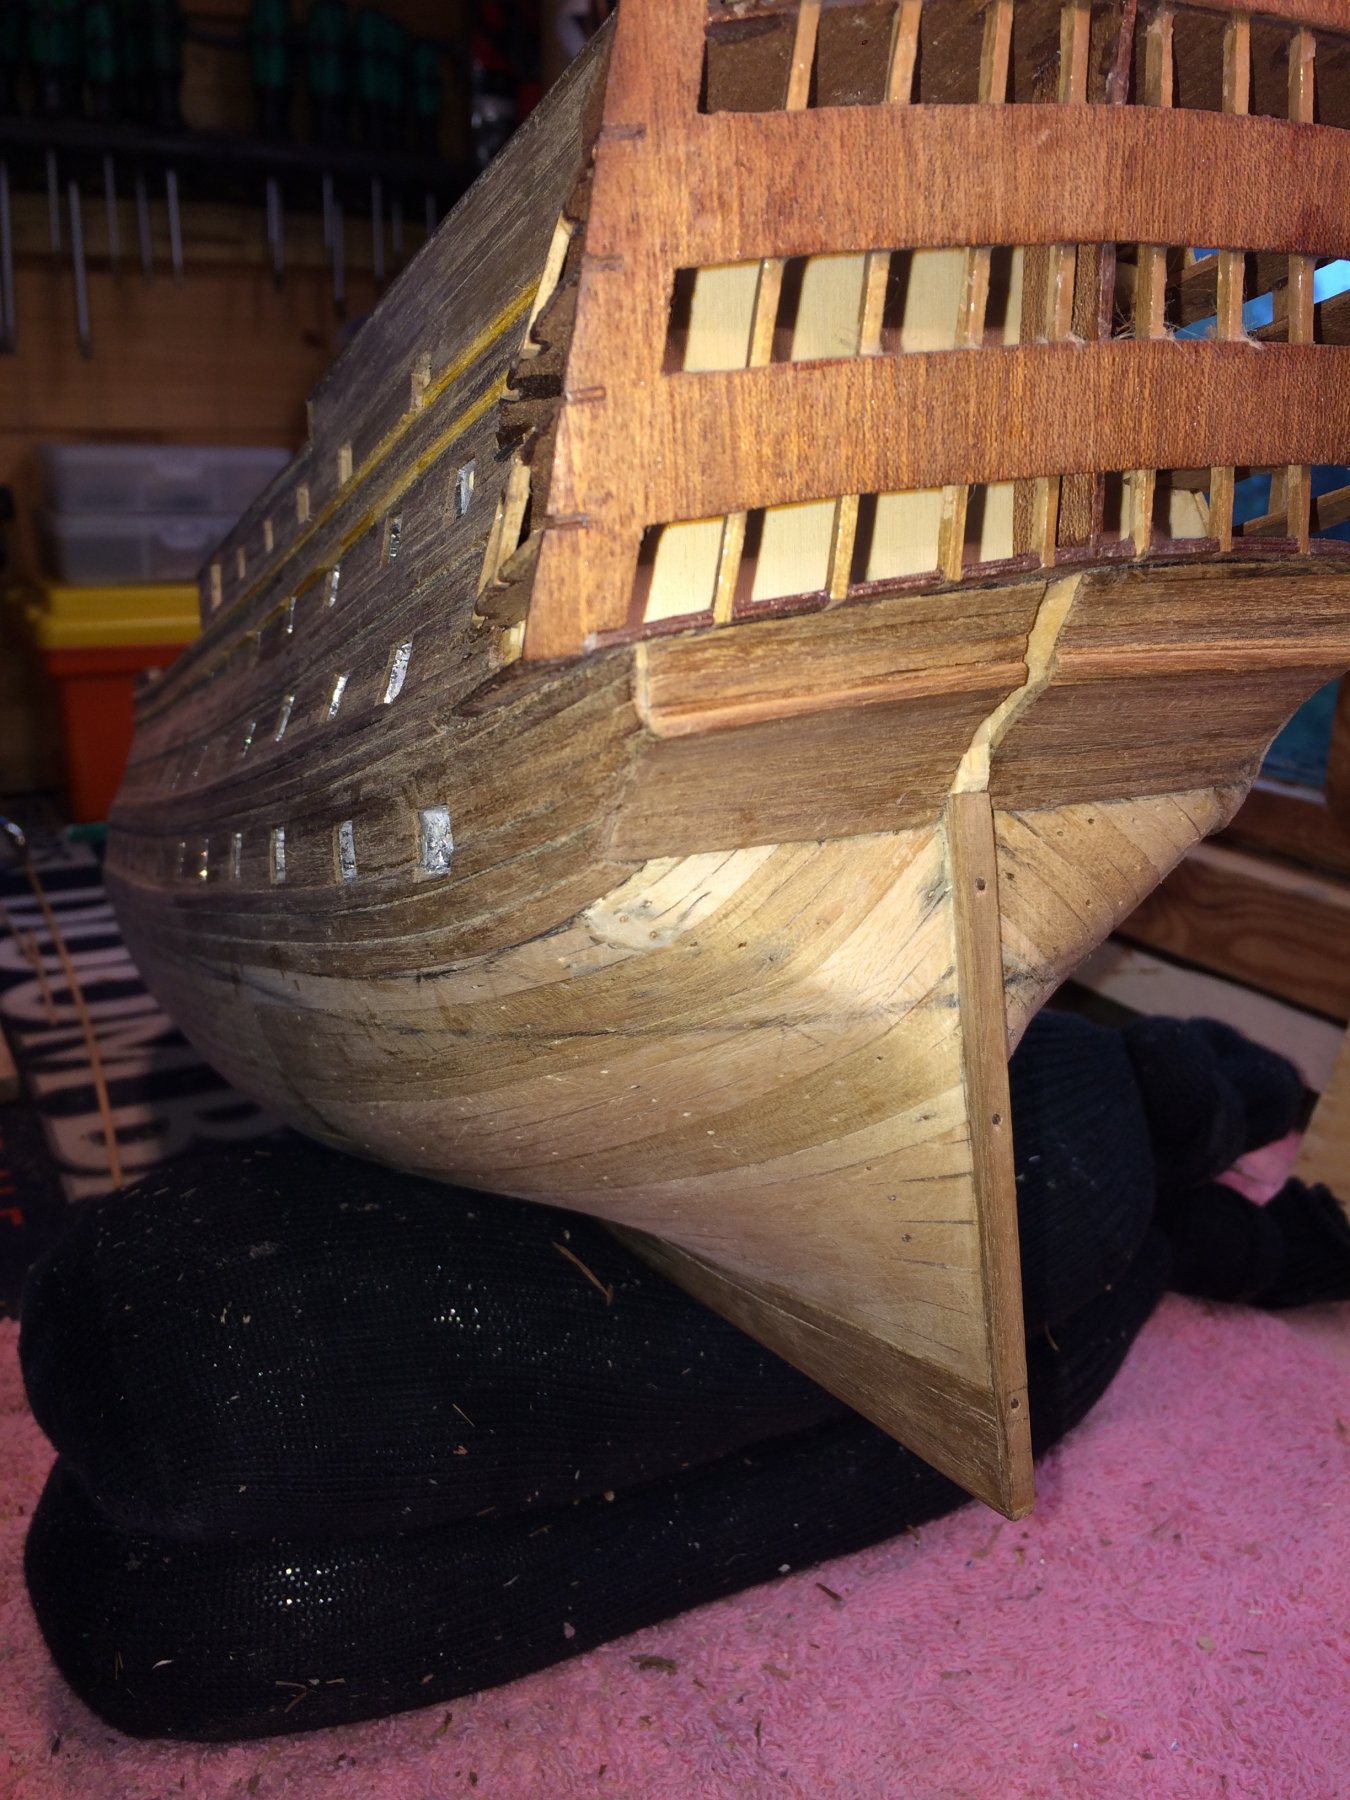
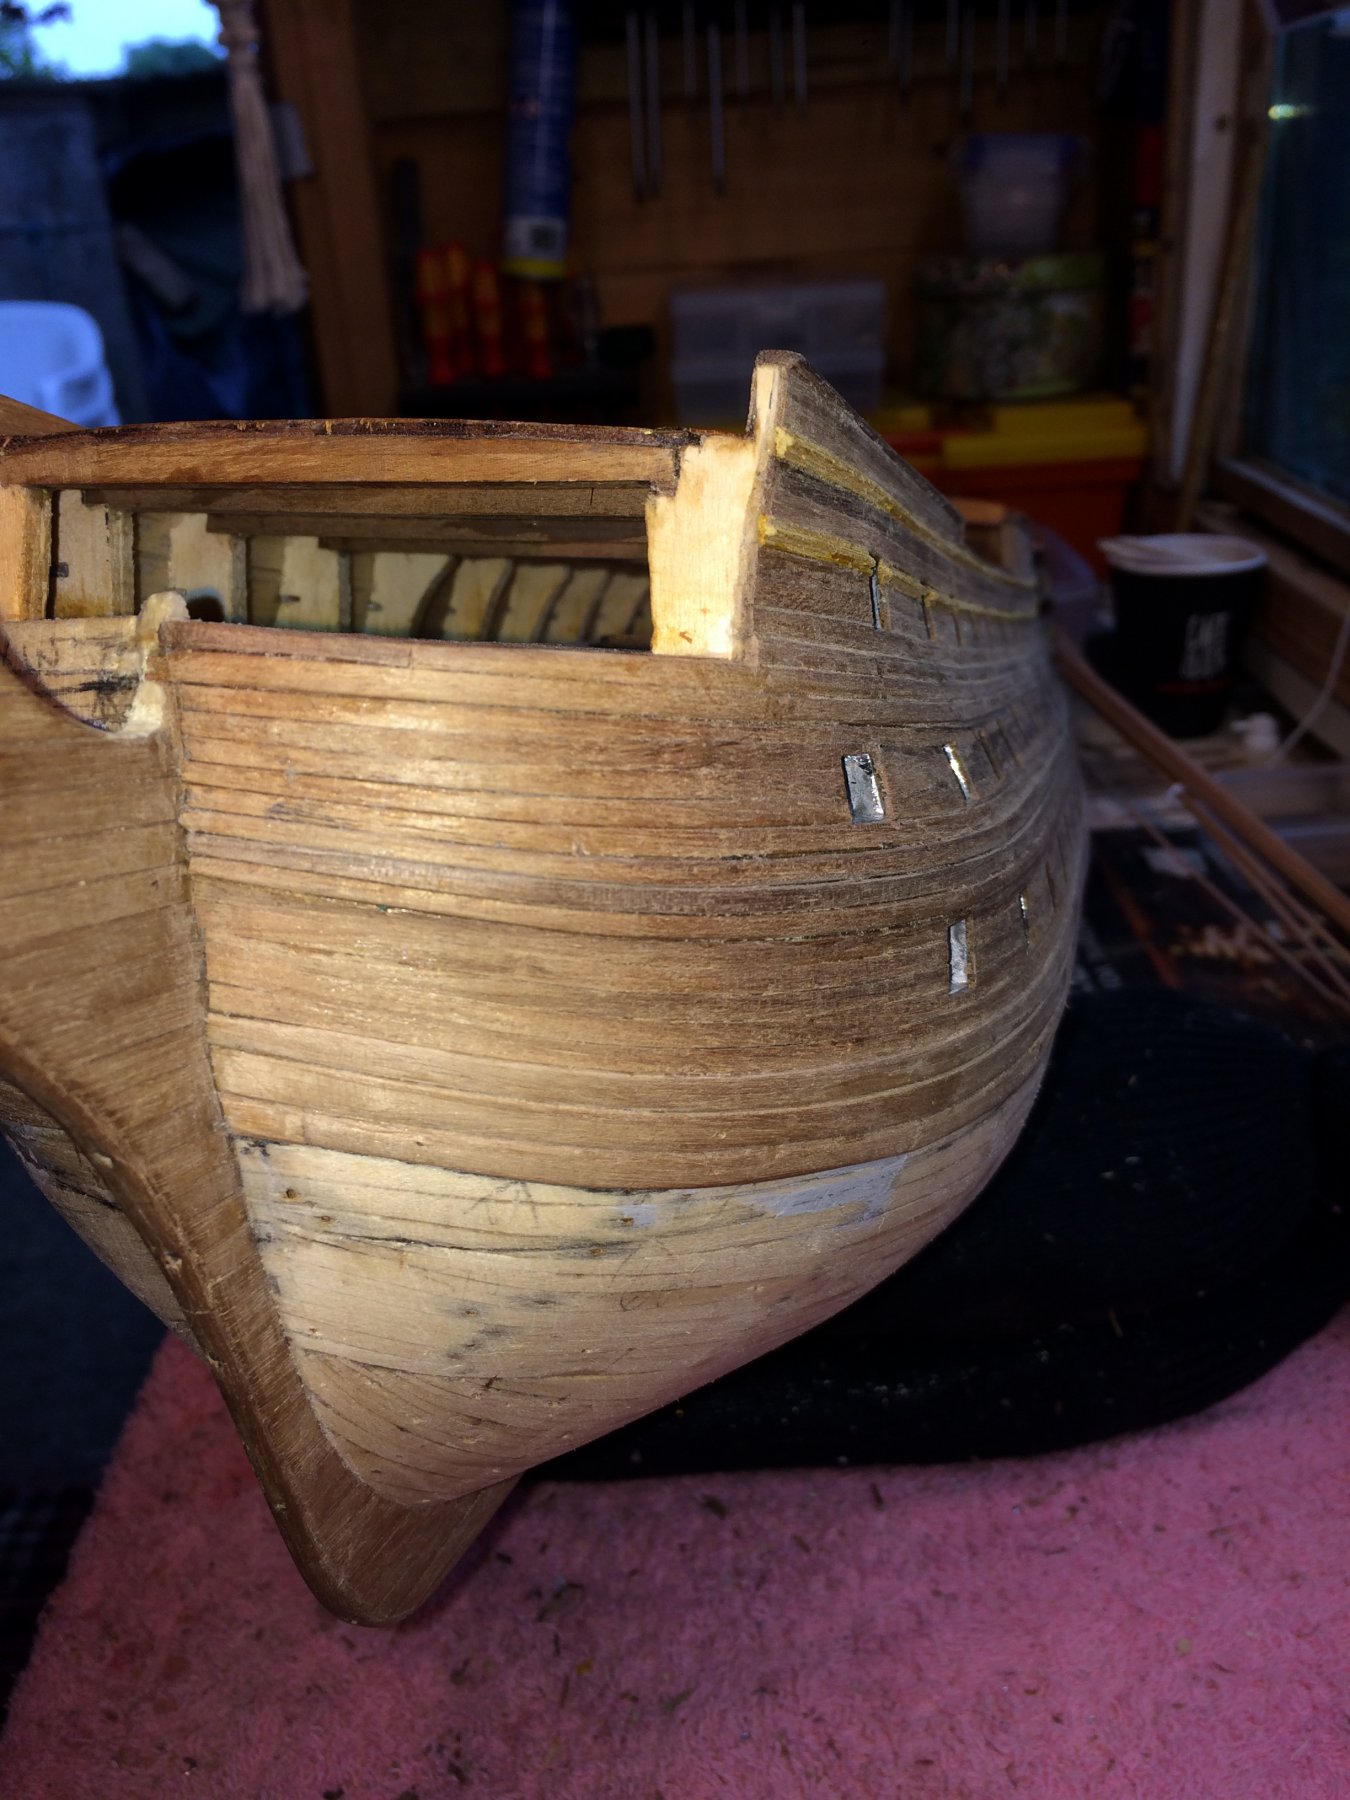
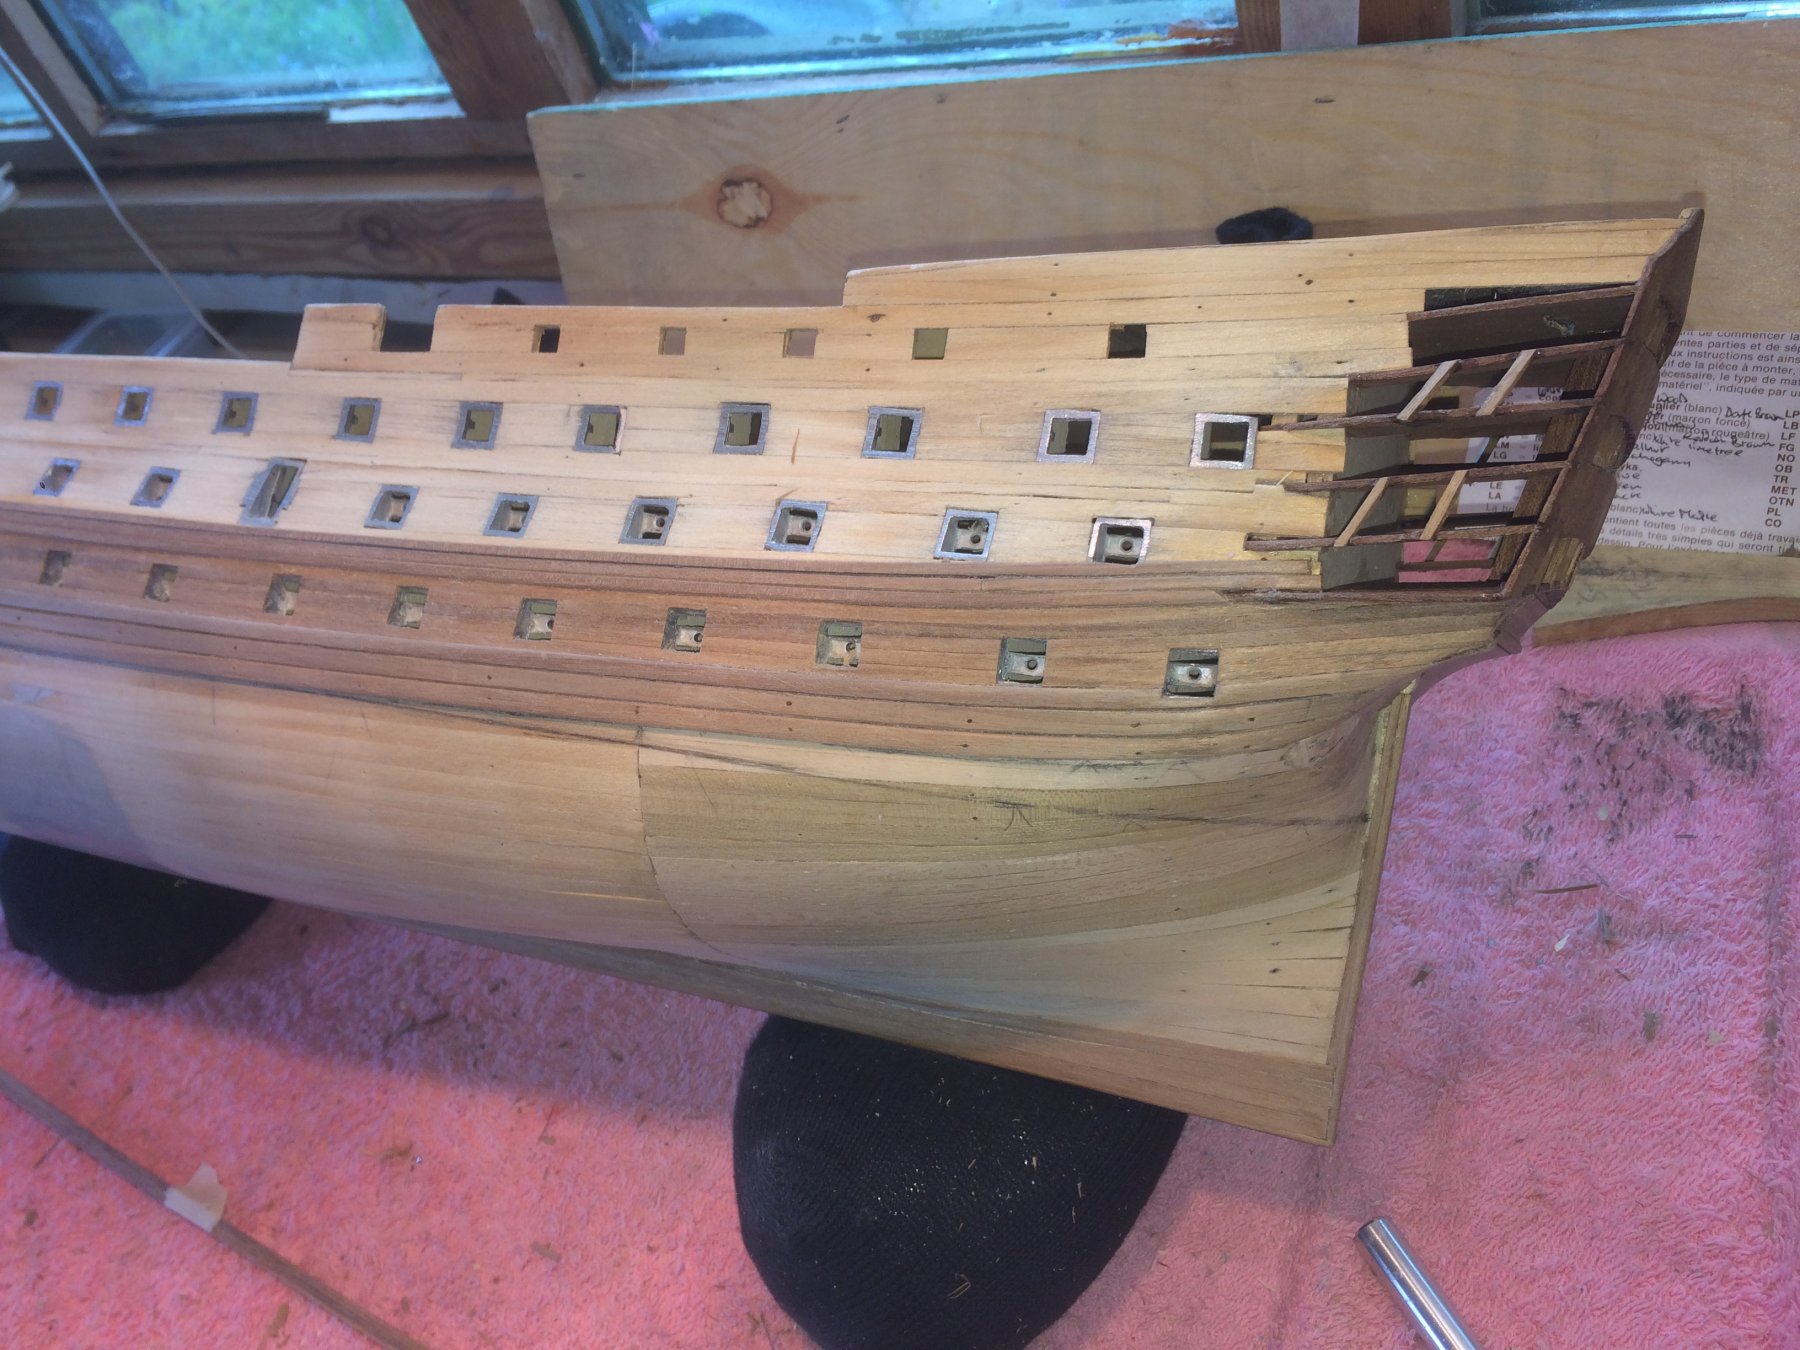
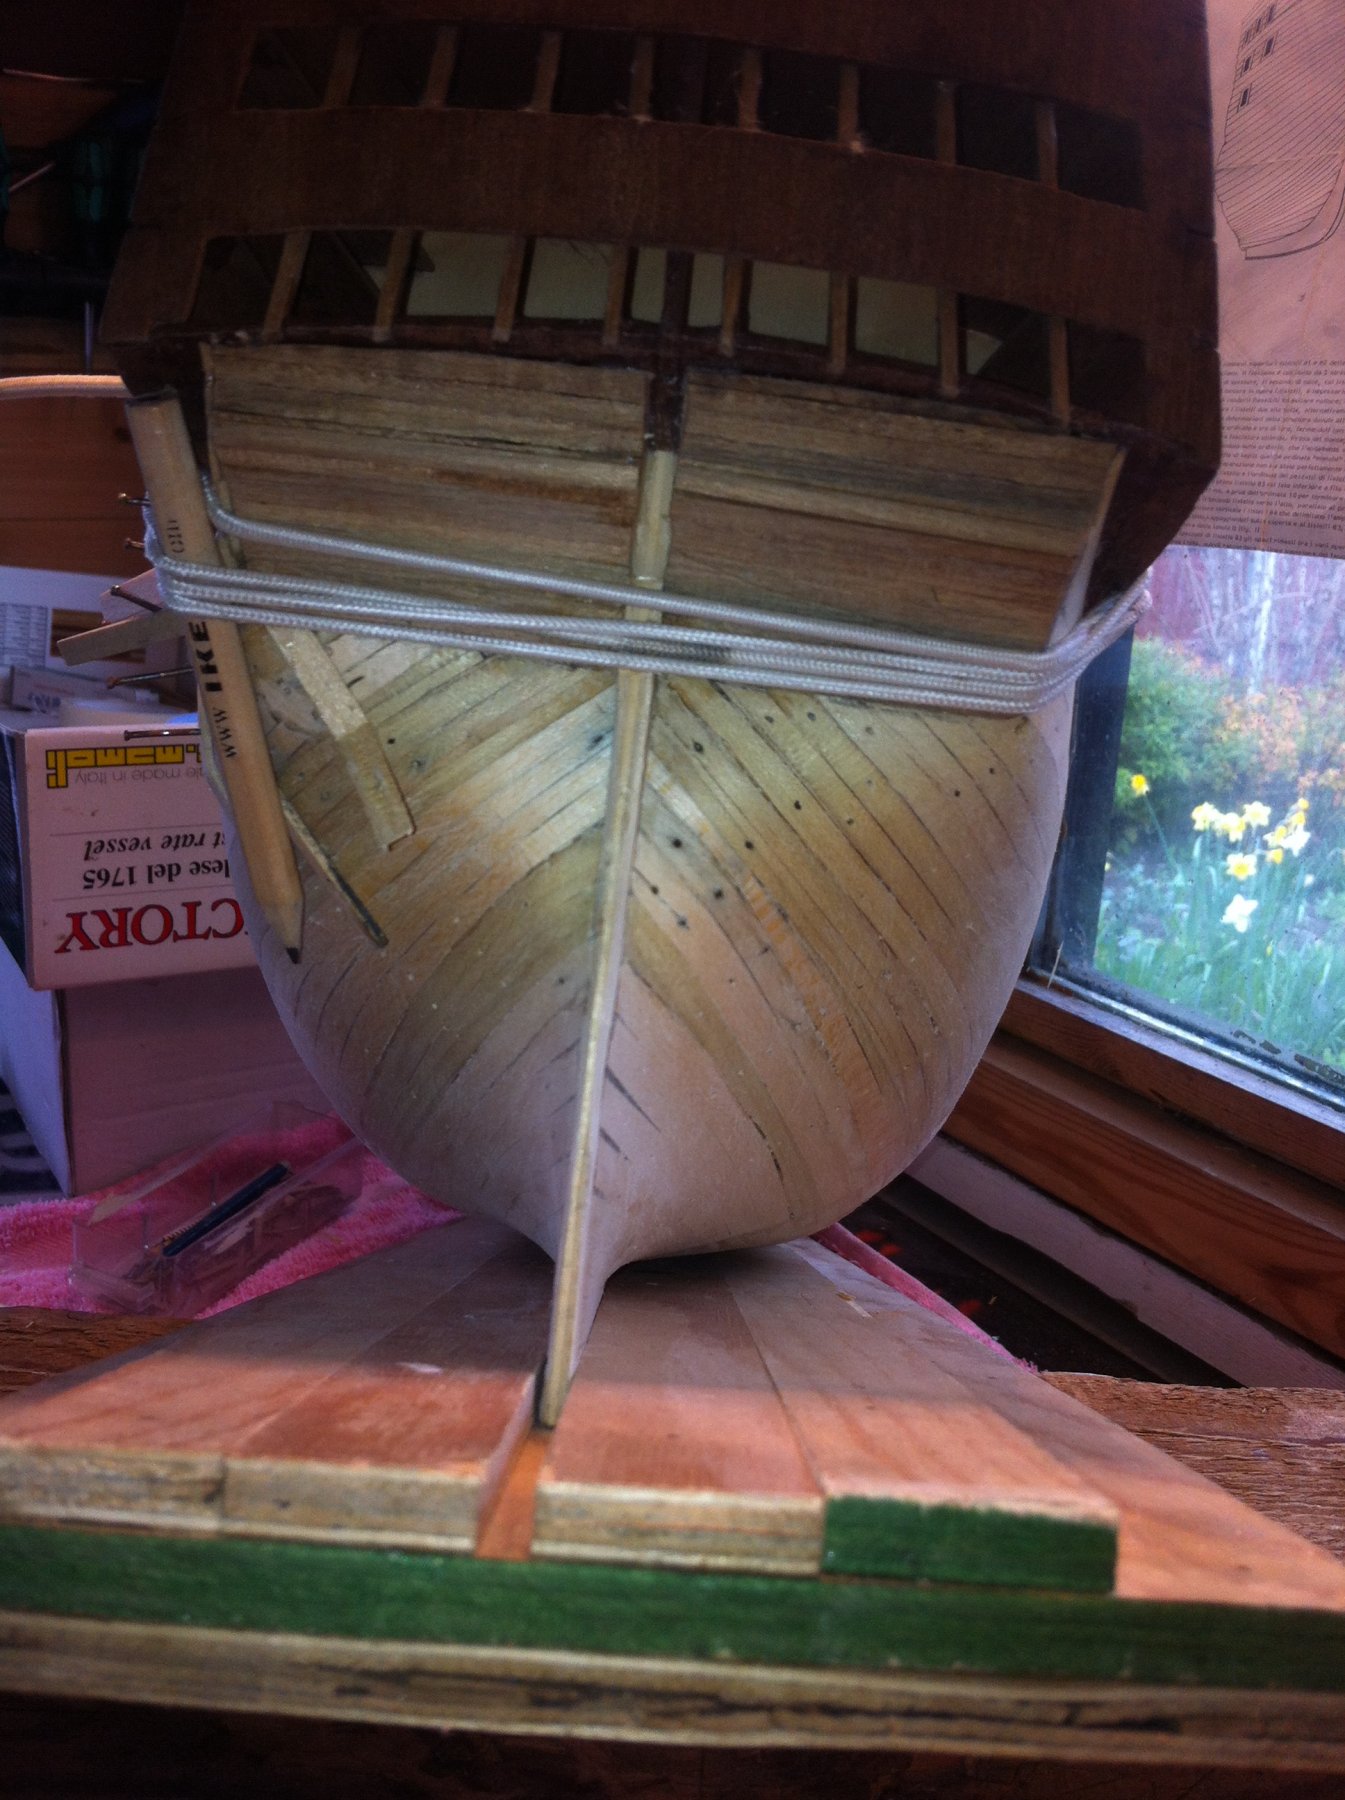
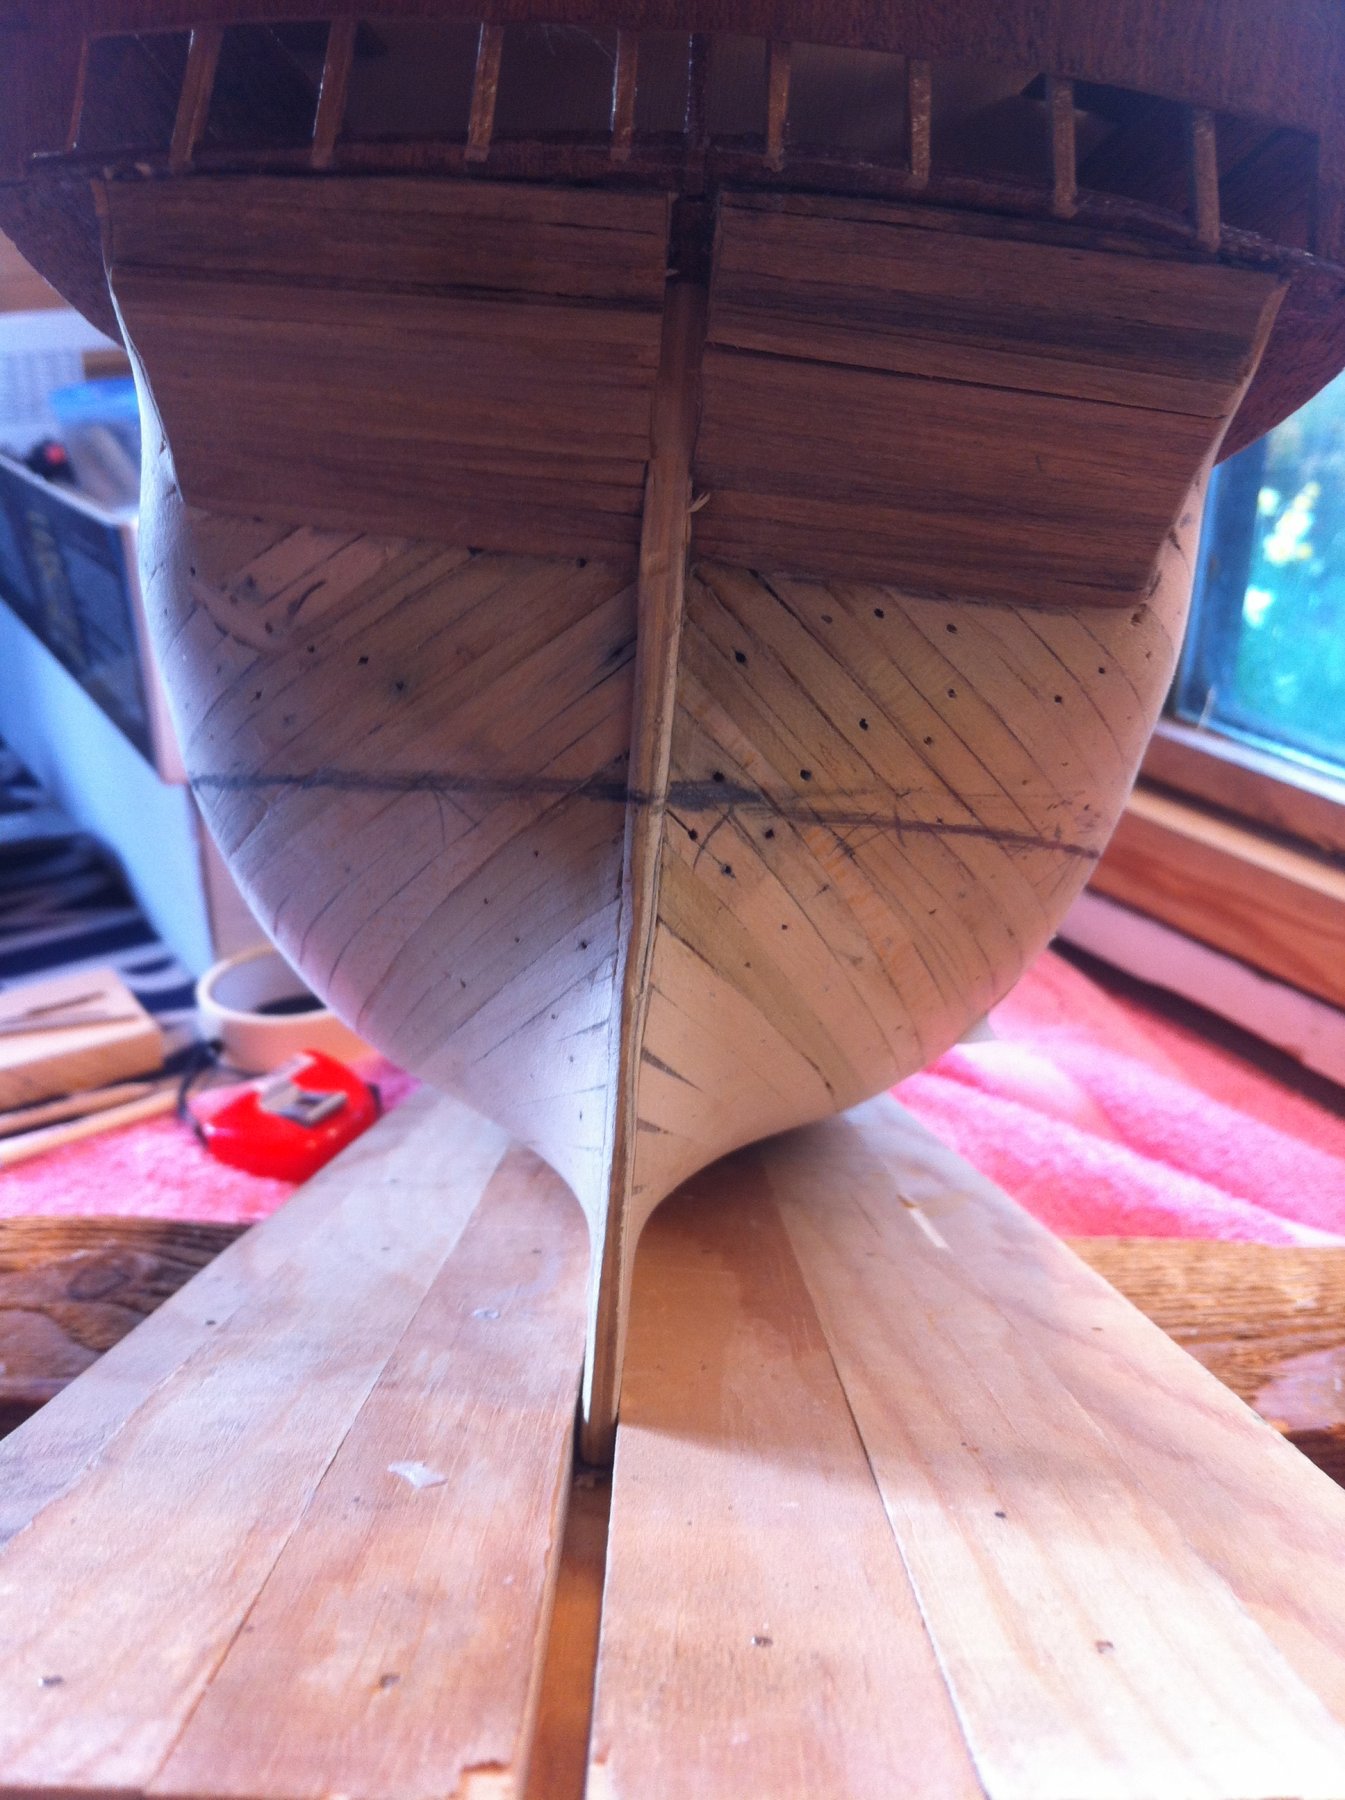
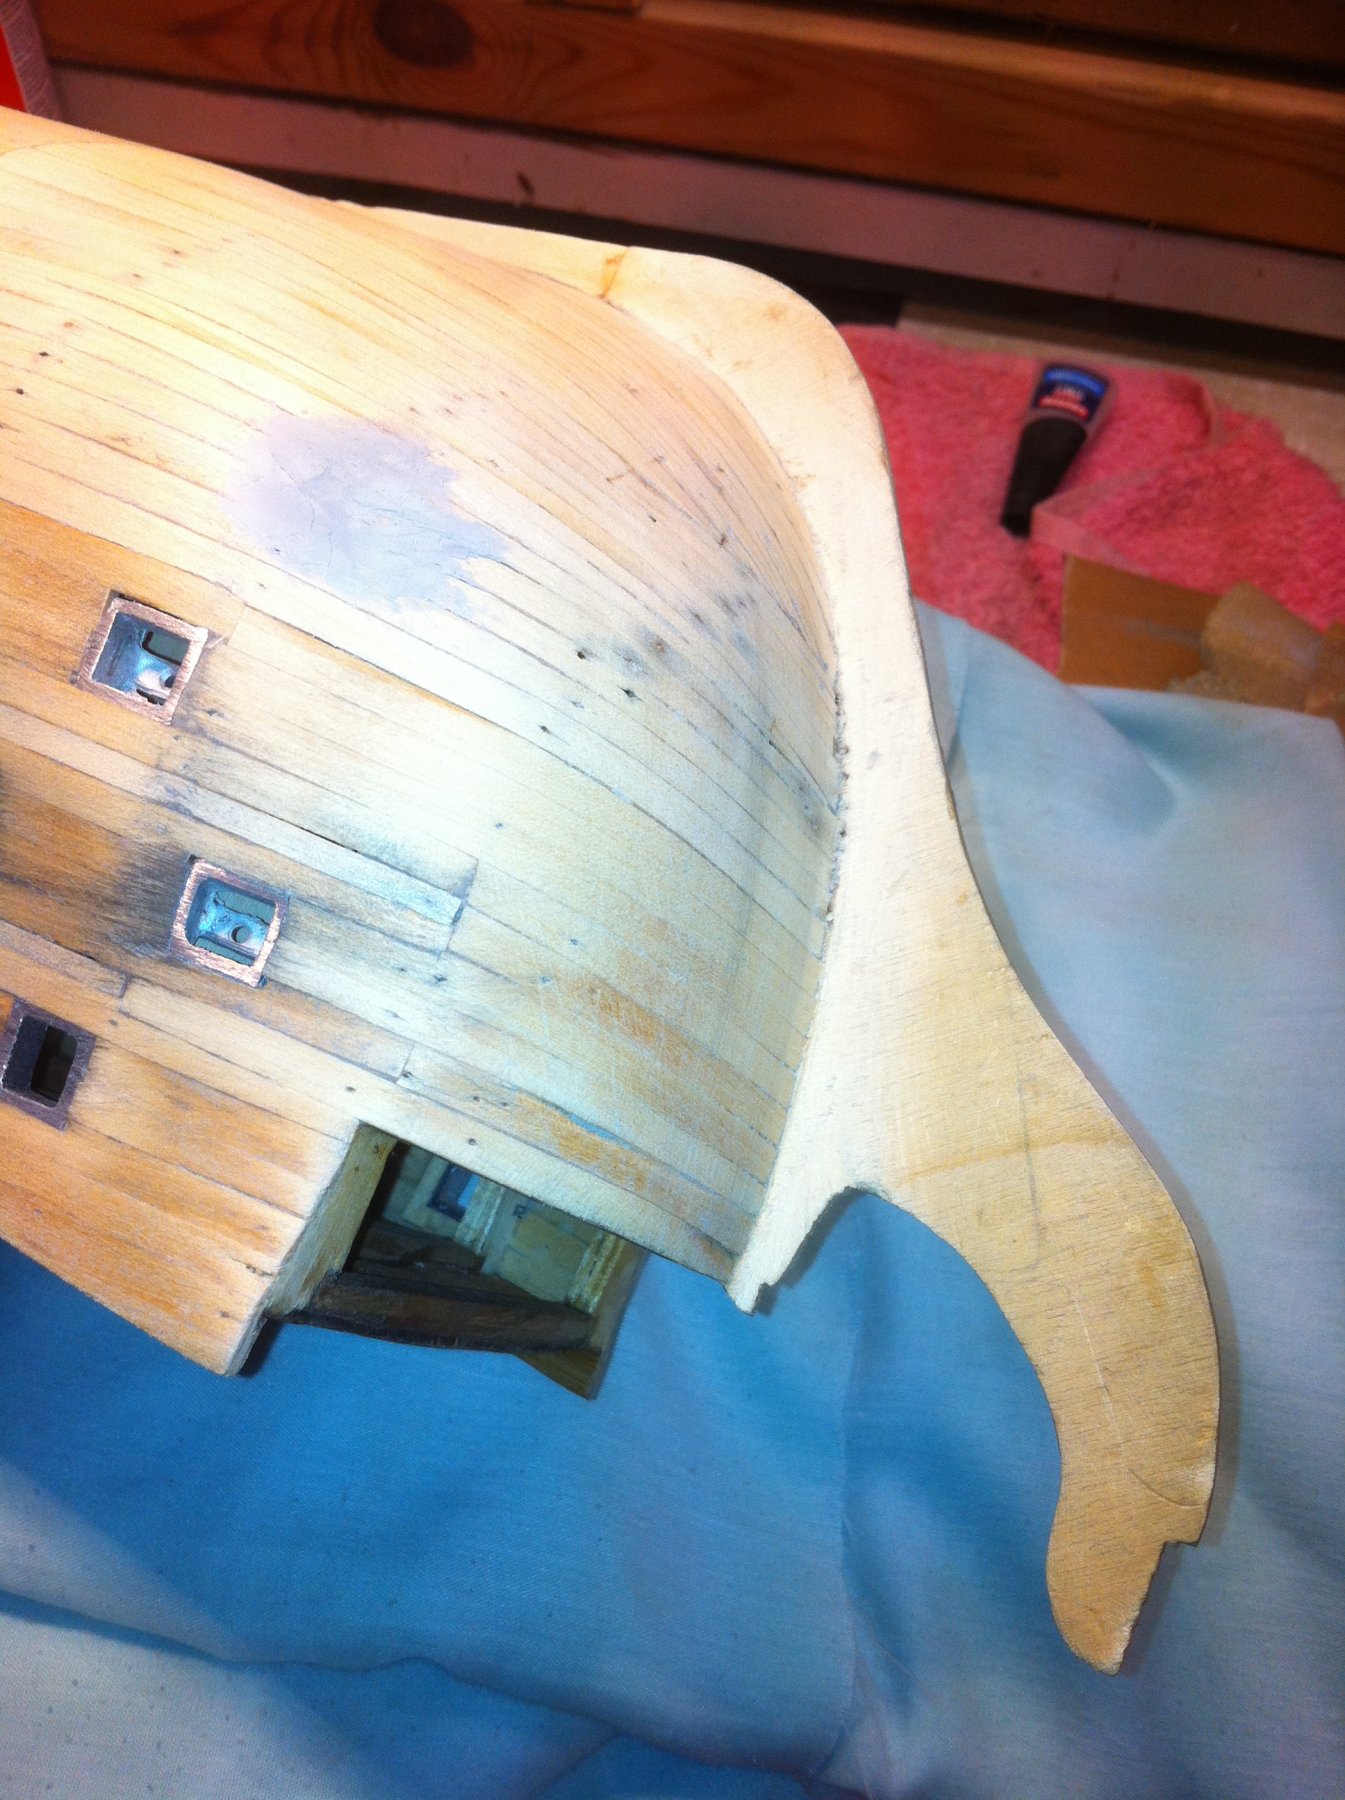
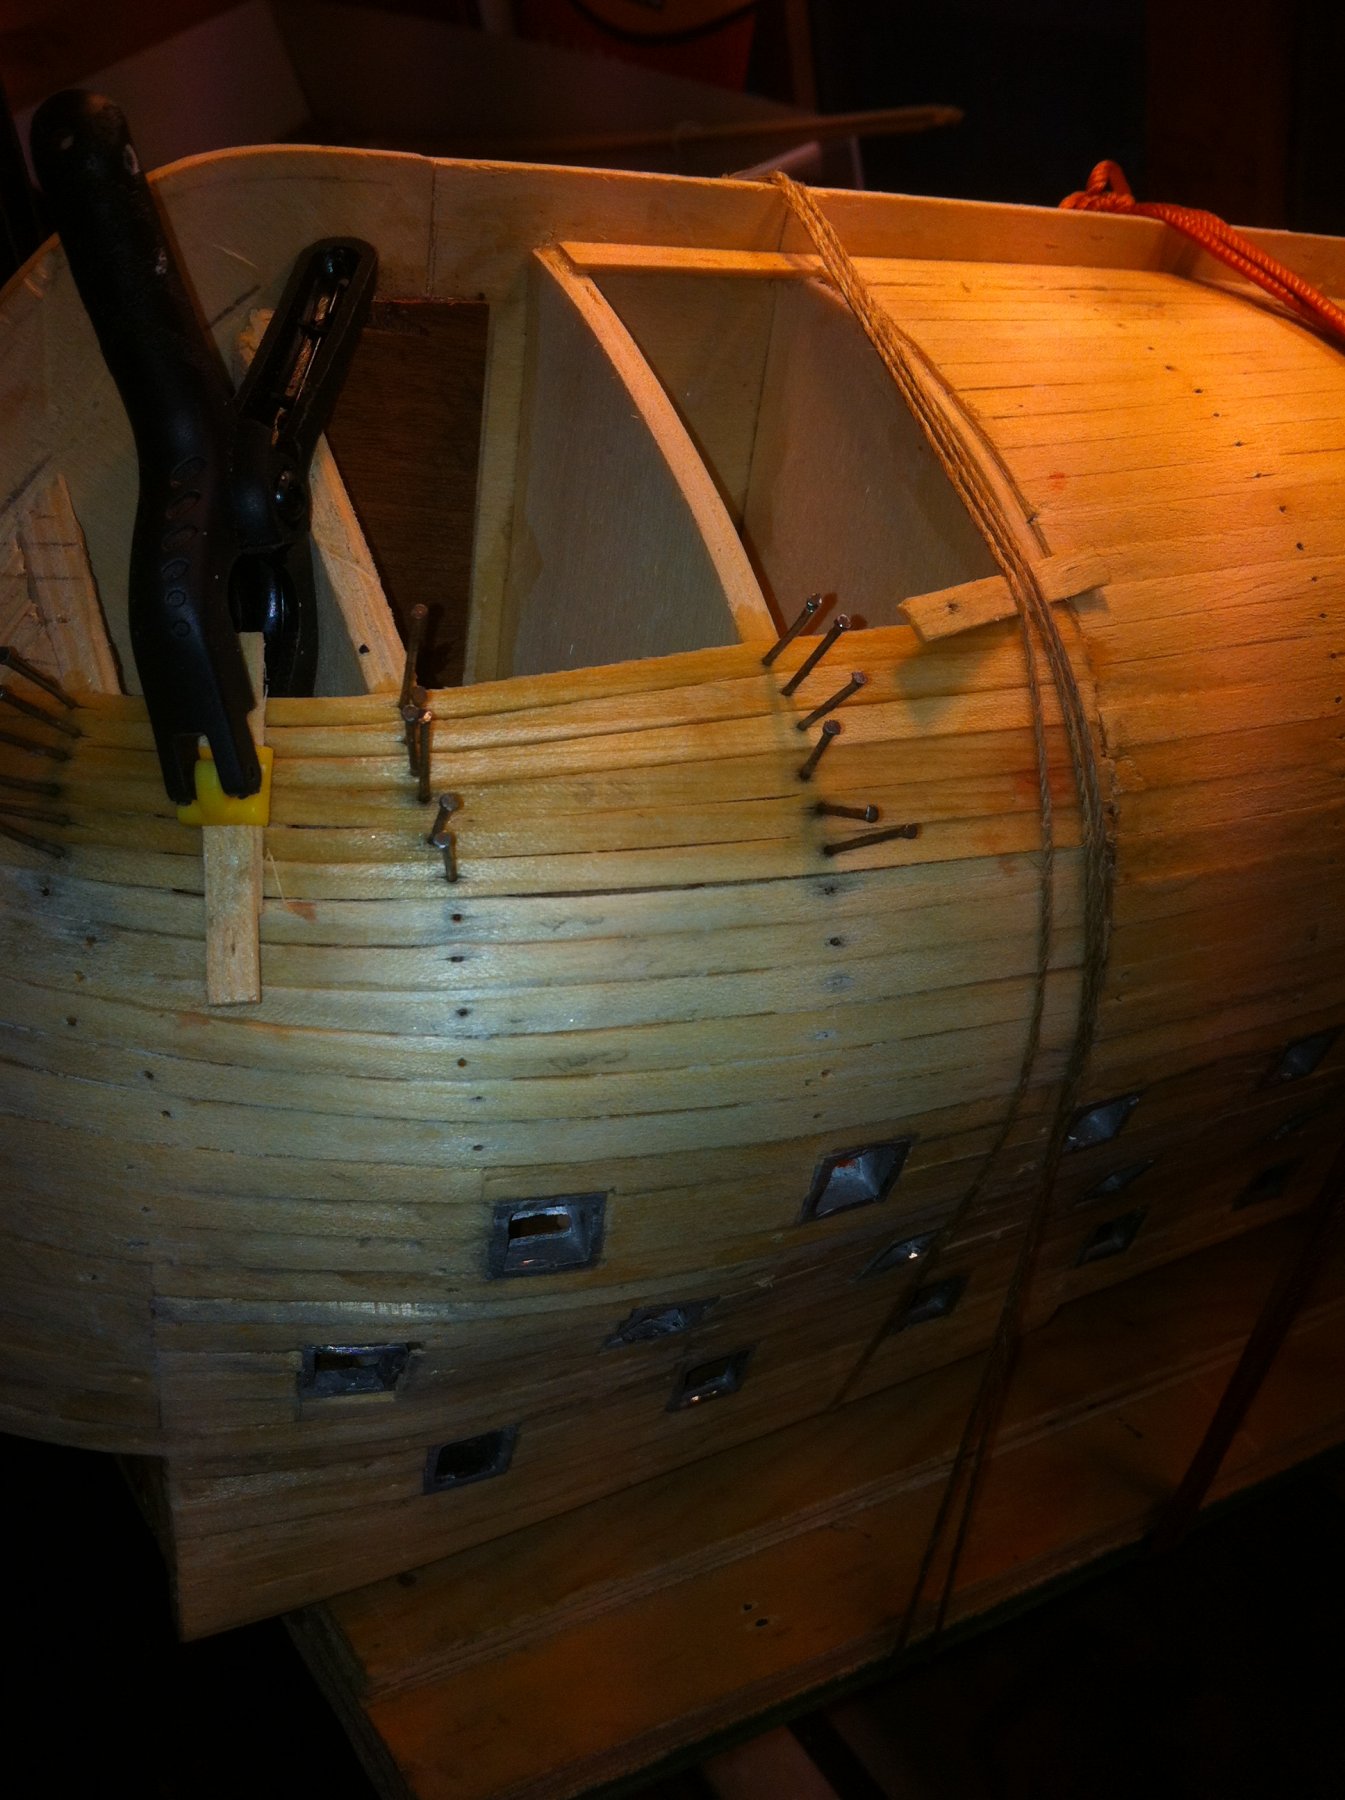
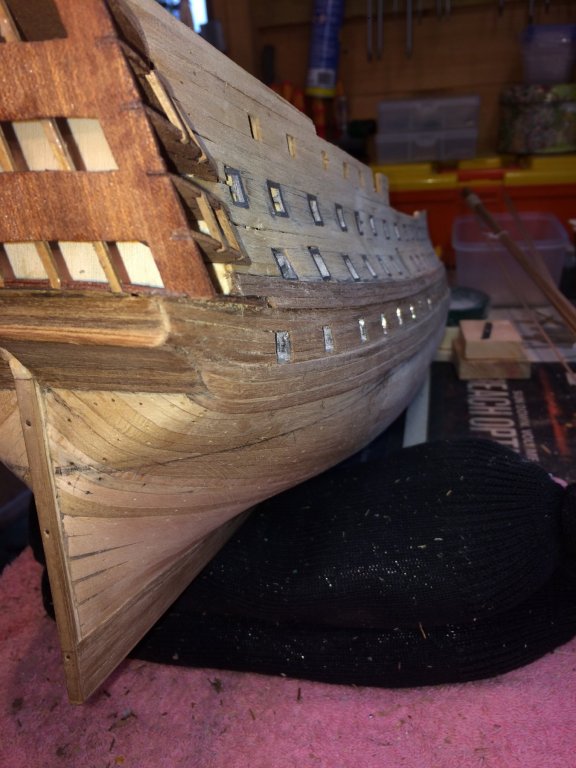
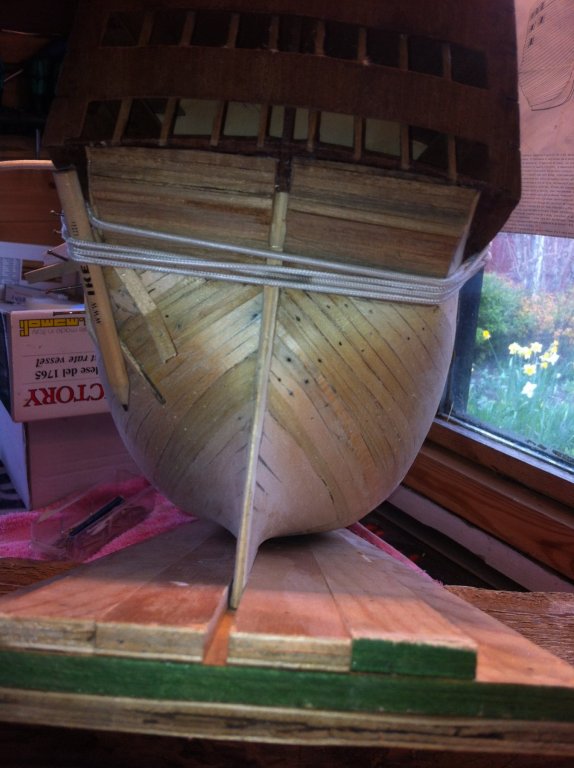
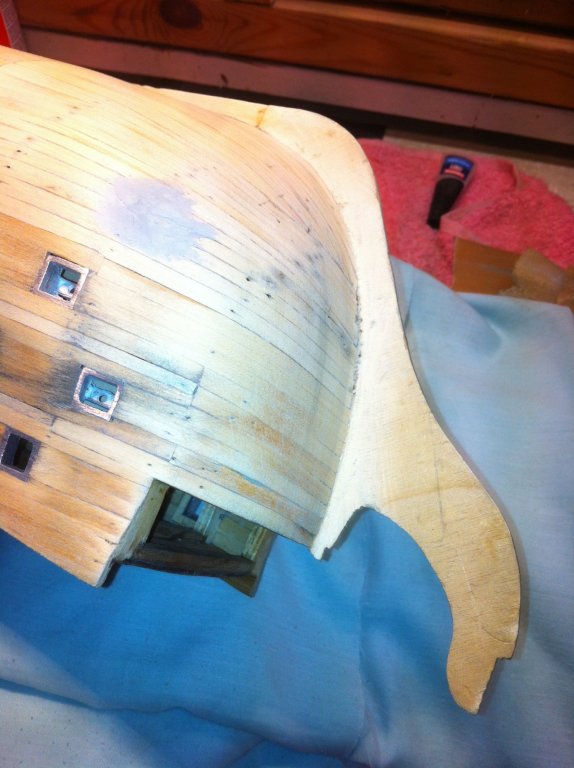
more work on the stern planking


-
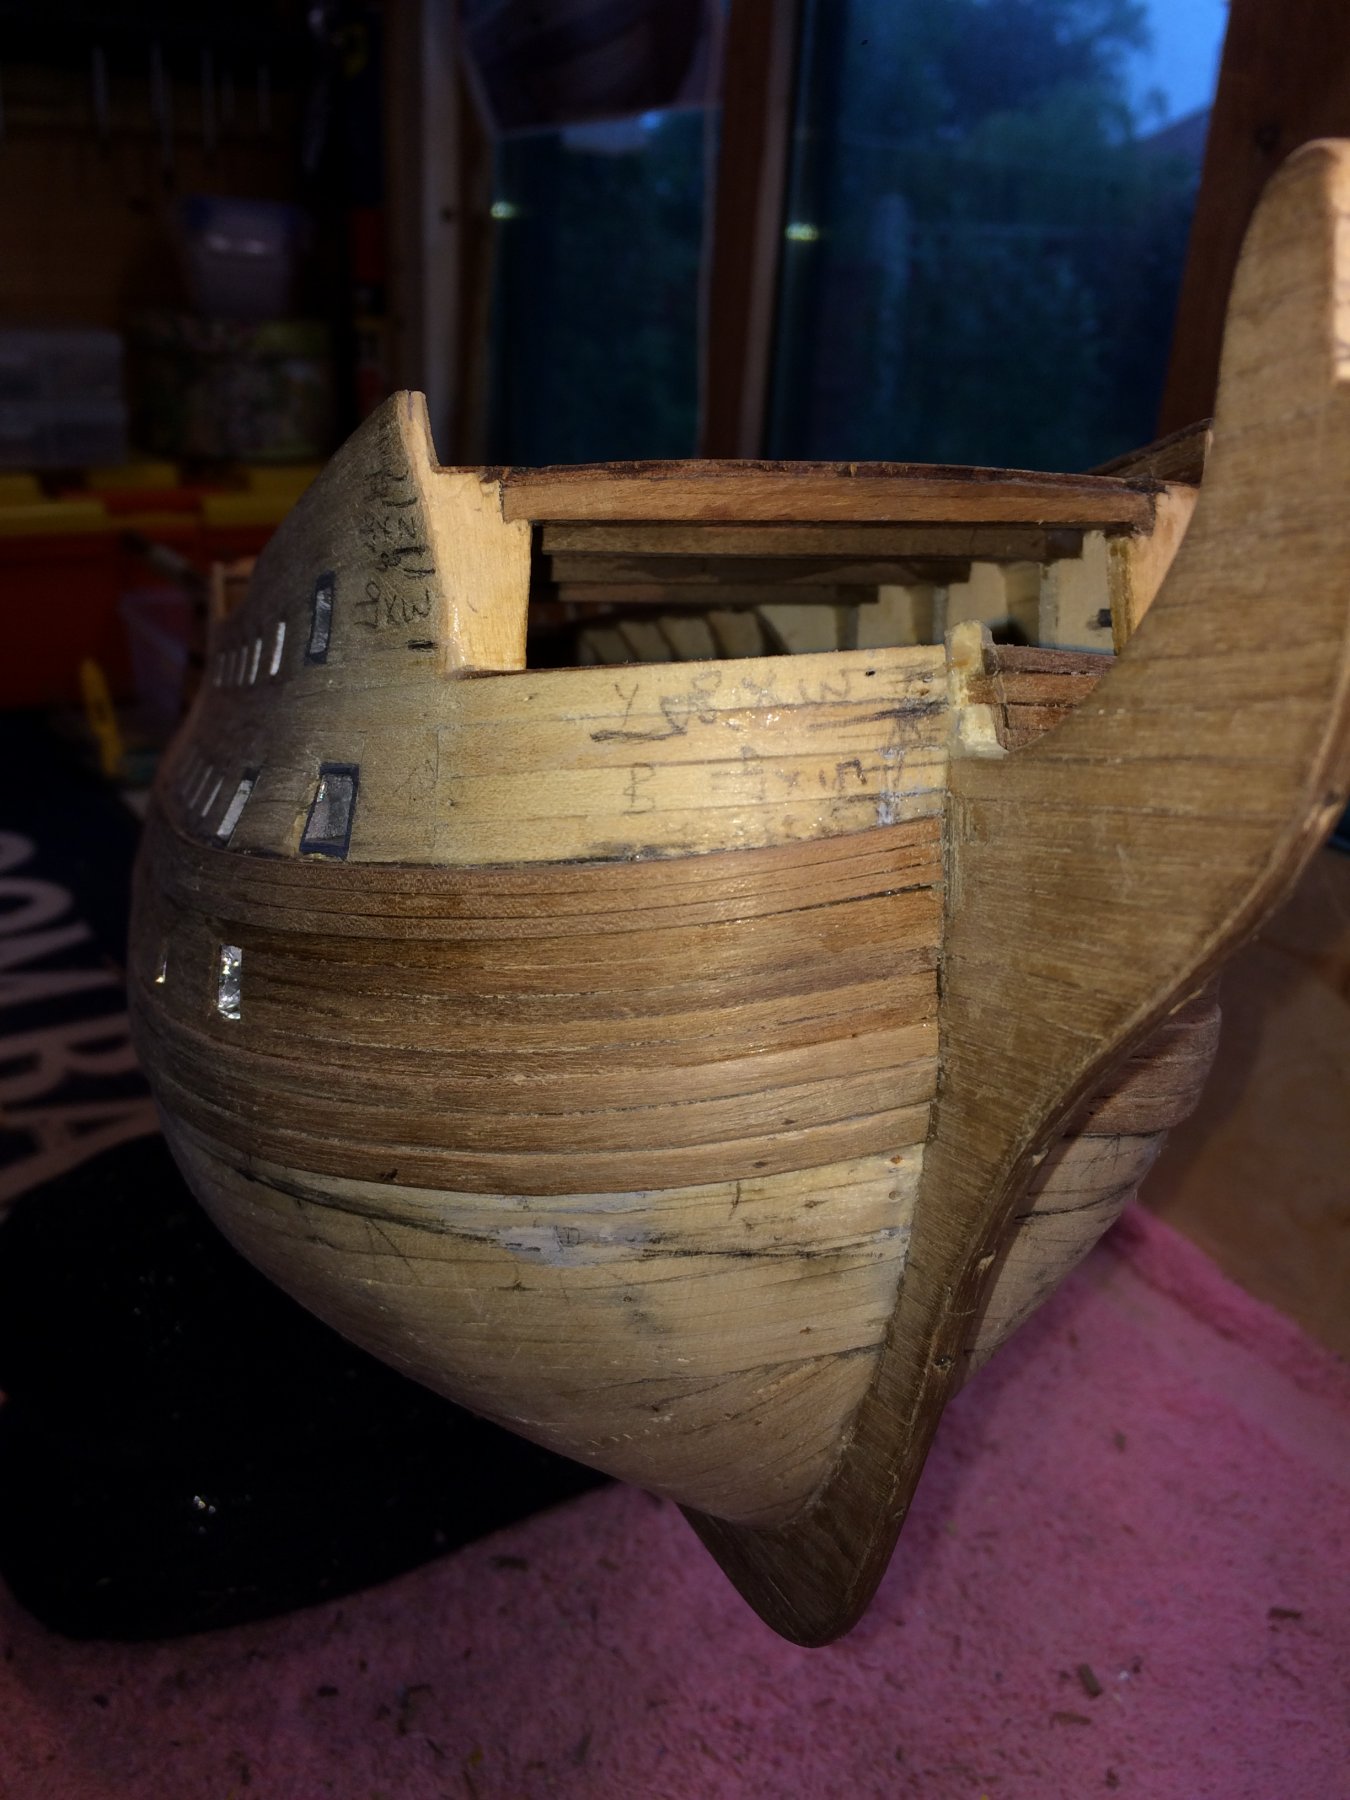
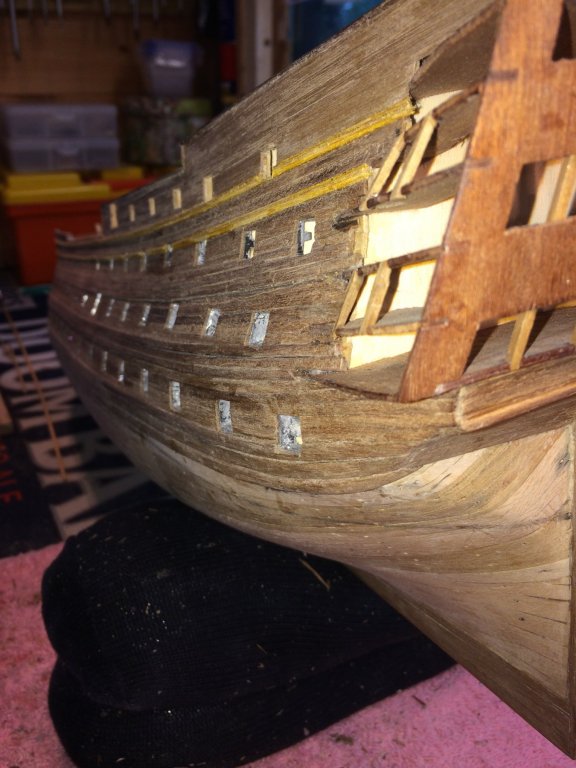
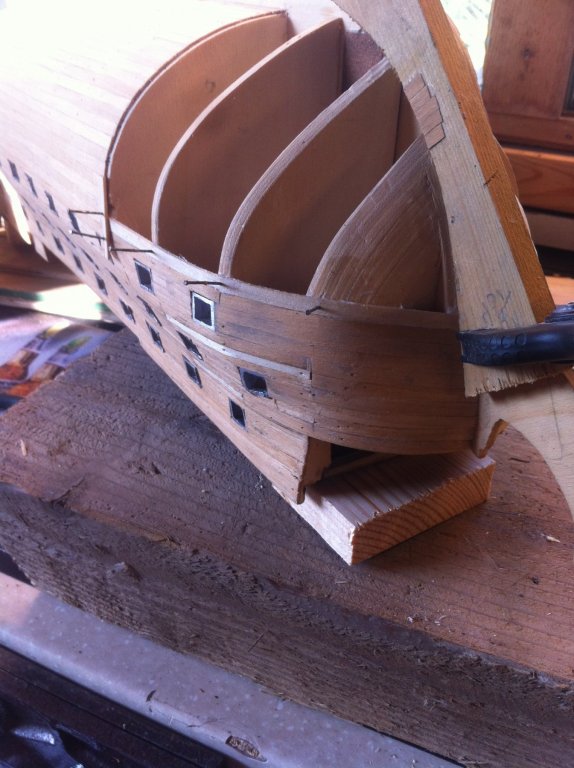
have been doing a bit more, got the first layer of planks finished at the bow, am now starting on the ones at the stern. She isn't as pretty as some other builds, but i am not too worried how the first layer looks, so long as i can sand it to roughly the right shape/profile i can take my time and get the outer layer of hardwood looking like the original, bearing in mind i only really bought the kit to do the rigging.. my progress so far:


-
good to have you aboard my friend, got some more pics to post in next couple of days, got bow planks done, ready to start the stern.,. watch this space
-
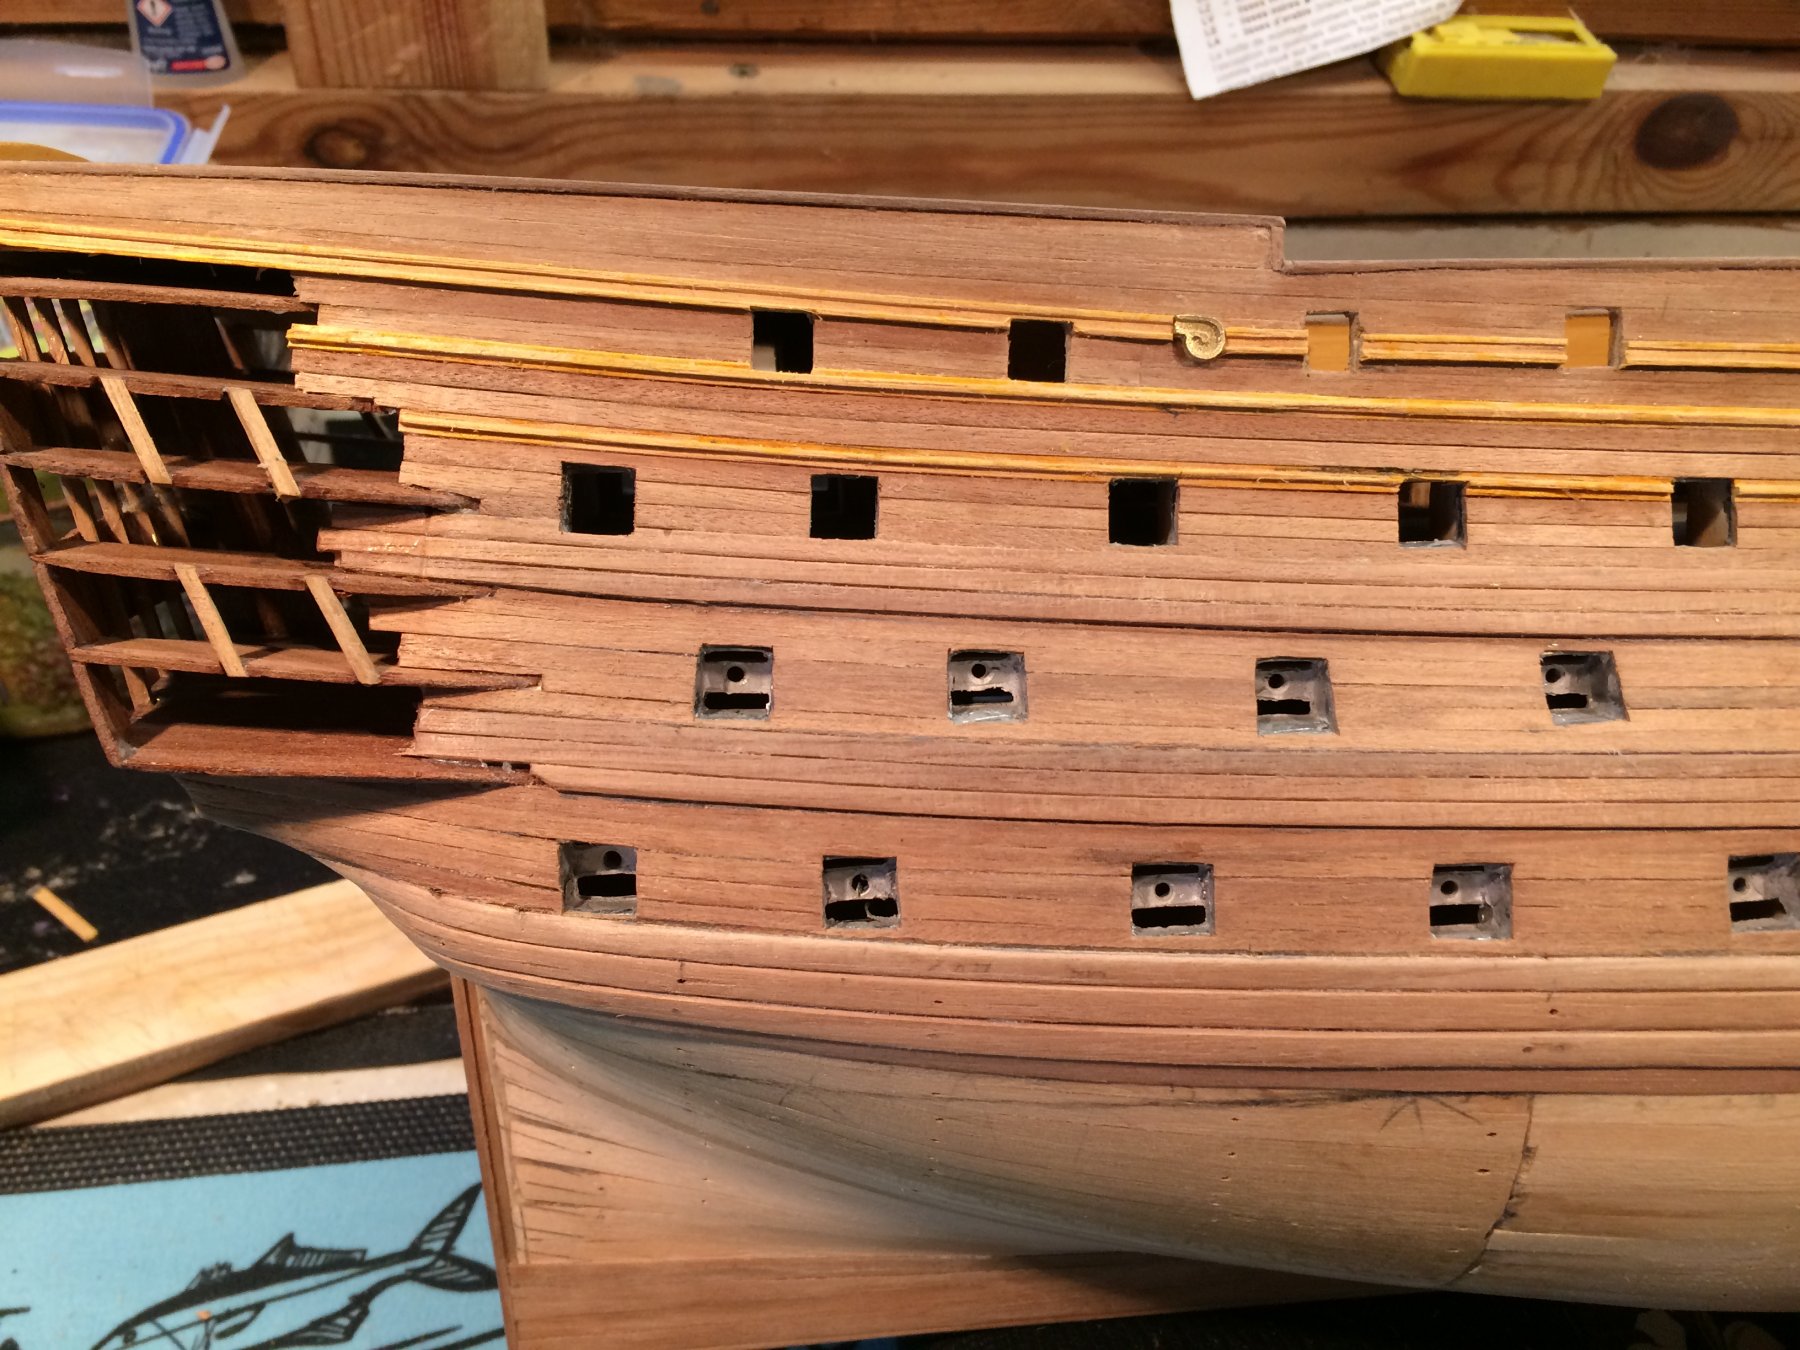
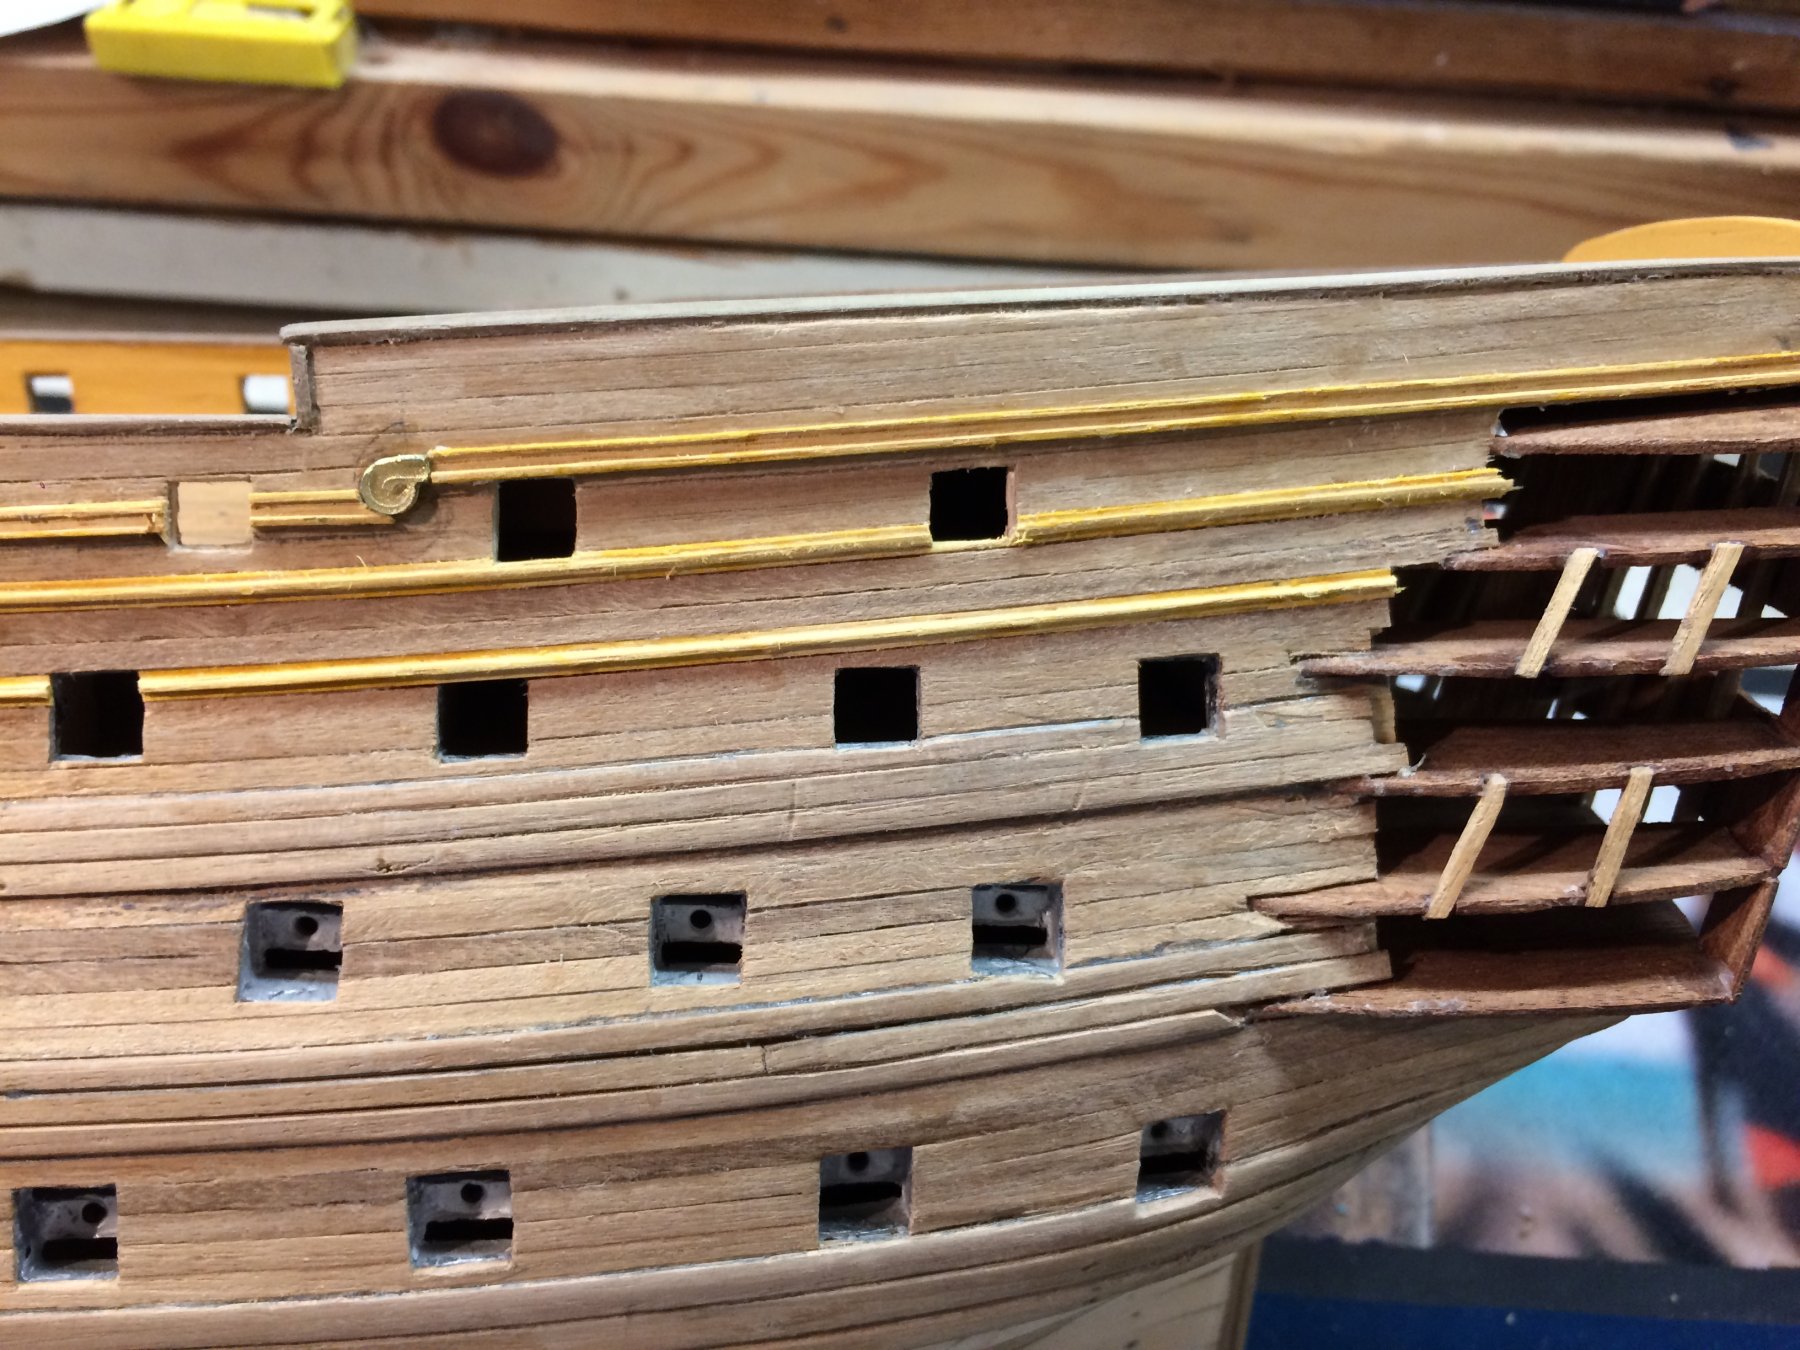
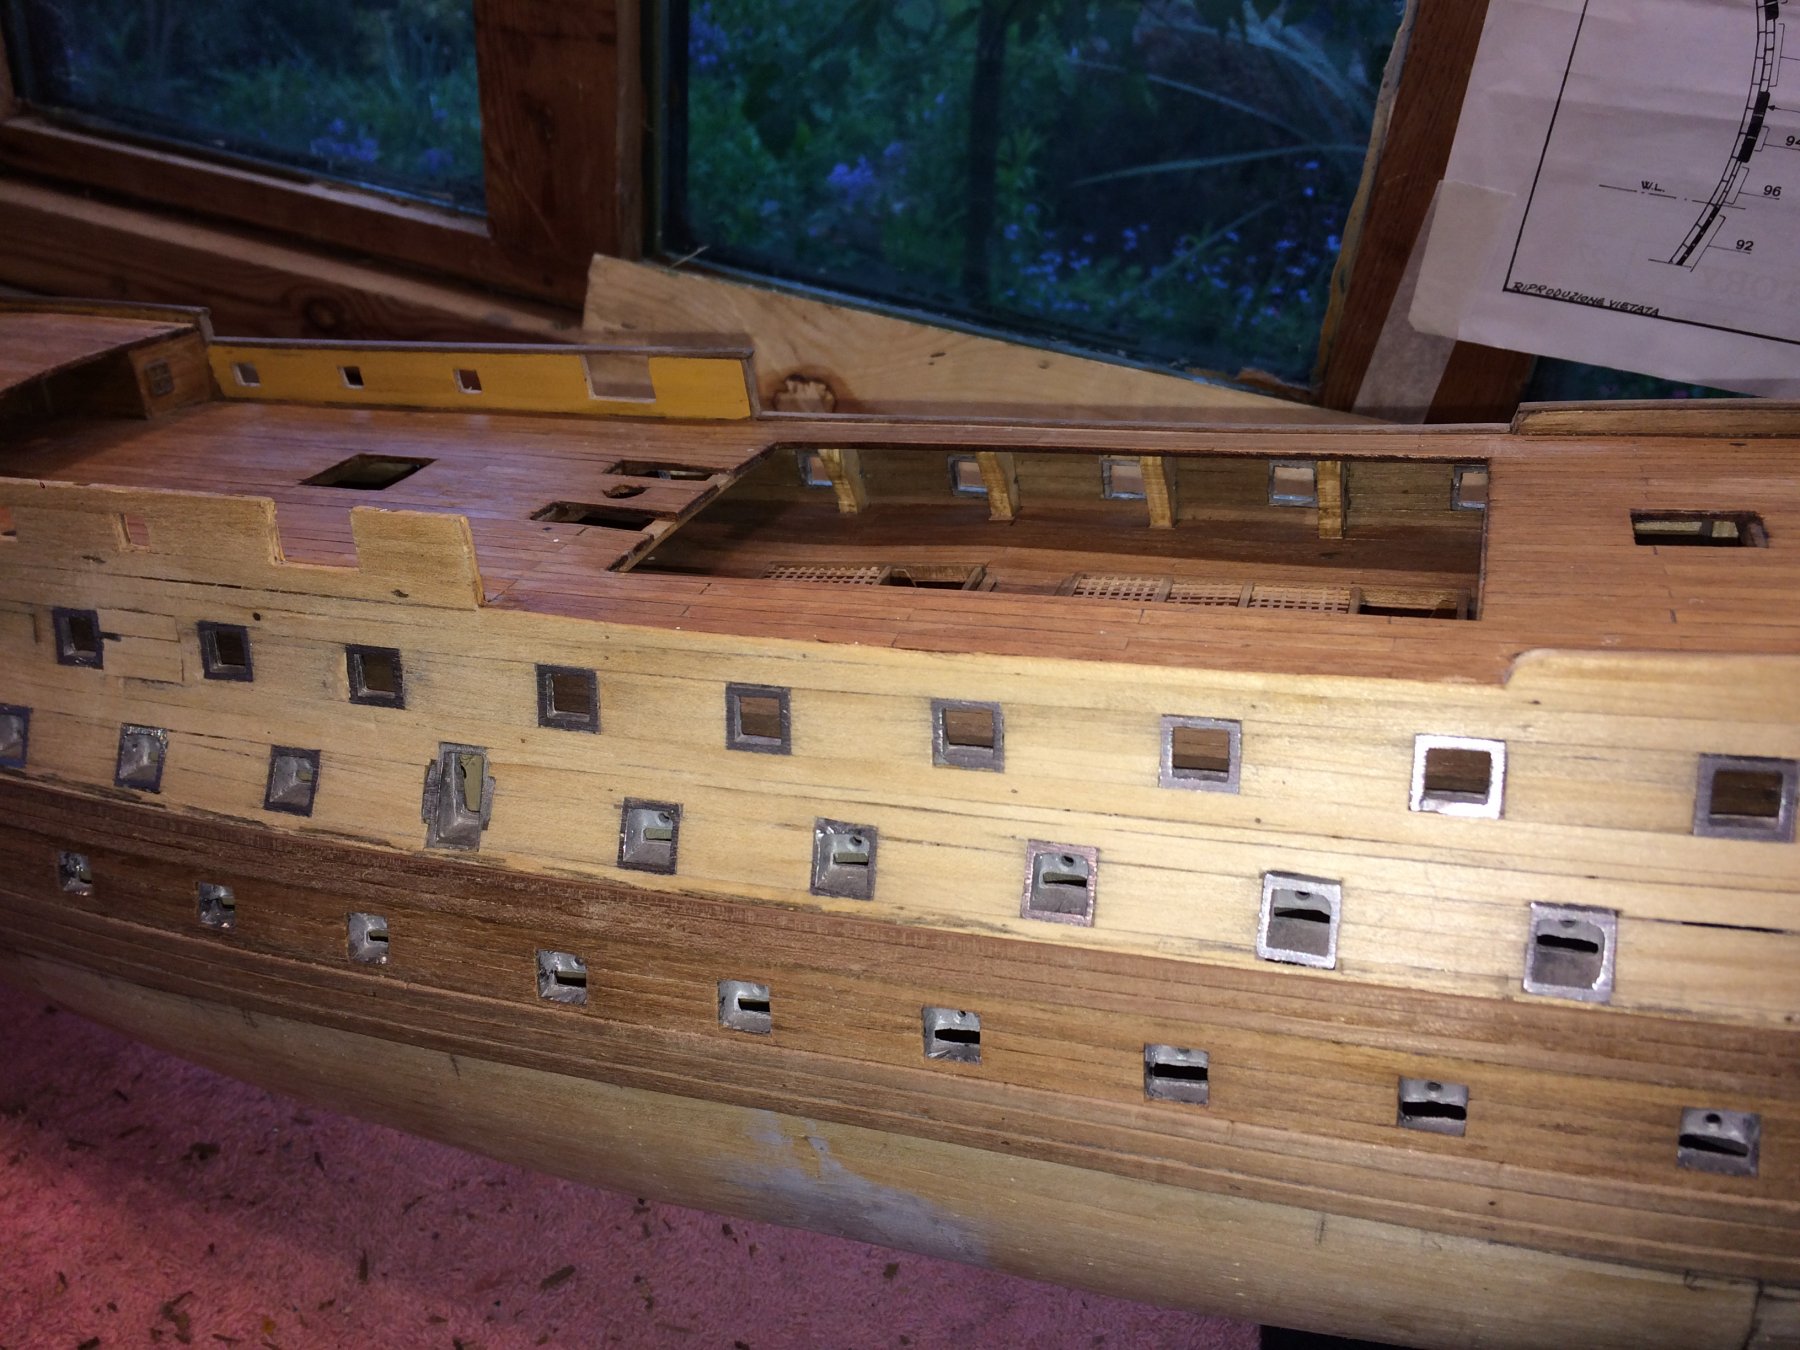
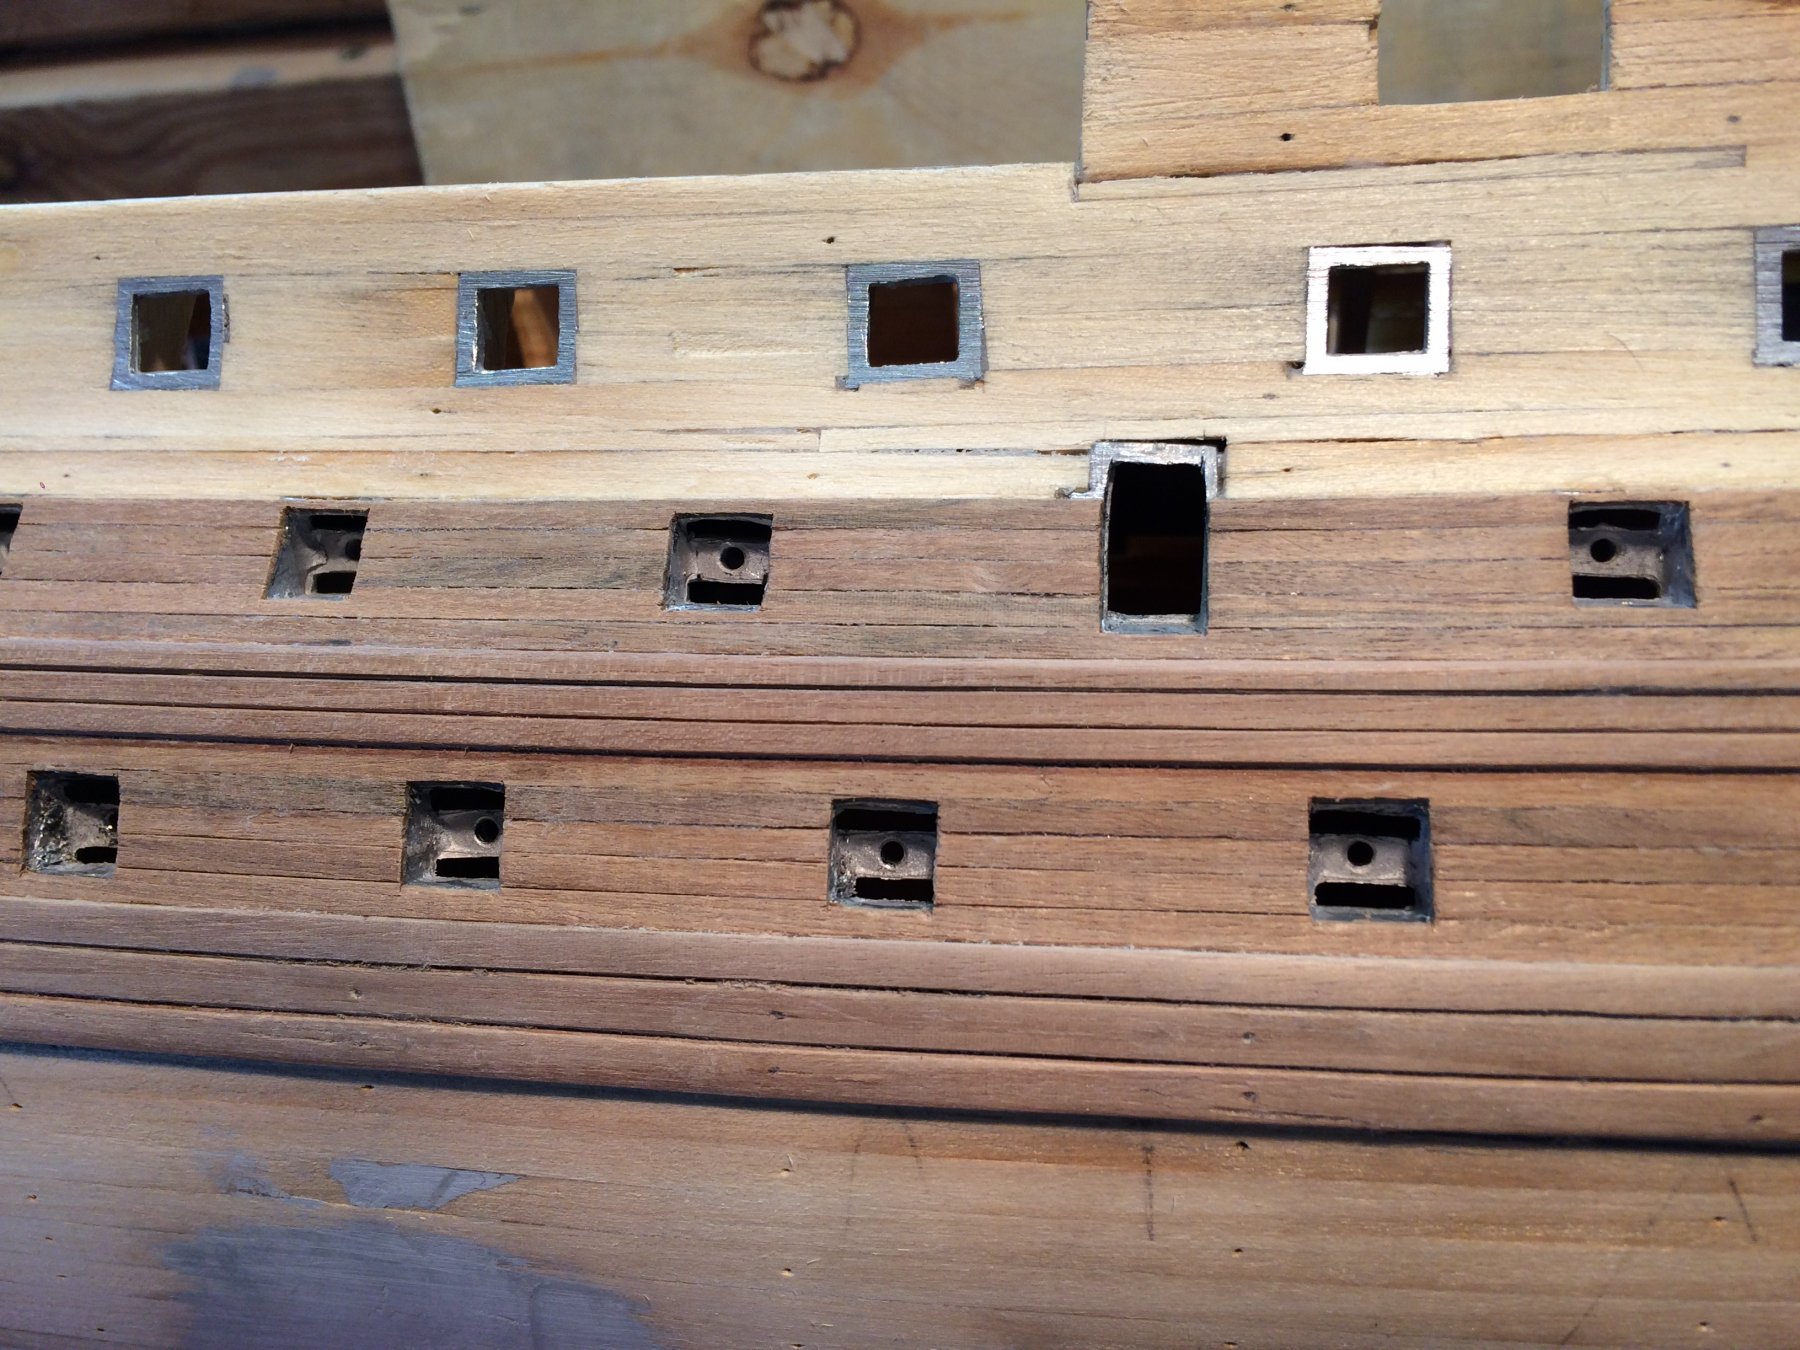
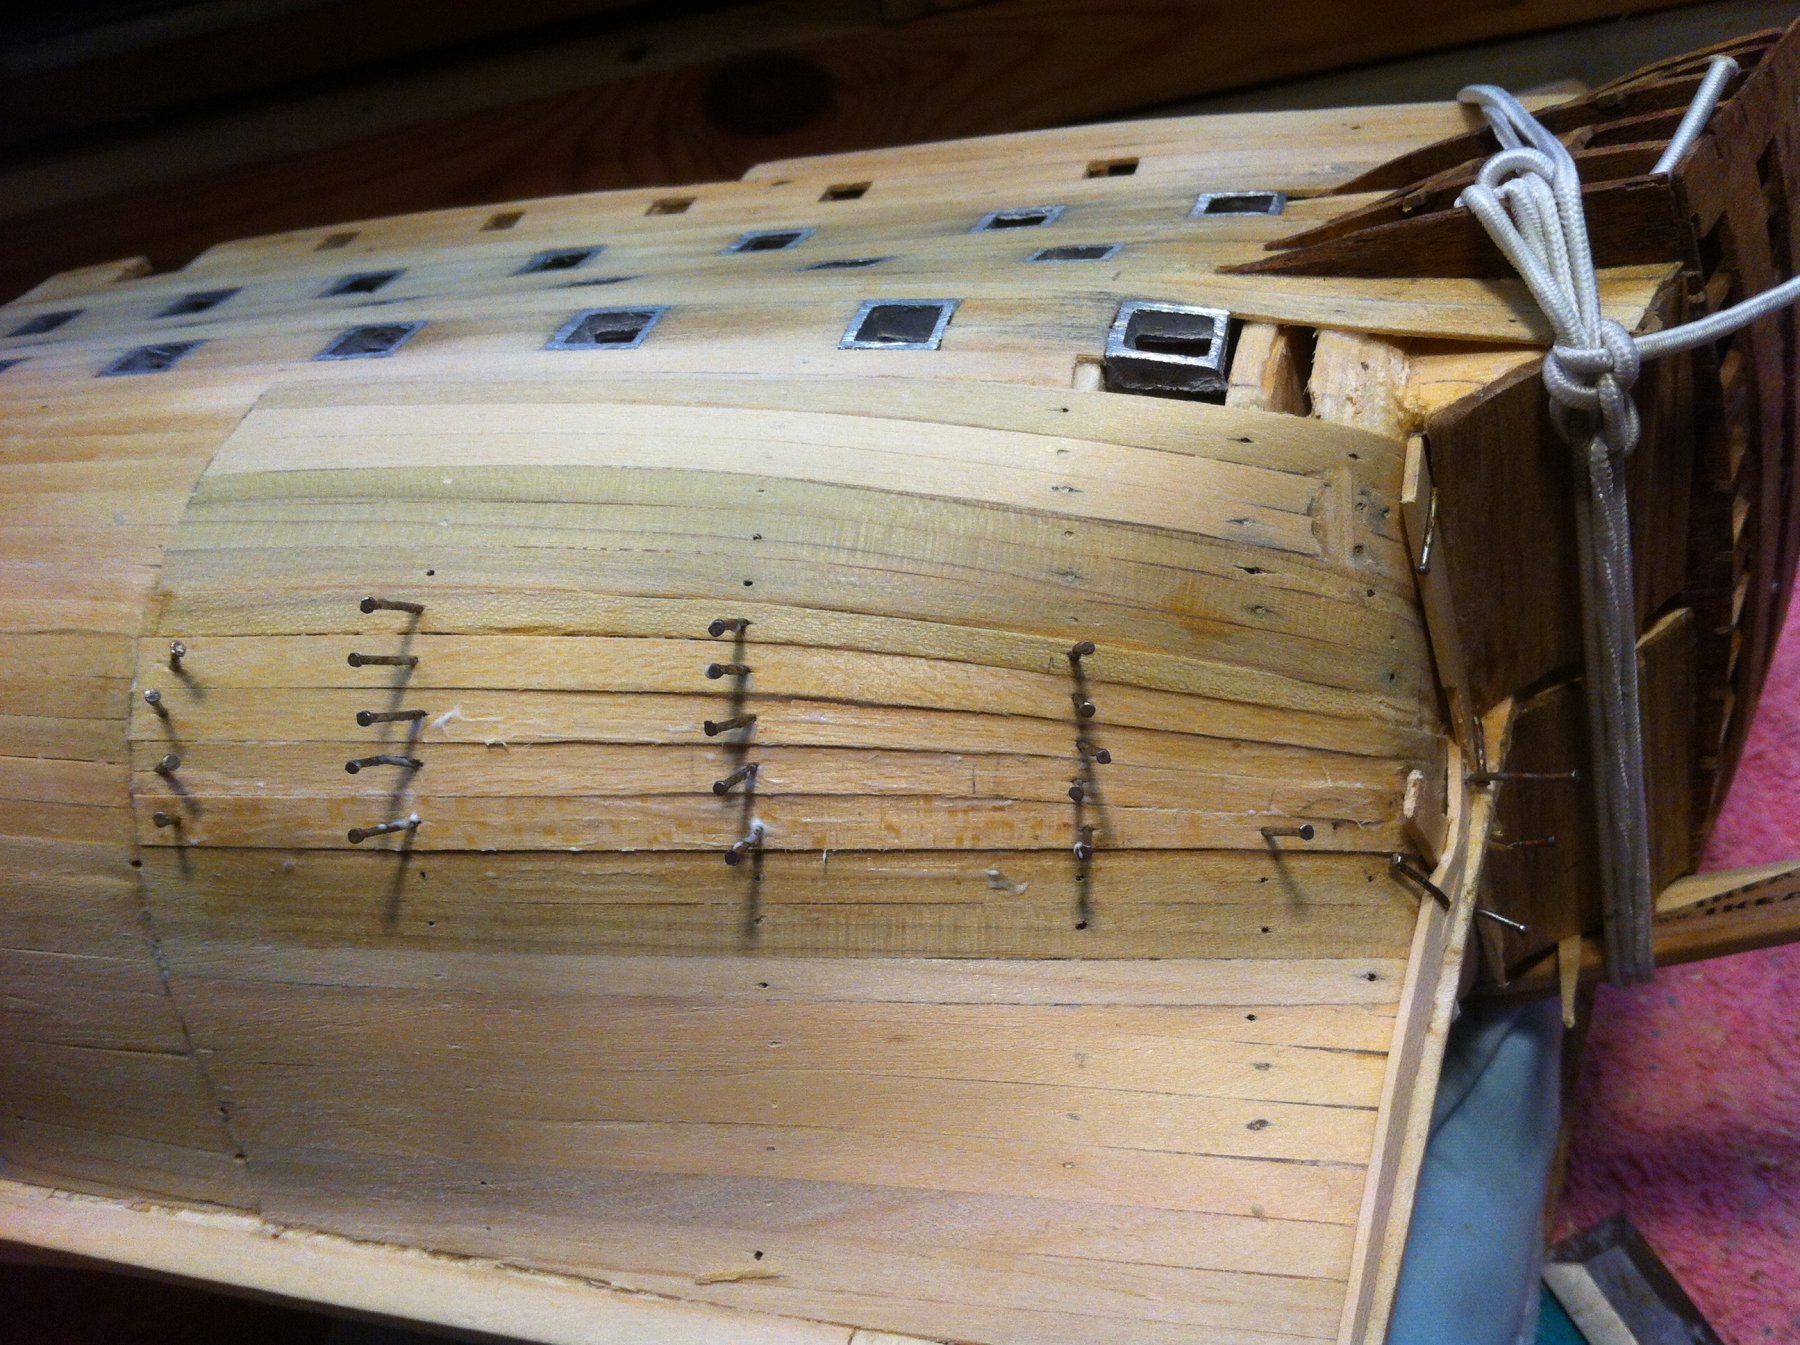
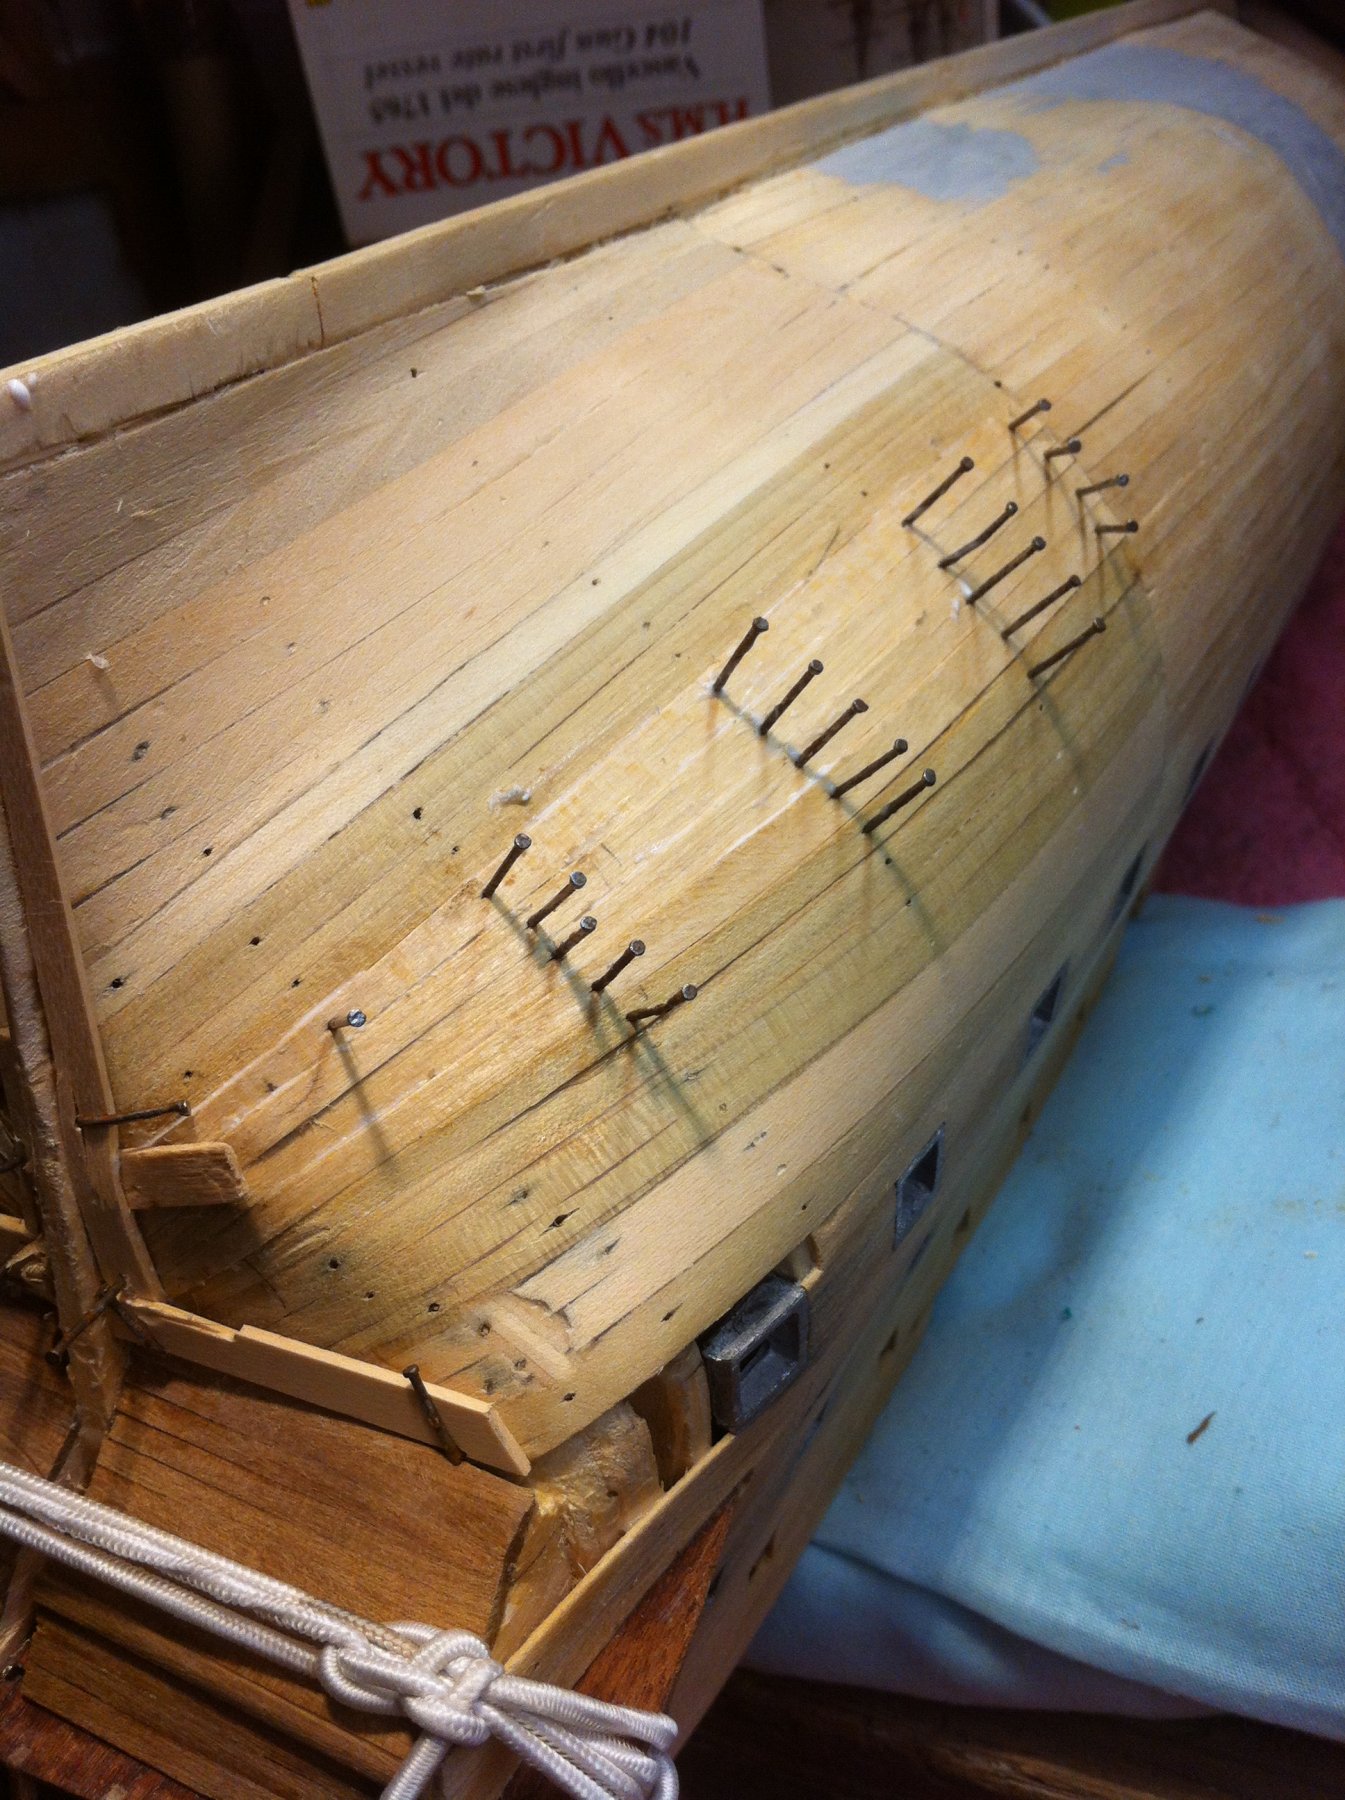
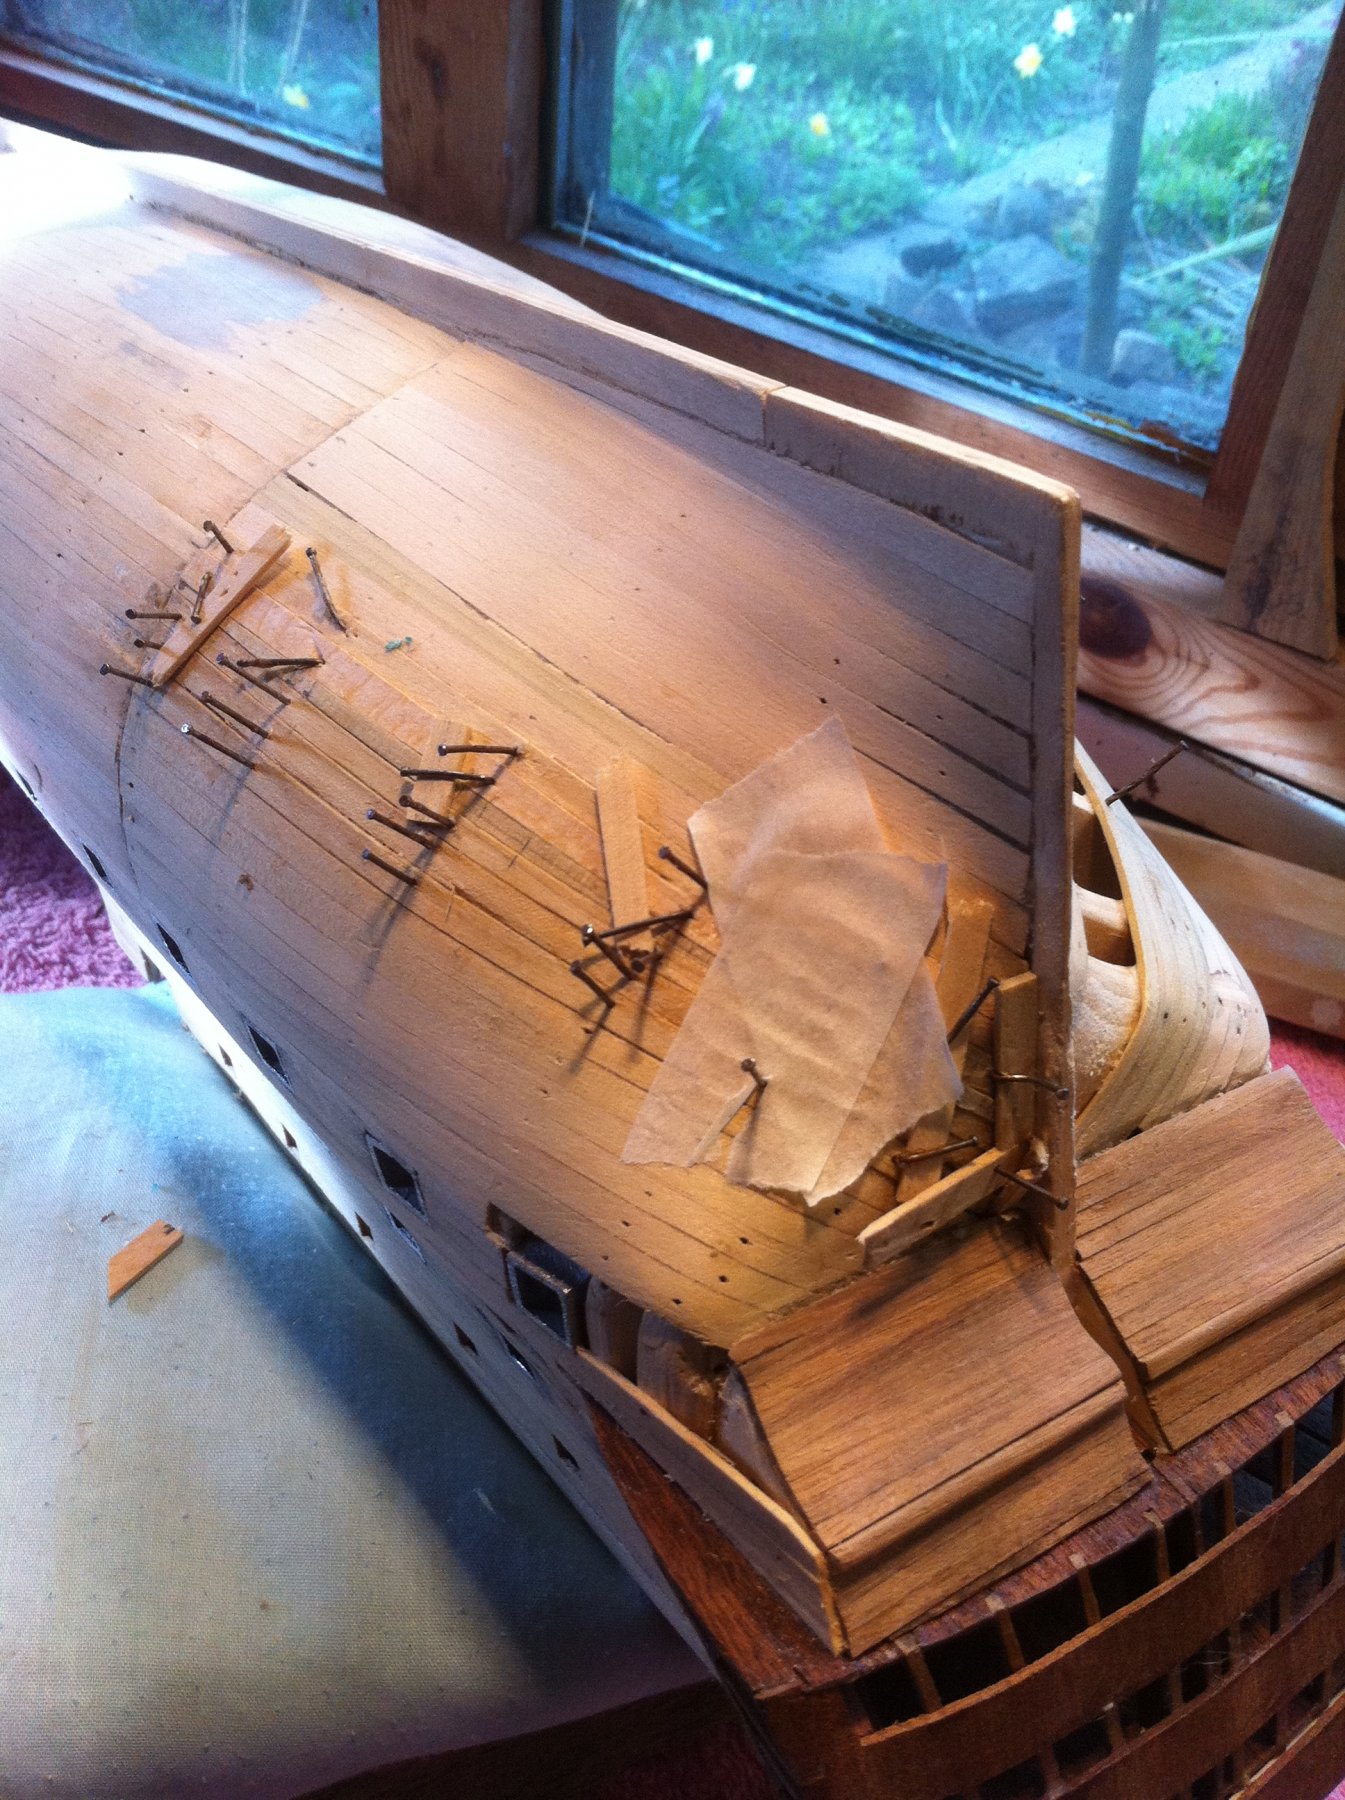
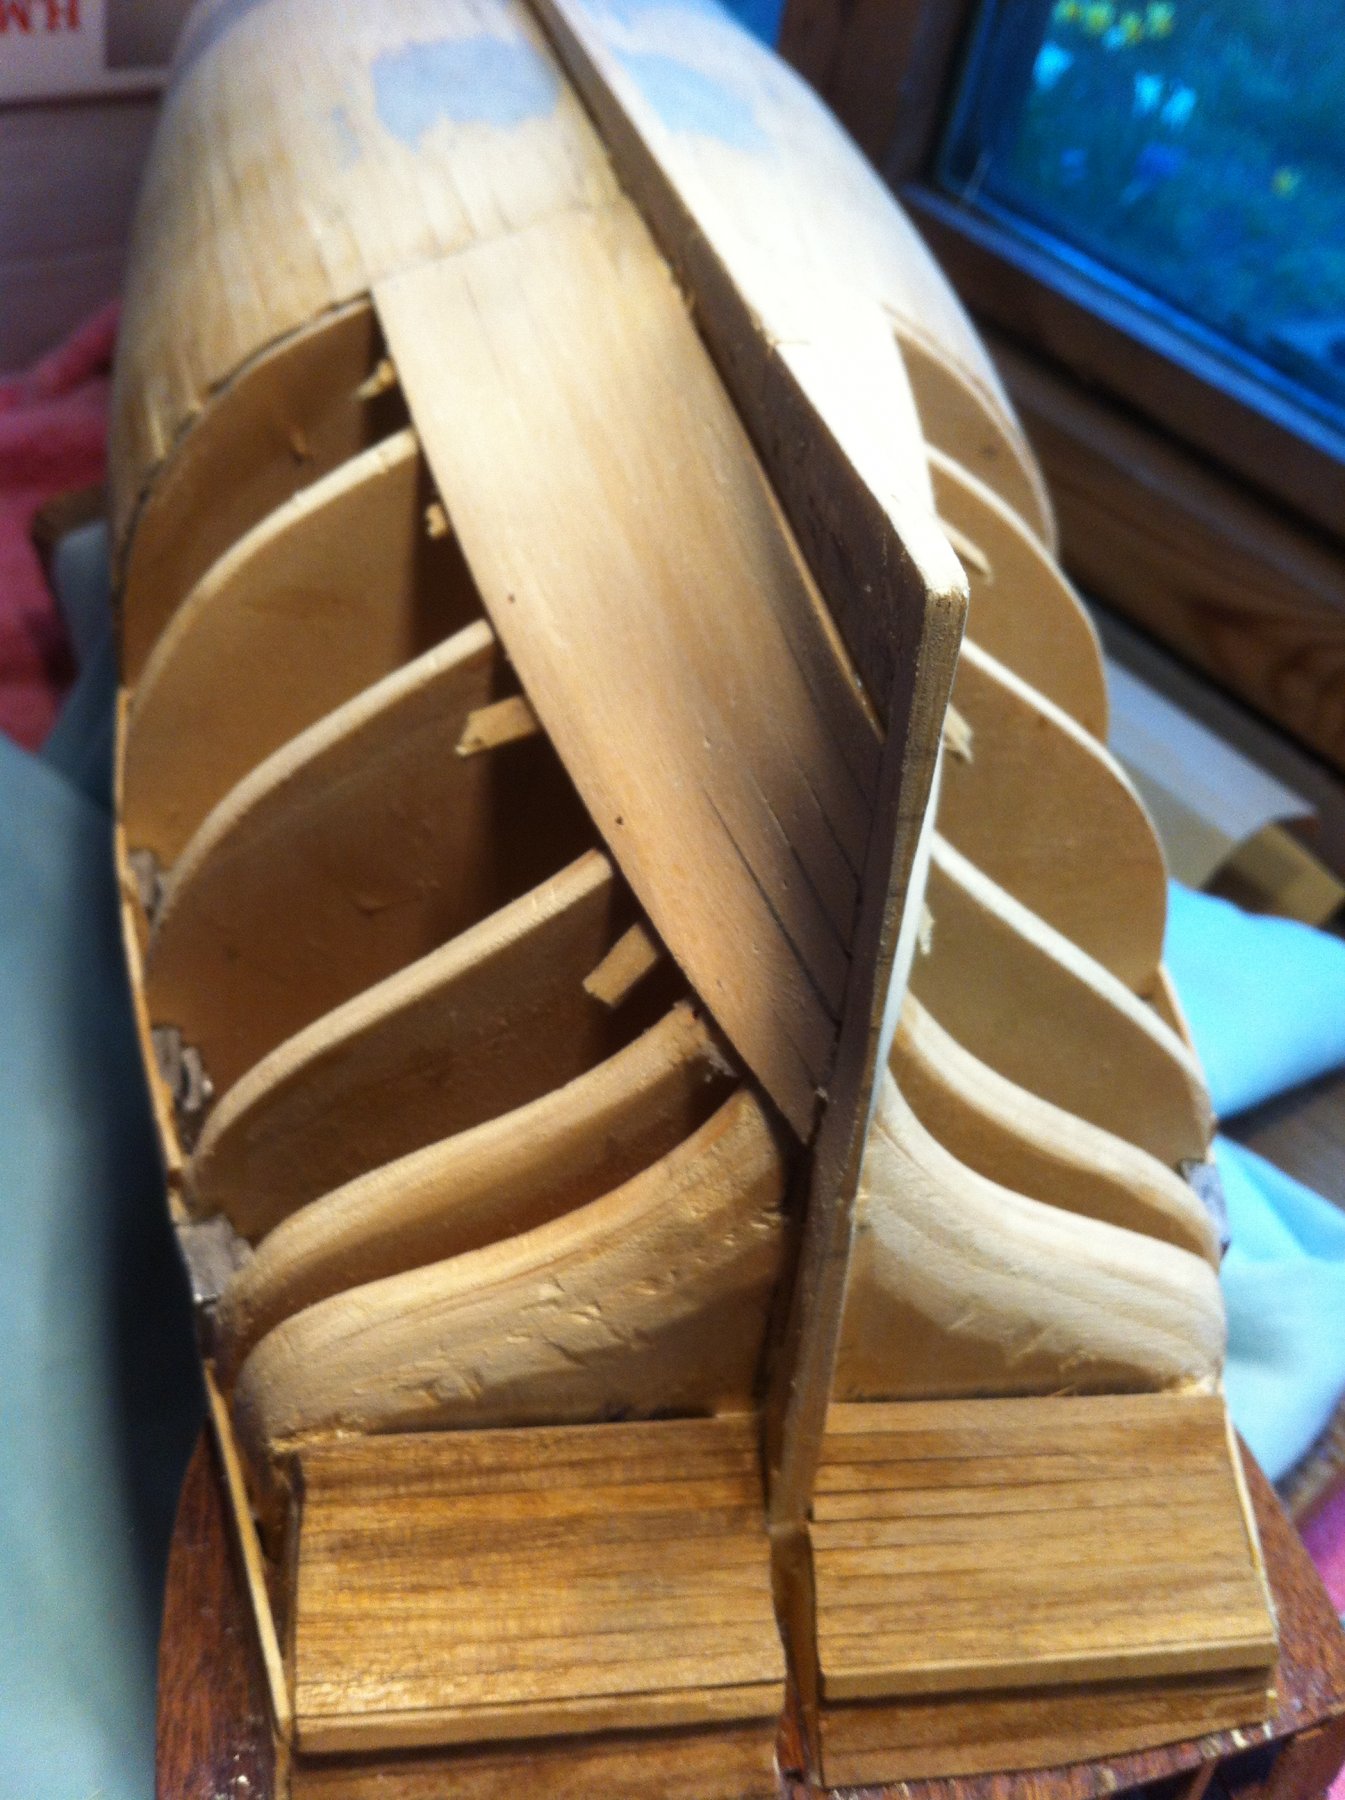
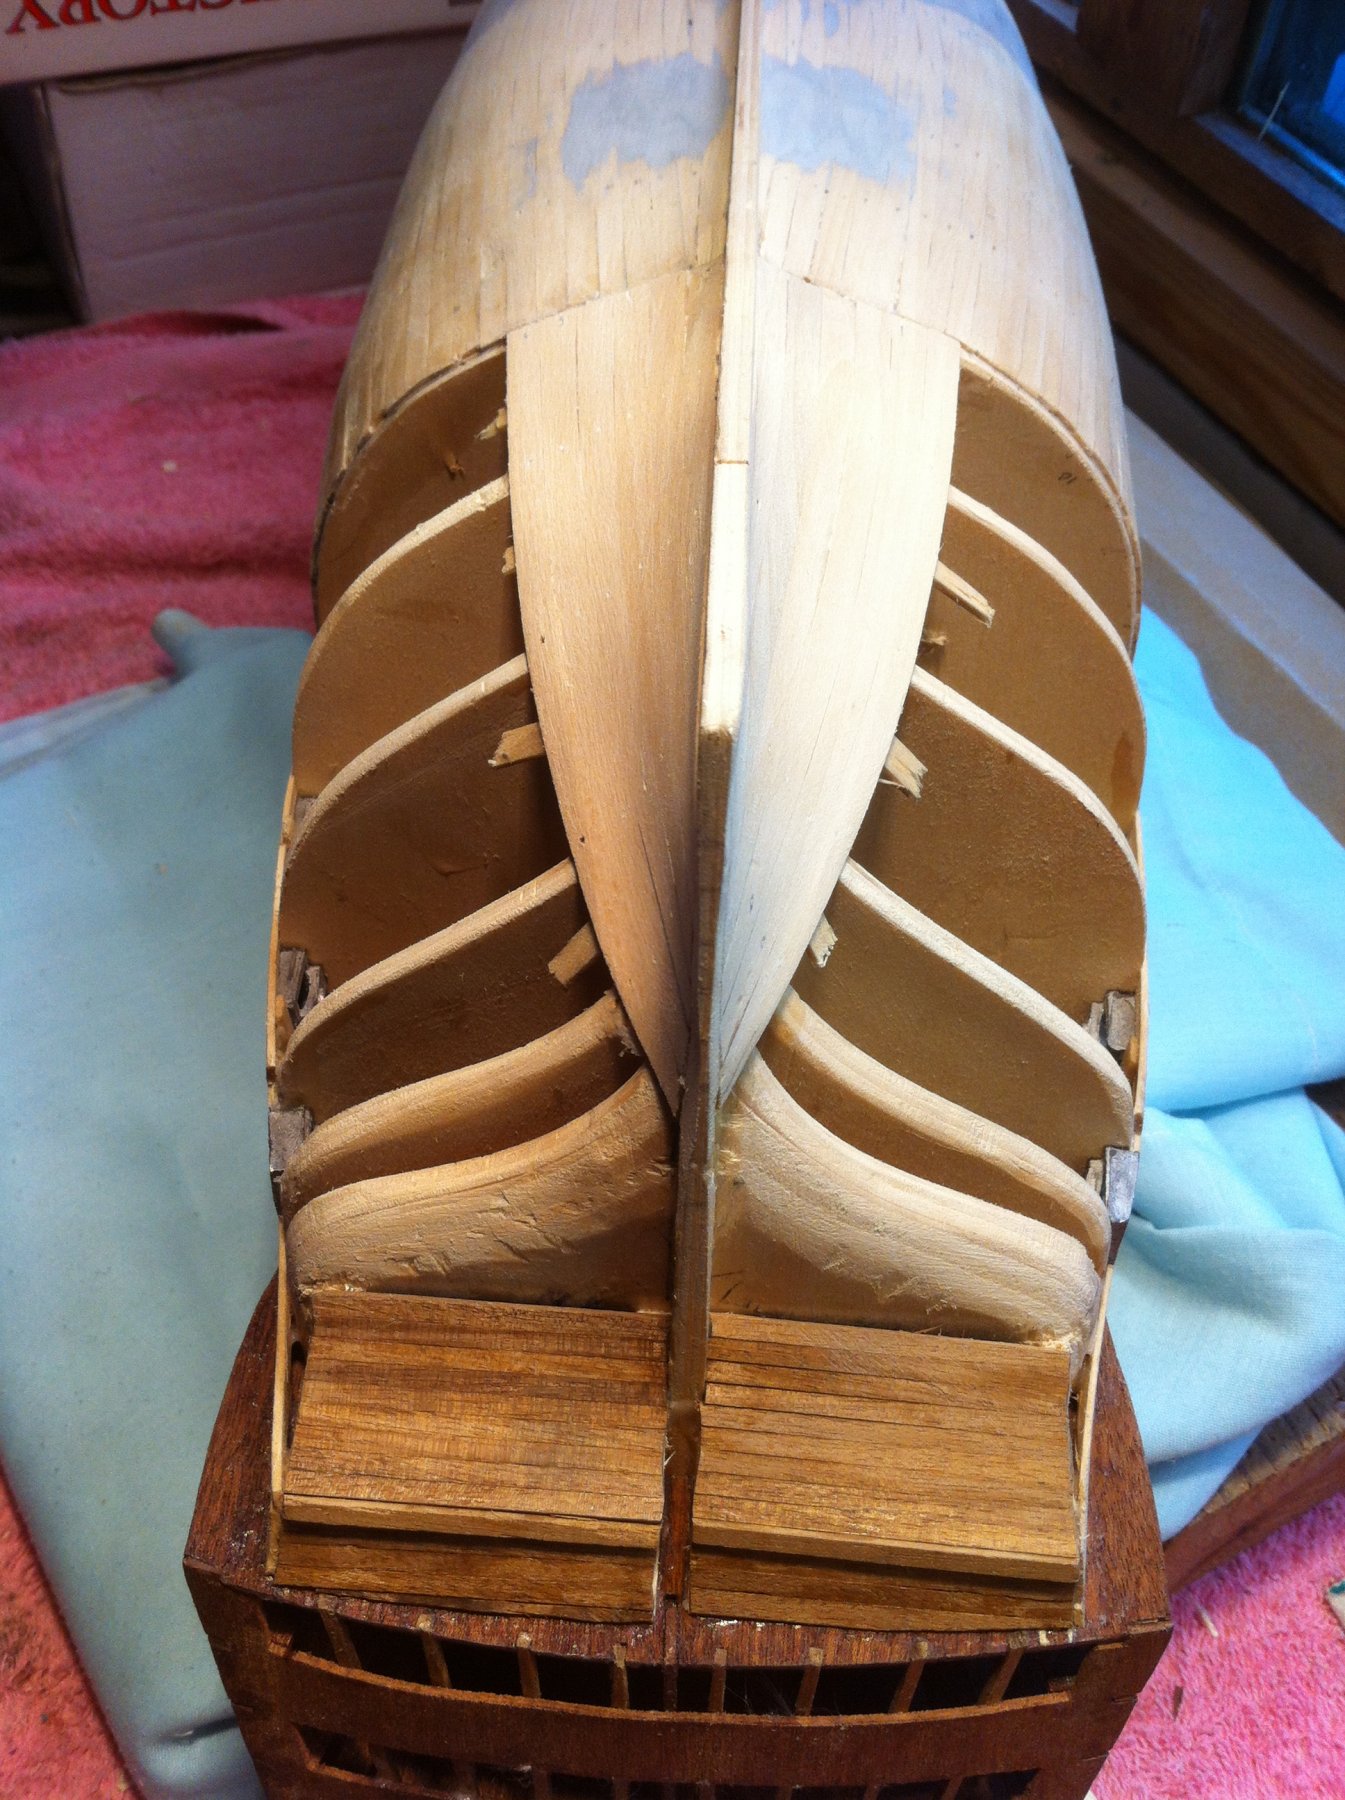
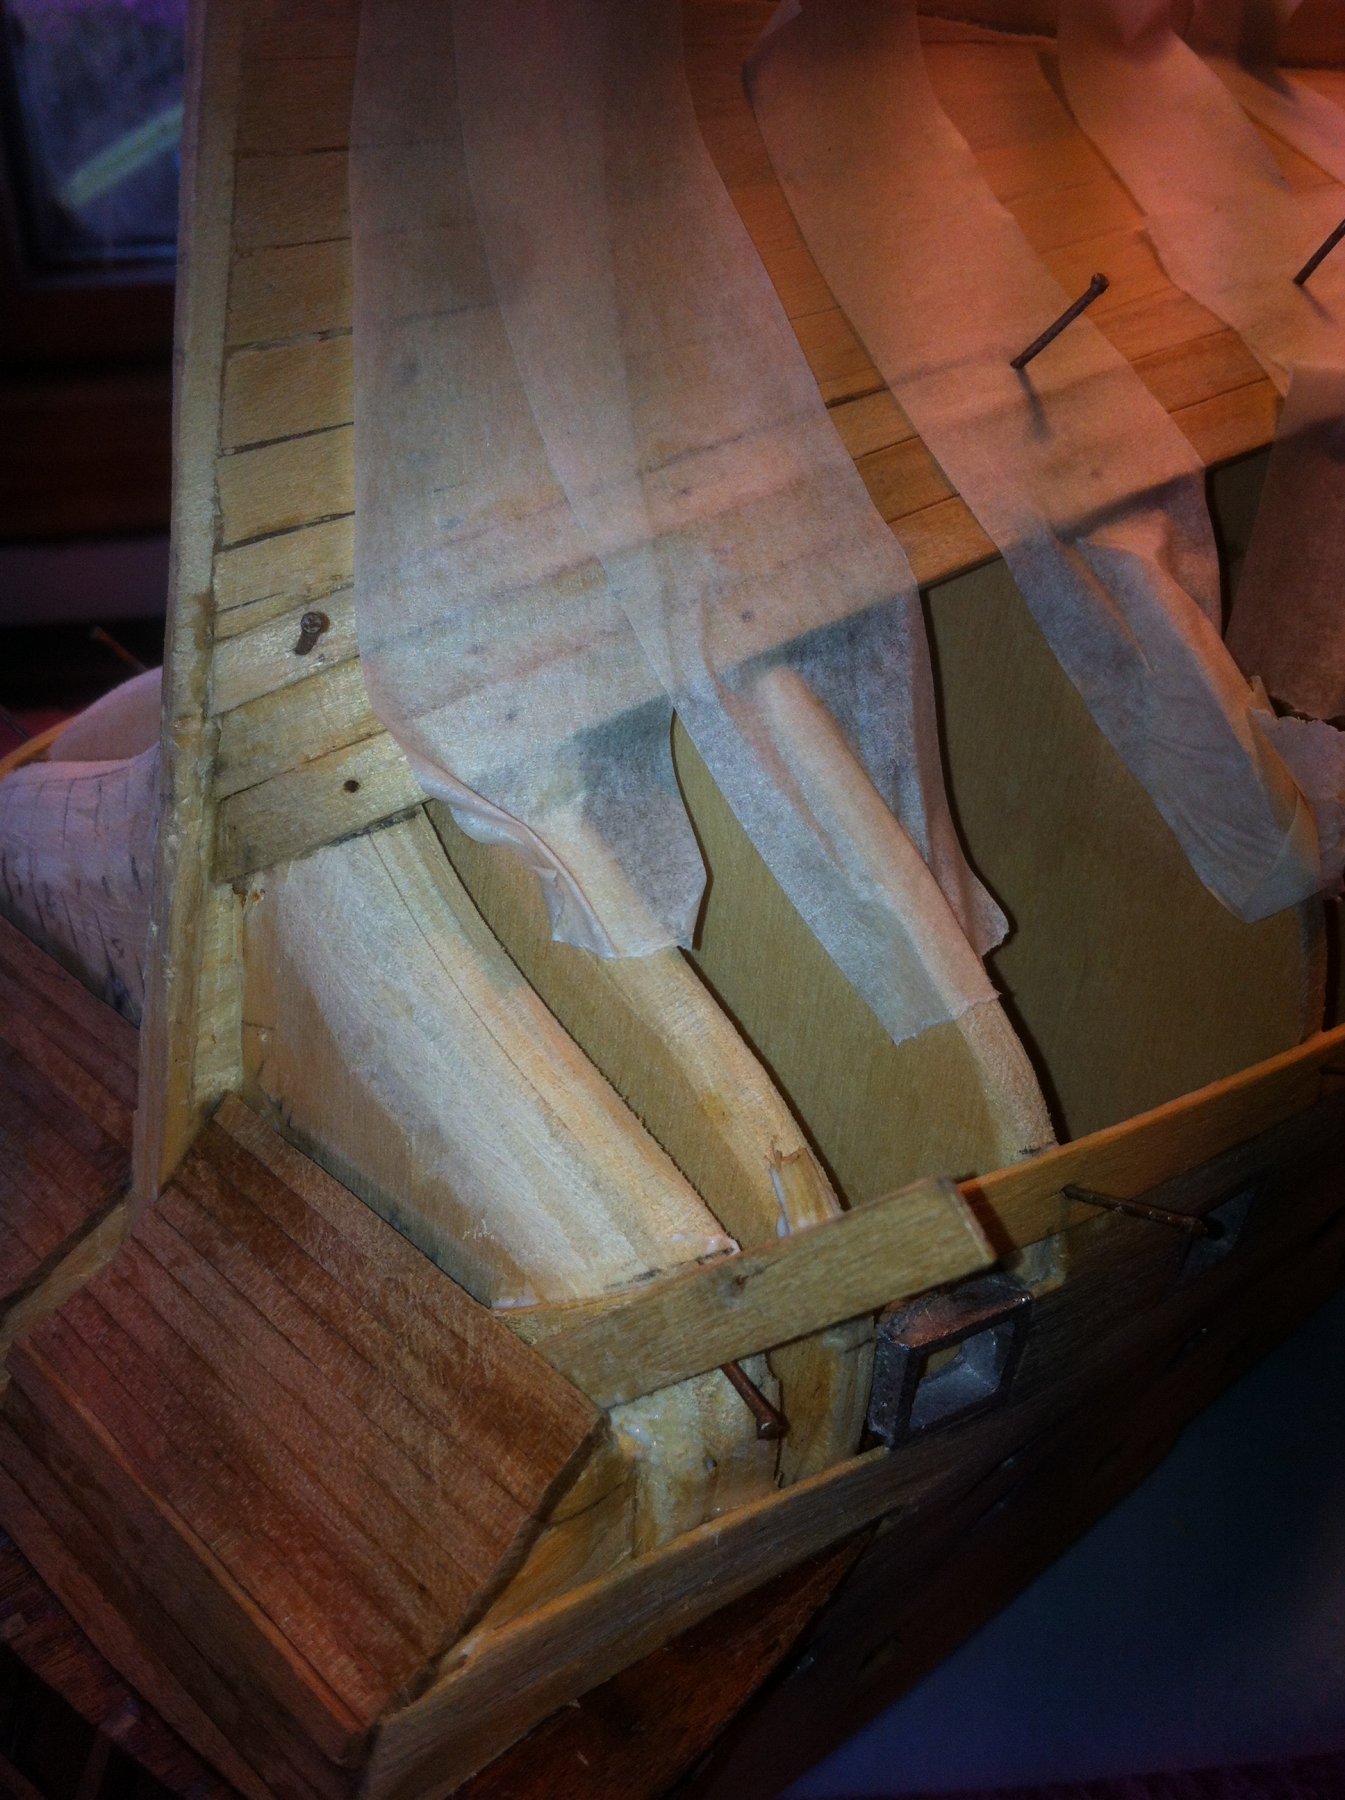
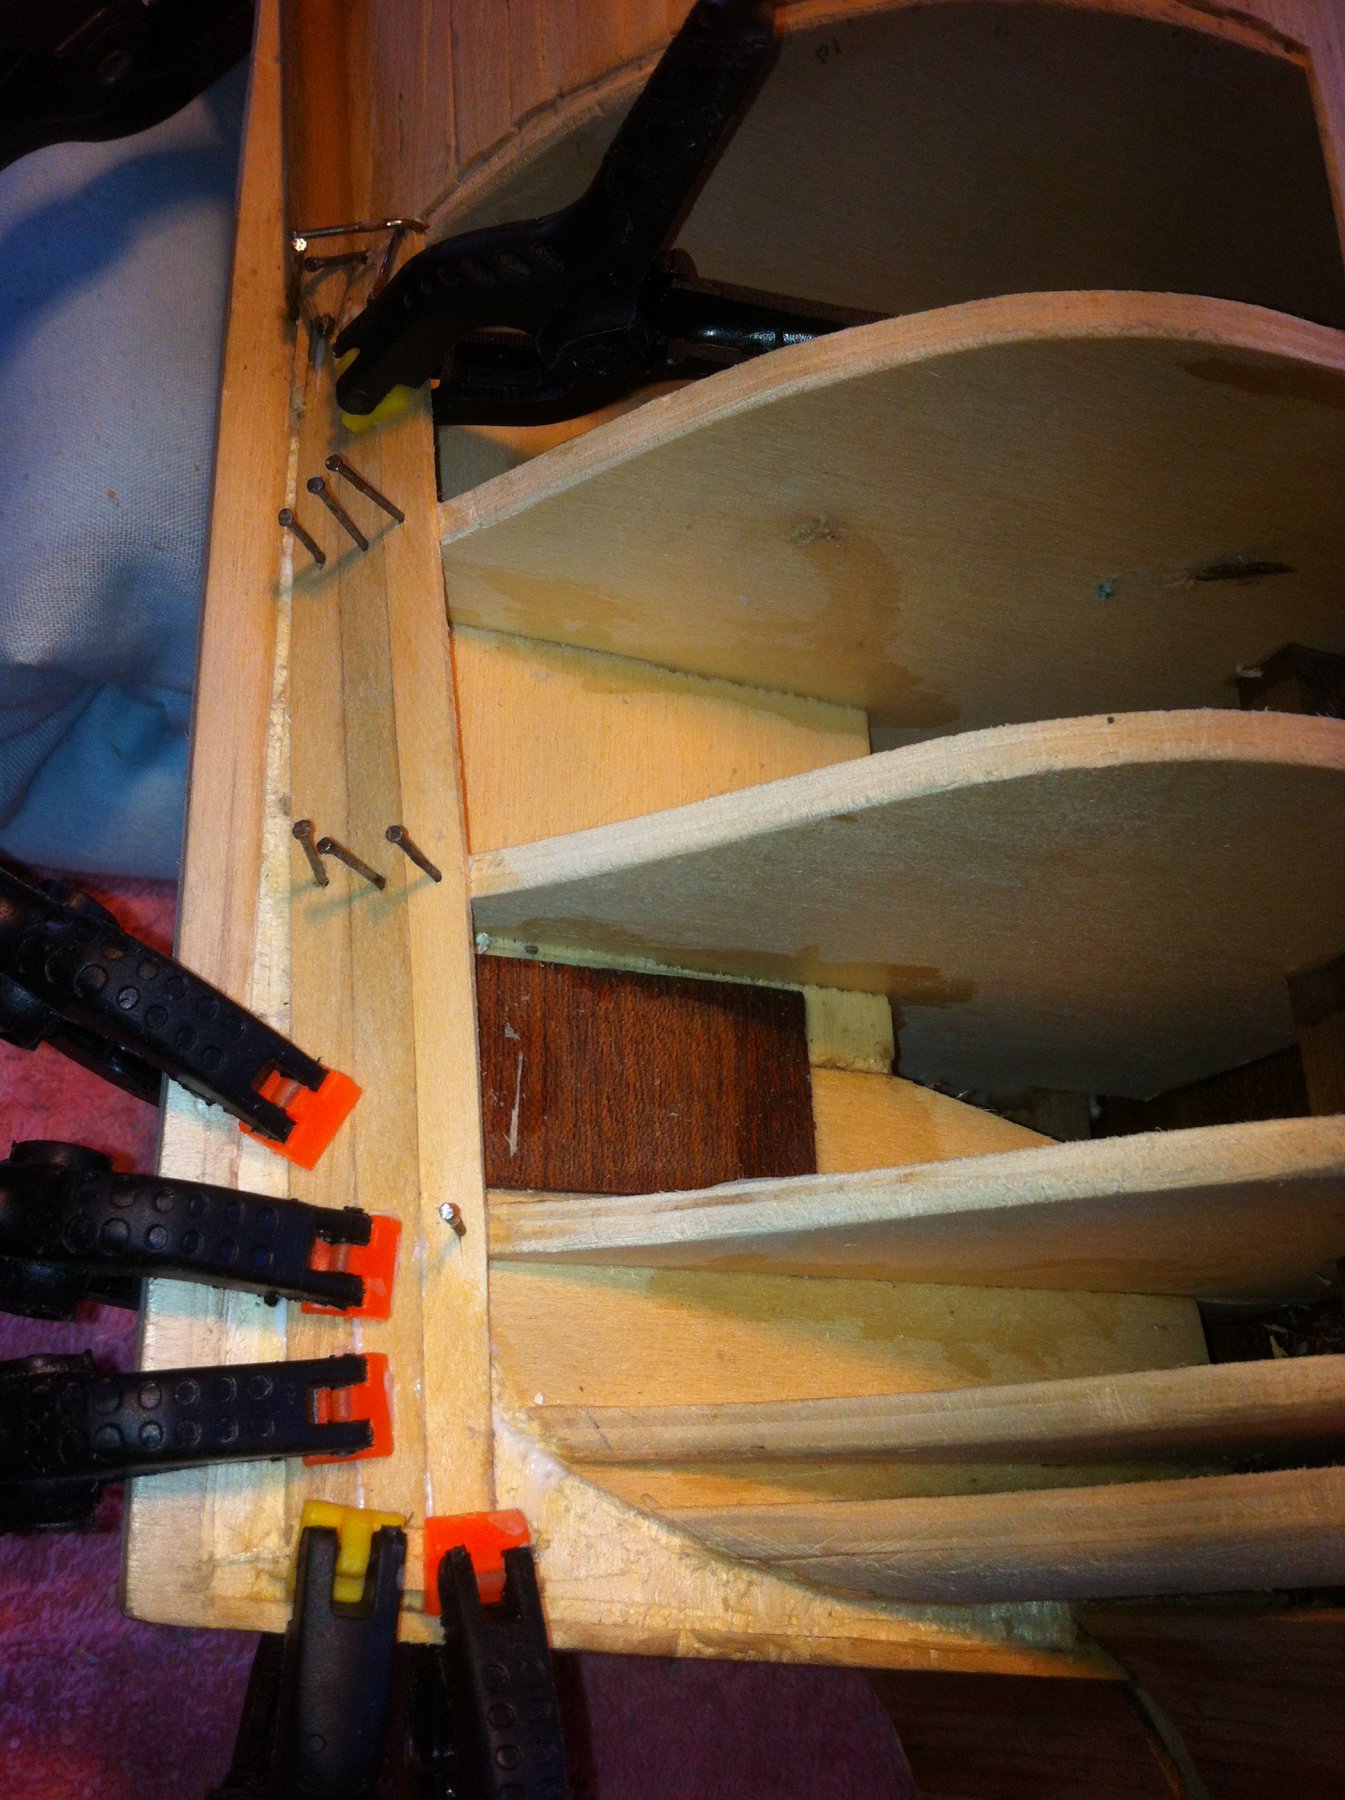
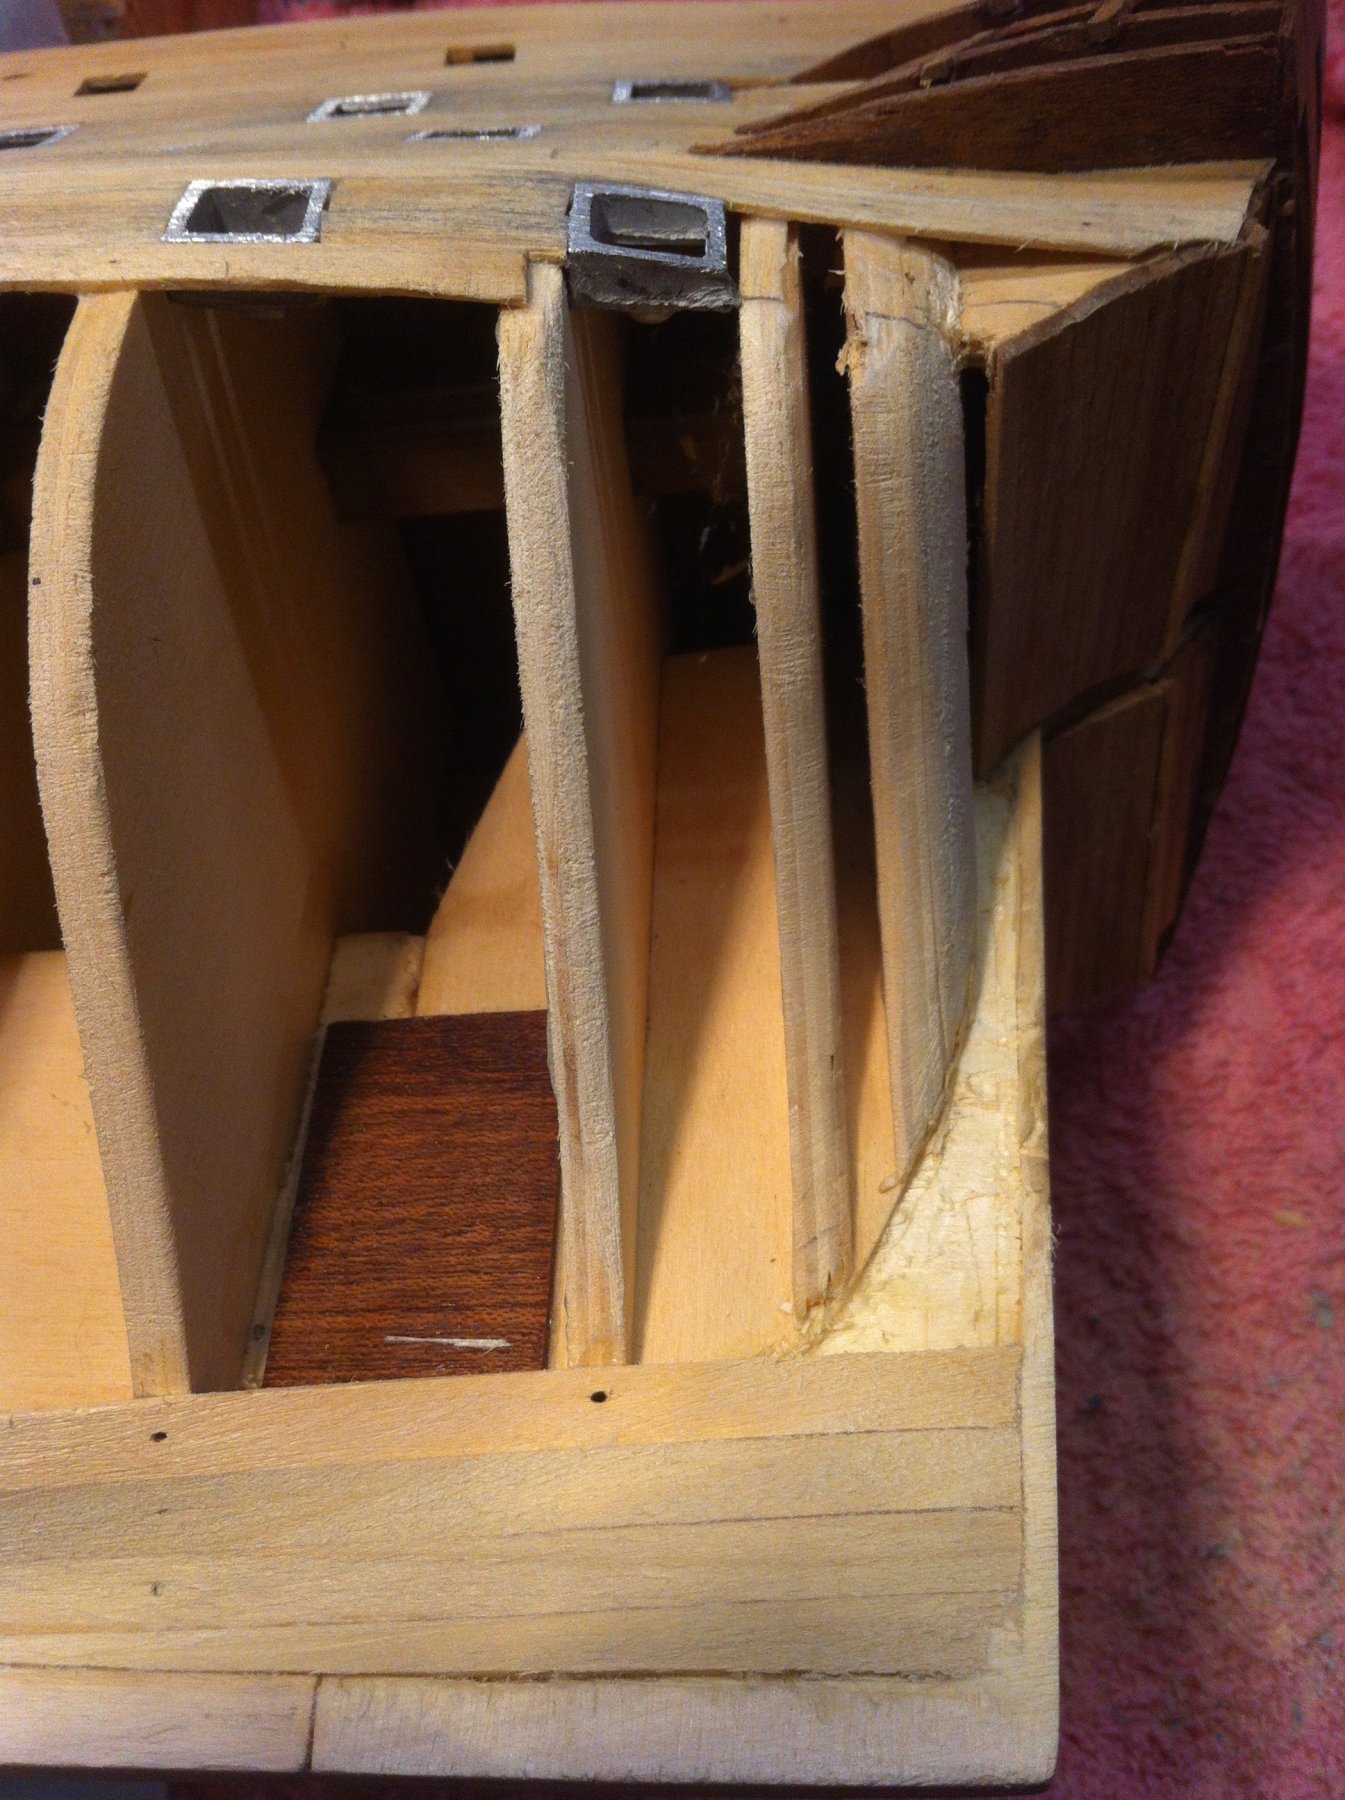
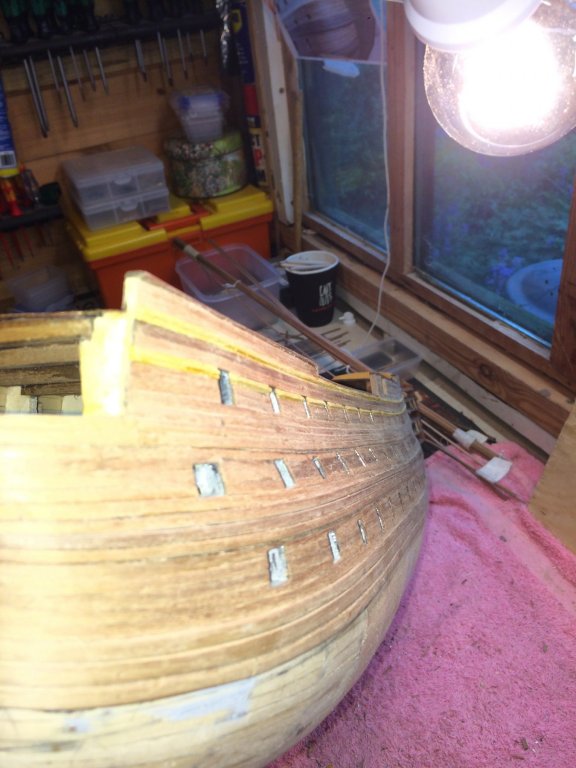
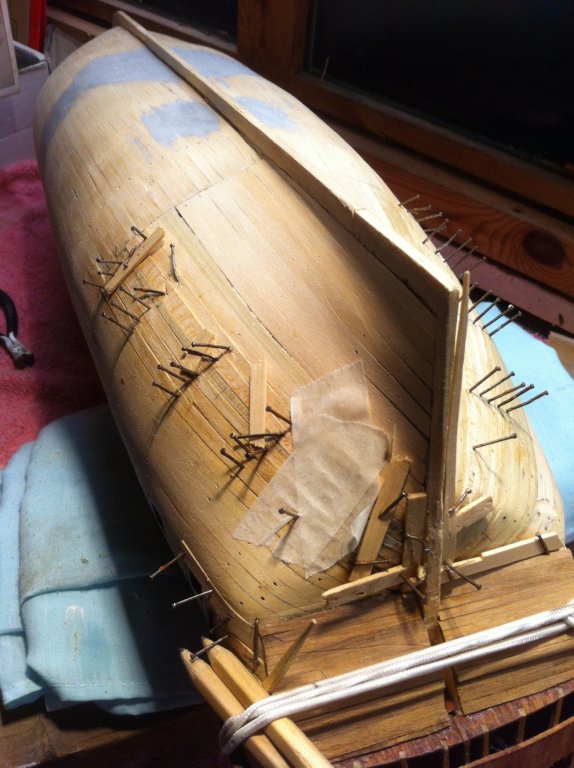
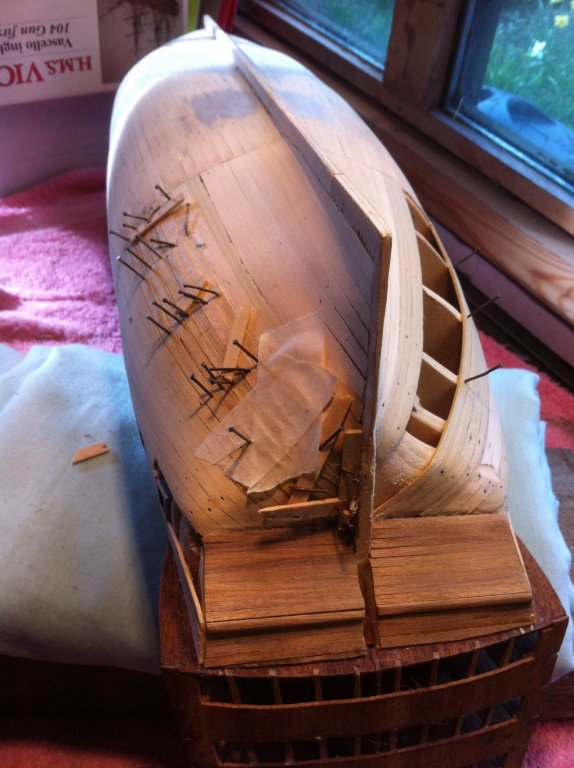
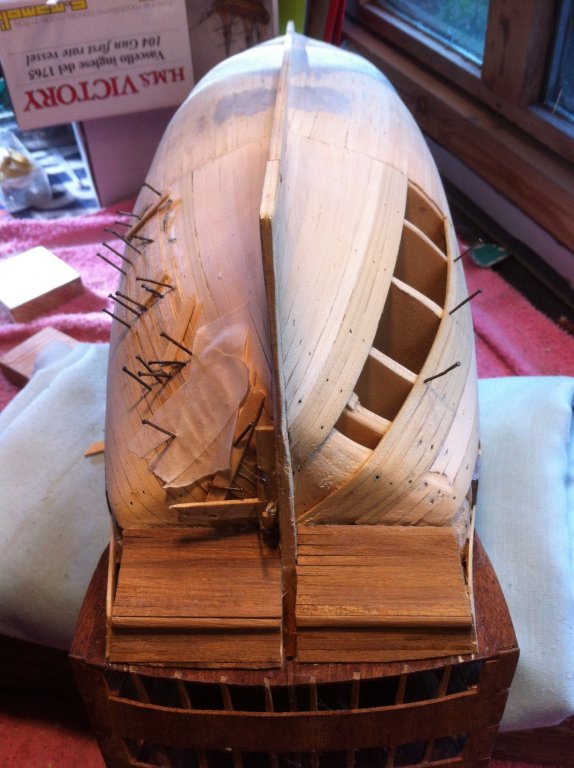
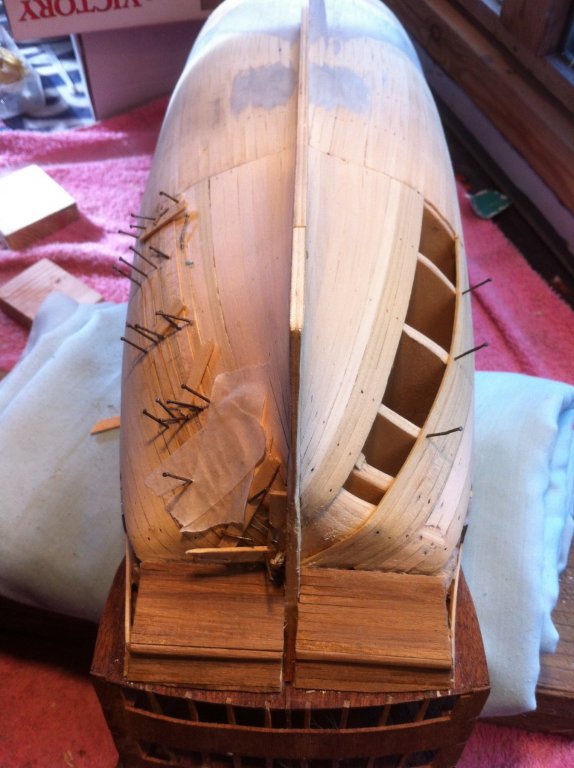
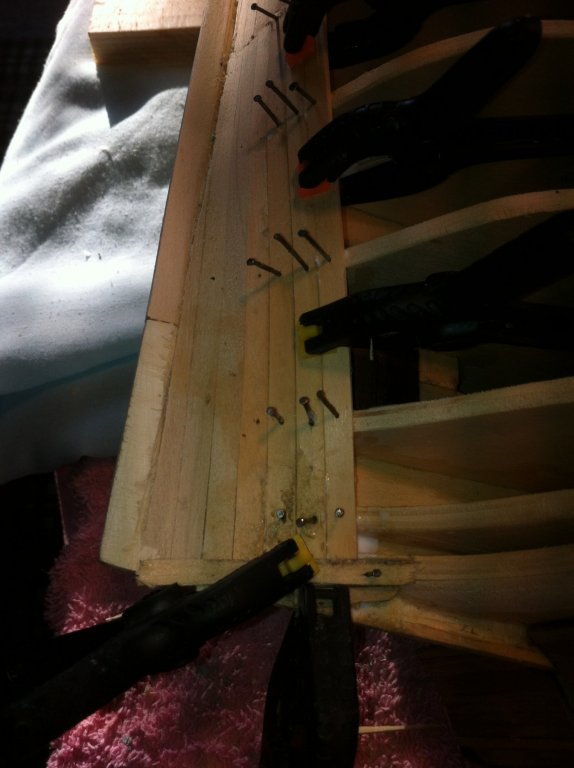
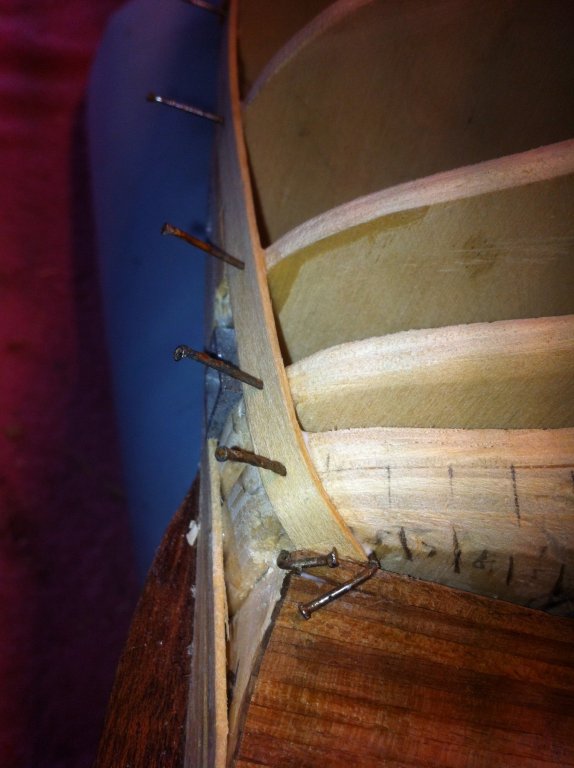
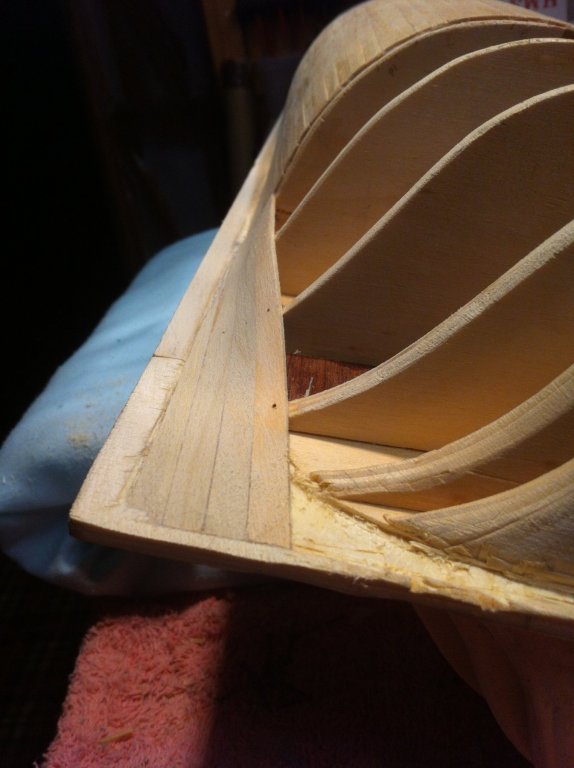
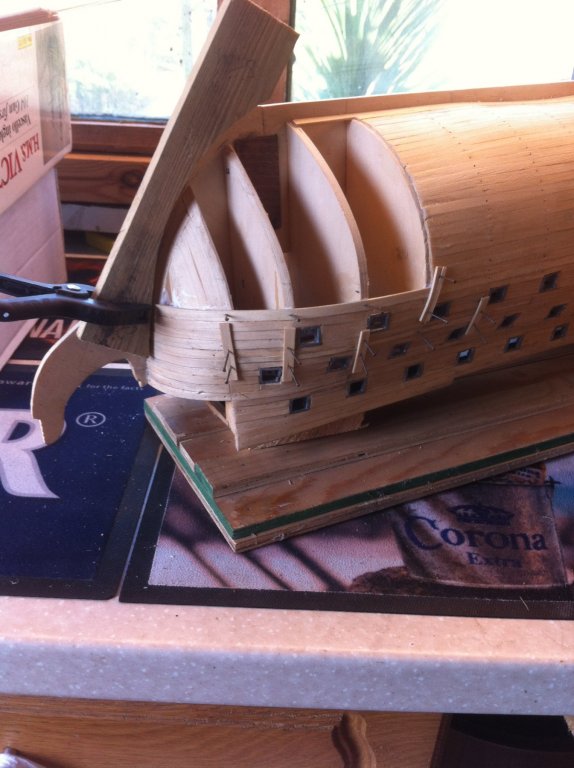
Finally the extension to the house and various jobs the admiral put in the way before she would let me continue with my build are finished, so am back as a boatbuilder... I have picked up where i left off 6 or 7 years ago, has it really been that long!!?? I knew i had to start tapering the hull planks, am doing the bow section first before tackling the tricky job of the stern.. I thought i had hit a snag when i realised there was going to be no support for the forward end of the lower planks between frames 1 and 2, and thought of a clever little solution.. Turns out one of the other builders (and no doubt countless before us) on here - YT, (what an inspiration) came up with the same idea.... A small block of wood between the frames, shaped to fit .. Genius.. problem solved, for now!!! Looking at his build log: https://modelshipworld.com/topic/18016-hms-victory-by-yt-mamoli-190-scale/page/9/ it makes me want to tear mine apart and start all over again, must resist that temptation and remind myself I didn't but the kit to do the boat, i bought it to do the rigging!!! Being an old sea dog I am never happier than when i have a bit of string in my hands. Here are a few pics of my recent attempts to be going on with, full steam ahead,..


-
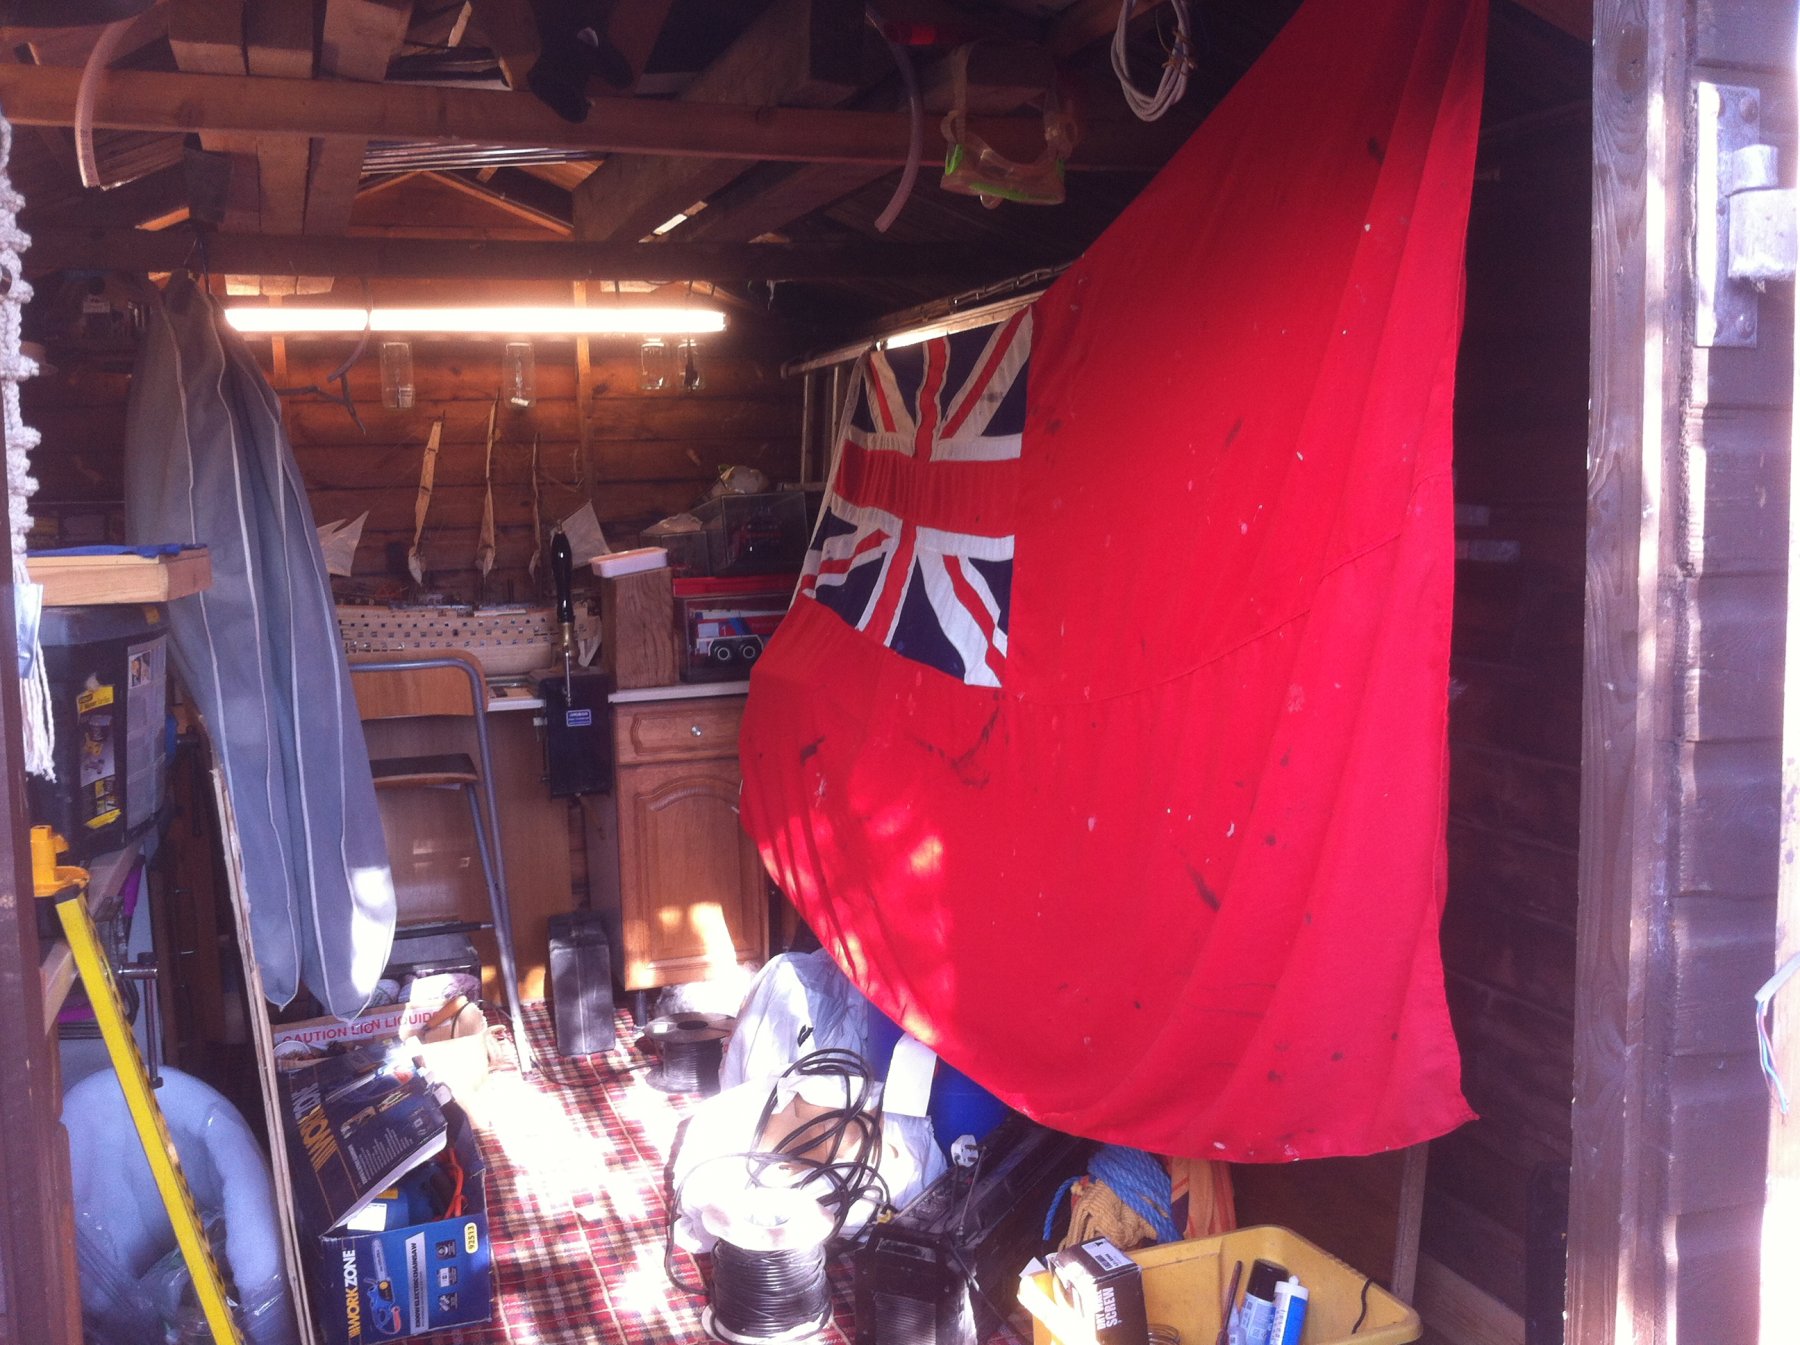
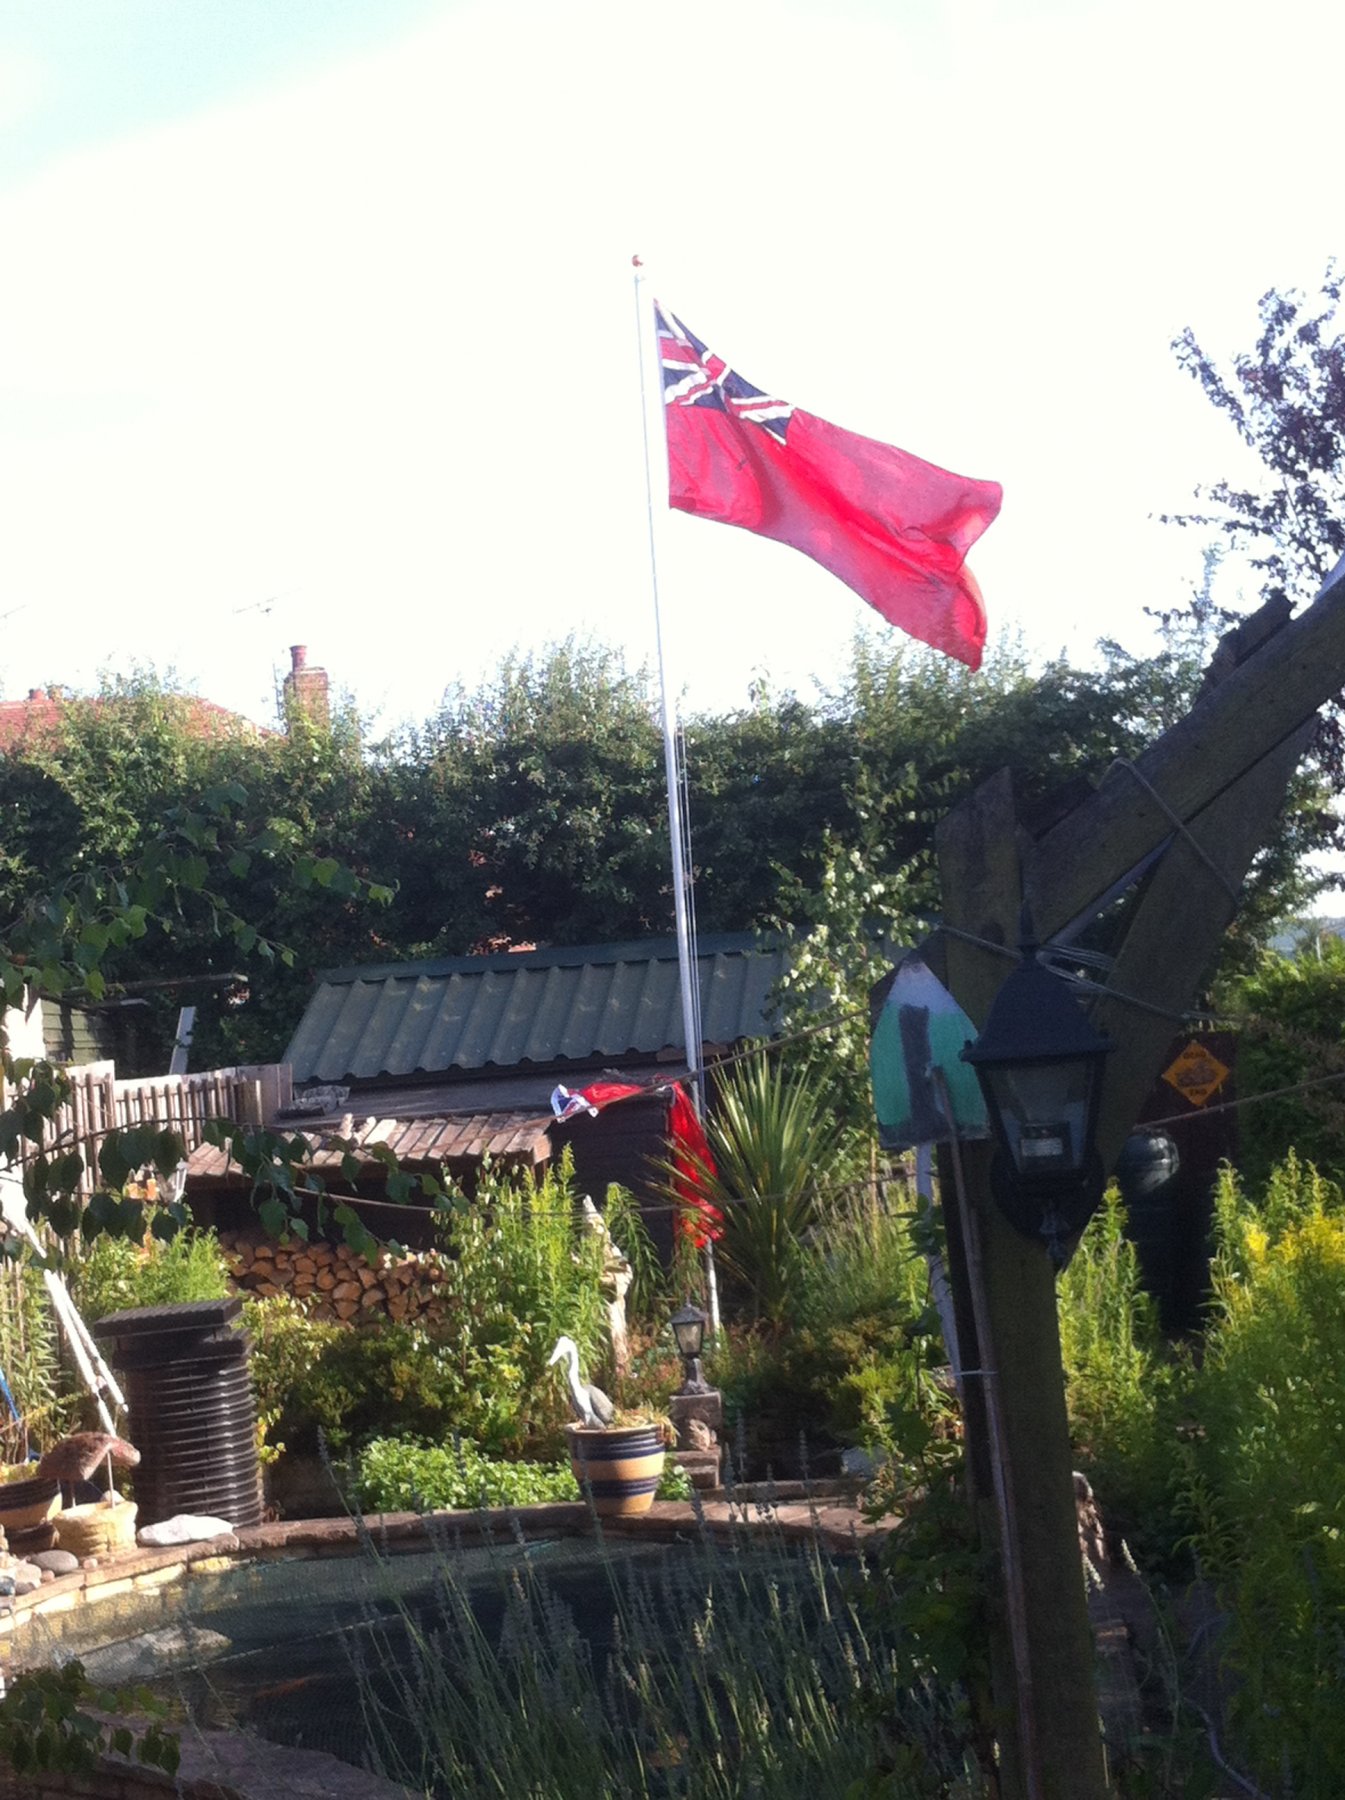
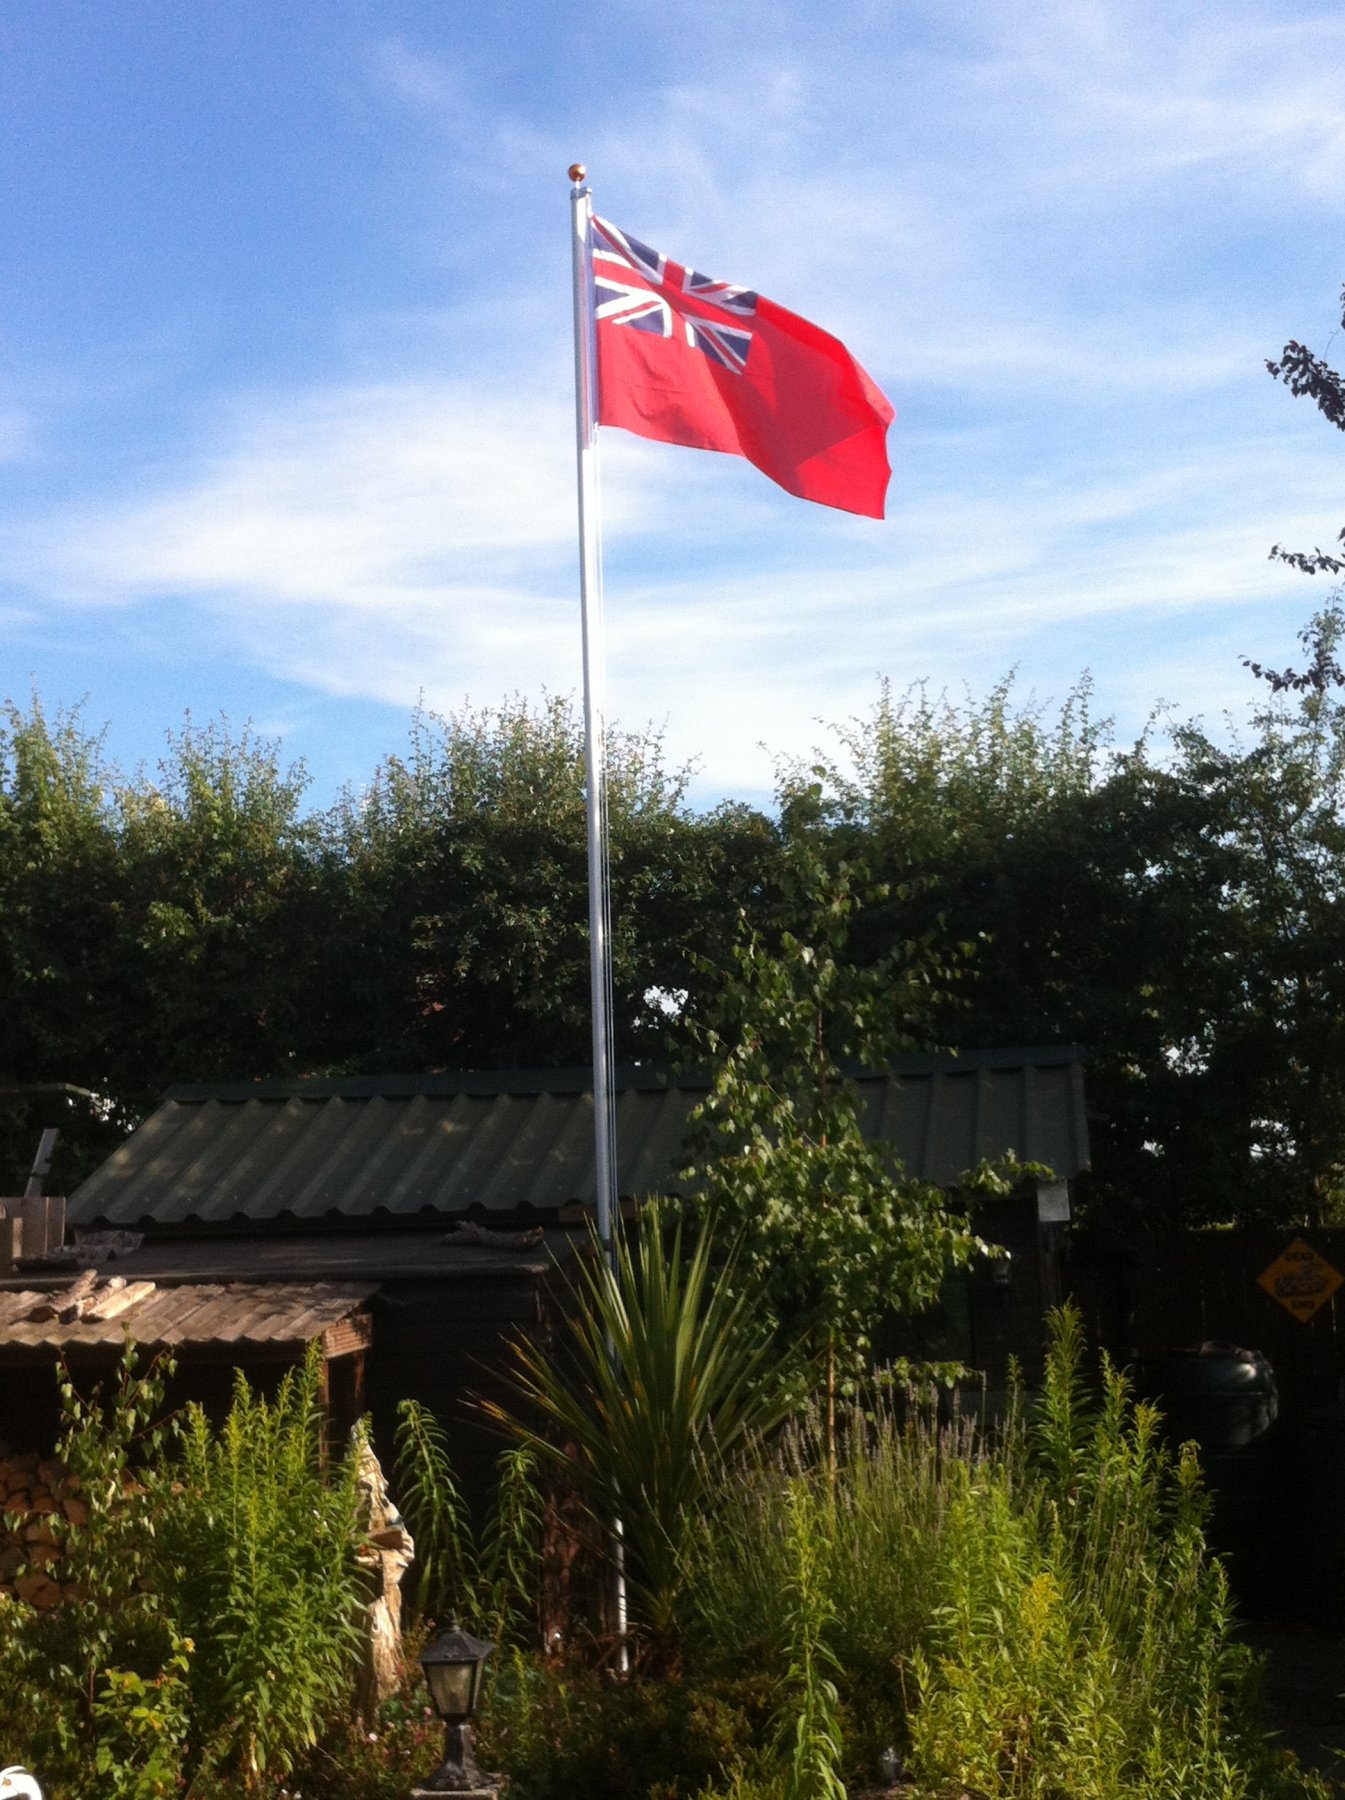
this is the one that somehow ended up in my bag when i paid off one ship, i found it when i got home and resolved to take it back with me if i ever sailed on her again but they scrapped her so i guess i am stuck with her, damn!!!!! it looks good on my flagpole but i need a bit more wind than we have at the moment!!!
-
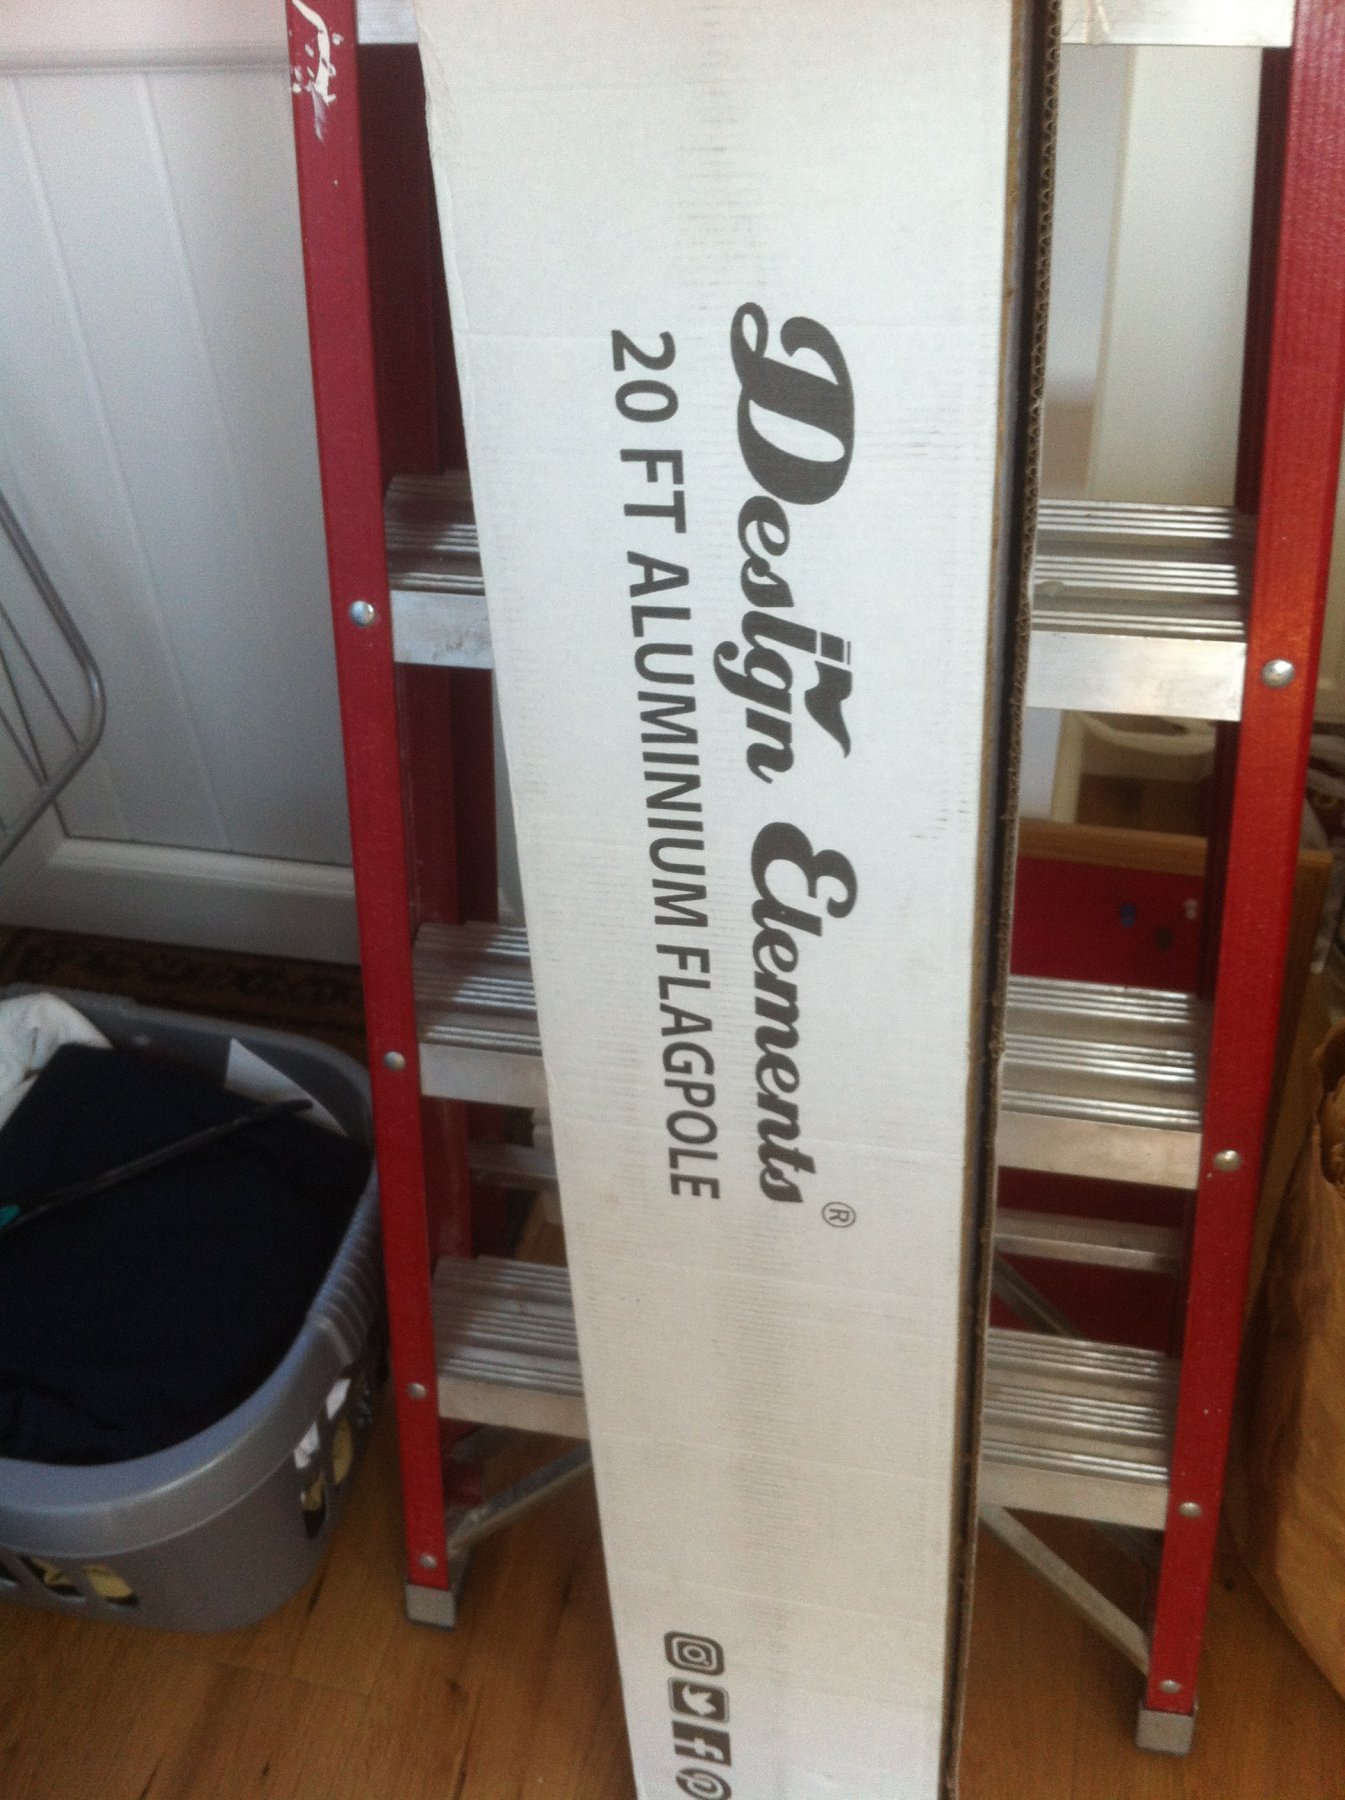
look what the admiral of the fleet just bought me for our 18th wedding anniversary..


-
spare cordage to do the Victory rigging
spider999 replied to spider999's topic in Masting, rigging and sails
Back again, pretty much got my shopping list together, based on what blocks came with the kit I think I should be ok with the following... Blocks 175 x 4mm singles 50 x 4mm doubles 12 x 4mm triples 25 x 5mm singles 12 x 5mm triples Ropes 0.45mm (0.018) tan rigging line 60 ft 18m 0.45mm (0.018) Black rigging line 40 ft 12m 0.88mm (0.035) tan rigging line 40 ft 12m 1.14mm (0.045) tan rigging line 20 ft 6m Just need to get the Admiral of the fleet to break open the sea chest and issue me the dubloons!!! lol -
spare cordage to do the Victory rigging
spider999 replied to spider999's topic in Masting, rigging and sails
Hi again Grant, to PM you is it the "Message" button next to the "Follow member" button on your profile page? I obviously didn't think the "write a public message" box was where PMs should go. Have updated my profile page, so at least it doesn't look like i dont have any interests!!! Spider Hi Grant, PM sent. John, Thank you for your reply. Questions are never stupid, that is how you pass your knowledge on, by answering people's questions. If we all knew everything about everything it would be a very boring place... I am an ex- Able Seaman in the merchant navy, I know, once a sailor always a sailor, you cant get the salt water out your blood.. I am at my happiest tying fiddly little bits of string with or without tweezers, I could even give Gil a run for his money with tying them inside a matchbox............ behind my back with my eyes closed........... no seriously I absolutely relish the thought of doing the rigging and am as tight as a duck's *** when it comes to wasting string. If I can get away with not having to cut any off after tying the knot them i am a happy bunny. I was gonna measure the lengths of the different size ropes in the kit then get 3 times that amount from Chuck's site. I am also gonna keep the little round blocks as they are decent enough for me, but replace the square wooden ones as they are not very good. regards Spider -
Hi there,
just tidying up admin now not sat at work.
updated profile, answered most replies to my post/s, house admin etc etc.
Thought I would reply to the ones kind enough to welcome me aboard the site.
Cheers for the
-
spare cordage to do the Victory rigging
spider999 replied to spider999's topic in Masting, rigging and sails
Hi again Grant, to PM you is it the "Message" button next to the "Follow member" button on your profile page? I obviously didn't think the "write a public message" box was where PMs should go. Have updated my profile page, so at least it doesn't look like i dont have any interests!!! Spider -
spare cordage to do the Victory rigging
spider999 replied to spider999's topic in Masting, rigging and sails
Grant, thank you for your kind reply, I already have Longridge's book, along with a few others, cant remember them all, they are packed away at mo due to house building work, just got 2 more on amazon though, Rigging Period Ship Models: A Step-by-Step Guide to the Intricacies of Square-Rig Petersson, Lennarth and The Masting and Rigging of English Ships of War, 1625-1860 (Conway's History of Sail) Lees, James they looked good and based on the reviews decided my bookshelf had a couple of spare slots!!! Antony, again, thank you for your reply. I was thinking of getting the blocks as well as the string from Chuck anyway. I just need someone to give me a rough idea of how much string, what sizes etc. I know I need black and probably the tan, but not sure yet, till i get down to the shed and dig out the original bag of string, and count the blocks that come with the kit. any ideas? kind regards Spider