-
Posts
223 -
Joined
-
Last visited
Content Type
Profiles
Forums
Gallery
Events
Everything posted by Haze Gray
-
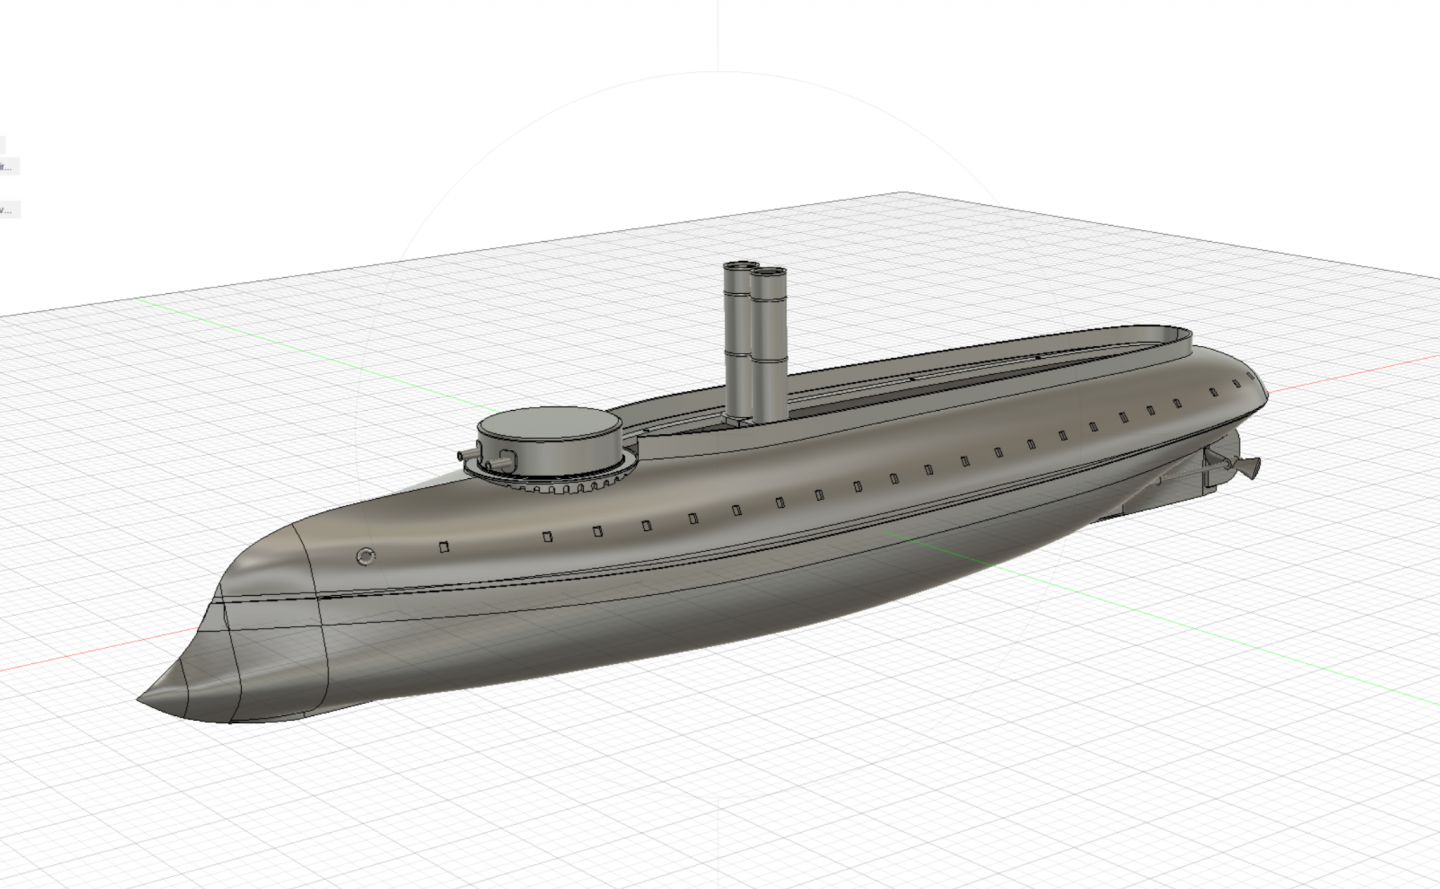
So lately i've been looking at large format resin printers - the Peopoly Phenom has a build volume of 276mm x 155mm x 400mm which is really big.... One could conceivably do a complete hull with a lot of detail and do it much faster compared to printer that uses filament. I've been thinking about doing ships that I design in 1/350 scale and that Phenom looks like it is basically what I had in mind... tempting....
-
I don't think I'm at the right point to sell them but my typical process is to get the design done, then print out the first draft of the parts and see how things fit together and if I need to make adjustments or changes (sometimes I forget to add something, etc). So through that draft process I finalize the design as much as I can and re-print anything that changed. These things take up space so if you're interested in getting one of the finalized drafts I can probably make that happen provided you cover the shipping cost - bear in mind that these ships in 1/72 scale typically range between 1300mm to 1900mm from nose to tail. The one thing I would add is that most 3d printed parts will need some sanding and surfacing - it maybe plastic but it's not injection molded.
- 132 replies
-
- charles martel
- battleship
-
(and 1 more)
Tagged with:
-
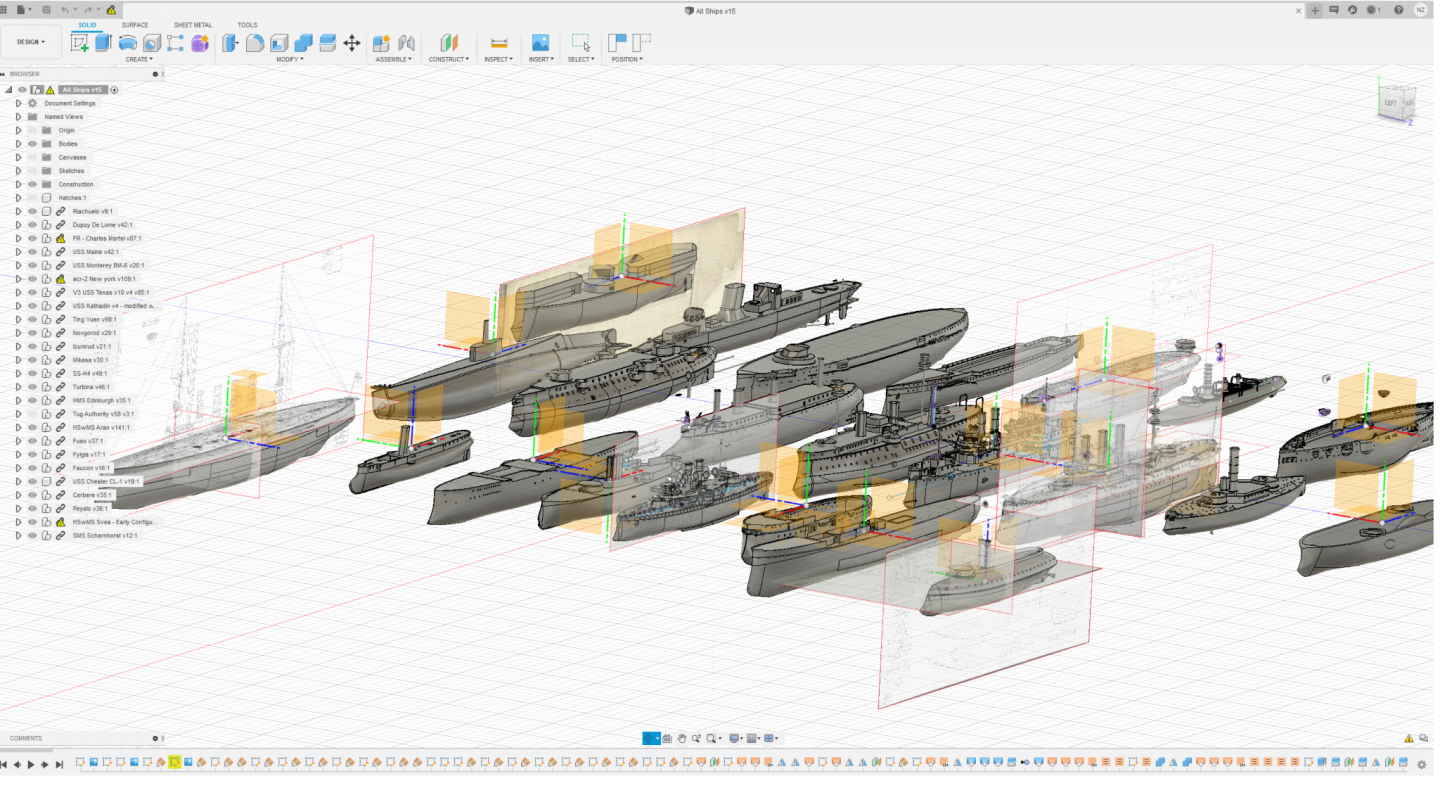
Well my only plan really to to grow the fleet! - I have about 700 ships of the period that I would like to model - however, based on my calculations I am unlikely to live long enough to complete more than 350. Granted I am much faster now than I was in the beginning and have about 25 designs that are pretty far along, but it would be hard to do more than 1 per month on average. 1/72 scale is kind of ideal for the typical ship of this period since it allows for a reasonable level of detail for the typical 3d printer that uses filament but the size of the printer needed typically is larger larger than what the more economical printers out there can support (both in build plate area and Z axis depth).
- 132 replies
-
- charles martel
- battleship
-
(and 1 more)
Tagged with:
-
Sure here you go - 5 hulls but the one with the superstructure and funnels is the USS Main - that hull has been sanded and partially painted - I actually have a 6th hull printing that is not in the photo (for the USS Texas - the original one from the 1892)
- 132 replies
-
- charles martel
- battleship
-
(and 1 more)
Tagged with:
-
Thanks Gents, that's very kind of you to say! I really should provide an update - I've been sanding the hull and making the turrets, but I have 3 hulls in addition to the Charles Martel that I'm sanding and it's been kind of cold out in the garage so I've slowed down a bit. maybe In another week or two I'll post that update.
- 132 replies
-
- charles martel
- battleship
-
(and 1 more)
Tagged with:
-
I think Bilge rat is probably right about the rabbit hole - but I'd say you're probably further down that hole than you think! This topic has a lot of great information: https://modelshipworld.com/forum/34-cad-and-3d-modellingdrafting-plans-with-software/ How things are done in fusion similar to how things are done in blender - basically tracing hull lines and then some lofting operations. I'd recommend just finding plans of a ship that you're passionate about and heading over to that "model drafting plans with software" topic and start posting your attempts, you'll get a lot of help. Next time I do a hull I'll make a video to show you a few basic techniques. If you like to witness torture: here's 40 minutes of me hating life and trying to model a French Torpedo Aviso.... lofting hull in fusion 360 - YouTube
-
Wefalck, I forgot to address your question on smoothing out the lines - I typically sand down the layers (sometimes by hand, sometimes using a small orbital sander) and also I sometimes put a very very thin coat of gesso and then sand that flat. when I say thin, I mean very very thin layer of gesso - it can work really well but I've not perfected that technique but it can work extremely well.
-
Cost can vary depending on the skin thickness and the infill percentage - these days I go with 0.7mm skin and 20-25% infill depending on the part - and the cost range from ~$60 - $120 for the hull. I've noticed though that some resin ship kits can get pretty expensive, more than what it costs to print a large scale one in PLA.
-
Glad I found this thread - I've been designing and printing hulls for the past few years (mostly designing as I like that part the most) but do print some in large scale using PLA+, but I did pick up a resin printer so i can start printing them out in a smaller format for even more fun. I've been using fusion and it took me awhile to figure out how to do it (that was back in 2018!) Largest hull I have is about 1.7M long but I have a few plans for 2+ meter long hulls. Since most of what I print is large I spend a lot of time maintaining machines (especially the wiring) and used to use a battery backup until I figured out how to configure printing resume after power loss (happens occasionally where I live due to trees!). I have been refining the design for the hull joining tabs that helps with alignment - not perfect yet but what is?
-
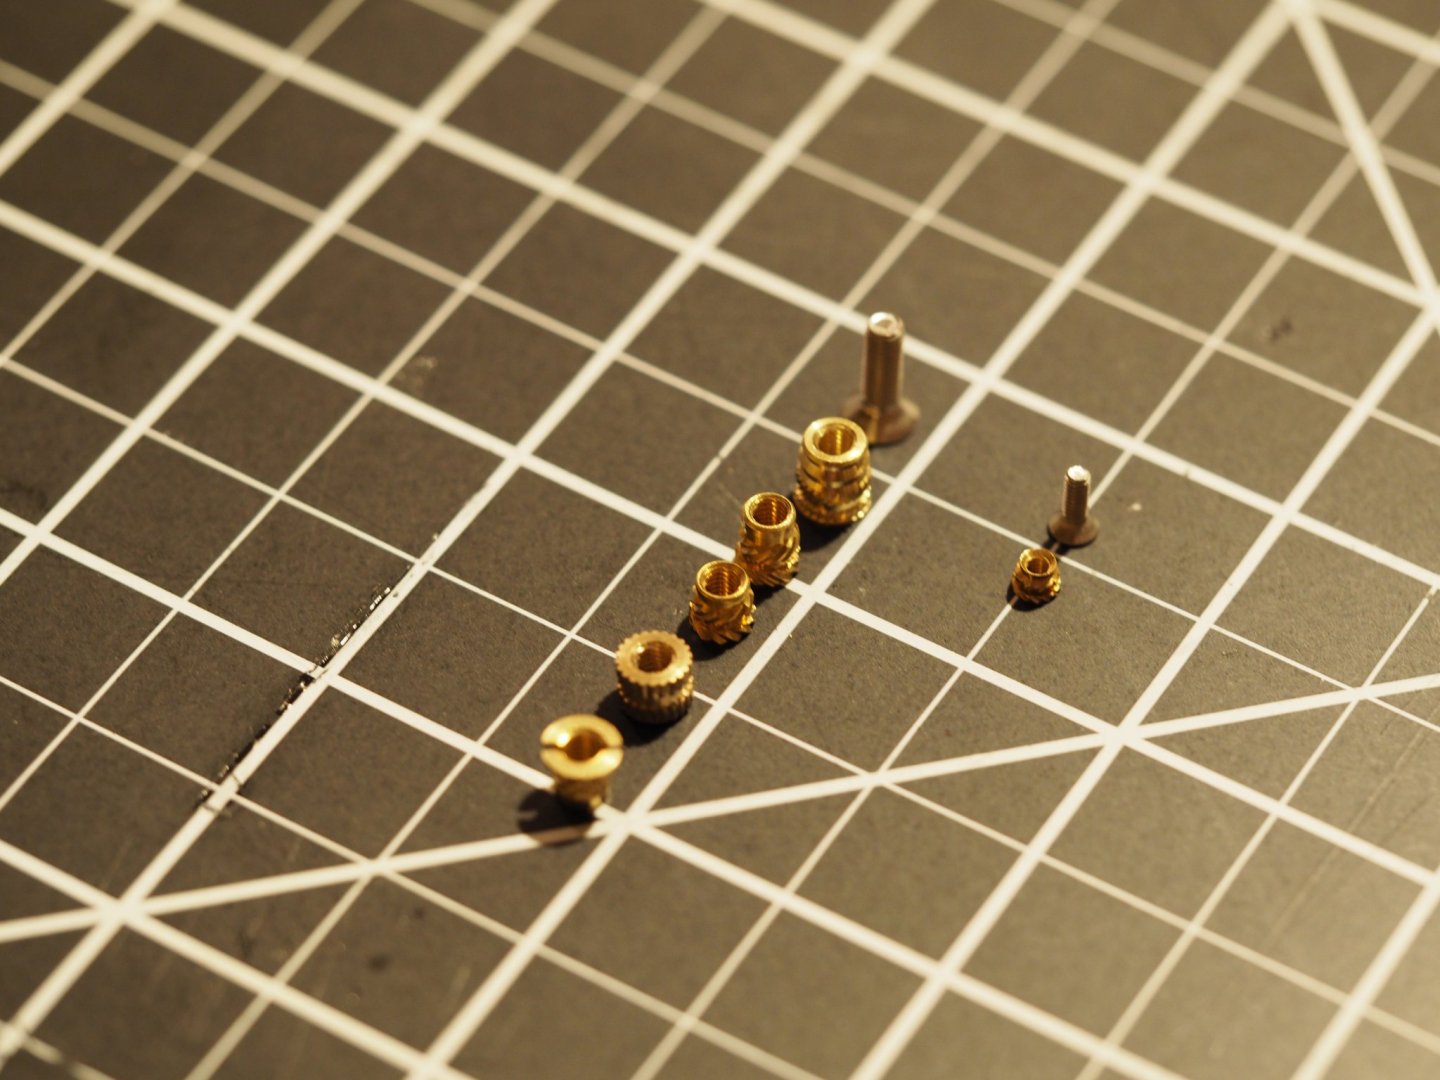
Another update here - after finishing printing all the hull sections yesterday I spent some time cleaning them up a bit. Prior to permanently joining them all together I needed to put in some of the threaded inserts for stepper mounts and the arduino control board. The "heat inserts" I use are from Mcmaster Carr: heat inserts | McMaster-Carr and they come in a many different sizes. I typically use 3mm inserts with 3mm machine screws, and there's several different types available even in just the 3mm size. The row on the left are for 3mm and there's a 2mm example on the right side in this photo. Note I would recommend you spend the extra money on the heat inserts from Mcmaster Carr, the cheap ones you can get off ebay are (in my opinion) garbage. Easy to install a 3mm insert using a soldering iron with an adapter or thin tip: And here's what it looks like with most of them installed. The aft most inserts are where the motor mounts get bolted to. Next I started gluing the section together - a thin layer of 5 min epoxy this time since I didn't have any 10 min lying around. I find that 5 min epoxy is okay but sets quick and sometimes if there's some alignment issues your racing against the clock in a most uncomfortable way. So I always check and recheck how things are fitting together before I mix up the glue. I also take time to figure out which tabs will need more clamping pressure and have those handy. You can kind of see the glue in this photo, keeping it to a thin layer means less ooze to wipe off. After gluing 3 pairs of two sections together I sent them aside for an hour or so to fully cure And then I joined the three groups into complete hull.... (I forgot to take a photo but just imagine the whole boat with the bow on the floor and totally vertical teetering precariously against the work bench!) Then once cured and when the Admiral wasn't looking I used the dinner table again for a photo of the completed hull: The next step will be sanding the hull to get all the layer lines out and a smoother surface. This can easily be done by hand although there's tricky area's that will need careful attention (more about that later). For the most part a 2" air driven orbital sander will make quick work of most of the sanding. I'll start that after work tomorrow.
- 132 replies
-
- charles martel
- battleship
-
(and 1 more)
Tagged with:
-
Now have section 1-4 printed, just two more to go (about 8 days or so) - was able to use the dinner table when my wife wasn't looking 😃
- 132 replies
-
- charles martel
- battleship
-
(and 1 more)
Tagged with:
-
Thought I'd drop in with a short update - sections 1 & 2 completed. 3rd section is printing and should complete sometime on Wednesday... things are a bit behind schedule due to power outage (and I biff'ed on resuming the print properly).
- 132 replies
-
- charles martel
- battleship
-
(and 1 more)
Tagged with:
-
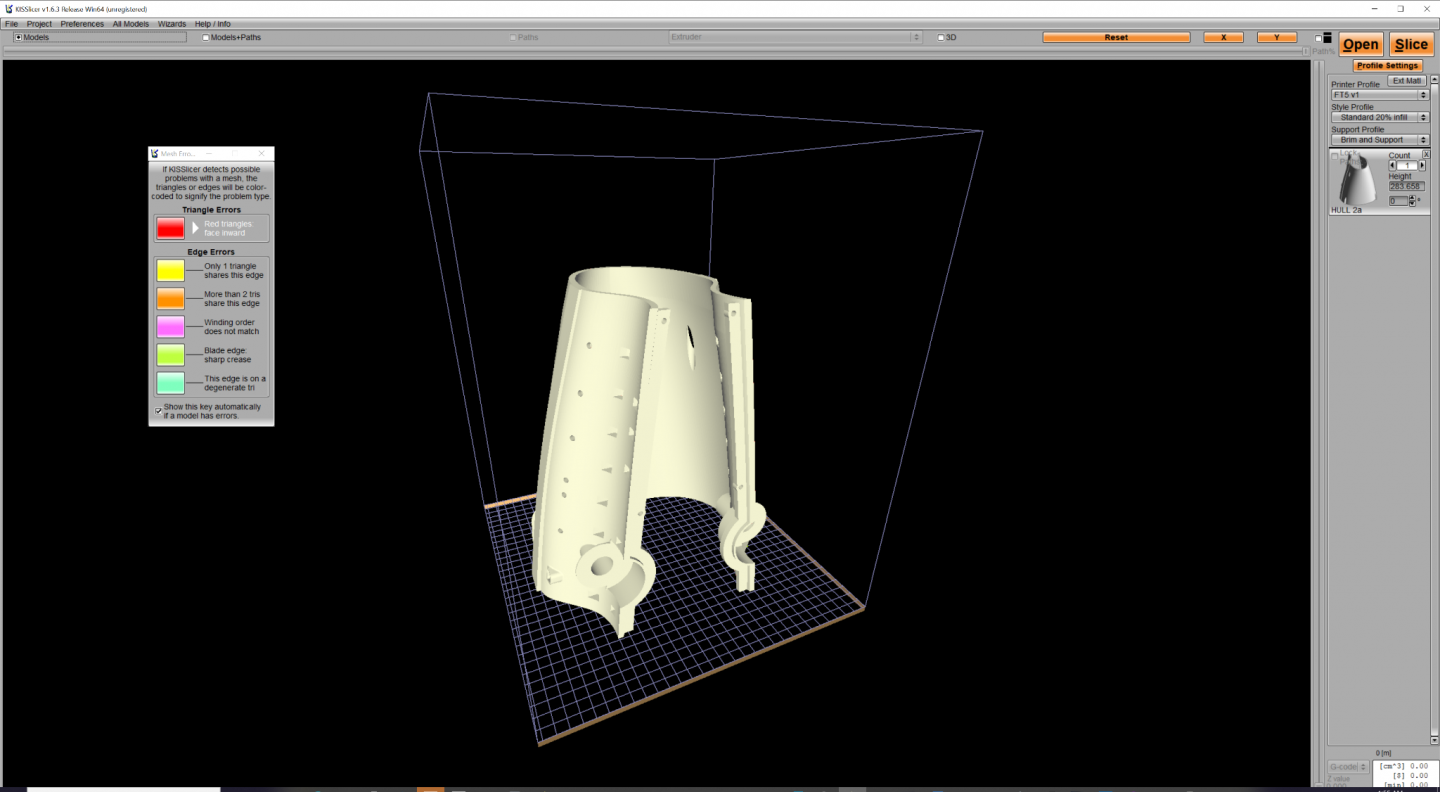
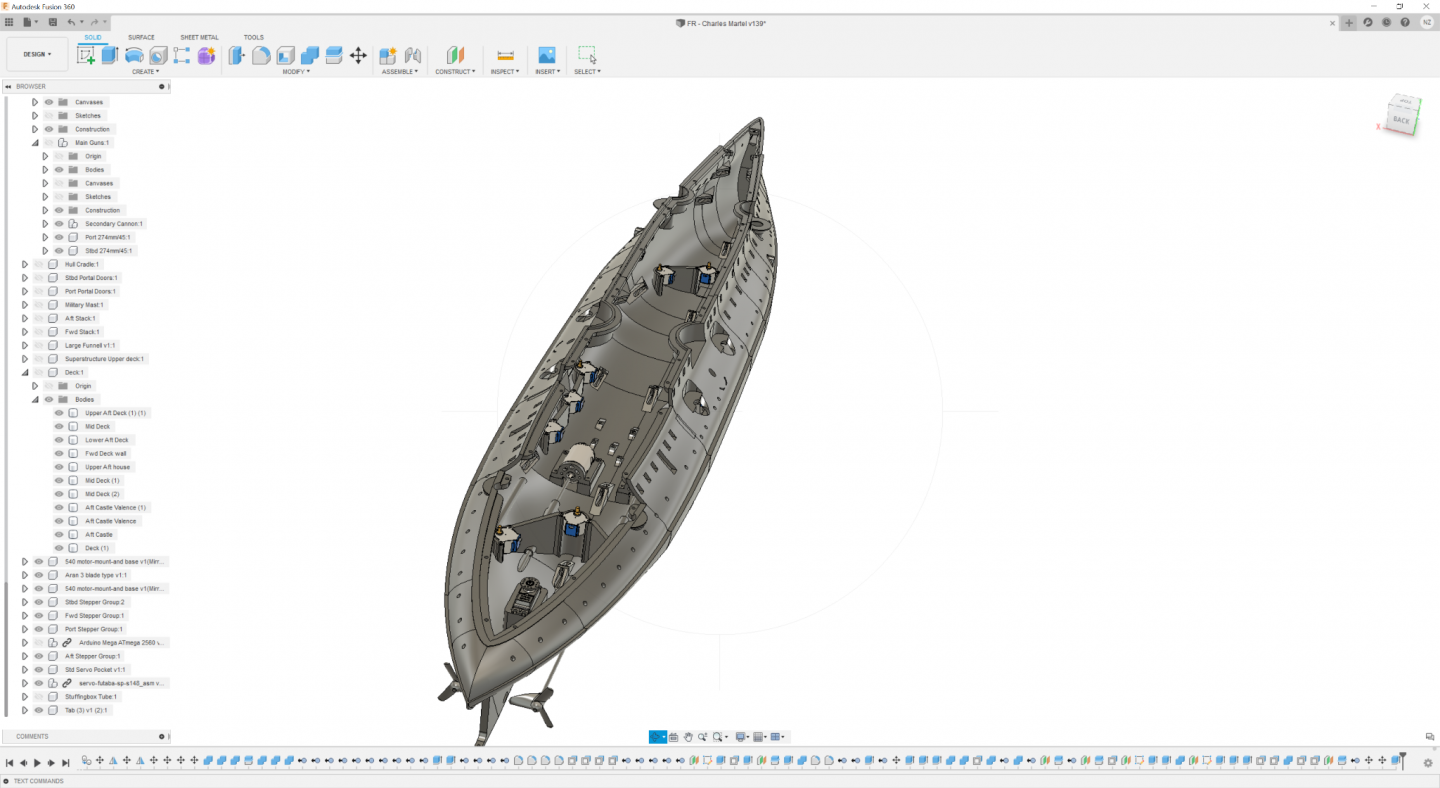
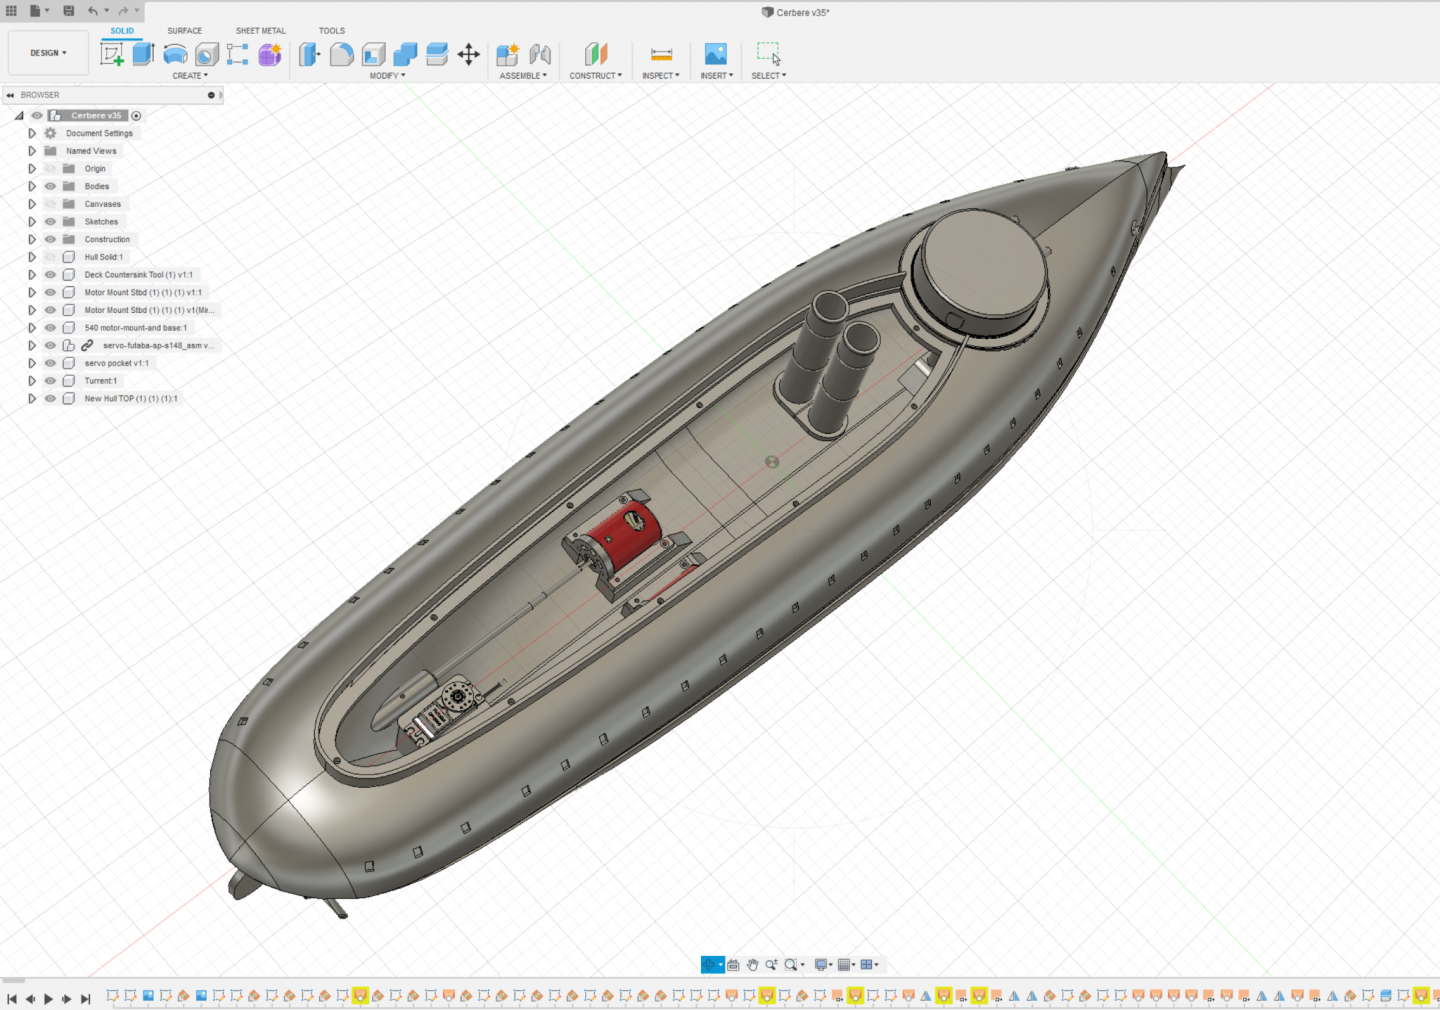
Update - I've been spending the last week or so getting the hull ready to actually print - I've been taking hull and and slicing it up and putting in provisions for stepper actuated turrets. There's going to be 6 hull sections - the longest is the stern at 376mm (which is just shy of 15 inches) and I'm estimating about 18 total days to print all hull sections. While the hull in printing I'll finish up the deck work which is kind of the fun/extremely challenging part since there's really a gap in the plans on the details and will be mostly done by staring at photos for hours on end to get what details I can. Also, I'm including a link to a video as that might be interesting to some of you. https://youtu.be/xL65M7gmwas
- 132 replies
-
- charles martel
- battleship
-
(and 1 more)
Tagged with:
-
- 132 replies
-
- charles martel
- battleship
-
(and 1 more)
Tagged with:
-
Hi Yuuki, I don’t think scaling it down to 1/350 would work well - some of the features are thin like 1mm so at 1/350 scale that becomes ~0.2mm. It might be possible with a resin printer do you have one of those?
- 132 replies
-
- charles martel
- battleship
-
(and 1 more)
Tagged with:
-
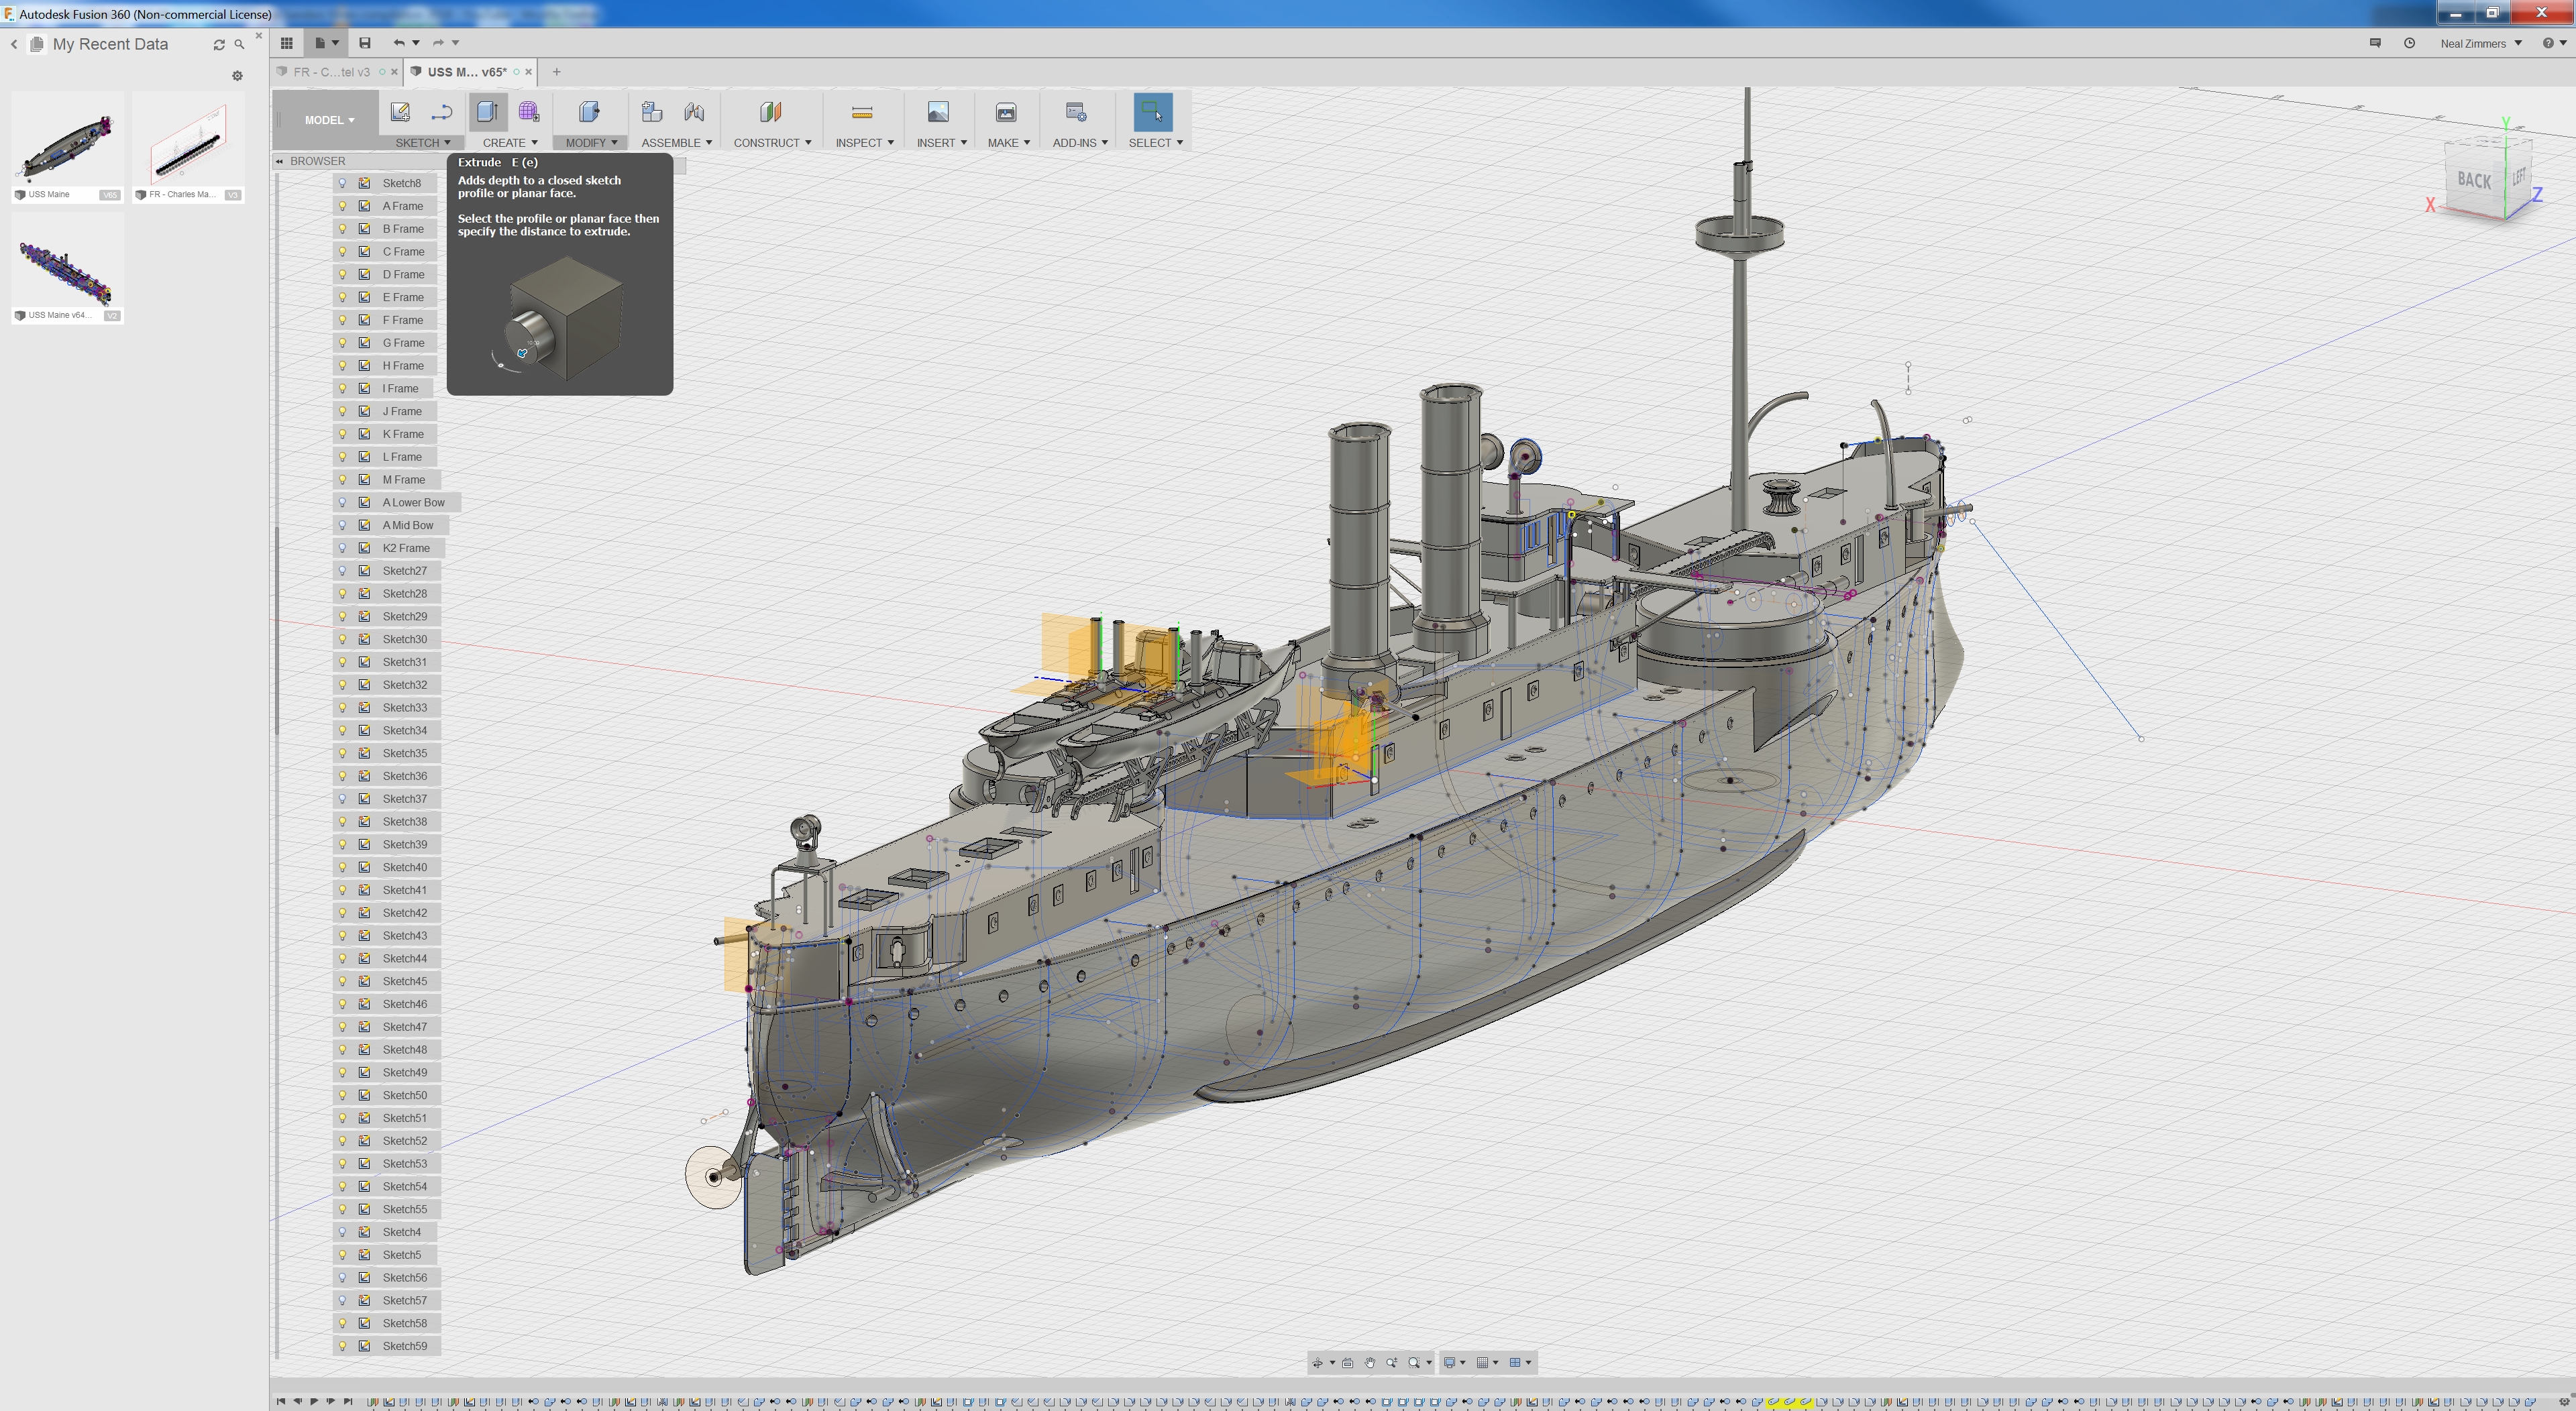
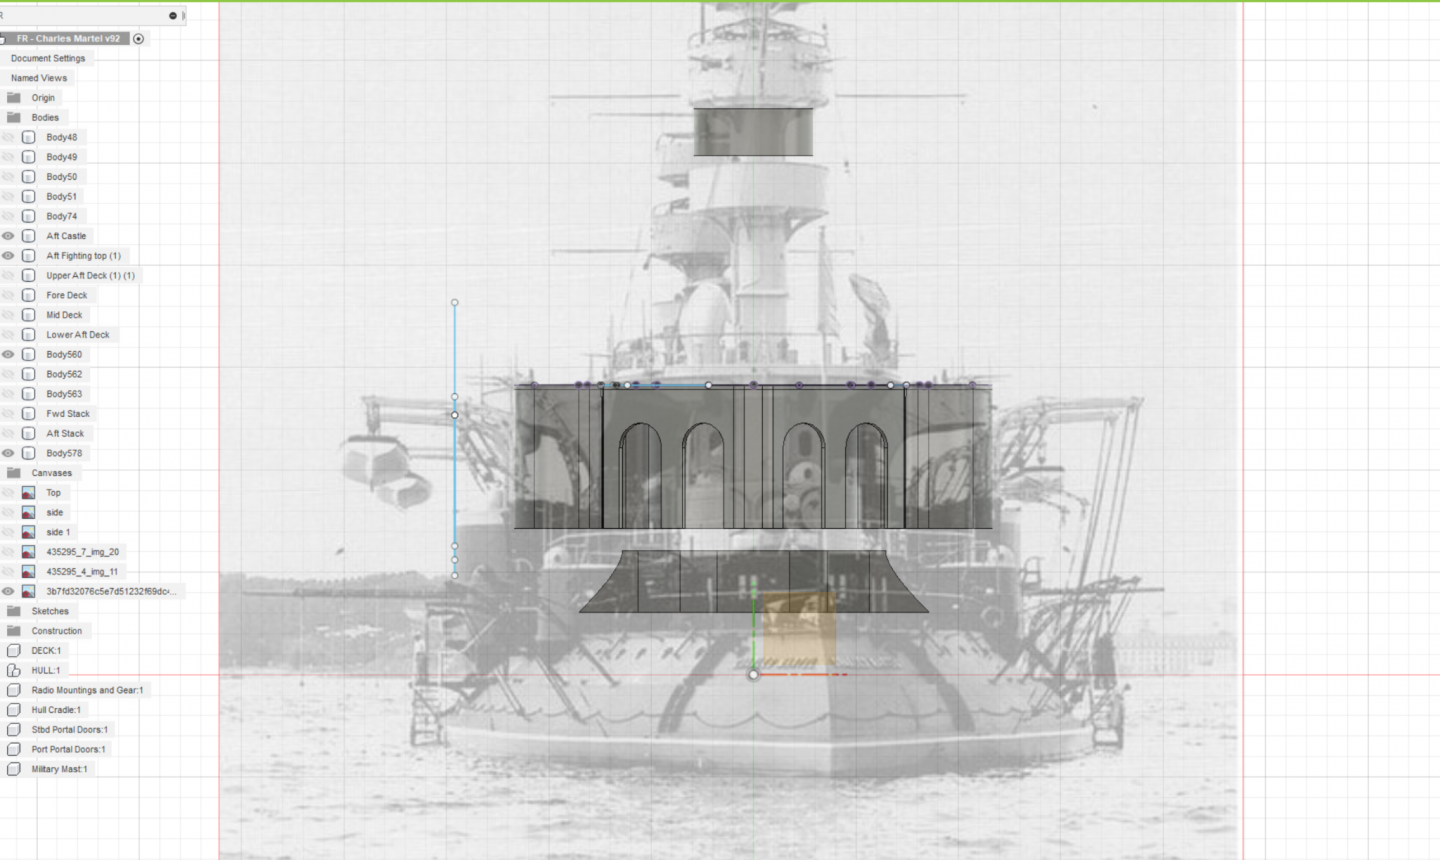
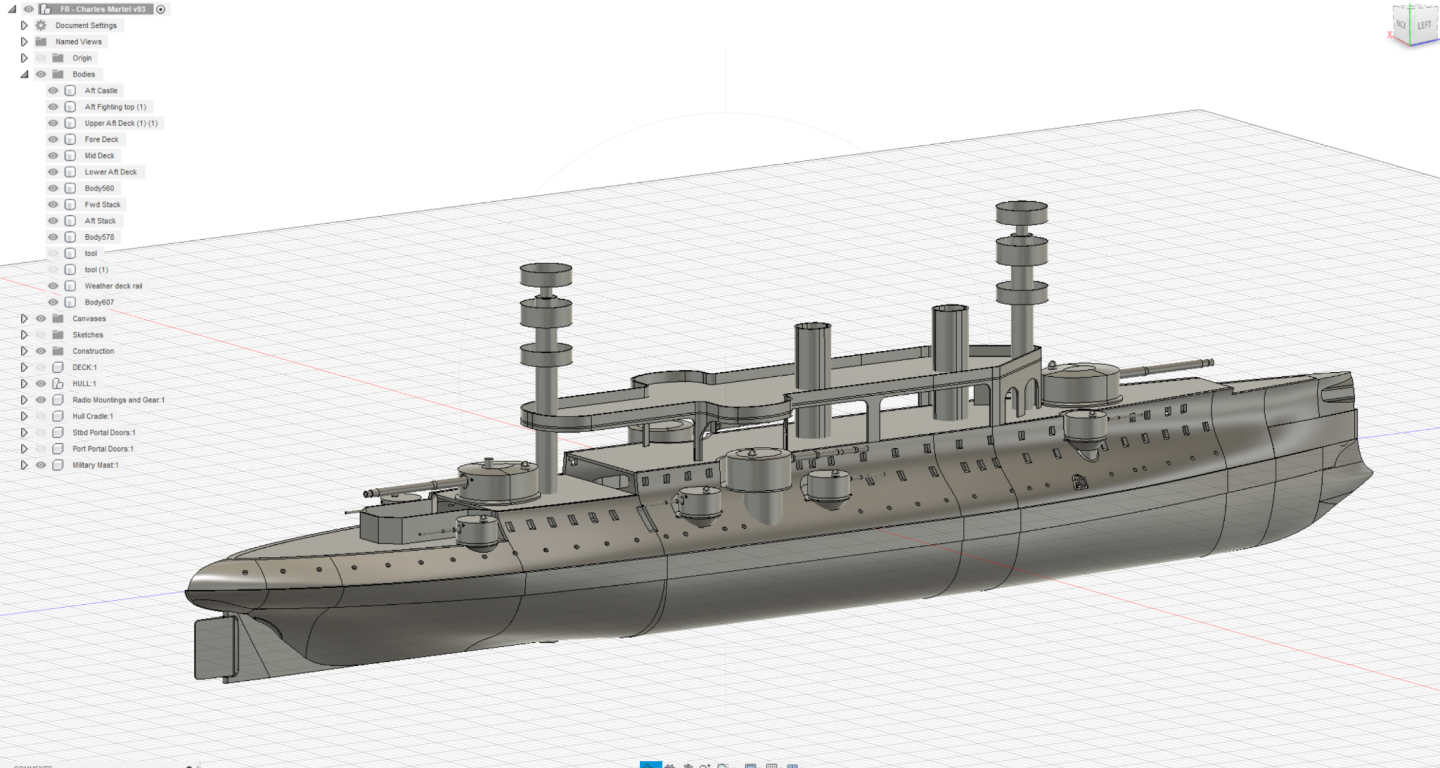
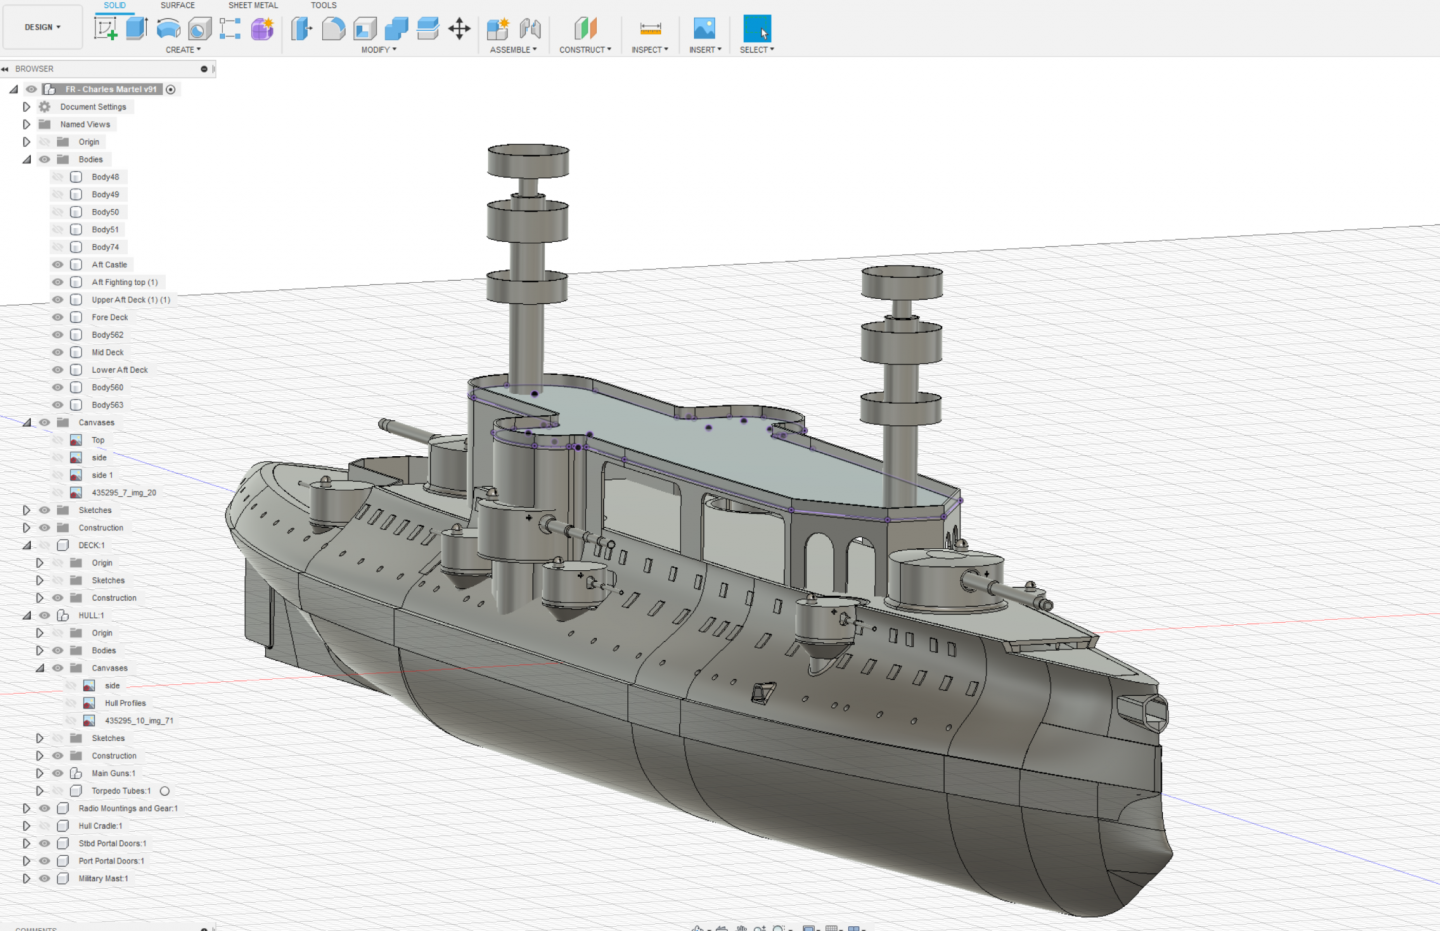
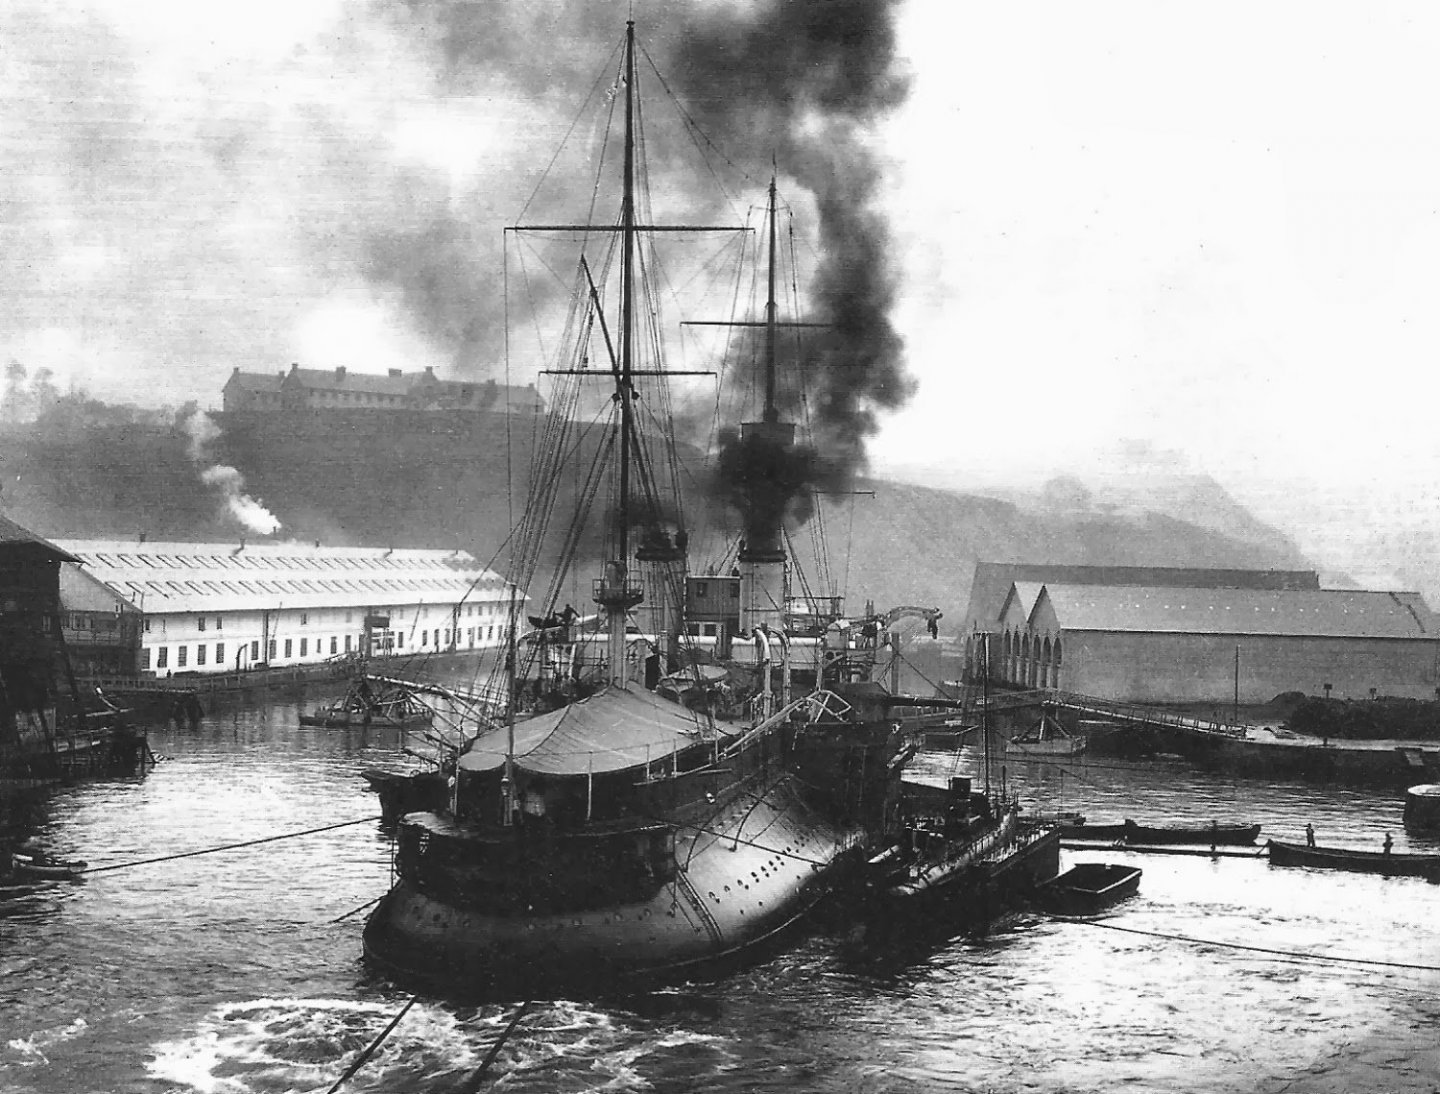
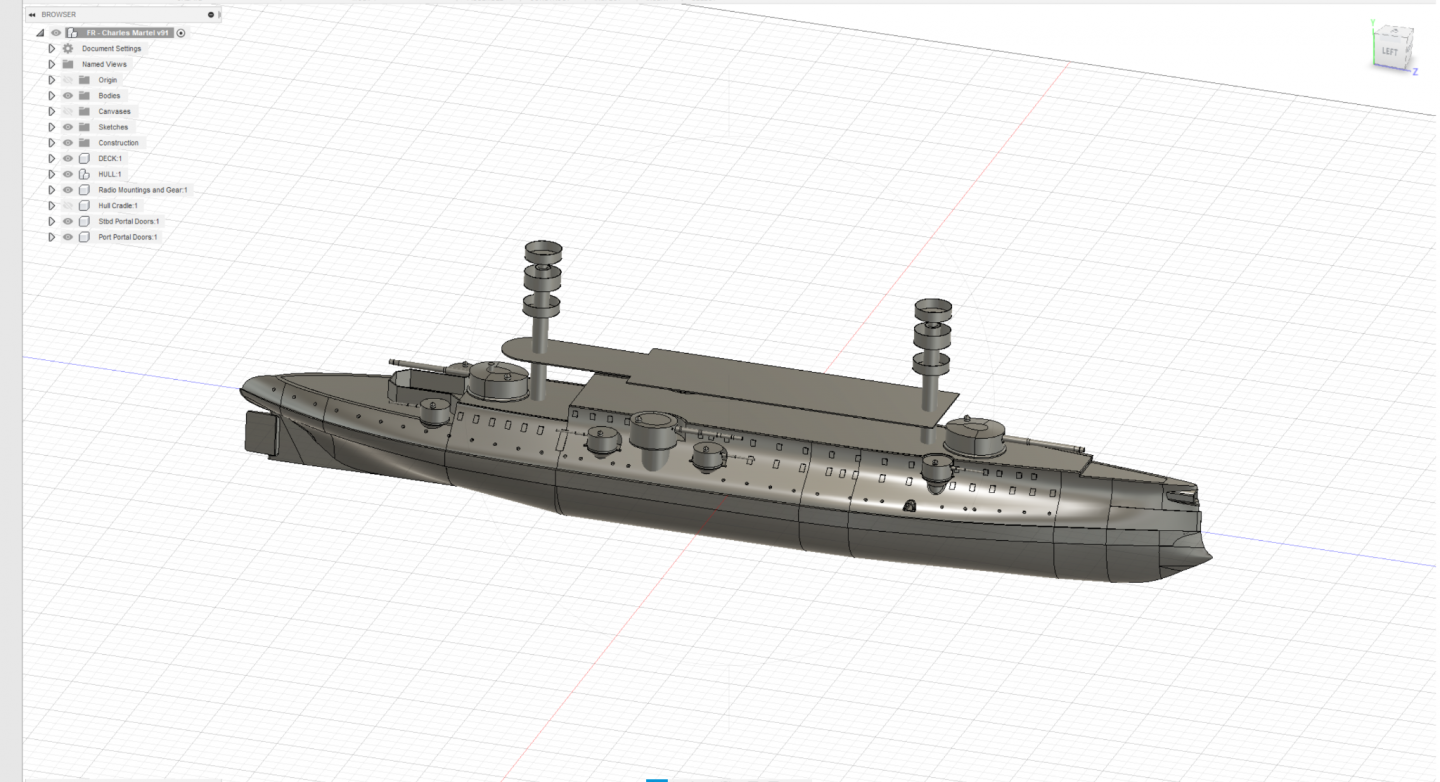
I'm starting to get into the part of the design where I have to lean more and more into what I can what I can understand based on the photos of the ship. There's really very little in the way of the original French designs for the structure above the main deck - sometimes I superimpose photos on the model to get a feel for how really was. I stared at 5 different images for 2 hours looking at the superstructure from different perspectives - there no way I can be 100% sure I'm working in the right direction I just tweak details as I go along and check and double check as I move forward.
- 132 replies
-
- charles martel
- battleship
-
(and 1 more)
Tagged with:
-
- 132 replies
-
- charles martel
- battleship
-
(and 1 more)
Tagged with:
-
- 132 replies
-
- charles martel
- battleship
-
(and 1 more)
Tagged with:
-
I did some more work on the Charles Martel last night - good to get back to it. I have a bunch of boats that I'm working on so they often compete for my time 😃
- 132 replies
-
- charles martel
- battleship
-
(and 1 more)
Tagged with:
-
Yes a lot of the French tumblehome designs suffered from a range of stability issues. They added a couple of really tall, really heavy military masts which would have made for some real fun!
- 132 replies
-
- charles martel
- battleship
-
(and 1 more)
Tagged with:
-
Hi Yuuki, the model is designed at 1/72 scale and would be 1.6 meters long - are you looking for a project that big?
- 132 replies
-
- charles martel
- battleship
-
(and 1 more)
Tagged with:
-
Well Done Floyd - BRAVO ZULU! Photo's look great and I doubt there's another school out there that have a demonstrative tug and barge - gives Mike some real bragging rights 😃 It's hard to really get a feel for the true size of the barge - you have to see it in person - it is truly LARGE.
- 133 replies
-
- alert class
- tugboat
-
(and 1 more)
Tagged with:
-
Floyd, have you had successful trials with PLA welding? when I tried it I got very inconsistent (bad) results but I may have been spinning up to high - When you lined up the railing, how big is the difference in the deck height? If you can line up the deck and the hull and the keel acceptably and only have the railing to fix, that would be the way I would go. It's going to be easier to add material/filler and build up a flush surface on the railing than it would be to shave/remove material. The plastic will hate you from trying to remove more than 1mm of material and it will remind you that the skin is thin, especially in section 5. We could always hang tires over the side too to help hide seam lines Another alternative is to line up the keel and the hull and the railing acceptably and if you only have the deck that's out of alignment then a sheet of wood or other material + filler could be used to bring the main deck up to match.
- 133 replies
-
- alert class
- tugboat
-
(and 1 more)
Tagged with:
About us
Modelshipworld - Advancing Ship Modeling through Research
SSL Secured
Your security is important for us so this Website is SSL-Secured
NRG Mailing Address
Nautical Research Guild
237 South Lincoln Street
Westmont IL, 60559-1917
Model Ship World ® and the MSW logo are Registered Trademarks, and belong to the Nautical Research Guild (United States Patent and Trademark Office: No. 6,929,264 & No. 6,929,274, registered Dec. 20, 2022)
Helpful Links
About the NRG
If you enjoy building ship models that are historically accurate as well as beautiful, then The Nautical Research Guild (NRG) is just right for you.
The Guild is a non-profit educational organization whose mission is to “Advance Ship Modeling Through Research”. We provide support to our members in their efforts to raise the quality of their model ships.
The Nautical Research Guild has published our world-renowned quarterly magazine, The Nautical Research Journal, since 1955. The pages of the Journal are full of articles by accomplished ship modelers who show you how they create those exquisite details on their models, and by maritime historians who show you the correct details to build. The Journal is available in both print and digital editions. Go to the NRG web site (www.thenrg.org) to download a complimentary digital copy of the Journal. The NRG also publishes plan sets, books and compilations of back issues of the Journal and the former Ships in Scale and Model Ship Builder magazines.

