Warnerade
Members-
Posts
184 -
Joined
-
Last visited
About Warnerade
- Birthday April 27
Profile Information
-
Gender
Male
-
Location
Royal Oak, MI
Recent Profile Visitors
-
 Knocklouder reacted to a post in a topic:
King of the Mississippi by Warnerade - Artesania Latina - 1:80
-
 Cathead reacted to a post in a topic:
King of the Mississippi by Warnerade - Artesania Latina - 1:80
-
 tmj reacted to a post in a topic:
King of the Mississippi by Warnerade - Artesania Latina - 1:80
-
 Cathead reacted to a post in a topic:
King of the Mississippi by Warnerade - Artesania Latina - 1:80
-
 Knocklouder reacted to a post in a topic:
King of the Mississippi by Warnerade - Artesania Latina - 1:80
-
 Warnerade reacted to a post in a topic:
King of the Mississippi by Warnerade - Artesania Latina - 1:80
-
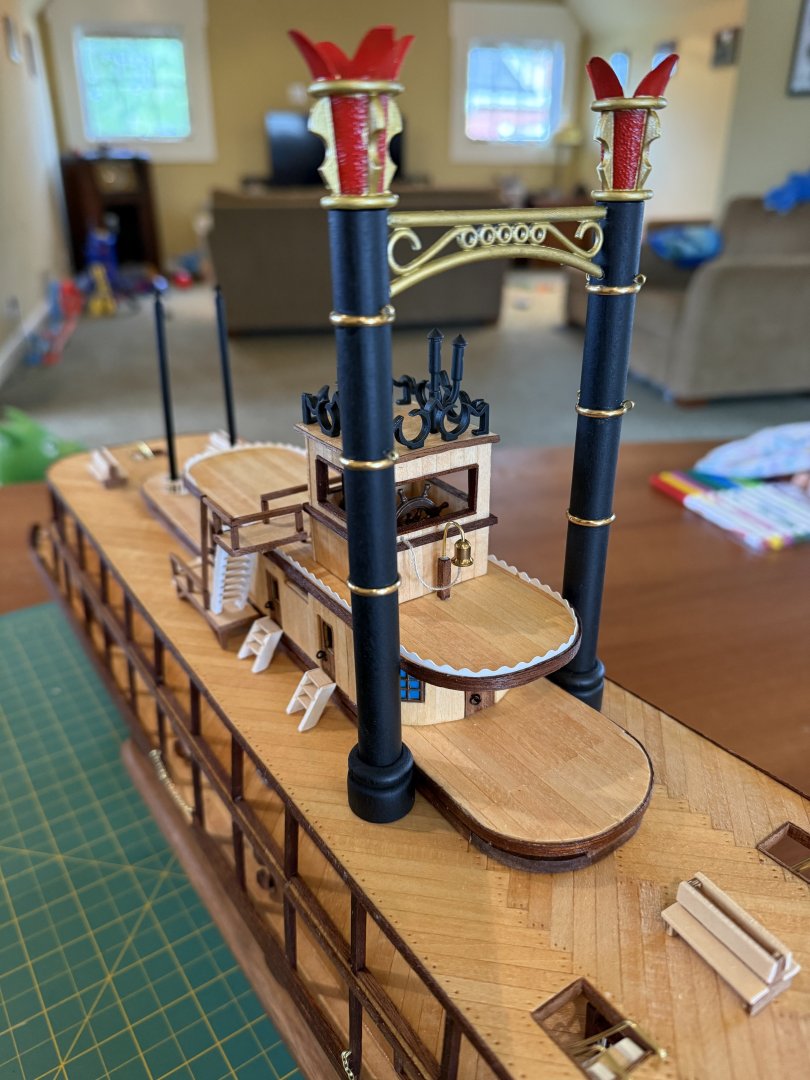
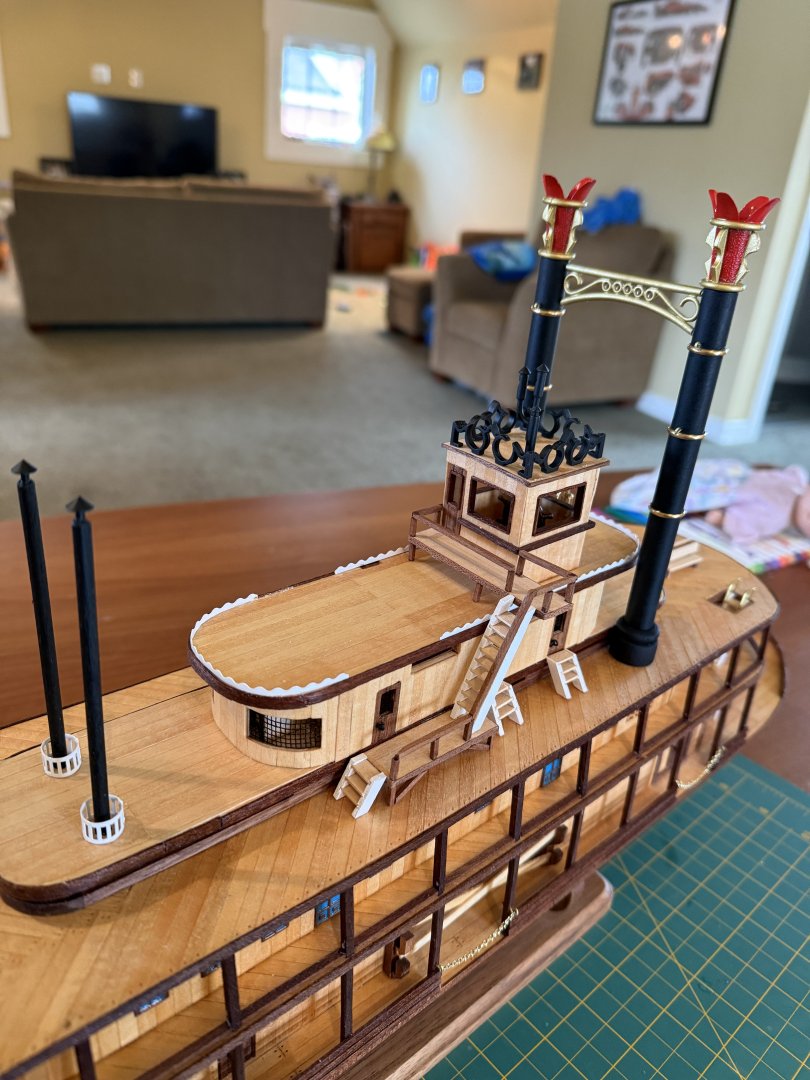
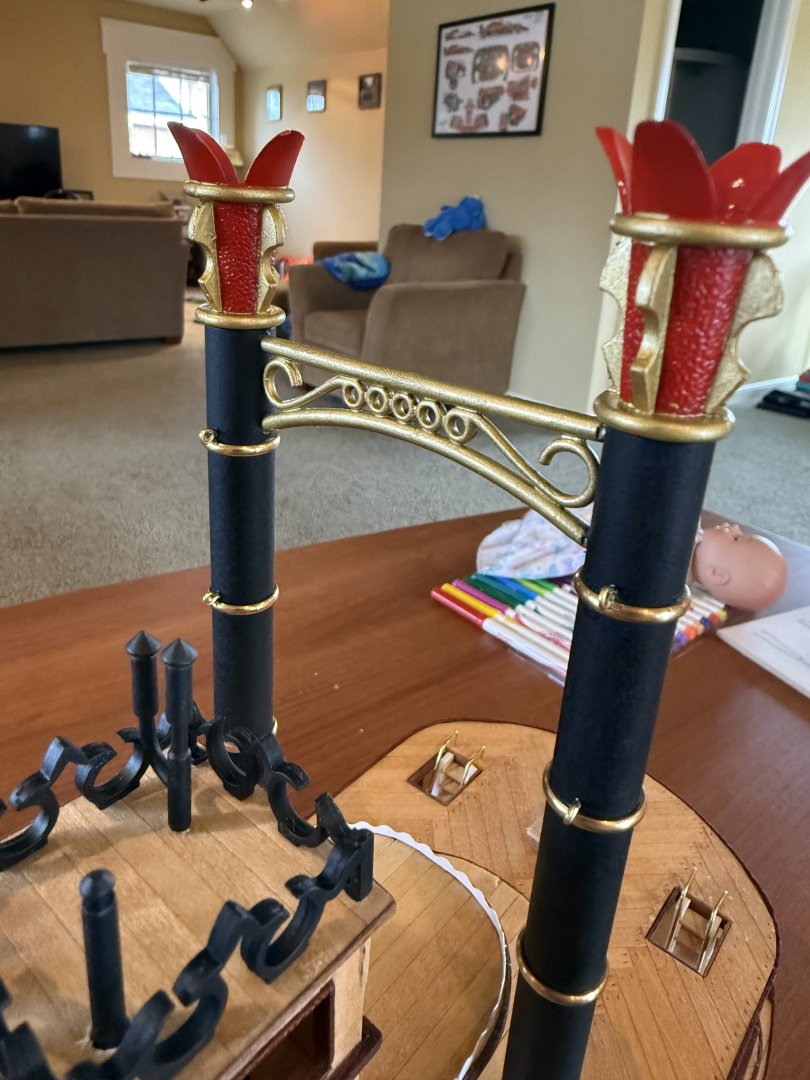
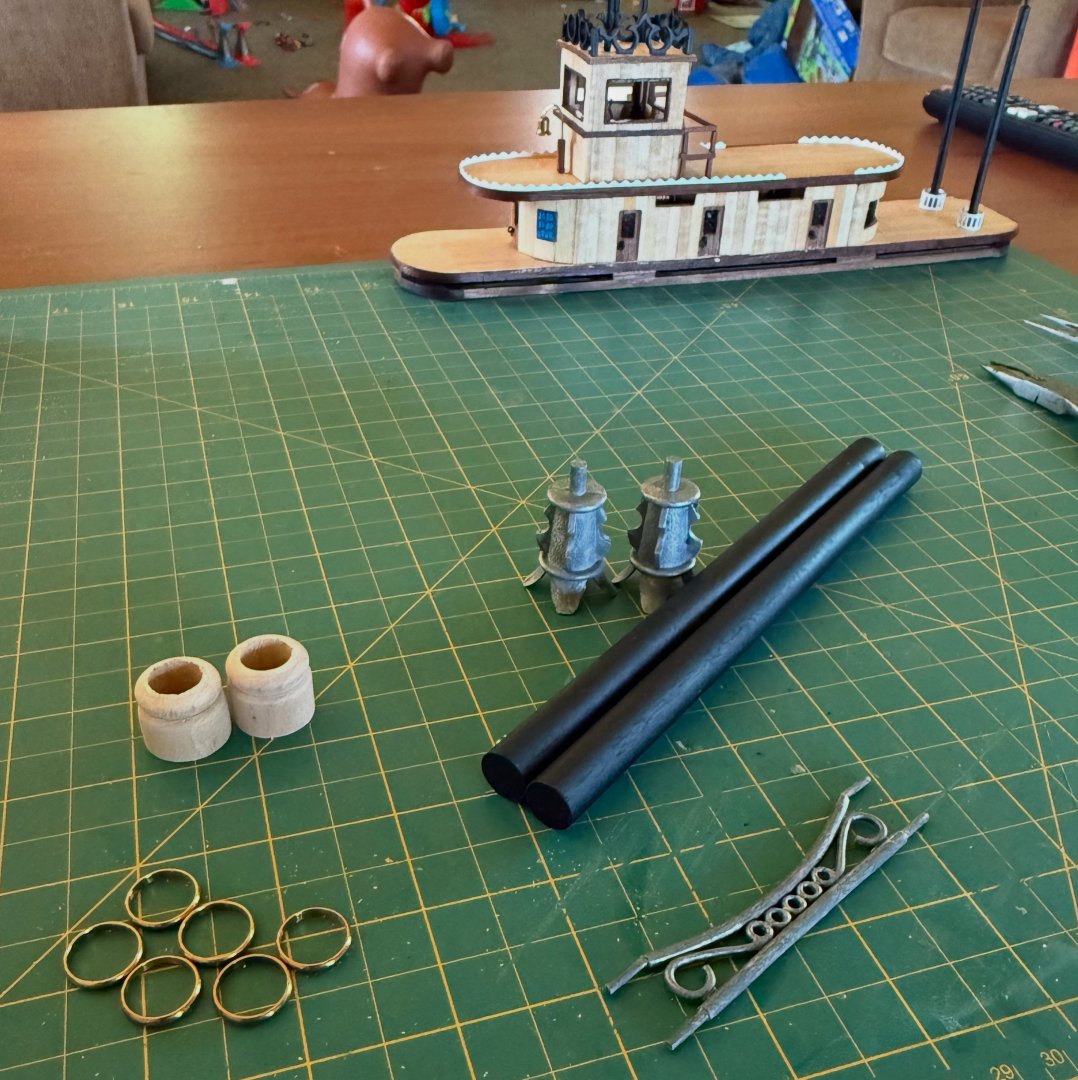
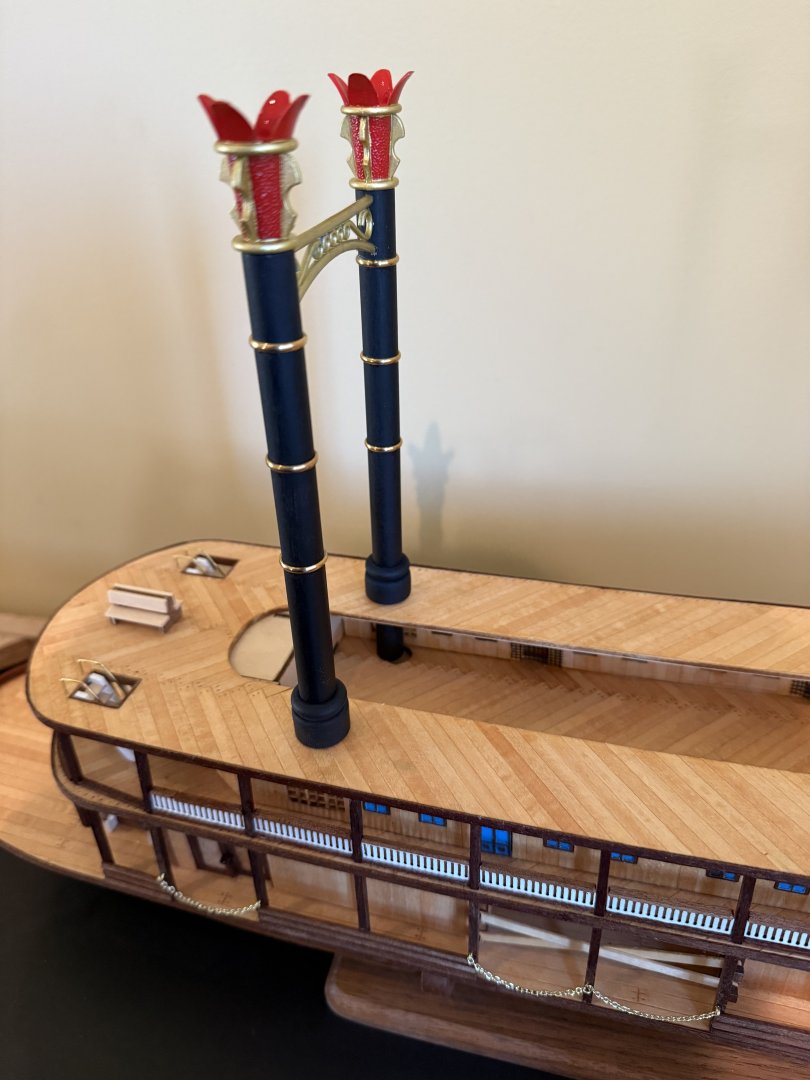
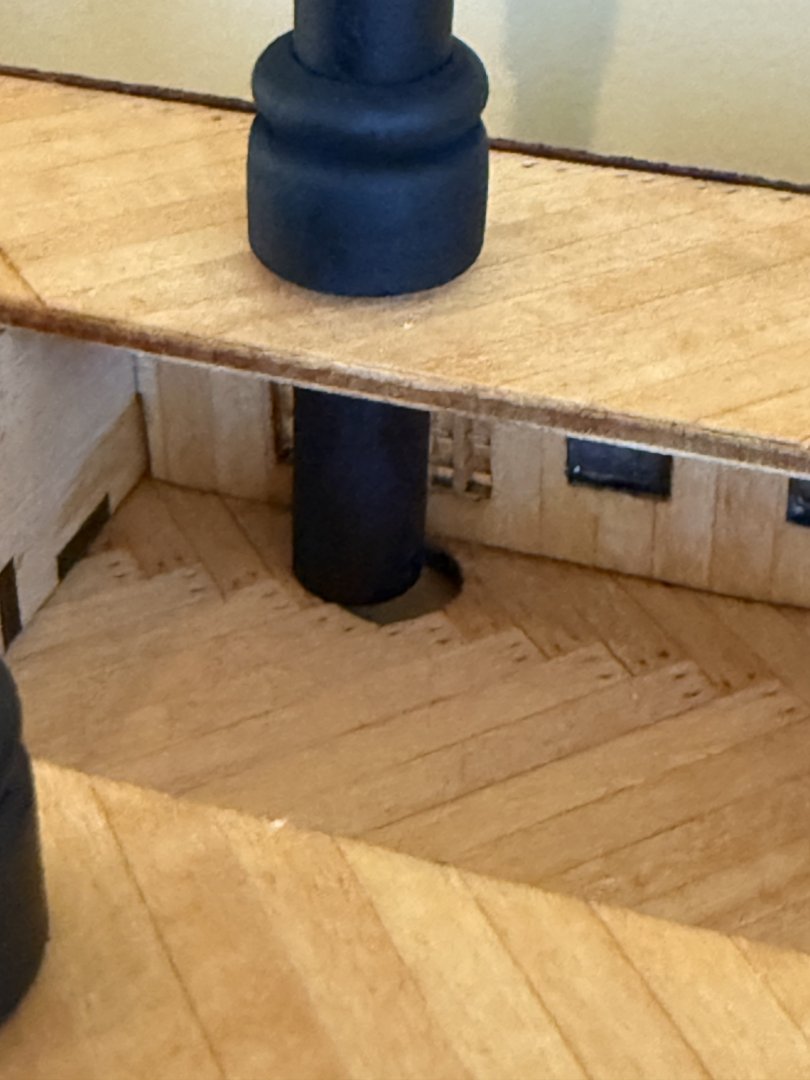
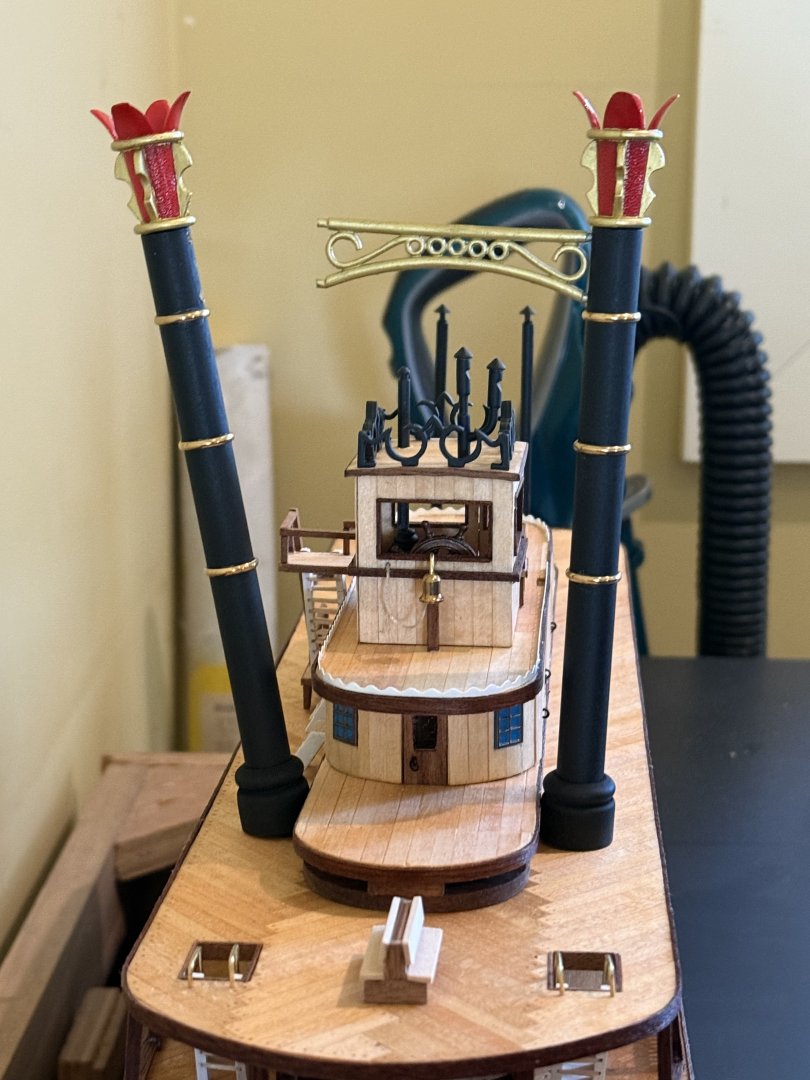
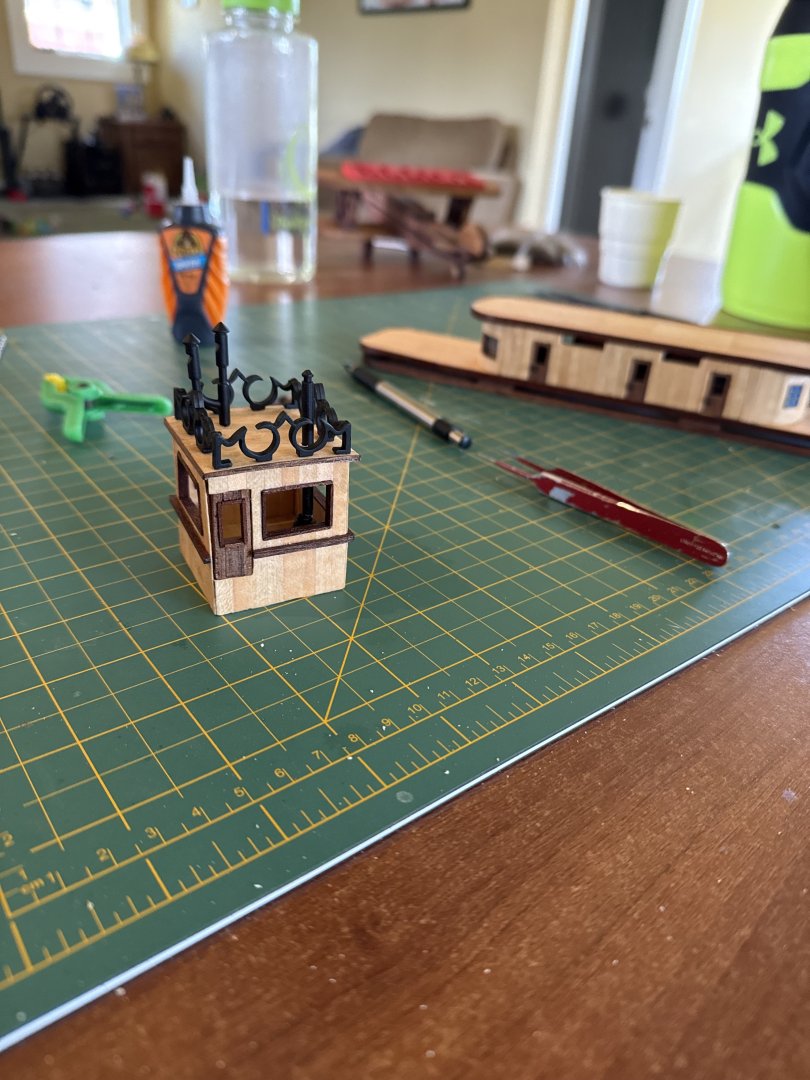
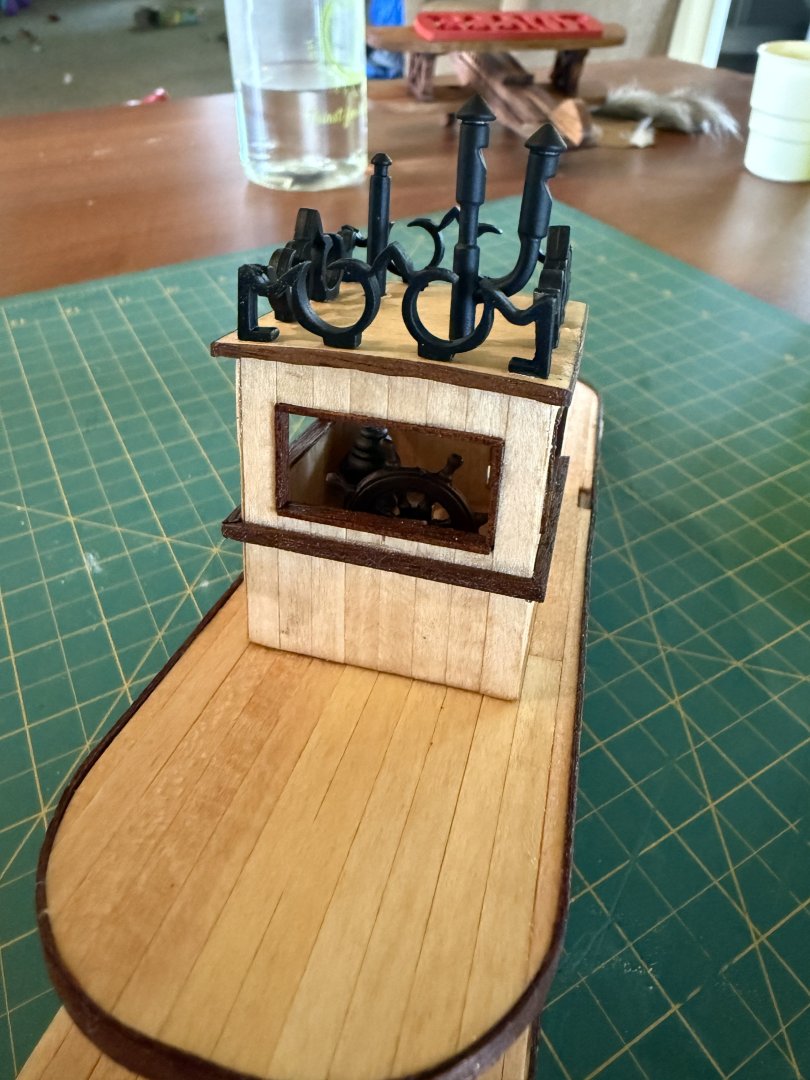
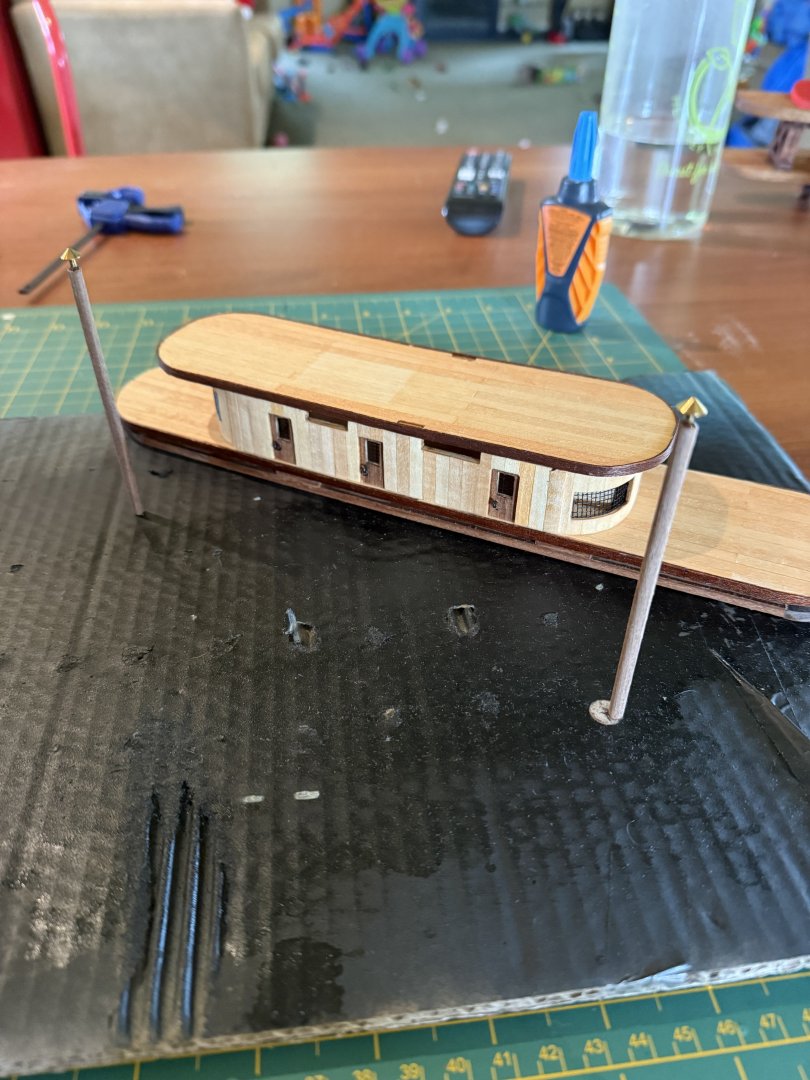
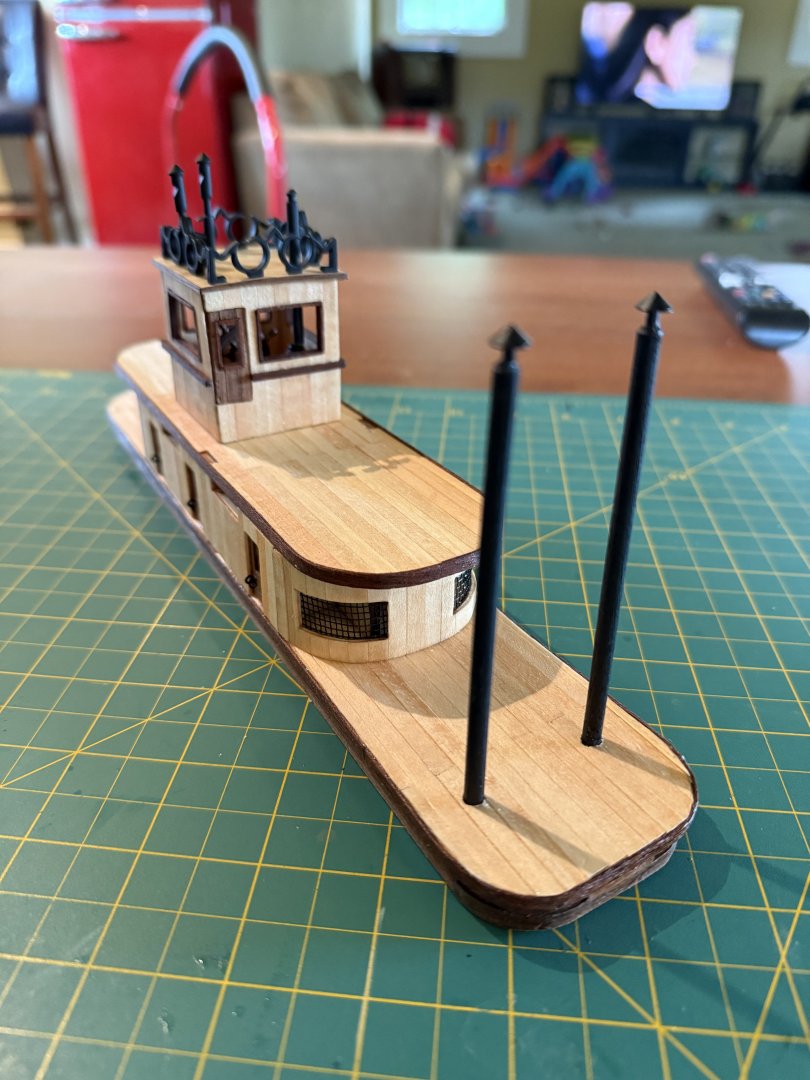
Well this is discouraging, the first major hiccup I have had with any of my builds this far. I just finished getting the smoke stacks all finished, I put them in place and not only is the supporting hole beneath the top deck off alignment by about 3-4mm (causing a fairly large forward tilt) but the small piece of wood that goes around the dowel at the base of the deck also hits the deck. An easy fix will be to not use the supporting holes and file a flat spot on the bases so there is room for a deck. I have not gone back to other build logs to see if this is a known problem but I have triple checked my assembly and everything seems to be correct.
-
 Cathead reacted to a post in a topic:
King of the Mississippi by Warnerade - Artesania Latina - 1:80
-
 Cathead reacted to a post in a topic:
King of the Mississippi by Warnerade - Artesania Latina - 1:80
-
 Knocklouder reacted to a post in a topic:
King of the Mississippi by Warnerade - Artesania Latina - 1:80
-
 ccoyle reacted to a post in a topic:
King of the Mississippi by Warnerade - Artesania Latina - 1:80
-
 Scott Crouse reacted to a post in a topic:
King of the Mississippi by Warnerade - Artesania Latina - 1:80
-
 Warnerade reacted to a post in a topic:
Union Brigantine by yohannd - Constructo - 1:100
-
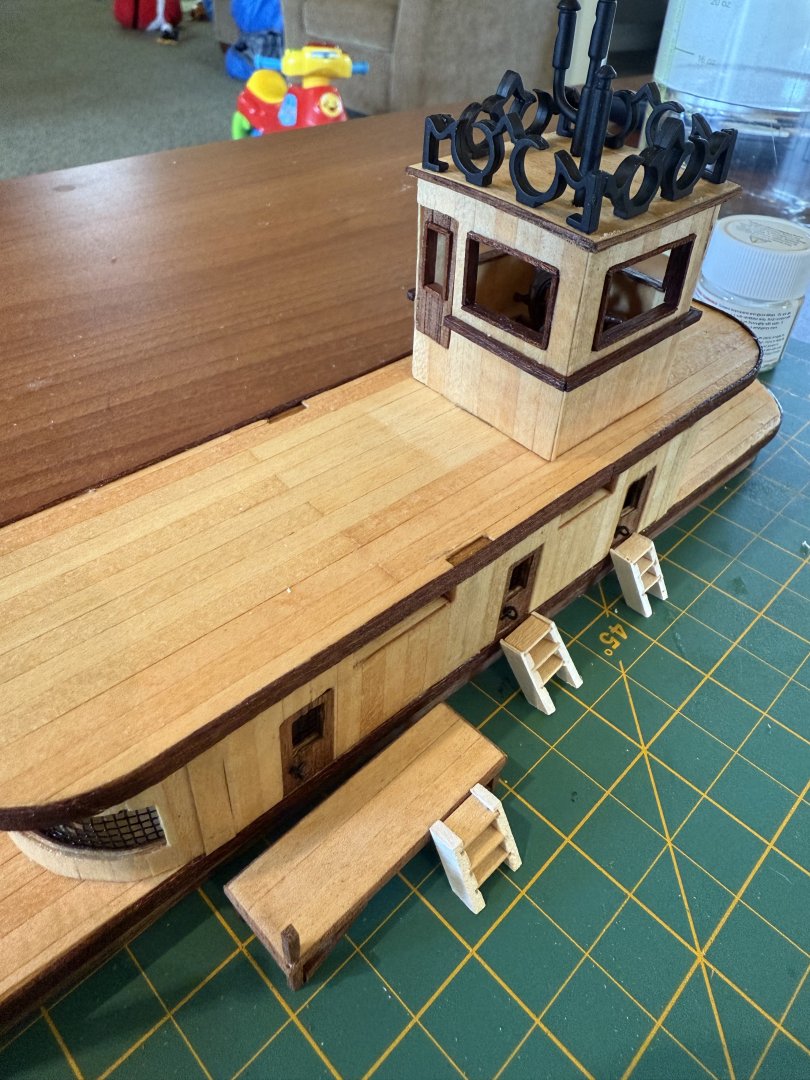
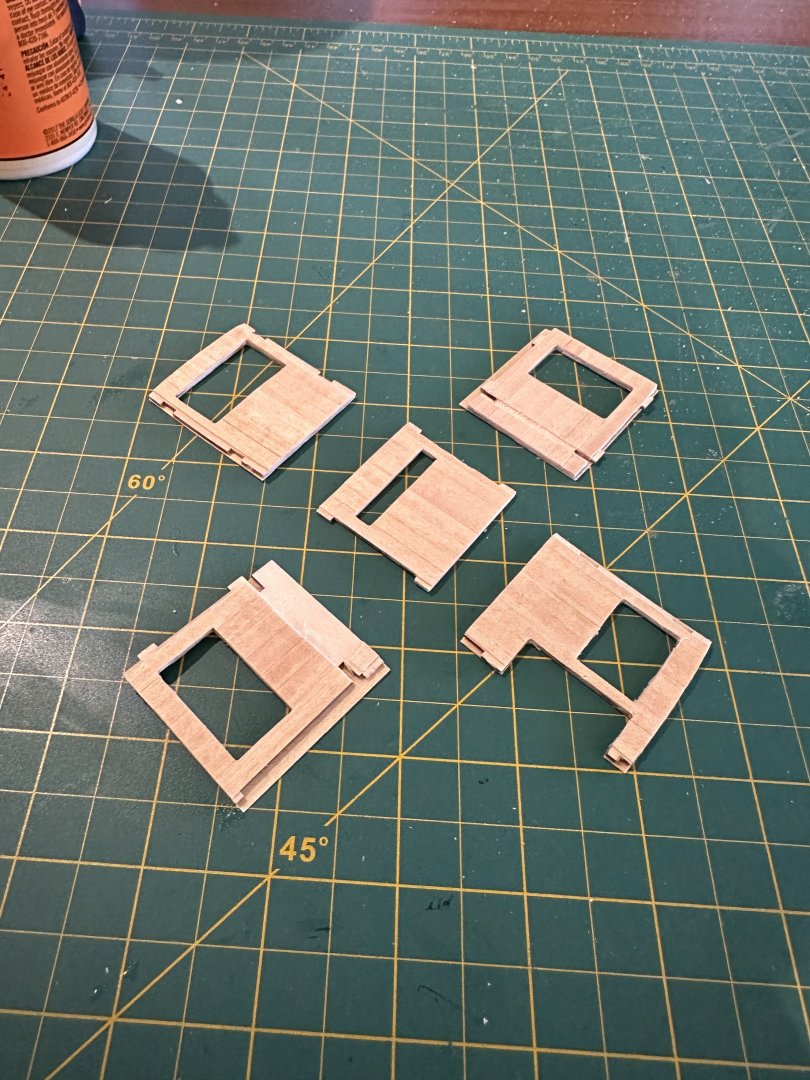
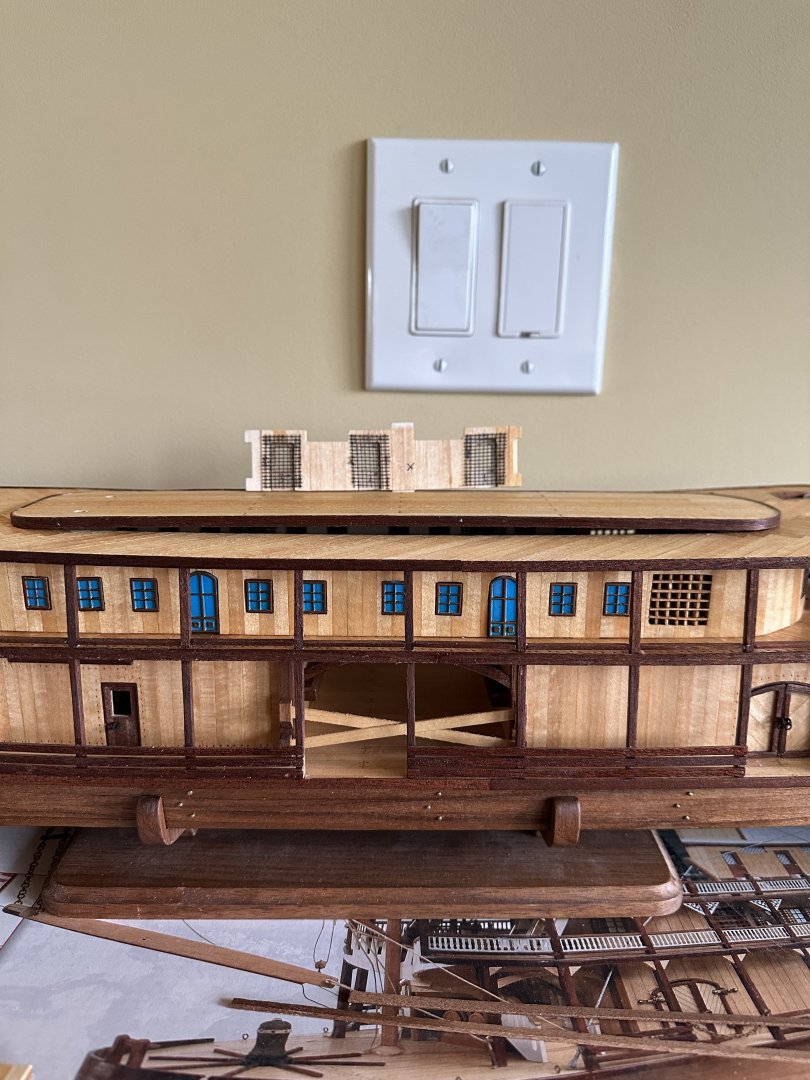
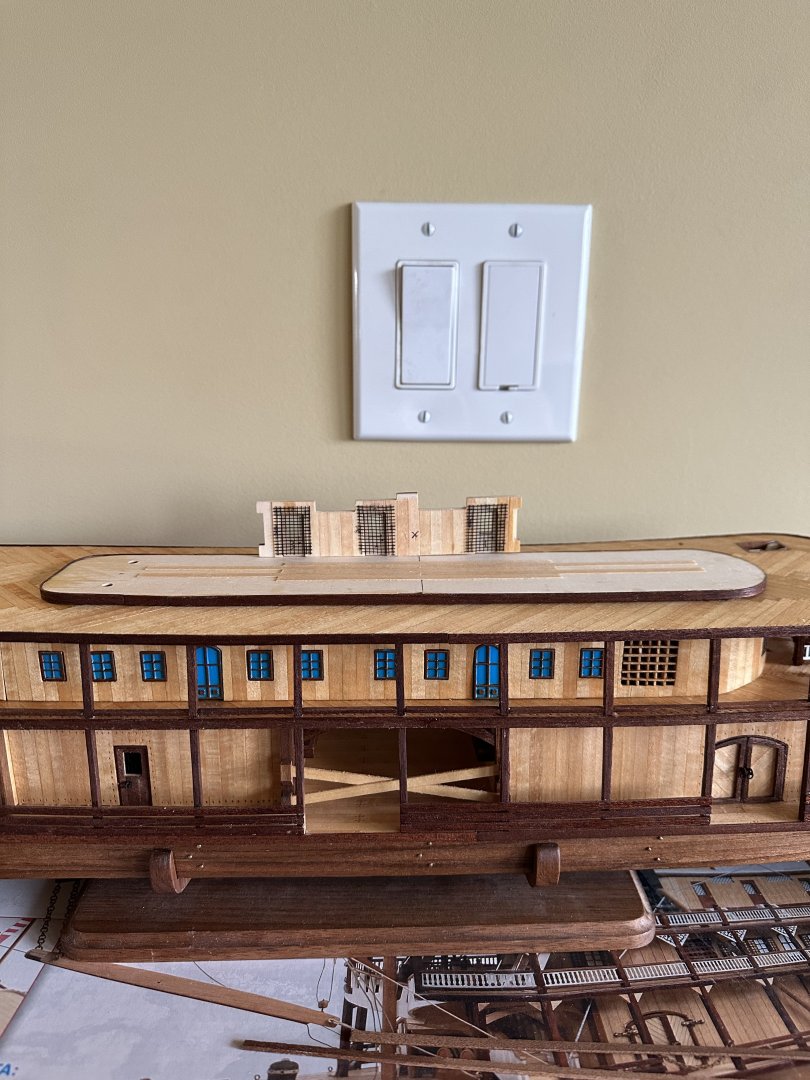
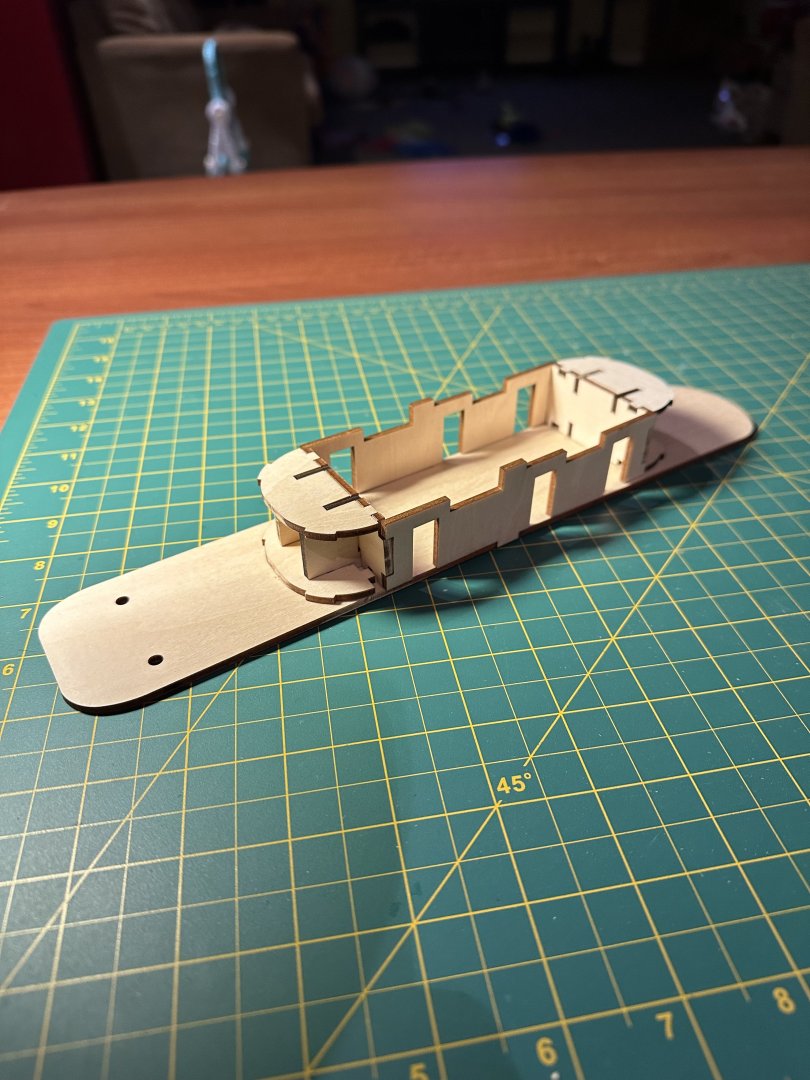
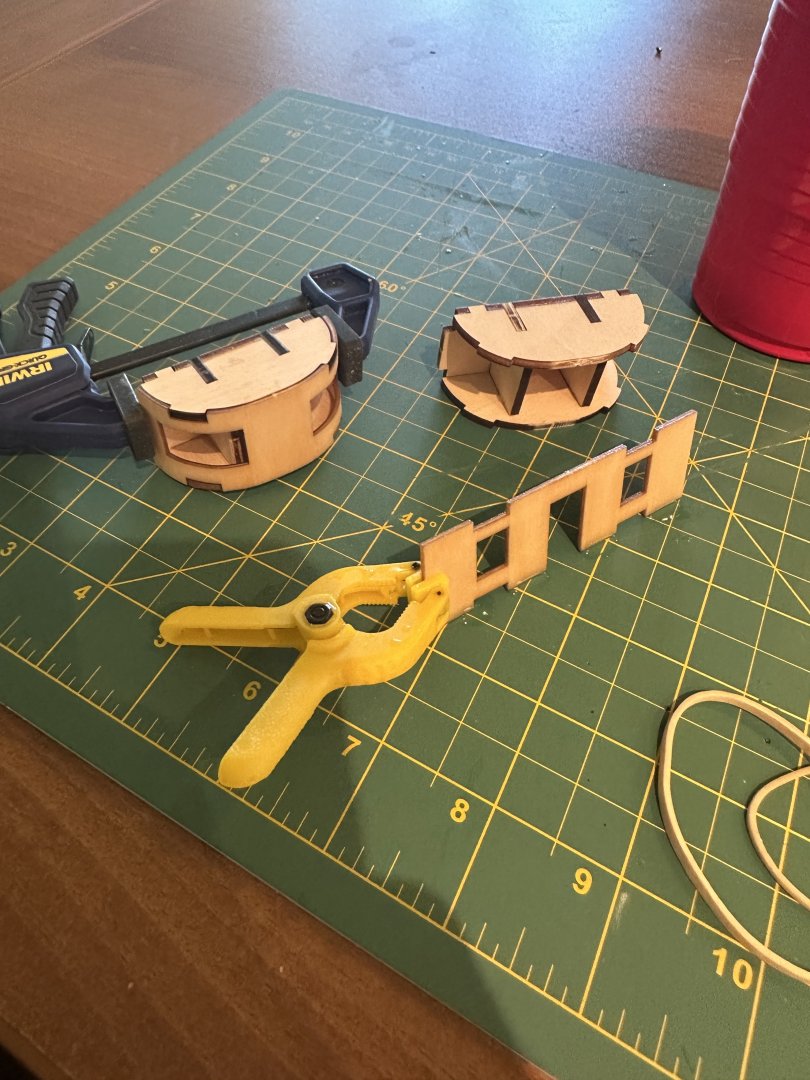
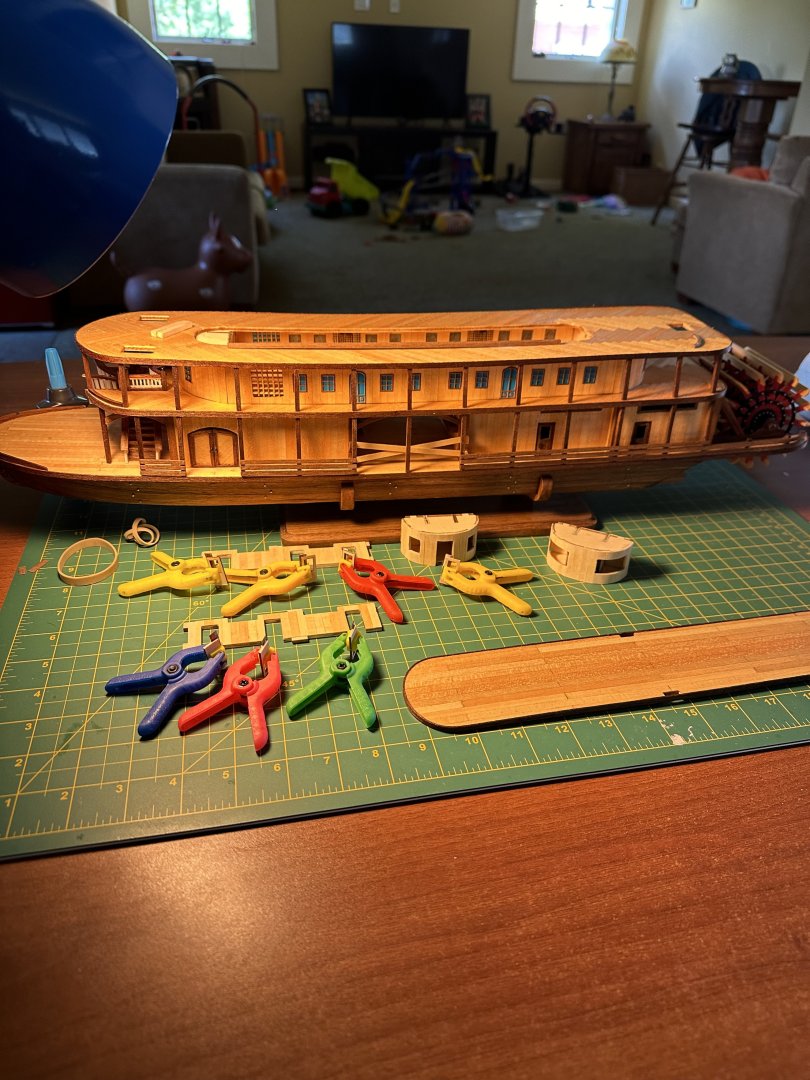
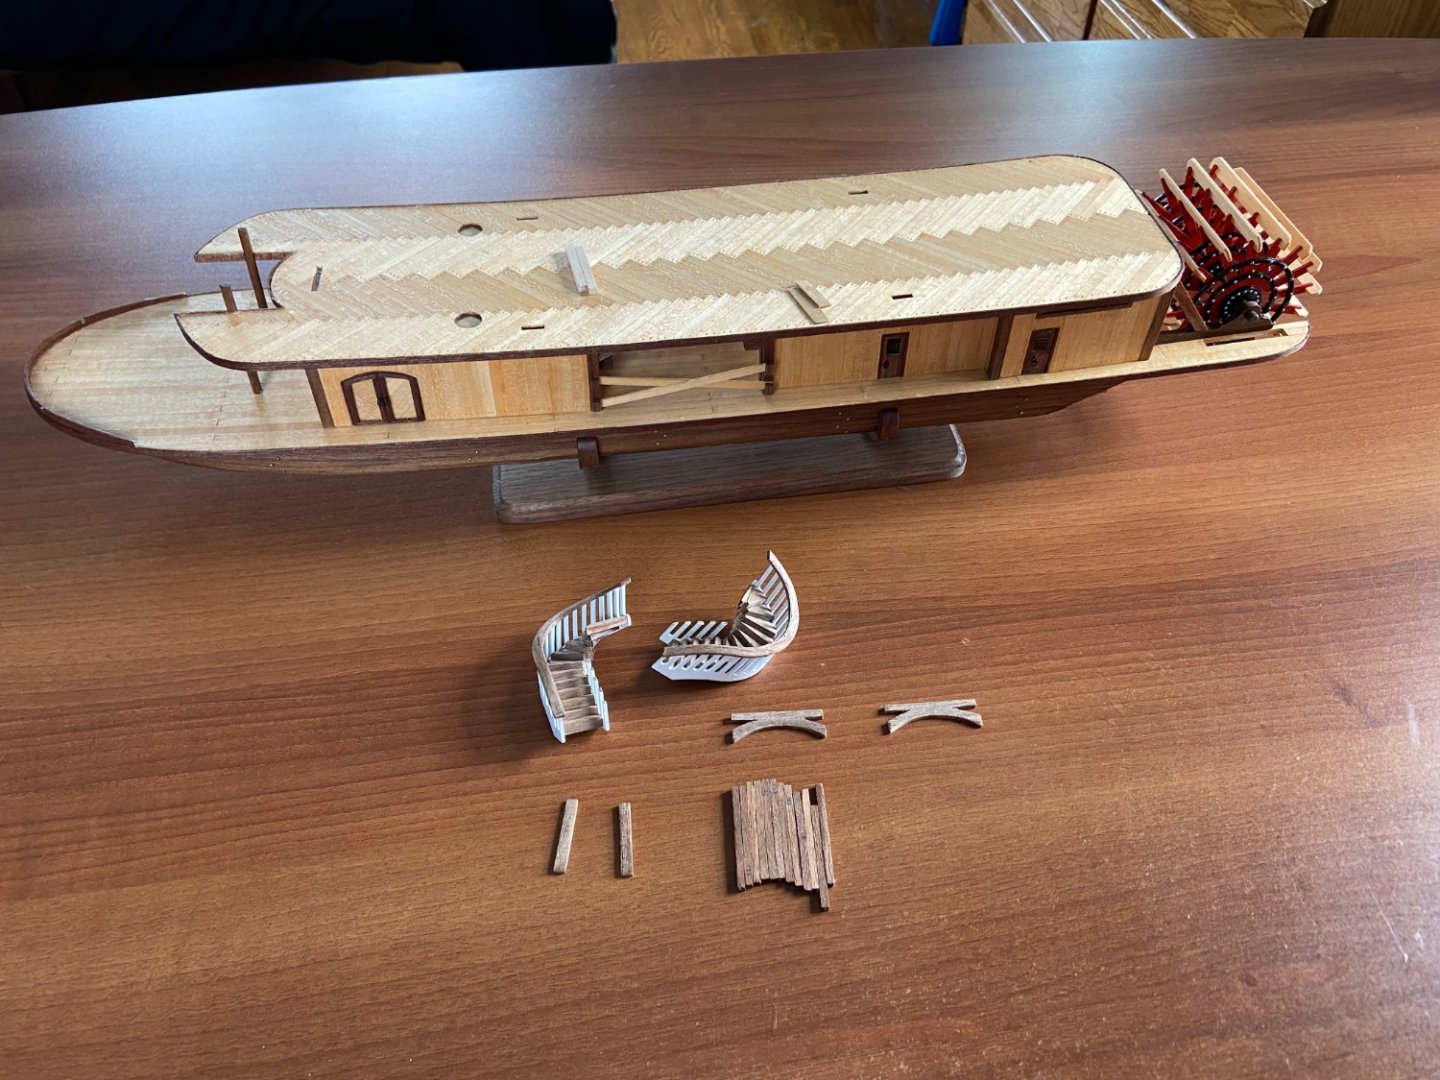
Very slow progress with the holidays coming up. I am getting to the point of assembling the upper deck and mounting it all and realized there was a natural bow to my deck and of course I planked the top making it convex where as it should have been concave to glue onto the ship better. It Is explained better in the photos. The room walls will also fit much better as well. so today I spent most of my day off doing laundry, wrapping presents, and planking the other side of the top deck.
-
 Warnerade reacted to a post in a topic:
King of the Mississippi by Warnerade - Artesania Latina - 1:80
-
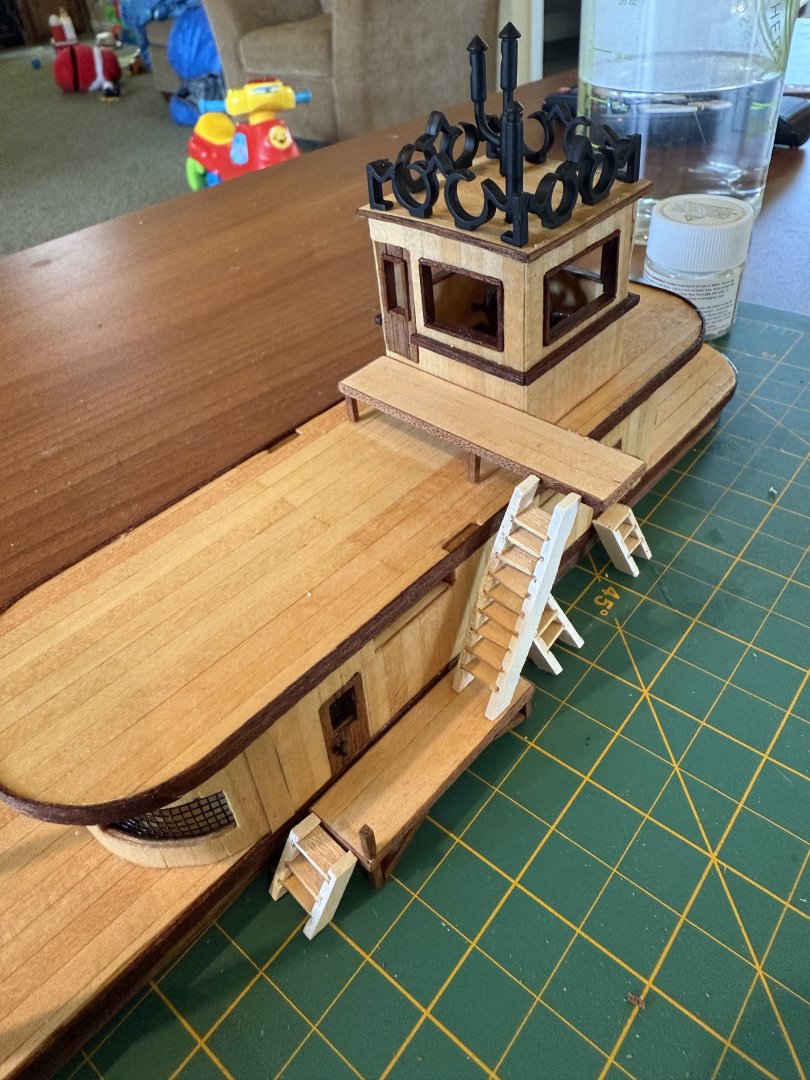
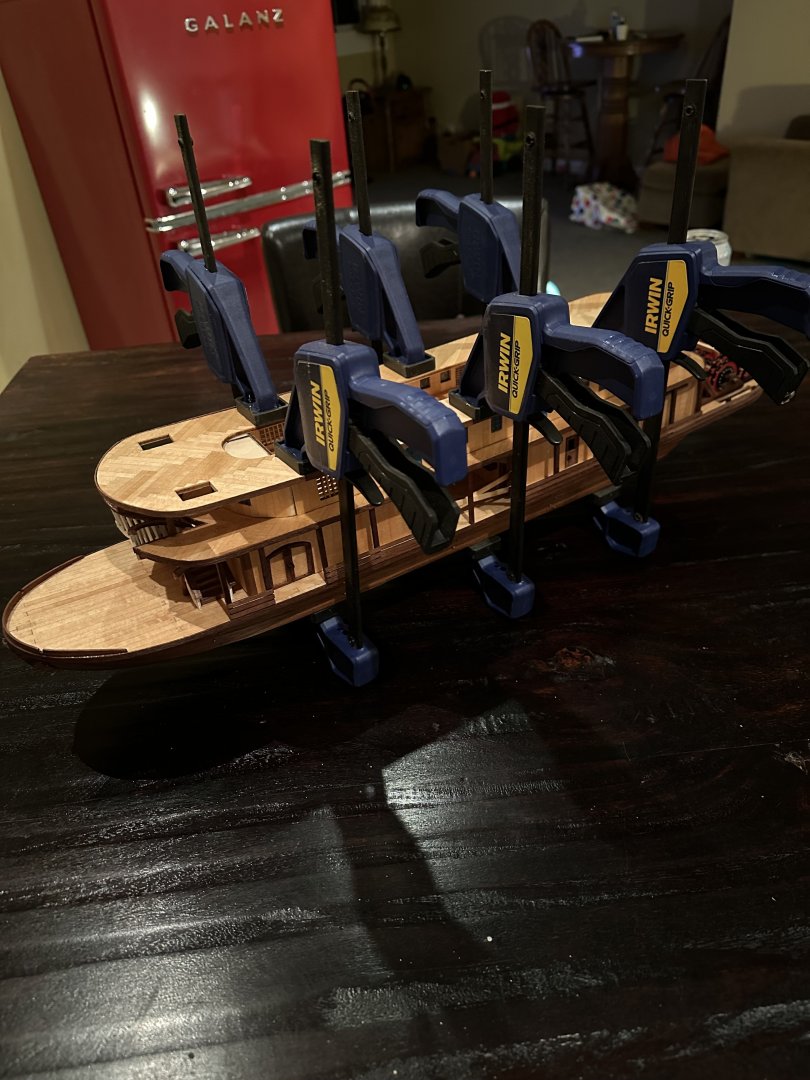
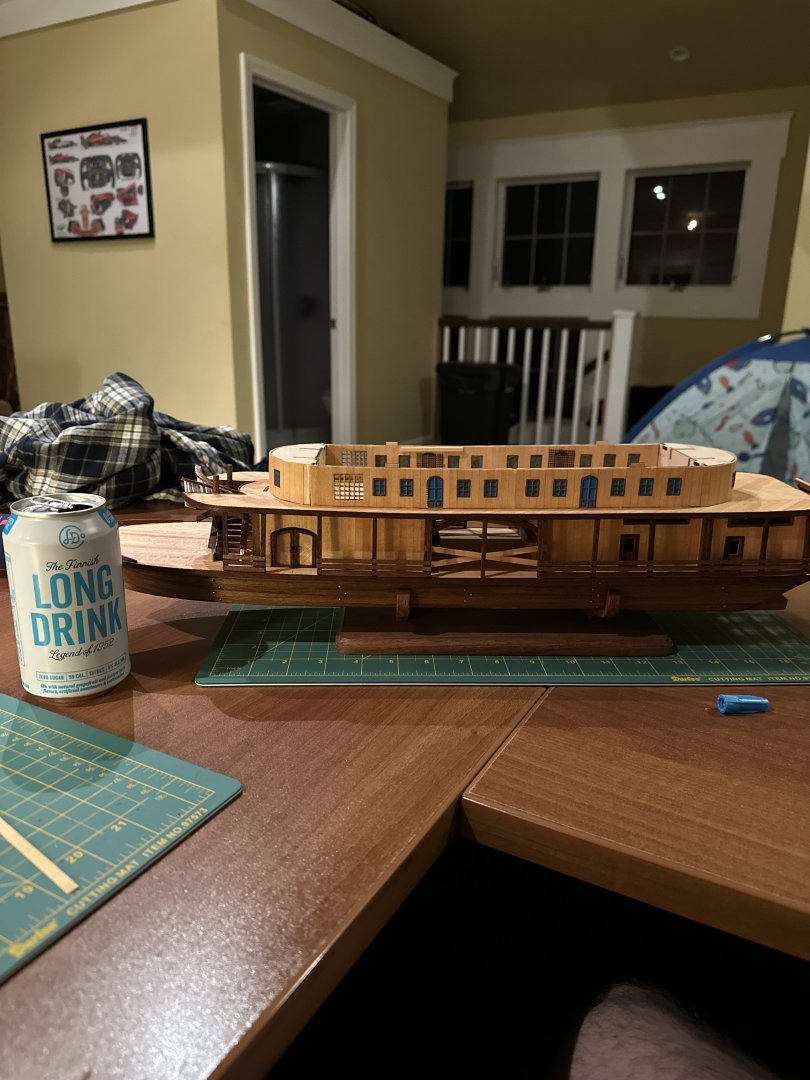
Finally got the 3rd level deck glued on and working on the state room. Main stairway rails were much easier to put on than I was expecting. only issue I foresee is the 3rd deck now has a slight up-curve/concave and the stateroom is flat. I have a feeling glueing the stateroom on is going to be difficult.
-
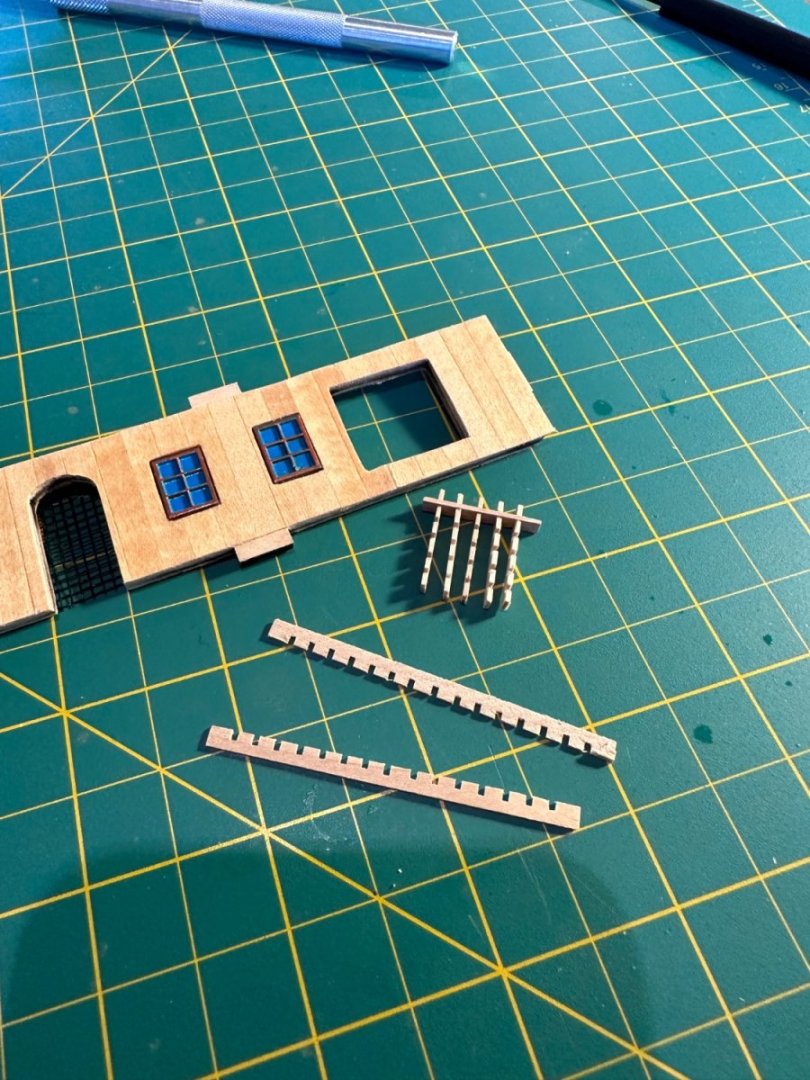
Putting the finishing touches on the walls for the second level. The cutouts for the doors were actually a little too large for the door provided (maybe 1/32” or so) so I ended up cutting some screen from a window to place behind the doors for a little more structural support with the glue and also to fill in the small gap on both sides of the door.
-
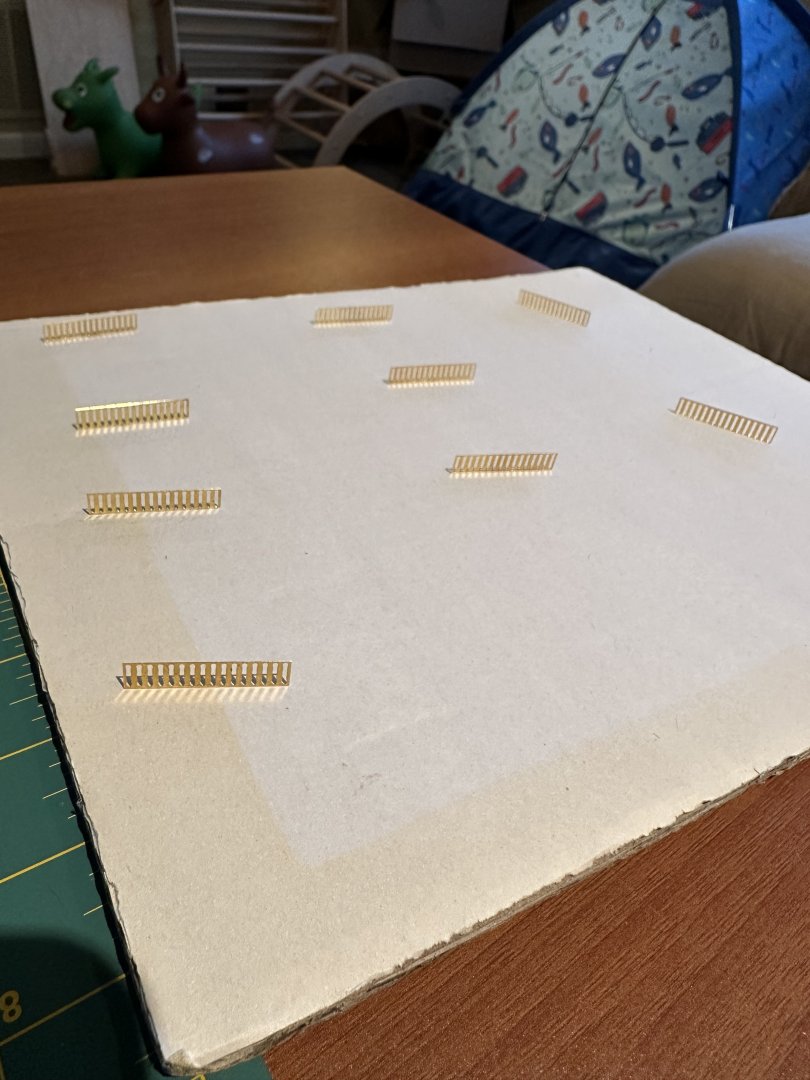
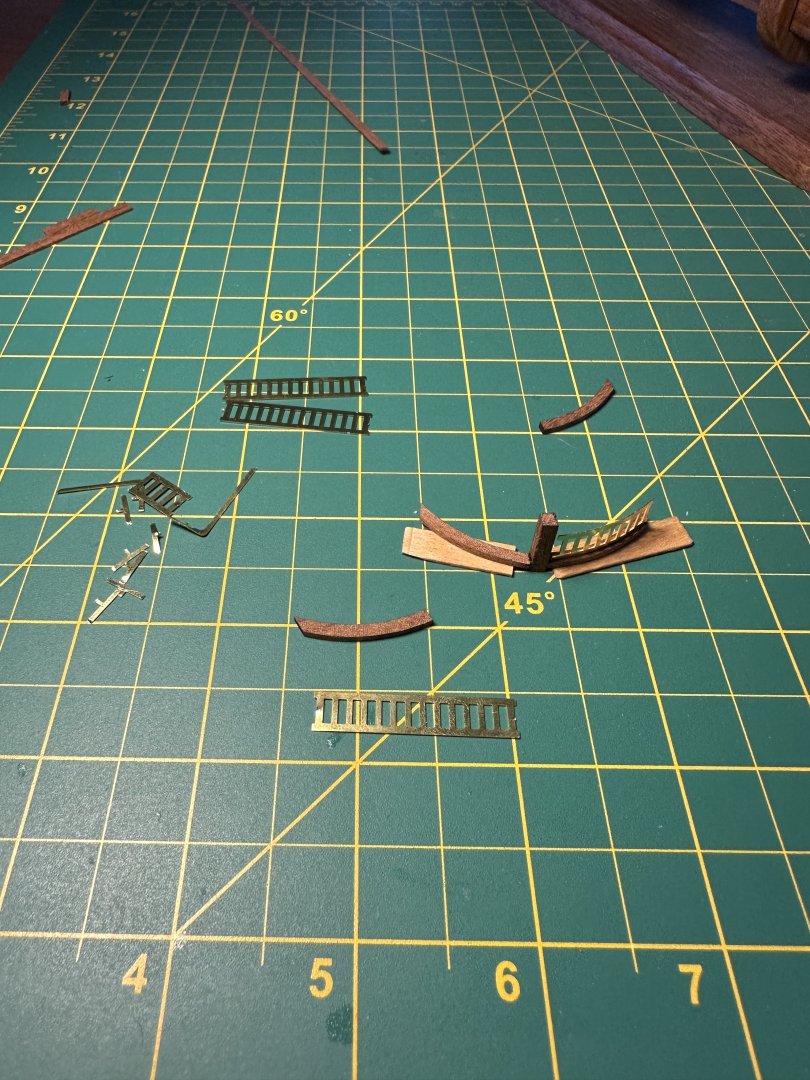
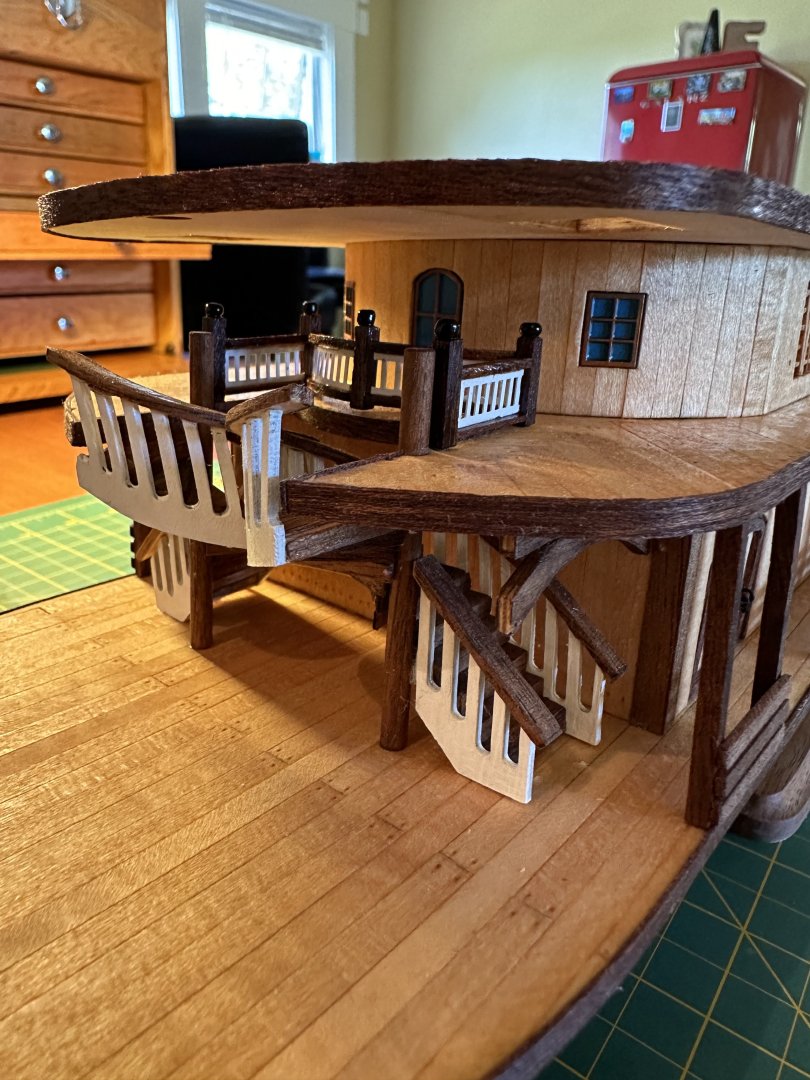
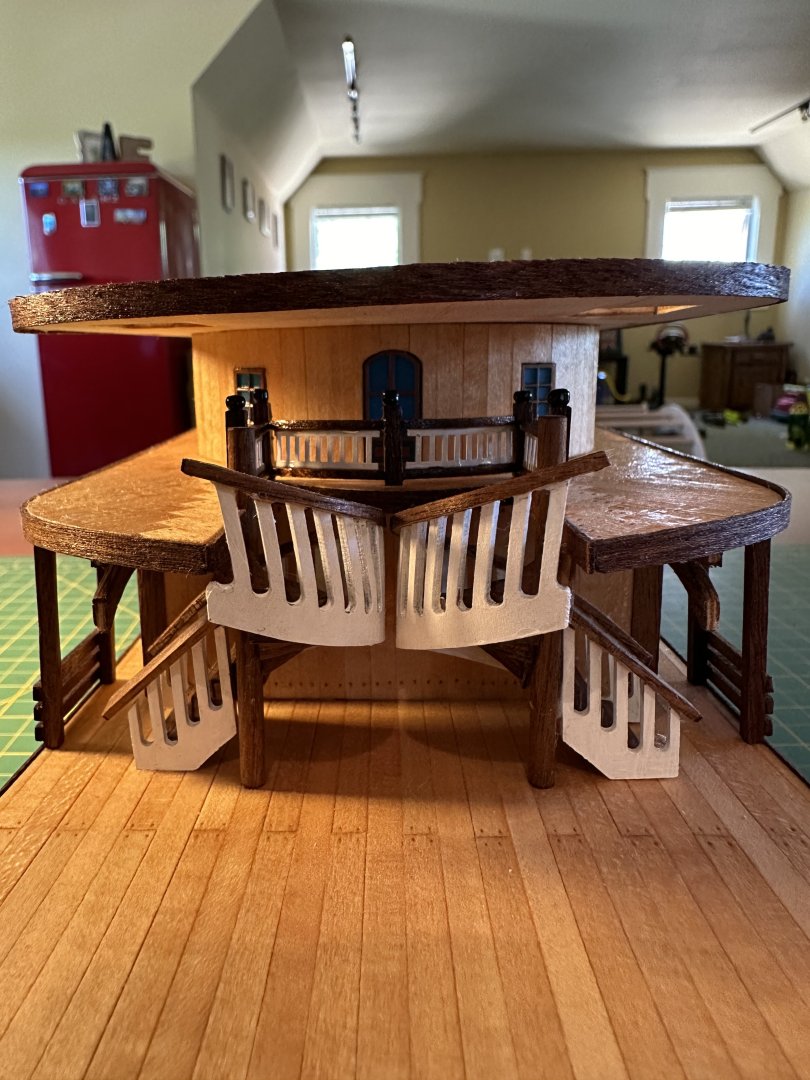
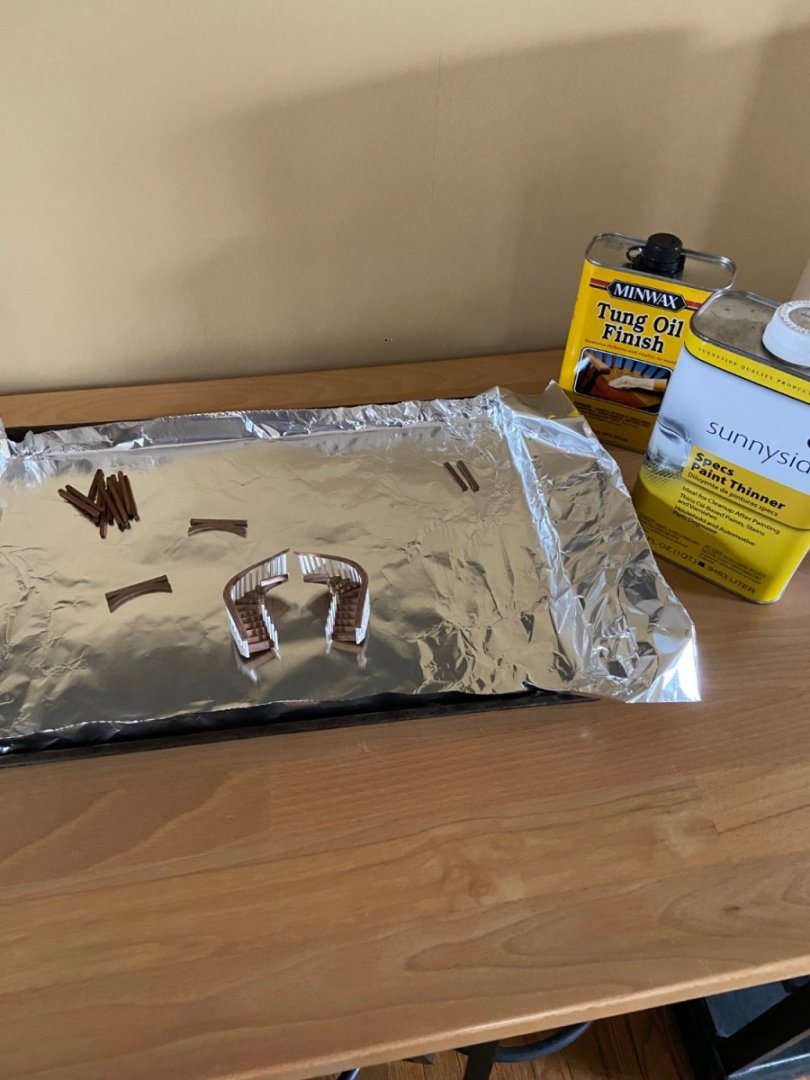
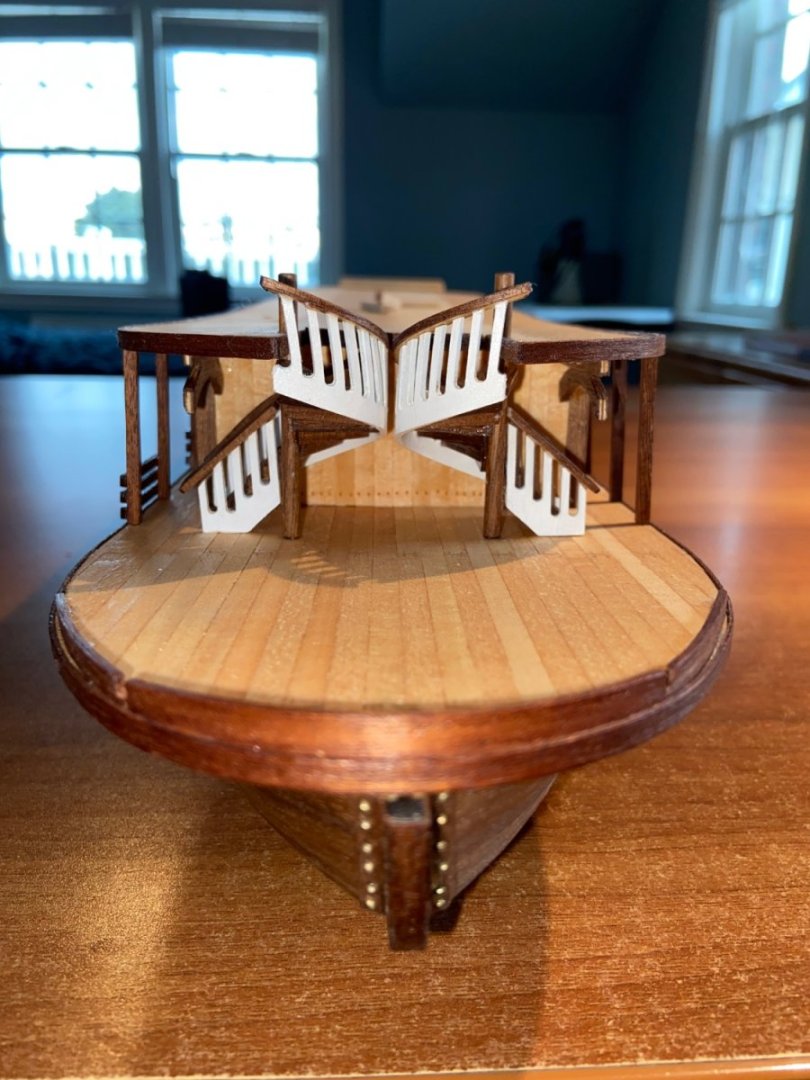
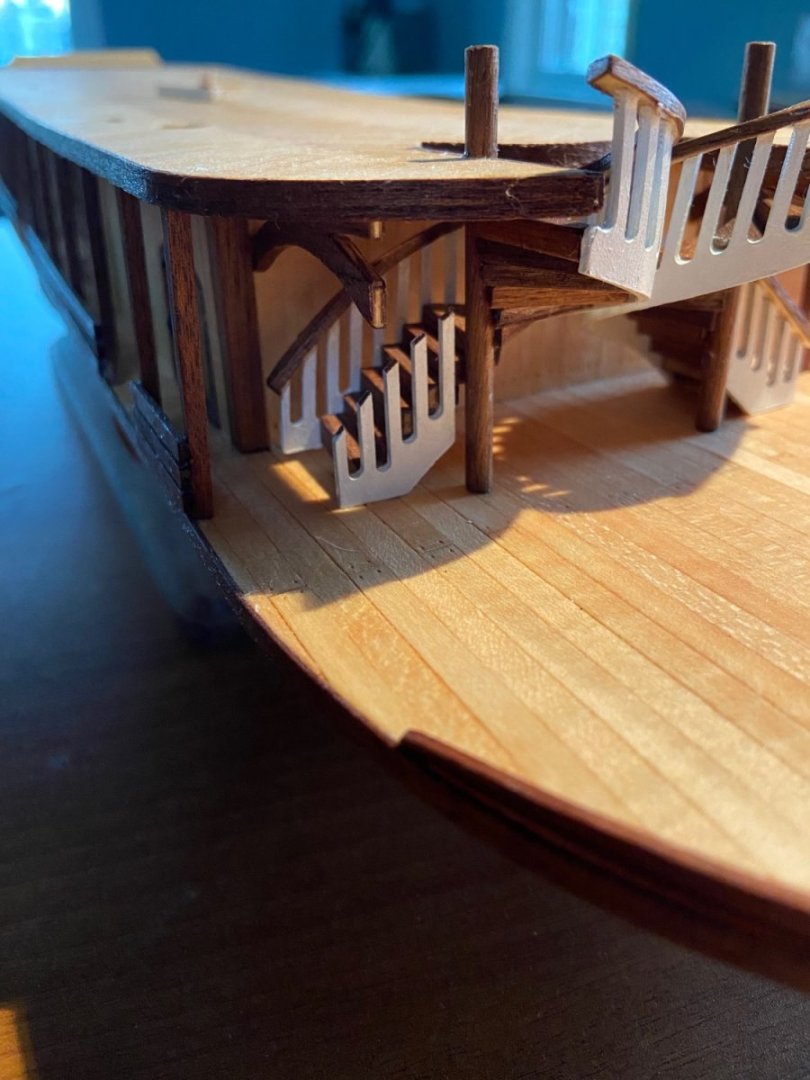
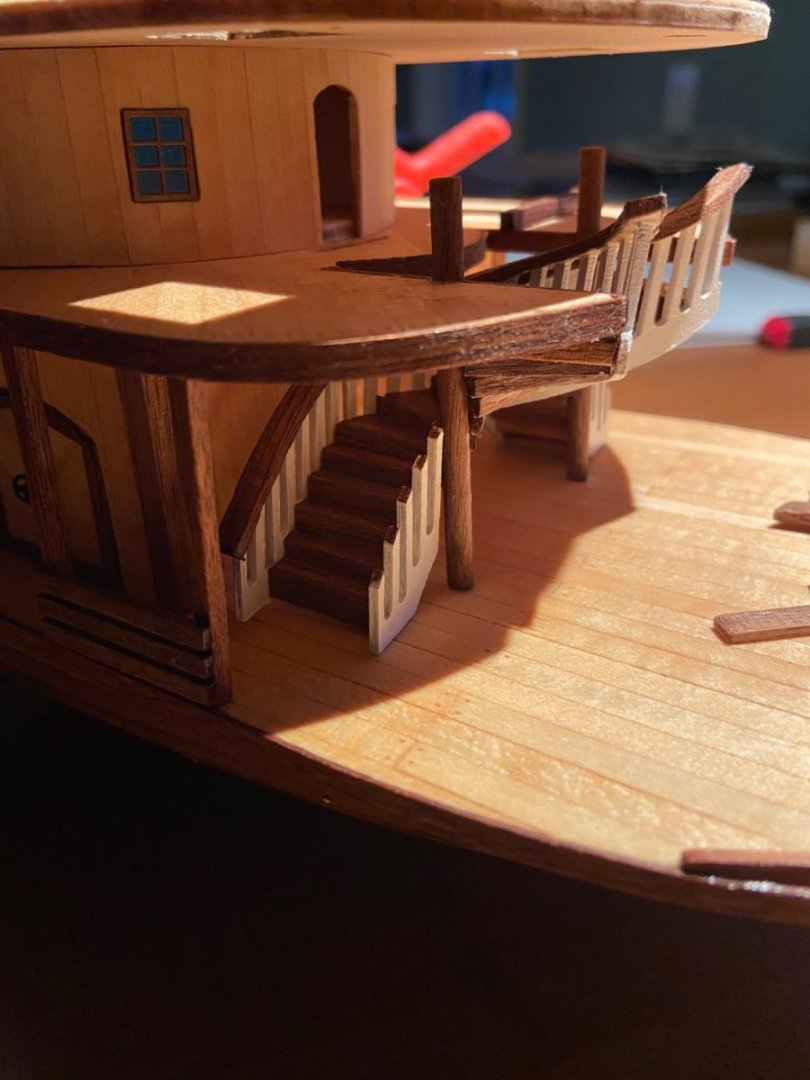
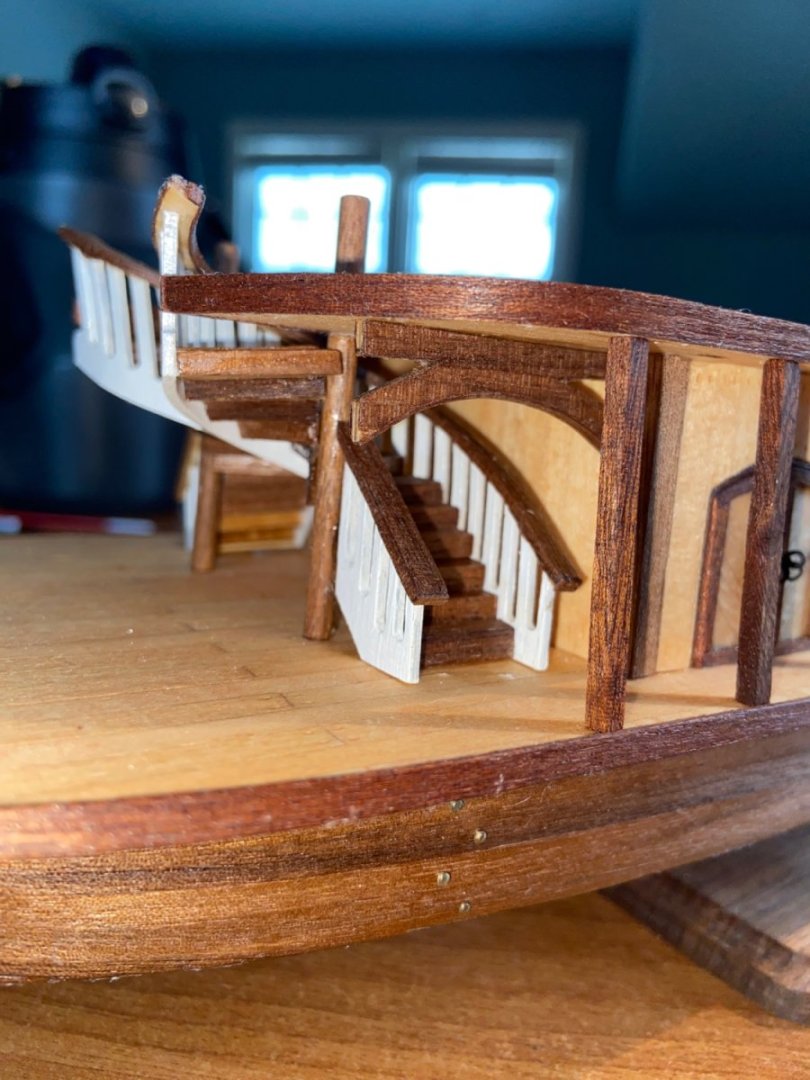
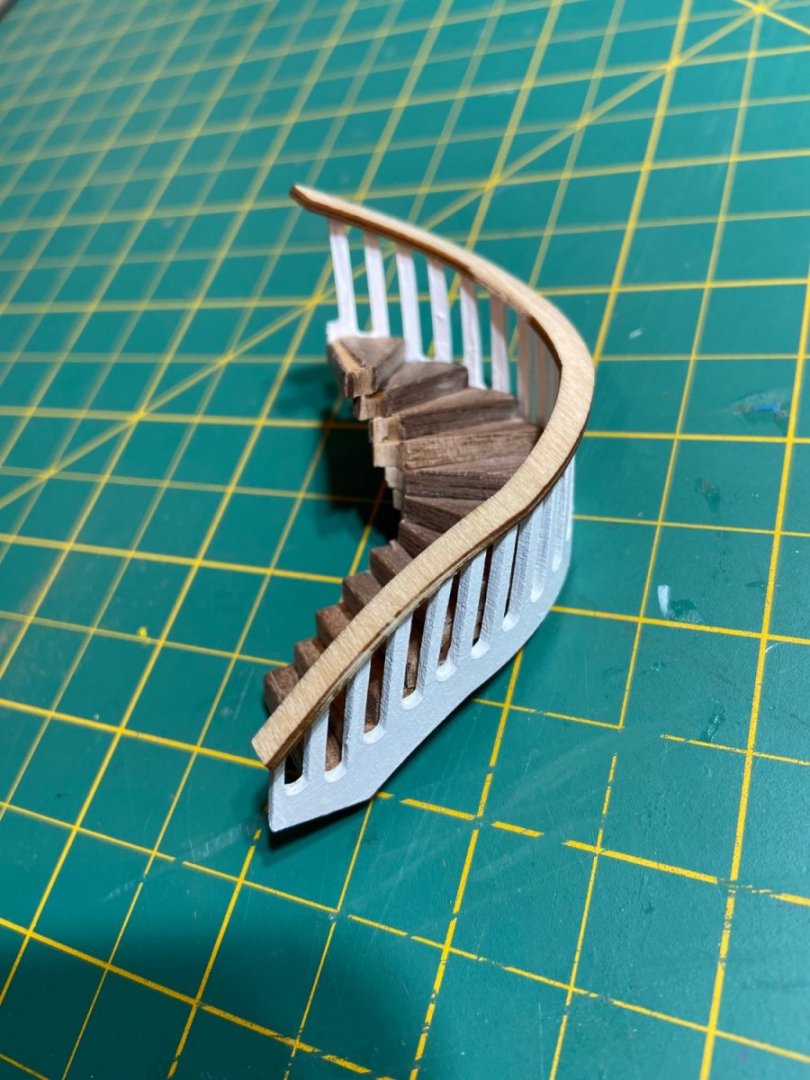
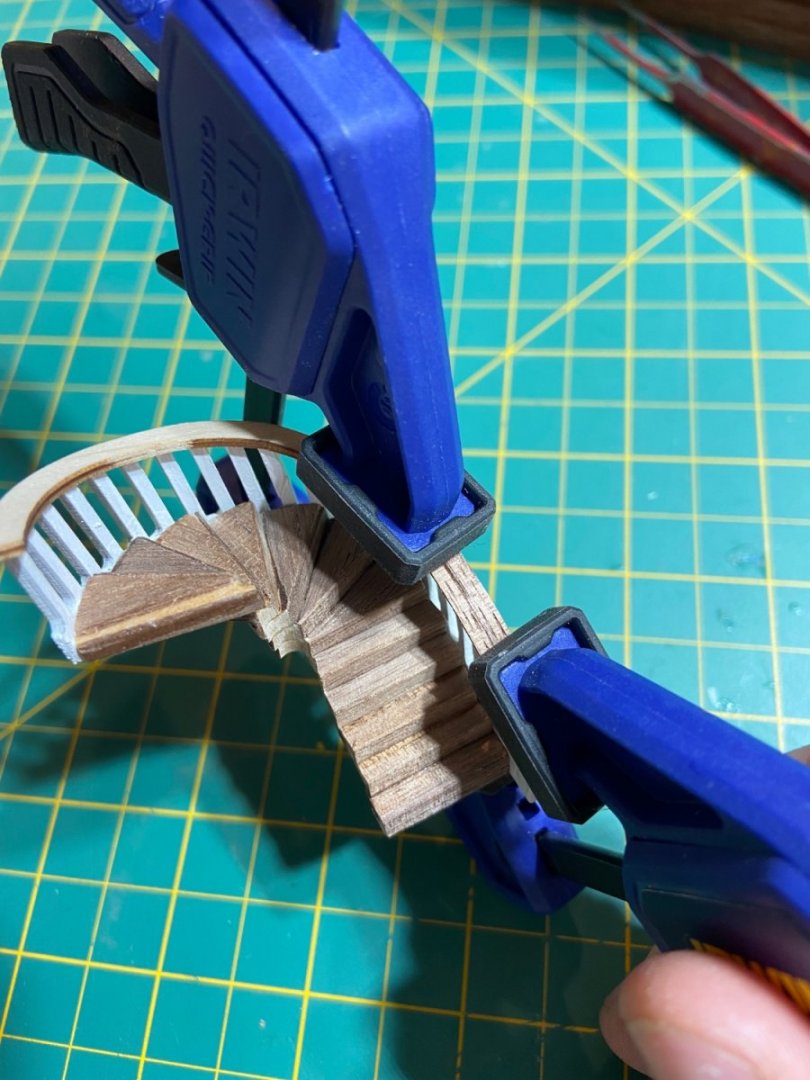
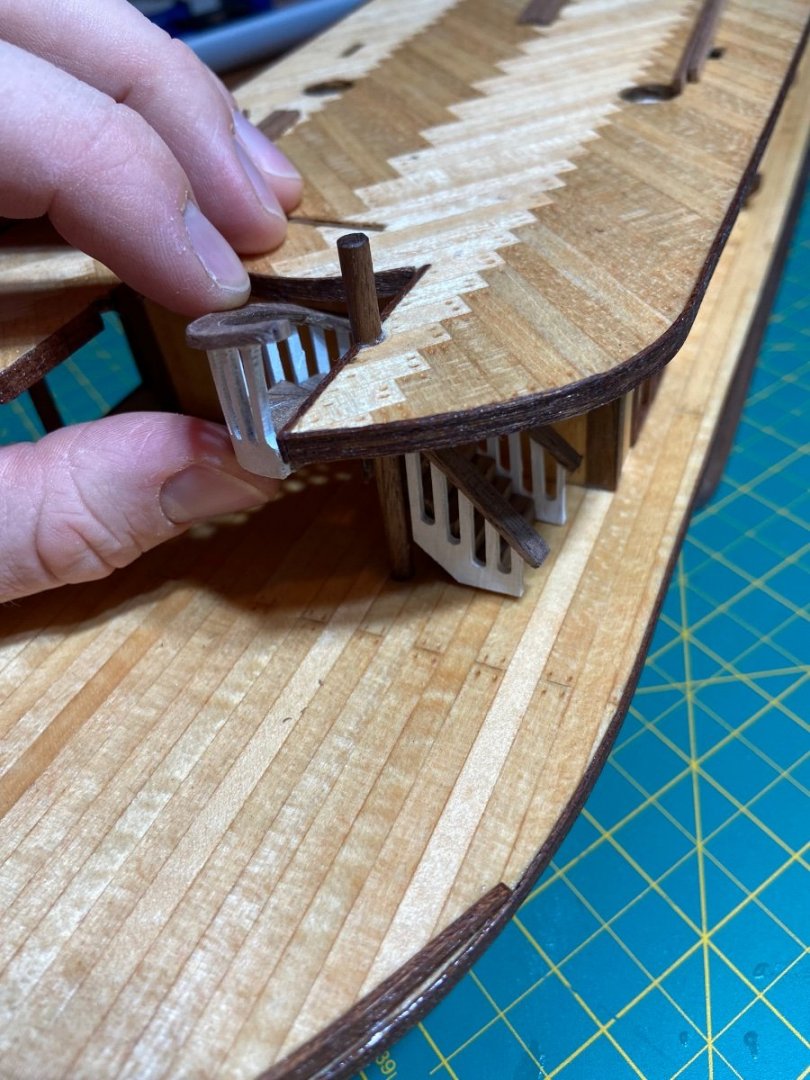
Finally got the stairs coated in Tung oil and glued in. They did not fit perfect (as expected) as to have the first step flat on the deck the last step didn’t like up exactly with the 2nd level deck. There’s an air gap, worst on the starboard side. To fix it I am going to use some extra walnut planks and glue to the top step / underside of the deck. I’m pretty happy with the outcome of them, thankfully was able to make it pretty symmetrical from the front view.
-
After having it for a few years, I still love it. My box is the Oh, conversion made with veneers, it was not solid oak. It is held up well. Although it’s used only indoors and doesn’t get too dirty, or Dusty, I use wood polish on it occasionally, and it still looks brand new. Some people have this box in the garage, and my level of OCD just could never allowed to get that dirty. 10/10 recommend
-
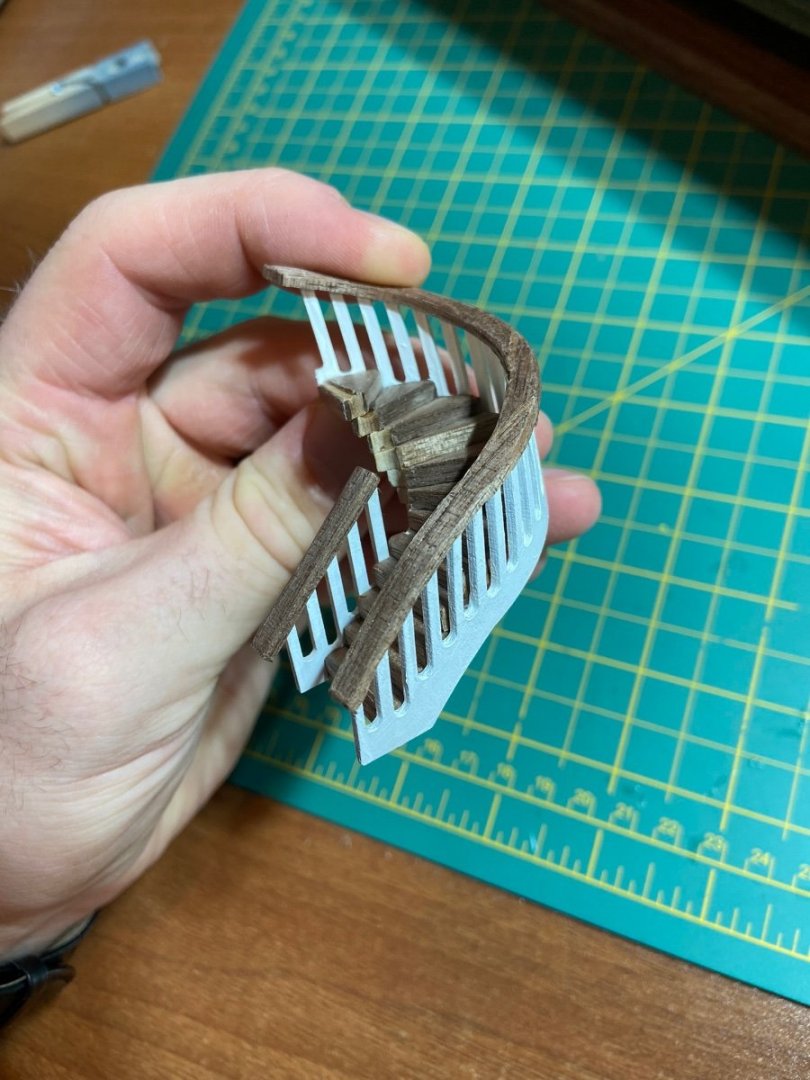
Thank you, yes those stairs were QUITE a PITA, they’re still not done. I have basically taken a long break unfortunately. I recently finished residency, and moved back to Ohio and had a second child while we already have a 16 month old, my hands have been pretty tied these last two years. I’m just now getting settled after being in my house for about seven months and plan on starting to work on it slowly again. Hopefully. my next step is to put tongue oil on all of the walnut Veneers on the stairs, and then finally glue the darn things into place and move on. I have also started The port side support beams, they are all dry fitted, and once I get them covered tongue oil, I will do them in place and get the railings on as well.
-
I hope I never have to make another set of spurs stairs again. I wrapped the railing in some extra walnut so it matches the stairs. It doesn’t fit perfectly in place, but overall I’m happy with how they turned out. Now I just have to finish the other side and hope they fit at least just as good. Blah.
-
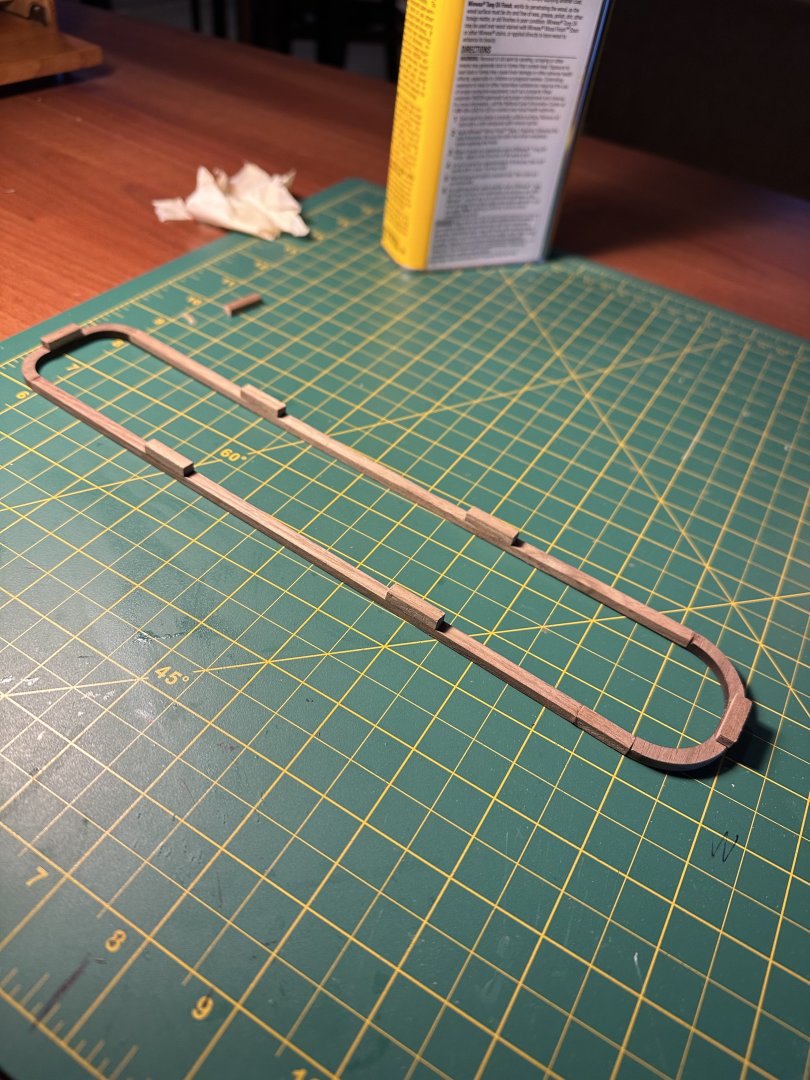
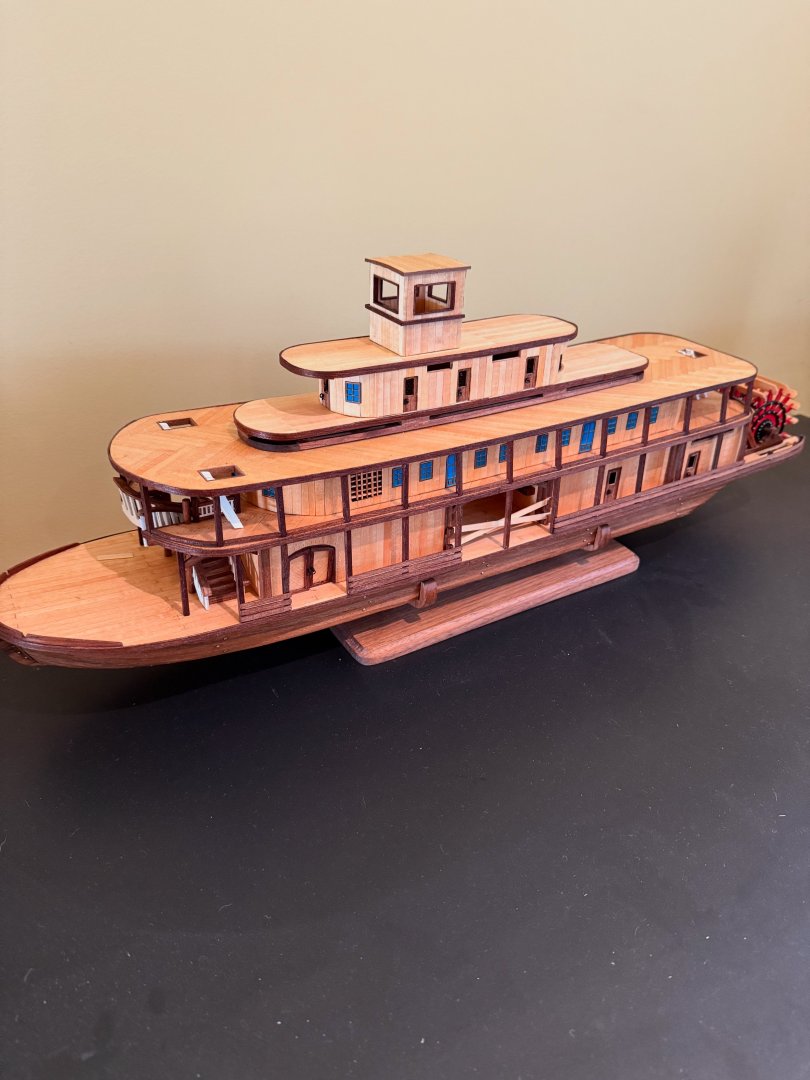
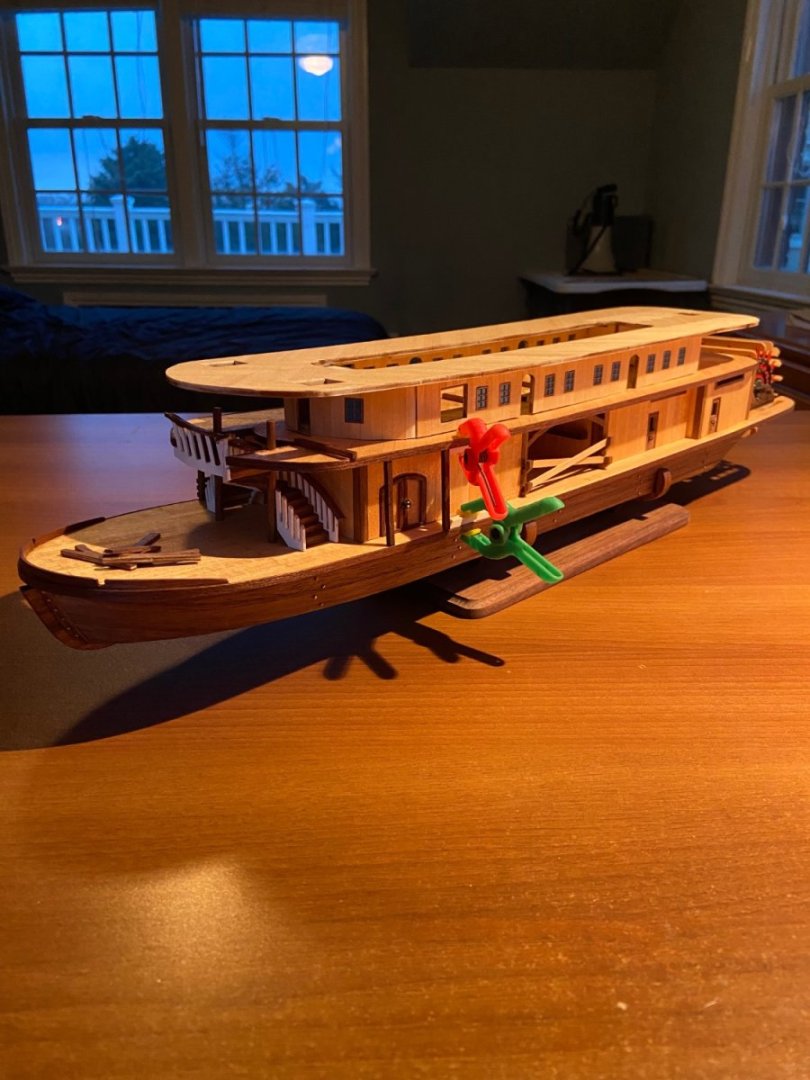
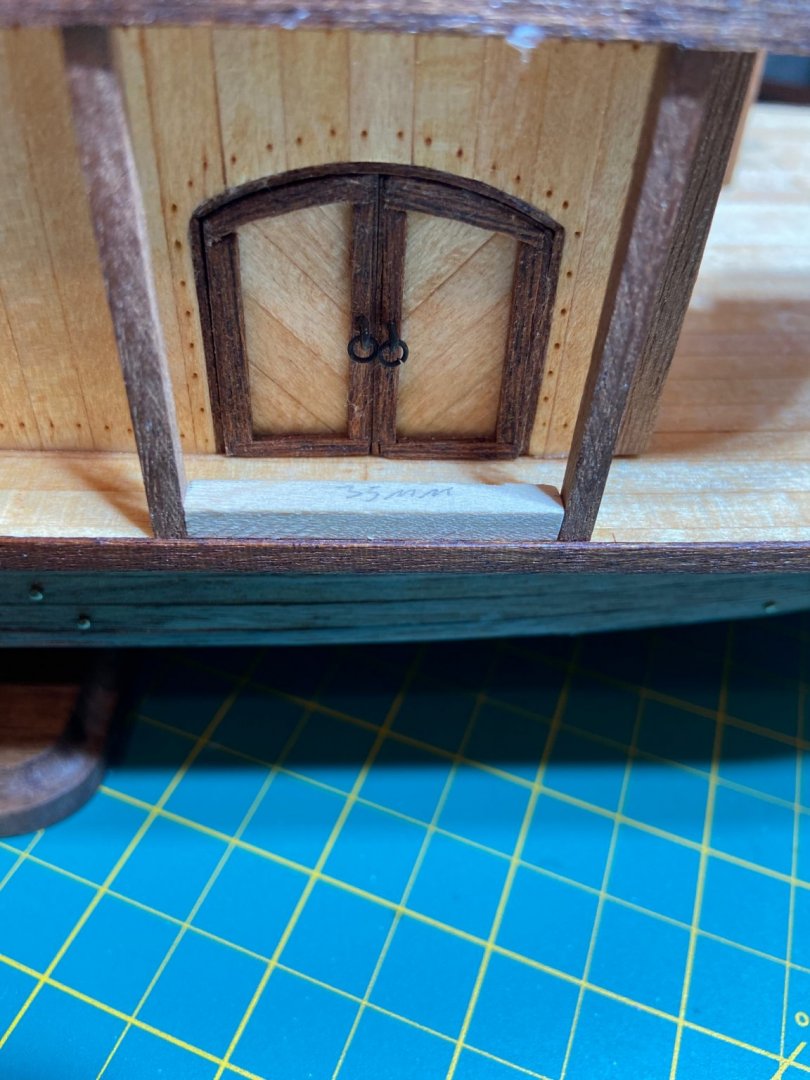
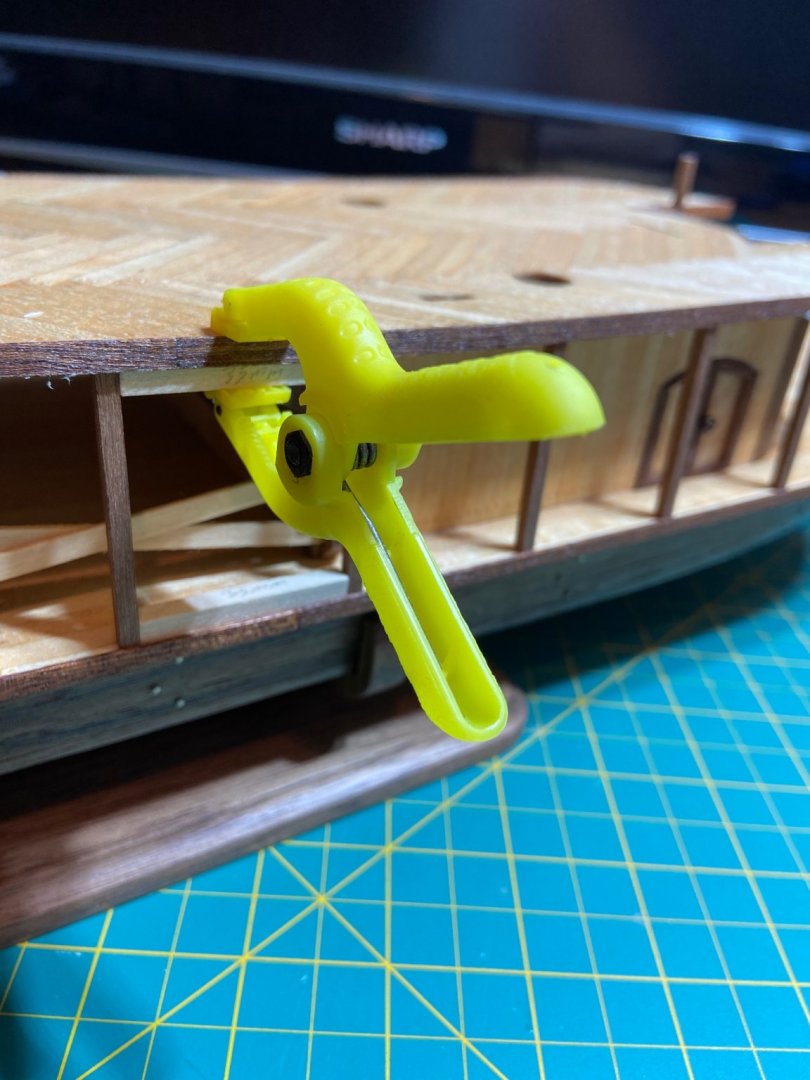
Finally glued the second level deck on and started working on the support beams. The instructions say 42mm height but mine varies from 42 to ~44mm. The directions were not clear on how to start for placement, so I looked at the blueprints supplied. They are all spaced 35mm apart and this is also the width of the double doors located on the first level. The prints show there are no posts blocking these doors, so that’s where I started. Making 2 35mm space blocks to use as I place each one. they are currently just sitting with a tiny dab of glue. Once I dry fit them all I will remove them, cost with tung oil, and glue permanently.
About us
Modelshipworld - Advancing Ship Modeling through Research
SSL Secured
Your security is important for us so this Website is SSL-Secured
NRG Mailing Address
Nautical Research Guild
237 South Lincoln Street
Westmont IL, 60559-1917
Model Ship World ® and the MSW logo are Registered Trademarks, and belong to the Nautical Research Guild (United States Patent and Trademark Office: No. 6,929,264 & No. 6,929,274, registered Dec. 20, 2022)
Helpful Links
About the NRG
If you enjoy building ship models that are historically accurate as well as beautiful, then The Nautical Research Guild (NRG) is just right for you.
The Guild is a non-profit educational organization whose mission is to “Advance Ship Modeling Through Research”. We provide support to our members in their efforts to raise the quality of their model ships.
The Nautical Research Guild has published our world-renowned quarterly magazine, The Nautical Research Journal, since 1955. The pages of the Journal are full of articles by accomplished ship modelers who show you how they create those exquisite details on their models, and by maritime historians who show you the correct details to build. The Journal is available in both print and digital editions. Go to the NRG web site (www.thenrg.org) to download a complimentary digital copy of the Journal. The NRG also publishes plan sets, books and compilations of back issues of the Journal and the former Ships in Scale and Model Ship Builder magazines.


