-
Posts
32 -
Joined
-
Last visited
About sire_eris

- Birthday 04/24/1983
Profile Information
-
Gender
Male
-
Location
Basel Switzerland
Recent Profile Visitors
The recent visitors block is disabled and is not being shown to other users.
-
 Spellapeaka reacted to a post in a topic:
San Francisco II by sire_eris - Artesania Latina - scale 1:90
-
 Prowler901 reacted to a post in a topic:
San Francisco II by sire_eris - Artesania Latina - scale 1:90
-
 Chuck reacted to a post in a topic:
San Francisco II by sire_eris - Artesania Latina - scale 1:90
-
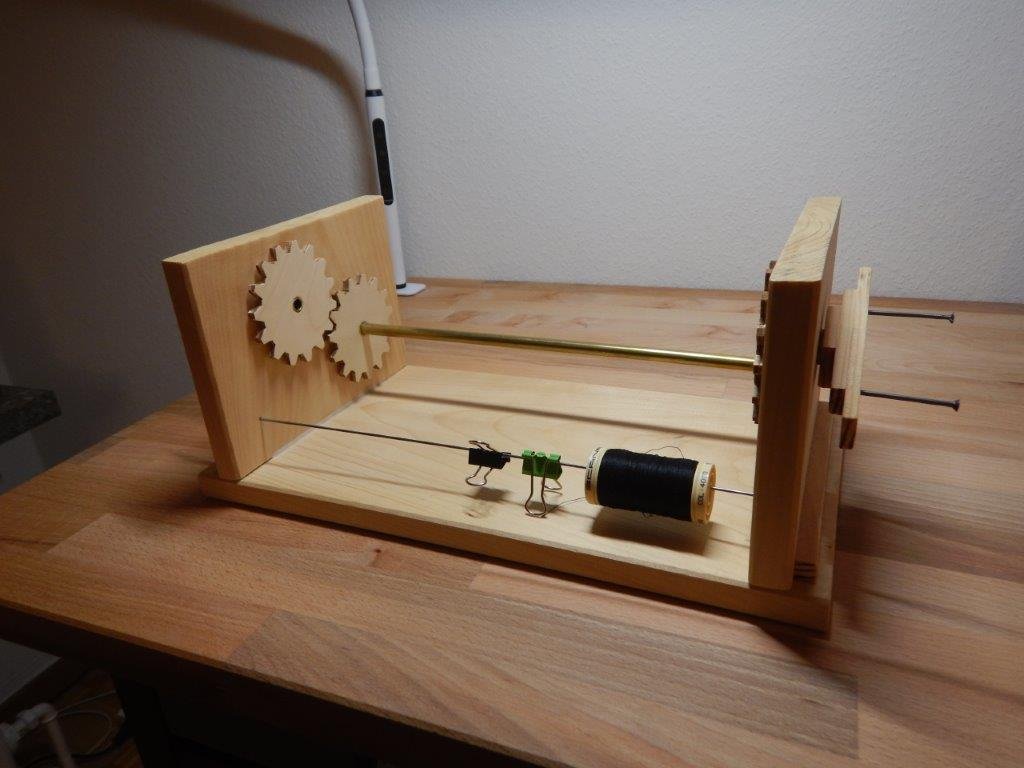
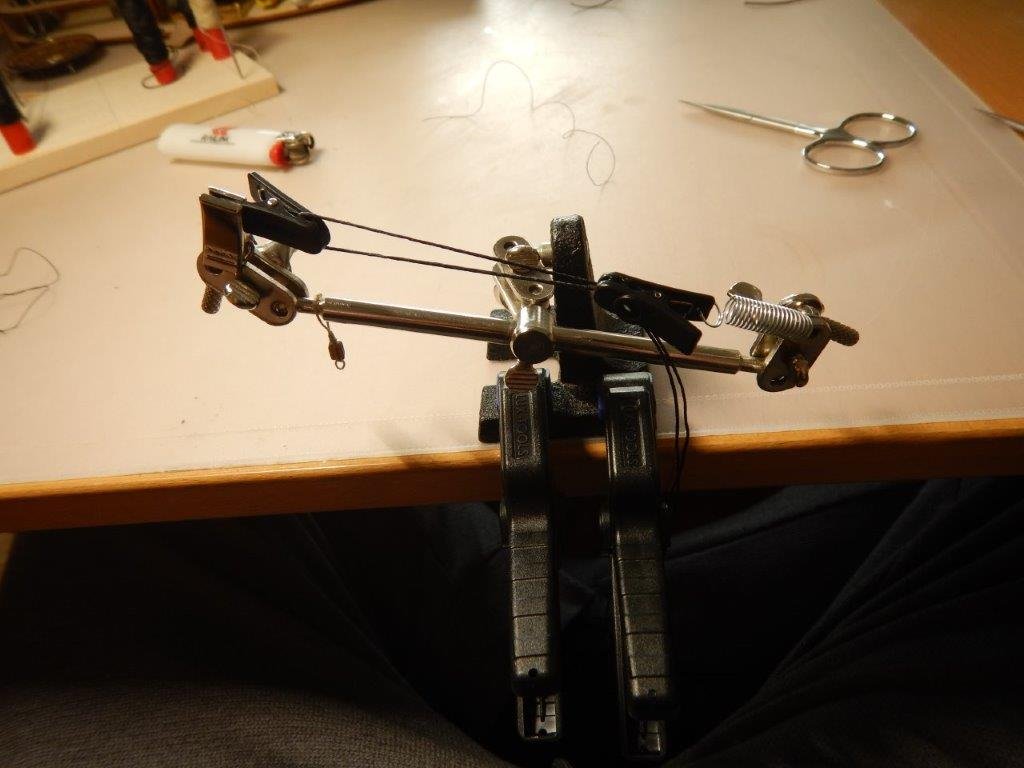
So far all worked well. Even served the part of the stays which go around the masts with thin rope, including a "mouse". Took me quite a while to figure out how to do that and had to build a serving machine for that, which I rebuilt by looking at the serving machine offered by Syren model (thanks guy for putting the assembly instruction online!).
-
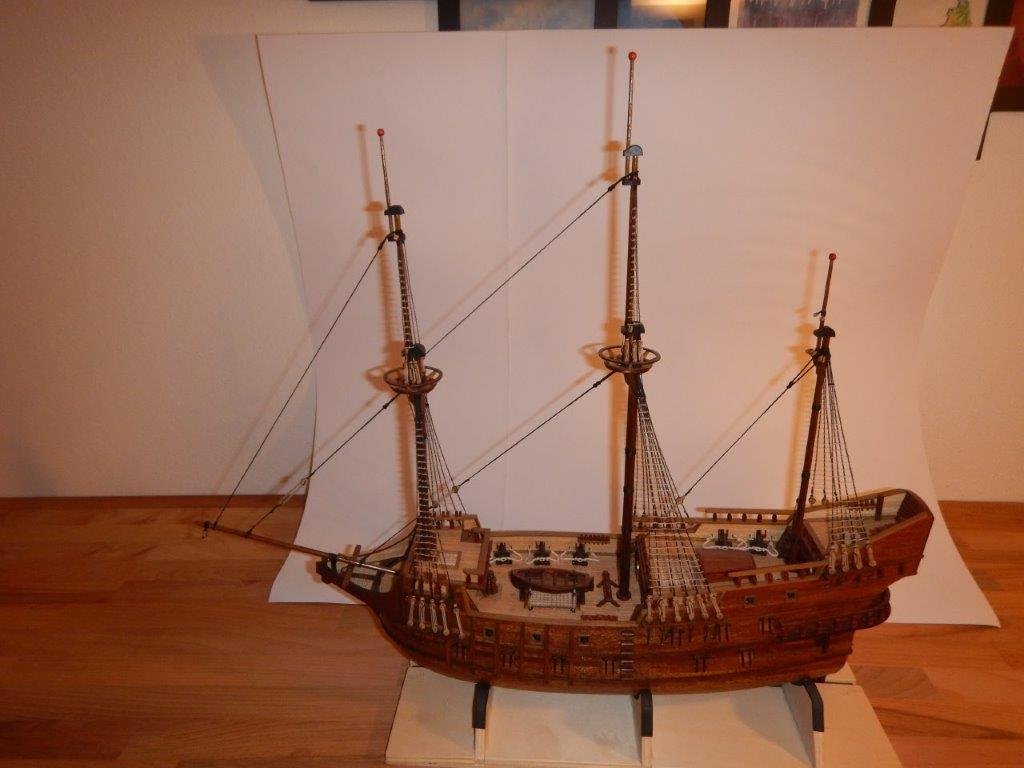
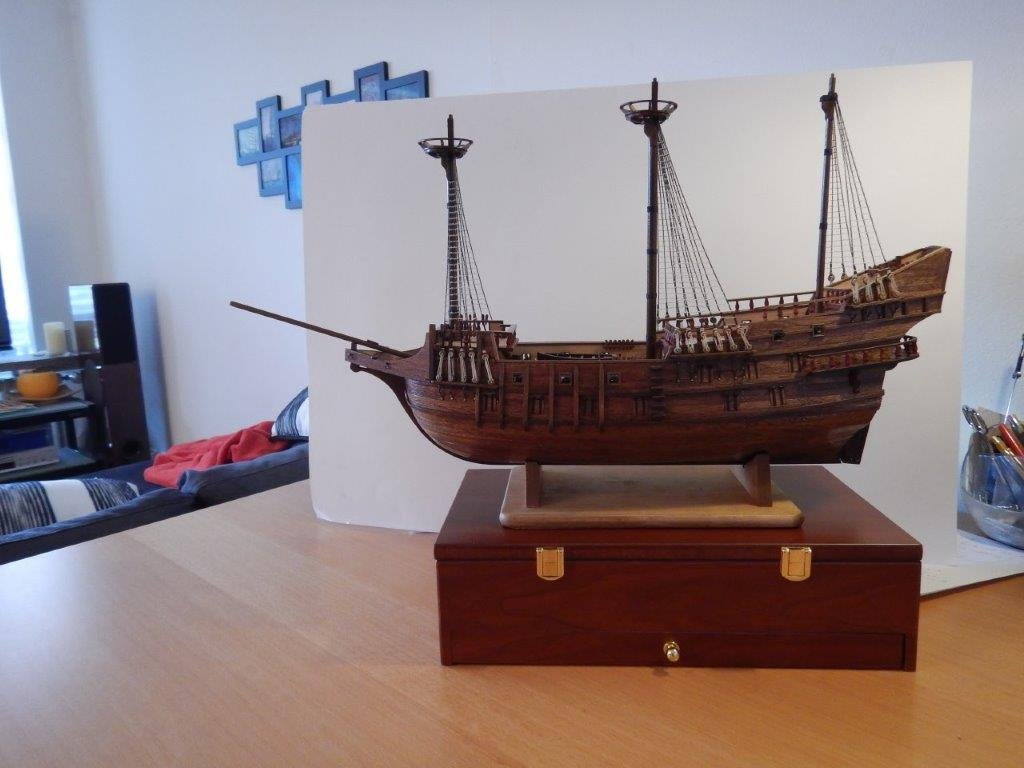
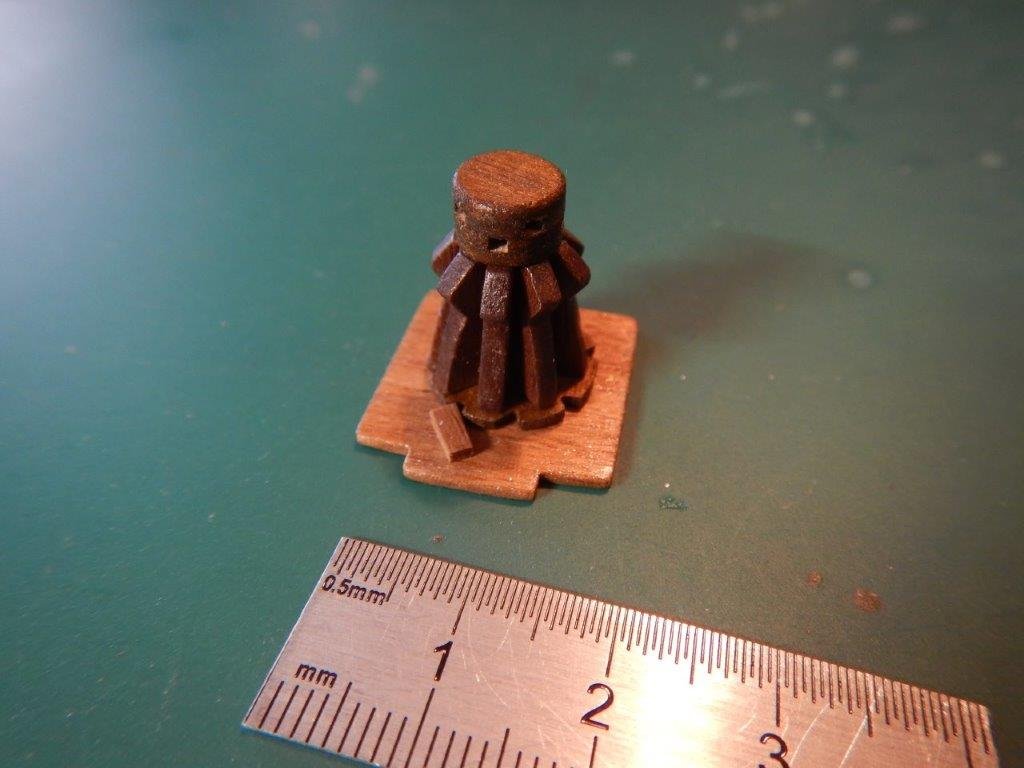
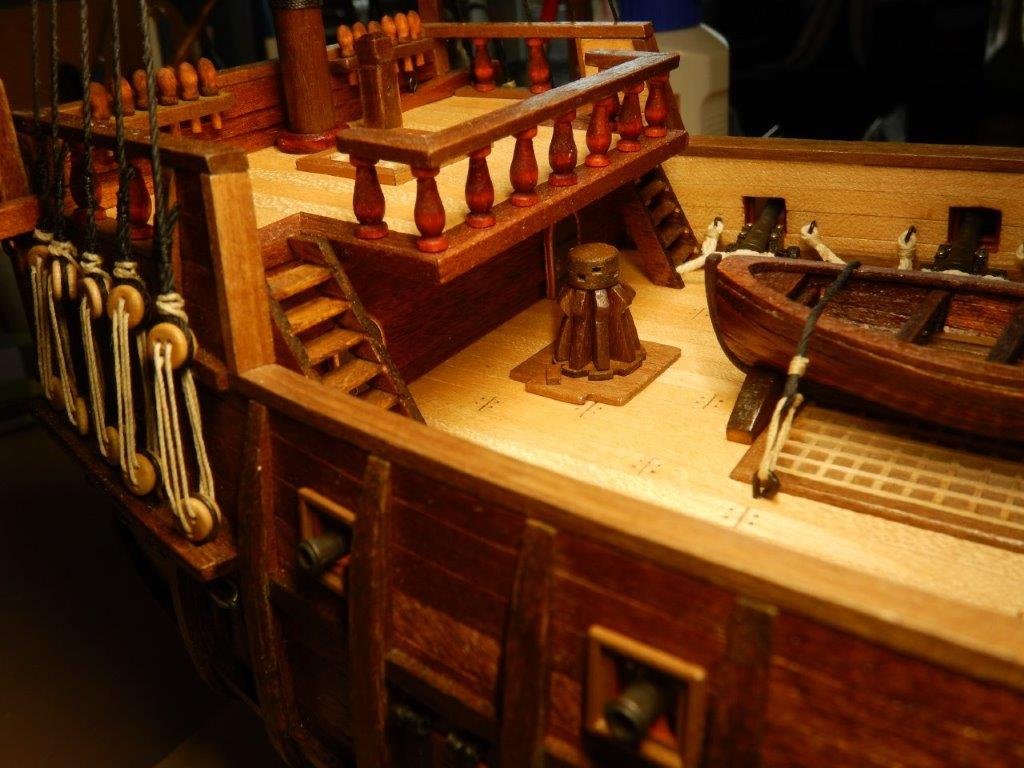
As I haven't worked on the ship for quite a while, respectively only did some stuff during some short periods, it took some time for the next post here... Recently I picked up work and now am trying to finish the build. The rigging is something complete new for me and a lot new stuff and techniques to learn. So I have quite some respect regarding all that work - also stuff can be broken easily now when working on the model 🙄 As there was some space on the deck and I thought this detail is missing in the kit, I built a scratch capstan:
-
 GrandpaPhil reacted to a post in a topic:
San Francisco II by sire_eris - Artesania Latina - scale 1:90
-
 kostas_gr reacted to a post in a topic:
San Francisco II by sire_eris - Artesania Latina - scale 1:90
-
 sire_eris reacted to a post in a topic:
San Francisco II by sire_eris - Artesania Latina - scale 1:90
-
 gieb8688 reacted to a post in a topic:
How to lash a jollyboat on deck?
-
 amateur reacted to a post in a topic:
How to lash a jollyboat on deck?
-
 Duanelaker reacted to a post in a topic:
San Francisco II by sire_eris - Artesania Latina - scale 1:90
-
 Duanelaker reacted to a post in a topic:
San Francisco II by sire_eris - Artesania Latina - scale 1:90
-
 Duanelaker reacted to a post in a topic:
San Francisco II by sire_eris - Artesania Latina - scale 1:90
-
Thanks! Looks like Artesania did change some parts quite frequently. My instruction says the deck gratings are included in die cast but wood was included to build them, the bow grating should be included as die cast part as well but there was nothing at all in the box... I previously built the SF2 cross section and there was also a top of laser cut wood included. My ship is the old version of the SFII (single planked), so probably the older kits contain (or should contain) more die cast parts than newer ones? Anyway, AL is out of business which is a bit sad, I liked the kits and a lot of the parts are also very well made and of good quality. The included 5mm planks were good mahagony and the sails are pretty nice I think. They look handmade and are of good detail.
-
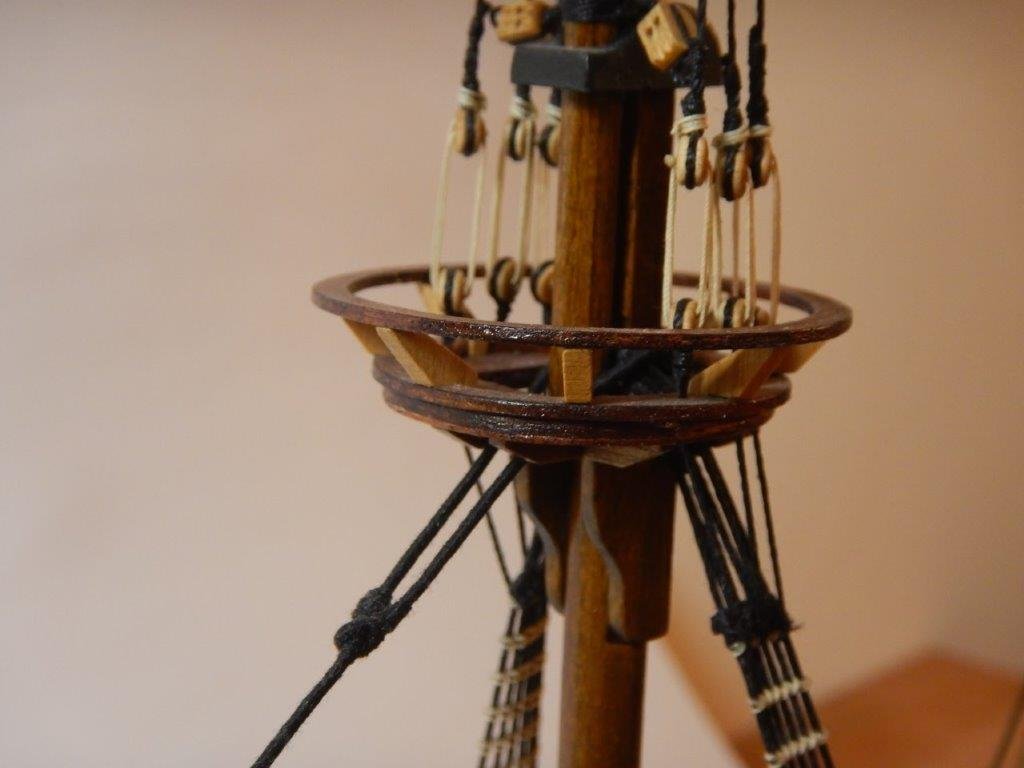
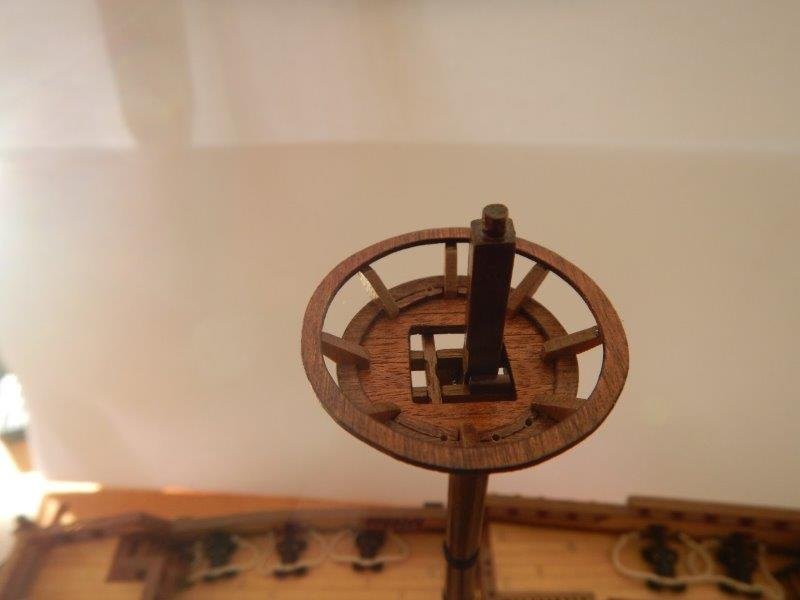
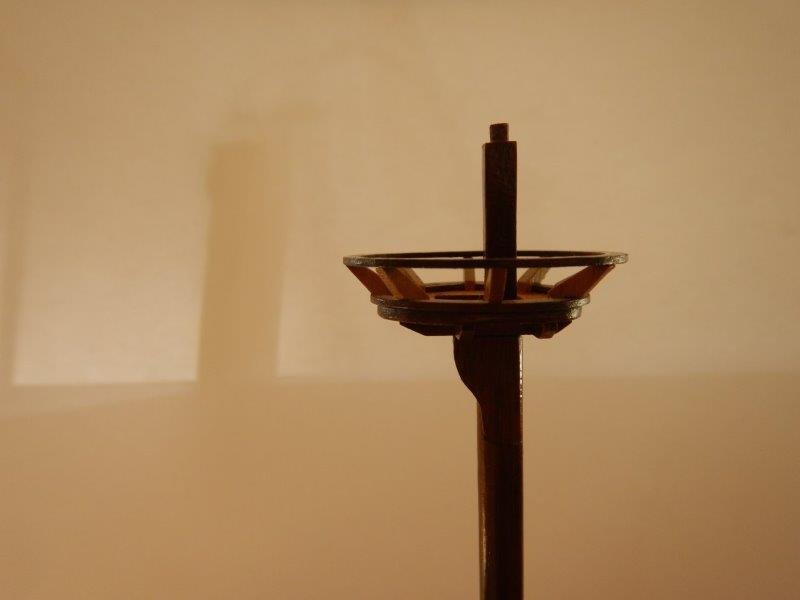
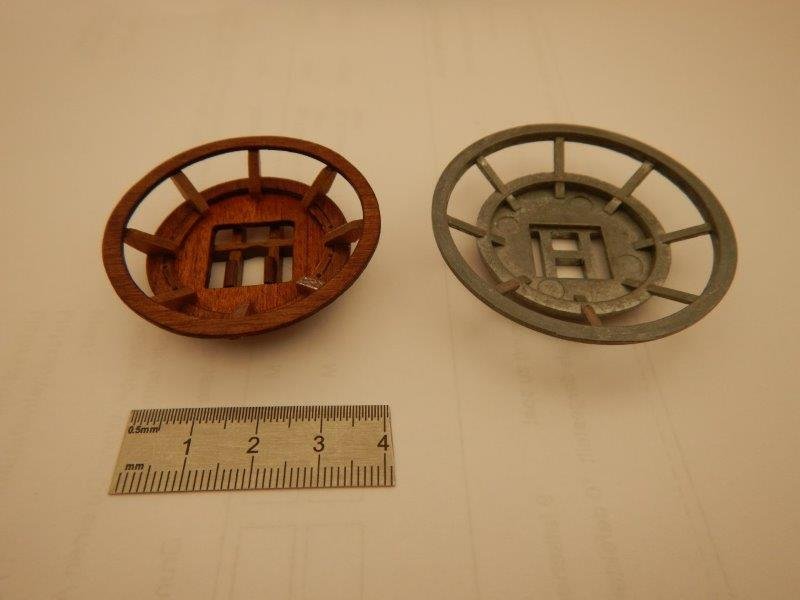
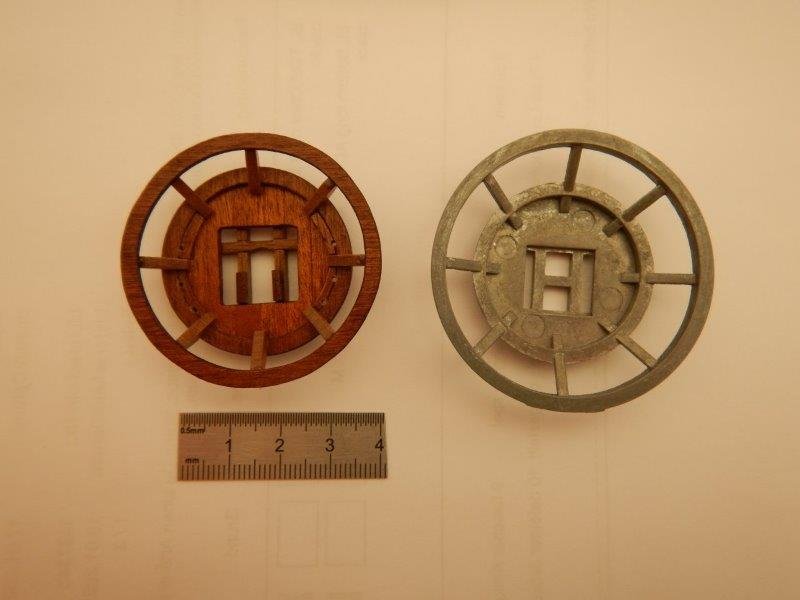
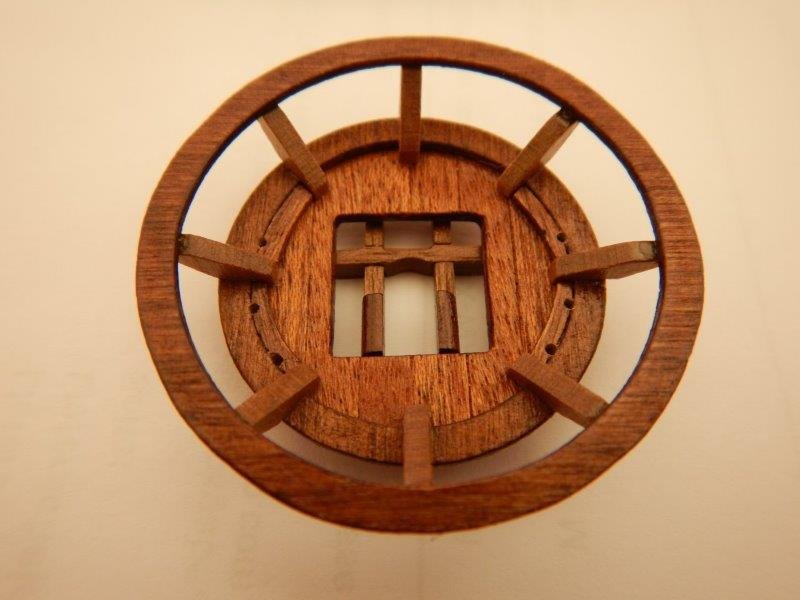
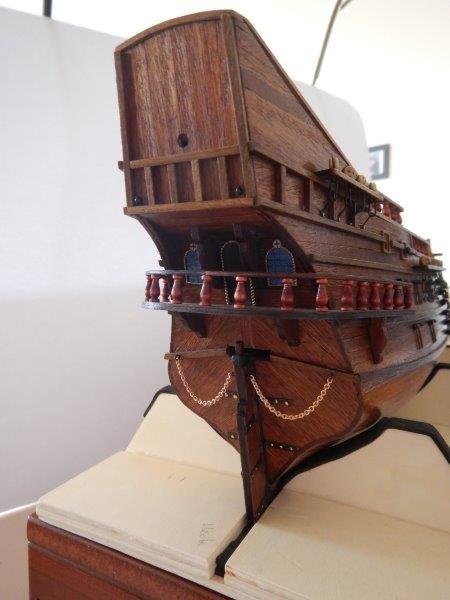
Next part in the kit that was really ugly was the top plattforms (how do you call them in English correctly? In German the "Mars") of fore and main mast. So I made some own completely from scratch, trying to rebuild them as close as possible to the ugly die cast part. Was quite a process cutting and fitting all the small delicate parts together. I'm quite happy with the result Last pictures show the testwise mounted platform not attached yet. Another comment to artesania latina's die cast parts: they are ****! The top plattforms die cast parts not even showing the holes you need for attaching the upper shrouds. If you would forget to drill them as the instructions do not say anything about it, you would be fucked up having to deal with it if already mounted on the mast... As well as drilling holes in such die cast parts of a complexity of that top plattform is not the wood modeler's main ability nor will it end up very precise...
-
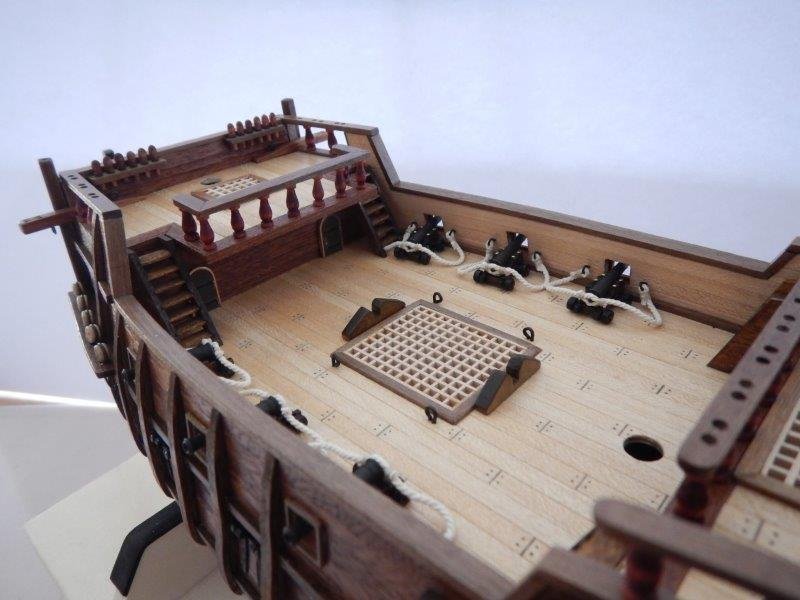
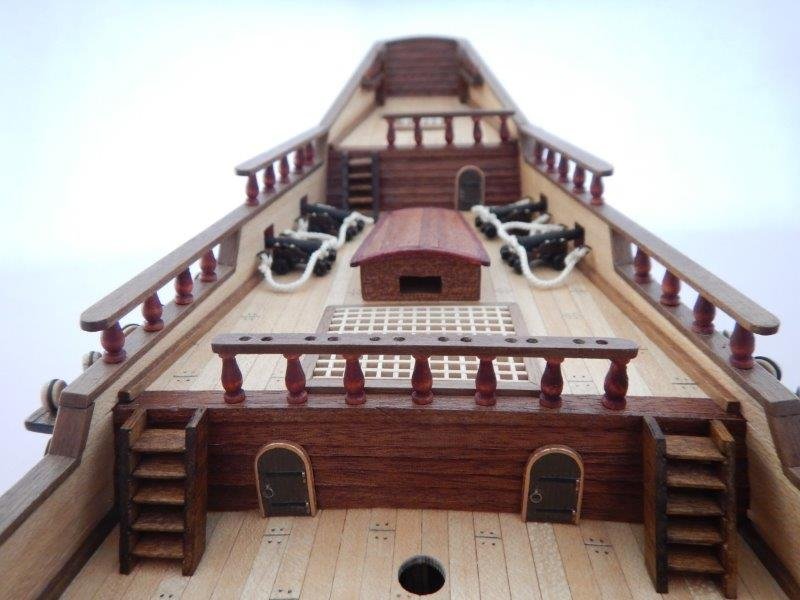
Hi Barr1. Sorry just saw your message, so answer a bit late... Cool, nice to hear that pictures can be useful 🙂 I guess that casted bow grating in the kit looks quite ugly? The lines on the deck (joint of the planks) are made by slightly engraving the planks with a saw and blackening the groove with a pencil. The "nail holes" are made by hammering a not too pointy pencil into the planks. Both done before gluing the plank stripes onto the deck. Which part do you exactly mean with "bow sprit stanchion". And from what view? My mother language is German. So it is quite difficult and tricky for me to get all the names of the ship's parts in English. Crazy anyway how many technical terms there are in the world of old ships... X-)
-
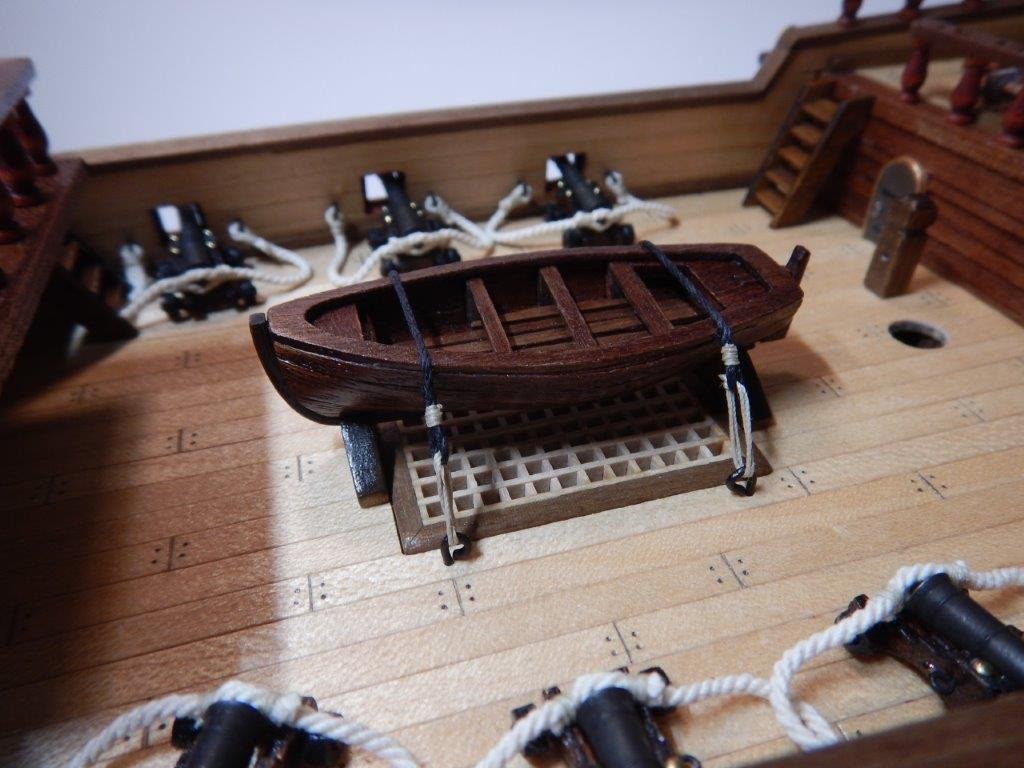
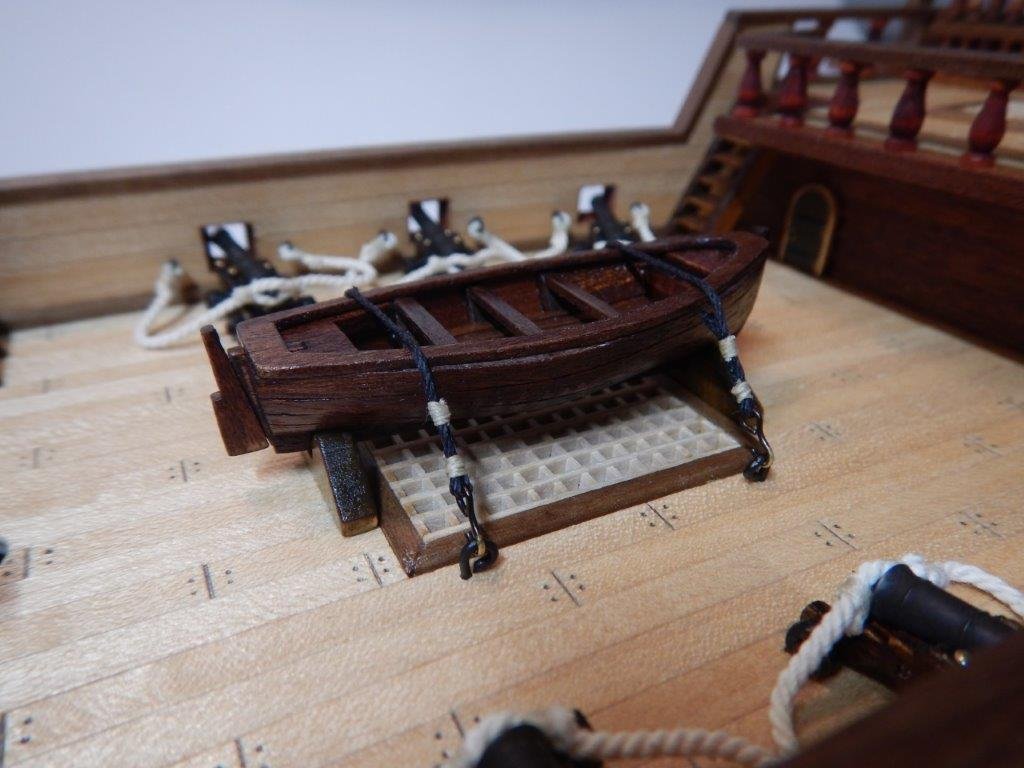
Hi mtaylor Thanks for the hint. So far thats clear. But I was looking for a somewhat more elaborate lashing. Probably something with two blocks at each line for tightenig the lines. I don't know what kind of "system" in the line was used to strap the boat historically correct (only ropes fixed to an eyebolt mounted in the deck floor is not historically correct I think!?).
-
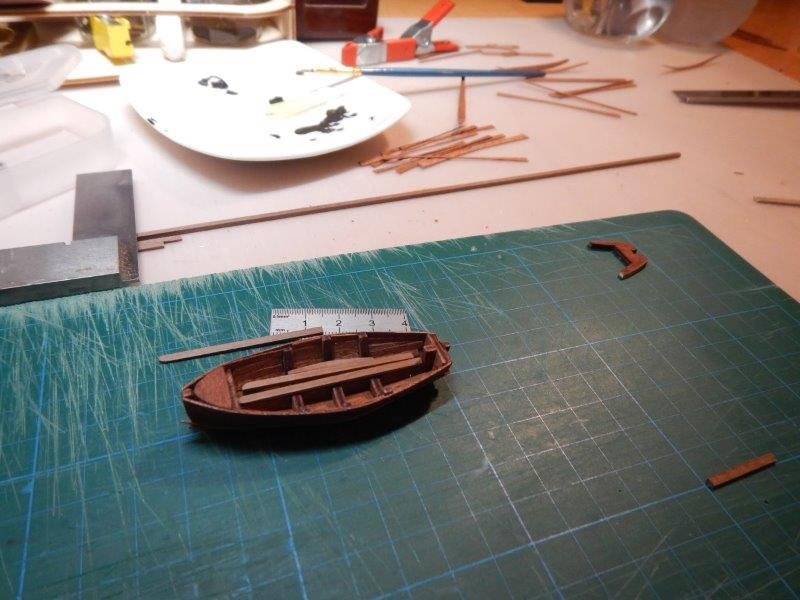
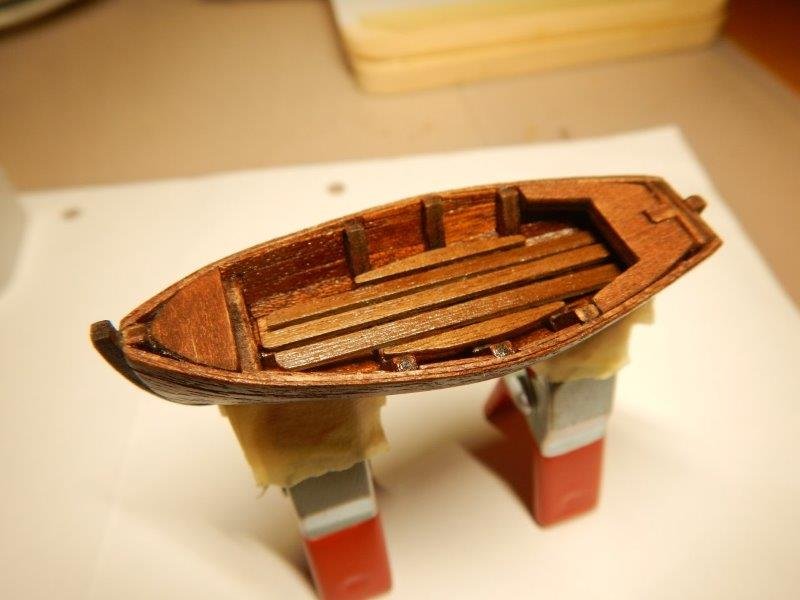
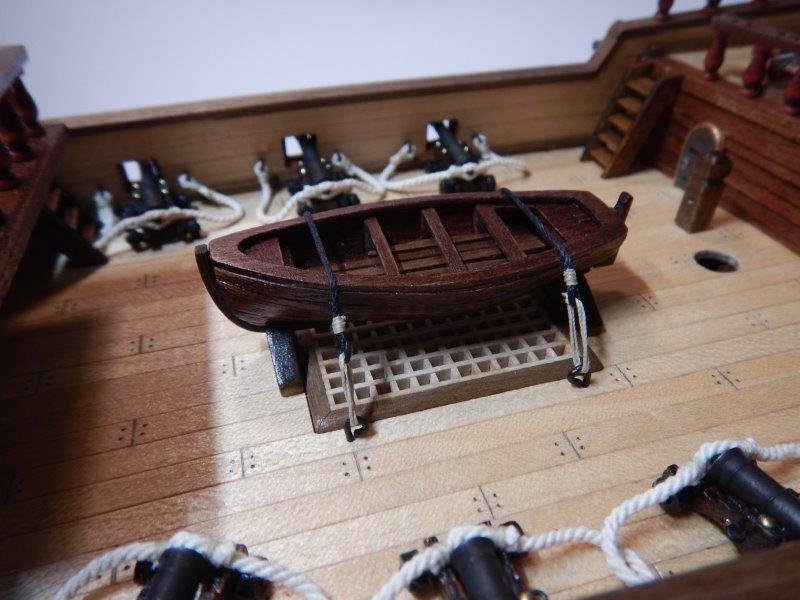
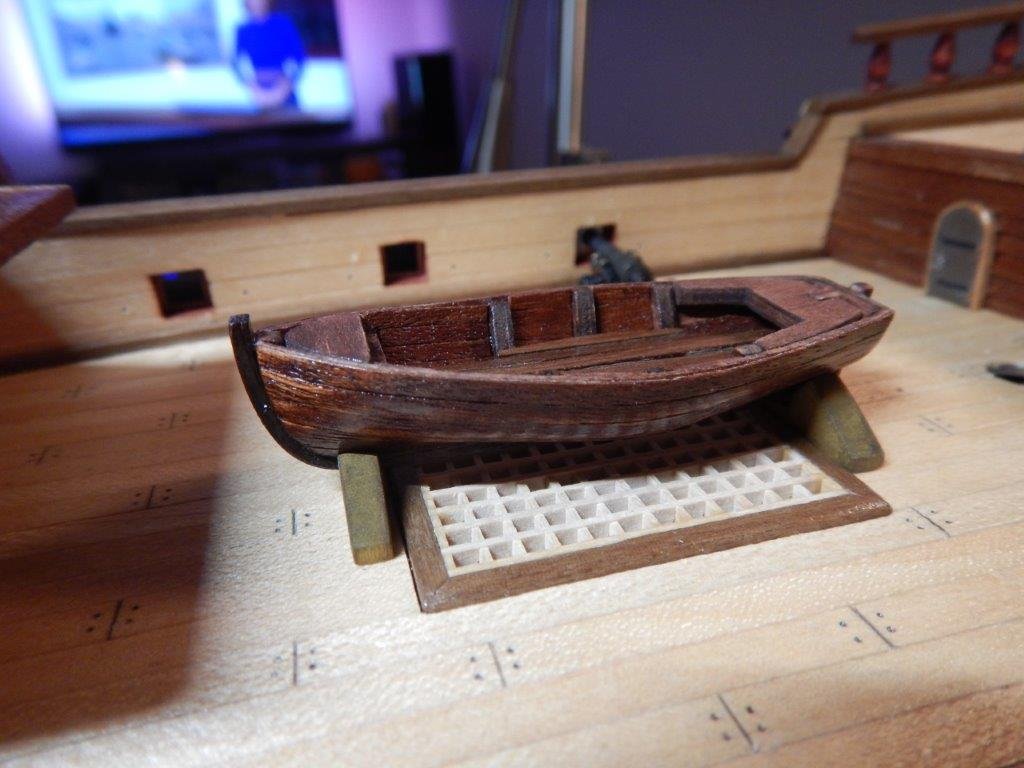
Dear fellows How is the correct method to lash a dinghy / jollyboat on deck? I built some wooden blocks as stand, now I need to fix the boat somehow with lashings to the deck, please see picture below (dinghy is not yet completely finished...). Its' on a spanish galleon, 16th century. Model San Francisco II of Artesania Latina which I upgraded with some custom made parts, such as the dinghy. The dinghy is only 70 mm long, so the lasing shouldn't be too complicatedy as it has to be very small size... Would be great if you could give me some advise how I can realise the most realistic looking lashing. Thank you and kind regards from Basel Switzerland André If you like to see the full build log, please visit
-
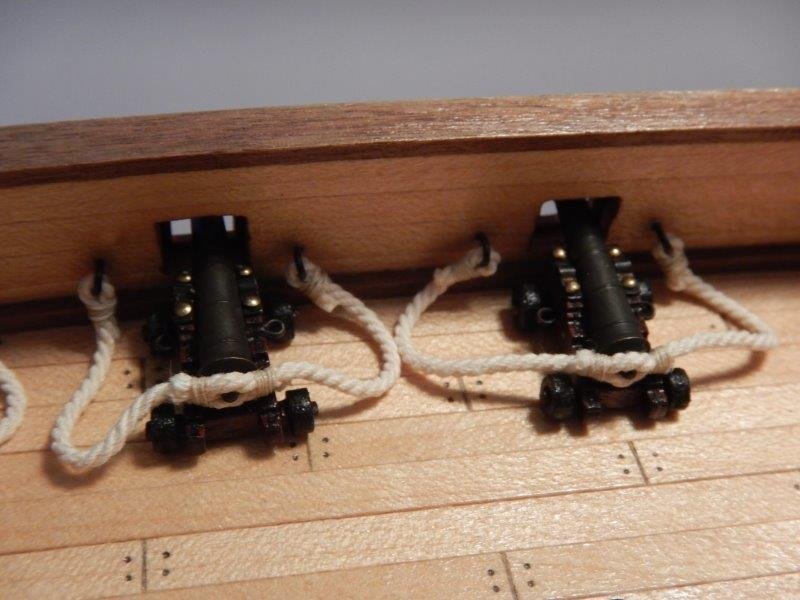
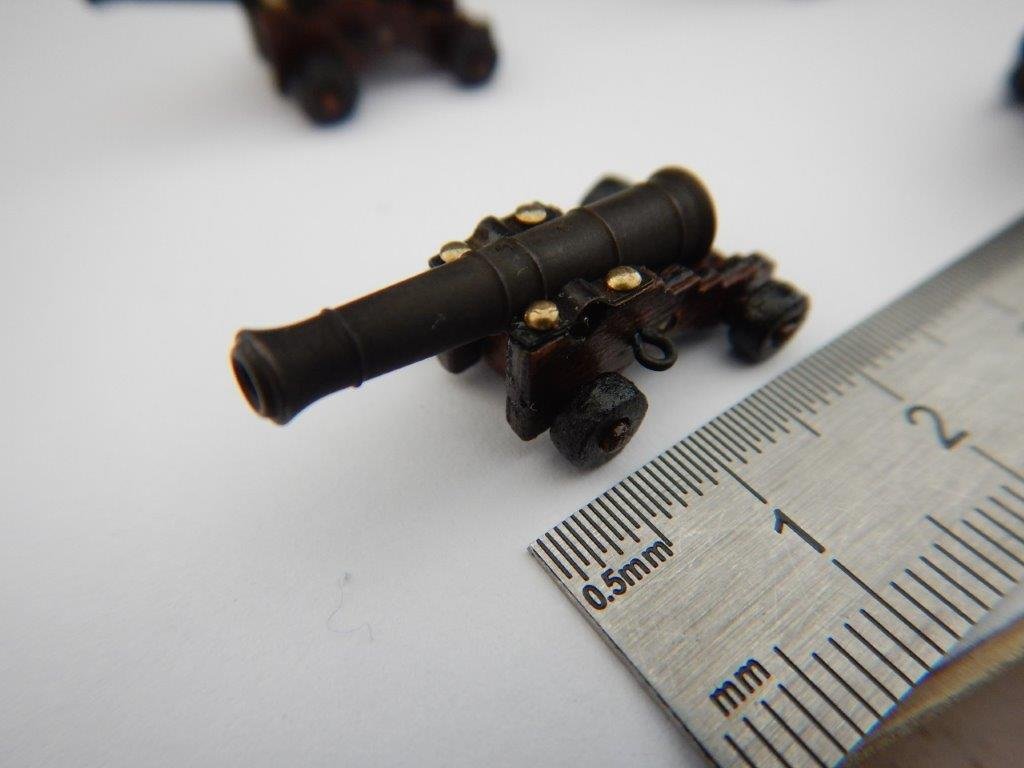
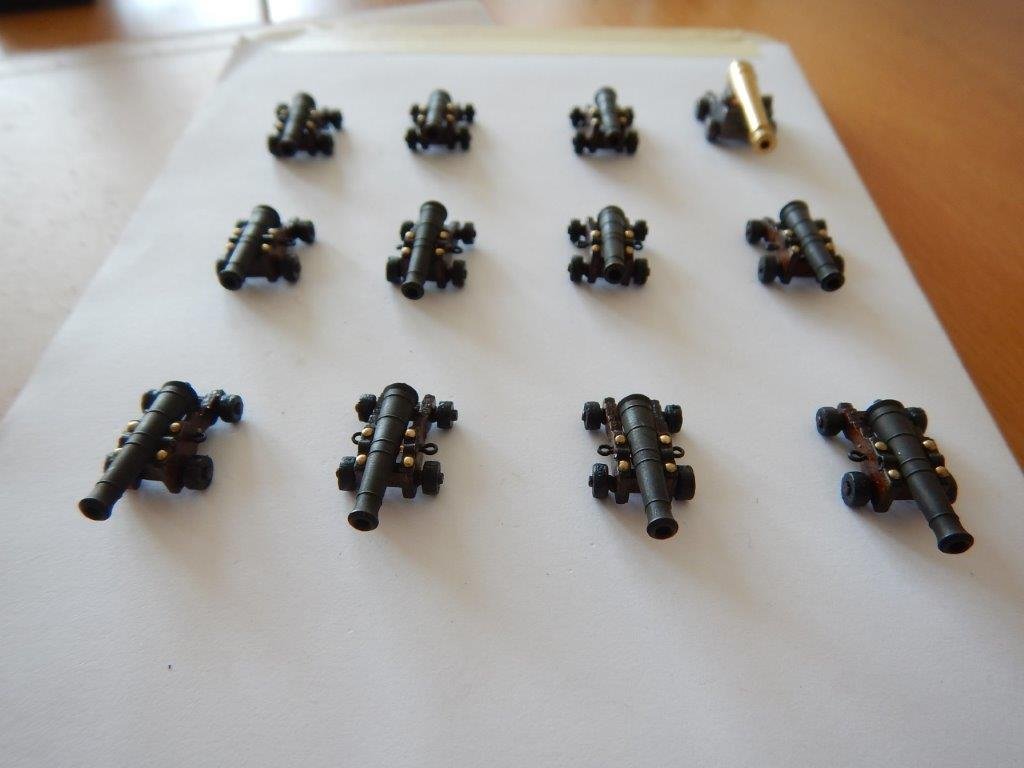
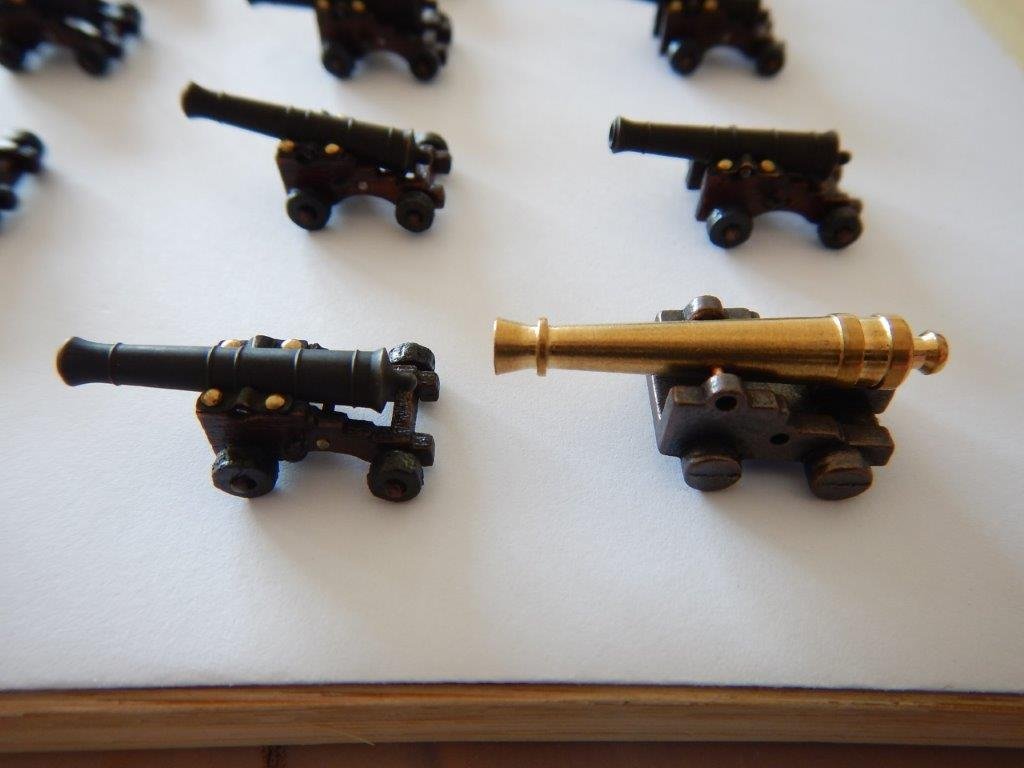
Worked alot on the 10x cannons (+ 1 reserve). That took me 19.6 hours until they were all varnished. Still need to do the ropework for mounting them. I think the effort was worth the time if you compare the result to the simple iron cast carriages provided in the kit (shown on last of the three pictures):
About us
Modelshipworld - Advancing Ship Modeling through Research
SSL Secured
Your security is important for us so this Website is SSL-Secured
NRG Mailing Address
Nautical Research Guild
237 South Lincoln Street
Westmont IL, 60559-1917
Model Ship World ® and the MSW logo are Registered Trademarks, and belong to the Nautical Research Guild (United States Patent and Trademark Office: No. 6,929,264 & No. 6,929,274, registered Dec. 20, 2022)
Helpful Links
About the NRG
If you enjoy building ship models that are historically accurate as well as beautiful, then The Nautical Research Guild (NRG) is just right for you.
The Guild is a non-profit educational organization whose mission is to “Advance Ship Modeling Through Research”. We provide support to our members in their efforts to raise the quality of their model ships.
The Nautical Research Guild has published our world-renowned quarterly magazine, The Nautical Research Journal, since 1955. The pages of the Journal are full of articles by accomplished ship modelers who show you how they create those exquisite details on their models, and by maritime historians who show you the correct details to build. The Journal is available in both print and digital editions. Go to the NRG web site (www.thenrg.org) to download a complimentary digital copy of the Journal. The NRG also publishes plan sets, books and compilations of back issues of the Journal and the former Ships in Scale and Model Ship Builder magazines.


