
Duanelaker
-
Posts
571 -
Joined
-
Last visited
Content Type
Profiles
Forums
Gallery
Events
Everything posted by Duanelaker
-
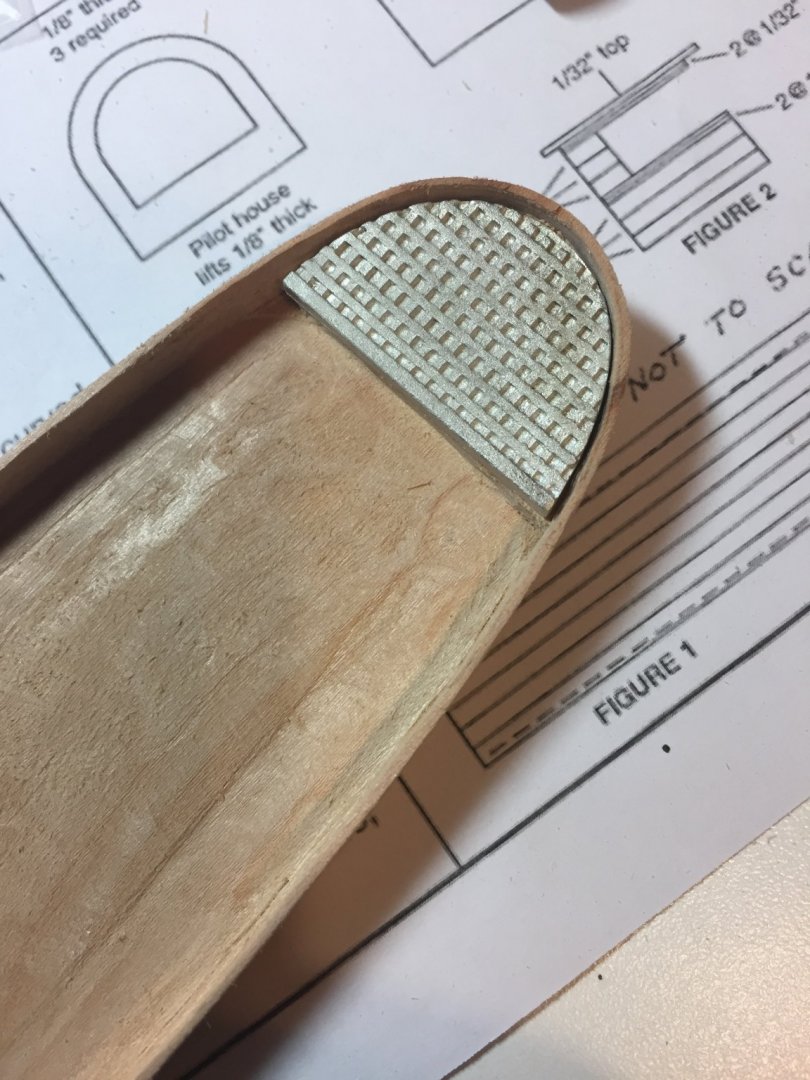
 I would plan on trying to square these up as I think round would look incorrect. Maybe not worth the trouble?
 -
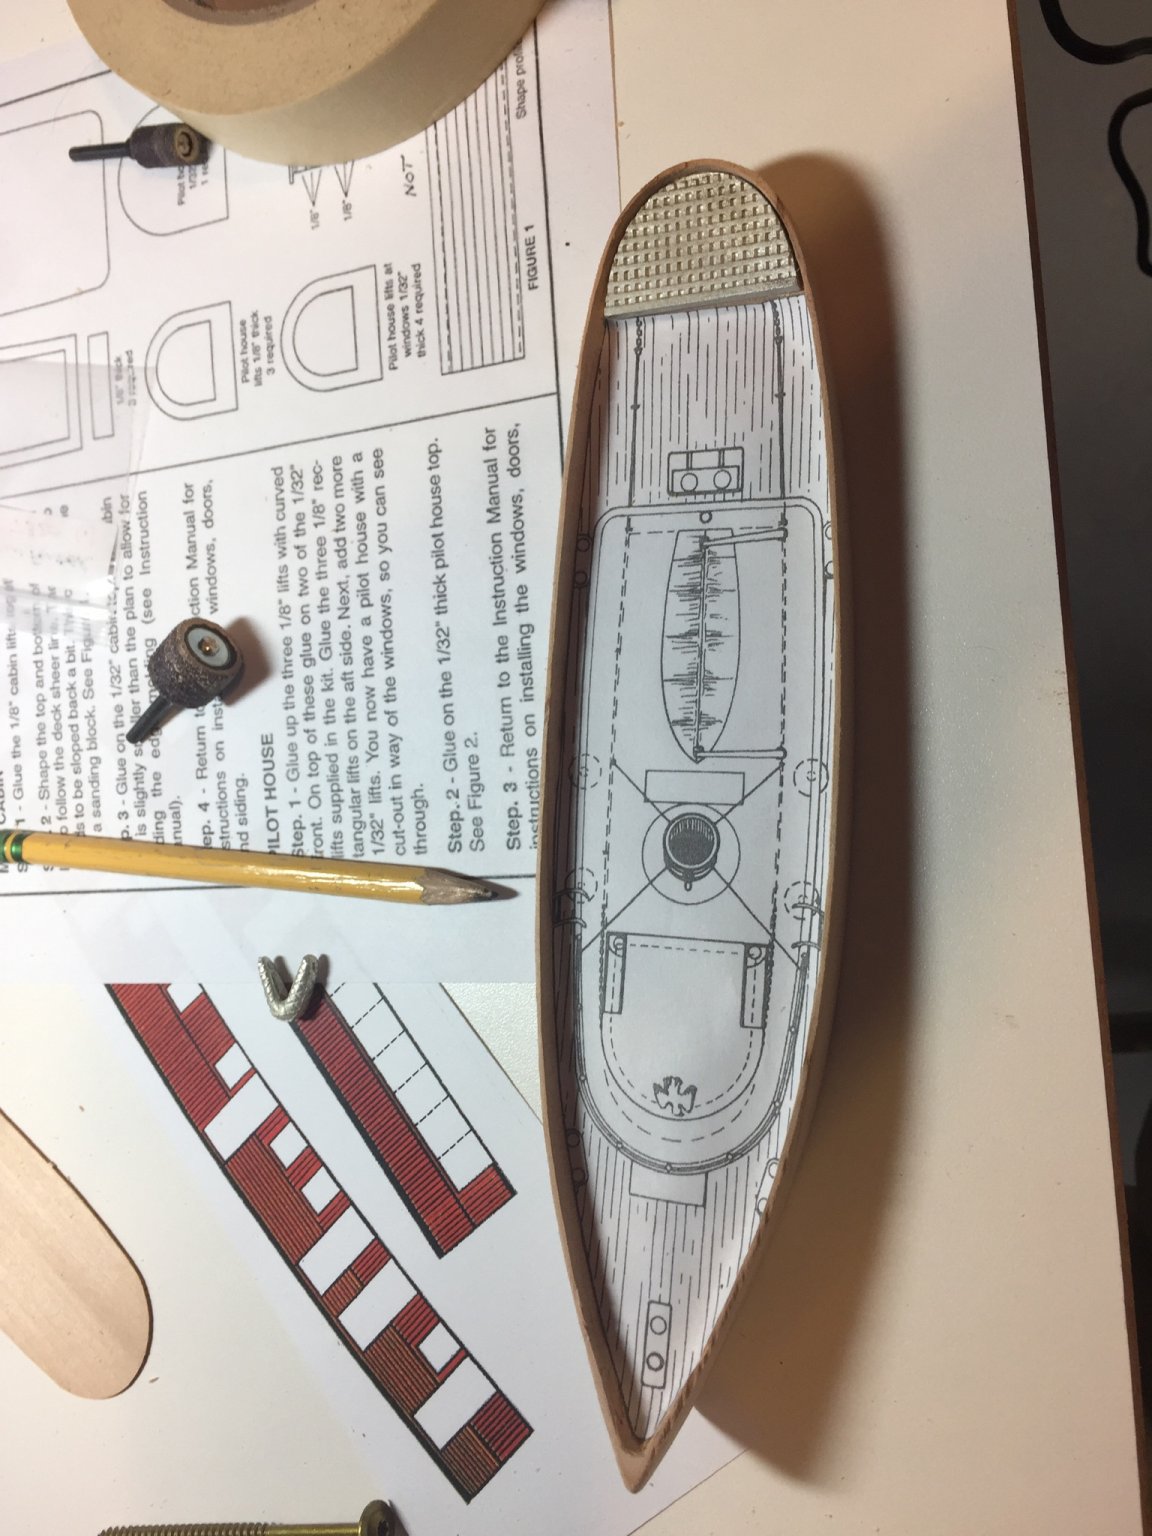
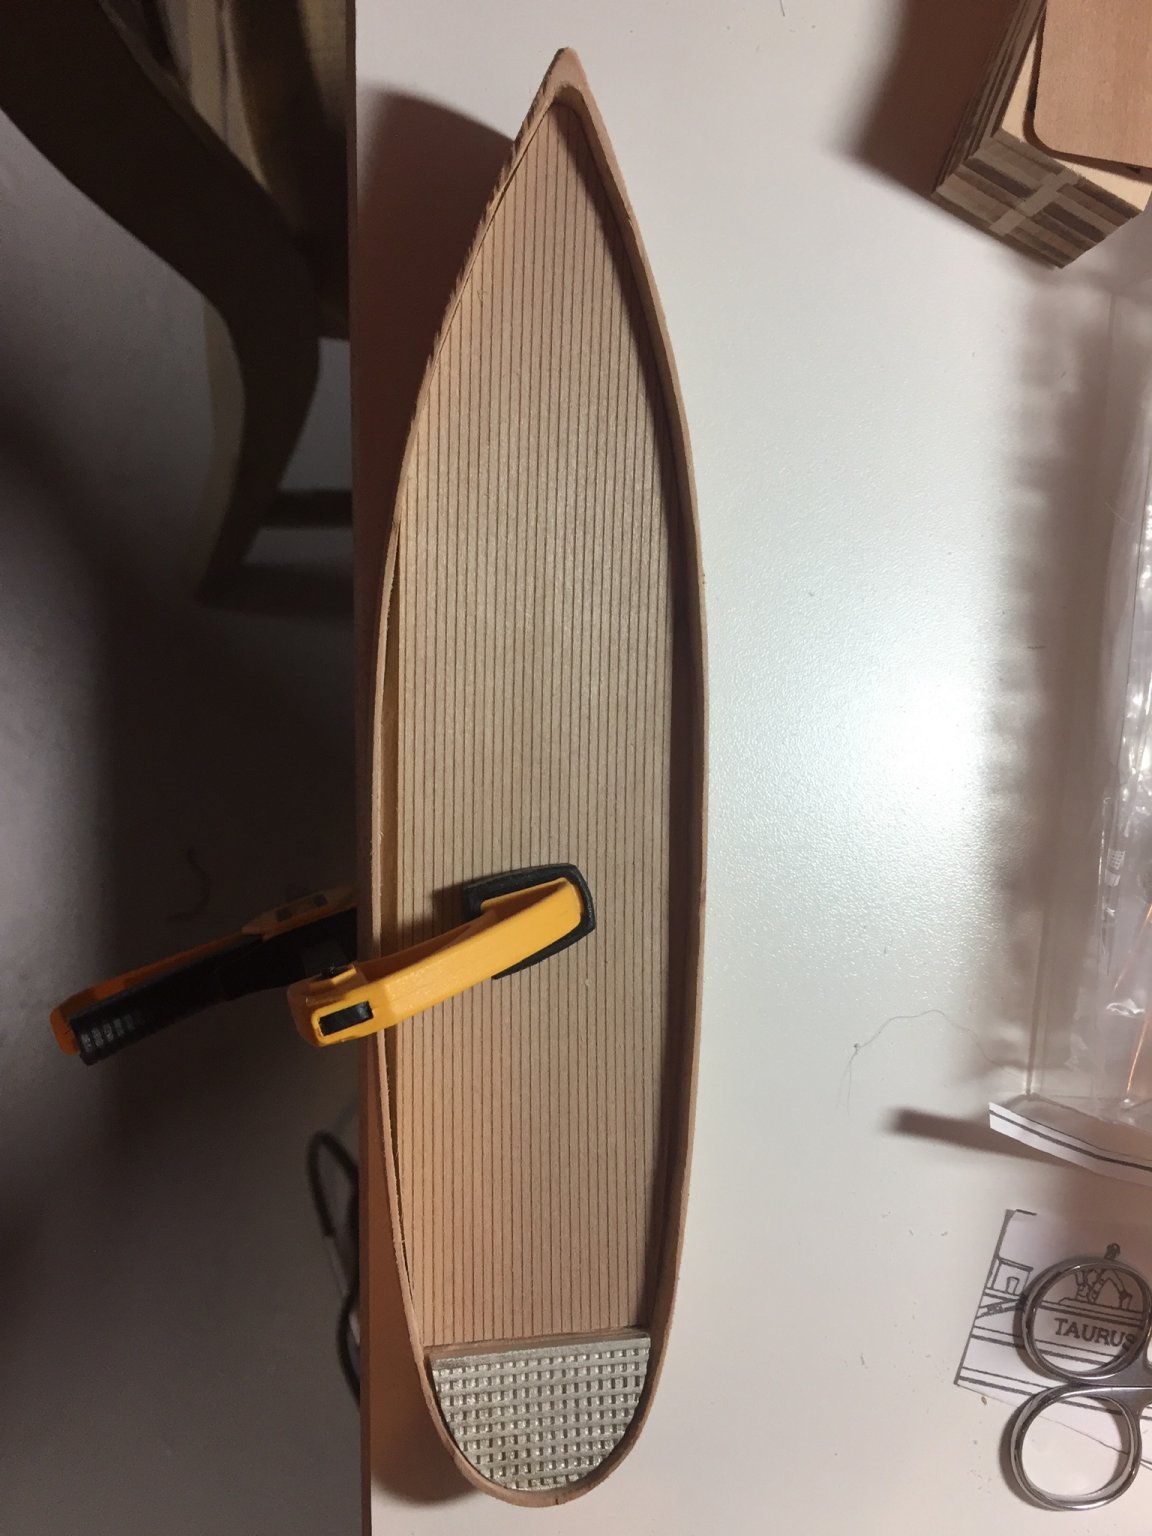
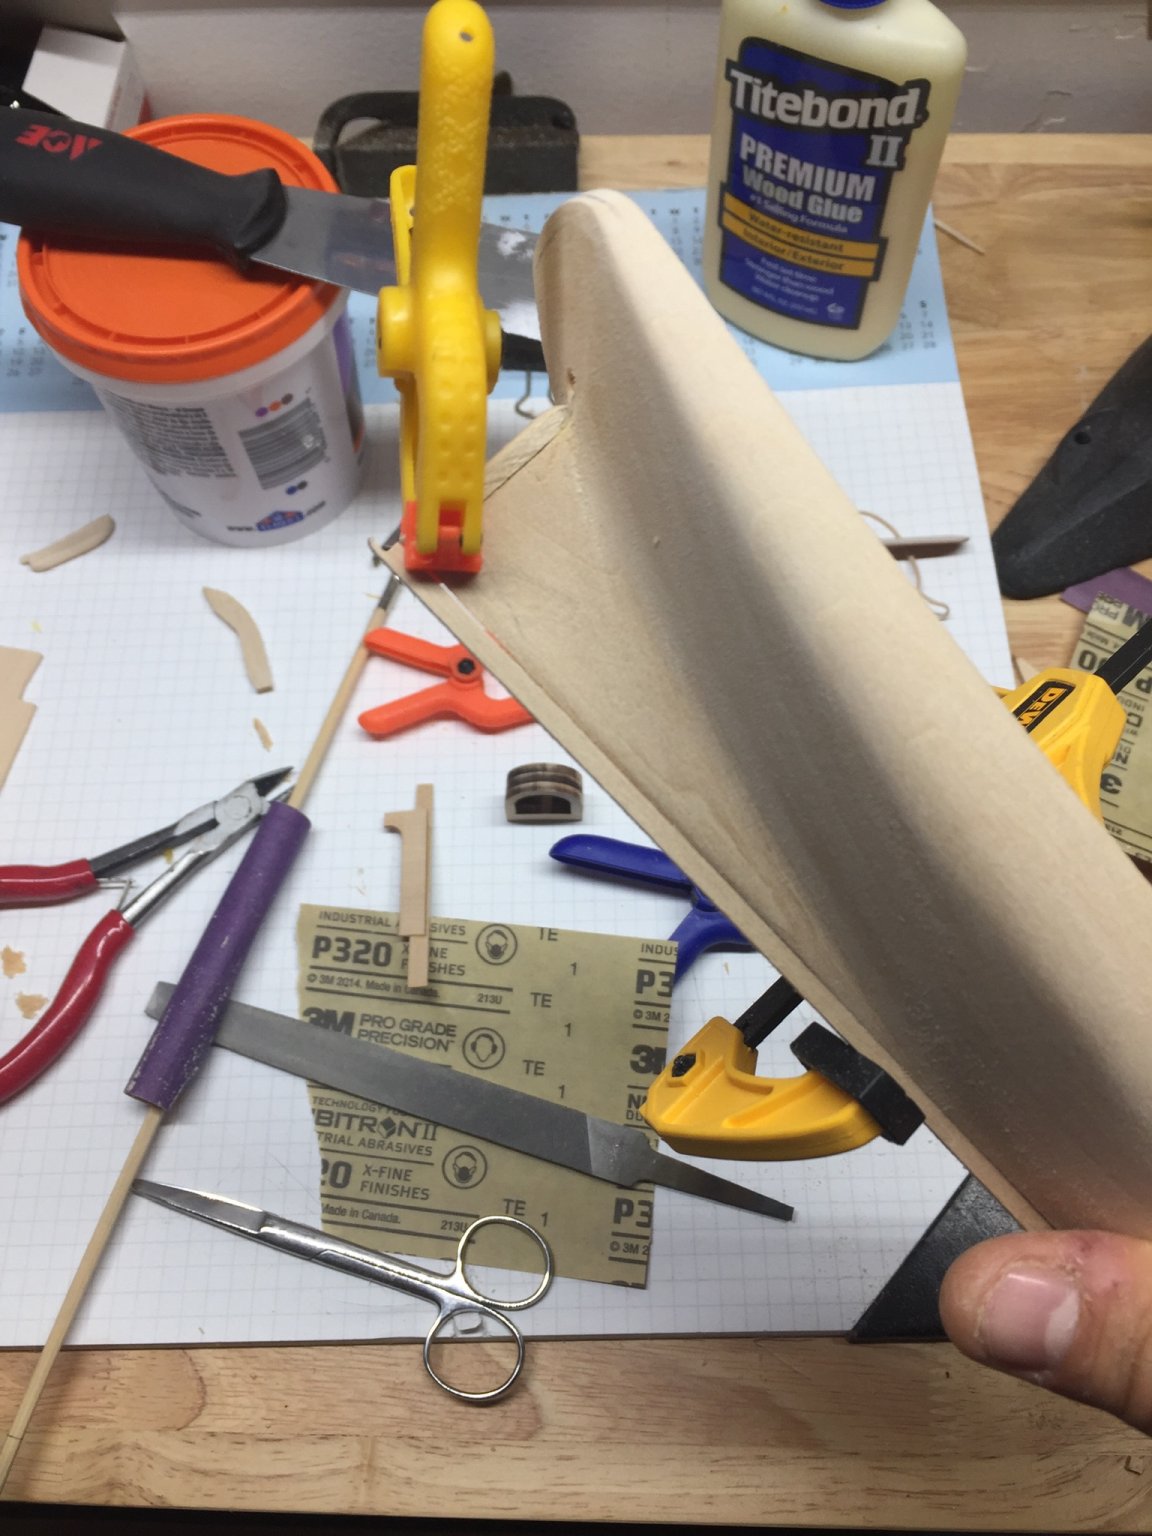
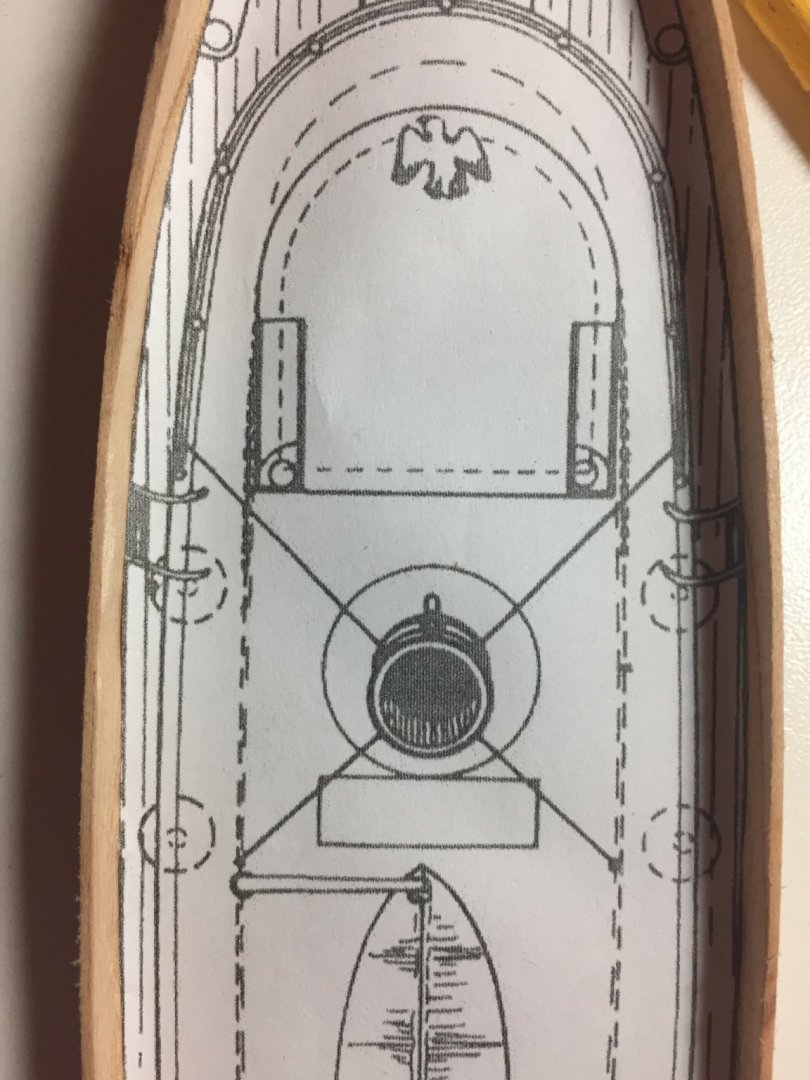
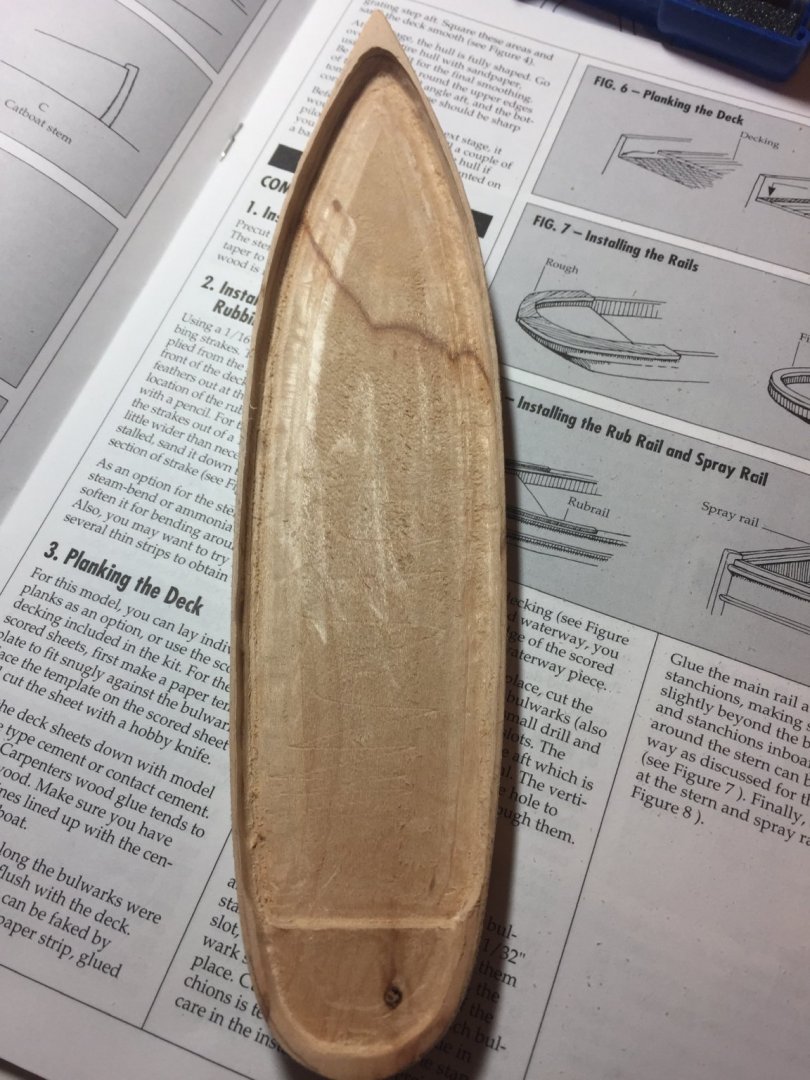
Made some head way on the bulwarks...thinned them more and started fitting the decking. I got the bow way nicer then yesterday. I am struggling matching the cabin with the deck since it is not flat. Wish the had a template for it. Trying to match the prints to my best ability.


-
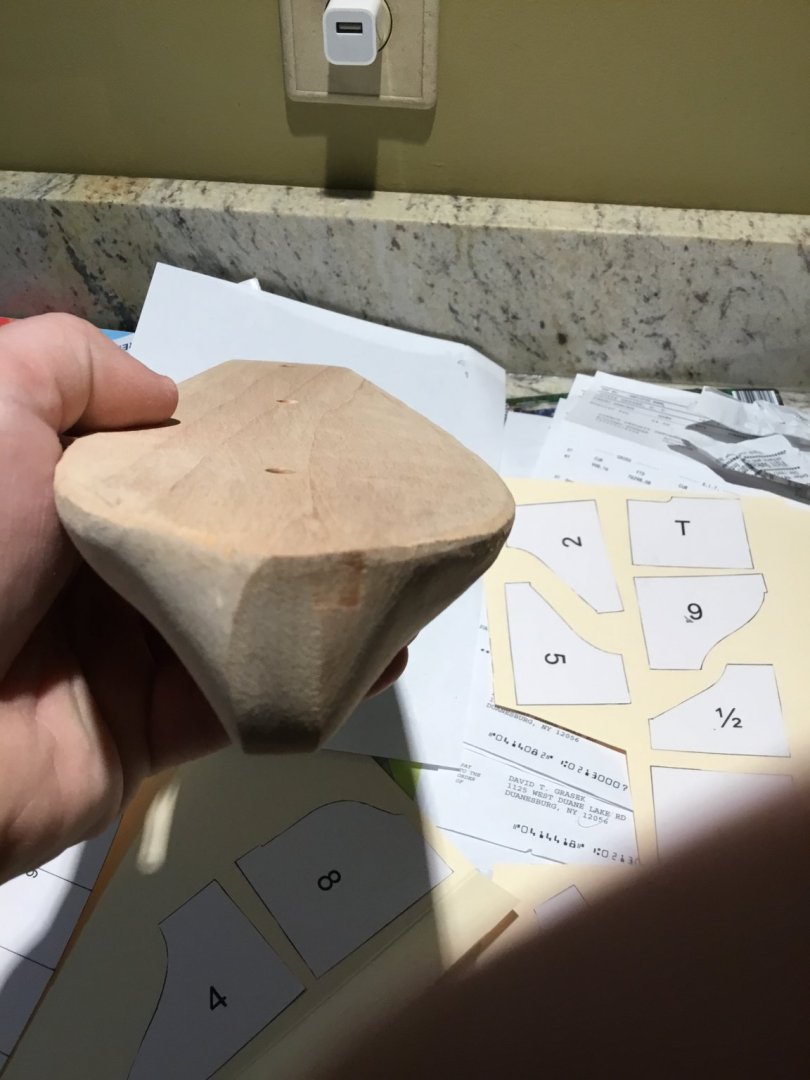
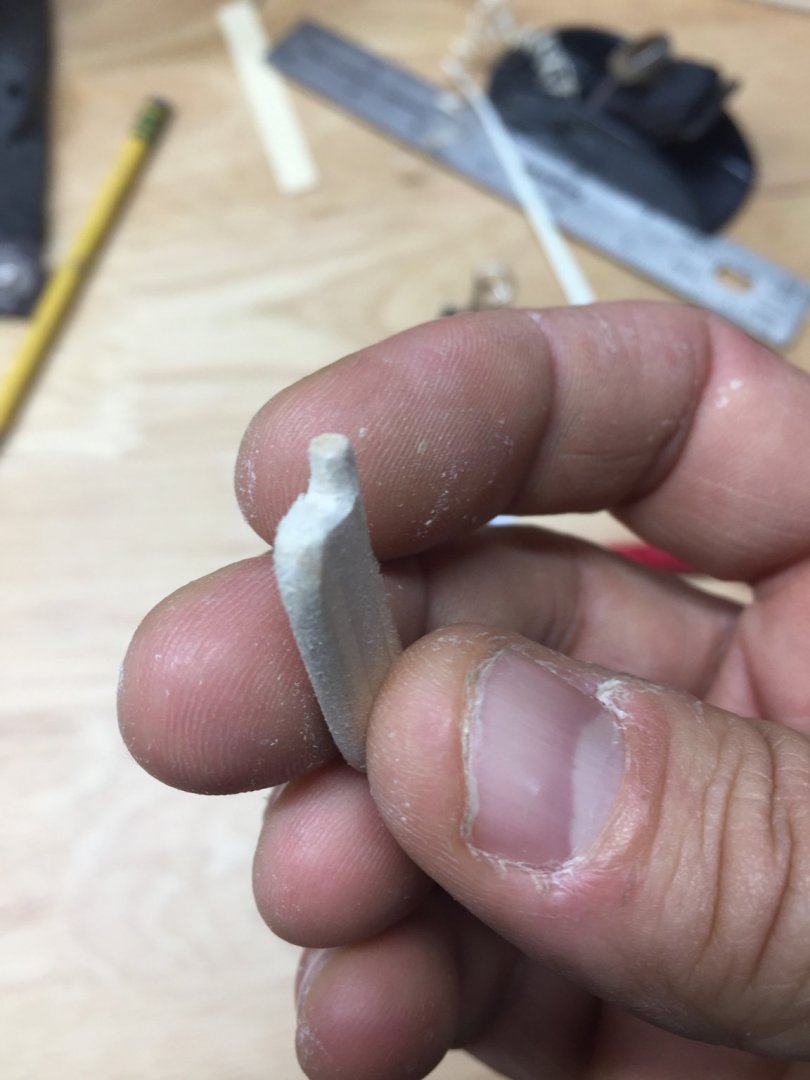
I’m struggling with the keel post at the bow...any advice? I’ve made this piece three times now only to have it break on me.
-
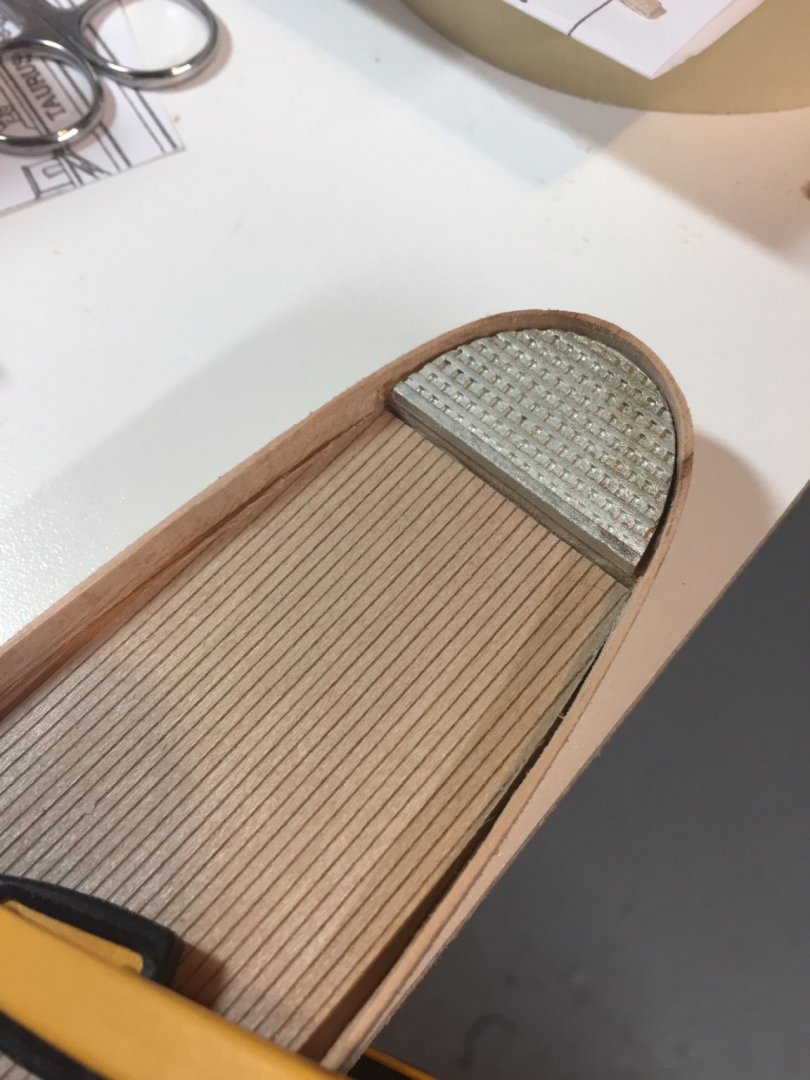
I found some wonderful pictures online of similar tugs so I’m going to try and do better with the details, however I can’t get over the cast fittings in this kit! The plans lack dimension and detail like spacing of bulwark supports, distance off the deck the grating is, etc. I am thinking about drilling the holes out between the grating rather then painting them black, what do you think?

-
Having three consecutive build logs might not be the best idea, but I like that it is a good record for what I have done, and I really want newbies to see the not so skilled try their hand at this hobby. I am really loving this wood filler!

- 61 replies
-
- 3
-

-
- crabbing skiff
- finished
- (and 2 more)
-
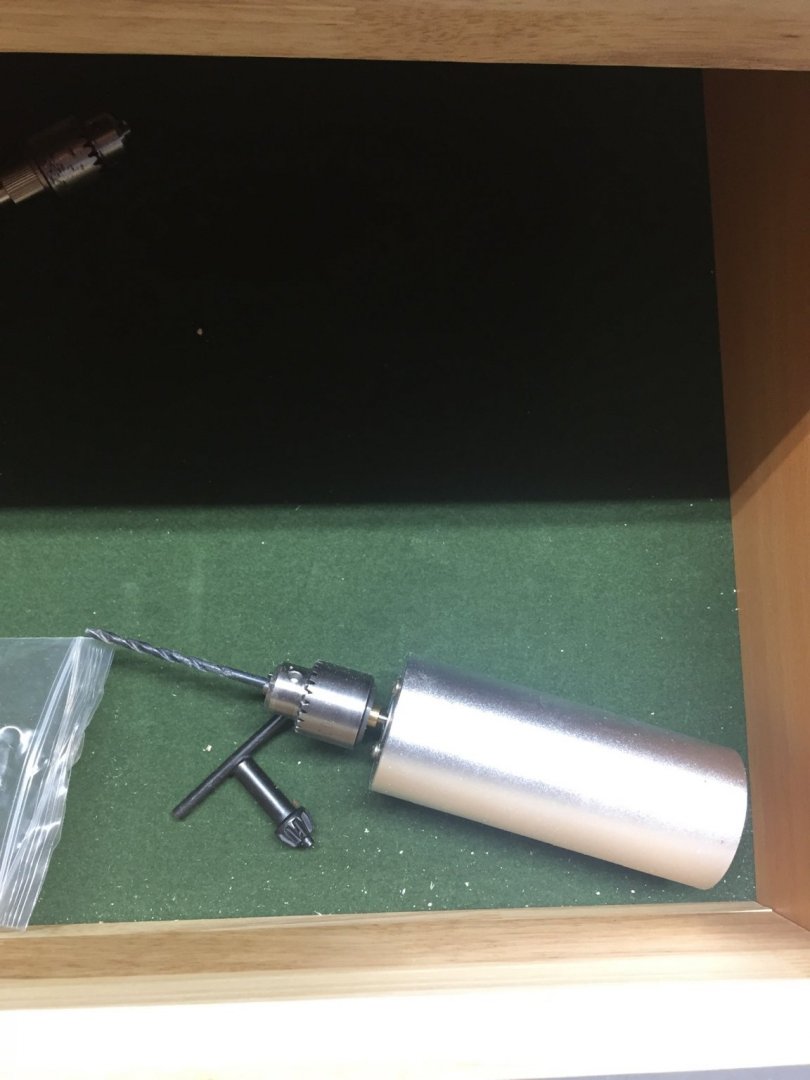
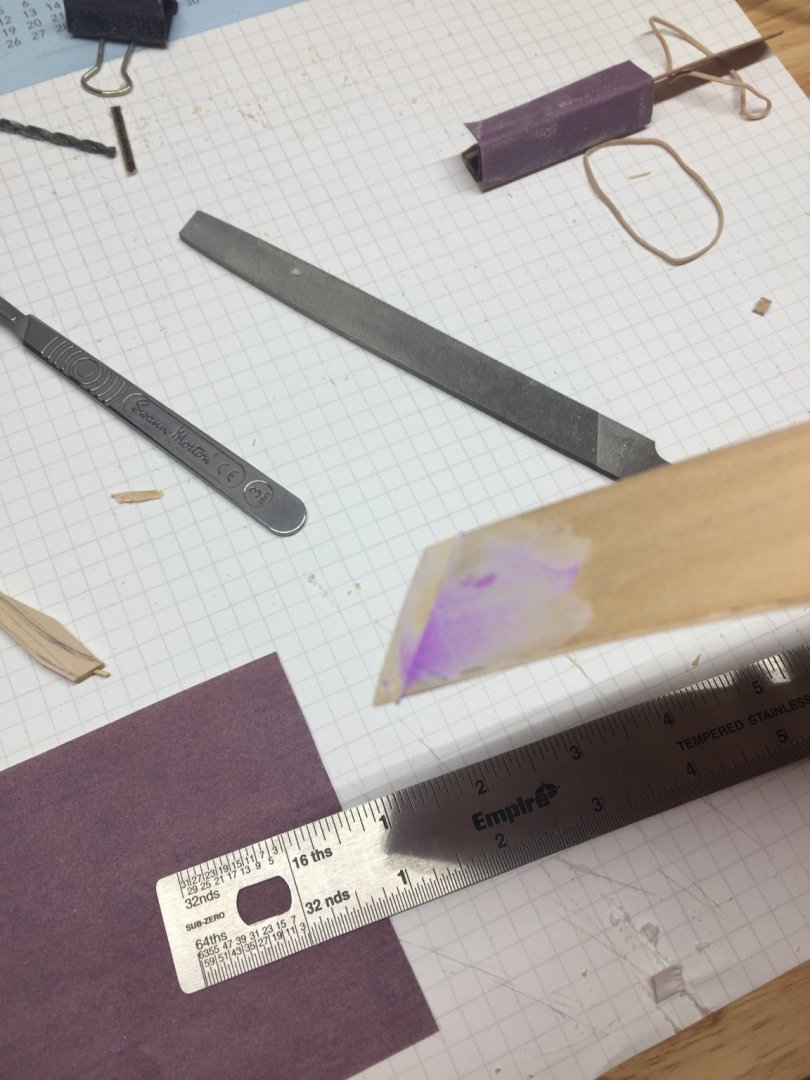
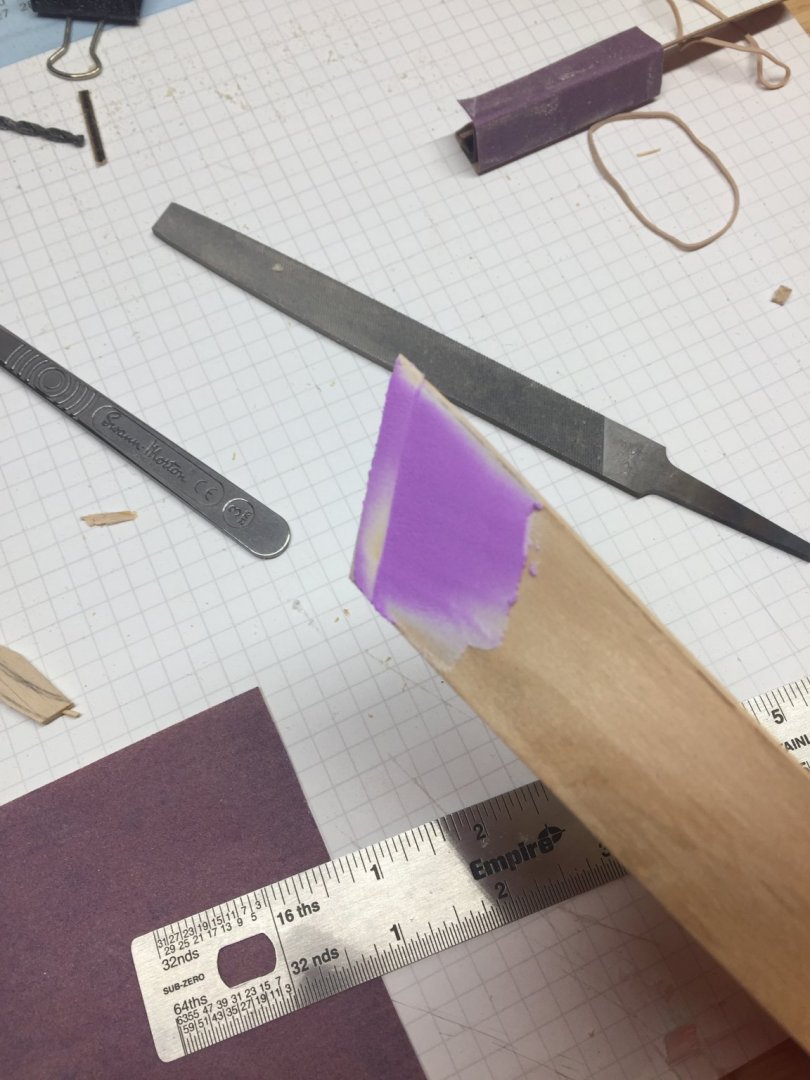
I’ve been researching pilot boats and it is very interesting the history of these ships! Must have been amazing racing to ships to assist in bringing them into port. i installed the stern post, broke the keel post and have to build another. Seems like a difficult way to build it by the practicum, but I haven’t figured out an alternative. drilled the hole for the rudder and it fits nice! Although it is slightly off center, it is a little larger then the rudder so the rudder can be centered and you would only notice this if you were looking from the bottom. Every mistake is a lesson anyways lol Below is a picture of the drill, found recommendations on MSW and it really is an easy to hold and control drill!


-
Thinned my bulwarks. Wasn’t too bad with the Dremel I have. I did 1/16”, couldn’t imagine doing 1/32” as the kit says would be correct scale.
-
I am a very newbie and I would say that the best instructions I have seen are on this site in the form of building logs, with them you can answer your own questions, most of the time! Midwest although I believe out of production has great step by step instructions. Model shipways has good instructions and great plans/drawings...and a few kits have practicums by chuck which make things even clearer. Bluejacket has good instructions, but the photos could be better quality. Best of luck!
-
Thanks Richard! I haven’t done much painting (except for out of a can when I was a kid), I bought an air brush and I’m hoping for the best. I’m nervous but I guess practice makes perfect, or mistakes make learning opportunities... - Dave
-
Welcome to MSW! A lesson I learned on my first shelved kit...make sure before you spend hours shaping a solid hull that the mast holes are predrilled and that it didn’t slip in the jig. This happened to me, only for me to find out late and become frustrated. Had I of noticed it earlier I’m sure the manufacturer would have replaced it.

-
Recently received my wood putty and I must admit I really like it! Easy to work with and dries quick, I’ve put two coats on and hopefully after sanding I will only need one more.
- 61 replies
-
- 2
-
-
- crabbing skiff
- finished
- (and 2 more)
-
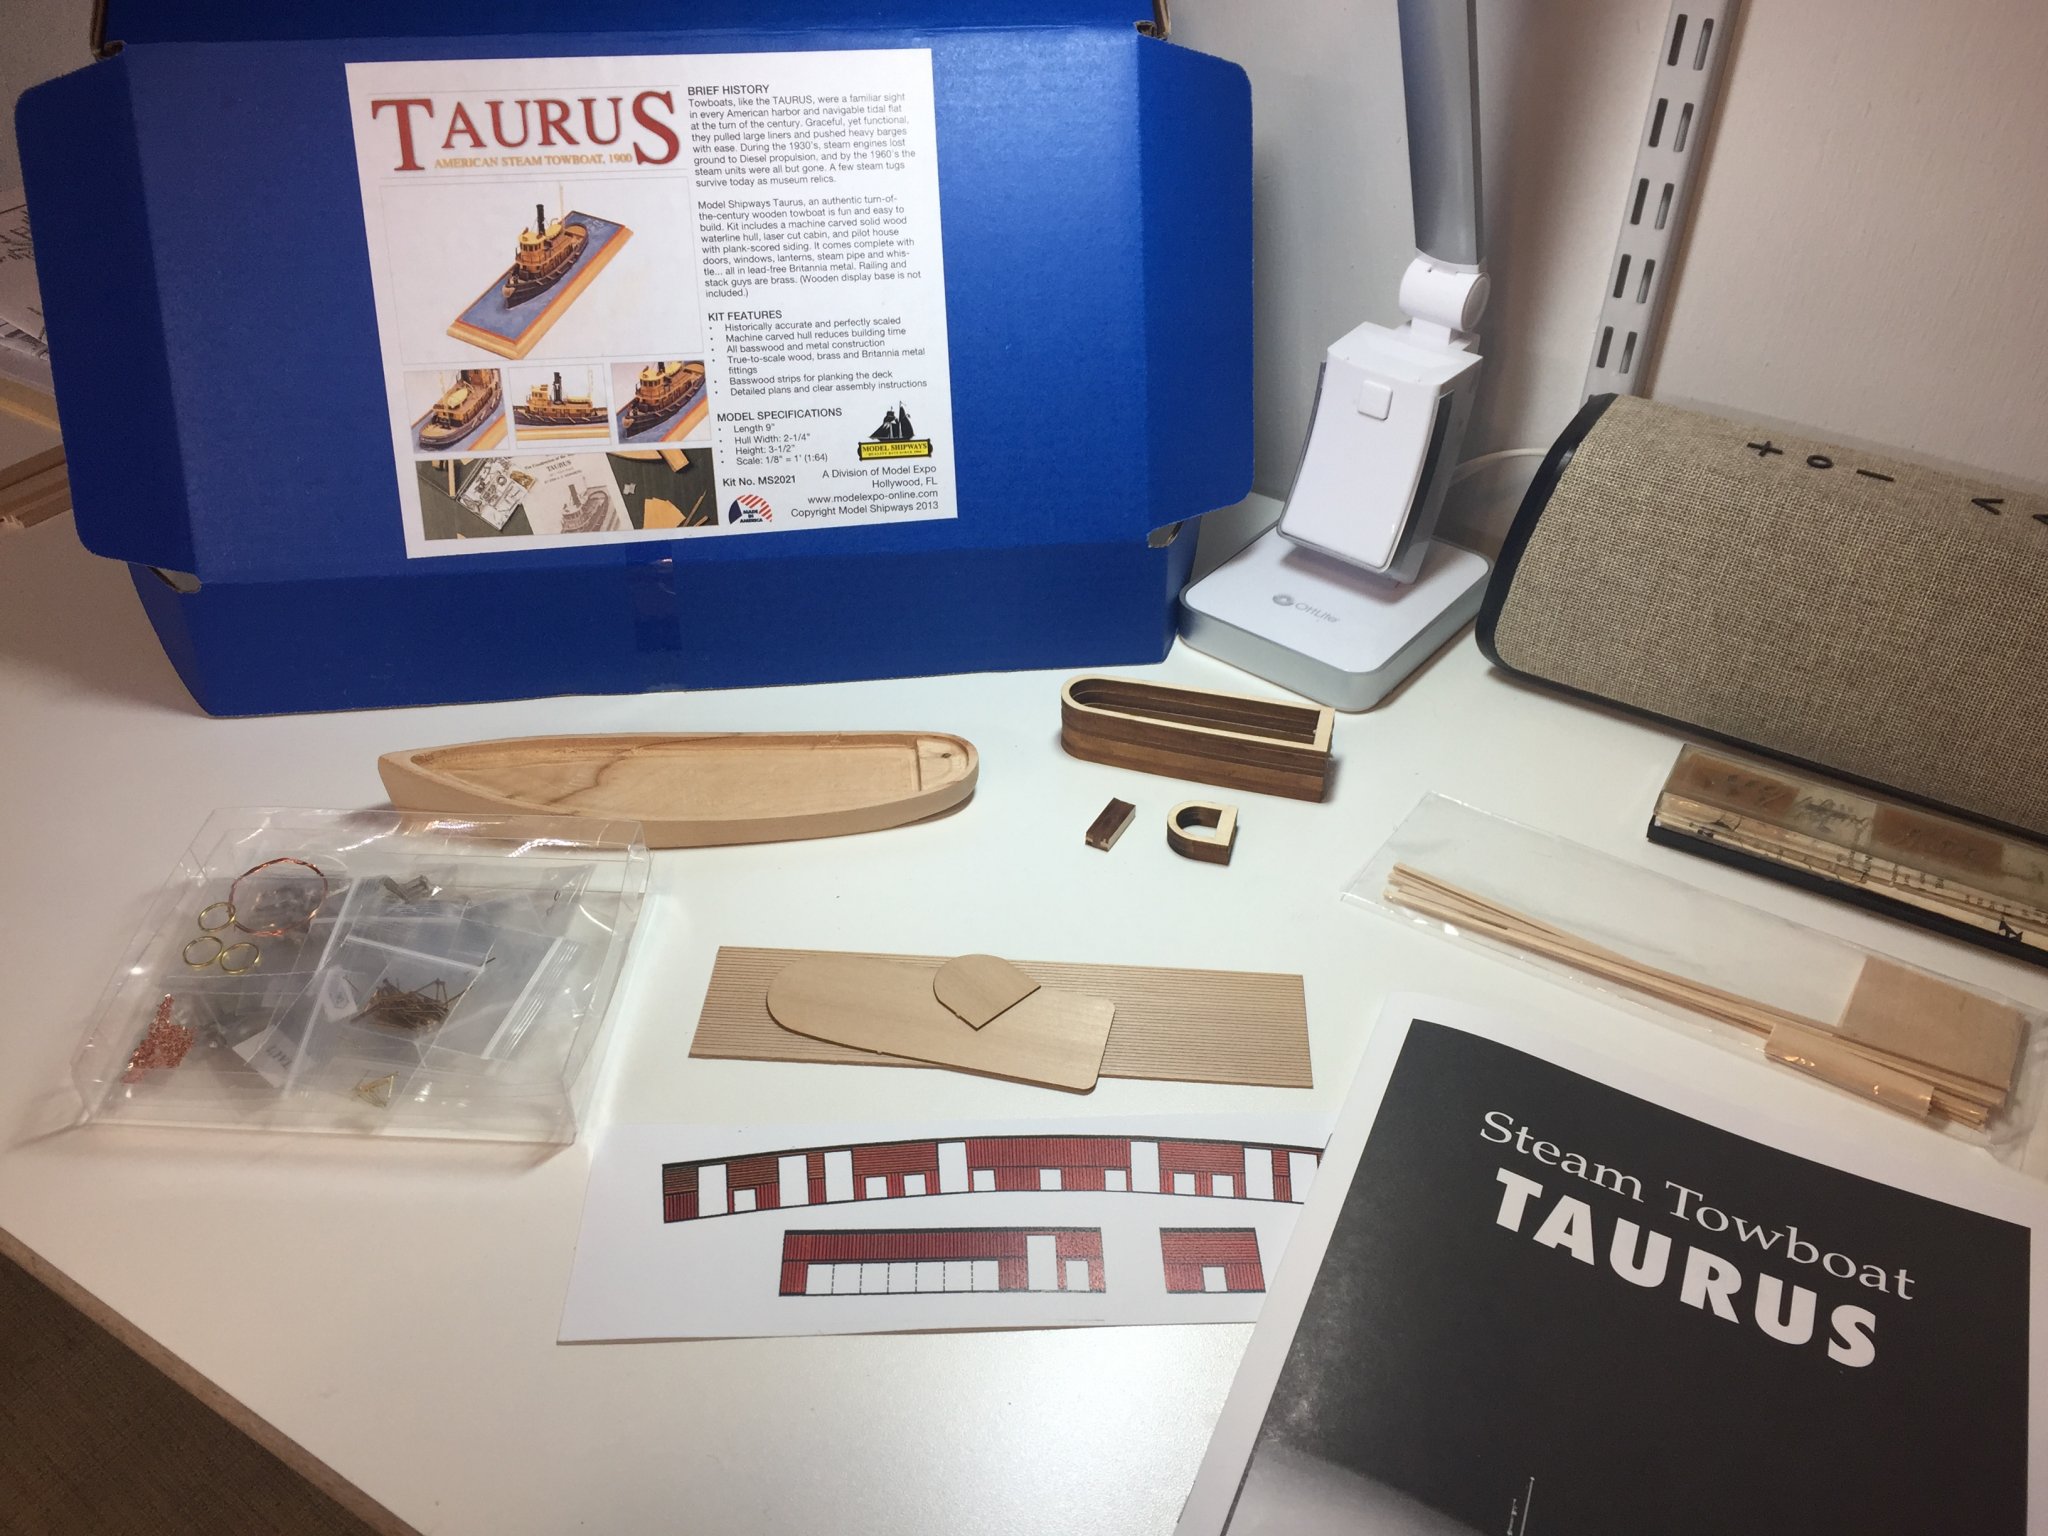
Is it wrong to have three logs at once? Another solid hull to keep me occupied while my other boats are drying, or waiting for something. No rigging and I think this one will be fun. Surprised there are no logs for this boat, perhaps there is a reason? For the low sale price of $39.99 the castings are really nice and the is vastly improved I believe since the cabin is now laser cut and not a solid chunk of wood. I sanded some some of the hull and I’m hoping this will be good practice for the thin bulwarks my phantom requires.
-
Welcome to this wonderful group!
-
Welcome!
-
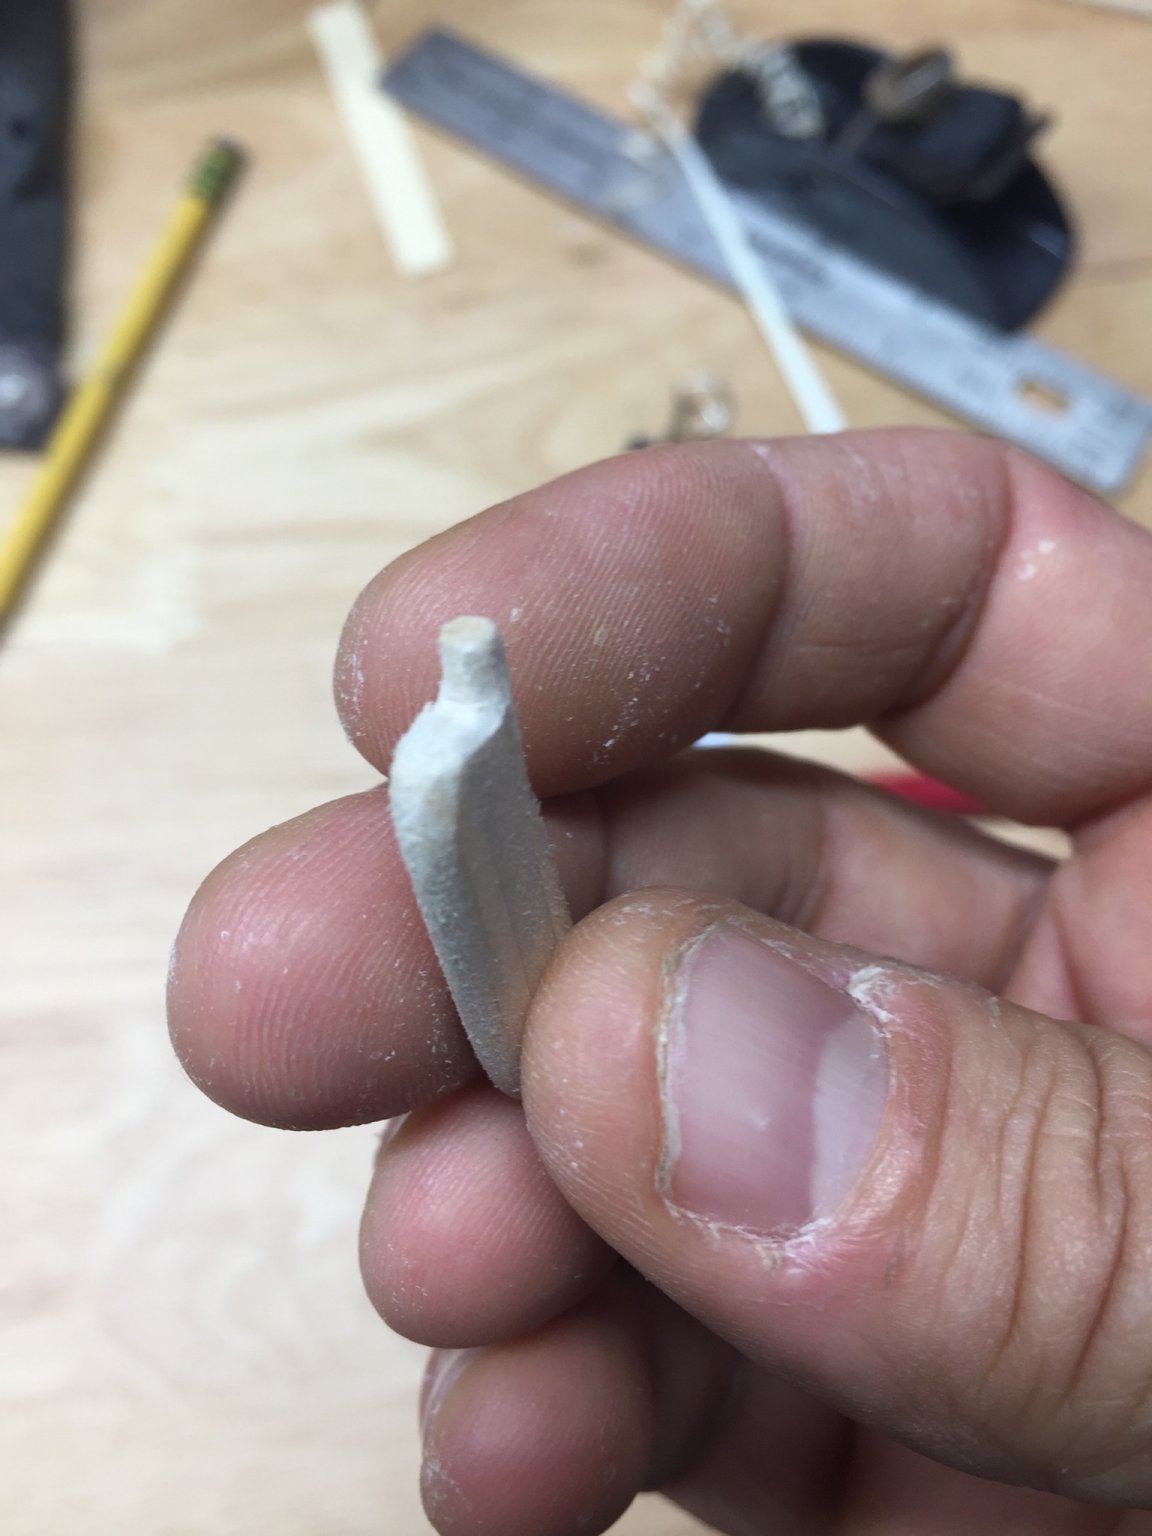
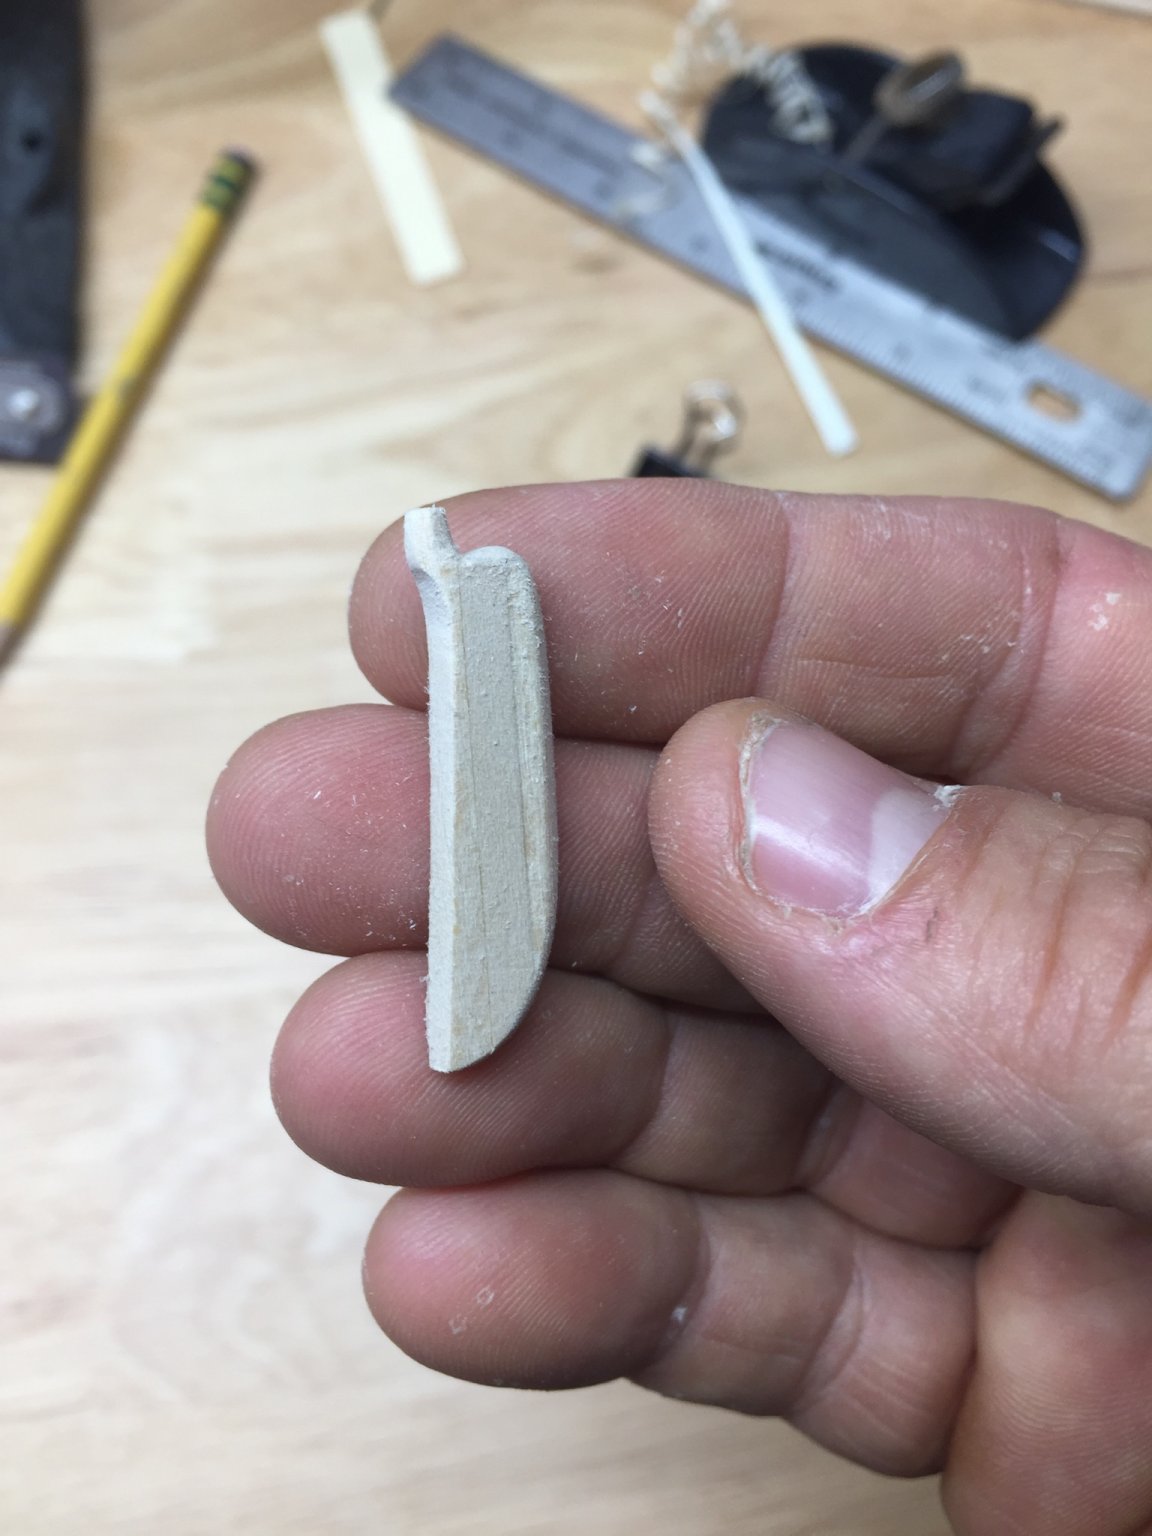
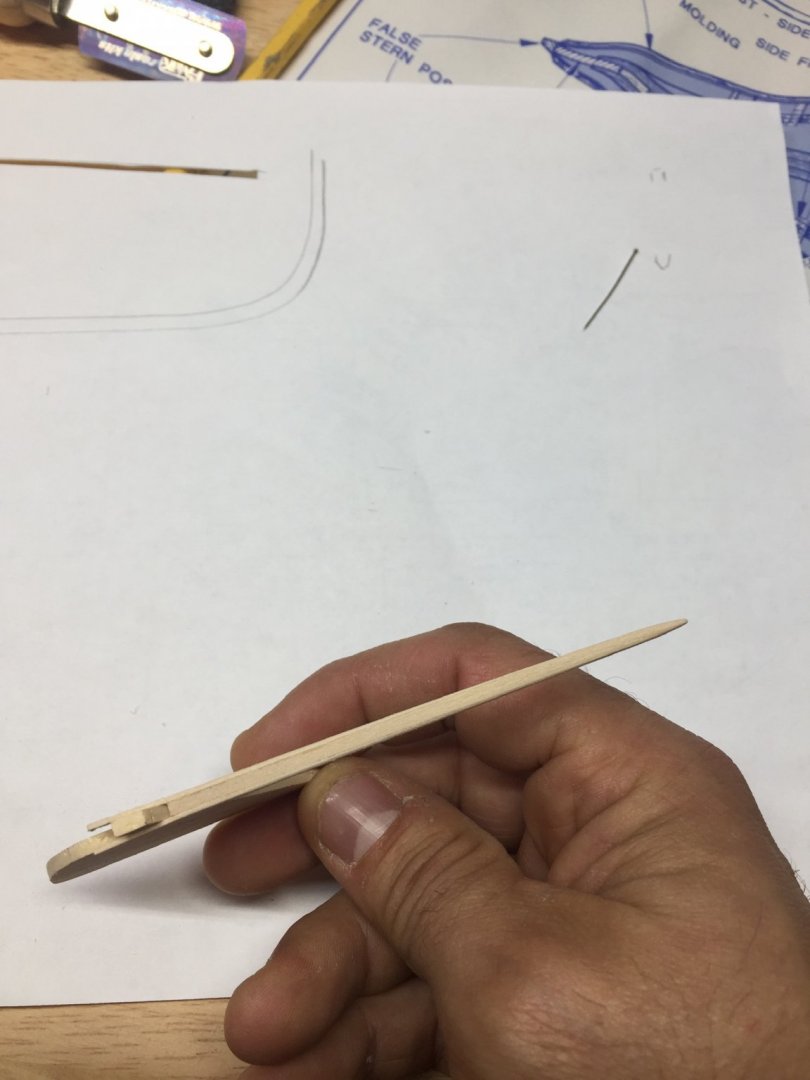
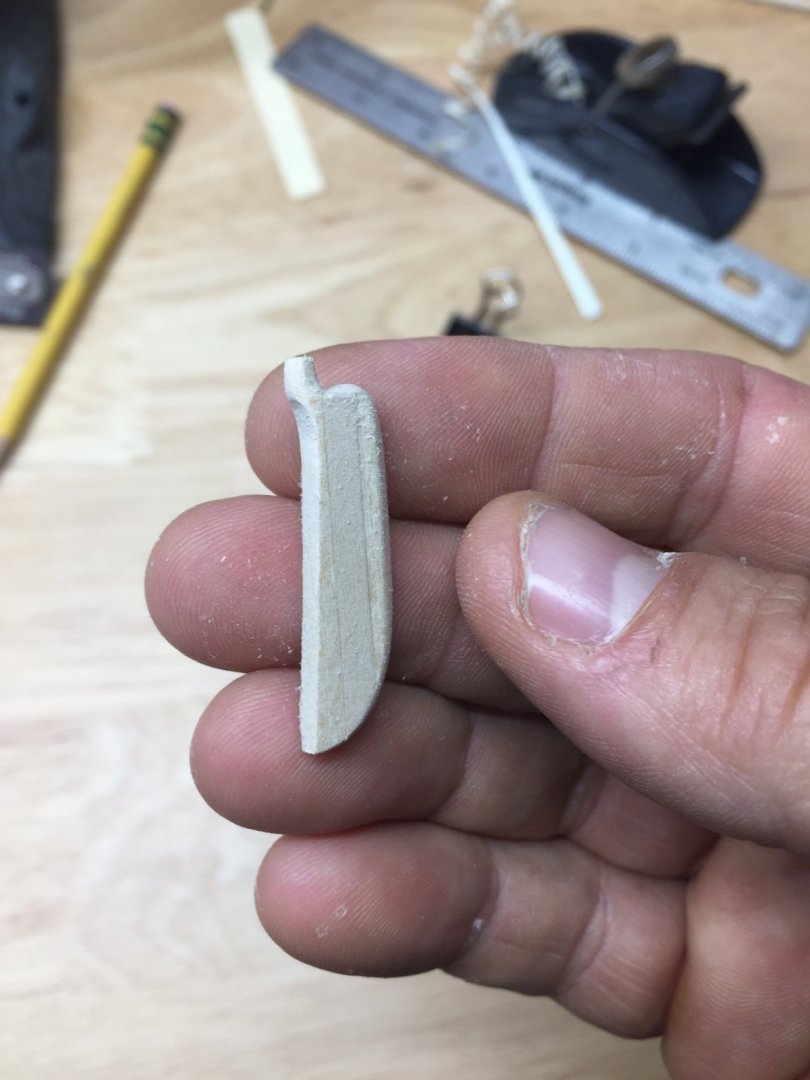
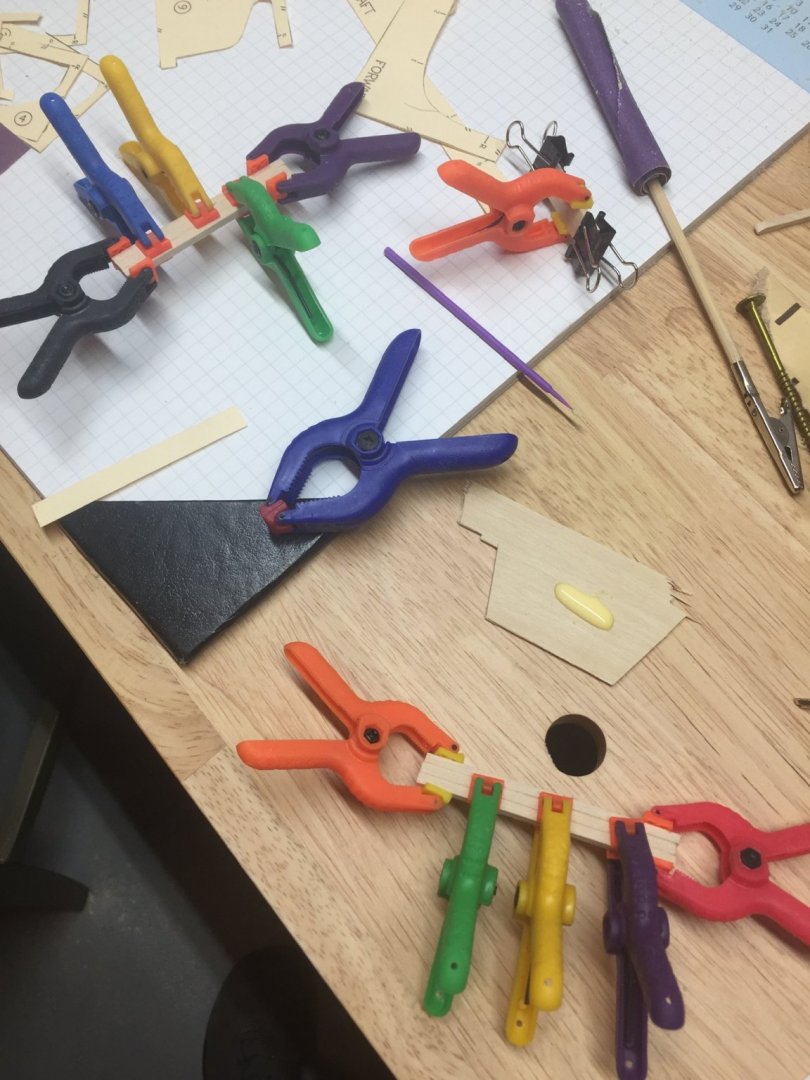
I ordered Elmer’s wood putty per someone else’s recommendation in another post so while waiting for that I made the tiller.

- 61 replies
-
- 4
-
-
- crabbing skiff
- finished
- (and 2 more)
-
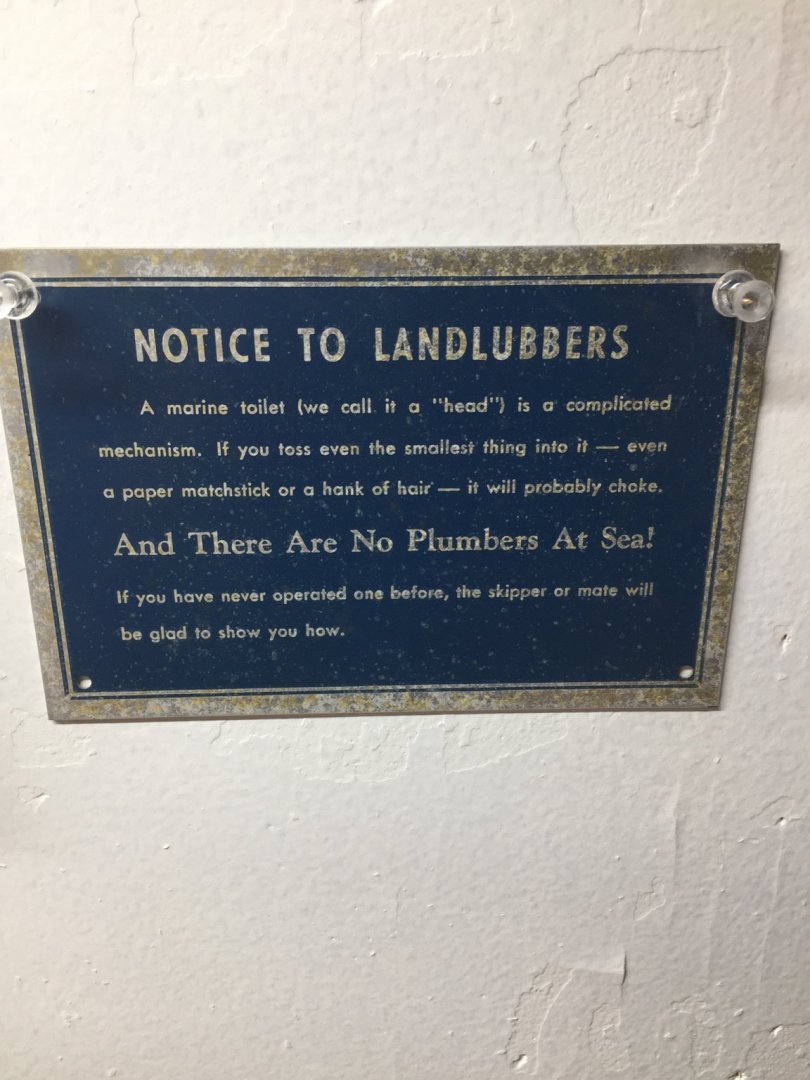
Also, I’m a plumber so I like this sign lol
-
Decided to build a rudder for the phantom while waiting for putty.
-
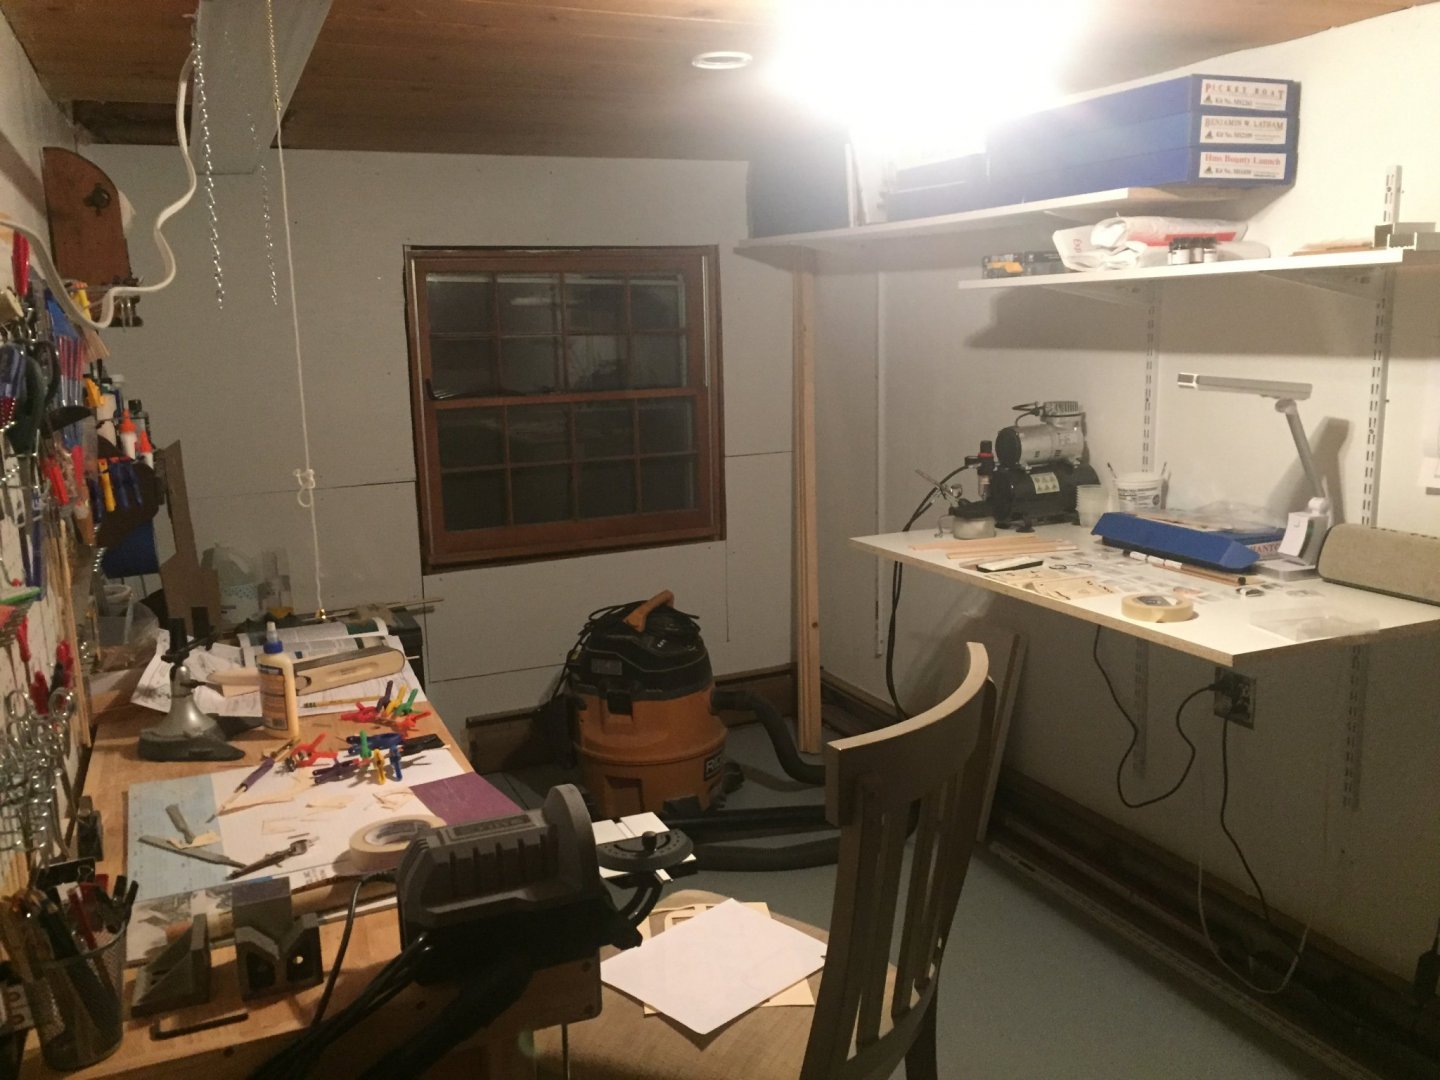
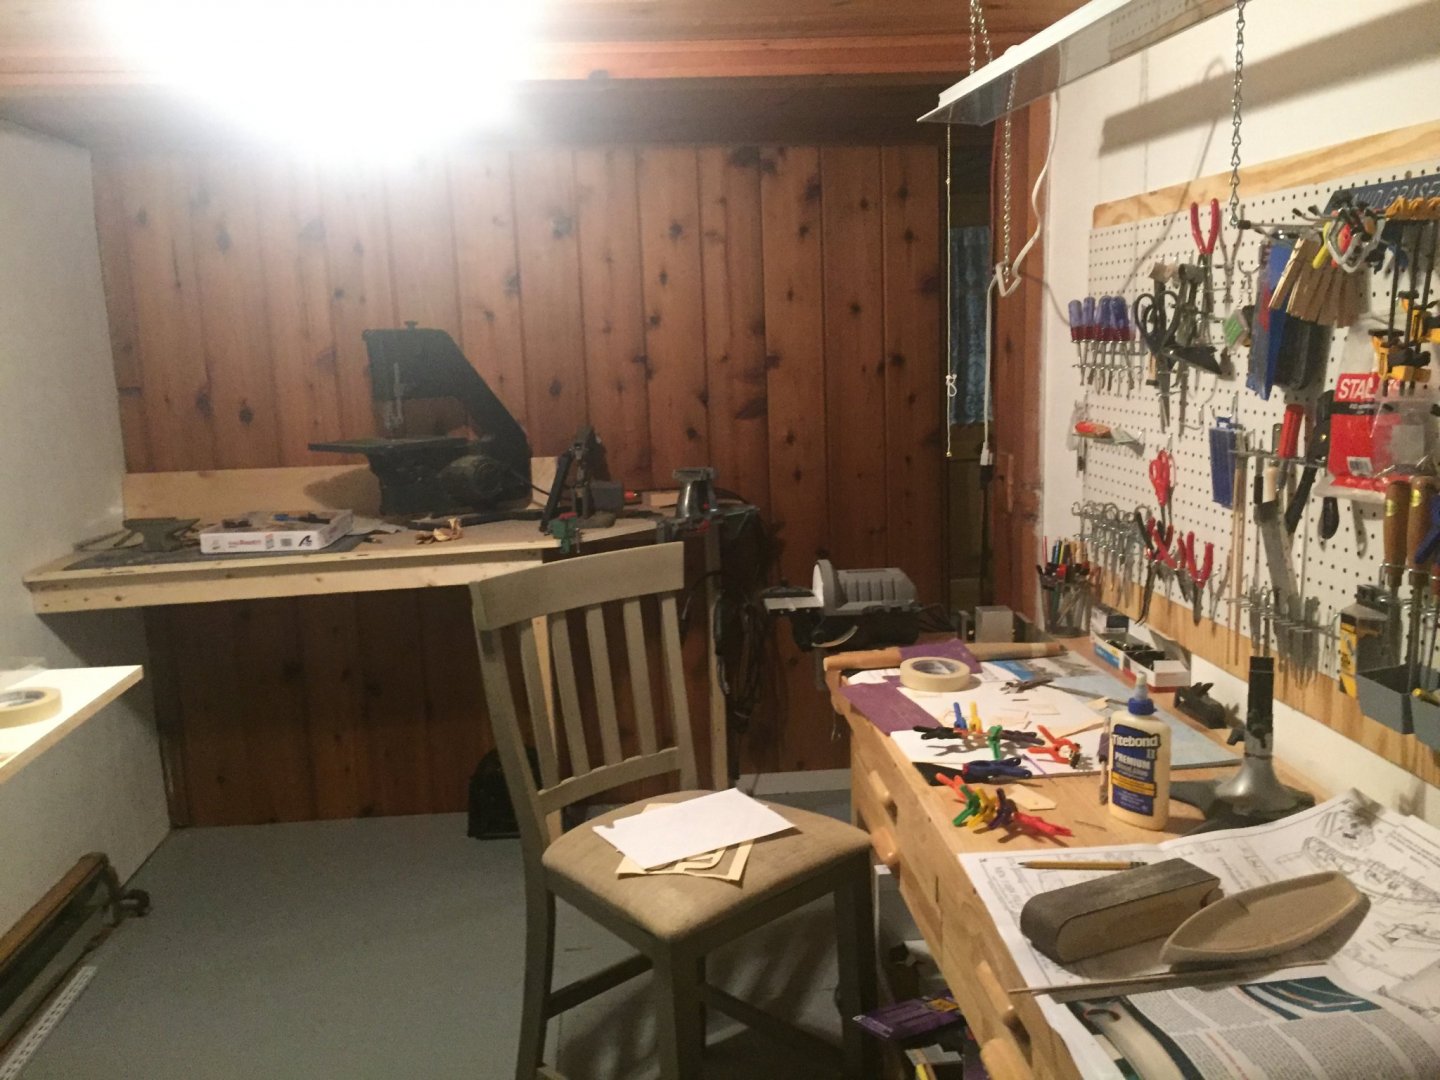
I have also been trying to finish up the “Shipyard”....sometimes it’s good to be single and have a house with empty room lol. Other times it’s lonely.
-
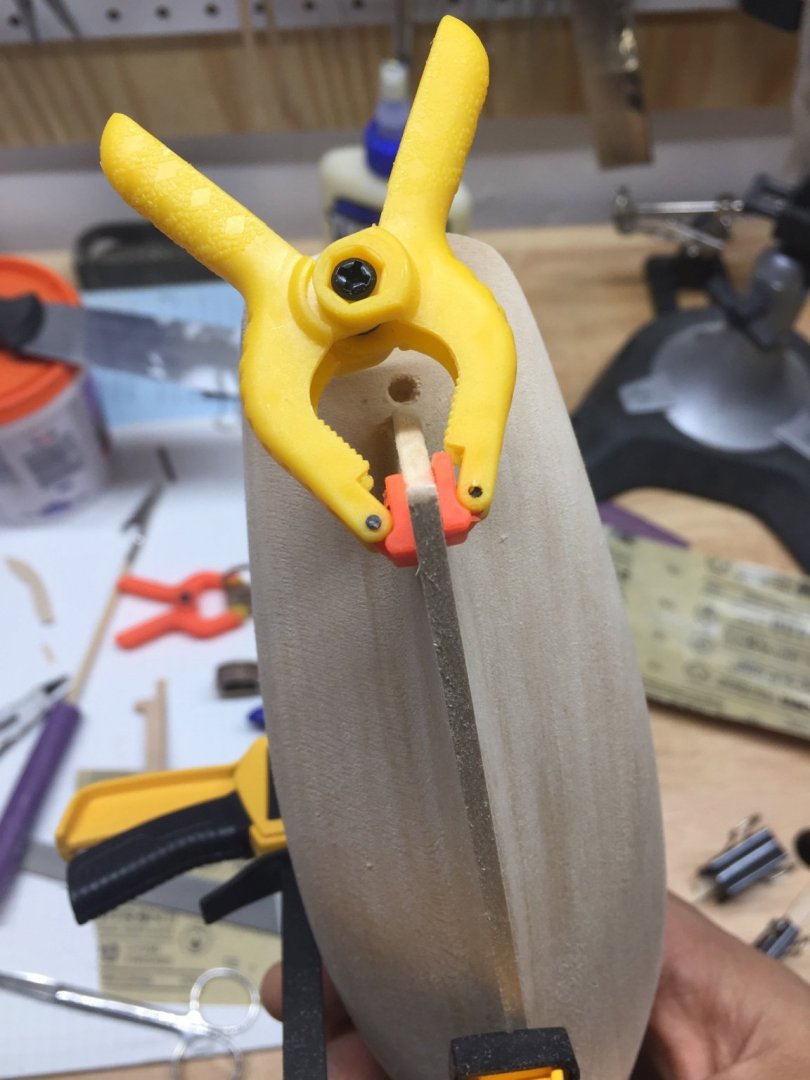
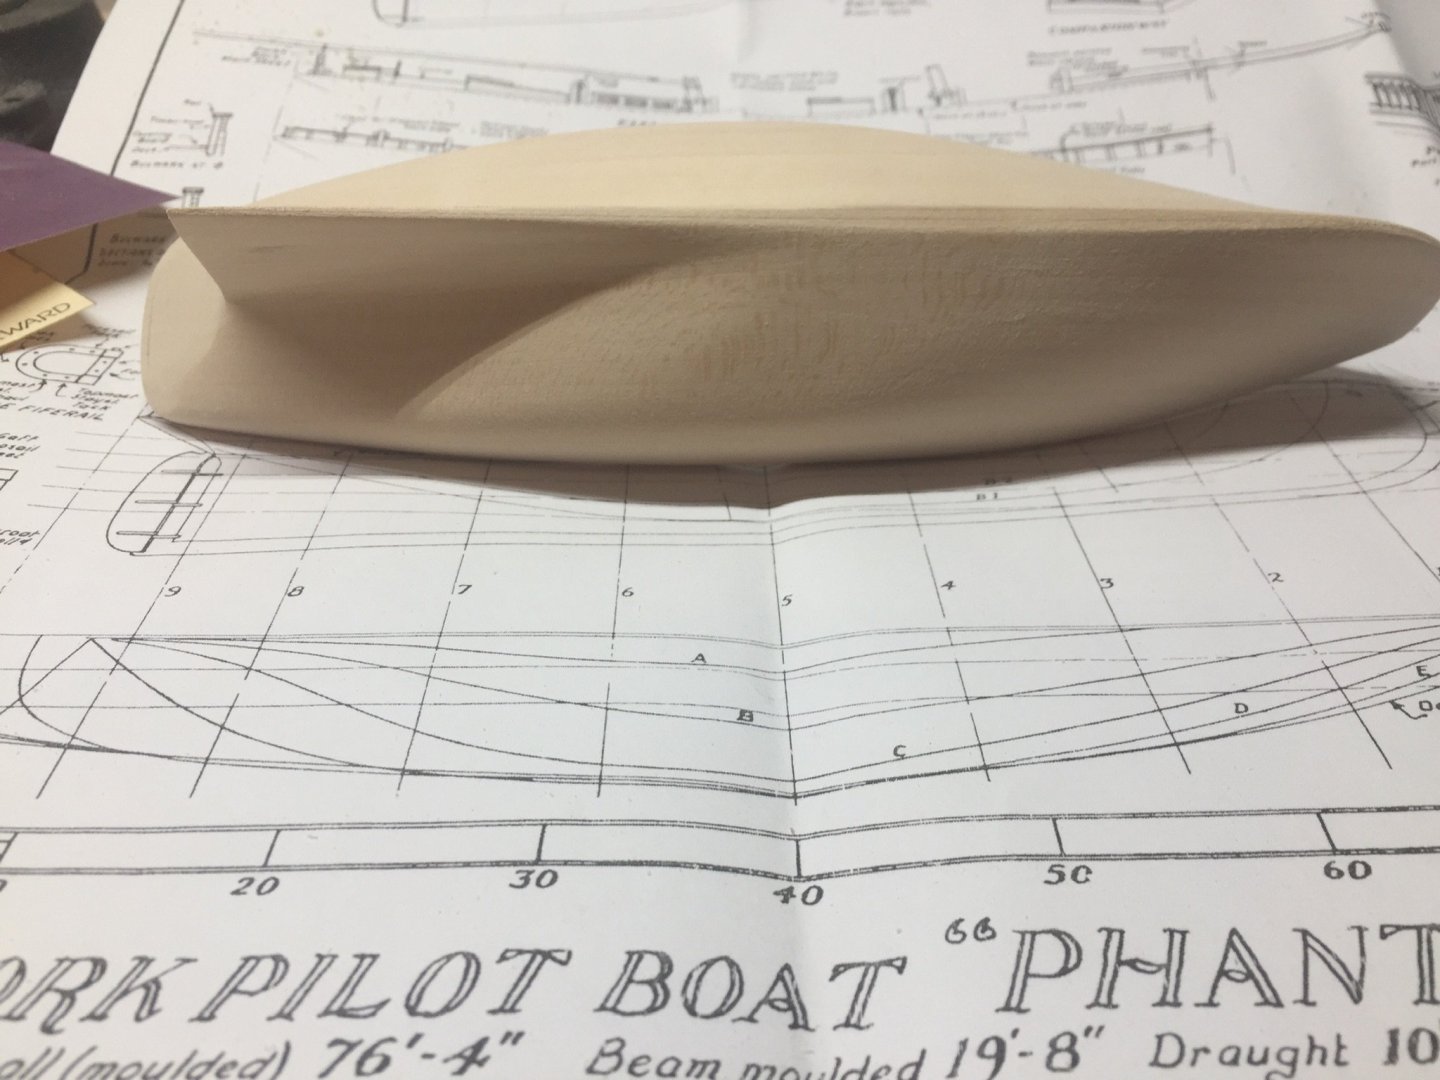
9/18/19 - 6-8pm I spent more time studying the plans, checking the templates and sanding...but it’s getting easier and better I think. Reading through Elijah’s log helped quite a bit. Kind of hard to tell but I sanded quite a big off. I’m starting to see the contours as I study one drawing to the next. Hard to tell in the pictures. i also started me keel and rudder by glueing the 1/8” rods together.

-
Welcome aboard Jeff! Bluejackets Dory kit is well priced and easy to finish if you ask me. It was my first kit and came out decent. Best of luck!
-
Newbie from Vancouver Island BC
Duanelaker replied to Retired guy's topic in New member Introductions
Welcome! -
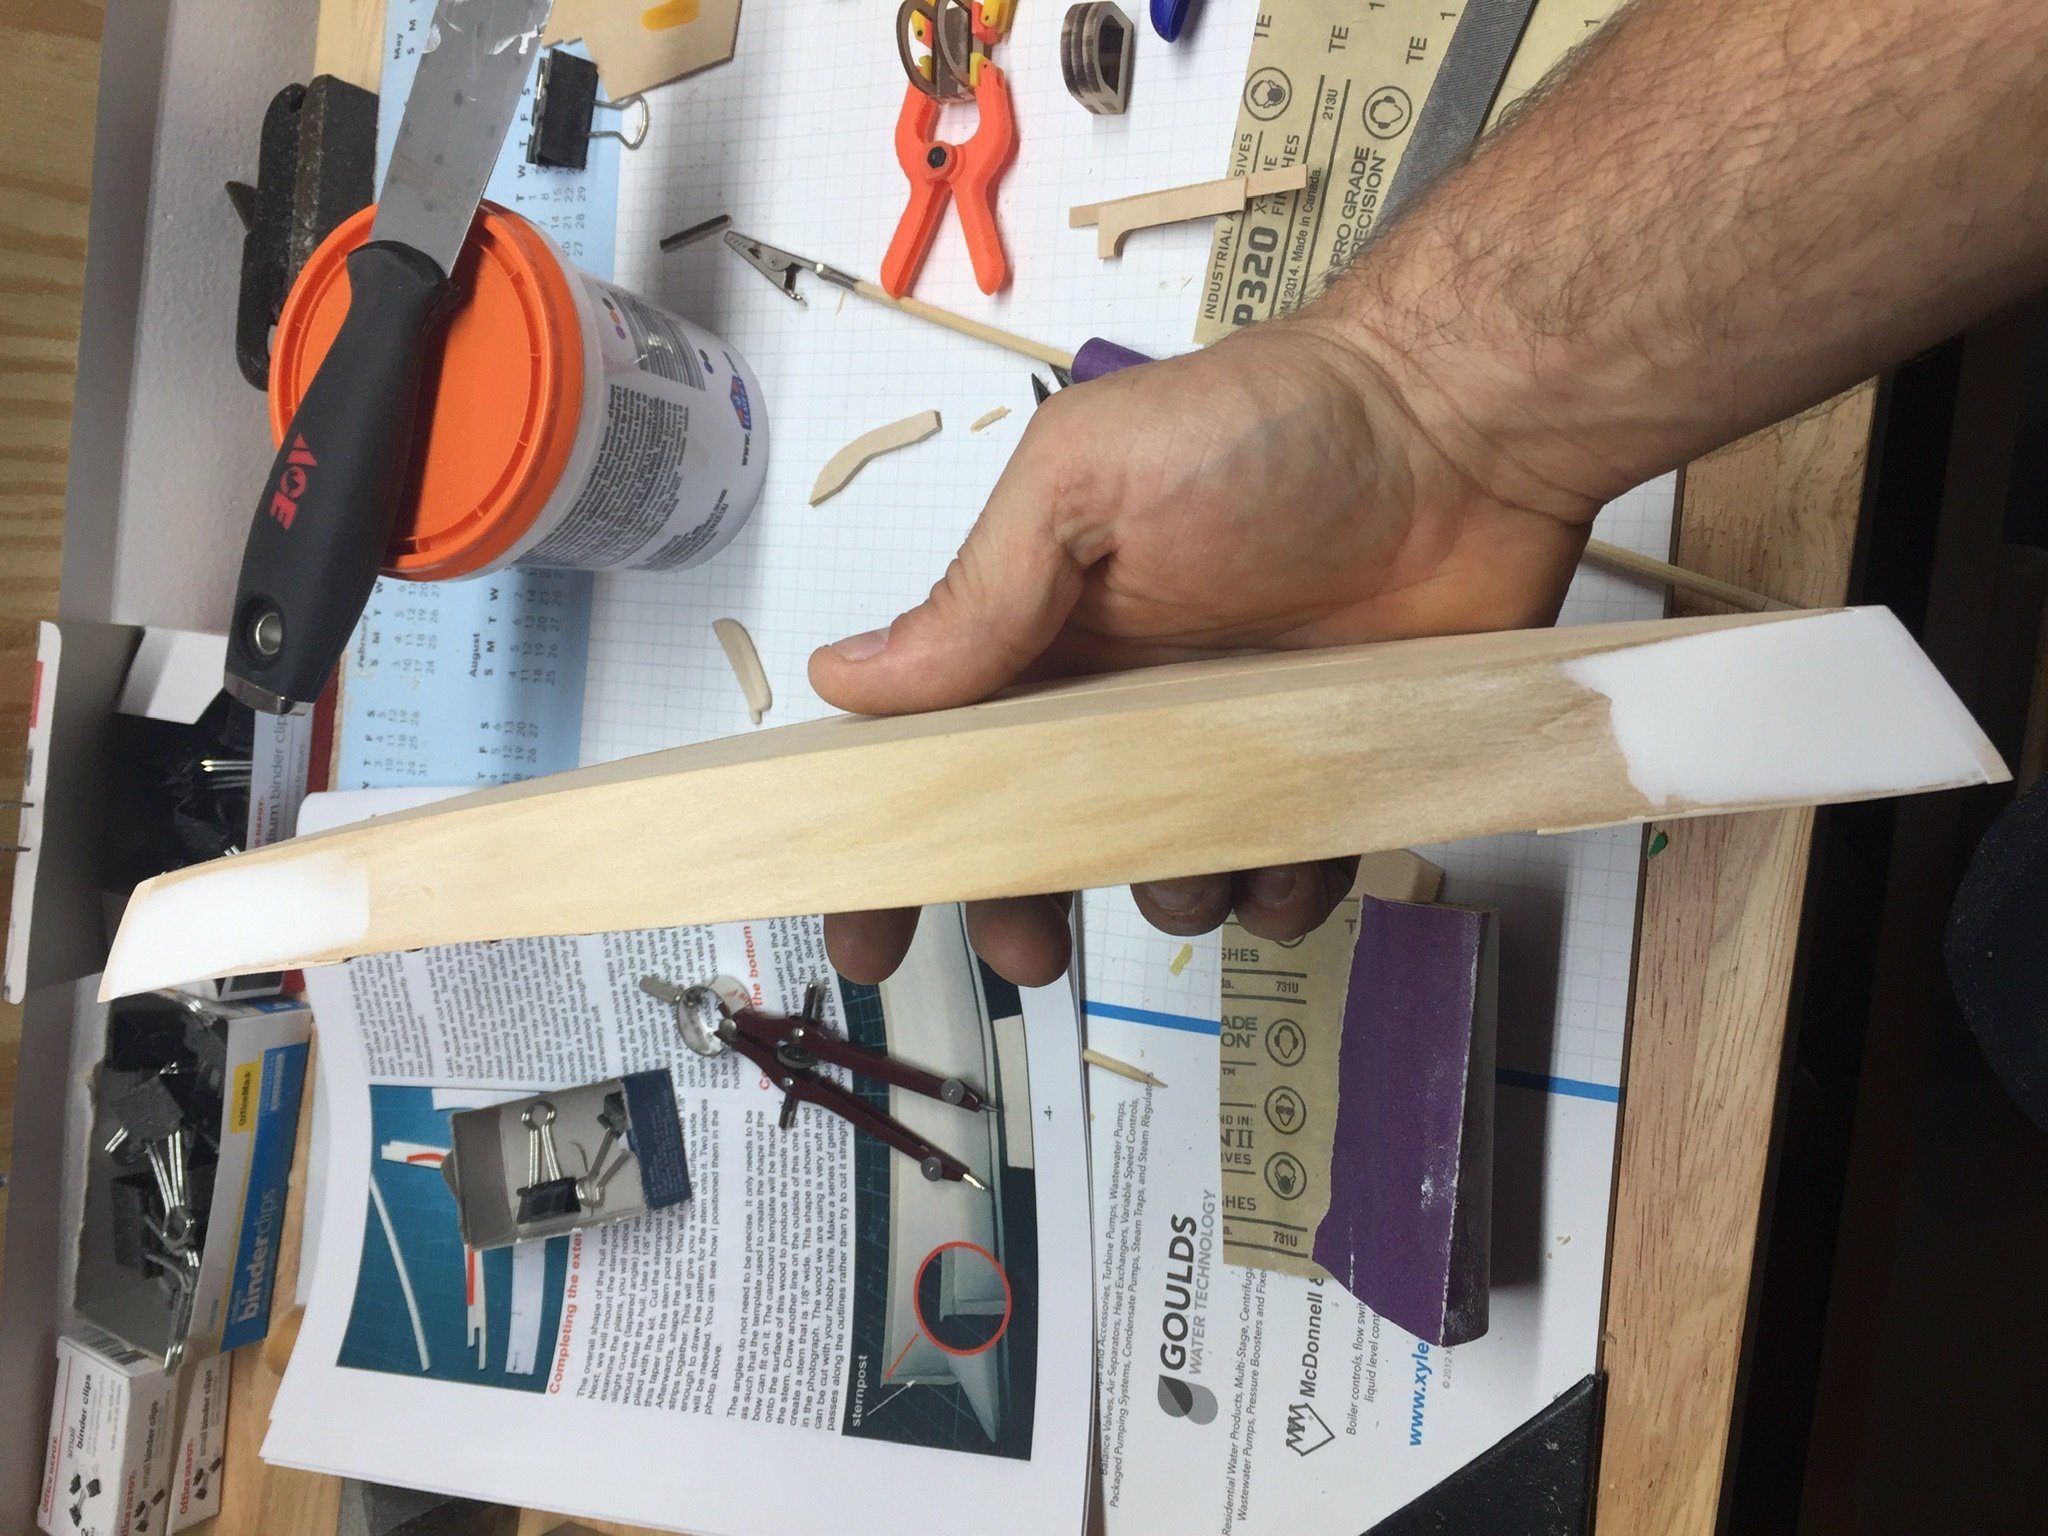
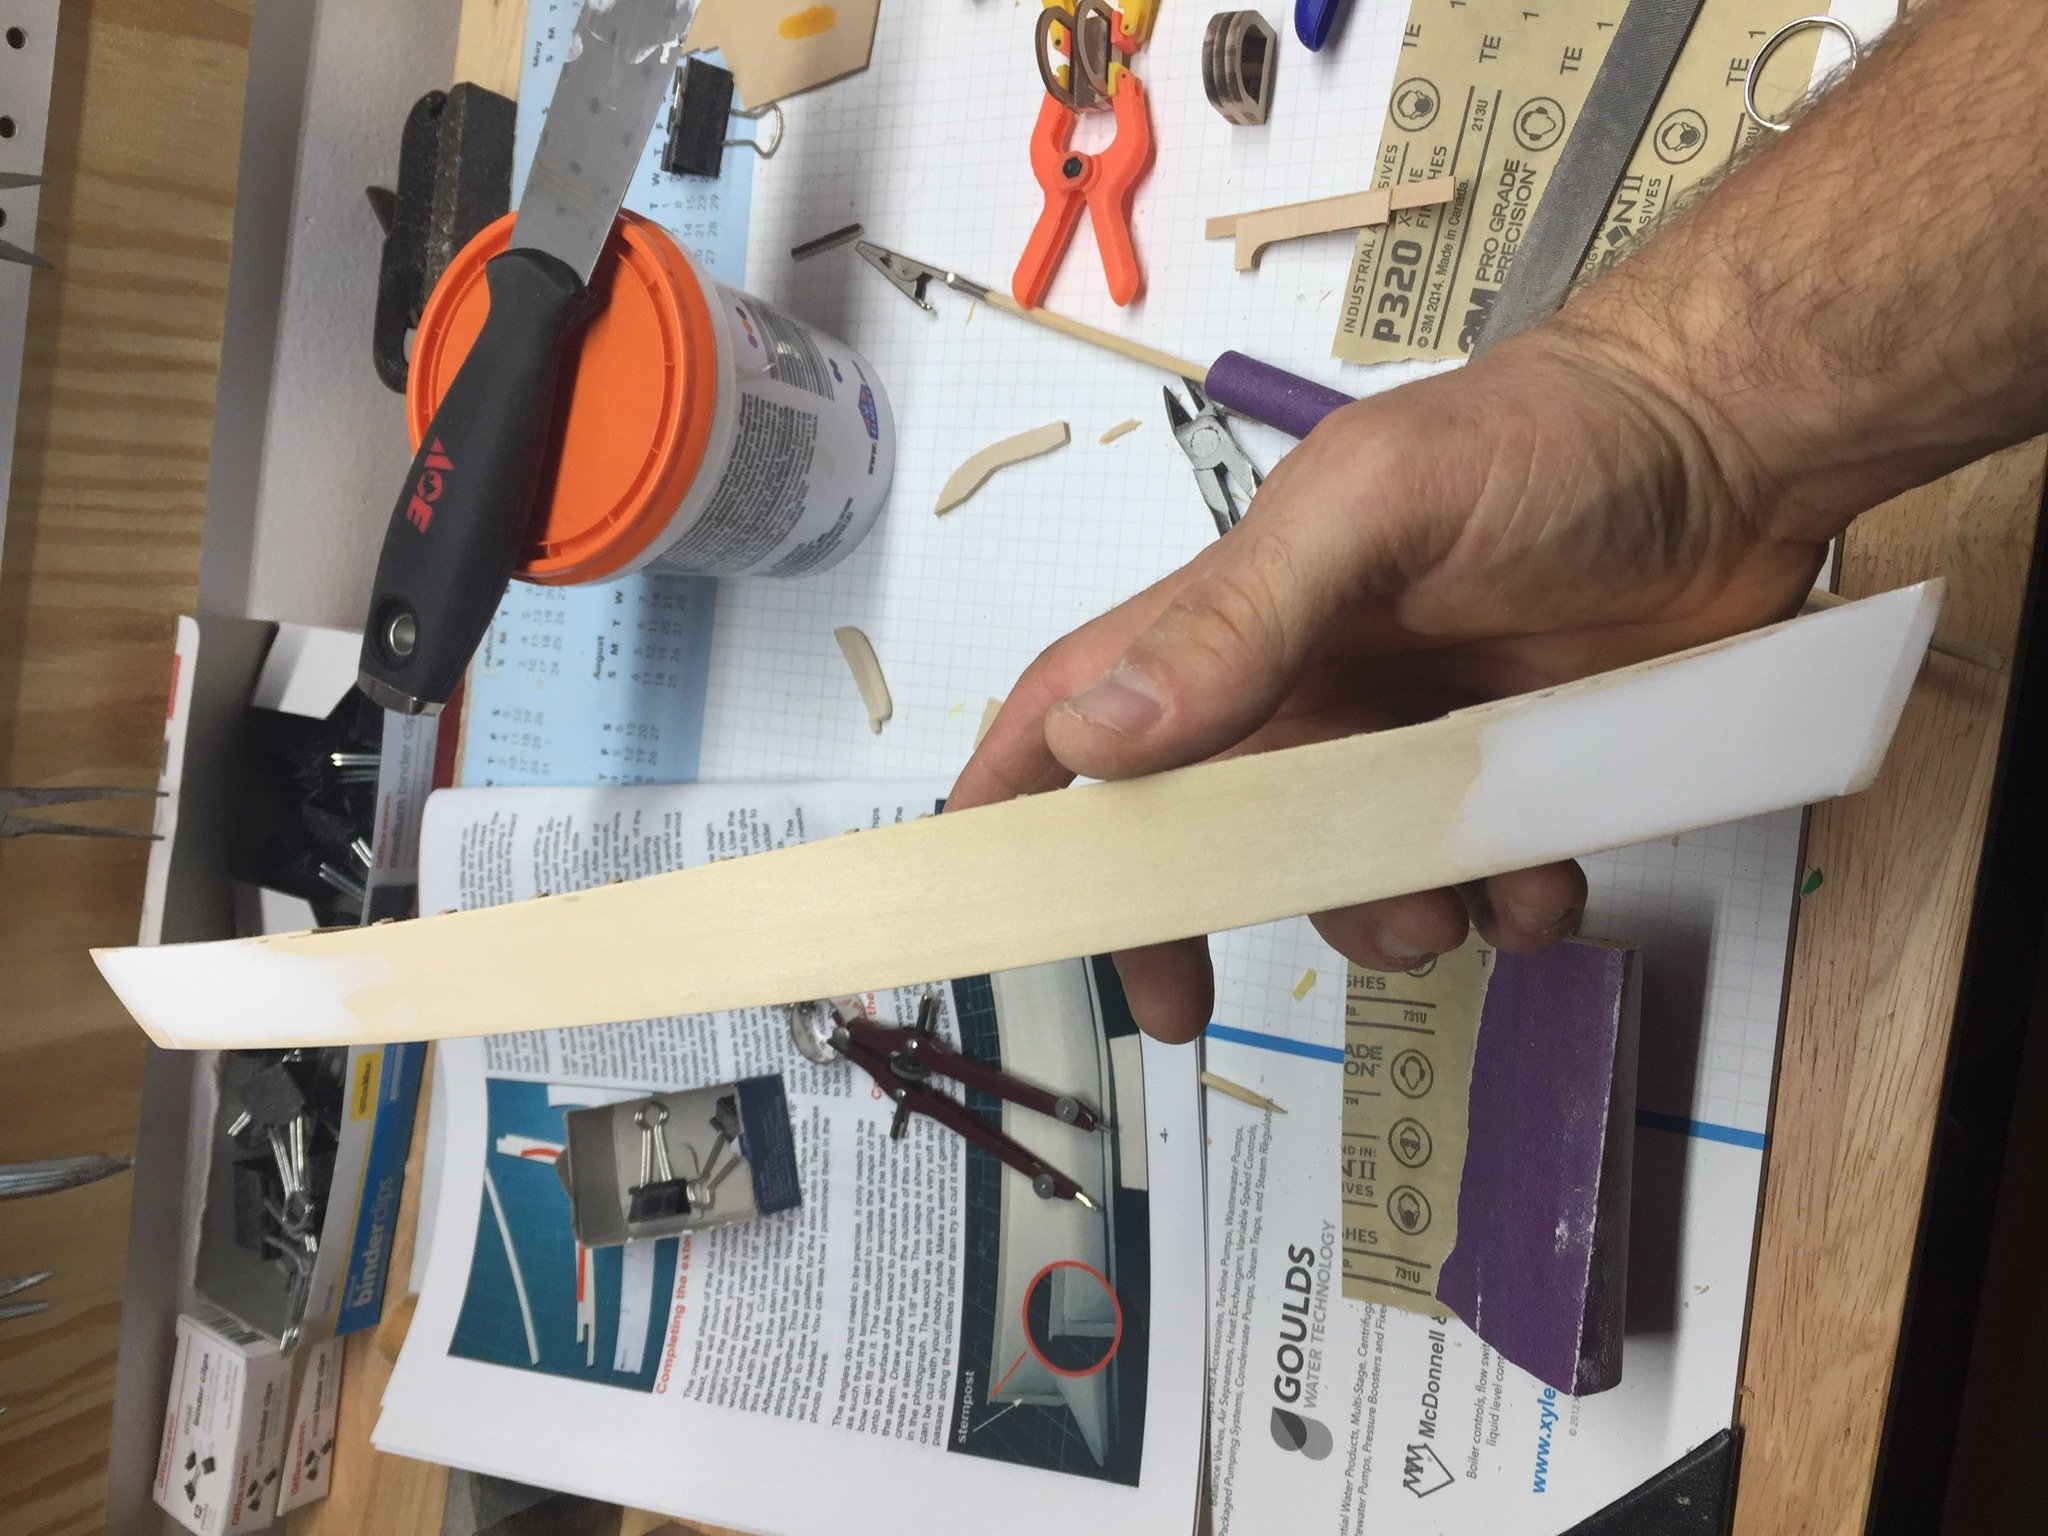
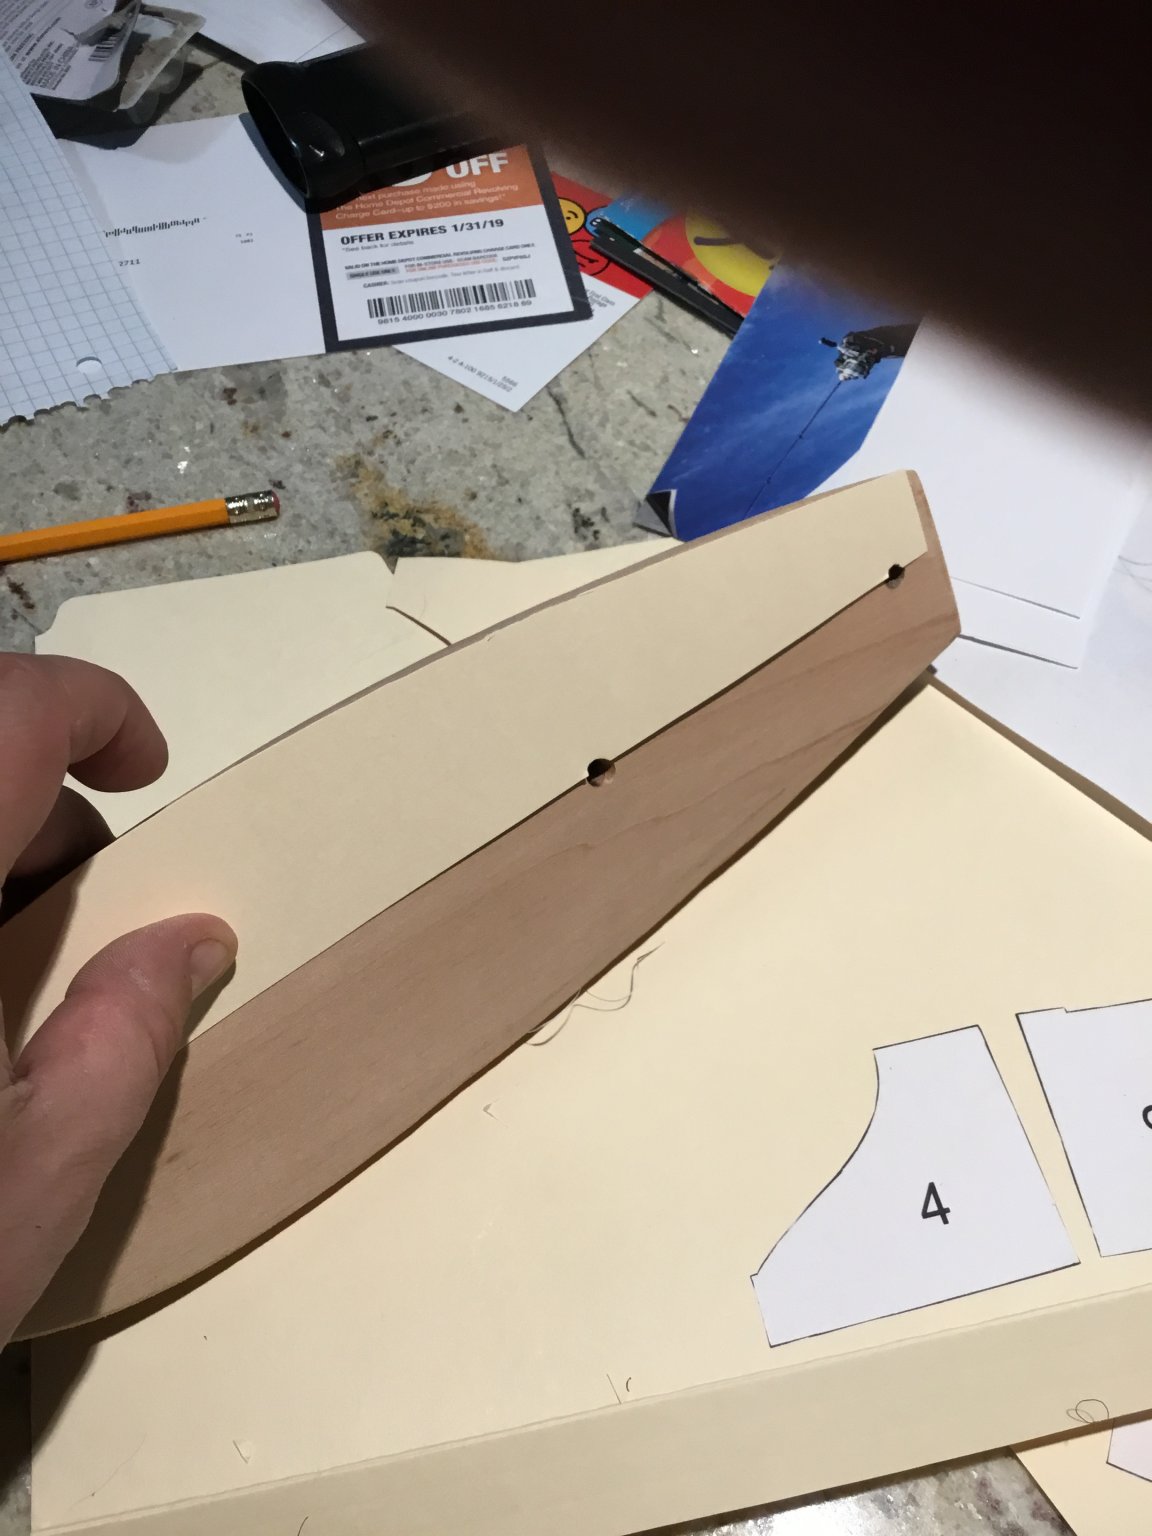
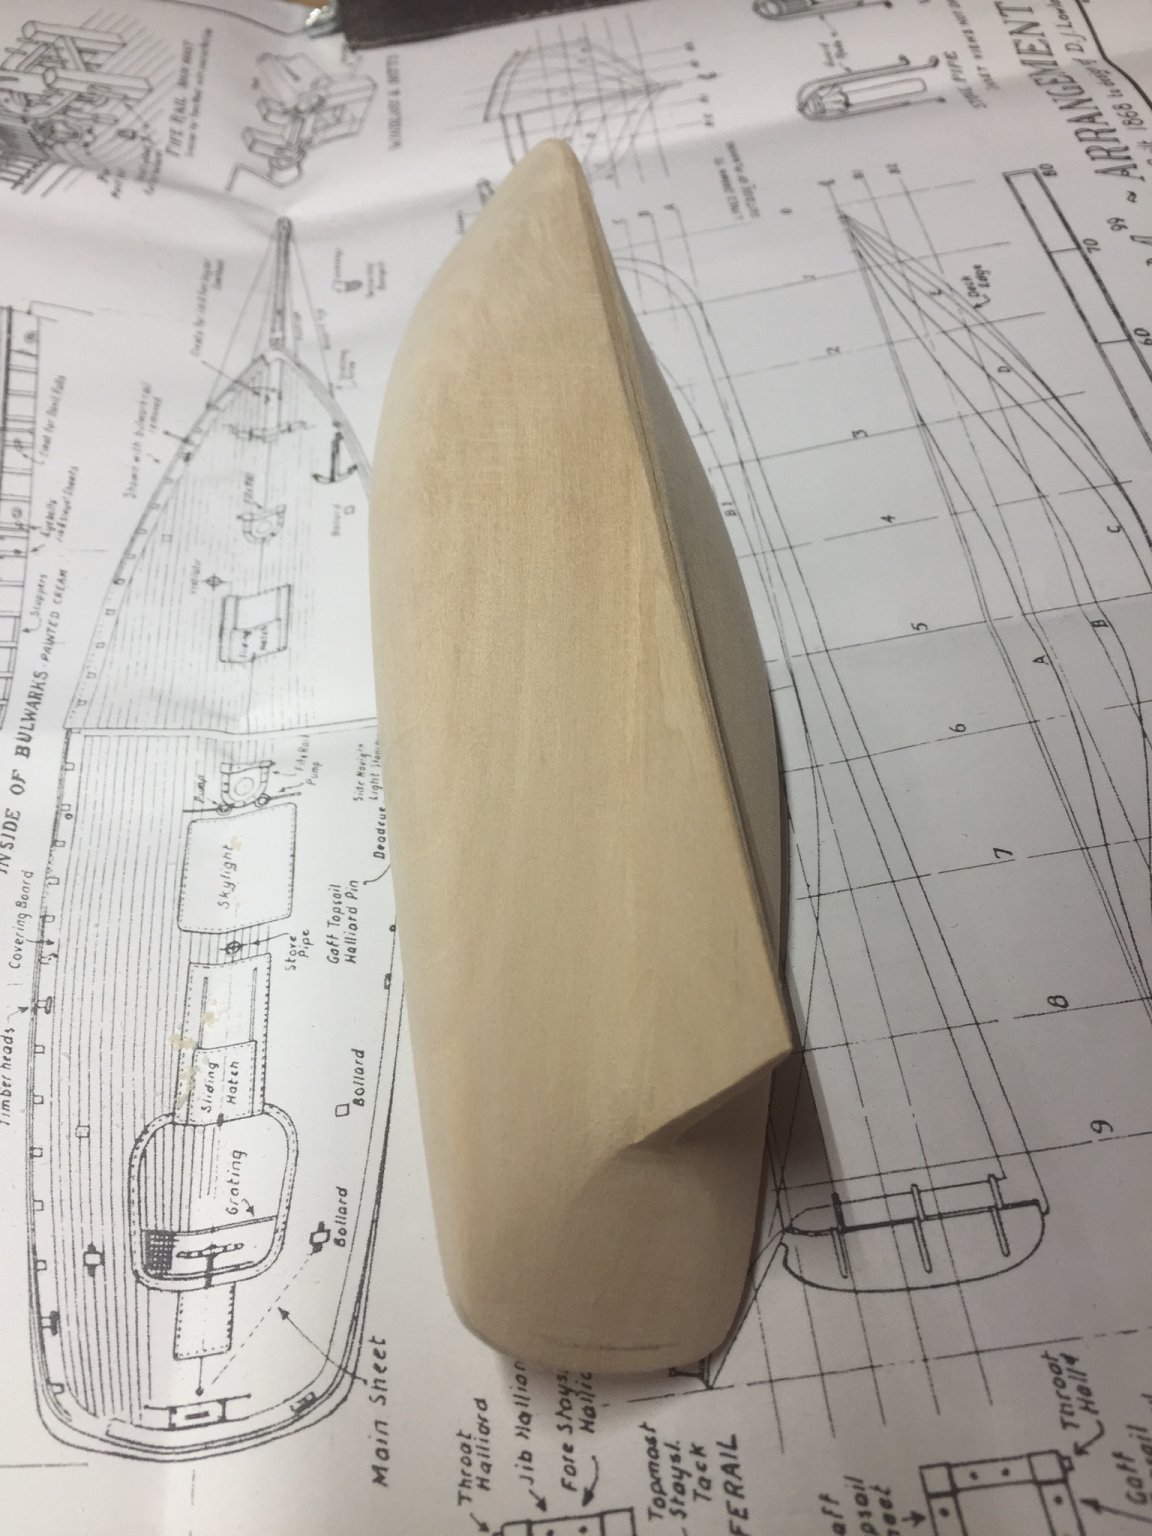
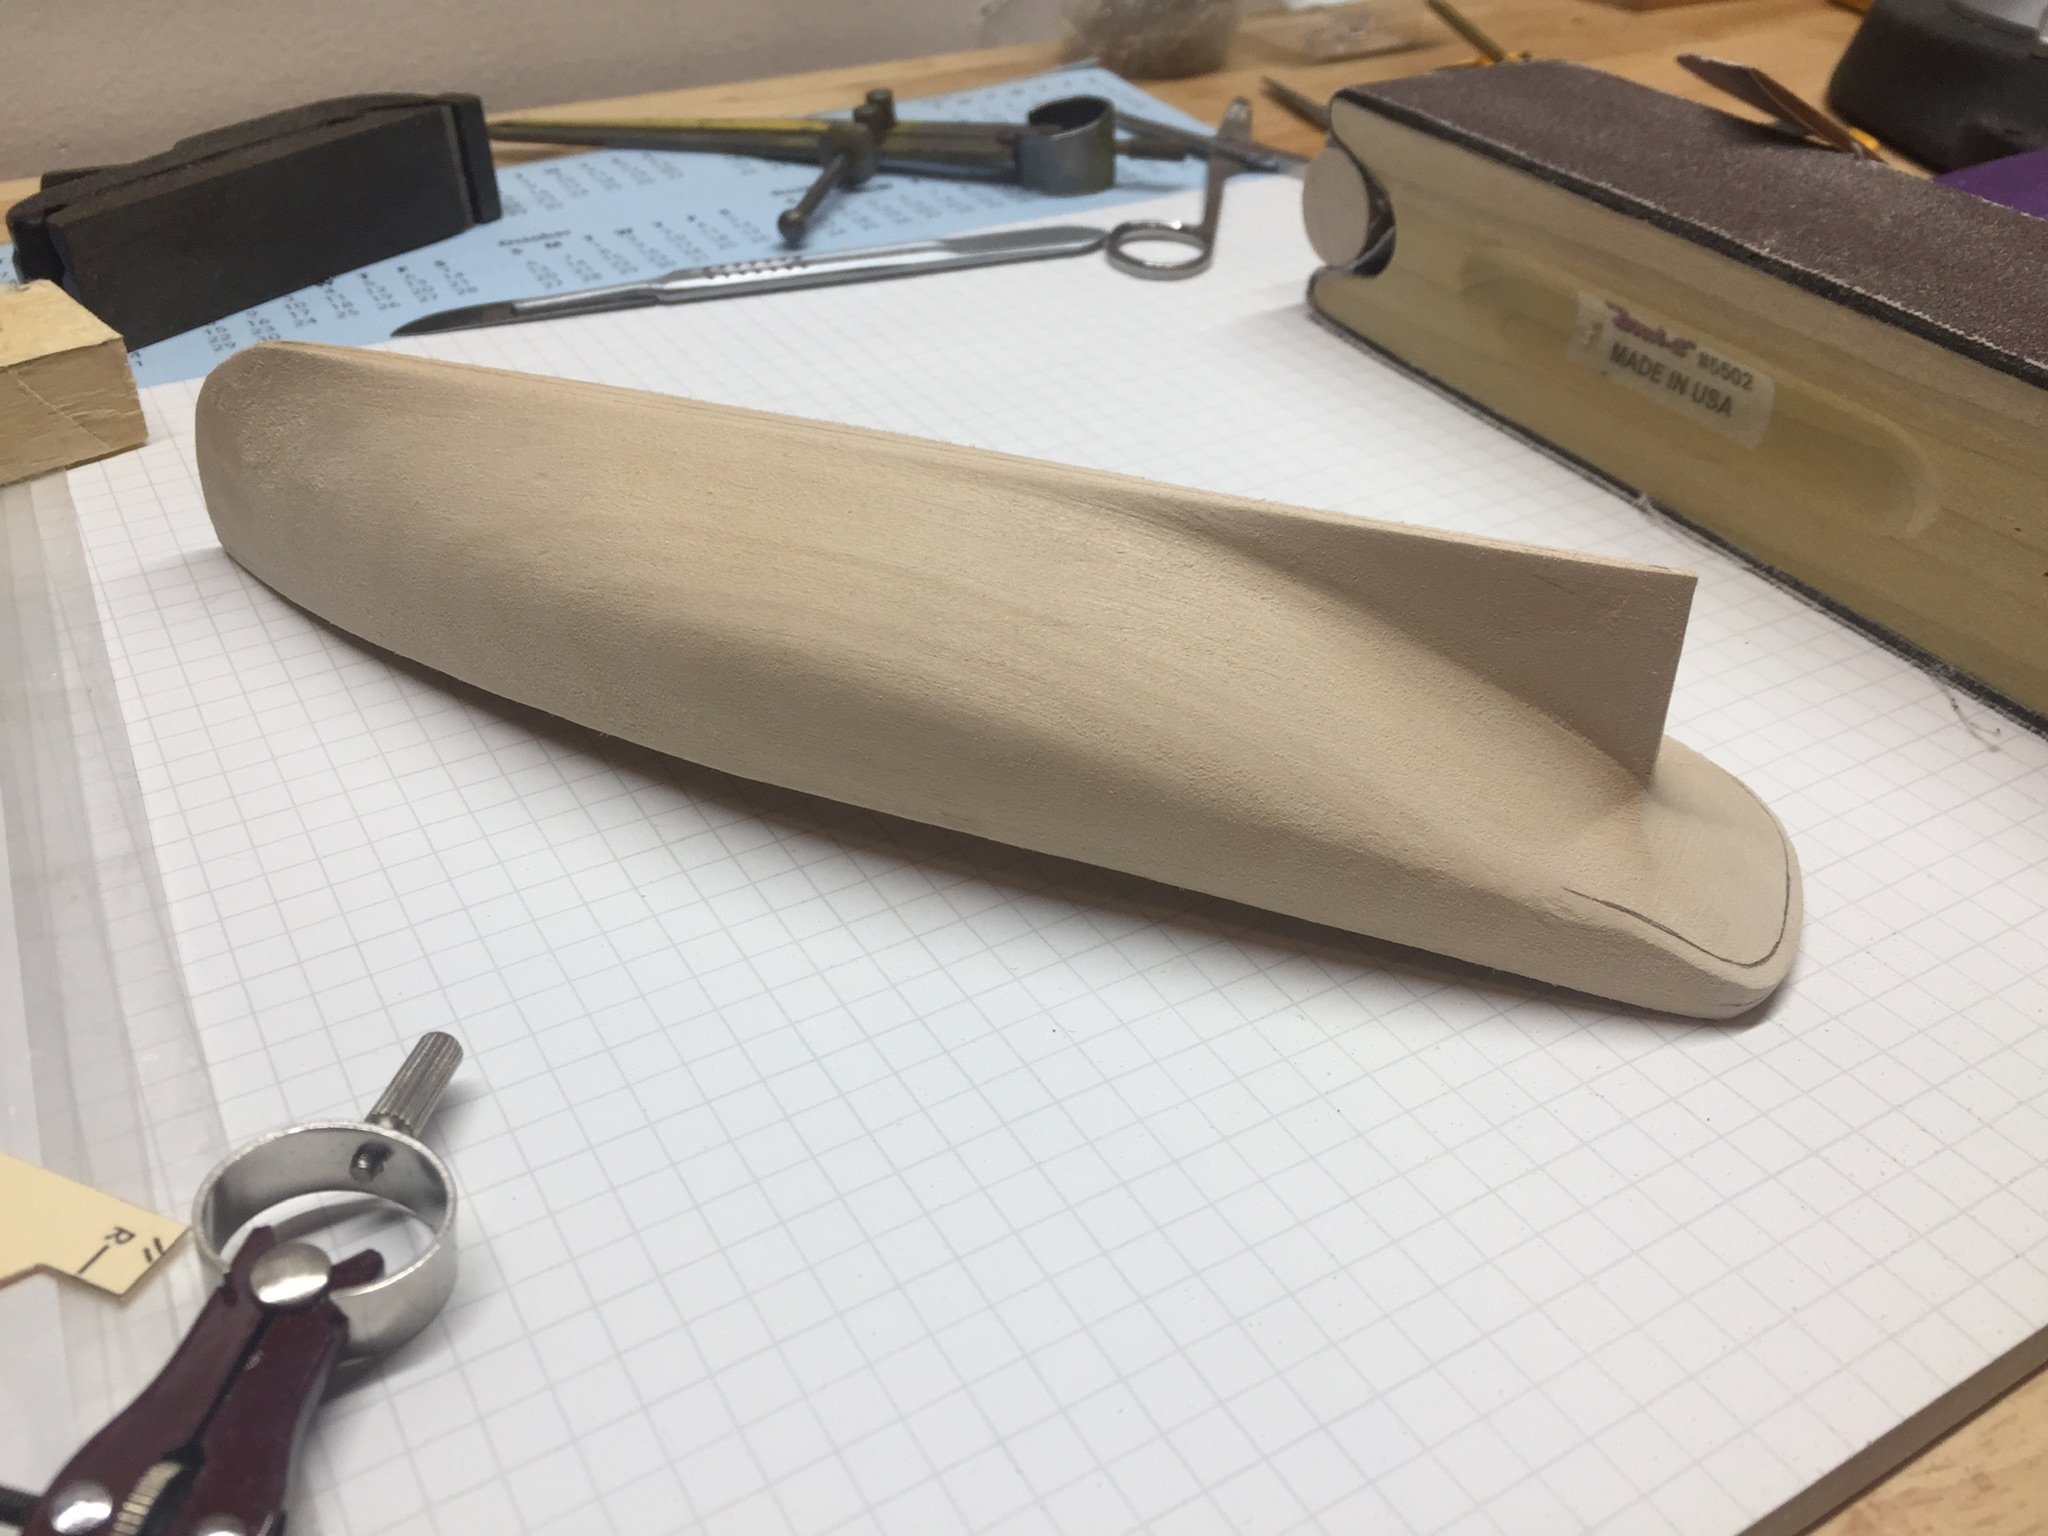
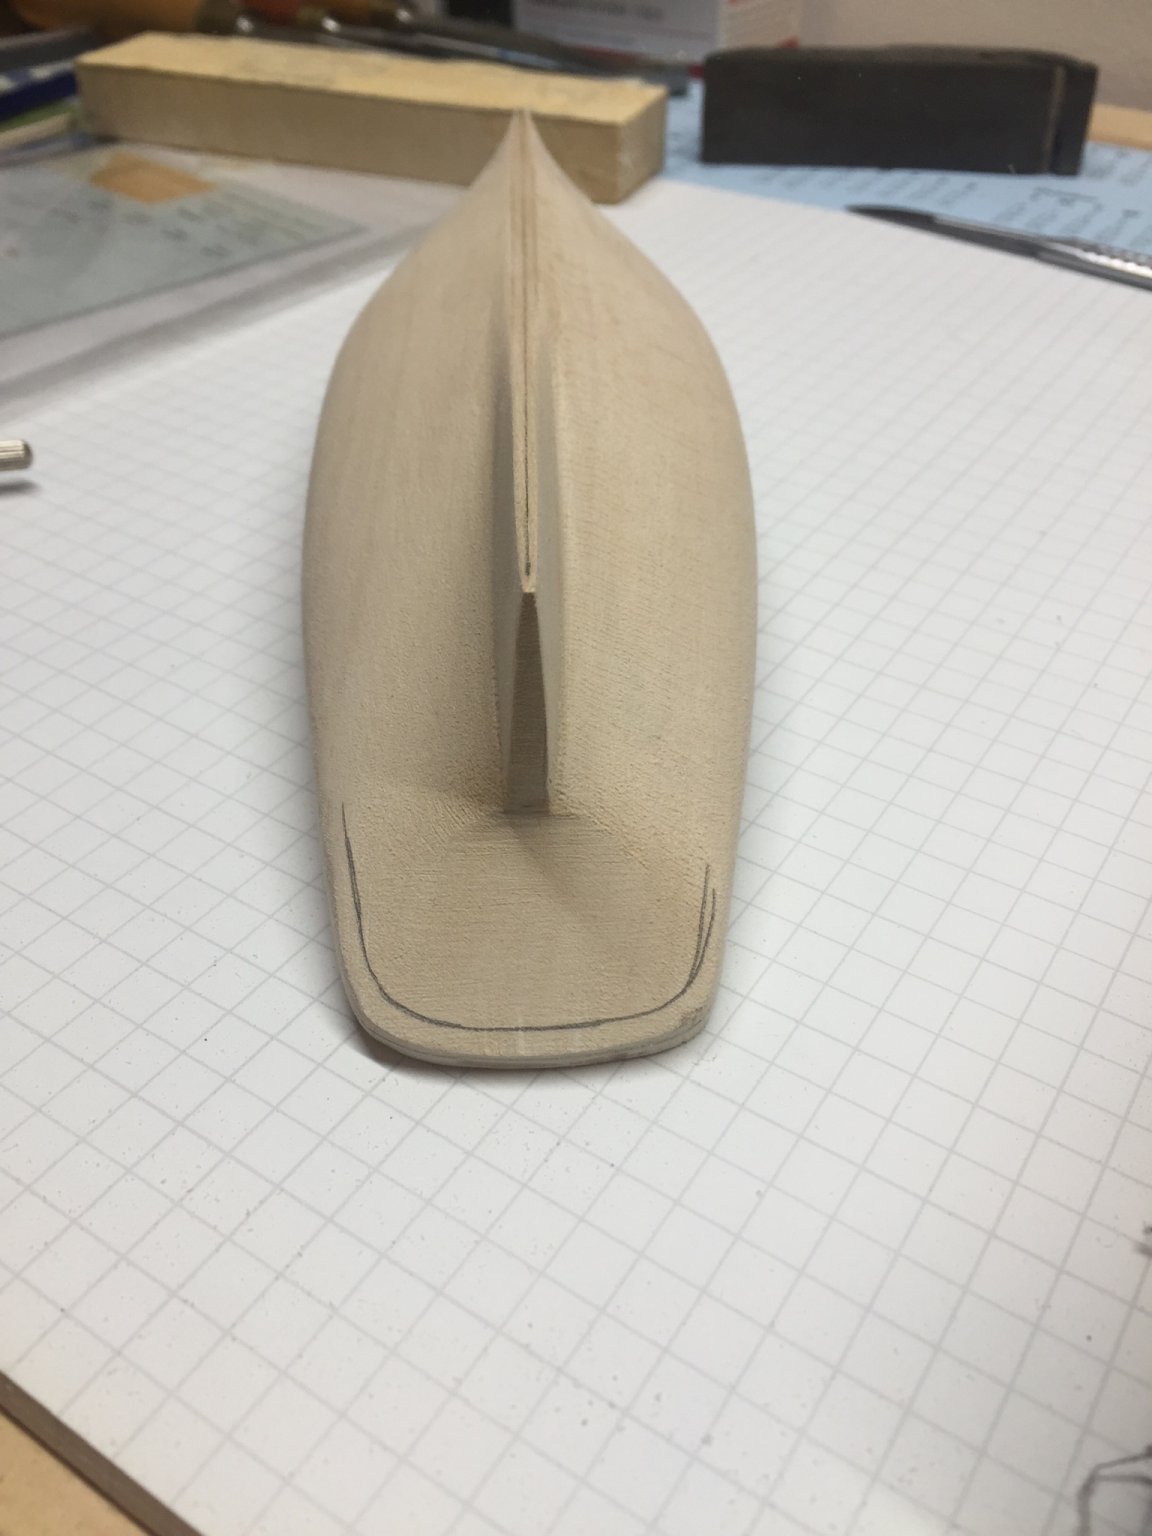
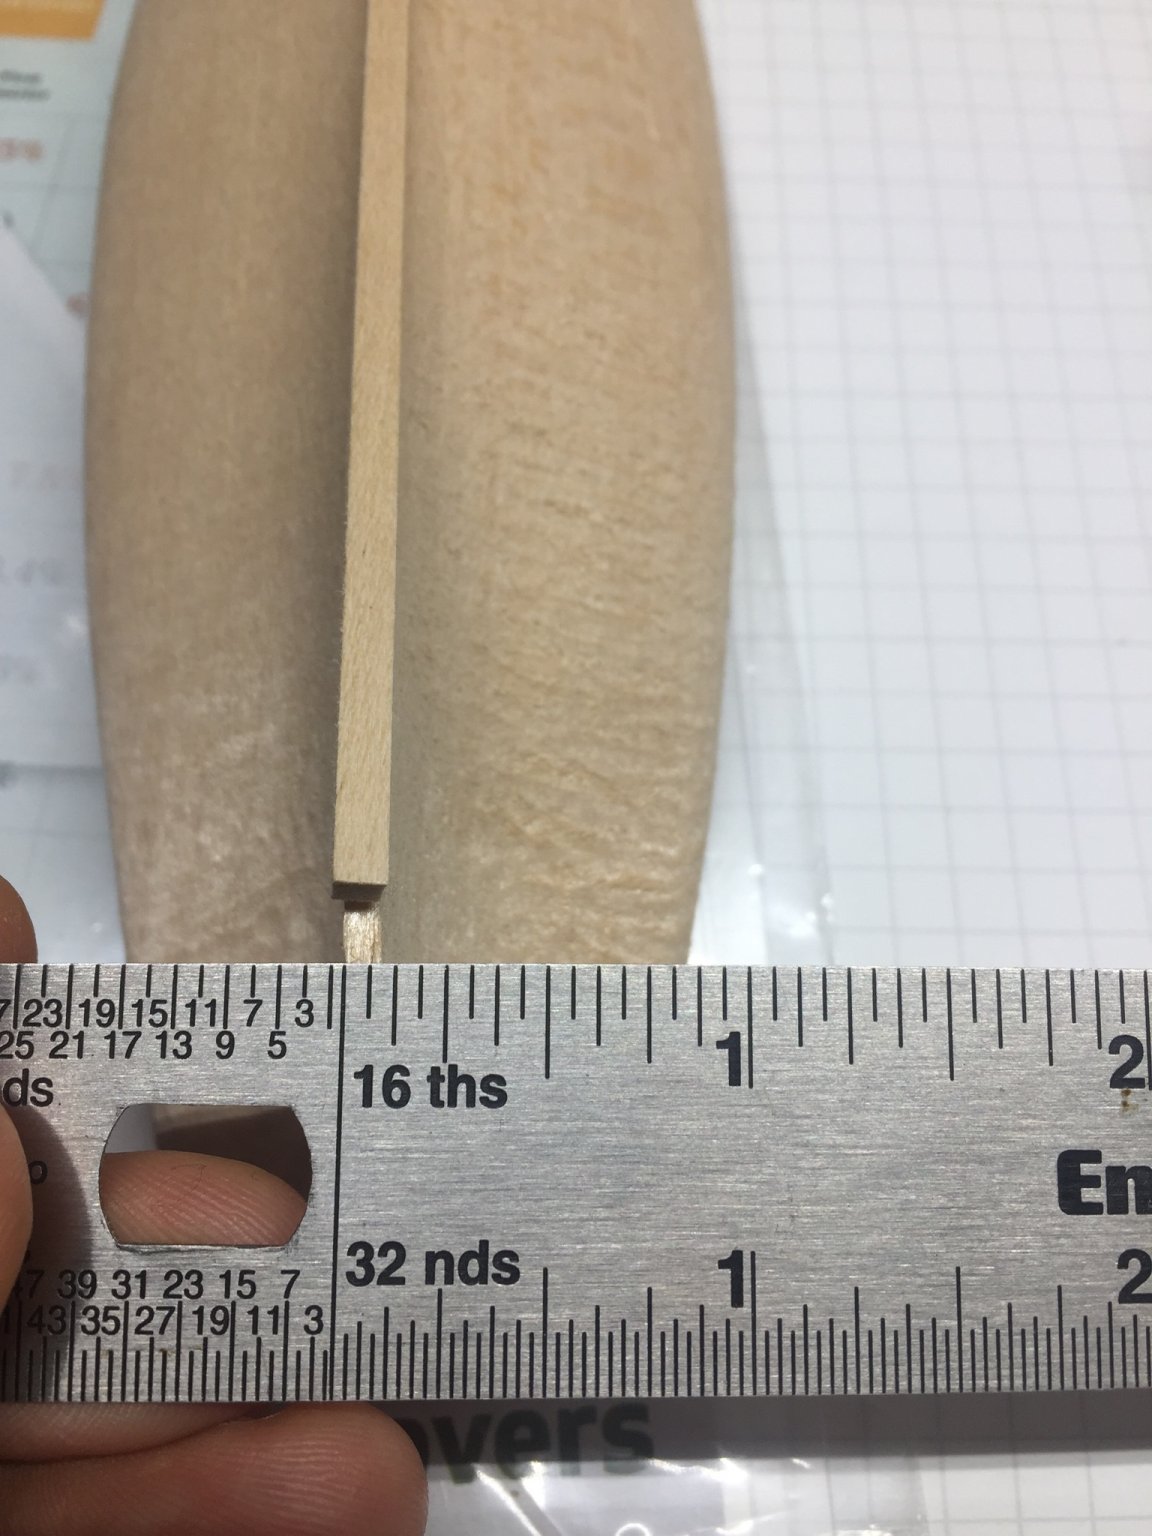
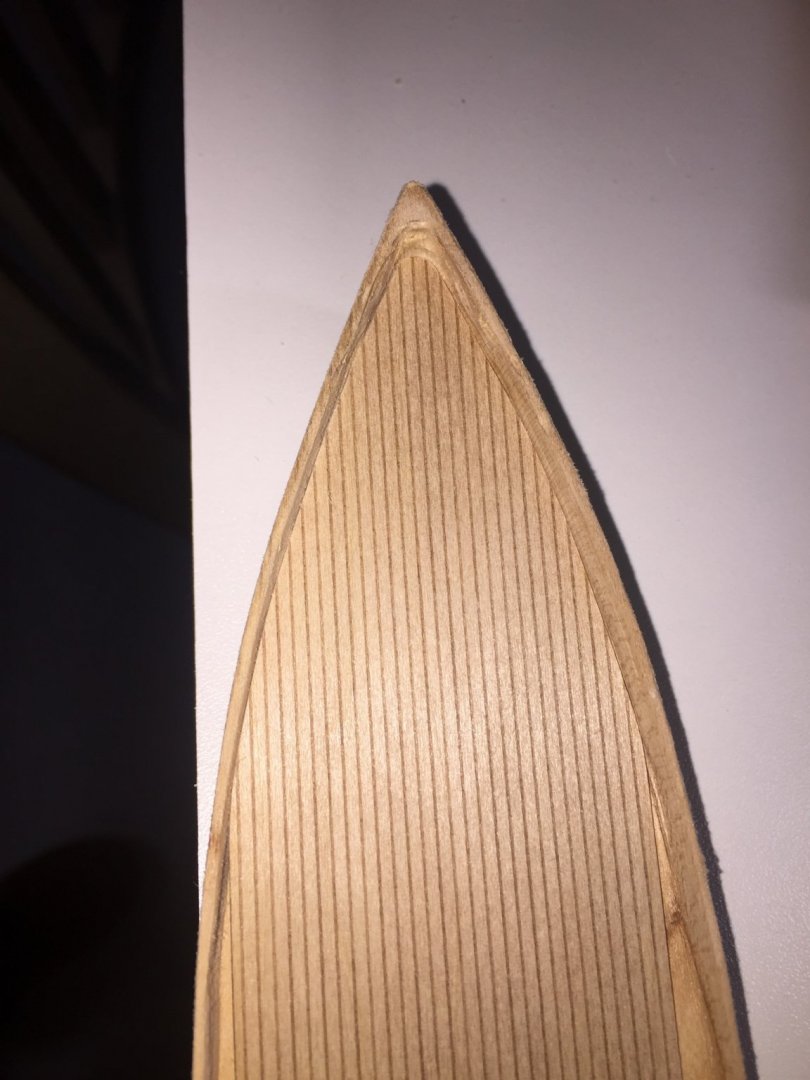
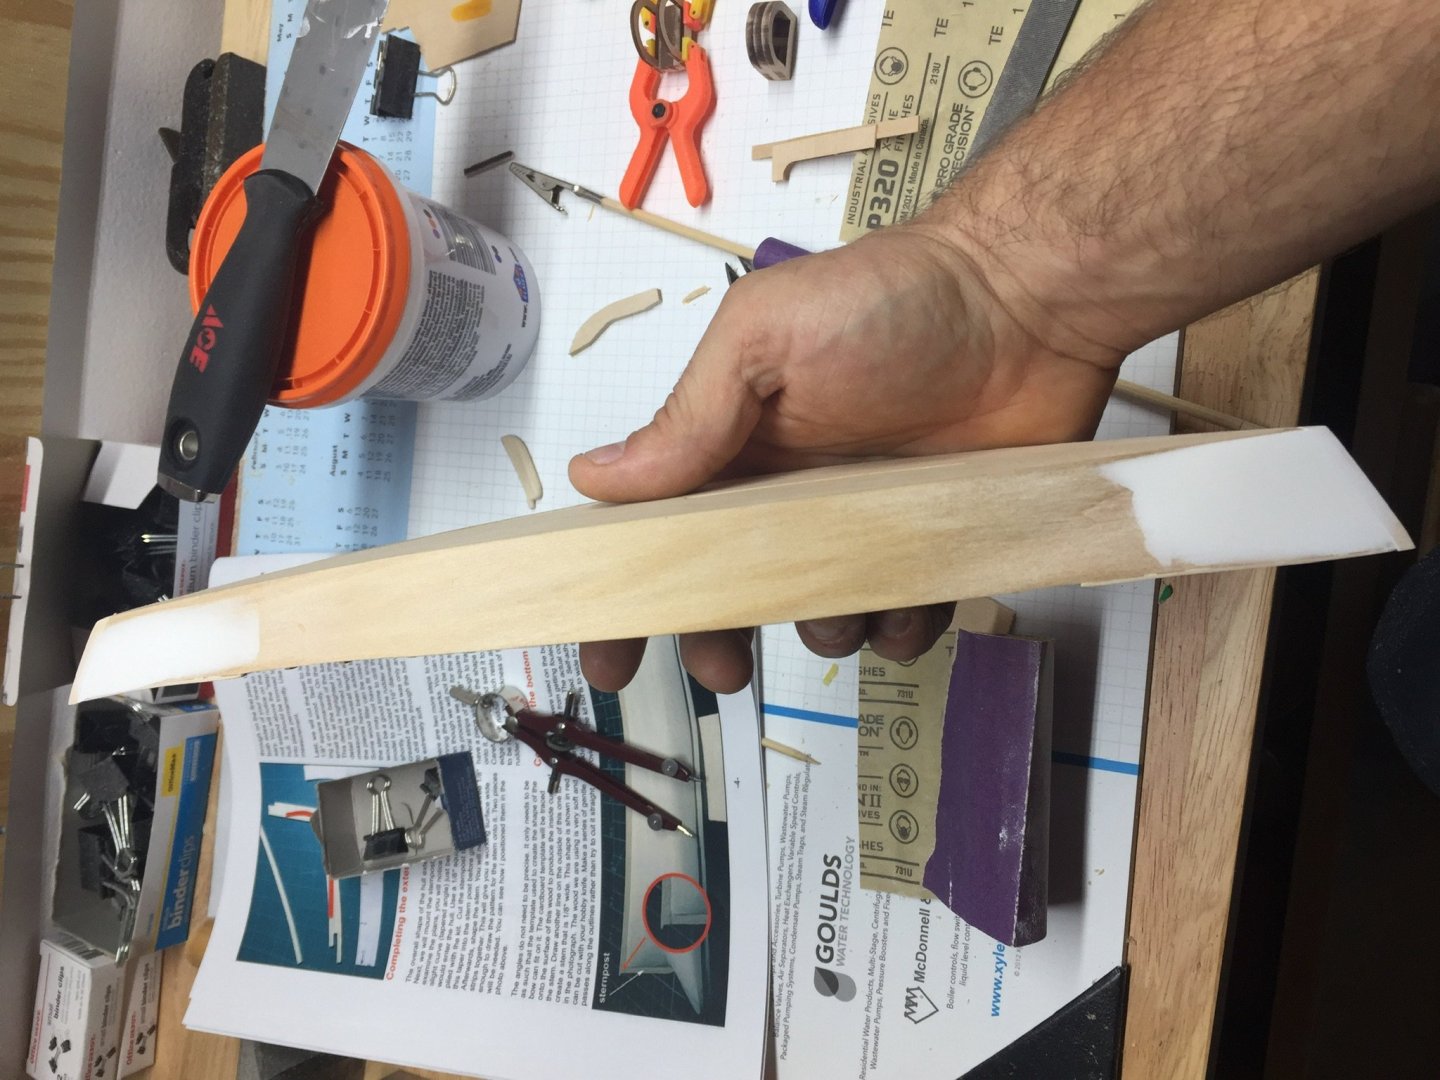
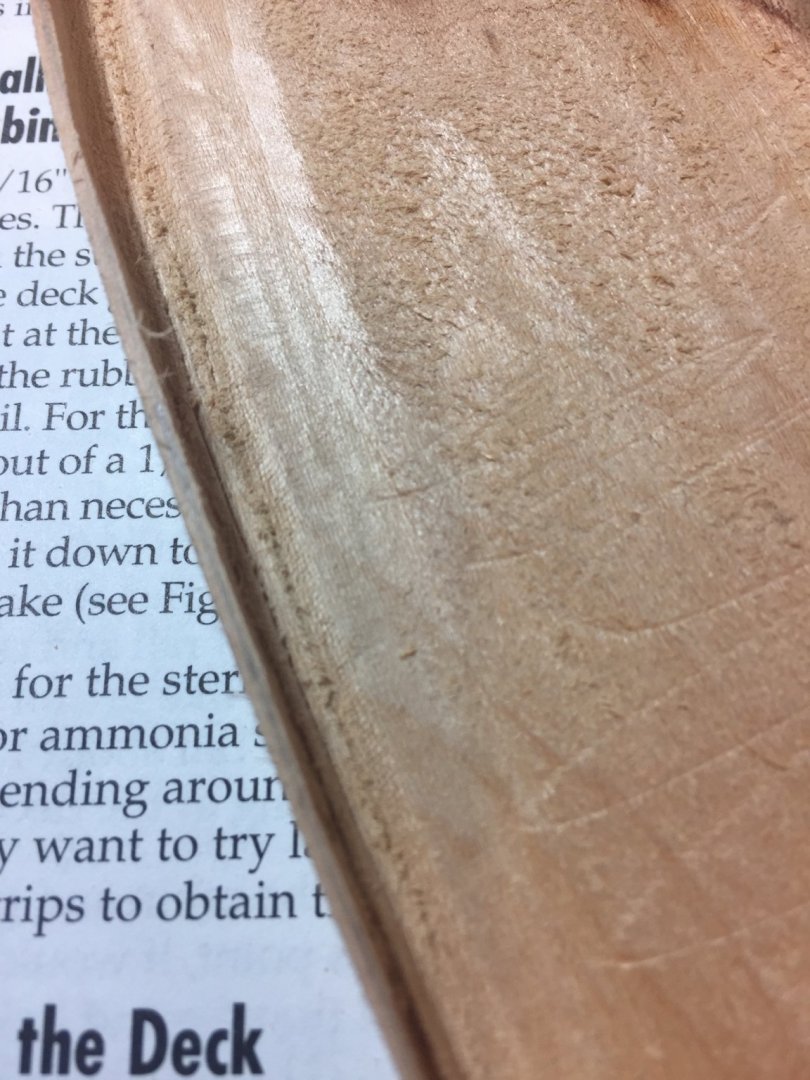
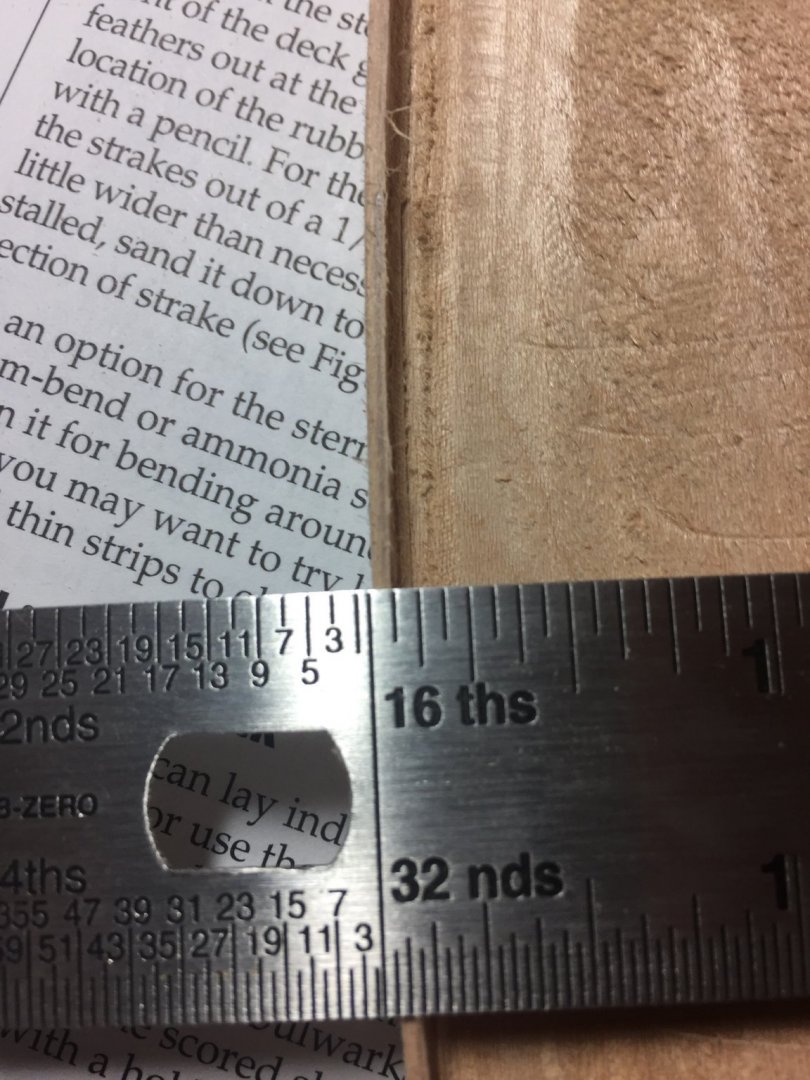
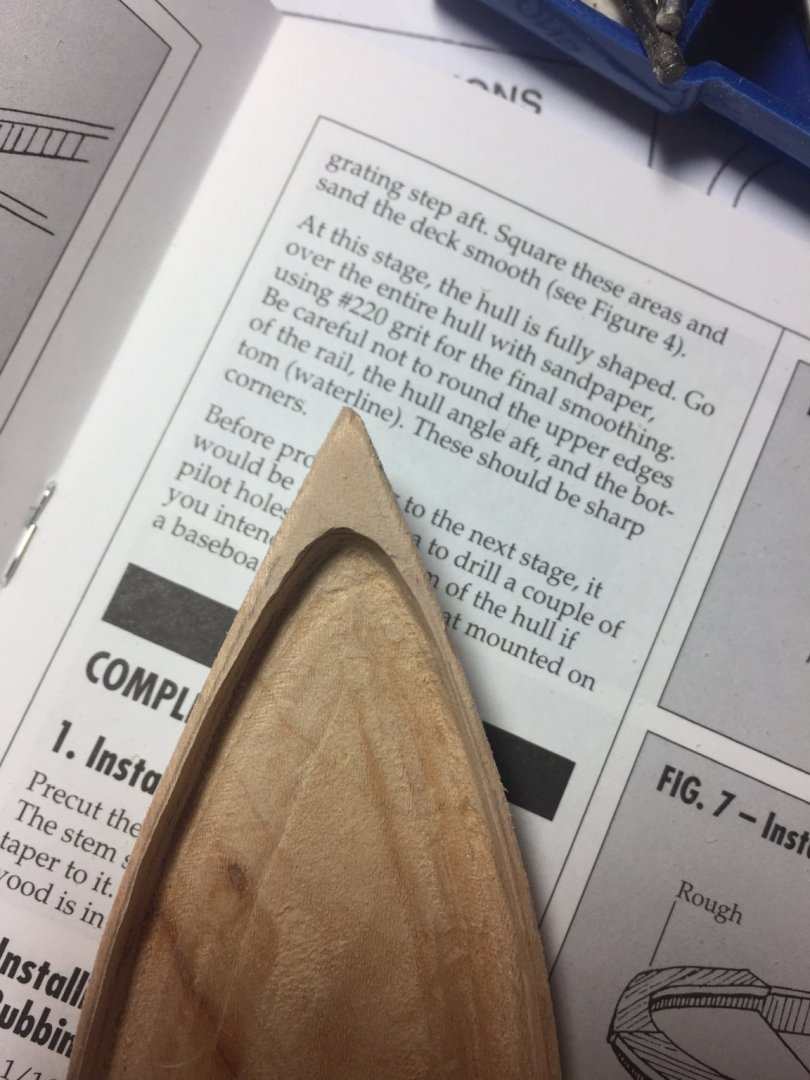
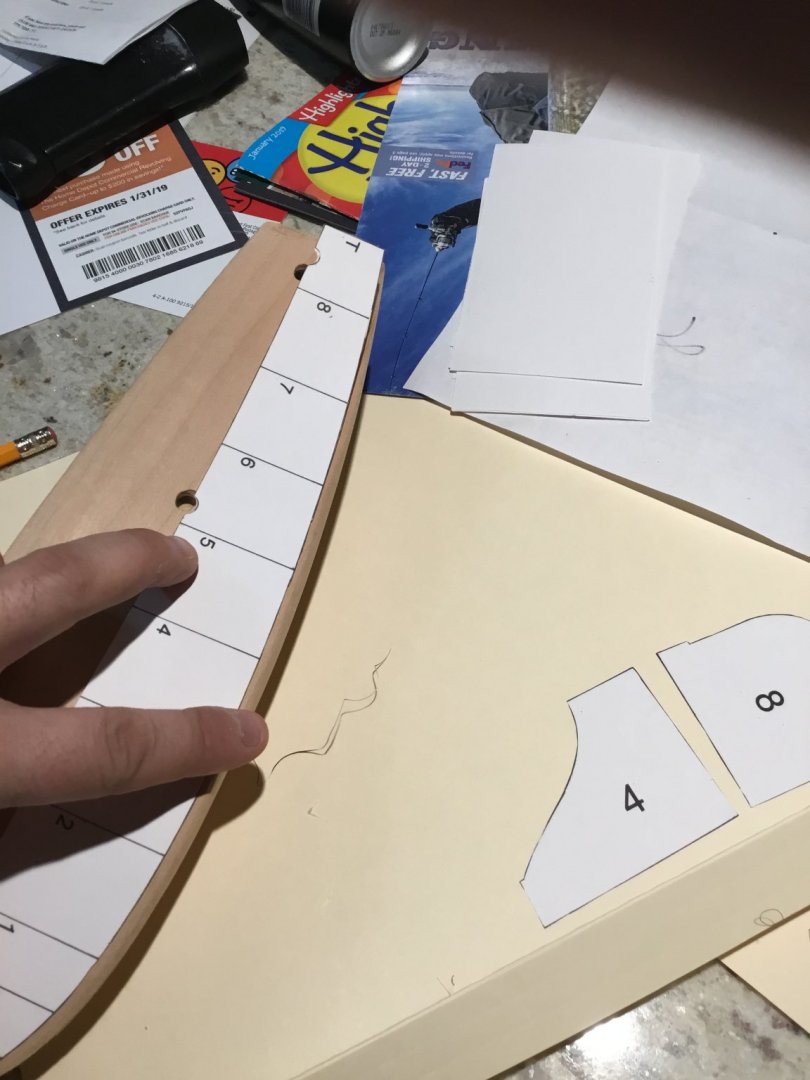
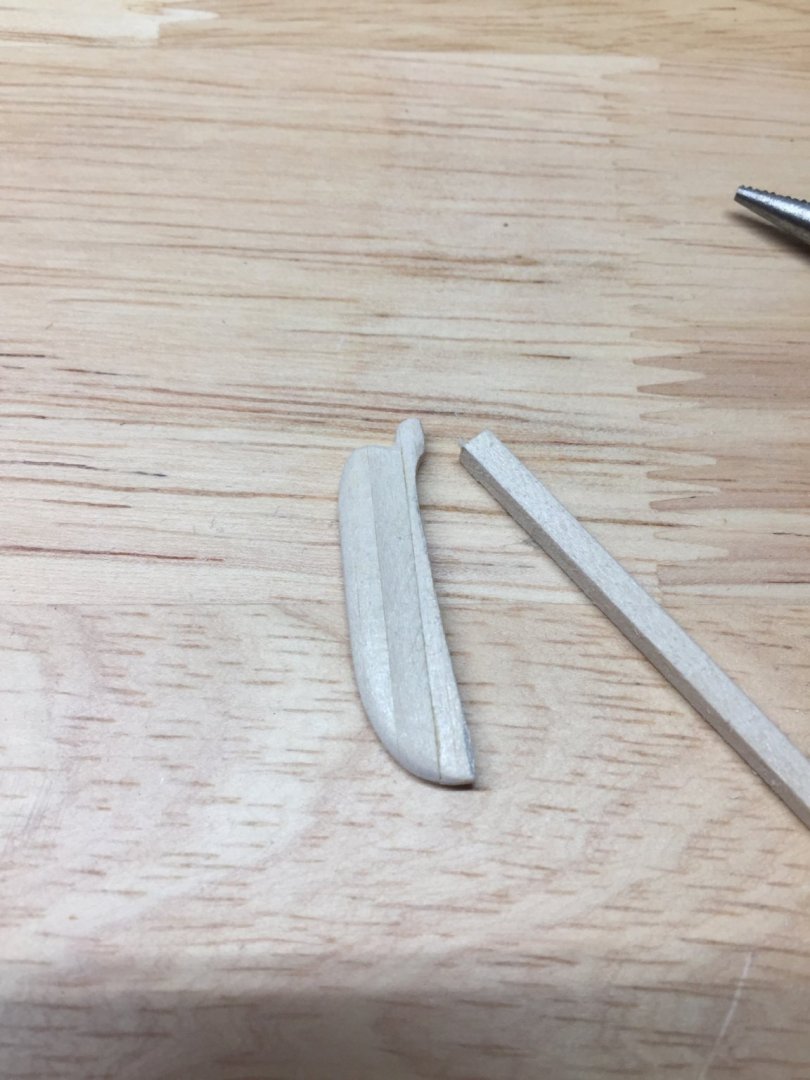
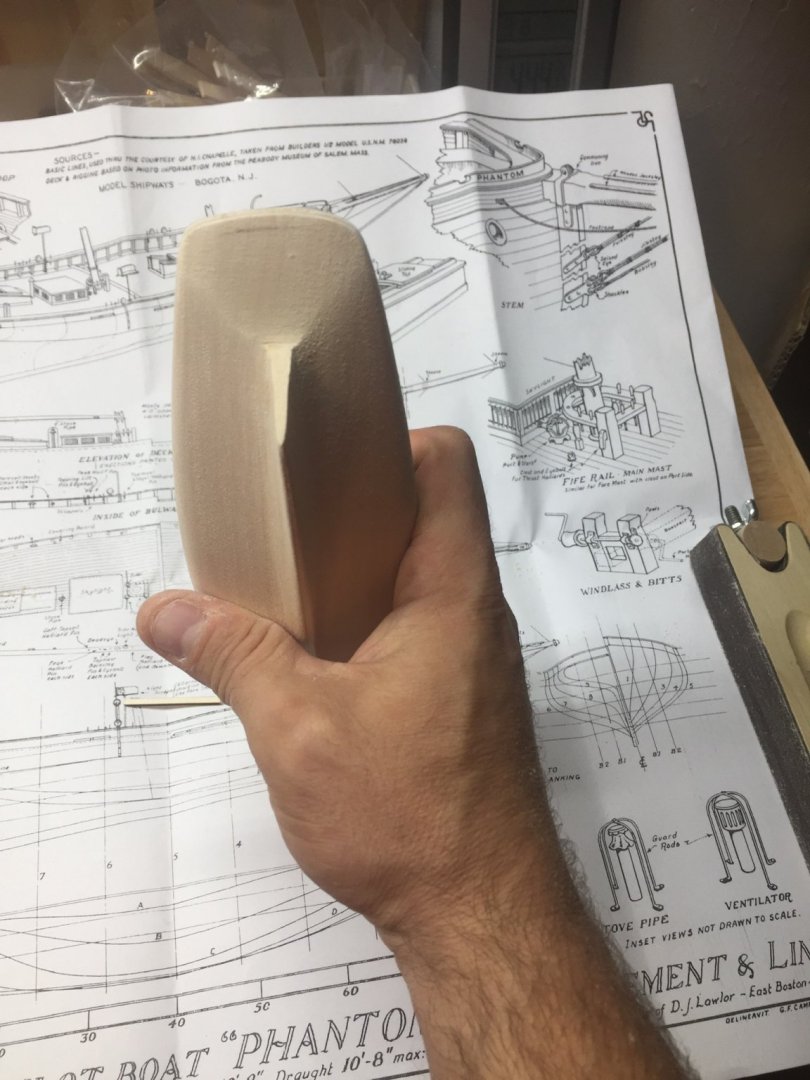
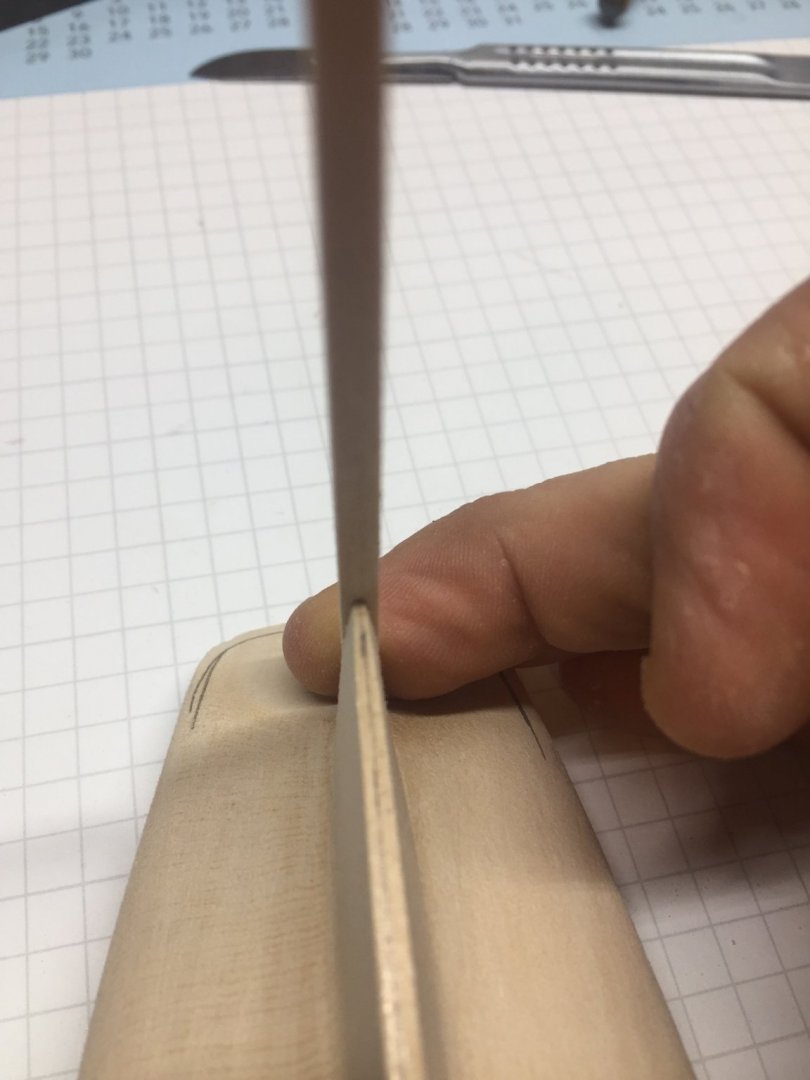
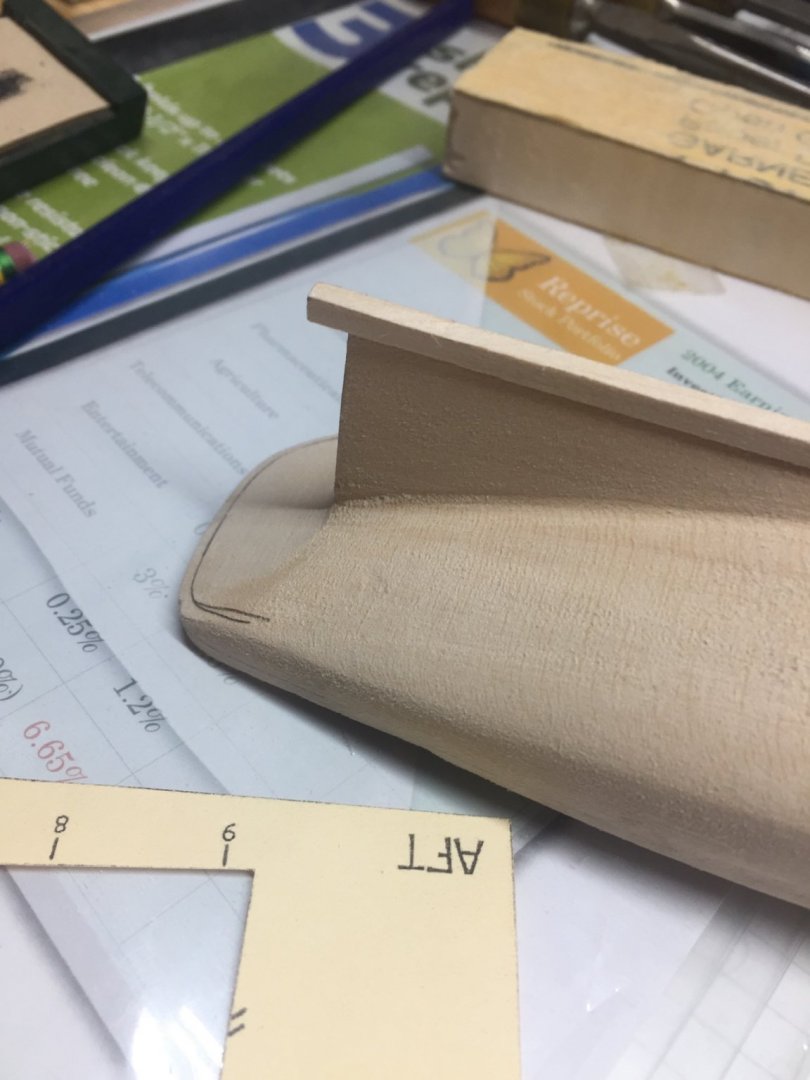
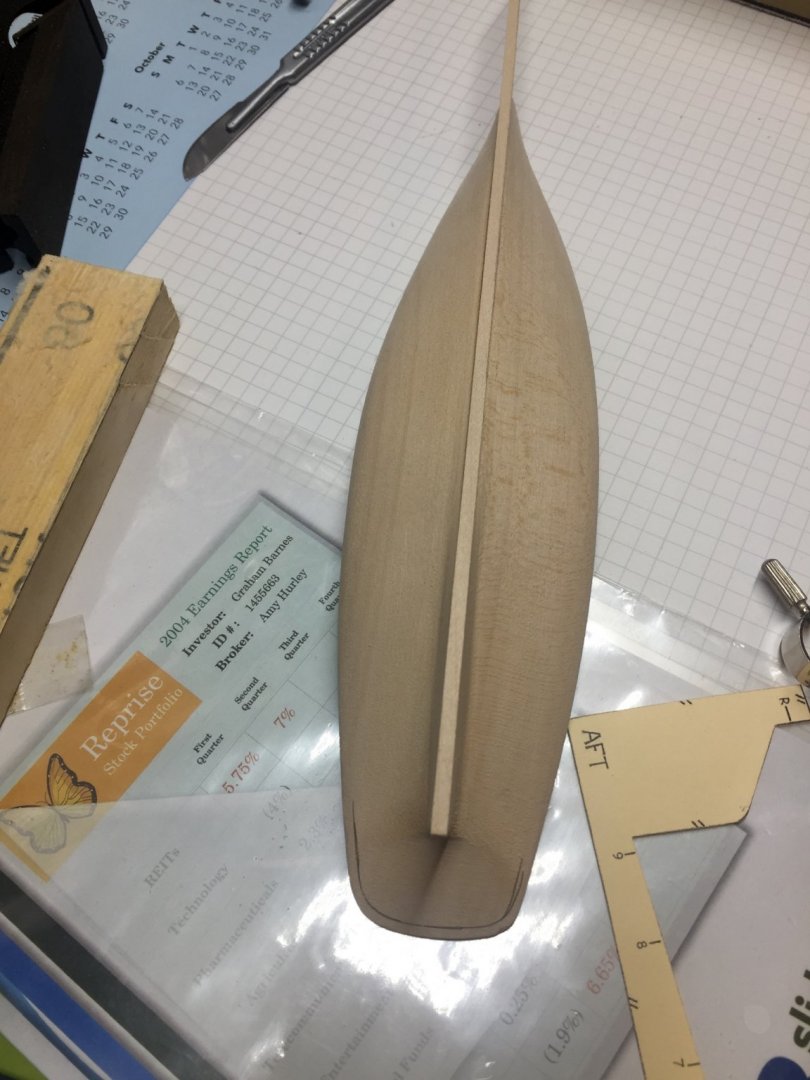
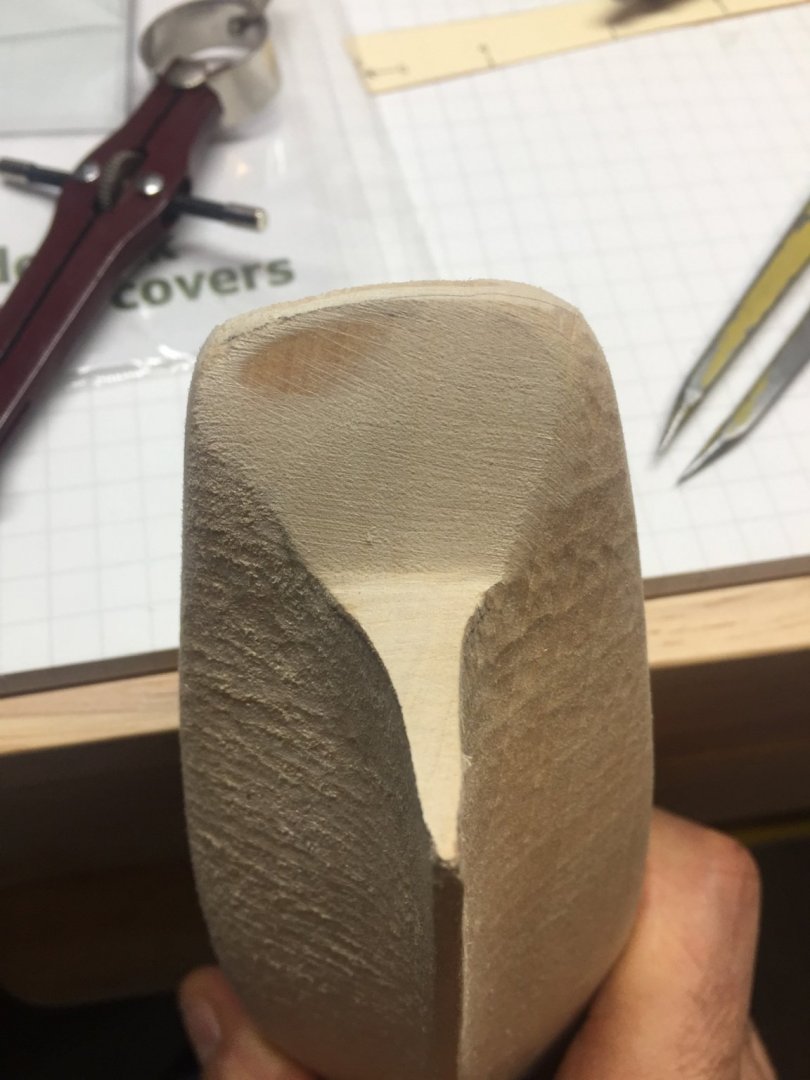
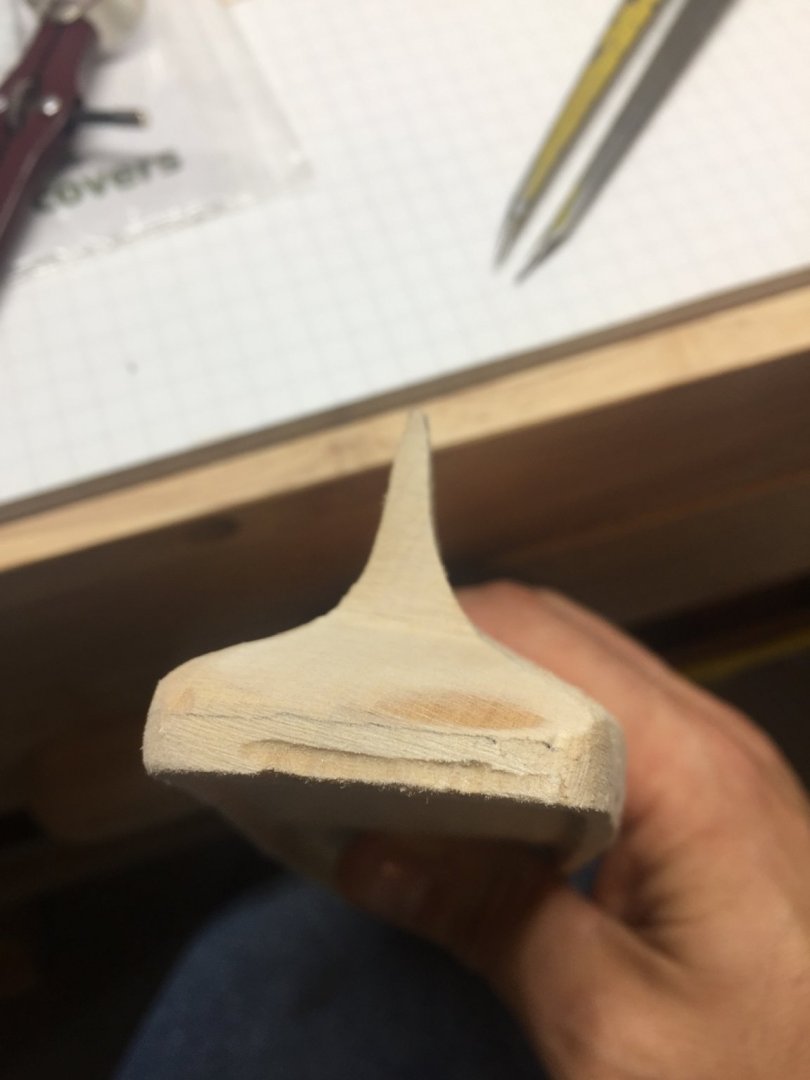
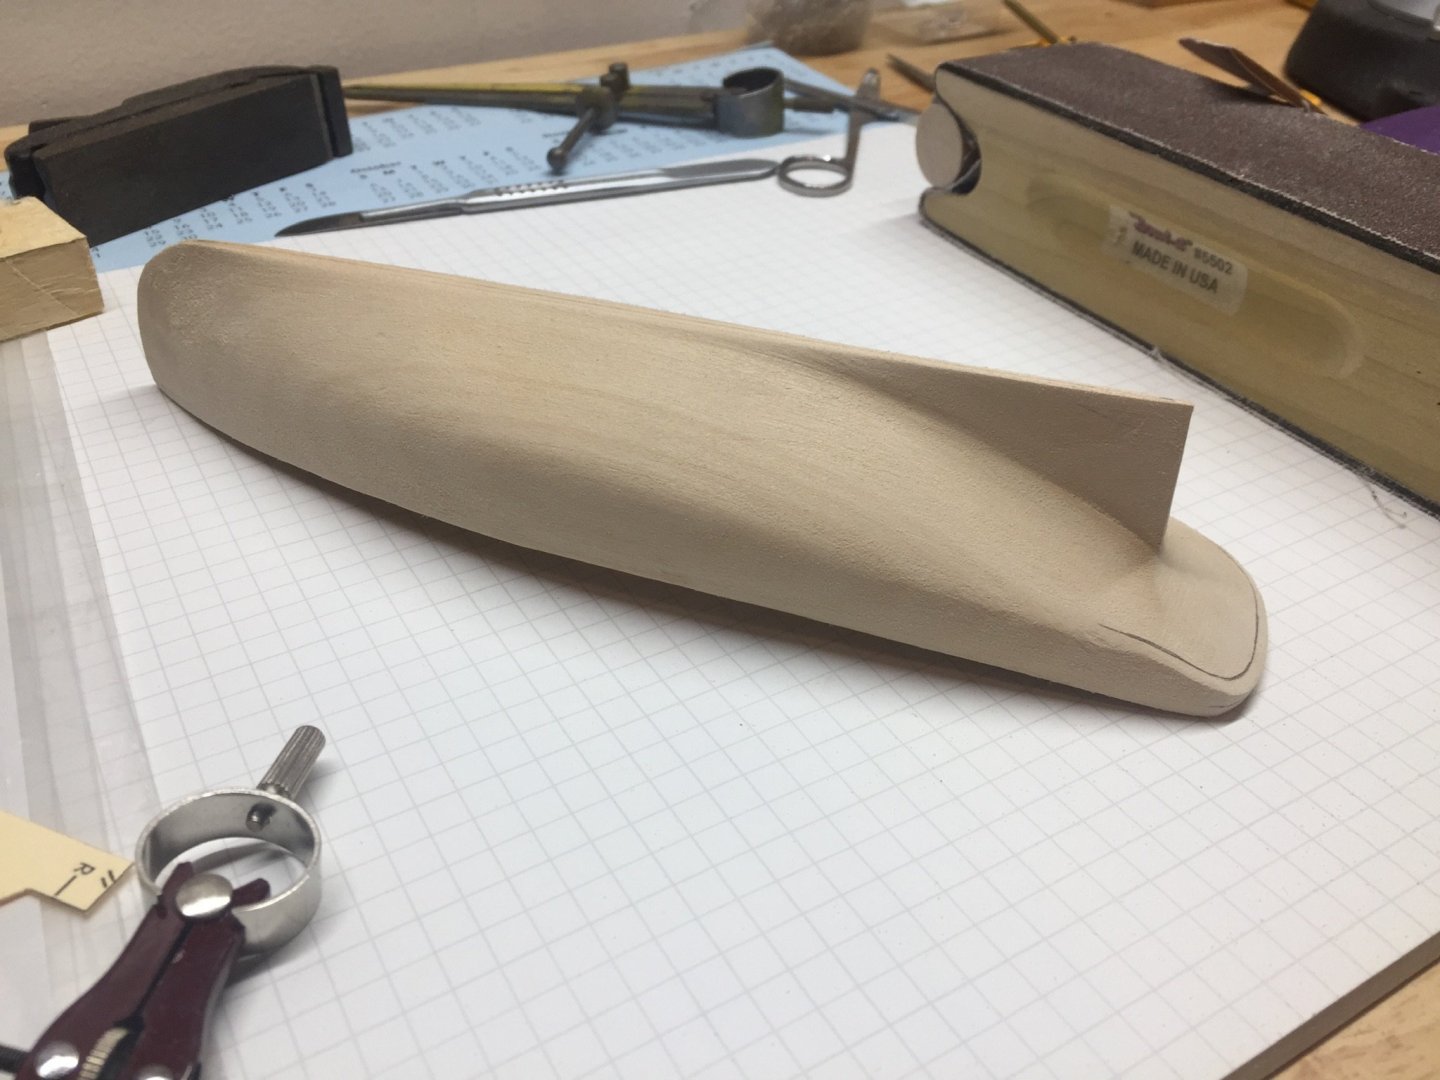
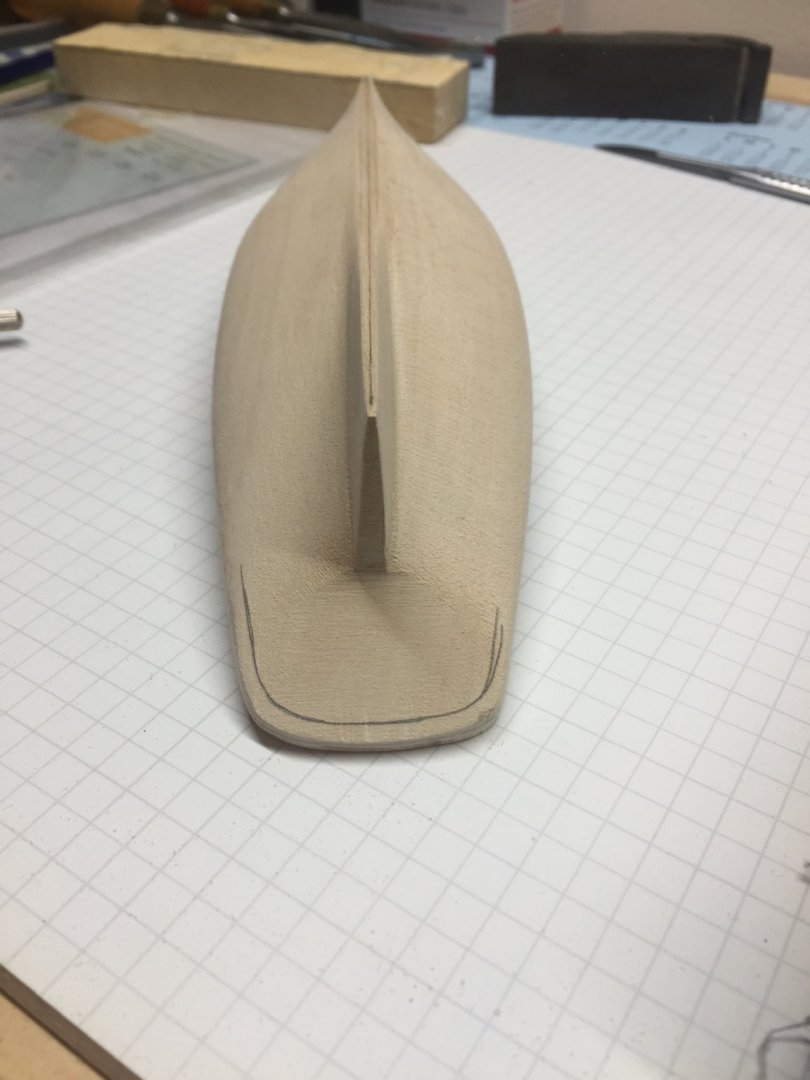
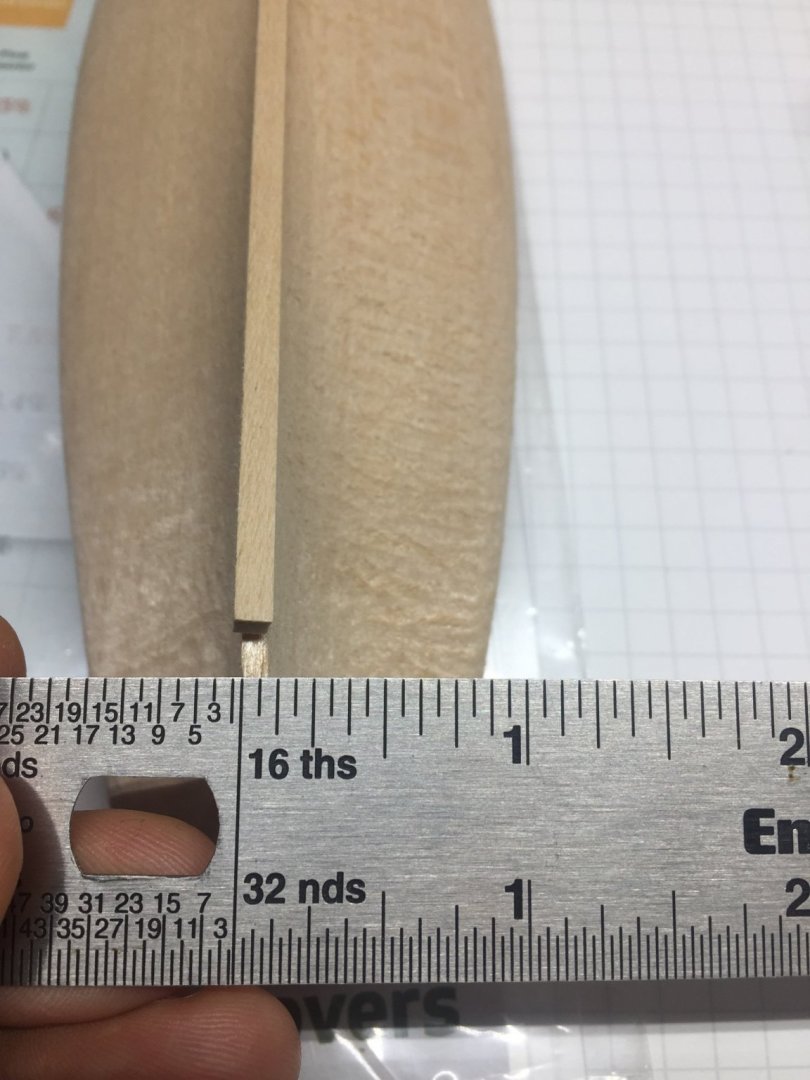
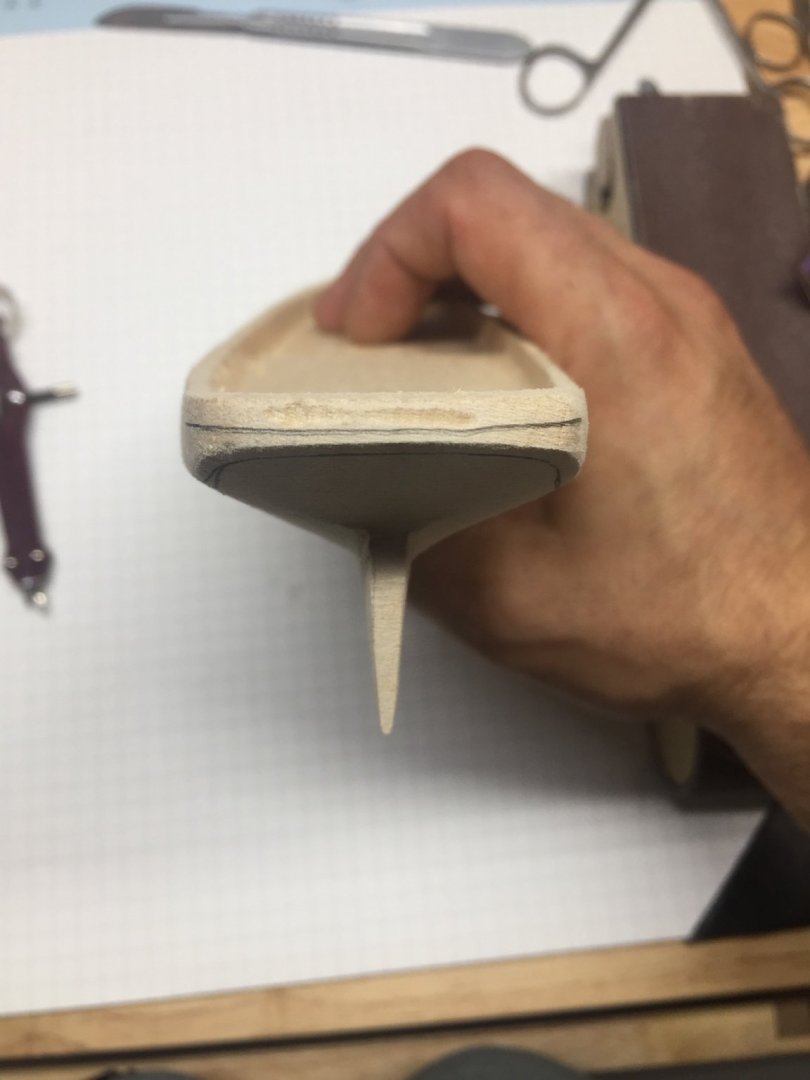
9/17 - 6:30 – 8pm First day shaping the hull and I too noticed some discrepancies between the plans and the templates. What was more concerning was that my hull was already less than what it was supposed to be along the keel. Per Chucks practicum it says I should shape it to 1/8” wide at the keel, however you can see in the picture that I am already at around 1/16”. However, as stated in another log that I read a few times over the last month or so, the plans do show the keel being 1/8” in height and 1/16” in width. So I am going to build it per the plans and continue on…. I also notice that the stern wasn’t created equal, but it is wood, and as I have seen many places in many logs, if it looks good to the eye than its good! So I think I can fake it as I do have wood putty on order. The stern is alittle thin/nasty as well, however, when I thin the bulwarks I believe I can erase the error in the picture below. Side by side of the keel Compared to after I finished for the night…. so I continued and did some more shaping…going as slow as I could and checking and double checking. so I also noticed that the bow is also thin along the stern post, but if I keep with the 1/16” I hope it might be closer to scale and work out for me. In the picture below you can see how much thinner the keel is then the 1/8” x 1/8” piece of wood in the kit. The good news is I really struggled with a Blue Jacket solid hull, only because after spending hours shaping it I realized that the holes for the mast were drill wrong and the entire hull was off by ¼” to a ½” and I faked it and made it work except when I went to redrill the holes I didn’t have a good jig and it went back in the wrong holes…so I gave up. Now with this one I realize that kit manufacturers assume you aren’t expecting perfect, or that you are a model maker creating art and should be able to fake it…its not engineers work as I have seen stated before. I also recently read the log of a completed pilot boat where the creator states that if he ever did a solid hull he wouldn’t get hung up on things and would make sure it was boat shaped and move on. I am following his advise and not stressing about it matching the plans to a tee as long as it looks like a boat and I am happy with it.
-
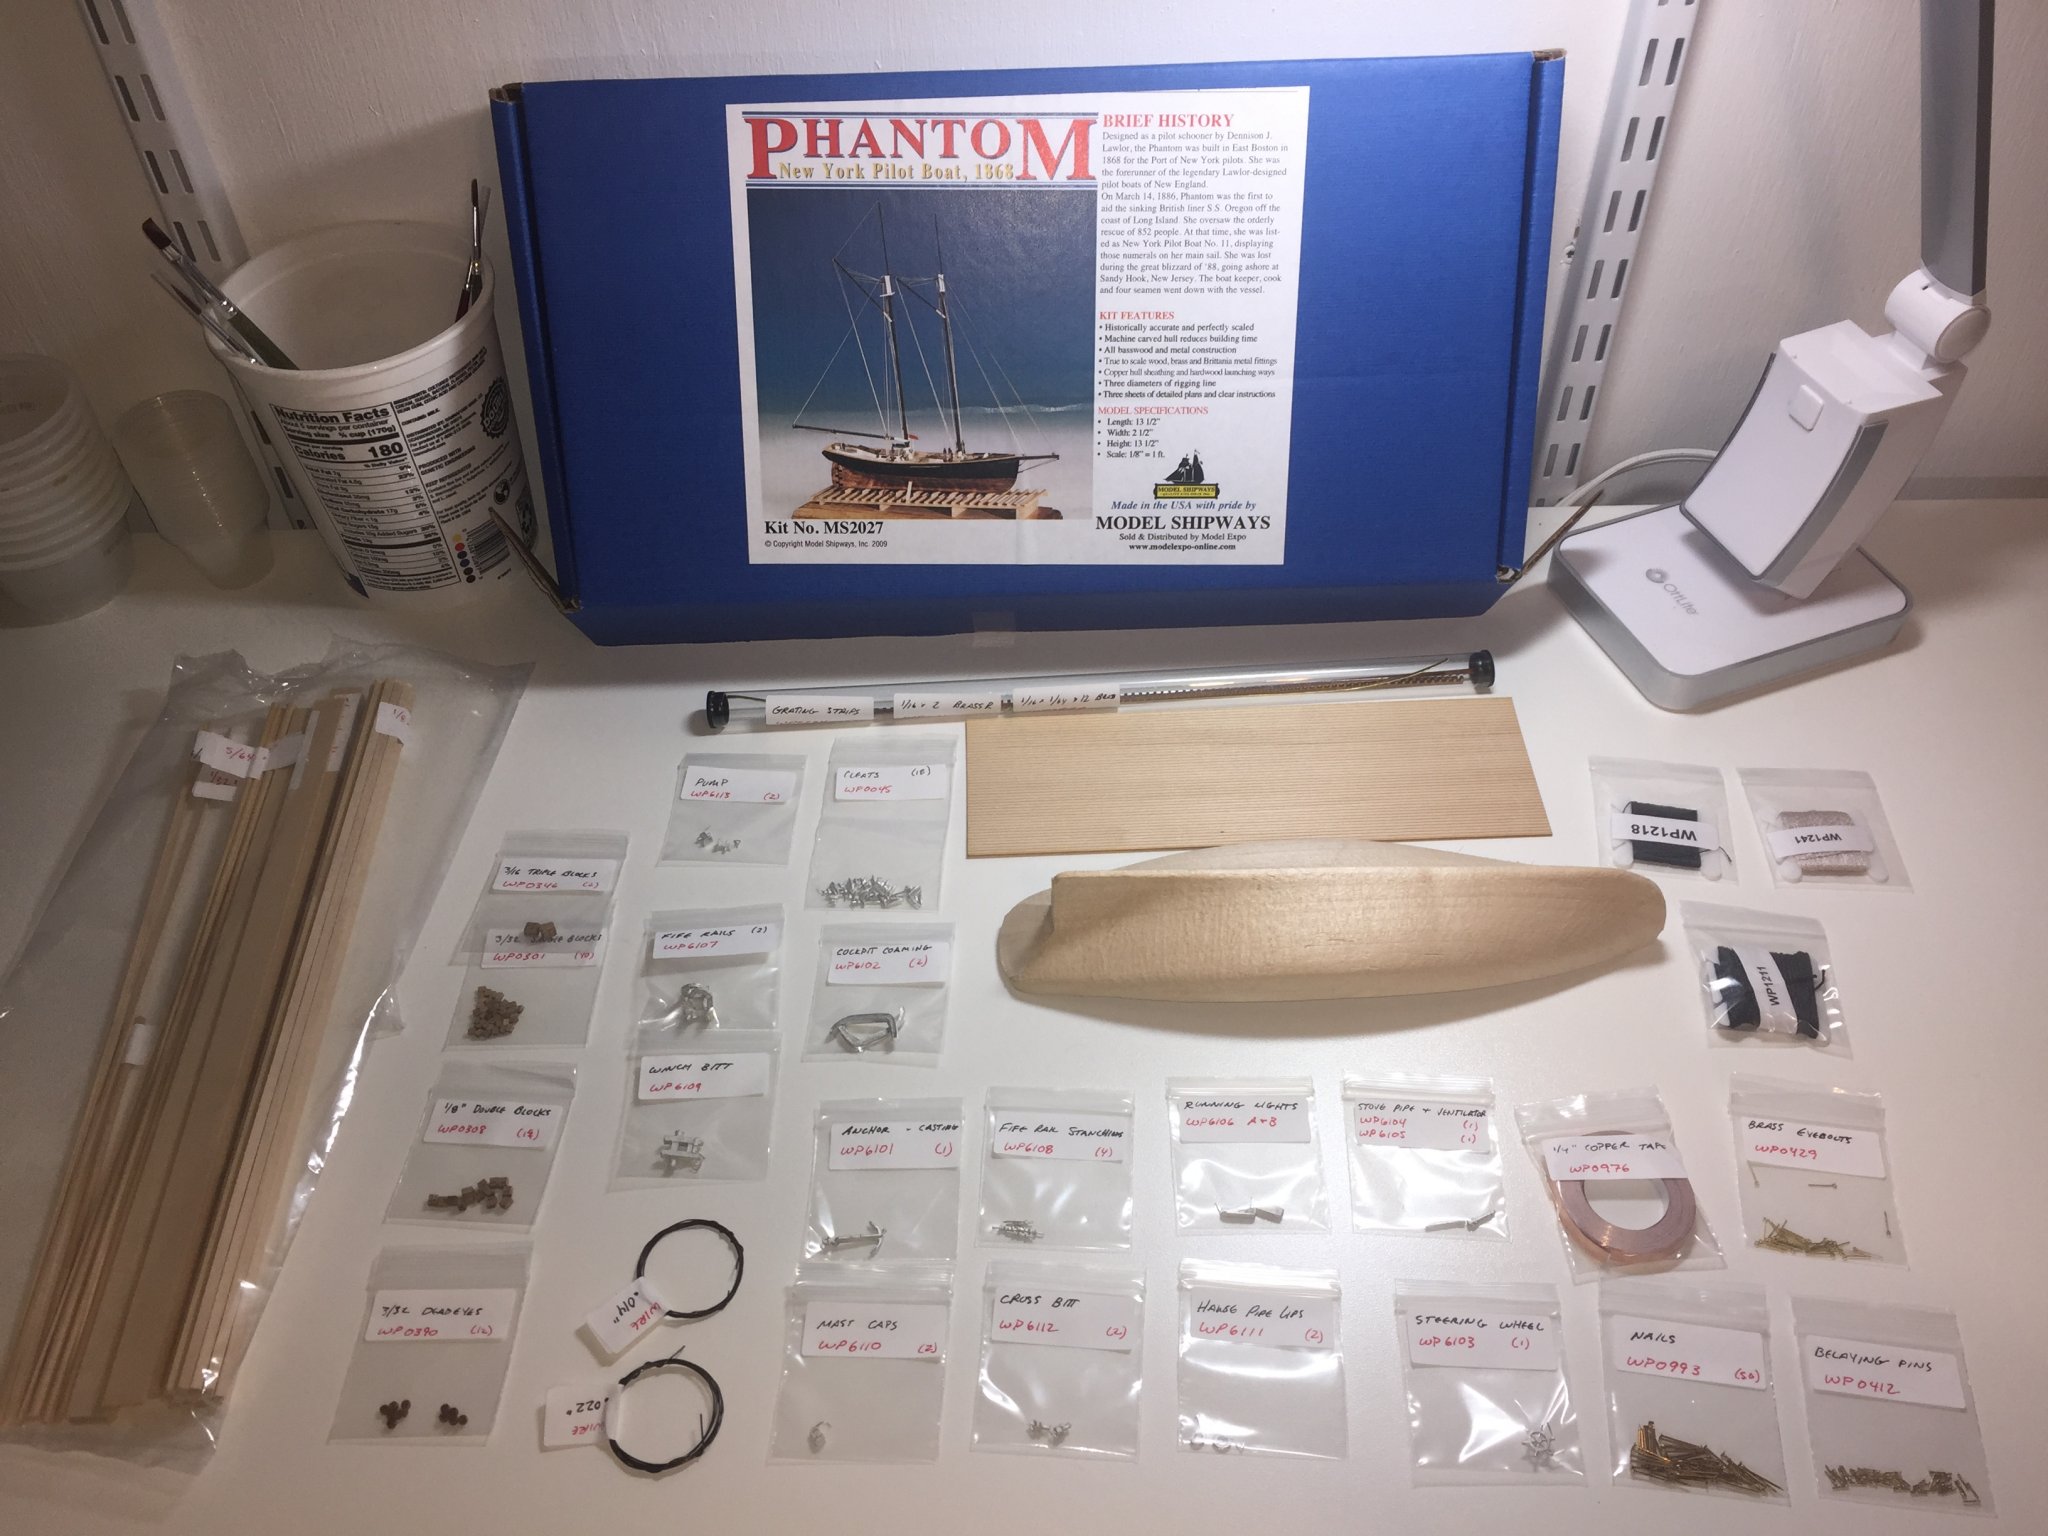
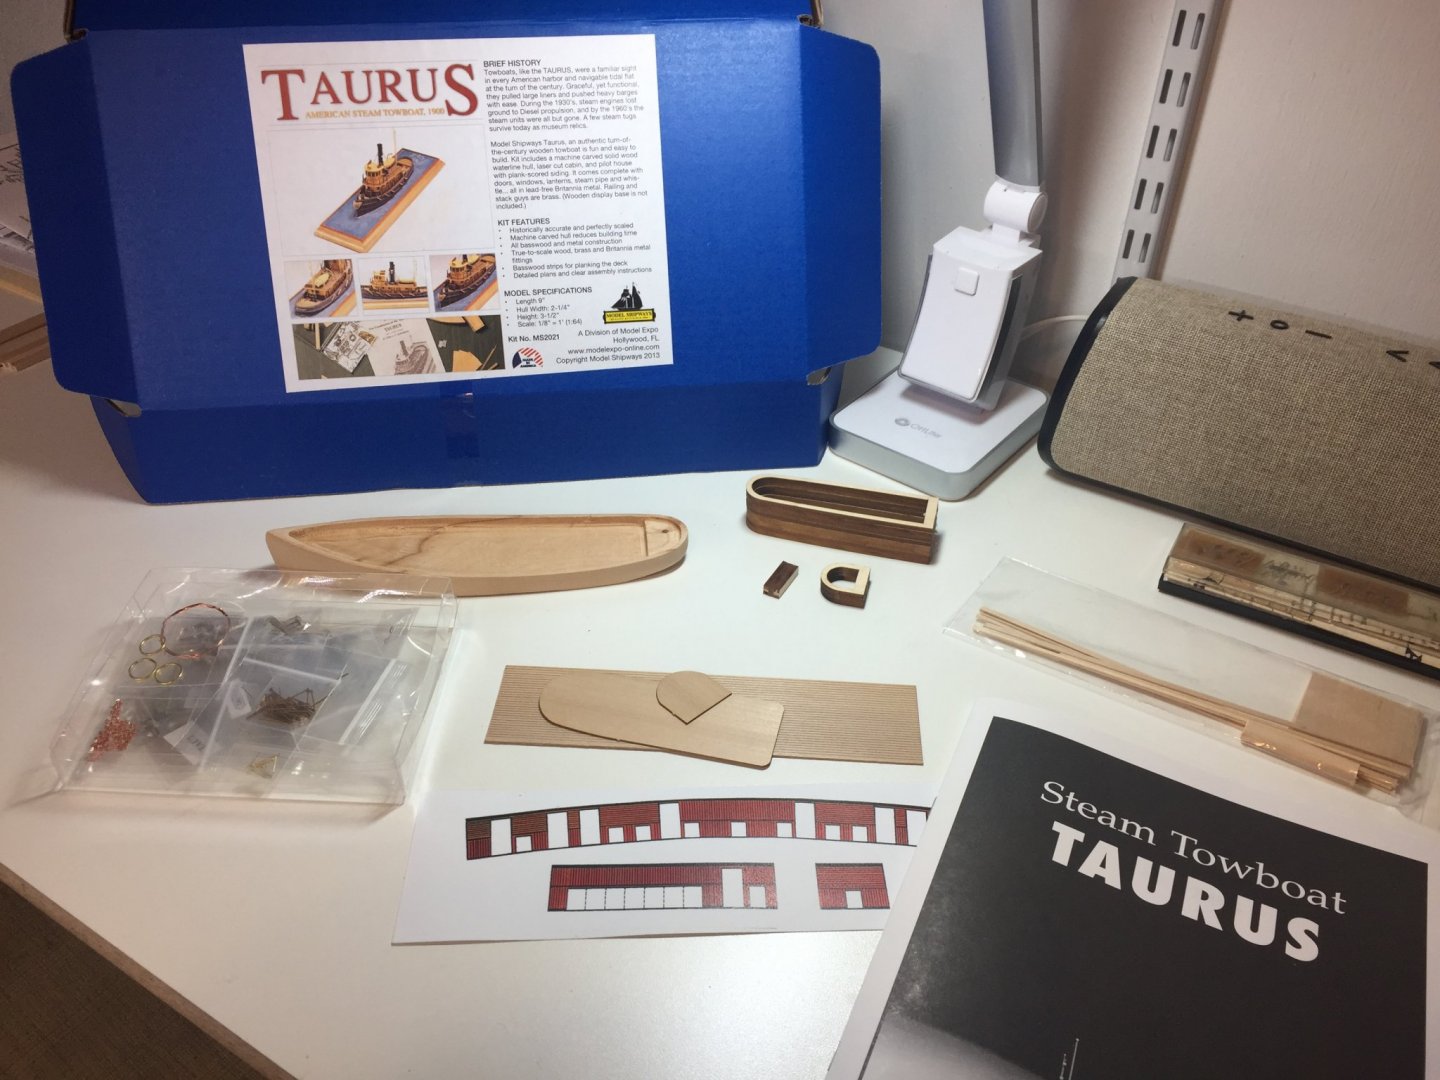
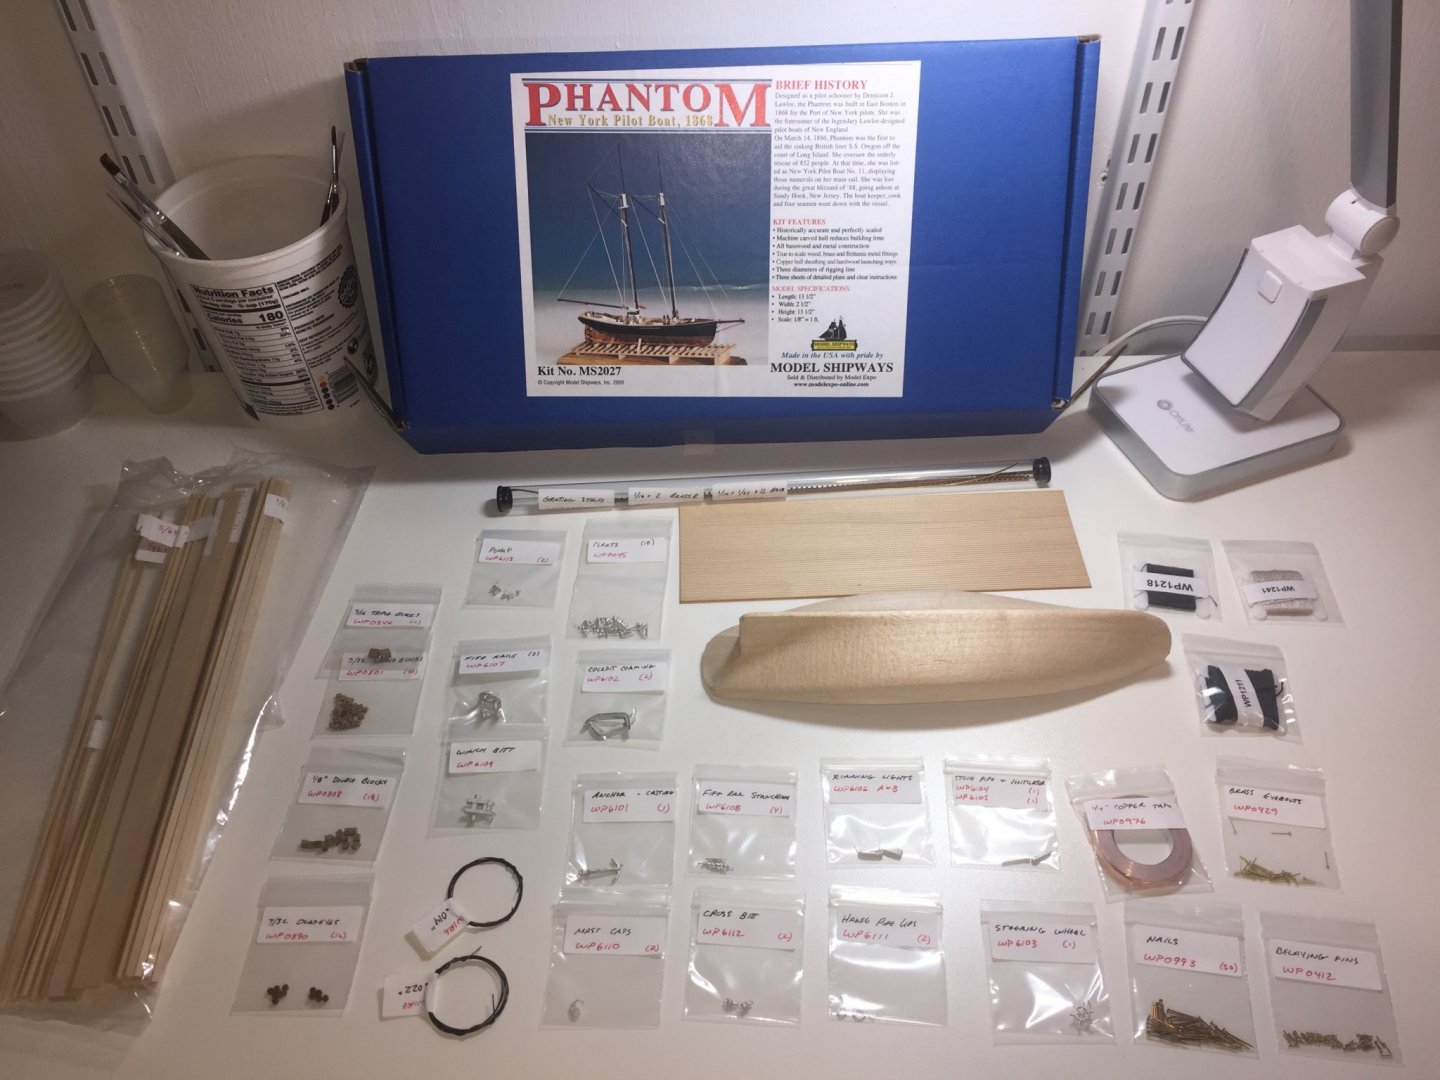
All sorted and ready for work! Will copy the plans tomorrow so I have an extra set for cutting the templates out of.
-
Thank you Ron! That makes a lot of sense about the filler being harder than the wood. Would Durham’s modeling putty be adequate?
- 61 replies
-
- 1
-
-
- crabbing skiff
- finished
- (and 2 more)
-
I don’t like they way the bow was distorted when I was glueing the side panels on the boat, I was hoping to fix this with all-purpose putty (bondo). Is this advisable? It seems to have worked on a solid hull I was working on a while back, but this is much thinner basswood. I then plan on painting over it (which I have little experience with). Any help would be appreciated.