


capnharv2
-
Posts
718 -
Joined
-
Last visited
Content Type
Profiles
Forums
Gallery
Events
Posts posted by capnharv2
-
-
Thanks for sharing your experiences with us Dave. The sails look really good.
Harvey
-
Randy,
Those came out really nice! I need to do the ones on the Constitution soon, and this has been inspiring!
Thanks,
Harvey
-
-
Hi Martin,
Bob does have excellent device. Buy the tools you need for the purposes you want.
If you buy a mill or lathe, be aware of the overall price creep with "accessories". My 50.00 Unimat was refurbed for 200.00 and I added the mill for 300 more. $550 doesn't sound too bad-till you add in a 4 jaw chuck (125.00), milling vise (60.00), milling table (80.00) and various milling bits, lathe bits, etc. Don't get me wrong, I'm very happy with what I have, but the price of a mill or lathe is just the starting point.
OTOH, if you decide you want to scratchbuild, and want to do some of the neat stuff that Danny, Chuck, Ed and others have done, then the price of the lathe and/or mill can be more of an investment.
Hope that helps.
Thanks,
Harvey
-
Sarah,
See if this makes sense-
-
Keith,
A bronze stropped block won't last forever, but it does require less frequent maintenance than a rope stropped block.
Thanks,
Harvey
-
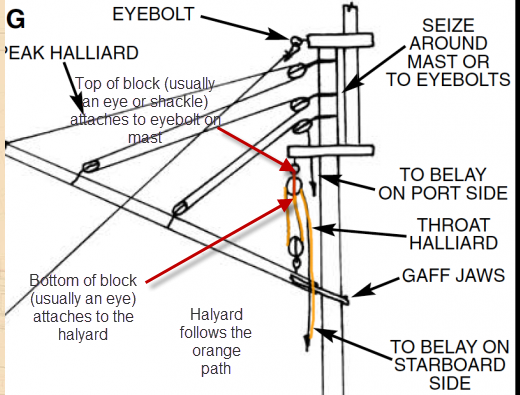
A lot of blocks have an attachment on one end. A becket block has an attachment on both ends.
The block that I made (shown on my Constitution thread) is a becket block. Our boat's throat halyard is rigged similar to the one you're doing. On the HL, the becket is attached to the mast. On our boat, the becket is attached to the gaff throat.
Hope that helps.
Thanks,
Harvey
-
Good job on both the ratlines and the furled sails!
BTW, did you dye your sails in Earl Grey so they would look good and smell good???

Thanks,
Harvey
-
It looks like every 2 weeks is about as often as I can update. There are lots of things going on, but the overall change is so small it doesn't look significant (even though it is).

I finally got my belaying pins from ME. They weren't what I really wanted, but they were better than the ones that came in the kit. I had to drill the holes in the racks larger to get them to fit, so there's no going back now.
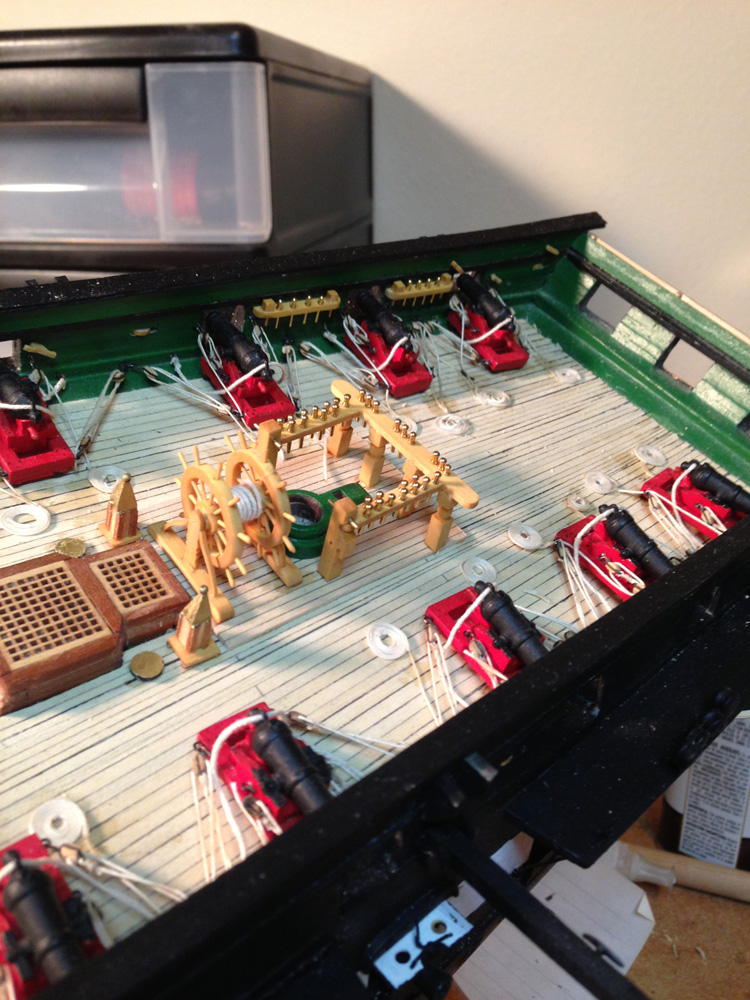
At the stern. I left the pins bright. I'm still working on the coils for the carronades (1 at at time). I finally got the rope on the wheel too.


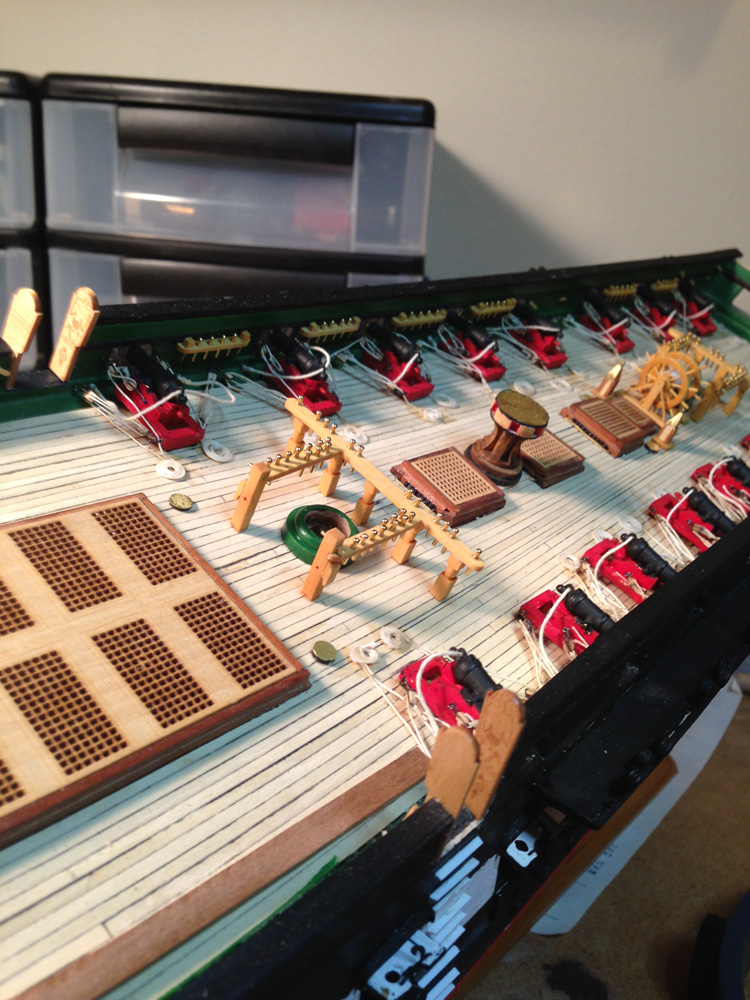
Amidship. The aft topgallant rail is on.

The Bow. Pins and rails are in. Port rail is on-needs sealing and painting. Starboard one went on a few minutes ago
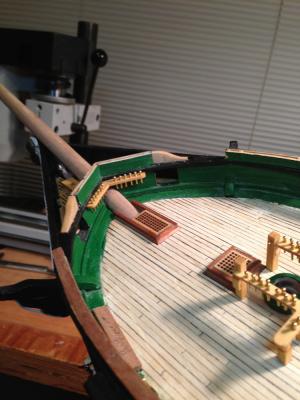
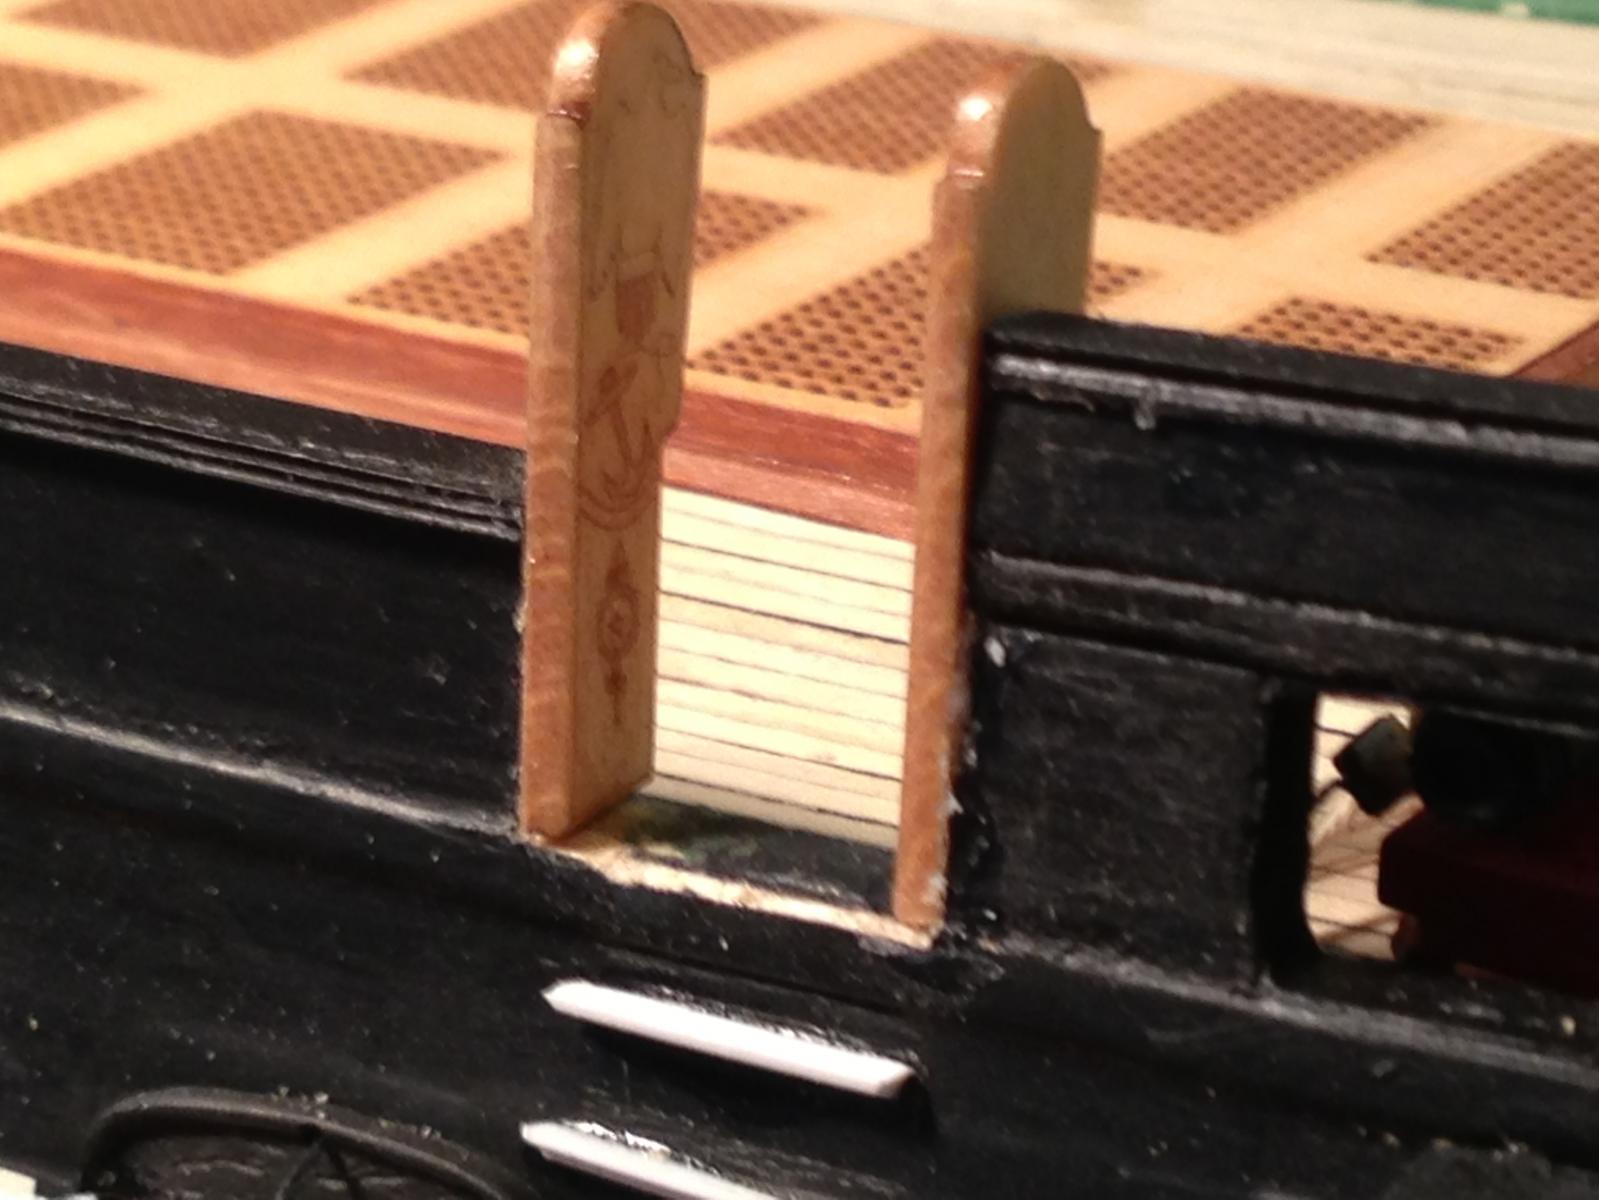
Entry boards. Only cause it helped the topsides look more complete.

Next on the agenda-finishing the cap rails and bow trim, making more rope coils
 , shaping cleats (big and small), and working on the cannon carriages (I decided to make them out of boxwood).
Thanks for looking in.
Harvey
-
I have that problem occasionally. I find something laying around the shop, wondering "when did I get that and why?"
But I'm to the point that I have all the basic power tools that I need (plus a few extra), so I'm less inclined to pick up the latest "cool tool".
I still enjoy looking thru the Micro-Mark catalog though

Harvey
-
Thanks Jeff. I've had them for years and never used them. I will now!
Harvey
-
-
If we're talking the same thing, there was one of those burners on Whidbey Island, on the road to Langley. I don't know if it's still there-it's been a few years.
Thanks,
Harvey
-
I've read that the way to sharpen a draw plate is to rub it on fine grit sandpaper or stone with the small holes against the paper/stone. The small holes should be flush on that side of the plate so it will sharpen the edge without changing the hole size. This assumed the hole is right on the surface and not dimpled in (like my unusable draw plate).
I can see the hole getting larger after lots of sharpening, but the increase in diameter should be very small for a long time..
Hope that helps.
Thanks,
Harvey
-
-
David,
Overall, yes! I realize that I have a lot to learn about operating the mill and lathe with different materials. Sometimes the frustration comes from not be able to do it perfect the first time-sometimes it comes from something unforseen cropping up (like the tee bolt interference). But the tools have lots of potential-I'm just antsy to start using that potential.
Probably, later tonight or sometime tomorrow, I'll finish the cleats the way I've done them before. And soon I'll find another job for the mill and lathe. Oh, and I need to figure out what's going on with the cross slide. I've got some ideas, so I'll see if they work.
Thanks!
Harvey
-
I was wondering how many others exhibit this behaviour? Often, when I get a new tool, I find an excuse to use it, even if a simpler and faster way to do it in the shop already exists.
Case in point-I need to make large mooring cleats for my Constitution. I got the drawings from the Navy web site (since the drawings were made in 1926, I doubt they are still classified
).The shape is a simple Tee, so the way I'd normally do this is to take a piece of square stock, sand or plane it to the correct max dimensions (I'd use my thickness sander if I could get it to work), mark the locations to thin it for the cleat horns, and saw them to the correct depth. After that, I chisel out the waste, and I have my cleat.
Sounds pretty simple, right? But I decide to break in my Unimat mill and table to do the same thing
! Well, first off, I need to get the stock to the correct dimensions. I'll clamp the stock down on the table and set the mill to the correct height-except that the hold down tee bolts interfere with the 3 jaw chuck  . So I spent some time shifting the clamping arrangement around to avoid the interference. Now I find I can only thickness enough for 2 or 3 cleats since the clamps and table size won't let me cut most of the strip. So, I fiddle around for another couple hours to get the piece the size I want (note that I've done this in the past with plane and sandpaper in about 20 minutes).
Now the fun begins! I get to use the mill to remove the waste to expose the cleat horns. I try to do it in one pass, taking about .2" of boxwood off. Doesn't work-the strip bends out of the way and breaks
 . So, I think about it some more and decide to make multiple passes-but I can only do this for 2 or 3 cleats (remember the clamps getting in the way?). So I take multiple passes to get down to the consistent horn thickness that I want.
Now the cross slide freezes up. I don't know why-the cross slide assembly is new (in January). So I adjust the free play on the slide. No luck.
:angry: So, I've ended up spending a frustrating 4 hours with a new toy to do something that previously would have taken me 45 minutes to do.
It was time to call it a night. . .
Anybody else have similar experiences?
One last comment-this is one of the reasons I don't record how long it takes me to work on models (laziness is the other reason)
Thanks for letting me whine.
Harvey
-
At this time I think I'll include my brain under "tools that are a waste". . .
- Landlocked123, fish, tasmanian and 1 other
-
 4
4
-
Thanks Mark.
I've looked at this site before (it's quite good), and plan to use the grinding guidelines and sequence shown. But somewhere I read that bits for turning ship model parts were a little different than the guidelines shown in the .pdf. I read that the nose is a tighter radius, but I couldn't find what the other differences were. That's why some pictures of bits for turning model cannon would help me.
Thanks again,
Harvey
-
I'm with Keith. The walnut looks great. A little shine and she'll be stunning!
Harvey
-
Looks great Dan! I like the pockets for the winches.
Thanks,
Harvey
-
-
Gary,
I read in NRJ about somebody (probably here on MSW) who made a duplicator to turn cannon from Ebony. He was able to produce them a lot faster (and more consistently) than brass.
Of course, Ebony does have its downsides.
I also recall something from Rev Romero about turning cannon in boxwood and painting them. I think it was in his Confederacy practicum.
I haven't turned any cannon before, so I'd like to see some pictures of the tools used, as well as the process.
Thanks,
Harvey
-
I must be sick since I've always clove hitched my ratlines

HMS Banterer 1807 by lami - FINISHED - 1:30 - RADIO
in - Build logs for subjects built 1801 - 1850
Posted
Lami,
I love the way the spindles and tubes are routed under the deck. It looks so functional, yet elegant.
Thanks,
Harvey