mikegr
-
Posts
833 -
Joined
-
Last visited
1 Follower

Recent Profile Visitors
3,218 profile views


-
 mikegr reacted to a post in a topic:
Anshan by mikegr - FINISHED - 1/700
mikegr reacted to a post in a topic:
Anshan by mikegr - FINISHED - 1/700
-
AJohnson reacted to a post in a topic:
Anshan by mikegr - FINISHED - 1/700
-
AJohnson reacted to a post in a topic:
Anshan by mikegr - FINISHED - 1/700
-
AJohnson reacted to a post in a topic:
Anshan by mikegr - FINISHED - 1/700
-
AJohnson reacted to a post in a topic:
Anshan by mikegr - FINISHED - 1/700
-
AJohnson reacted to a post in a topic:
Anshan by mikegr - FINISHED - 1/700
-
AJohnson reacted to a post in a topic:
Anshan by mikegr - FINISHED - 1/700
-
AJohnson reacted to a post in a topic:
Anshan by mikegr - FINISHED - 1/700
-
Thanks everyone for their attention and comments A bit complicated but short and pleasant project. Will have a break now with a 1/72 armor before return
-
mikegr reacted to a post in a topic:
Anshan by mikegr - FINISHED - 1/700
-
mikegr reacted to a post in a topic:
Anshan by mikegr - FINISHED - 1/700
-
mikegr reacted to a post in a topic:
Anshan by mikegr - FINISHED - 1/700
-
mikegr reacted to a post in a topic:
Anshan by mikegr - FINISHED - 1/700
-
king derelict reacted to a post in a topic:
Anshan by mikegr - FINISHED - 1/700
-
king derelict reacted to a post in a topic:
Anshan by mikegr - FINISHED - 1/700
-
king derelict reacted to a post in a topic:
Anshan by mikegr - FINISHED - 1/700
-
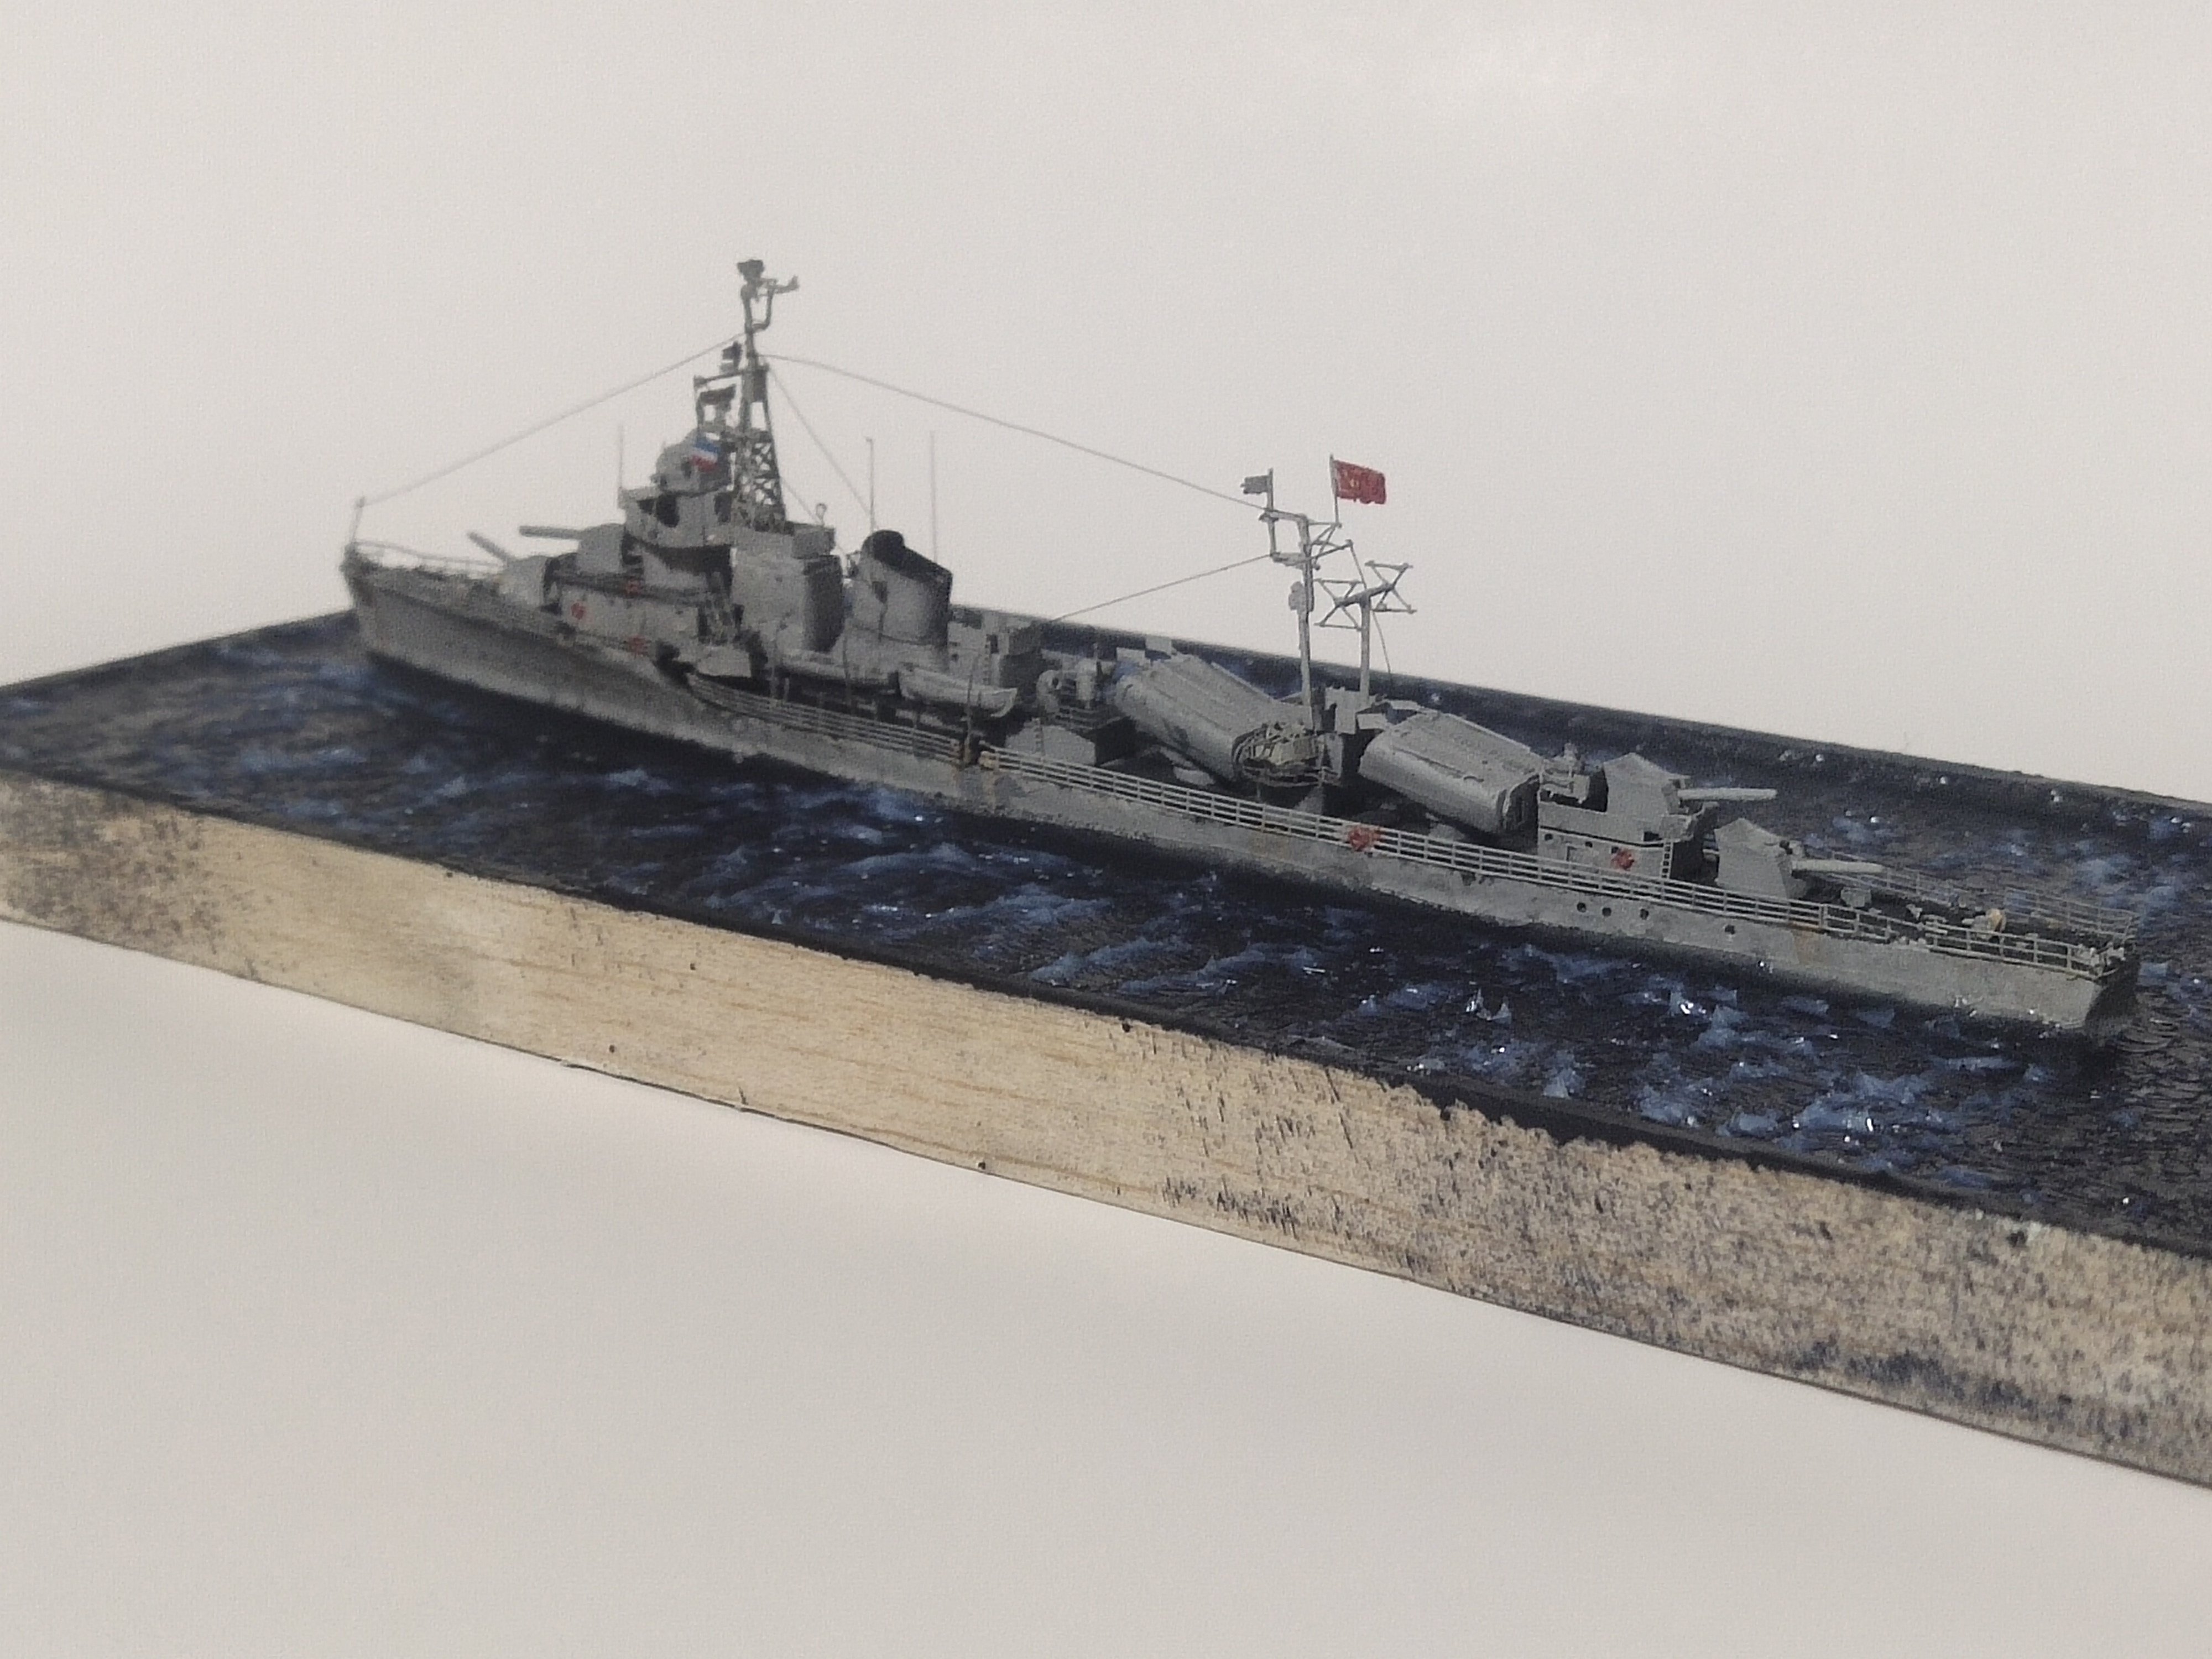
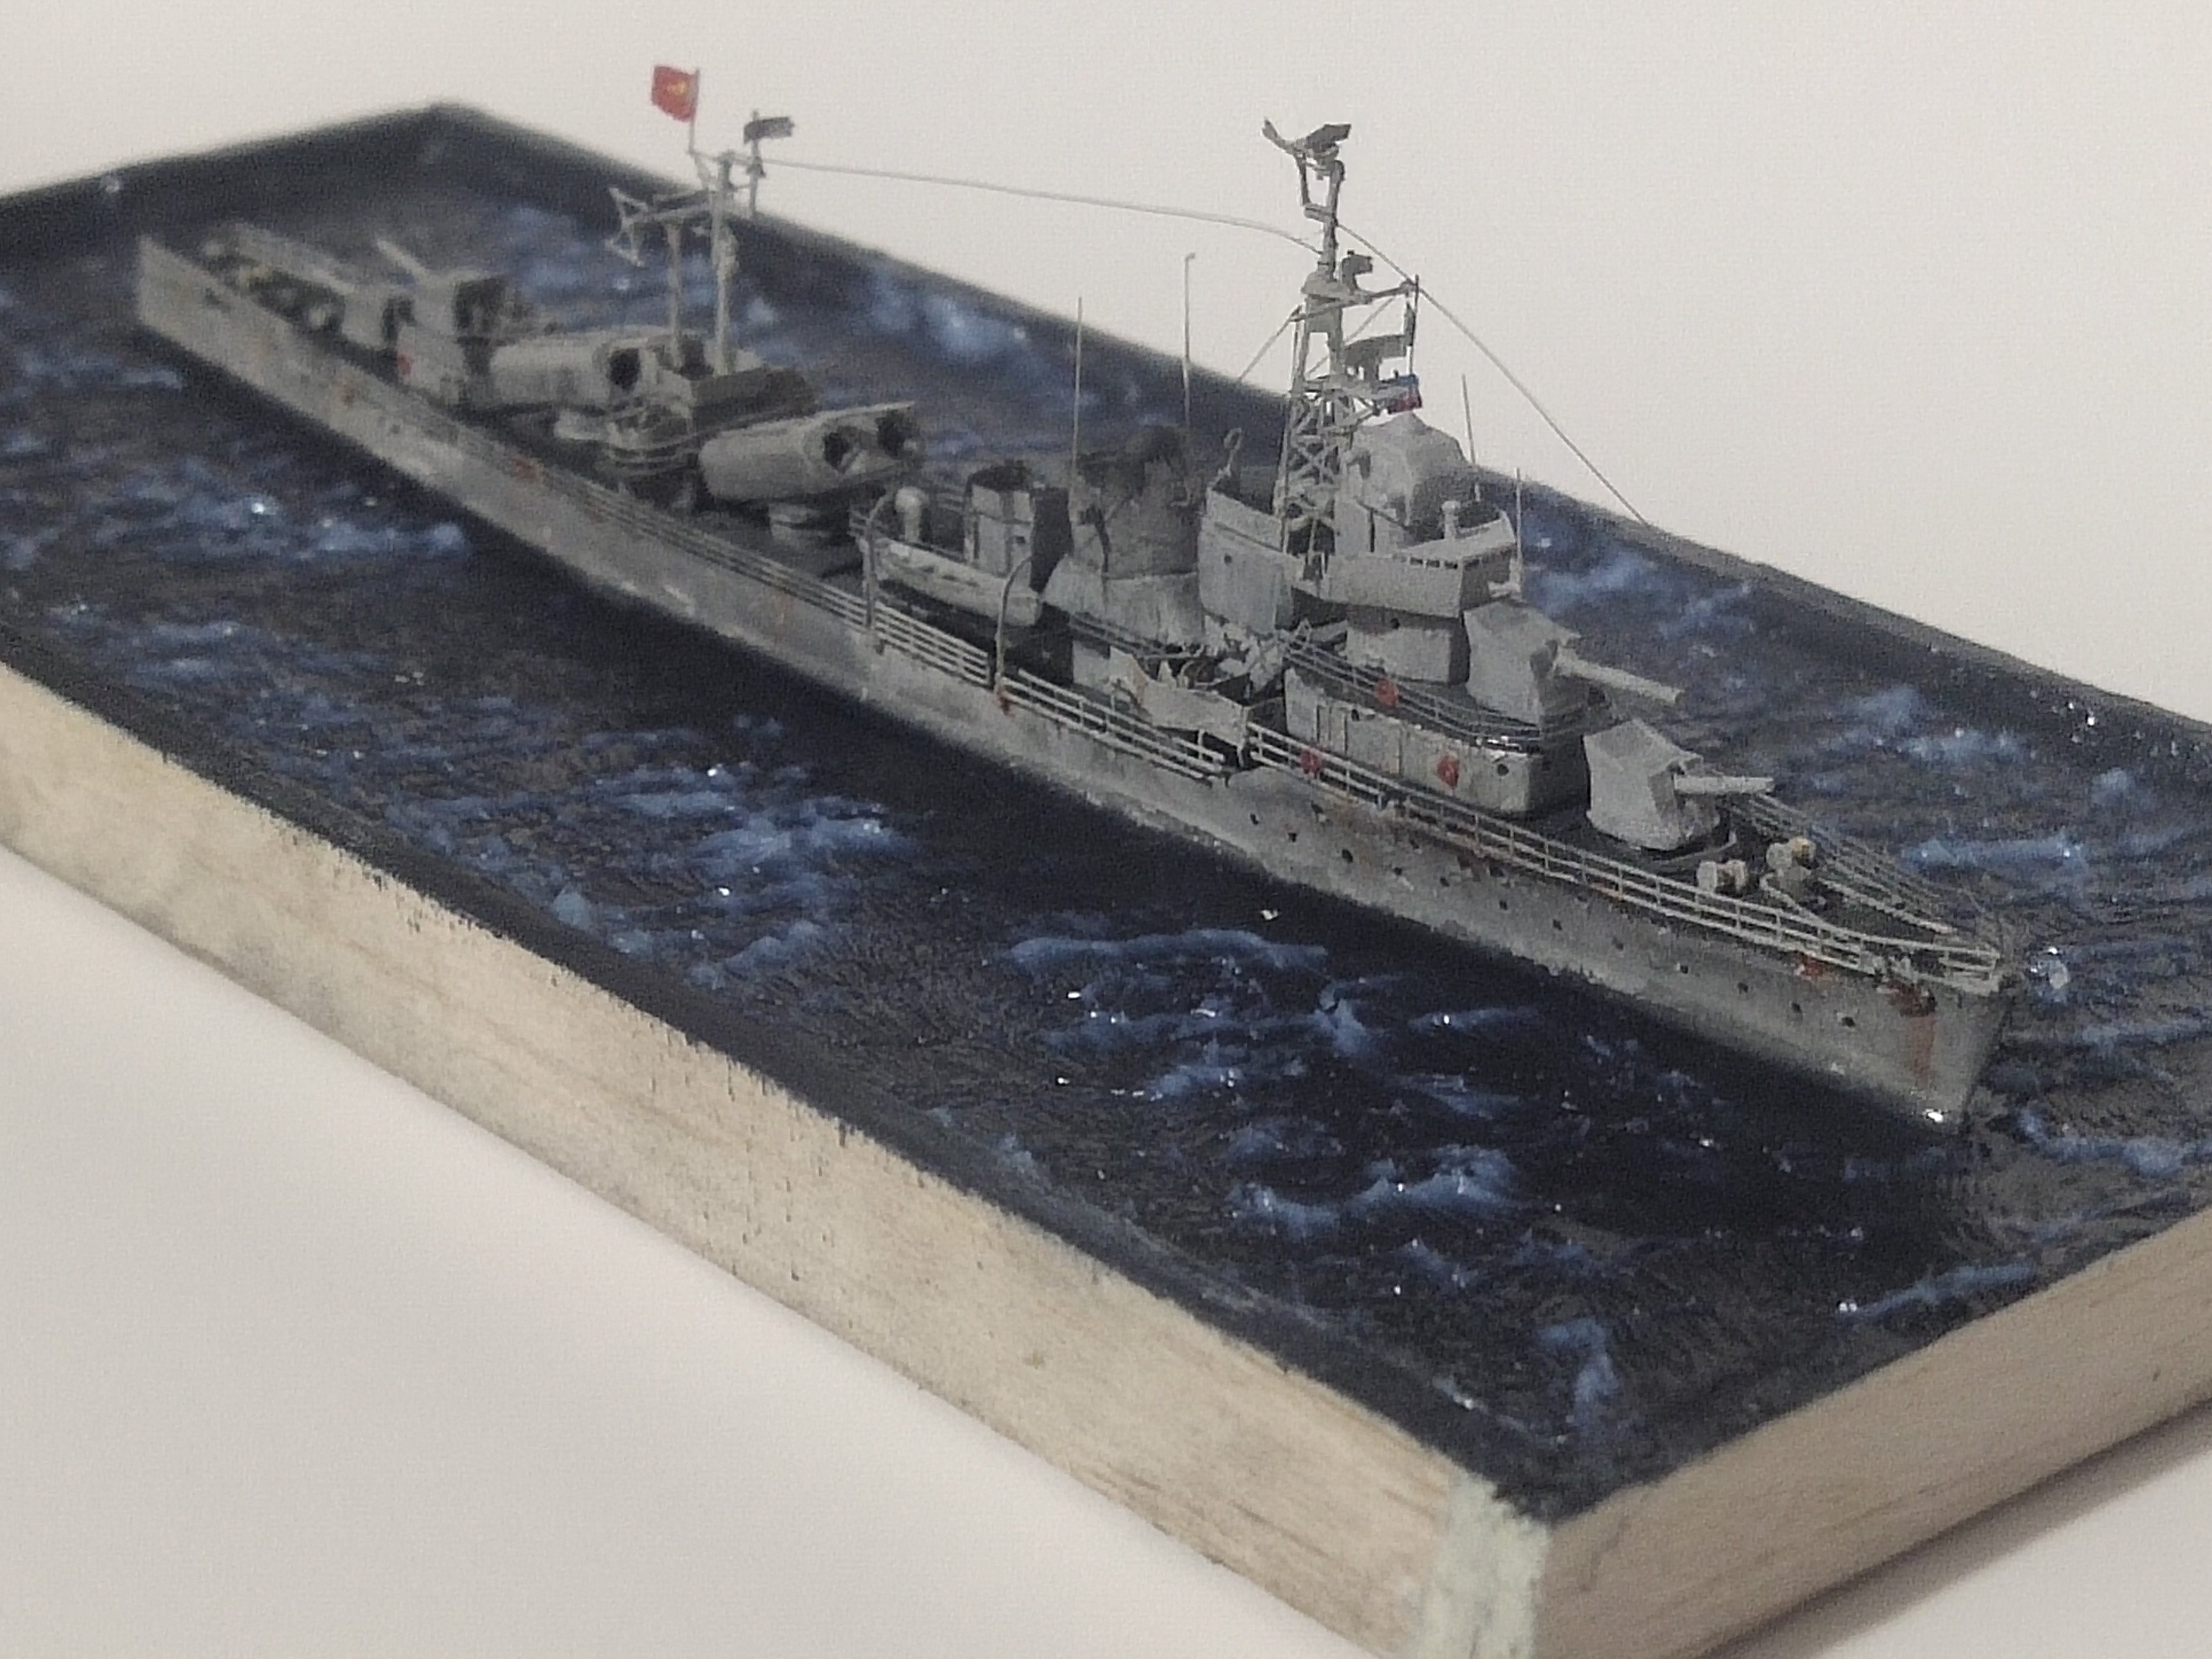
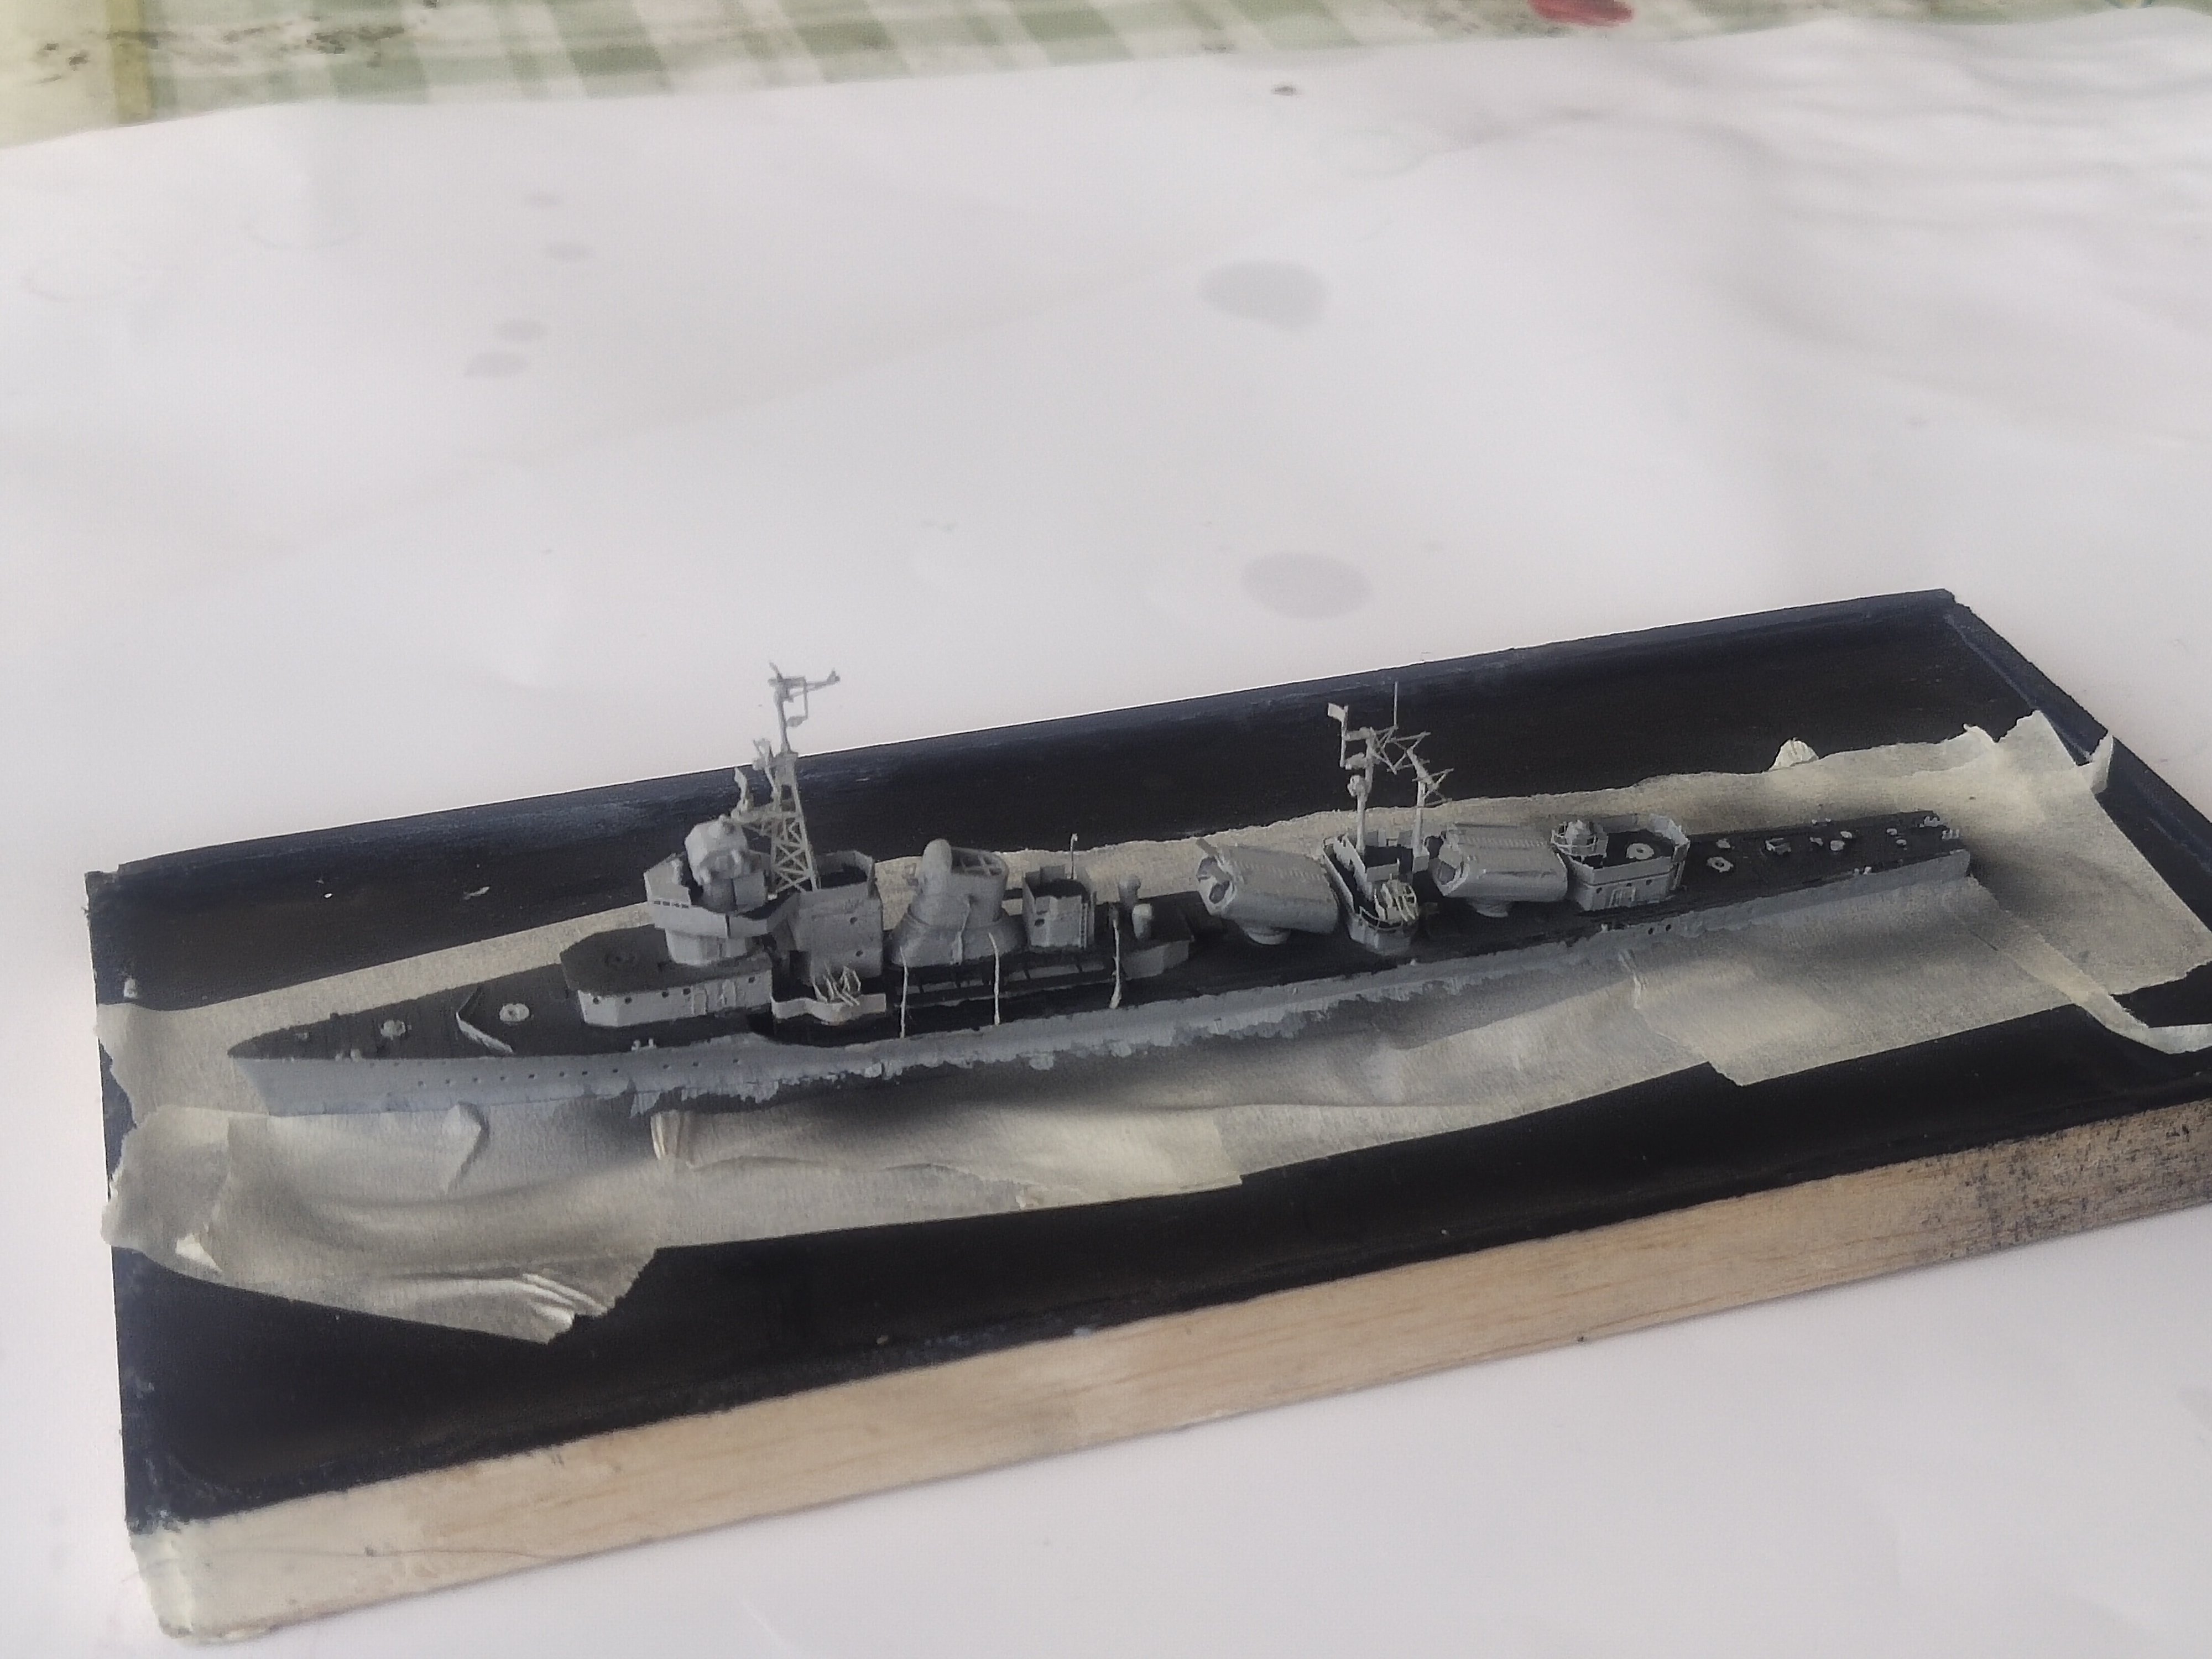
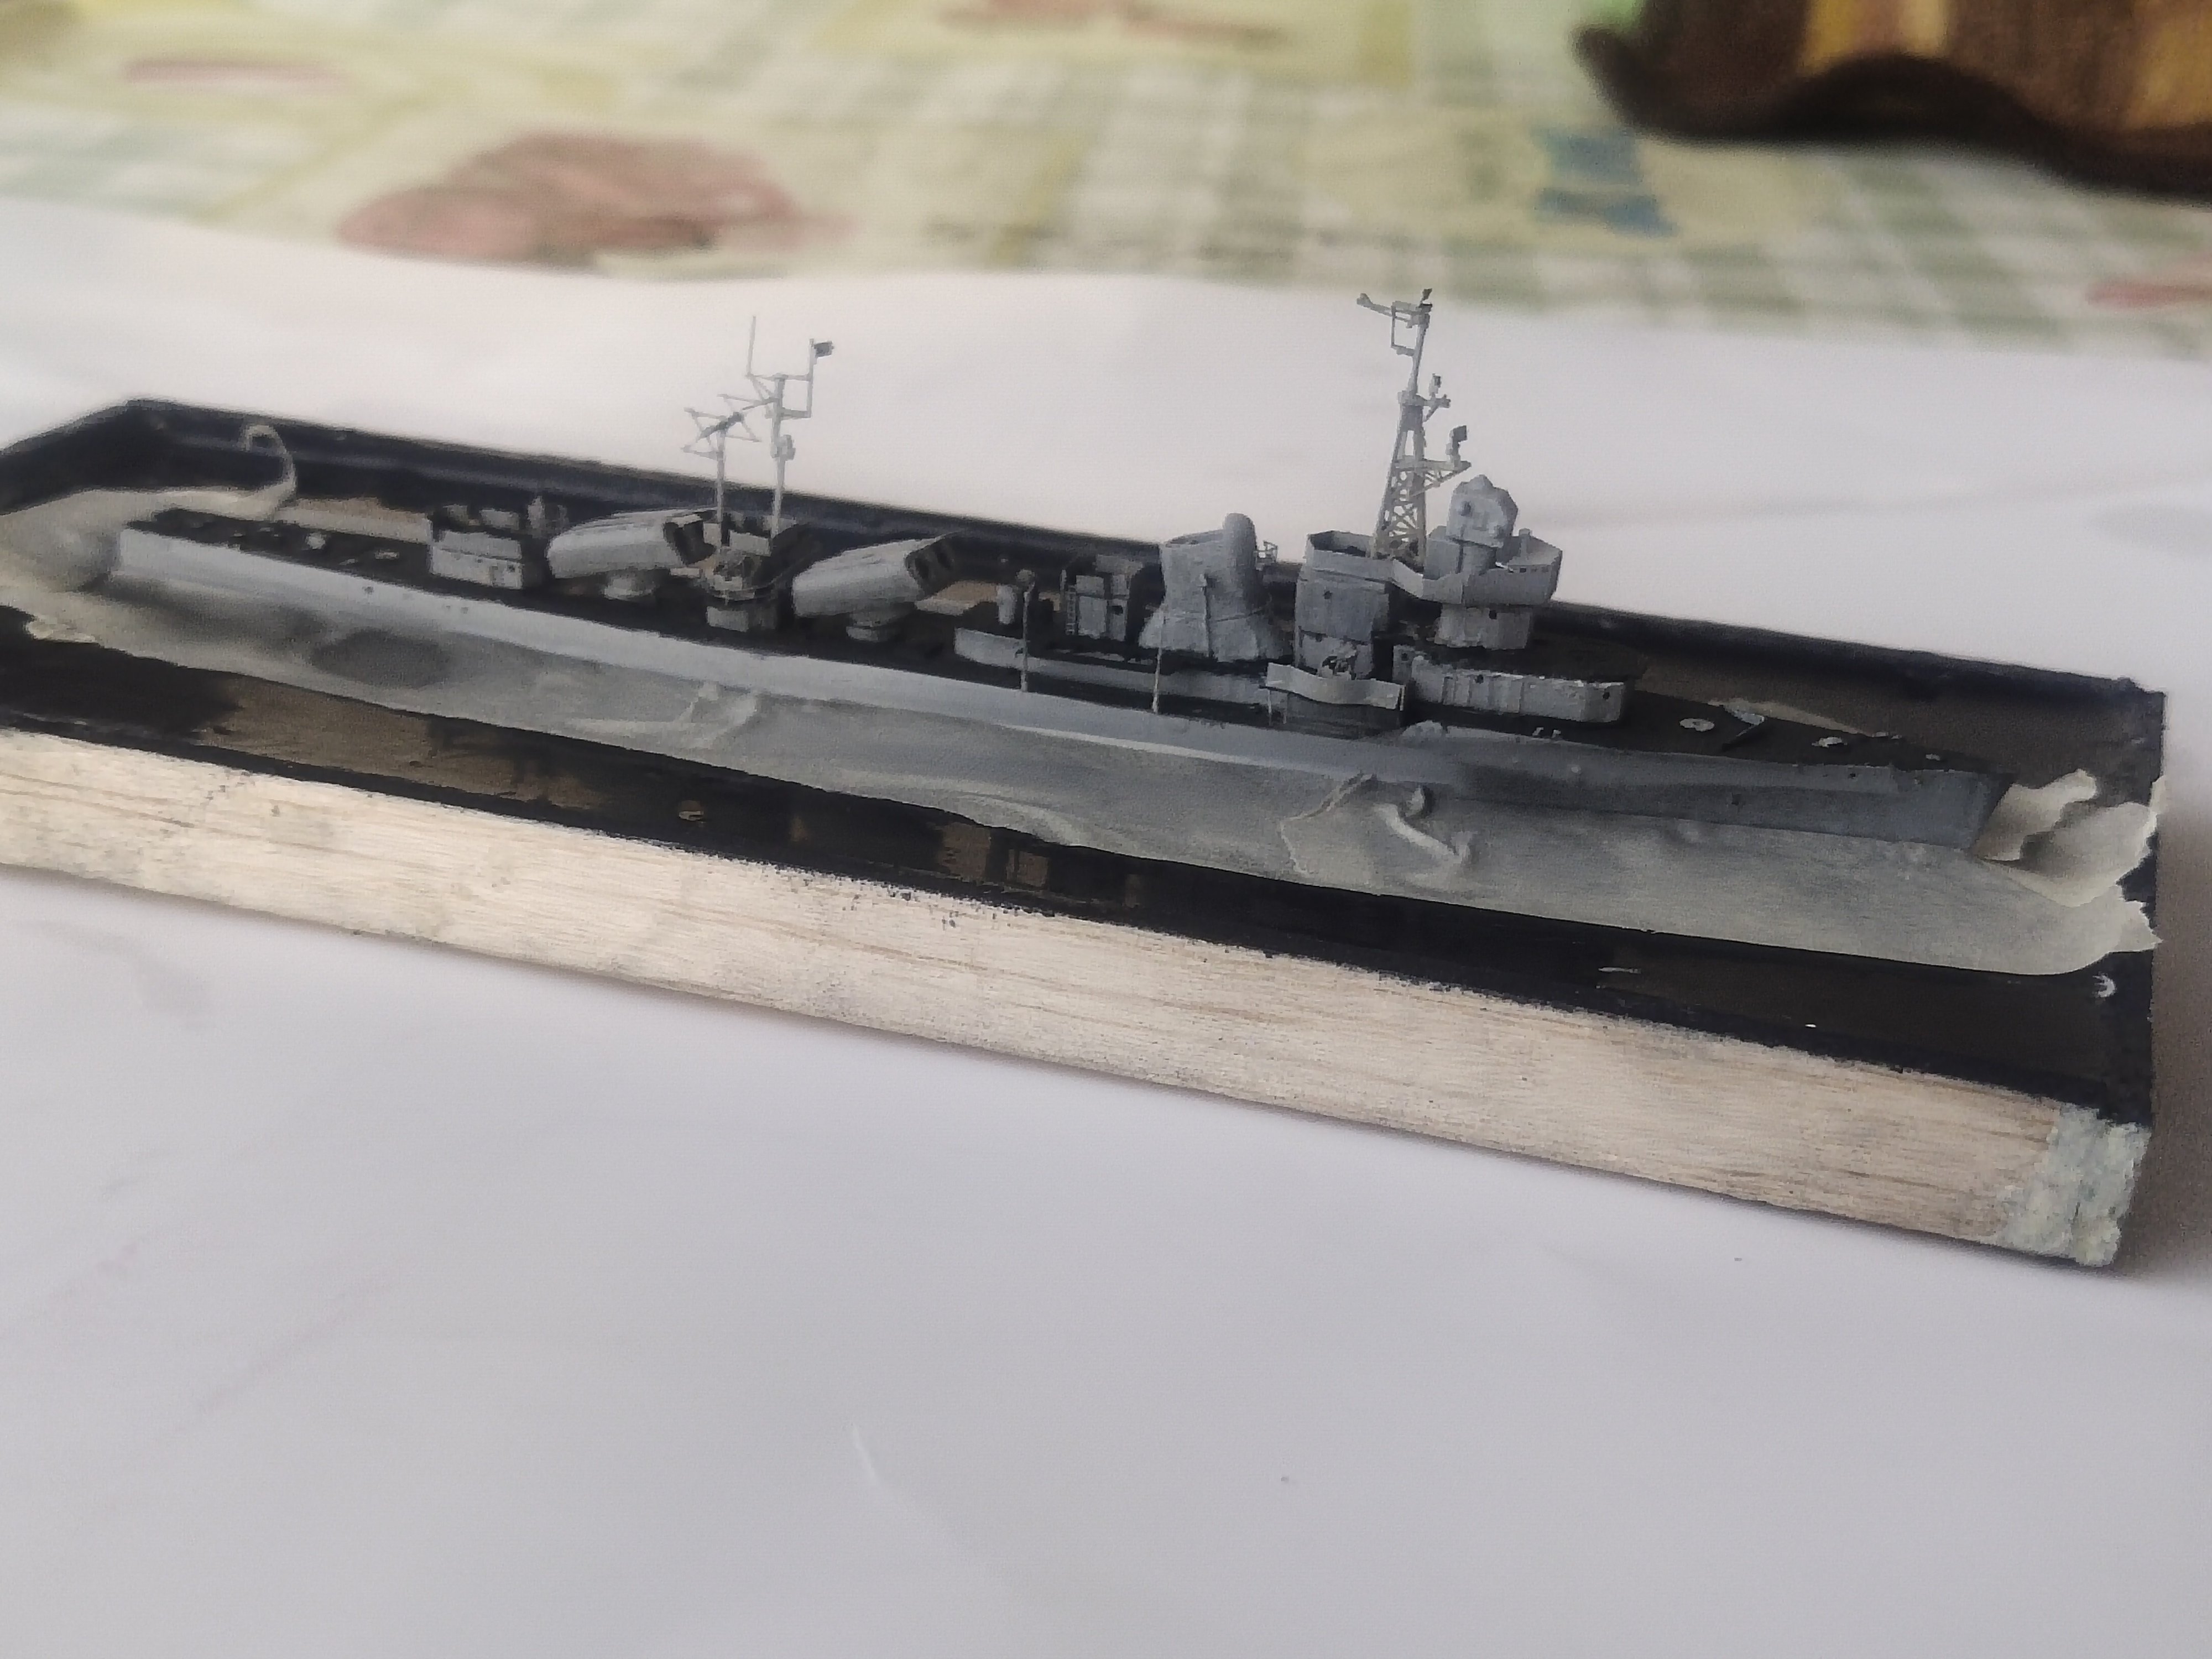
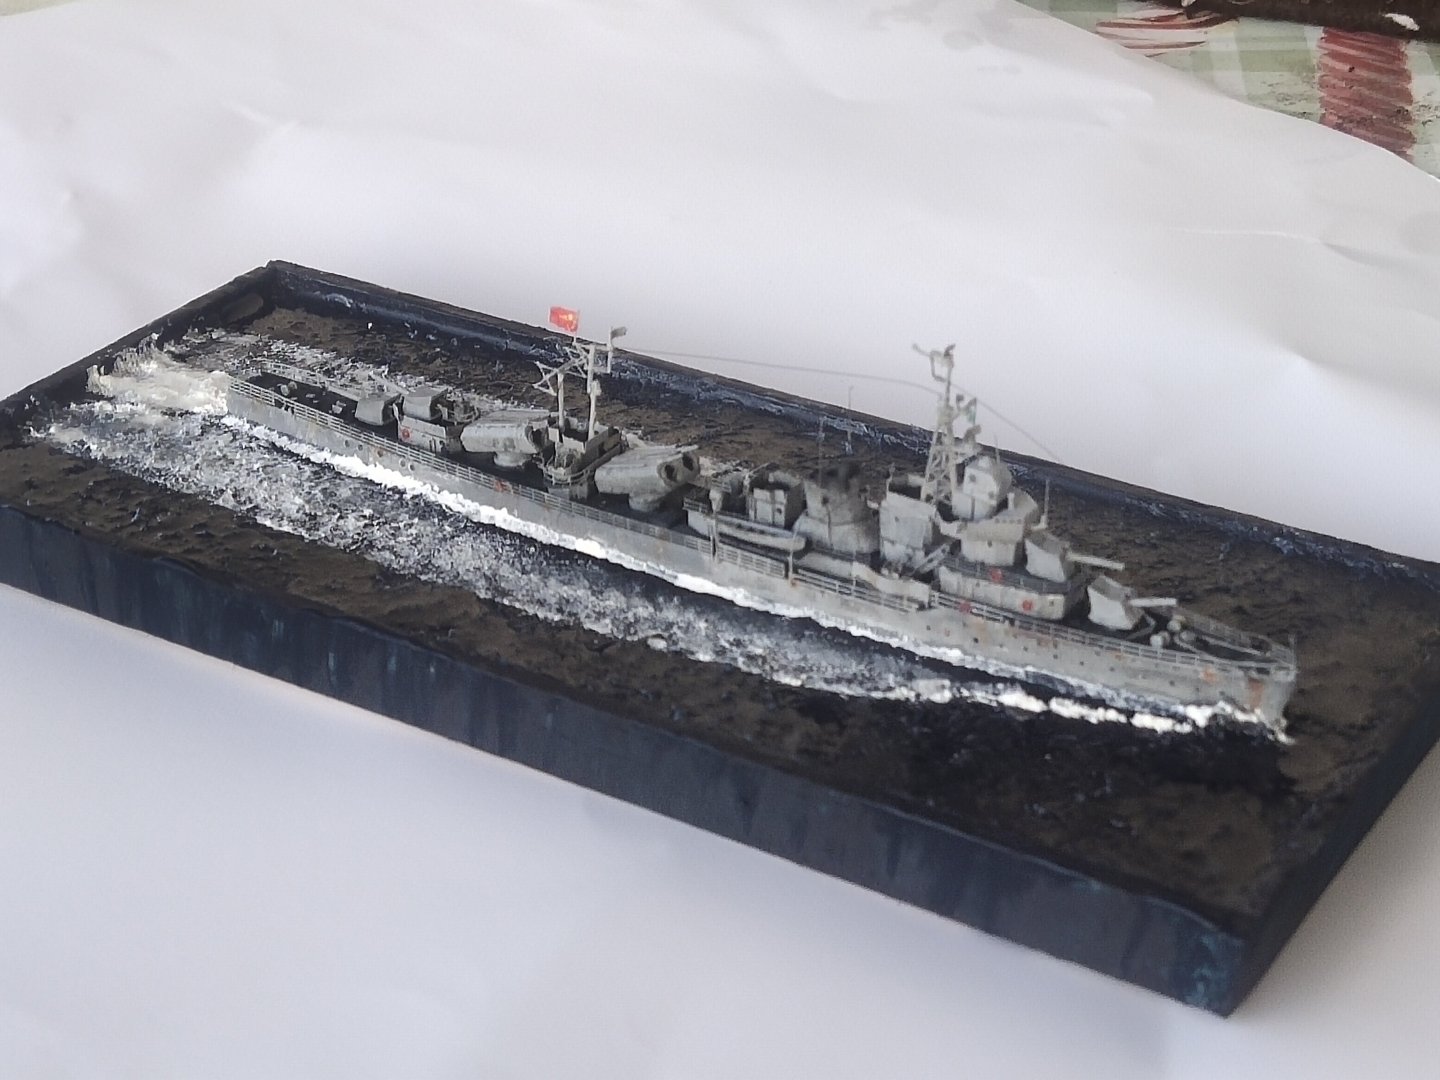
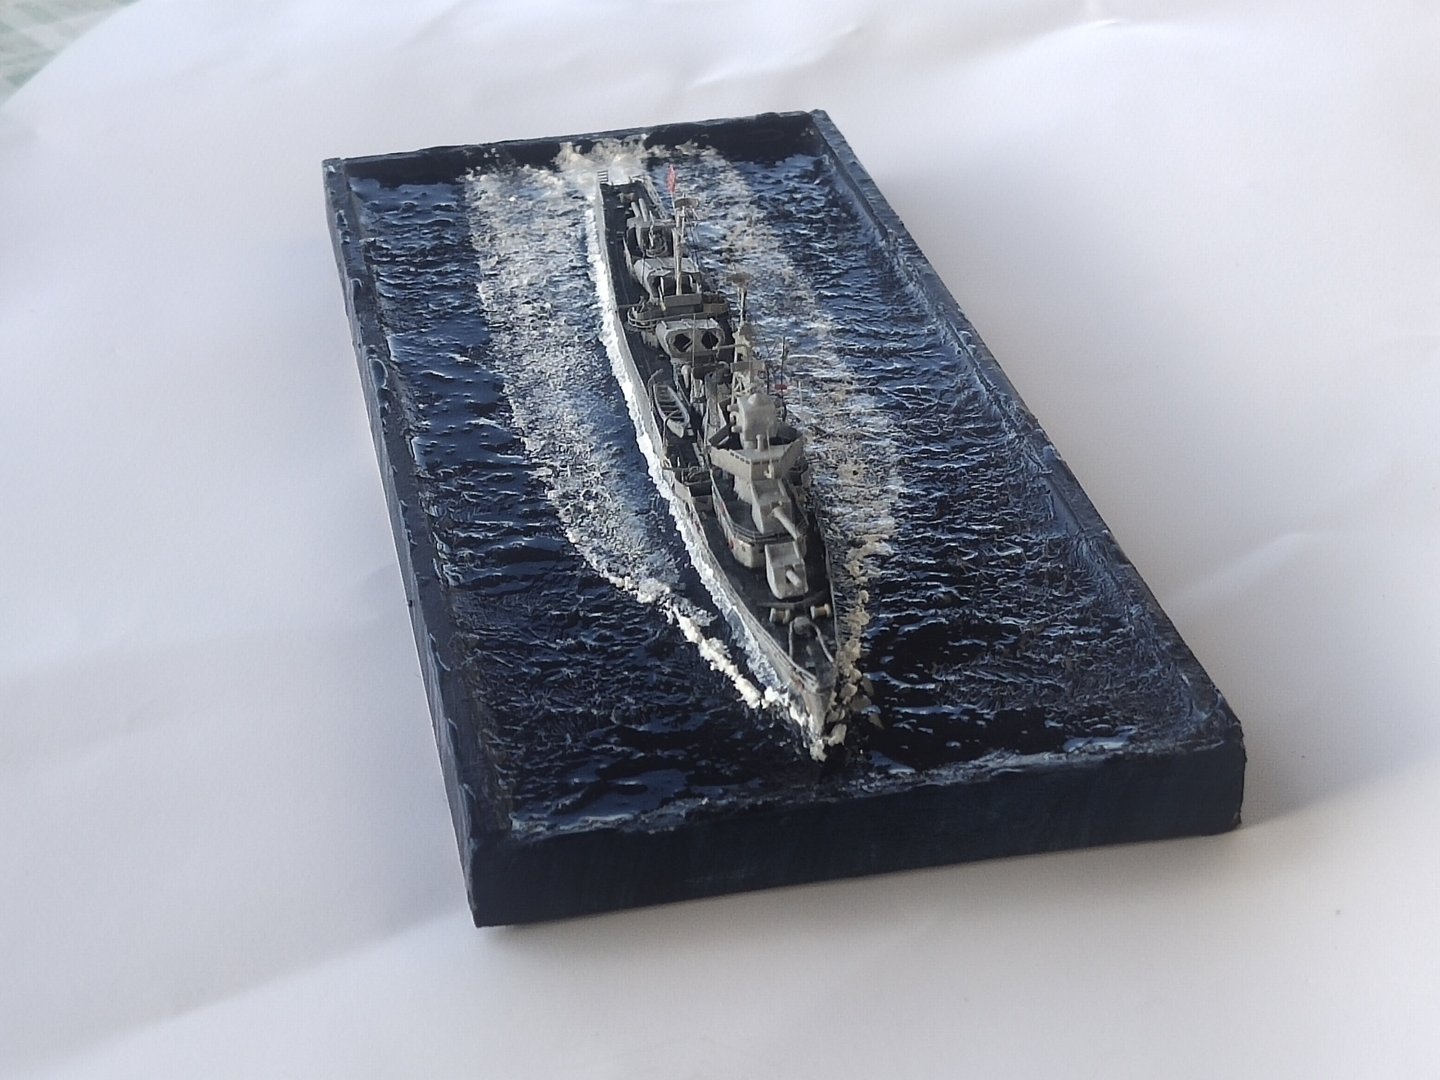
It is done

-
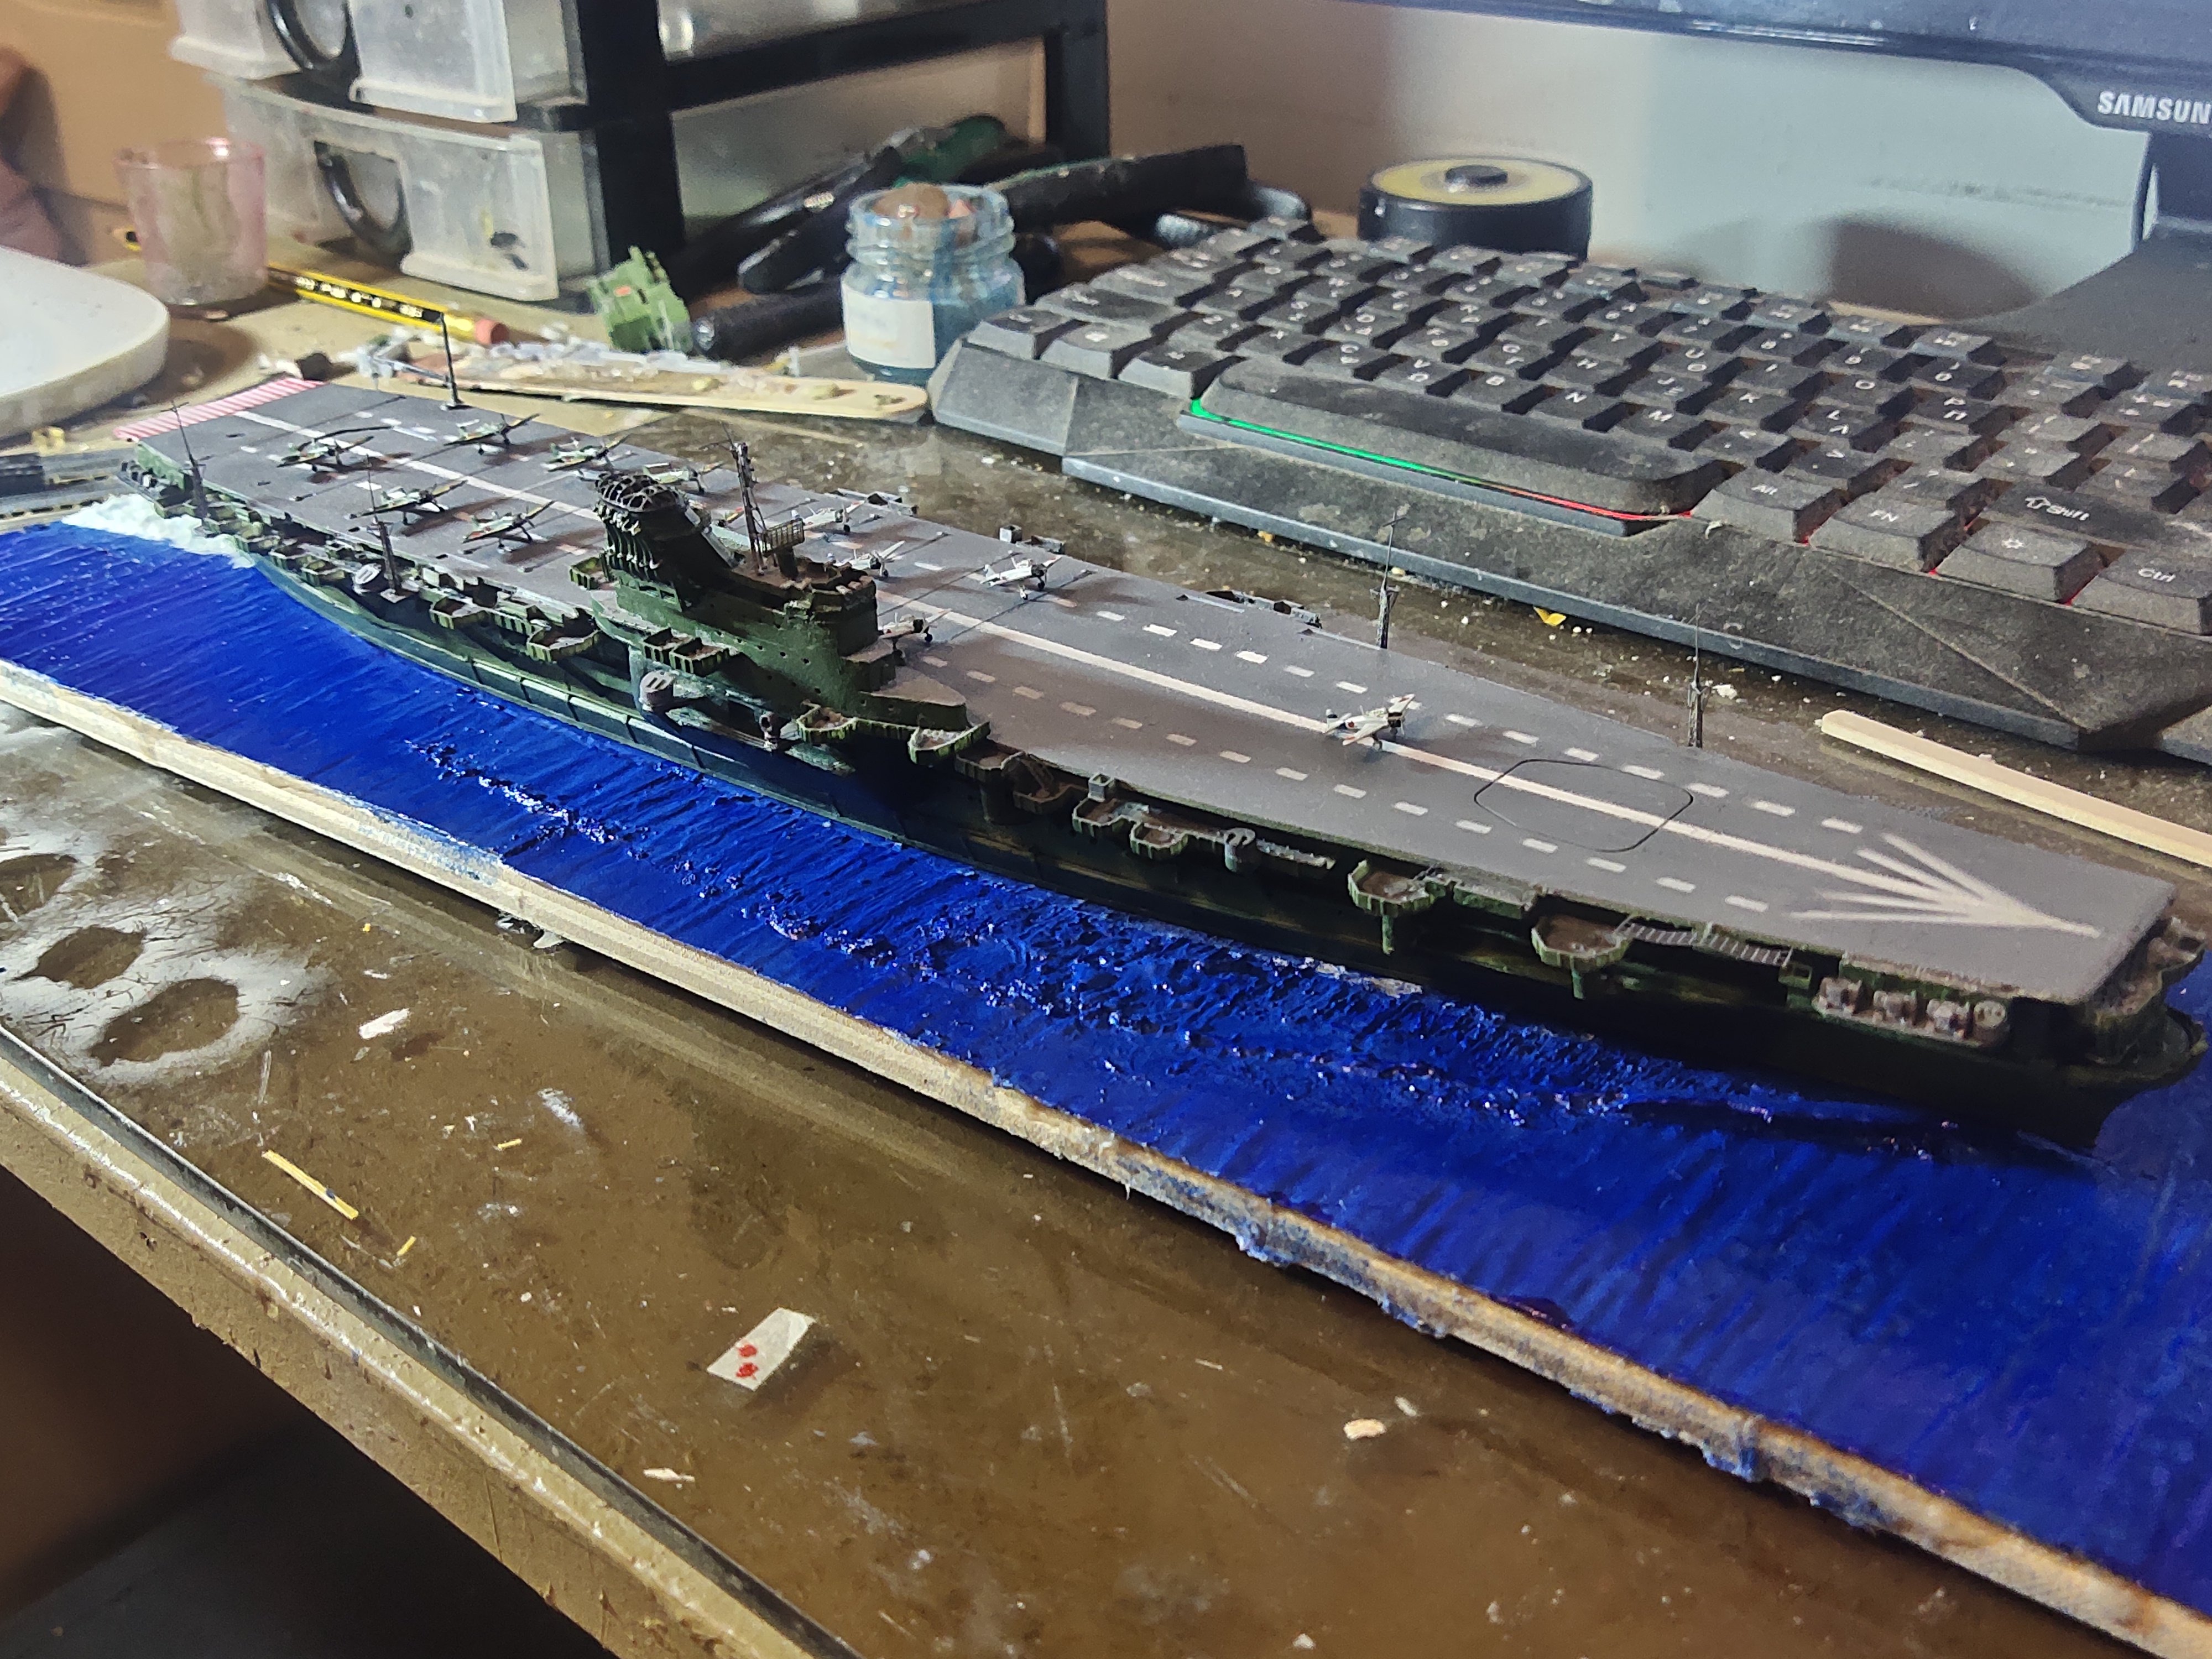
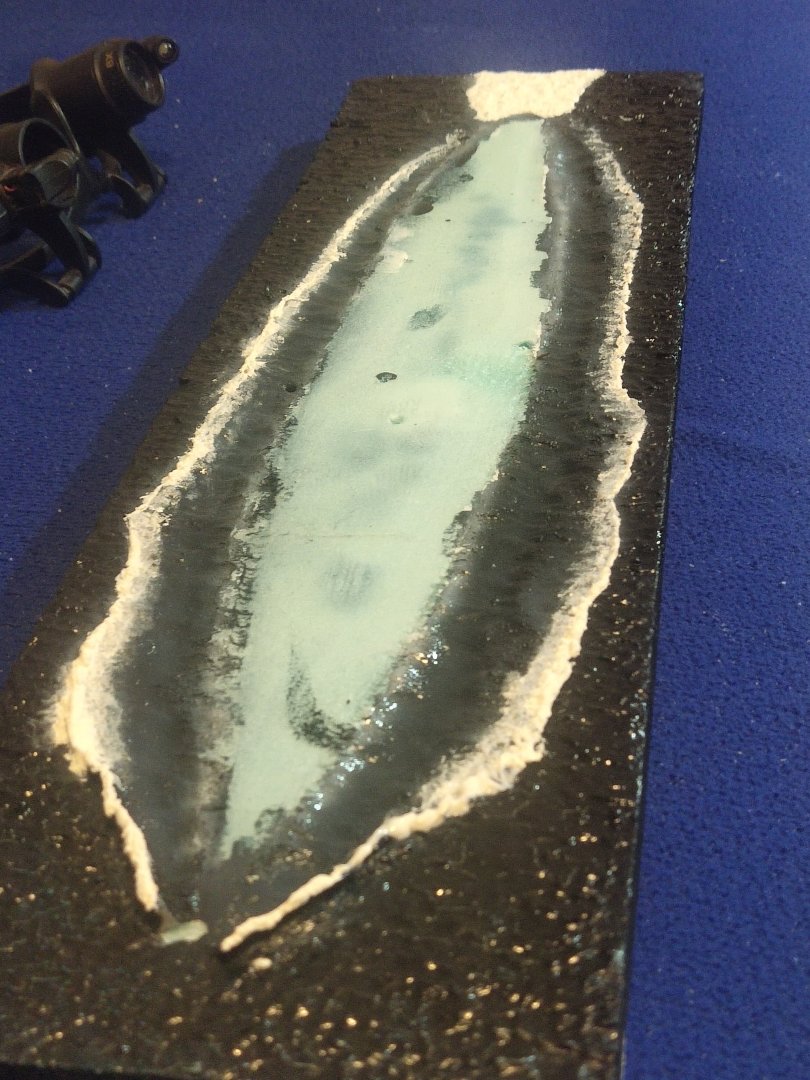
Extra details added. Rails, rigging, weathering. First layer of gel coated wait for it to dry tomorrow to work on the sea surface


-
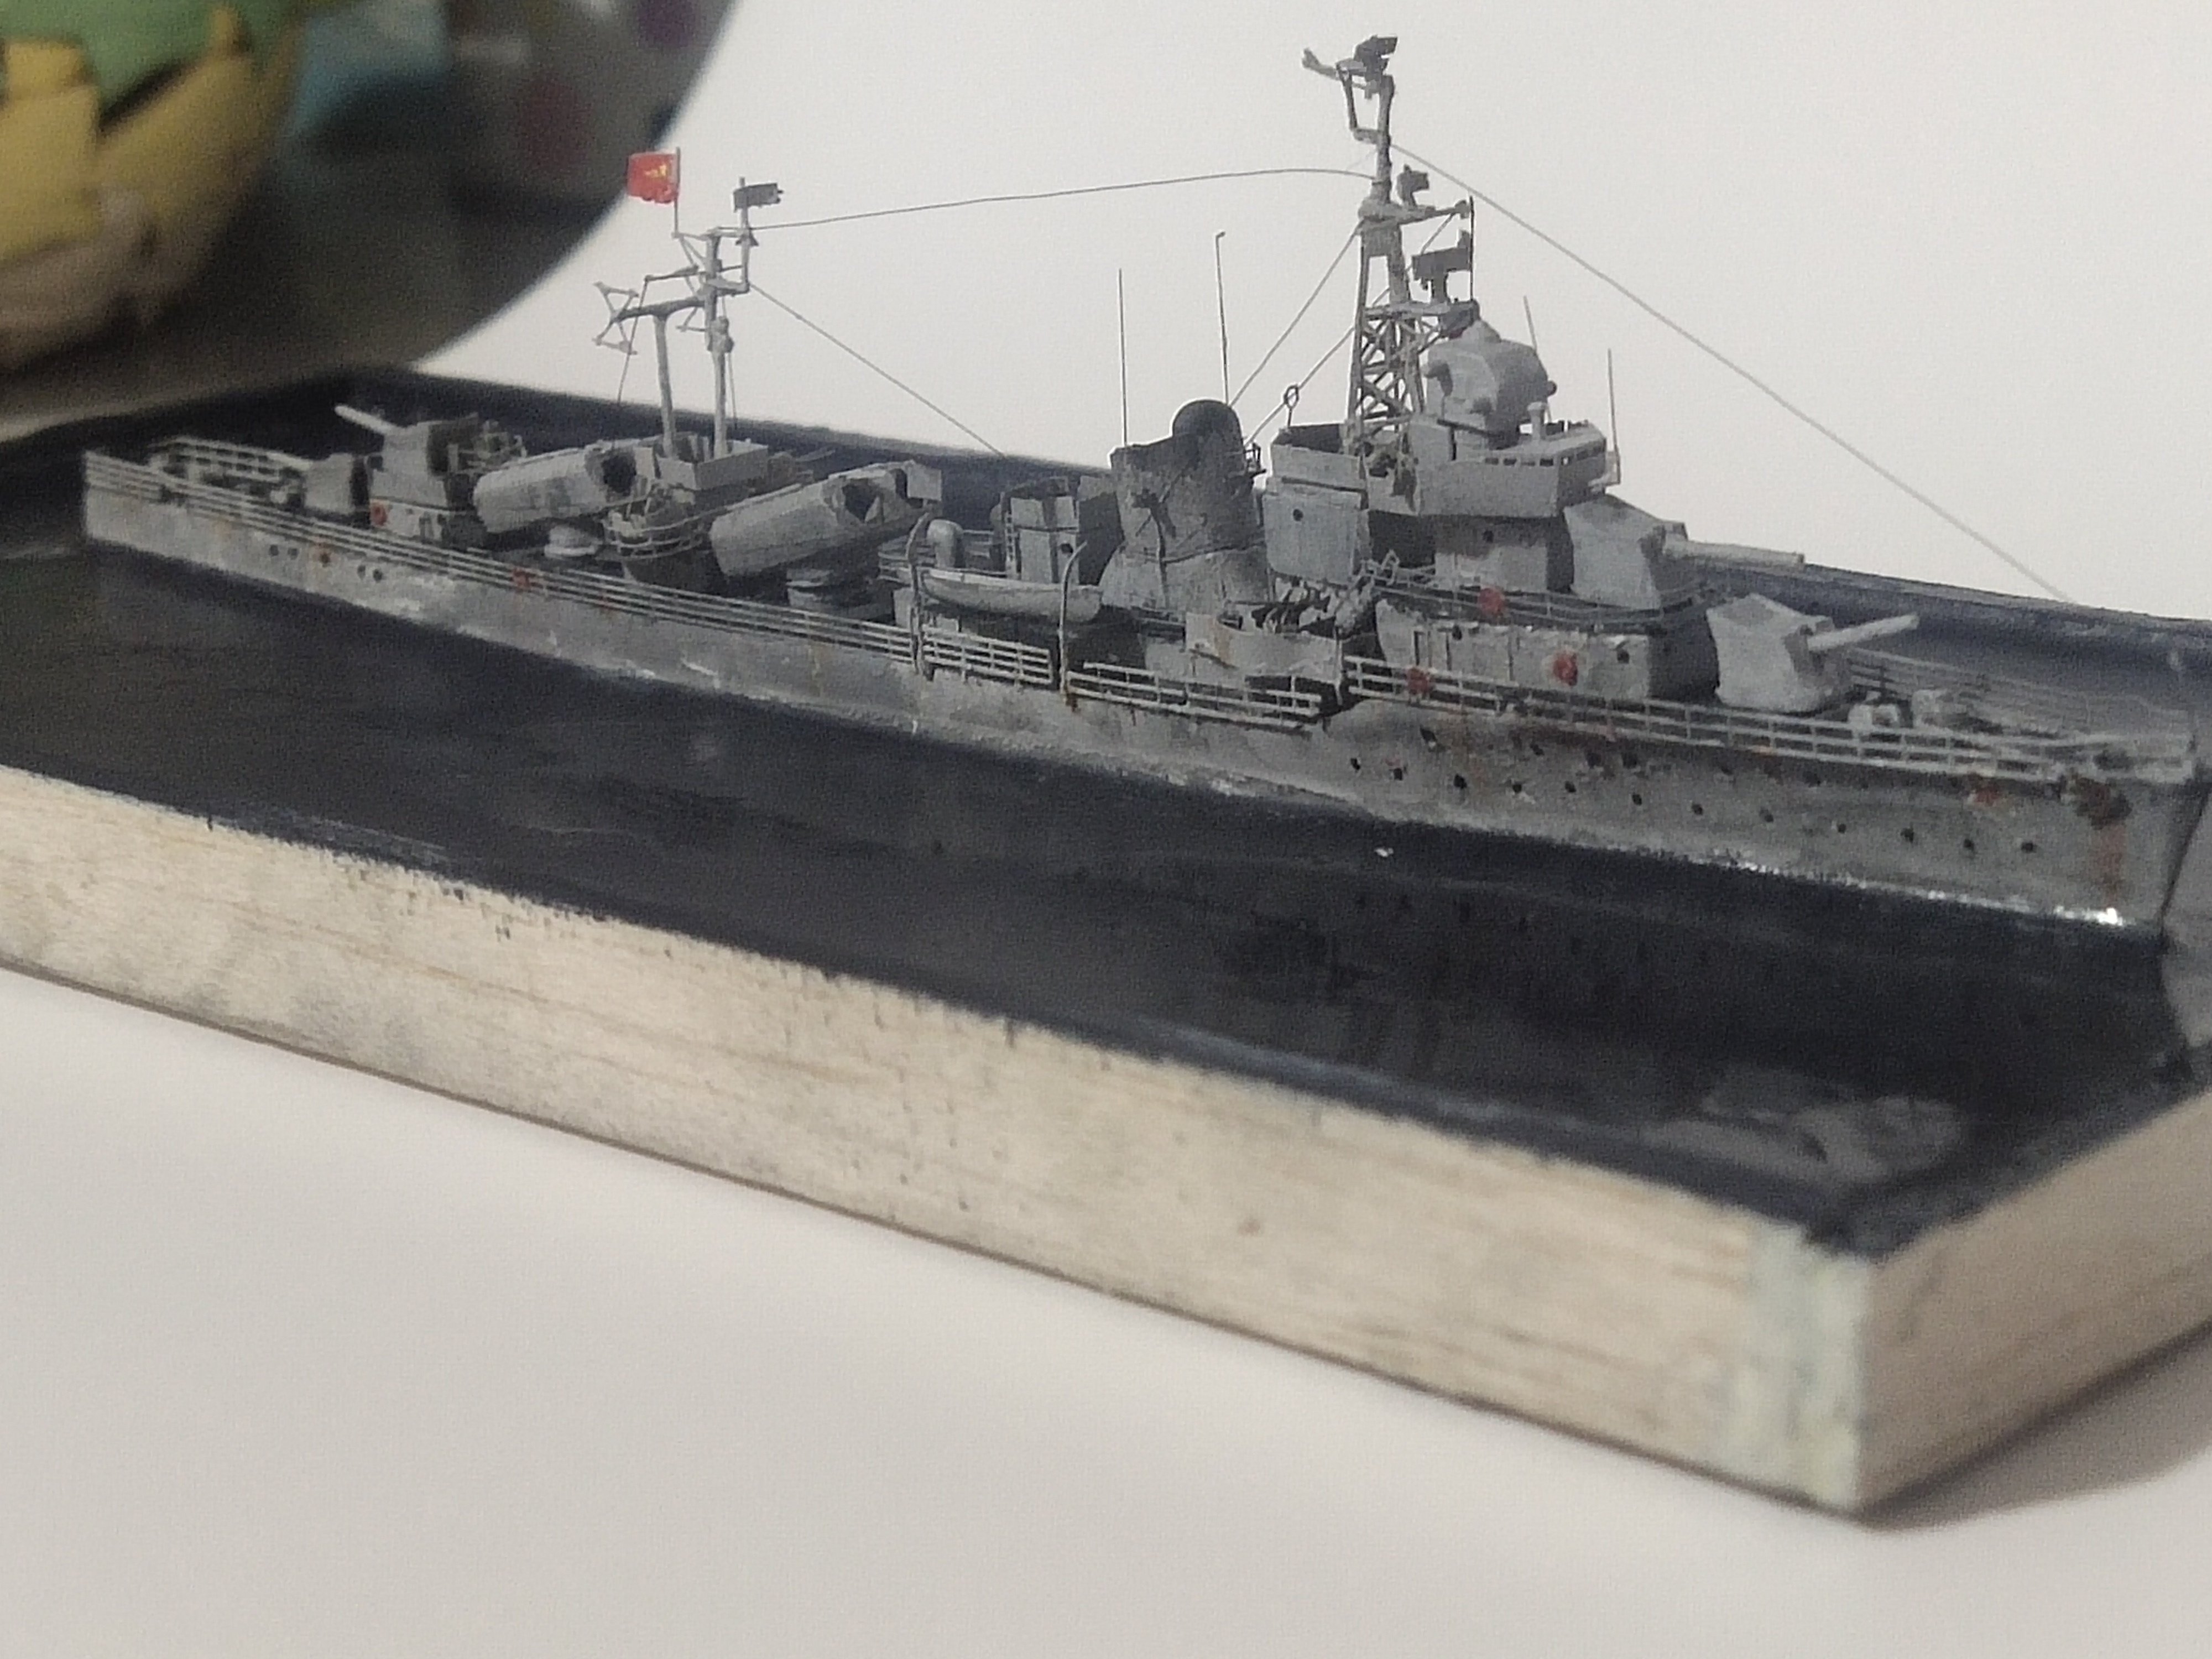
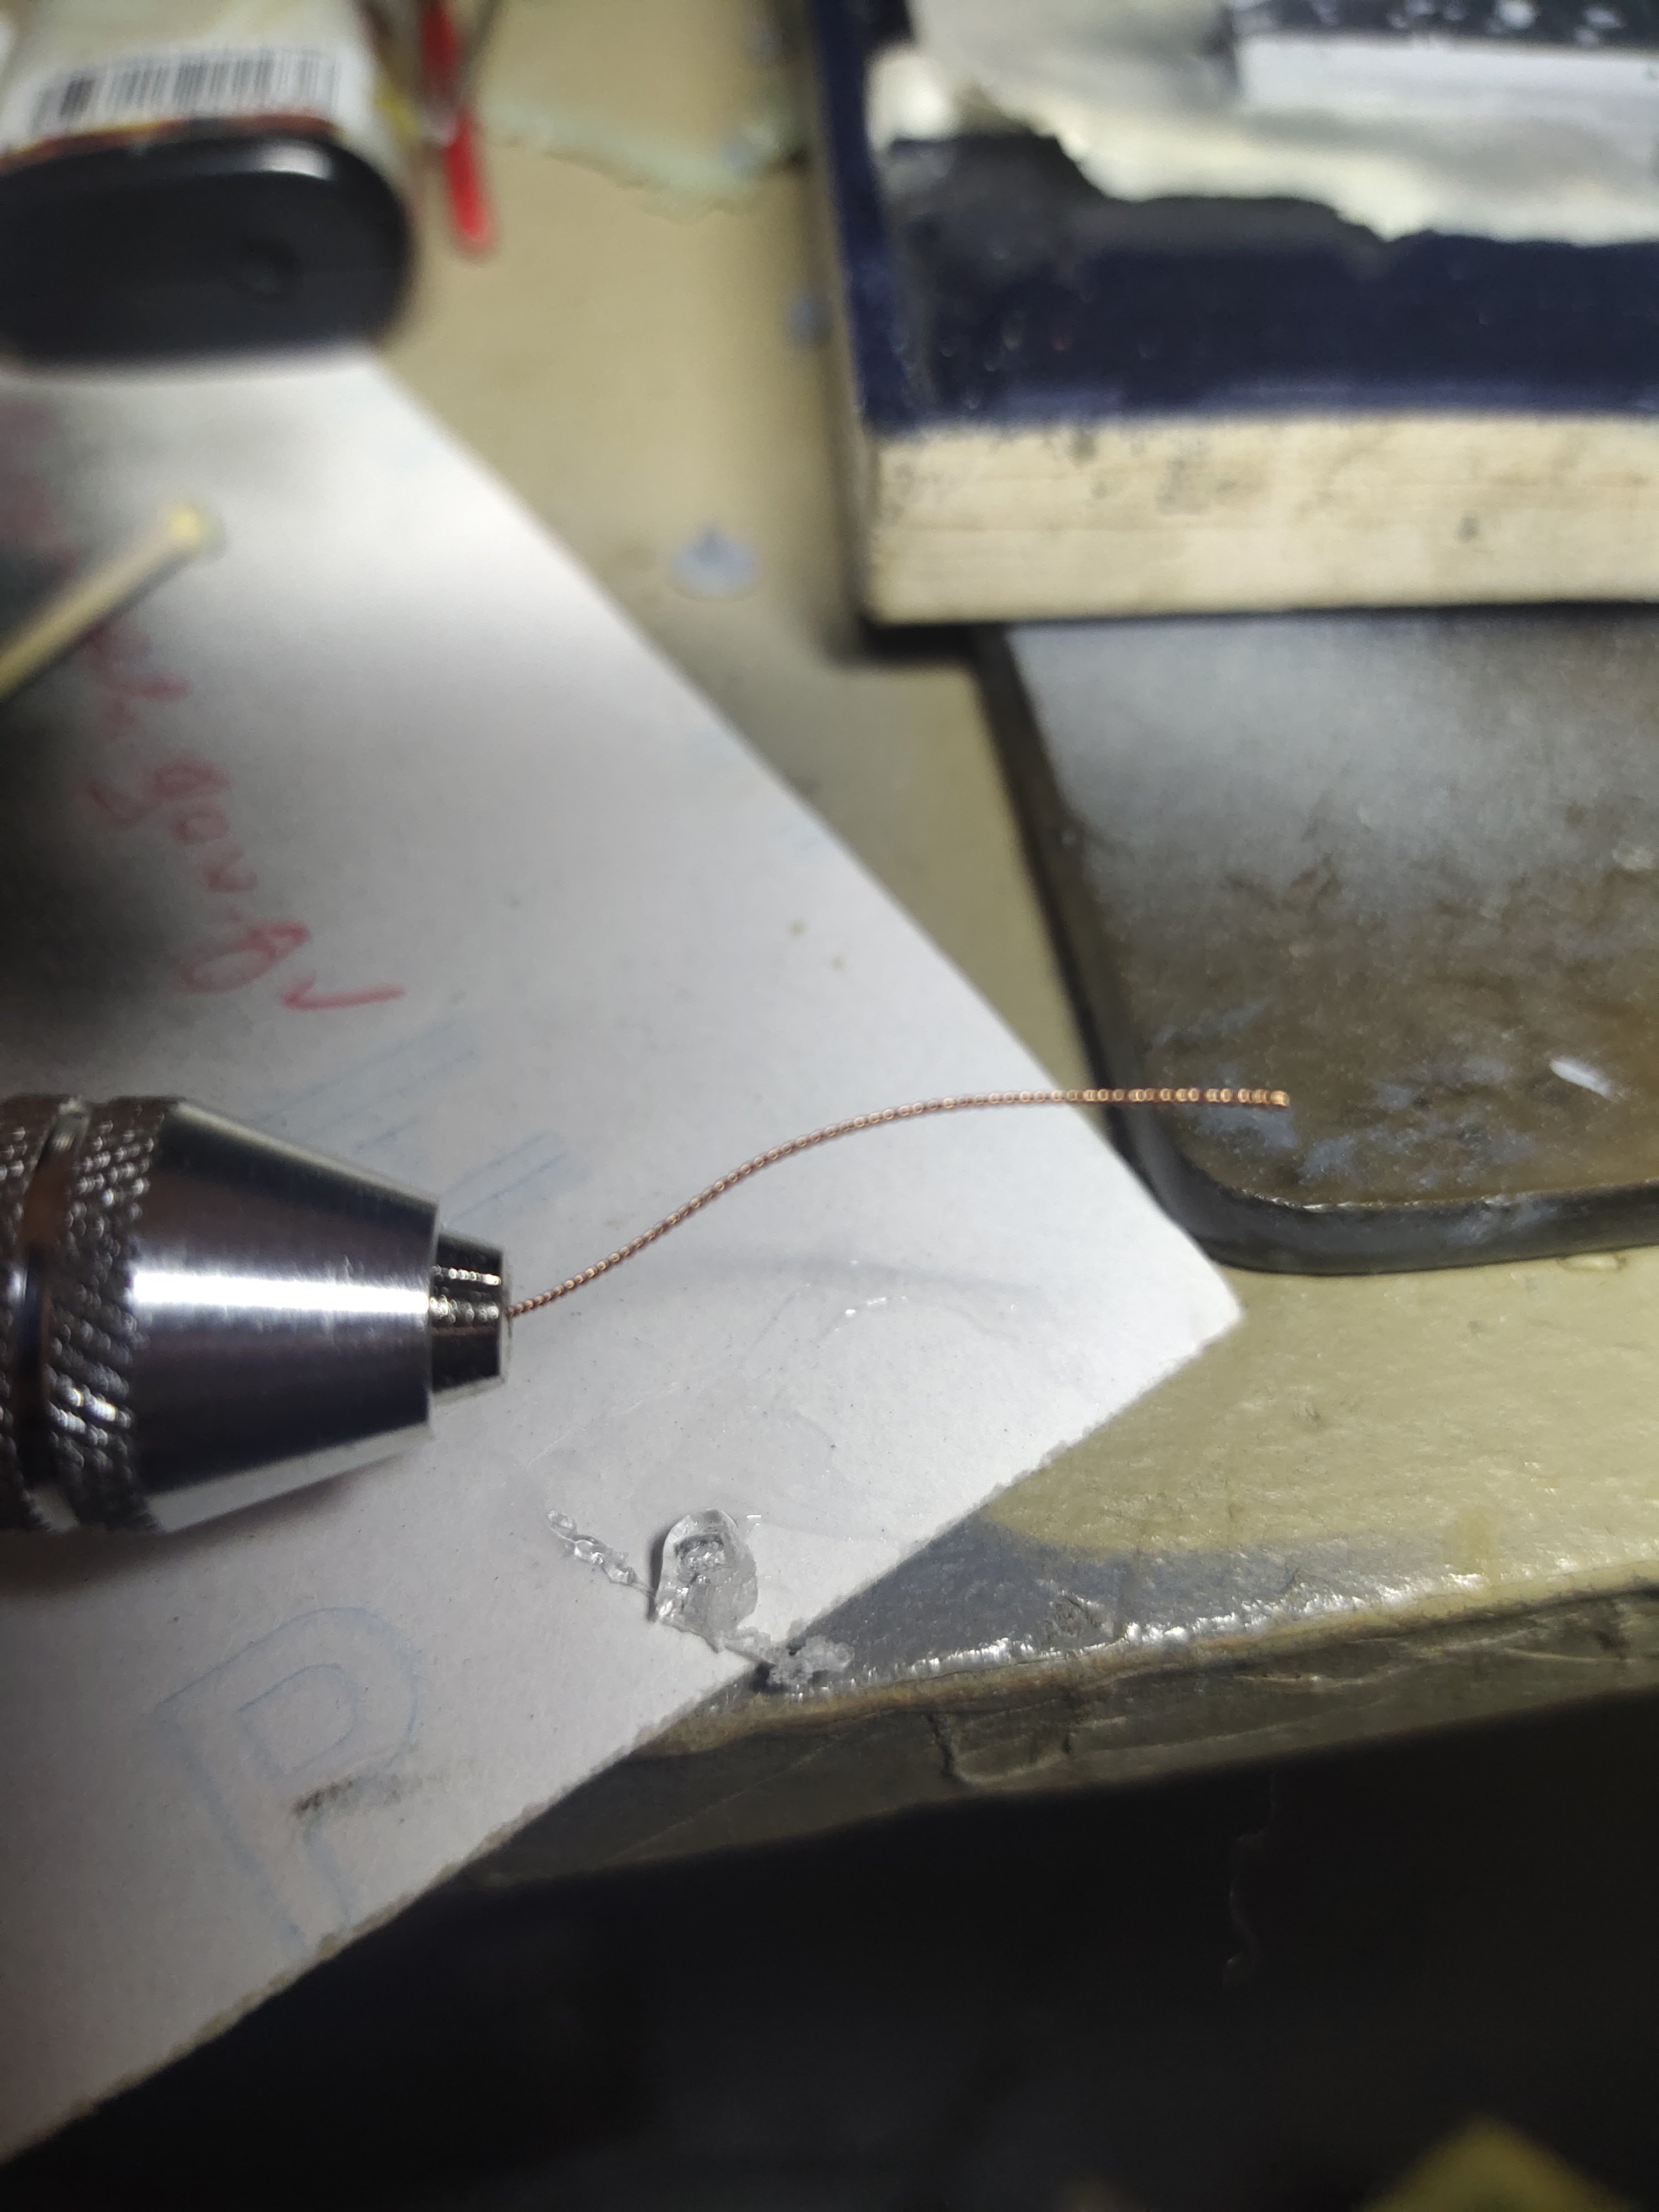
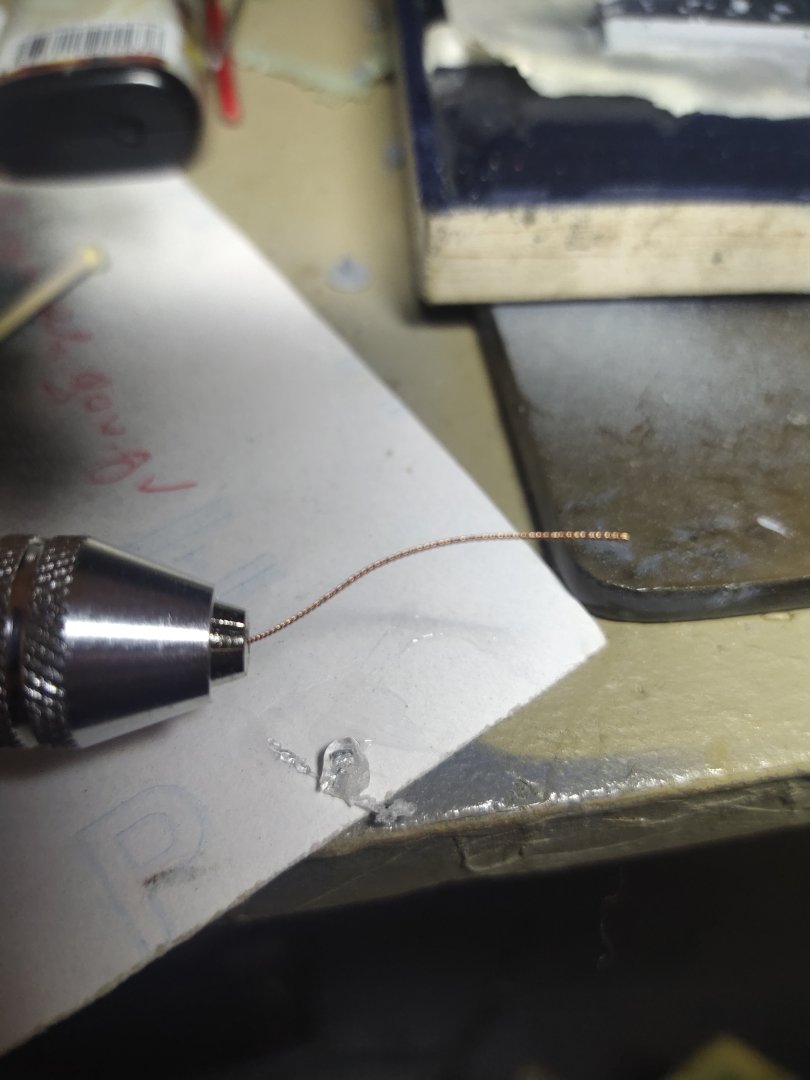
Using a rotory tool I made an anchor chain with 0.2mm wire. It turned out quite thin and delicate. Gun houses were made instead of PE to save time. One barrel lost, some brass tube was used instead


-
mikegr reacted to a post in a topic:
Anshan by mikegr - FINISHED - 1/700
-
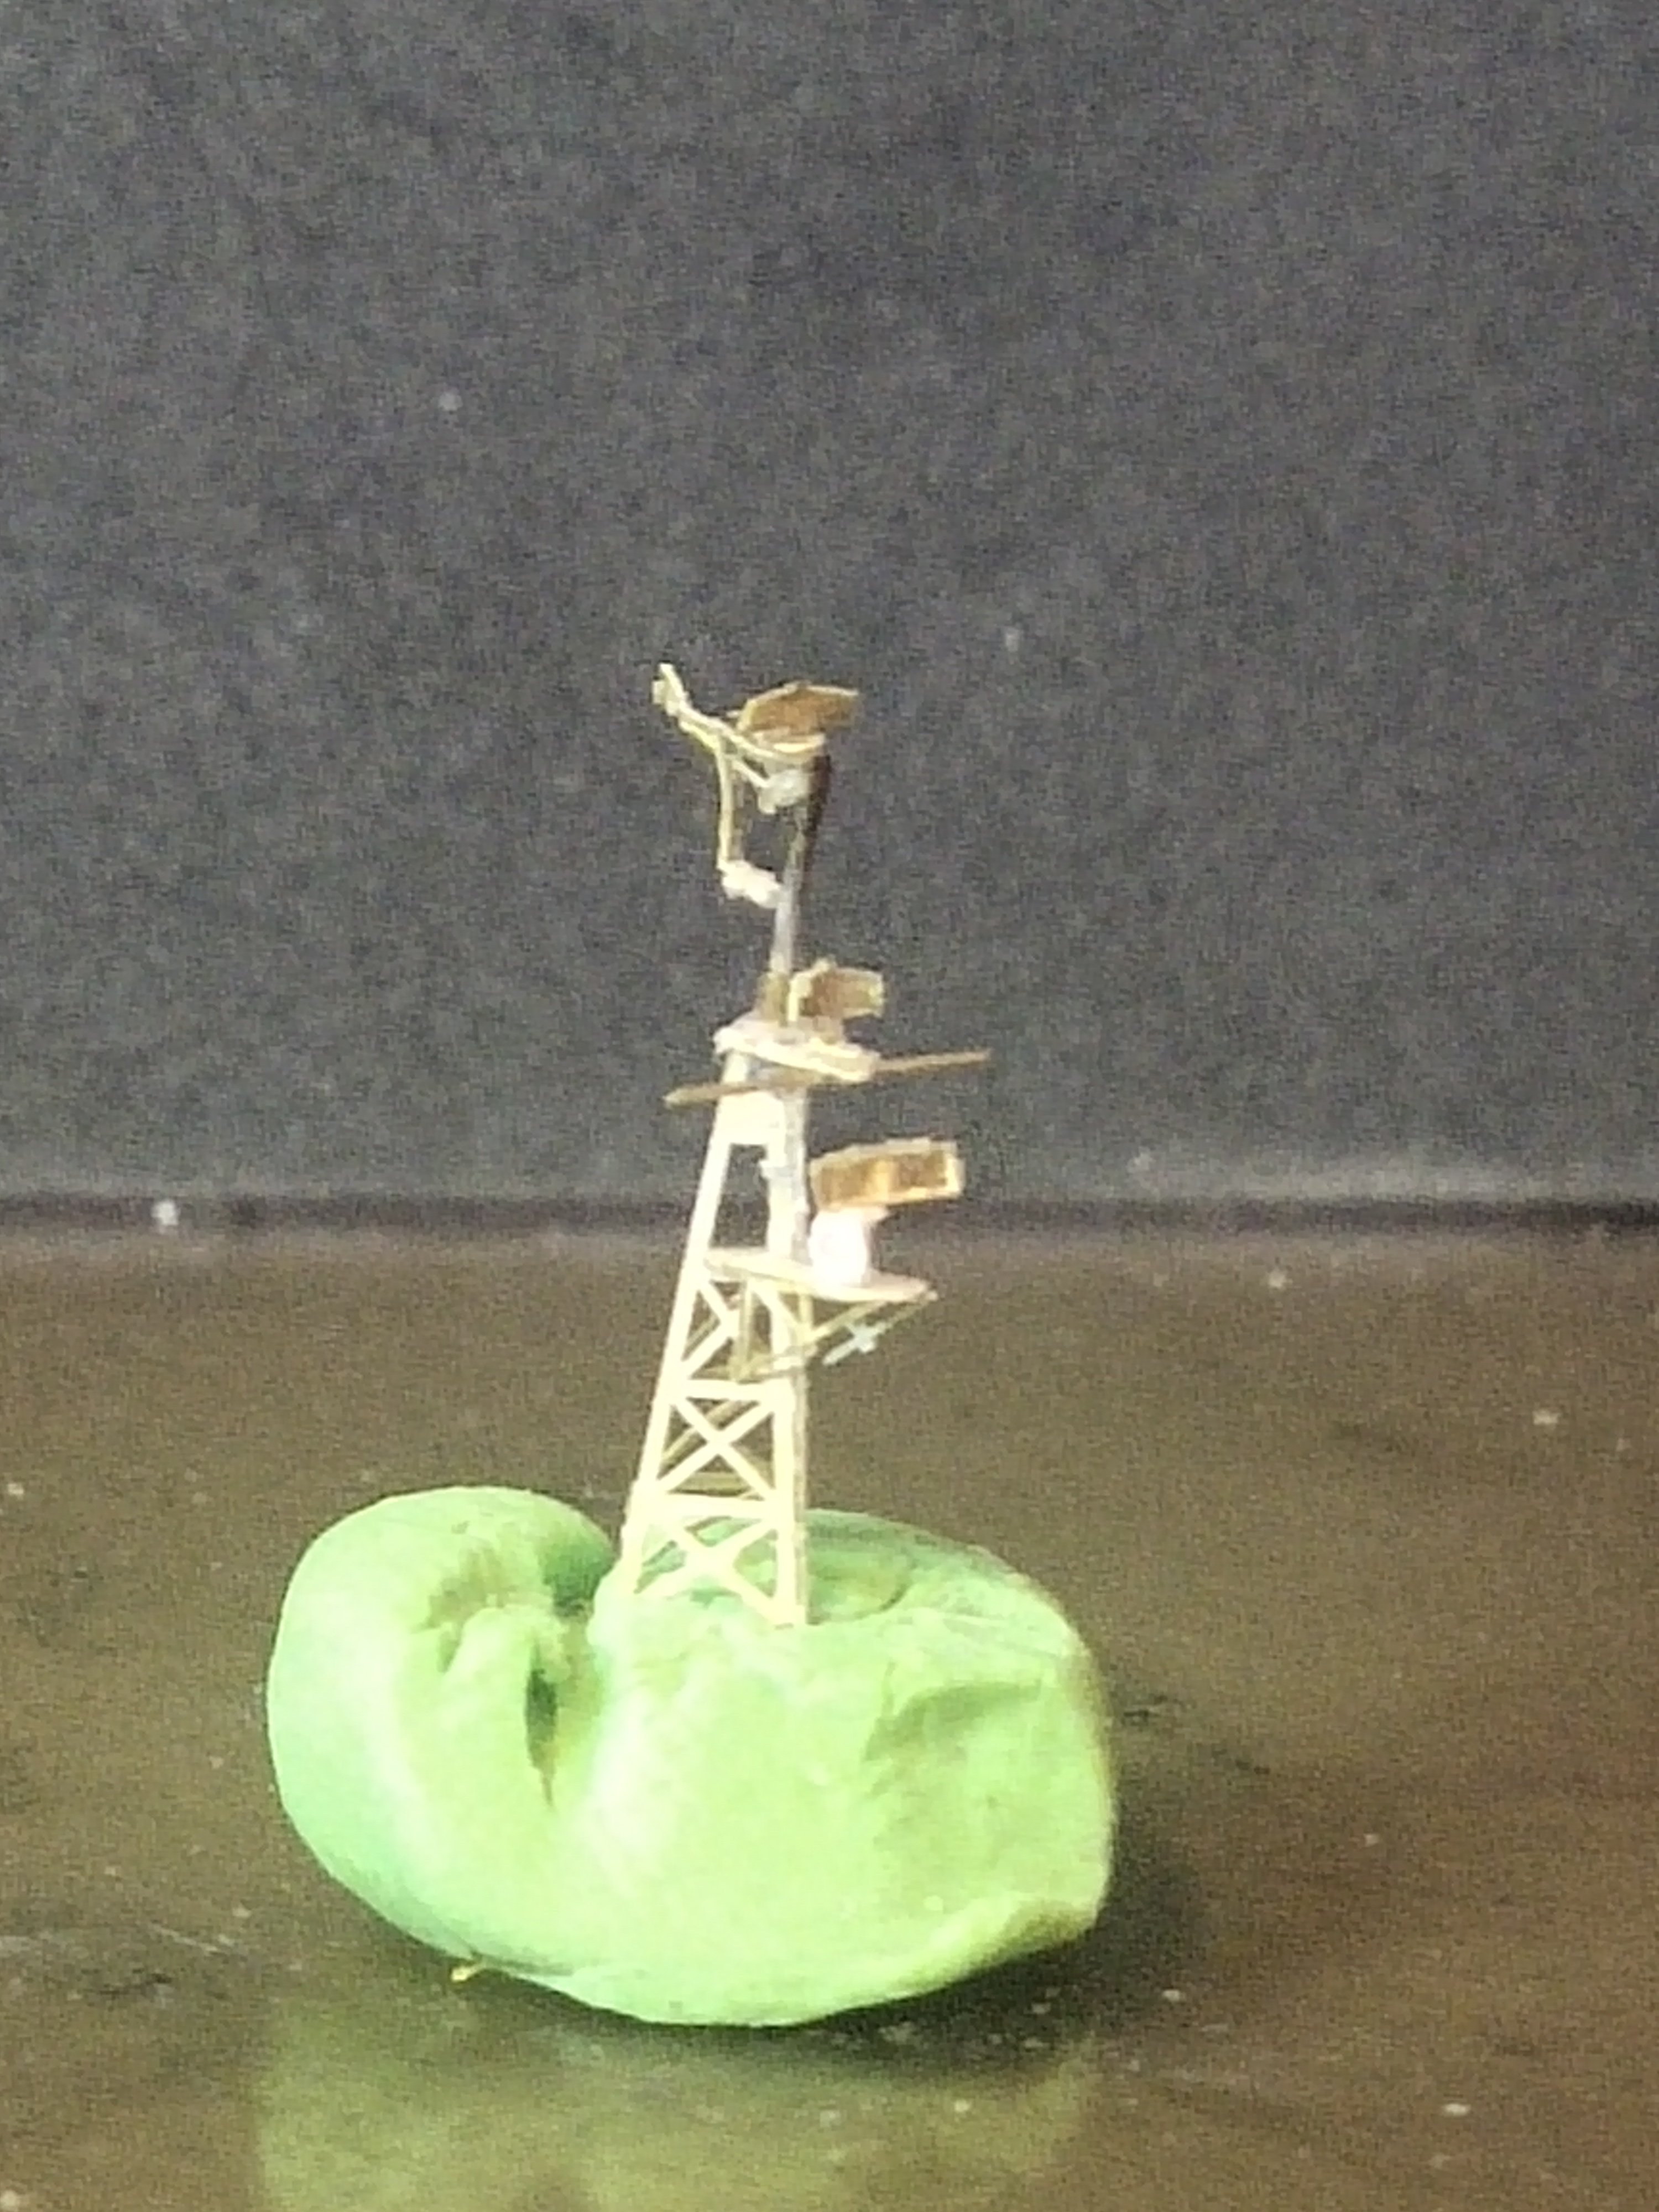
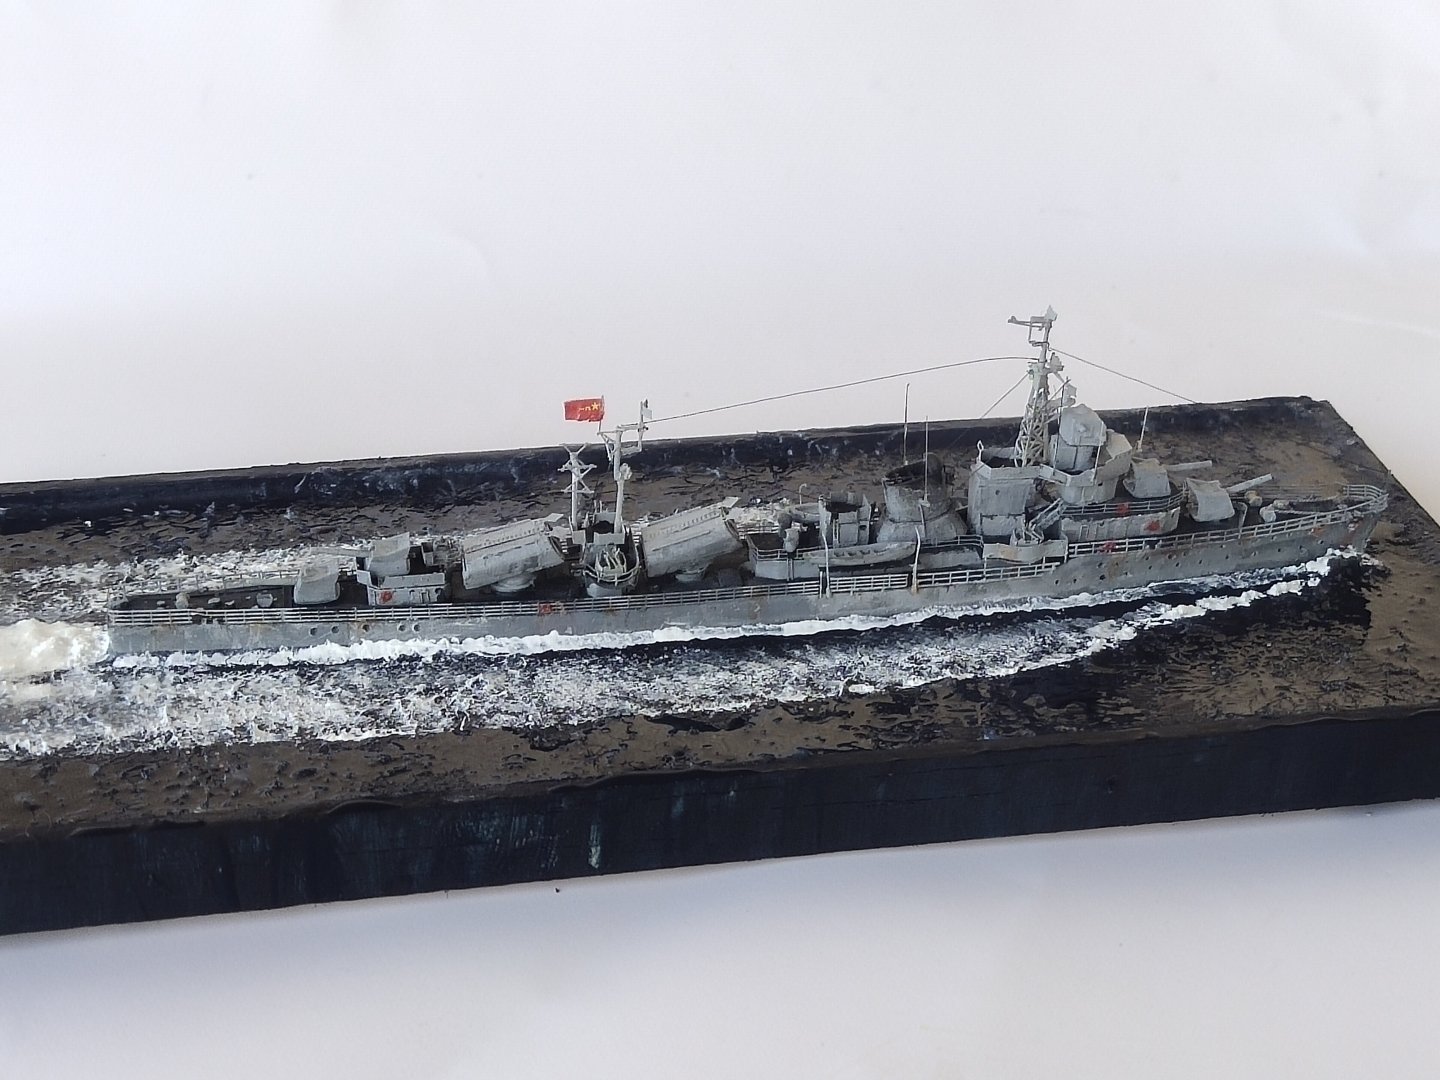
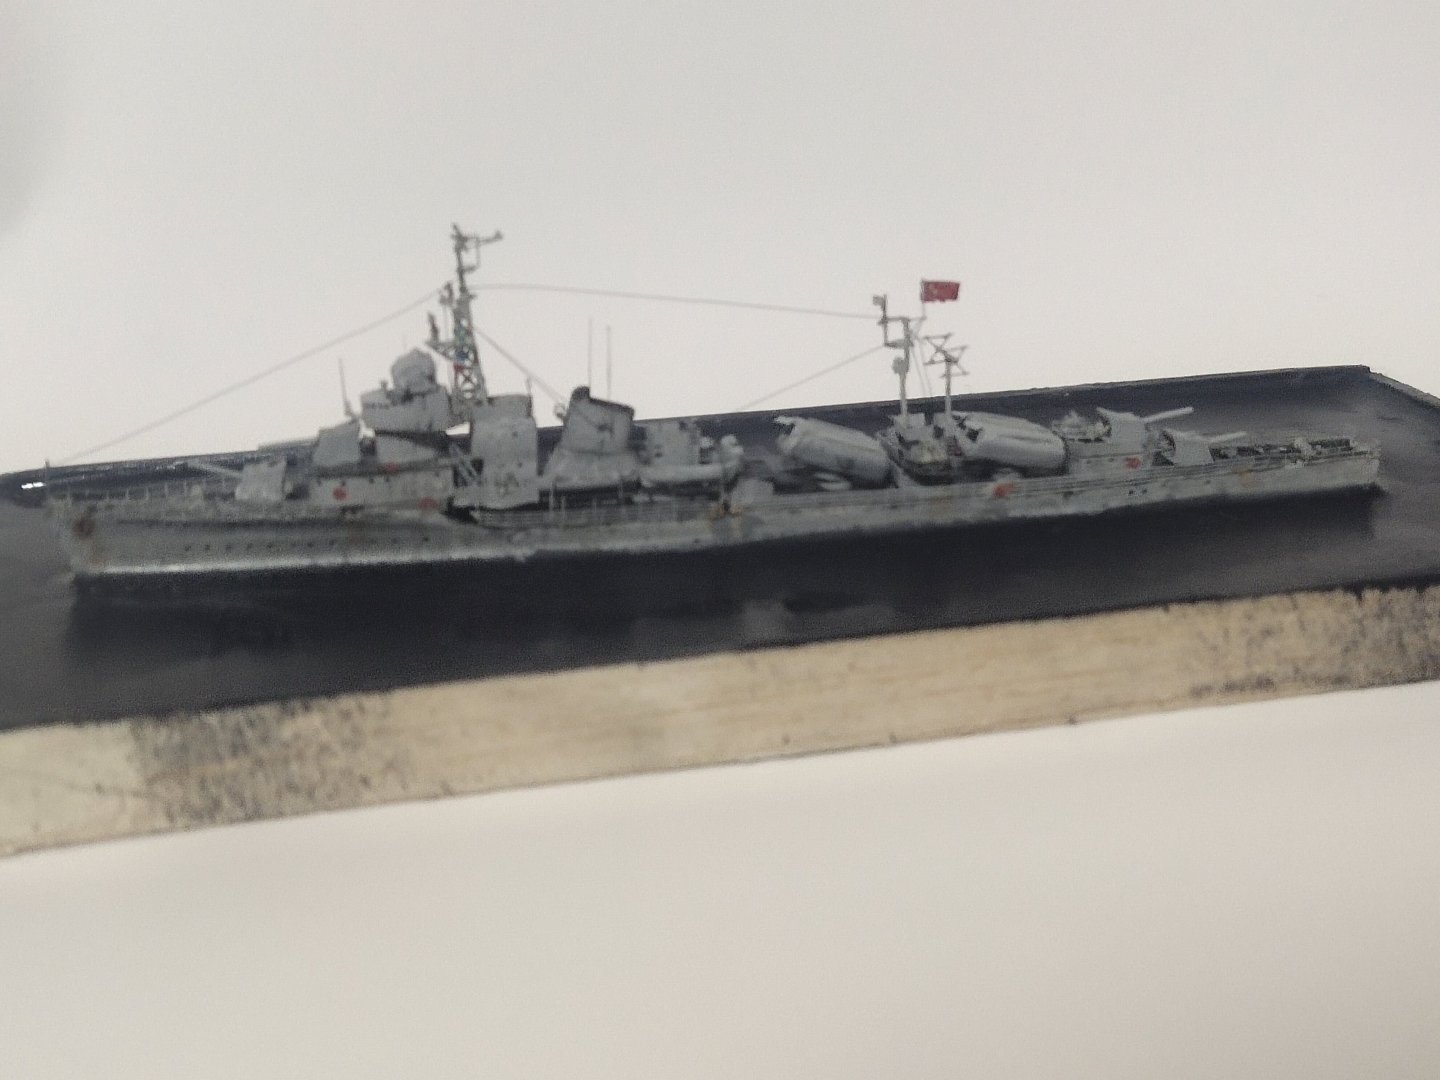
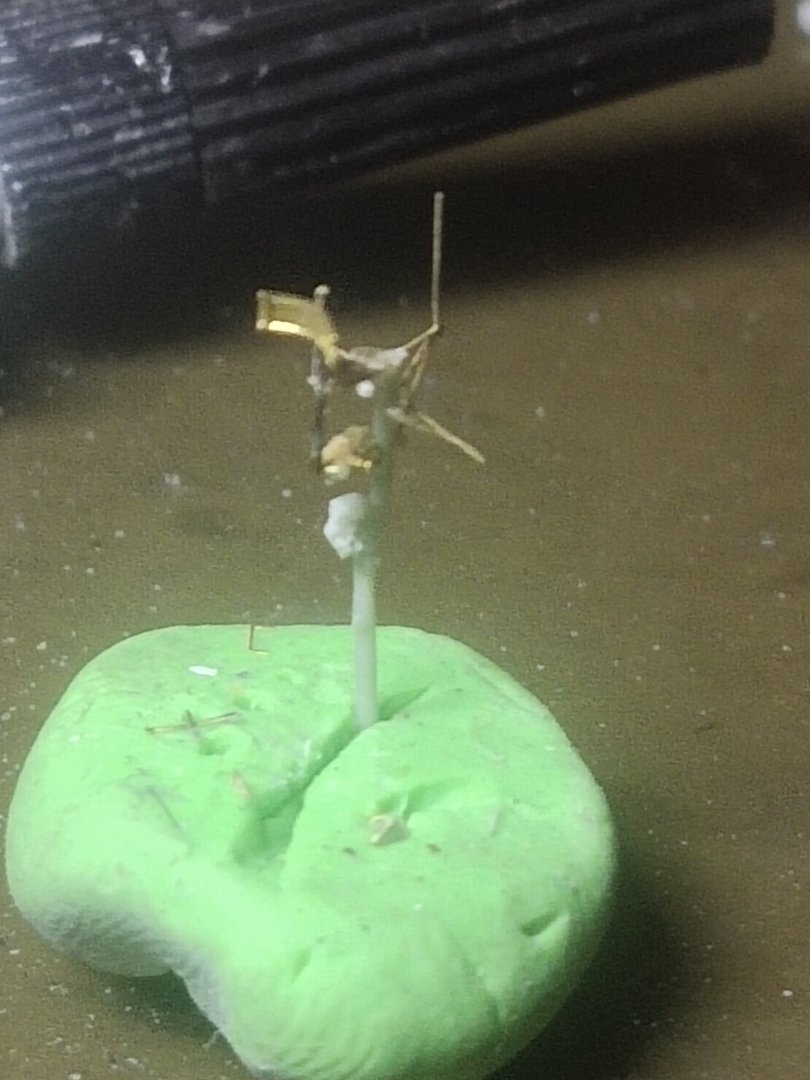
More details added, masts, boats, AA guns and few others. Masts where high detailed gave a nice look at the model. The main one was made of 13 brass pieces and 2 resin ones.


-
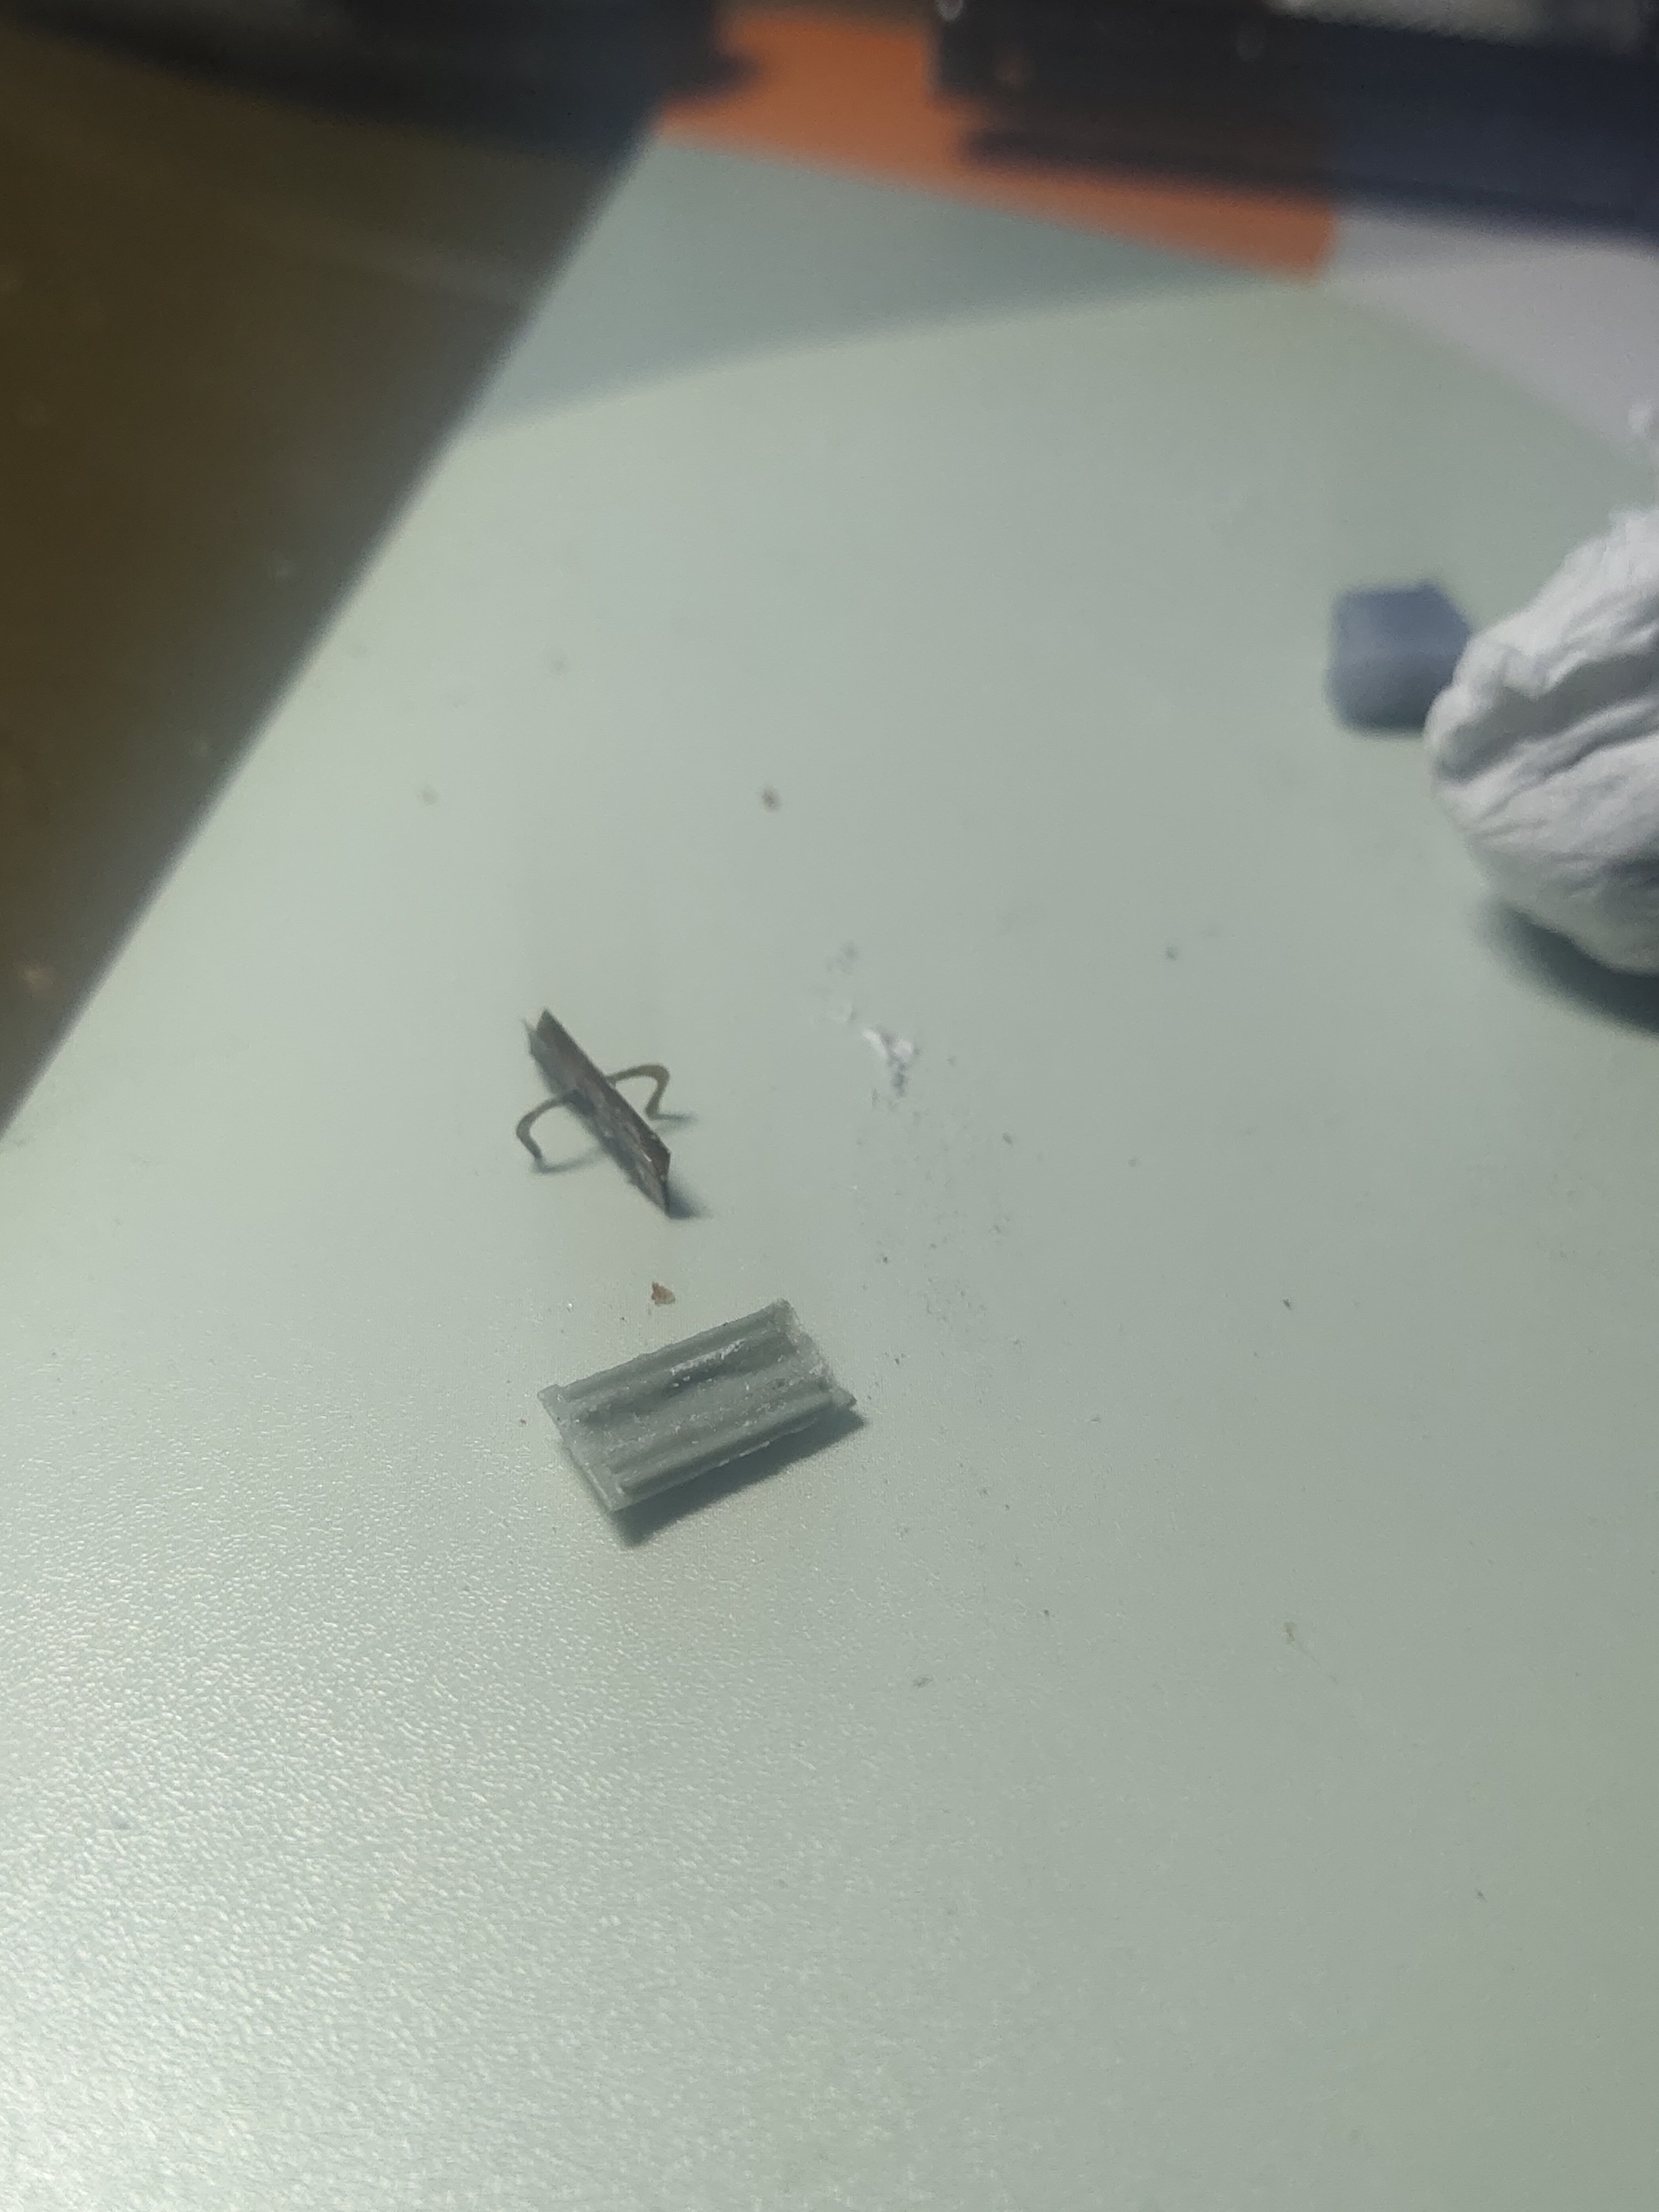
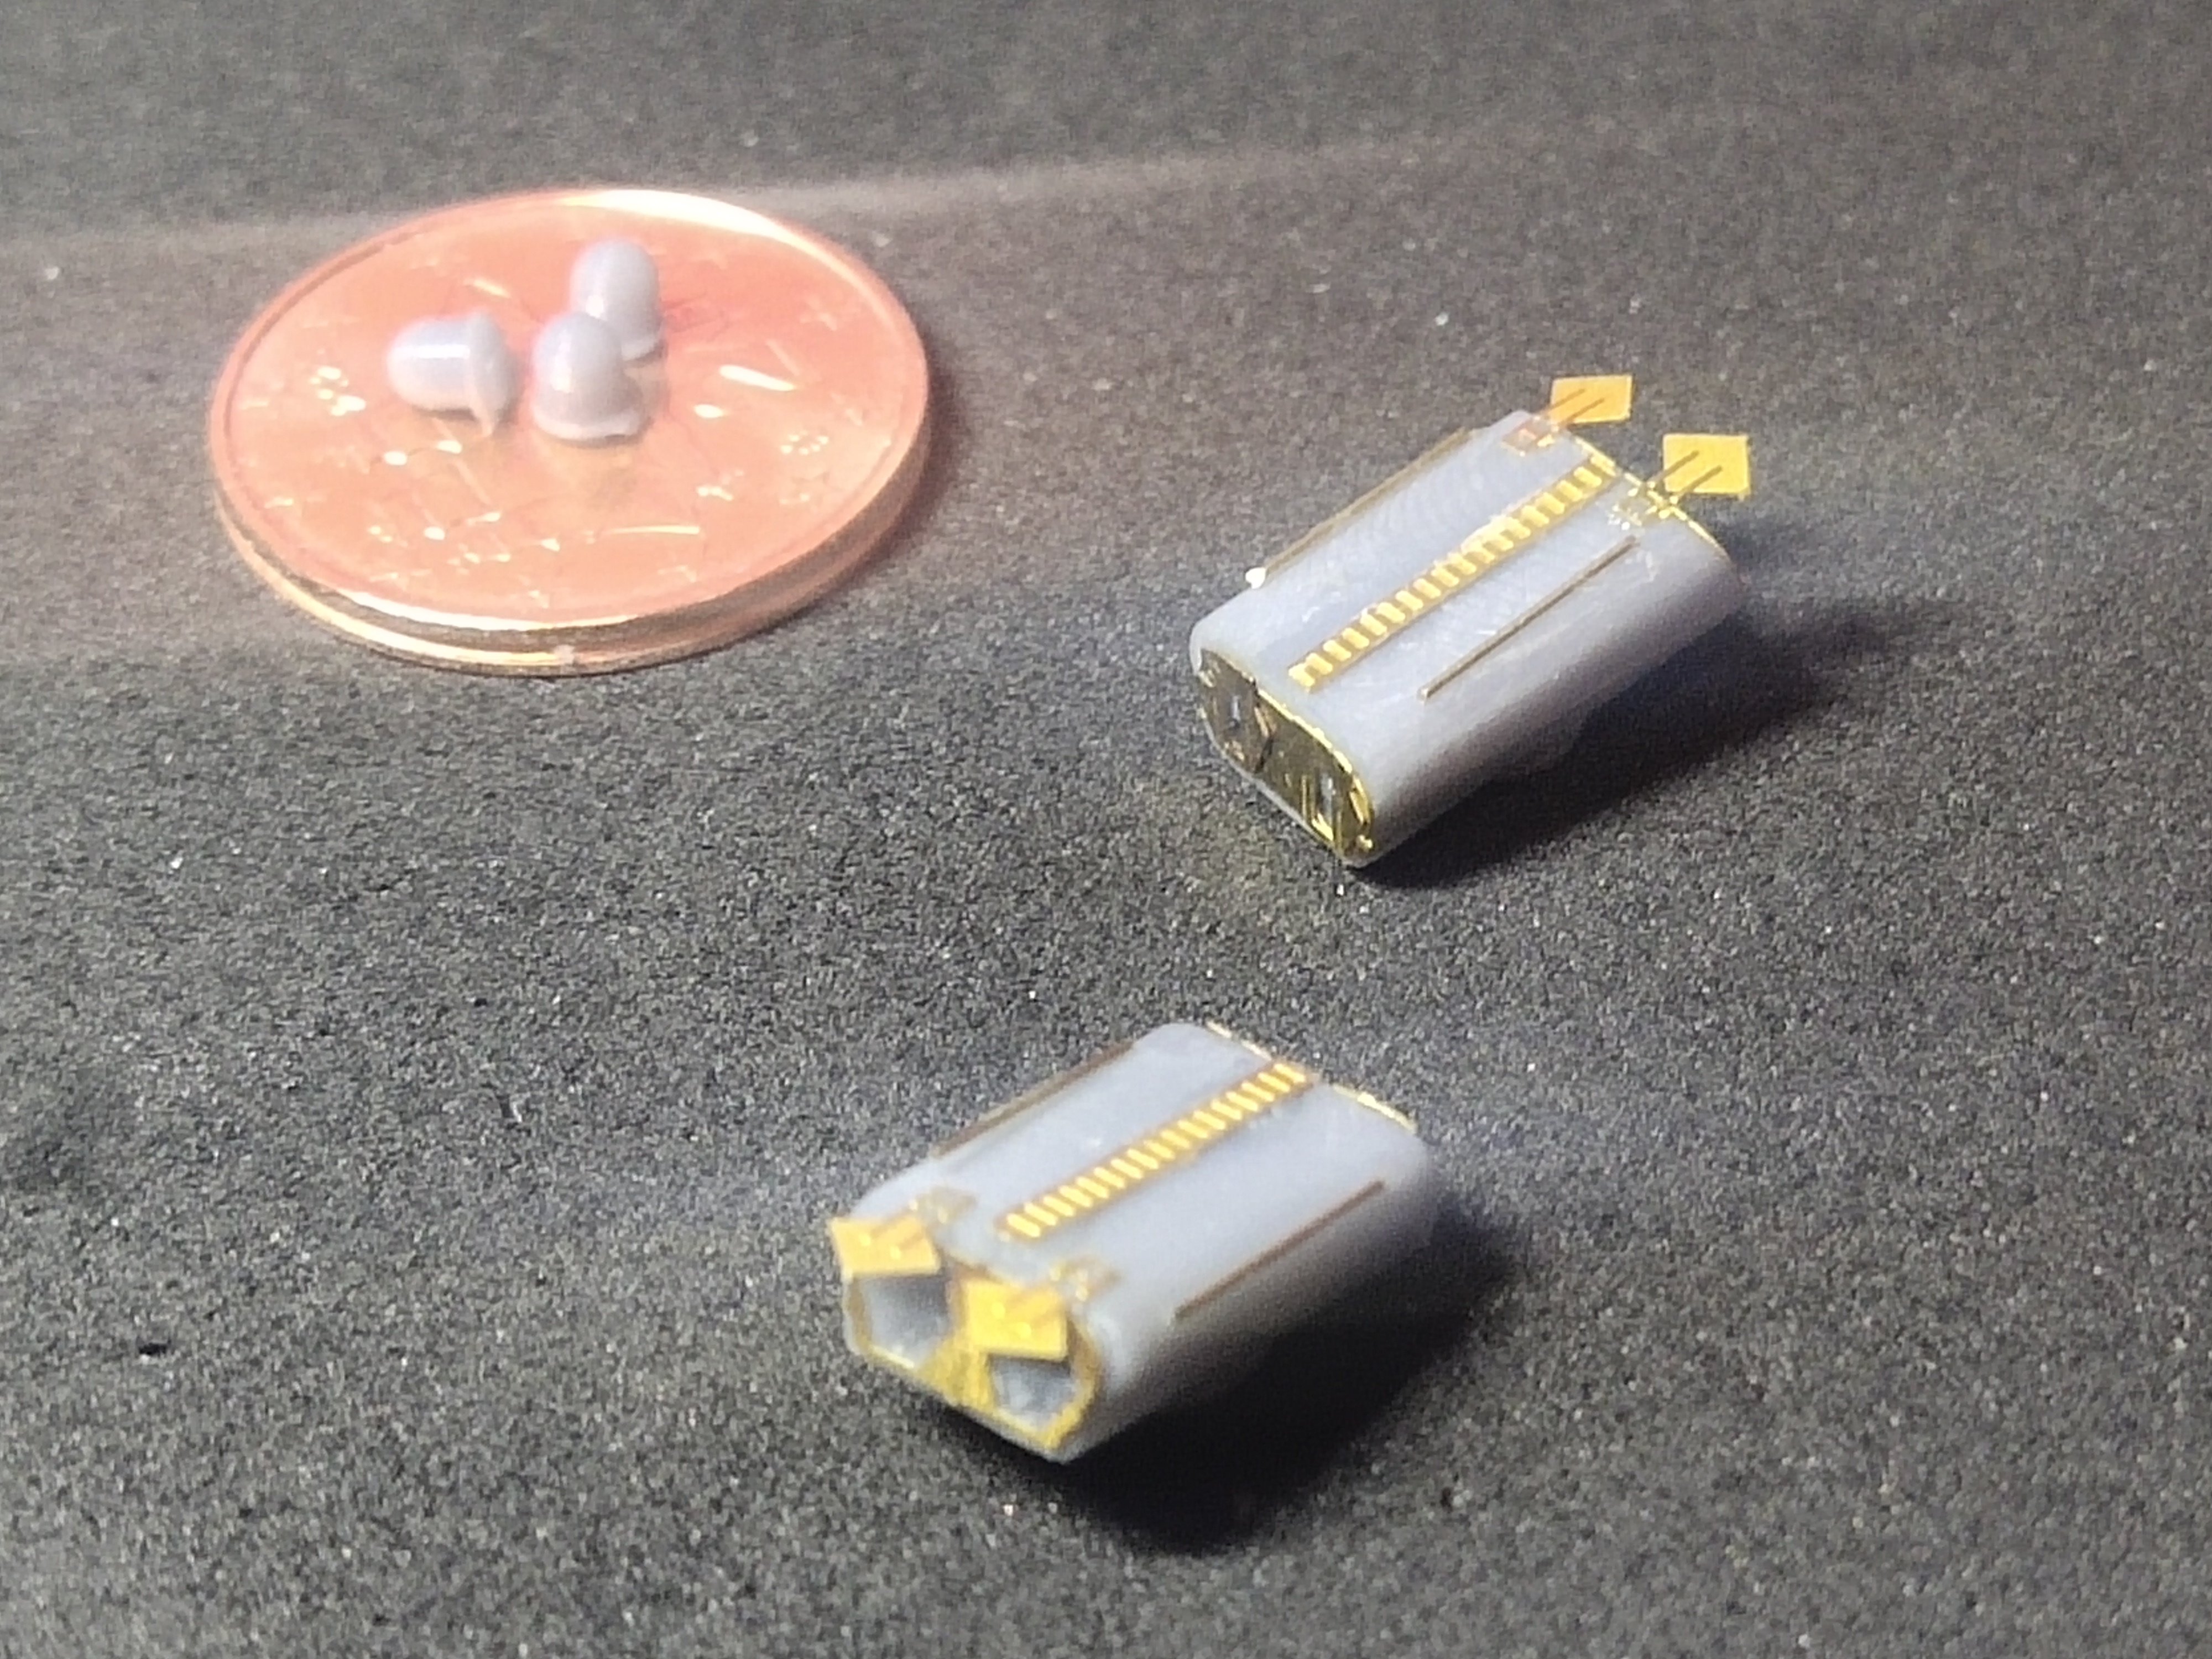
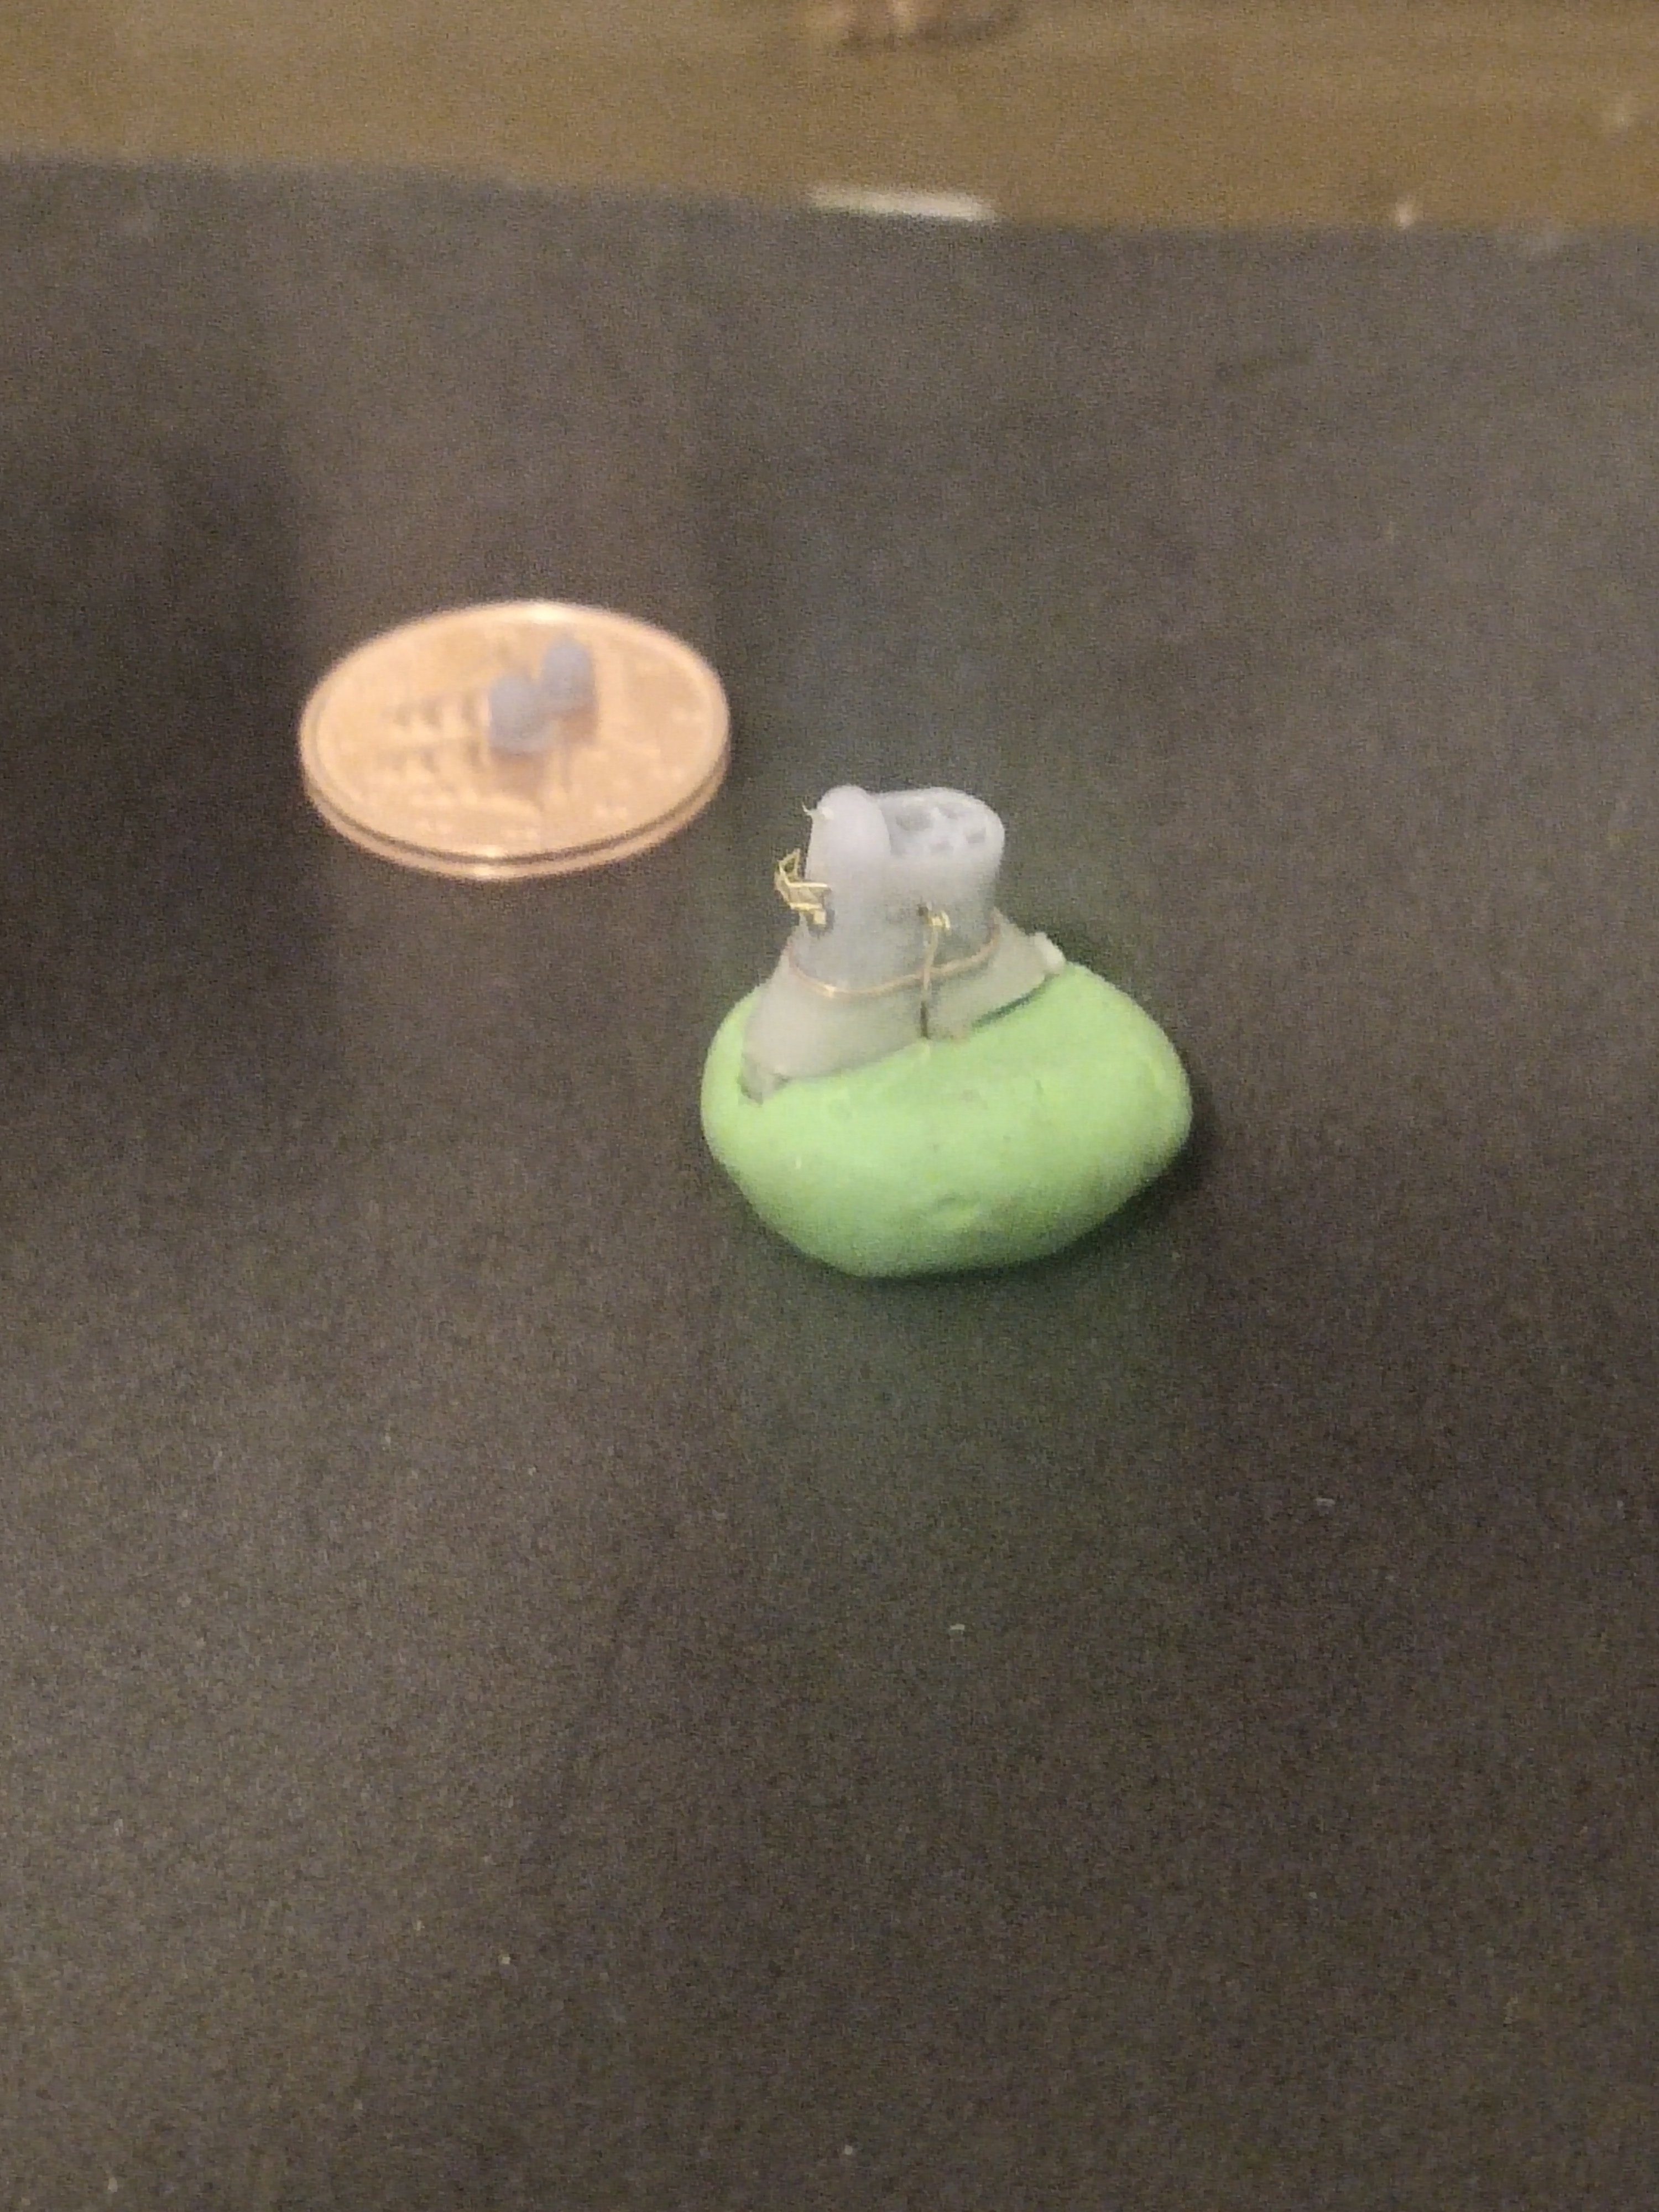
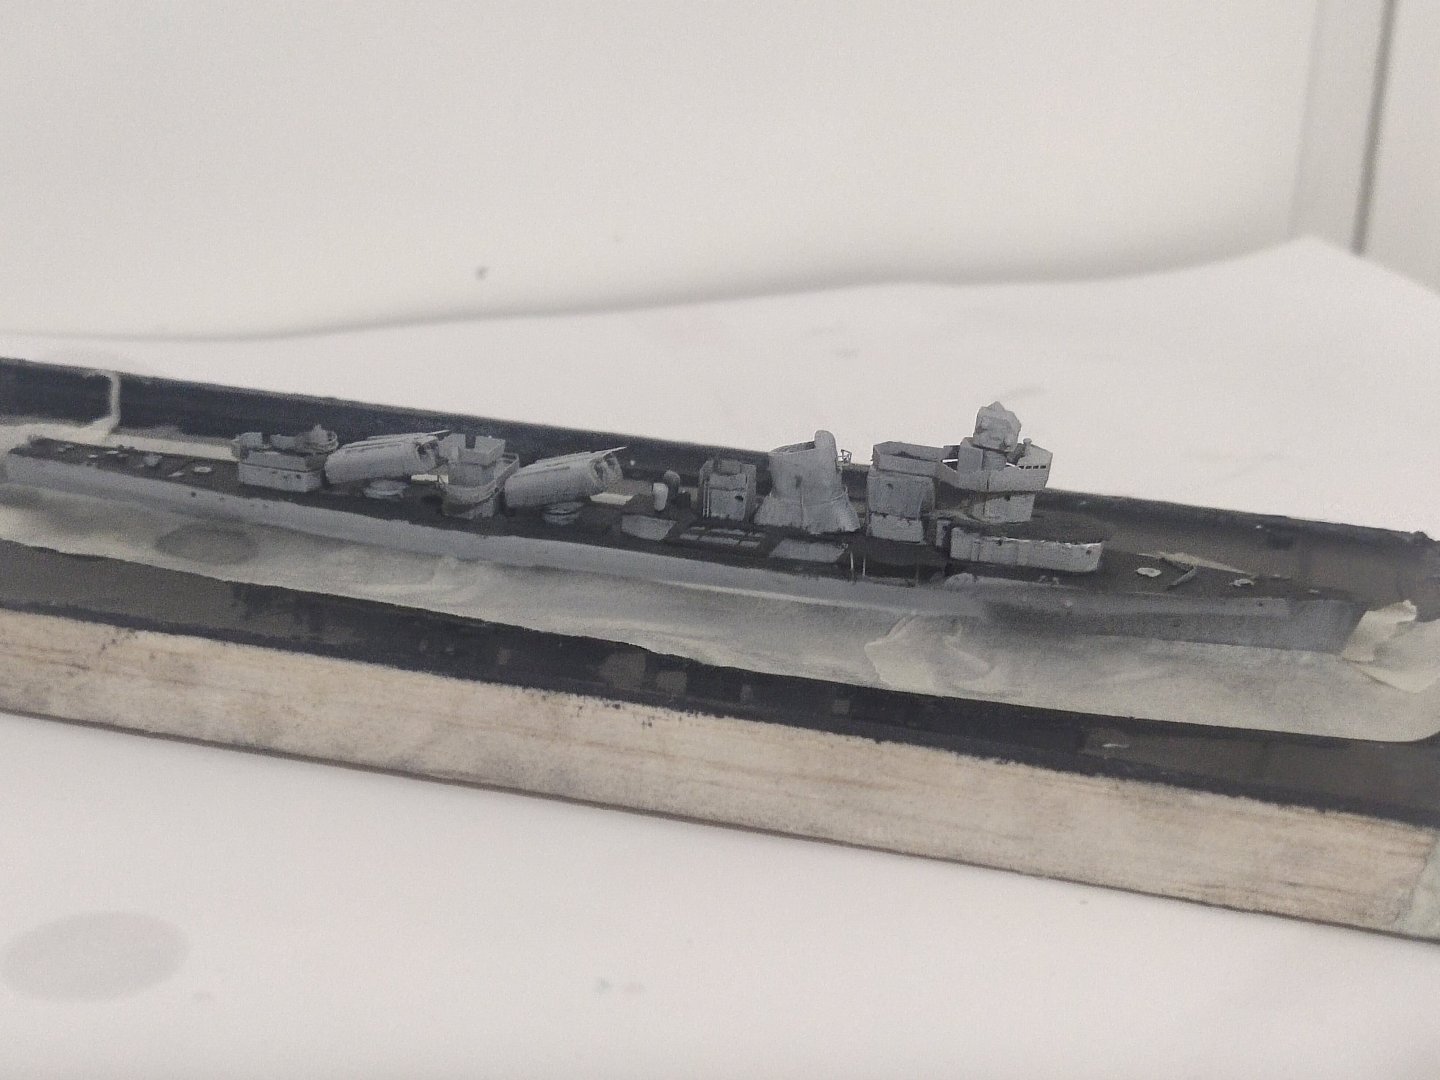
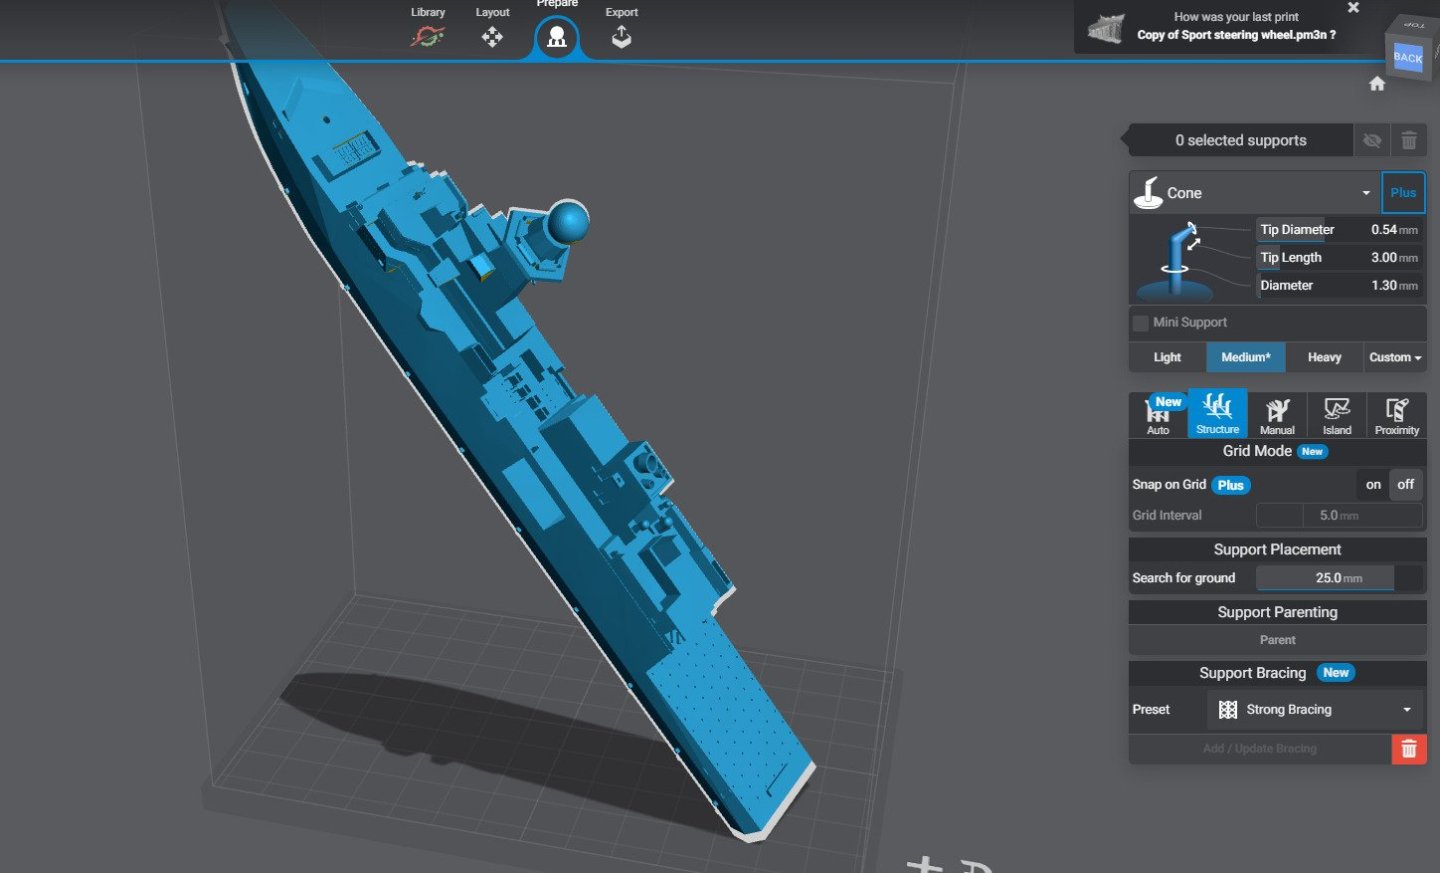
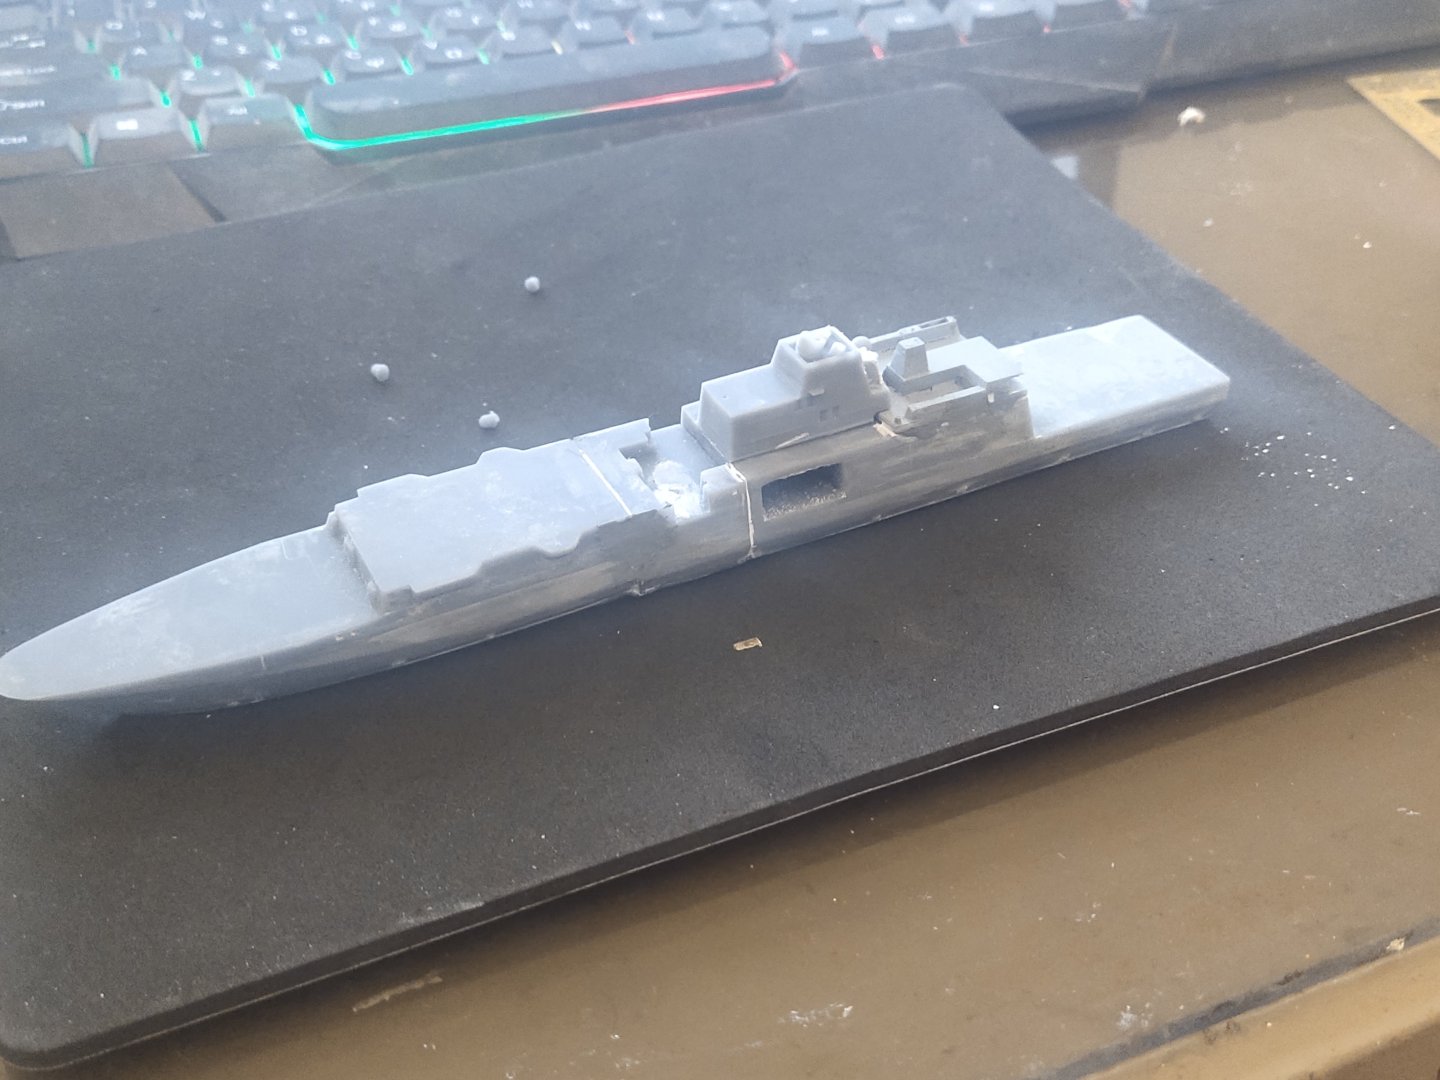
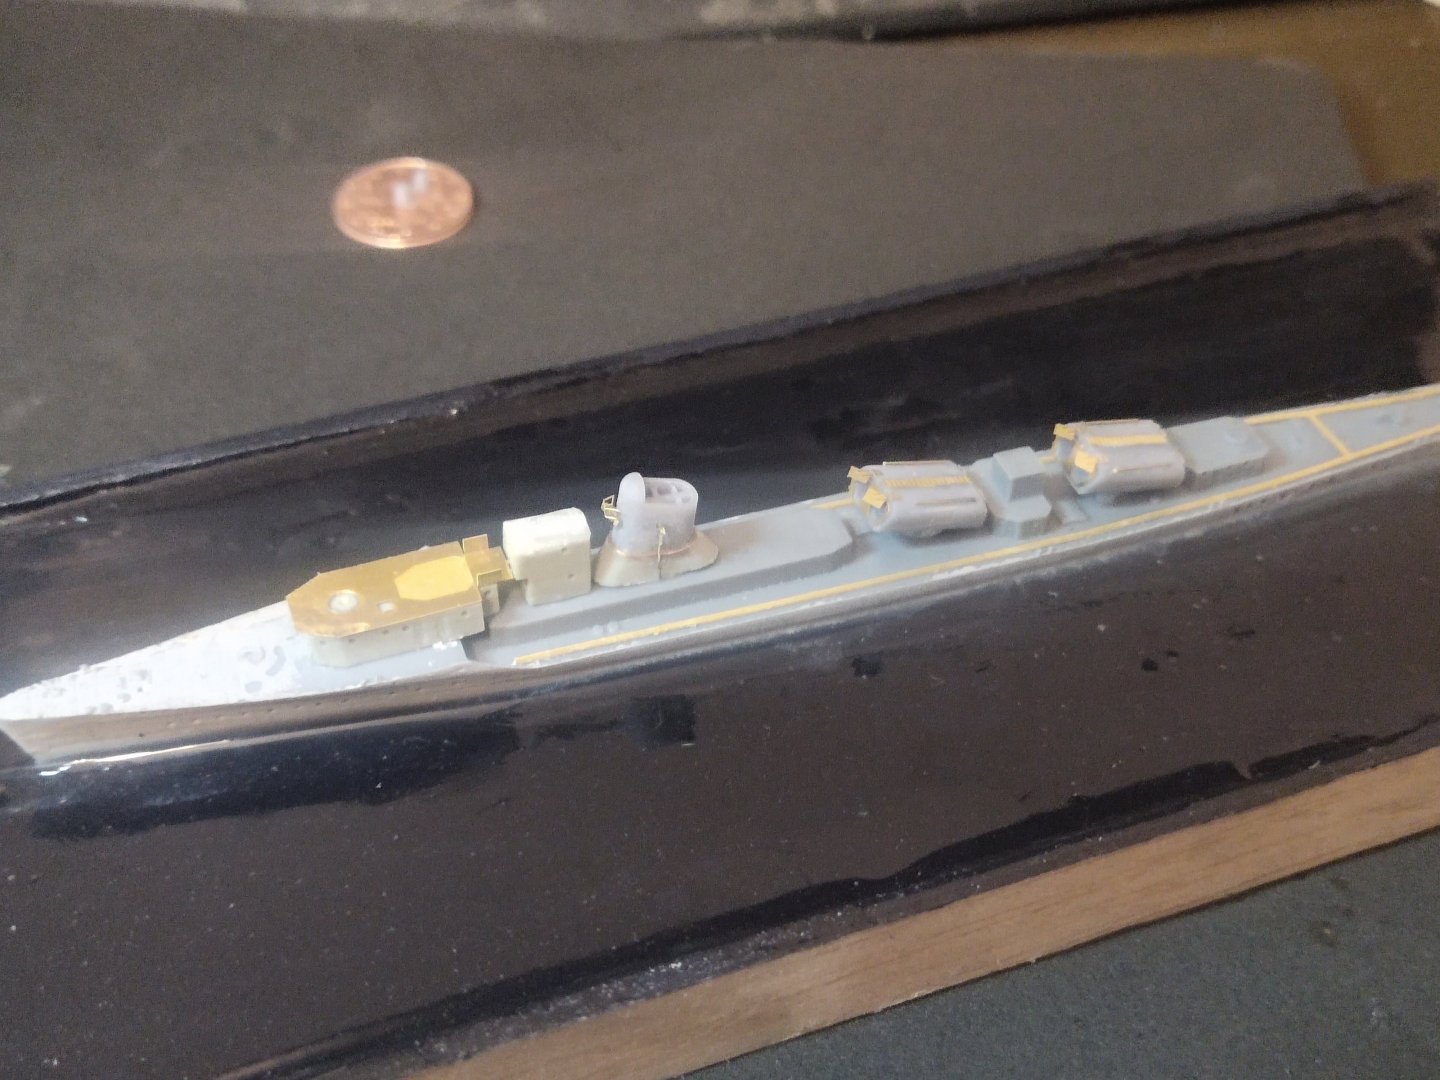
had issues how to permanently straighten the hull. A wooden base was made, model was placed on the center and a small amount of resin was poured. It was left dry overnight. Hull sides were painted gray already. Looks like I have to cover the base before future painting. The instructions are practically unreadable. So I followed some basic guidelines. Biggest parts were attached first. The missile launchers: Apart from their base, the other parts are metal ones, a frame and the "skin", mini parts than must be folder in oval shaped and attached over the frame After trying for a couple of hours I realized that this will never going to happen. So once again using the current pieces as a reference I designed and printed my own missile boxes which were decorated with PEs and attached on the model


-
mikegr reacted to a post in a topic:
Type 26 City-Class frigate by NavyShooter - 3D Print - 1/144 - Display
-
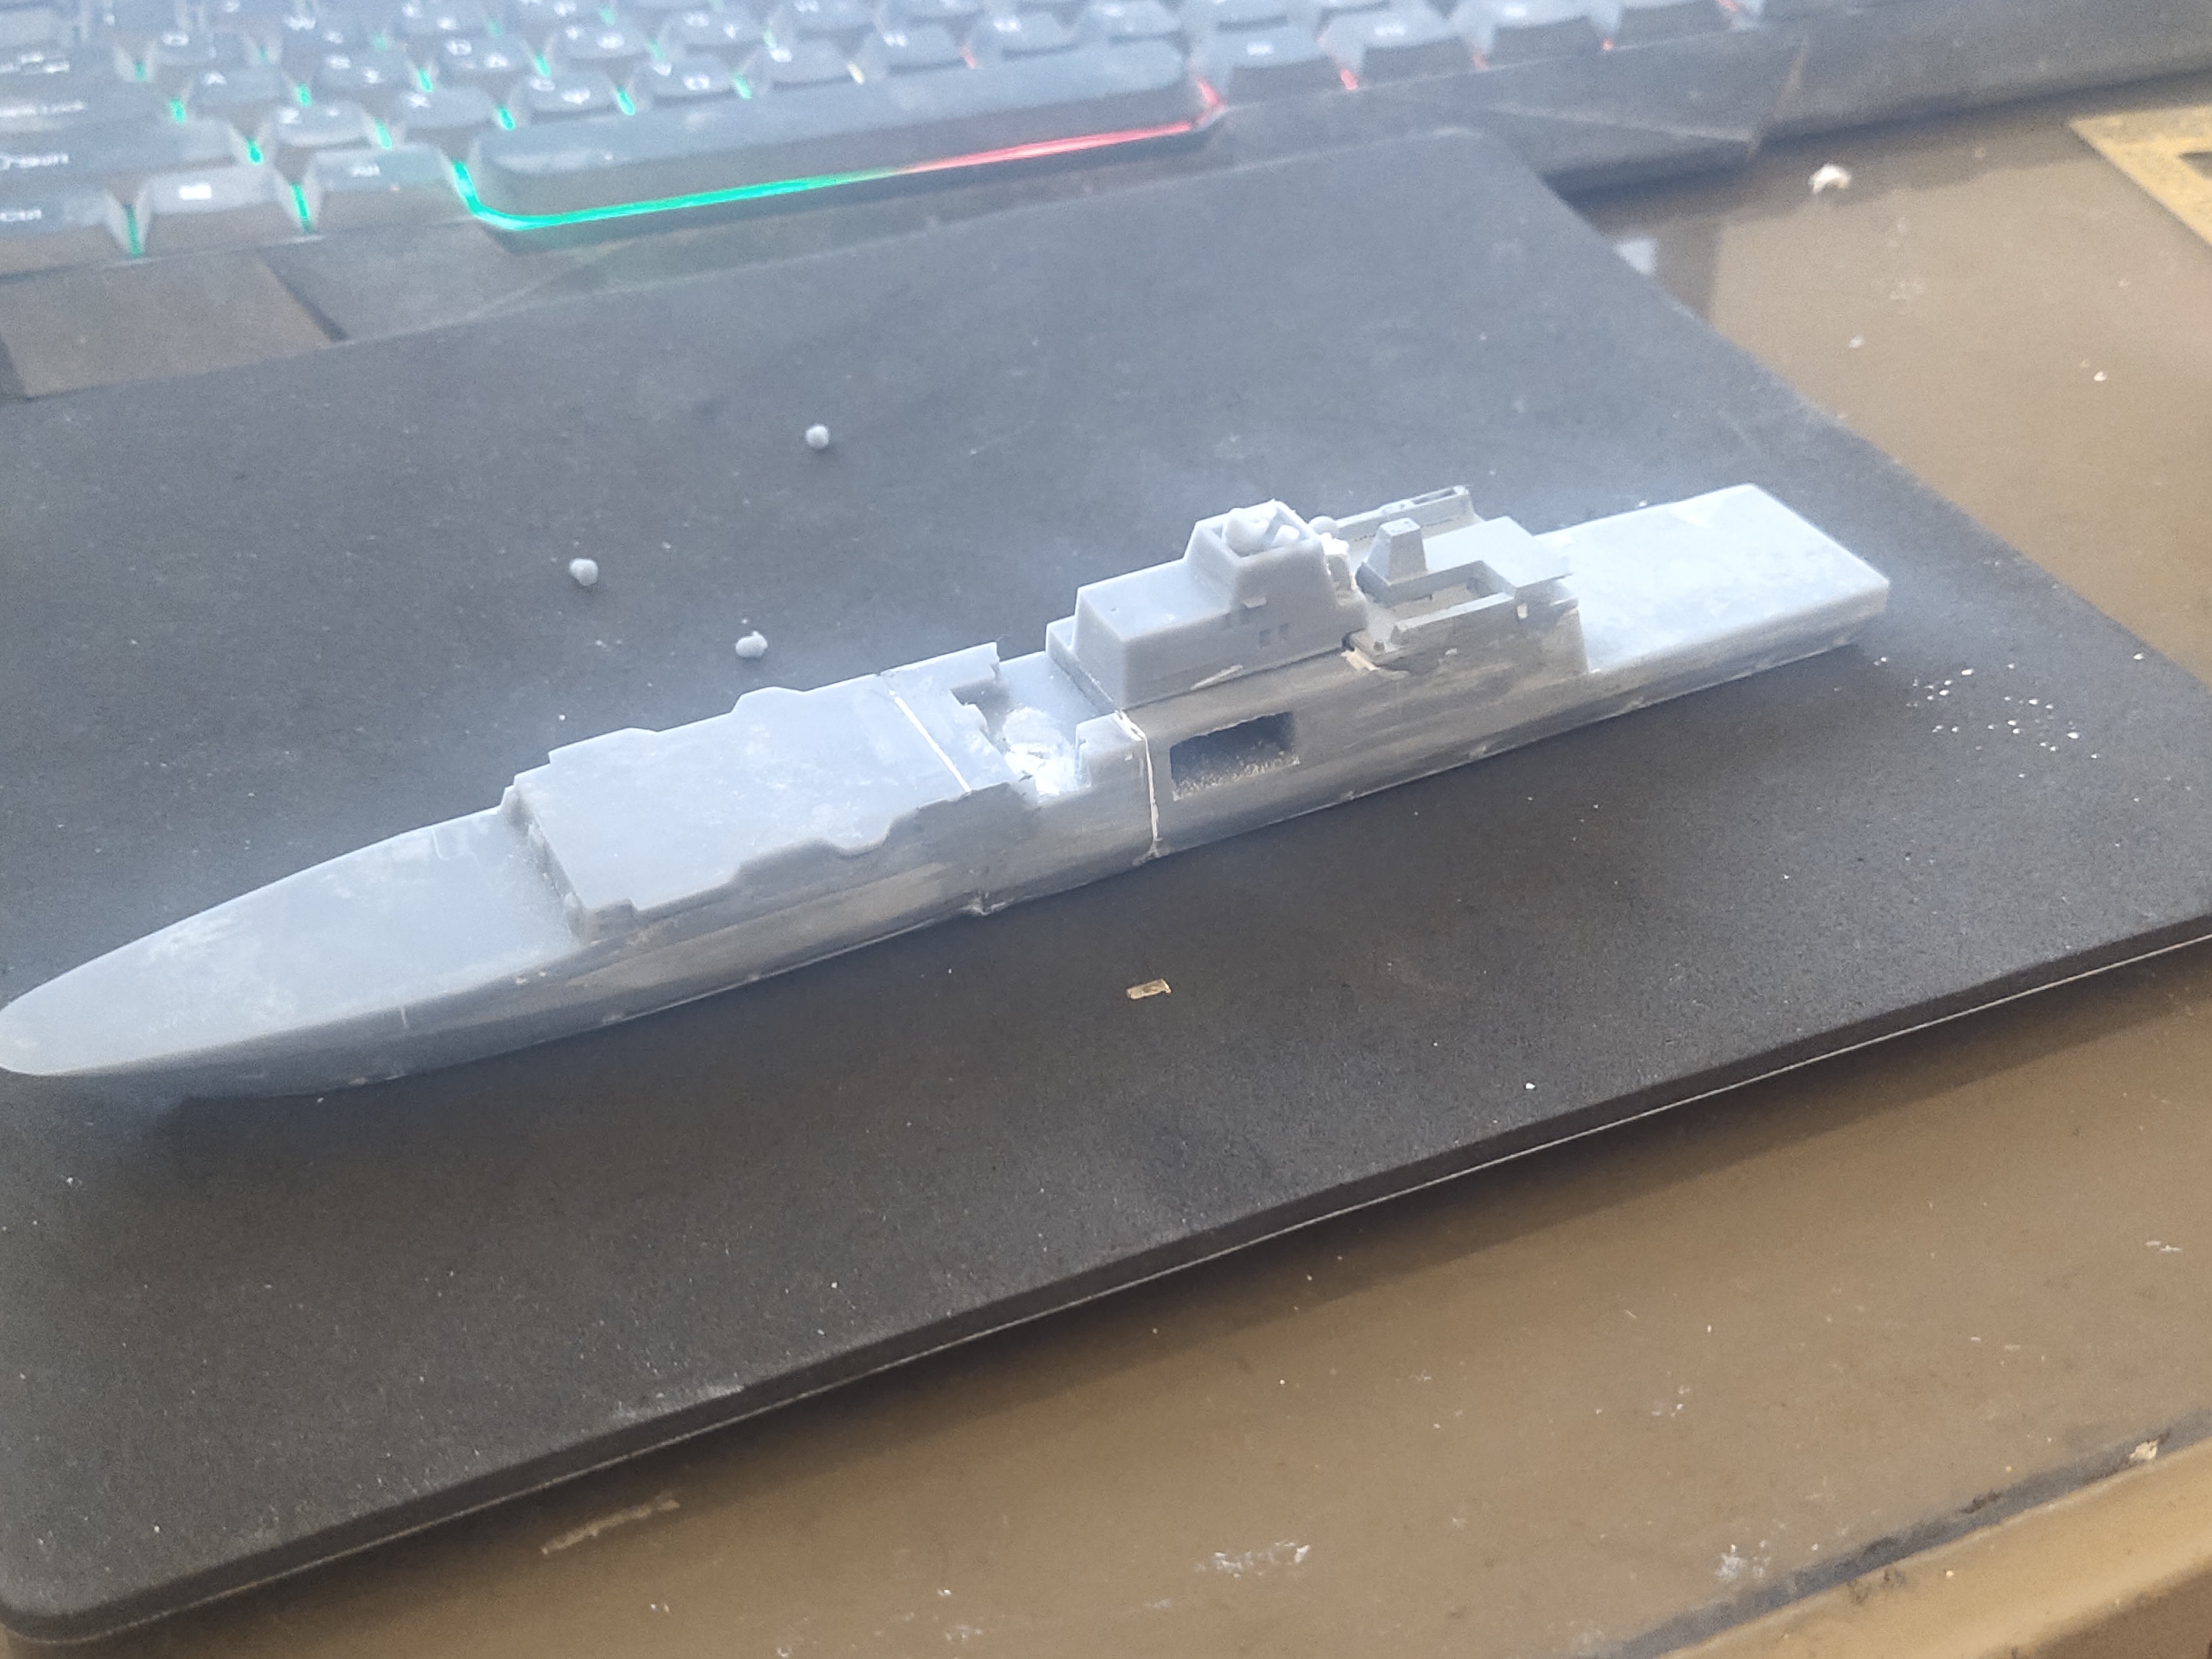
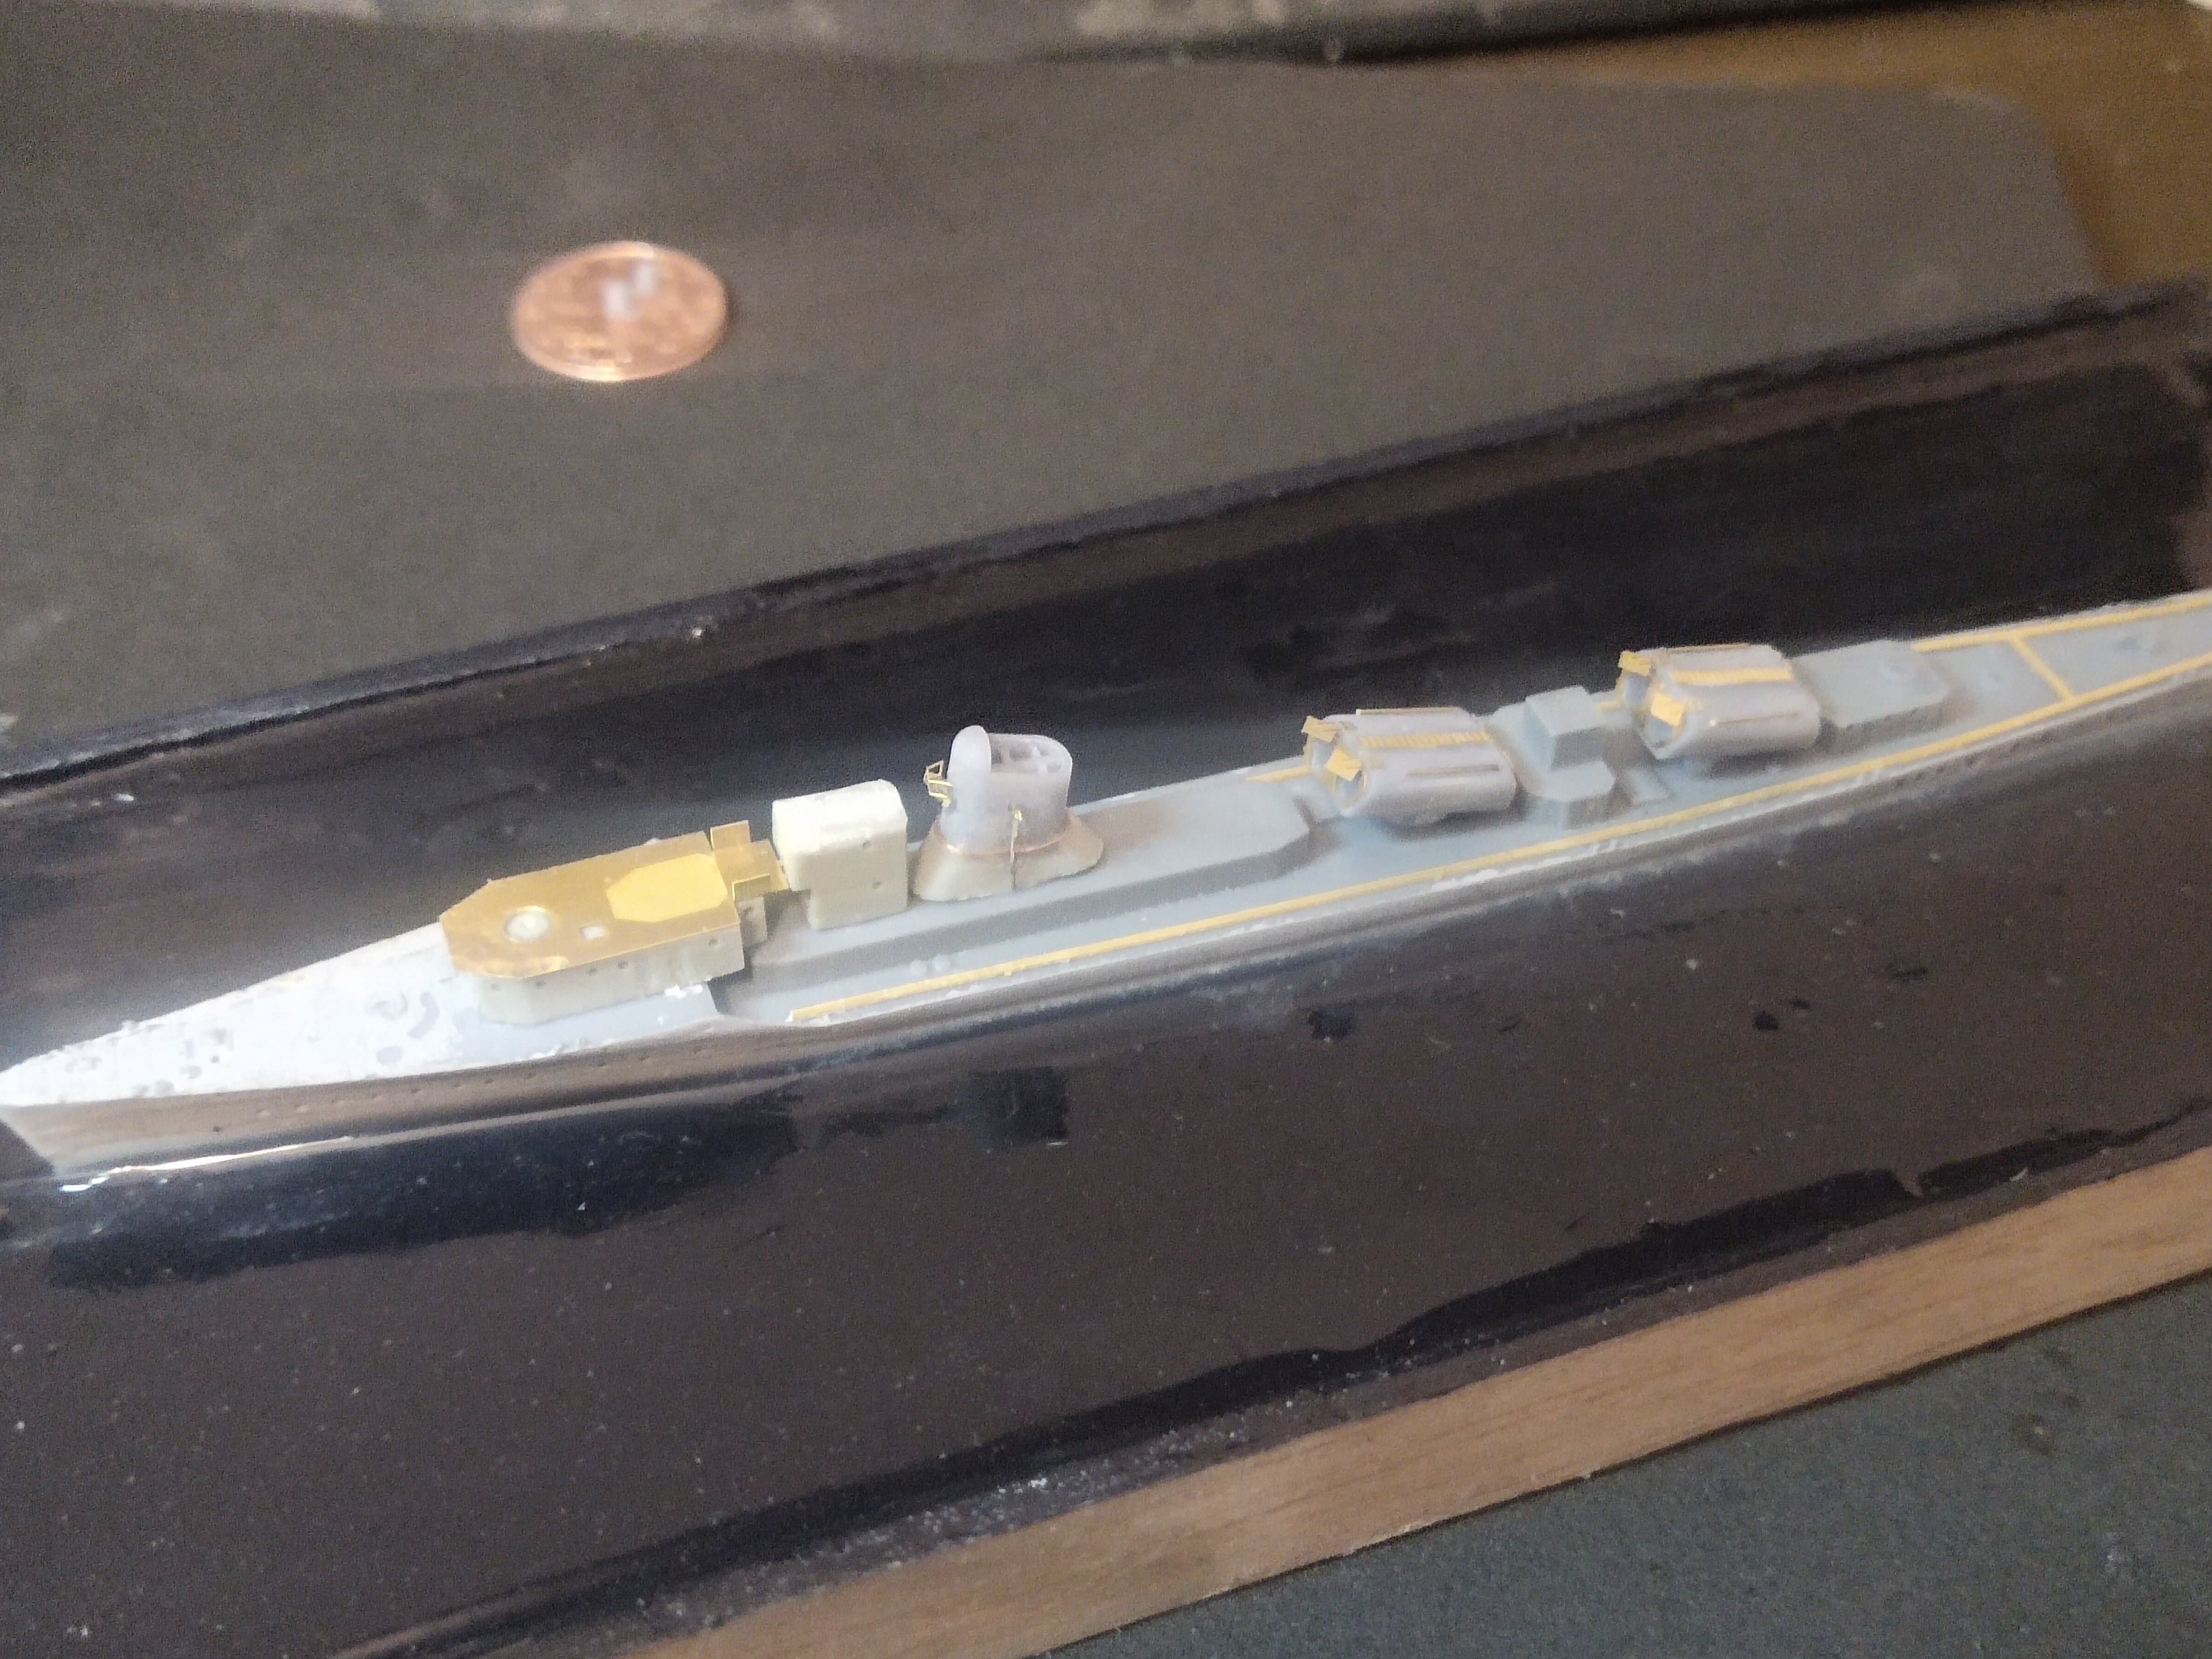
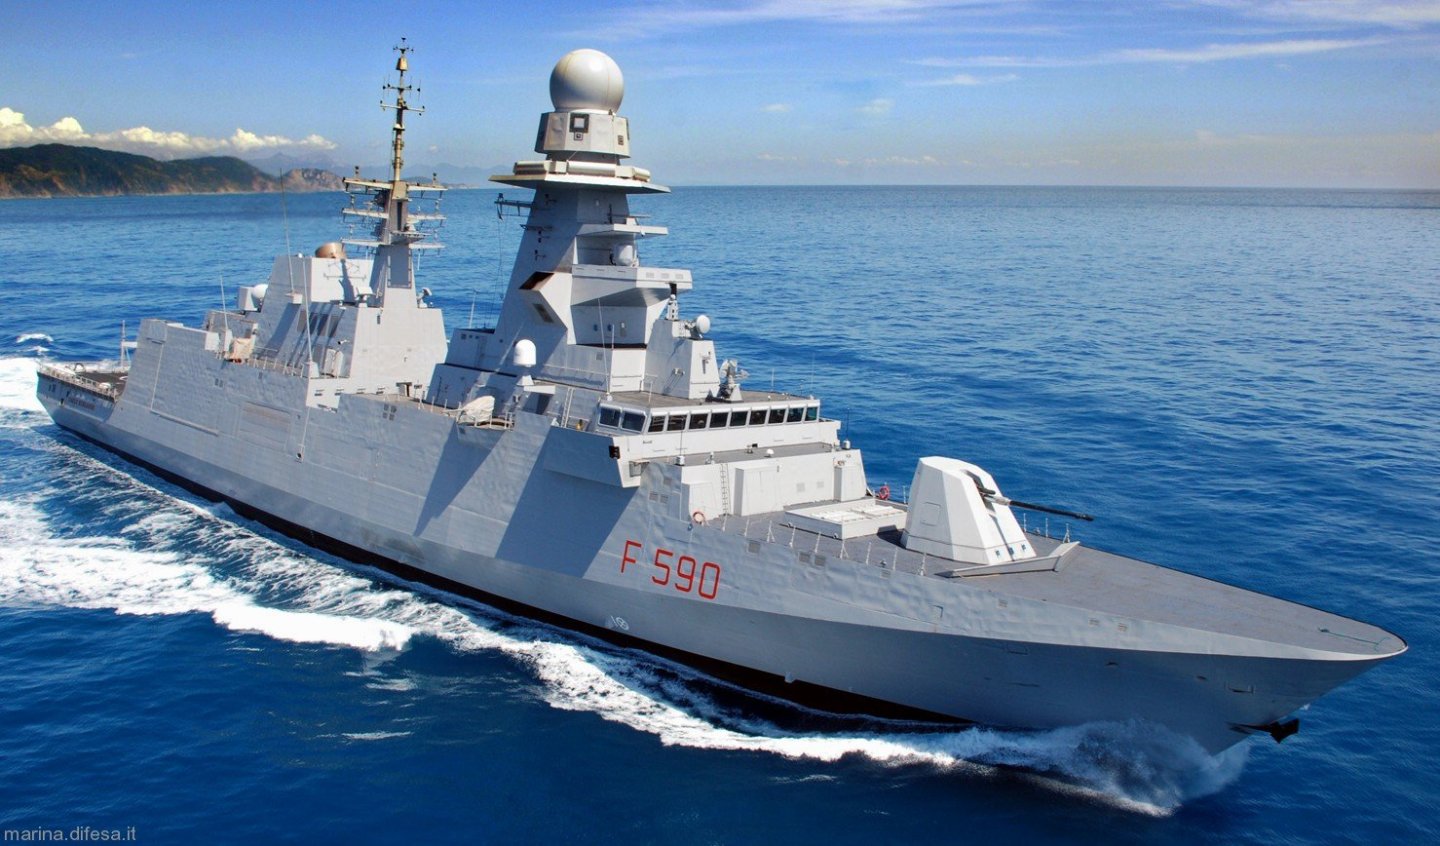
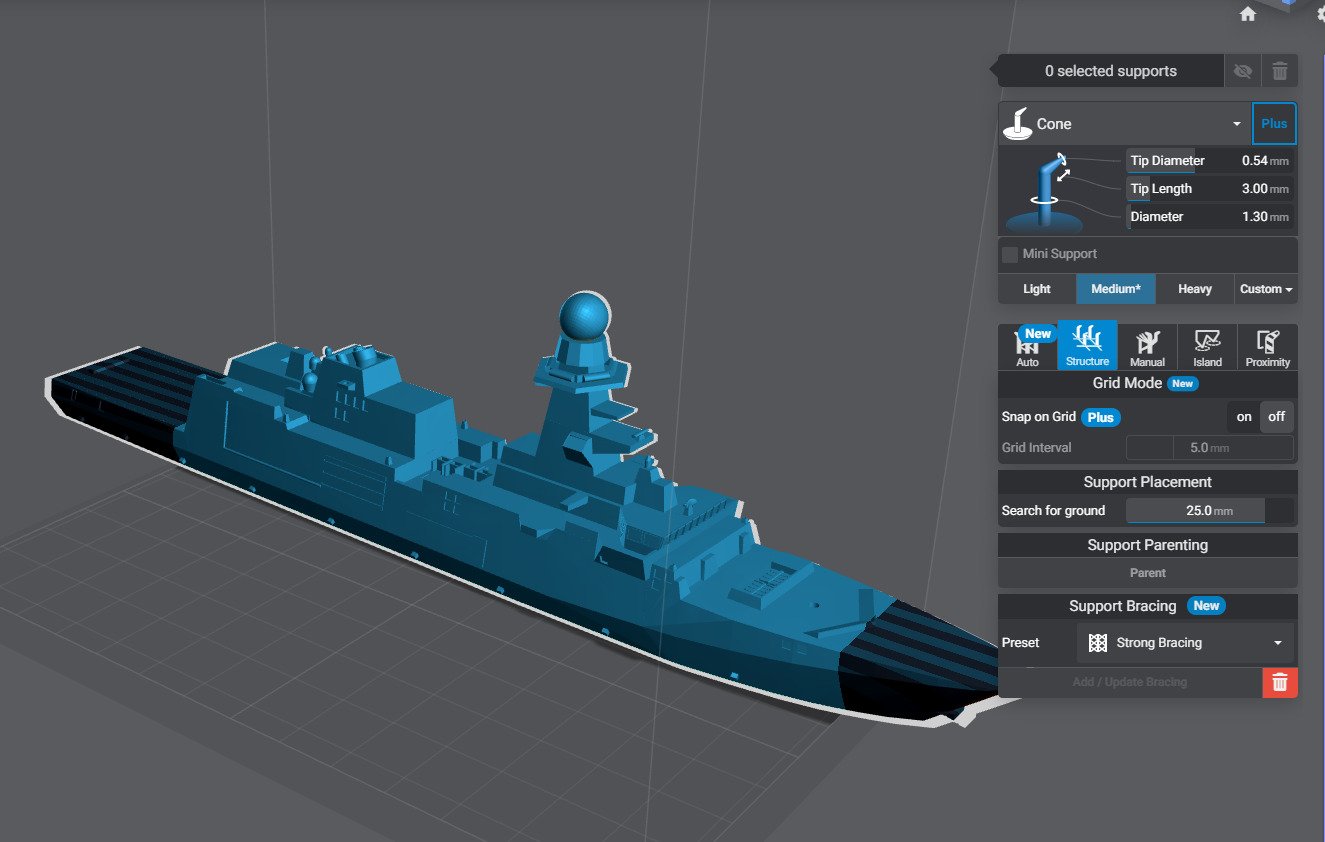
I bought a cheap basic model of a Bergamini frigate in 1/700 and I am working on it to add more details. When its completed it will be posted online
-
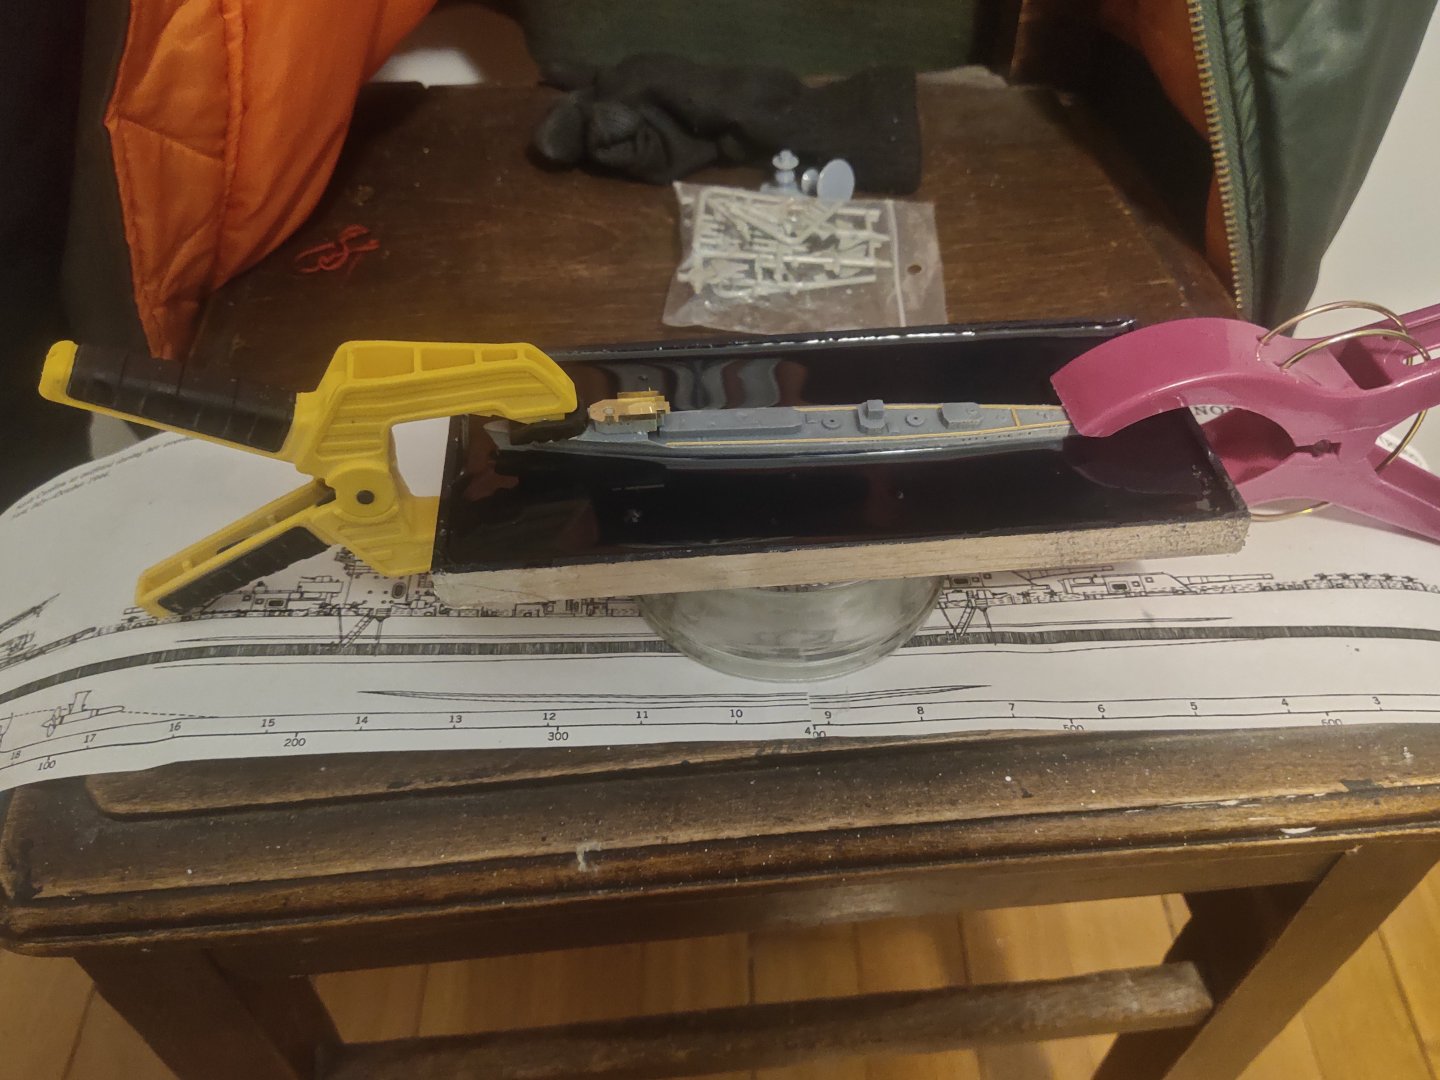
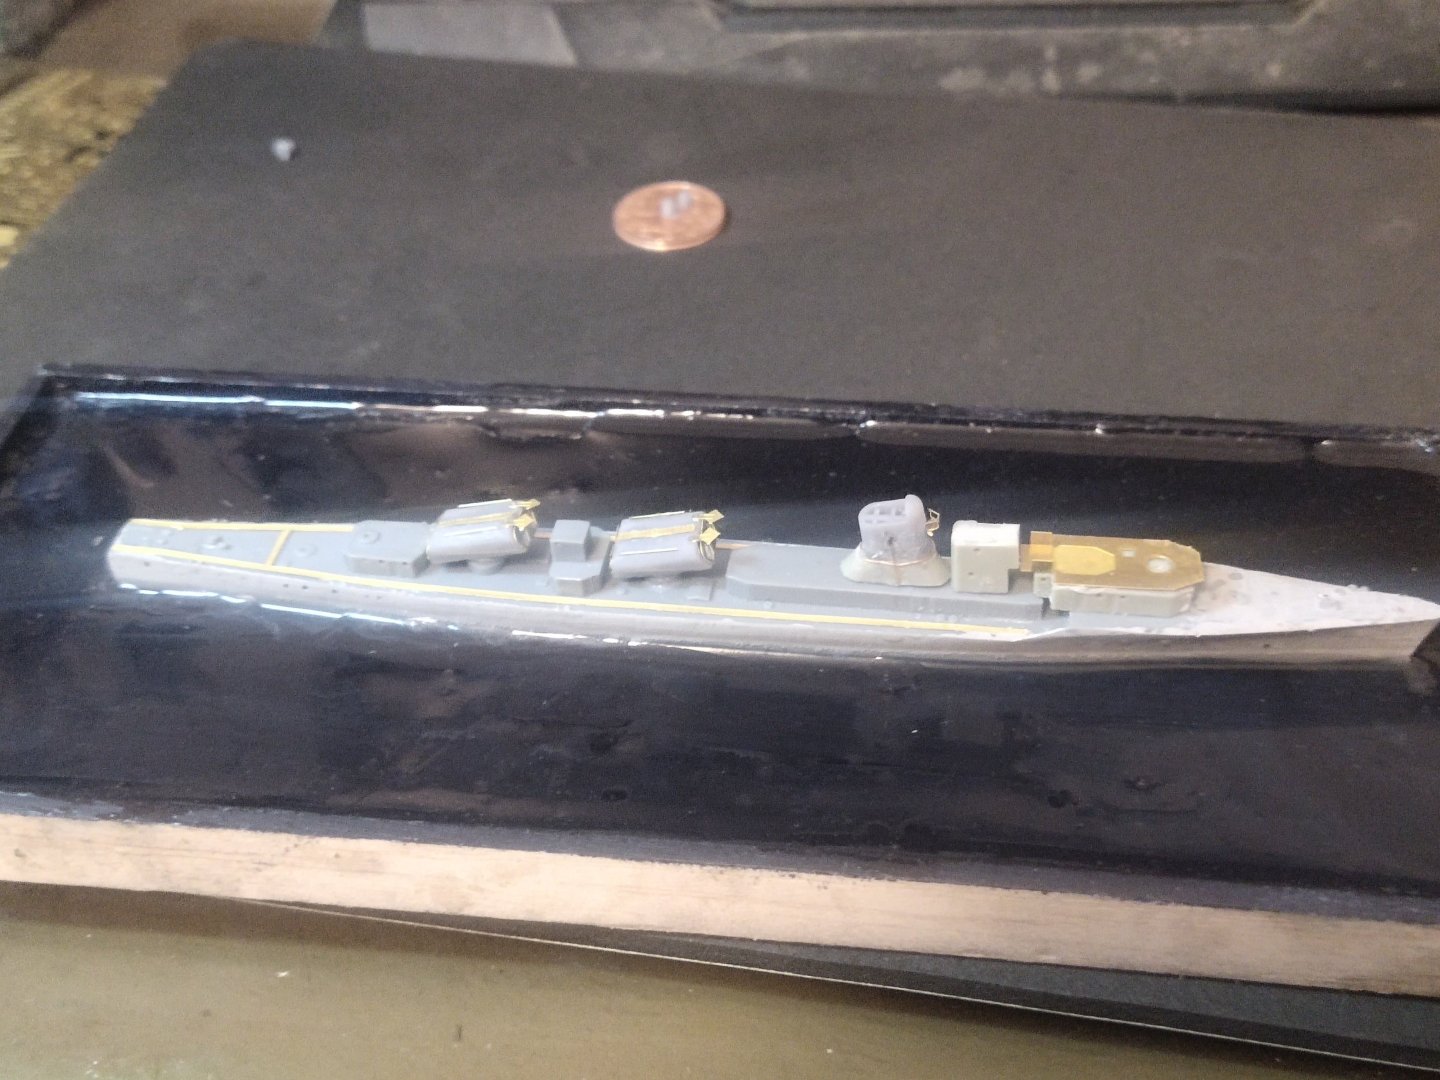
I had issues how to permanently straighten the hull. A wooden base was made, model was placed on the center and a small amount of resin was poured. It was left dry overnight. Hull sides were painted gray already. Looks like I have to cover the base before future painting. t Upon my first look at the model it was noticable how many PE pieces exists, comparing to the few resin ones. First trouble came when I start to make the missile launchers. Apart from the base the others are metal ones, a frame and the "skin", mini parts than must be folder in oval shaped and attached over the frame After struggling for 2 hours it was pretty obvious that there's not a chance I accomplish this task and even if I do result will be mediocre. So once again standars parts were used as a reference for size and I made my own launchers pack after 3 attempts. Then I only add the enchancing PEs. Since there was an option for the hatches to be left open, I made also a few missile heads. Finally the funnel was added with bit extra detailing according to pics I studied


-
Thank you Alan I am looking forward to see your work
-
mikegr reacted to a post in a topic:
Rebuilding the fleet by mikegr - 1/700 - restoring old plastic models
-
mikegr reacted to a post in a topic:
Anshan by mikegr - FINISHED - 1/700
-
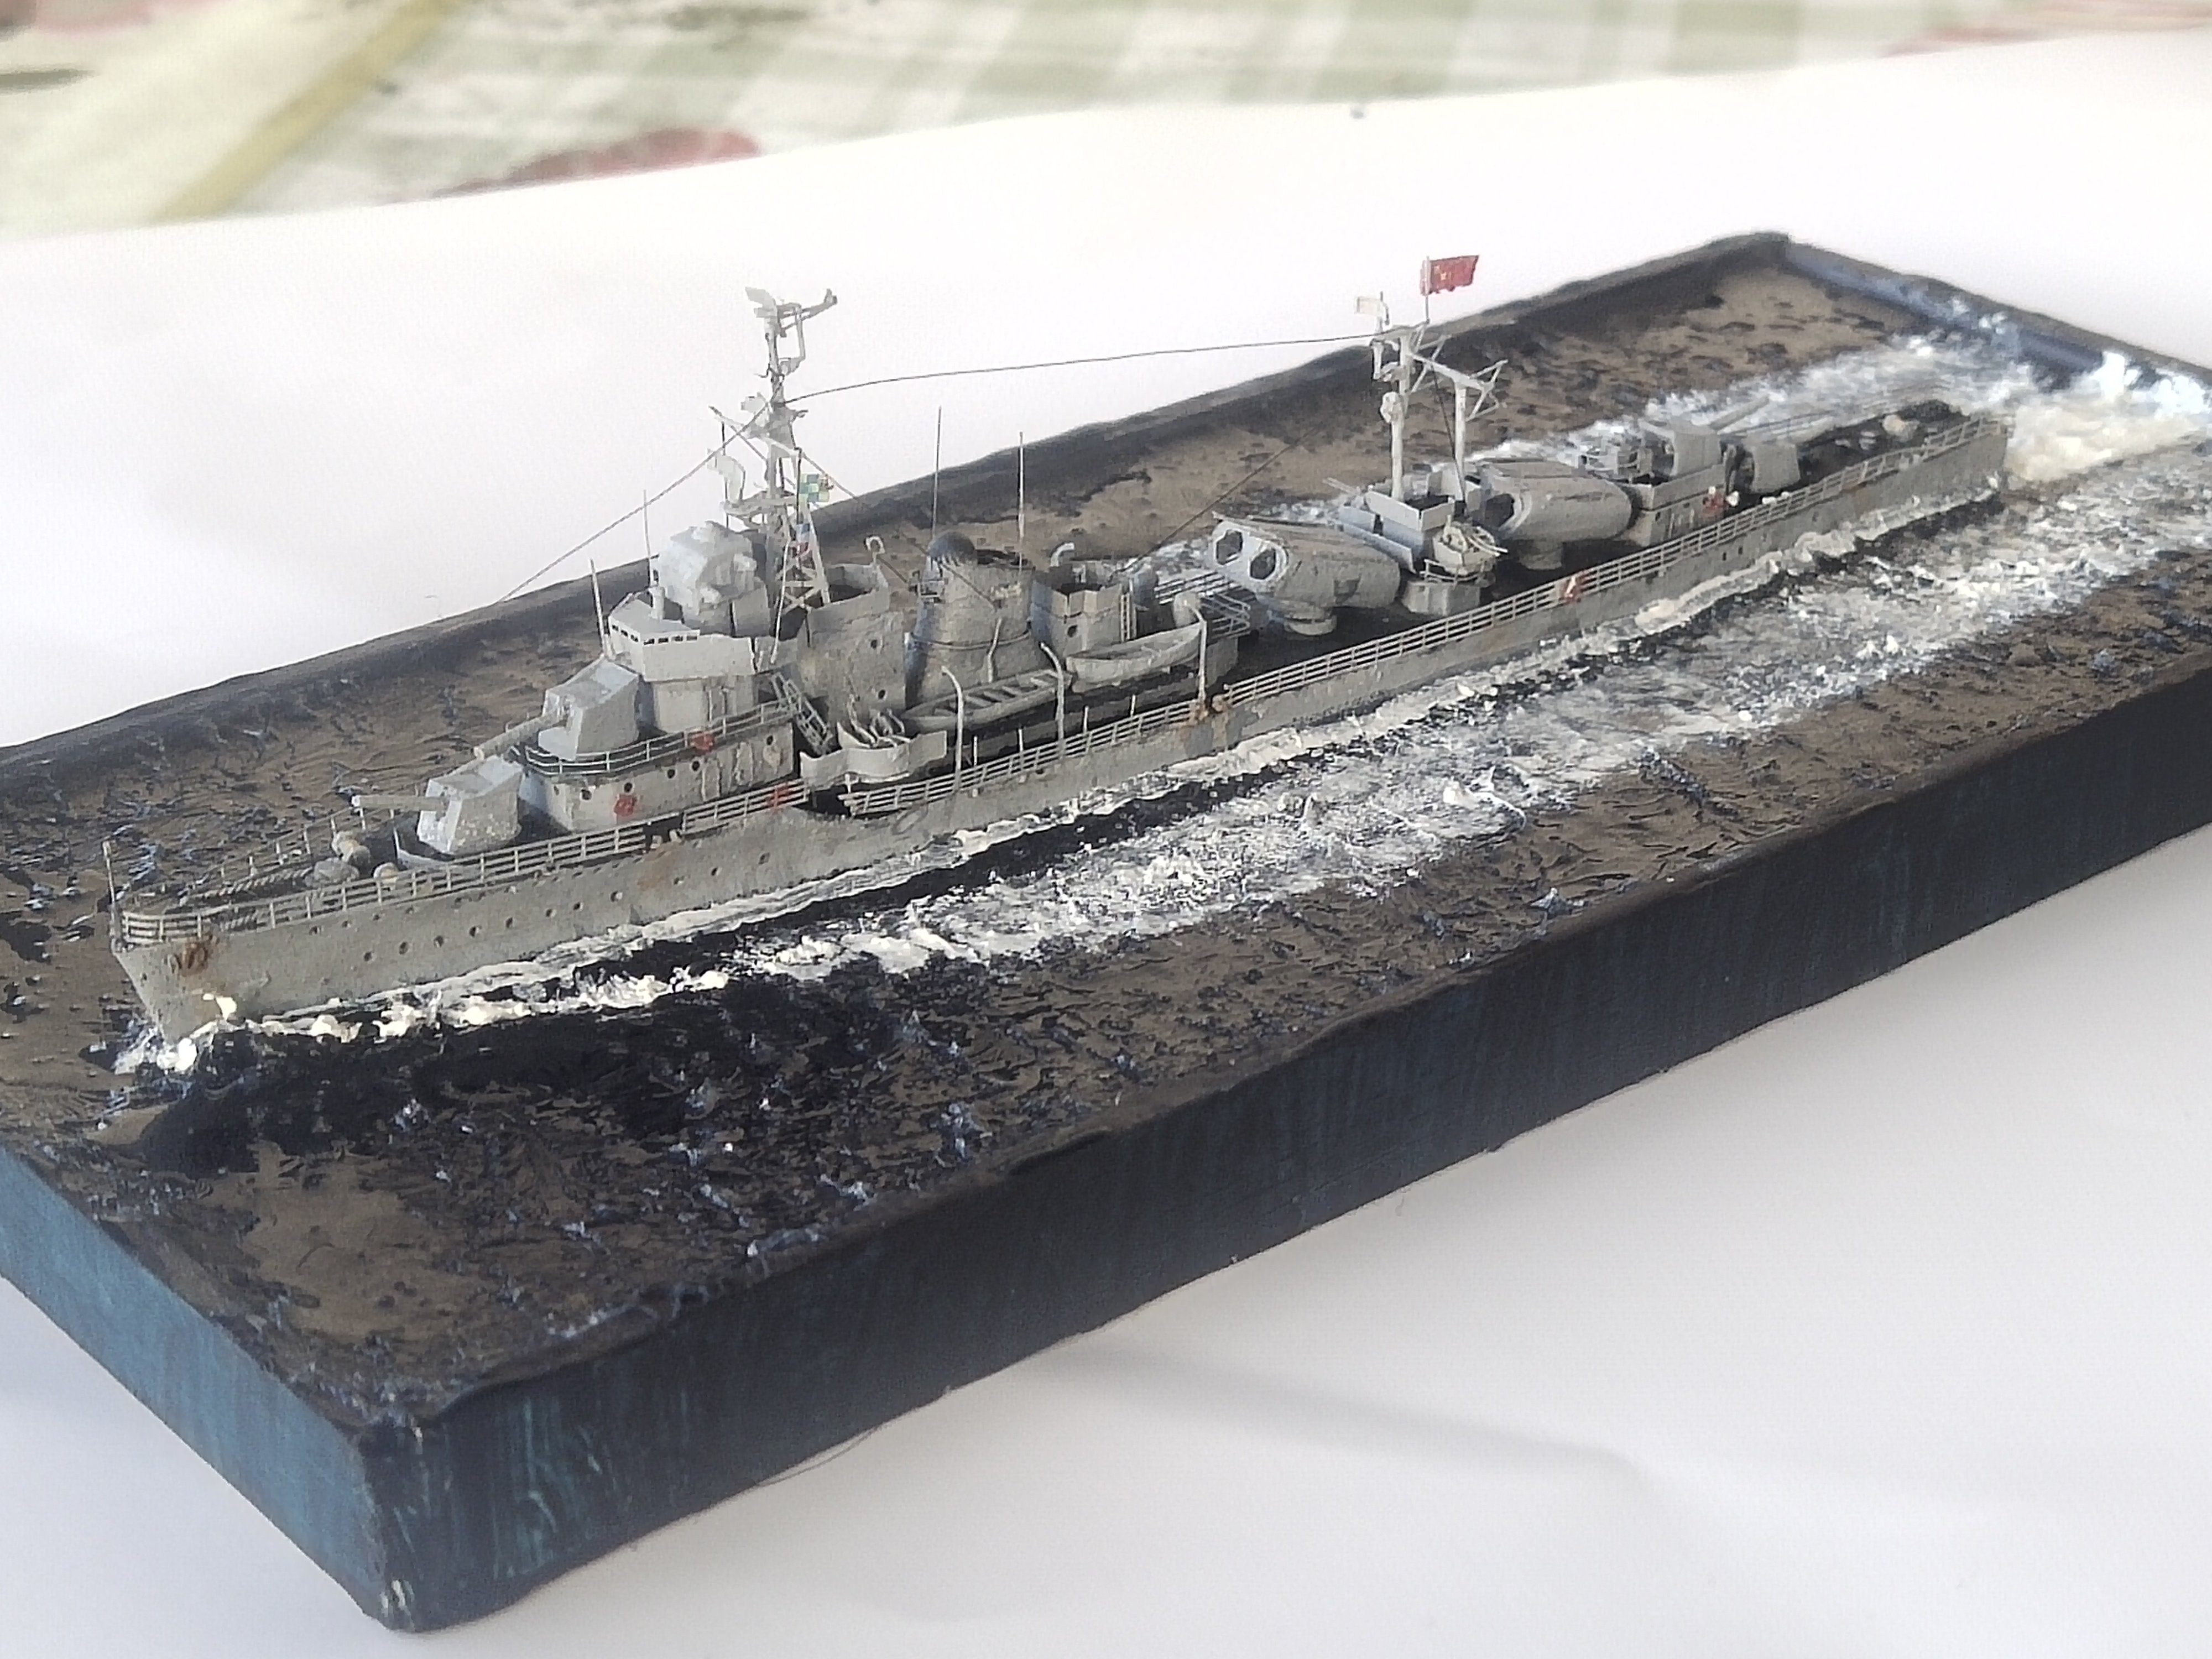
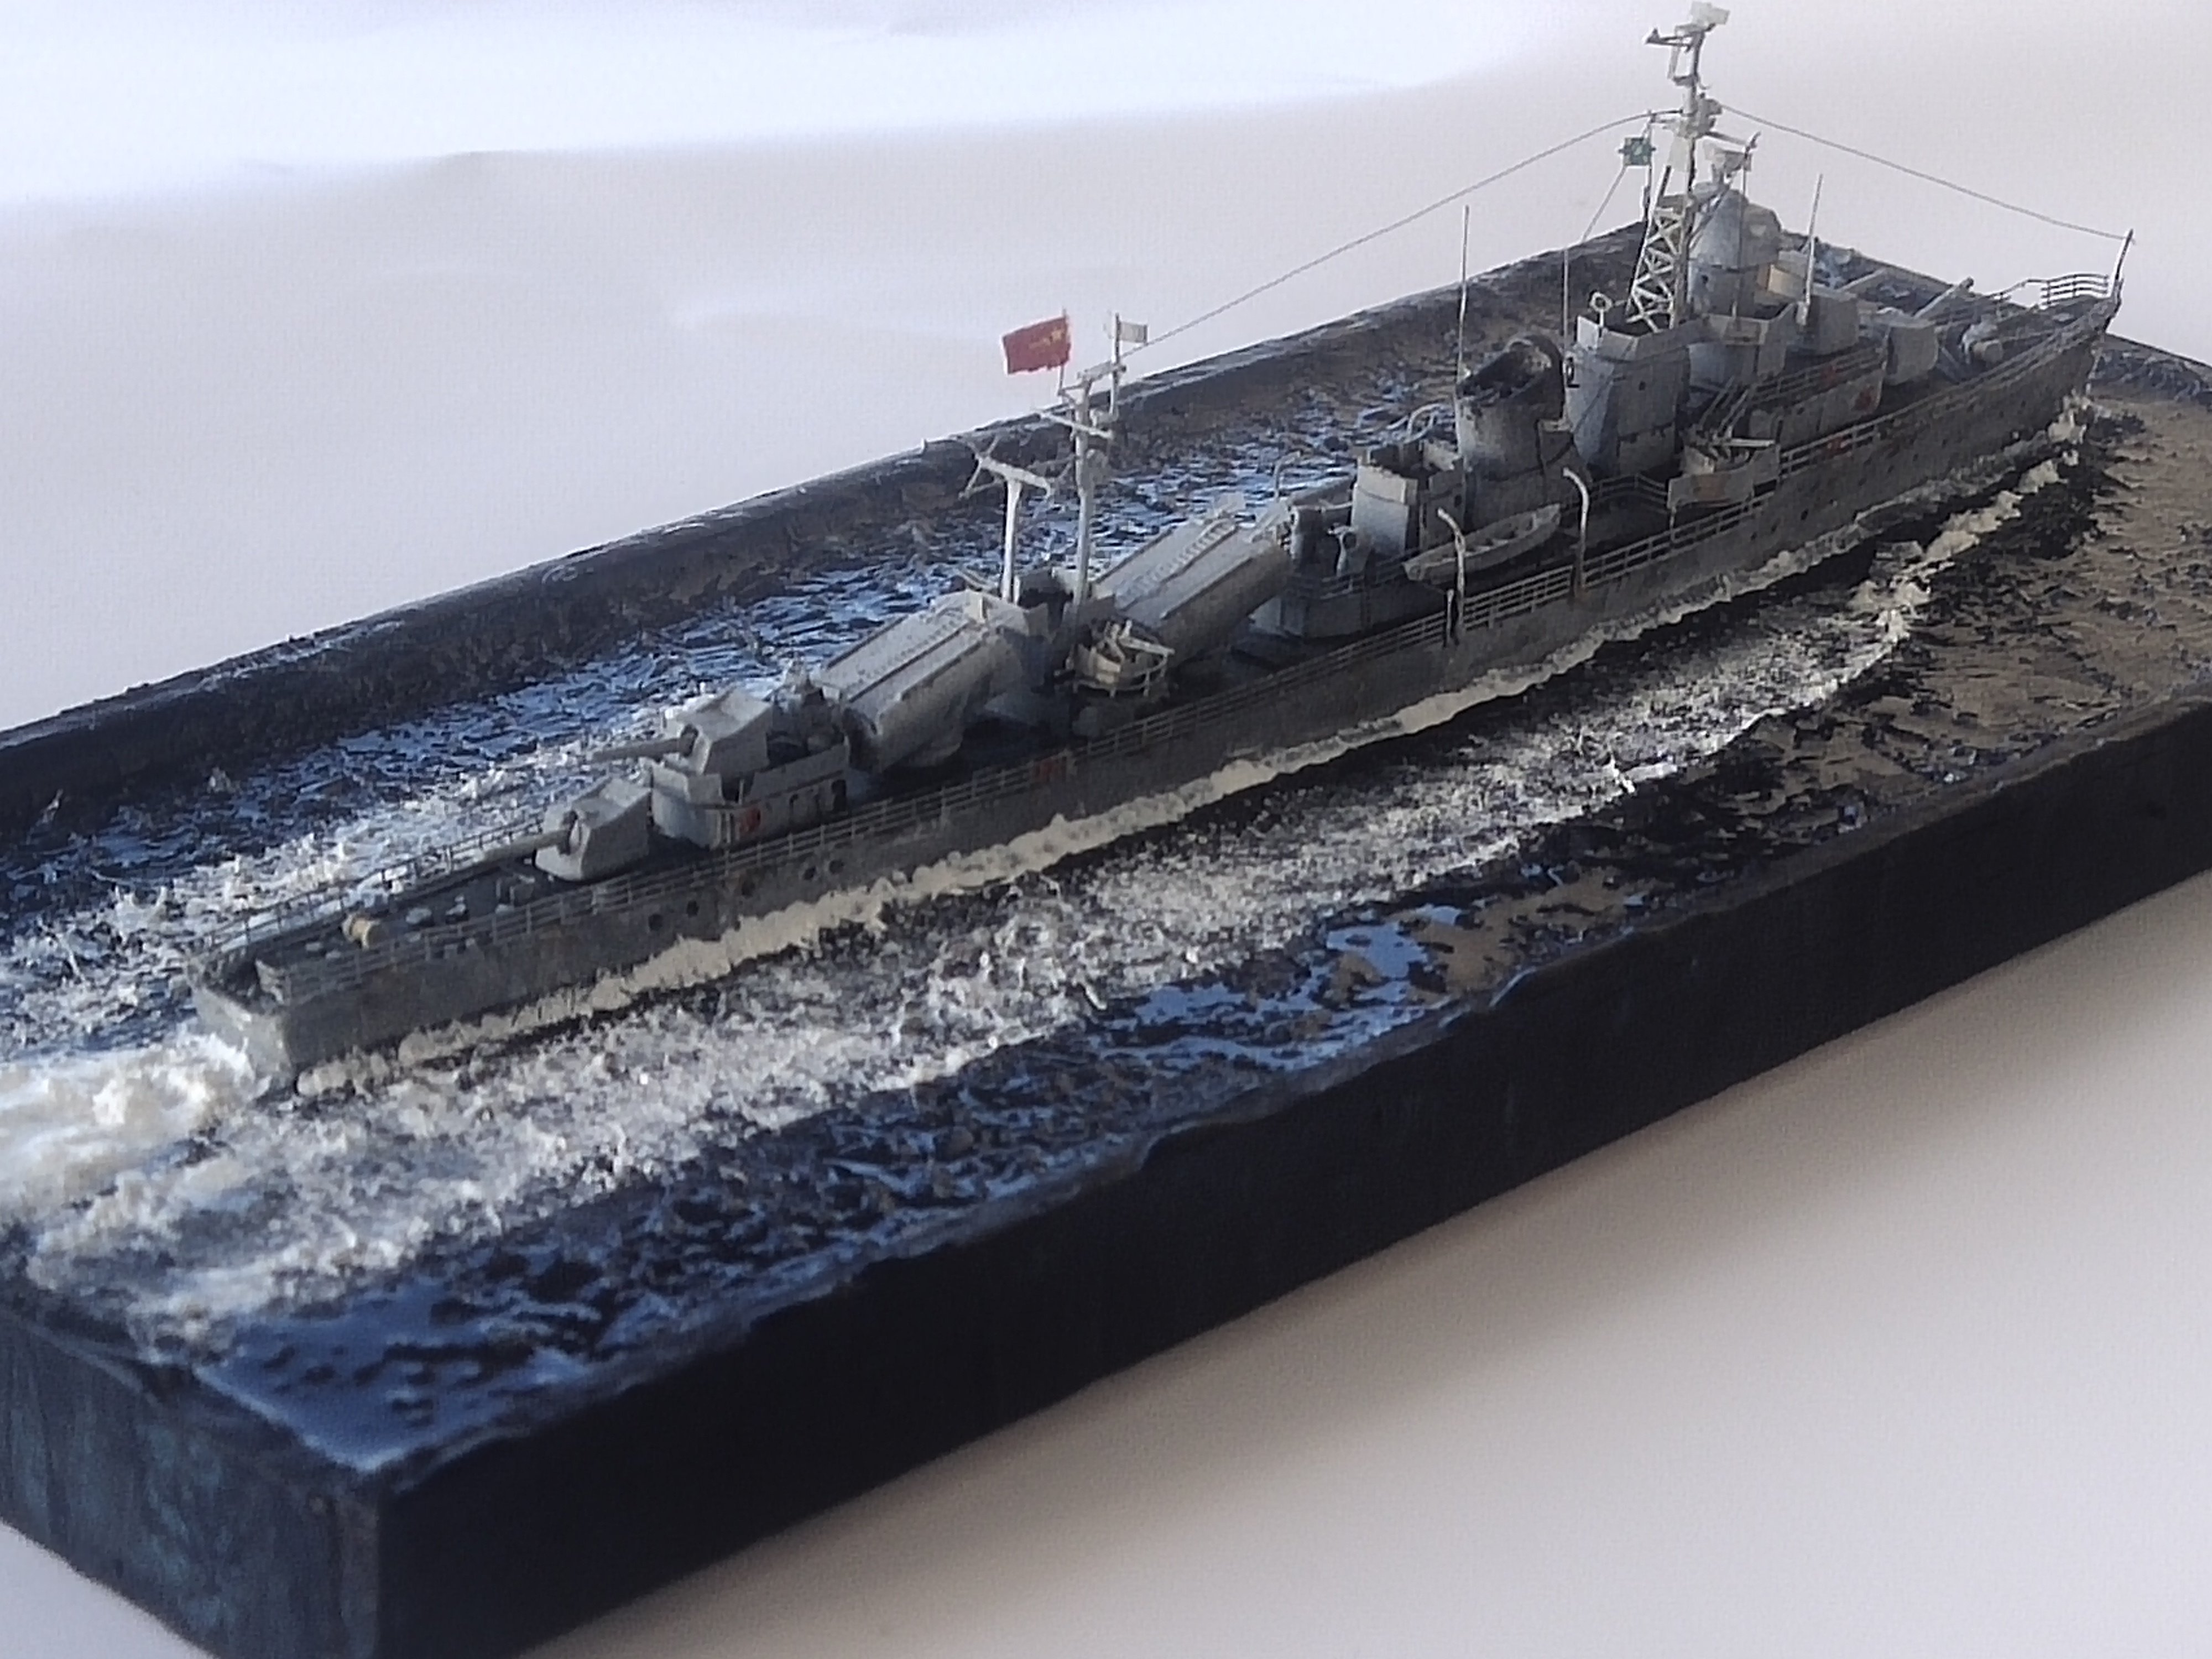
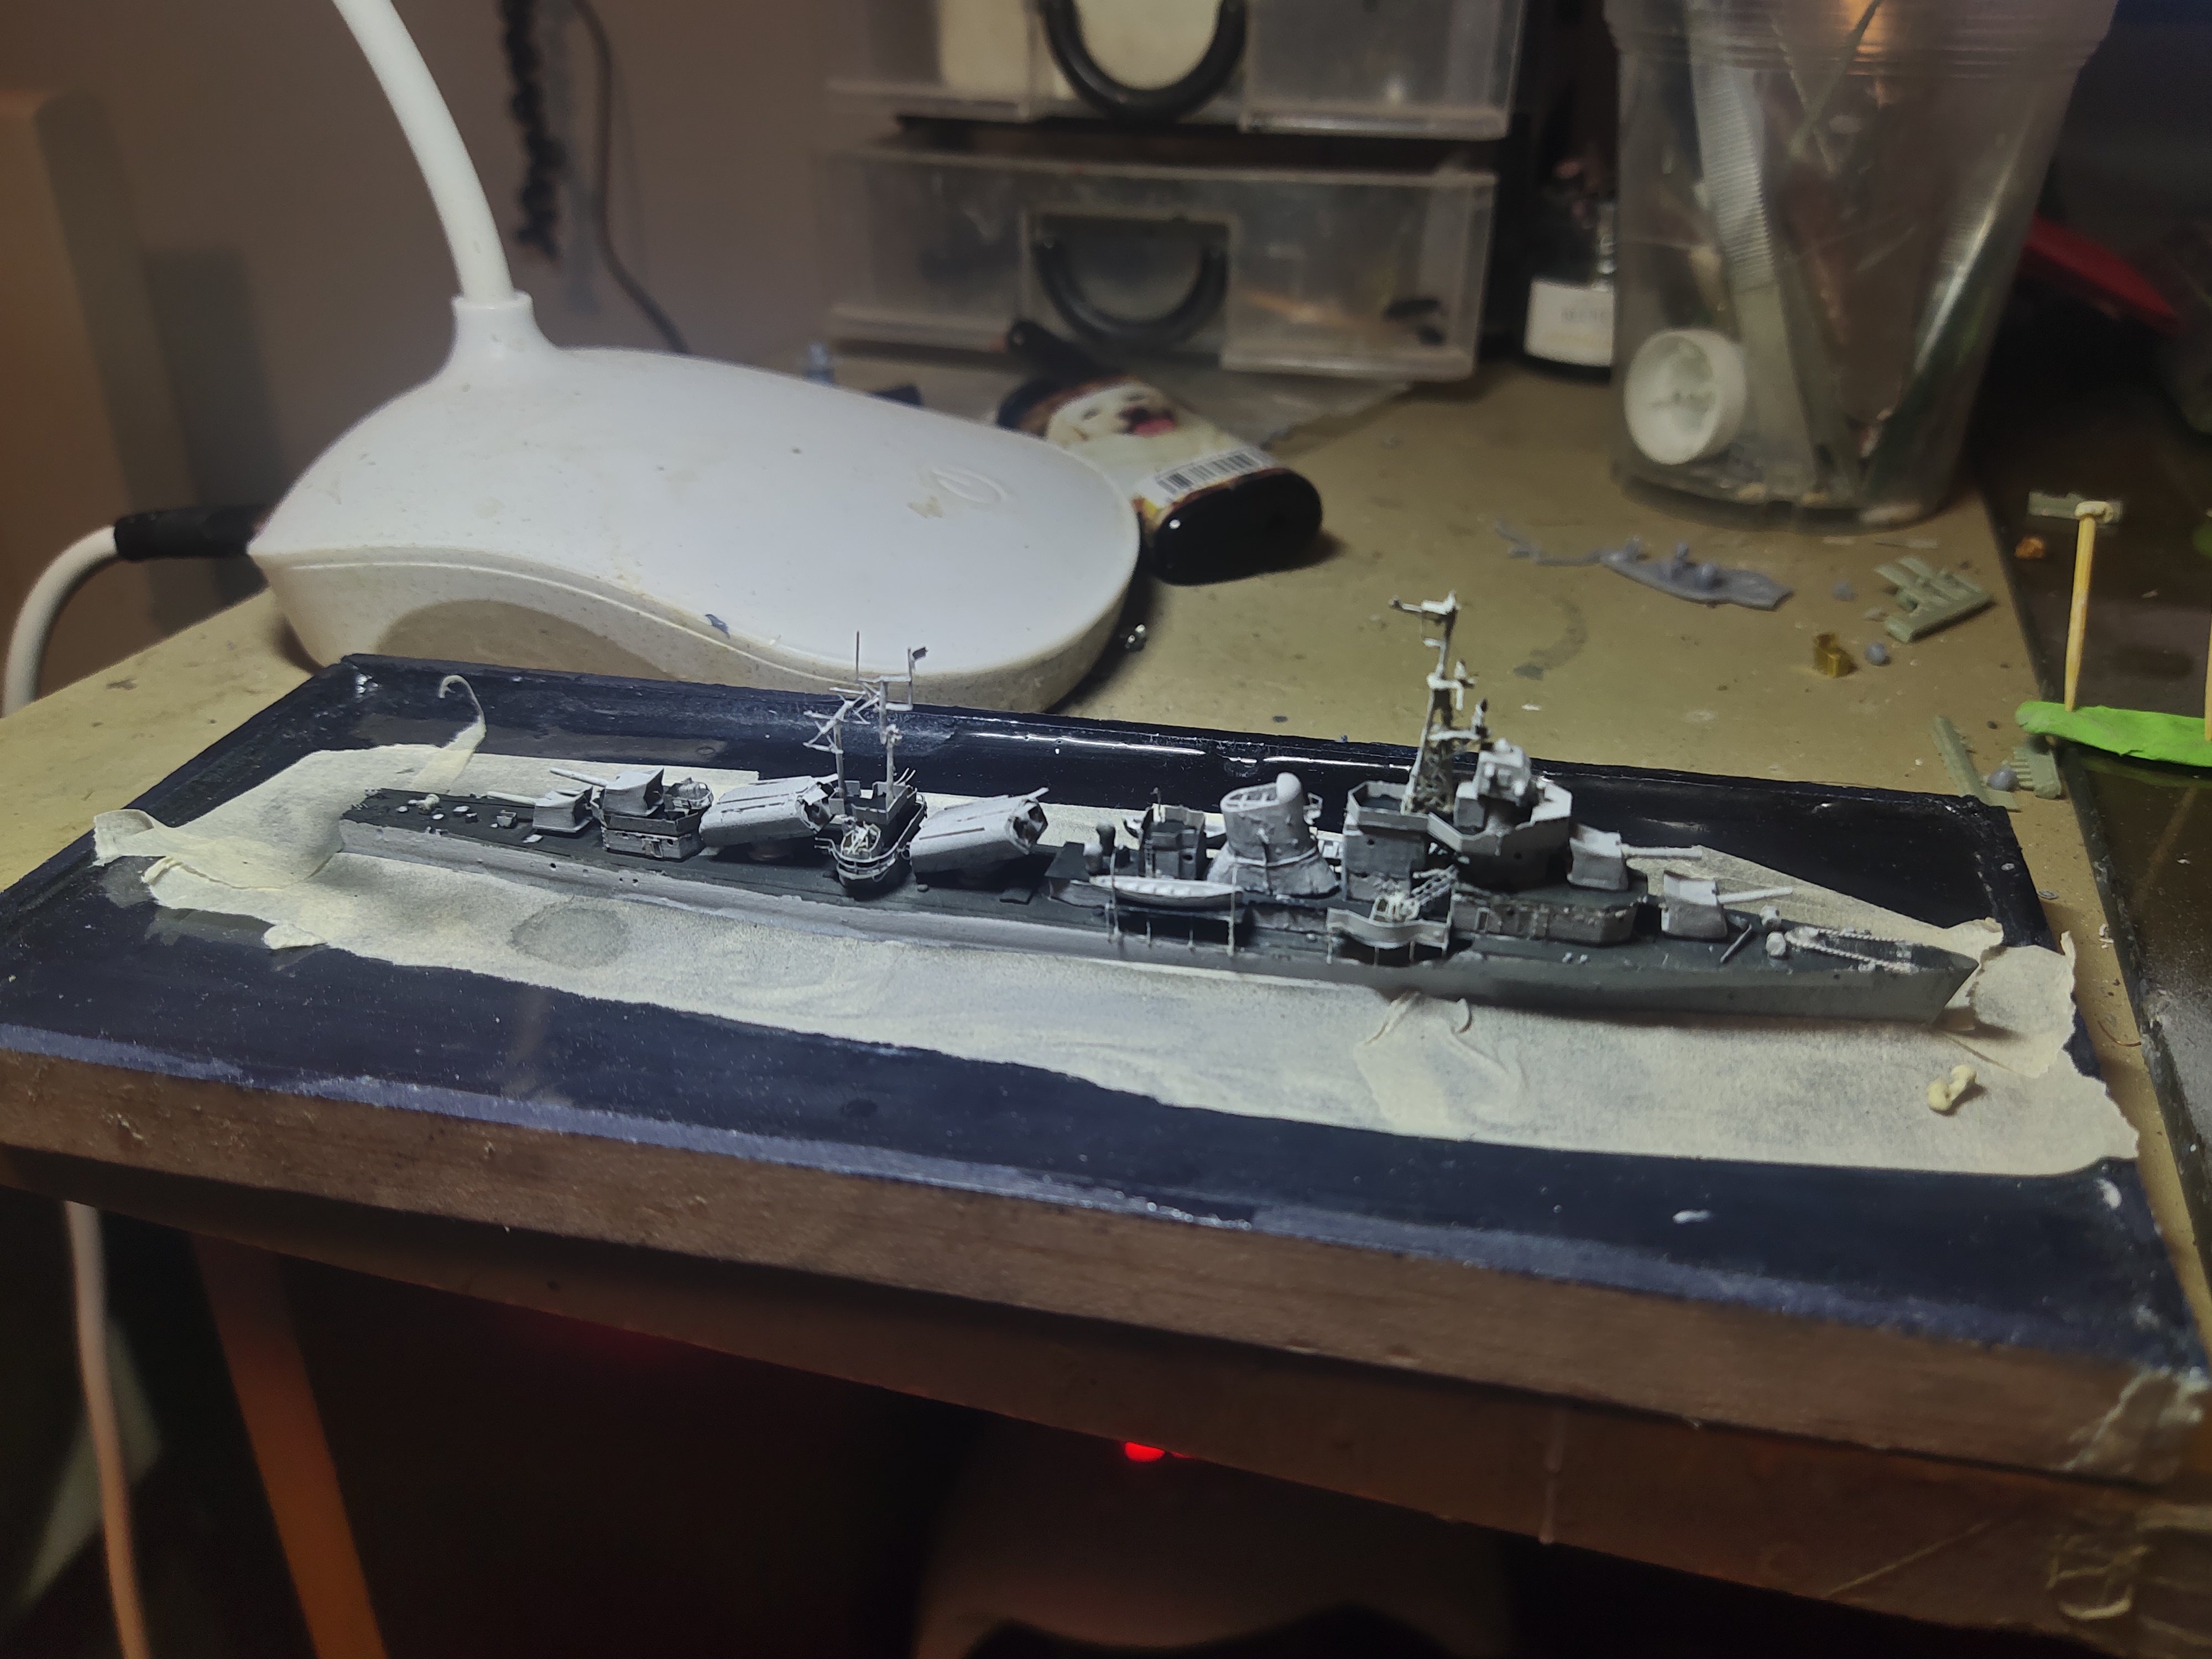
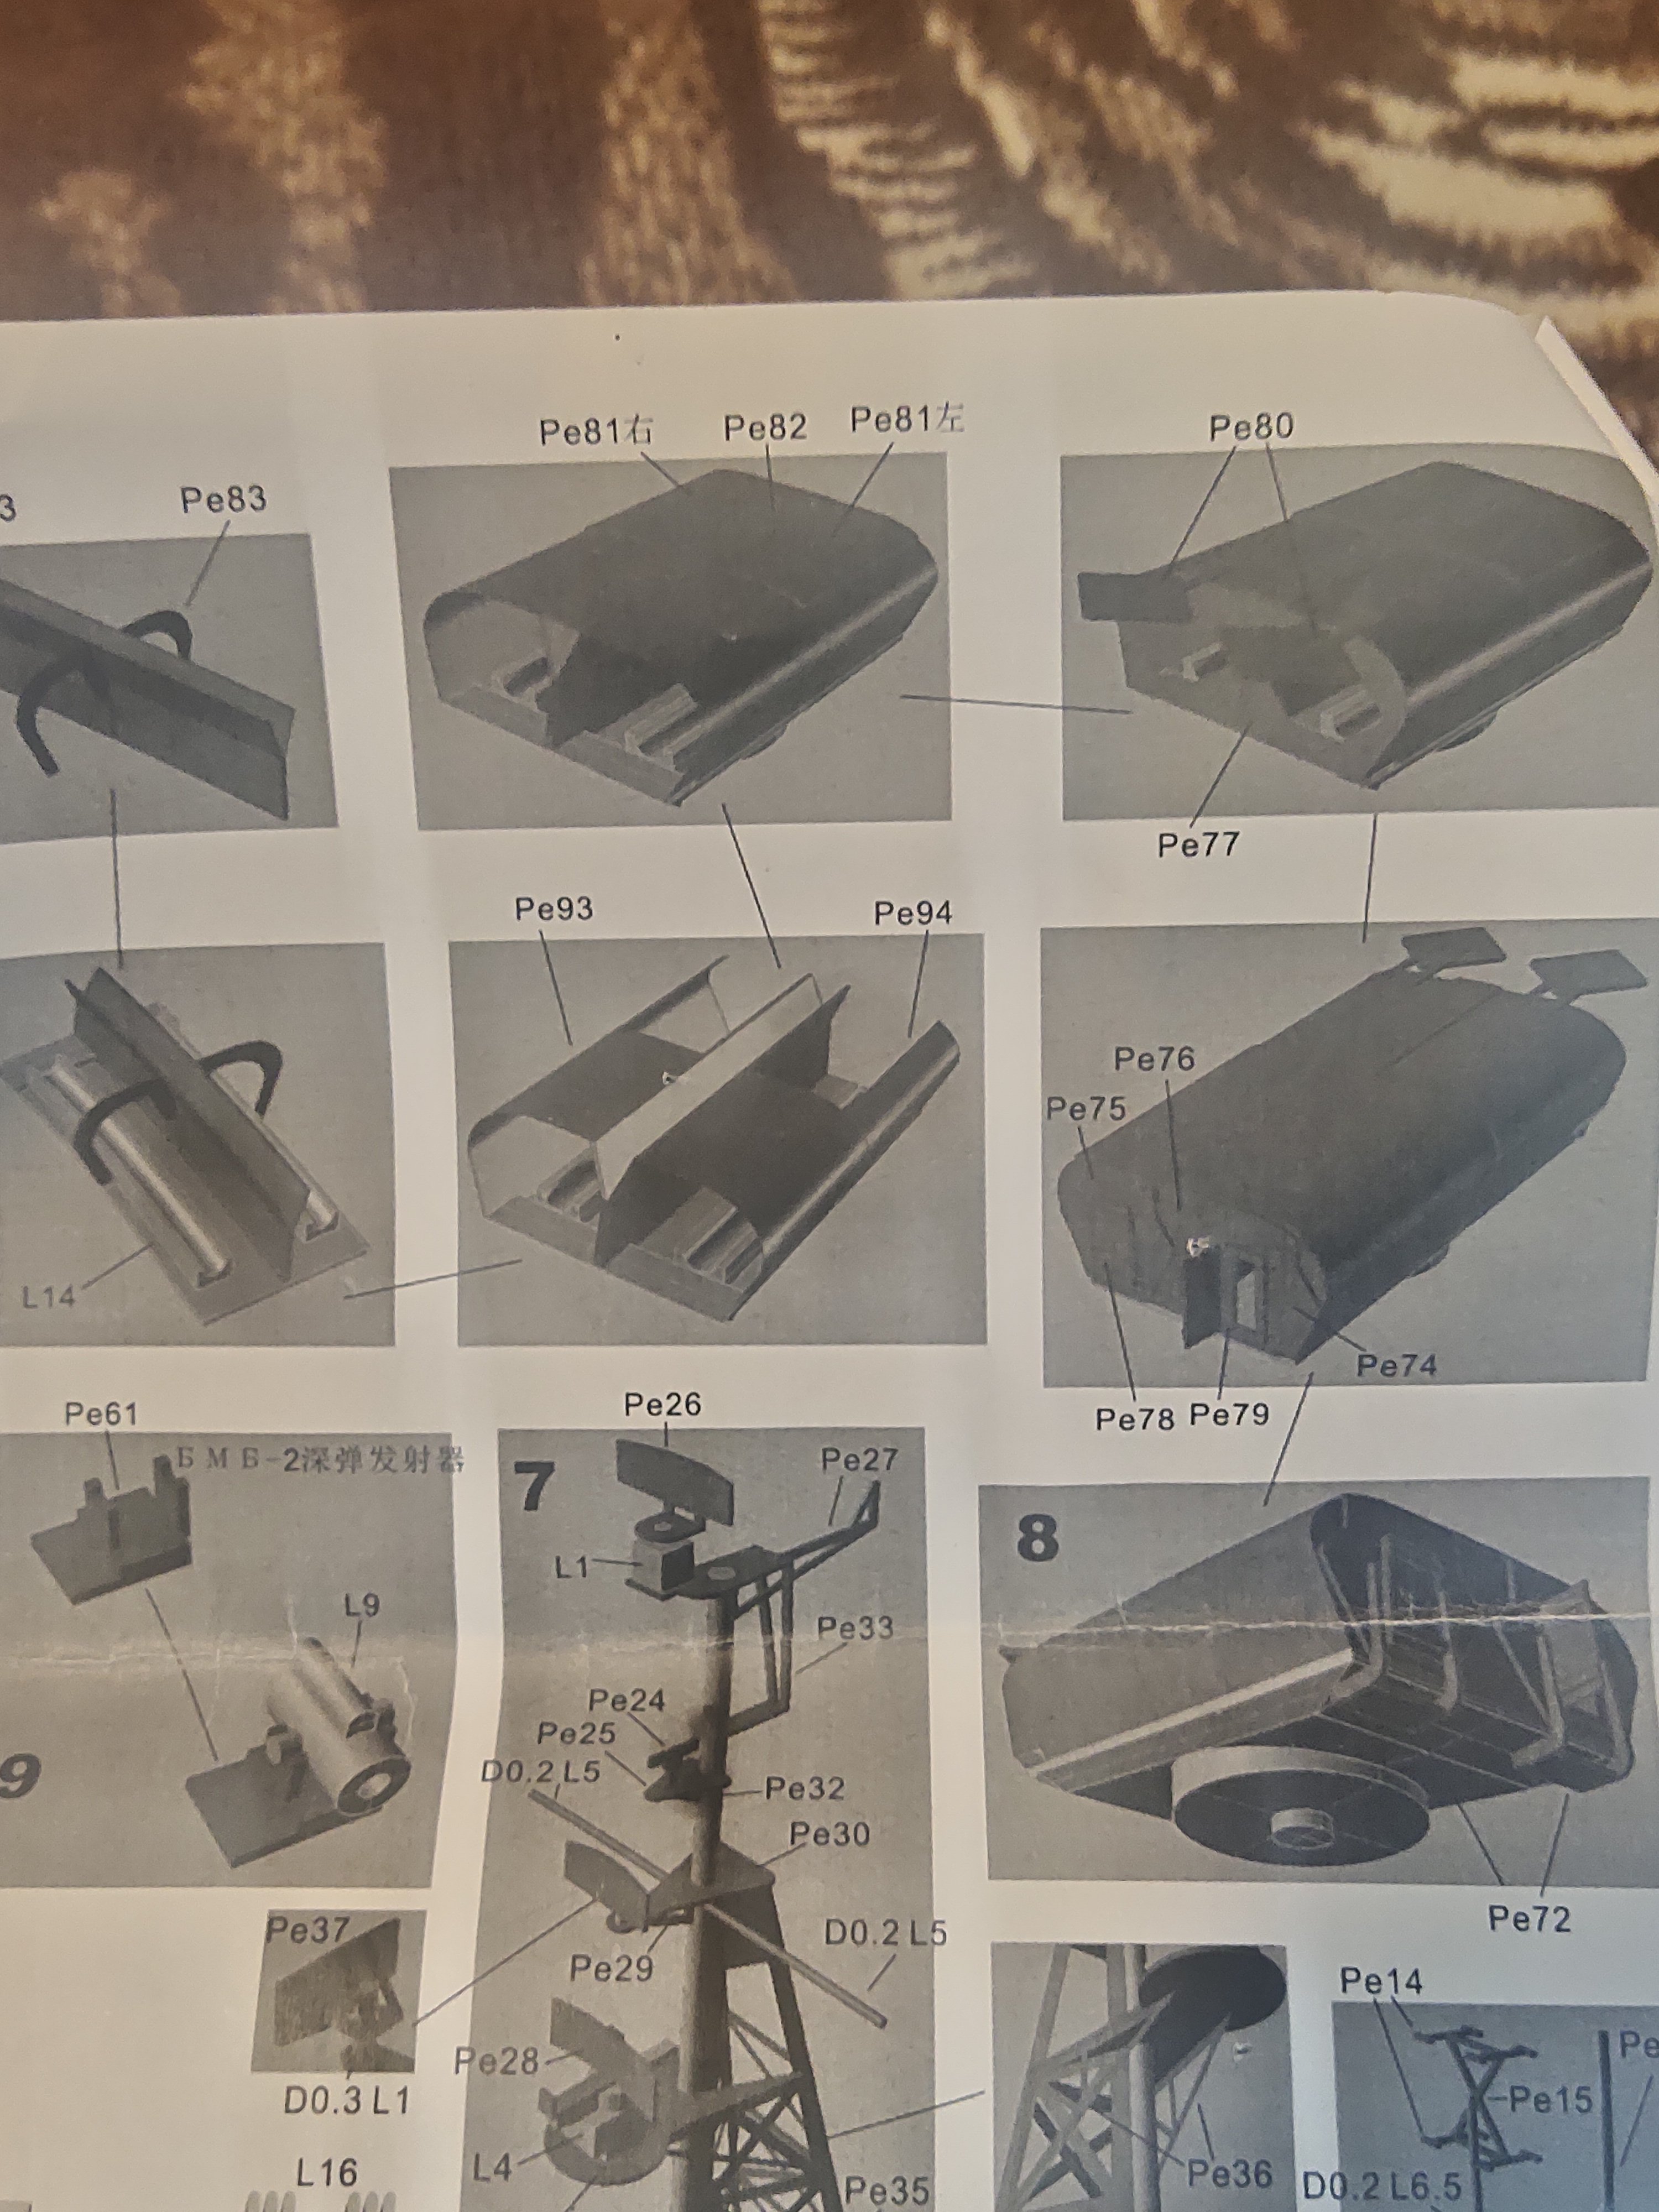
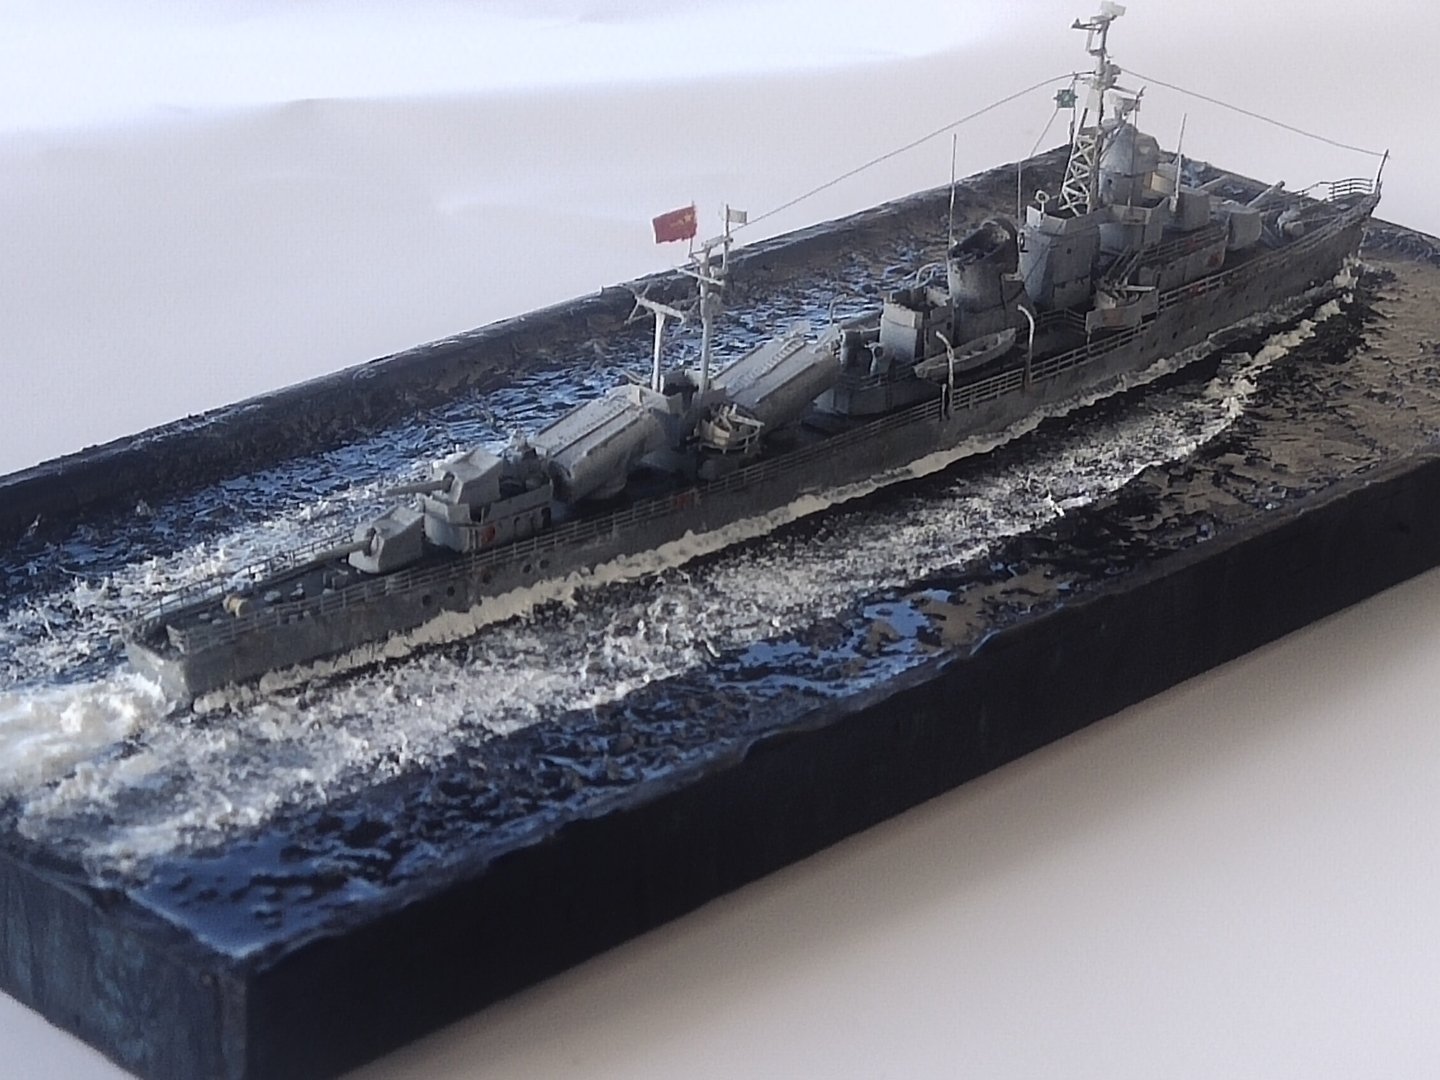
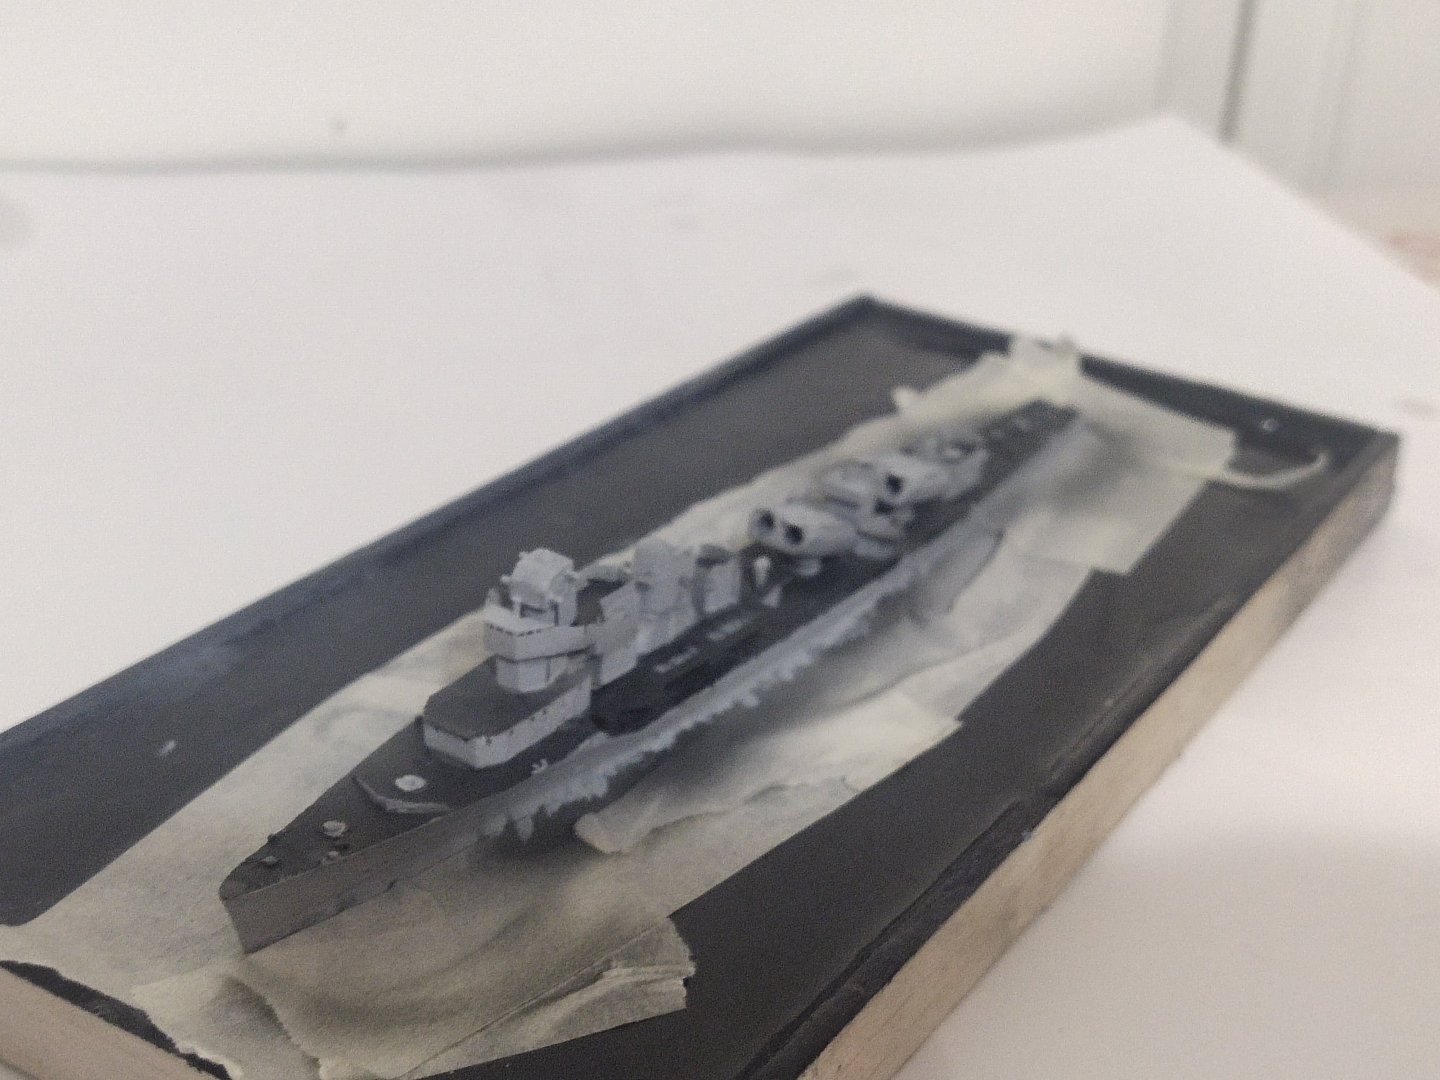
Another model of a less popular ship on my bench, Anshan the first destroyer of the PLA Navy. Ex Russian ships, converted with Chinese missiles replacing some torpedo tubes. This ship today is a museum The model I bought it from EBay. The manufacturer is Chinese but I can't see the name. There are two PE sets with lots of big and small parts and few resin pieces. In fact most are PEs even some big parts of the superstructure. Finally the instructions are a 3 page photo copy, showing each part assembly, them fitting them all together to the hull. Not sure how helpful will that be. The first I did is to straighten the banana shaped resin hull


-
Thanks I'm just keep on effort so every work will be a little better and not a repeated one
-
mikegr reacted to a post in a topic:
Rebuilding the fleet by mikegr - 1/700 - restoring old plastic models
-
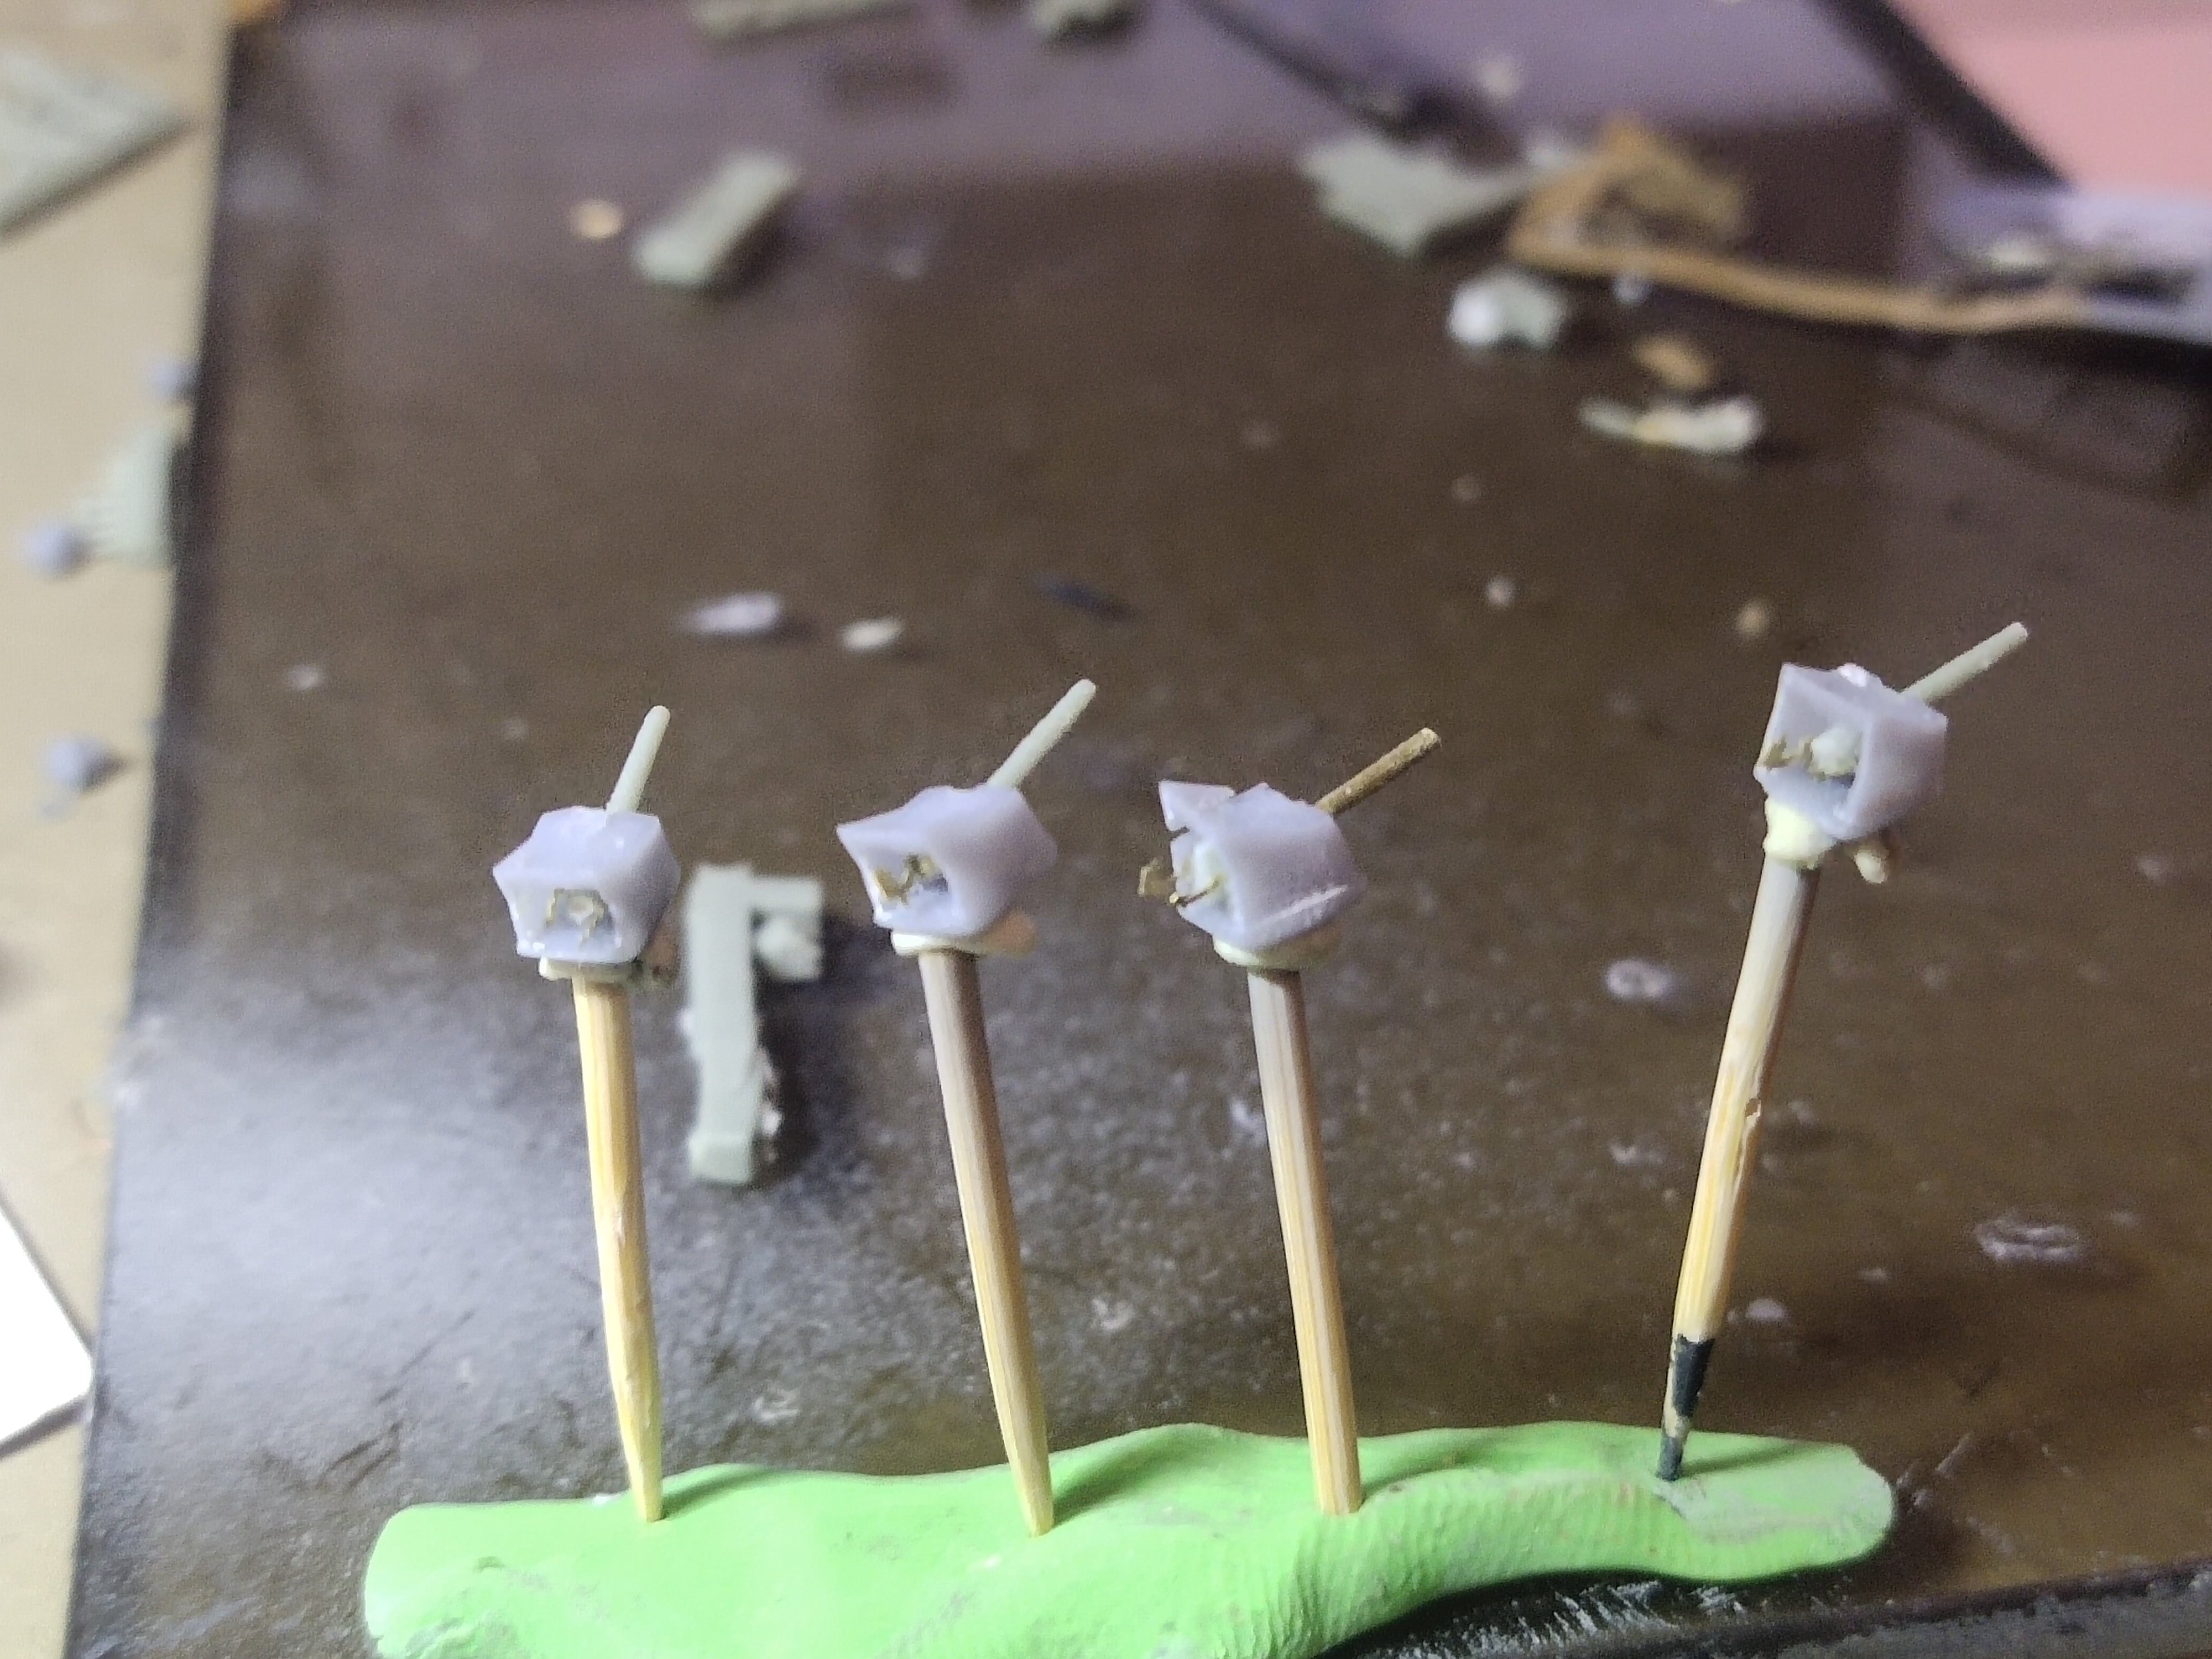
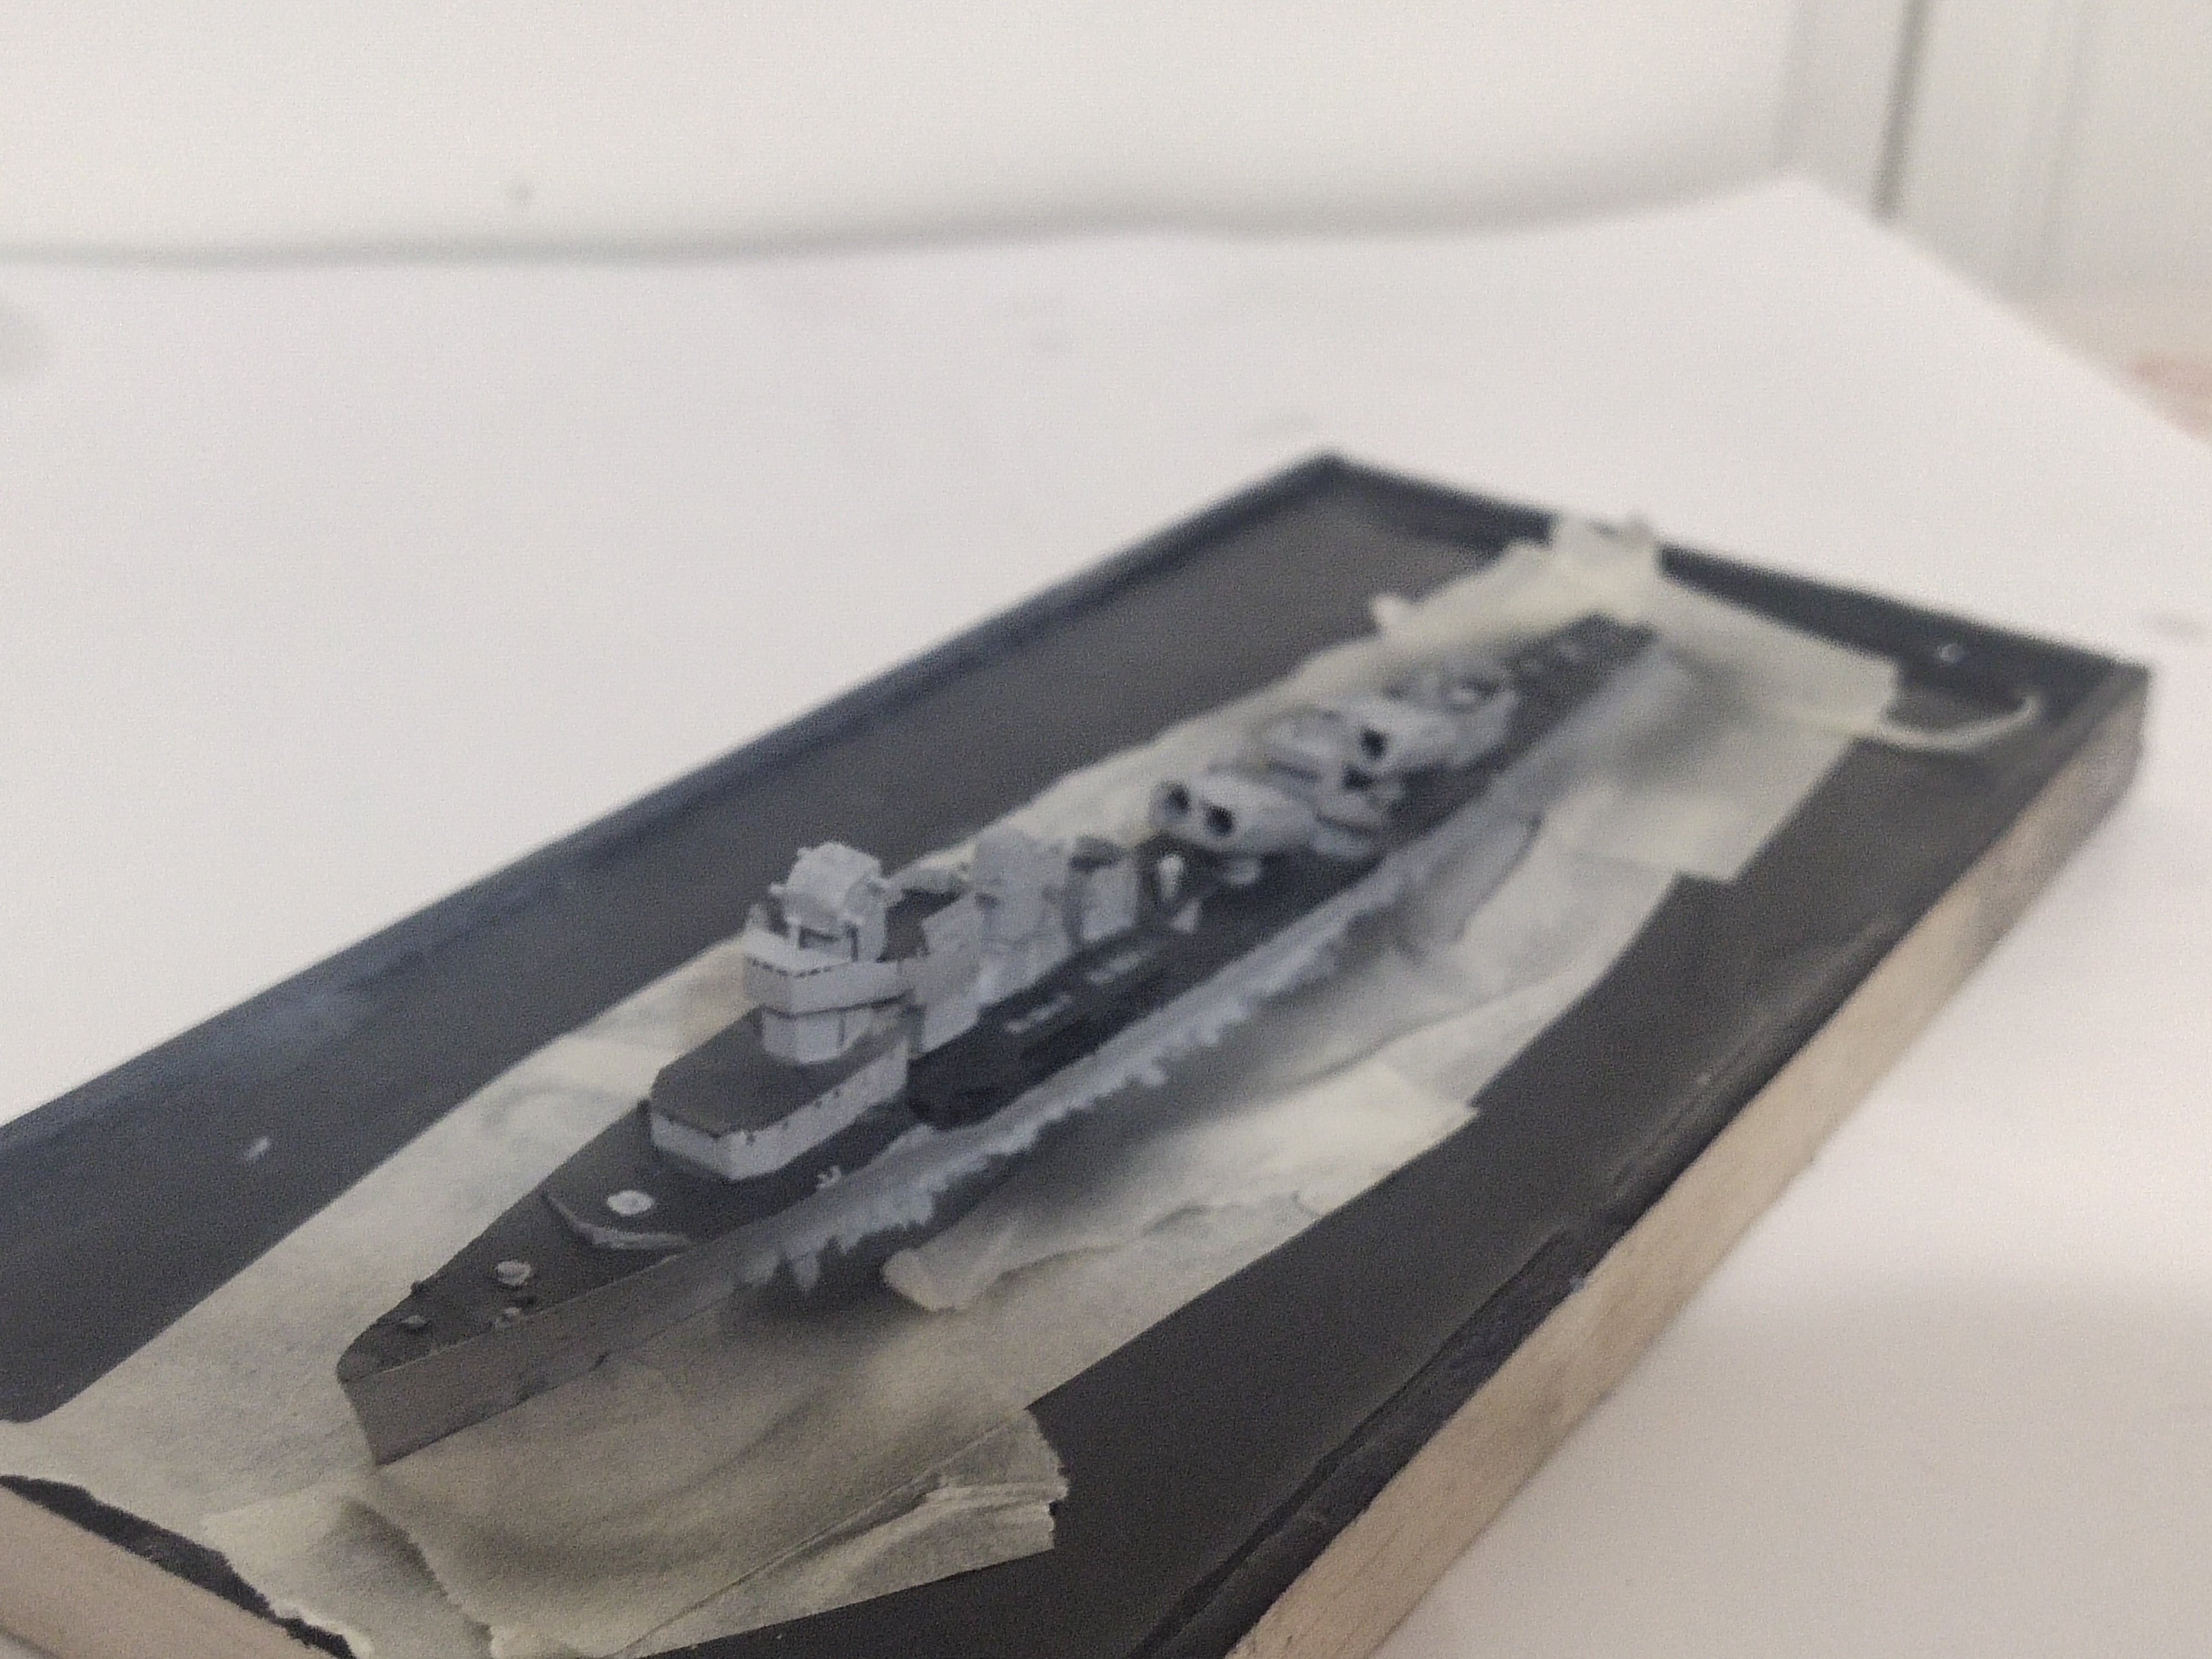
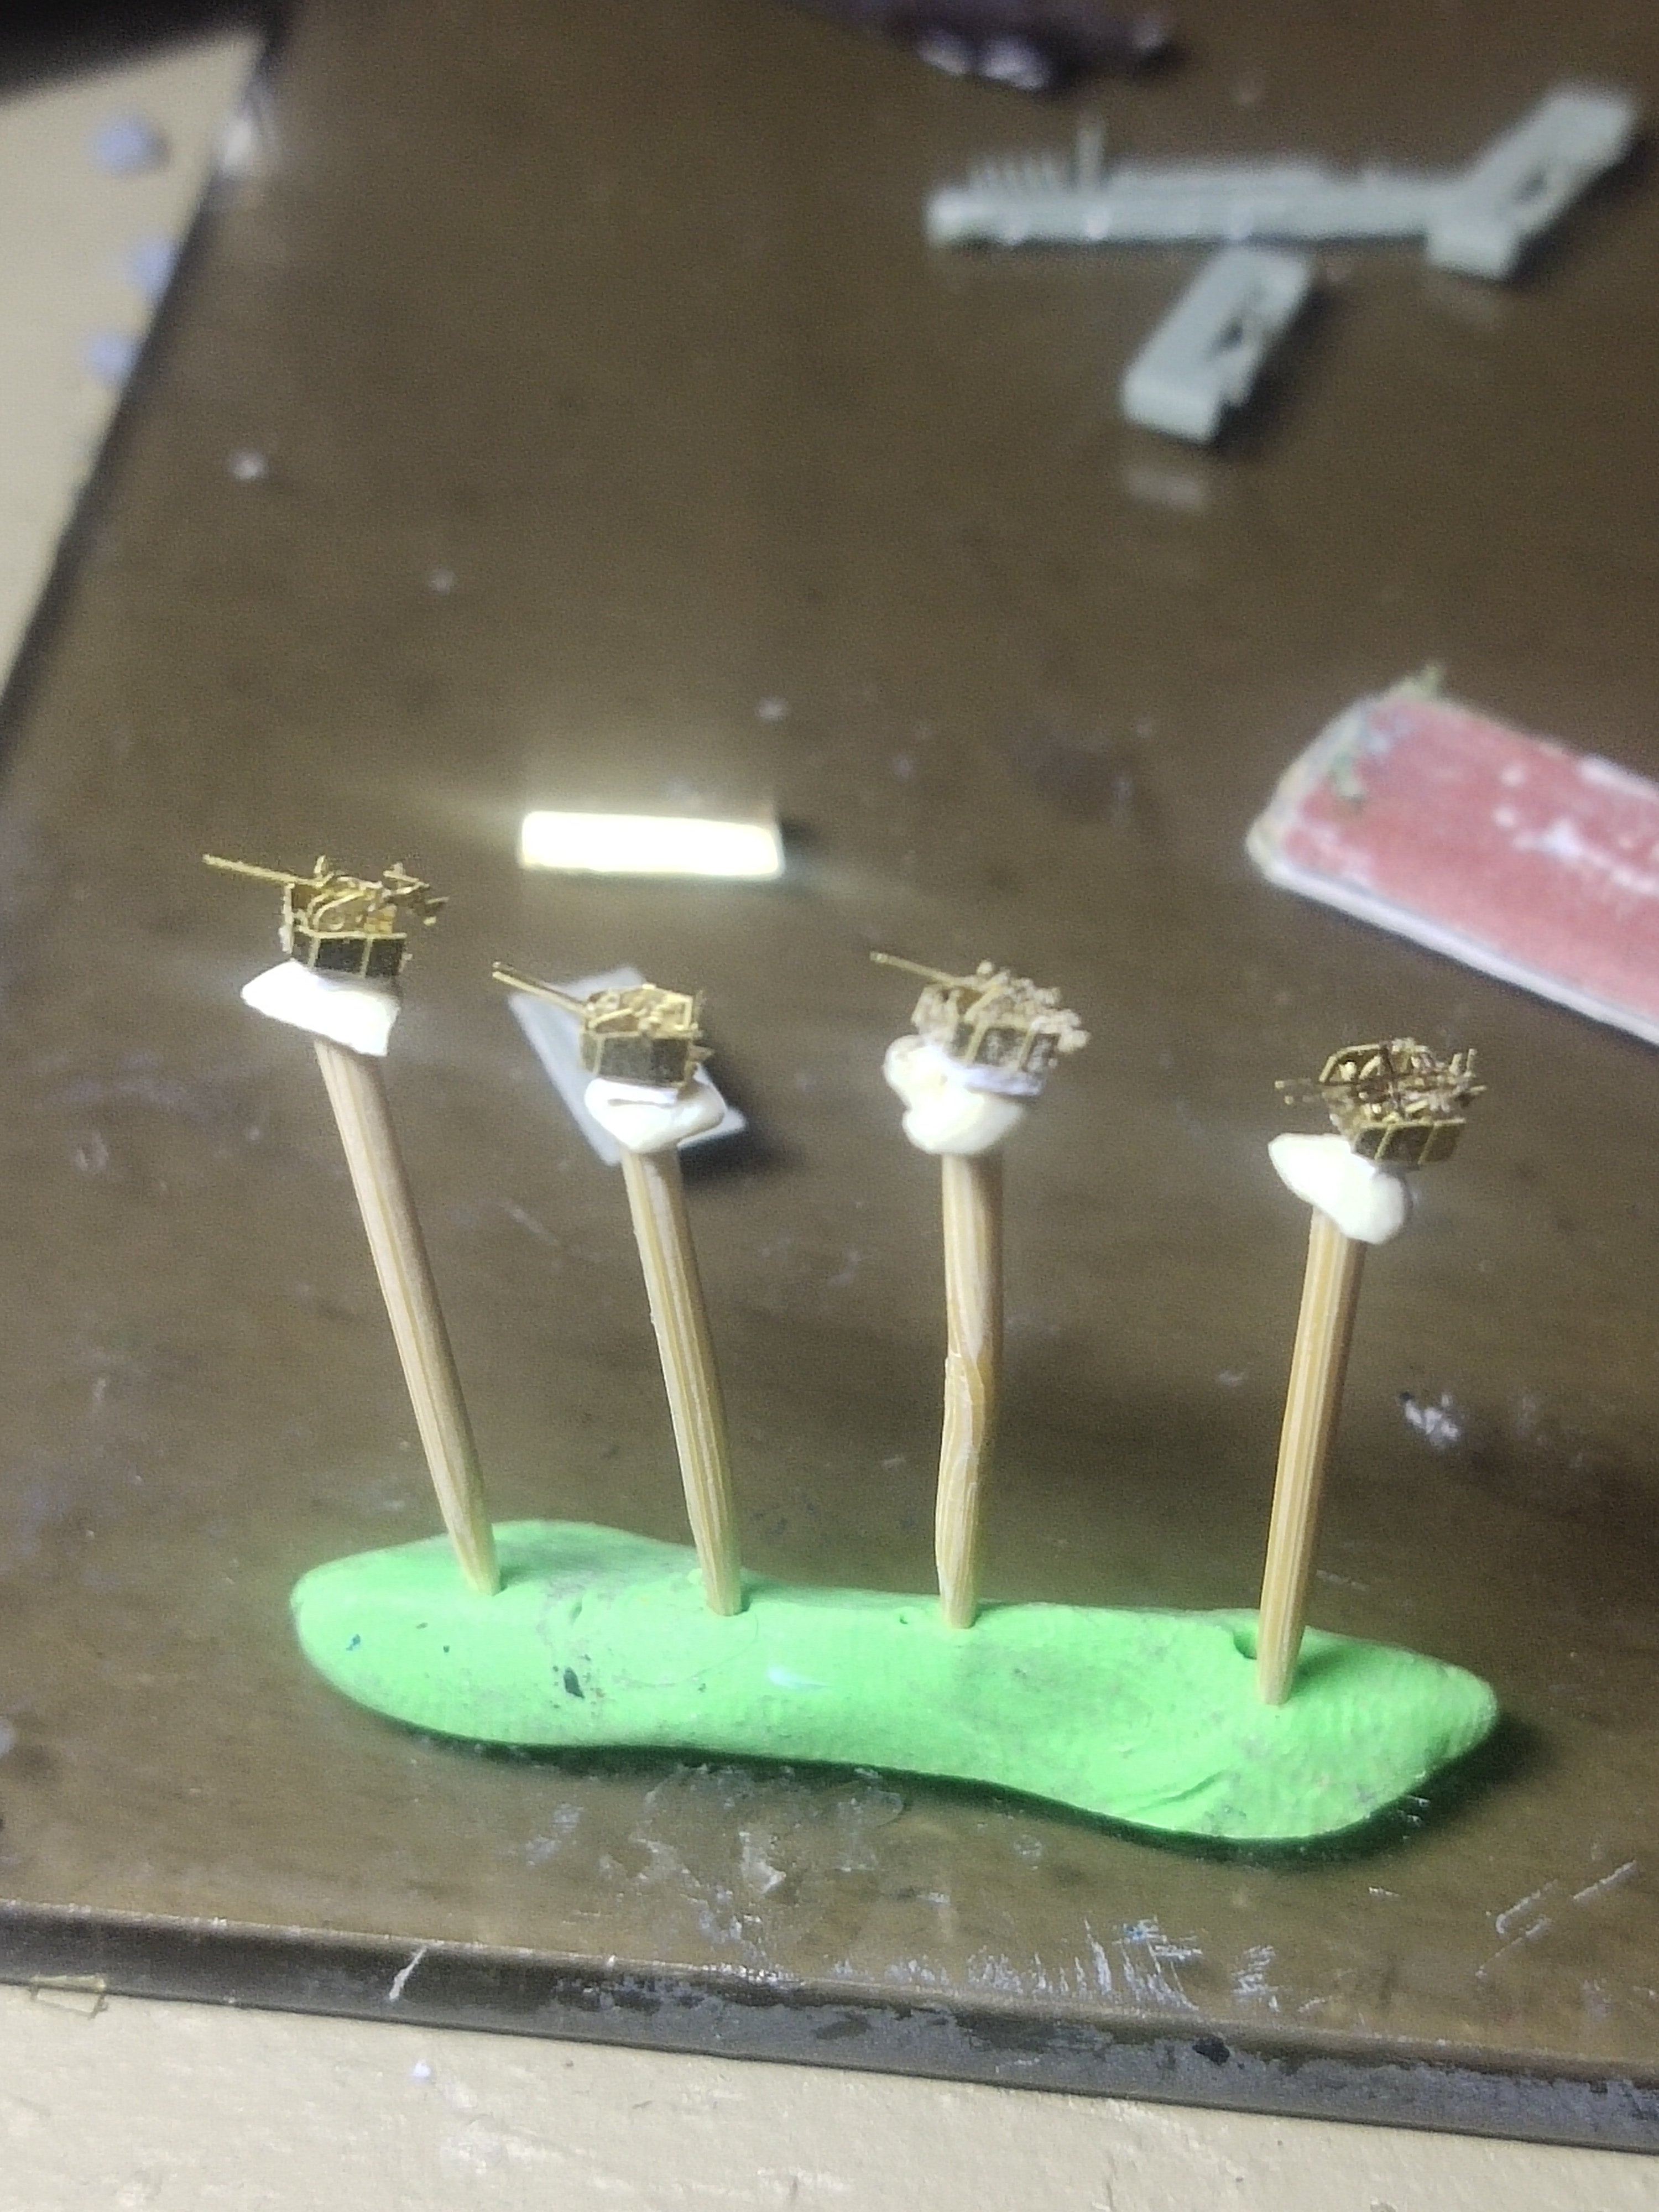
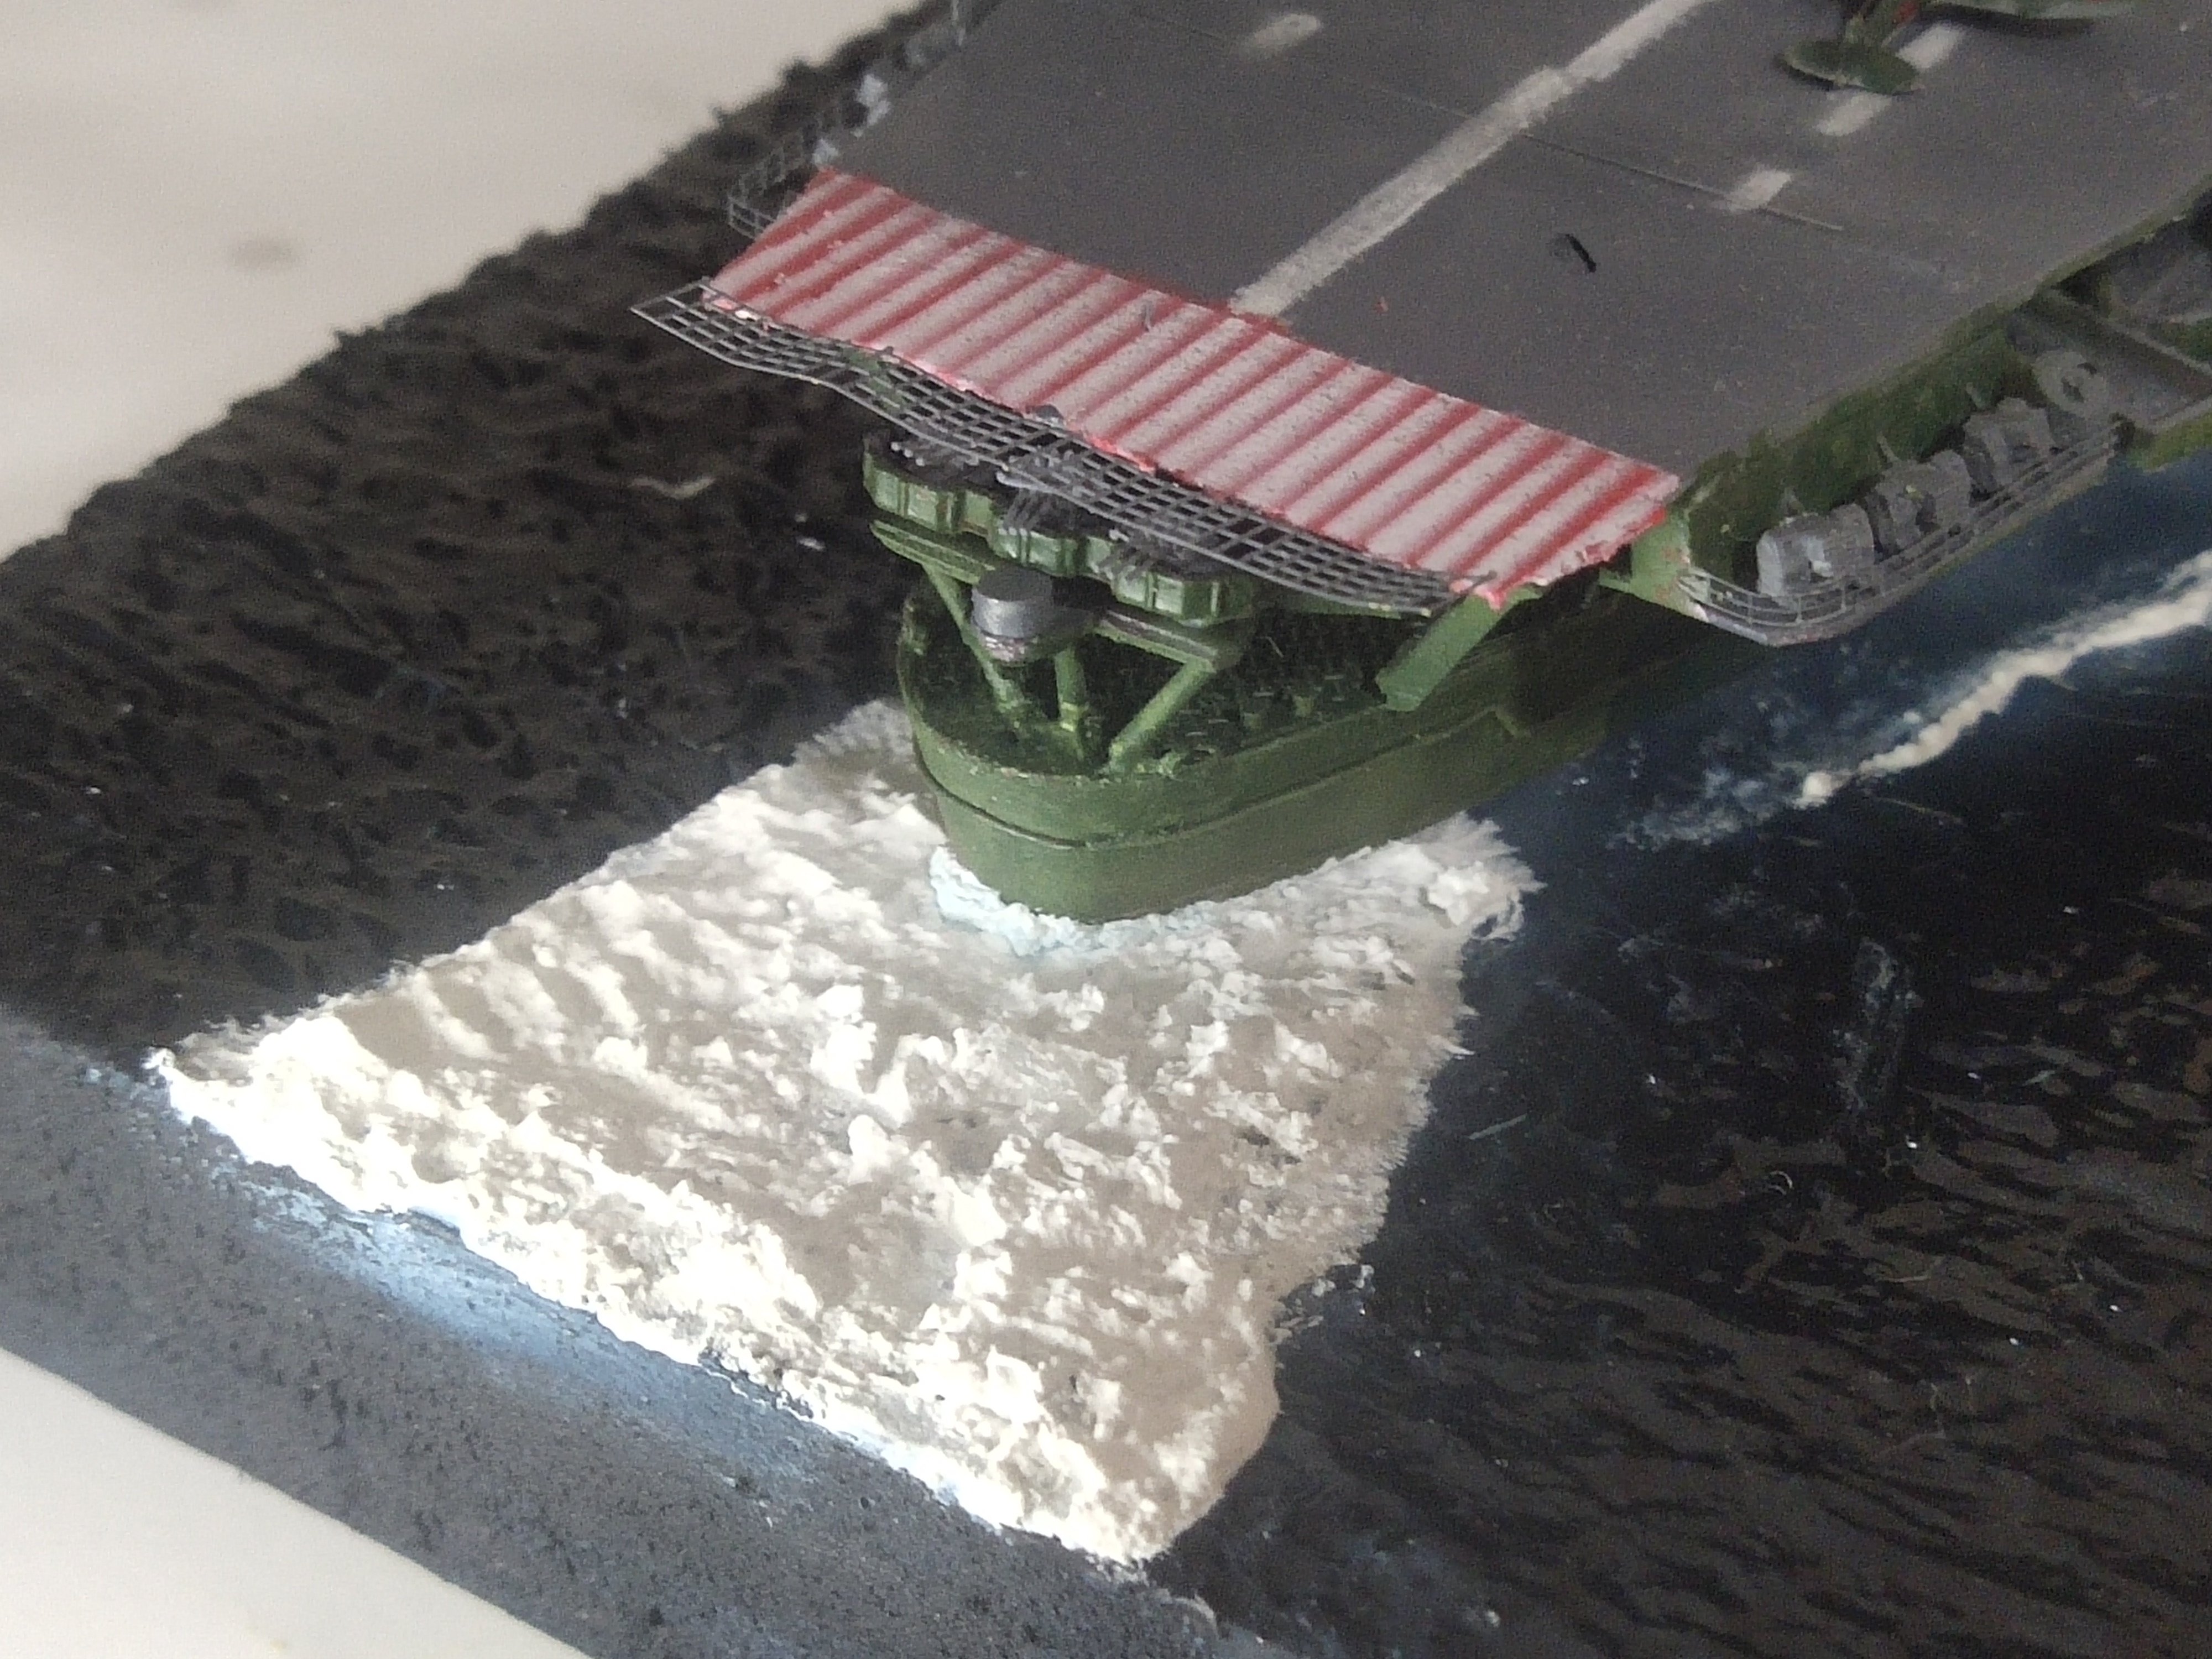
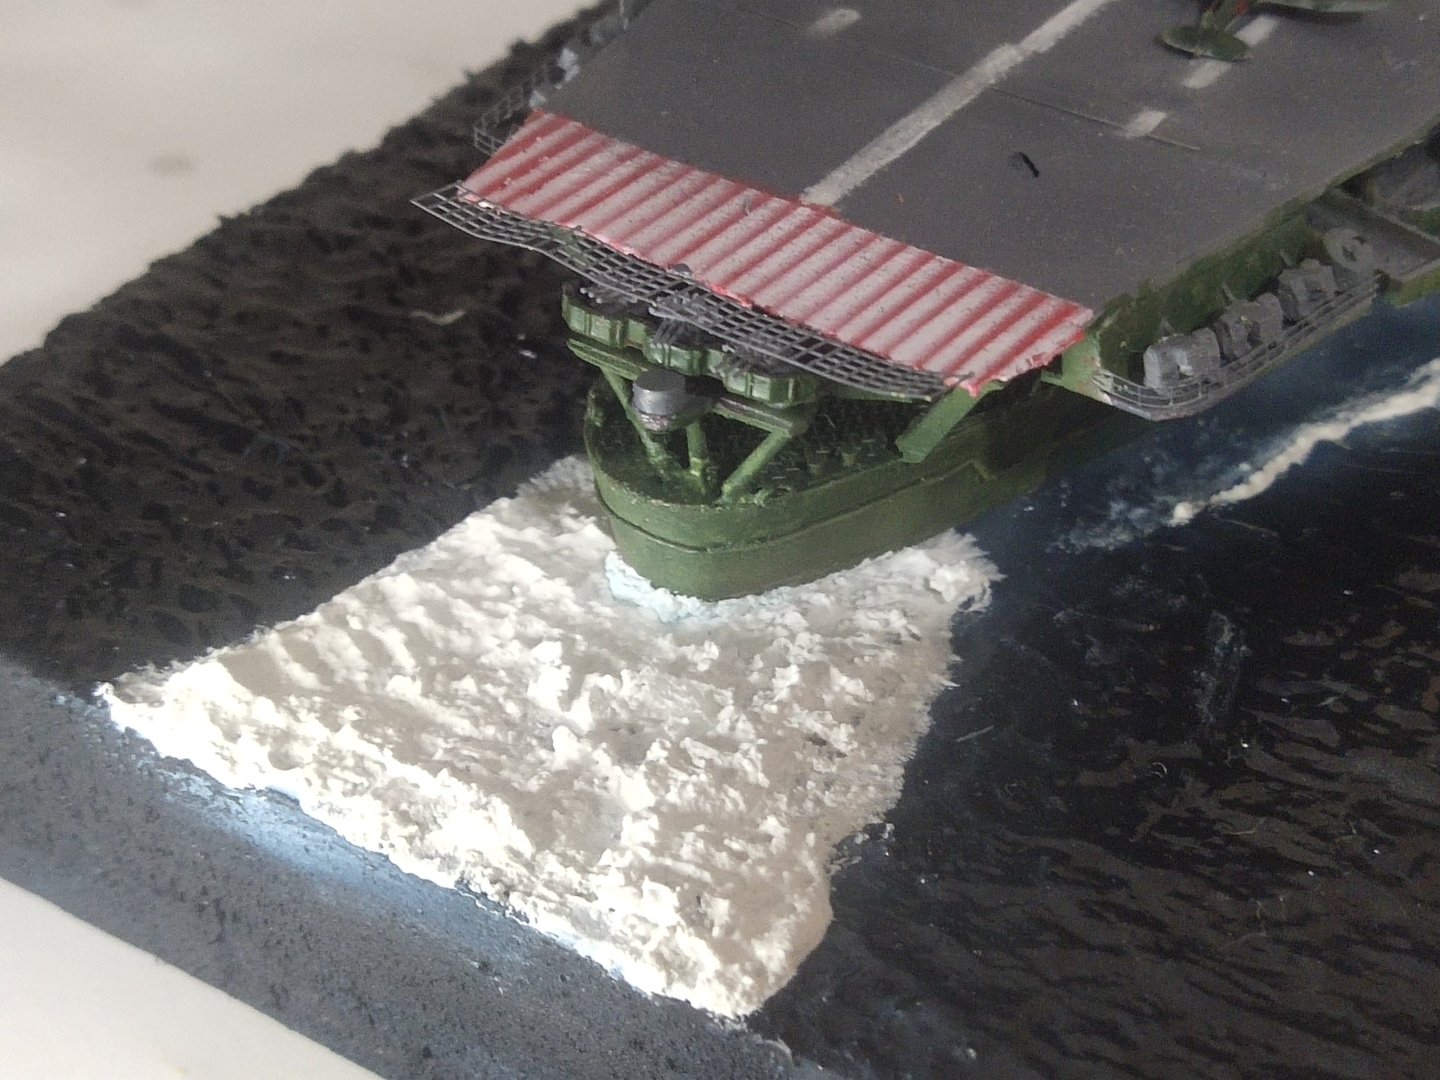
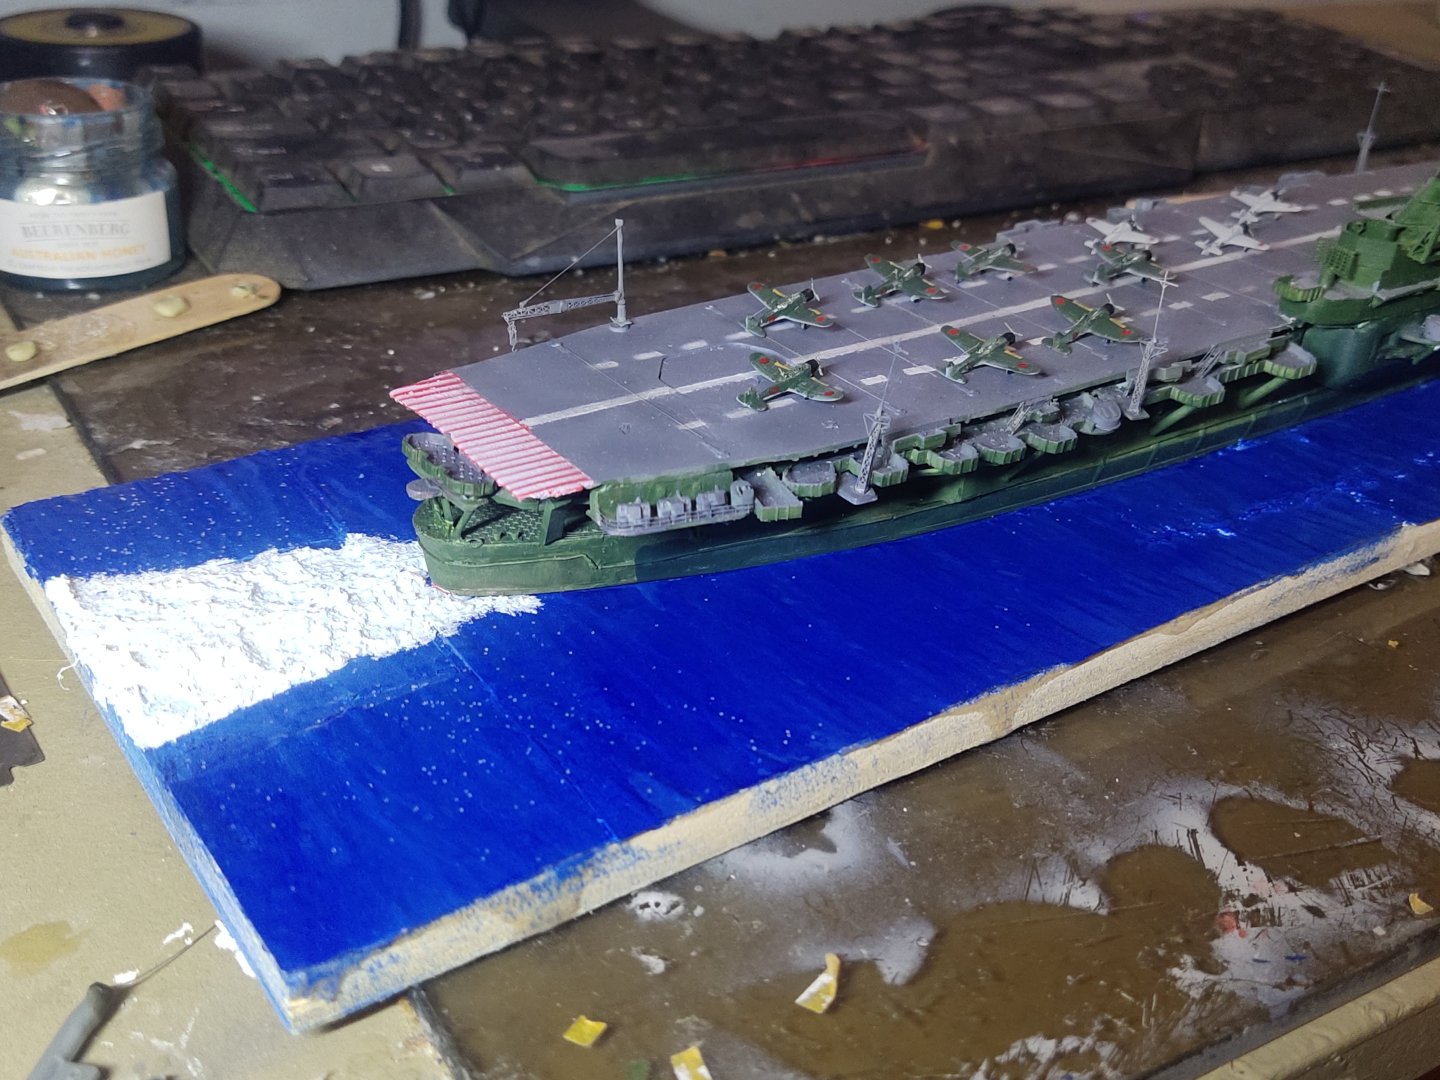
I added the remaining AA guns. They gave noticeable details. Some single 25mm added as well. Some darkening with black oil and a basic rigging. As the ship had a very short life no weathering is required. Seabed is also done. It looks well apart from the wakes close to the stern. They shouldn't follow the hull shape. The decision of using a narrow base led me to this mistake. But need to move on, can't spend time to make a 3rd base.


-
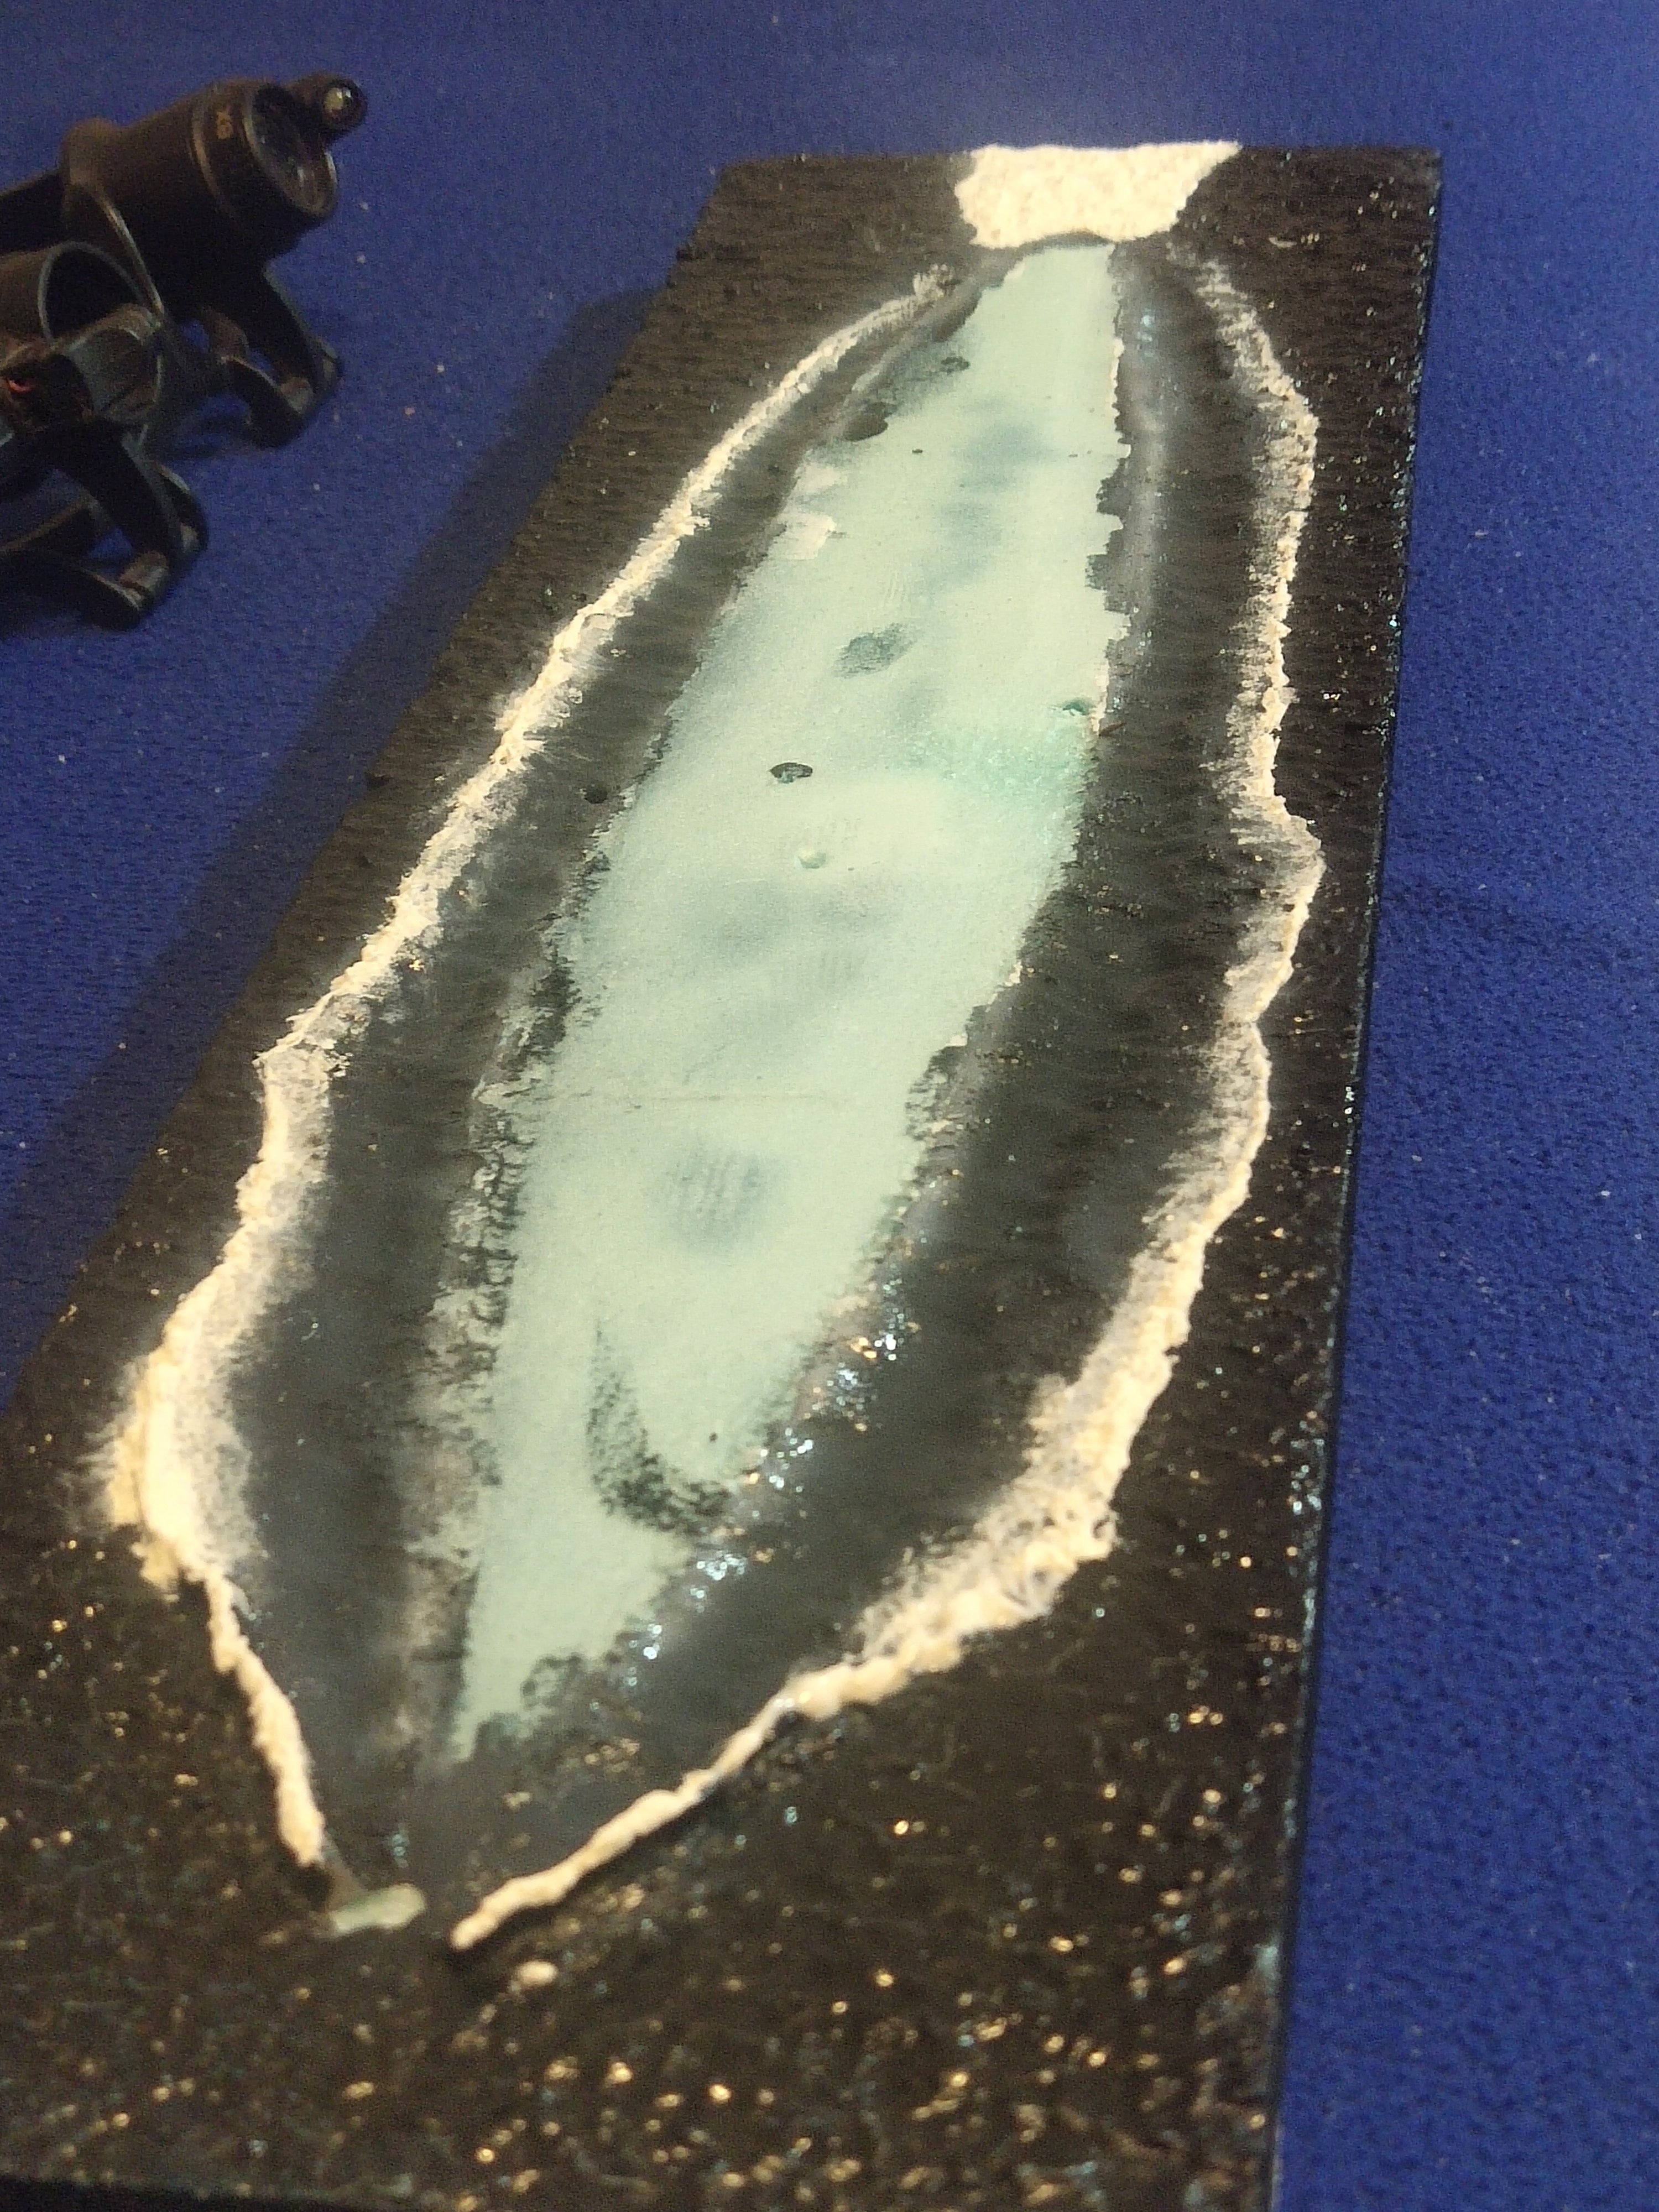
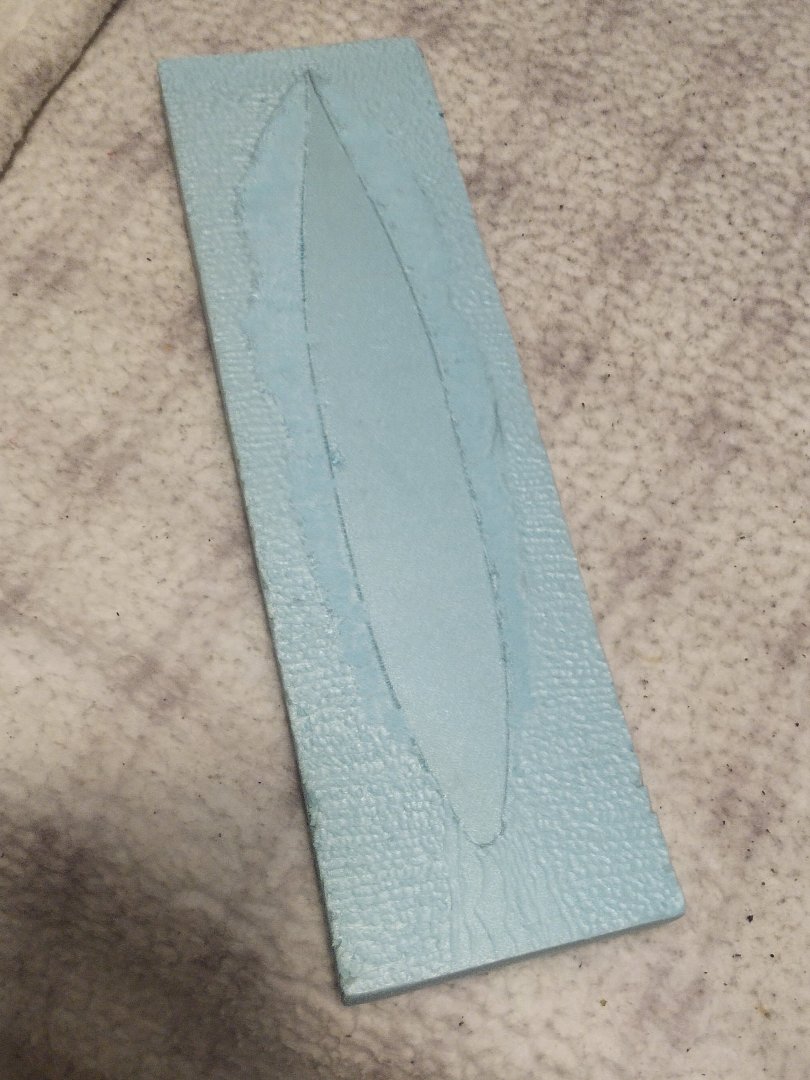
I made some AA guns. Then fitted a few. A new seabed is under construction because the wooden base of the previous one got warped

-
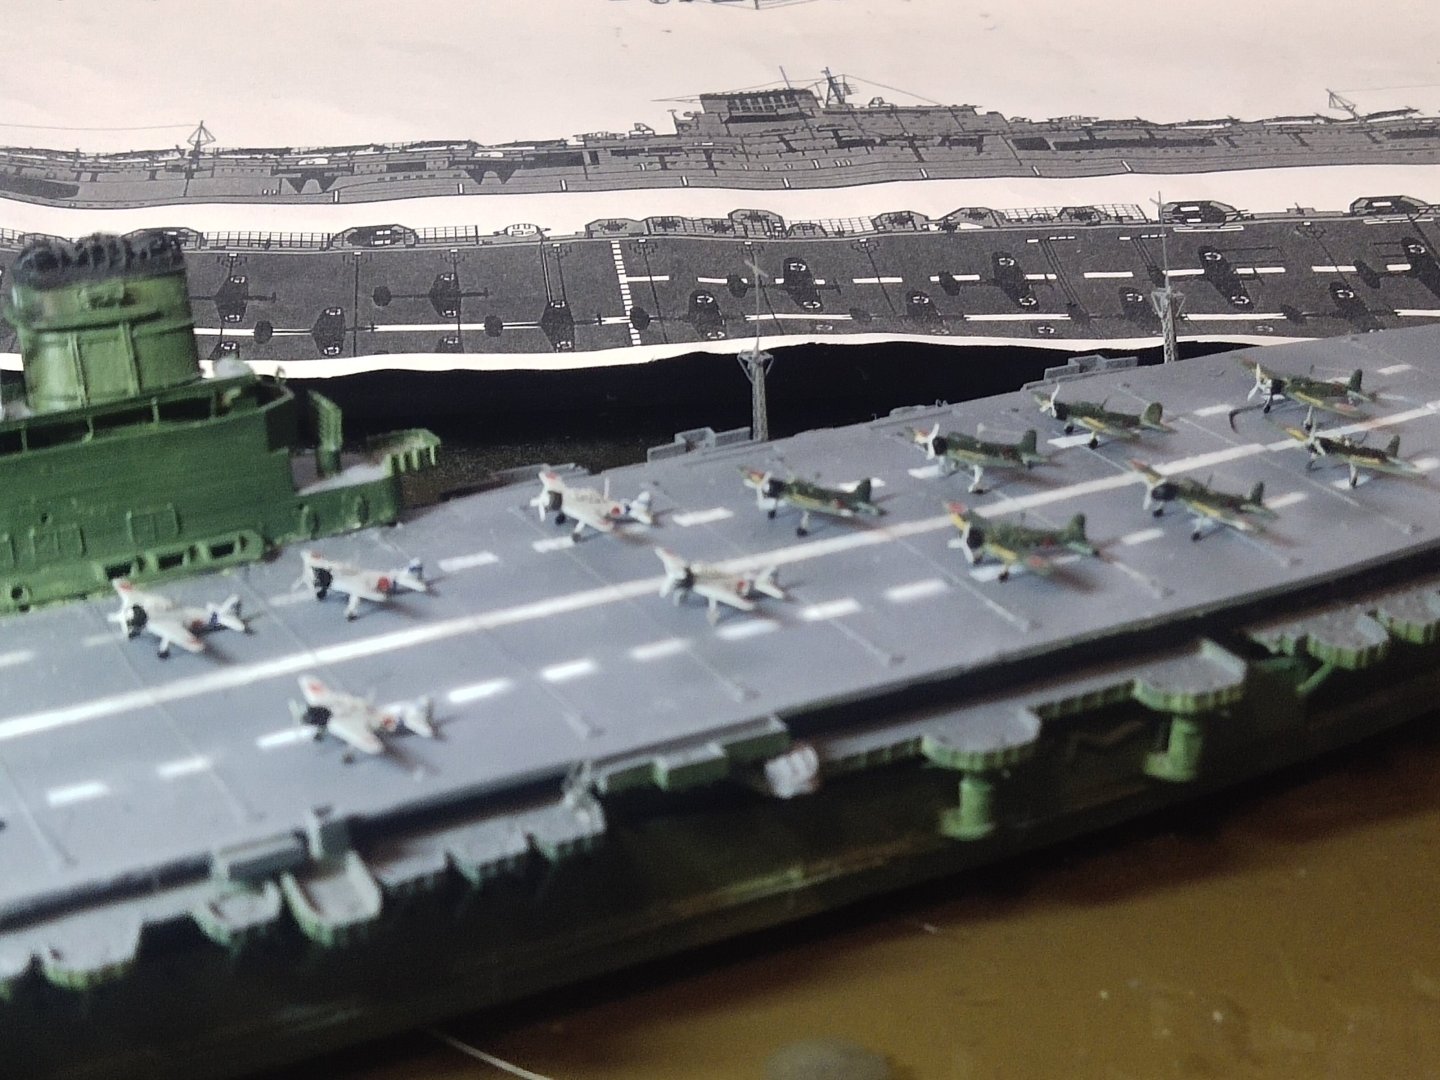
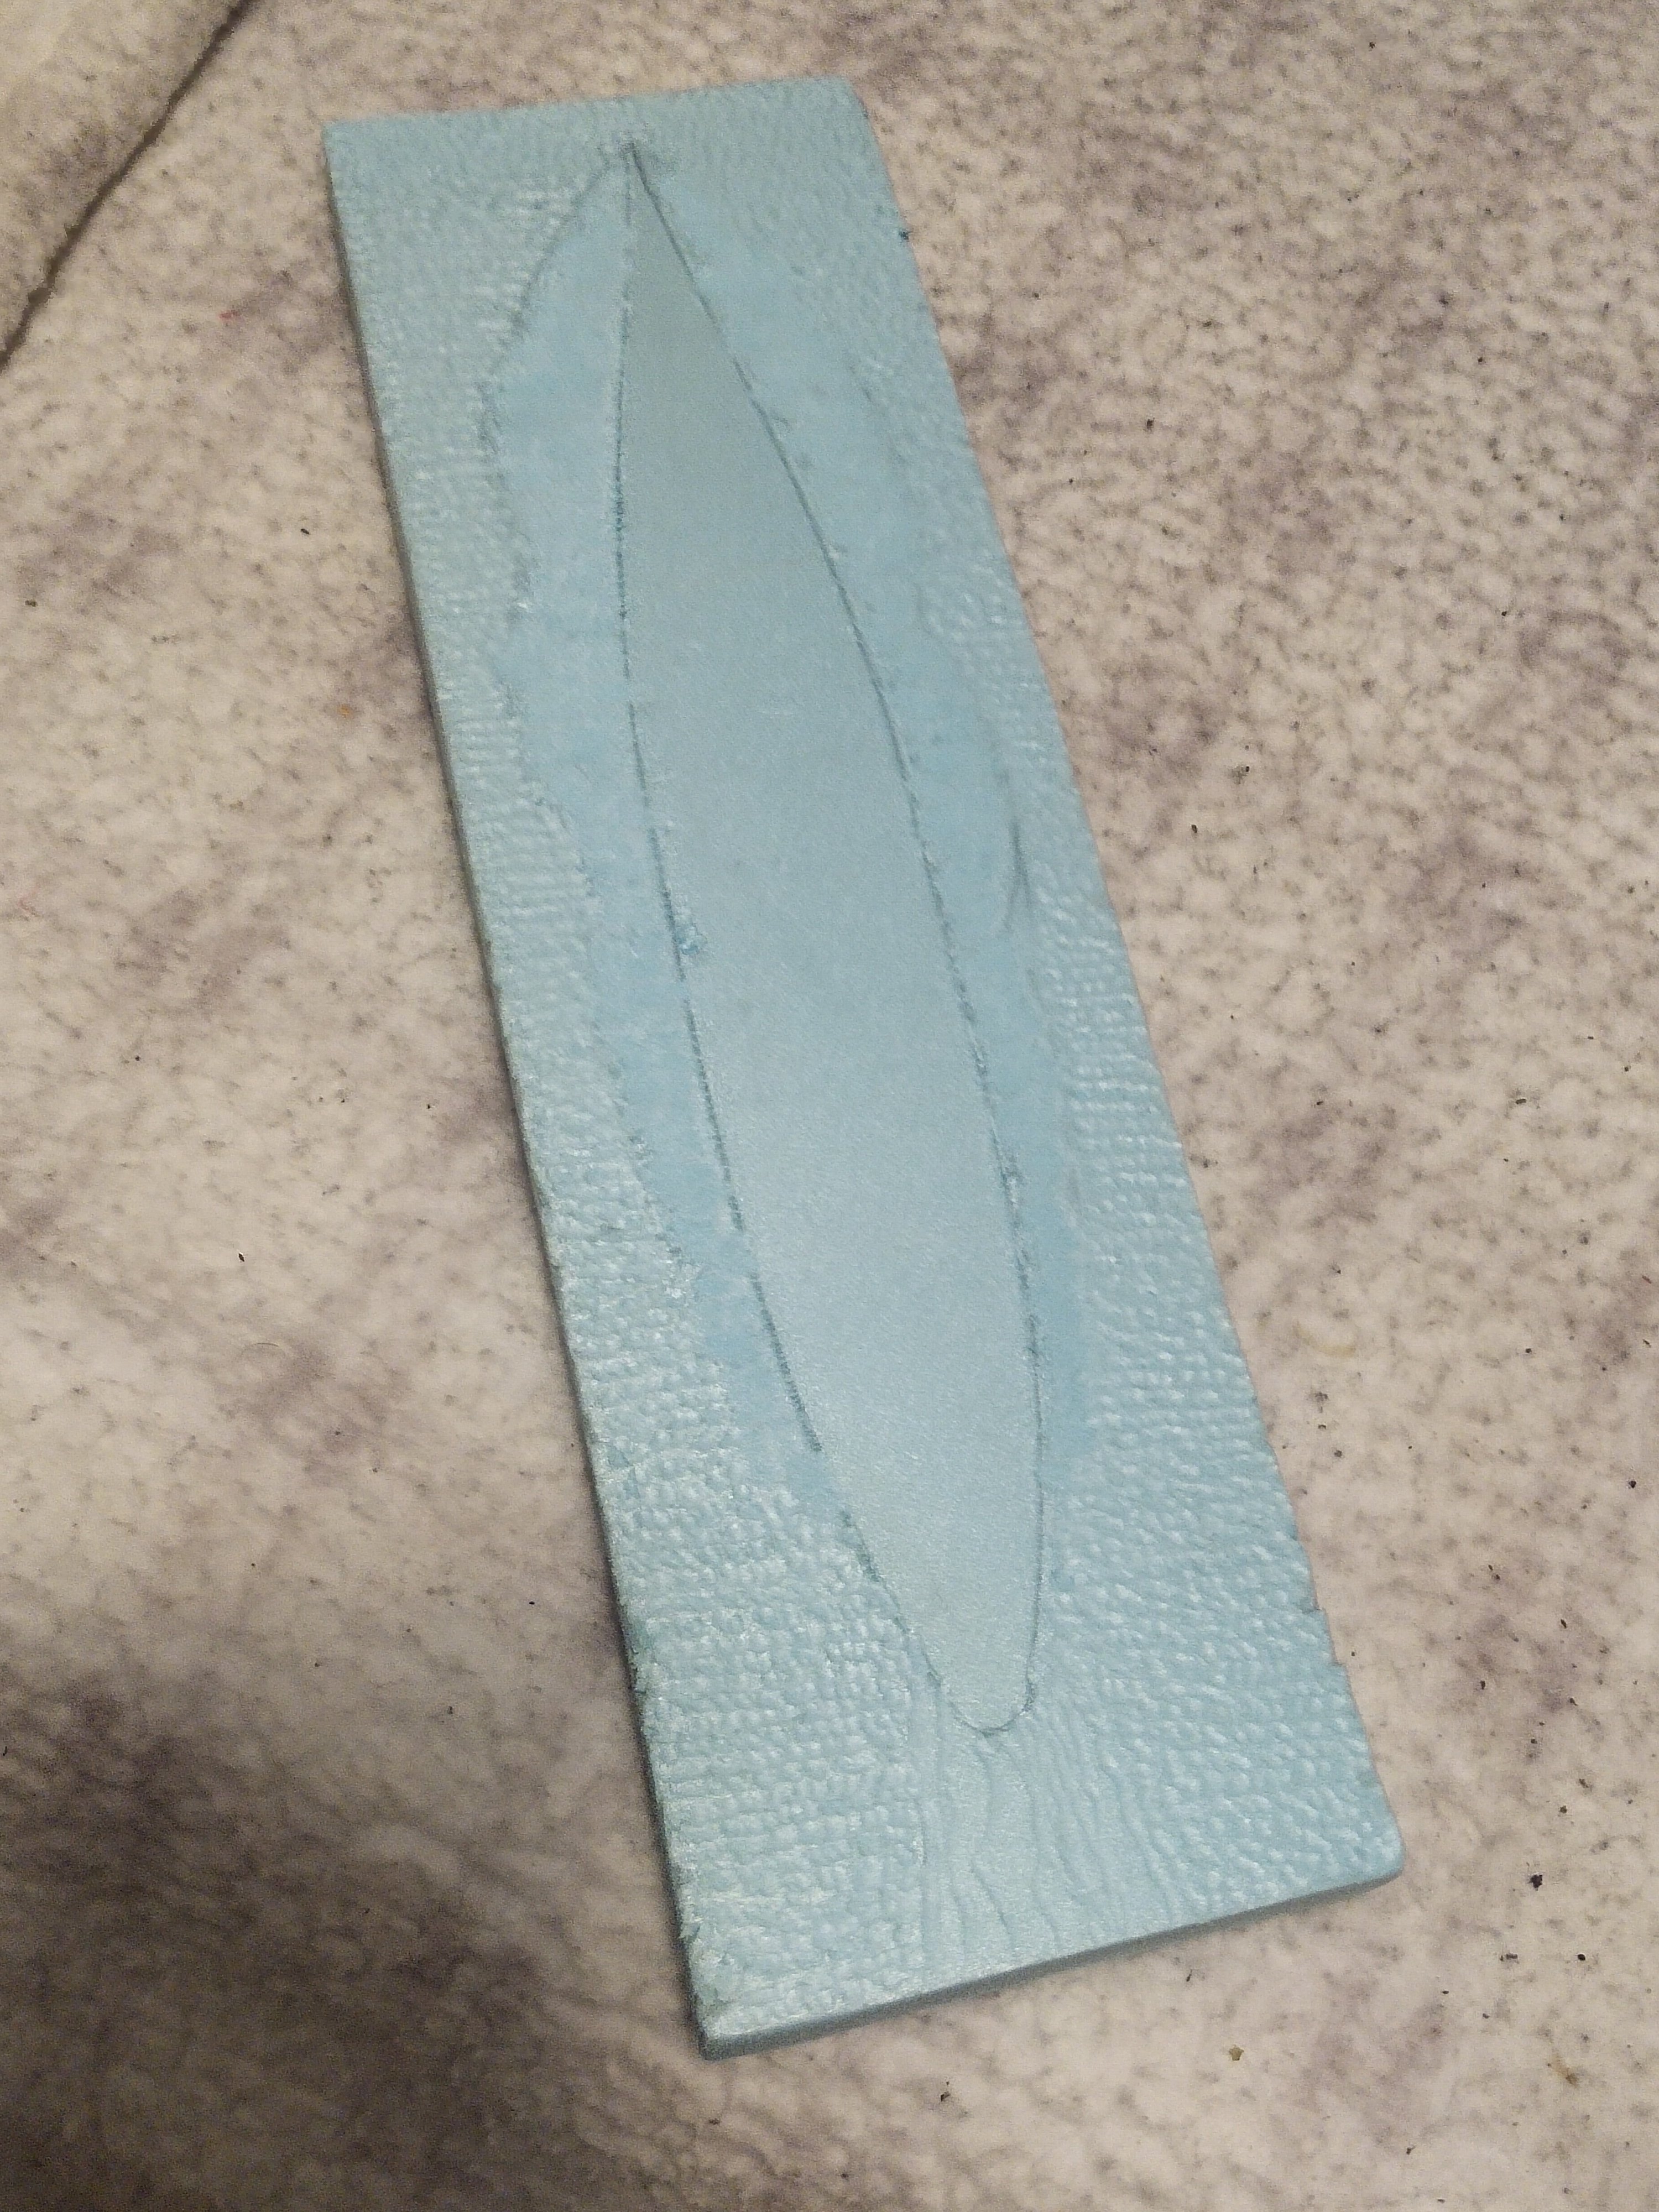
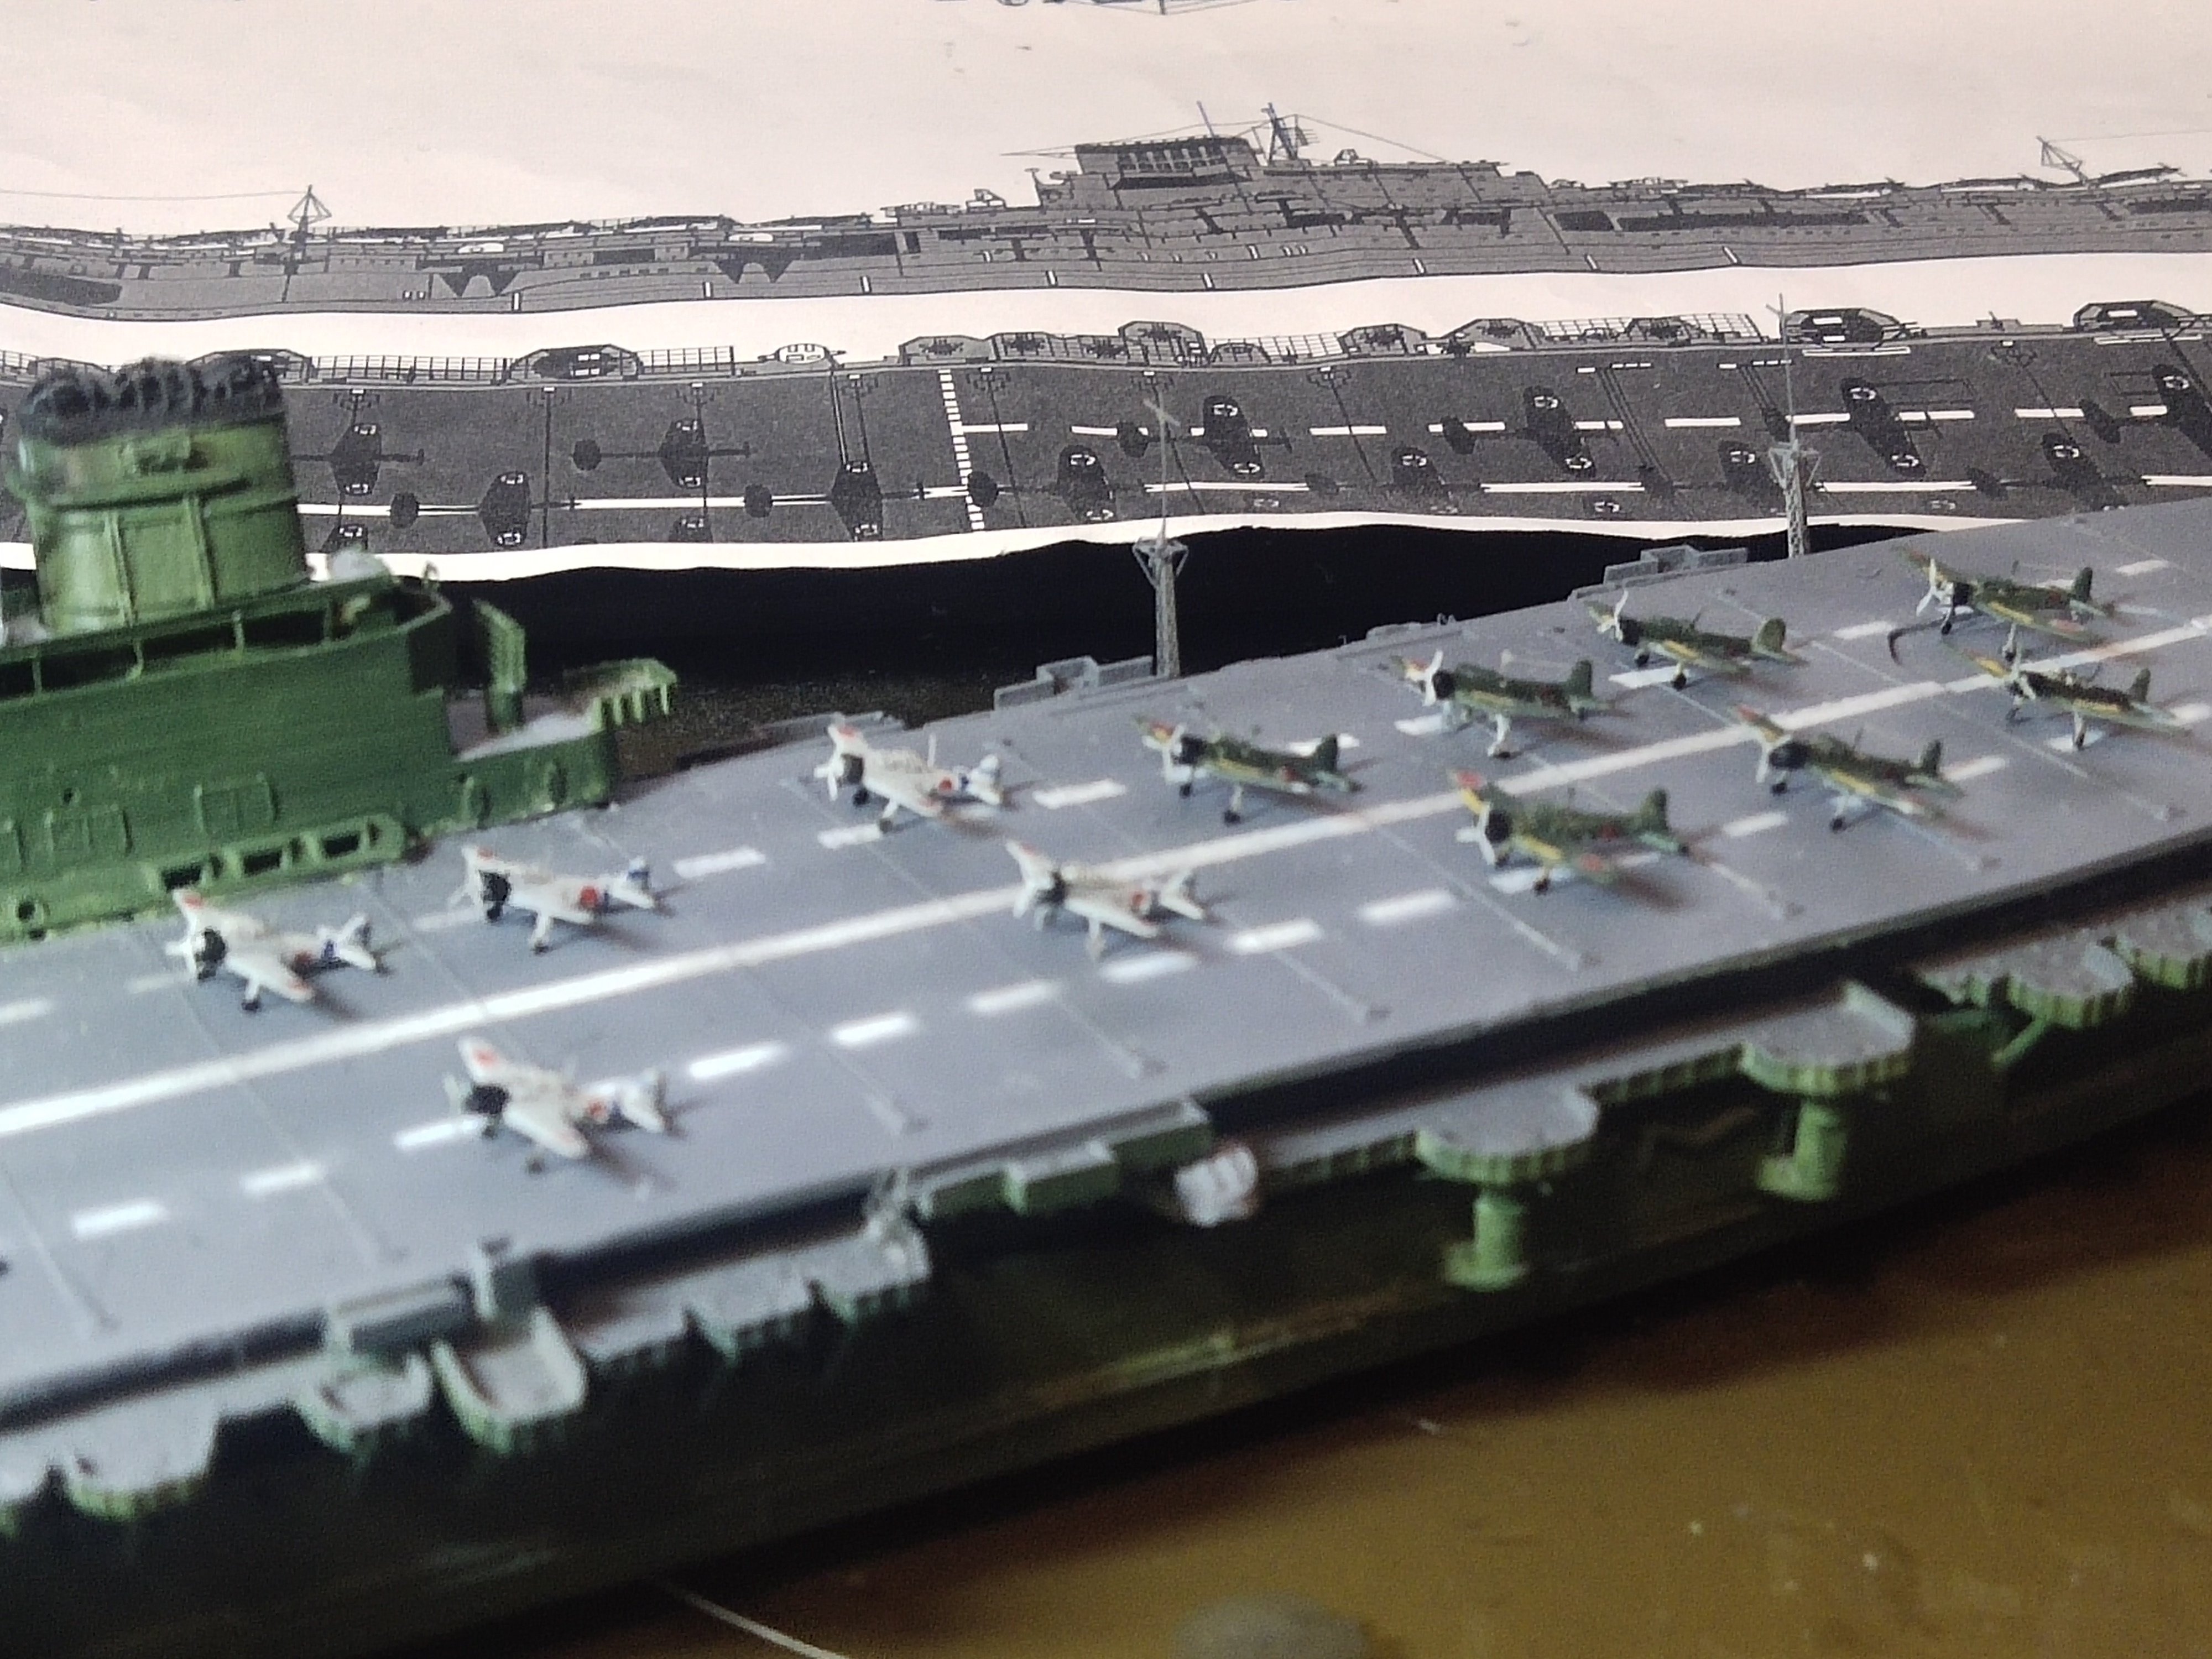
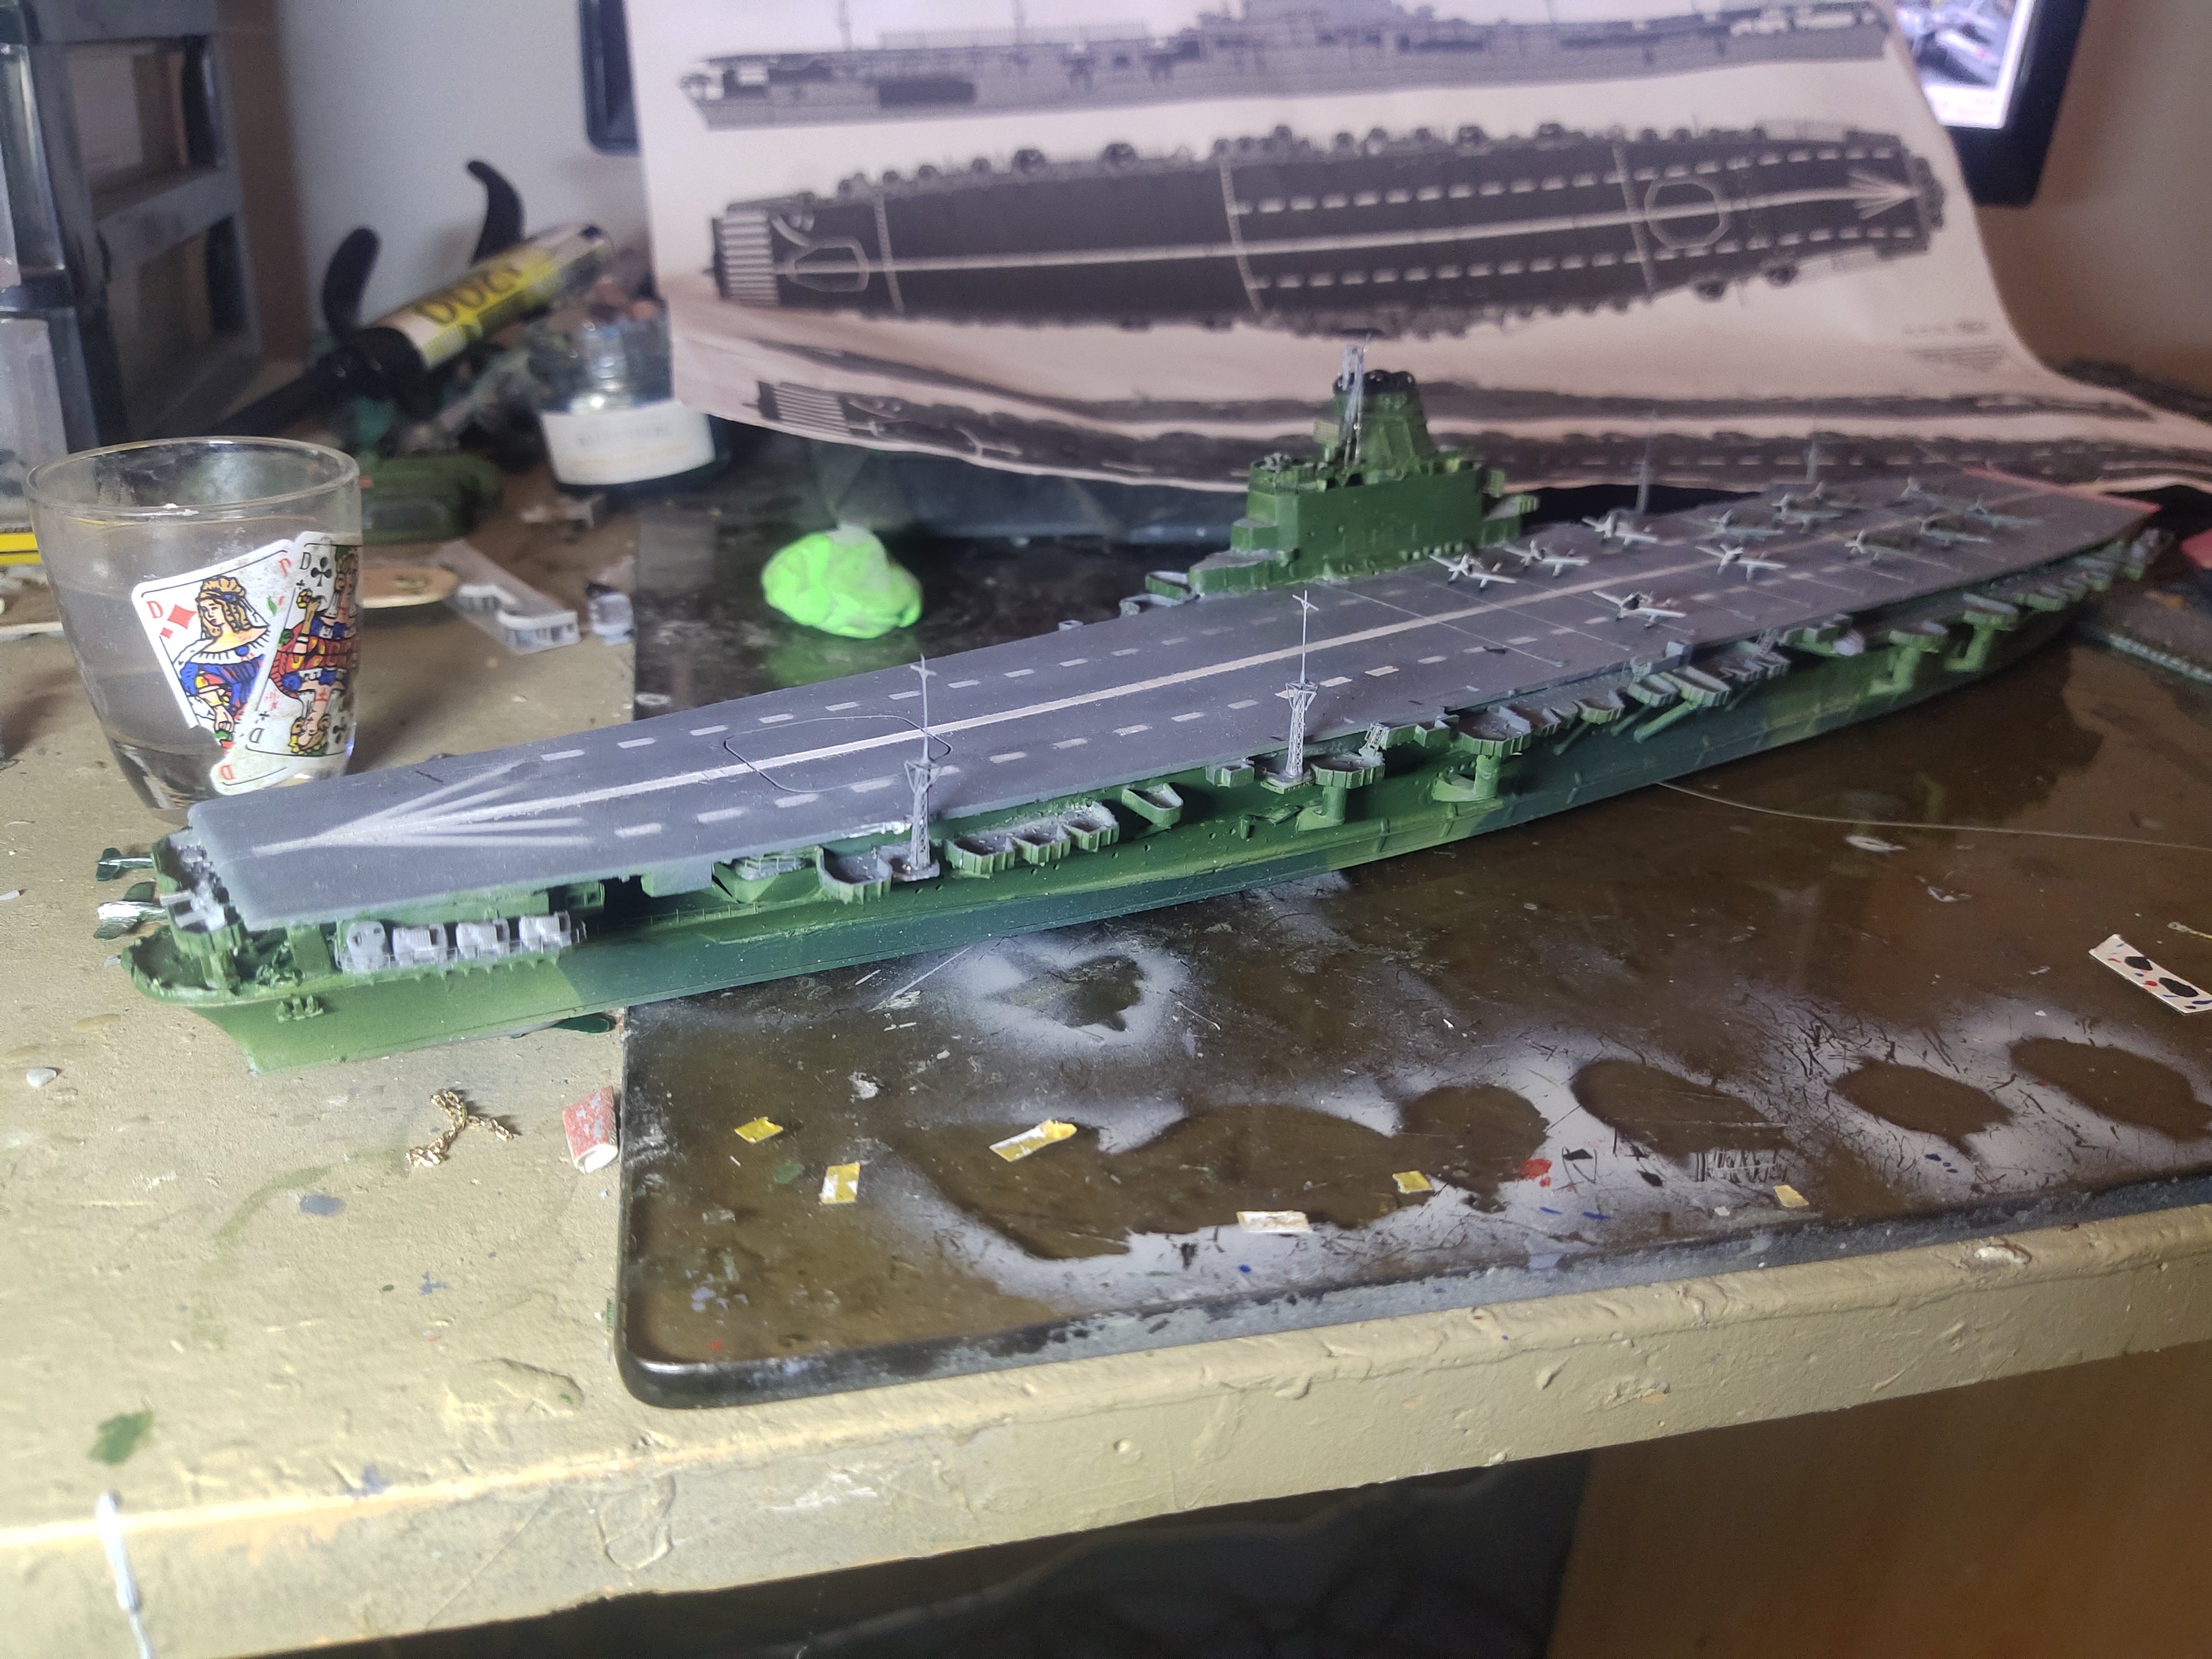
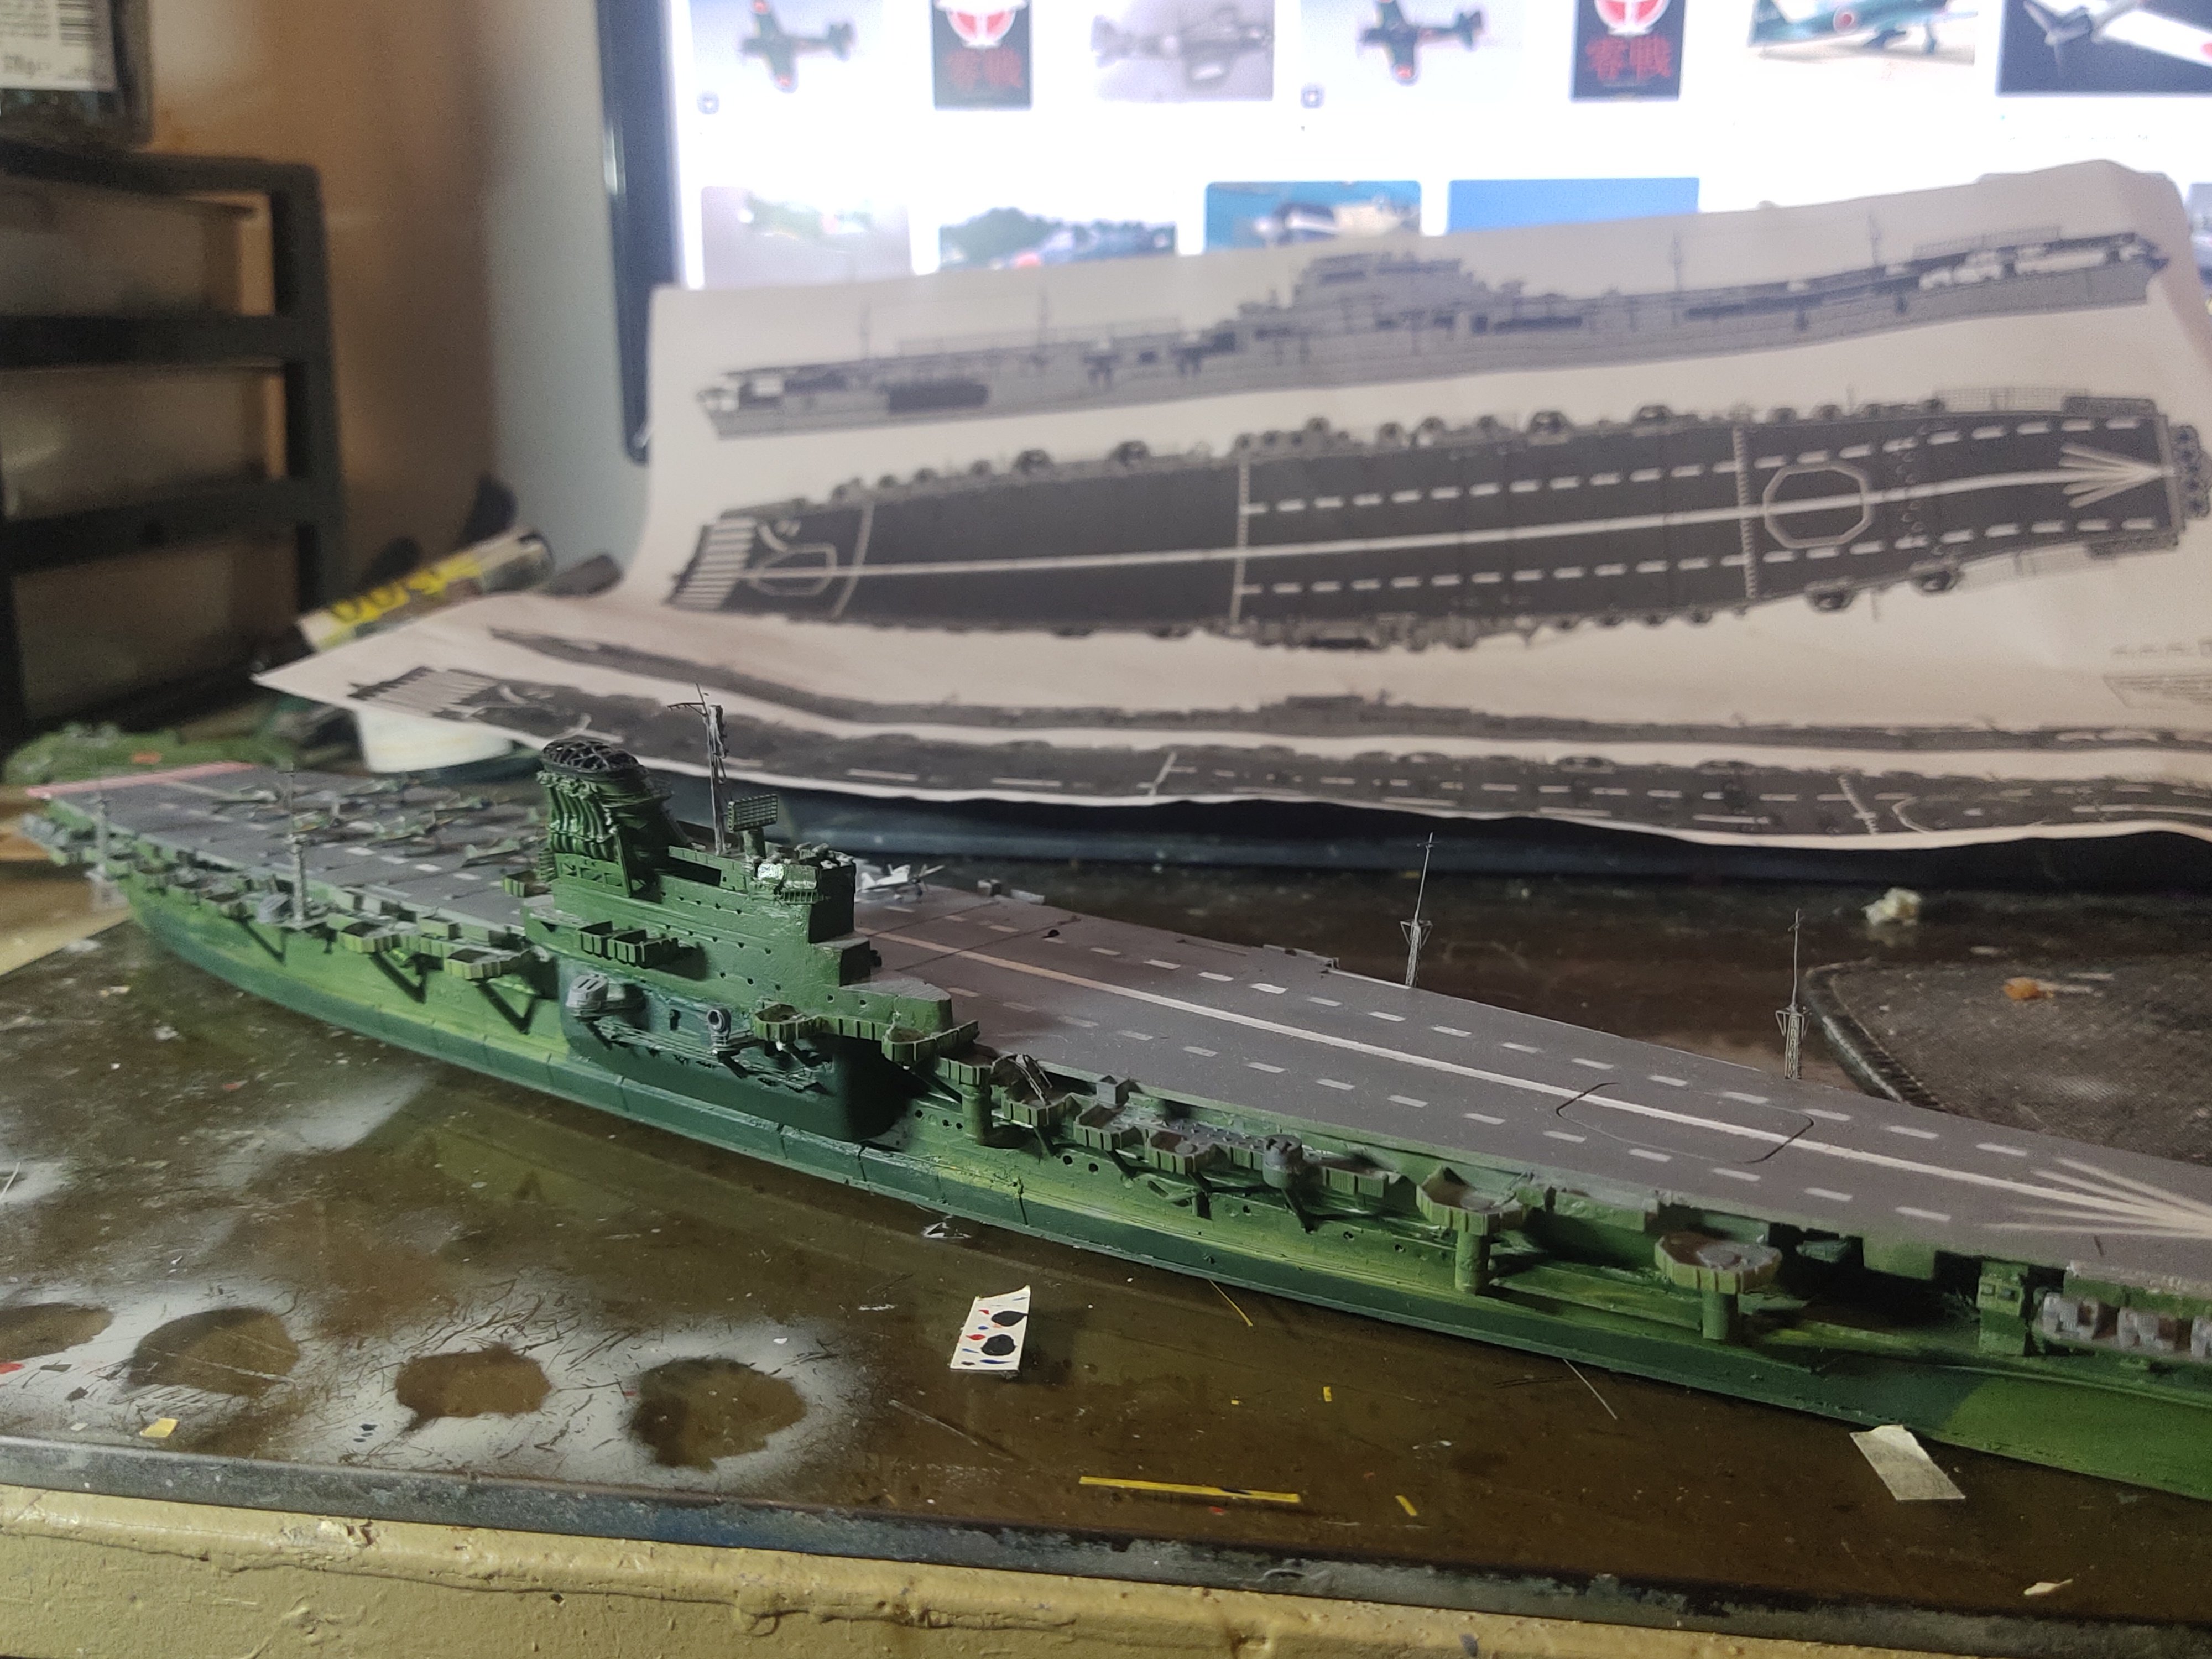
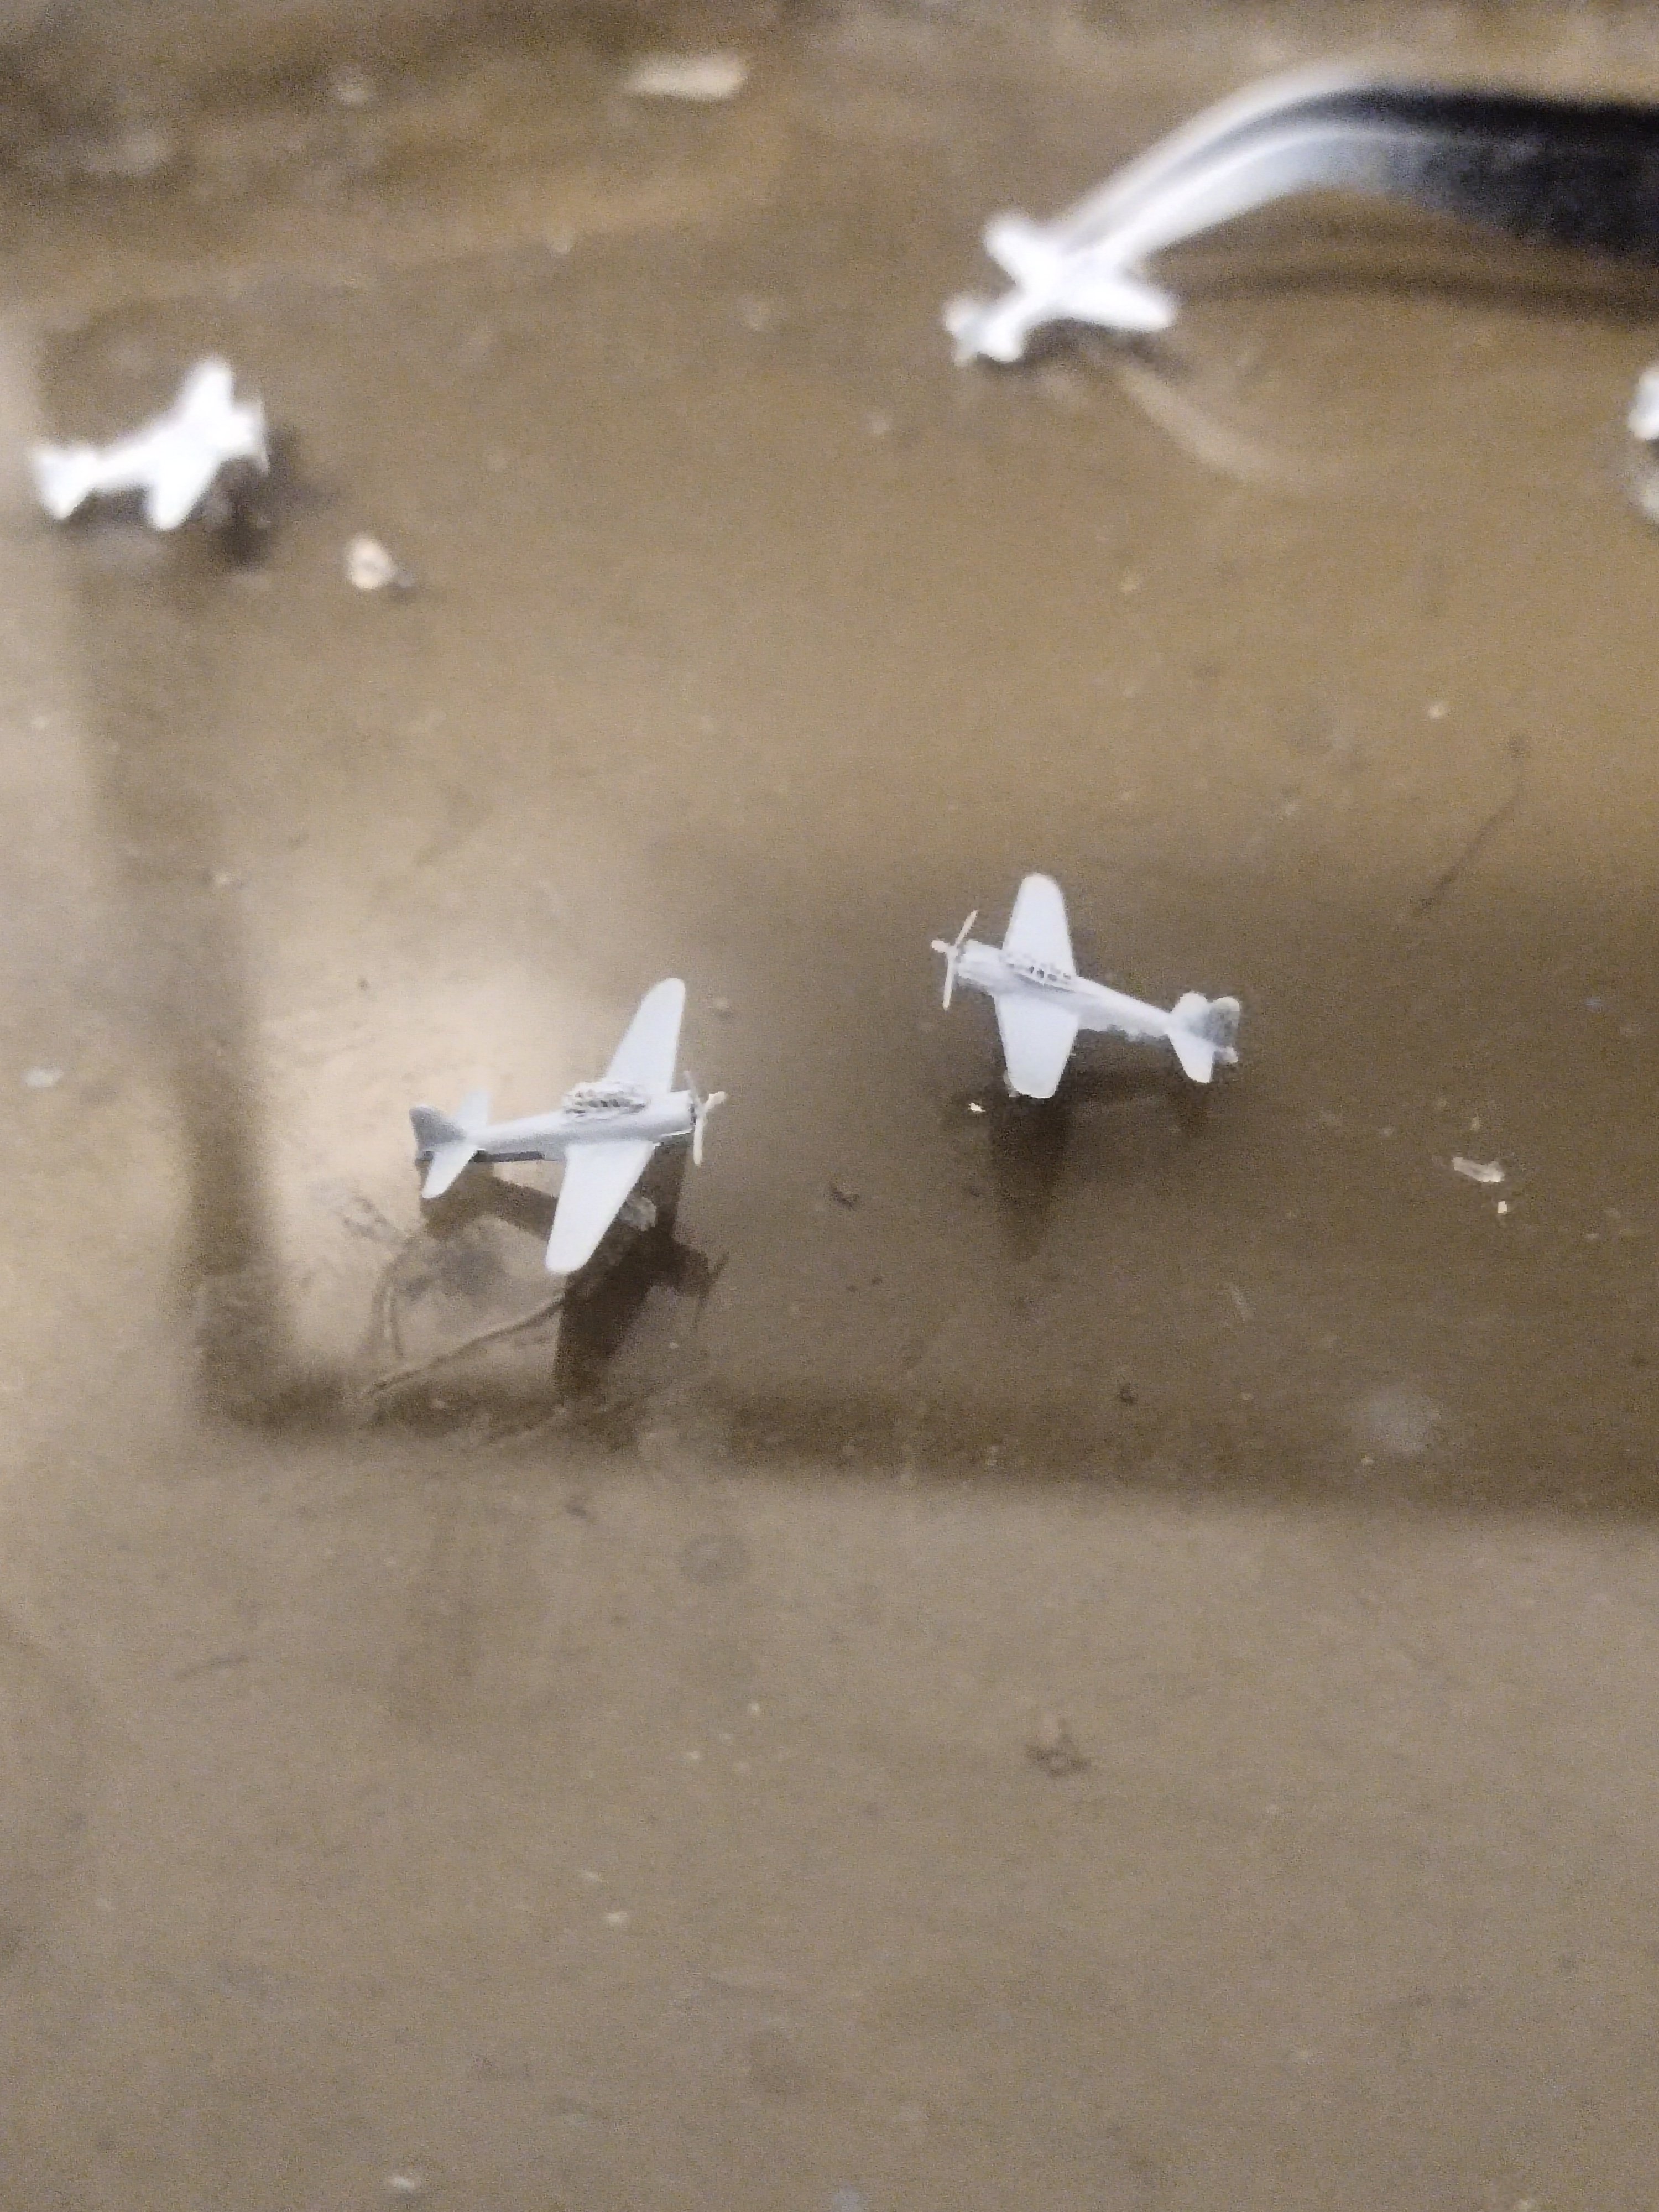
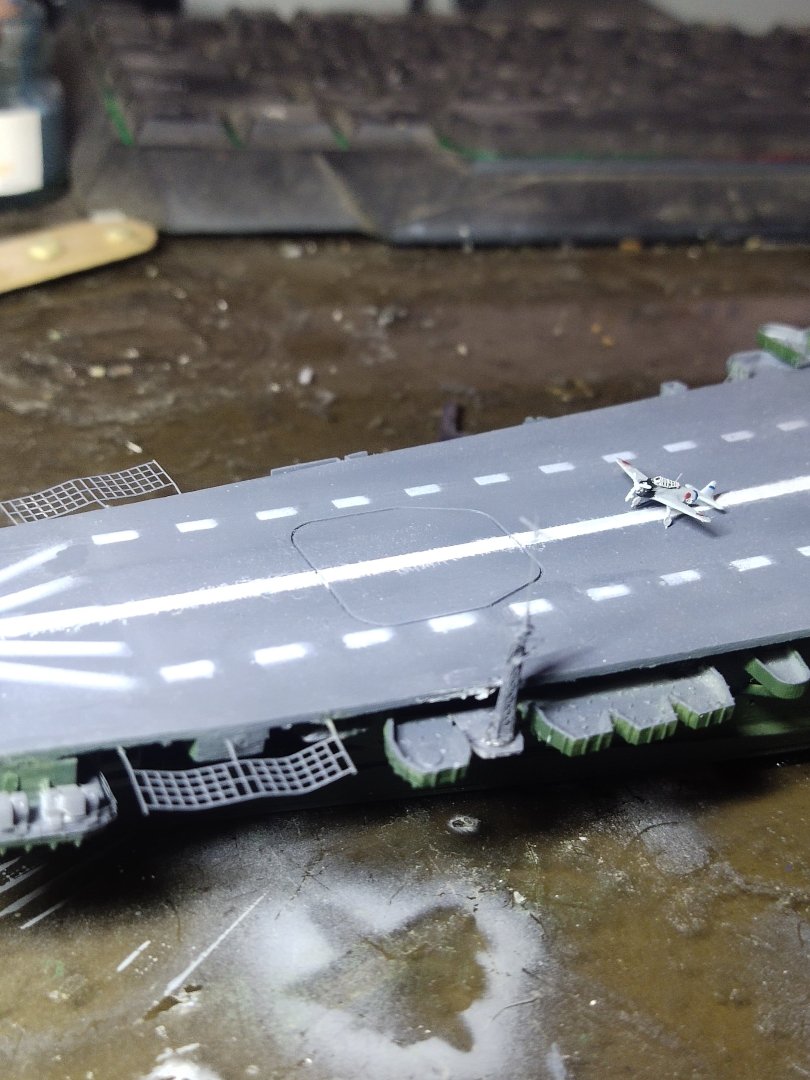
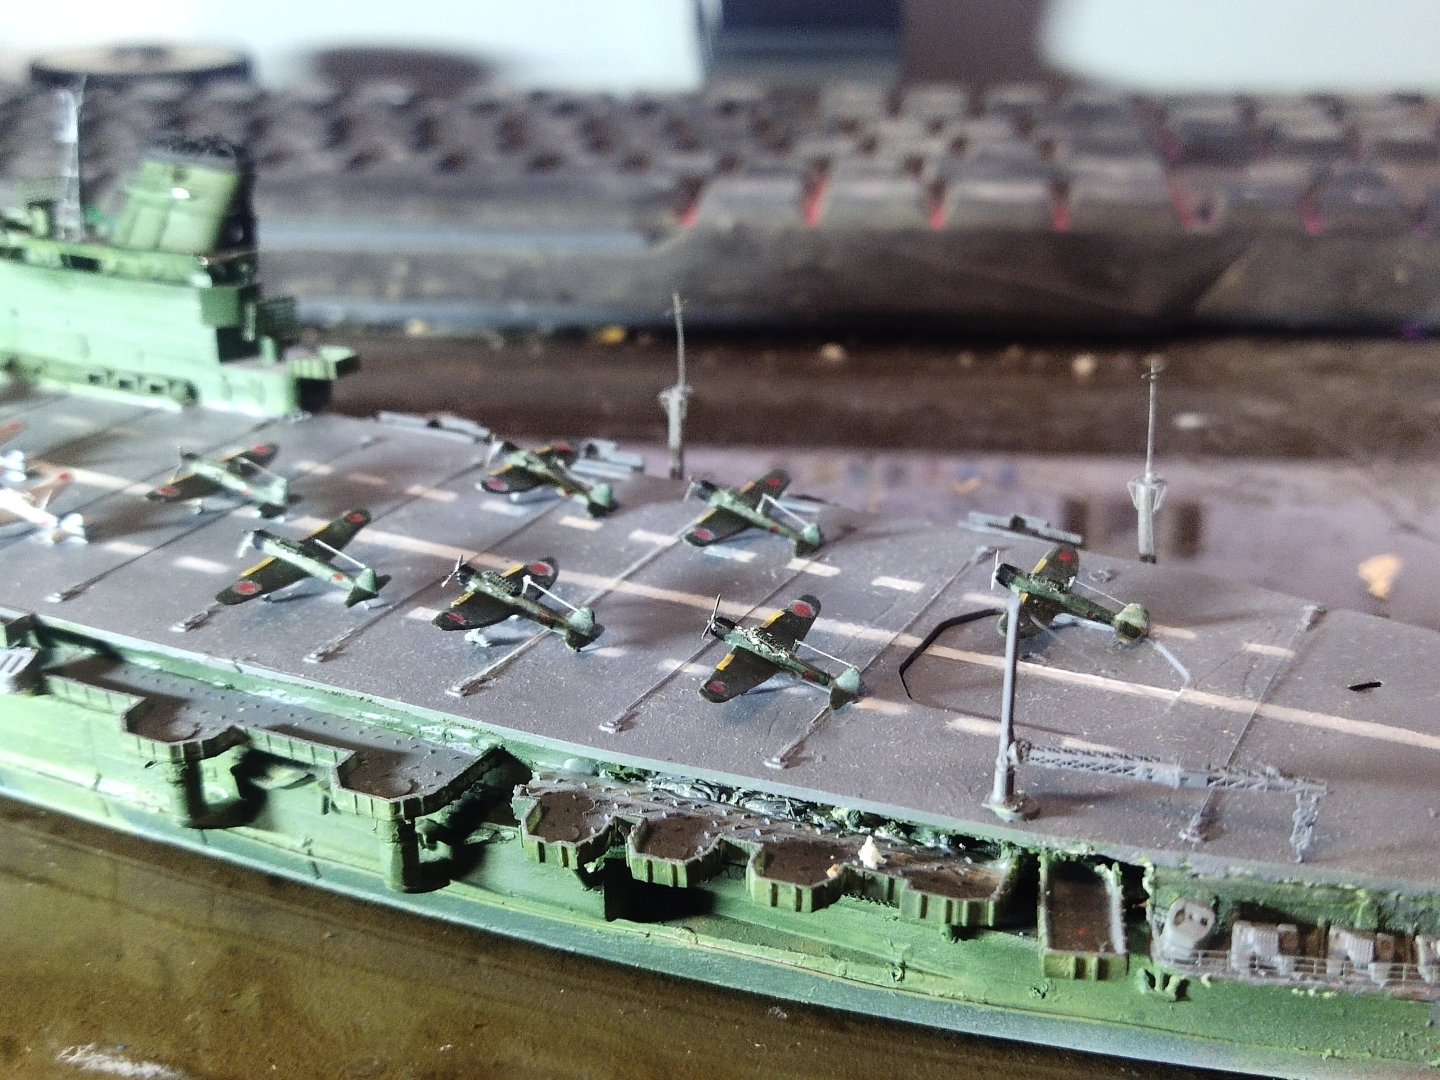
I decided to glue the planes to avoid any accidents along with the anti falling nets. I didn't have a PE part for crane so it was made by two masts glued together, like those at the sides of the ship but bit shorter. AA guns and life boats need to be added but my printer needs to be fixed so while the parts are on their way I spent time making the sea base

-
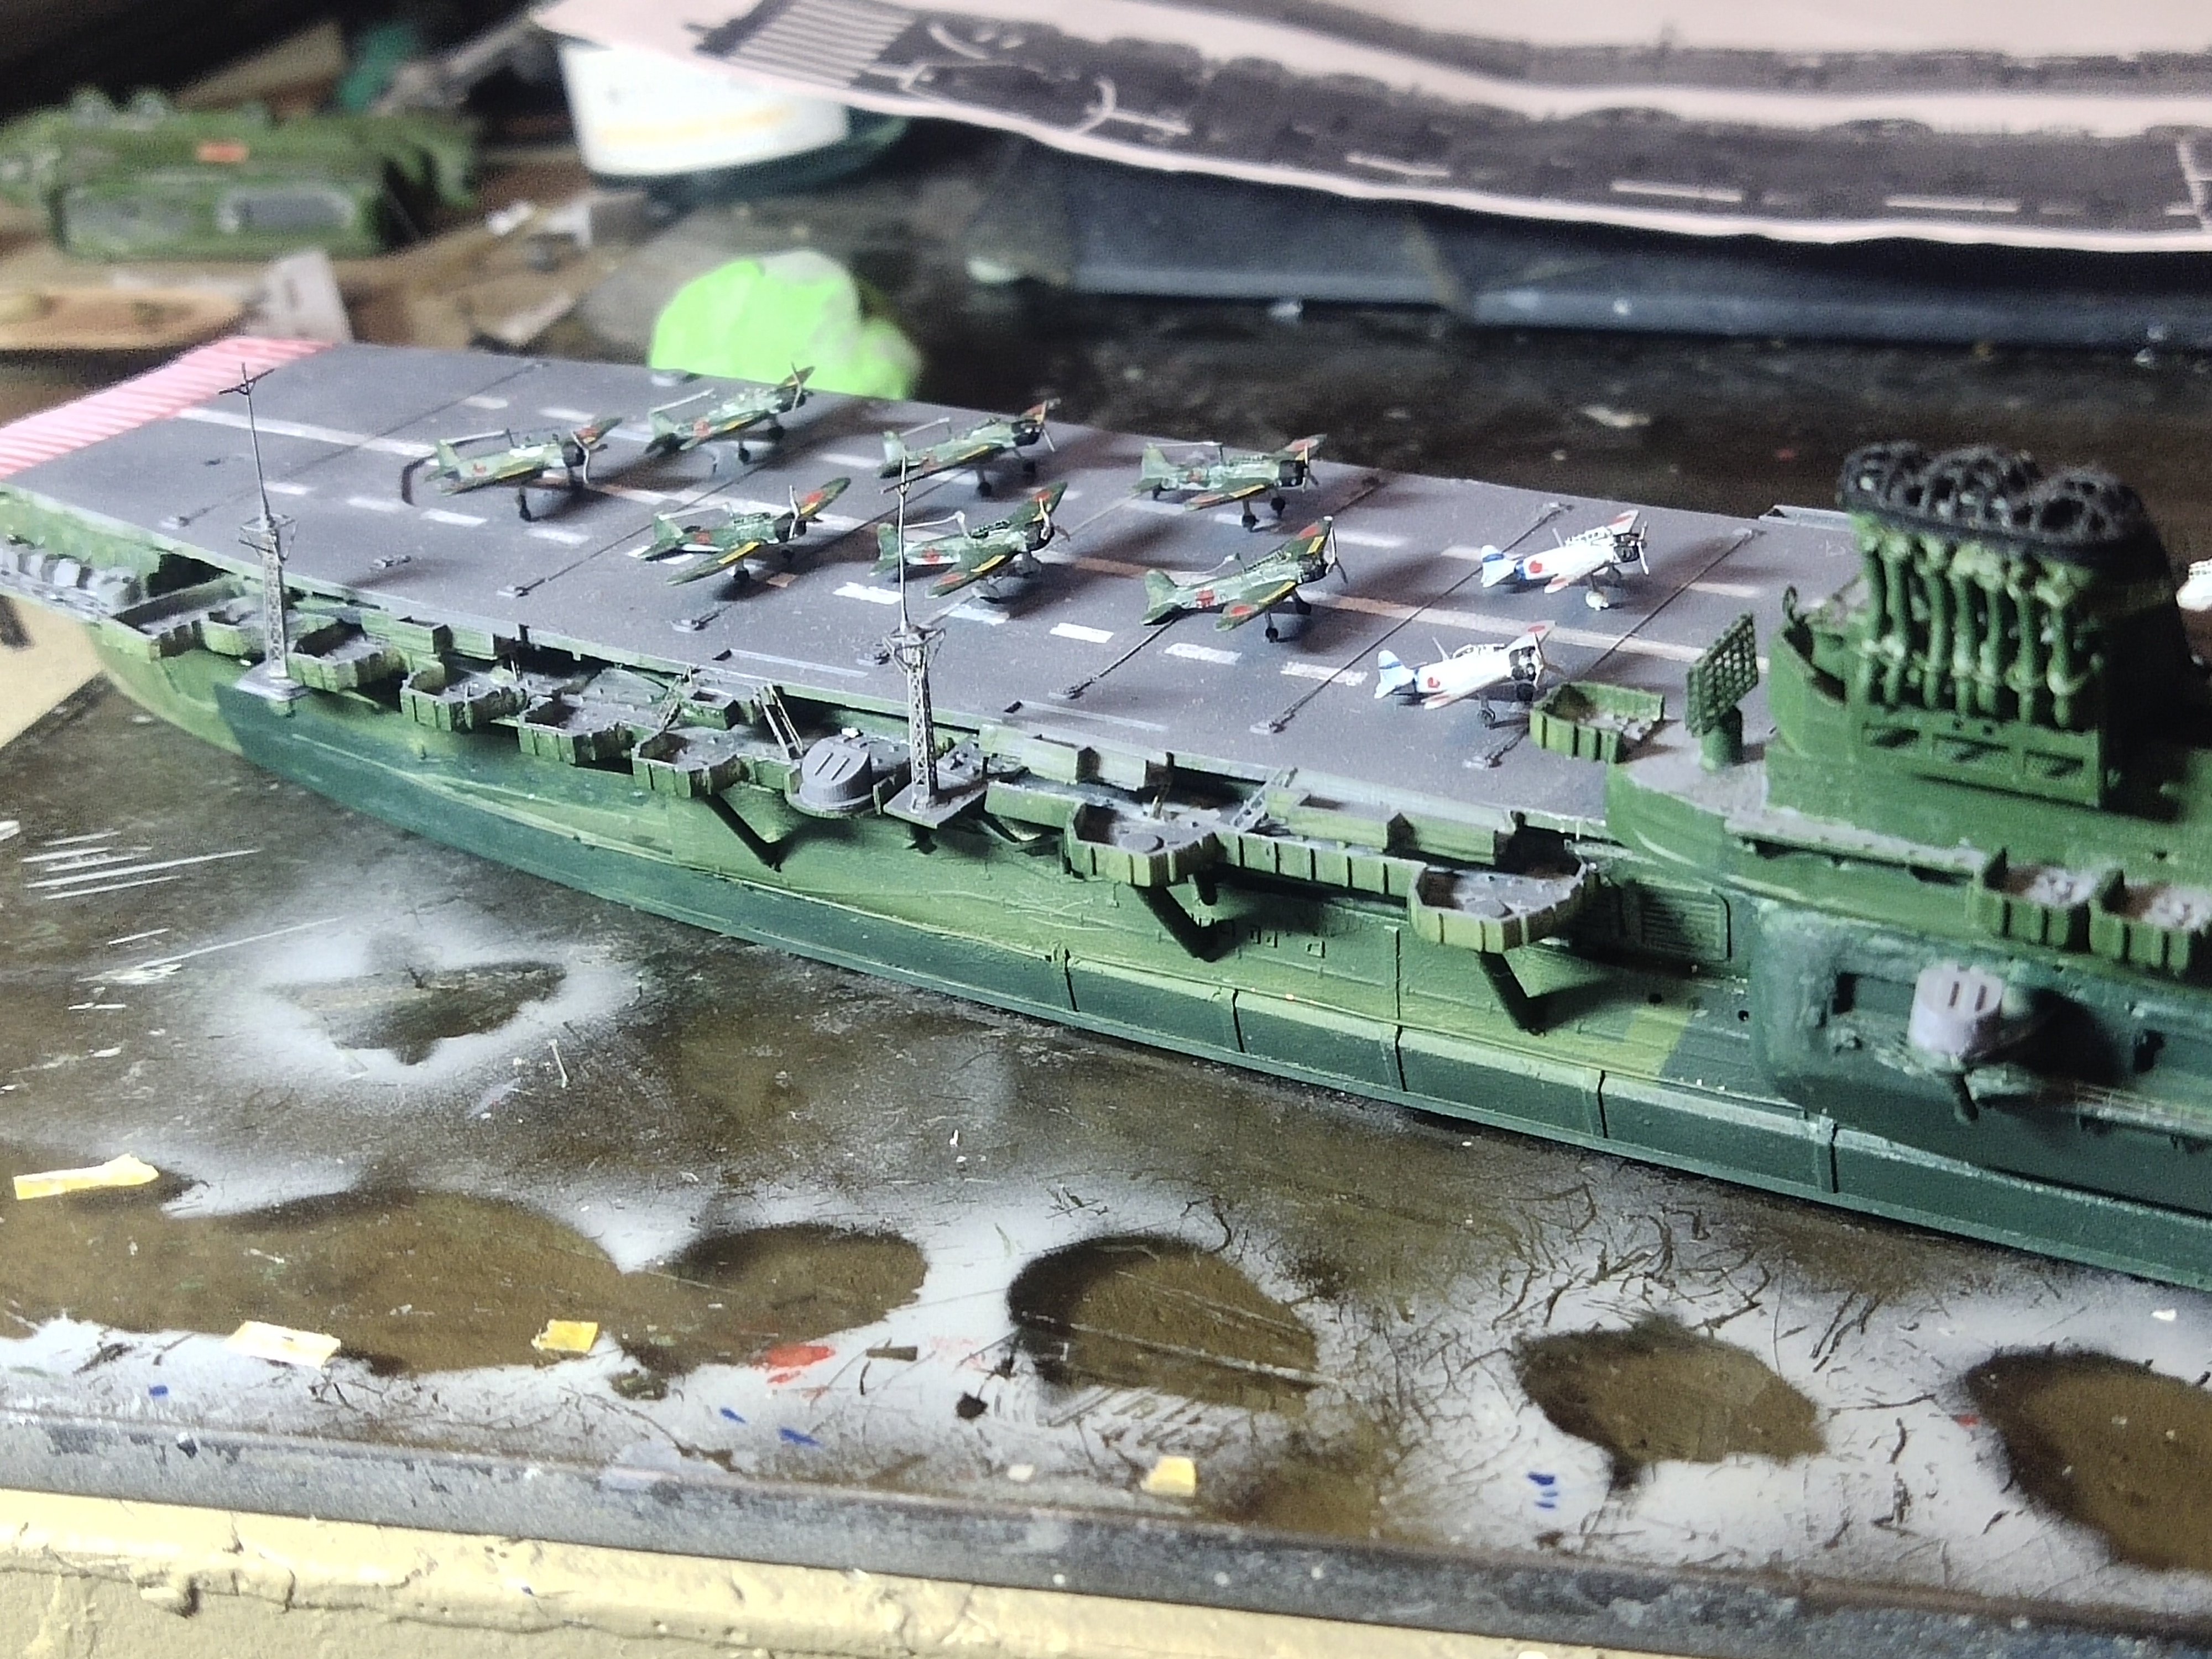
I added the A6M Zero. Totally 12 pieces. PEs were bit smaller but I added them all. For paint I use grey primer directly mixed with white. That saved me some time. It would me a nightmare to built 60-70 of these.