HOLIDAY DONATION DRIVE - SUPPORT MSW - DO YOUR PART TO KEEP THIS GREAT FORUM GOING!
×


DanielD
-
Posts
645 -
Joined
-
Last visited
Content Type
Profiles
Forums
Gallery
Events
Everything posted by DanielD
-
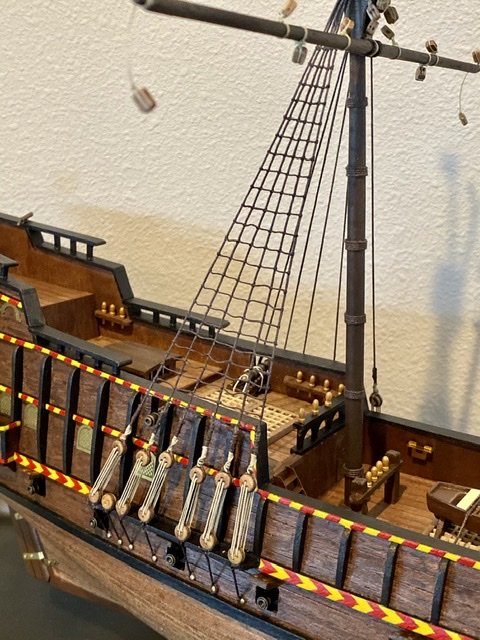
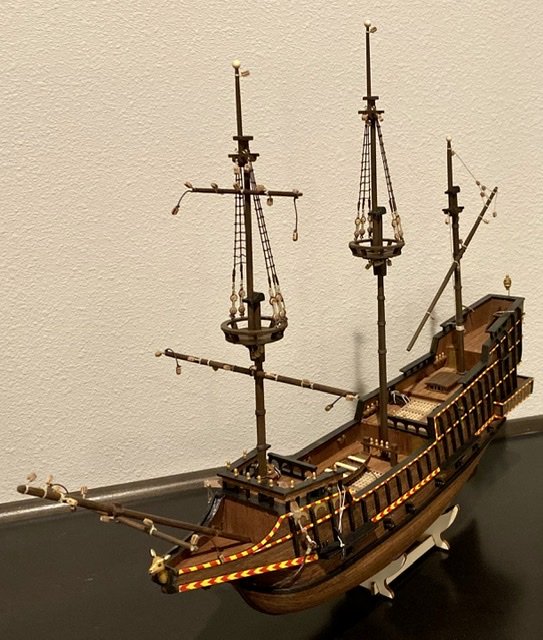
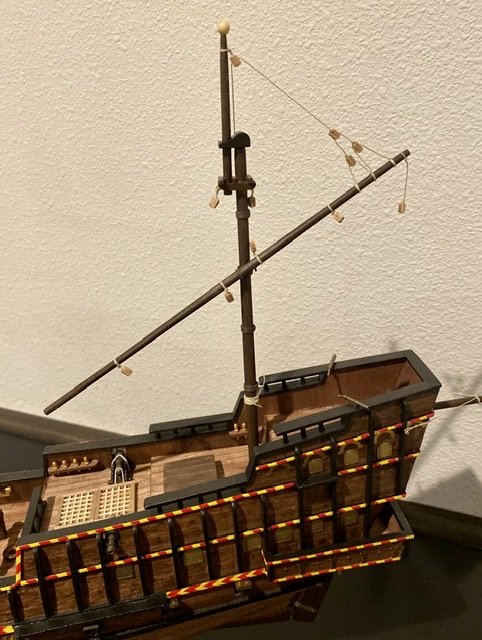
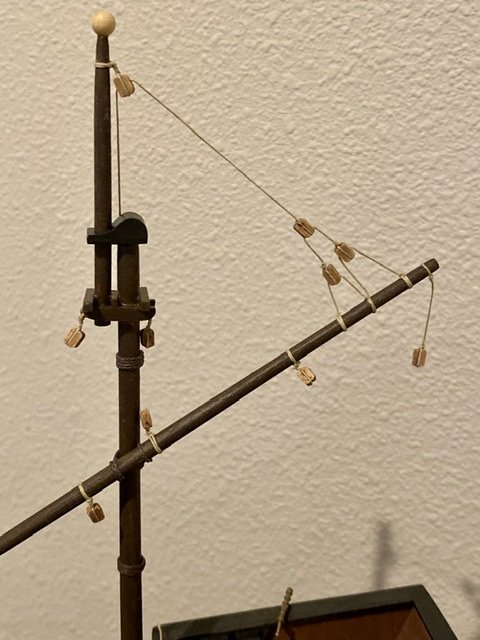
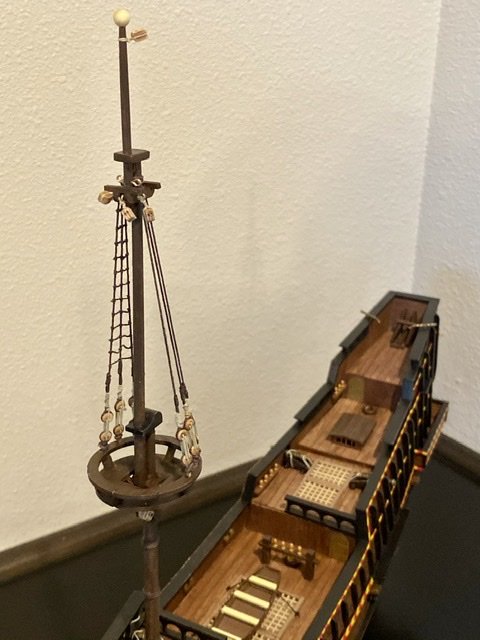
 More work completed on the fore mast. Some of the rigging instructions for this model are, well... less than helpful.
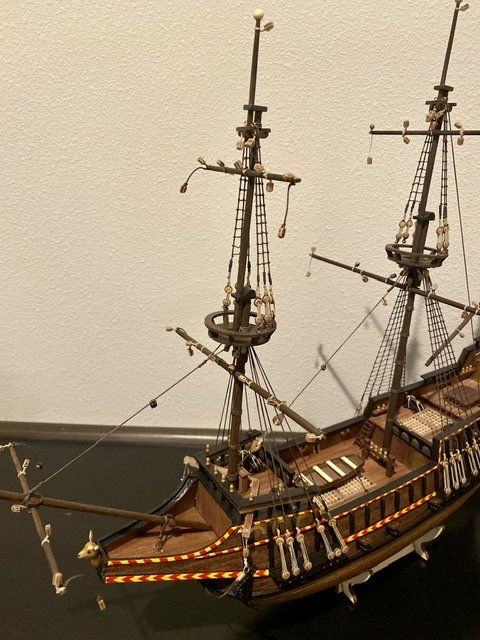
-
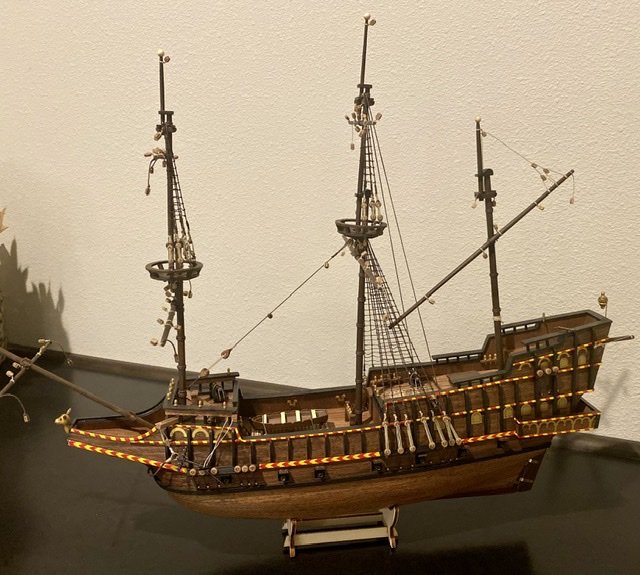
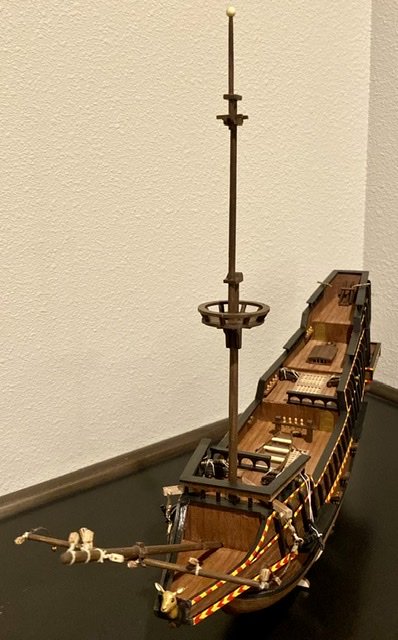
Finished the starboard main mast rat lines, permanently mounted the fore mast, and more stationary rigging.

-
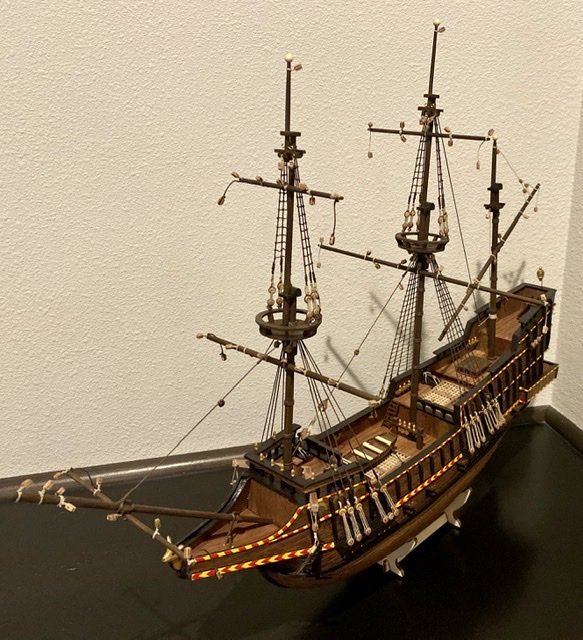
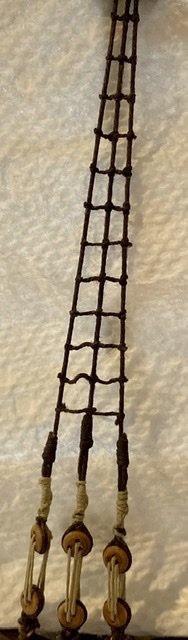
More rat lines...the tortoise wins the race.
-
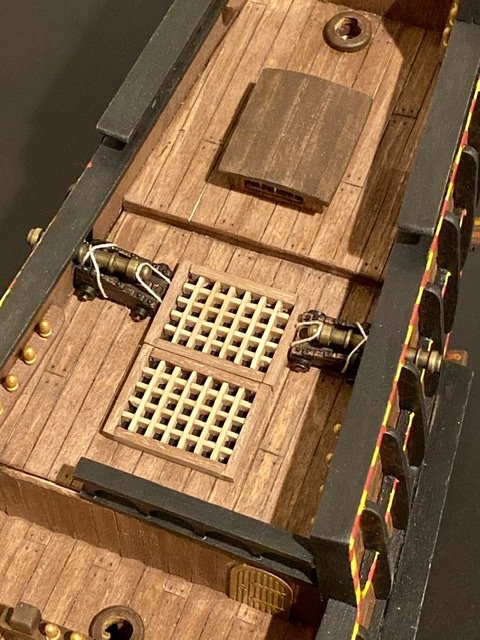
Slow progress, but steady she goes.
-
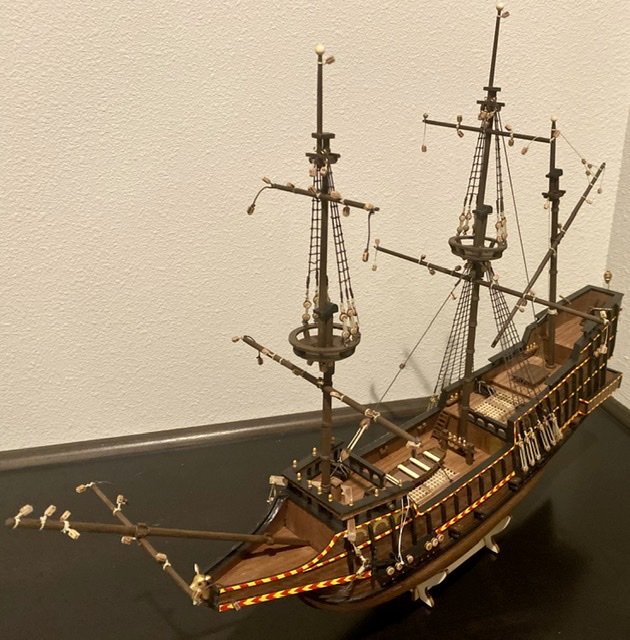
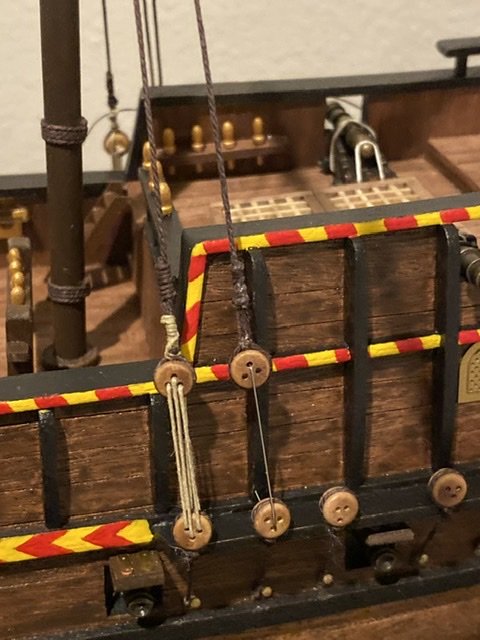
Finished installing the dead eyes on the port side hull, permanently attached the main mast today and started the static rigging.

-
Tonight was spent with dead eyes... now to do the port side.

-
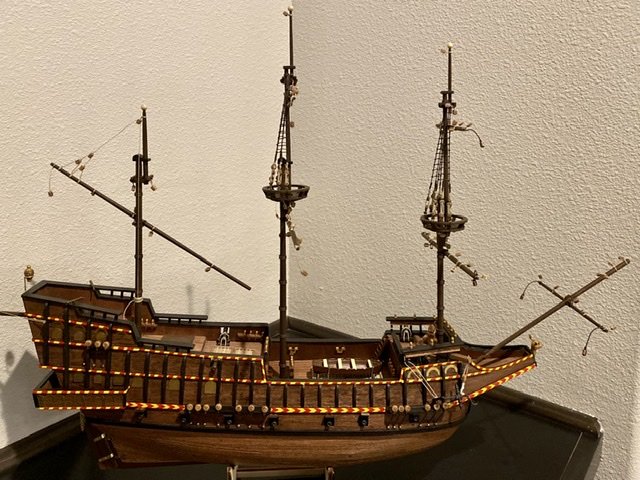
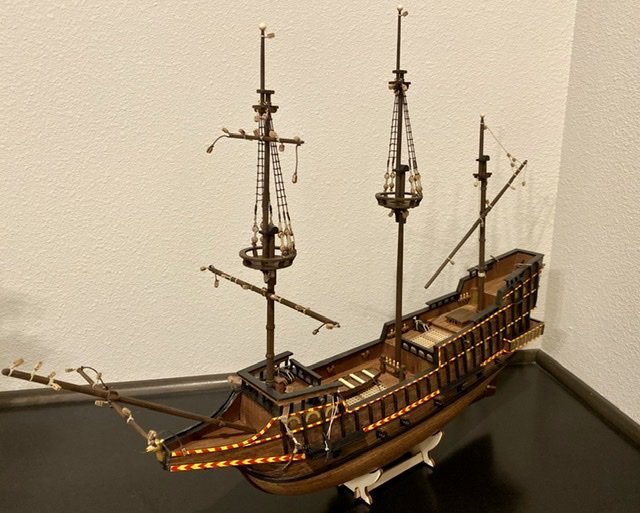
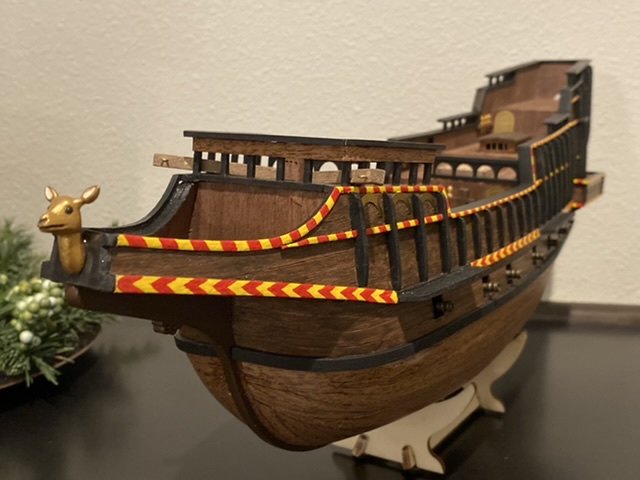
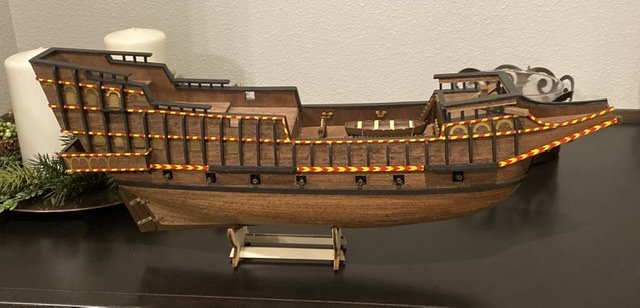
Thank you Lazy Saint. This has been a very fun project and I can’t wait to start another. This model, The Golden Hind, is labeled as a level 2 beginner, so with the experience I gained from this ship I will take it up a notch. Currently I’m looking at the level 3 HMS Terror, also by OcCre. However, I’m open to suggestions. I thought the plans, stock wood, and laser cut plywood were all very good from this manufacture. The only thing I thought was a bit sub par was the inconsistency of the dead eyes and pulleys. I’m not stuck on this manufacture, but with my limited experience, I would do another project by OcCre. If there is a better manufacture of sailing ships, I’d like to know. Thanks again for your kind words, Daniel
-
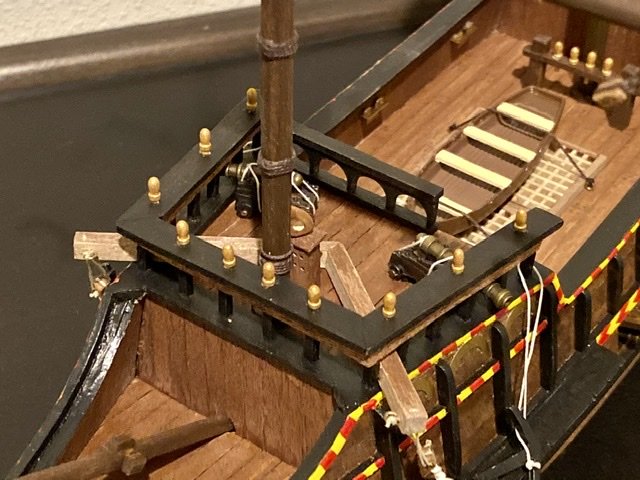
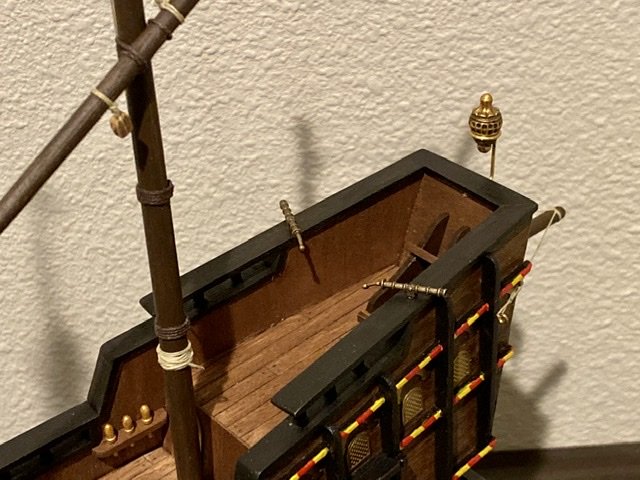
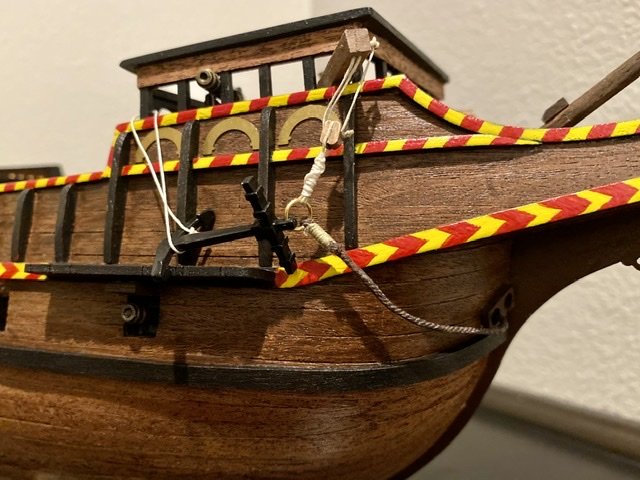
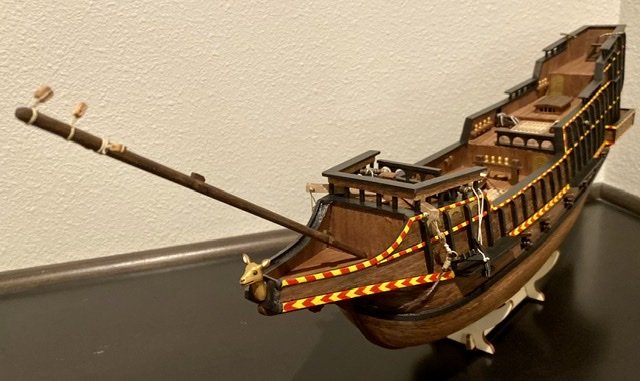
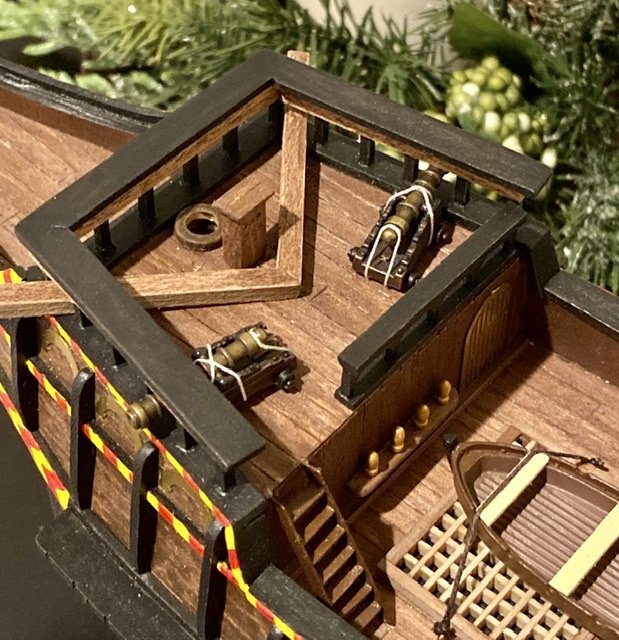
A few final touches to the hull before I mount the masts permanently, stern lantern and several cleats (not sure this is the correct term).
-
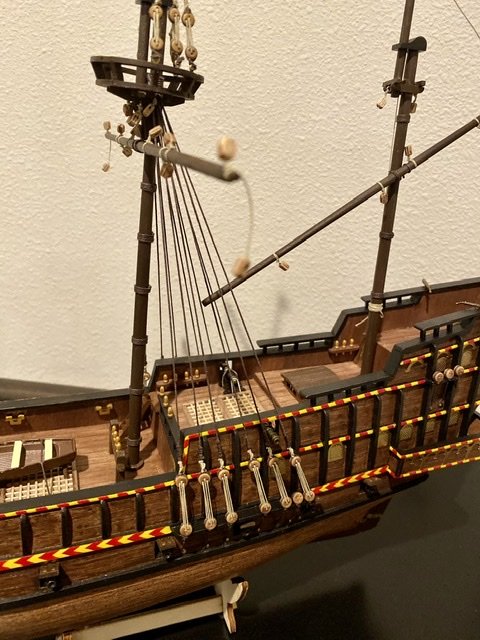
A little main mast rat line work today...
-
Thanks ASAT! I have really enjoyed this level 2 (beginner) model and I love the double hull design. I have my eye on a level 3, the HMS Terror, but not sure yet. I’m open to suggestions...
-
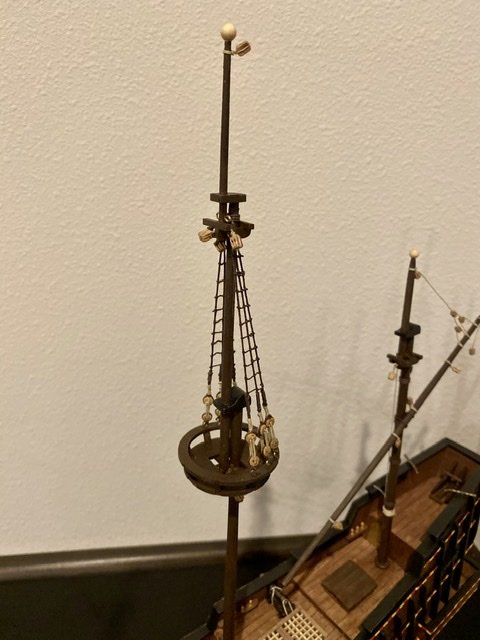
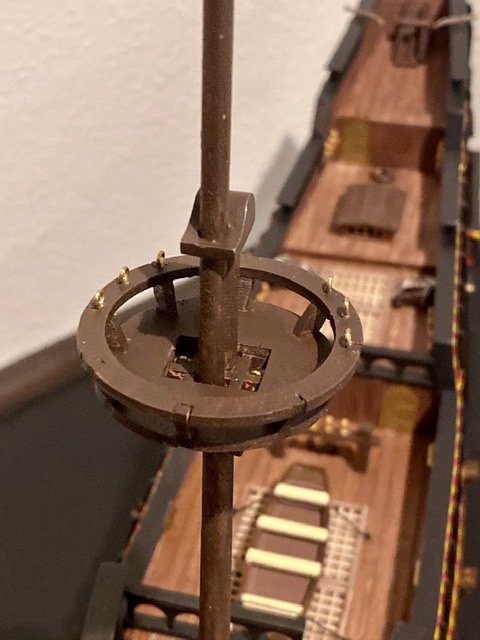
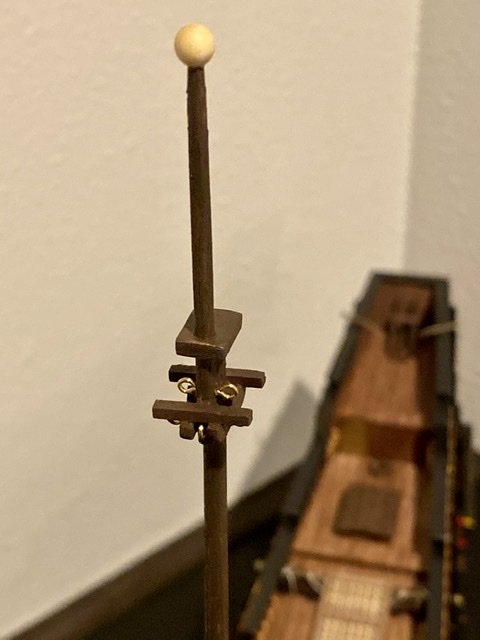
Mizze mast complete. Now on to the main mast.
-
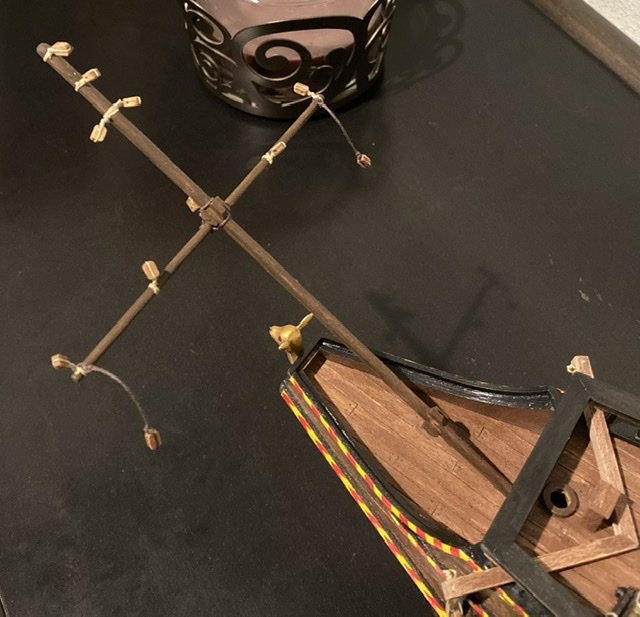
Completed as much as I can on the fore mast for now. Next...if all goes well, the mizze mast.


-
Nice job on the cannon ports, wish I had thought of that before mounting mine. Well done sir... Daniel
-
A little work on the foremast tonight. Seems slow going... but happy with the outcome so far.
-
Only a little progress last night.
-
Patrick, I wondered about that, leaving the anchors until later. I was following the instructions; however, the location for the lashing that holds the butt of the anchor does not exist yet. I held in place with a temporary line that I can easily remove, but if/when the anchors get in the way, I will remove them until later. A quick question though, as I'm starting to build the masts. The cross members appear to be held on with just the rigging. I'm sure this is the case on a real ship, but in the modeling world, do I glue the cross members to the vertical portion of the masts? Or do I just use the lashing that holds the two poles together? I'm sure some use only the lashing while others glue the cross members down. Has anyone done both and have a preference? Does it help to have a more stable mast when doing the rigging? Or does it matter at all. Any advise before I screw it up would be appreciated.
-
Today’s tasks started with a second coat of satin varnish to protect the new paint job and all the additions since the base varnish I applied when the hull planking was finished. Then a few new additions that took a long time as I needed to study knot tying. Today’s knots included the standard square knot, a stopper knot, a double half hitch lashing, a half hitch spiral (came out nice on the anchor), a cinch knot and probably a few more. All in all, a good day...

-
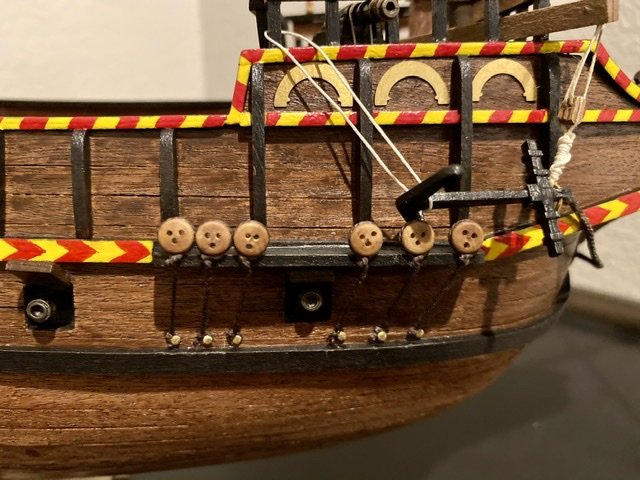
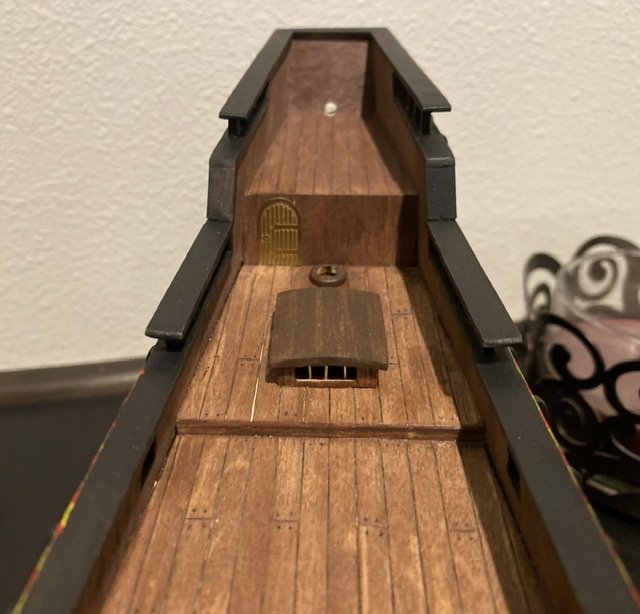
Some finishing touches to the detail work.
-
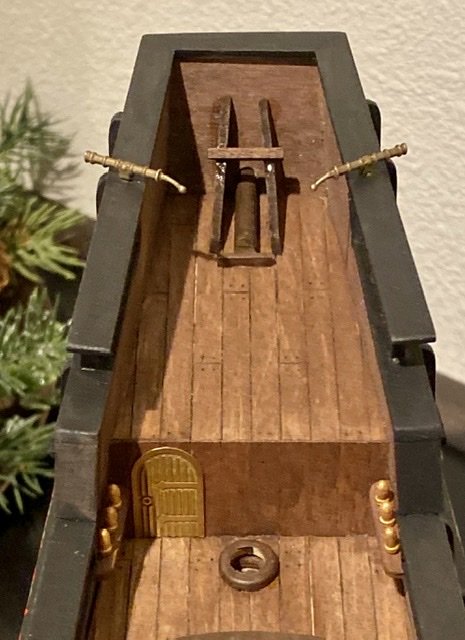
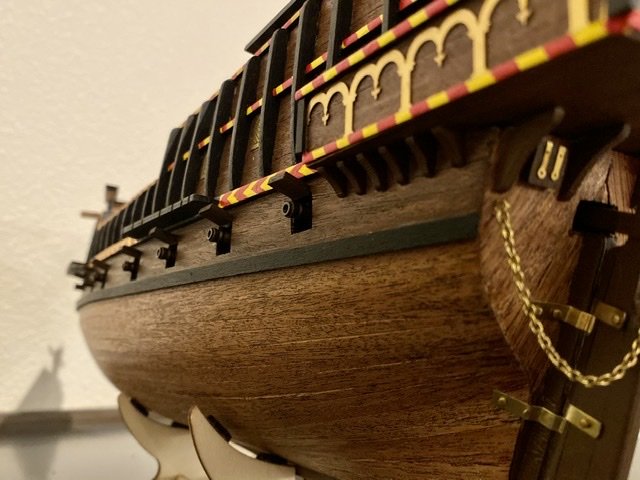
More detail, cannon doors and rudder chain.

-
More detail work finished. I didn’t realize how long building these pieces would take. Oh well, that’s the point of a hobby.

-
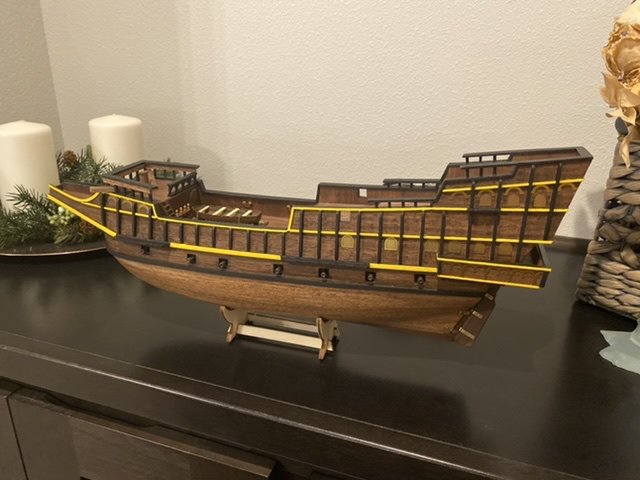
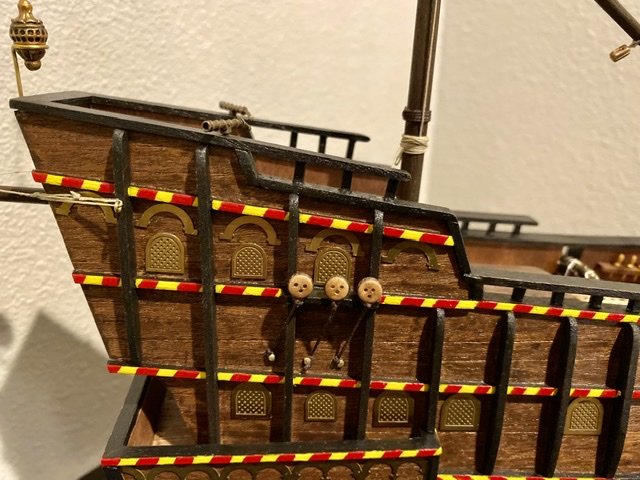
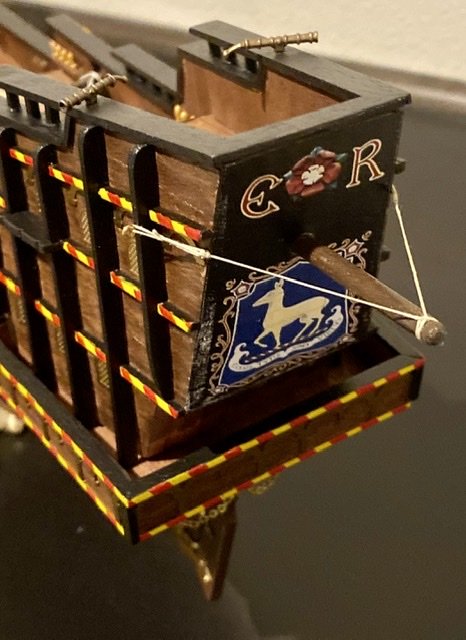
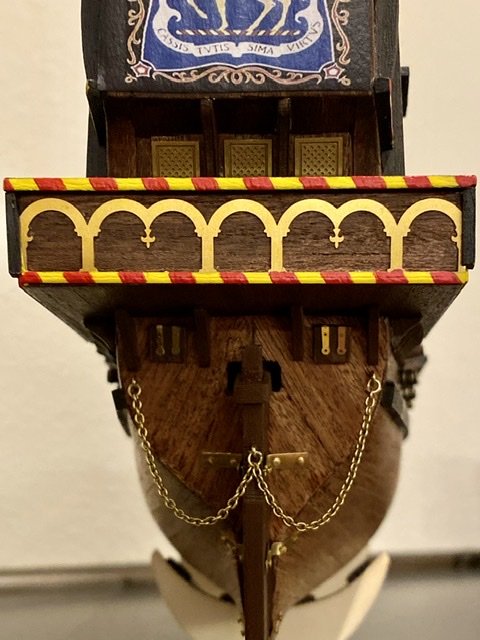
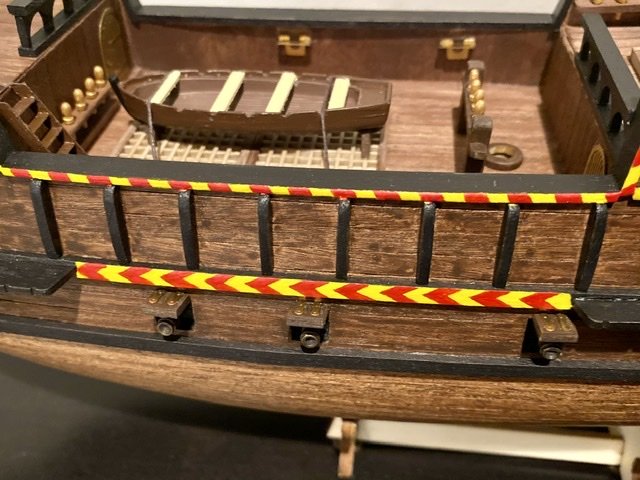
Starboard and aft paint detail completed. Now back to building detail pieces.

-
Paint detail finished on port side. That was a lot of work.

-
Started the painting detail. Now to do the other side.