modeller_masa
NRG Member-
Posts
950 -
Joined
-
Last visited
-
 modeller_masa reacted to a post in a topic:
Costa Passenger Coach by yvesvidal - FINISHED - OcCre - 1/32
-
 modeller_masa reacted to a post in a topic:
Costa Passenger Coach by yvesvidal - FINISHED - OcCre - 1/32
-
 modeller_masa reacted to a post in a topic:
Costa Passenger Coach by yvesvidal - FINISHED - OcCre - 1/32
-
 TOM G reacted to a post in a topic:
Swift 1805 by modeller_masa - Artesania Latina - 1/50
-
 modeller_masa reacted to a post in a topic:
A different Mini Sander for very fine detail
-
 Ronald-V reacted to a post in a topic:
Swift 1805 by modeller_masa - Artesania Latina - 1/50
-
 JacquesCousteau reacted to a post in a topic:
Swift 1805 by modeller_masa - Artesania Latina - 1/50
-
 vvvjames reacted to a post in a topic:
Swift 1805 by modeller_masa - Artesania Latina - 1/50
-
 modeller_masa reacted to a post in a topic:
Swift 1805 by modeller_masa - Artesania Latina - 1/50
-
 modeller_masa reacted to a post in a topic:
Preparing Standing Rigging.
-
 vvvjames reacted to a post in a topic:
Swift 1805 by modeller_masa - Artesania Latina - 1/50
-
 vvvjames reacted to a post in a topic:
Swift 1805 by modeller_masa - Artesania Latina - 1/50
-
 modeller_masa reacted to a post in a topic:
Speedwell Battle Station Kit 1752 by CiscoH - Syren Ship Model Company - 3/8" or 1:32
-
modeller_masa started following Does painting mean covering the mistake? , Preparing Standing Rigging. , Wood Sealer Prior to Using Acrylic Paint and 4 others
-
Preparing Standing Rigging.
modeller_masa replied to ford34tom@comcast.net's topic in Masting, rigging and sails
It depends on the purpose of the uses. Temporary-fast-soluble adhesion - Nail polish clear color (Lacquer based) Temporary-medium speed-soluble adhesion - Dewaxed shellac Temporary-slow-soluble adhesion - Diluted PVA wood white bond Long-term-protective coat - Diluted PVA wood white bond, dewaxed shellac, candle wax, bee's wax, thread wax, etcs Permanent-Instant-non soluble strong adhesion - CA super glue (Extreme caution!) You can apply the protective wax to the threads before rigging. It removes thread fuzz and prevents thread from getting entangled. You can apply the protective wax after all the rigging work, but beware of spilling glue on the deck or sails. -
 modeller_masa reacted to a post in a topic:
Video: "The Most Expensive Woods in the World"
-
 modeller_masa reacted to a post in a topic:
San Francisco II by sire_eris - Artesania Latina - scale 1:90
-
 thibaultron reacted to a post in a topic:
Korabel in Ukraine (Not Master Korabel)
-
 robert952 reacted to a post in a topic:
Metallic paint questions....
-
 thibaultron reacted to a post in a topic:
Metallic paint questions....
-
The surface of wood is very different from plastic or metal. I pay attention to many conditions when I paint on wood. - Wood species: Oily or porous surface - Structure of wood: Heartwood-Sapwood, growth ring, direction of grains - Defects: burls, etcs Also, there are various types of paints - Transparent: Traditional oil varnishes, Shellac, etcs - Opaque: Sealer, putty, primer, epoxy coat, lots of sanding, water or alcohol based paints, sanding again, matt varnish. I don't know what the best answer is. Don't start from forever soup from many makers. Read the acrylic paint maker's instructions for the one you are using and use a wood primer the maker recommends.
-
 Tumblehome reacted to a post in a topic:
Metallic paint questions....
-
https://www.youtube.com/watch?v=IRvvVYMhZ2c Metallic paints have several different types. The differences among pigment, dye, mica, and metal powder determine the characteristic of metallic paints. This knowledge will help to adjust your metallic paint properly. --- I see. So the question is, what is a proper primer for 3D printed parts. I apologize for misunderstanding.
-
need instructions for Heller 1/100 le soleil royal
modeller_masa replied to MrBlueJacket's topic in Plastic model kits
https://www.scalemates.com/kits/heller-58899-le-soleil-royal--1365069 Is this the resolution you wanted? -
Planking problems
modeller_masa replied to Mrgj24's topic in Building, Framing, Planking and plating a ships hull and deck
It is a famous issue. You can read or buy the general planking technique instructions. Then you'll find that you can't apply the instructions to most kits because they have different hull-frame structures. The last step is manipulating the original planking technique to fit the weird structure of the kit. Many build logs and various modification methods will help the progress. -
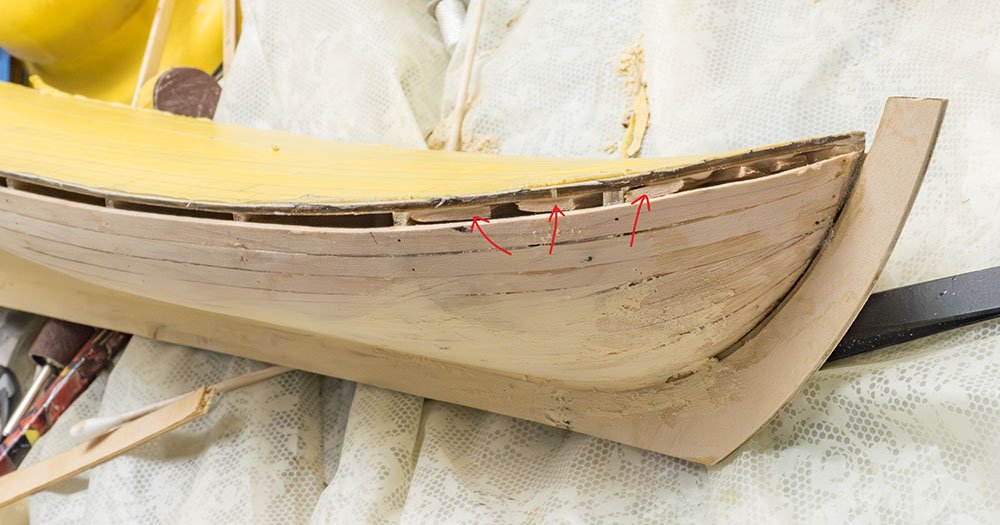
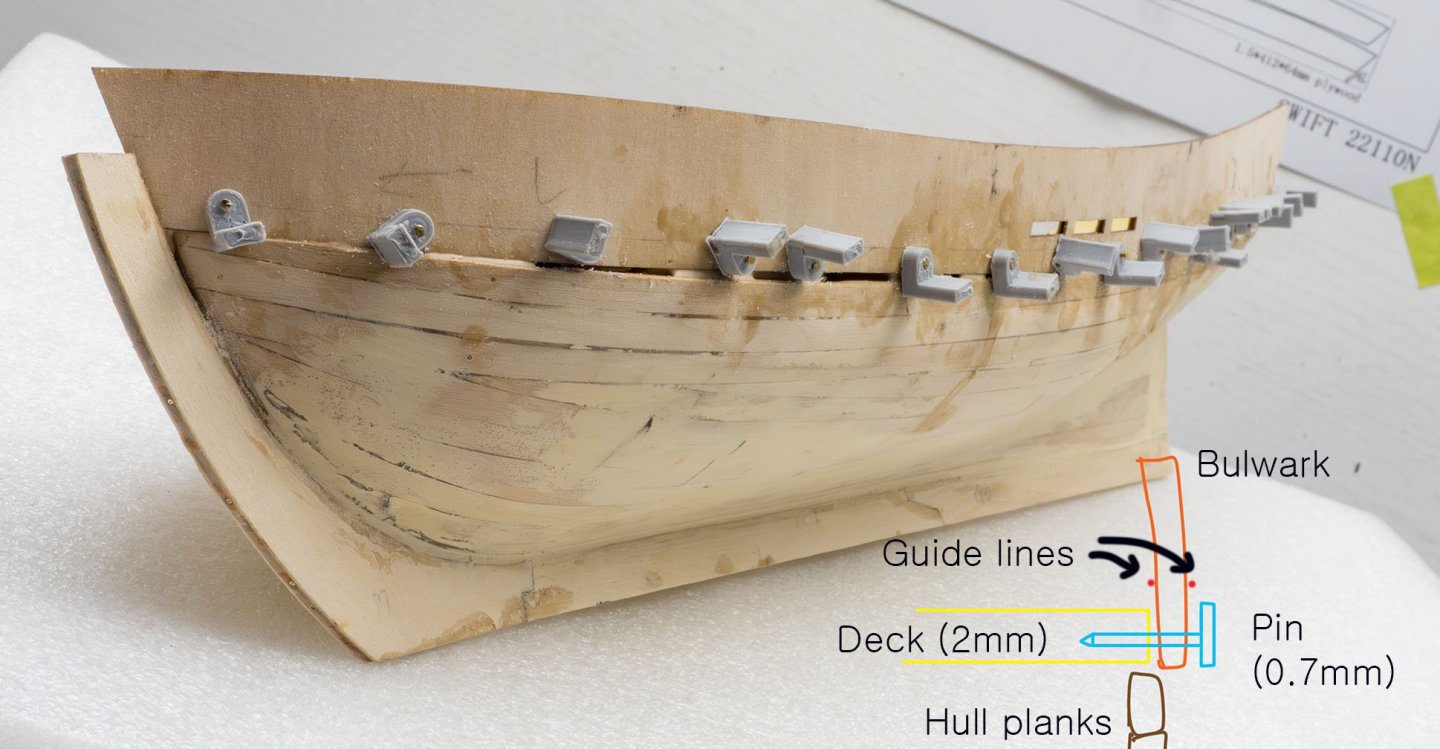
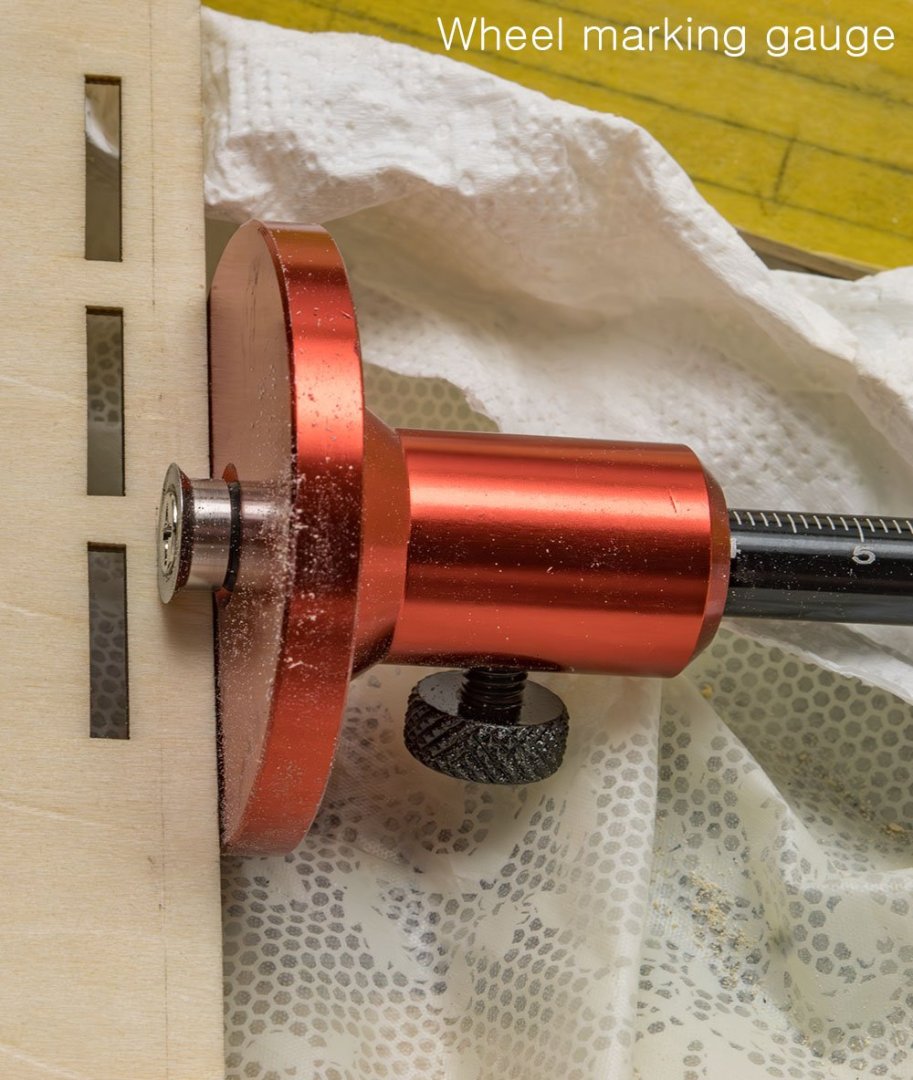
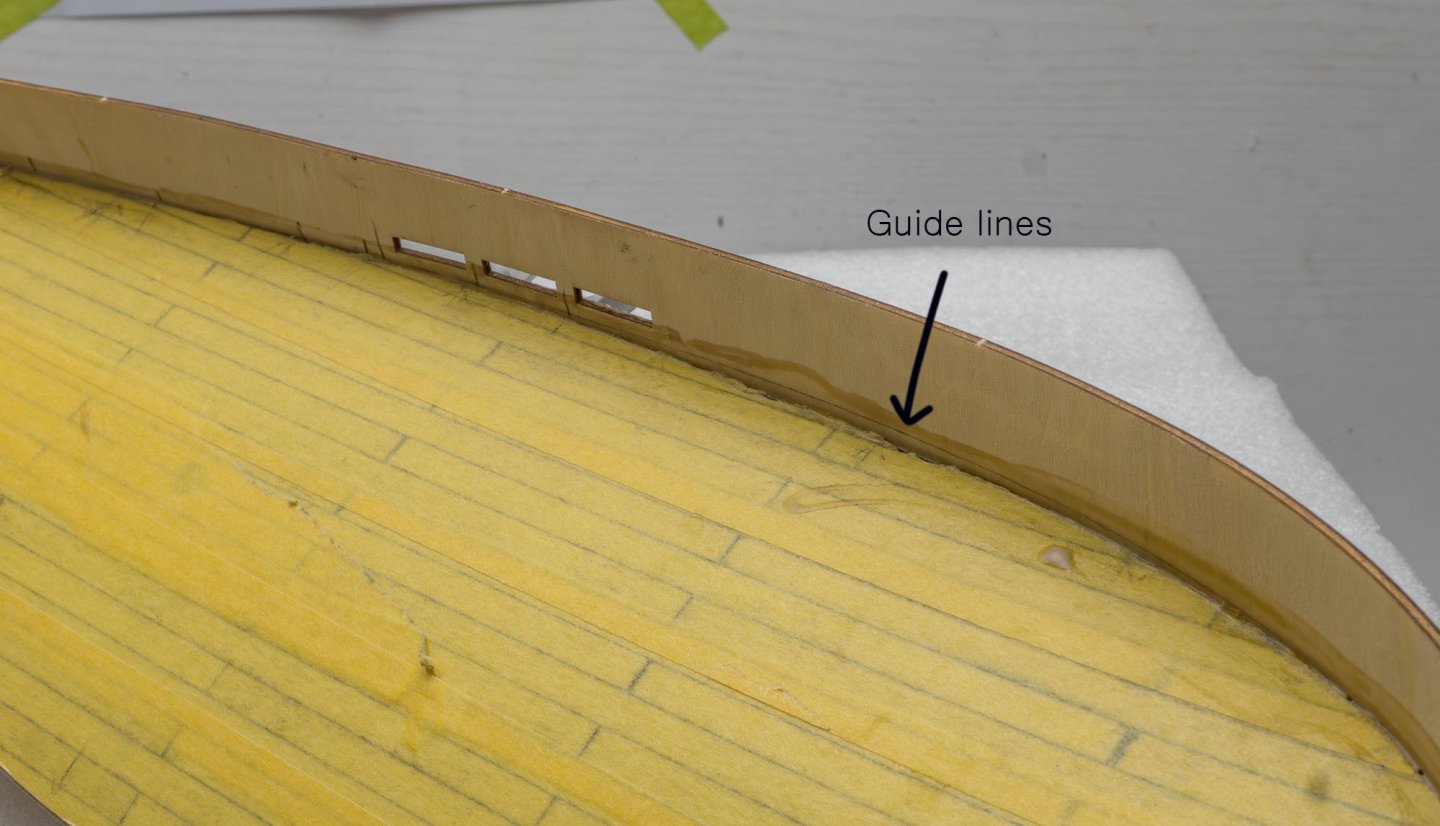
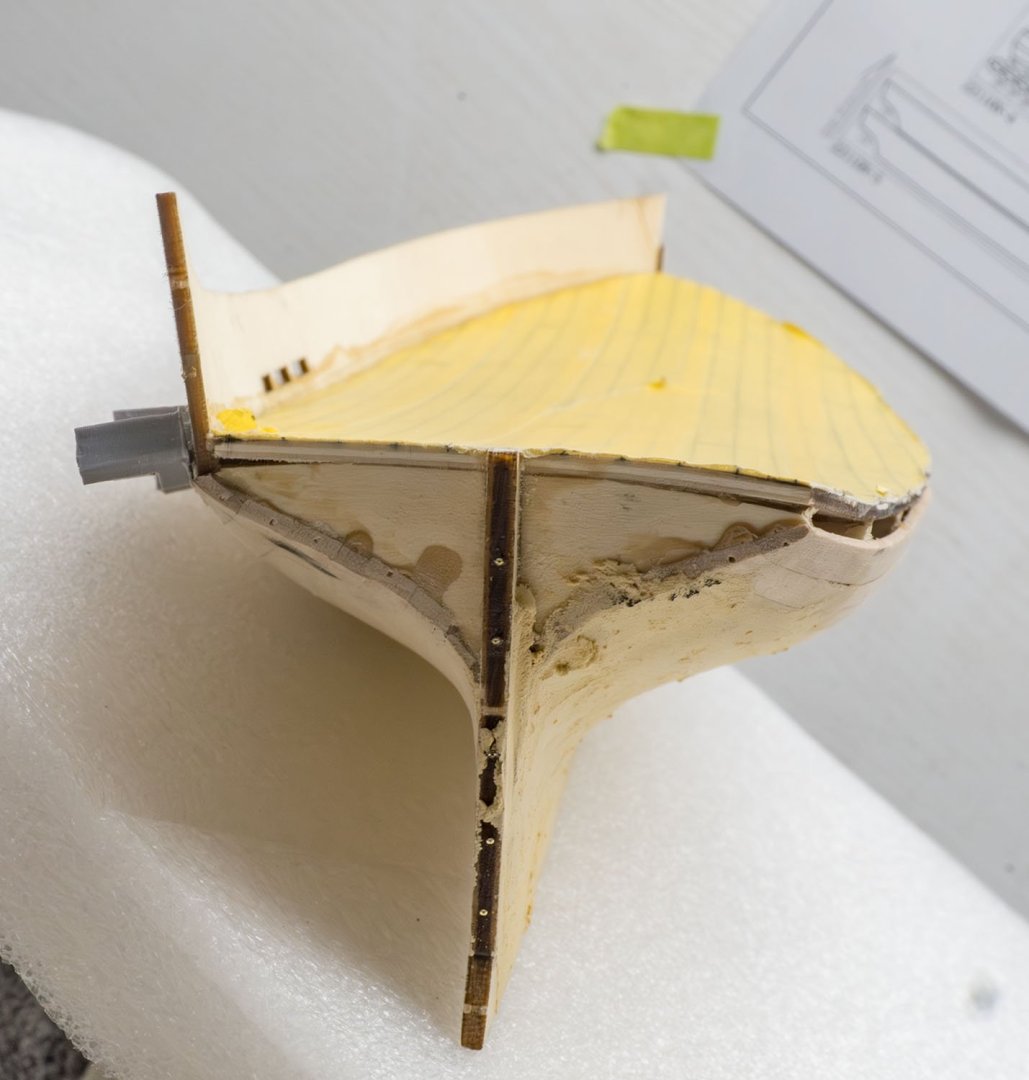
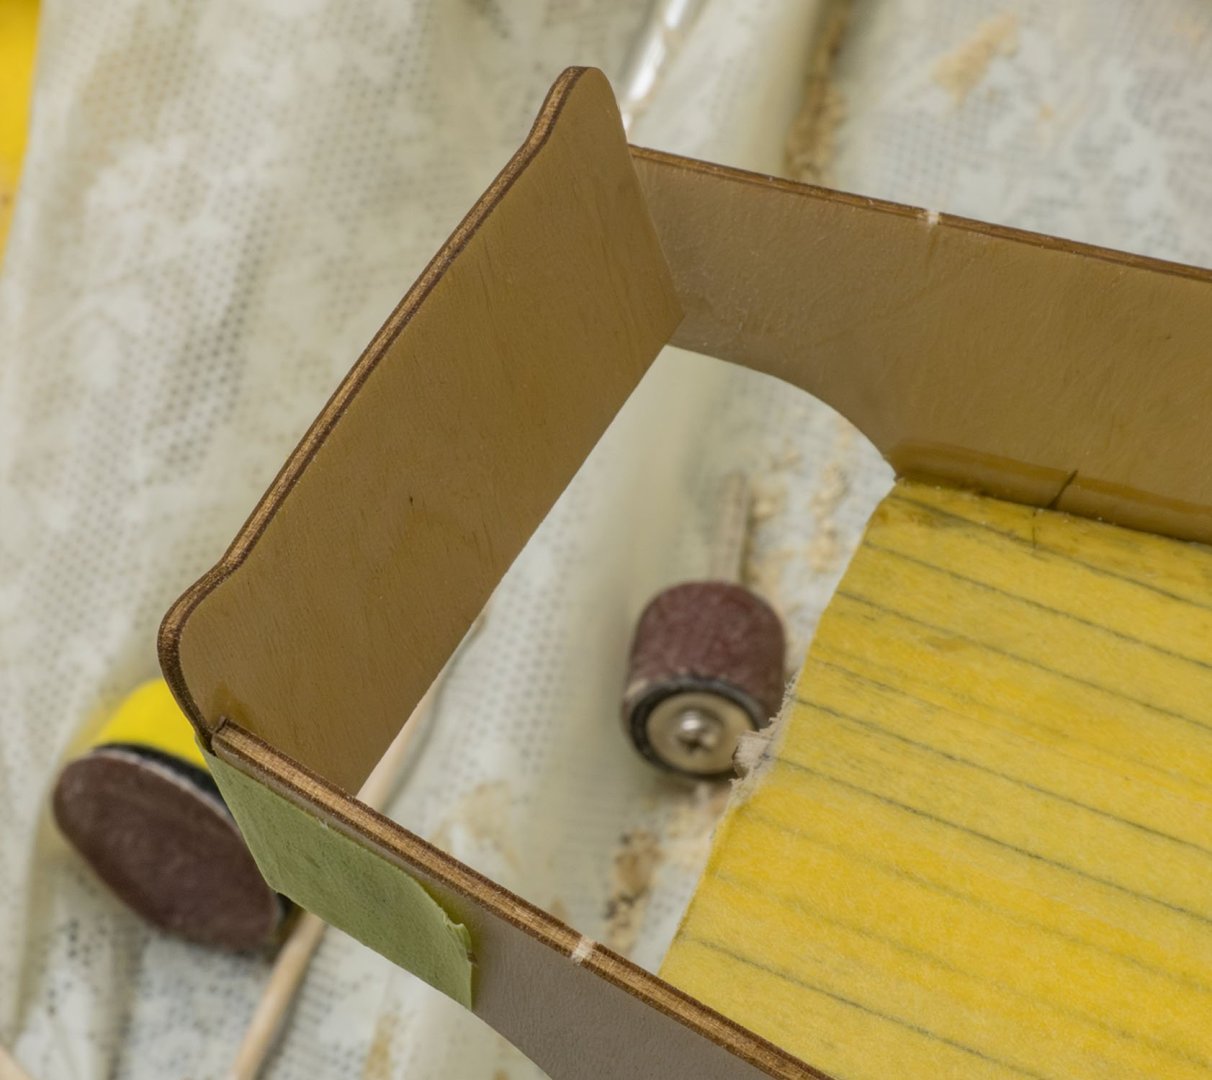
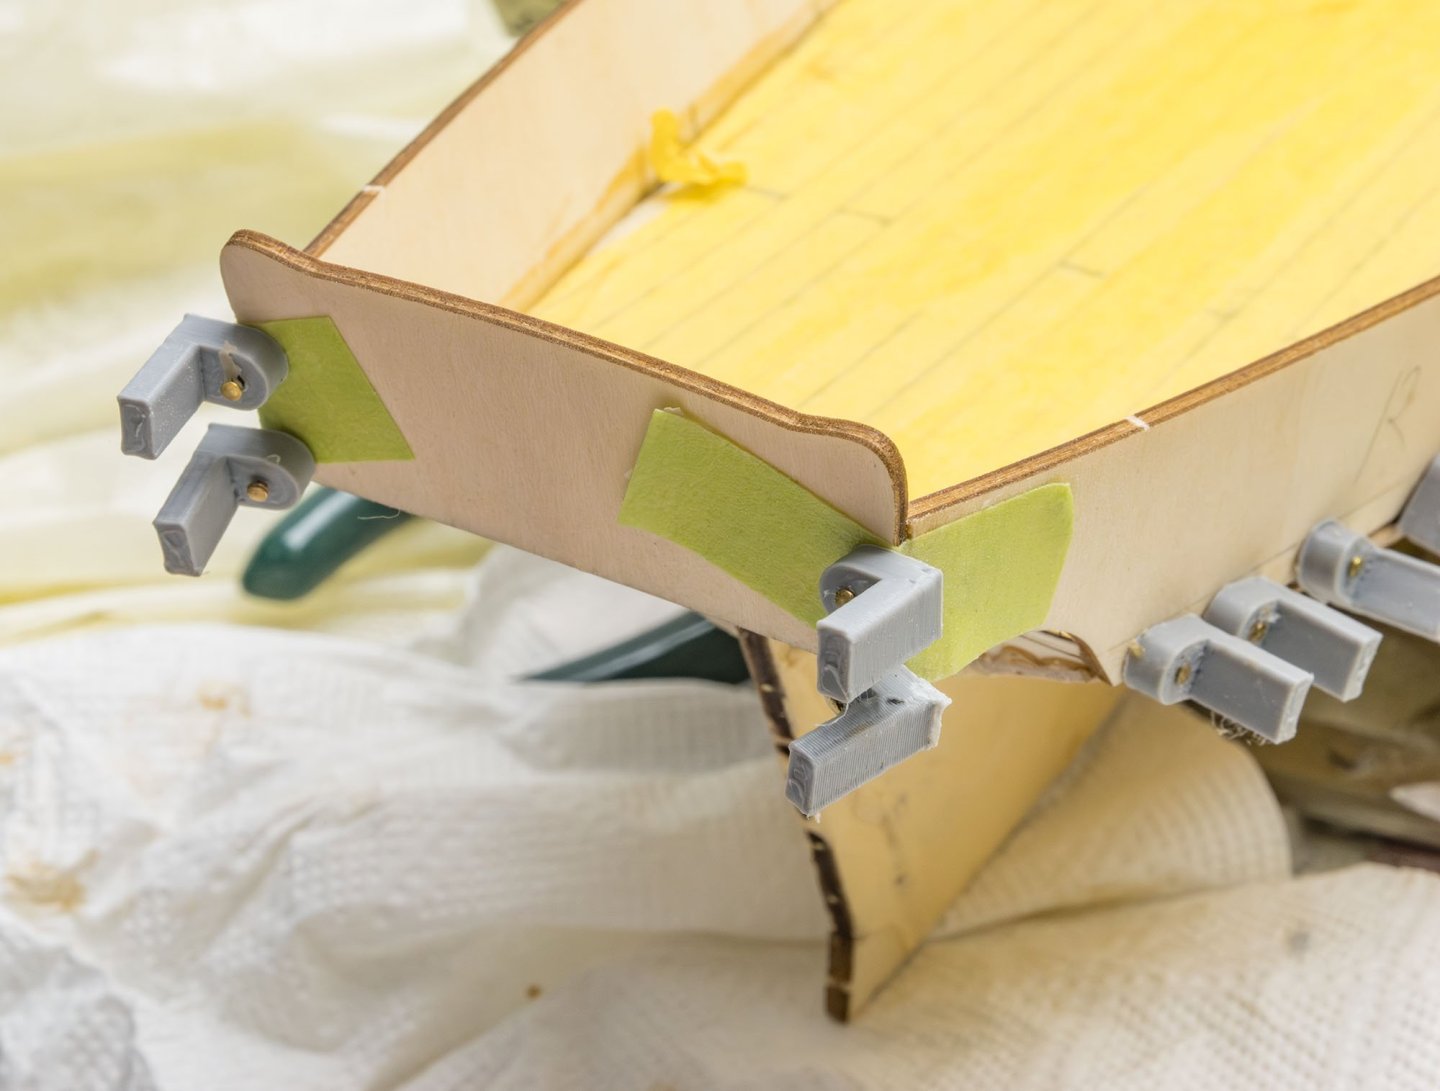
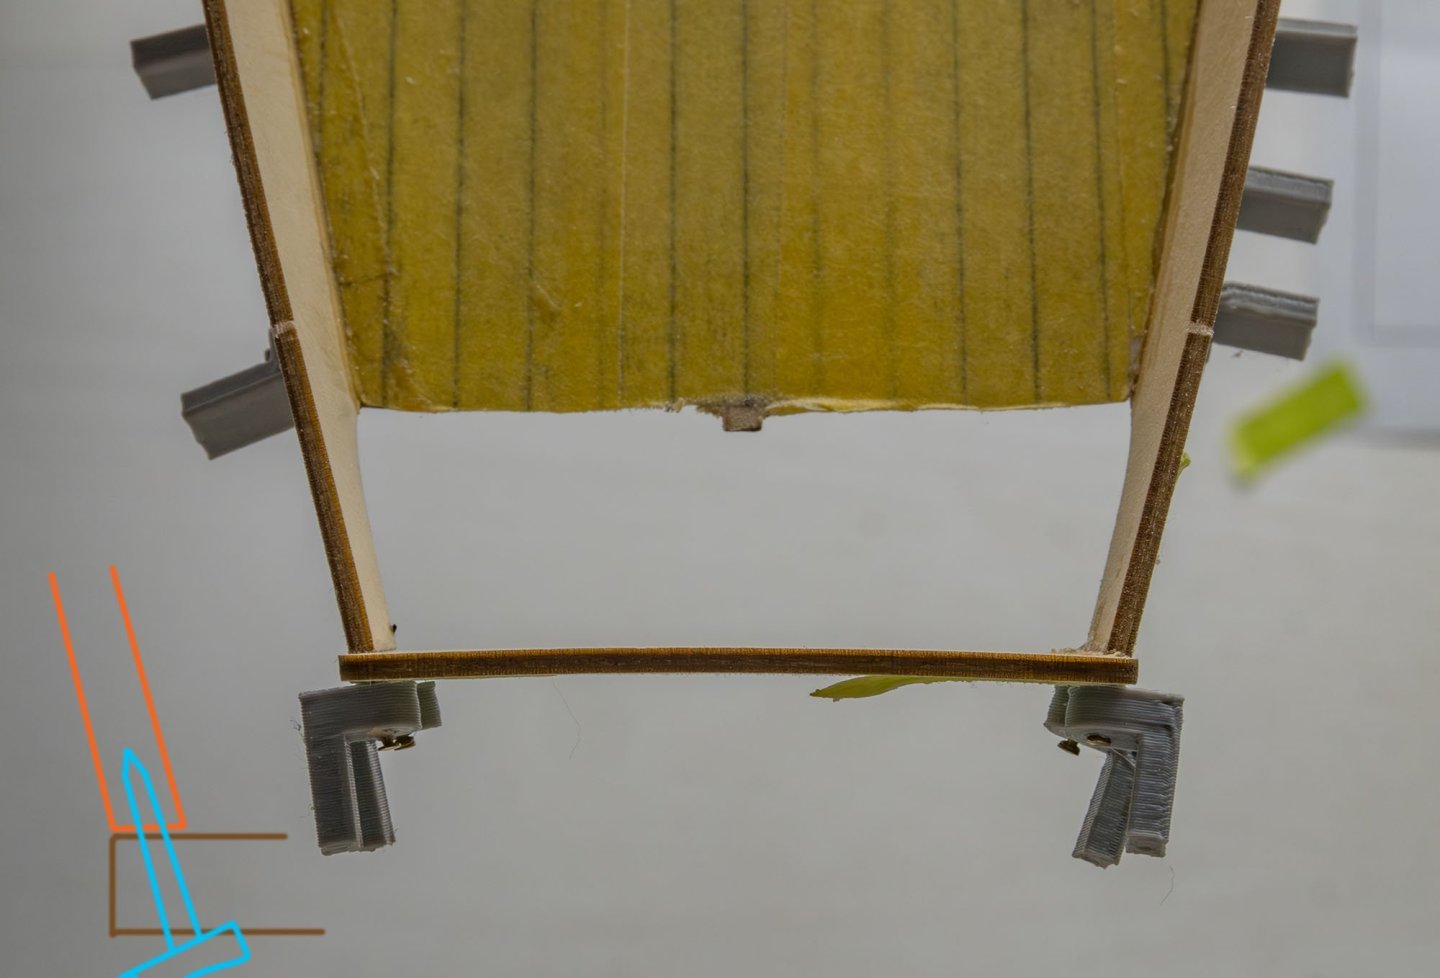
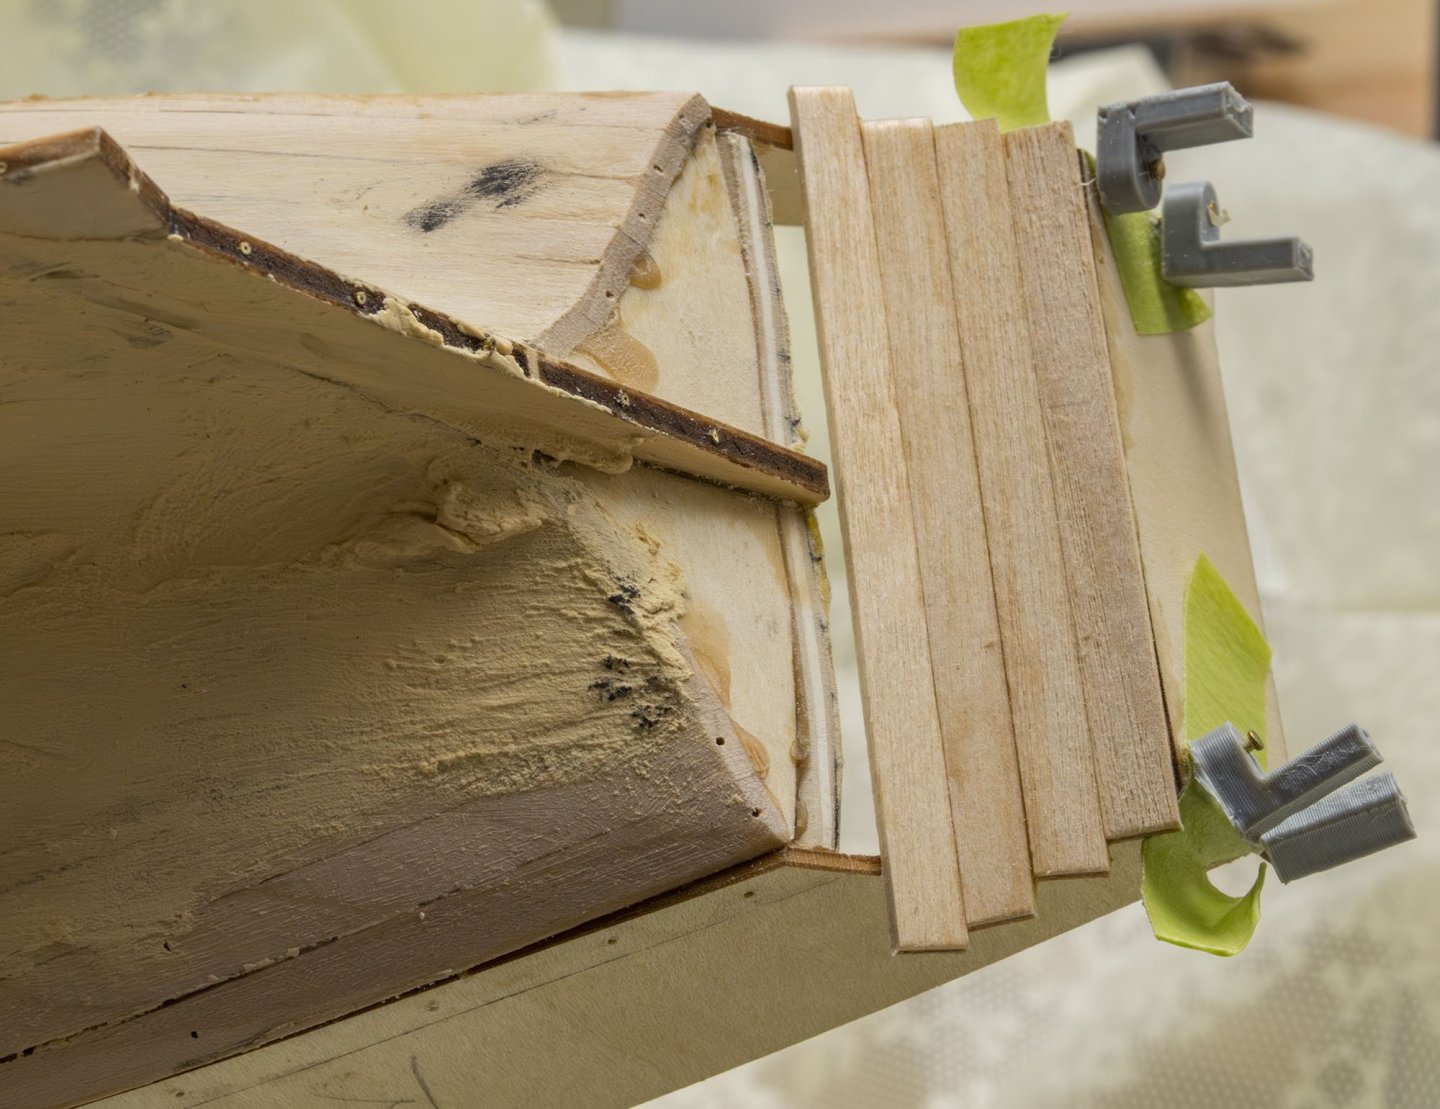
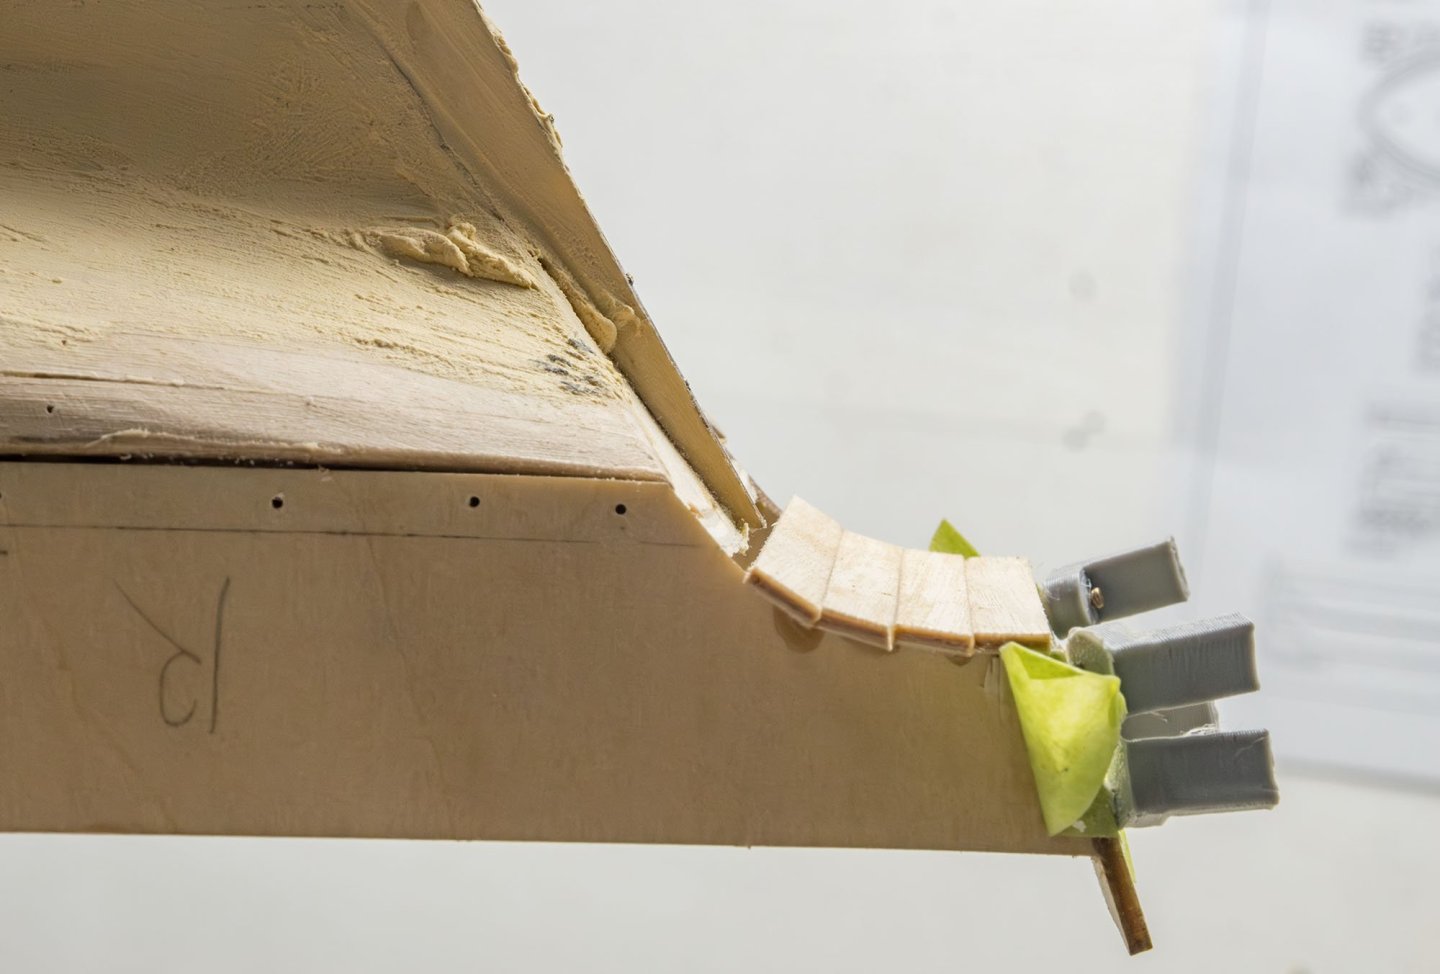
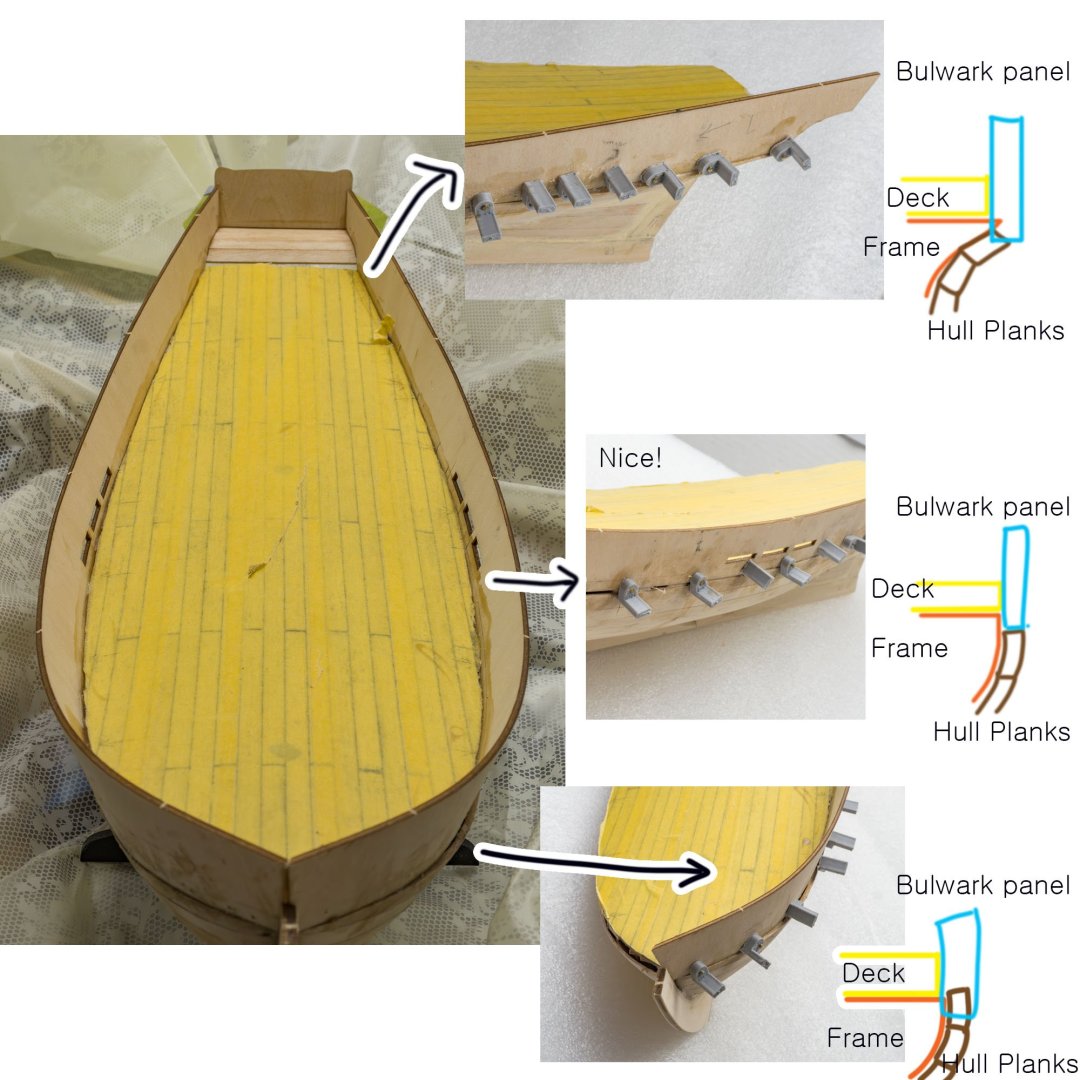
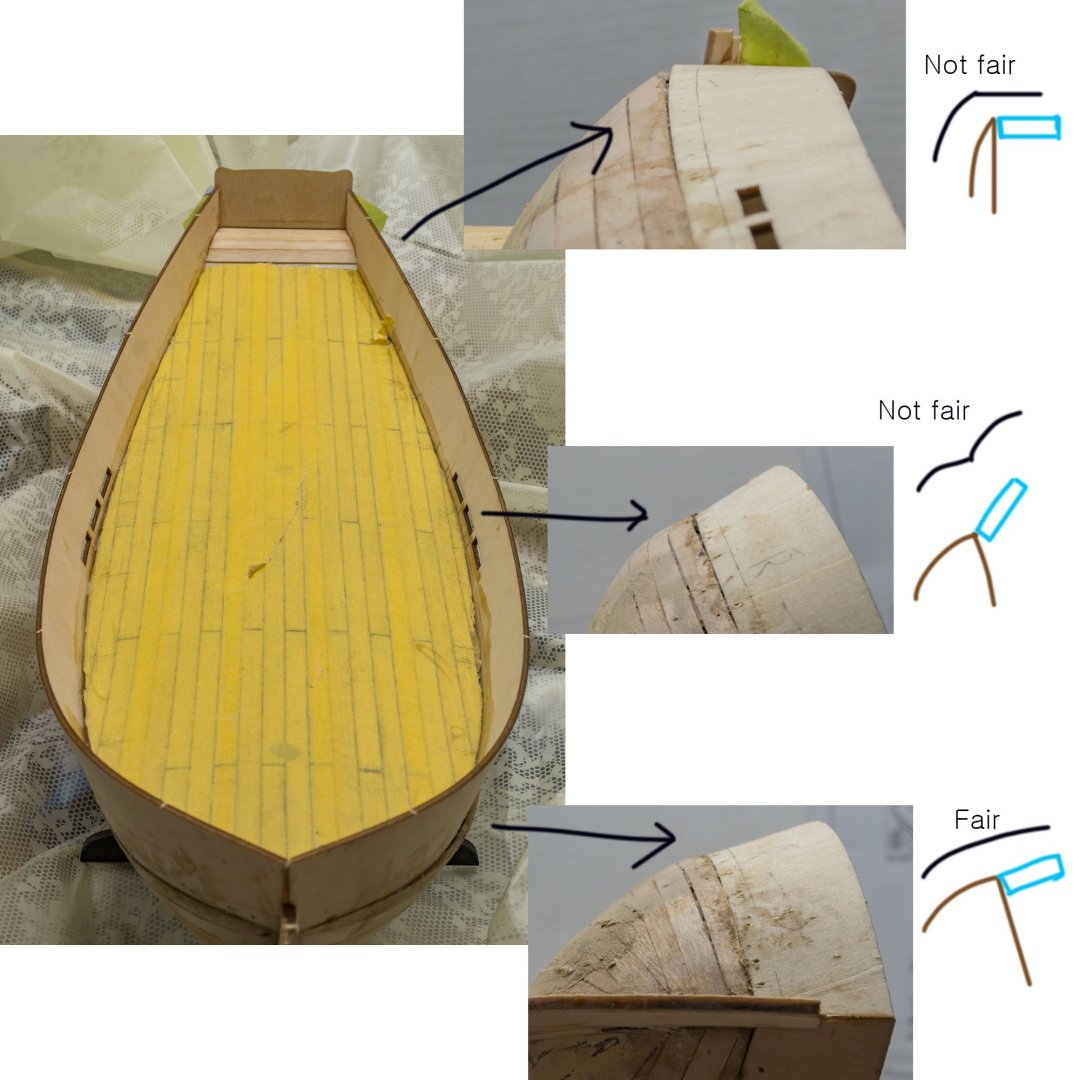
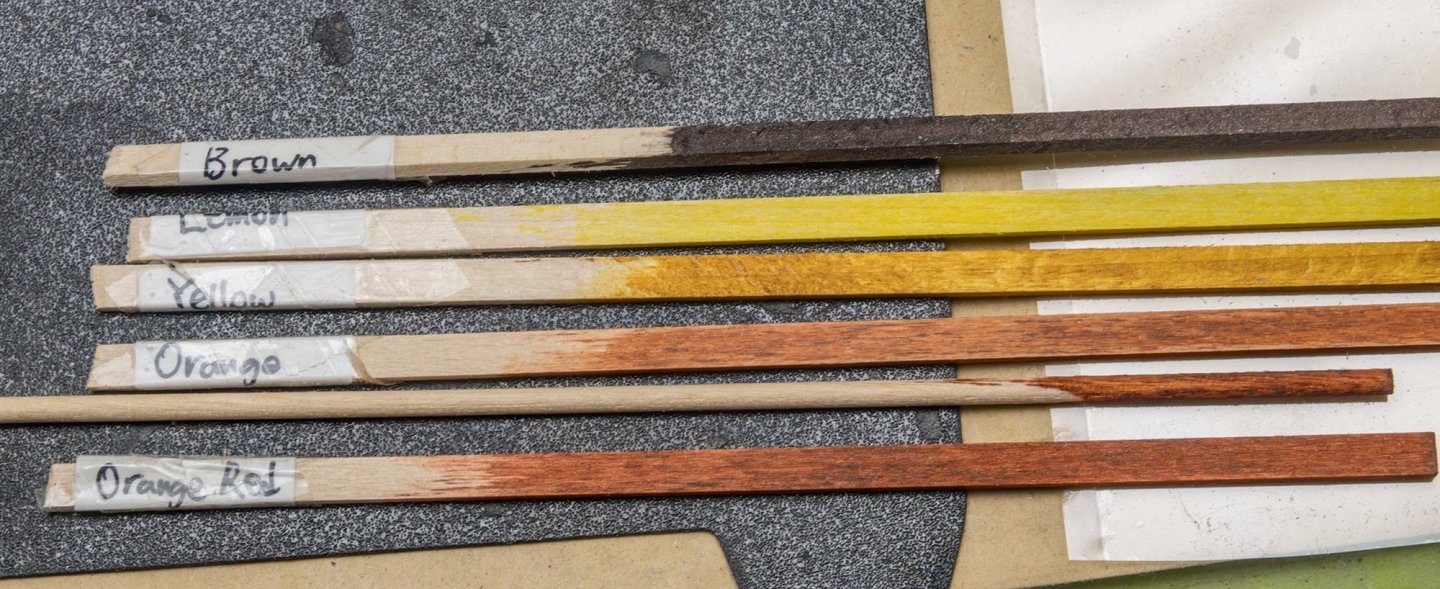
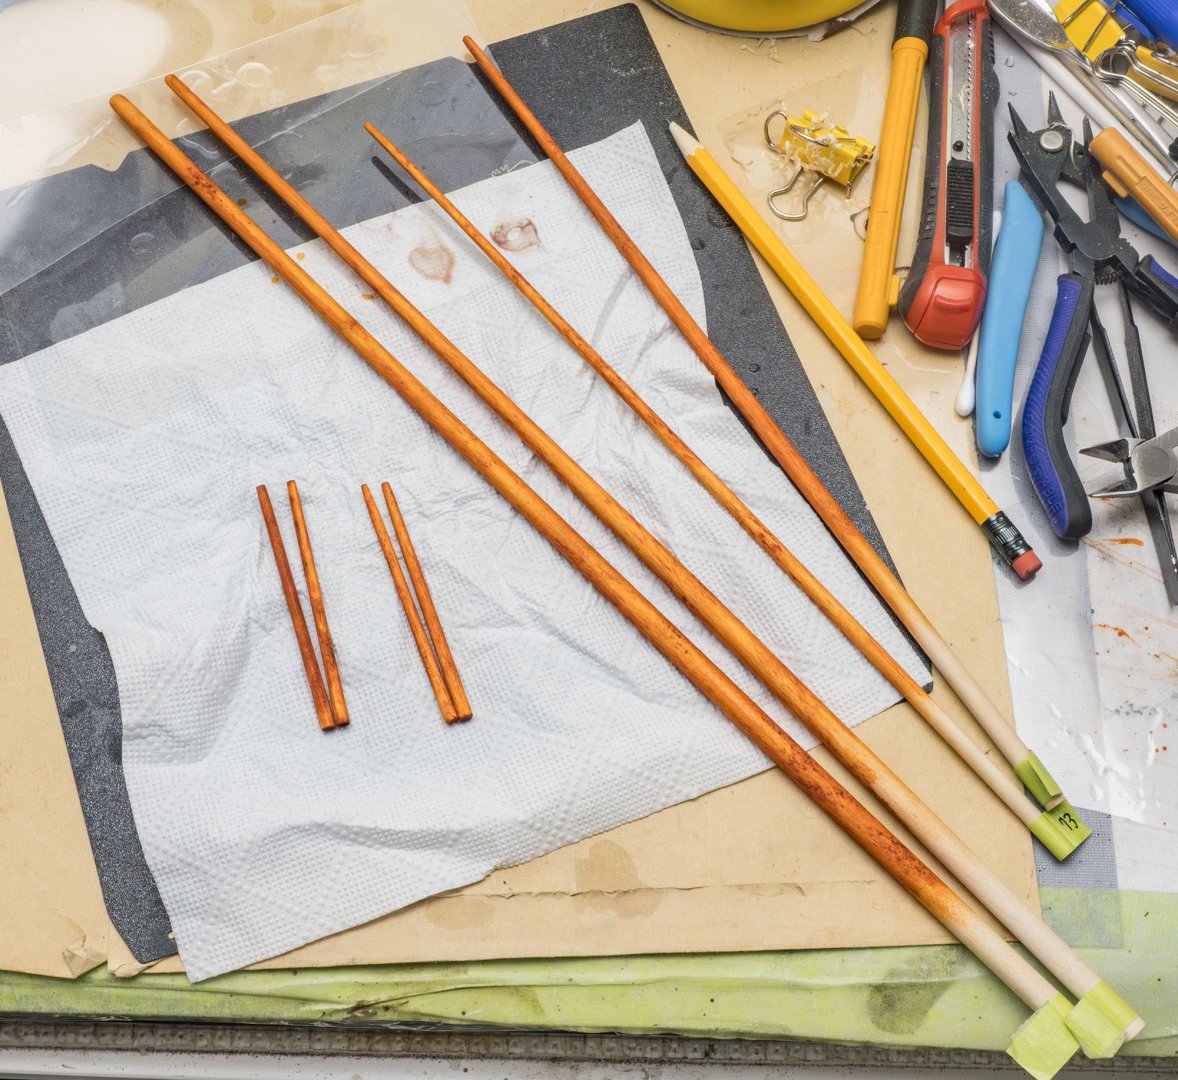
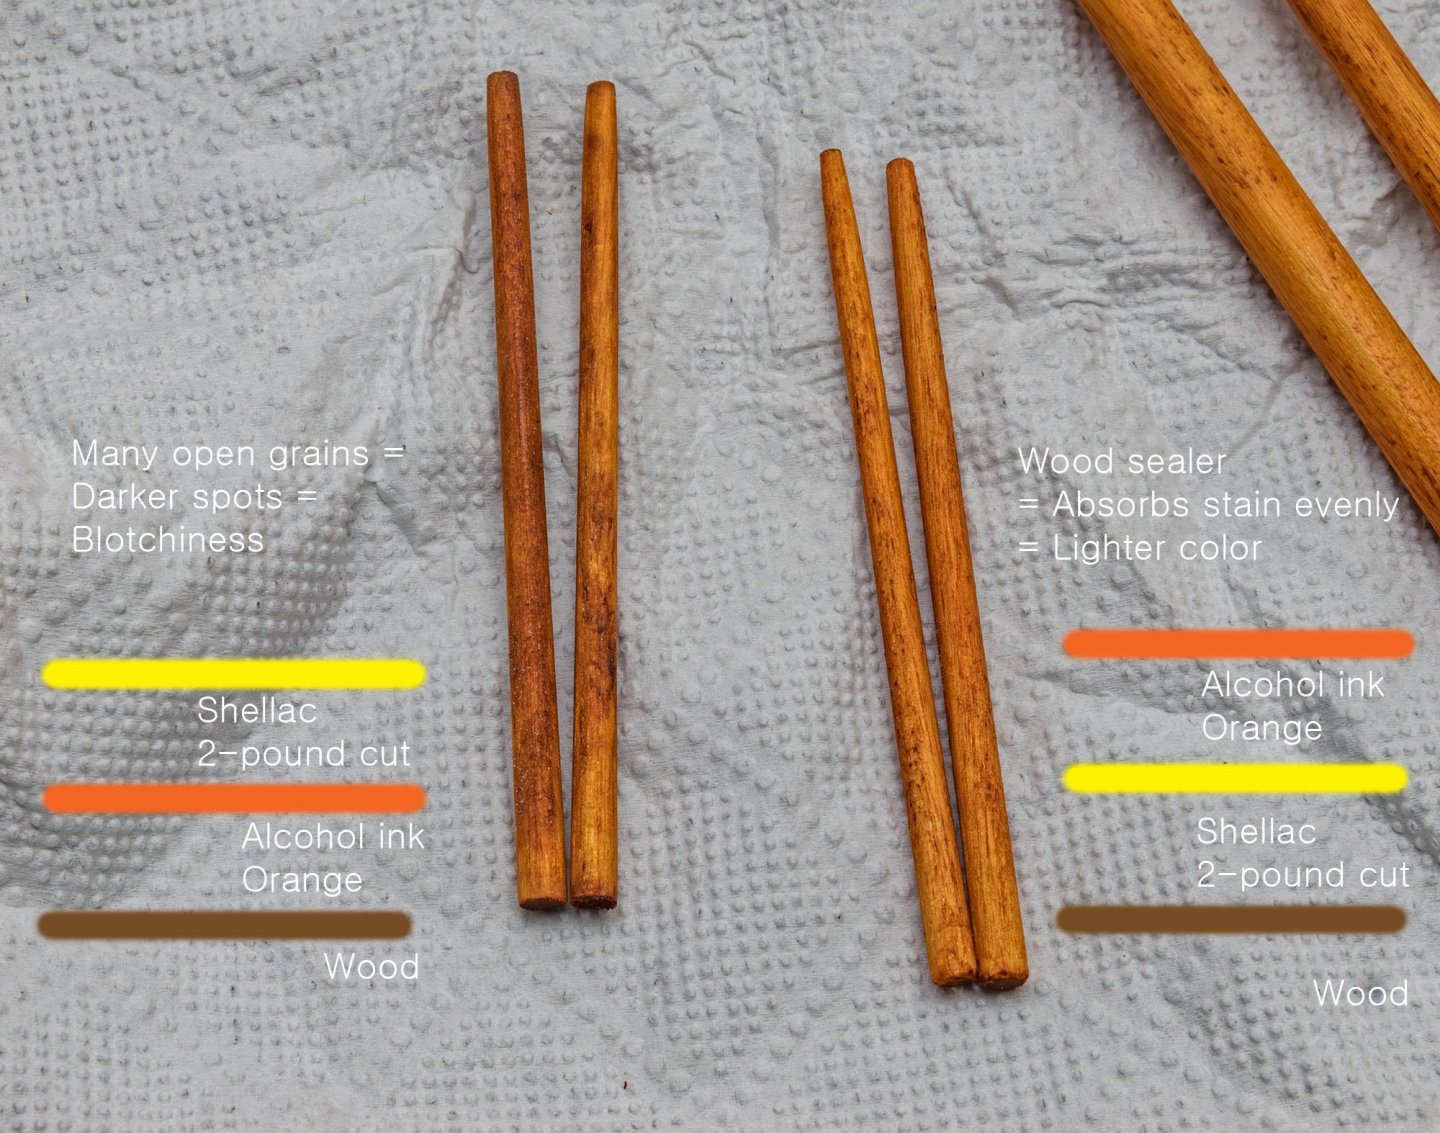
Thank you for watching my project, Ronald. The oil pastel didn't penetrate the thin wood strips. The bulwark installation was tough work. I forgot to add wooden blocks under the edge of the deck plates. (Red arrows) I precisely pinned the bulwark panel to the deck. I drew guide lines using a marking gauge. This is the reason I didn't make holes on the deck planks. The transom part was easy work. I summarized the issues related to the bulwark component. I made some 3D printed guide parts for a bulwark installation. I'll use them in future projects. It is the first time I use the alcohol based ink. Masts and bowsprit. The alcohol inks penetrate wood very well, like the oil based stains. It is essential to apply wood sealer before I use the alcohol inks.
-
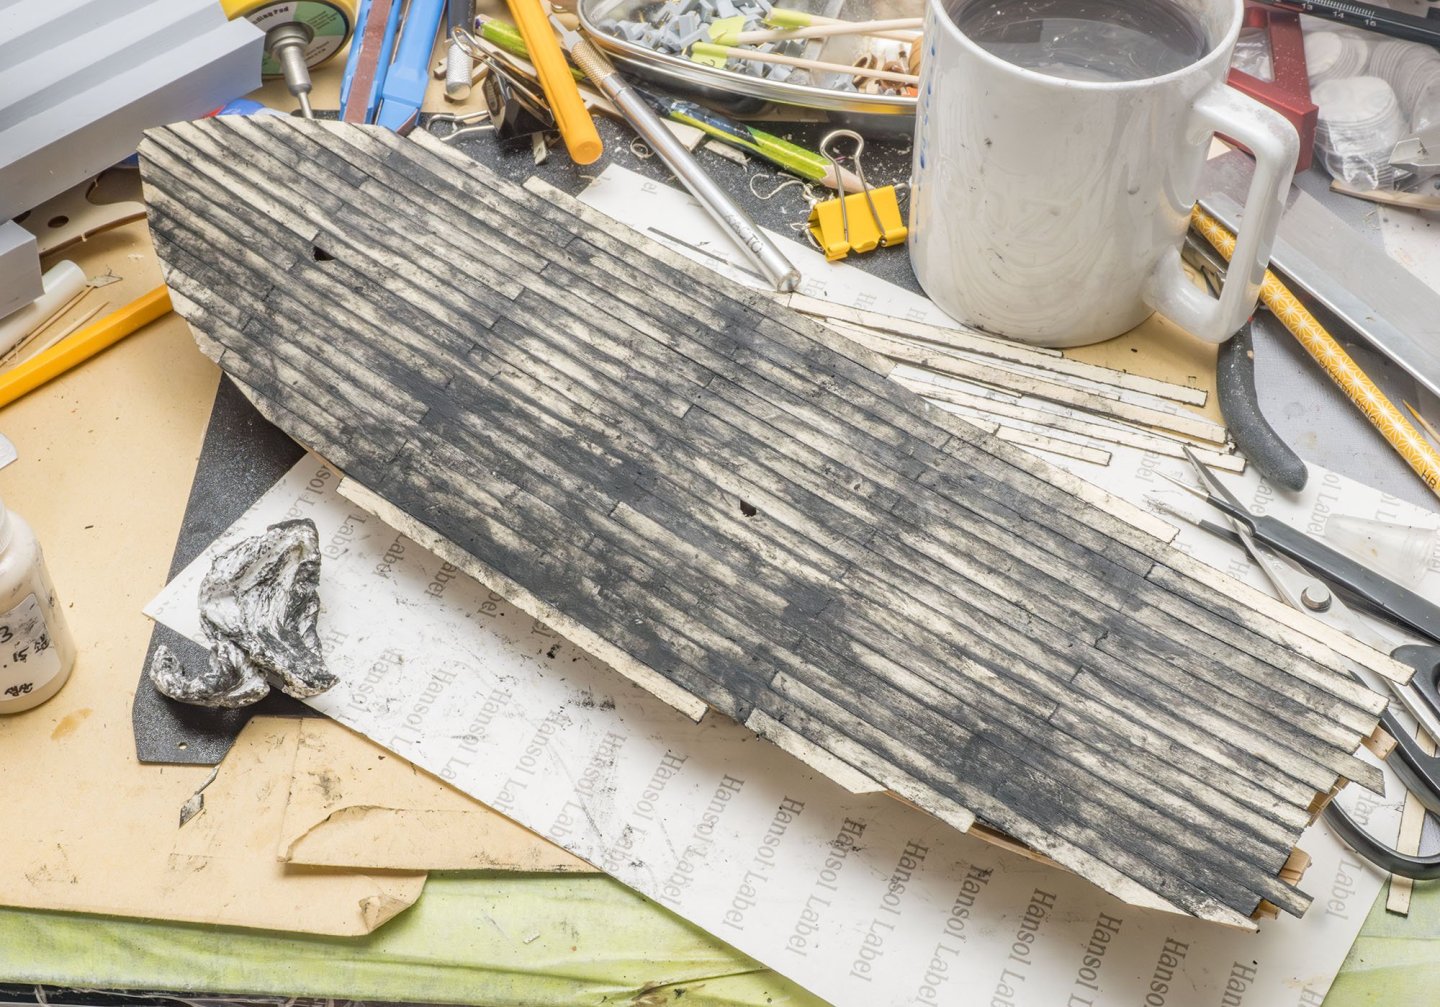
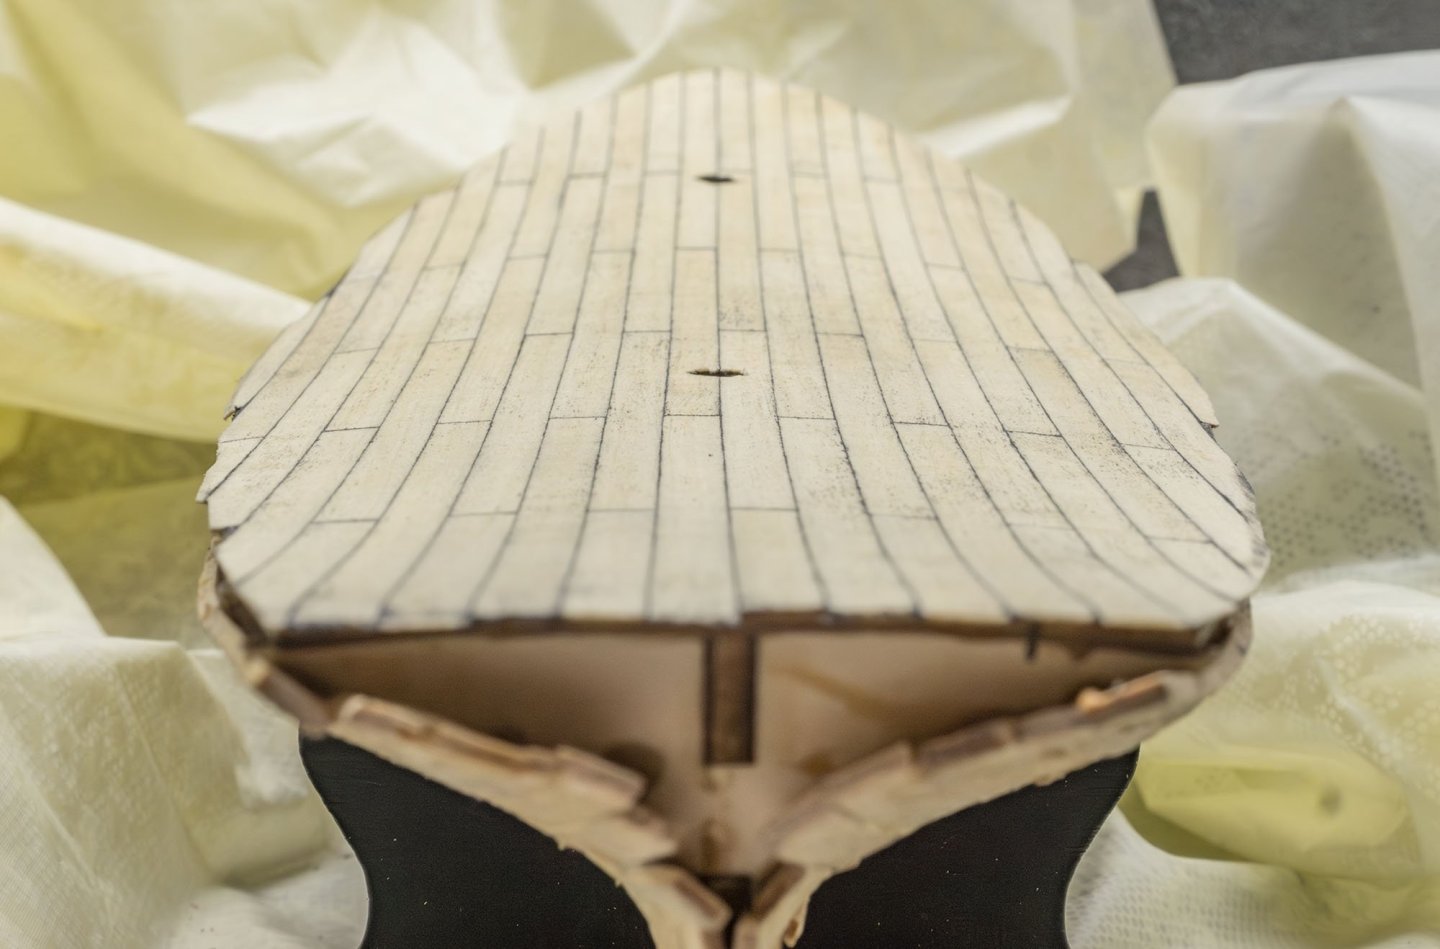
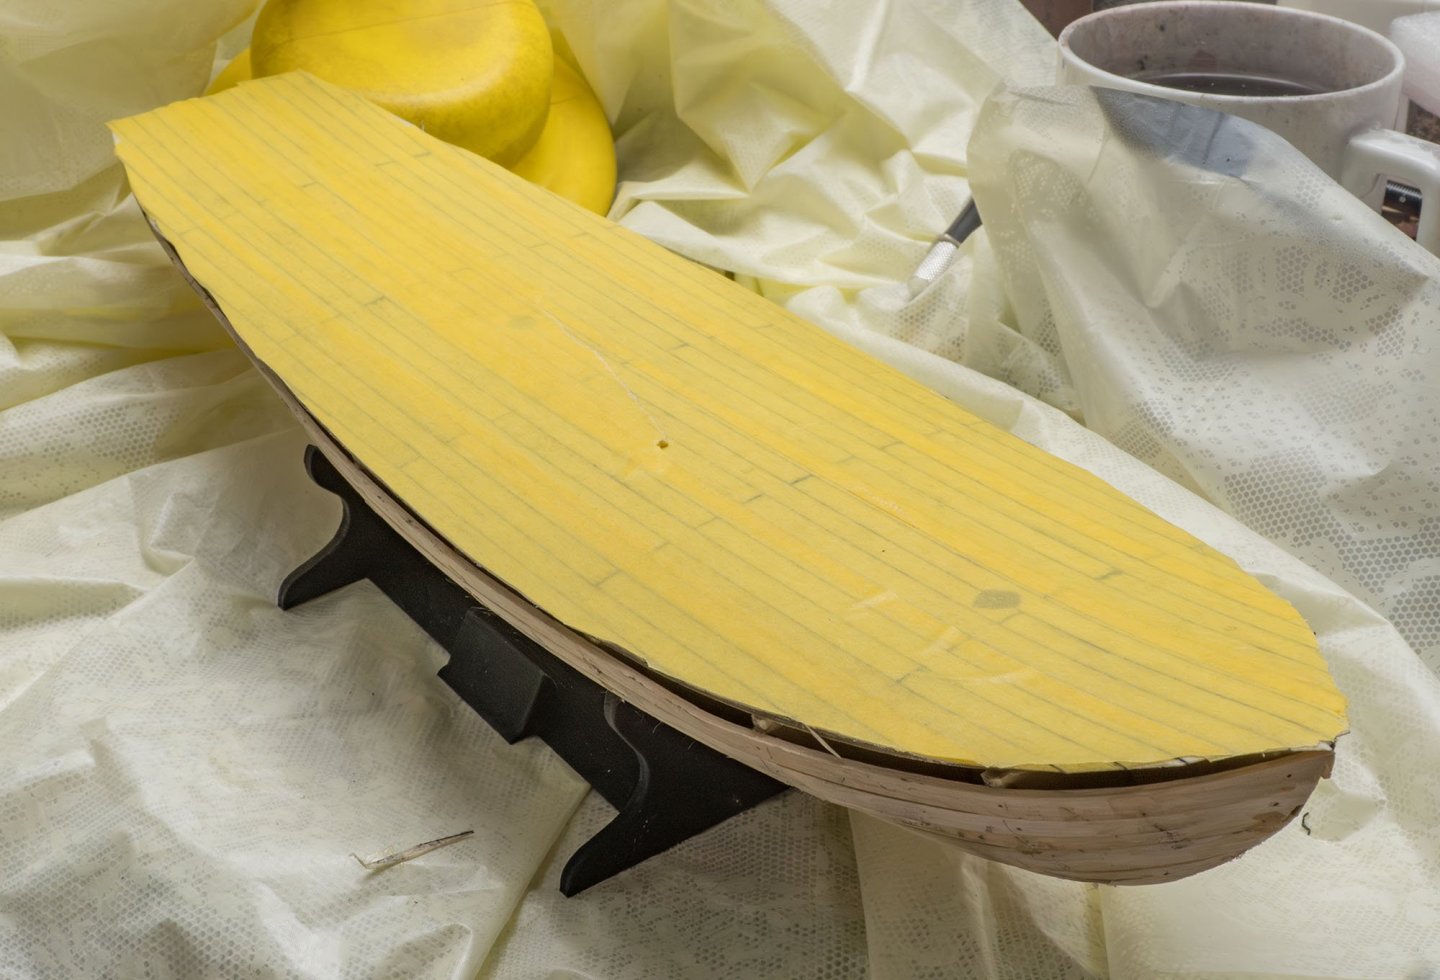
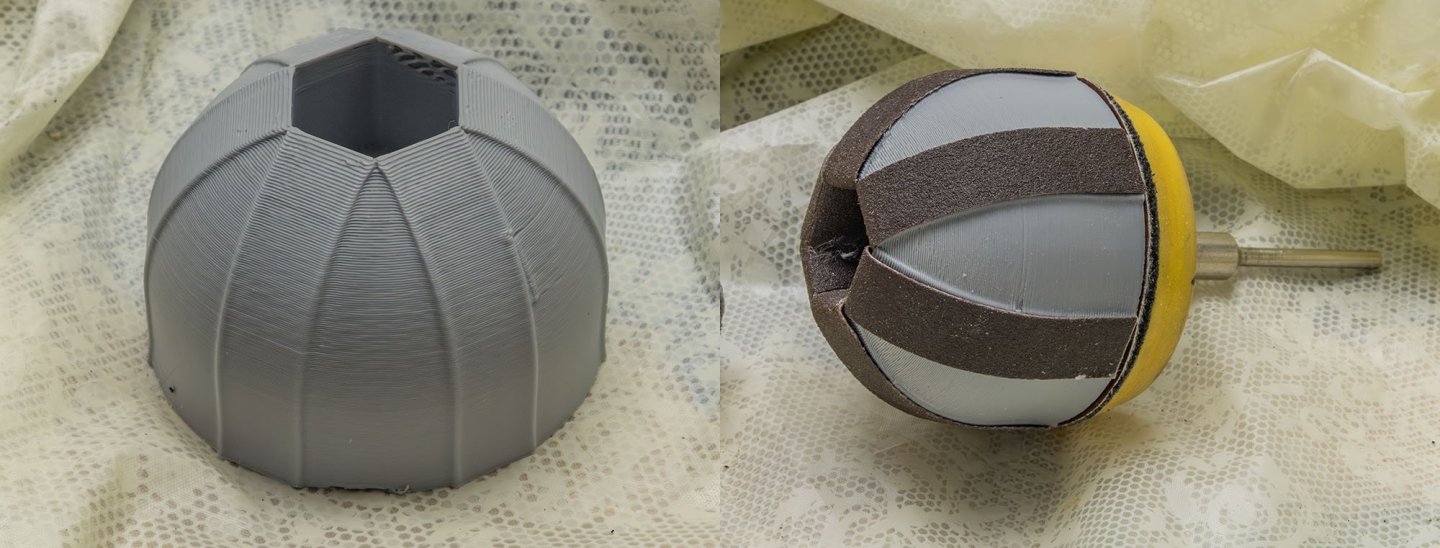
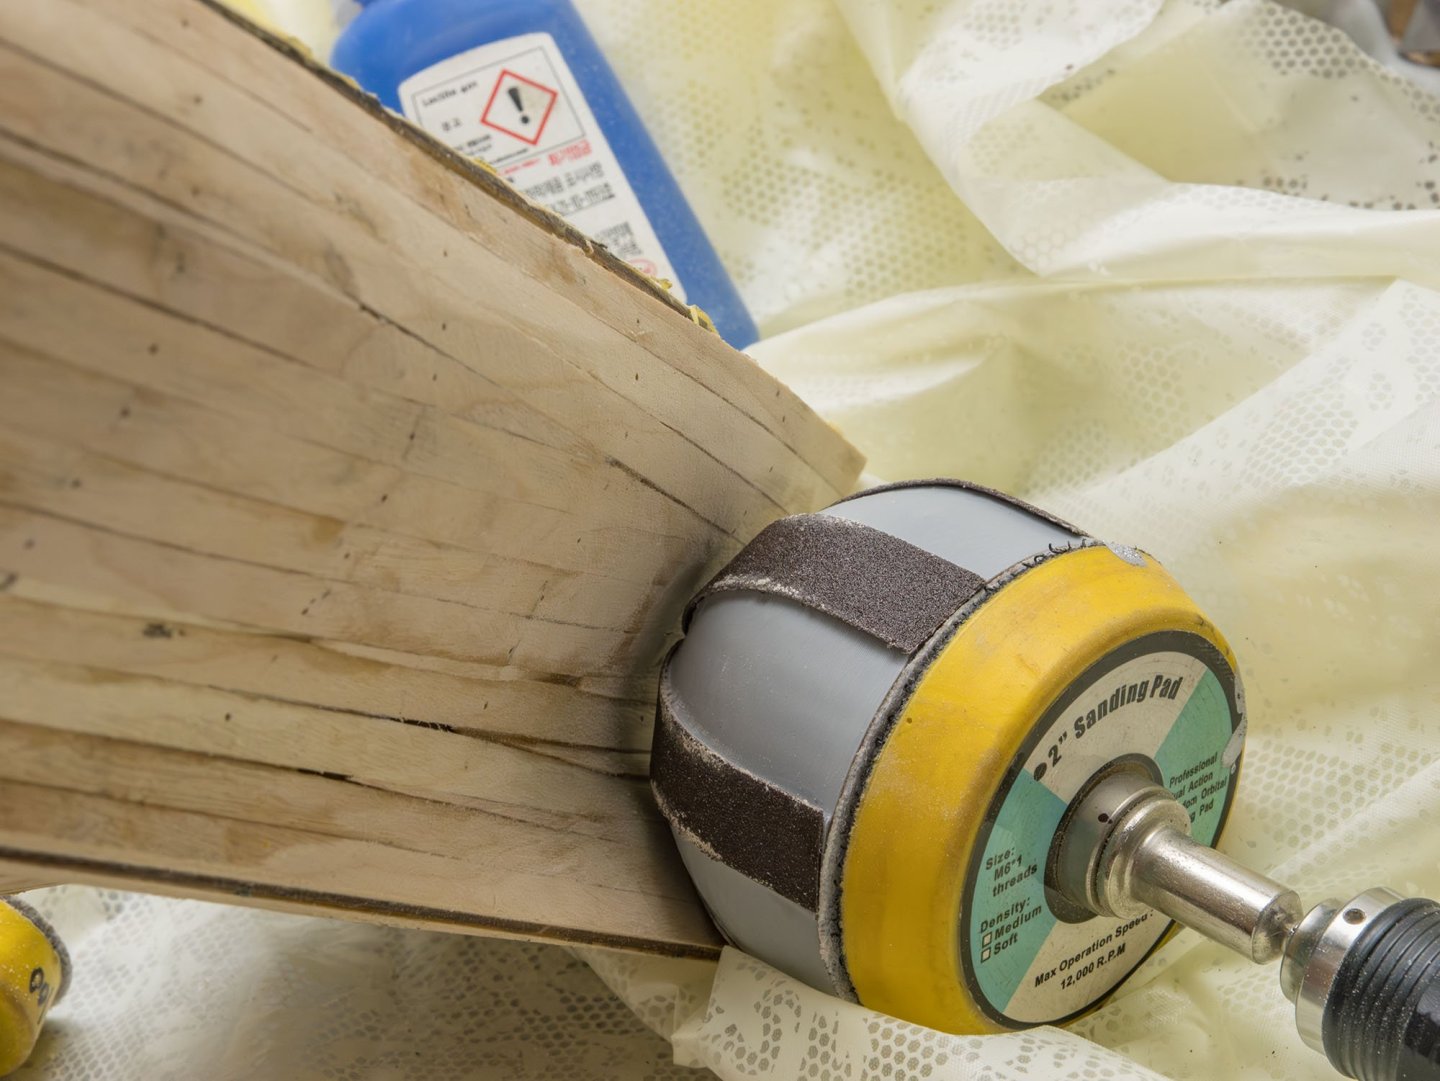
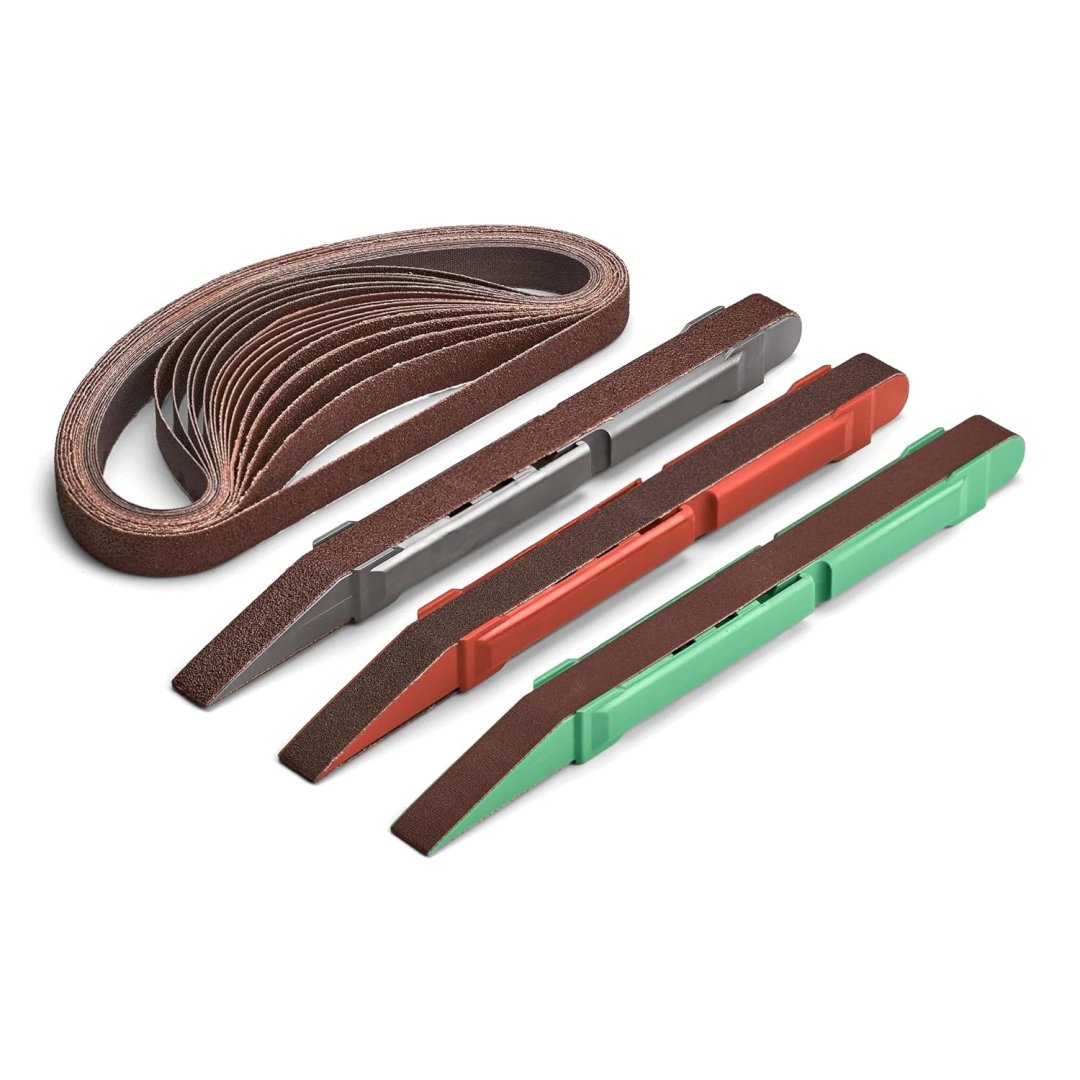
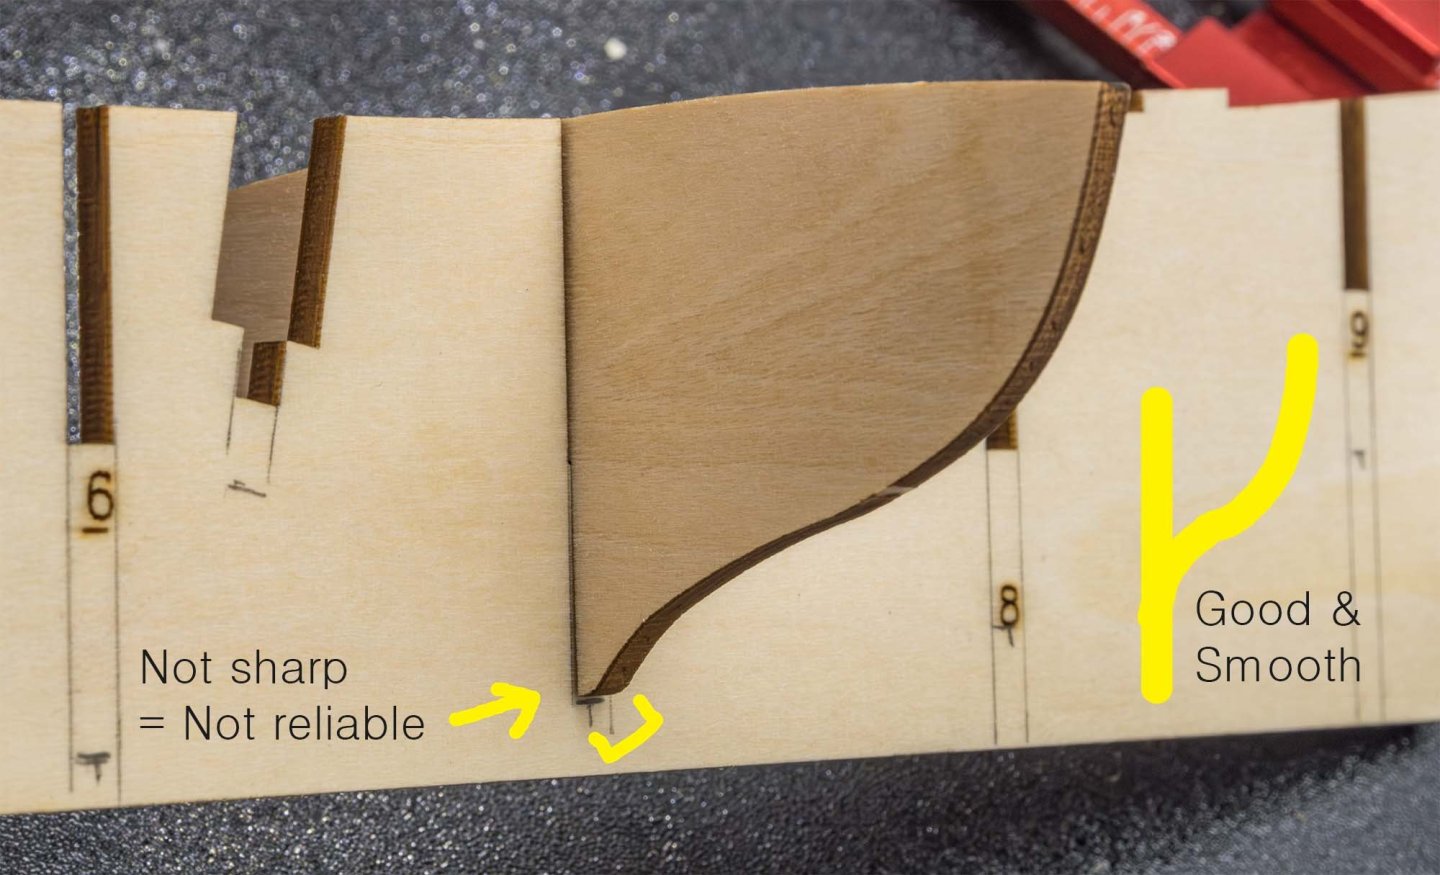
Deck caulking. I used an wax oil crayon. It's really dirty, but it can't penetrate the wood layer. After massive sanding... Not clean, but weathering effect. I added protective masking tape before I did hull sanding. I made a sanding ball to sand concave deadwood area. But it didn't work well.... The sanding detailer is the only valid option in the progress. The brass rods reinforce slim keel parts. I roughly sanded the hull. I'm checking the hull line carefully to attach the wide bulwark part. 🔎 I watched all the Tally Ho videos before I started this project. I found that the garboard rabbet in this kit is different from the Tally Ho project. Tally Ho has a very smooth rabbet line, but this kit is not designed in that way. I don't know much more...
-
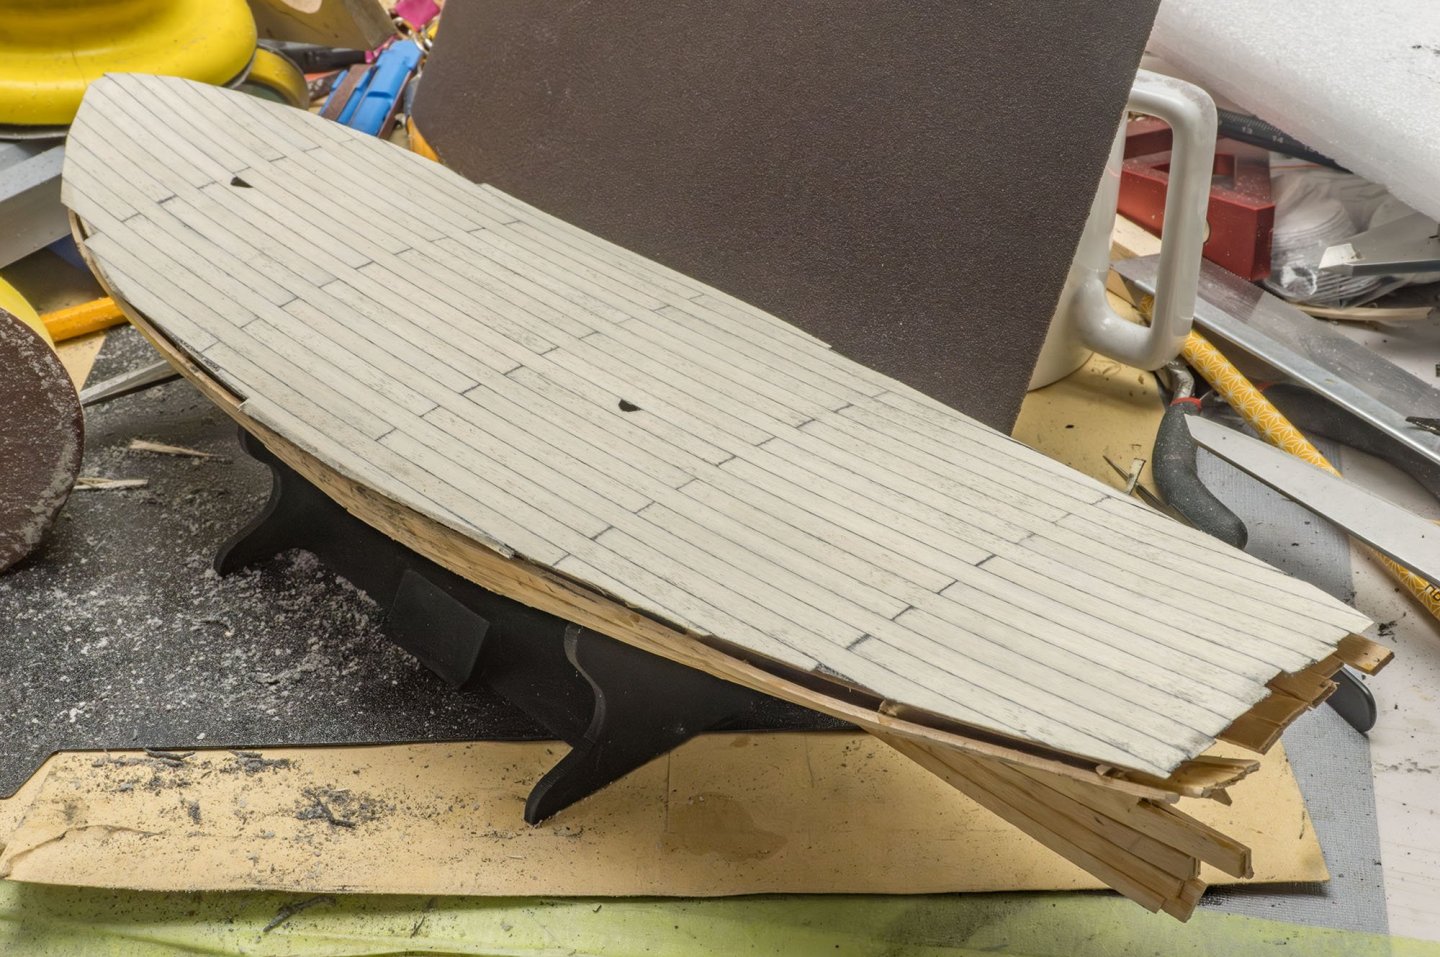
Deck installation Upgraded display stand. Preparing deck planks. Building masts. I found my DIY ropes from last year's stashes. Better than original. Polishing and dyeing blocks. I used an alcohol ink and shellac. Cleats Blackening the brass parts. Tomorrow's work will be deck planking, bulwark, and sanding the hull. 😎
-
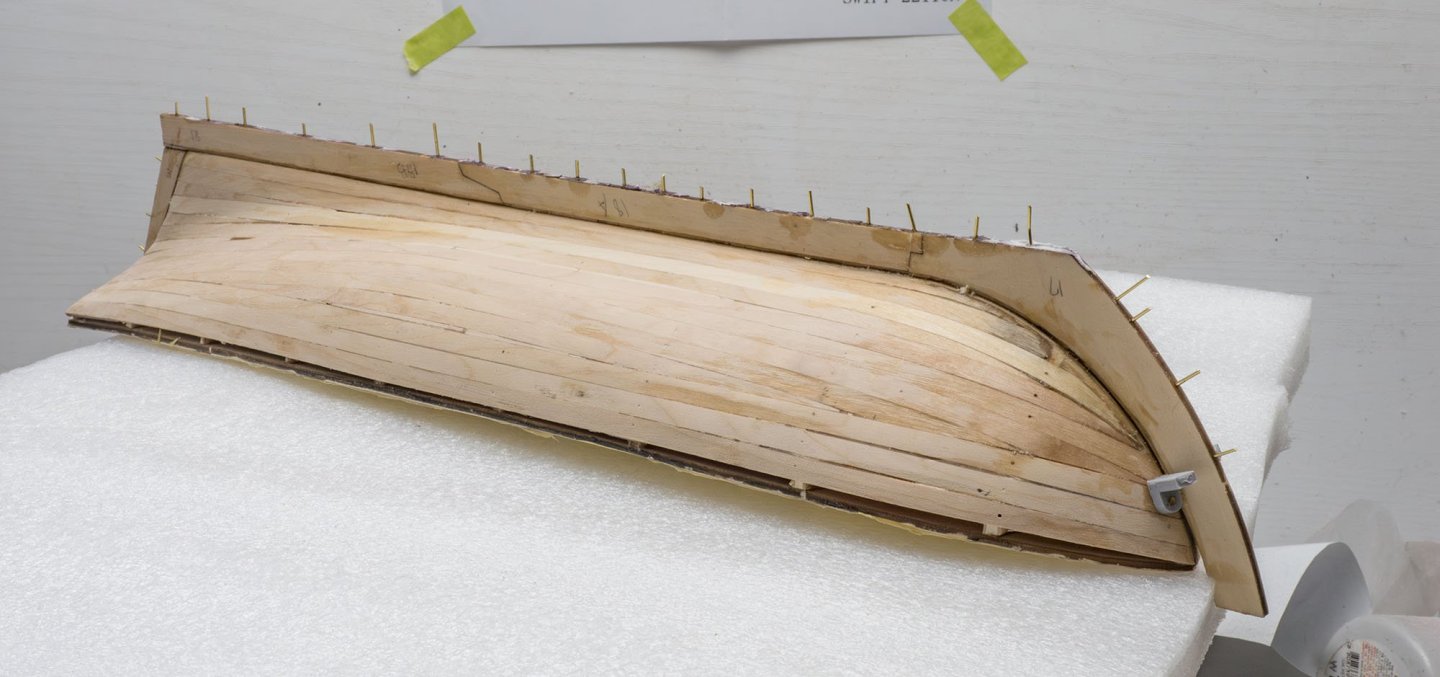
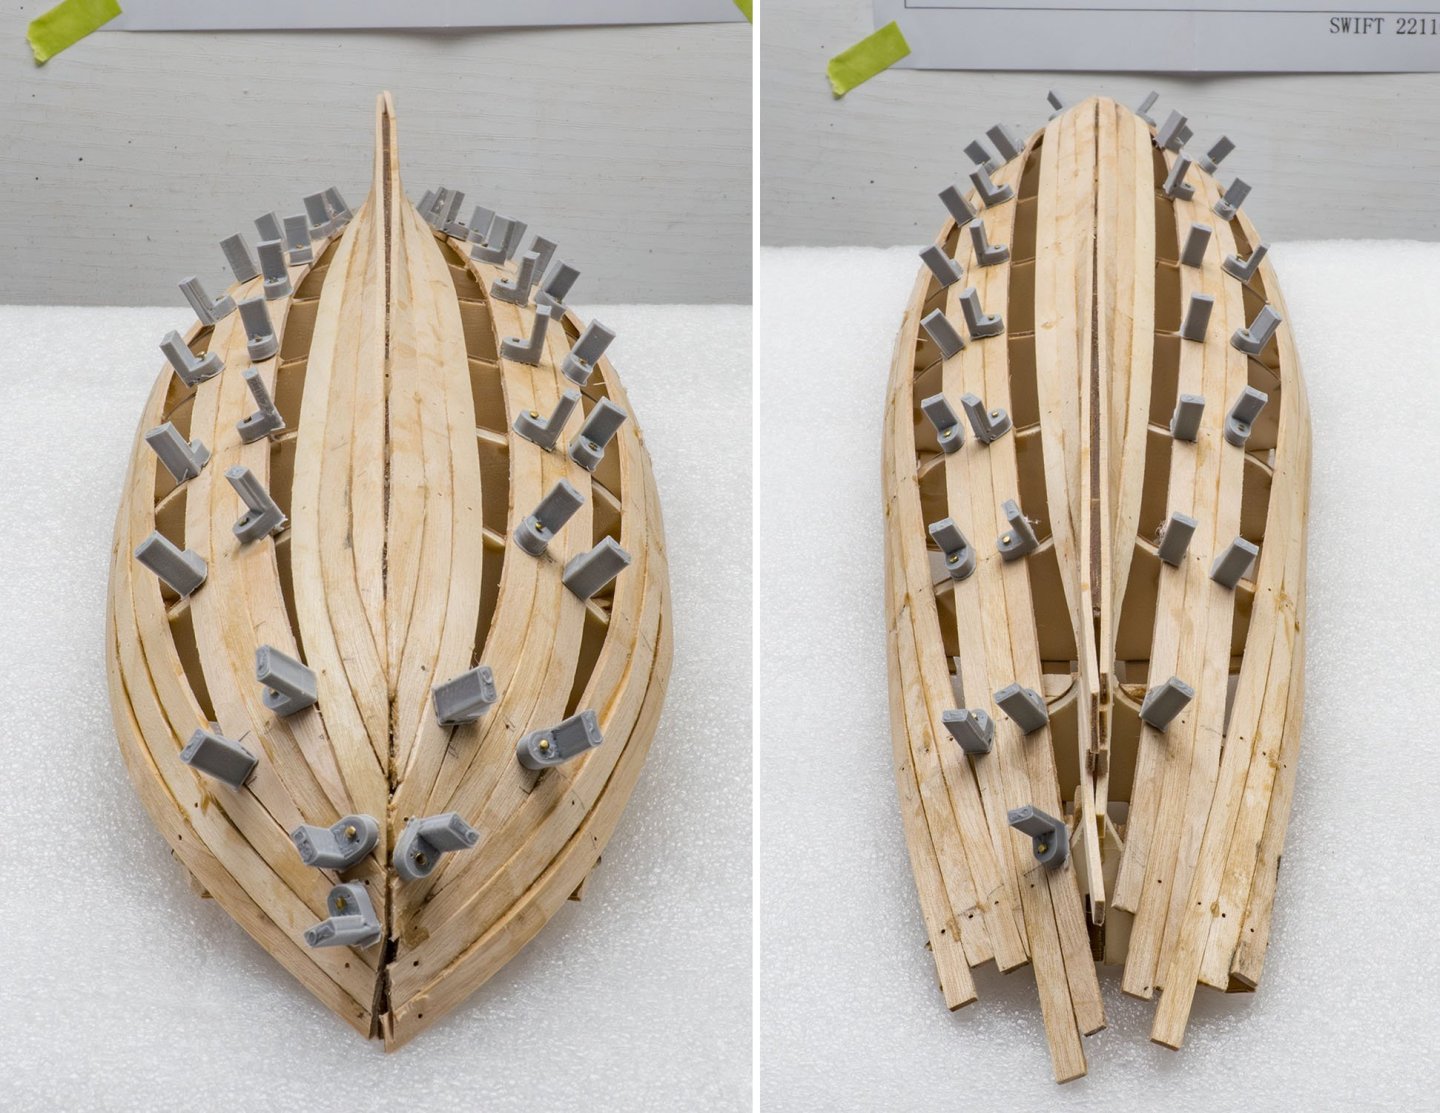
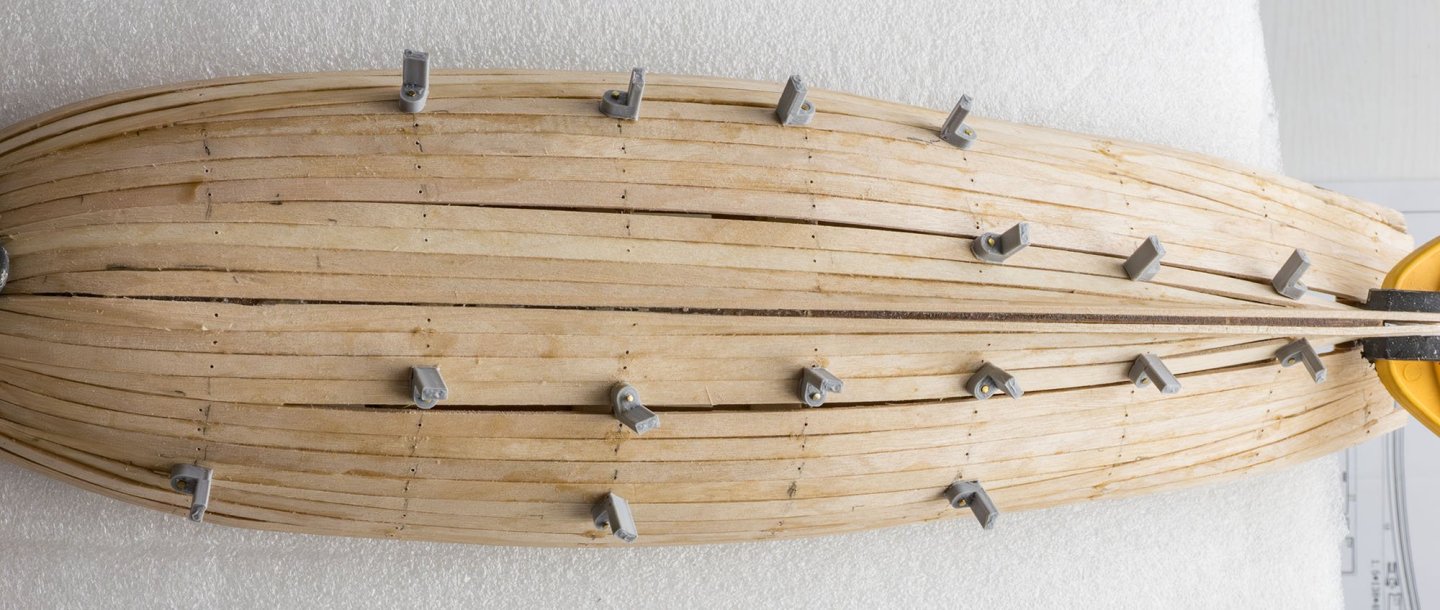
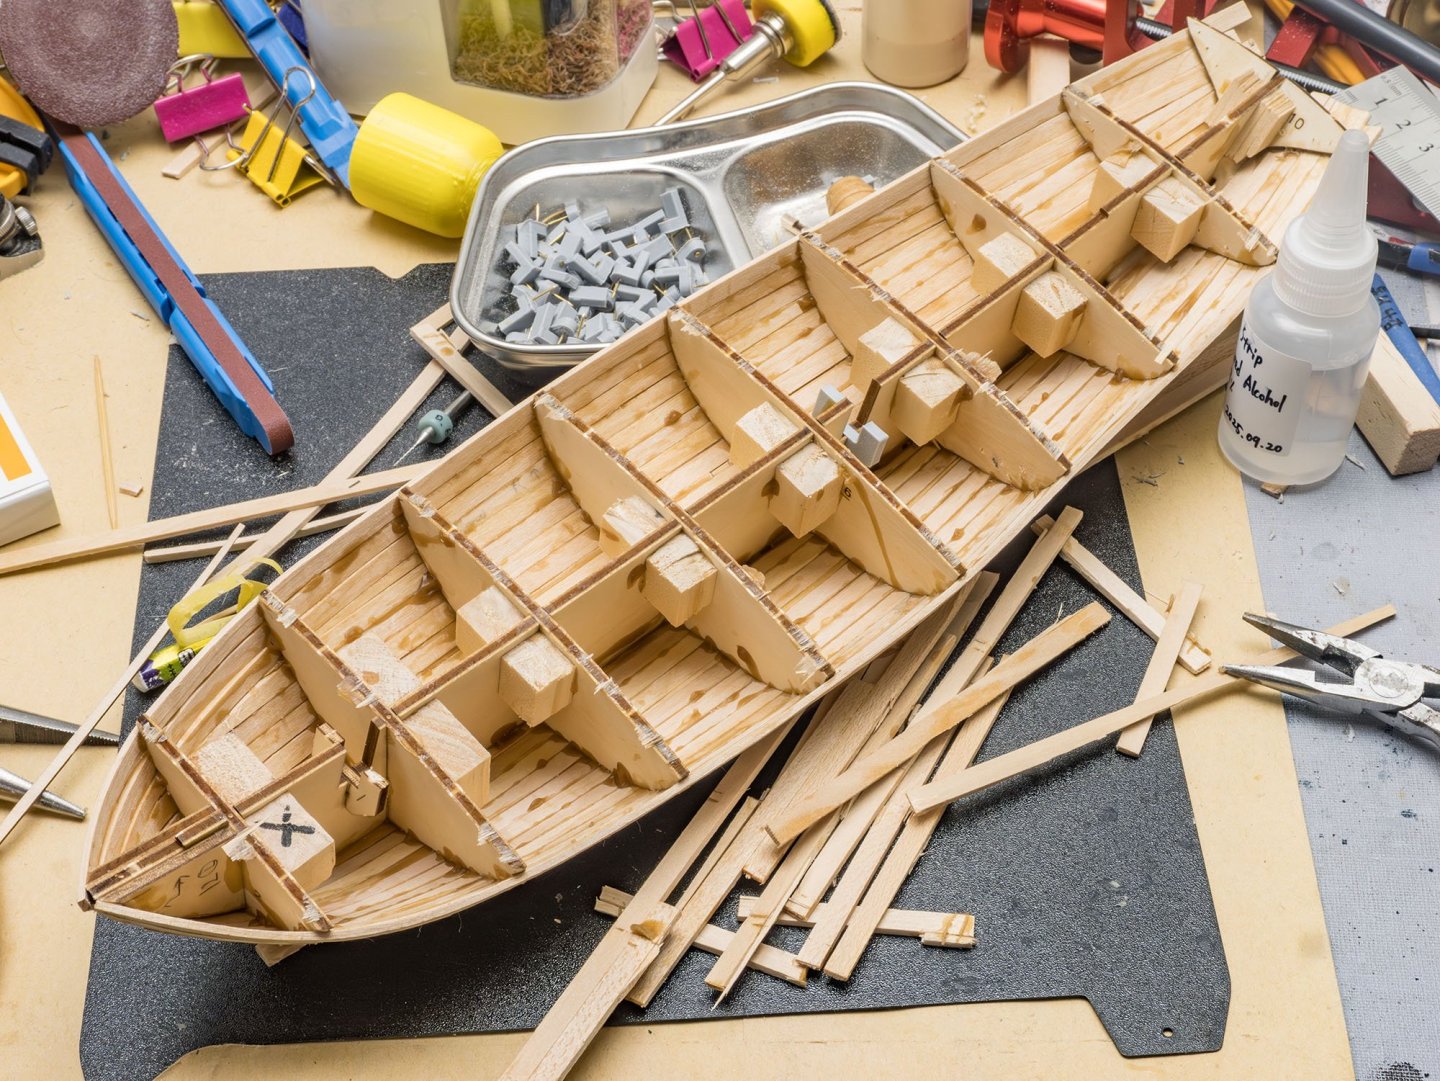
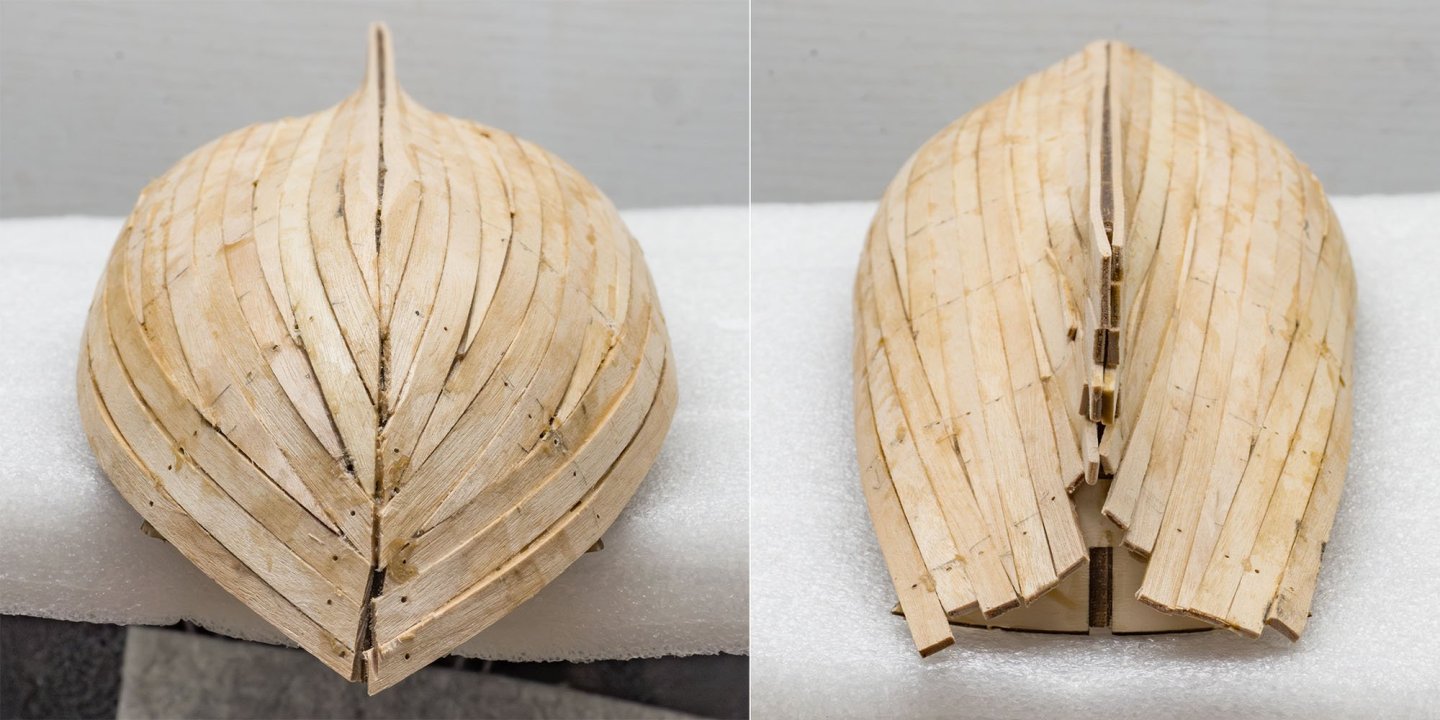
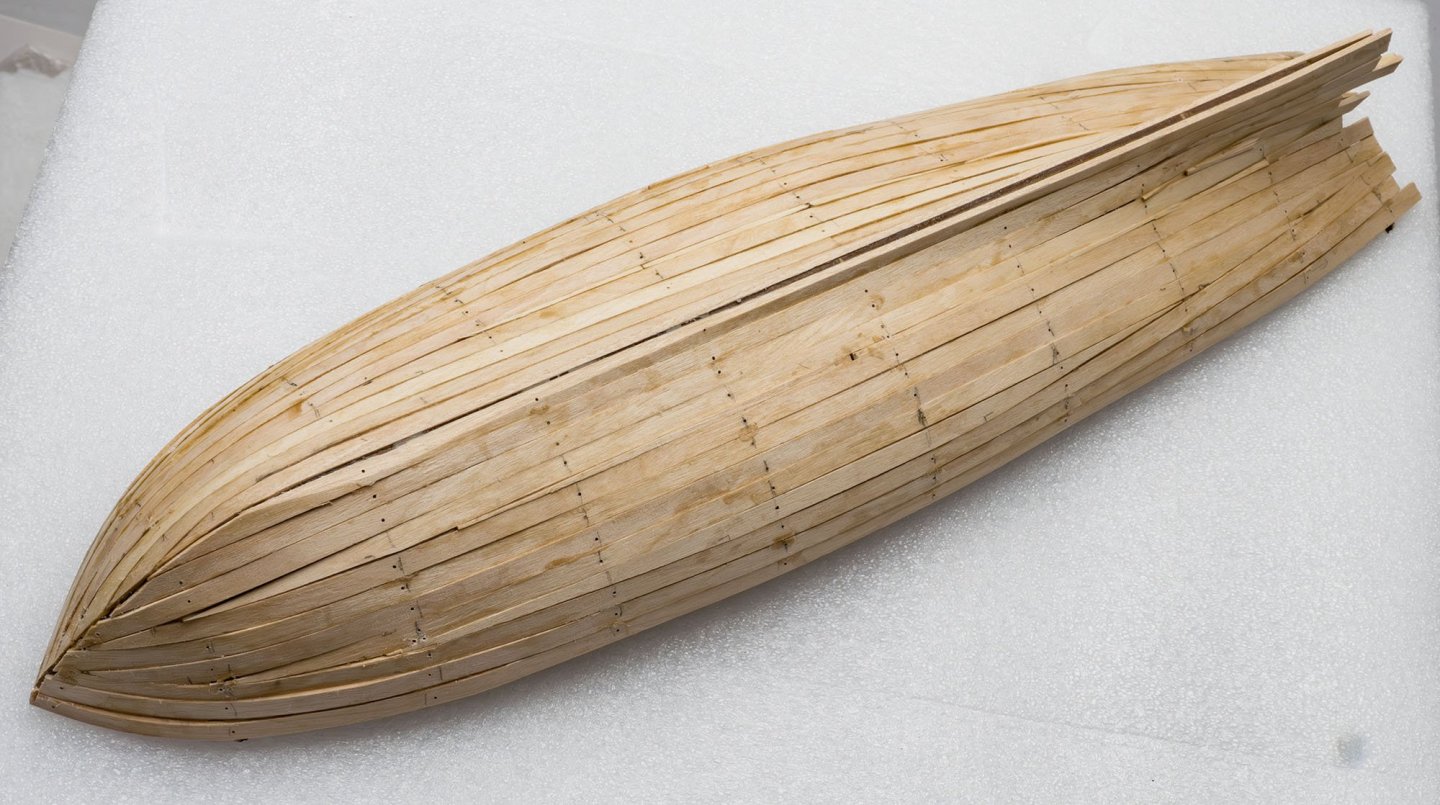
I filled all the large gaps before I applied a wood filler. After I finished planking, I removed all the plank battens. The next step is a deck installation. I warped the deck using a mini iron. The mini iron is really useful! It's over 300 W! Also, I'm studying about varnish. I want to make a clean and smooth surface, like a plastic model project. Is it time to abandon my favorite shellac?
About us
Modelshipworld - Advancing Ship Modeling through Research
SSL Secured
Your security is important for us so this Website is SSL-Secured
NRG Mailing Address
Nautical Research Guild
237 South Lincoln Street
Westmont IL, 60559-1917
Model Ship World ® and the MSW logo are Registered Trademarks, and belong to the Nautical Research Guild (United States Patent and Trademark Office: No. 6,929,264 & No. 6,929,274, registered Dec. 20, 2022)
Helpful Links
About the NRG
If you enjoy building ship models that are historically accurate as well as beautiful, then The Nautical Research Guild (NRG) is just right for you.
The Guild is a non-profit educational organization whose mission is to “Advance Ship Modeling Through Research”. We provide support to our members in their efforts to raise the quality of their model ships.
The Nautical Research Guild has published our world-renowned quarterly magazine, The Nautical Research Journal, since 1955. The pages of the Journal are full of articles by accomplished ship modelers who show you how they create those exquisite details on their models, and by maritime historians who show you the correct details to build. The Journal is available in both print and digital editions. Go to the NRG web site (www.thenrg.org) to download a complimentary digital copy of the Journal. The NRG also publishes plan sets, books and compilations of back issues of the Journal and the former Ships in Scale and Model Ship Builder magazines.

