
Unegawahya
-
Posts
184 -
Joined
-
Last visited


-
 Der Alte Rentner reacted to a post in a topic:
USS Constitution by Unegawahya - Model Shipways - scale 1:76
Der Alte Rentner reacted to a post in a topic:
USS Constitution by Unegawahya - Model Shipways - scale 1:76
-
Stevenleehills reacted to a post in a topic:
USS Constitution by Unegawahya - Model Shipways - scale 1:76
-
Unegawahya reacted to a post in a topic:
USS Constitution by GGibson - Model Shipways - 1:76.8
-
 Unegawahya reacted to a post in a topic:
USS Constitution by Unegawahya - Model Shipways - scale 1:76
Unegawahya reacted to a post in a topic:
USS Constitution by Unegawahya - Model Shipways - scale 1:76
-
GGibson reacted to a post in a topic:
USS Constitution by Unegawahya - Model Shipways - scale 1:76
-
mtbediz reacted to a post in a topic:
USS Constitution by Unegawahya - Model Shipways - scale 1:76
-
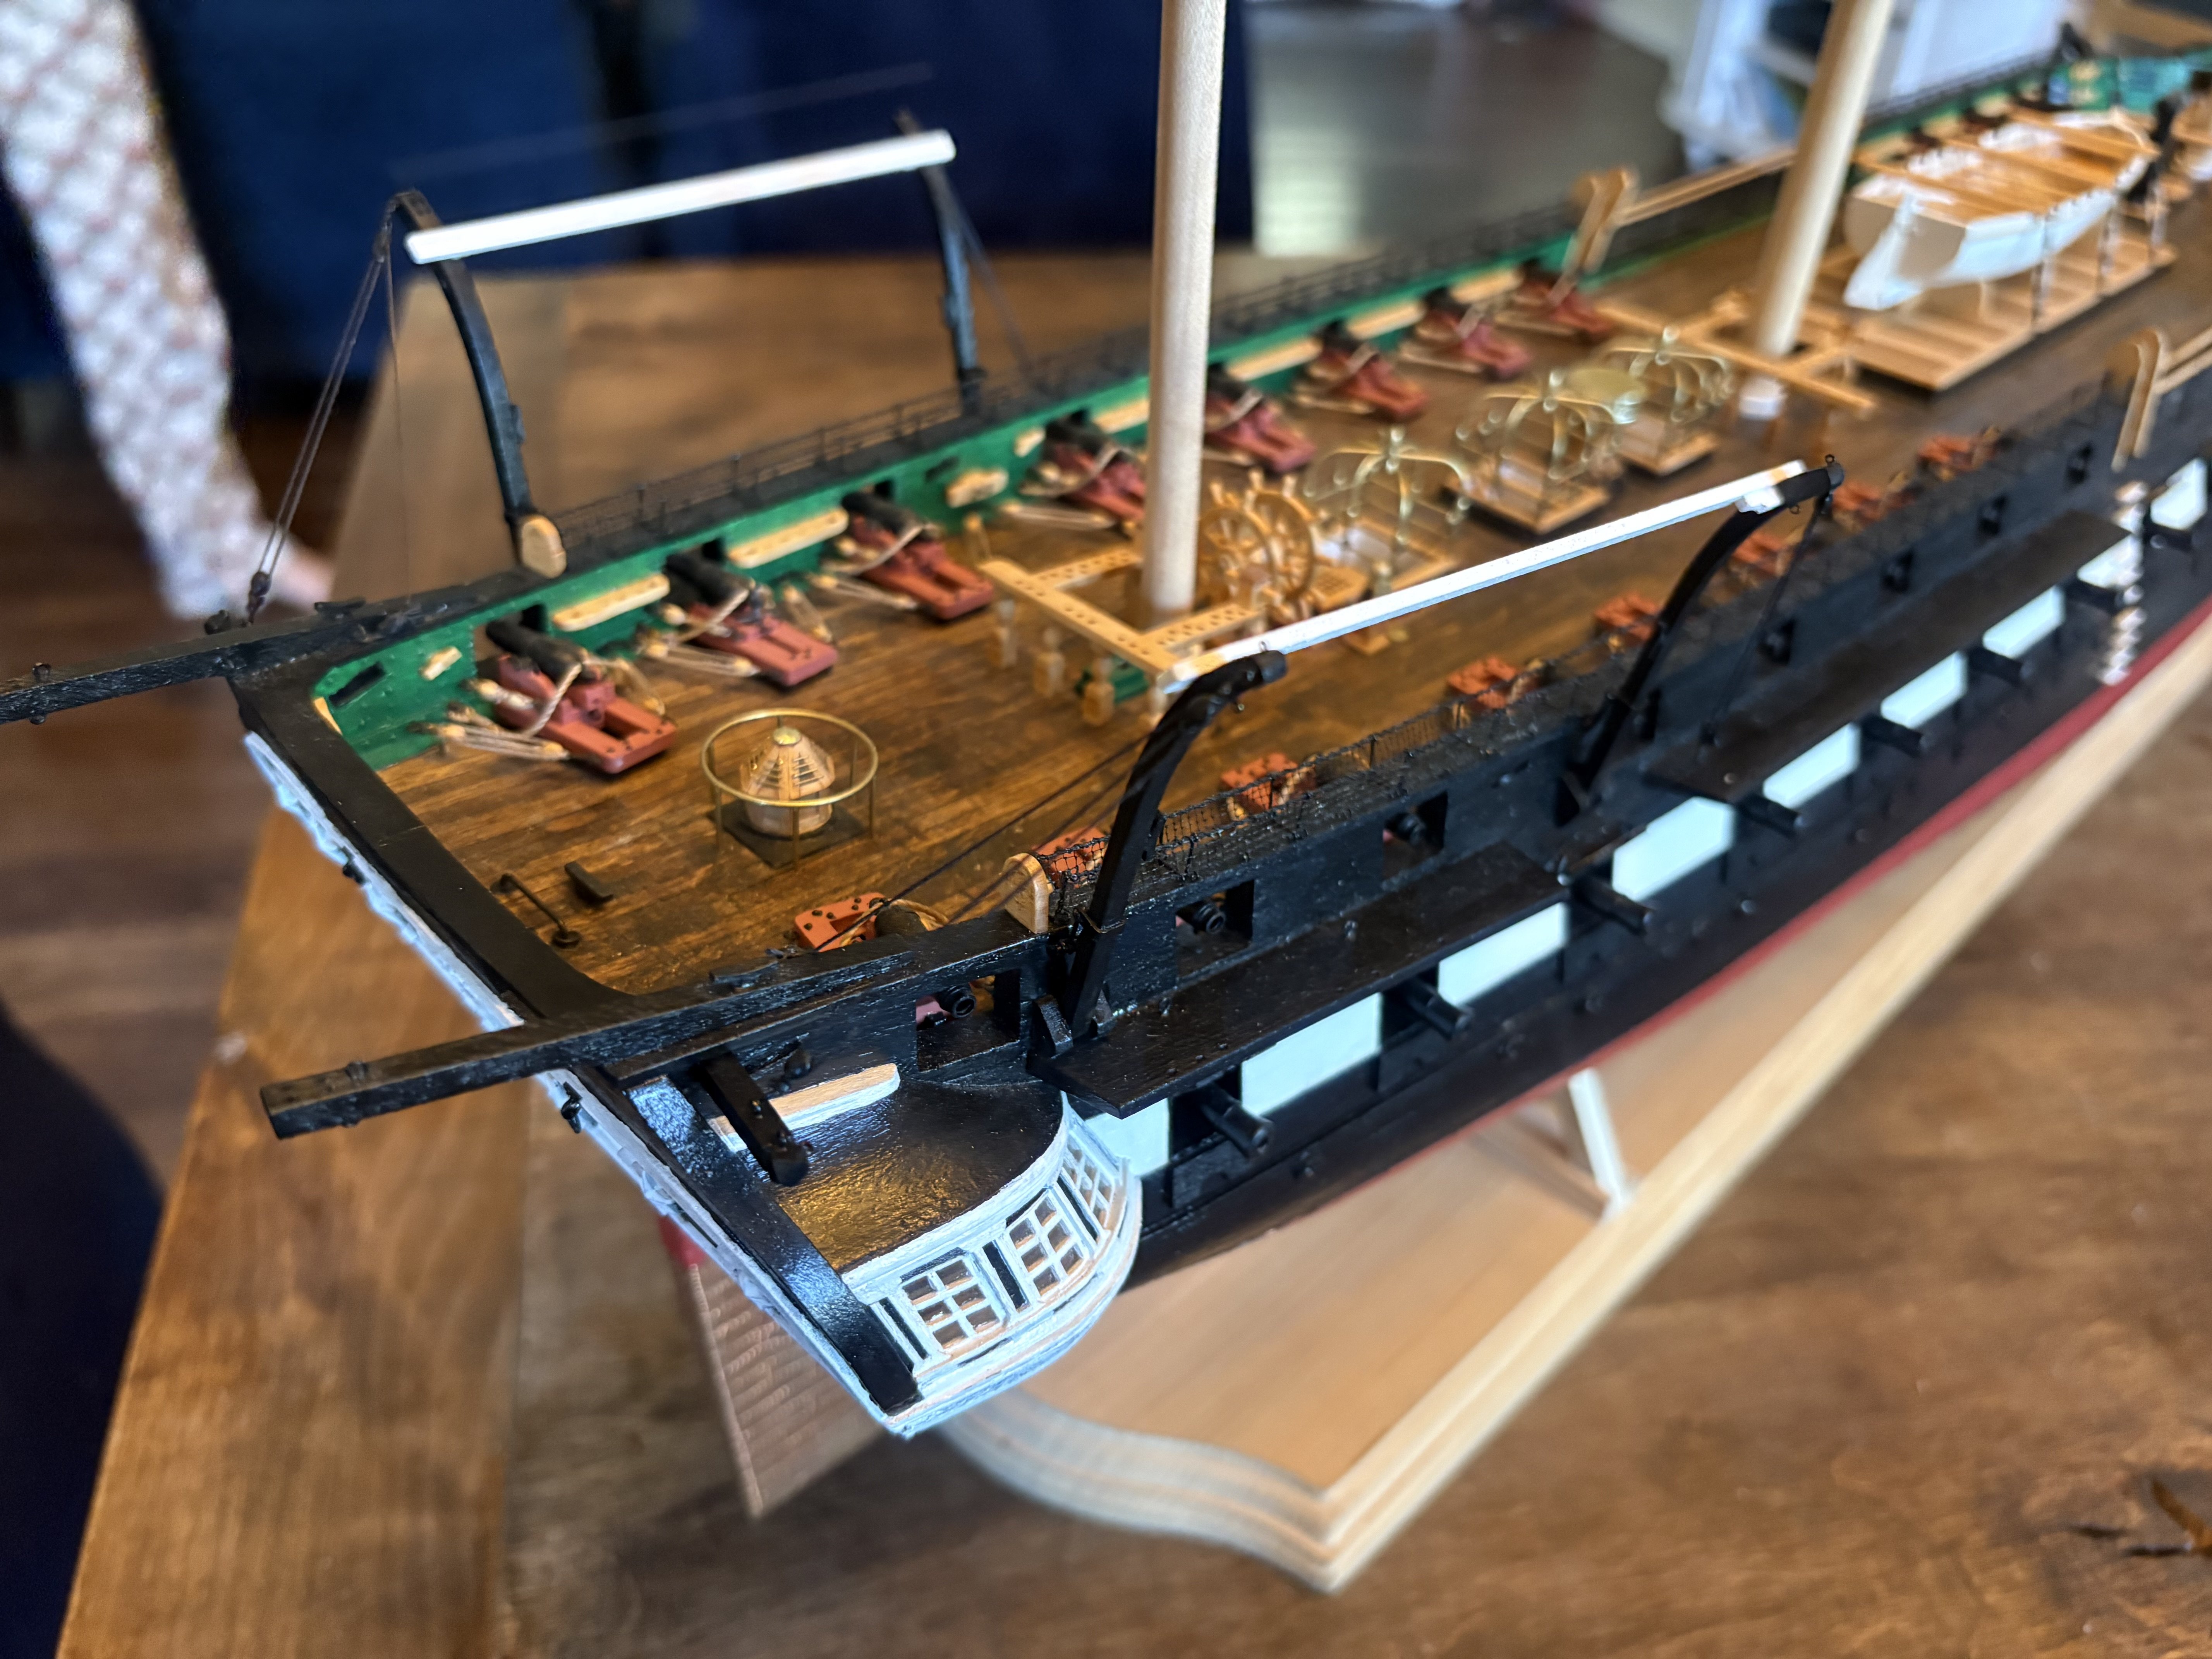
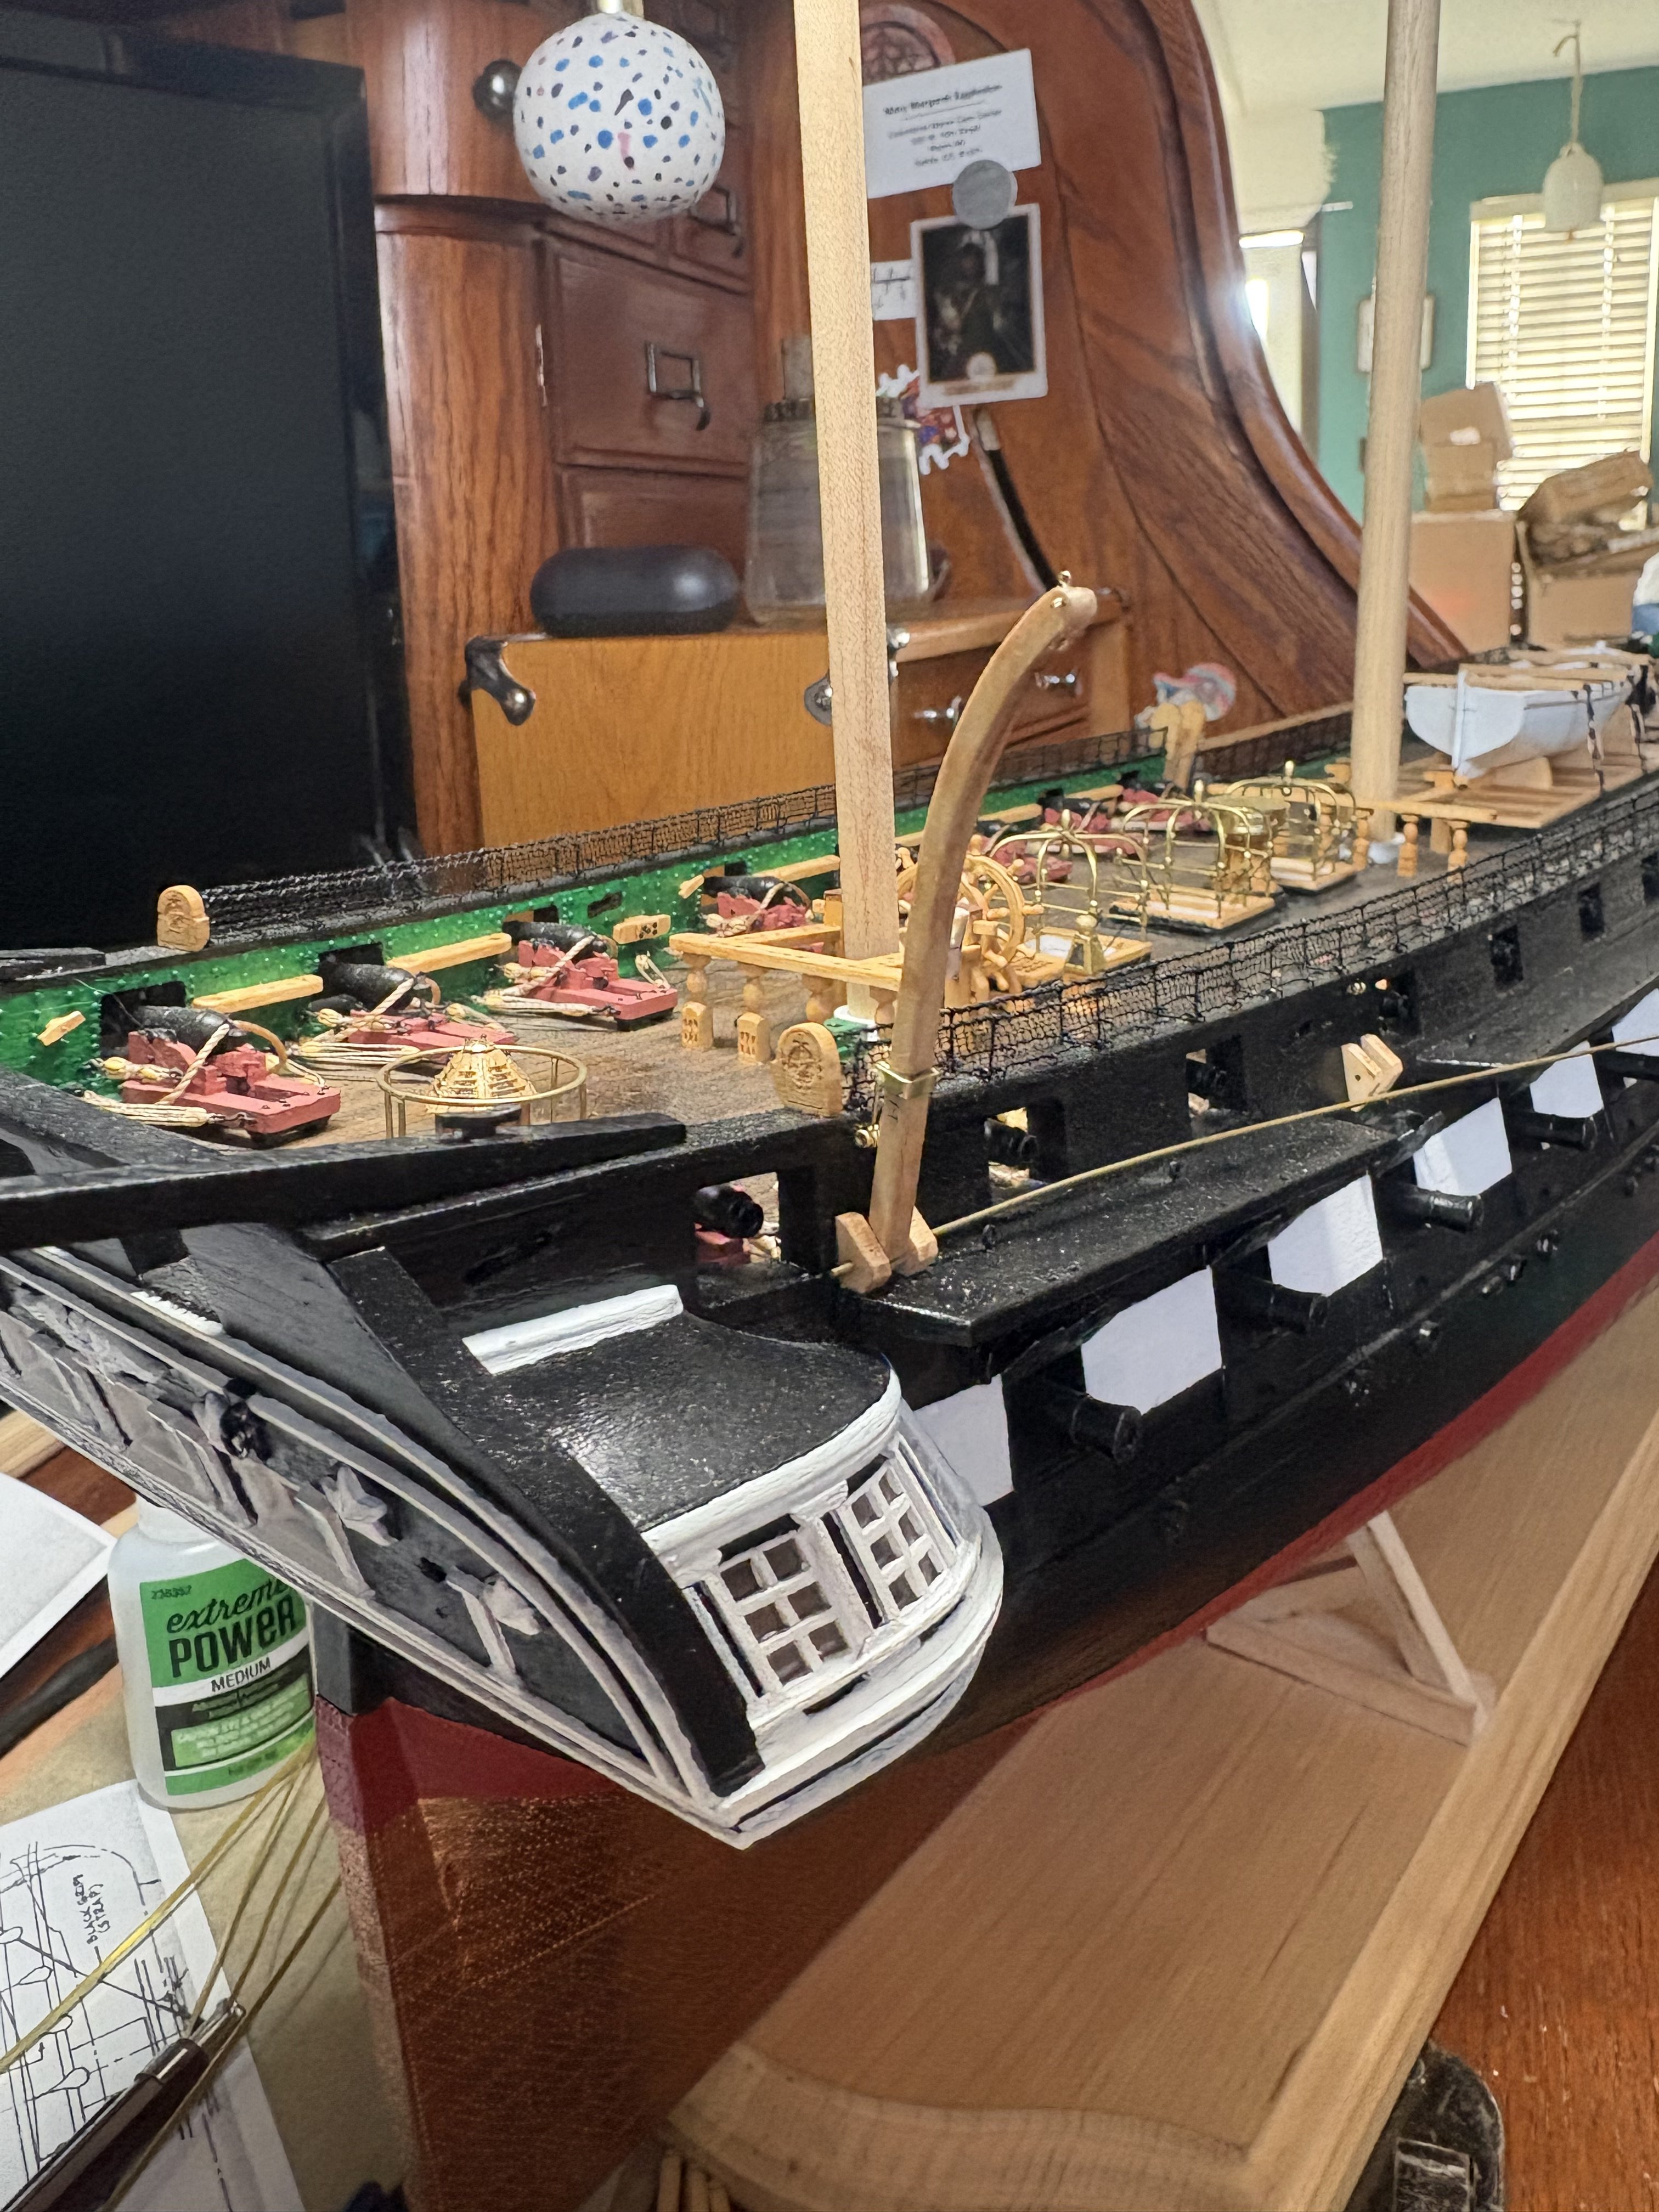
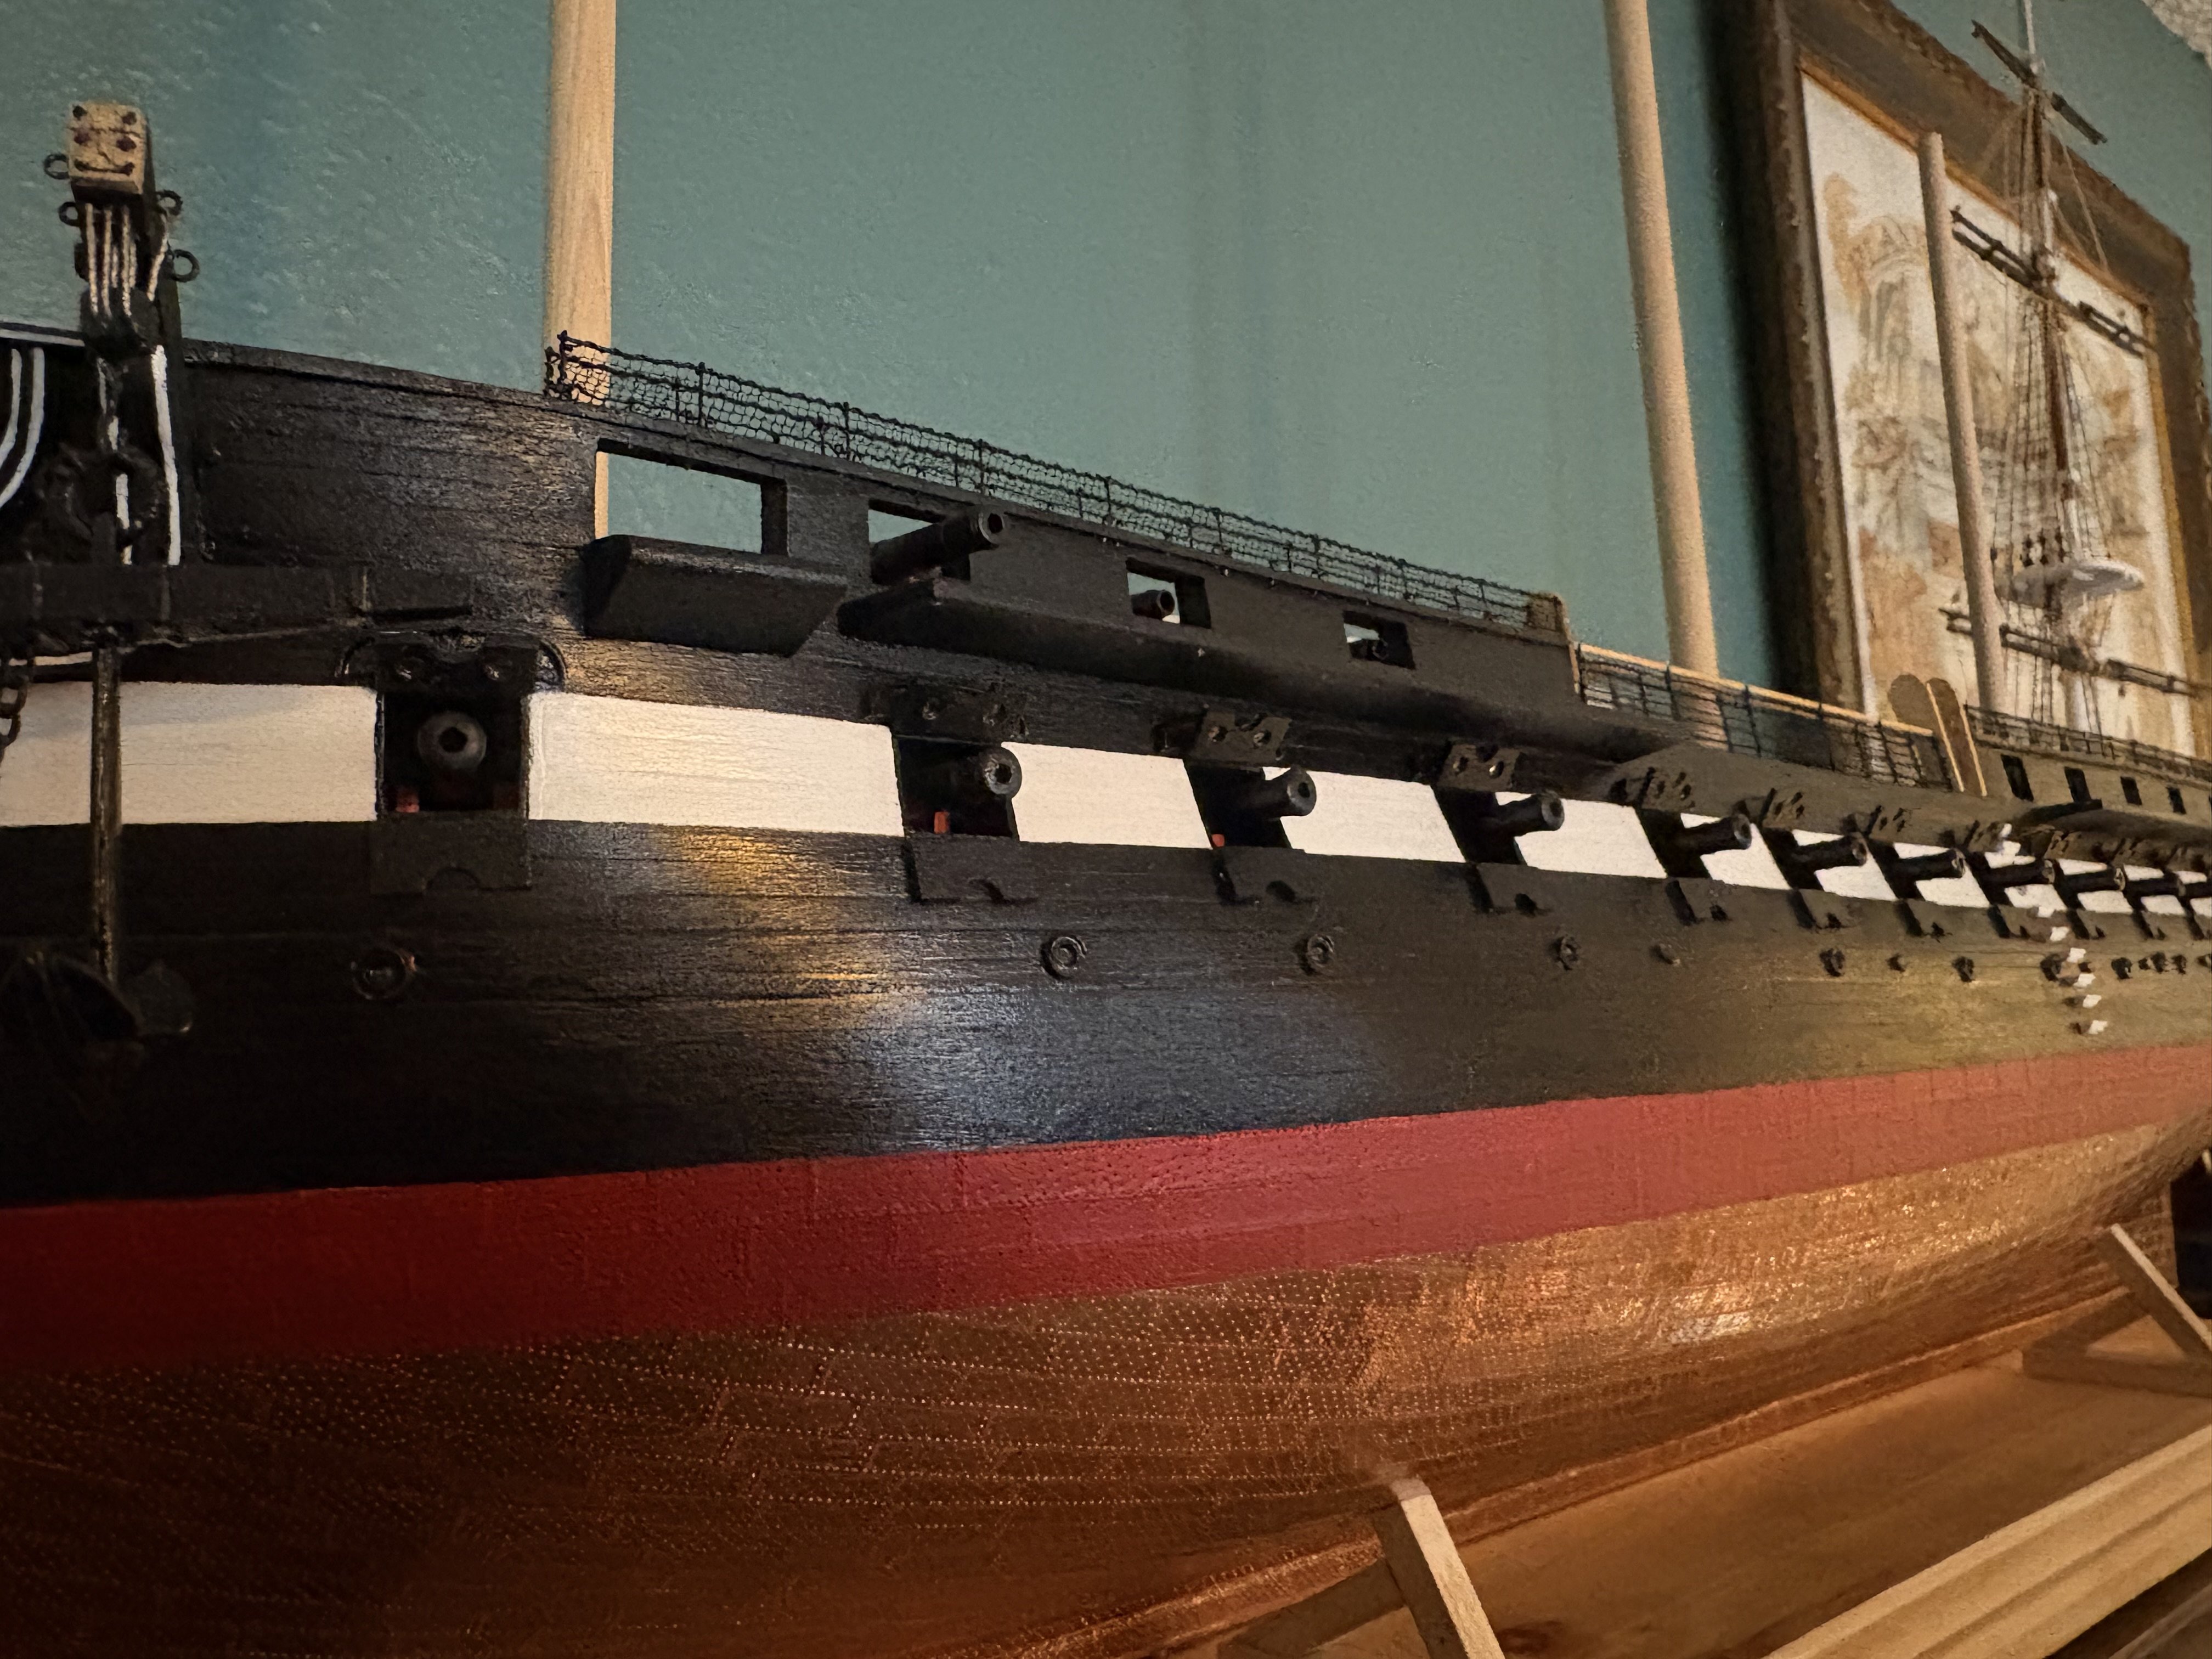
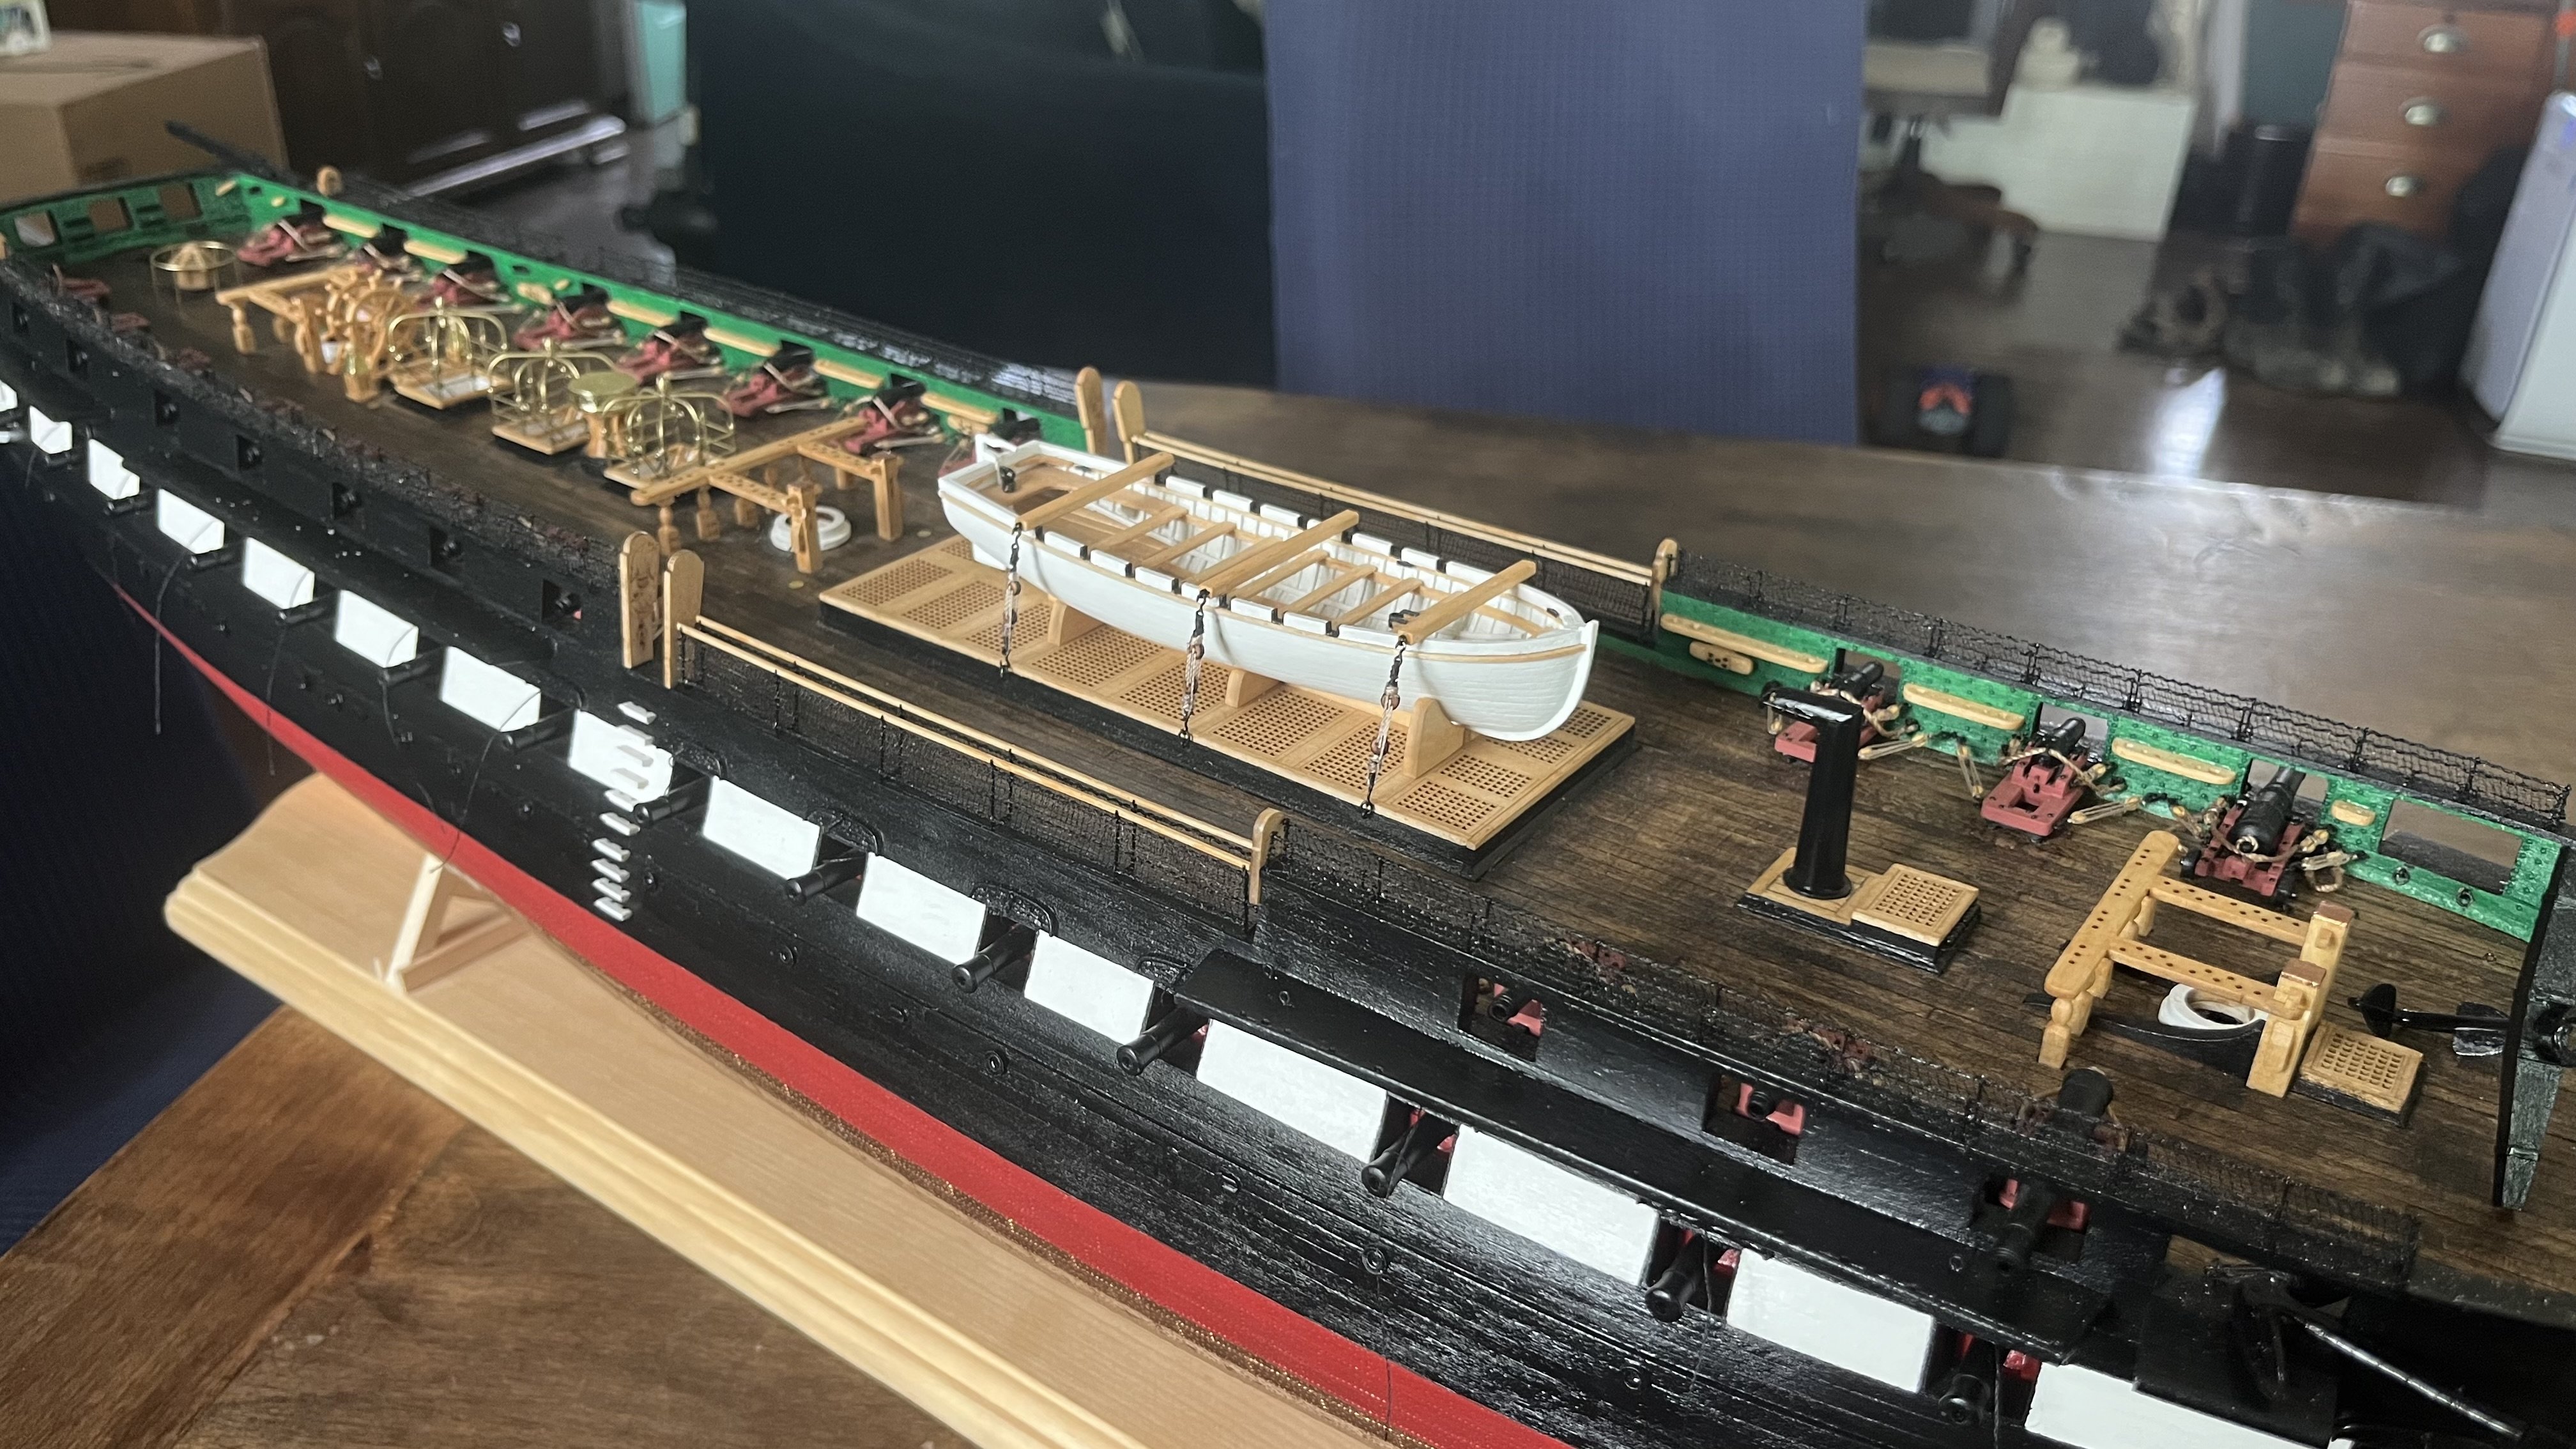
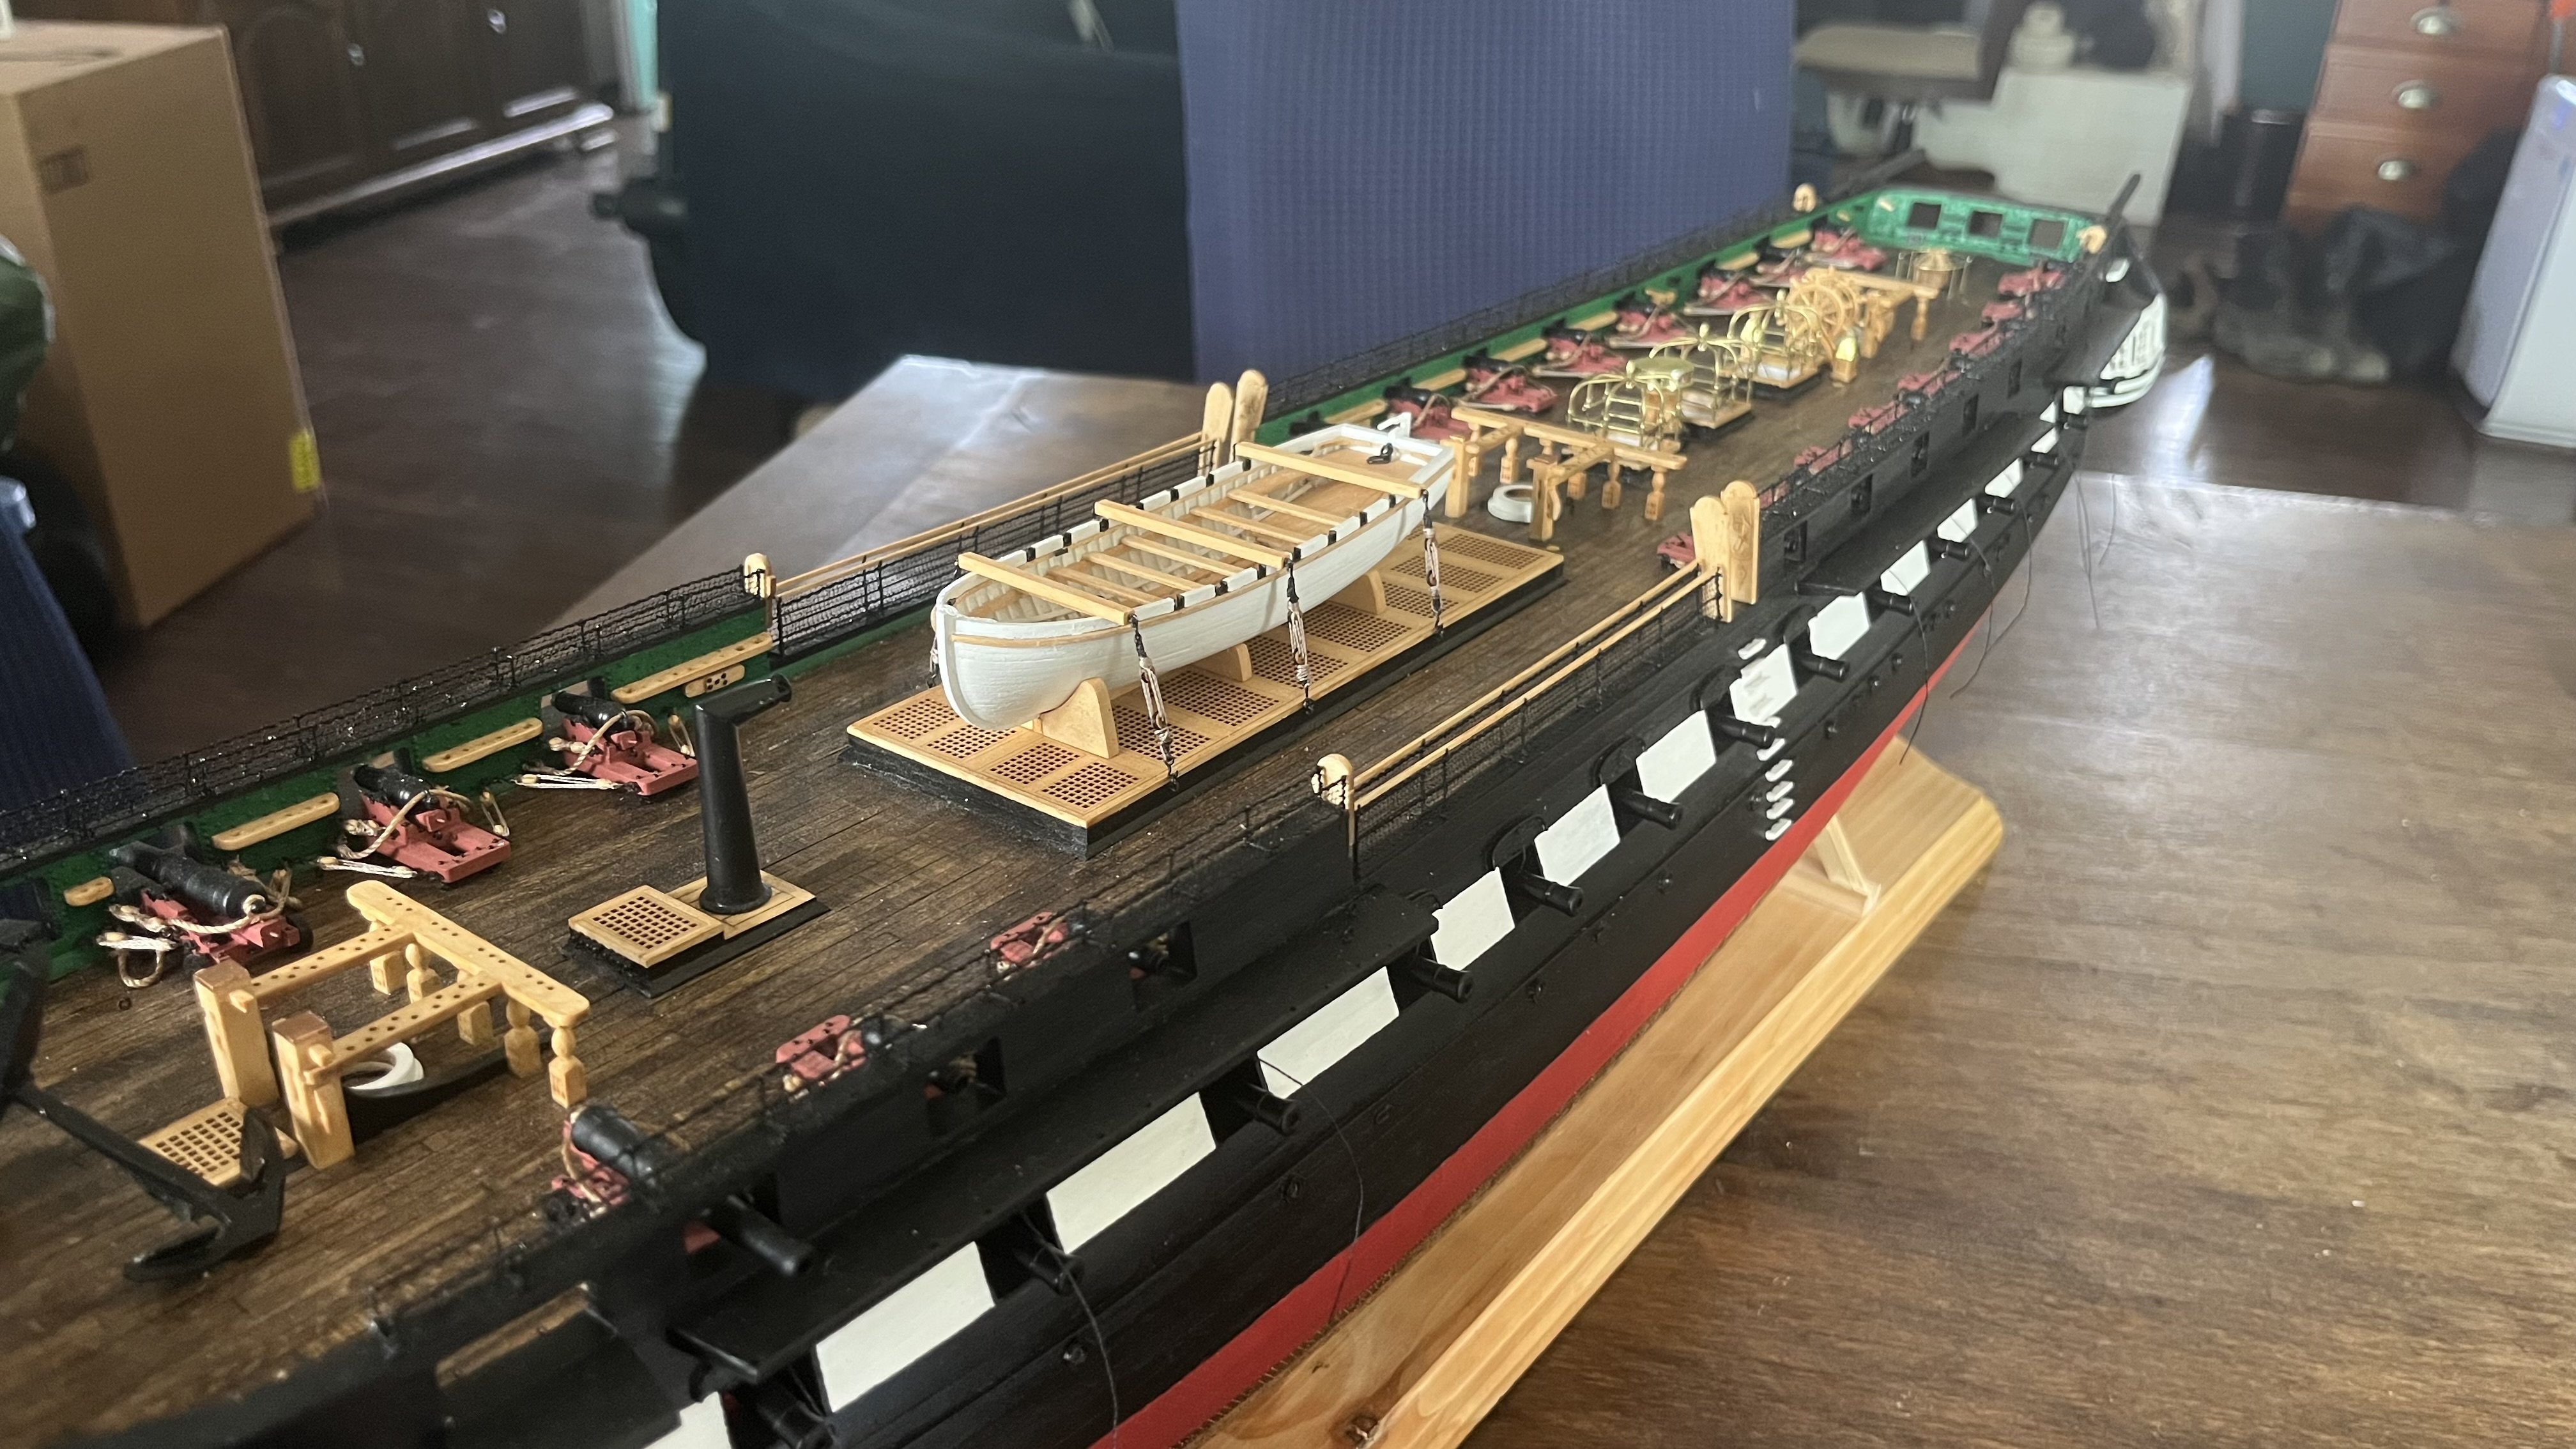
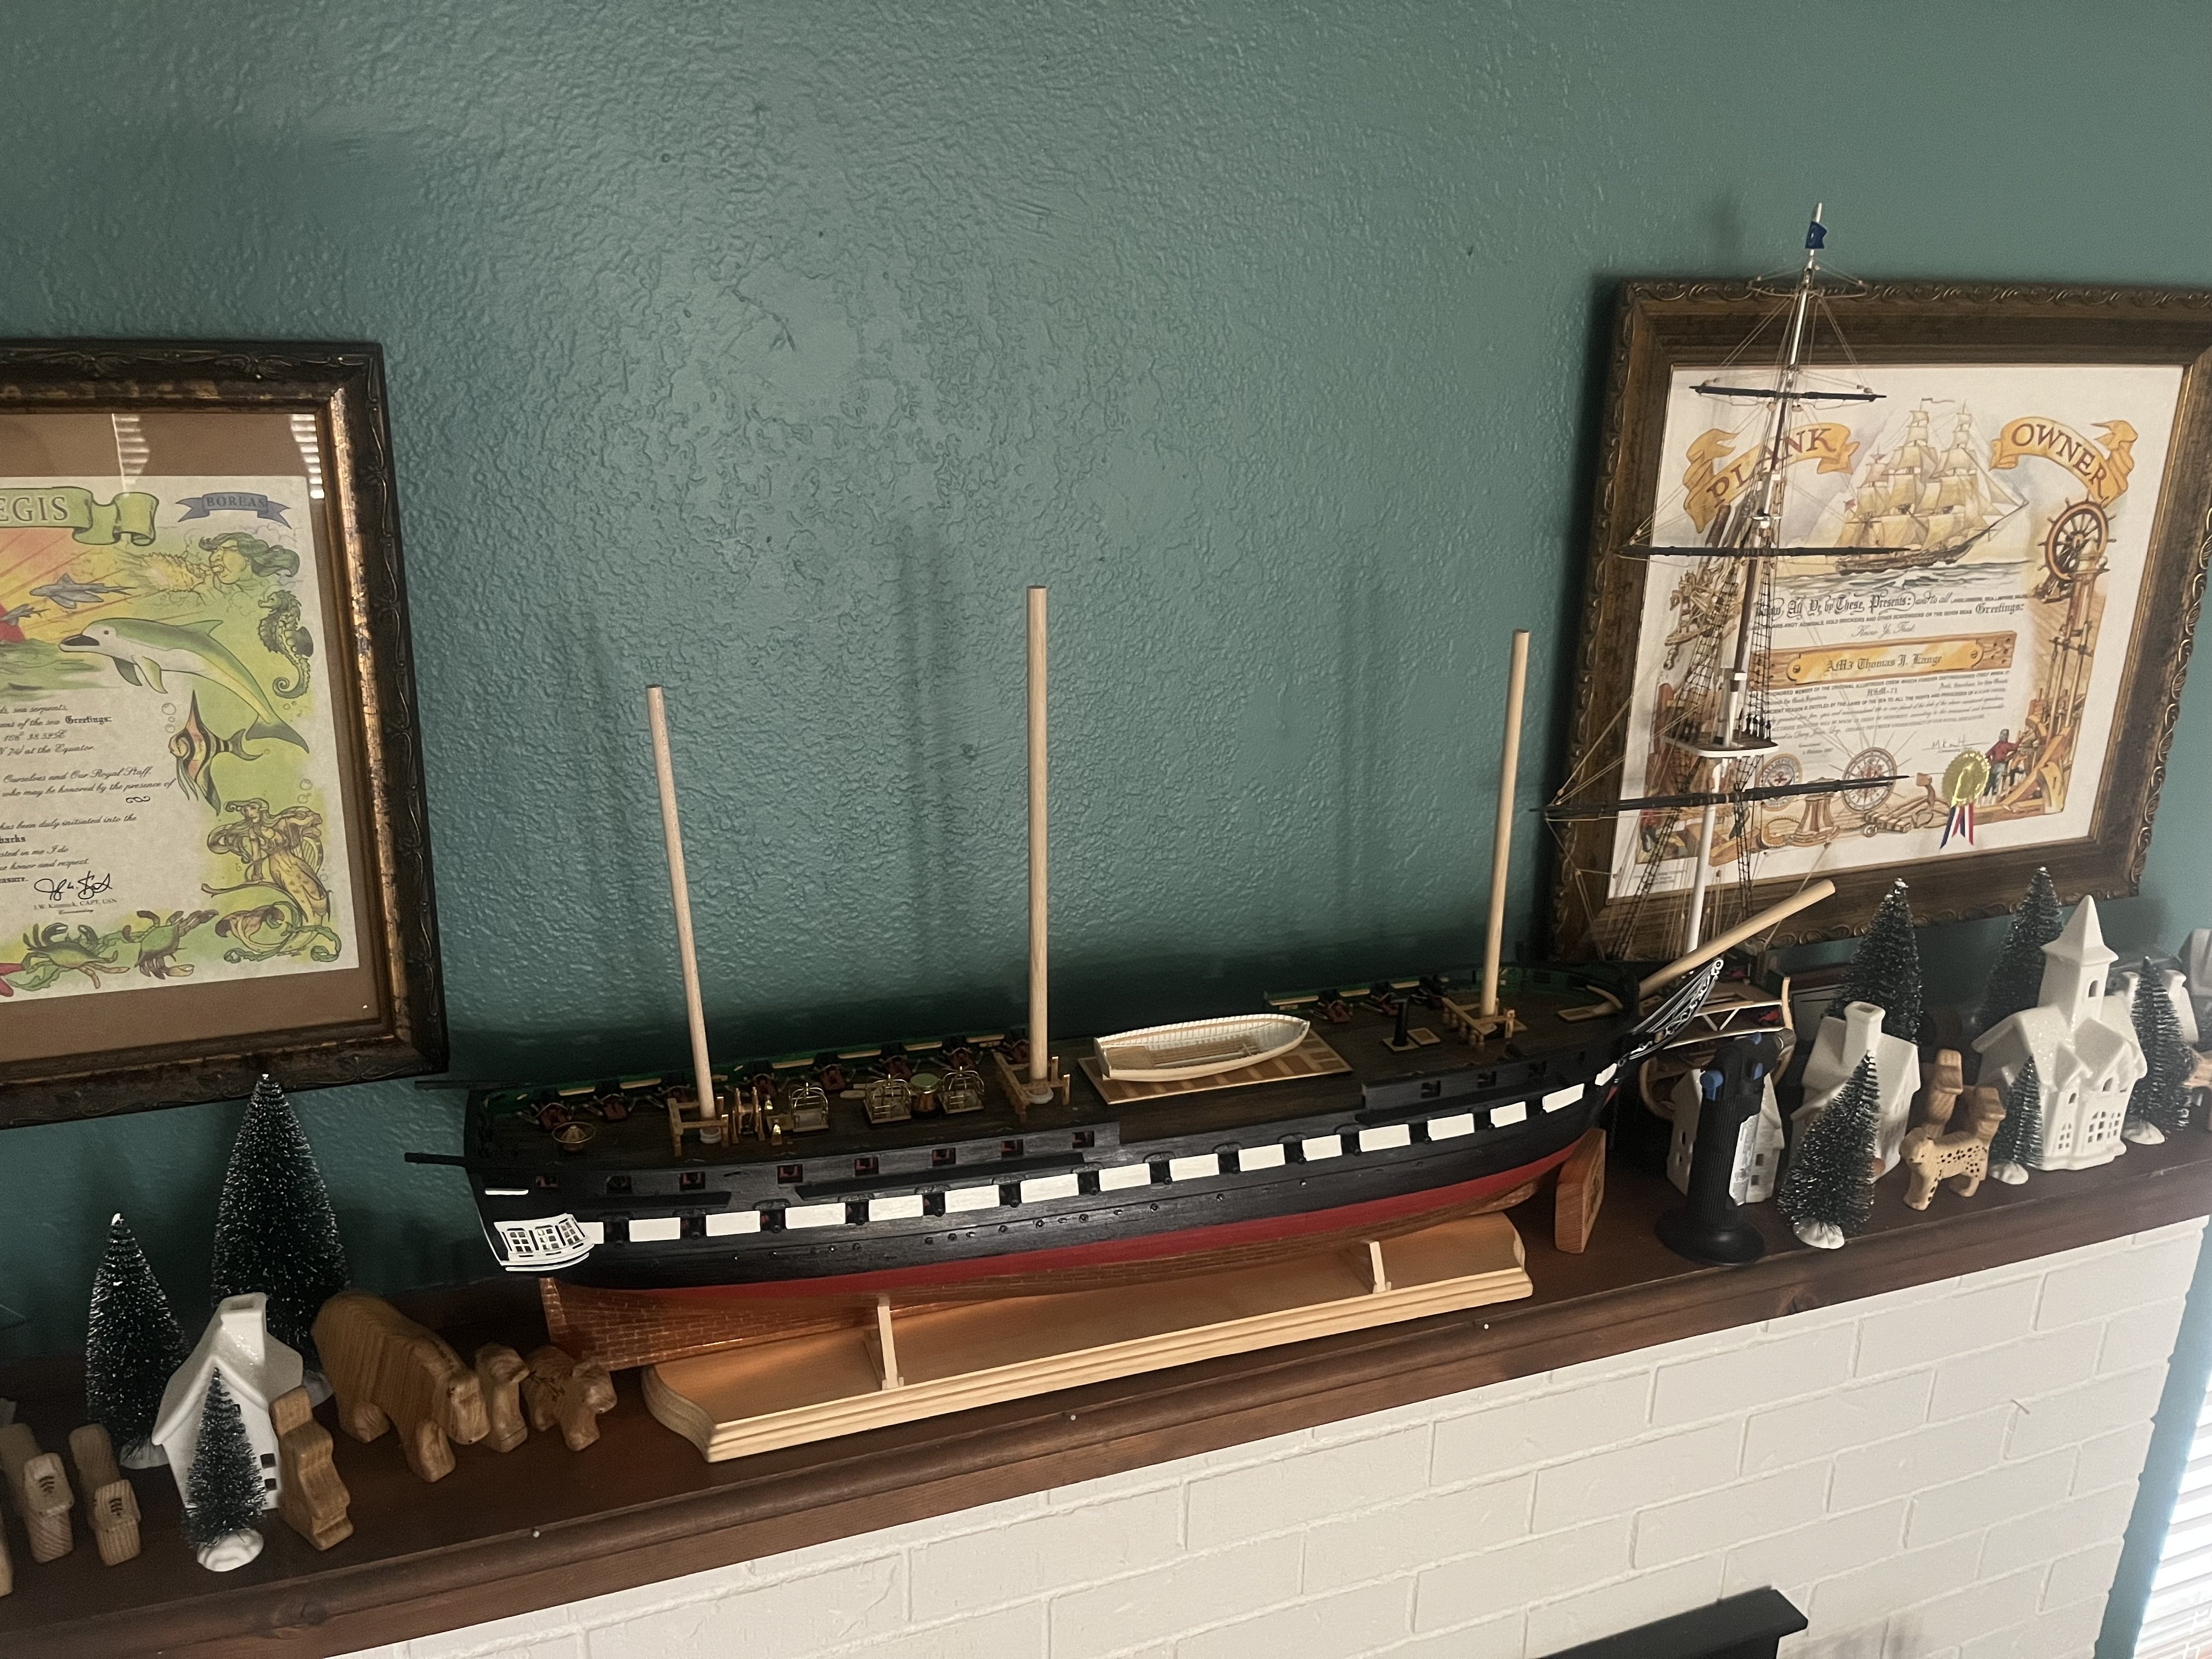
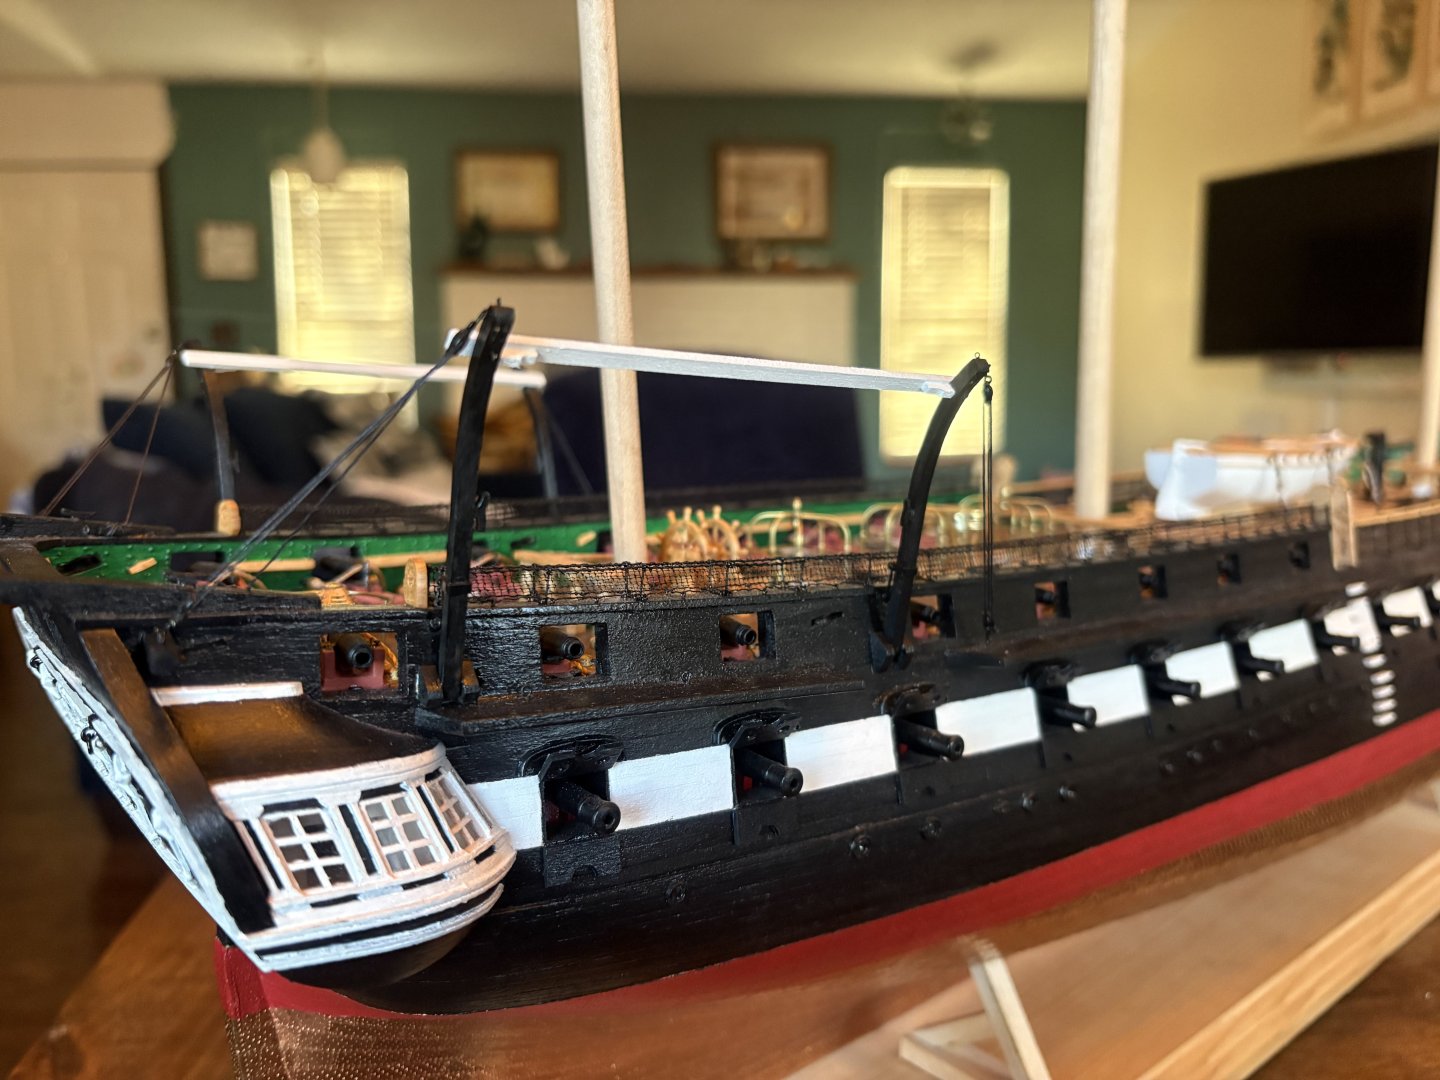
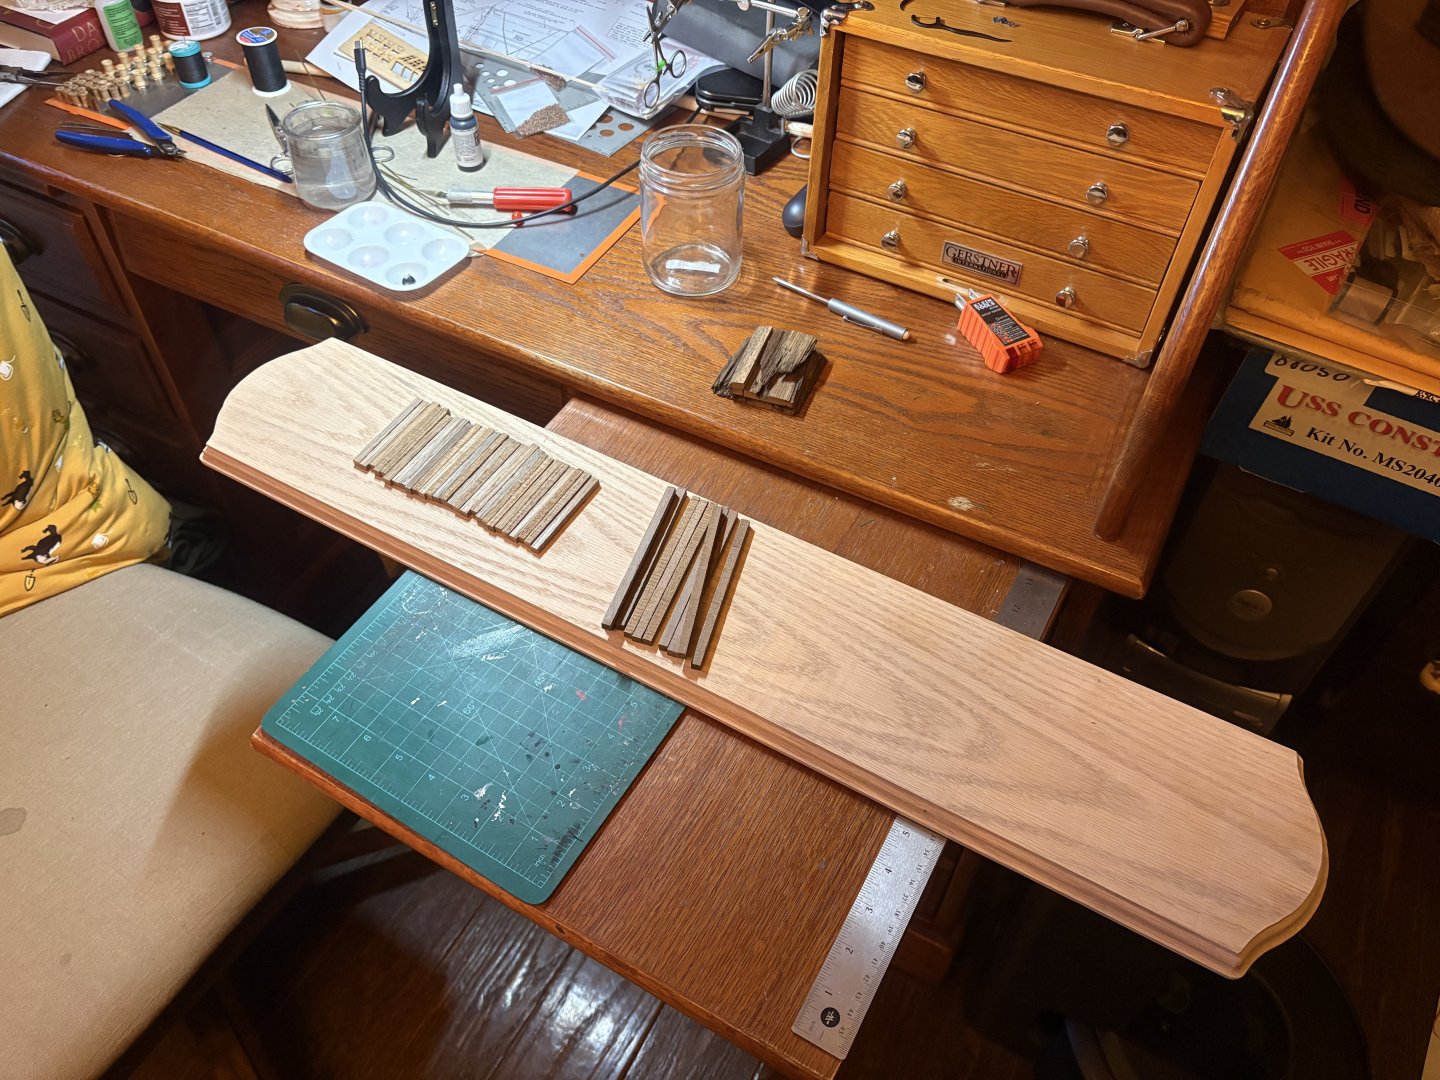
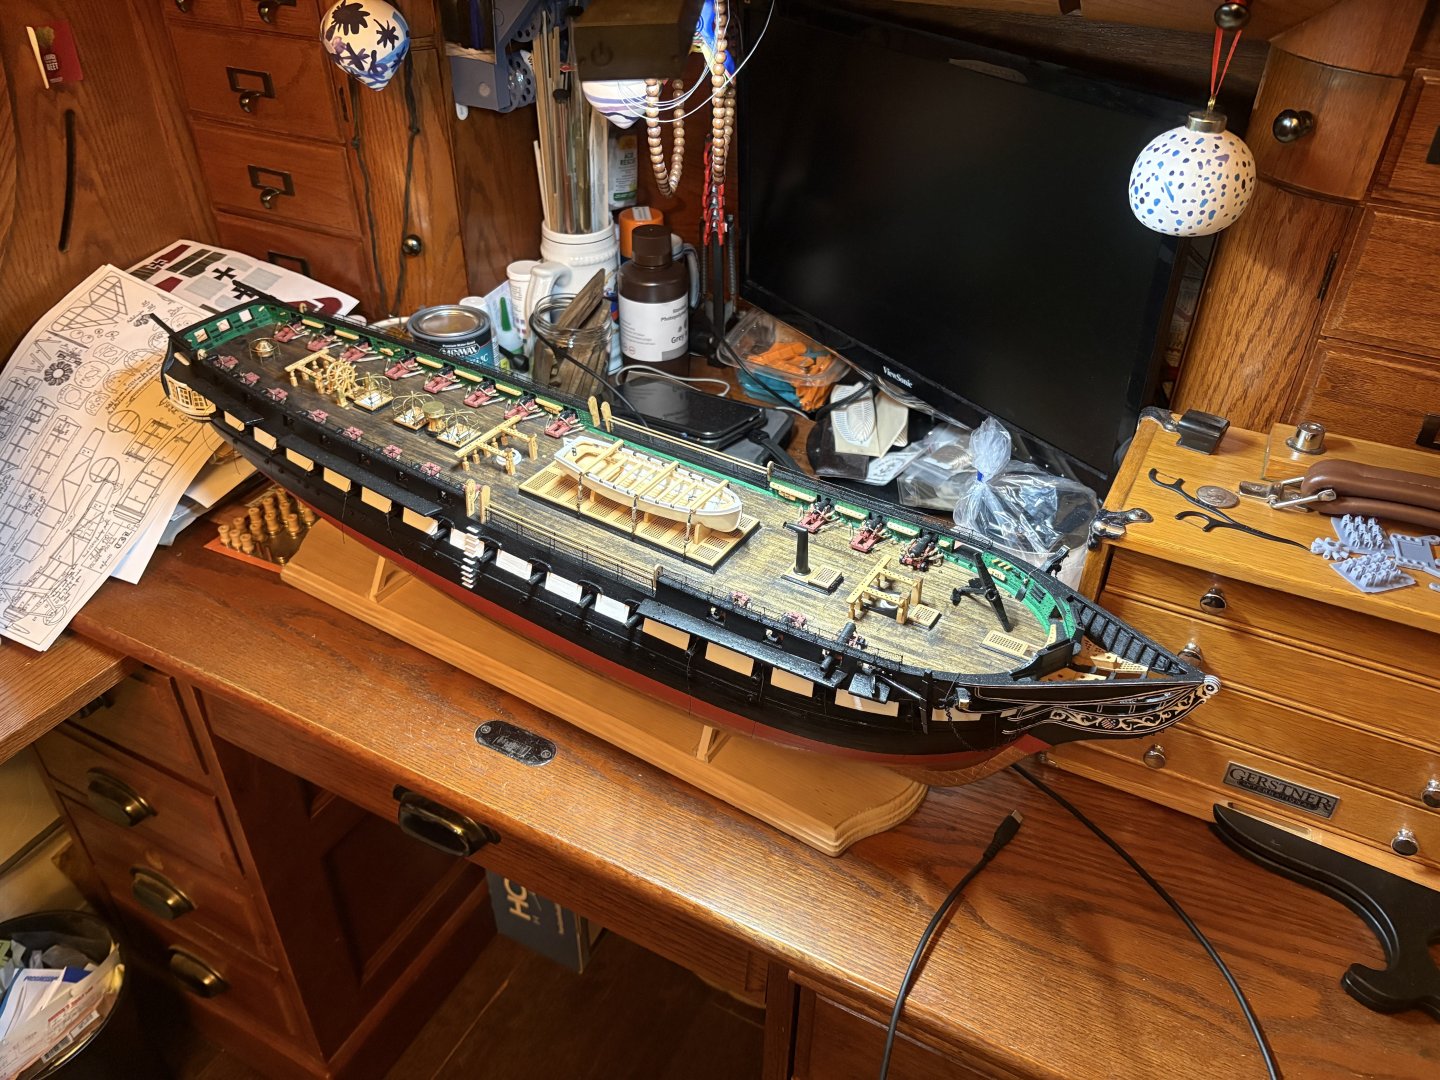
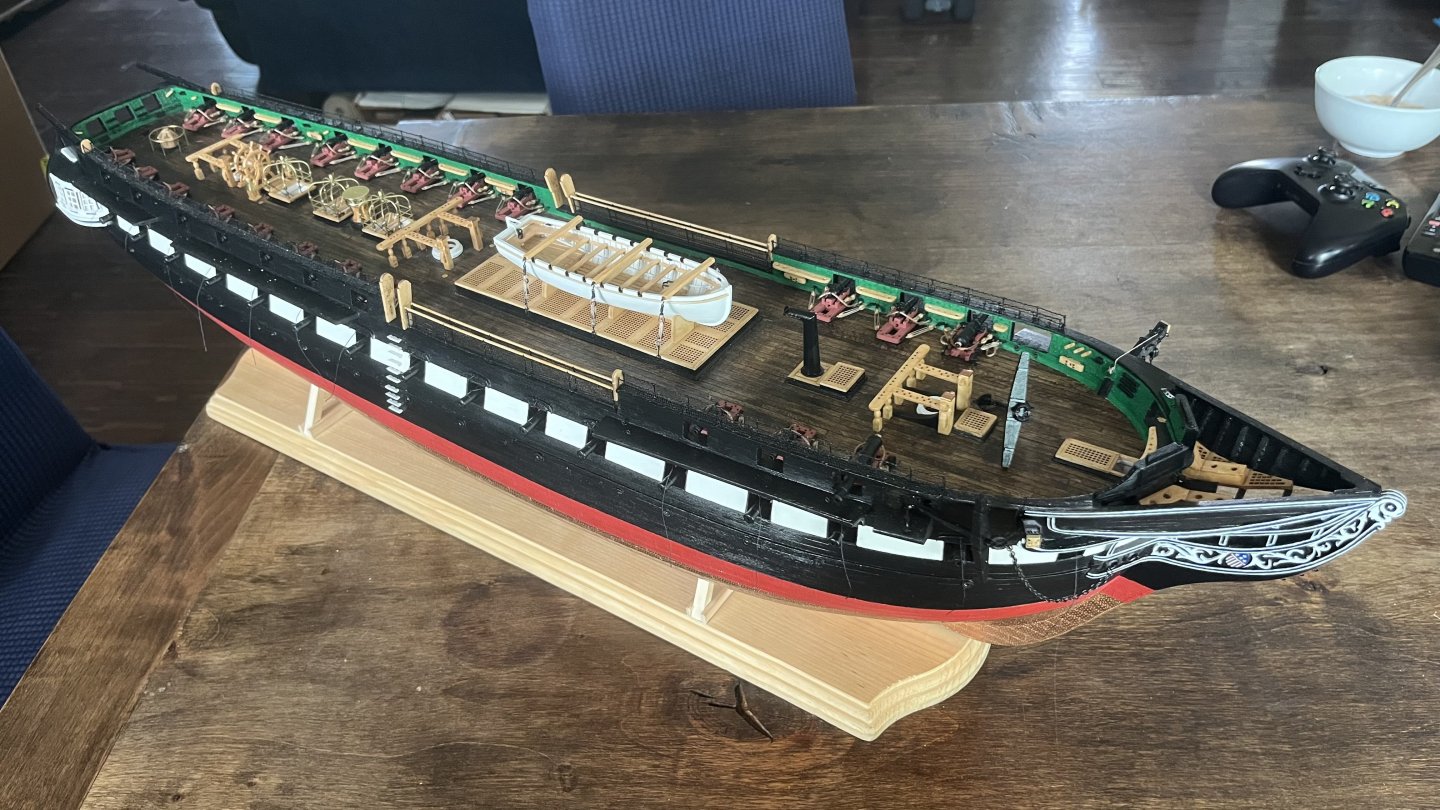
I finally got my whale boat davits completed. I also decided to get the block and tackles for the for and aft installed so the standing rigging won’t be in my way later. Next up is going to be the permanent display base. The main part is reclaimed oak. I’m going to have keel blocks made from reclaimed teak from the USS Iowa. I’m also going to have similar hull supports as my work base and they will either be made from teak or iron wood.

-
Unegawahya reacted to a post in a topic:
USS Constitution by Der Alte Rentner - Model Shipways - 1/76
-
Unegawahya reacted to a post in a topic:
USS Constitution by Der Alte Rentner - Model Shipways - 1/76
-
 Der Alte Rentner reacted to a post in a topic:
USS Constitution by Der Alte Rentner - Model Shipways - 1/76
Der Alte Rentner reacted to a post in a topic:
USS Constitution by Der Alte Rentner - Model Shipways - 1/76
-
mtbediz reacted to a post in a topic:
USS Constitution by Der Alte Rentner - Model Shipways - 1/76
-
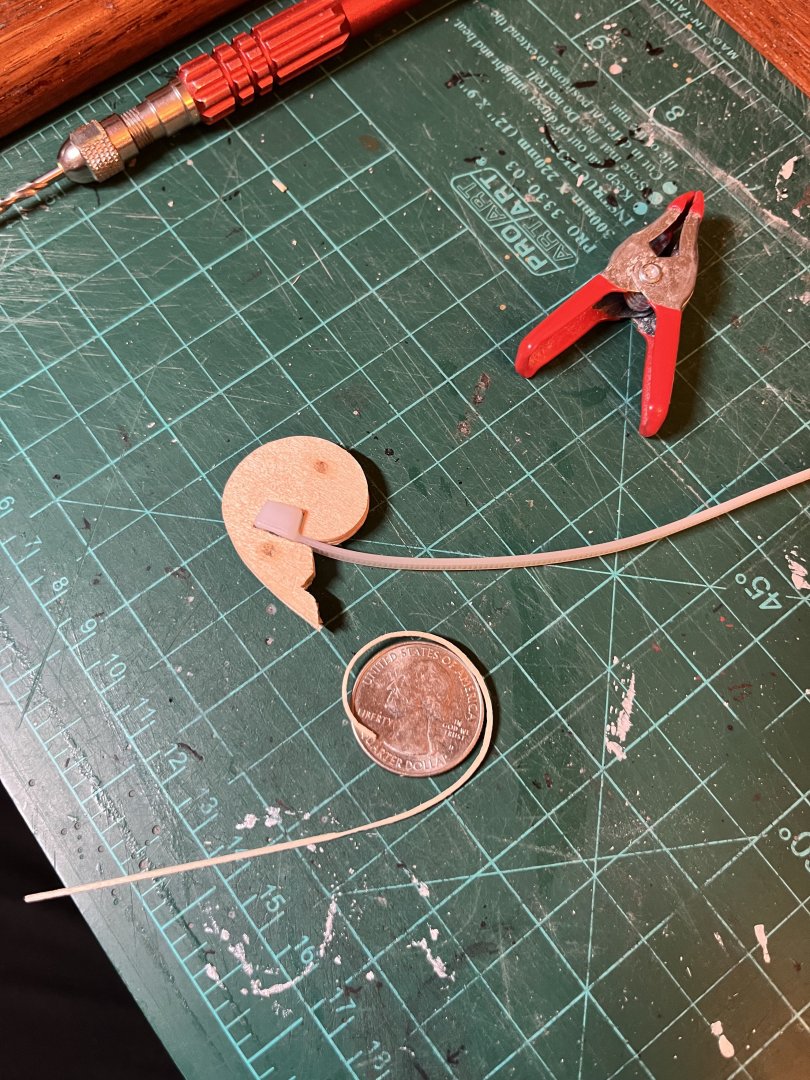
Your fighting top looks great! I was getting caught up! You got me thinking of the problem of bending the tight forward corners of the edging and I was wondering if using a similar method to what I recently used on the rudder for my DR1 would work? I made a jig for the rudder that was set up with a zip tie to hold the wood with just enough compression till it dried. I was extremely happy with that result.This is my jig.
-
Unegawahya reacted to a post in a topic:
USS Constitution by Der Alte Rentner - Model Shipways - 1/76
-
Unegawahya reacted to a post in a topic:
USS Constitution by Der Alte Rentner - Model Shipways - 1/76
-
Unegawahya reacted to a post in a topic:
USS Constitution by GGibson - Model Shipways - 1:76.8
-
PaddyO reacted to a post in a topic:
USS Constitution by Unegawahya - Model Shipways - scale 1:76
-
Geoff Matson reacted to a post in a topic:
USS Constitution by Unegawahya - Model Shipways - scale 1:76
-
mtbediz reacted to a post in a topic:
USS Constitution by Unegawahya - Model Shipways - scale 1:76
-
Coyote_6 reacted to a post in a topic:
USS Constitution by Unegawahya - Model Shipways - scale 1:76
-
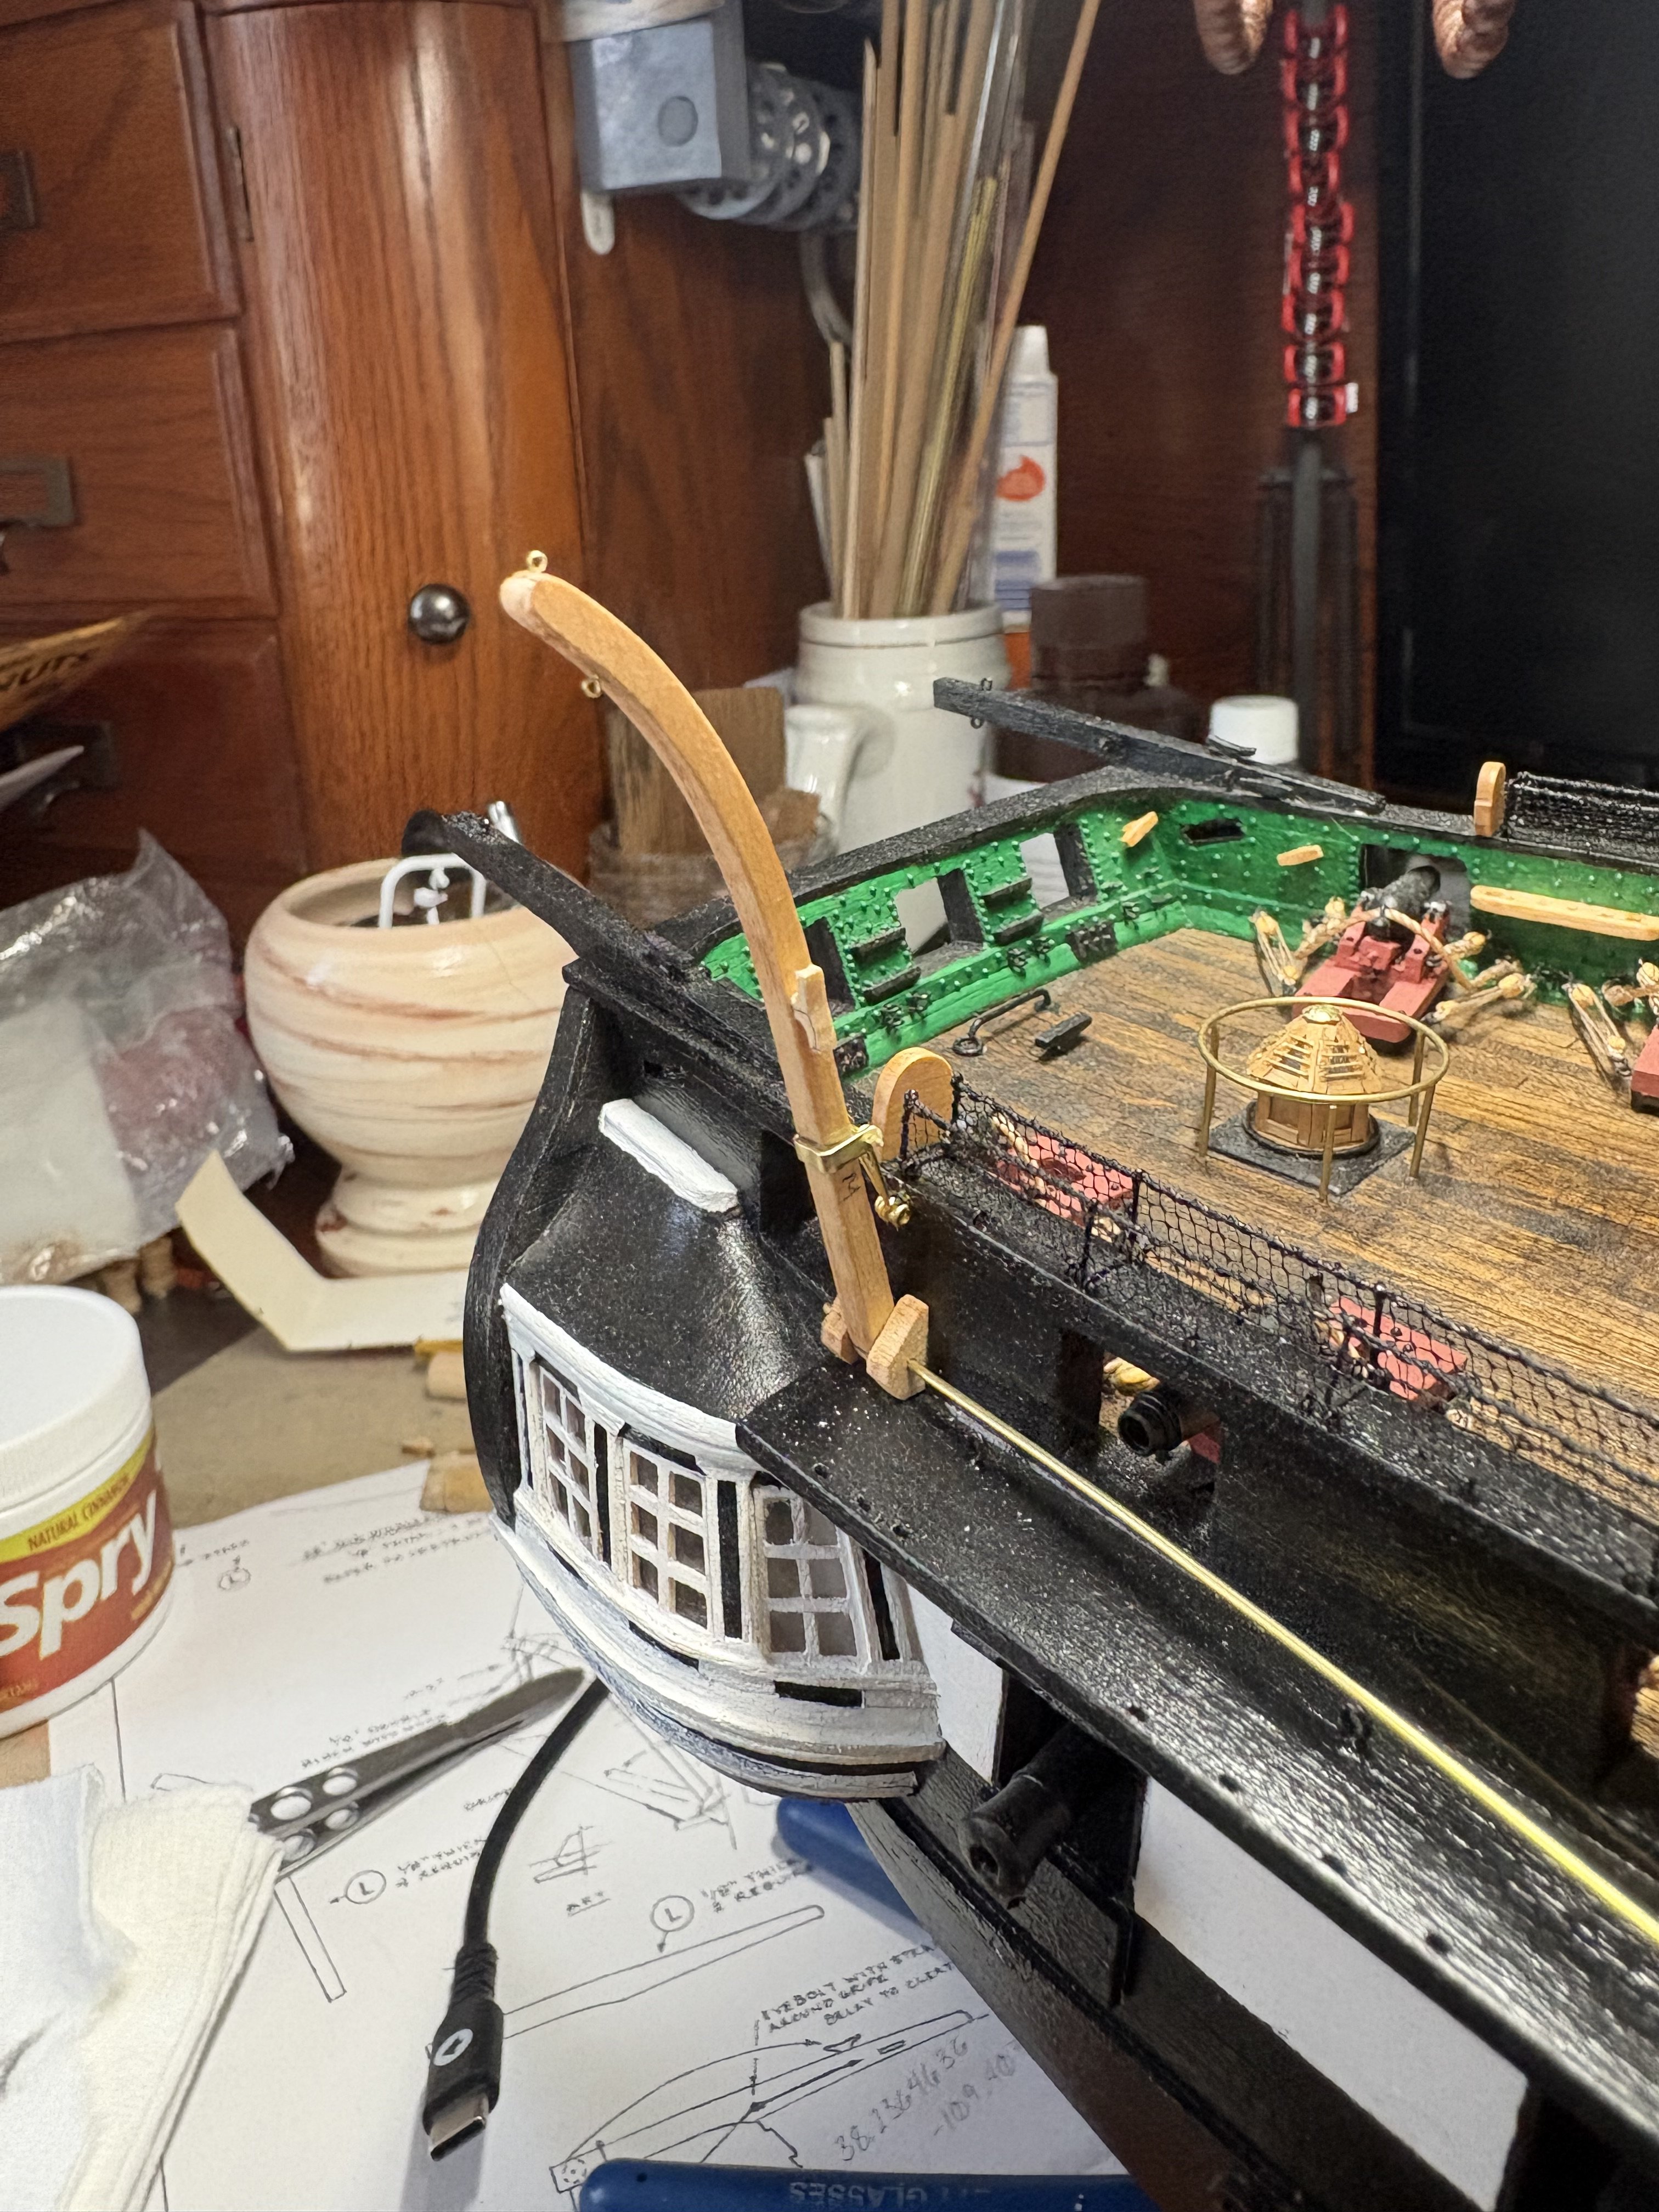
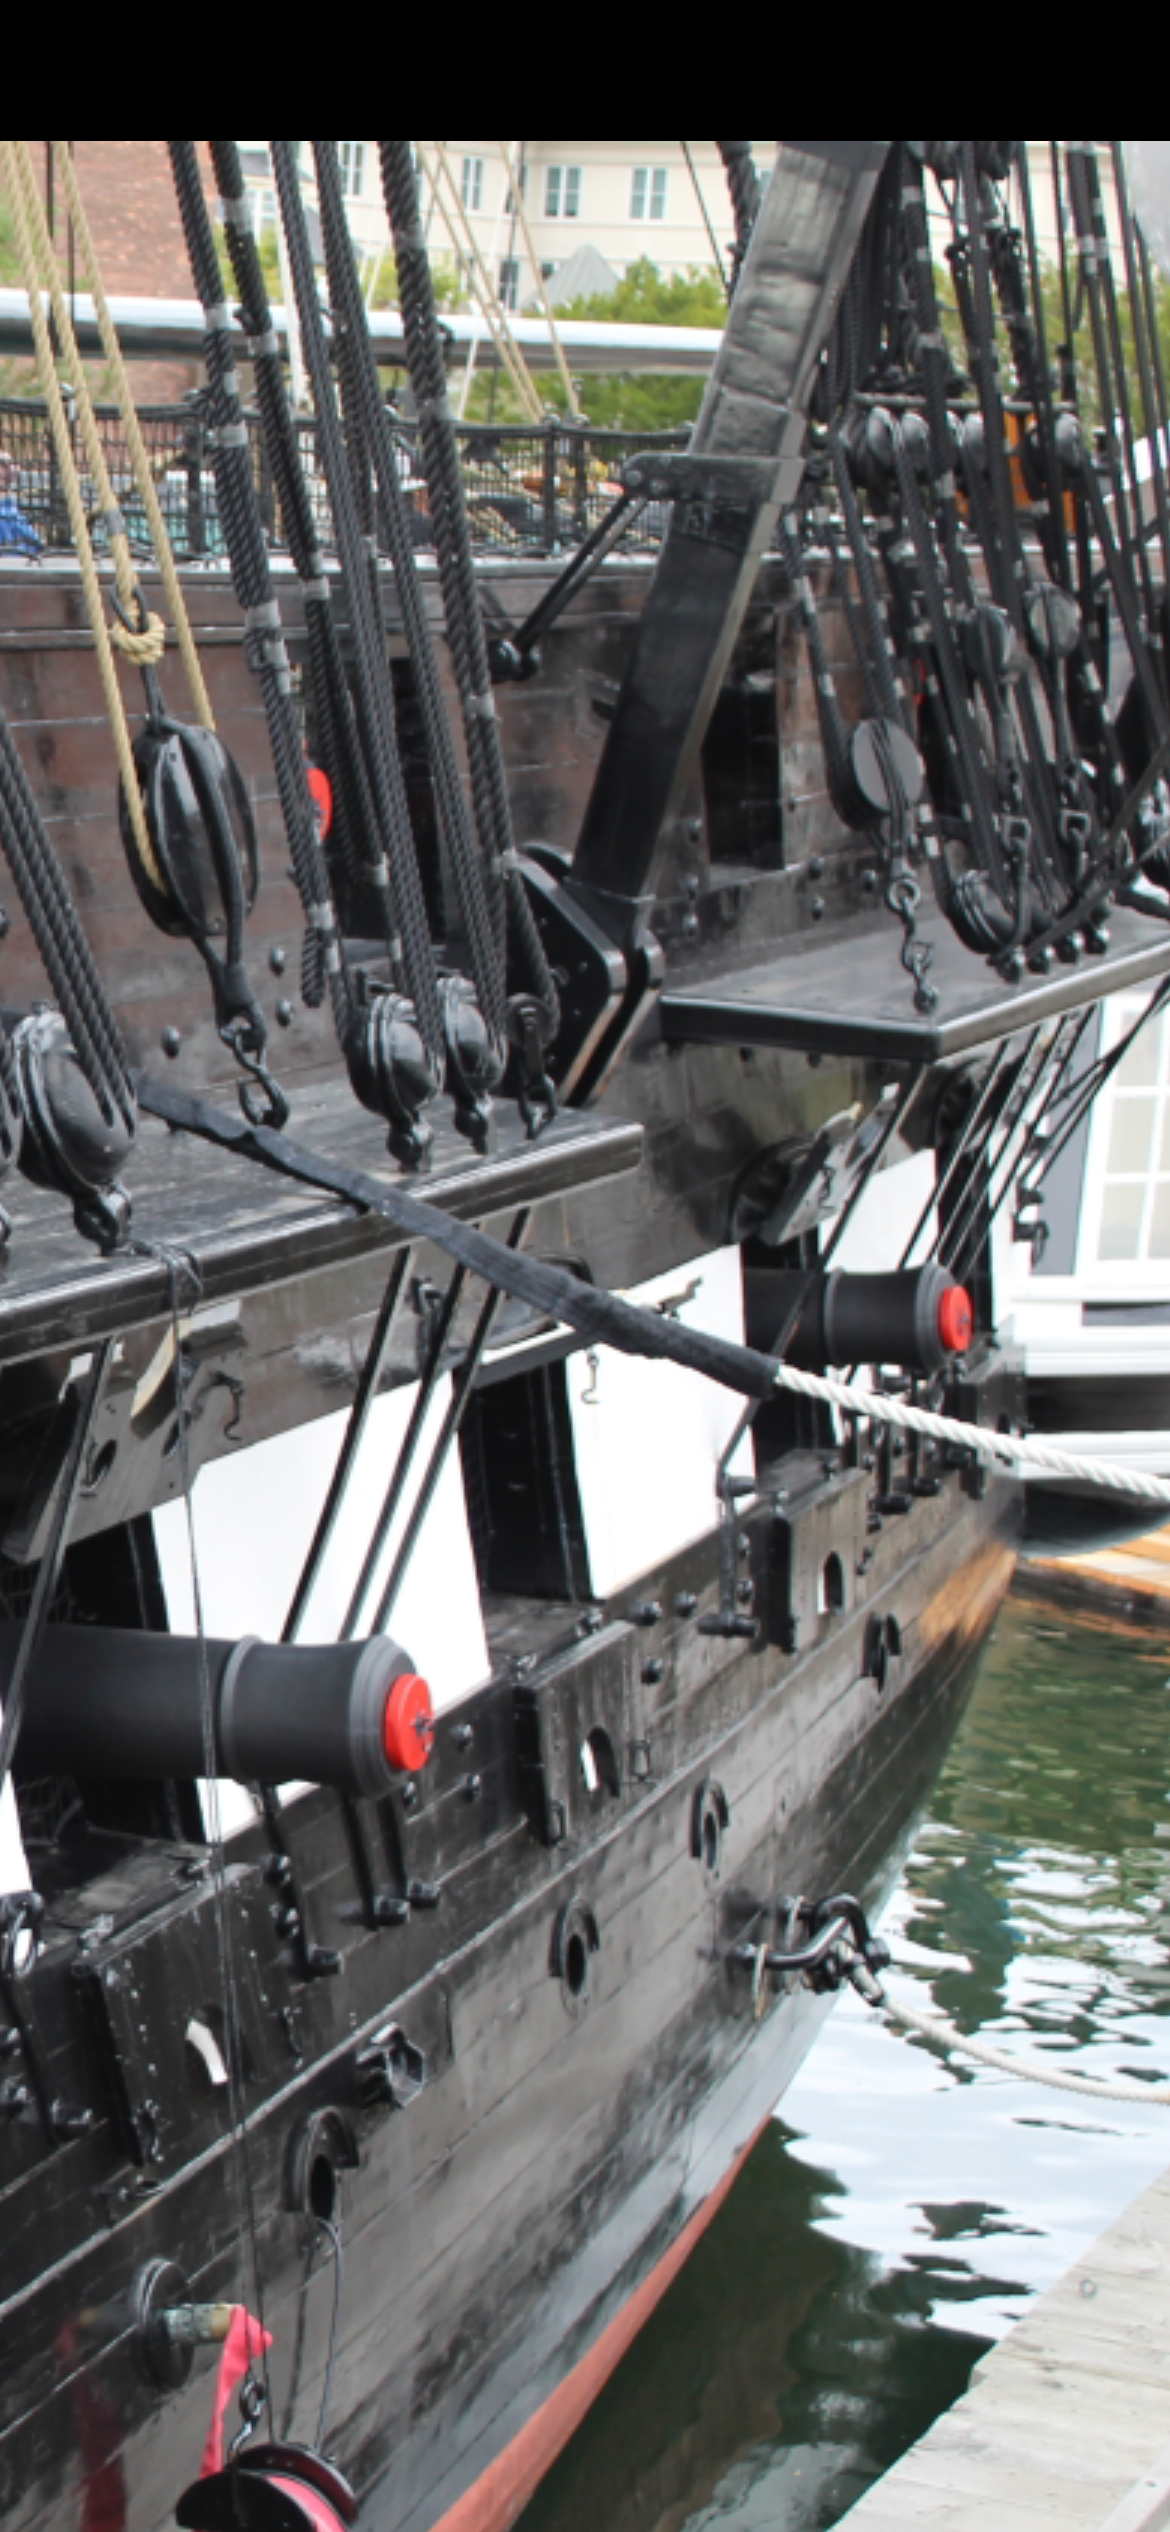
I have all of my whale boat davits mostly done and my first one has been test fitted.I had to omit the upper bracket and the connections and make new brackets to account for the lower bulwarks. I’m happy with the first one, I just hope the next three will all look the same.


-
Unegawahya reacted to a post in a topic:
USS Constitution by mtbediz - 1:76
-
Unegawahya reacted to a post in a topic:
USS Constitution by Der Alte Rentner - Model Shipways - 1/76
-
Unegawahya reacted to a post in a topic:
USS Constitution by Der Alte Rentner - Model Shipways - 1/76
-
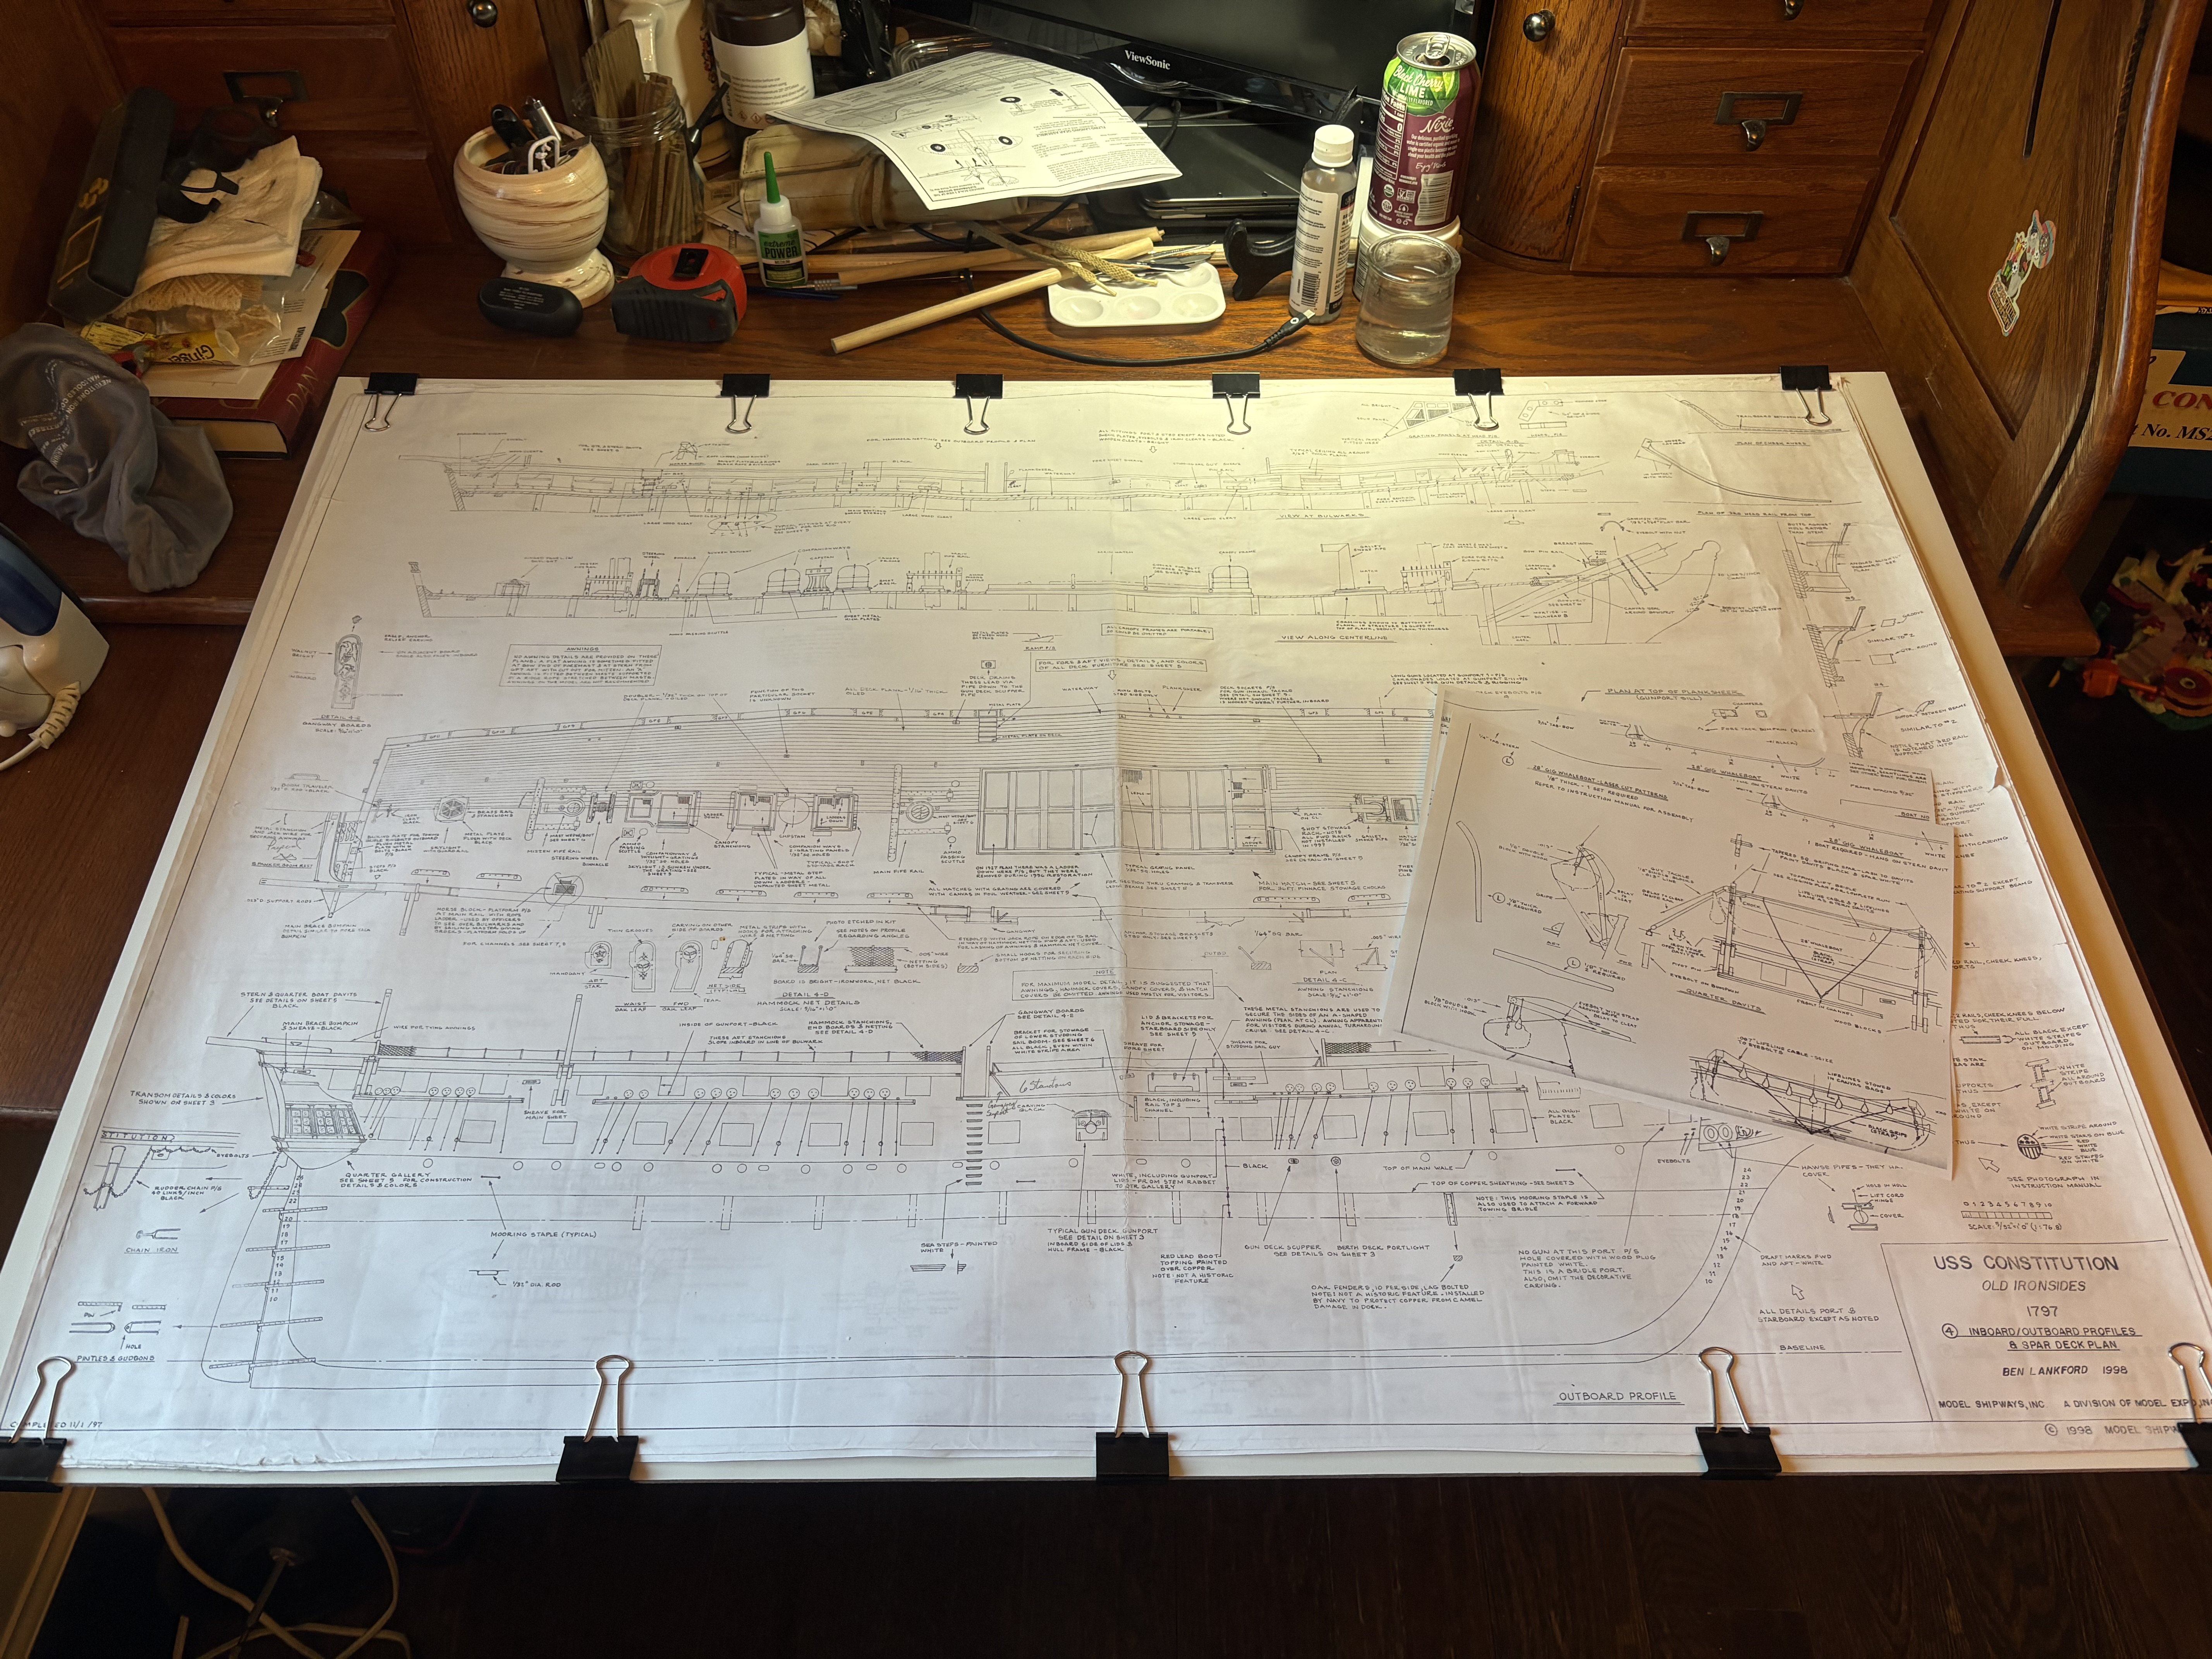
All of my port and starboard lids are now finally done and installed.Next up will by my stanchions for the 28’ whale boats followed by my new permanent base. I also had to take the time to fix all of my old land and get them to where they weren’t rolled up. I was finding that with my plans rolled up, I was avoiding pulling them out unless I had to. I now have them ironed out and clipped to a backing board to keep them flat and clean


-
To be honest, I haven’t even started shaping my rudder yet. It’s been one of those “I’ll leave it for before I start the rigging things!” I will be posting more here soon and I apologize for the extreme delay.
-
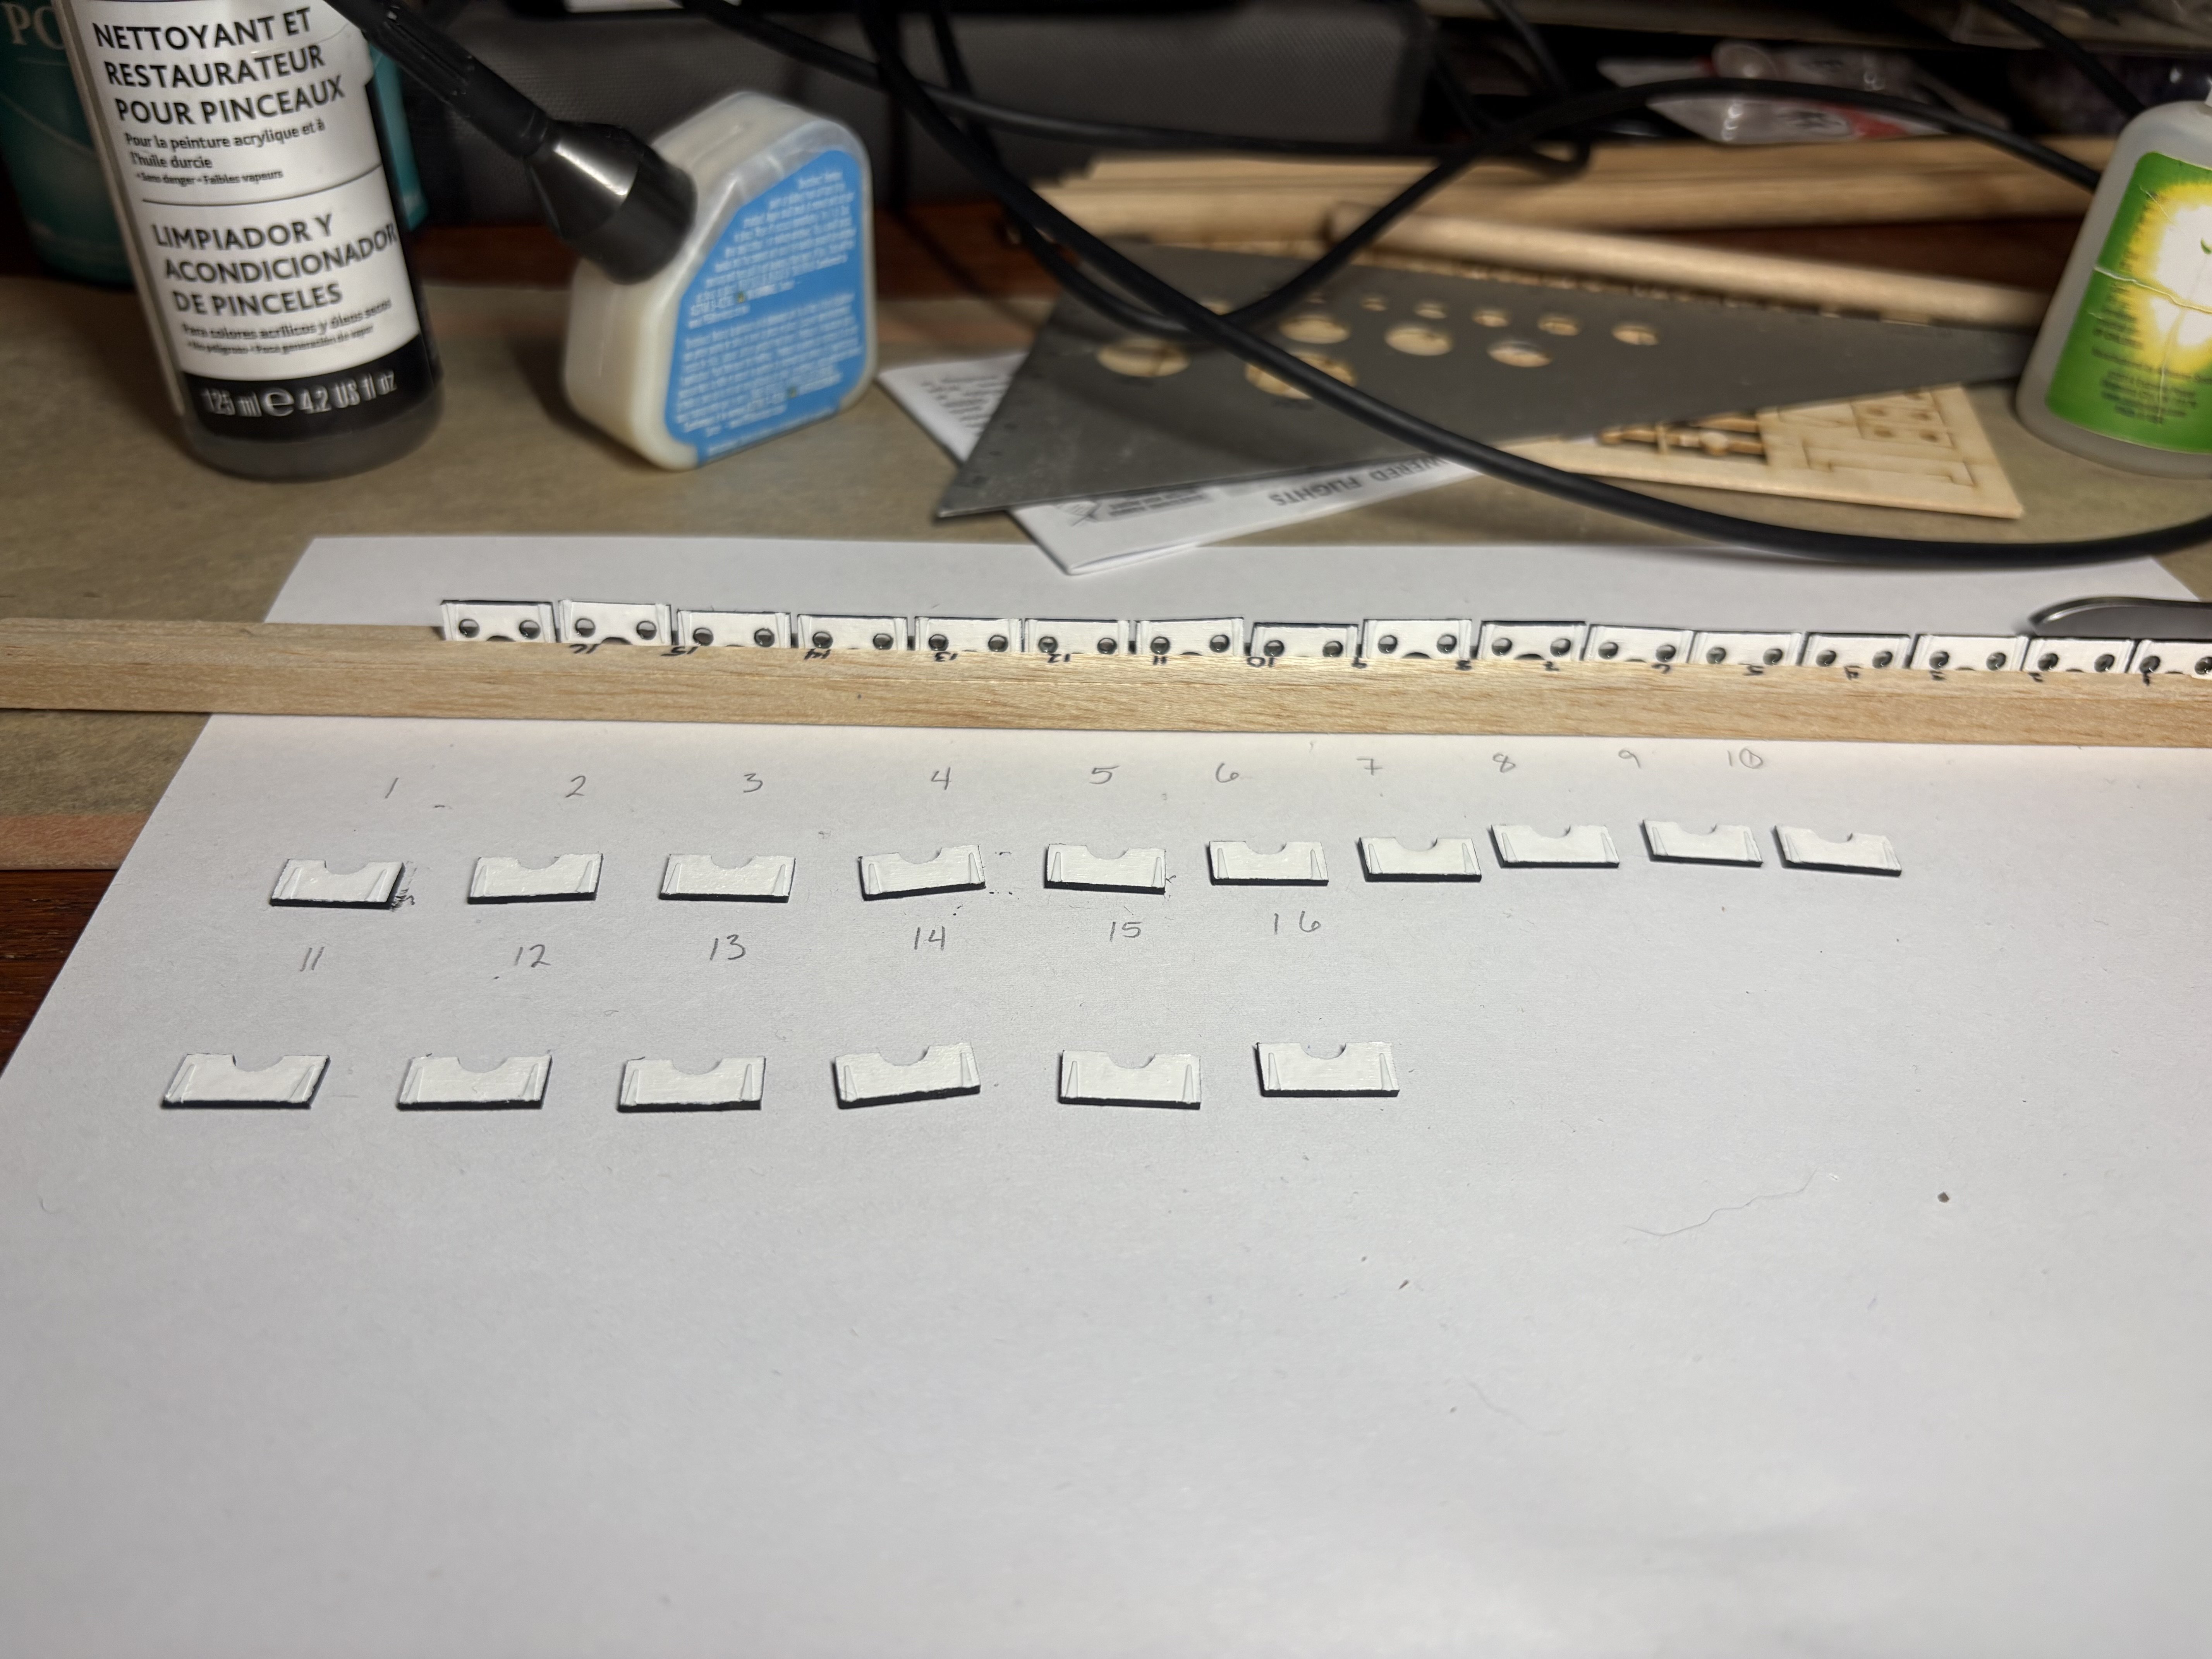
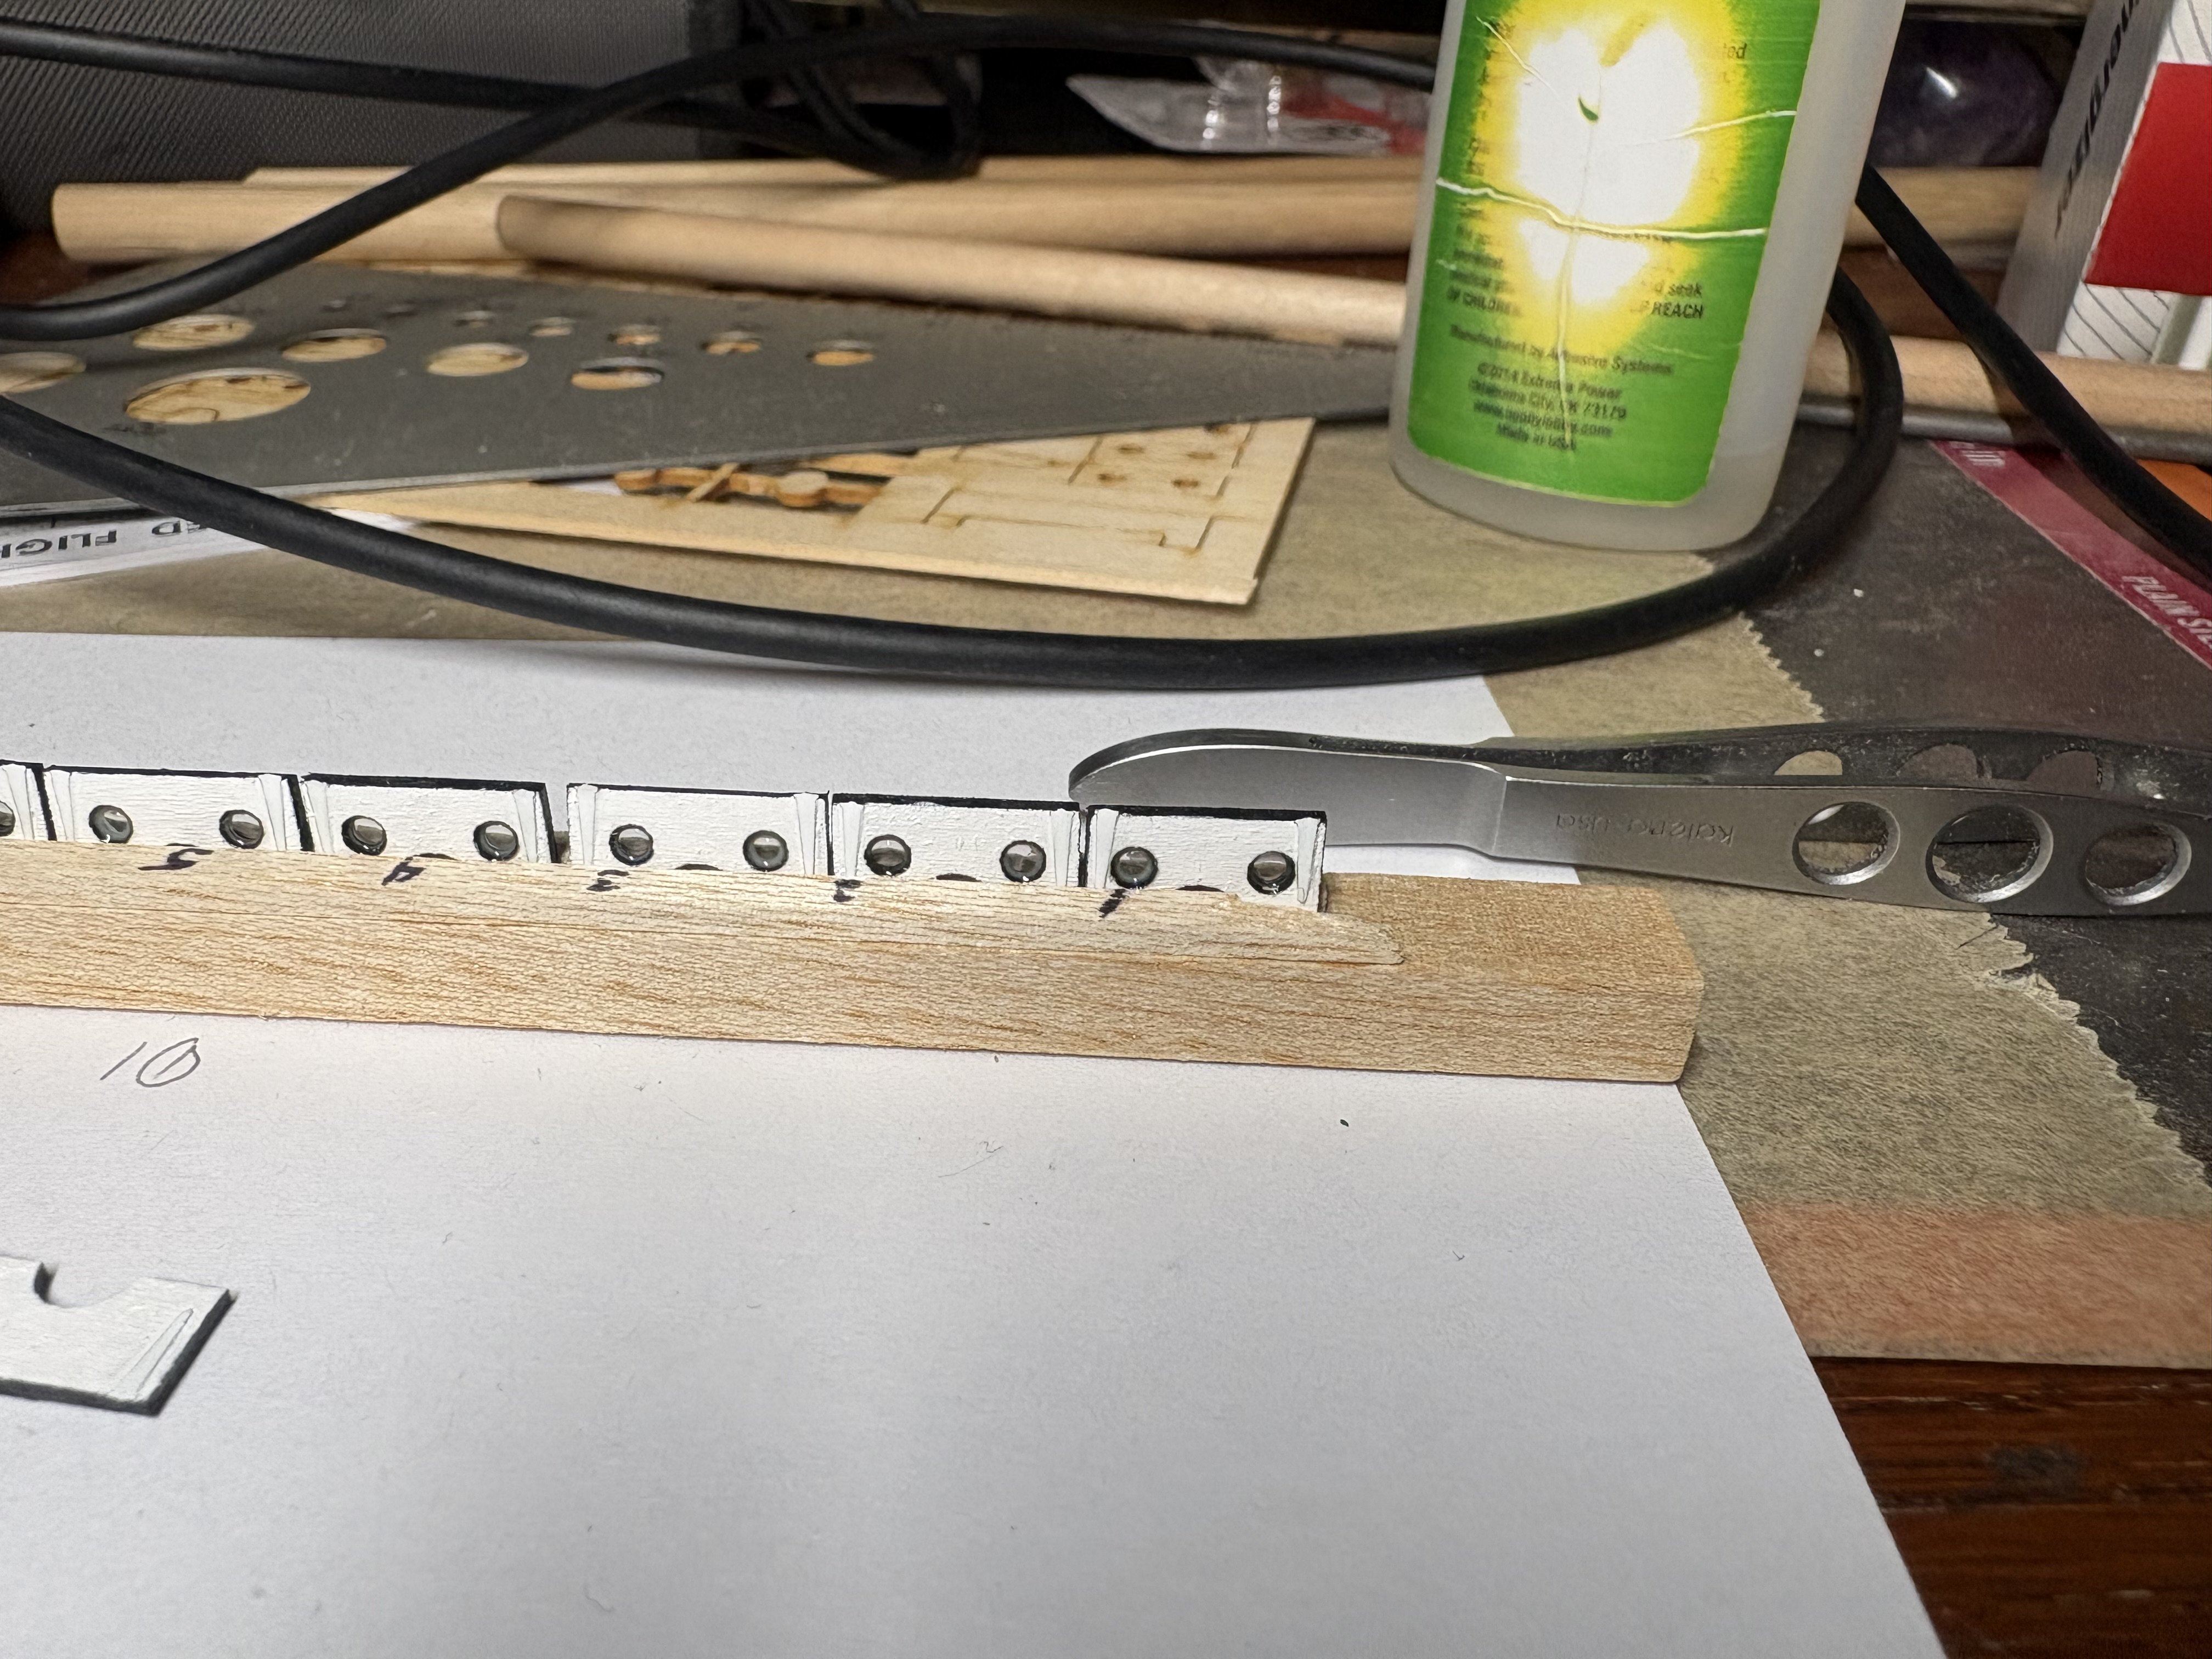
My starboard gun port lids are done and as soon as they’re dry I should be able to start installing them.To simulate glass being in the portholes on the upper lids I used Testors Clear Parts Cement. I’ve gotten to the point that I love this cement because it dries completely clear and you can even use it to make small windows. It also can be easily removed from some plastic with a toothpick if you get a little messy!


-
Thank you! I really appreciate that! I puzzled over those frames for a wile. I’m really glad you like them. They should also be easy to reproduce because they’re made from standard K&S brass.
-
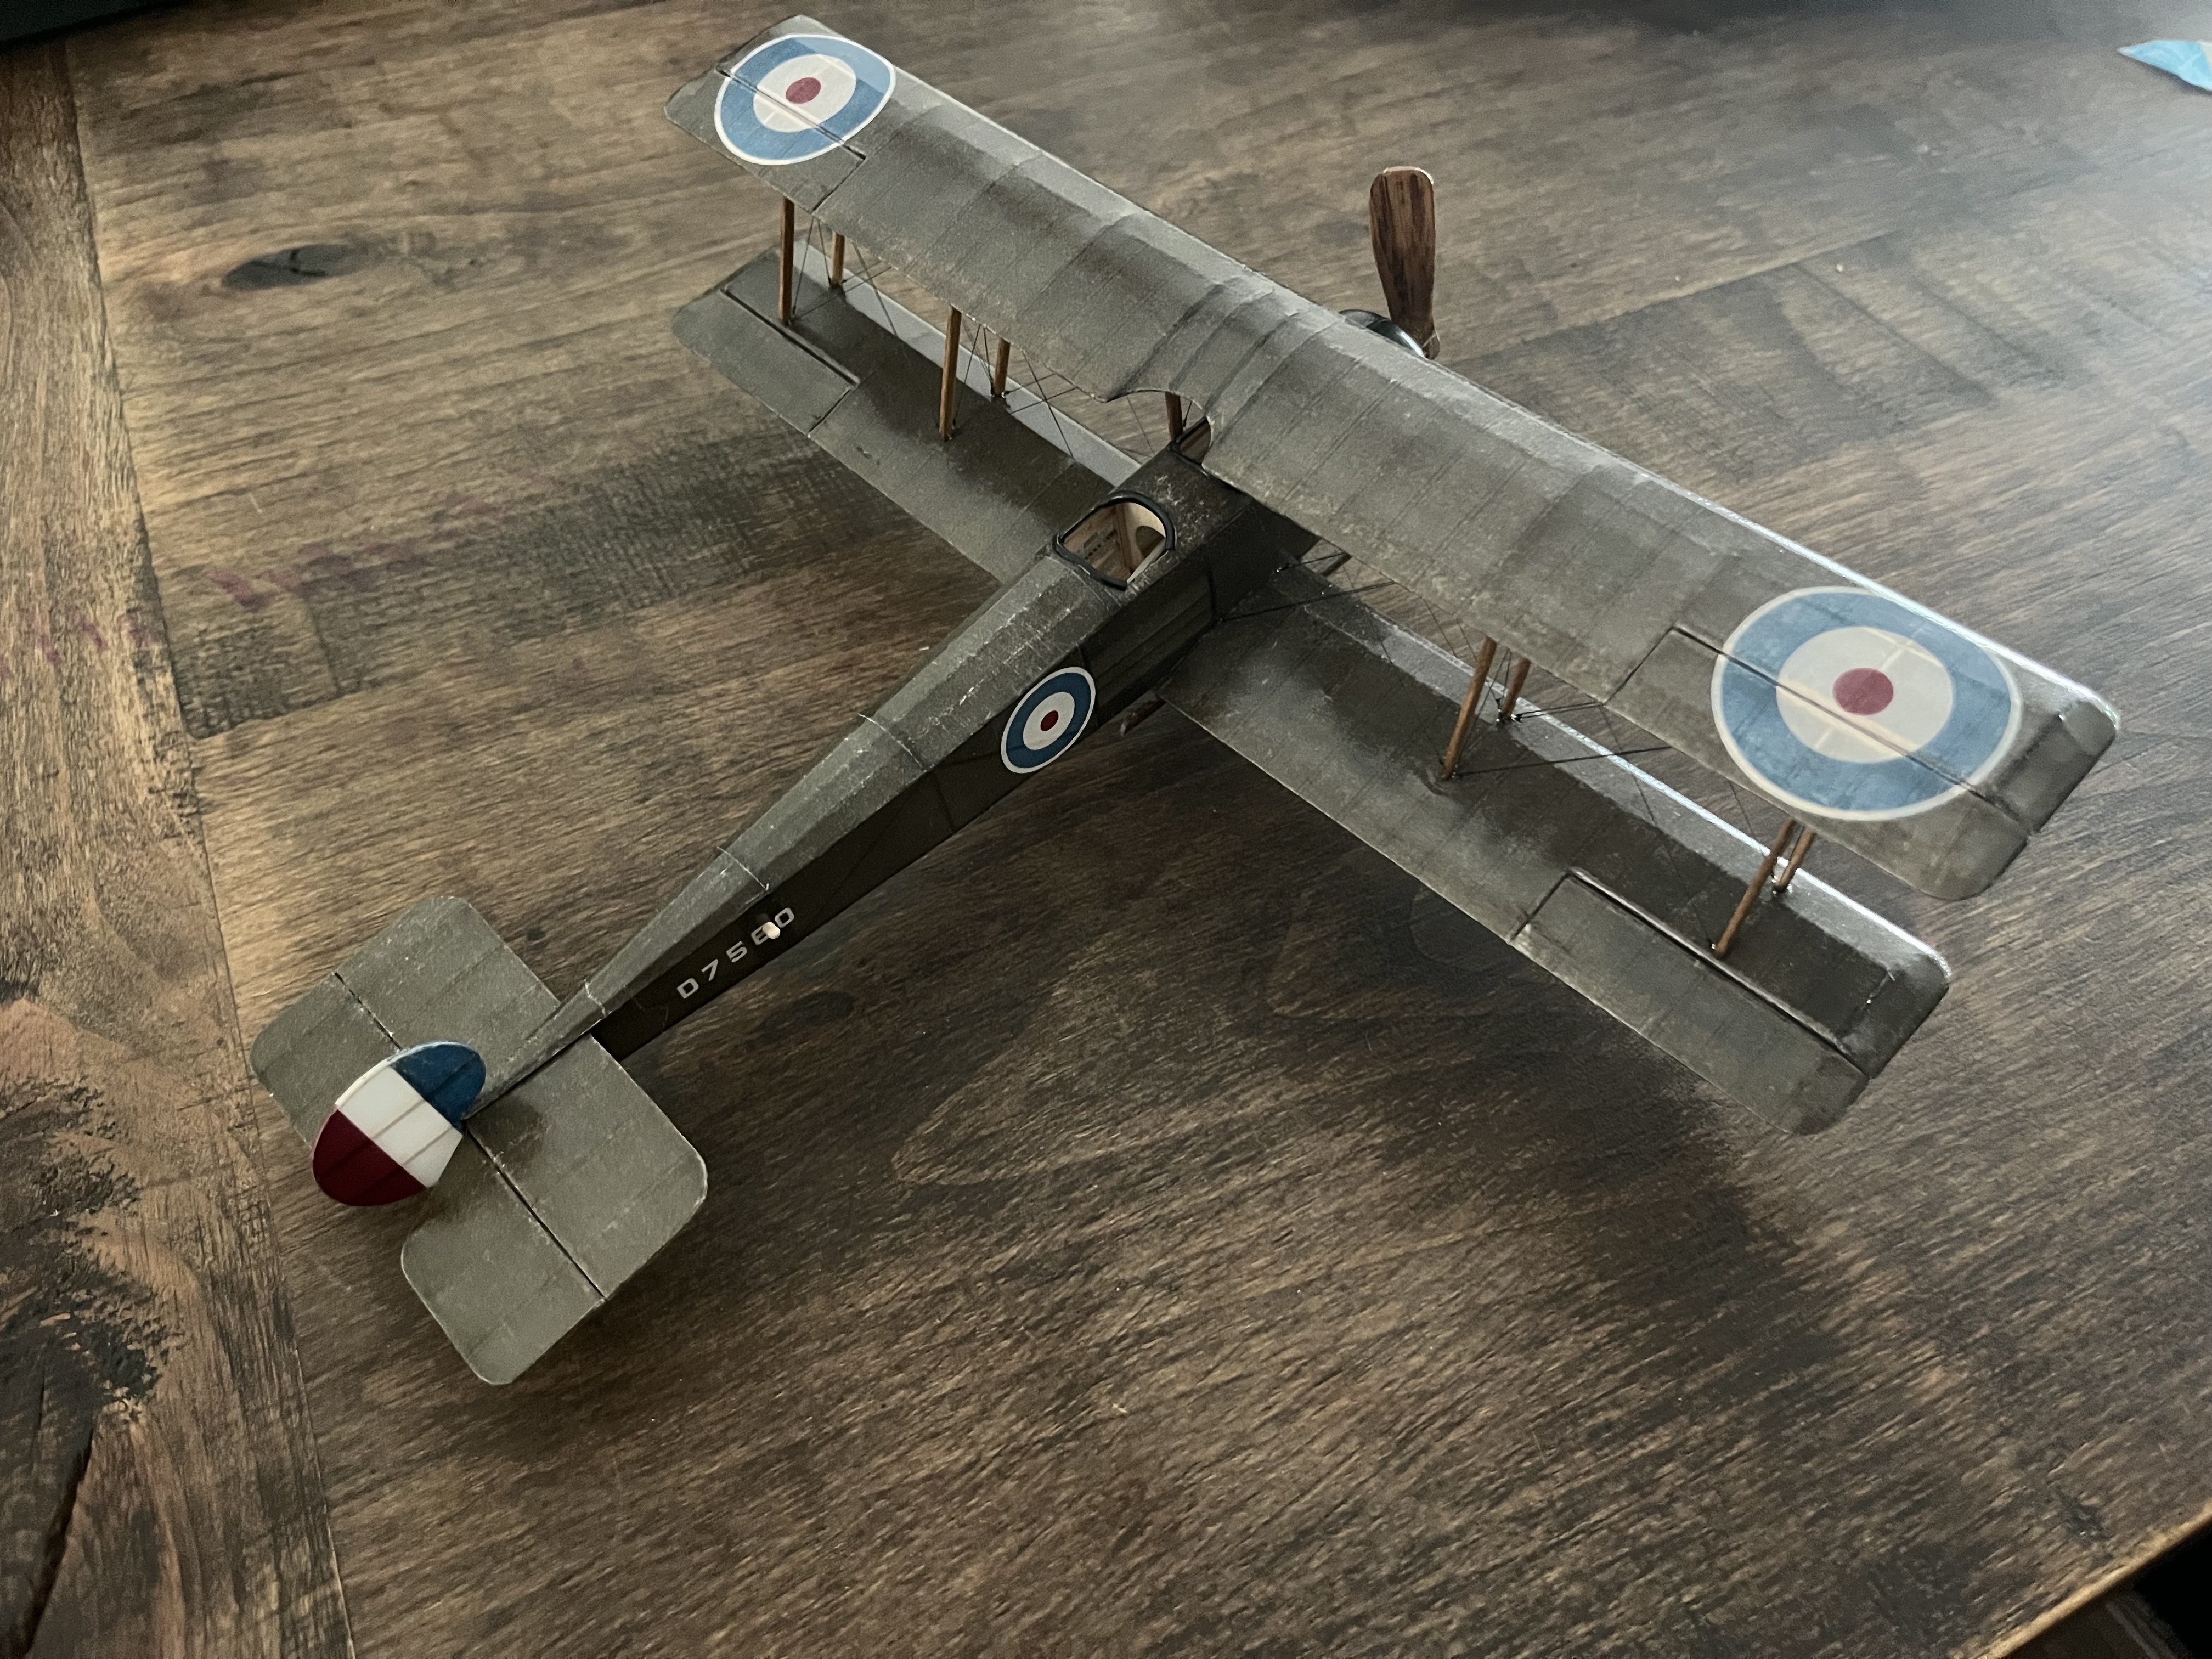
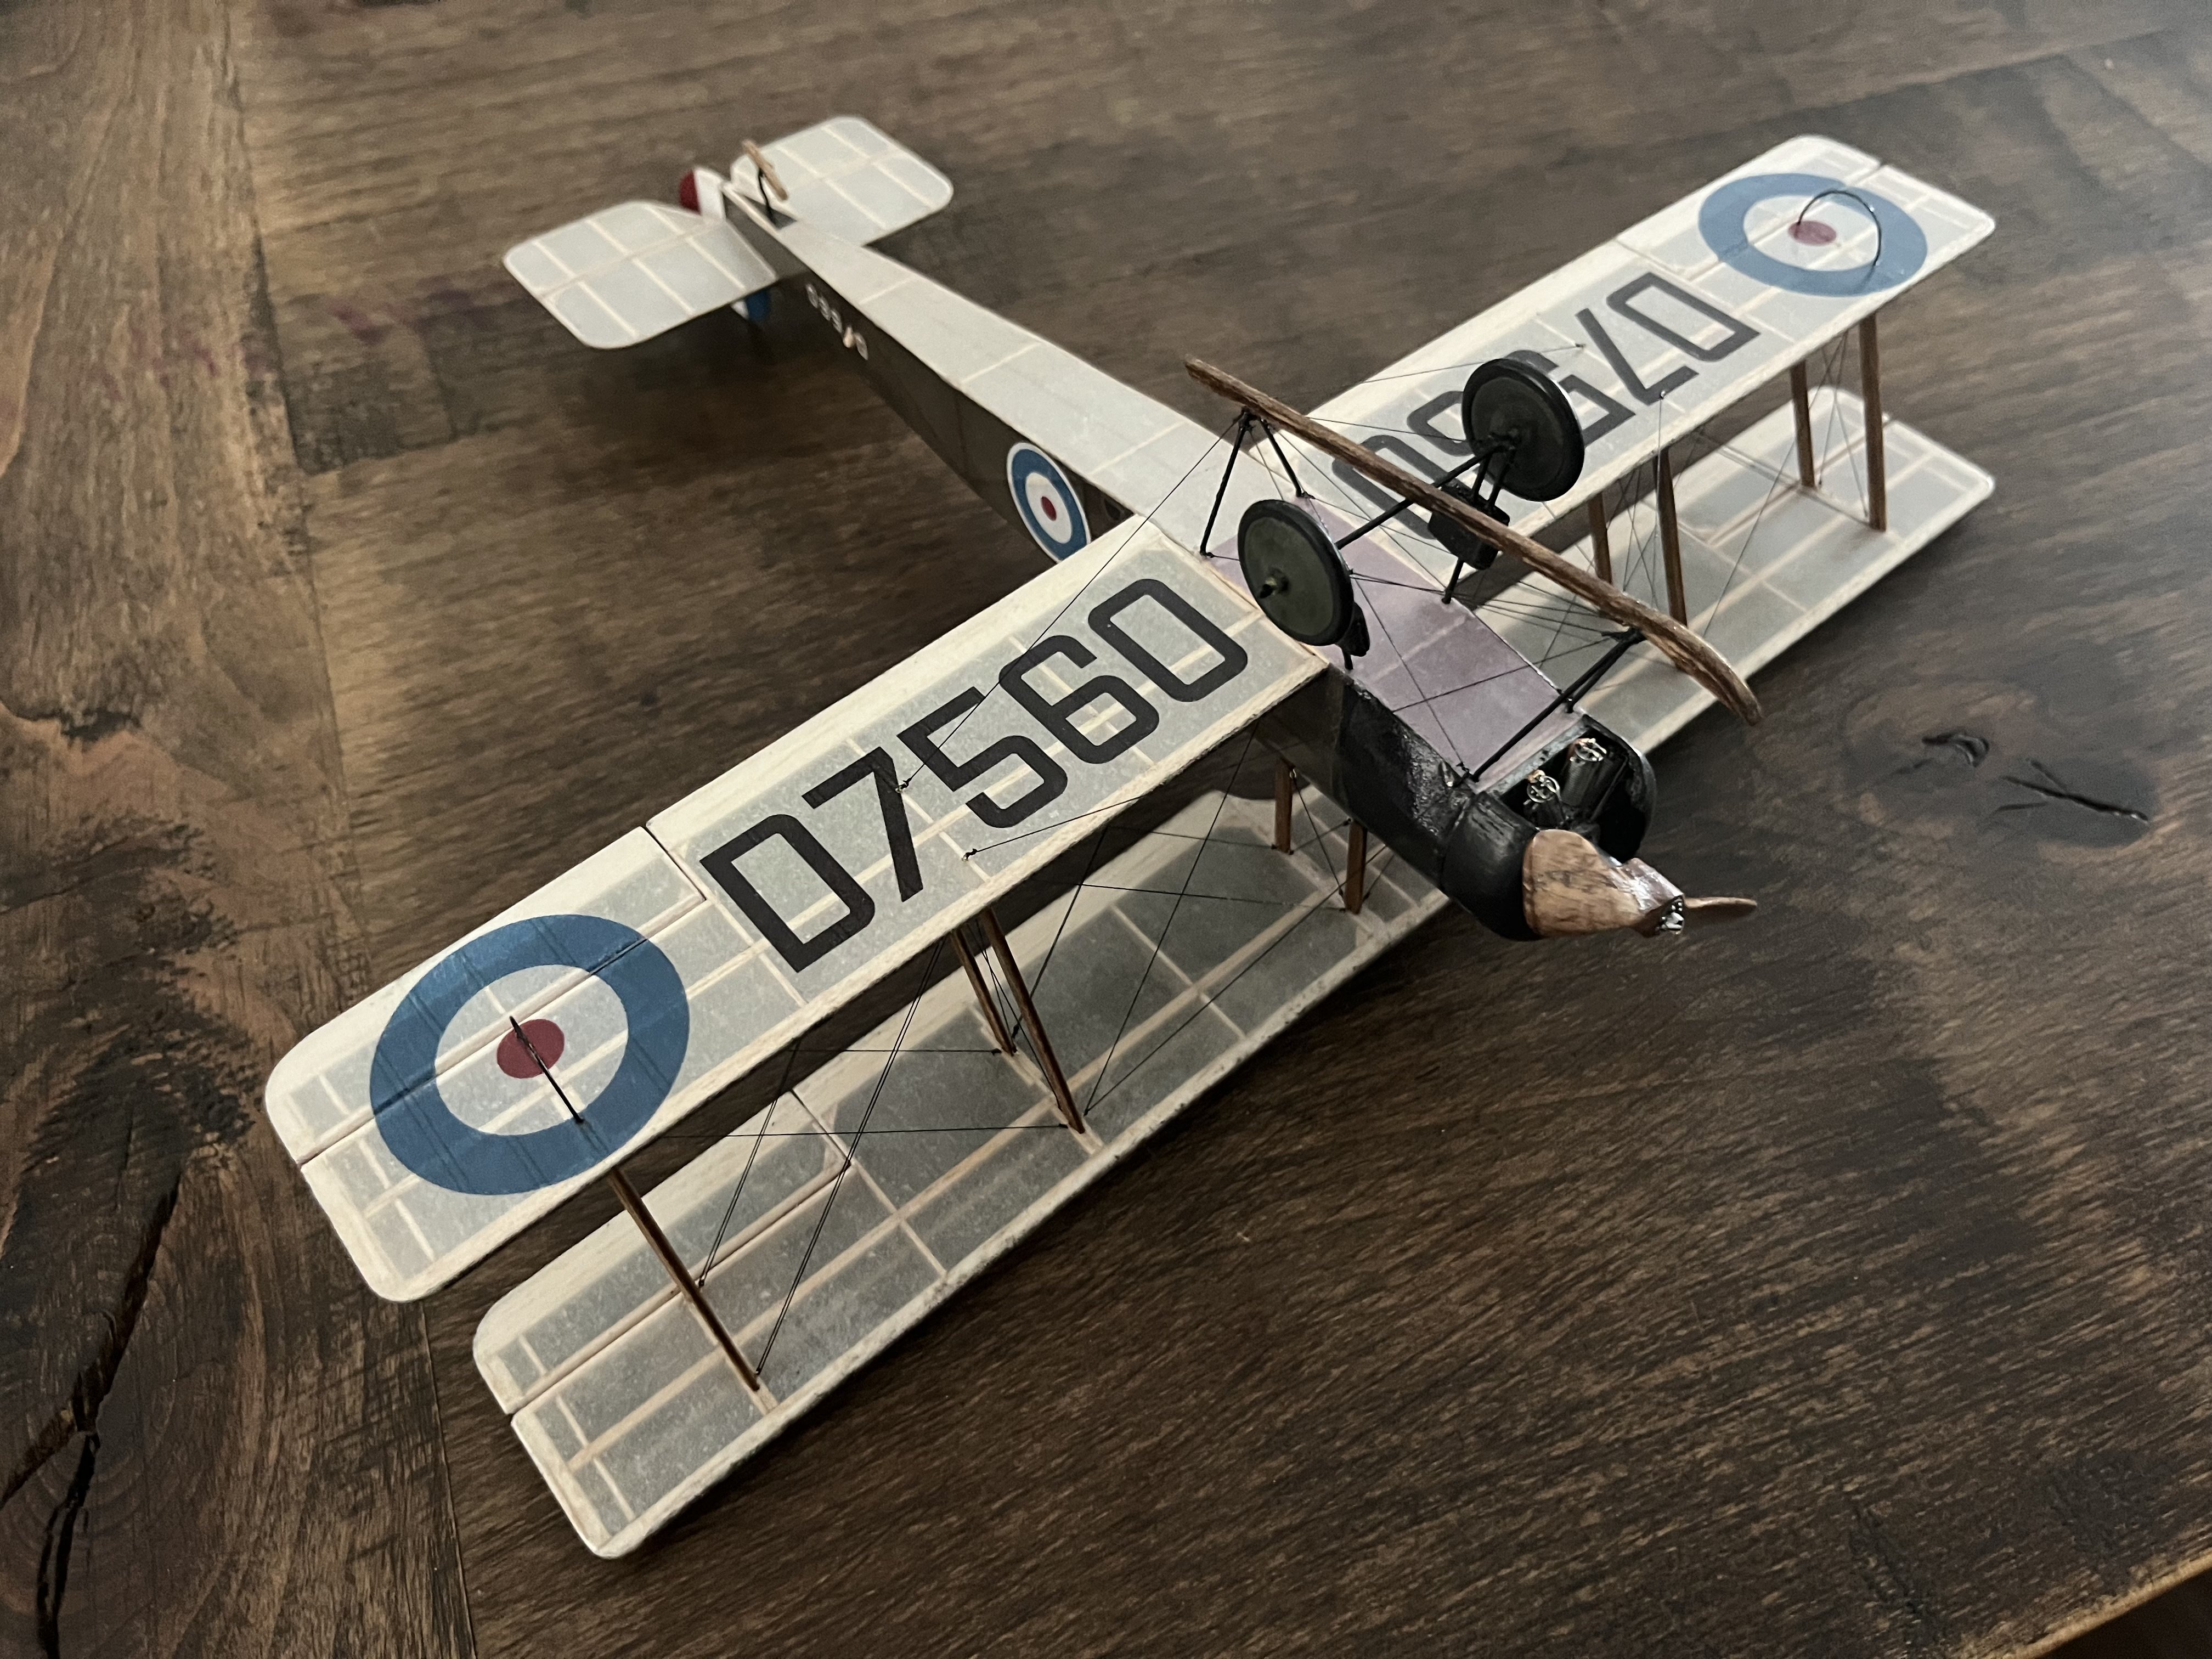
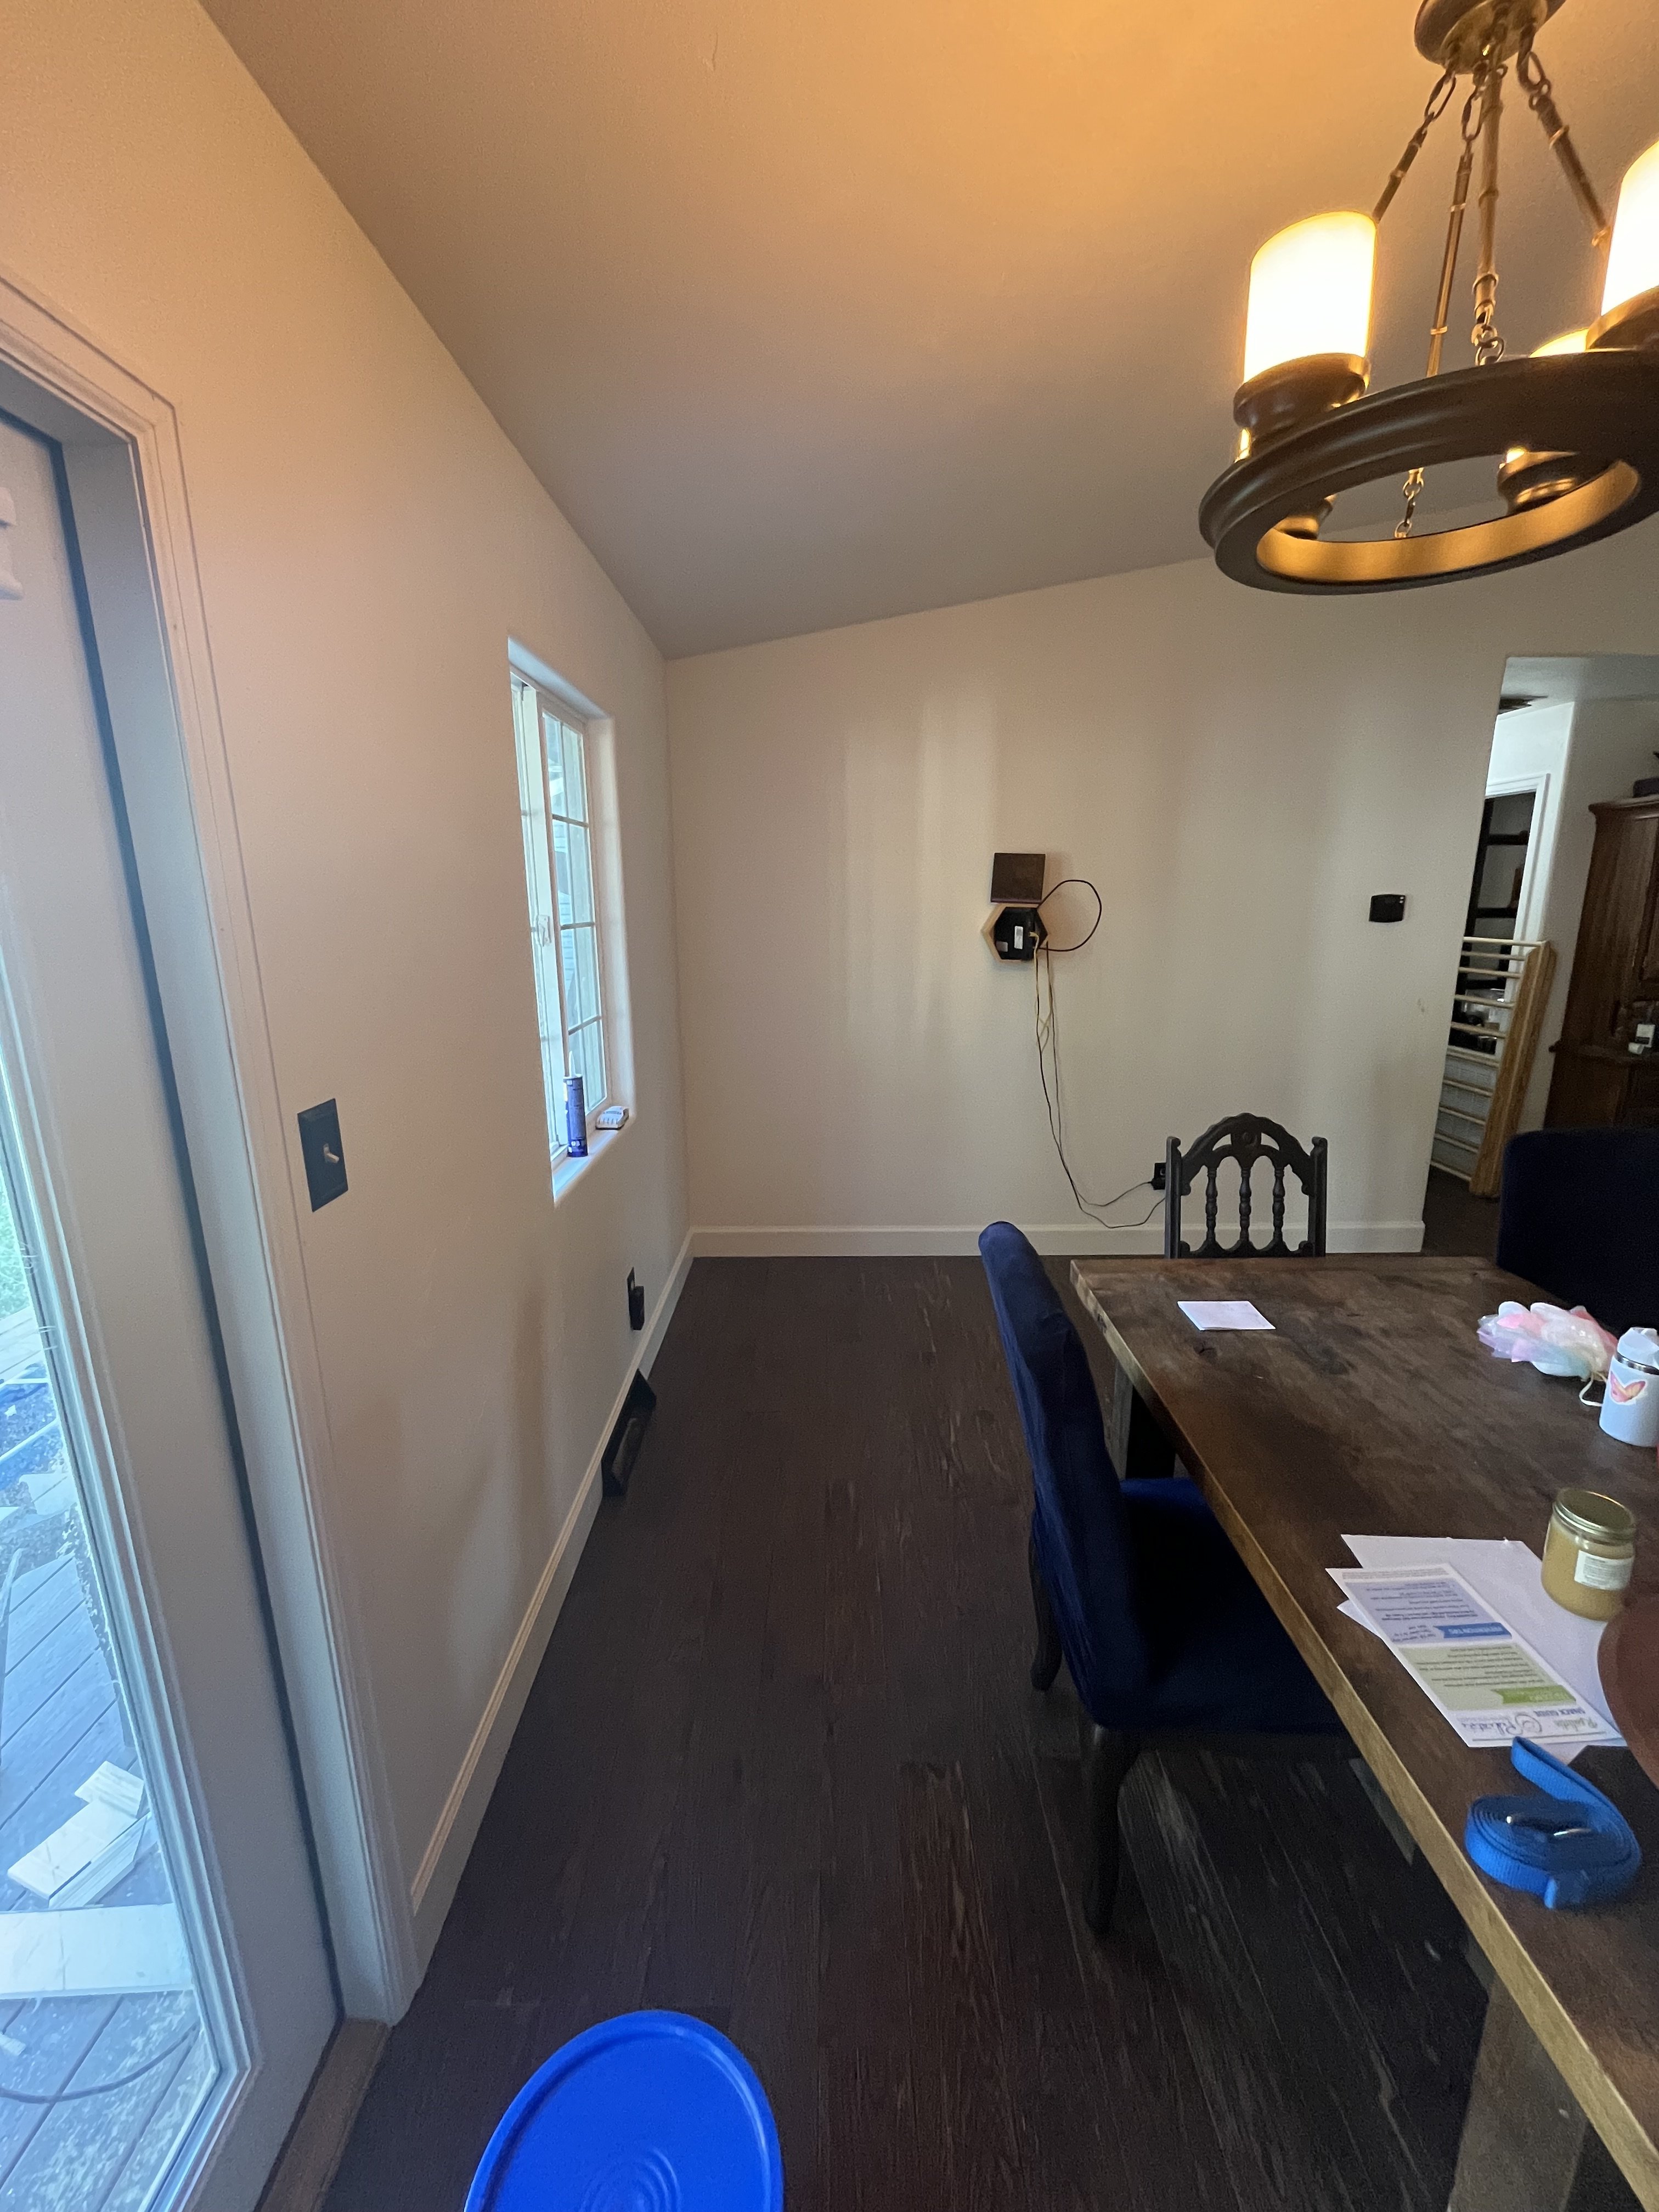
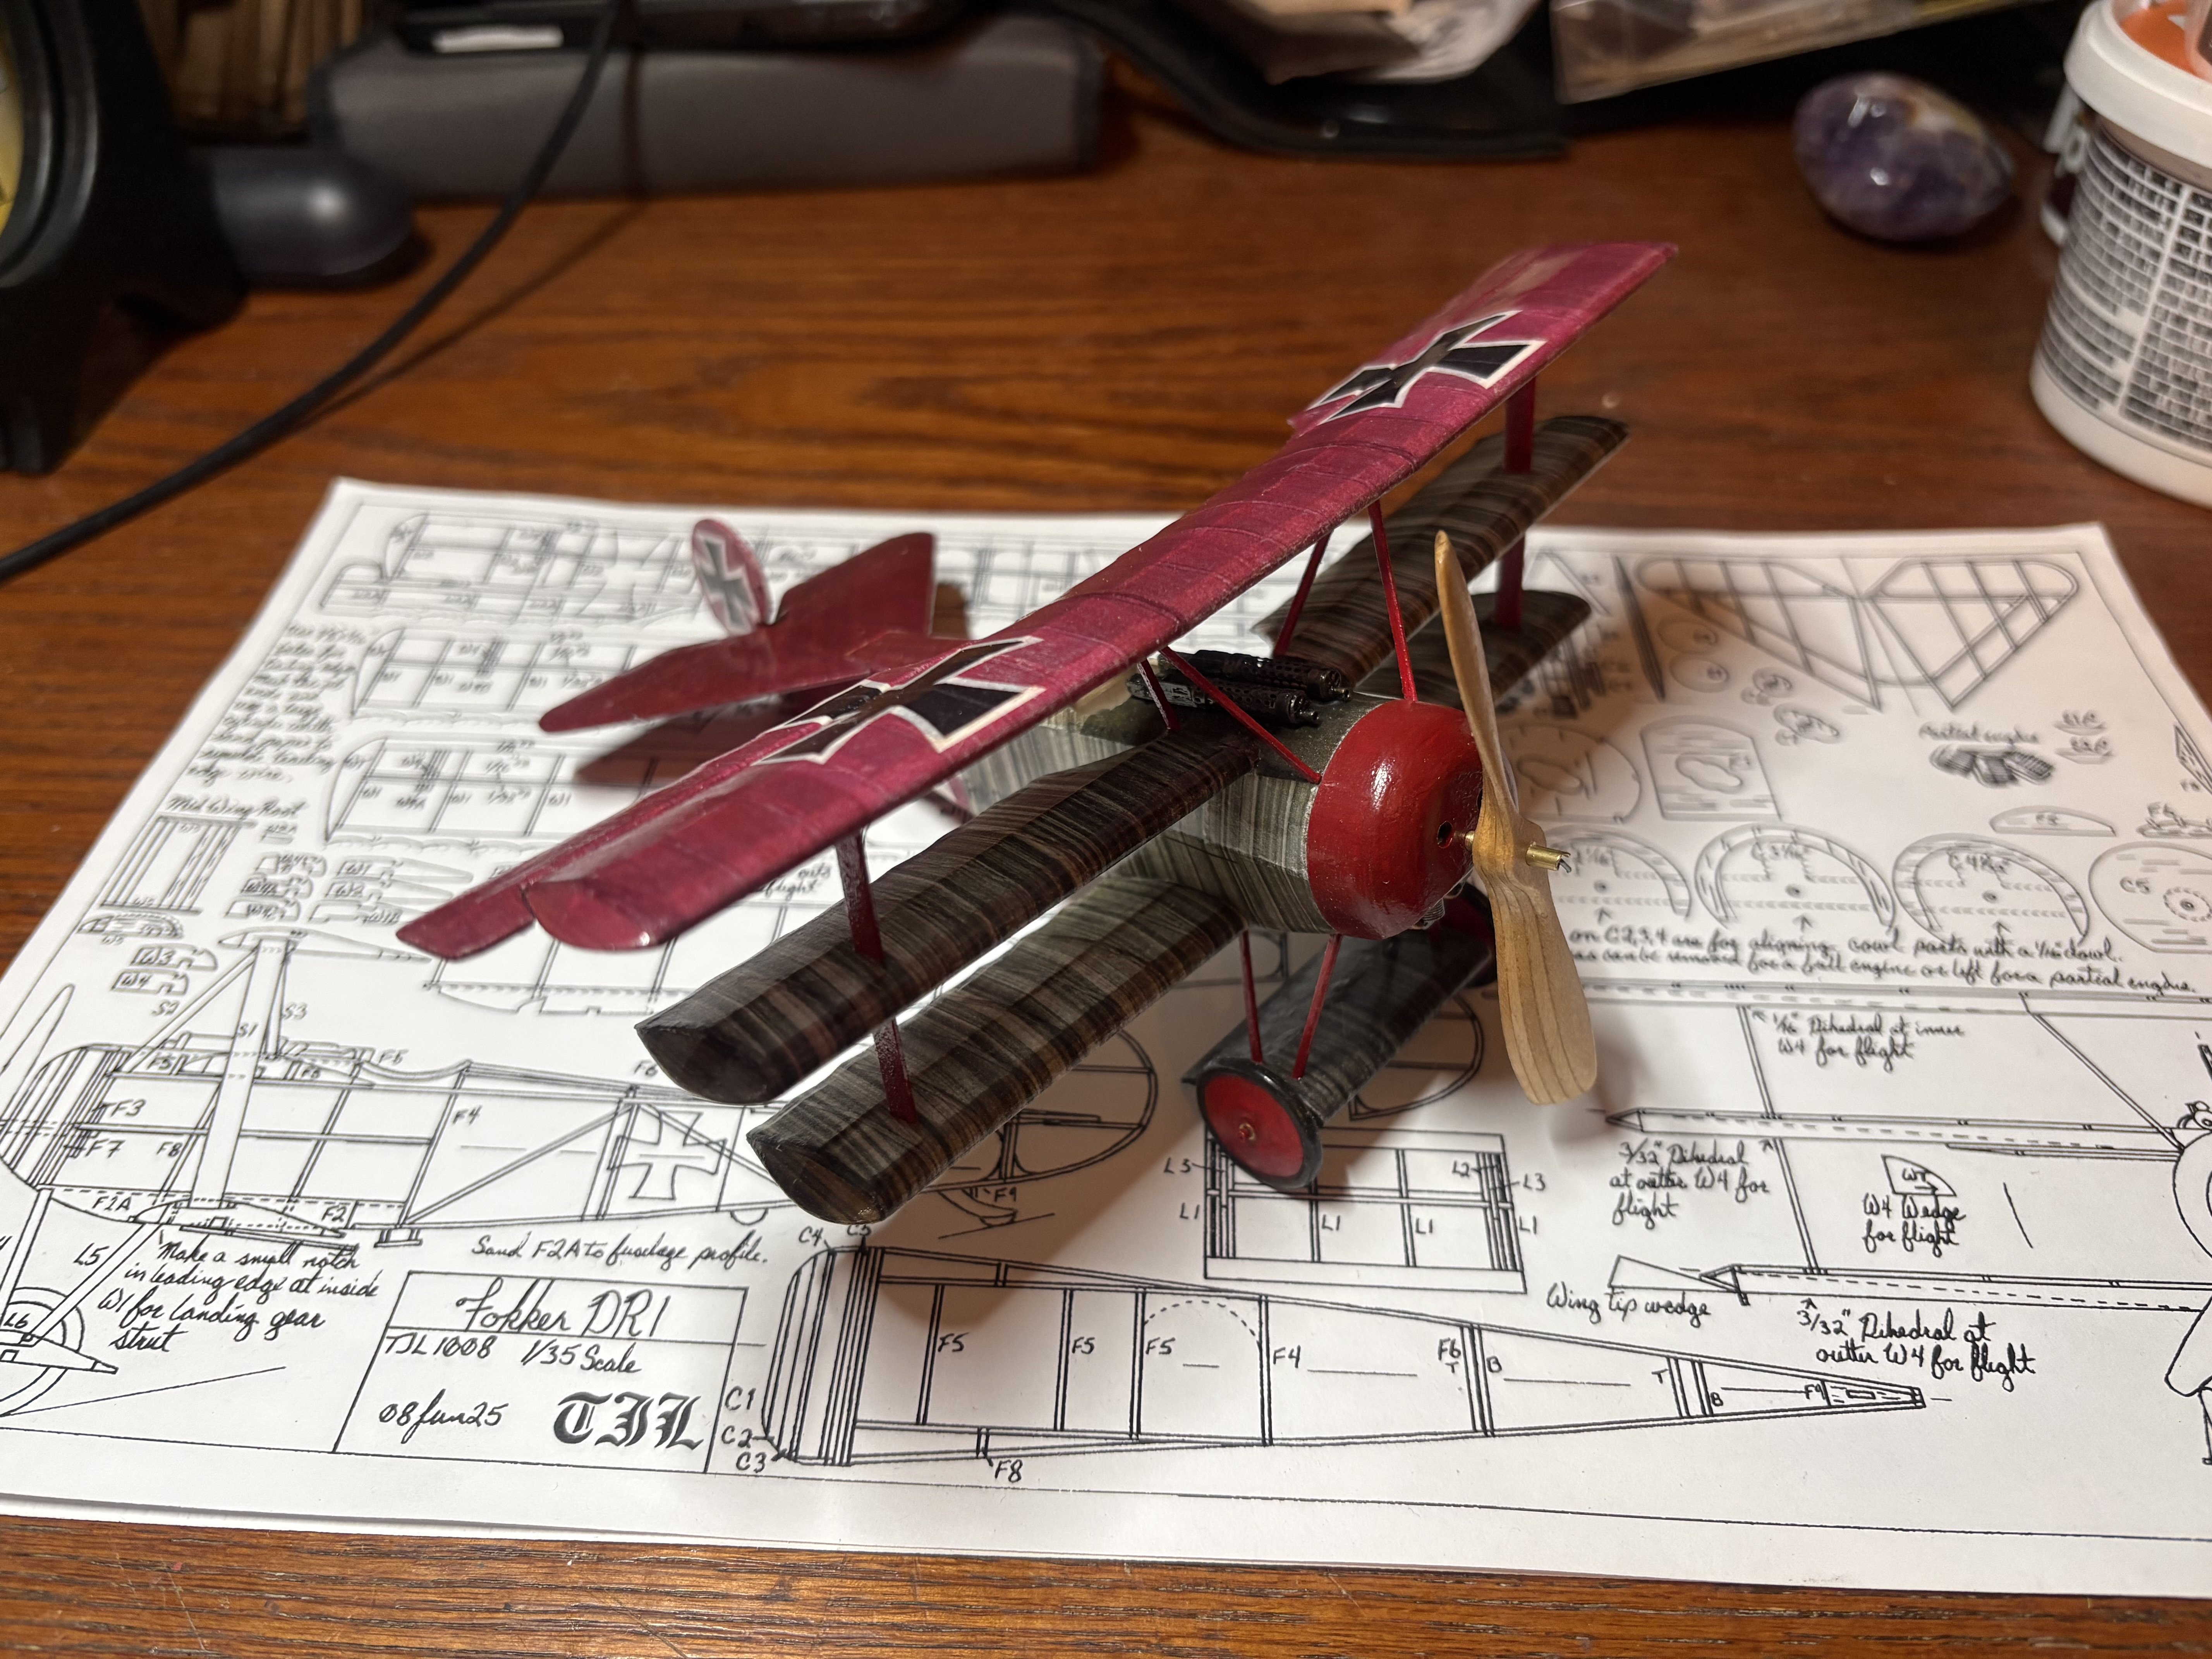
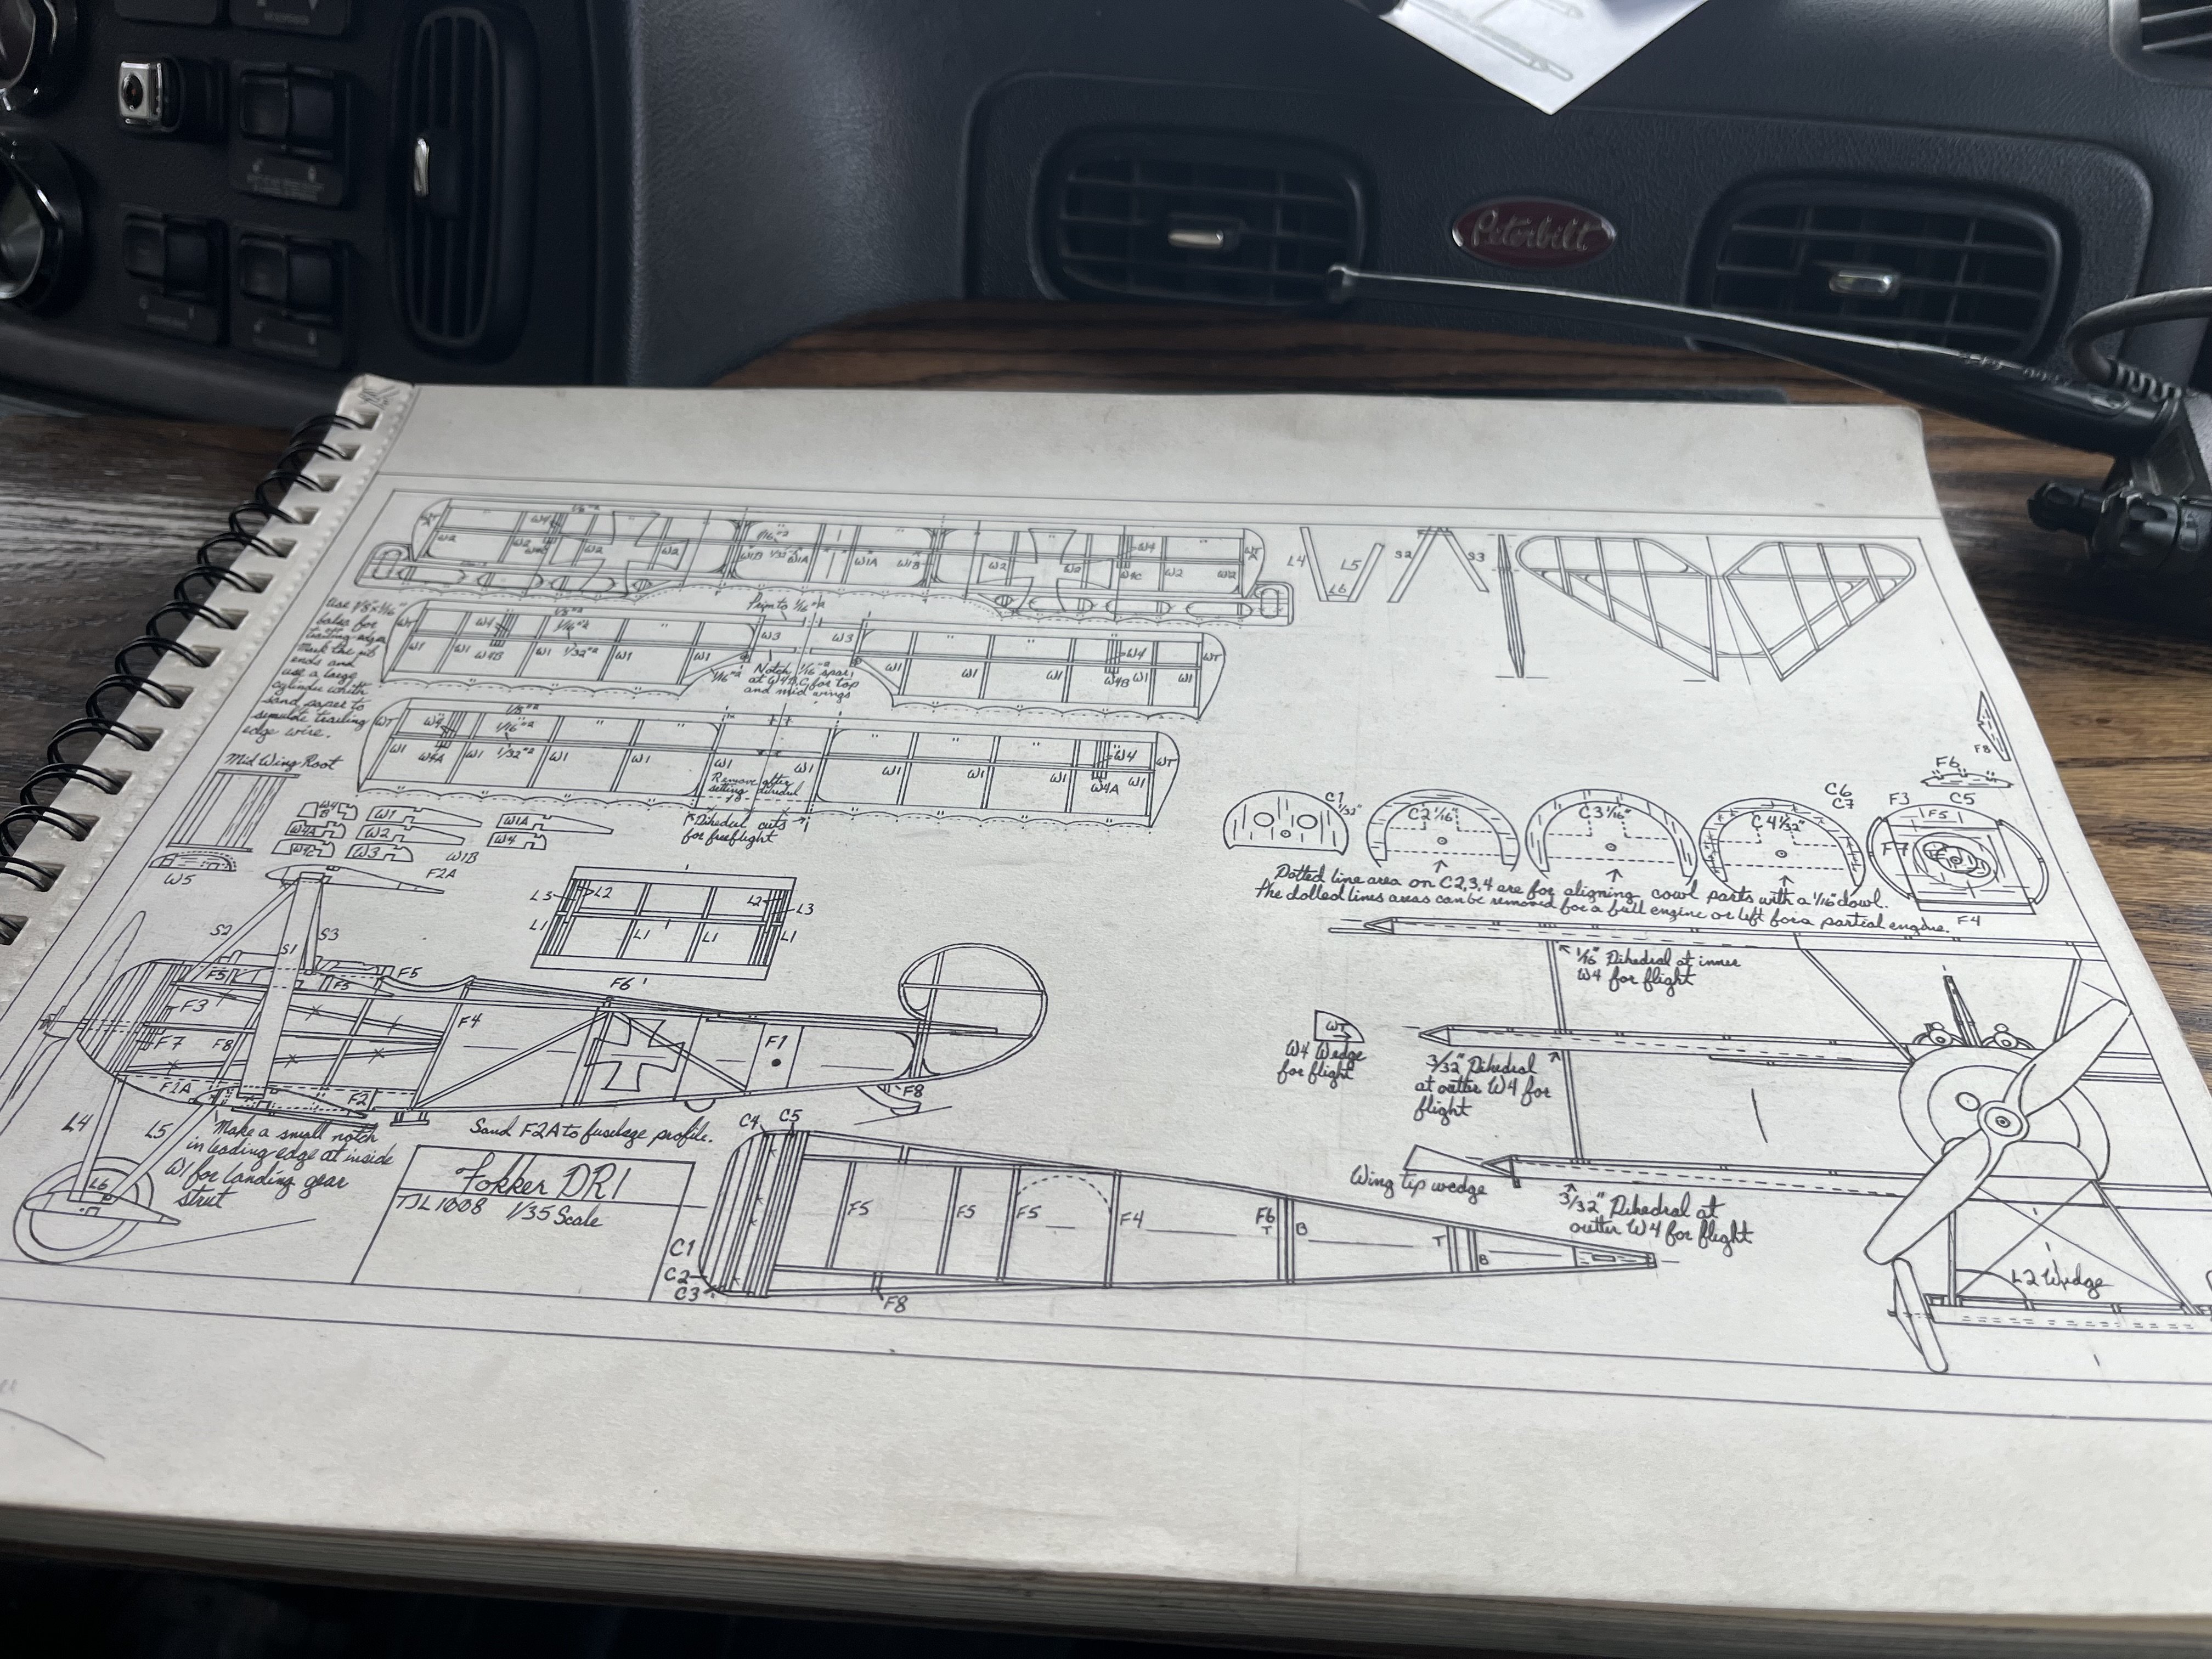
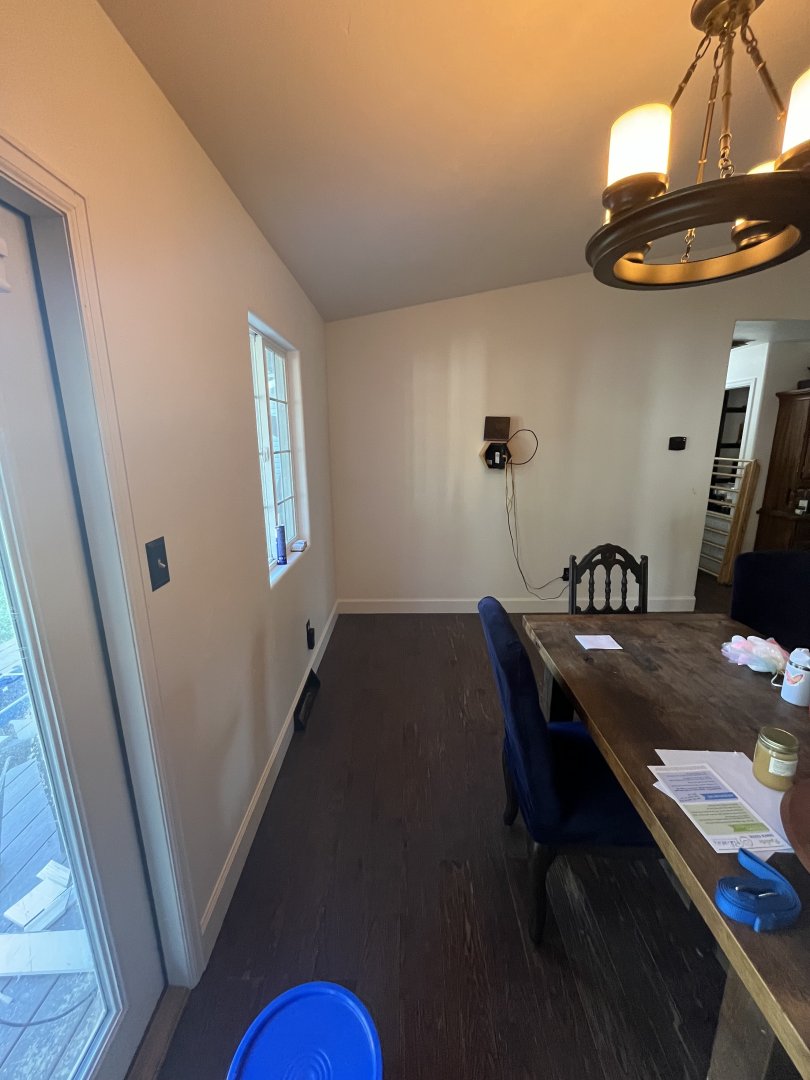
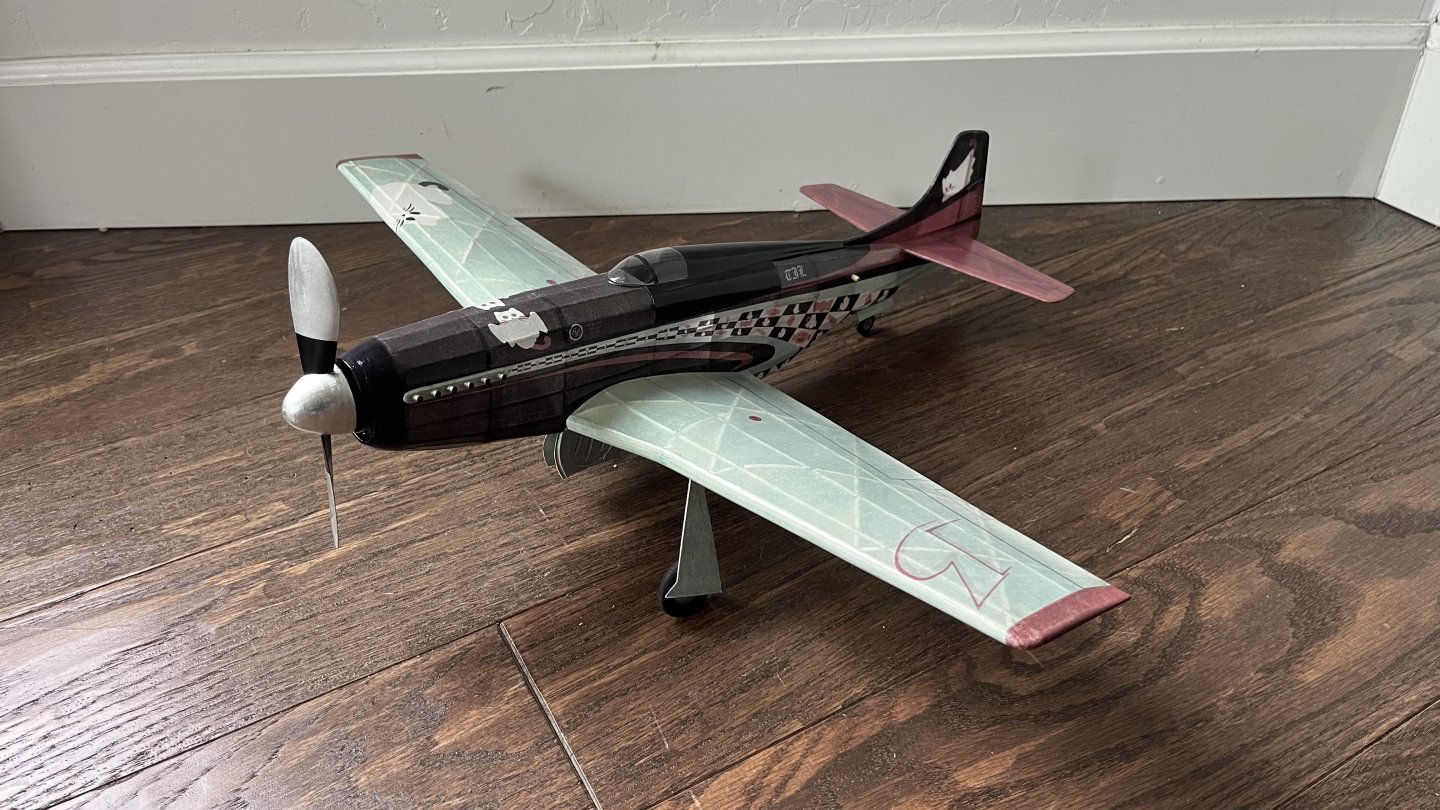
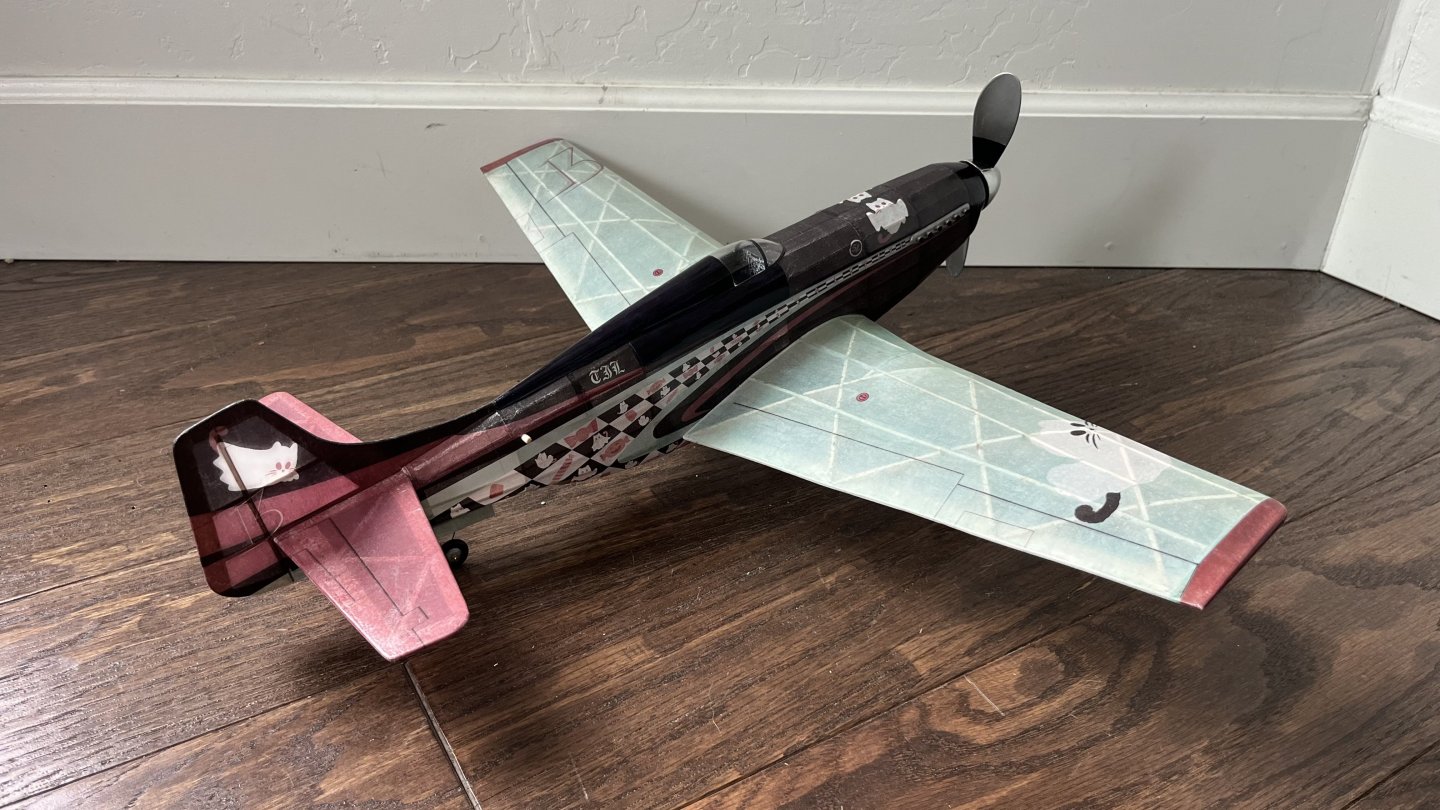
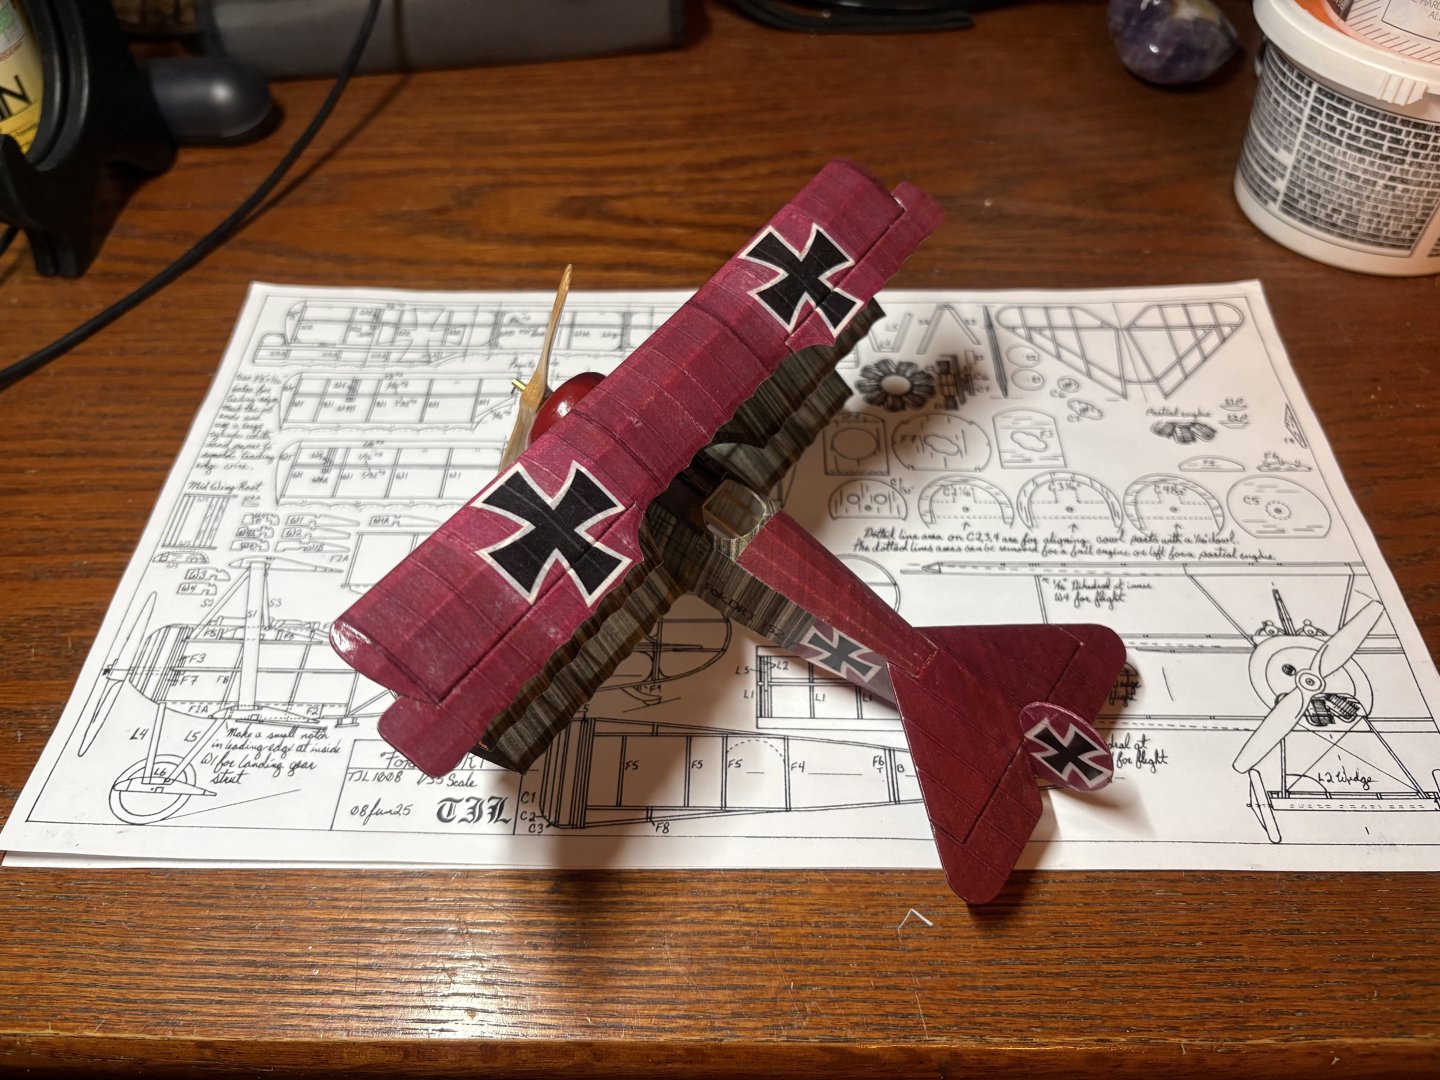
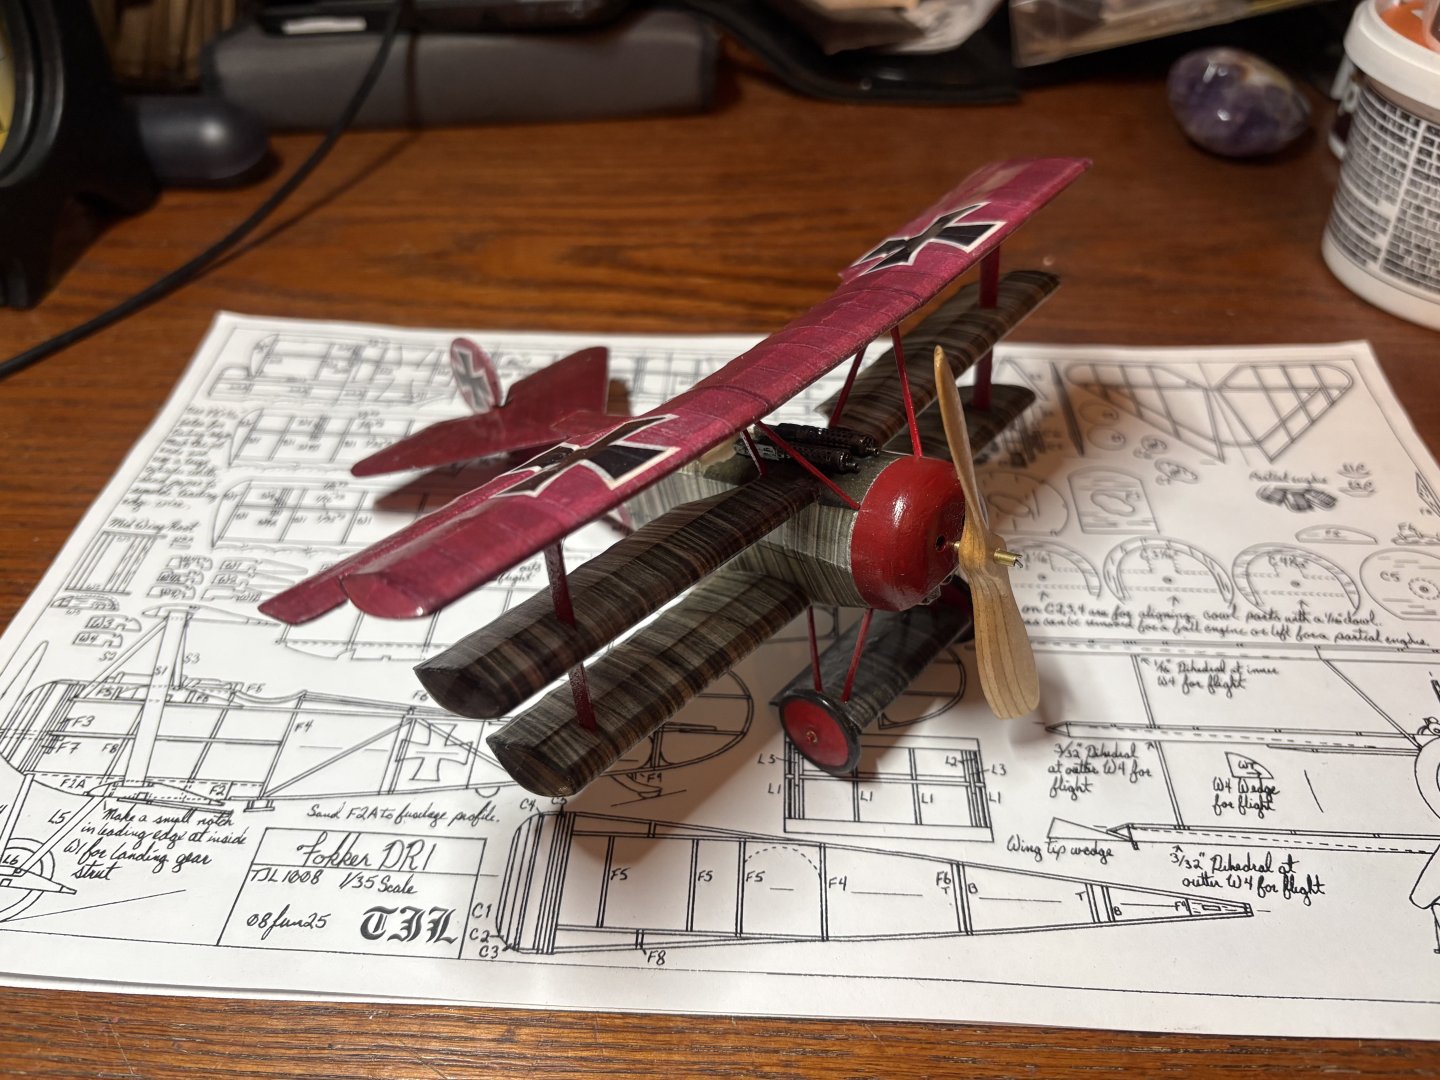
After a long absence, it’s finally time to convert my desk back into a shipyard! I got my Avro 504 completed. I want this one to like one of the original airframes, so I based it on the beautiful example that’s displayed at the London Museum. I got the remodel on the dining room complete!I got my scratch build of the Comet SuperStar P-51D complete. I modified this one to be my take on the pylon racer Voodoo. I call it Ghost Cat!Last, I just finished my scratch built 1/35 scale Fokker DR1. I designed this one after the early paint scheme of Manfred von Richthofen’s DR1 152/17. IMG_1931.mov I’m really hoping to get a chance tonight to figure out where I left off!


-
USS Constitution by mtbediz - 1:76
Unegawahya replied to mtbediz's topic in - Build logs for subjects built 1751 - 1800
Great looking hammock stanchions! That exactly why I made mine the way I’d did! They wouldn’t have looked half as nice as yours. Did you use a jug to make your stanchions? -
USS Constitution by mtbediz - 1:76
Unegawahya replied to mtbediz's topic in - Build logs for subjects built 1751 - 1800
Thank you! Scoring the brass before hand must be what I was missing. -
USS Constitution by mtbediz - 1:76
Unegawahya replied to mtbediz's topic in - Build logs for subjects built 1751 - 1800
If you don’t mind me asking, how are you cutting your brass into strips. I’m going to need more and I can’t seem to find anyone that sells them. Your build is looking wonderful! -
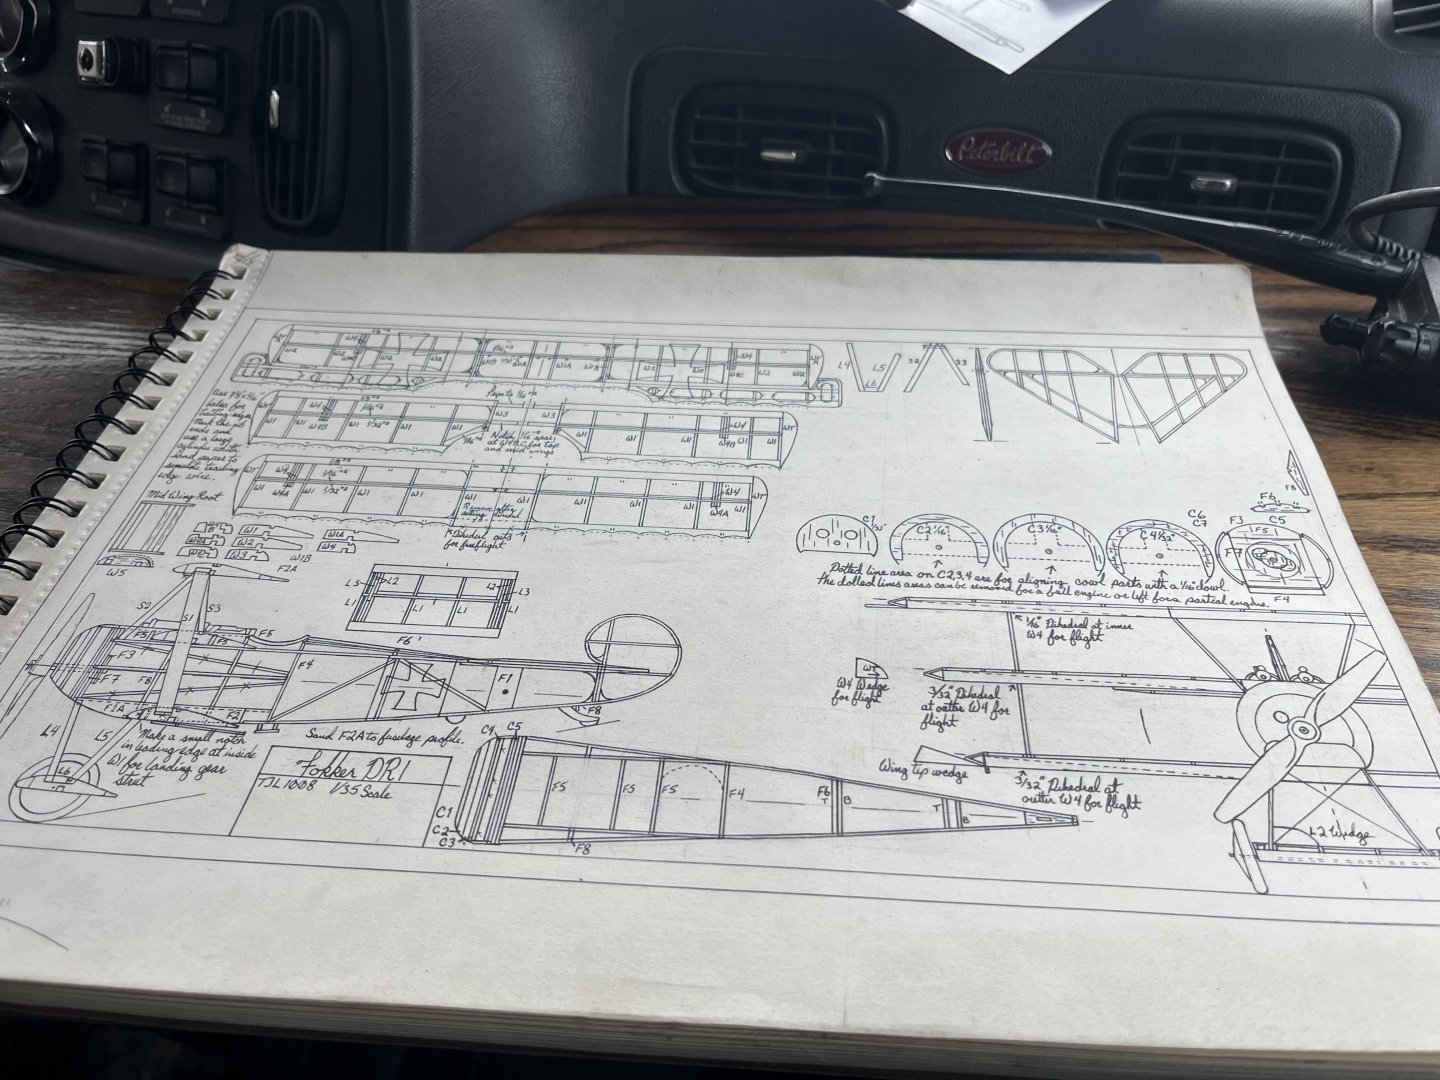
Speaking of the DRI, I just drafted one in 1/35 scale!I’m yet undecided if I’ll be building this one directly after my Avro or if I’ll be starting my gun port lids.
-
Now that all of my hammock netting is done, I’ll be taking a break for a little while. I’m going to build at least my Avro 504K that I drafted almost a year ago.


-
That’s great news! I’m excited to see your work and solutions for what’s coming up!
-
That is correct! I’ve had great success this way.