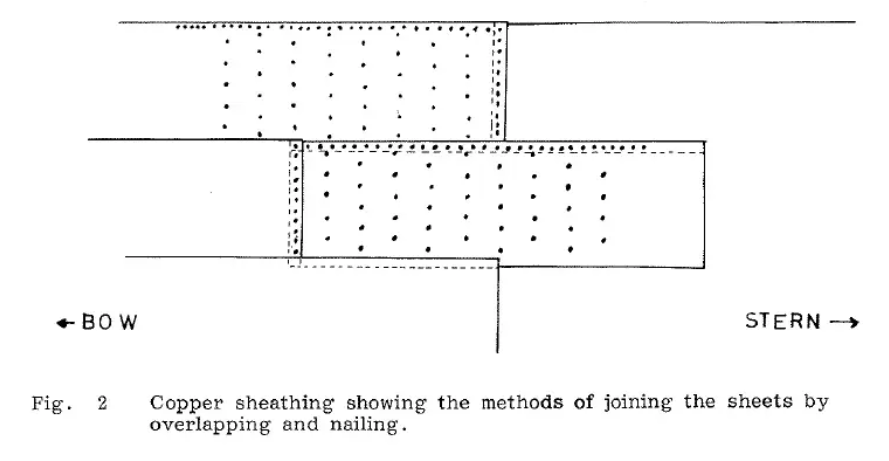
Hi Henrik - I'm still watching your progress. The restart of my build has not started "full blast" yet, but I will. There are some dilemma that I'm dealing with regarding painting and other similar issues. I bought all paint required when buying the model, 15 years ago, and it is all enamel paint tins. I think I will stick to those, even though I know about the disadvantages (drying time (24 hours for over-paint), smell, cleaning etc.) - what I like about the paint is the finish, and from various pictures I have seen some paint finishes are not to my liking. Let's talk about what I was going to talk about the sheating of the model - quickly on the internet I found what you require regarding the copper plates. "The introduction and use of copper sheating - a history" by Mark Staniforth. I got the document but I don't think I'm allowed to share it - but you can easily find it /if not contact me/. He states what was the method used by the Royal Navy " ... This system however only applied to British merchant vessels, the Royal Navy used a different method where the horizontal joints faced upwards. This was the same method adopted for use by the French and is illustrated in Fig 2." (see enclosed). From what I see this confirms the process you are using. In this article there are also other interesting information about the "shape" of the sheating and how the last row was done "Three methods were used to finish off the coppering pattern about 1 foot above the waterline. One method was to have a row of copper plates which ran parallel to the waterline which overlapped the ends of the curved rows of copper plates. The alternative methods were to replace the row of copper plates with a wooden batten 9-12" (23-30 cm) wide and a 1 1/2" (4 cm) thick or a roll of canvas nailed onto the hull". I think it is of interest for you to read this through. Best Regards from the rock in the North-Atlantic ocean, Axel


