


Jeff59
-
Posts
538 -
Joined
-
Last visited
Content Type
Profiles
Forums
Gallery
Events
Posts posted by Jeff59
-
-
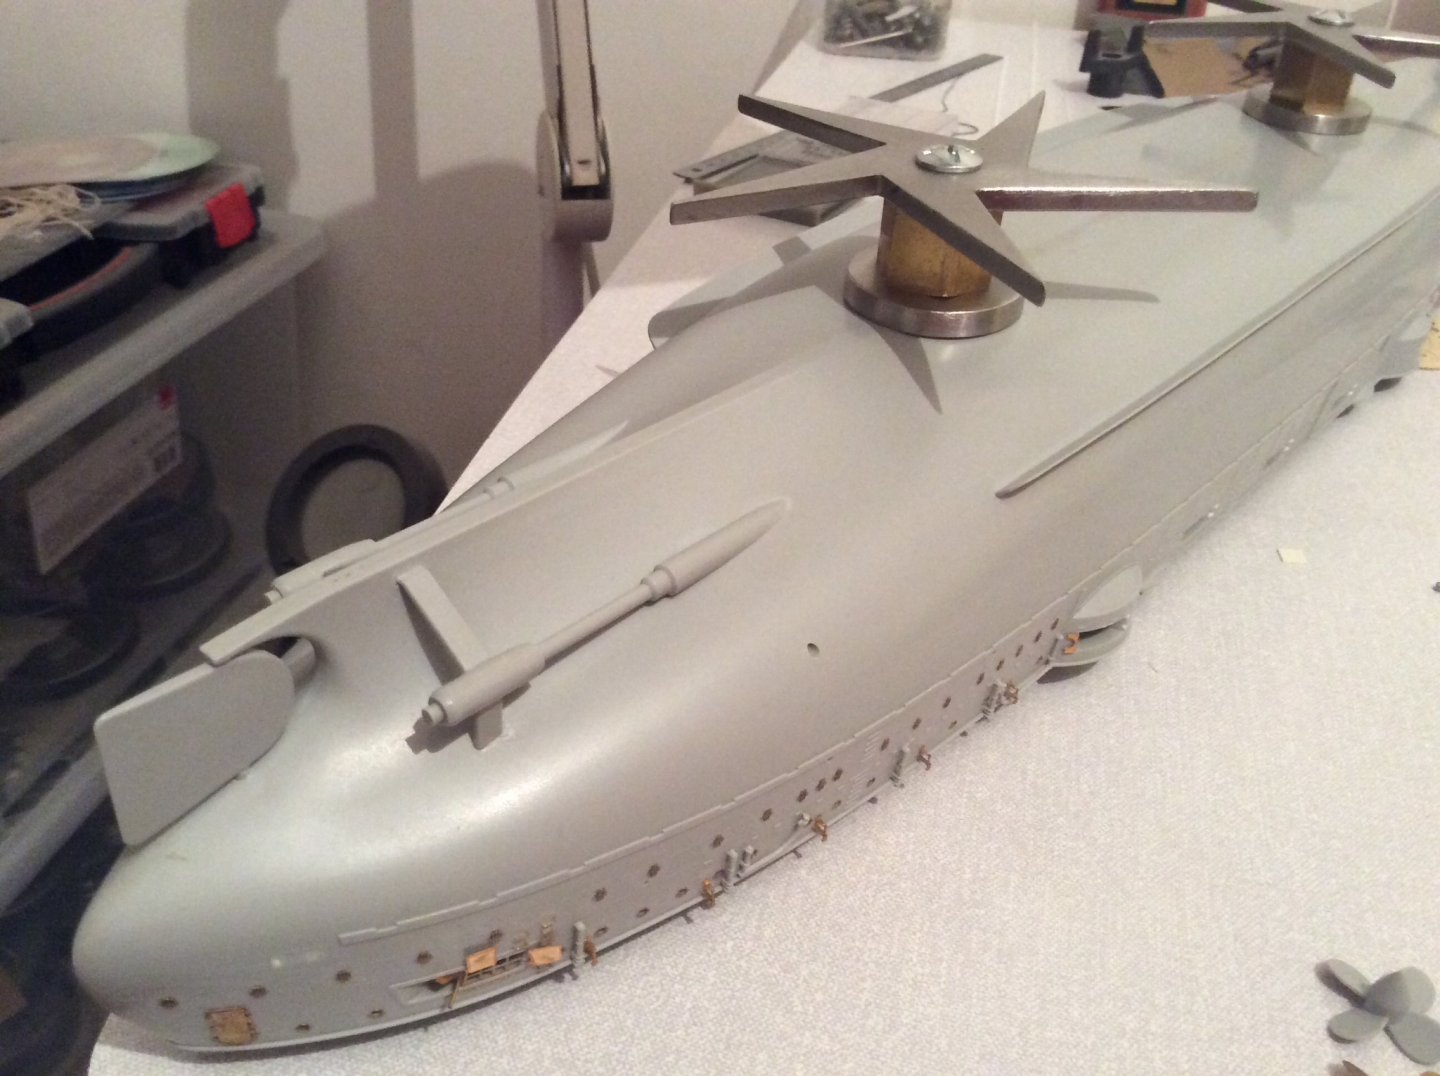
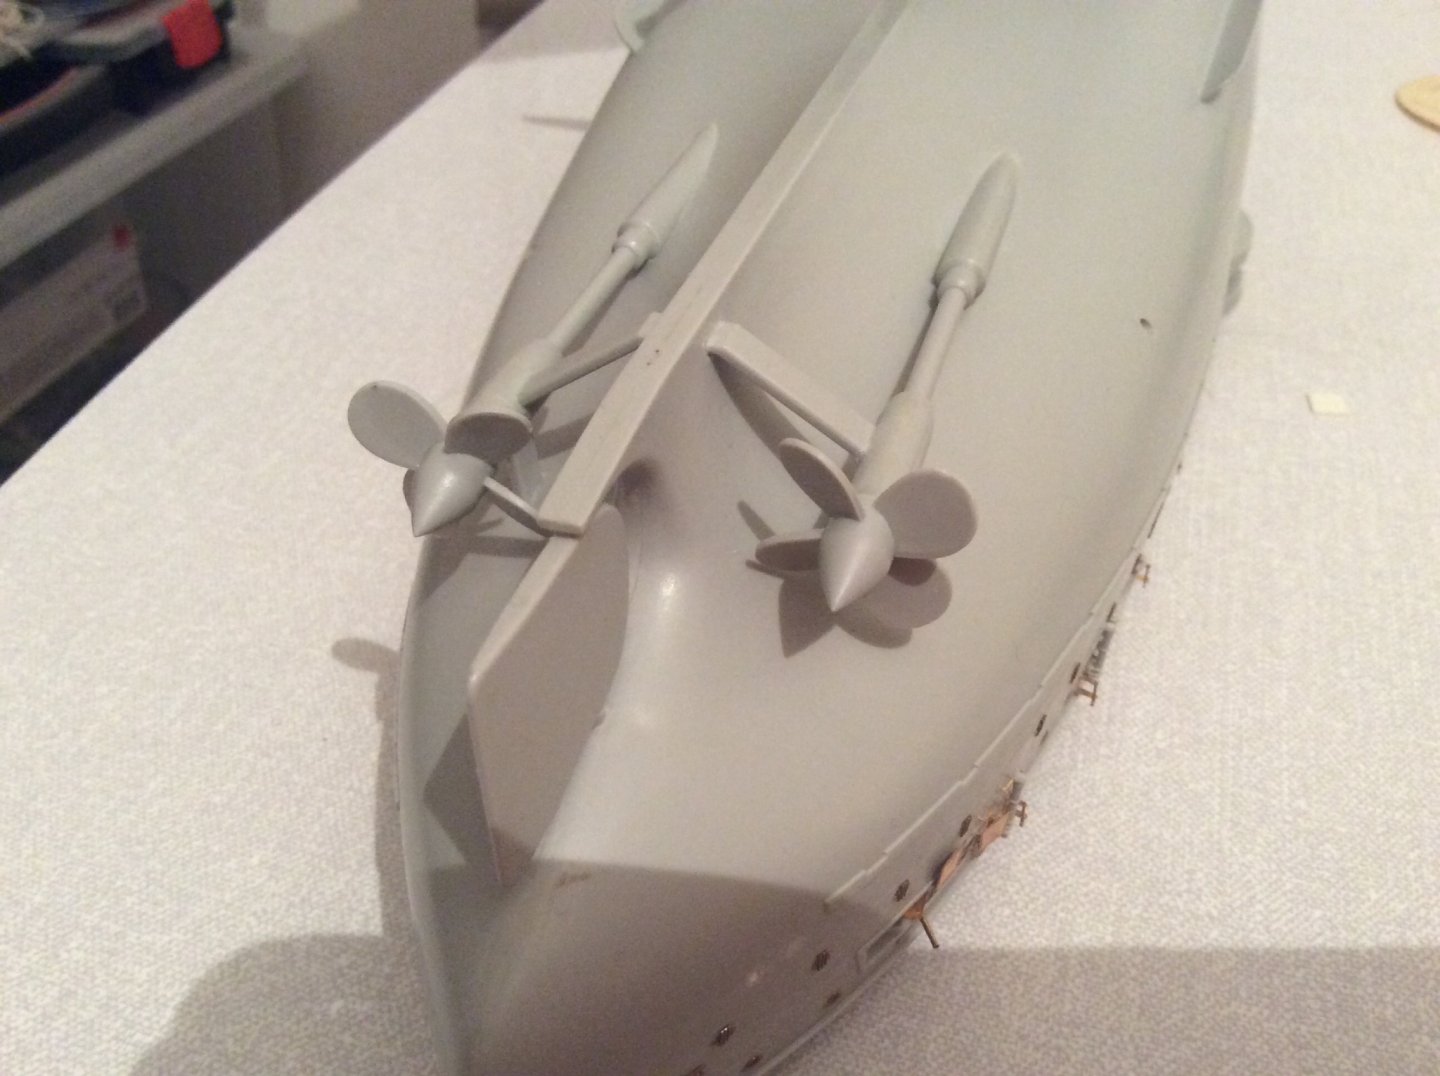
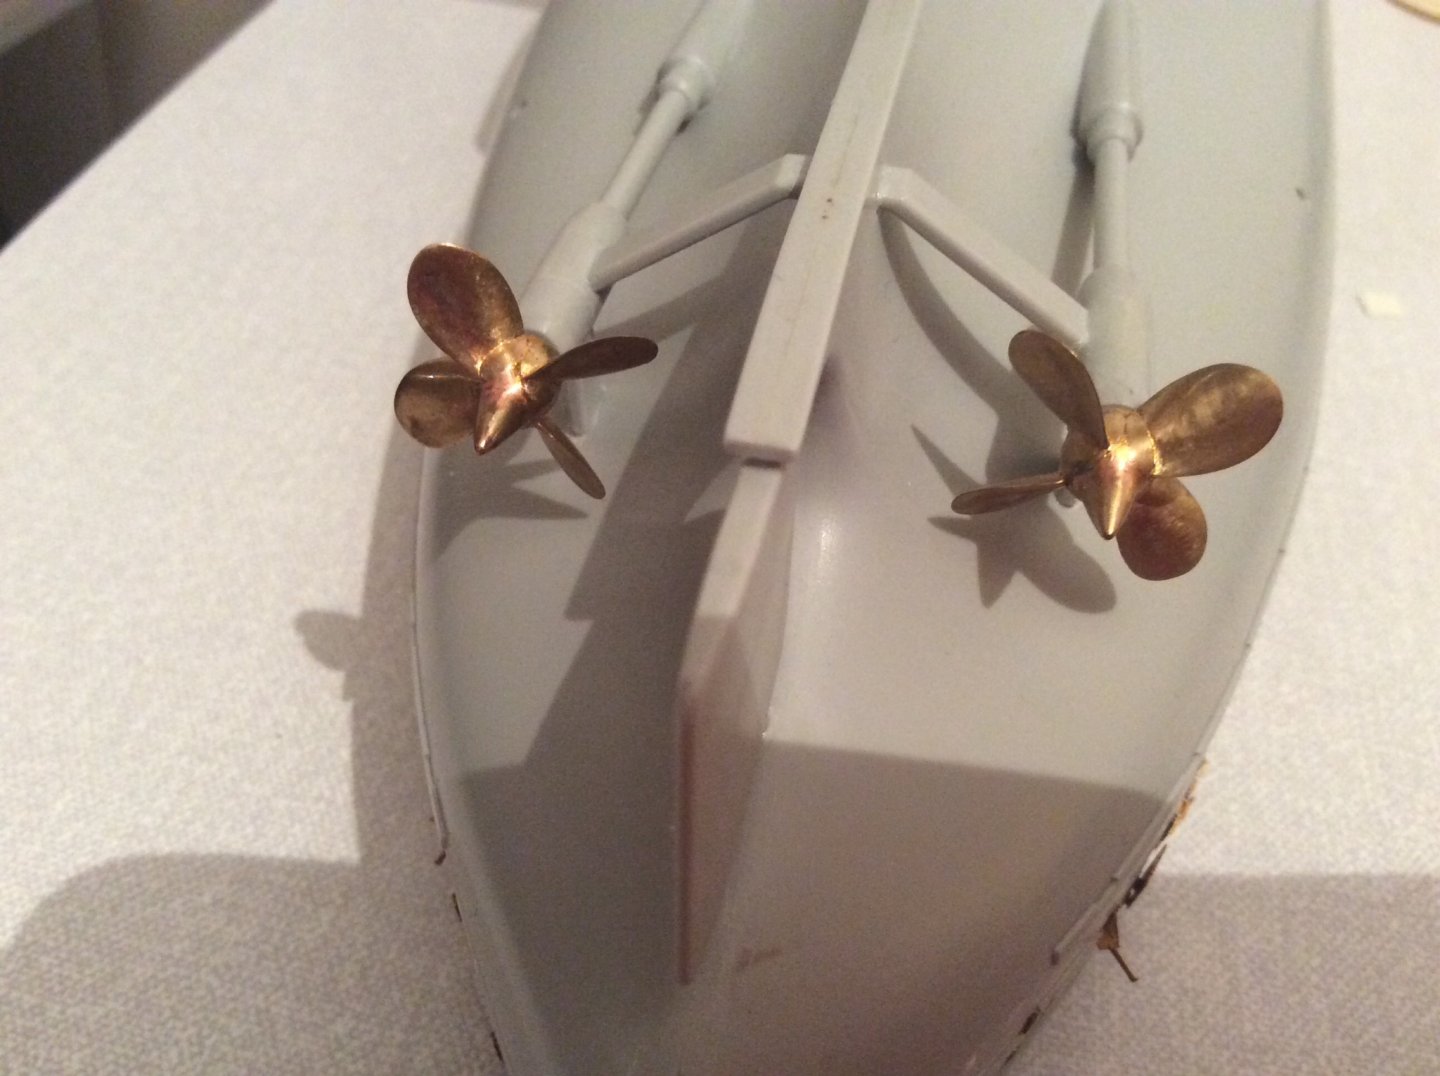
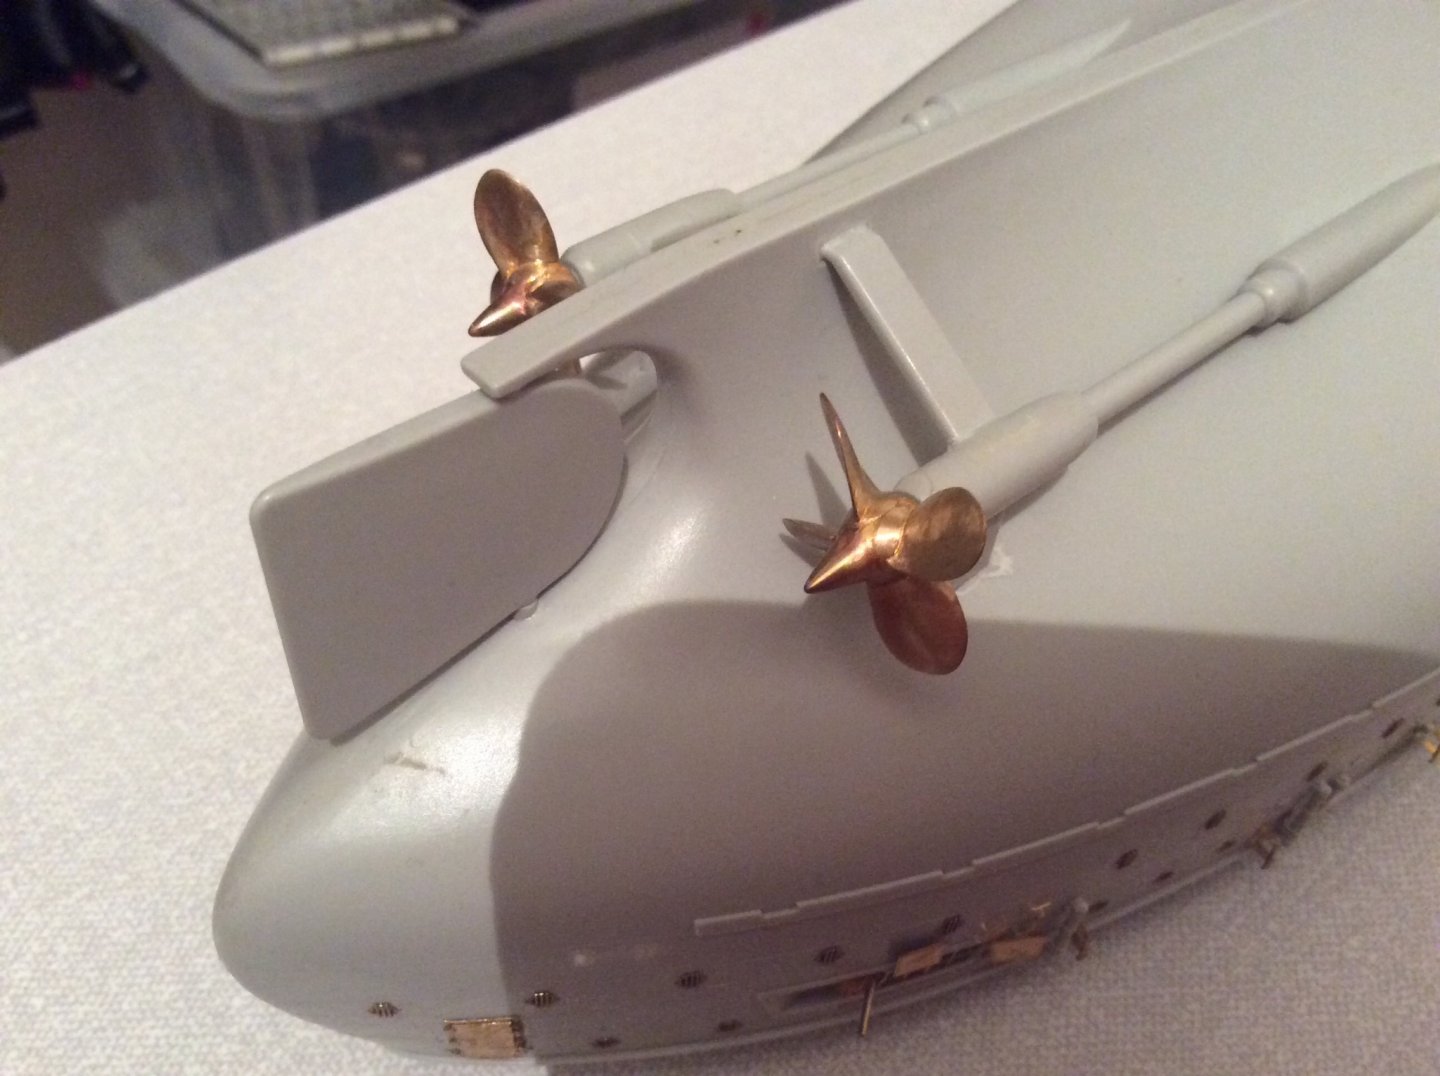
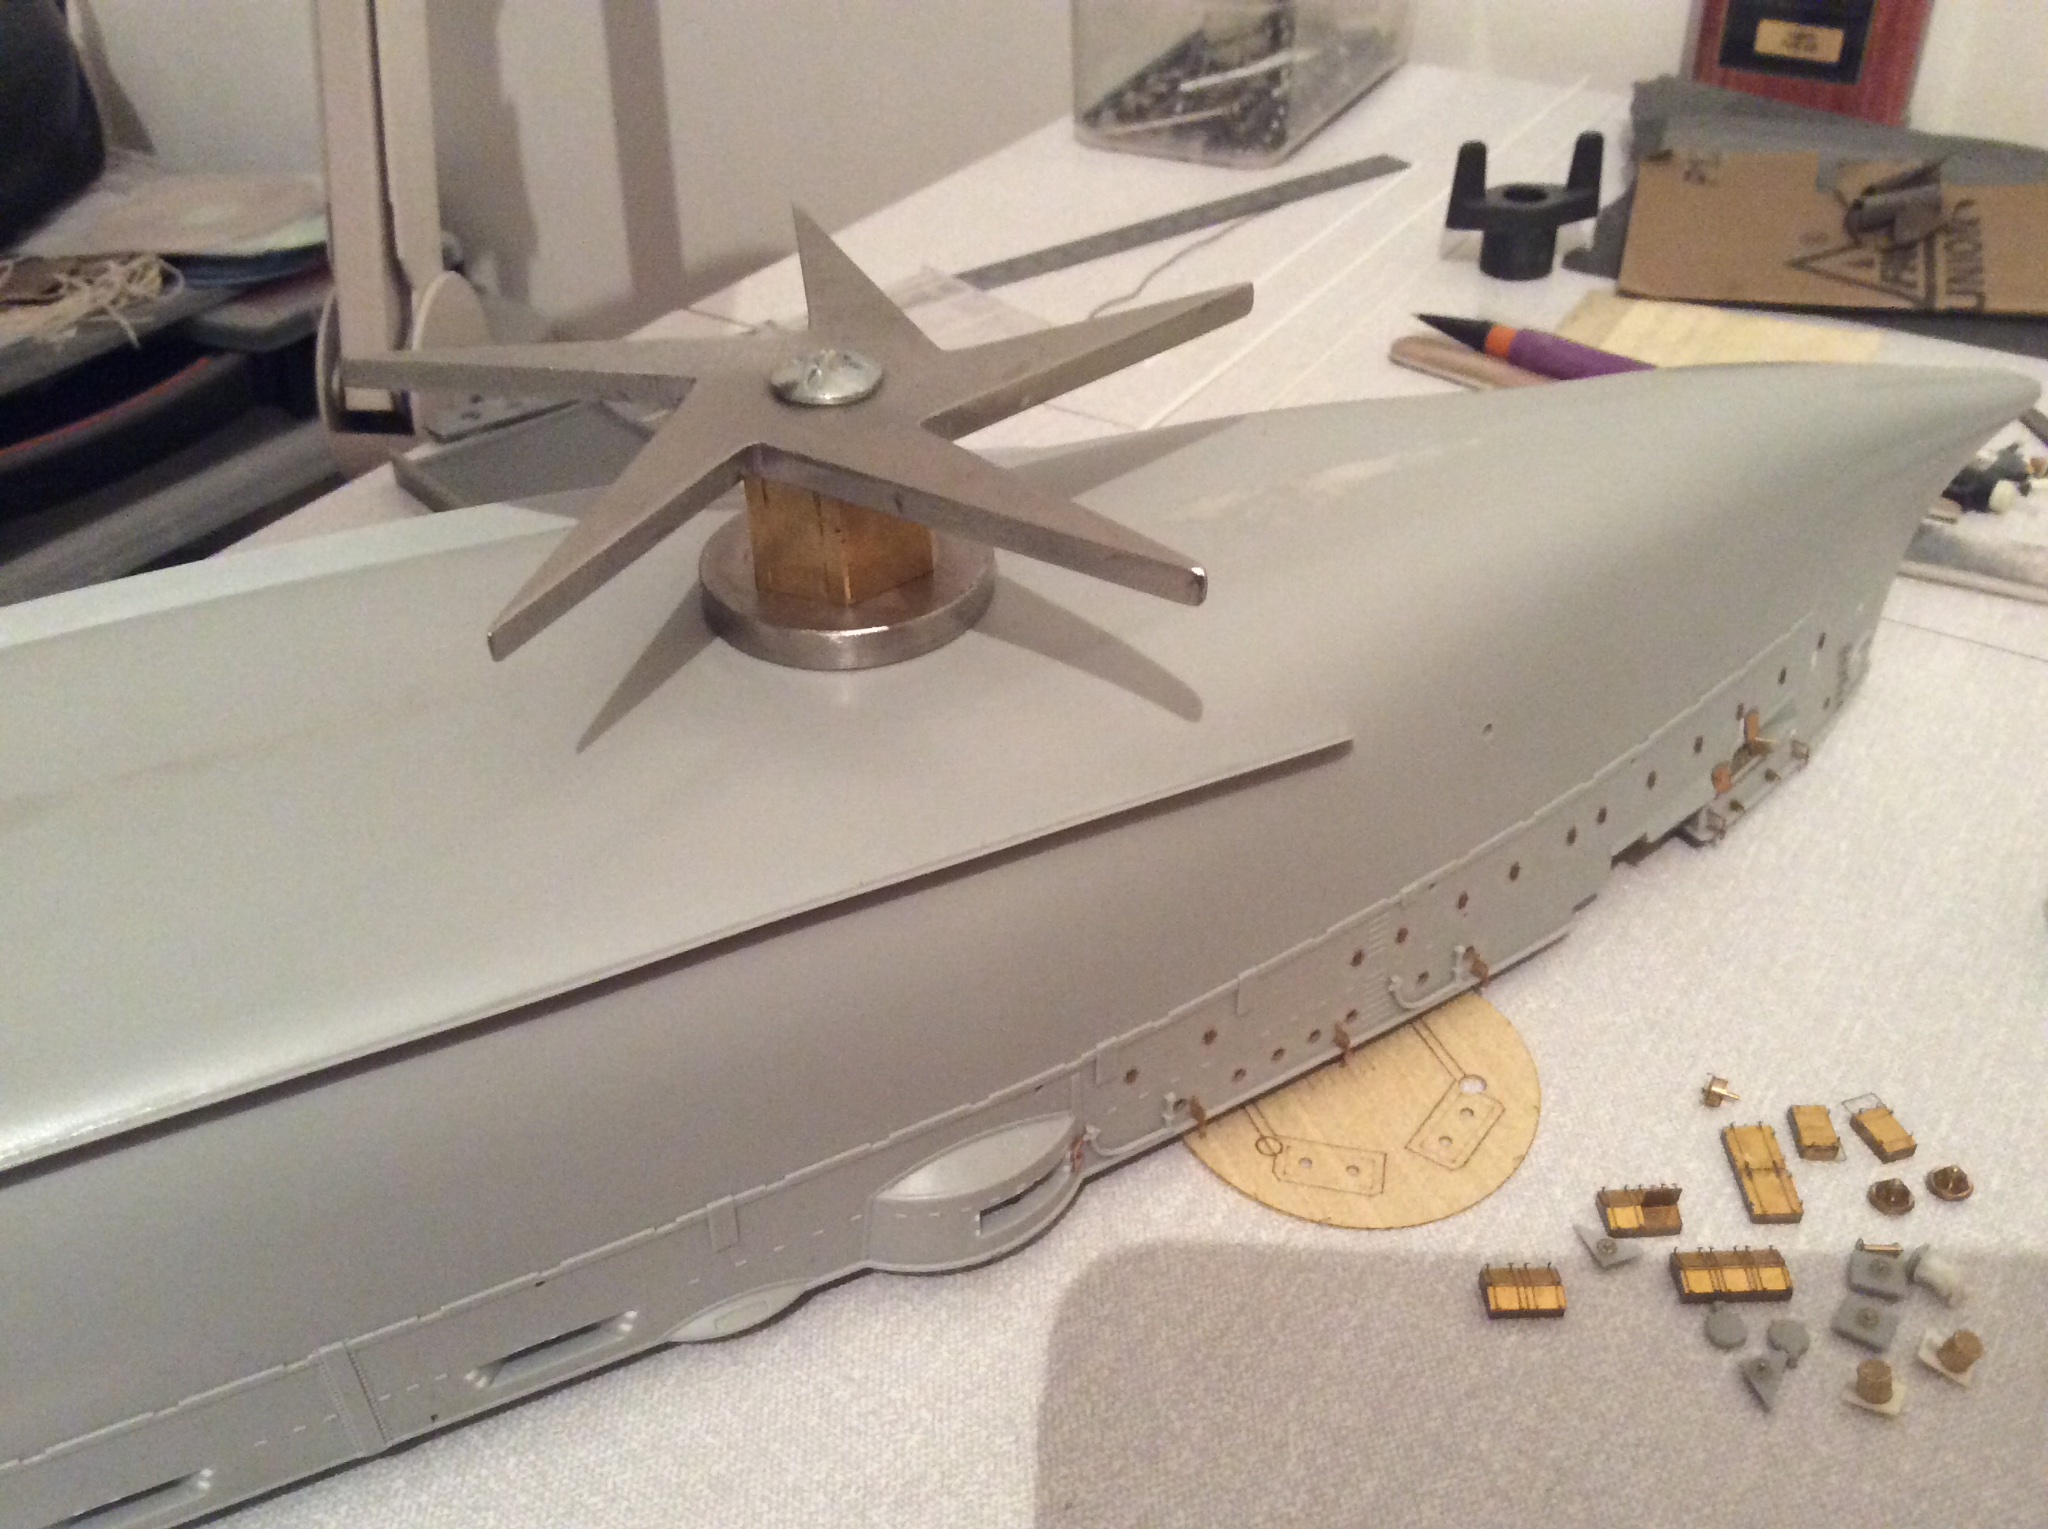
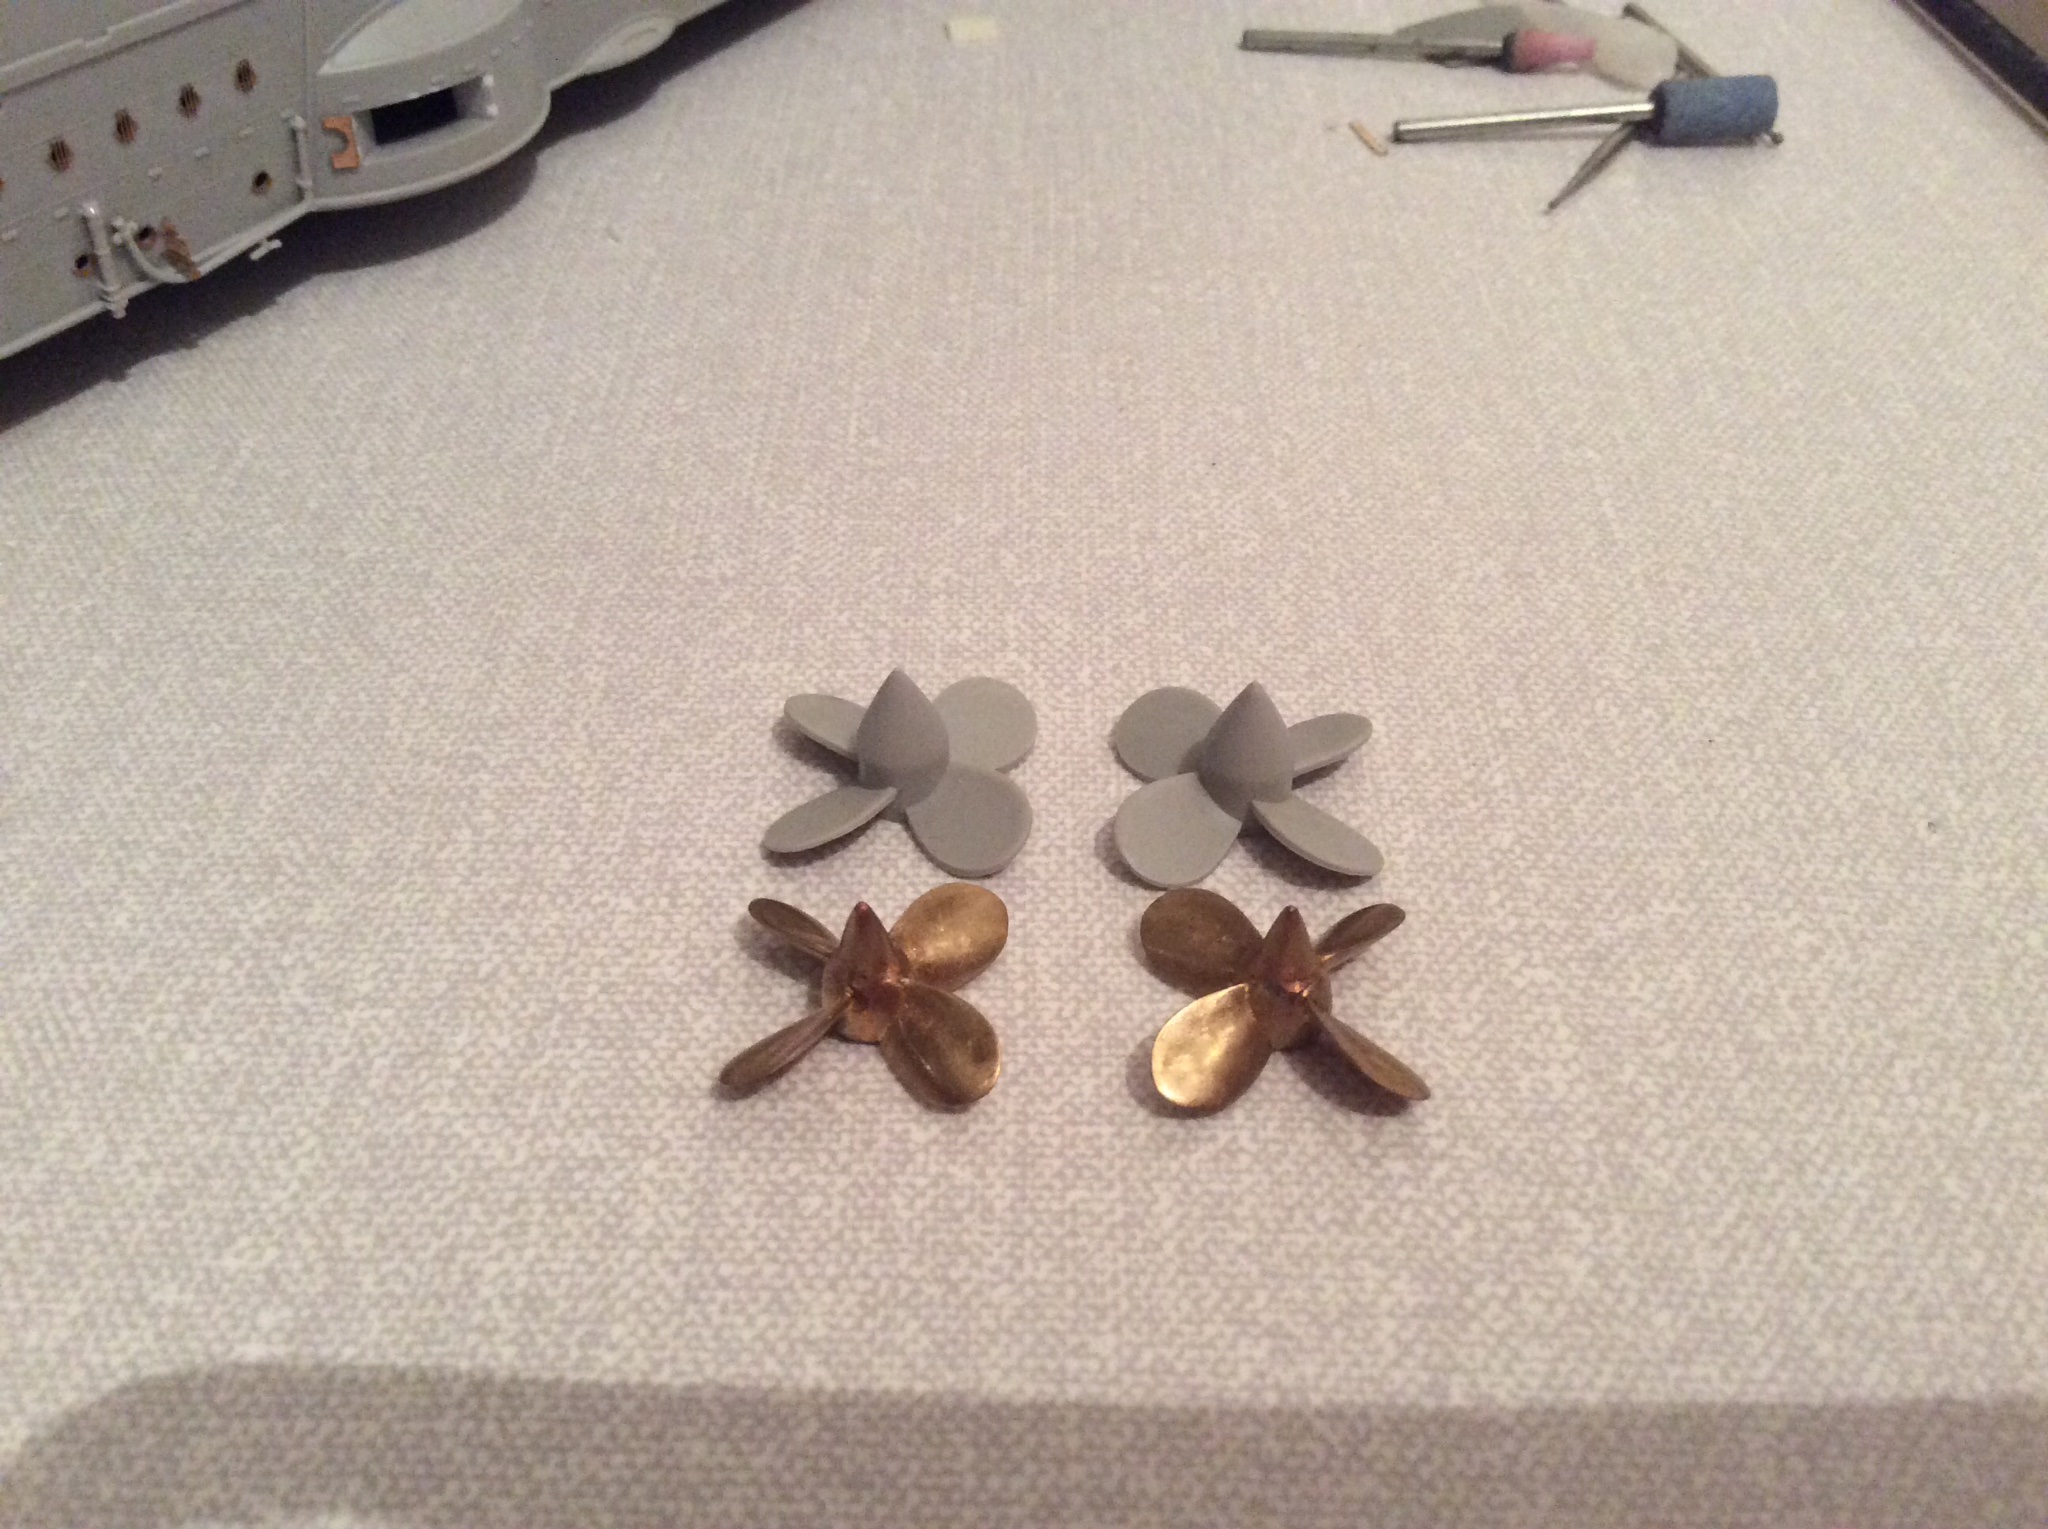
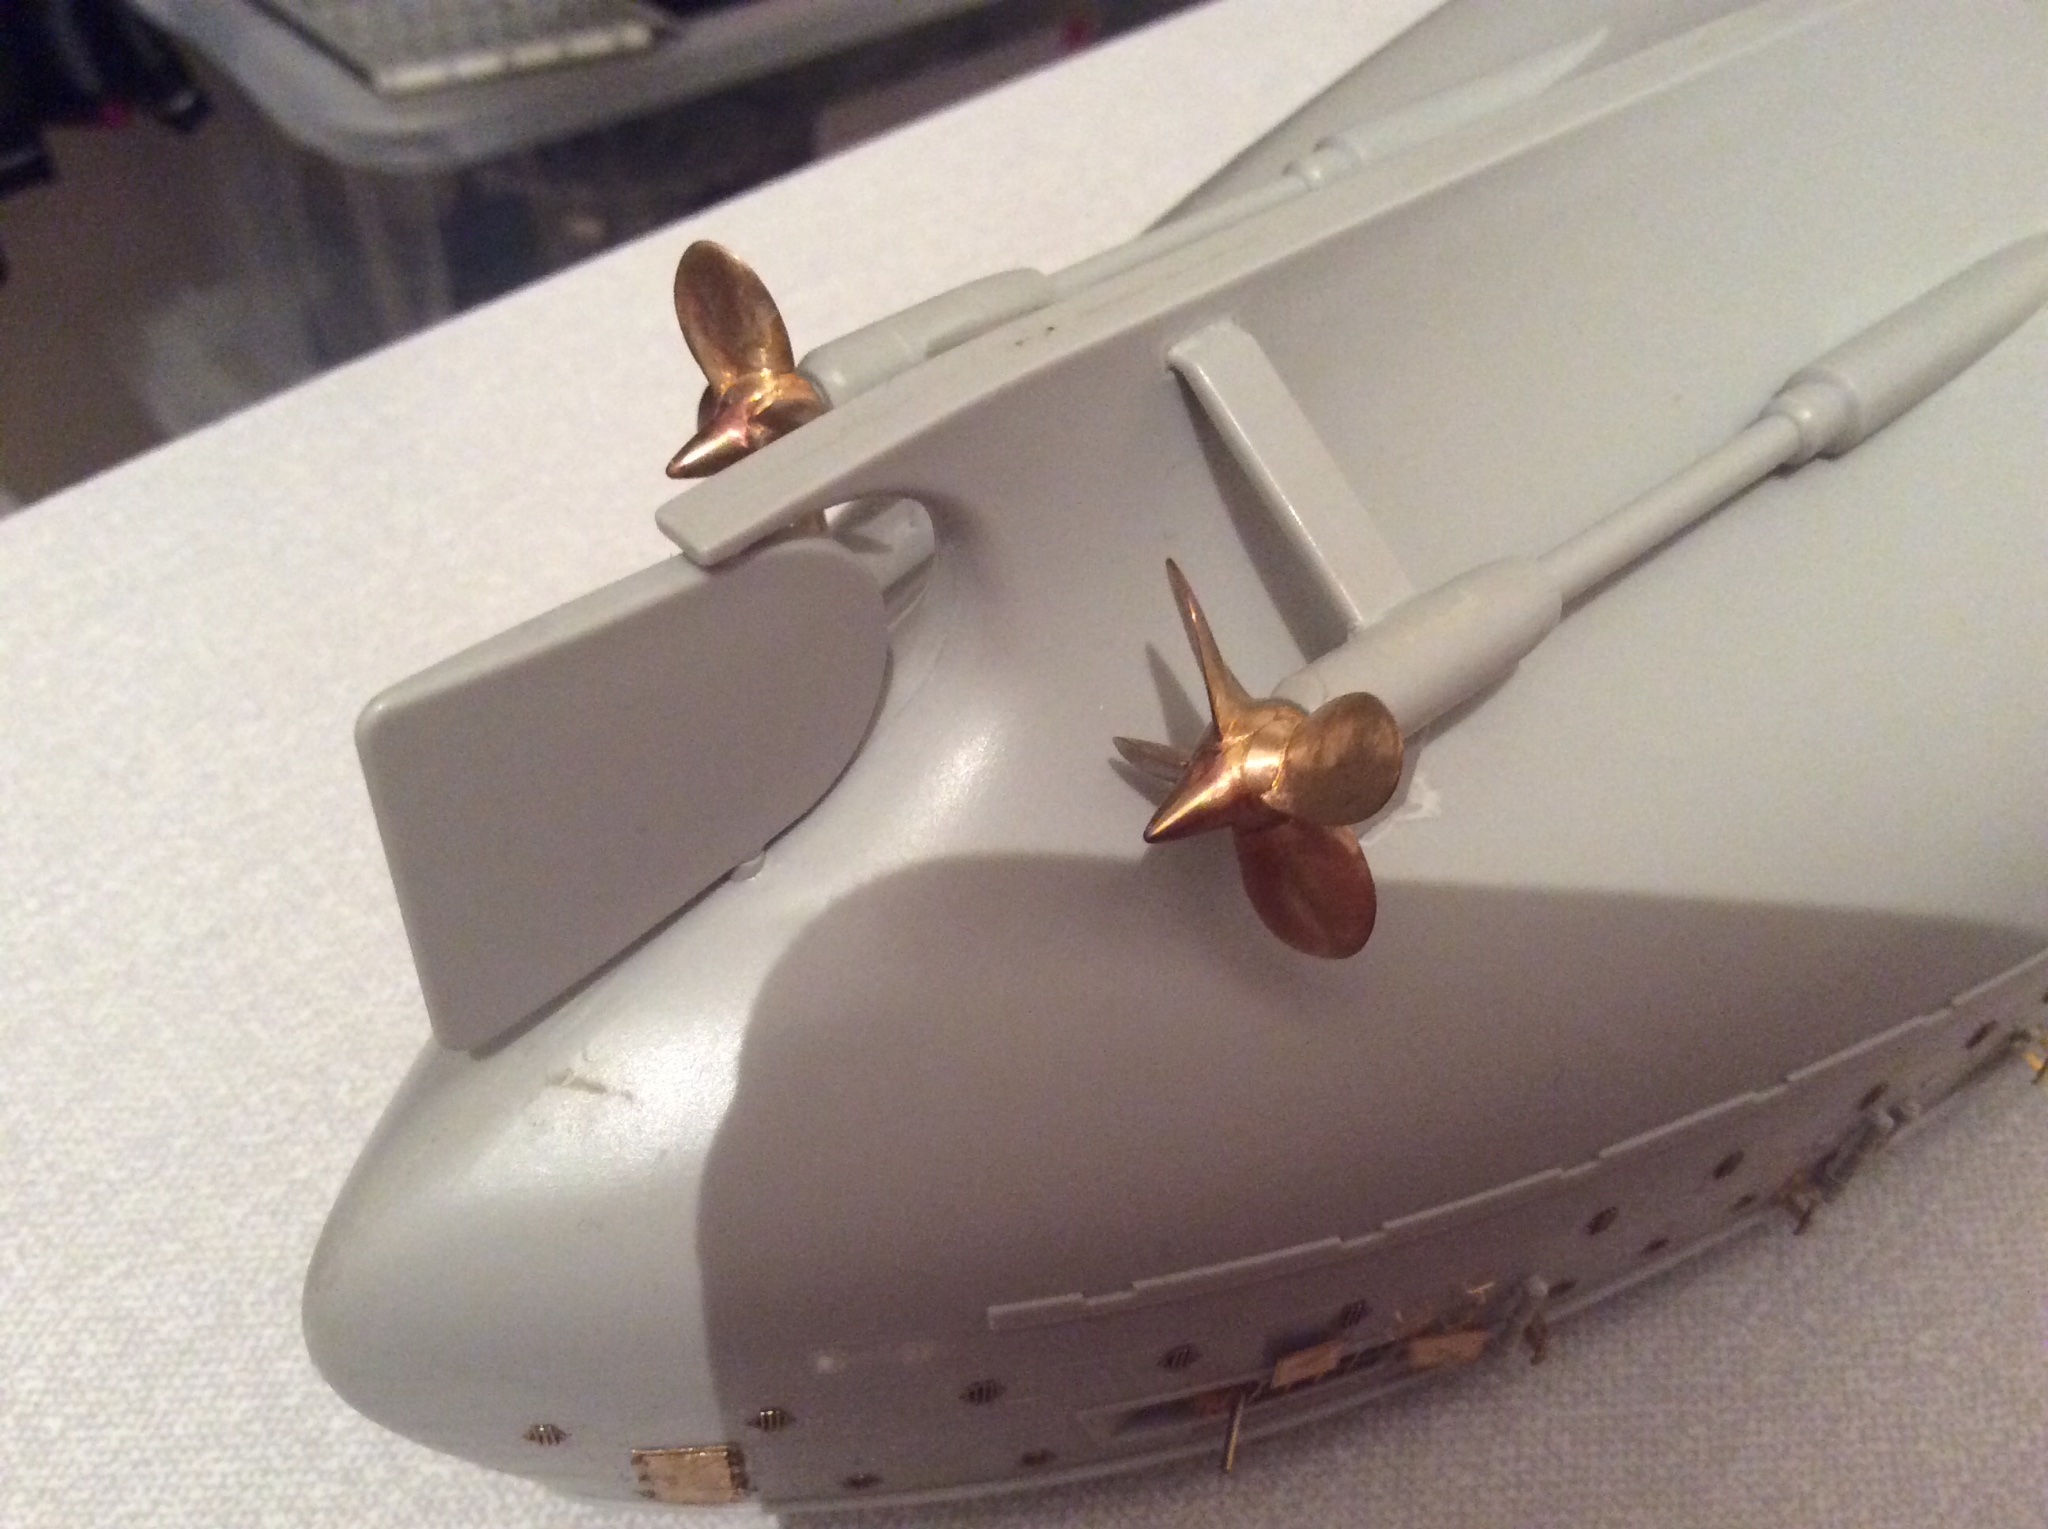
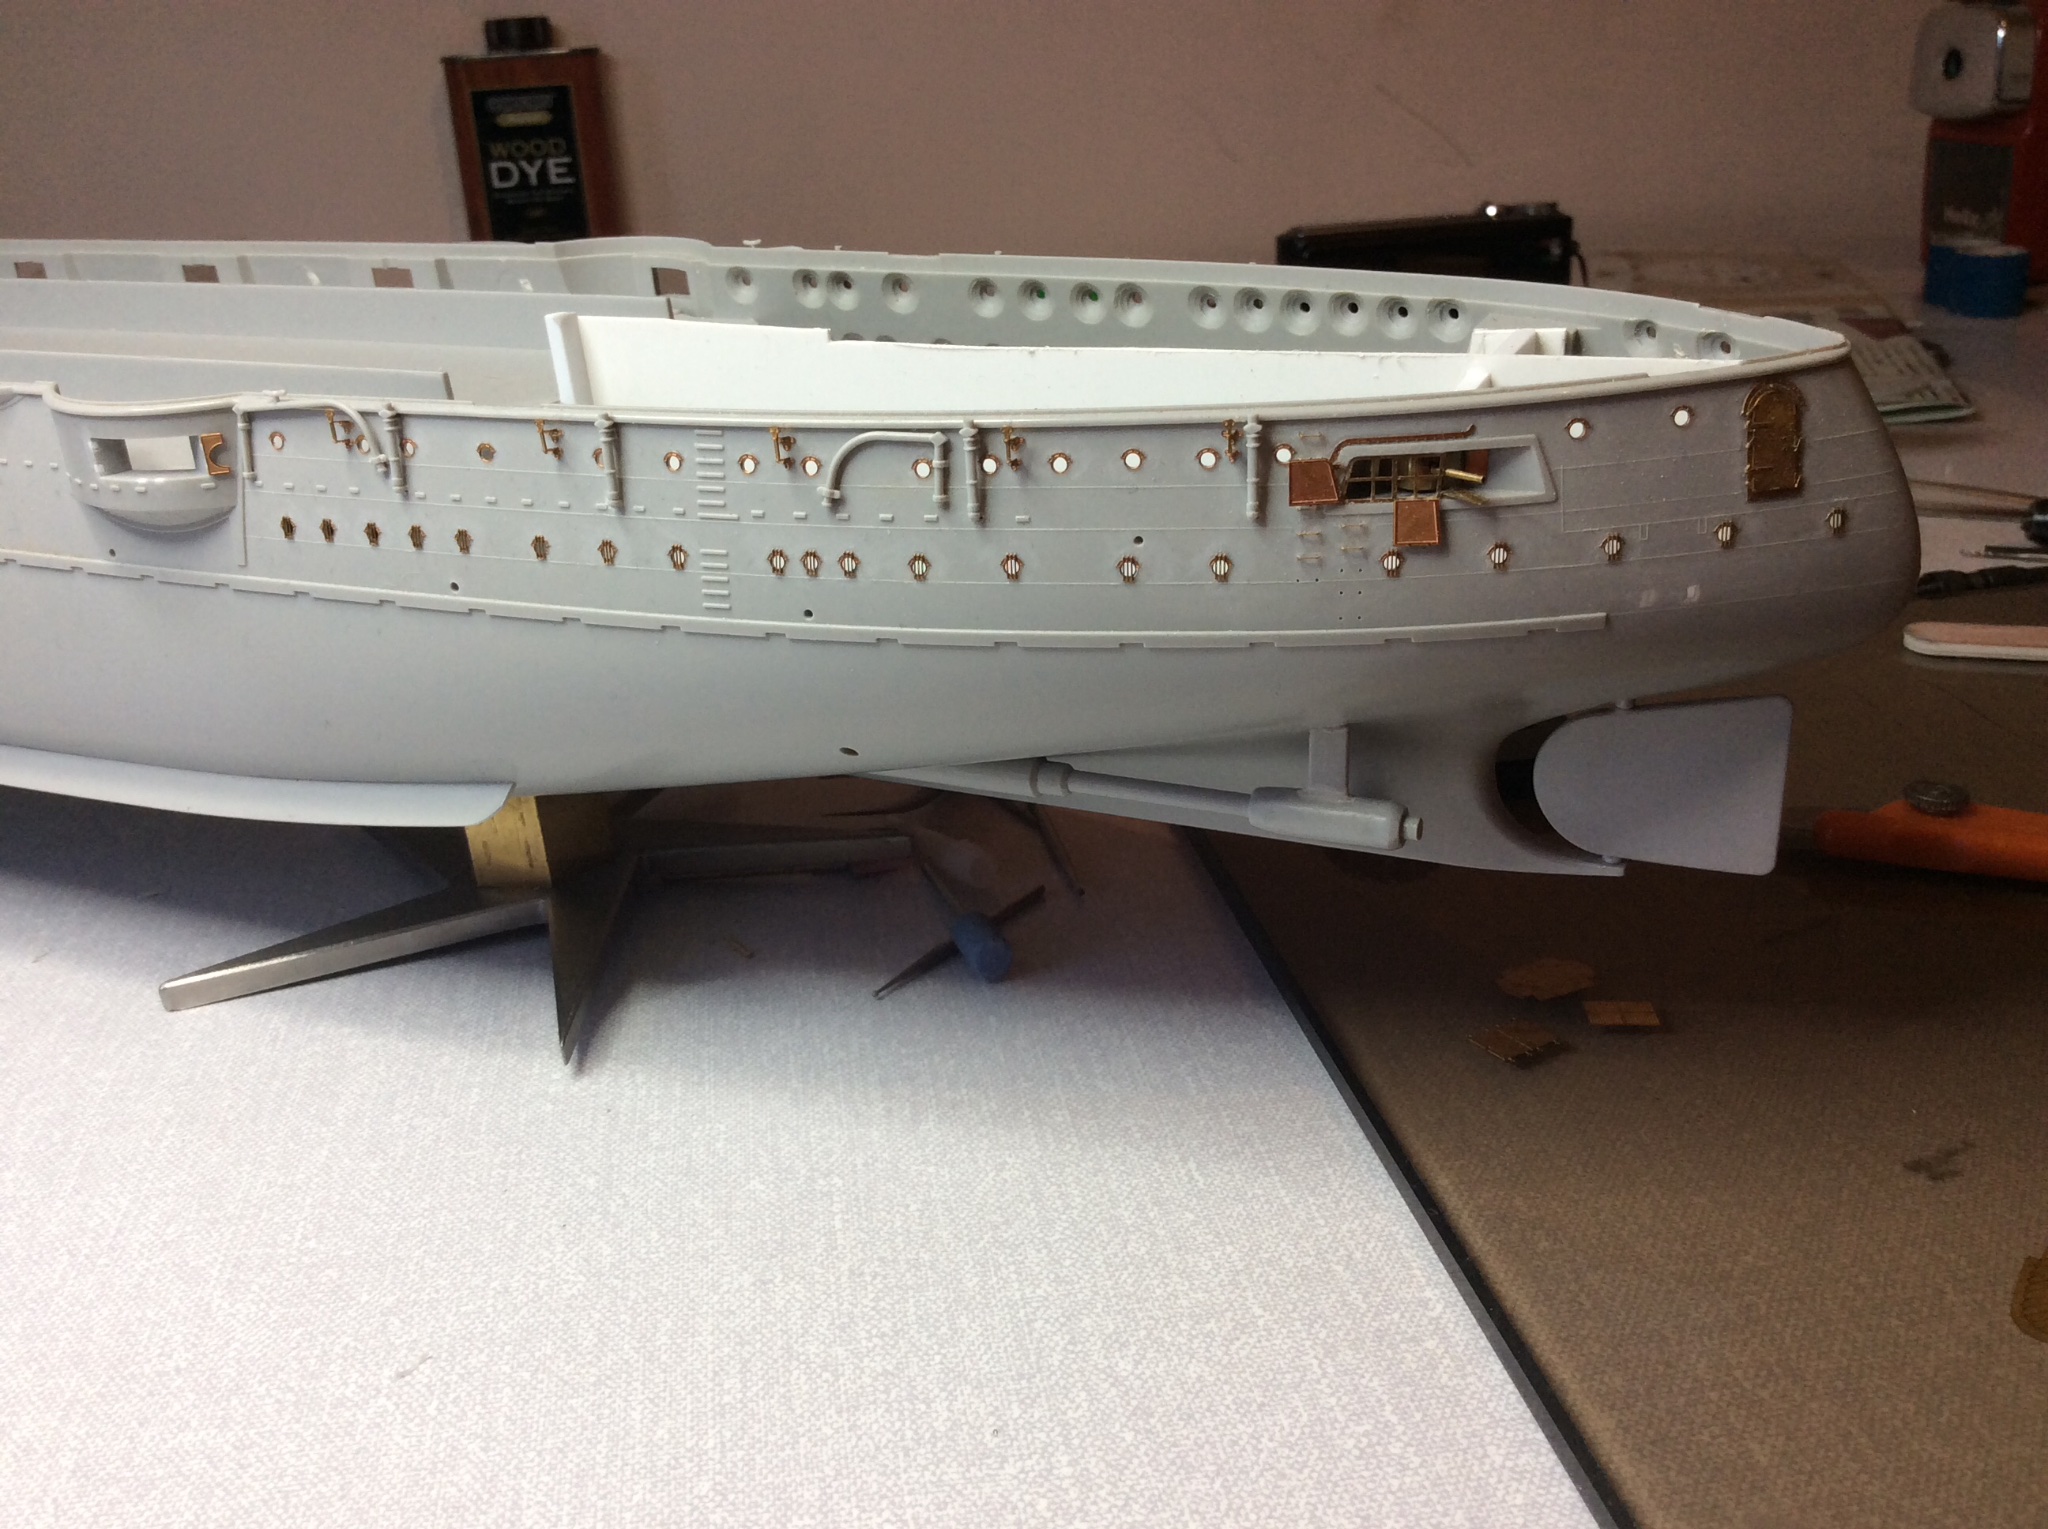
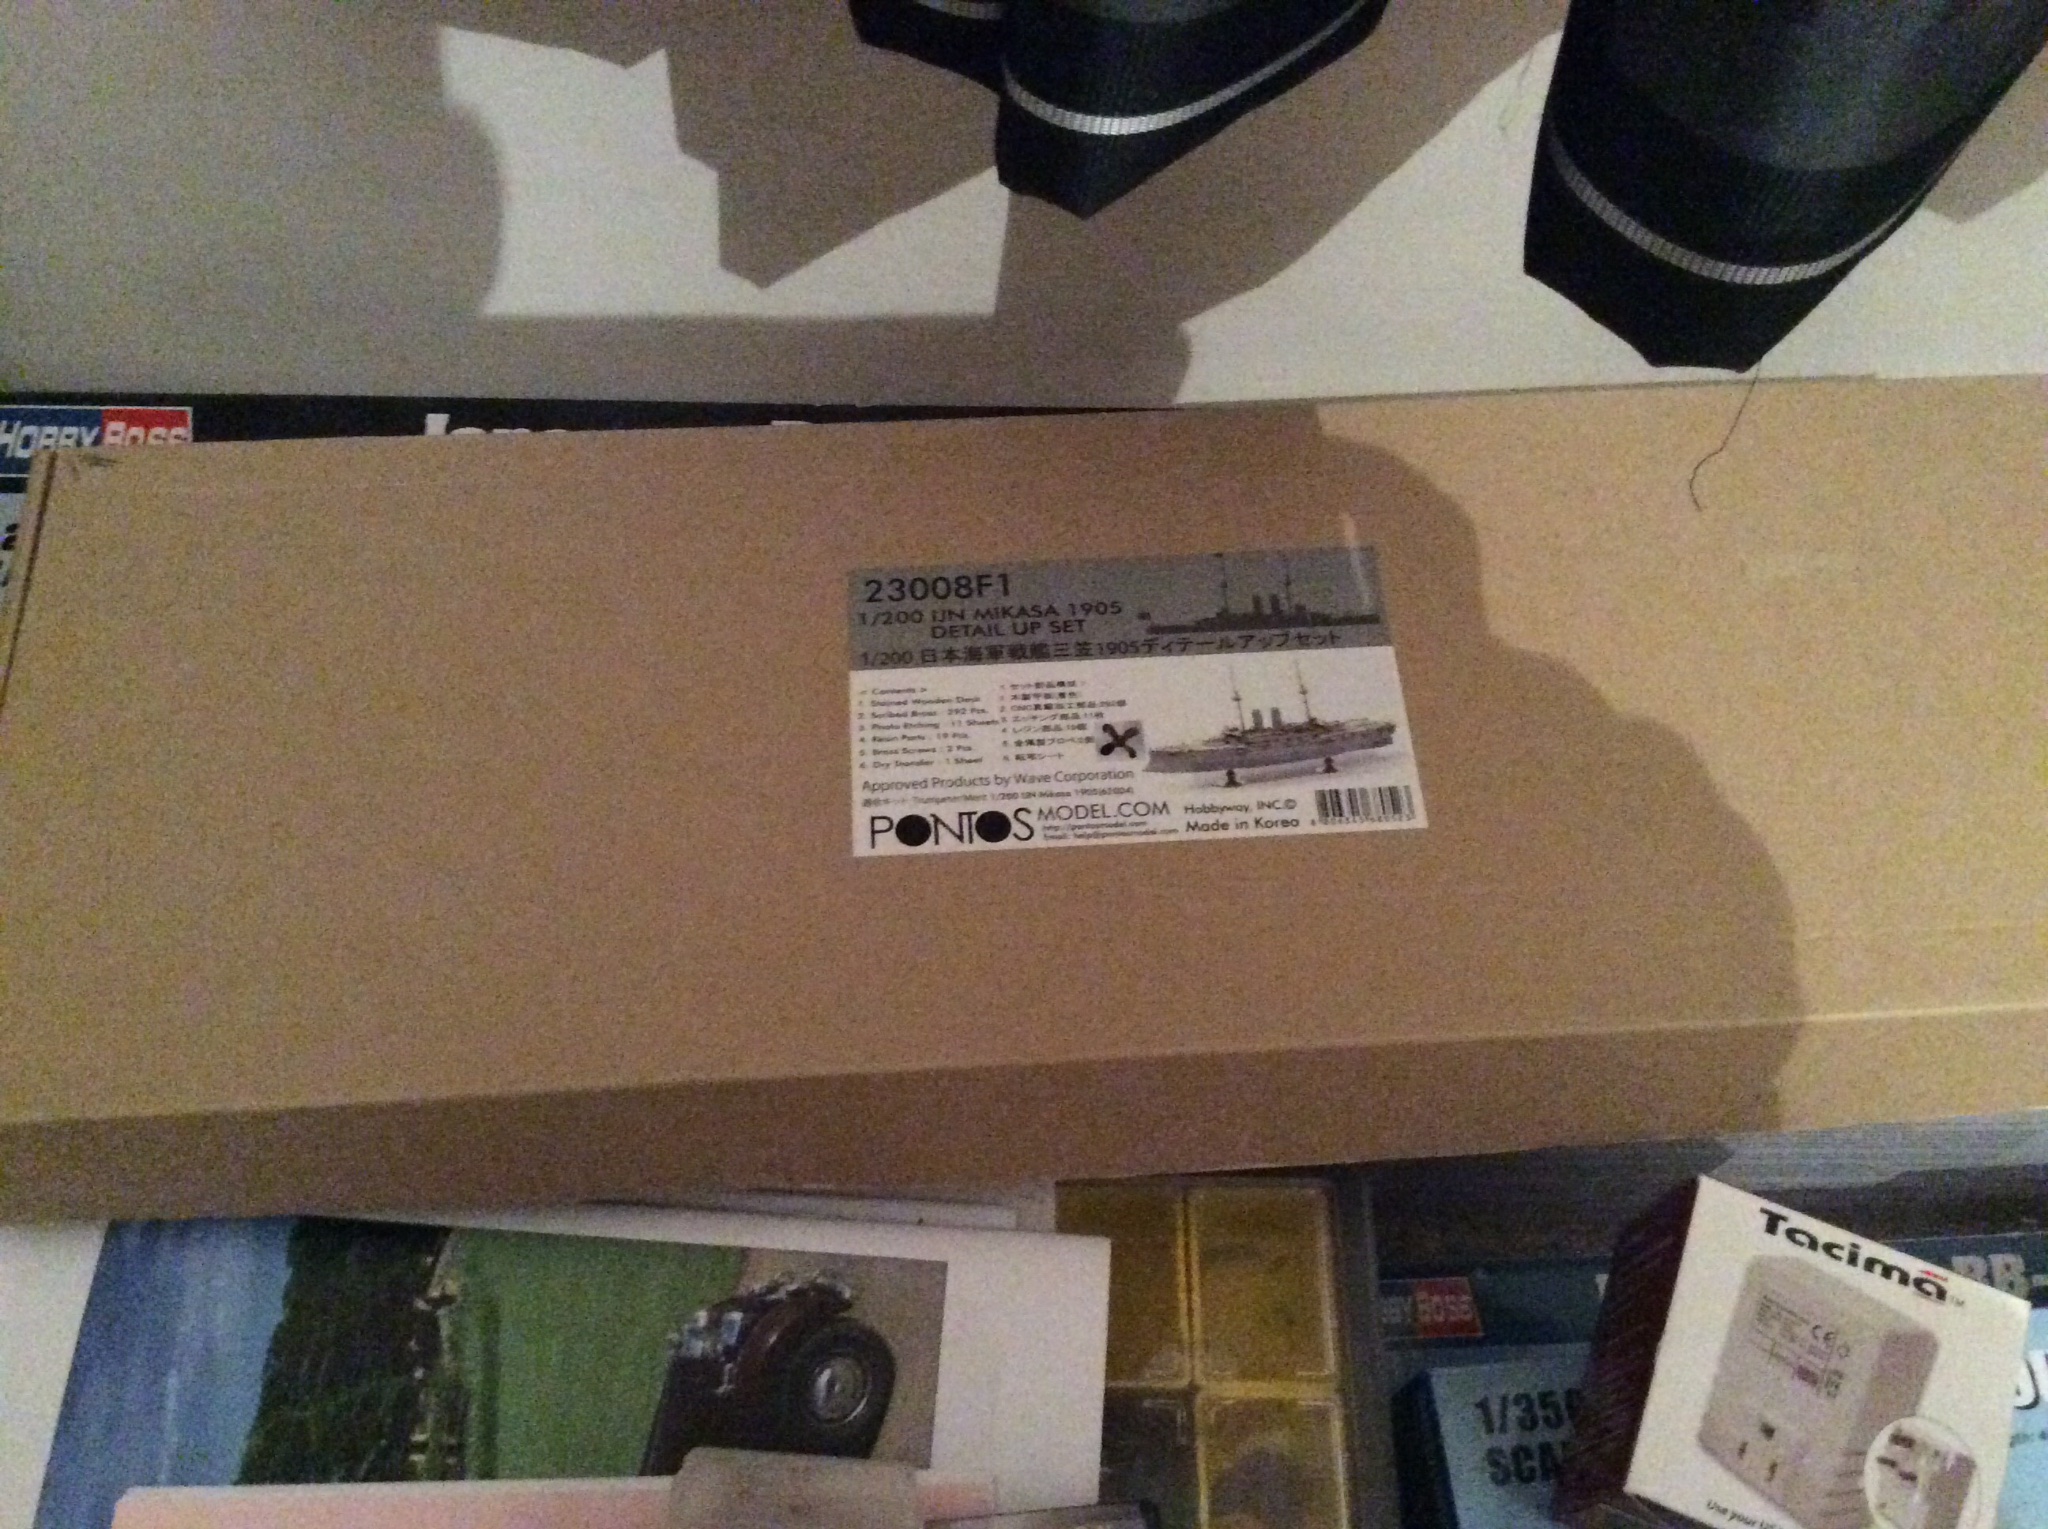
Well, I eventually got the portholes finished. Next topic for discussion is the lower hull. Glueing on the bilge keels is easier done by glueing about two inches at a time and letting set working your way along the length of the keel, doing any fine tuning. Will presume that most people building this kit will have been swayed into buying the detail sets. Can recommend the Pontos set, very comprehensive and quality is excellent, although I think they could do better with their propellers and resin, the rest is highly commendable. Sorry don’t have photos of props at start, let’s just say they were shiny and toy like, but still much better than the plastic ones. I used a Dremel with a fine metal burr, contouring the blades and thinning them at the same time, finishing with filling sticks and fine emery paper, patience, this is not a quick job, happy with the end result though. Photos show difference between metal and plastic. Guess this is why we can’t help spending a fortune on detail sets.
The kit shaft were flared up like a blunderbuss to fit the oversize plastic props, so l whittled them down to match brass props
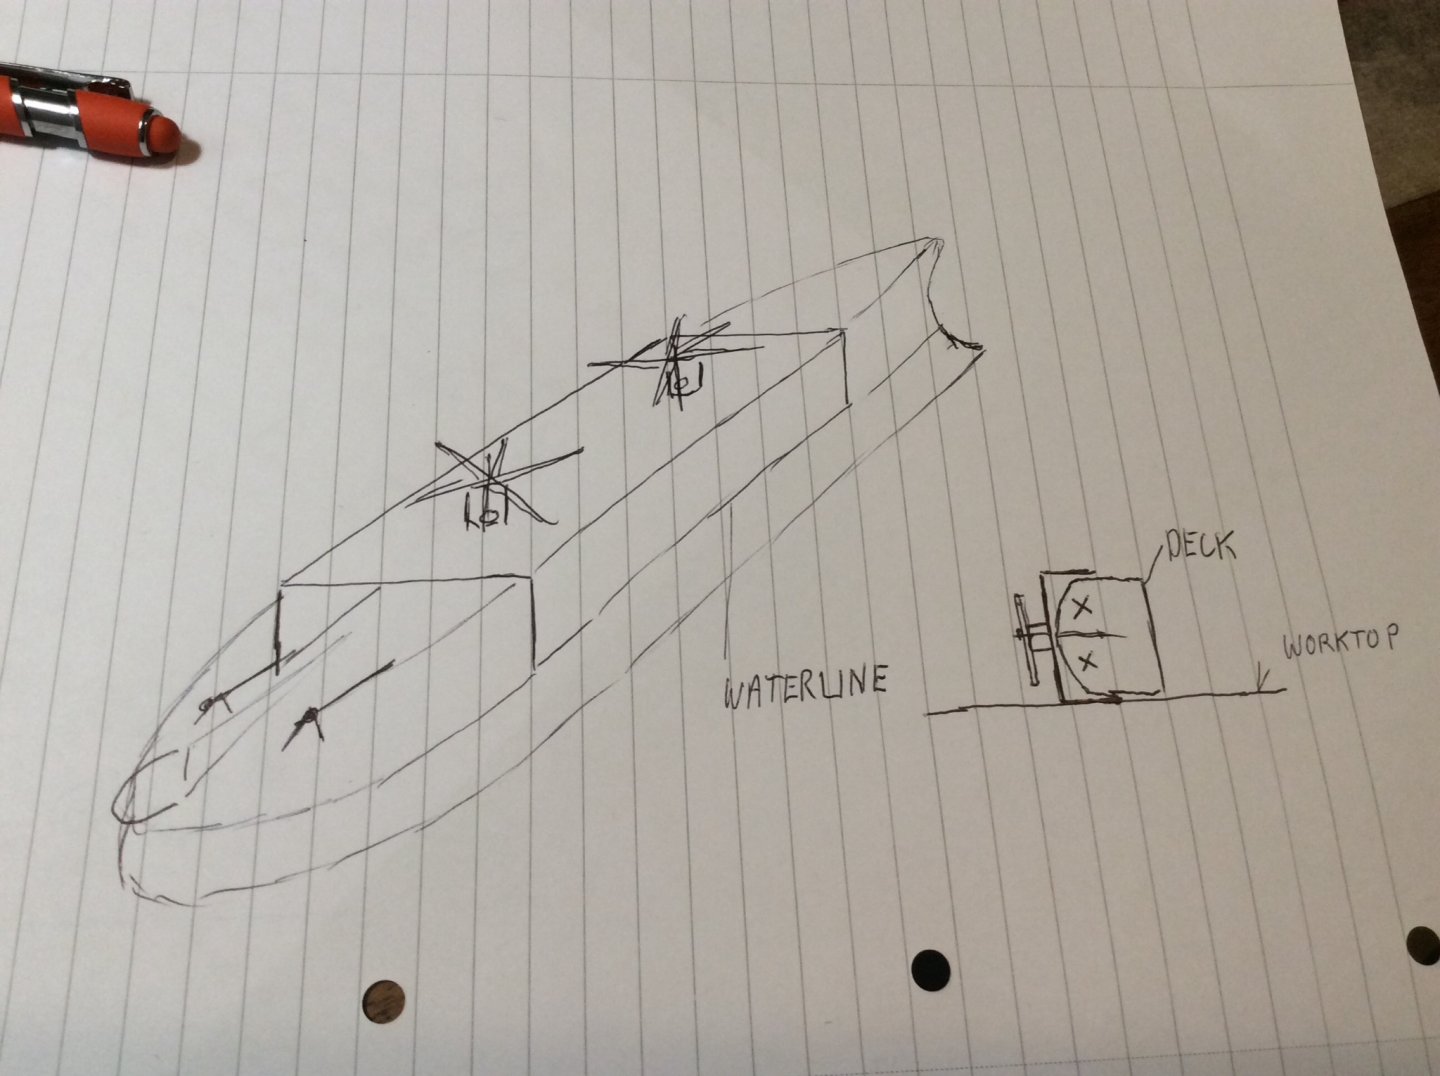
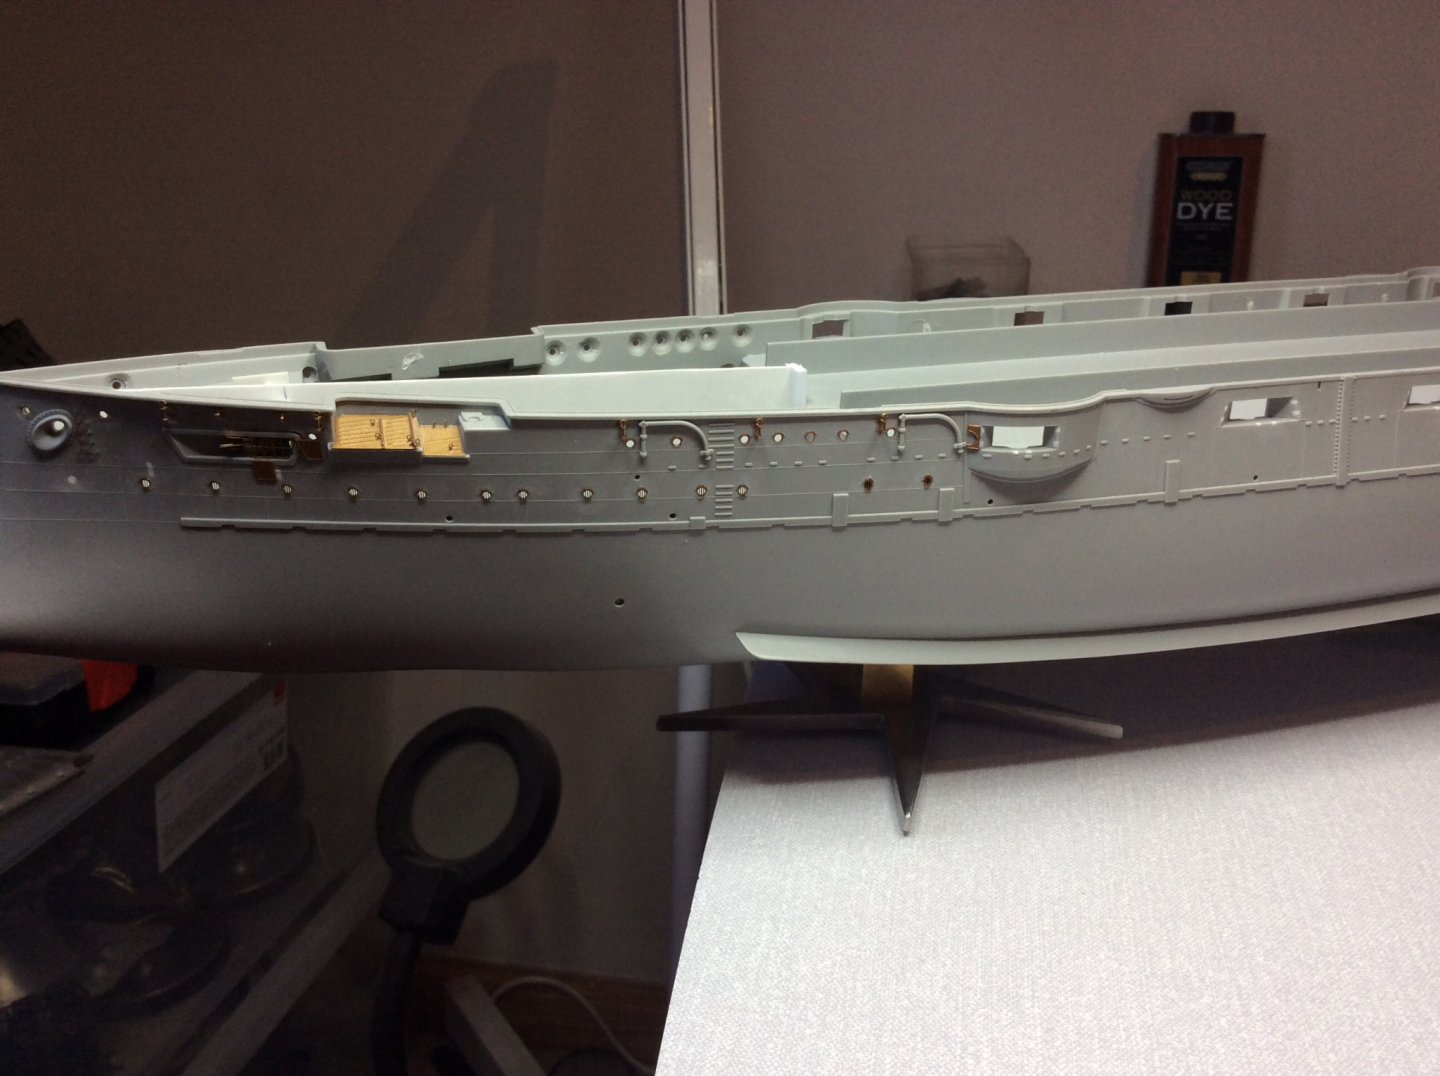
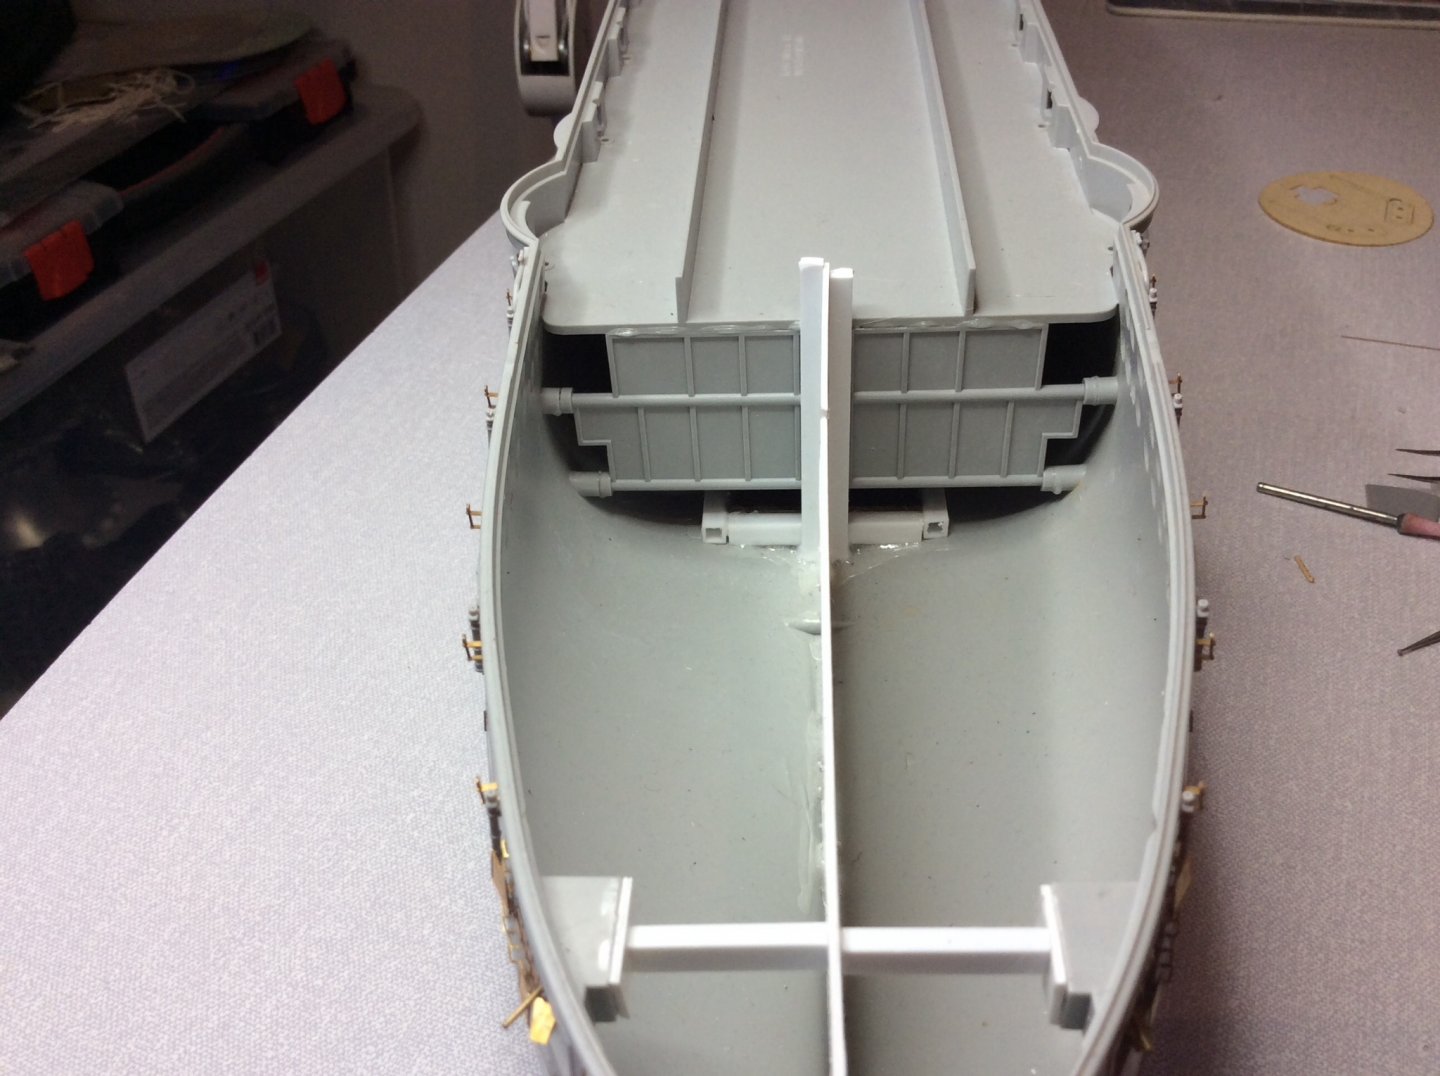
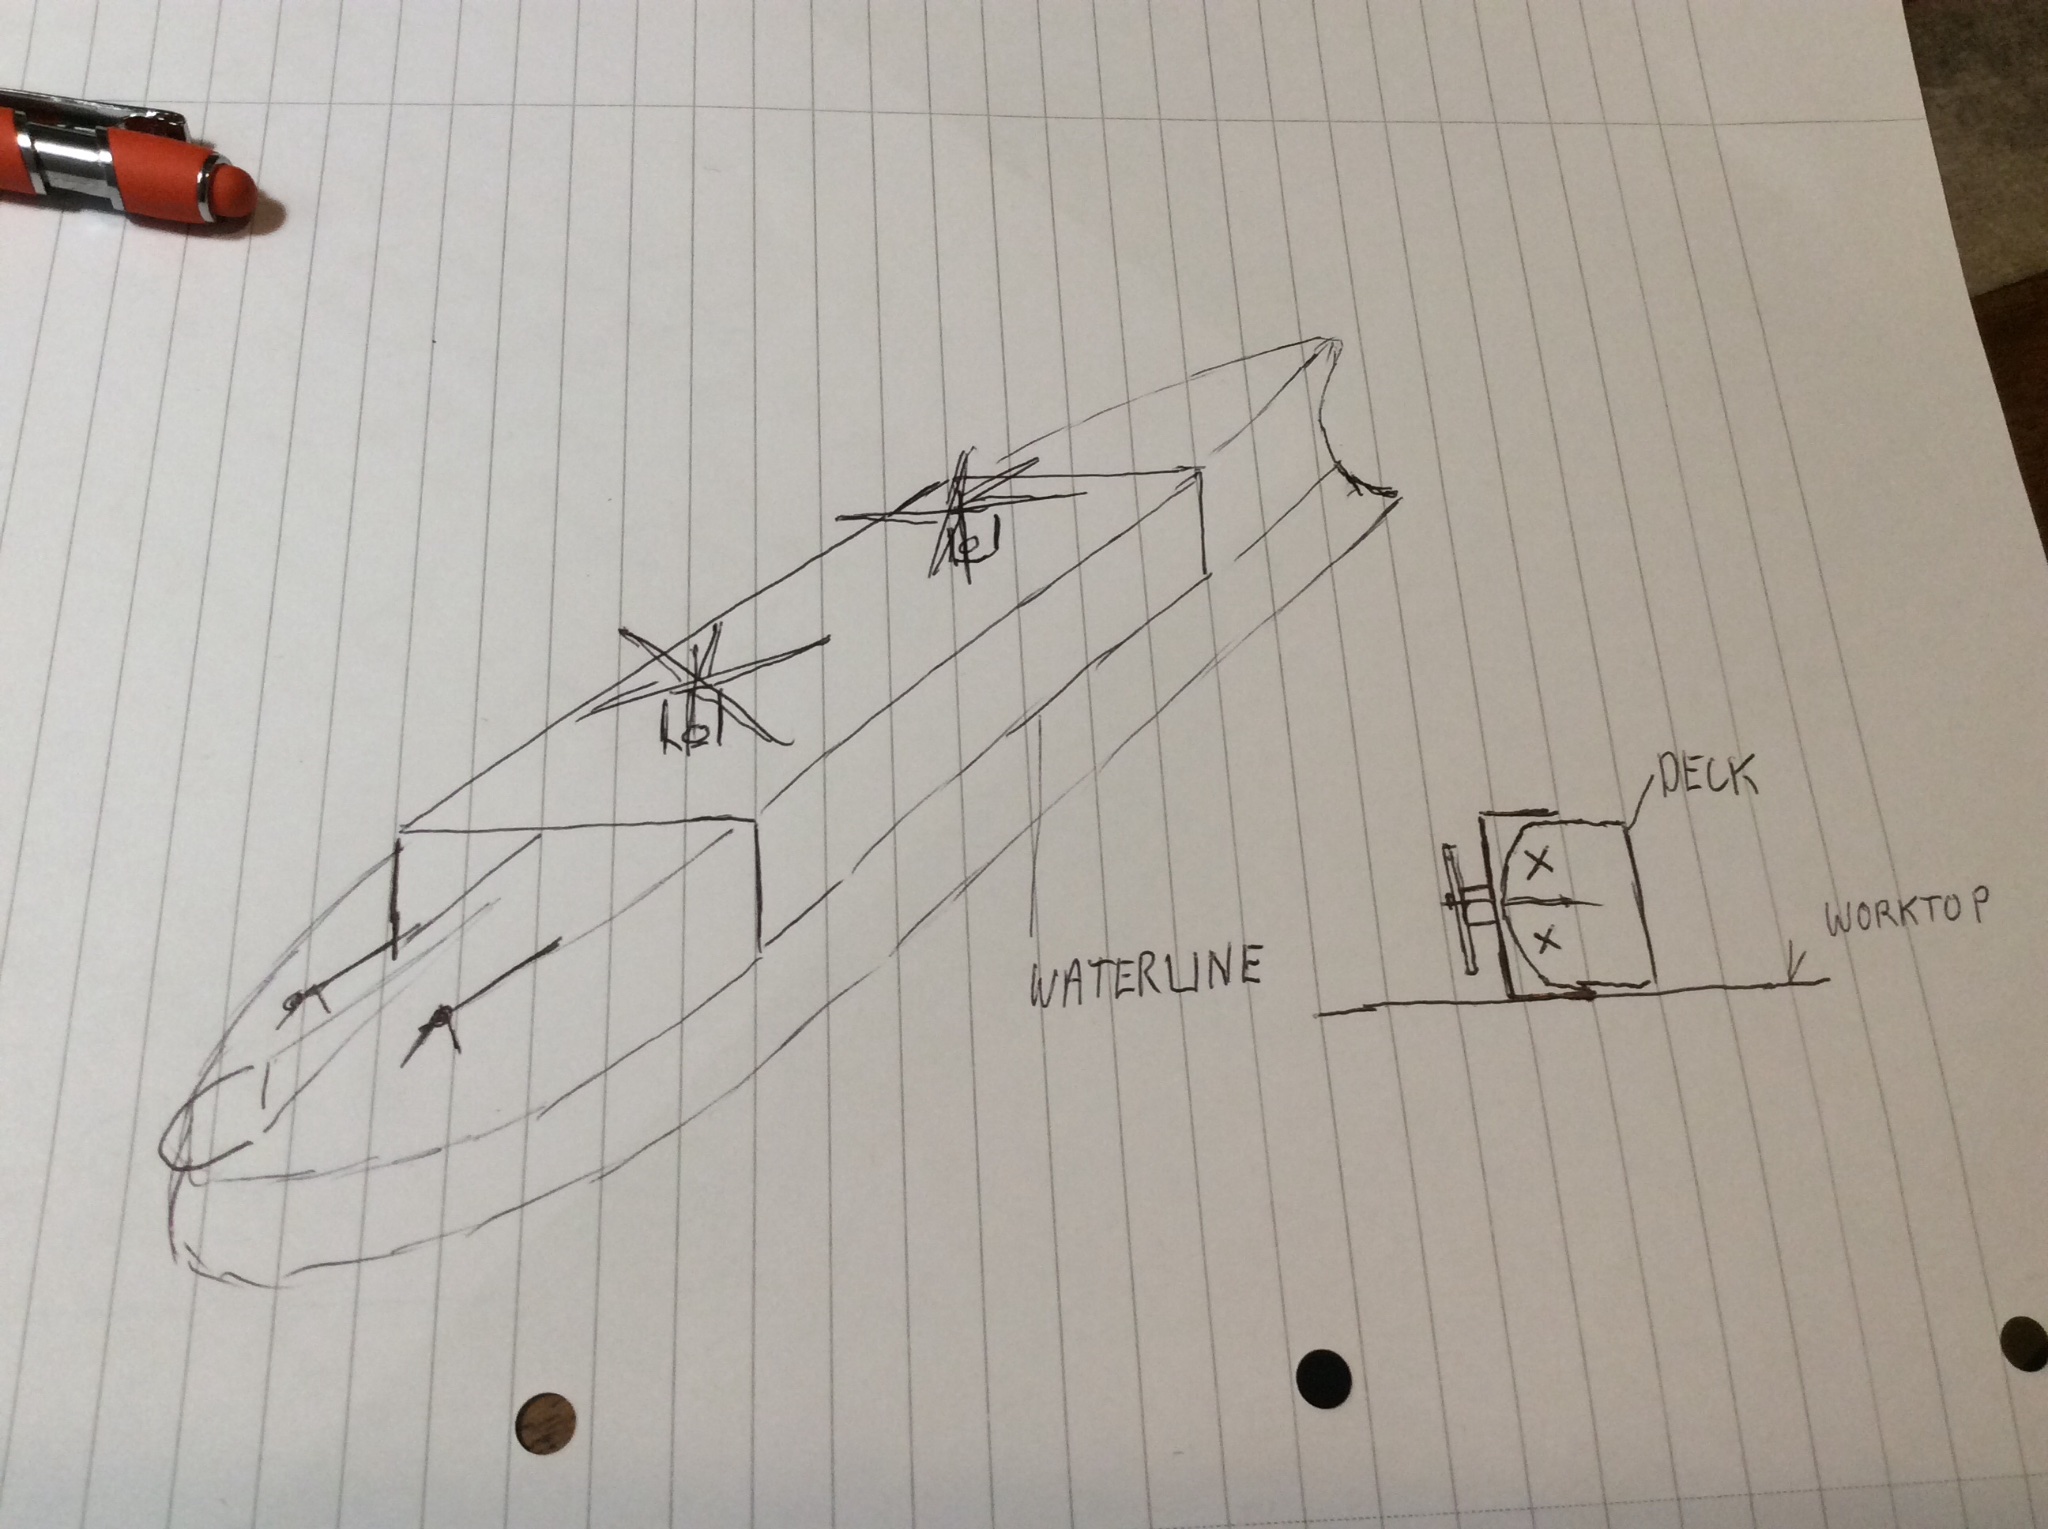
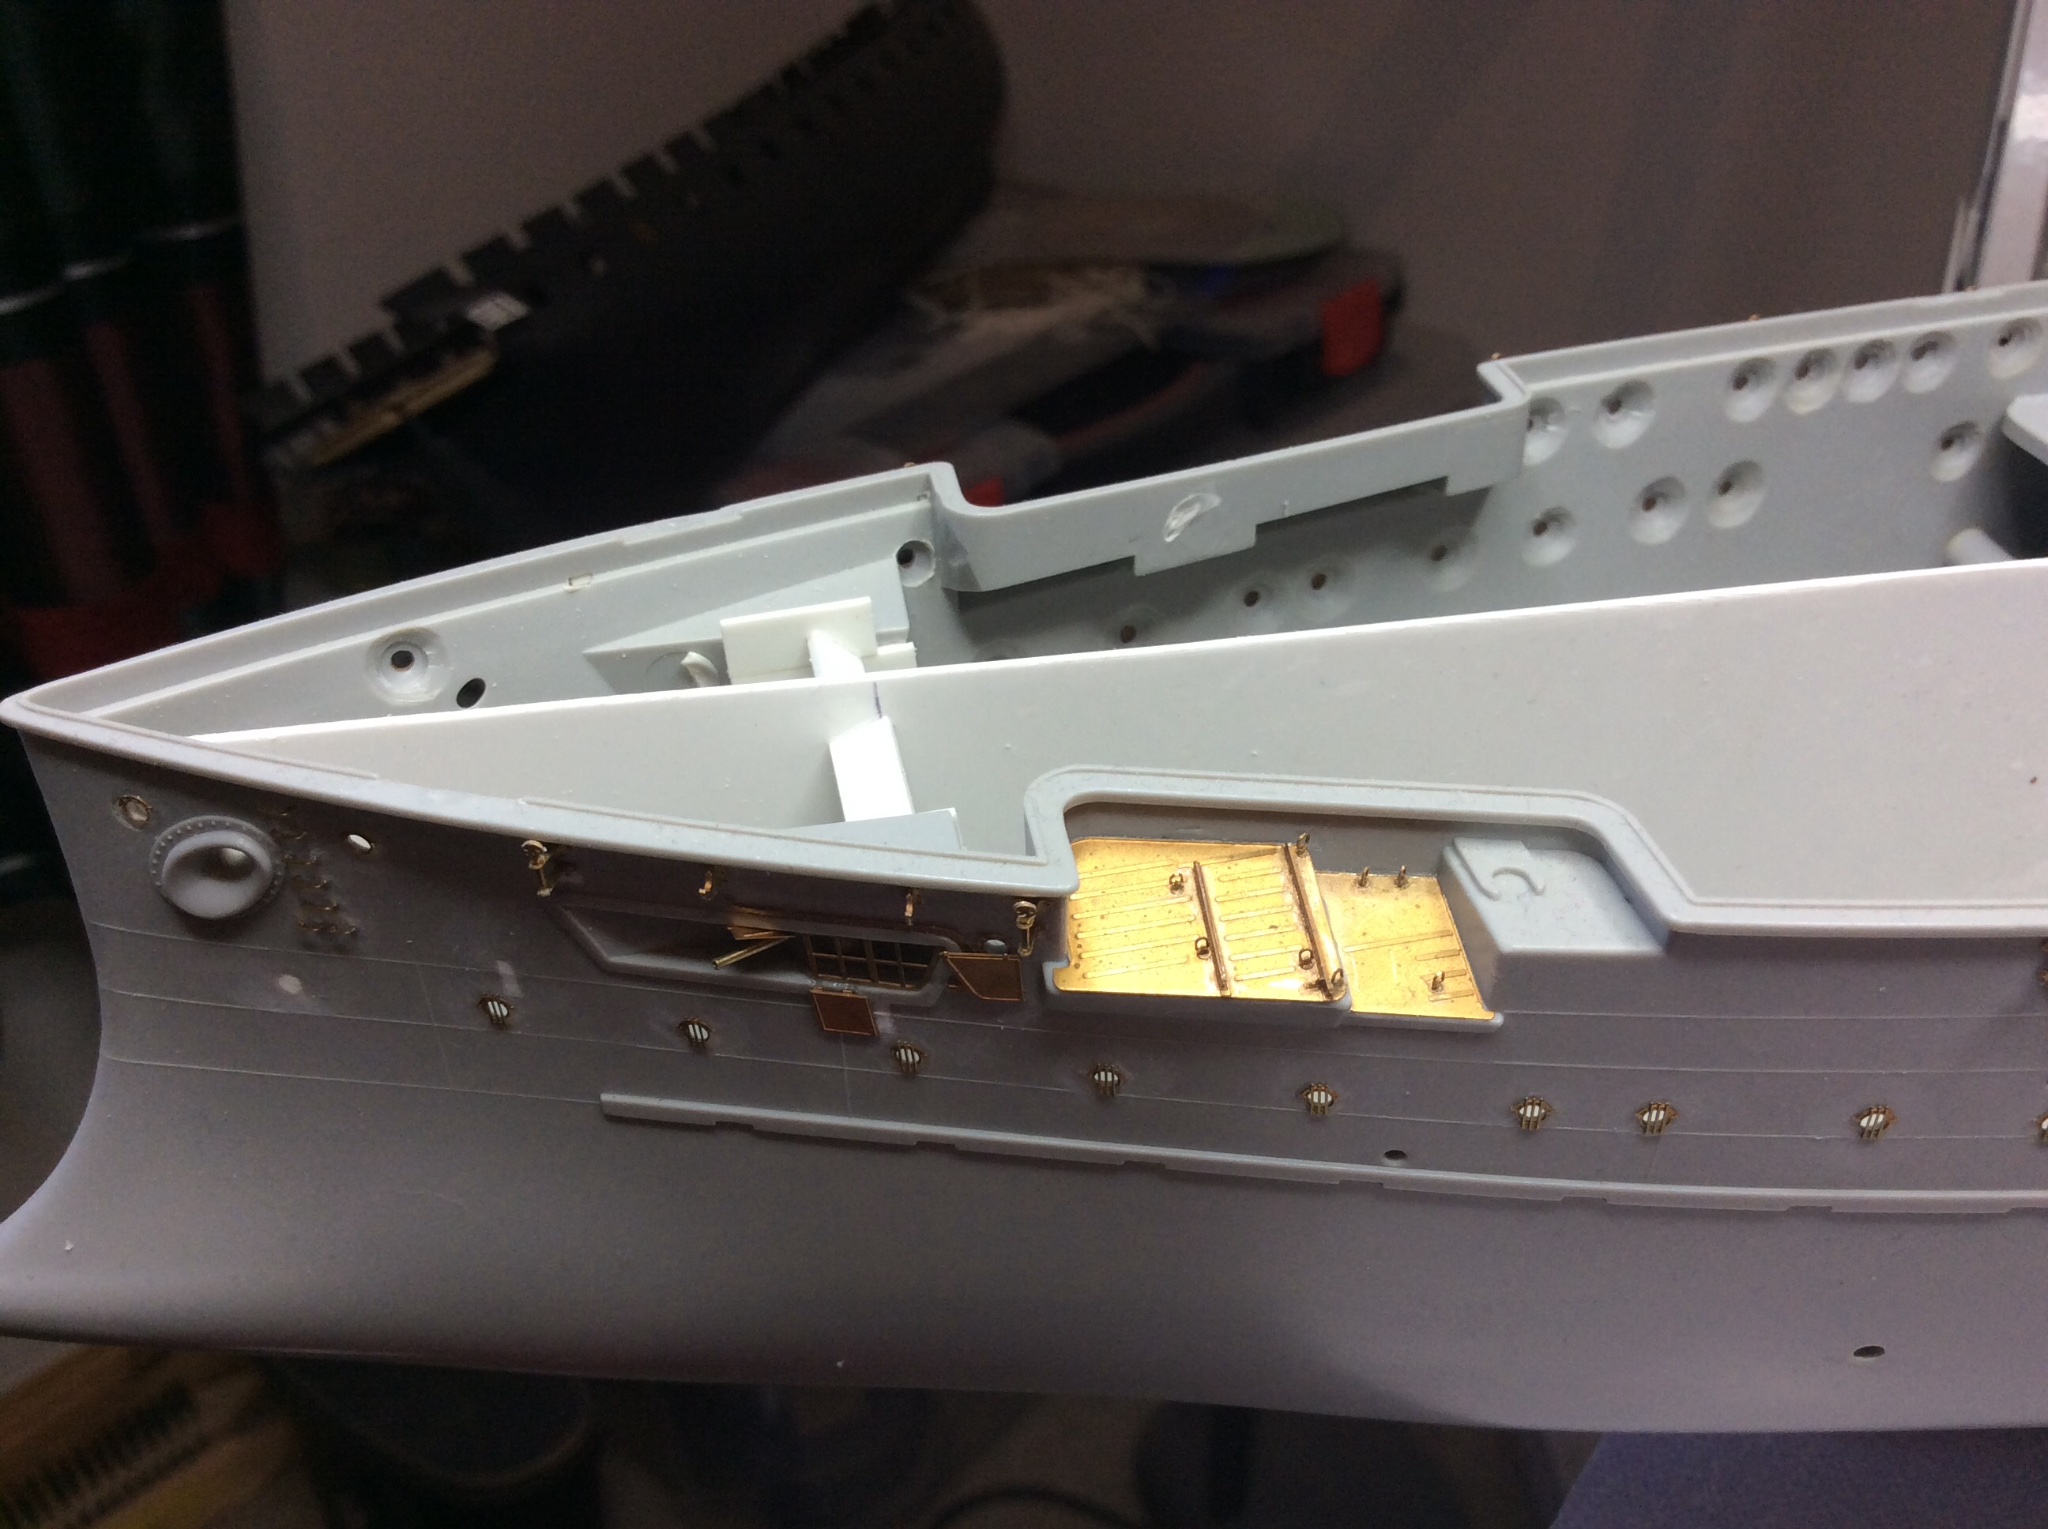
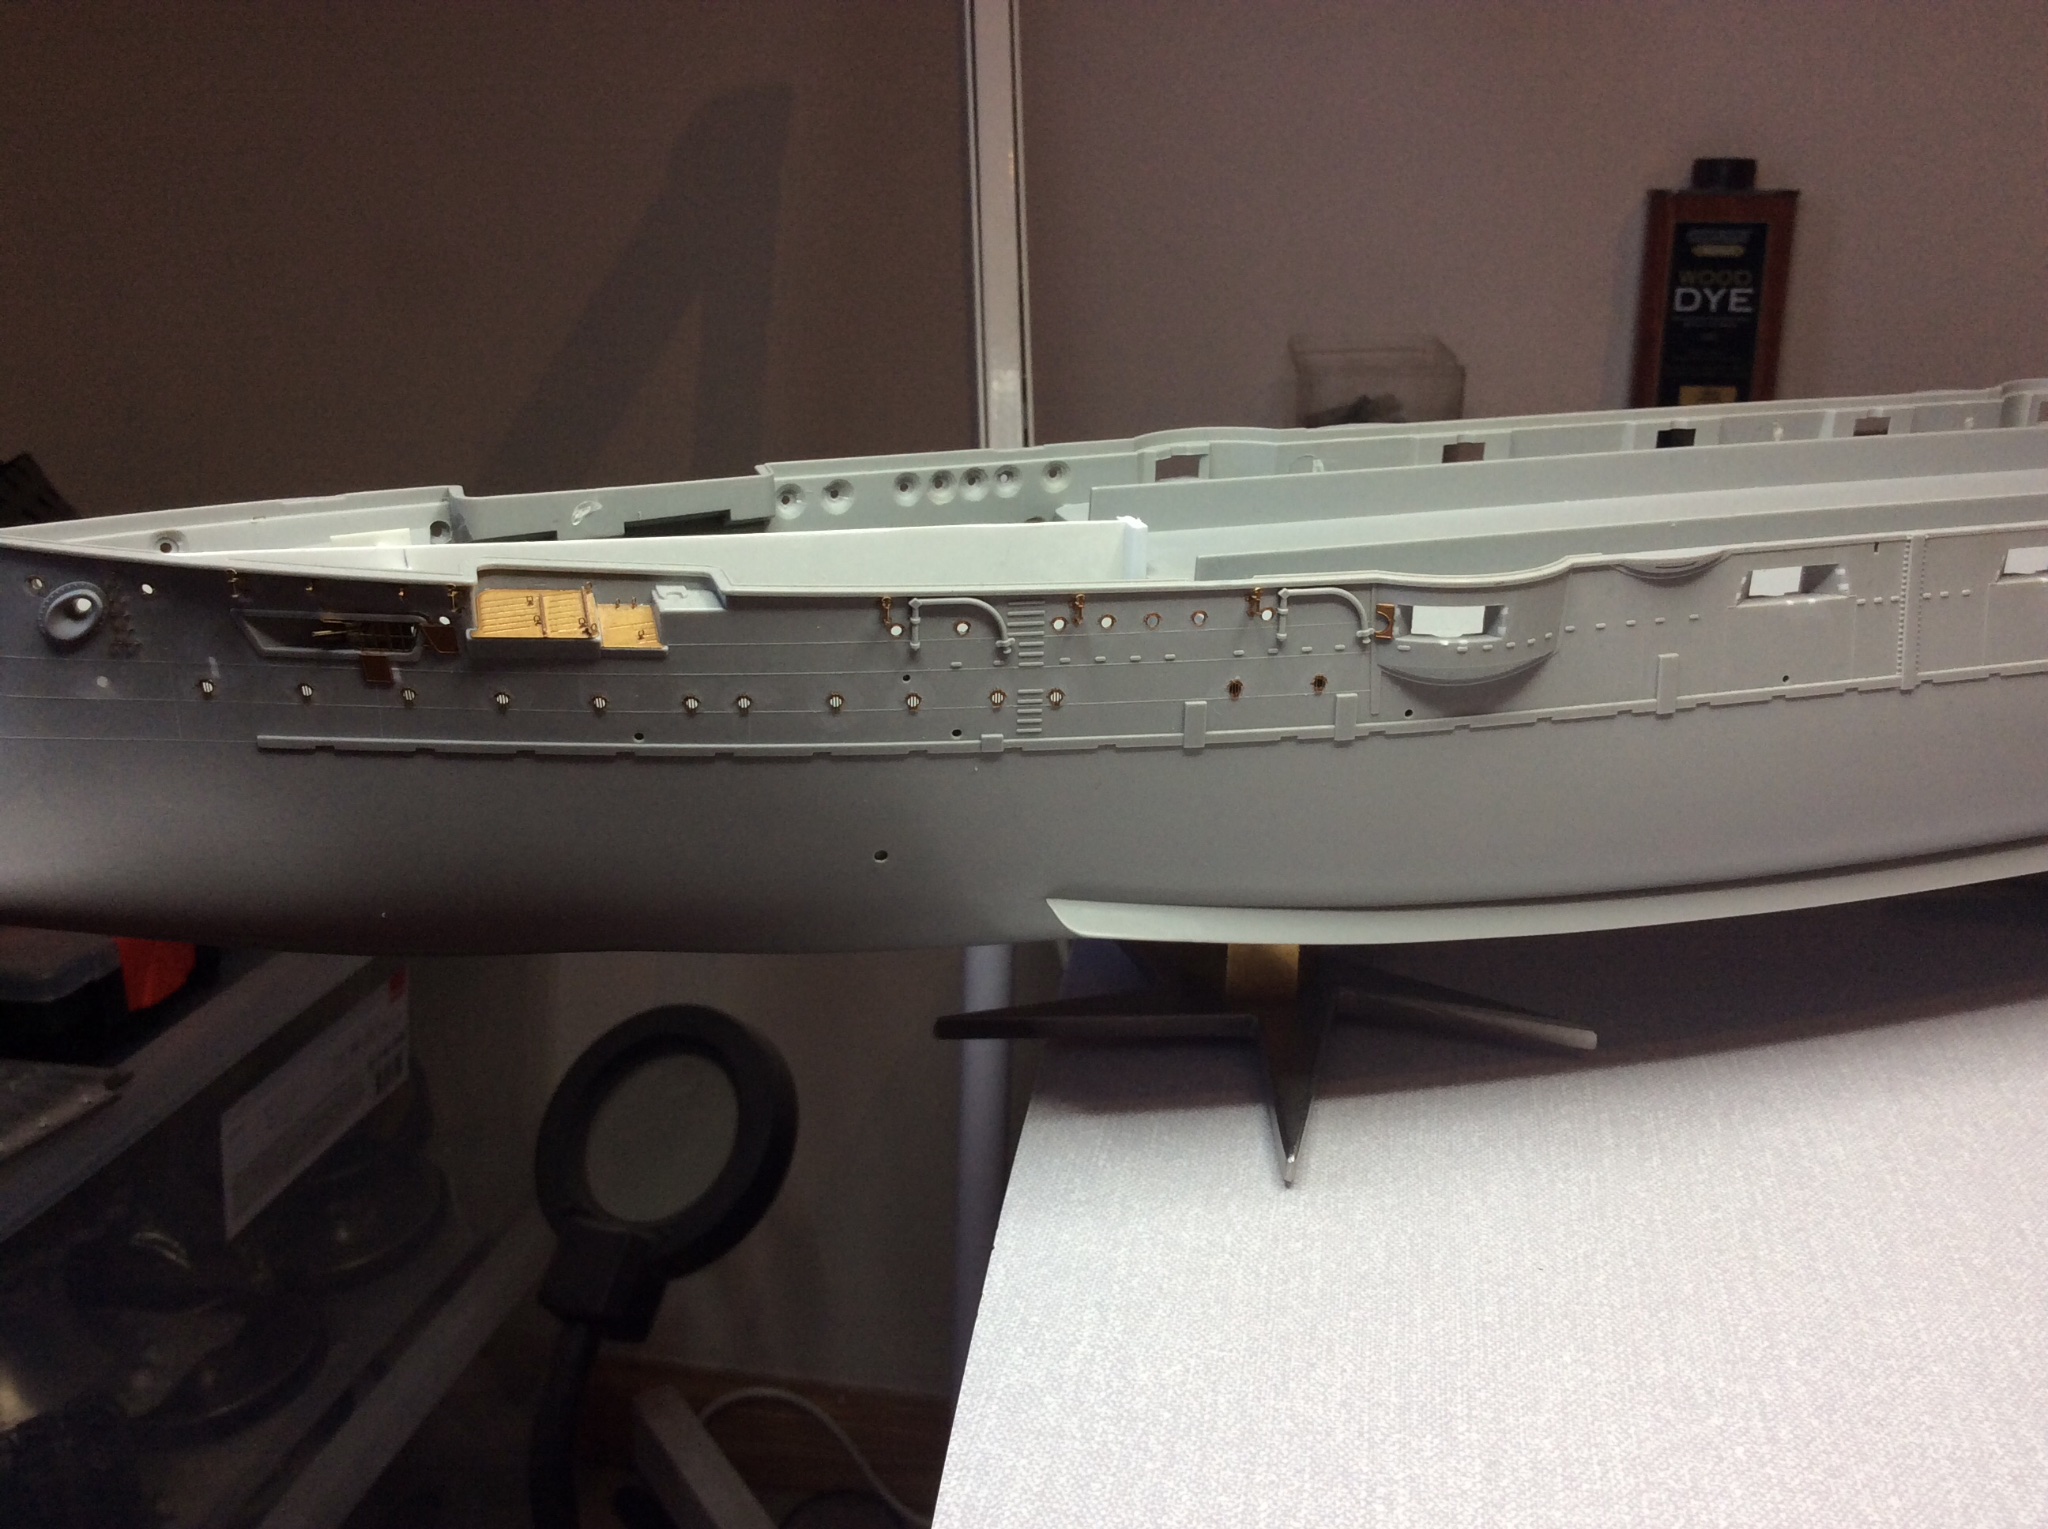
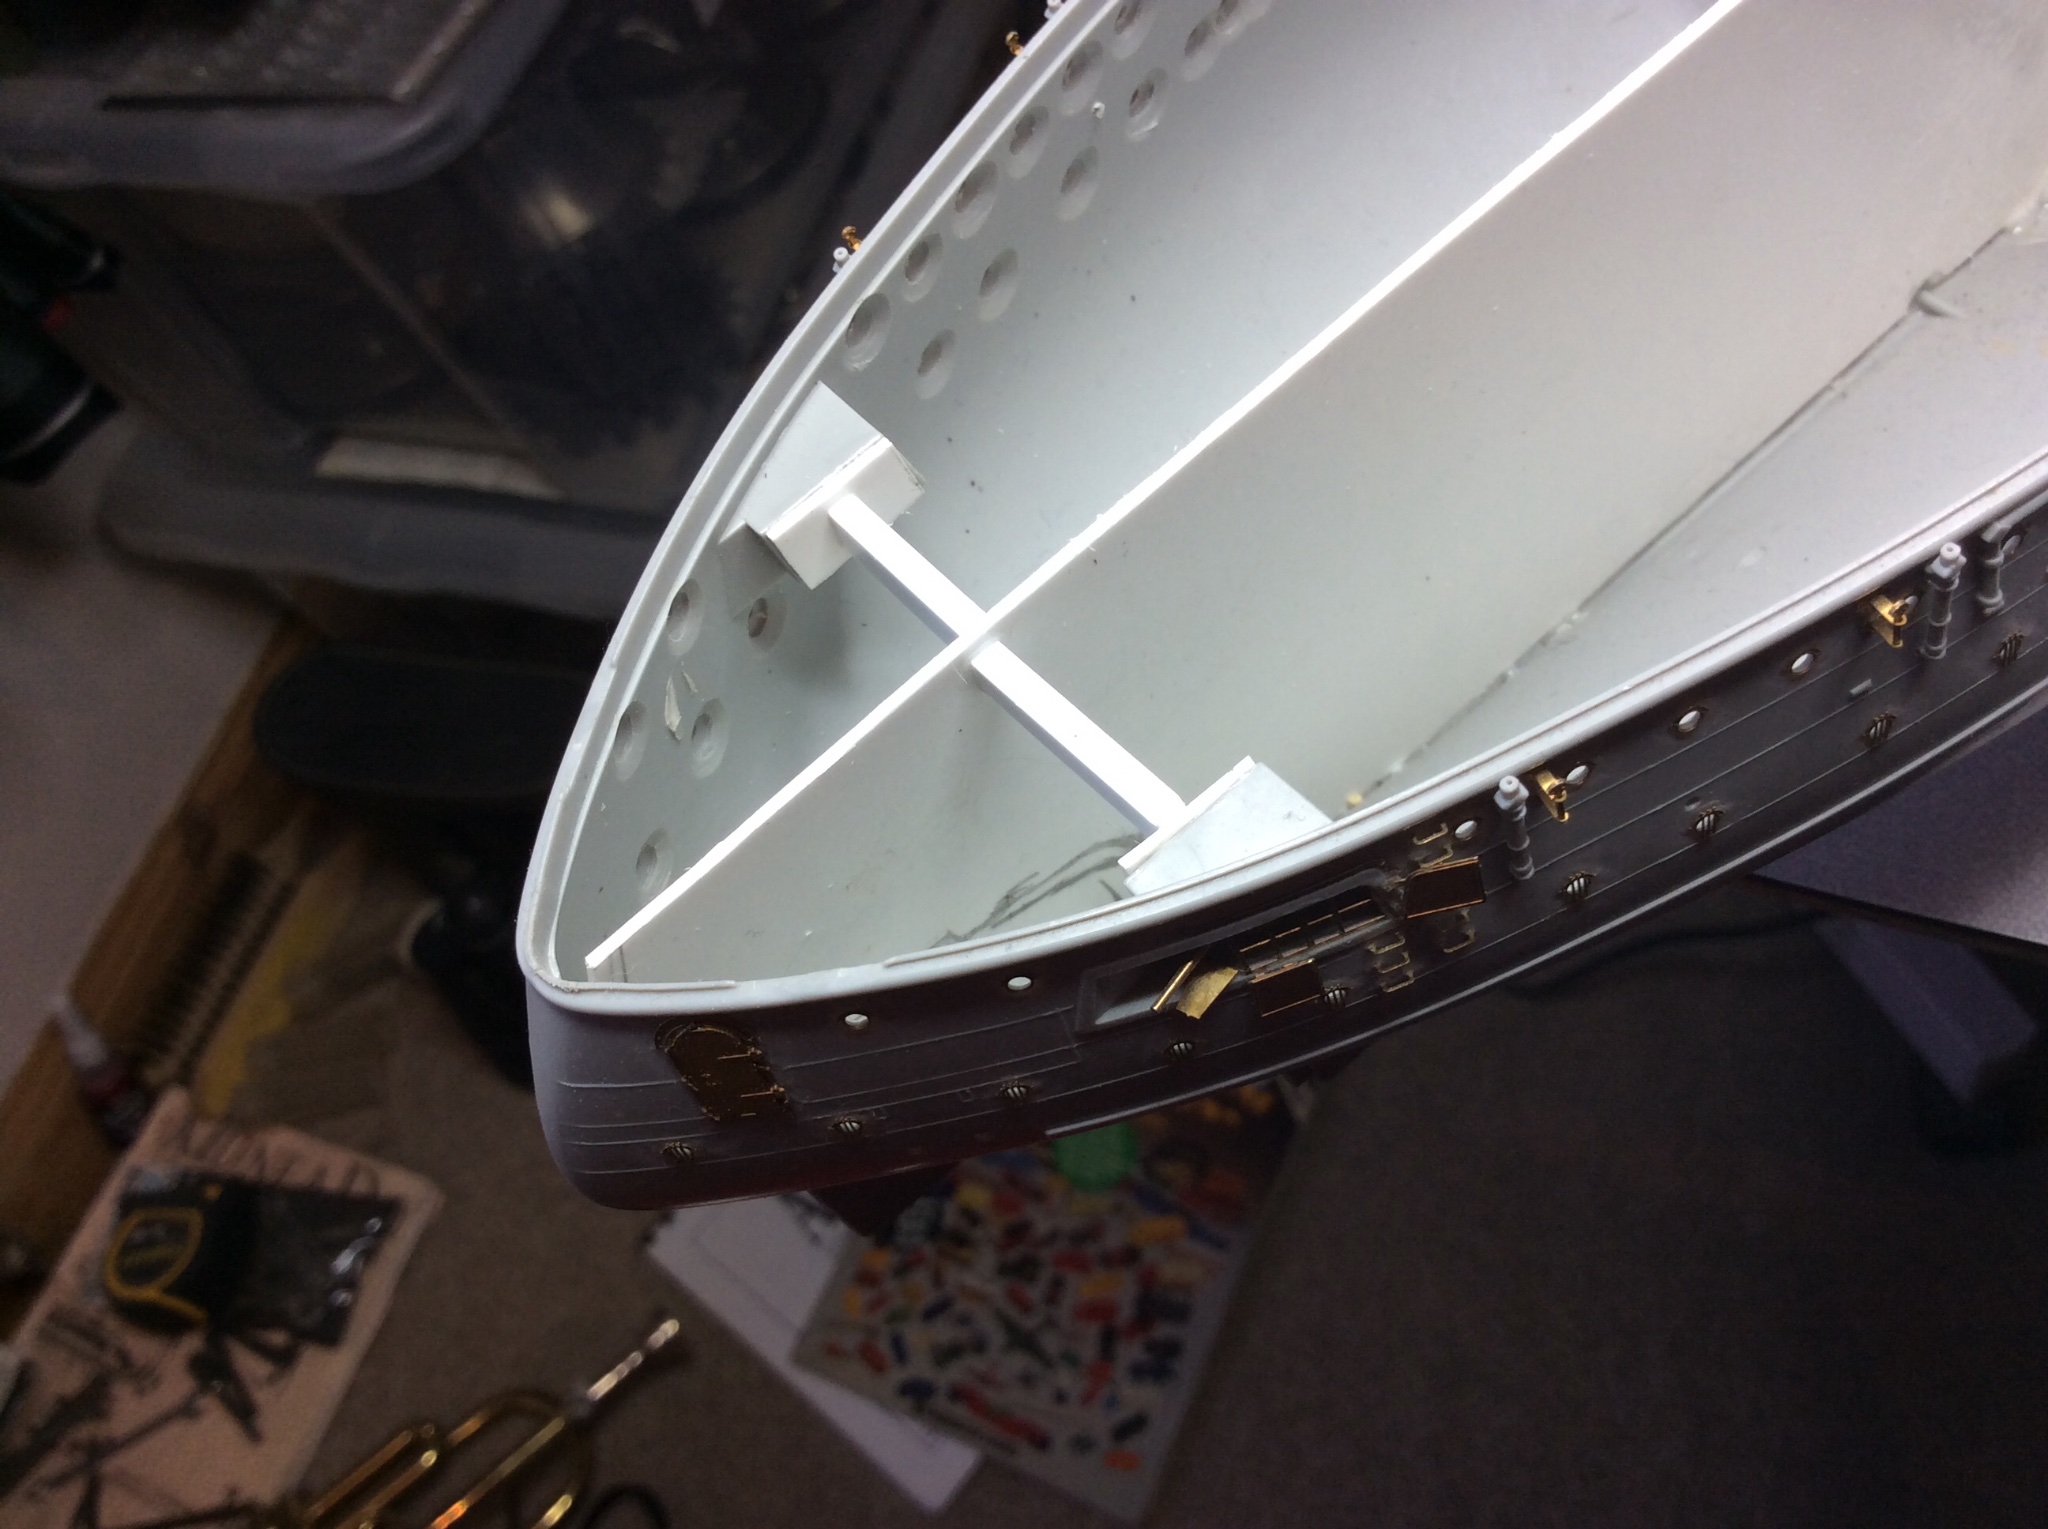
Was quiet at my work, trying to think of a homer, since didn’t have the Pontos pedestal stands, thought I might be able to make my own, came up with this graze set up, stainless steel and brass hex bar, has a 6mm plate inside, tapped for m6 bolt. You can see bits of plastic frame inside hull the metal plate then glued in place with some resin glue. Think I shall fold up a thin piece of metal sheet to form a channel just short of the waterline to allow for masking, this should let me set the model on its side whilst fitting photo etch and painting, also will protect the paint on hull bottom from handling. I plan to fit all the details and photo etch to hull before painting, then work on the main decks separate from the hull, with sub assemblies.


- GrandpaPhil, mtaylor, wemattson and 8 others
-
 11
11
-
On 1/17/2021 at 5:52 PM, Jeff59 said:
Hi fellow ship buffs and modellers, this is a first for me, so your patience and guidance needed probably by the bucketful!
I bought this model in my local shop in Edinburgh December 2018. I was directed there by my other half whilst she went Christmas shopping. Is there many of us who get away with languishing in a model shop while the Xmas shopping is getting done😀Anyway, I treated myself to this model, so starts this journey.
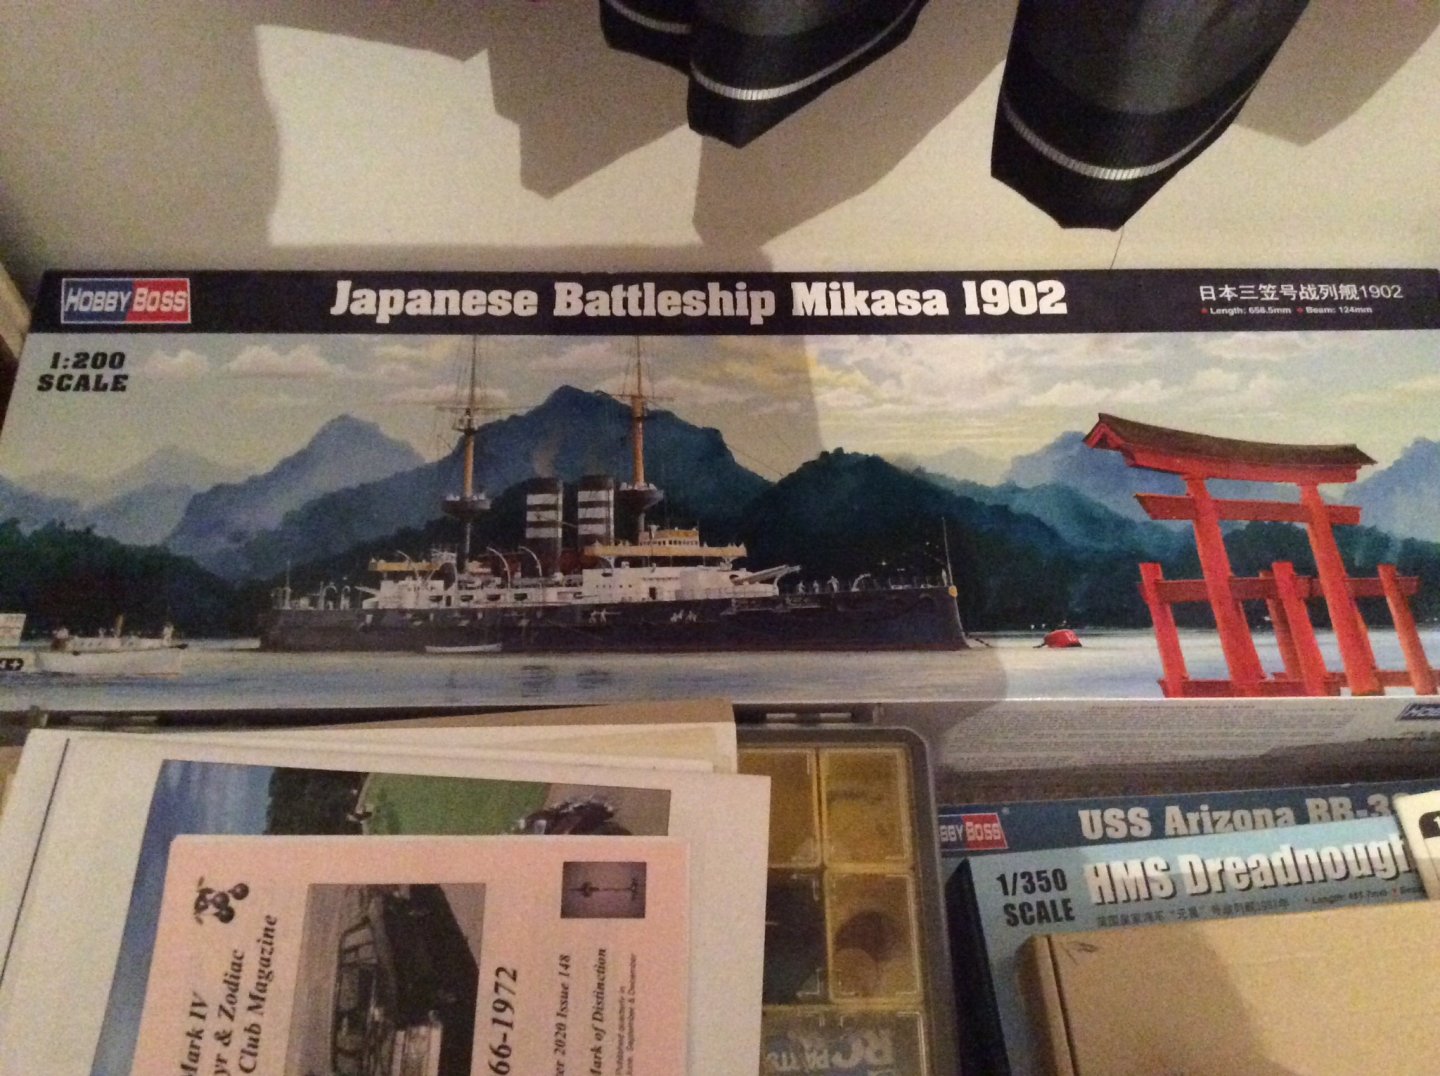
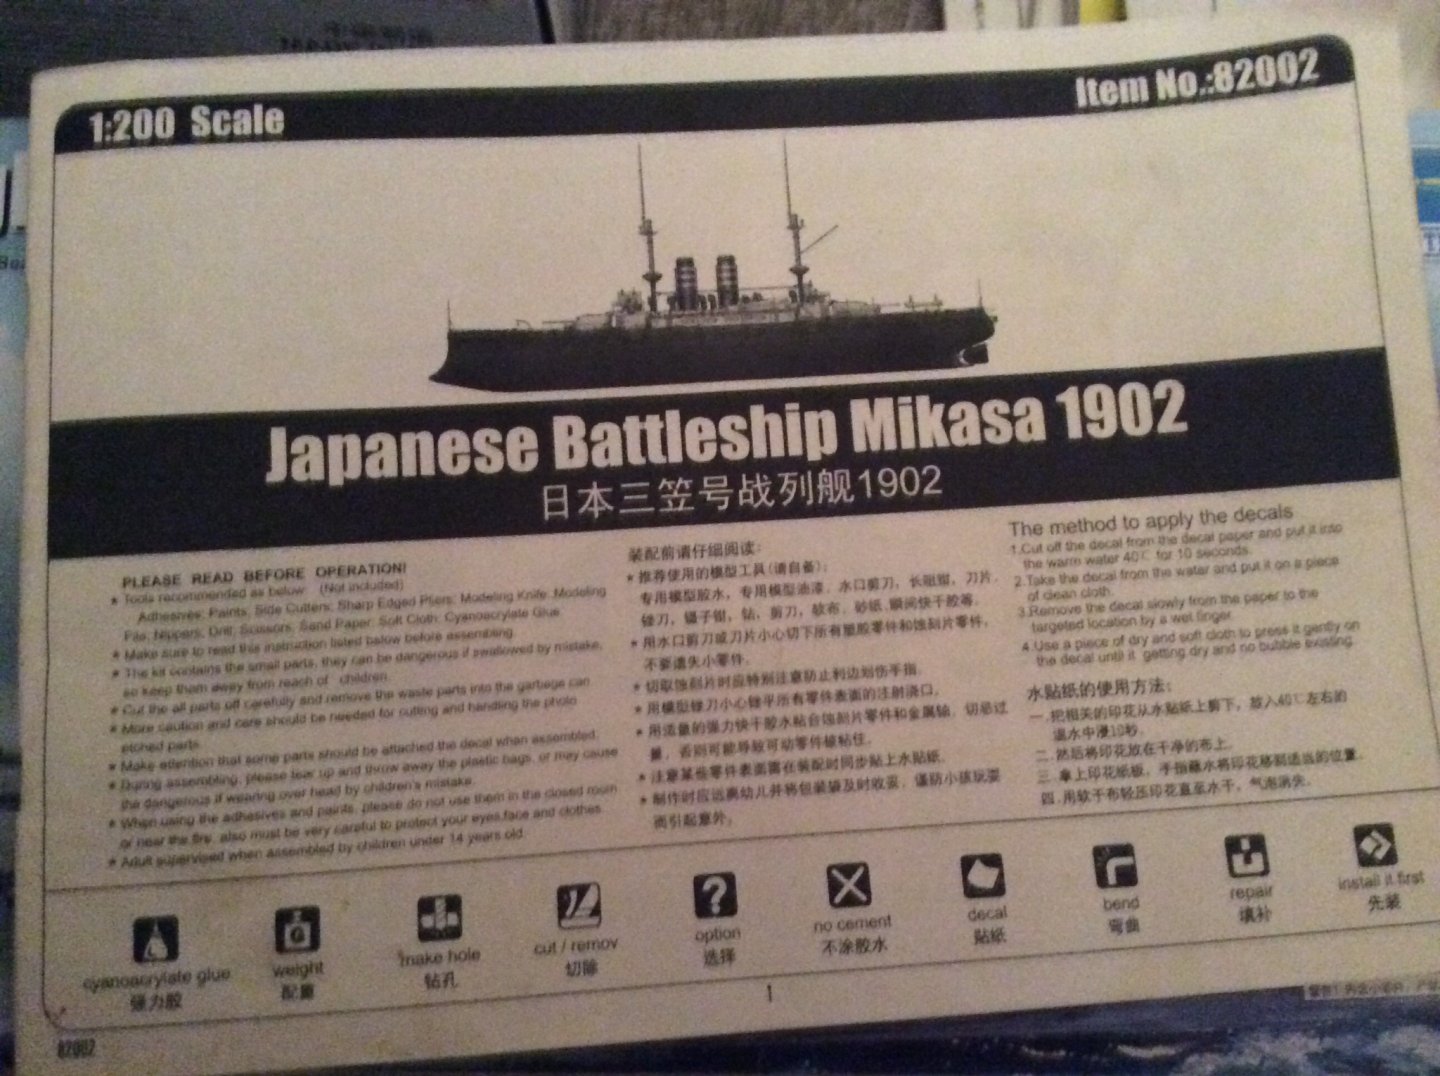
This version of the Mikasa is the 1902 Hobby Boss kit, the dark grey - light grey colour scheme, which I think is the most striking.
My usual approach at the start of a build is to drill the portholes out; my preference is to drill the holes from outside then countersink the holes on the inside, easier done with the hull in two halves. This is a slow process using a pin vice, finger covering the hole on the outside and you lightly work a larger bit from the inside until you can feel the bit touching your finger - then becomes a visual (and don’t drill my finger affair) until you get the desired effect. Although this is time consuming, it gives the desired effect of a porthole instead of looking into a hole. Which is much better if you are using fibre optics etc.
The hull halves went together reasonably well with the usual filling dressing gets a good result.
Probably at at this stage, I found the Pontos detail set online, which as we all know is an absolute must for ship modellers these days. I remember when they first came out in the early 80s I had a 1/350 set for Yamato - brilliant! Still have some if this set with the instructions. Gold medal models I think. Positively lego Like compared to what’s on the market now. 😂 Problem is, it must add about 2 years to a model build. Don’t actually know - never finished one! Here’s hoping I can change that. Incidentally got the Pontos set for Christmas 2019 I thin. Can’t remember.
Having found this web-site showing all the builds, this has inspired me even further. (I shall mention their builds later.) I am impressed with all the interaction and help on this site. You know what they say; you are never finished learning until you are 6 feet under!
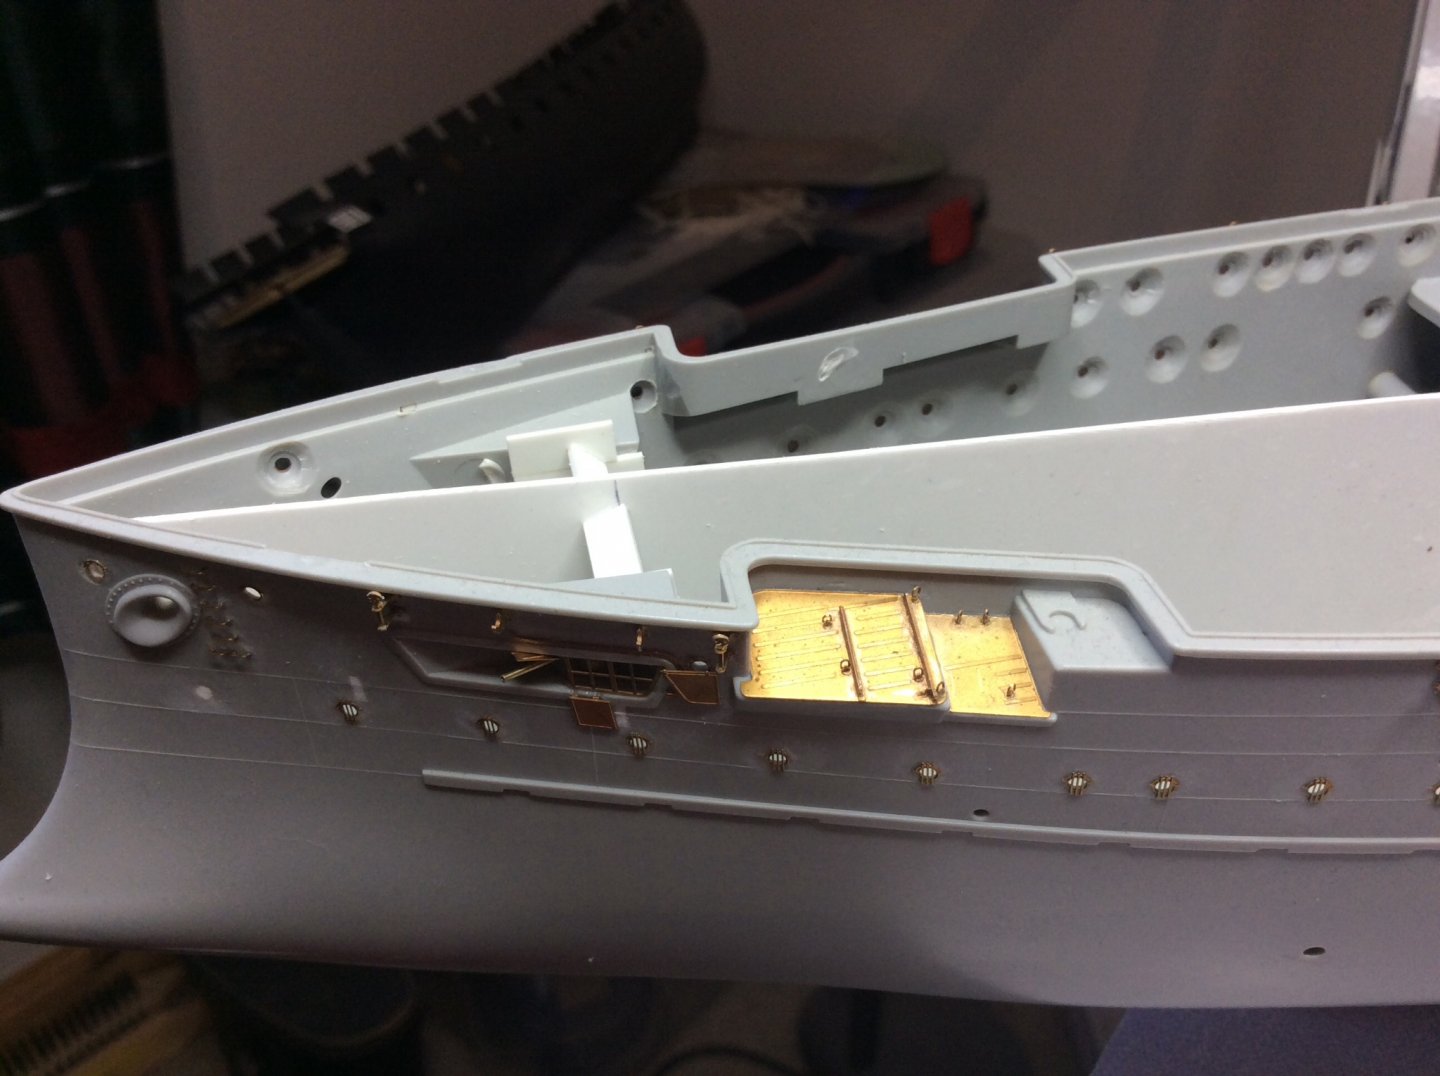
Anyway I started with the porthole etch to the hull. My advice- never hurry, treat every porthole as if it is a one off. Tricky trying to glue these; ended up with my standard practice with a small amount of glue on the end of fine tweezers, applied at the side of etch trying to tack it. Give it a few seconds until it has a hold, then work around the porthole to seal it on the hull. Less glue is best result. Then tidy up with a sharp blade when dry.
I shall stop at this point and pick up where I left off on my next post. I have a question, Is it alright to post photo of kit instructions as a reference to what you are trying to achieve?


D
- popeye the sailor, mtaylor and Canute
-
3
-
Hi fellow ship buffs and modellers, this is a first for me, so your patience and guidance needed probably by the bucketful!
I bought this model in my local shop in Edinburgh December 2018. I was directed there by my other half whilst she went Christmas shopping. Is there many of us who get away with languishing in a model shop while the Xmas shopping is getting done😀Anyway, I treated myself to this model, so starts this journey.
This version of the Mikasa is the 1902 Hobby Boss kit, the dark grey - light grey colour scheme, which I think is the most striking.
My usual approach at the start of a build is to drill the portholes out; my preference is to drill the holes from outside then countersink the holes on the inside, easier done with the hull in two halves. This is a slow process using a pin vice, finger covering the hole on the outside and you lightly work a larger bit from the inside until you can feel the bit touching your finger - then becomes a visual (and don’t drill my finger affair) until you get the desired effect. Although this is time consuming, it gives the desired effect of a porthole instead of looking into a hole. Which is much better if you are using fibre optics etc.
The hull halves went together reasonably well with the usual filling dressing gets a good result.
Probably at at this stage, I found the Pontos detail set online, which as we all know is an absolute must for ship modellers these days. I remember when they first came out in the early 80s I had a 1/350 set for Yamato - brilliant! Still have some if this set with the instructions. Gold medal models I think. Positively lego Like compared to what’s on the market now. 😂 Problem is, it must add about 2 years to a model build. Don’t actually know - never finished one! Here’s hoping I can change that. Incidentally got the Pontos set for Christmas 2019 I thin. Can’t remember.
Having found this web-site showing all the builds, this has inspired me even further. (I shall mention their builds later.) I am impressed with all the interaction and help on this site. You know what they say; you are never finished learning until you are 6 feet under!
Anyway I started with the porthole etch to the hull. My advice- never hurry, treat every porthole as if it is a one off. Tricky trying to glue these; ended up with my standard practice with a small amount of glue on the end of fine tweezers, applied at the side of etch trying to tack it. Give it a few seconds until it has a hold, then work around the porthole to seal it on the hull. Less glue is best result. Then tidy up with a sharp blade when dry.
I shall stop at this point and pick up where I left off on my next post. I have a question, Is it alright to post photo of kit instructions as a reference to what you are trying to achieve?
- Boydie, Tigerdvr, Ryland Craze and 15 others
-
18
-


HIJMS MIKASA 1902 by Jeff59 - FINISHED - HobbyBoss - 1/200 - PLASTIC
in - Kit build logs for subjects built from 1901 - Present Day
Posted
Thanks Wayne.