HOLIDAY DONATION DRIVE - SUPPORT MSW - DO YOUR PART TO KEEP THIS GREAT FORUM GOING! (Only 24 donations so far out of 49,000 members - C'mon guys!)
×


Jeff59
-
Posts
593 -
Joined
-
Last visited
Content Type
Profiles
Forums
Gallery
Events
Everything posted by Jeff59
-
Looking Brilliant Jolle notice how painting to look like wood gives more depth to the finished boat 👍 both look really nice and can agree with you on painting ropes on the outside as a game of patience and a steady hand, beginning to look like she’s not far away from completion 🤛 You’ll be proud of this when it’s finished and rightly so. Other week l managed to buy some nice hardwood for top part of display cabinet for my own Mikasa , so shall be getting in contact with my joiner friend to get this made, be clad when it’s fully closed in and don’t have to dust her, far too fragile. Have a great Xmas and an even better New Year when it comes and thanks for all your help and encouragement 🤛 🔔🍻
- 193 replies
-
- 2
-

-
- Russo-Japanese War
- Mikasa
- (and 2 more)
-
Scaledecks.com & Scaledecks.eu ... getting no reply?
Jeff59 replied to Zacharias's topic in Plastic model kits
Got to be the most difficult company to purchase from. -
Scaledecks.com & Scaledecks.eu ... getting no reply?
Jeff59 replied to Zacharias's topic in Plastic model kits
-
Looking brilliant Jolle, wish l had half of your painting skills, truly a great talent. 🤛
- 193 replies
-
- 2
-

-
-
- Russo-Japanese War
- Mikasa
- (and 2 more)
-
Love how you pose the figures Jolle, they all look like they are actually doing something, works a treat, your detailing is brilliant and your painting skills amazing, doesn’t leave much room for improvement does it 😂 very impressive skills make for a very impressive model 🤛
- 193 replies
-
- 2
-
-
-
- Russo-Japanese War
- Mikasa
- (and 2 more)
-
Thanks for having a look Nirvana, new there was issues with the hull back when kit was released, and when l purchased it and looked at the hull line especially at the bottom aft was quite obviously not the right appearance, it was only when l started marking of the hull plating and becoming familiar with the flat bottom layout that l decided to fix this, never done this before so just winging it really, like a cat, seem to have landed on my feet 😂 well that’s the worst part improved so my confidence is better now, think l am going to enjoy moving forward, all be it at a slow pace. Thanks again Jeff.
-
Thanks for that Jolle, shall investigate both, if l had known Micromaster did this would have ordered them last week, just ordered the main turrets from them in the right configuration for Bismarck on commissioning day, that’s my Xmas press from Jaqueline, be a test of will power not opening this till Xmas day when they arrive 😂 thanks again Jolle. 🤛
-
Brilliant, love it, just so much dedication and skill. Unbelievable 🤛
-
So am l Jolle, especially since this part is mostly past, great to be moving on to a different task well same but different if you know what l mean. Have managed to purchase and am in process of purchasing more Veteran models sets for her, should try the distefano.com site, sure you’ll find this another good source for future products, some of the 3D print is not up to scratch and other bits are definitely worth a shot, don’t think anyone is going to improve on Micromaster though, its in the name, master 🤛 will need a little help from you with where you purchased the anchor chains for your Bismarck build, they look like a definite for me. 👍 thanks again Herby, just kidding Jolle. 😂
-
Thanks Winnie, appreciated. Funny thing, l also have this in collection to build, think l will have to made immortal to complete my collection 😂 Am sure you will bring this back to life, Hoods a nice looking warship for me. 🤛
-
Seen your comment on herby’s build log before l realised my mistake, the post was on the mast build so never seen the rest of log, see when you get to my age gives you an excuse for being daft 😂 on your build not herby’s 😂 the rear Bridge had me chopping and changing quite a few times, trying to get the orientation correct with what side the ladder goes on, what window face forward and rear and what way to set up upper compass, bit of a minefield here 😂 🤛
- 193 replies
-
- 2
-
-
- Russo-Japanese War
- Mikasa
- (and 2 more)
-
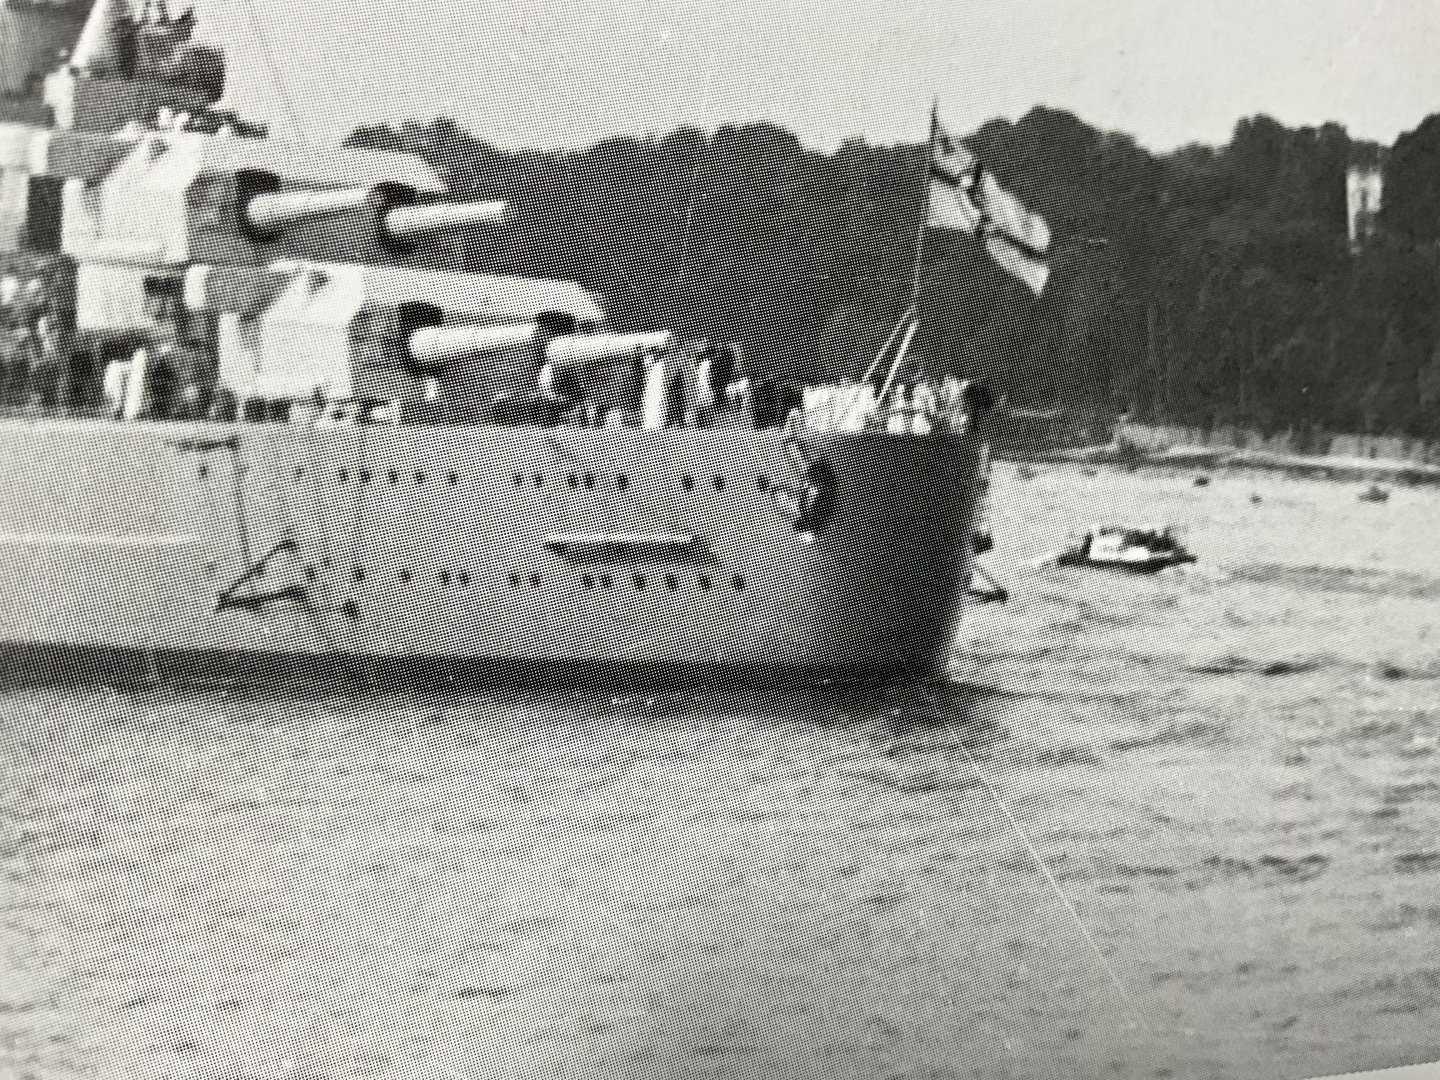
Sorry Herby getting mixed up , having two Mikasa builds so close together must be quite rare but the complement still stands, also noticed the work on the funnel 👍 have to say l thought those etched funnel cop grills a sod to put together so well done on that, you’re model has certainly come on a lot since the last time l viewed, guess you’ve just joined the slow build club 😂 The idea with the fine wire for rigging attachments, excellent 🤛 bet you end up same as me, cross eyed trying to scan old photos of early Mikasa , trying to work out where the rigging should go. Good to see it moving forward and apologies for that mix up. That’s two l must follow now 😂
- 143 replies
-
- 4
-
-
-
- Mikasa
- Merit International
- (and 1 more)
-
I remember it being murder to fit the etch guy lines in place 😳 every time you move on to a new part the memories come back, think l might be mentally scarred by this model 🤪 great job Jolle, onwards and upwards 😂👍
- 143 replies
-
- 2
-
-
- Mikasa
- Merit International
- (and 1 more)
-
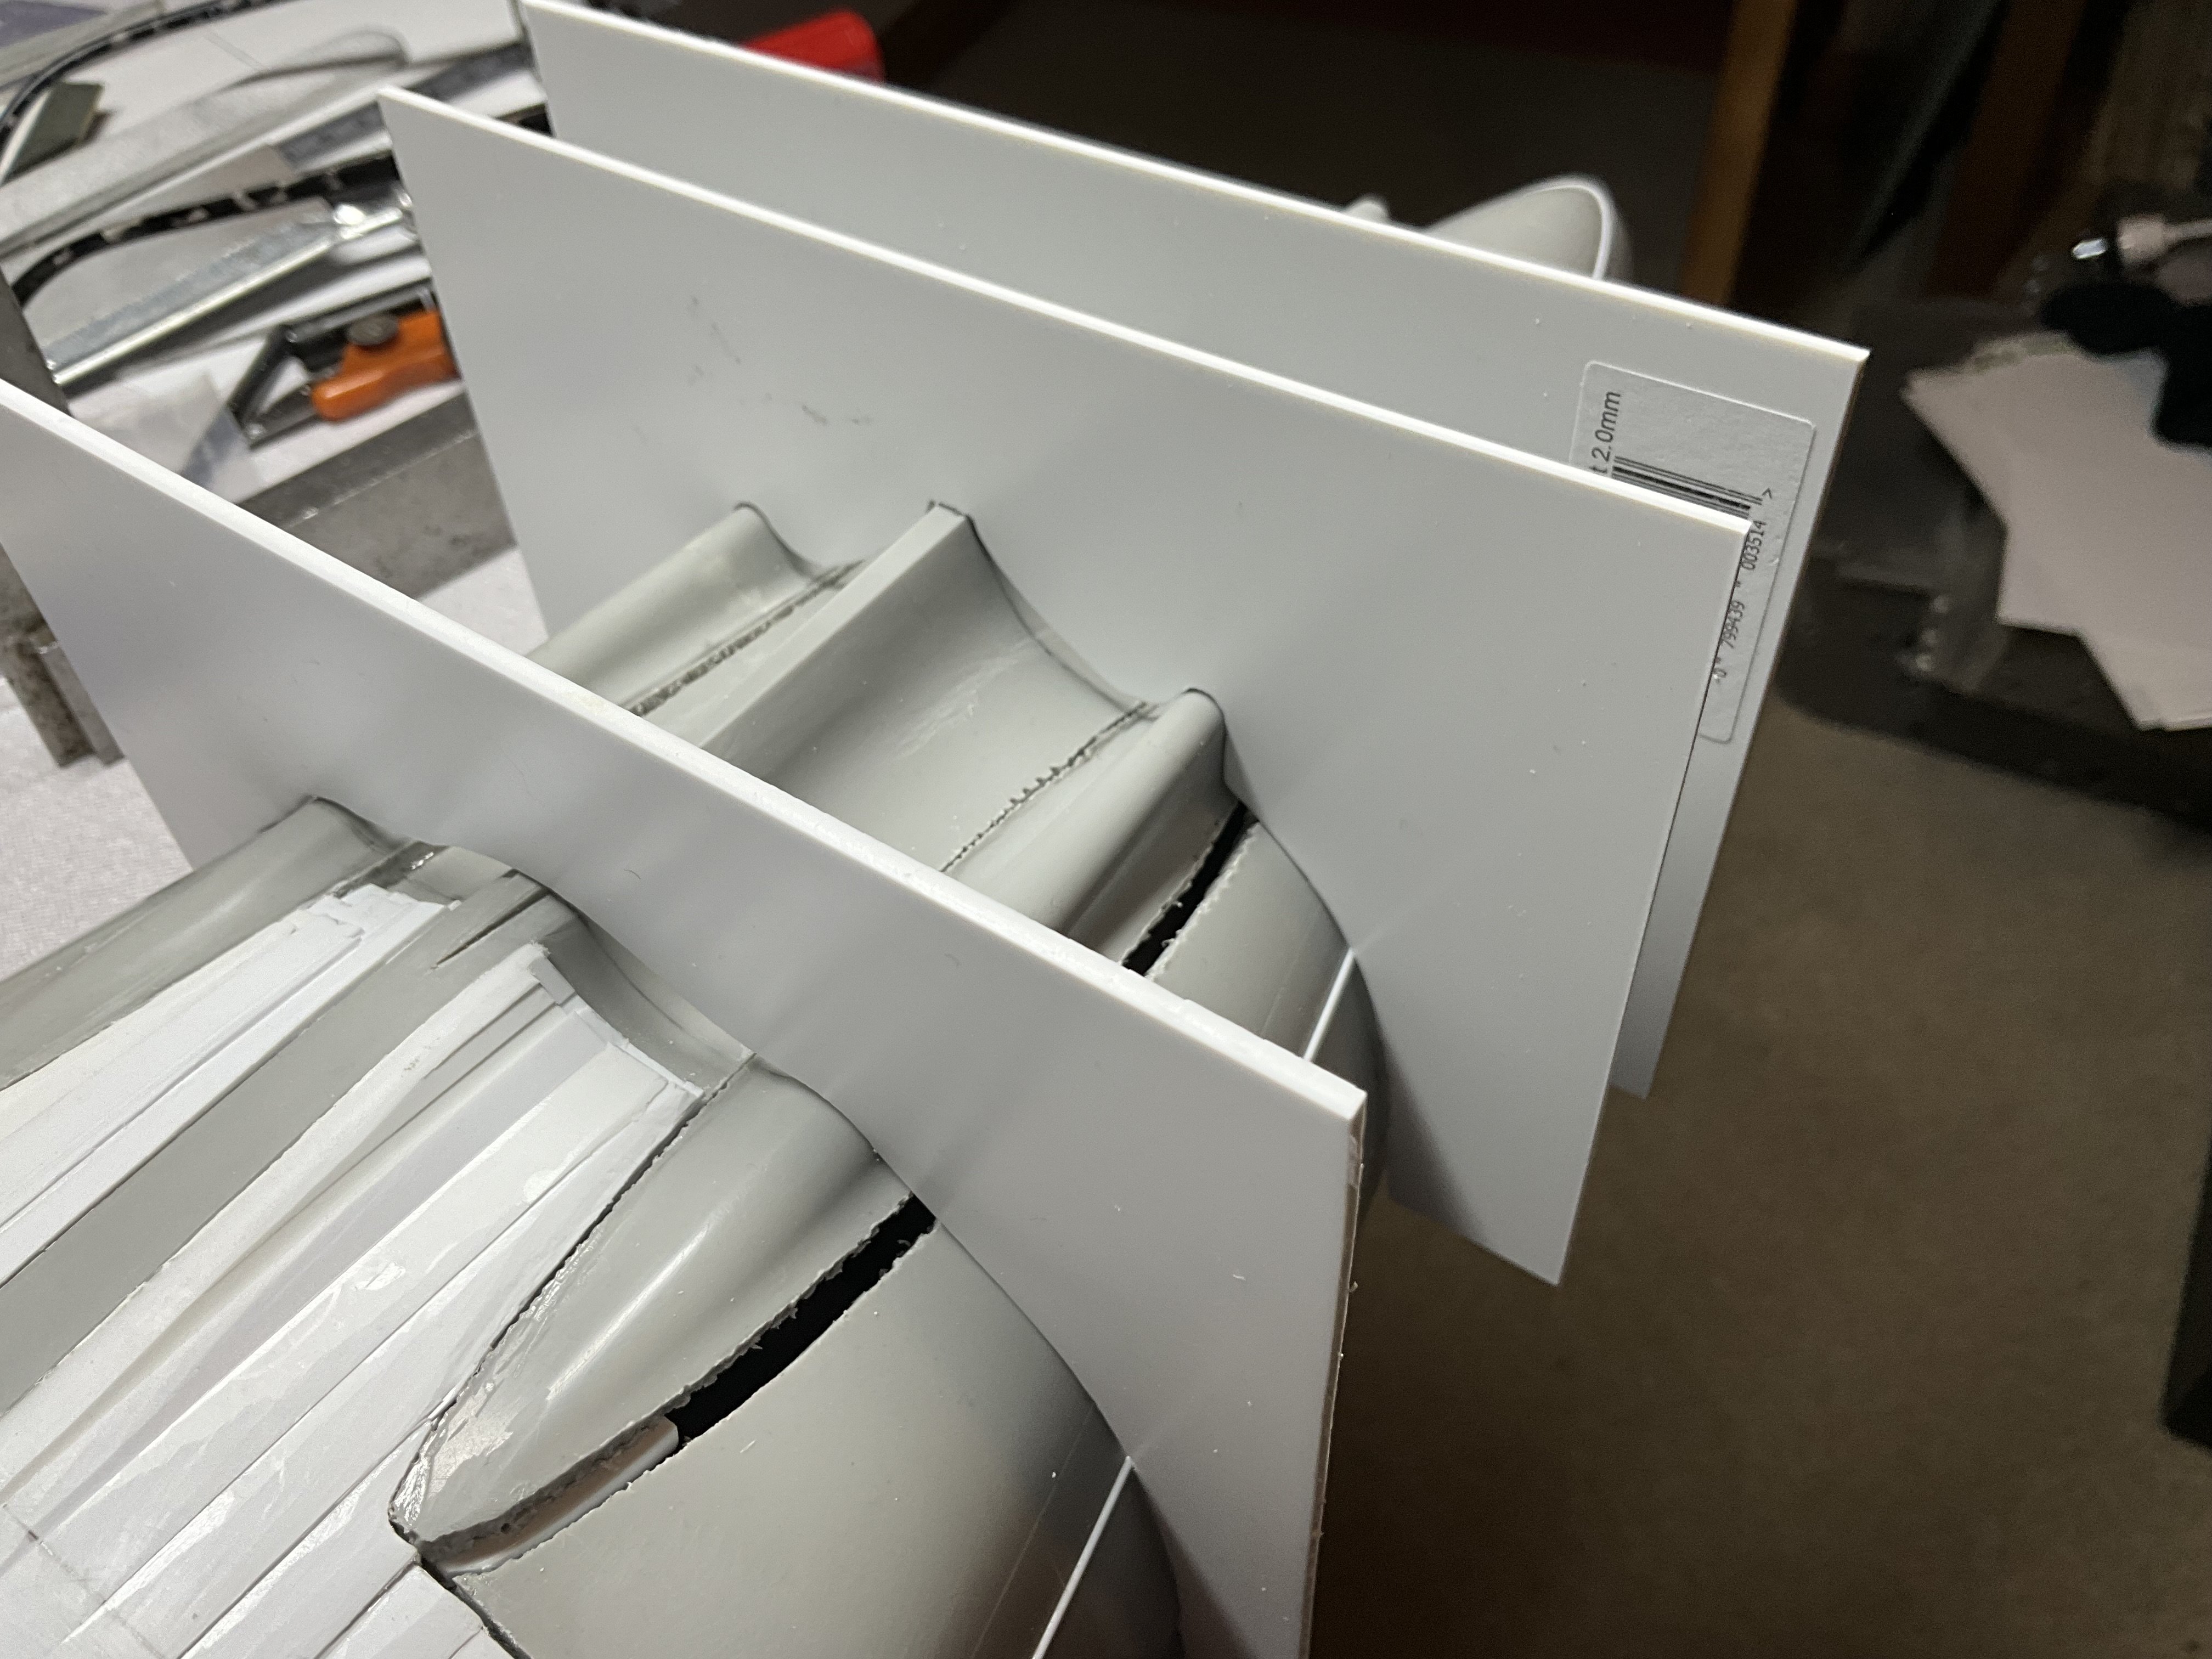
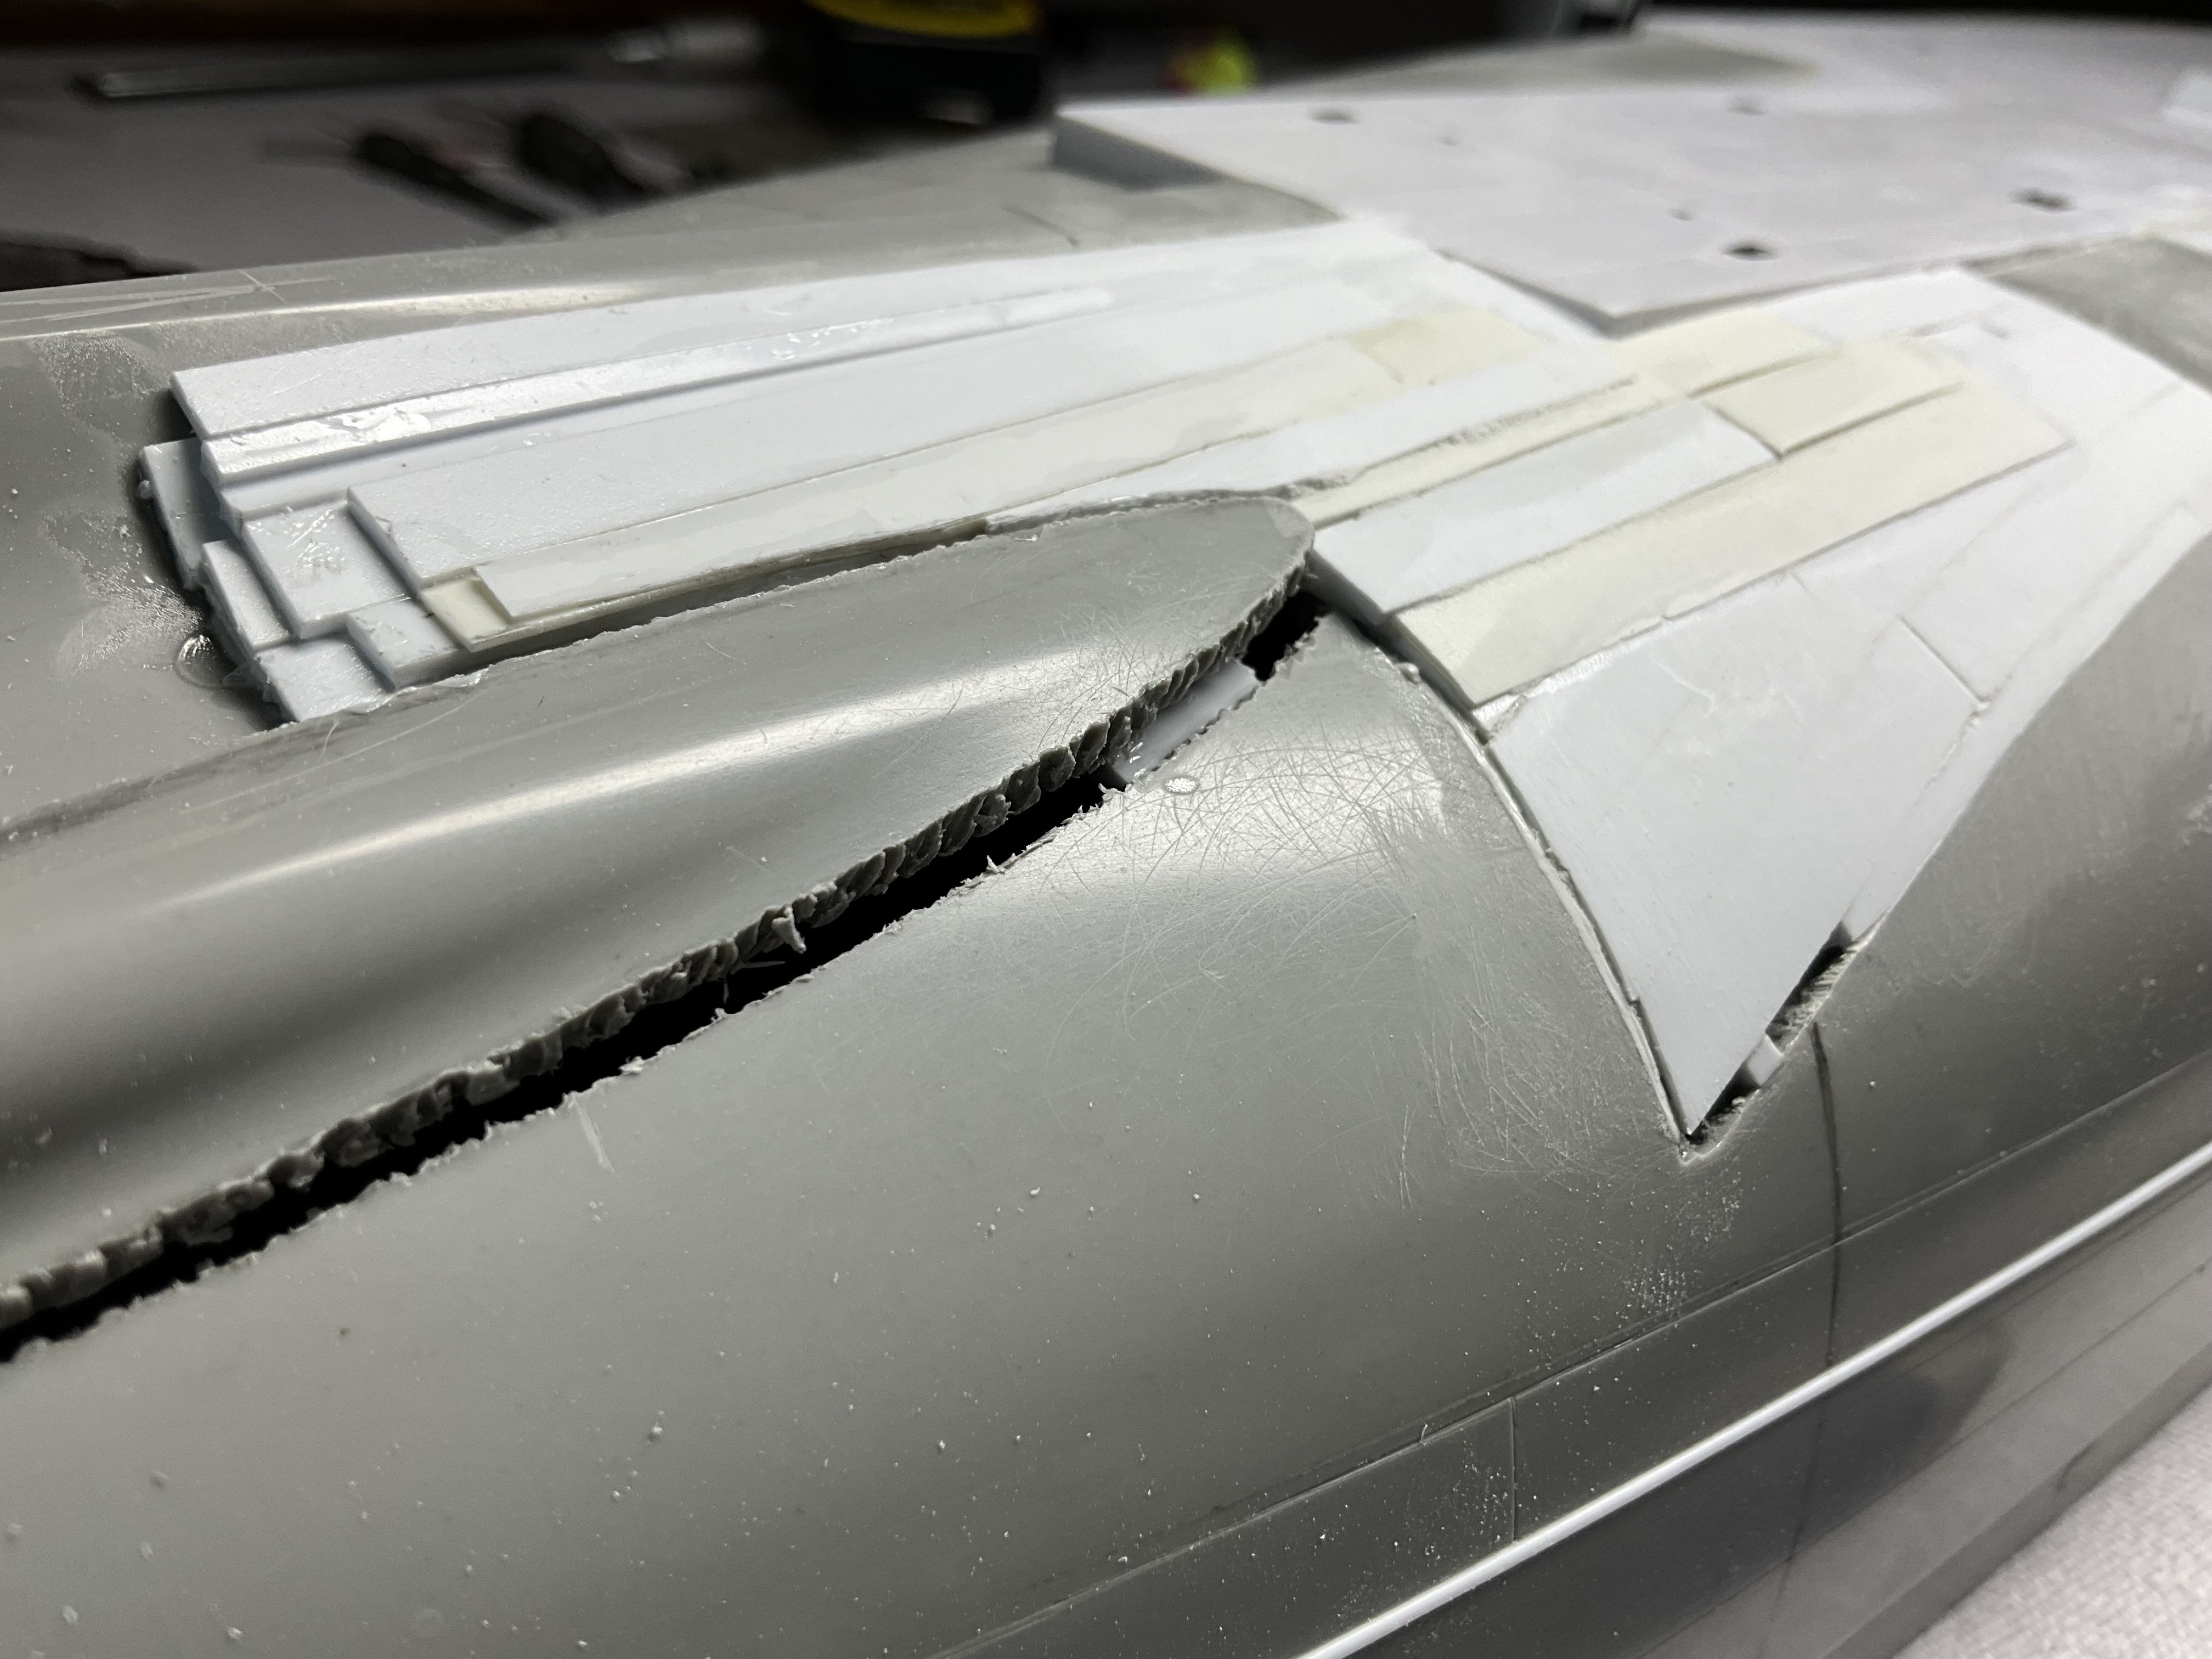
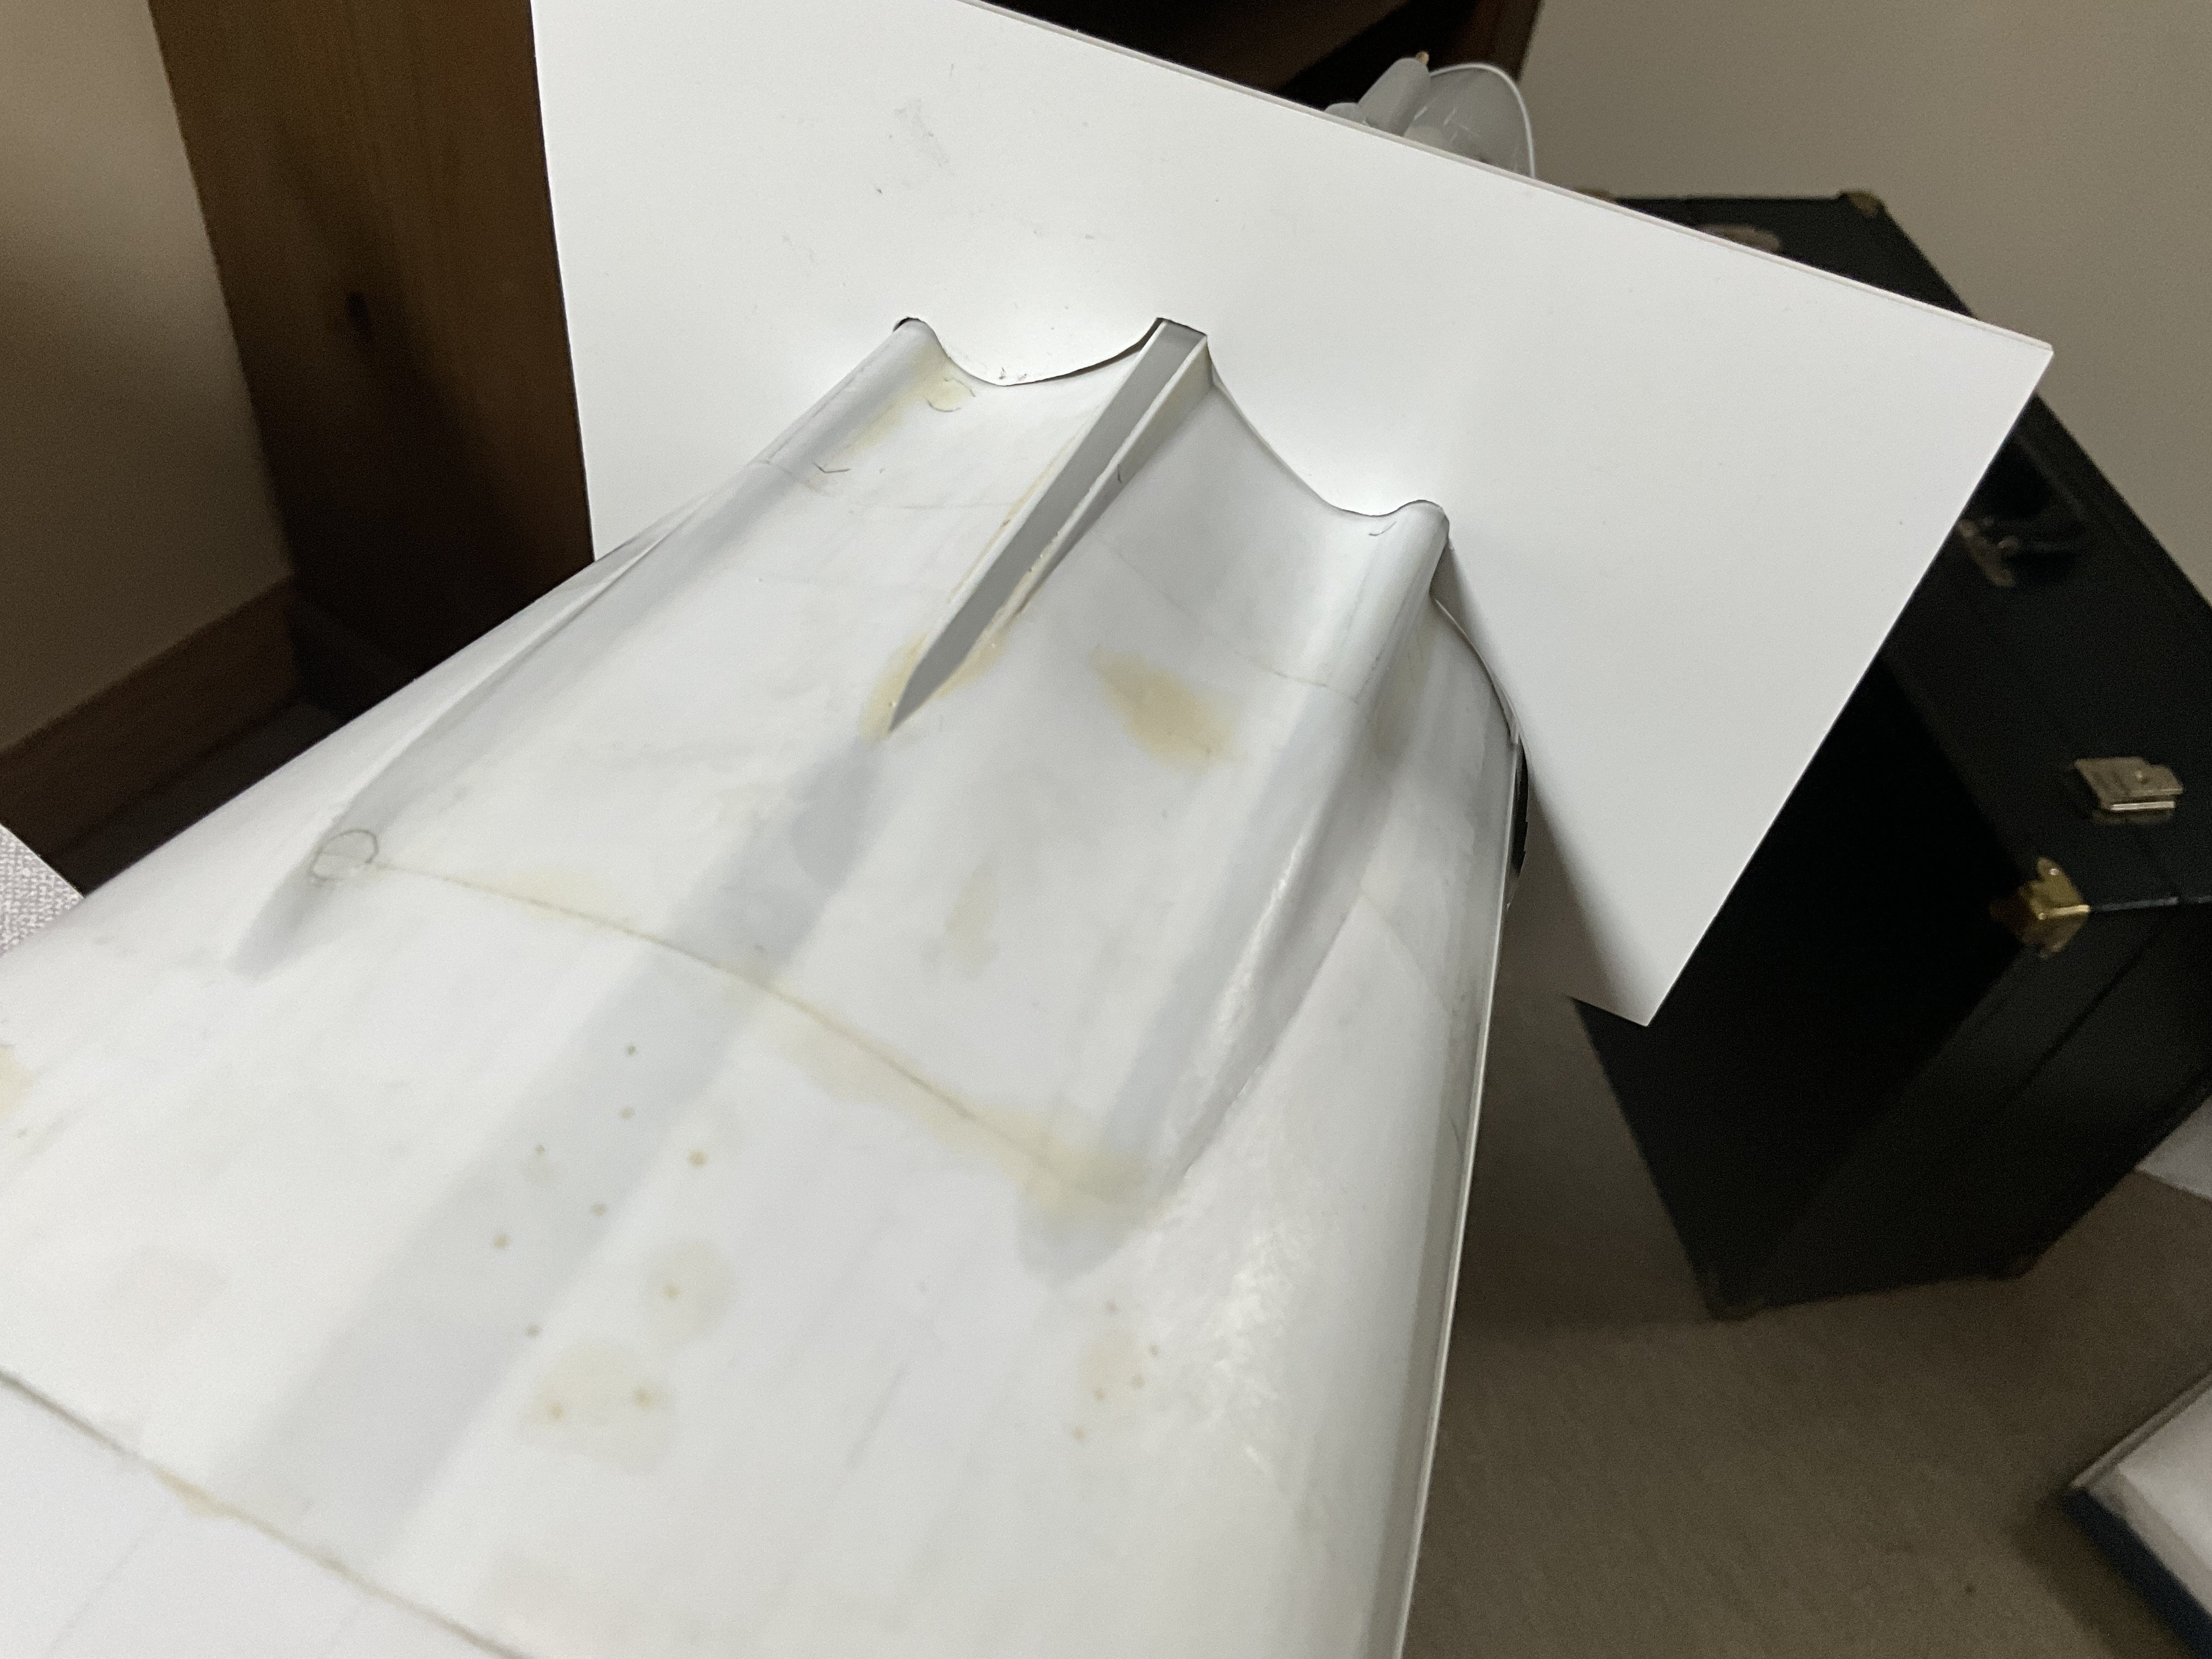
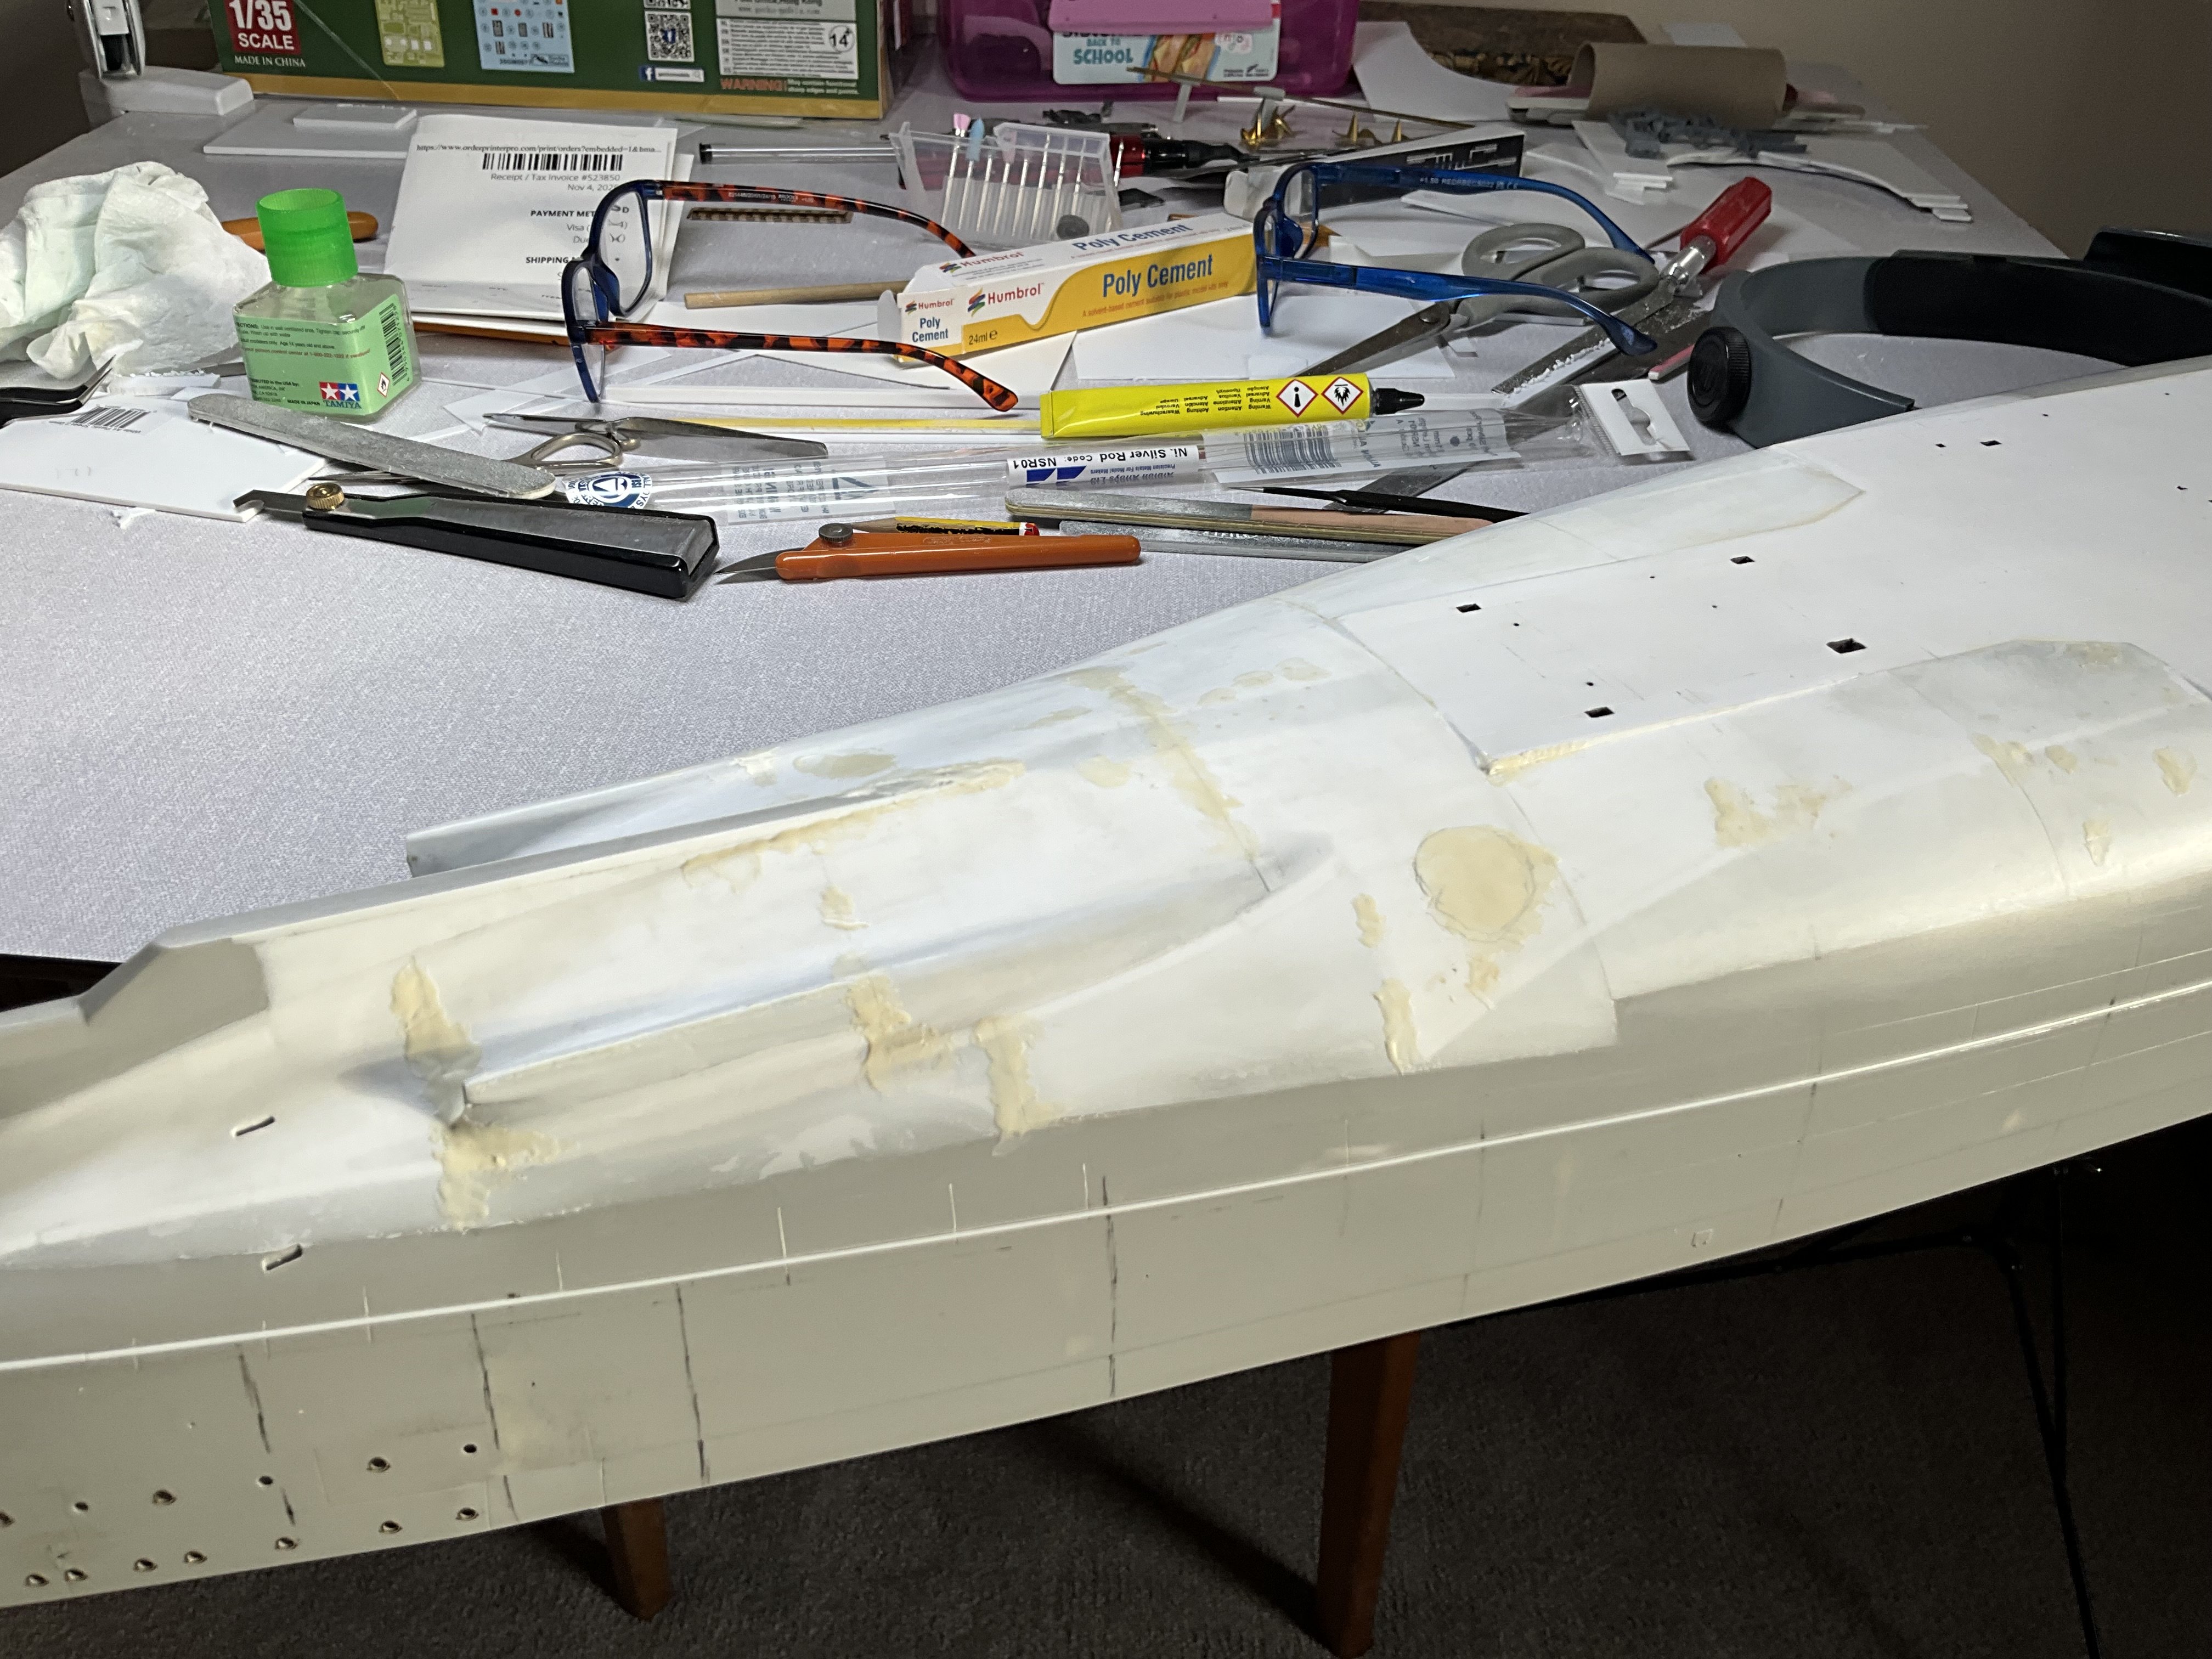
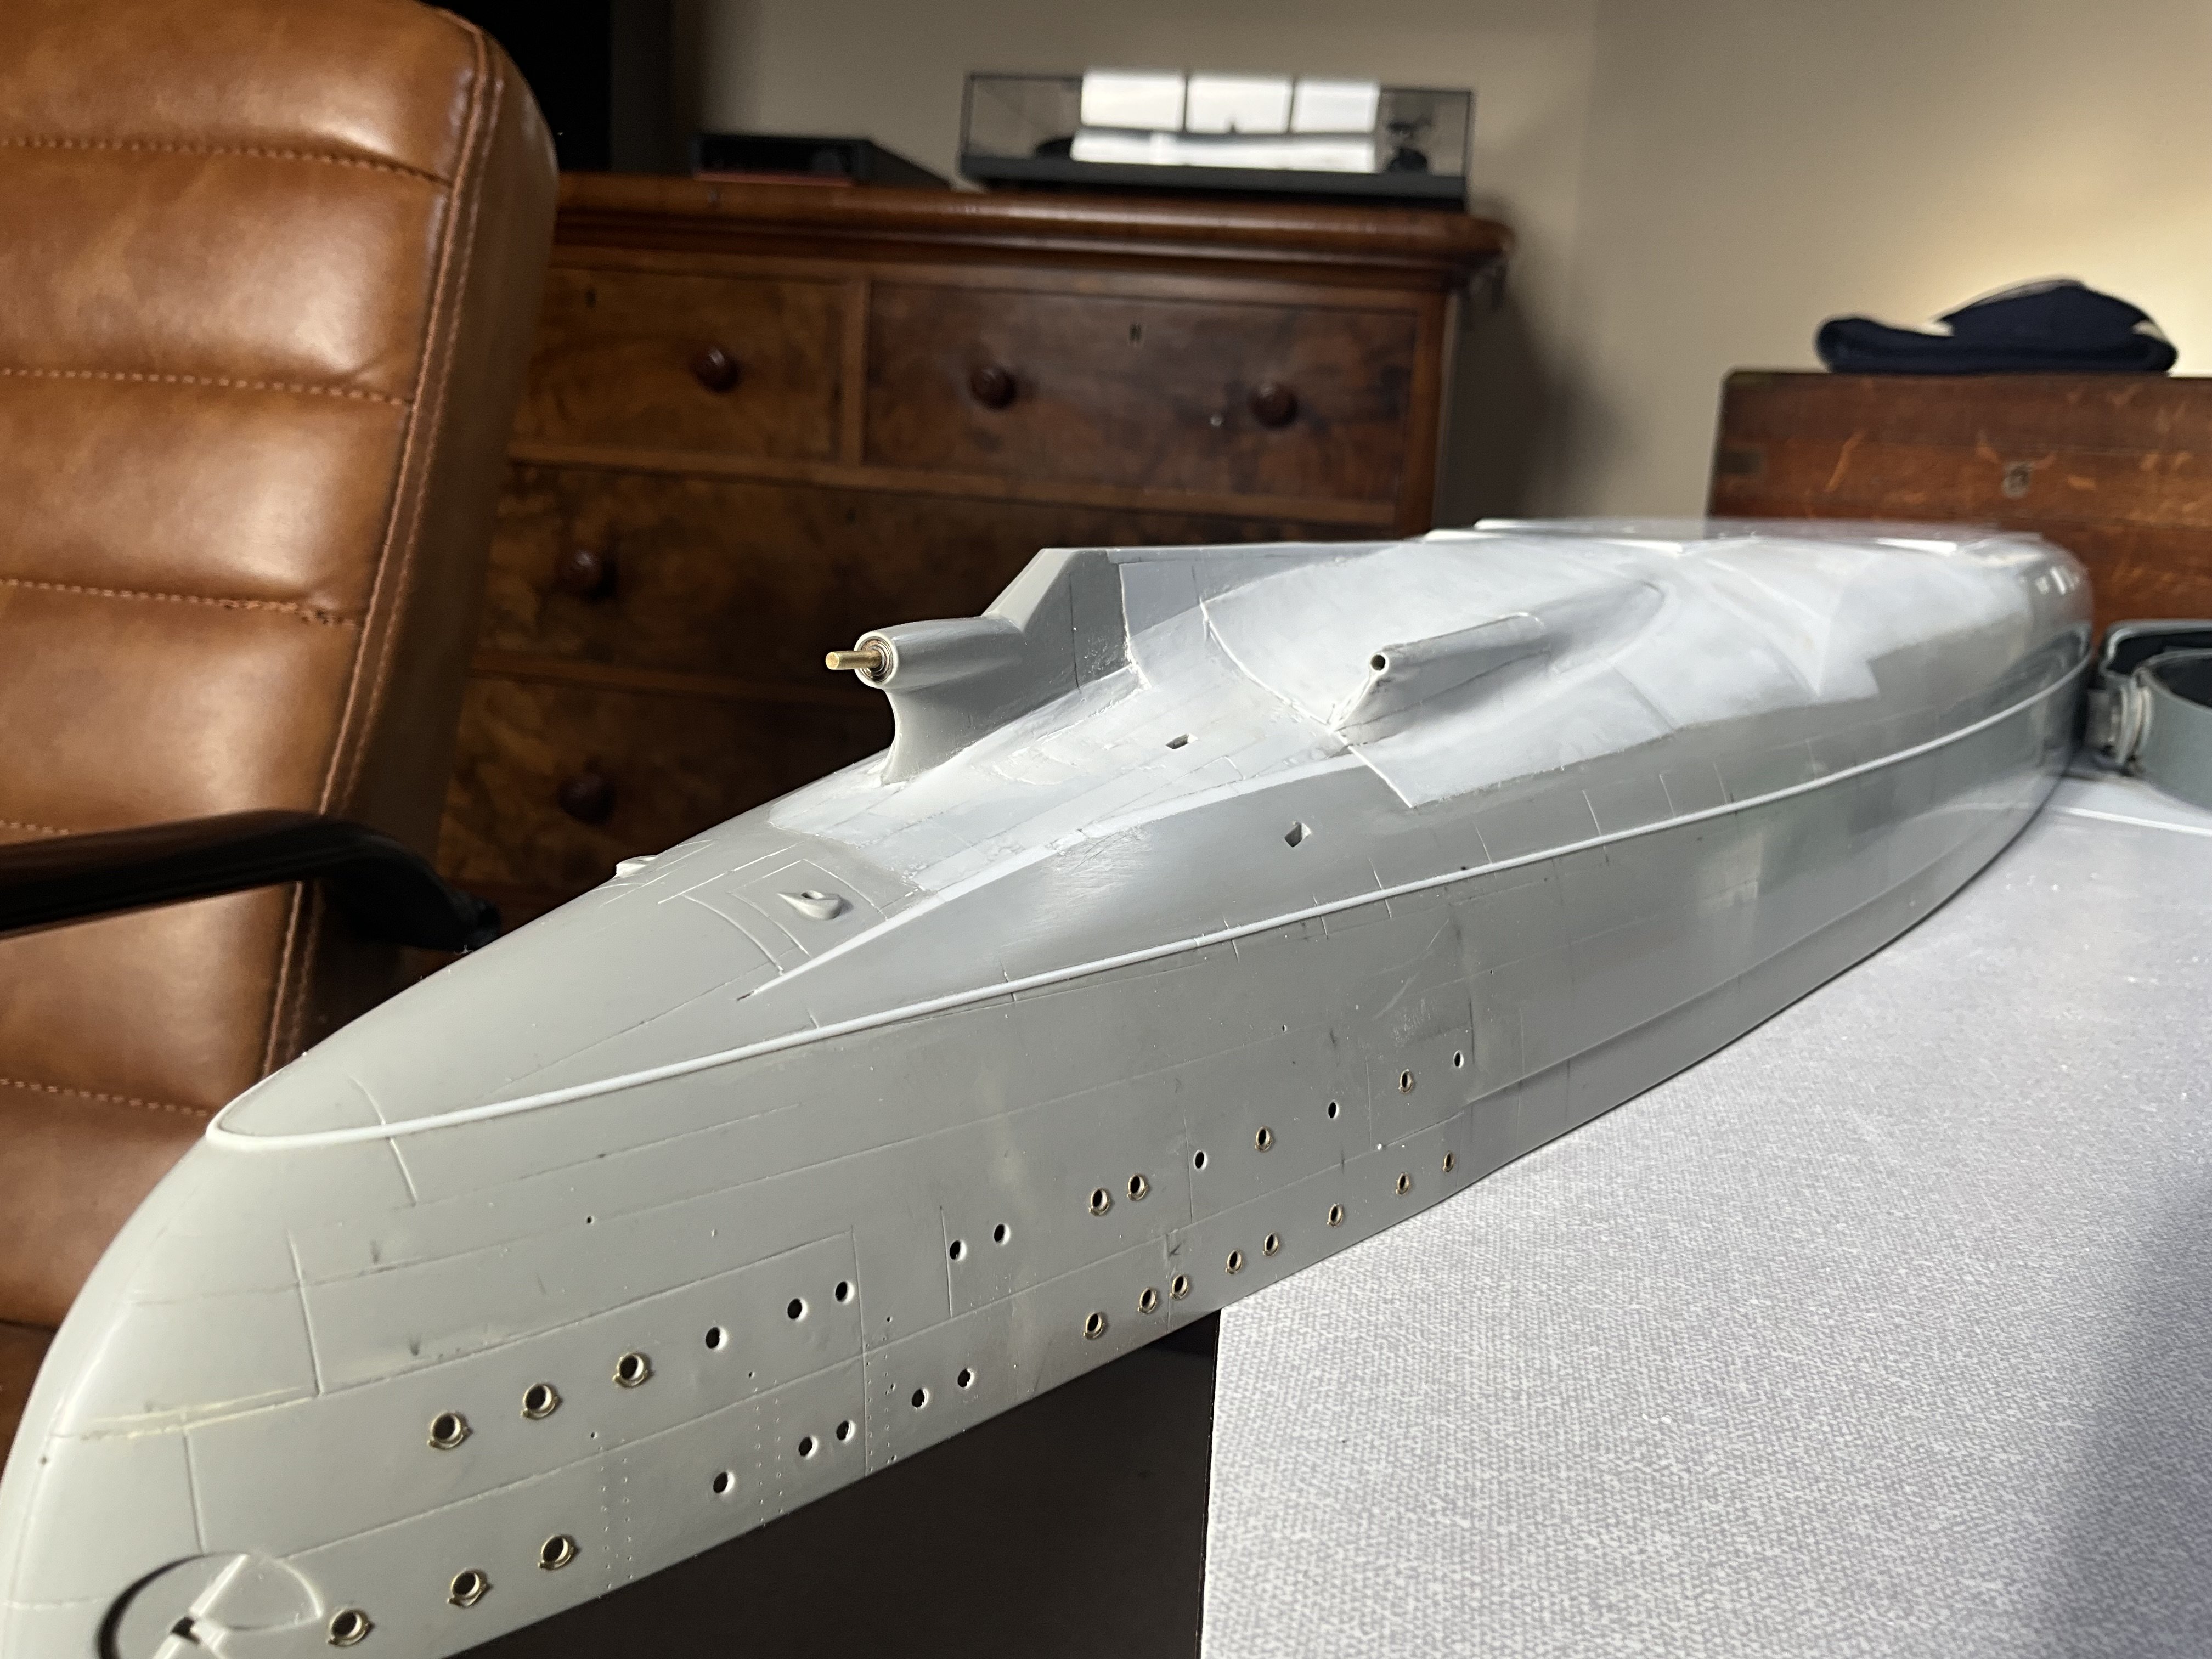
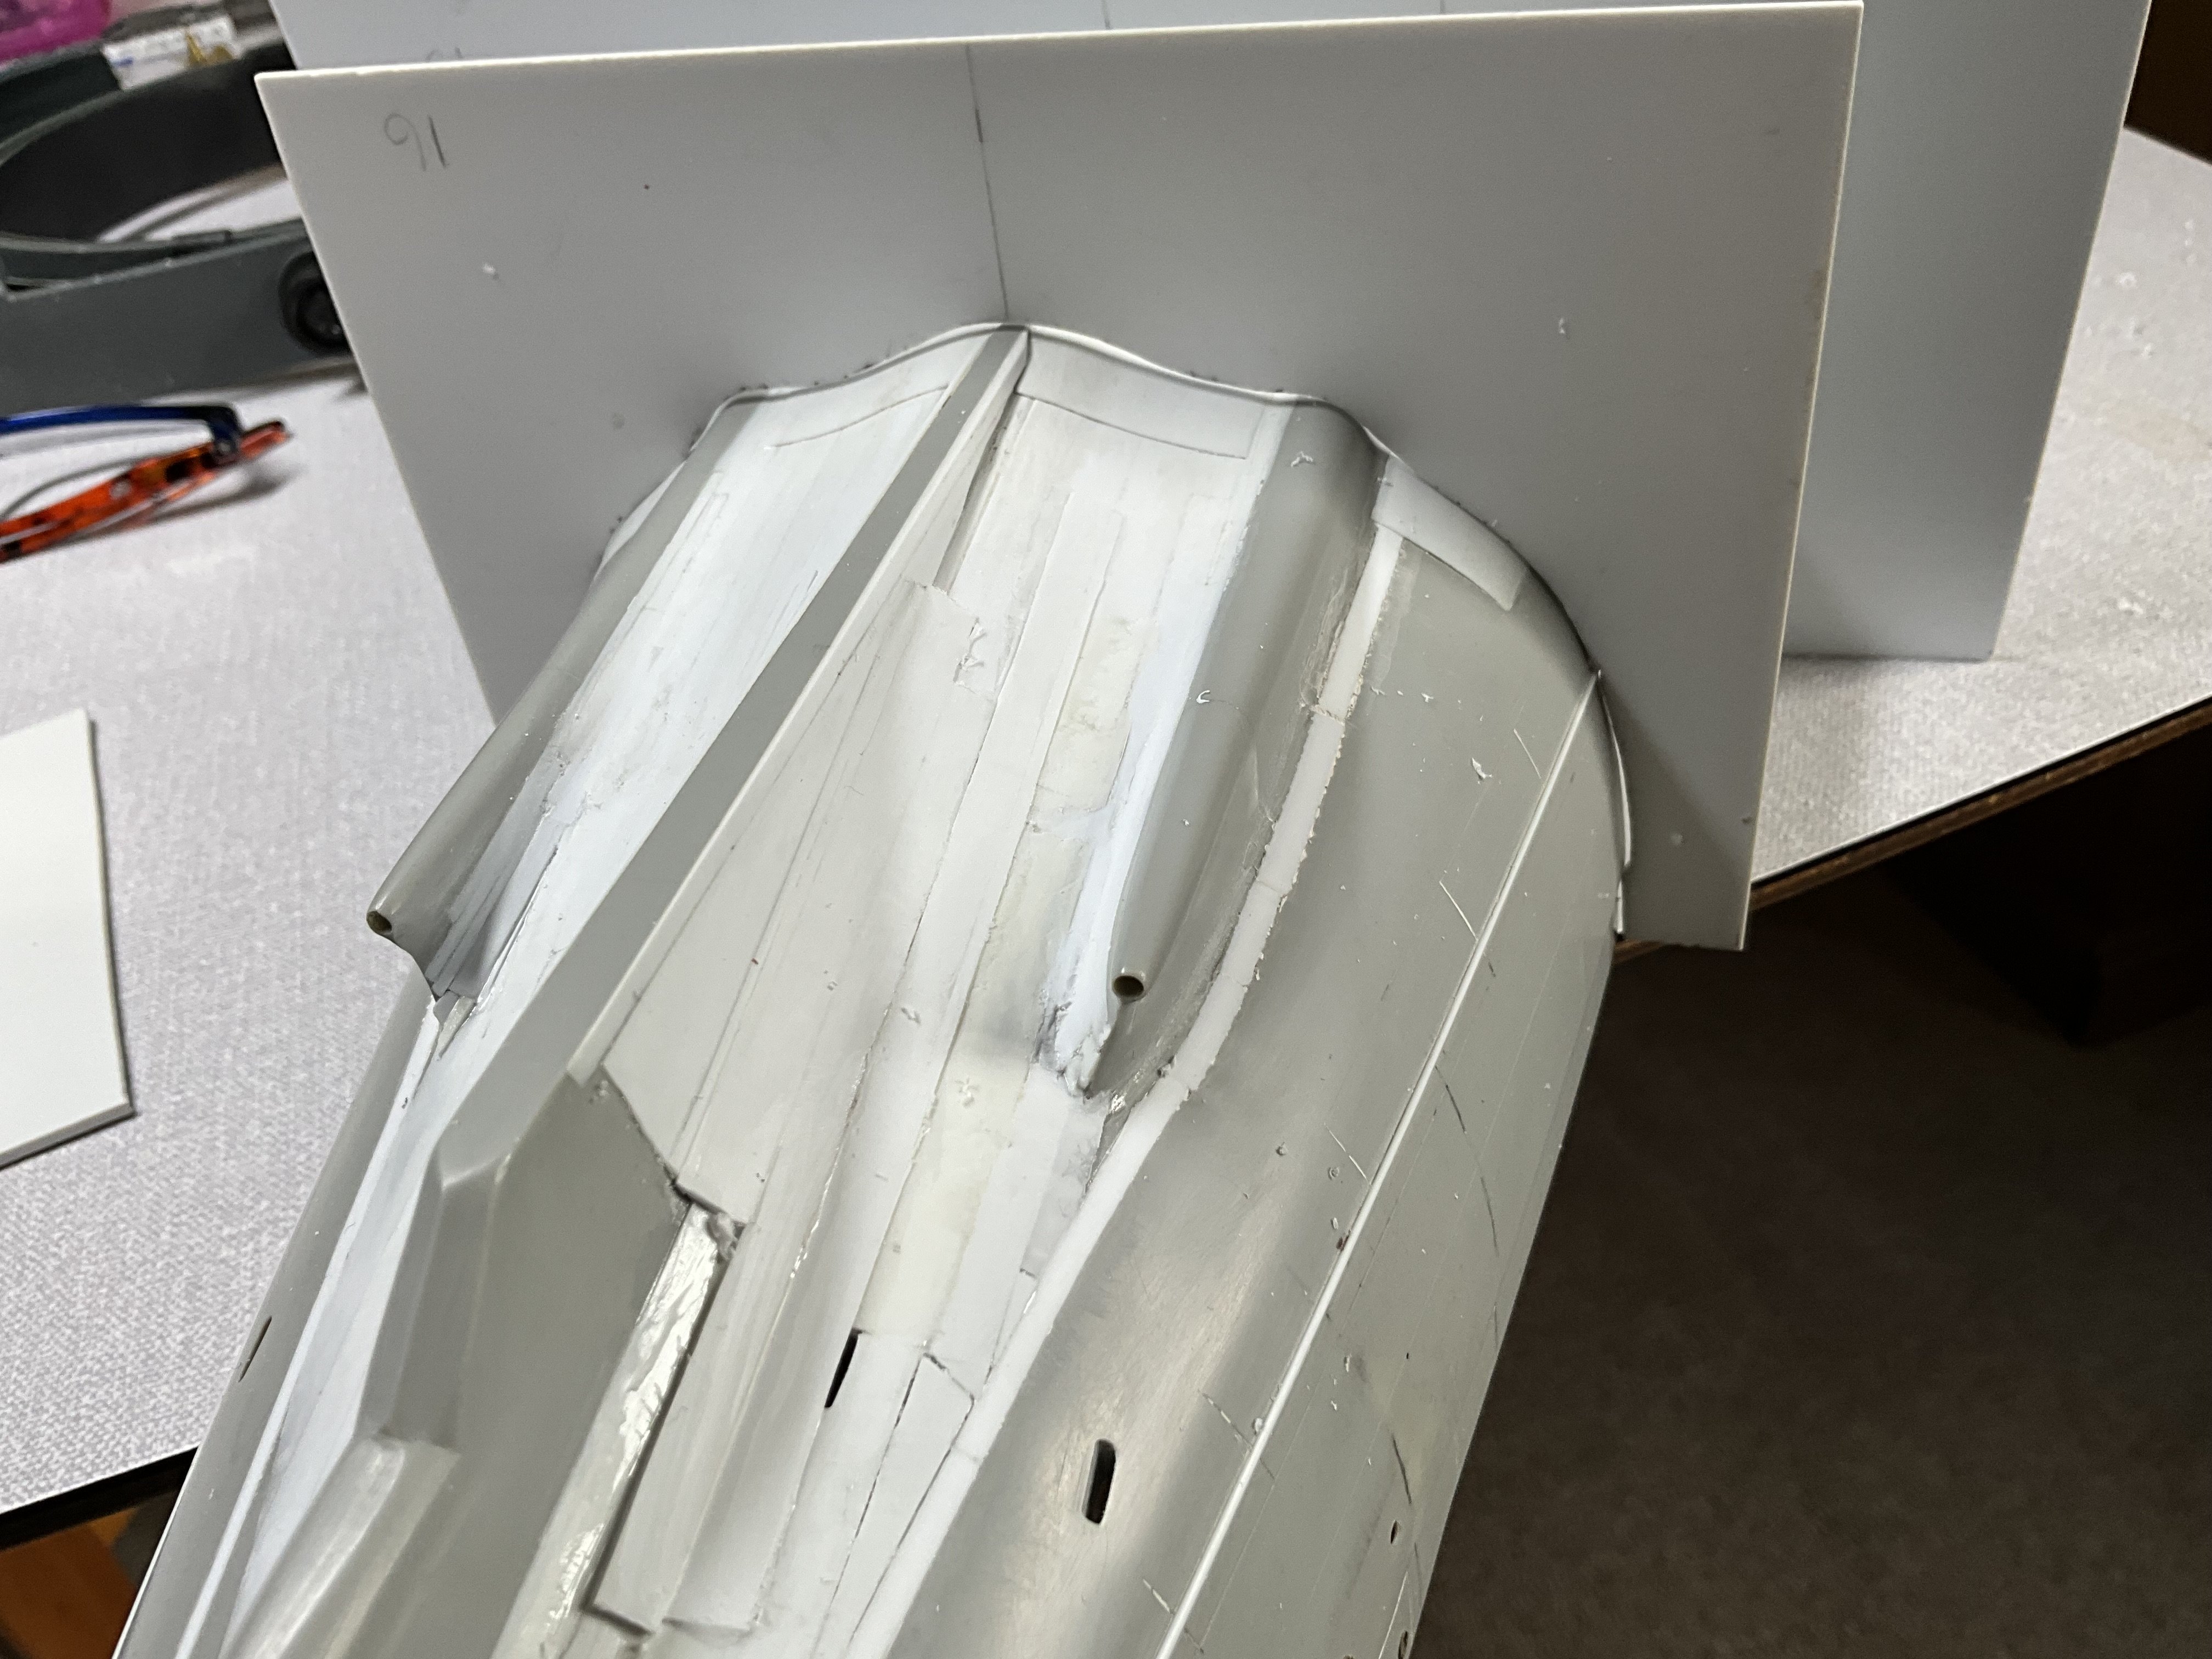
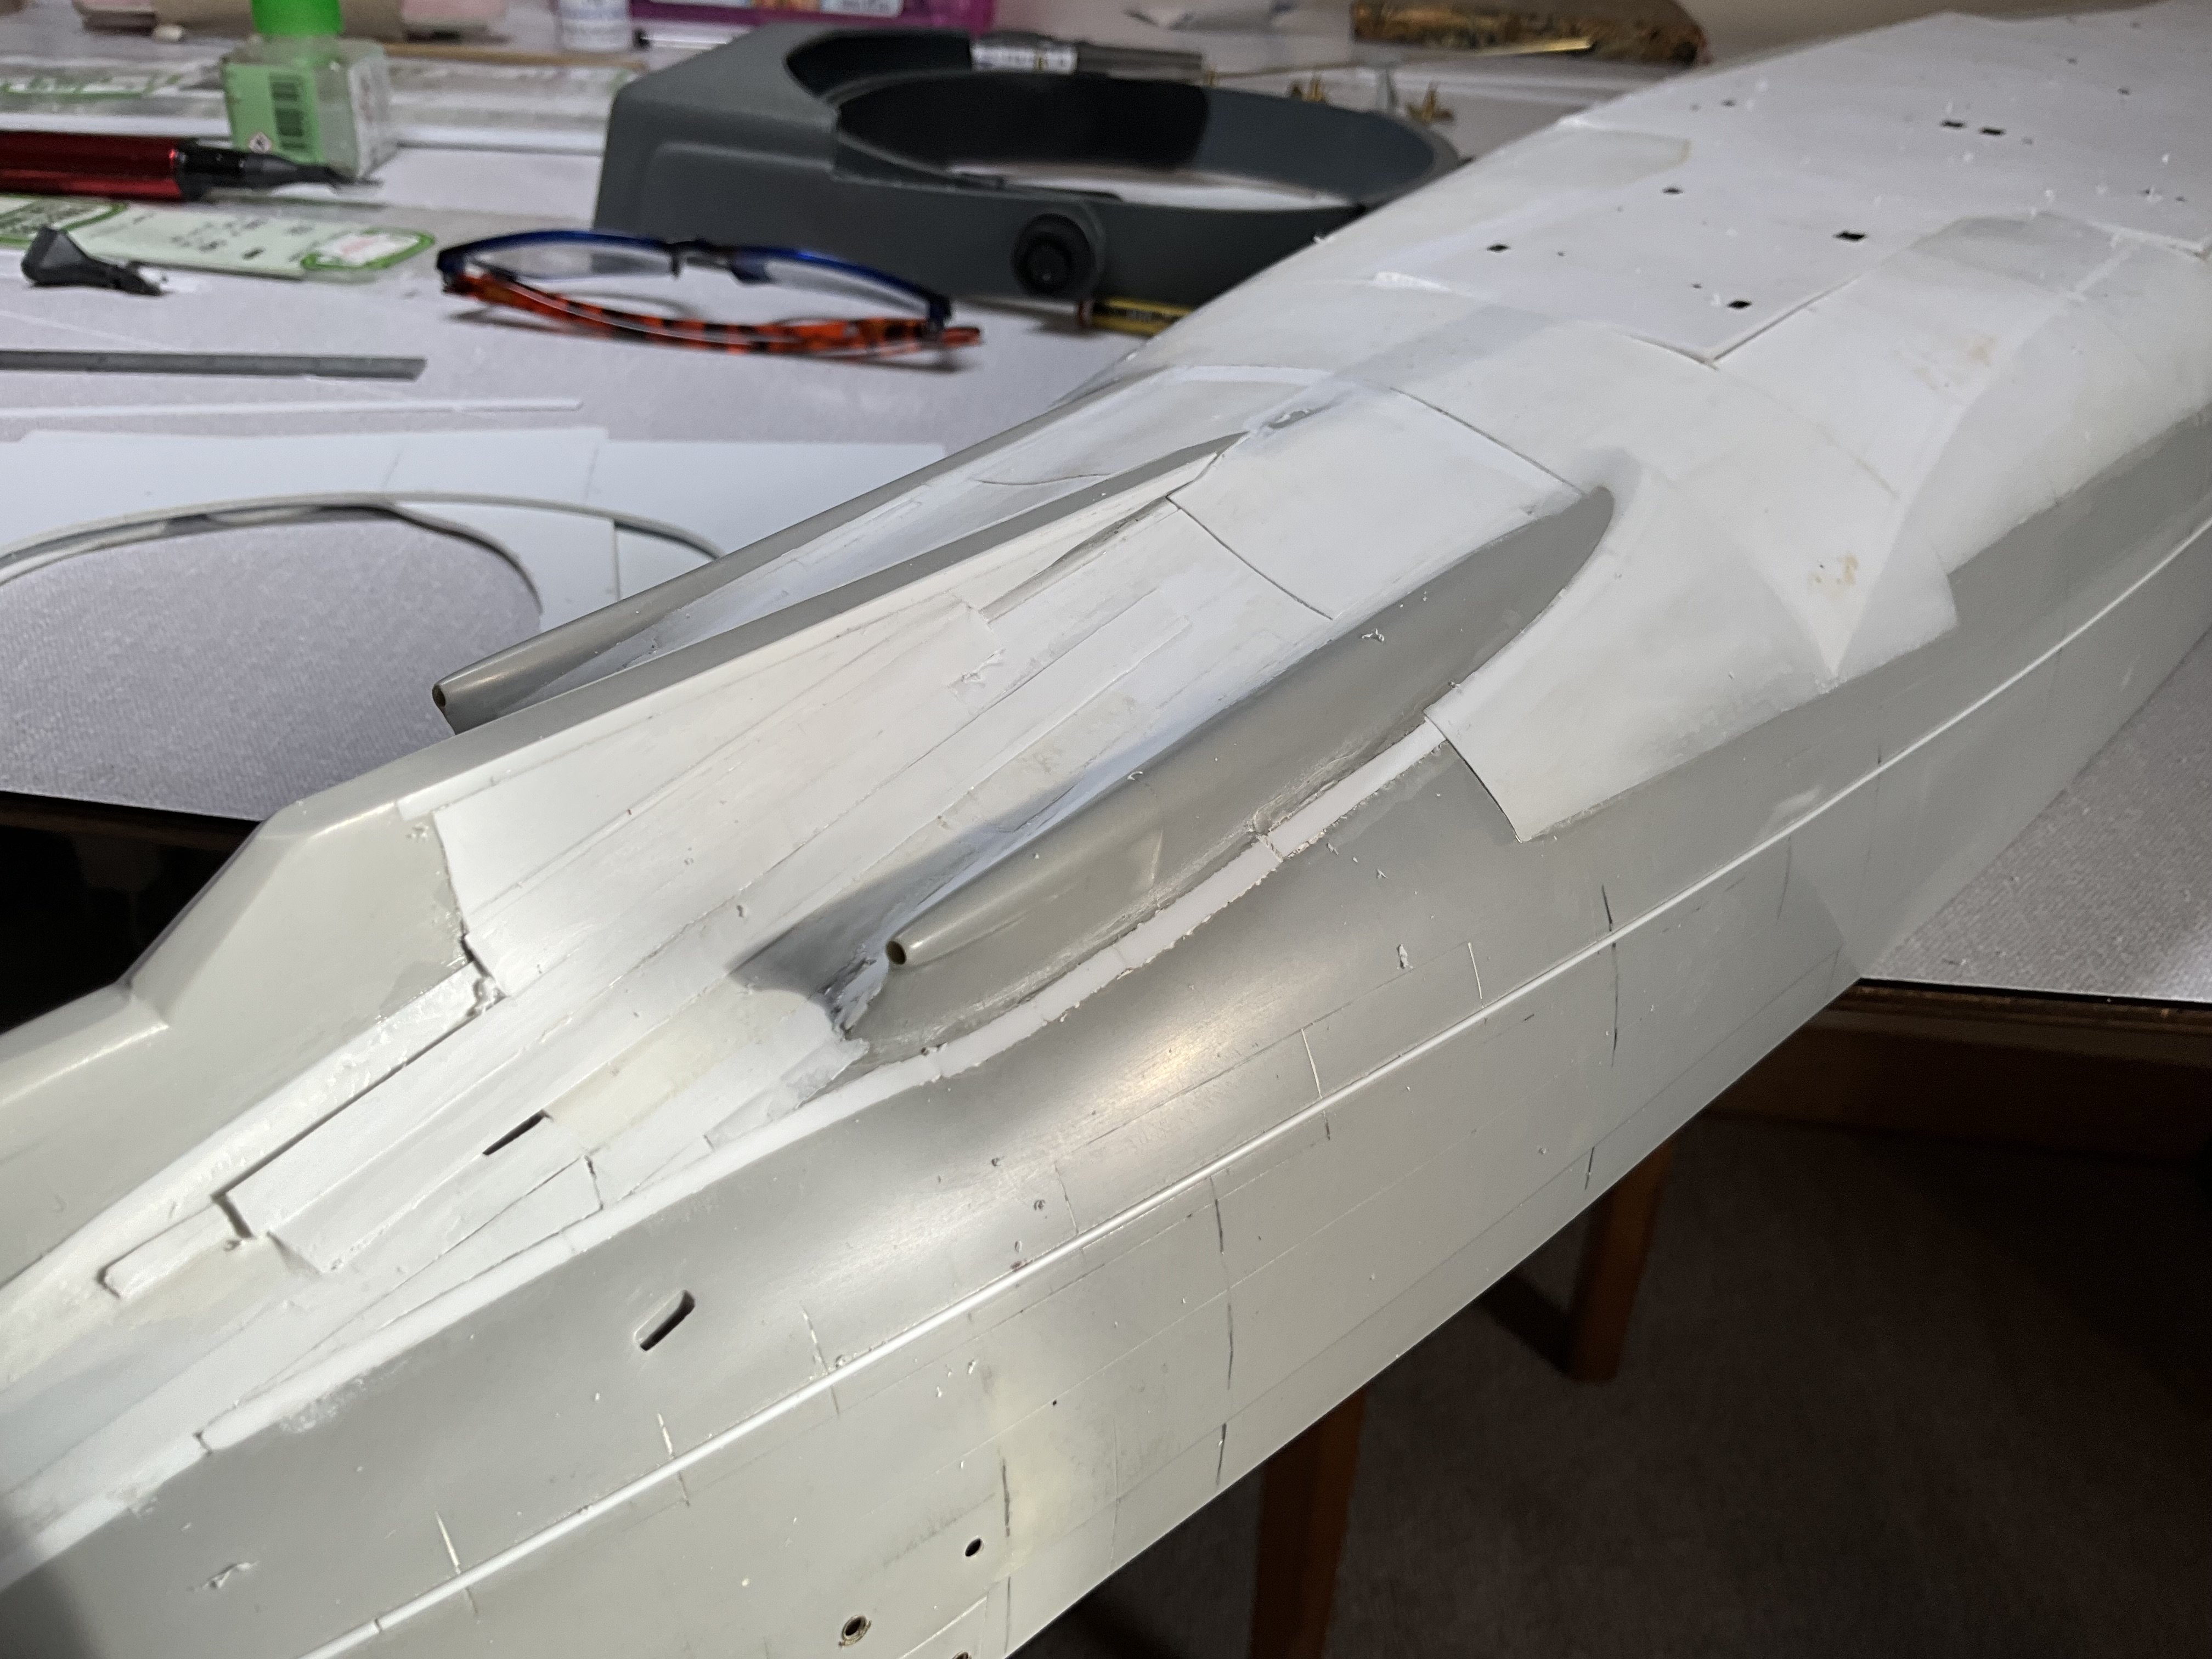
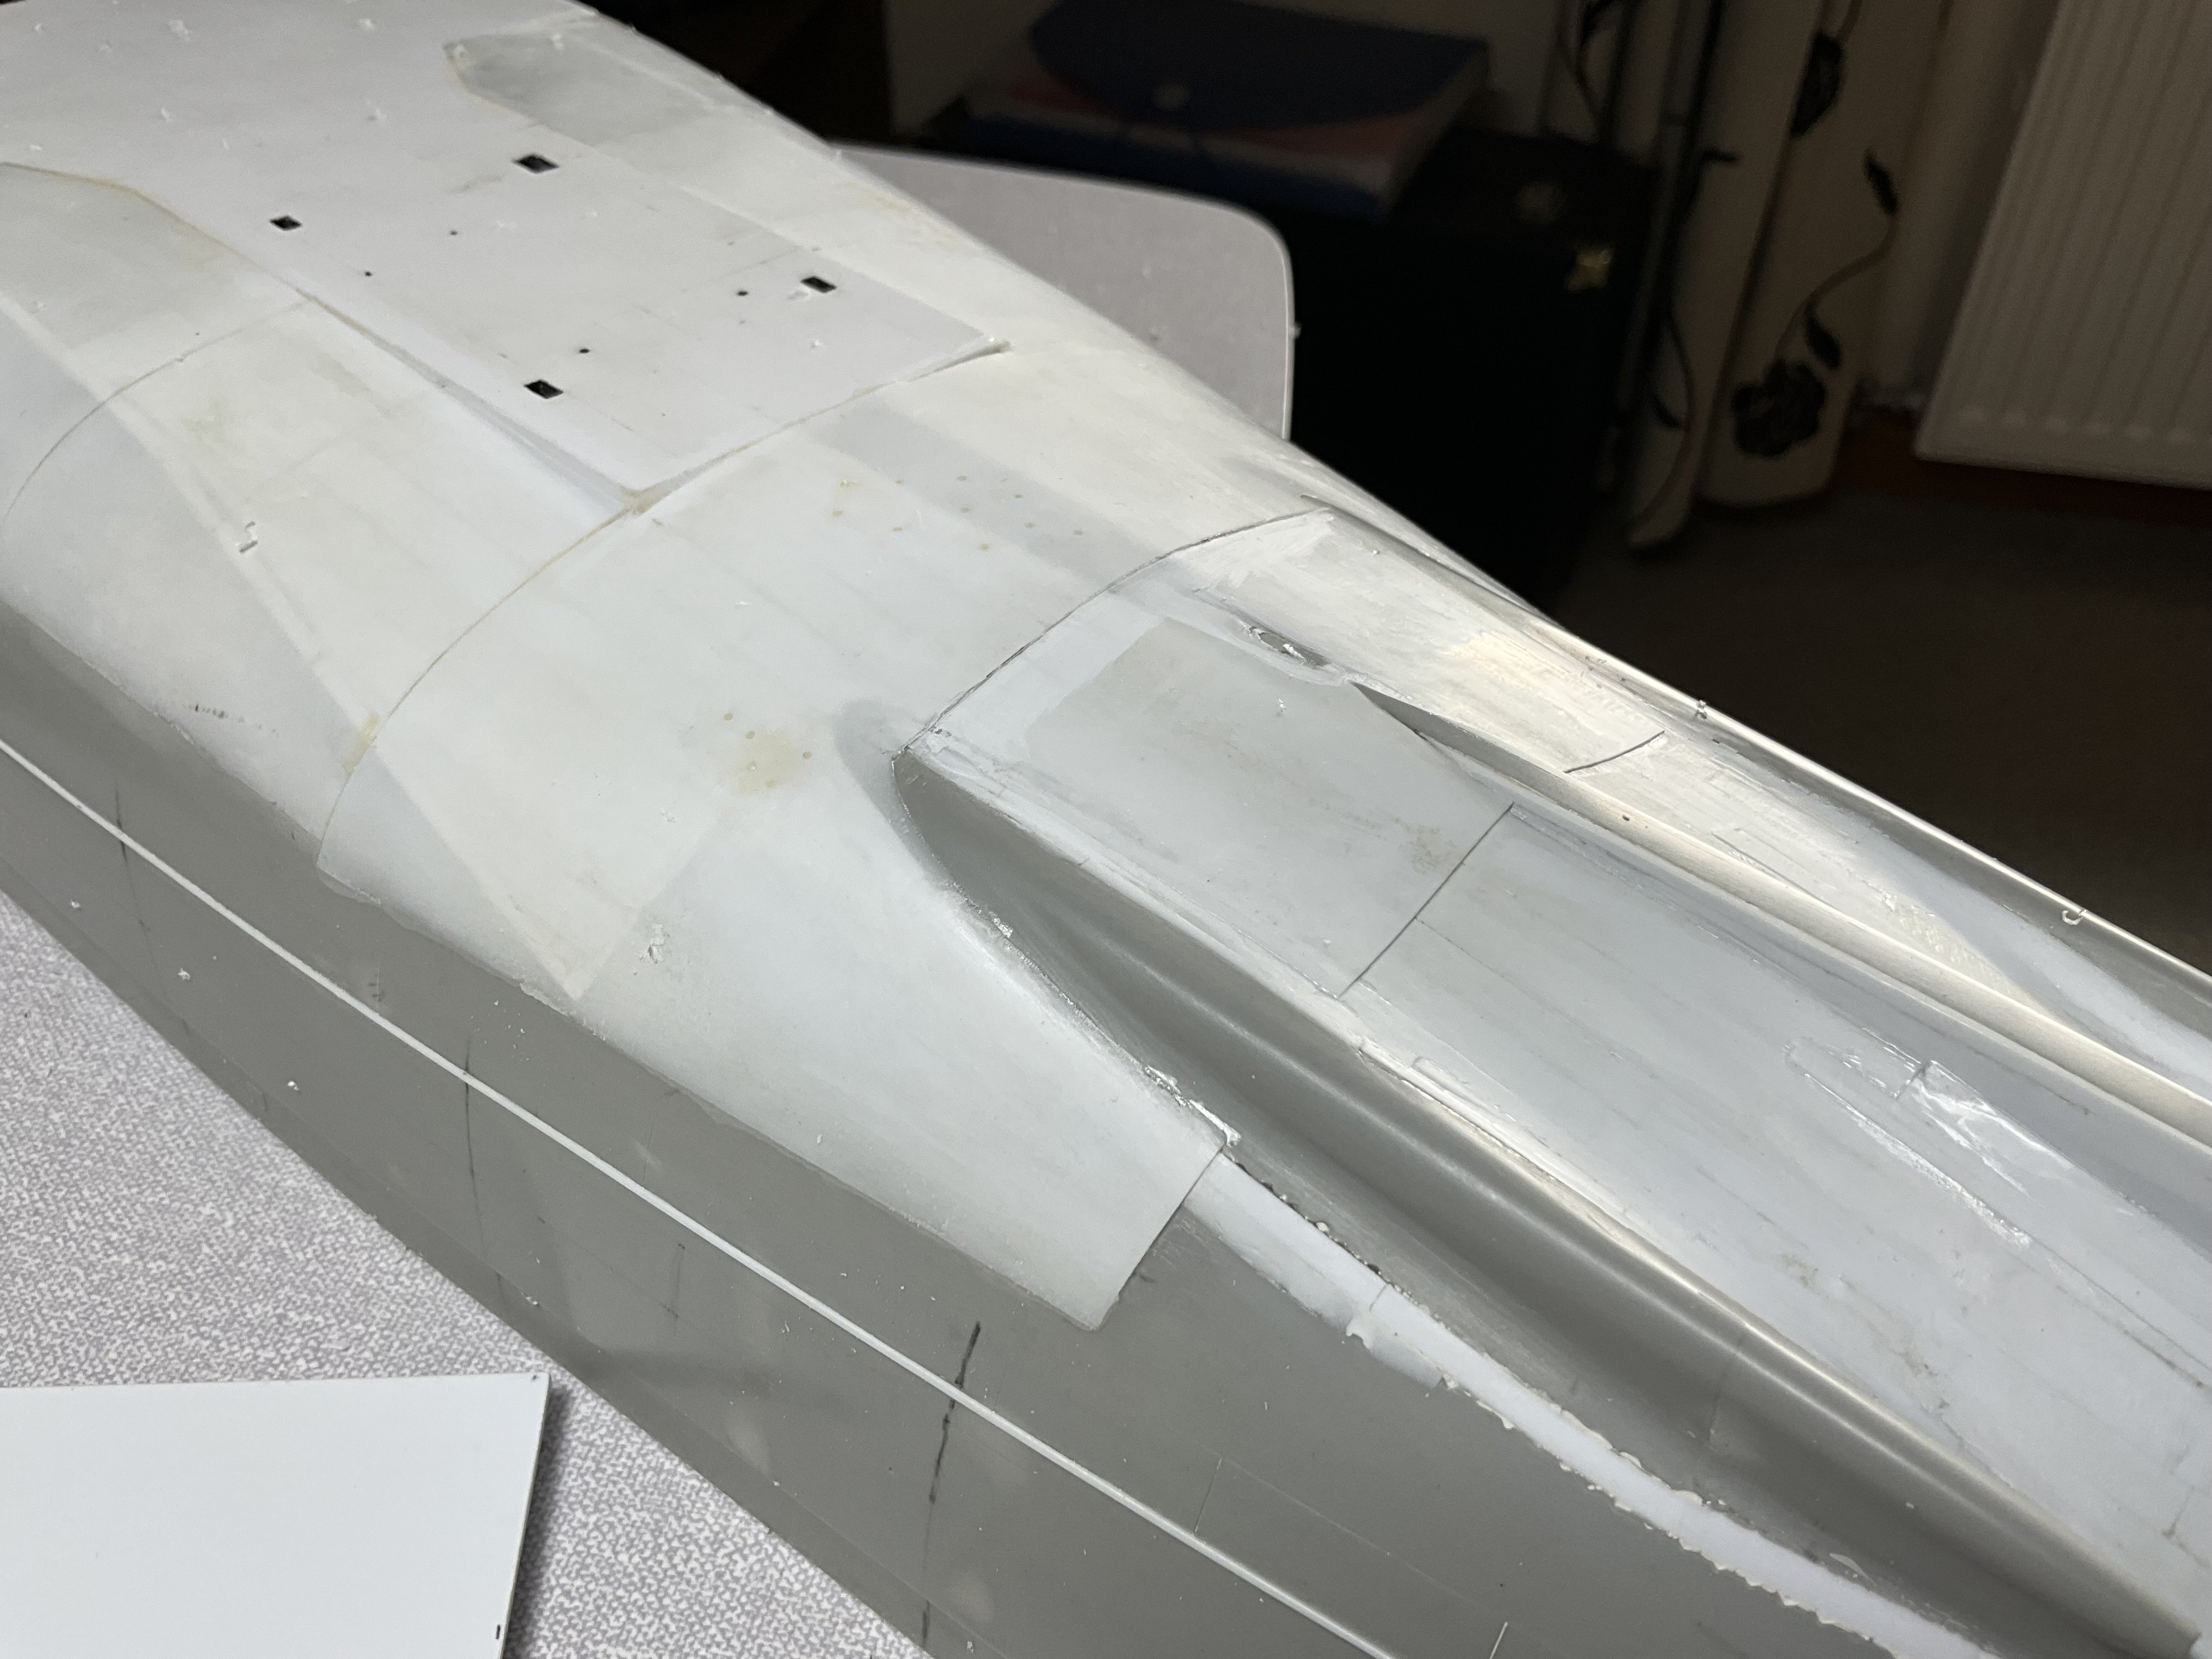
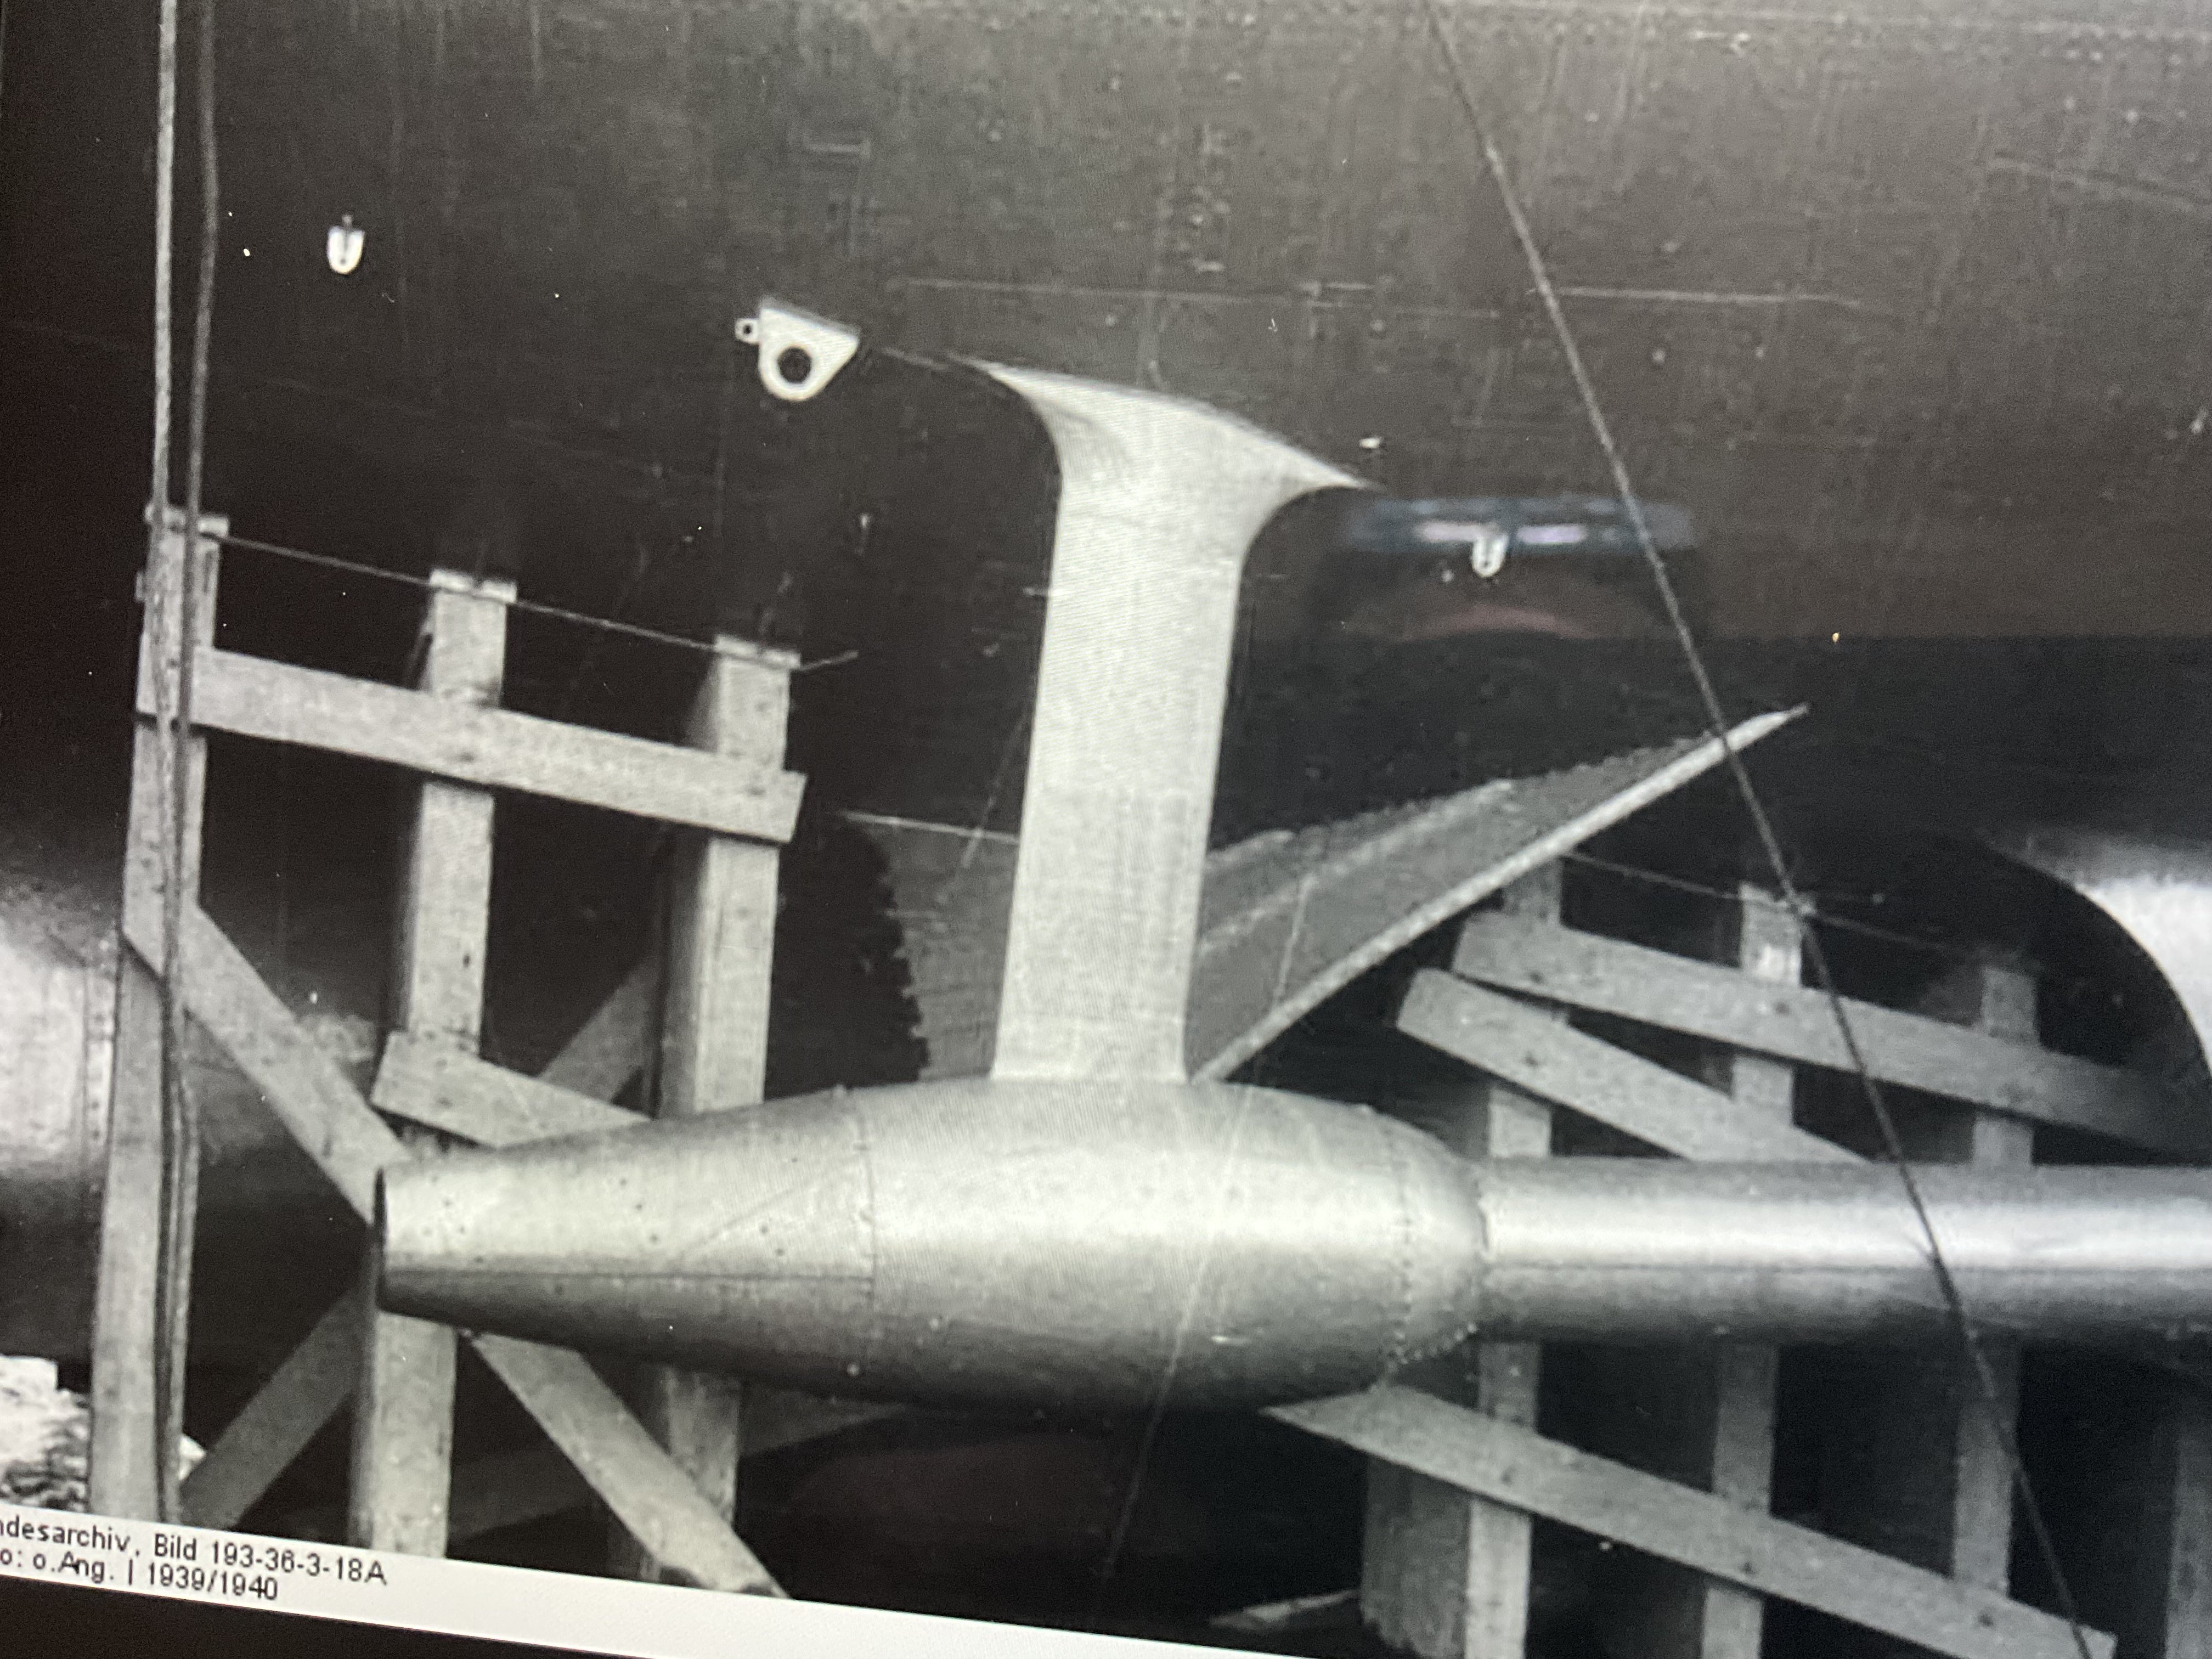
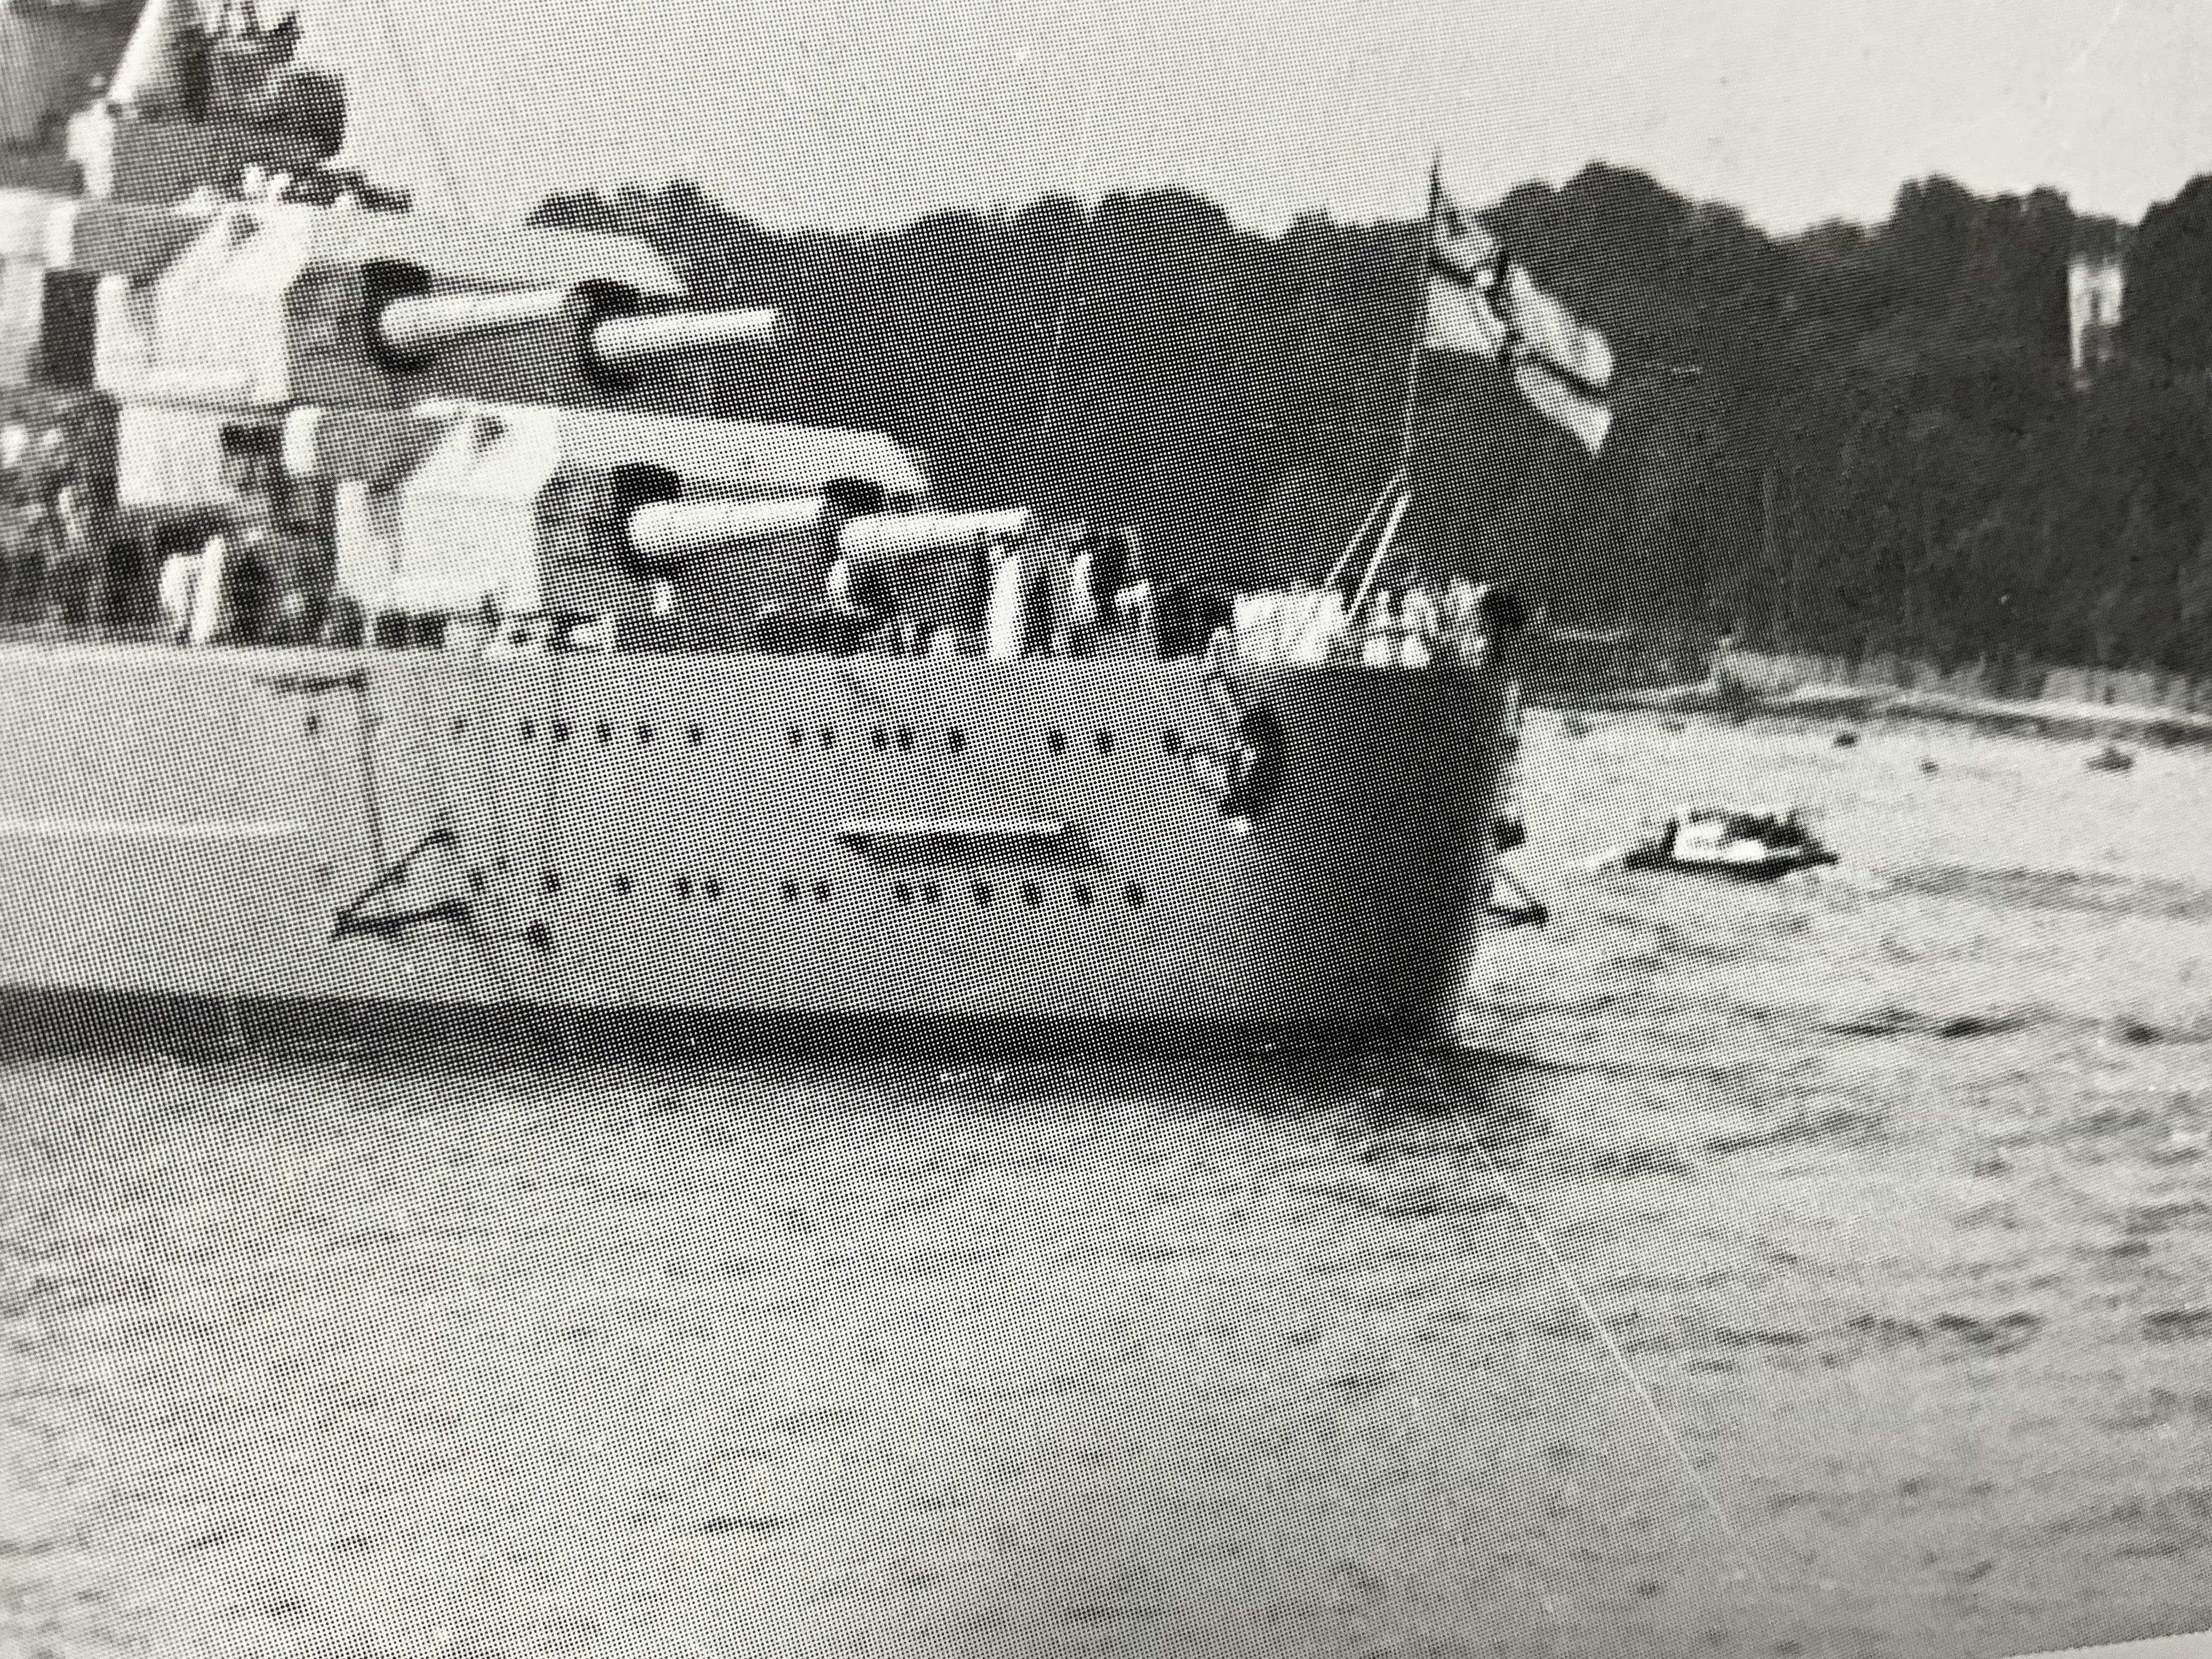
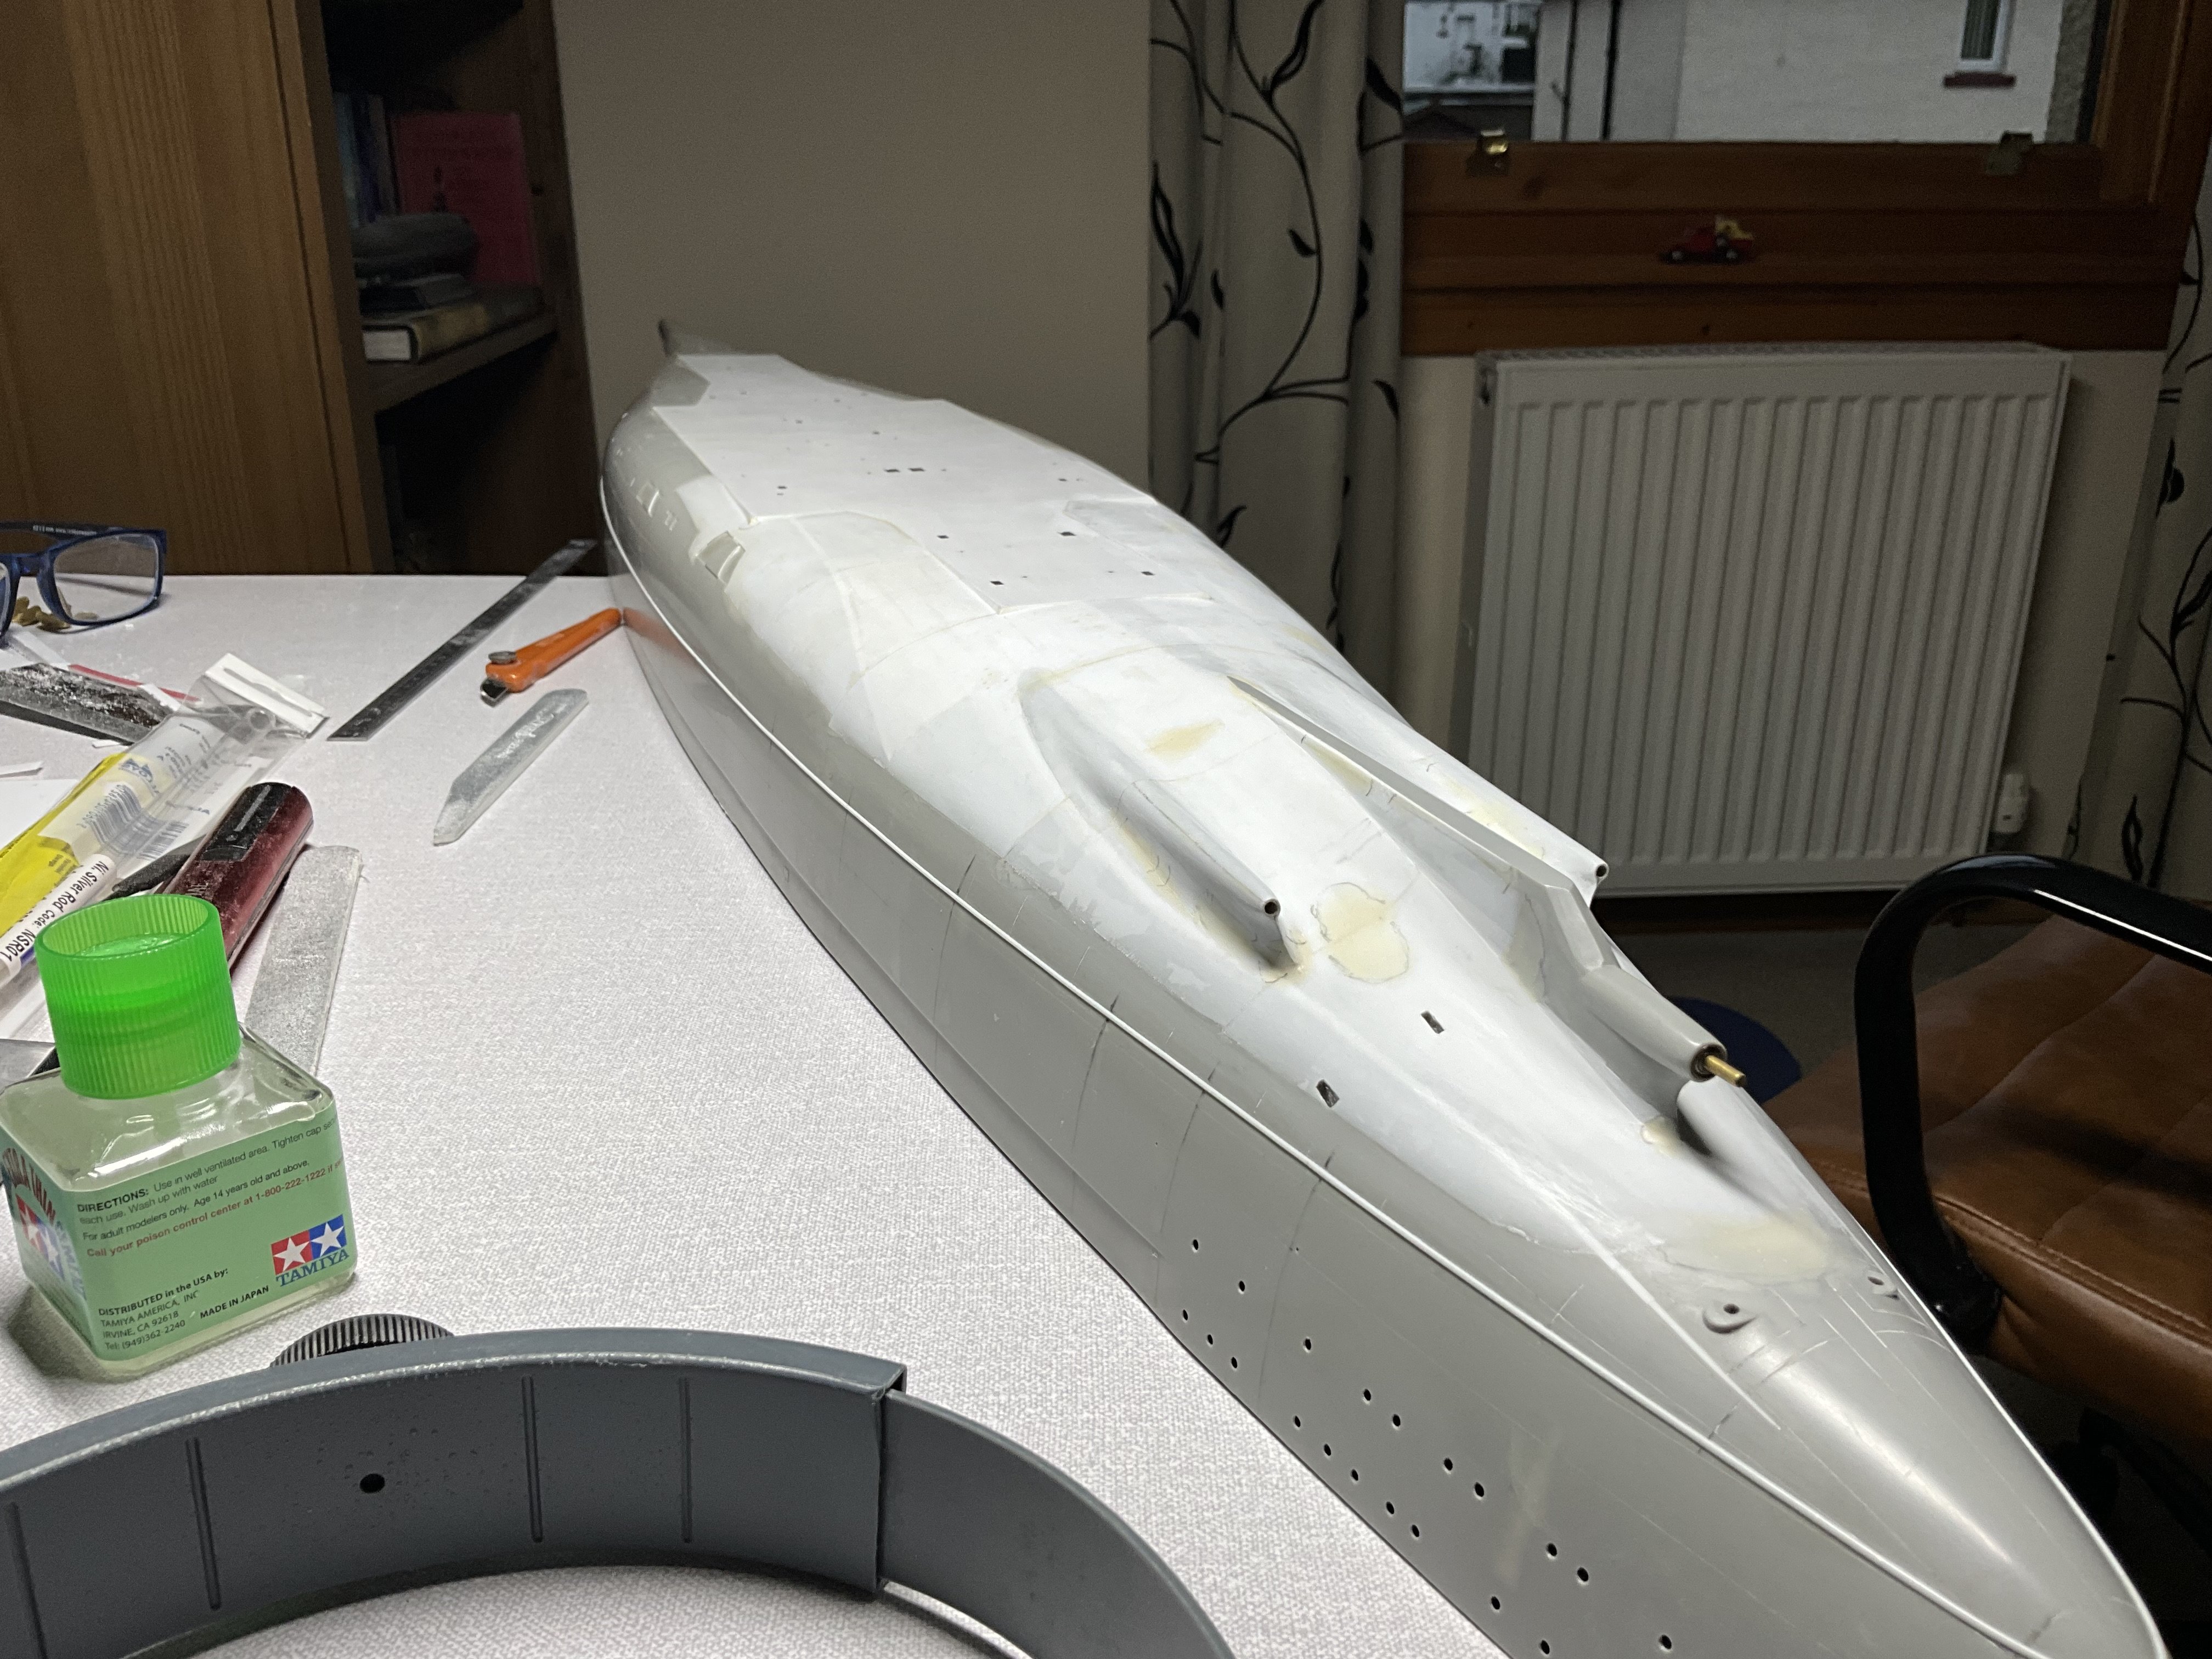
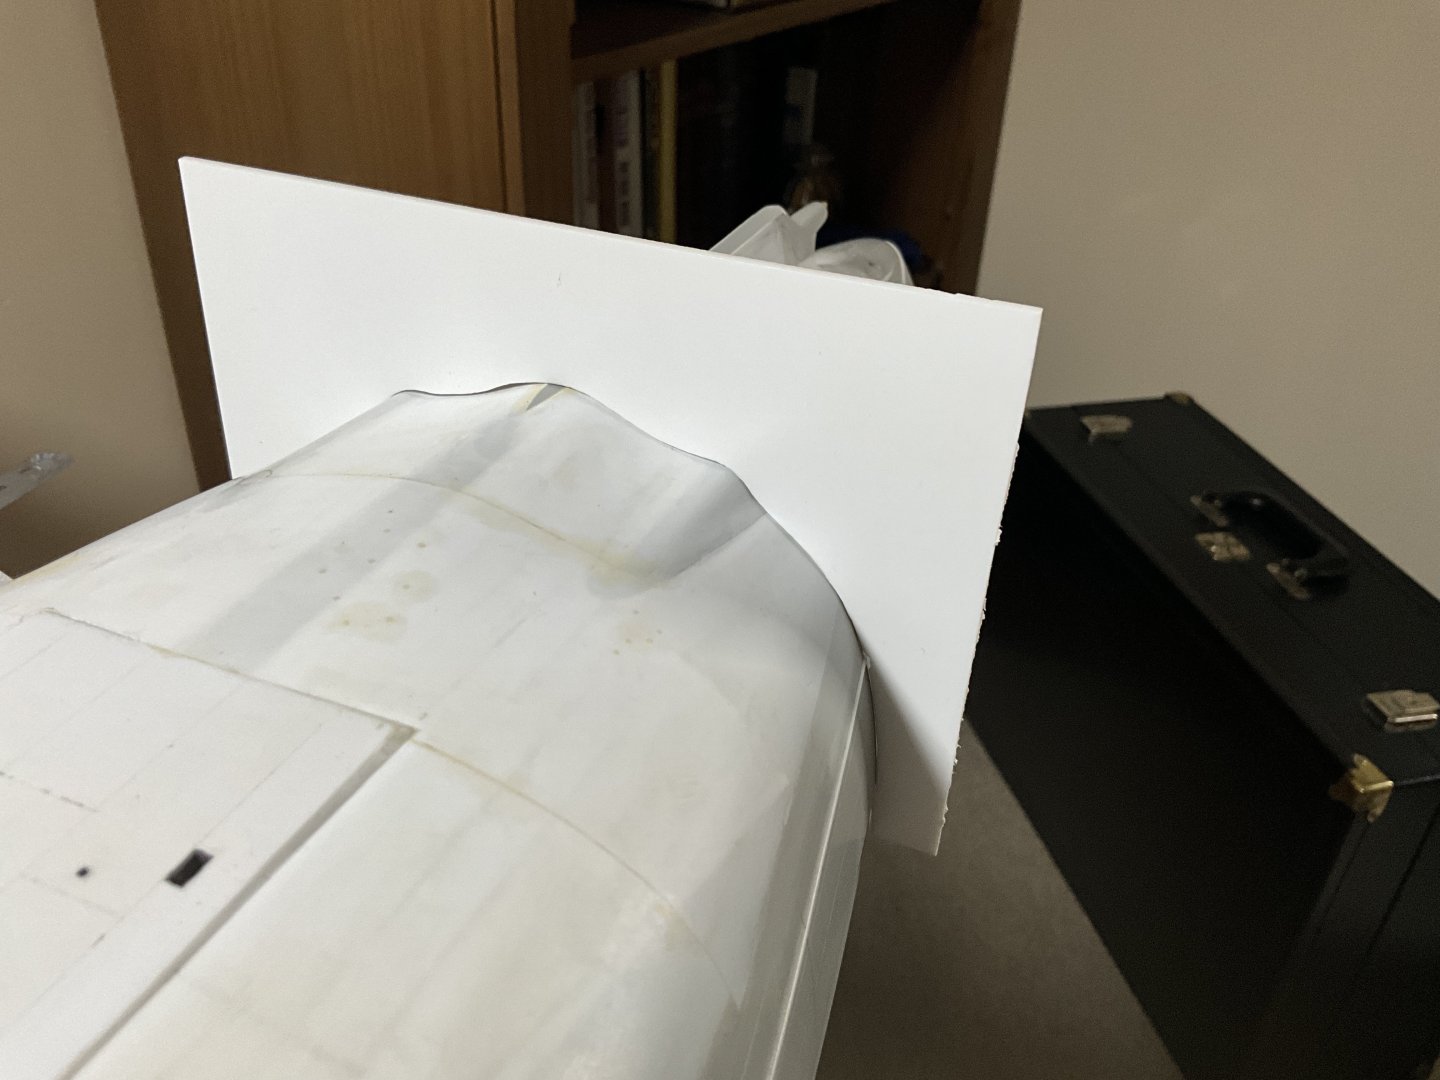
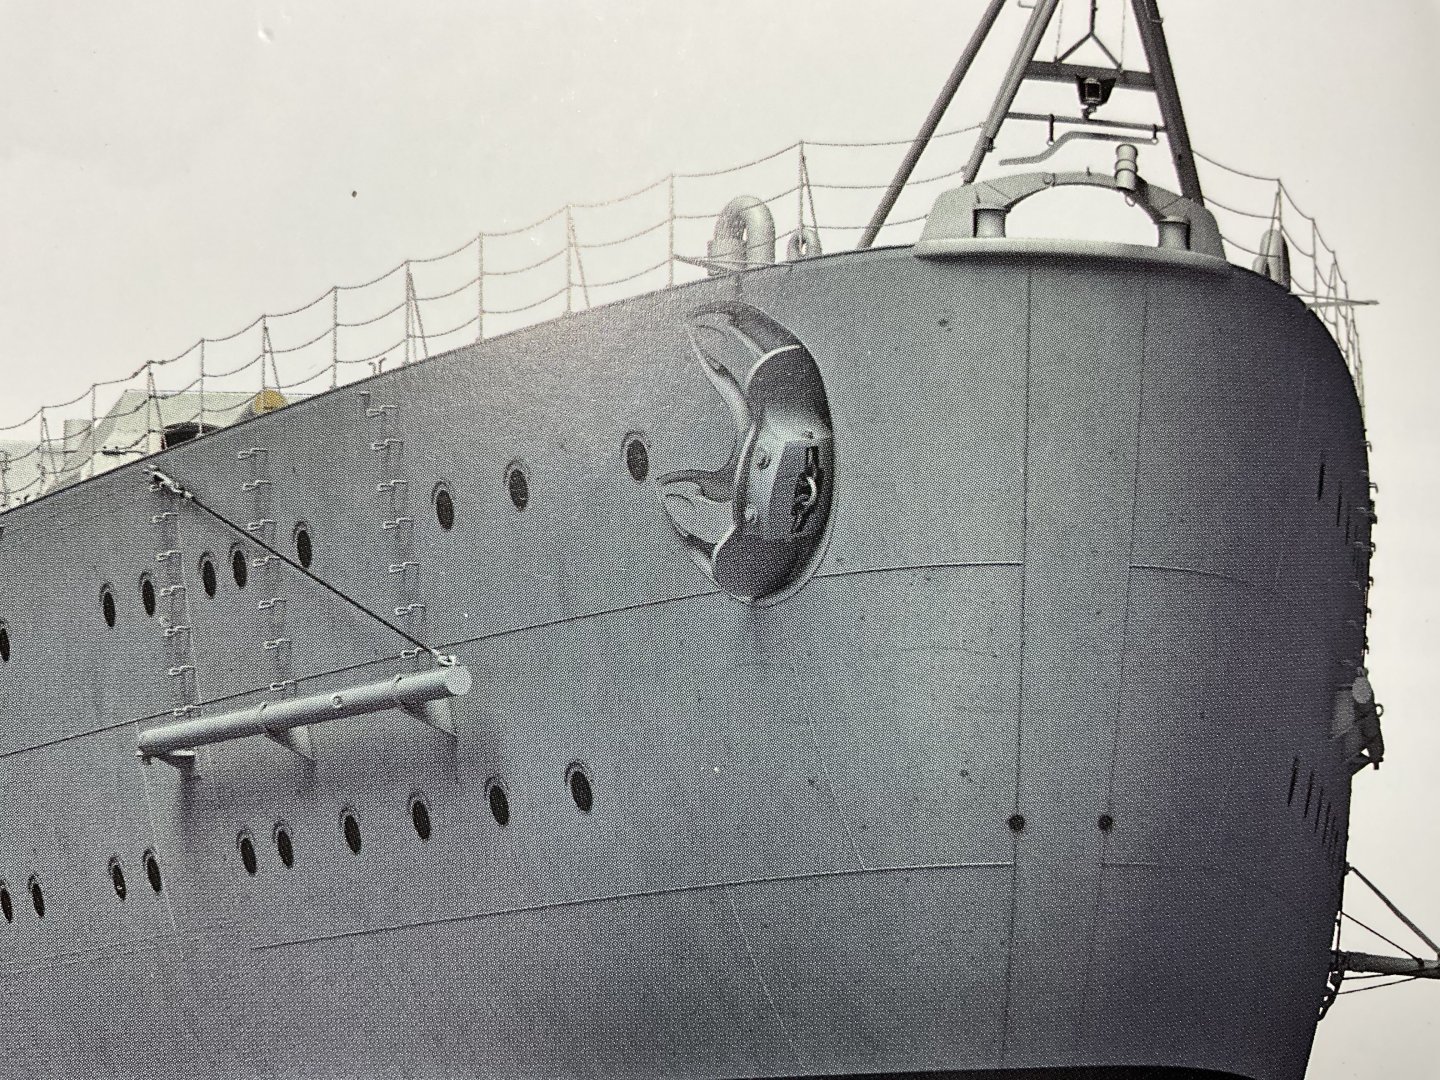
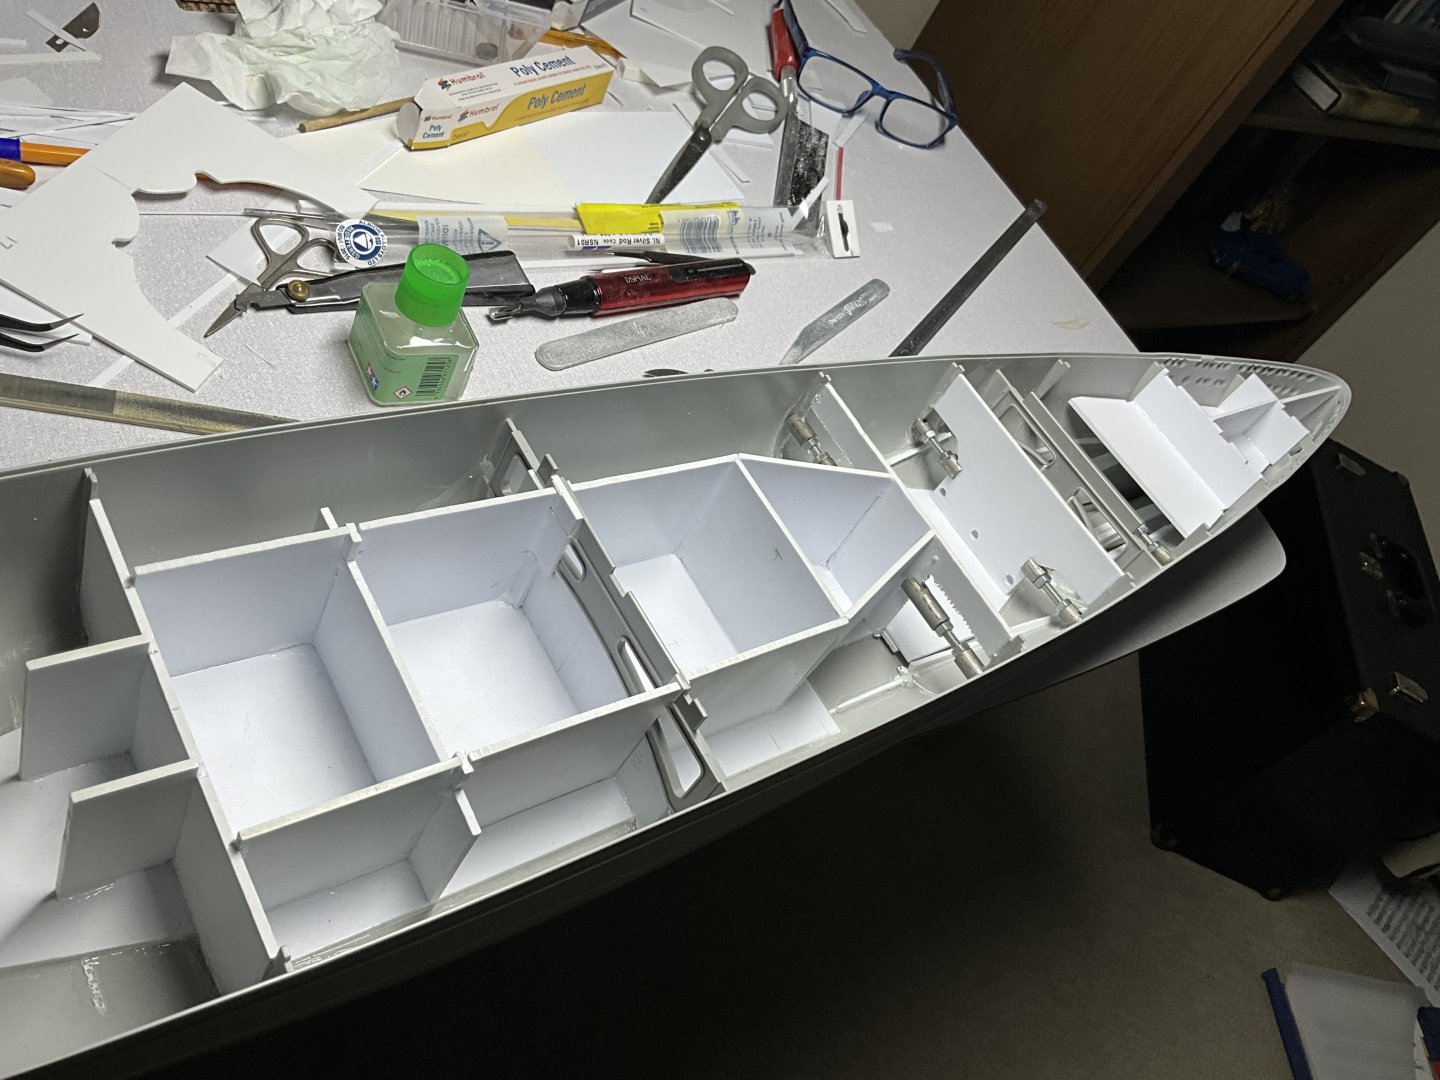
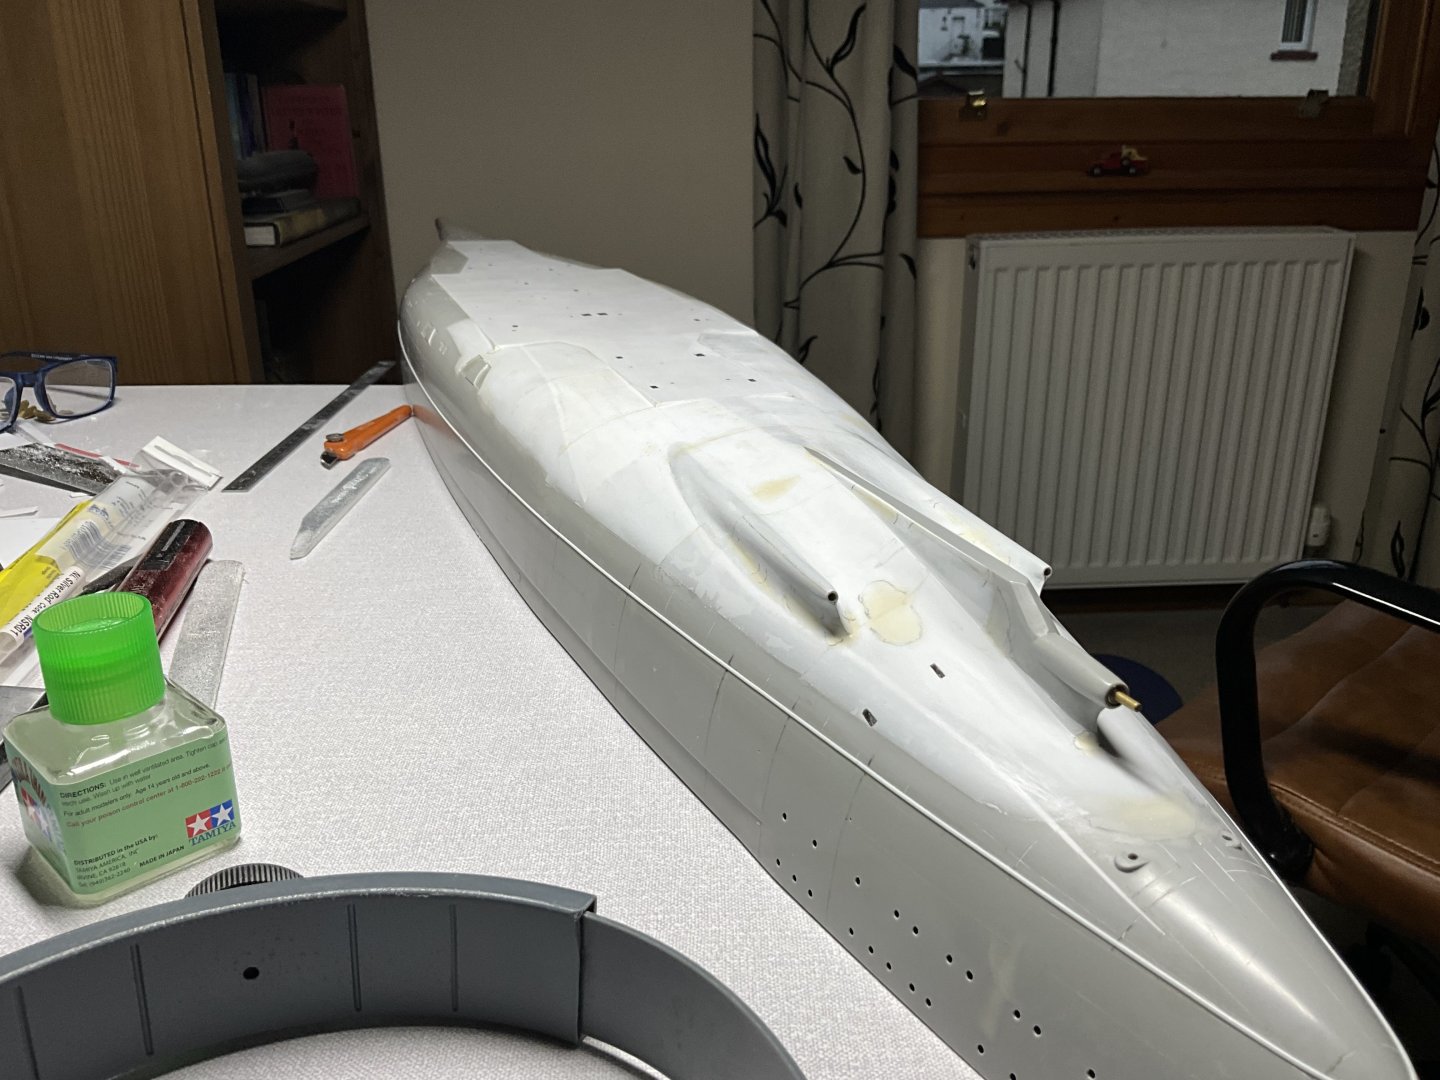
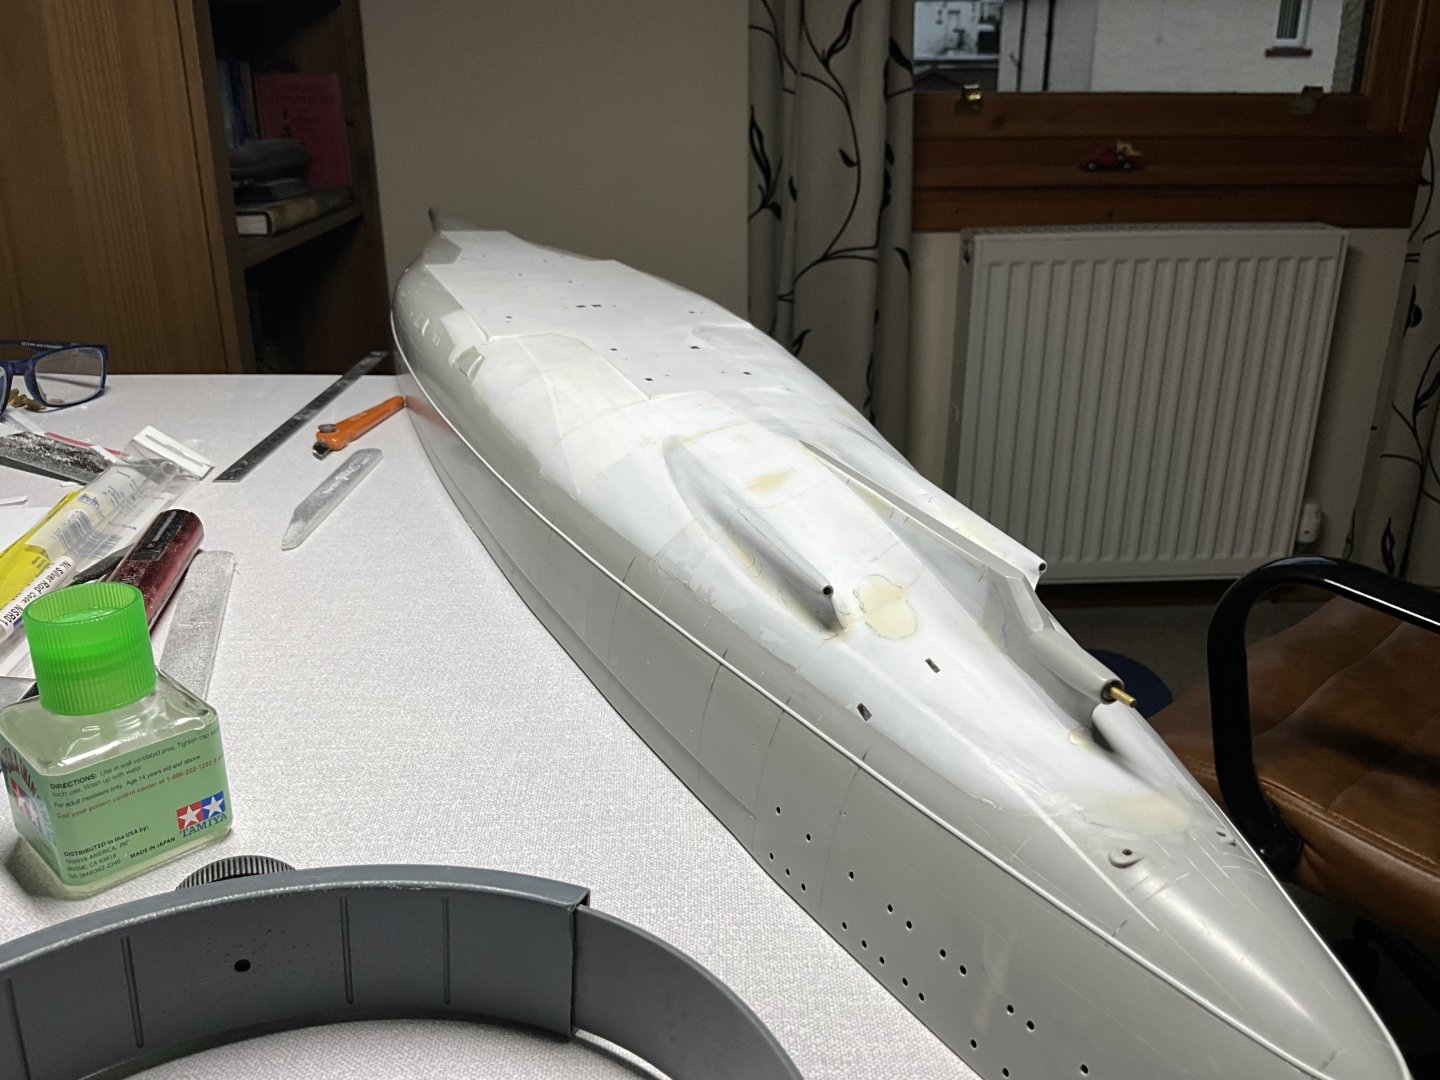
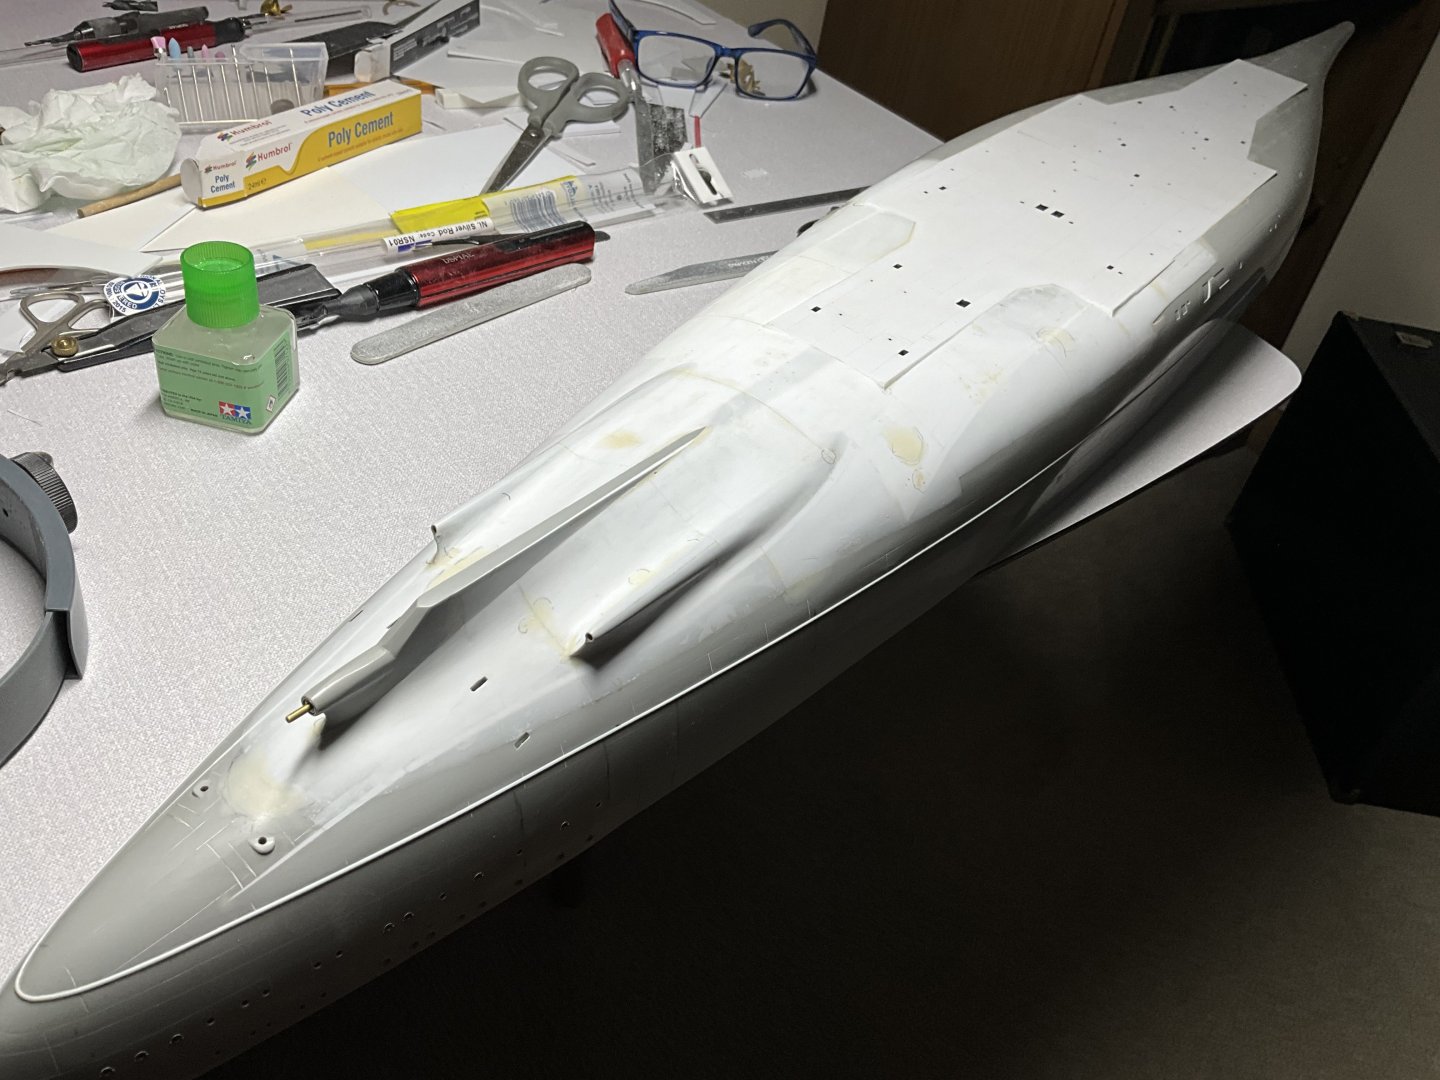
Here’s some photos showing where she was to start with, the end result isn’t perfect but it’s much closer, hope if a Tirpitz comes out in 1/200 scale the hull is good 🤞

-
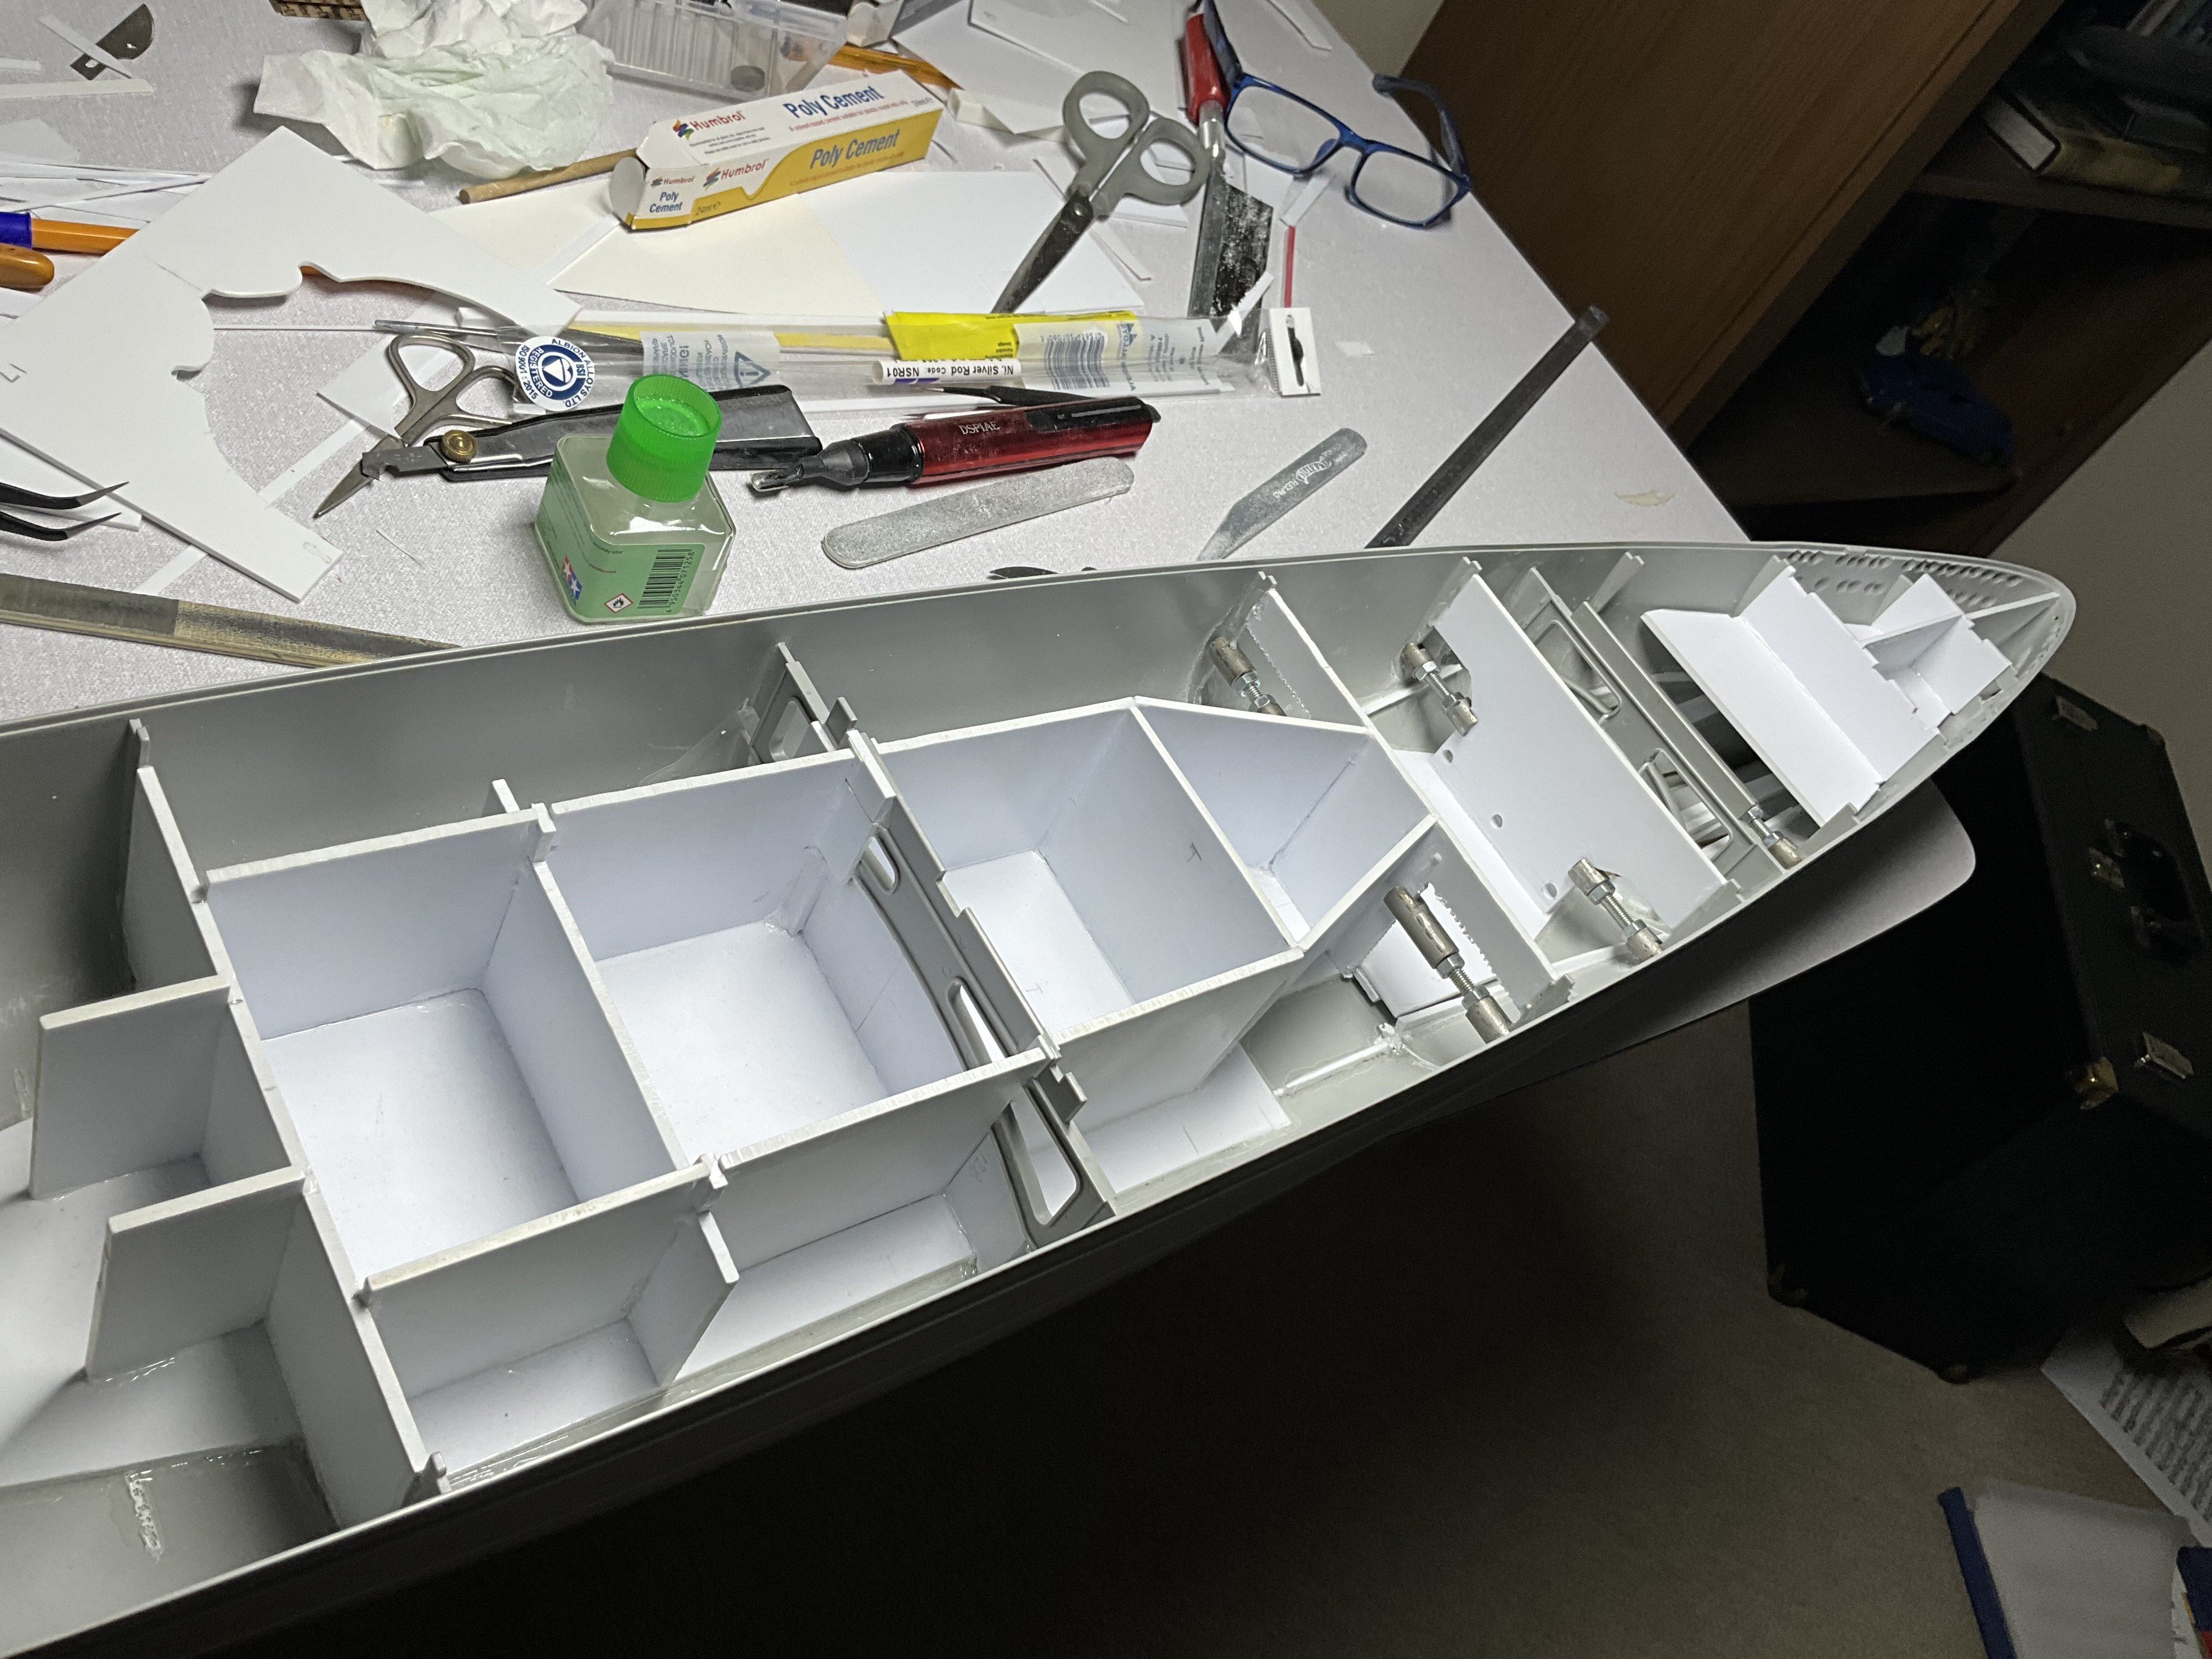
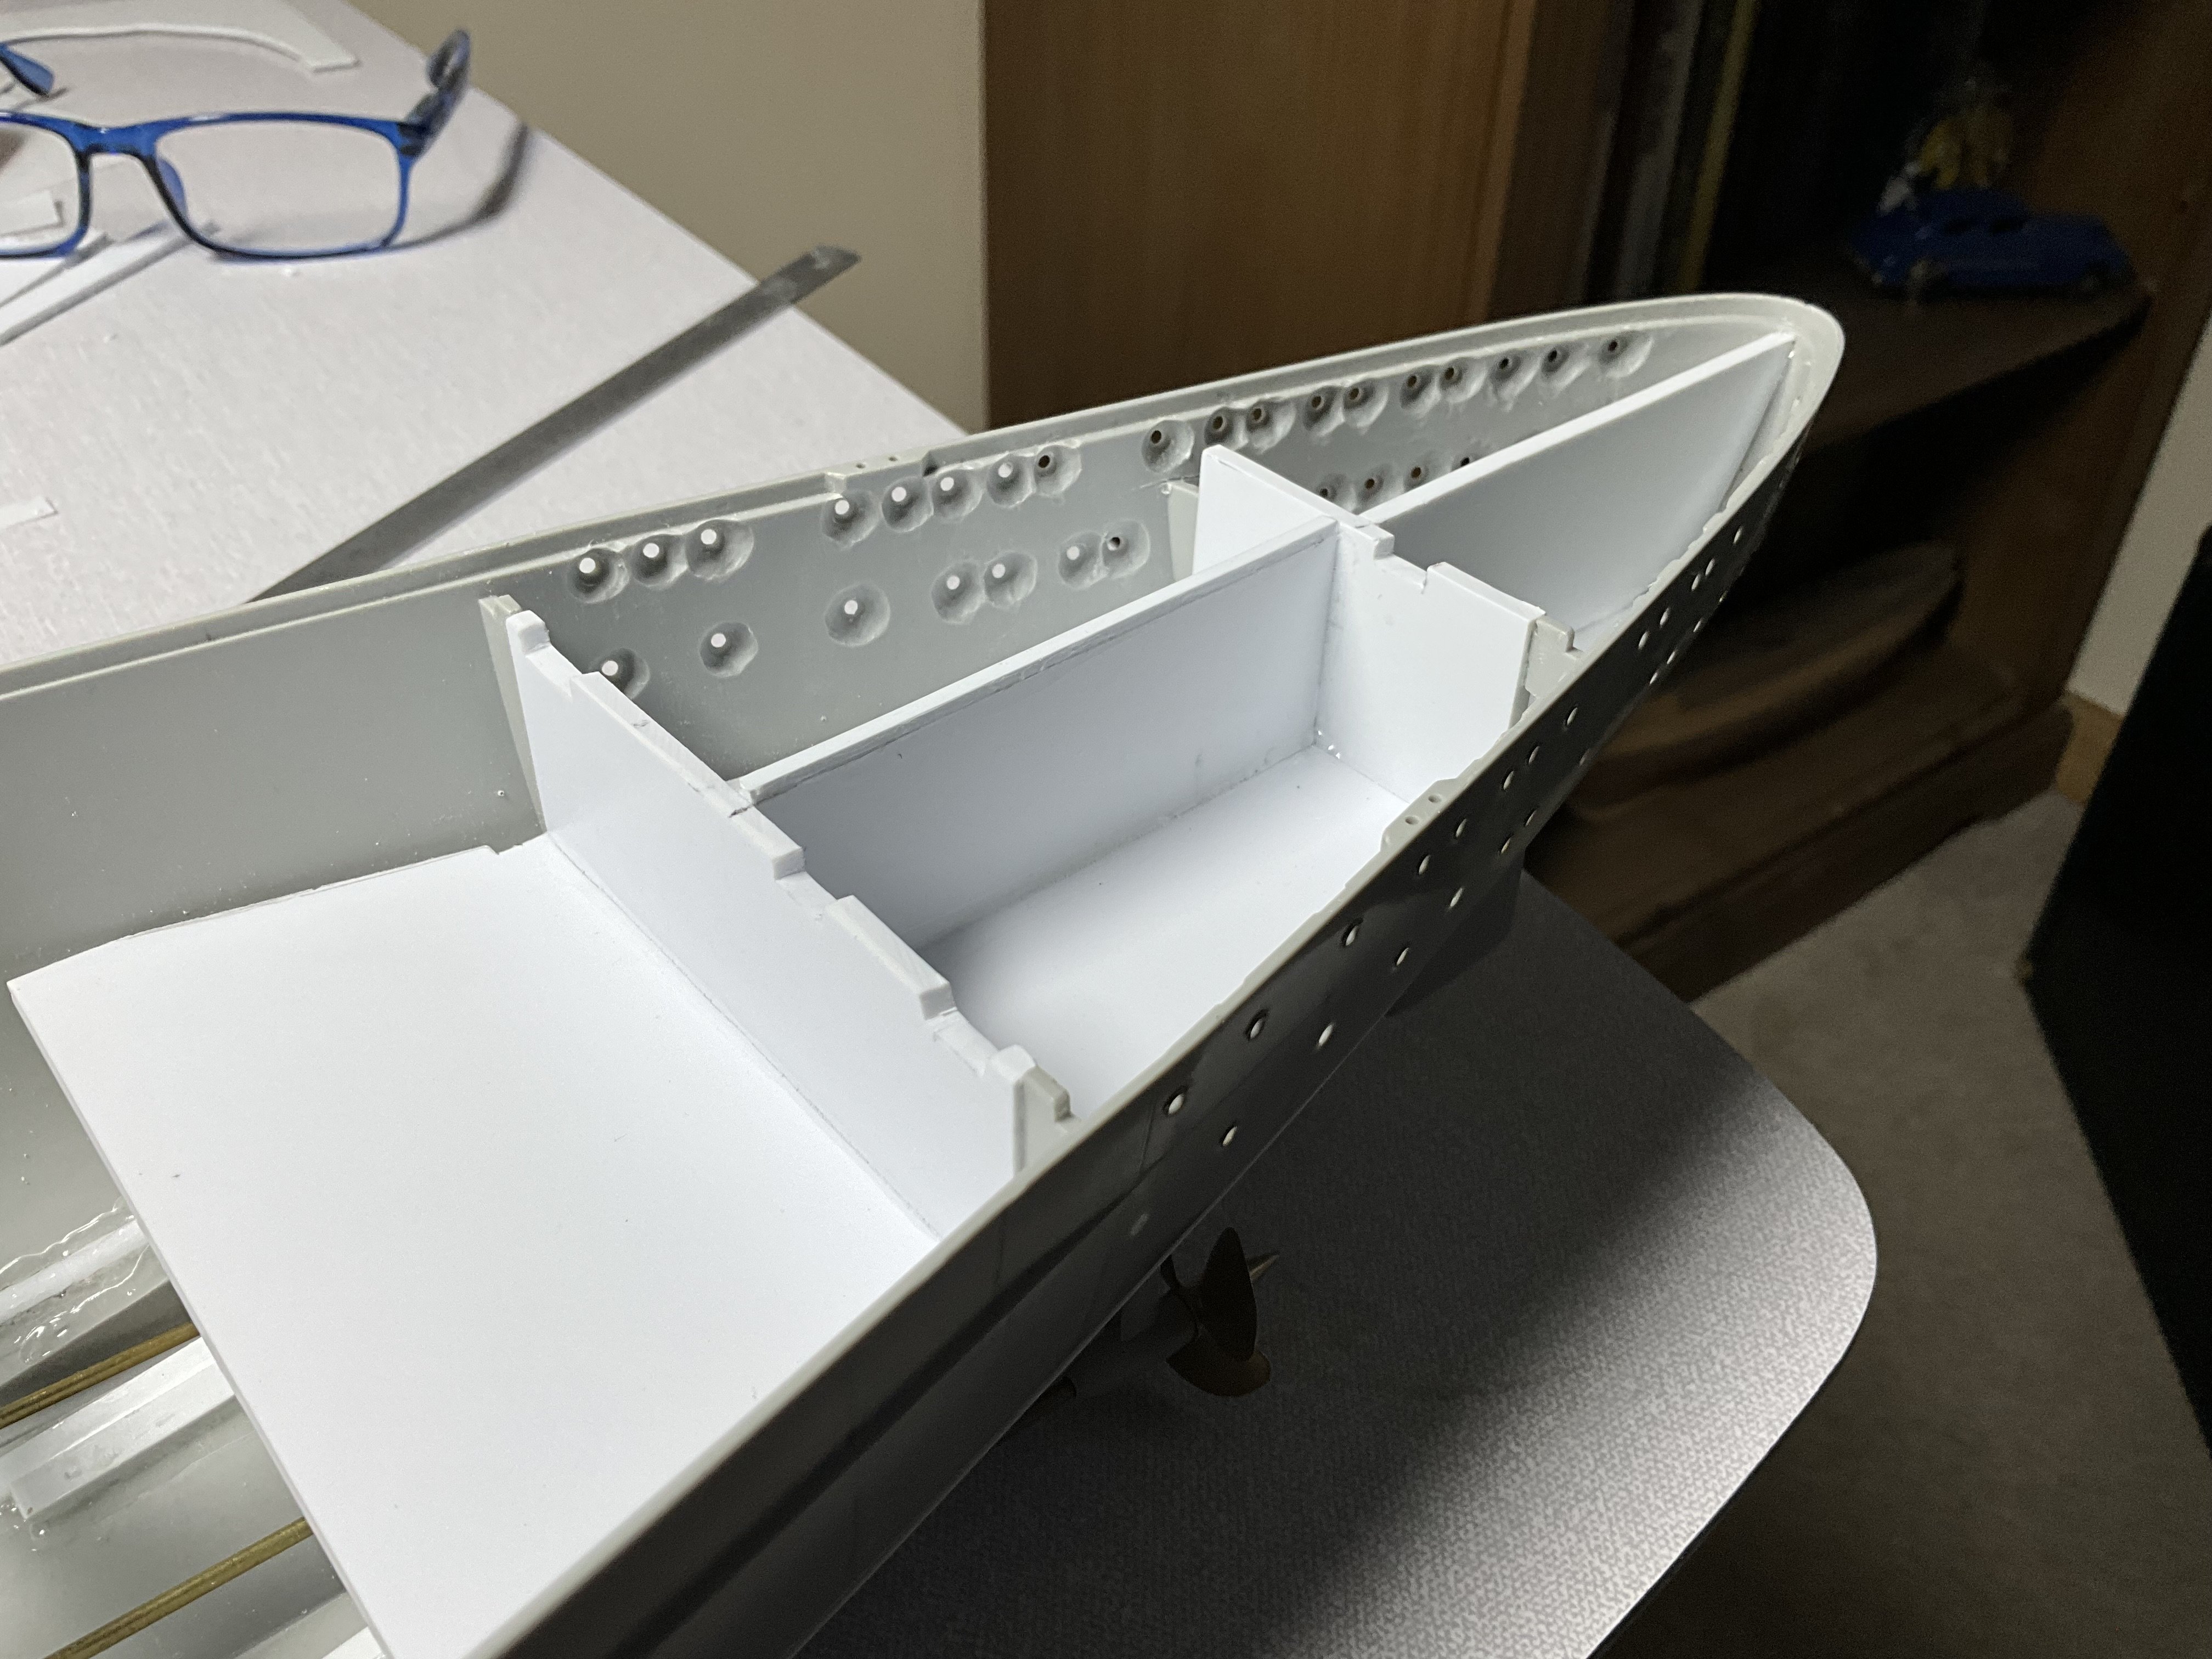
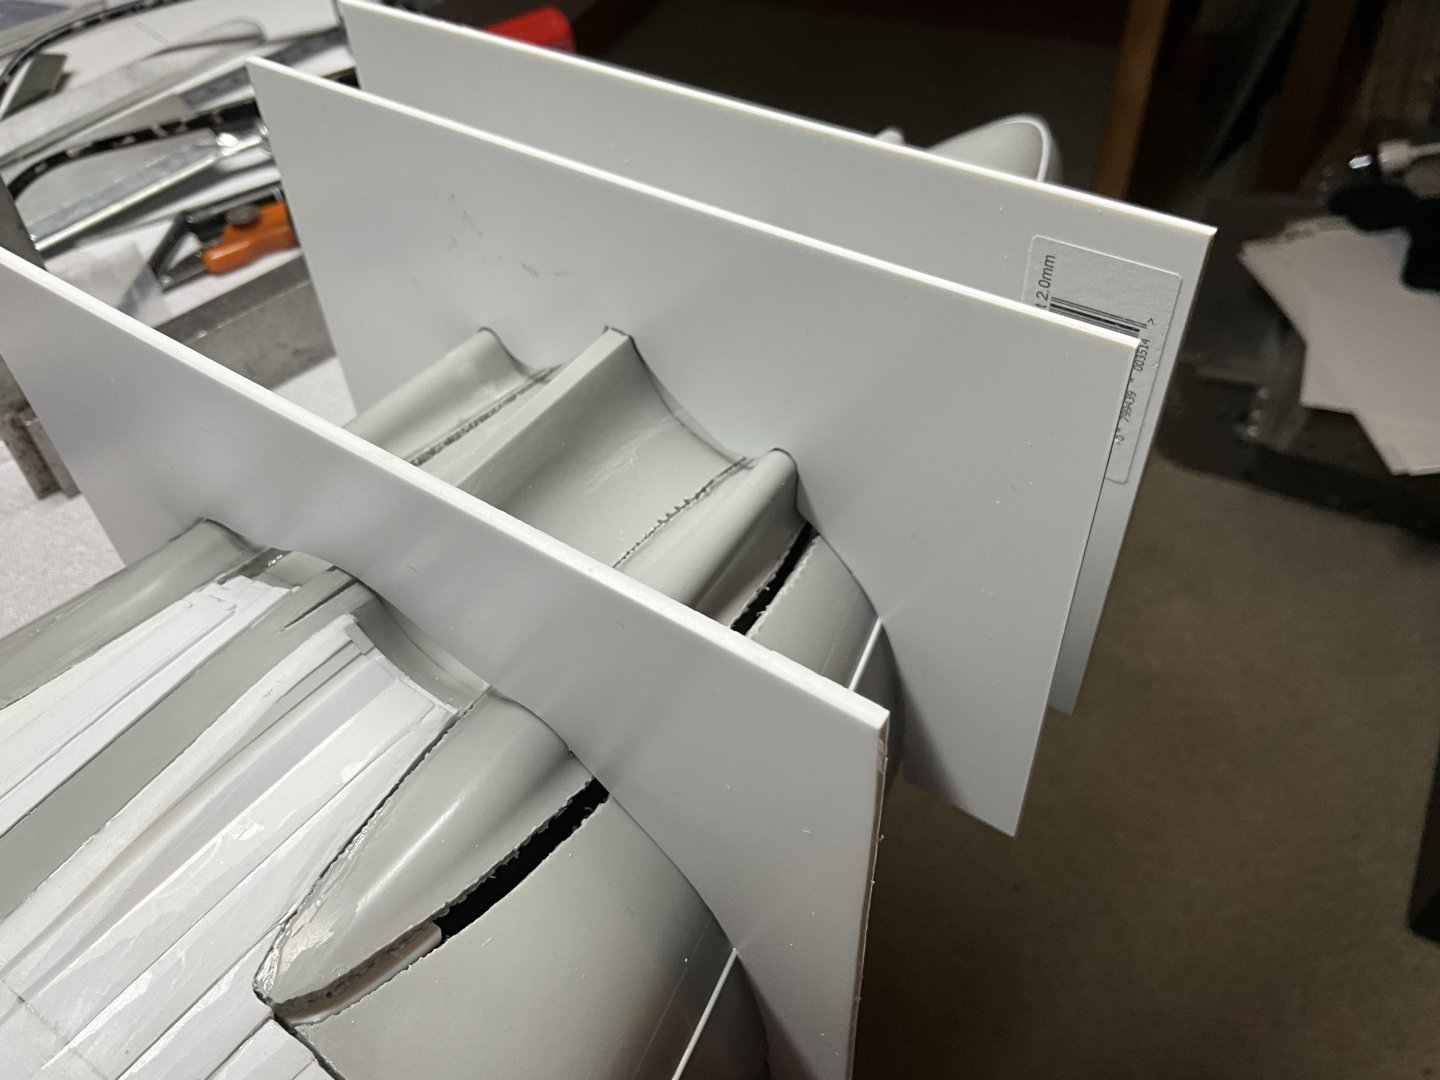
Has all been a slow process of picking through this a bit at a time, shall still need more time spent on it before try a little primer on it to highlight issues, there’s bound to be a few. Whilst doing that, think l will start making hull profiles for forward hull. This has got to be less problematic 🤞 that’ll be me for a year till next post, bad joke 🫣
-
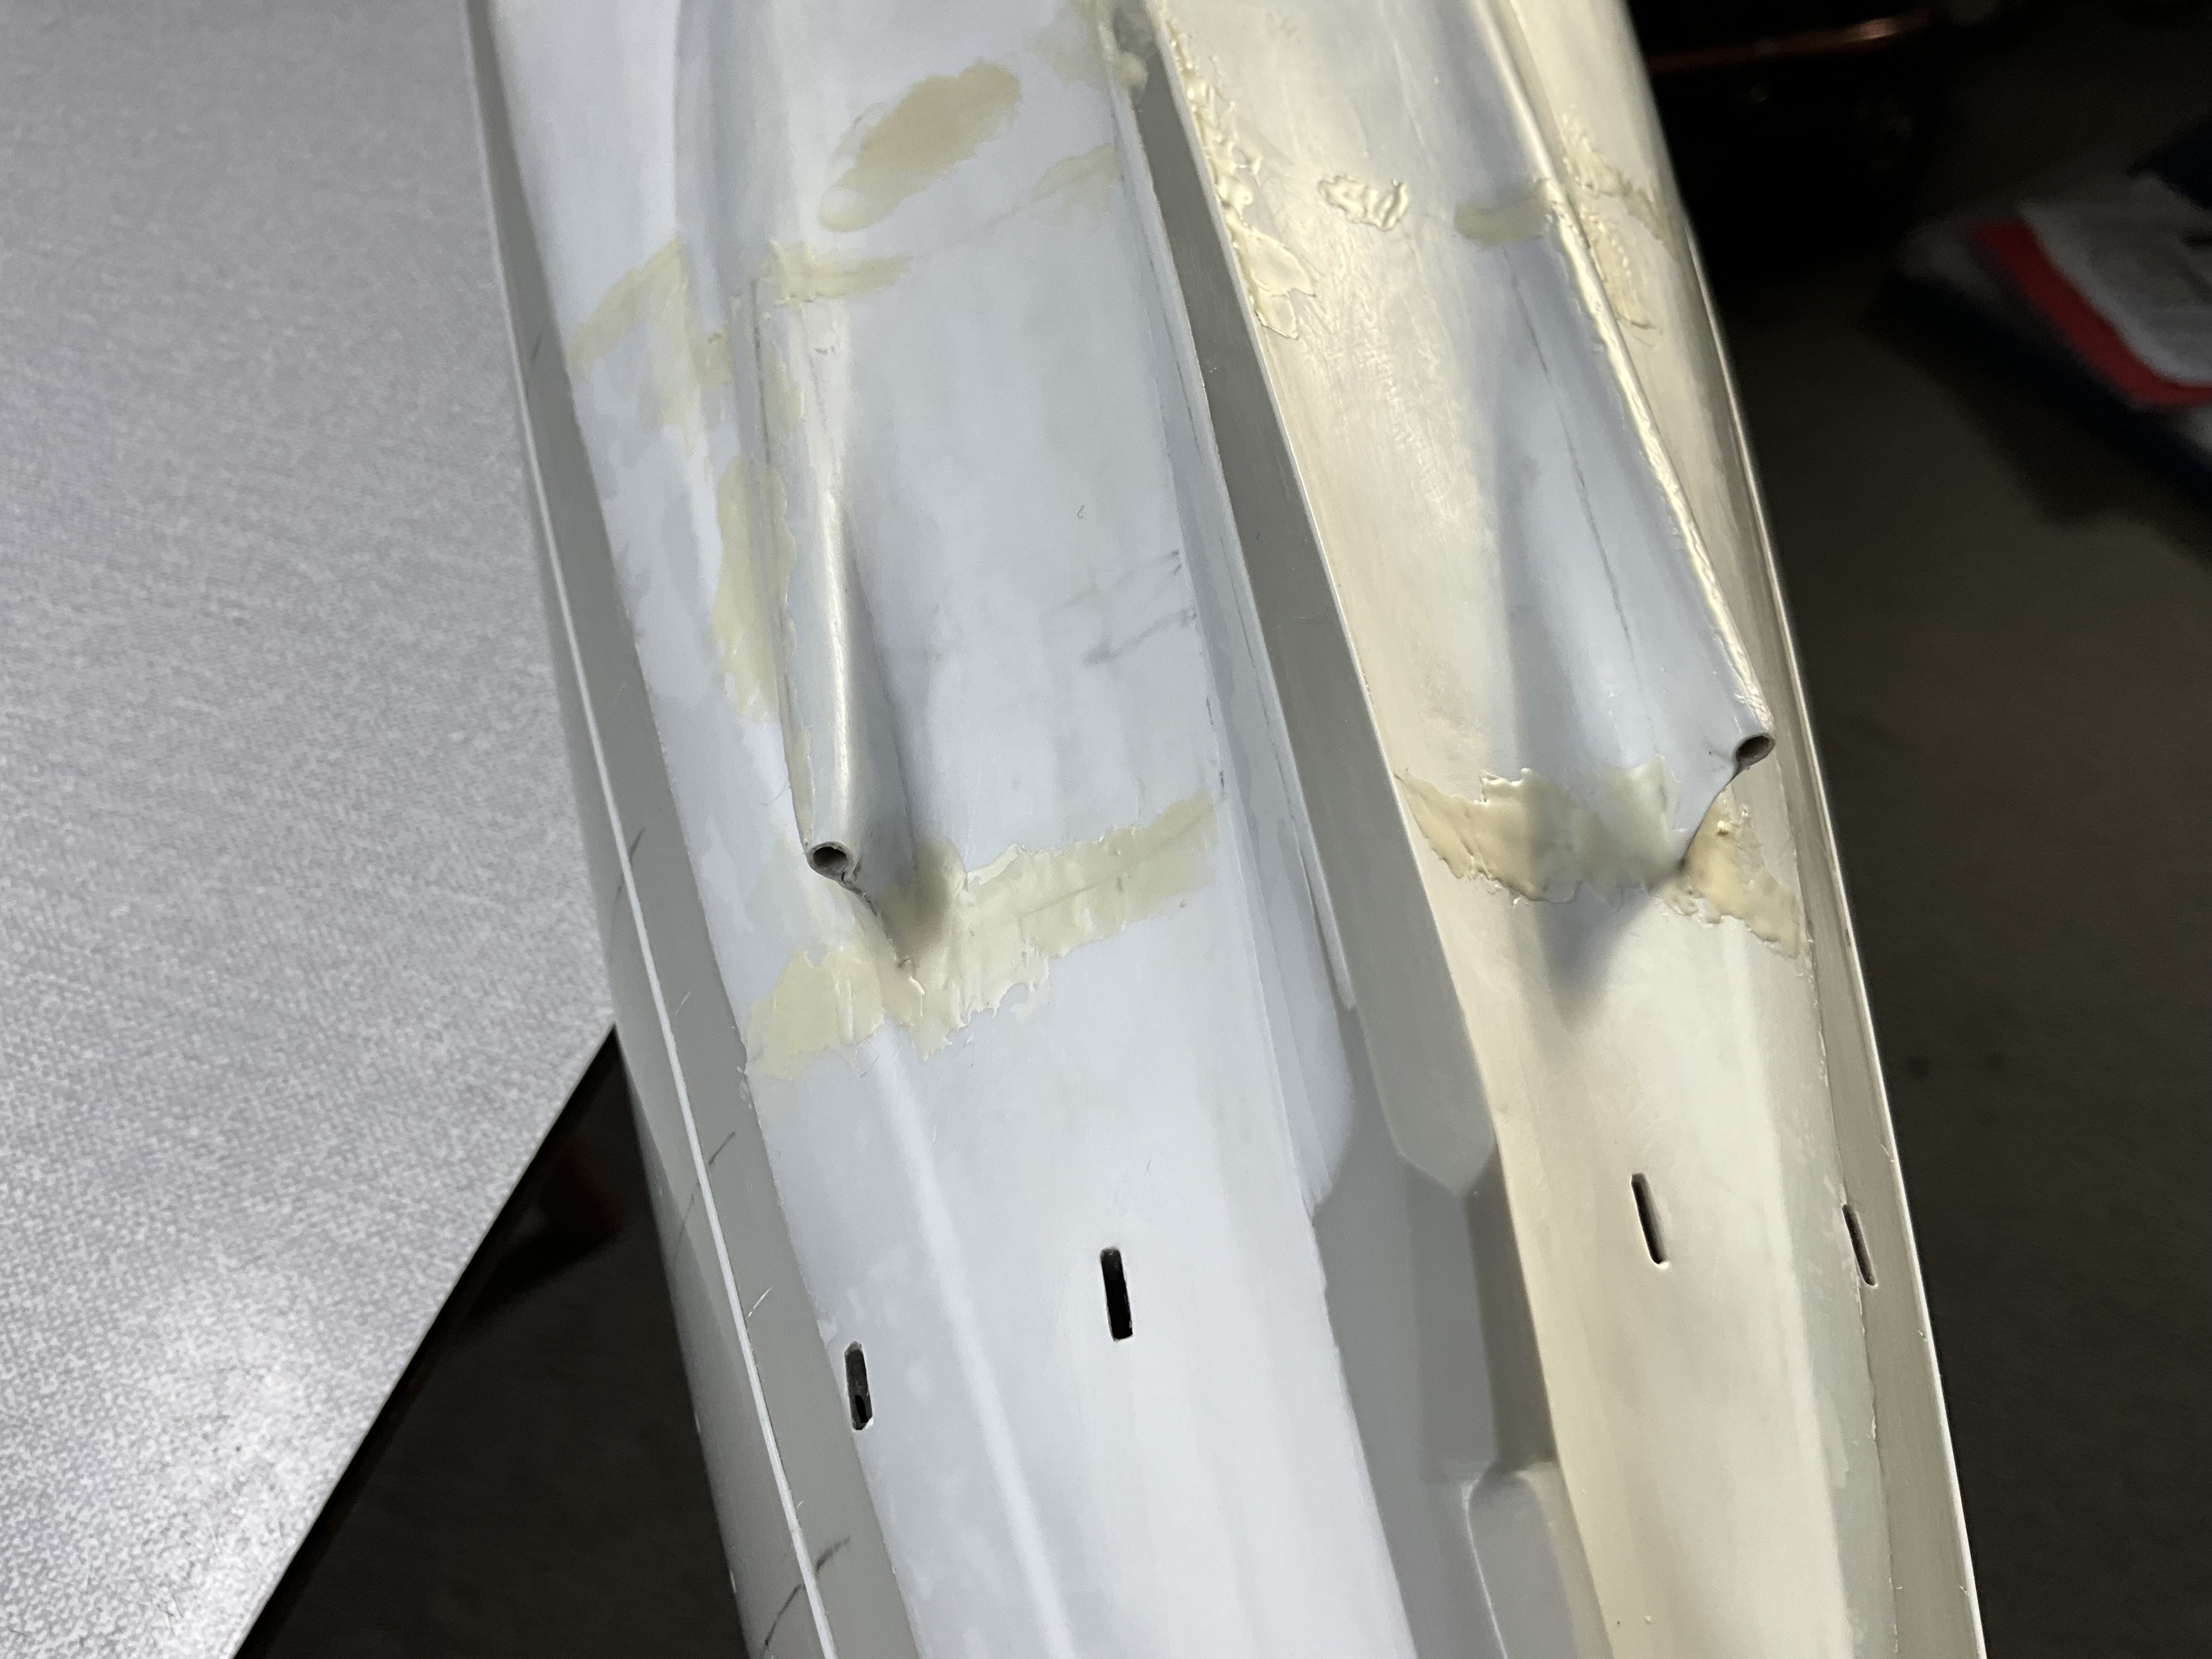
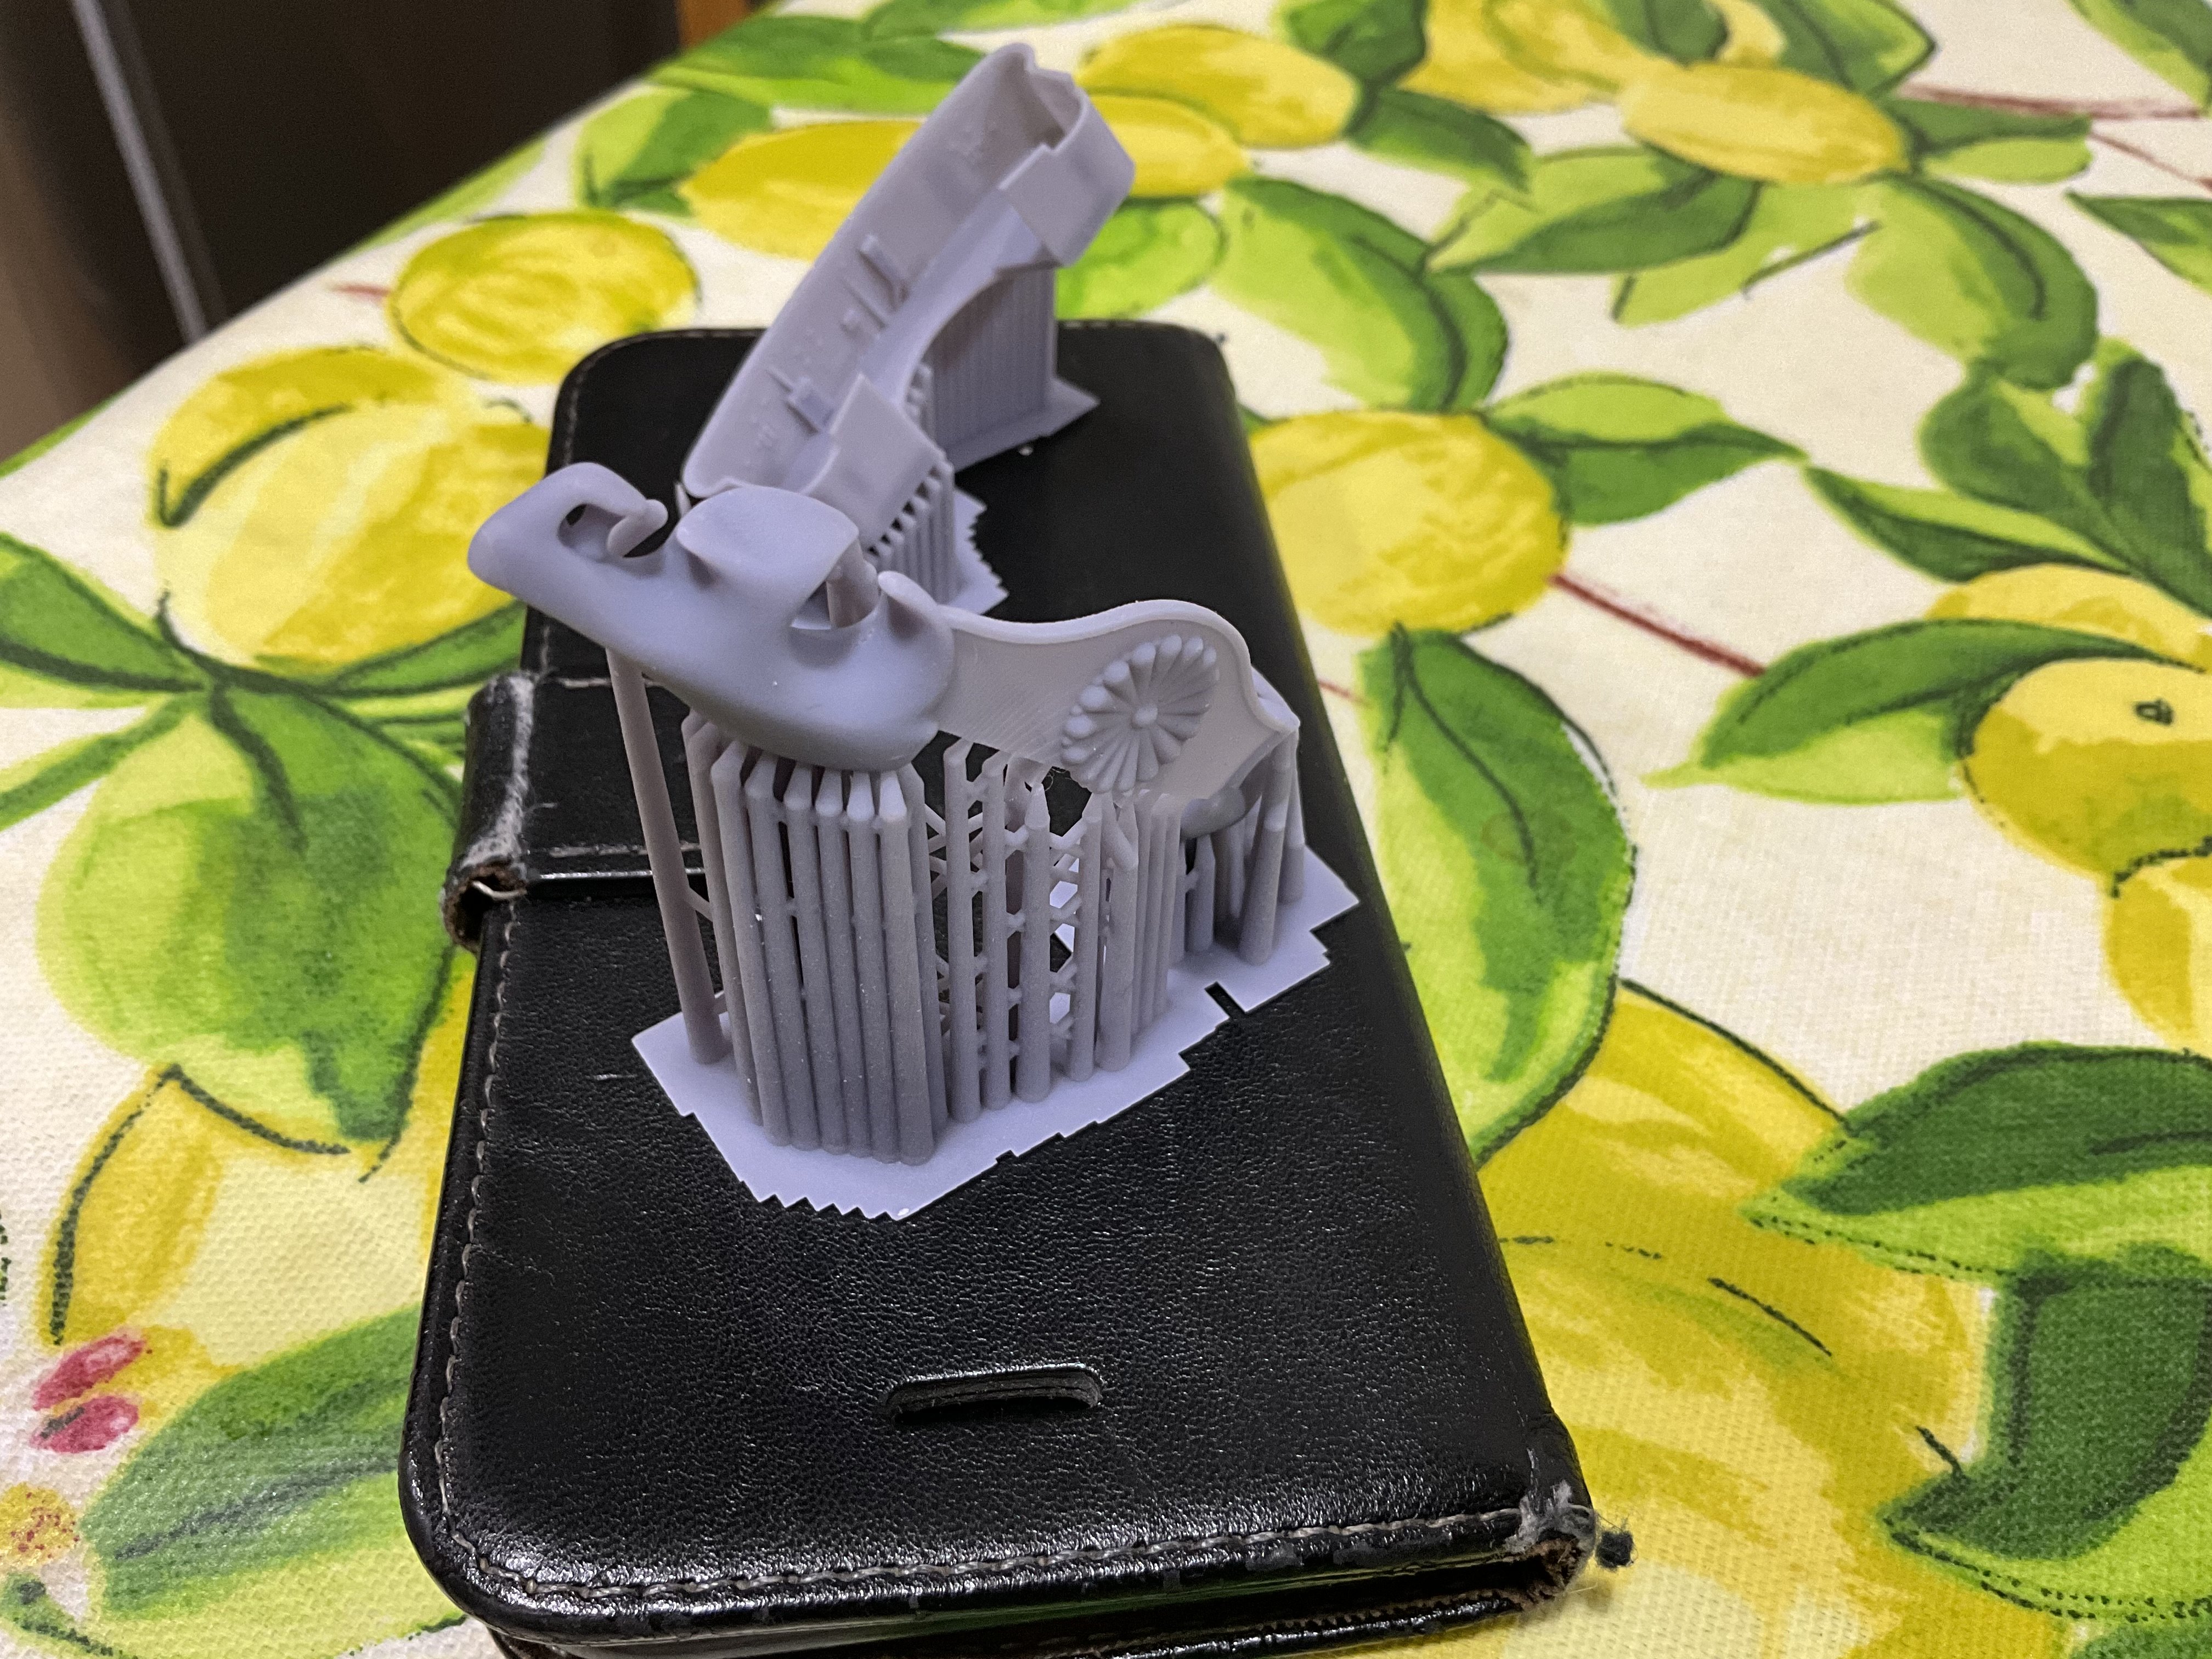
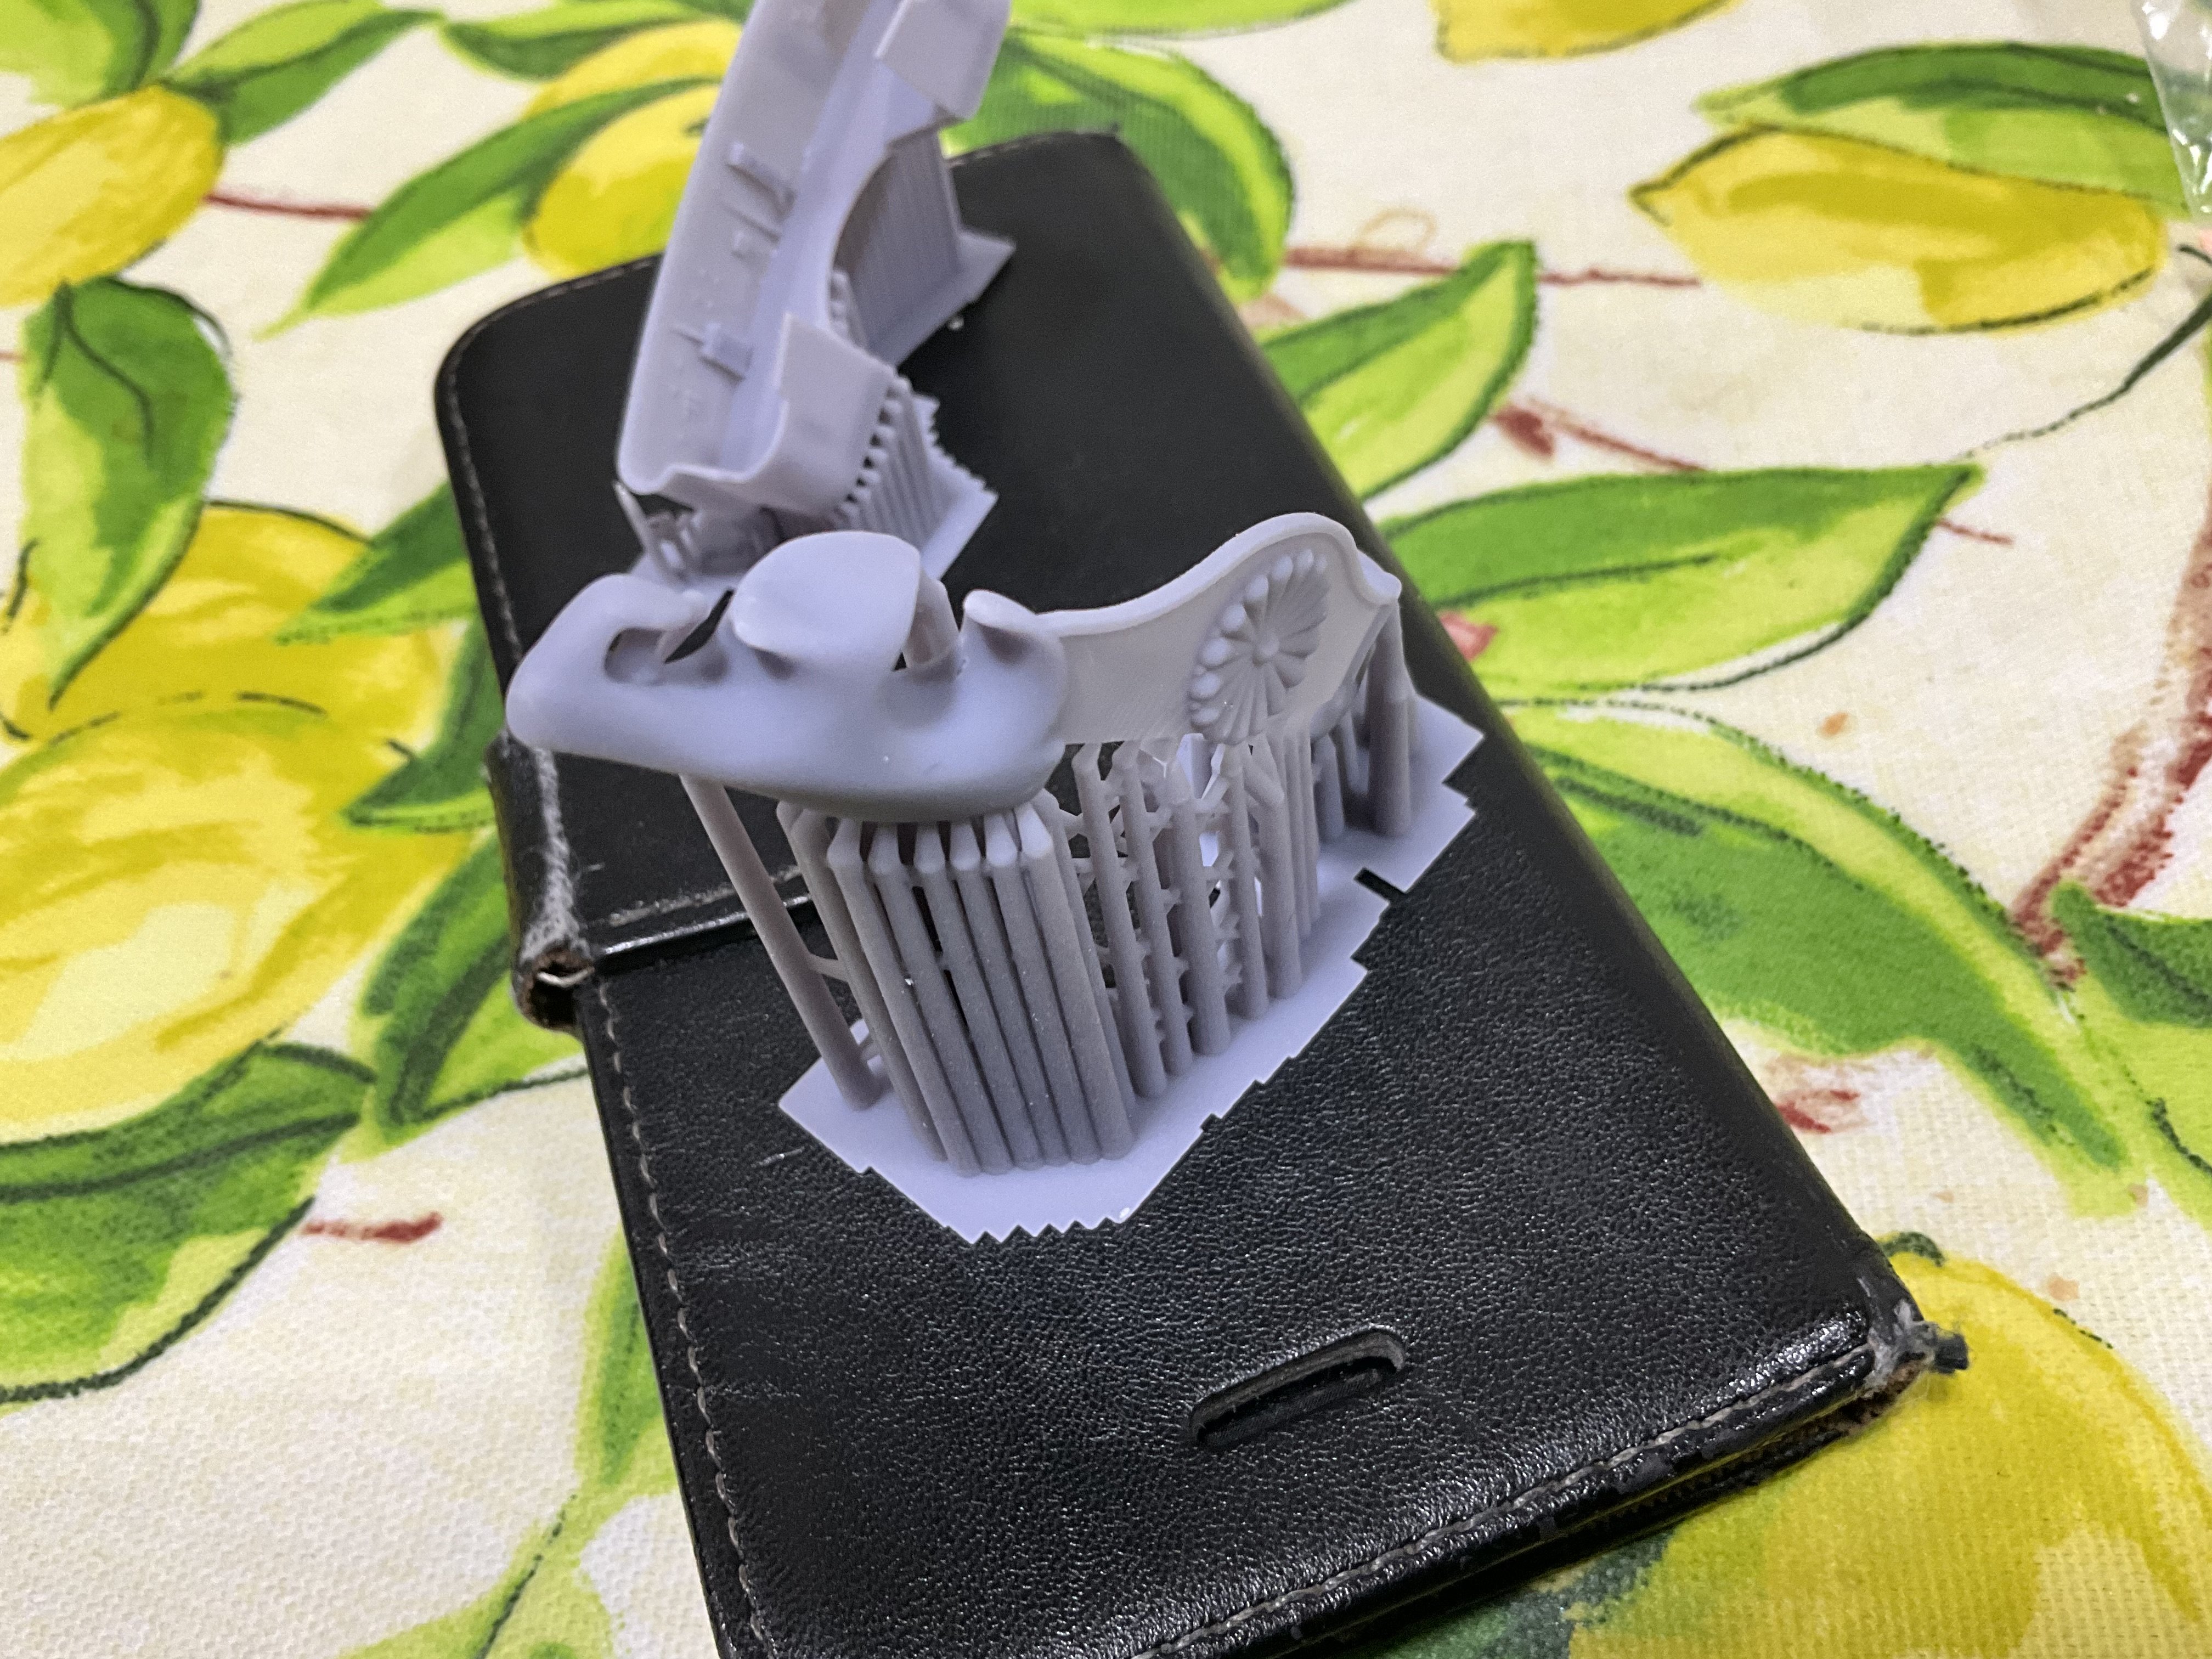
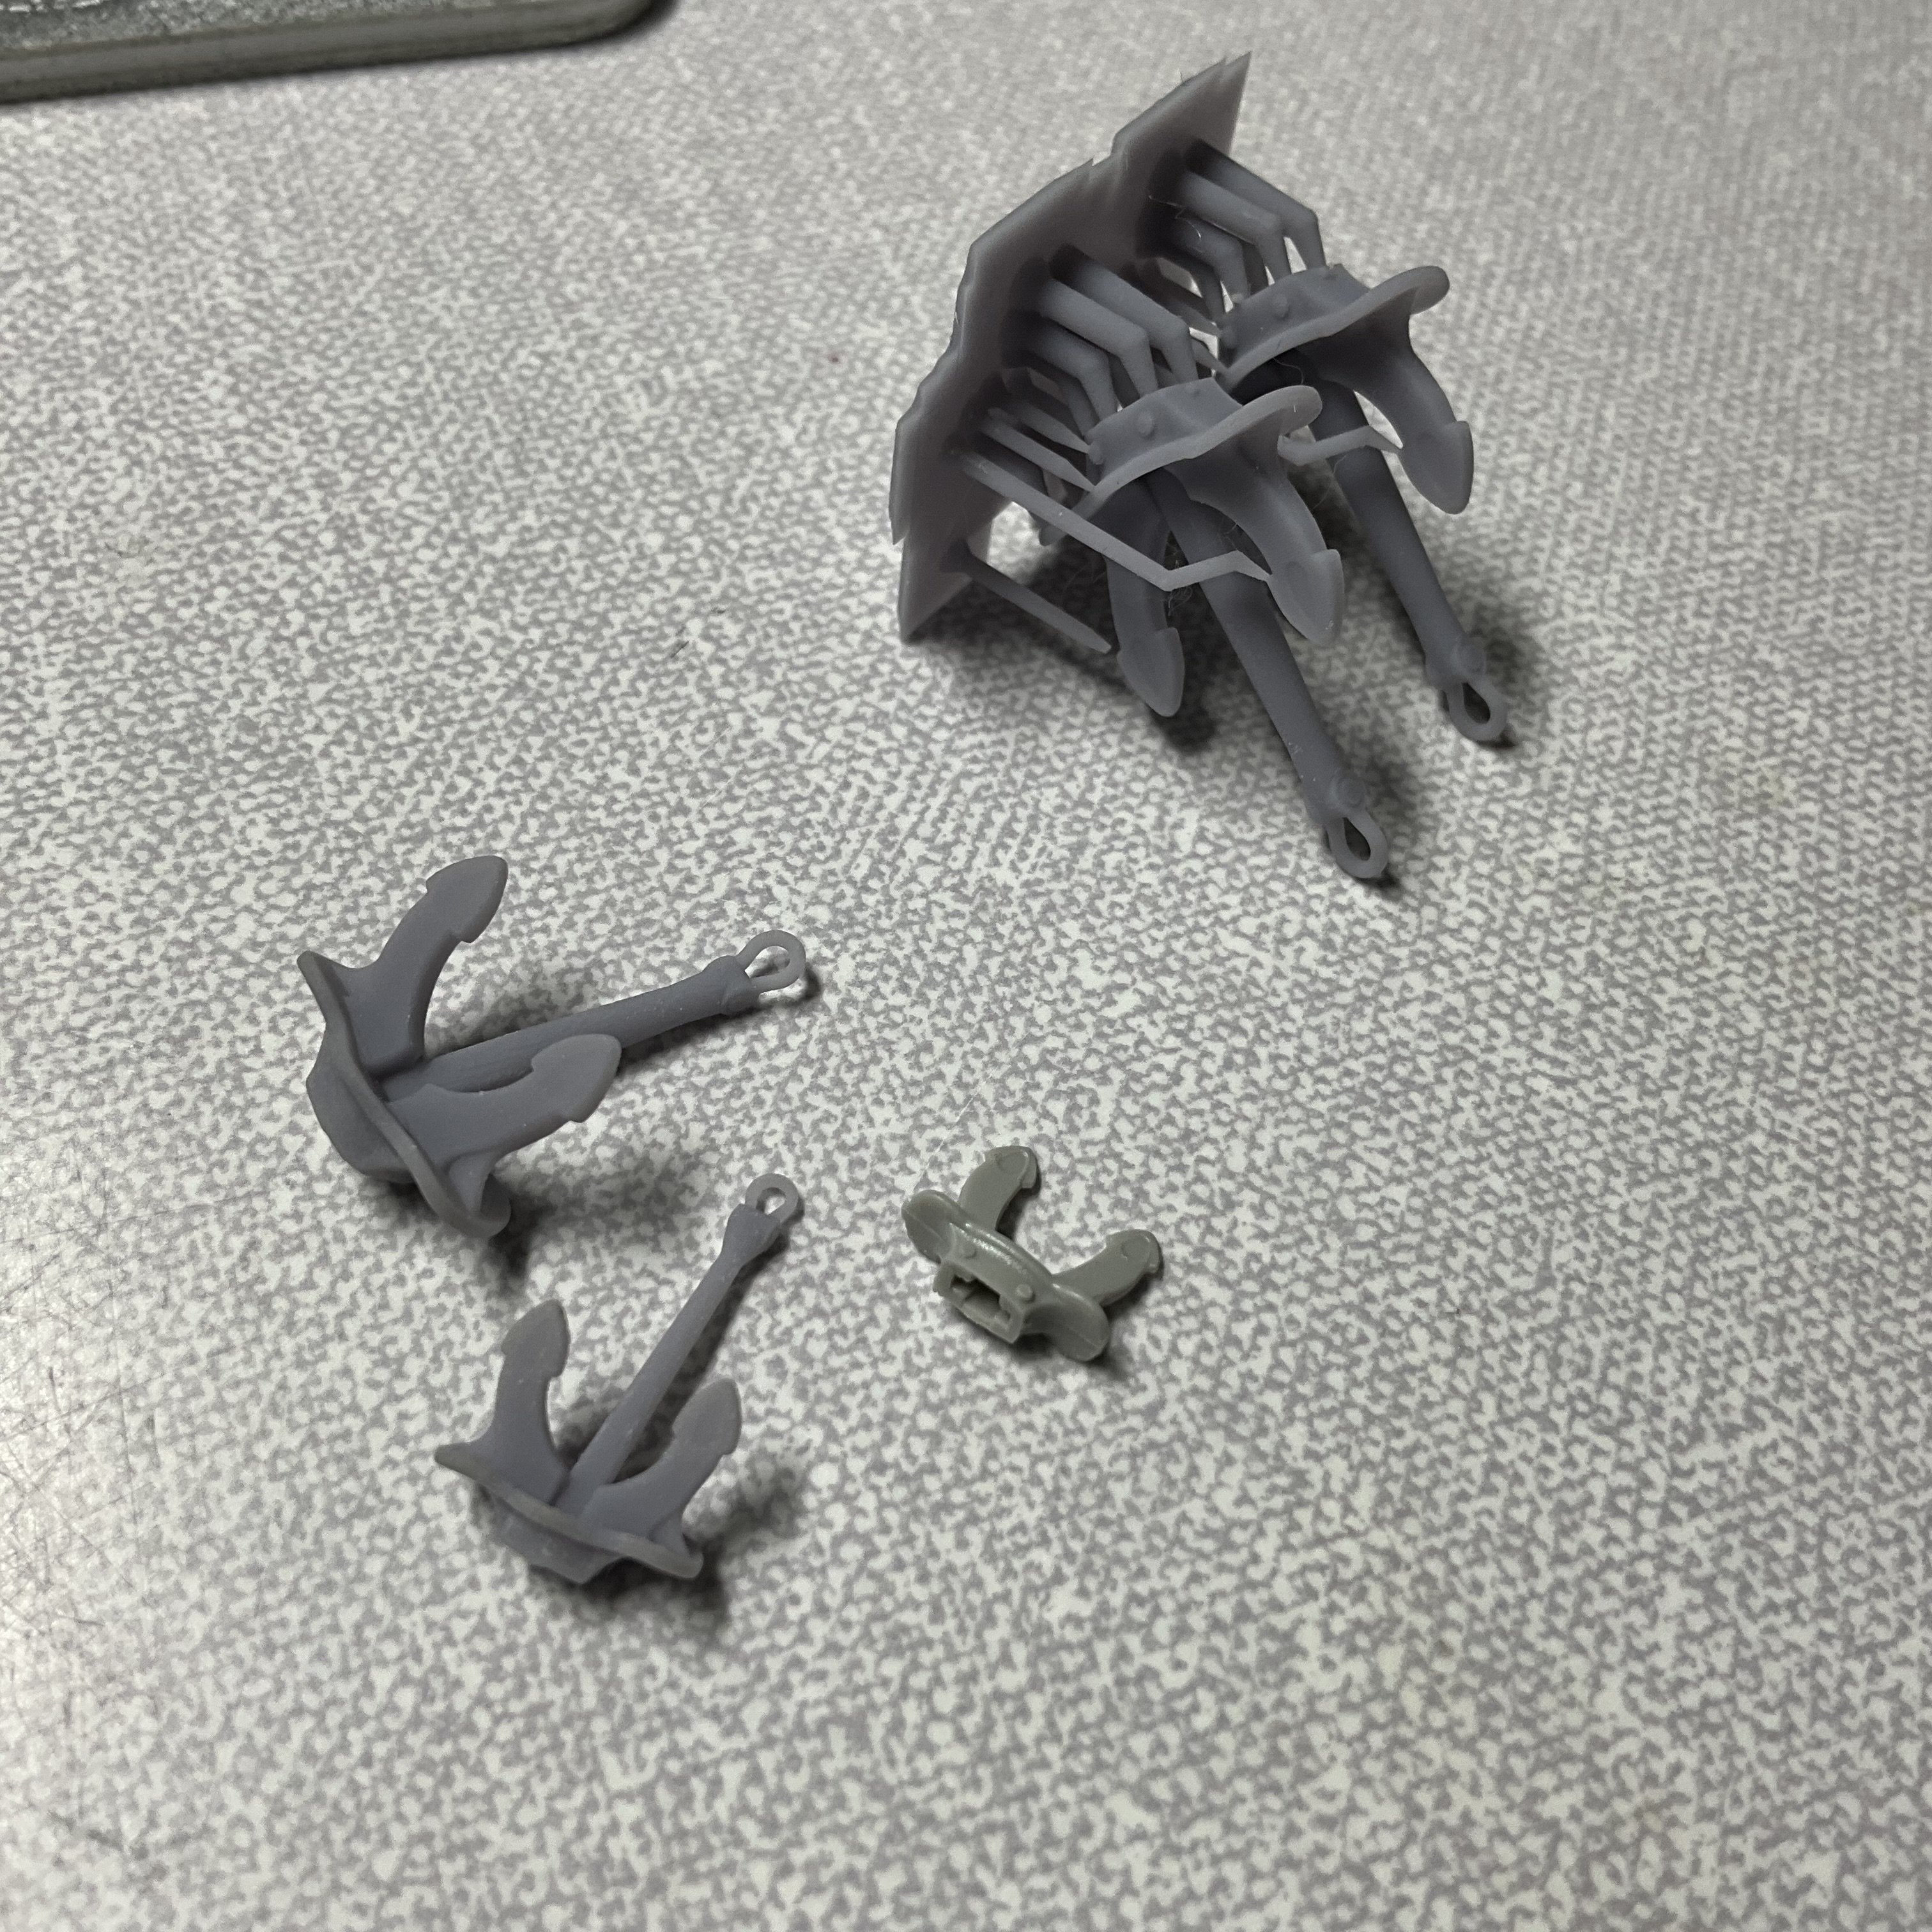
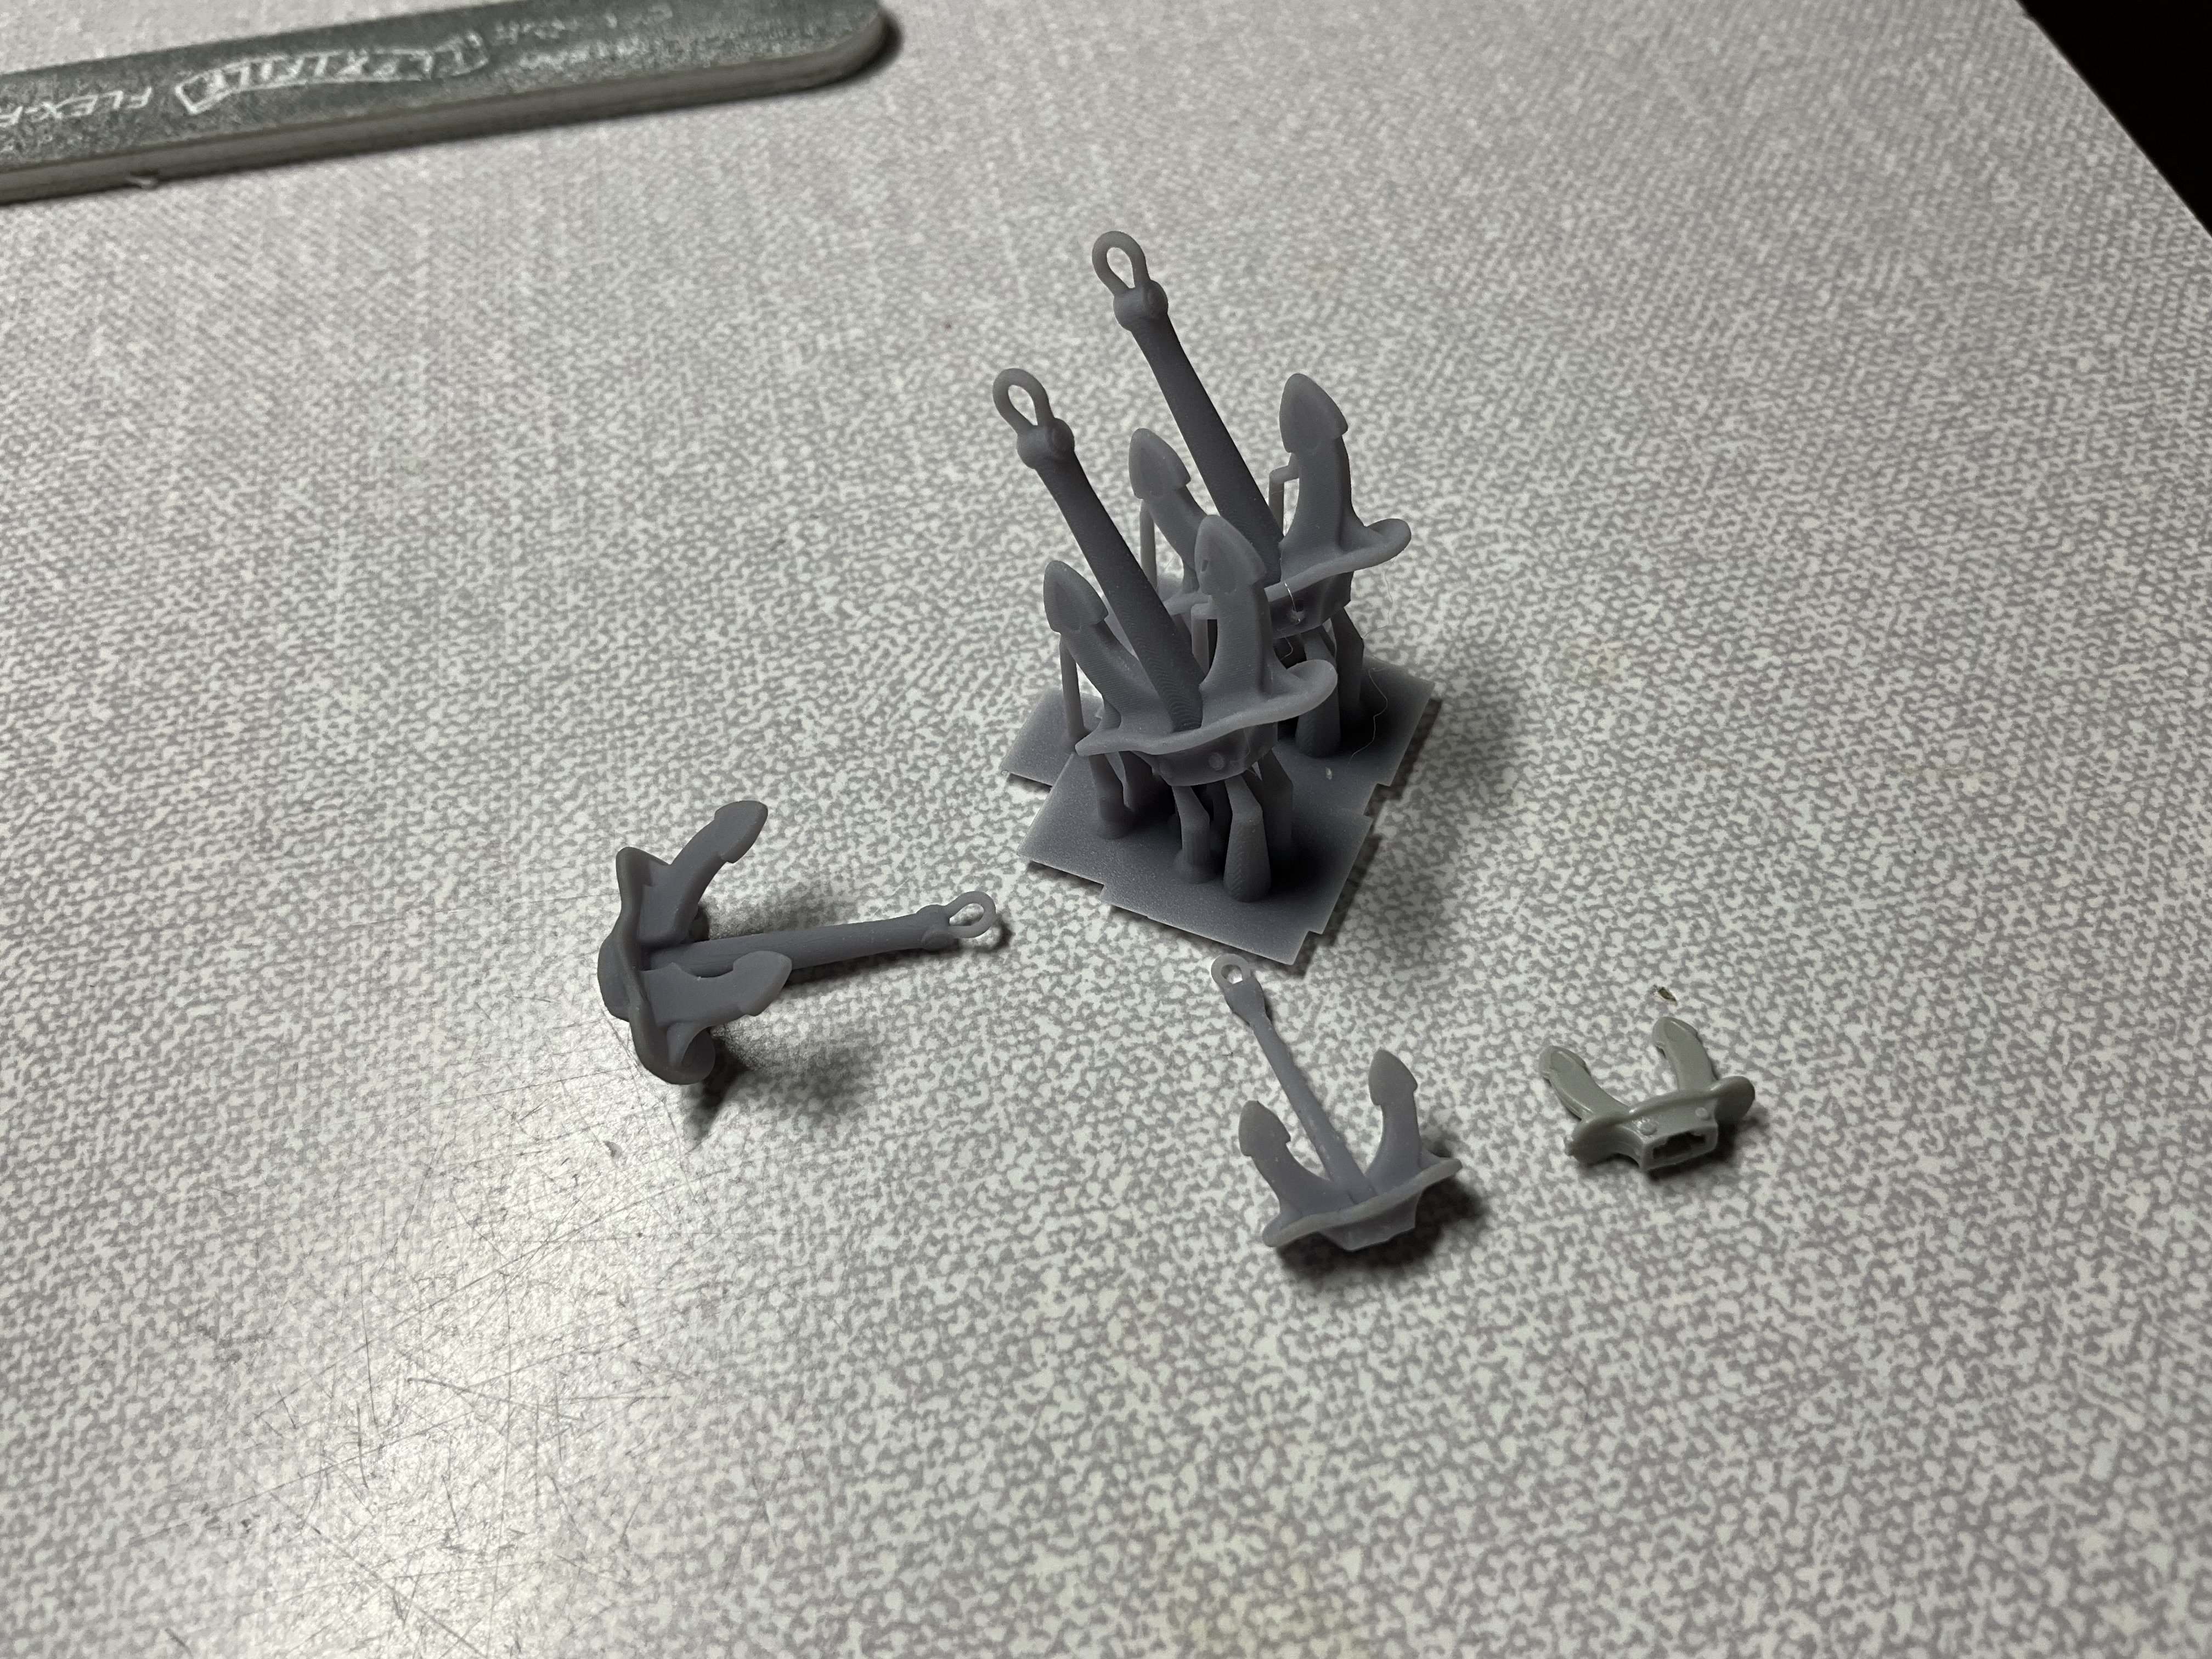
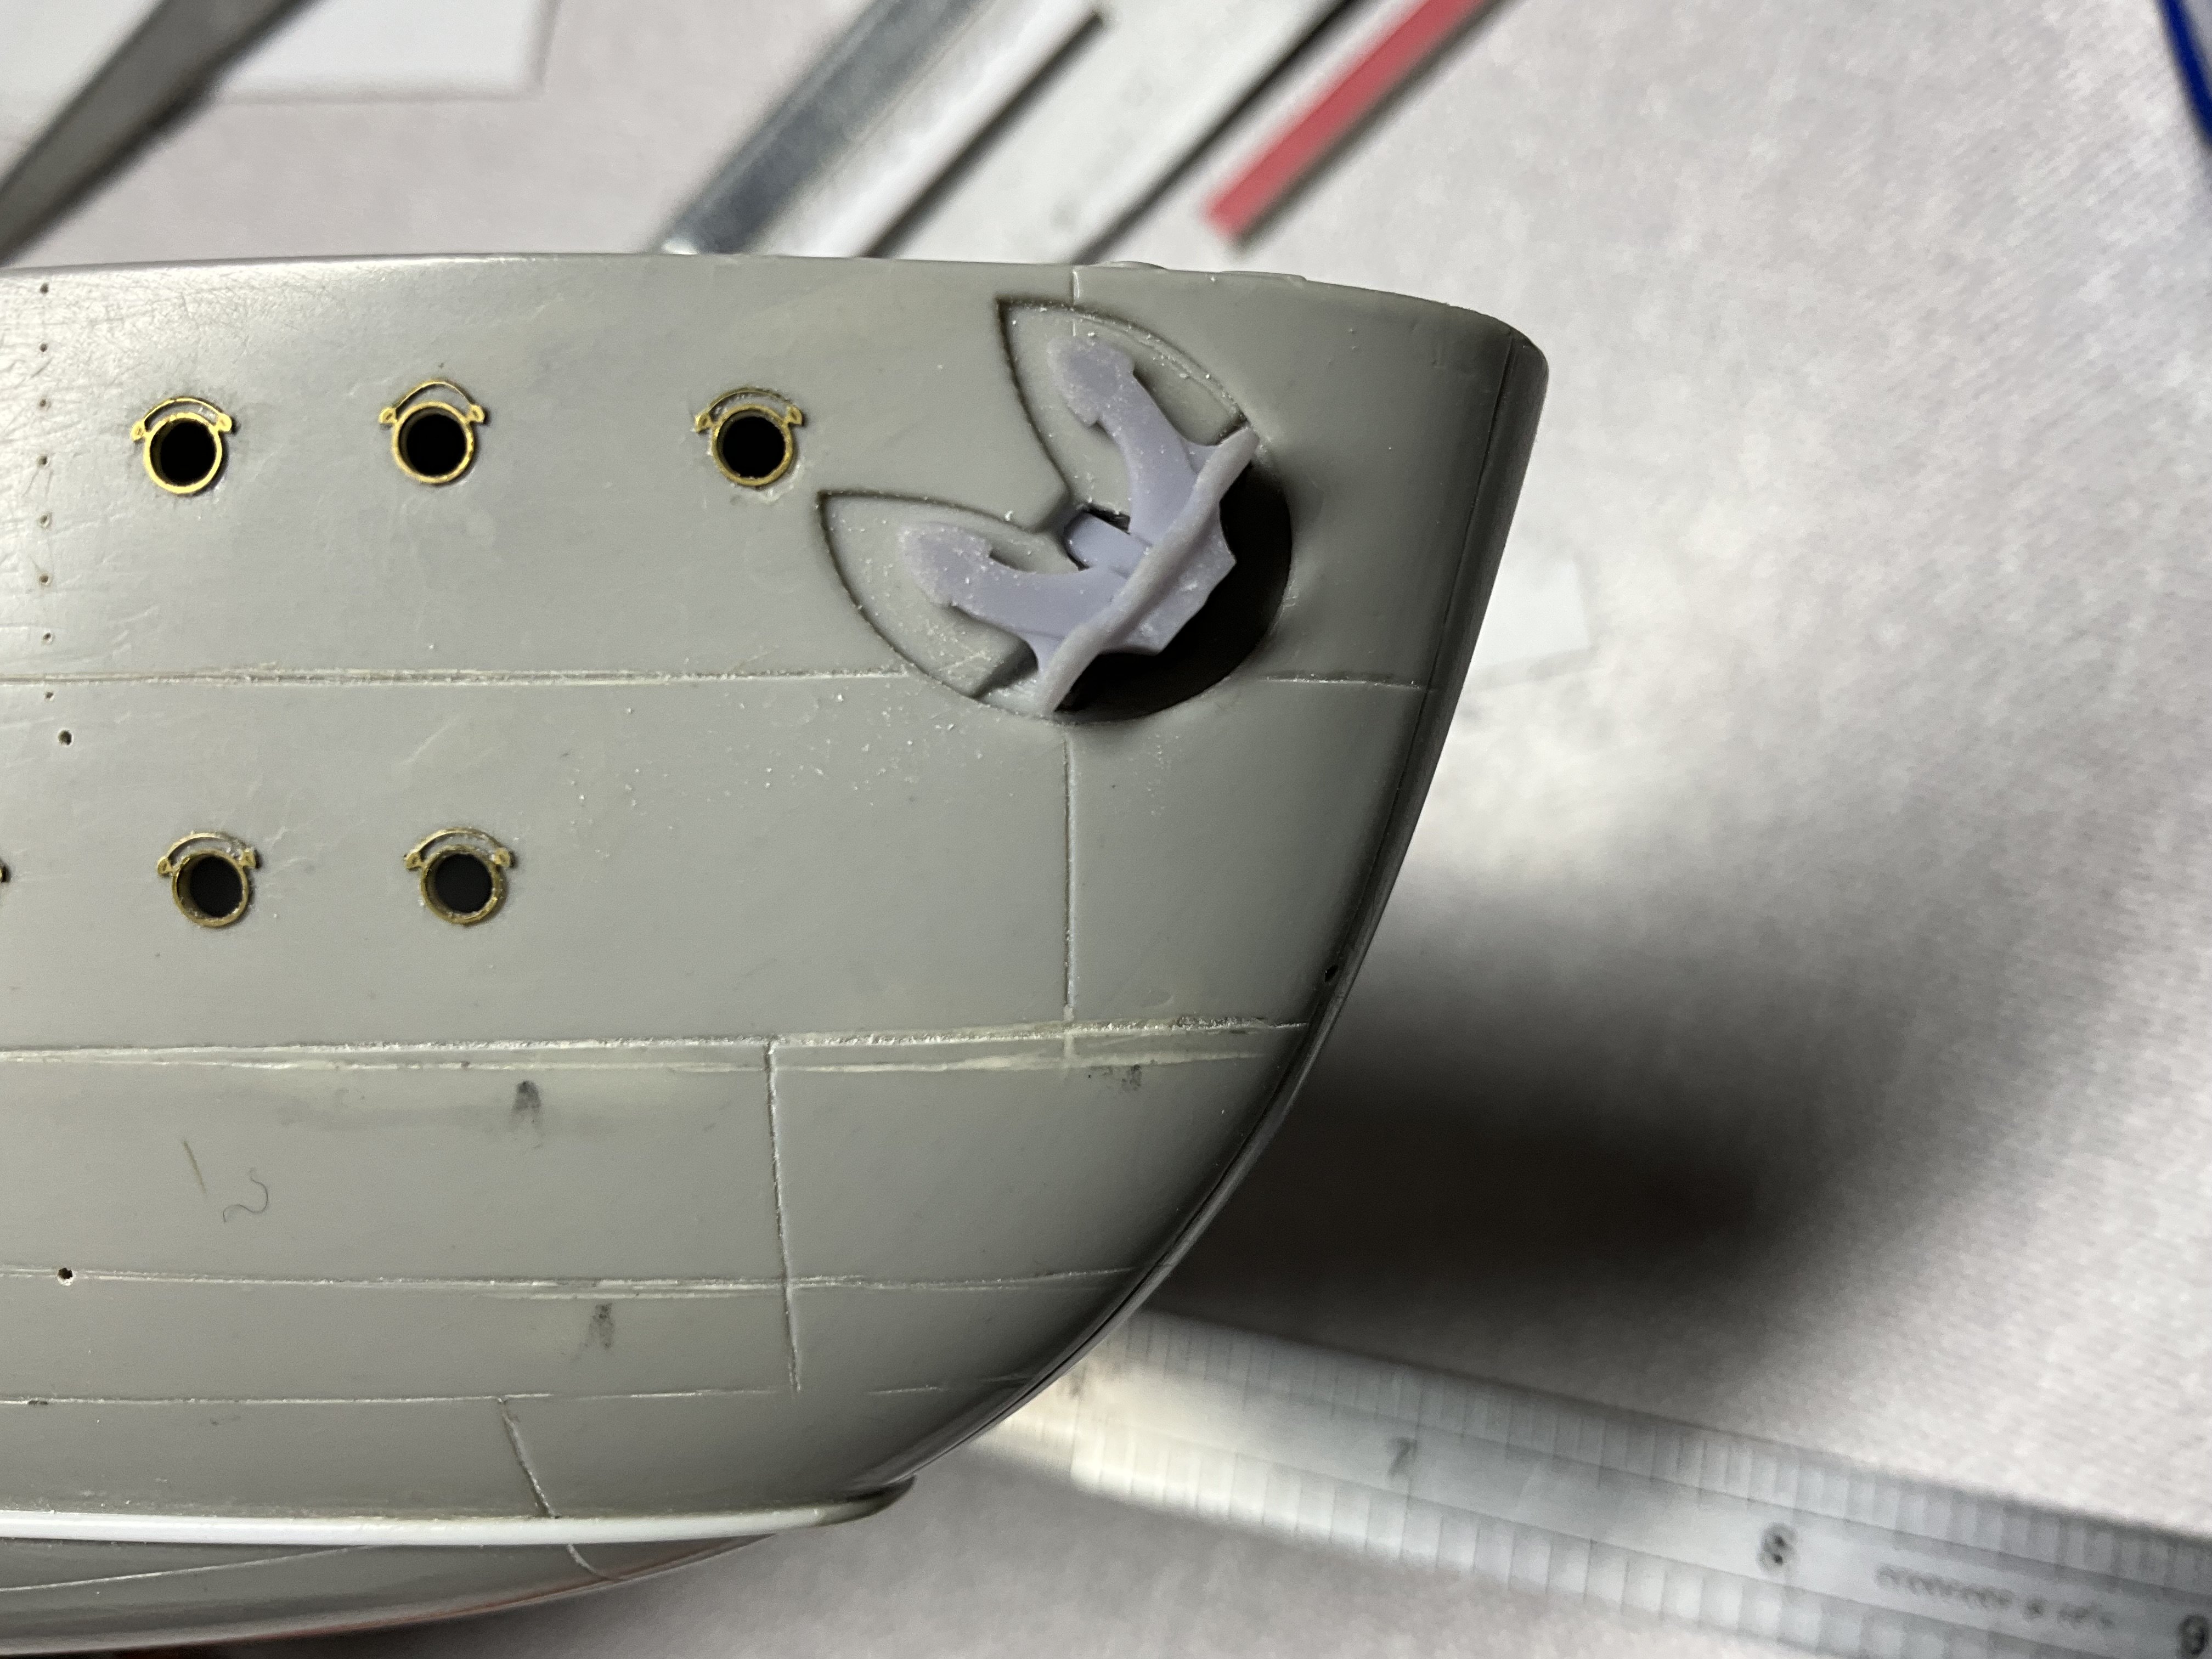
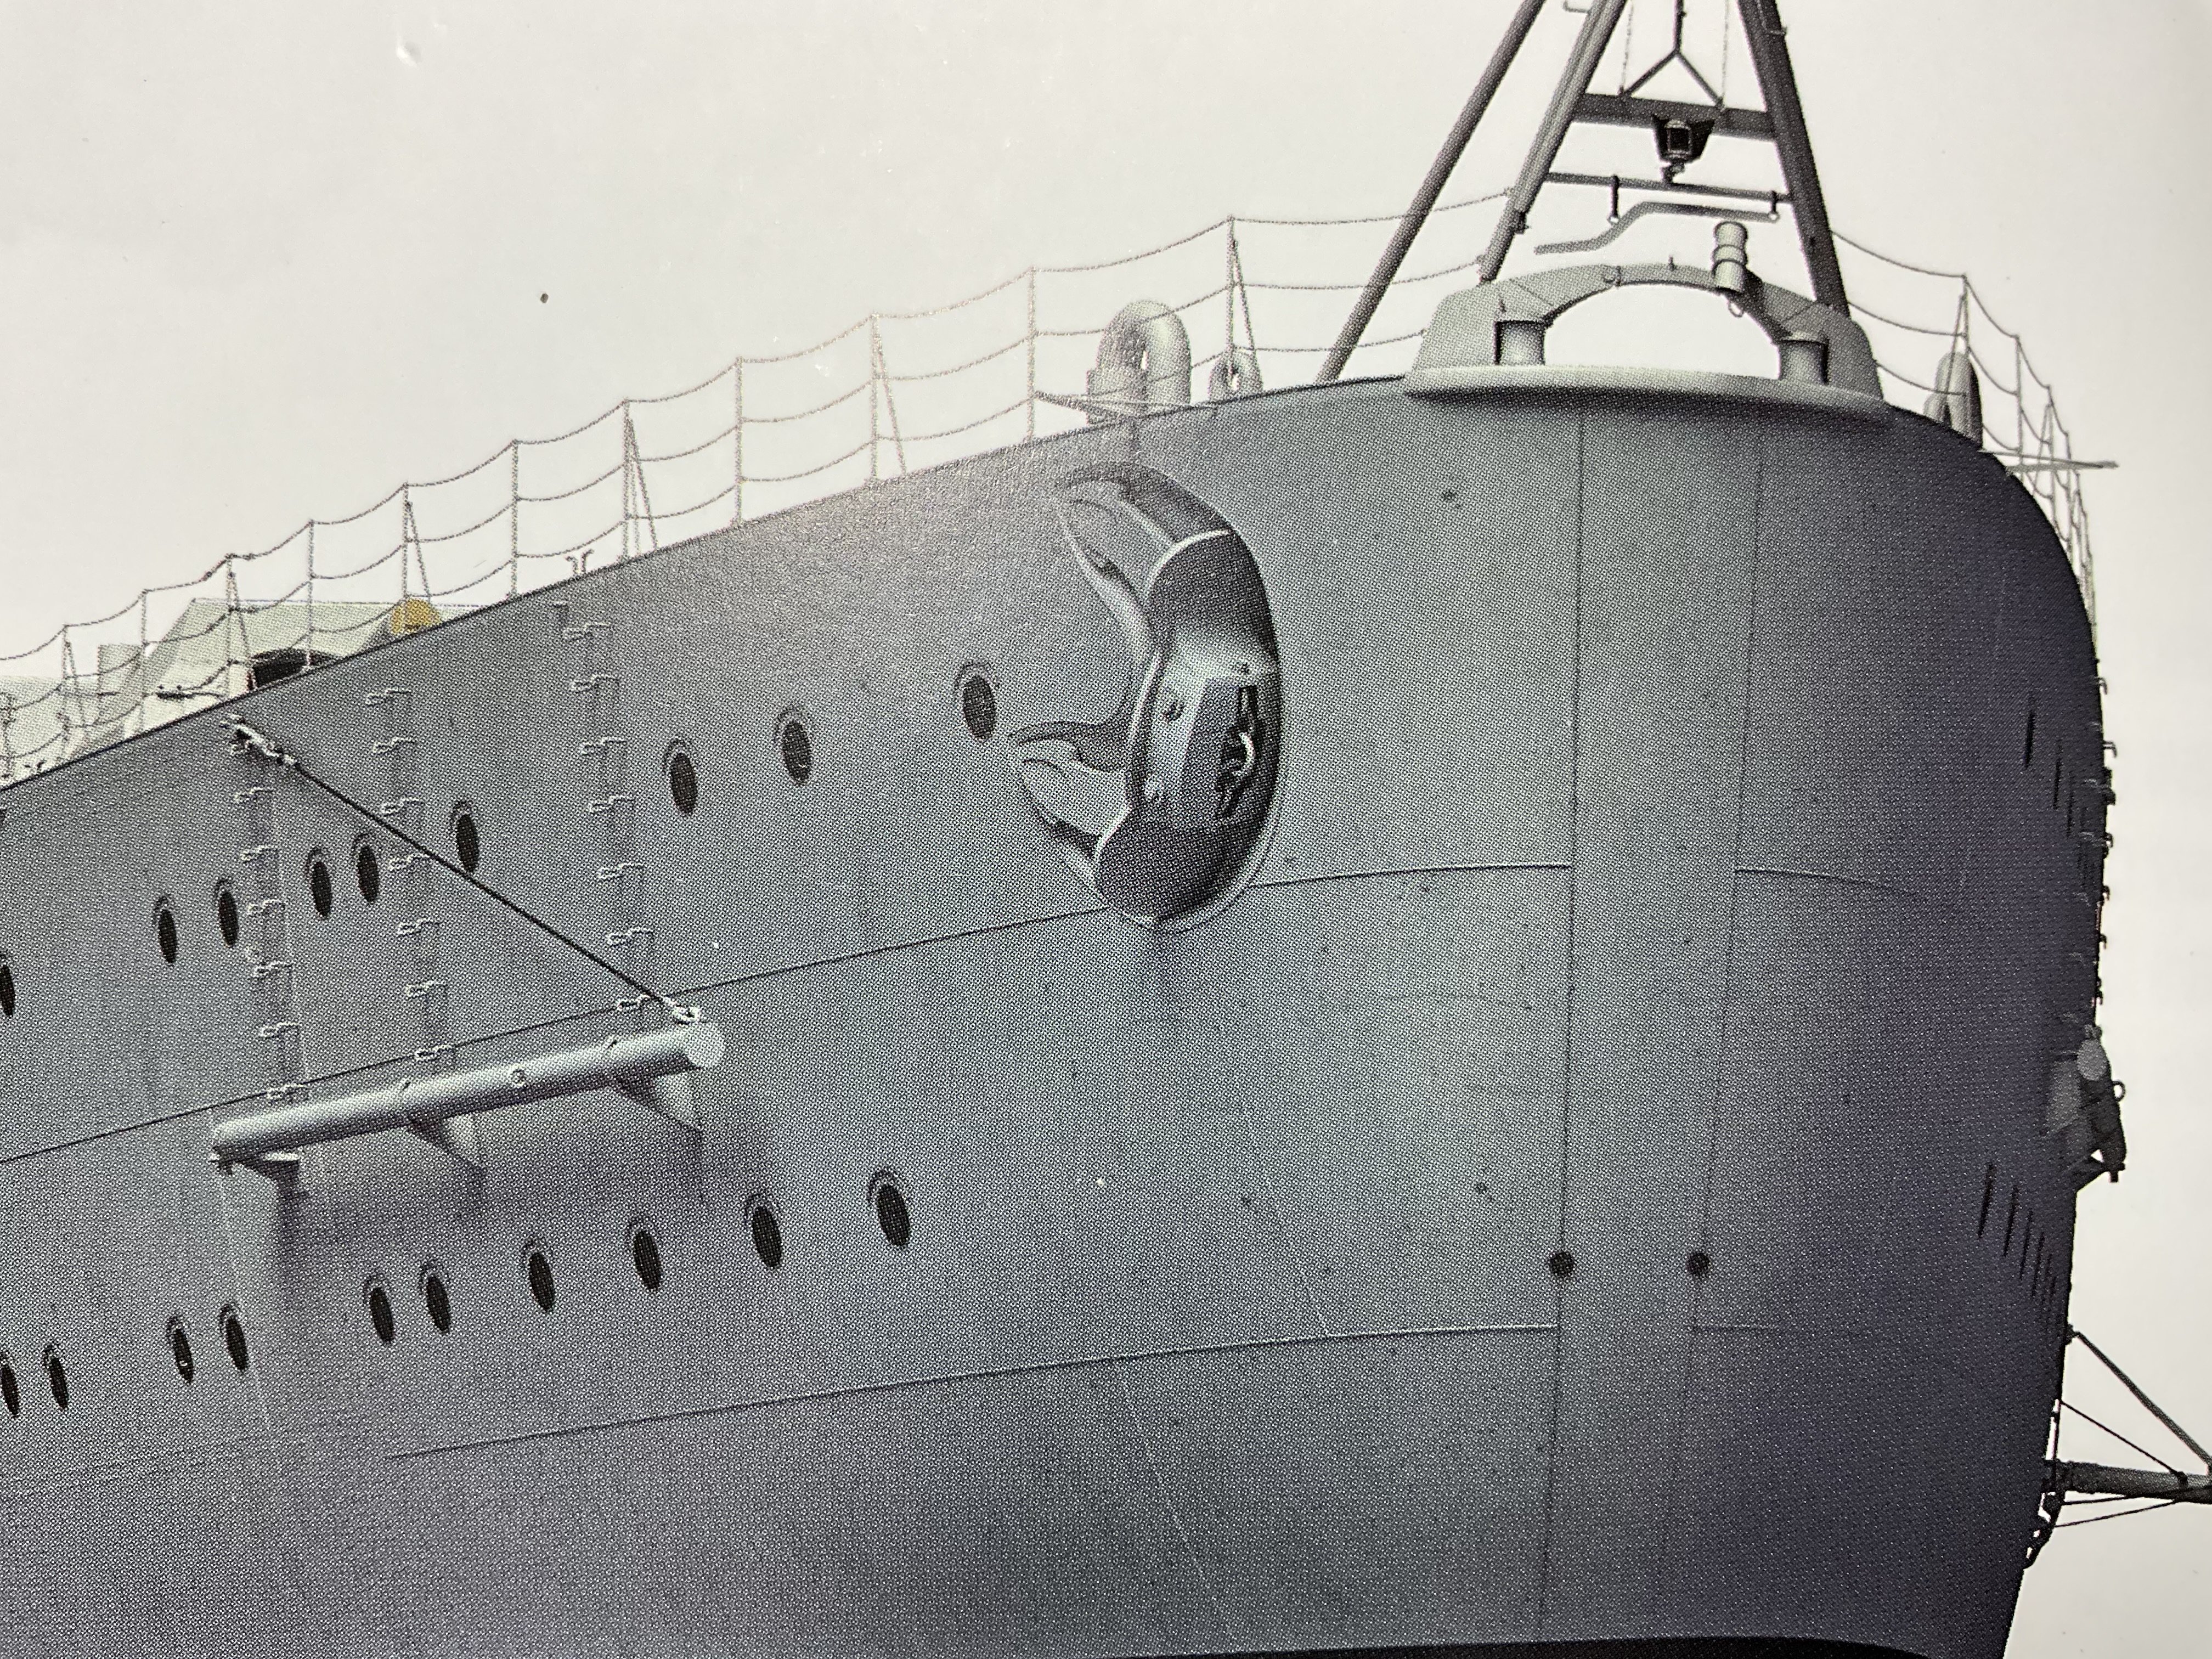
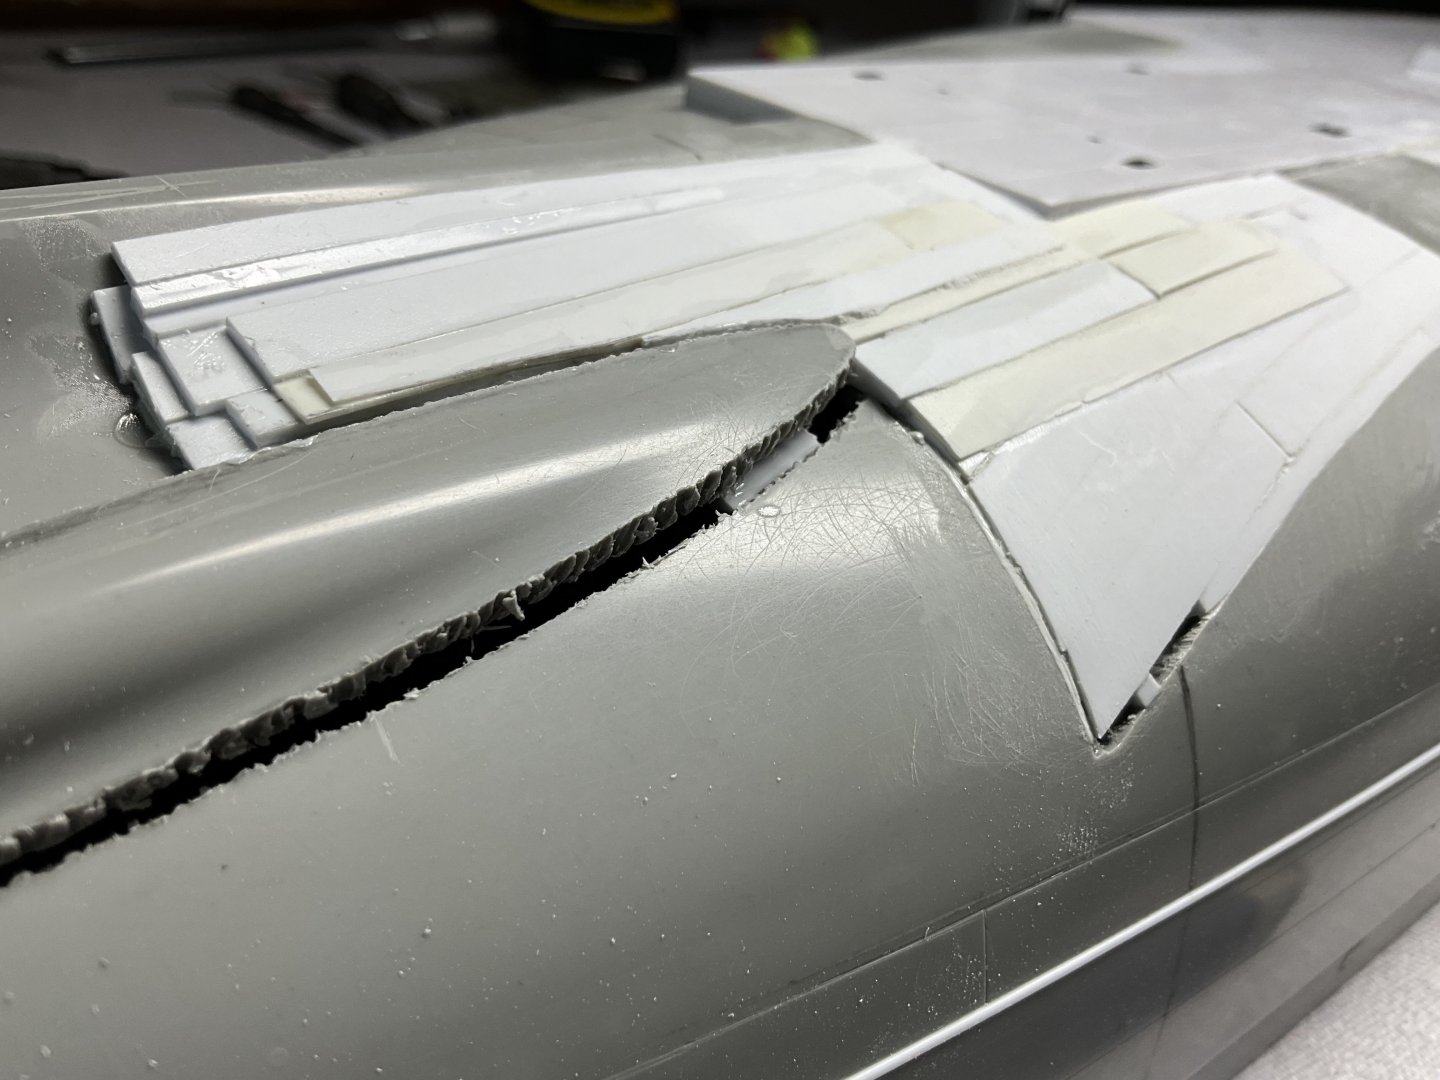
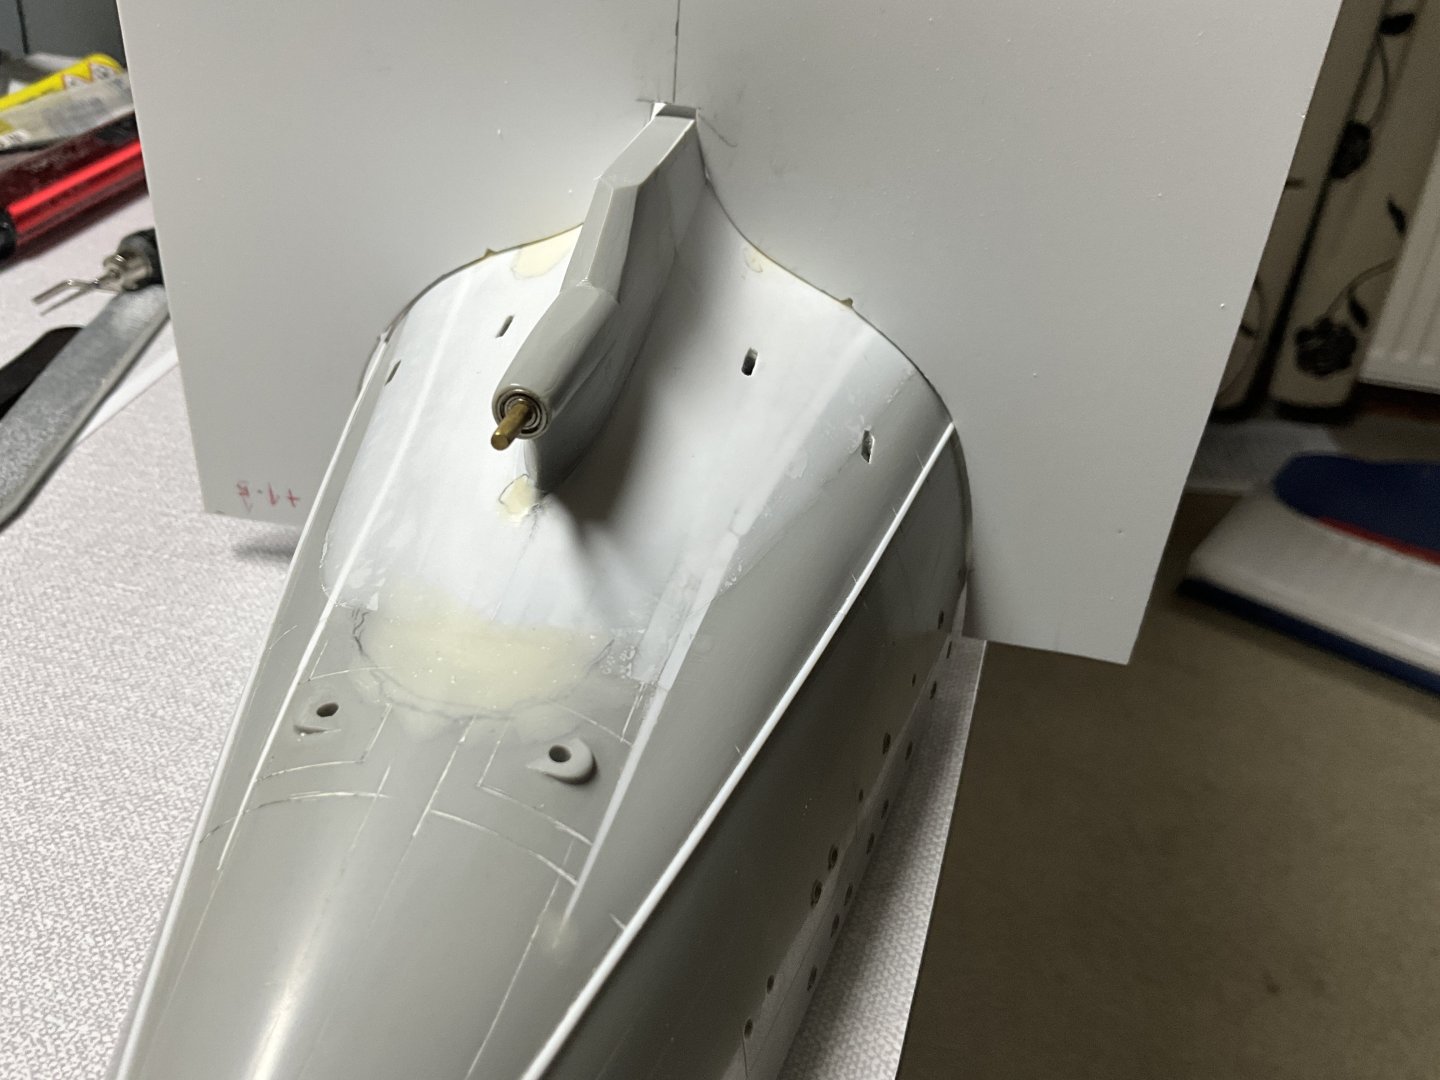
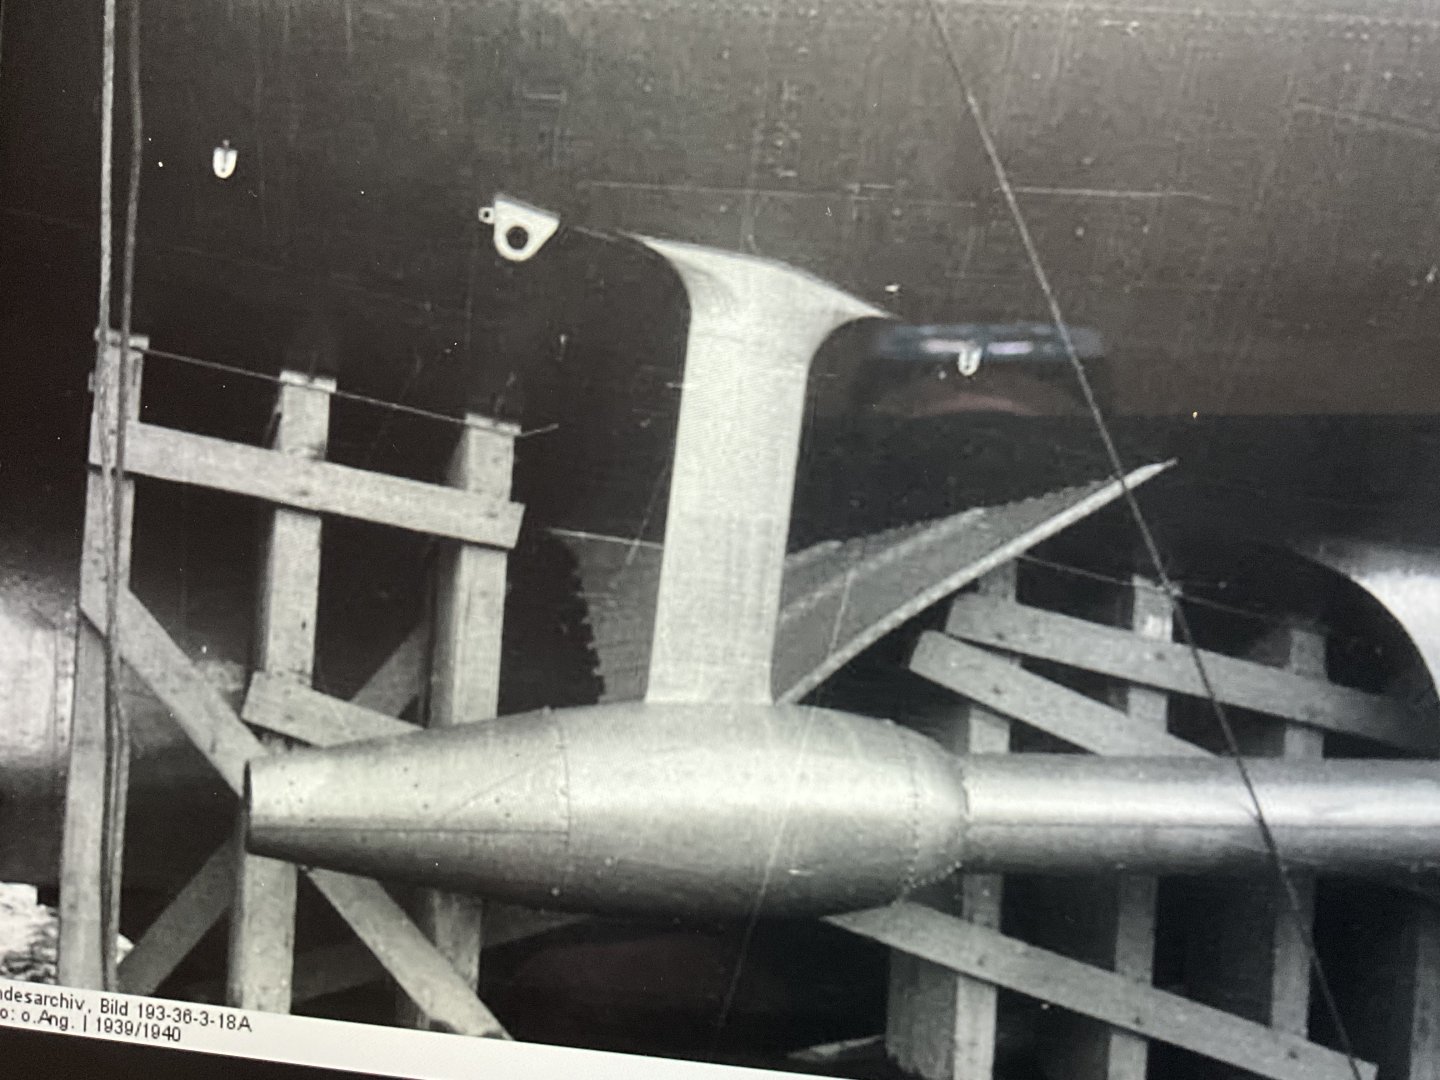
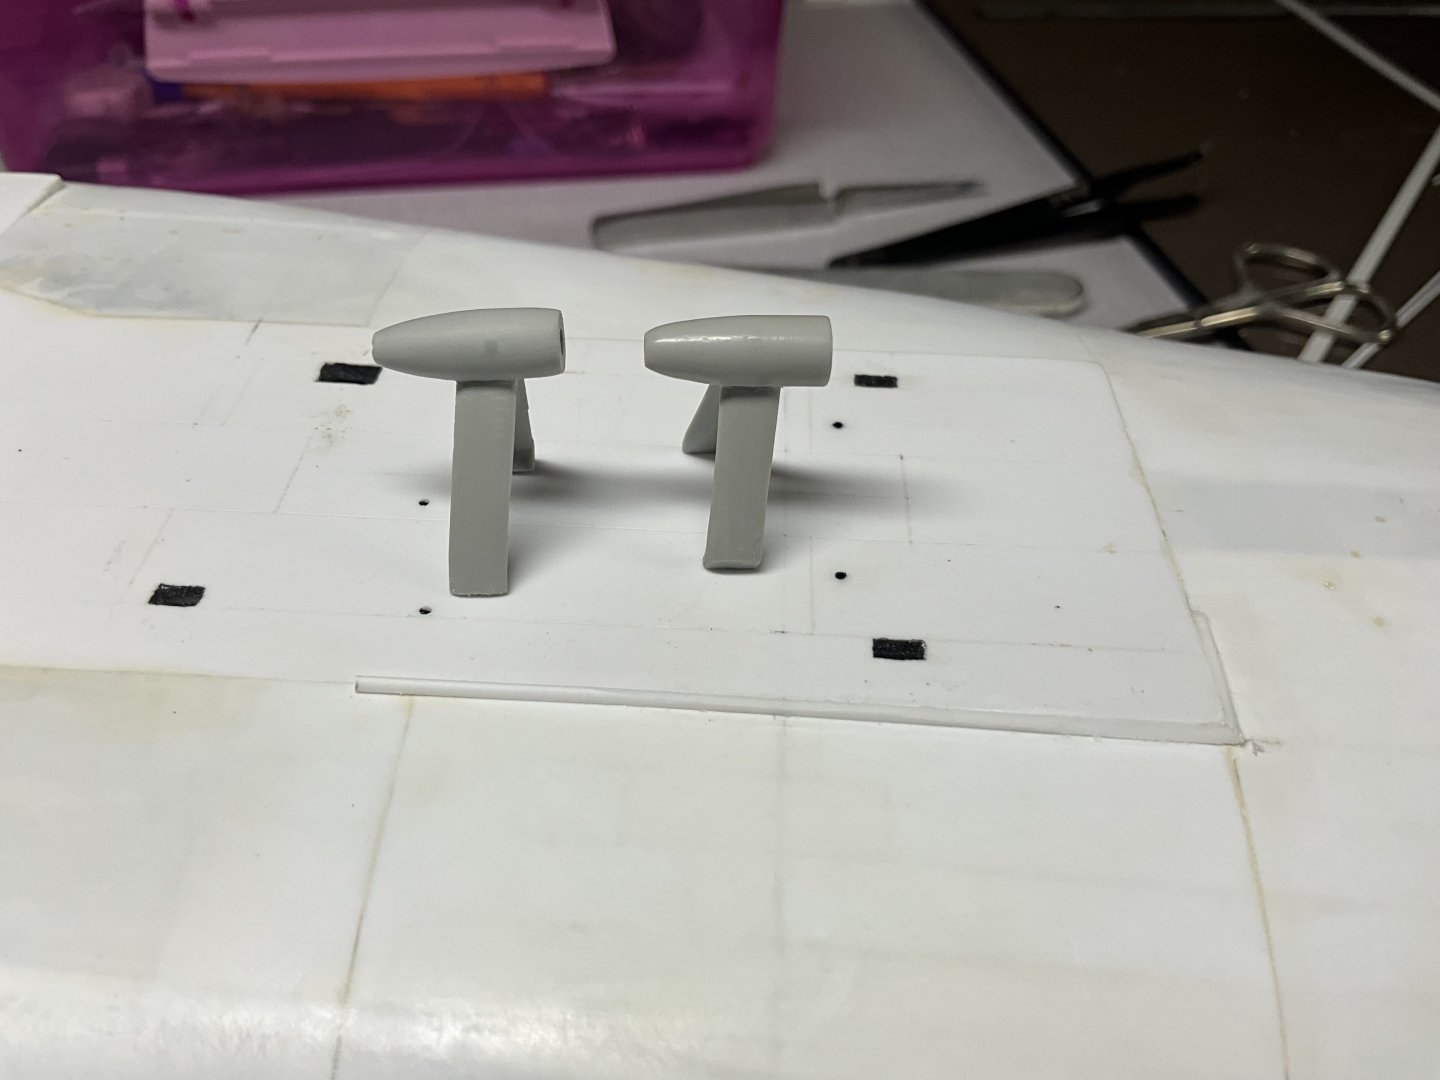
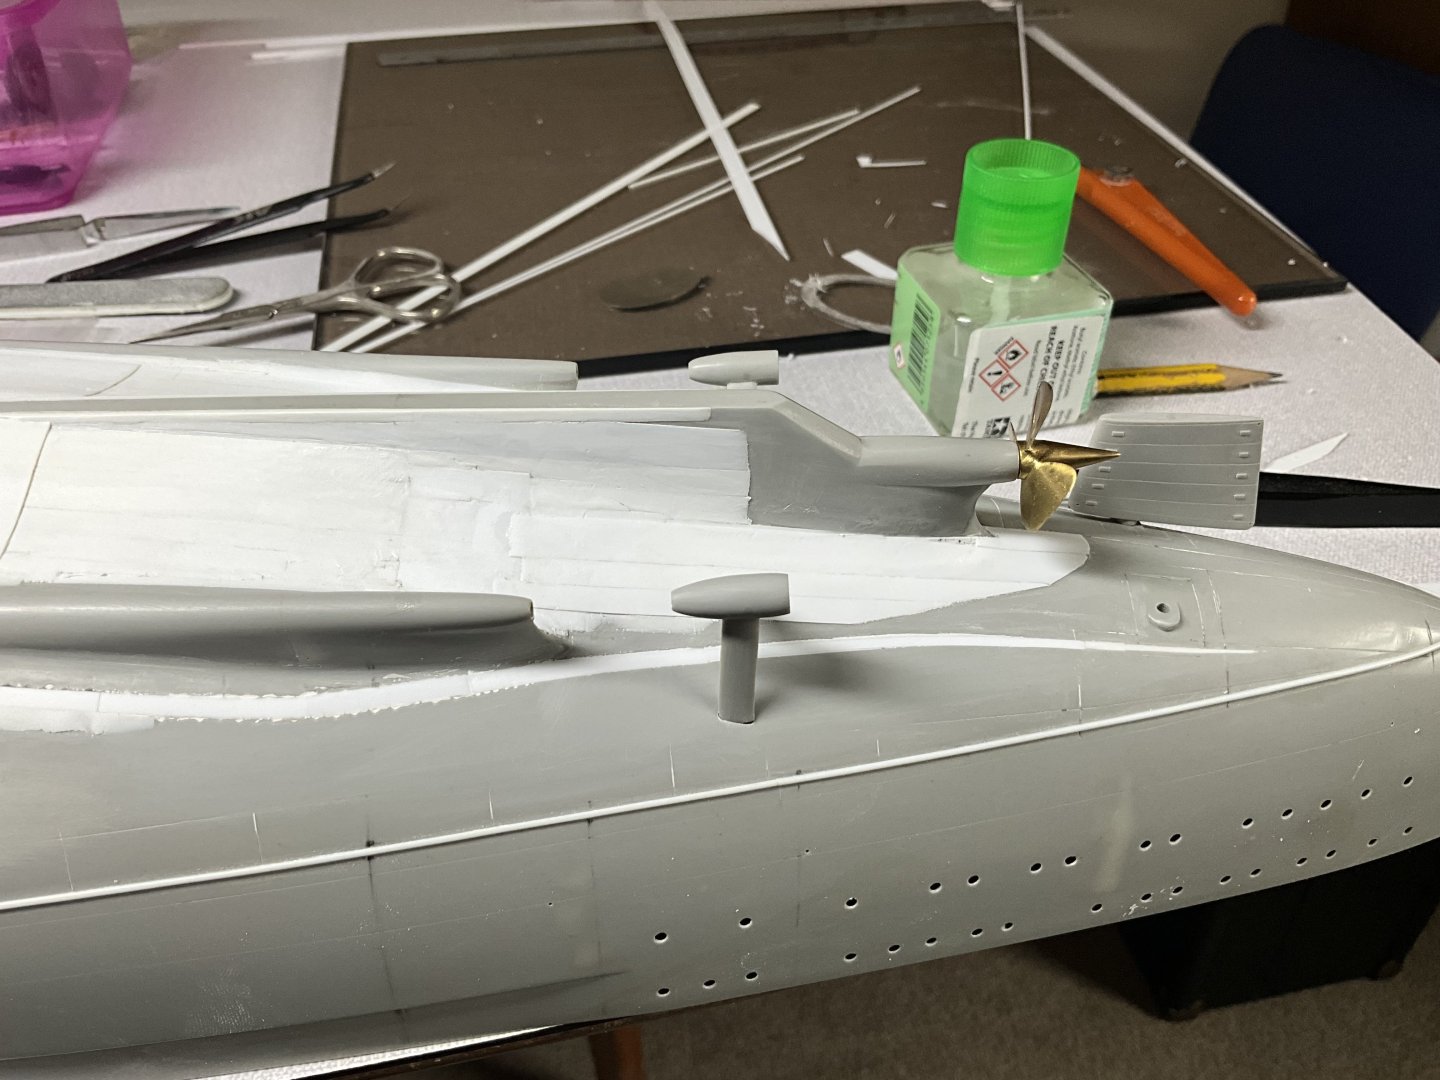
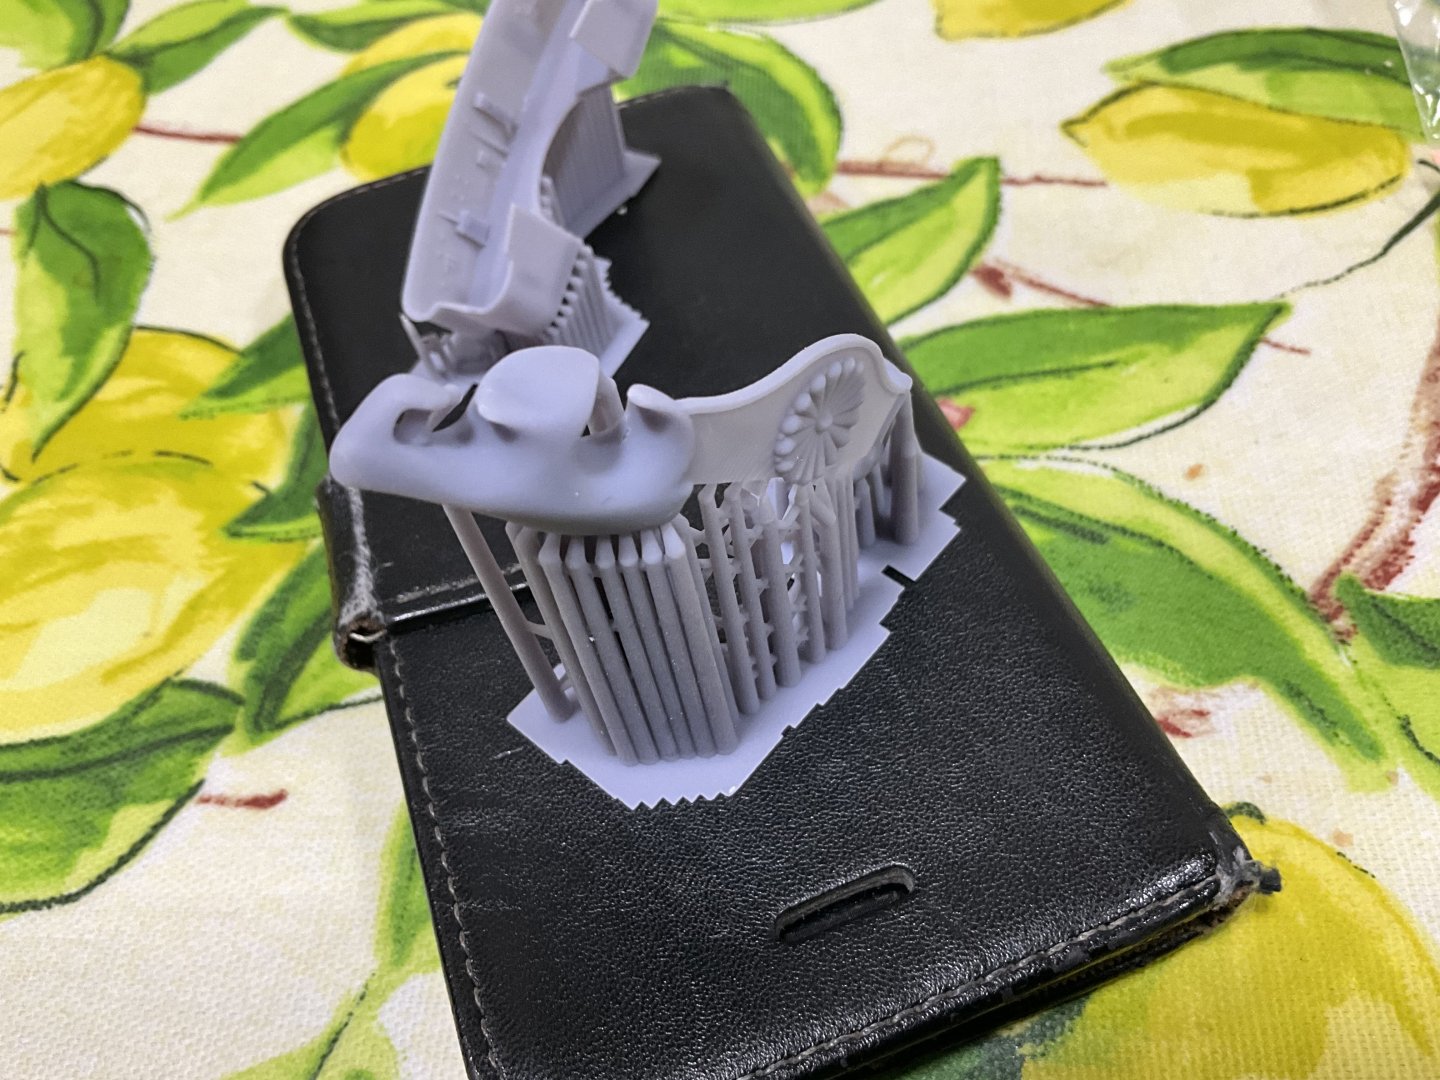
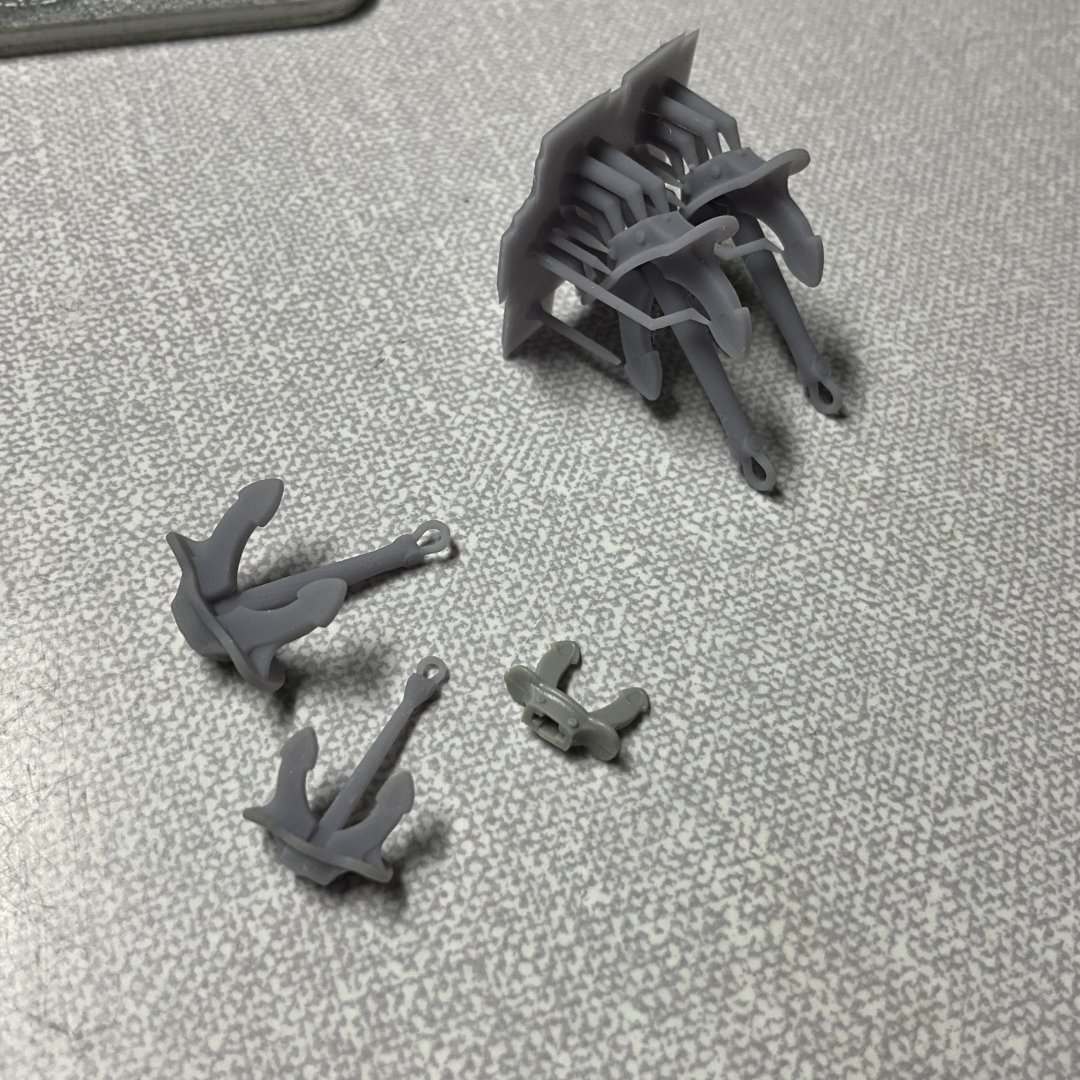
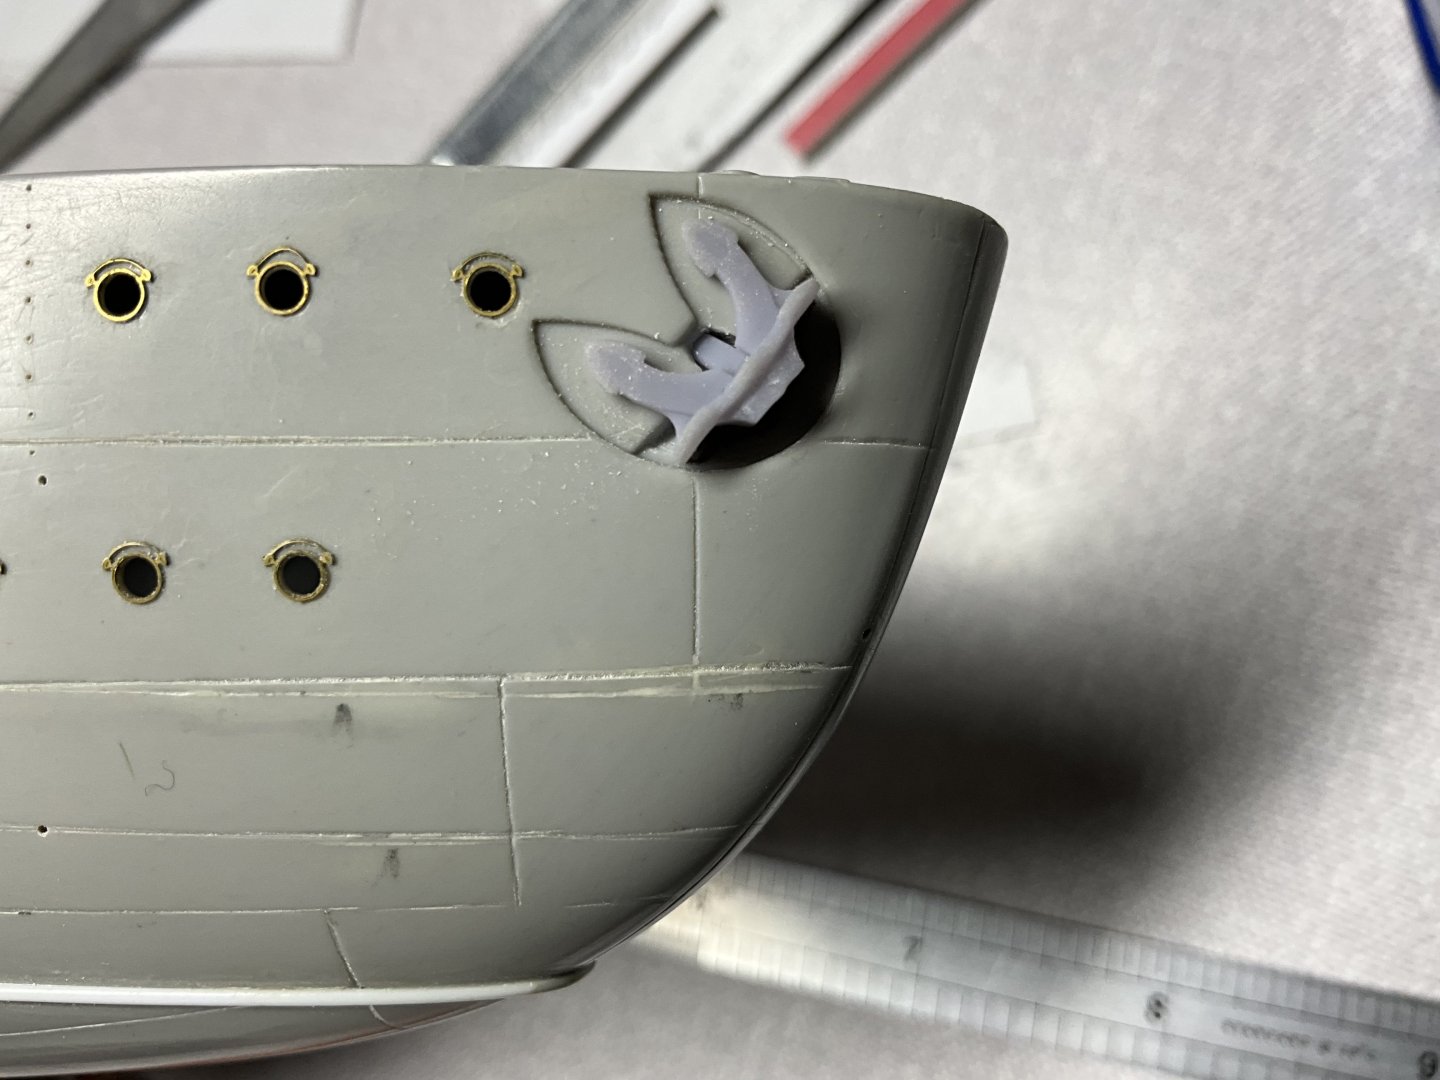
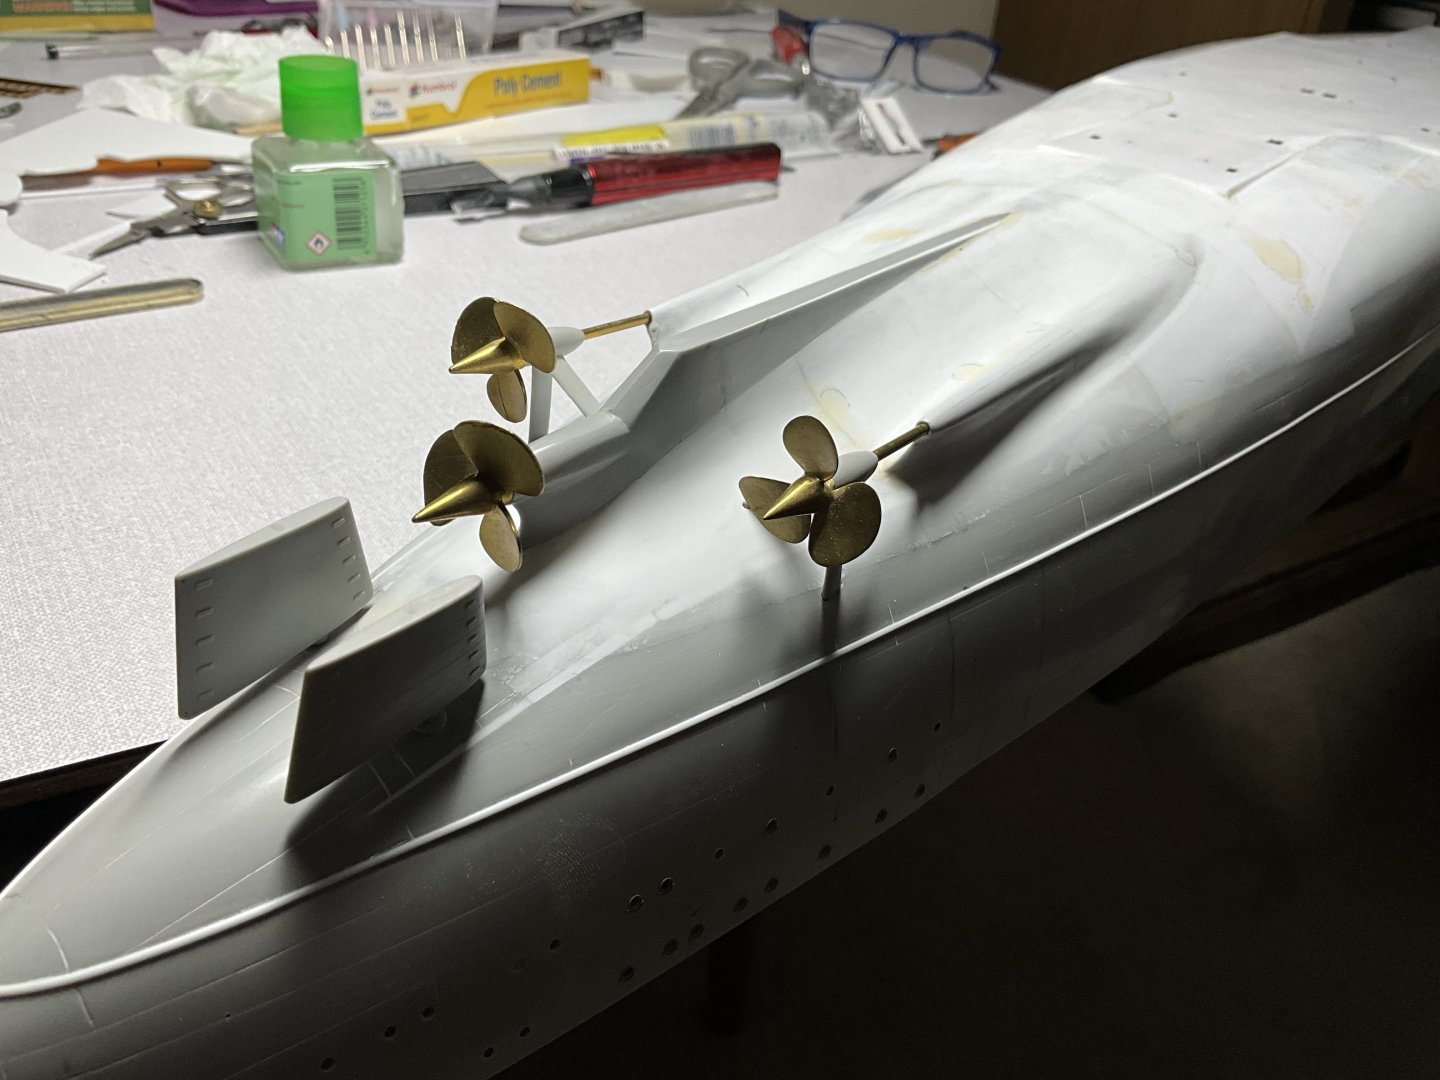
The anchors are an improvement on kit ones definitely, also noticed the area surrounding the stern anchor on the kit hull has too much clearance around the anchor, should be a lot neater fit than this, so in process of filling this in a bit. Oh and there’s a part there that is for the bow of my Yamato model, which is 1/96 so 8ft+ in length been in my garage for about 20 years 🙄 finally found a source for detailing it all up, for a small fortune though, this should cheer Jaqueline up 👀 also did a little more profiling on A frames and housings for propellers.
-
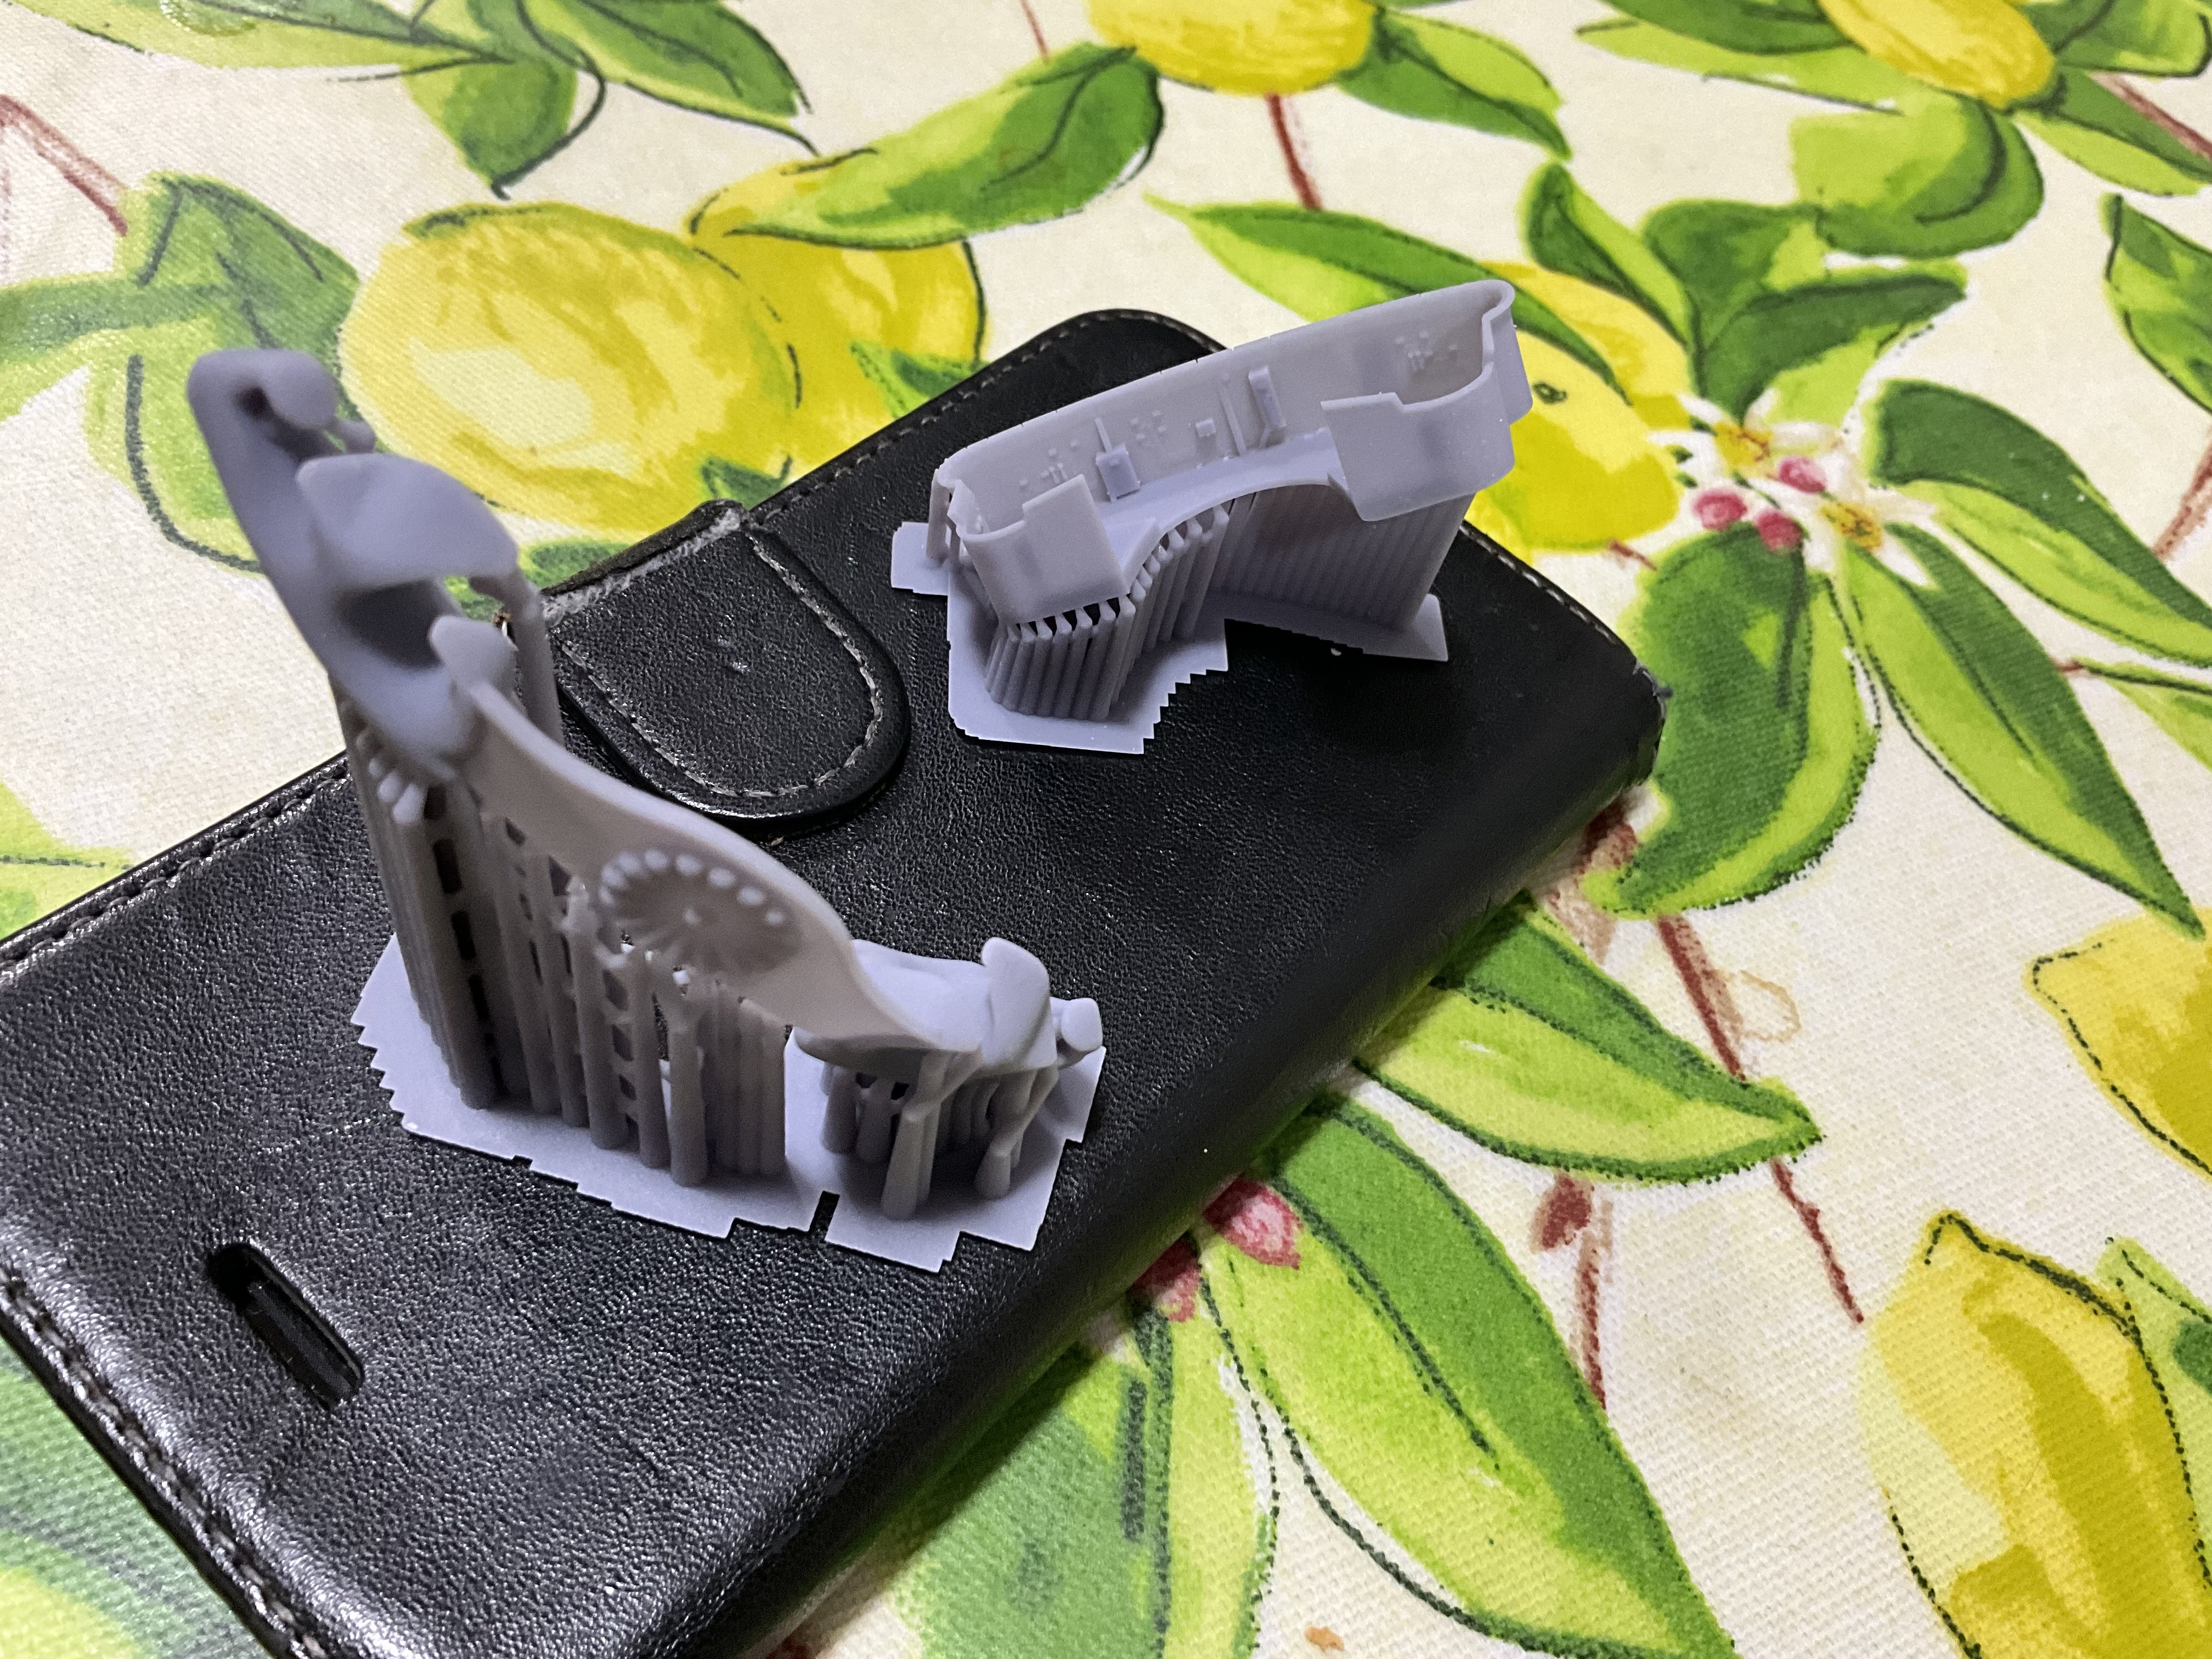
Have also been purchasing bits and bobs for her further down the road. This company sells quite a selection that l’m sure some of you will find helpful distefano 3dprint.com think a browse through this site would make a few interested. In process of purchasing some parts for Bismarck just now but have purchased these parts already


-
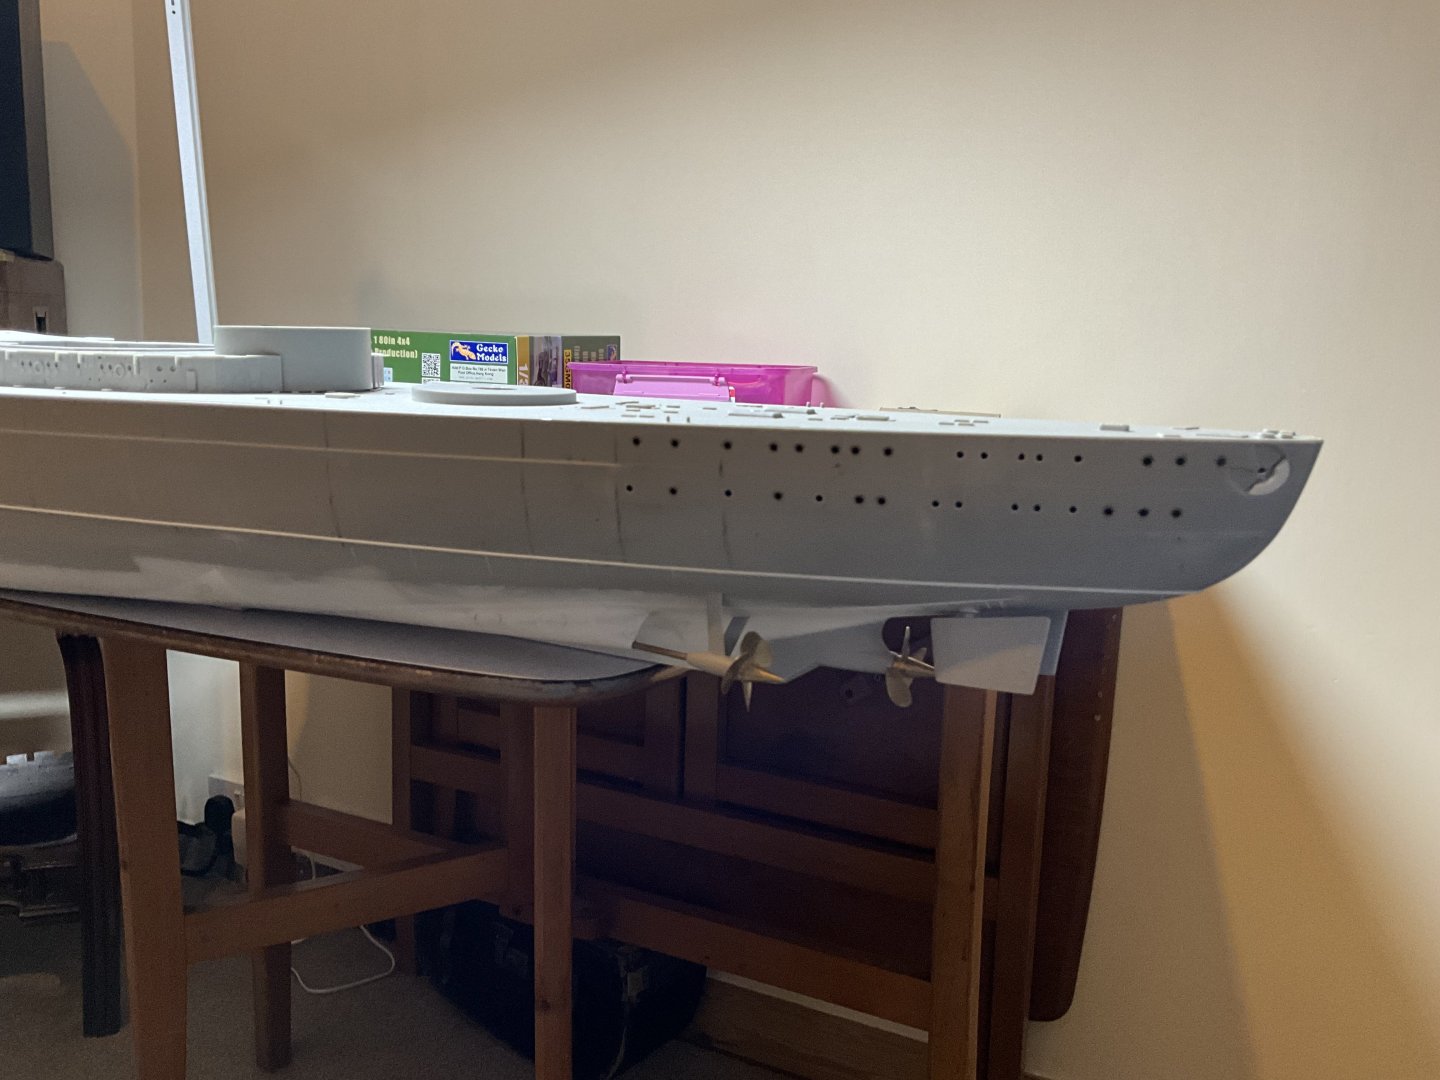
Hi guys, hope everyone is in good health and enjoying their modelling 👍 Hurray Summers over, back to the modelling, have to say this hulls taking me ages for what’s done, wasn’t till l looked back at my post, realised it’s quite a lot of work. Have completed the hull profile on aft section, which is the worst part for sure, just filling and dressing and filling and dressing till l think am happy, so it’s not far away, not much difference in the challenge just further down the road as they say, will put some photos up to show progress, l hope 🤞

-
Hi Jolle, see you are into dolls houses now 😂 just kidding did the same, think you’re work on the binnacle is far more convincing than the kit part. All looking very impressive indeed 🤛 know the problem with finding time for modelling well, just got back to working on my Lego Bismarck about three weeks ago, doing an update now to show l am alive 😂 Mikasa definitely needs a display case to protect it👍 still to do one for my Mikasa, one that’s not on the wife’s to do list 😂 looking forward to your next post, catch you later 🤪
- 193 replies
-
- 3
-
-
-
- Russo-Japanese War
- Mikasa
- (and 2 more)
-
Hi Jolle, hope you’re keeping well. That was the first thing l thought, looks like chocolate sponge cake, immediately gave me hunger pangs 😂 you’re model is coming on a treat, sitting here having my super, hungry now 😂 Seriously though, certainly putting the hours in, that £150 kit certainly gets its moneys worth from us modlers, am looking at Bismarck beside me and glad it’s not the Mikasa 😂 think you know where lm coming from there. Must say your painting skills are phenomenal, looking so realistic. You’ll be so impressed with how totally crammed with detail this ship ends up, certainly not the £150 kit you started with 😂🤛 looking forward to your next post 👍 If you got paid minimum wage for every hour spent on this you’d have one fat wallet 😂 Catch you next time 🤛
- 193 replies
-
- 2
-
-
-
- Russo-Japanese War
- Mikasa
- (and 2 more)