-
Posts
93 -
Joined
-
Last visited
Recent Profile Visitors
-
Kurtis started following Paviljoensjacht 1733 | Blender
-
 Robska reacted to a post in a topic:
74 Gun | Ship of the Line - 3rd Rate | Blender
-
 mtaylor reacted to a post in a topic:
74 Gun | Ship of the Line - 3rd Rate | Blender
-
 dvm27 reacted to a post in a topic:
74 Gun | Ship of the Line - 3rd Rate | Blender
-
From a cursory glance, I would agree that the deckline would be approximately where the wale line is, perhaps just above. I would say that you should definitely start your own thread if you haven't already; you're much more likely to receive responses and it wont get mixed up with my own works. Be sure to tag me in it if/when you do.
-
 Kurtis reacted to a post in a topic:
74 Gun | Ship of the Line - 3rd Rate | Blender
-
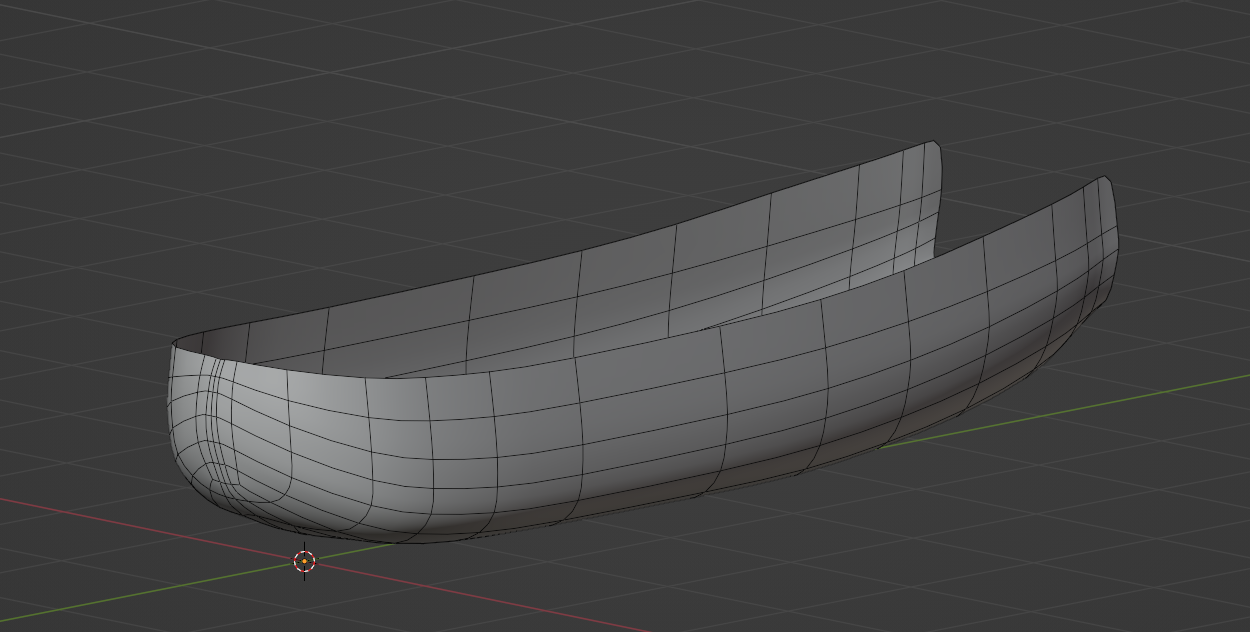
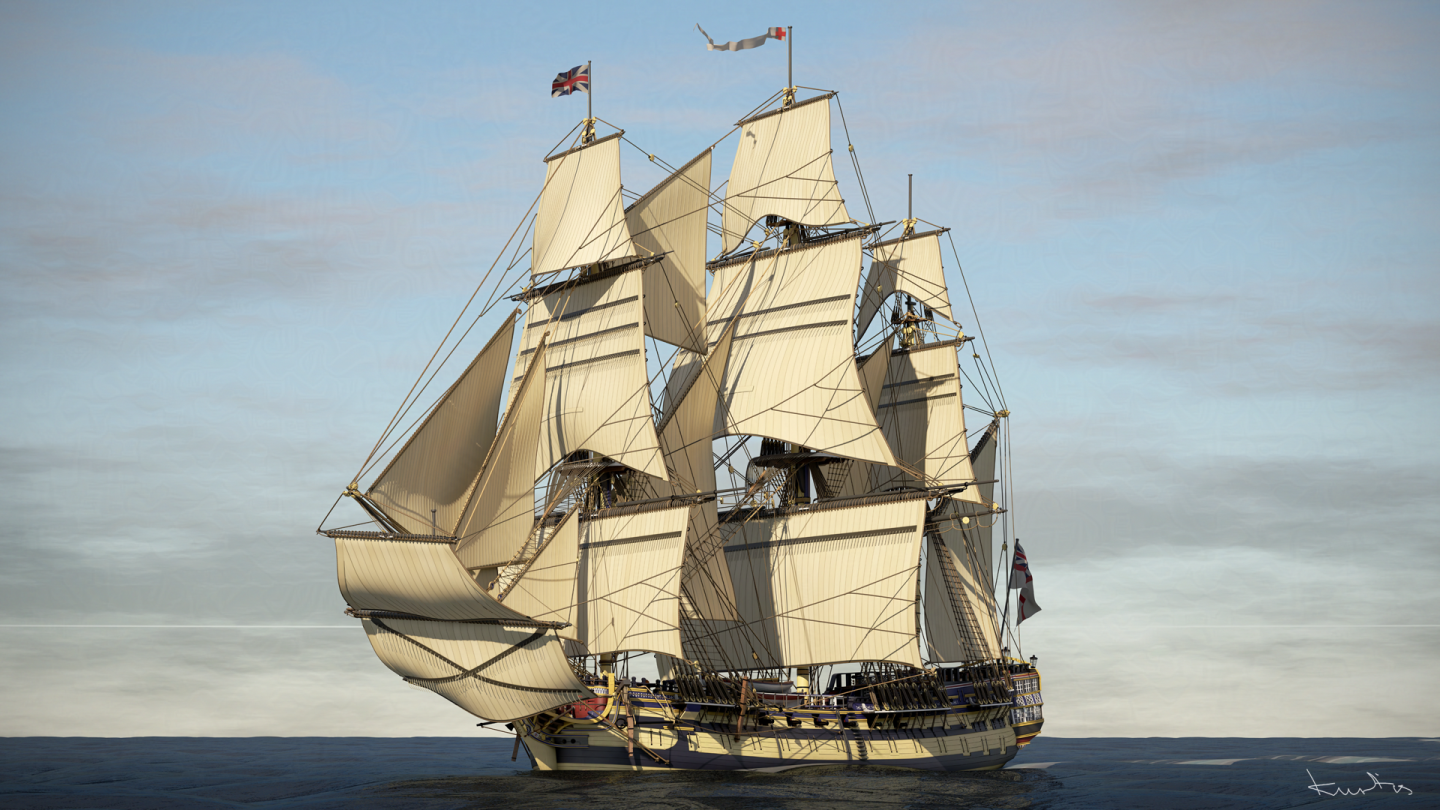
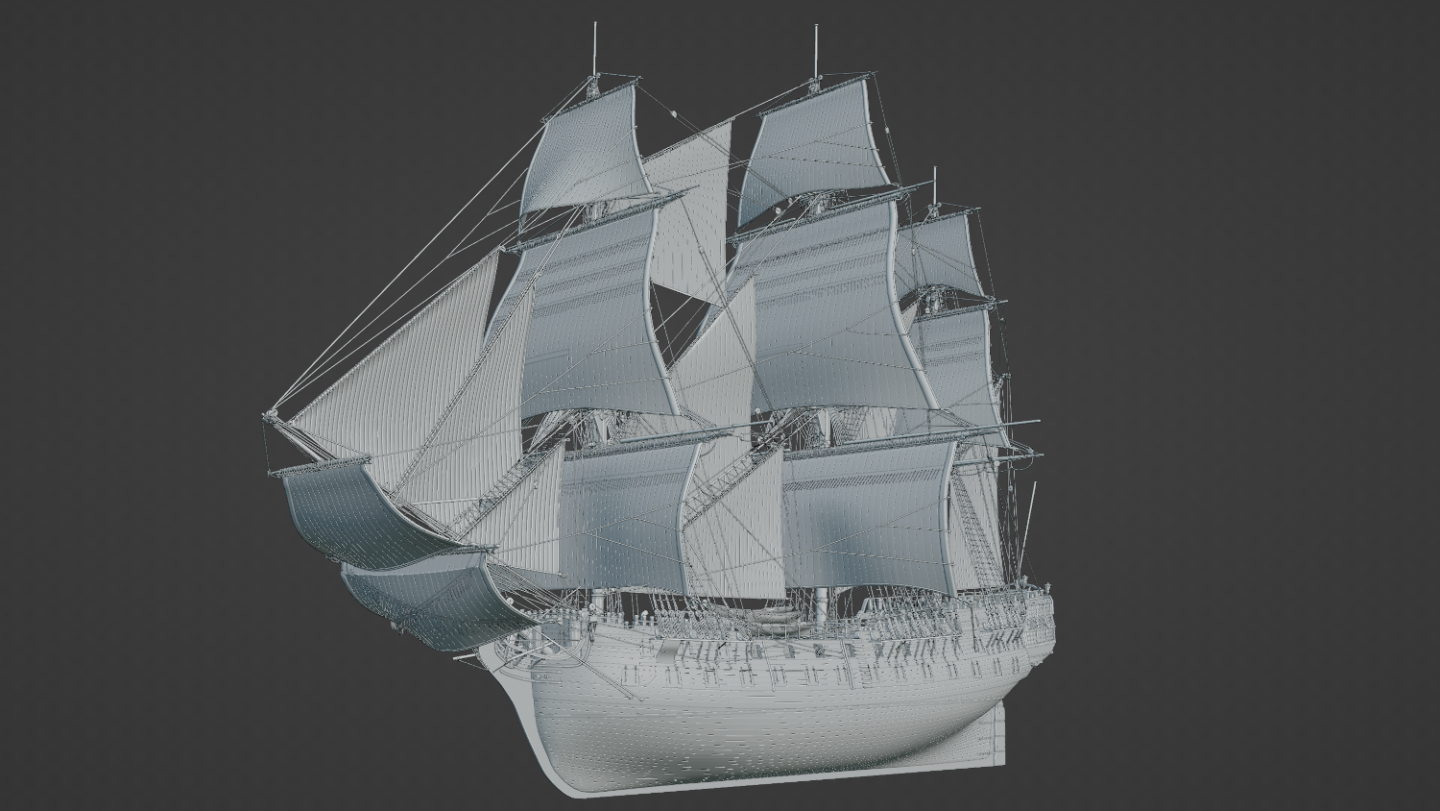
Certainly! https://sketchfab.com/3d-models/hms-gorgo-3rd-rate-ship-of-the-line-8ec99a22abb3438c93e758a00e23613e There's quite a tight space constraint on that there website to upload models, so I had to over simplify the textures and bin some of the cannon that are hidden behind the bulkheads / lower decks, but most of the exterior is still visible. I do offer the model for sale as well so you can use it (with all cannon and textures) in Blender however you wish. If you're interested in that, let me know. I believe it was you asking about a physical copy of the ship. I figure the best way would be to get it photo-printed and put it in a frame on my wall somewhere. That's on my to do list. Thank you! You have a great start here, but I would say you have quite a lot of excess geometry. I would consider trying to get used to only adding a vertex / loop when there's a significant change of direction, and then let the subsurf handle the rest. Add loops only where you really need some pinching. I don't know what ship it is you're modelling, but I would say quite a big issue with both mine and yours there is the bow. They're supposed to slope in on most ships and I can imagine this particular vessel difficult to push using oars or sail. Shape of the keel aside, you can probably start looking at the modifier stack if you haven't already. Add a solidify modifier to give your yacht some immediate depth, and then you can start adding the decking. The quarter galleries will be finicky as that's when you'll have to start adding and deleting geometry. I hope this give you an idea for a starting point.
-
 Morgan reacted to a post in a topic:
74 Gun | Ship of the Line - 3rd Rate | Blender
-
 Bernard Huc reacted to a post in a topic:
74 Gun | Ship of the Line - 3rd Rate | Blender
-
 mtaylor reacted to a post in a topic:
74 Gun | Ship of the Line - 3rd Rate | Blender
-
 Kevin-the-lubber reacted to a post in a topic:
74 Gun | Ship of the Line - 3rd Rate | Blender
-
 malachy reacted to a post in a topic:
74 Gun | Ship of the Line - 3rd Rate | Blender
-
 Aidedecamp reacted to a post in a topic:
74 Gun | Ship of the Line - 3rd Rate | Blender
-
 Trumper07 reacted to a post in a topic:
74 Gun | Ship of the Line - 3rd Rate | Blender
-
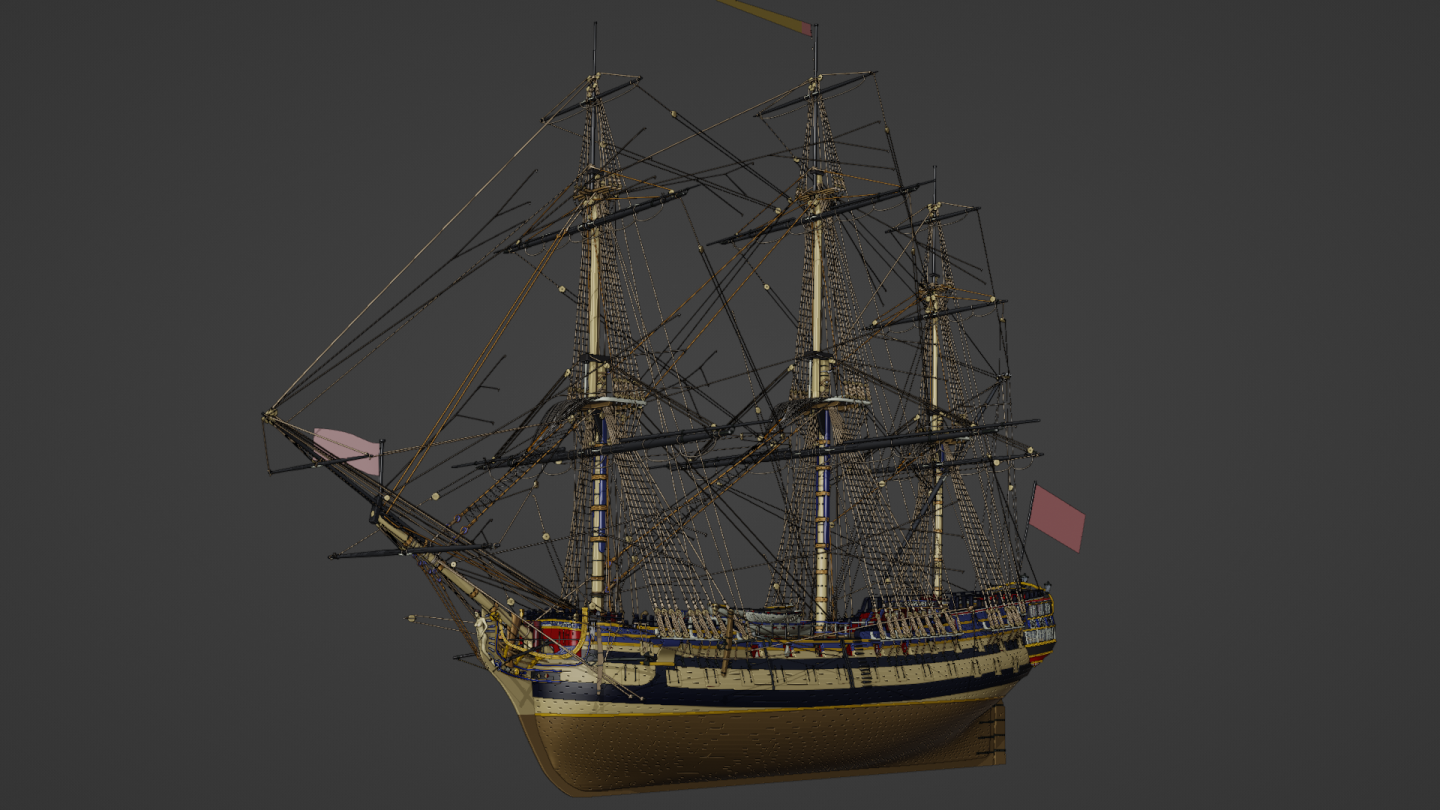
Hey, I'm still here! 👀 I've made some fairly significant progress on the texturising, rigging and modelling this ship -- including setting up a figurehead which took me a long time! I'm still doing some final cleanup but I'm finally nearly ready for some renders. I've started working in a job full time so I haven't had as much time as I used to, but I'm still doing bits on this every night. I should be posting some more updates (comparatively) soon. Keep your eyes peeled!
-
I would love to have a hard copy sitting on my shelf! I feel it might be possible with further tweaking as there's a lot of intersecting geometry, and each part / plank would have to be printed solo. It'd be a big job refining it , printing it all, and then finding ways to put it all together again. Some parts might need real world readjustment or refinement, and indeed the sails and rigging would have be the same as how you guys do them with your wooden models.
-
hi Kevin! I'd say it depends on what you want to do with the STL files. Converting everything into raw geometry and into STL itself should be easy enough, but I don't know how much of Blender's tools it will convert. With this, I've used lattices, modifiers, armatures, curves, and various other tools which may or may not convert well. I'm sure it's possible to convert everything into raw geometry and then into STL, but the trade-off would be losing the ability to (easily) customise the vessel or use the cloth simulators. Of course, this may not even matter if you have particular plans. I've yet to try the conversion for myself so it's all speculation on my end. If you would like, I can give the conversion a try when I'm finished and report on results after? I'm inclined to ask, what are you thinking in terms of taking it through the STL conversion process? What would be your end-goal?
-
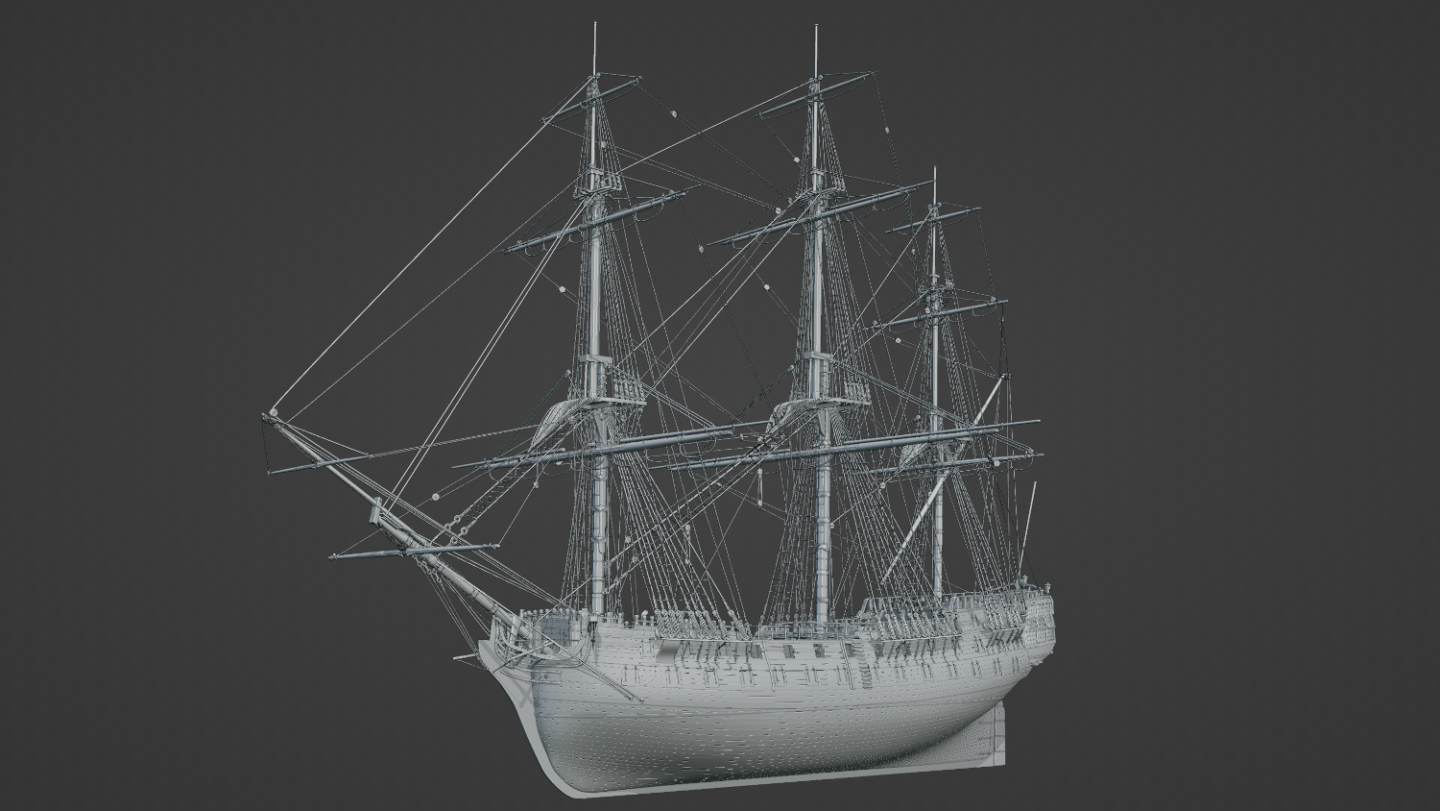
I haven't posted any updates here for a while, so I figure I'd pop up and let you guys know where I'm up to. I've pretty much completed most of the running and standard rigging at this point. I have brace-line, sheet-lines, tack-lines, lifts, braces and bowlines all installed. The only thing missing is the clew-lines which I'll likely to install at a later date cos there's a layer of complexity with those which I need to work around when it's time for furling up the sails, amongst other things. I've attached a video of a sail test if you are interested. Right now, I'm trying to work on a nice figurehead. The aim is to have a siren chained somehow to the ship like she's been captured and calling enemies to their deaths, holding a shield with Medusa donned on the front (thus the name.) Modelling humans is... a different beast though so I'll see how that one plays out 😄
-
Yeah, my first image is full of cringe. I don't look at it more than I have to! Thanks very much for your kind words. They do mean a lot and it helps keep mine (and I'm sure others) motivation up. Right now, I'm having to take some artistic liberties with the (stay) sails cos they're not quite fitting as well as I had hoped, but I still feel they pass and sell the illusion okay. I'll post some updates on them soon.
-
I've had a think about your posts and I understand what you're saying. I have some countermeasures in mind for the problems you've presented with the lines going through the sail like that, hopefully they work out 😅 I do think the pinching in the corners look unnatural in the images you've presented for a couple of reasons. Cloth tends to pinch like that if they're thin and elastic, but sails of that time are quite thick cotton like and made in strips sewn together (from what I can make out anyway.) I believe modern sails are made as single thin pieces so it makes sense they'd pinch like that. I do agree the sides of mine need tightening up though, especially where there's cringles for the various lines to go that hold it in place.
-
 Kurtis reacted to a post in a topic:
74 Gun | Ship of the Line - 3rd Rate | Blender
-
hi Nate; I appreciate the help! What you've described makes sense as it marries up with the information I already have, though I'm a bit unsure about exactly why you've asked me to stop work on the sails? I have a plan of action which involves completing the sails, and building the rigging around them. It might be backward but I feel it'd make the various rigging lines much easier. I know exactly where the cringles are and where to put the clew-lines for example. What I'm unsure about is more how and where some of the lines were supposed to terminate, or "belay." Originally I had all the stays and the yard jigs terminate at the belaying pins on deck, but I realised at some point that there are eye-bolts on the channels and the knight-heads which is where (as far as I can work out) they're supposed to go instead. I was also quickly running out of pins that I'm now presuming are more for the sails (and some of the backstays.) As far as I can work out, there's only three of these eyebolts on each channel, so I figure looking at the diagrams below, they were supposed to loop down from ends 5 and 6 on image I13, and then maybe come back up to the end on the tackle on image 12/1. The more I think about that though, the more it doesn't make any sense as that would put a lot of pressure on that eyebolt and it just wouldn't stay fixed so the more logical thing was that either the mount on I13 goes to the channel and the tackle on I12/1 goes to the belaying pins, or vice versa. It's such a minor area though that it nearly impossible to see unless you're right up close to it that I decided to just not model the terminating parts (5 and 6) and just put the tackle on I12/1 to the channel - at leat this way it keeps the deck belaying pins clear. That's in a nutshell what I was unsure about for most of the lines so far; trying to work out where all the other various lines are supposed to terminate. I've tried to keep them logical. The plan is to have a black/yellow theme with blue (and maybe red) supplementary tones. Kind of similar to how the original ship was. I'm not so sure about the interior though, I don't really want to make it a red because I feel that's very gnarish, but a crimson red might work. I'm thinking of making it a lighter colour that may or may not be historically accurate.
-
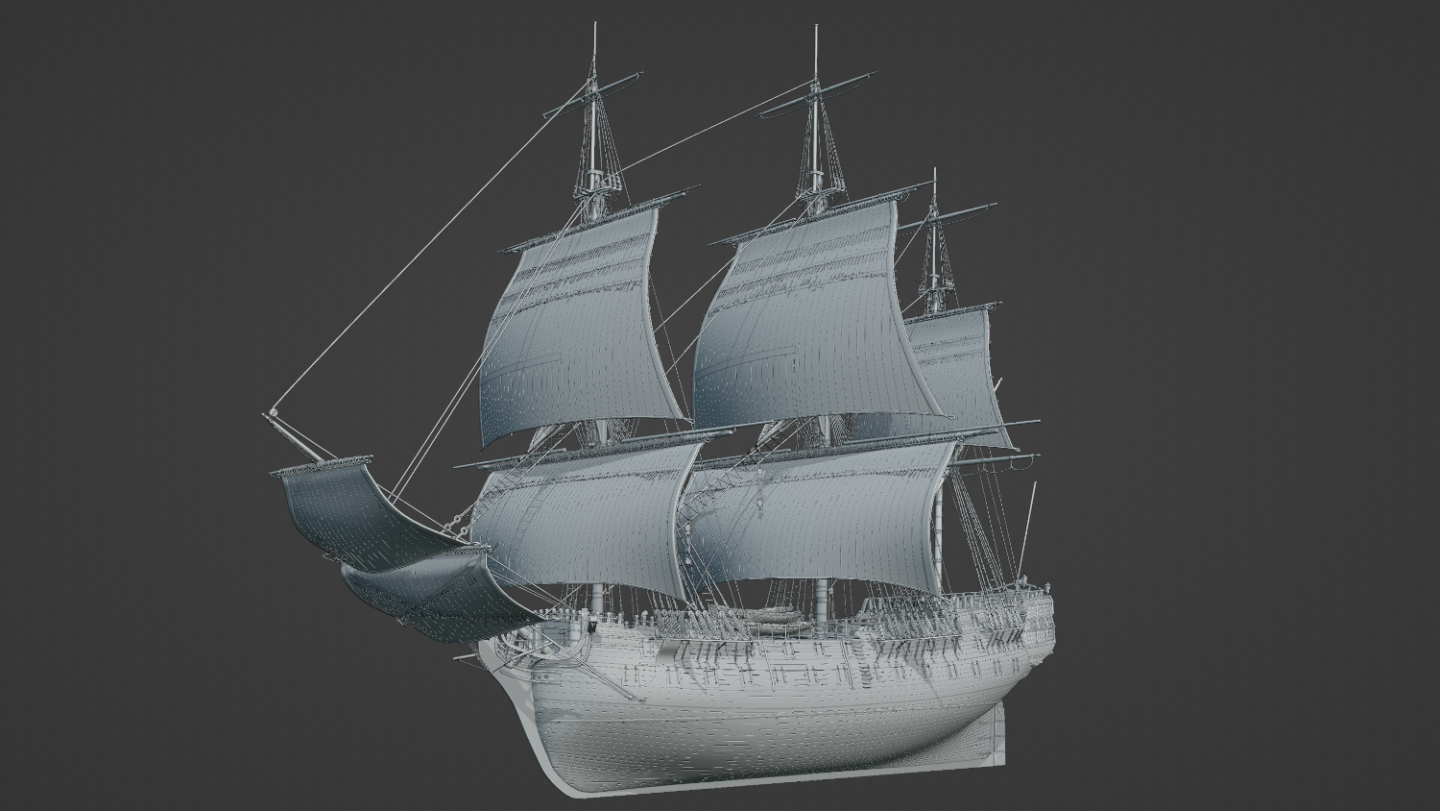
That's a great video! I definitely think it's worth £50, don't get me wrong. It's just simply money that I don't have right now. I've done a sail test for the first sails if anyone here is interested. One of them is a sail on its own, and another is with one of them "attached" to the ship. I still need to add the various lines.
-
I've done quite a lot of work since my last main update here, only a lot of it was tweaking the various stays and other lines. There were a lot of things I was (and still am in places) unsure about Still, I have gone ahead and modelled the sails and have begun installing them. The bowsprit sails, course-sails and topsails are all ready to go. I just need to install the topgallant sails, and then I need to model and install the boom sail. I may do the various stay-sails but my computer is struggling so I might skip them for now. I'll have to see. After all that's done, I just need to link up the remaning hauling tackles / lines to the sails (so they're not just floating there ) and then I can just work on all the small jobs. Build the figure-head, decorate the quarter-galleries, build the anchor, decorate the side a little bit, and then add materials (colors) to finish her off. Then I can stick her in a scene! I'm very proud of the progress of this one and happy that I've managed to make it this far! I've had a look for that book but you're right, it's very expensive. The cheapest copy I could find was £50 or so and that's well out of my budget range for the moment. I'm working with what I have for now and I'll see if I can get this on the next project.
-
I see! Makes sense. I've actually wondered about those boats, how they were loaded and unloaded. I could only presume the stay tackles were somehow used and swung out. When I think early boat davits, I tend to think steamers so they feel a little odd seeing them on square rigged ships. It would make logical sense having them on the late ones though. As far as books go, the closest I could find was "Rigging Period Ship Models by Lennarth Petersson." It's a good book, but it's showing me how to rig a small frigate with a different layout so I'm having to use it as a cross-reference for similarities with the Anatomy of the Ships. I'll have a look for the one you mentioned. Thank you!
-
I've run into a mini roadblock. I'm trying to work out how exactly the lanterns were lit on the stern of the ship. There's good references for the shape of the lantern itself, but I'm curious about the innards and I don't really want to leave it empty or just stick a candle in it cos I can't imagine that being right. I'm struggling to find references for how the inside of the lanterns were built. If I was to hazard a guess, would it be a basic plate with a candle? Kind of like one of these? (image from here) I can't really see that thing giving off a lot of light unless the glass itself magnified the light somehow, like a lighthouse? I've read somewhere that lanterns like this used to use liquid wax with a wick, so not quite a candle. How would that work with the rolling of a ship? I've also seen some lanterns that have some kind of glass bottle inside them. Irrc, within that bottle is a wick with some kind of liquid, presumably wax. Would this be the best solution for shipboard use? /// A friend also found this: https://en.m.wikipedia.org/wiki/Kerosene_lamp Is it simply one of those?
About us
Modelshipworld - Advancing Ship Modeling through Research
SSL Secured
Your security is important for us so this Website is SSL-Secured
NRG Mailing Address
Nautical Research Guild
237 South Lincoln Street
Westmont IL, 60559-1917
Model Ship World ® and the MSW logo are Registered Trademarks, and belong to the Nautical Research Guild (United States Patent and Trademark Office: No. 6,929,264 & No. 6,929,274, registered Dec. 20, 2022)
Helpful Links
About the NRG
If you enjoy building ship models that are historically accurate as well as beautiful, then The Nautical Research Guild (NRG) is just right for you.
The Guild is a non-profit educational organization whose mission is to “Advance Ship Modeling Through Research”. We provide support to our members in their efforts to raise the quality of their model ships.
The Nautical Research Guild has published our world-renowned quarterly magazine, The Nautical Research Journal, since 1955. The pages of the Journal are full of articles by accomplished ship modelers who show you how they create those exquisite details on their models, and by maritime historians who show you the correct details to build. The Journal is available in both print and digital editions. Go to the NRG web site (www.thenrg.org) to download a complimentary digital copy of the Journal. The NRG also publishes plan sets, books and compilations of back issues of the Journal and the former Ships in Scale and Model Ship Builder magazines.


