Bill97
-
Posts
2,731 -
Joined
-
Last visited
4 Followers


-
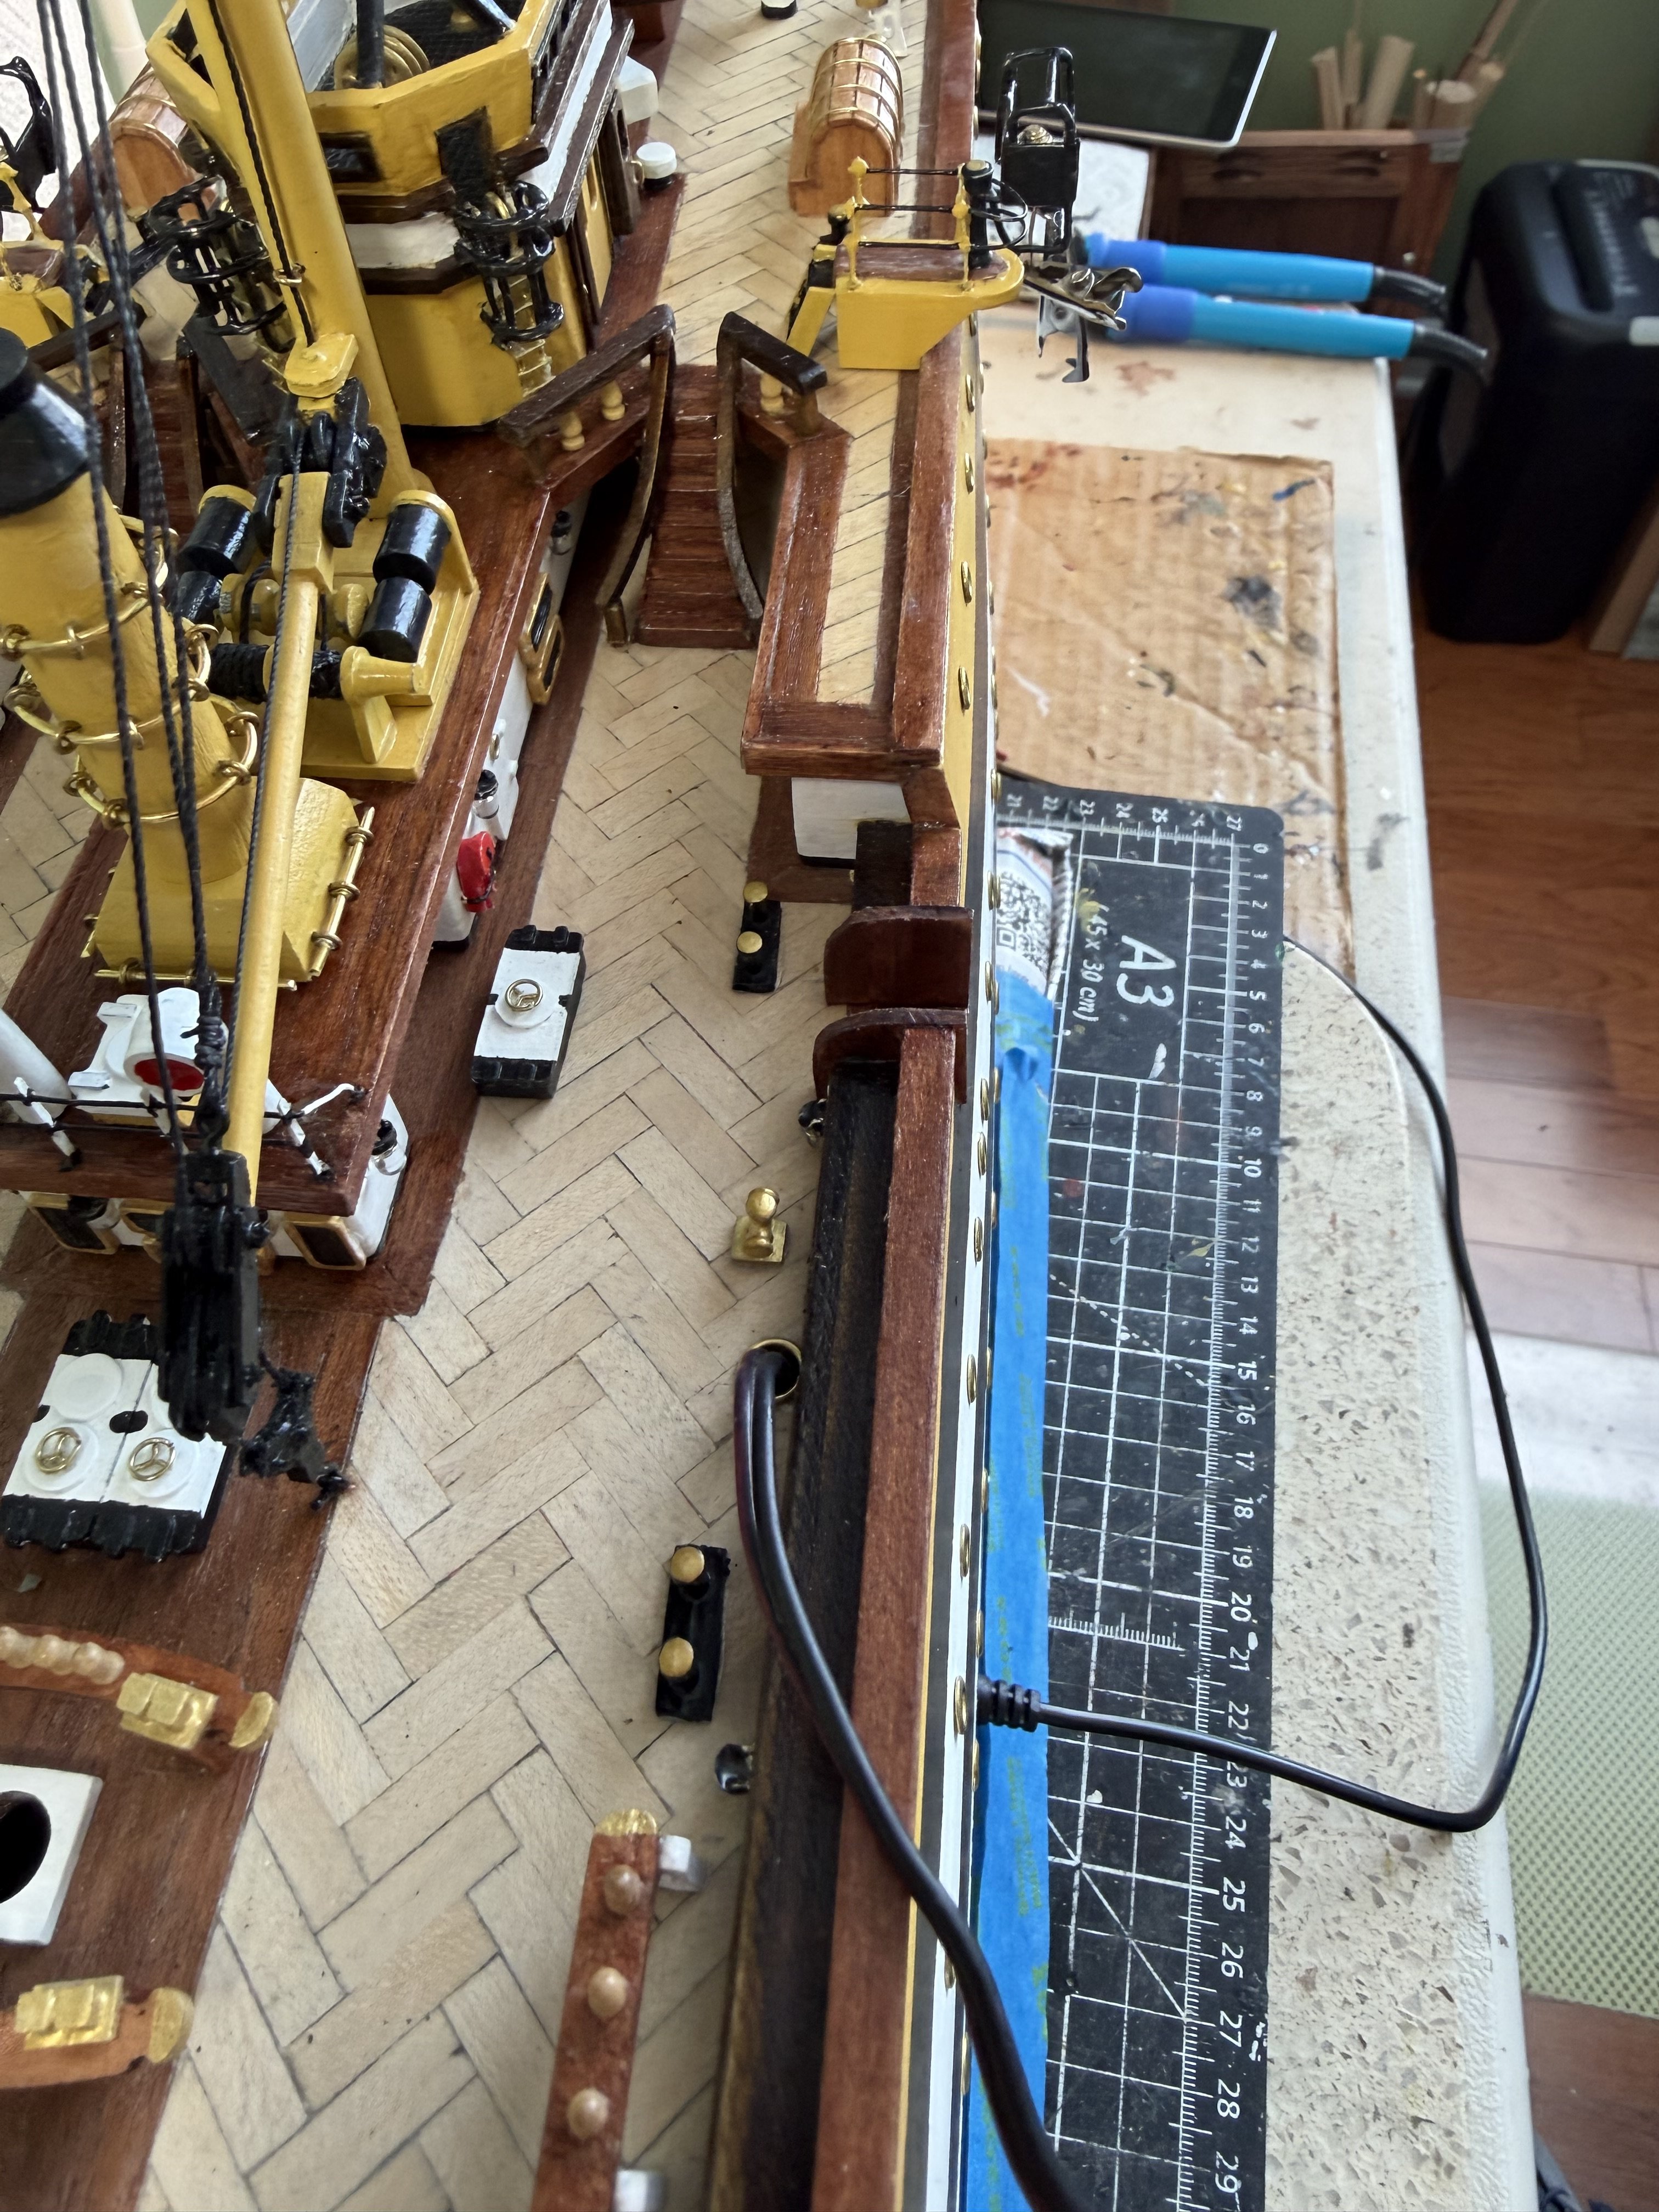
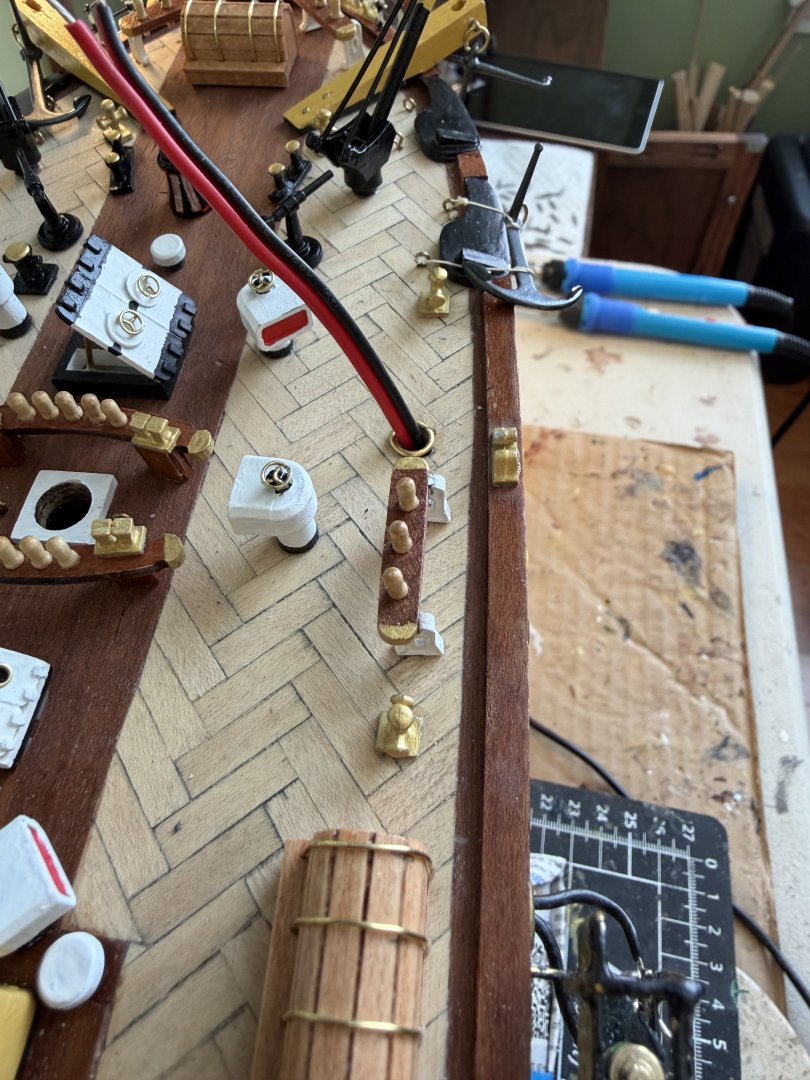
Ok so I remade the LED spotlights for the masts. I have the green and white finished. Still need to complete the red around the mizzen mast. Putting the resistor under the deck for each wire leading to the LEDs made for less to be put in the little boxes so they could be smaller. Having only one resistor on the line required me to limit the LEDs I used to just 3. I still need to color the wires solid black.


-
Daniel I followed your lead on putting the resistor below deck. I only used three 5 mm LEDs at each mast. I think it is going to look great. You said; Below is a circuit that fudges a little but works great, with one side effect, you will have to turn up the voltage a little to get the brightness you desire. Not too much, and no where close to overload the resister. The three 5mm LEDs on the line from the one resistor show 3.2v. Would you think maybe turn up the voltage to a max of 4v on the voltage regulator, or less than that?
-
Thanks Mike. That is a lot of color with just one LED. Looks great. By the way Mike I think I saw somewhere that you live in Scotland. Is that correct? Love visiting your country. Visited Dornock and Skibo castle a couple times. My son and his family recently spent a week on the west side at Isle of Skye. Bill
-
Daniel I was able to increase the size of the hole just enough to push the 1/4 watt resistor and soldered joints down into the hull. To improve the look of the larger hole I made some brass rings and glued in place. Now I have the resistor under the deck and will run three 5mm LEDs at each mast. Whatever brightness and illumination I am able to get will just have to be sufficient. I suspect just the hint of the 3 colors will still be impressive.

-
Yes Daniel this will help a lot. I noticed on your’s you have two wires coming through the deck for each mast. One on each side at the fore, main, and mizzen. That is how you are able to power 6 LEDs at each mast (3 each). I only have one wire at each so I will be limited to a max of 3 LEDs at each mast. Wonder in this schematic if I could use 5mm LEDs instead of 3mm in order to get the max light possible? Thanks so much again. Bill
-
Daniel this was your reply when we were talking about the spots to illuminate the masts. Bill, there is nothing that says the resistor has to be next to the LED, meaning, the resistor can be inside the hull and a wire from one end of the resistor goes to the LED. In my setup, I ran a series scenario with the LEDs, meaning one resistor then the LEDs are run one after the other in series. This type of wiring does have a draw back, for the same reason Christmas lights are wired in parallel now days, if one bulb goes out, they all do. That aside, the resistor is inside the hull making for less hardware in the box. I don’t like how big my light boxes needed to be in order to house a 5mm LED and a resistor. Do I understand that you put one resistor on the positive wire below the deck and then ran the wires to the boxes with no additional resistors? Also did you use 3 or 5 mm LED’s? If I wire it like this you say if one bulb goes out the other 3 or 4 will also go out? If in the future a bulb would go out would it just be a matter of determining which one failed and replacing it?
-
Daniel I am wondering if they are just too big. Seems like we discussed this on your build recently. I am going to check over there about using a resistor in each box or just one in the line below deck.
-
 DanielD reacted to a post in a topic:
Amerigo Vespucci by Bill97 - OcCre - 1/100
DanielD reacted to a post in a topic:
Amerigo Vespucci by Bill97 - OcCre - 1/100
-
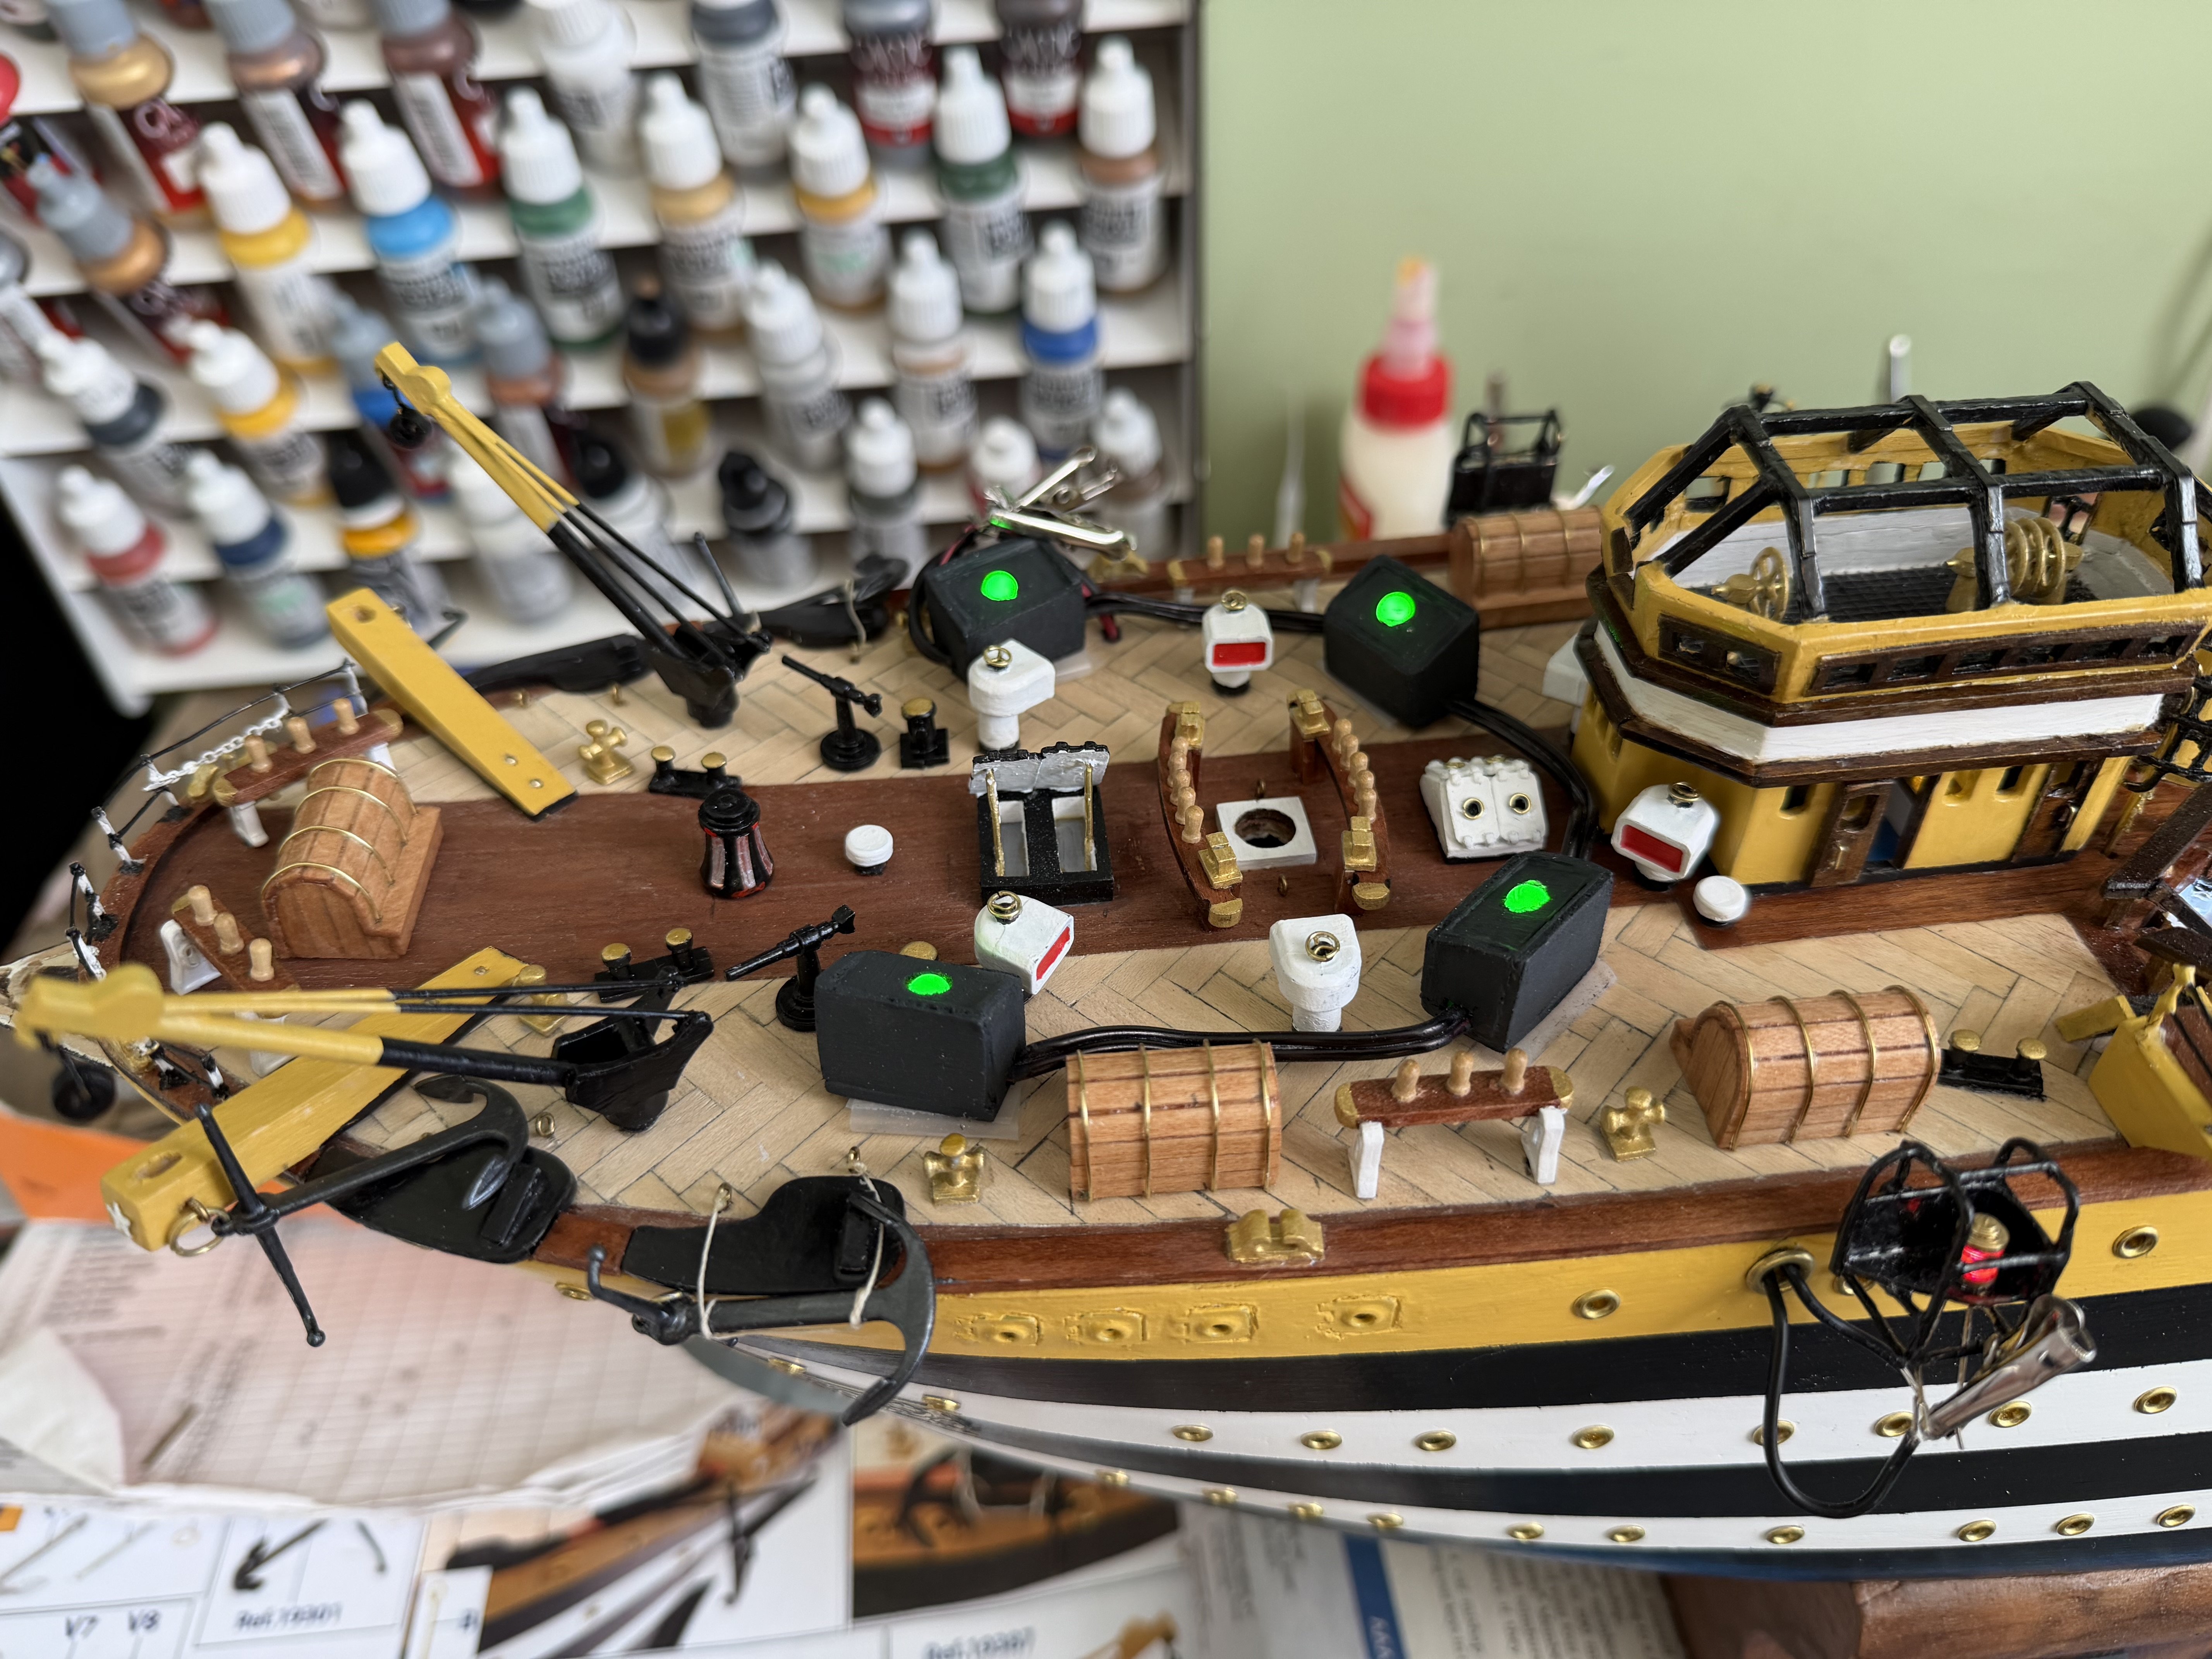
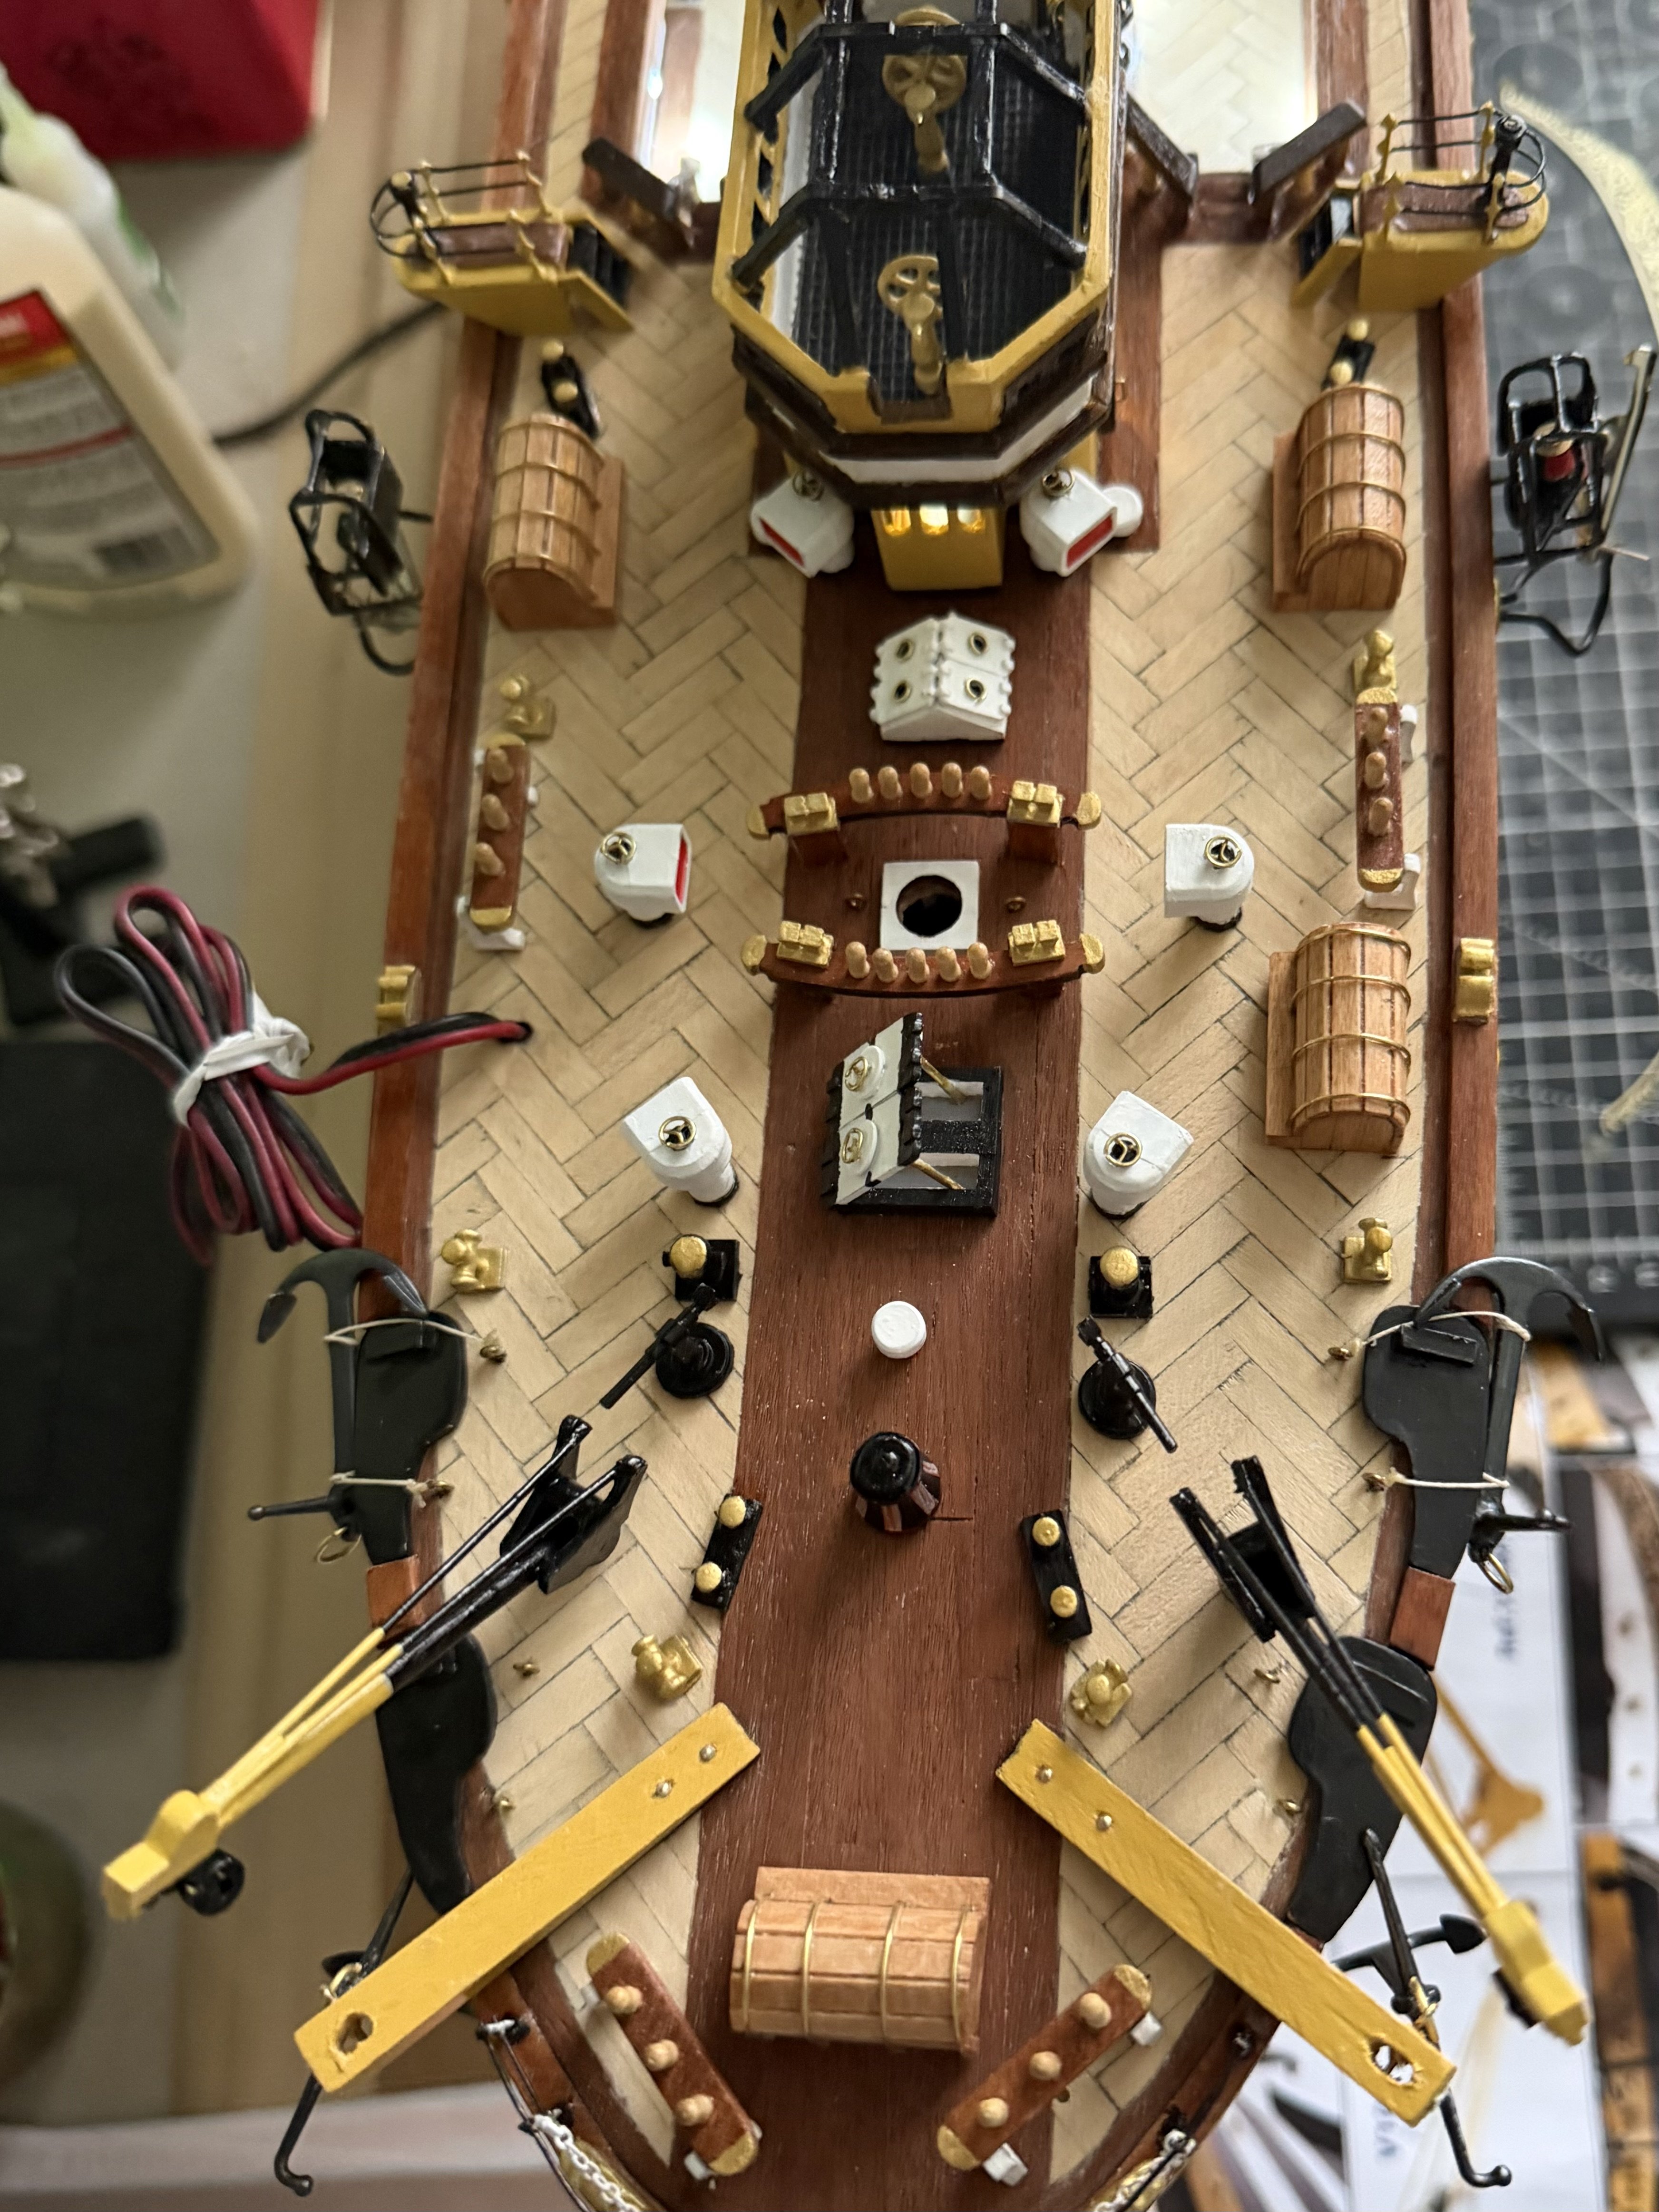
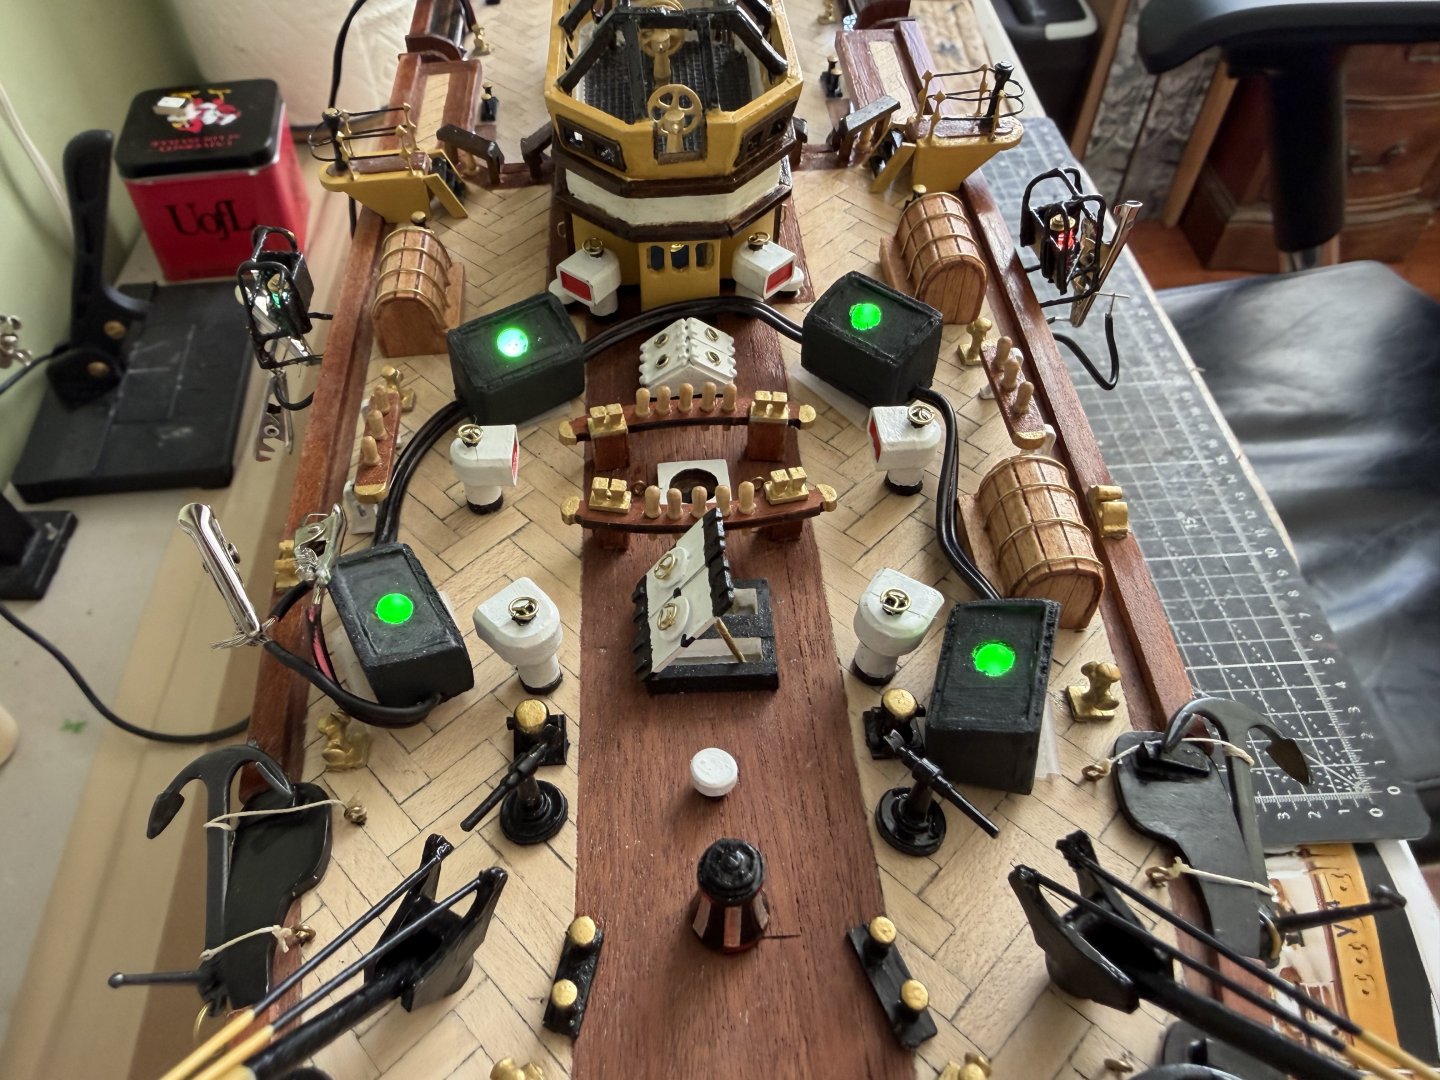
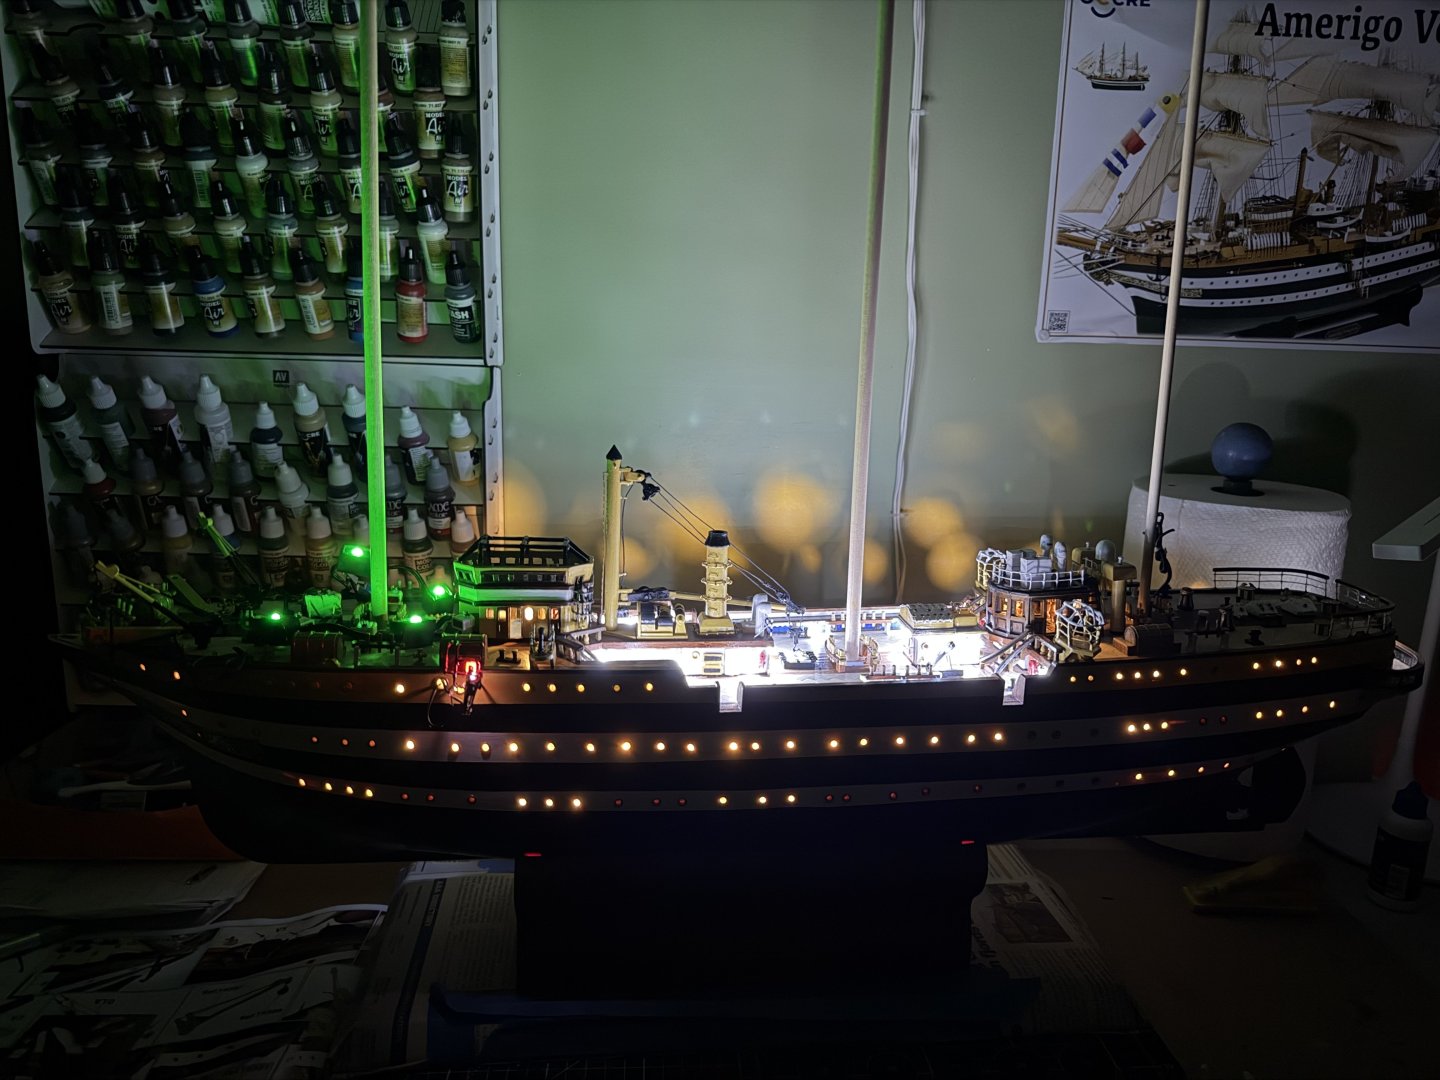
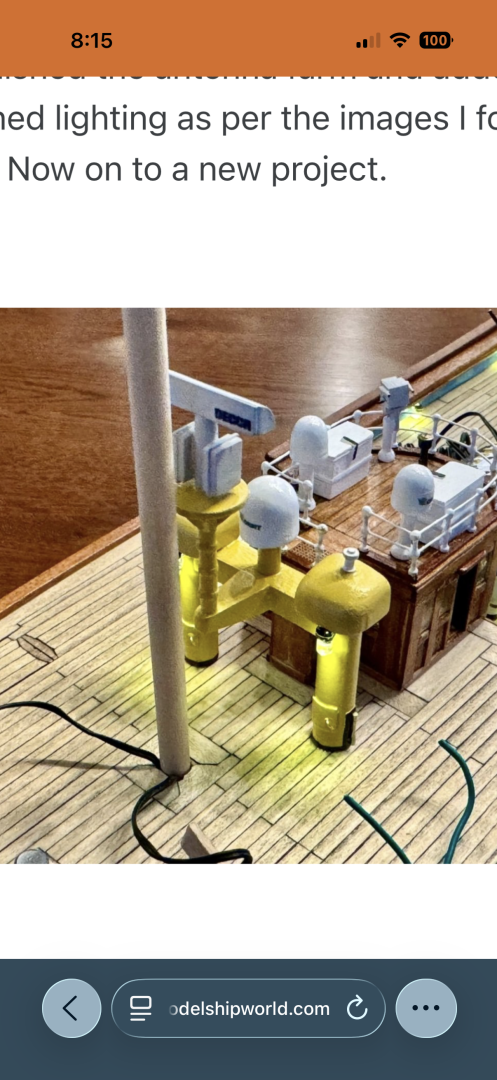
Working on adding the distinctive AV mast lighting of the three colors of the Italian flag (green, white, red). Have the green at the fore end made a just temporarily set in place. After the masts and sails are up I will adjust the placement for maximum effect. Had to make small light boxes to hold the four 5mm LDS that will go at the base of each mast. They are bigger than I hoped but are as small as I could make them so as to hold the LED and a resistor. I went with four instead of 6 because I found the deck a bit crowded. Still not sure what I think. Opinions?

-
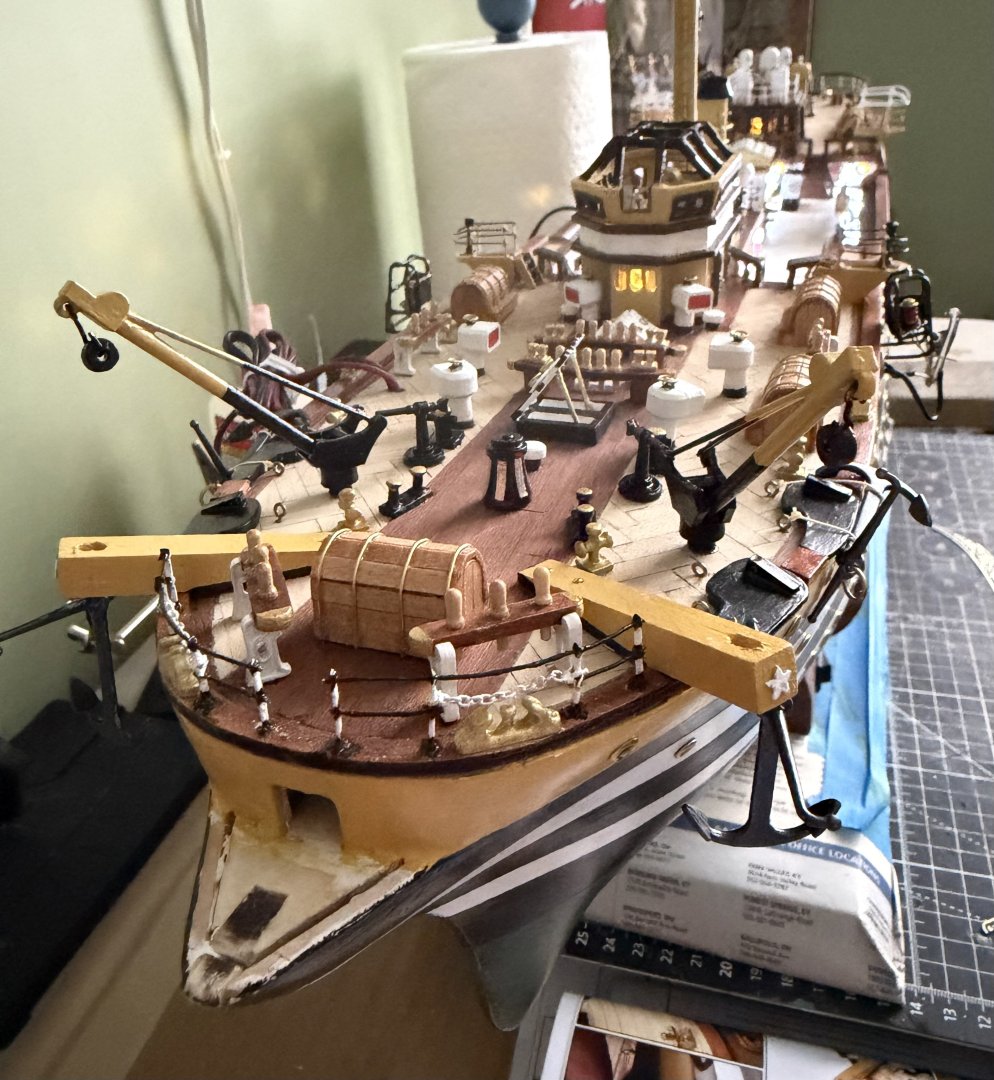
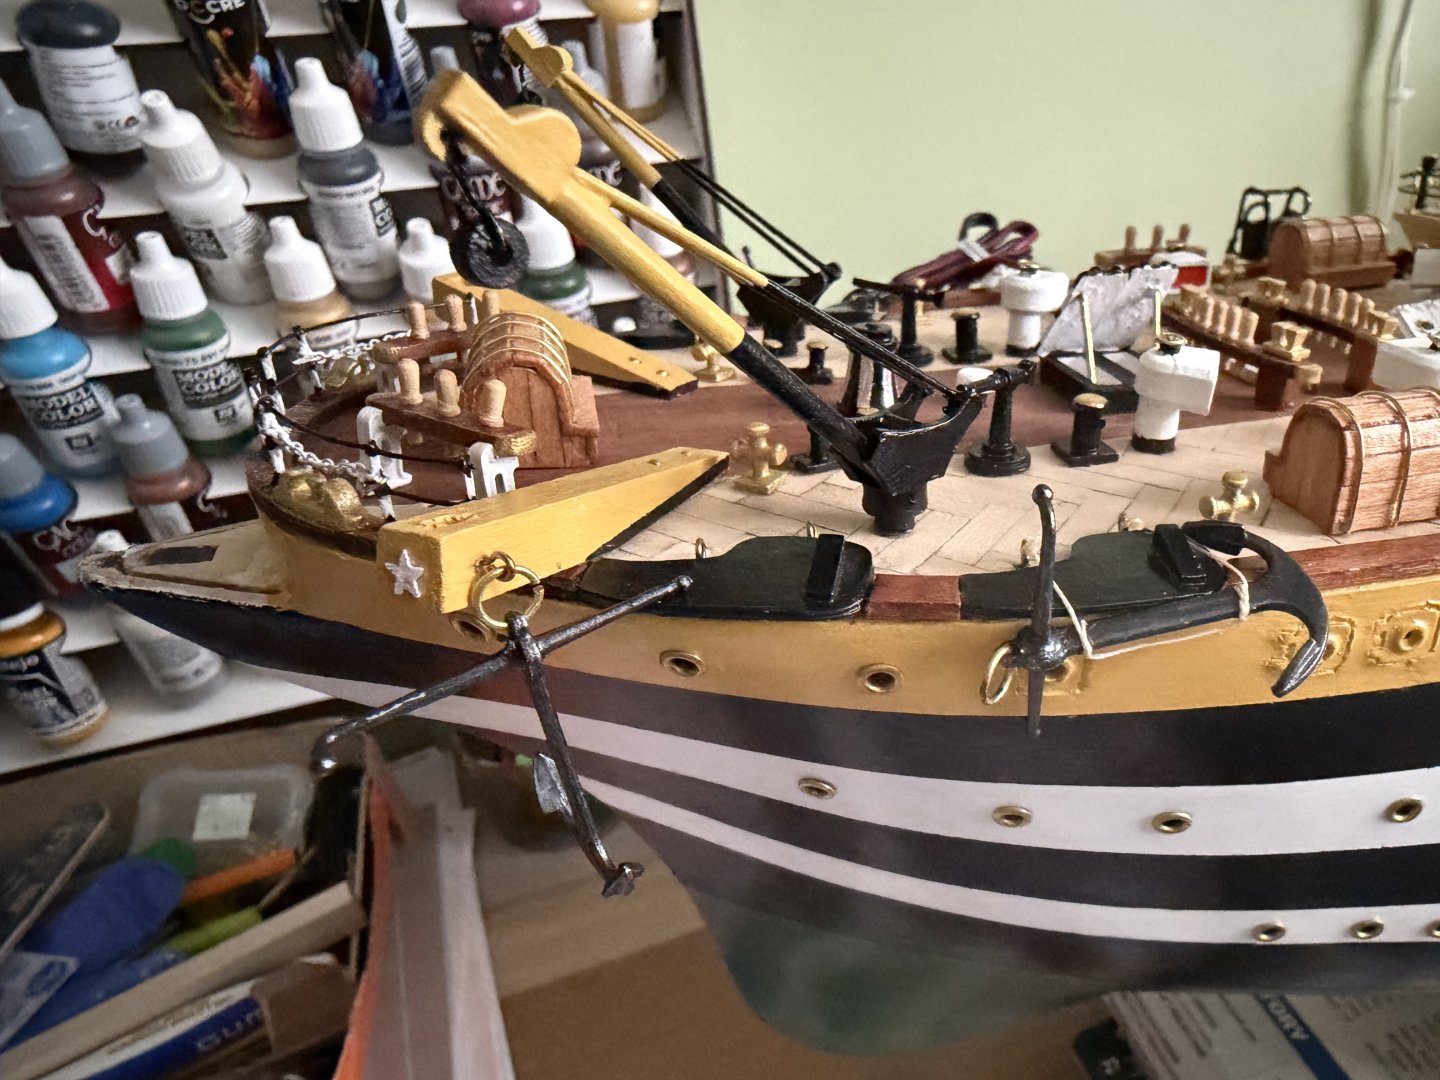
A lot of stuff on the fore deck of my Amerigo Vespucci! Even a couple anchors now.

-
The soldering of the pin on the flat pieces is/was a fantastic idea I had not thought of but will surly use now. I could use your plan and tap into the wiring in the bridge for the two lights on the risers, that would be the closest, but if I do turning them on might require an interesting light display. To have the deck lights on as well as the two new lights on the risers will require one of the two port hole cabin switches to be on. If one of the two porthole circuits is not turned on the two new lights on the risers would not come on if I tap into the bridge.
-
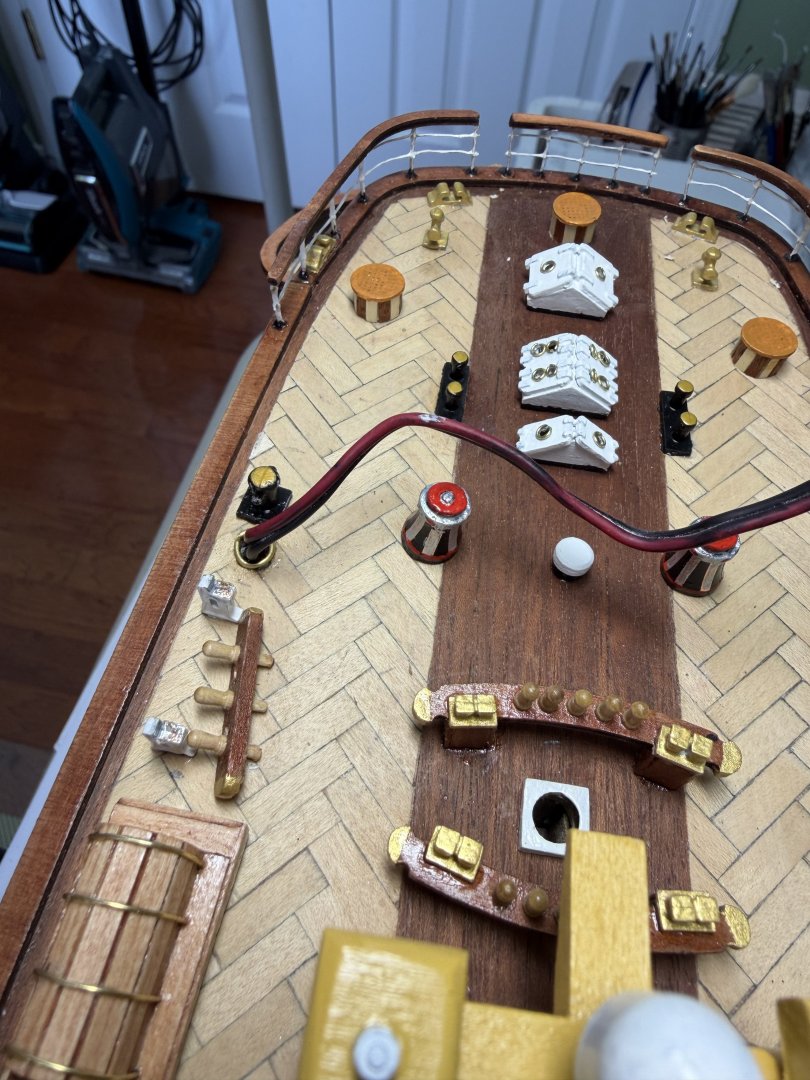
Daniel does that include all the little metal doo dads that go all over the deck. Some are big enough to drill a hole in the bottom with a metal drill bit. Some are too small or to flat. I have them all glued in place as well. Wish I had employed your idea. That is brilliant!
-
Yes it does Daniel, thanks. Unfortunately I have glued down the bridge. Wonder if I could pry it loose without too much damage. My interior bridge lights are connected to my cabin light circuits with the diode. Will need to study this to see if this is going to be possible. I also like your light on the crane.
-
Daniel I see you decided to add LEDs to this. How did you do it after the fact? I should have read all the way through your build before I finished running all my wiring. I would like to add the two lights here on my deck lighting circuit but have no idea how to access the circuit without destroying something.
-
Thanks Mike.
-
Ian I am guessing they are some sort of water spray. Maybe for fire or something. On the actual ship they are covered with a tarp so I can’t tell for sure.