HOLIDAY DONATION DRIVE - SUPPORT MSW - DO YOUR PART TO KEEP THIS GREAT FORUM GOING!
×


B-Ram
-
Posts
181 -
Joined
-
Last visited
Content Type
Profiles
Forums
Gallery
Events
Everything posted by B-Ram
-
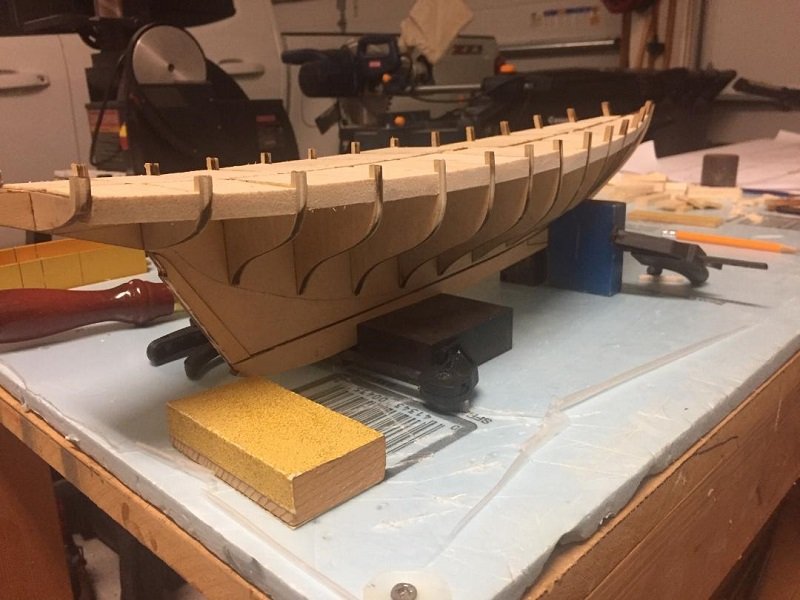
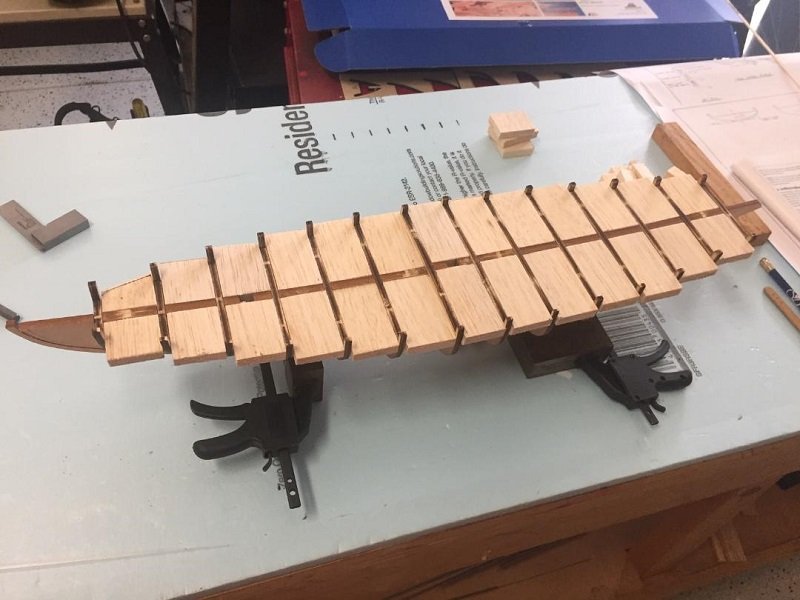
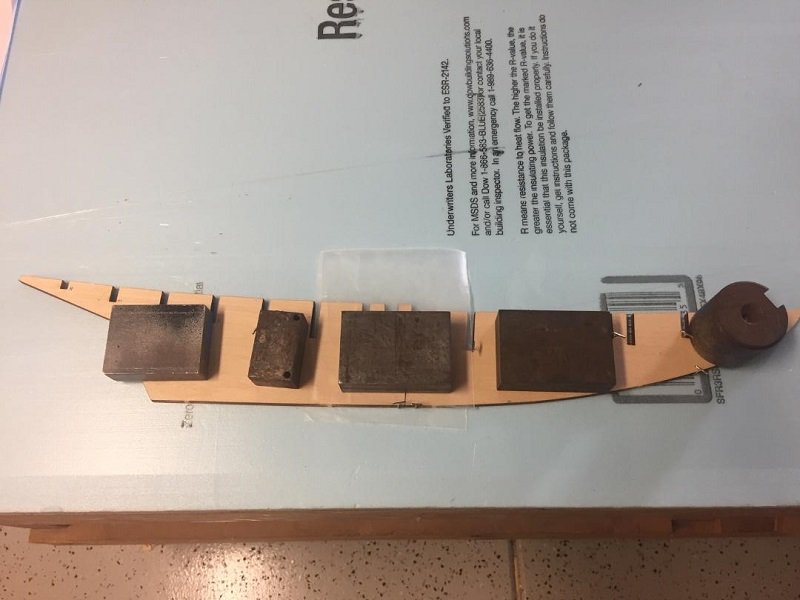
 Hey everyone, I spent a good amount of time today fairing the filler blocks and sanding the bulkheads so the planks will lay correct. Not quite half way done. Bill
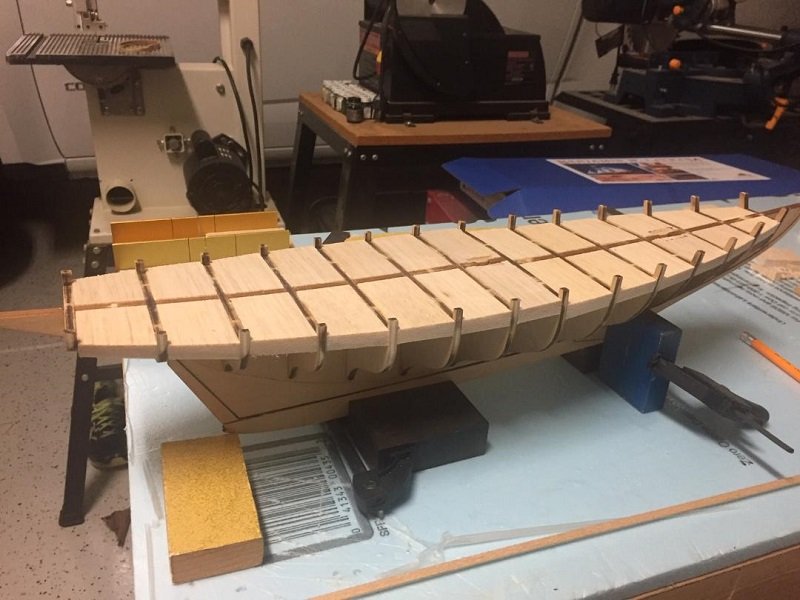
-
Hi jwvolz, I felt that with size of the planks and this being my first attempt at building it was a good idea. Also, the filler helped to ensure the bulkheads were aligned squarely. Bill
-
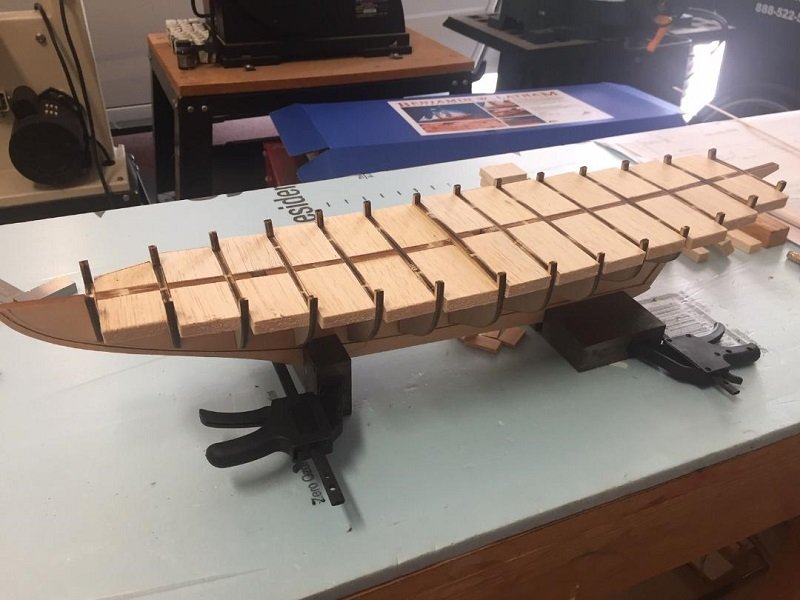
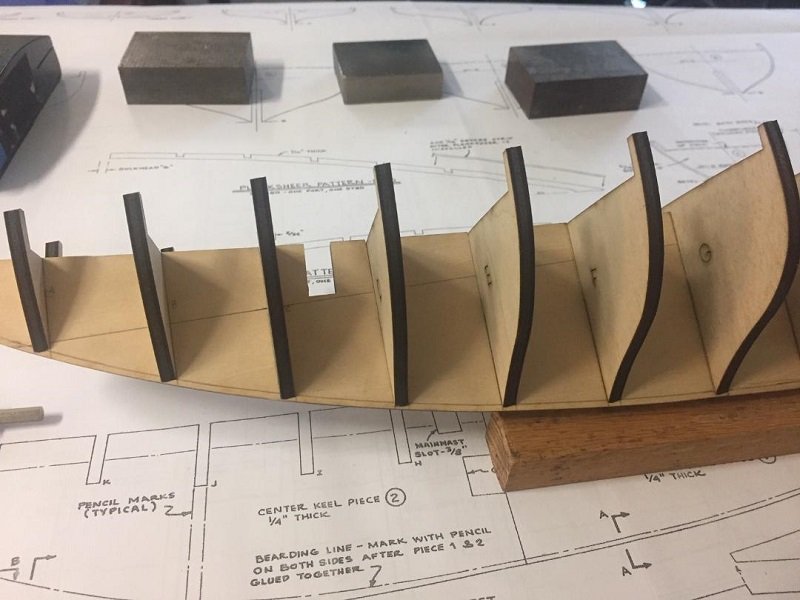
Hey everyone, I have all the bulkheads in place and glued. I have also added the filler between the bulkheads to support the planking. The filler material has not been glued in place yet. The filler will be removed so I can shape the bulkheads for the hull planking and then replaced and glued. Bill
-
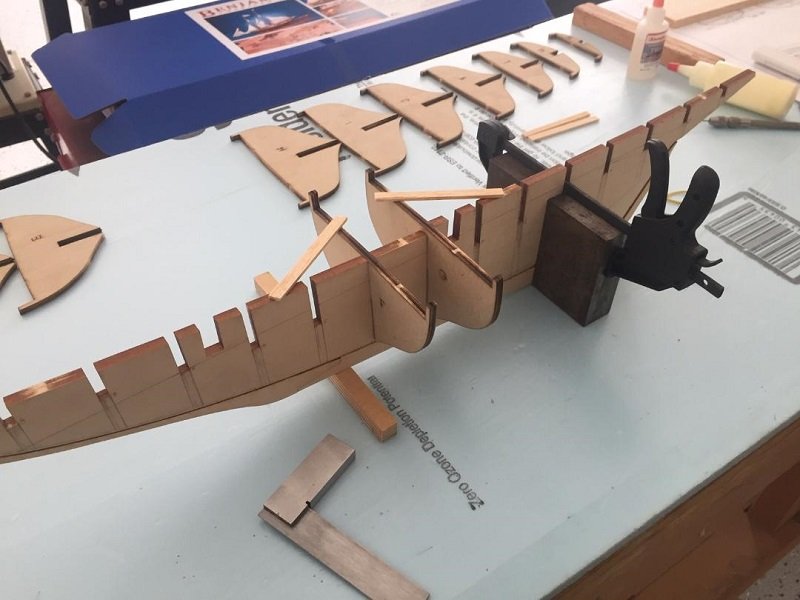
Hey everyone, I've started laying in the bulkheads. I started in the center and will work my way out. Before starting to lay in the bulkheads, I did a fair amount cleaning of the char from the laser cutting. This also allowed the bulkheads to slide into their slots easier. Bill
-
Hey everyone, I have the stern post, rudder post and the rudder all fitted. I don't like how the rudder post area looks, but I don't know what it should look like in real life. I have ordered the Howard L. Chapelle book "The American Fishing Schooners". Hopefully there will be a diagram of what it should look like. Maybe it's correct. It just doesn't look right to me. Does anyone have a suggestion? Thanks, Bill
-
Hey everyone, I've gotten the keel pieces and the stern post in place and glued. Bill Bill

-
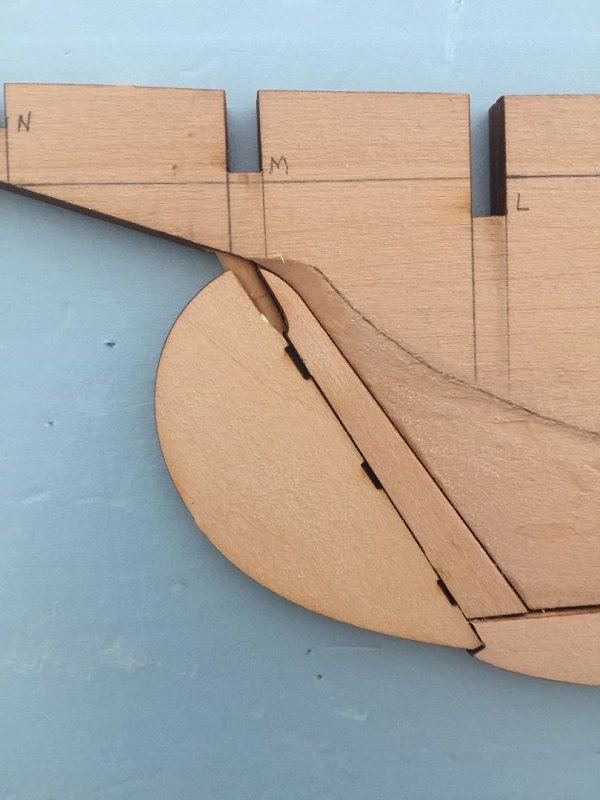
Hey everyone, I think it finally clicked on how to correctly cut rabbet. Before I cut the rabbet, I wanted to check the fit of the bulkheads. I had to do some sanding to get the bulkheads to smoothly fit into their slots. There is a lot of char from the laser cutting that will have to be removed before gluing. Once I fit the bulkheads into their slots, bulkheads A-G extended below the bearding line. These will need to be trimmed and reshaped. Bill
-
Hello everyone, I was doing some looking around and found the planking tutorials. Reading the tutorial seems to be answering my questions. There appears to be a lot of good in the "Modeling Techniques" section. Thanks, Bill
-
Hello everyone, I'm getting ready to start cutting the rabbet in the keel. This is new to me so I have a few questions. I am somewhat confused about the angle of the cut. There seems to be several thoughts on what this angle should be. To me it seems that the angle of the cut should change as you move down the length of the keel. Also, shouldn't the angle be determined by the shape of the bulkhead? Thanks for your help in advance. Bill
-
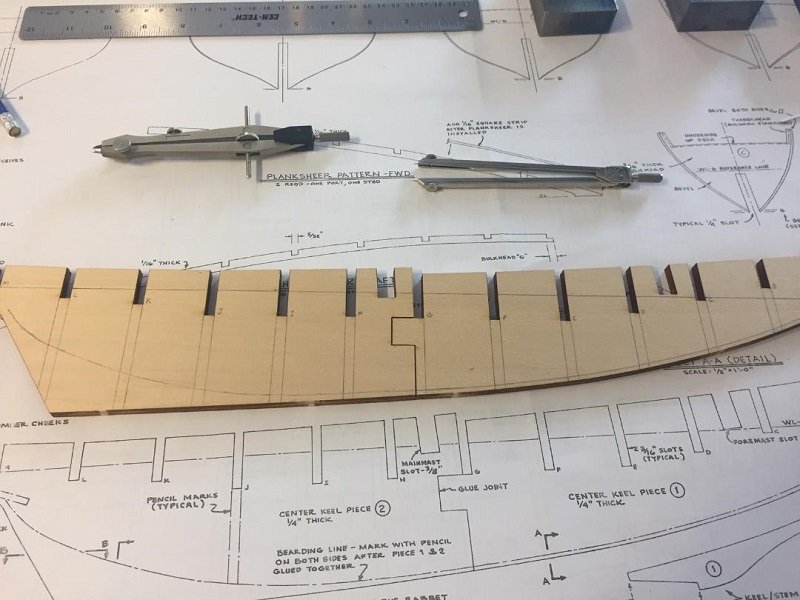
Hello everyone, I've gotten all of the layout lines drawn on both sides of the keel. Next I will cut the rabbet along the bearding line. This should be interesting. I think I understand how the rabbet should be cut. We'll see. Bill
-
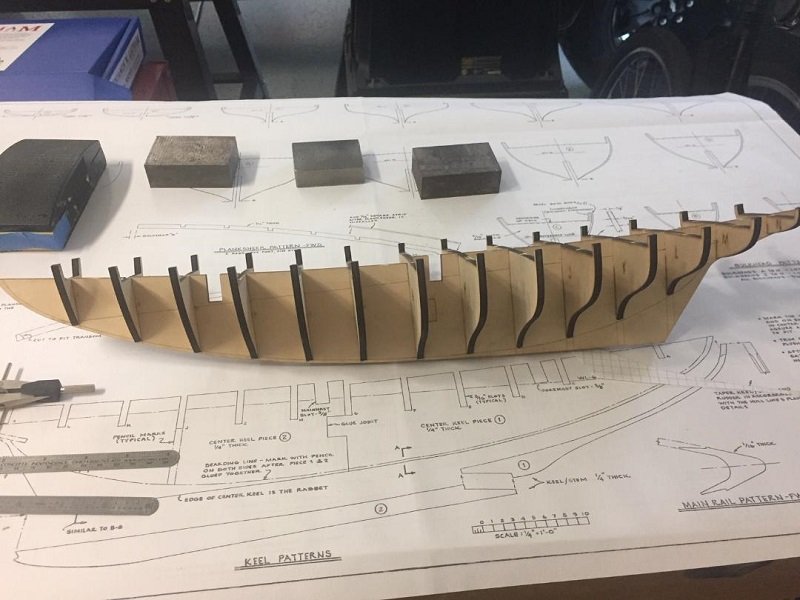
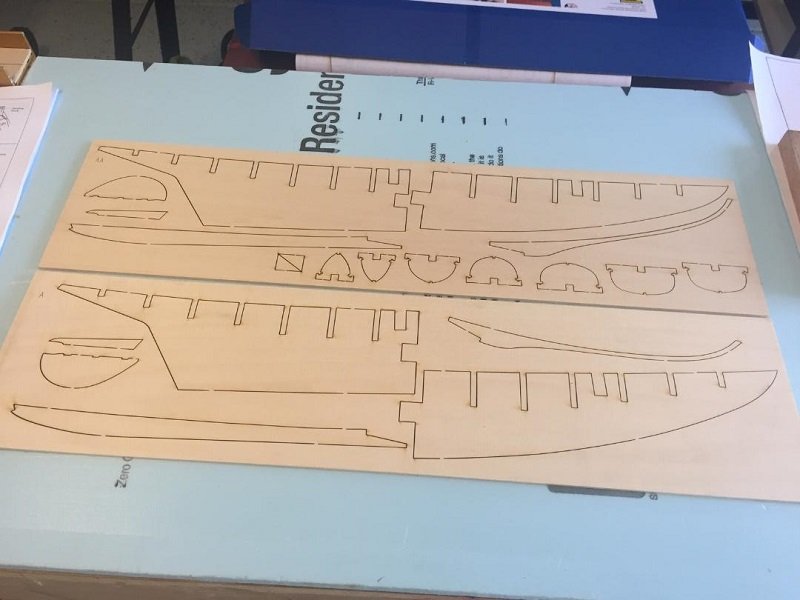
Hello everyone, Time to get started. I spent some time starting to laying up the keel. The laser cut parts pop right out of the sheets needing very little clean up. The fit of the keel parts is very nice. I glued the pieces together and let them dry. Next I will mark the WL6 reference line and the bearding line. Bill
-
Thanks guys. It was a fun start. Now I will be starting on my next build. That's going to present a whole new learning curve. Bill
-
Thanks for the kind words. It was a somewhat frustrating model to build. When I bought the model, I did not know that the molds were made in the early 1950's. I think that explains a lot about the model. One interesting point was that there were numerous holes in the deck, as if they were going to details to the ship. Well, off to my next build. I'm hooked! Thanks, Bill
-
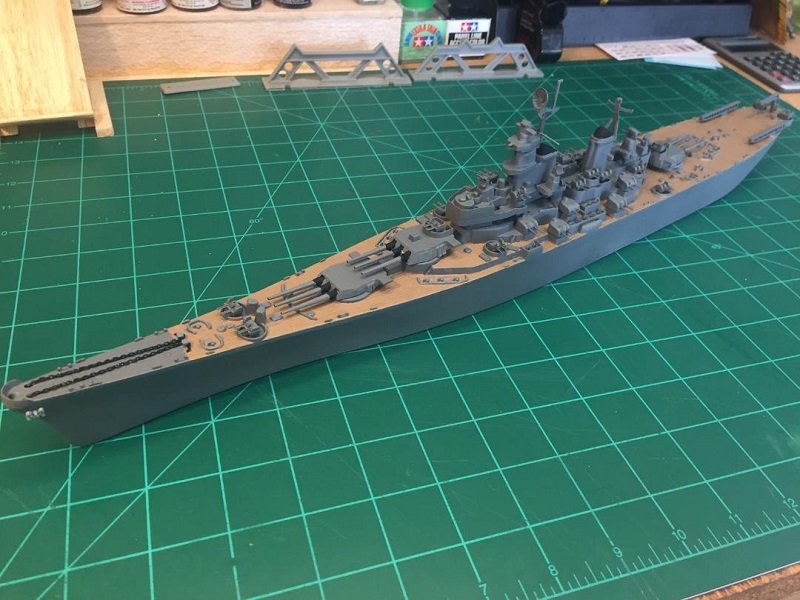
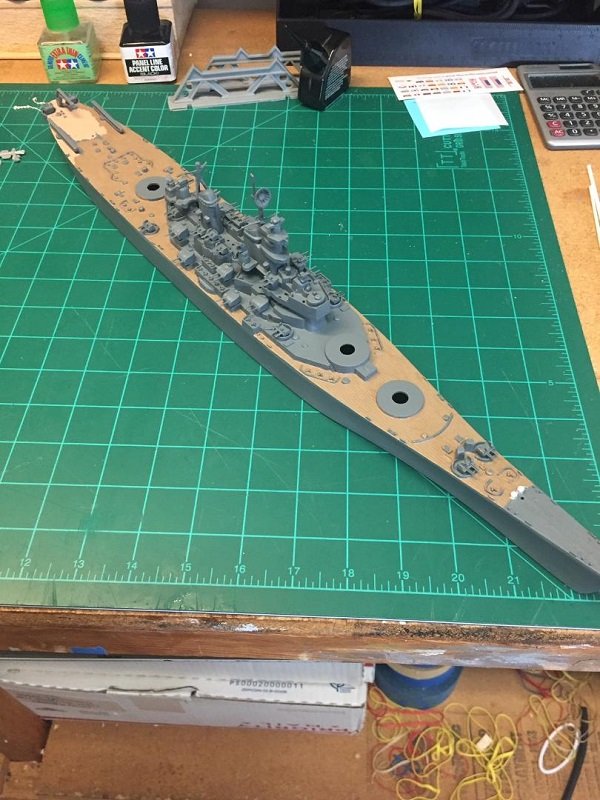
Hello everyone, Well, I've gotten most of the work finished. I still have some detail work to do and I still have to paint the waterline and below. I am still waiting on some paint so I can finish that. It did not turn out too bad. It was something to get me started again. Now I will be looking forward to starting my next build. Thanks to everyone that looked in. Bill
-
I know what you mean. The correct way always comes to me right after I glue the part into place. 😄 Bill
-
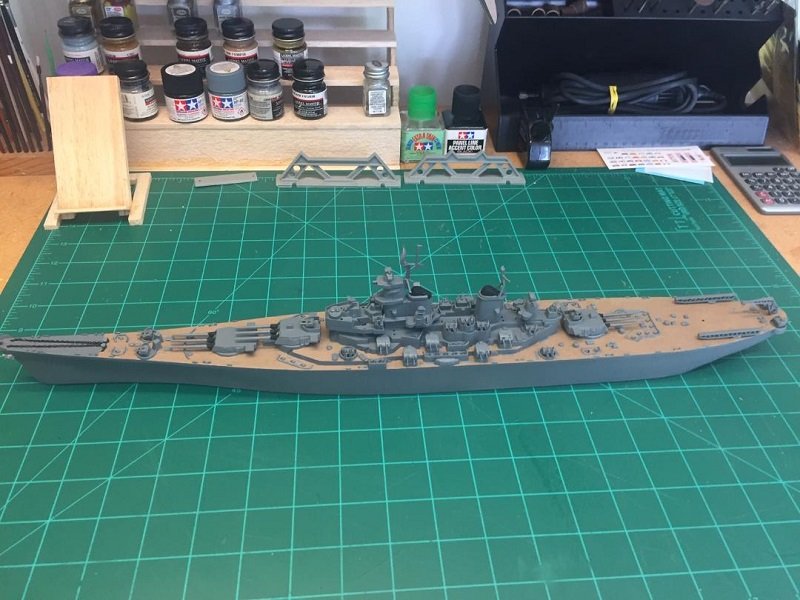
I have started painting the deck. This will take some time to complete. I have thinking and I don't think there would have been an easier was to accomplish this. As you can see on the aft area, I started painting the deck with Tamiya Wood Deck Tan. Way too light. I changed to Model Master Dark Tan. That looks better. I will go over the aft deck area with the Model Master, but I want the paint to dry well before adding a second coat. Also, the Tamiya is an acrylic paint and I did not like the way it was laying down. This was the first time I have tried to use an acrylic brush paint and I'm not so sure about it. Bill
-
YOUNG AMERICA 1853 by Bitao - FINISHED - 1:72
B-Ram replied to Bitao's topic in - Build logs for subjects built 1851 - 1900
Excellent work on a great subject. I will be looking forward to seeing your progress. Bill- 257 replies
-
- 2
-

-
- young america
- Finished
- (and 1 more)
-
Hello Yves, Thank you for the kind words. One thing that I am noticing, after getting back into modeling, is I am finding myself figuring out how I should do things after I did it wrong. It's getting me back into the model building thought mode. The most important thing though is that I am enjoying the process. Bill
-
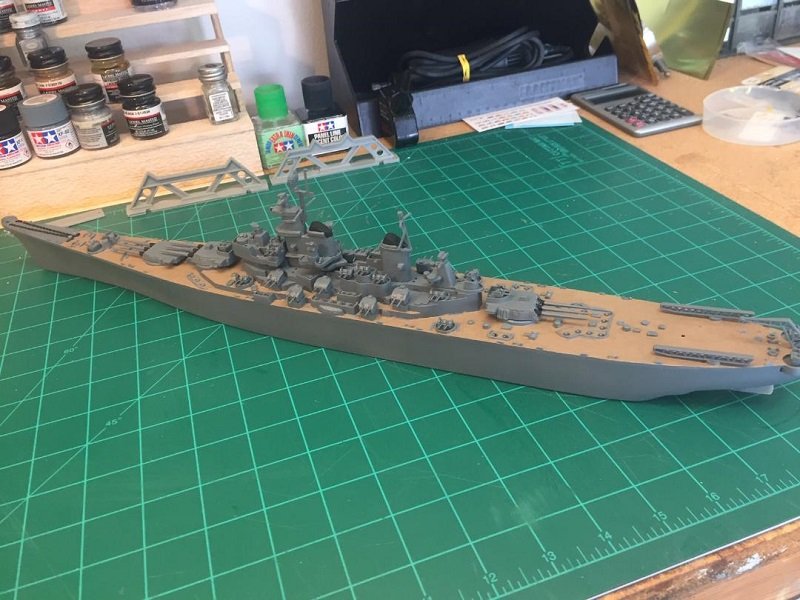
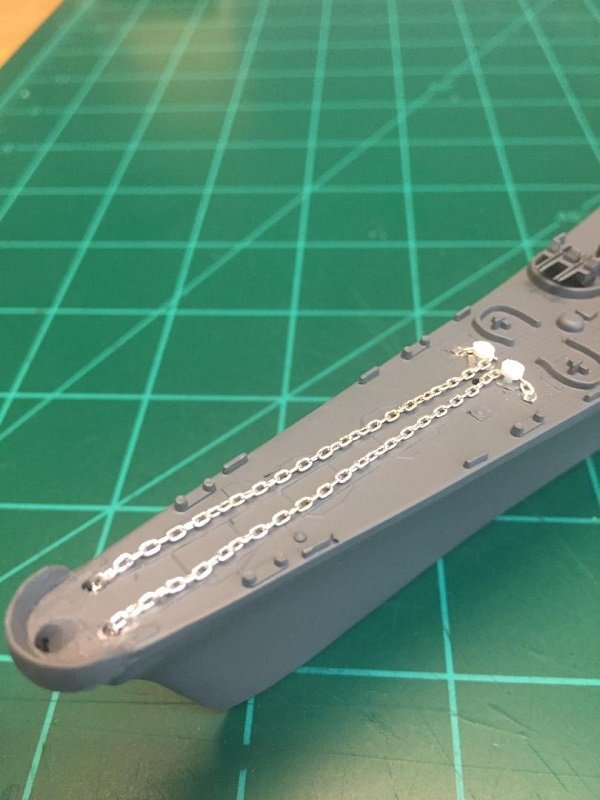
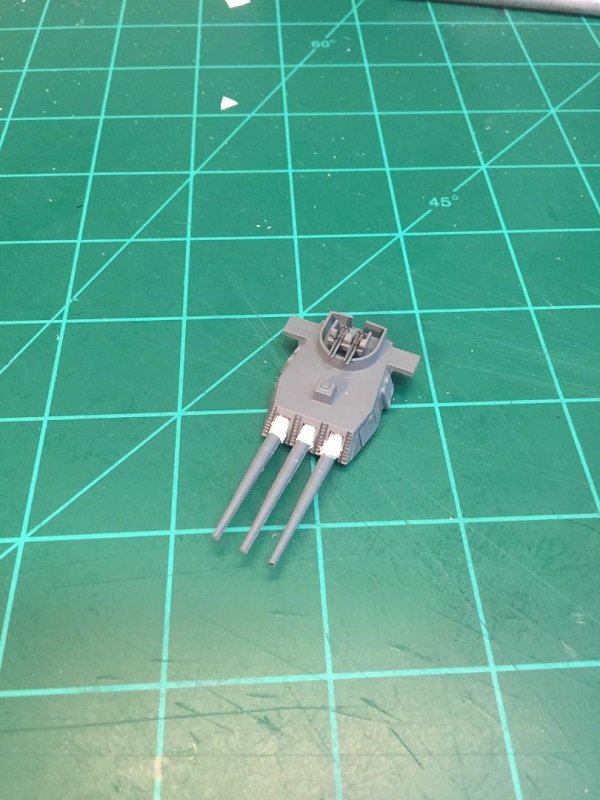
Hello everyone, I've gotten the anchor chain mods finished. Just need to clean up area and do some painting. Also, I've started adding the blast coves on the big guns. Bill
-
Hello everyone, I have been working to replace the anchor chains. The chains that were molded into the deck were way too big and out of scale. Also, the chains did not go around the pulleys. In replacing the chains, it was necessary to replace the pulleys that the chains go around. Bill

-
The Benjamin Latham seems to be a popular model. When finished it looks very nice. I am looking forward to getting started. Bill
-
I love to watch old movies. I will be sure to watch this one. Bill
-
Hi Mike, I will be sure to get a copy of the book. I can see where I will be getting lots of new reading material. Thanks, Bill
-
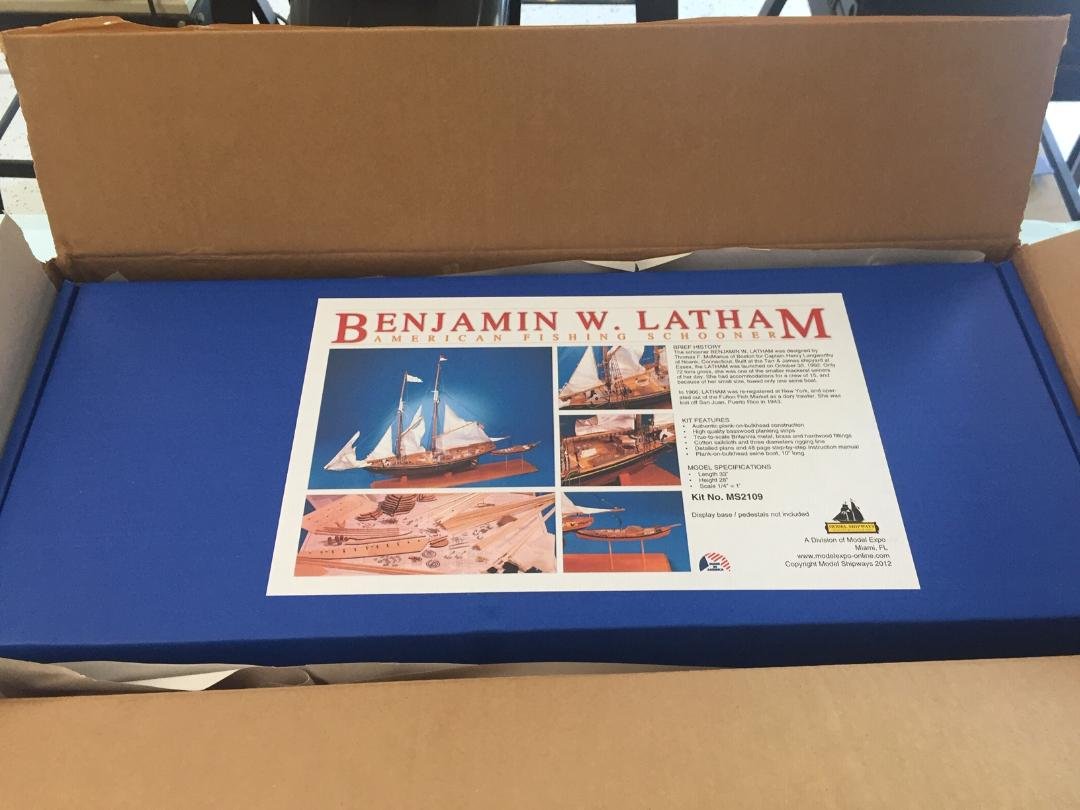
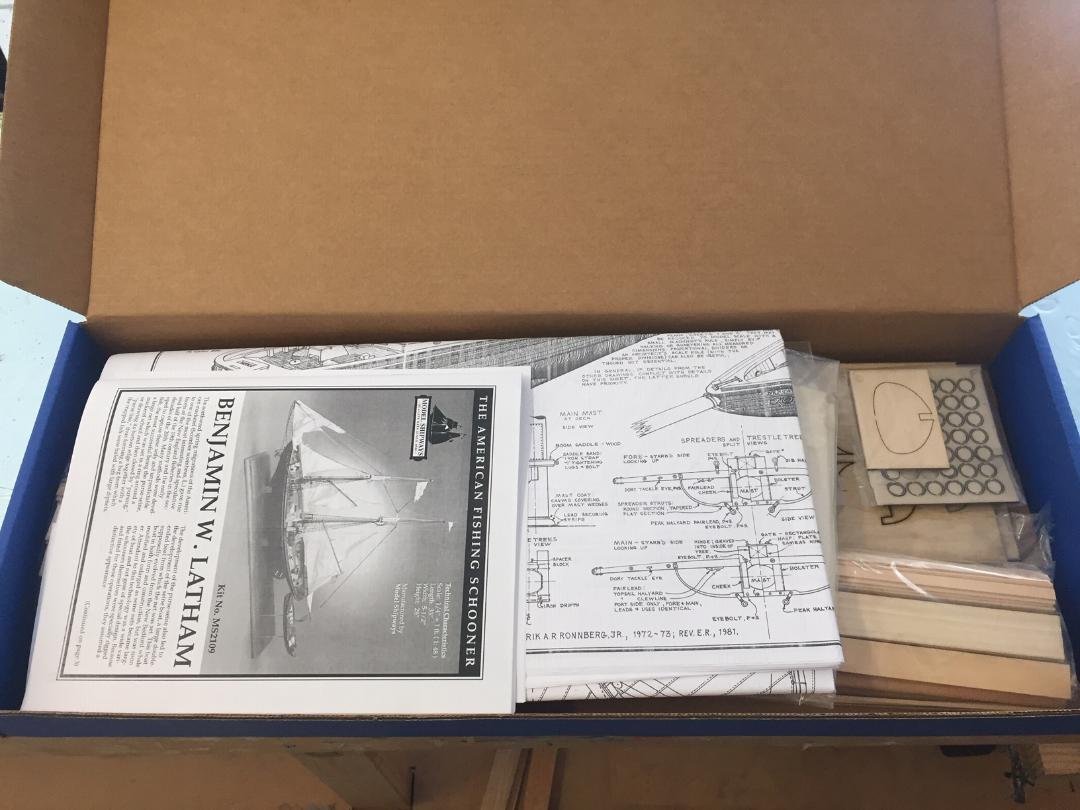
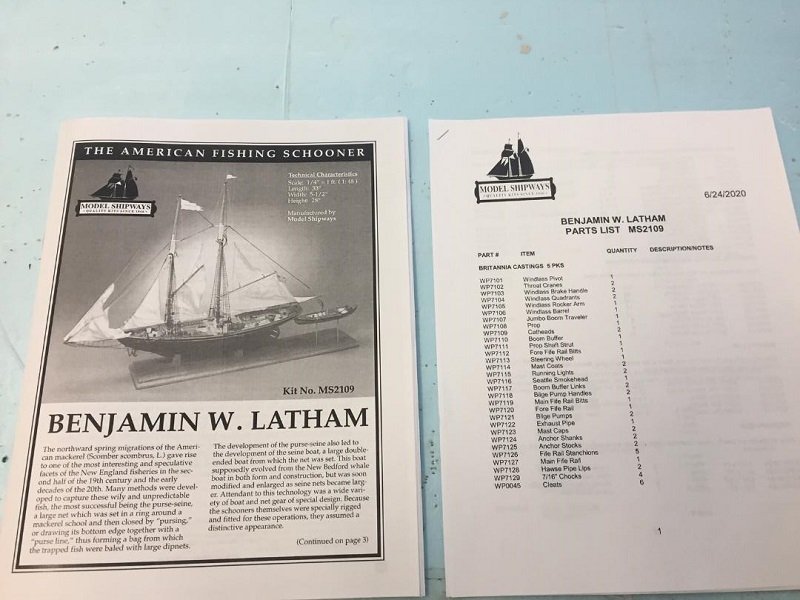
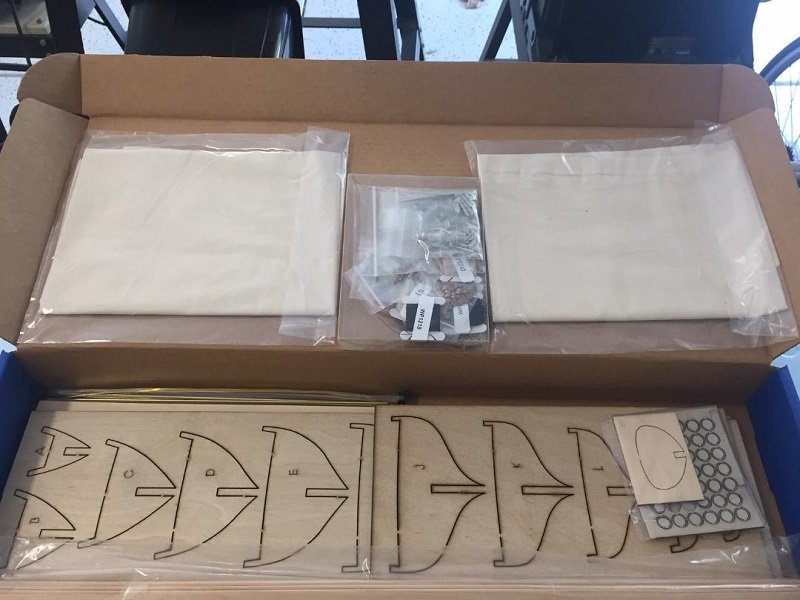
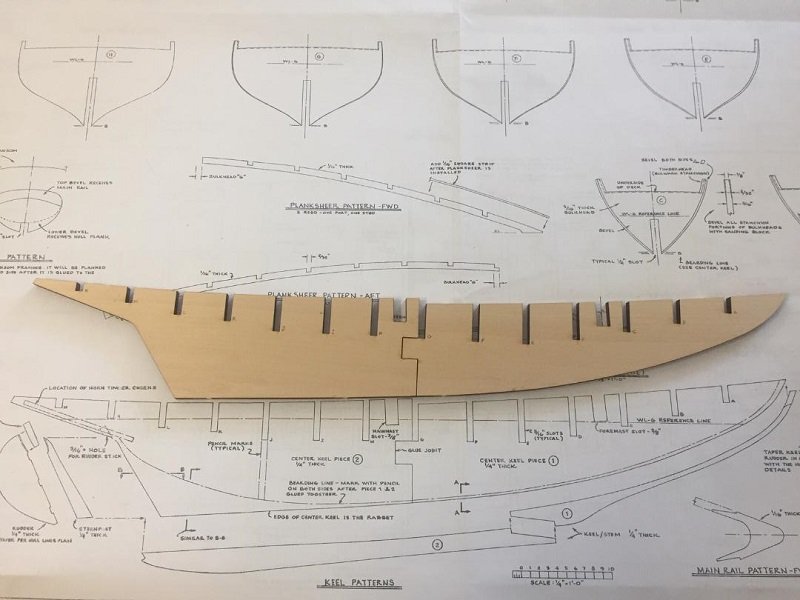
I have just received my package. Great customer service from Model Expo. The packing is very nice. Upon opening the box I found everything to be packaged very neatly. Inside the box there is a 48 page manual, a 6 page parts list and 7 pages of plans. Taking a quick look at the plans, these plans are so nice it appears that someone could build a ship from just these plans. All of the wood looks to be of very good quality. The laser cutting is very nice and clean. There are lots of parts and fittings as well. I am very pleased with what I am seeing. They also include a nice catalog. When I get a set of plans that have been folded, I roll them up for several days. This helps them to lay flat.