HOLIDAY DONATION DRIVE - SUPPORT MSW - DO YOUR PART TO KEEP THIS GREAT FORUM GOING! (Only 72 donations so far out of 49,000 members - Can we at least get 100? C'mon guys!)
×


enemeink
-
Posts
53 -
Joined
-
Last visited
Content Type
Profiles
Forums
Gallery
Events
Everything posted by enemeink
-
 this converation may be past now but when i built this kit, this is how i modified the cleats so they could be used. I filed down and added a channel so that the cleat would fit over the bulwark stanchions and not through it.
 -
Why am i just finding this build log now??? it looks awesome and makes me want to dig this one out of my stash I built this kit a few years back and loved it. I actually bought 2, so I have another one in my stash that I intend to build as the La Flore (or Vestale as others have called it). When I built this first one I also just built it as a dirty privateer and came up with my own paint theme. It was fun. I used the plastic shrouds mainly because i wanted this to be a fun quick build.
- 118 replies
-
- 3
-

-
- jolly roger
- lindberg
- (and 2 more)
-
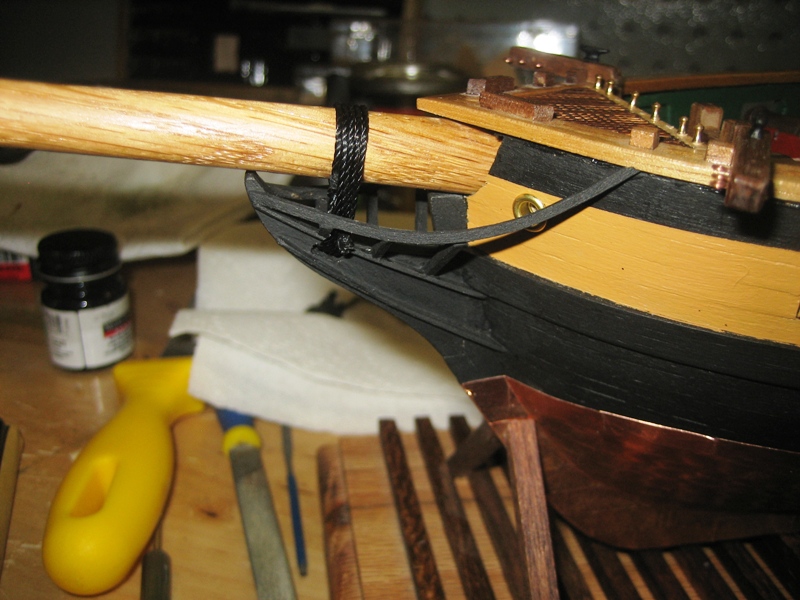
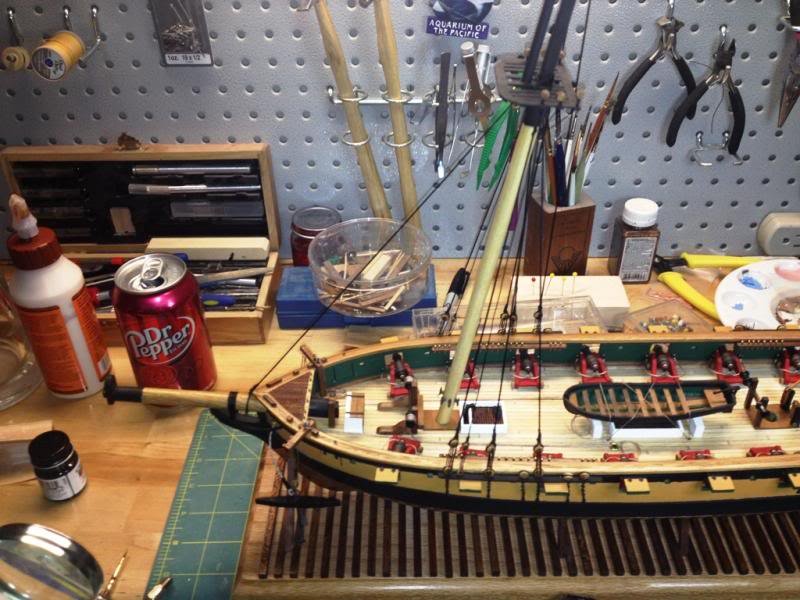
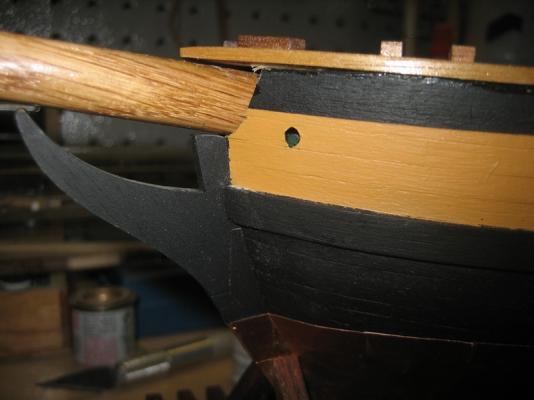
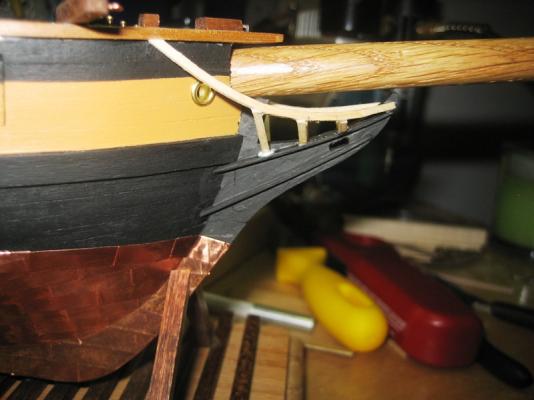
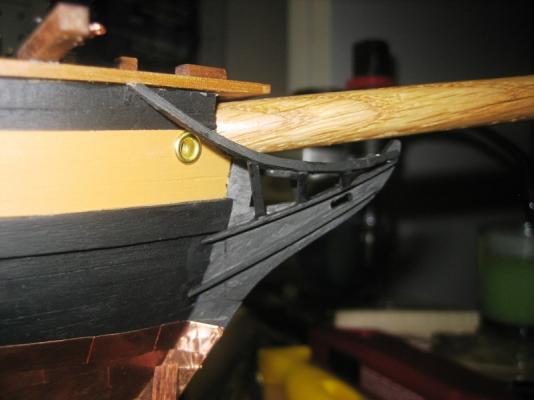
I finished making the Bowsprit over the weekend. rigging is slow going, but it's going.

- 62 replies
-
- 3
-
-
- prince de neufchatel
- model shipways
- (and 1 more)
-
slowly but surely she's coming along. more standing rigging has been completed. I really need to get the bowsprit put together so i can get the forward stays put in.
- 62 replies
-
- 3
-
-
- prince de neufchatel
- model shipways
- (and 1 more)
-
One thing that I did when I built the Phantom, and I have suggested others to do is add a watered down mixture of wood glue to the bulwarks to give them some strength. When you're shaving them down and carving out scuppers the thickness is scary. It's Looking Good! brings back memories of cutting copper tape and plating the hull. that's the only thing I didn't like about this kit. and the one I'm currently building.
-
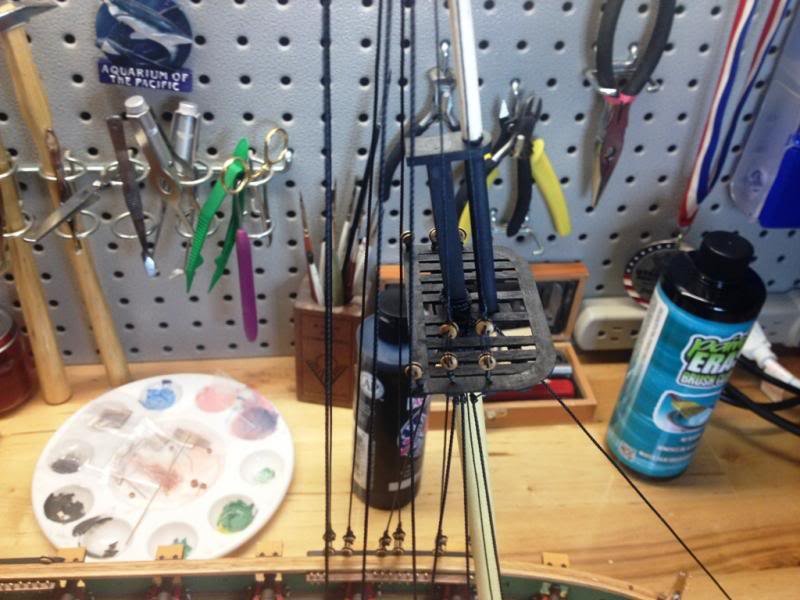
here some more of the standing rigging.
- 62 replies
-
- 4
-
-
- prince de neufchatel
- model shipways
- (and 1 more)
-
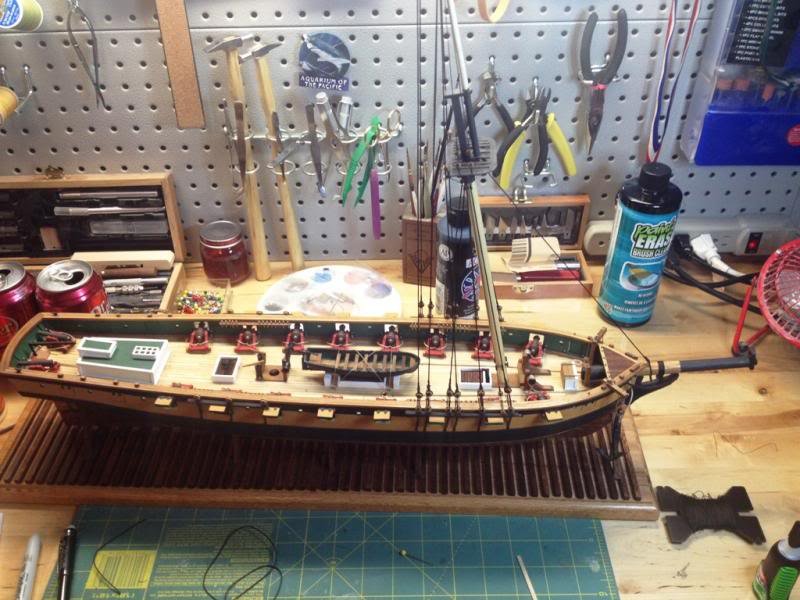
masting and rigging has finally started. I've been making an effort to work on her for at least 30 minutes a day seems to be getting me somewhere. I worked a little more over the holiday weekend so i was able to finish the assembly of the fore mast and start to get it placed and get the standing rigging placed.
- 62 replies
-
- 5
-
-
- prince de neufchatel
- model shipways
- (and 1 more)
-
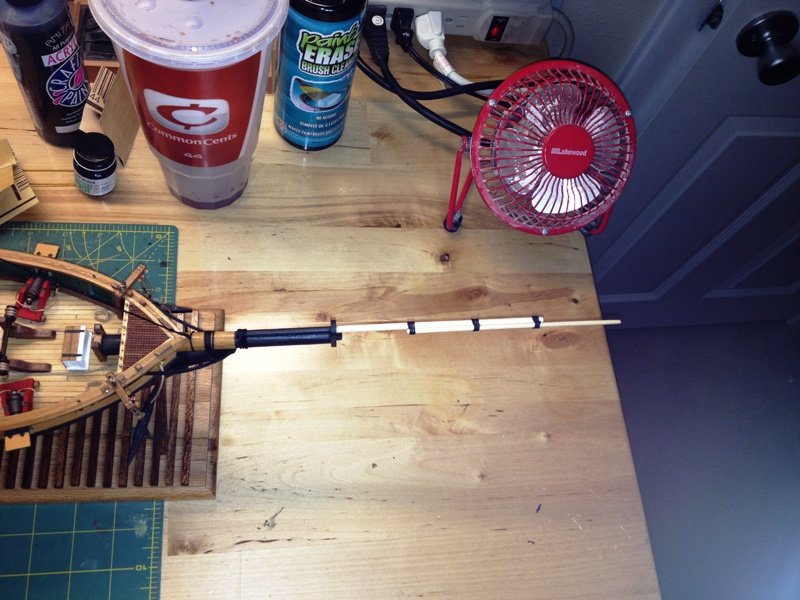
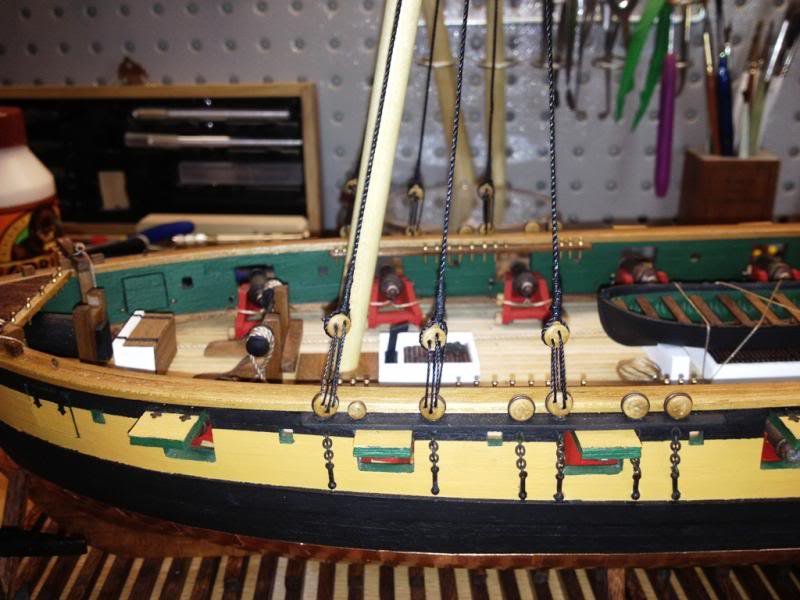
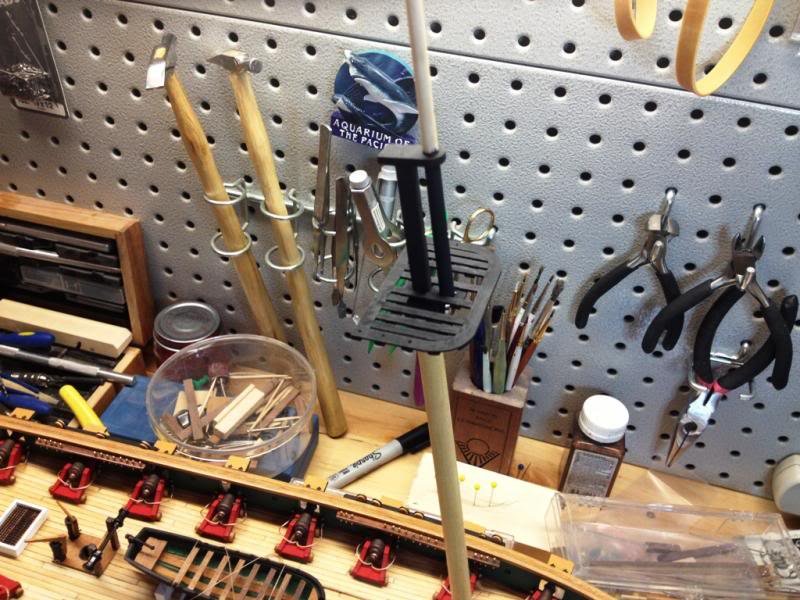
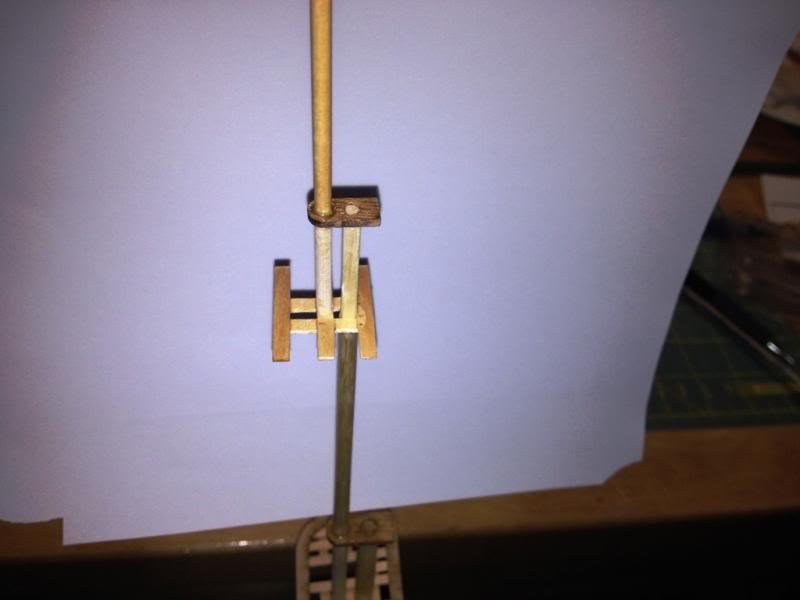
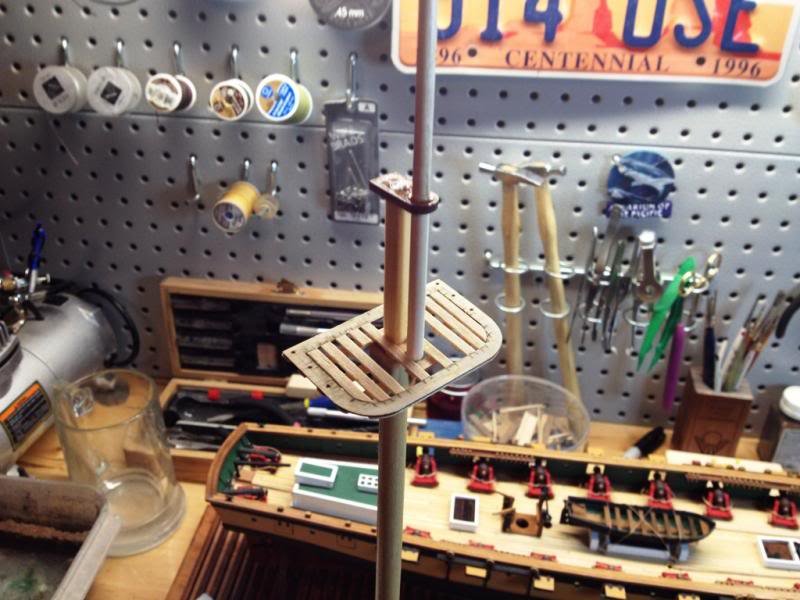
put some more time in this weekend. i managed to add the anchors and tackle. I've added some weights to help straighten out the tackle lines for hauling the anchor. these spools that come from MSW has come crazy kinks in it. anybody have any good tips for straightening the lines. i've been hanging length of string with weights at the end. doesn't work all that great if the line has a light weight object at the end of it, like as cast anchor...

- 62 replies
-
- 4
-
-
- prince de neufchatel
- model shipways
- (and 1 more)
-
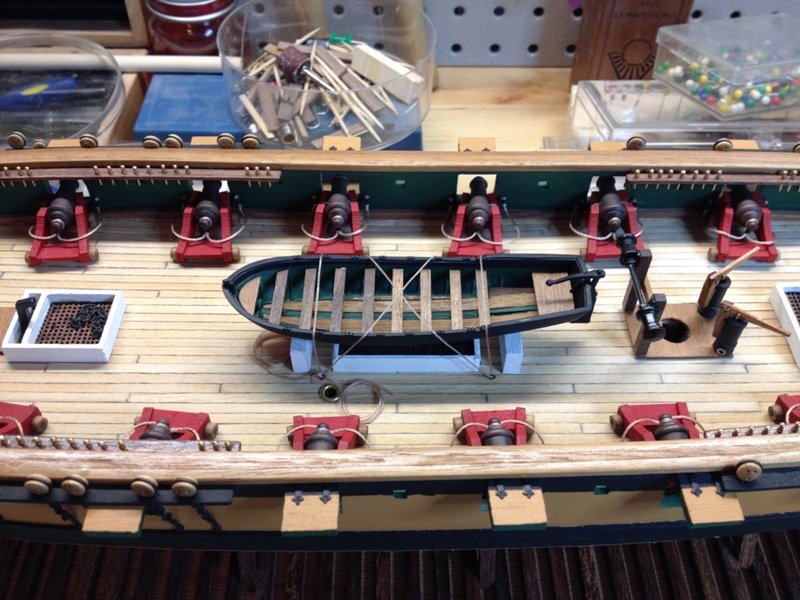
well it's been awhile. the downside of good weather, or is that the upside? It's starting to cool down so bench time is going to happen more often. I finally finished the long boat and secured it to the deck.
- 62 replies
-
- 4
-
-
- prince de neufchatel
- model shipways
- (and 1 more)
-
I was featured on Model-expo's blog today! http://shipwrightjournal.blogspot.com/2013/04/prince-de-nuefchatel-by-jaron-schofield.html
- 62 replies
-
- 1
-
-
- prince de neufchatel
- model shipways
- (and 1 more)
-
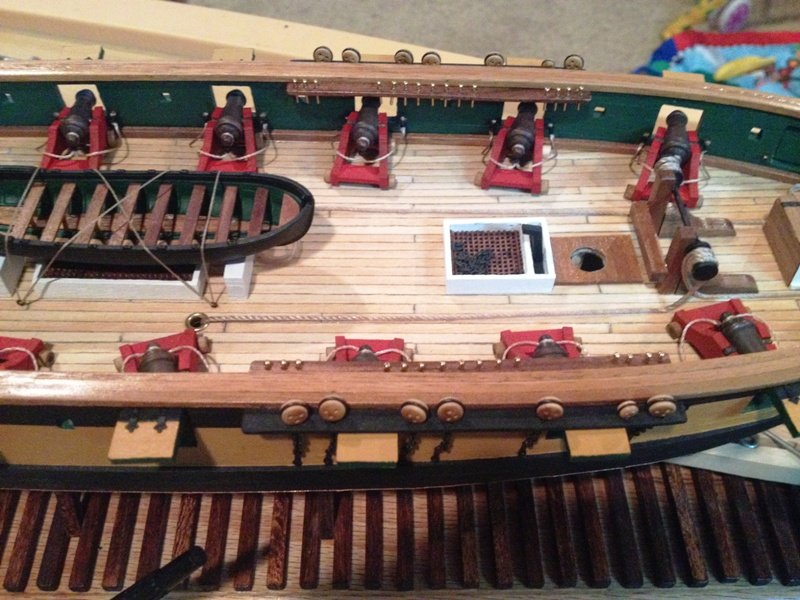
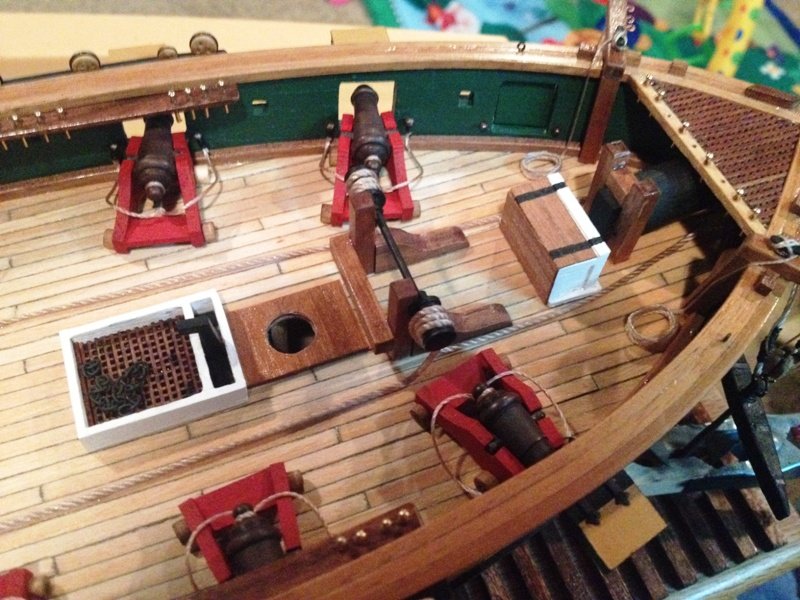
I actually put the long guns in the stern. Mainly because its where the fit the best. Doesn't make any sense nautically. Just a preference I guess.
- 62 replies
-
- 1
-
-
- prince de neufchatel
- model shipways
- (and 1 more)
-
I just posted this in another Wasa thread. this may help you out. http://www.wasadream.com/Index/indexenglish.html
-
I built the plastic Airfix model a couple of years ago. I love this ship. i've been wanting to build the corel version but can't bring myself to spend that type of money on a kit yet. you may have already seen this site. but is the Wasa report which shows some of the work and restoration done to the ship. http://www.wasadream.com/Index/indexenglish.html
-
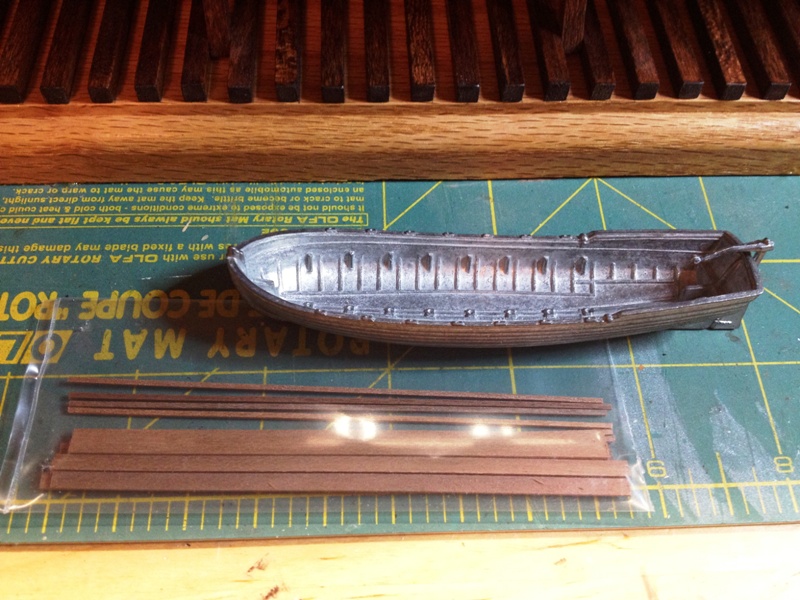
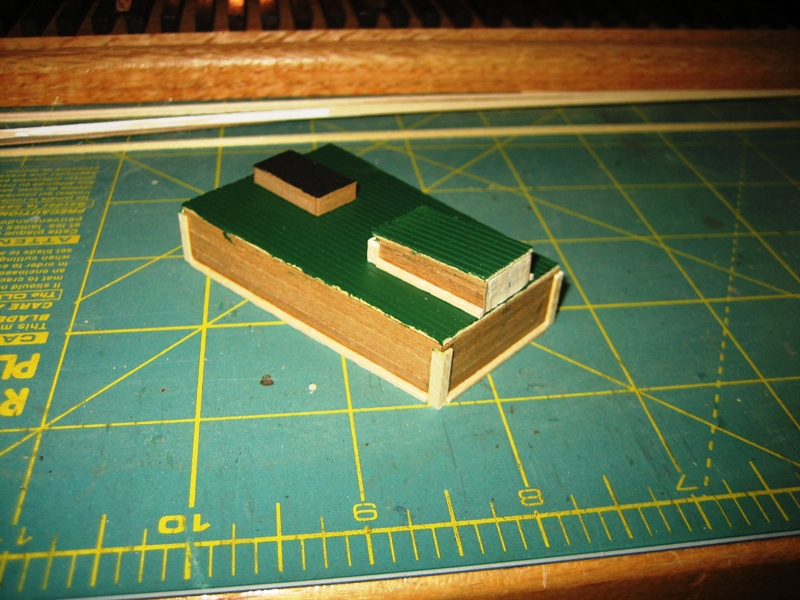
And this is essentially where i am now. I didn't like the kit supply long boat, so i purchased a cast one from Amati at close to the same scale. i think the supplied kit is 90mm and this one is 105mm and look close to identical. my main issue is that I could bend the wood for the kit cleanly enough at such a small scale. I tried step bending and that didn't work, plus it was time consuming. I will post pictures soon enough. I just need to get some bench time. Maybe this weekend.
- 62 replies
-
- 1
-
-
- prince de neufchatel
- model shipways
- (and 1 more)
-
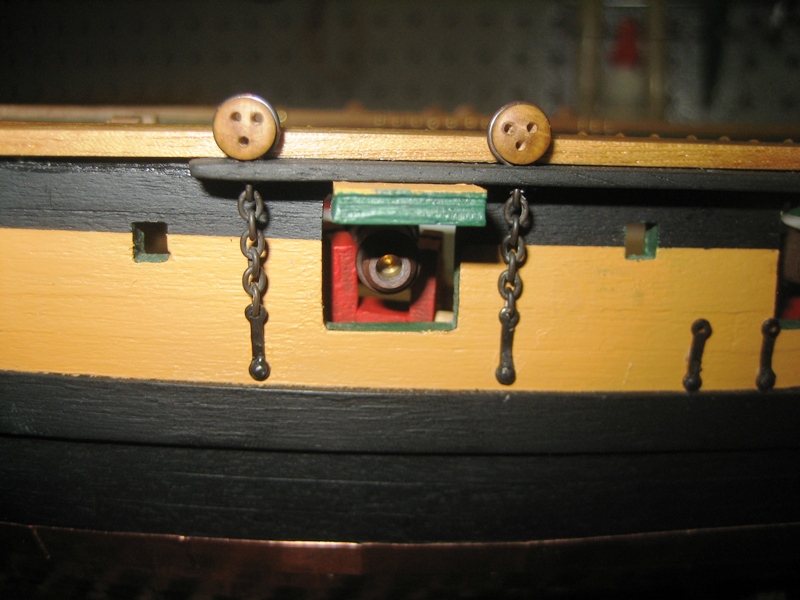
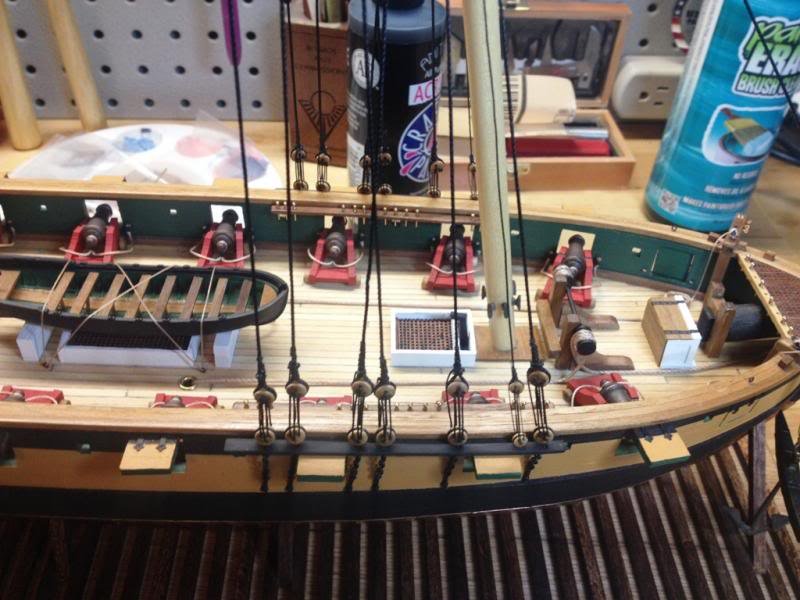
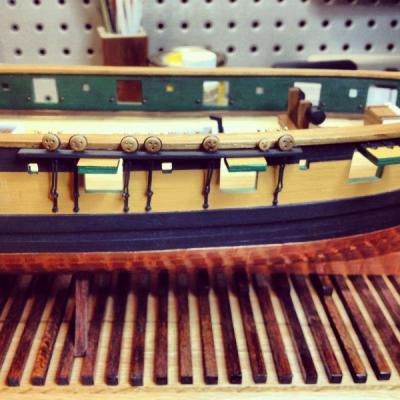
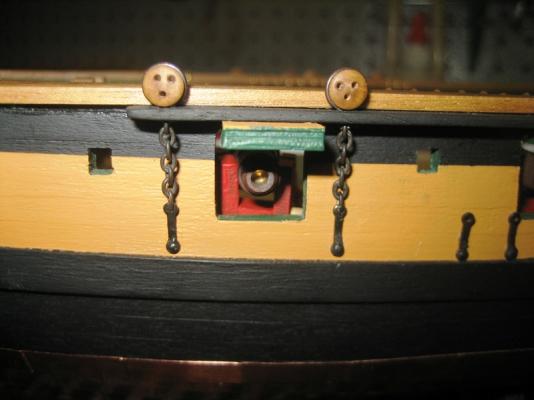
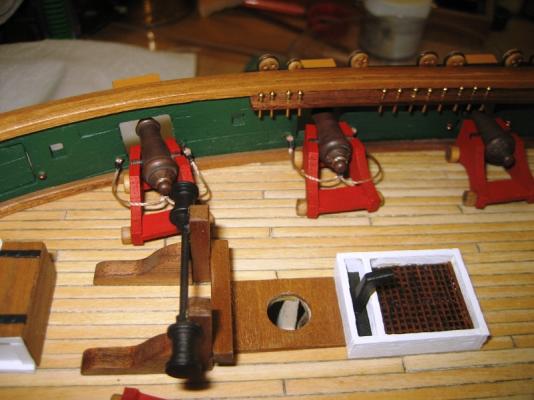
When i built the chain plates, I just used the basic black wire that came with the kit. I didn't like how they turned out so i went back and changed them all to chain. It may not be accurate, but i think it looks better. and then there were guns!

- 62 replies
-
- 4
-
-
- prince de neufchatel
- model shipways
- (and 1 more)
-
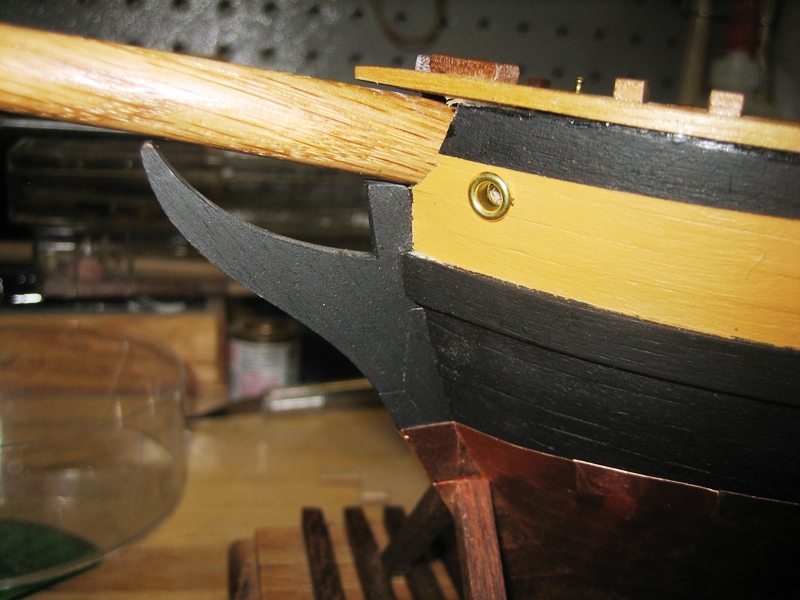
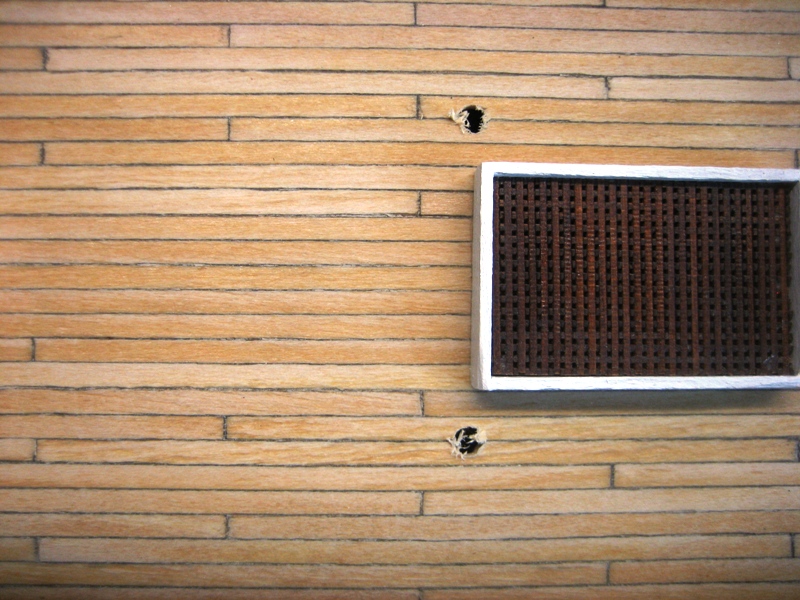
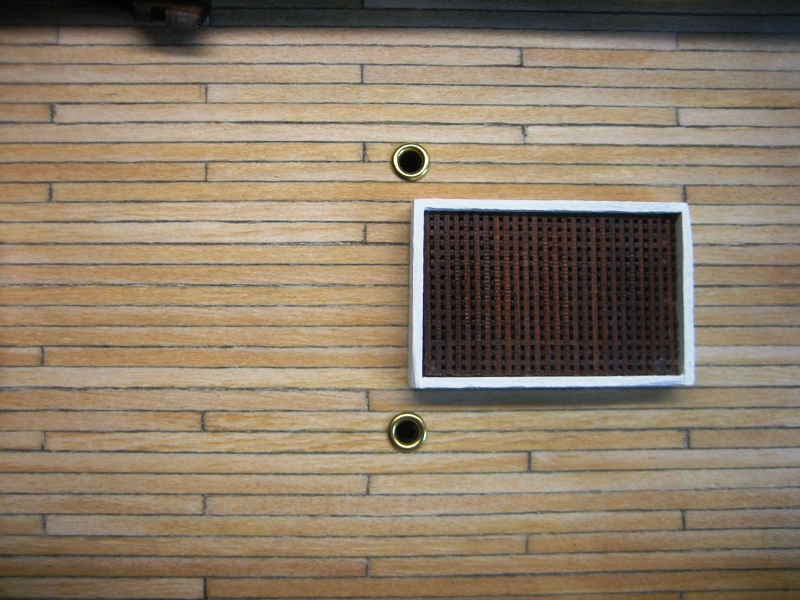
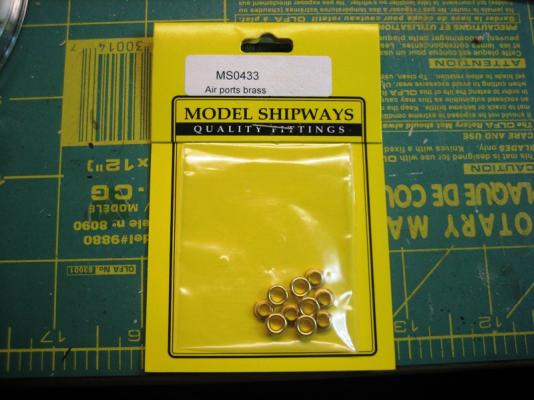
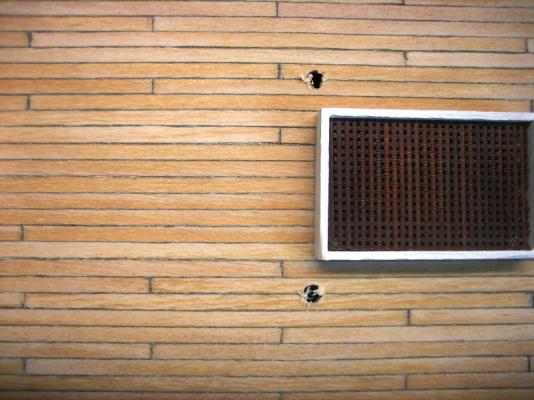
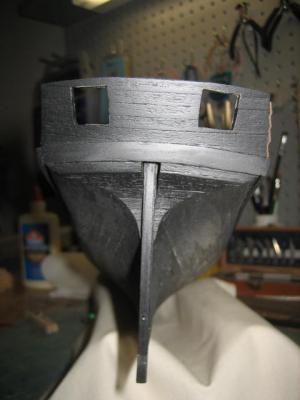
hawse holes didn't come with this kit, so i used some port holes from Model-expo. worked great and fit what i needed.


- 62 replies
-
- 2
-
-
- prince de neufchatel
- model shipways
- (and 1 more)
-
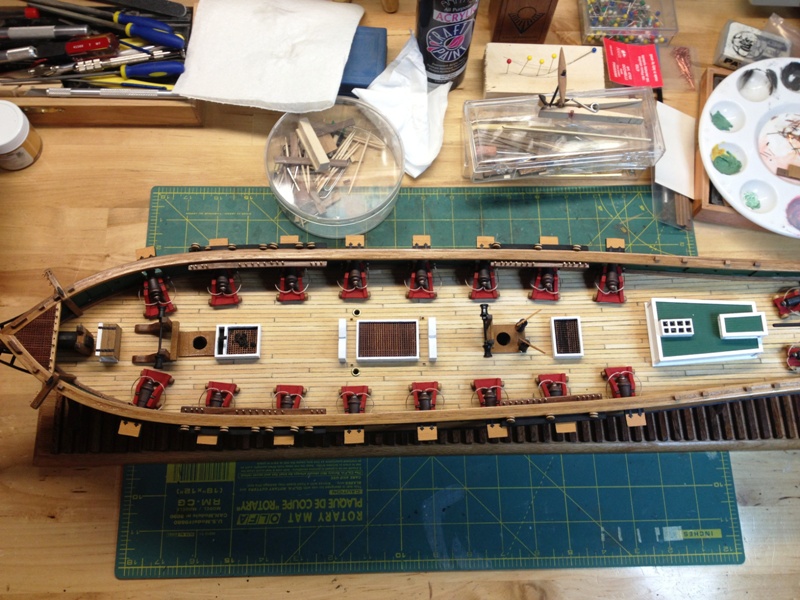
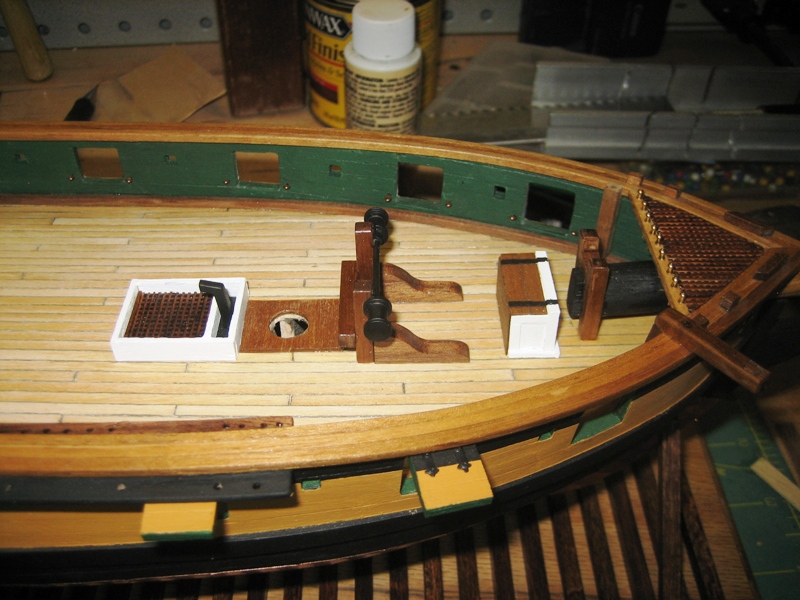
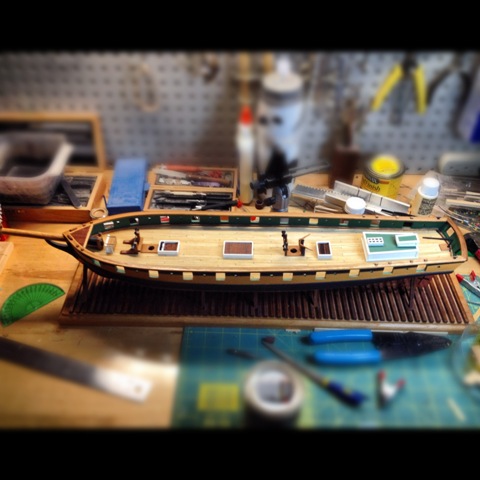
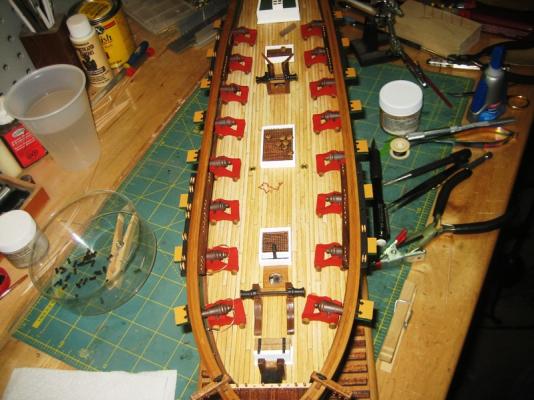
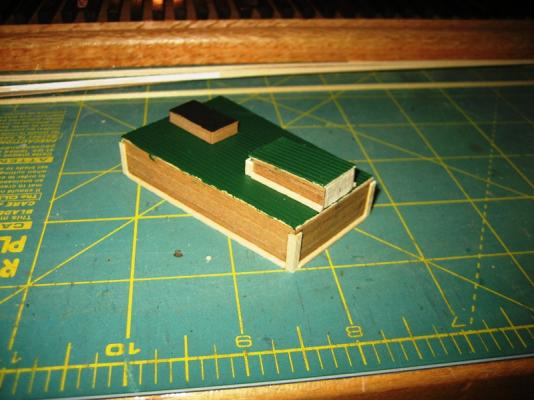
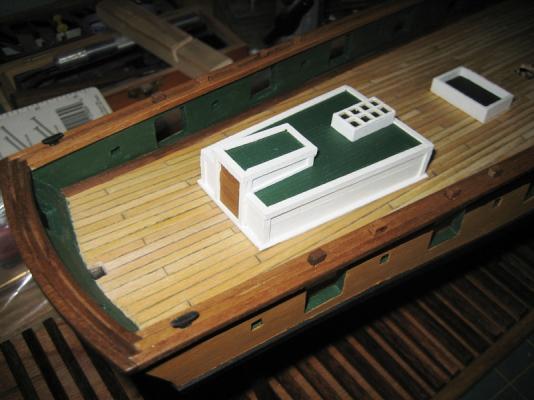
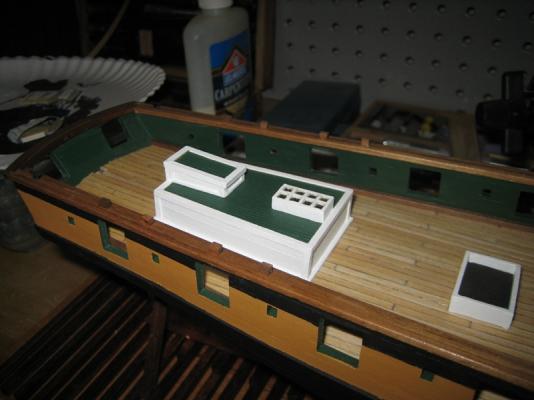
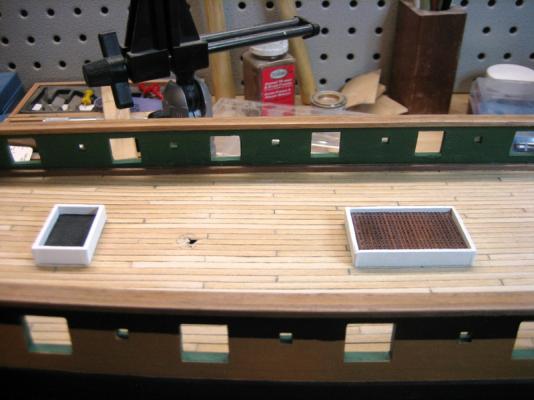
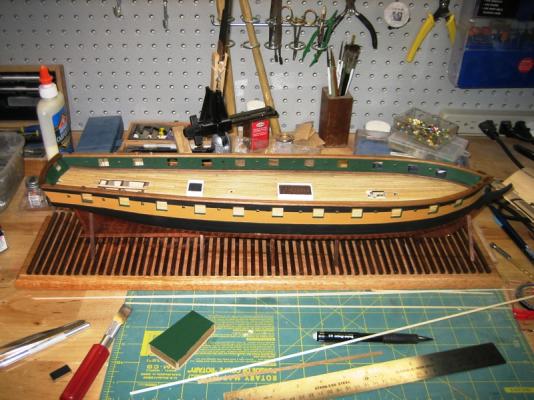
This is when i started to add the deck furniture and other fittings. and is closer to where i am now.


- 62 replies
-
- 3
-
-
- prince de neufchatel
- model shipways
- (and 1 more)
-
Look a launch way! though this was done about a year ago. i've decided this past week or so that i need to go back and add some supports and spruce this thing up.
- 62 replies
-
- 2
-
-
- prince de neufchatel
- model shipways
- (and 1 more)
-
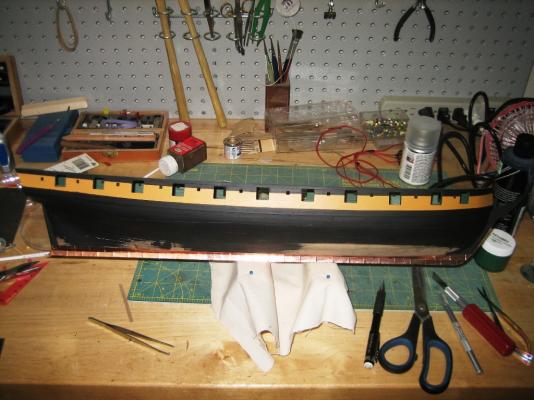
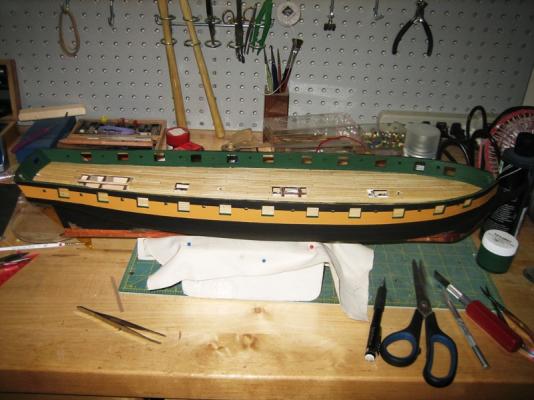
I had originally painted the hull black for planking in case there was any gaps in the planking. that way it would show black for depth. but alas my planking skills were terrible and my bond with wood filler was growing. it was at this point when i decided it was time to paint the ship, they way she sailed. sadly i can only find 1 picture of the final planking before i painted the hull and started to apply the copper plates. Oh how I hated covering the hull with the copper plates....

- 62 replies
-
- 3
-
-
- prince de neufchatel
- model shipways
- (and 1 more)
-
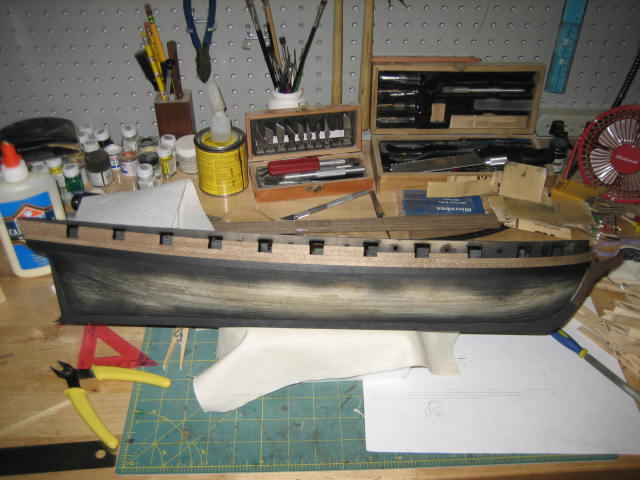
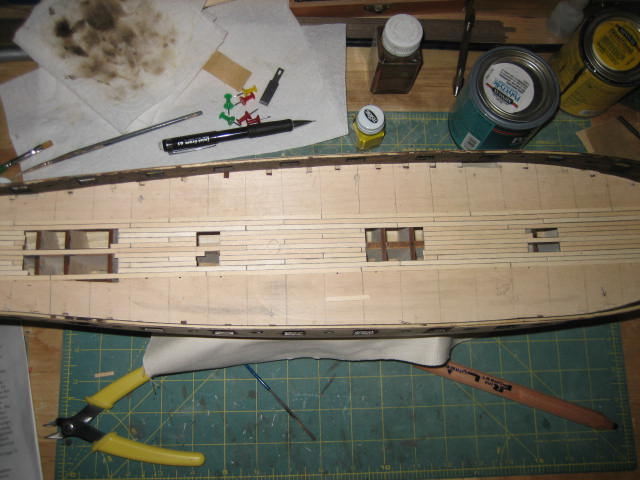
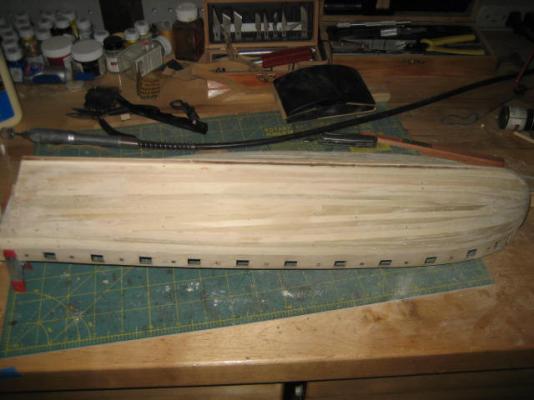
Looks like i skipped a step. i forgot about the under-planking. feast your eyes upon this beauty... it's a pretty boat, err ship!
- 62 replies
-
- 2
-
-
- prince de neufchatel
- model shipways
- (and 1 more)
-
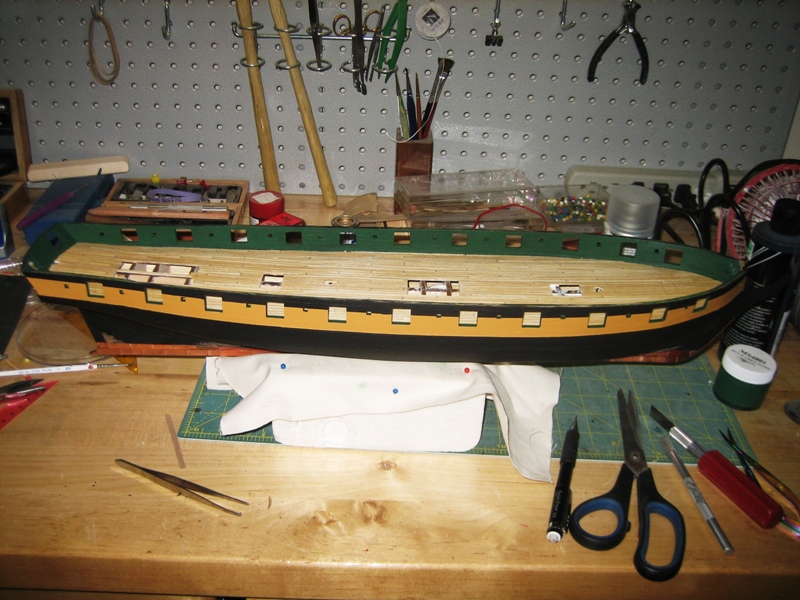
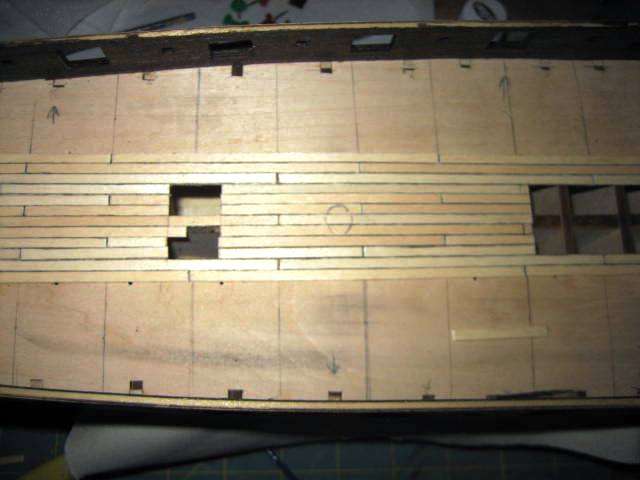
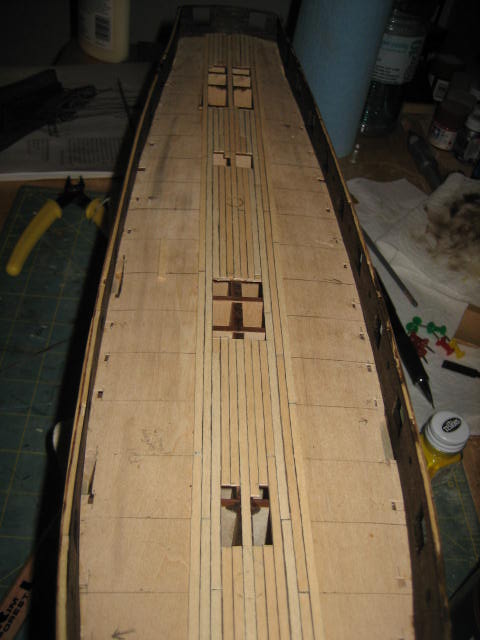
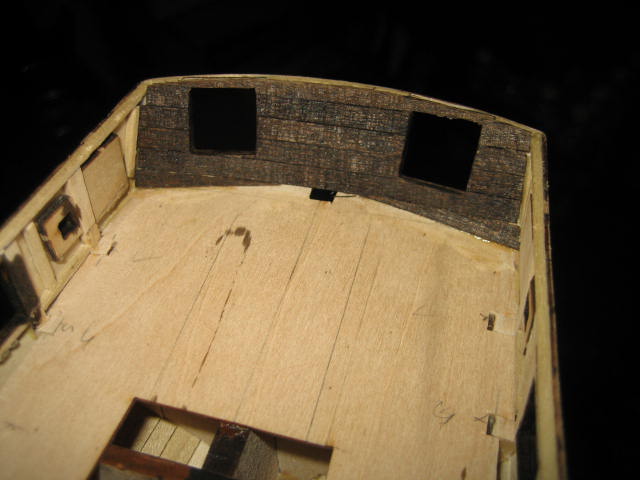
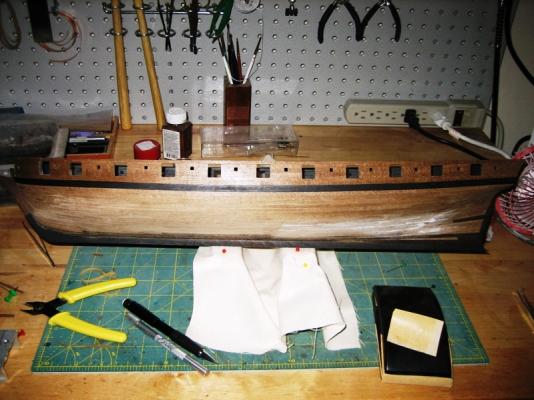
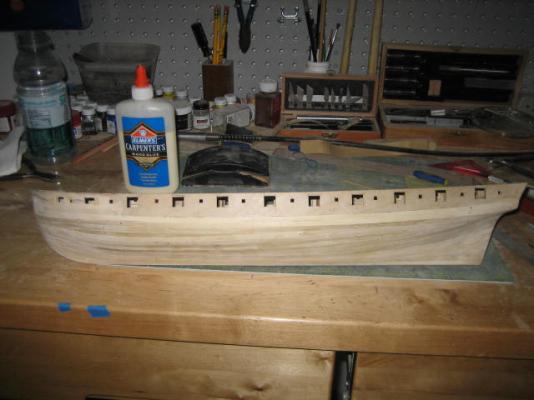
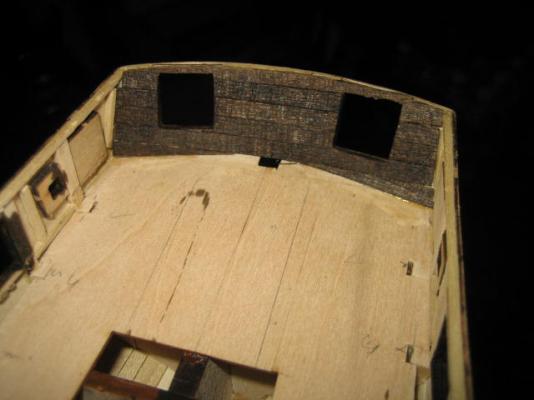
installed the planking to the inner gunwale. the original intent was to go with an stained natural finish. turns out i wasn't ready for it as my skills weren't up to par and wood filler was on the verge of becoming my best friend.


- 62 replies
-
- 2
-
-
- prince de neufchatel
- model shipways
- (and 1 more)
-
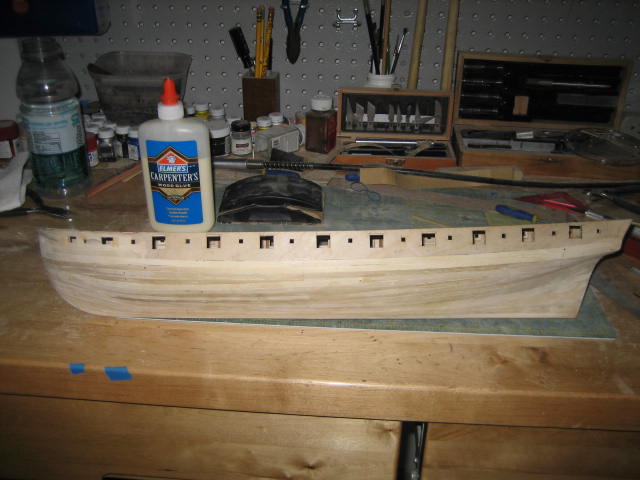
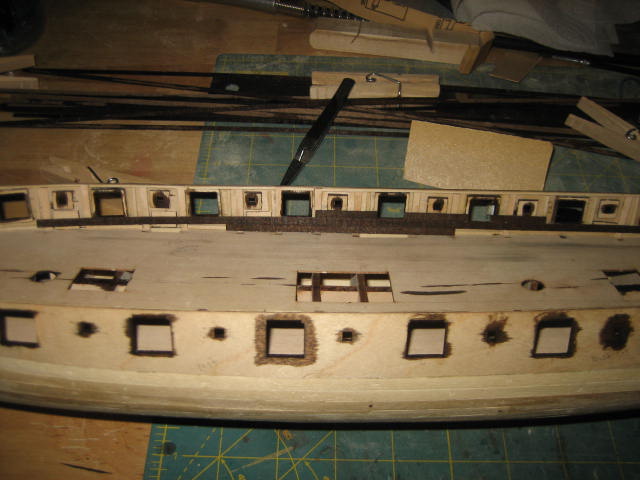
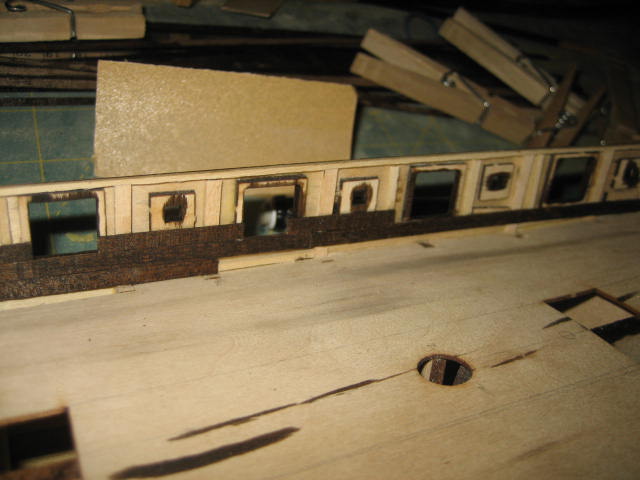
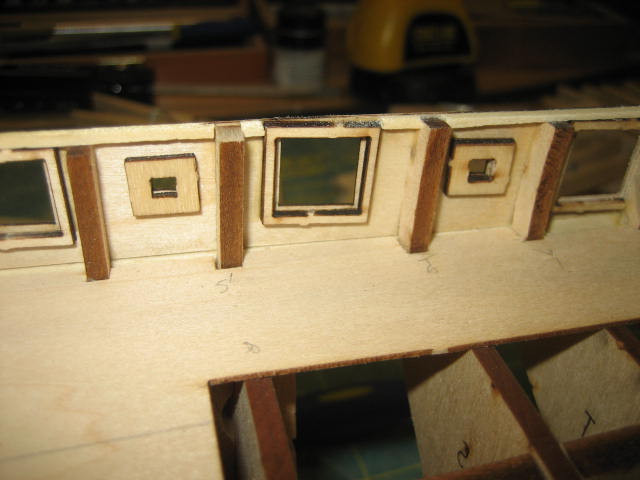
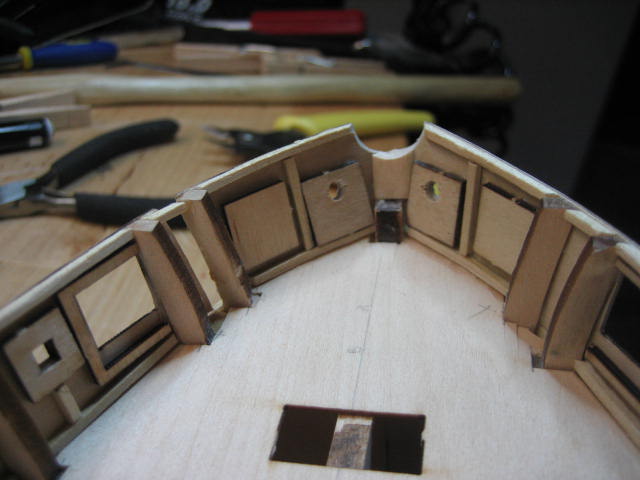
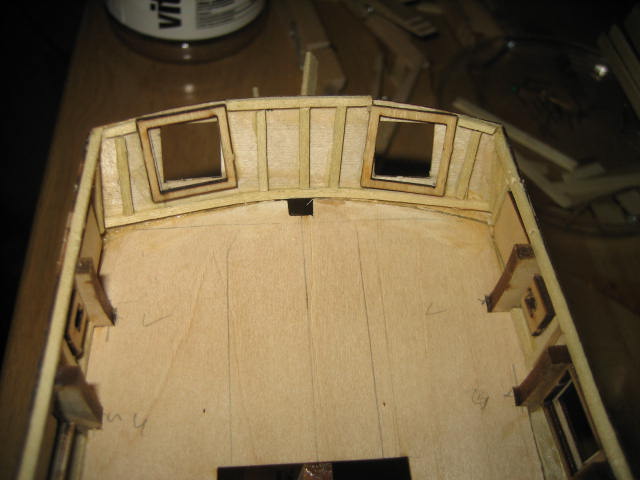
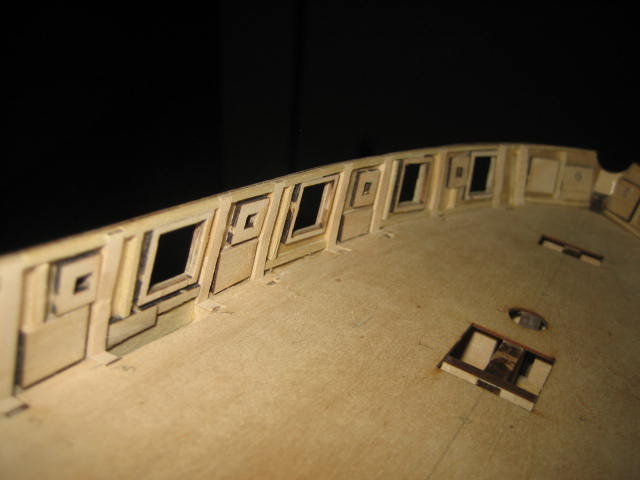
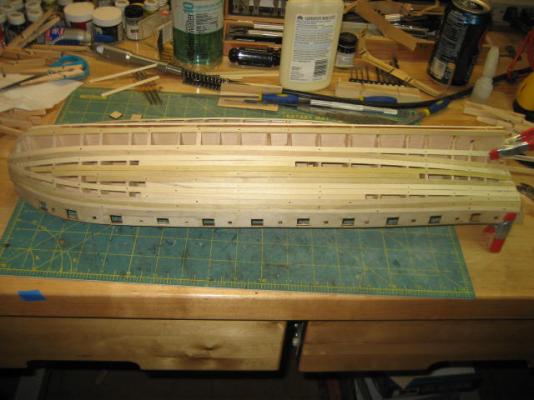
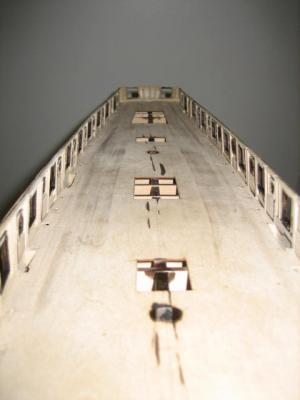
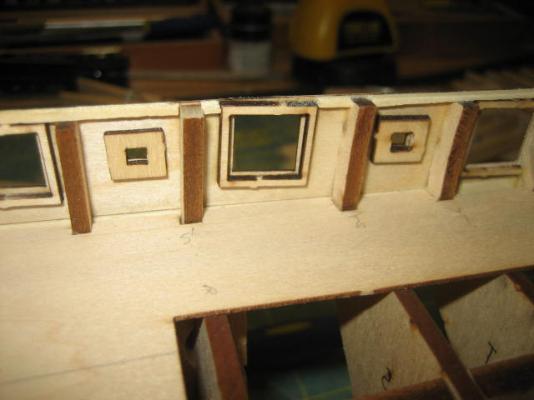
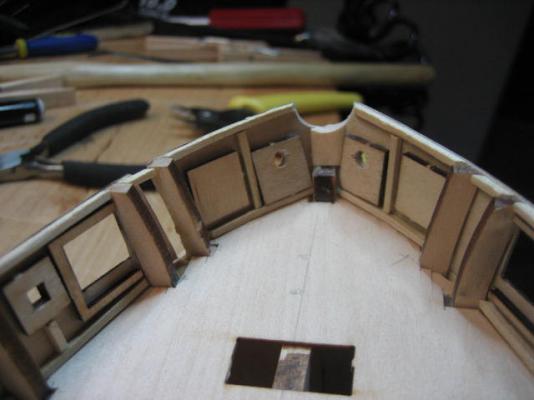
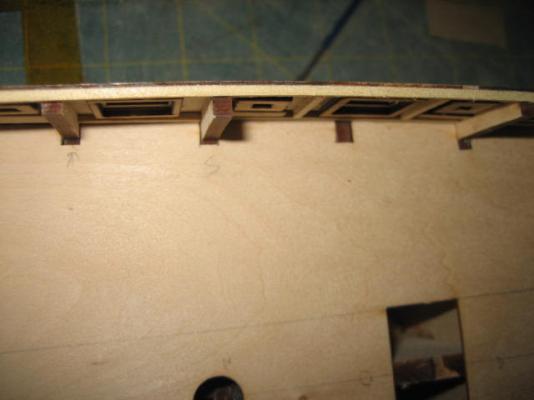
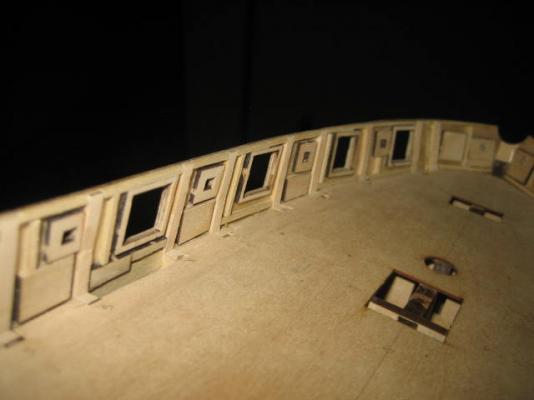
next up was adding to the substructure of the gunwale and cutting down the bulkheads. this took some time but the end product thus far has been worth the effort. you can also see the opening of the gunwale in the pictures.

- 62 replies
-
- 2
-
-
- prince de neufchatel
- model shipways
- (and 1 more)