closehaul
-
Posts
150 -
Joined
-
Last visited
Content Type
Profiles
Forums
Gallery
Events
Everything posted by closehaul
-
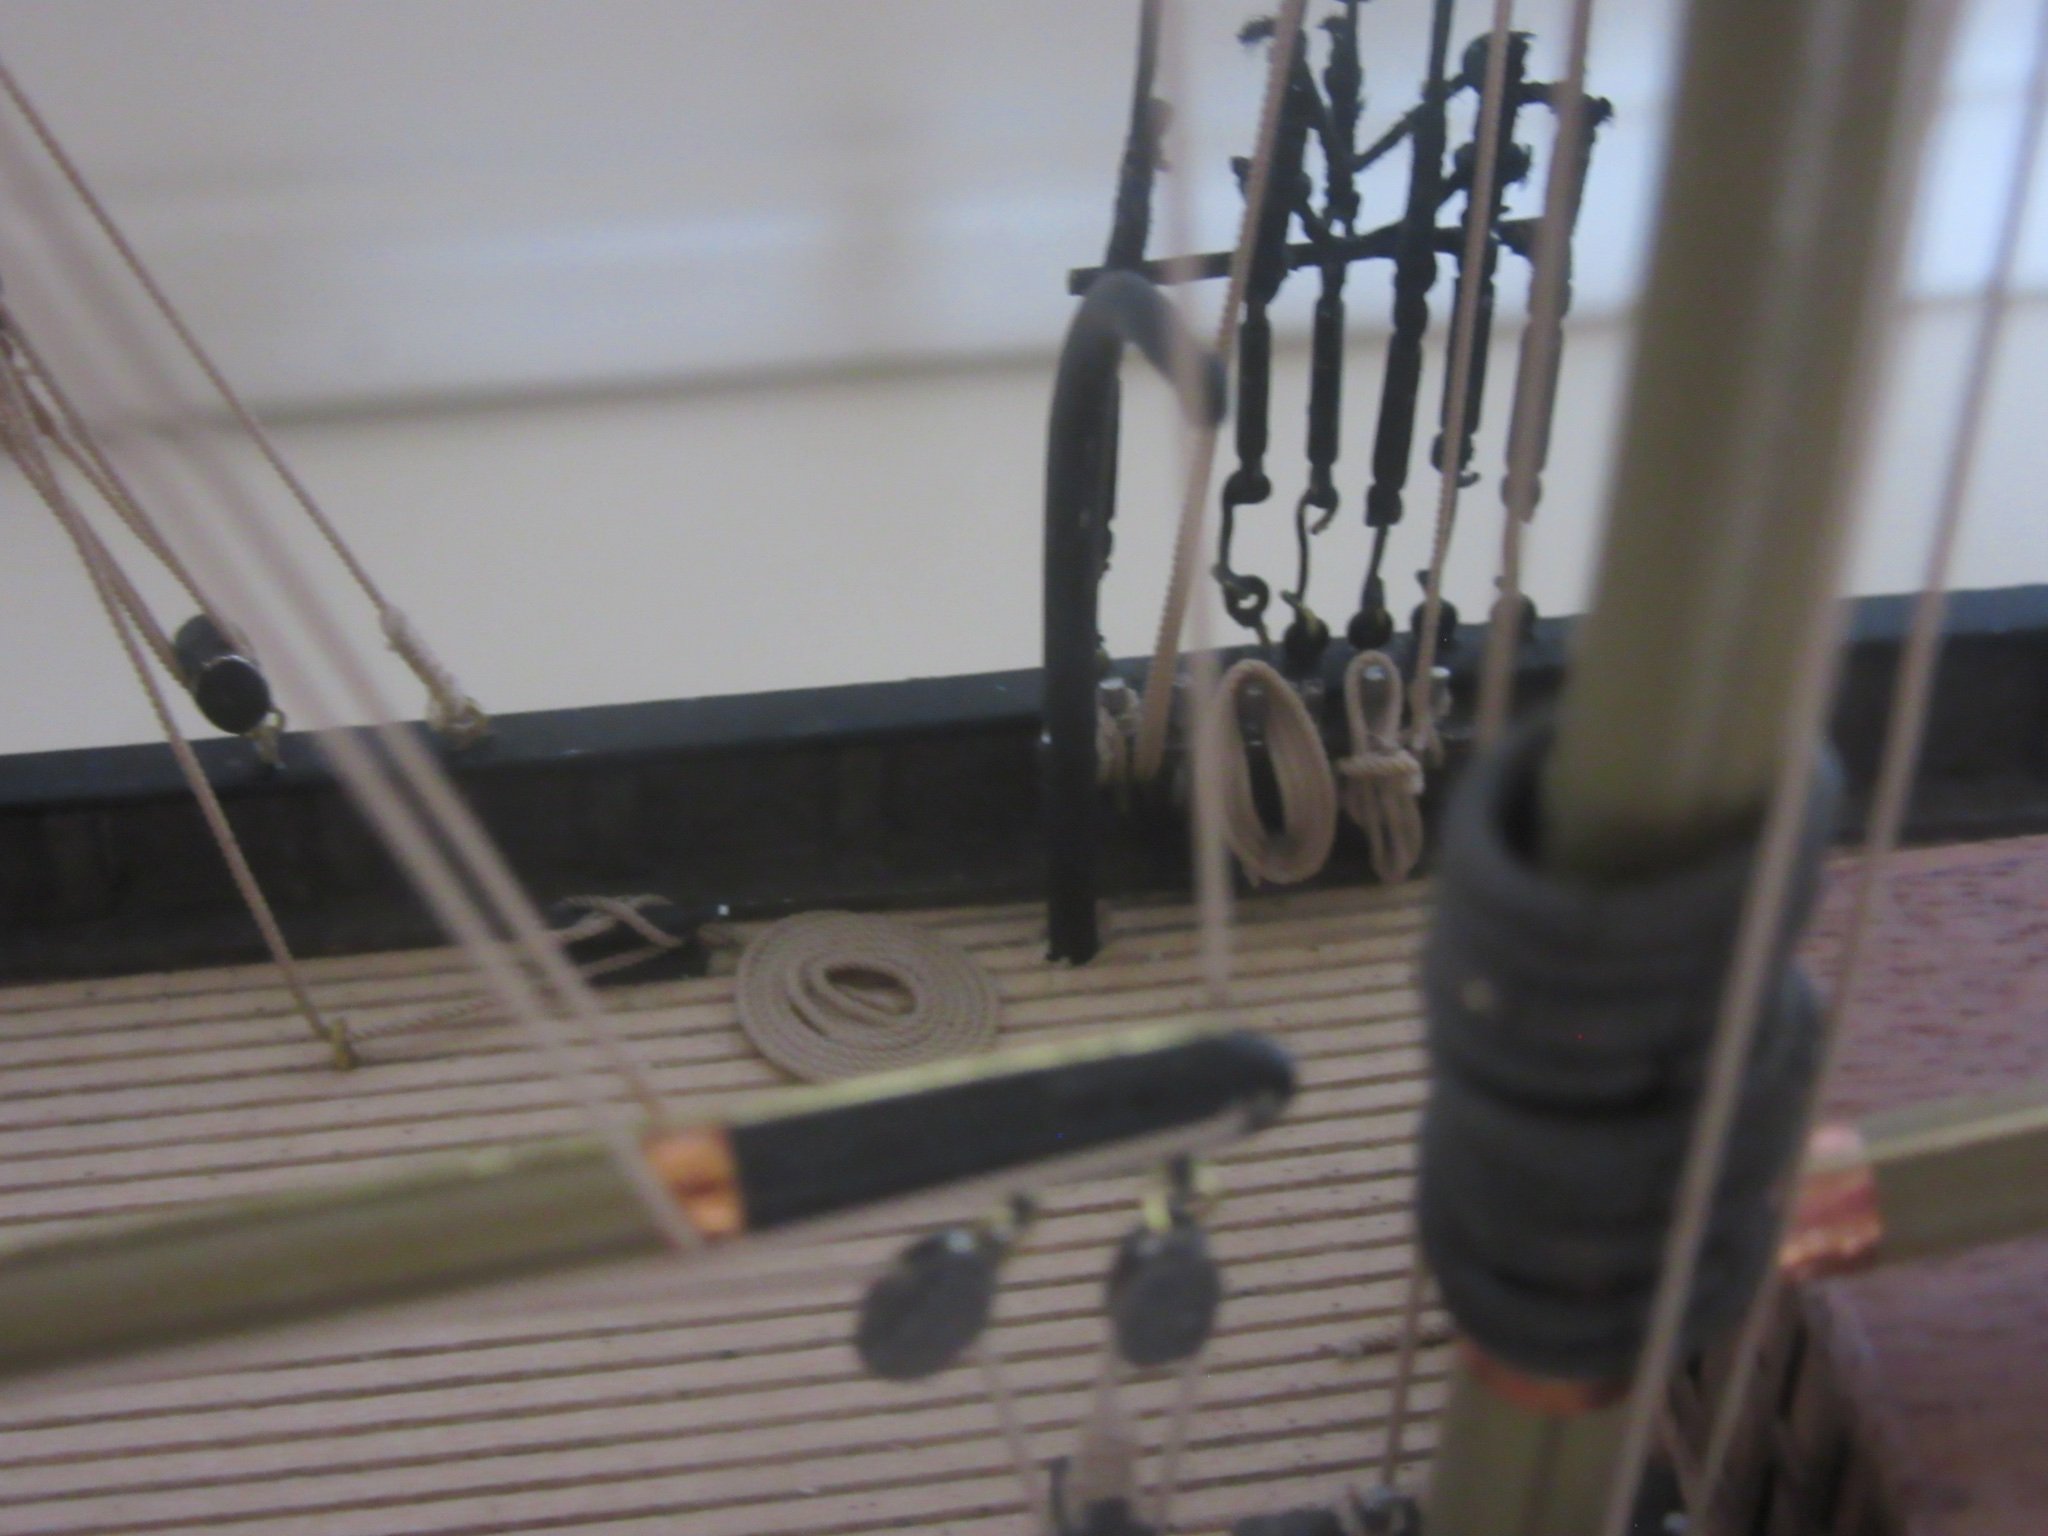
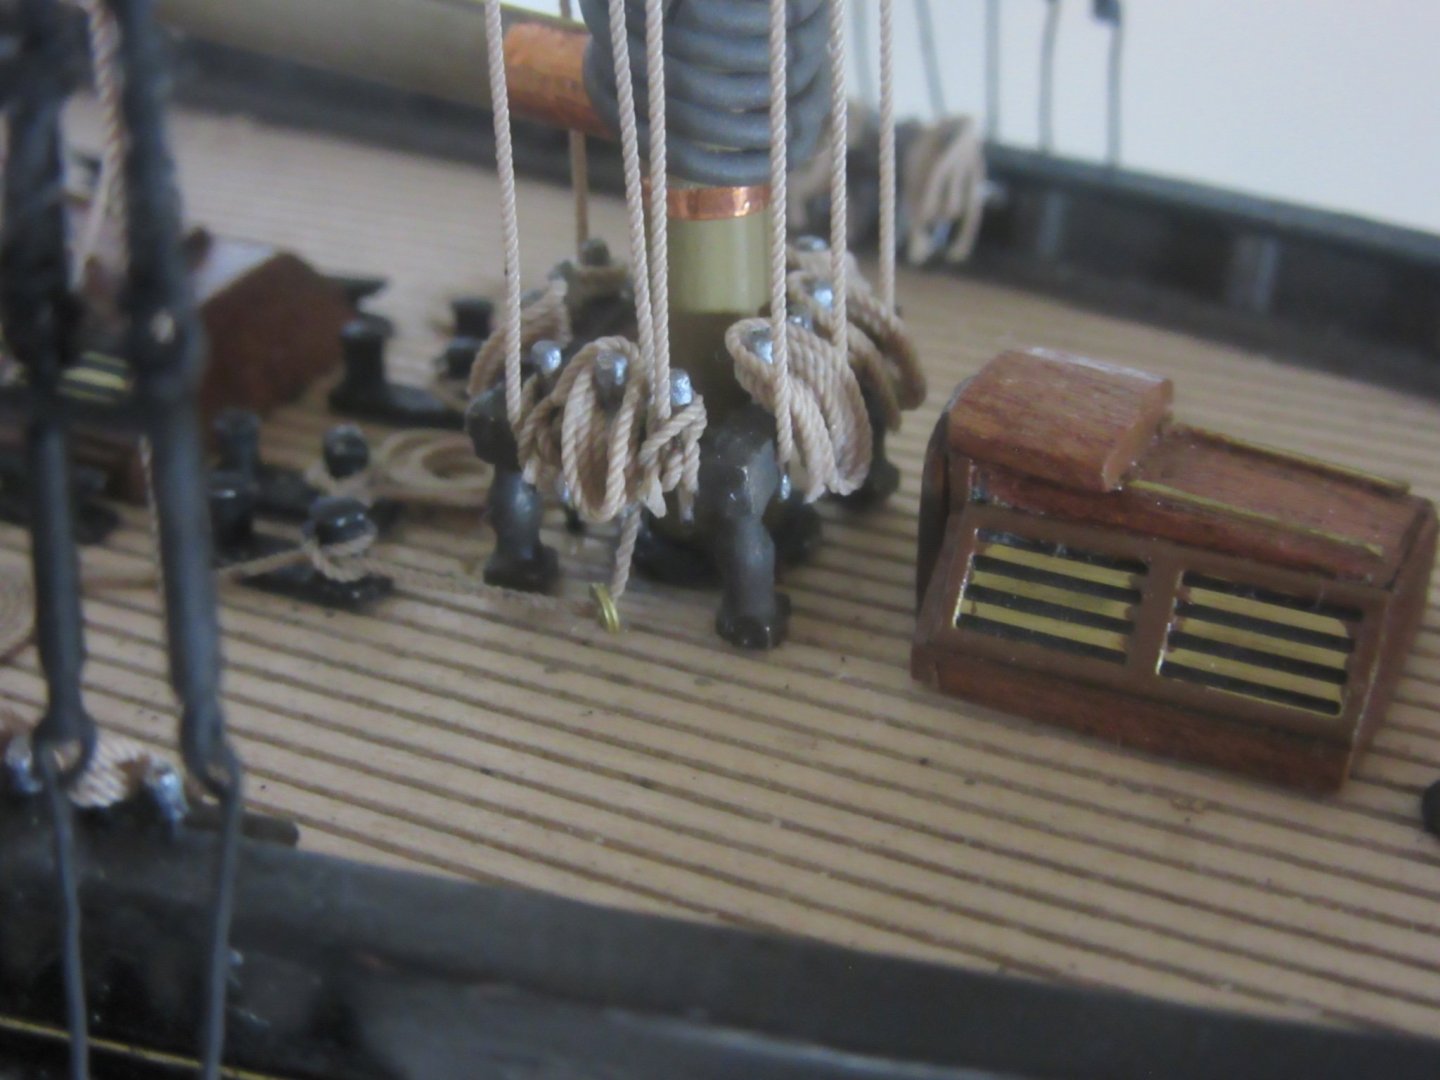
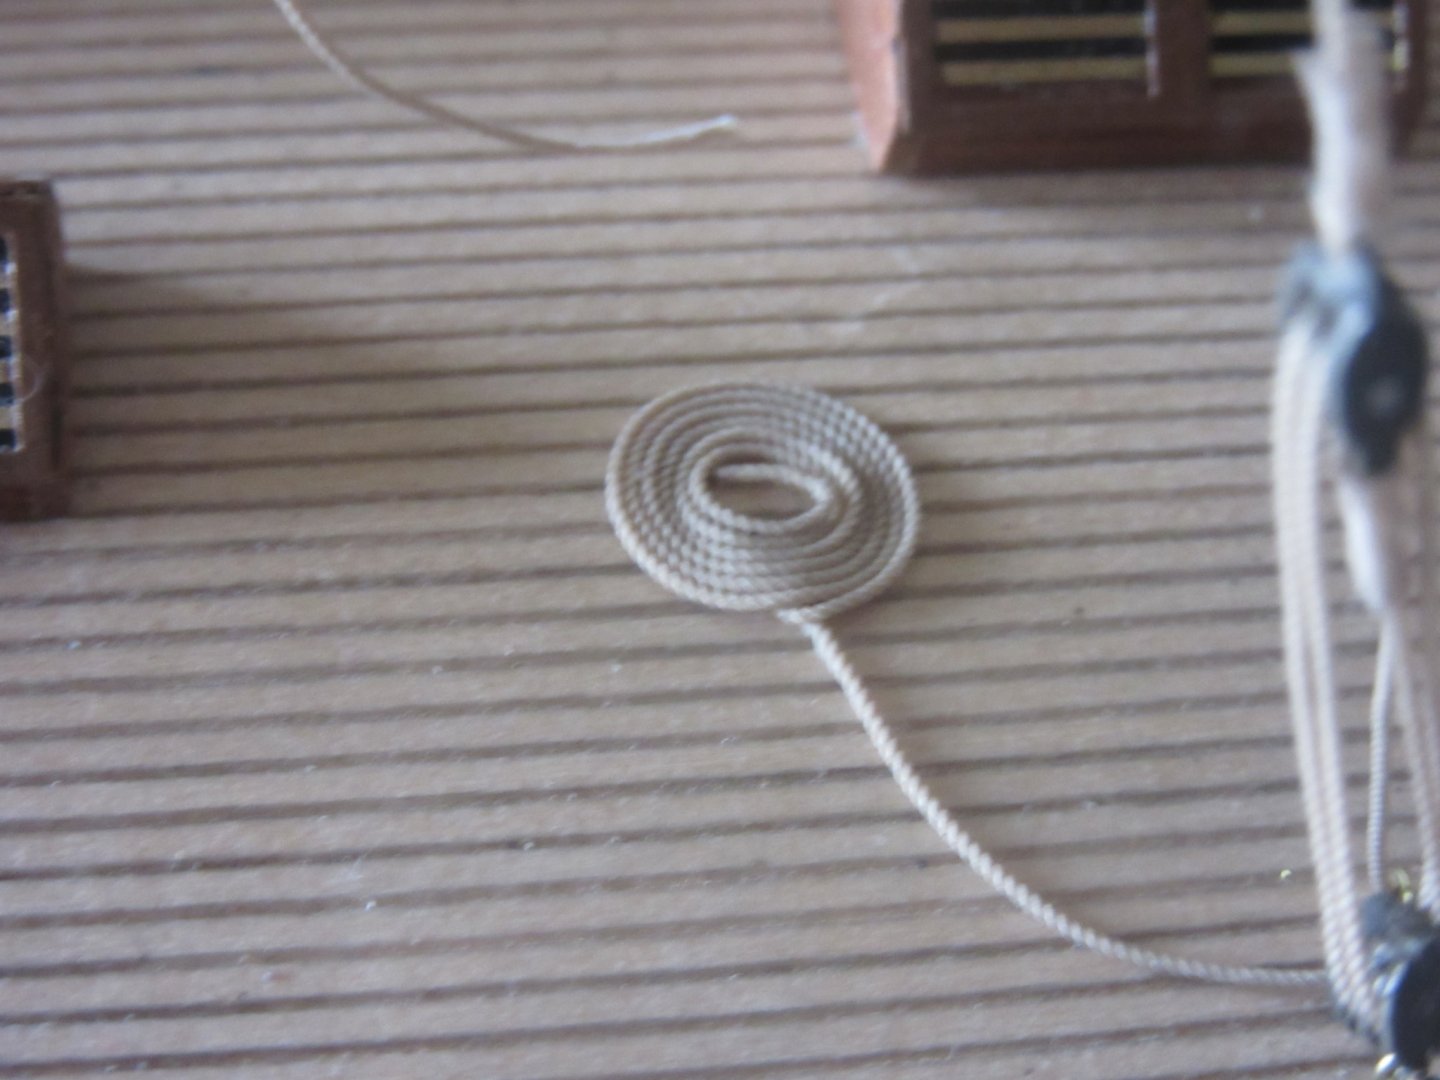
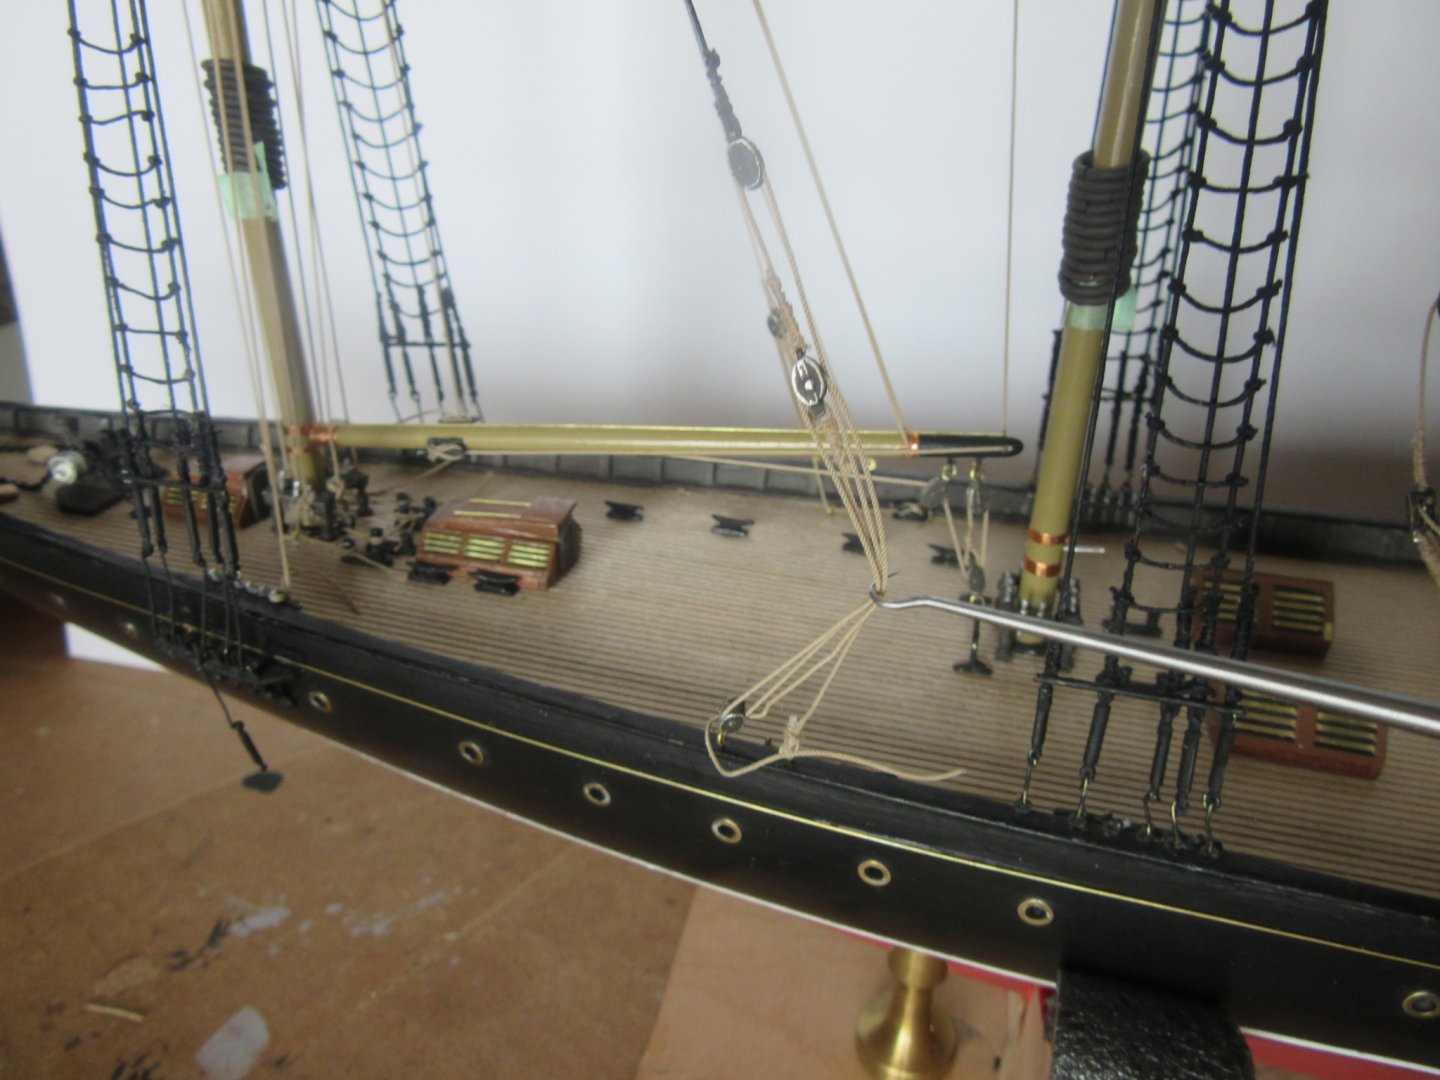
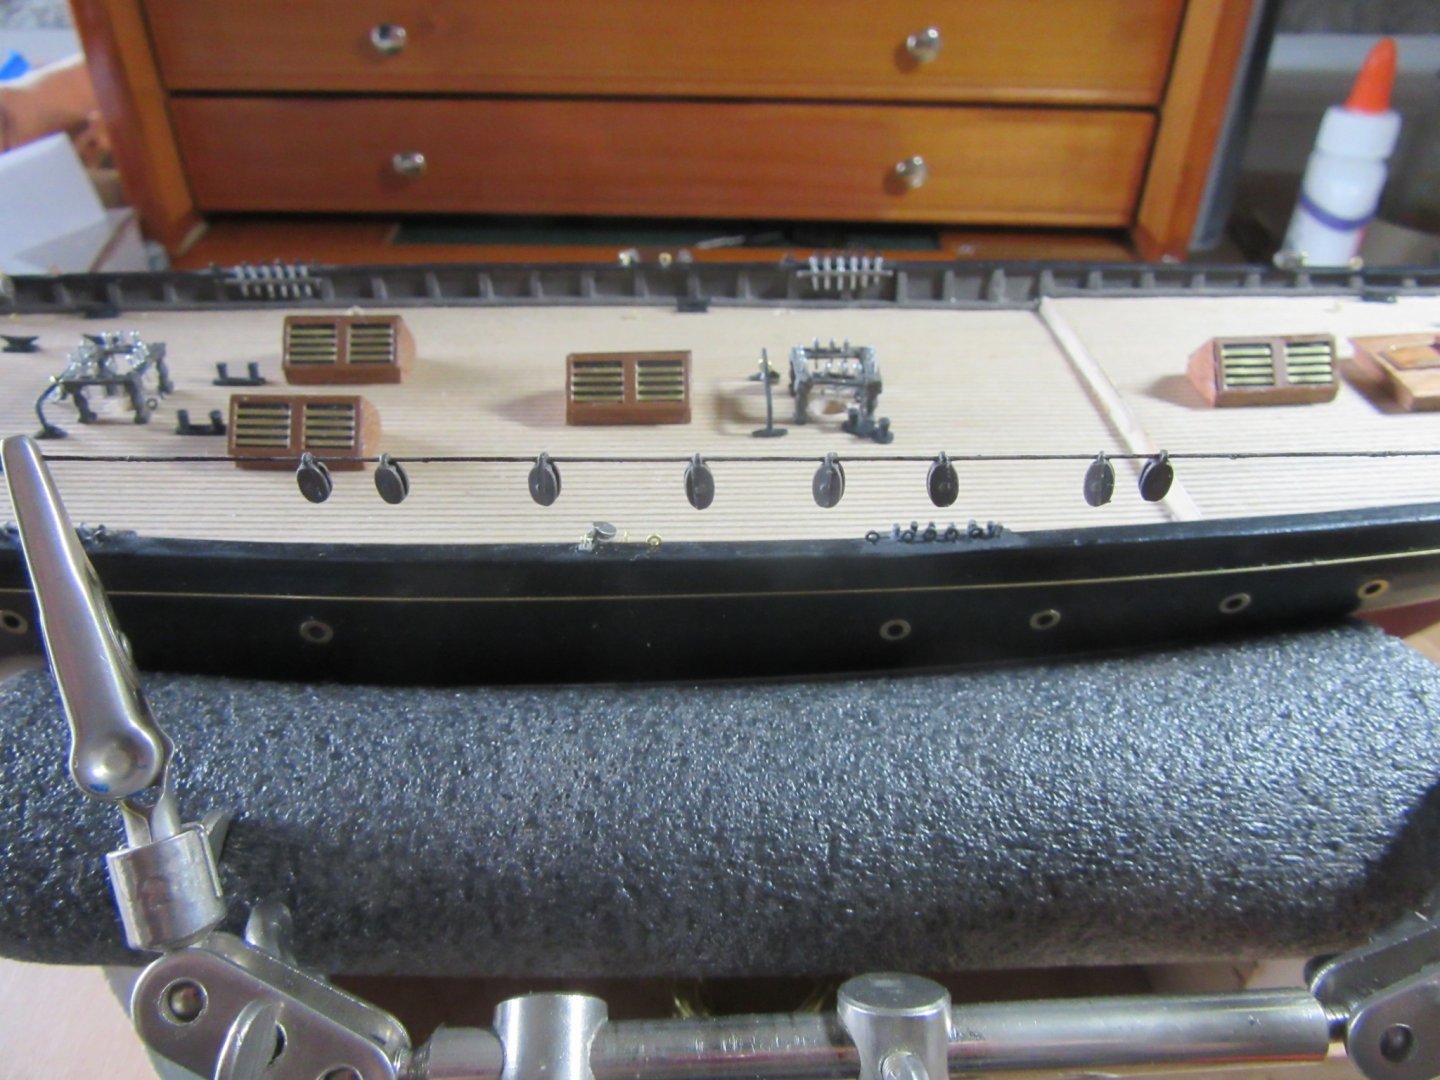
 Things were delayed on Atlantic with the holiday, out of town family and a new puppy (Buster) around the household. Rope coils have all been made fast upon the belaying pins and flemish hand coils to the deck. One note on making the coils with the polyester line is that every cut and trim required CA glue which slowed the process down. Surprisingly though the 50/50 mix of white glue & water kept every coil from unraveling yet pliable when hanging them from pins. The one problem I had with the hanging coils was tying off the line around the waist and binding the coil loops. I was only able to manage a few and the rest have to hang on the pins in an un-seaman like manner but I can live with this.
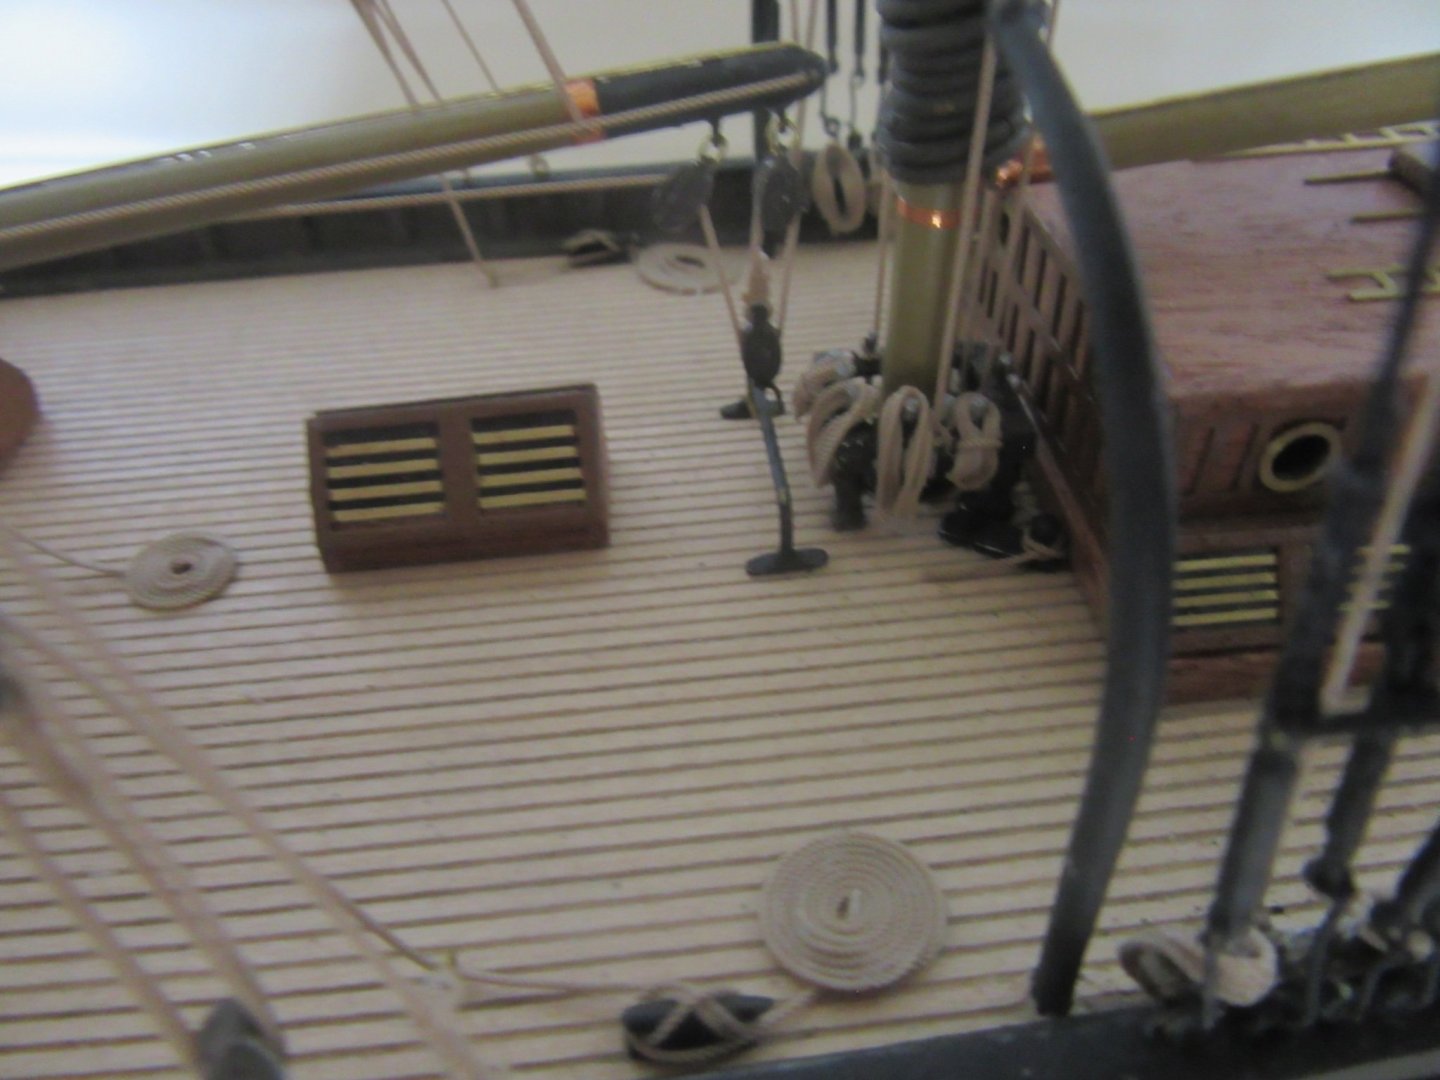


-
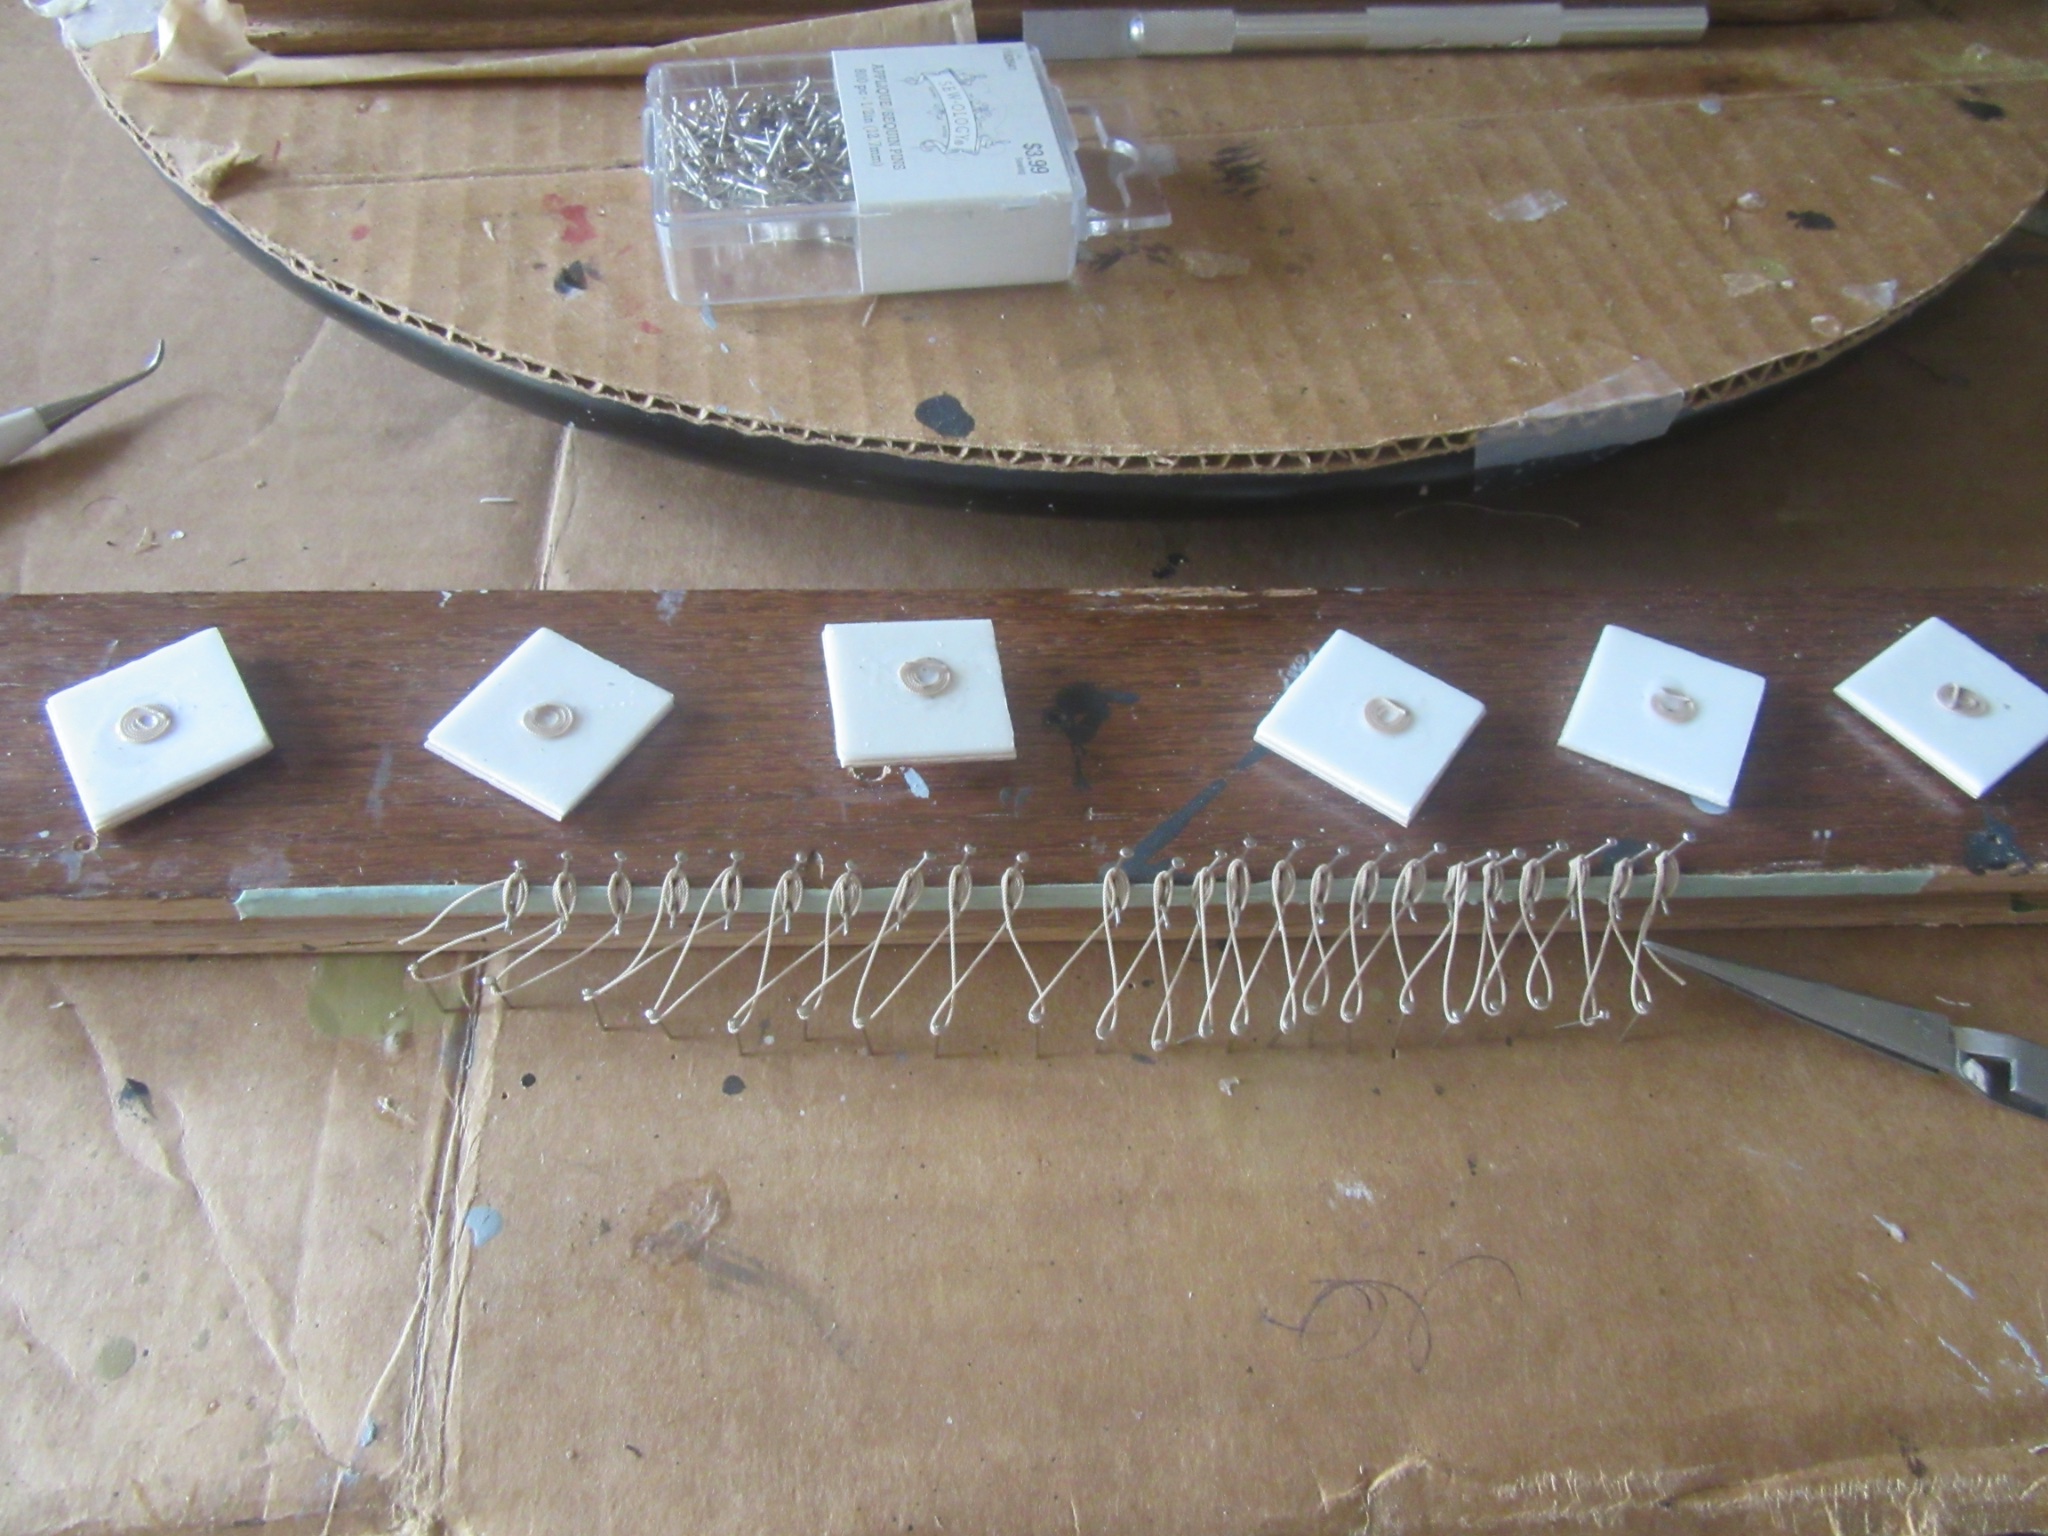
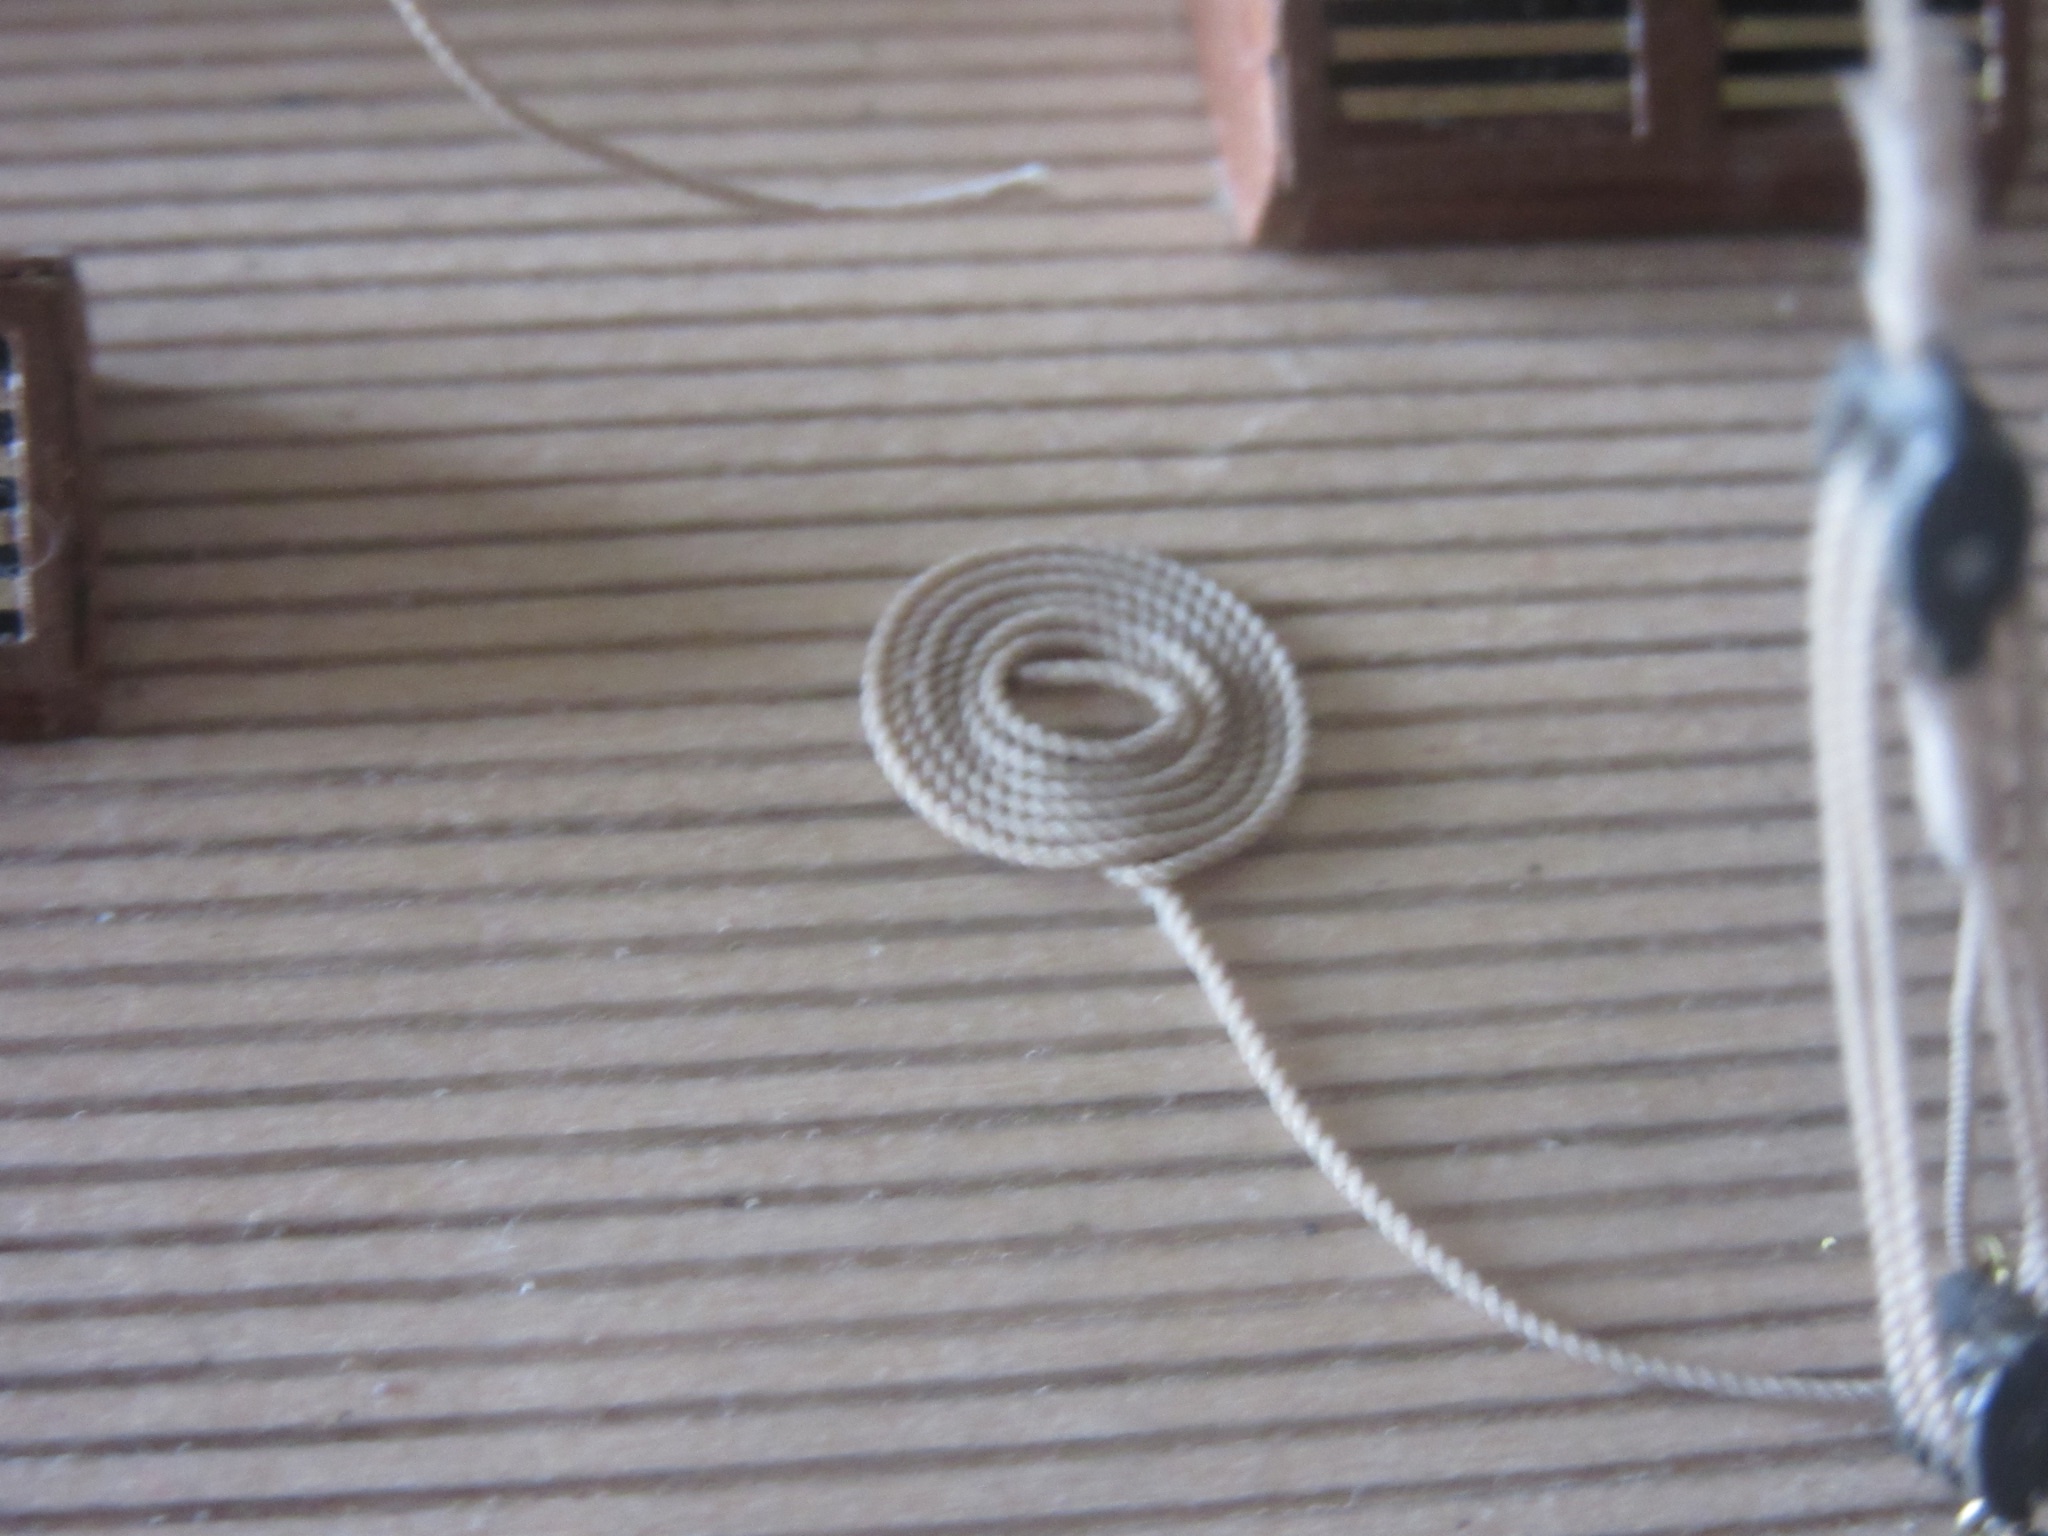
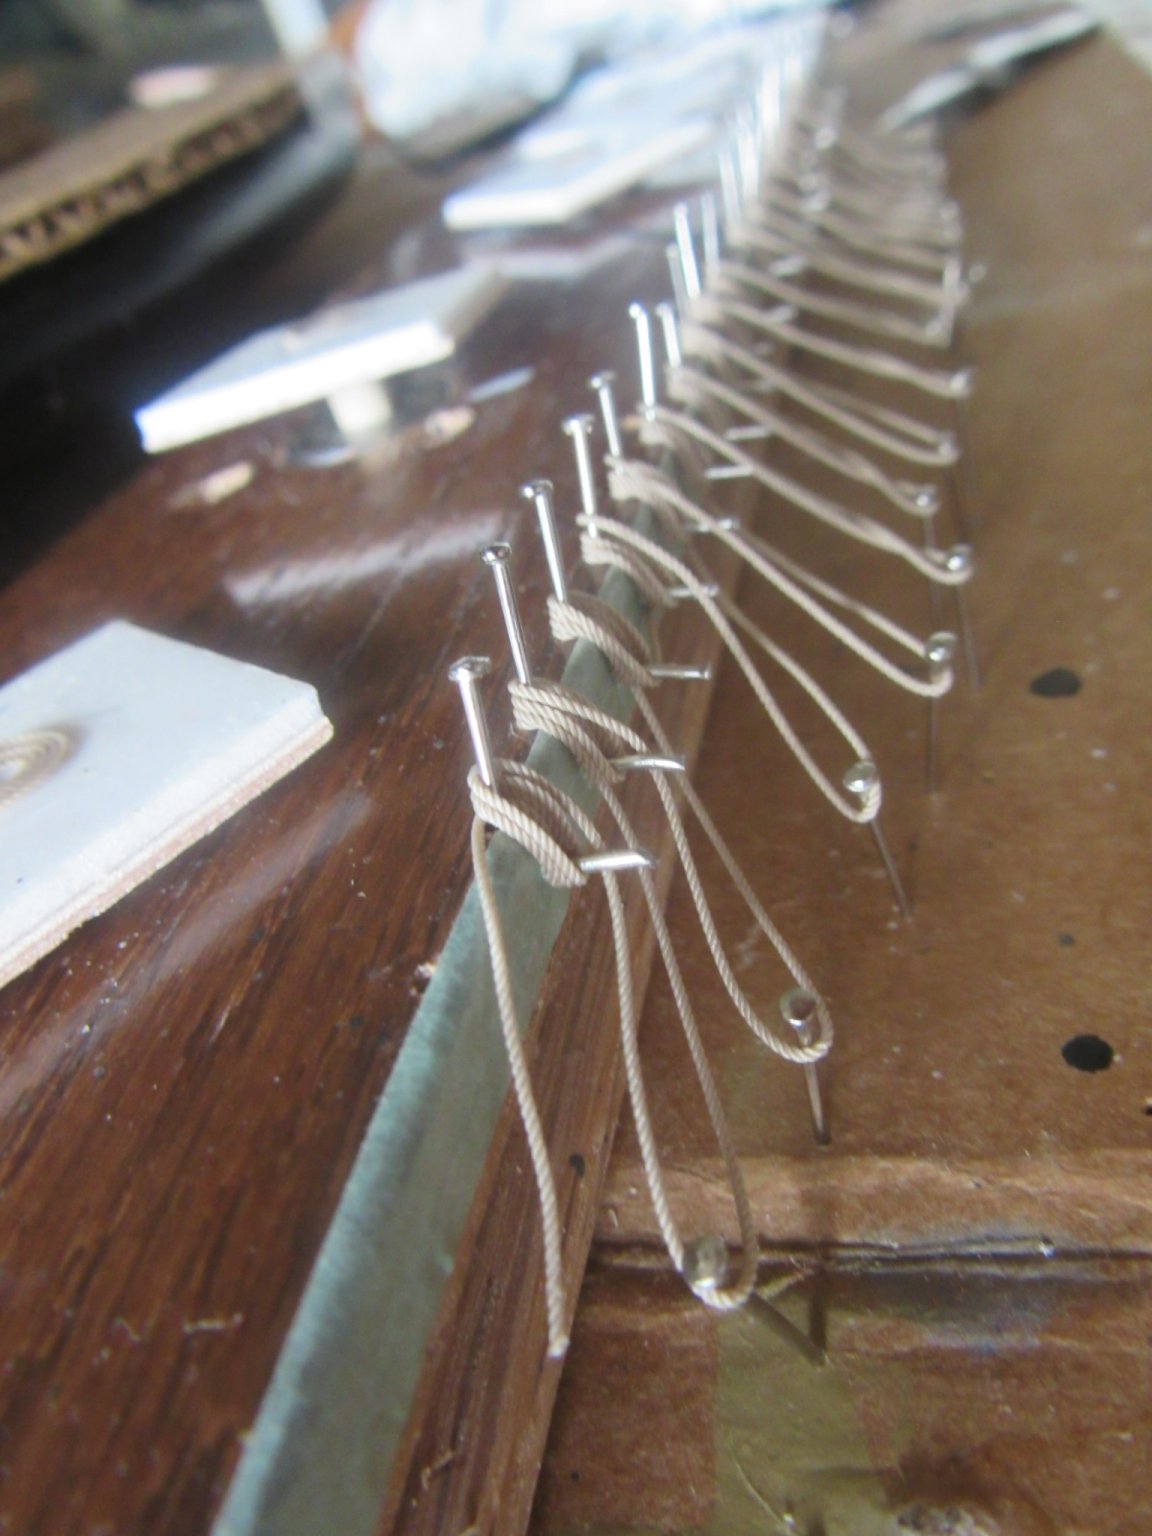
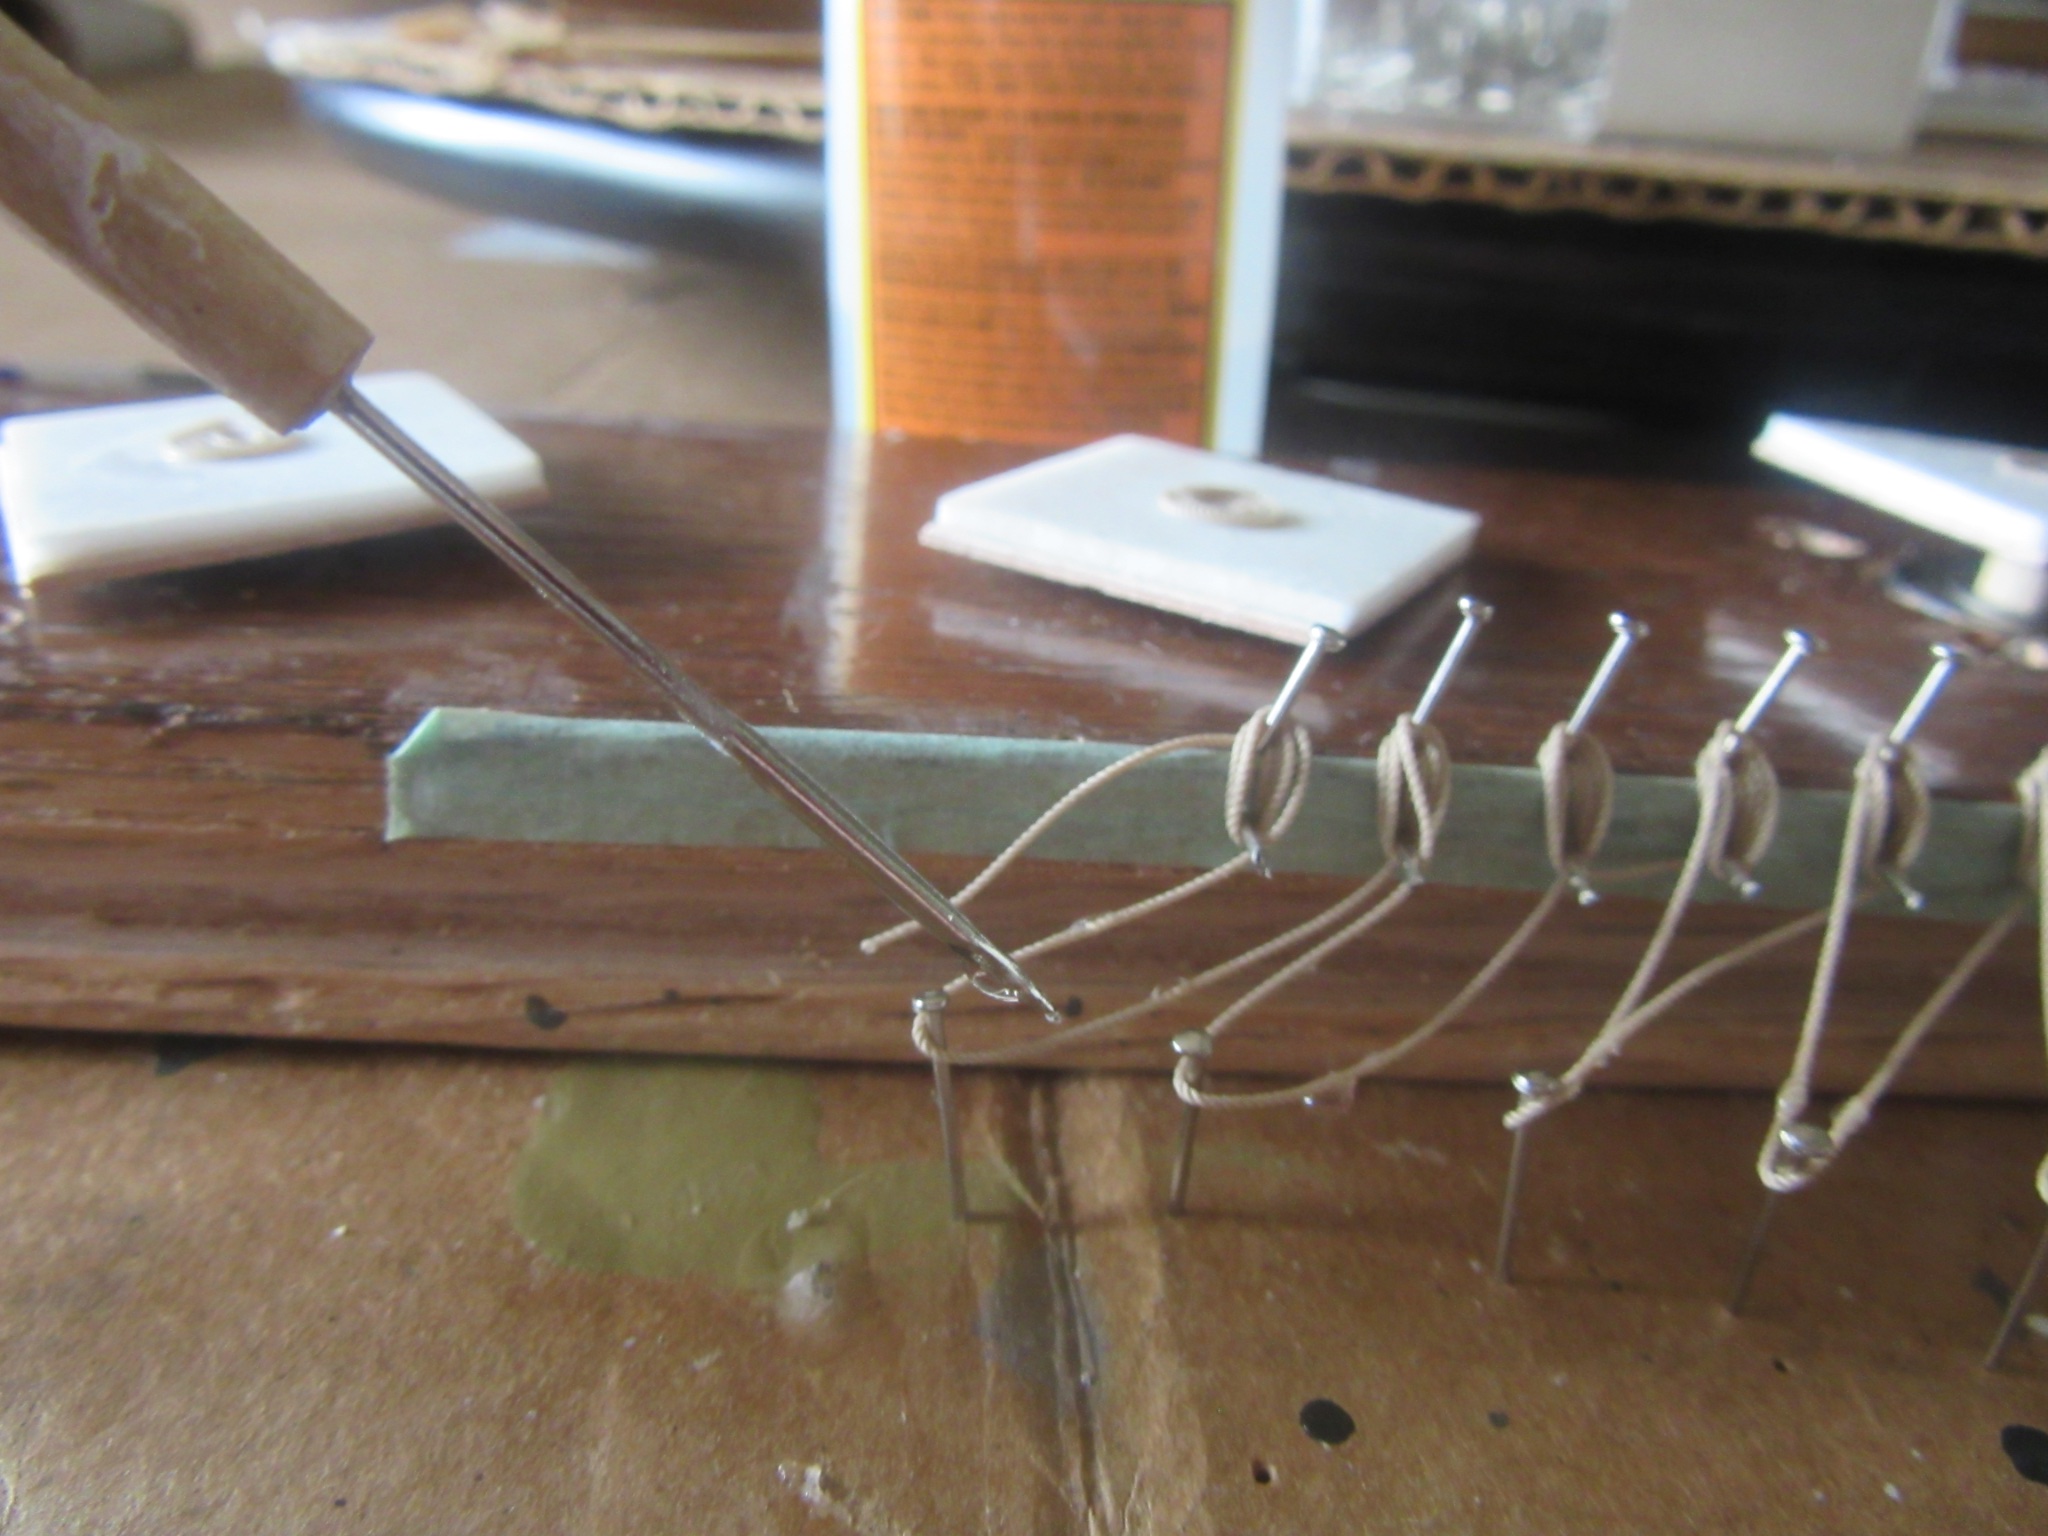
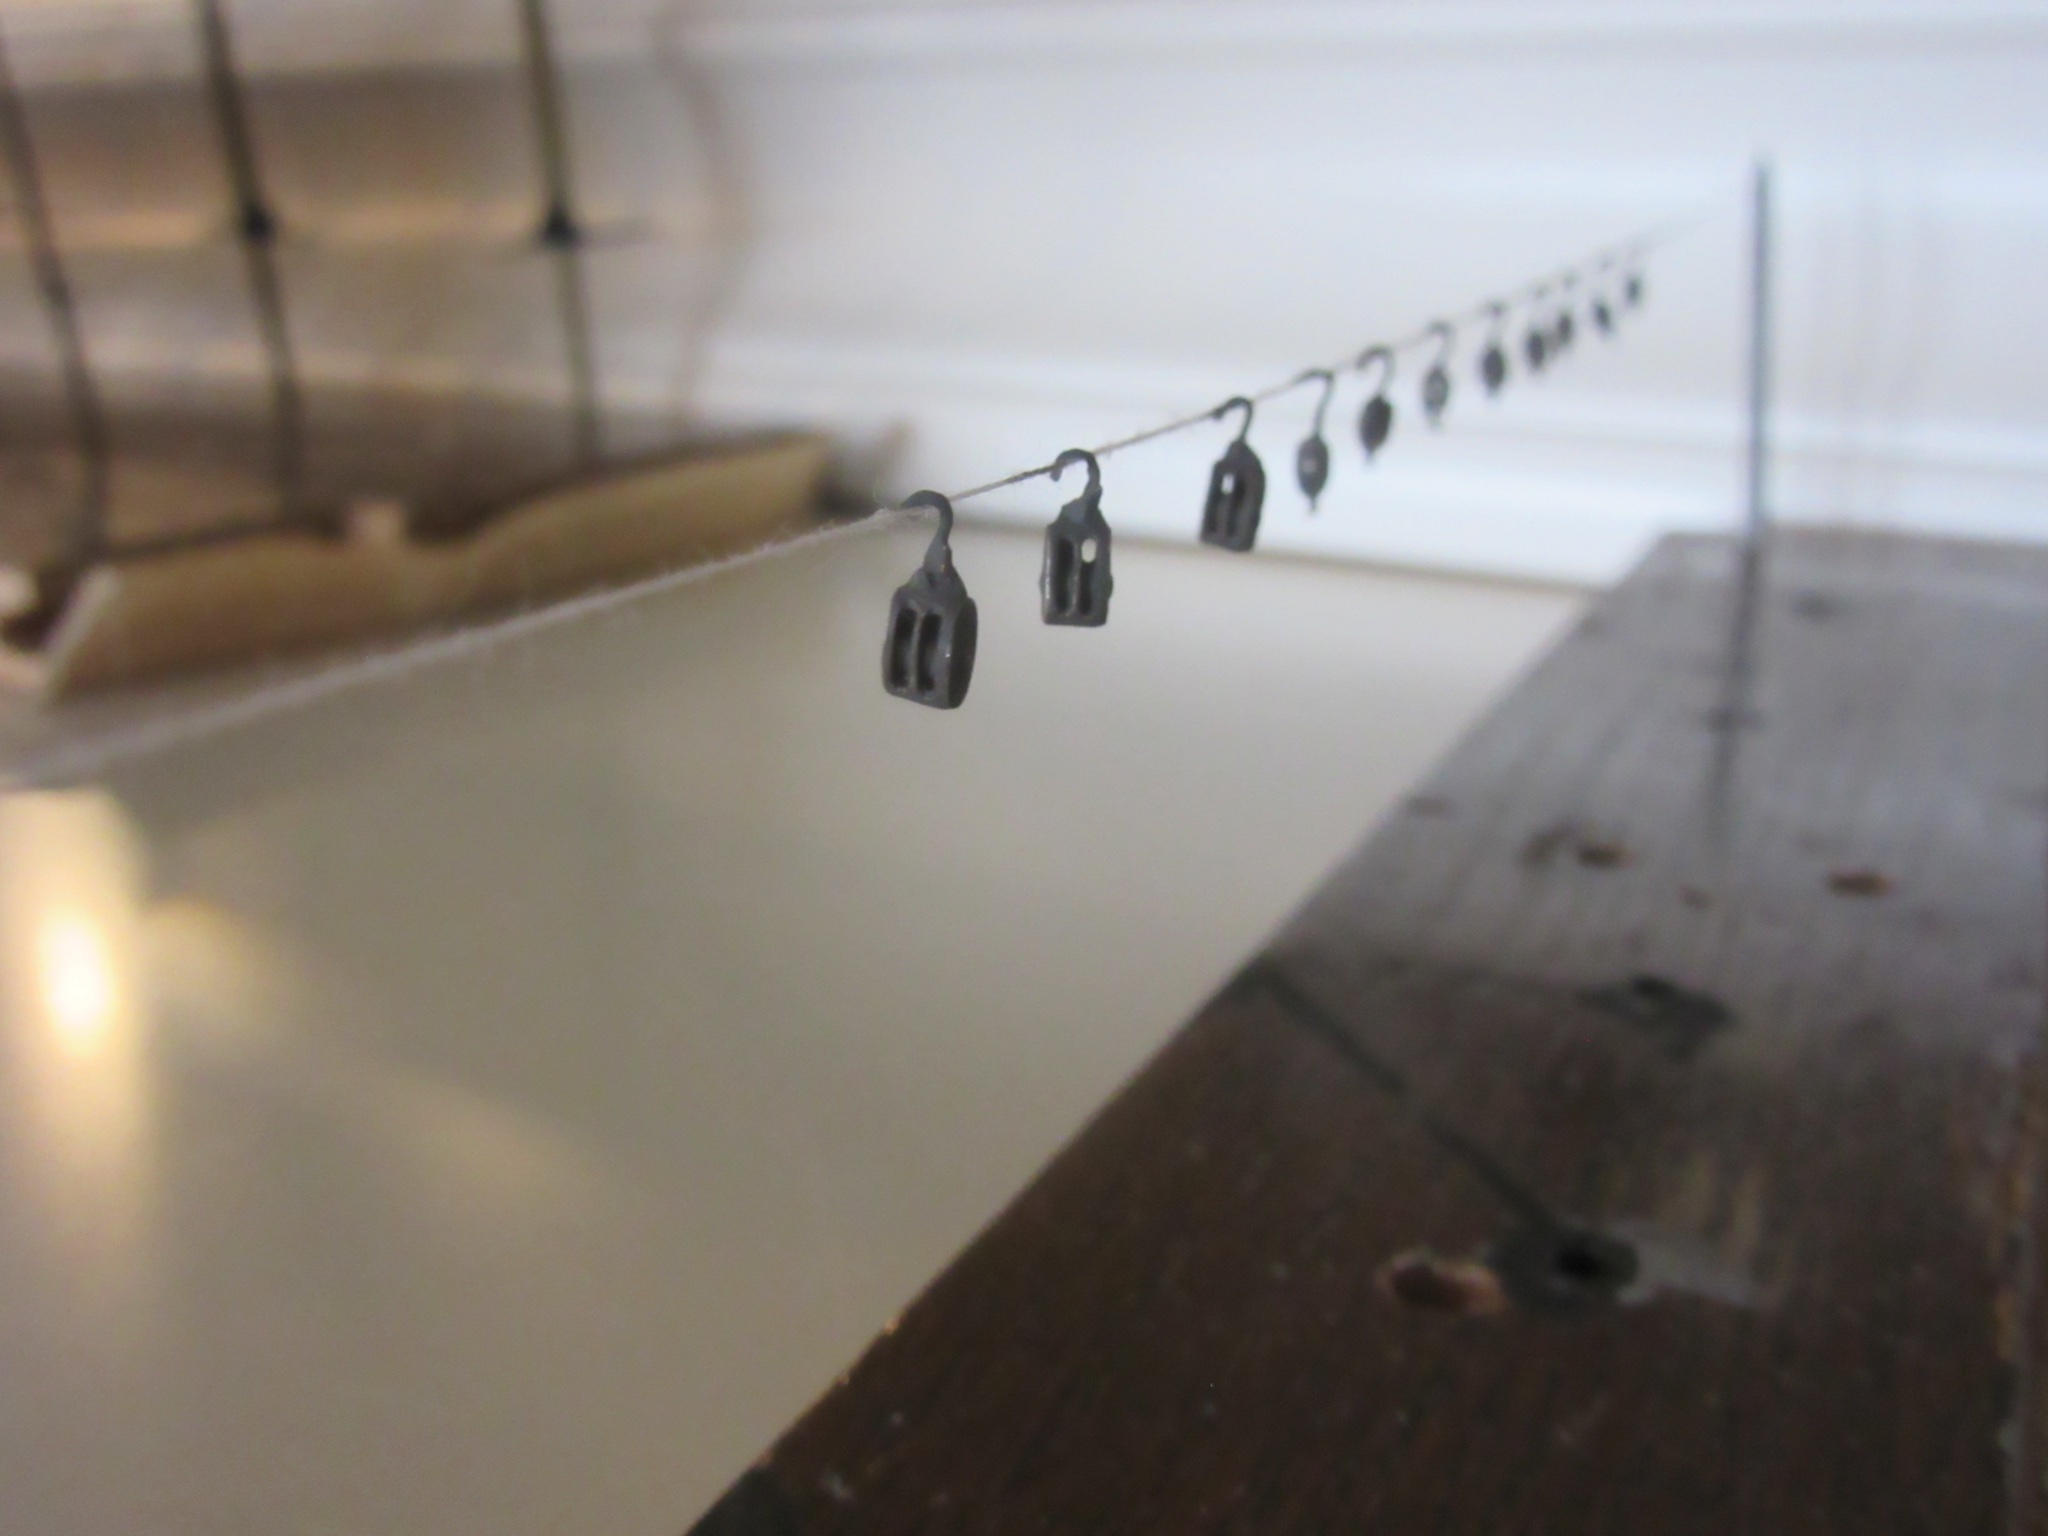
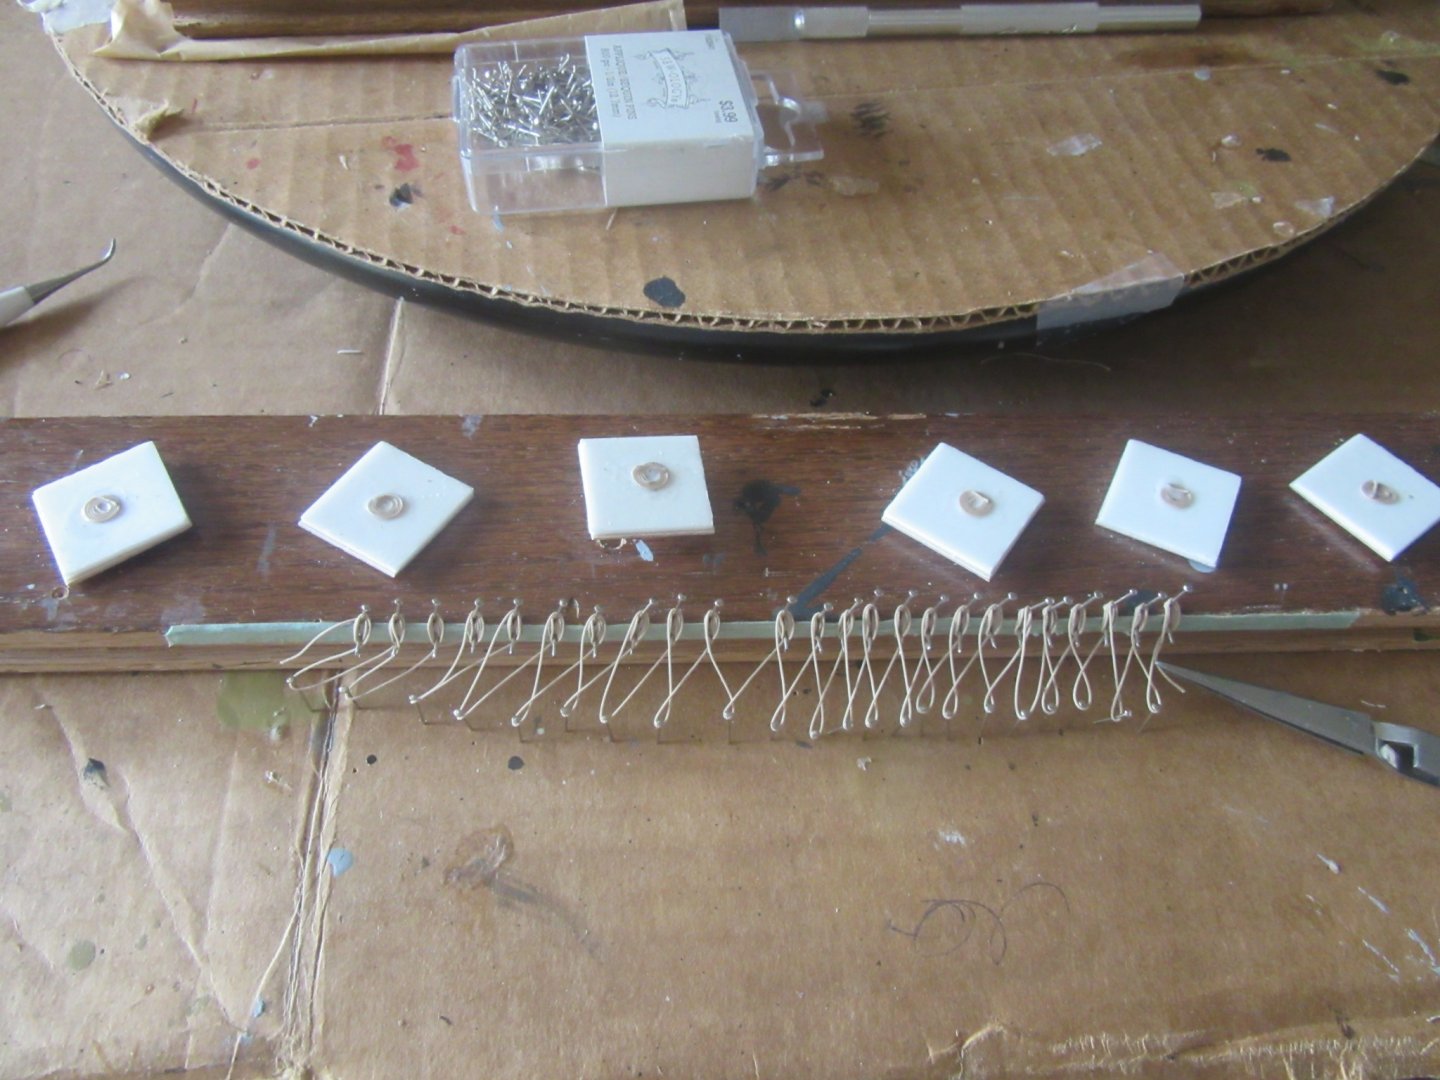
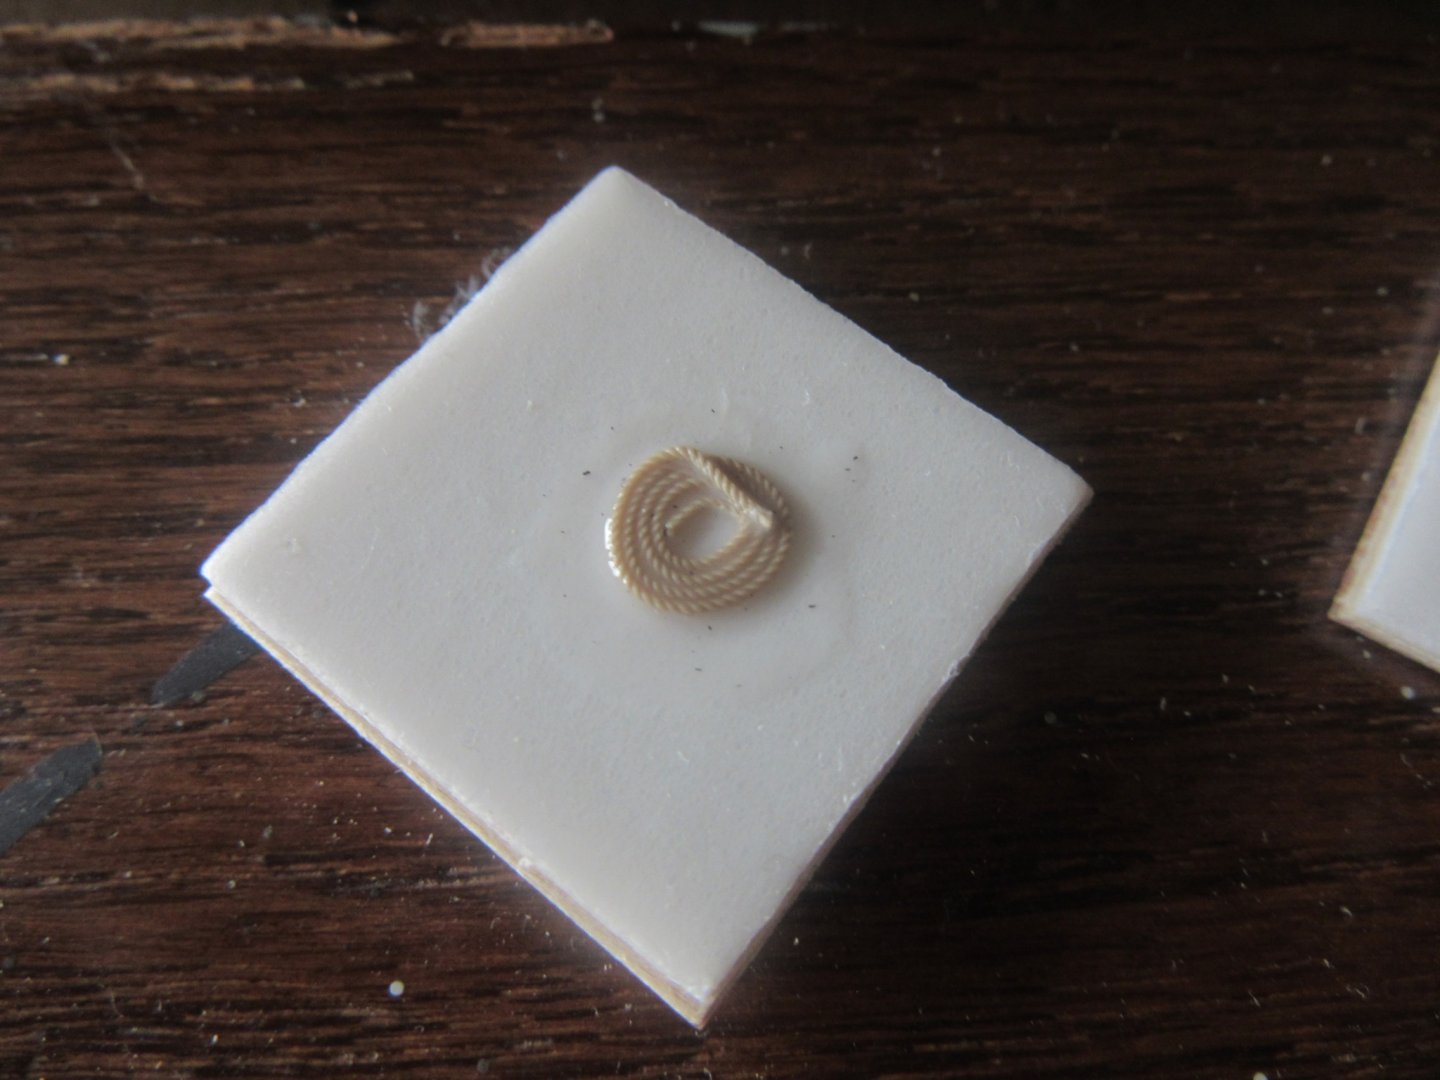
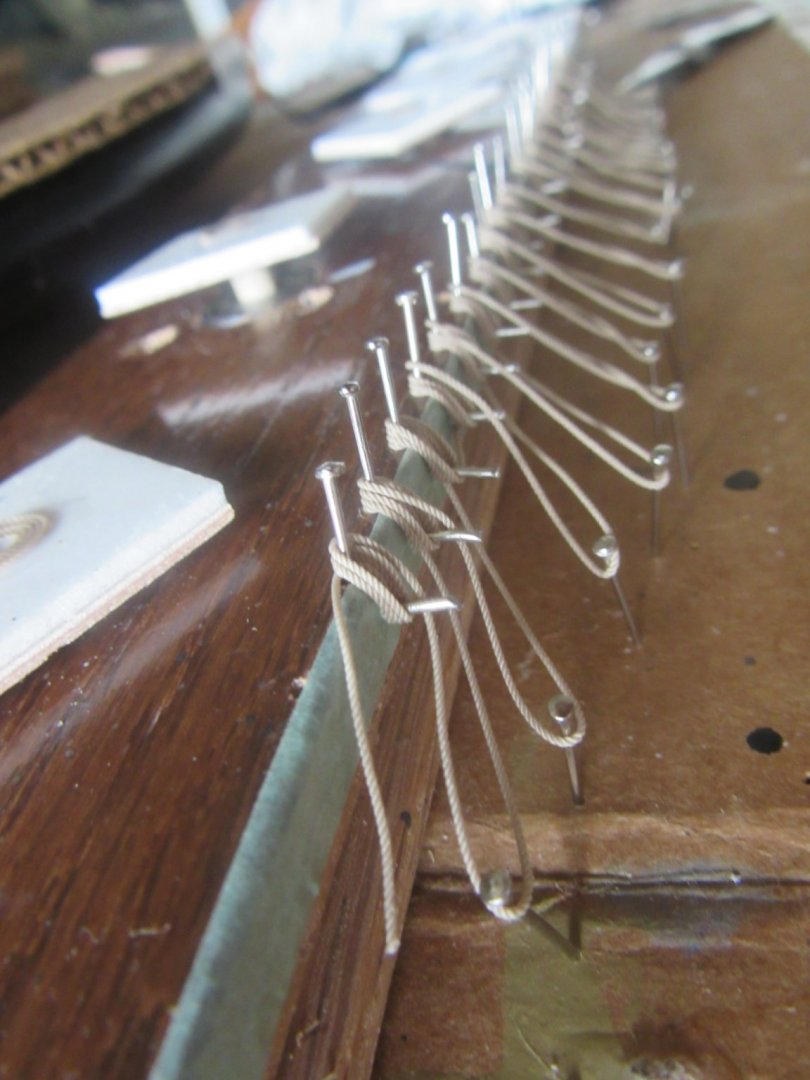
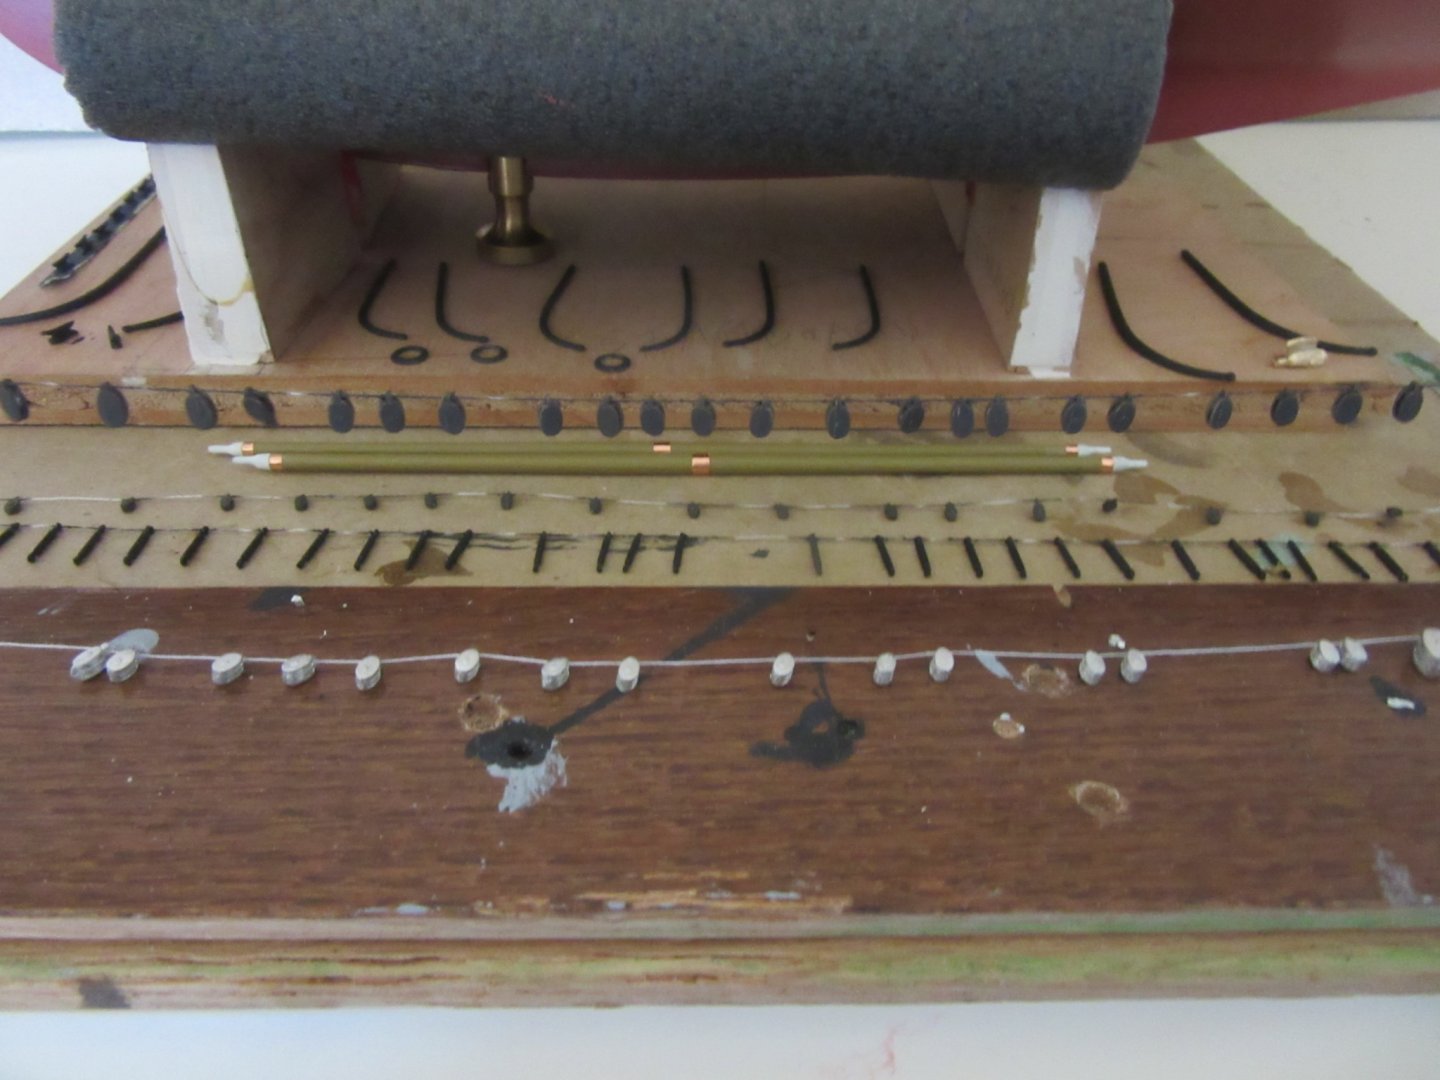
I started the rope coils on an improvised jig for six flemish hands and 24 draping coils at a time. All coils must first have a drop of CA glue to harden the polyester line for cutting then dabbed with white glue mix to hold them to form. The flemish hand coil laid nicely on the main deck using the white glue mix to secure it in place. Once the CA hardens completely on the line between each draping coil (bottom photo) they will be severed then wrapped around their waist with a couple loops tied off and coated with white glue mix. When it drys the top pins on the jig can easily be pulled out and the coil can be placed onboard its pin. We'll see if this works out as good as it did for the Flemish hands in the next post.

-
Thank you Bob for the accolades and the encouragement you’ve given me throughout the build and all others out there who’ve been commenting and reacting to the build of Atlantic.
-
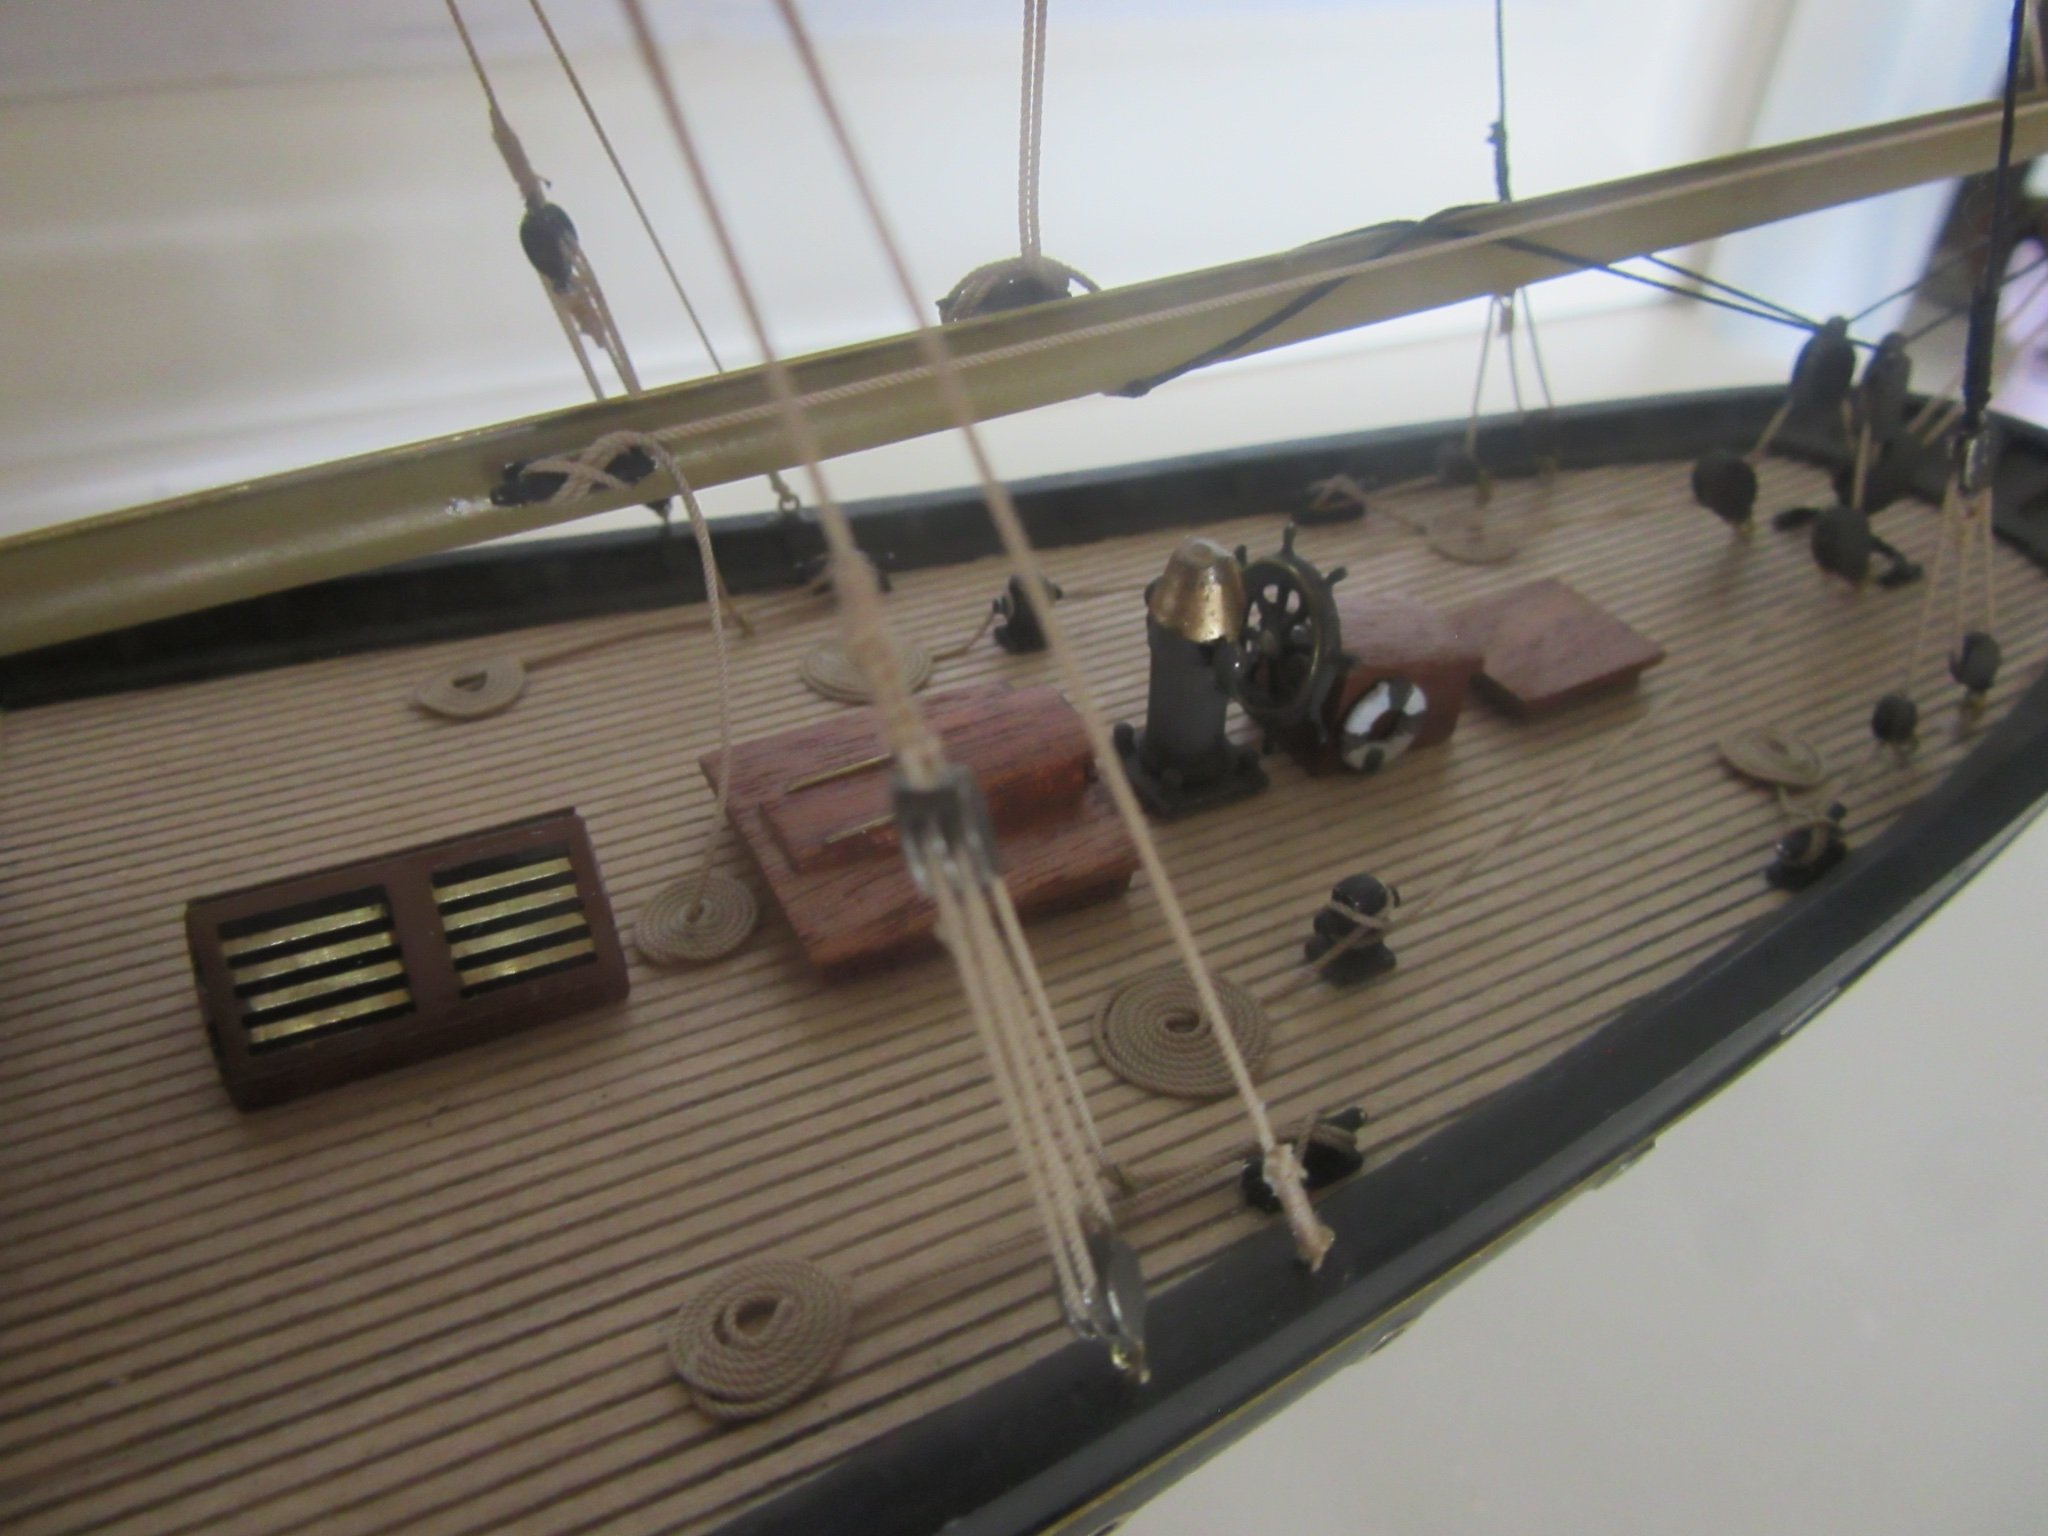
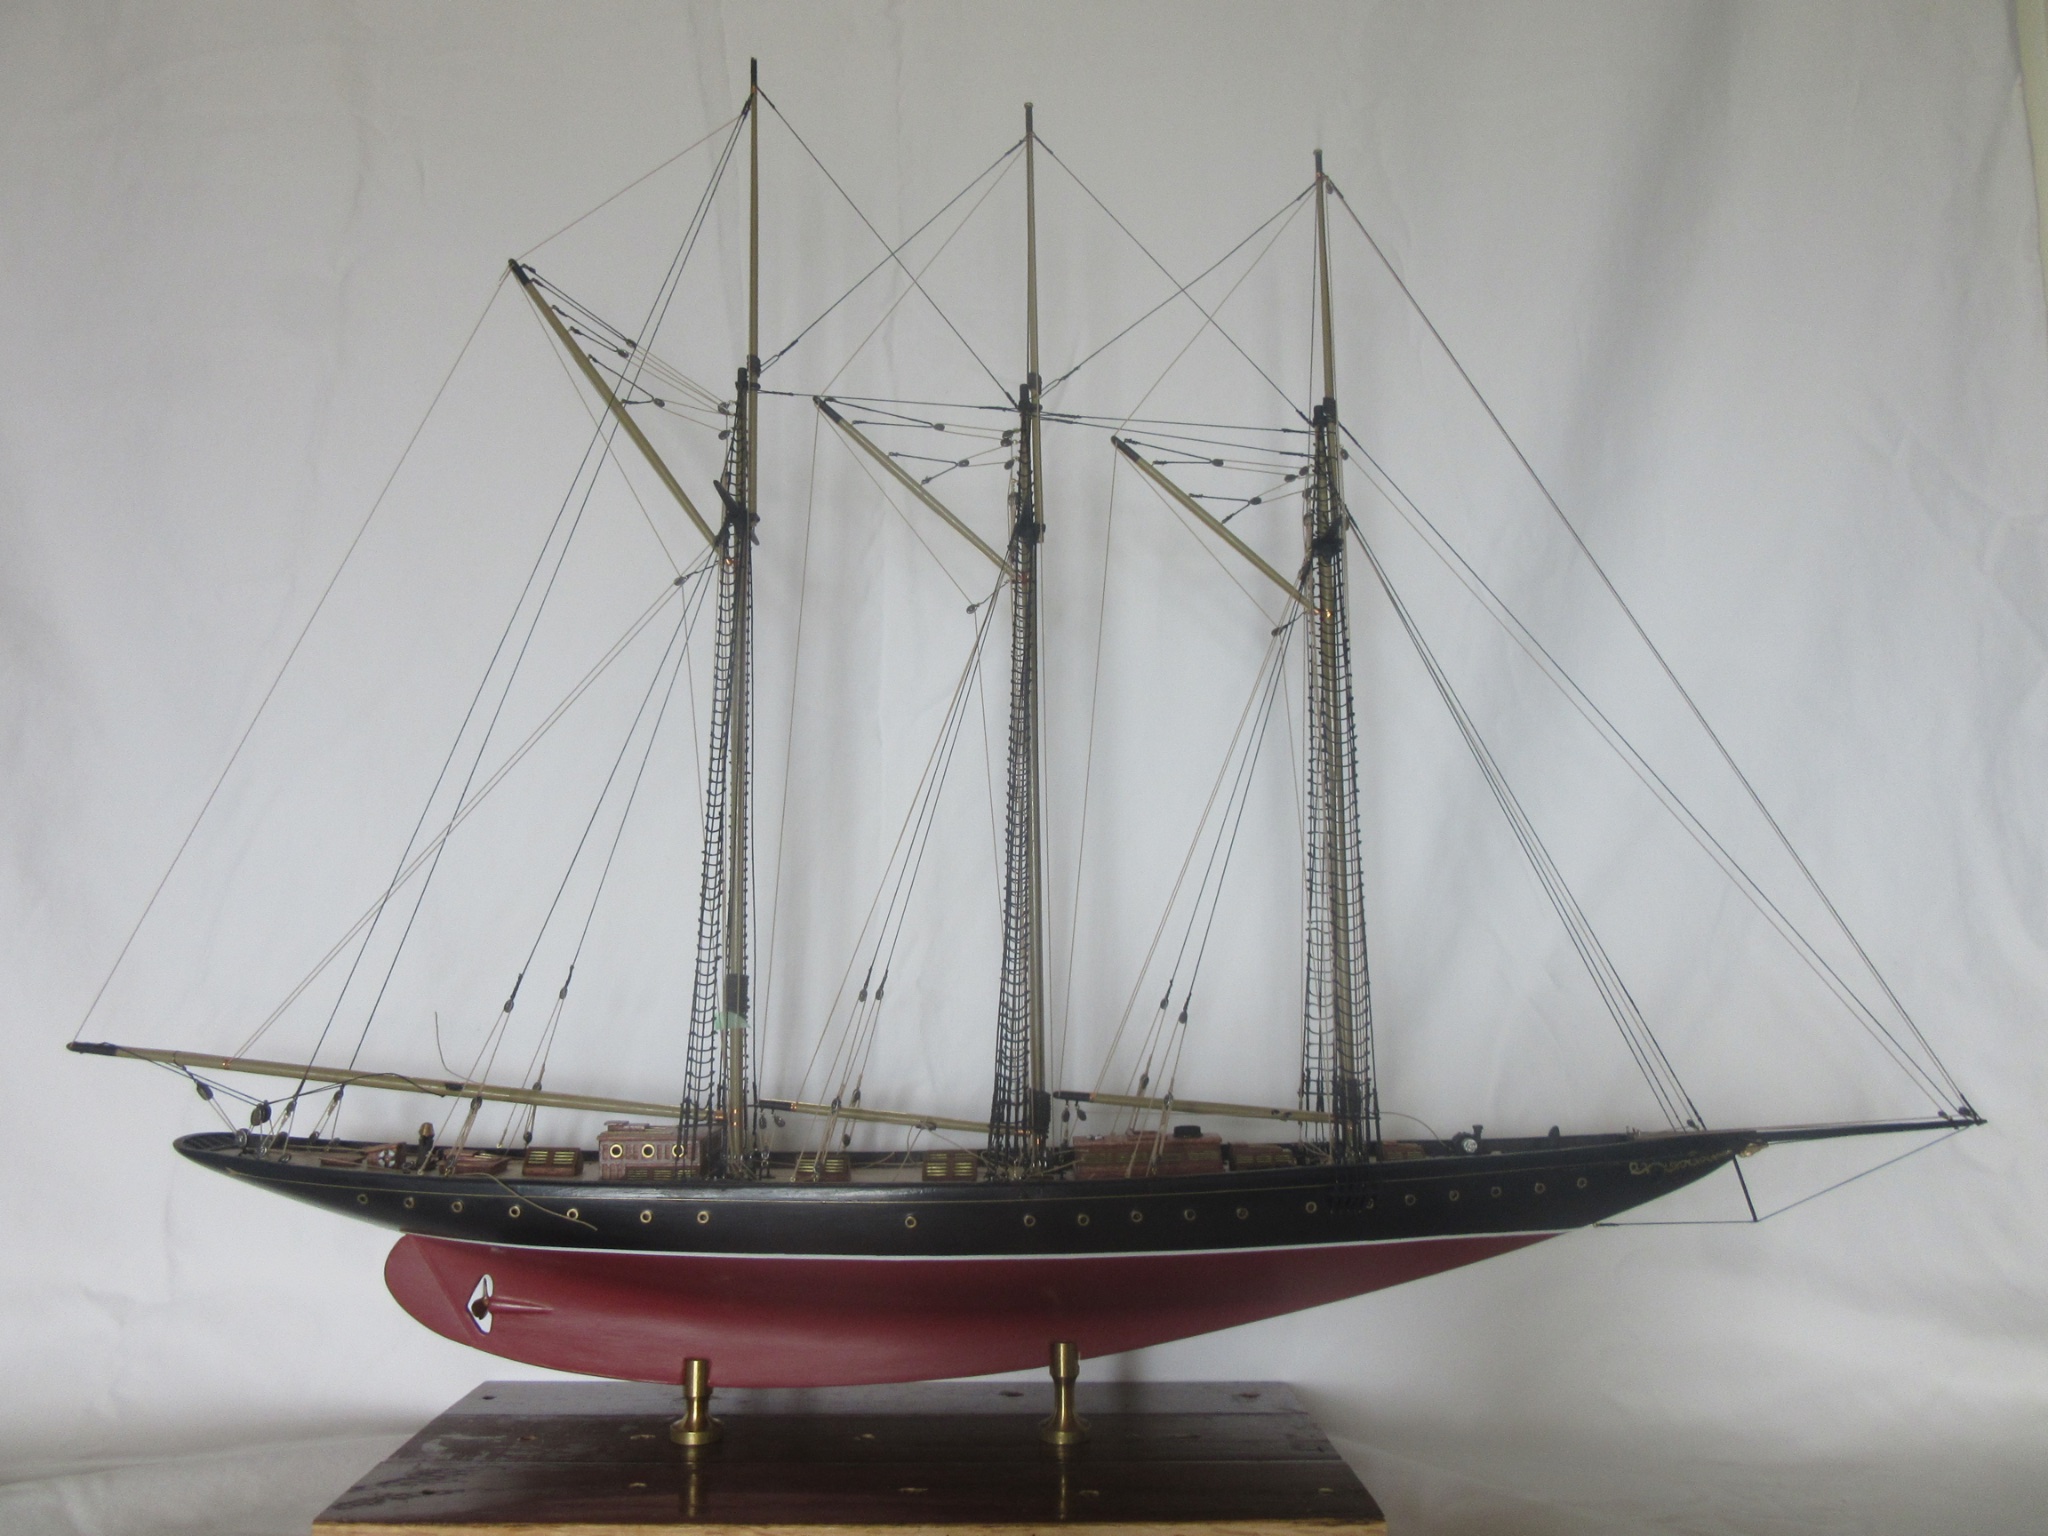
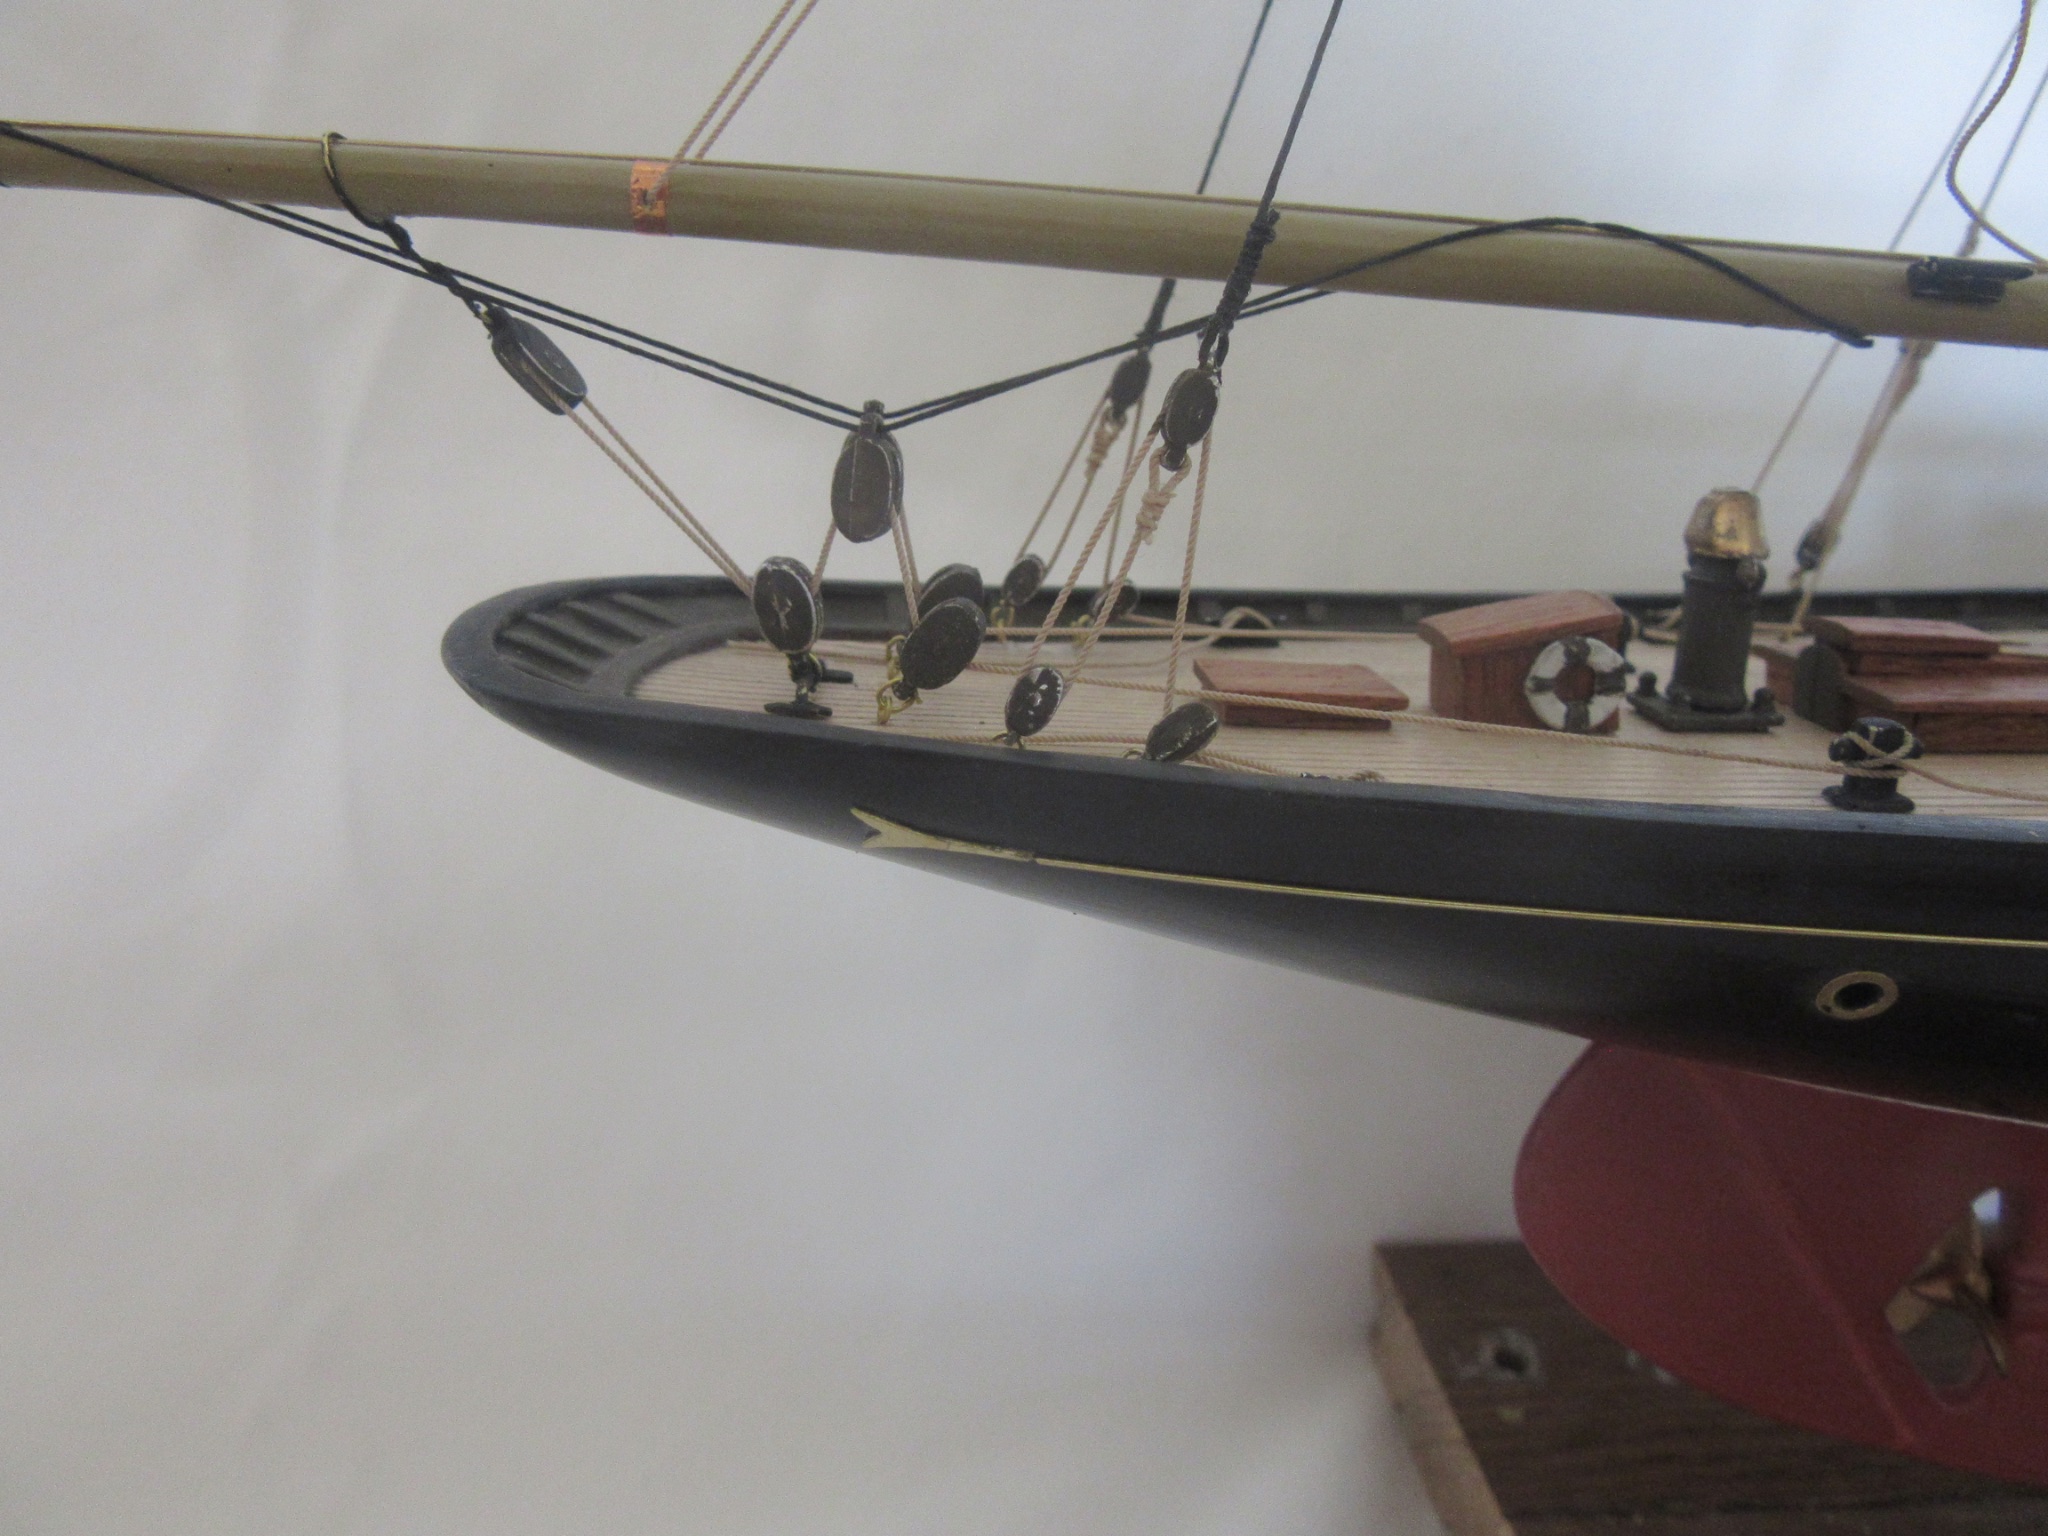
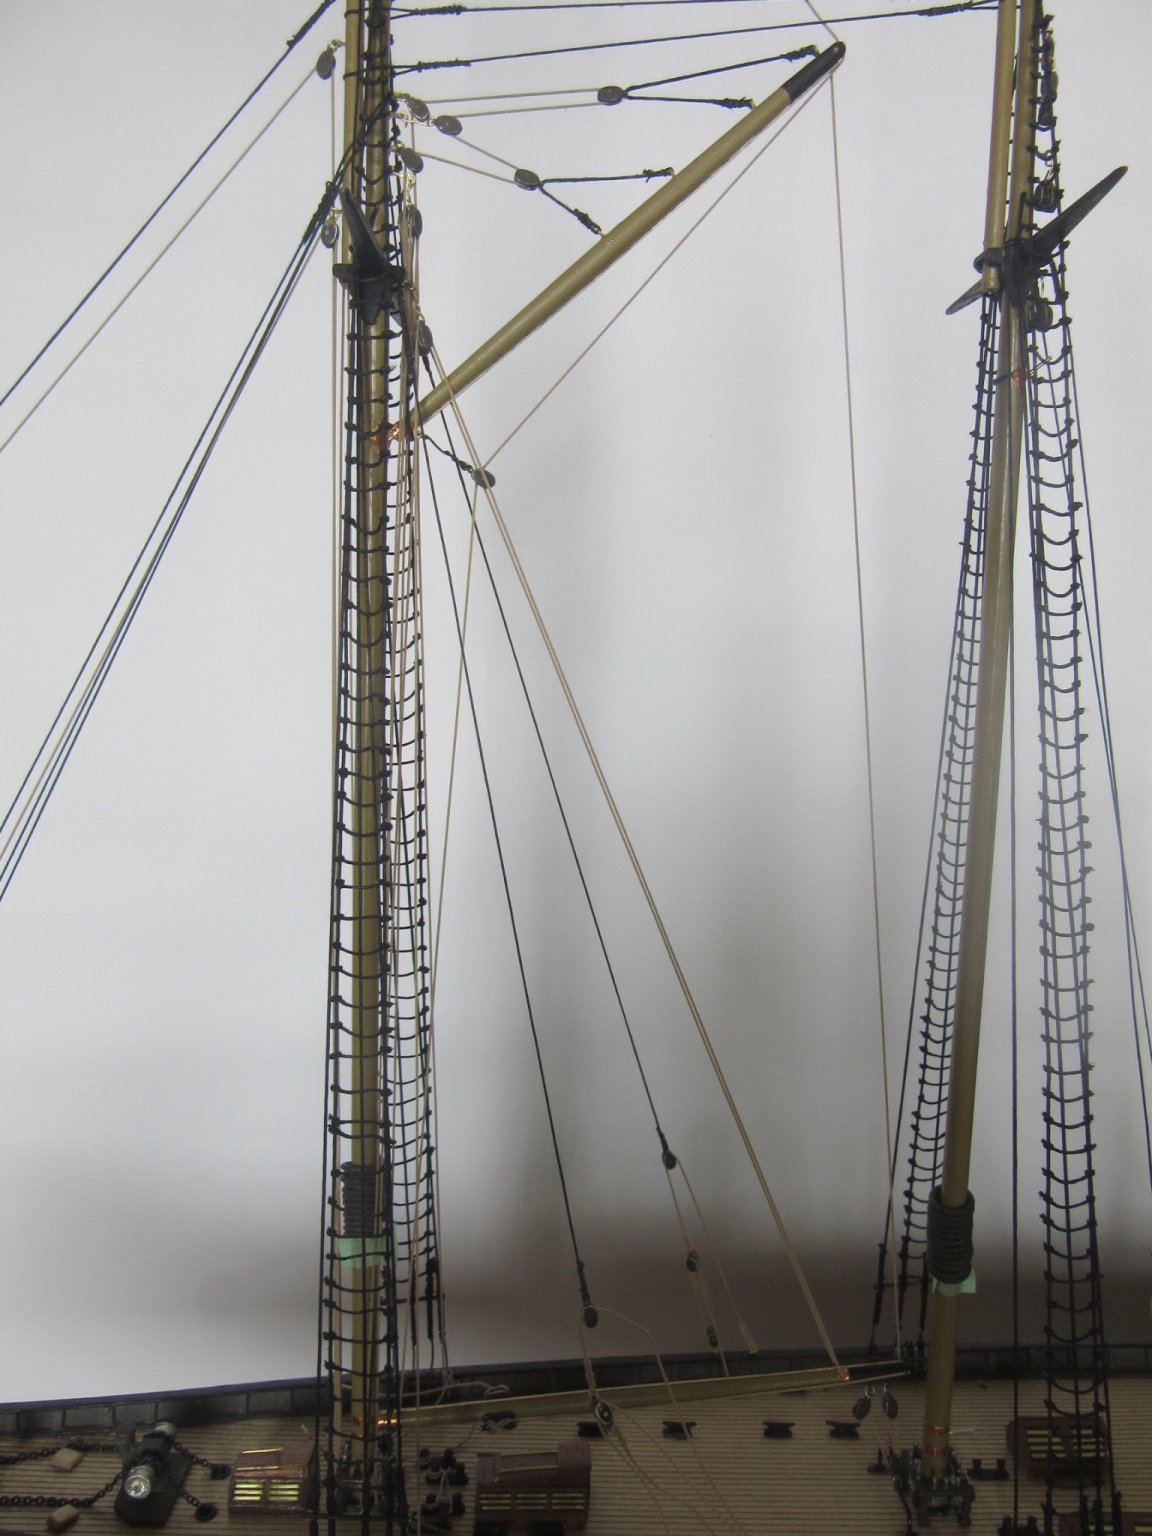
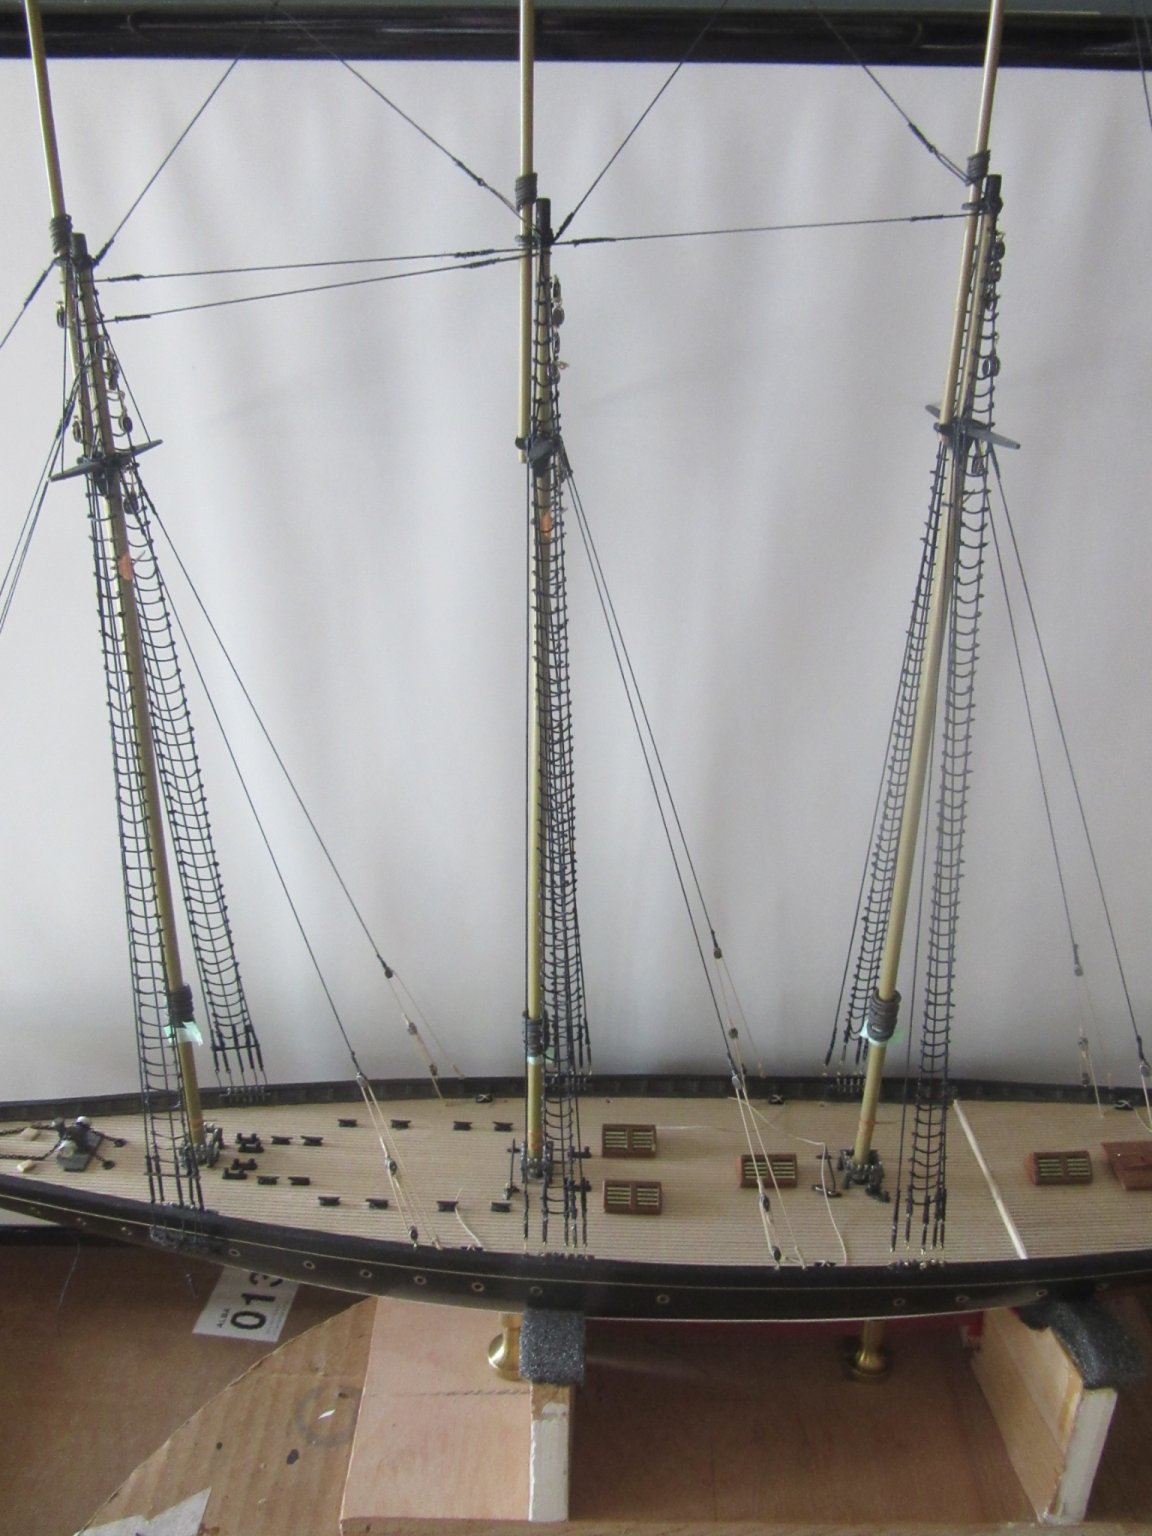
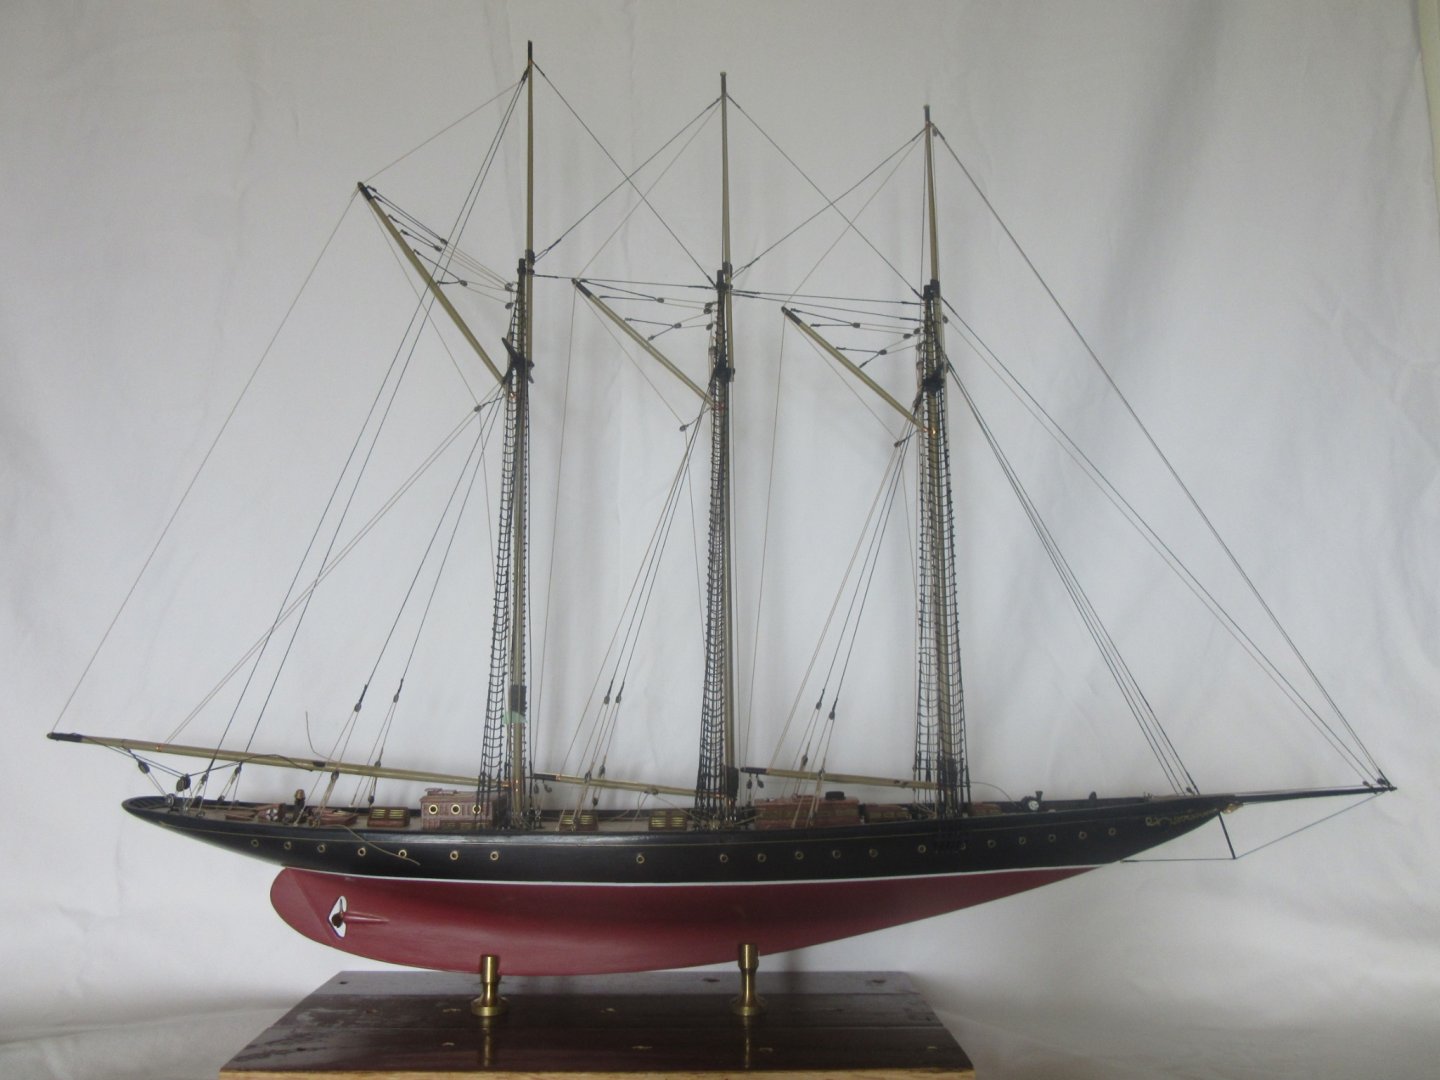
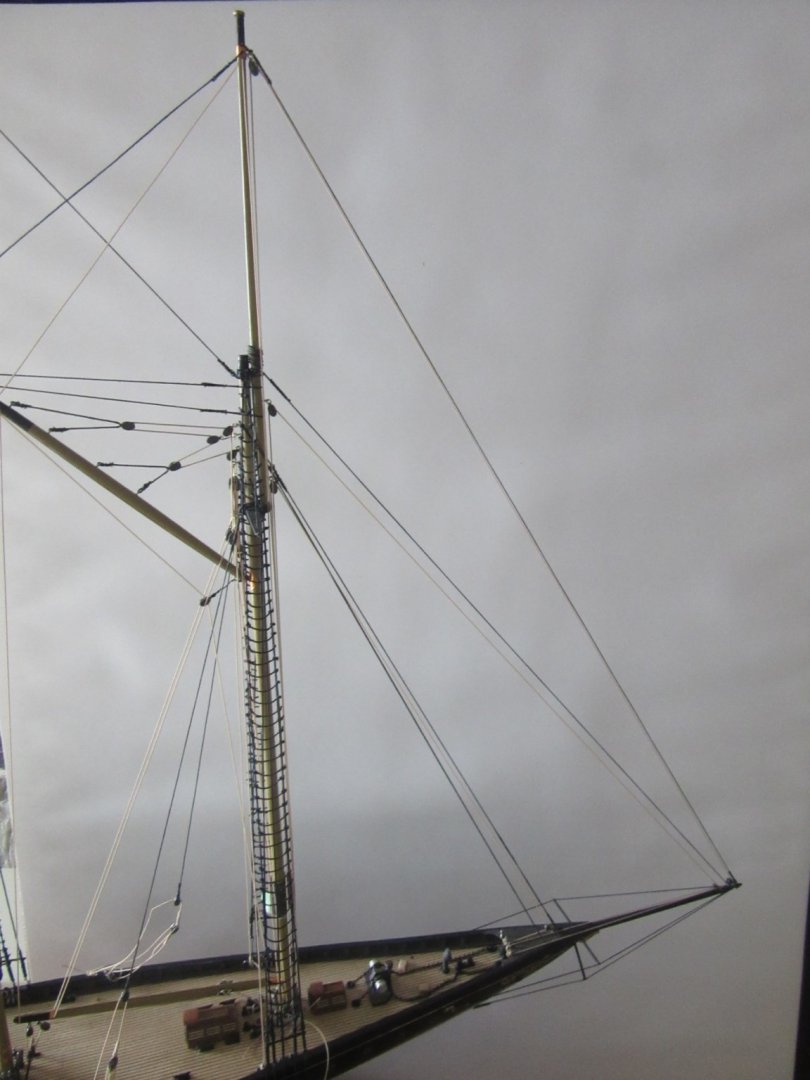
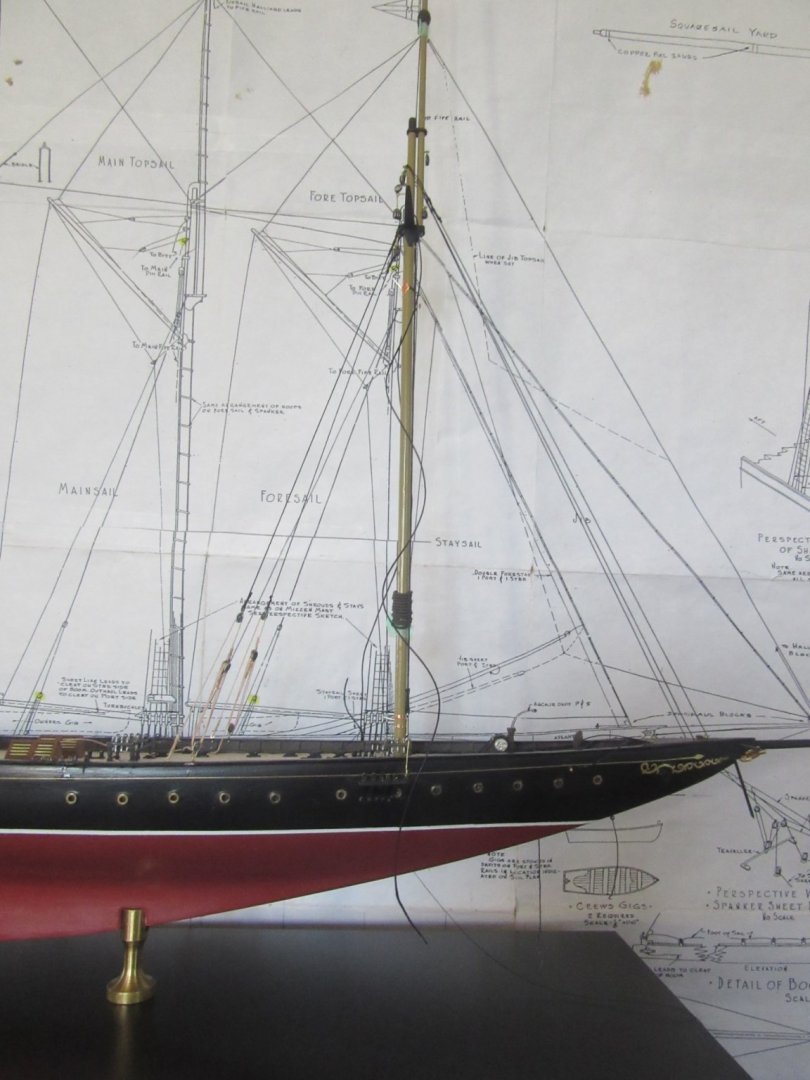
The running rigging has been completed (bottom photo) on the main and mizzen masts which are identical to the foremast from the previous post except for the mizzen sheet which is configured with heavier blocks and bitts for the spanker's large sail displacement (top photo). I failed to mention that the main deck furniture has been affixed in its place per the sail plan as each masts' entire rigging from the forward companionway back to the main cabin has been completed. There remains only the ships' boats flags, pennants and rope coils to be done before Atlantic is off the blocks.

-
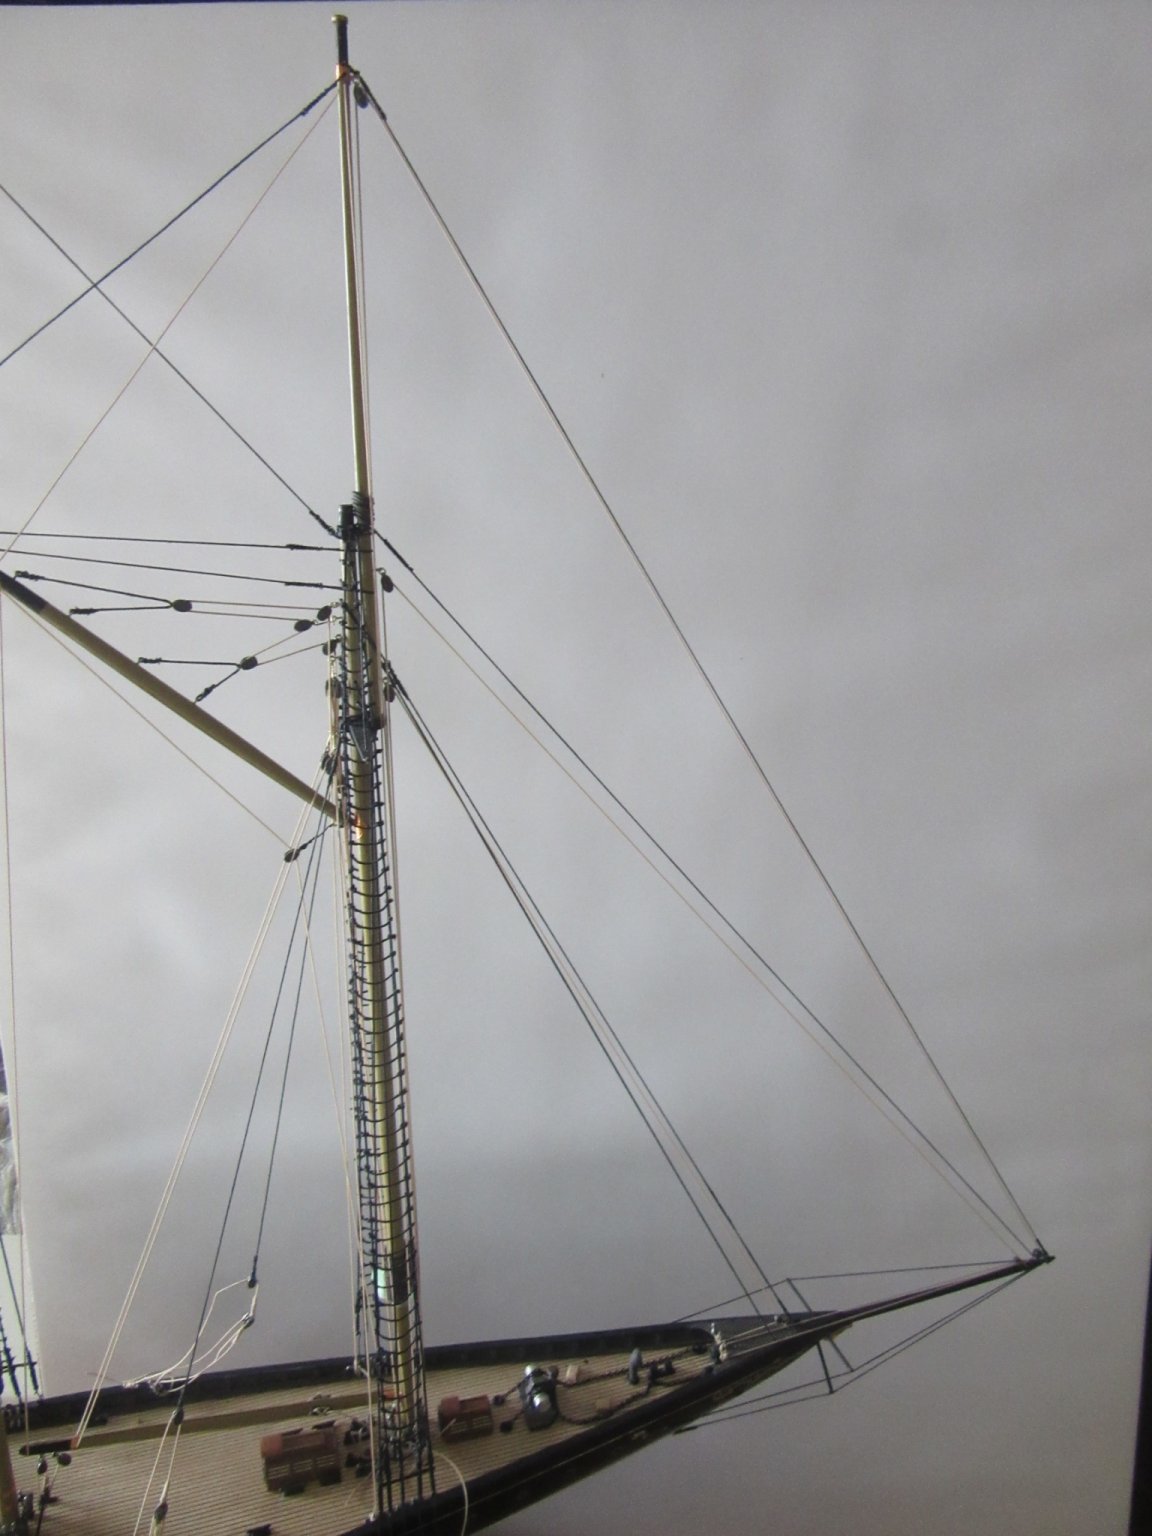
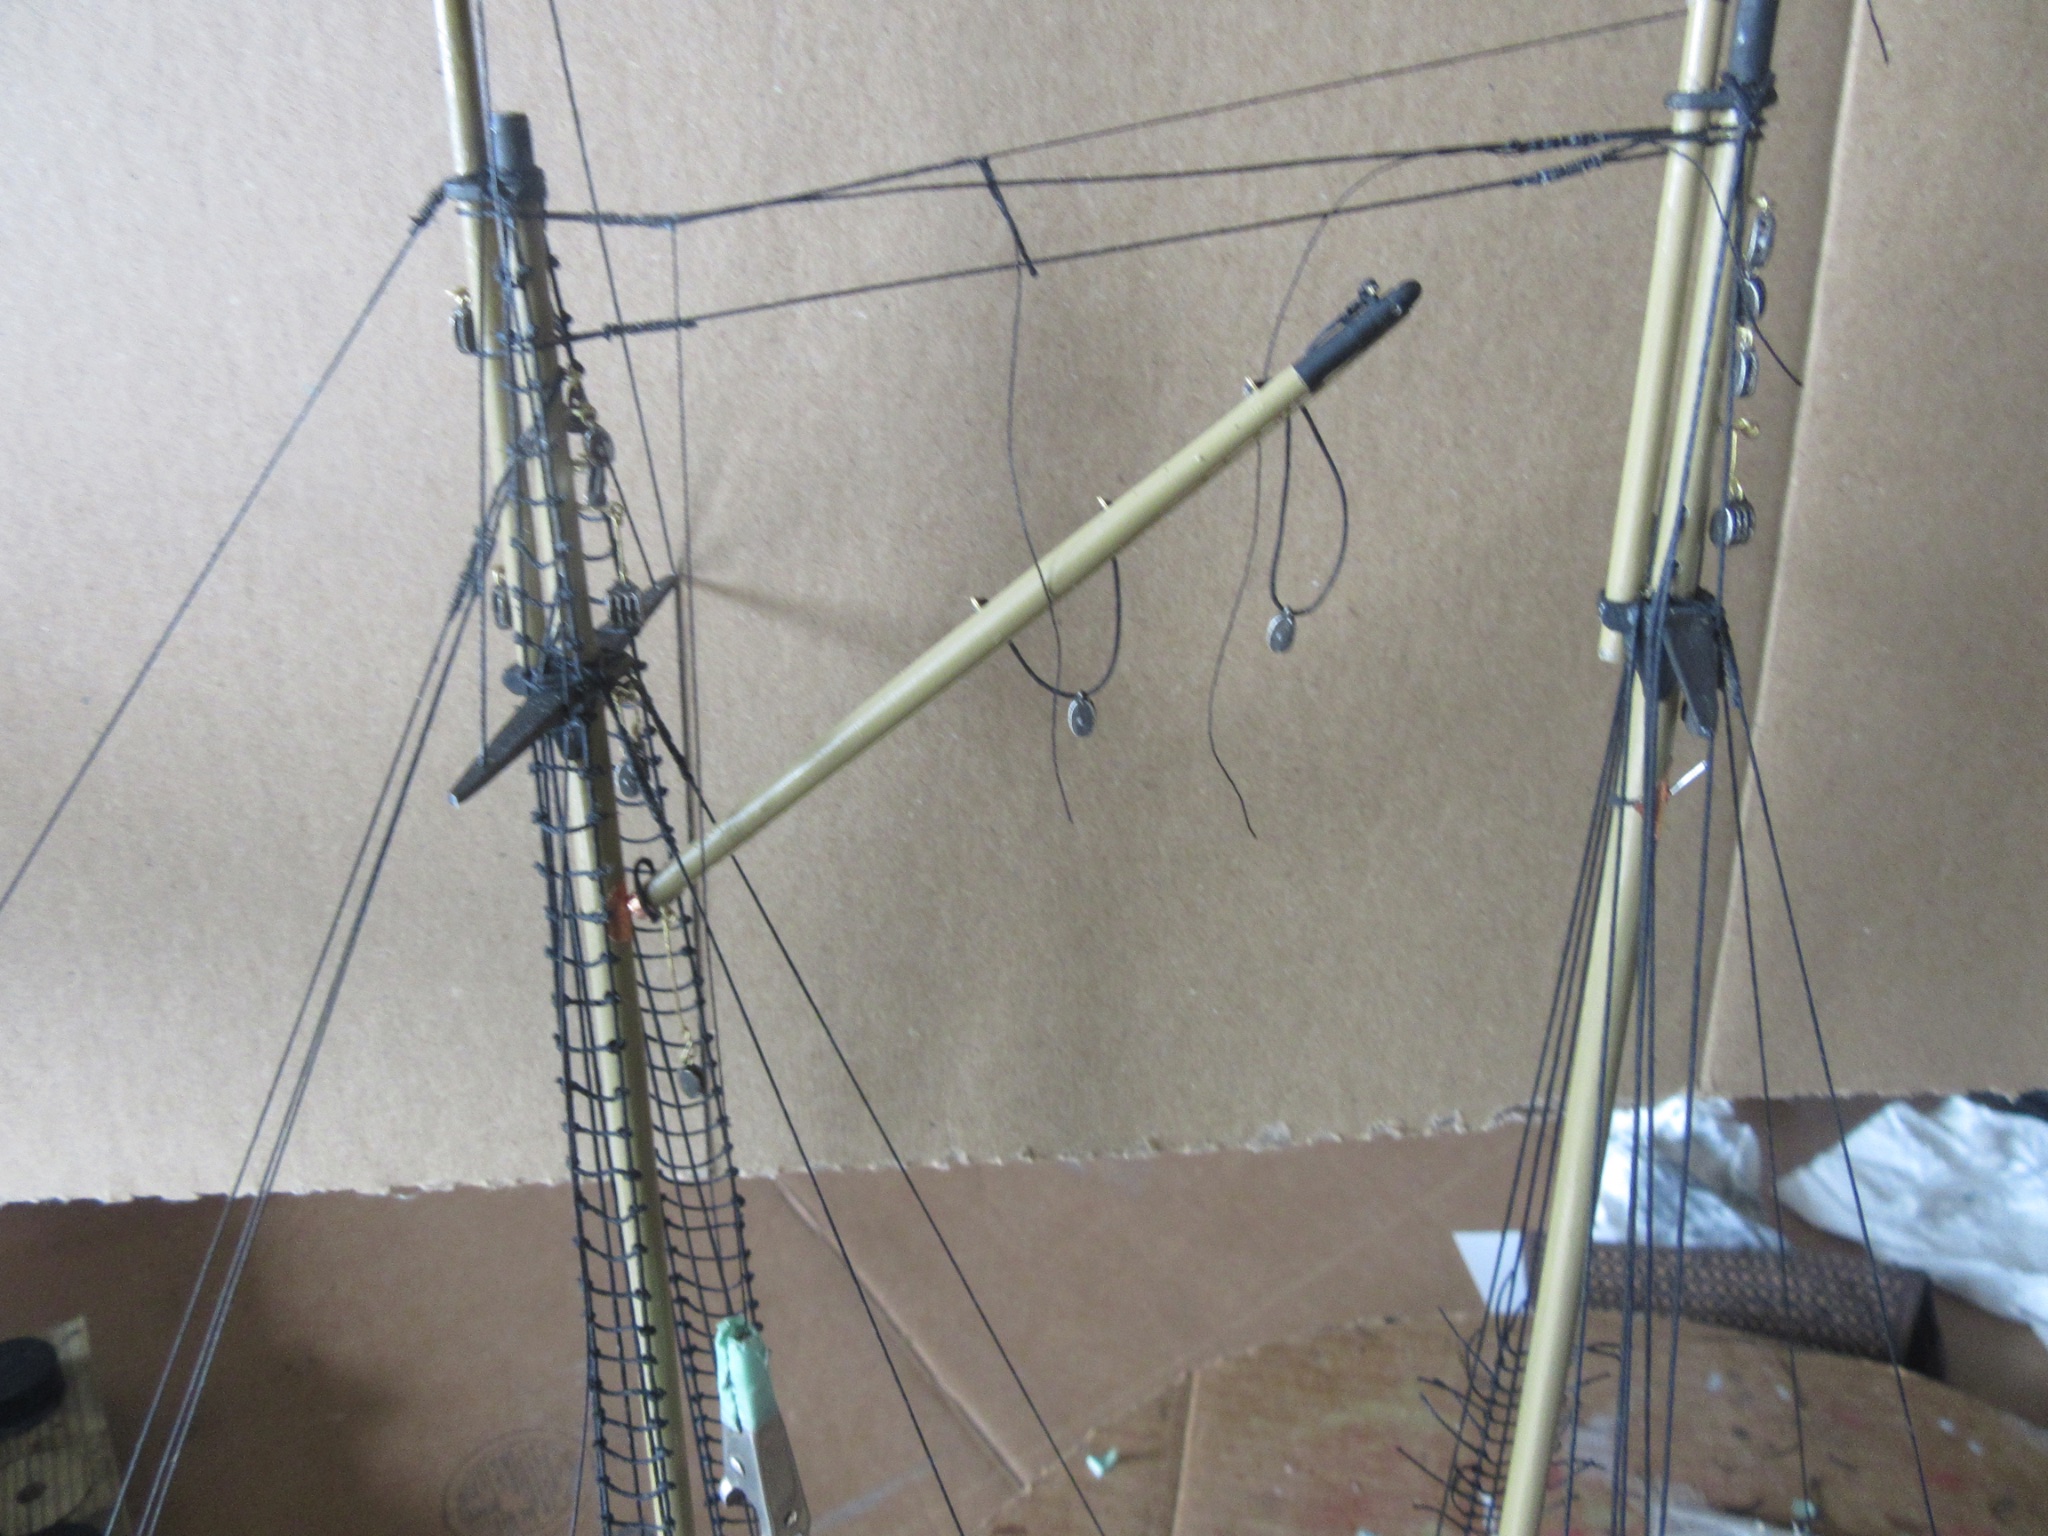
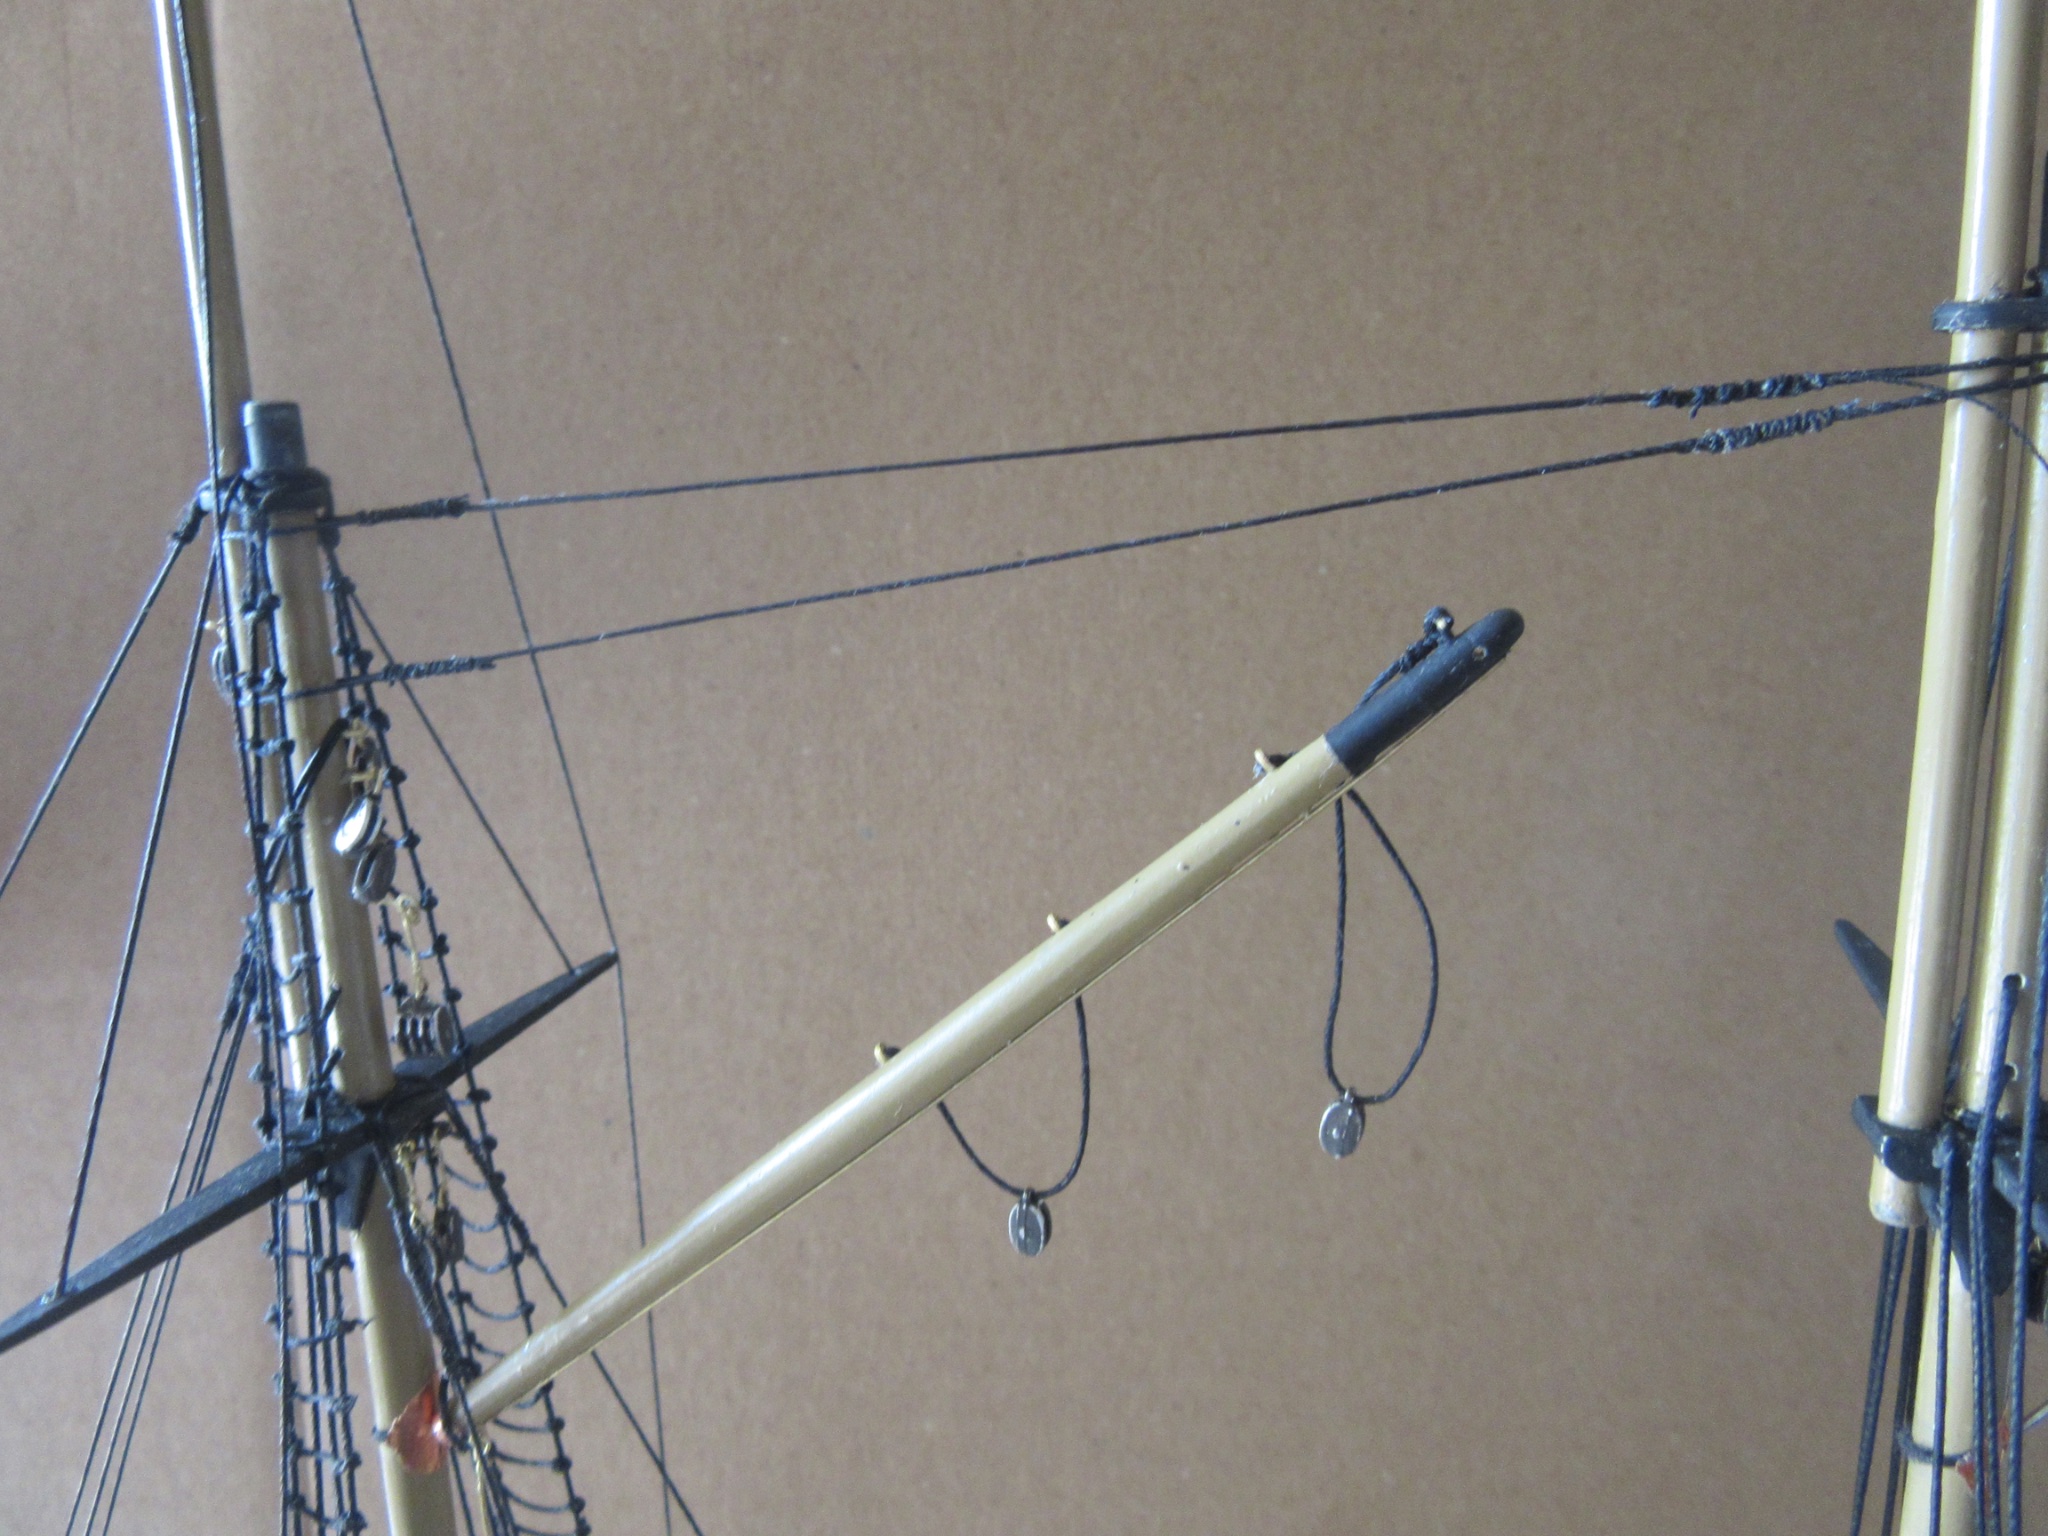
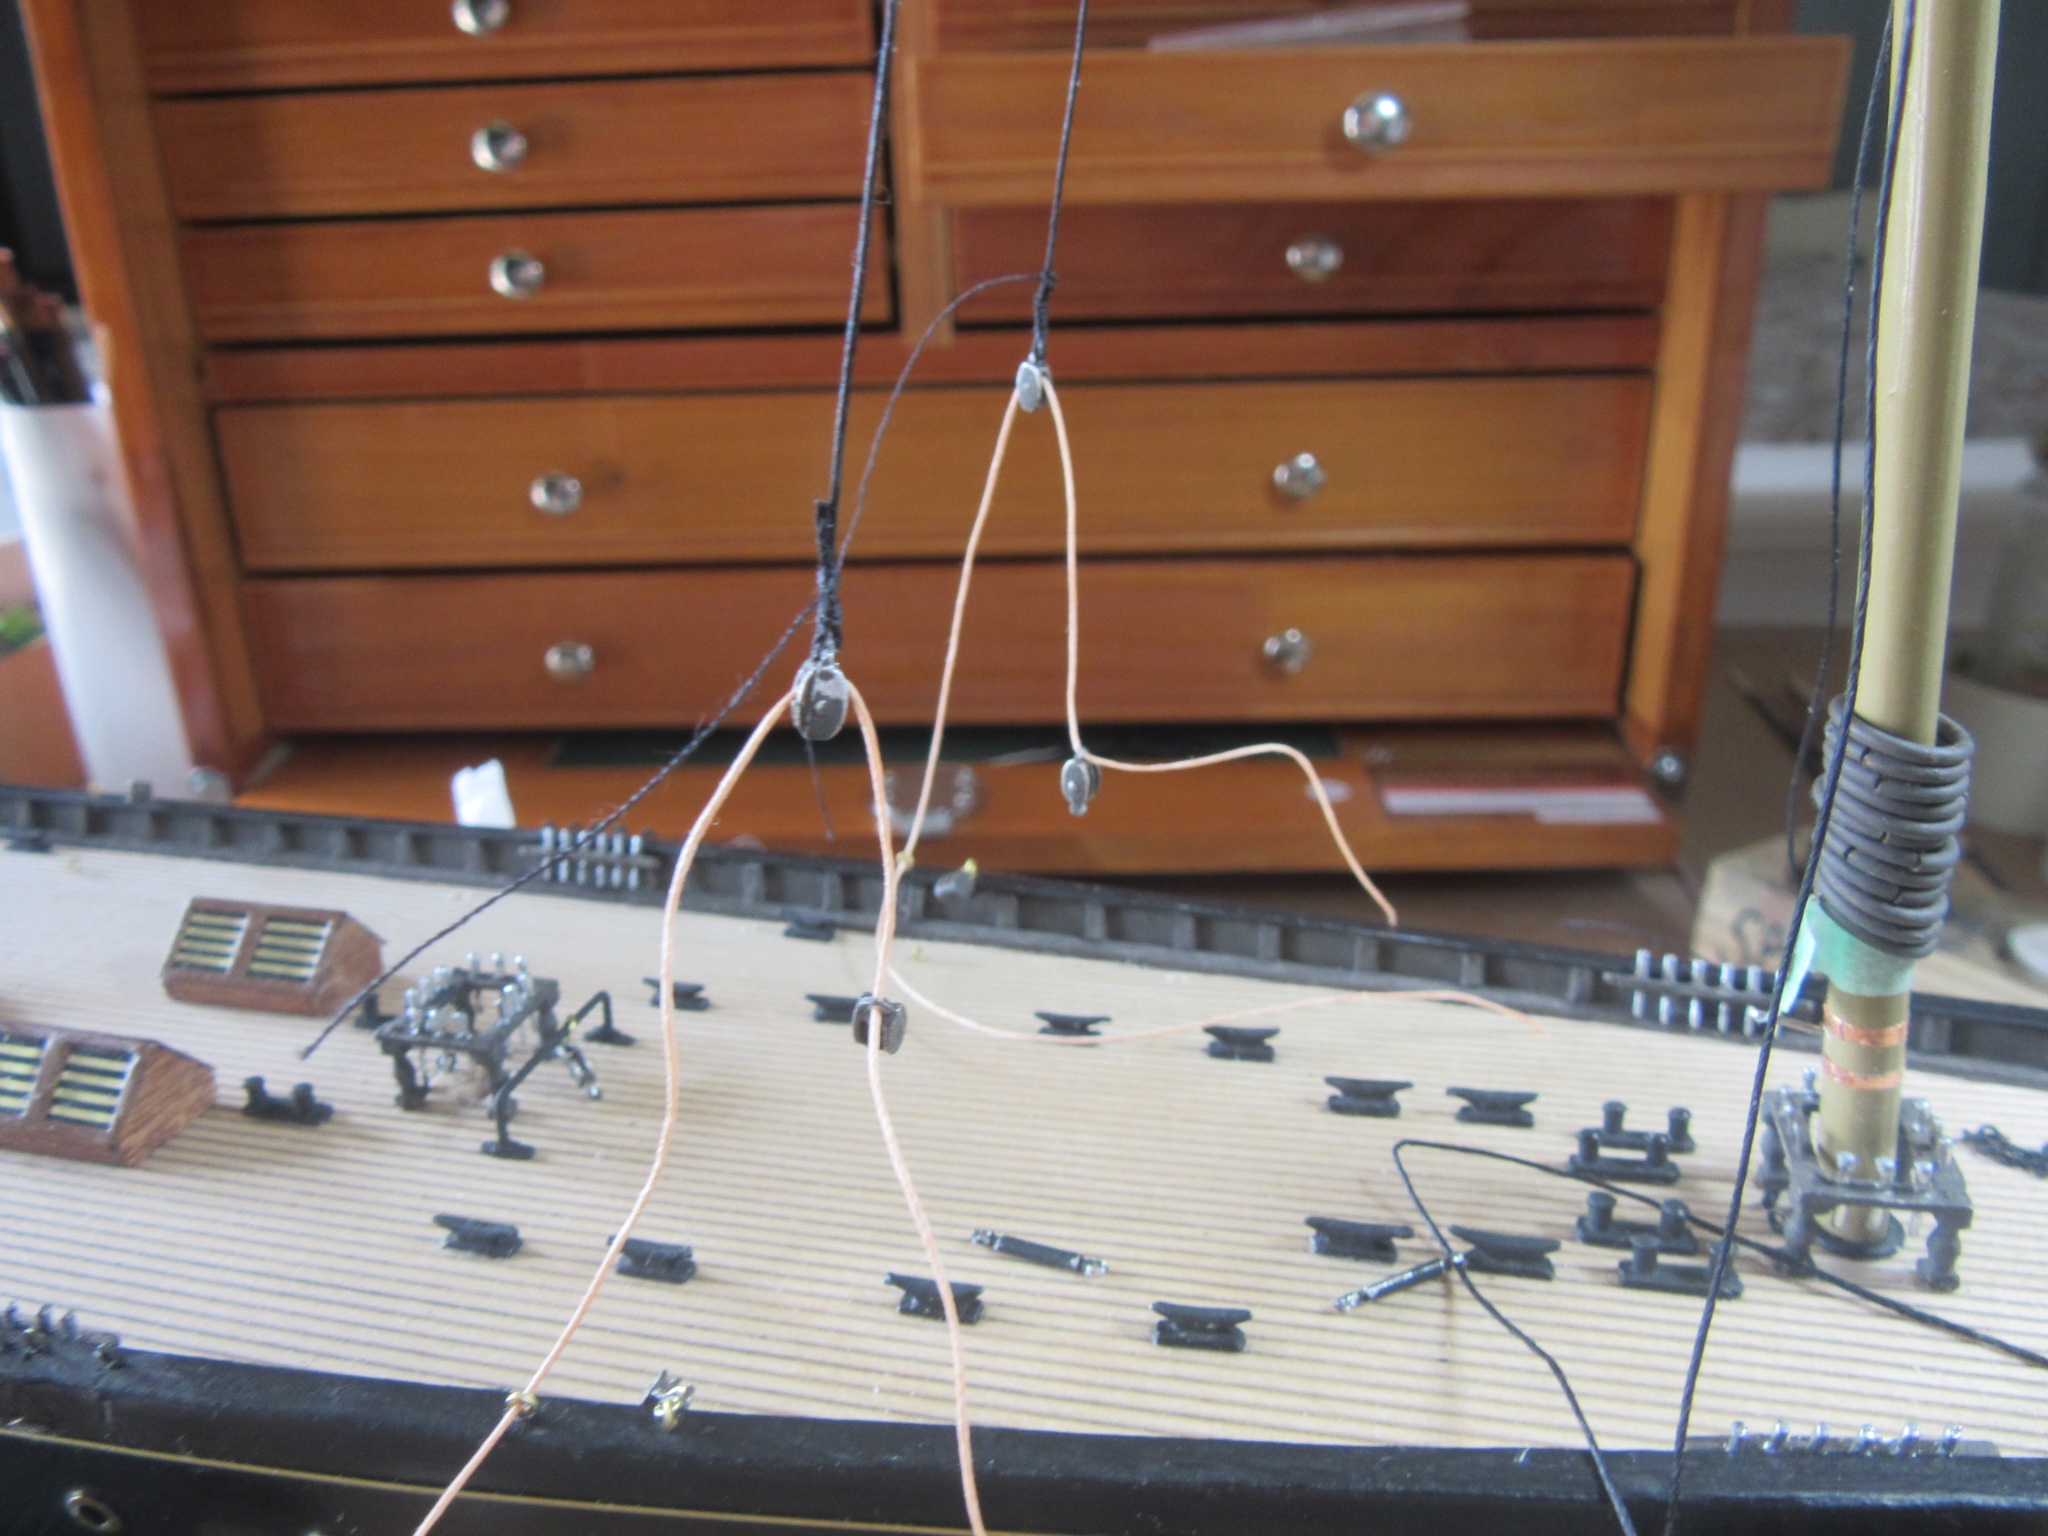
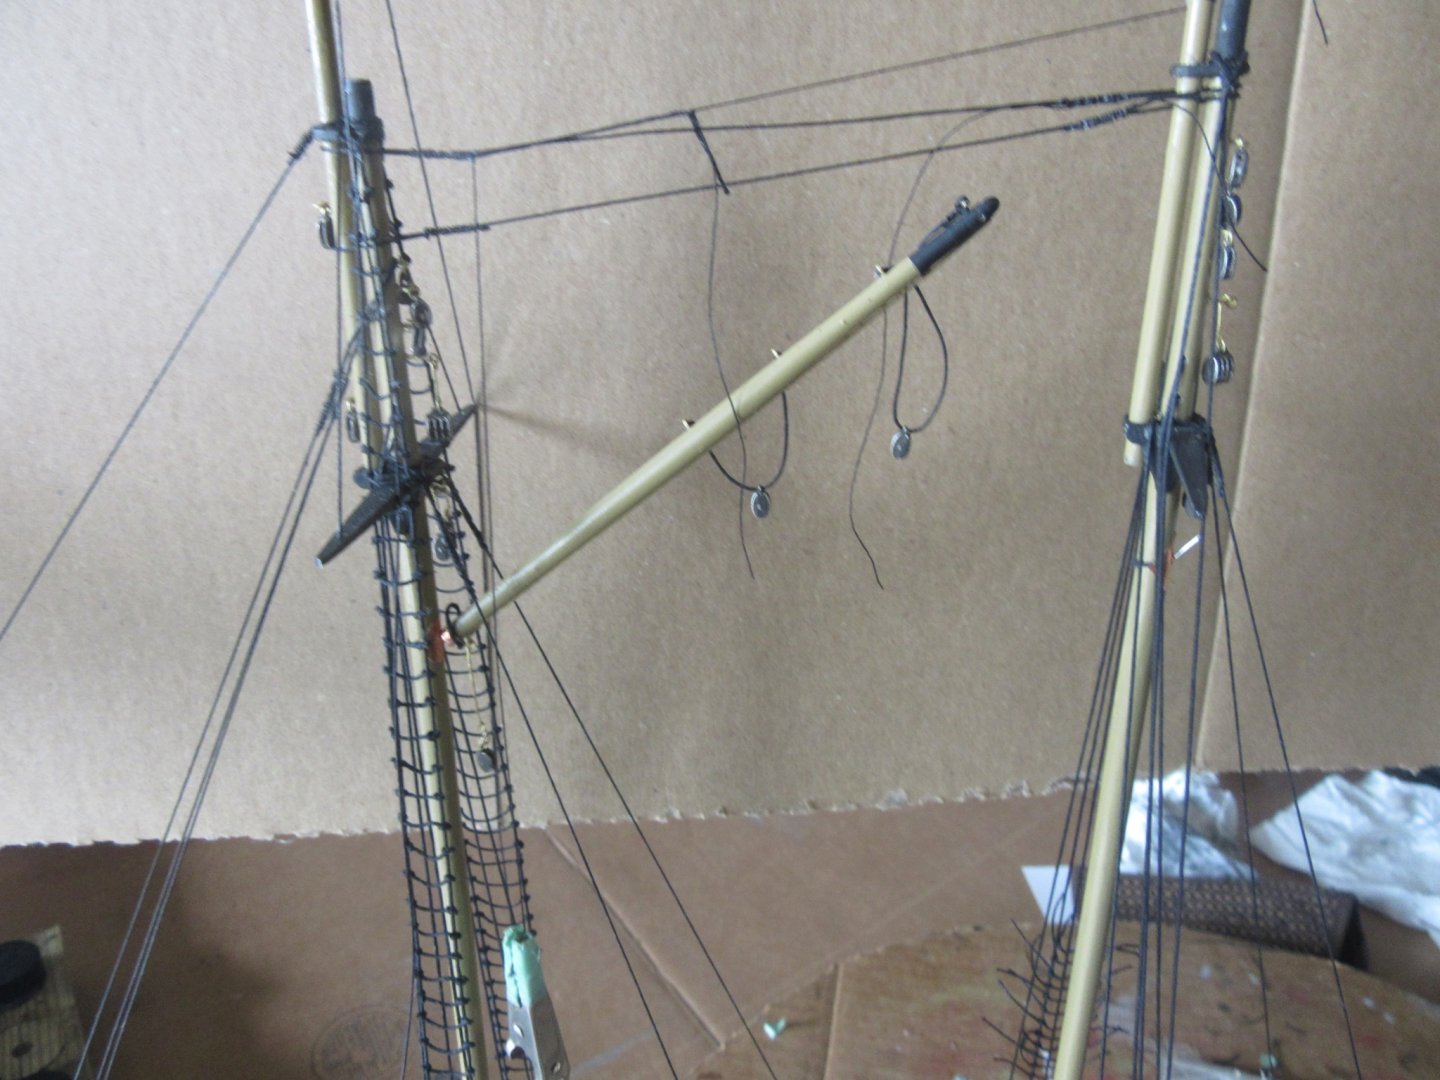
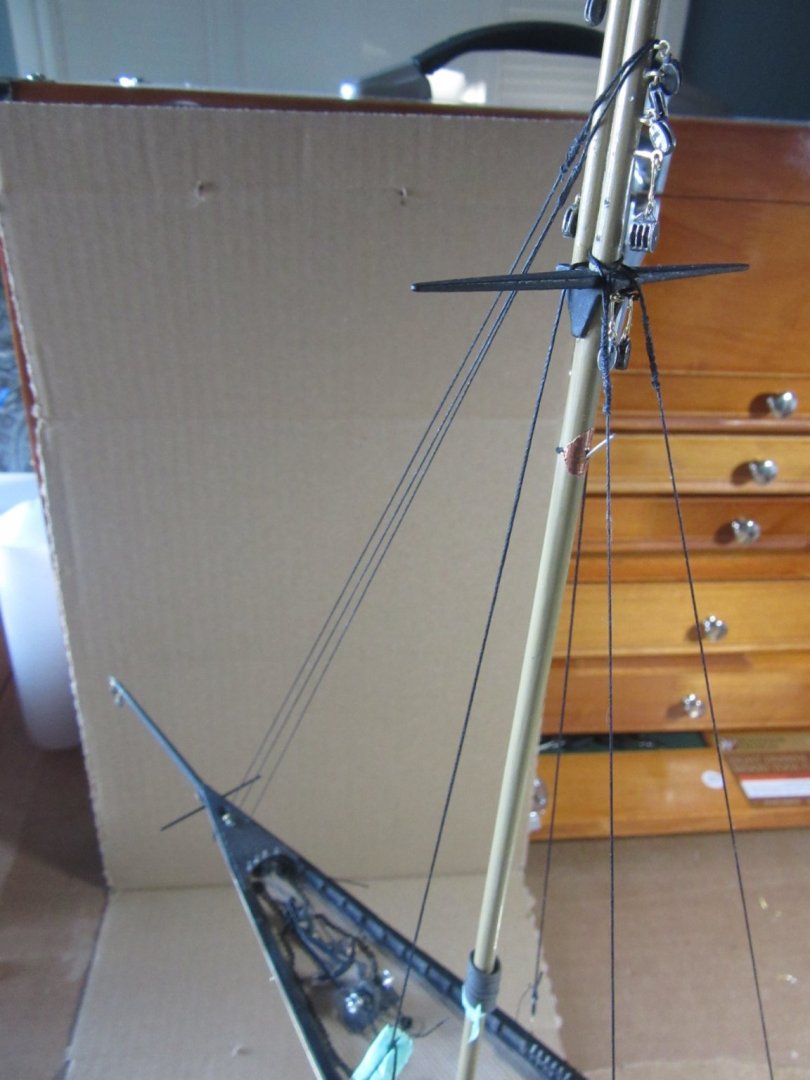
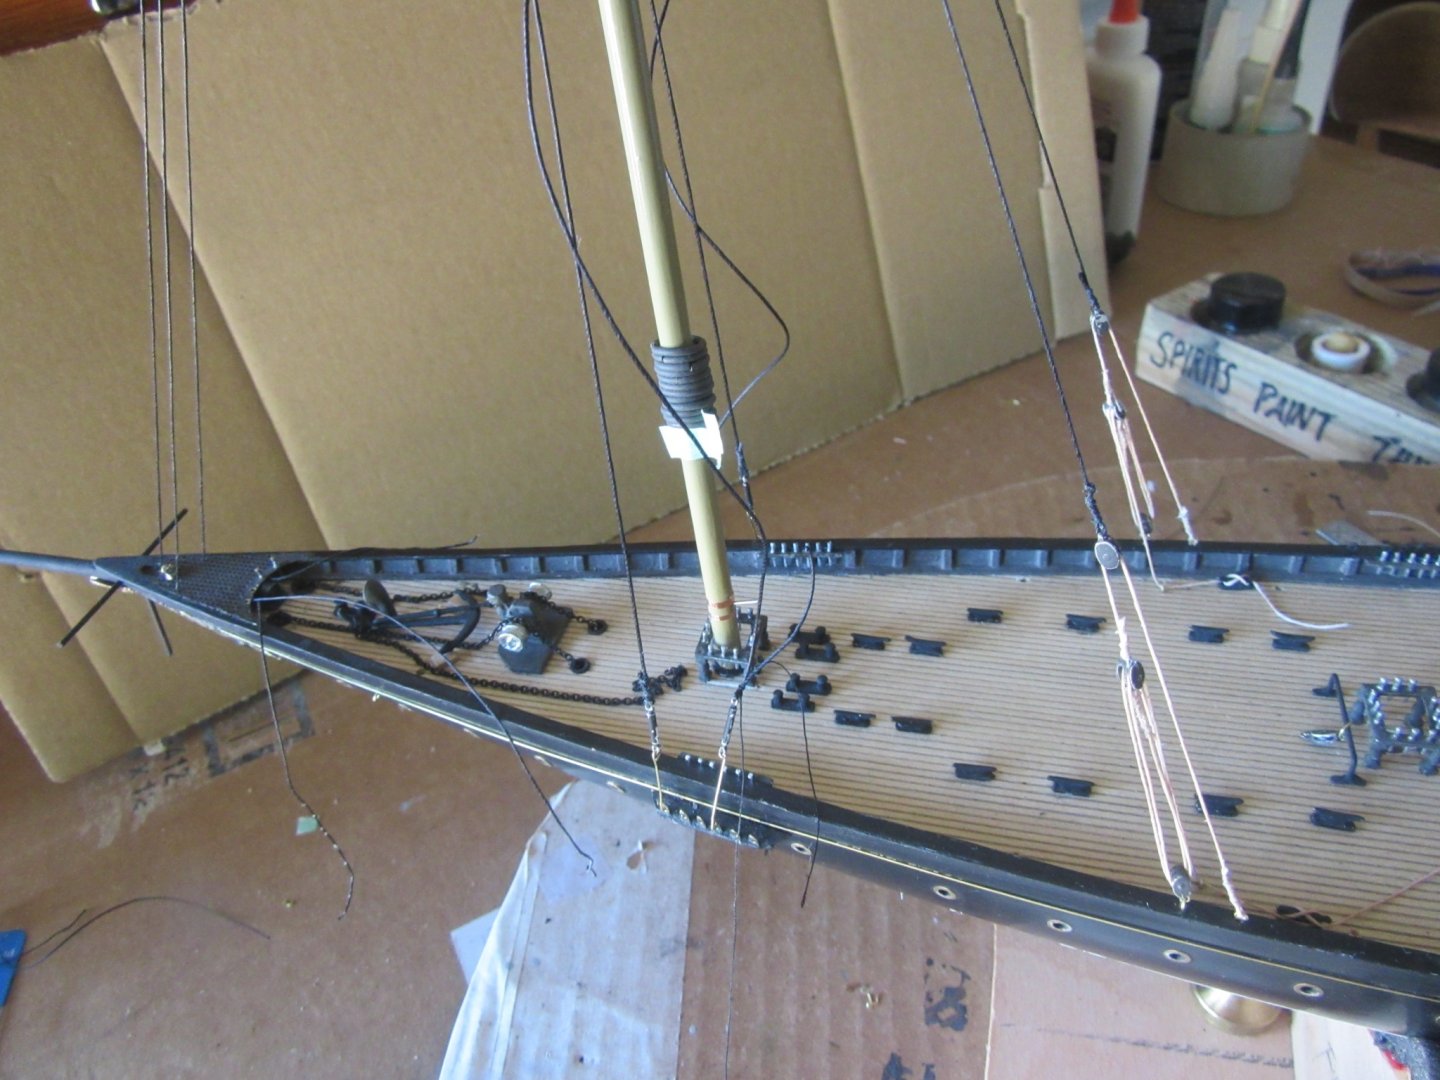
I started the running rigging for the downhauls (1st photo) for the staysail, jib sail and jib topsail starting at the belaying pin, reeving the line through each block made fast to the bowsprit with 26 gauge brass wire then through each block fixed to the fore top mast and down to and belayed on the fife rail (for the jib top sail only) and port and starboard bitts aft of the foremast for the staysail and jib sail downhauls. Next the lines for the peak halliards (2nd photo) were belayed at the starboard bitt aft the mast through an eye under the fife rail then relayed up and reeved between the 3 single blocks at the mast and the two bridle single blocks on the gaff then down to and belayed on the fife rail. The throat halliard is belayed on the port bitt and is reeved through triple and double blocks vertically up the mast and down to the fife rail. The topsail sheet starts and ends at the fife rail and reeved through holes (to simulate sheaves) drilled at the tips of the gaff and topmast. The third photo shows the fore boom sheet, outhaul and topping lift. Note that the vertical line running between tips of the boom and gaff is not an existing line. I put it there to indicate the leach of the sail as a suggested option in the instructions.

-
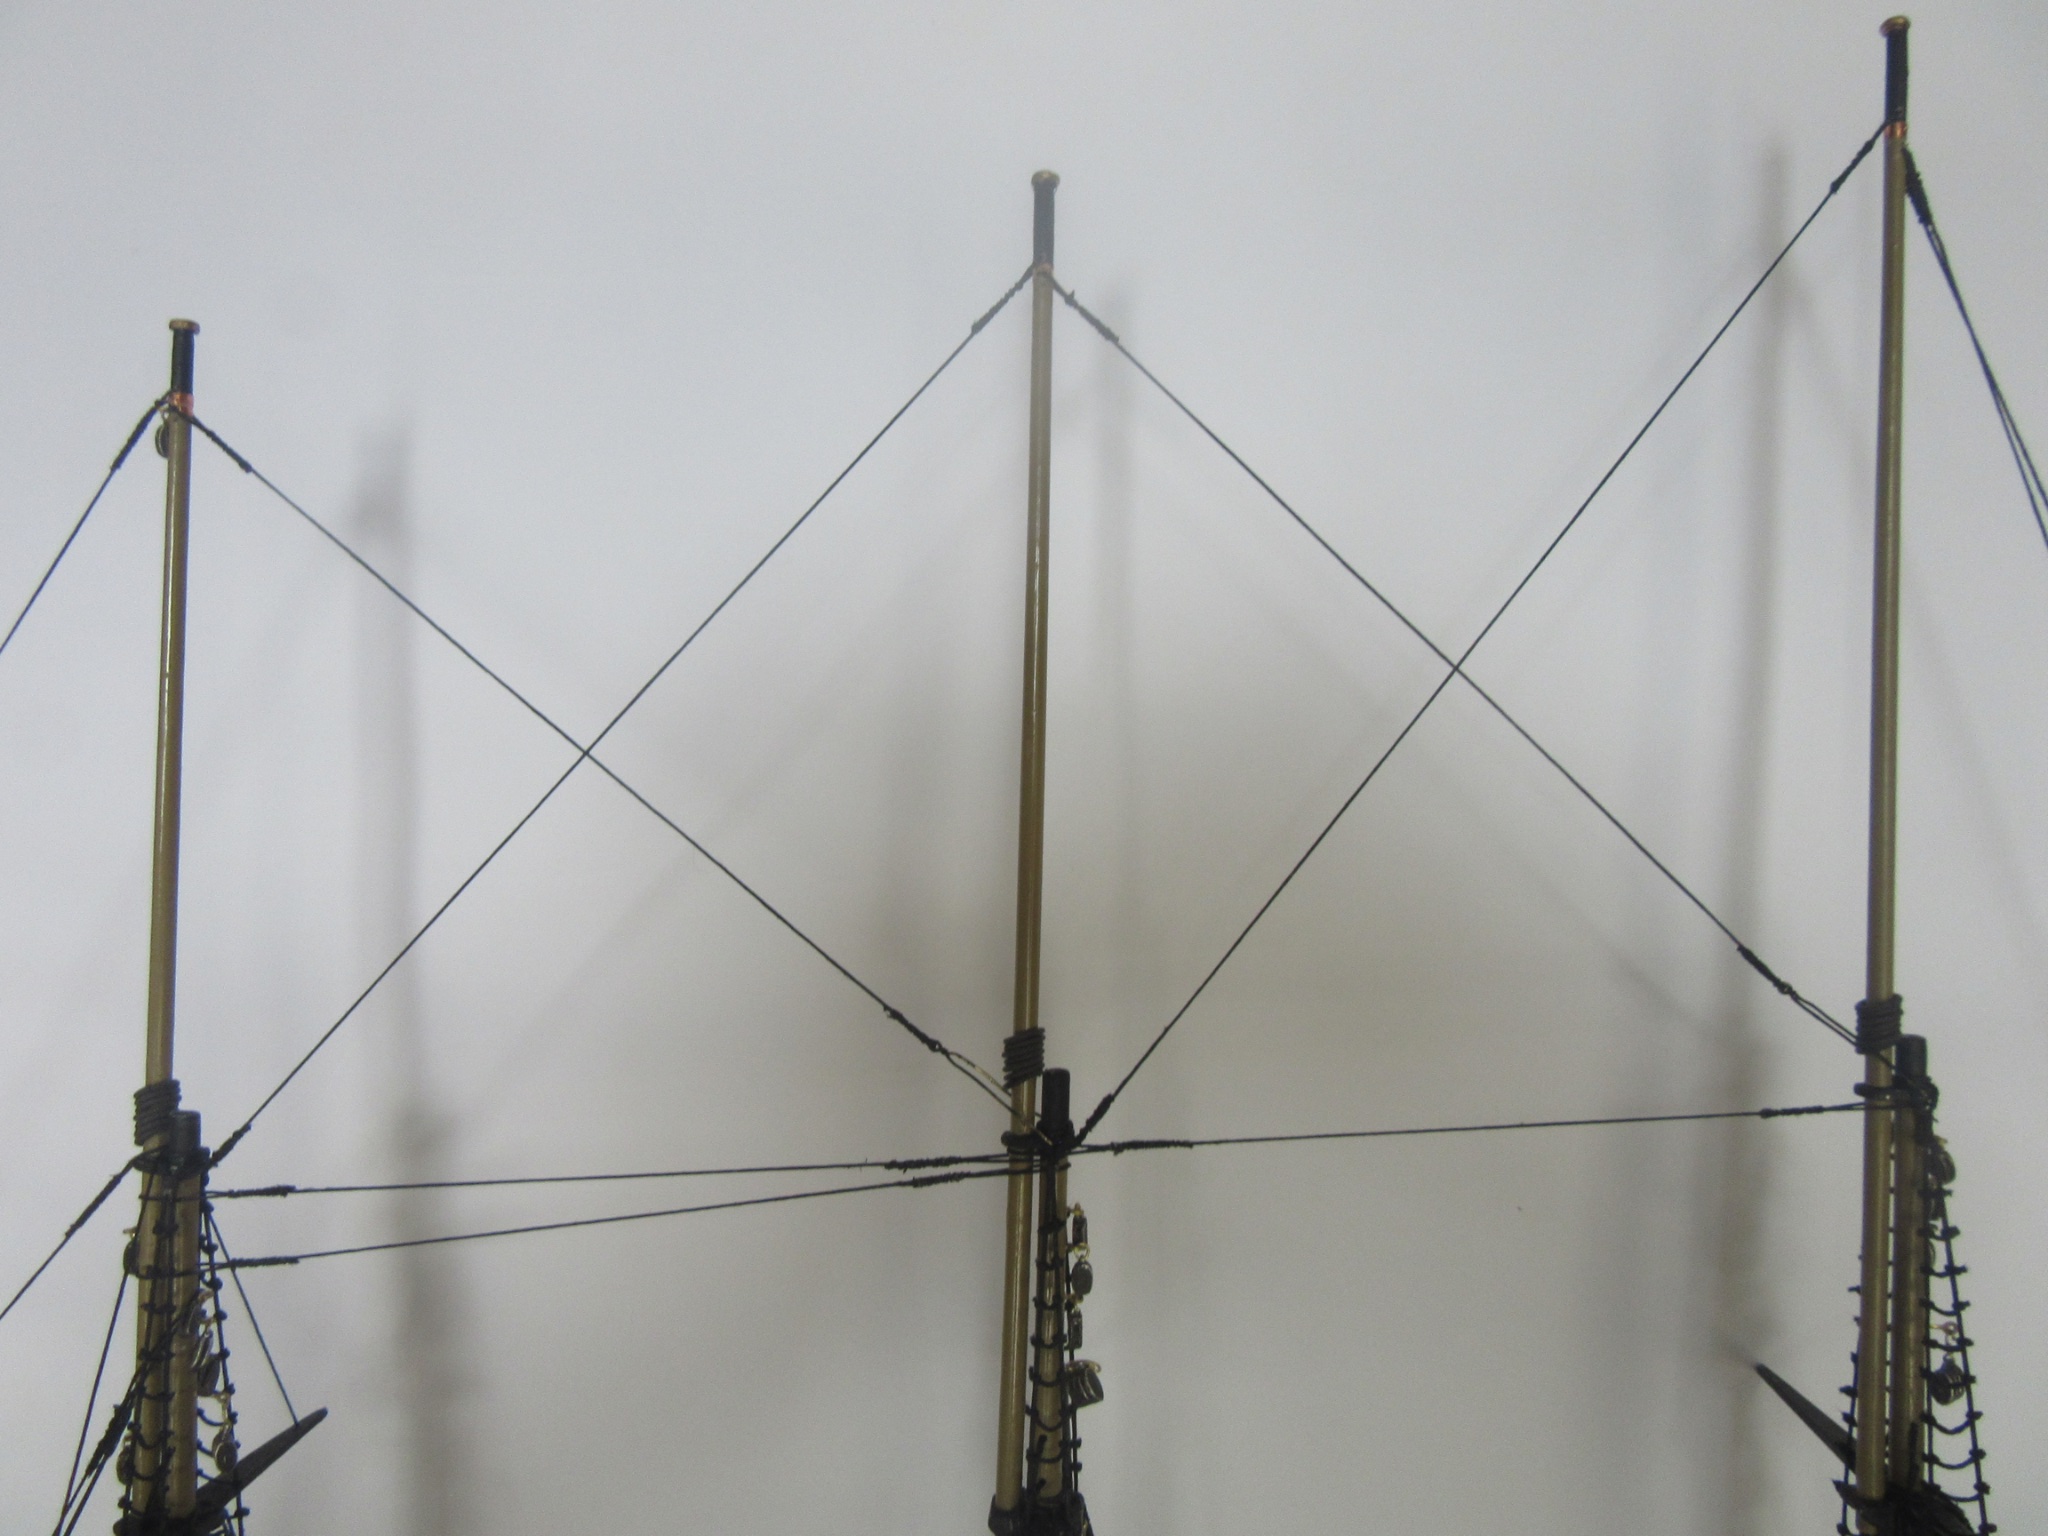
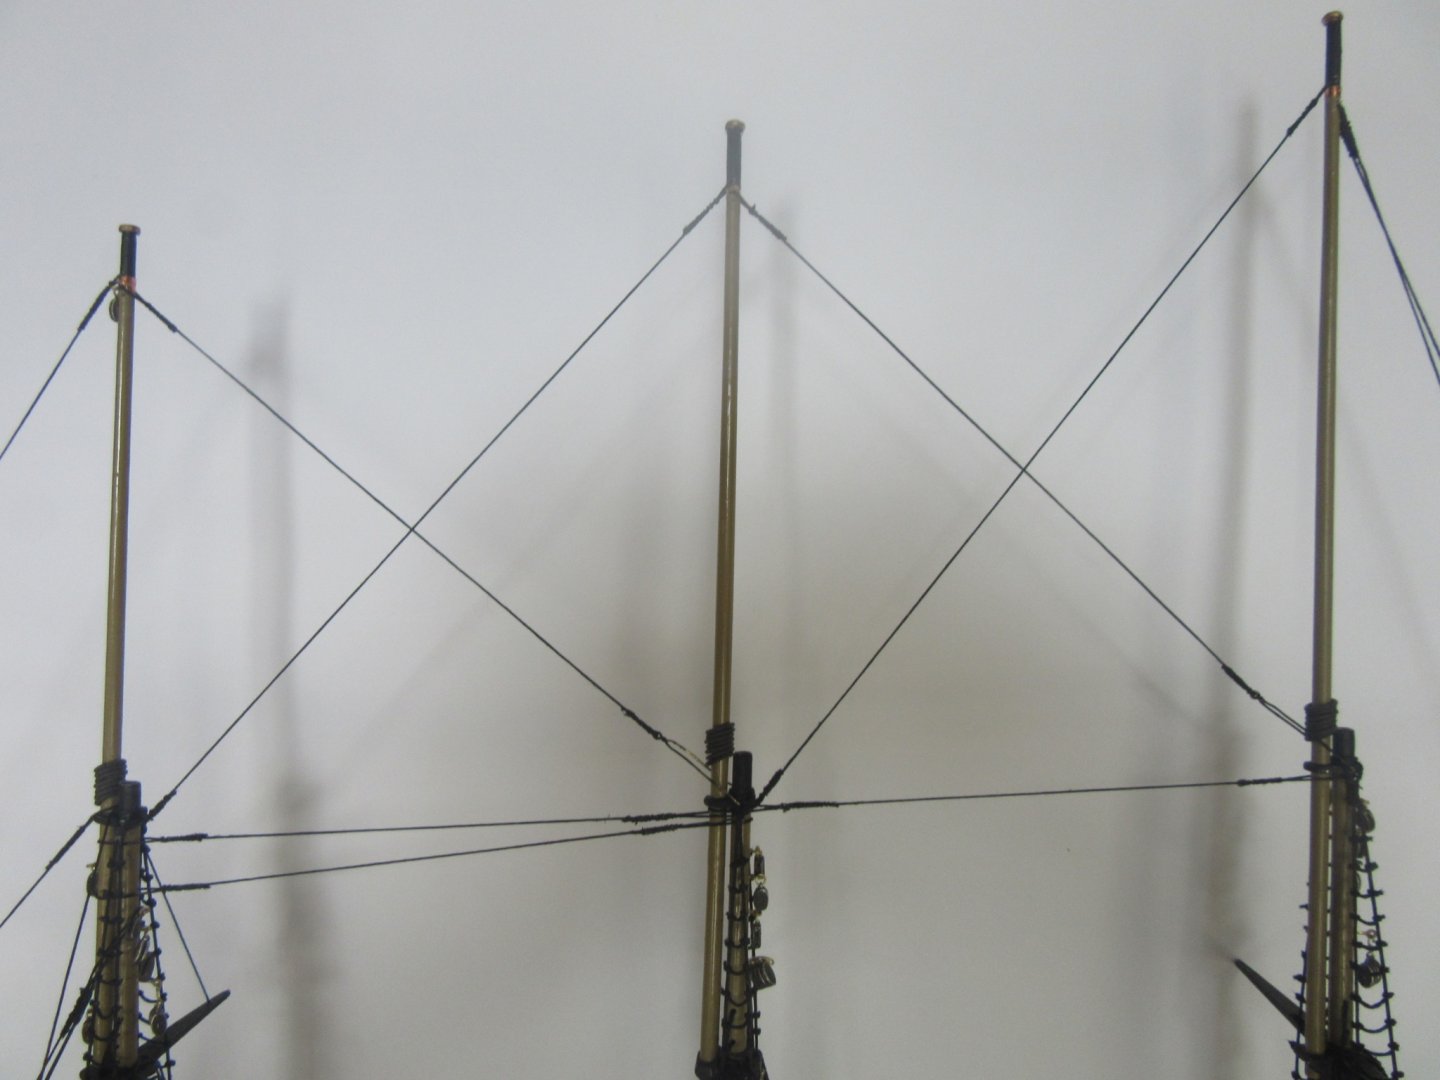
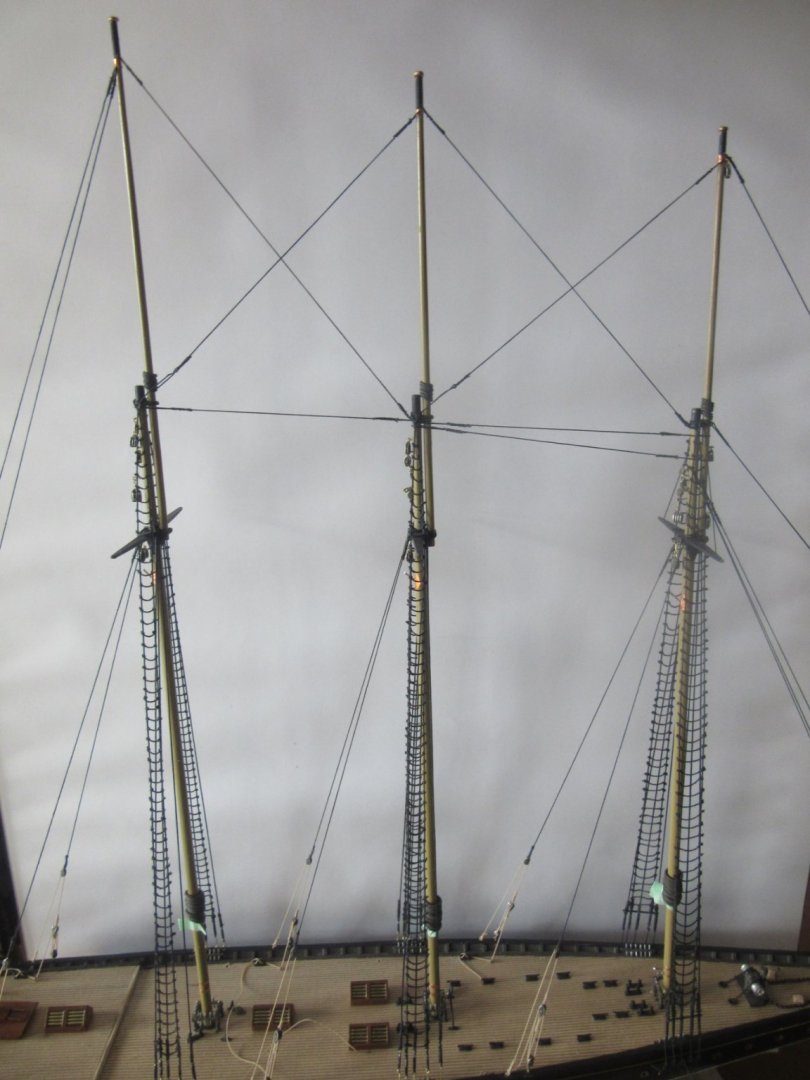
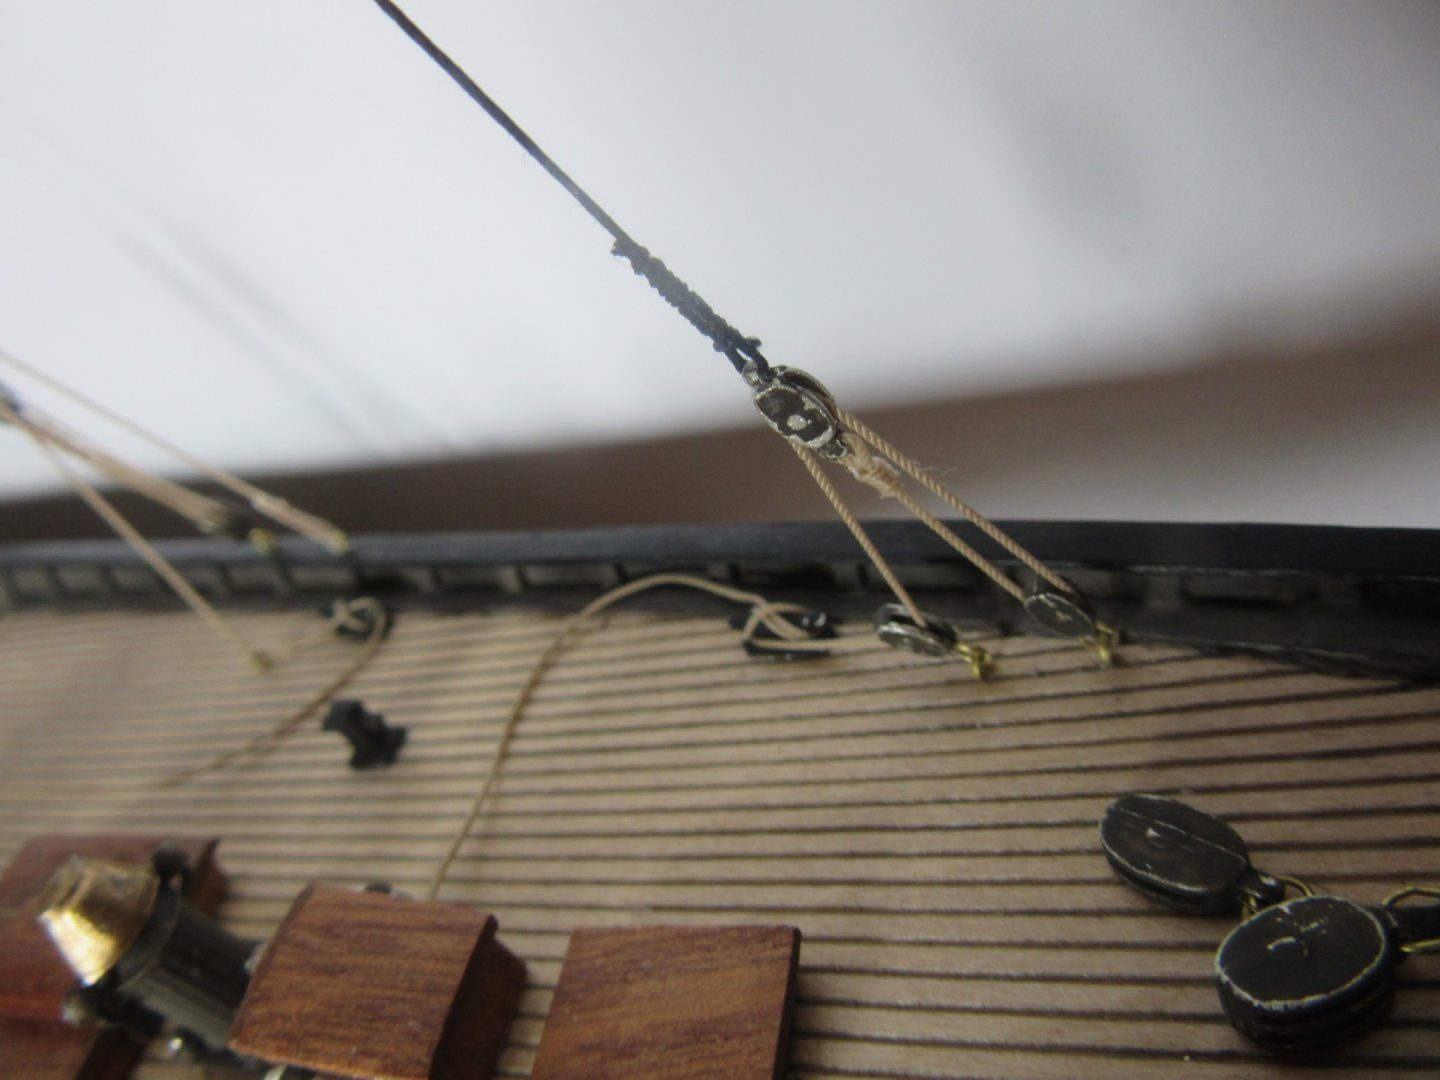
Ratlines and all standing rigging arrays are completed on the lower masts (top photo), bowsprit (2nd from top) and topmasts (3rd from top). The fourth photo is the spring stays transversing all 3 masts. The fifth photo down is of the running tackle for the starboard mizzen topmast preventer backstay, belayed to the cleat. the choice of using the tan polyester rigging line is one I'm very satisfied with. It reaves very smoothly through the blocks and doesn't need beeswax. The only downside is that it needs the most judicious amounts of CA glue to hold the line snug together at the block's eye then serve it with the small whipping line where it can then be adhered to with white glue. I've found this process is quicker than waiting for the cotton thread to dry completely so I'll continue it throughout the running rigging.

-
Thank you Chuck; Its been both exciting and challenging to build this famous ship and having fun researching and learning the methodology of model ship builds. I'm looking forward to my next build - thinking a plank and bulkhead design - upon completion of Atlantic.
-
Thank you for the compliment Chris. The paints used throughout the build are True North Precision Enamels. The bottom paint is USN Norfolk 65-A, Anti-Foul Red. The bottom paint was part of the Bluejacket paint kit ordered with the model kit. Ange
-
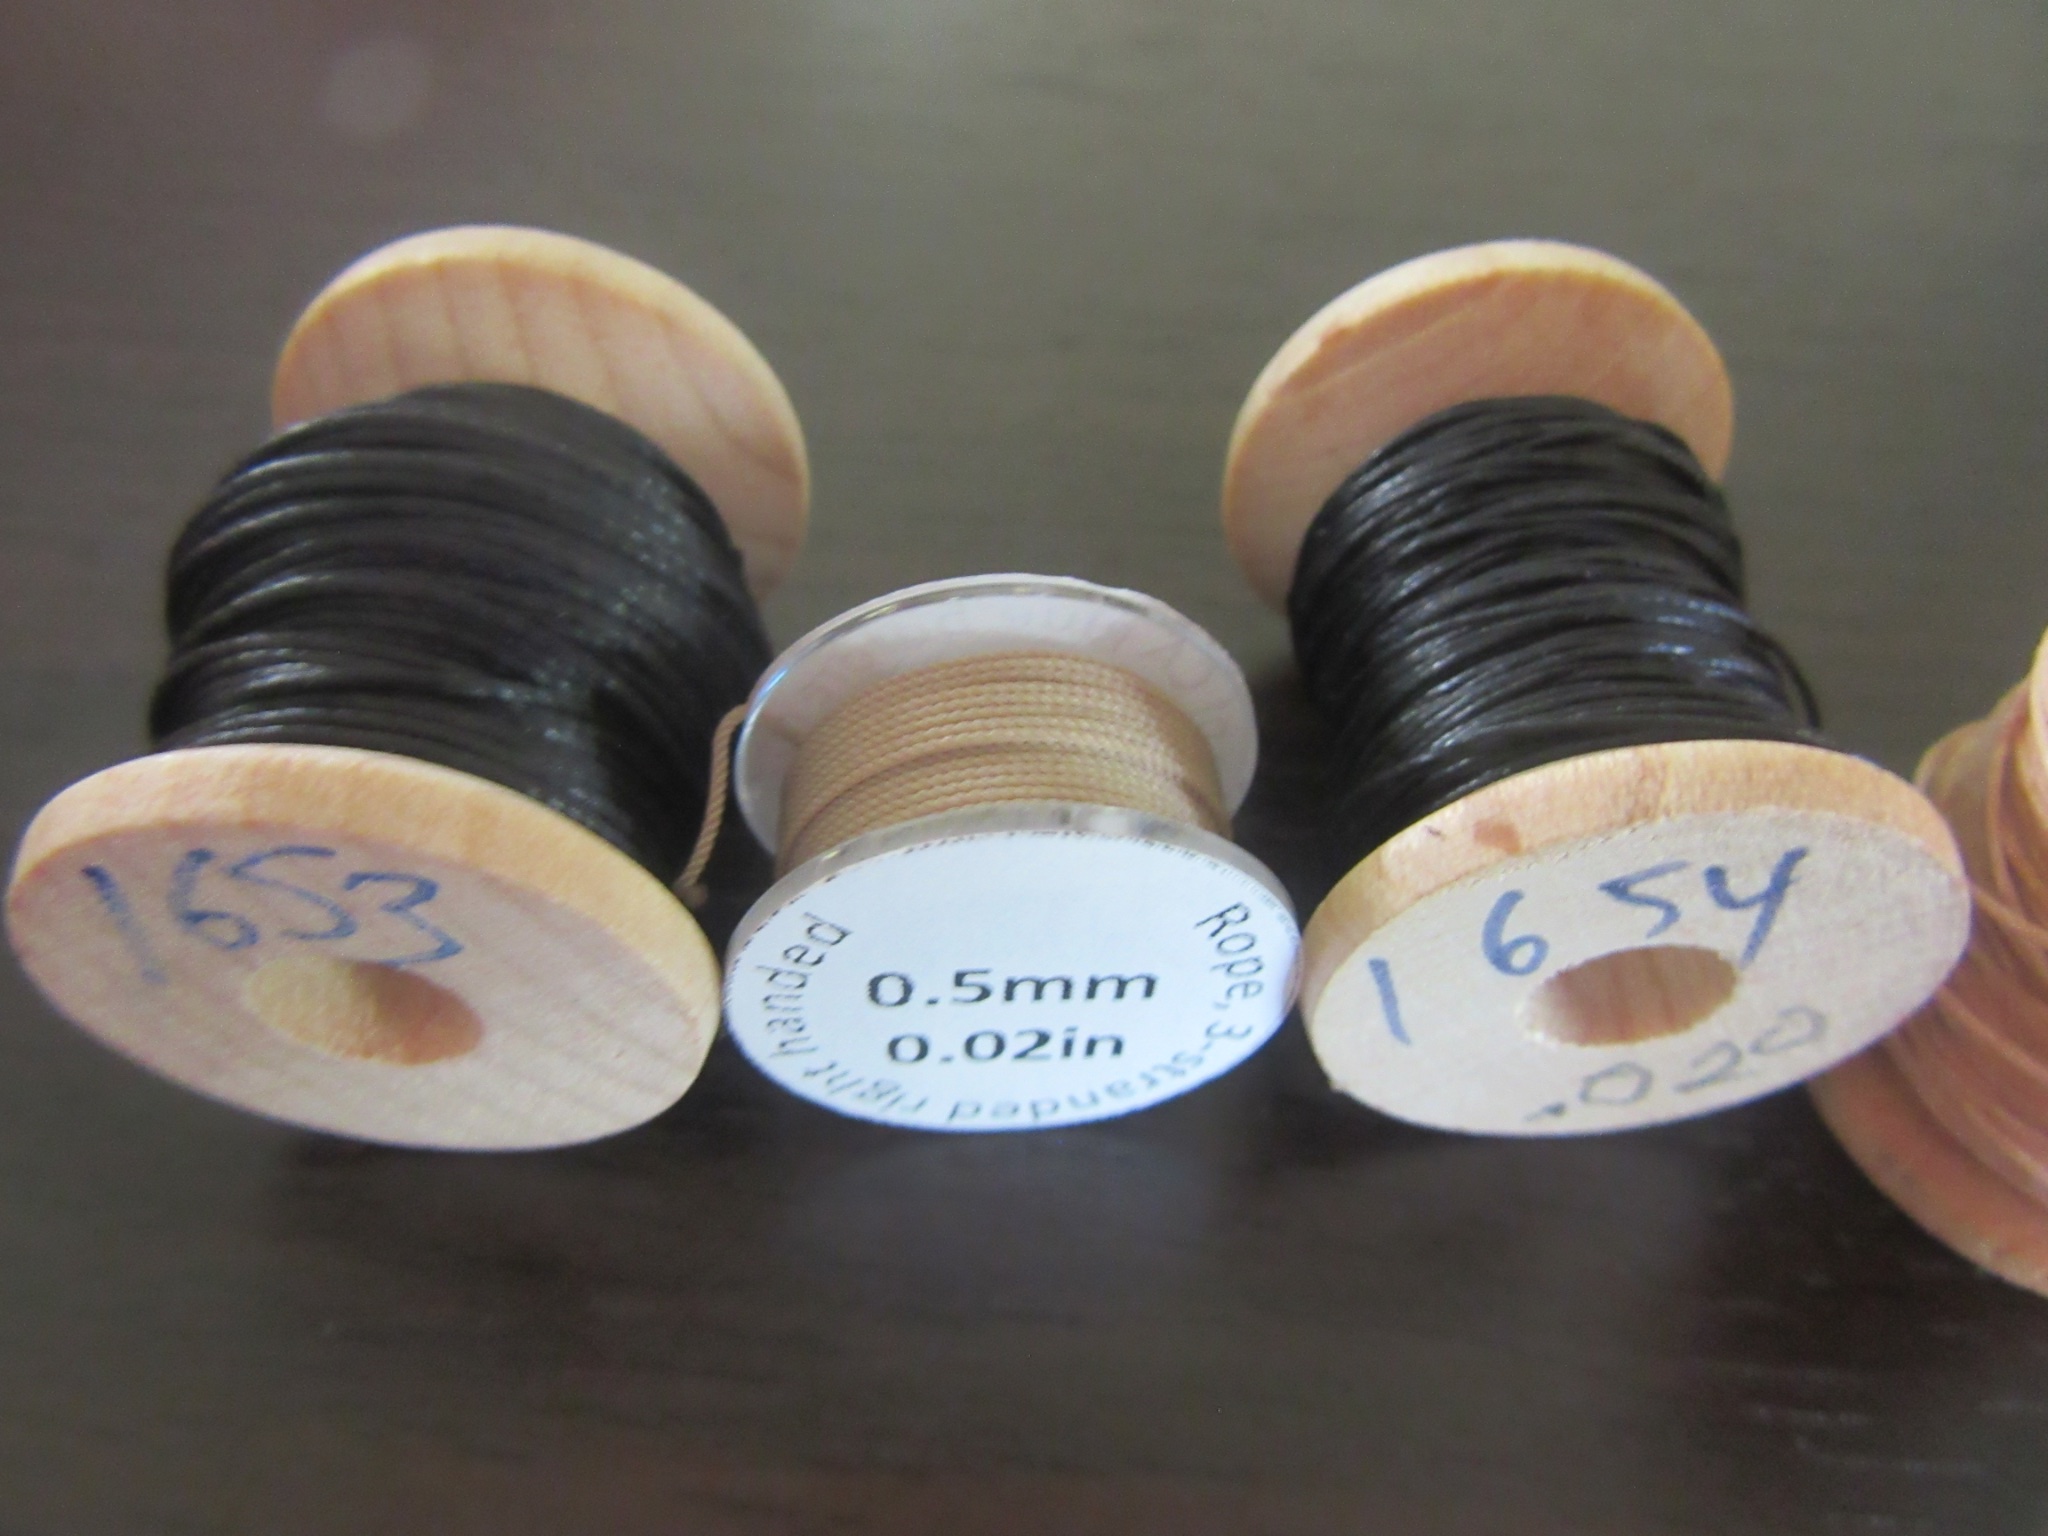
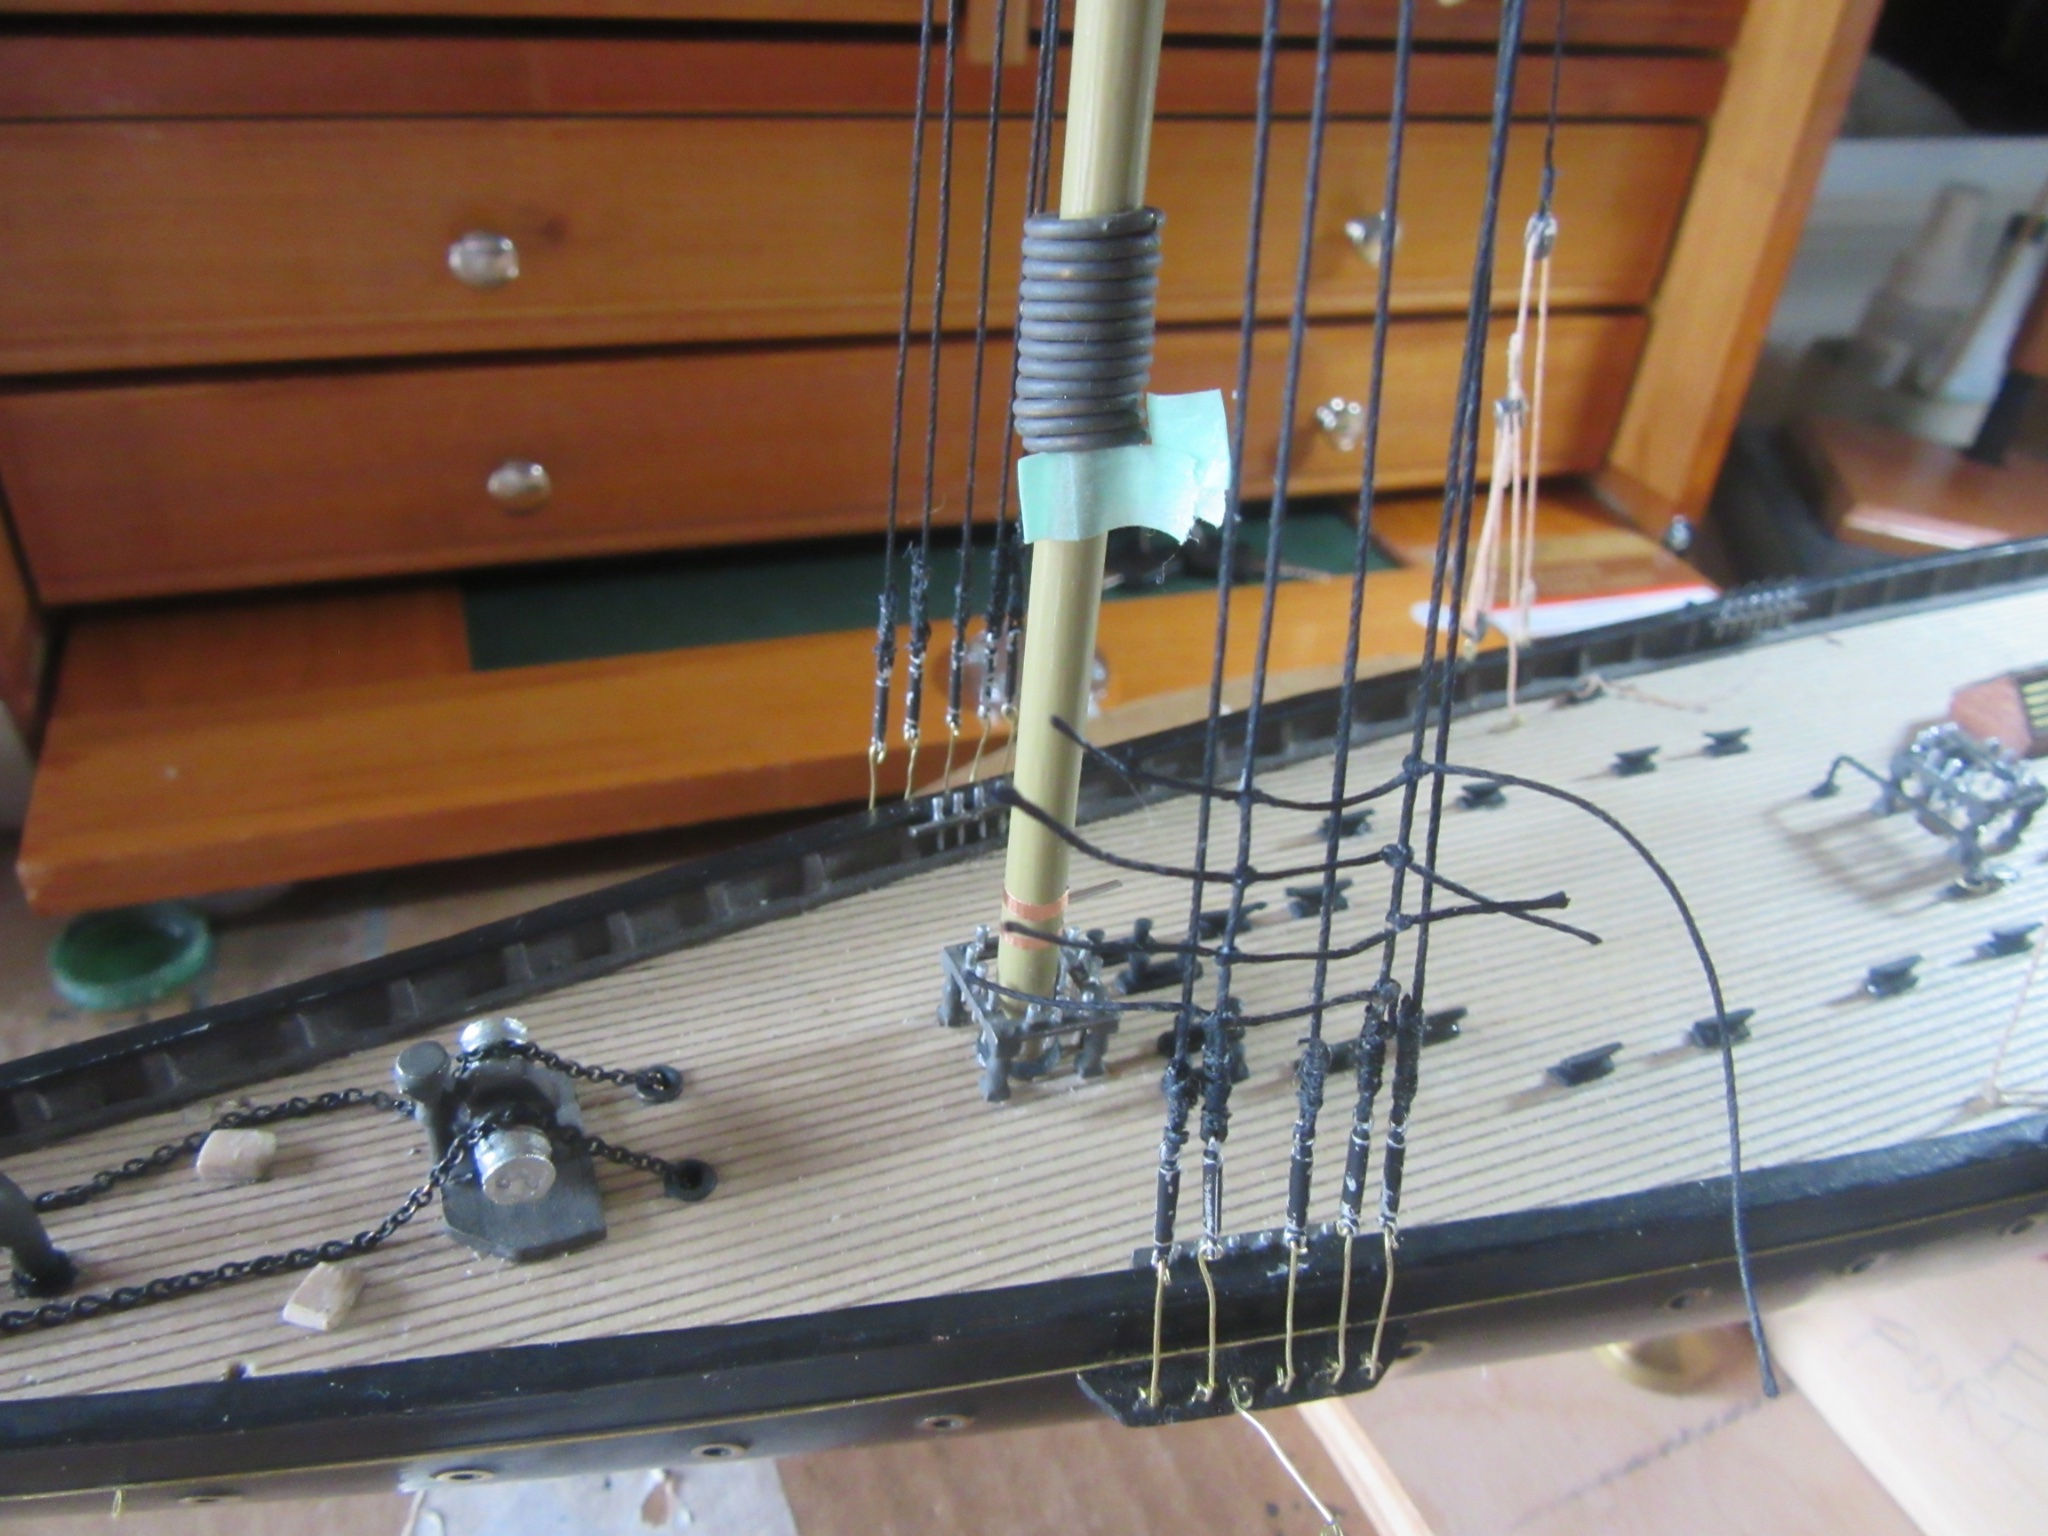
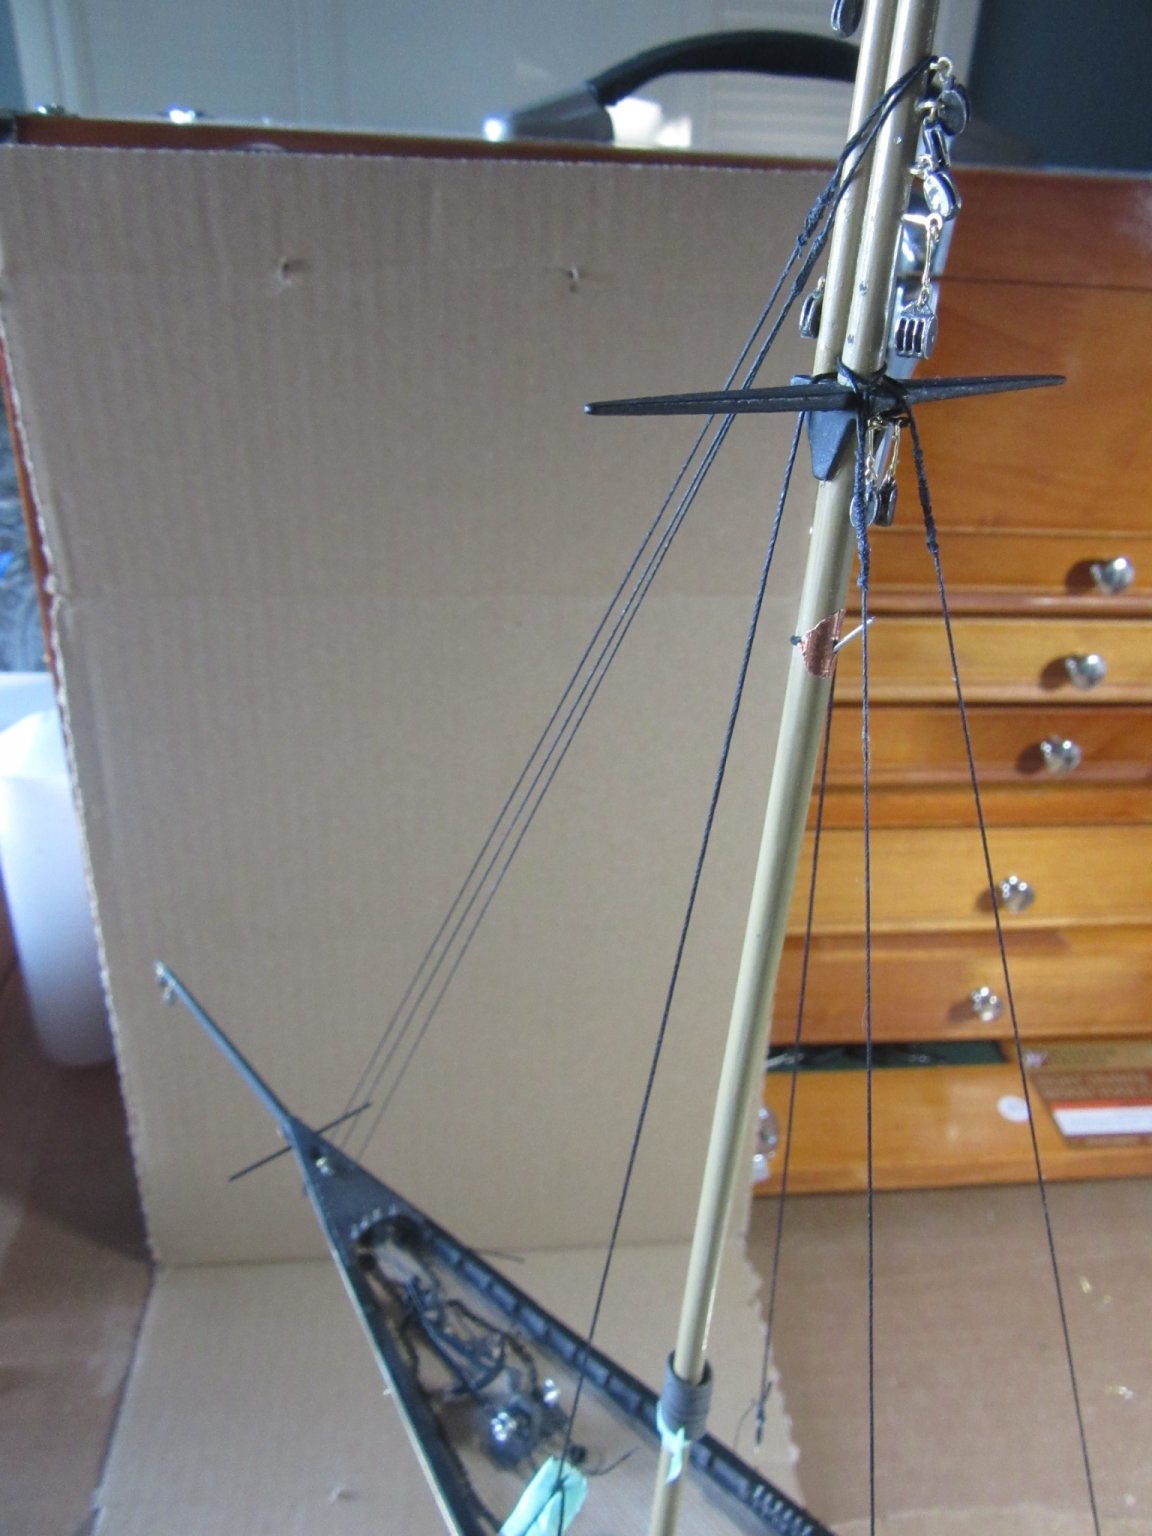
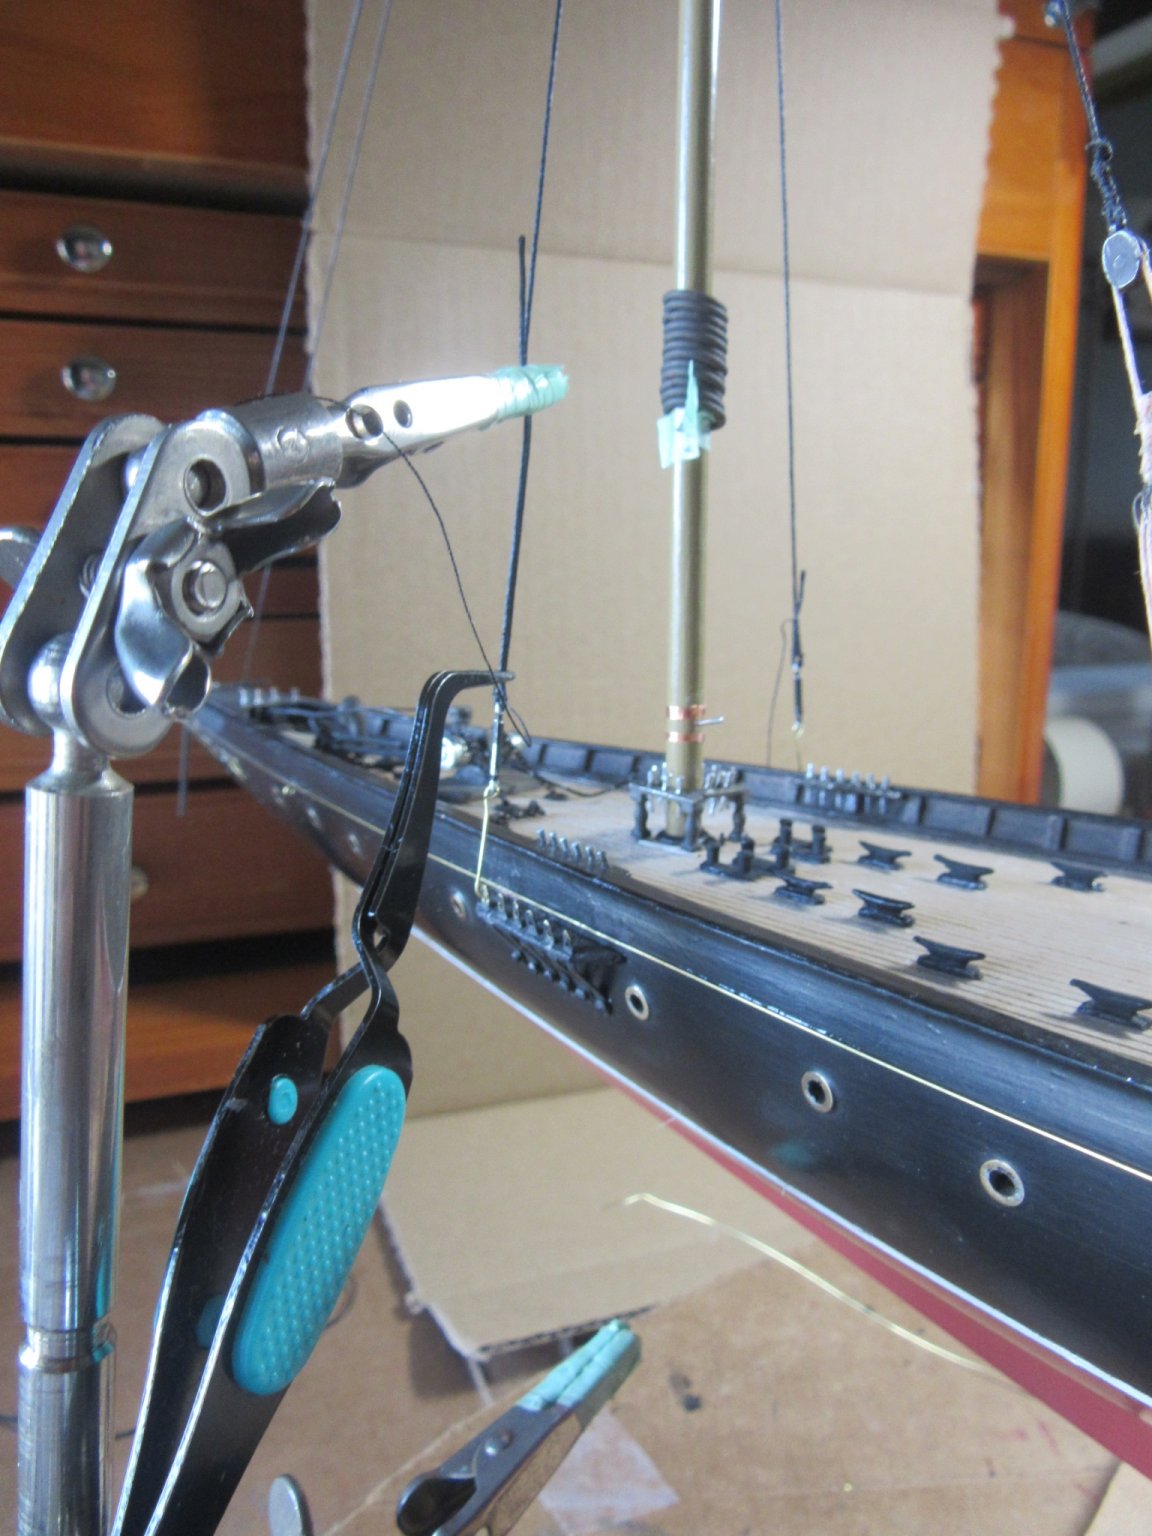
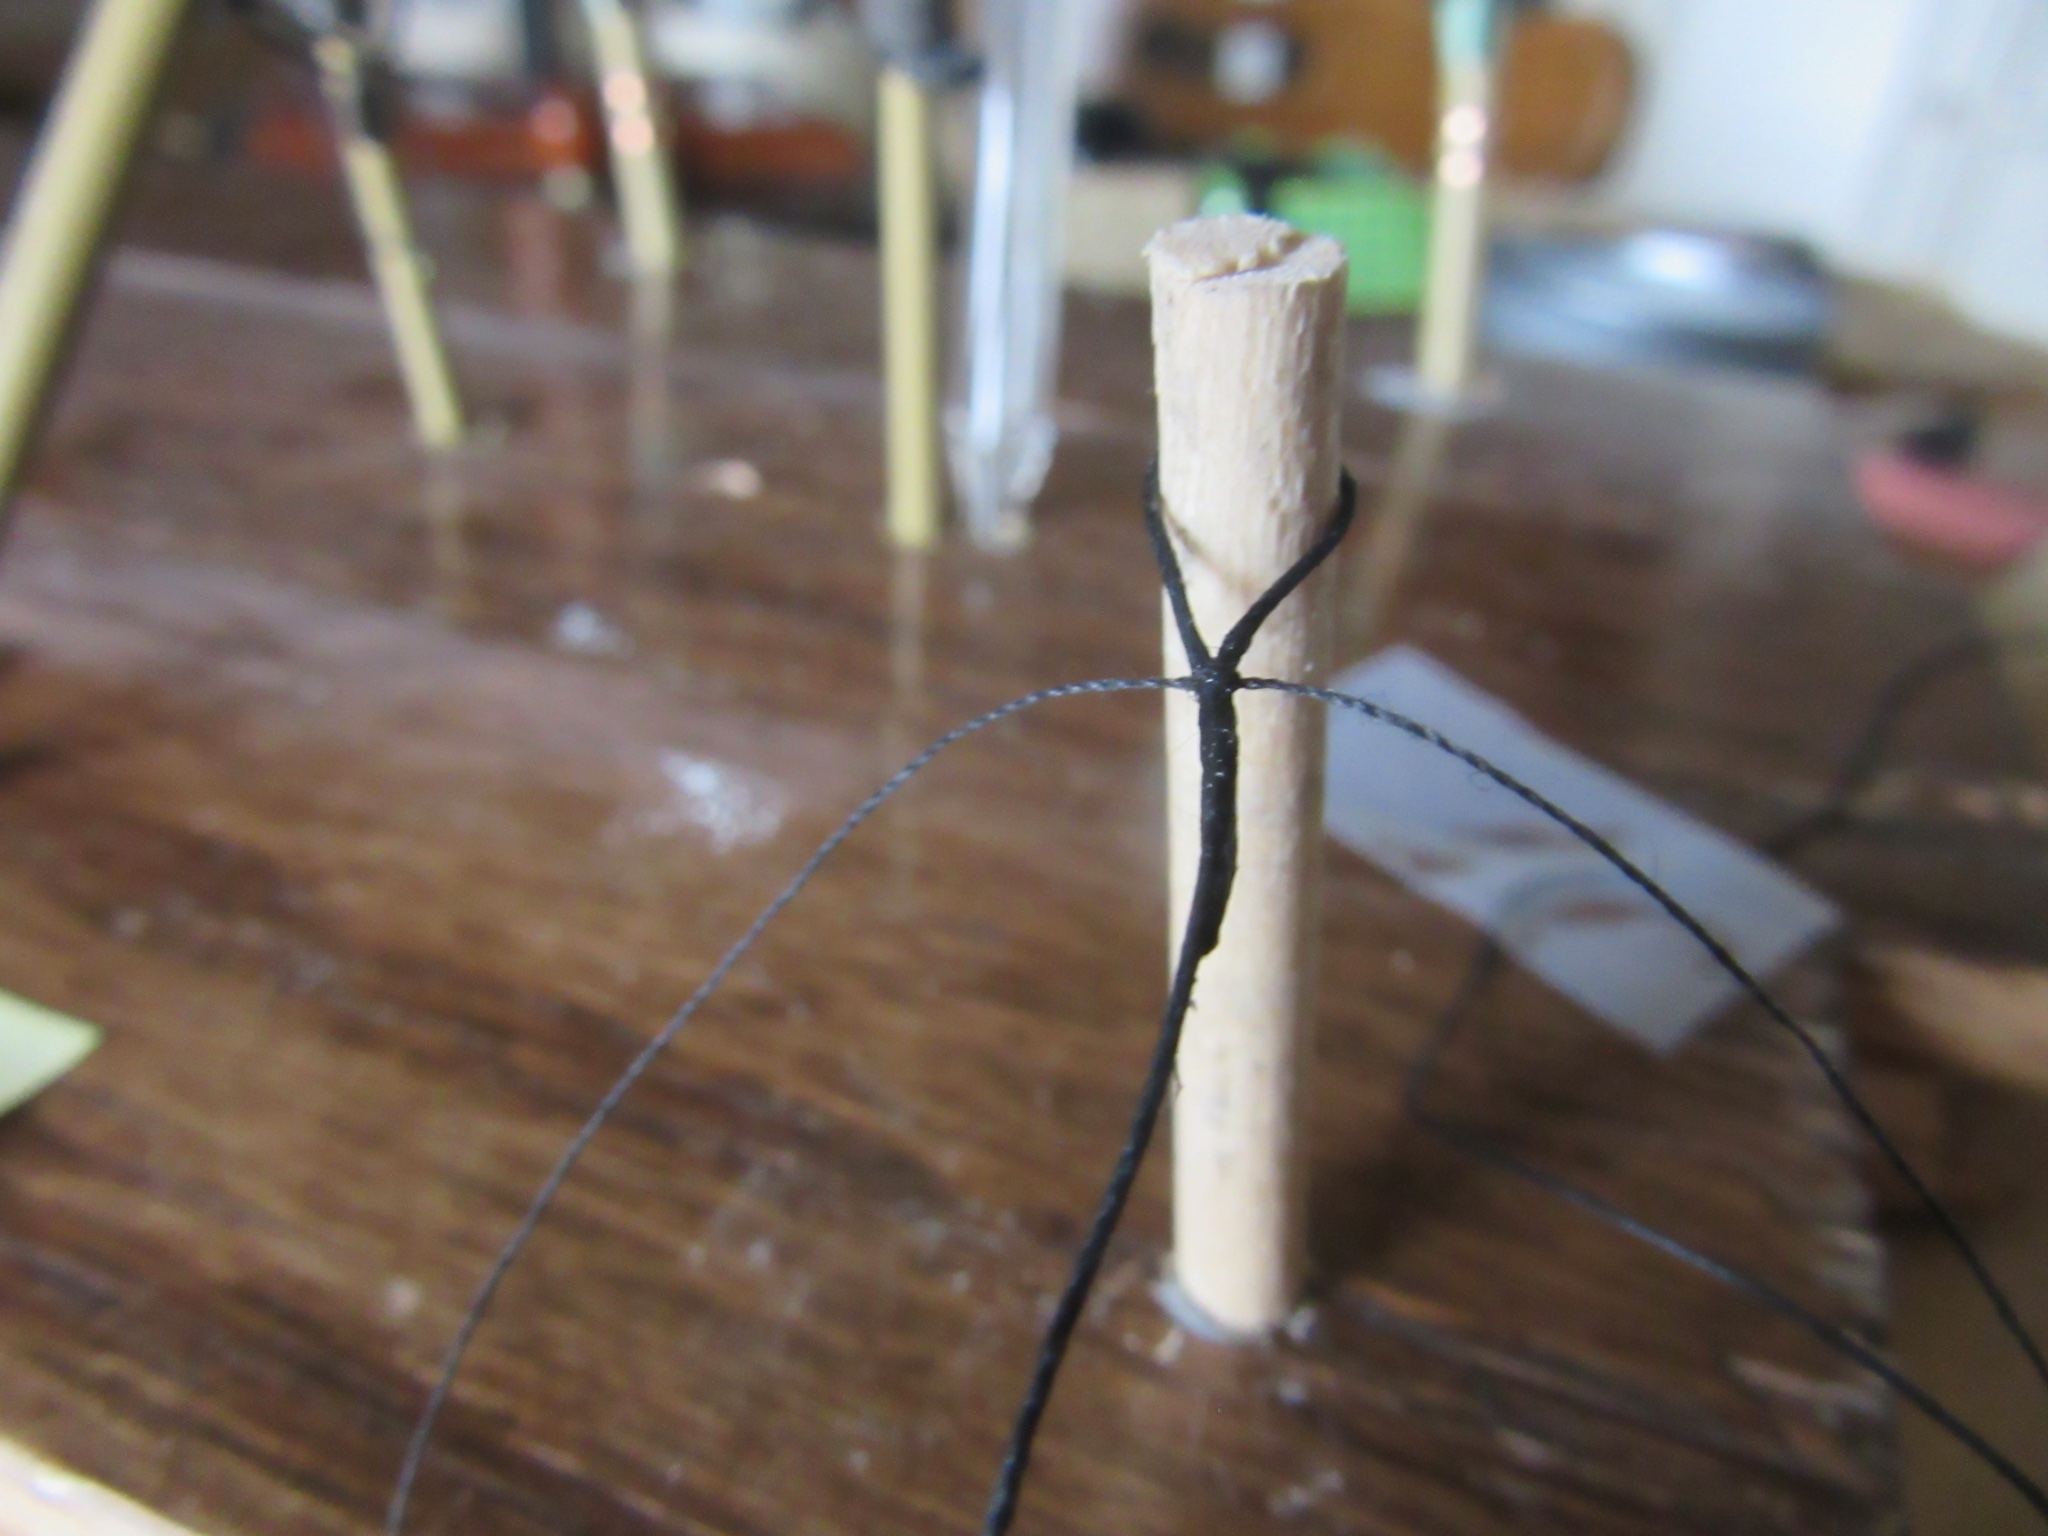
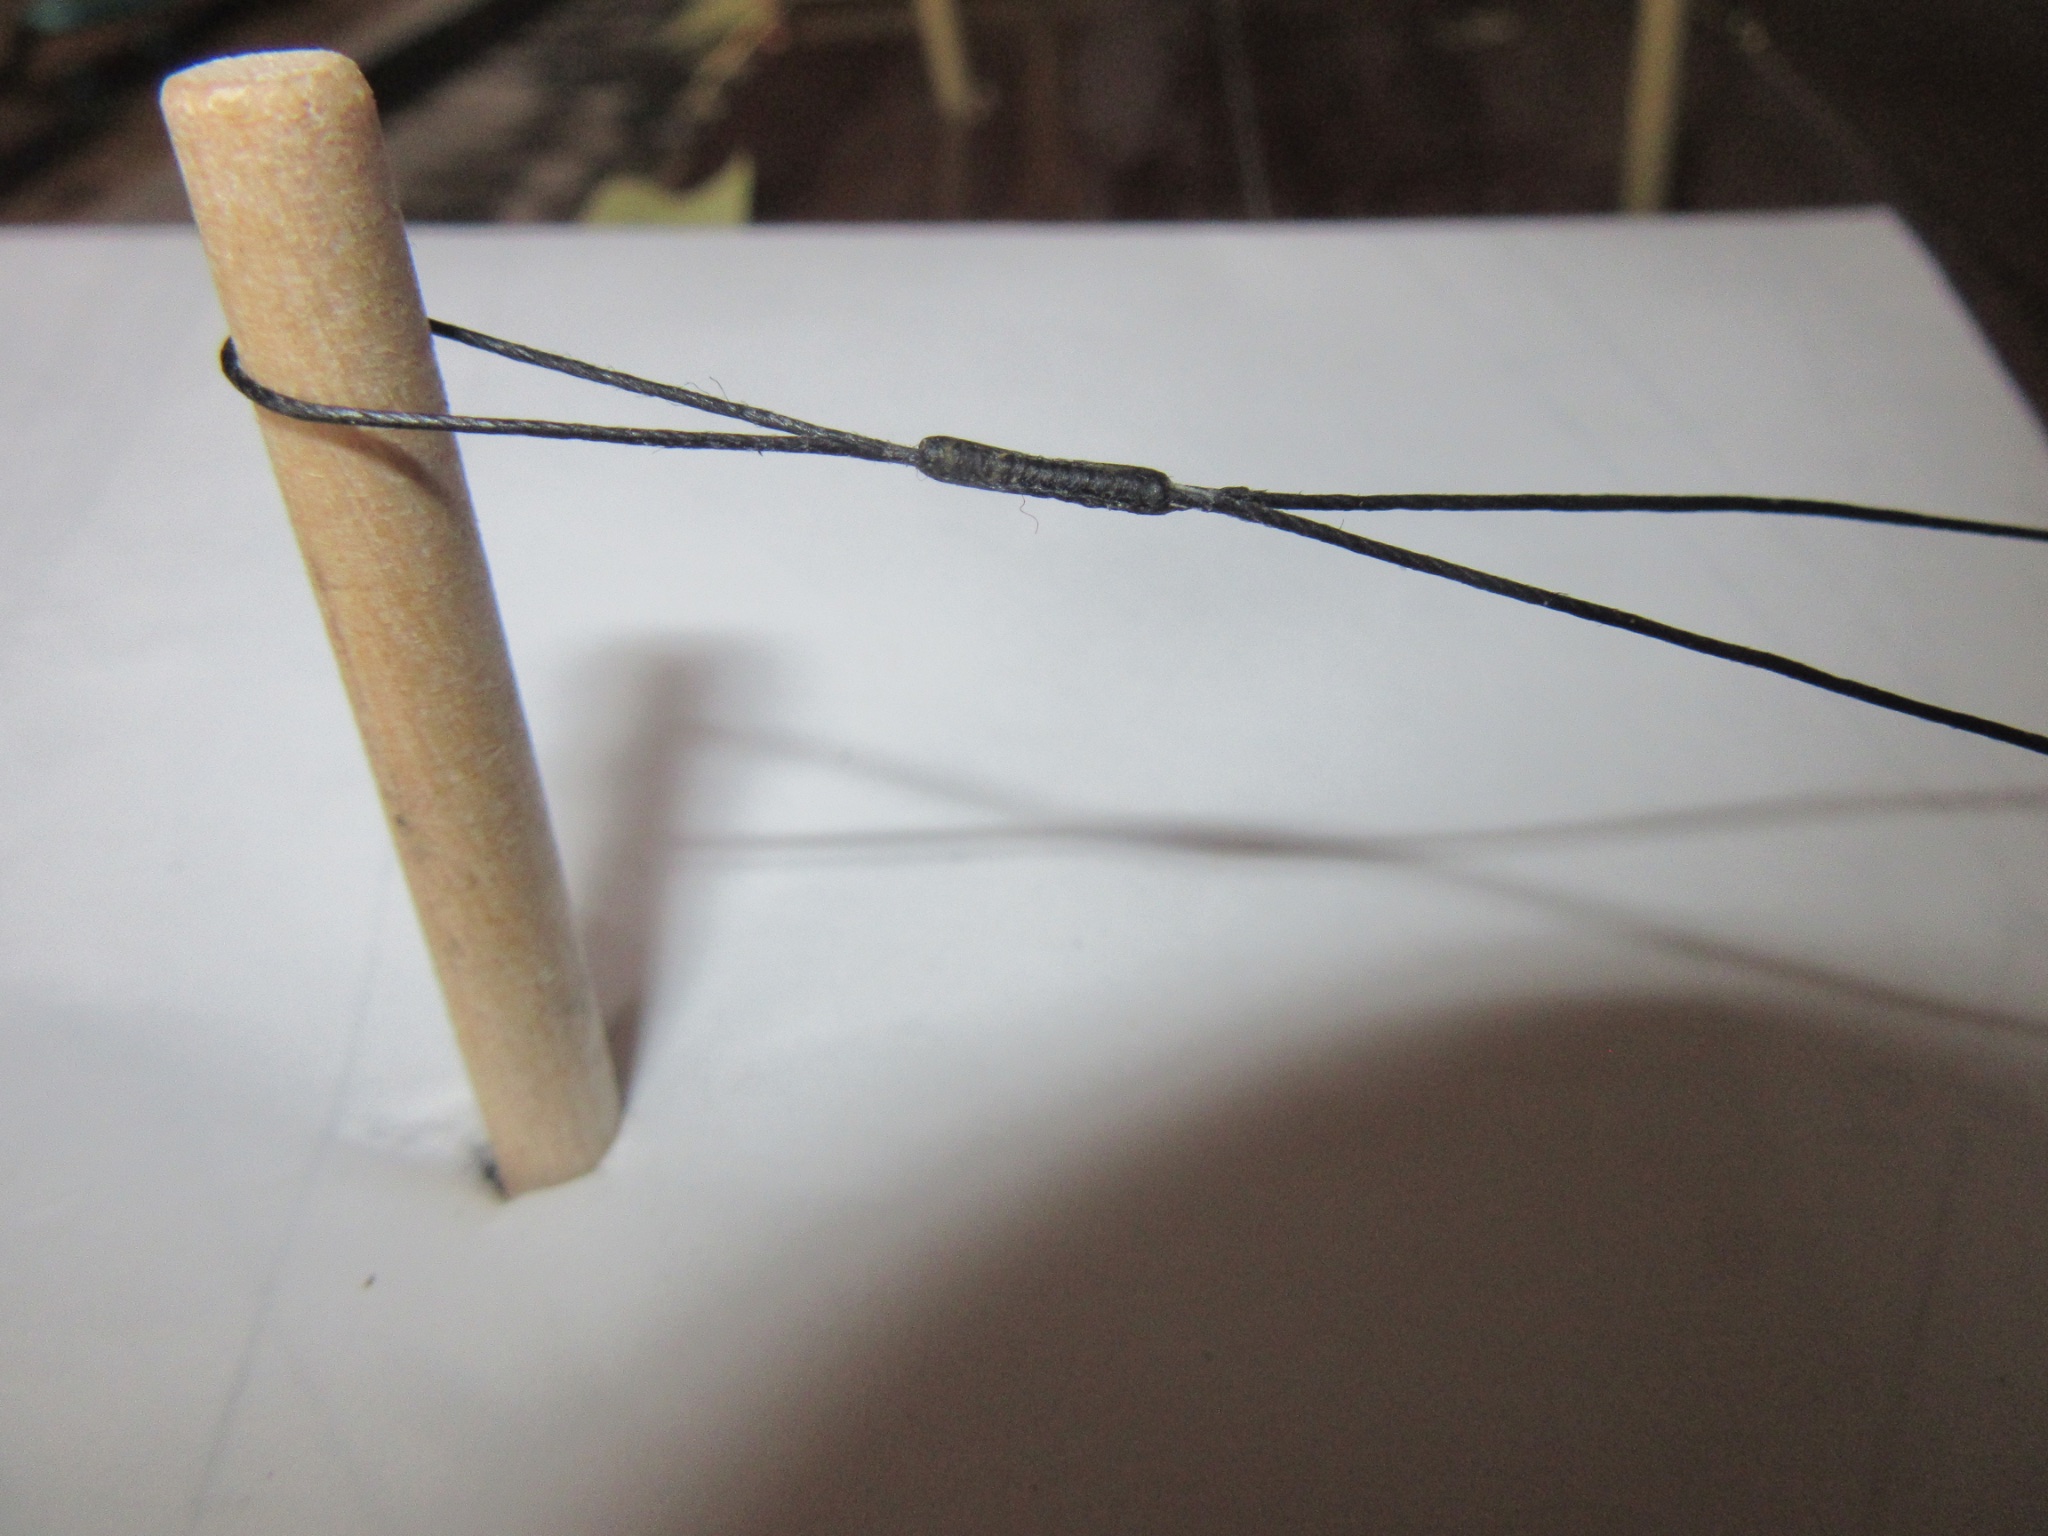
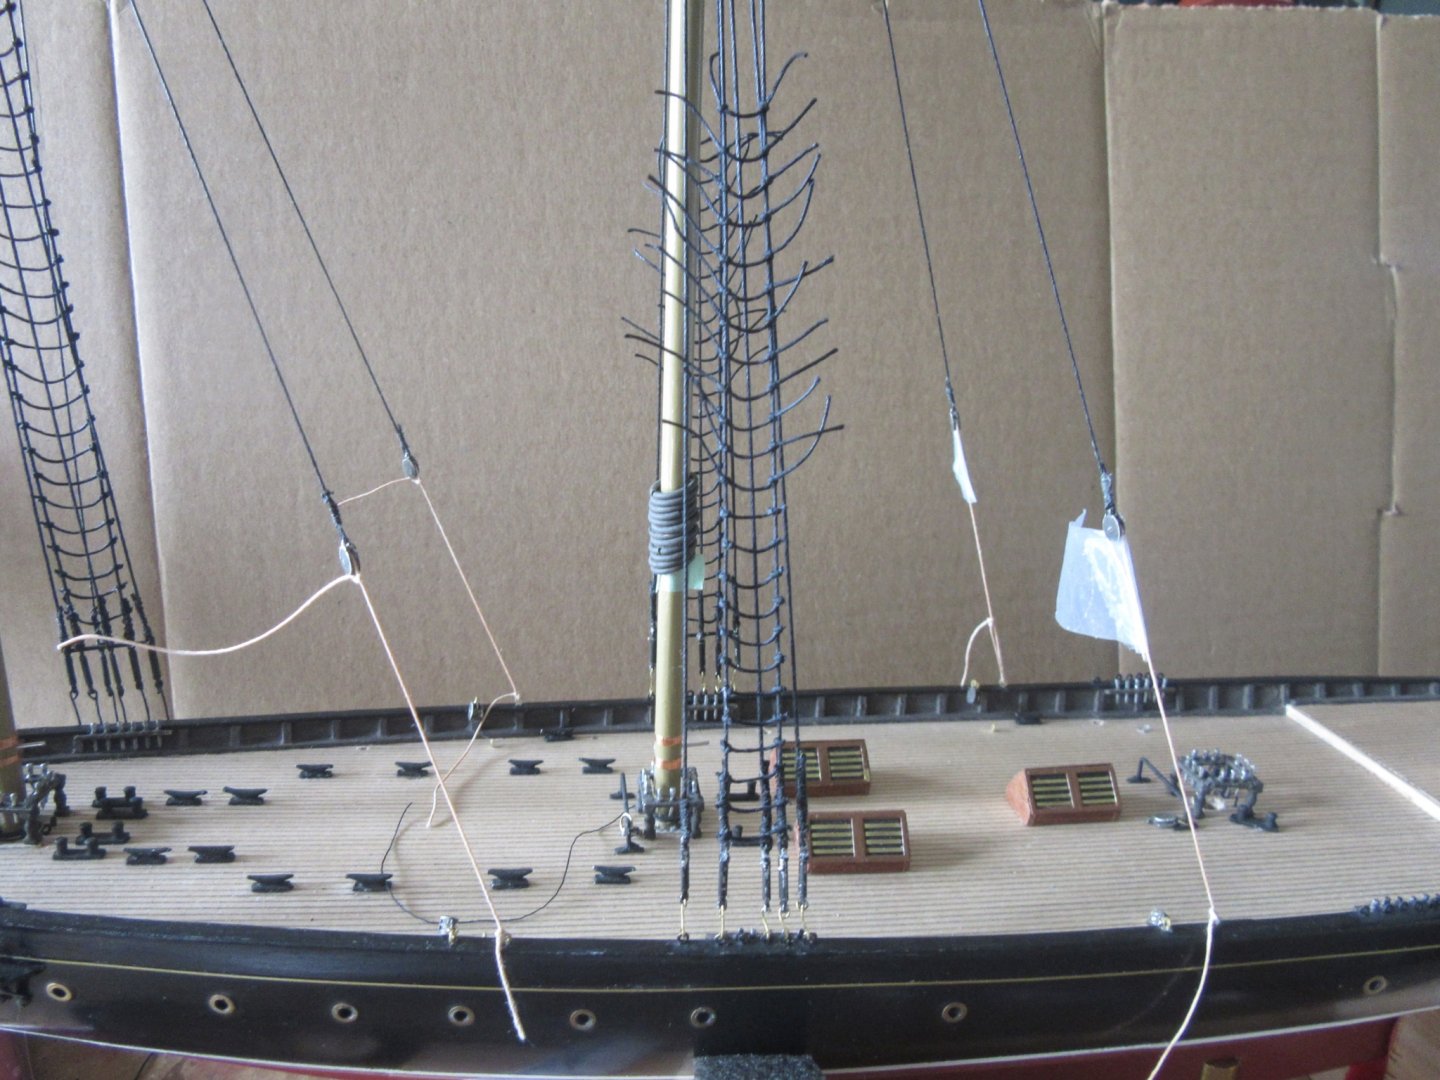
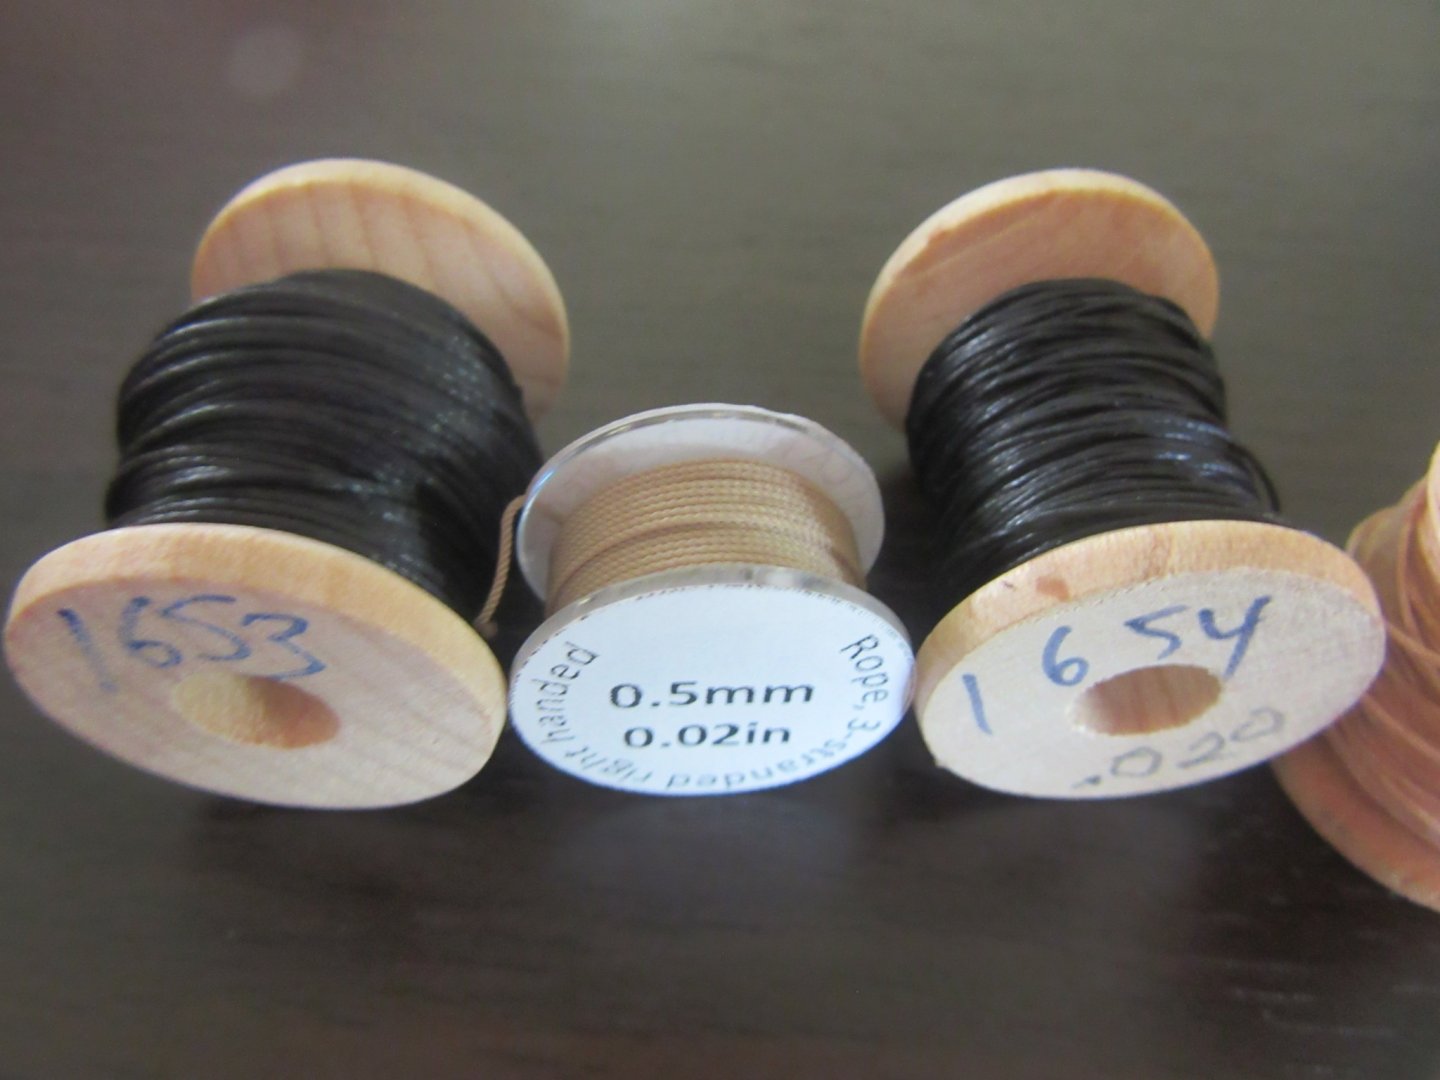
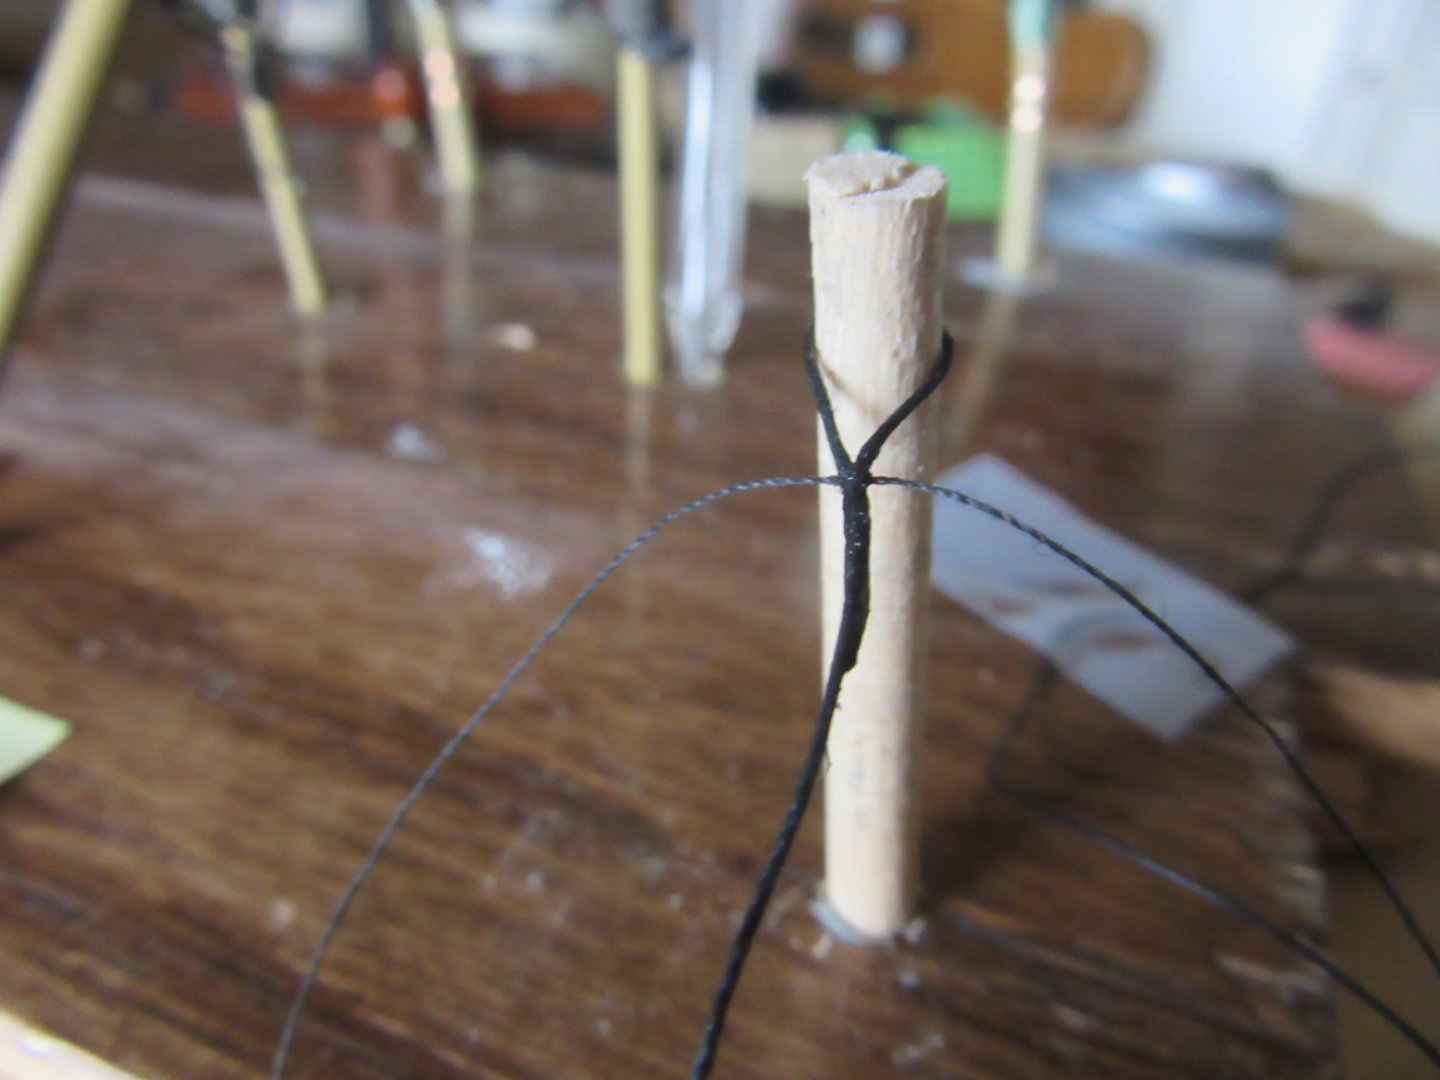
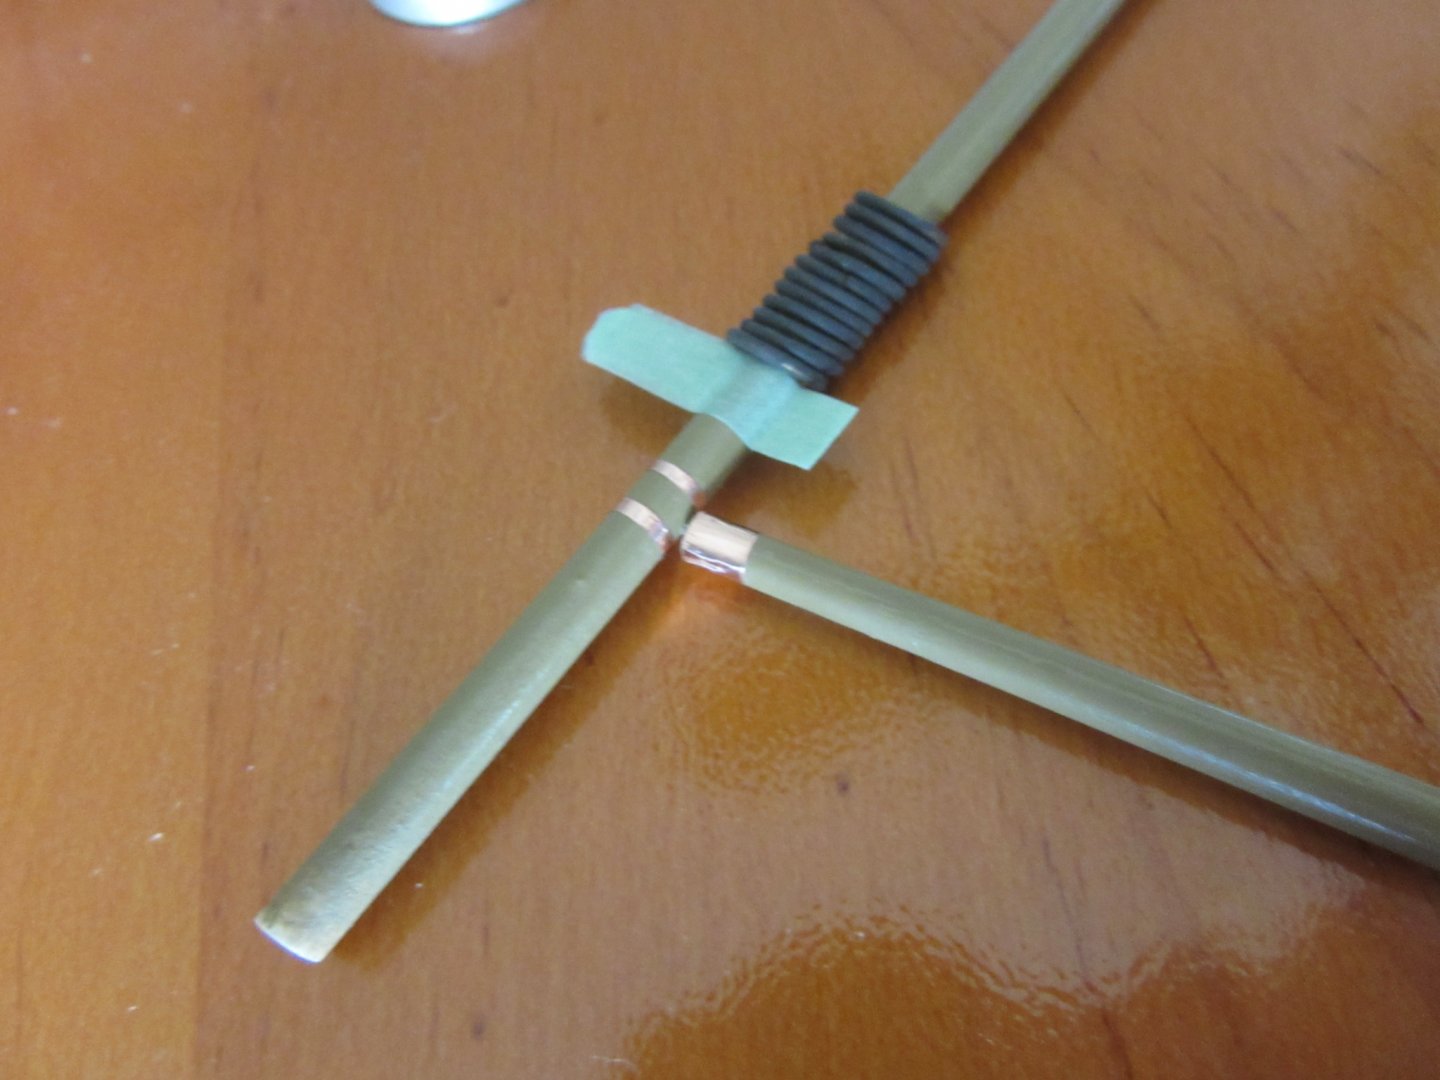
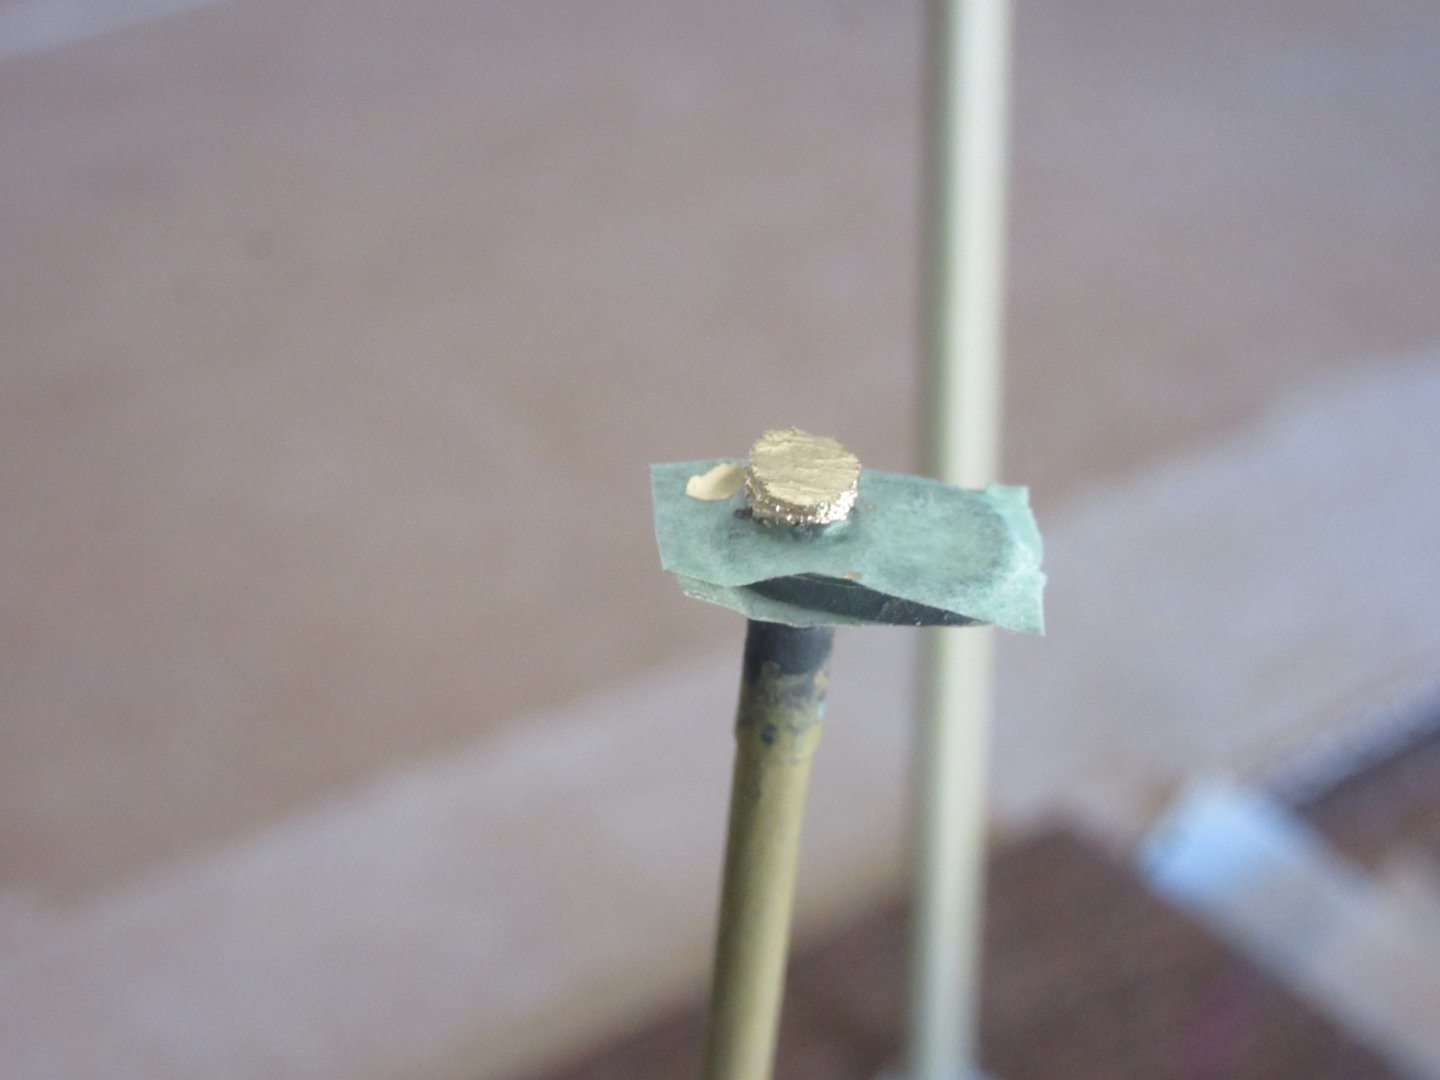
The ratlines are at their half way point of completion so I thought of augmenting this basic build log with a few details about the methods and materials used for the standing rigging. The first photo is the rigging of the top spring stays belayed between the fore and main mast. I know somewhere on the site there are detailed instructions on serving all different rigging situations and I have found some to be helpful but in some things like these spring stays I improvised. In the top photo note the alligator clip hanging off the serving thread (at bottom of photo with green tape covering jaws). It puts tension on it to eliminate the birds nest that resulted each time I tried to tie it off. At this point white glue mix is used to bind the top spring stay serving abaft the foremast and will easily then be tied off when it drys. The second photo is of the finished spring stays. The third photo is of the temporary backstay running rigging (tan colored line) that provides tension to the masts so they can be loosened to make working room when Atlantic's entire running rigging is later reeved and belayed. The permanent backstay running rigging itself will then be reeved and belayed when the standing rigging on all three masts is completed. The bottom photo are the three types of line to be rigged on Atlantic. The left spool is 100% cotton .025 dia. black thread. It is basically used for the shrouds. The middle spool is 100% polyester GutermannE121 tan thread, .020 dia. which is not supplied in the kit. It was ordered from a modeling craft supplier to substitute for the white line provided in the kit. I switched to this line because of my unsatisfactory results from staining the line tan (it came out with a reddish tint). It is used for all running tackle, downhauls, halliards and sheets. The 3rd spool from the left is 100% cotton .020 dia. black thread. It is used for stays, pendants and ratlines. All line types are 3-strand right handed rope. Lord willing, and if the Creek don't rise, all Atlantic's ratlines should be completed in my next post by Memorial Day.

-
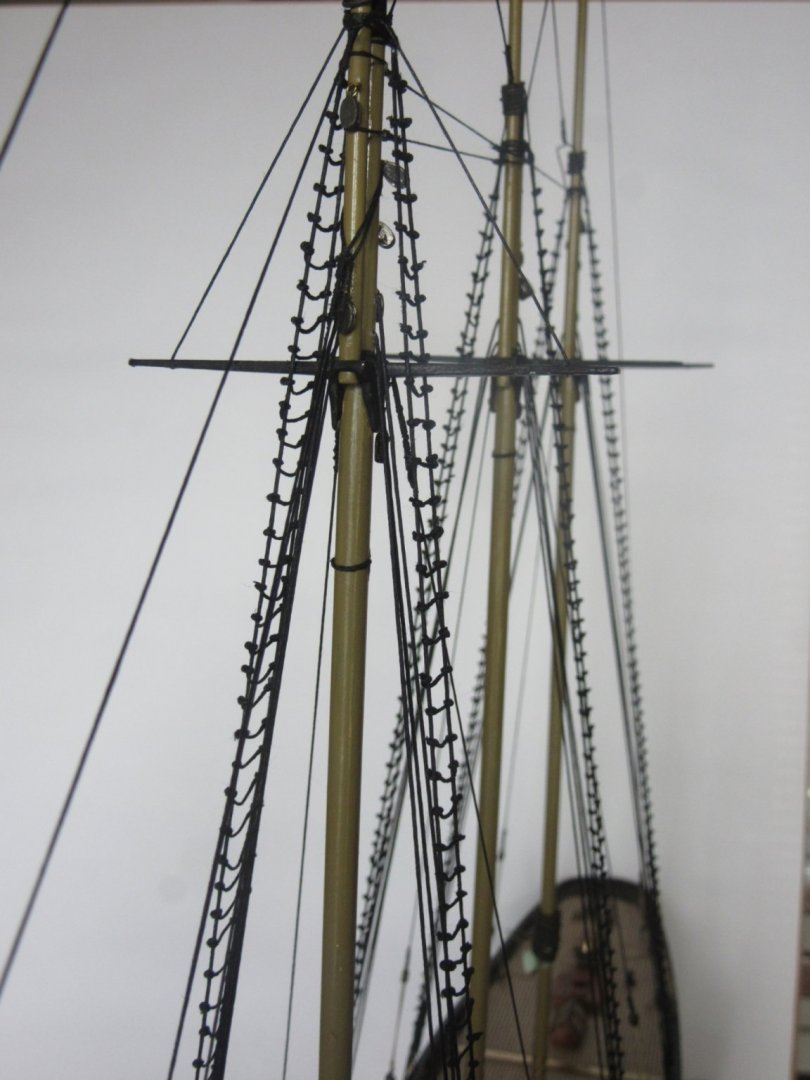
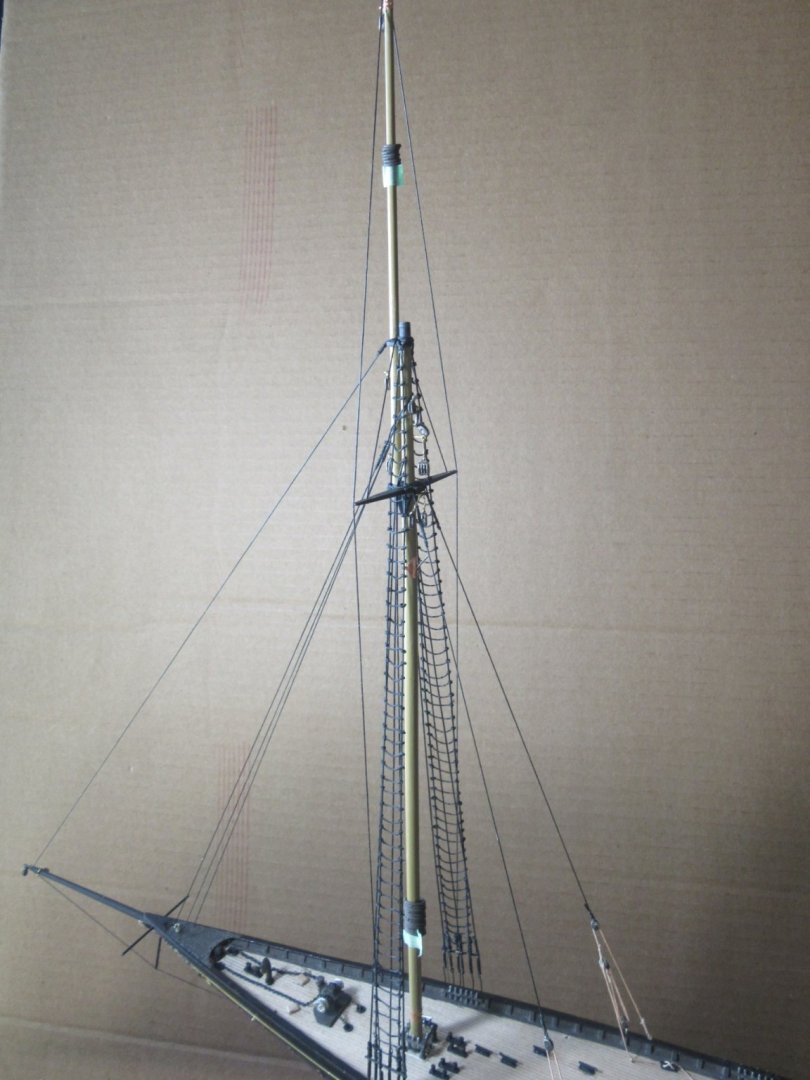
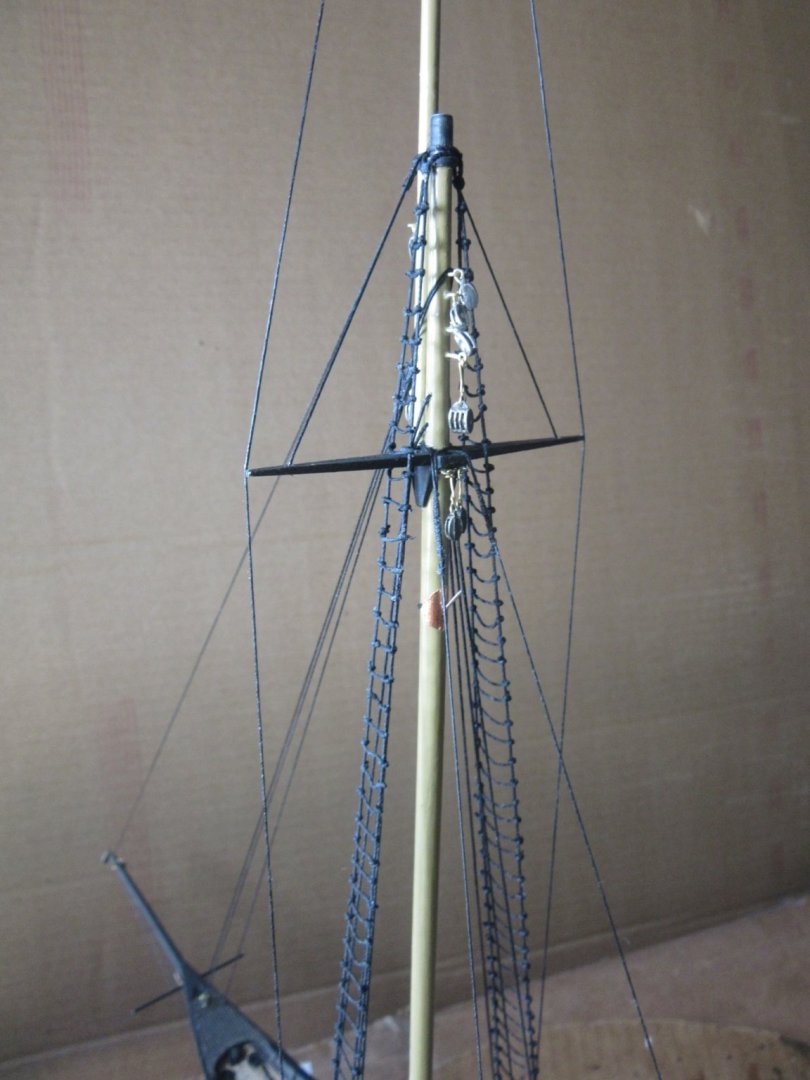
The ratlines have all been made fast to the foremast shrouds and the final pair of shrouds have been rigged to the spreaders ends, up and around the top of the masthead along with a pair of jumper shrouds from the mast cap out to the ends of the spreaders. Shear poles have been fastened to the top ends of the turnbuckles with CA glue and have been painted along with the chainplates and wire rods connecting them. This completes the standing rigging for the foremast. The main and mizzen mast are to be rigged in a similar fashion minus the jib and forestays naturally.
-
With 5 of the 6 pairs of shrouds completed the next step is to tie in the ratlines to them. Spaced 3/16" apart they should factor out to 106 ratlines for the entire foremast when completed.

-
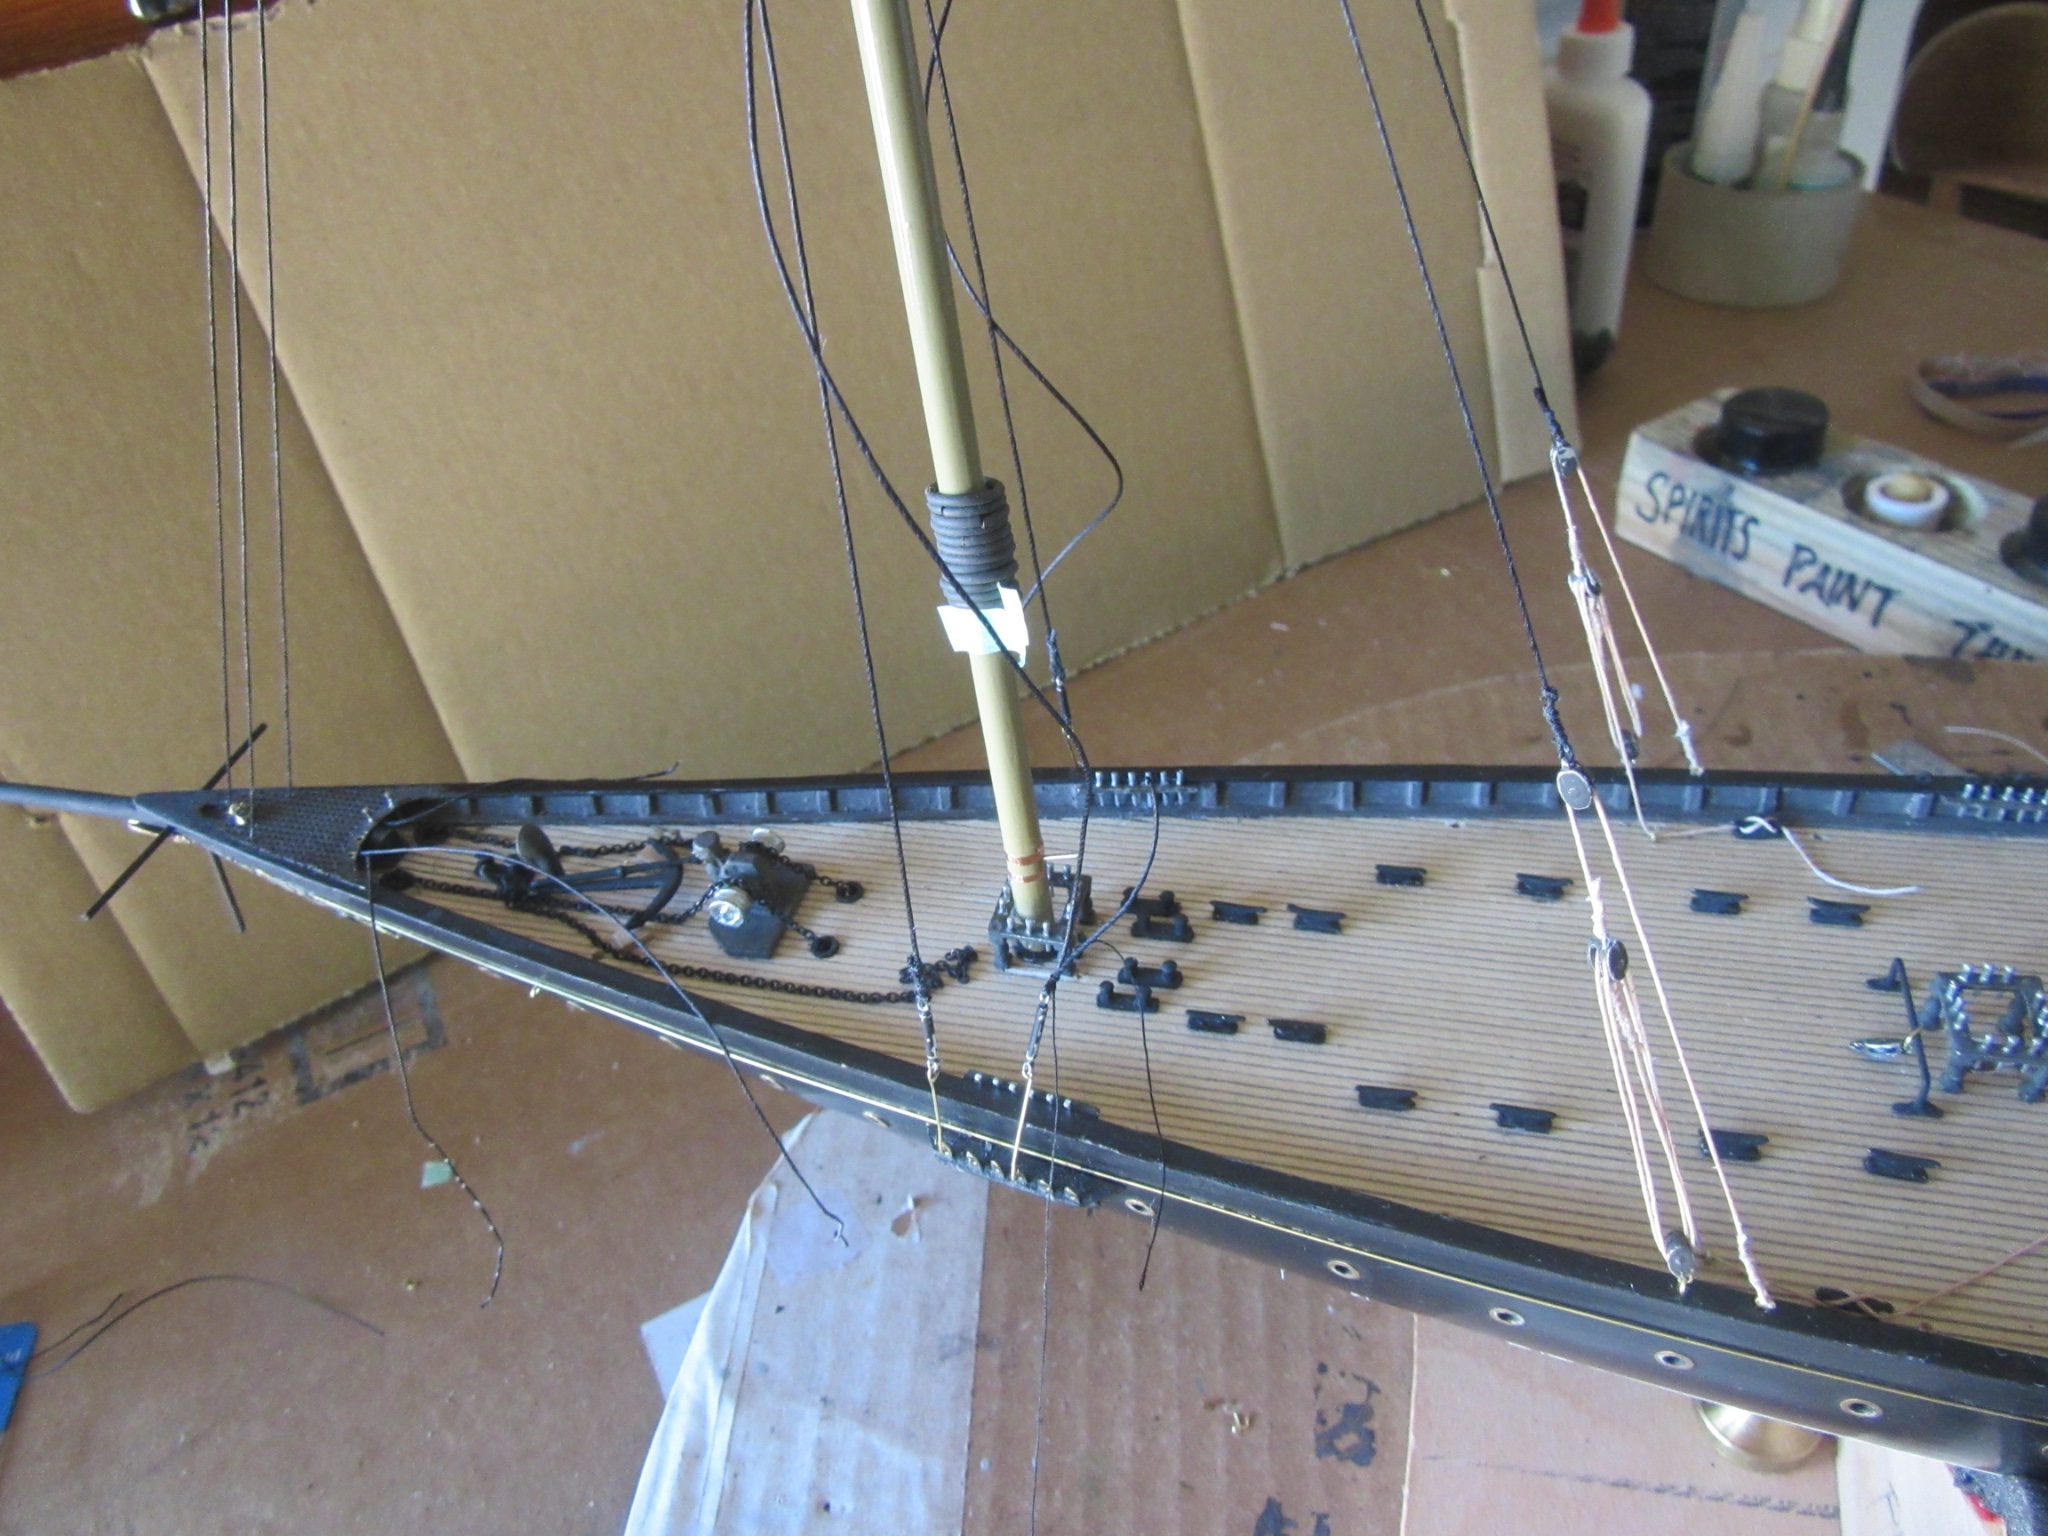
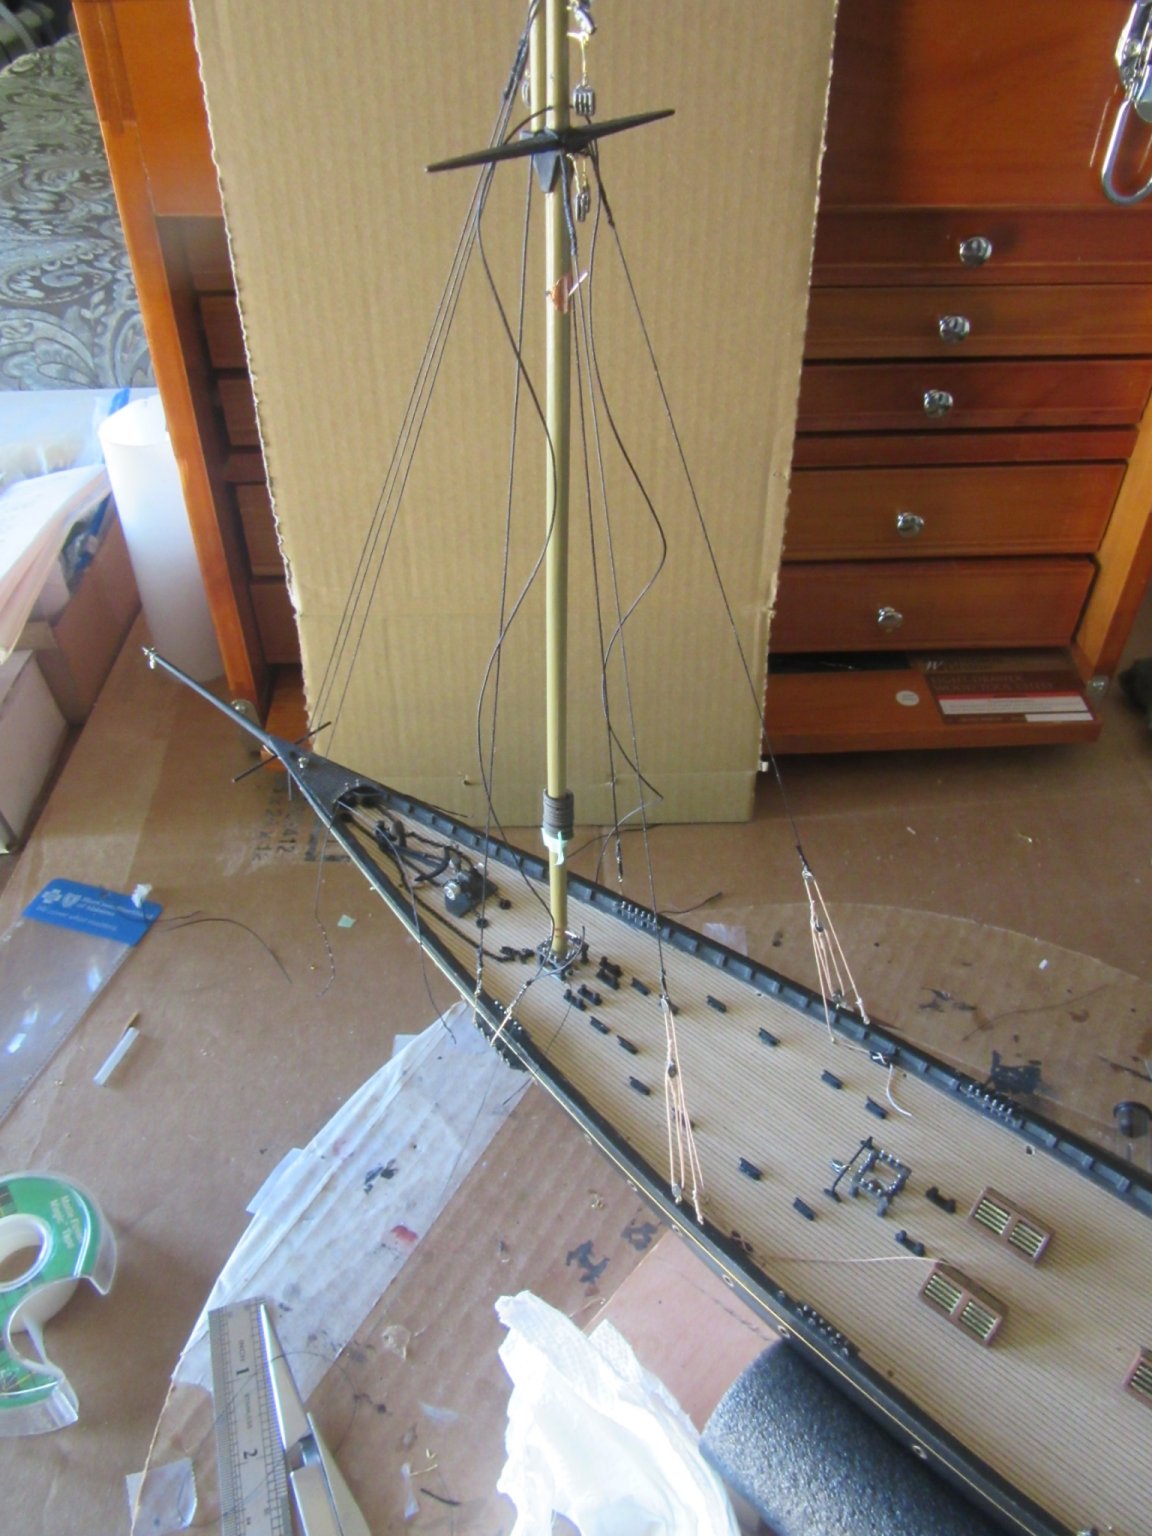
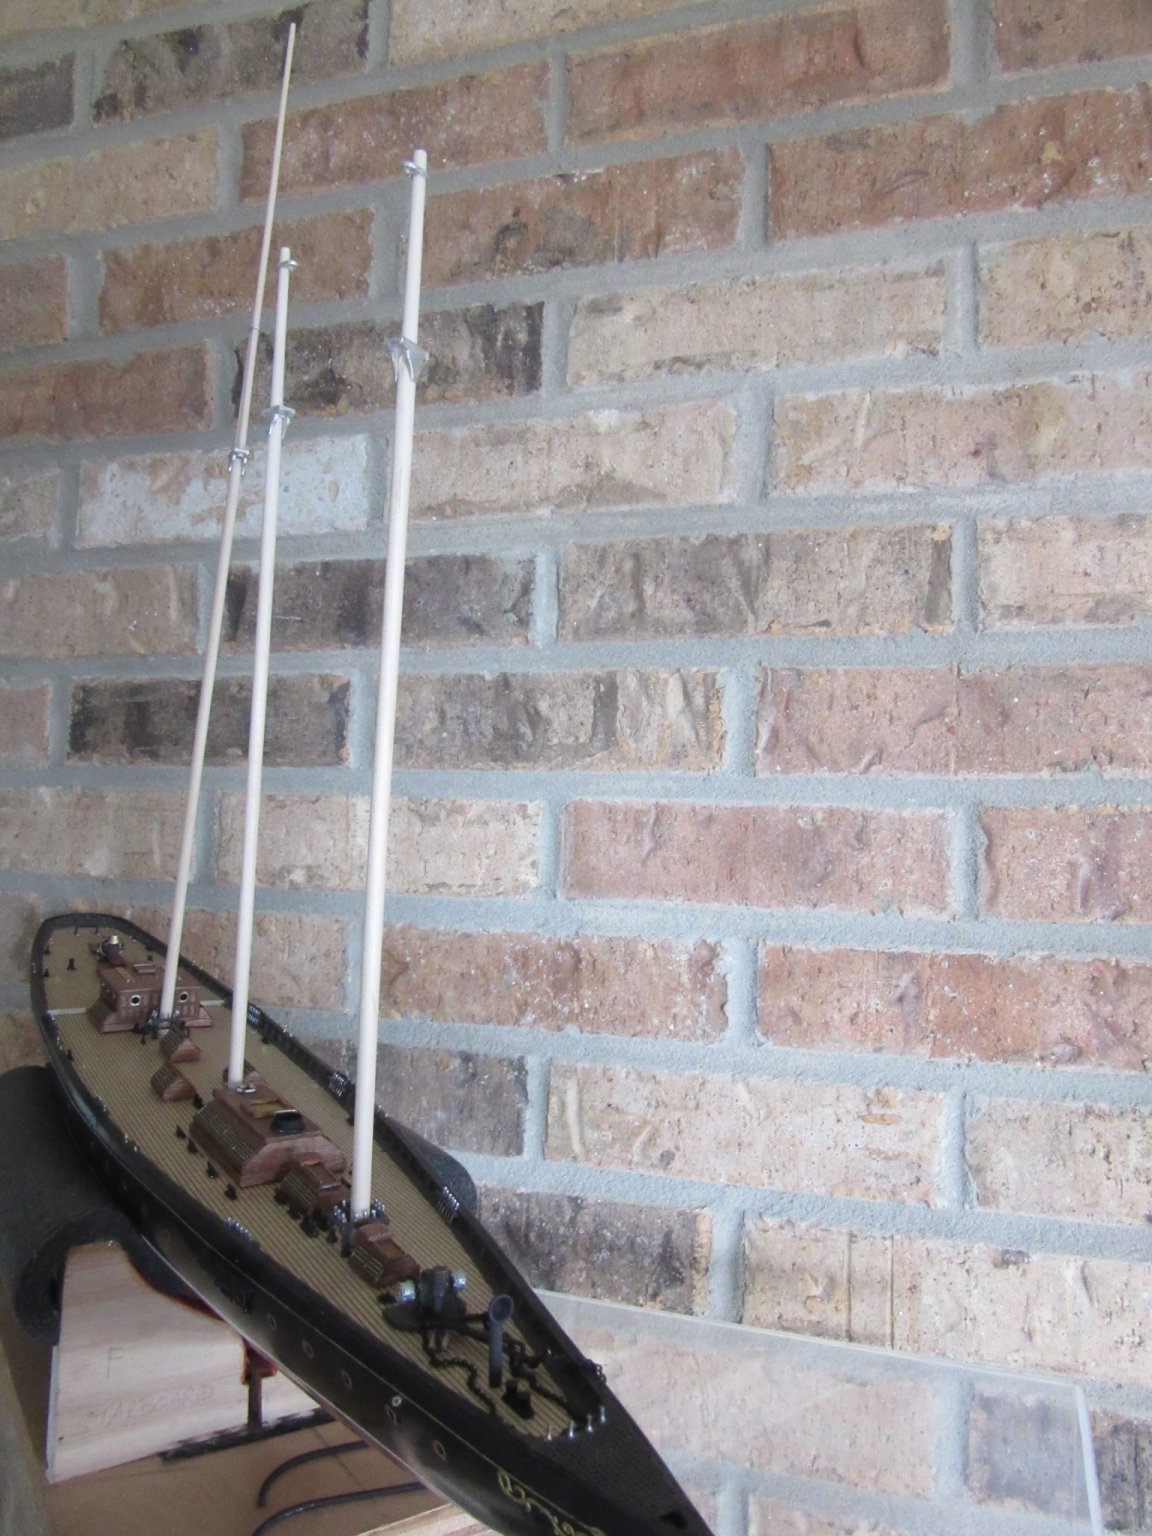
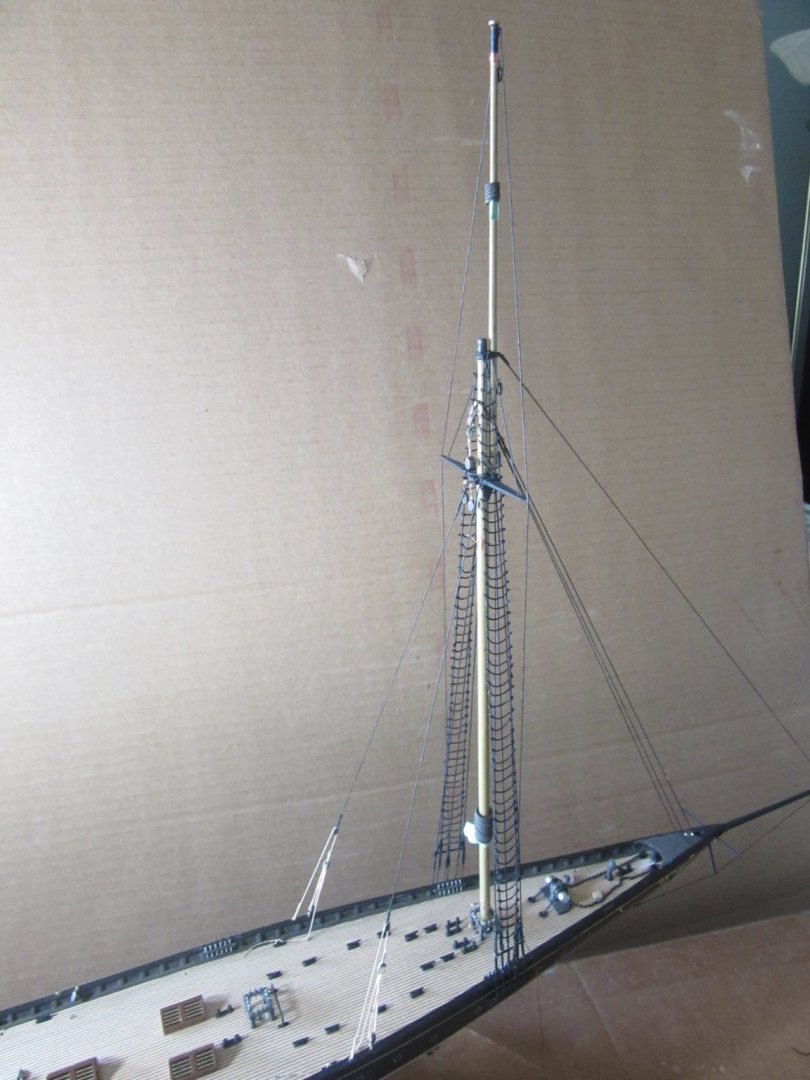
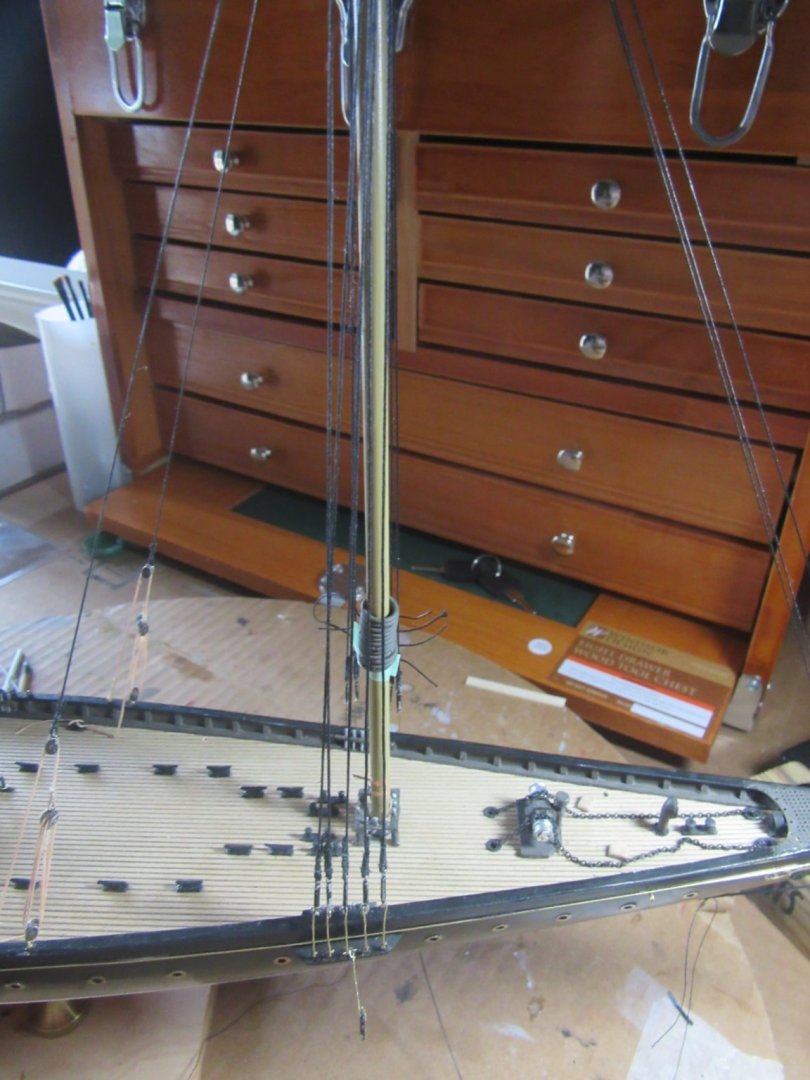
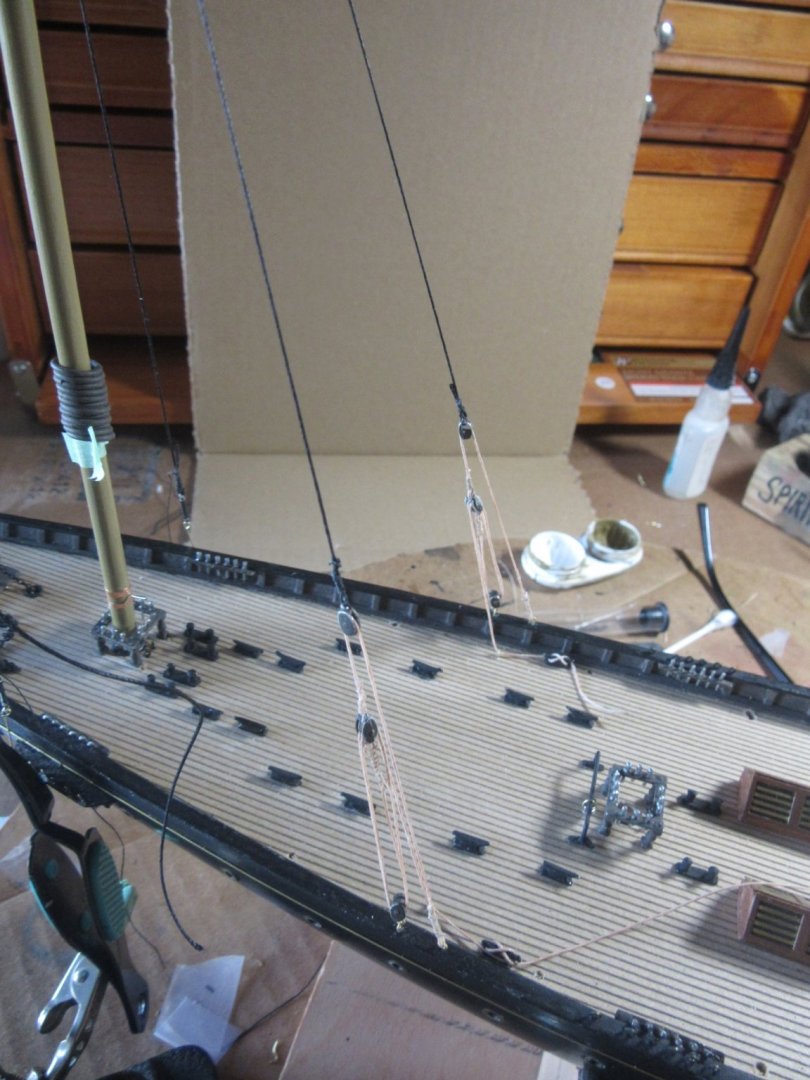
Making progress with the foremast. Backstays and running tackle has been reeved and belayed on deck cleats (top photo). Both the double and single forestays have been made fast by belaying them under the bow grate ( 2nd photo). And the forward most shrouds are made taut and served to their turnbuckles which are wired to the chainplates. (3rd photo). With the foremast now stepped, minus the remaining 5 pairs of shrouds yet to be rigged, I've been profiling the mast rake ( about 1.5 degrees abaft ) against the sail plan throughout the masting process.


-
The blocks arrived this past week and were served onto the backstay runner pendants, then reeved with the running rigging lines through double becket blocks port and starboard. The foremast has been fitted into its hole in the deck. As more lines are being served throughout the rigging, I'm trying to figure out a rule of thumb as to which lines are actually served and which ones can be knotted . I've been using bowlines for fastening the gaff block pendants as shown back in post #76 but I'm thinking off severing these knots and serving the pendants to the gaff eyes instead. The instruction booklet understandably does not delve into it. I prefer severed eyes instead of knots for appearances alone even if it takes longer to finish Atlantic. So it looks like I'm in for the long haul.

-
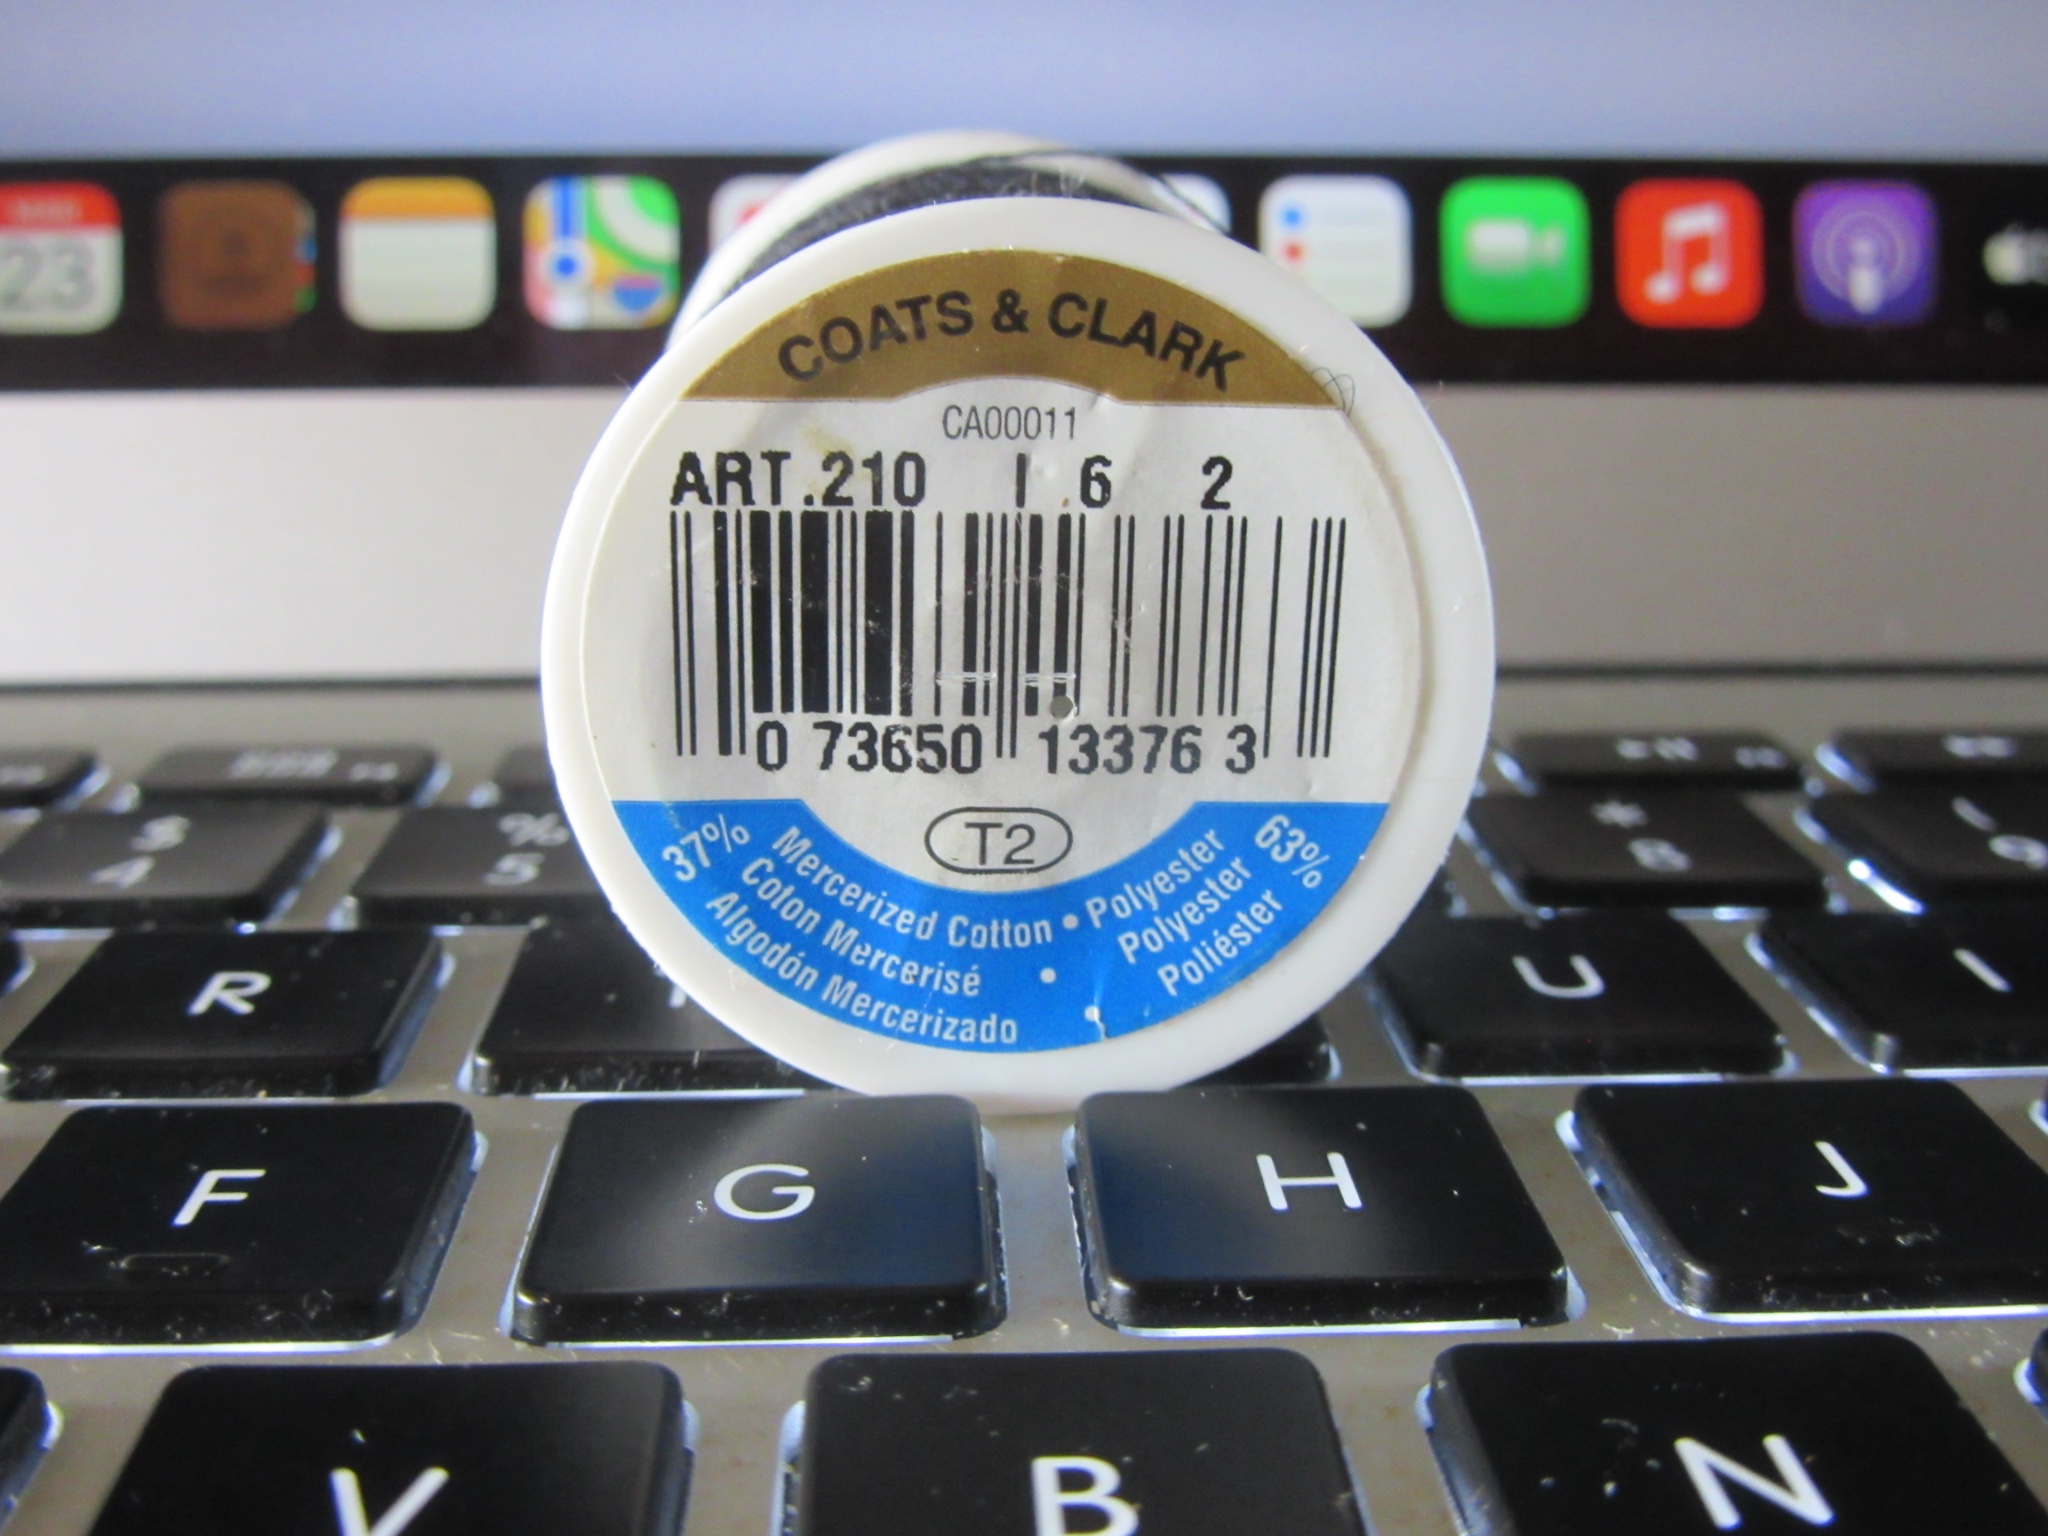
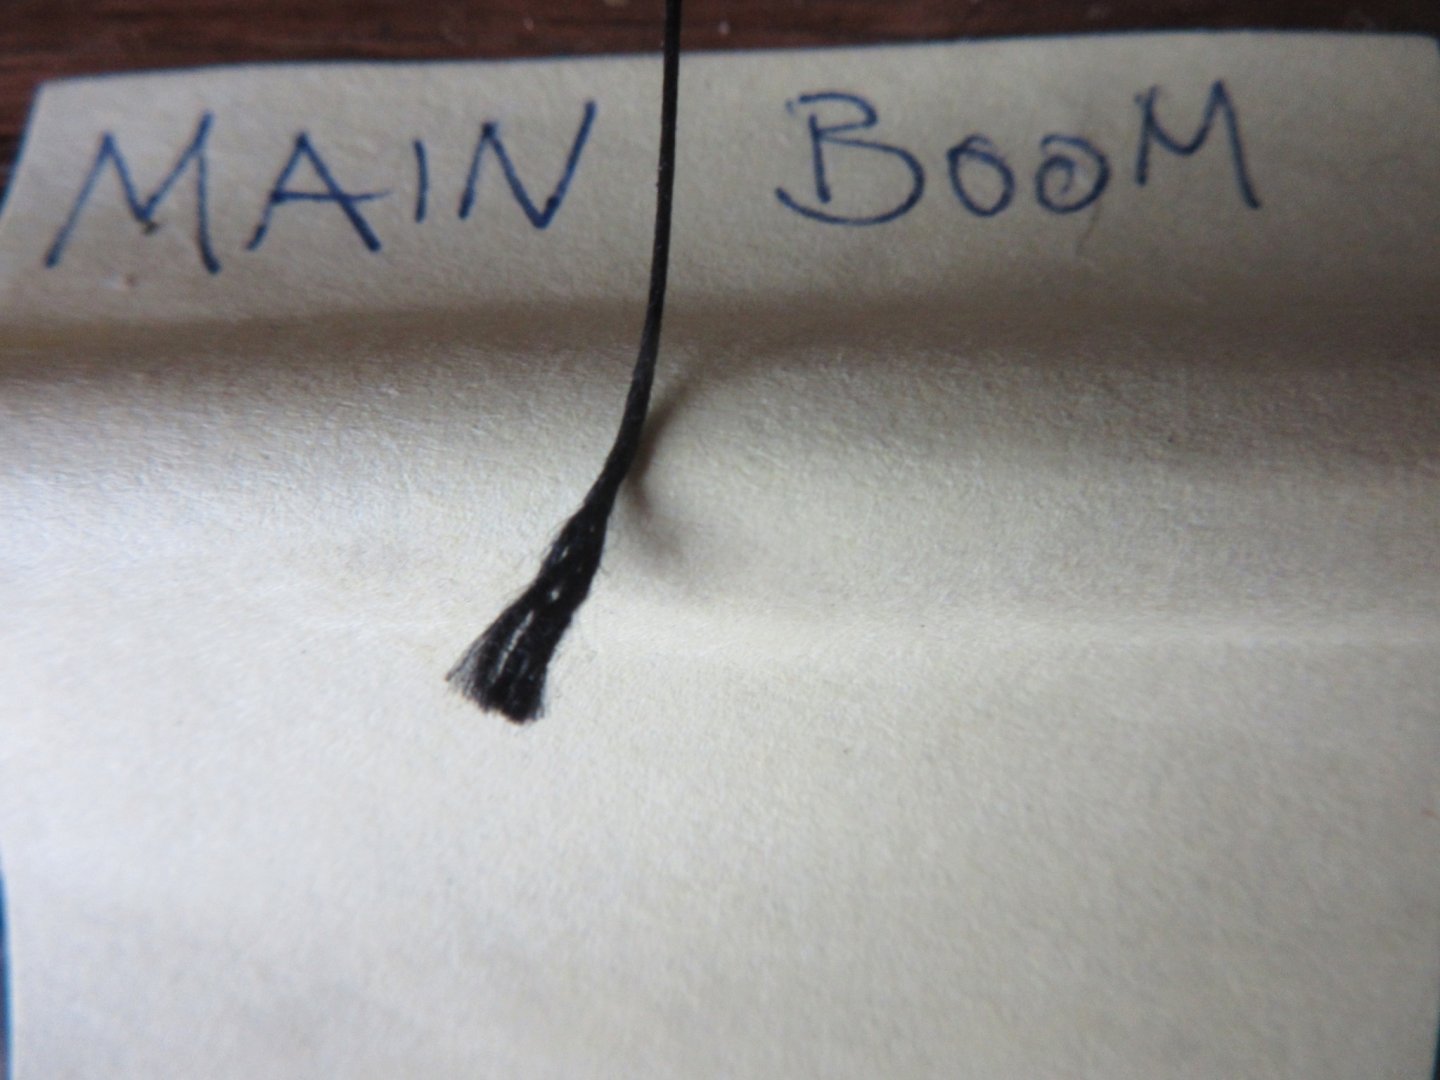
Thank you for inquiring Chris. The black line for serving actually was from the Admiral's sewing kit. Its 37% cotton 63% polyester. It is visibly much thinner than the rigging line supplied with the kit but I'm unable to decipher the spool label to determine its gauge. If any one reading this reply can augment the details on the label it would be most welcomed. Ange

-
Thanks Bob. Overall it is but as you can see on the hull port side, there is a touch of flat black that I overlooked that needs a little buffing. the photos reveal my oversights thankfully. Ange.
-
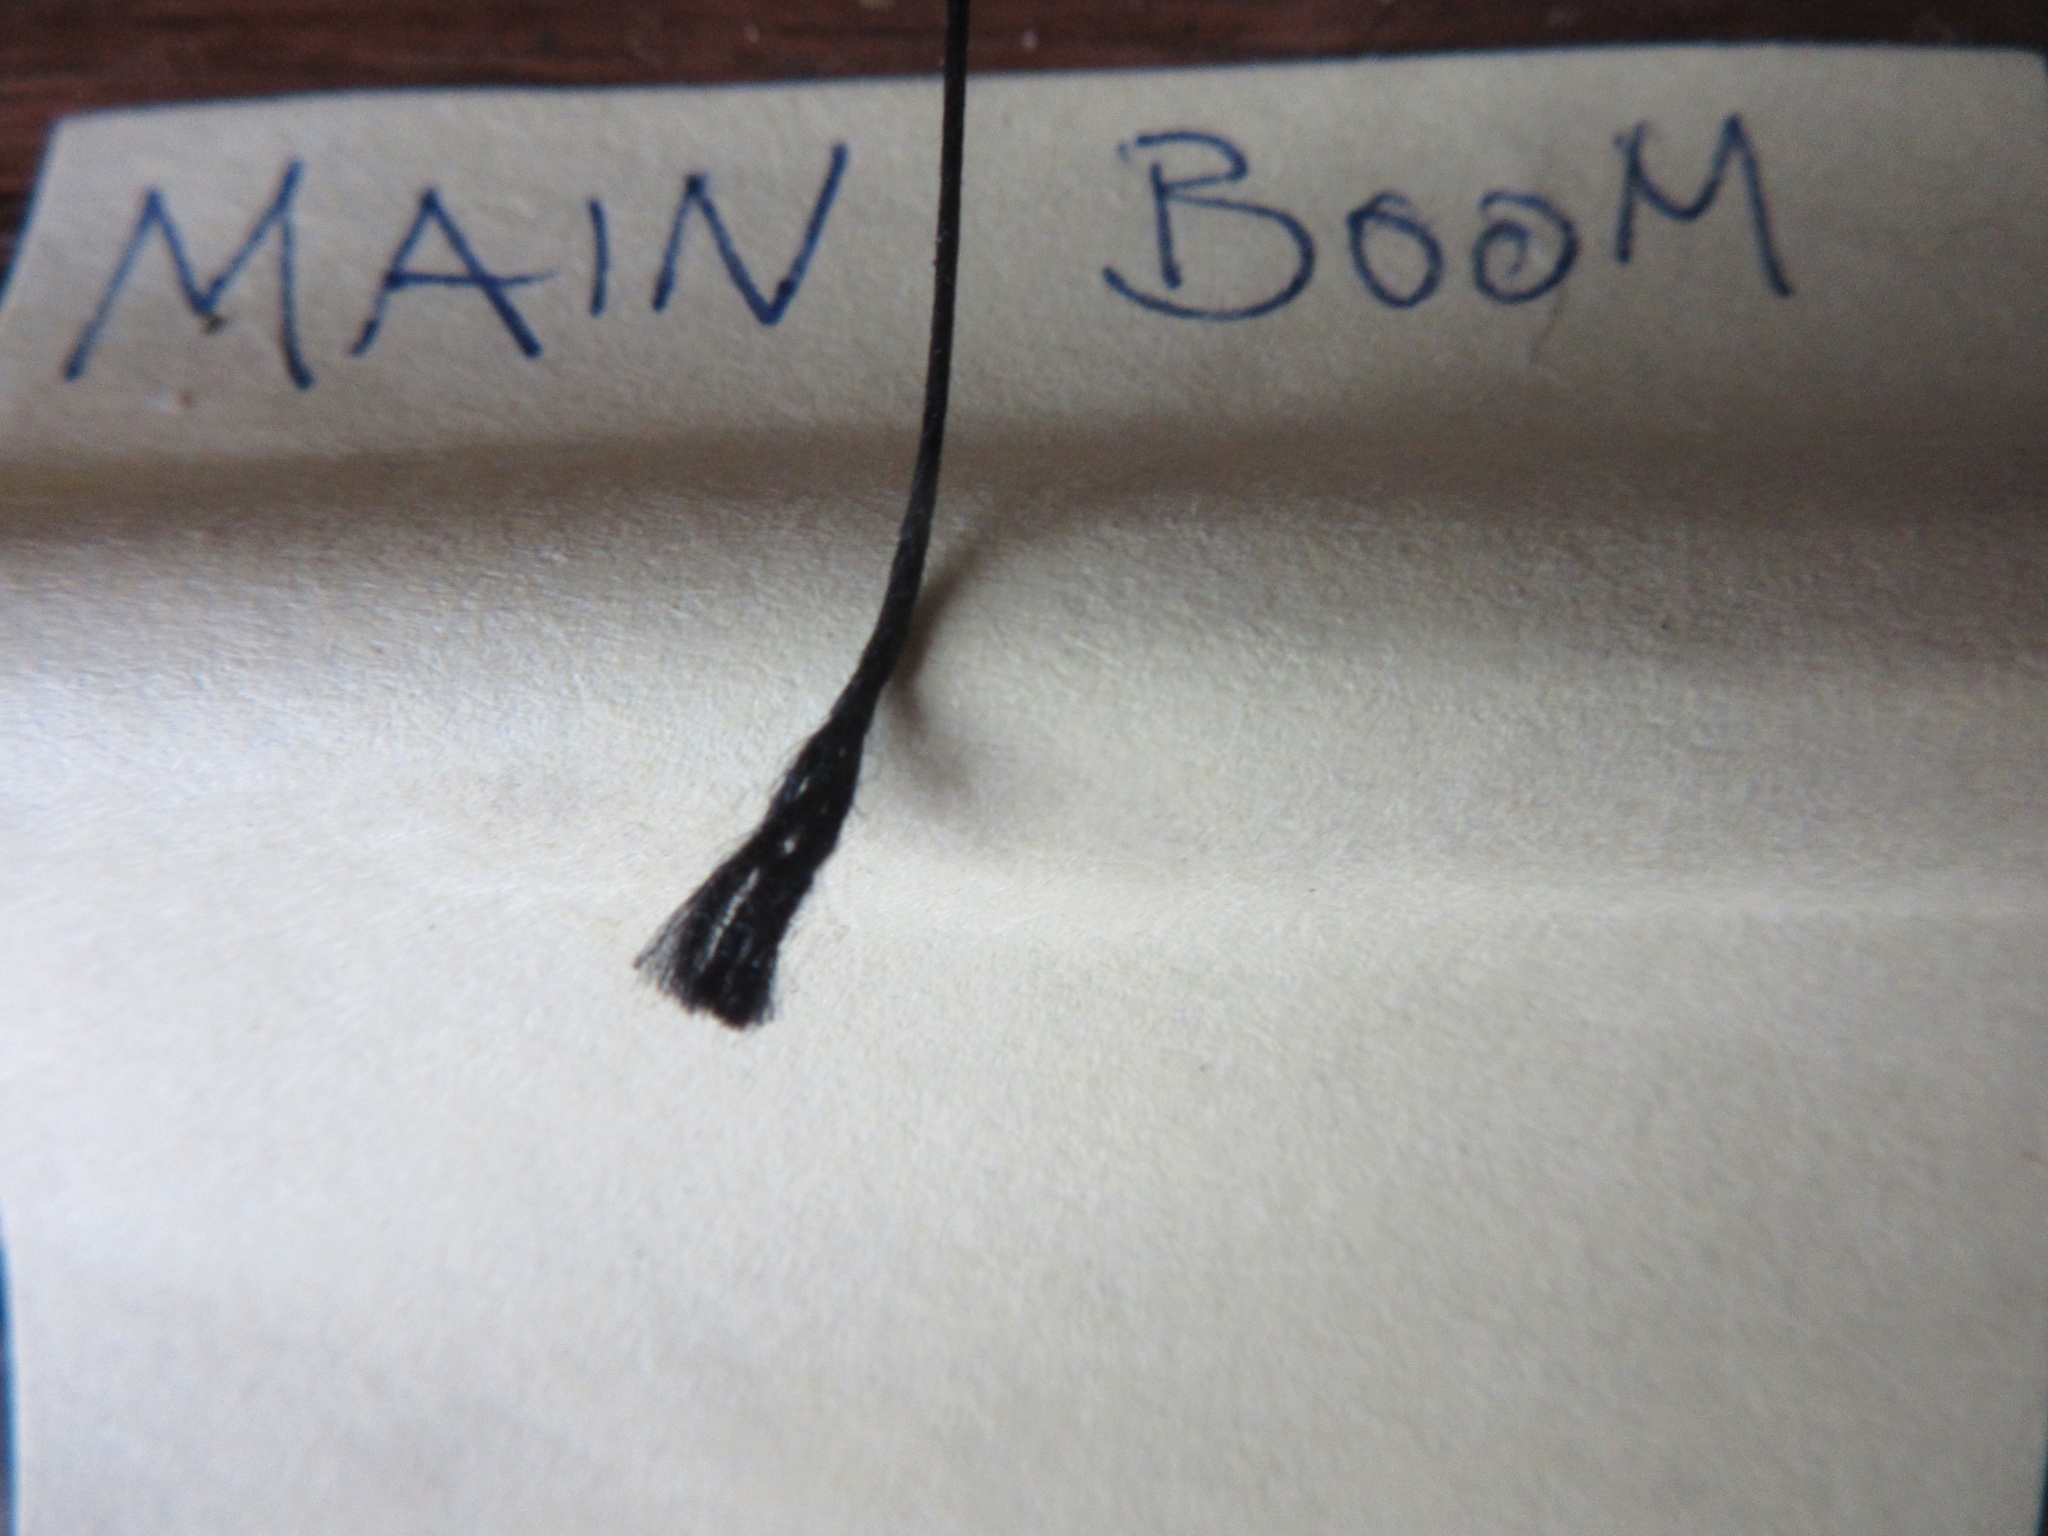
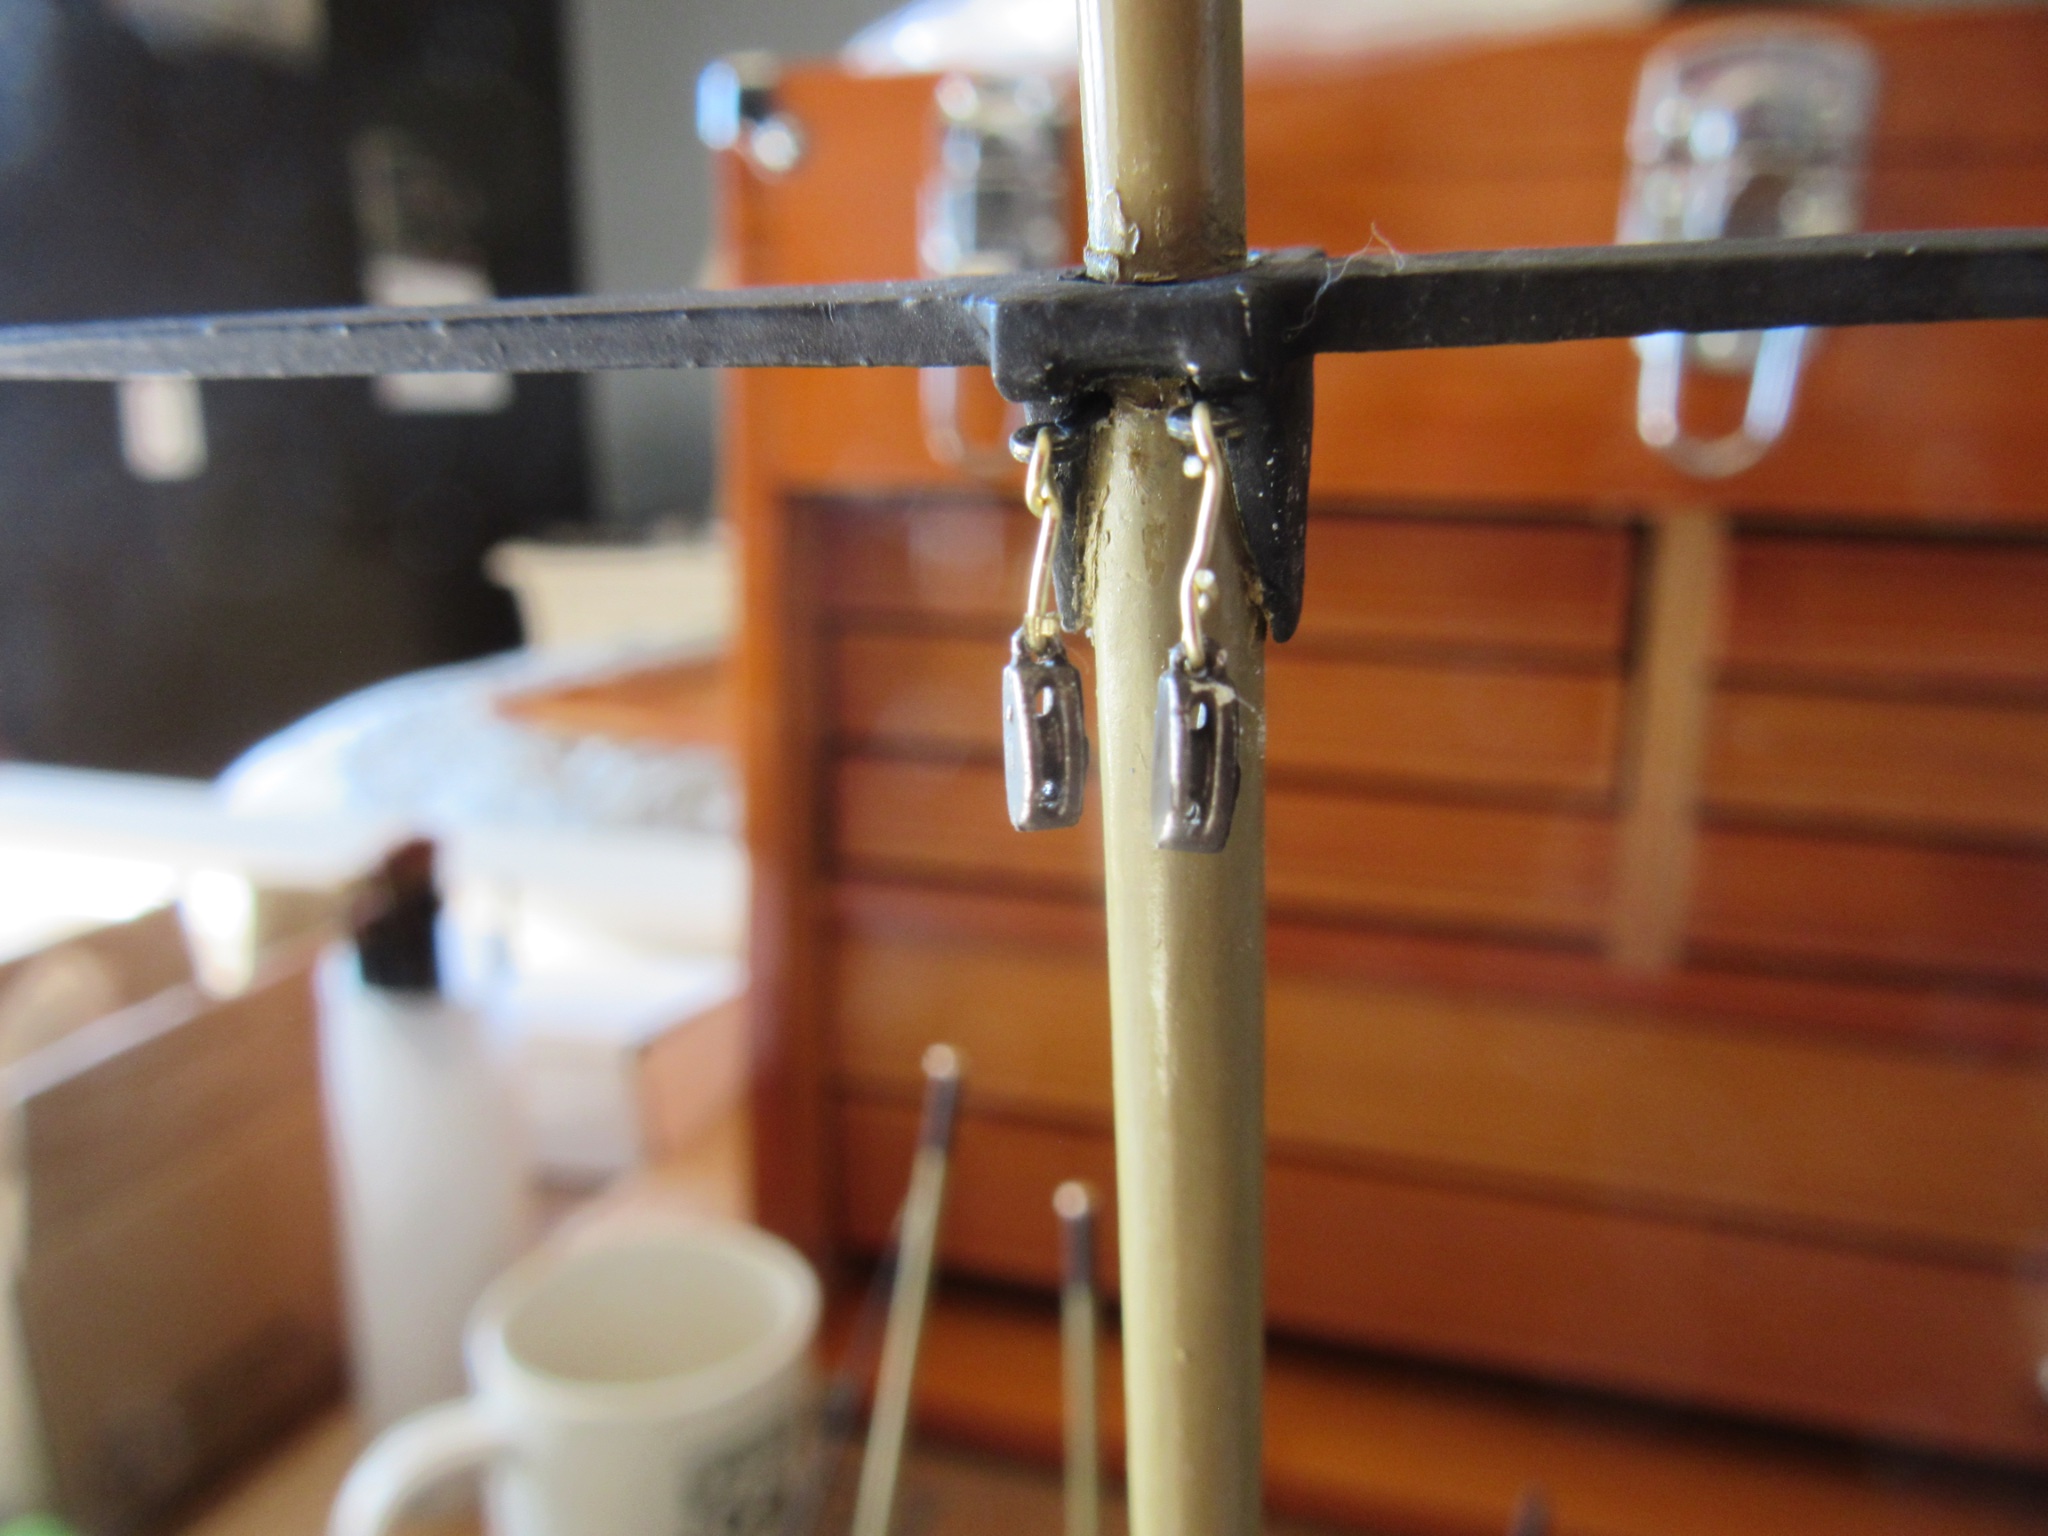
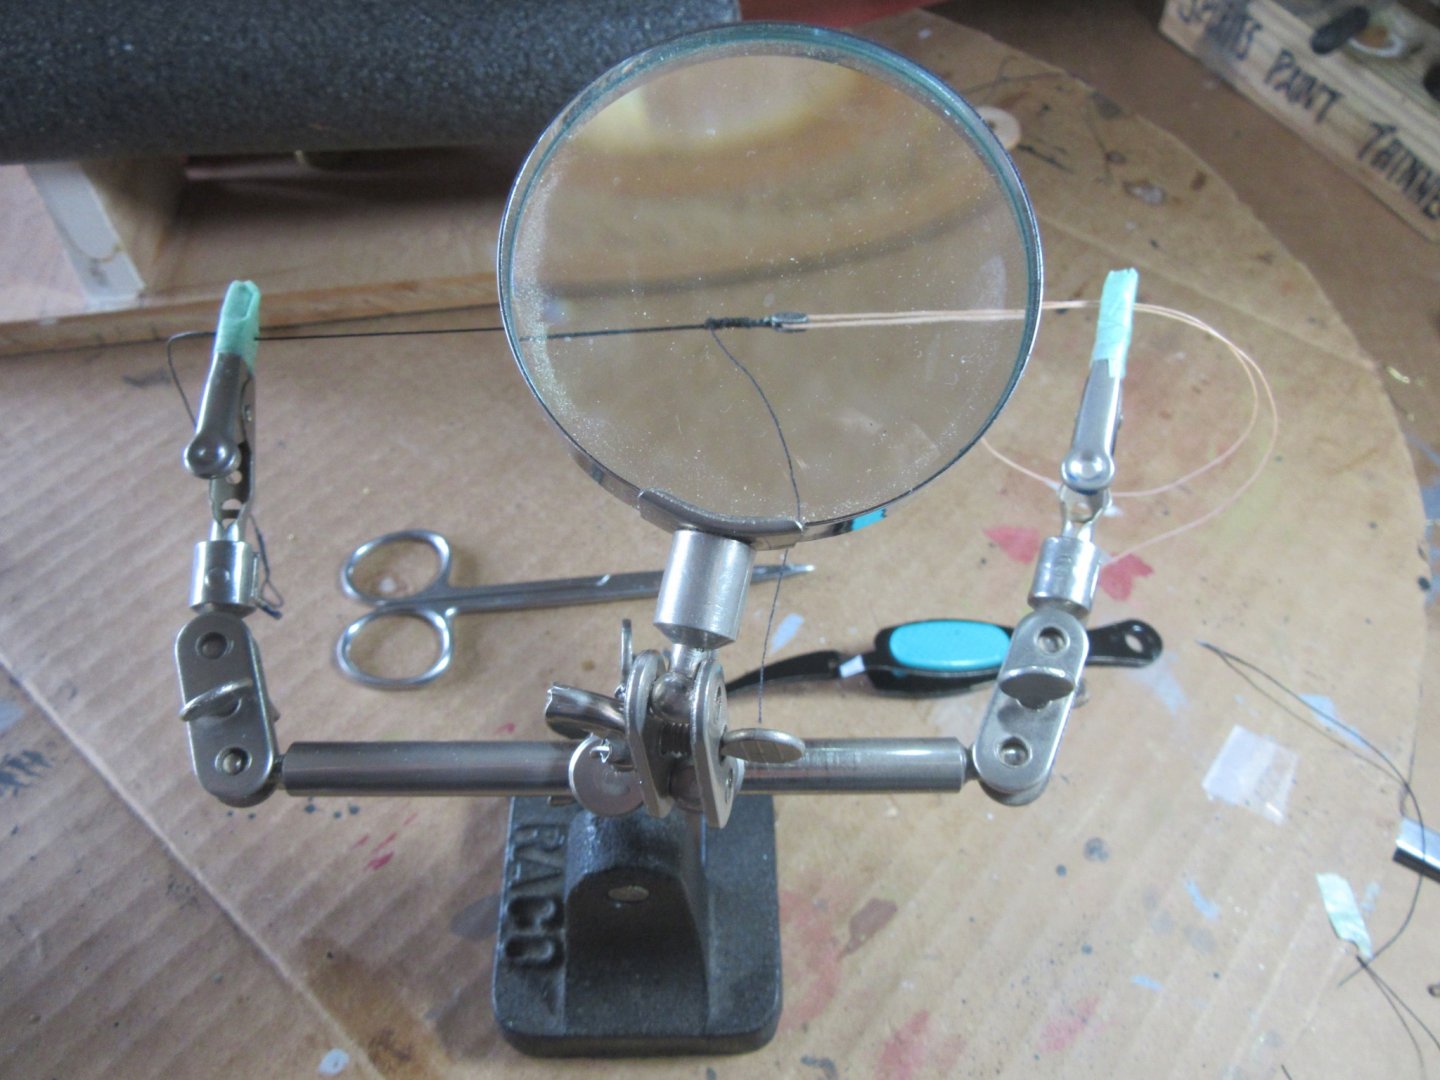
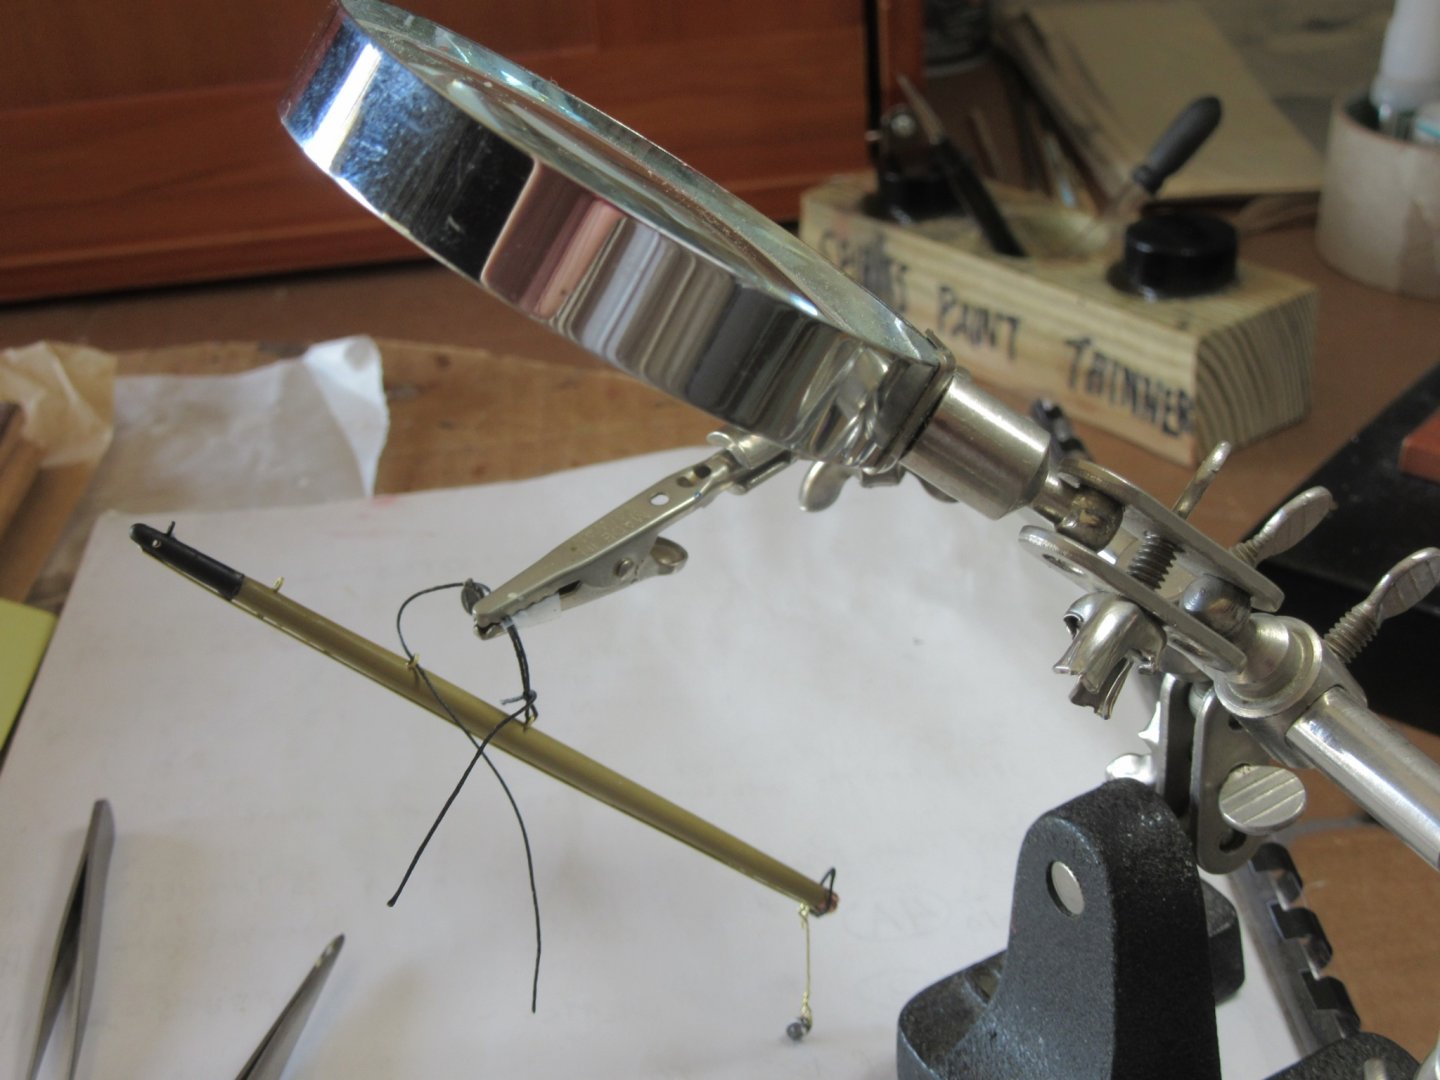
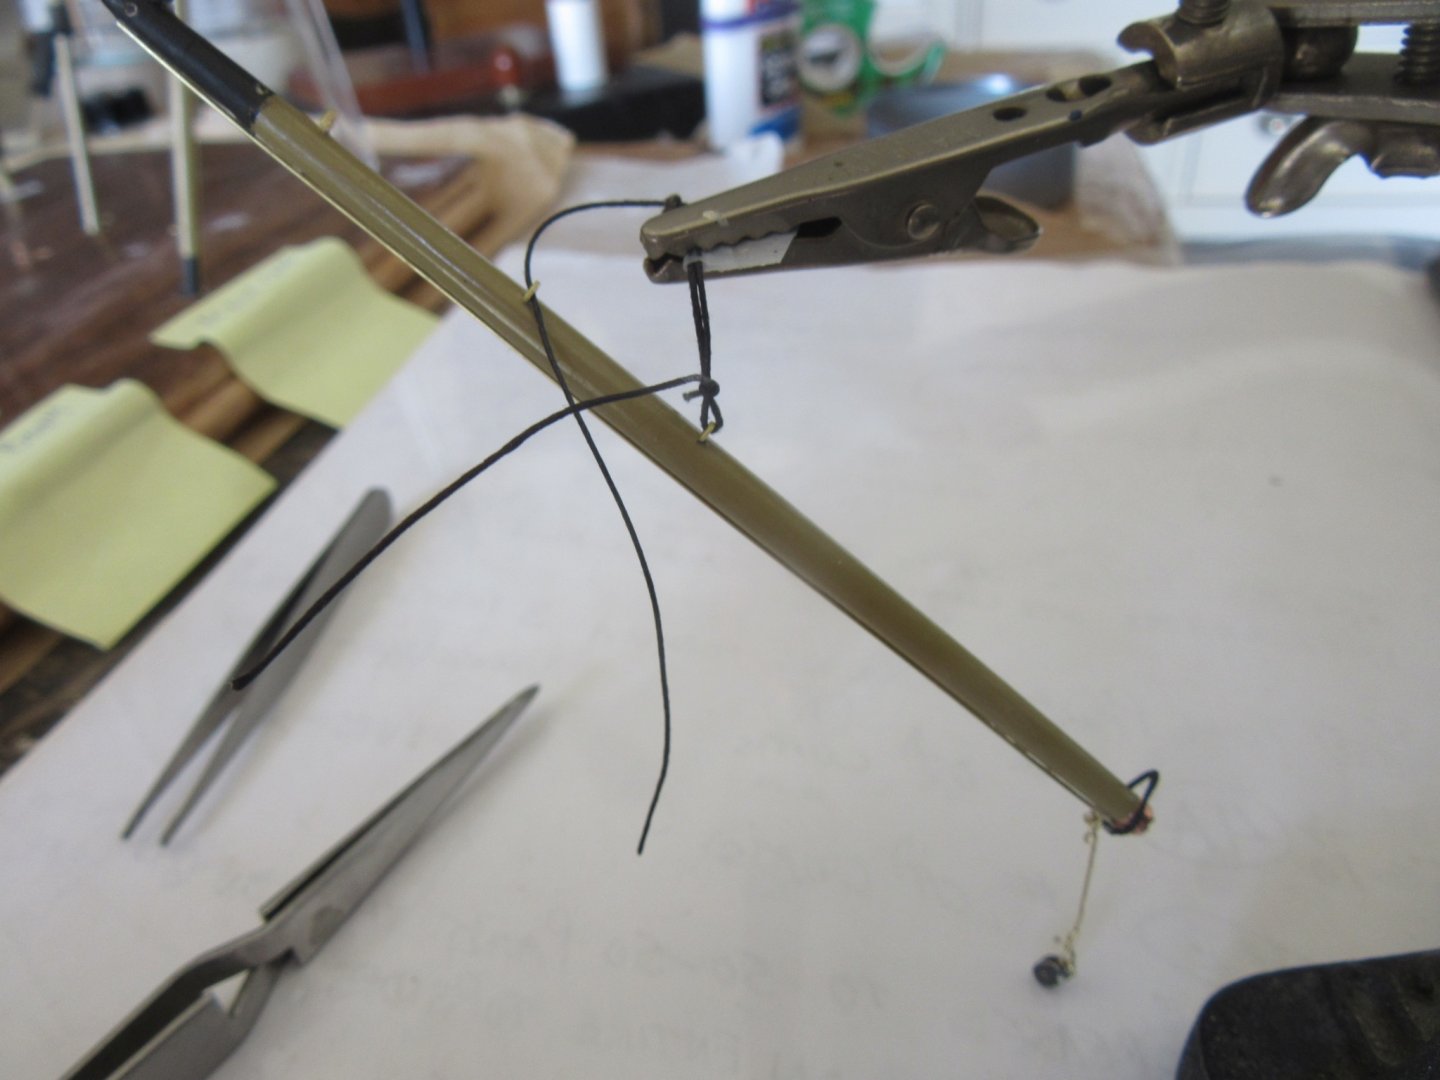
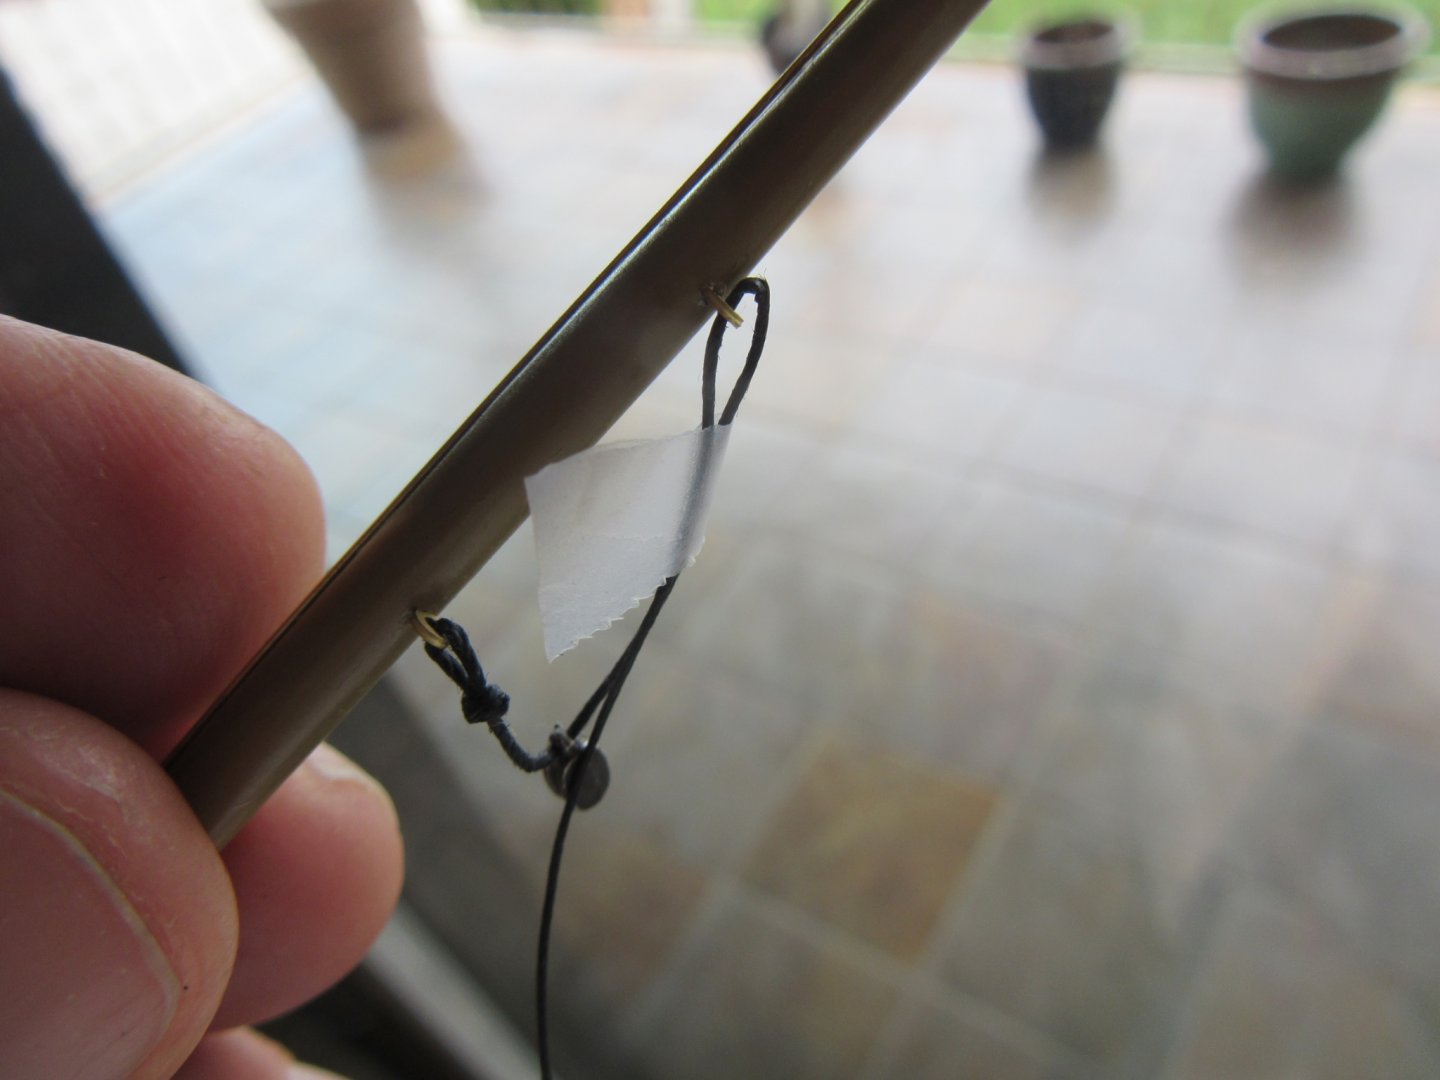
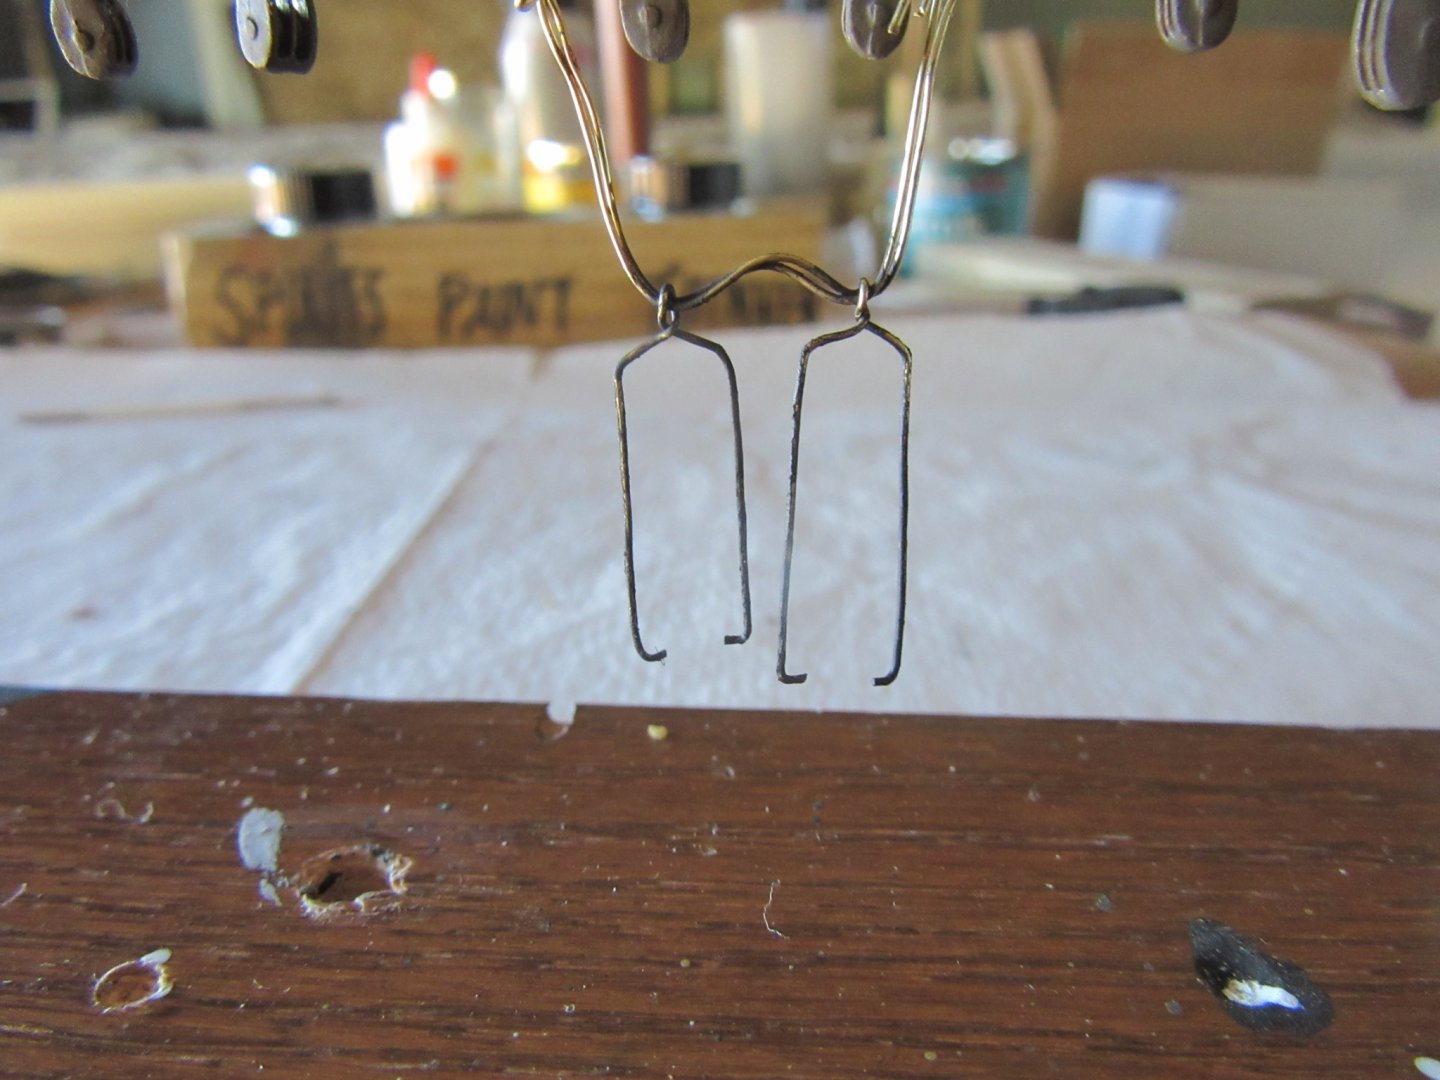
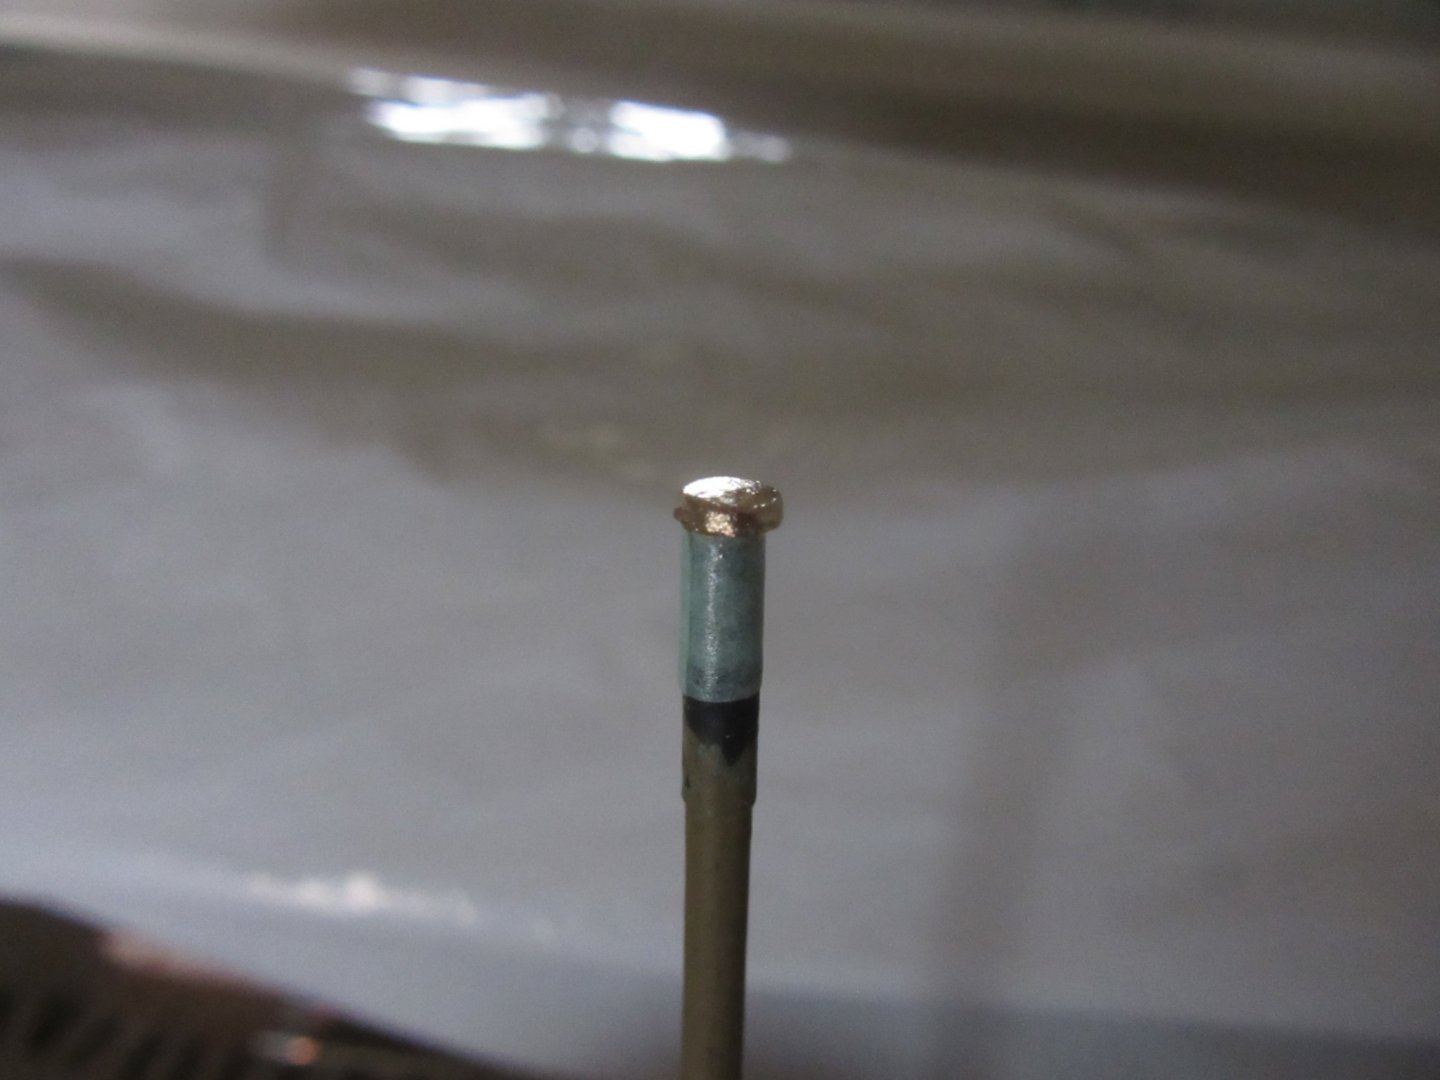
While fastening block pendants to the gaffs I've come up short 8 of the 3/16" single blocks (they pulled a Houdini on me). All 40 blocks in the kit had been correctly inventoried upon opening its packet, so while waiting for replacements I started serving the backstay block pendants and seizing the forestay rigging needed to step the foremast. The fourth photo down is the pendant line ending that was frayed then glued form a loop with 50/50 Elmers glue to water mix. Then the thinner serving line is wound around, tied off with a square knot and one last coat of white glue mix is lightly brushed on. The latest addition to the tool chest is the articulated clips and magnifier ( I welcome any correction of what it is actually called). It was helpful for making fast the gaff pendant blocks but was unmanageable for serving and seizing the standing rigging. Two pegs in a board worked fine after half a dozen attempts to get the hang of it.

-
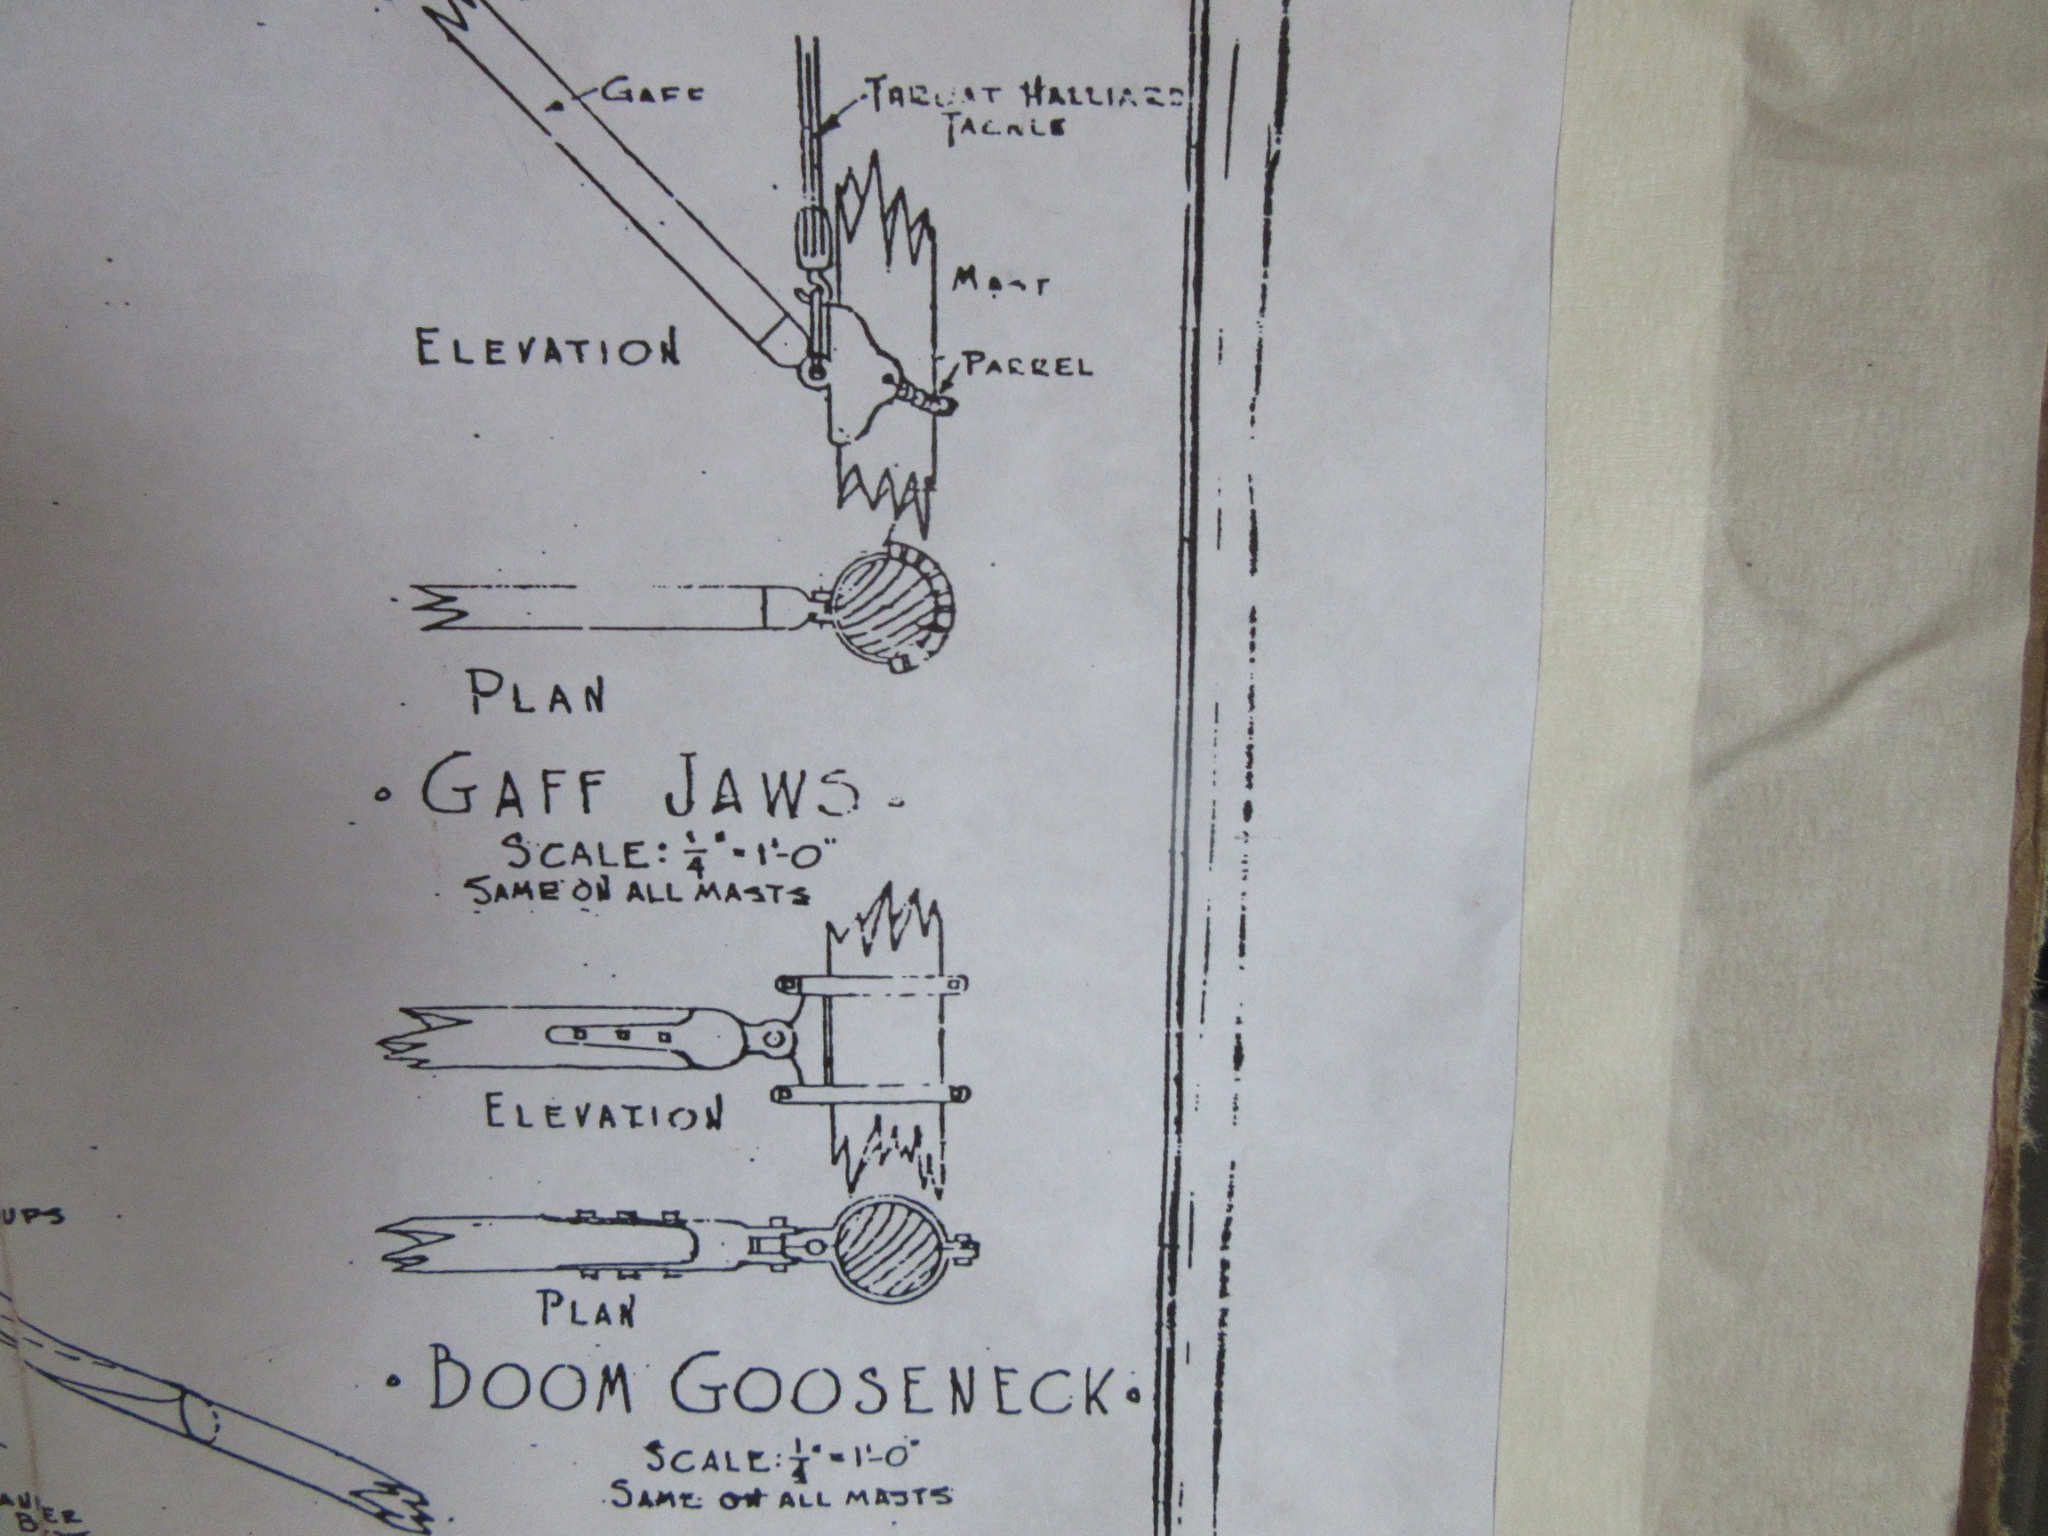
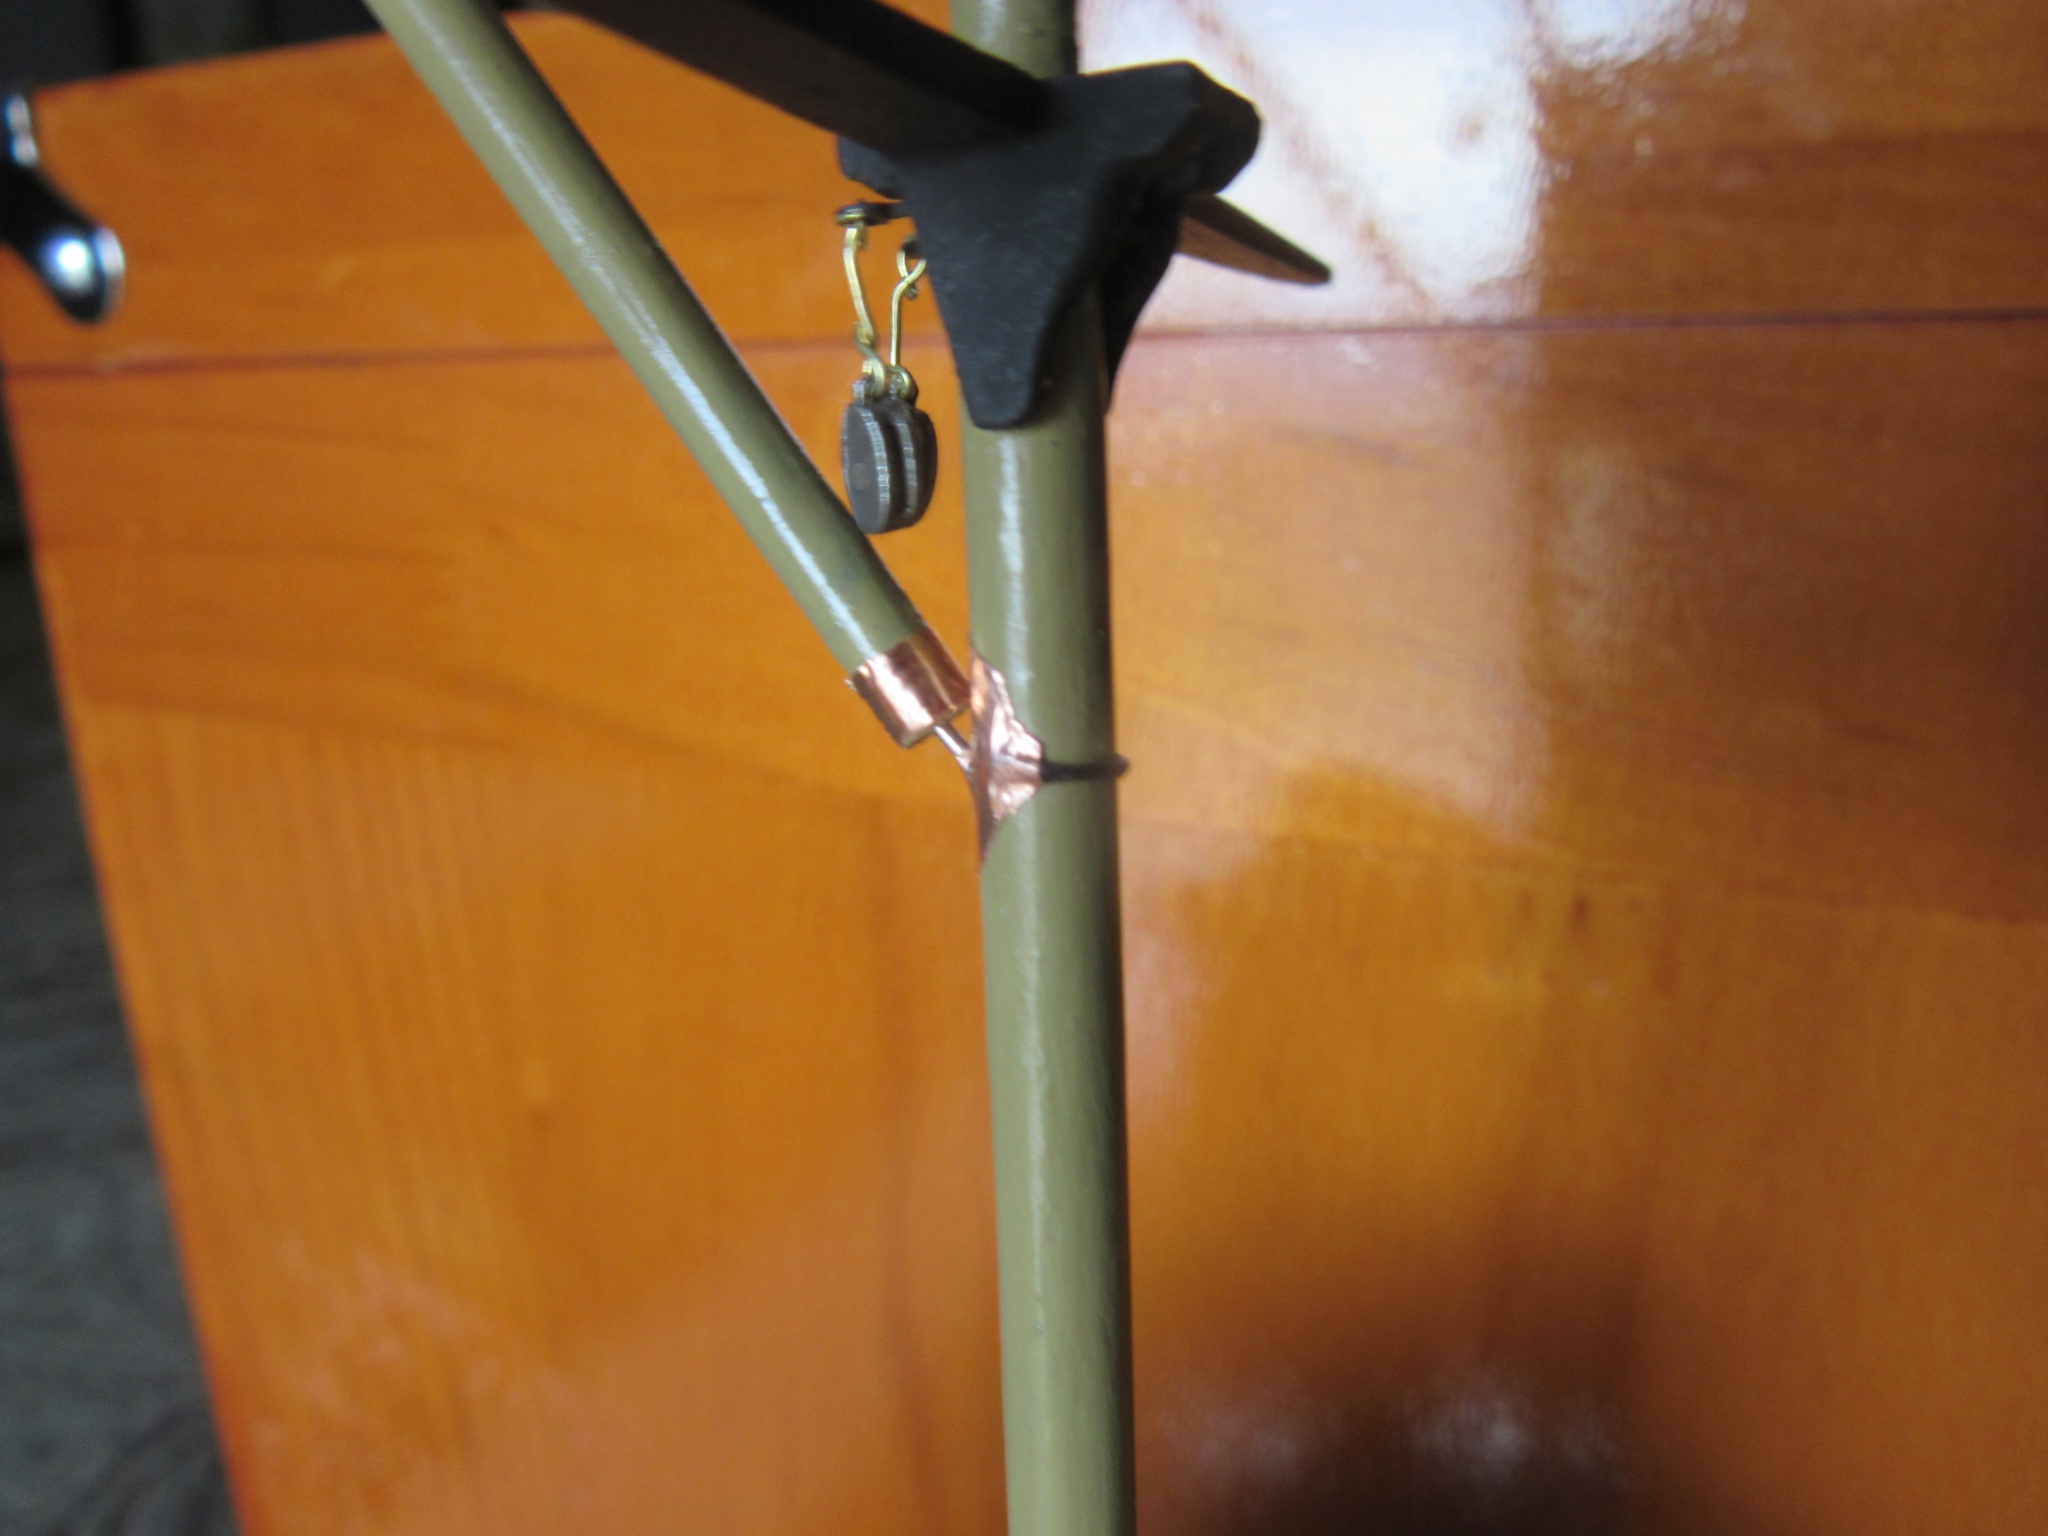
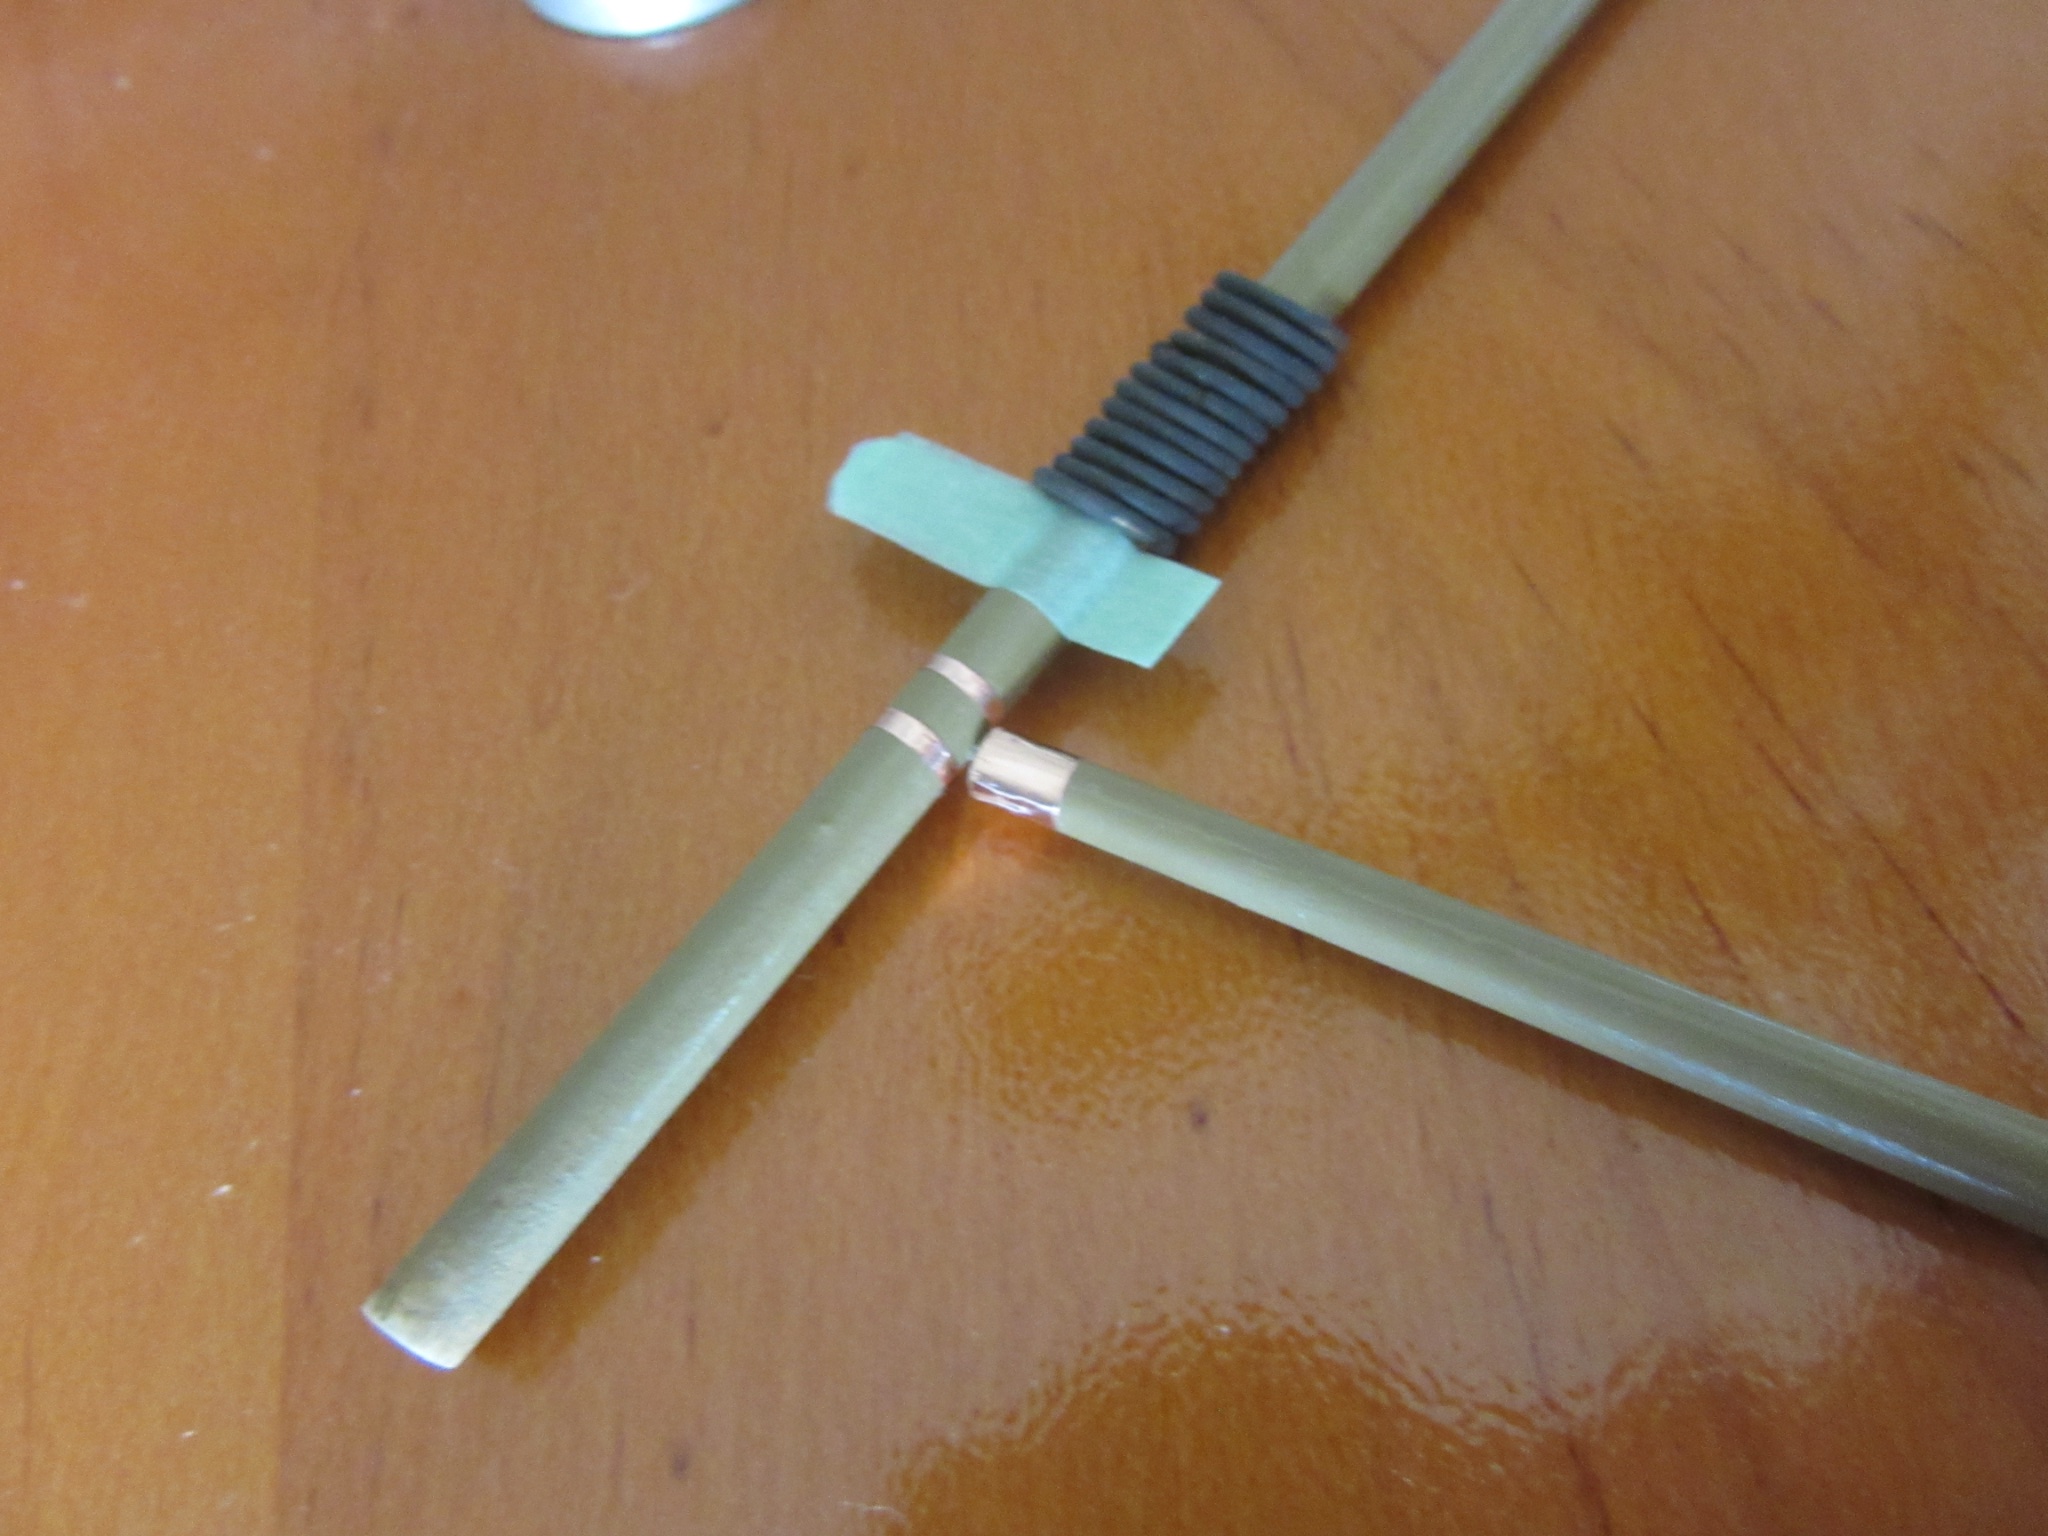
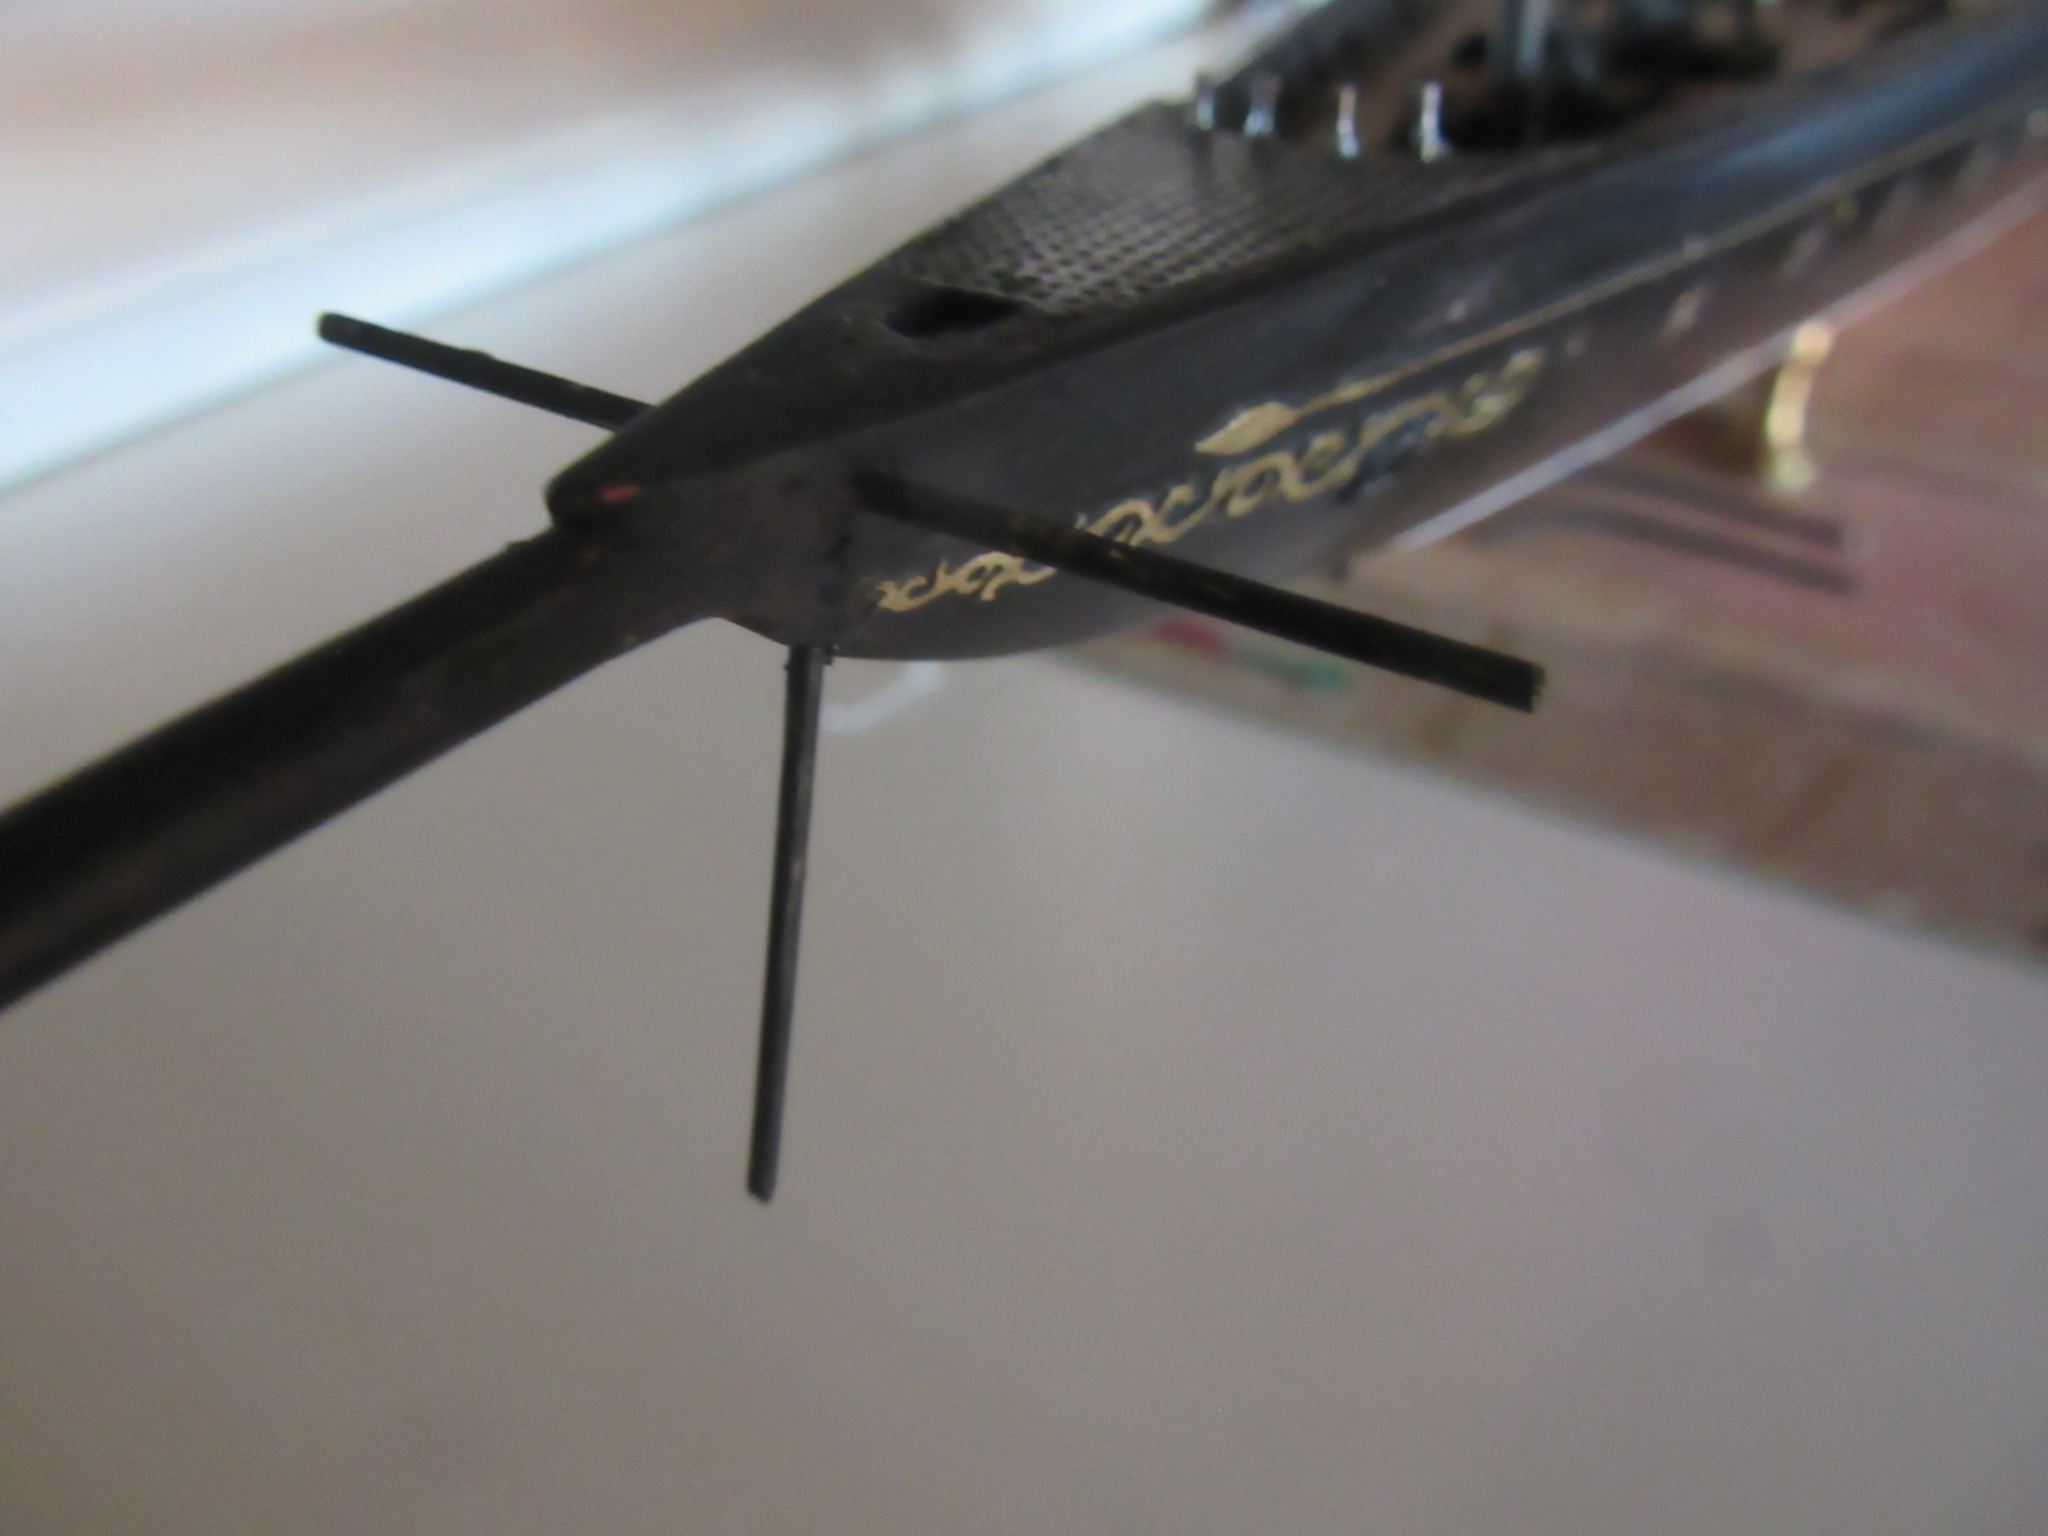
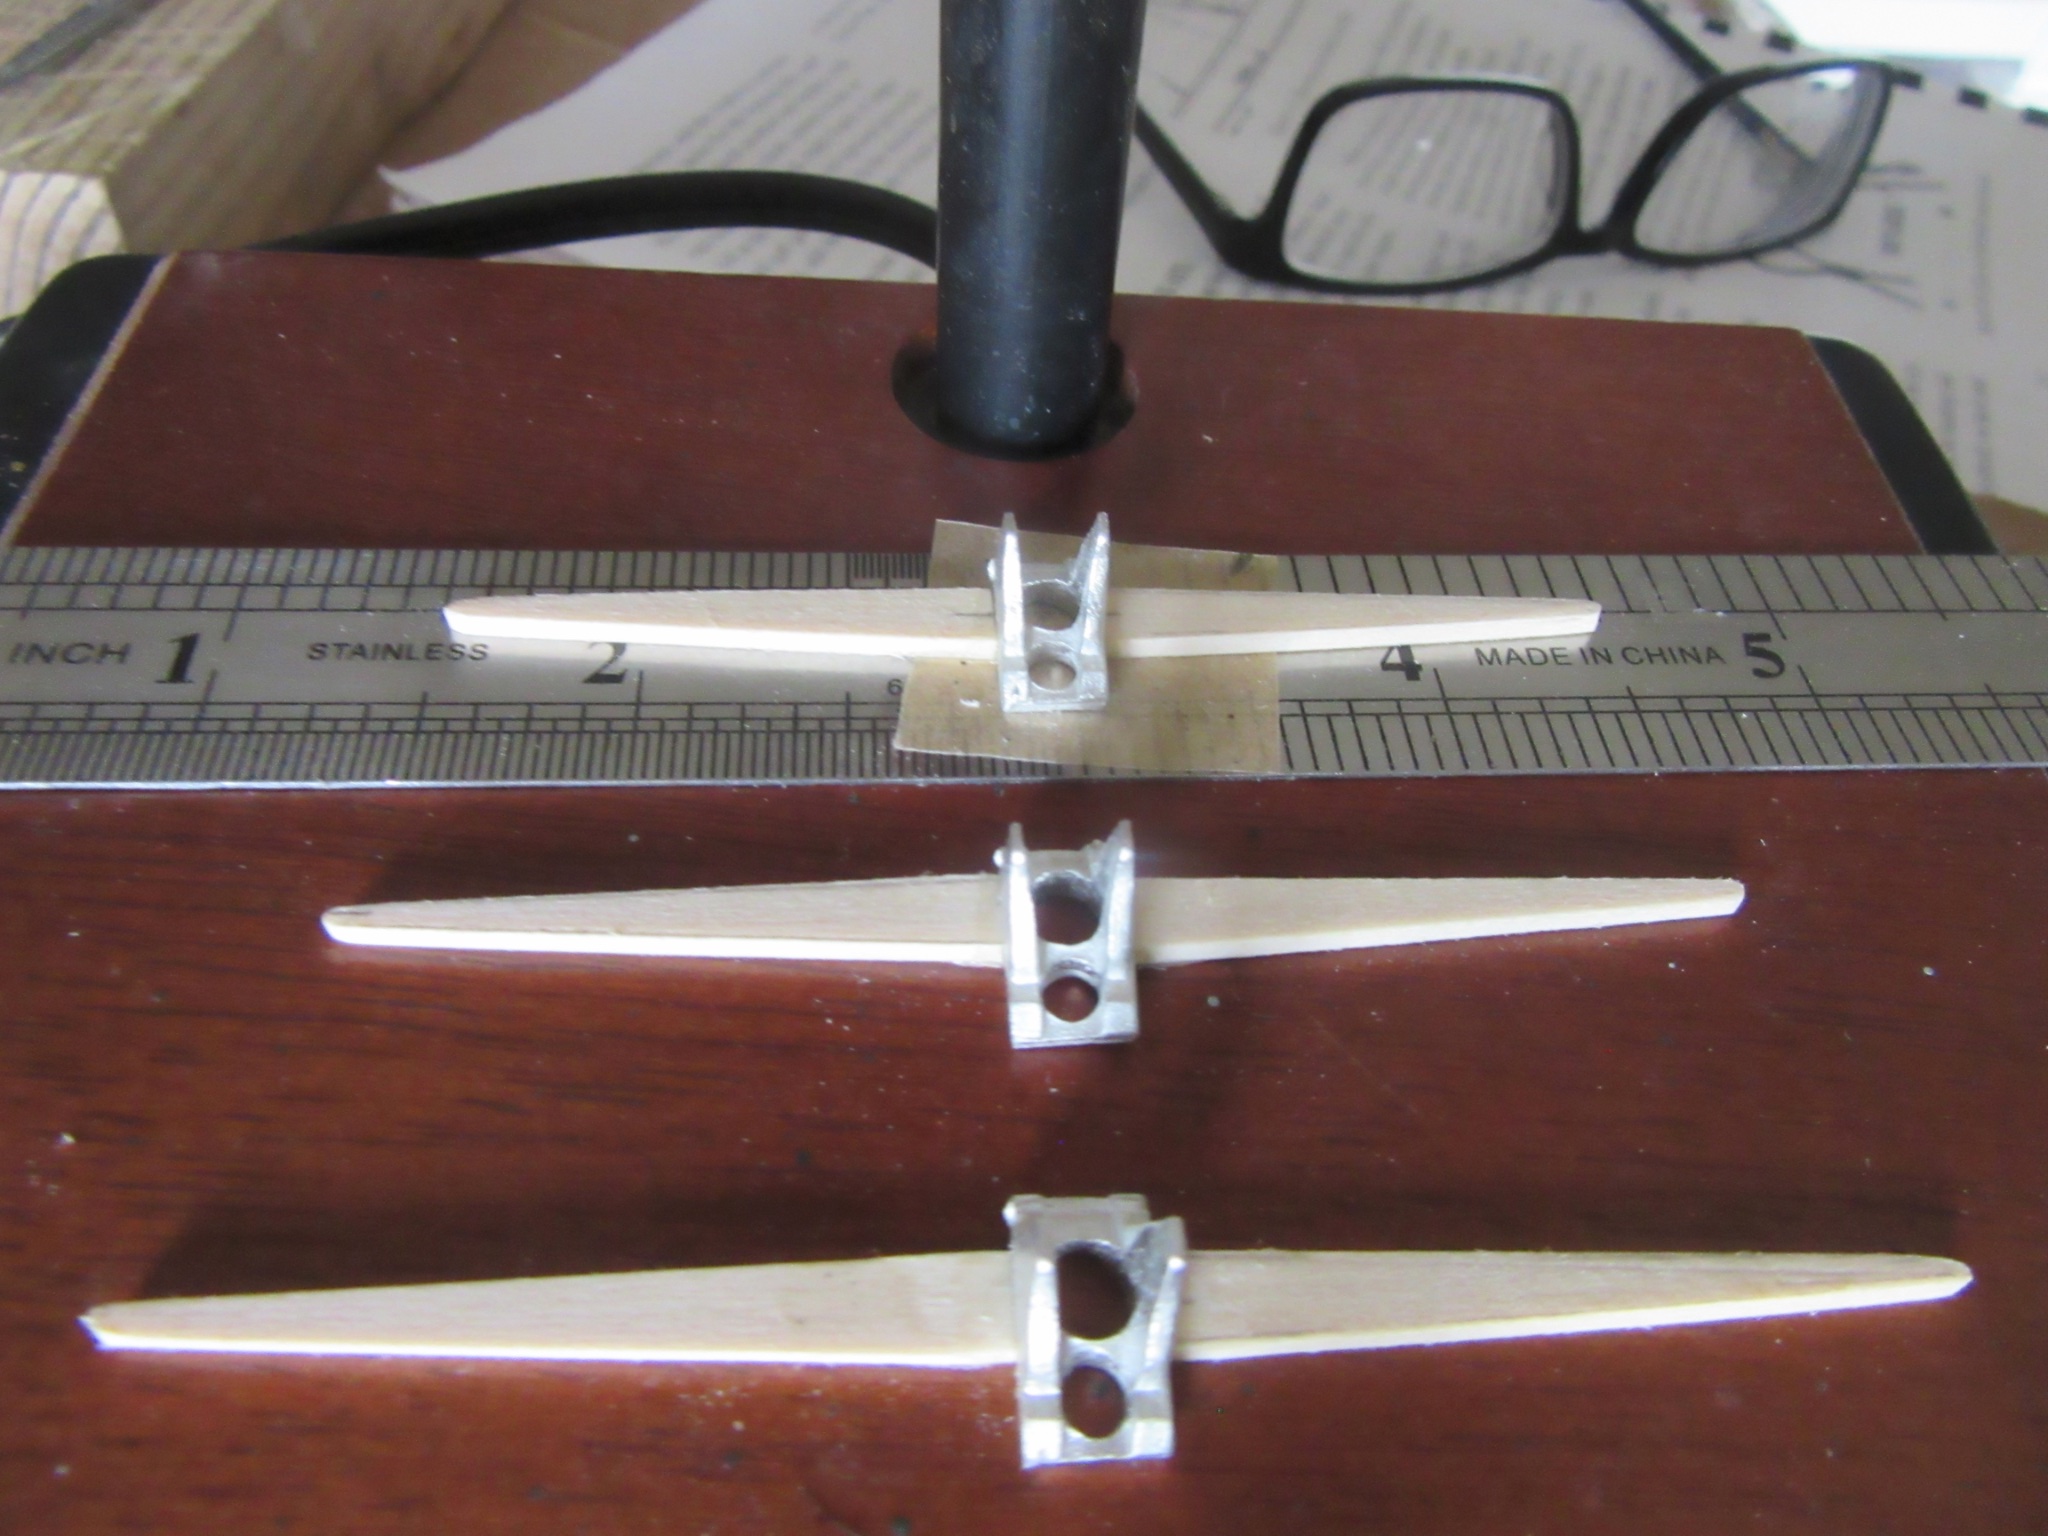
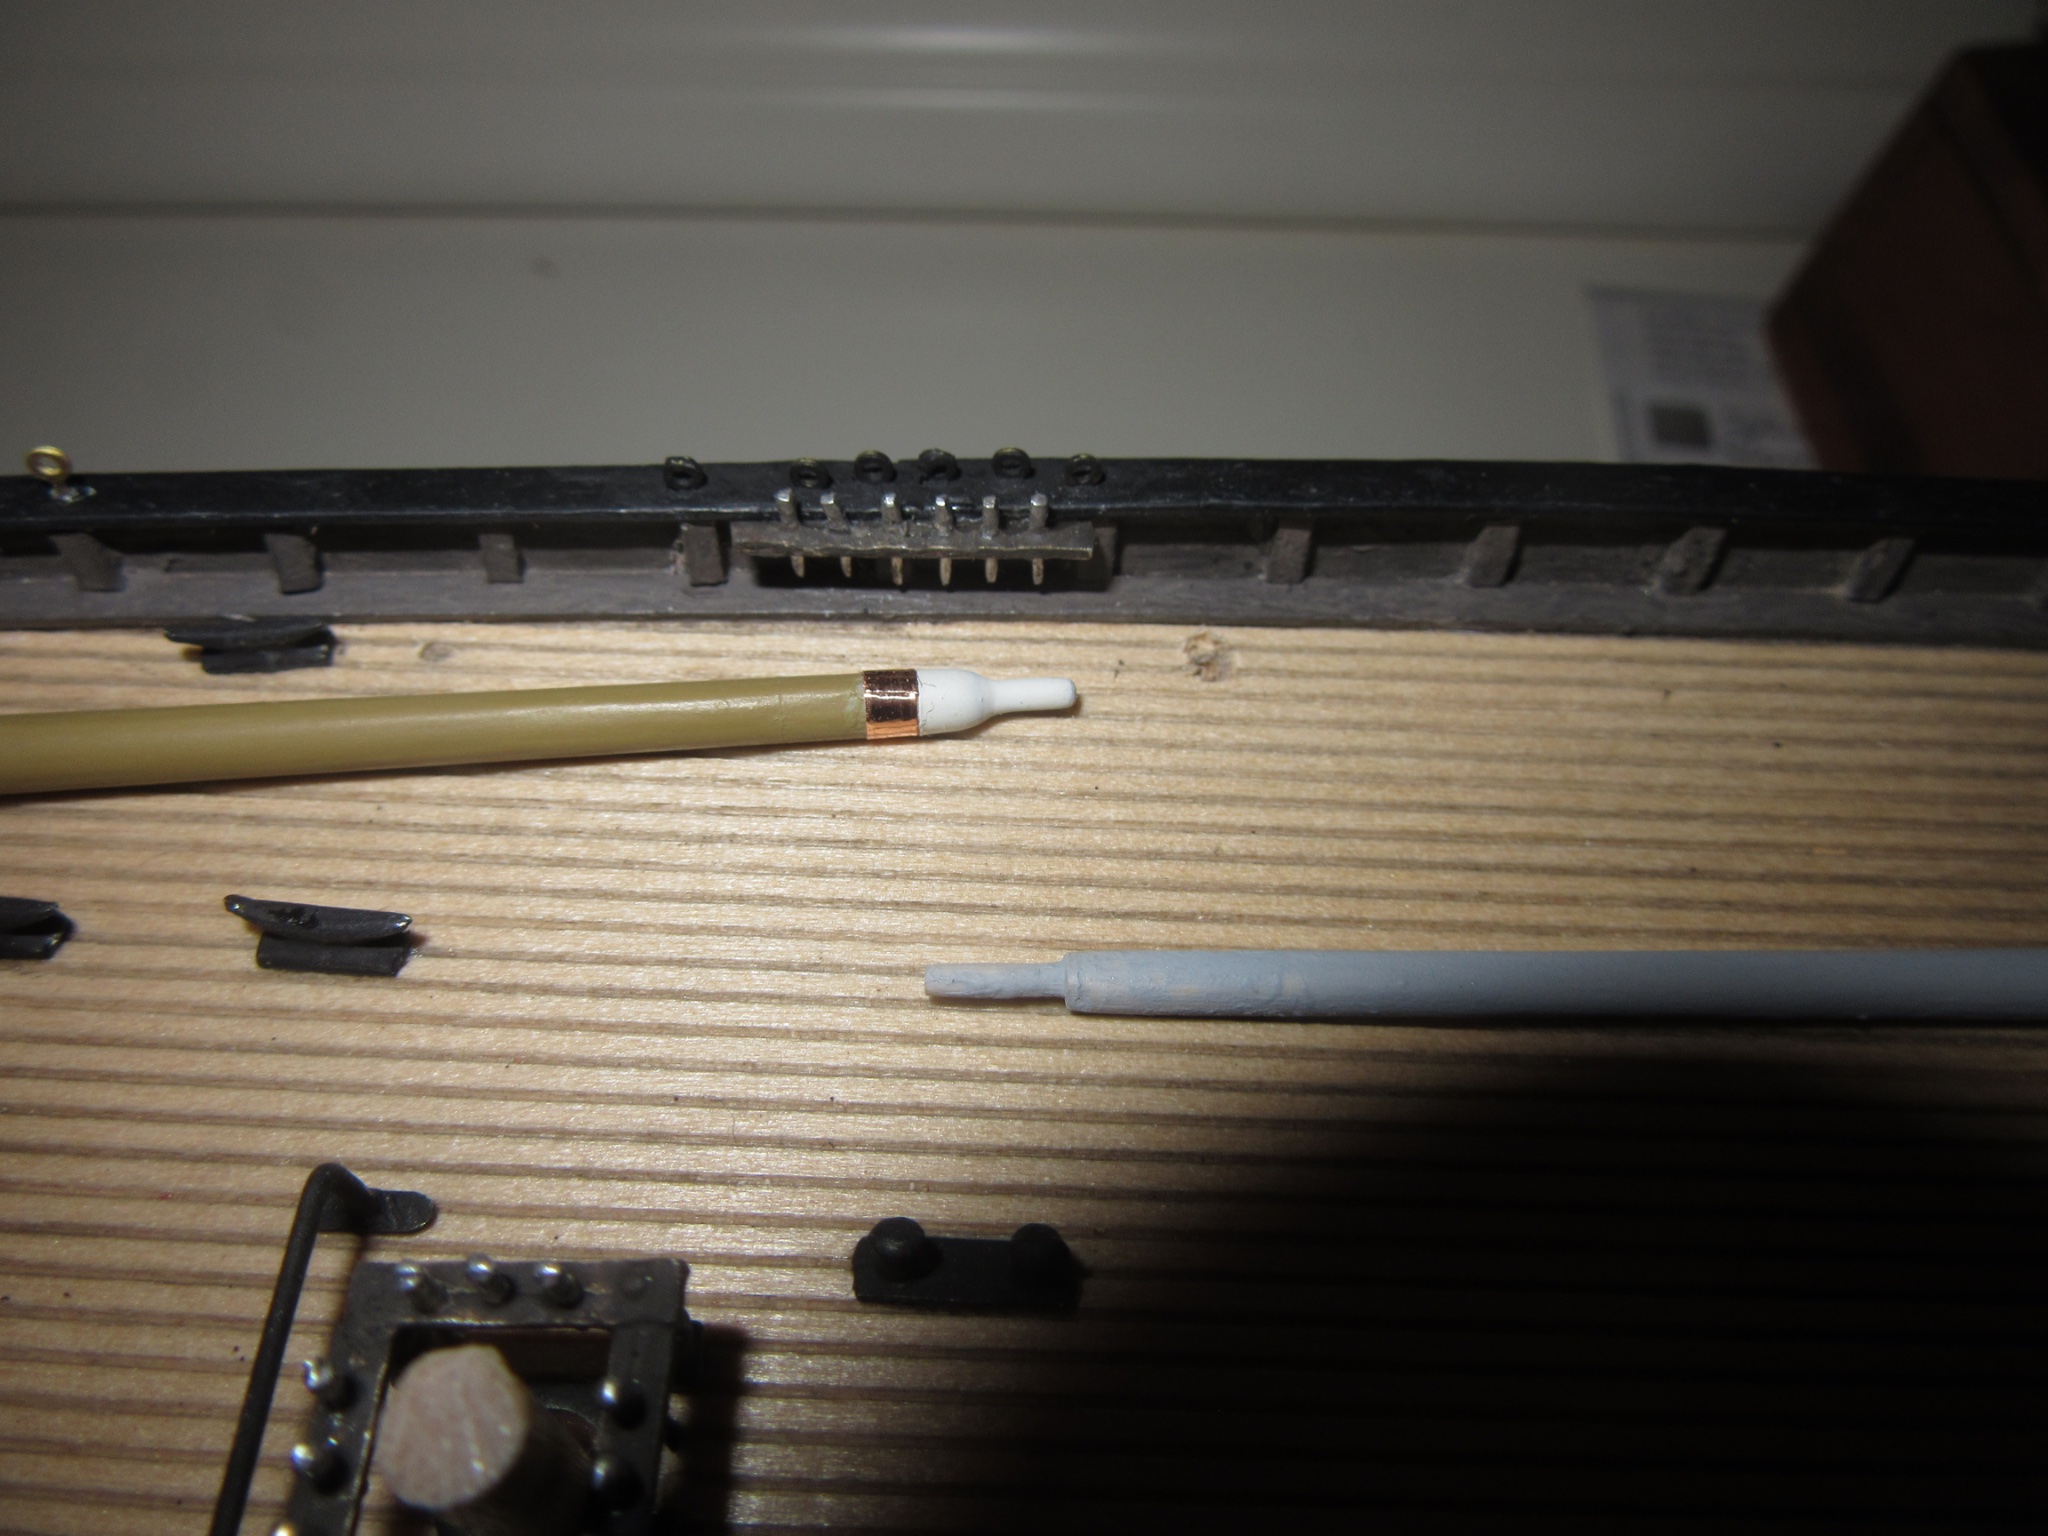
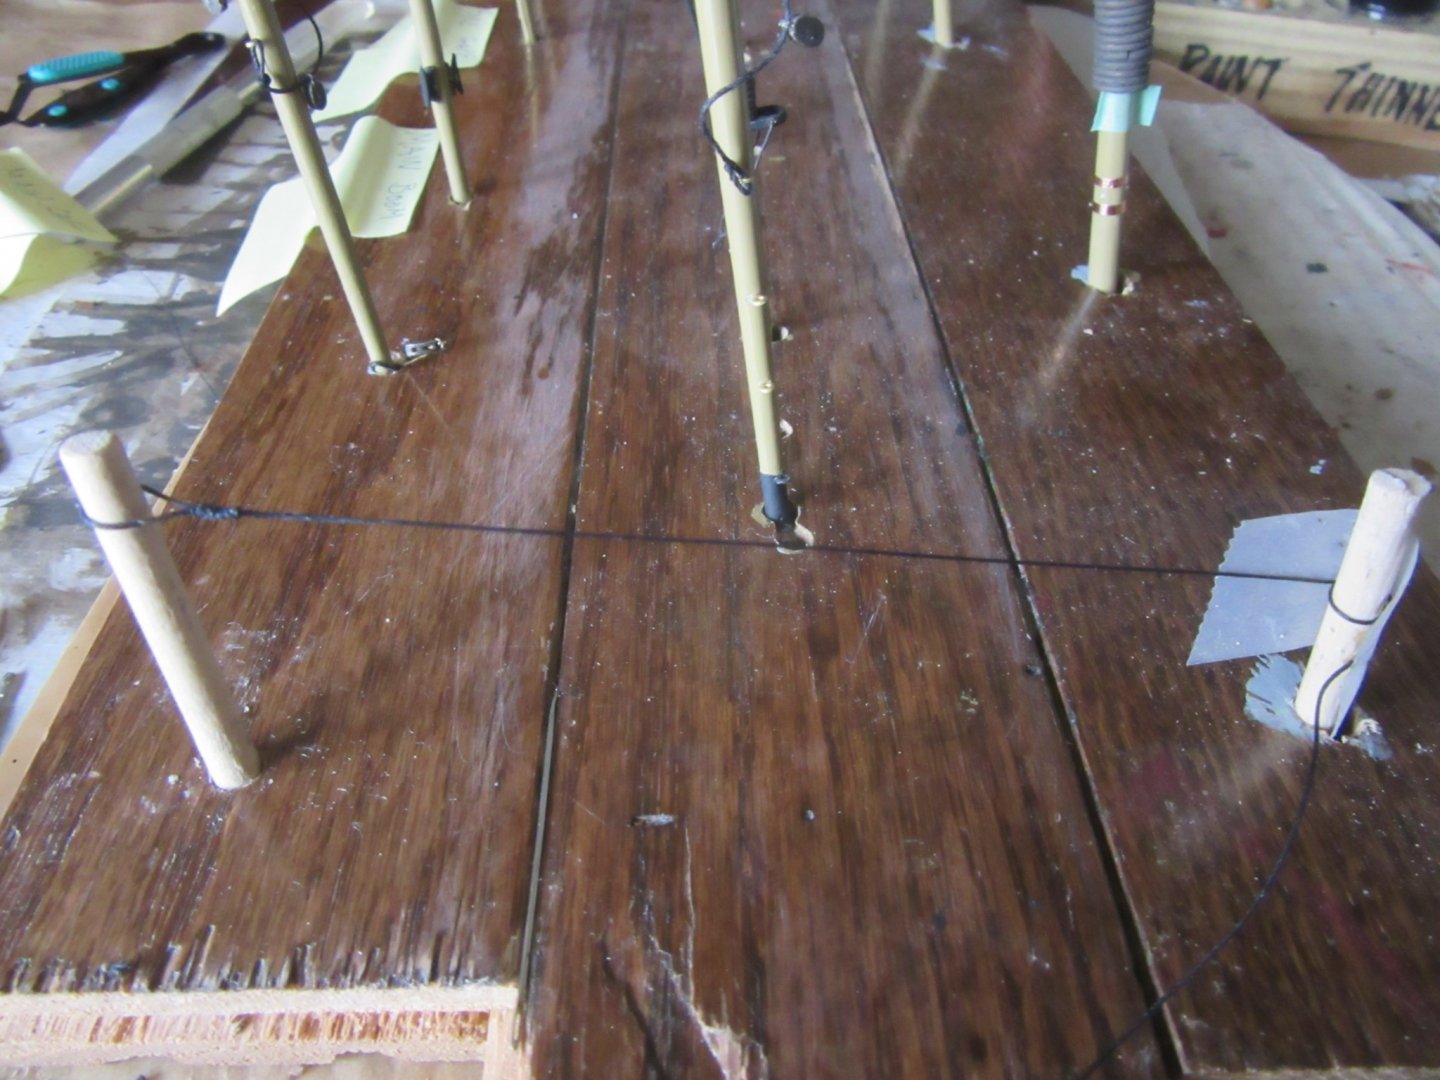
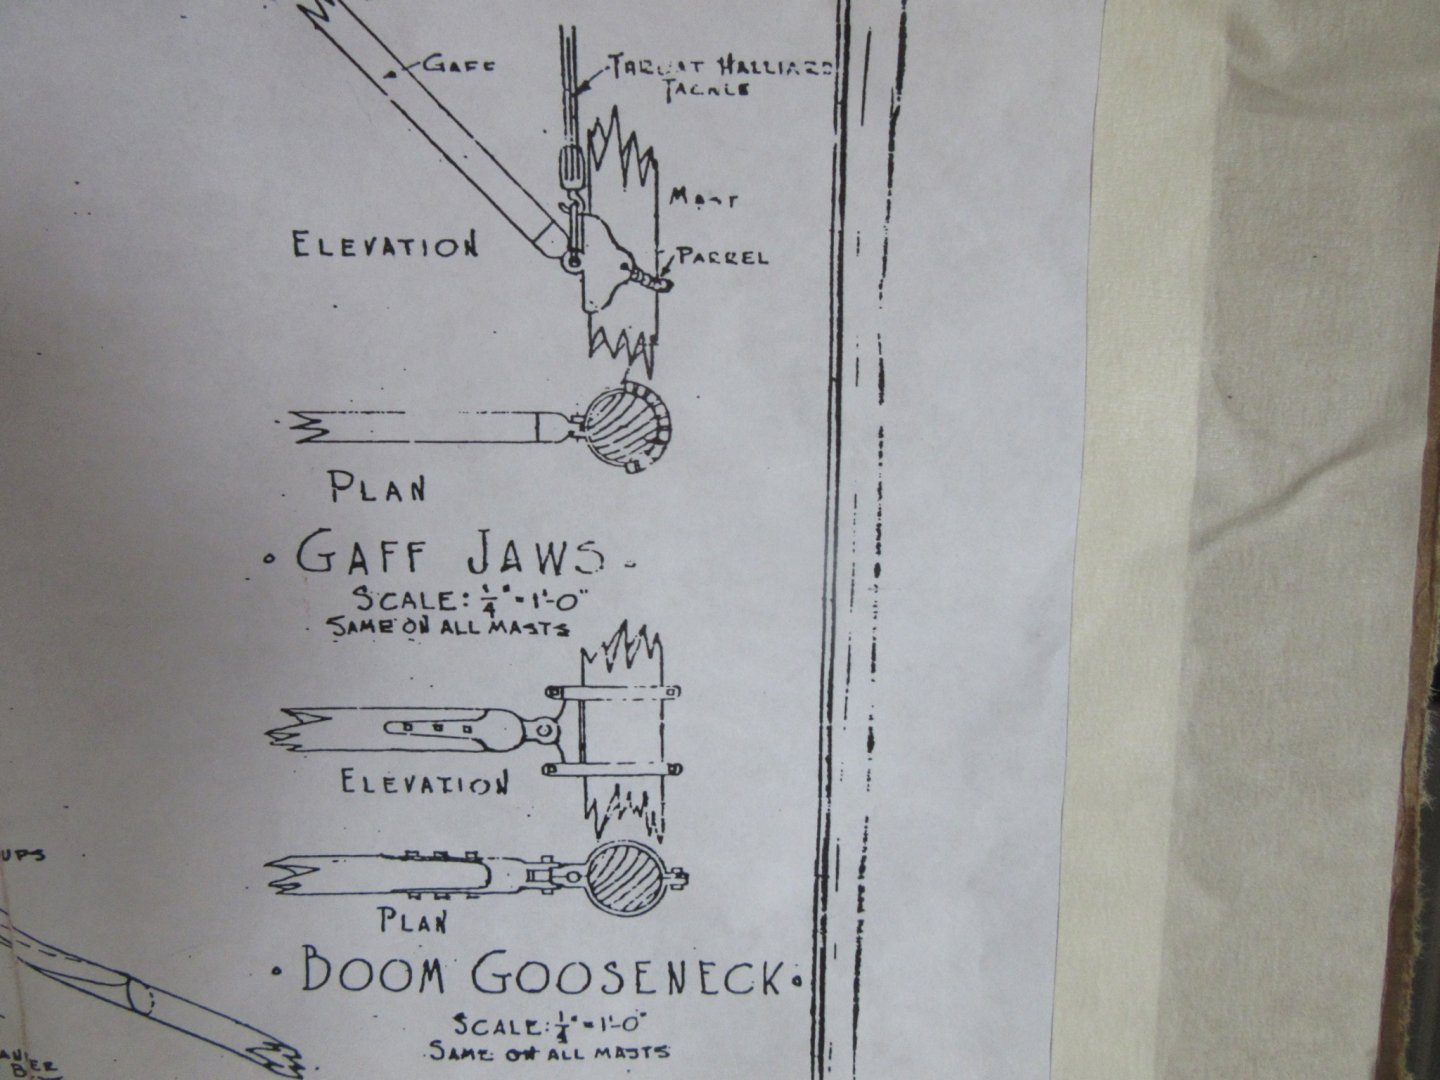
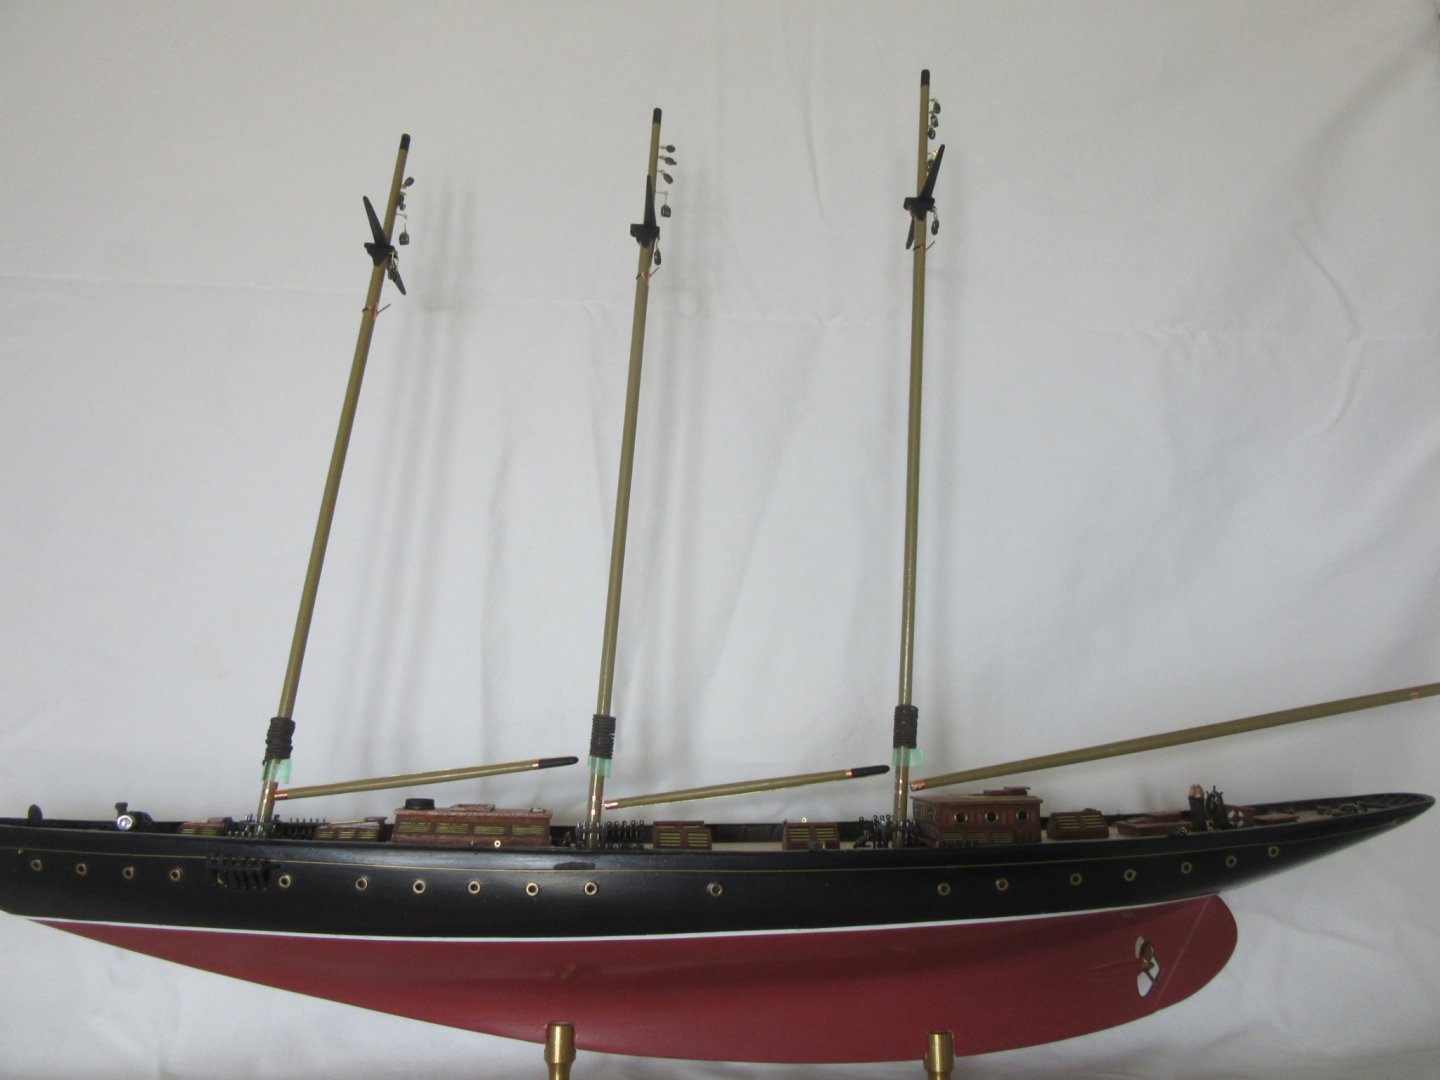
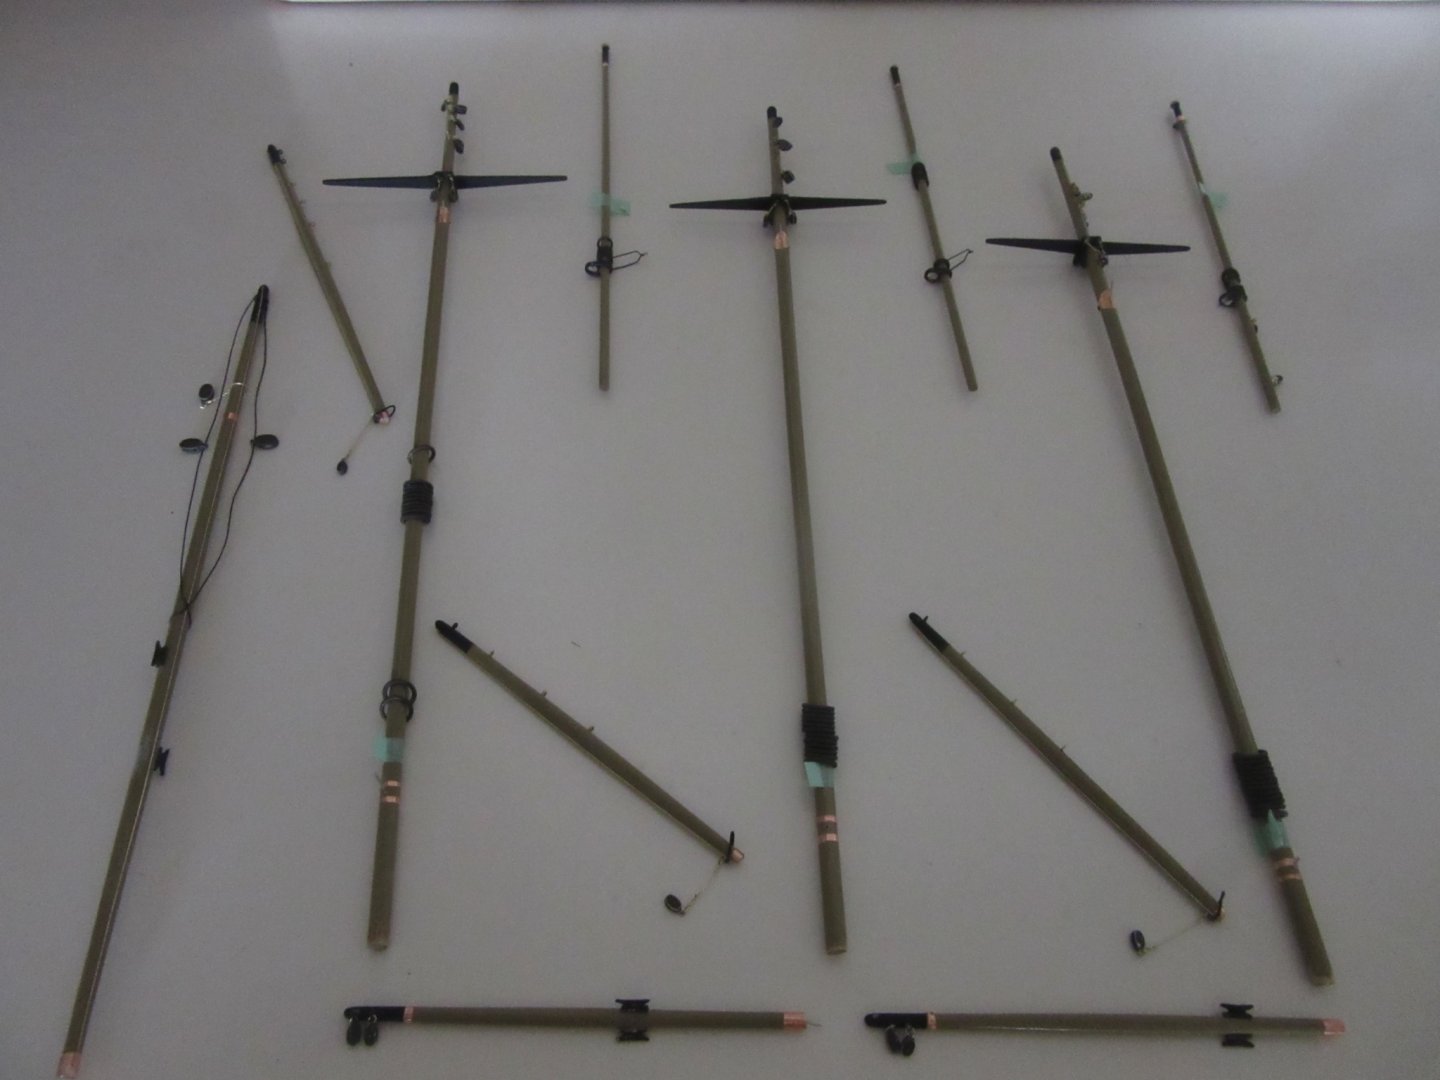
The instruction booklet allows for the boom goosenecks and gaff jaws assembly using copper foil strips to simulate them as close as possible to the actual sail plan that shows them twice the size of the models' actual scale. It also recommends using pins to secure all booms and gaffs to the masts to substitute for the actual hinges portrayed on the plan (top three photos). I had to satisfy my curiosity to see that all spars were clearing the mast regardless of them being cut, shaped and set according to the sail plan. The bottom photo is of all spars completely fitted with blocks, bridles, pendants and stirrups minus the halliard blocks and their bridles for the gaffs soon to be affixed.

-
Dying/coloring rope; sources for purchase of quality rope
closehaul replied to Tomculb's topic in Masting, rigging and sails
-
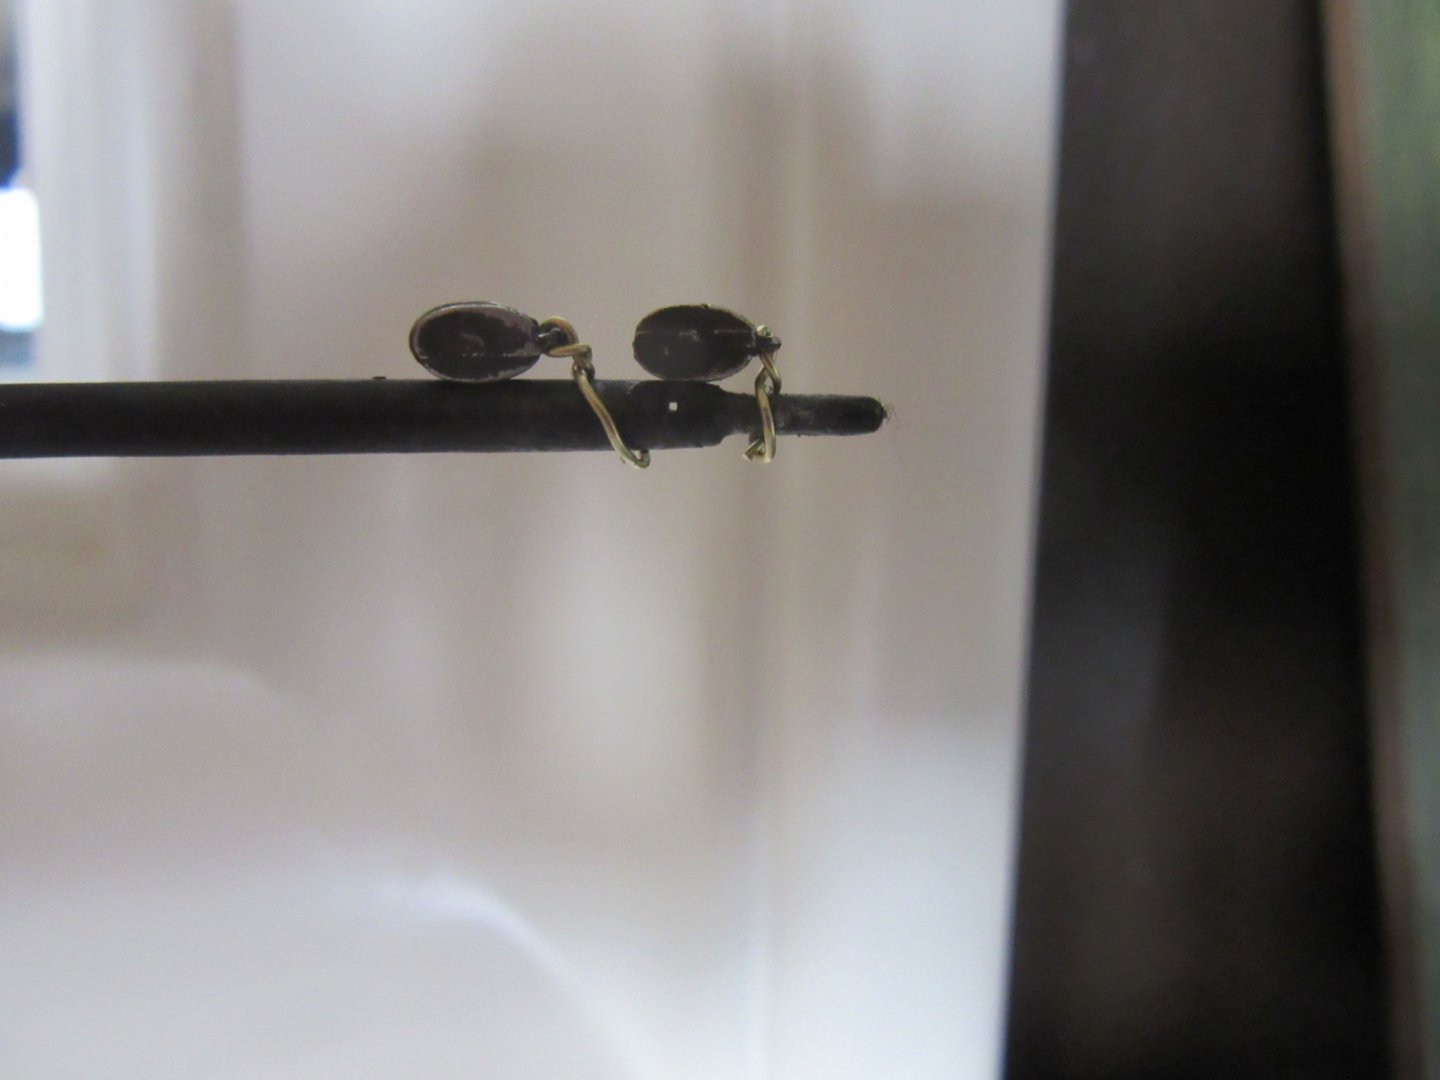
Added the short pendants and single blocks for the topping lifts: port and starboard on each mast. These macro shots creep me out. The model looks quite fine to me with the naked eye and others who think its amazing.

-
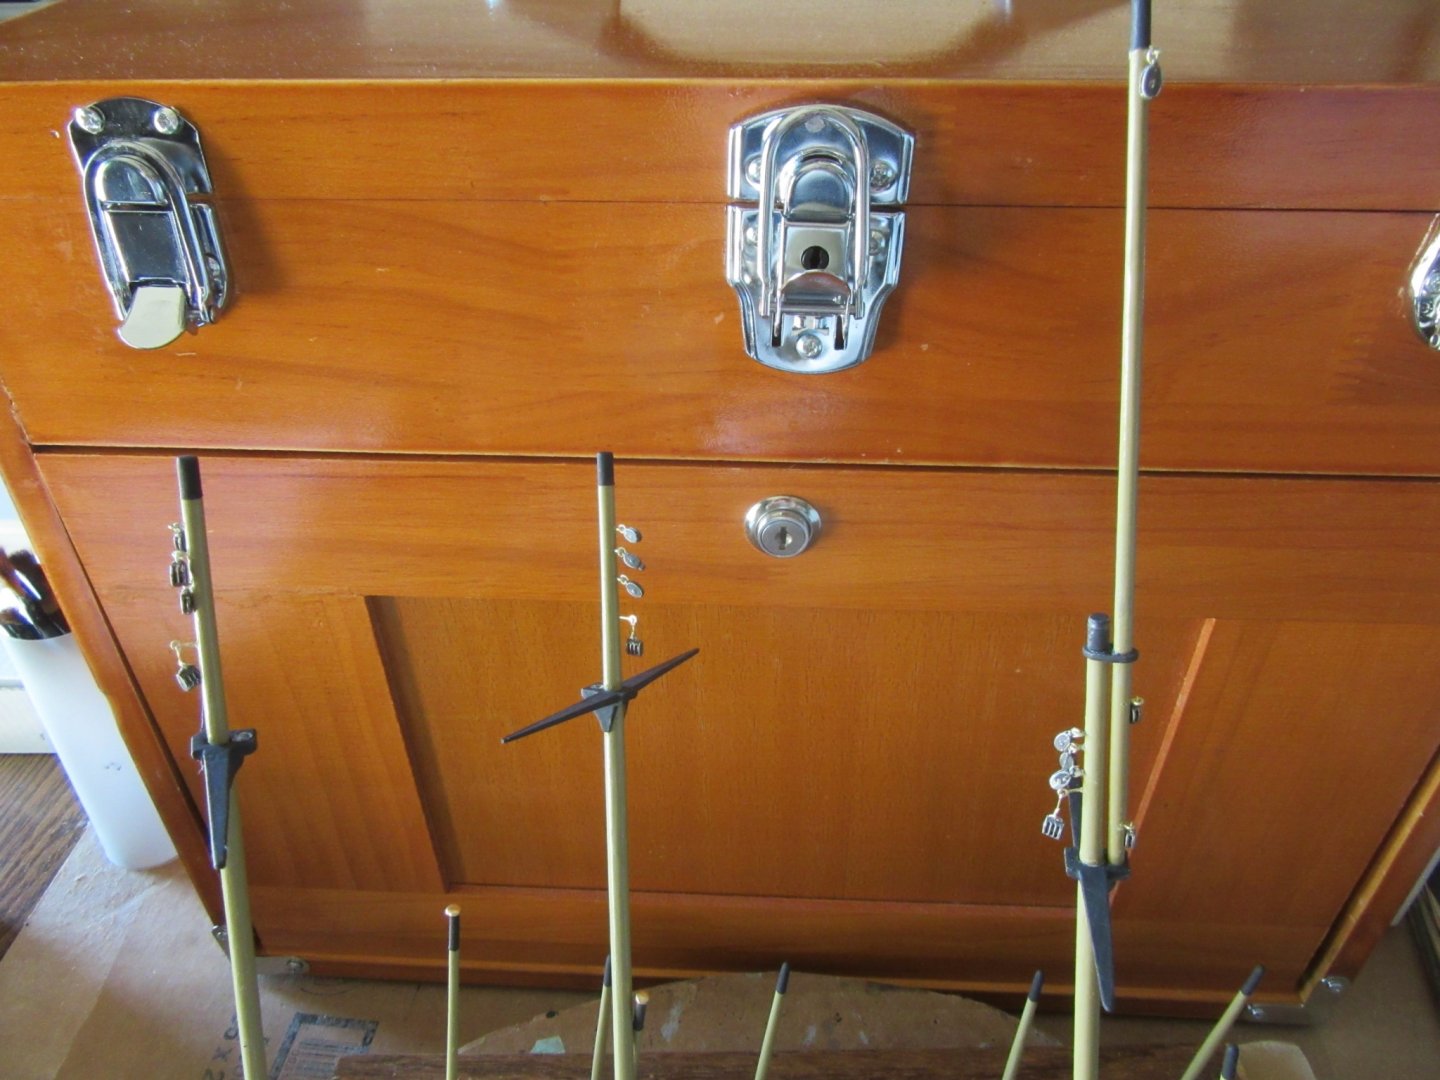
Halliard and downhaul blocks have been affixed to the bowsprit using 26 gauge brass wire. Eyes, blocks and pendants have been affixed to all masts and readied to be stepped. I finally broke down and bought a modeling toolbox to facilitate organization for this and future builds.
-
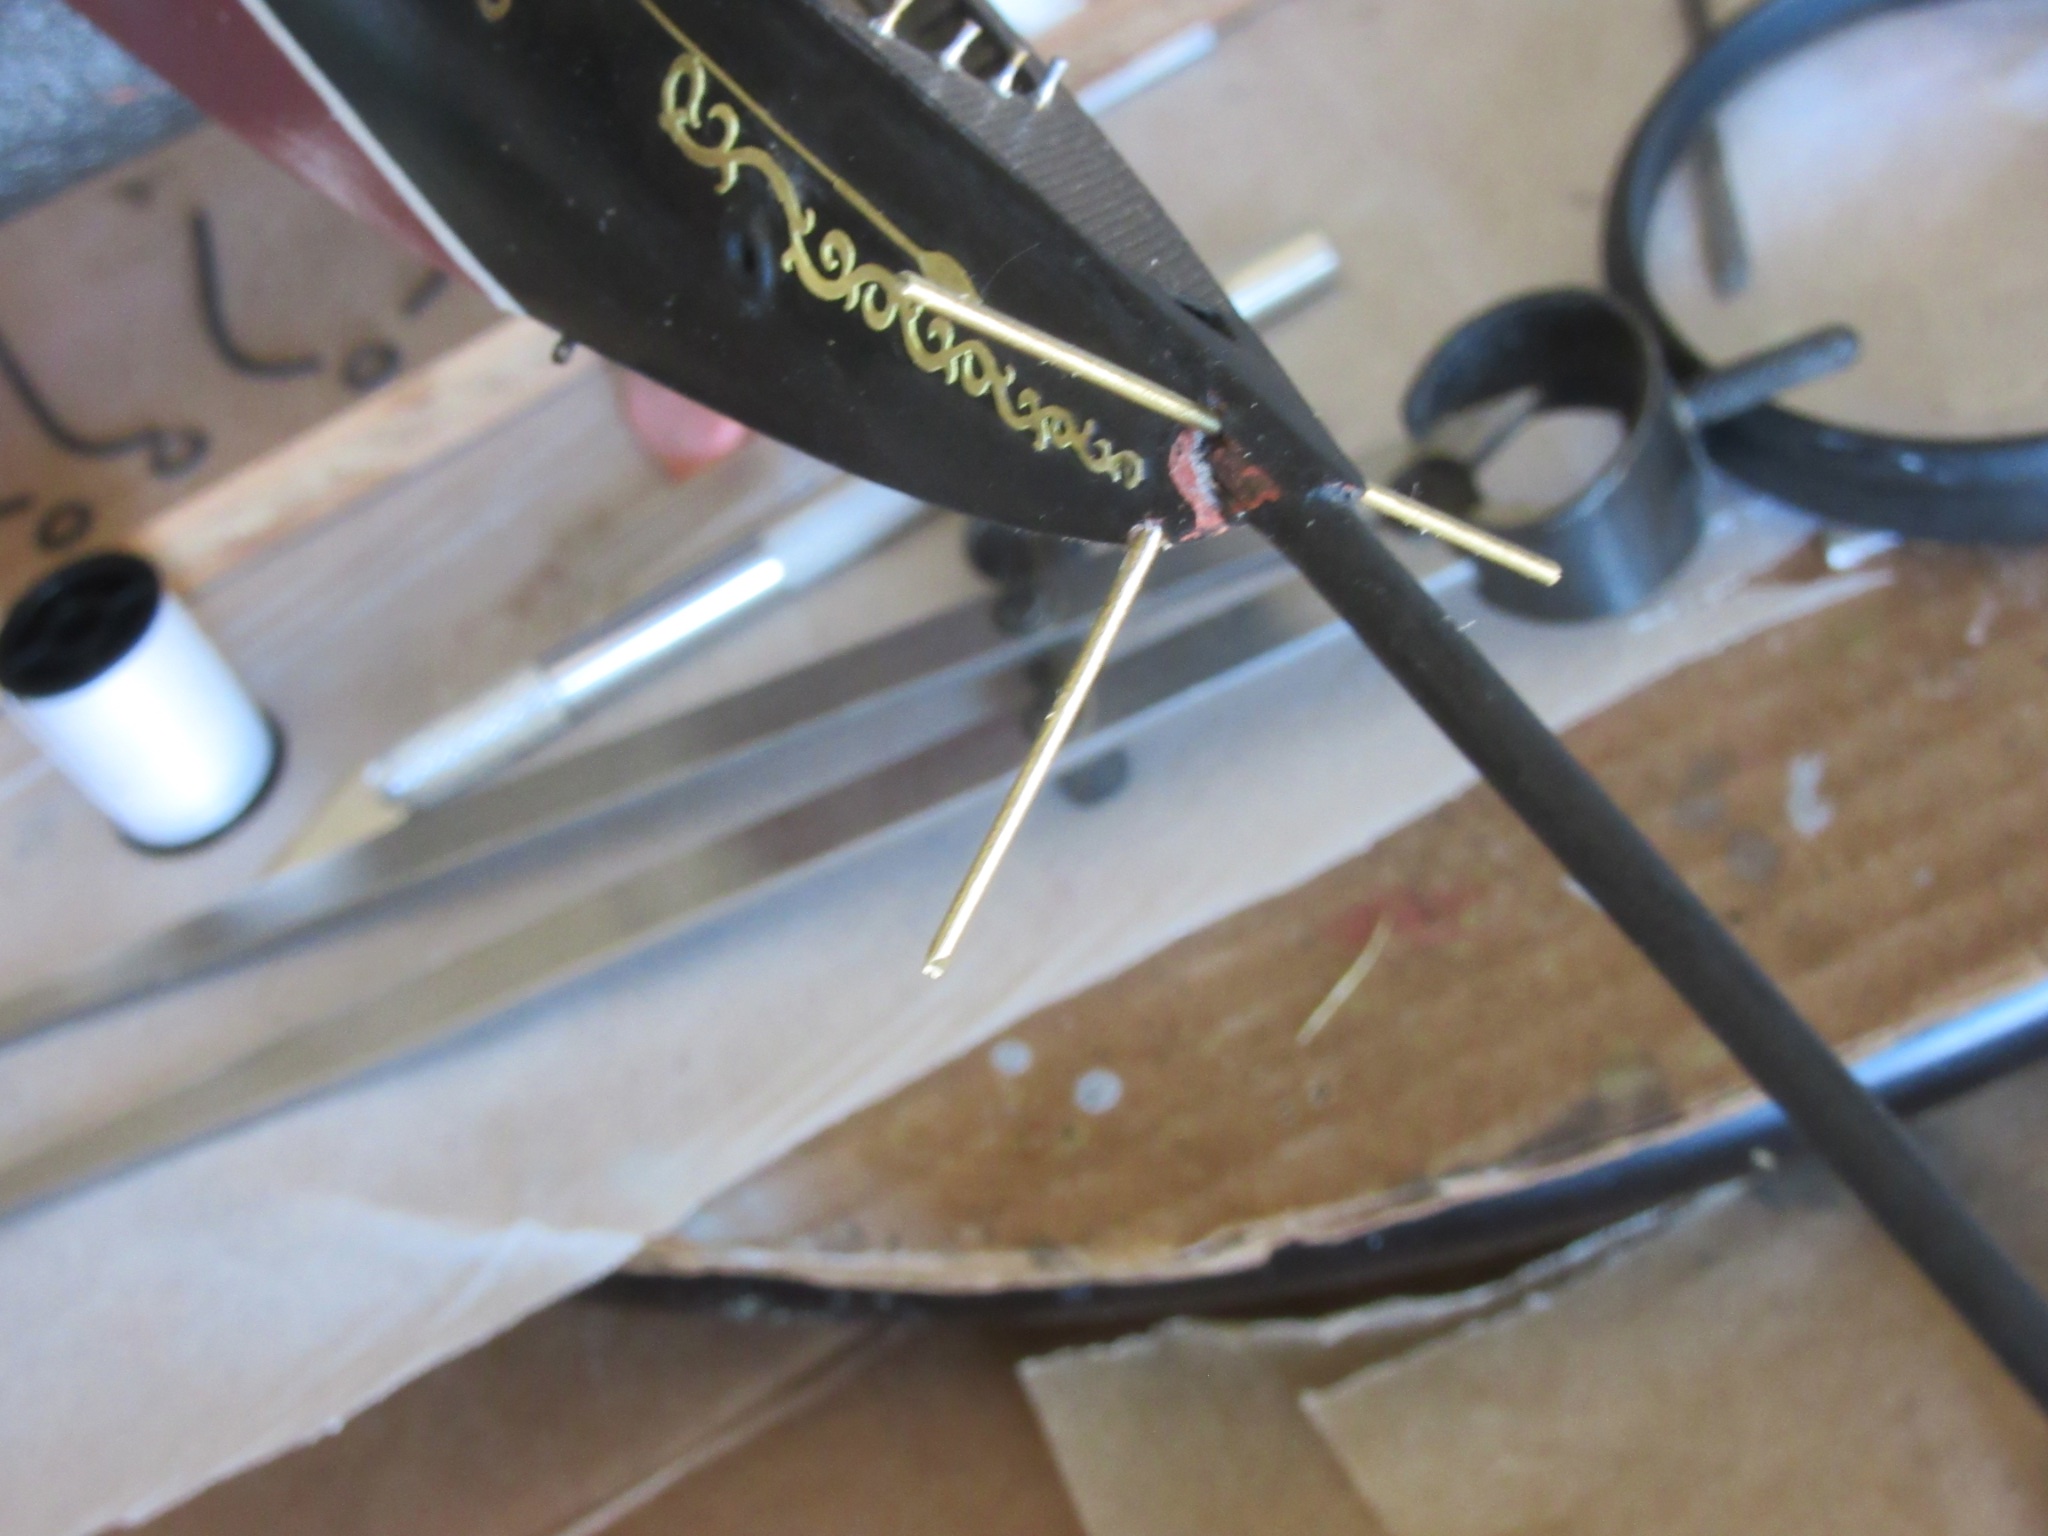
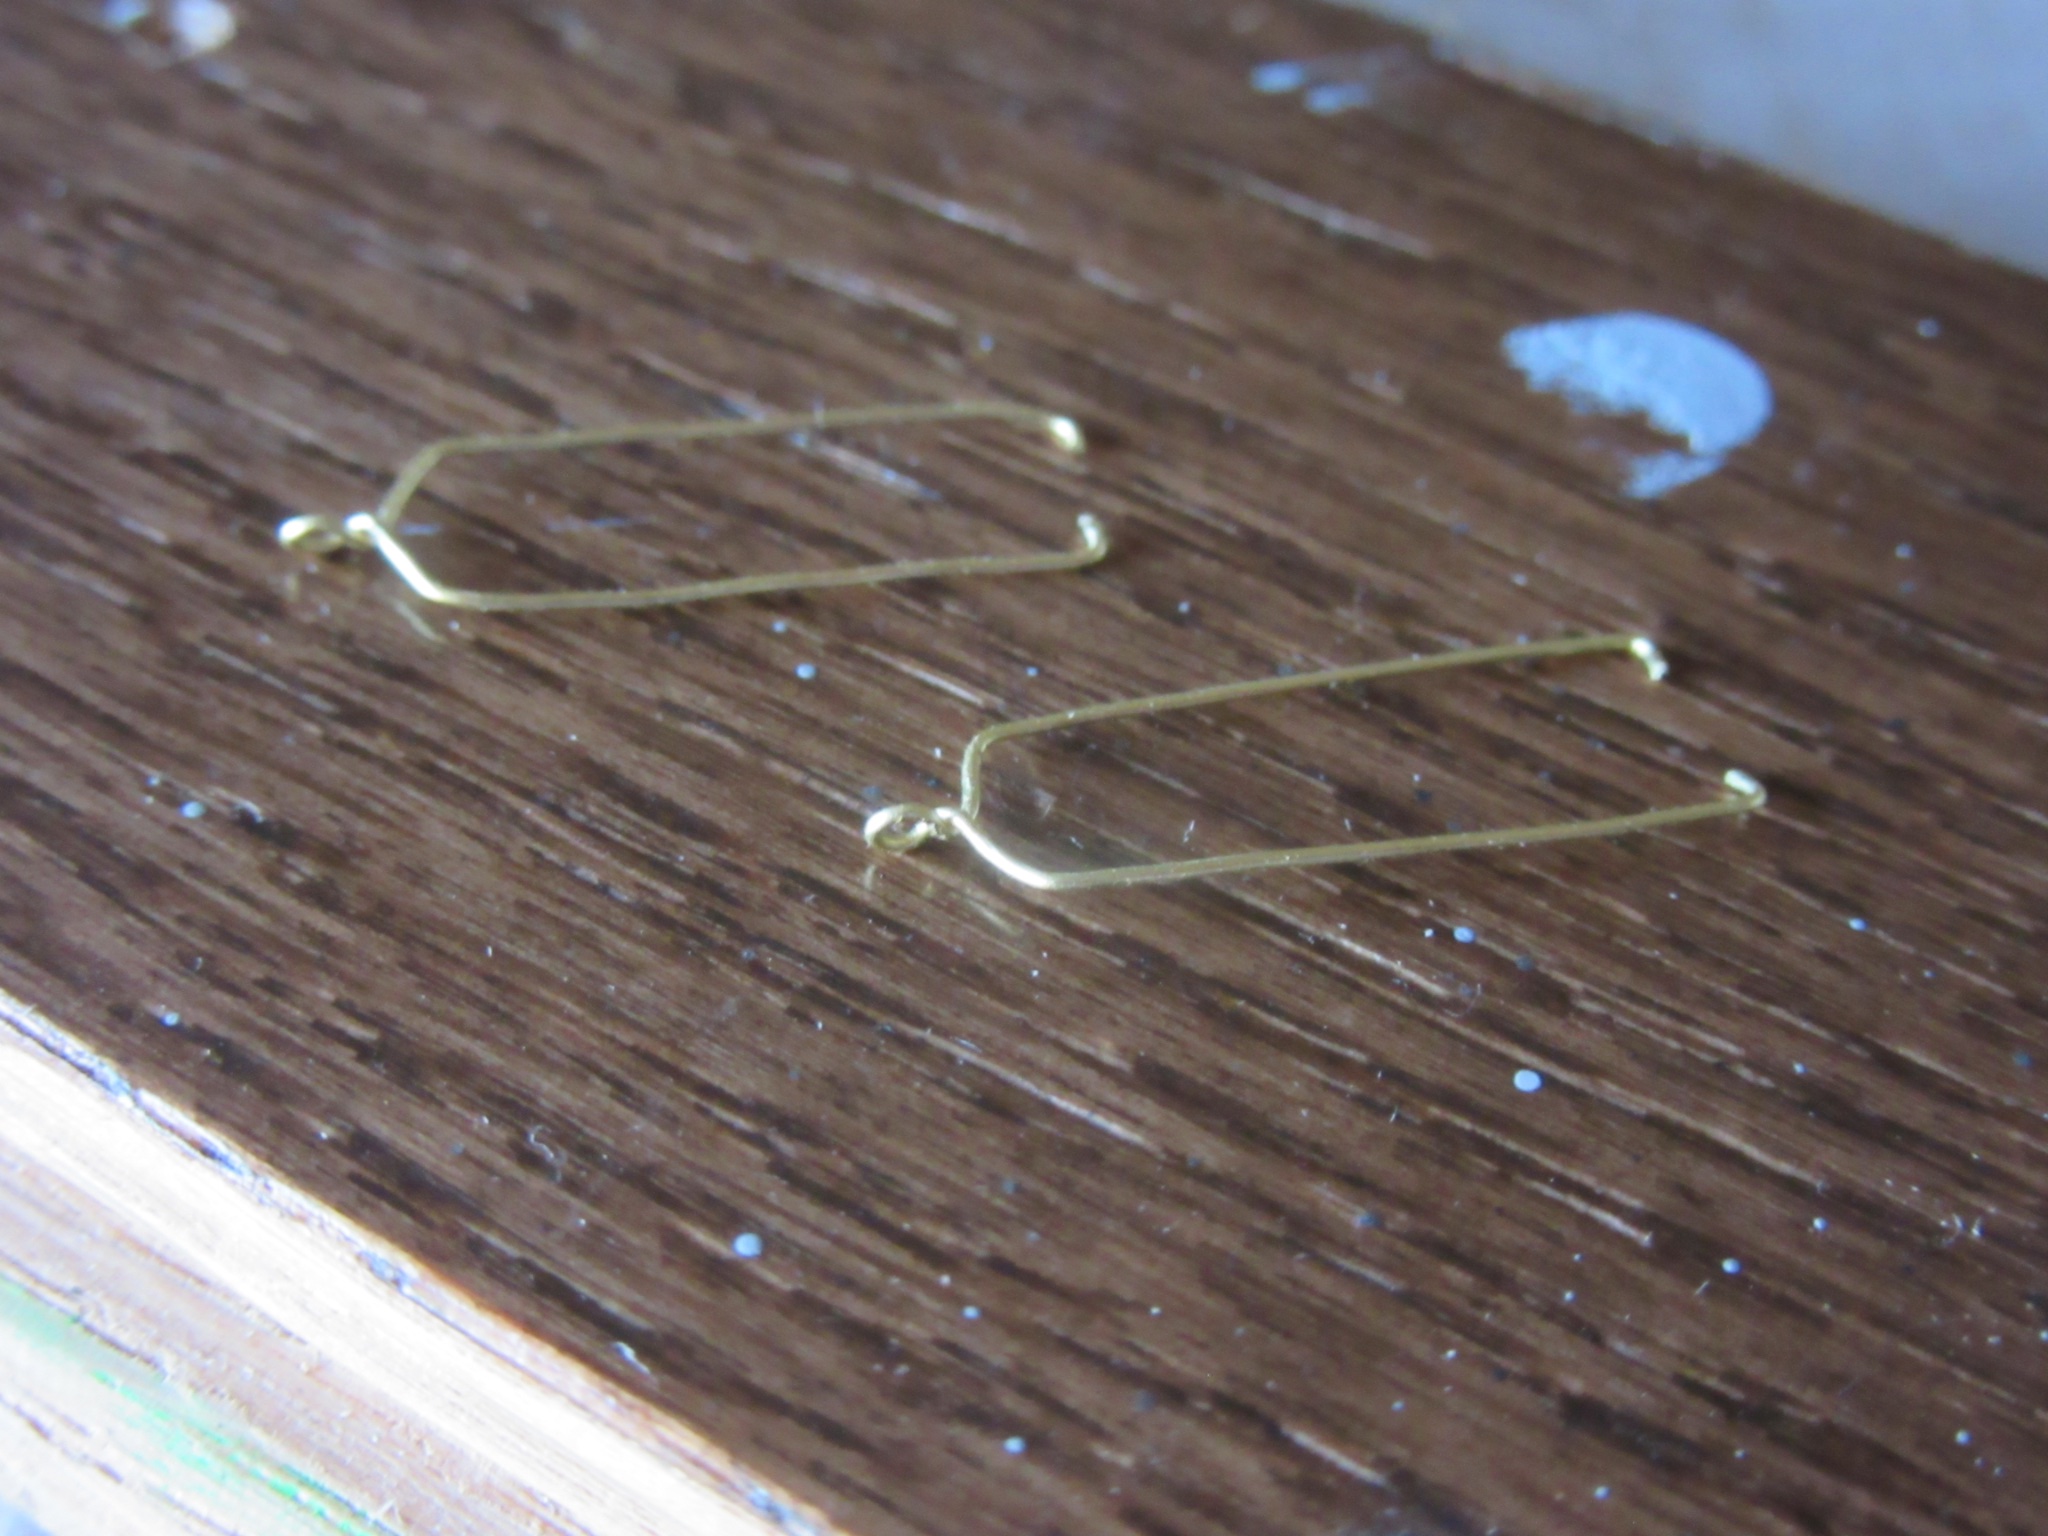
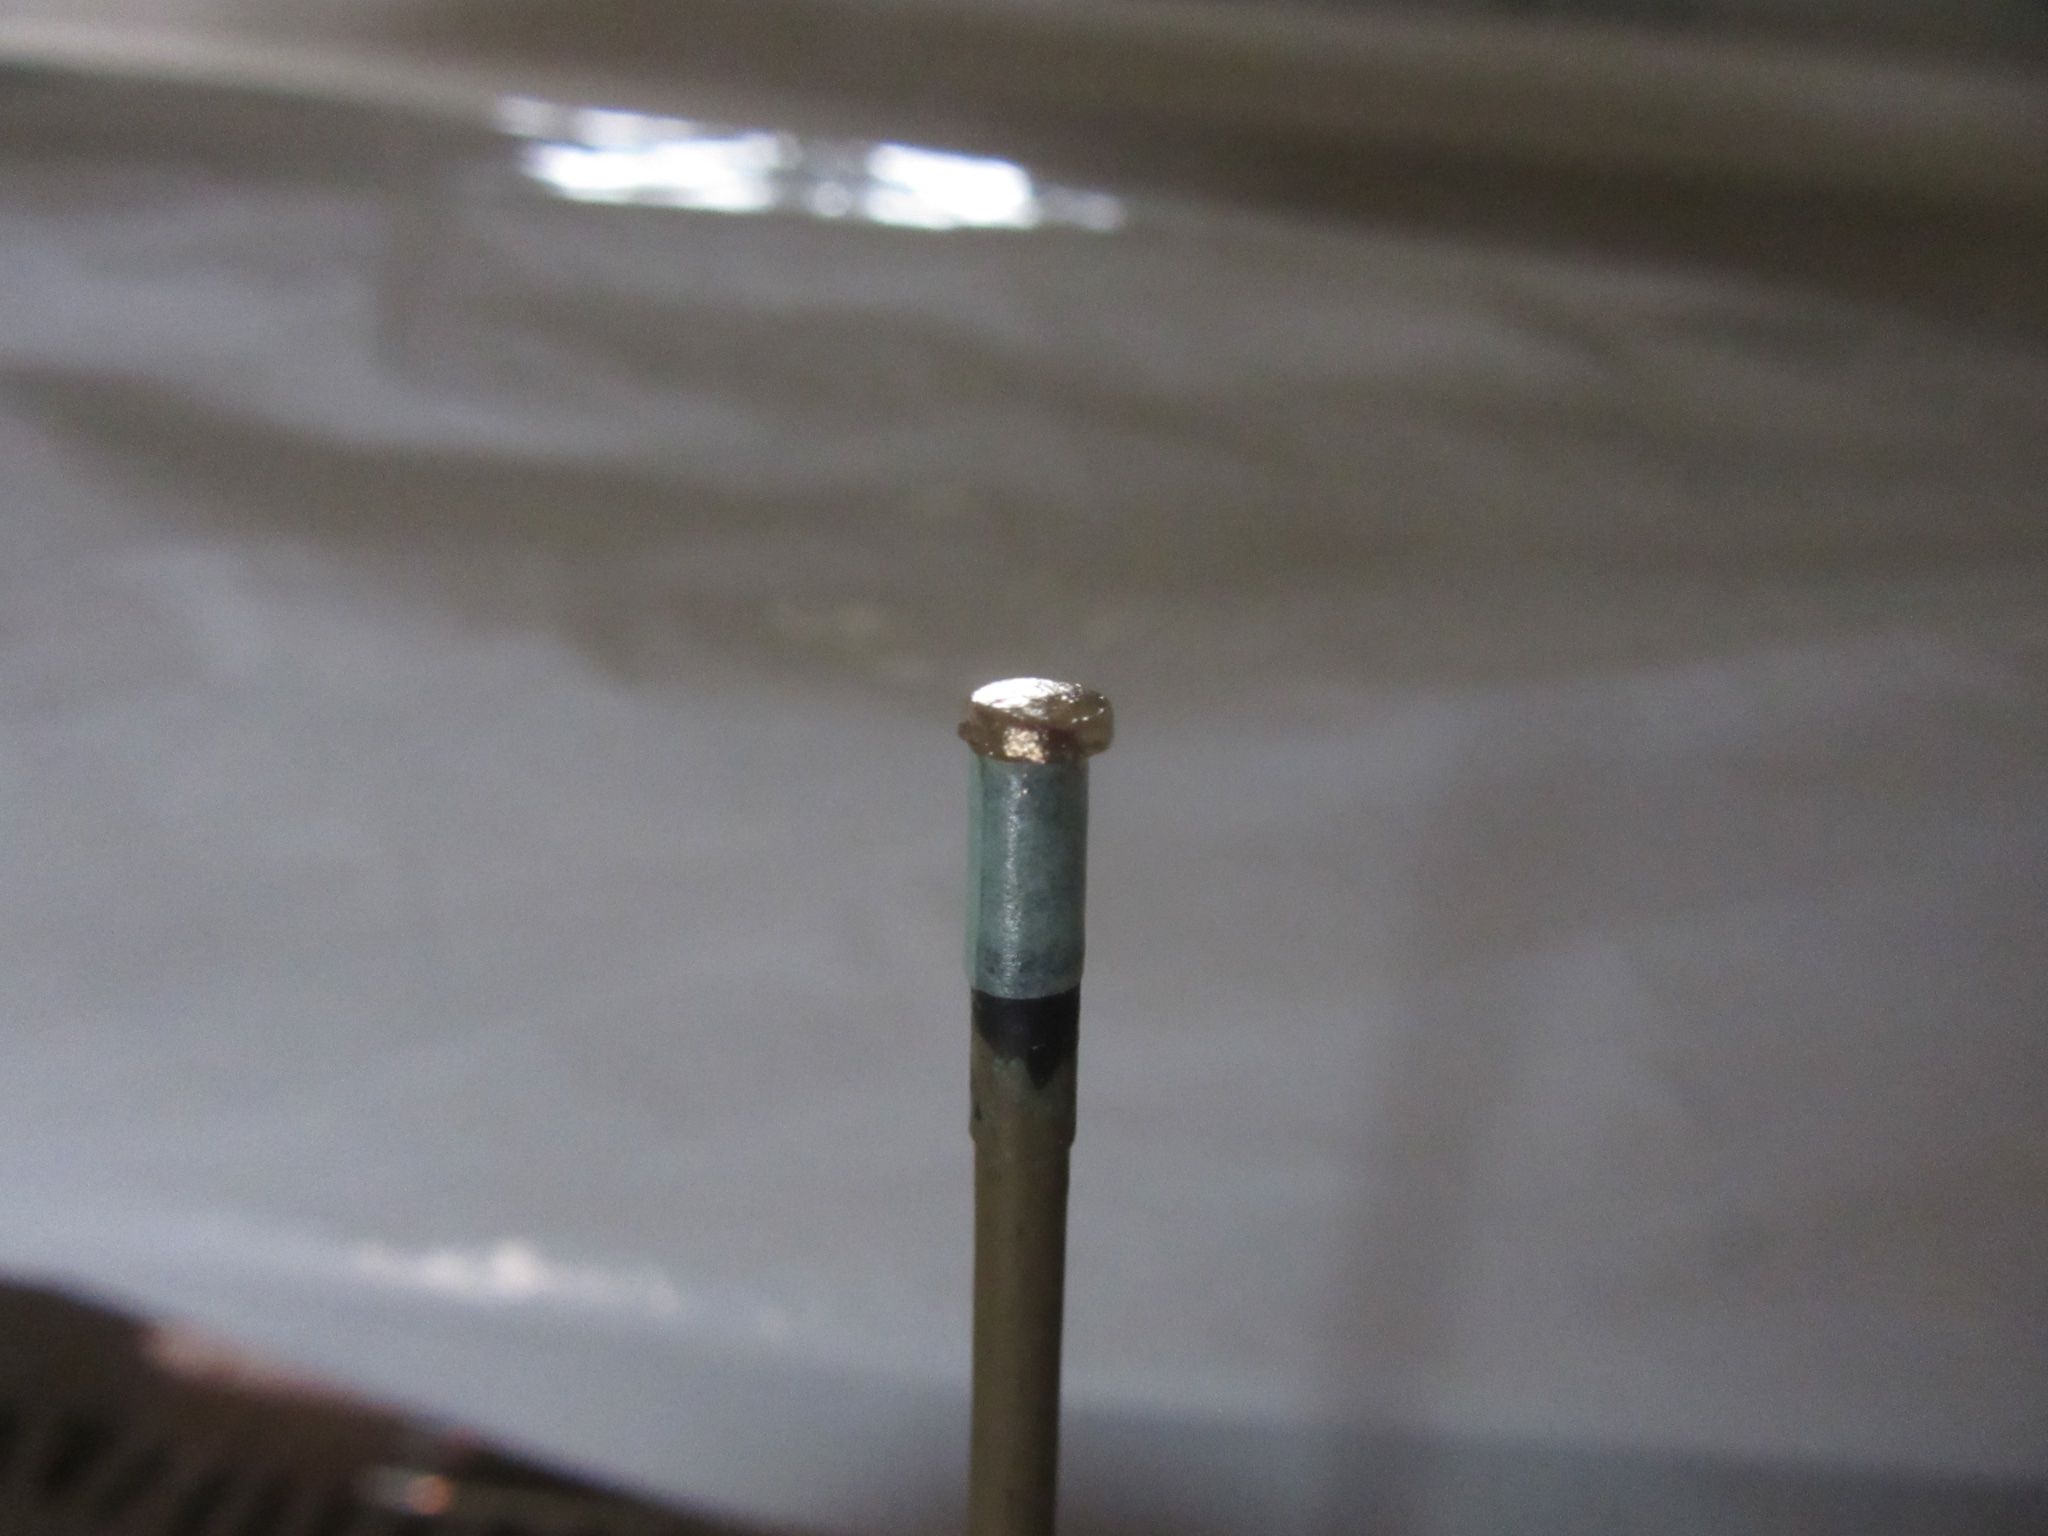
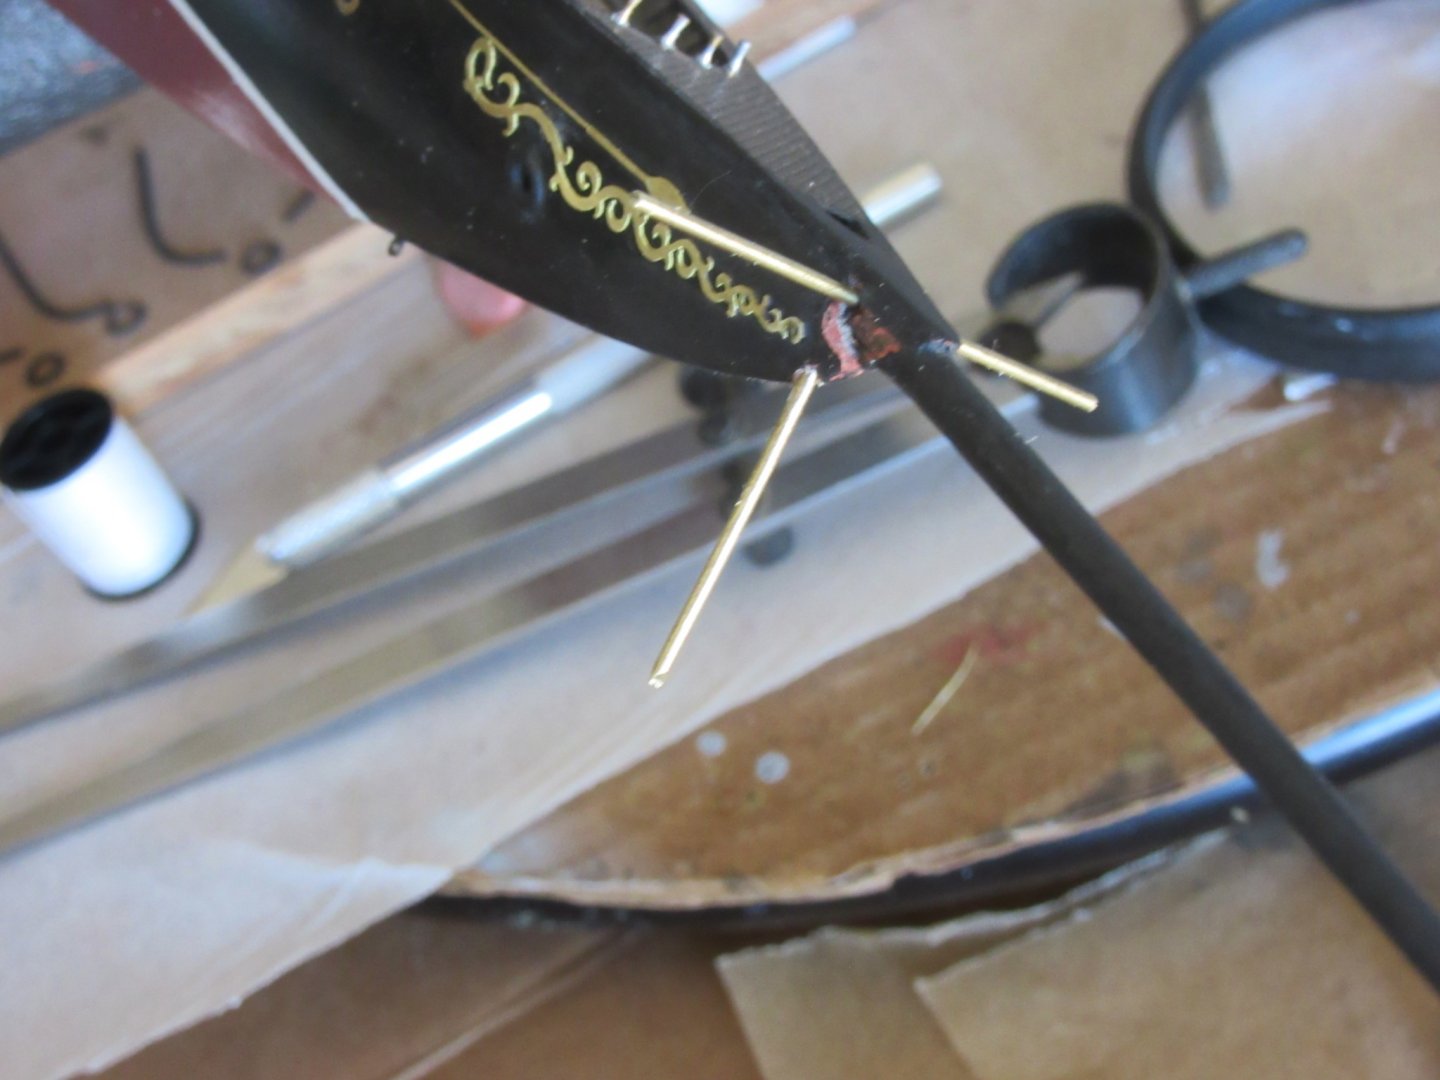
The guys and dolphin striker have been cut from 3/64" dia. brass rod, set, glued, painted and will be rigged later after the masts are stepped. The second and third photo are the top fore and main backstay bridles fashioned from 26 gauge brass wire and also painted flat black. The trucks on the 3 topmasts are finished with gold paint in the 4th photo. Atlantic requires 8 single blocks and hooks for its ship boats davit rigging and 3 double blocks and hooks for each mast throat halyard tackle in which the blocks were drilled out to glue the hooks in that were also fashioned from the kits' 26 gauge wire and then painted brown on the blocks and black for the hooks. I have to apologize for the incompleted paint and finishing on some of these parts. Some have only an initial coat of paint while others require further smoothing of surfaces or redrilling the blocks' sheaves clean. When the rigging begins the photos will show the final finish on all parts.


-
The spreaders have been sanded to shape, primed and painted while the hounds have been reamed to fit the mast per sail plan. To ready about for rigging , all blocks and turnbuckles have been drilled, filled smooth and painted per instruction booklet. The bottom photo is of the gold trucks at the masthead. An 1/8" dia. hole punch cut the round out of the unused 3/64" thick basswood that was supplied in the kit for the transom bulkhead which I chose to carve out instead. Once the trucks are finished and drilled, the taped over mast caps will be gently slid down the topmast to the designated position per sail plan and glued in place.

-
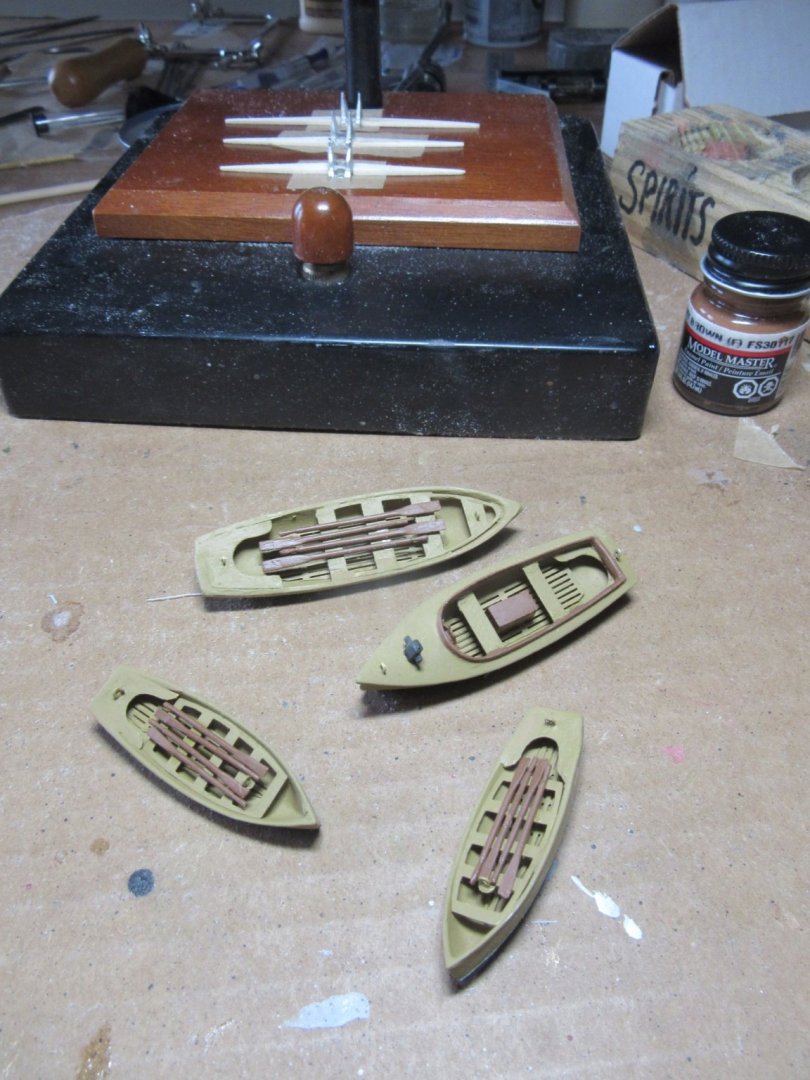
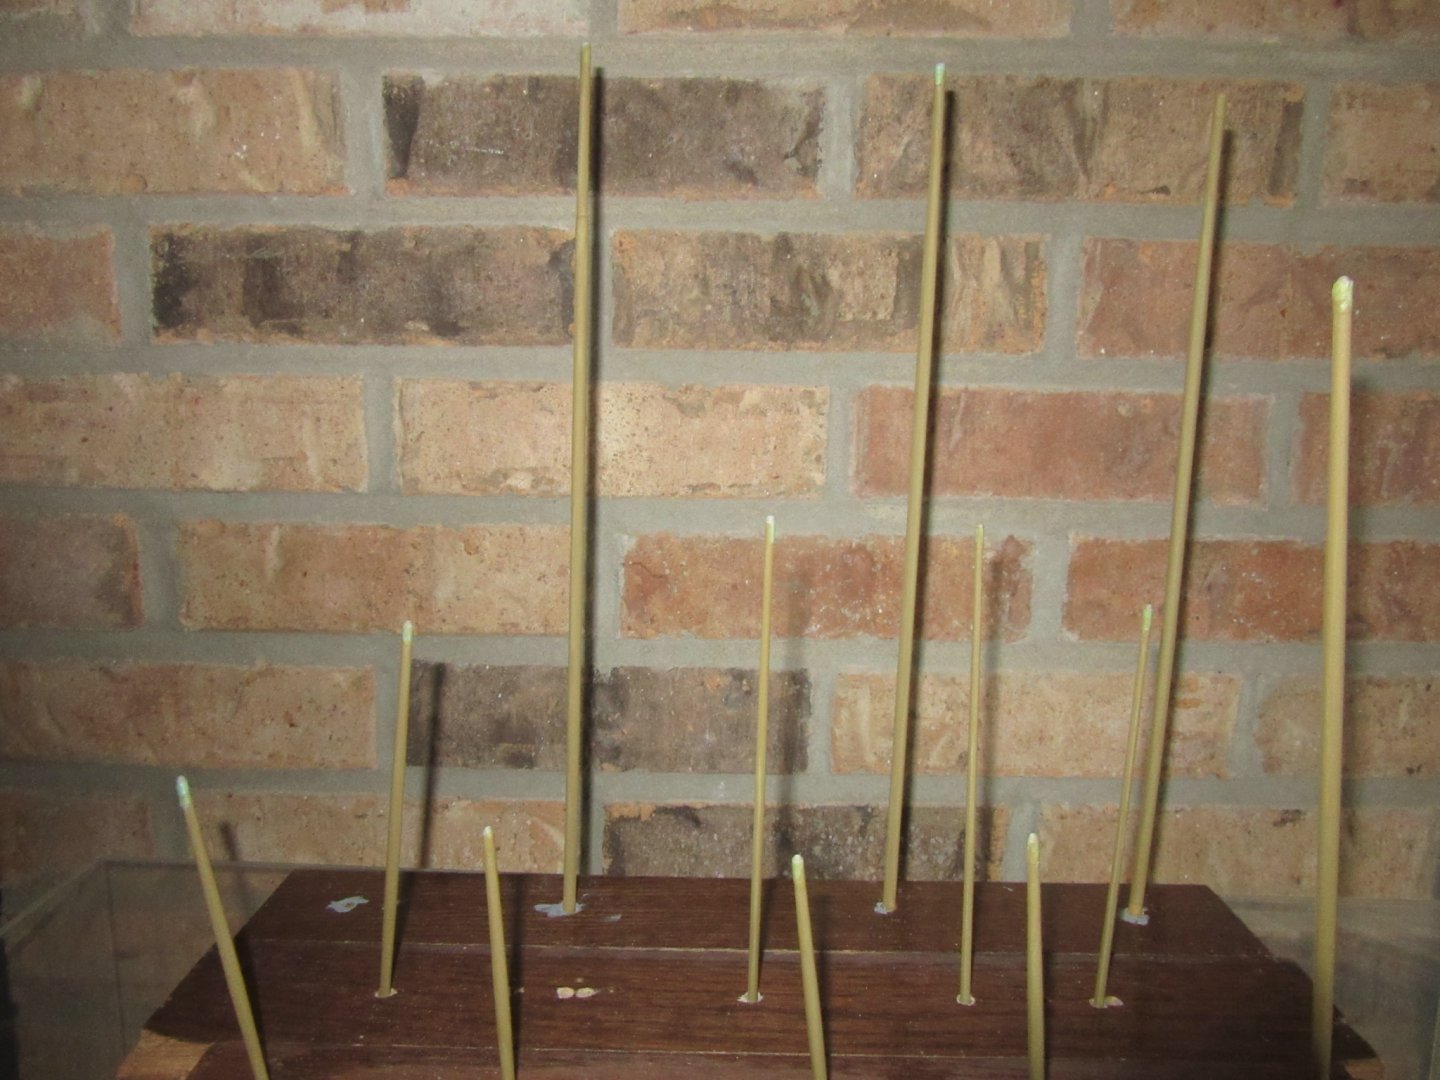
The top photo is the spreaders glued with CA to the hounds and have yet to be sanded to the final shape. In the middle photo are the completed ships' boats and behind them the spreaders sanded to their final shape. The bottom photo is my forest of masts, booms and gaffs all sanded to shape, primed and painted with the first coat of depot buff enamel.

-
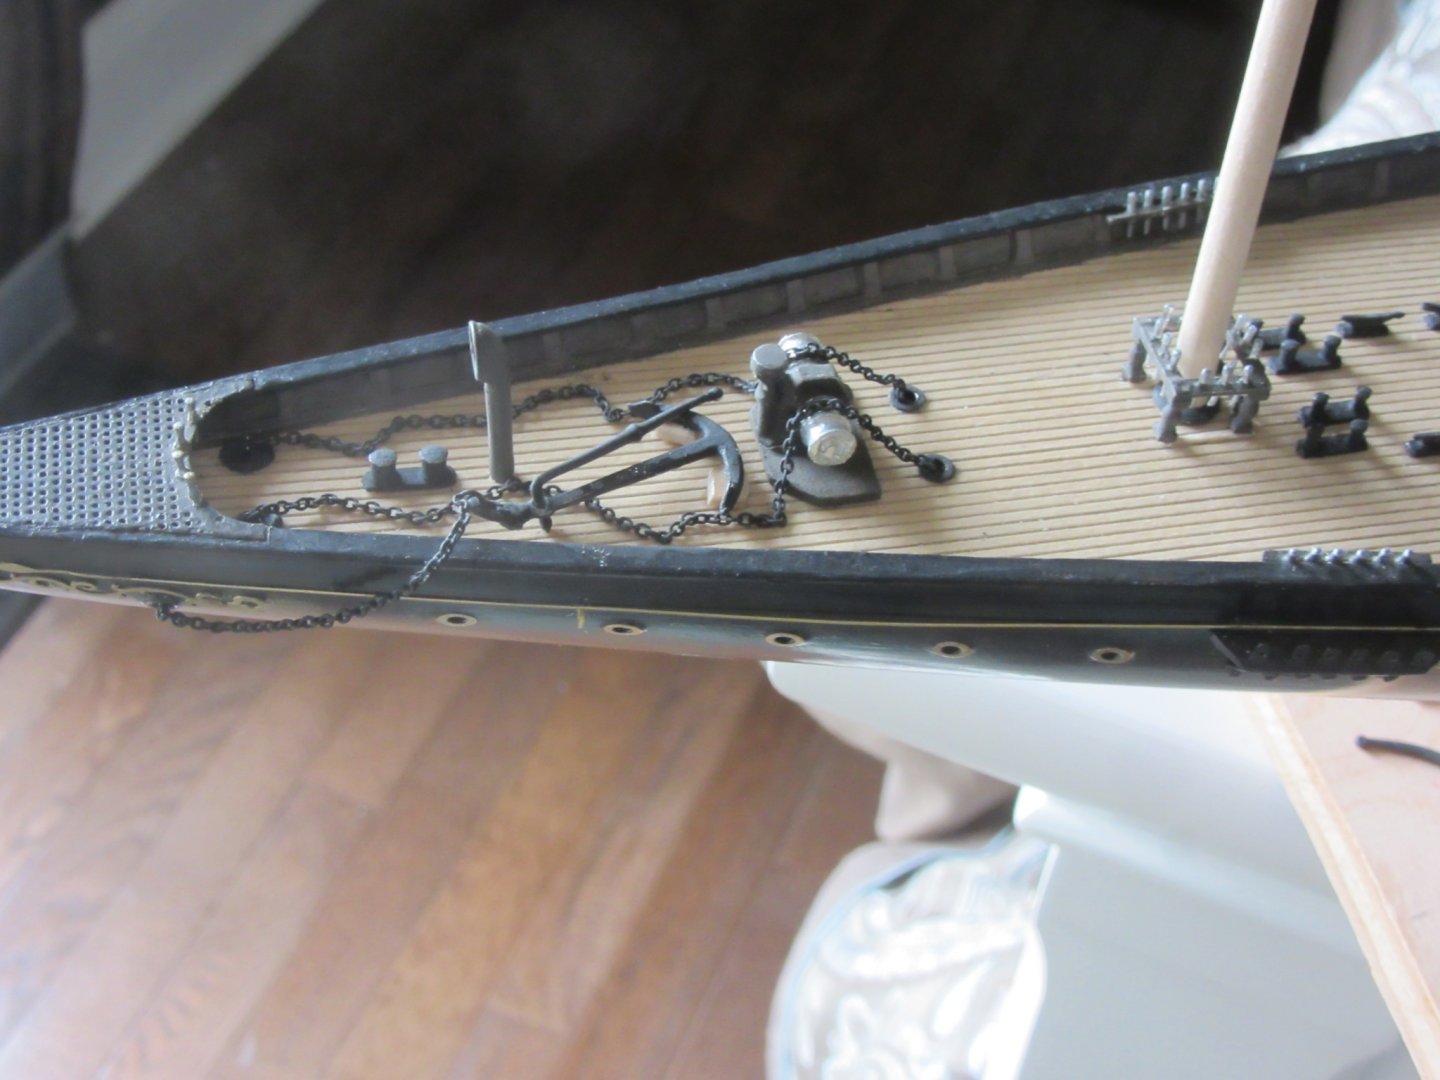
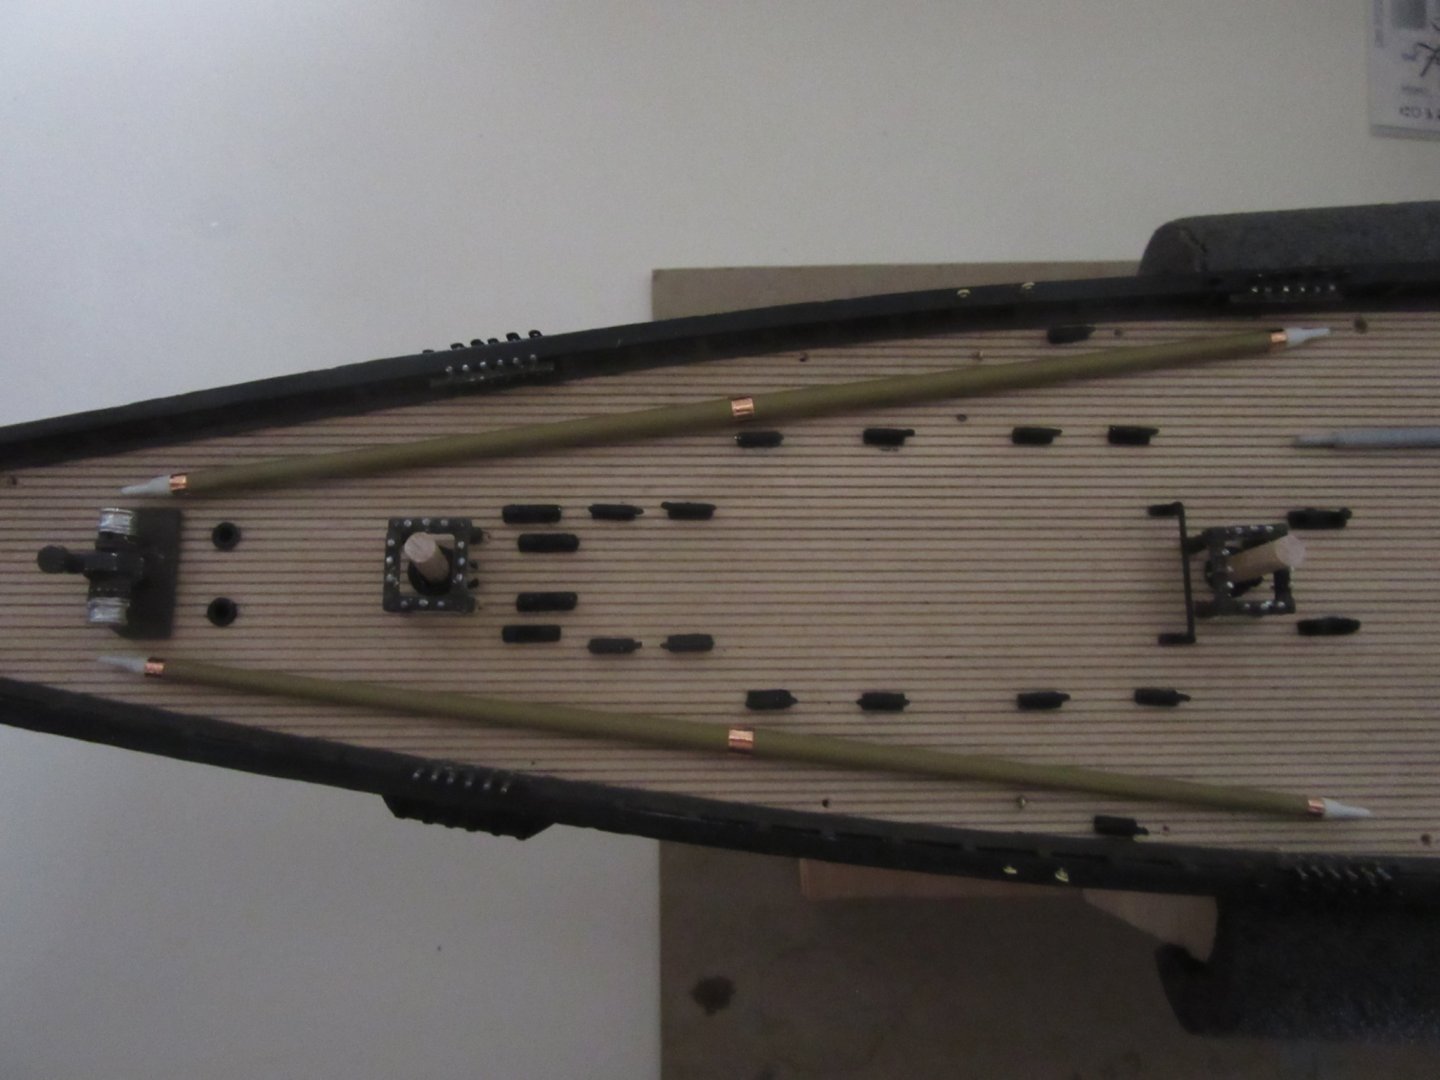
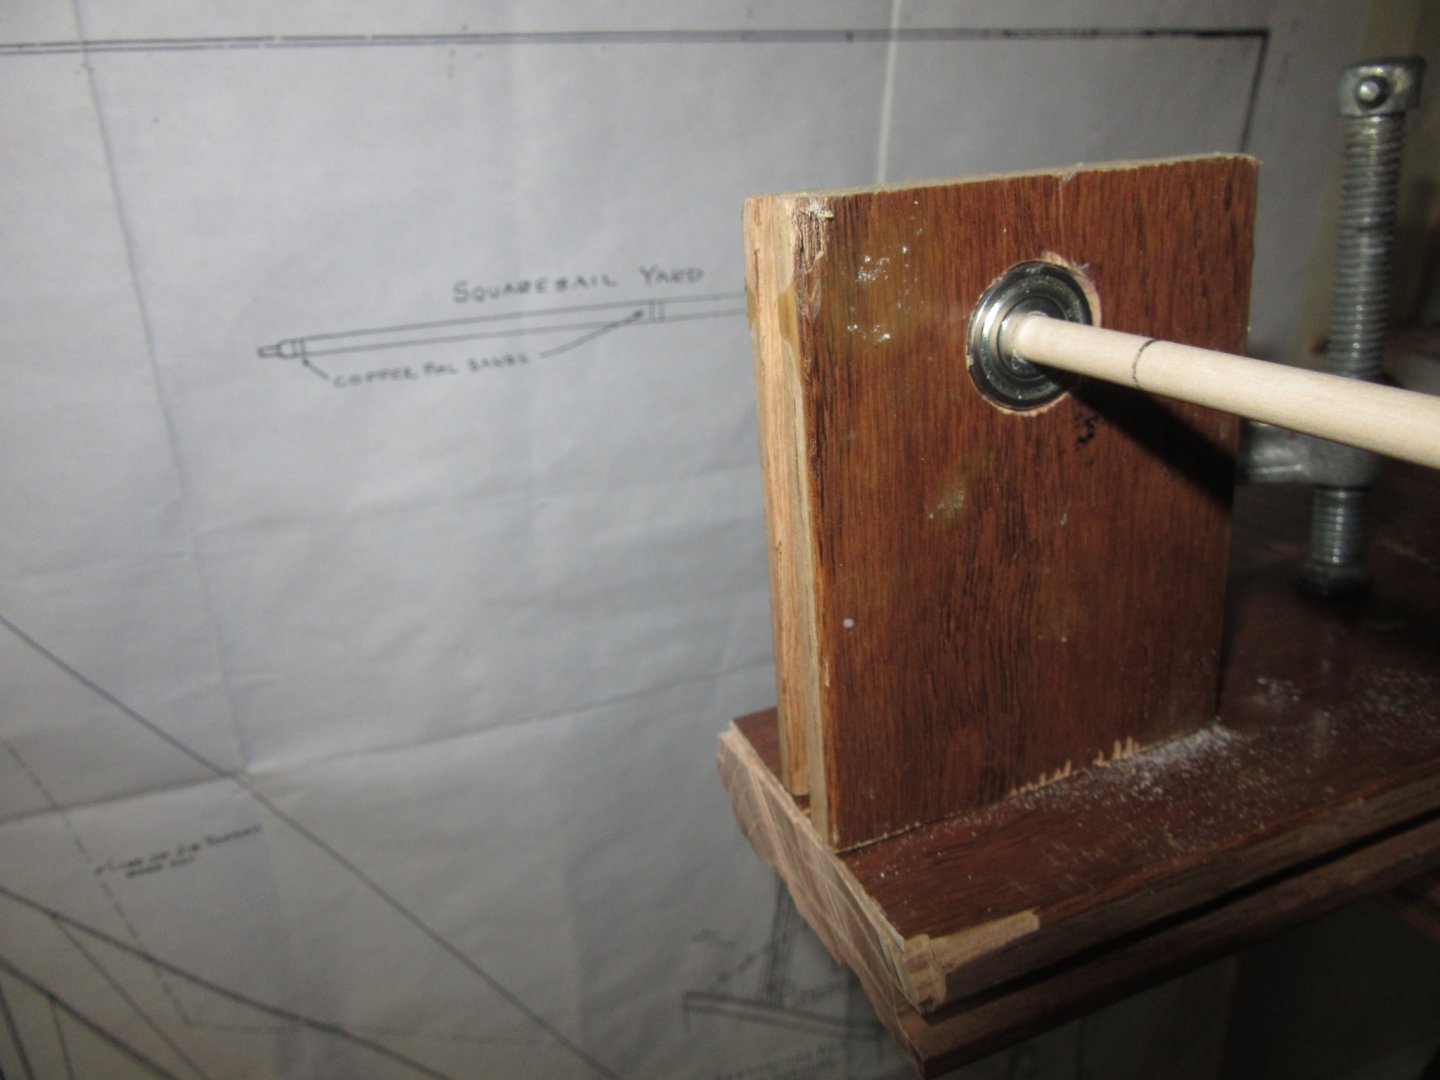
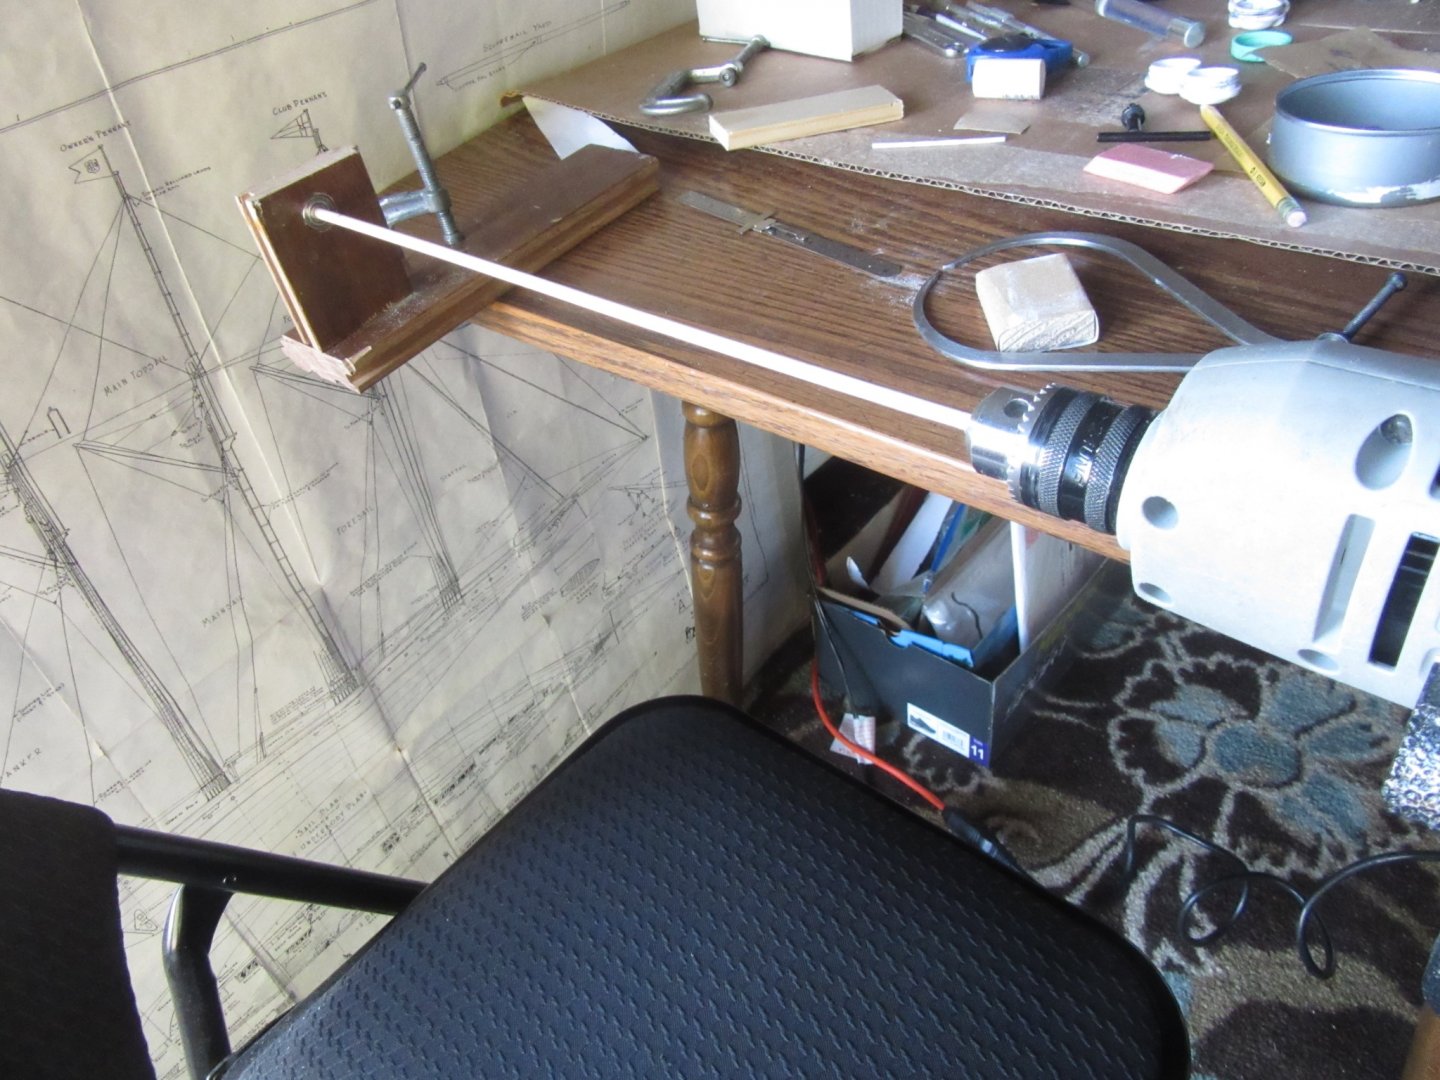
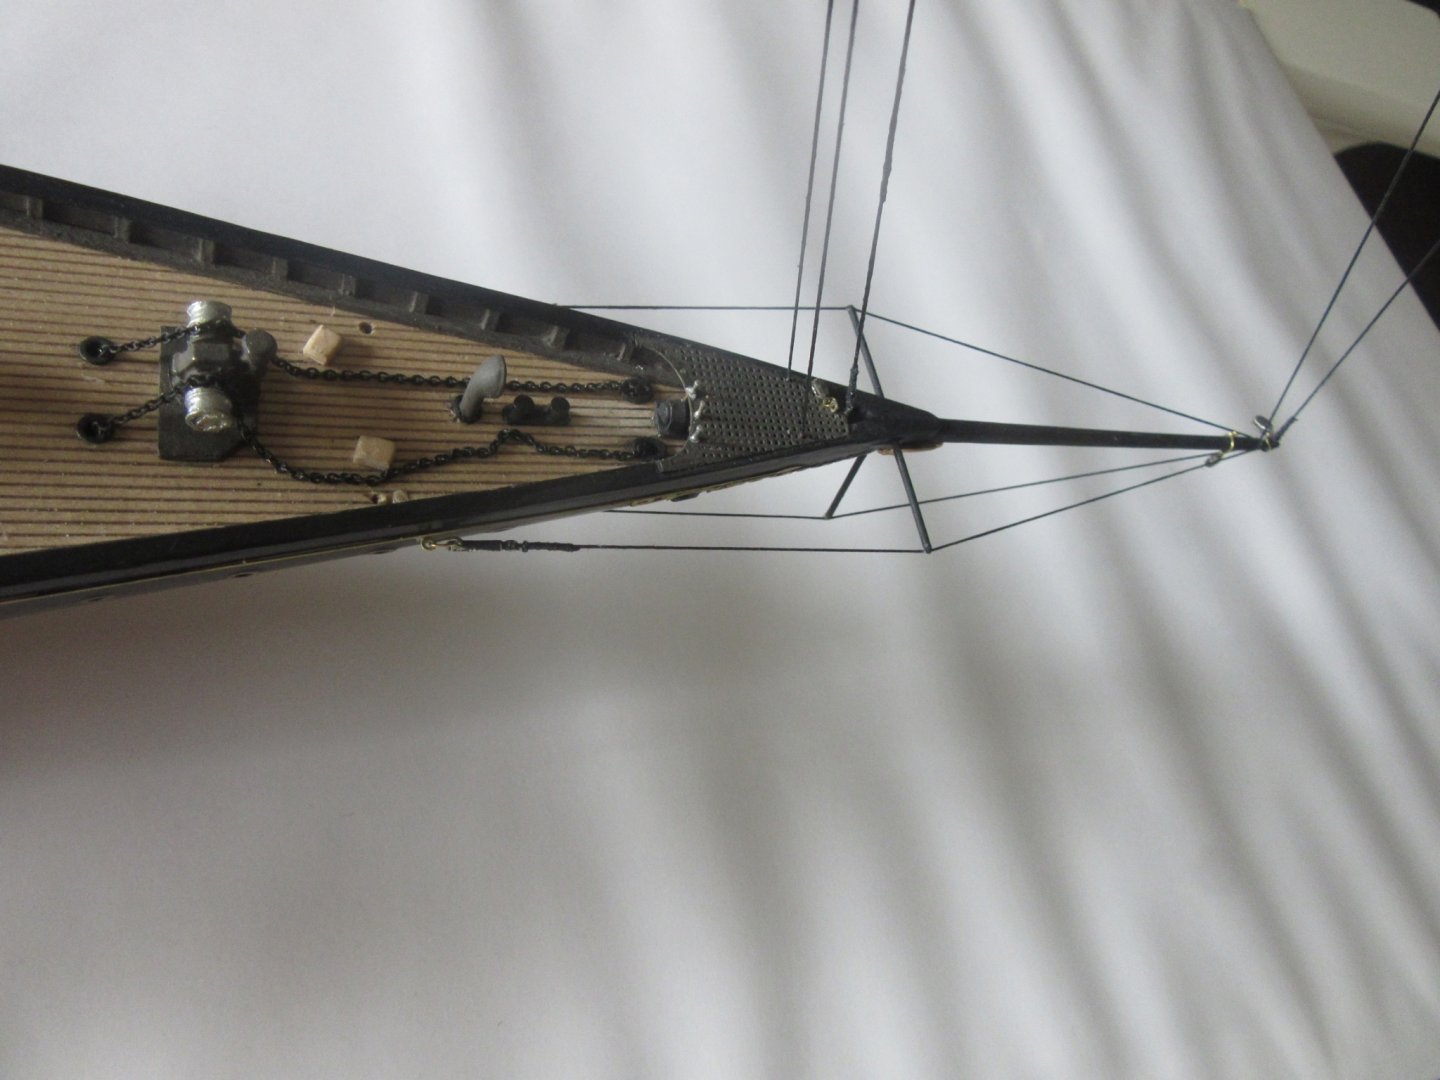
The elongated scratch built anchor shackle was successful and its chain and crossbar installed on deck along with chain sections for the anchor winch. The square yards have been completed and stowed on deck as they were during the 1905 Kaiser's Cup race across the Atlantic. For turning the 3 masts I fashioned a tailstock using a 5mm ID roller bearing. The 3/16 in. dowel fit snuggly into it to get the required tapering for fitting the hounds and mast caps. The tapered sections of the mast are then hand sanded to insure a proper fit.