
Clark Griswold
-
Posts
57 -
Joined
-
Last visited
Content Type
Profiles
Forums
Gallery
Events
Everything posted by Clark Griswold
-
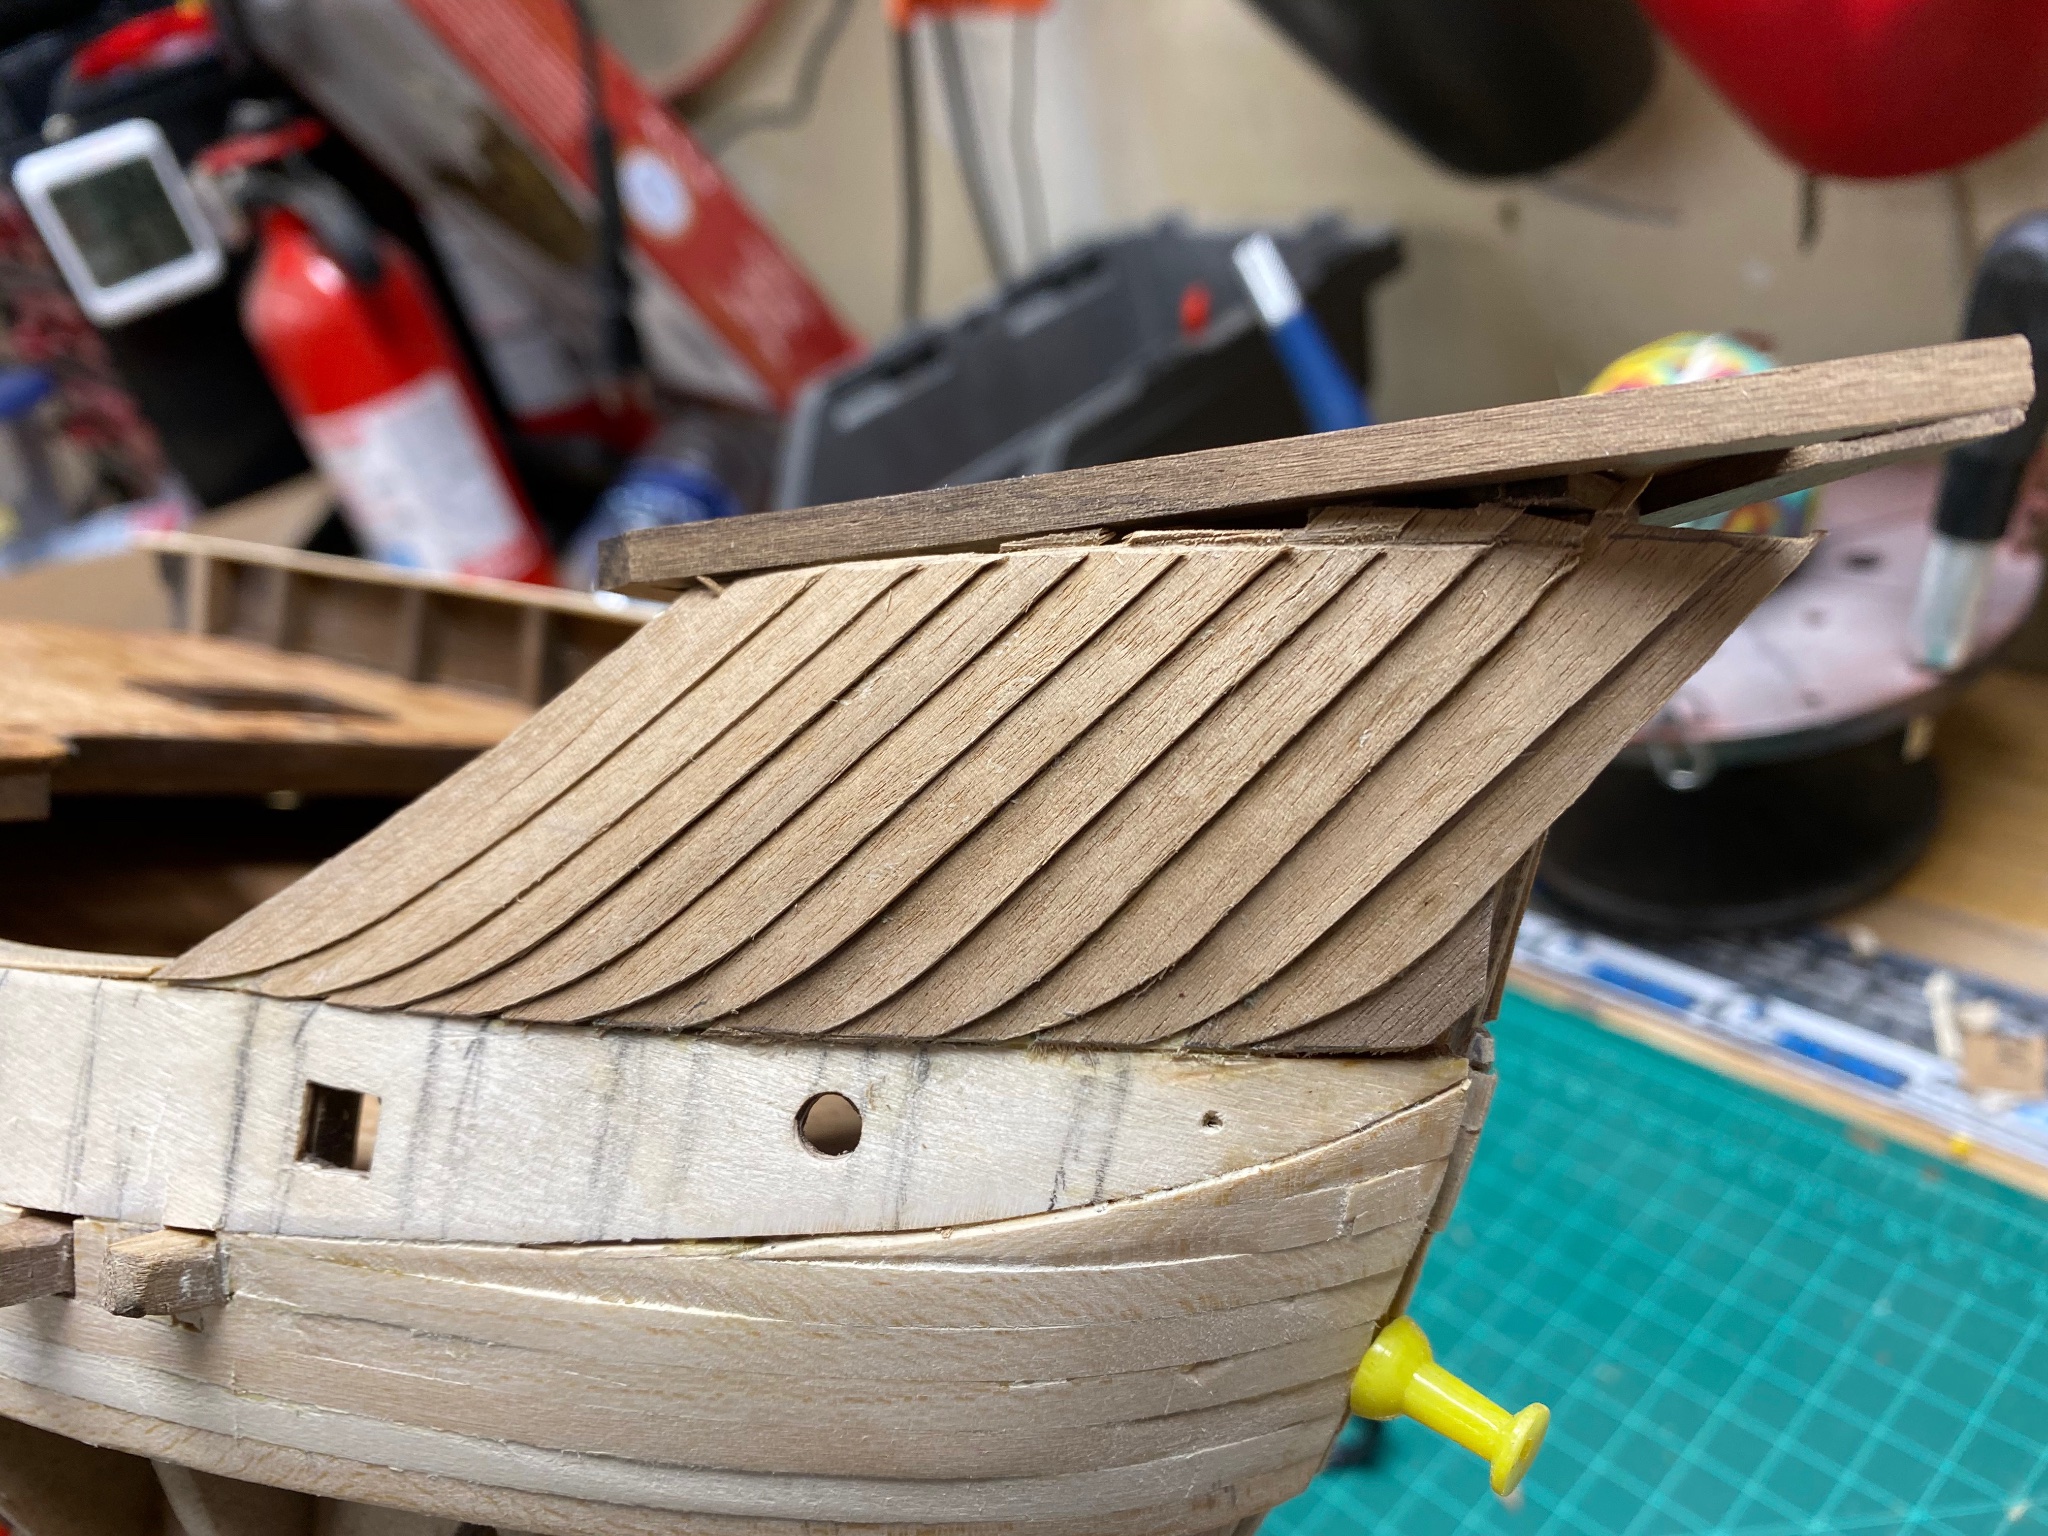
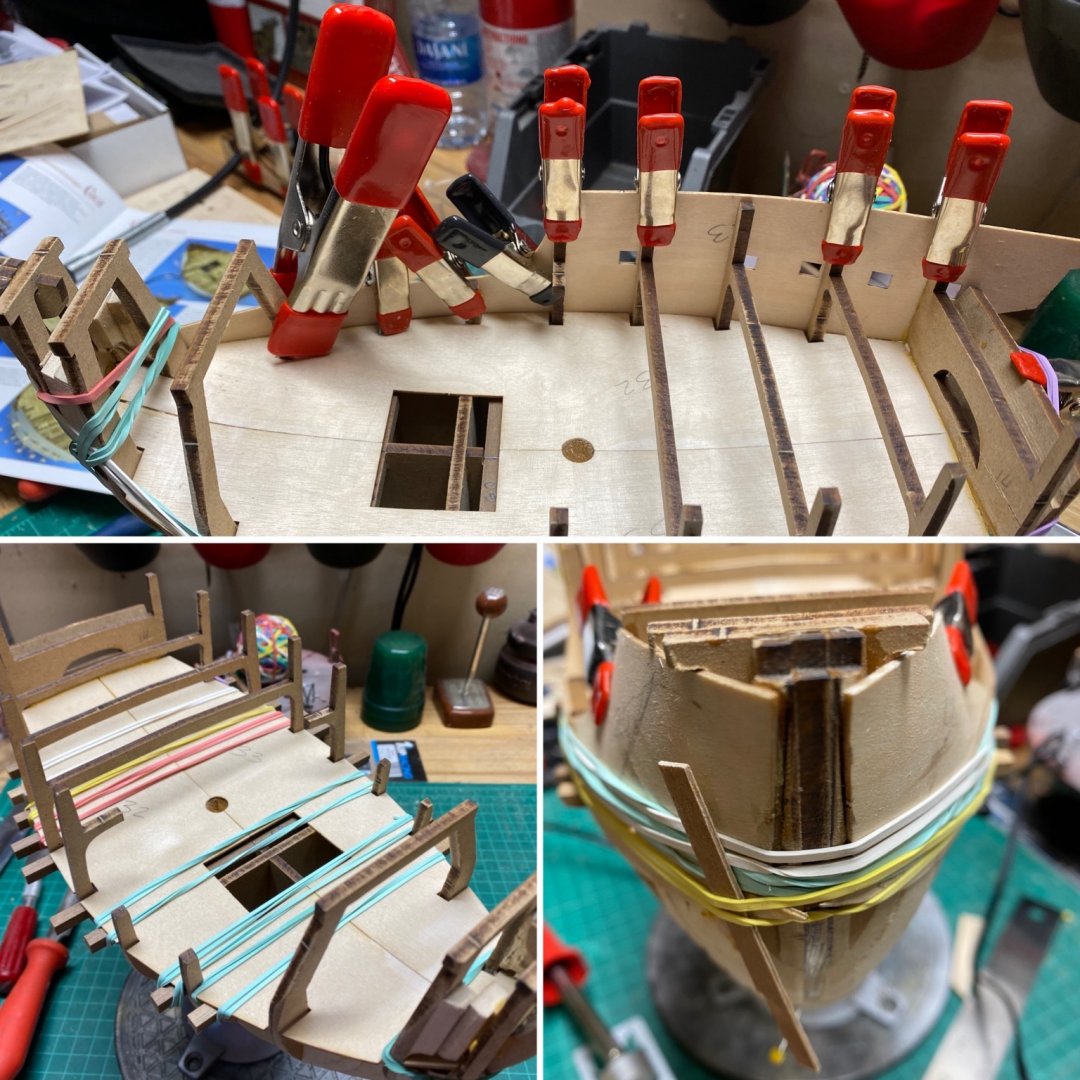
Minor update... I've commenced planking the forecastle and settled upon using the scalloped clinker style found on the nao of Mataro. Although the scallop is less obvious than the original I think it achieves what I was striving for. Now that the Thanksgiving weekend chore of decorating for Christmas is complete I should be able to forge ahead to complete second planking of the bulwarks this weekend. One particular challenge was keeping the .5mm strips from curling from the Titebond. Rubber bands and scrap to the rescue! Bands removed and lower edges trimmed flush. The top will be need to be trimmed further so that the previously completed deck may be attached. I was quite glad I had yet to affix it per the instructions.


-
Enzo Ferrari by CDW - FINISHED - Tamiya 1:24 Scale
Clark Griswold replied to CDW's topic in Non-ship/categorised builds
Gorgeous. I've always appreciated models that respect the vehicle and the modeler by including details and subassemblies only someone experiencing the 1:1 or the modeler would know about. -
I agree. The placement of the "vents" are curiously close to where you'd bolt or nail the slats to the hatch cover frame. Amati has made a few interesting design decisions in their interpretation that I have yet to figure out if it was to match a skill level or a kit price; likely a mix of both. Keep up the good work Rodolfo.
-
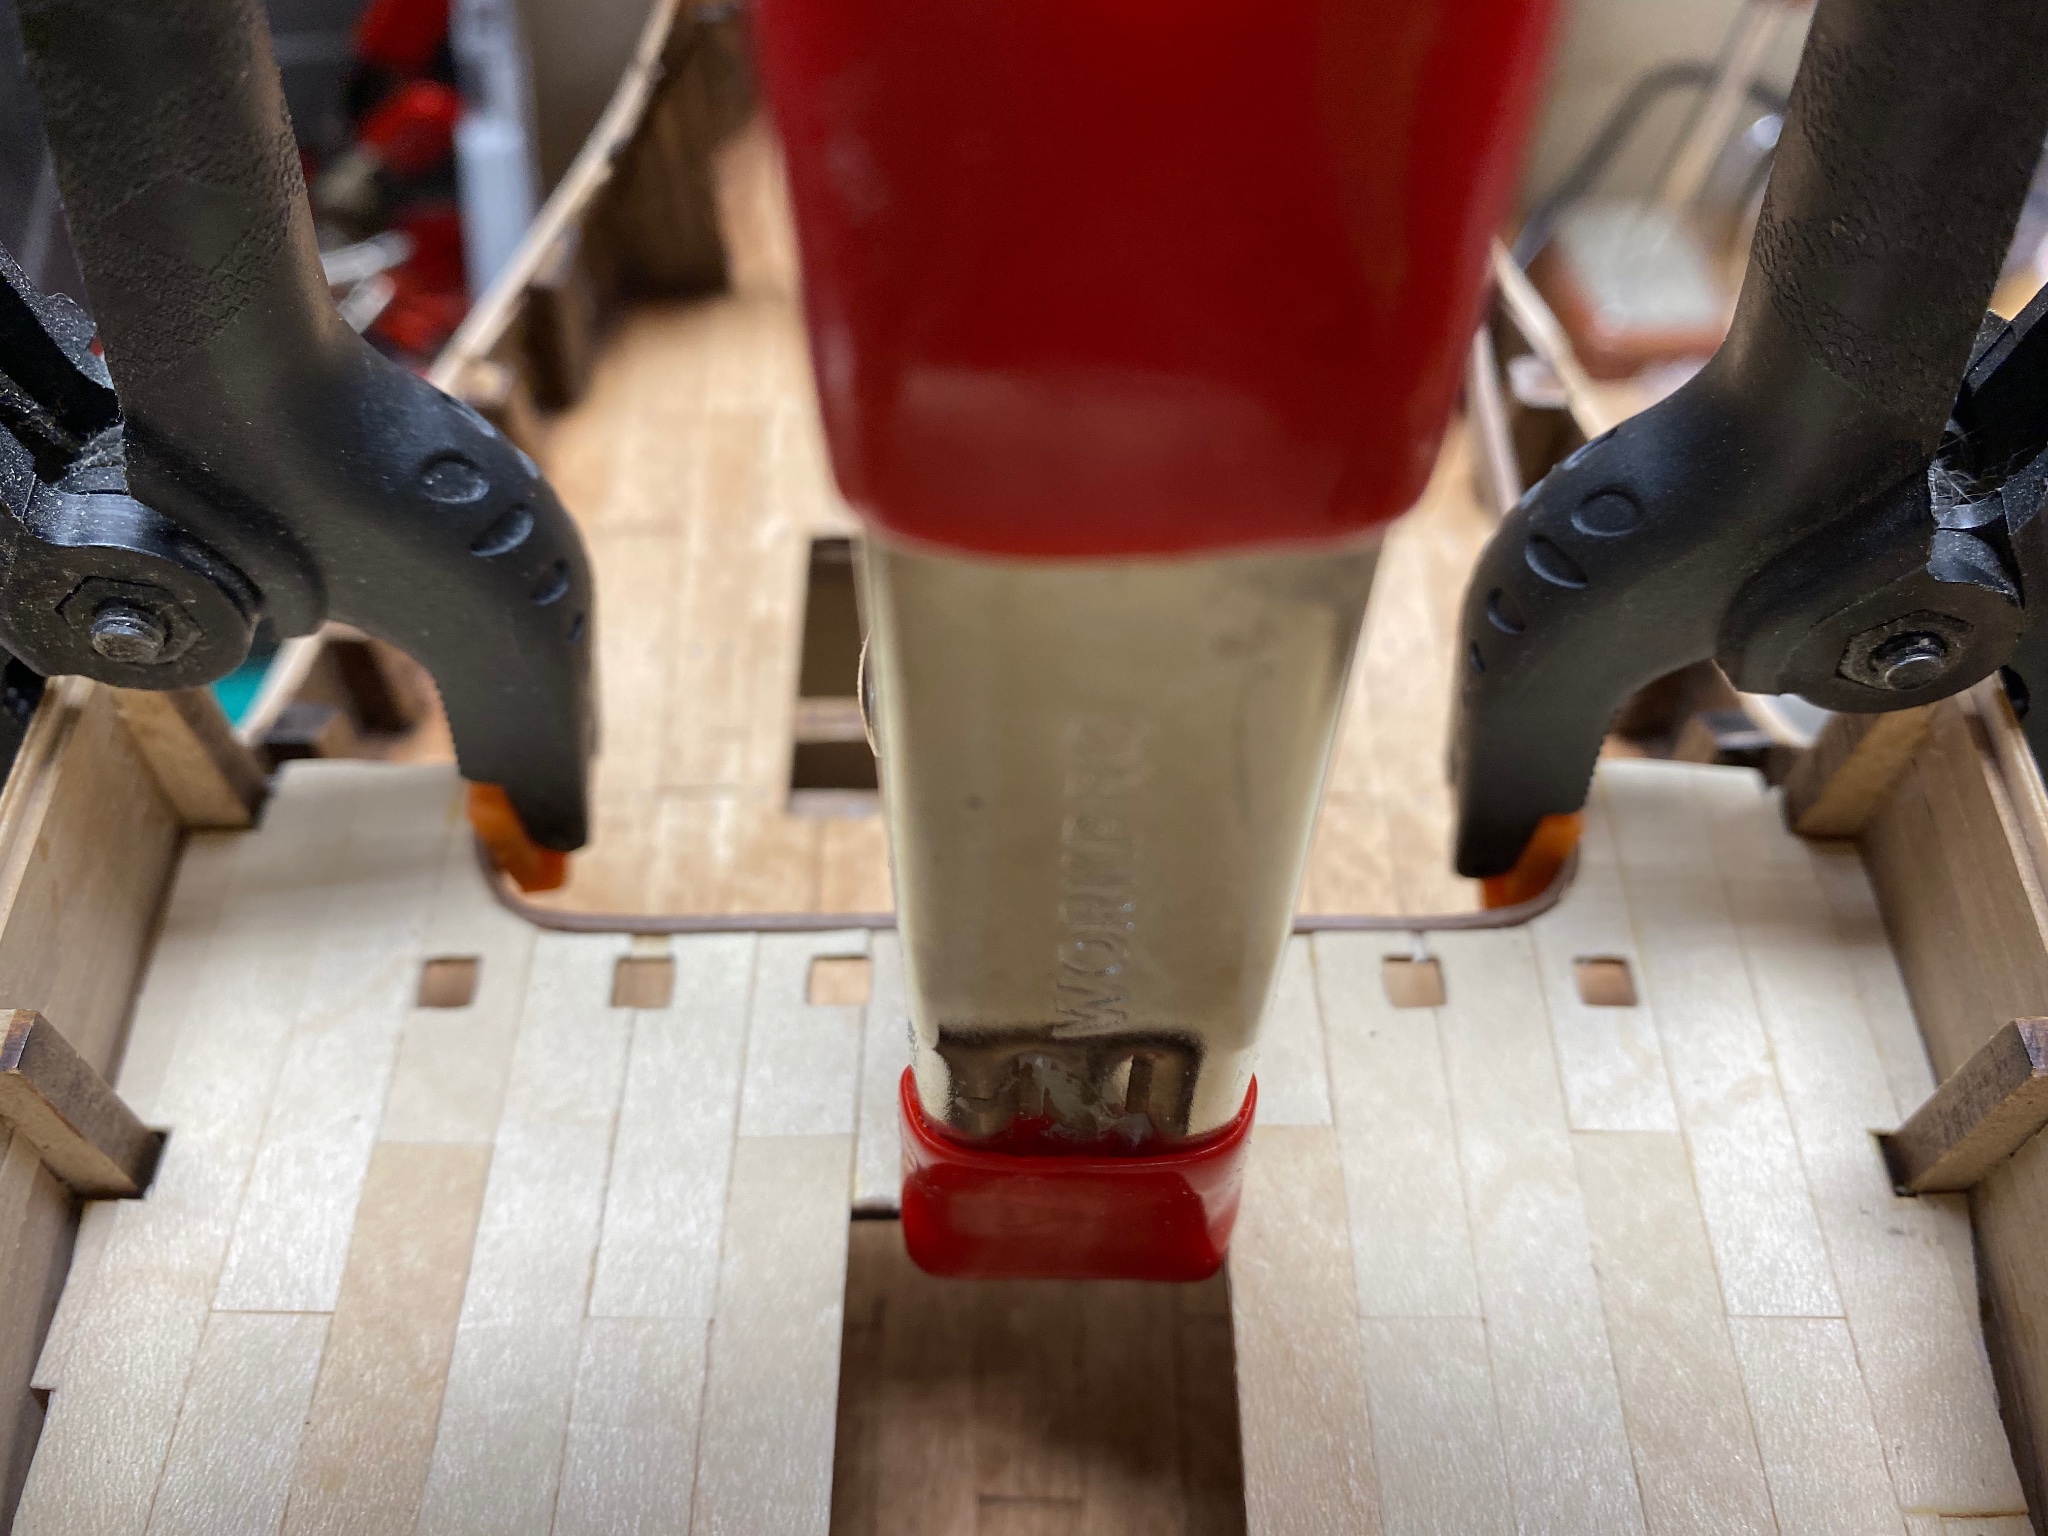
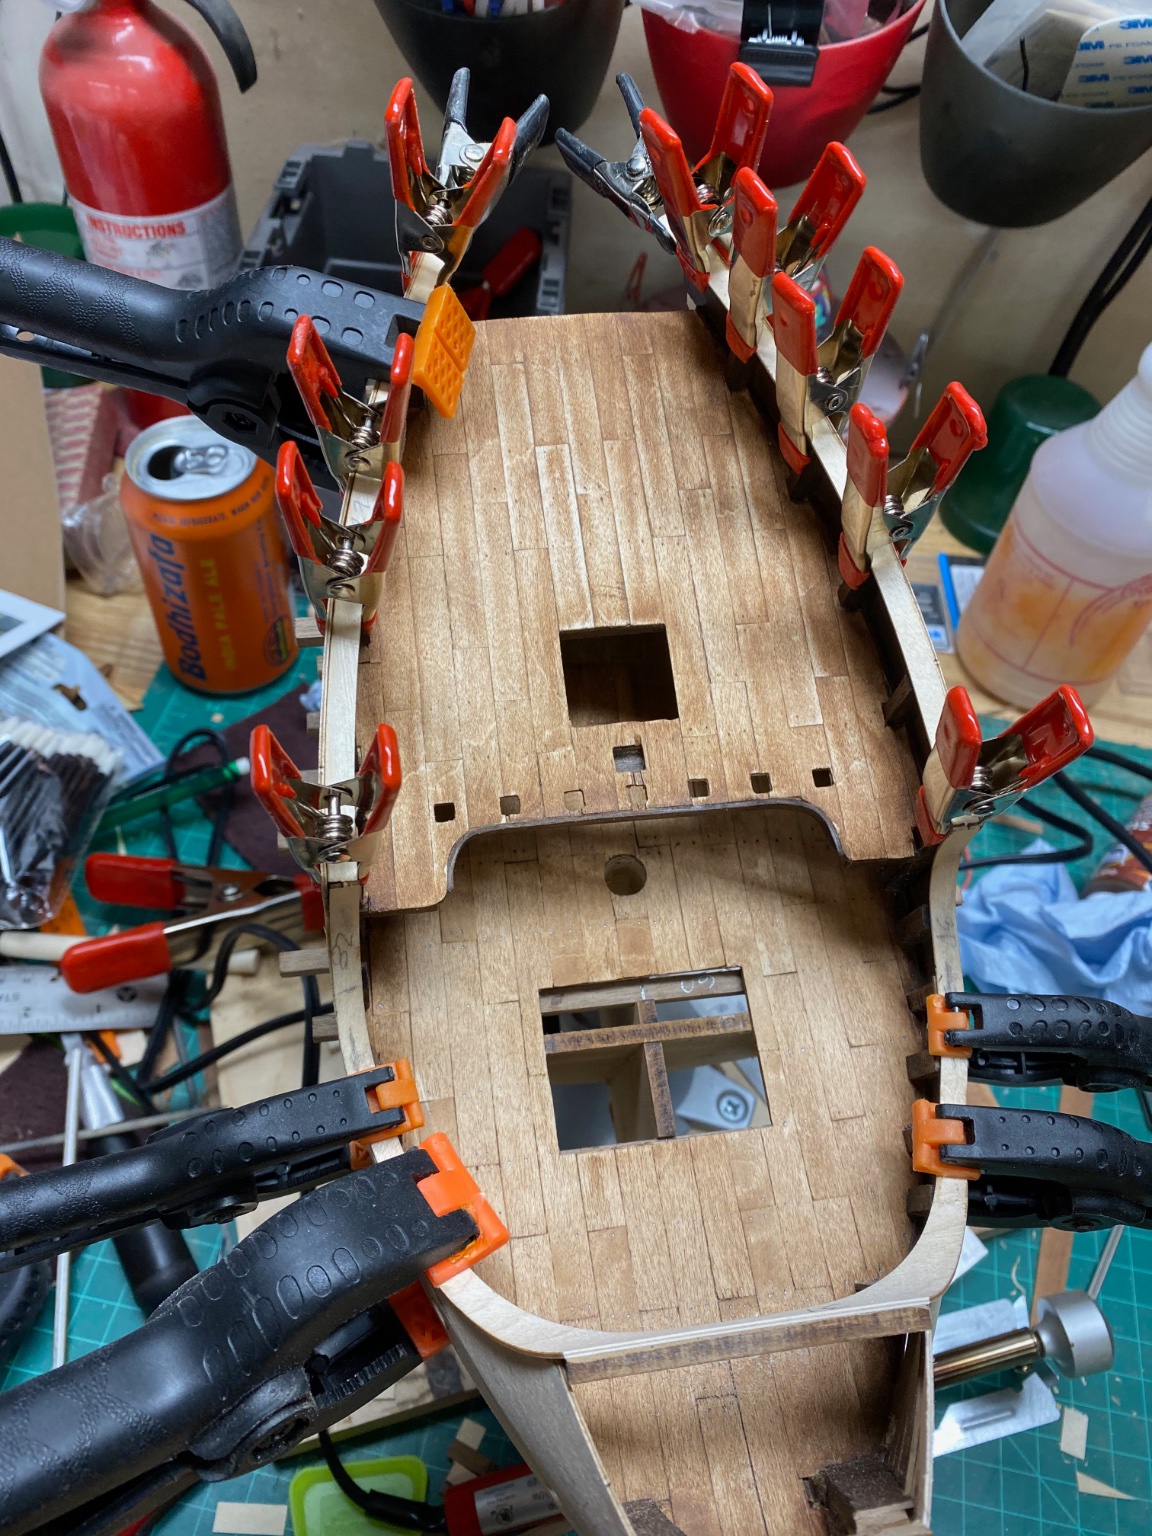
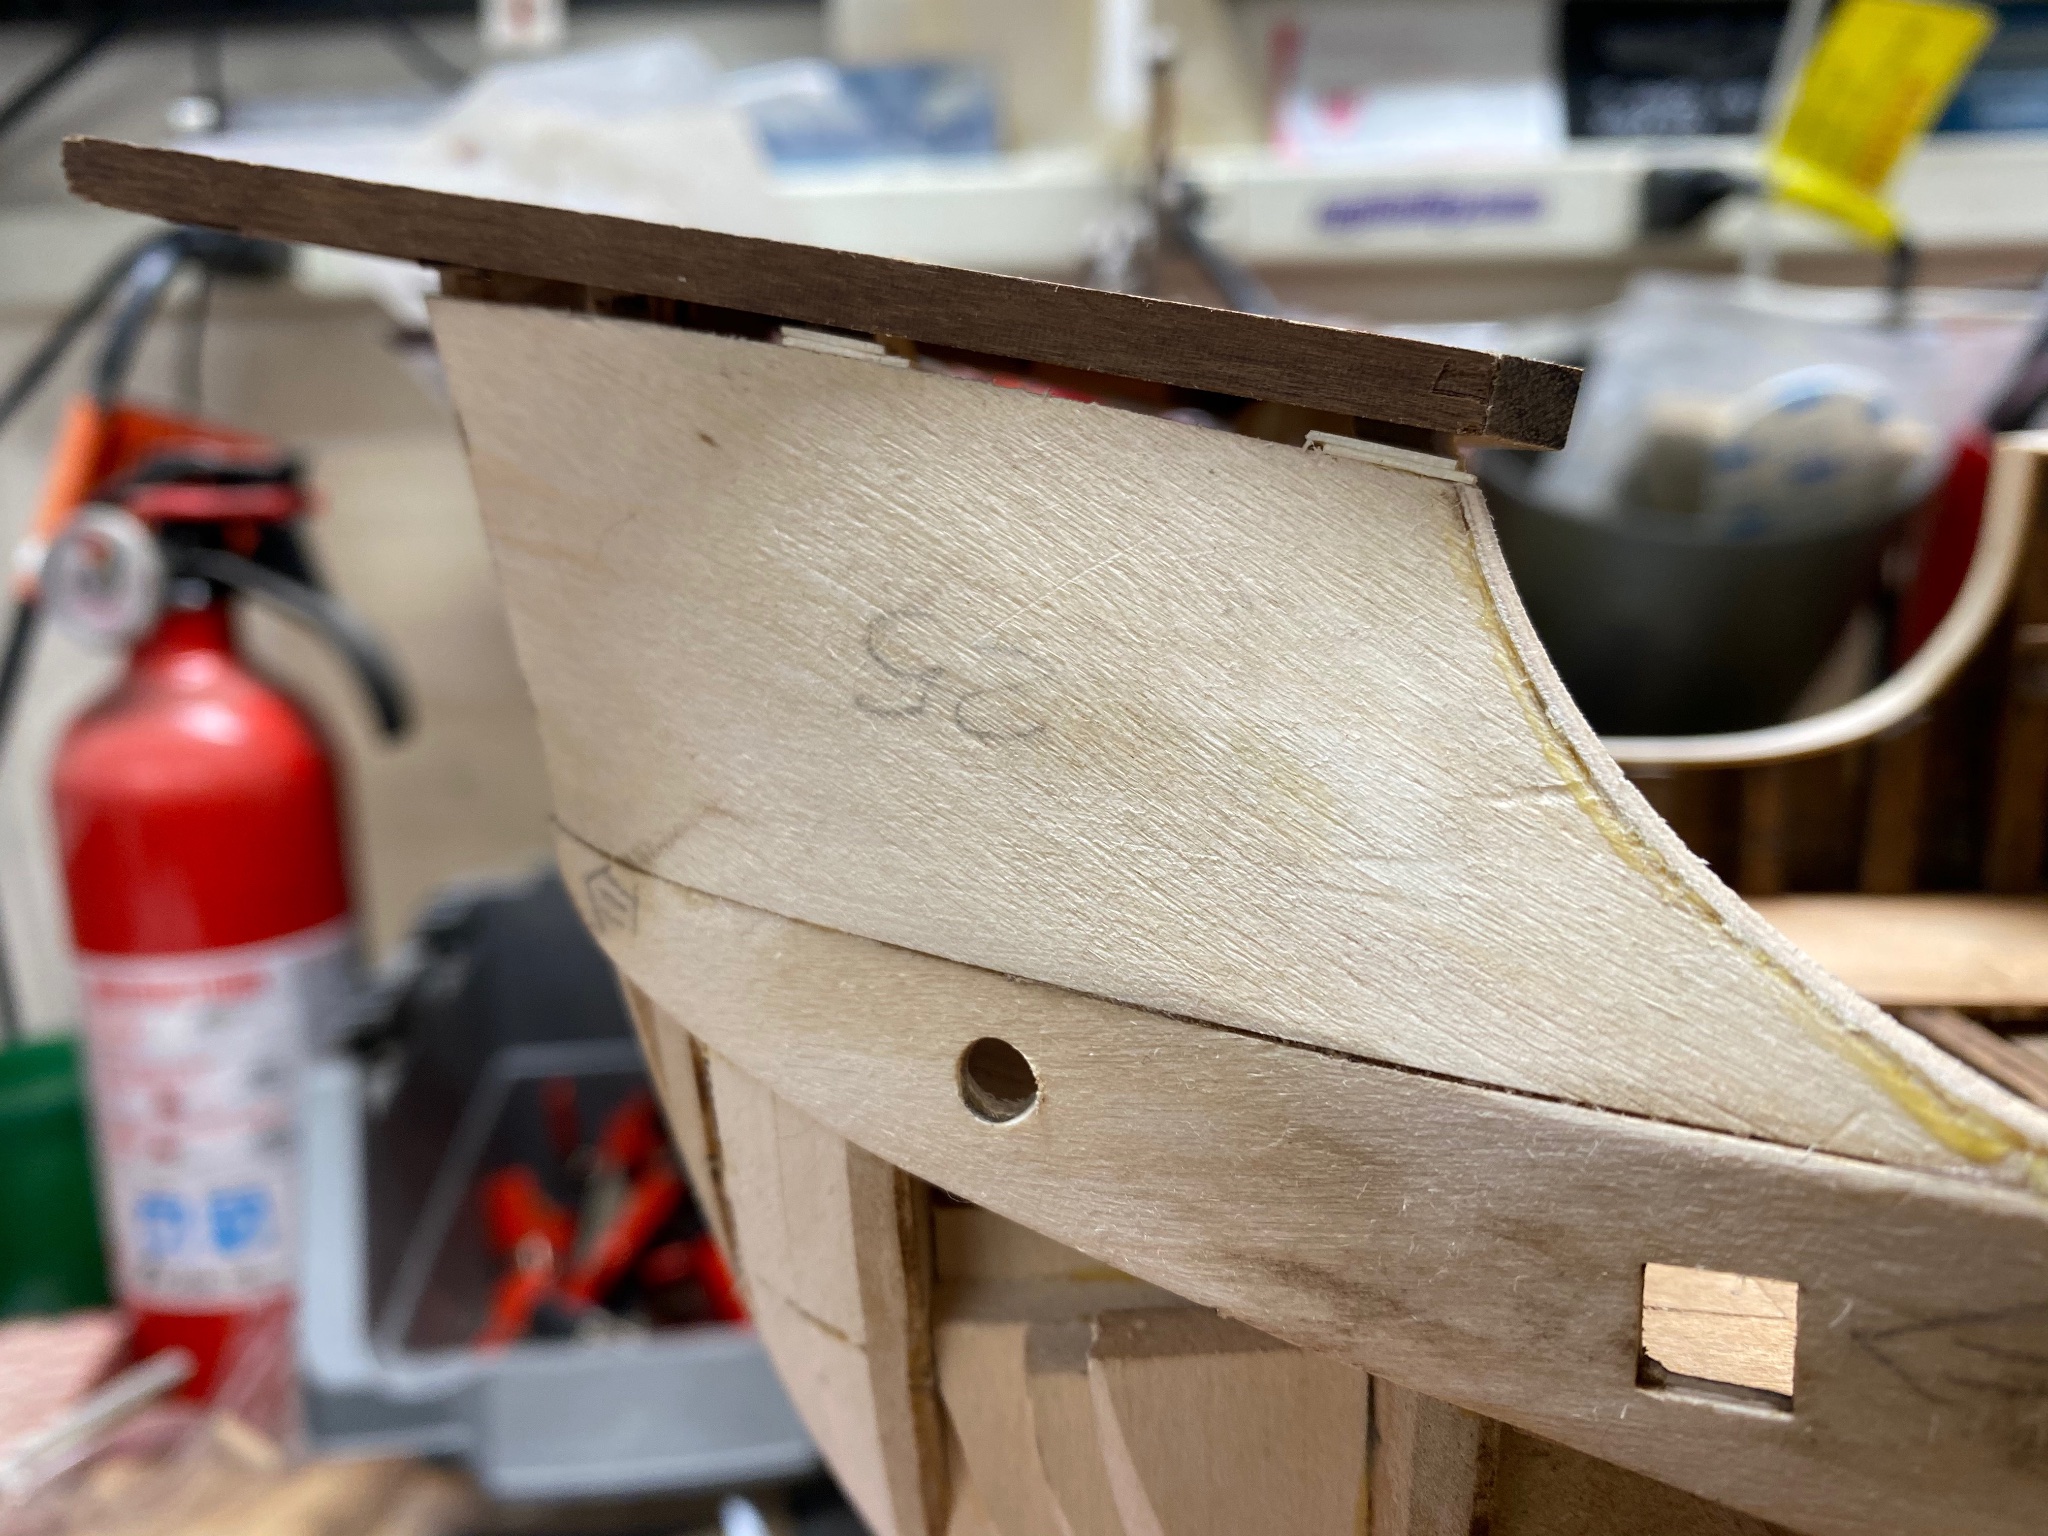
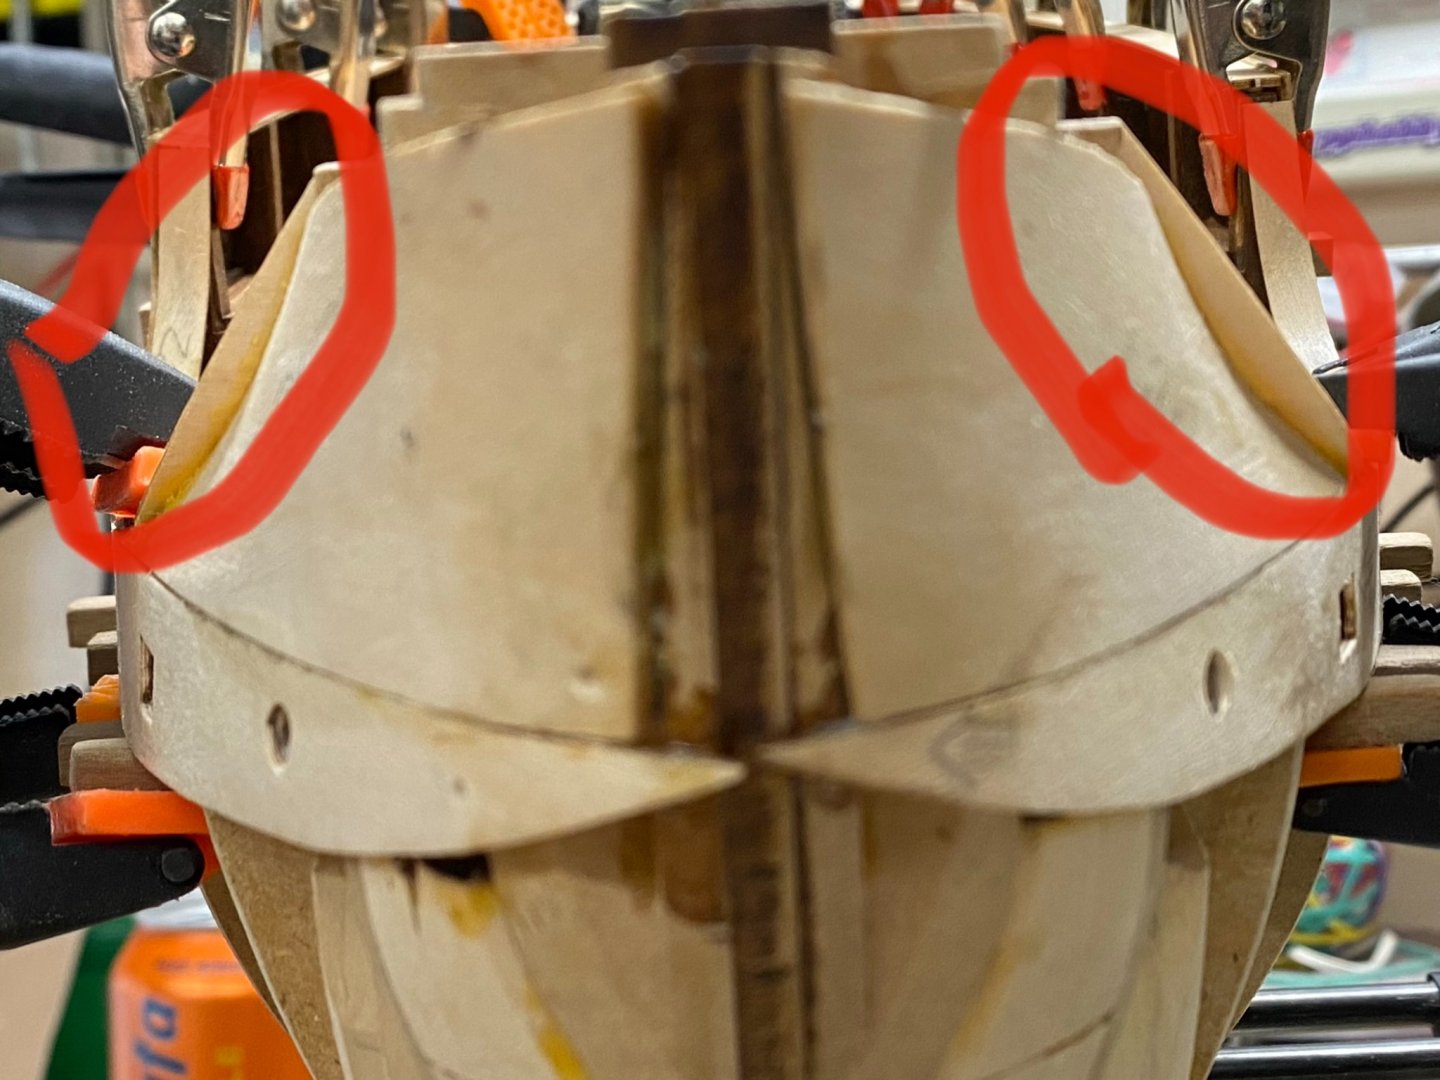
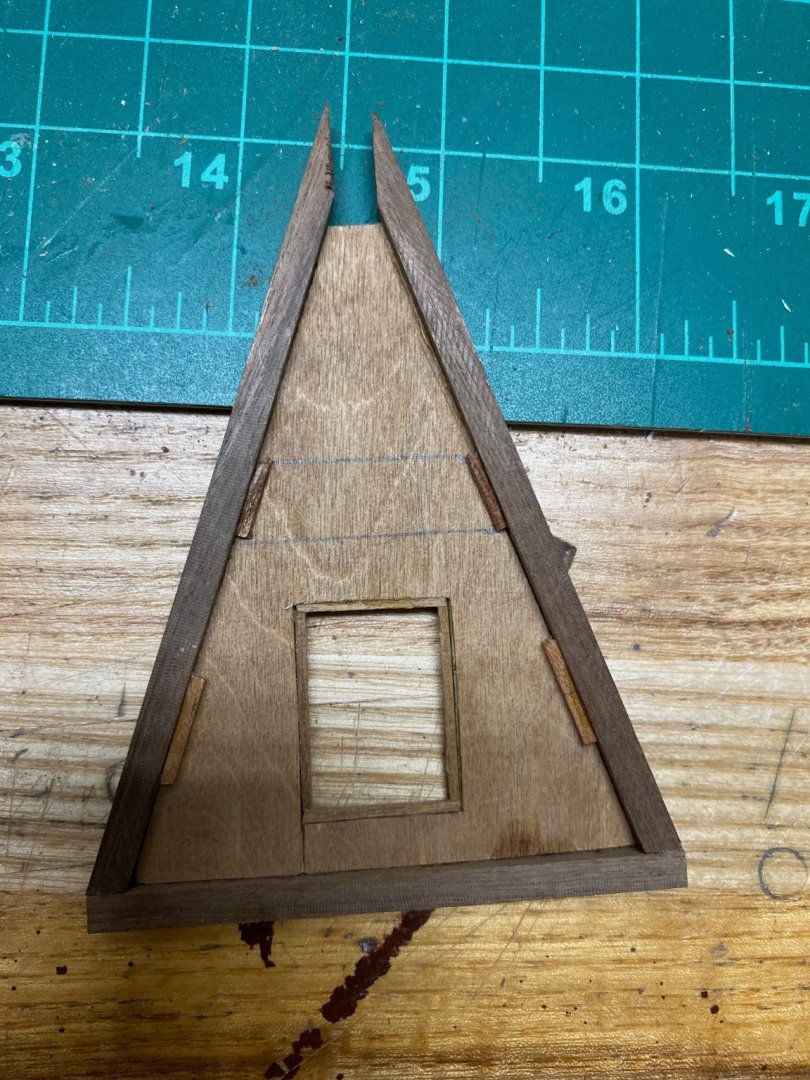
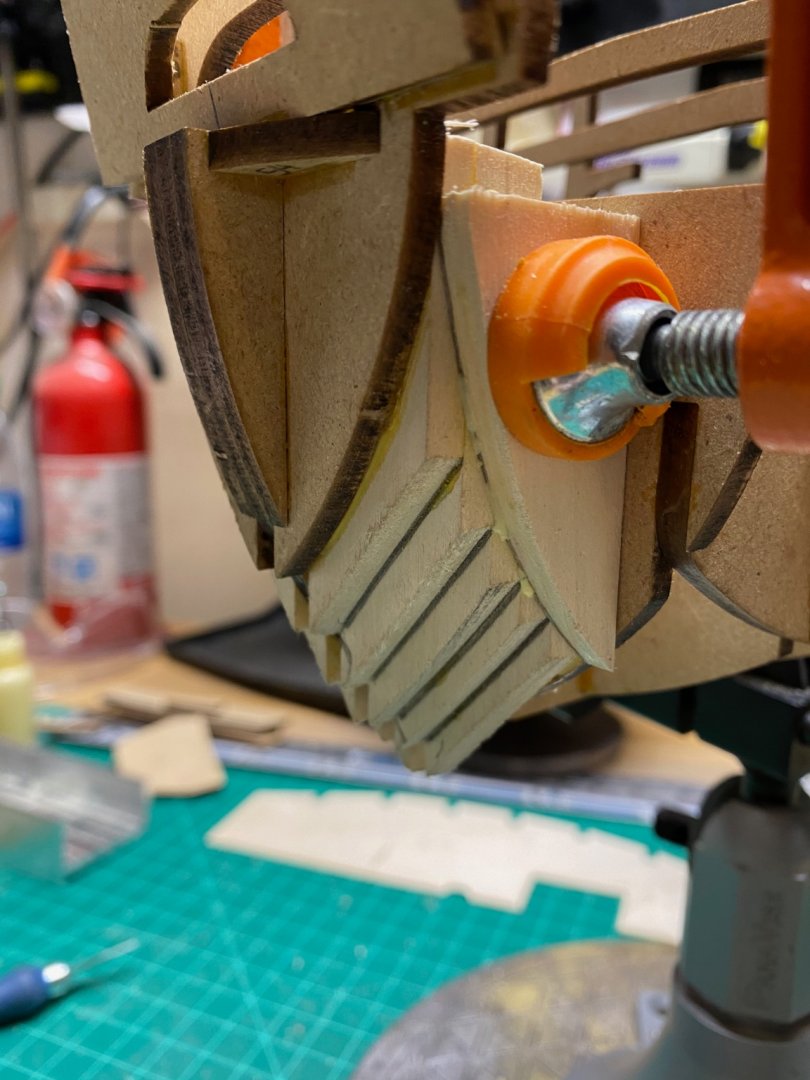
New days, new mistakes and an ever growing mess of wood bits and tools on the bench. Since my last update I've managed to complete the upper decking and attach the bulwark rails. In the process I've realized trying to recreate the staining outcome two weeks later is easier said than done as as such I can't quite get the decks to match shades. I'm telling myself the real thing wouldn't match exactly either. During my efforts, I managed to split the decking along the seam of the false deck while sanding a tad vigorously. To restore a bit of rigidity I took a walnut planking strip and formed it to line the indented edge of the upper deck. Although not pictured clearly here, I faced the ribs with walnut and used some mahogany from a past build to add waterways to clean it up a bit. The latter I really liked the look of in Rodolfo's Coca build. I didn't realize just far my forward bulwarks bowed in until I attached this piece. The challenge is how thin it makes the lip in places. I will likely cut more from the ply sheet to even it out at more reasonable width that also hides the ribs better. While waiting for the glue to dry I moved on to the forecastle. I've been trying to figure out how to hide my earlier misstep with the bow filler blocks and Rodolfo had the perfect solution (the alternating slats Amati calls for make zero sense in my mind anyhow). I played around with a few different approaches to accomplish it. Rubber bands and clamps weren't going to be of much used here and I wasted more strip than I'd like to admit trying to get it right before I settled on building it as a separate assembly. By using a scrap piece of ply from the shop of the same thickness as used elsewhere in the kit, I created a false deck/template and was able to get everything lined up and properly cut (the slot is narrower than it needs to be so that I may file it to fit the bowsprit as close as possible. The trim was done in the same fashion as I will do the ladder hatches on the aft decks. I'm torn on whether or not to add a filler strip here to fill the gap or sand down further. I leaning towards the former since I would likely need to shave the same amount from the bowsprit later on if I sanded it level. I'll think on it until I get to the clinker planking here. Did I mention I really, really need to clean my bench?


-
I wouldn't seal any part of the first planking (planks or filler). There should be little to no visible wood filler remaining after sanding prior to your second planking. If you have any areas of large gaps or divots in the first planking you are better served glueing additional strips and sanding down, particularly if the area is a critical glue point for the second/final planking.
-
If you find you need more rigidity, you can use paper mache on the hull using common household materials. Great work with just cardboard so far!
- 14 replies
-
- 2
-

-

-
- card
- flying dutchman
- (and 1 more)
-
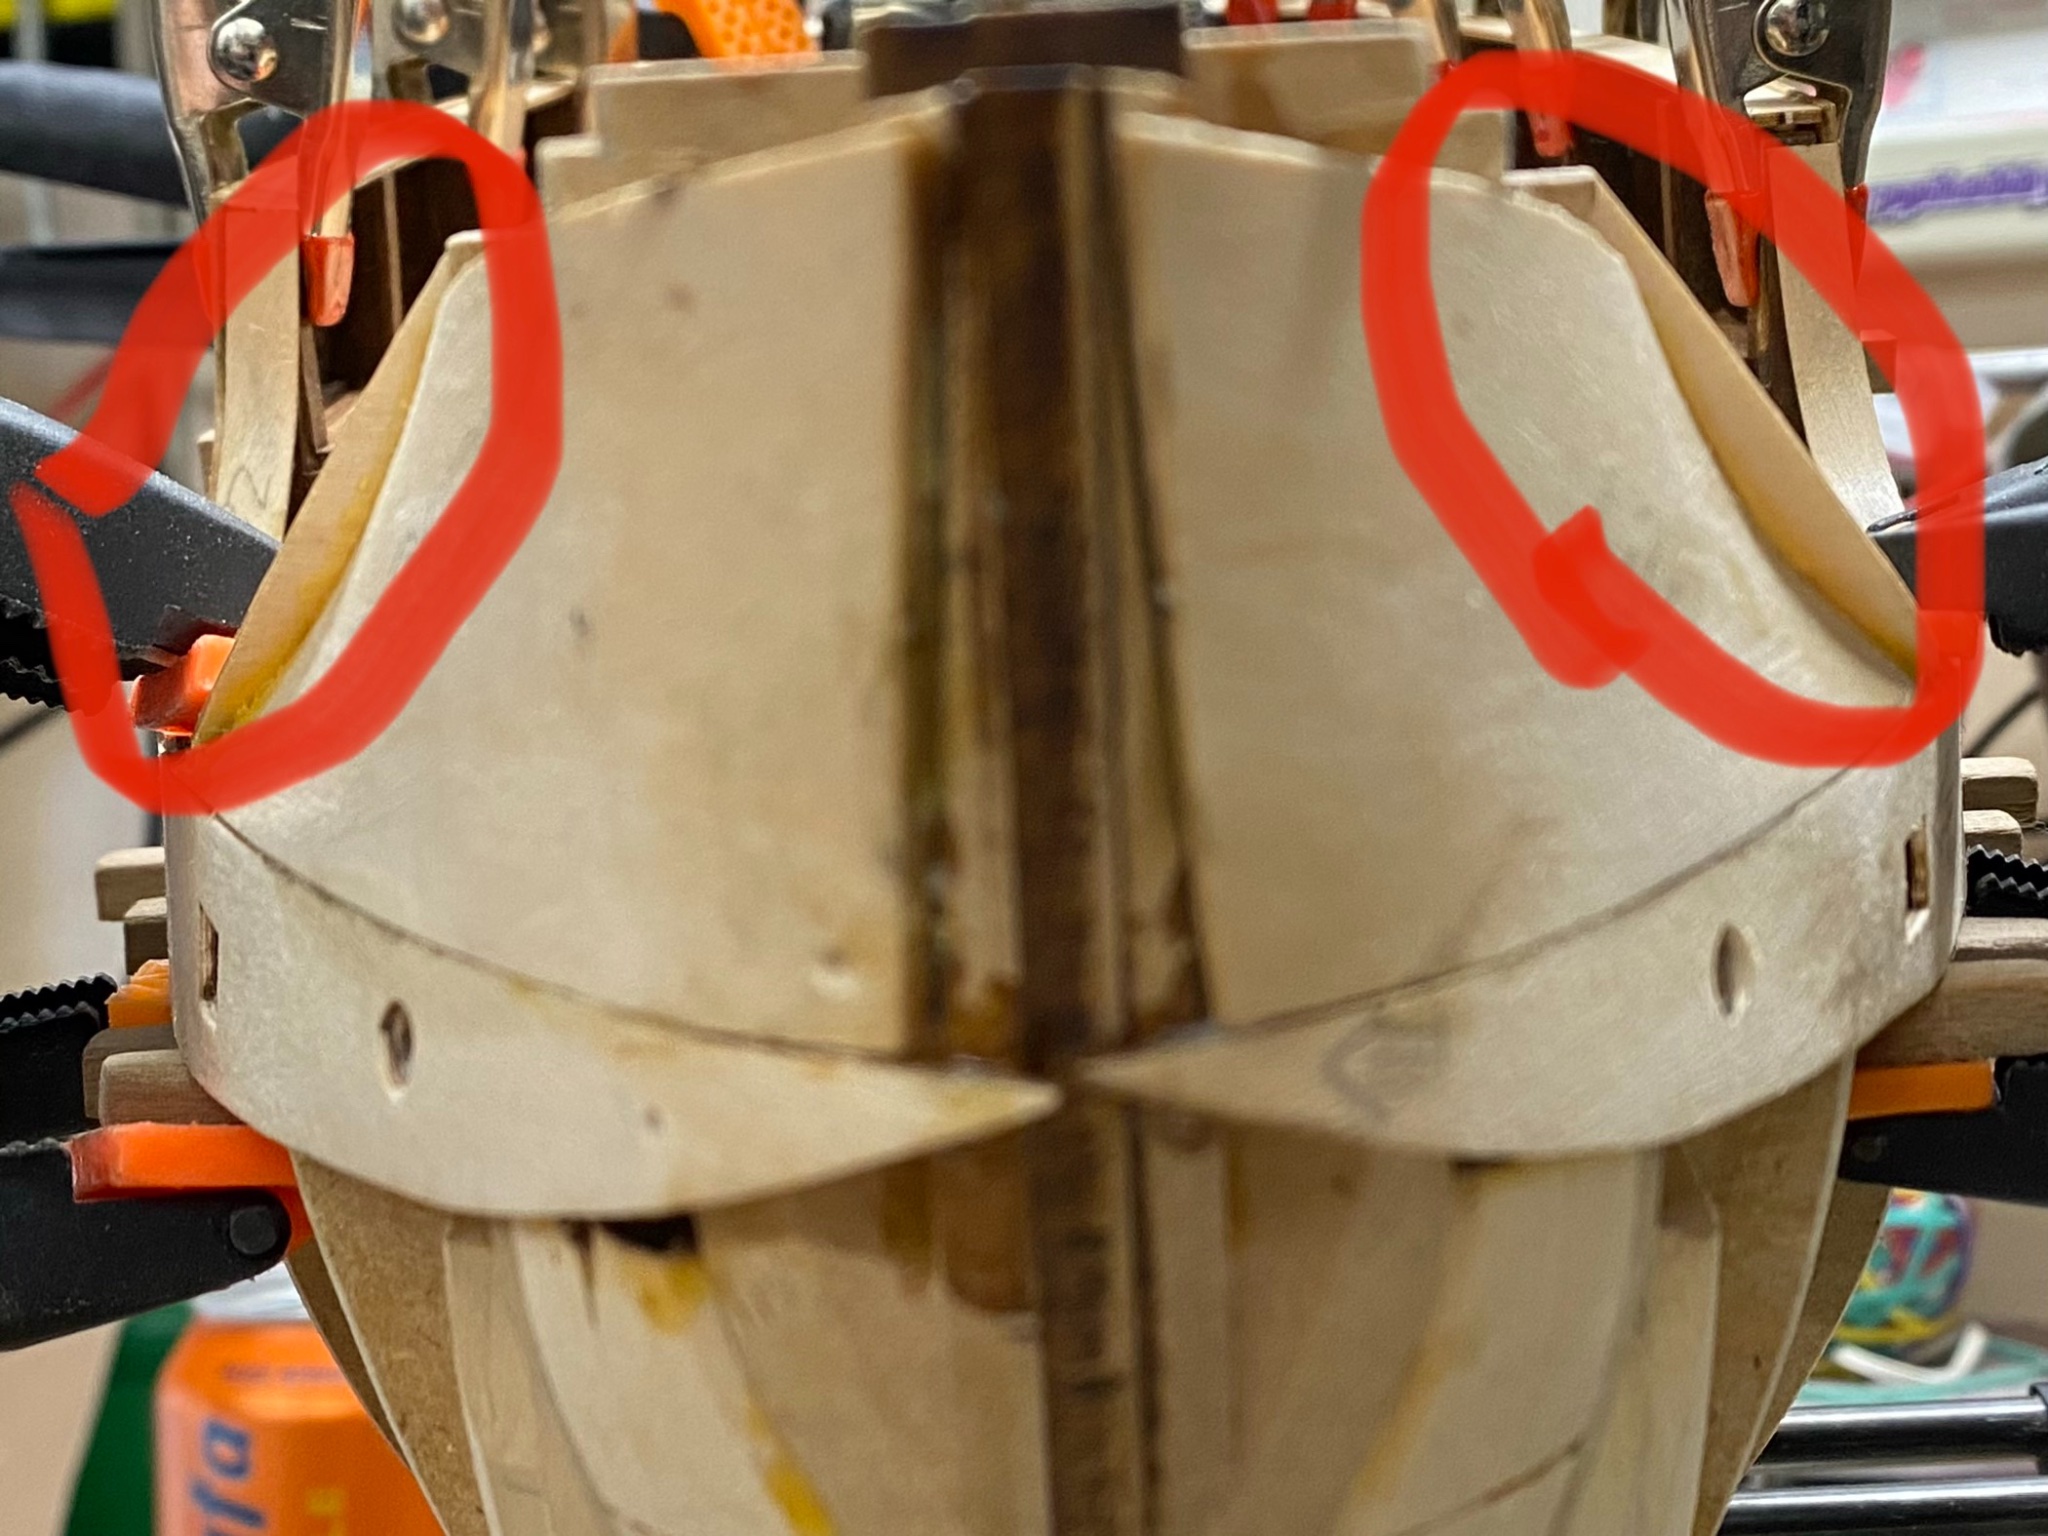
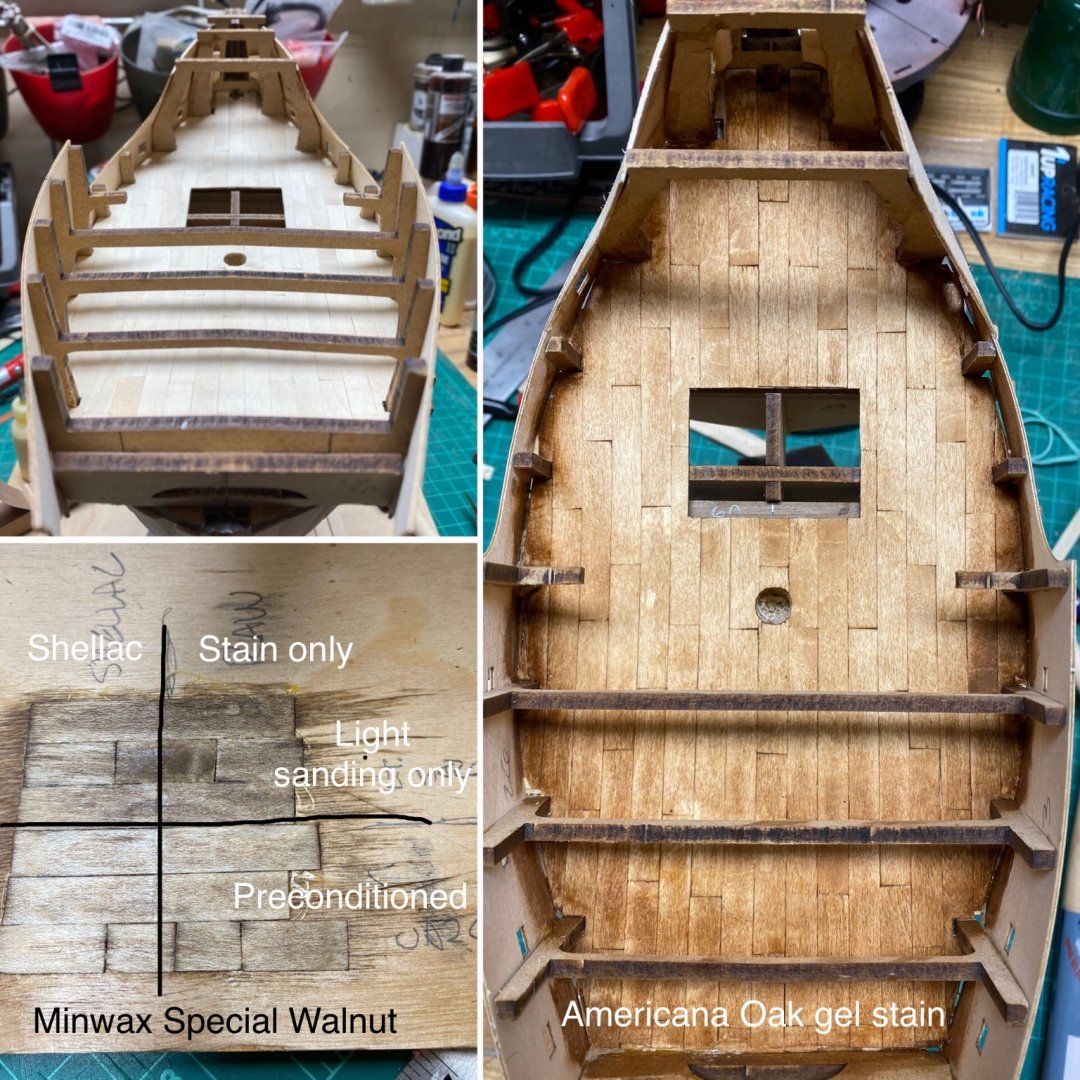
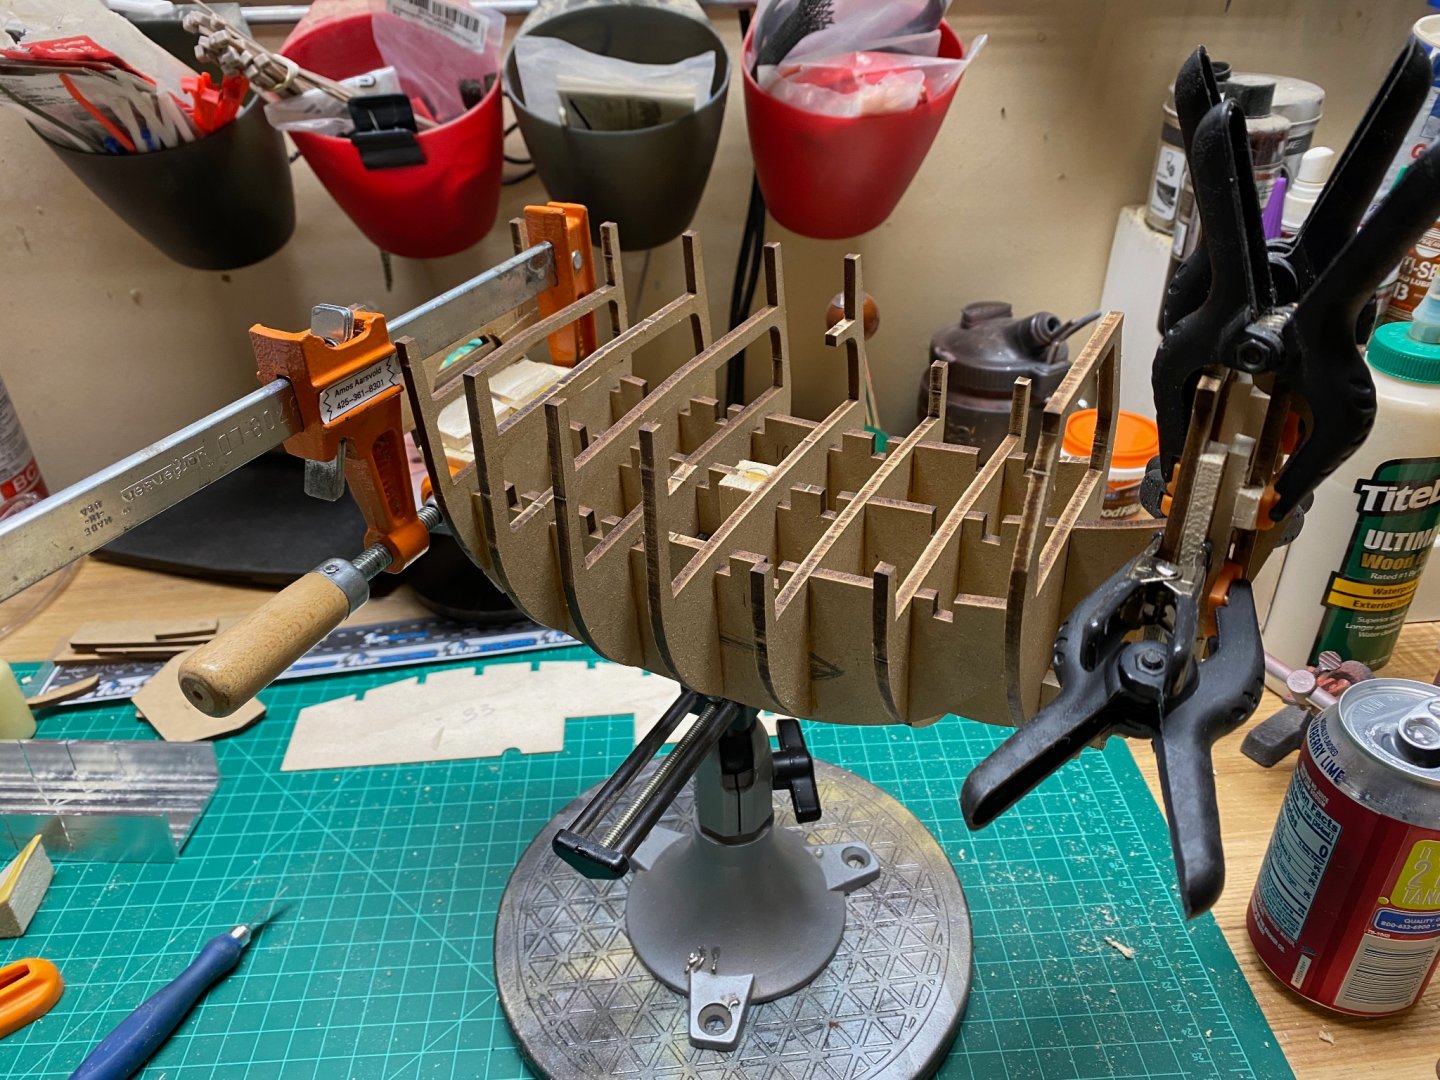
Managed to make some progress the past couple weeks despite the office's and admiral's greatest efforts to swallow my free time. Its looking like I'll have the whole weekend to work. If all goes to plan my next update will be in a few days. -------------------------- Clamps and bands... bands and clamps... certainly becoming a recurring theme in my shop. I realized the importance of pre-shaping and forming before trying to attach the bulwarks, particularly the upper bow pieces that have a compound curve to them. I have my doubts about how well I faired the bow (possibly too rounded/blunt), but I think necessary corrections will become more evident as the build progresses. Aside from discovering a few of my cuts were slightly less than square after I had already laid them it was pretty straightforward. Figuring out what stain to use was a different matter. I initially wanted to something with some grey to it. I found a "Special Walnut" to initially seemed appealing until I made a test grid of planking strips. I wasn't too happy with it and went for some oak waterbed stain instead. The picture makes the color and splotching appear a bit harsher than it is. Although it is a touch lighter and brighter than I initially intended, it is growing on me.
-
Thank you for the kind words. Louie, I am using TiteBond II as my dispensed from a needle top bottle as my primary adhesive. I also have contact adhesive, CA, and TiteBond III as the situation dictates. The needle top bottle has been a boon for clean and conservative application. I don't recall whose tip it was for the bottle, but I read it here on MSW. Jean-Pierre, I knew very little of this ship when I purchased it. I have only begun to learn more about this votive model and the ships that inspired it. I find reading and researching throughout the build makes each model more than a mere distraction and future mantelpiece. In casually researching medieval Catalan and Portuguese naves, nao, and cogs it has been difficult at times to discern where fact ends and artistic license begins. If anything, the detail in the picture you've shared has brought forth new thoughts on the integrated fenders (including two towards the bow). Are the visible fasteners evidence of how the model was assembled, or embellishments, or representative of the full-size construction? Any additional info and particularly images you have would be welcomed and appreciated. I imagine my final product will lie somewhere between the original, what Amati has prescribed, and what the real thing may have looked like in service if such a single masted vessel existed.
-
Mahogany Marvels by GPR
Clark Griswold replied to Patrick Matthews's topic in RC Kits & Scratch building
Those are some exquisite examples. I've only built one, the Painted Racer, but one day plan to build a proper one (unpainted). As far as old tugs go... there is a certain beauty to their utilitarian design and they are quite fun when put to work on the water. -
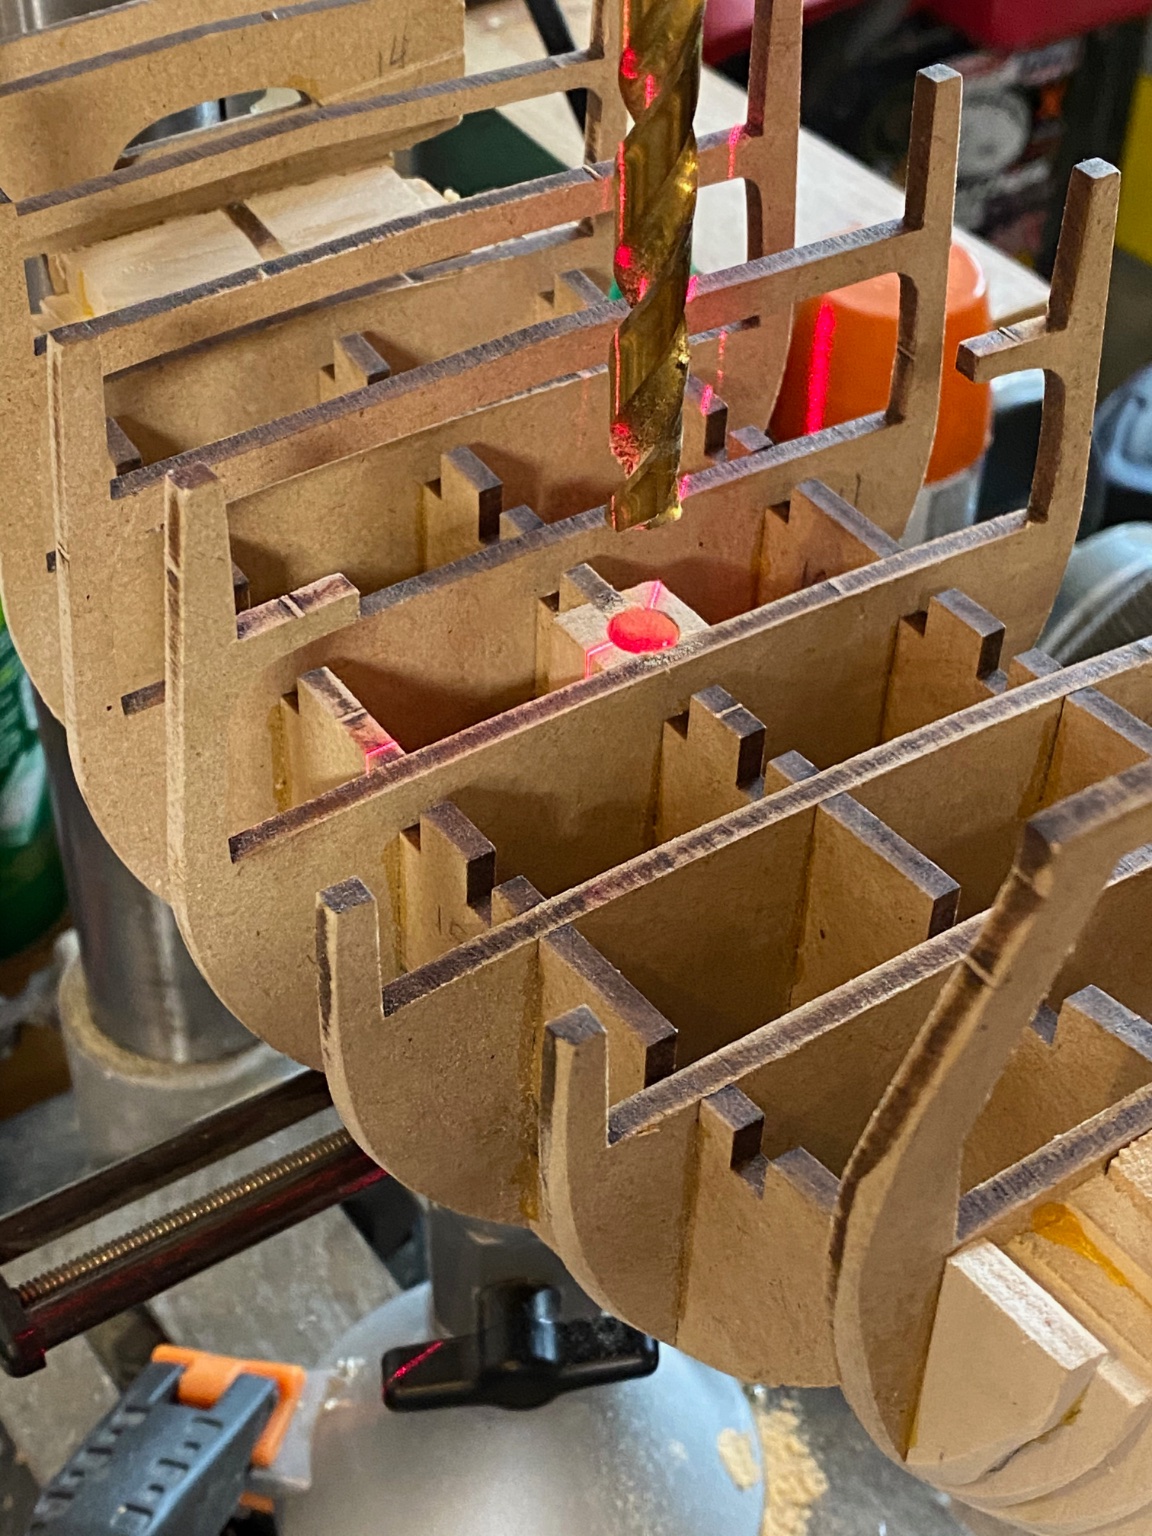
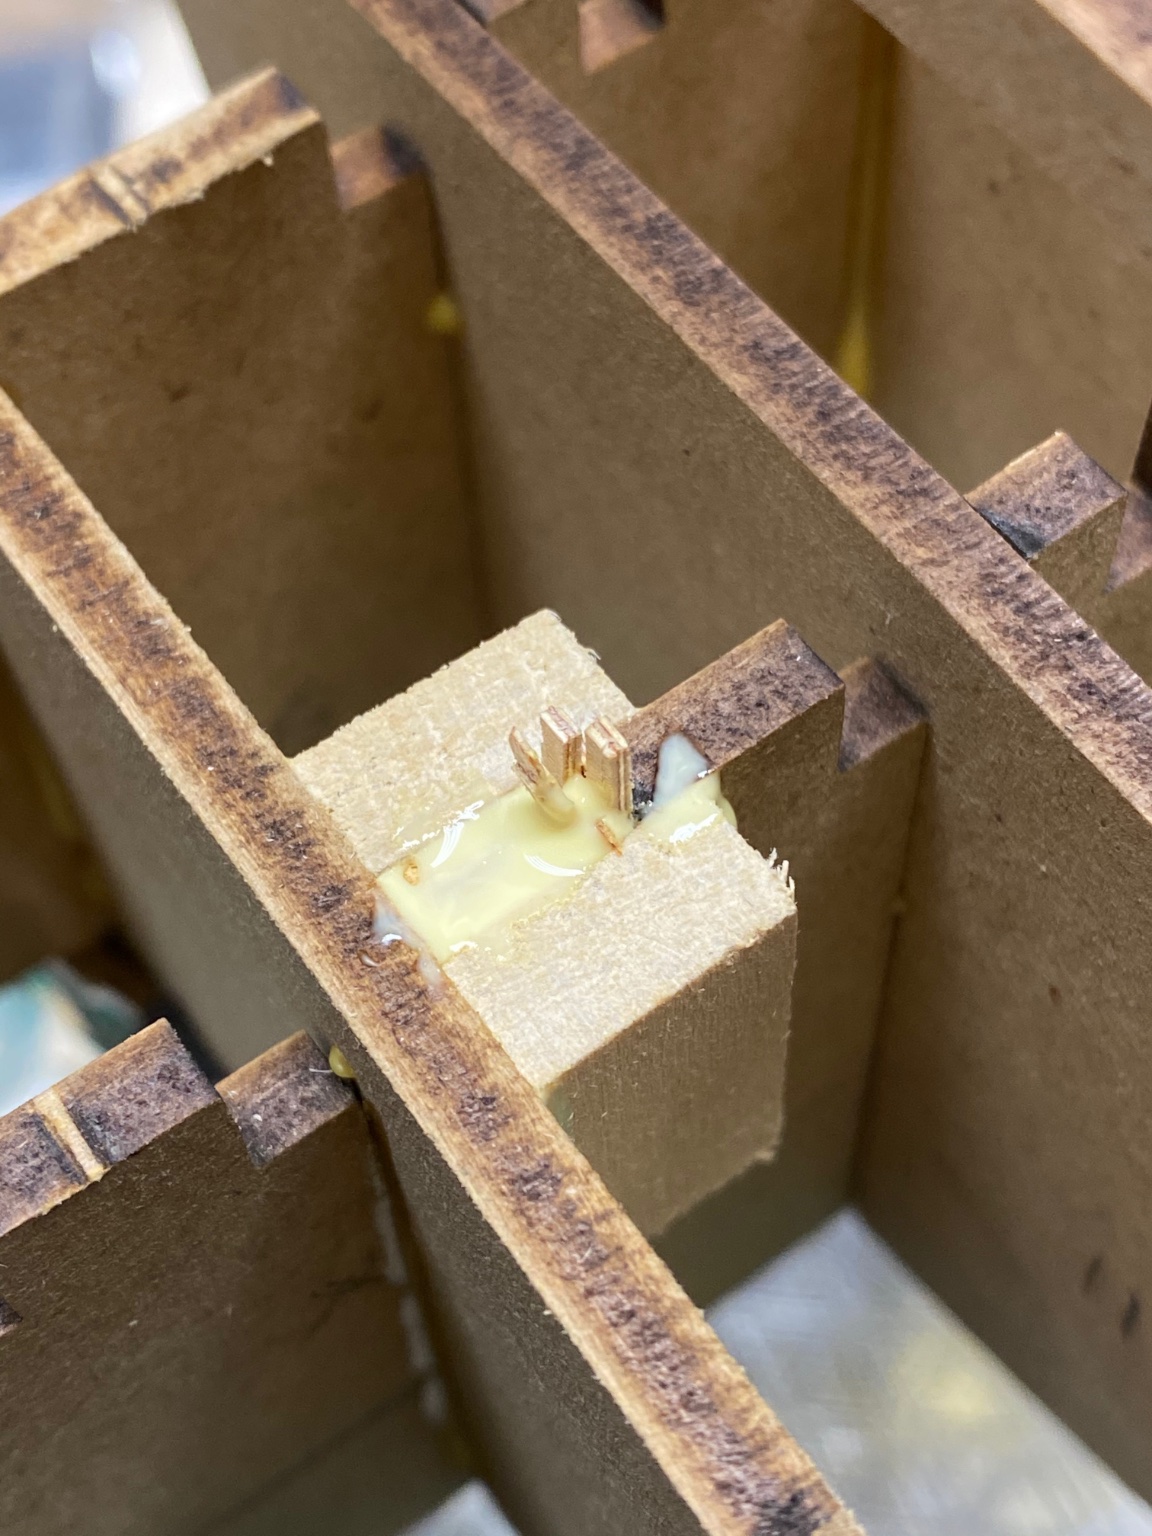
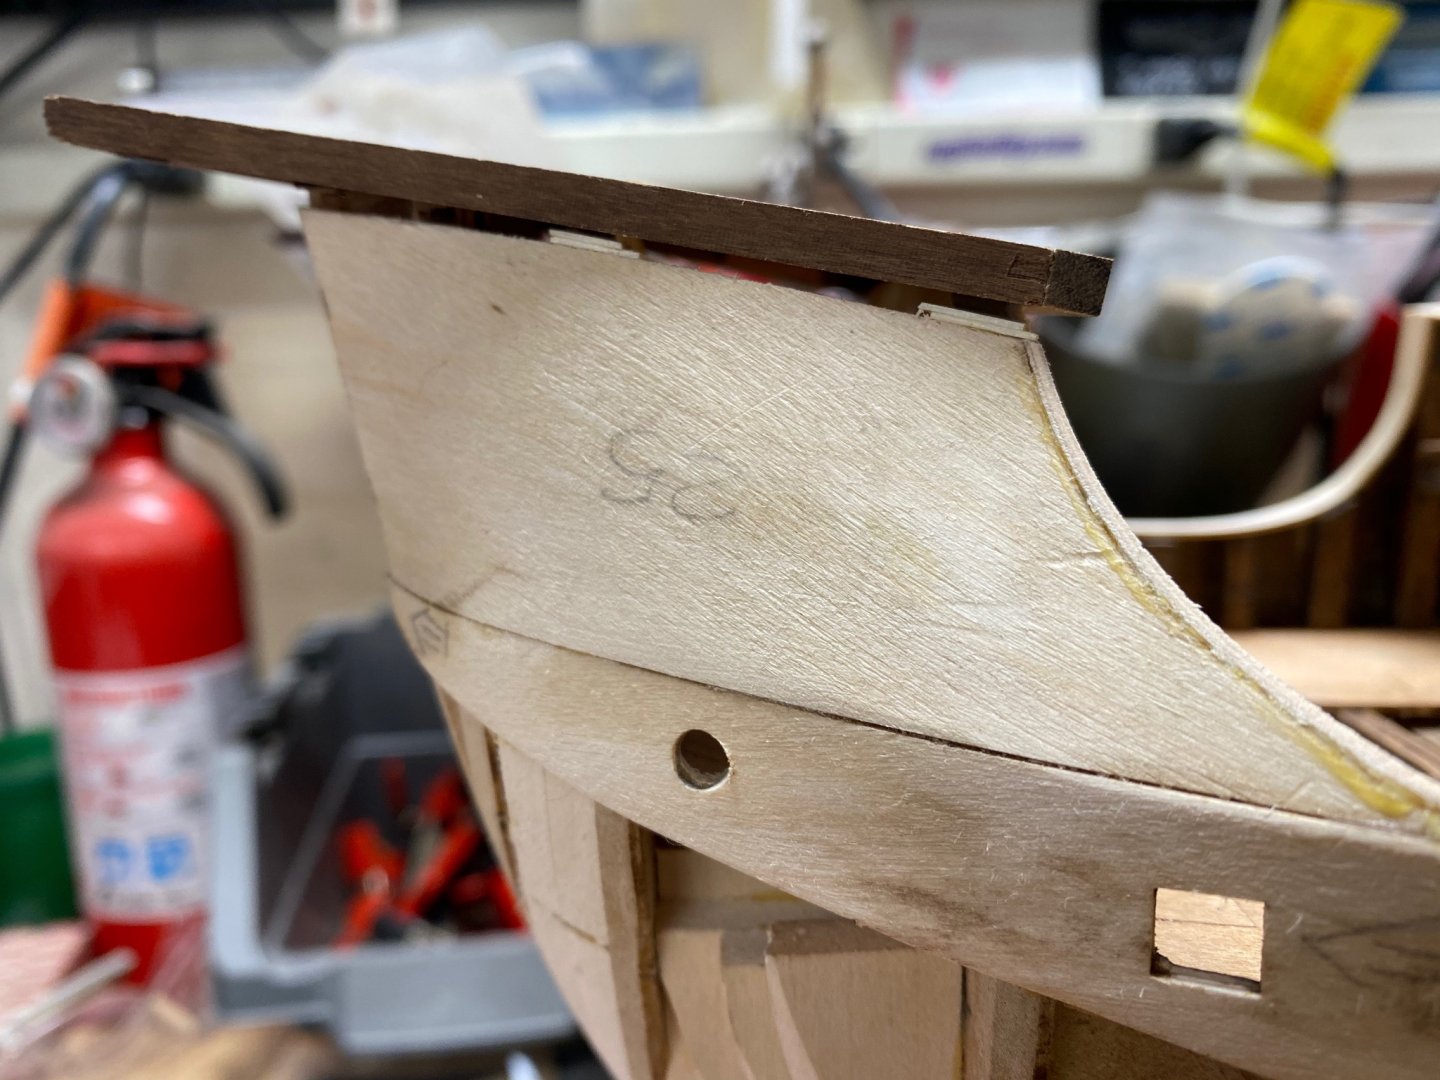
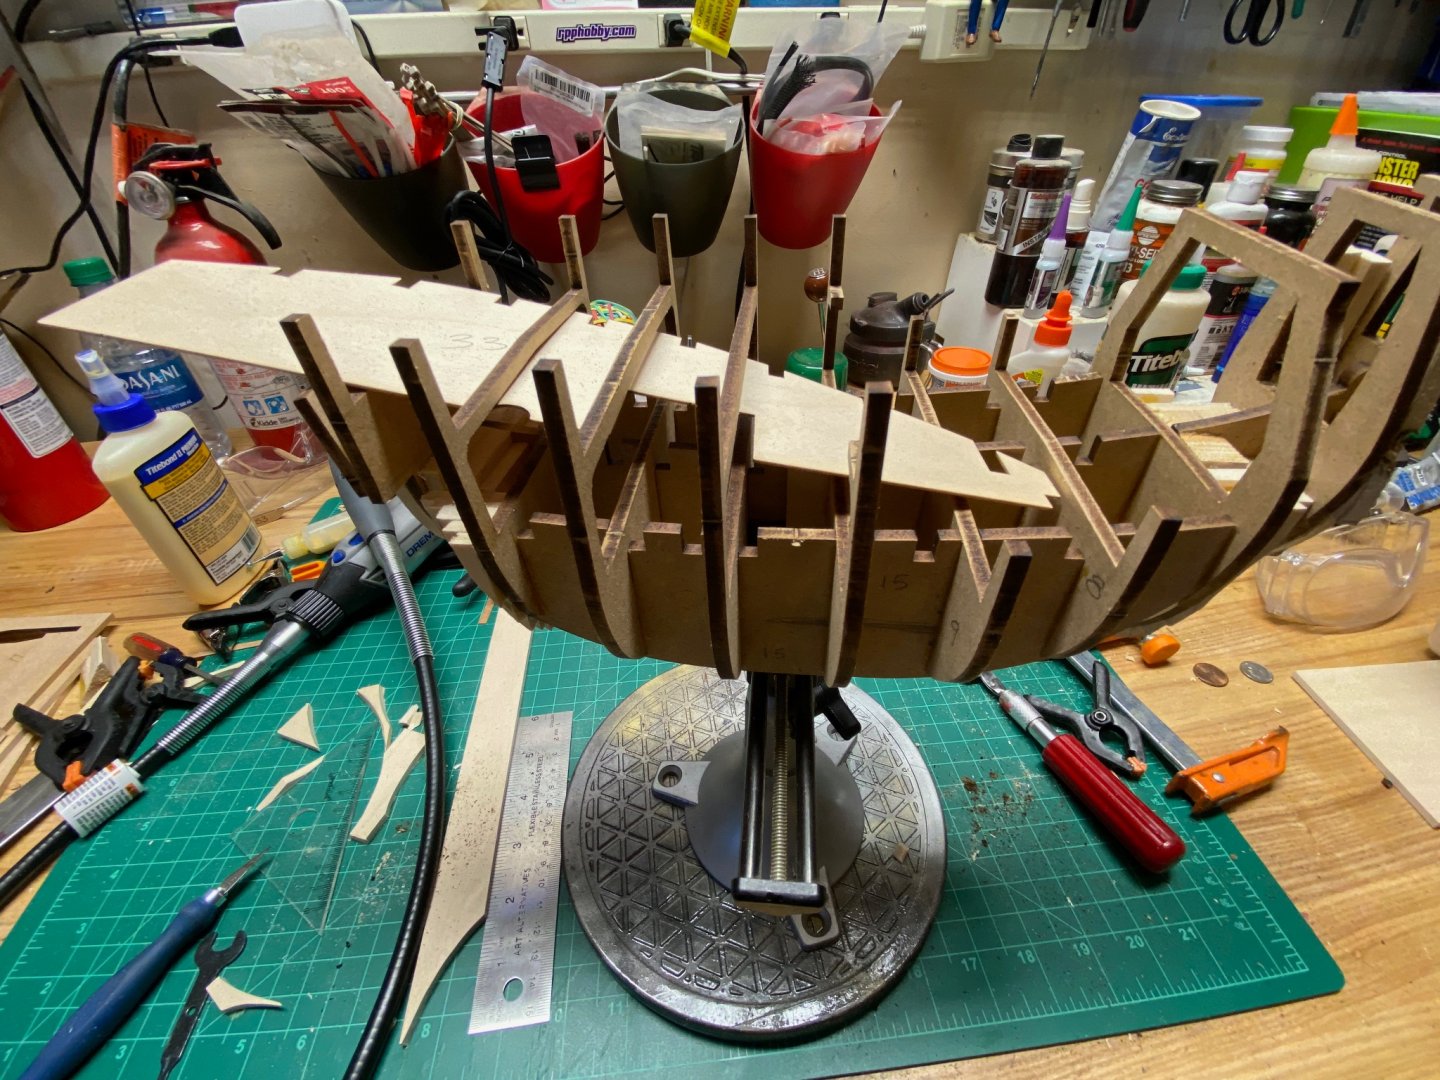
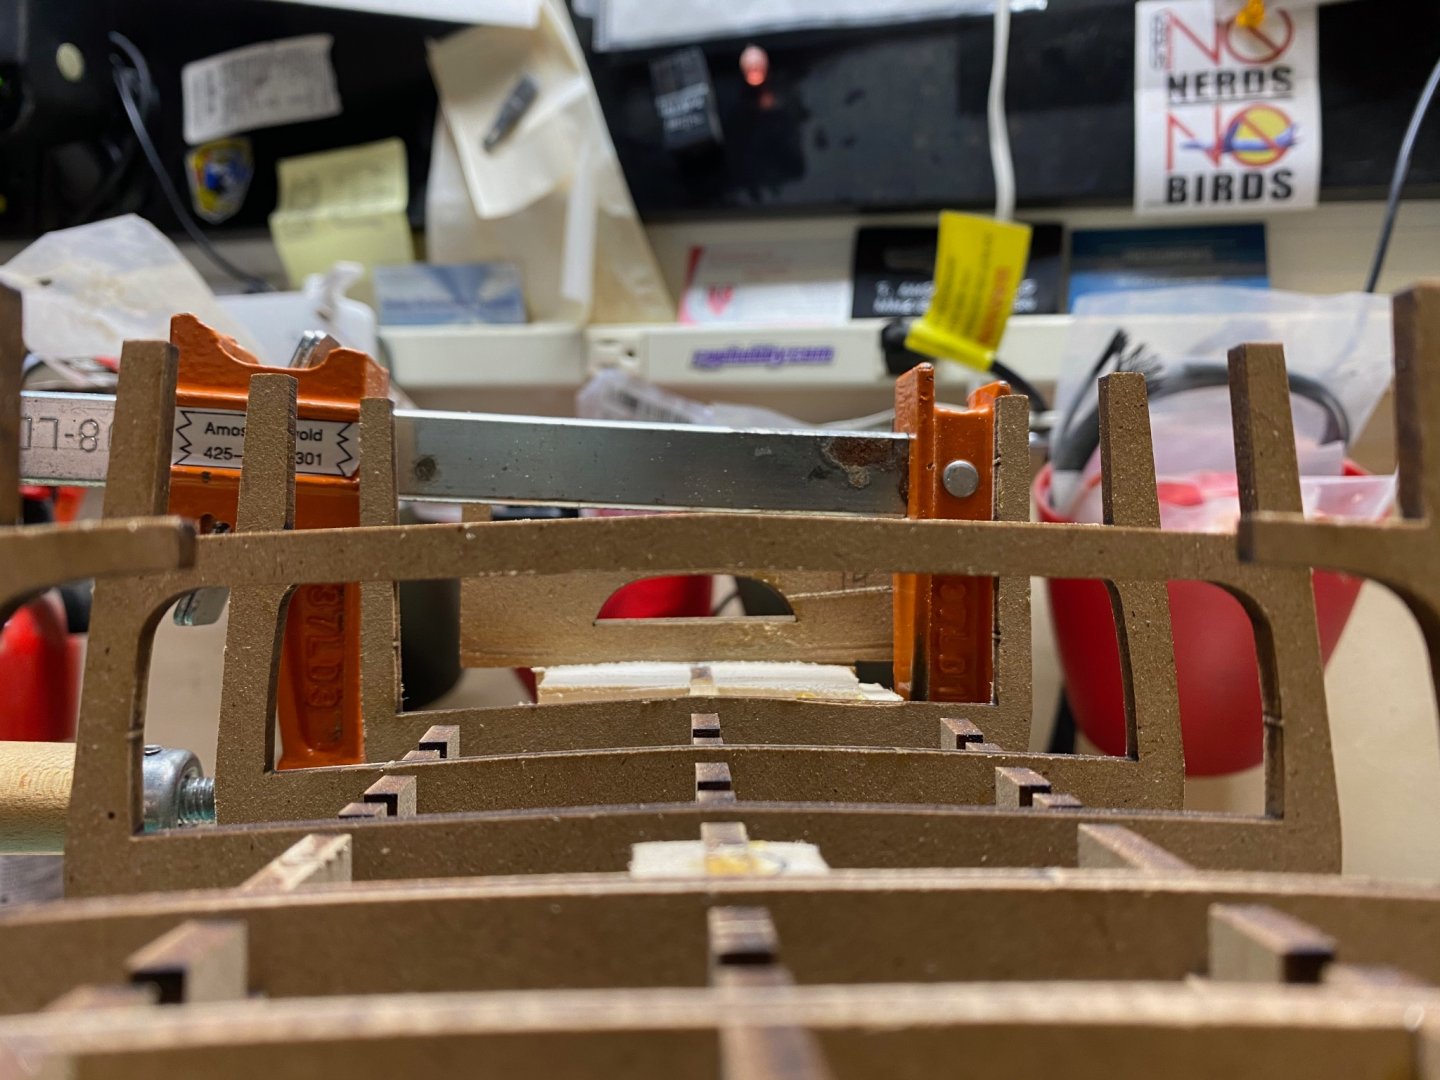
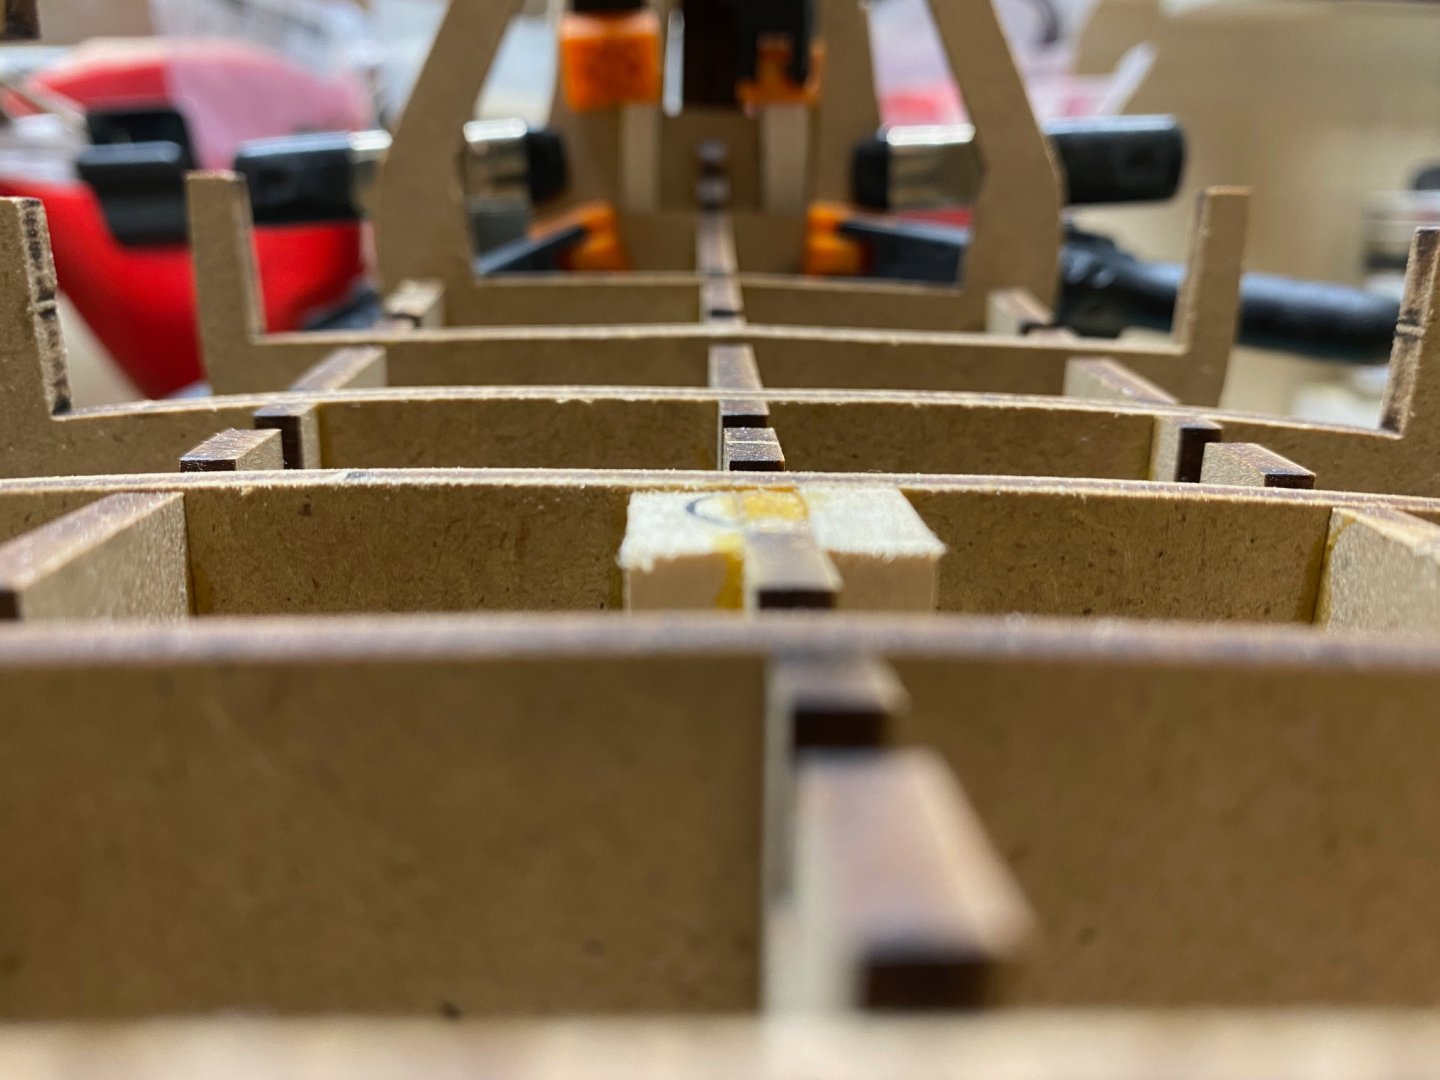
Did some work remedying my mistake at the bow, drilled out my mast hole, and started fairing the bulkheads and filler plugs. After sleeping on it for a few nights I realized I did not want to trim the foremost portion of the false deck since it will help inform the curvature of the filler blocks. It isn't exactly pretty, but I managed to clear out enough room to install false deck correctly. I'm torn whether or not to hog out the remainder of the filler visible in the keyhole. I may cover it with darkly a stained sheet of scrap so that it disappears from view. Looking at other medieval cogs/naves it appears they have this area blocked off anyhow. As part of trying to get the bow fixed I figured out how to get the false deck in . It doesn't specify how to go about it in the instructions so I thought I'd share for future builders. There is a great deal more flex available than I initially realized with the plywood used. Its up for debate whether Amati should have instructed frame 14 and parts affixed to it be installed after step 6 (installing false deck). After triple checking the every axis was square, I drilled out the hole for the mast I had previously plugged. The mast provided in the kit is slightly larger than the 3/8" bit I used. When the time comes I will gently reduce the diameter of the mast to ensure a snug fit. As a side note, the Panavise Jr jaws fit perfectly between the bulkheads and has saved me from feeling the need to purchase a planking vise... yet.


-
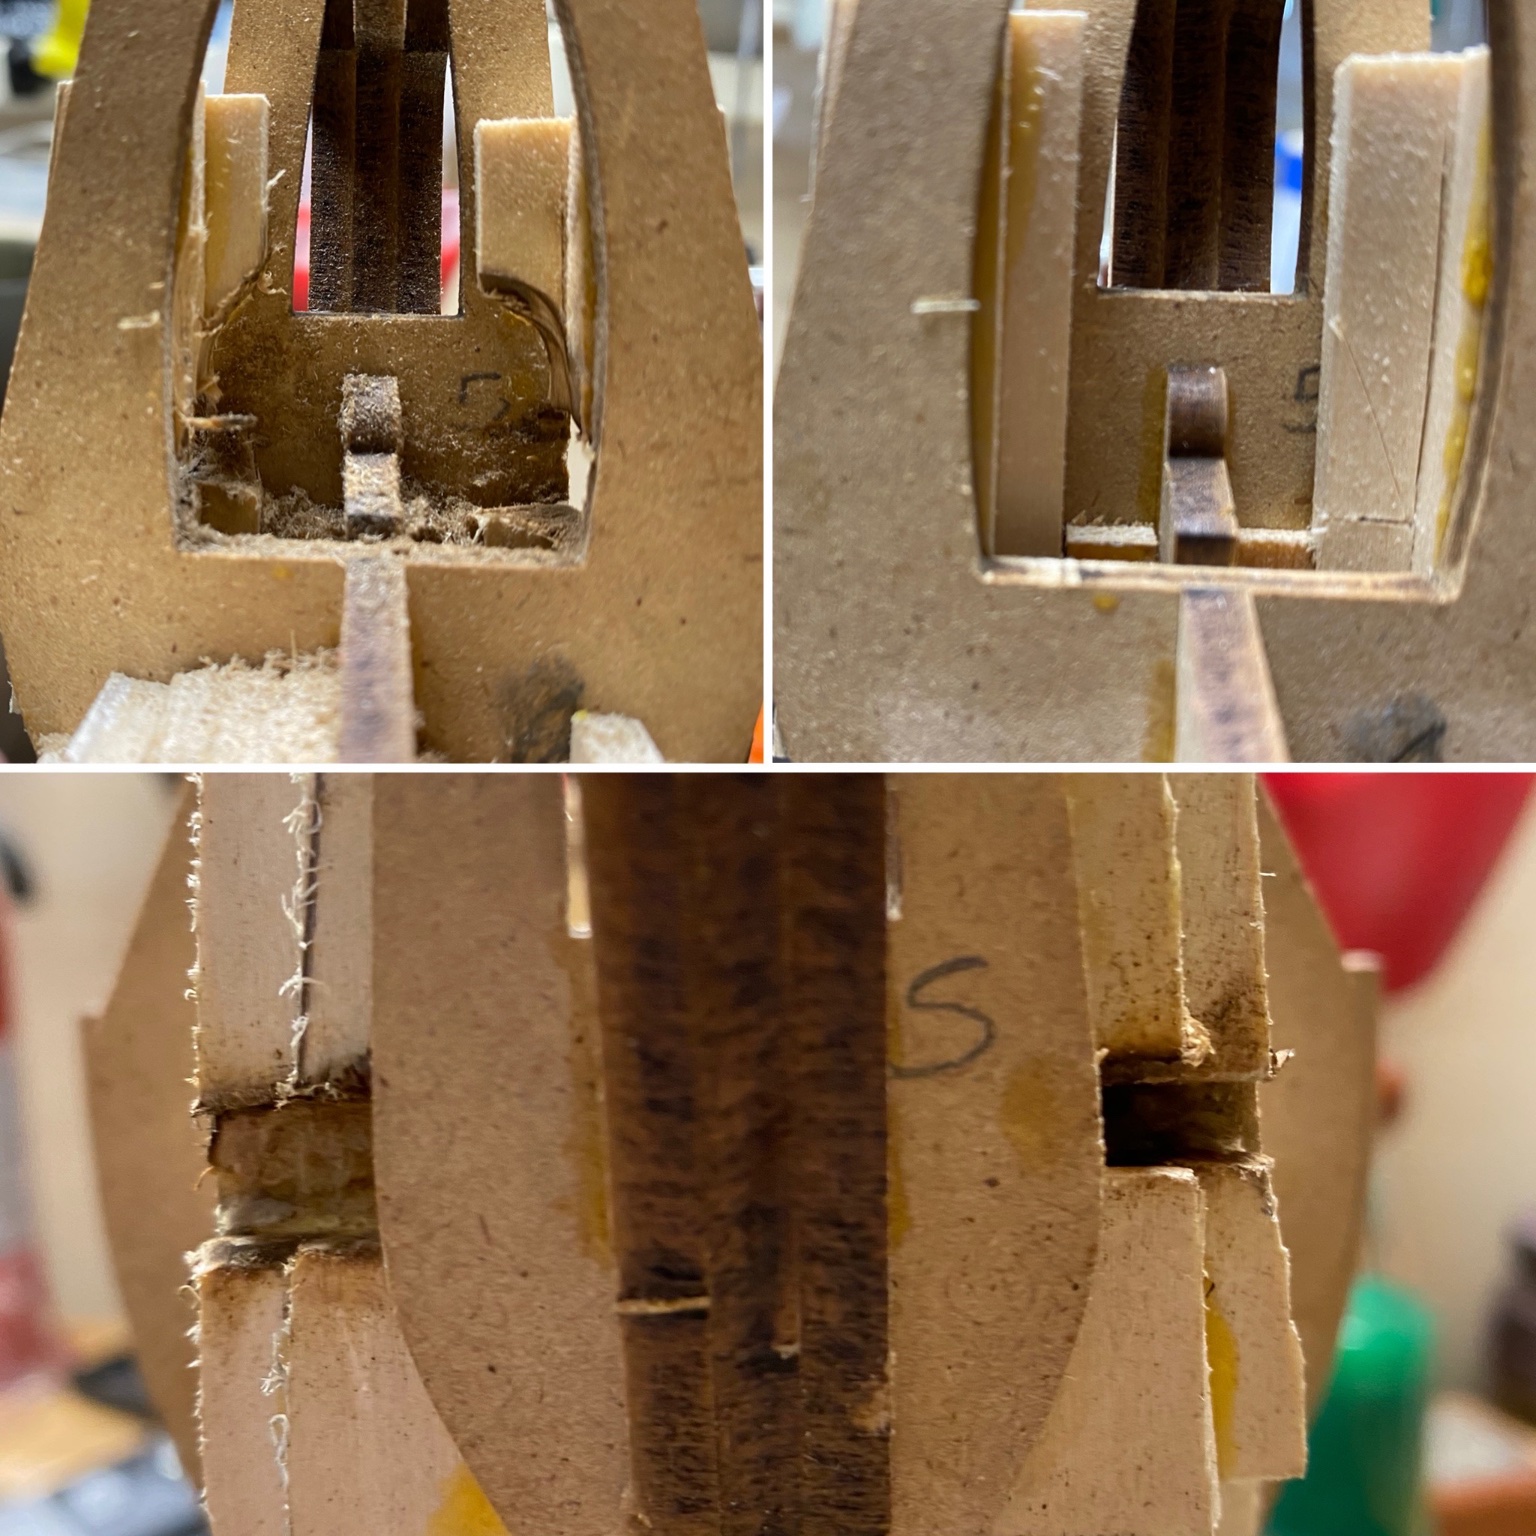
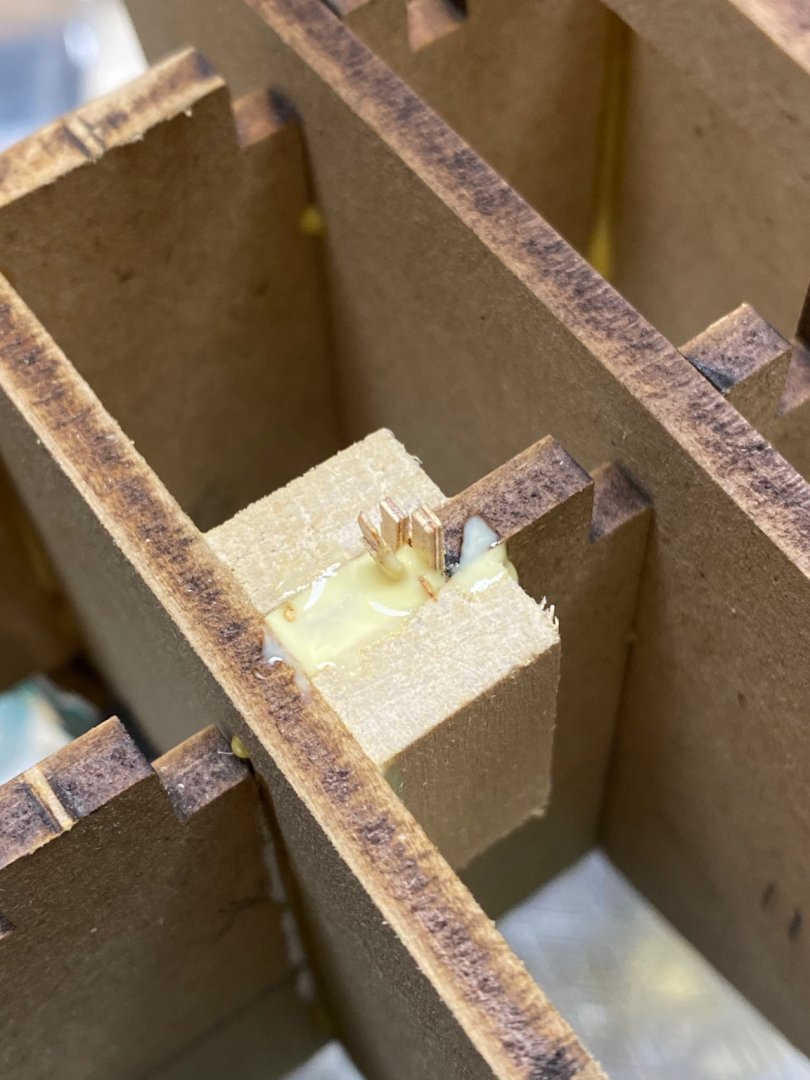
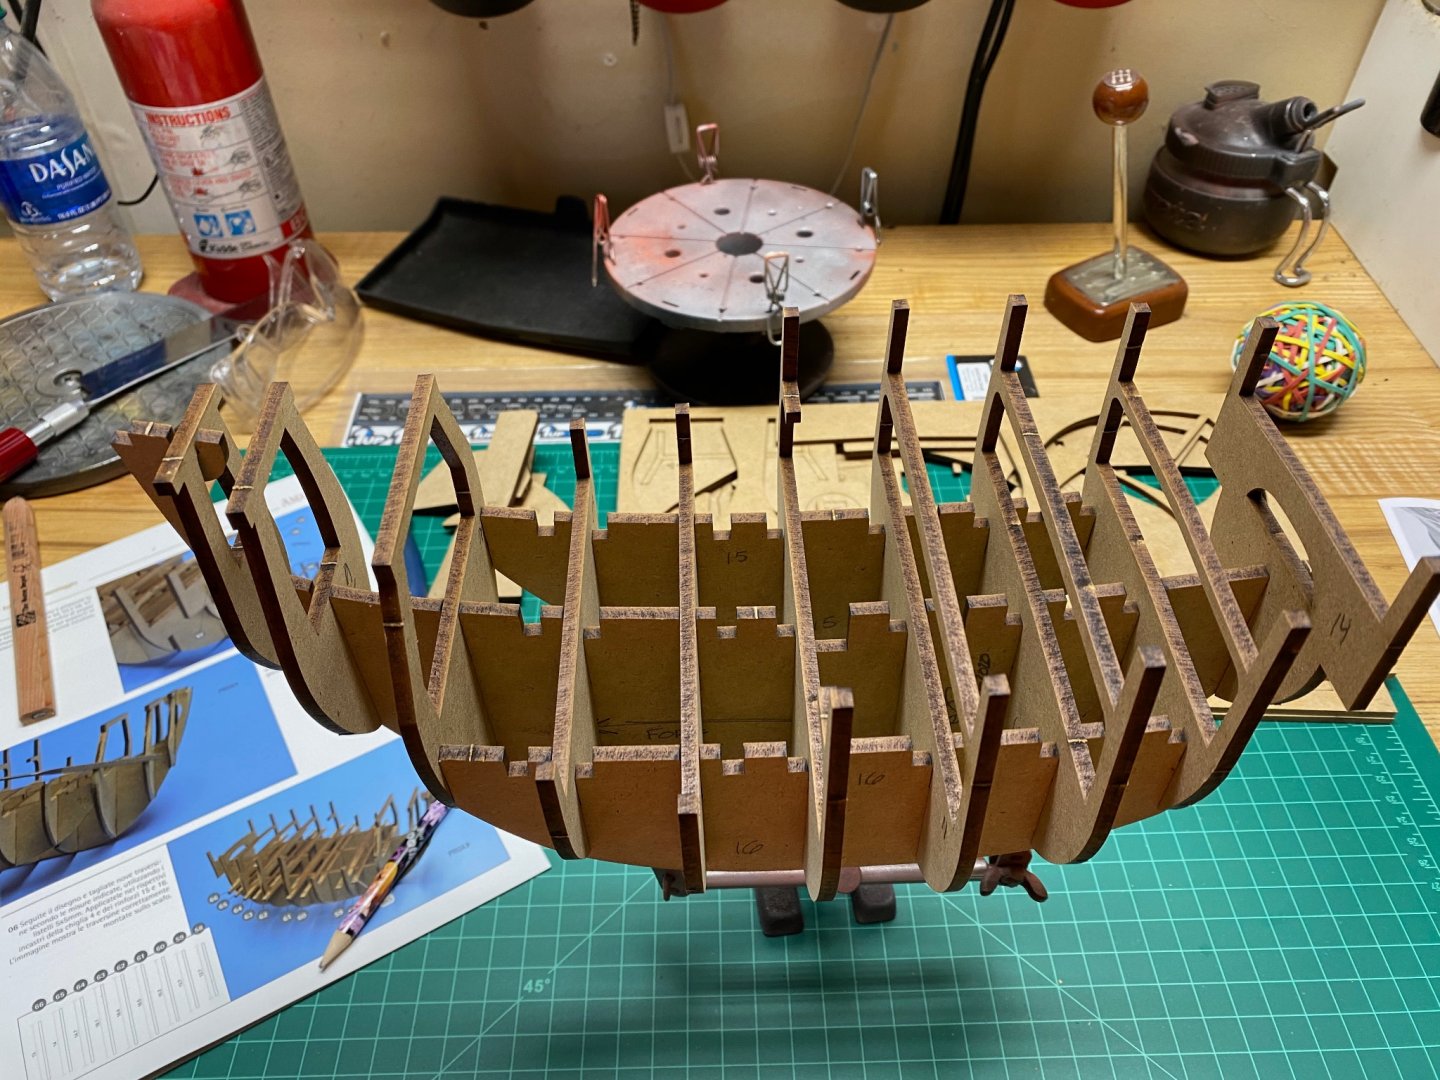
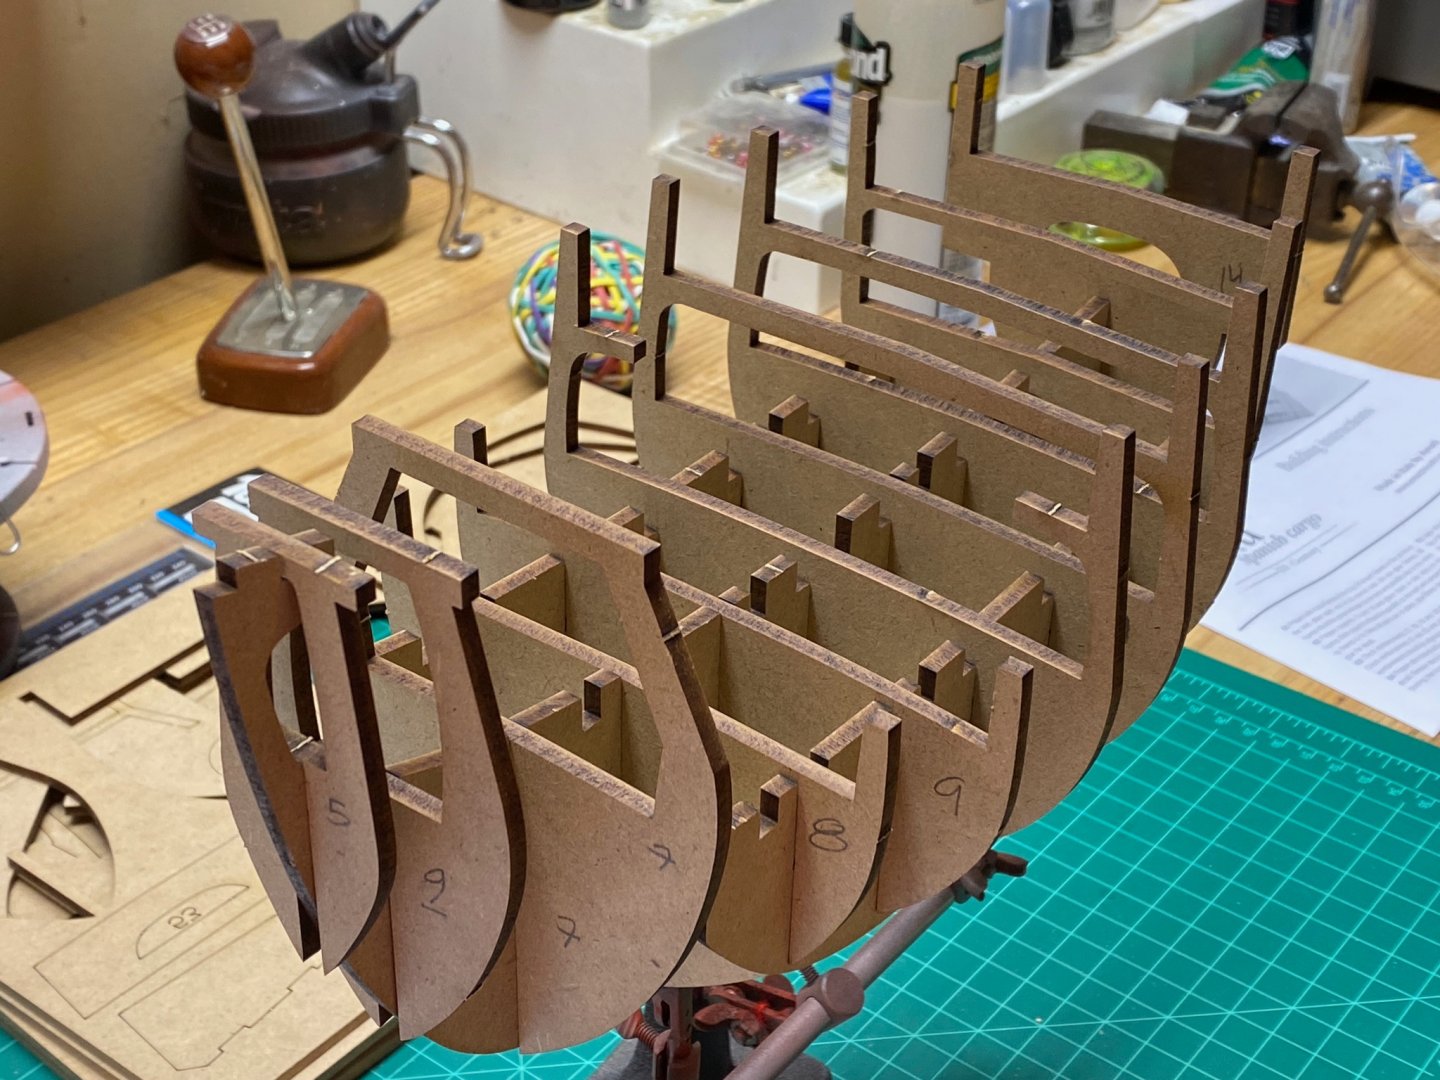
Steps 1-5ish continued... After glueing the keel(s) and bulkheads I boxed/filled in the mast step which I will drill out with my drill press once the glue has had a chance to fully cure (I imagine a week or two should be sufficient enough so as not to foul my bit). I'm sure once the rigging is set the mast will be quite secure but I chose to err on the conservative side. The visibly wet glue is a thin layer, there is wood just beneath it. I have chosen to fill in the fore and aft bulkheads with basswood to assist in setting the proper shape. In doing so I have made a regrettable, but recoverable error by not minding the deck line. I have remedied the aft mistake, the forward one may require trimming the false deck back to frame 6. Lesson learned. Once the glue has cured and I figure out whether I'm trimming the deck or angering out space for it at the bow I will pin it in place while fairing the bulkheads. I will also need to come to a decision on whether or not to install the cross bars now, as directed, or after the first planking as other builders have suggested.

-
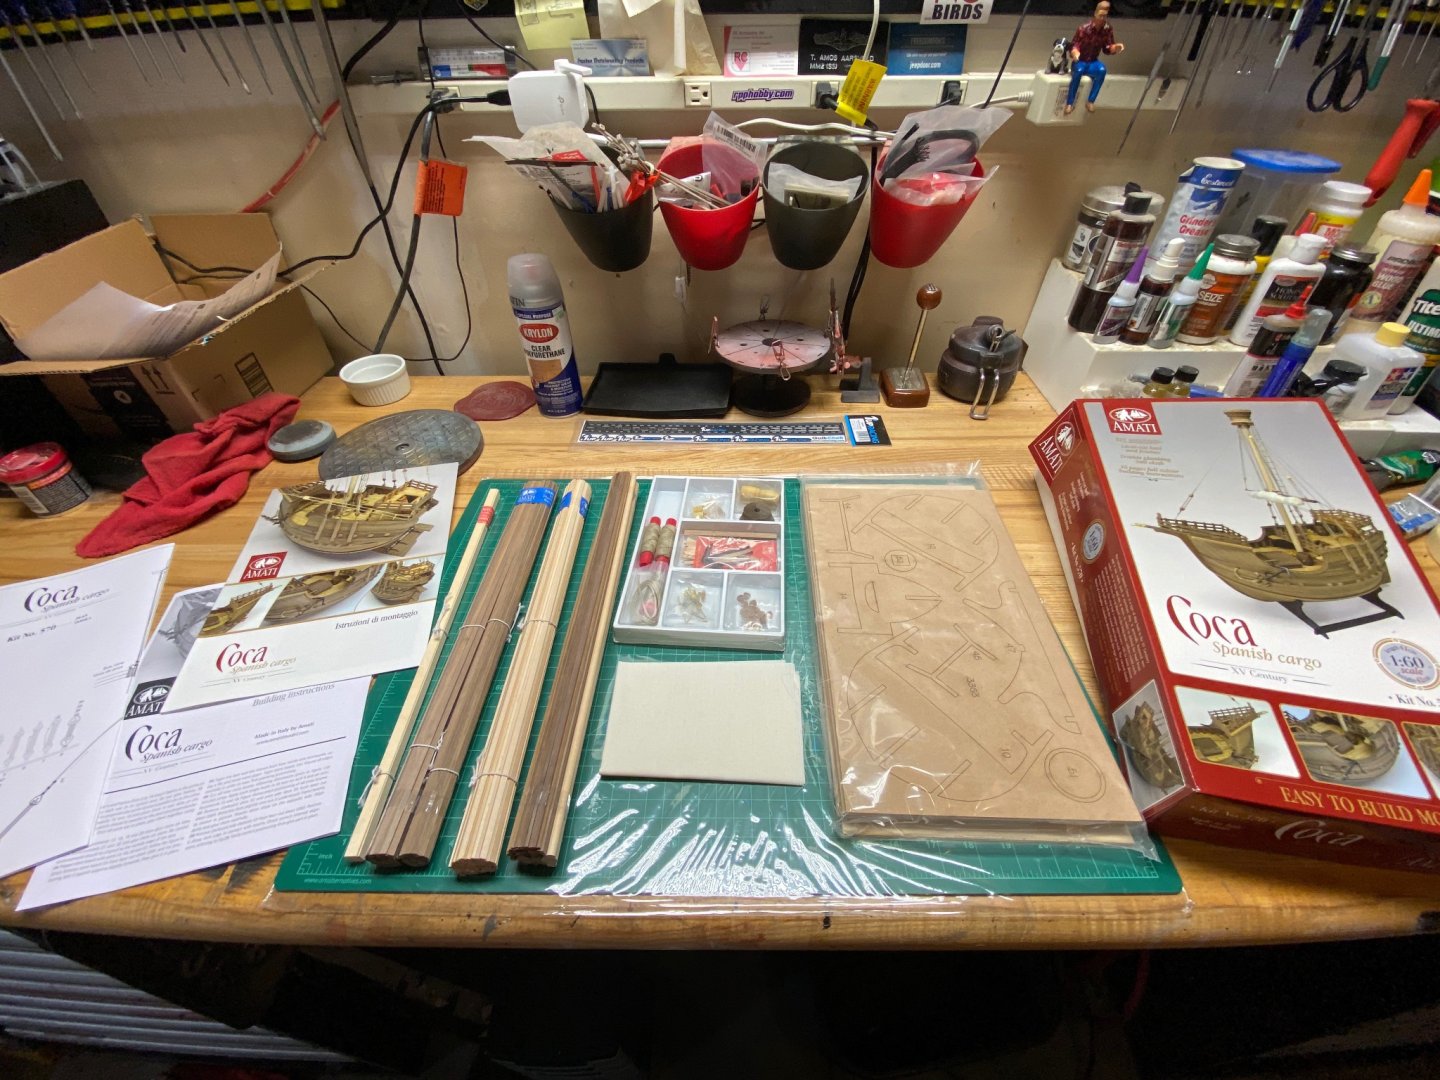
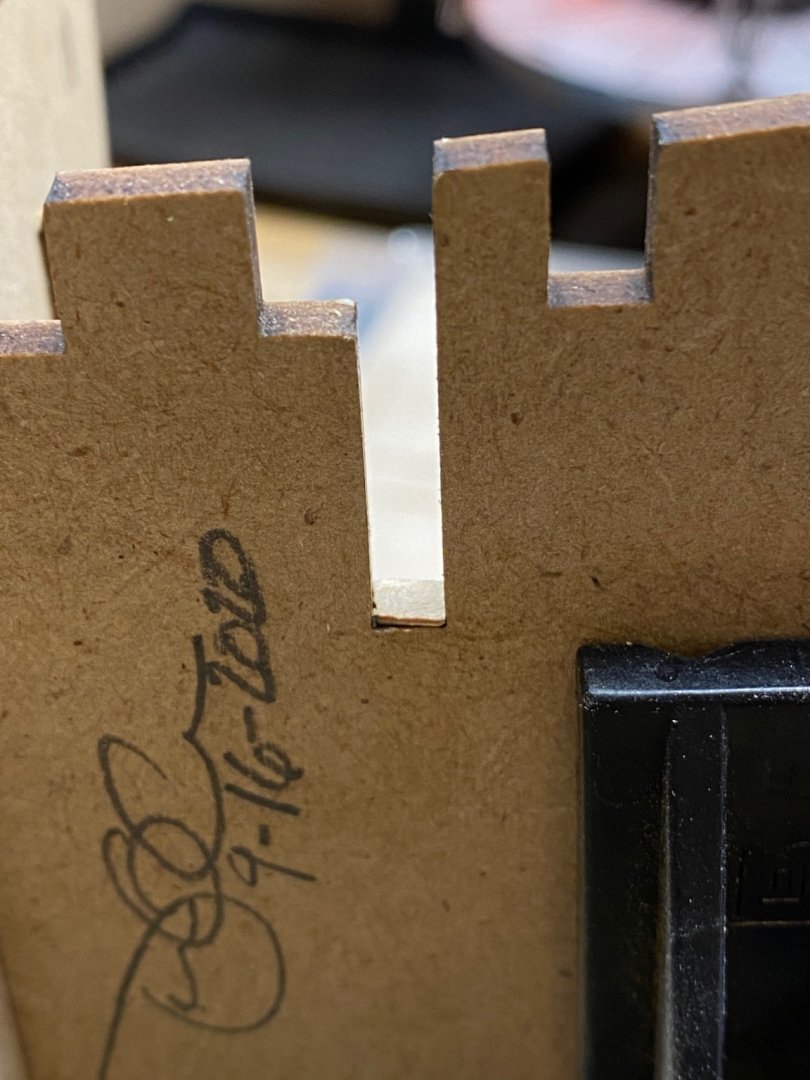
For my first true ship build I have chosen the Coca by Amati. While I like the design, I have also chosen it as a stepping stone into more complicated, multi-masted ships of greater interest to me. I accept I am bound to make errors and look forward to recovering from them. I plan to note areas I diverged from Amati's prescribed directions and my rationale. I'll apologize in advance to those expecting DSLR photos... most will be iPhone photos, at least during the messy phase since my wife is not overly enthused by the side of it venturing into the garage. ------------------------ Upon initial inspection, the kit is complete and well organized. The provided keel, bulkheads, false deck and bulwark are laser-cut MDF and plywood. Steps 1-5ish Assembling the framework. Test fit, no glue (disregard frame six mislabeled as nine) During the test fitting I identified a few bulkheads needing shims to keep the deck flush. Note I sign and date every ship or boat with the date the keel was "laid".

-
New to ships in WA (USA)
Clark Griswold replied to Clark Griswold's topic in New member Introductions
Thank you for the warm welcome. It is quite an eye opener to see some of the stunning builds cataloged here. I look forward to applying the wealth of knowledge and techniques here; admittedly I'm sure more than a few will be learned after I've created the problem needing resolution. -
Great build! I’m just about embark on the same journey. You’ve given me quite a bit to ponder, thank you.
-
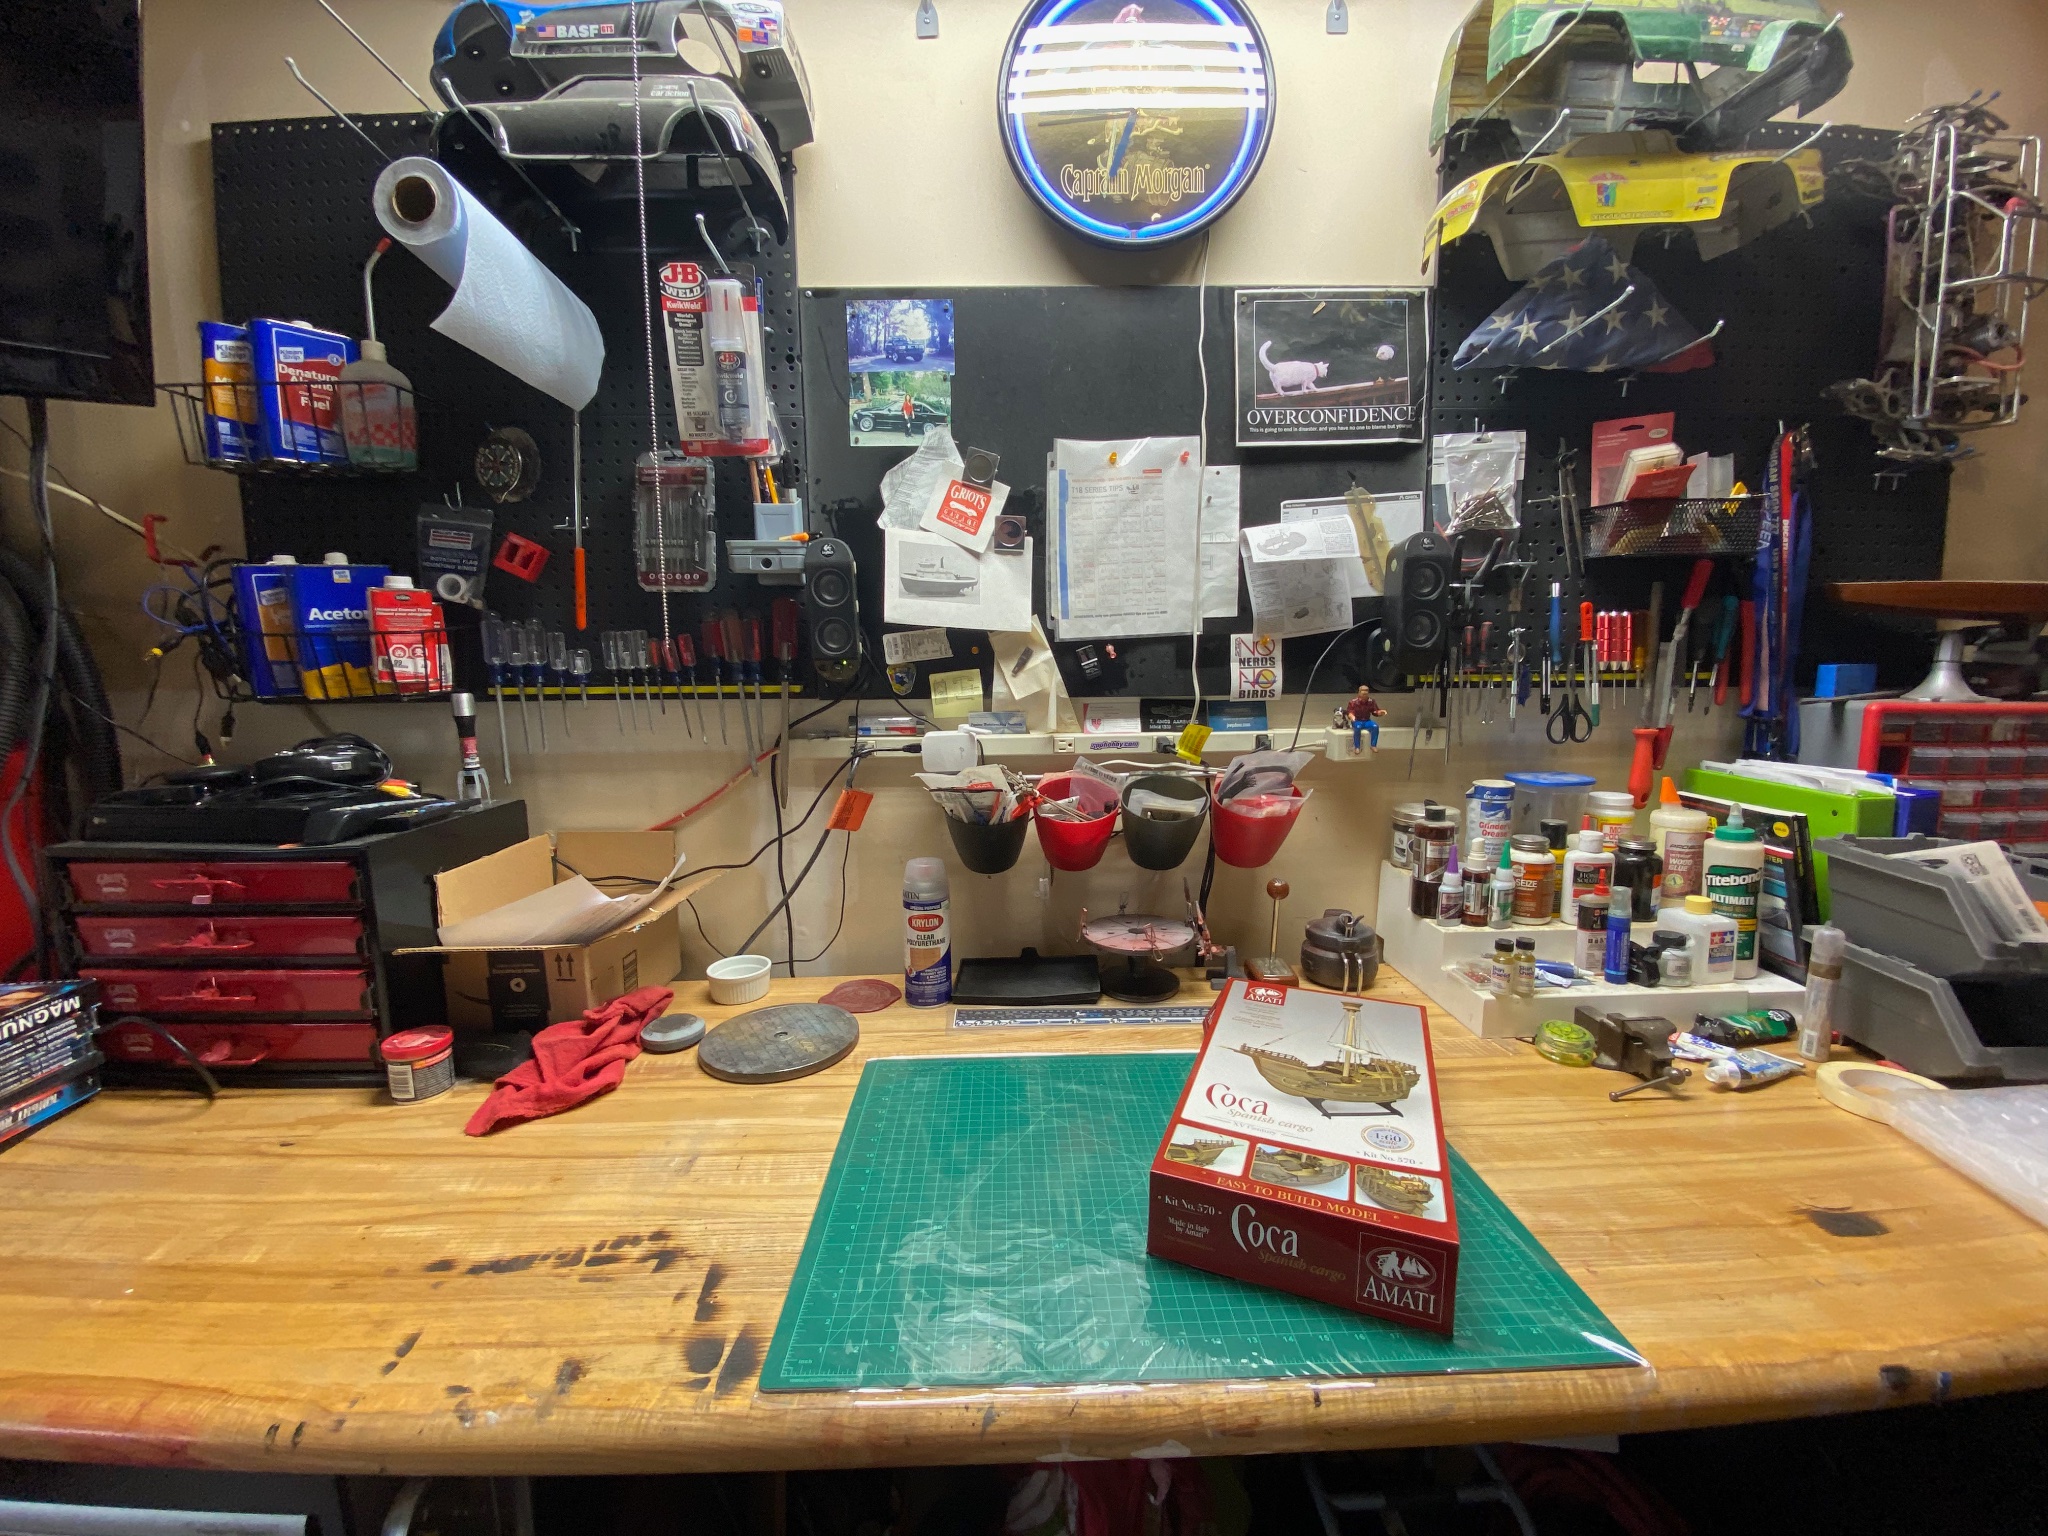
I'm a long time modeler that has decided to move on to a new niche. I'm coming to shipbuilding primarily as a R/C car/truck/boat guy but did a lot of plastic models and large train boards (HO) in my youth. I love mechanical models, but the opportunities and venues to use them are ever shrinking, particularly boats. I've also found that I enjoy the act of building more than putting them to use, save for the occasional shenanigans around the cul-de-sac and yard while taking a break from other garage projects. The time to build a wooden model appeals to me more as well in that time is measured in weeks or months rather than hours with a typical R/C car. My latest r/c boat builds have been plank on frame tugs (Shelly Foss, Jenny Lee) and a Chris Craft barrel-back runabout. My biggest apprehension with moving into ship building is rigging and sails. With this in mind I have purchased the Amati Coca for my first ship build. I've always wanted to build a true tall ship, but I want to start a little easier and build up to something like the HMS Victory over time. I figure the Coca strikes a decent balance of the familiar hull building with the added challenge of a modest amount of rigging. I have read the cautionary tale post. Having survived three Dumas kits of dubious quality that resulted in passable models I'm encouraged by what I have found opening the Amati kit box. For the first time in a while I am encouraged by not feeling the need to buy additional materials to replace or recreate broken and misshapen components as step one. Between the 'rona and winter approaching I'm just about ready to take a long walk off the short plank into my build. First step, cleaning up the shop for a fresh start... Once the bench is cleared I'll start up a build log.