Spooky spoon
-
Posts
134 -
Joined
-
Last visited
Content Type
Profiles
Forums
Gallery
Events
Everything posted by Spooky spoon
-
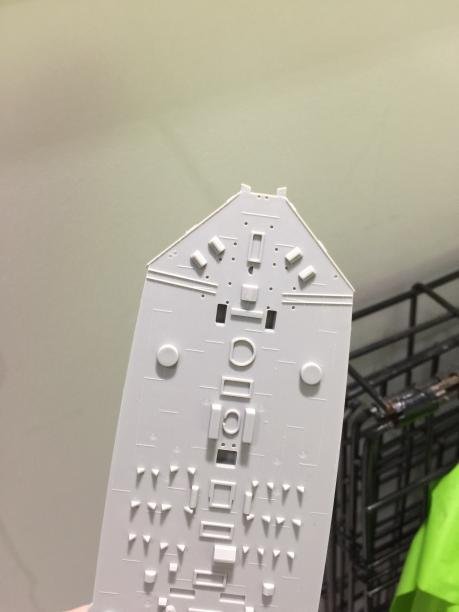
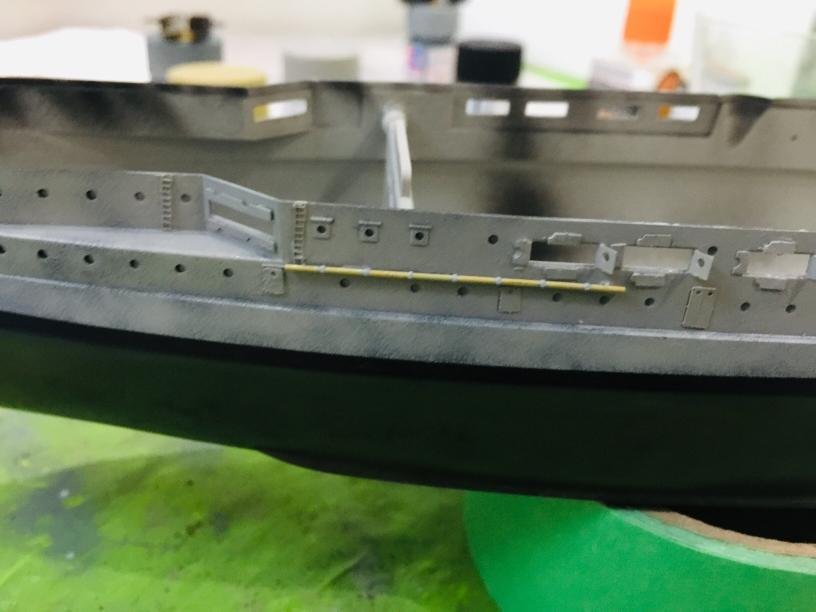
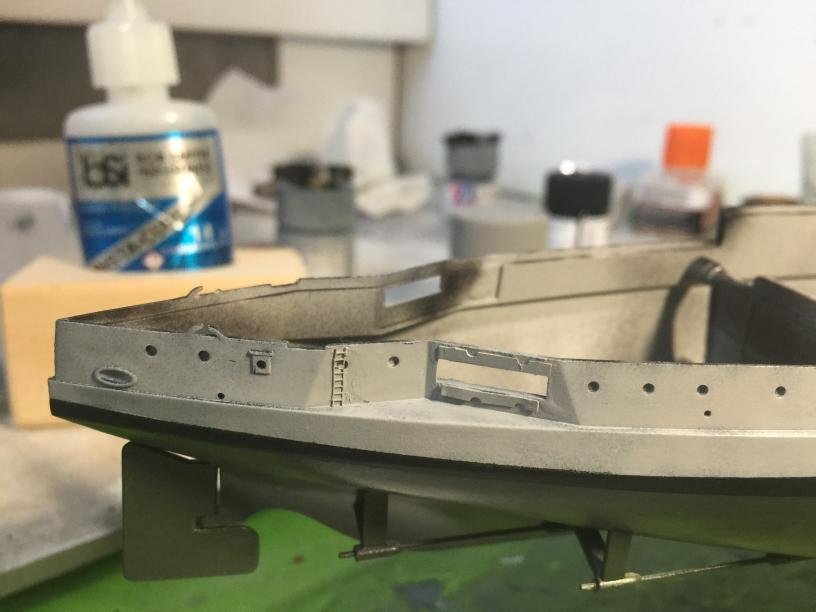
Part of the deck broke off during shipping, so I had to scratch build a replacement. Given that it was my first time scratch building anything, I think I did pretty well.

- 142 replies
-
- 10
-

-
Would the photo etch used here be compatible with the repackaging of the kit that Revell did?
-
next, I will add some streaking with a light rust oil paint, and some ak streaking grime and salt streaks. I might add some sponge chipping too. I'm a little confused about where salt streaks rust streaks and grime streaks tend to accumulate. Do they all accumulate all over the hull, or are there specific places on the ship where each type of streak is more common than the others?
-
I painted some wood bits using tamiya dark yellow #2. I'm pretty pleased with how the colour turned out, but I wouldn't use it for anything bigger.
-
I've also decided to buy a new airbrush. My budget is around $150 Canadian dollars. Does anyone have any recomendations?
-
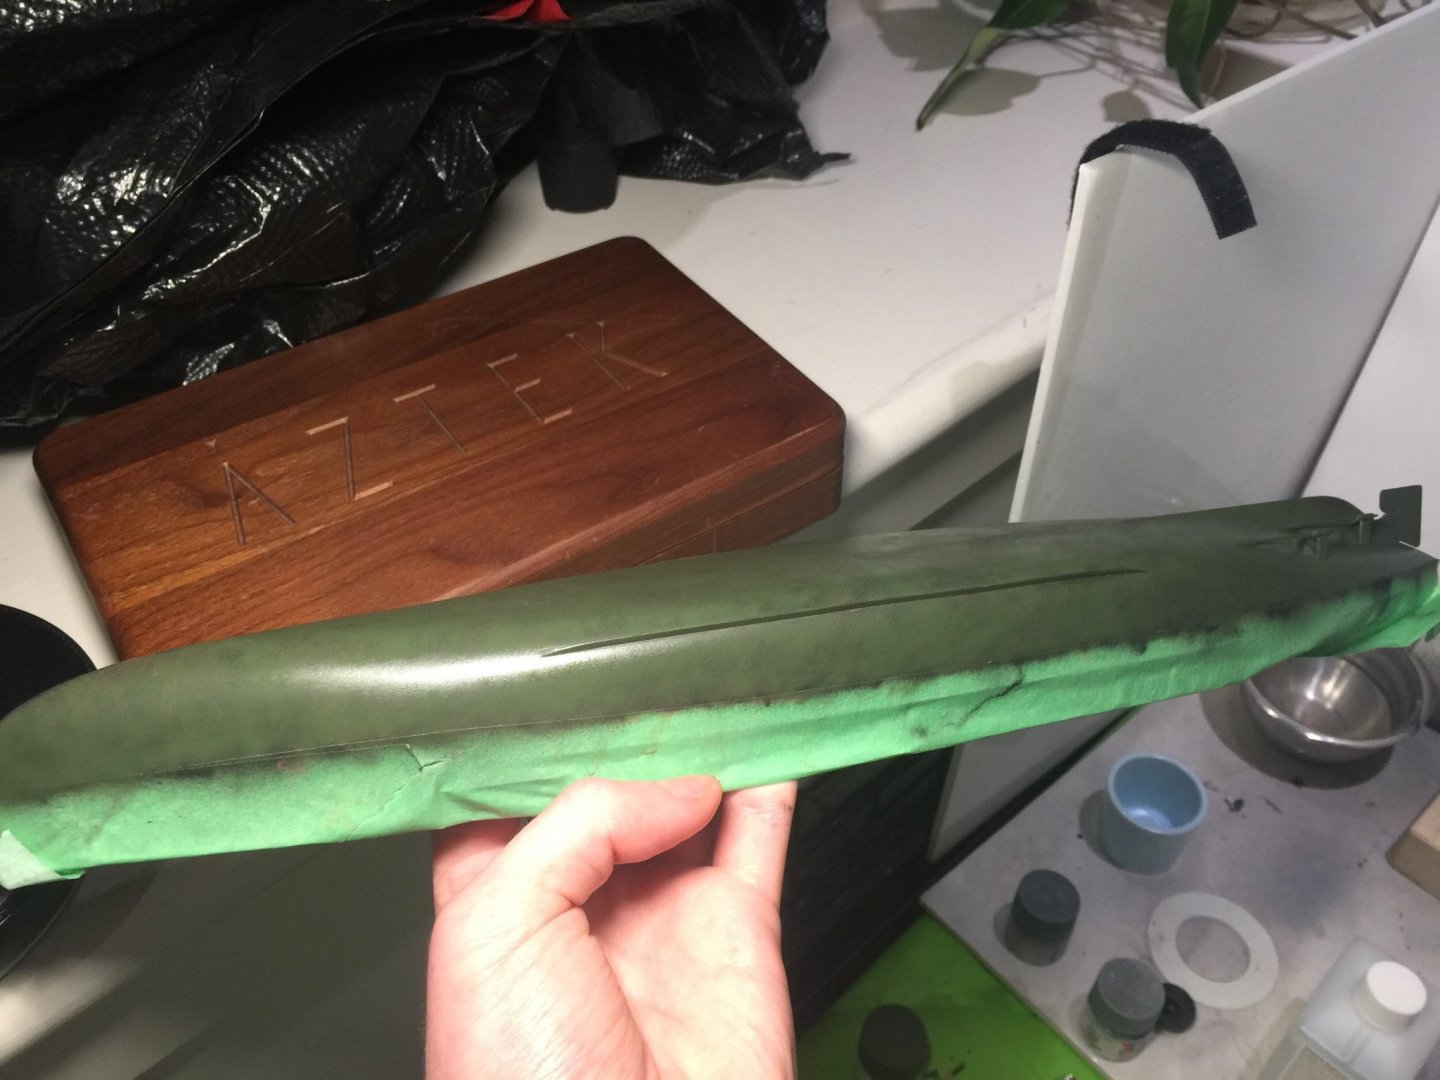
I've finished the hull. Once my airbrush dries, I'll put a coat of gloss clear over it, and then do some weathering.

-
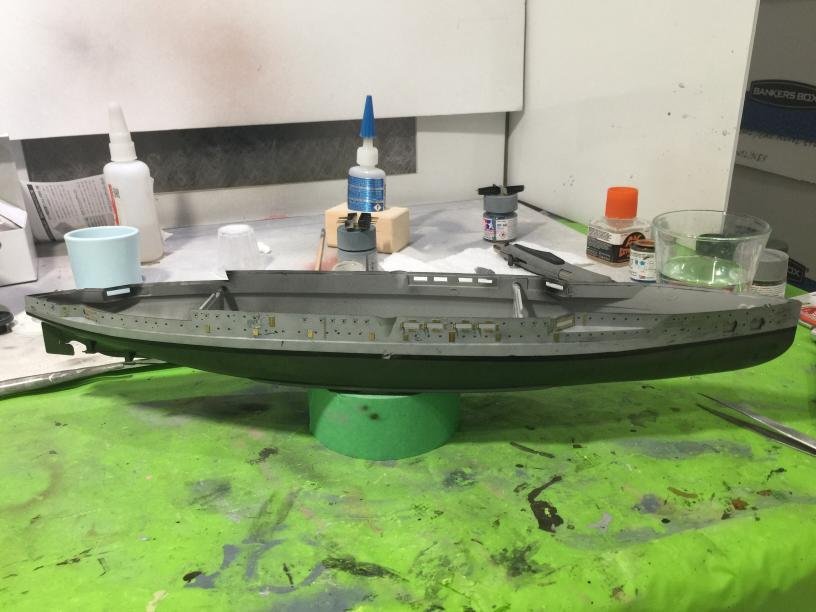
I am very pleased with how the hull turned out, and am exited to build the rest of the model.
-
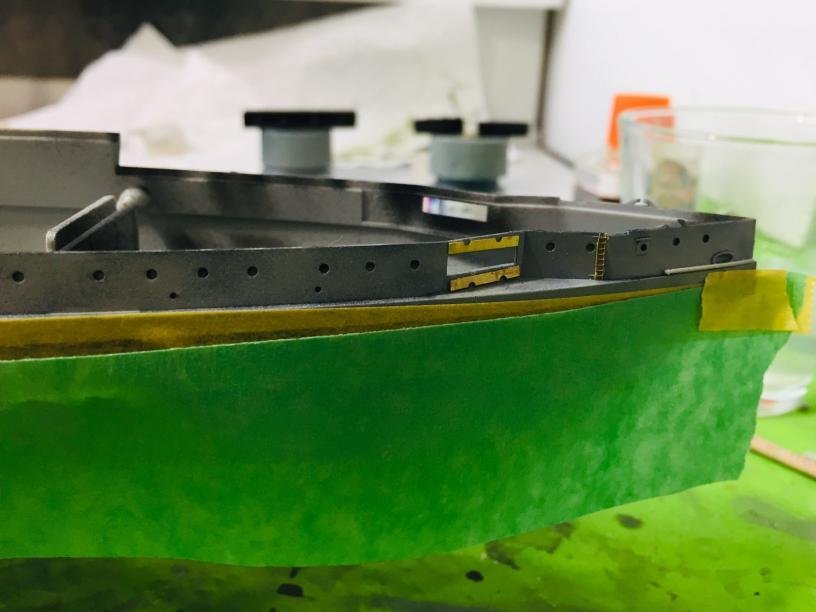
I have finished touching up the hull, and have sprayed some gloss clear over it to protect the paintjob. I will finish the upper hull tomorrow.
-
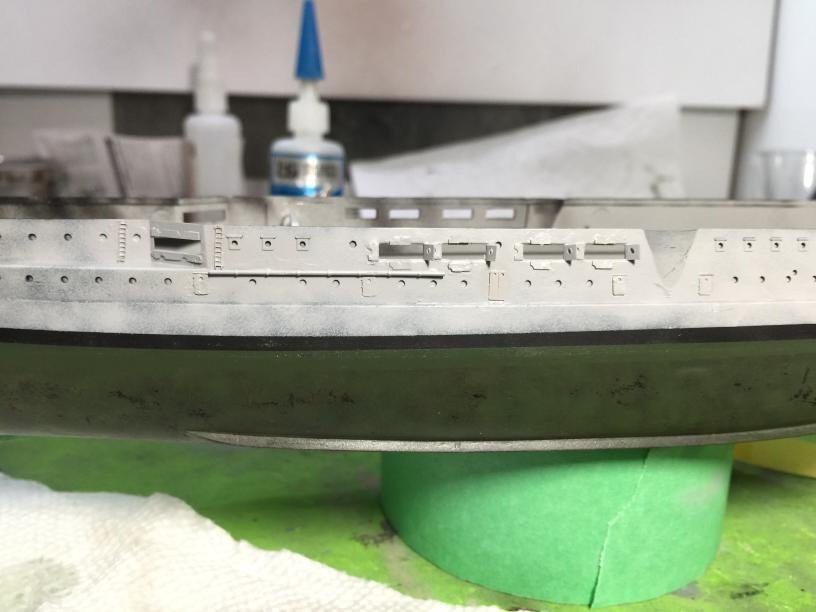
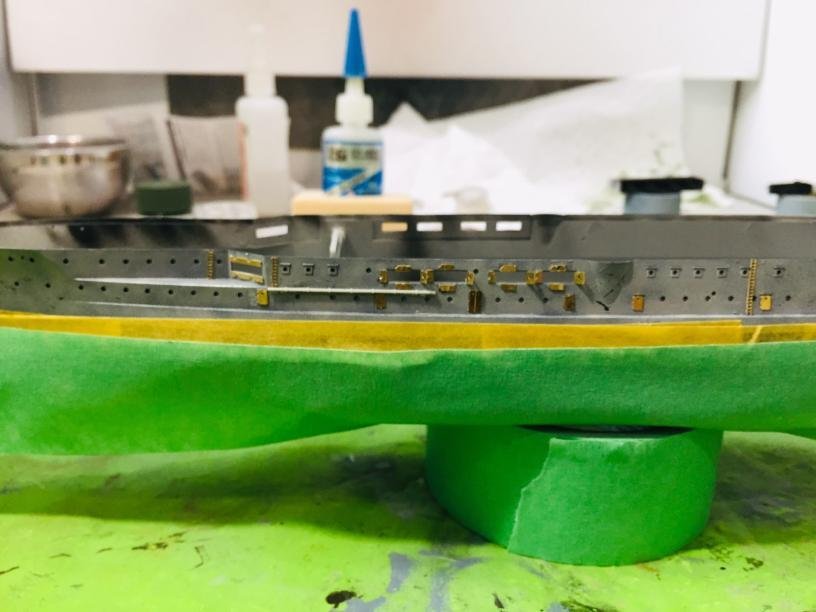
I have finished the pe on the hull. Once I apply some touch ups to the lower hull, I will spray some tamiya acrylic clear over it, and then paint the upper hull.

-
I started putting the pe onto the second side of the hull. I think that I'll put some diluted dark green over the hull to tone down some of the chipping.
-
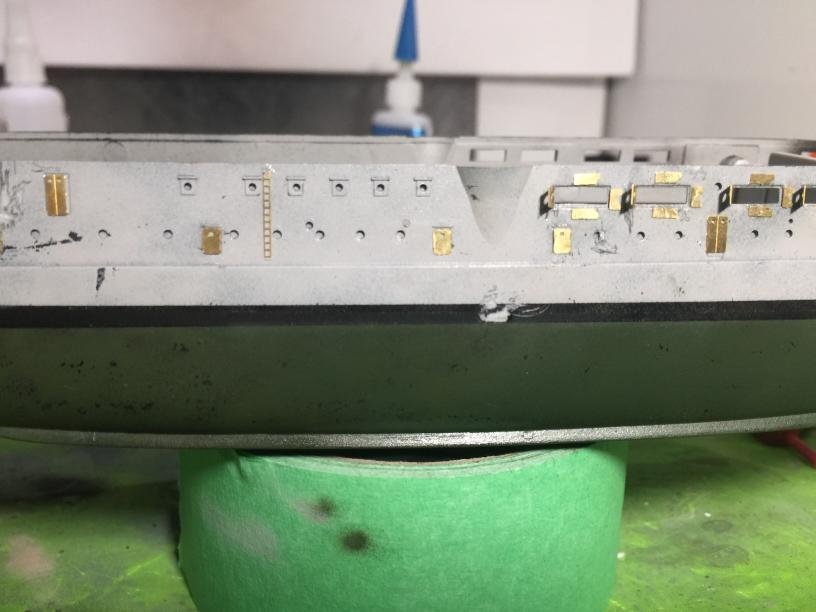
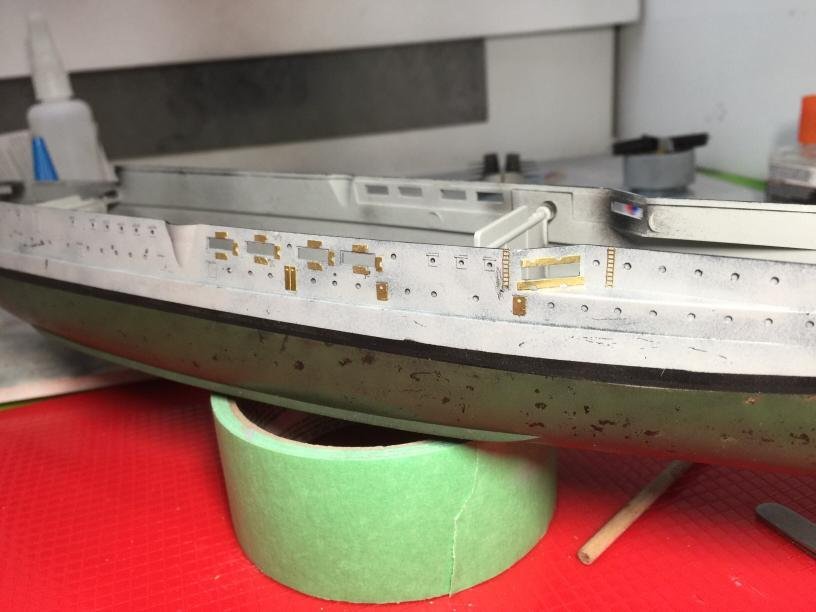
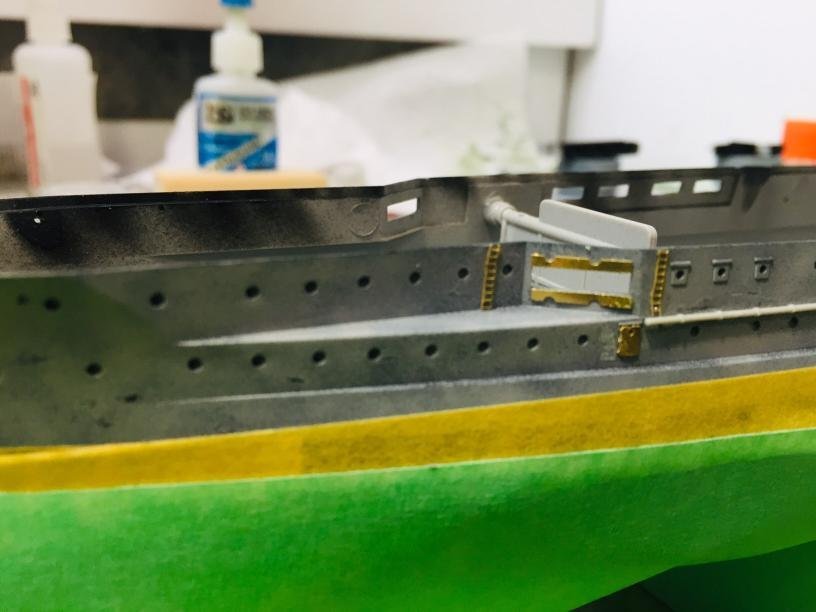
I've painted the pe parts, and it looks pretty nice, although there is much room for improvement

-
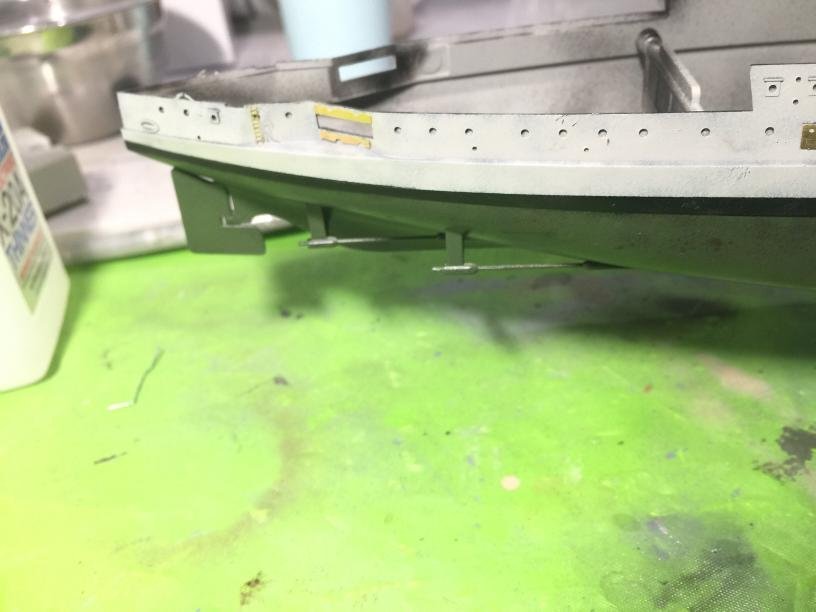
This is my first time using pe parts, so I'm pretty pleased with how this turned out. I used extra thin ca glue to attach the parts. I ought to have put the parts on before painting.

-
I'm using an aztek a470 airbrush with tamiya acrylic paint. After several hours, I managed to get it working again, but the airbrush is very difficult to put back together again once disassembled. I do not believe that the airbrush was meant to be disassembled, as doing so voids the warranty, but I got it second-hand, so I figured that I might as well try.
-
My airbrush clogged again. This is getting absurd, I feel like every time I use it, the trigger get jammed. I always make sure to keep it clean, but it is to no avail. I am considering just getting a new one
-
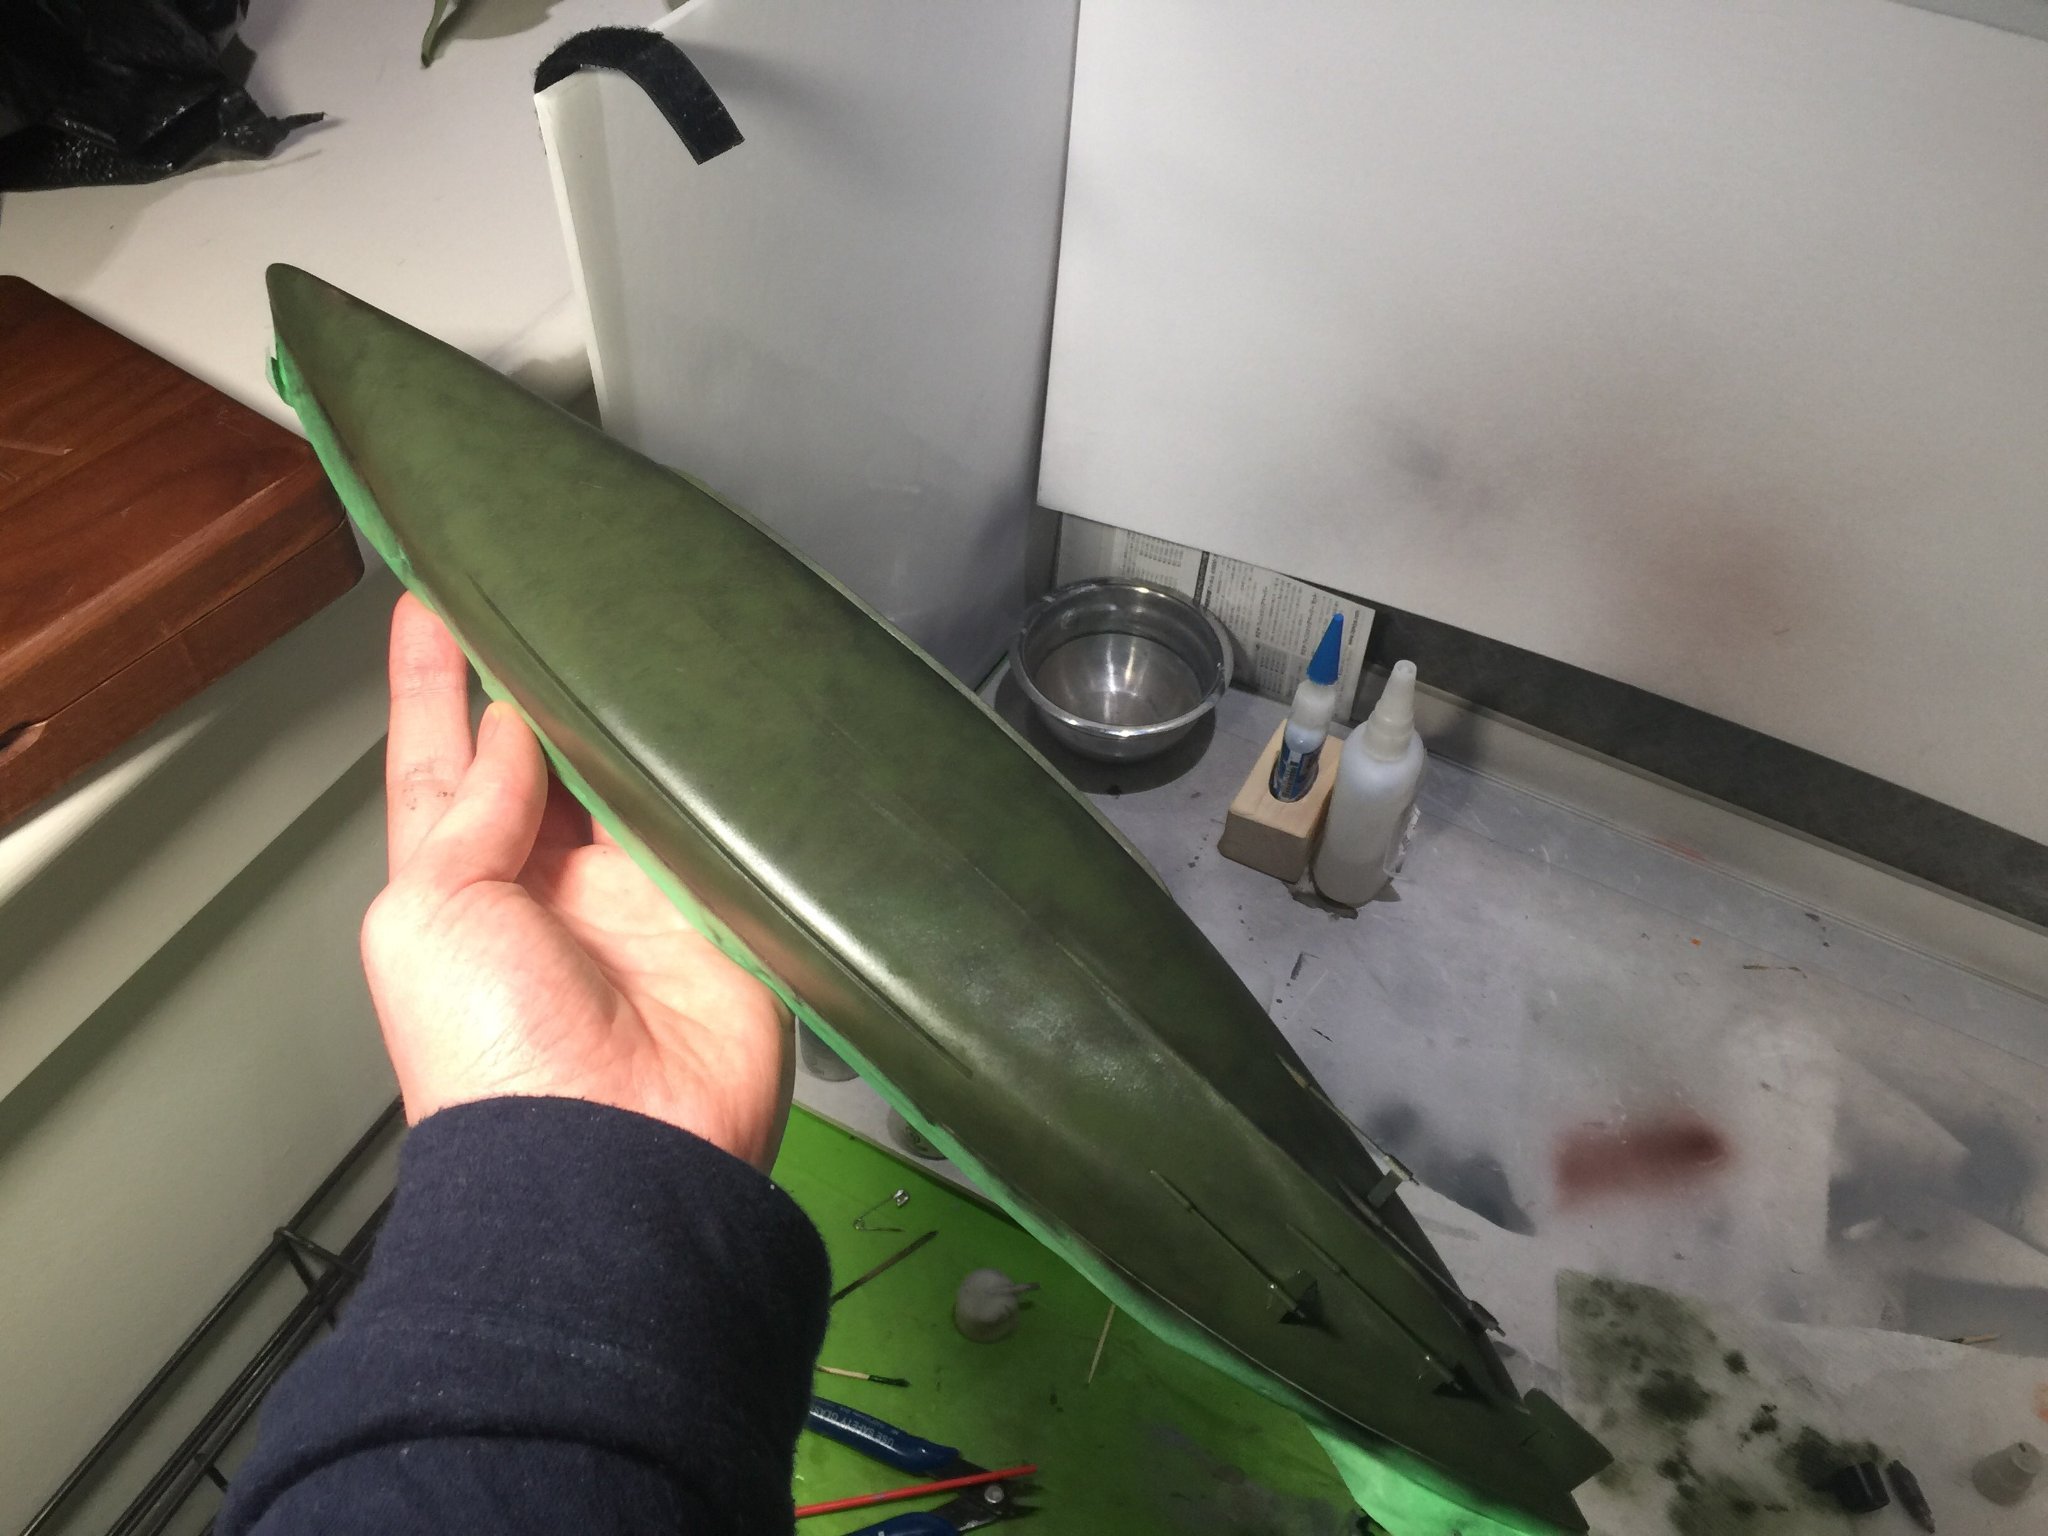
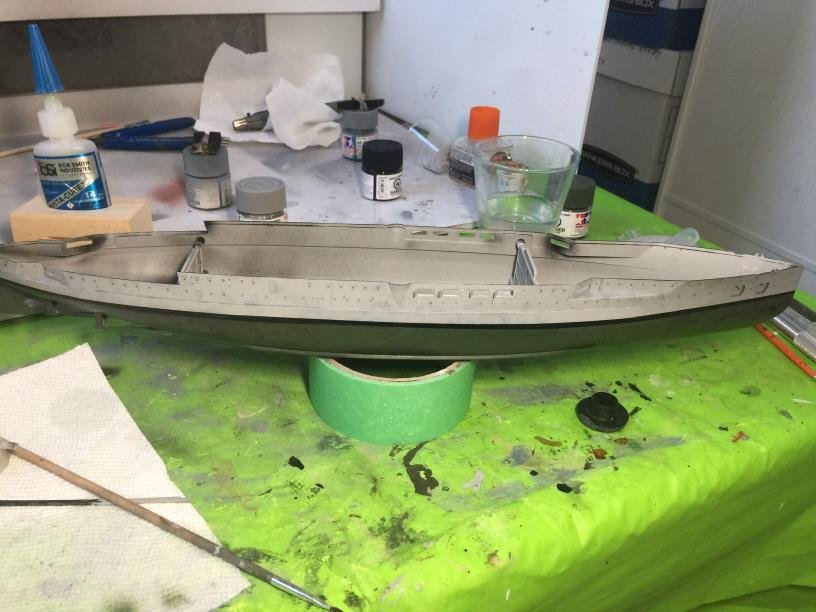
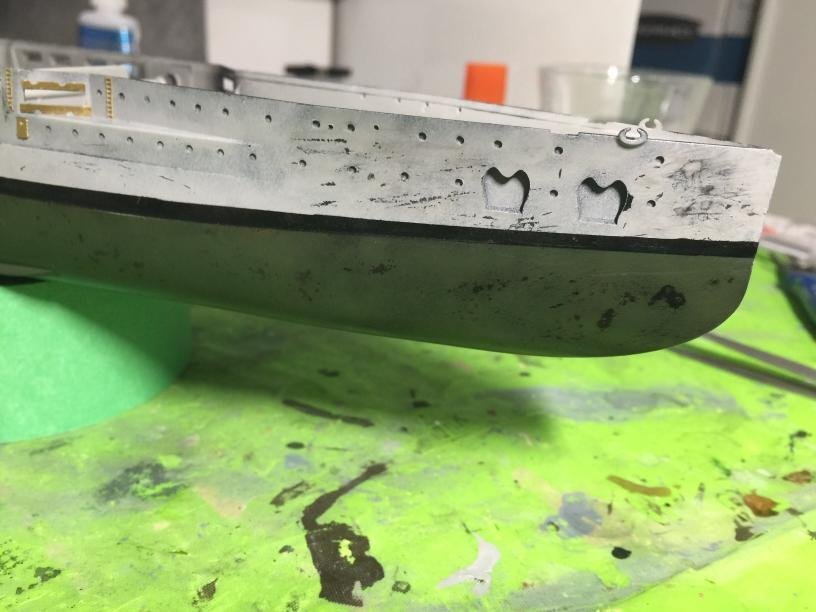
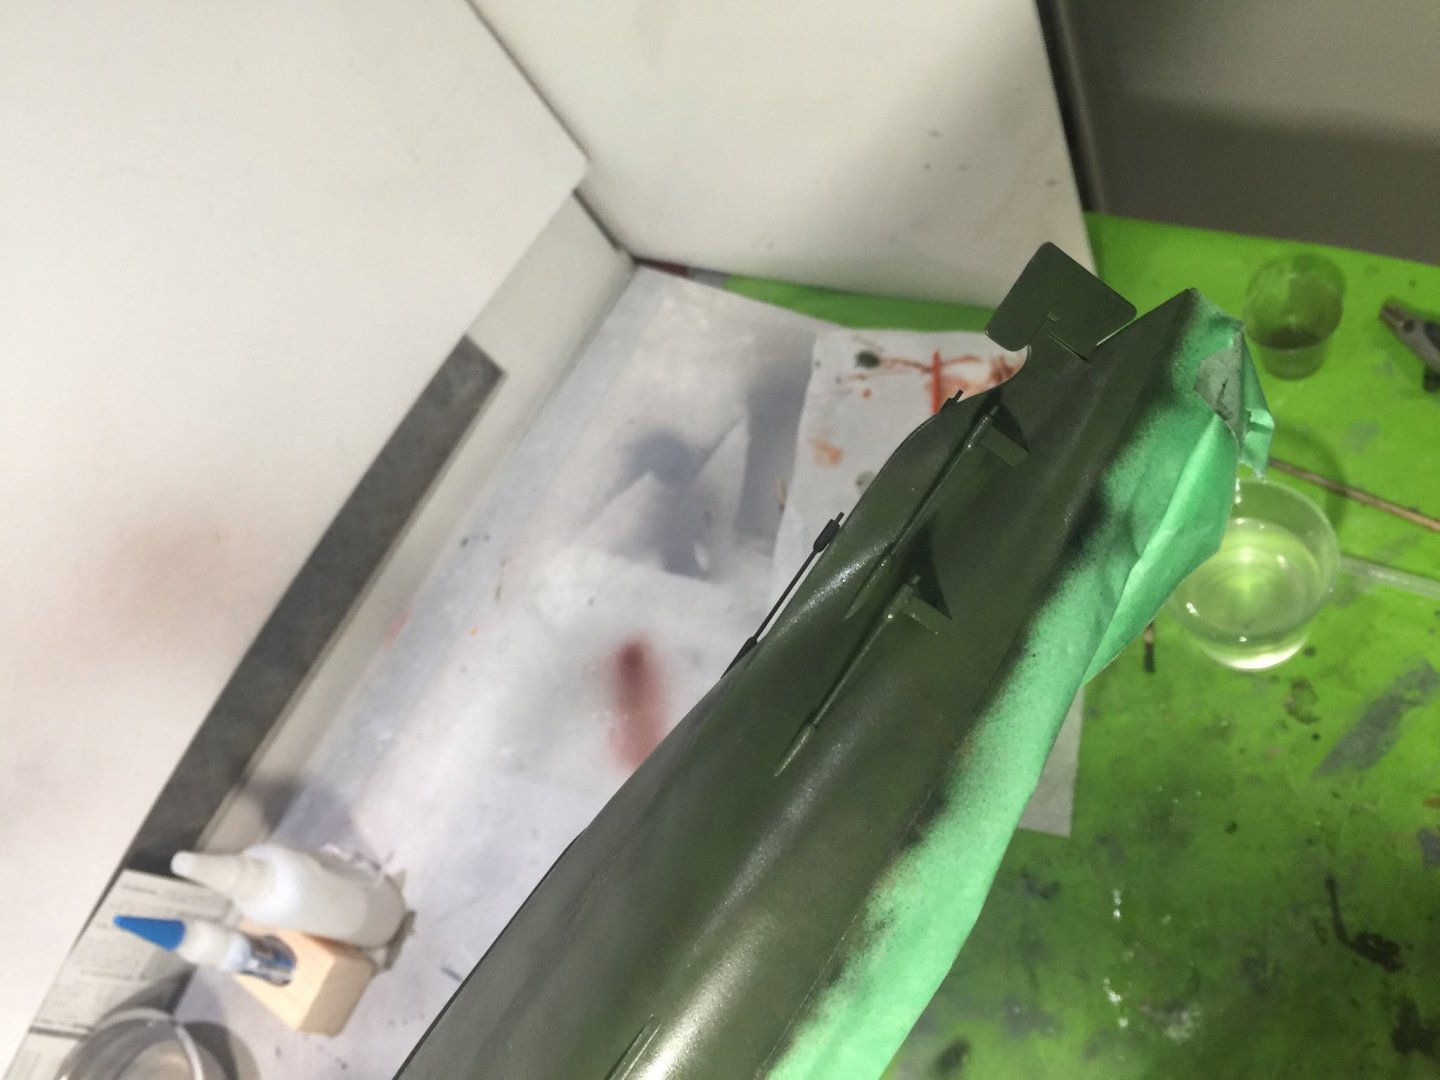
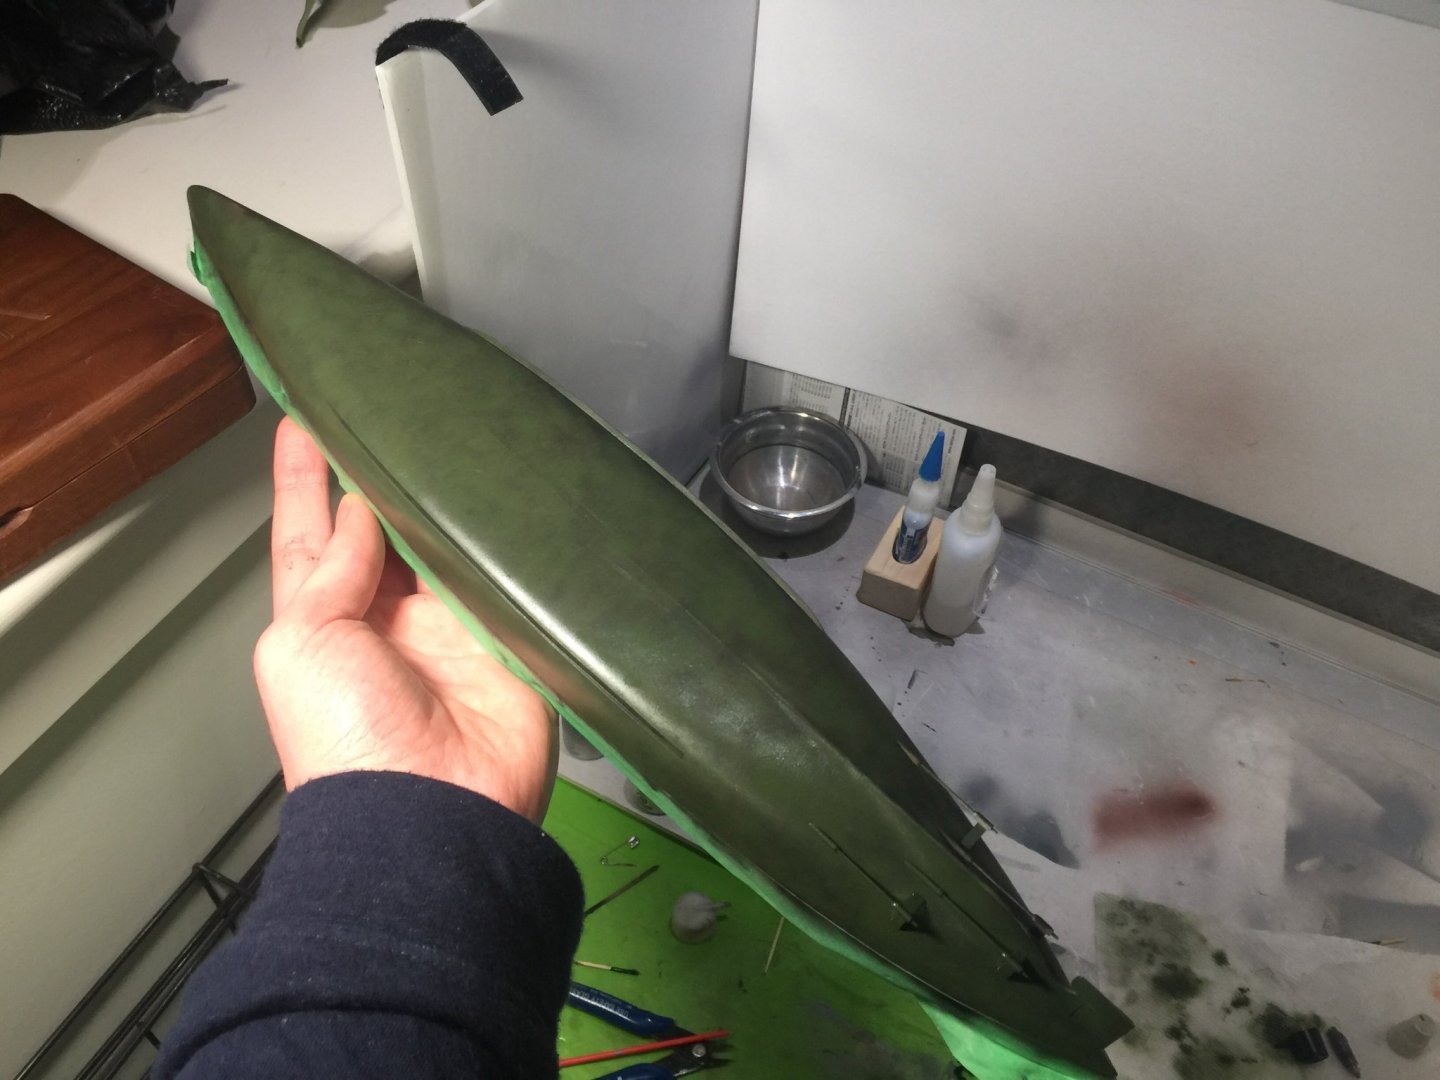
I put two coats of ak worn effects on, and I applied the hull colour (tamiya nato green) I will start chipping soon. for the metal parts of the ship, I intend to use tamiya sky grey, although I haven't completely made up my mind
-
I think I found a log for the caeser
-
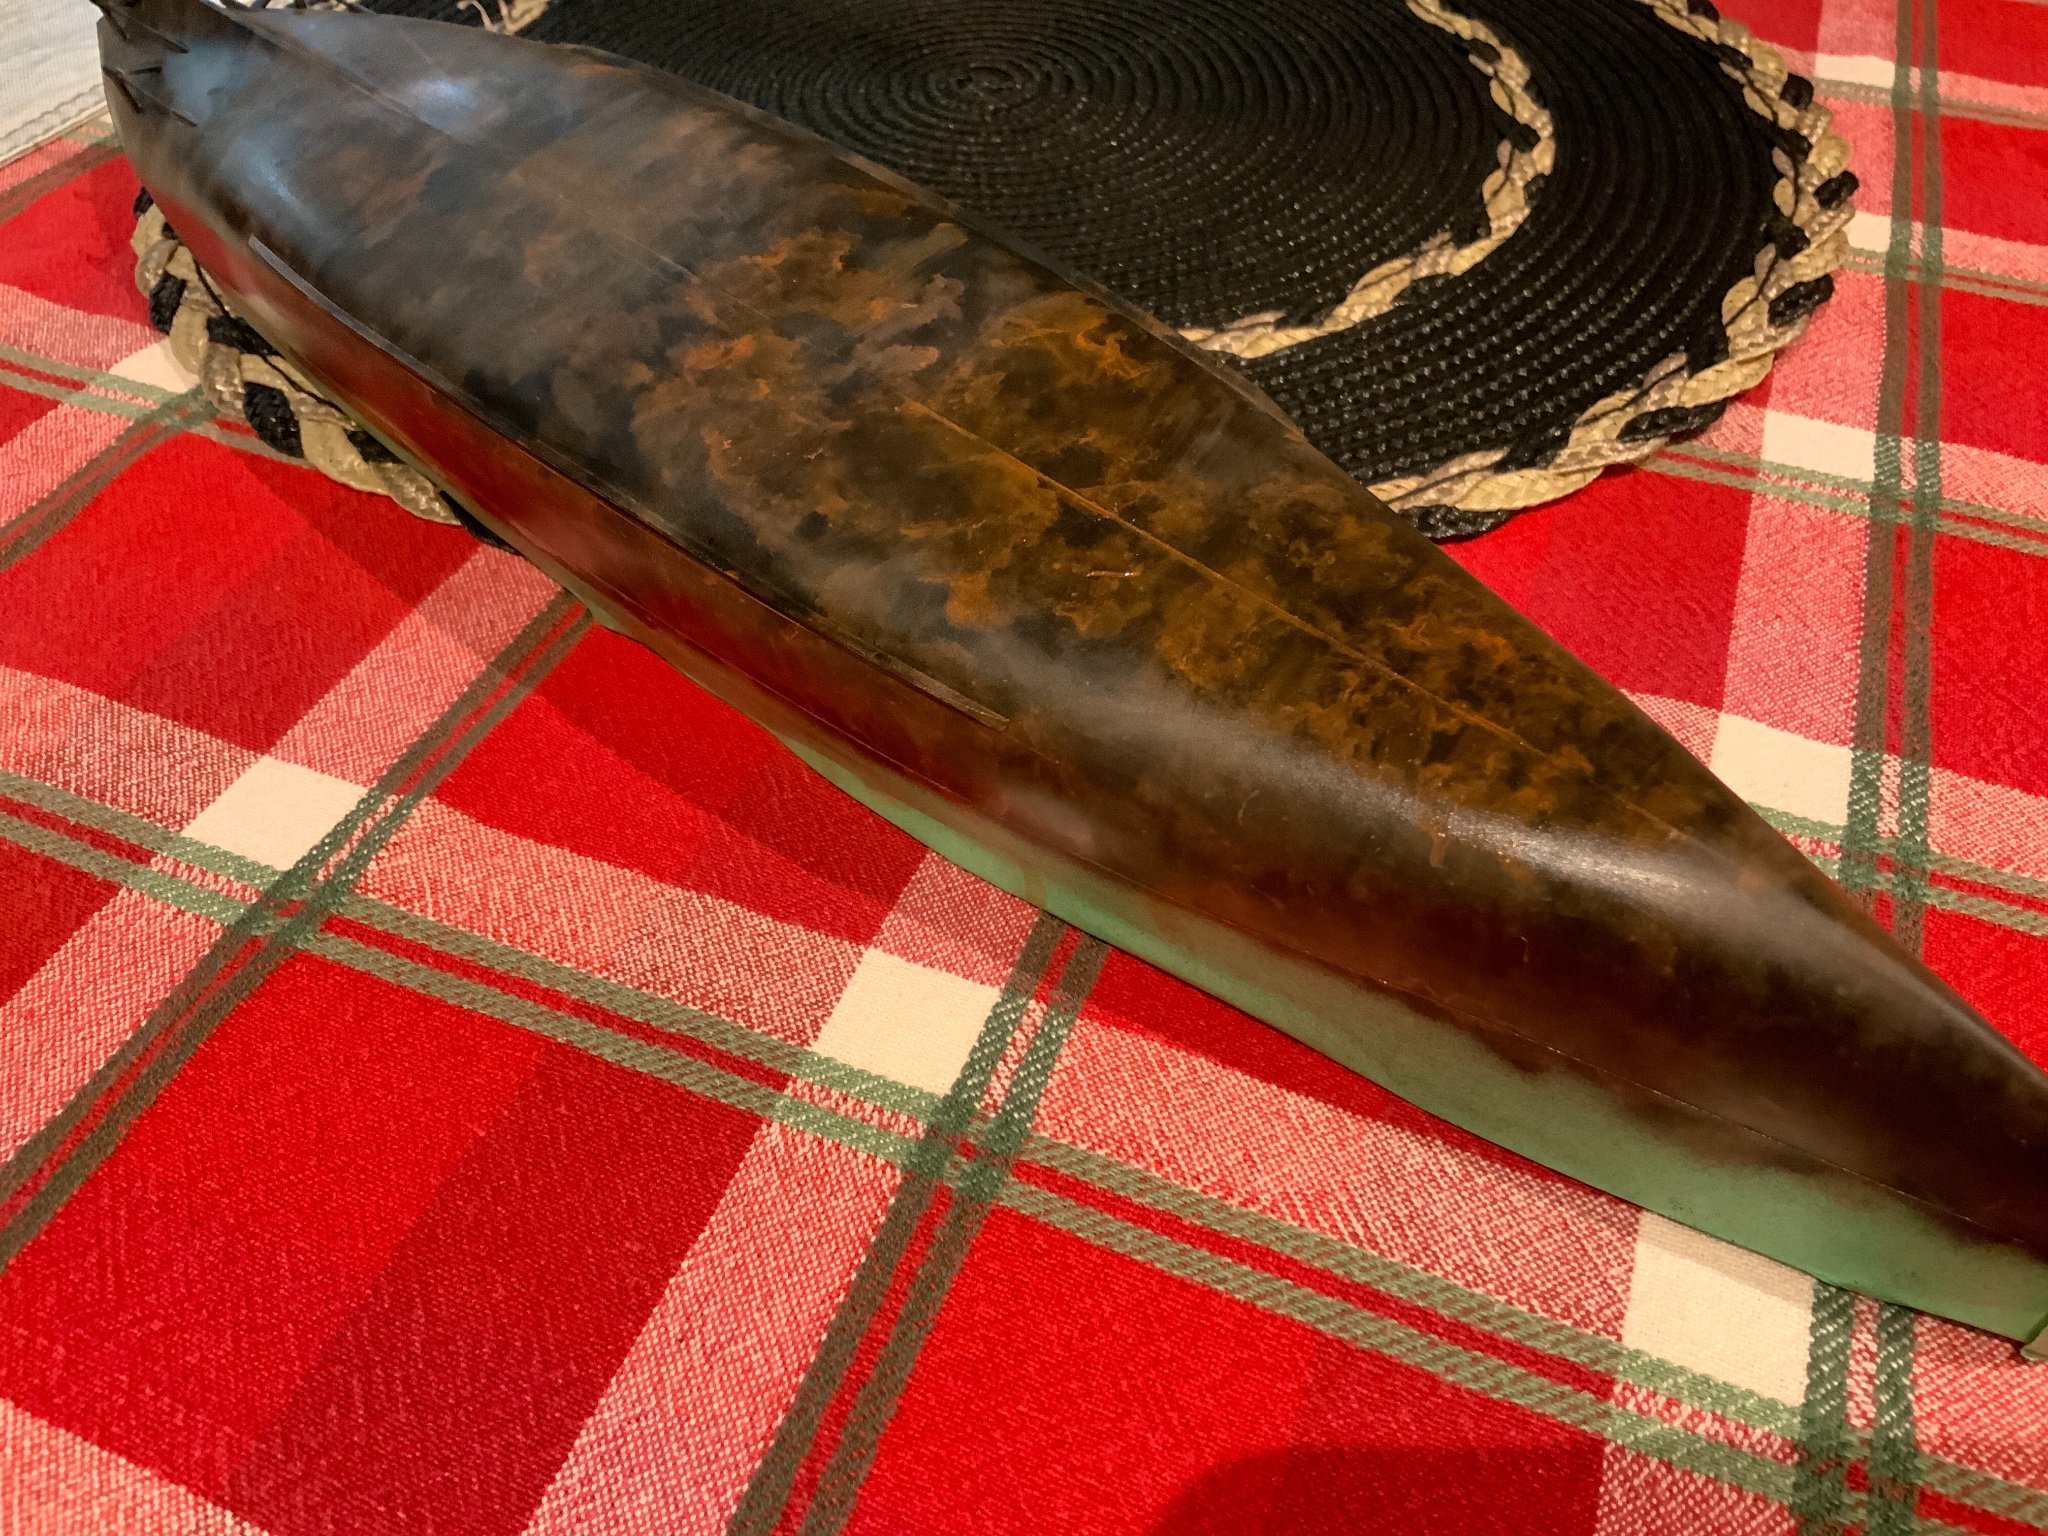
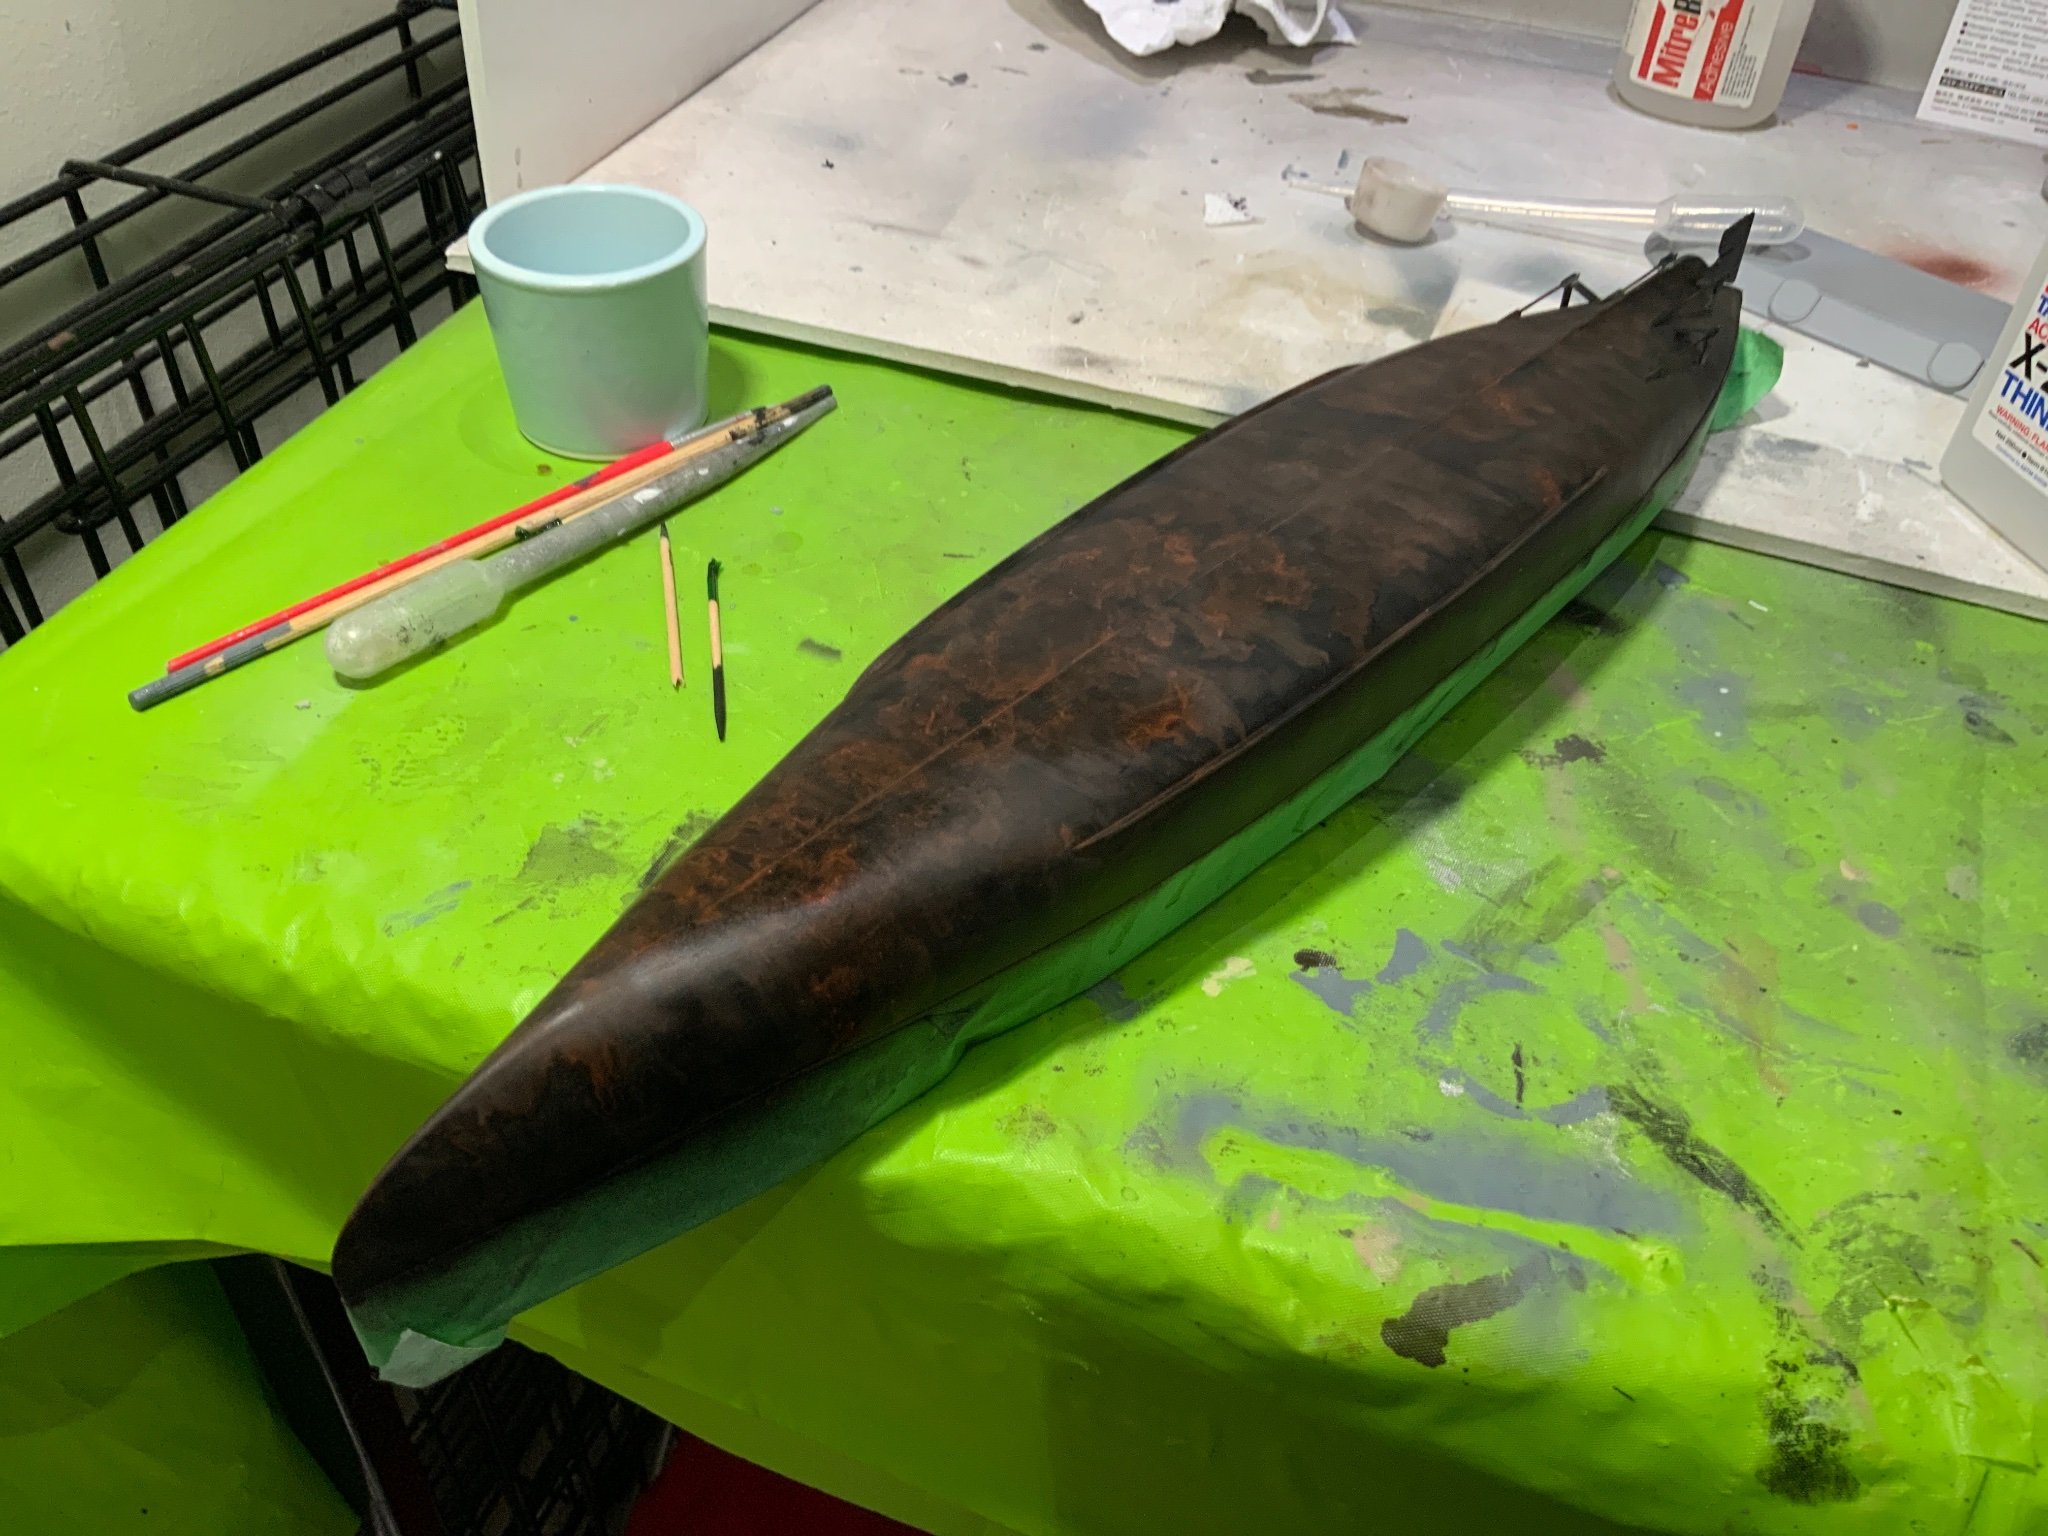
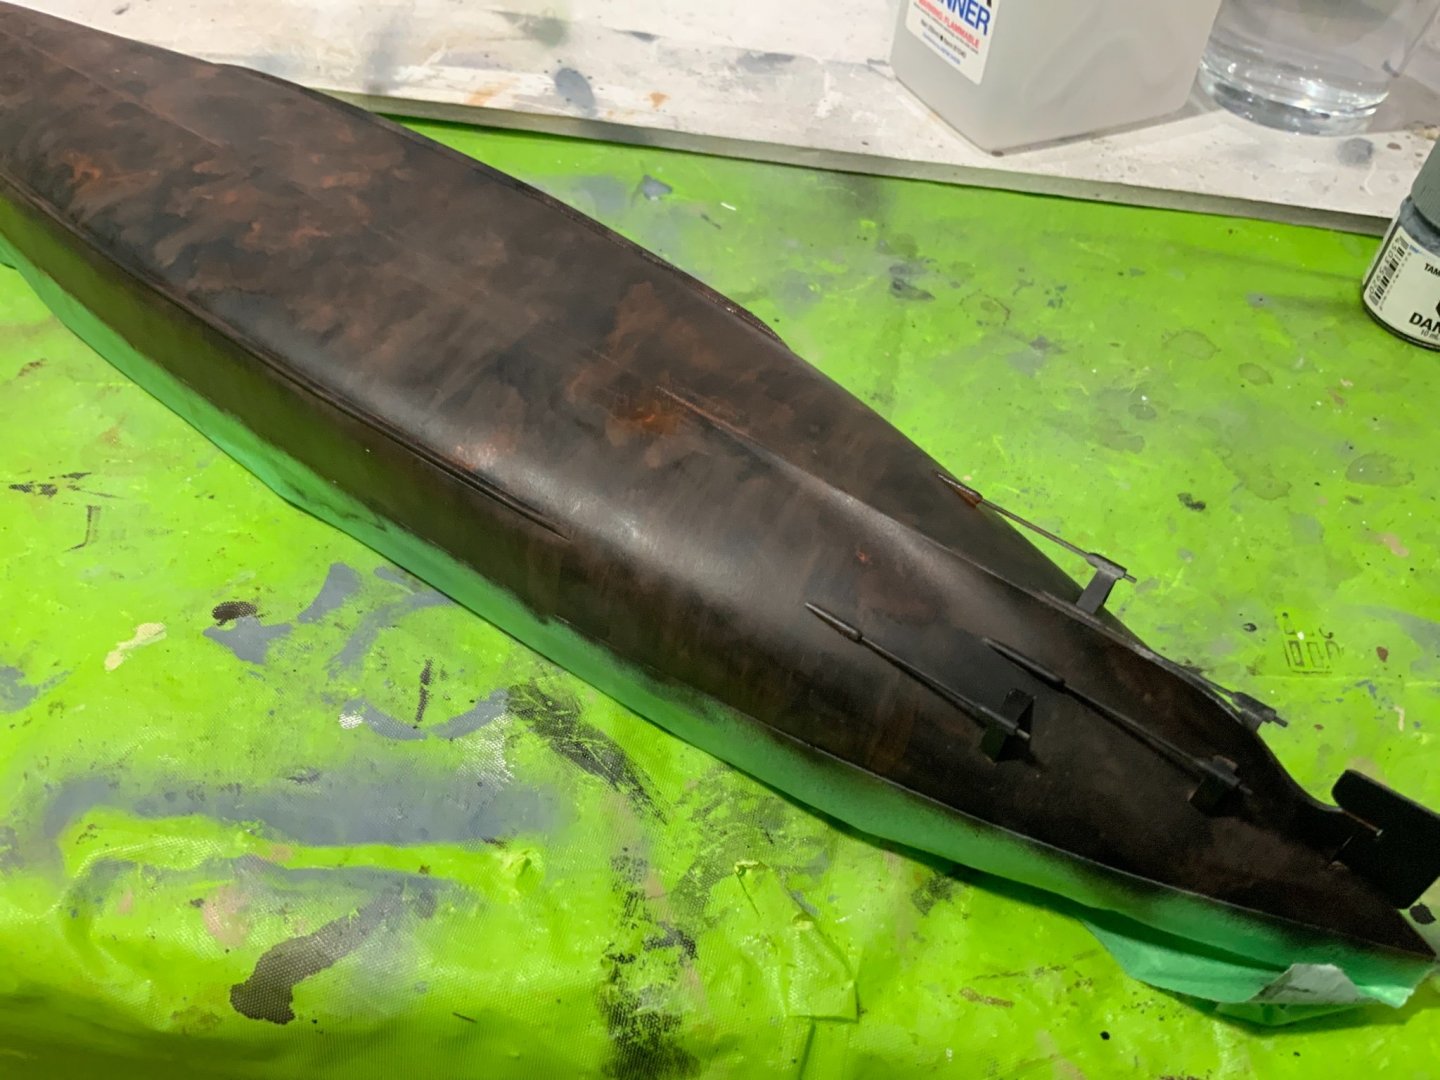
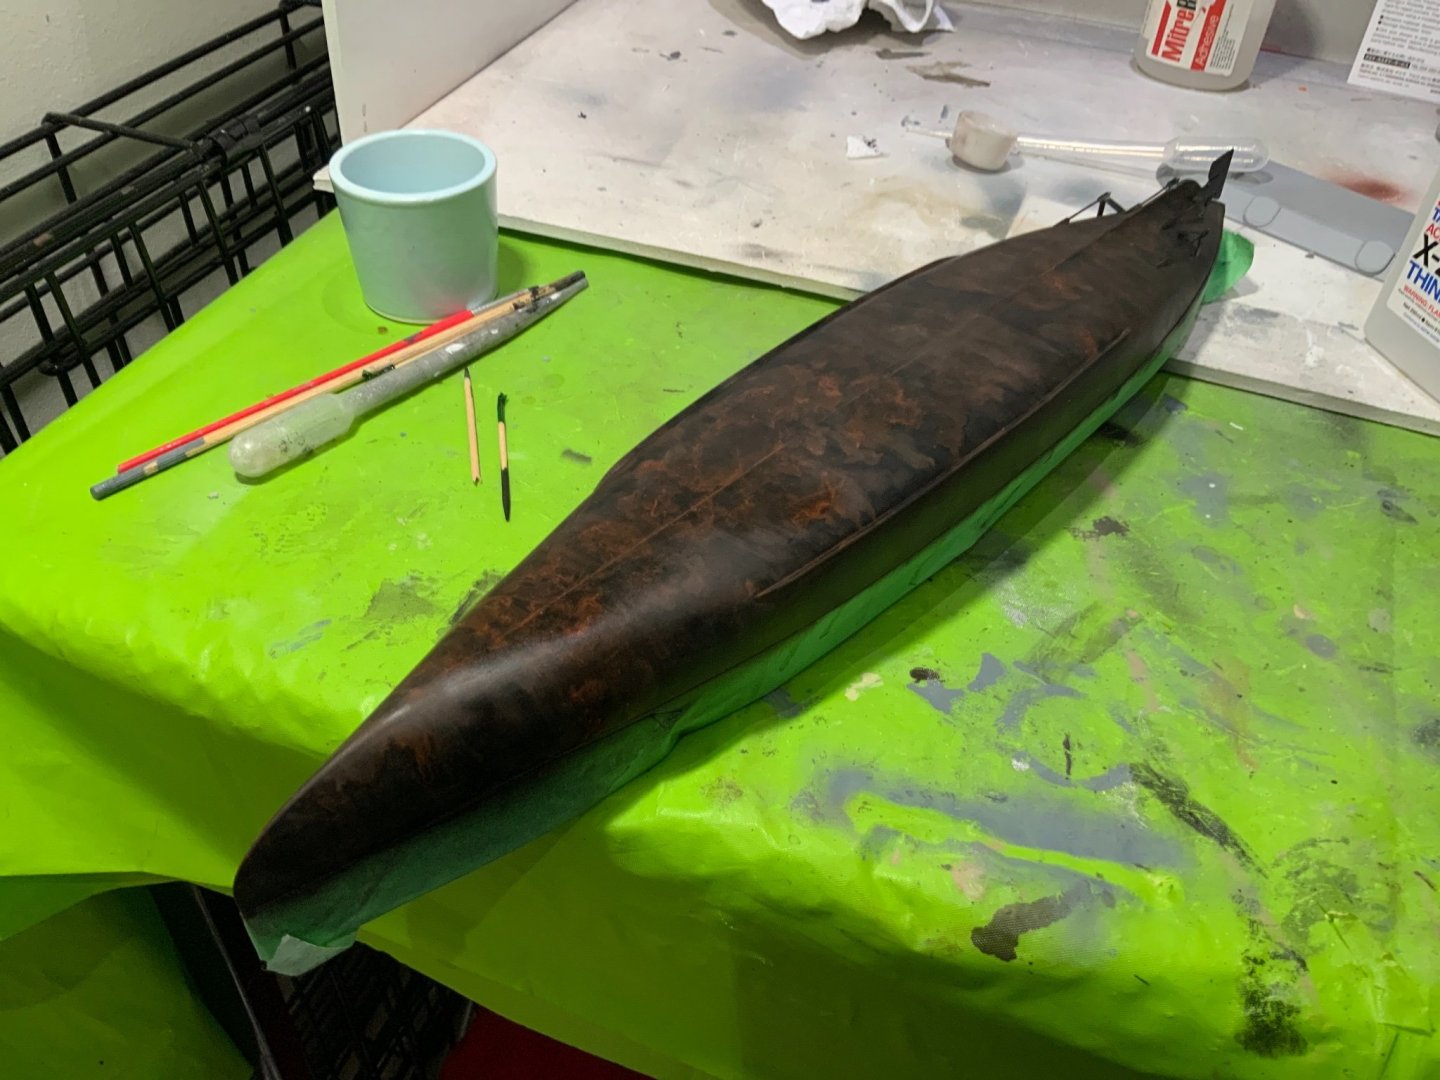
I’ve sorted out my airbrush, and have finally gotten around to base coating the hull. I decided to paint it black, and then add some rust effects with oil paints. Next, I’ll put on a few layers of chipping fluid, and then the hull color. I got a little carried away with the rust, but it won’t be all that visible once the hull color is on.


-
planking the boat is a really great idea! I think that I'll try it with my occre albatross that I'm working on at the moment