DONATION DRIVE - SUPPORT MSW - DO YOUR PART TO KEEP THIS GREAT FORUM GOING!
×


John Clements
-
Posts
73 -
Joined
-
Last visited
-
 Baker reacted to a post in a topic:
HMS Prince 1670 by John Clements - Airfix - 1:168 - PLASTIC
Baker reacted to a post in a topic:
HMS Prince 1670 by John Clements - Airfix - 1:168 - PLASTIC
-
John Clements reacted to a post in a topic:
HMS Prince 1670 by John Clements - Airfix - 1:168 - PLASTIC
-
shipman reacted to a post in a topic:
HMS Prince 1670 by John Clements - Airfix - 1:168 - PLASTIC
-
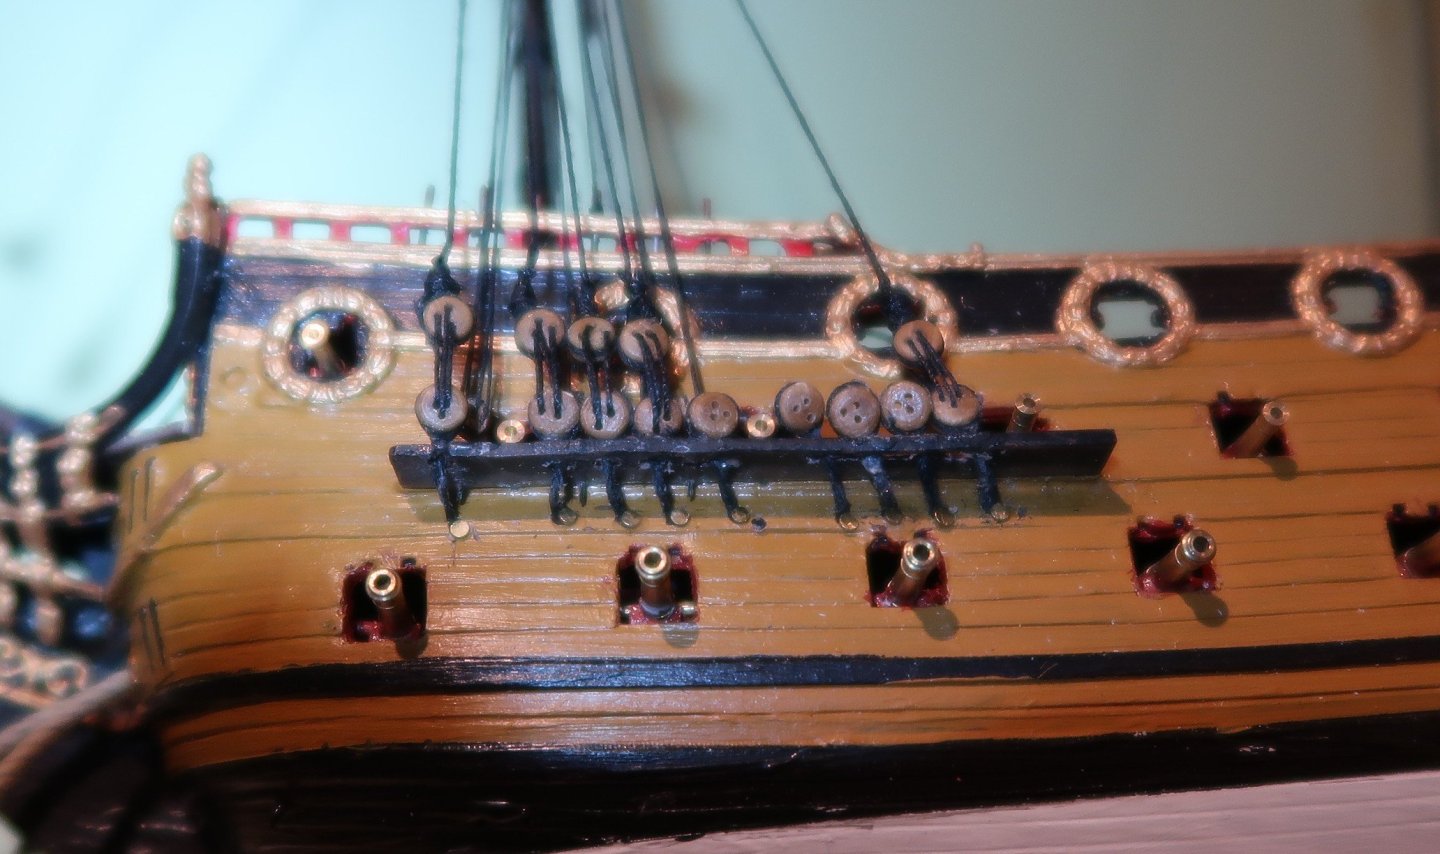
I followed your advice, Michael, and it's worked a treat, so thank you very much. Here is a not very good picture of the fore channels and chainplates with some of the shrouds now in place (yet to be tightened hence the unevenness). I used a tiny brass pin to close the hole in the hull and will paint them black in due course. Being so small and under the channels, they will hardly be visible. This is the first time I've rigged shrouds from scratch so it is taking a while. I think if I get all the shrouds and ratlines done by the end of the year, I'll be very pleased. Slightly off topic but last week I had my first experience of sailing in a yacht on the open sea which gave me a real insight into what's involved when one is dependent on wind and tide. Fascinating.
-
Baker reacted to a post in a topic:
HMS Prince 1670 by John Clements - Airfix - 1:168 - PLASTIC
-
Thanks for your advice. Much appreciated.
-
John Clements reacted to a post in a topic:
HMS Prince 1670 by John Clements - Airfix - 1:168 - PLASTIC
-
Thank you, Michael. That's a most ingenious solution and one I didn't think of. I'll give it a try and see how I get on but it sounds quite simple. You are lucky to have a kit of the SoftheS as they've been out of production for so long. I'll have a look at your logs as you suggest.
-
shipman reacted to a post in a topic:
HMS Prince 1670 by John Clements - Airfix - 1:168 - PLASTIC
-
shipman reacted to a post in a topic:
HMS Prince 1670 by John Clements - Airfix - 1:168 - PLASTIC
-
eatcrow2 reacted to a post in a topic:
HMS Prince 1670 by John Clements - Airfix - 1:168 - PLASTIC
-
GrandpaPhil reacted to a post in a topic:
HMS Prince 1670 by John Clements - Airfix - 1:168 - PLASTIC
-
ccoyle reacted to a post in a topic:
HMS Prince 1670 by John Clements - Airfix - 1:168 - PLASTIC
-
Javelin reacted to a post in a topic:
HMS Prince 1670 by John Clements - Airfix - 1:168 - PLASTIC
-
Javelin reacted to a post in a topic:
HMS Prince 1670 by John Clements - Airfix - 1:168 - PLASTIC
-
I'm afraid there's been another long gap when I just haven't been able to find the enthusiasm to get on with this kit but I have recently gone back to it. I've now done the tackles (see photos below) but am stuck again with trying to work out how to make chainplates that look remotely realistic in this scale. The gap between the underside of the channels and the wale to which the plates would be attached is hardly 5mm, most of which is taken up by the metal extension loop to the deadeye fasteners which go through the channels. The best I've come up with so far is to drill a hole in the wale and poke a piece of brass rod into it, the other end being hooked over the end of the deadeye loop which is then squeezed and pushed back at an angle. It doesn't look great and is really difficult to do in such a confined space without damaging other parts. You may notice that the sprit topmast is broken off which was the result of one of these struggles. So if anyone has any suggestions, they would be gratefully received.


-
John Clements reacted to a post in a topic:
Soleil Royal by Hubac's Historian - Heller - An Extensive Modification and Partial Scratch-Build
-
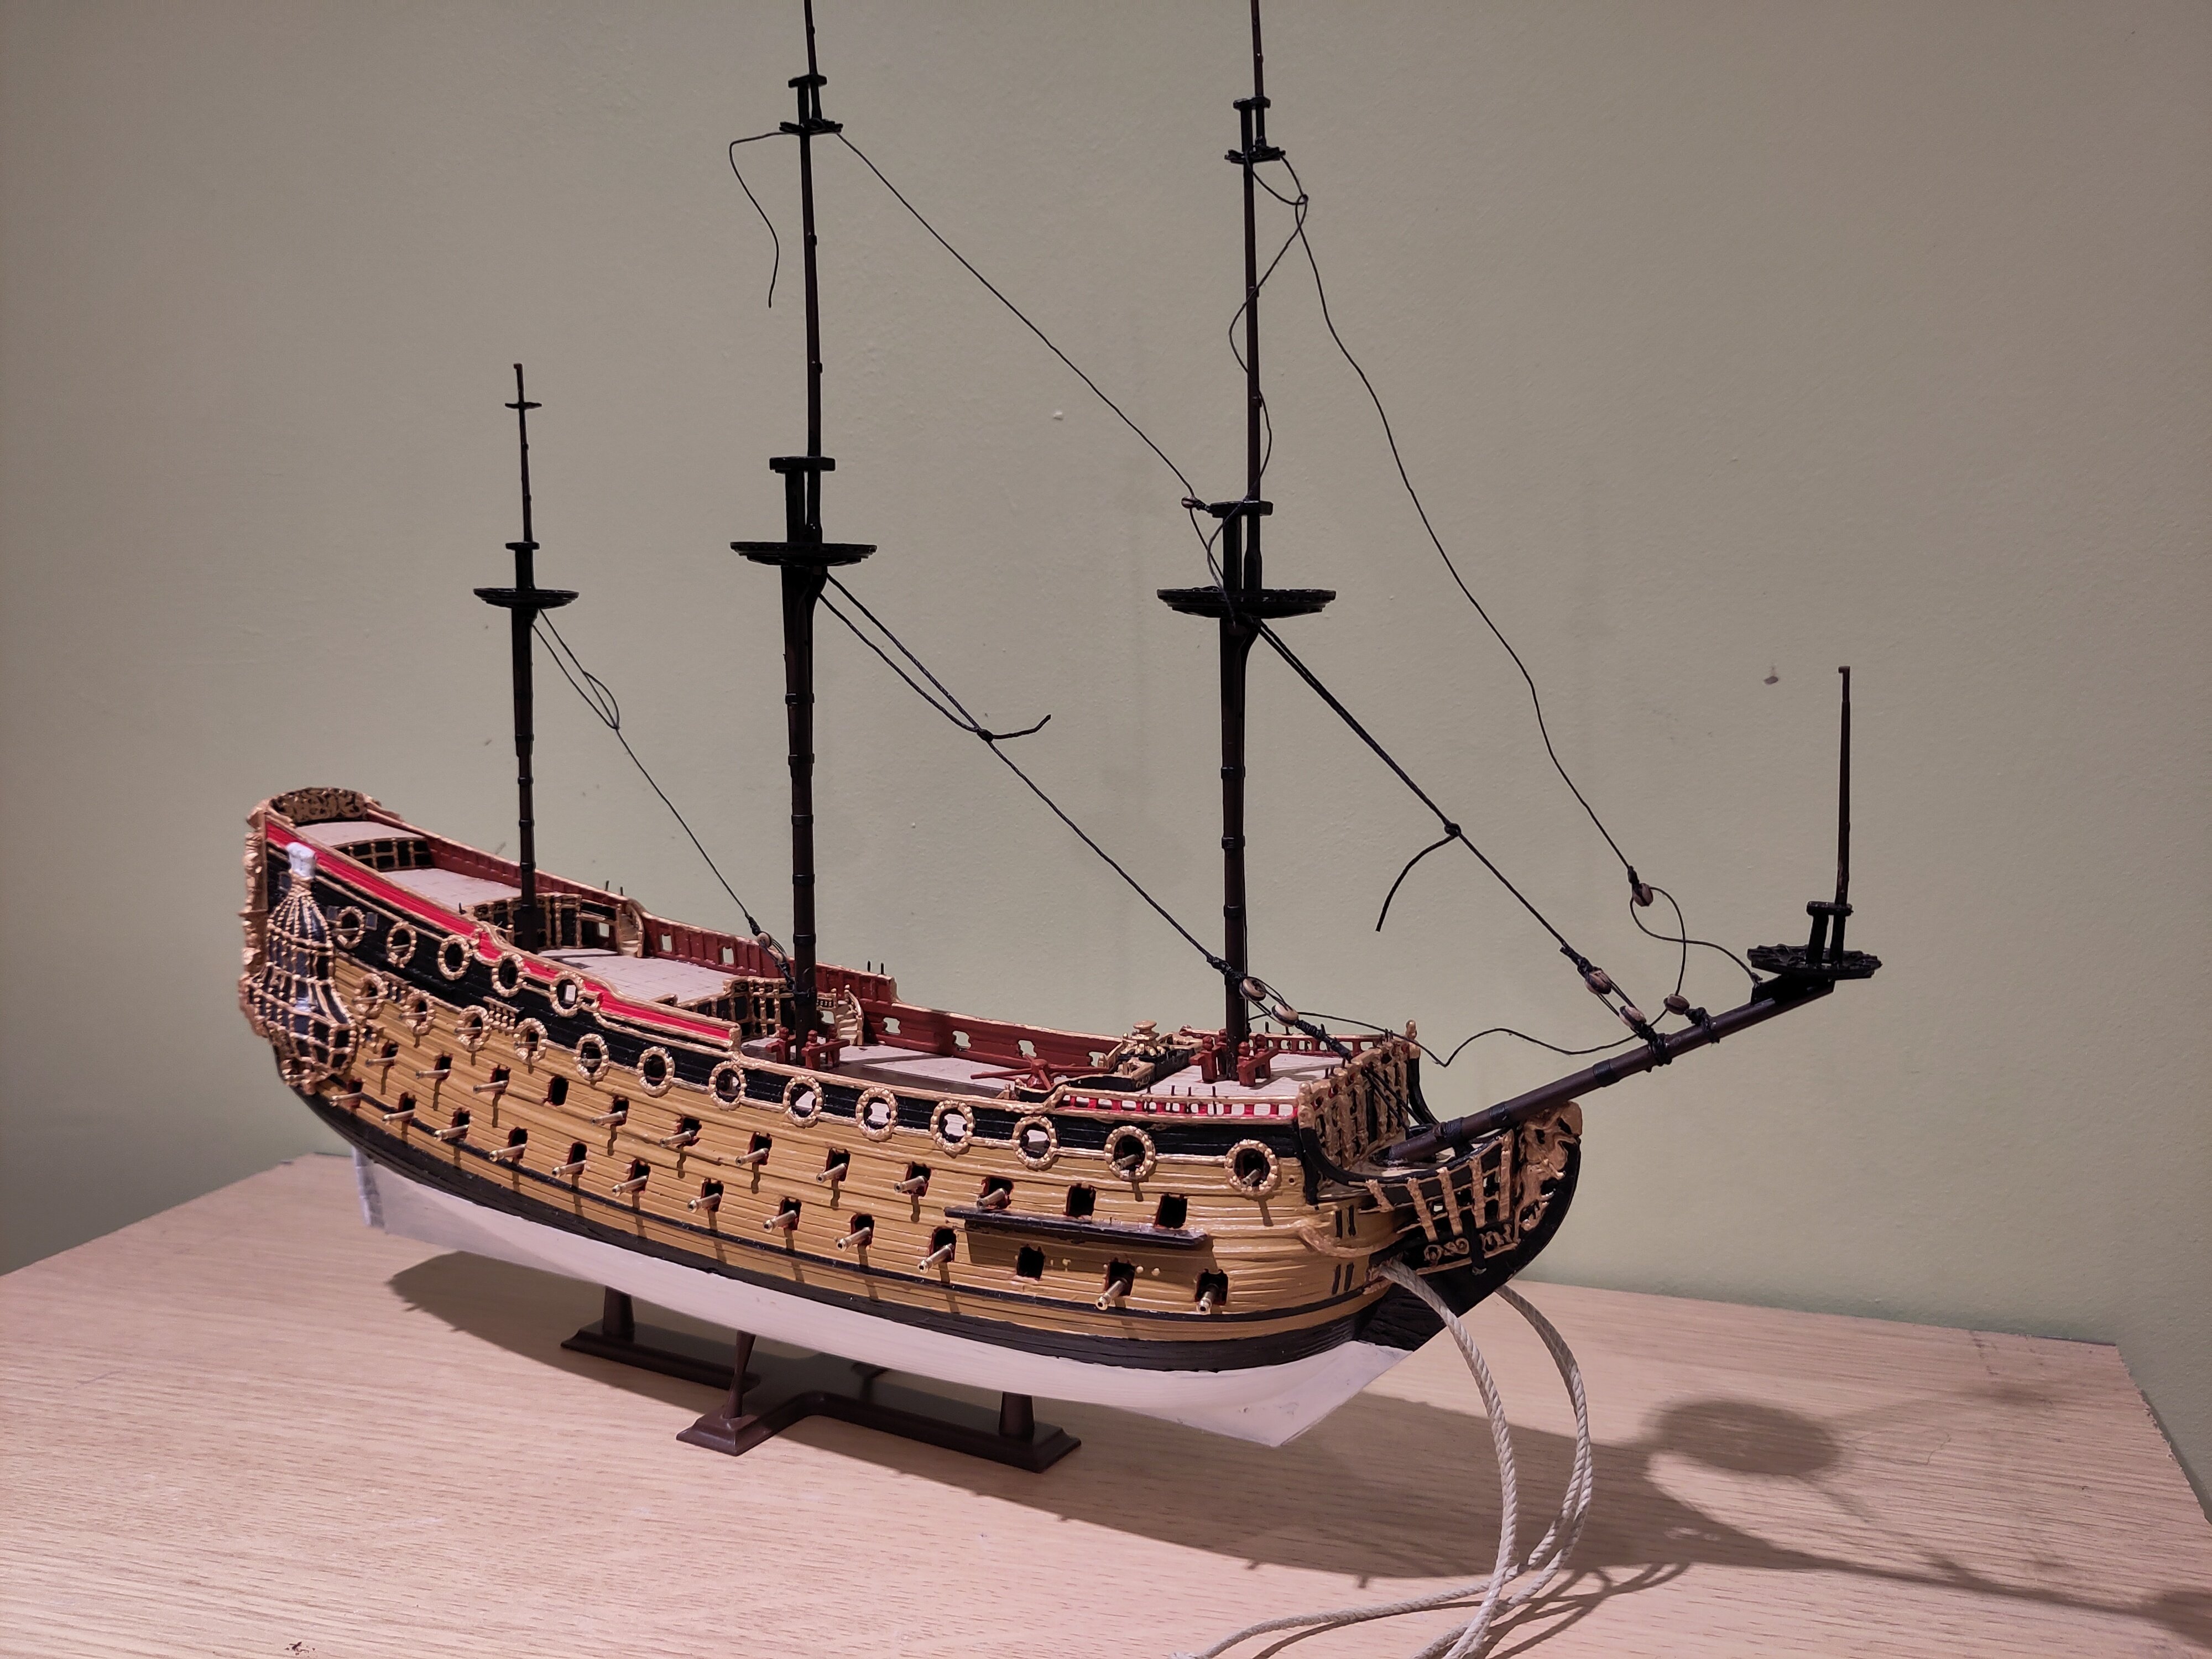
Progress is very slow - for two reasons. The main one is having to do the tackles which, as I pointed out above, are not on the original model (which was re-rigged at various times) and hence not in the usual diagrams, and in this small scale use 3mm and 2mm blocks of which I've had to order more than I thought I had in stock - and when the 2mm ones pop out of my fat fingers, they really do disappear. Top marks to Radimir at HisModel for turning my orders round quickly but postal delays have been frustrating. The other is that the age of the kit shows in the brittlenesss of the plastic and during normal handling both the foremast and mizzen have snapped off at the deck level and had to be pinned in place. I suspect this will prove a problem with the other spars too when it comes to tensioning the rigging, or even cutting the smaller ones off the sprues without breaking.
-
Slow and careful progress. I decided to get back into practice by doing some of the stays first. They are only loosely tied on and I will move them when I do the shrouds. Further reading showed that the rigging diagrams I have are incomplete. They do not show the tackles which need to be installed before the shrounds and require the channels to be in place first, and some belaying pins. Luckily, I am able to raid my stock of blocks intended for the Soleil Royal for the ones I need for this but looking at the channels, and drilling holes to take the pins, made me realise how much more difficult it is to work in this smaller scale. Parts are so vulnerable and so small that tricks I used on larger ships don't work here, and my hands just feel far too big. But then if it wasn't a challenge, would it be worth doing?

-
John Clements reacted to a post in a topic:
HMS Prince 1670 by John Clements - Airfix - 1:168 - PLASTIC
-
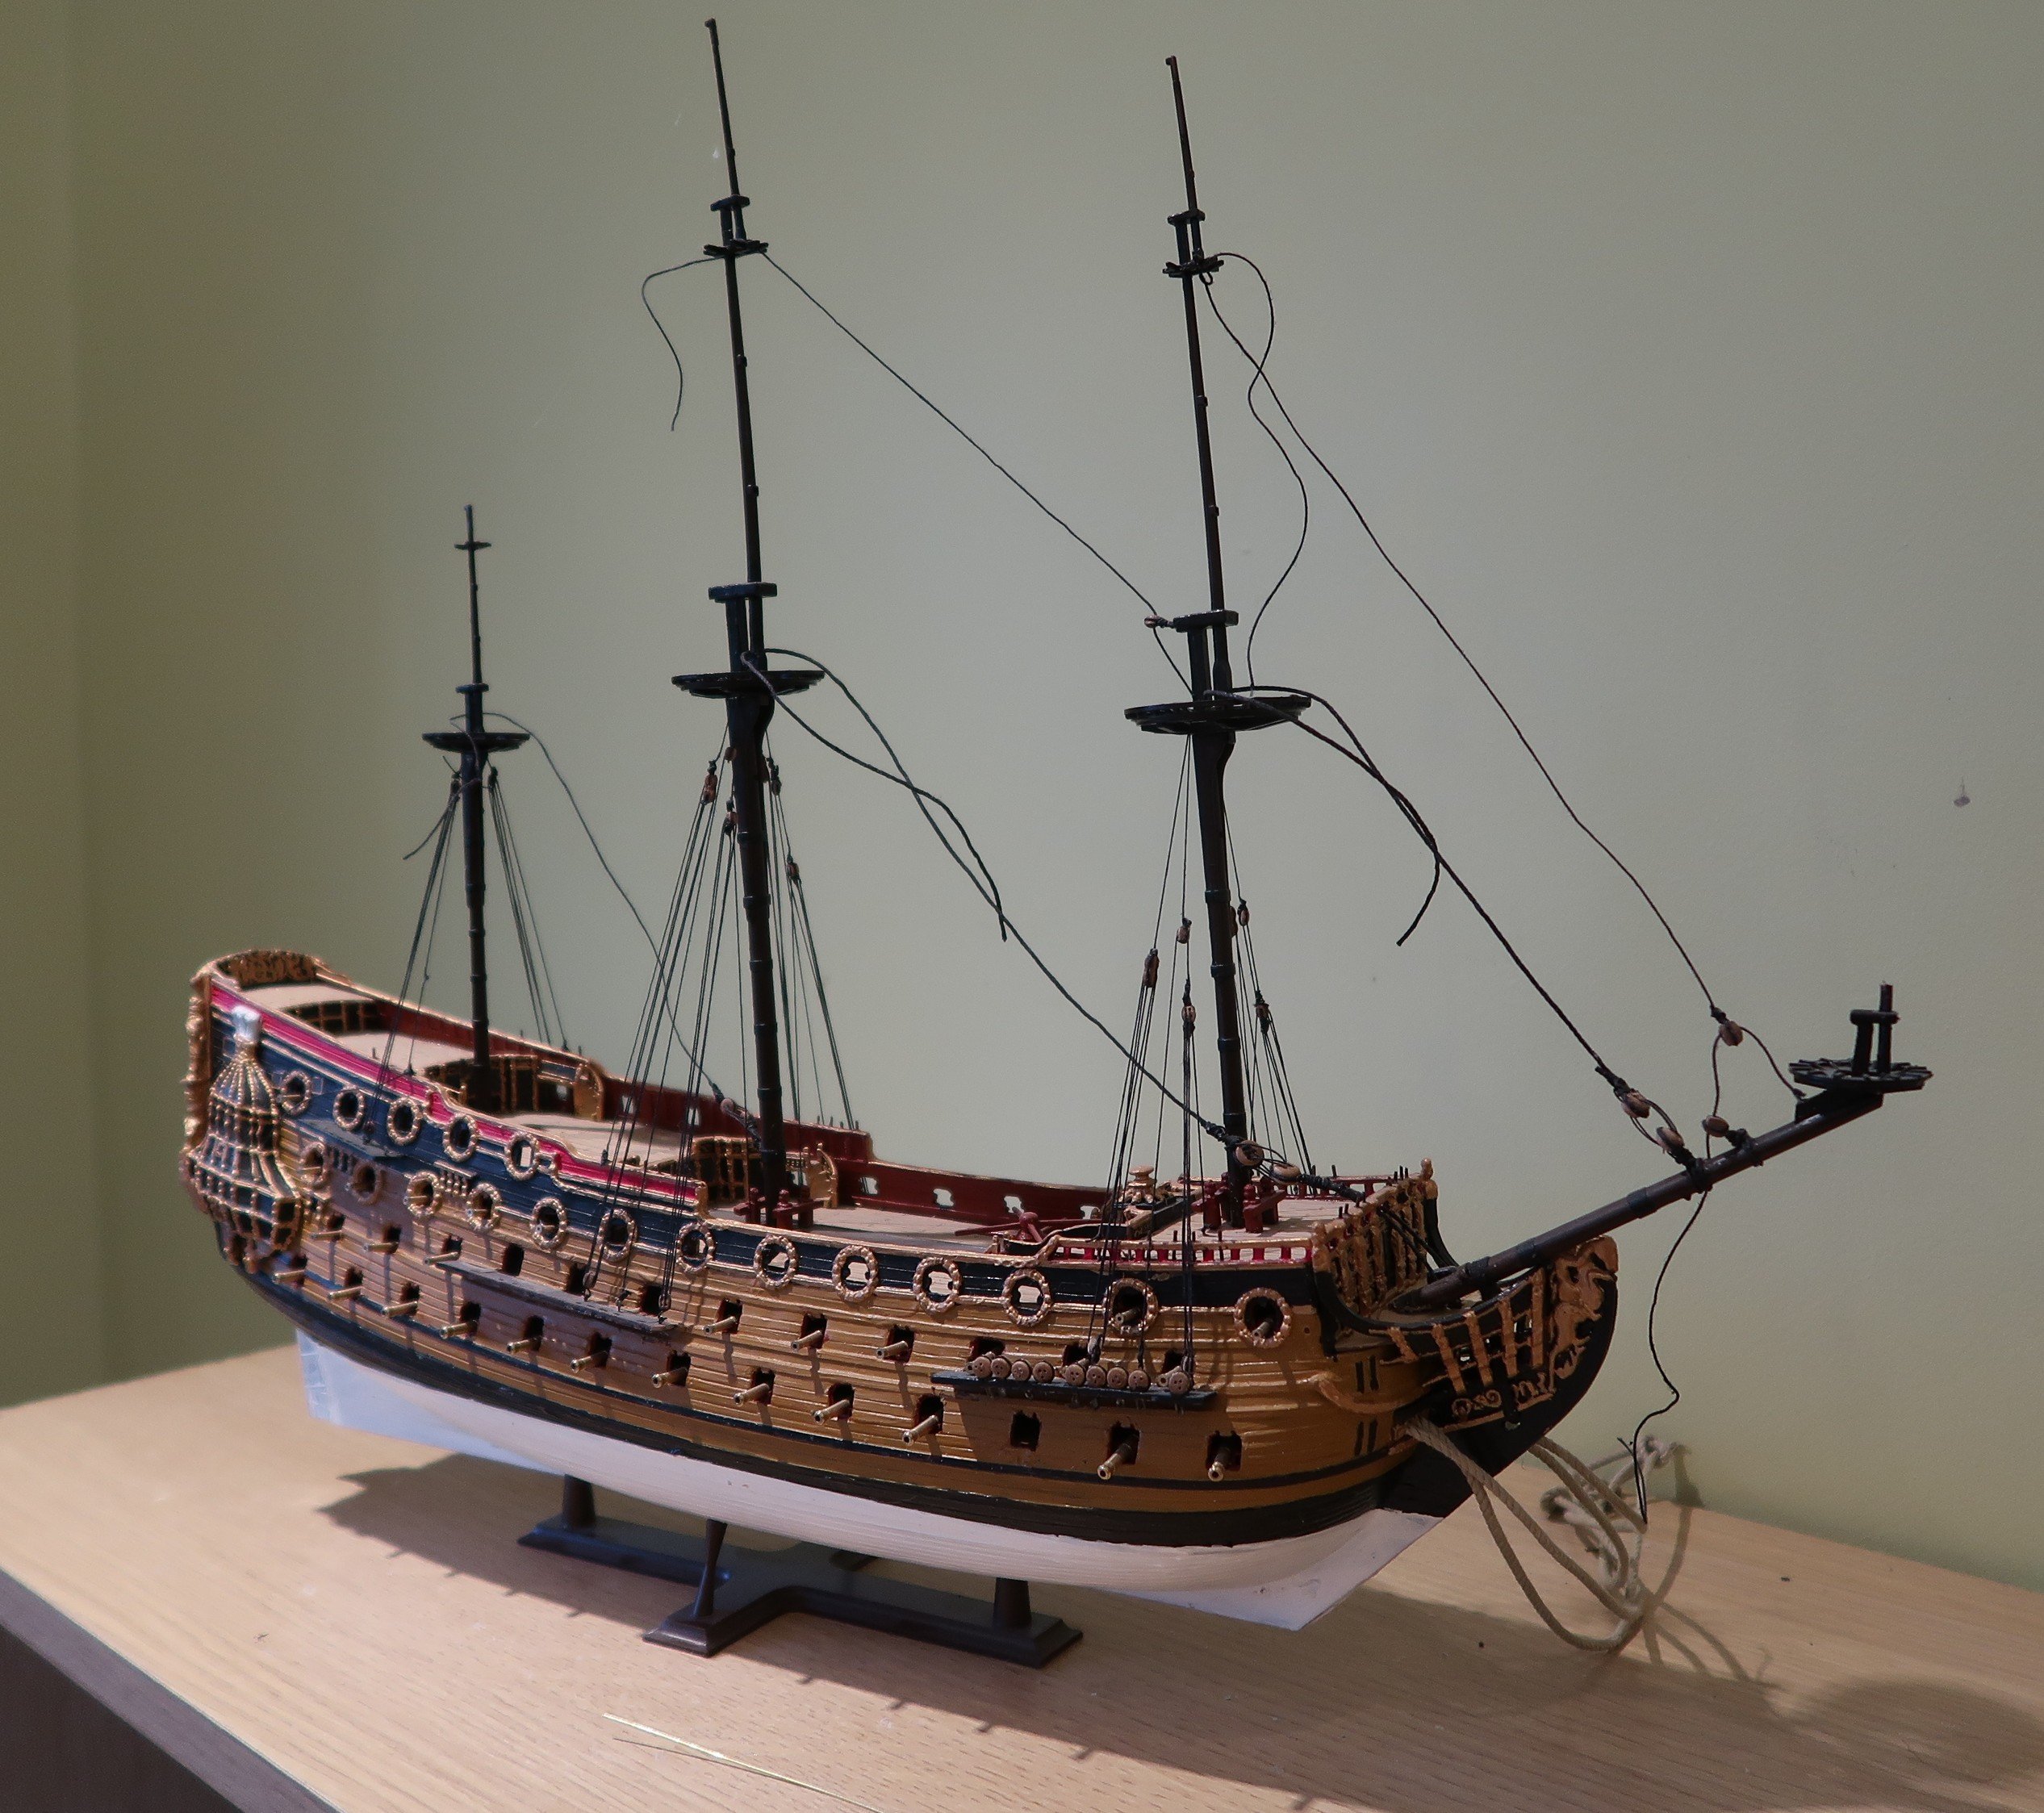
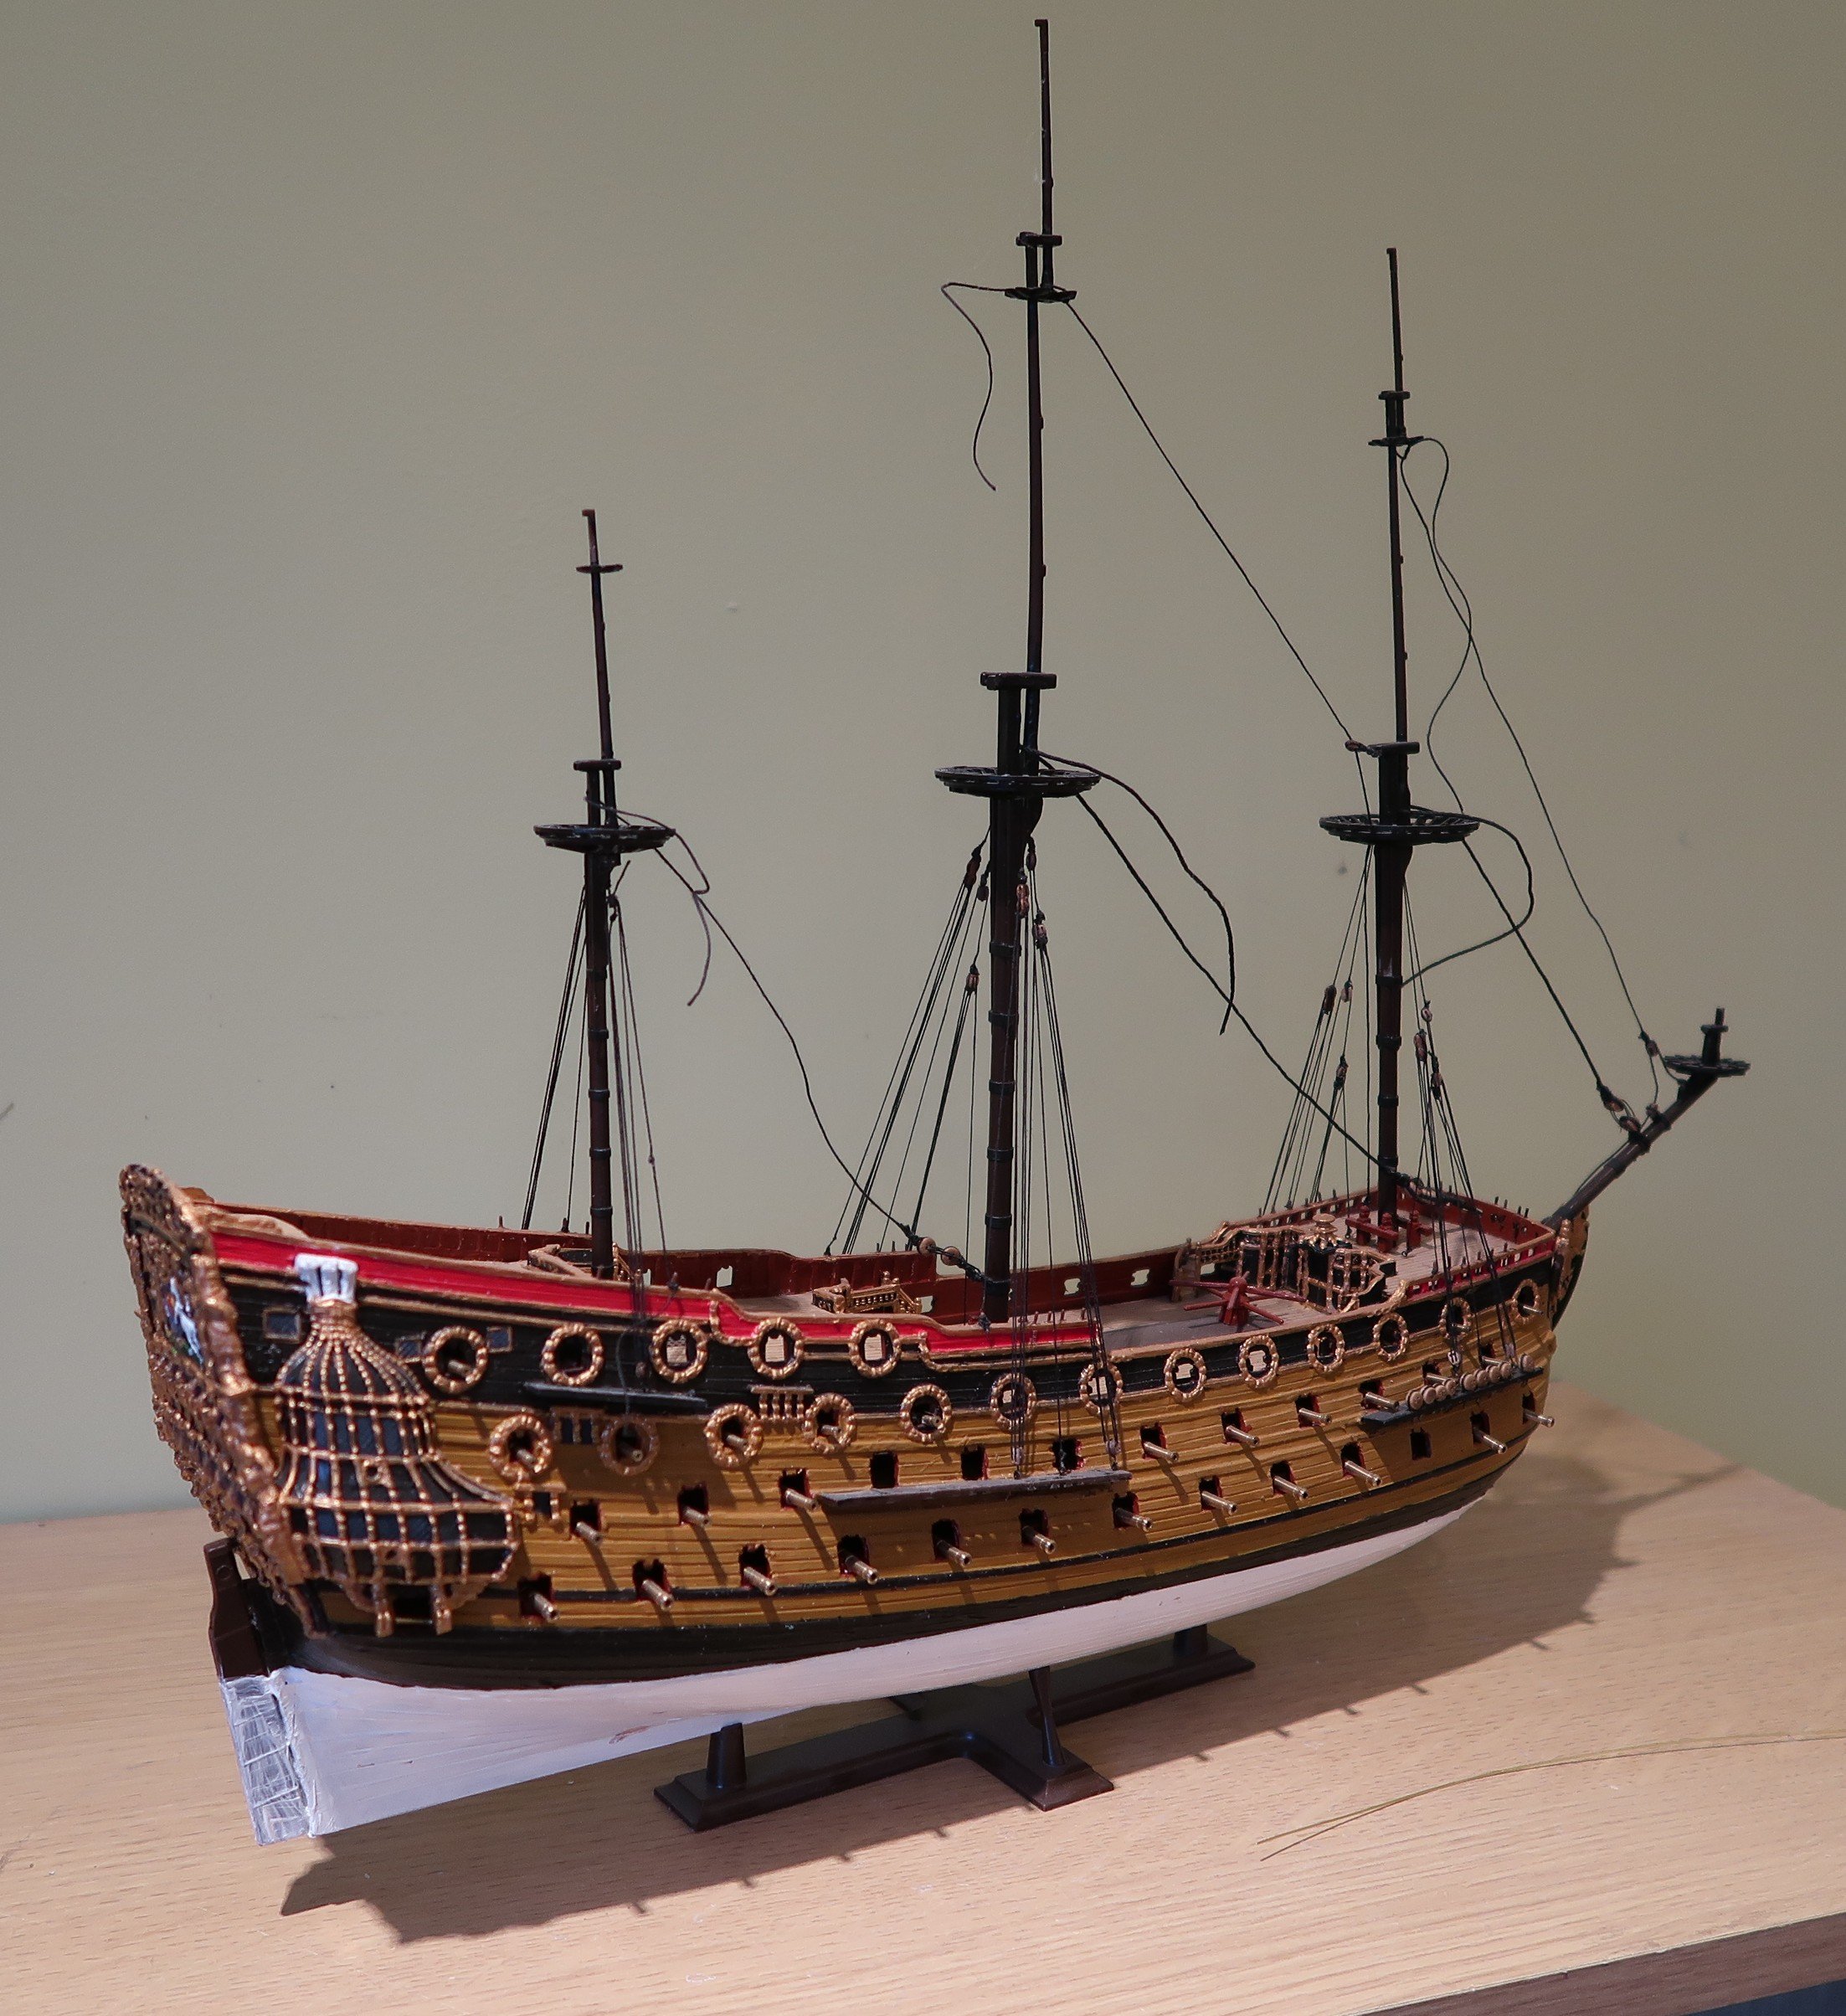
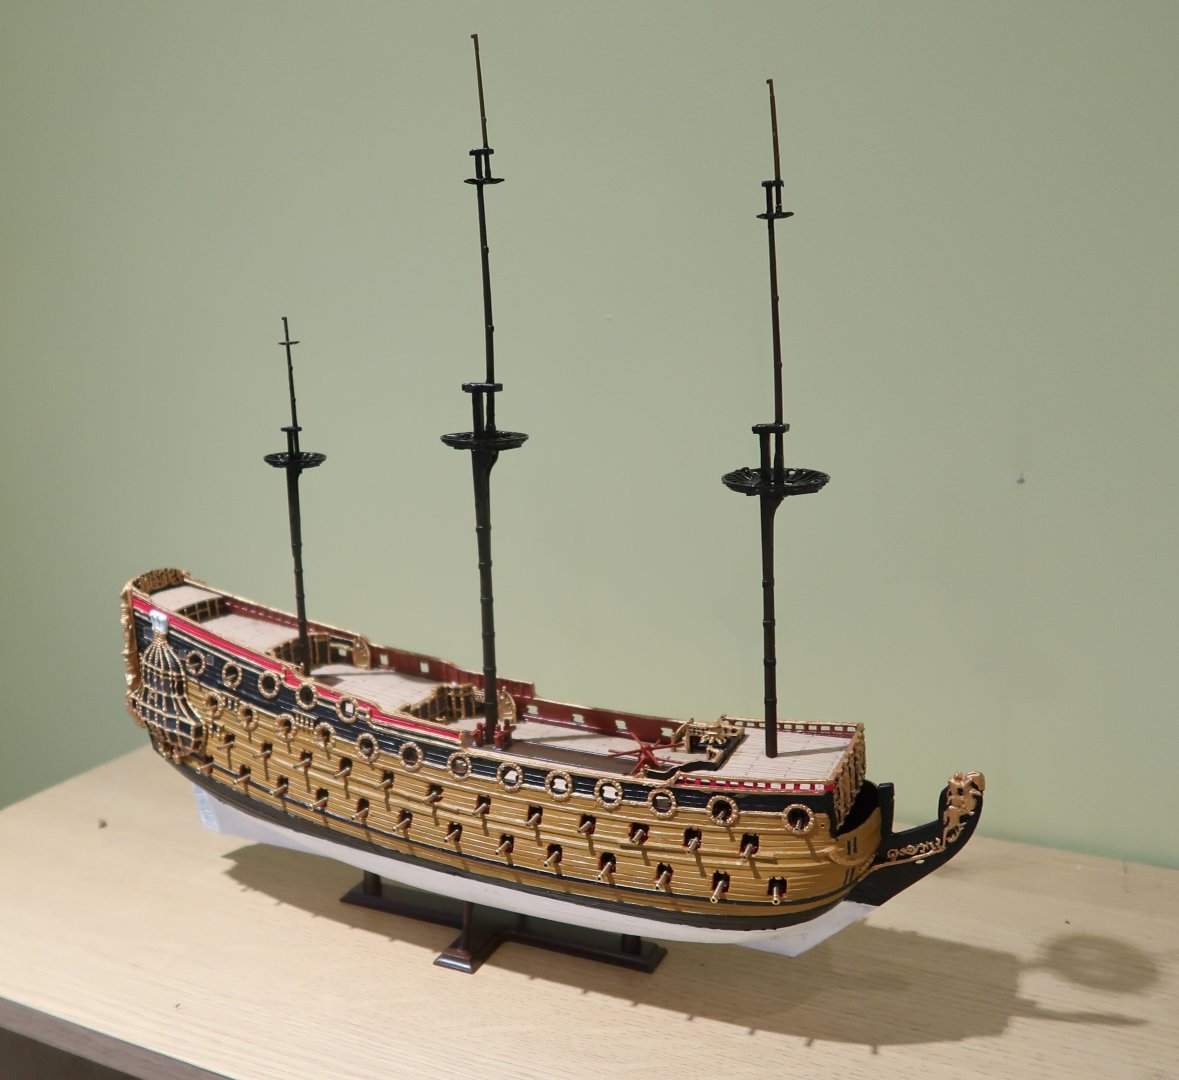
It is a nice kit but lacks some important parts which do not appear on the model in the Scince Museum (like the bitts by the foremast). It would have been 1969 or 1970 when I made the kit for someone else who lacked the skills to do so, although I only rigged it according to the kit instructions with 'blocks' made out of slices of plastic rod (!). I have started with the stays and already come across differences between the old model and the guidance in Mondfeld's book; I tend to prefer the latter. Also, I think the flimsy nature of the masts will make it difficult to ensure they remain straight whilst the rigging is applied. As you can see from the photo, some masts are already bowed! An exercise in patience, really.
-
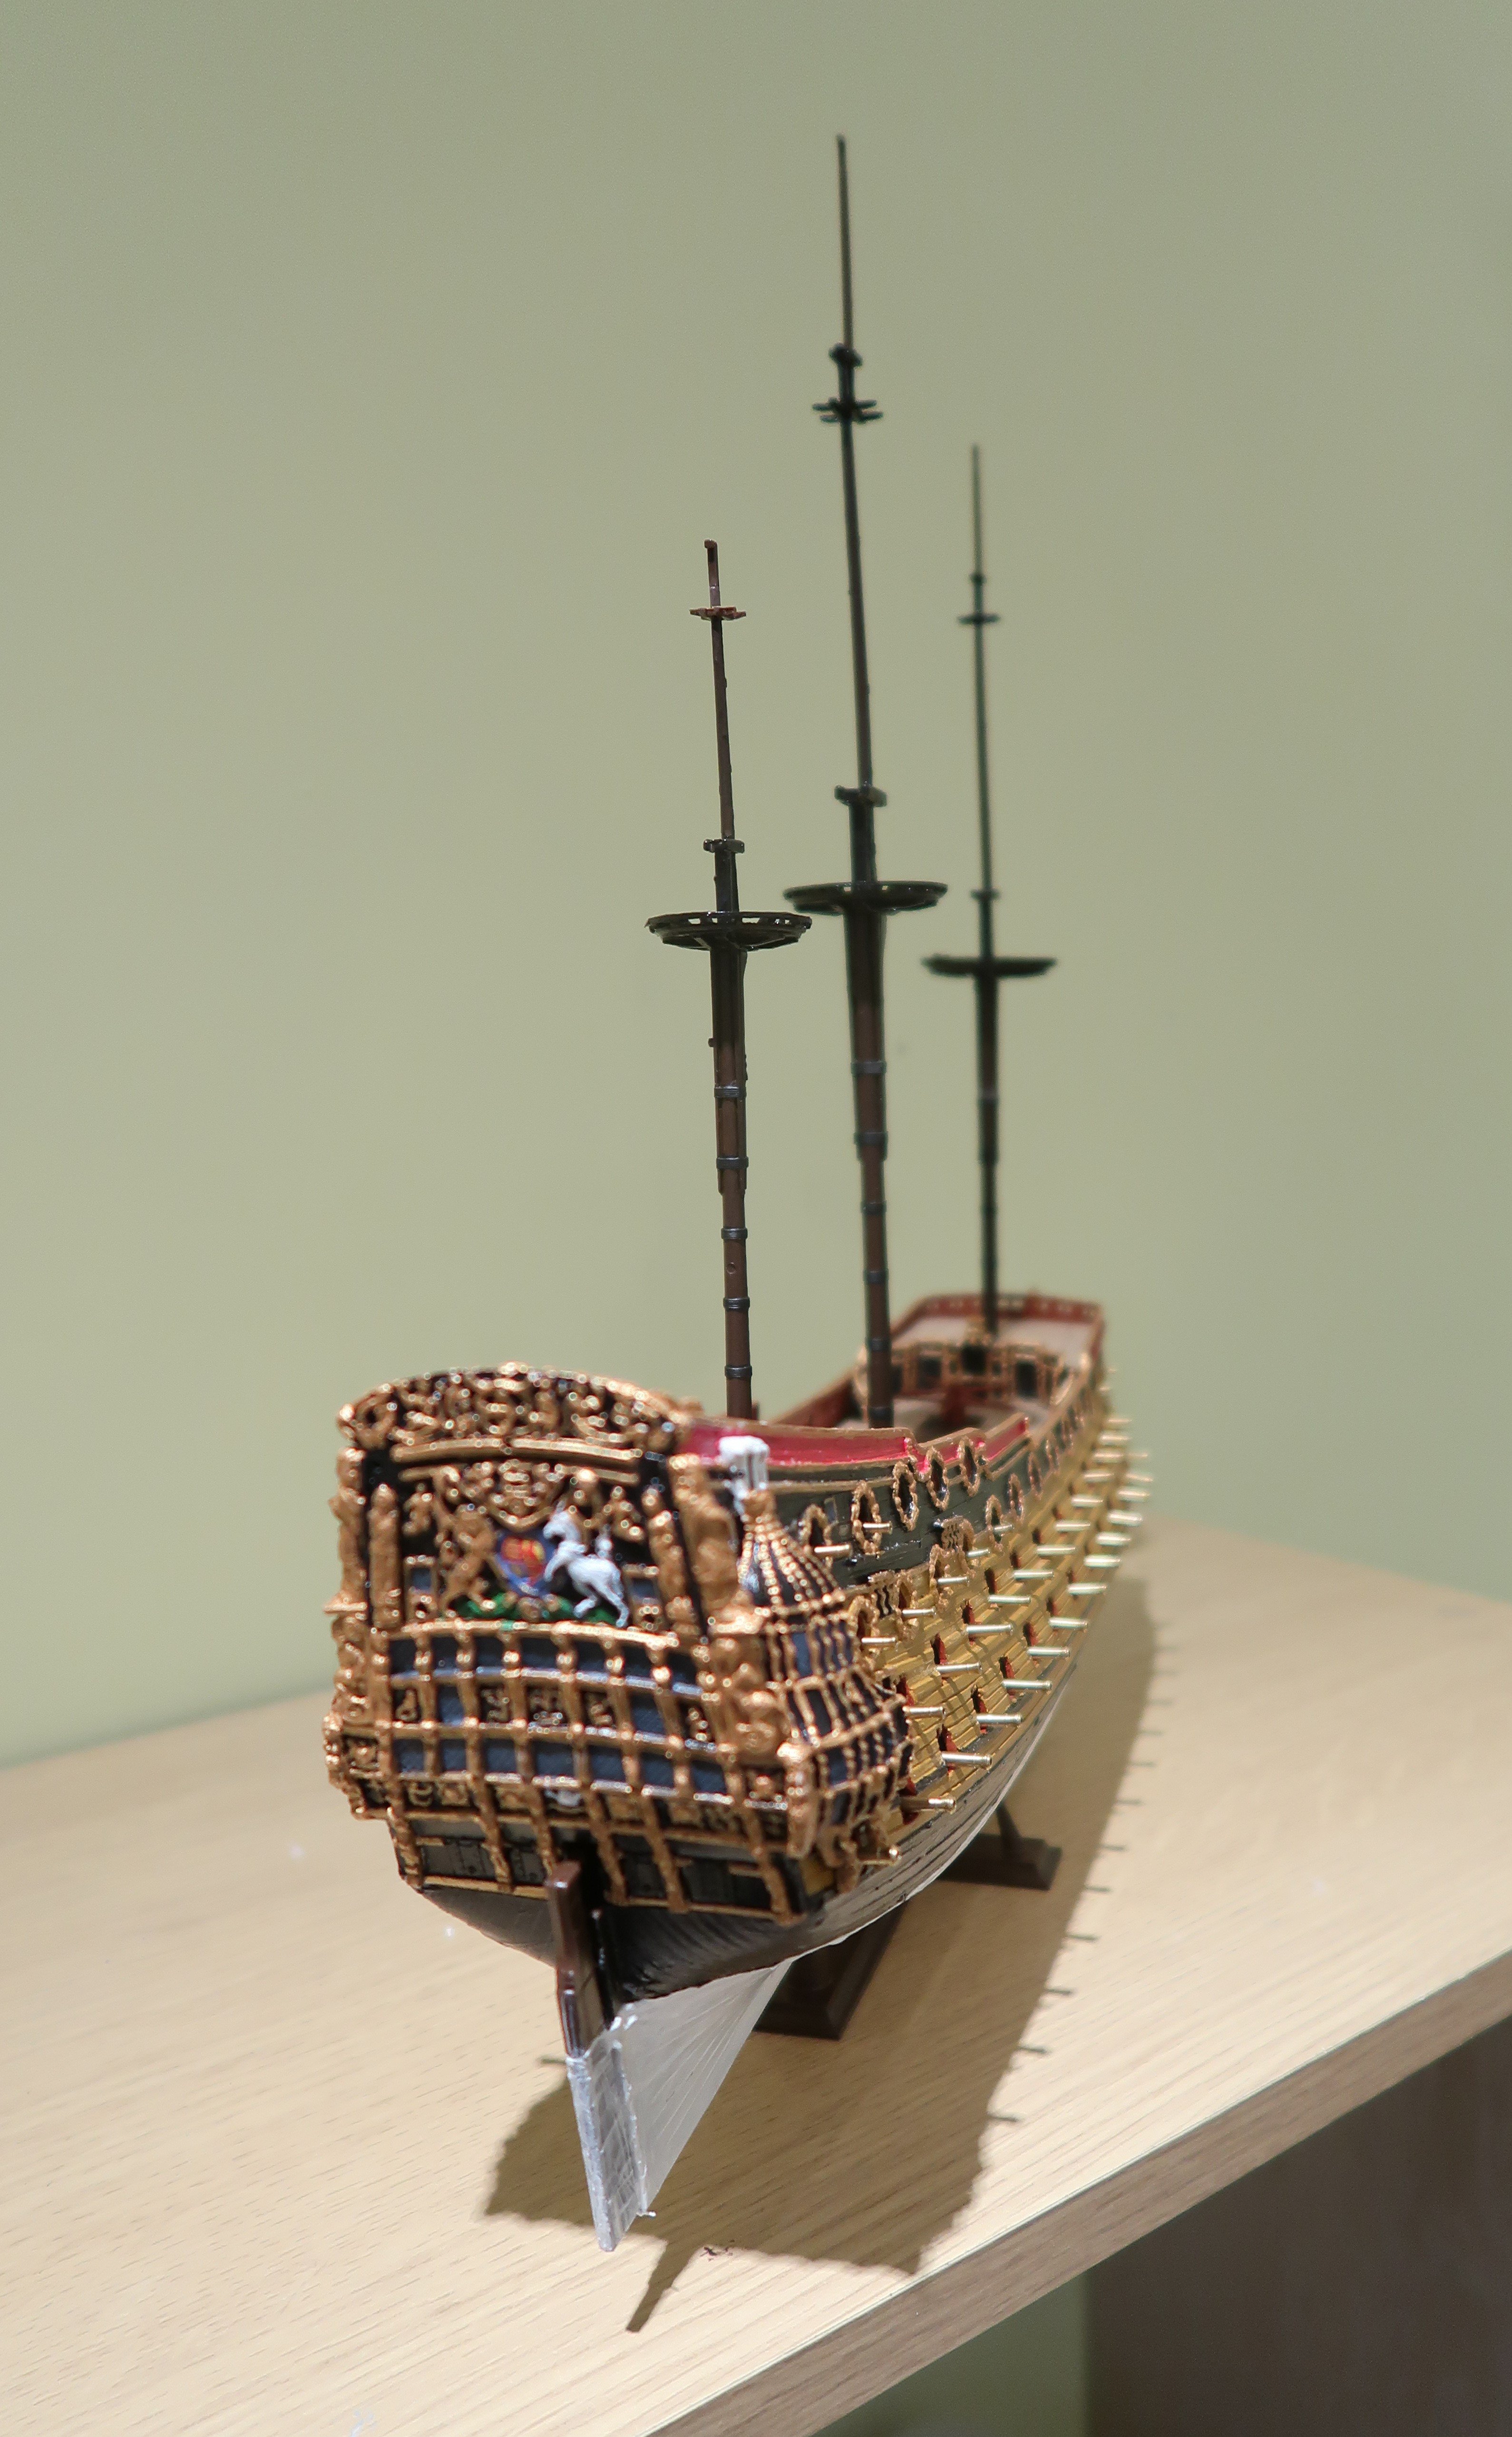
This is my new project which is temporarily replacing my build of the Heller Soleil Royal whilst I get back into large scale scale ship modelling (large scale compared to 1:700). I have made rapid progress since I began only a couple of months ago, but this is the easy bit. I found this second hand kit at a good price. I guess the retailer hadn't realised that the box contained all the sprues for two kits; only the major hull parts were not duplicated. This is fortunate as some parts are broken and many have come detached from their sprues and so difficult to identify whilst other have become distorted. The plastic is also quite brittle. So why this ship? Partly because I made it myself over fifty years ago, but for someone else, and partly because it will make a good companion by size and comparison of change in warship design over time with my Heller Glorieux which currently has pride of place in my living room. That does mean that I hope to make it to the same standard so the first step was to cut out all the gunports and, with the help of Radimir at HisModel, replace all the plastic gunbarrels with brass ones. The photos below show where I have got to. I am awaiting delivery of the material for the standing rigging in the next few days.

-
Thanks very much, Patrick
-
I think it's time for me to explain what has happened since my last post and where I am with this model. My wife passed away a year ago. As I wrote above, I had to stop work on the SR and stored it safely away. There it remains. I really don't feel like re-starting it at the moment for several reasons. One is that I need to get back into my comfort zone for rigging the shrouds and making the chainplates, and that feels rather daunting. Another is that because of the re-configuring of our house space after my wife became bed-bound downstairs, I had to get rid of the unit that held all the SR bits and pieces, and the top of which was my elevated workbench where I worked standing up, which I preferred. What I have done recently, to re-start sail era modelling on a more modest scale, is to find a second-hand unmade Airfix HMS Prince which I intend to make to what I call 'Heller' standard, so it will have fully open gunports, proper shrounds, fully rigged, etc.. I will open a new project page for that shortly (to my surprise there doesn't appear to be another Airfix Prince on this site). So I'm hoping that this simpler model will get me back on track to finish the SR sometime in the future.
-
John Clements reacted to a post in a topic:
Le Soleil Royal by John Clements - Heller - 1/100
-
John Clements reacted to a post in a topic:
Le Soleil Royal by John Clements - Heller - 1/100
-
John Clements reacted to a post in a topic:
Le Soleil Royal by John Clements - Heller - 1/100
-
Again I have to apologise for a long gap in postings and I'm afraid it's likely to continue for some time. I don't see myself returning to this project any time soon. For some months we've been concerned about my wife's health and now we know she has had two strokes and has cancer, so you'll all understand I have other priorities. I don't know how or when I will be able to pick it up again but I hope I'll be able to come back here eventually. I'll just sign off for now and say thanks for all the comments, help and inspiration from this community, and wish you all the very best with your own projects.
-
John Clements reacted to a post in a topic:
Soleil Royal by Hubac's Historian - Heller - An Extensive Modification and Partial Scratch-Build
-
Looking at your Sunday post and colour photo of the stern to date, I am just speechless! The colours are so striking and your painting skills second to none. Getting that absolutely clear definition of highlight detail over background in the contrasting shades is quite beyond me, and I suspect many others. Something we all strive for but rarely achieve. It's a real tonic seeing your progress. I hope you and your family have a restful and enjoyable Christmas and wish you continuing success and pleasure in your project in the new year (and in everything else too, of course)
- 2,699 replies
-
- 5
-
-

-
- heller
- soleil royal
- (and 9 more)
-
John Clements reacted to a post in a topic:
Soleil Royal by Hubac's Historian - Heller - An Extensive Modification and Partial Scratch-Build
-
 John Clements reacted to a post in a topic:
Soleil Royal by Hubac's Historian - Heller - An Extensive Modification and Partial Scratch-Build
John Clements reacted to a post in a topic:
Soleil Royal by Hubac's Historian - Heller - An Extensive Modification and Partial Scratch-Build
-
Bill, if you go back to June 2021 on here, you'll see the difference between the 2, 2.5 and 3mm blocks as I tried all three before taking the middle path, and why I did so. It's not an easy call. The 2mm blocks are really difficult to thread, and to attach the hooks as they are just so small. As I said before, to me the main issue is the size of the hooks which are overscale at 1/100 making the run of the ropes very short and difficult to get all straight and looking anything like the real ones I saw on the Victory. The run of the tackle was taken from the diagram in Mondfeld's book, page 169, the continental system where both the gun and train trackles are attached to the same eyebolt at the rear end of the carriage (getting both hooks through that tiny loop is another strain on one's patience). Warning - this part of the project will drive you crazy!
-
Sorry, Bill, to have been so tardy in replying to your message. I've just been really tied up with other stuff, and also dealing with a close family health issue which is diverting a lot of my time, and haven't looked at this site for some time. The short answer is that I only rigged the visible cannon as you saw in my photos. If you go back, you'll see the different size blocks I tried and what they look like. I ended up using 2.5mm blocks from HisModel all round. I did find that the very short gaps between the blocks were a problem as the short lengths of rope make it hard to tighten everything up, which is why some of them look a bit loose - they are. The real issue there is that the hooks are inevitably overscale and make the tackles shorter than they should be as the hooks take up too much of the length between the eyebolts. I hope that makes sense. In the end, you just have to do what you think is best. The thread is 0.1mm. The other issue is not being able to tighten them enough as doing so can pull out the eyebolts from their locations in the plastic bulwarks or deck. Even with CA glue, the bond between metal and plastic is not good enough to take the strain of trying to pull the thread tight to make it look better. I'm just about to turn in, so I'll do the photo you ask for tomorrow but hopoe this helps in the meantime. I have to say it was not a job I enjoyed, although I was reasonably pleased with the result.
-
Thanks! I stuck to doing one gun a day to keep my sanity. In fact, getting the eyebolts secured to the inside of the bulwarks was the worst part, and trying not to pull them out when tightening the lines. I used the 2.5mm blocks from HisModel. Glad it's over and done.