HOLIDAY DONATION DRIVE - SUPPORT MSW - DO YOUR PART TO KEEP THIS GREAT FORUM GOING! (Only 24 donations so far out of 49,000 members - C'mon guys!)
×


rfolsom
-
Posts
881 -
Joined
-
Last visited
Content Type
Profiles
Forums
Gallery
Events
Everything posted by rfolsom
-
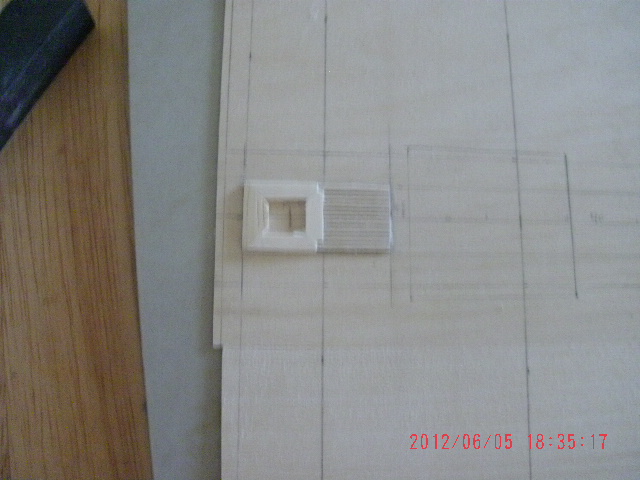
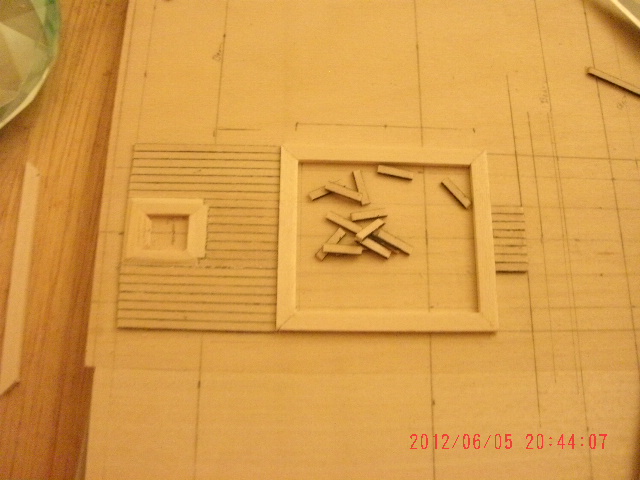
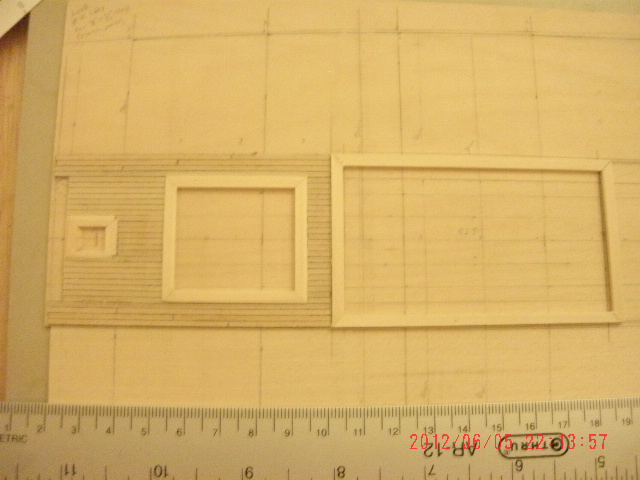
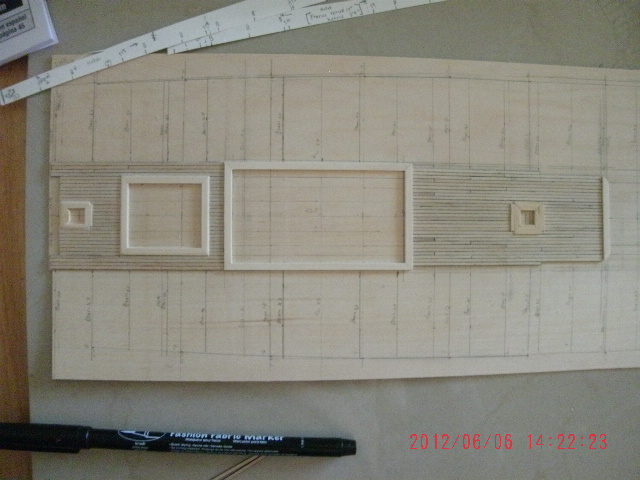
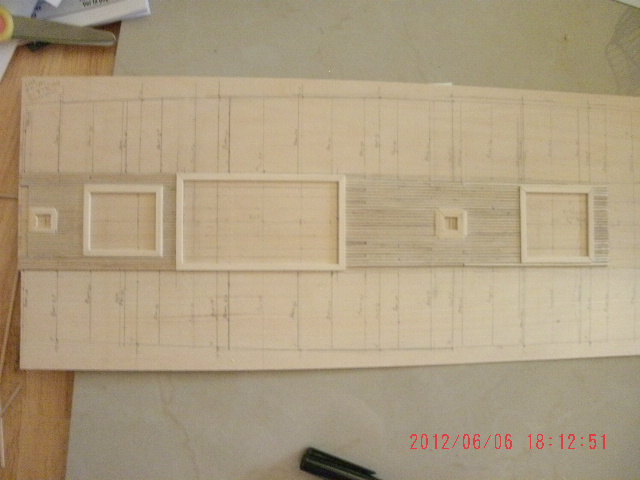
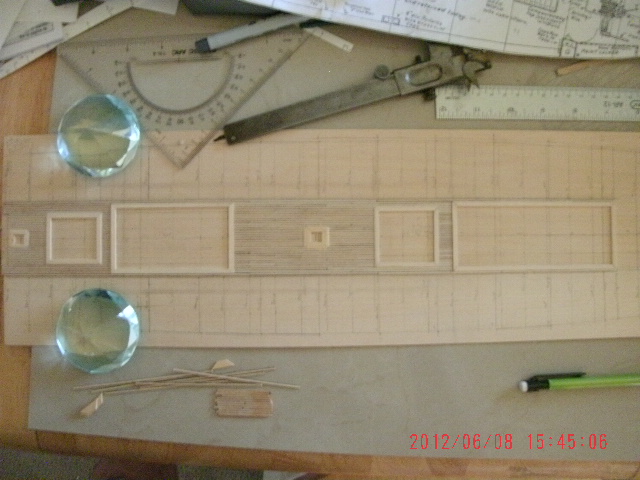
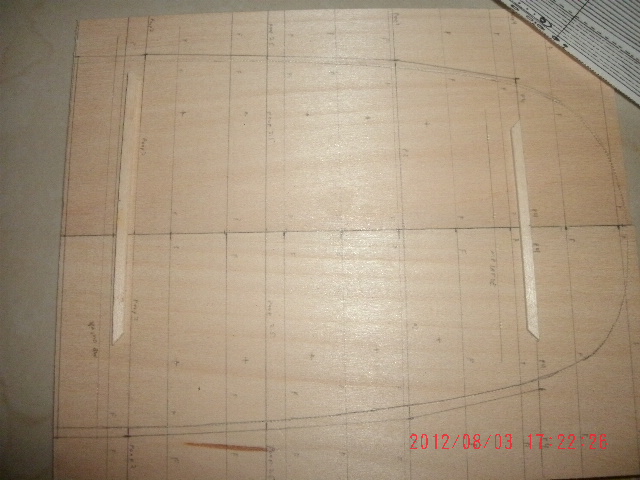
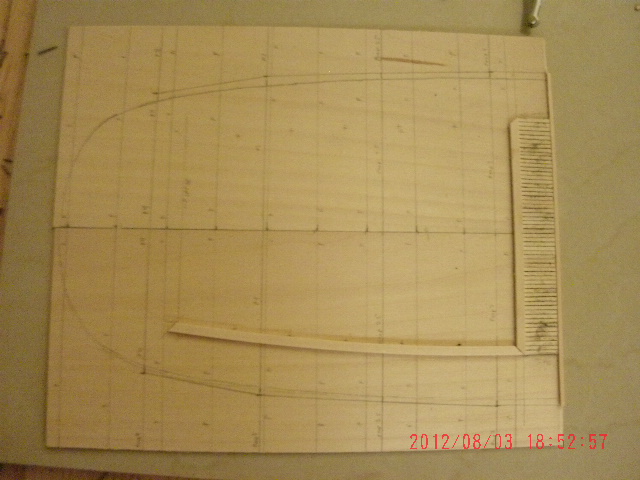
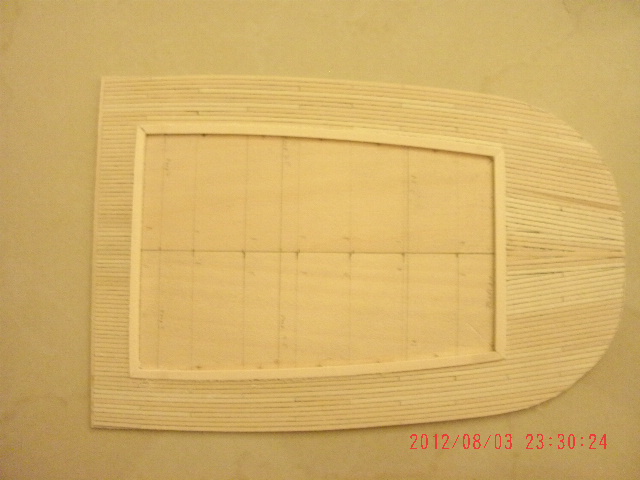
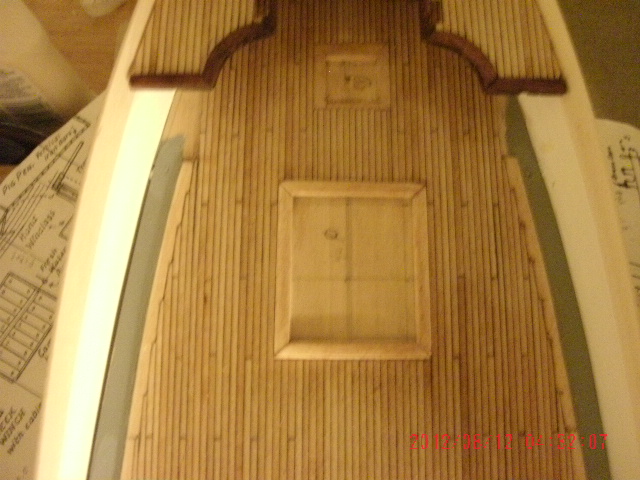
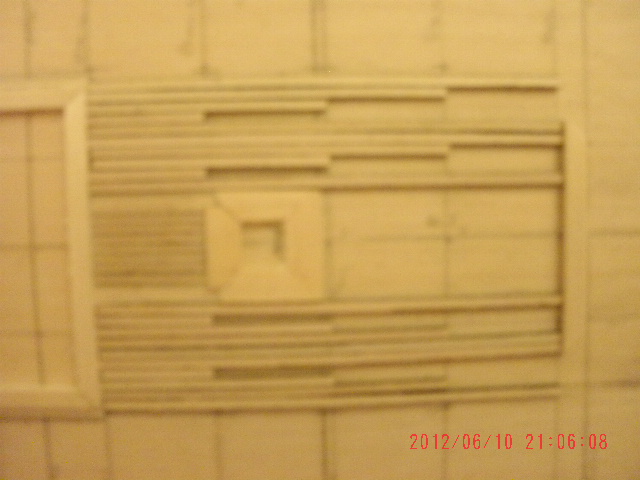
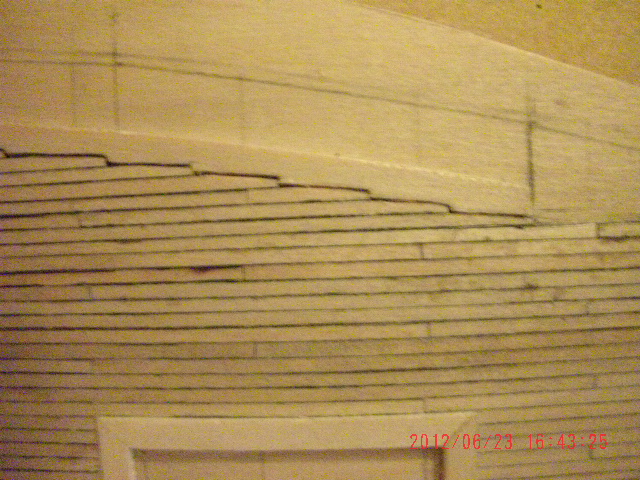
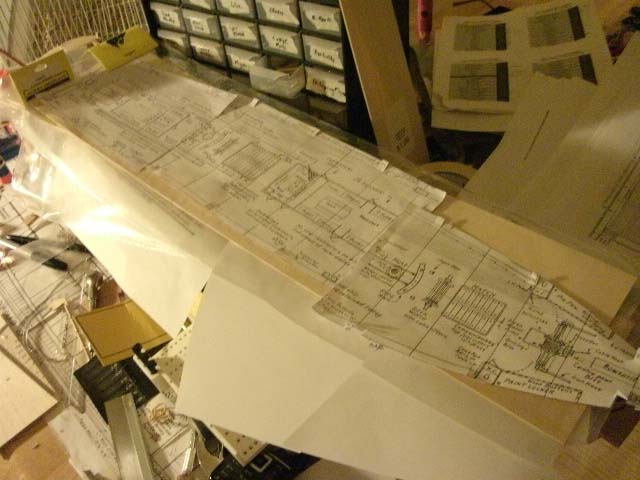
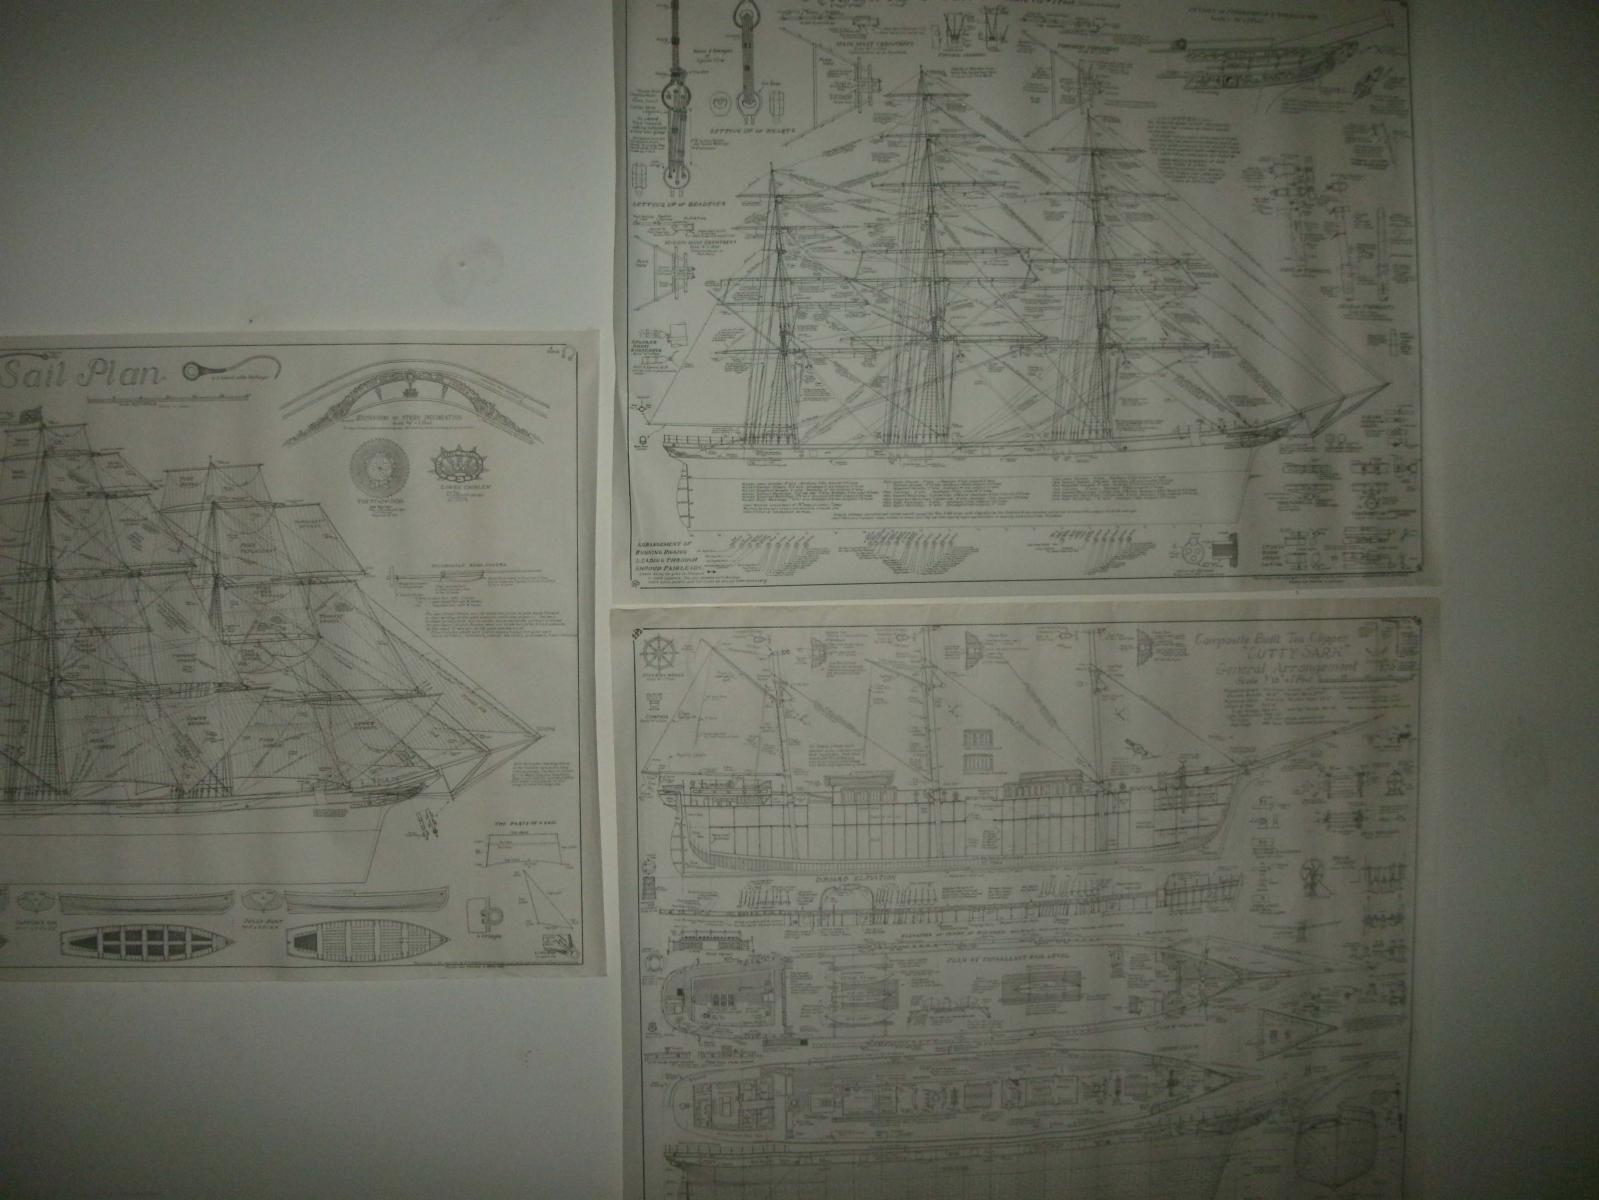
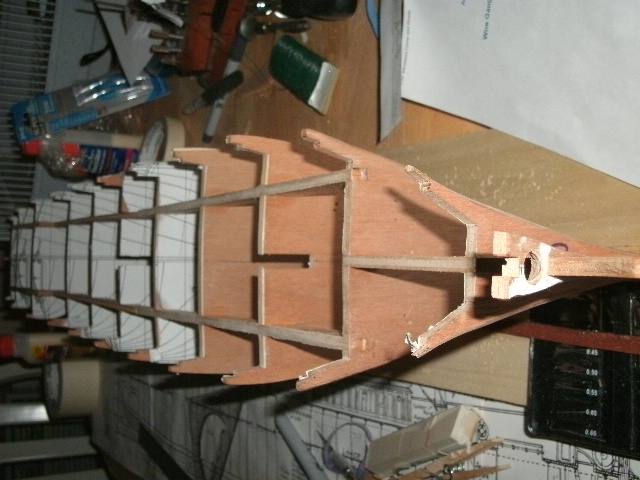
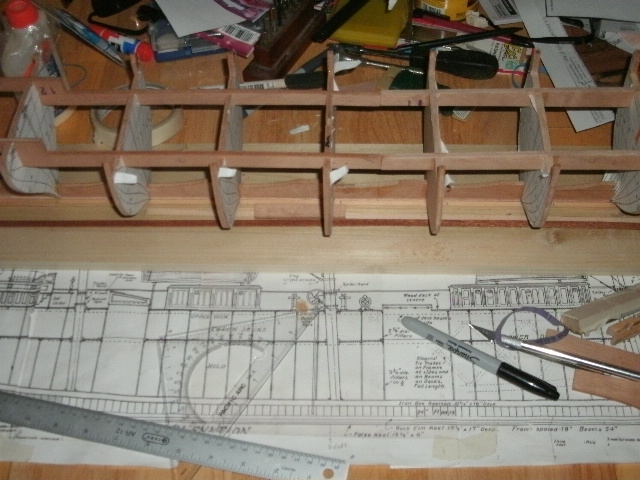
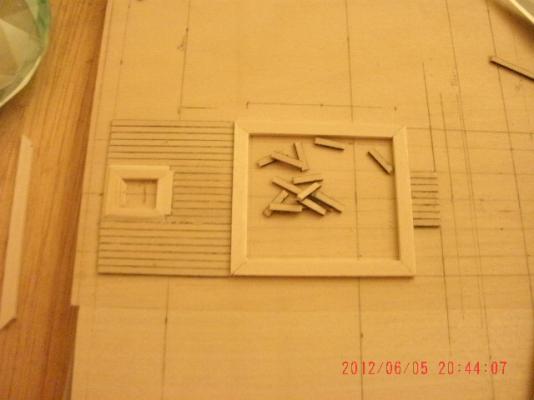
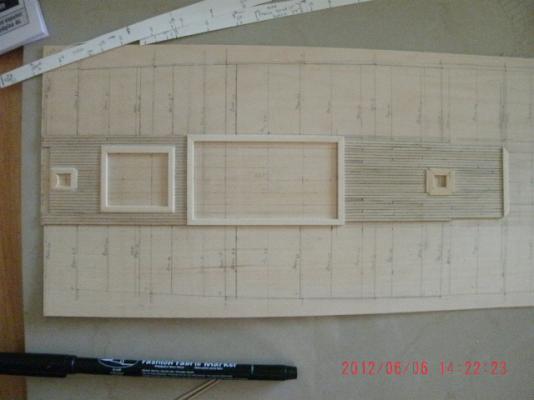
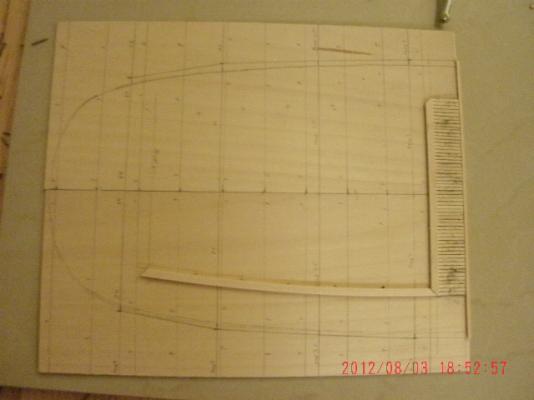
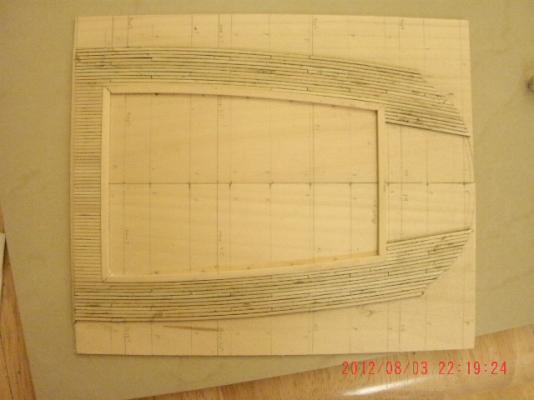
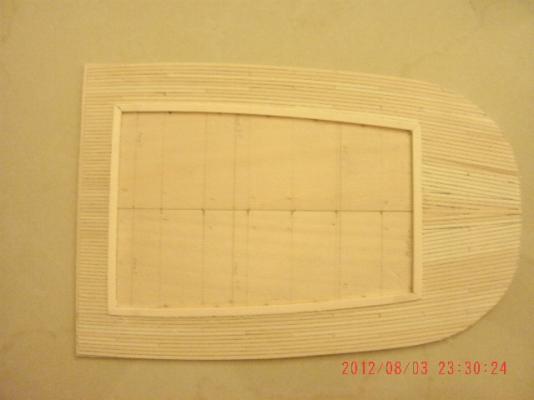
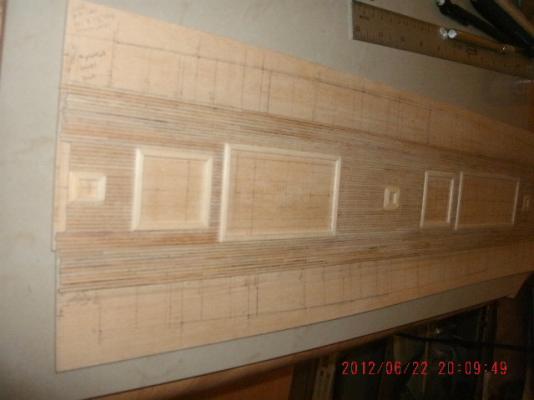
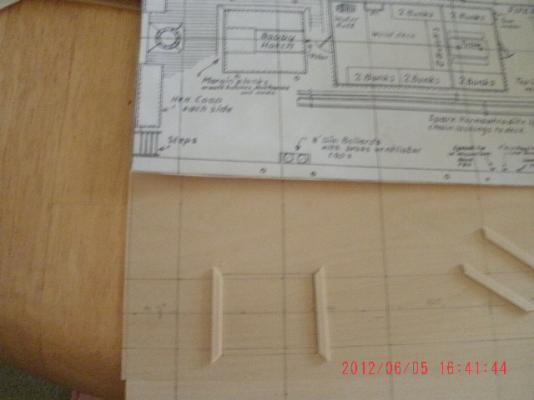
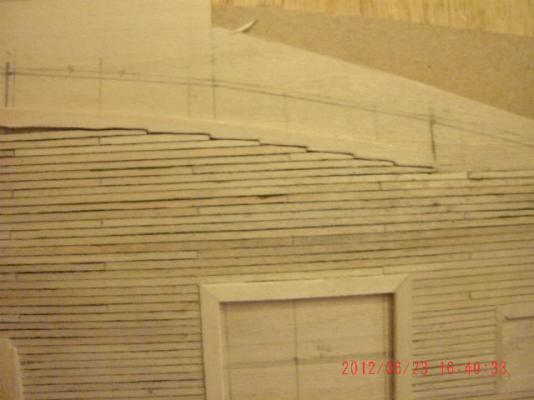
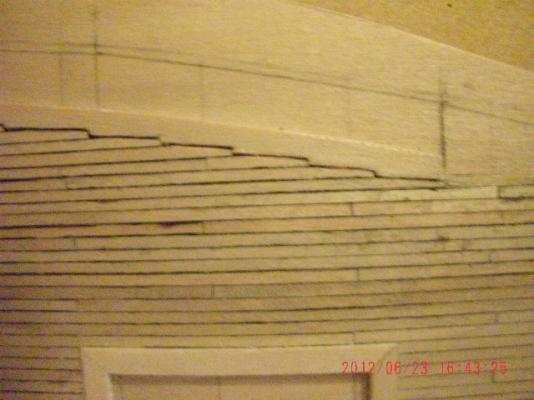
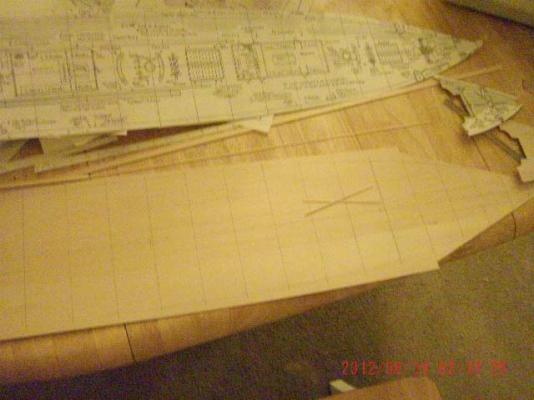
 Hello Pete and Nenad; I'll try my best to explain the method to my madness... I have more photos of the deck build if you wish to see them... Obviously, my decking is built upon a false deck made of 1/32" basswood. After joining several sheets together, I began the long process of penciling lines based on Mr. Cambell's plans. My rule, at the time, was for every 50 minutes of research, pondering, and staring at plans, 10 minutes would be spent on actual construction. These plans are a must have for everyone attempting the CS (accurately), and I would have given up long ago without them. Anyway, after establishing an accurate center line on my basswood sheet, I began drawing the perpendicular lines; first, section lines from the deck plans, then the actual deck beam locations from the side view. I spent a very large amout of time in doing this as accurately as possible, also transferring the locations of the coamings for the deck structures. 1/16"x 1/32" basswood strips fits very well into the scale 5" width of these planks. I then started from the stern end of the main deck and put the first part of the aft hatch coaming into place. The amazing part was that everything lined up perfectly! I cut many 3.5 in. planks and they always seemed to land on a beam line. The staggering of the butts can be detailed in Cambell's China Tea Clippers book.. I planked from coaming to coaming, then around and out, and it worked out pretty well. Obviously, building false decking on a flat surface would not introduce the true camber of the deck, but for my build, it worked pretty well. I hope my rambling helps, and if you have more questions, please let me know. Thanks for your interest! Bob


-
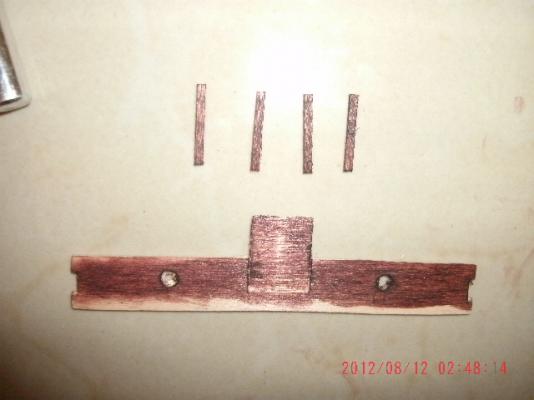
Poop deck and deckhouse progress....

-
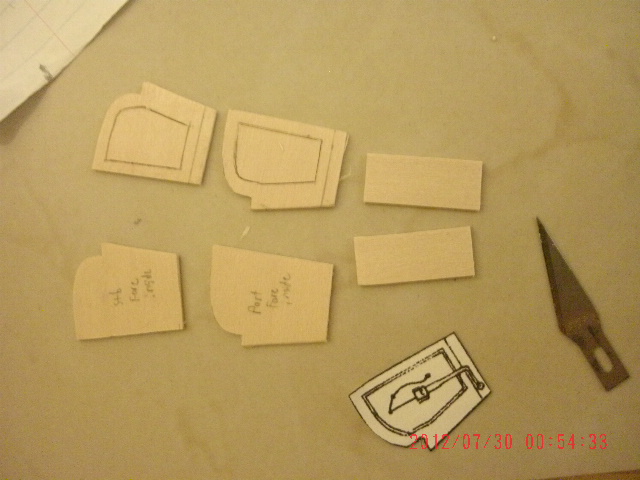
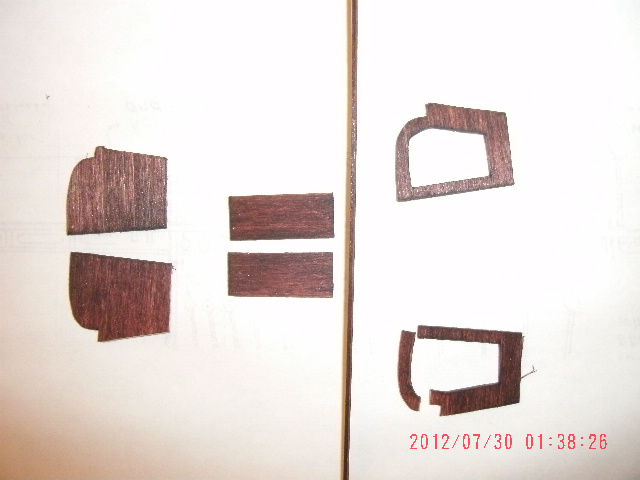
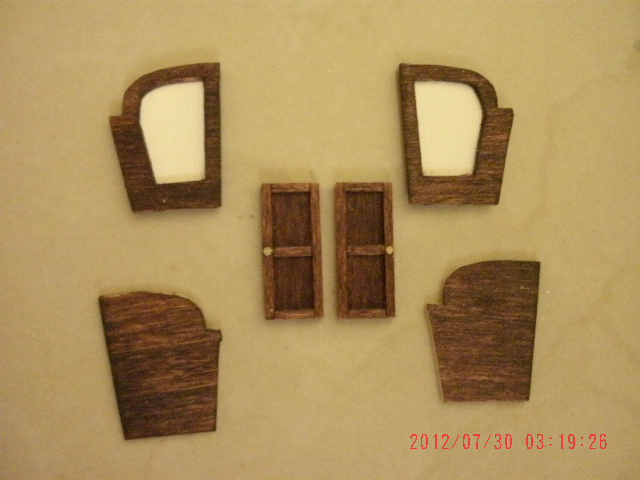
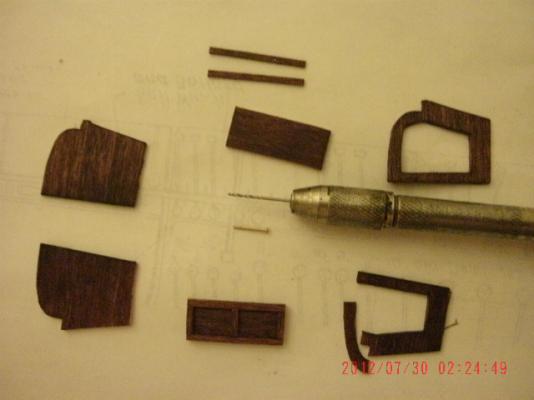
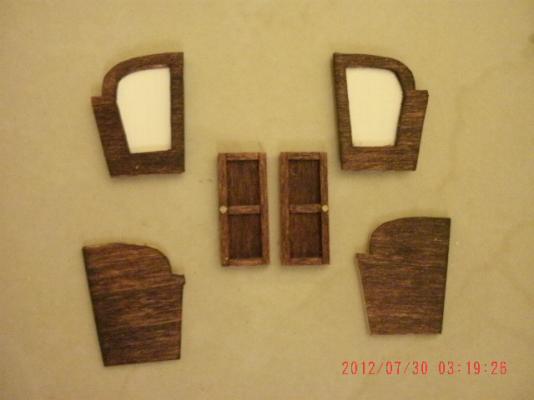
Deckhouses start...


-
More pics..


-
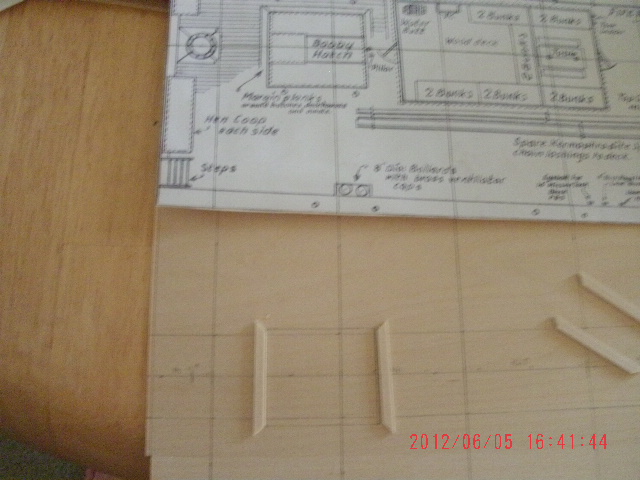
Some deck work....
-
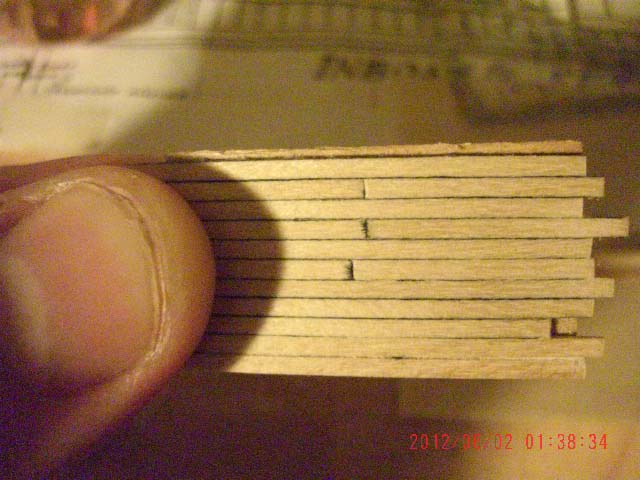
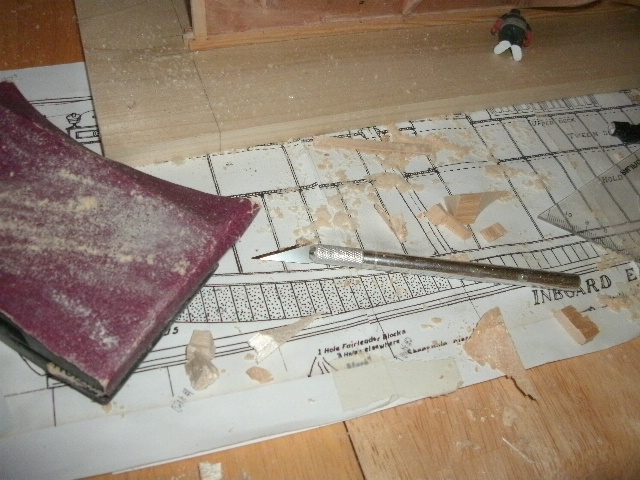
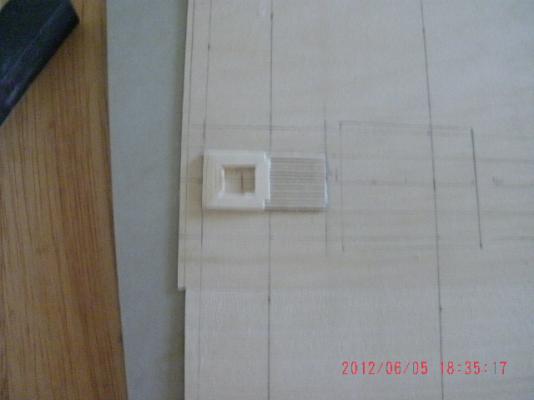
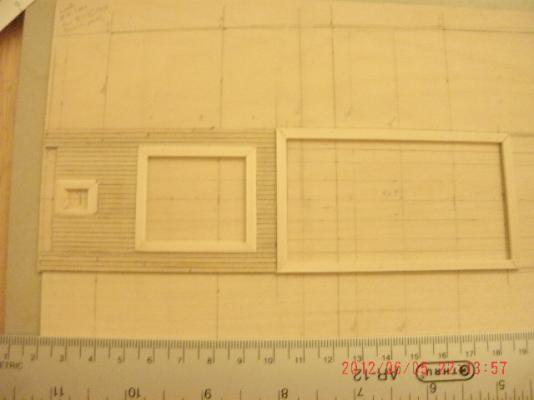
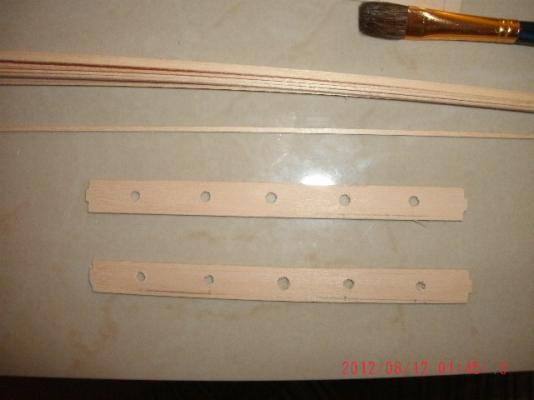
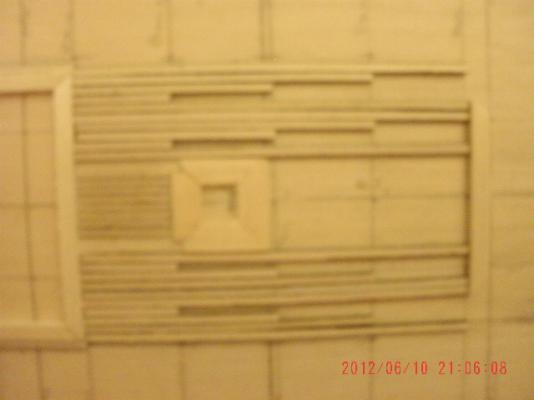
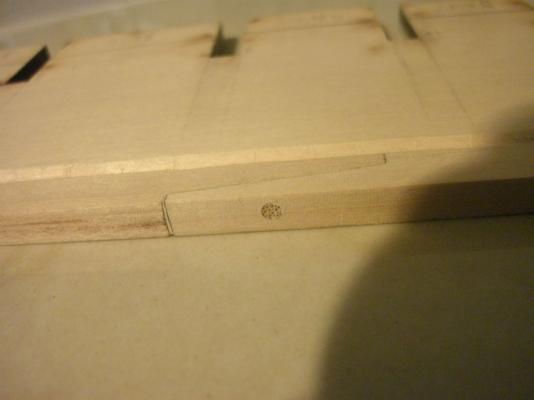
Oh yes, the sample panel I showed has 1/16" basswood planks with: black paint; Sharpie; and what I found the best caulking was a black fabric marker from Micheal's (It didn't bleed, see the bottom of the test panel)
-
Hello, Dognut; Thank you for your compliments! However, I'd be willing to bet you have much more experience than I do, and I am looking forward to this forum. You know, we can't all be perfect in our endeavors, so don't sweat it, and I'd be willing to guess that if I saw your build pictures, I'd probably hide in a cave . Bob
-
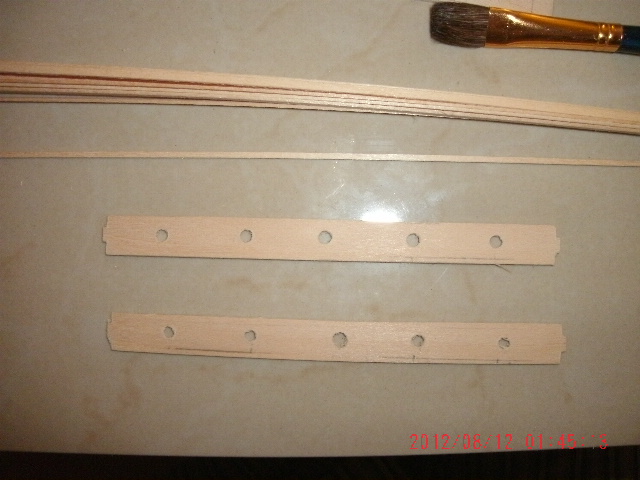
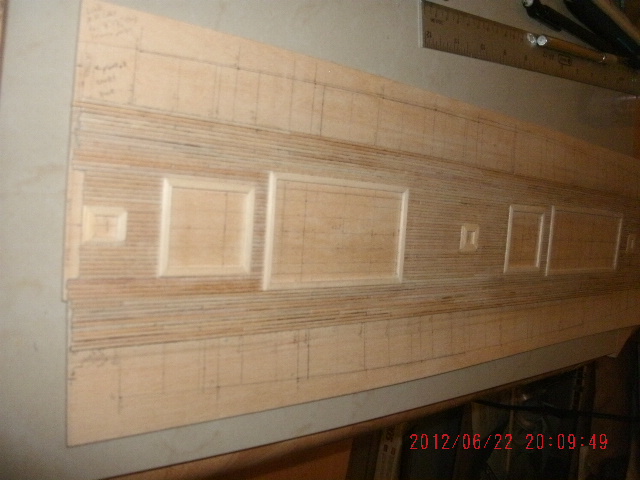
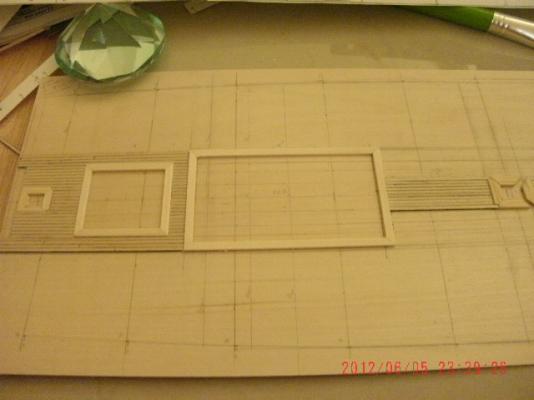
Progress on the false deck, tests of planking


-
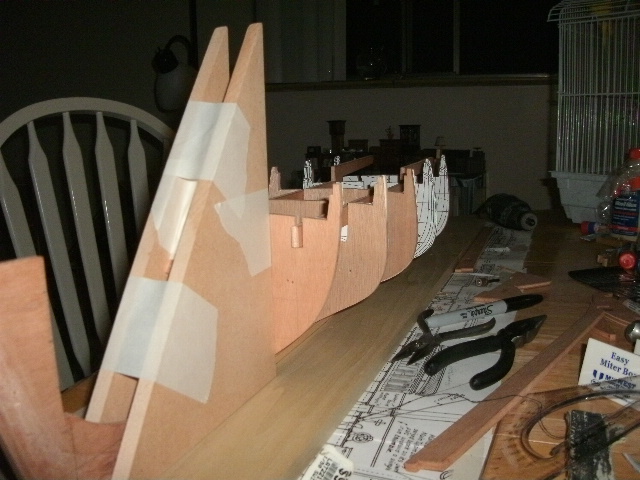
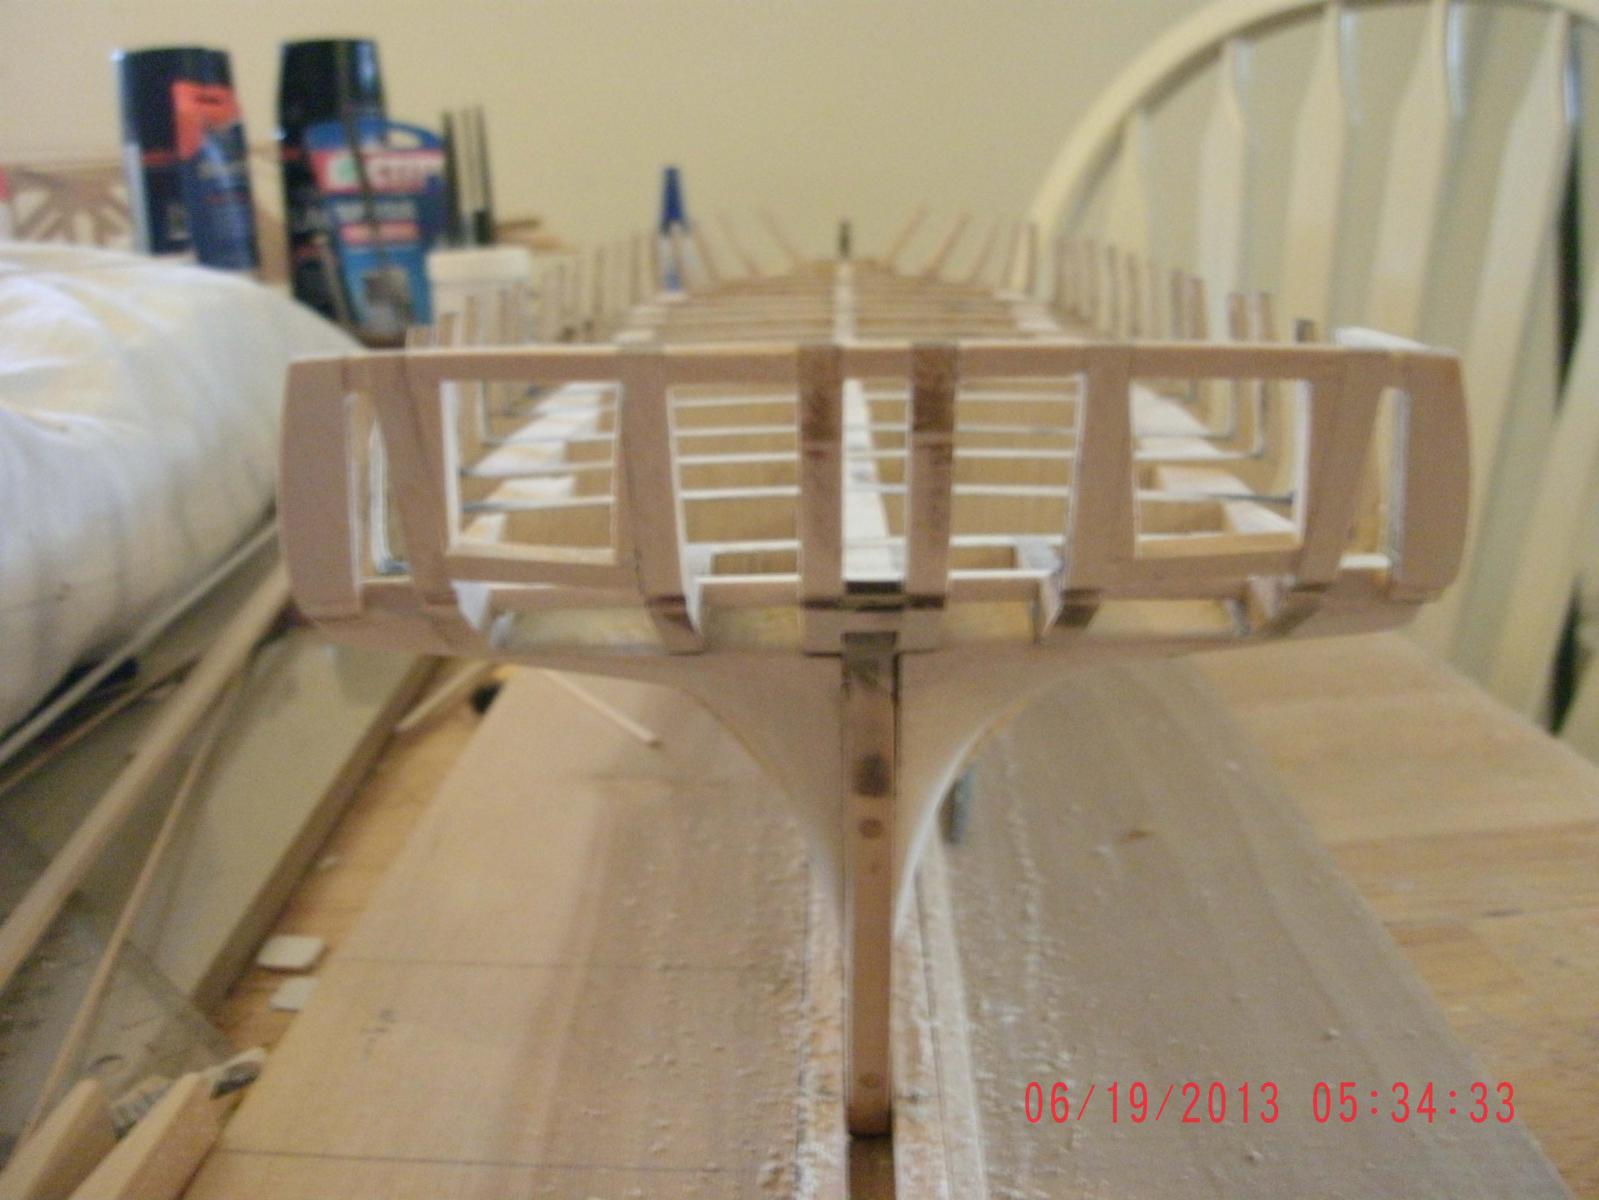
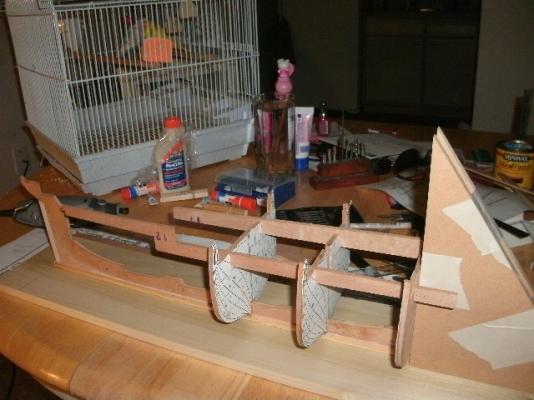
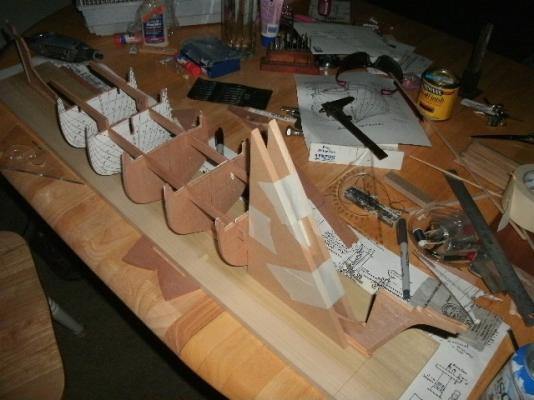
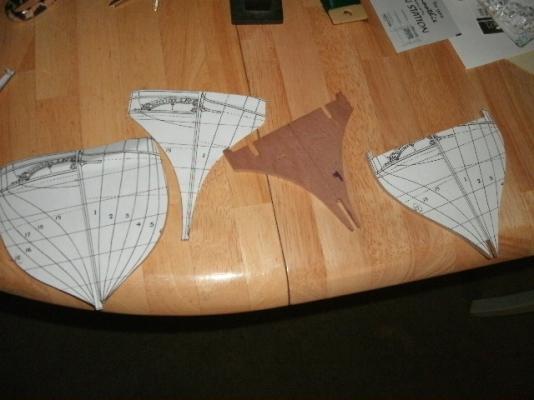
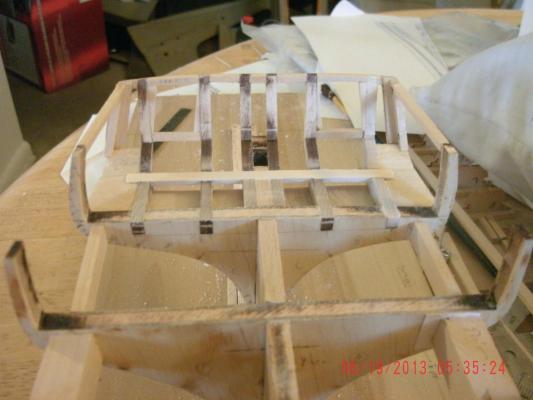
The "shark's fins" wood are actually attic dividers for Real Good Toys' dollhouse models. These mdf pieces are EXTREMELY accurate, and I use them to square the bulkheads.

-
Anja; Didn't see your question from a previous post until now; it is indeed a Model Shipways Niagara. I'm not sure if any other company makes a Niagara kit? Bob
-
Anja; Thank you for your help and patience! Bob
-
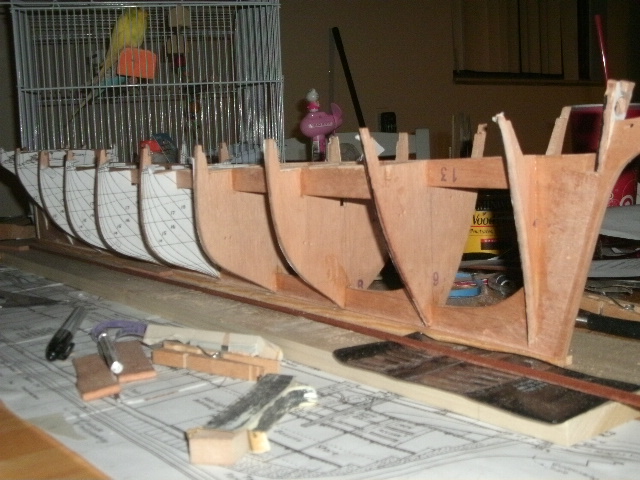
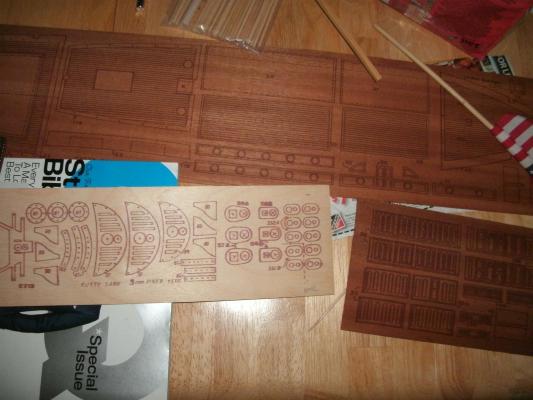
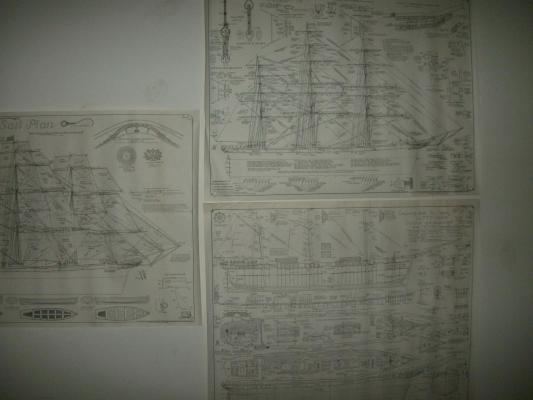
The best thing about this kit is it came with two copies of George Campbell's plans for the actual CS restoration during the 1950's. I quickly put away the mahogany planking, pre-lined decking, and crudely printed deckhouse pieces and started the build almost entirely from scratch on the kit's reasonably accurate die-cut framing. (This is a couple decades before laser cutting.)

-
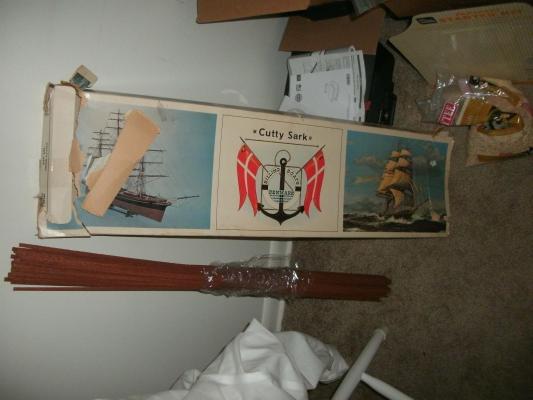
I started the Cutty Sark from a model of the old Billing Boat's No. 459 purchased from ebay last year for $70. I am guessing this unstarted model was 30 to 40 years old at the time I purchased it, and did not come with a fittings kit.


-
Hello Anja; Could you please move this posting into build log for kits under the niagara? I thought this was my start for a niagara build log but I must have made a mistake; thank you for your patience in helping me.. Newbie Bob
-
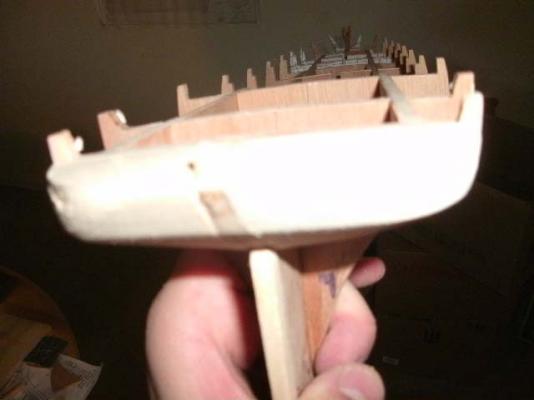
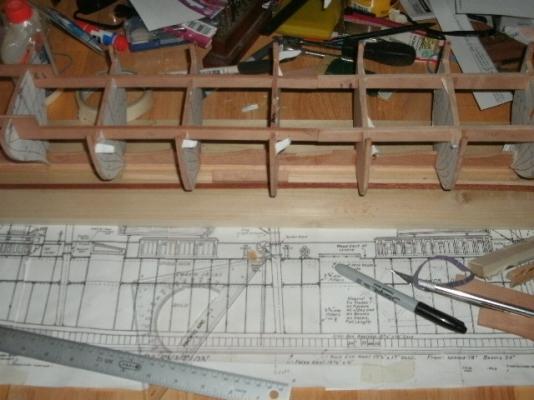
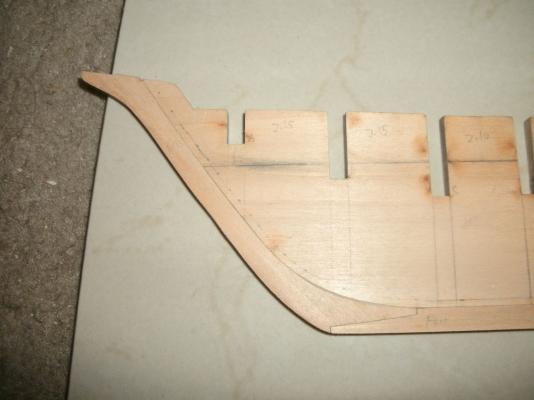
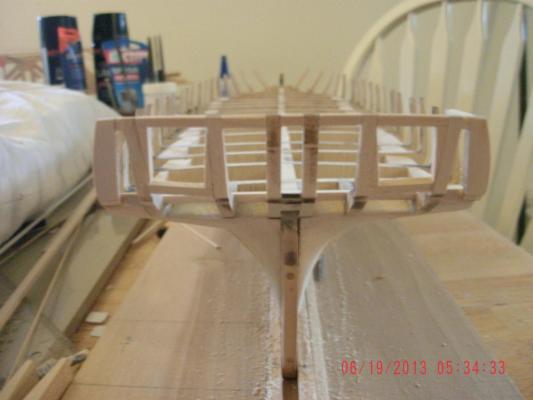
Here are a few pics from the start of my build, the rabbet, keel doweling, and the stern (lower gunport sills need adjustment yet).
-
Thanks, Ken, for the warm welcome. I've been "lurking" around the Niagara Club for awhile and found it's time to join in. Hope to have some pics up soon... Bob
-
Hello all; I'm new to MSW but have been working on the Cutty for about 15 months now. I am also working on the US brig Niagara, and just now learning how to post. Hope to have some pictures up soon. Bob
-
Hello, everyone; I'm new to posting on MSW but have been working on my Niagara build for a few weeks now; I hope I get the "posting learning curve" correct (thank you, moderators) and become a productive member of this great community! I'm sure I'll get more out than I put in, as I am a relative beginner, but I'll try my best First question: how do I resize my photos so they fit? Thanks for your help. Bob