HOLIDAY DONATION DRIVE - SUPPORT MSW - DO YOUR PART TO KEEP THIS GREAT FORUM GOING! (Only 36 donations so far out of 49,000 members - C'mon guys!)
×


rfolsom
-
Posts
881 -
Joined
-
Last visited
Content Type
Profiles
Forums
Gallery
Events
Everything posted by rfolsom
-
 1.) Cut.
-
Ok, Making these ringed stanchions one by one was tiresome; so I developed a method to increase efficiency by repetitive motion... (I need 26 of these)
-
Yes, I purchased my Niagara for $144 five months ago... A great deal!!
-
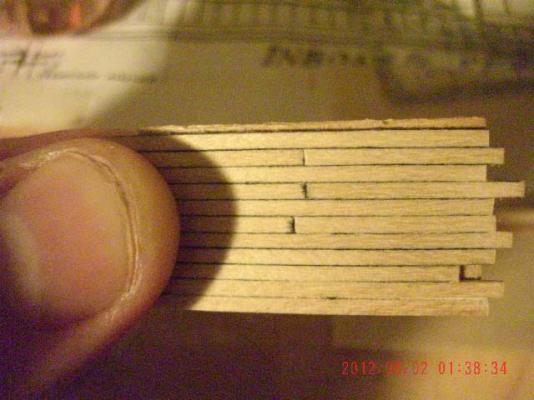
Spencer: Your build is looking great! Your technique for planking works well for coppered models, where you can hide this technique; I did my CS in much the same way; however, in true shipbuilding, planks would never end in a sliver; they would pop out and buckle and probably tear the ship apart. Each plank would be shaped to give the maximum contact with the frames as possible, while following the contours of the ship. Your copper will cover this part of the planking; Remember, this is YOUR model, and however you'd like to proceed with it's construction is totally up to you...
-
Cutty Sark by NenadM
rfolsom replied to NenadM's topic in - Build logs for subjects built 1851 - 1900
Nenad, Looking good! What's your plans for planking the main deck? Will you try to salvage it, or start over? -
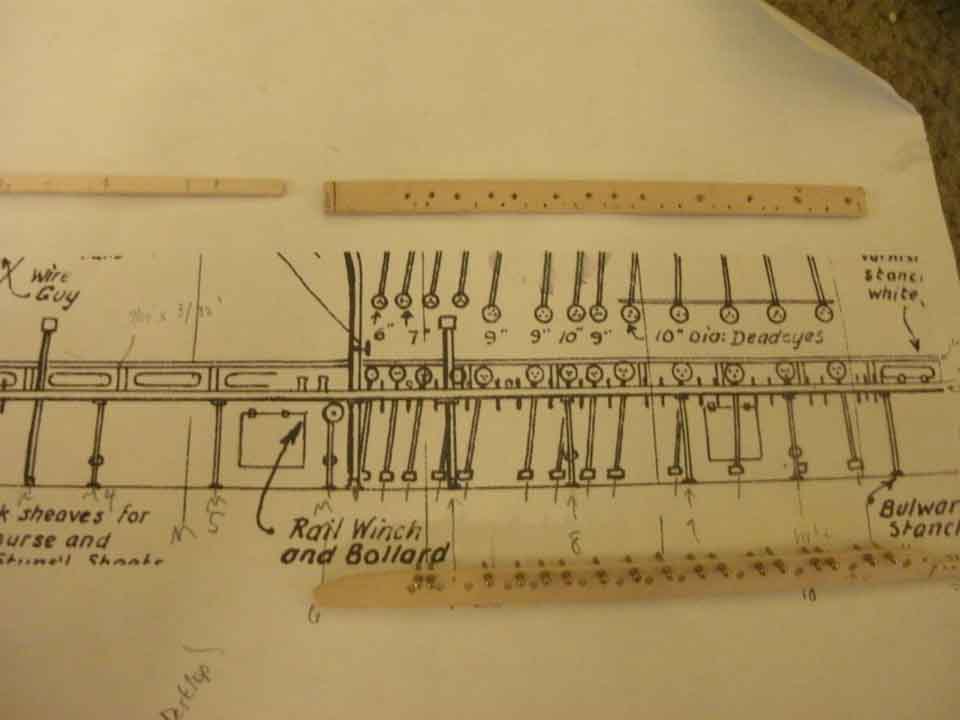
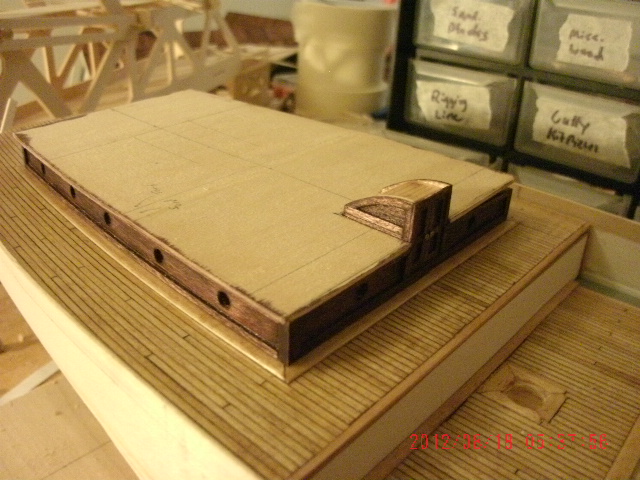
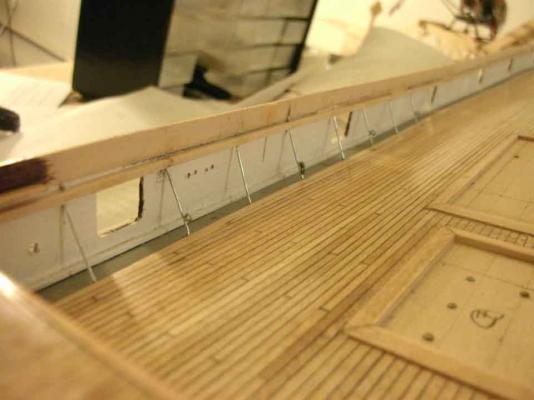
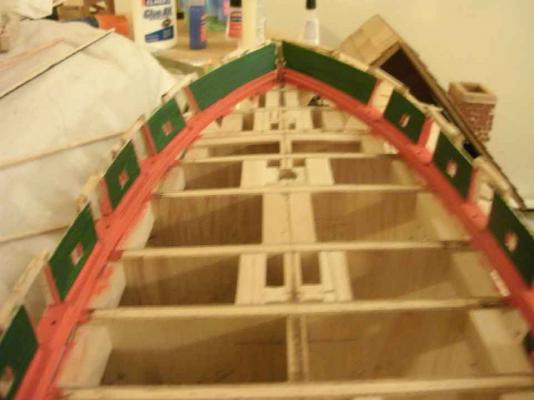
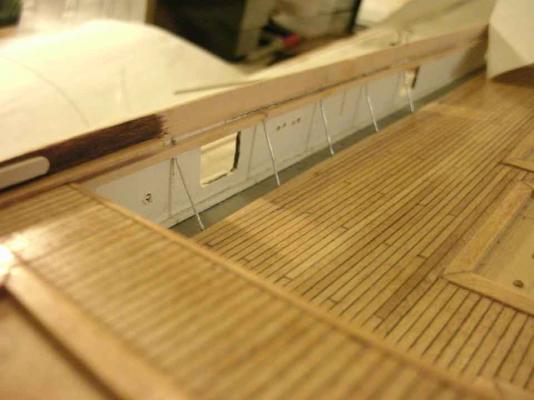
Alright... My stanchion progress is very slow now that I decided (Nenad decided for me !) that I was going to replicate the rings. I manage to destroy 3 ring stanchions for every one I install... Hopefully I get a method and a rhythm down soon... I have 9 of the 26 port stanchions (half are ringed) installed, and I will start shortly on the starboard side. I like to try to do processes equally on each side; (planking, coppering, stanchions, etc.) Parts of the pinrails are drilled, and indeed they have been drilled for over a year; spacing is OK, the picture shows at the top roughed out port pinrails, and at the bottom partially shaped starboard pinrails with belaying pins dry fitted. I'm not sure if you guys can tell (yet), but my placement of the deck is not completely accurate. This is very apparent to me as I install the stanchions, and the undulations in the deck have prompted me to give the deck the nickname "Galloping Gertie", after the Tacoma Narrows Bridge that collapsed in the.. Sixties? (I think). Oh well, this is something I can live with; and I must give alot of credit to Nenad for the courage to do the major rework he's doing. Next I will be drilling holes for the deadeye stays into the 1/16" square stringer you see at the junction of the bulwarks and waterway, (not accurate, btw) and hope like $#^^ that I can get the deadeye/stay assemblies to hold the shrouds... Happy modeling, everyone! Bob
-
Nenad: The tree nailing effect looks very cool; However, for the composite built CS, the ship used bolts coutersunk into the wood planks to bolt them to the iron beams. The holes were then plugged with wooden plugs and sanded flush with the deck, making them virtually invisible on the real ship, and impossible to detect on a model of this scale. I do hope someday to do a build where the tree nails will be a visible detail; It looks fun in a sadomasochistic sort of way....
-
Nenad; I used a Golden Oak stain by Minwax to stain my deck; I felt that it would contrast nicely with the Mahogany stain I chose for the deckhouses and railings. The grey color may very well be more authentic, but I like the look of the golden oak. My method was to plank several small pieces just like the deck, only about the size of a postage stamp, then stain each one a different color and compare them with each other and to the actual ship's planking. You can then find out which one pleases your eye the most, while keeping close enough to the real ship to be authentic. My colors most closely resemble the first picture you have posted above, but a little bit lighter... Here's some older photos: Like you said before about the waterway color, it can change over time...
-
Thank You, Popeye and Michael, for the kind words; Michael, I would like to maybe tackle the Wasa some day; It is quite an ornate ship; I'm daunted by the simple scrollwork on the CS...
-
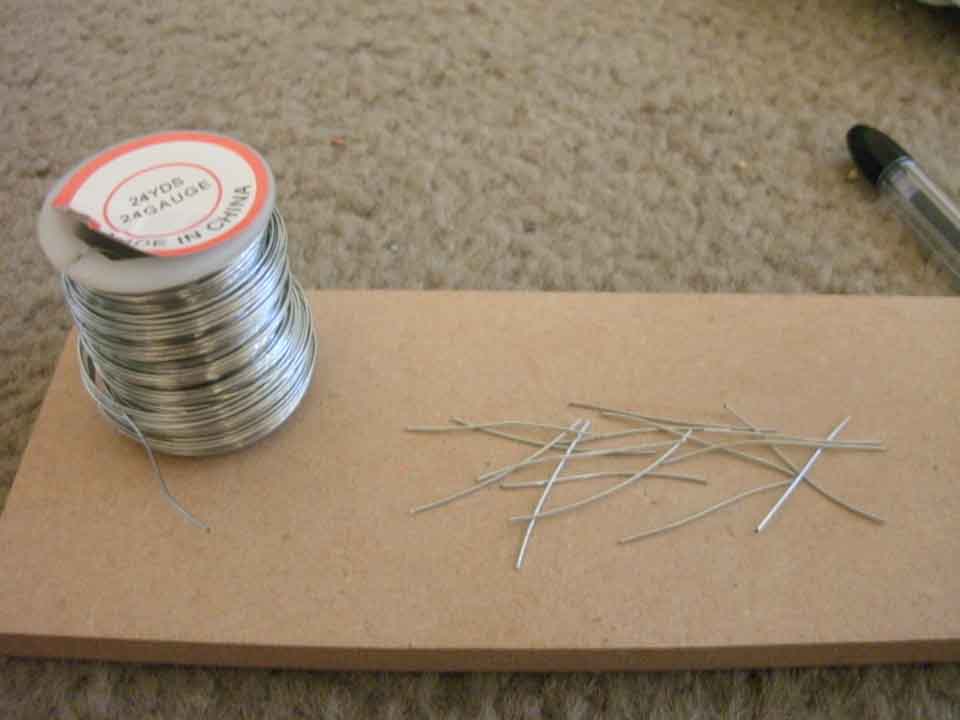
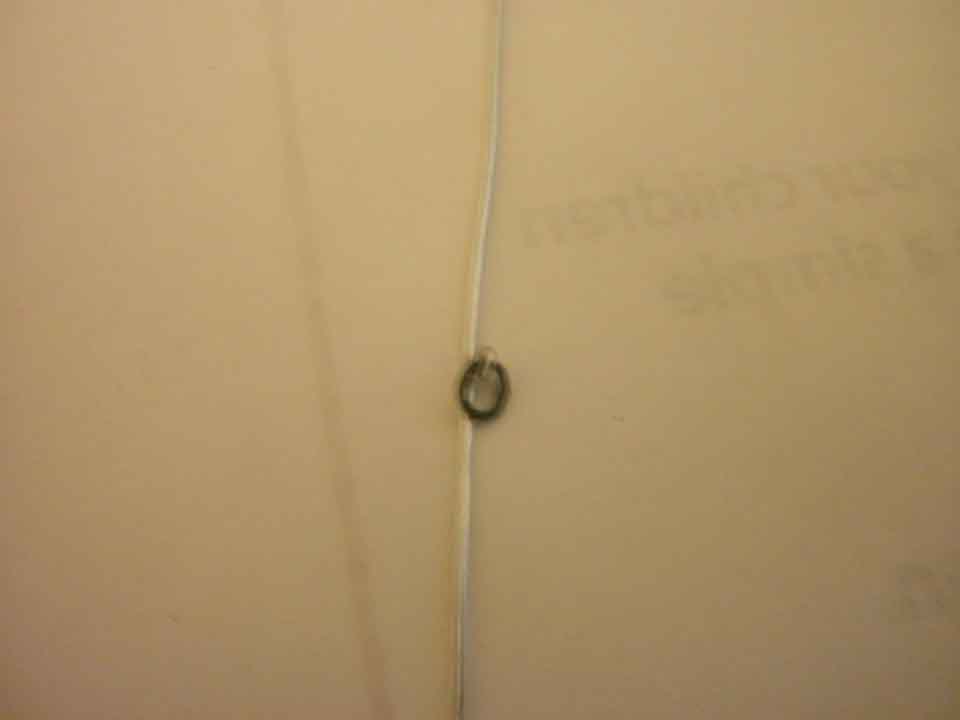
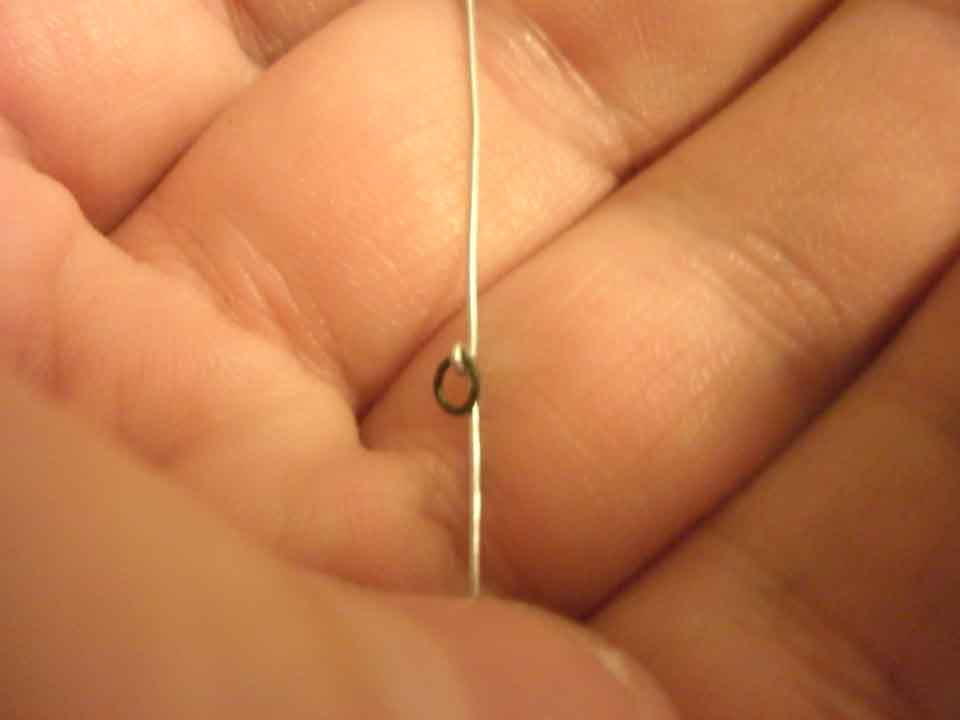
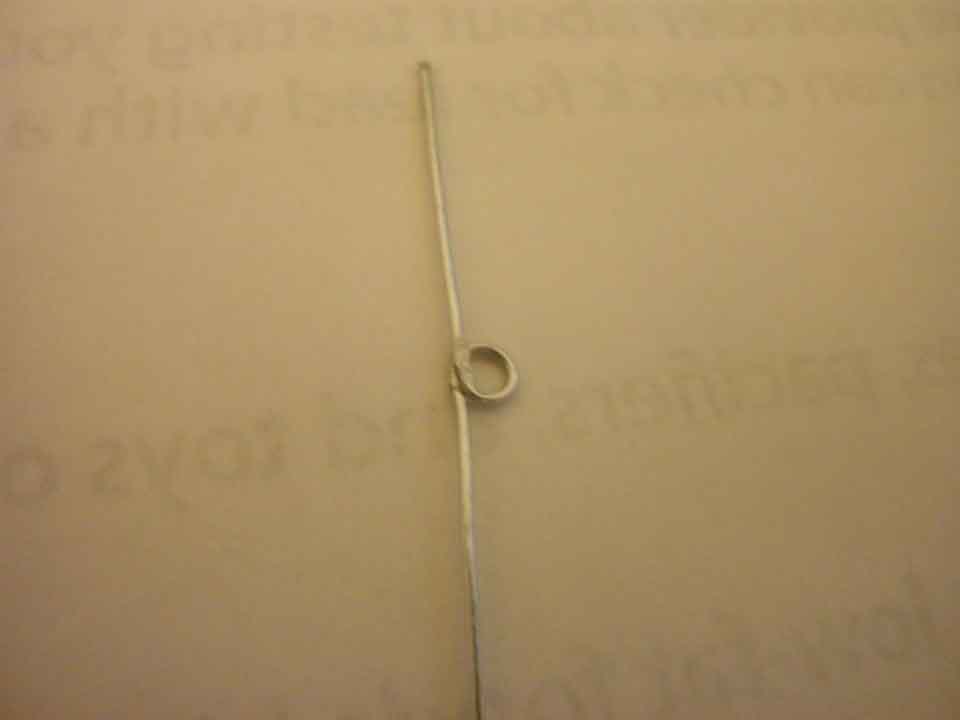
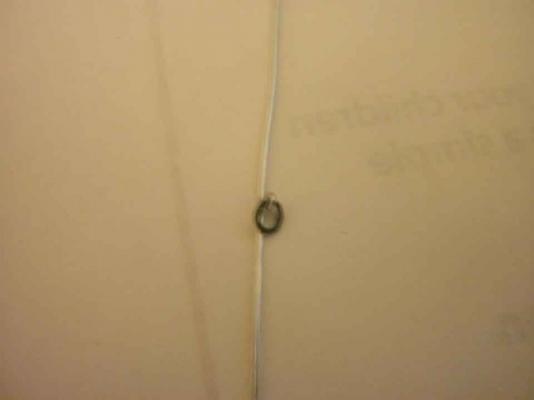
...This seemed to work OK, but the ring was much too big when looking at the bulwark pictures you posted earlier, so my next attempt was wrapping a stanchion around a .65 mm drill bit, only slightly wider than the stanchion diameter. After flattening, I wrapped a piece of 26 gauge wire around the same 1/16" drill bit used previously, cut the ring free, and threaded it through the first ring. I'm quite pleased with how it turned out; now we'll see if I can install it on the ship without destroying the assembly.. Thank you, Nenad, for your inspiration and encouragement on this detail I was planning to omit!
-
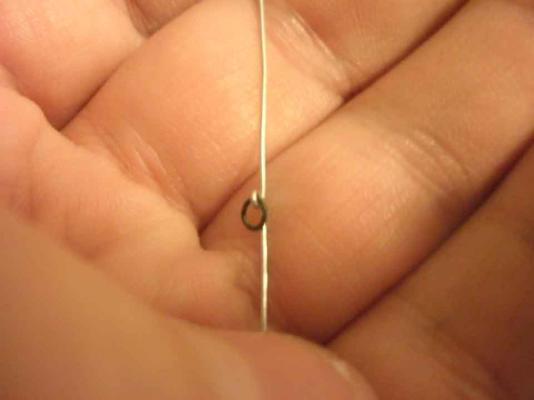
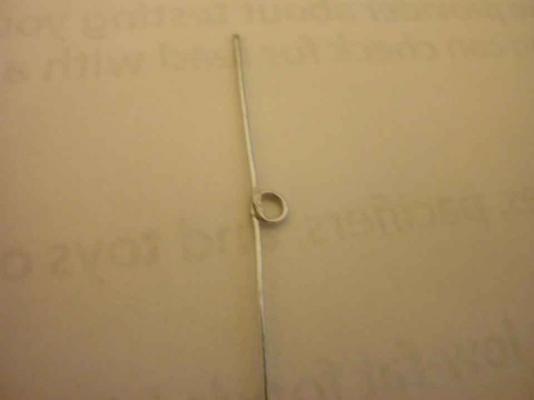
Ok, Nenad, you win! I actually was thinking about this technique at first, but wasn't sure it would work. So, after several failed attempts at trying to superglue a separate ring to the stanchion, I tried it your way and twisted the stanchion (24 gauge wire) around a 1/16" drill bit. My soldering iron is a cheap piece of junk, so I decided to flatten the ring in a pair of pliers in order to make it look like one solid piece....
-
Yes, I think soldering on this scale would be a little bit "clunky" to say the least. I did experiment with supergluing a ring on a scrap stanchion tonight. I was able to paint the assembly, but on a heavier touch the ring came right off. I will try to test this again; I think the rings bring great detail to the ship.
-
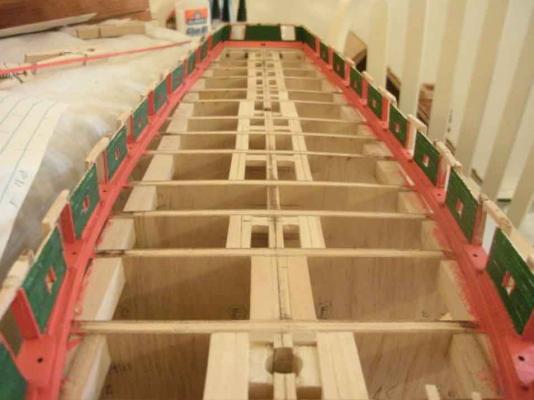
I bought a cheap scroll saw just for cutting out the filler blocks; I glued copies of the side view curves to the common square side, then cut along each curve. What I wound up with was a very rough approximation to the block, but it was much easier to visualize then. A good amount of "Plan Staring" is necessary to finish the job... :mellow:
-
Just a few more touch-ups and I will be ready to install the red stringer planks P and S, and then it's on to the outside... Patrick: I will be pre-painting the planks immediately below the gunport sills, and pre-painting and cutting the yellow planks, as well as the top outside stringers. I will then proceed to plank the rest of the hull fully before sanding and painting in it's entirety. The dying technique sounds interesting; I may have to experiment with that on my next build... Cheers, Bob
-
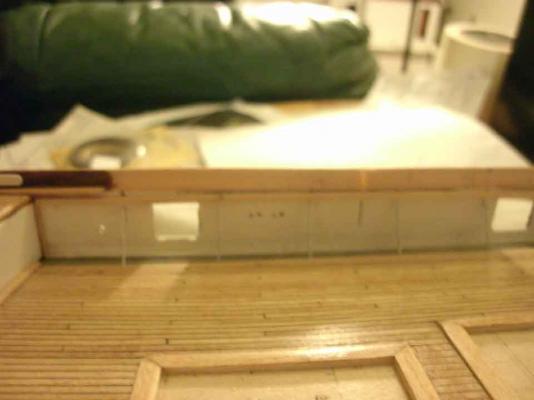
Installed "stanchion rail" (1/16" square strip) and first 5 port stanchions; from stern forward. Last 3 need to be straightened, all will be painted upon final installation.
-
By "bare sheet" I mean the underlying false deck 1/32" sheet basswood upon which I applied the planking. I contemplated using red, but ultimately went with gray because I already had some on hand. I now need to purchase some 1/16" square strips. Thank goodness Hobby Lobby is a block away; I believe my fuel pump is failing on my Jeep, and I don't want to drive it...
-
I will not be replicating the rings on every-other stanchion, nor will I replicate the "H" bar. I'm just plugging ahead to see how it looks....
-
Nenad; Sorry, I think I assumed you were angry... Anyway, my false deck was mounted on 1/32" basswood, and covered with 1/32" by 1/16" strips for the planking; the waterway was the bare sheet with grey paint on it. ( Not sure if this is accurate; contemporary views of the ship show it red)
-
I just drilled these holes last night; I haven't worked on my Cutty for awhile until now. Upset friends are not funny. peace, enjoy the hobby
-
Cutty Sark by NenadM
rfolsom replied to NenadM's topic in - Build logs for subjects built 1851 - 1900
Nenad; Reworking is a pain in the @##, but the good thing is you'll be able to do it in half the time, with twice the results!! And then: Hmmmm... hmmmmm...- 4,152 replies
-
- 2
-

-
- cutty sark
- tehnodidakta
- (and 1 more)
-
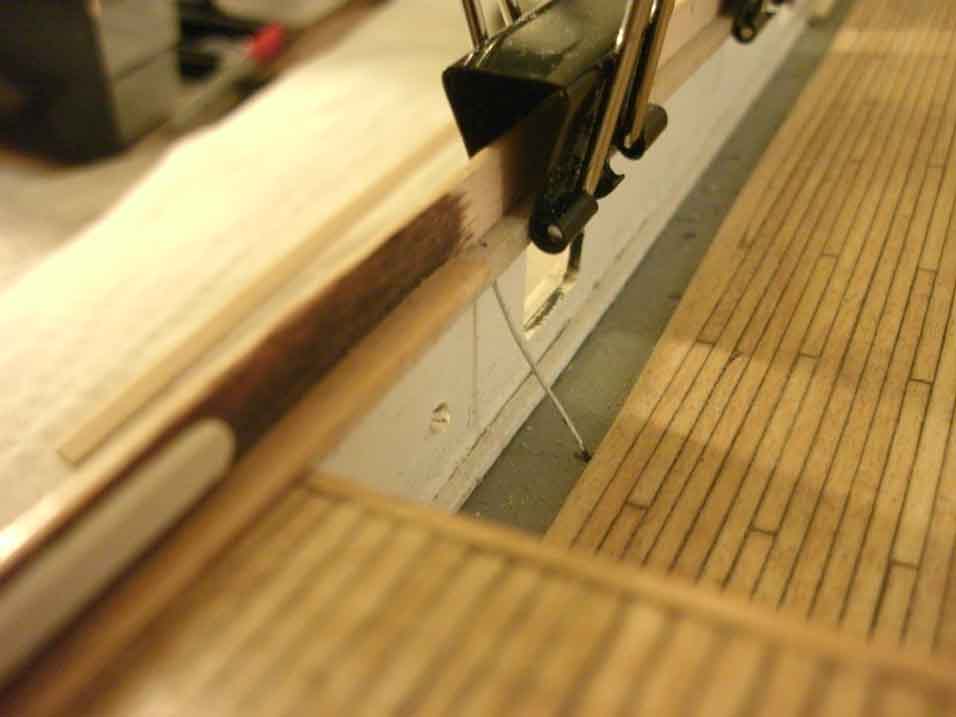
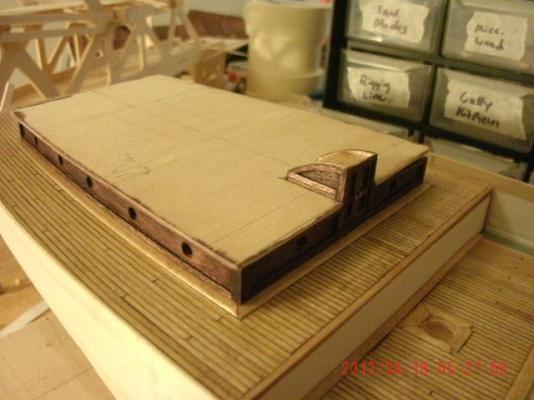
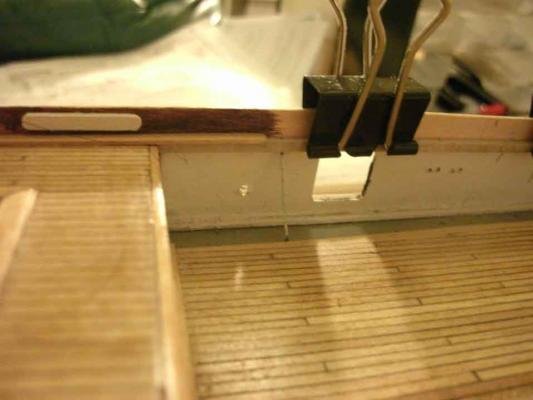
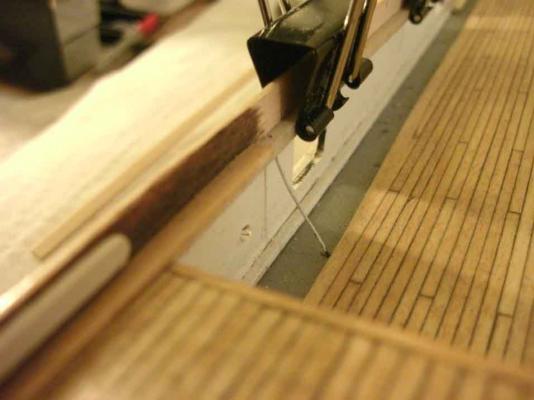
Anyhow; I clamped a piece of 1/16" x 1/16" scrap to the aft edge of the poop deck, drilled the holes where the stanchion would be, and threaded a piece of 28 gauge steel wire through, (yes, smaller than what is needed but it's what i had on hand). I then straightened it as much as possible, and gave it a white primer coat. This is what I have...
-
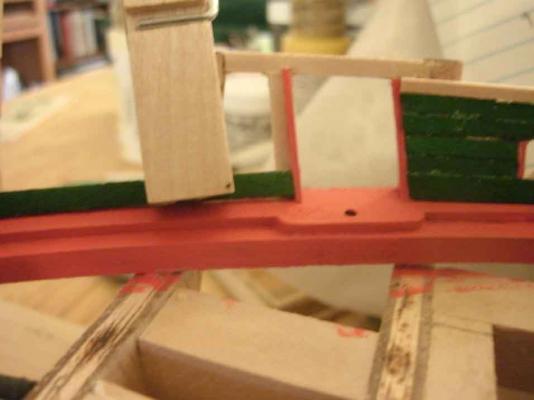
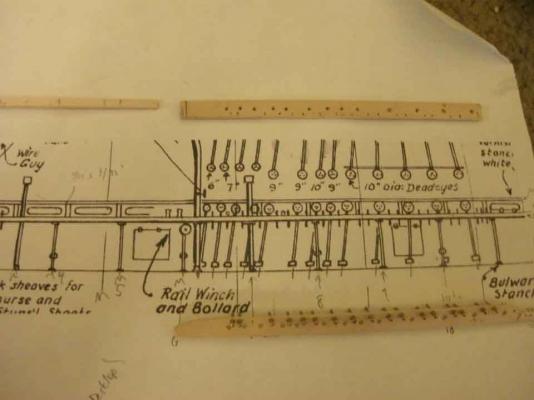
Ok. Trying first tests of bulwark stanchions; I will be installing a 1/16" square support beam underneath the main rail, in order to provide a fixed top for the bulwark stanchions to embed into, and also to provide not only a firm base for the main rail, but a point of reference for drilling pin support locations for the main rail. I've marked out drill holes in my waterway for the aftmost 10 or so stanchions, and will be drilling by hand with a 0.5mm bit in my pin vise. Cutty's stanchions were 1.5 in. in diameter, which at my 1:76.8 scale translates to 0.0195 in. or somewhere between wire gauge 24 and 25.
-
Rich- If your new landlord approves pets, I'm sure the model ship building hobby would be just fine. Now, if you were to rebuild a 454 Chevy big block in the front room, that might be a different story....!
-
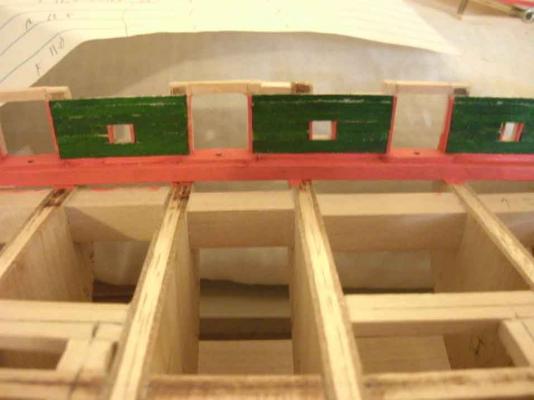
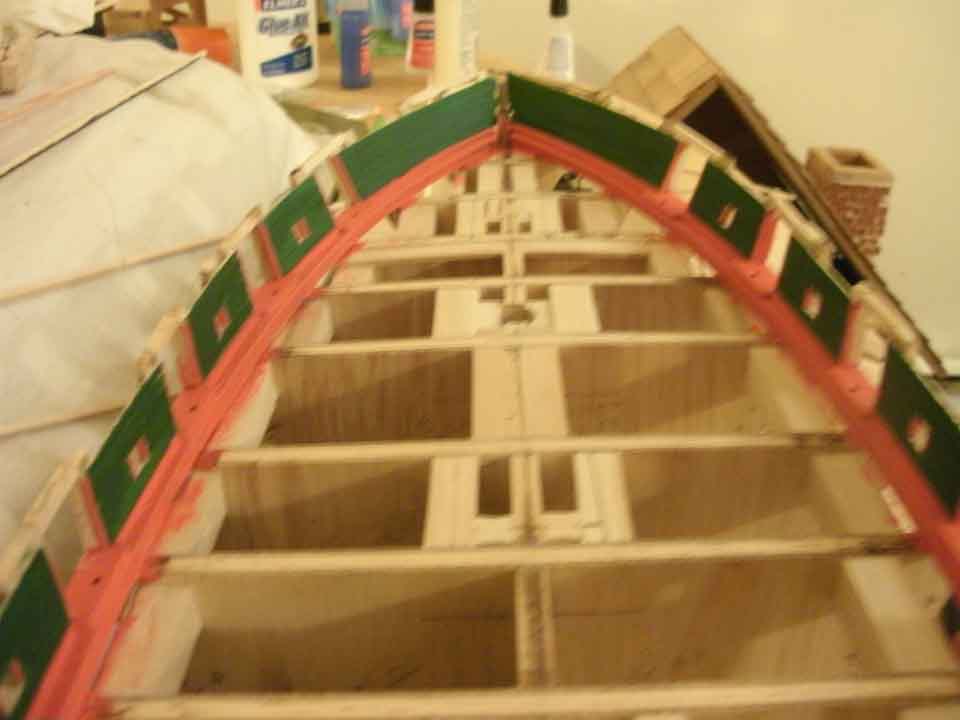
I decided to plank the inner bulwarks first in order to establish as many known and solid reference points as possible before tackling the outside planking, and it also gives strength to the model when fairing the outside of the bulwarks prior to planking the exterior. I opted to paint the planks individually because of the different colored end-grain trim around the gun and sweep ports. This allowed me to (almost) get relatively clean lines without tedious and laborious masking. Had these pieces not been present, I definitely would have planked, and then painted. I will treat the outside bulwarks in a similar manner, but after installing the planks immediately below the gunport sills, I will finish the hull planking completely before painting. Larry, is this also why you chose to do it this way? Anyway, I wouldn't call my surfaces clean; (thank you, though) they all need more sanding and coats of paint. I'm just shooting for a happy balance where the individual planks are discernible without the paint job looking like dried mud on a tree trunk...
-
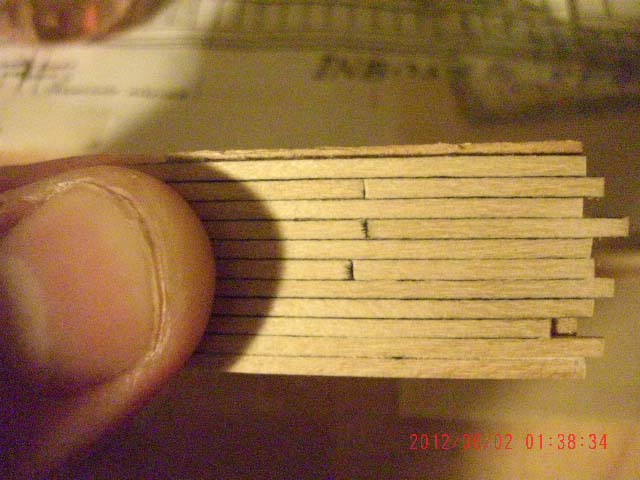
Inner bulwark planking almost complete. All I have left is the planking from the bow to the first fore gunport edging strip, plus the red topmost stringers. I found out that, for things to line up with the plans, I needed to make my topmost green planks 1/16" wide instead of 3/32" like the lower four. This proved to be universally true with the exception of one single plank: the port-side plank from the aft side of the 1st gunport edging strip to the fore side of the 2nd gunport edging strip, which is 3/32". This small discrepancy may be due to unequal fairing of the deck surface of the bulkhead(s) in that area previous to waterway/planksheer installation. The first picture shows a test fit of the lower plank on left, and a pre-cut, unpainted 1/16" plank on the right. This is the starboard plank who's twin will be wider on the port side. I'm crossing my fingers that everything will line up correctly; I've measured every possible dimension and compared it two the plans, so I am retaining my optimism... Bob