HOLIDAY DONATION DRIVE - SUPPORT MSW - DO YOUR PART TO KEEP THIS GREAT FORUM GOING! (Only 36 donations so far out of 49,000 members - C'mon guys!)
×


rfolsom
-
Posts
881 -
Joined
-
Last visited
Content Type
Profiles
Forums
Gallery
Events
Everything posted by rfolsom
-
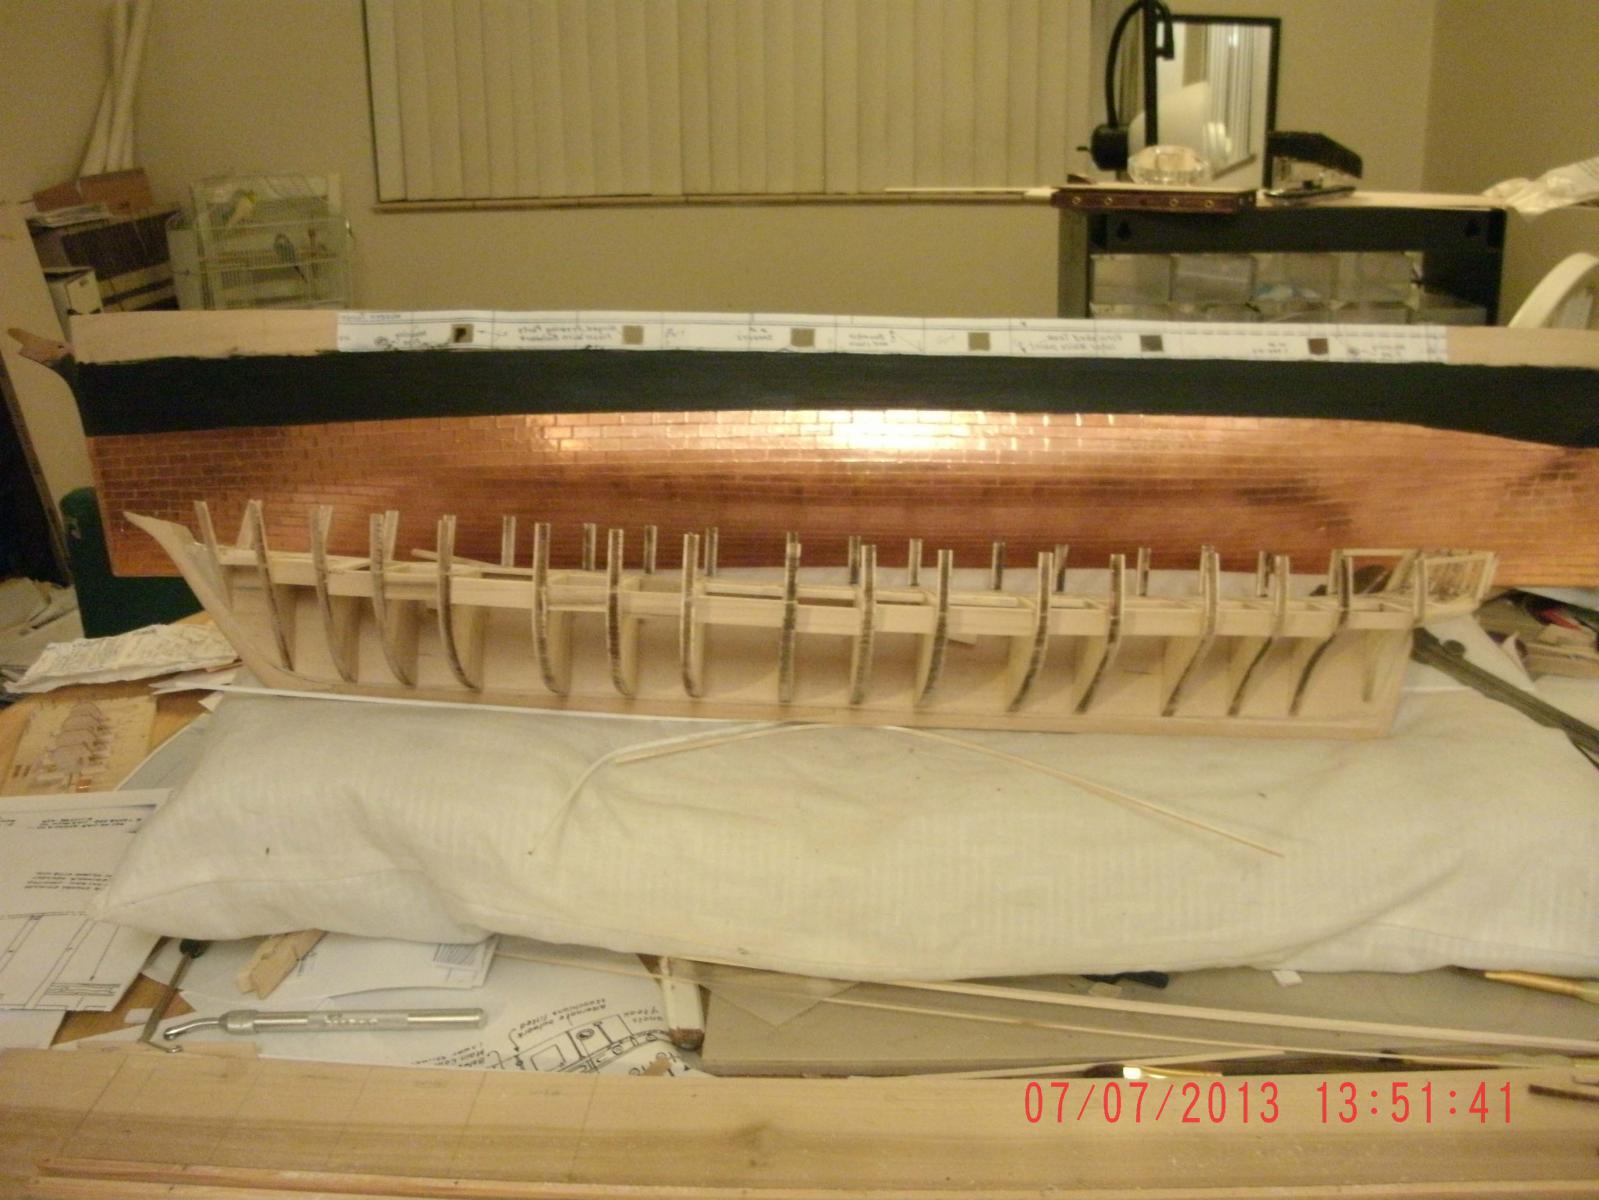
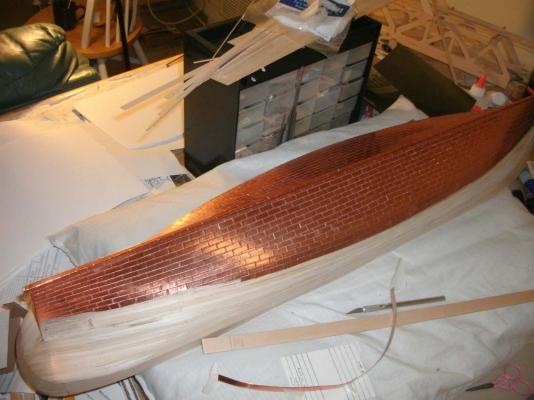
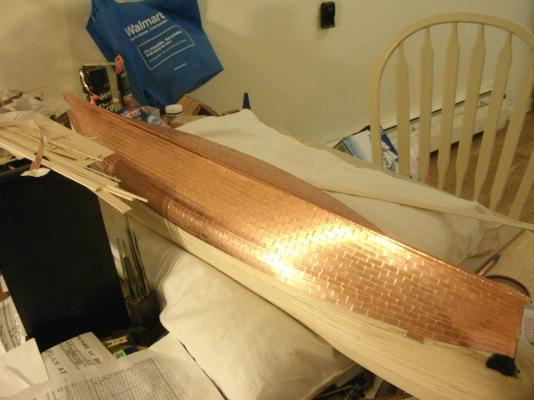
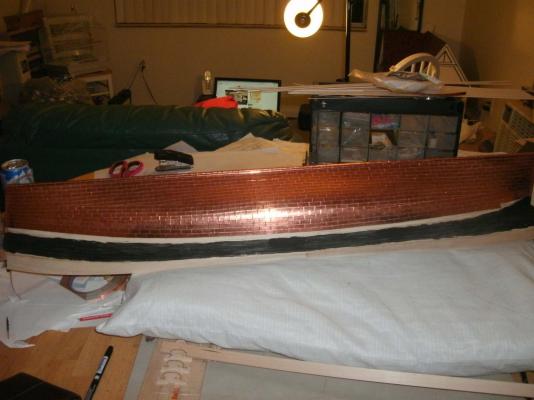
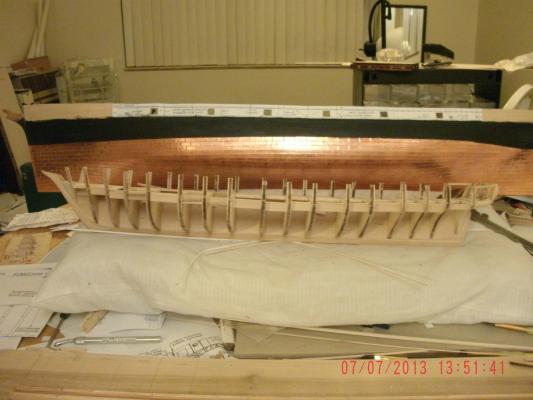
 Final stages of coppering; and first stages of painting...
-
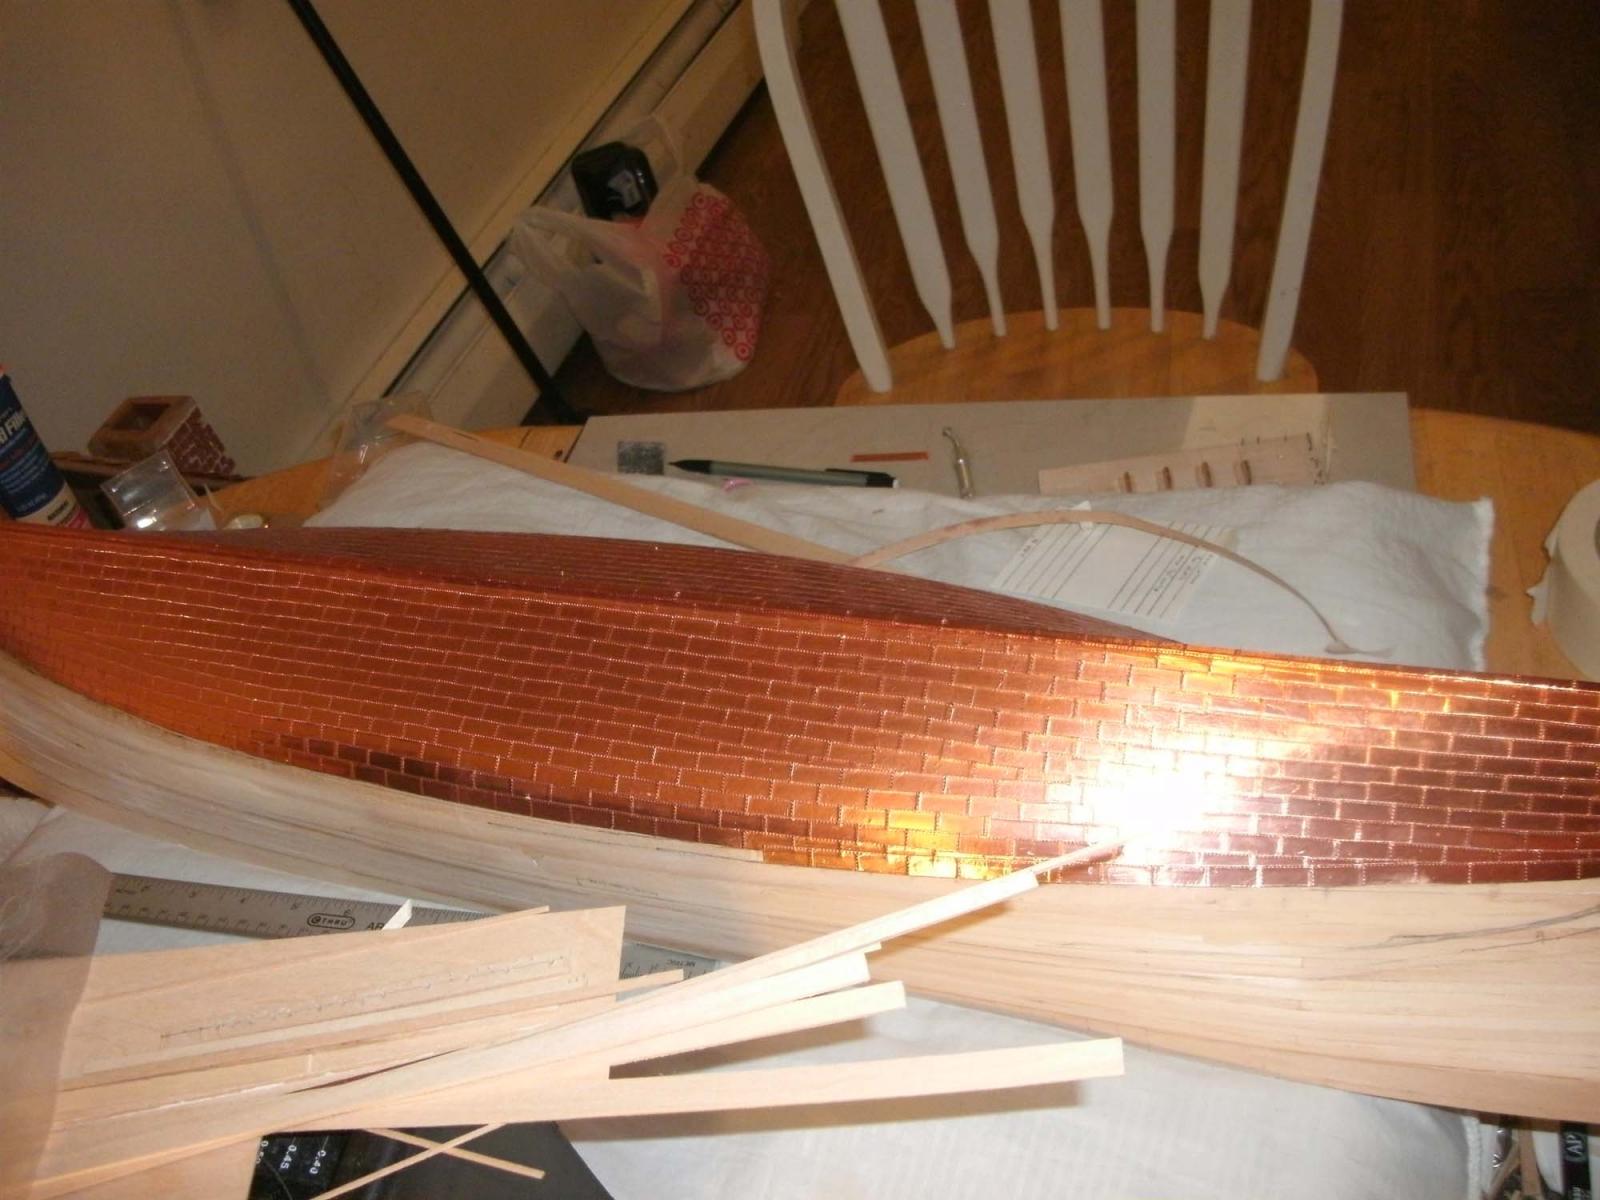
The coppering process took about three months.


-
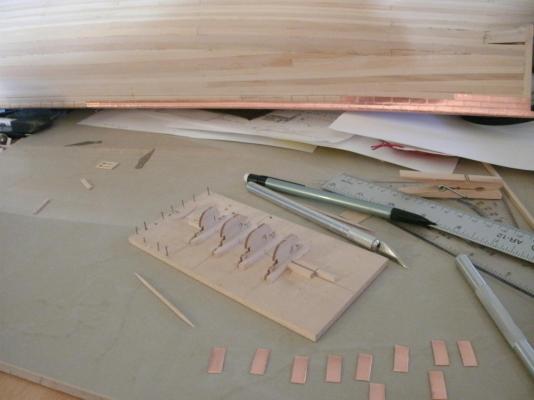
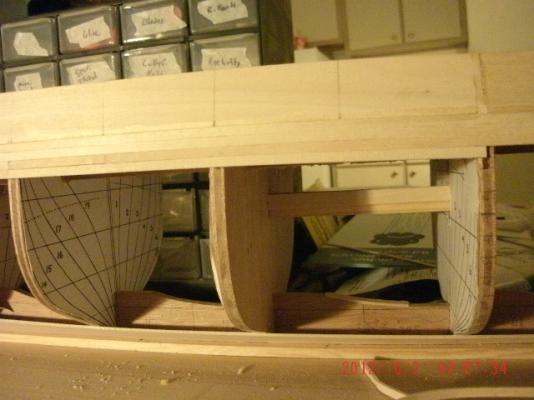
OK. I duplicated portions of bulkheads G, H, and I and built a mock-up of this portion of the ship. I also have finished the waterway and planksheer for this mini-model. I really thought doing this process would be a pain in the ***, but It is actually alot of fun! An extra bonus is I'm getting more practice on my new scroll saw


-
Hello Popeye; Indeed, there are a lot of paint schemes on this ship. This will be my version
-
Hello, everyone; I'm now at the point of installing the waterway and planksheer. I have decided, after much measurement, to build a mockup of a portion of the deck. This will be similar to Model Expo's Carronade display, only on the level of the 1:64 Niagara. I plan on copying a portion of bulkheads G,H, and I, a section of the waterway and planksheer, and then frame the gunports, plank the bulwarks, deck, and hull. In this little (approx.) 3 x 1.5 area. I will be testing the fitting of everything, testing the paints, and of course the carronade's rigging. I'll post pics soon, hopefully...
-
Hello Tony, Is your kit the old 459 (like mine) or the newer version (564)?
-
Hello, Popeye: I'd enjoy seeing pictures of your Revell Cutty; mine no longer exists (to my knowledge). Indeed, my goal is to do wood models of the "big three" (Cutty, Connie, and HMS Victory). I finished the first two as plastic models in my youth but never tackled the Victory. I have been fascinated by the tall ships since I was about eight years old; not sure why, since I am a native Nebraskan which is about as far from an ocean port as you can get. I'd be interested to hear from everyone what started their interest in this great hobby!
-
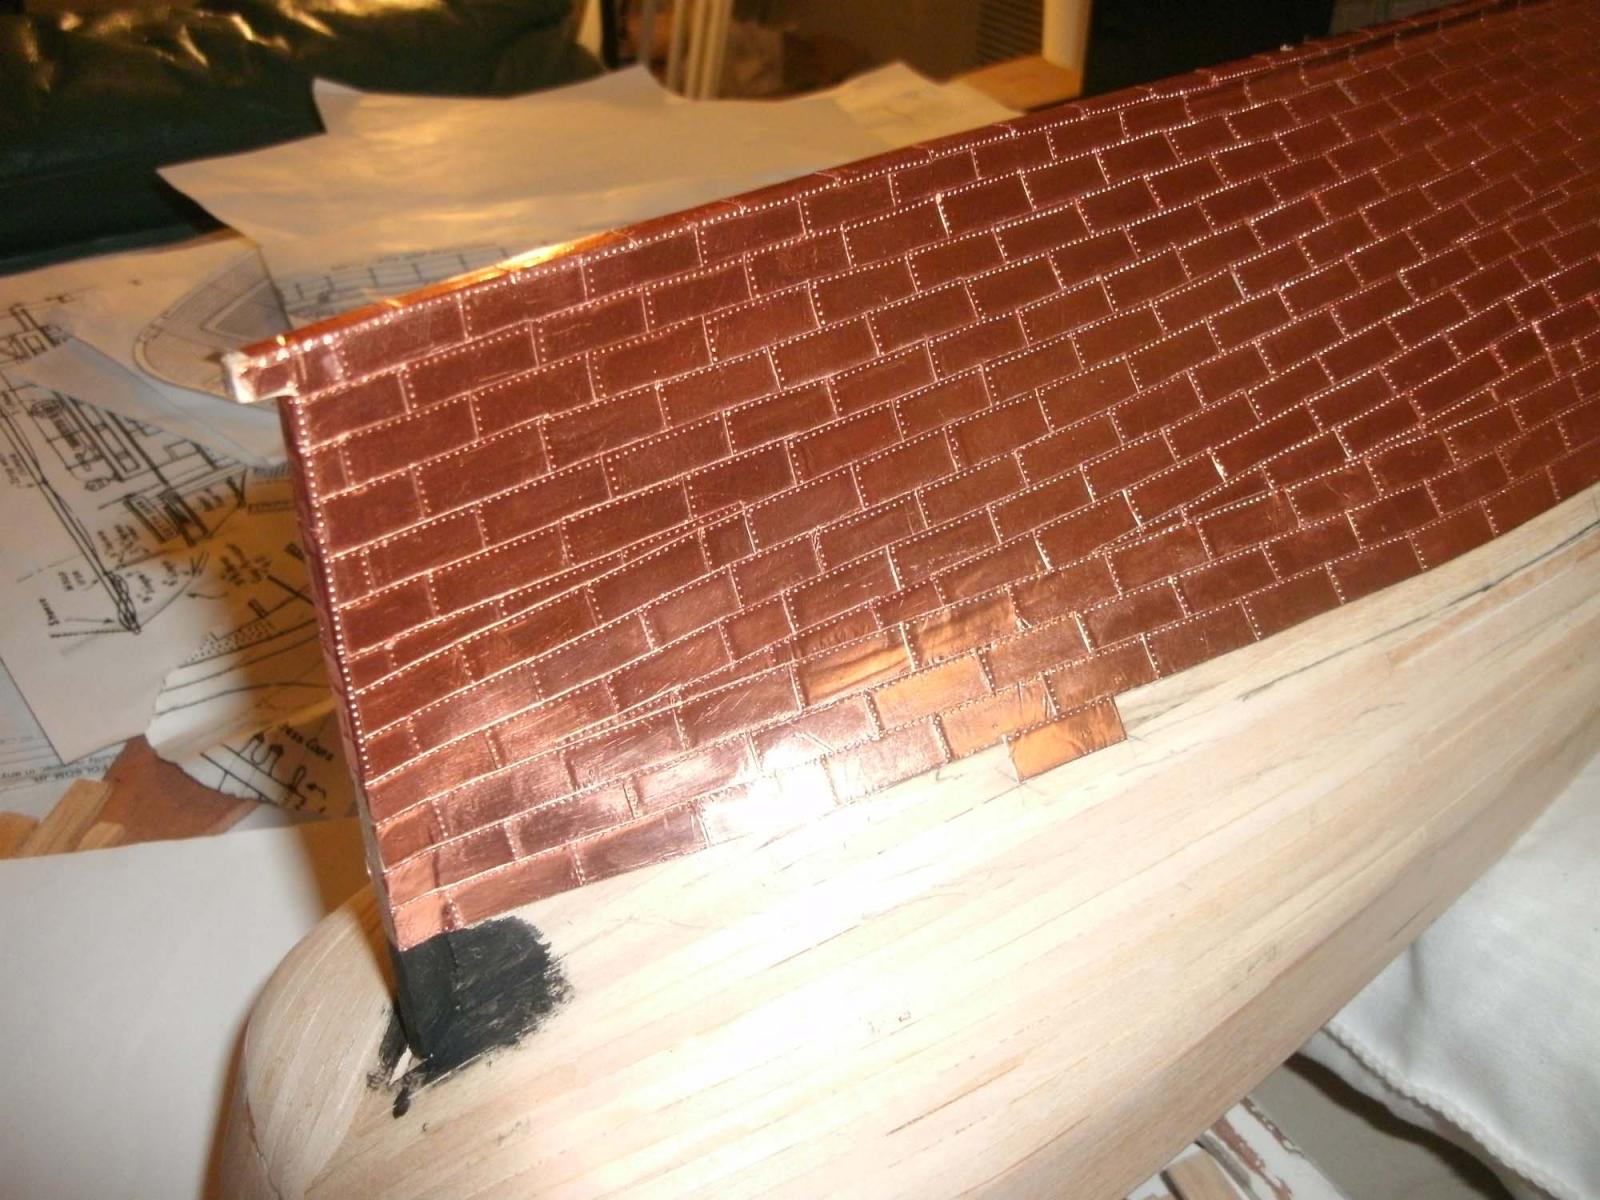
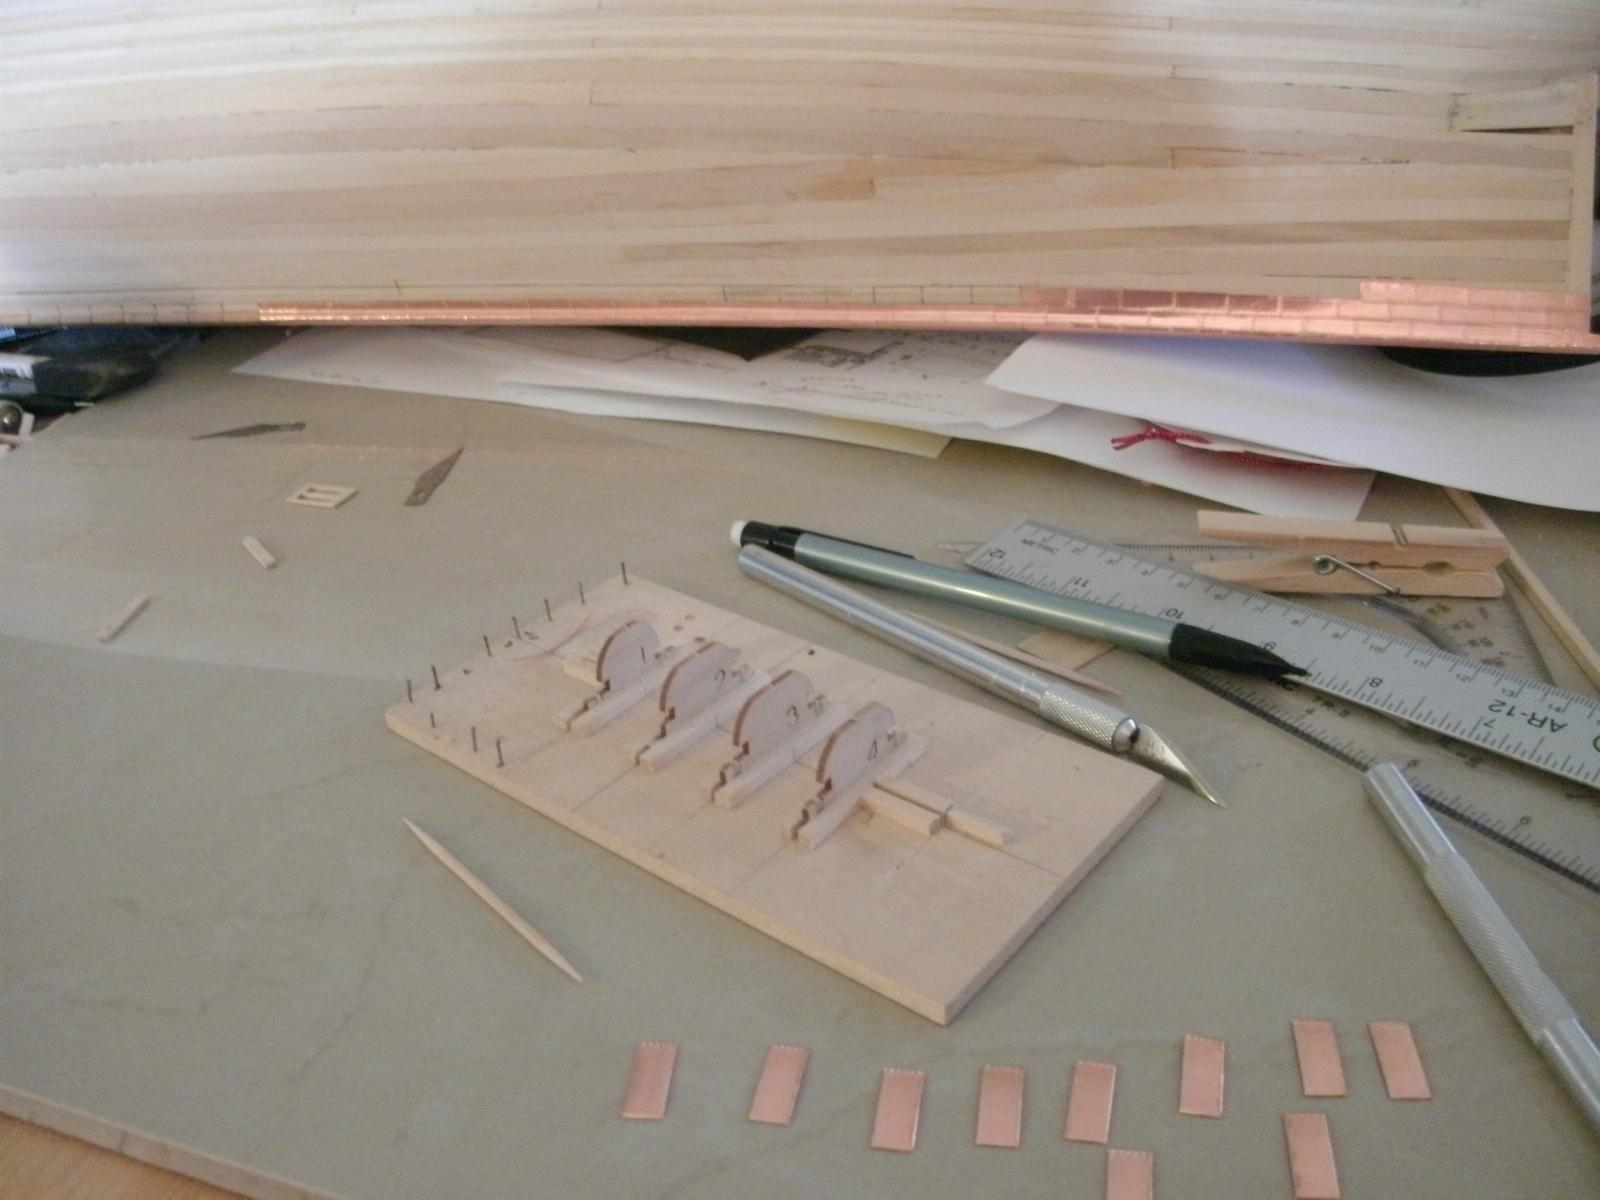
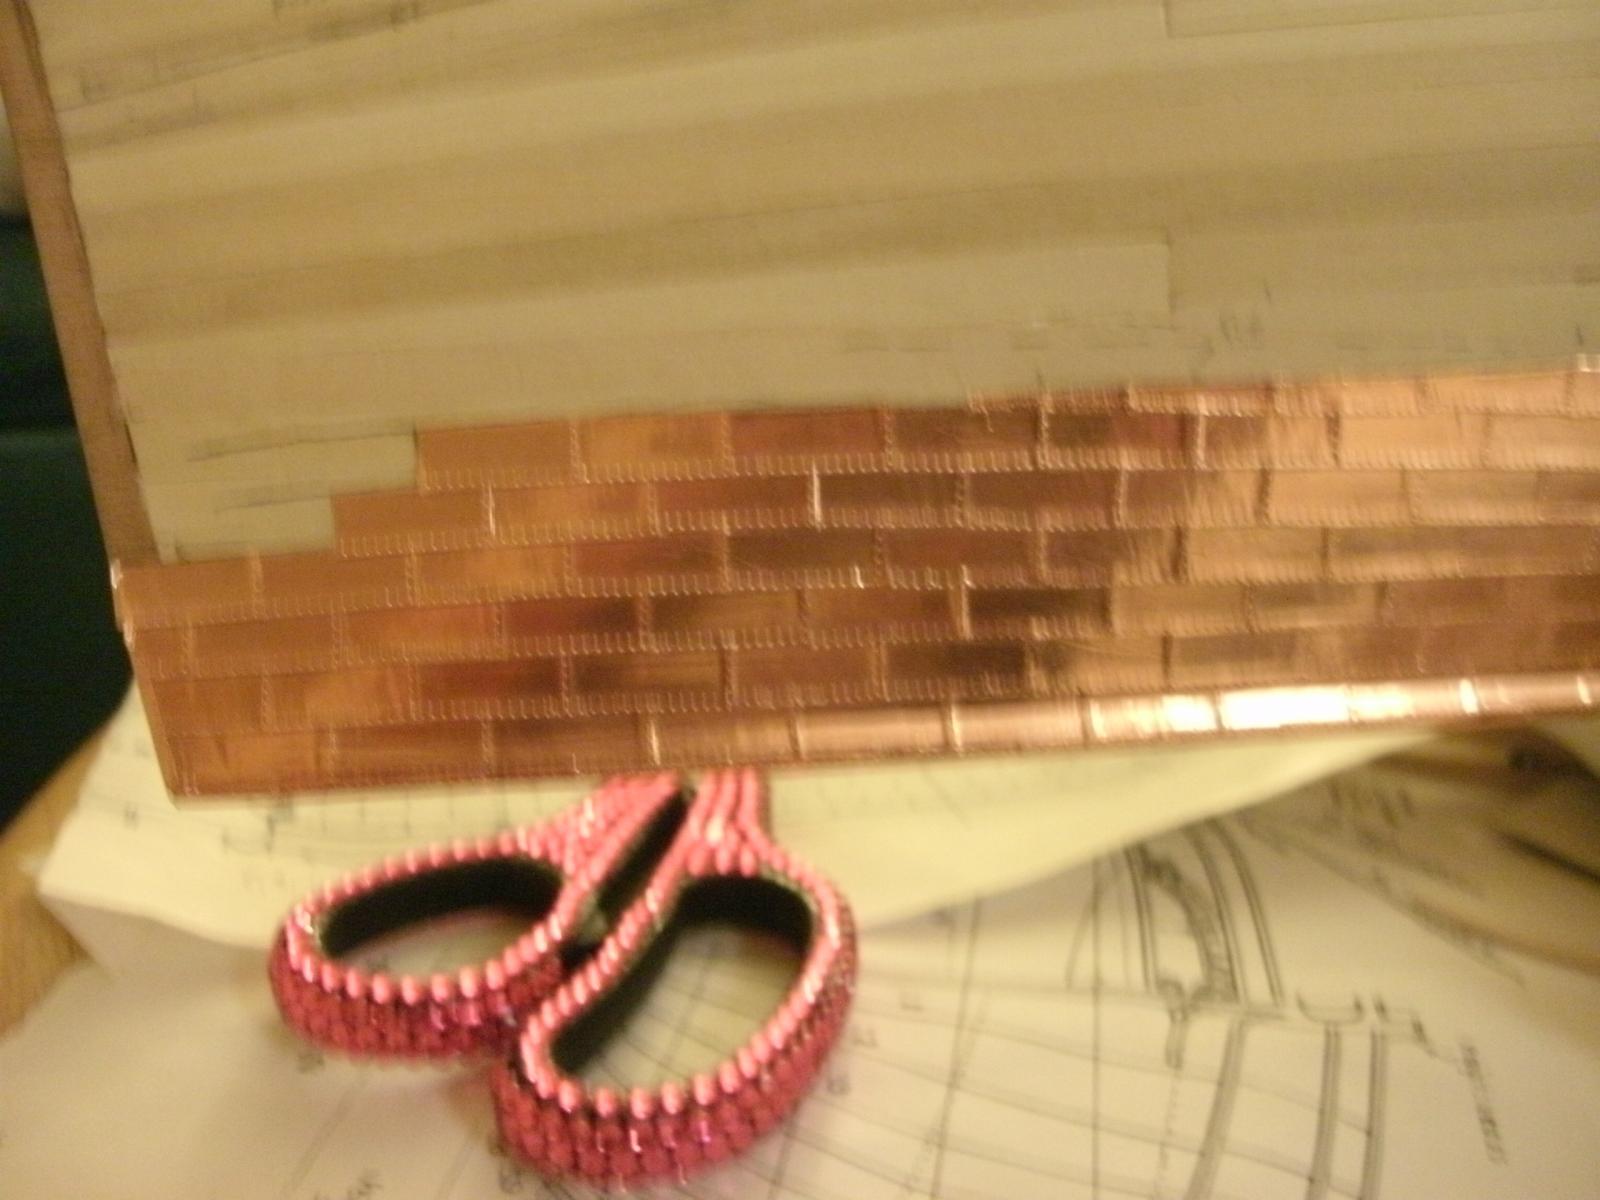
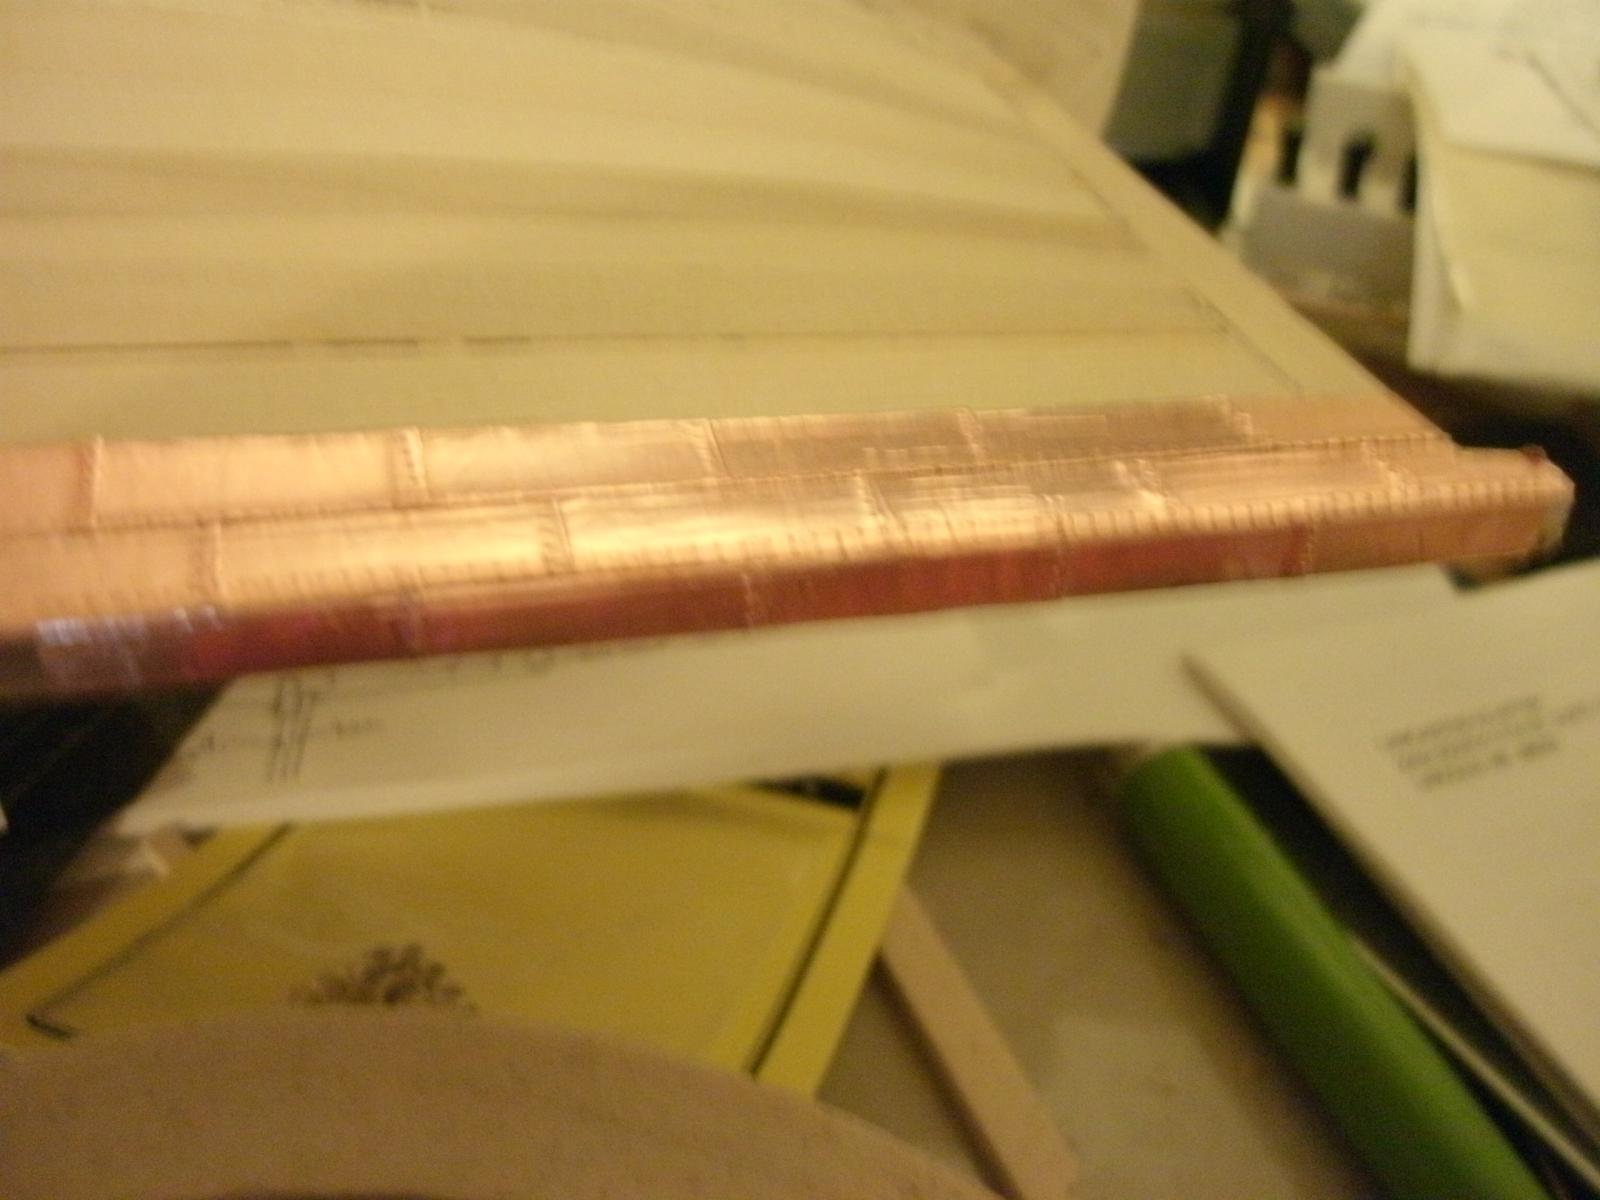
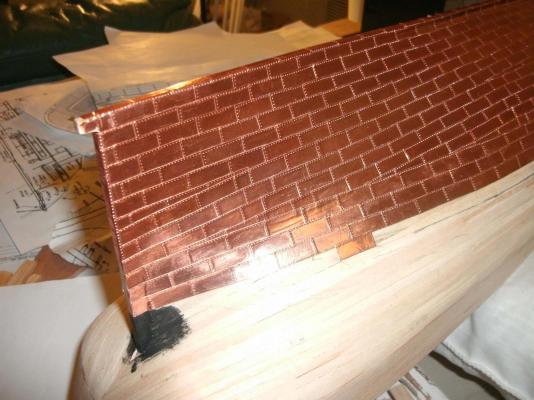
Hello Nenad; I am using 1/4 inch self adhesive copper tape obtained from Model Expo. This is the same tape supplied with their USS Constitution model, which is the same scale (1:78) as this Cutty Sark model. The width of the tape is very close to scale plate width, and I account for the 1/64" discrepancy by overlapping the plates. I made a jig so I could easily cut each plate to the required length, making about 40-50 at a go. I then used a ponce wheel (also from Model Expo) to make the nail dimples along the edges. Now then, as to the color: Pure copper began accepted use for ships' bottoms around 1783, which was found to erode very quickly and was an expensive process to maintain. A man by the name of Muntz eventually found an alloy of 60% copper to 40% zinc (Muntz metal) which was then widely used as the "coppering" of ships' bottoms from this period (after 1846). This alloy was indeed more yellow than pure copper, but probably not as yellow, or gold, as the current restoration suggests. Also, if you notice another one of my inaccuracies, the nail pattern is distributed in the middle of the plate as well, not just along the edges. After numerous experiments, I thought the effect was too "busy" not to mention much more laborious, so I opted to just edge the plates with nail dimples. So, to answer your question in 10,000 words or less, my choice was a compromise between cost, ease of installation, historical accuracy, and personal preference. BTW, I get alot of the historical information from the book "China Tea Clippers" by G. Campbell (The same one that designed the plans). This book is currently out of print, but I found a pristine copy on eBay for around $15. I was introduced to this book by watching Steve Priske's youtube videos on the Flying Cloud Clipper Ship model. (definitely worth watching). Thanks for your interest! ~Bob
-
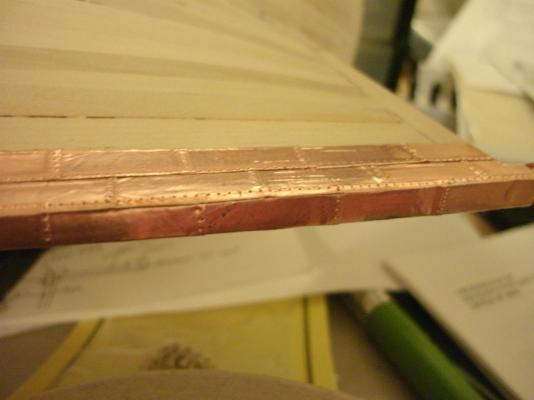
Some first coppering

-
Rich, just out of curiosity, what is your engineering discipline?
-
Thank you for the kind words, Popeye. I would say this kit is closer to 40 years old, not 25, as it included photographic slides (remember those from the sixties and seventies?) of the original ship. As far as calling the kit inaccurate, maybe I was a bit premature, as the bulkheads were quite close to Mr. Cambell's plans, which were not (to my knowledge) included in a practicum, as he made them in the 1950's for the original (?) restoration. (Plans that is, not bulkheads) Believe me, If I found a practicum on this ship I would be using it right now! I don't mean to sound critical of any manufacturer, or any kit; indeed, the fun of the build is trying to make it as historically accurate, or personally fulfilling as possible. As a child, I completed Revell's Conny and Cutty, and was always disappointed that it didn't look like the box. At 12 years old, it took me half an hour to glue the two plastic halves of the hull together, which seemed like eons. Now, at 44, I spent 7 months planking the hull, and wonder if I rushed the job.
-
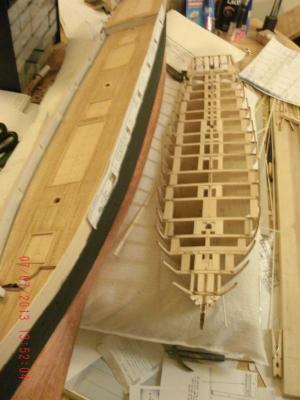
Views underneath the forecastle deck, the finishing of the hull planking, and initial test of first copper tile... BTW, this is how she looked in Nov. 2012.

-
Sorry about the foreigner, (Cutty Sark) she and the Niagara live together on my workbench... Sometimes they get jealous...
-
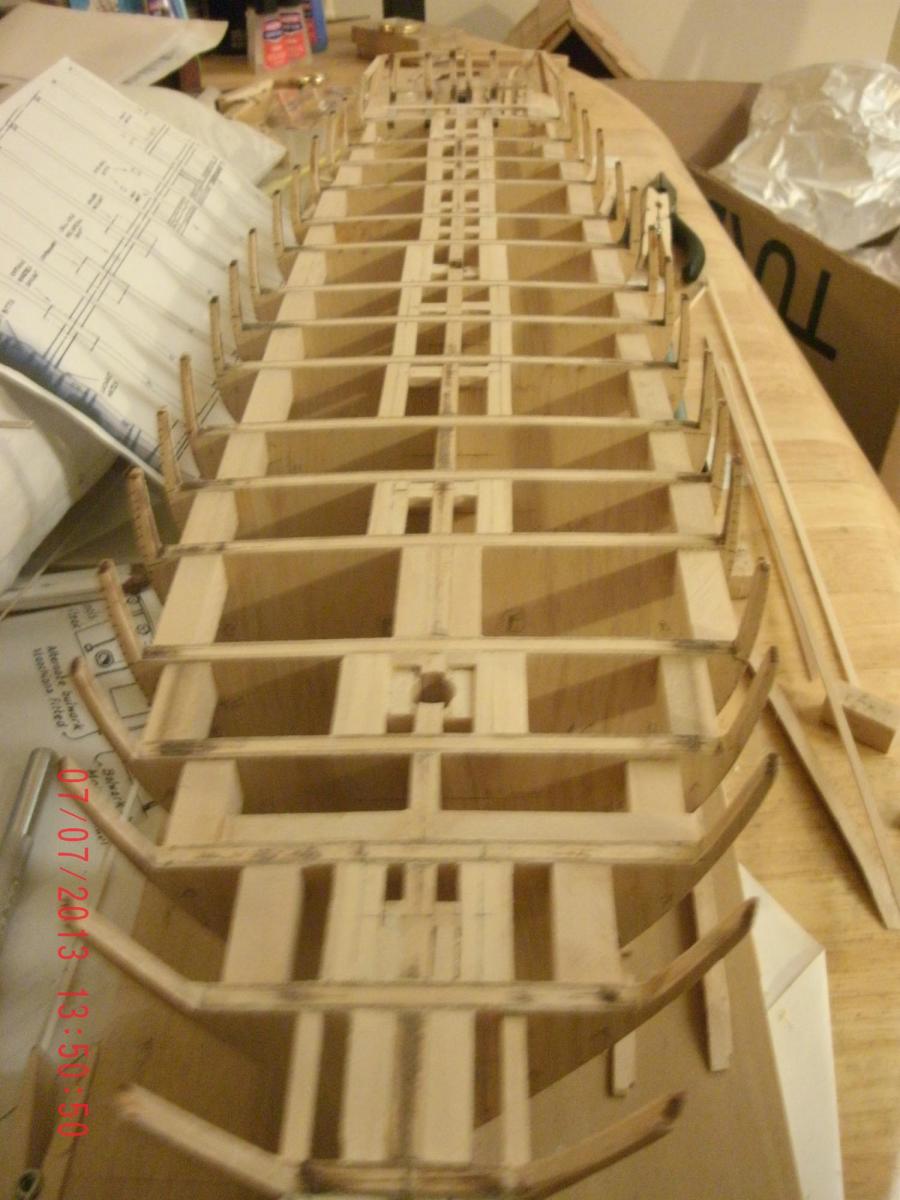
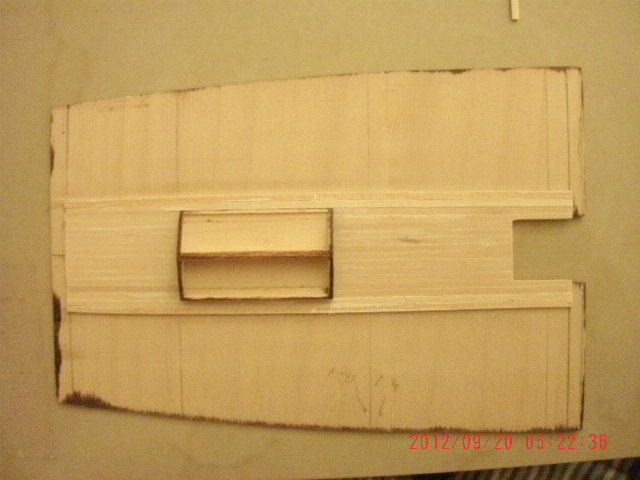
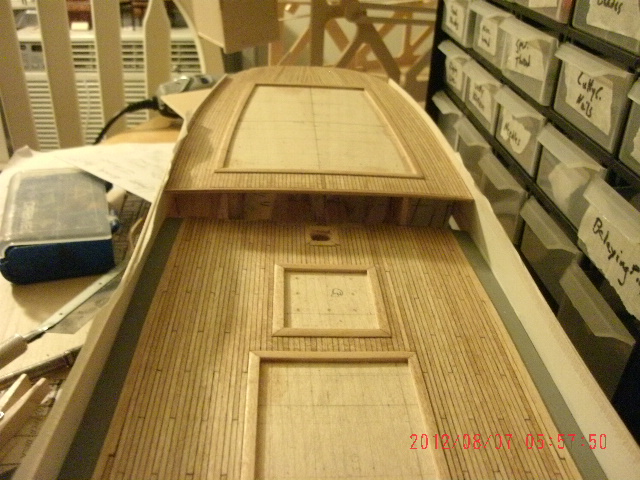
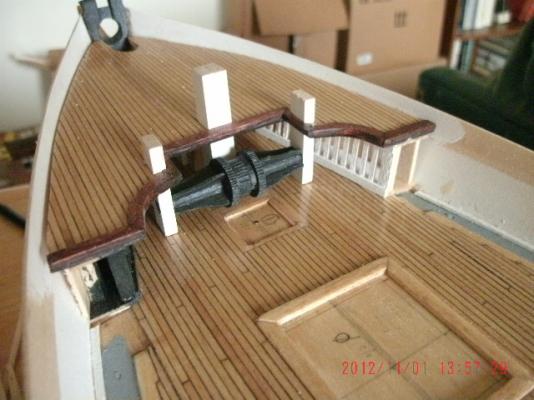
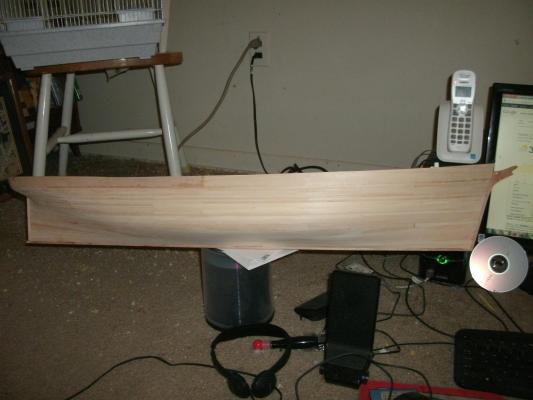
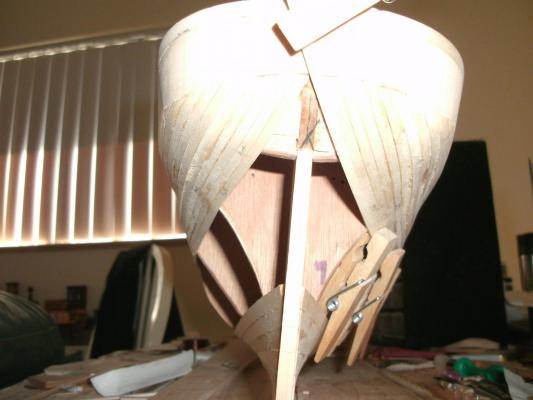
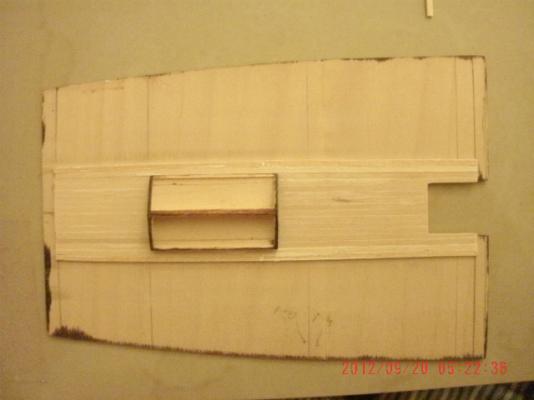
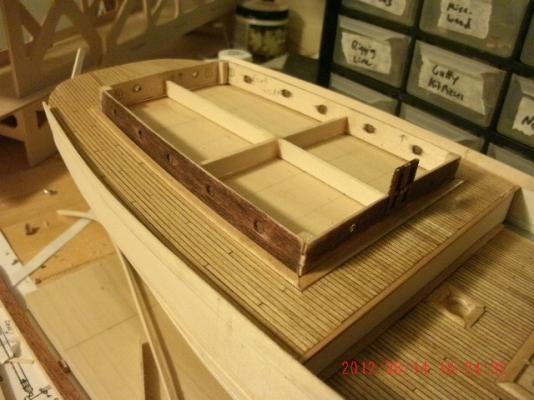
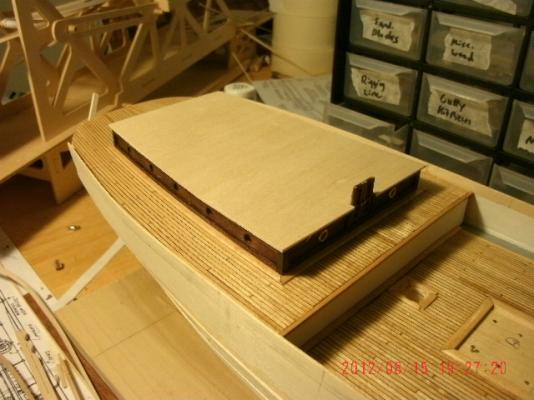
Hello all; finally finished the base framing for the coamings tonight... And no, they aren't perfectly square to anything, they are just there to give support to the deck planks that butt against the coamings. I have tried to preserve the lay of the deck, including the camber. Here's also a pic or two of the Cutty Sark I've been (mostly) scratch-building for the last 16 months. This is a big learning process for me, but it's fun, and beats the heck out of my childhood builds (alll plastic, Revell mostly). When I was 10 years old, in the 70's, I sandwiched two hull halves of the cutty sark with the deck in between, and painted the copper all in one day. It's taken me 16 months to replicate the process with POB and individual copper plates..

-
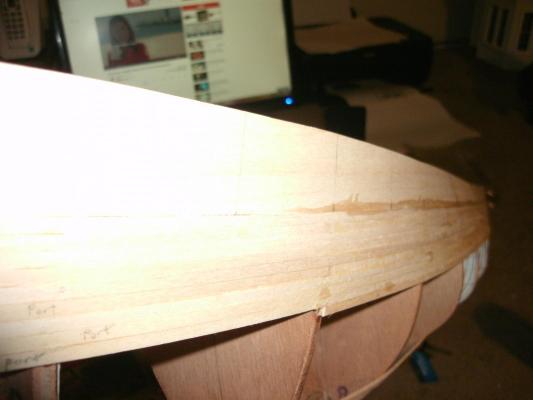
As this is a composite ship, the bulwarks from the original were made of iron. This highly inaccurate kit would have you plank right up the bulwarks with wood. I chose to form the bulwarks from 1/32" basswood sheet, which will be sealed and painted. Since most of the hull below the waterline is coppered, I chose to plank with 1/4" basswood, only turning to 1/8" basswood after the copper line to keep things in scale. Stern filler blocks were re-sculped by parakeets, so no more of their cage on my workbench...
-
Cutty Sark by NenadM
rfolsom replied to NenadM's topic in - Build logs for subjects built 1851 - 1900
Hello Nenad; I too faced, and am indeed yet facing all those questions. I thought long and hard about even installing the bulwarks before planking, but decided to anyhow. My bulwarks are made from 1/32" basswood sheet, and are quite delicate. Indeed, during the planking and sanding process, no matter how careful I was, they cracked several times. I gave up repairing them after the second crack and waited until planking, sanding, coppering, and some painting were complete. I also debated about installing the deadeye chains before planking in order to secure them better below deck. I did not do this, and it may come back to haunt me later. We'll see. This hobby is indeed about the journey more than the destination, and if I mess up during the process, I'll move along to another area and tackle my mess up later. That is what's great about this hobby; if you get frustrated with decking, planking, etc. you can work on building a deckhouse or shaping a mast. Or making cannons, if it's a warship. My best advice is to get ahold of G. Campbell's plans (3 sheets) as good plans are a saving grace for any ship modeler. I treat mine as the final word when I see discrepancy with kit plans, and indeed the old kit I have had no instructions supplied; just Campbell's plans. It can be very discouraging when poorly made kit plans (most are, unfortunately) disagree with themselves. I think you're doing a great job; keep at it; I would say most people do not have the patience for this hobby, which is harder than building a house. But we all reap the rewards!- 4,152 replies
-
- 1
-

-
- cutty sark
- tehnodidakta
- (and 1 more)
-
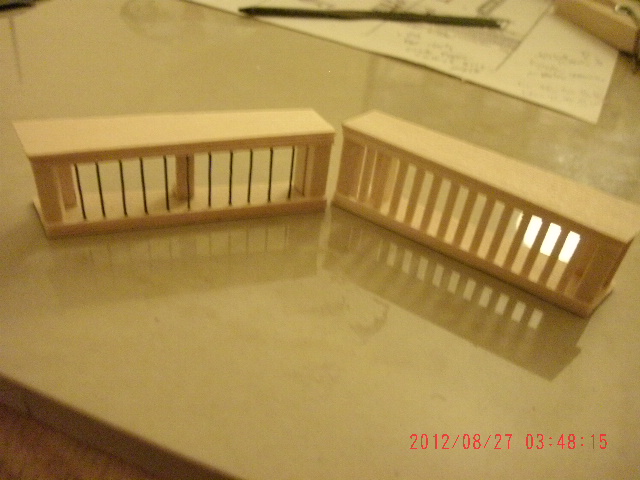
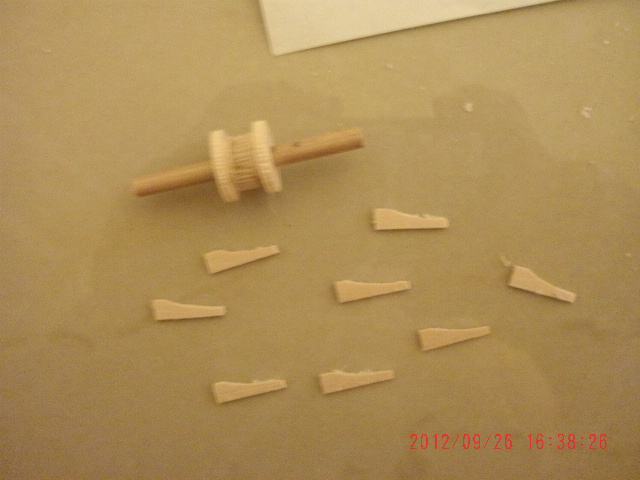
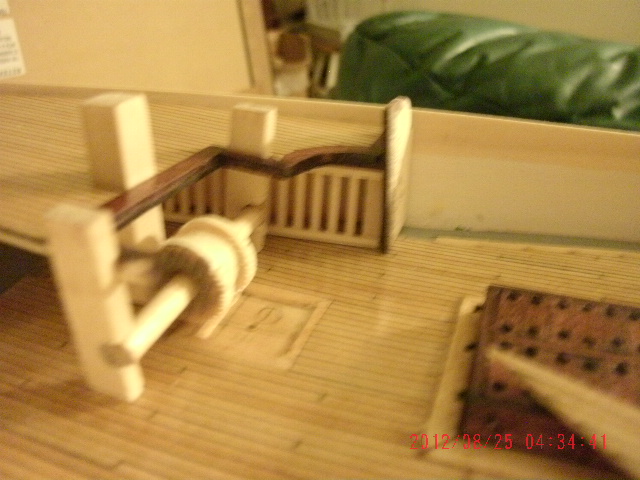
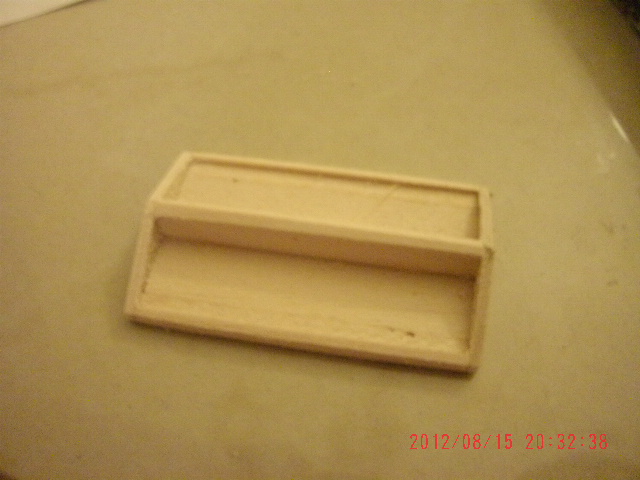
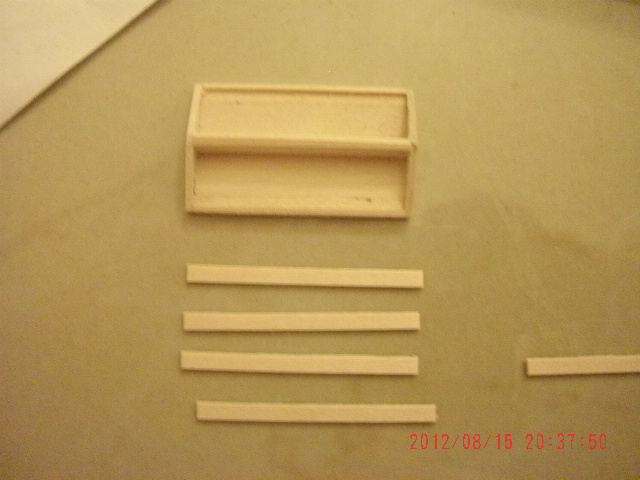
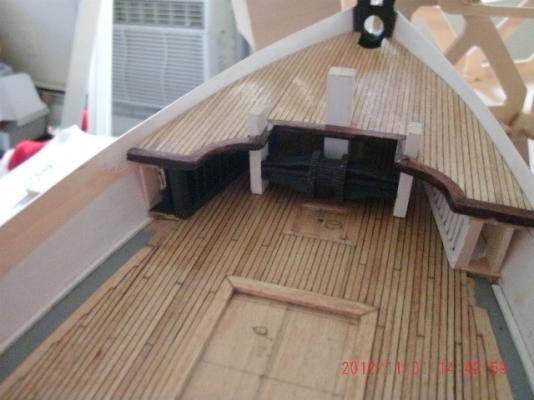
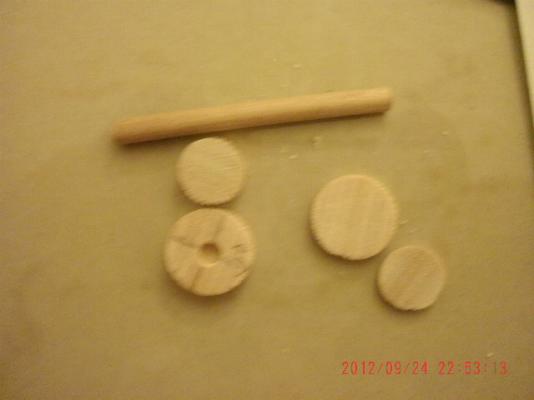
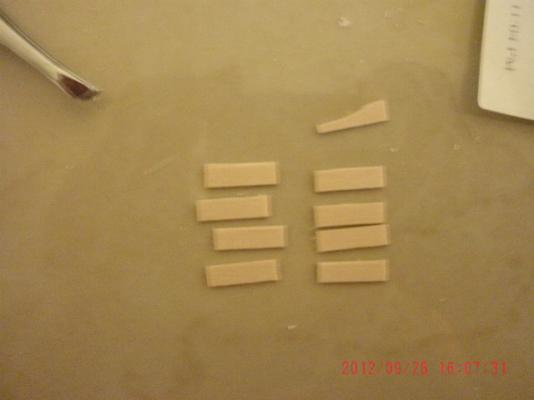
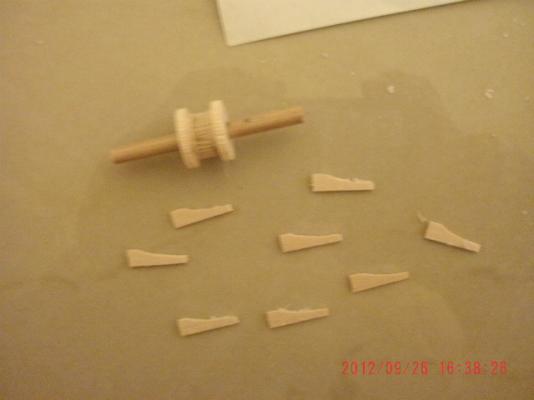
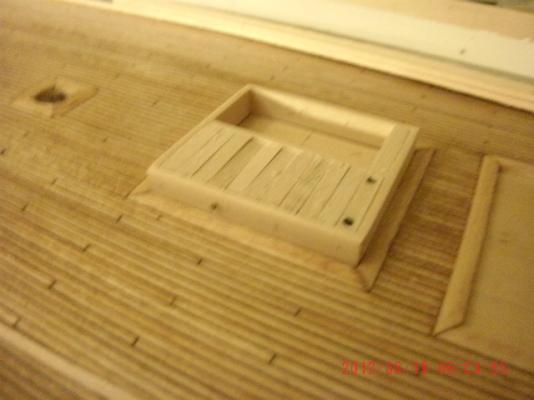
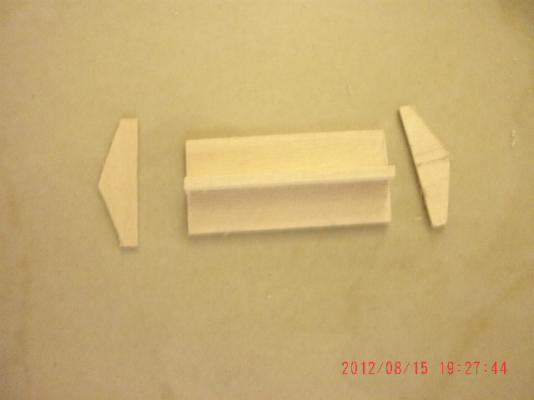
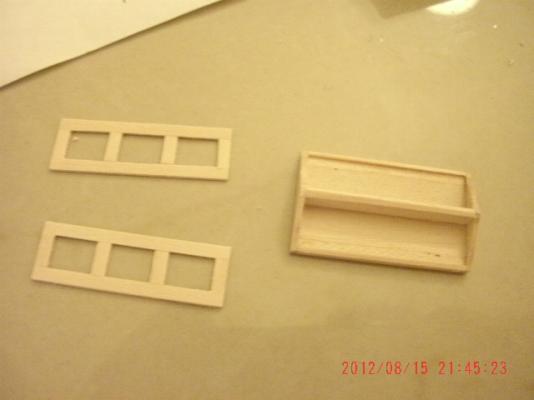
Finished paint locker/pigpen, and windlass assembly process. I wound up painting the paint locker white, and the pigpen black. Not sure if this is correct, (Campbell's plans do not say) but a photo of the real ship shows a white paint locker, and who would paint white a cage for farm animals? (Maybe I'm wrong)

-
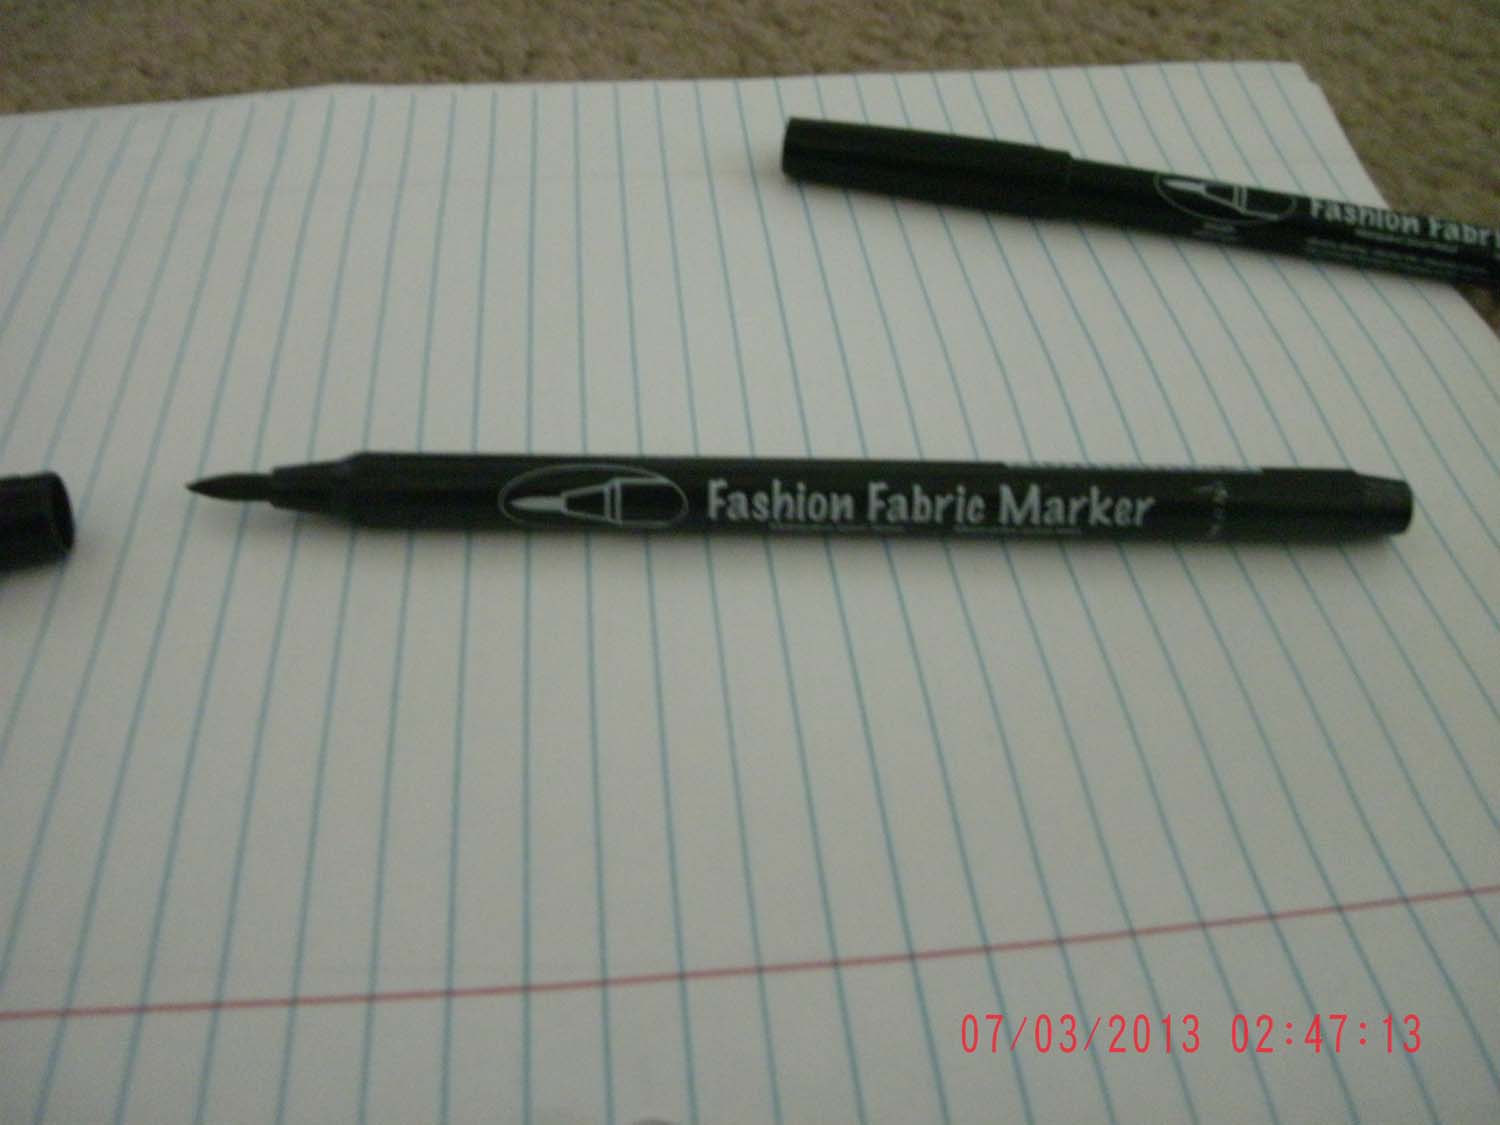
Hello, Pete, Thanks for the compliment; after experimenting with all sorts of paints, markers, and even string, I found my best results from my girlfriend's black fabric marker (who would have thought?). It does not leech into the grain of the wood like a Sharpie, and has no build-up like paint. I mark both sides of each plank, but only one of the butt ends. I believe she gets these markers at Michael's craft store. Here's a pic..

-
Hi Michael; Thanks so much for your kind words and a warm welcome to a fellow newbie! I'd love to visit the actual ship; probably won't happen anytime soon, though.. What project(s) are you currently working on? -Bob
-
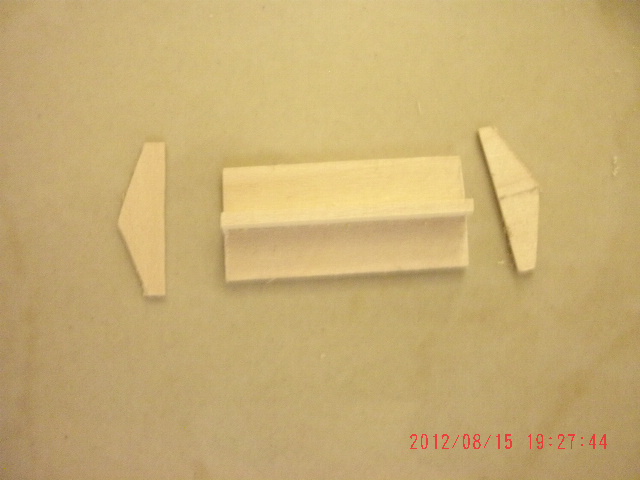
Tried to caulk the top of the poop deckhouse with white; this did not work well, but too much time invested....

-
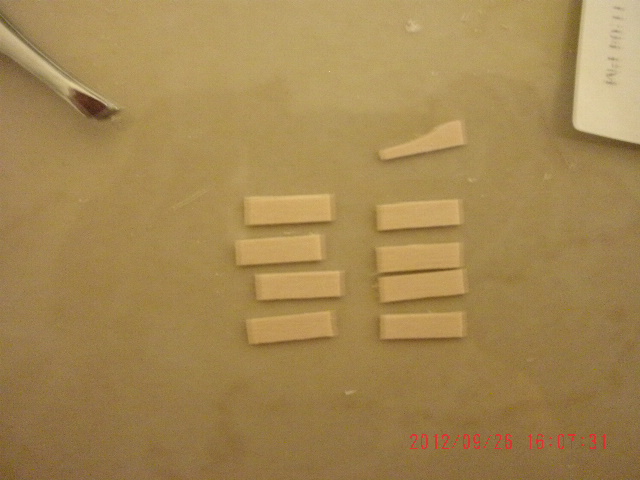
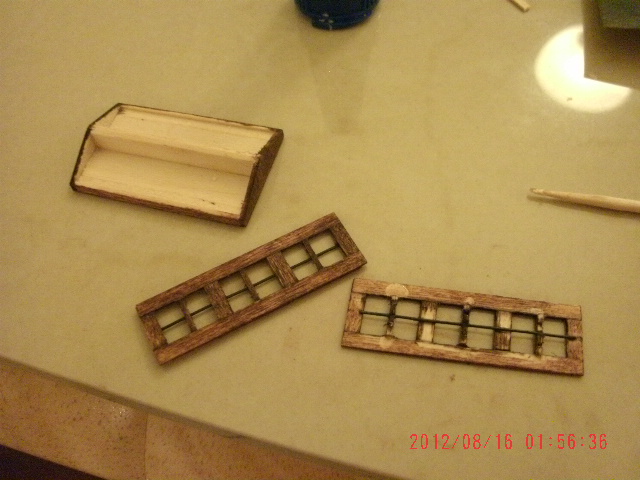
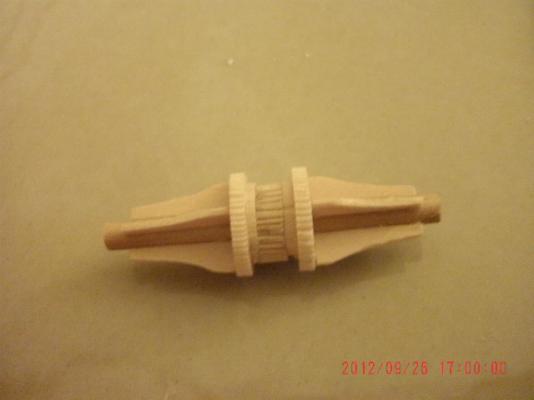
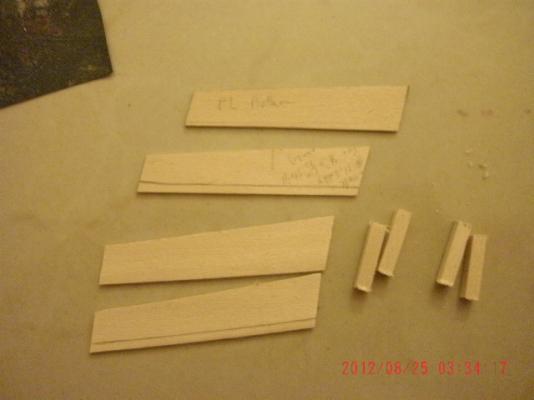
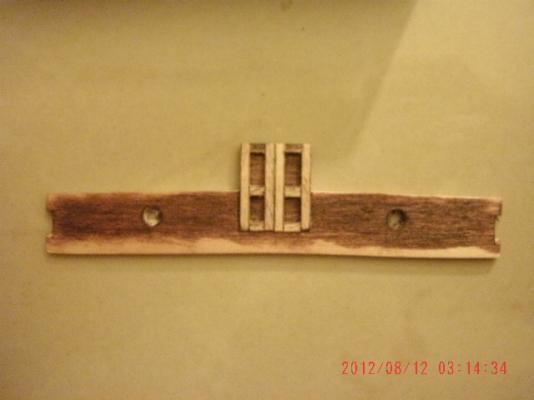
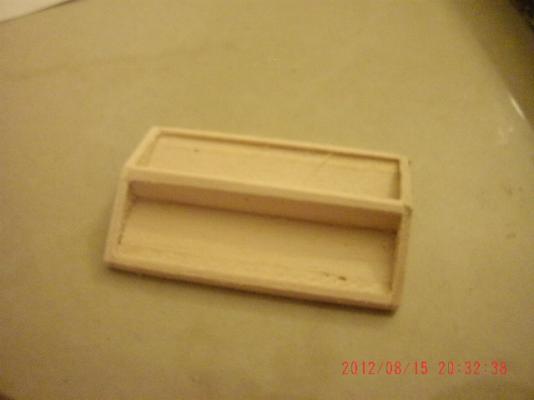
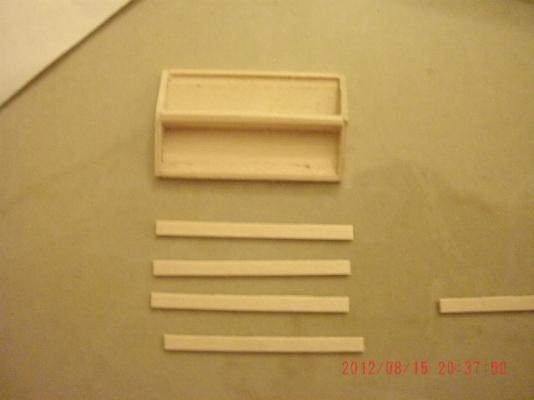
Hatch, windlass prototype, and pigpen and paint locker...
-
We always learn from each other, and I'm glad to be a part of a forum with so many good people.


-
Some of the skylight..

-
More pictures...
-
Brian and Rich; Thank you for your welcome and mentoring! Hope to have some more done on the ship soon; in the meantime, I'll just peek at your builds.....:?