HOLIDAY DONATION DRIVE - SUPPORT MSW - DO YOUR PART TO KEEP THIS GREAT FORUM GOING! (89 donations so far out of 49,000 members - C'mon guys!)
×

Pete D
-
Posts
176 -
Joined
-
Last visited
Content Type
Profiles
Forums
Gallery
Events
Everything posted by Pete D
-
Looks great
-
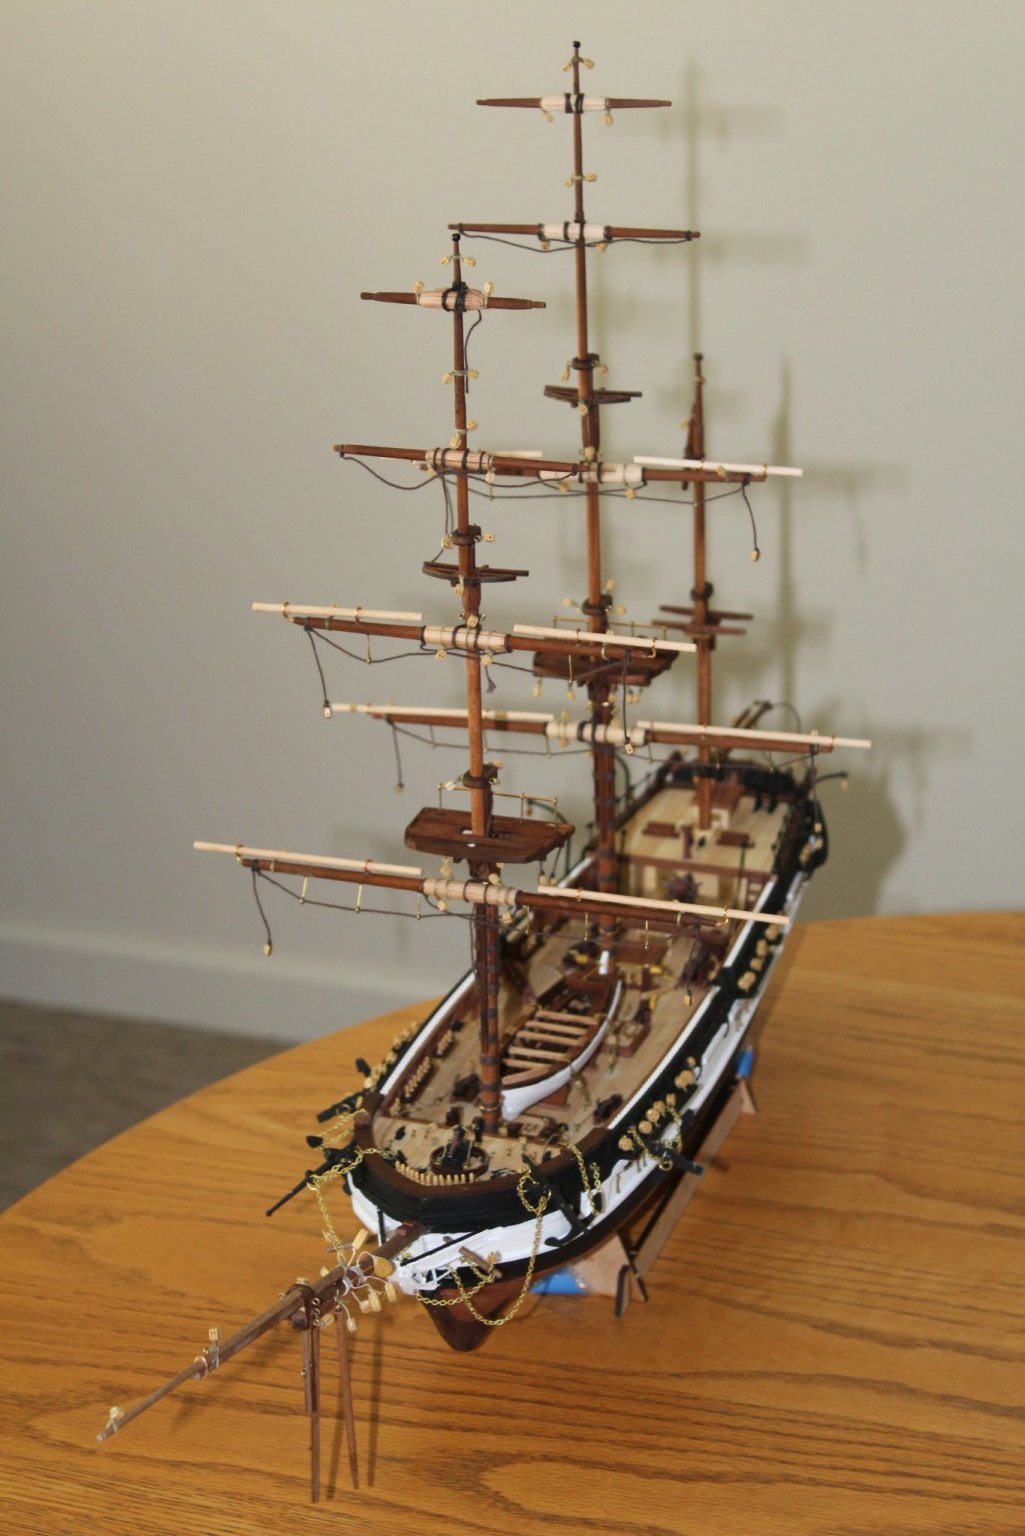
Attached the bowsprit also . Its seemed out of allignment , but I guess it was the angle of the photos

-
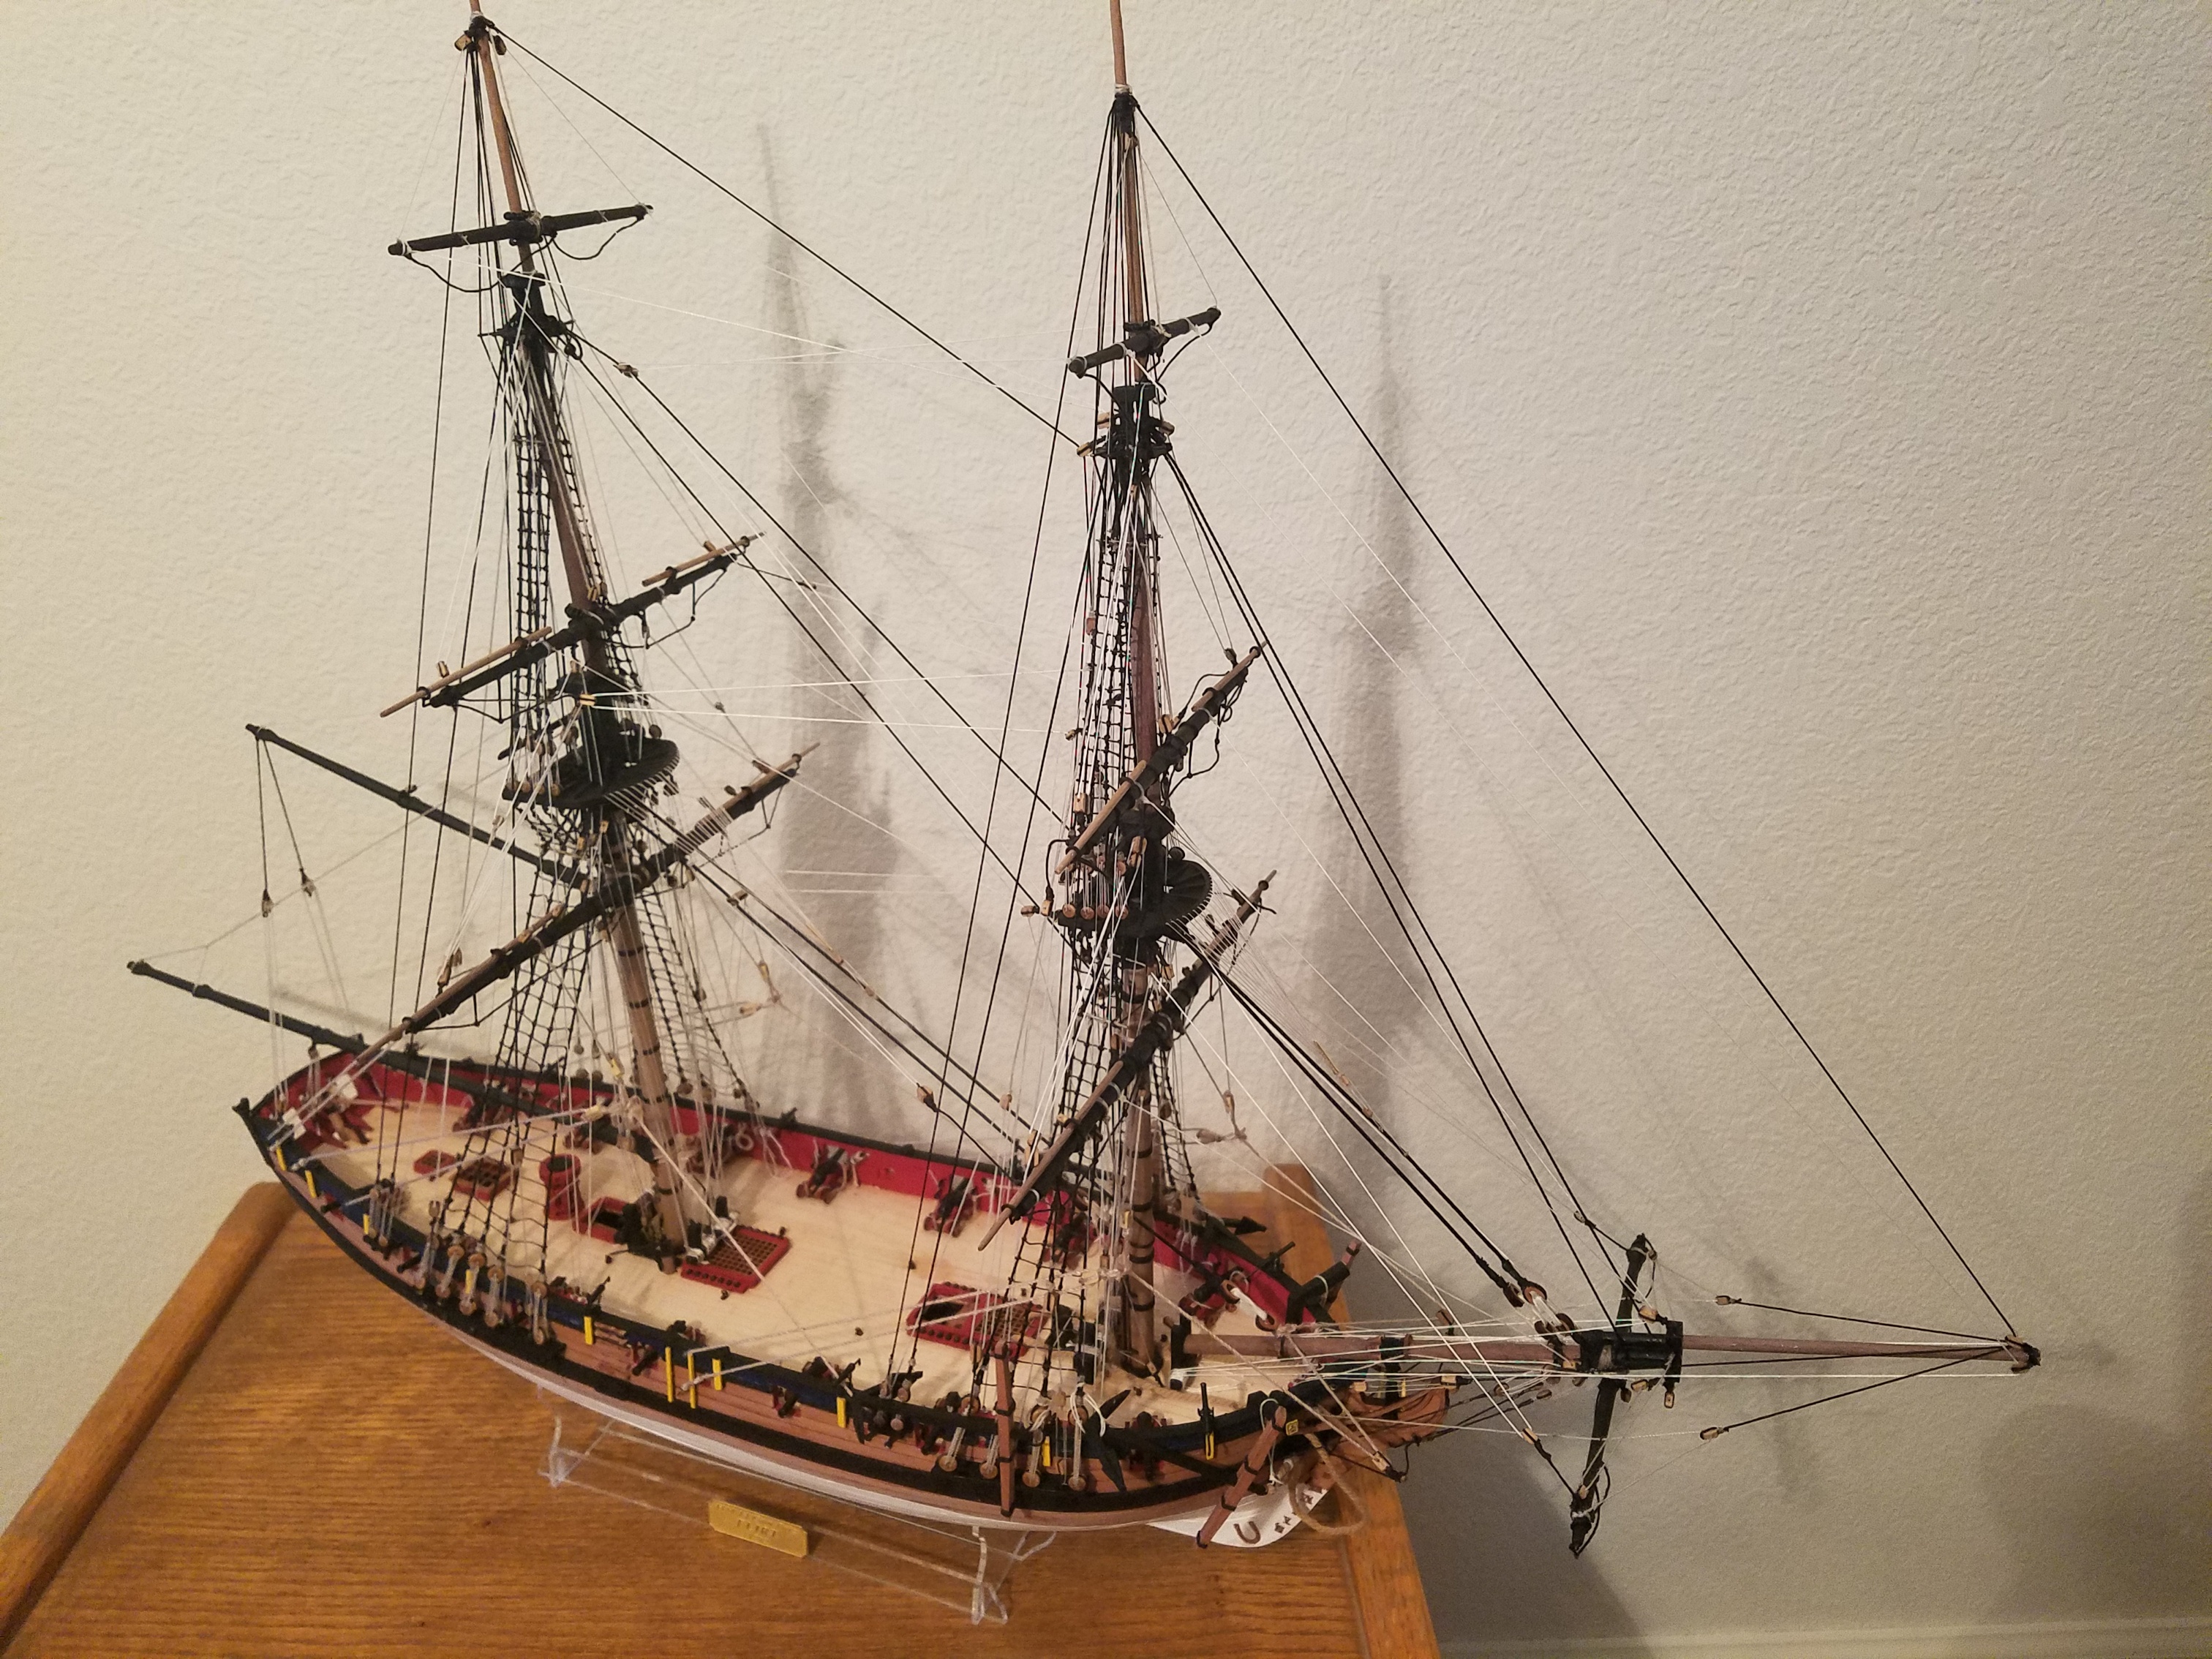
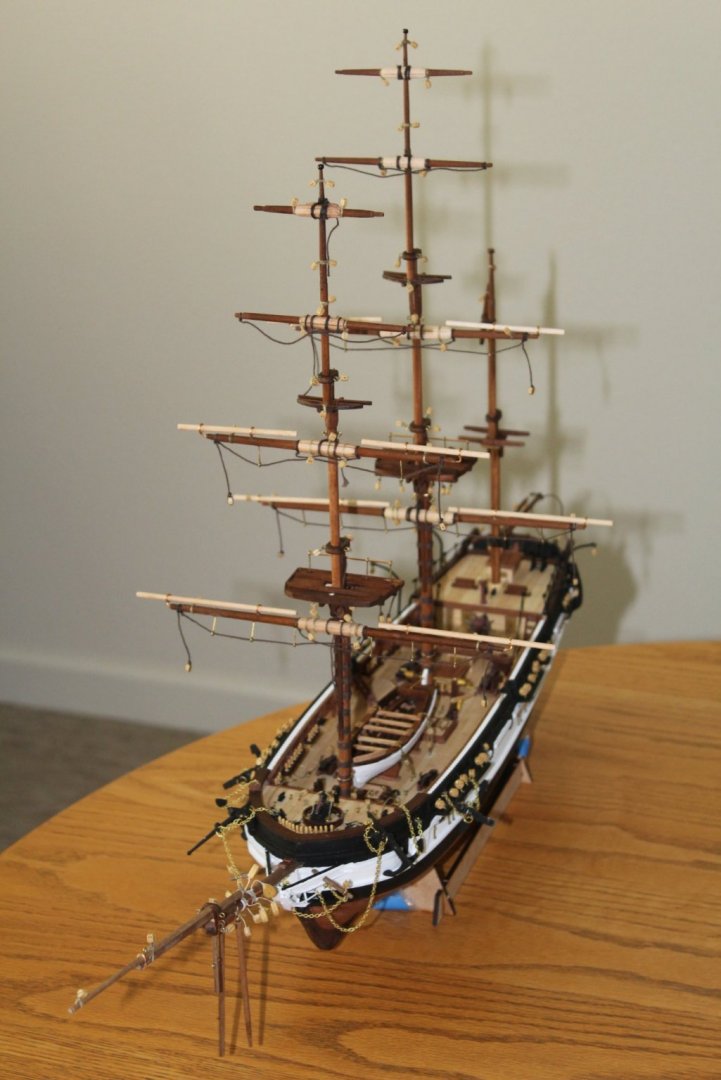
the moment of truth. All yards are now attached , no going back . And then the masts . Too late now if I see anything missing....
-
Also checked everything was parallel to each other before glueing . Looks a pretty site now that one can see it all coming together
-
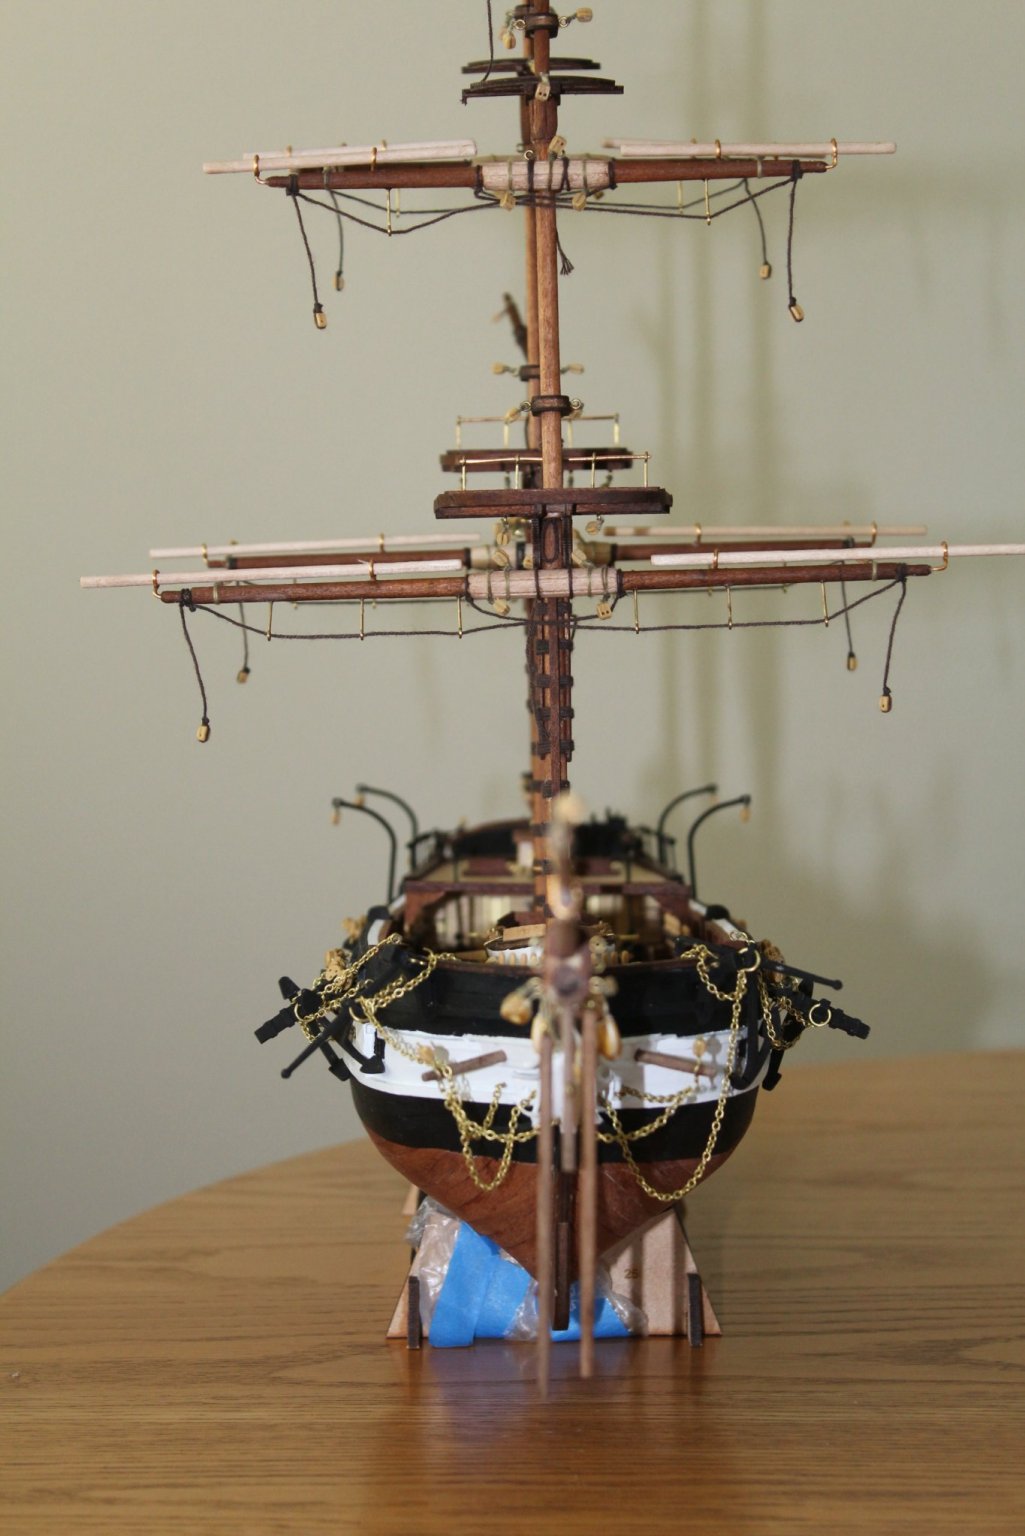
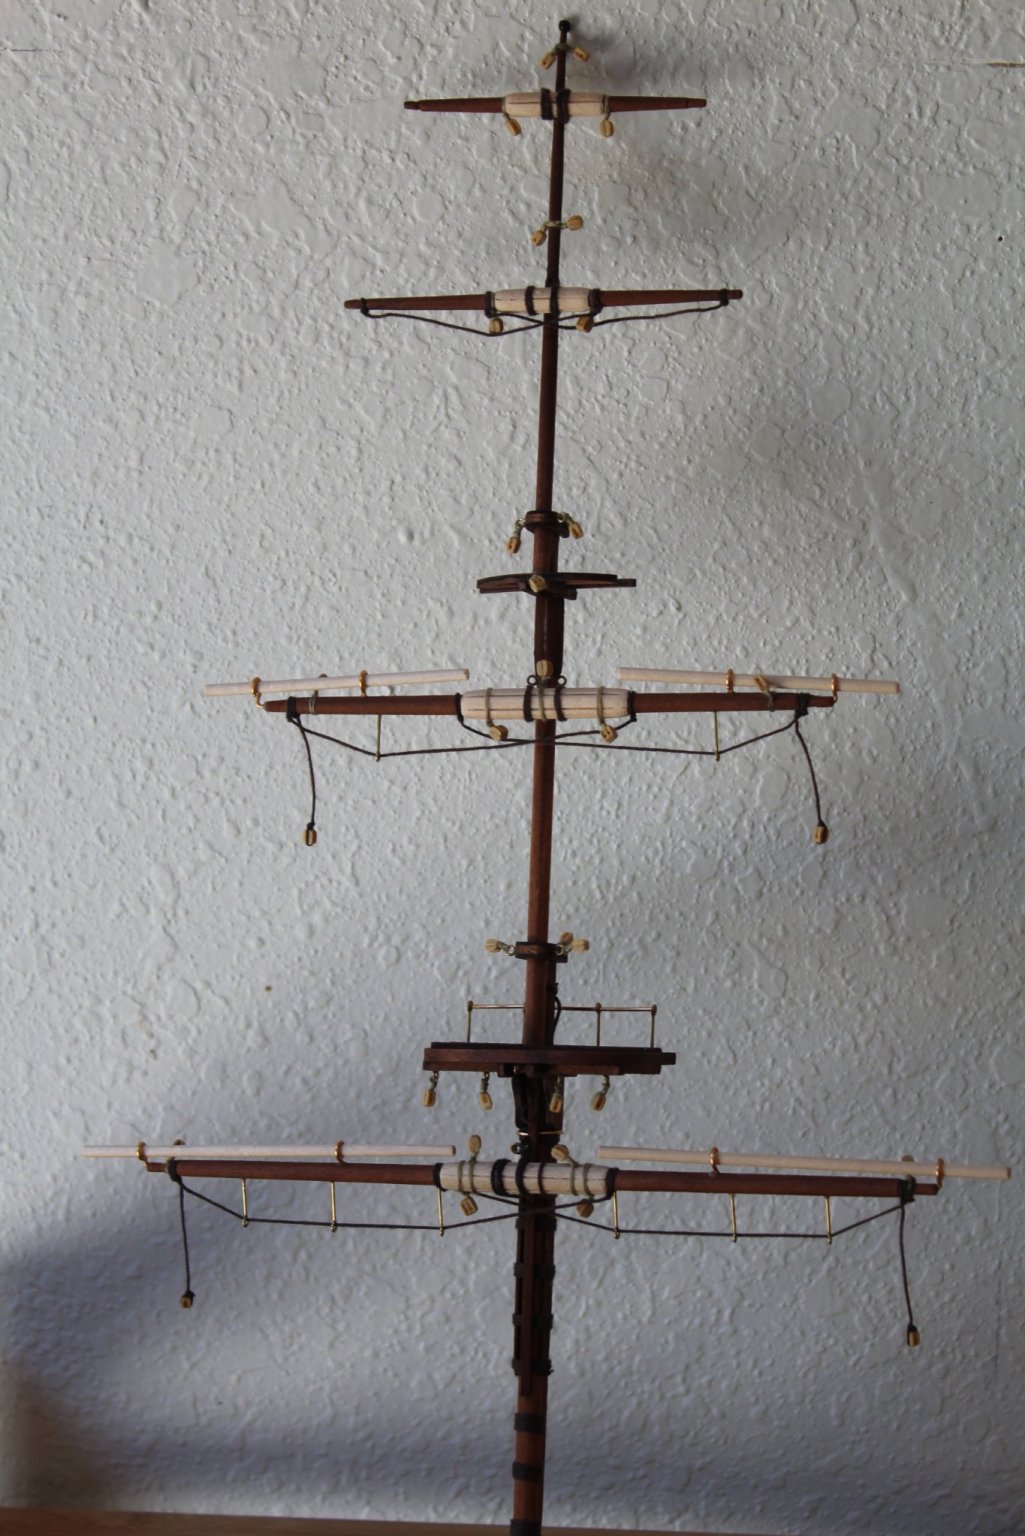
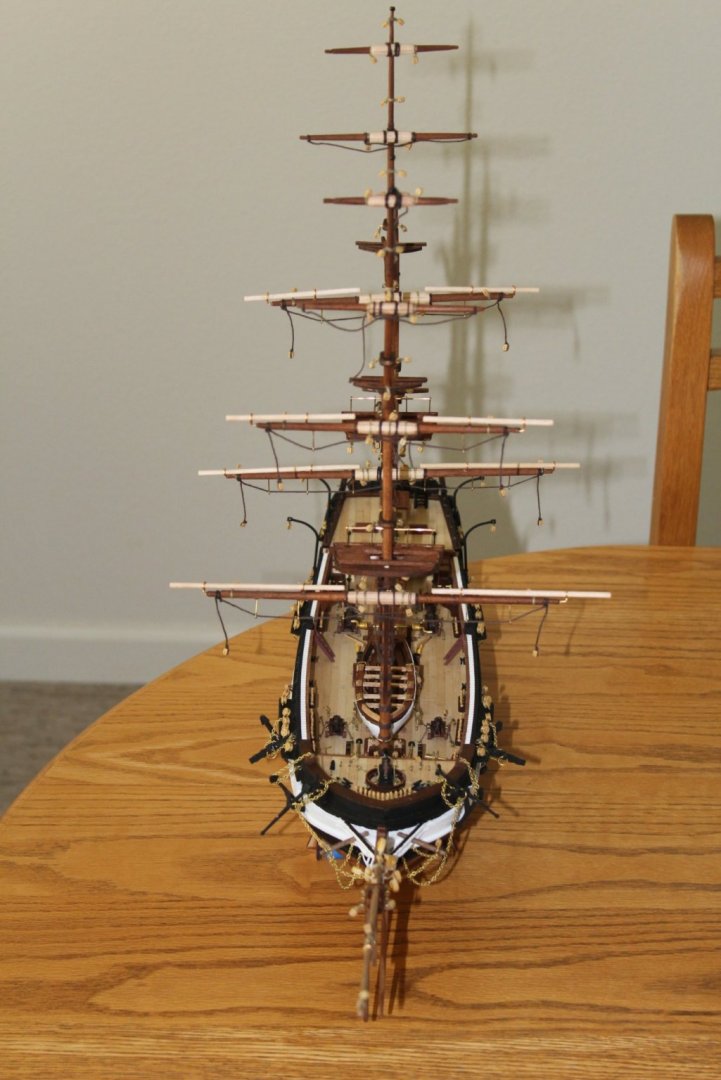
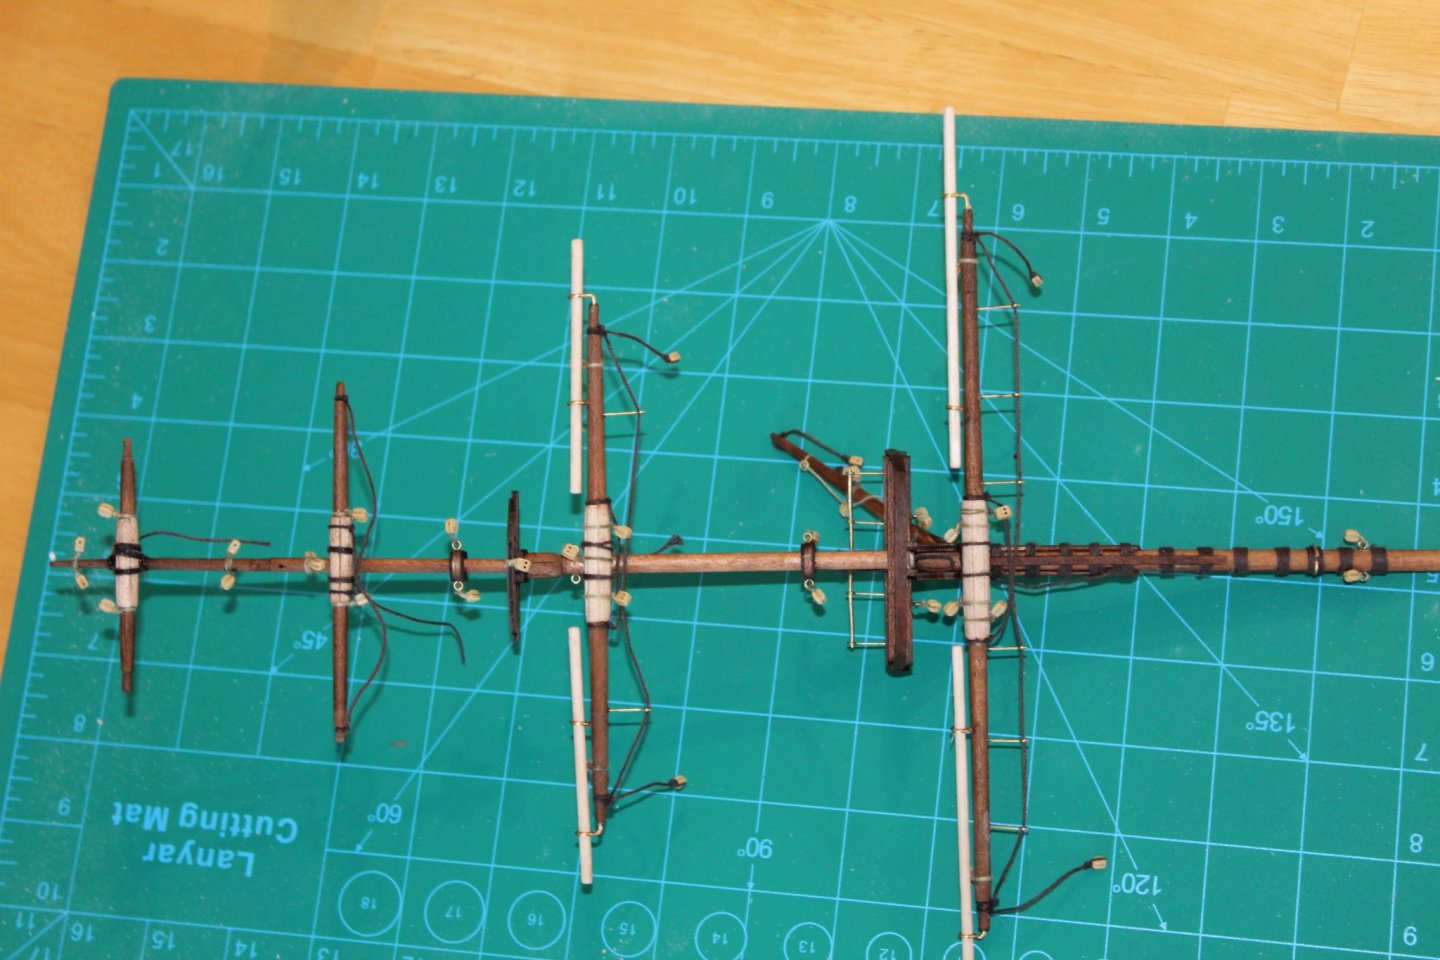
The moment of truth ....... dry fitted all the masts with dry fitted yards into the deck ......and went in search of a white wall to check everything was in alignment.... all the perpendiculars and horizontals

-
I also dry fitted the yards to the mainmast with the same pinning system . Once everything is in alignment it should be easier to glue everything in place.
-
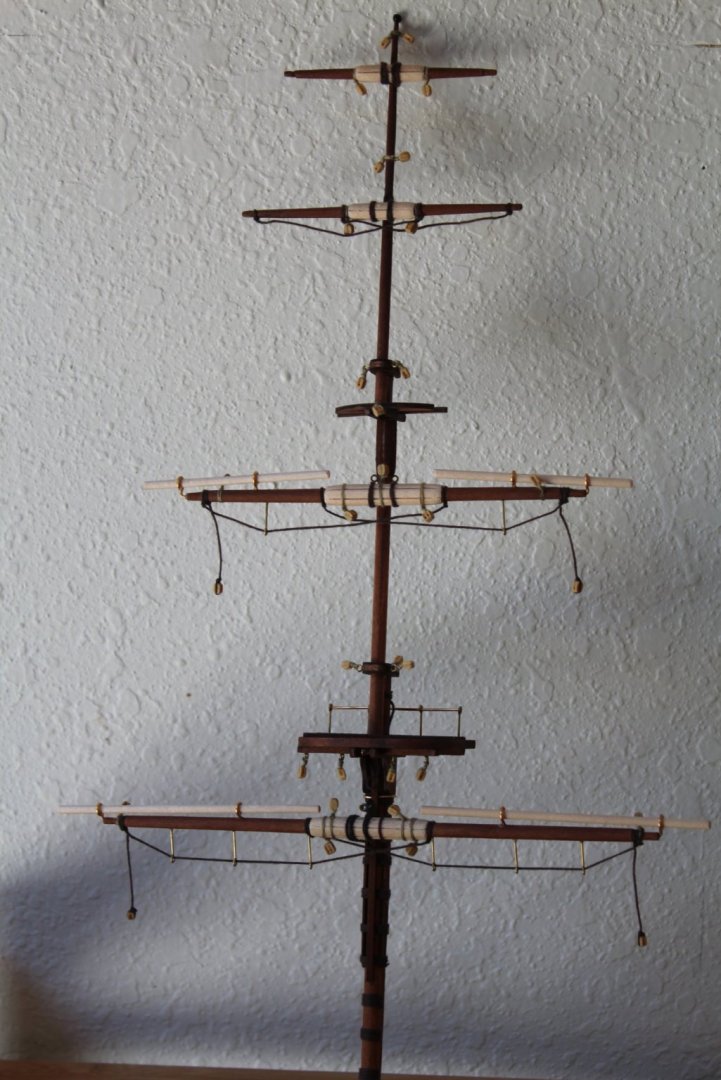
I followed the same process of checking the detail work on the mainmast yards . You will notice that the saddles do look a lot cleaner , as I was a lot more careful with them when varnishing
-
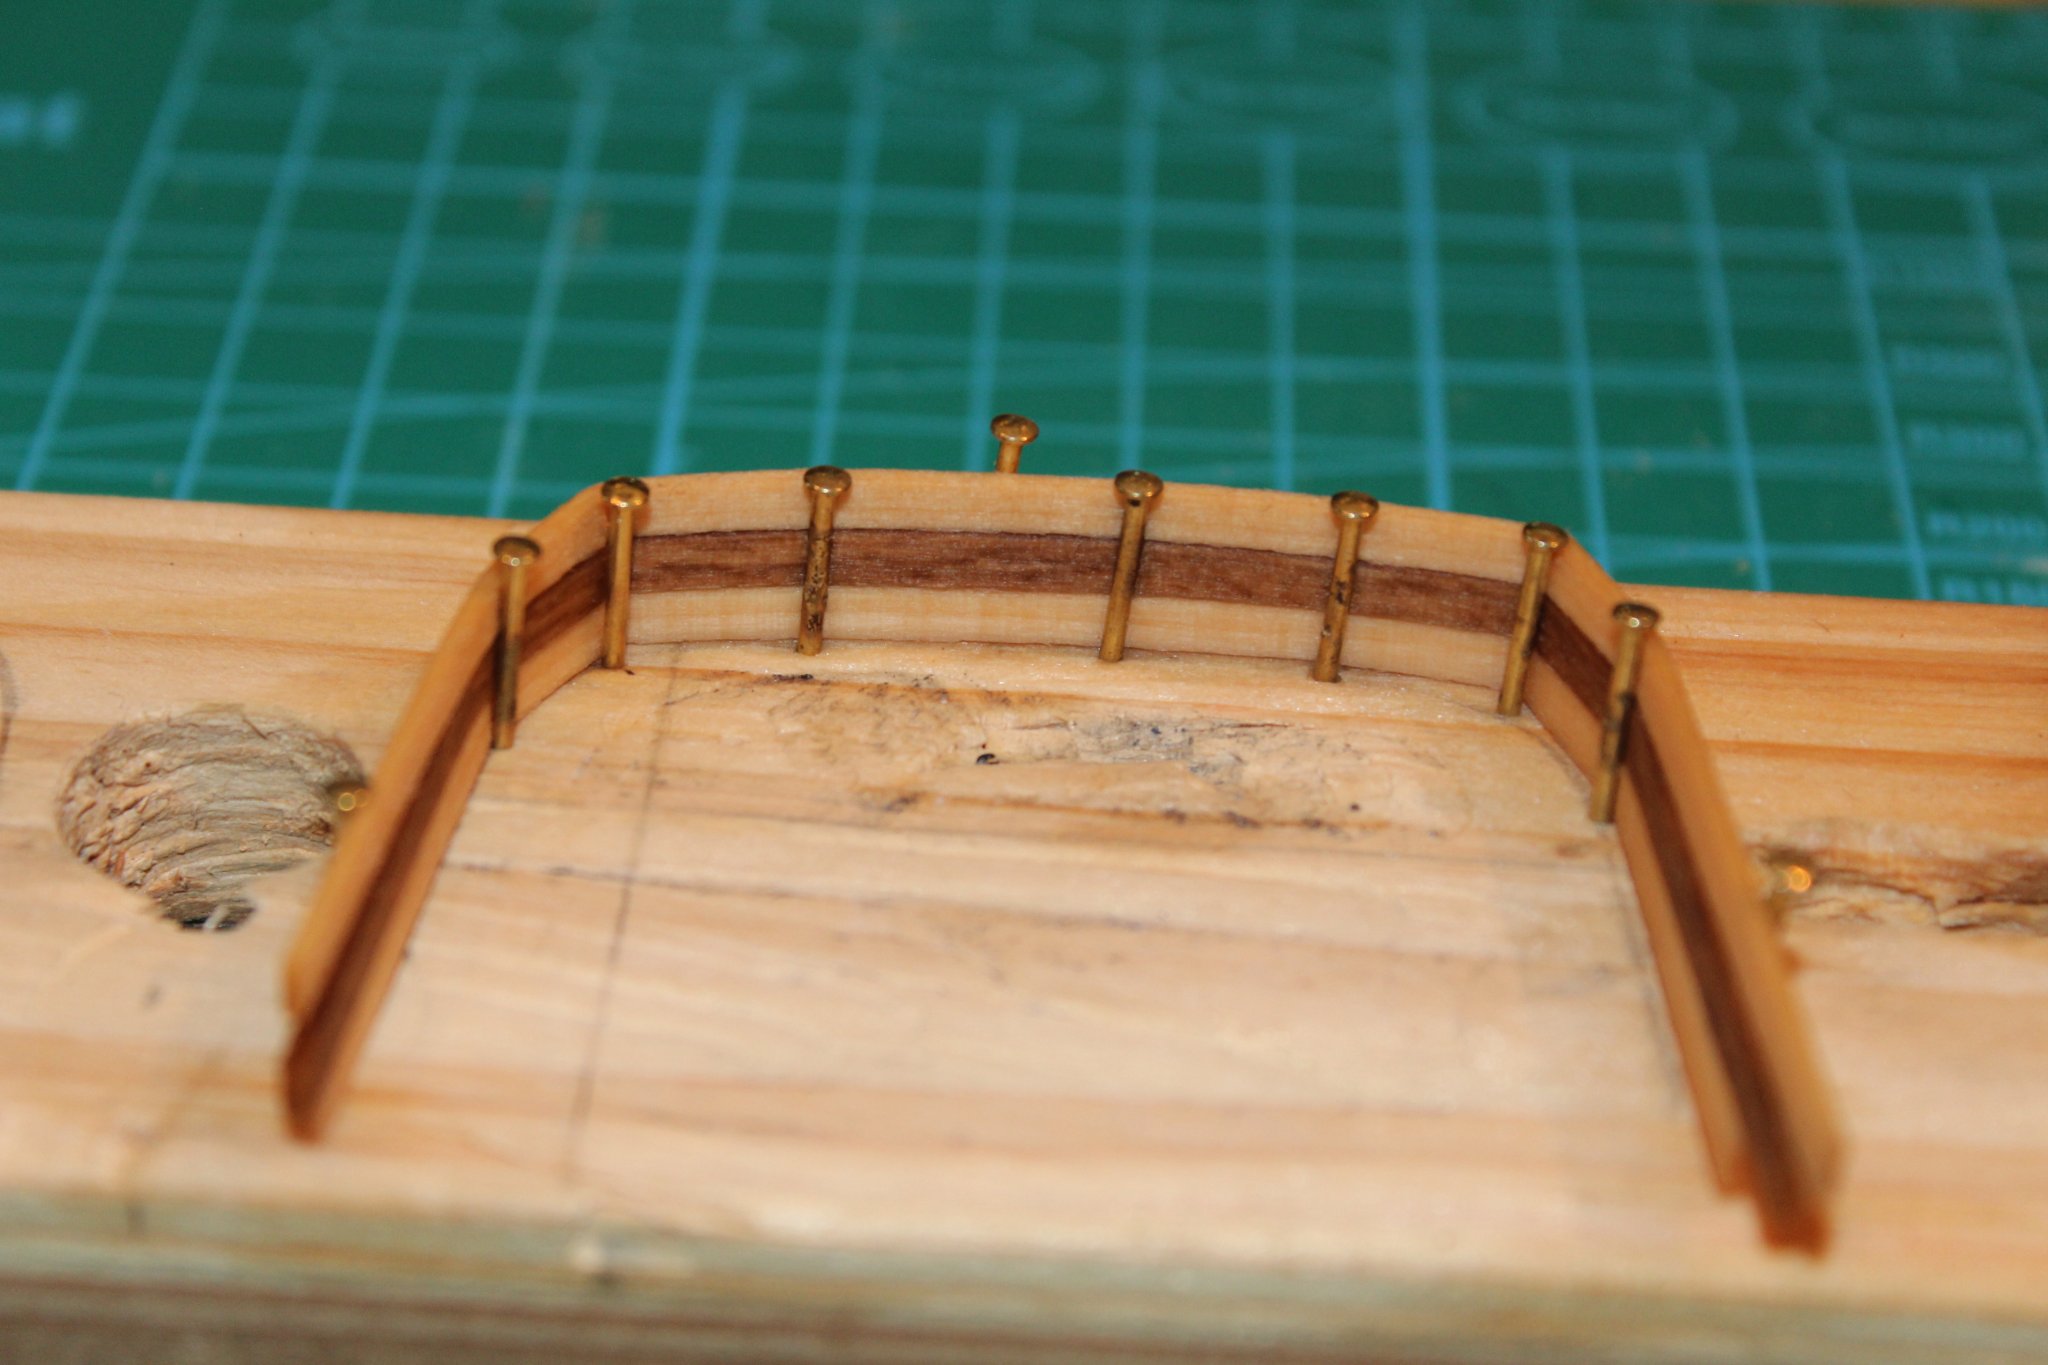
I then dry fitted the yards to the foremast . I used pins to attach to the mast to work out the heights etc . Made the pins out of some of the pins supplied in the kit , just cut the heads off.
-
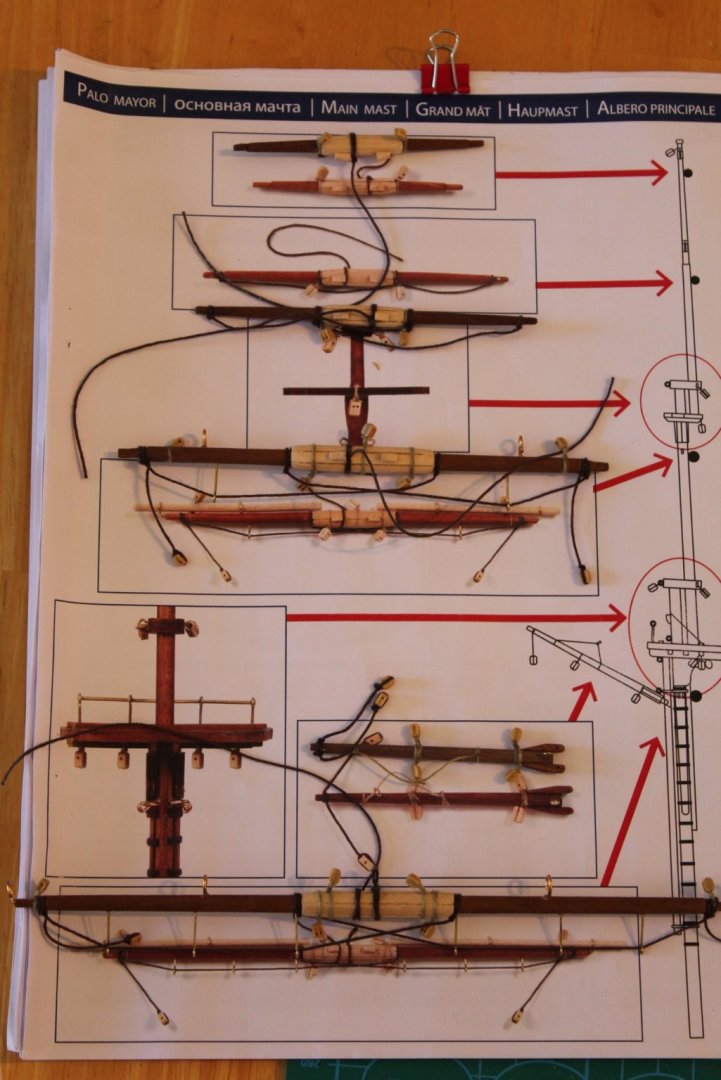
This is how I checked that I had completed all the detailed ropes and blocks on the fore mast yards before I tried to dry fit them

-
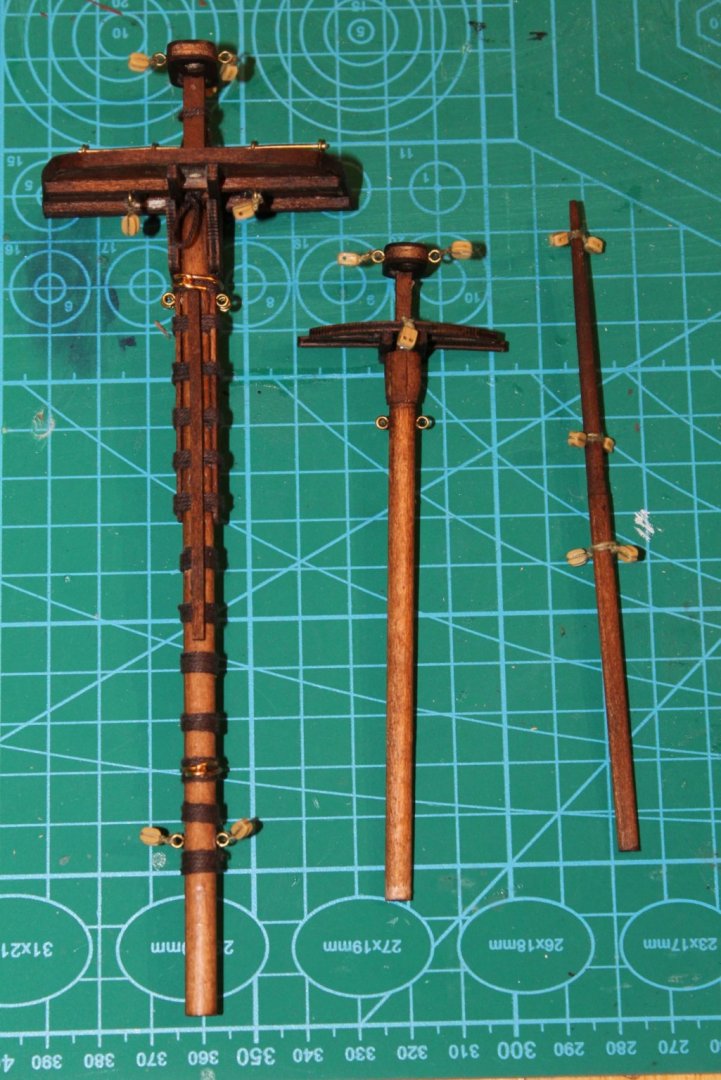
Complete mizzen mast , with completed booms and top yard attached . I attached these first as it seemed simpler than the attachment process of the yards to the fore and main mast
-
Started some work on the main mast . Pretty similar to the foremast , so tried not to make smaller errors that cropped up in the construction of the fore mast . These are some of the blocks


-
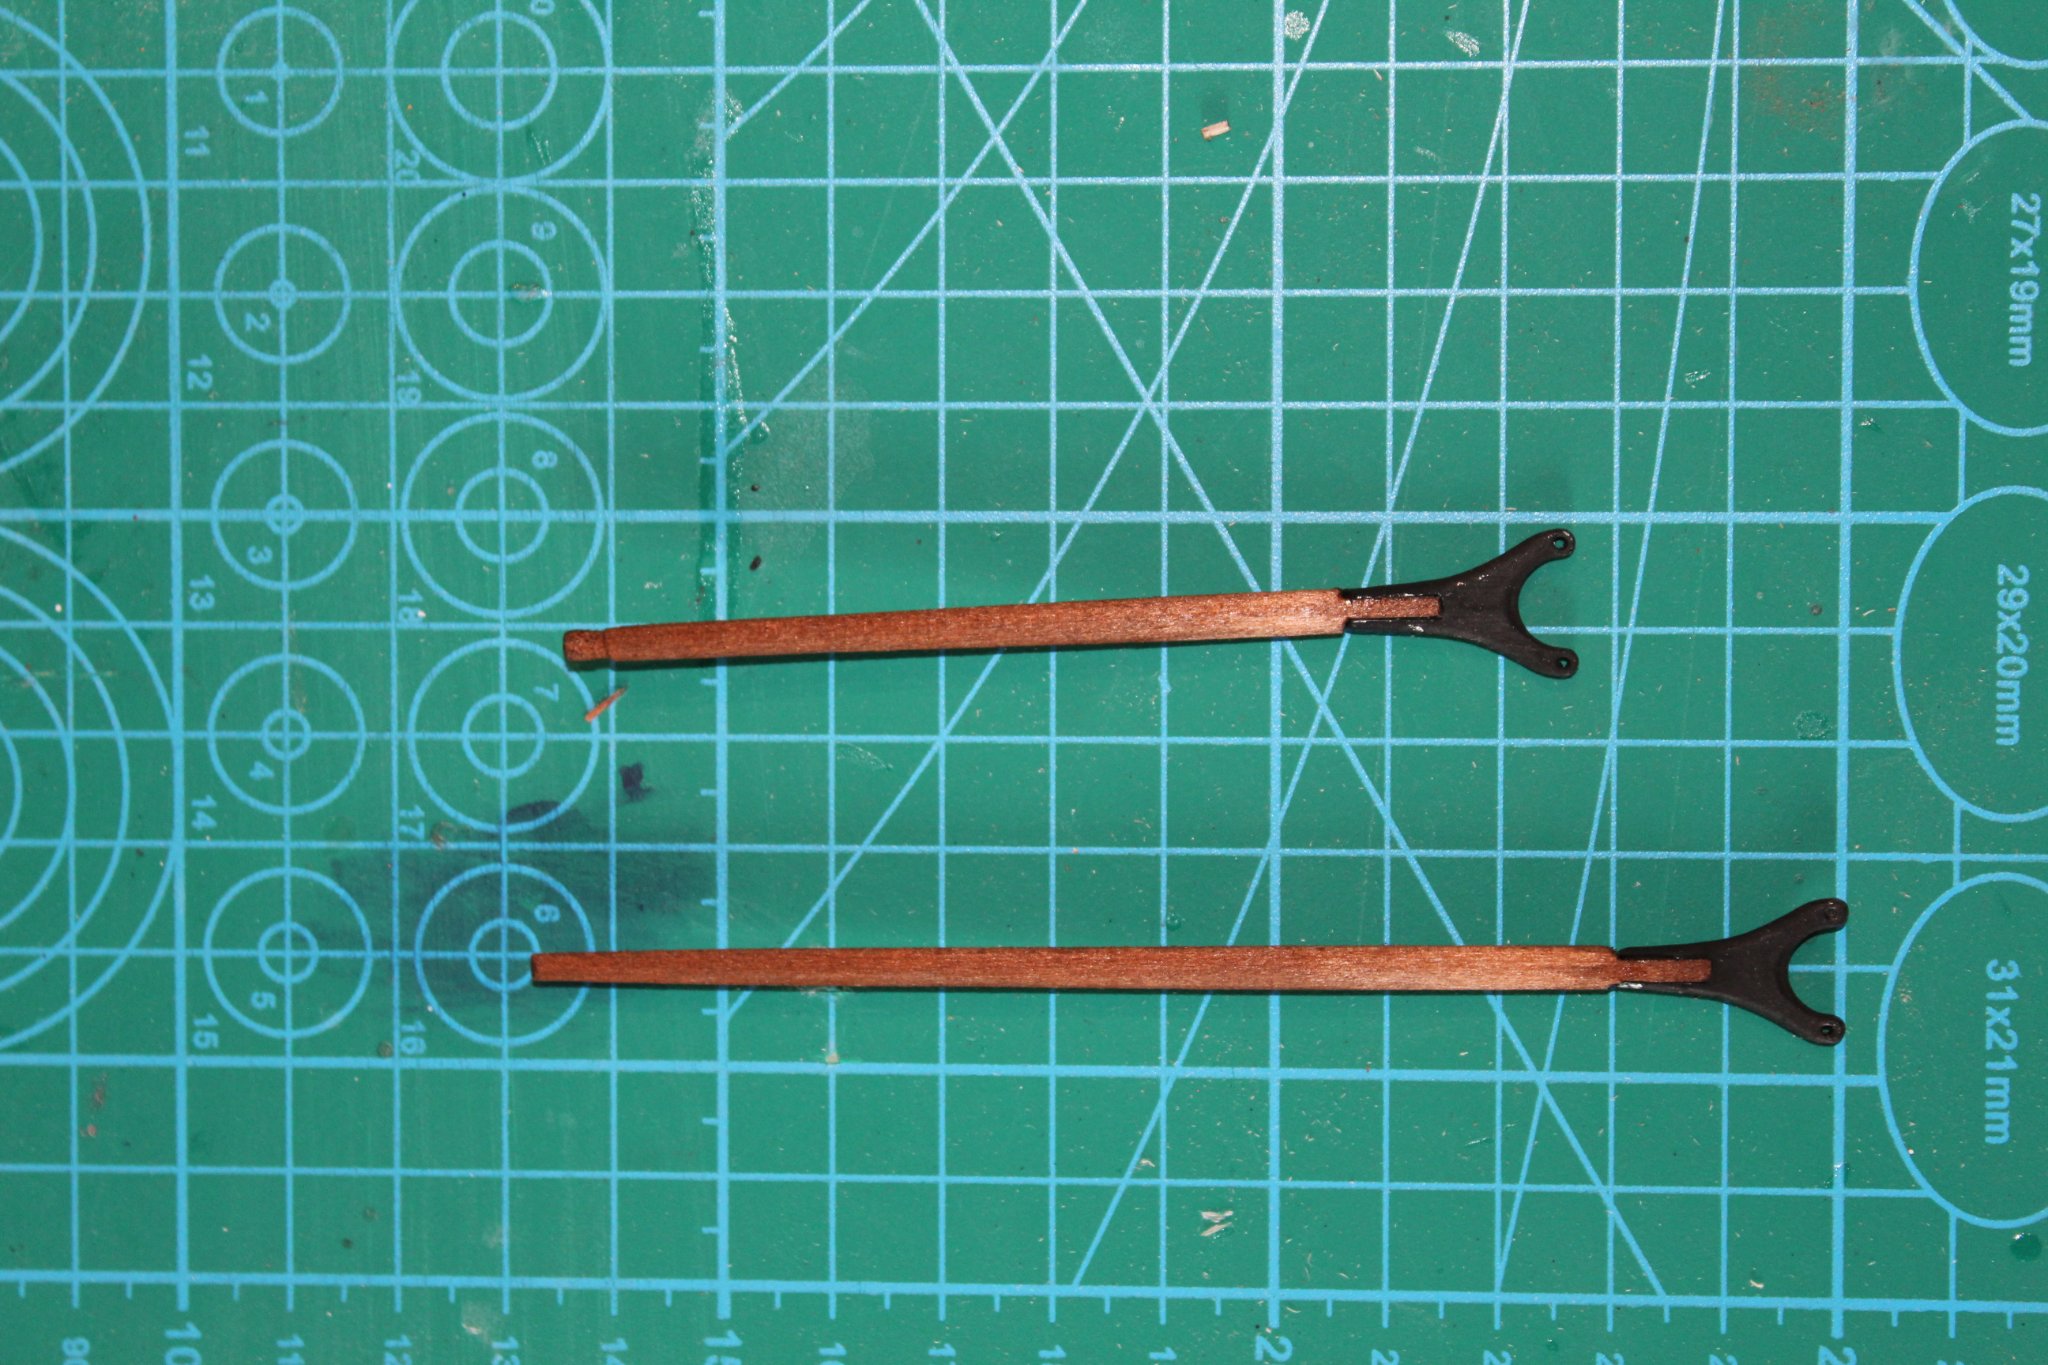
You will notice that the saddles on the yards look a little "grubby" . I had thought that perhaps the paintbrush that I had used had maybe not been cleaned properly , but after multiple attempts at cleaning , and resorting to a new paint brush the varnish with, I realised that some of the stain tends to come off the wood during the course of varnishing. I did contemplate starting again , but decided to keep these. I will be more careful when I work on the main mast yards.
-
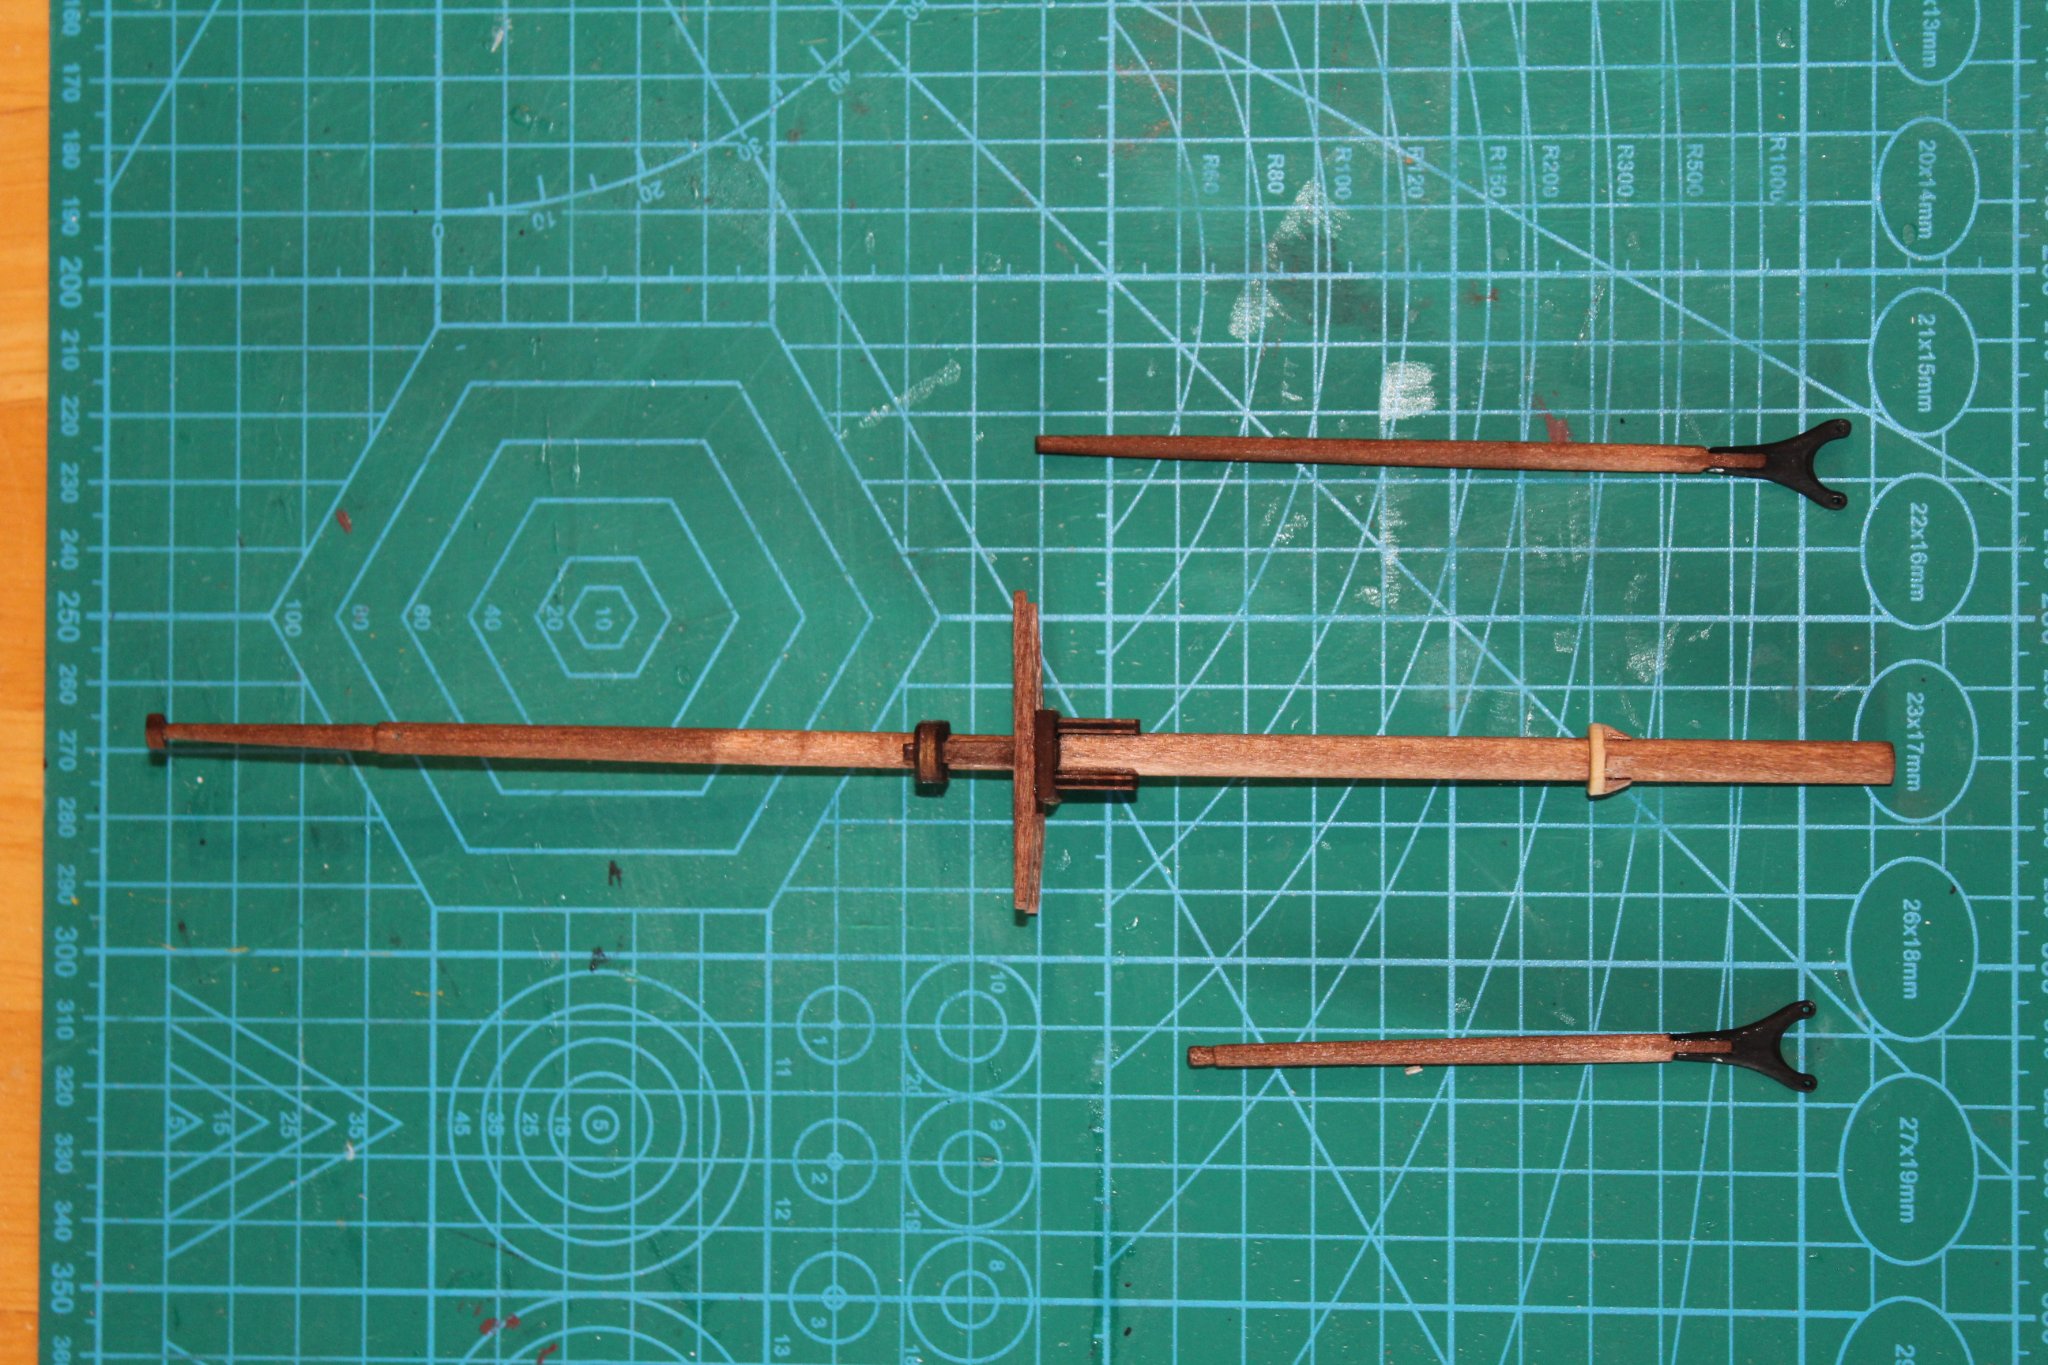
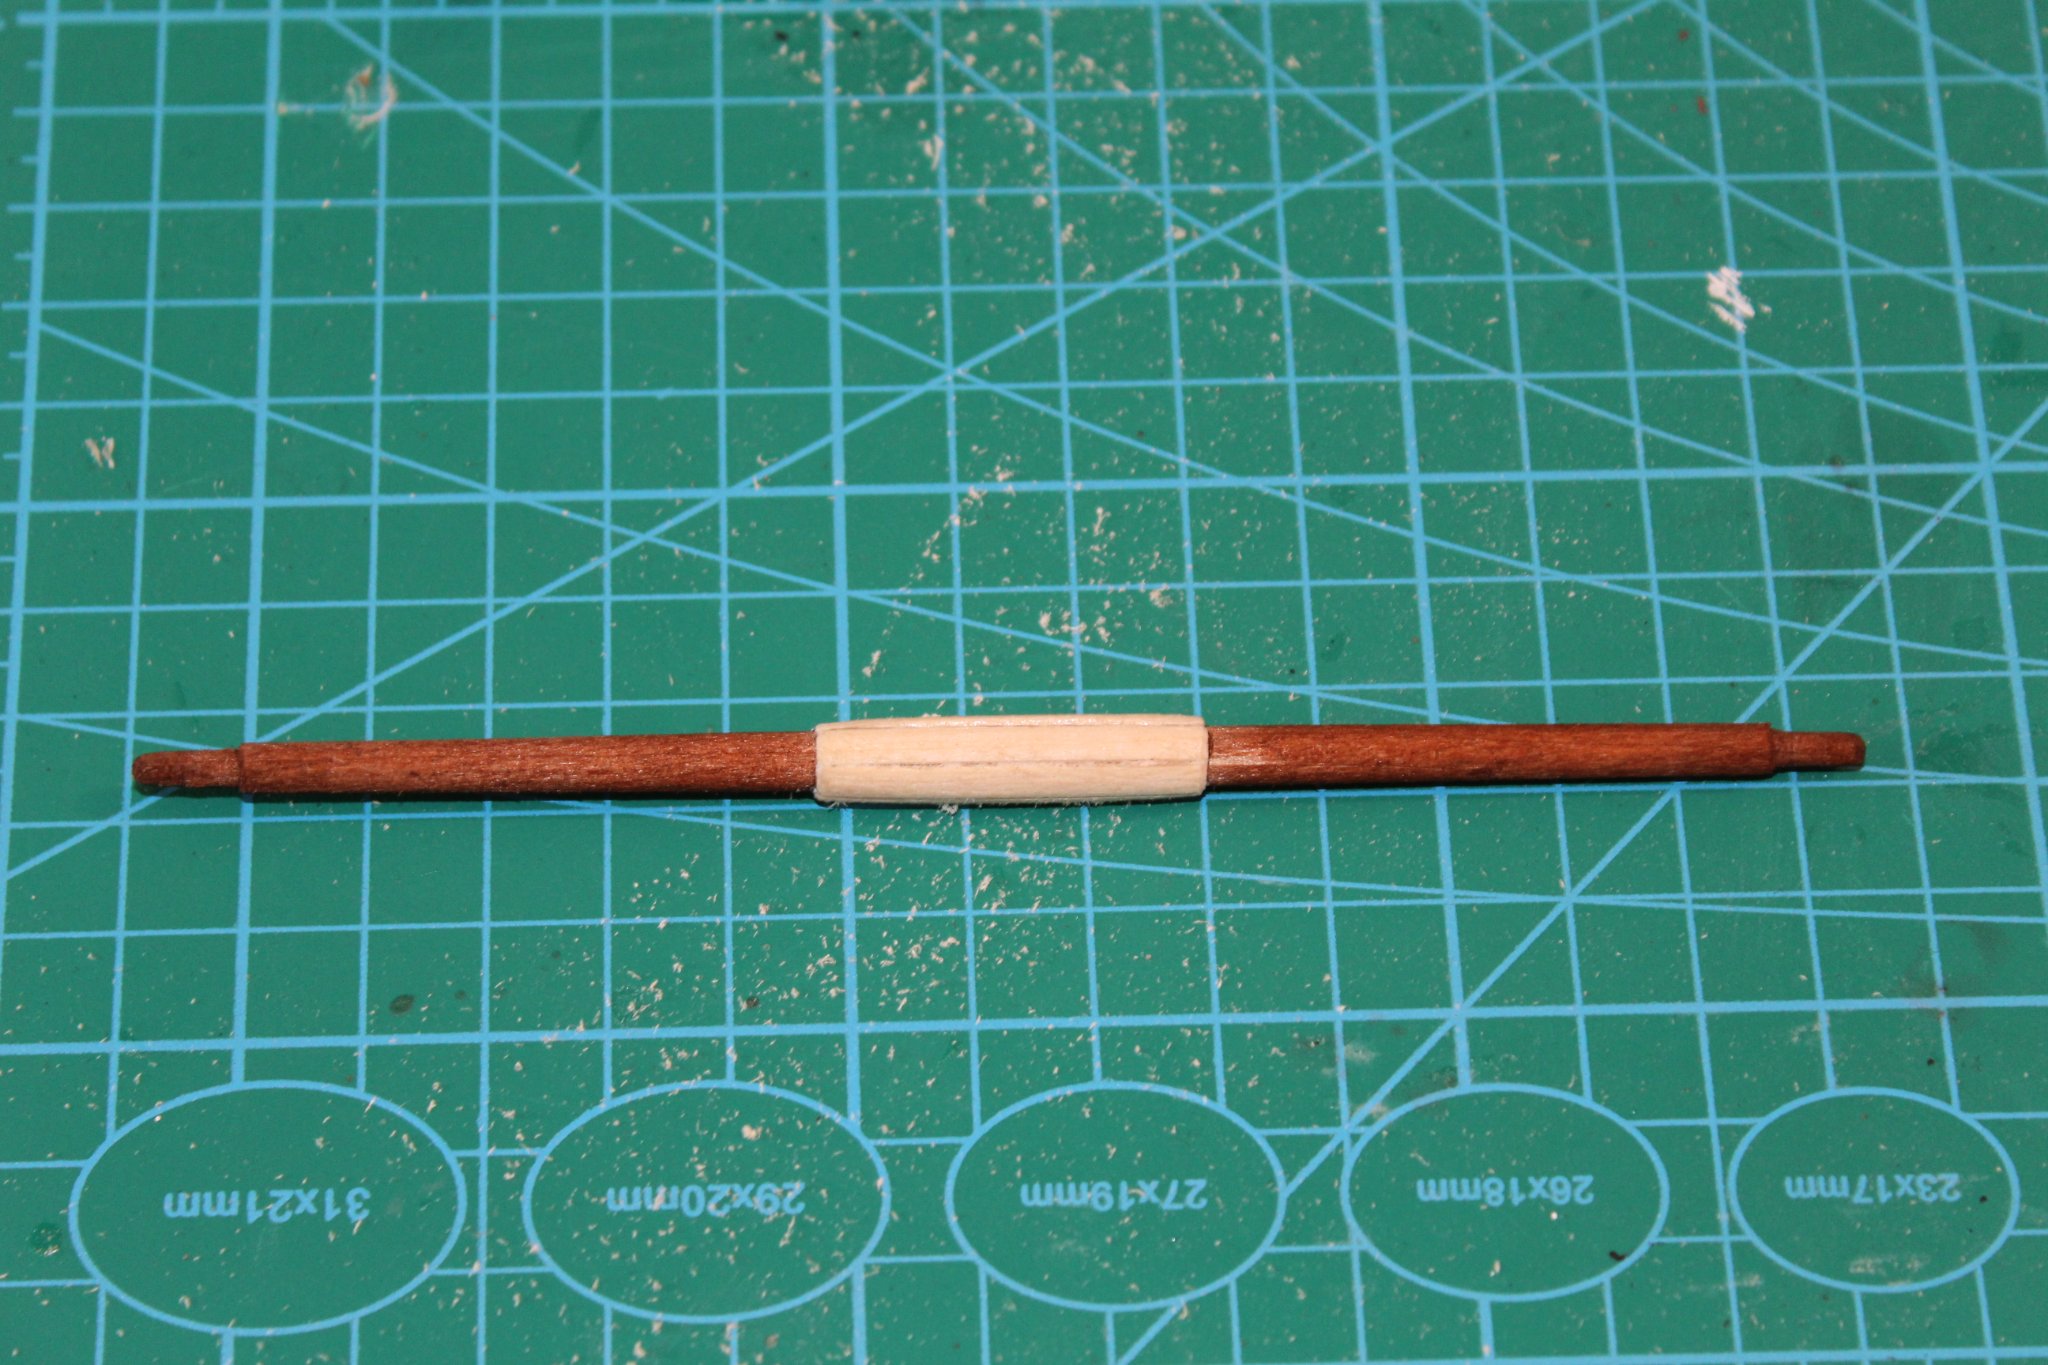
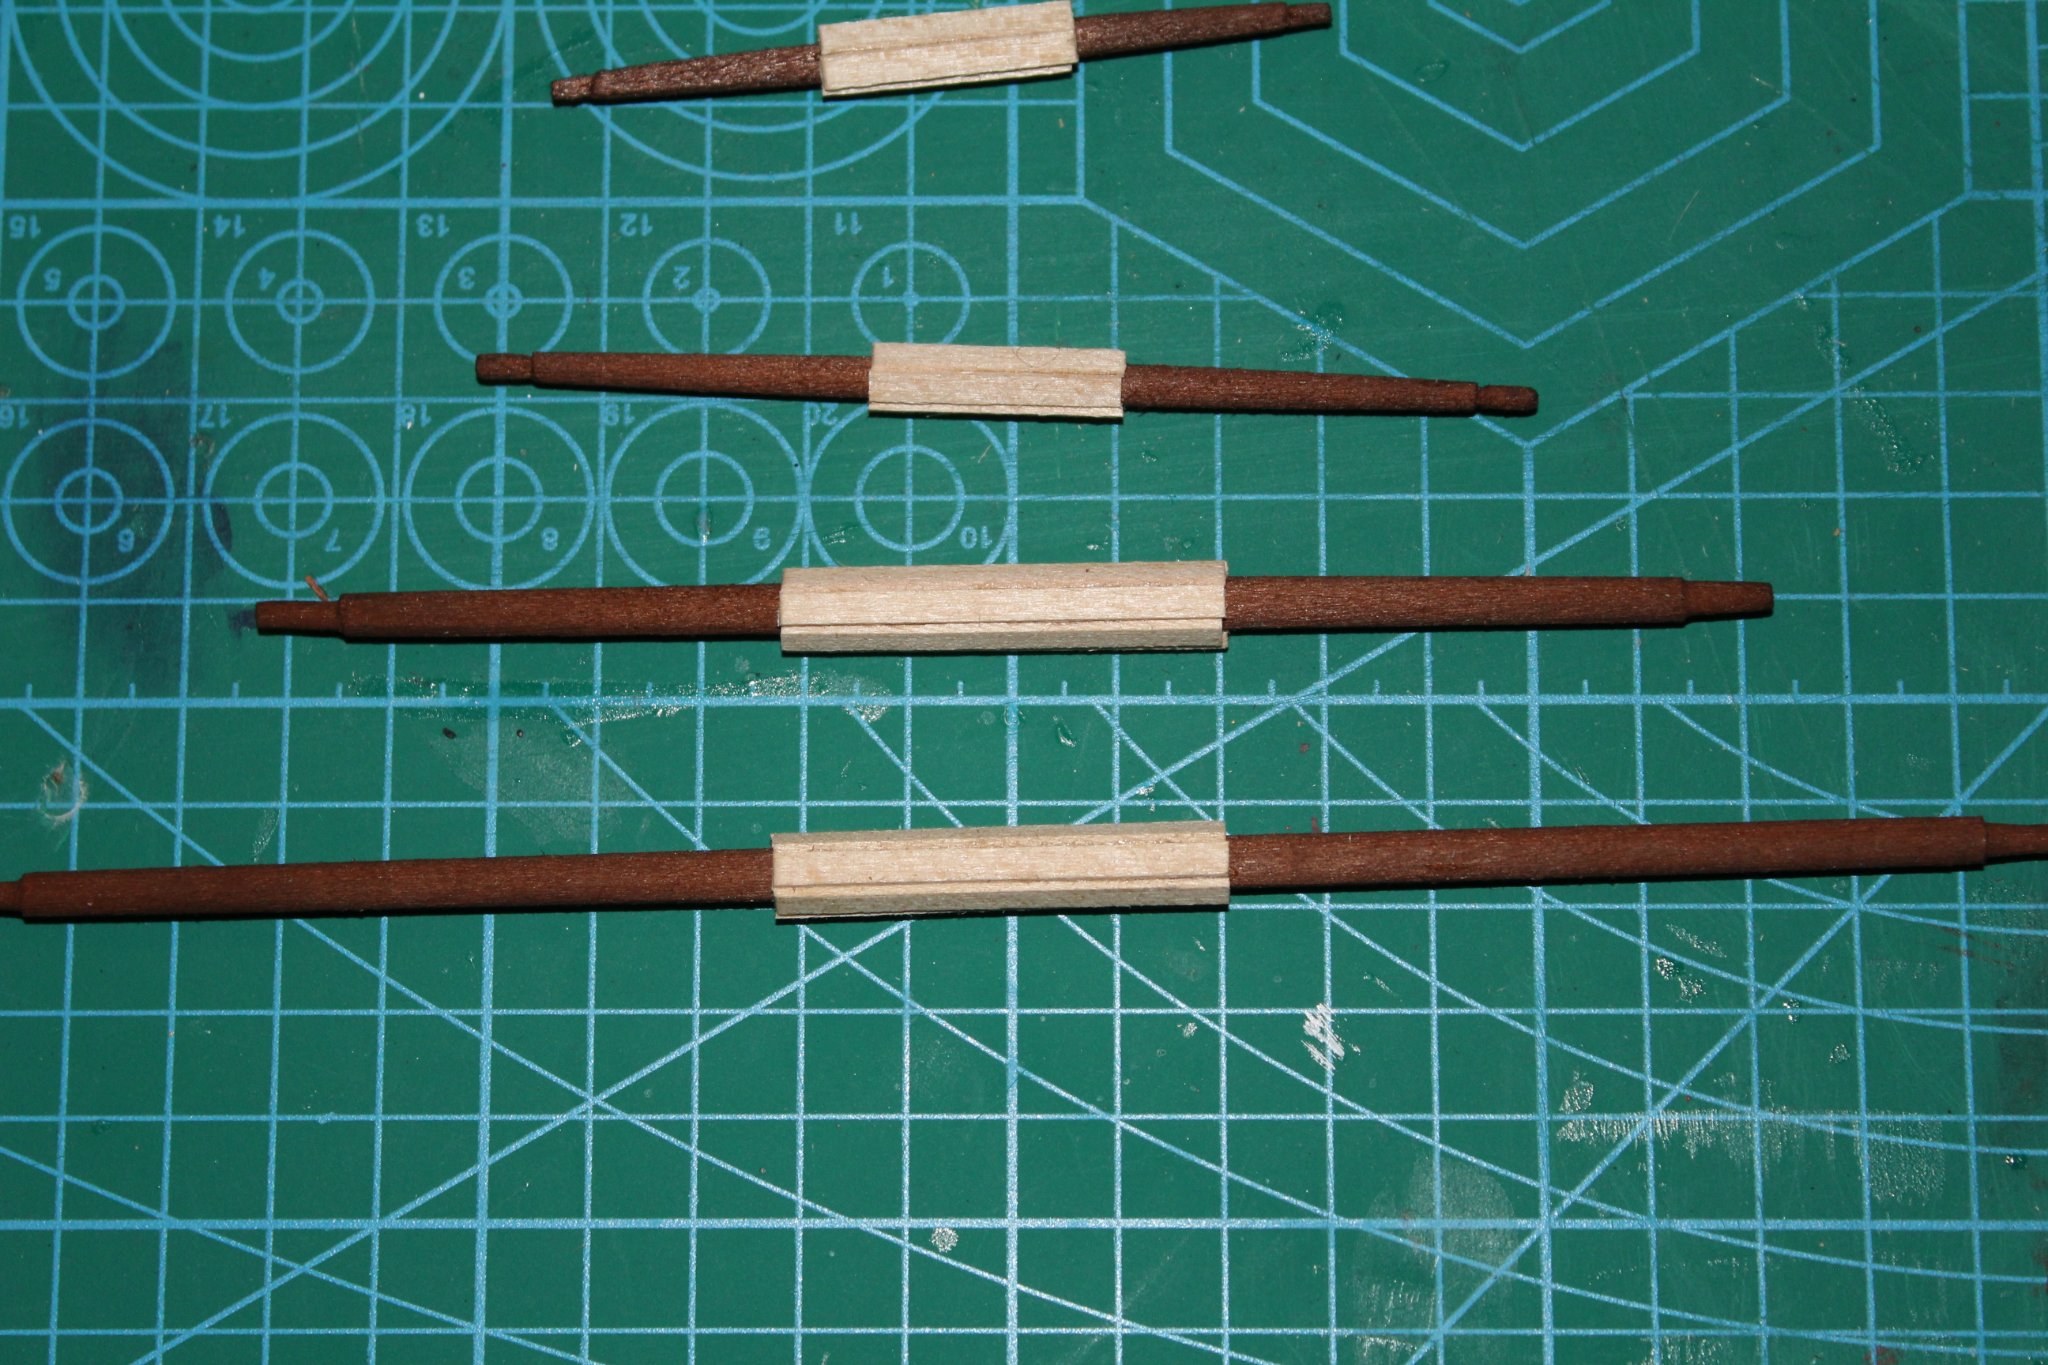
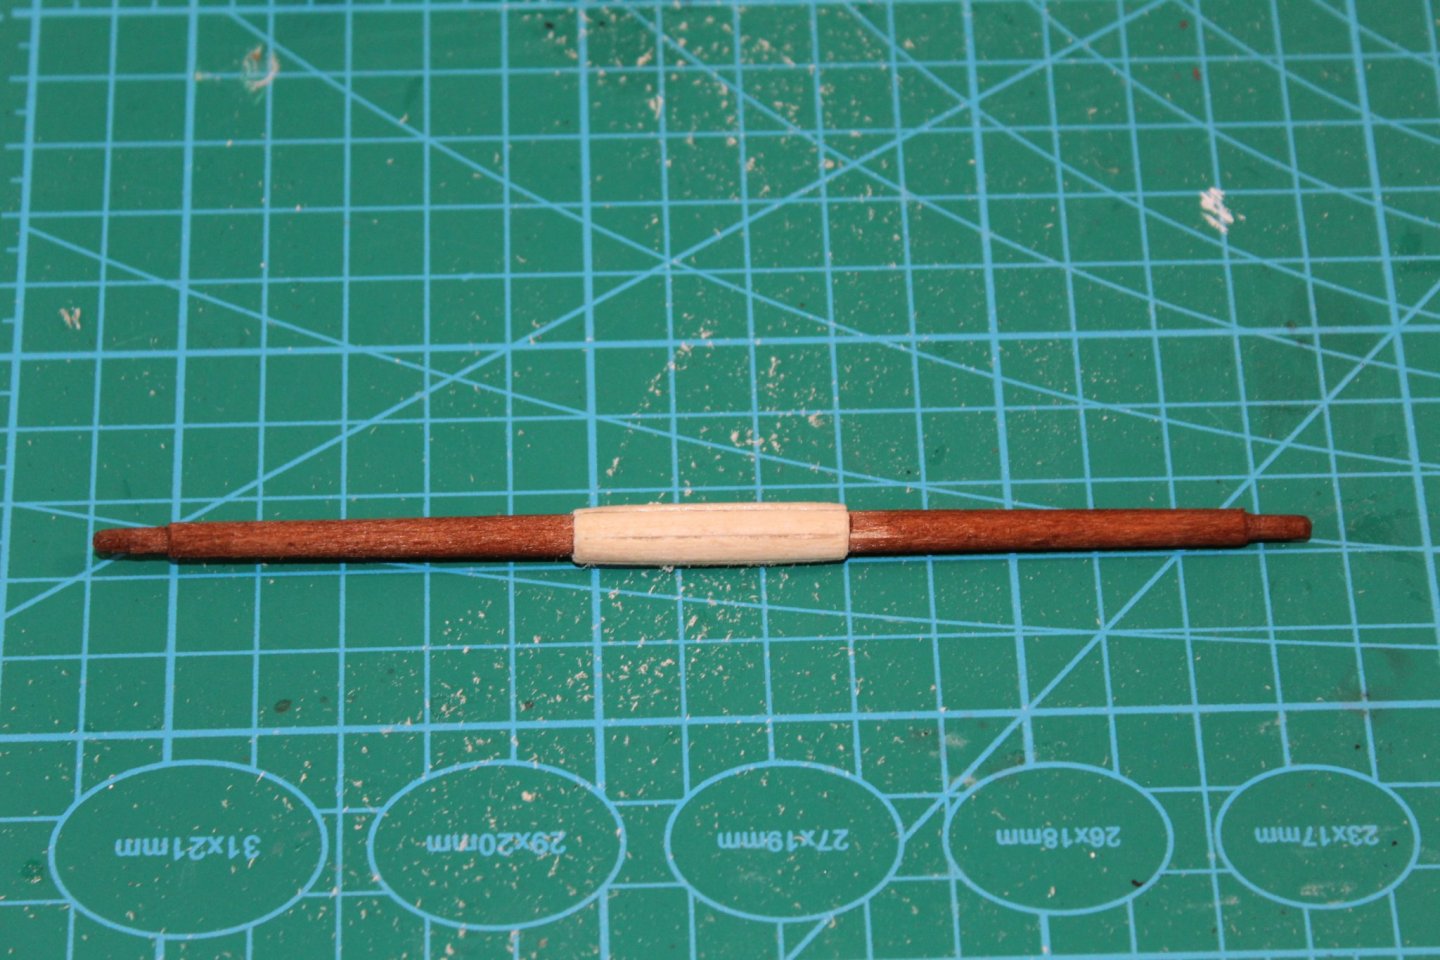
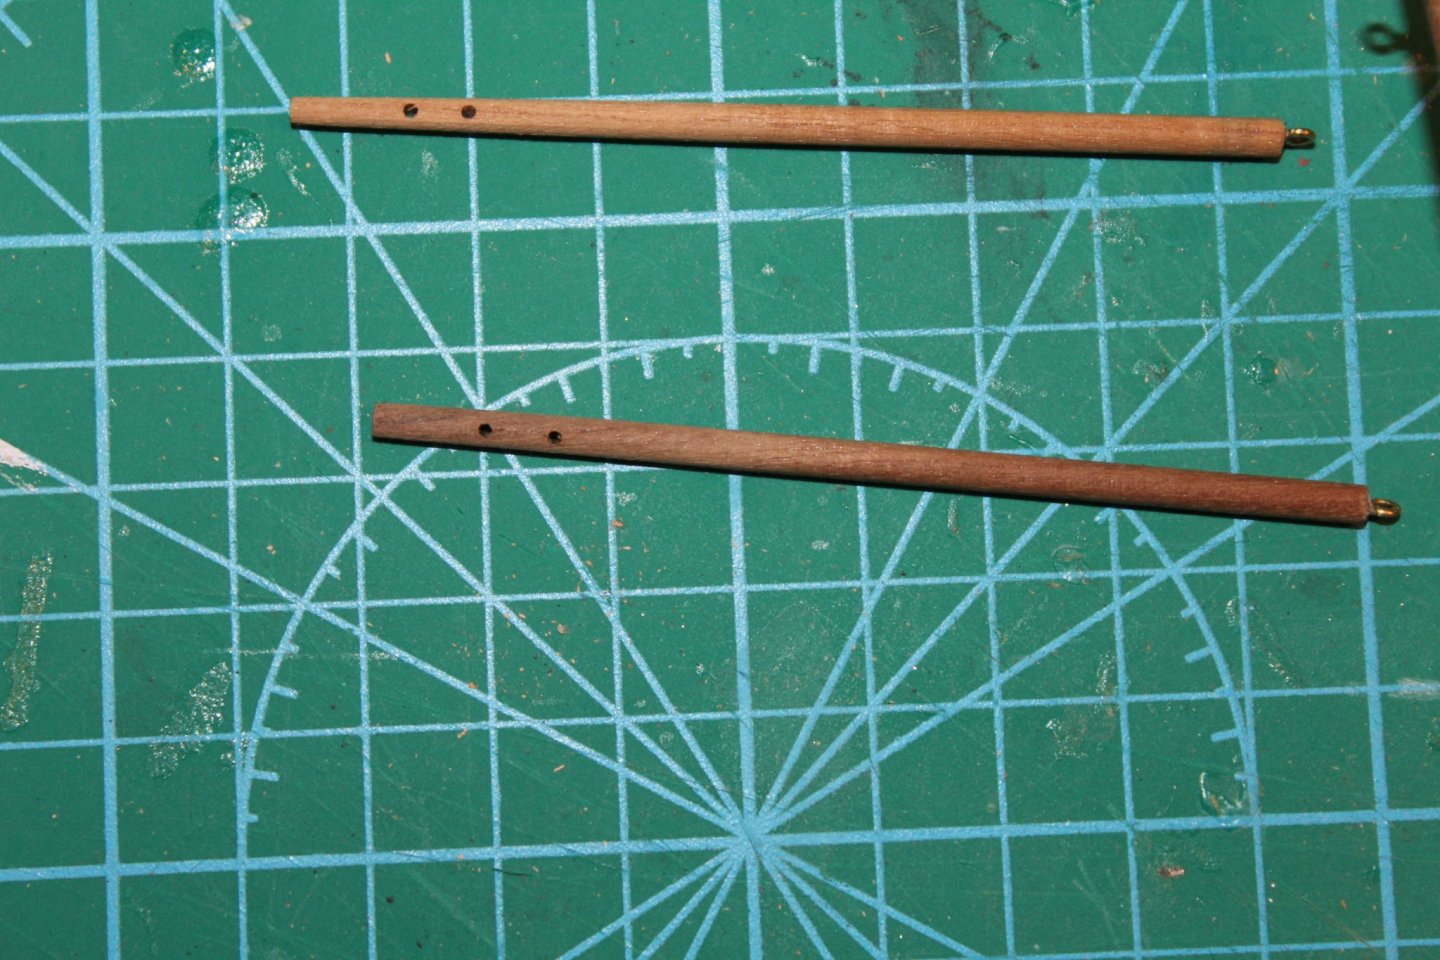
Change in plans . Decided to work on the foremast yards . Involves a lot of sanding the yards into shape as well as the saddles .

-
Completed work on the foremast , and dry fitted all together . Decided to progress to the main mast before attaching yards to the fore mast.
-
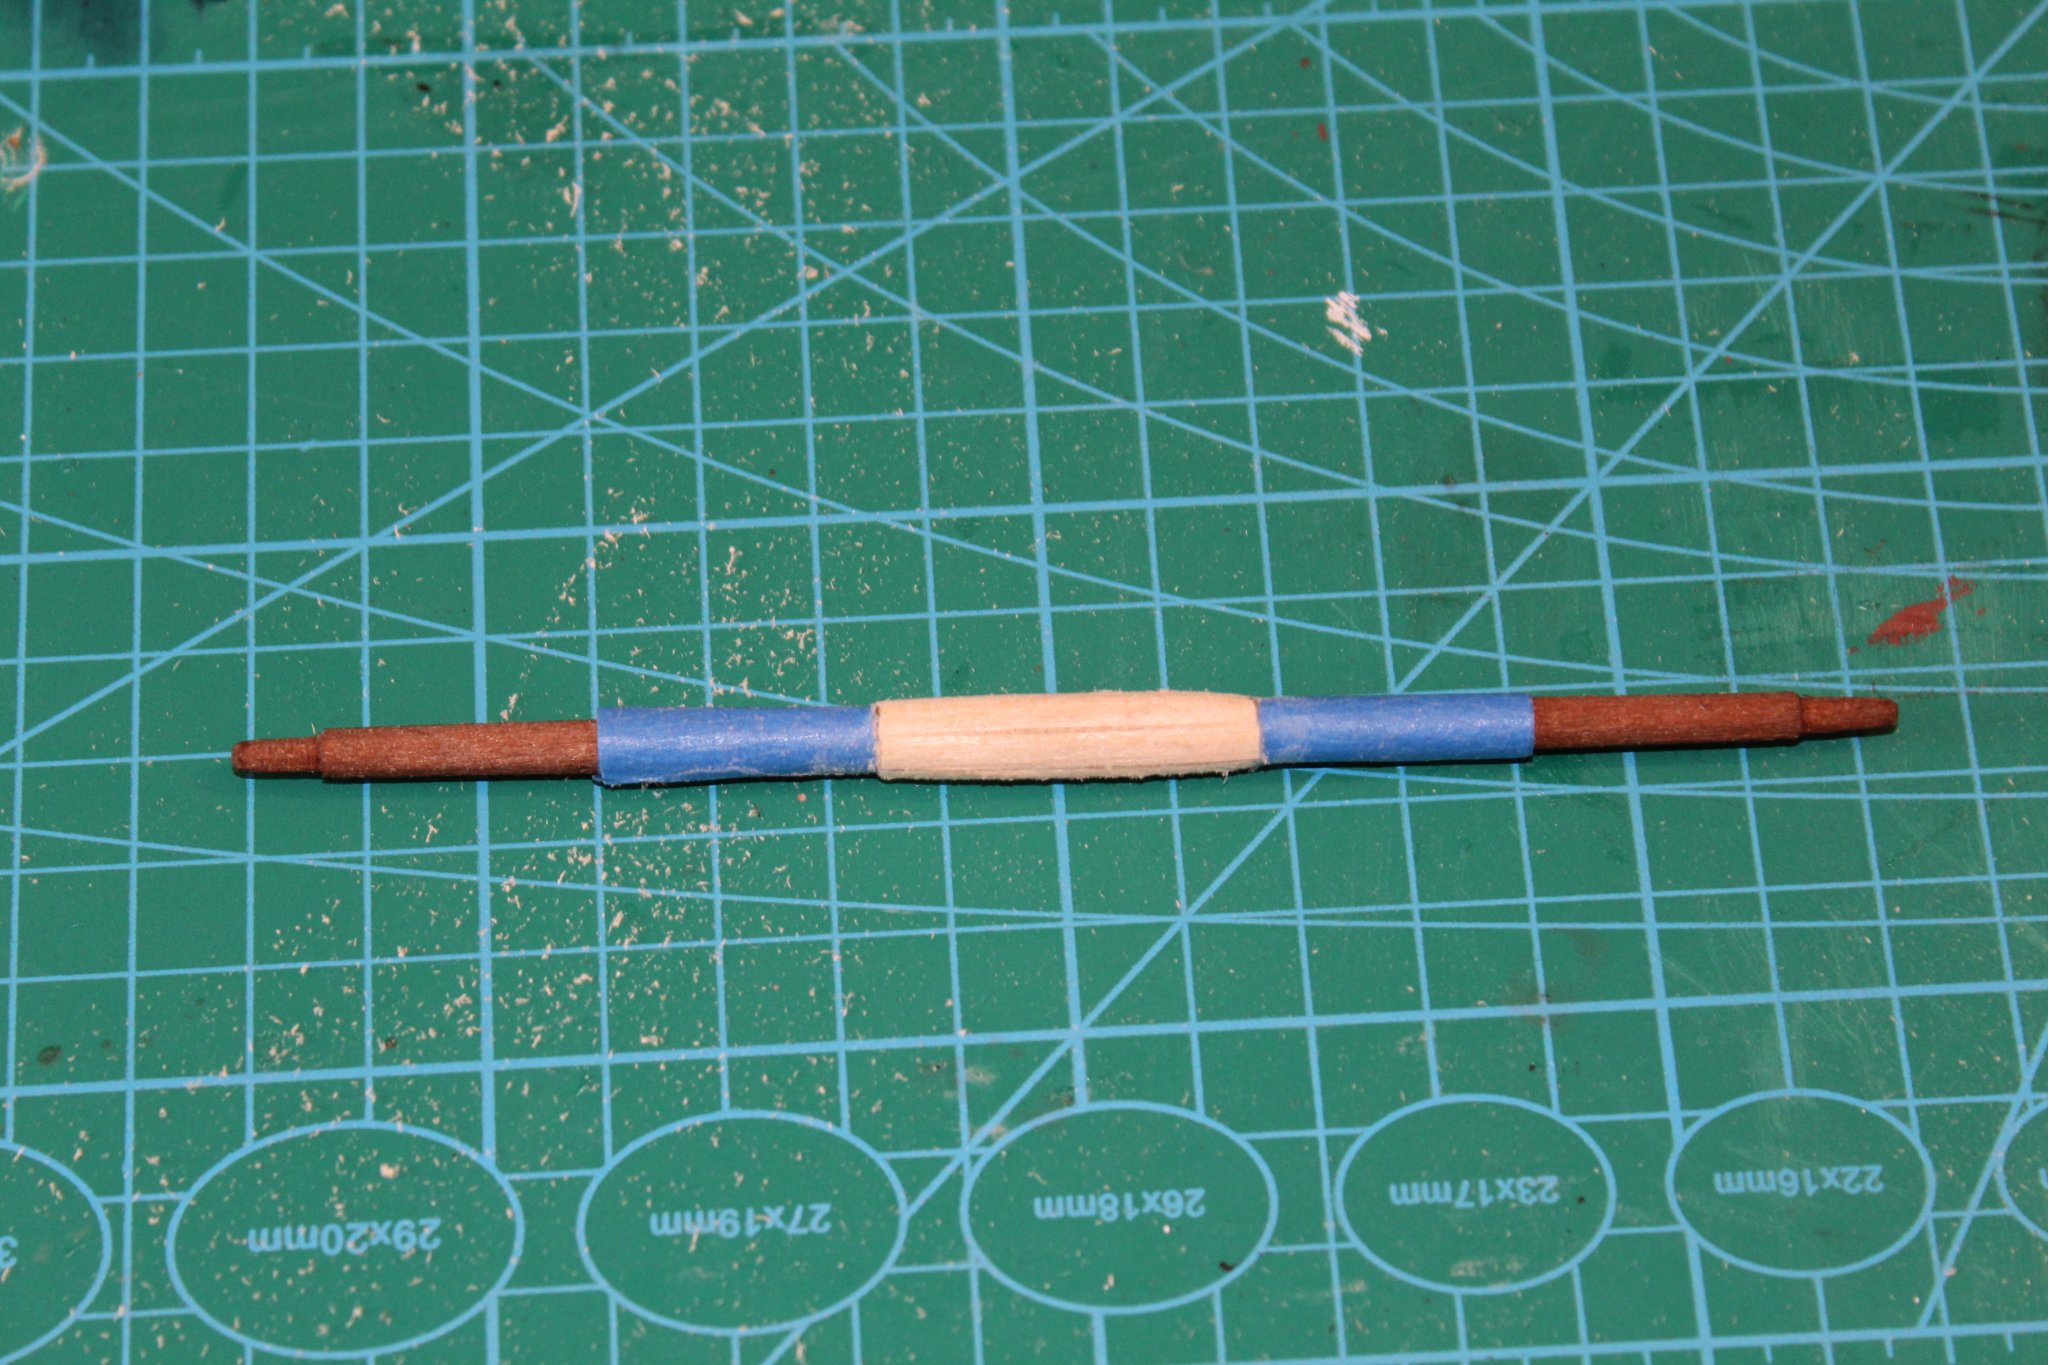
When I attempted to sand the seating down , I found that one has to be really careful , as it is easy to remove the stain that I had applied eralier. So I came up with applying the painters tape to protect. This enabled a little more freedom in the sanding

-
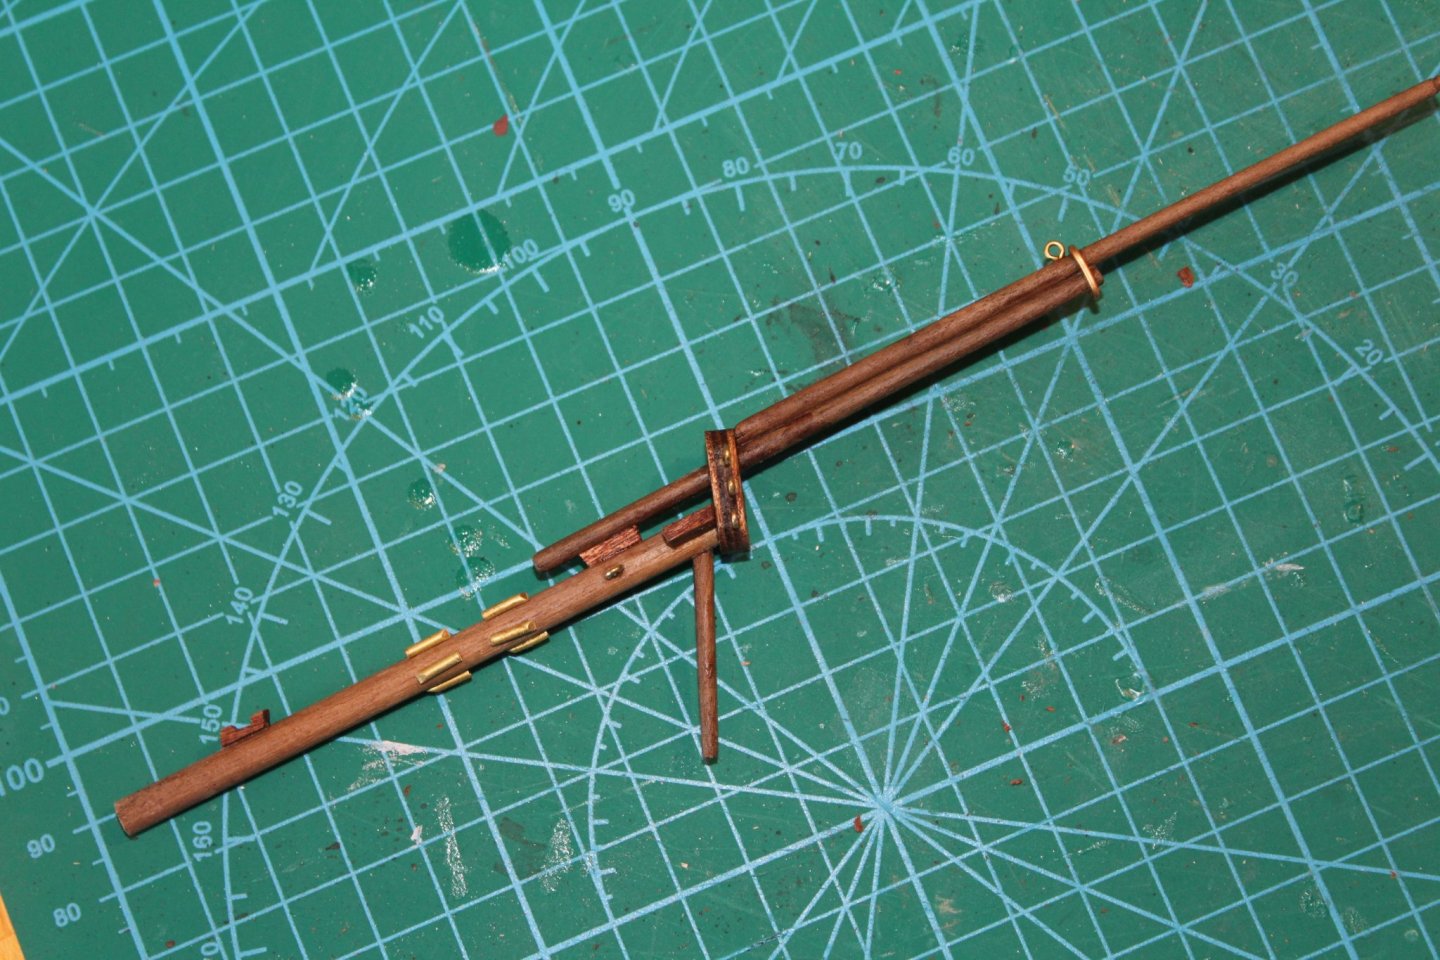
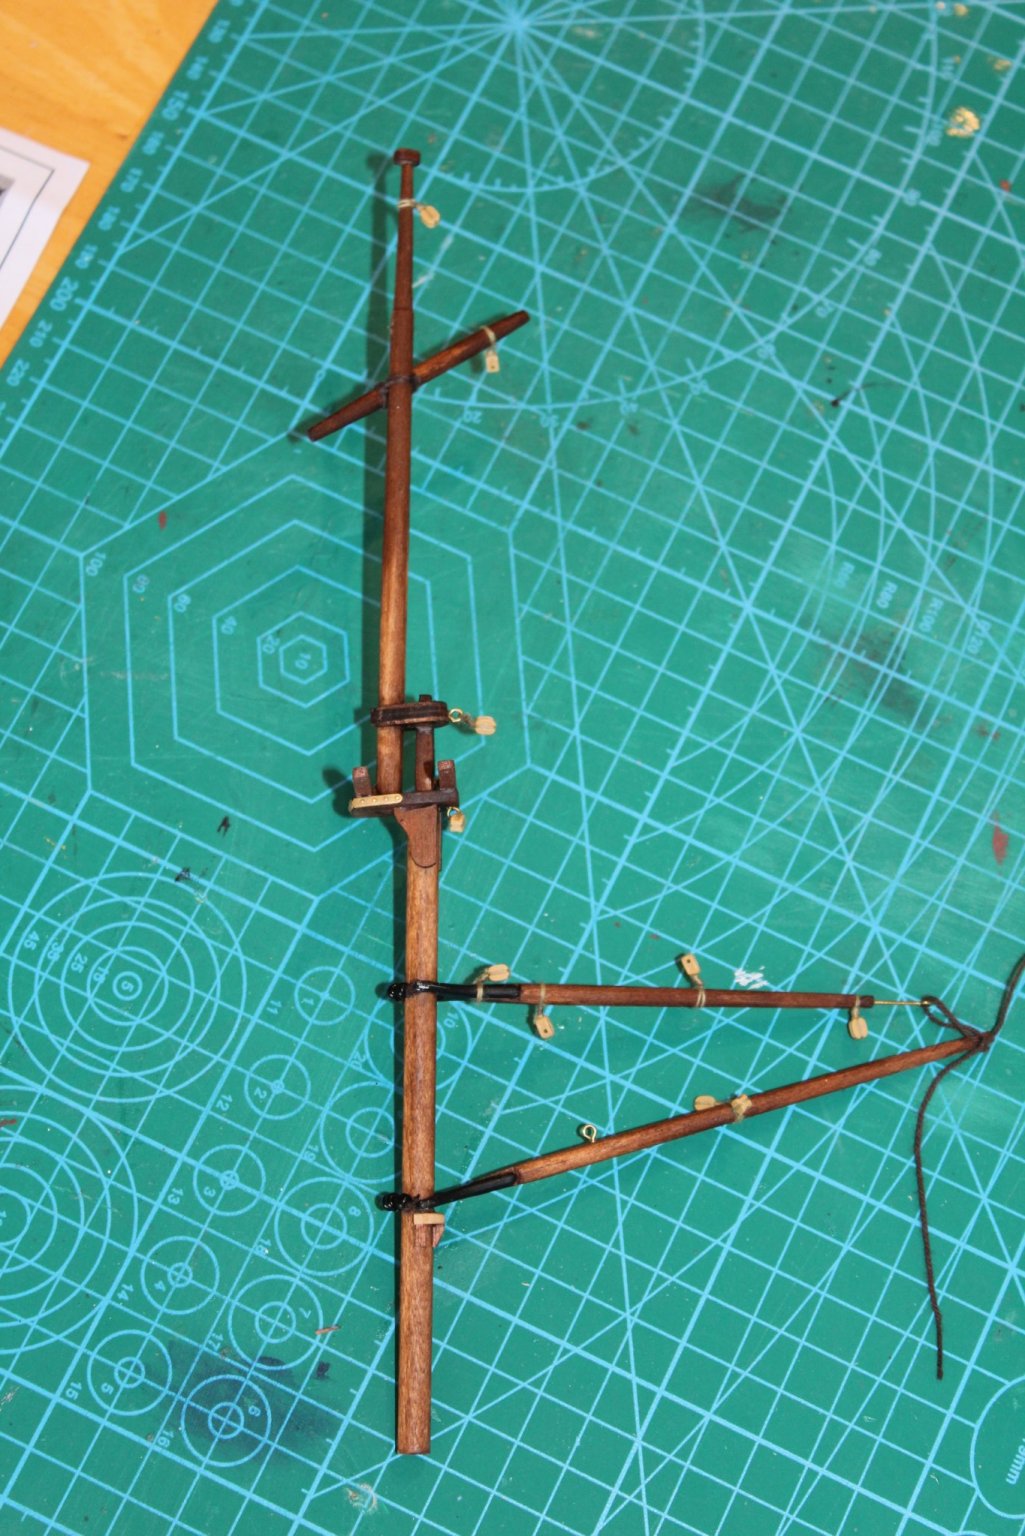
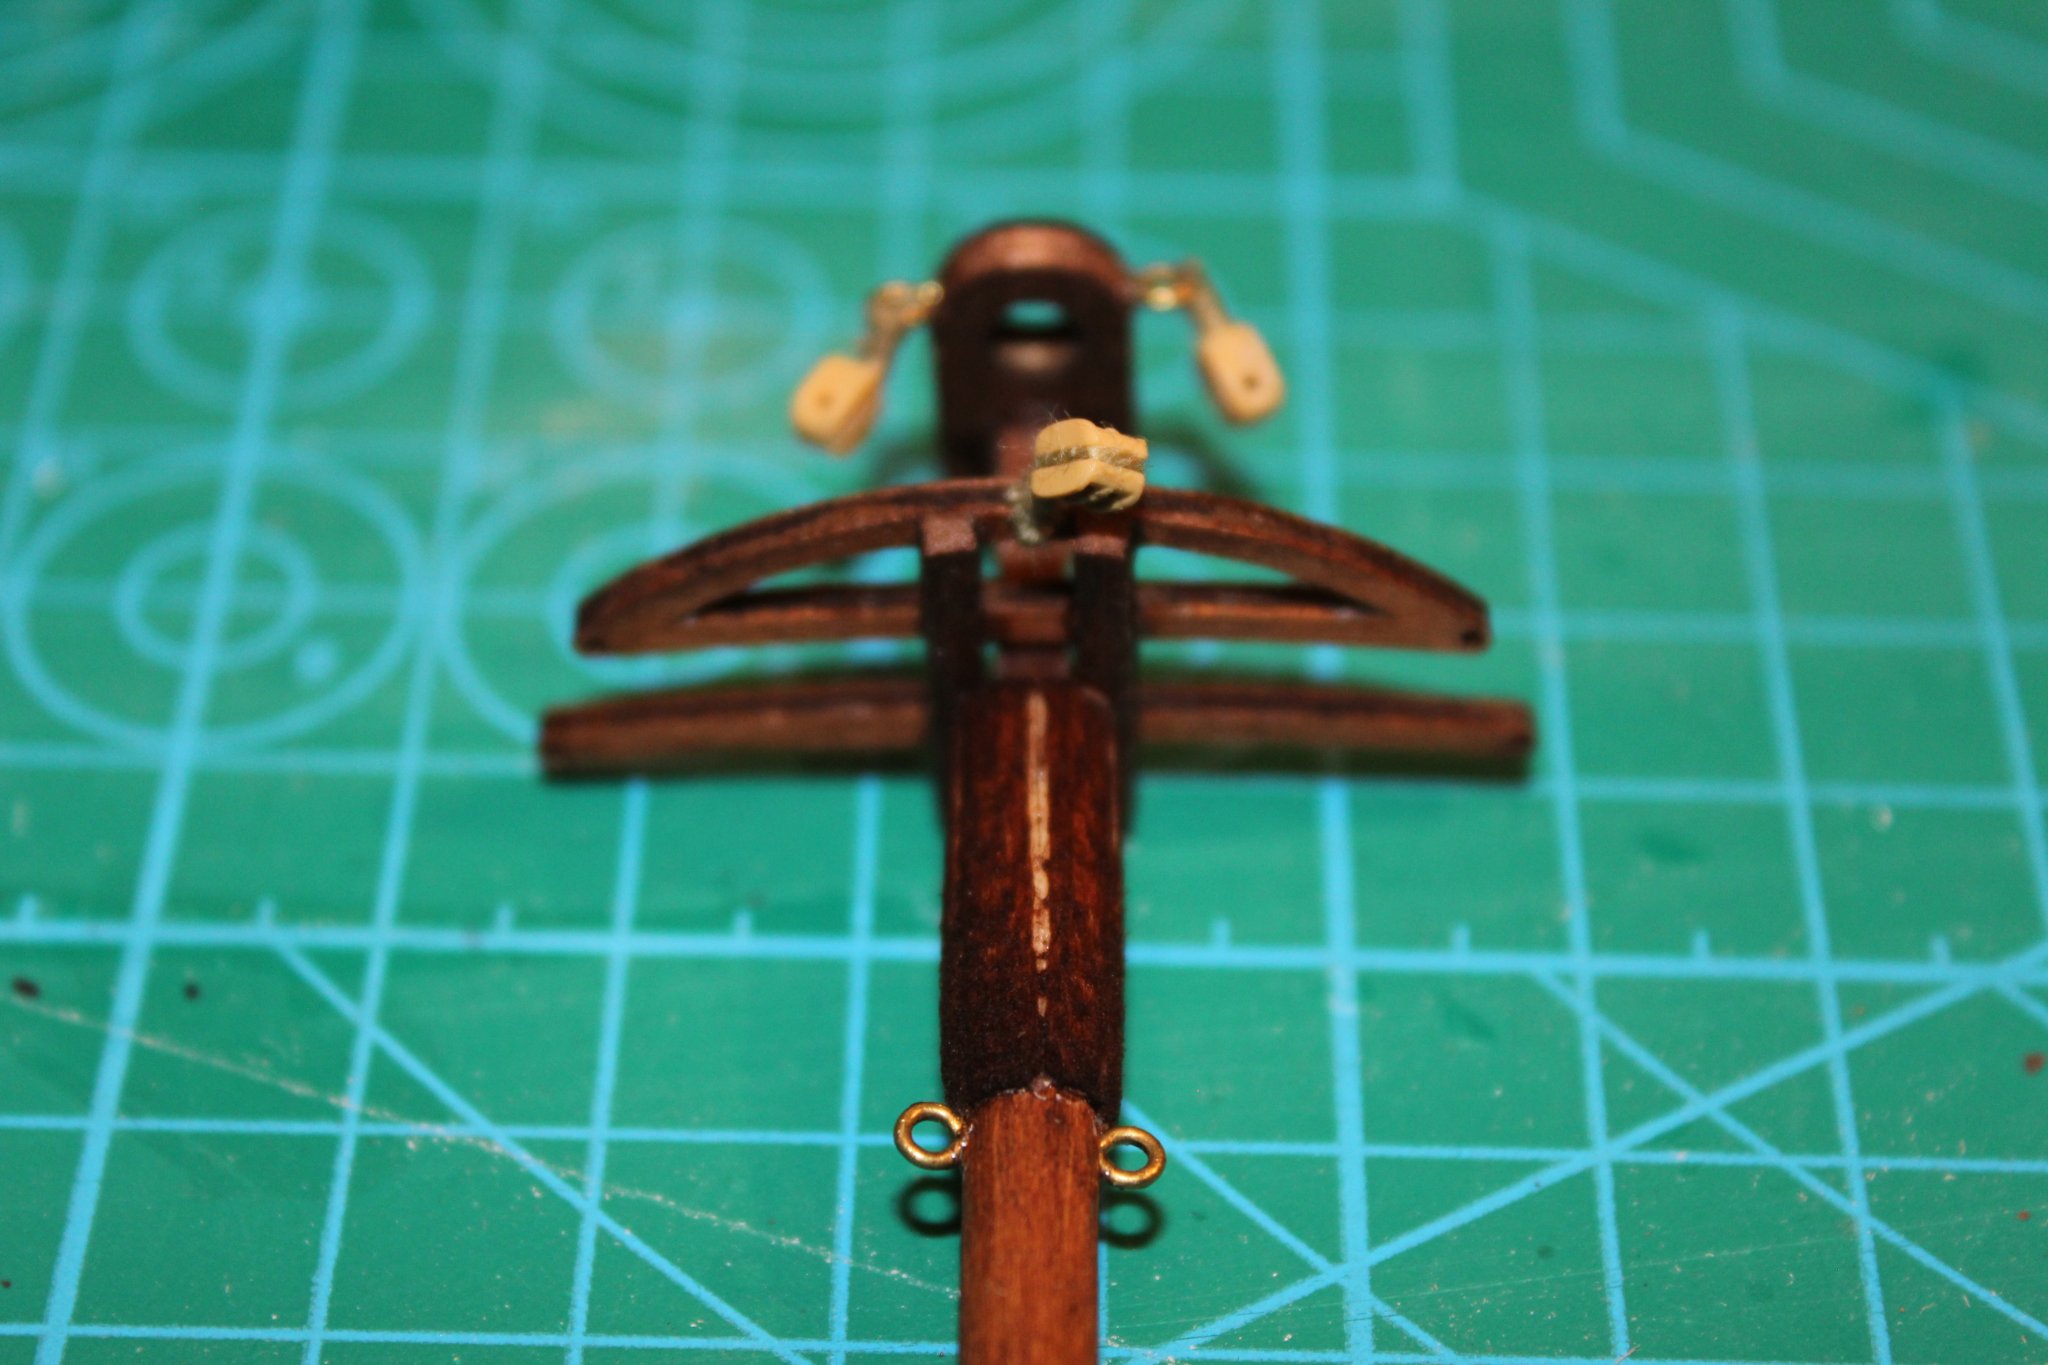
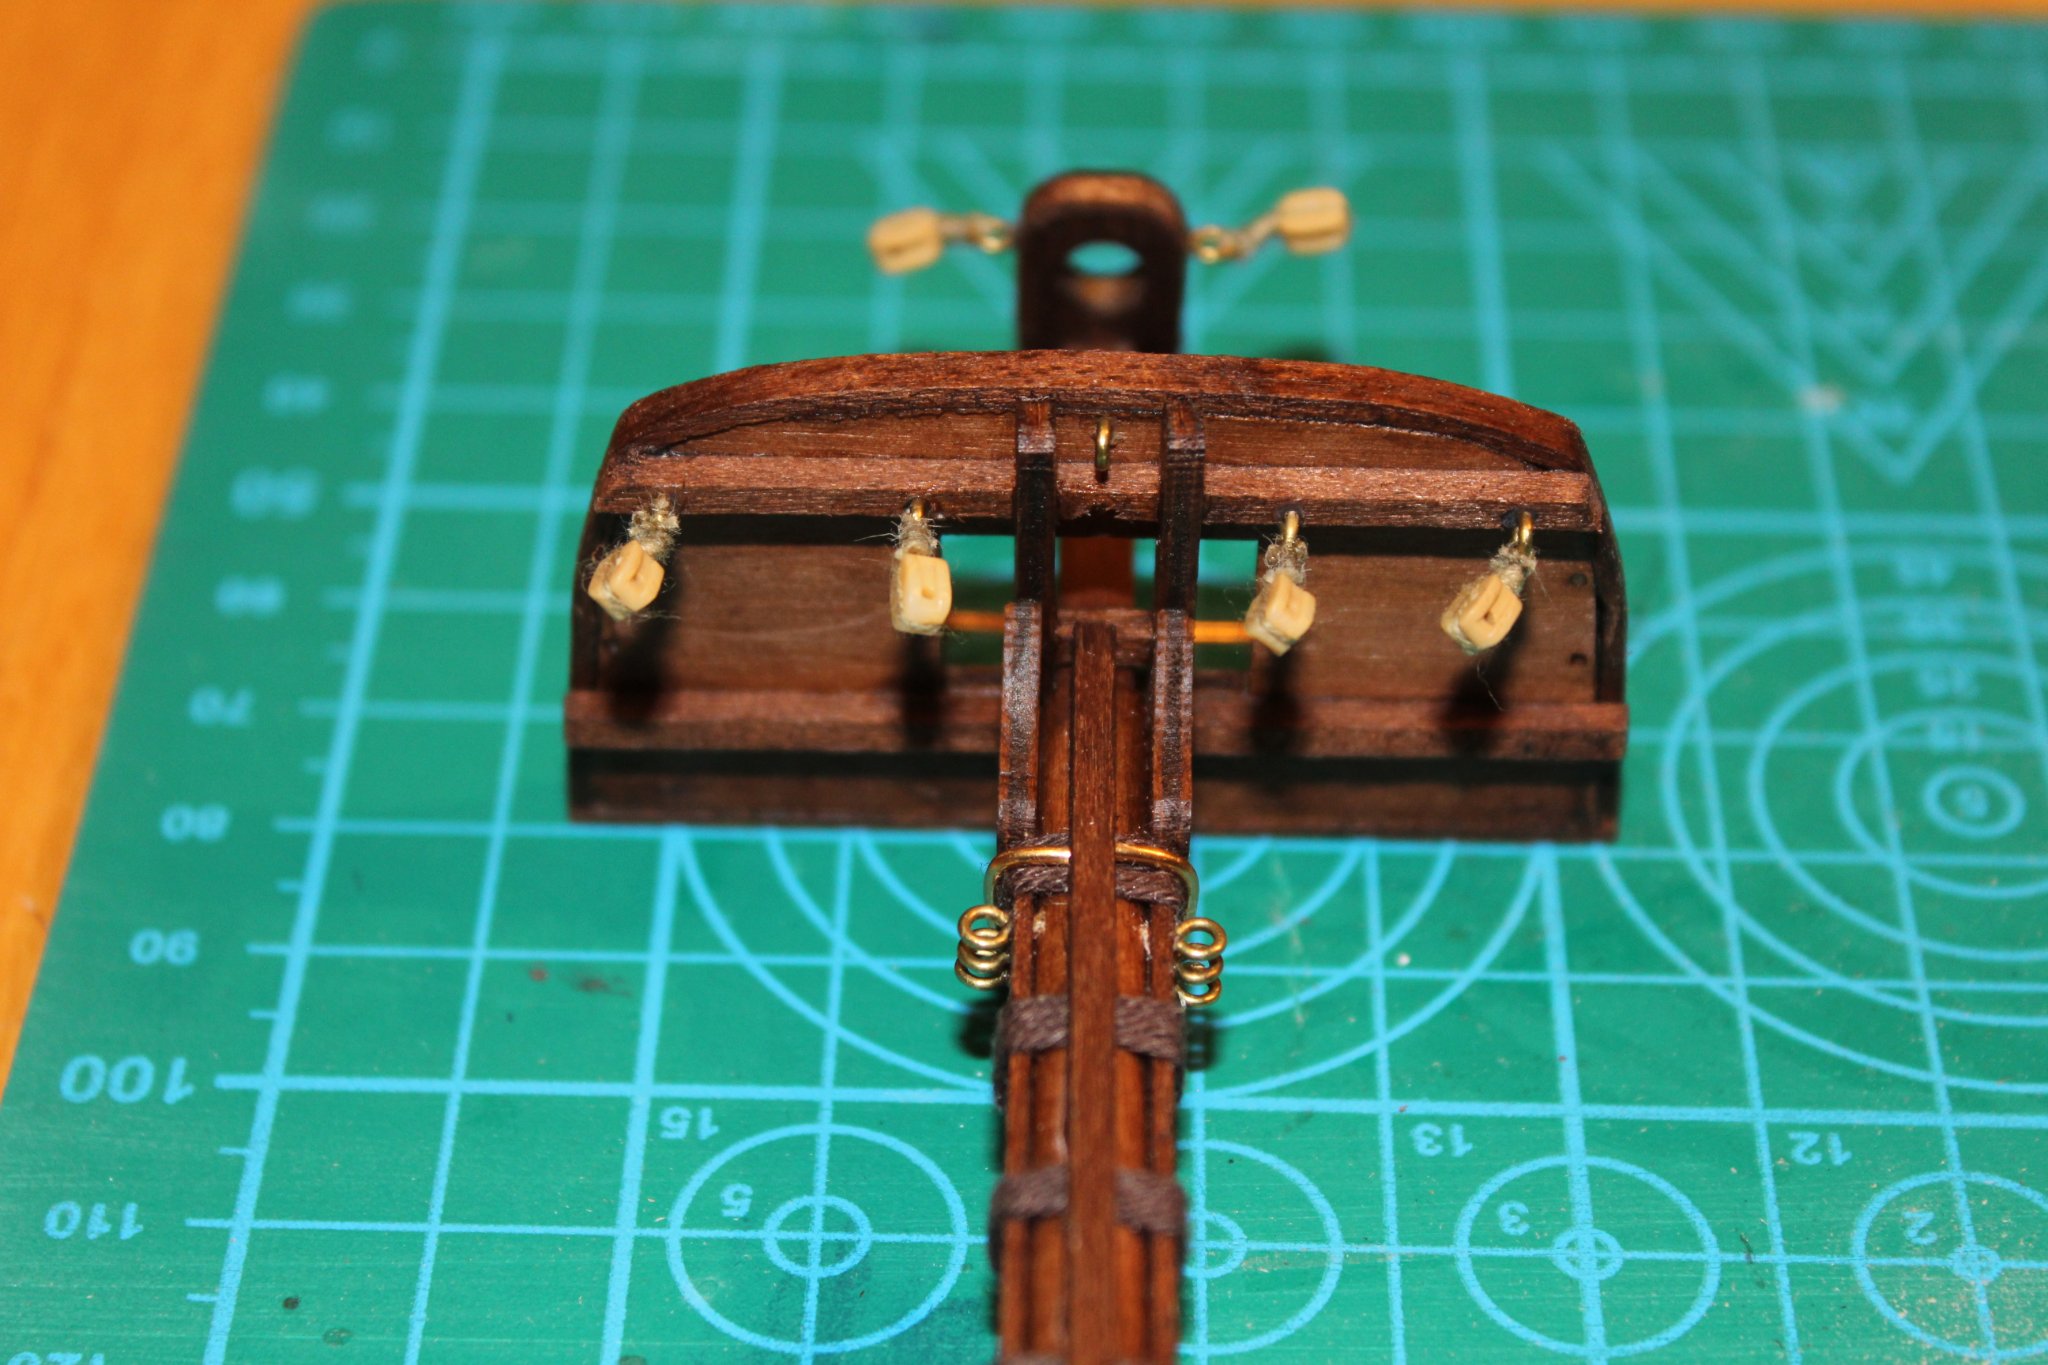
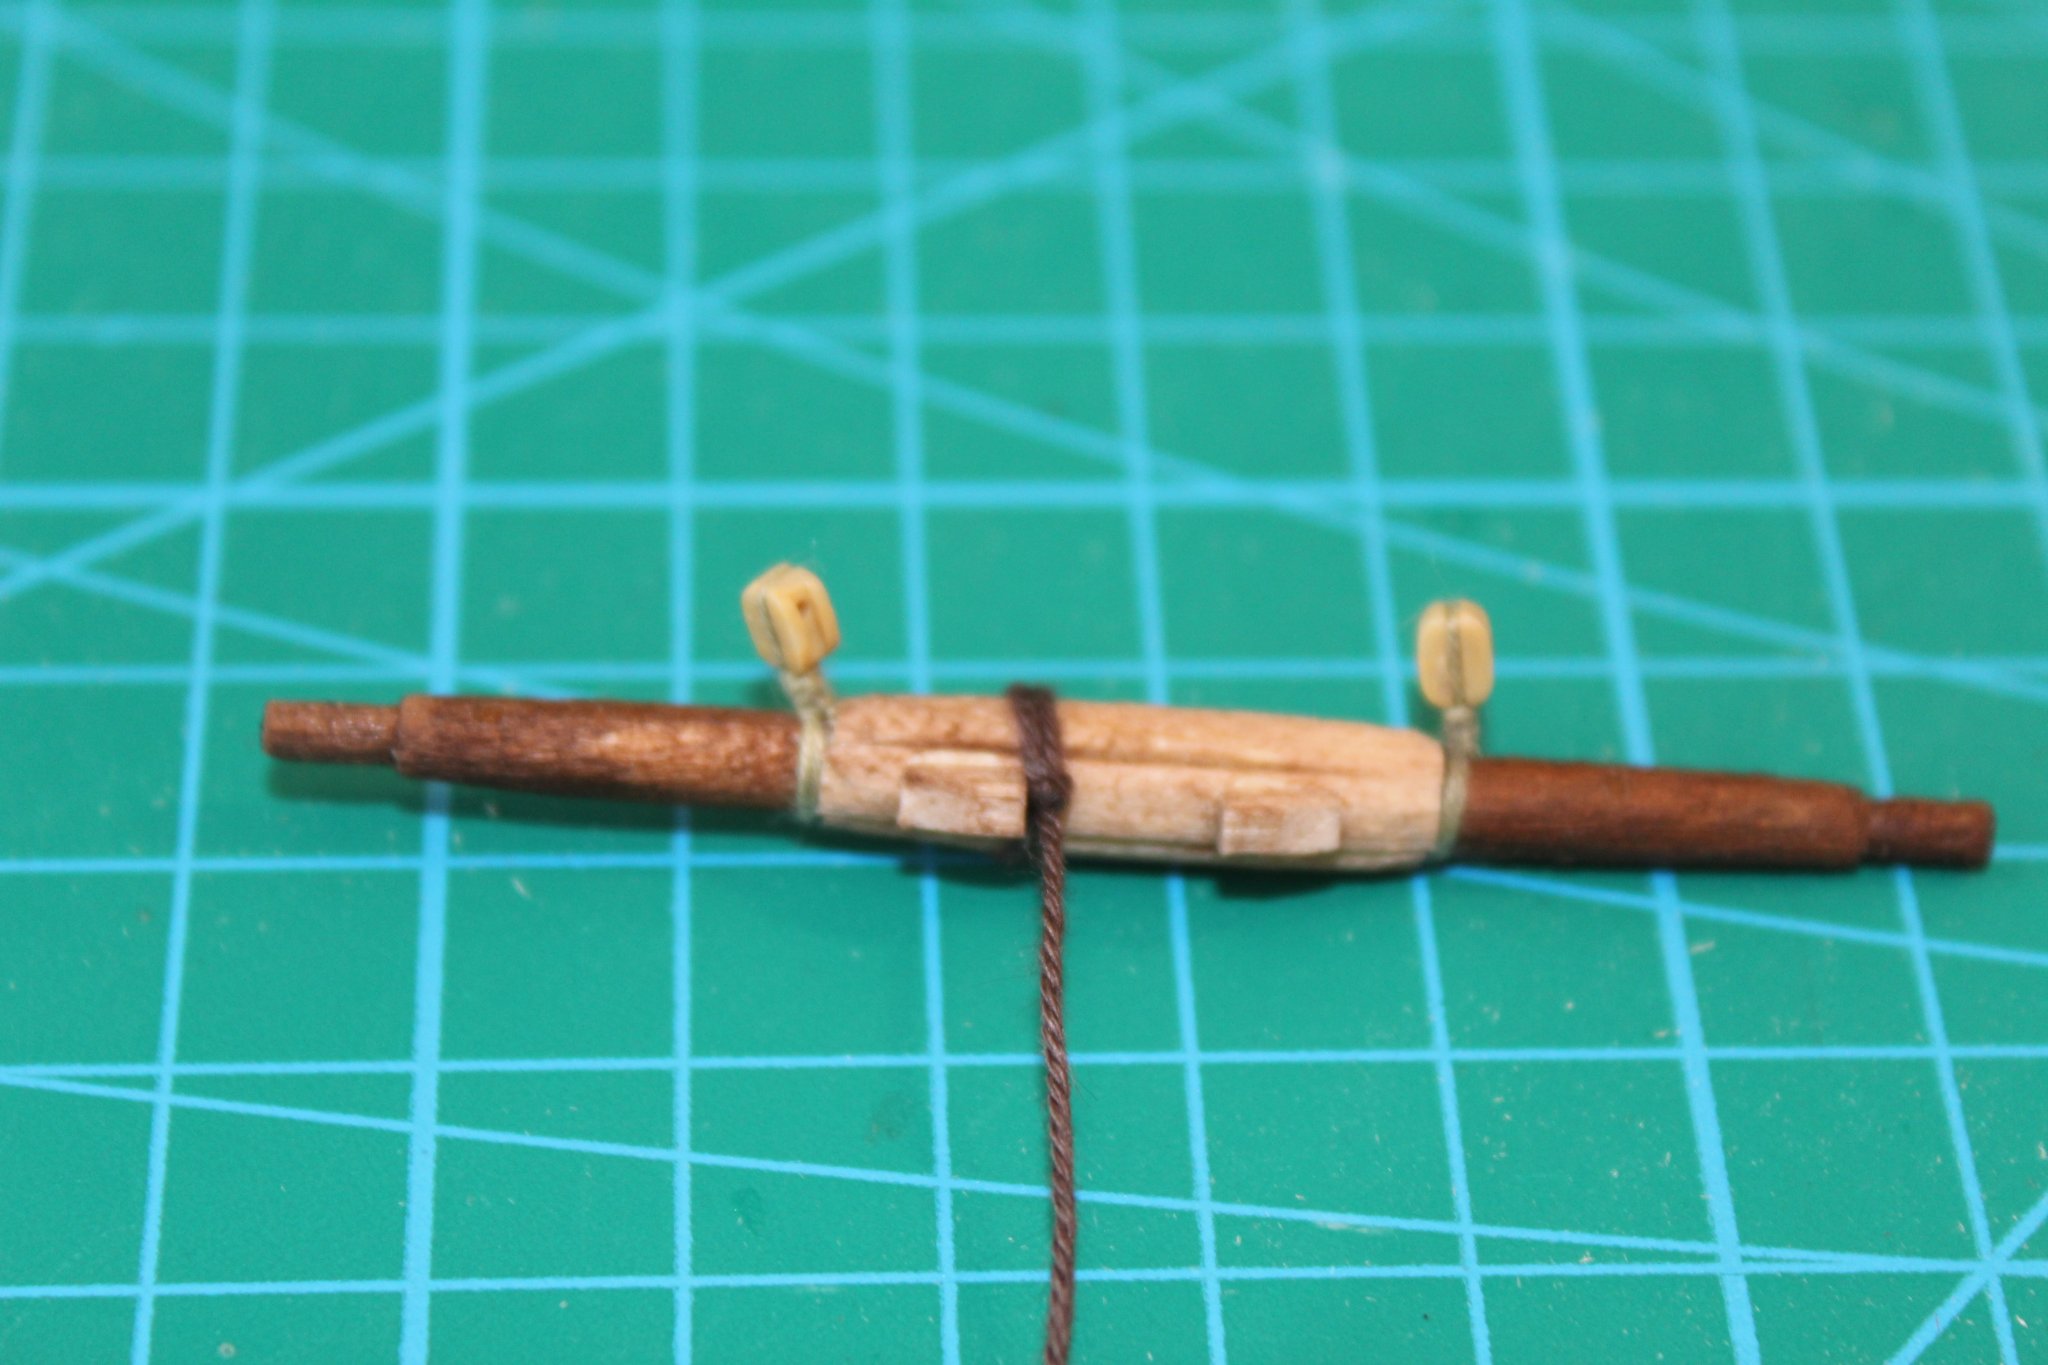
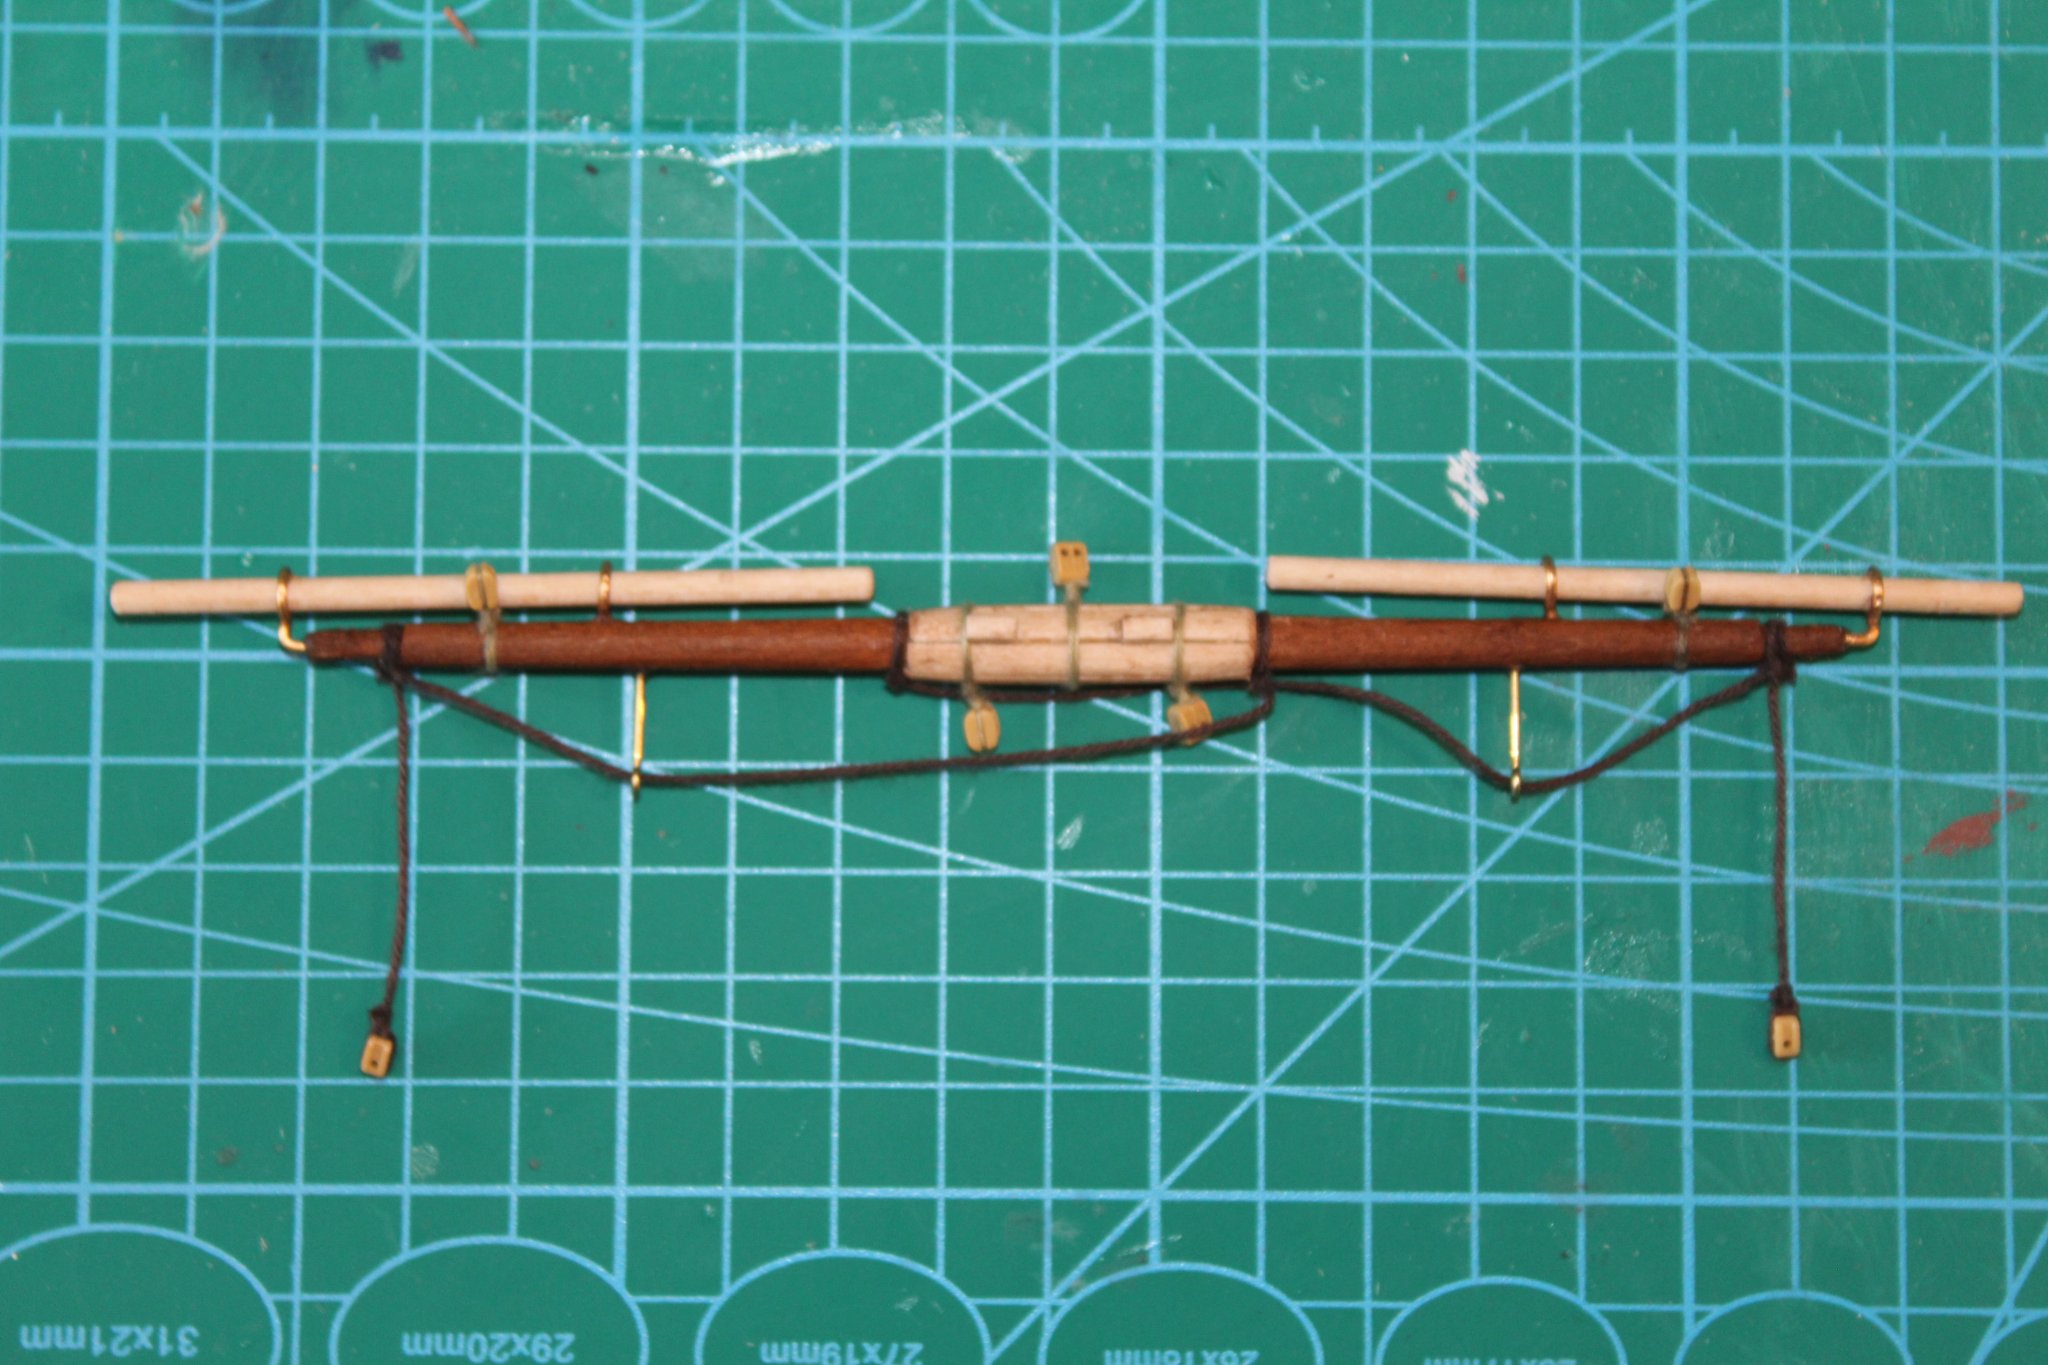
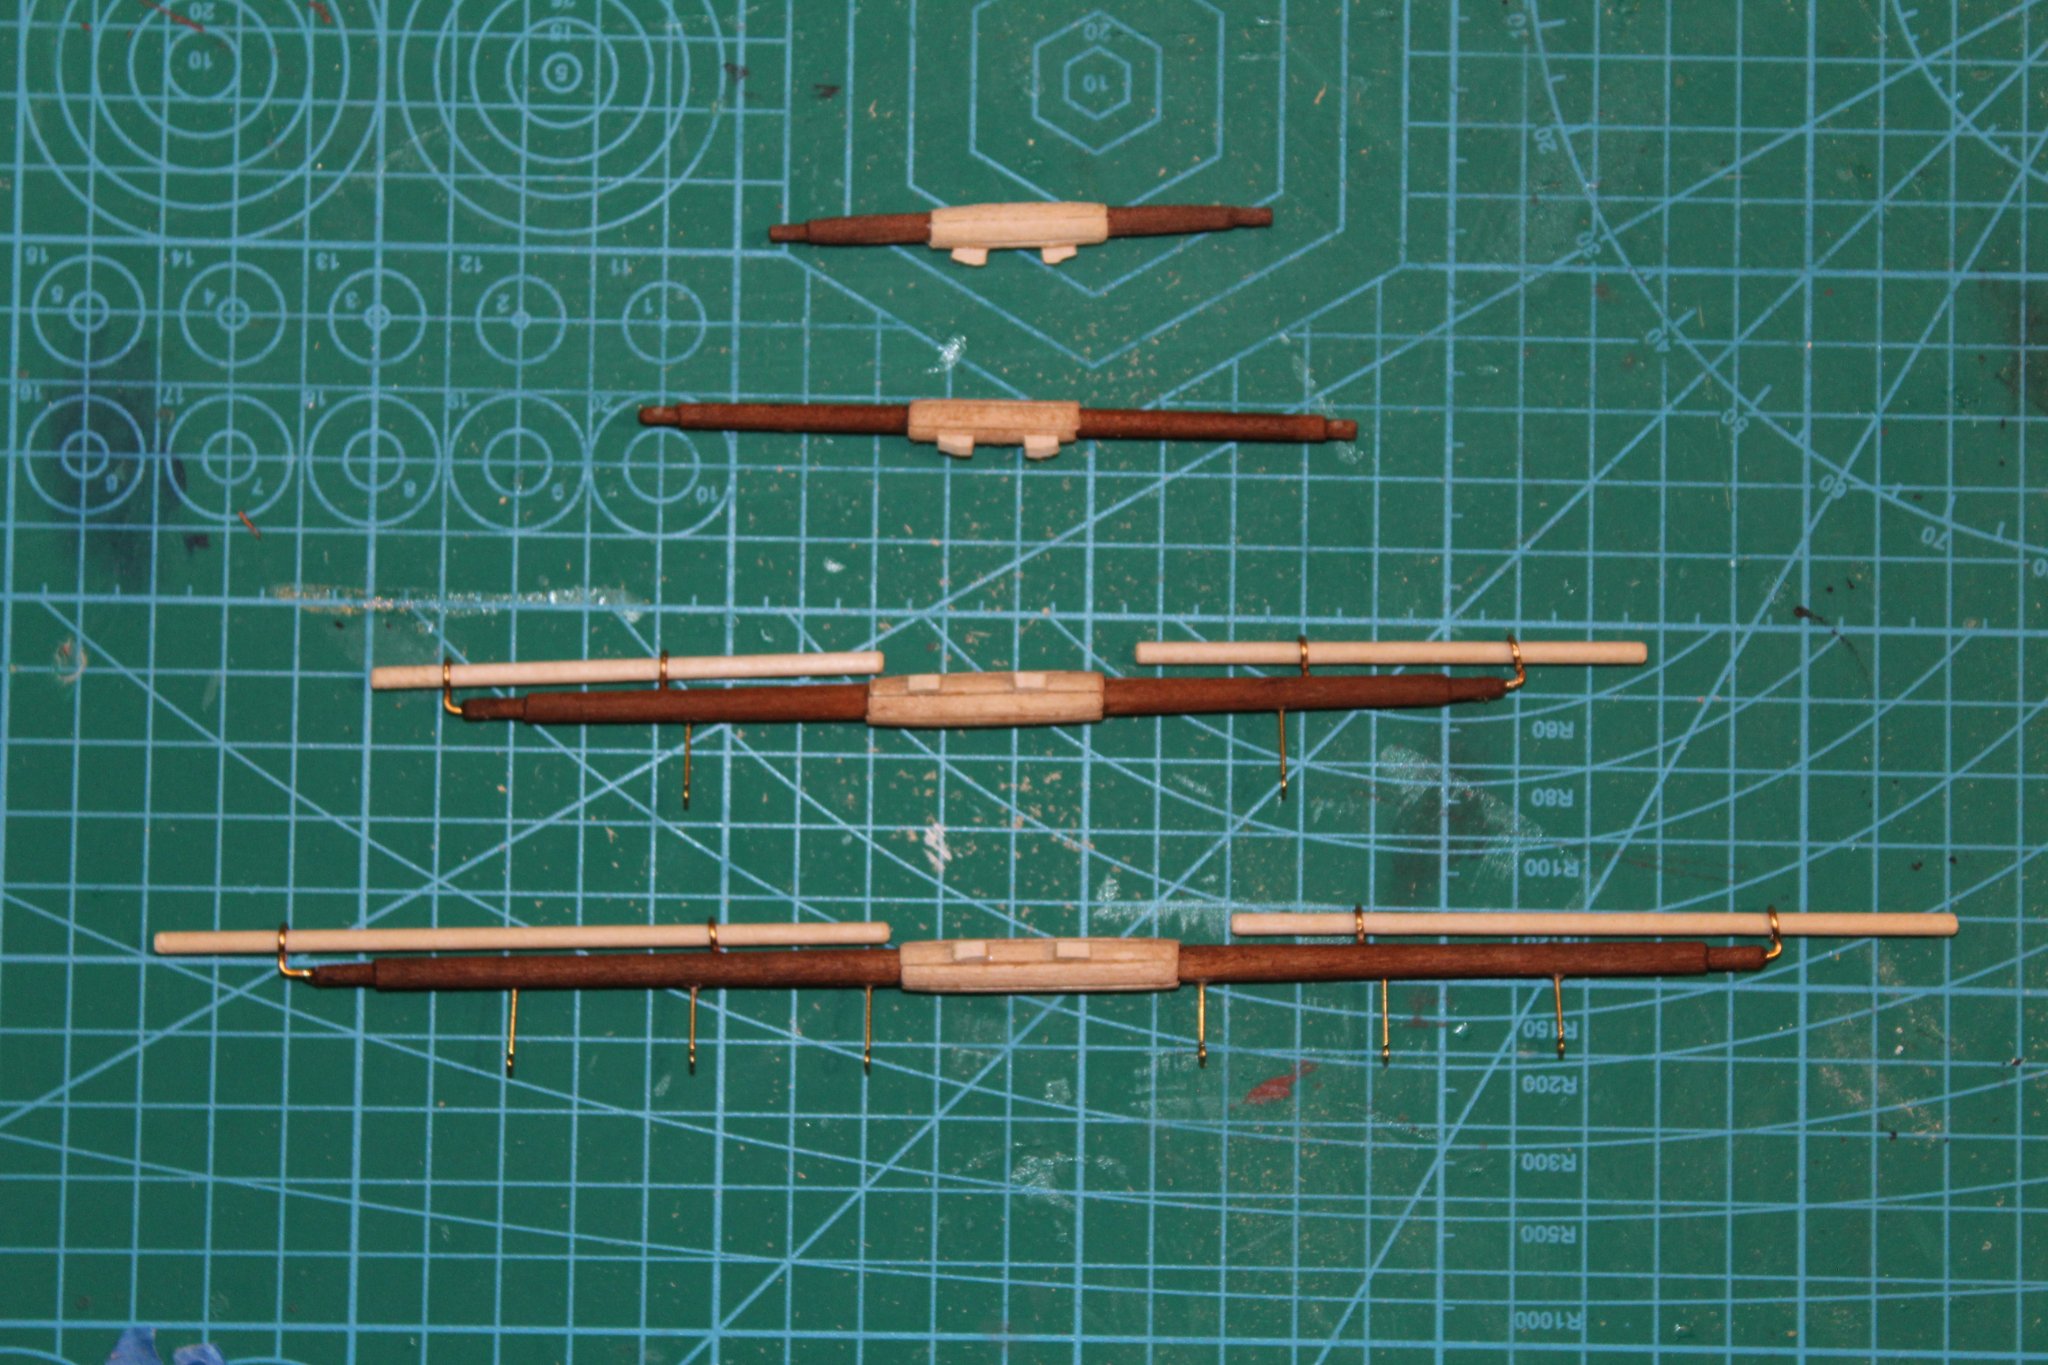
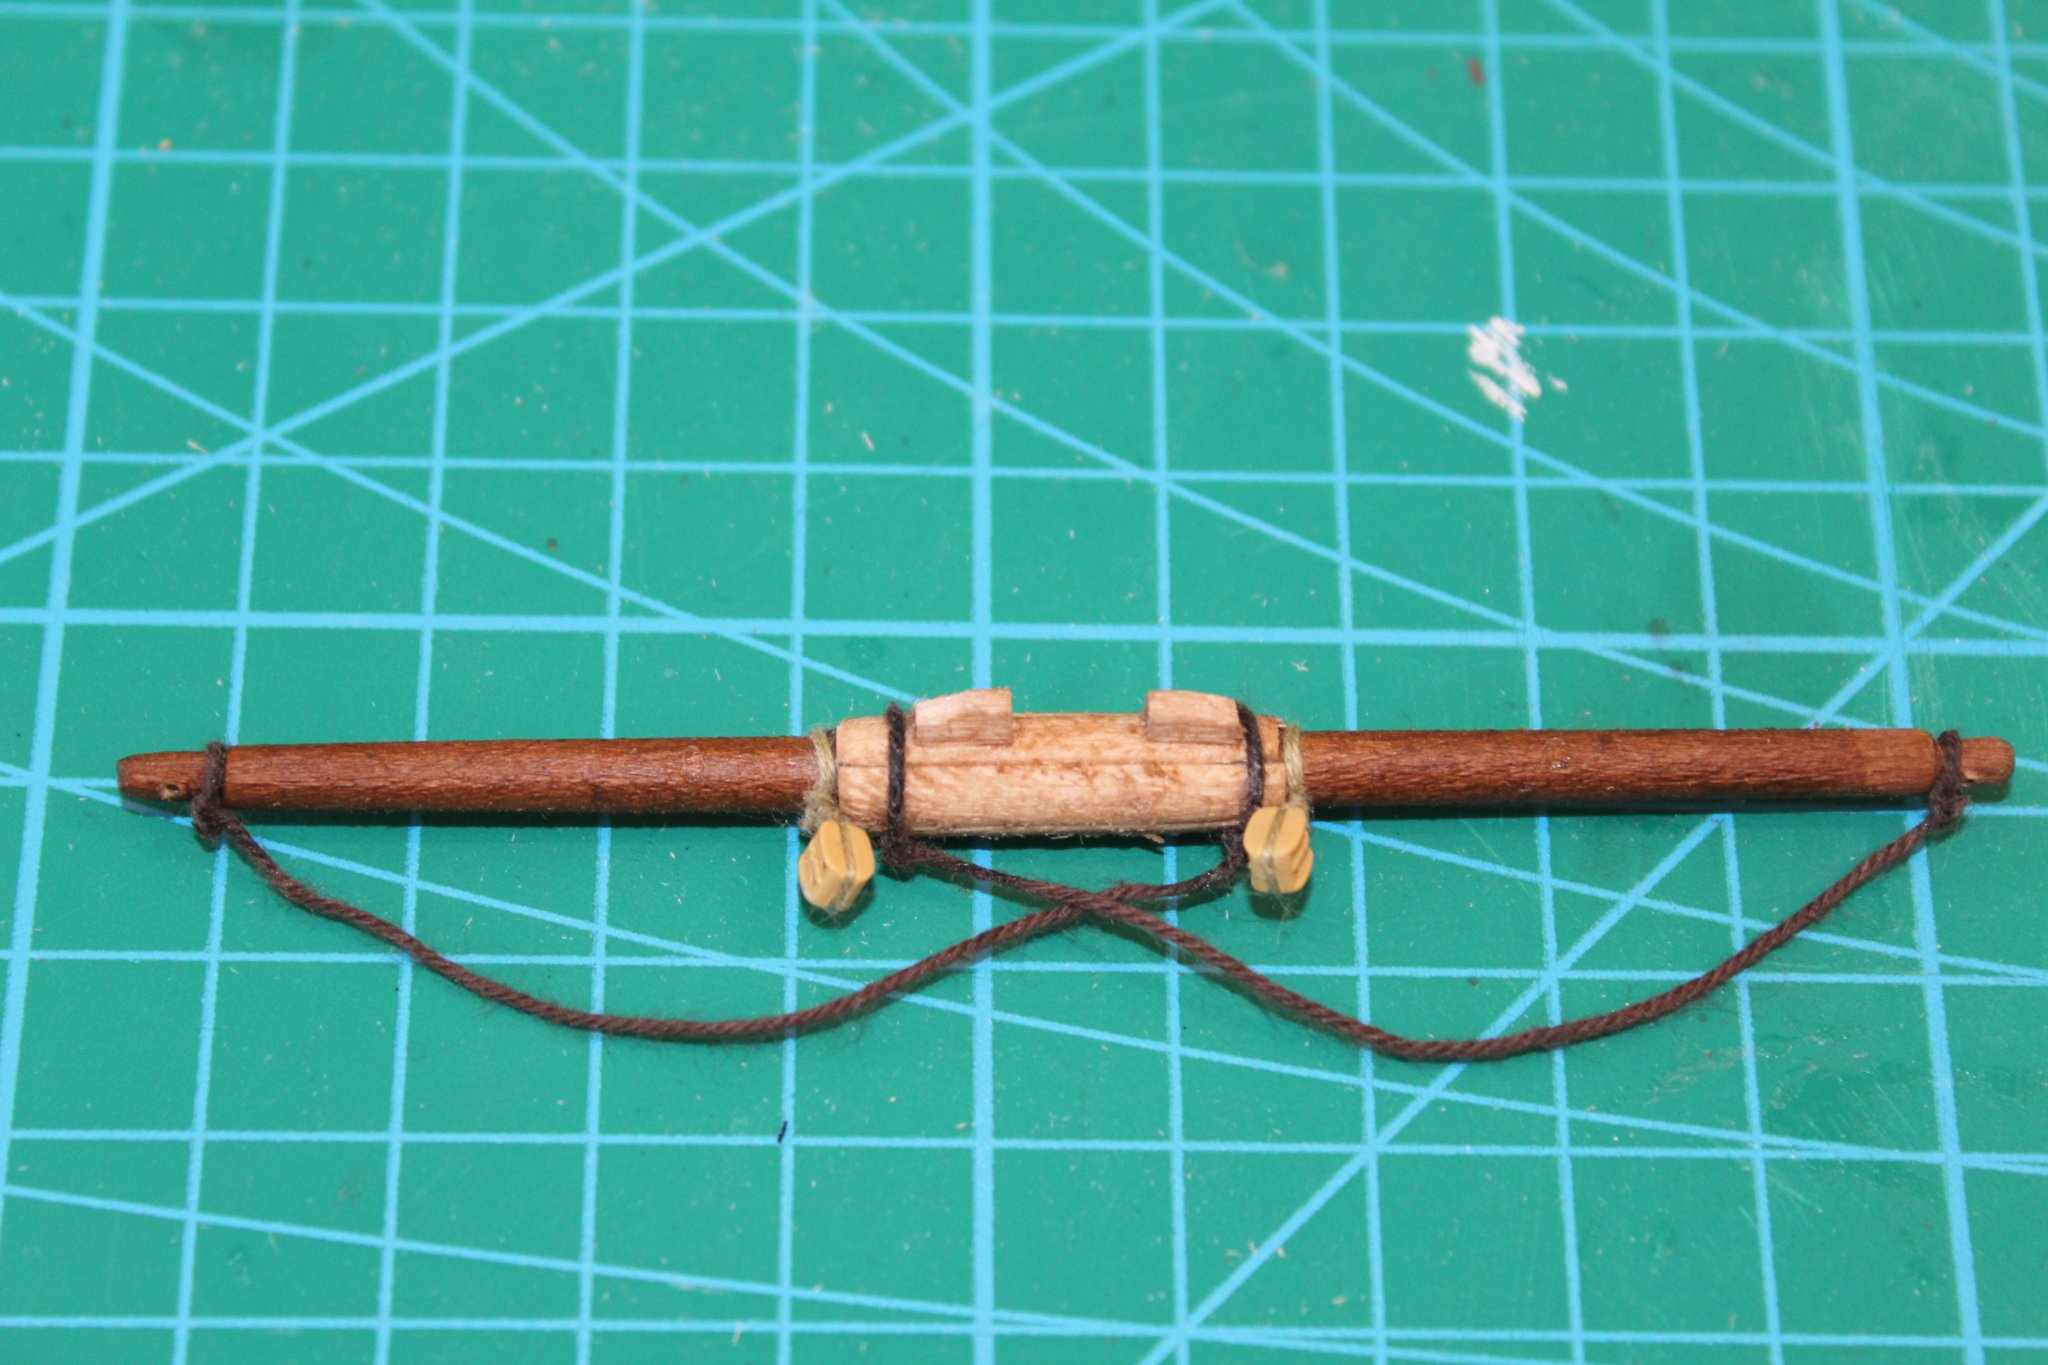
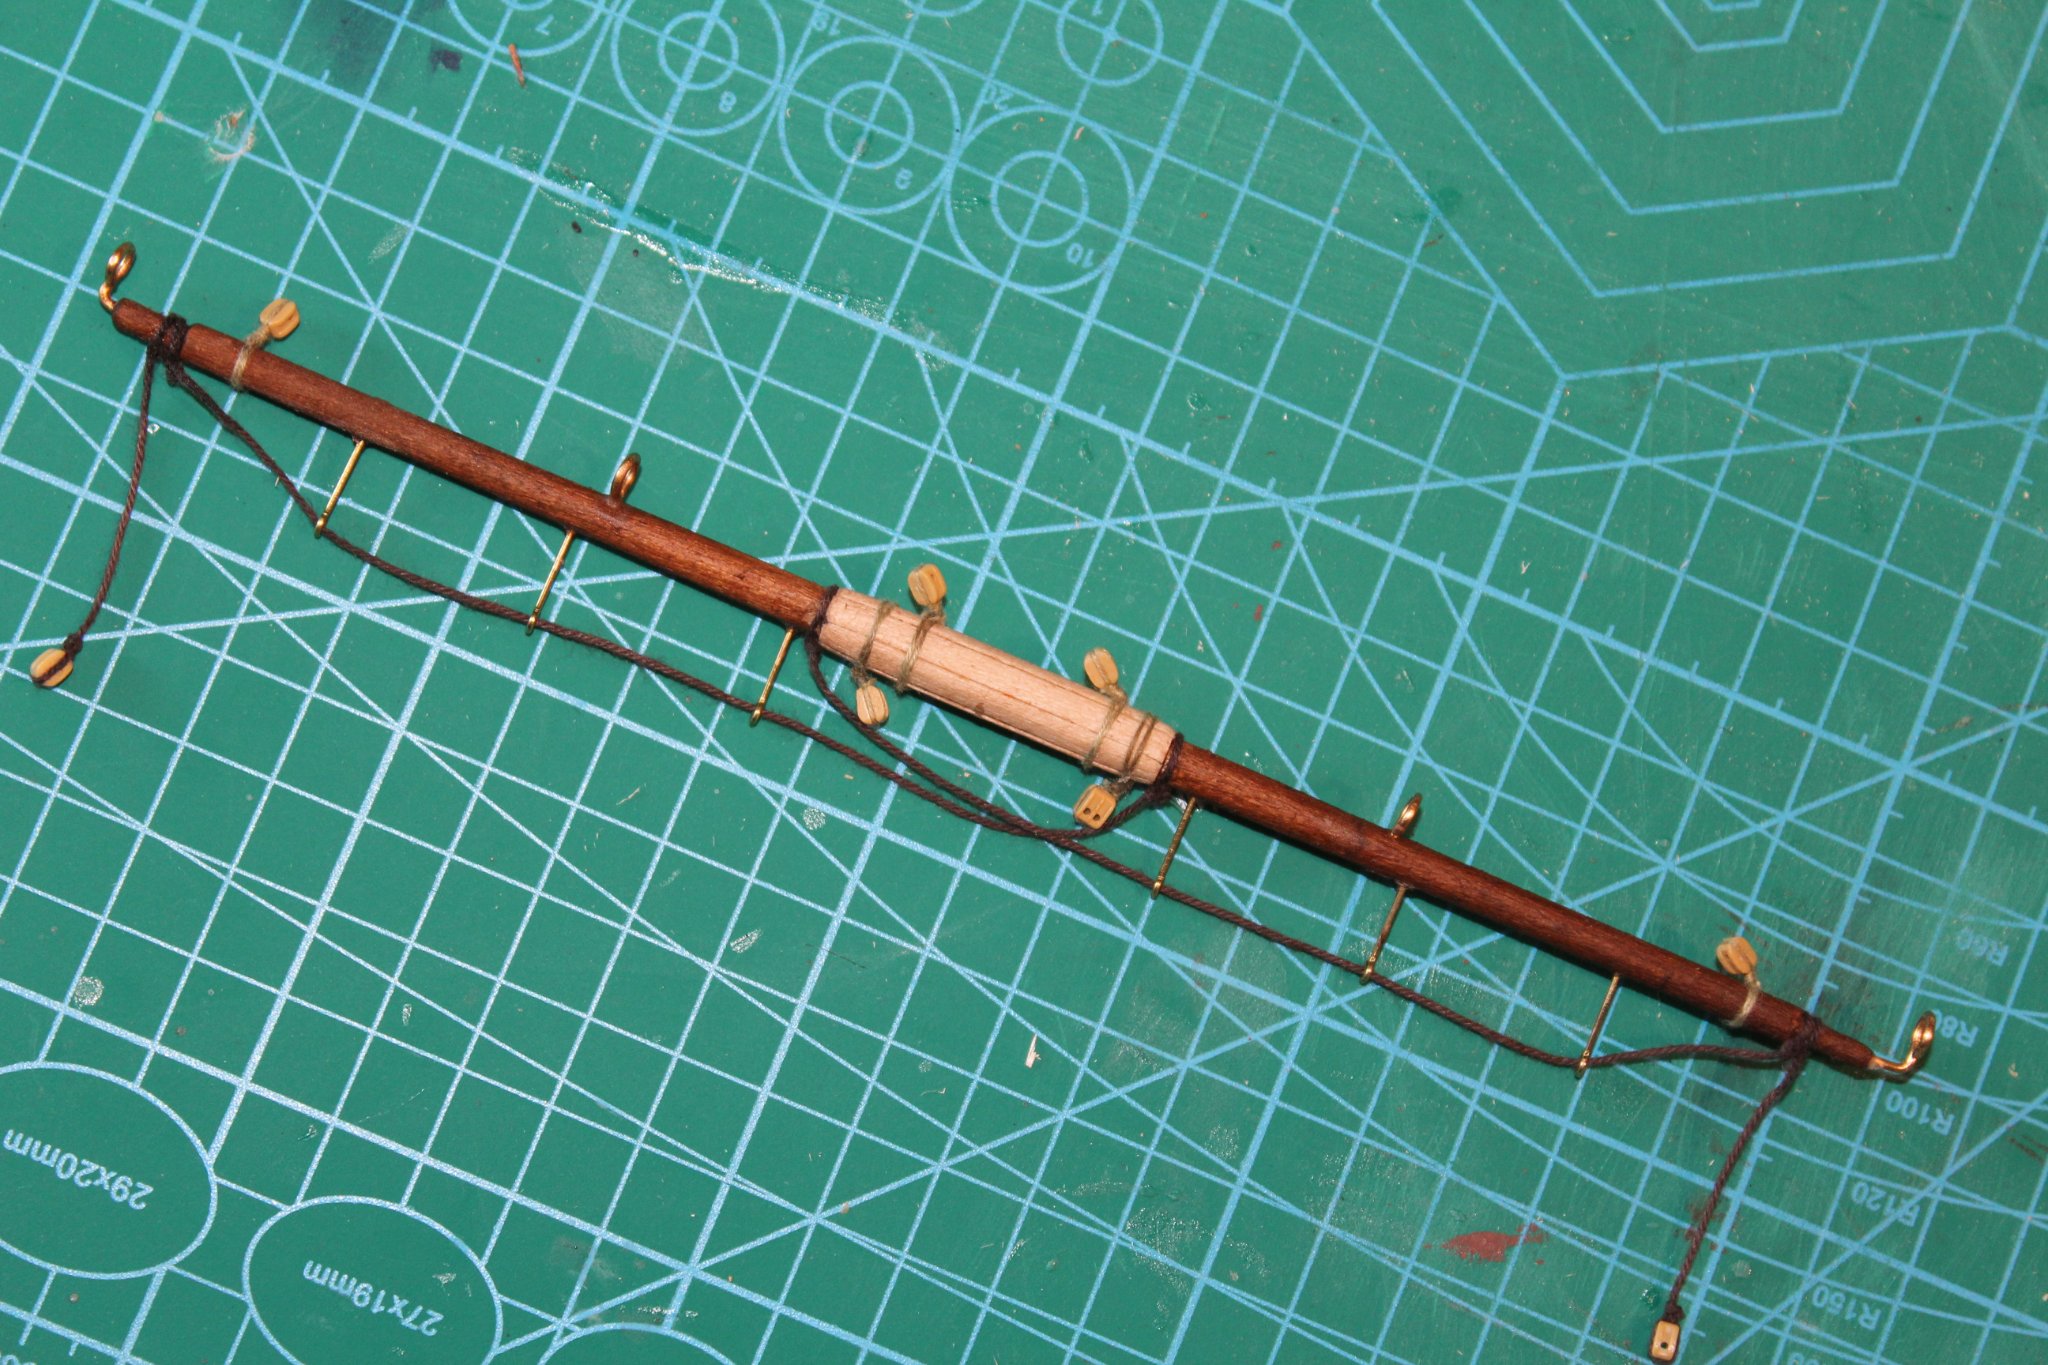
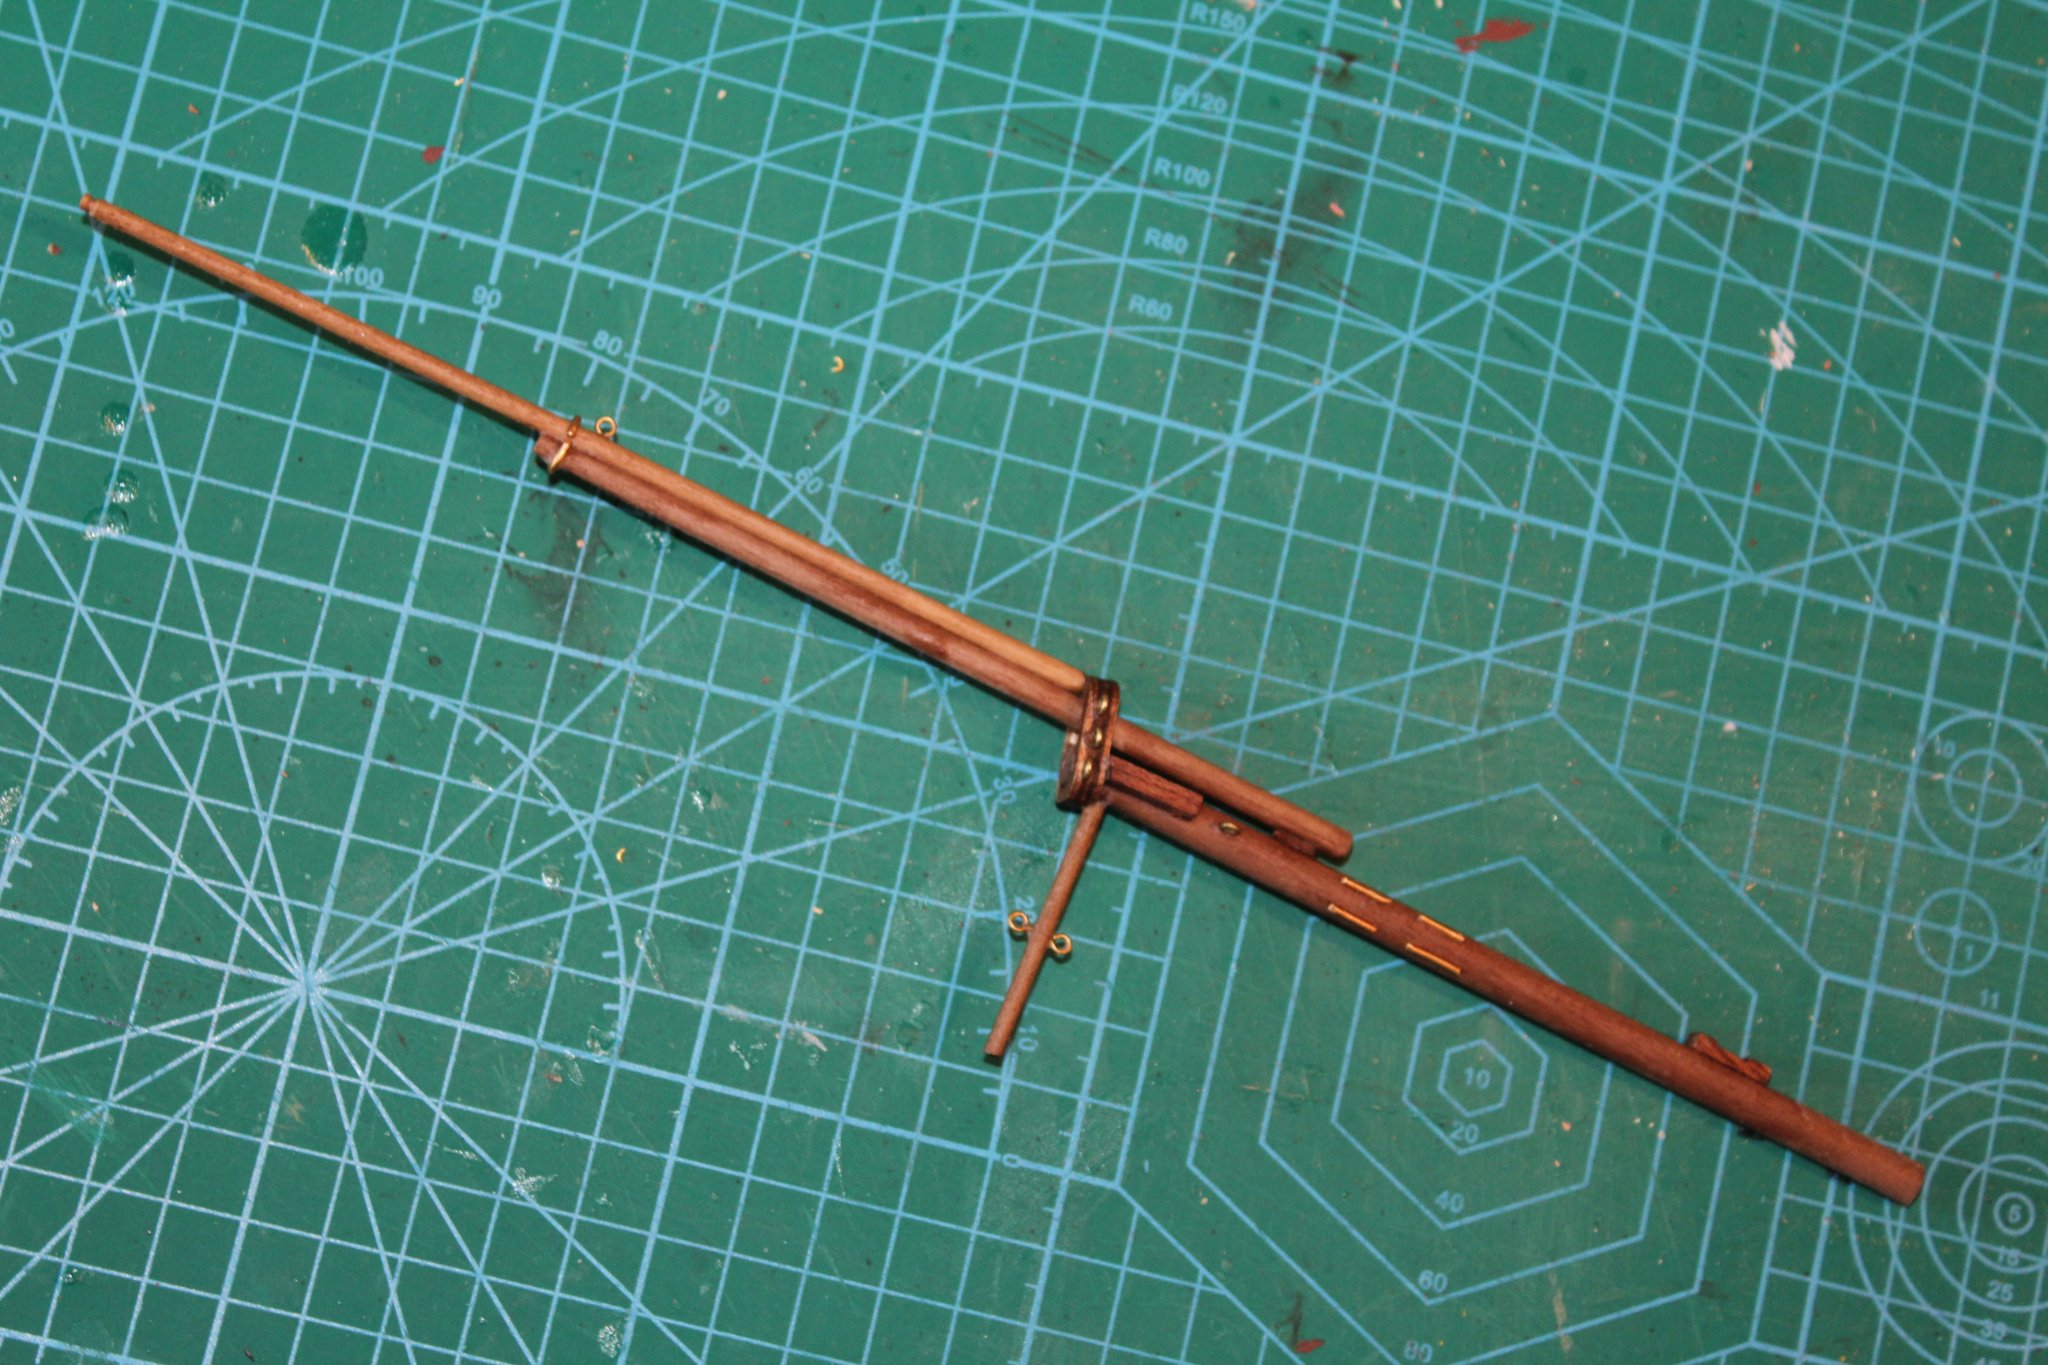
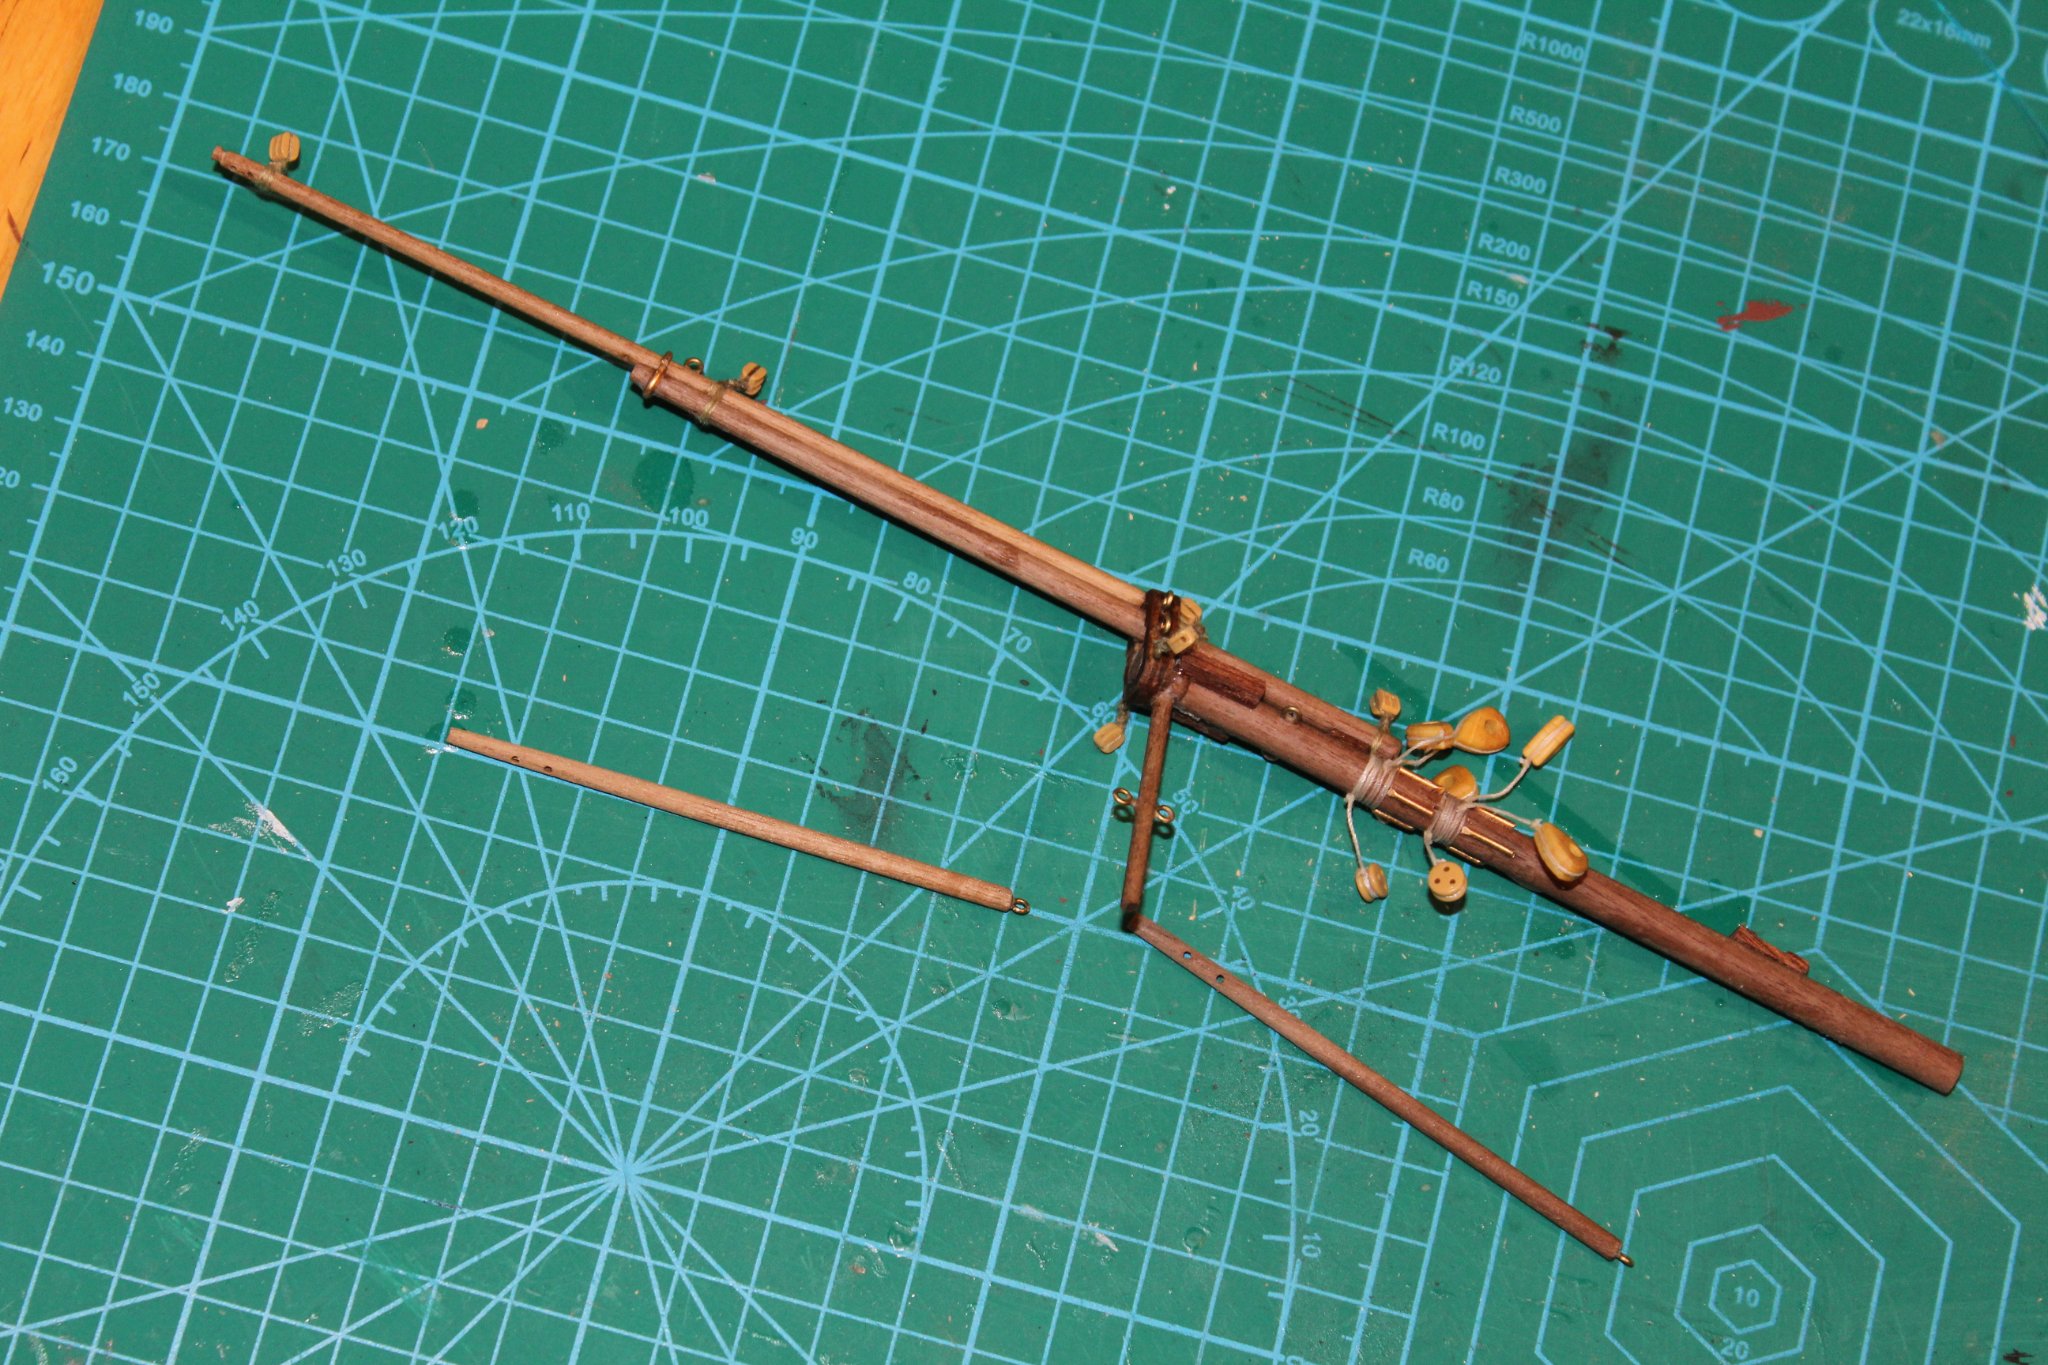
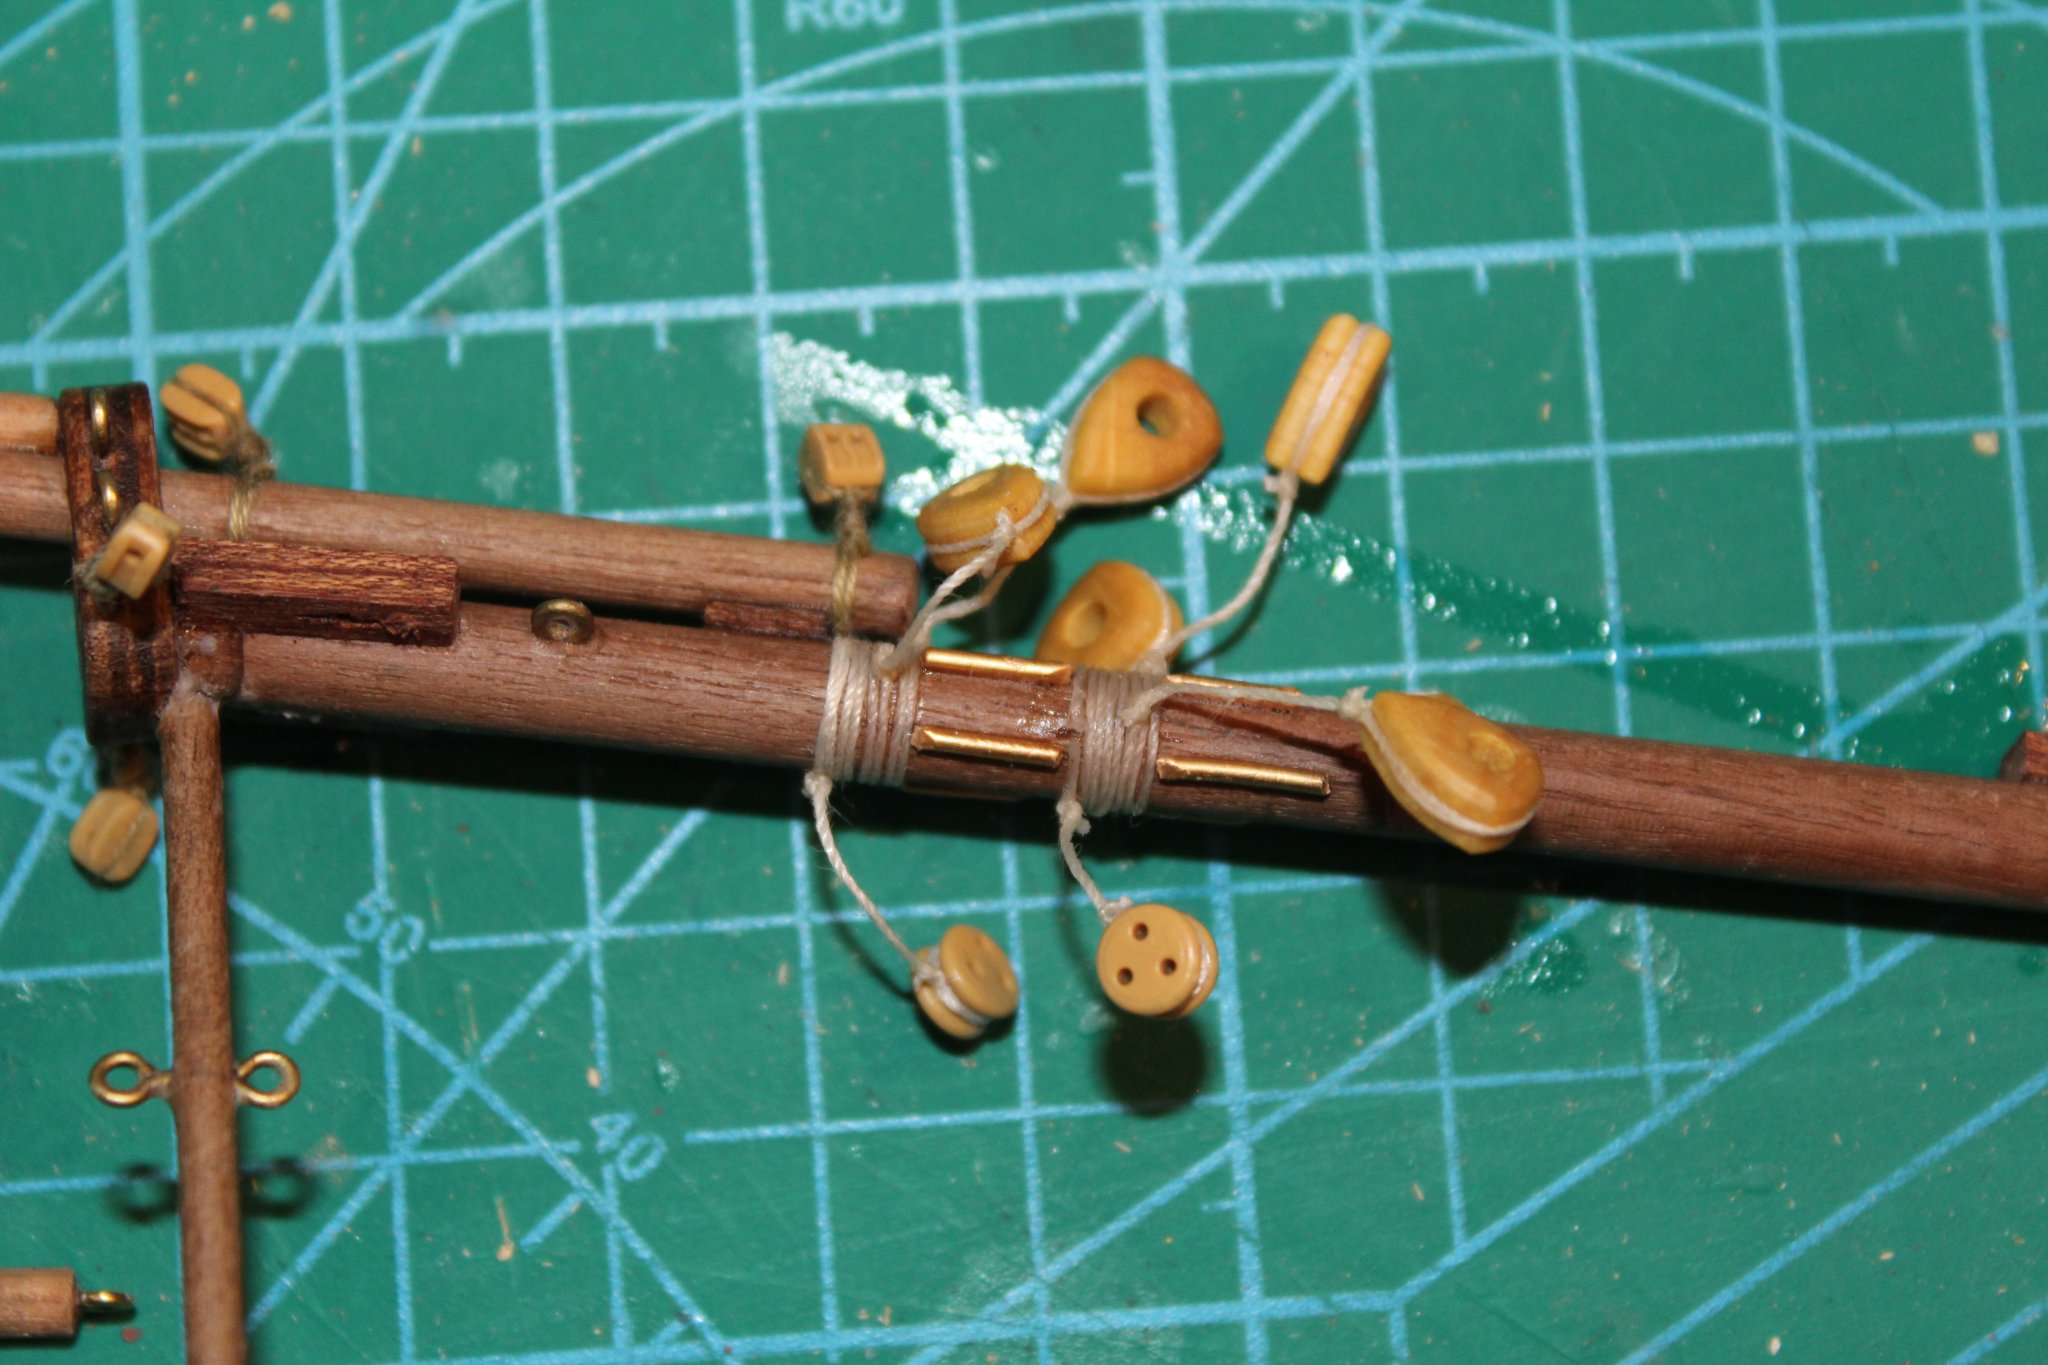
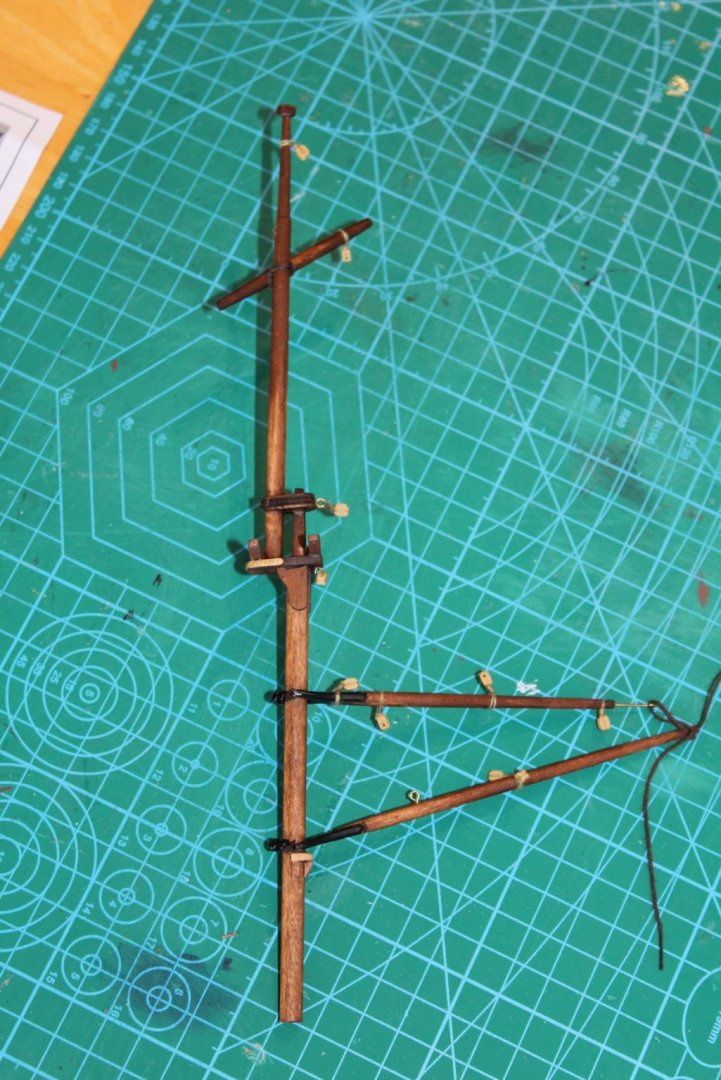
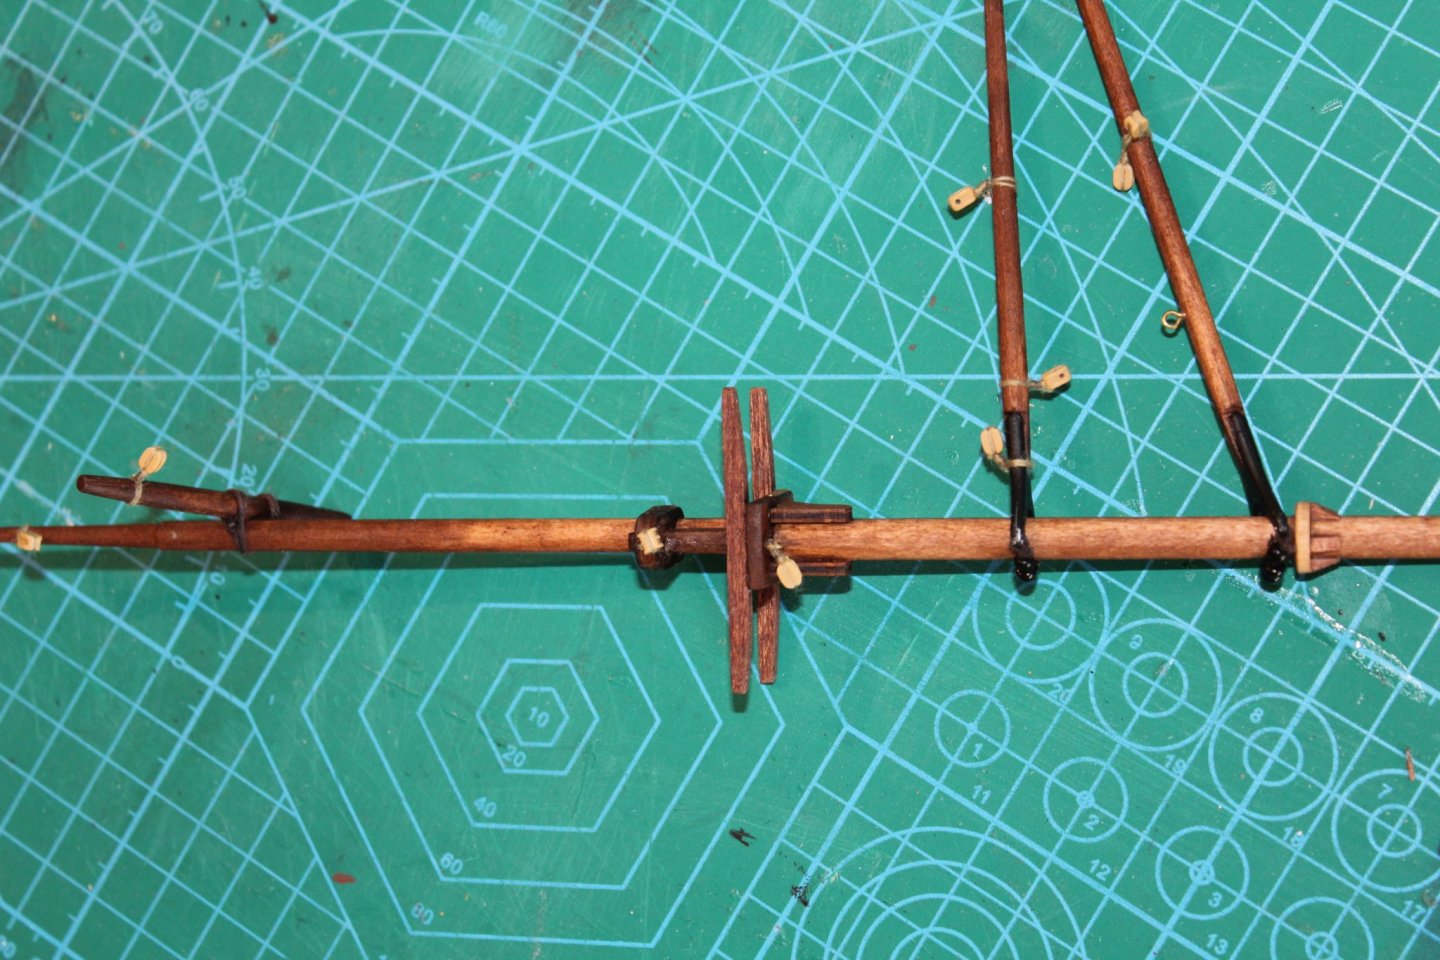
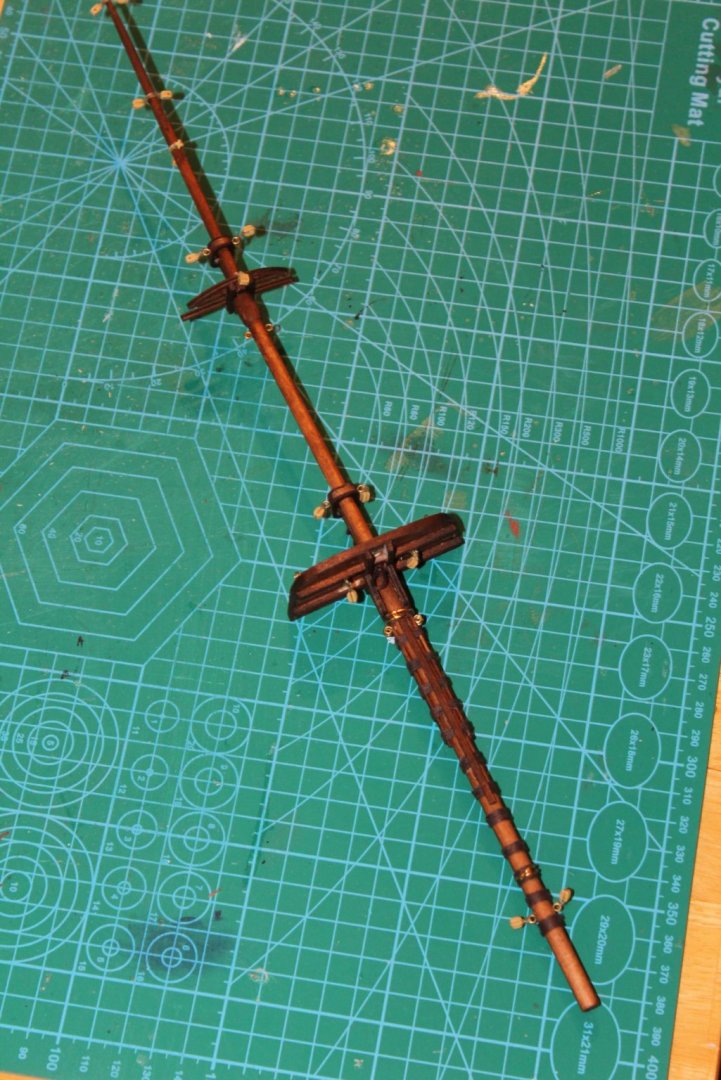
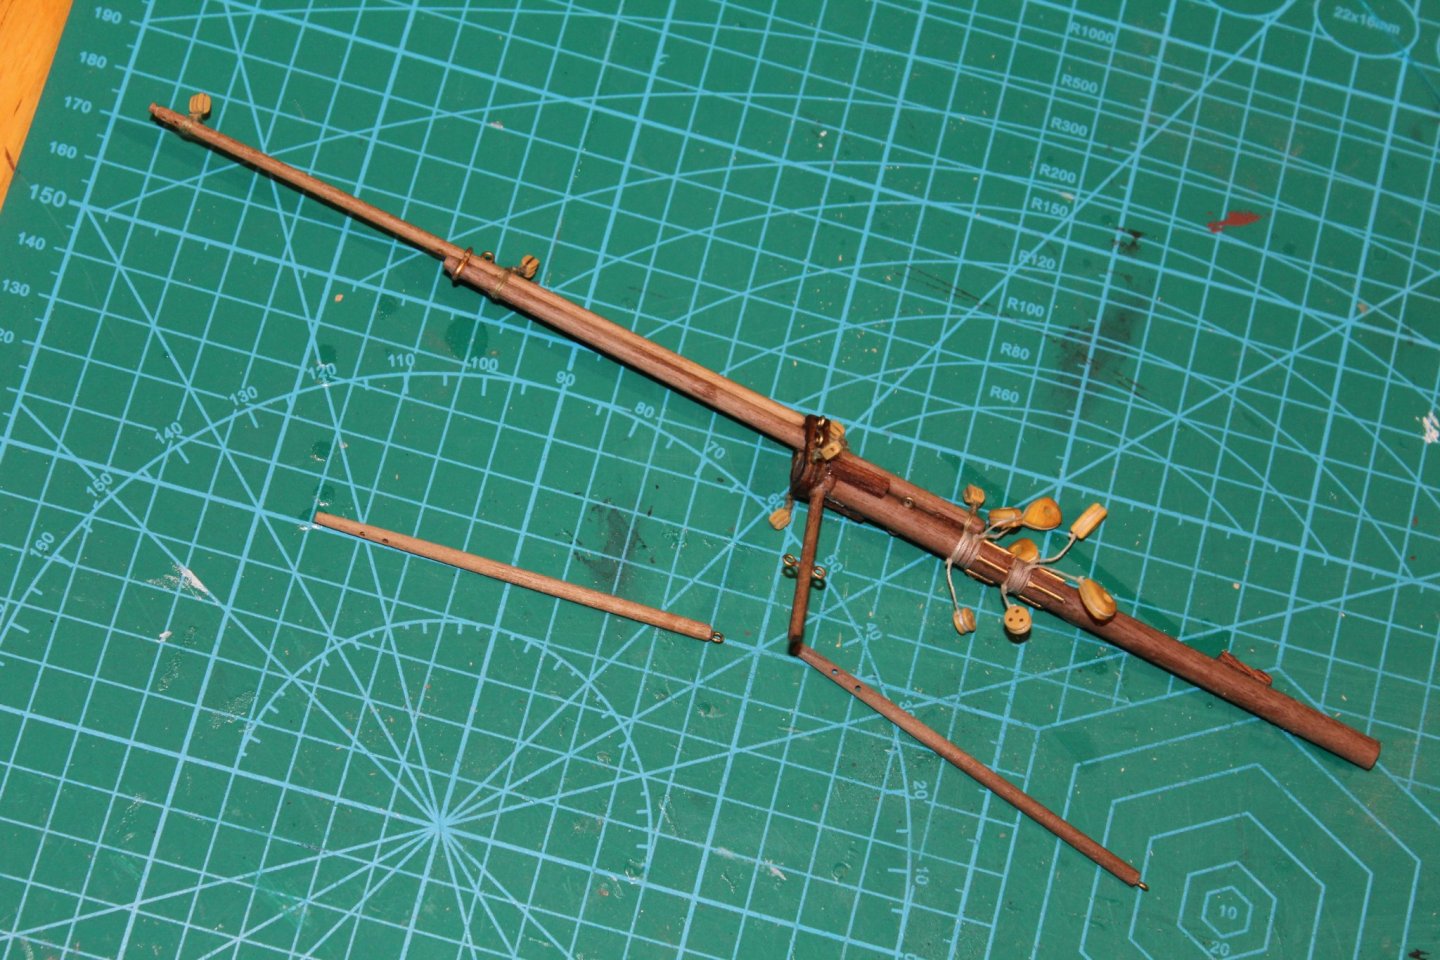
Started the bowsprit again after I had managed to salvage some of the more important parts . When attaching the blocks , it's recommended in the plans that one uses 0.15mm thread , but I found the thread to be really fragile and continued to break when I attempted to tighten any of the knots. So I decided to use a slightly thicker 0.25mm thread that I had previously used on another build . Its a slightly different colour , but did the task perfectly


-
I had previously started to work on the bowsprit and made a bit of a hash . Have to keep reminding myself to check, double check , and check again before going anywhere near anything with glue in hand