HOLIDAY DONATION DRIVE - SUPPORT MSW - DO YOUR PART TO KEEP THIS GREAT FORUM GOING! (89 donations so far out of 49,000 members - C'mon guys!)
×

Pete D
-
Posts
176 -
Joined
-
Last visited
Content Type
Profiles
Forums
Gallery
Events
Everything posted by Pete D
-
Just an observation. If you could change MT47 and MT52 through 180 degrees , should that not correct the issue .
-
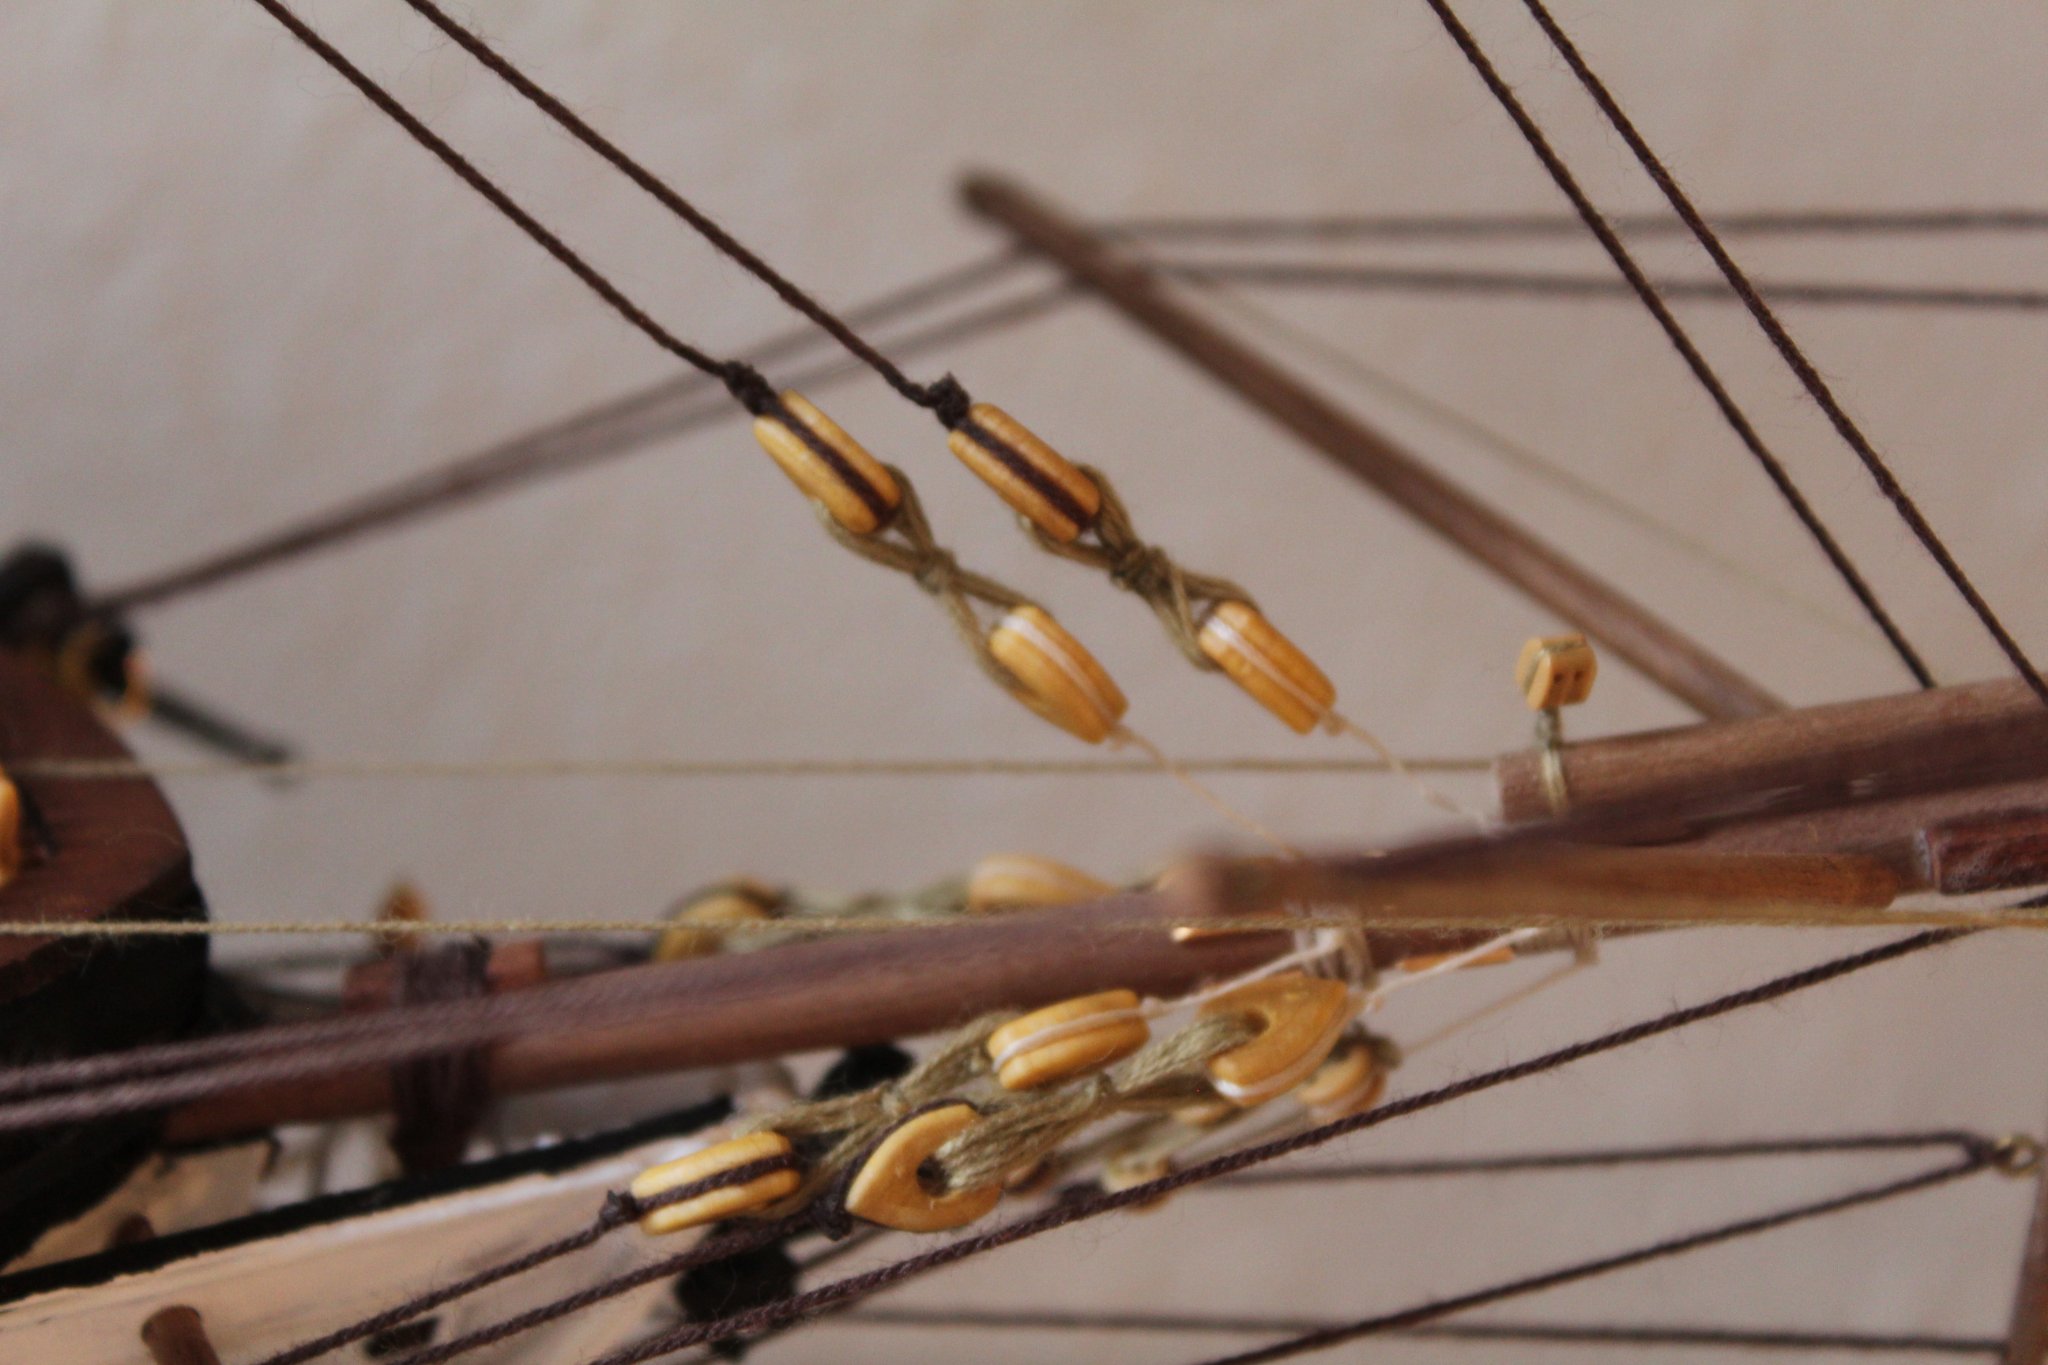
There are in fact 2 sets of blocks . One that hang down on the 0.5mm thread about an inch long , and then 2 at the top mage from siezing a single block and attaching it so that it point up , and will be used when you attach running rigging on all the yards. If you look at my build there is a picture that shows that set of rigging
-
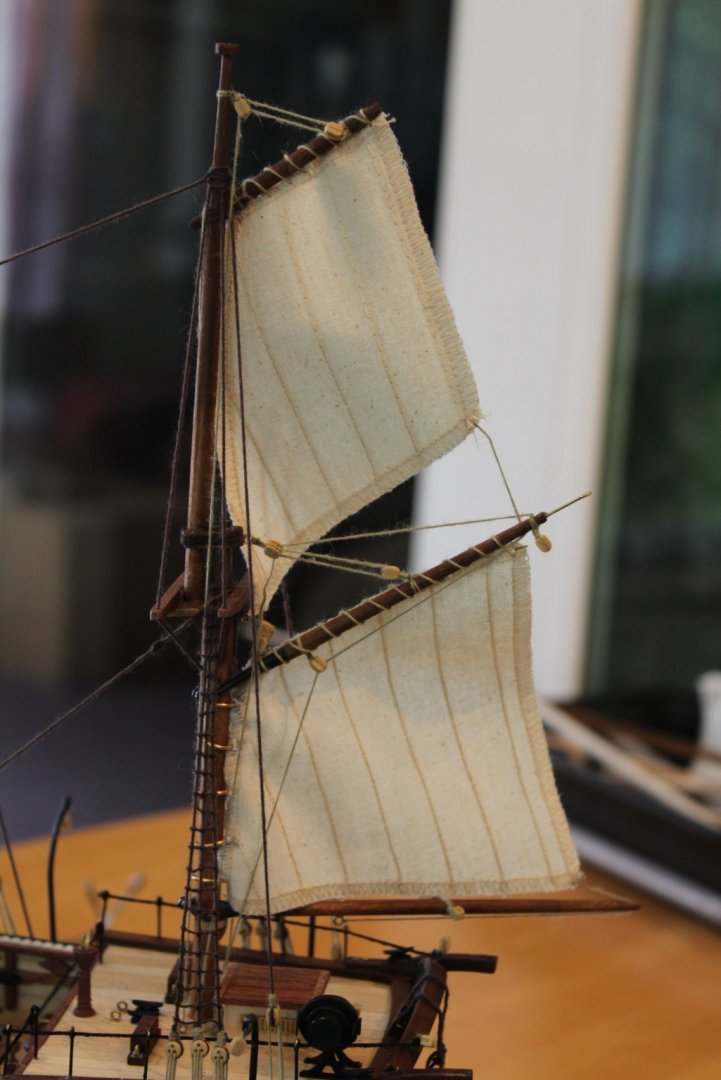
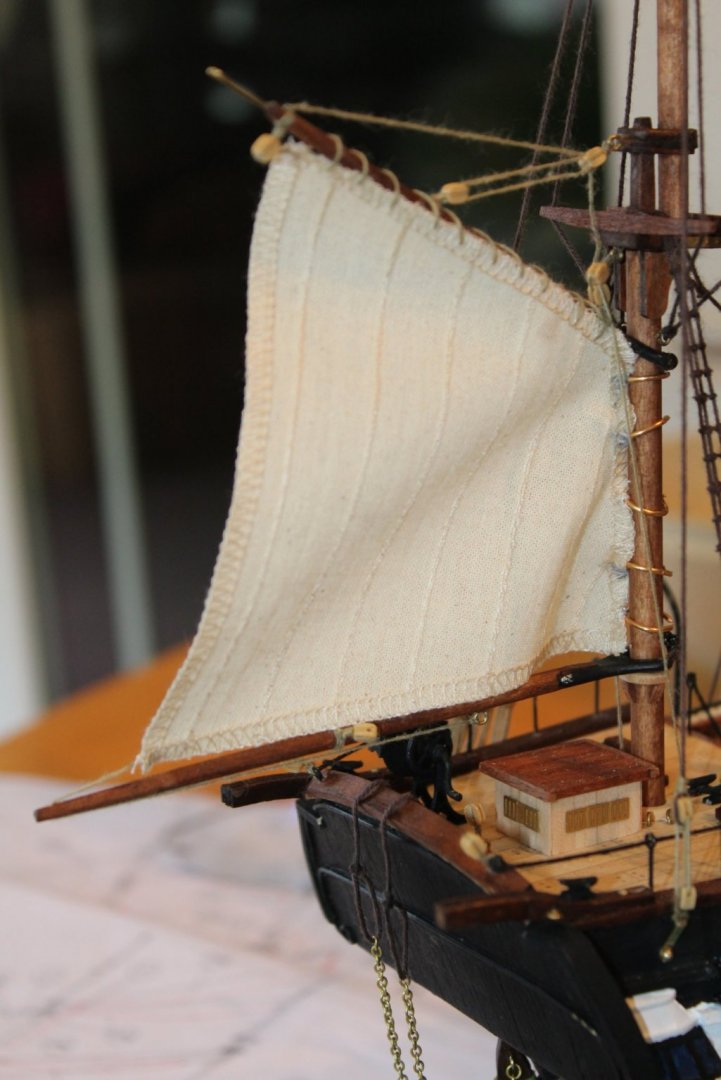
Next up is the running rigging for the gaff topsail and then the attachment of the sail to the gaff

-
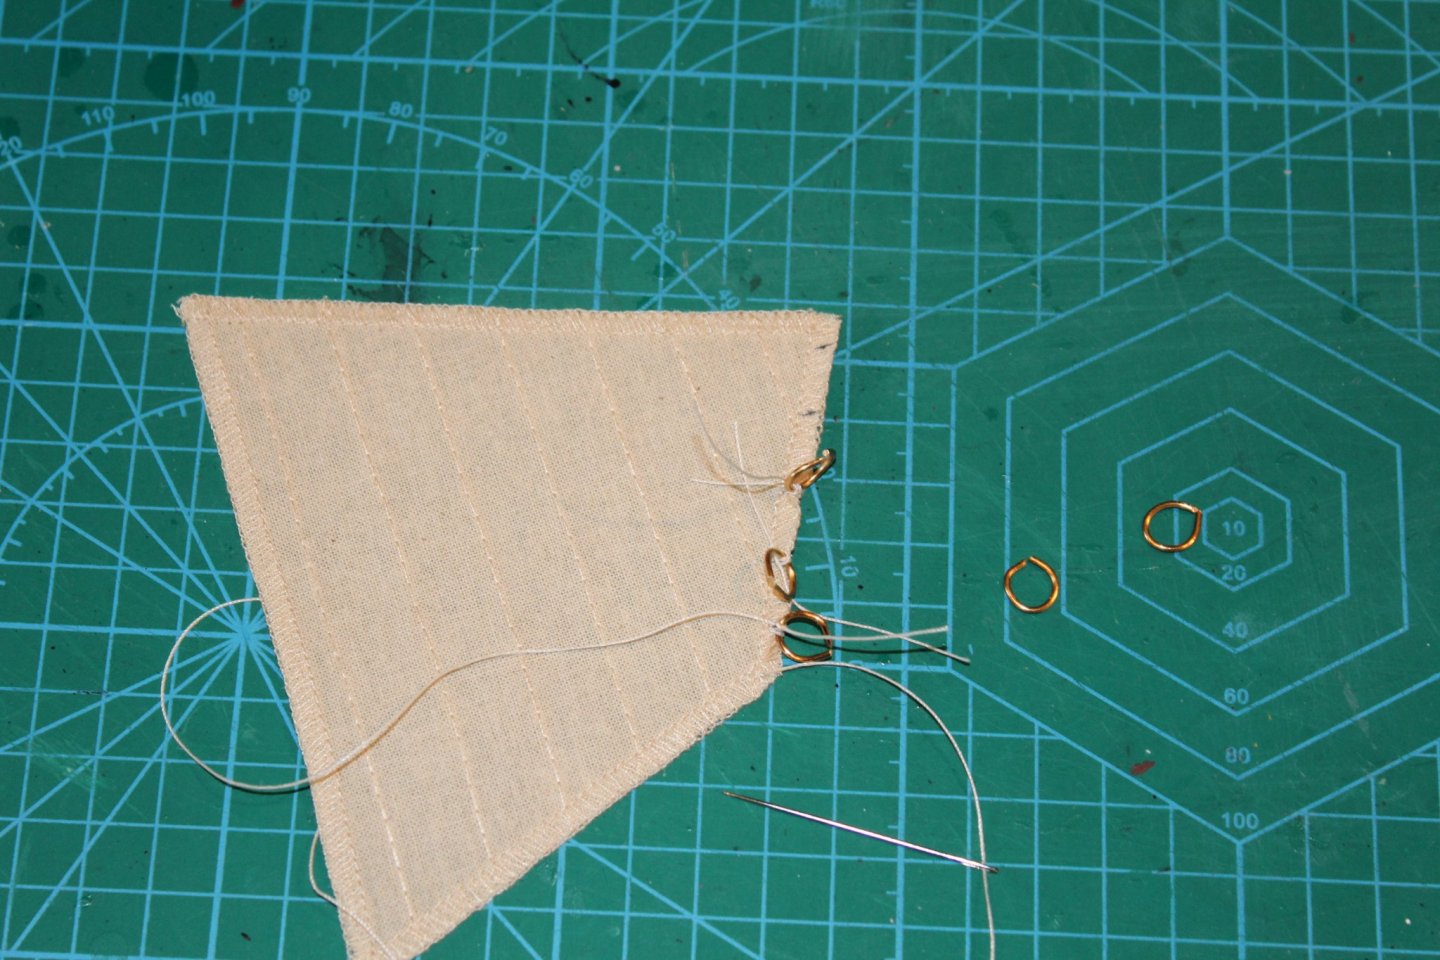
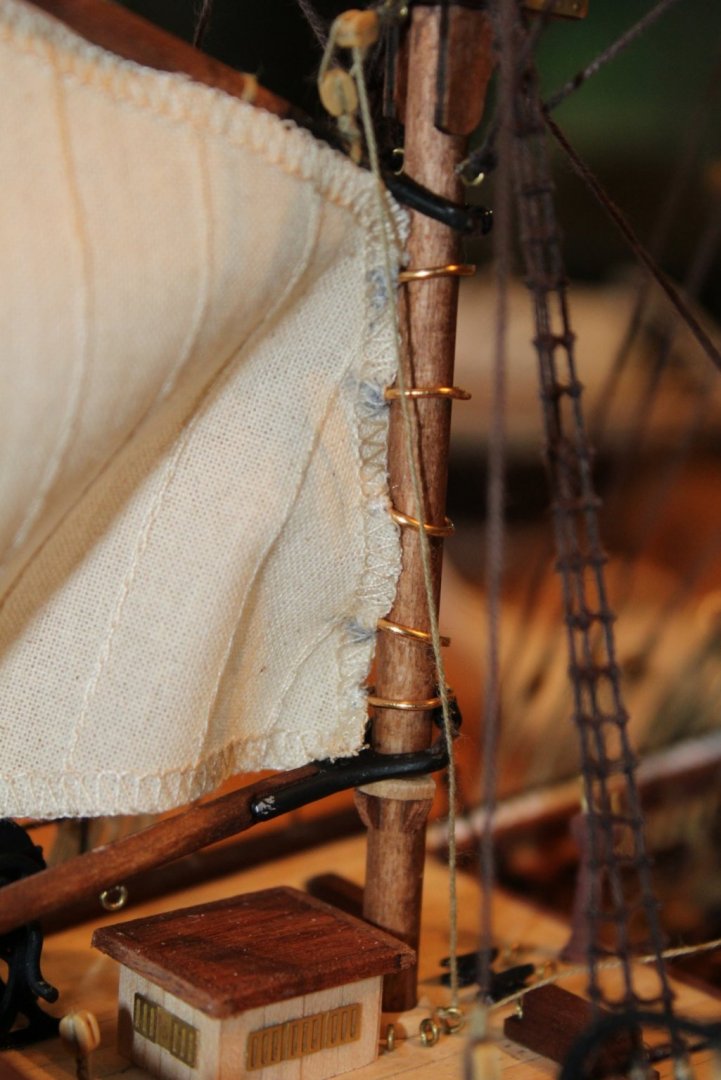
I did not find any 10mm diam brass ring that are recommended for use for the spanker sail . I made some from the 1mm brass wire that I have . Then attached the spanker sail to the mizzen mast
-
I have decided to do the sails attached to the mizzen mast next . Just appeared like it was next in line. Started on some of the running rigging for the booms
-
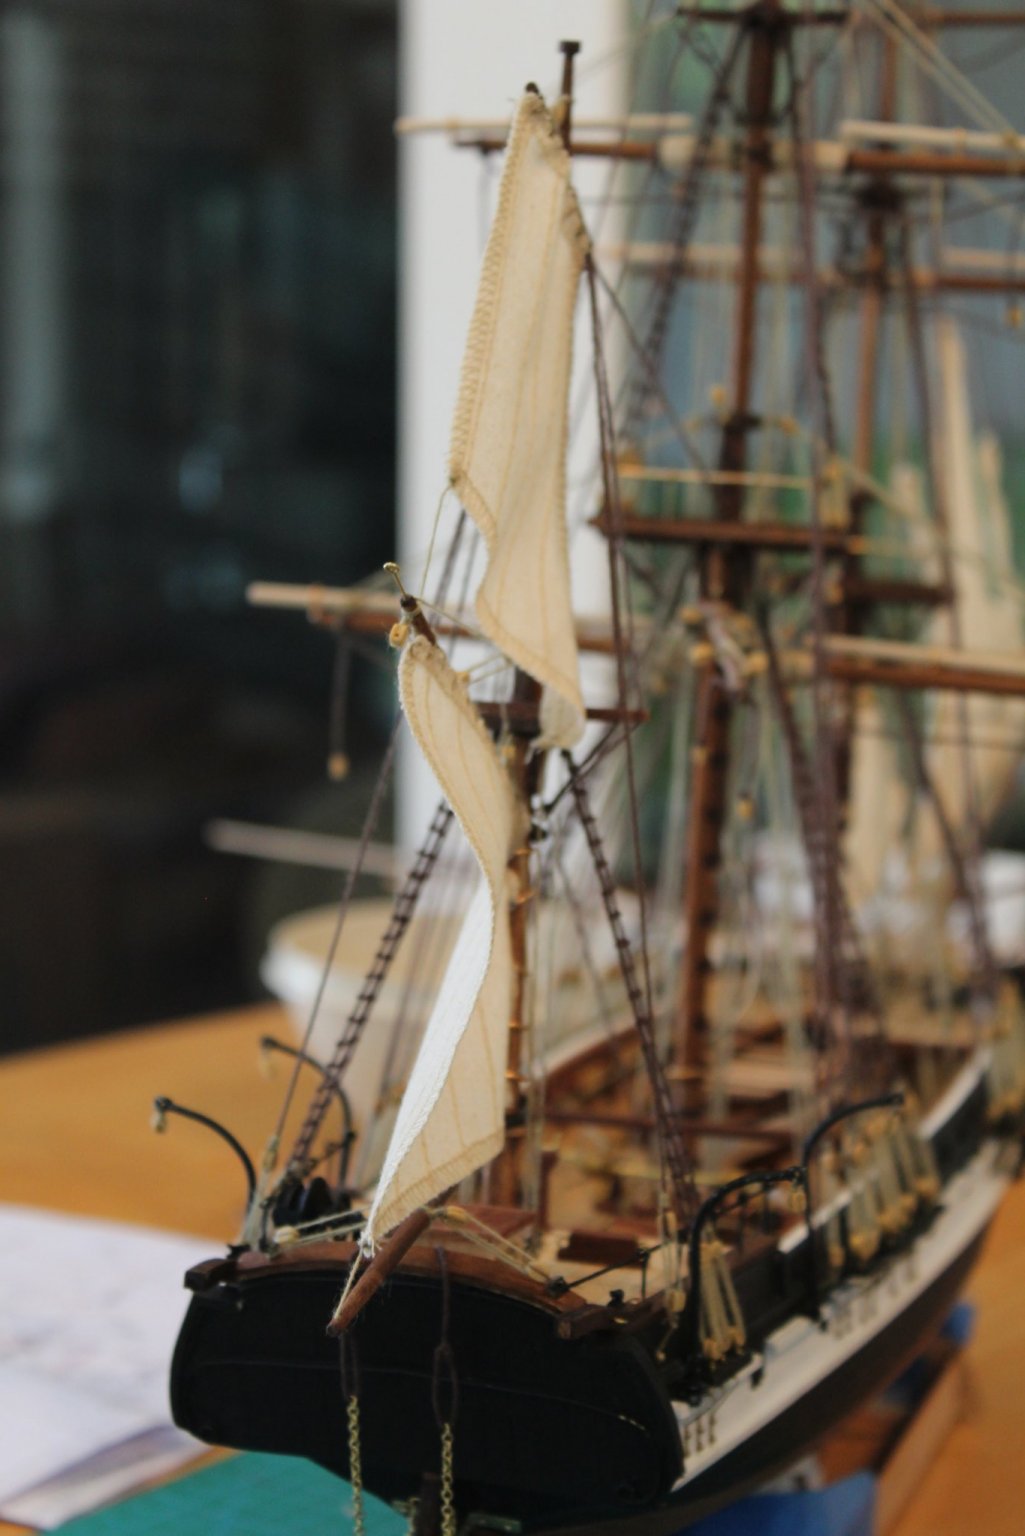
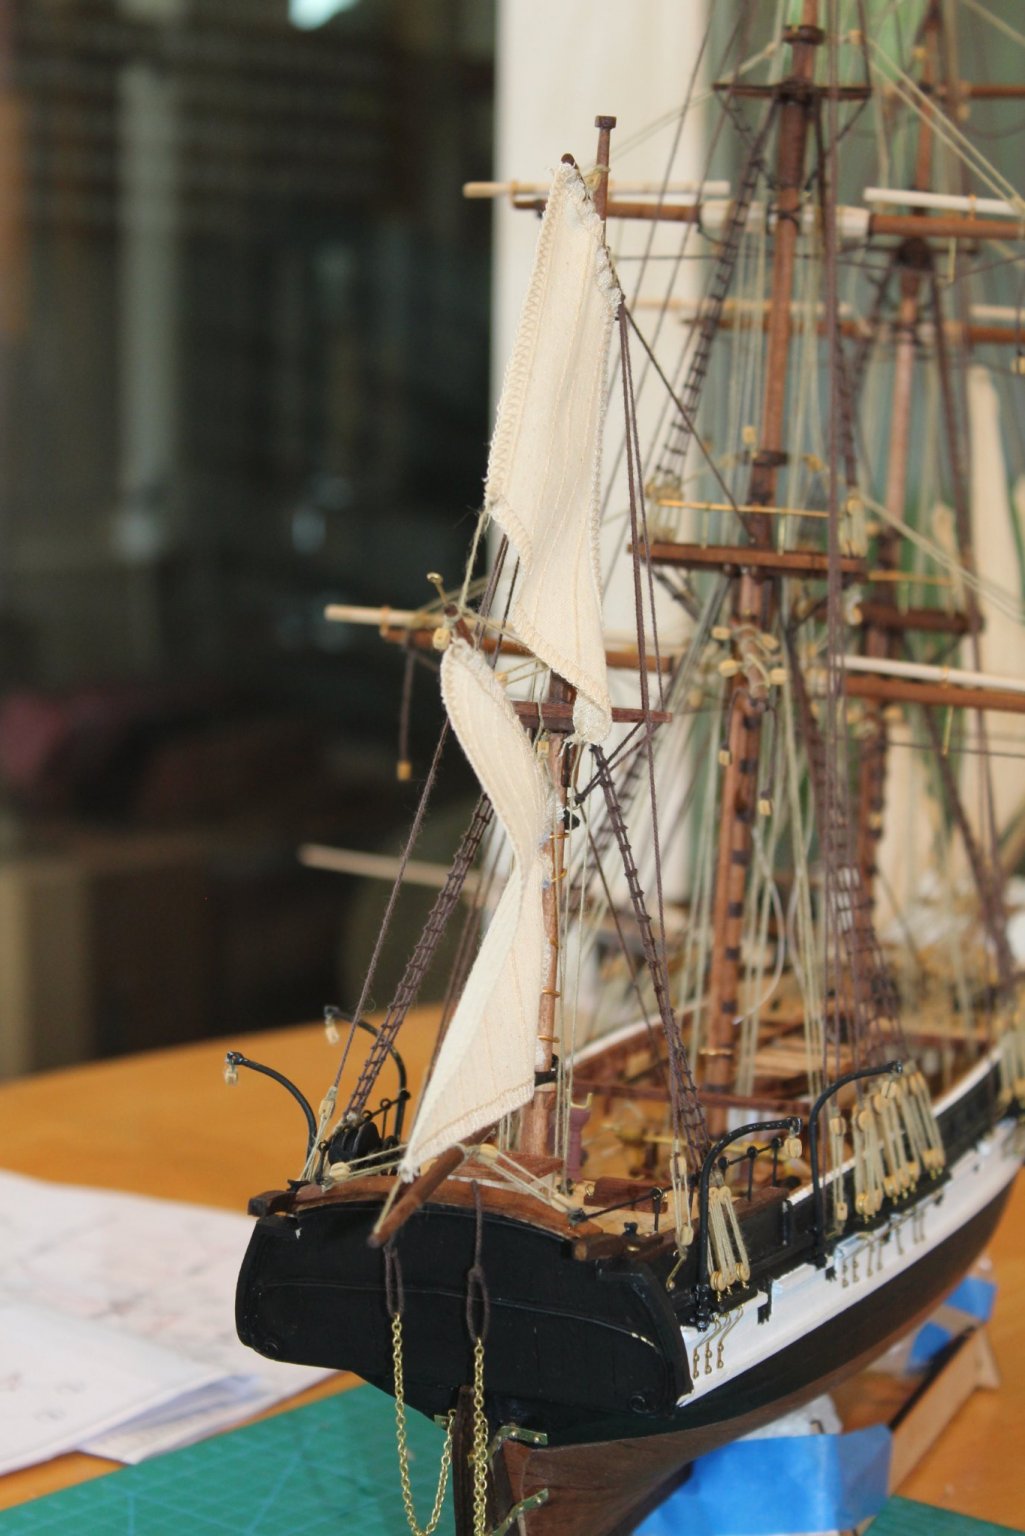
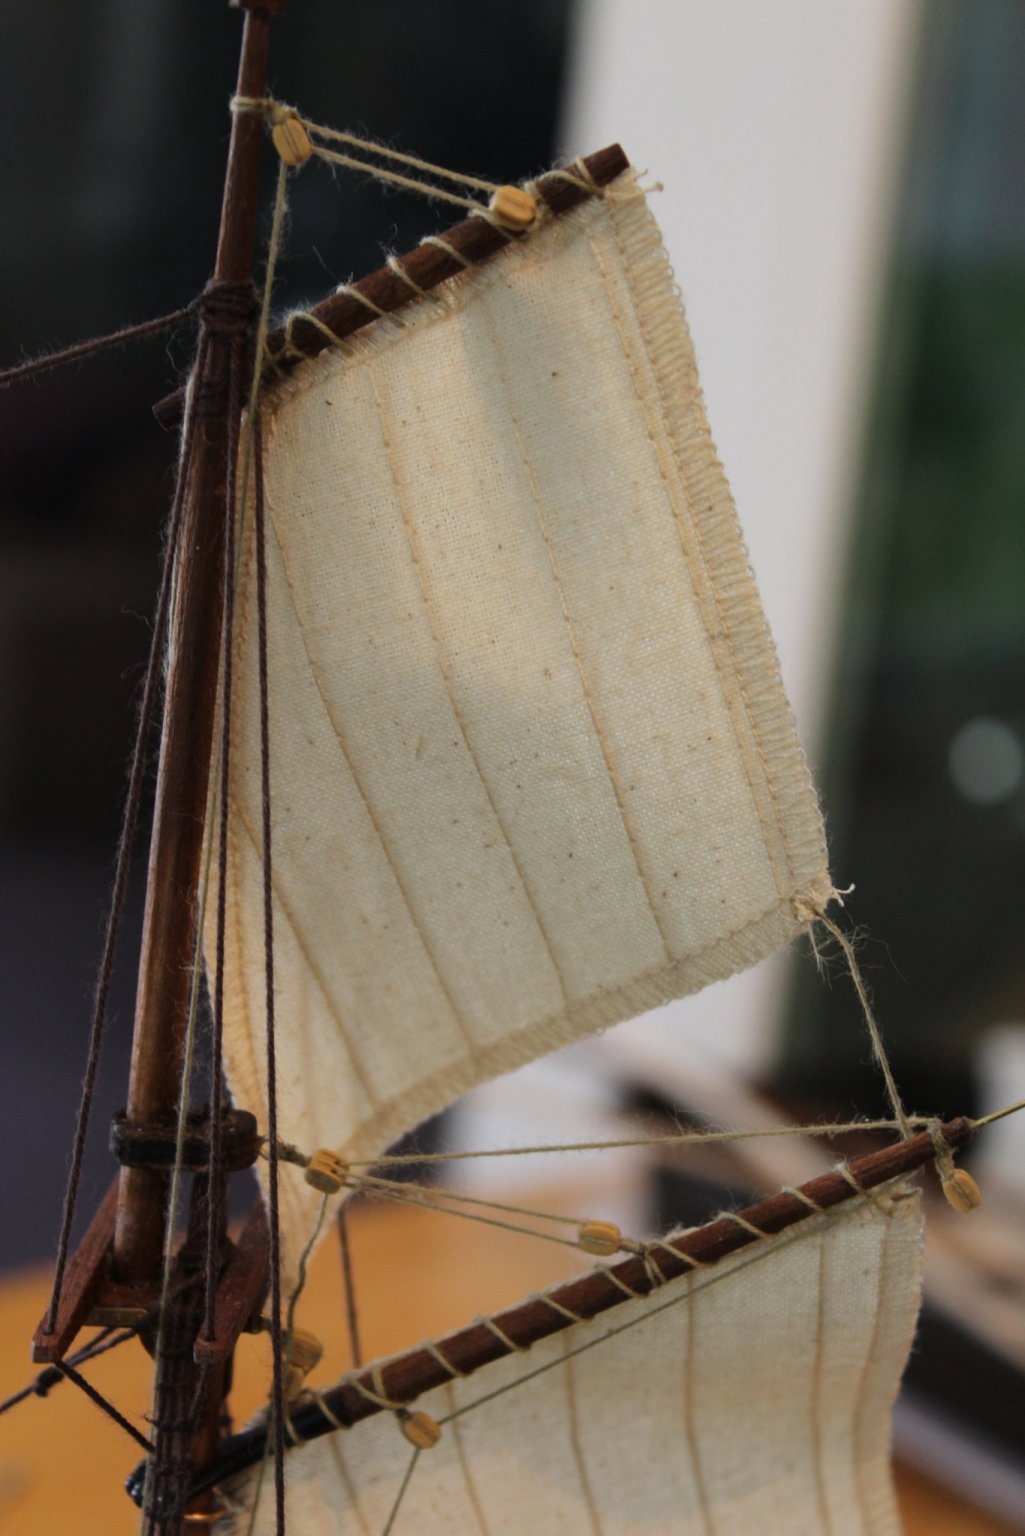
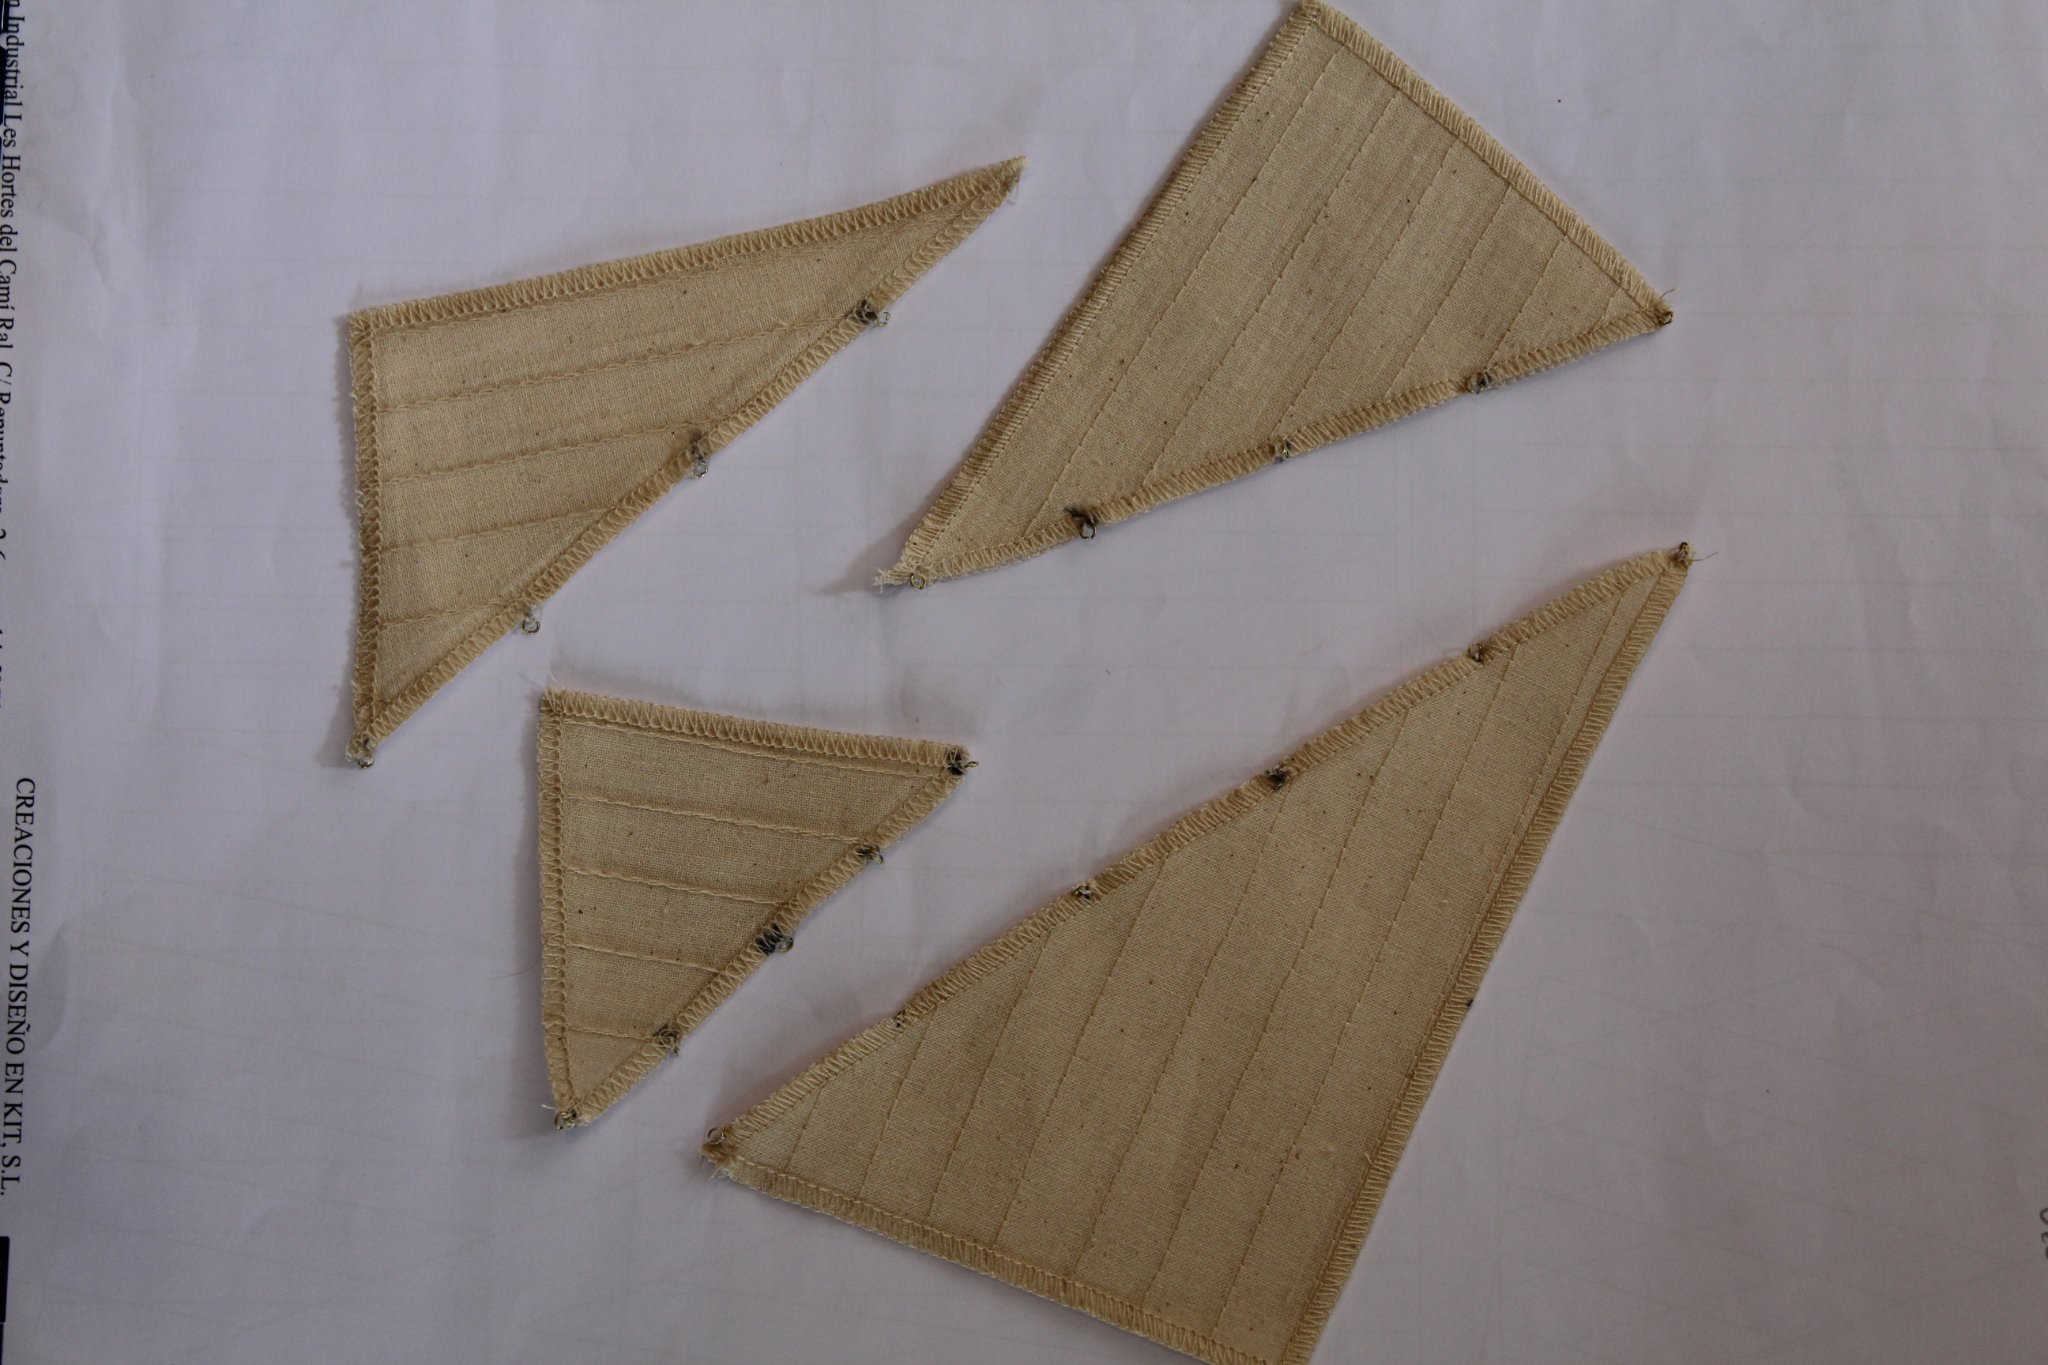
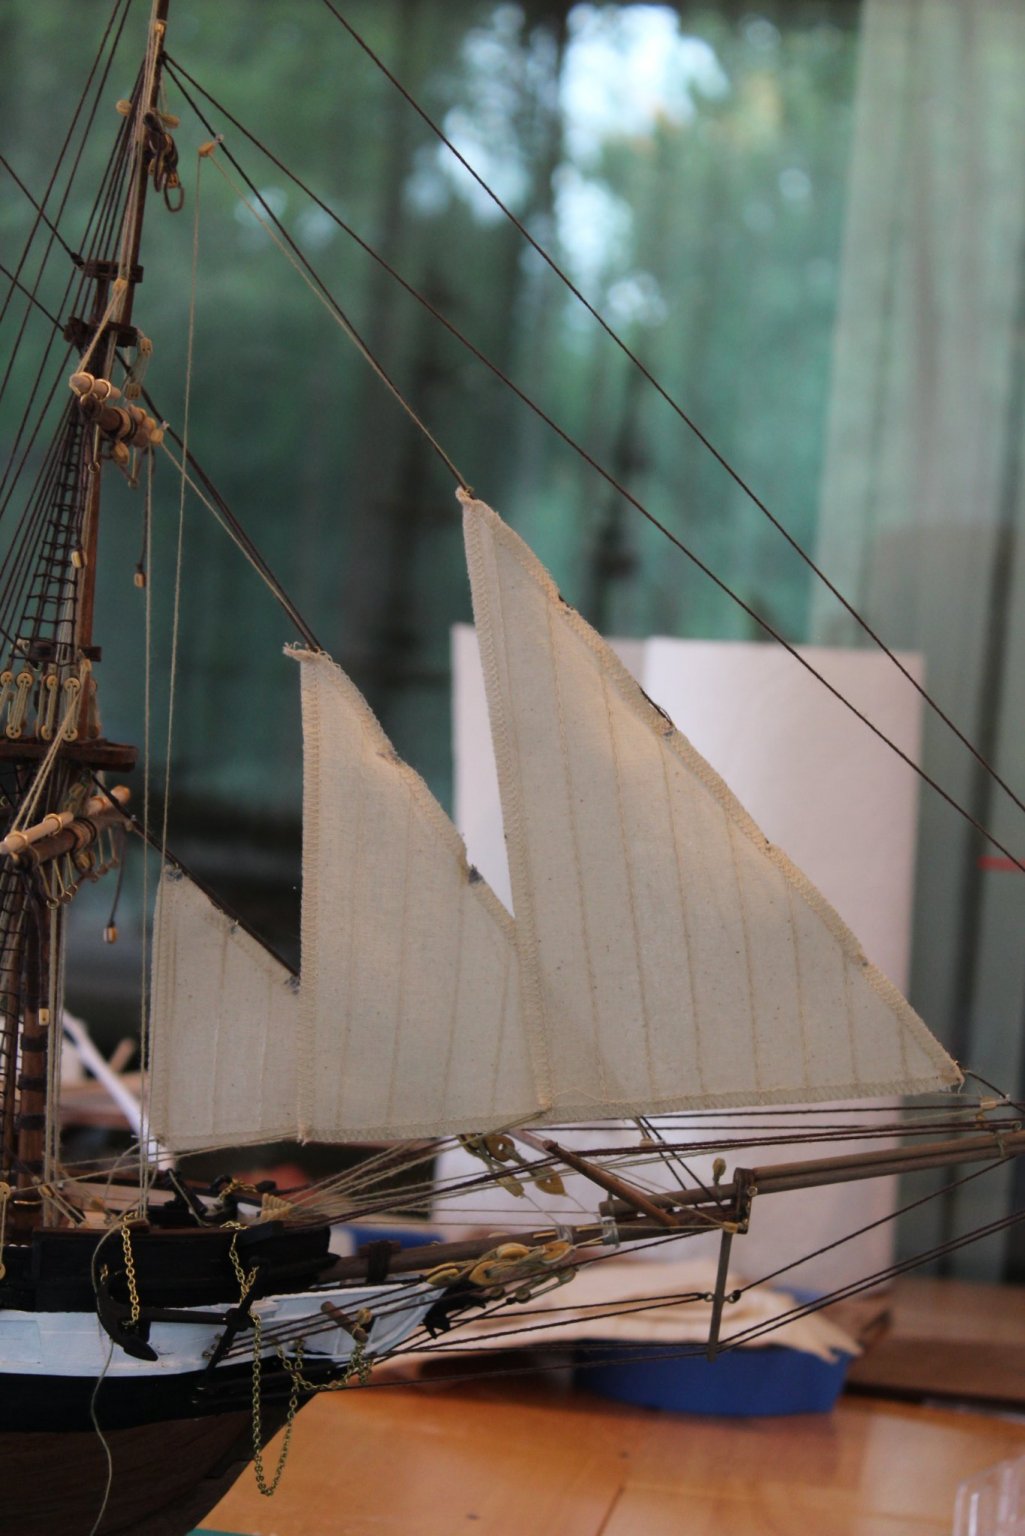
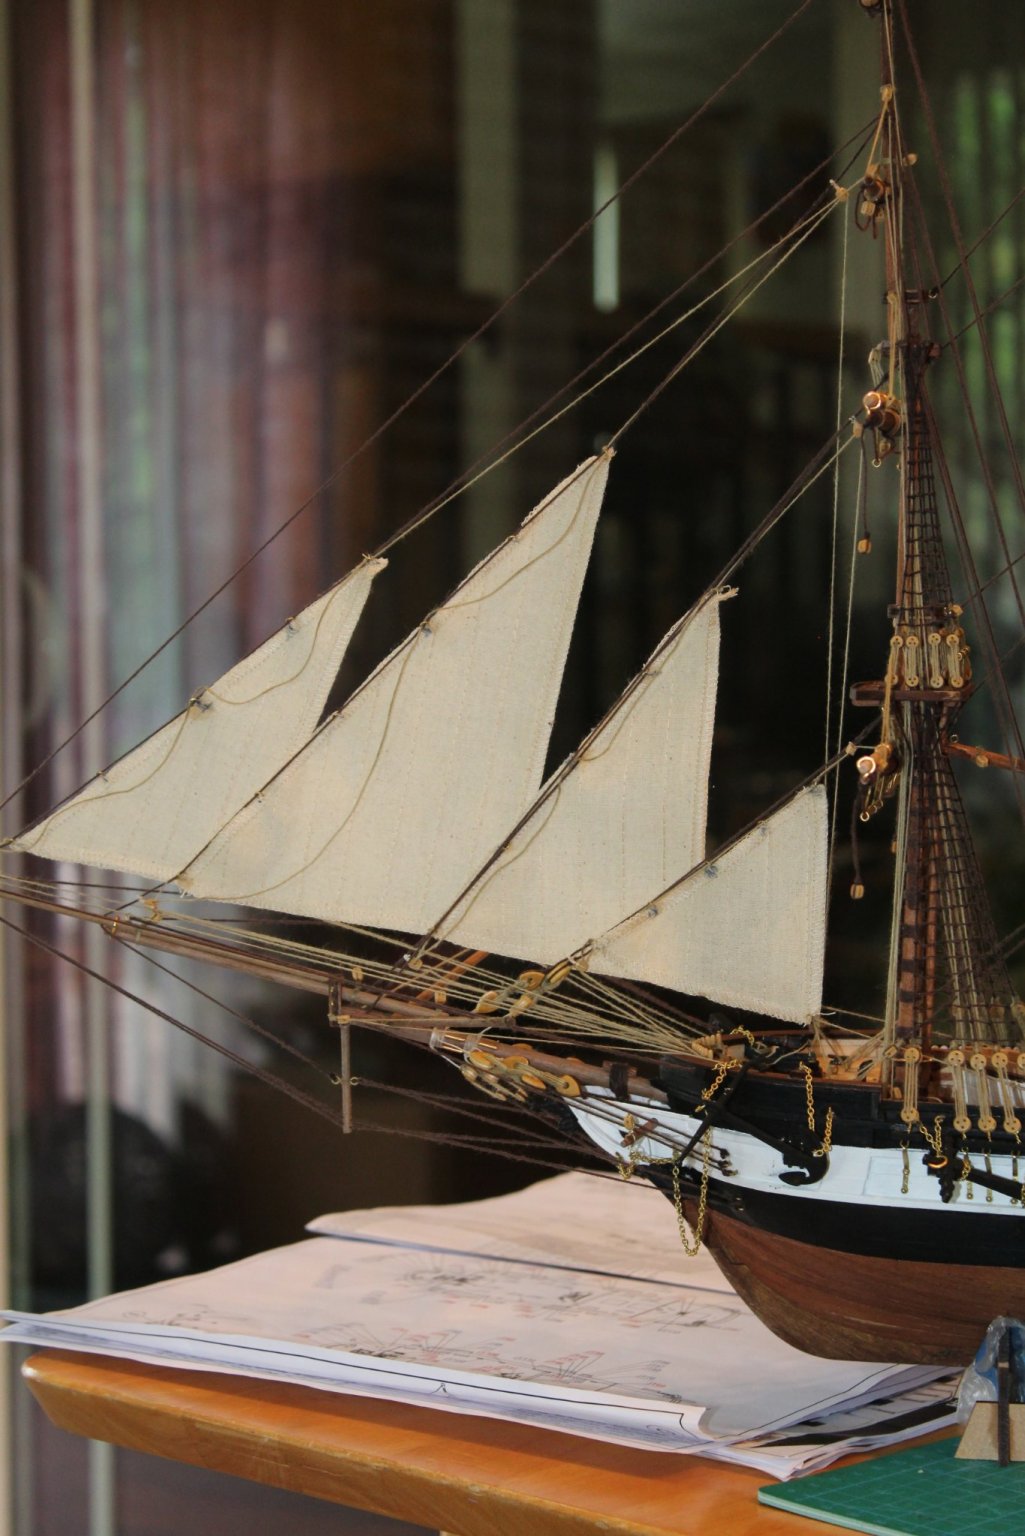
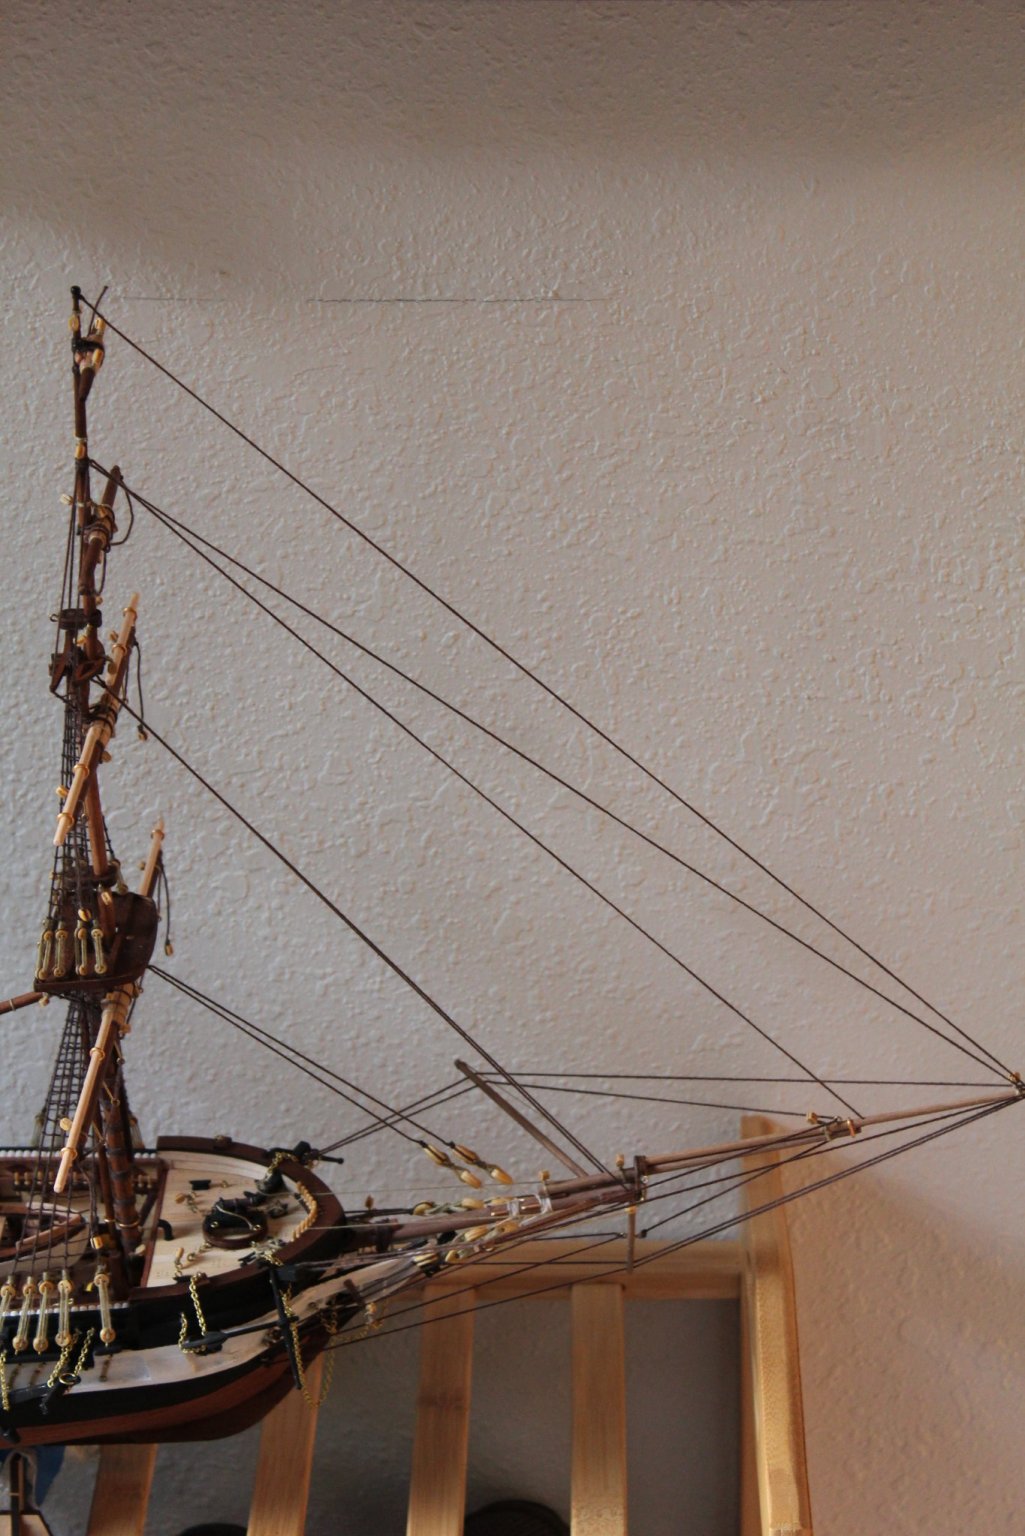
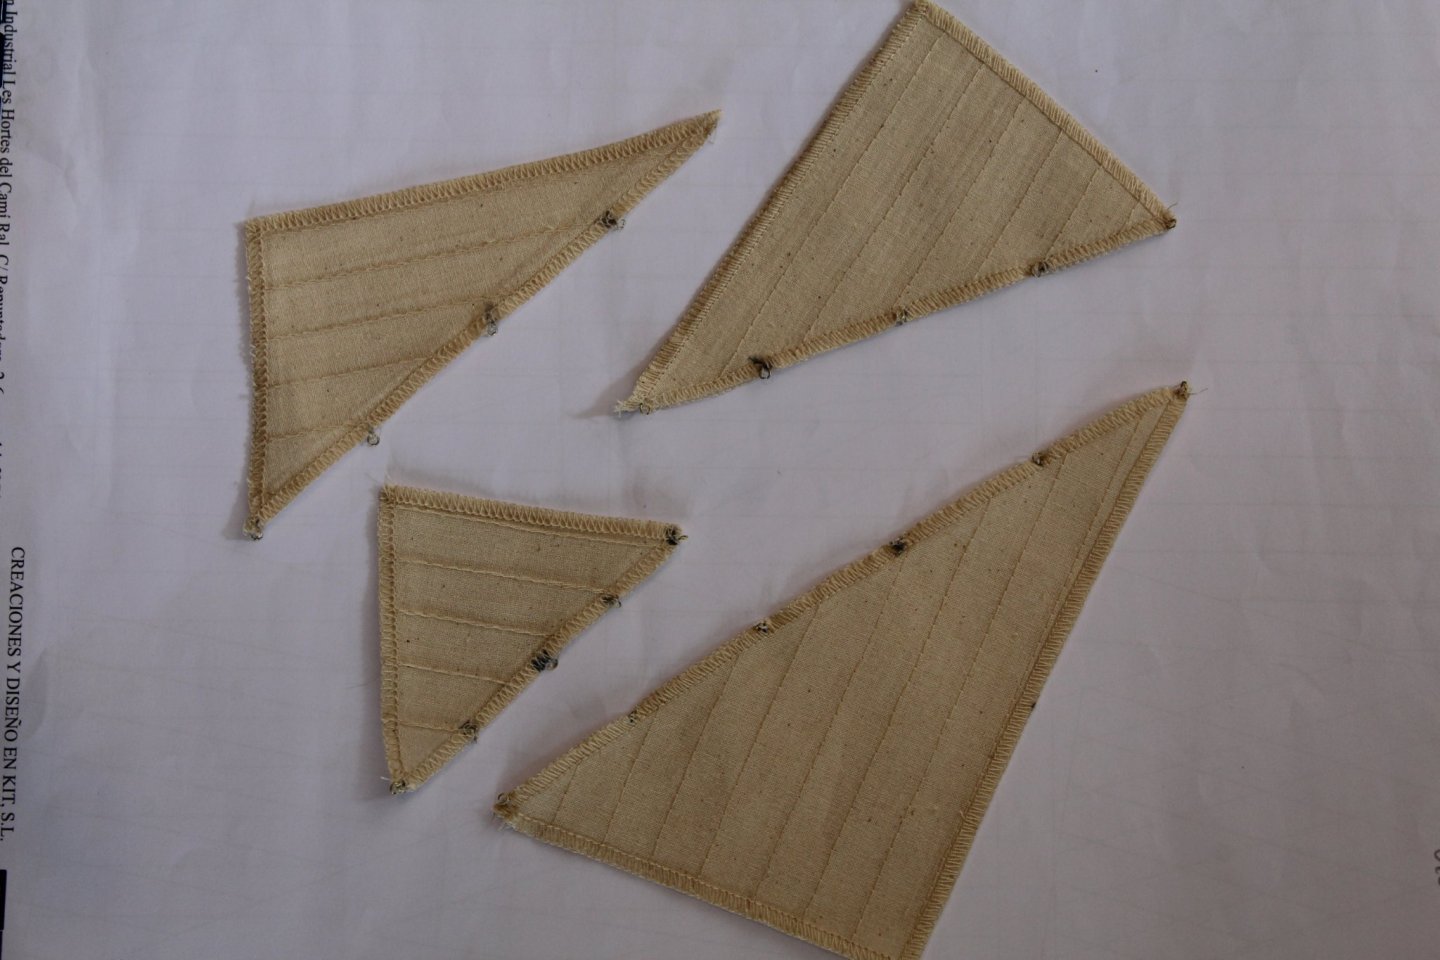
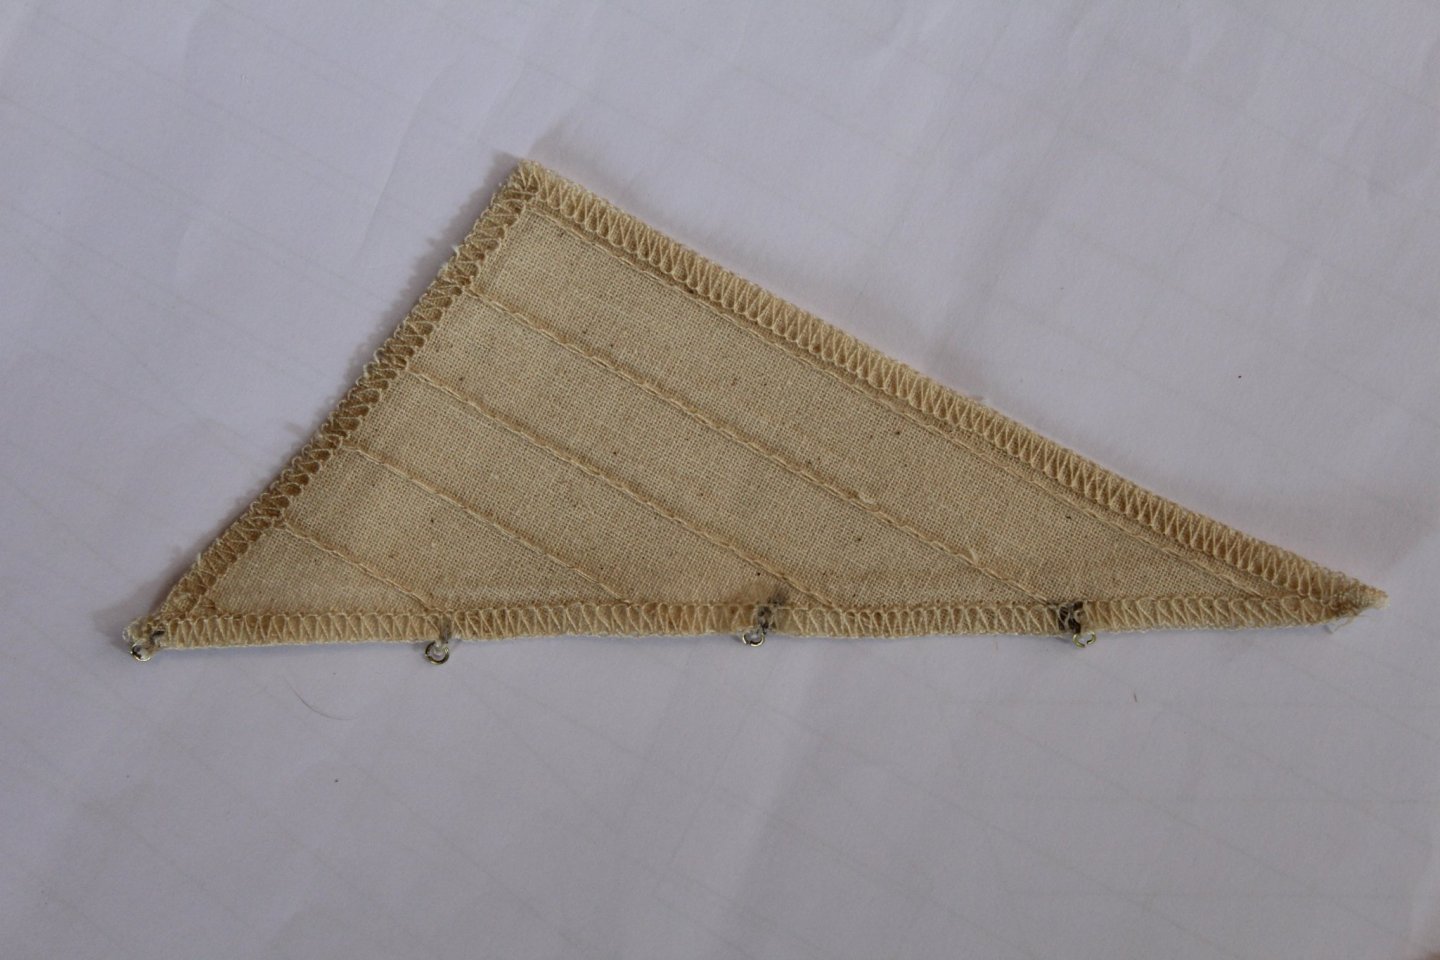
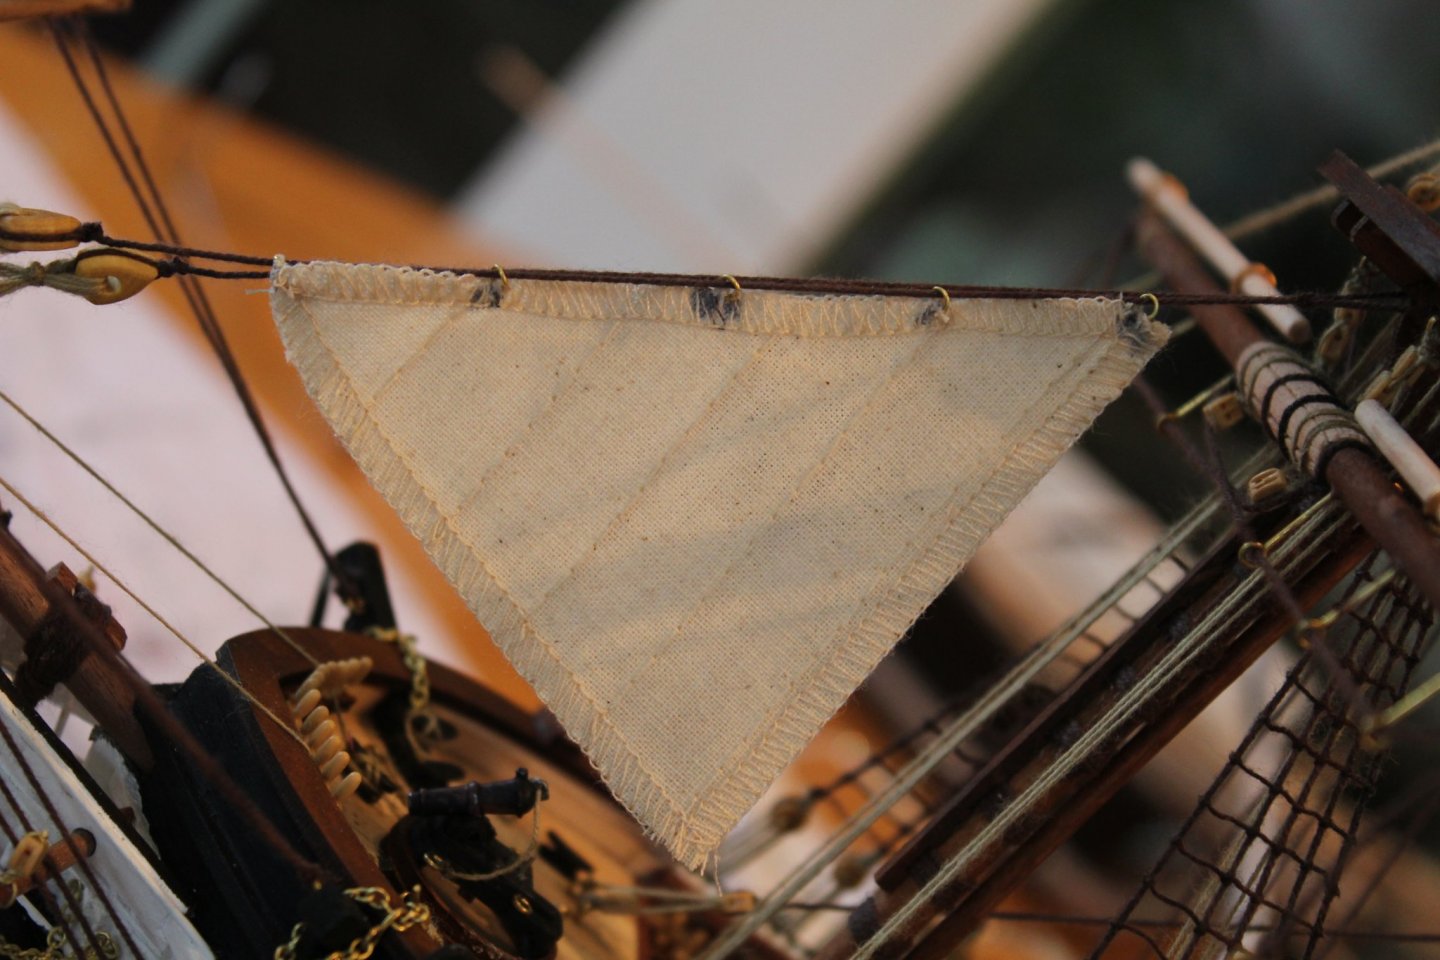
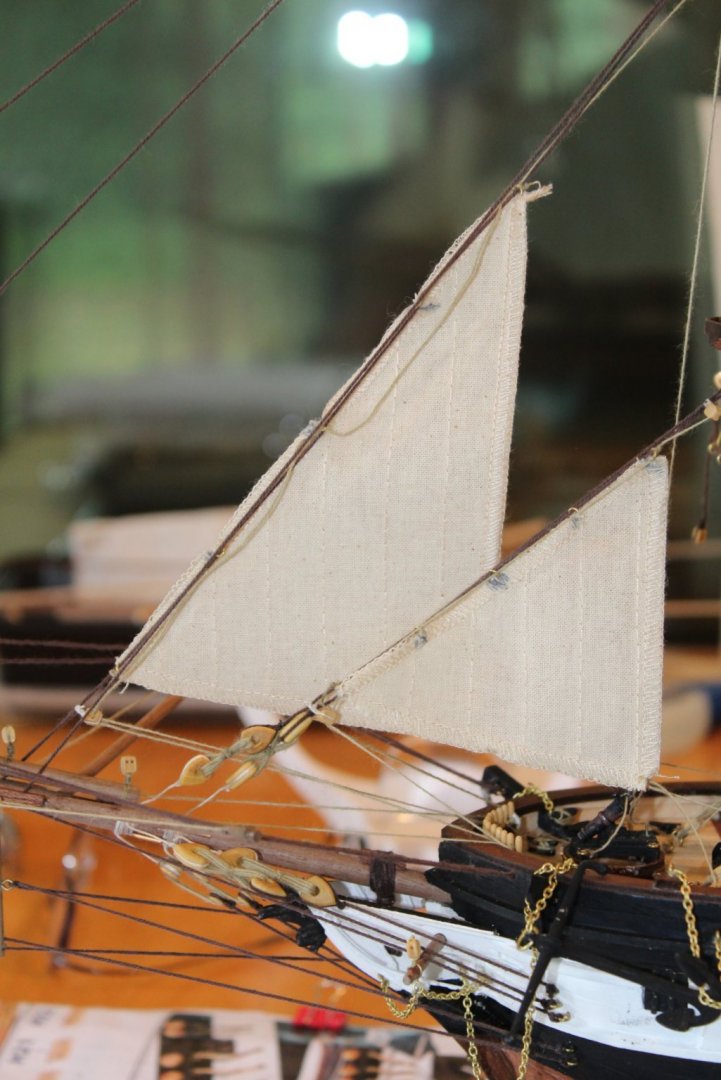
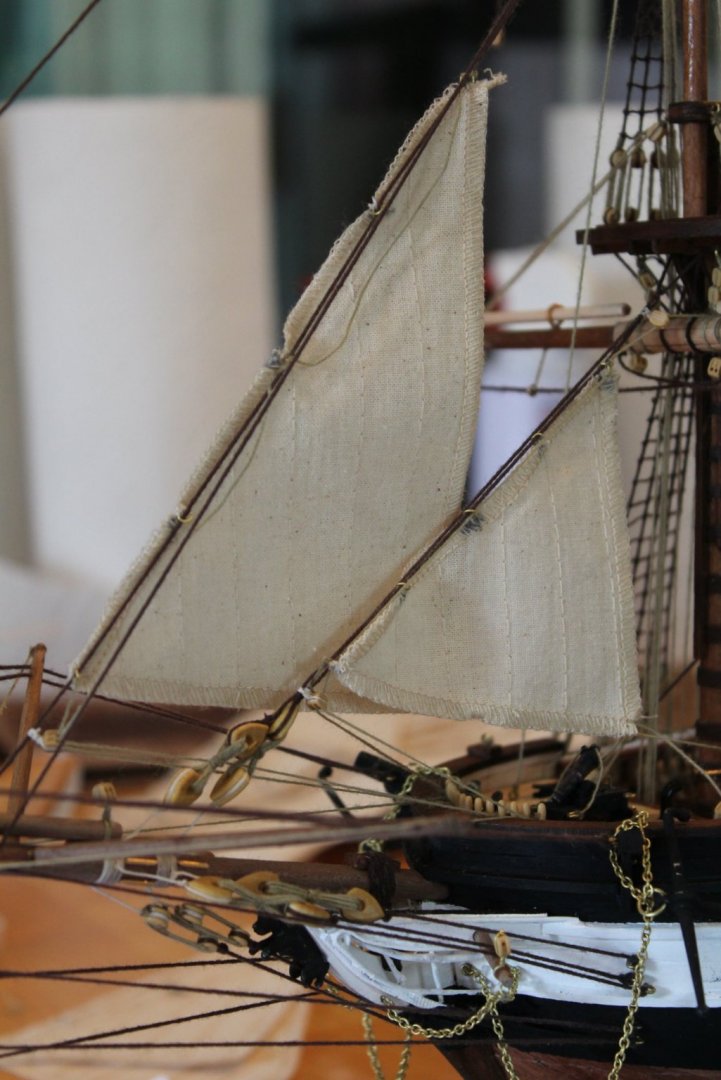
Then on to the sails . This is a bit daunting as I have never done sails before . I did read about aging the sails , but decided to go with the original as supplied sails. I started with the flying jibs as it seemed these would be a little simpler given the space to be able to work with. Identified , assembled and attached the brass eyelets to the various jib sails. I needed to practice my needlework skills as there appears to be quite a bit in the future . Attaching them to the forestay via the eyelets was not as bad as I thought it would be . Photos of work in progress and completed


-
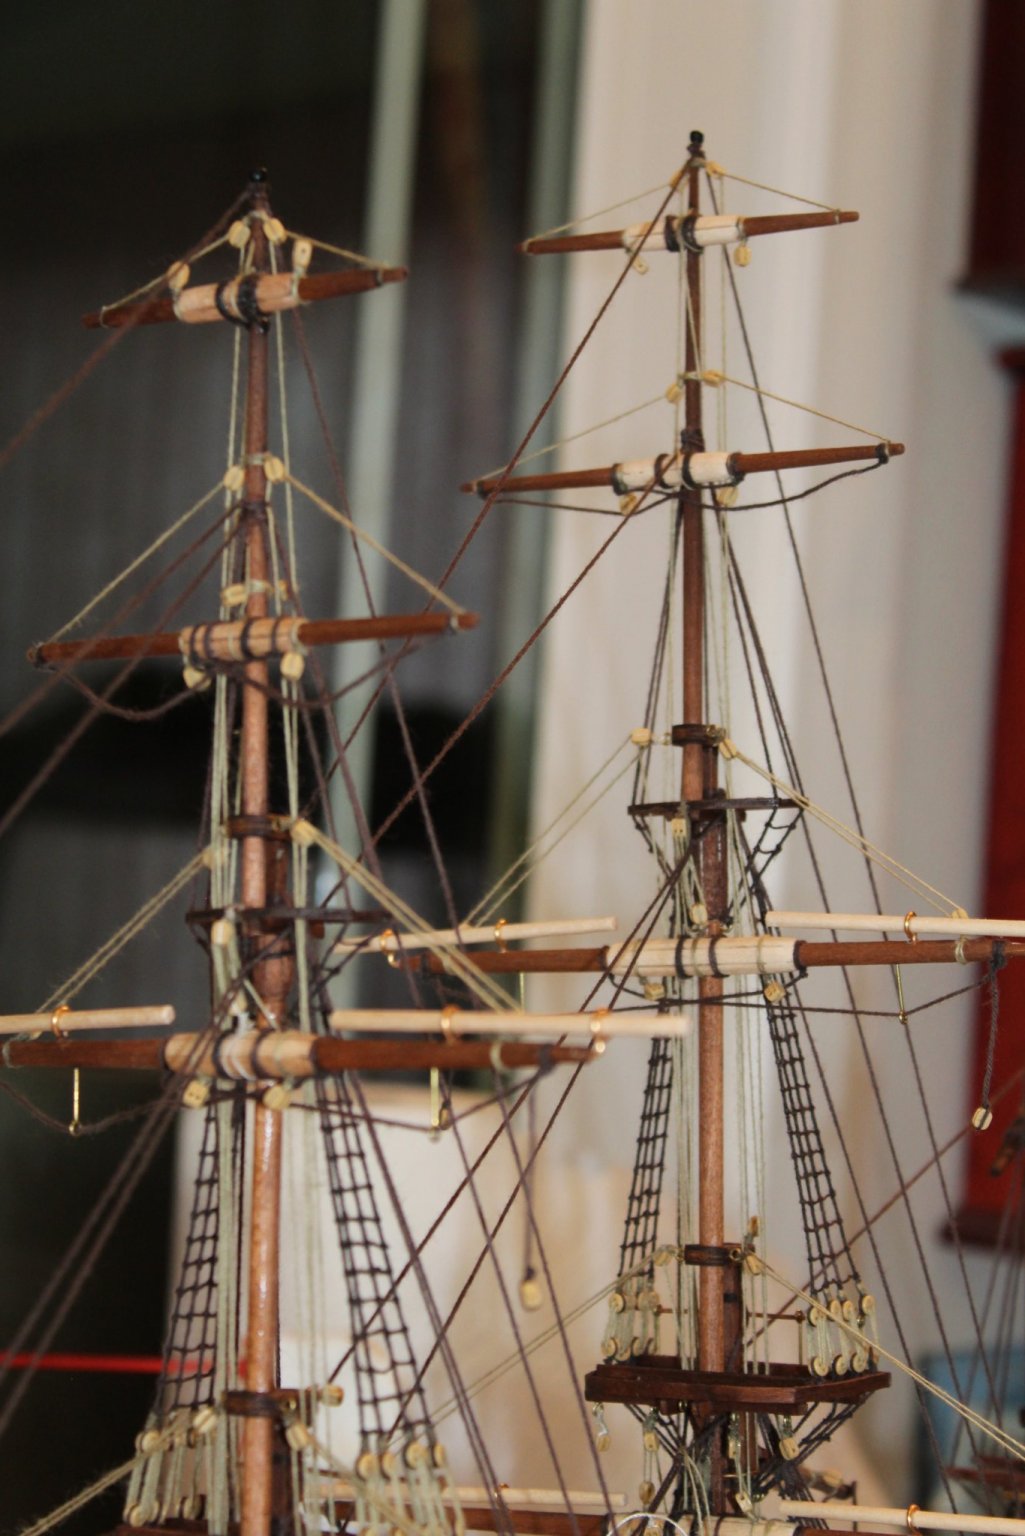
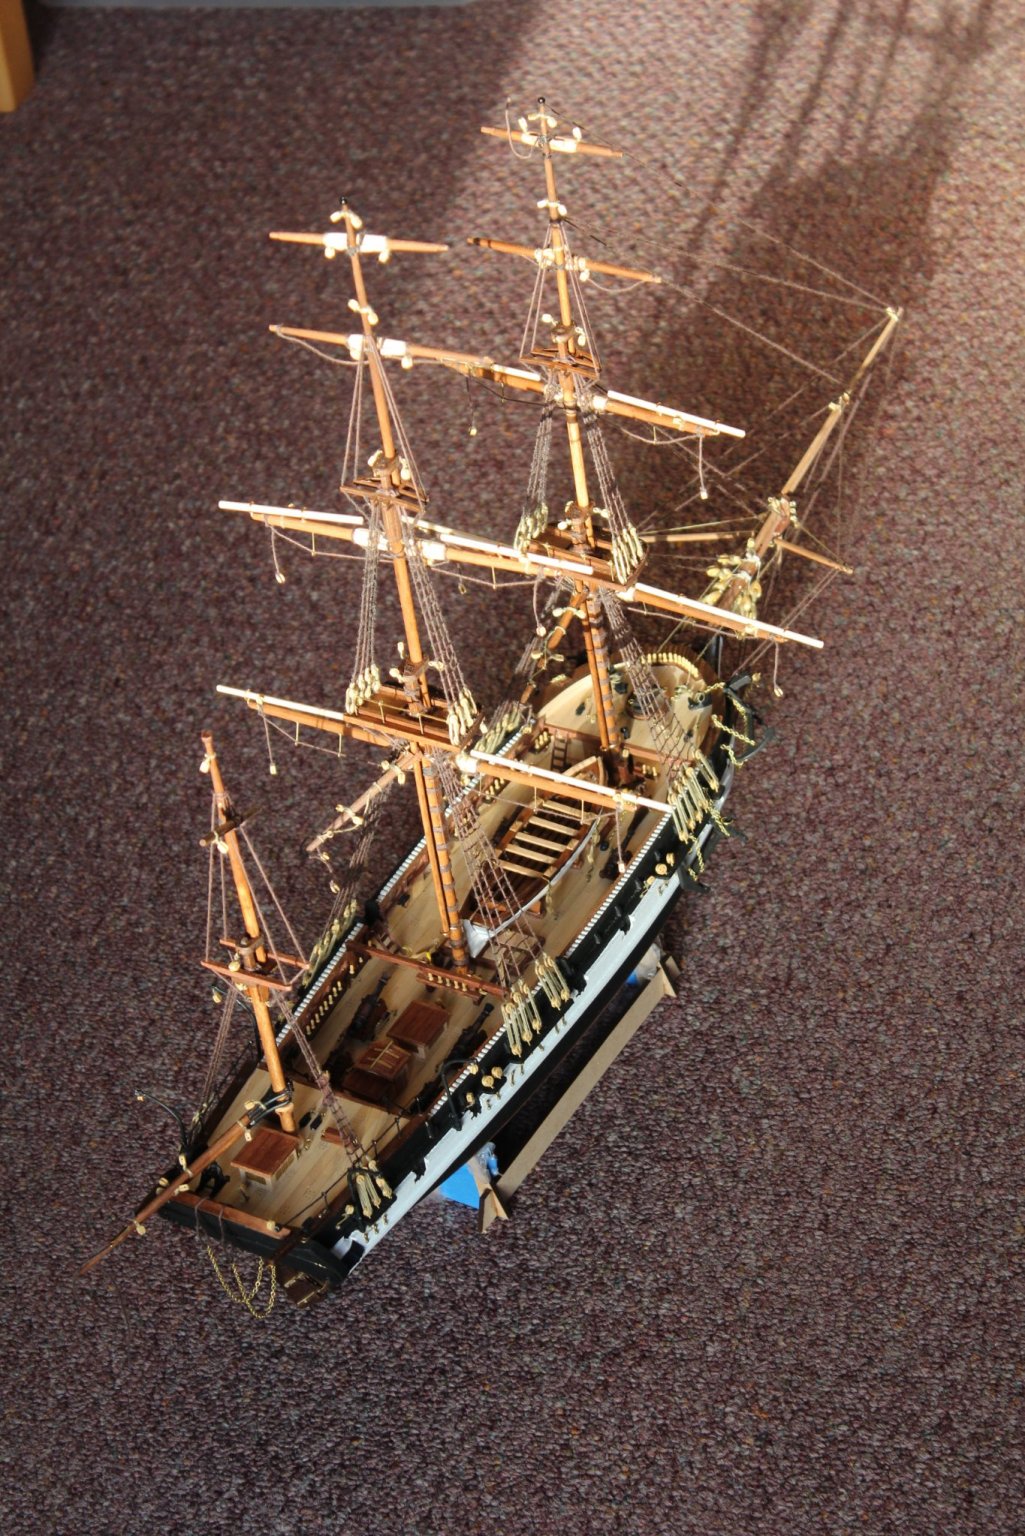
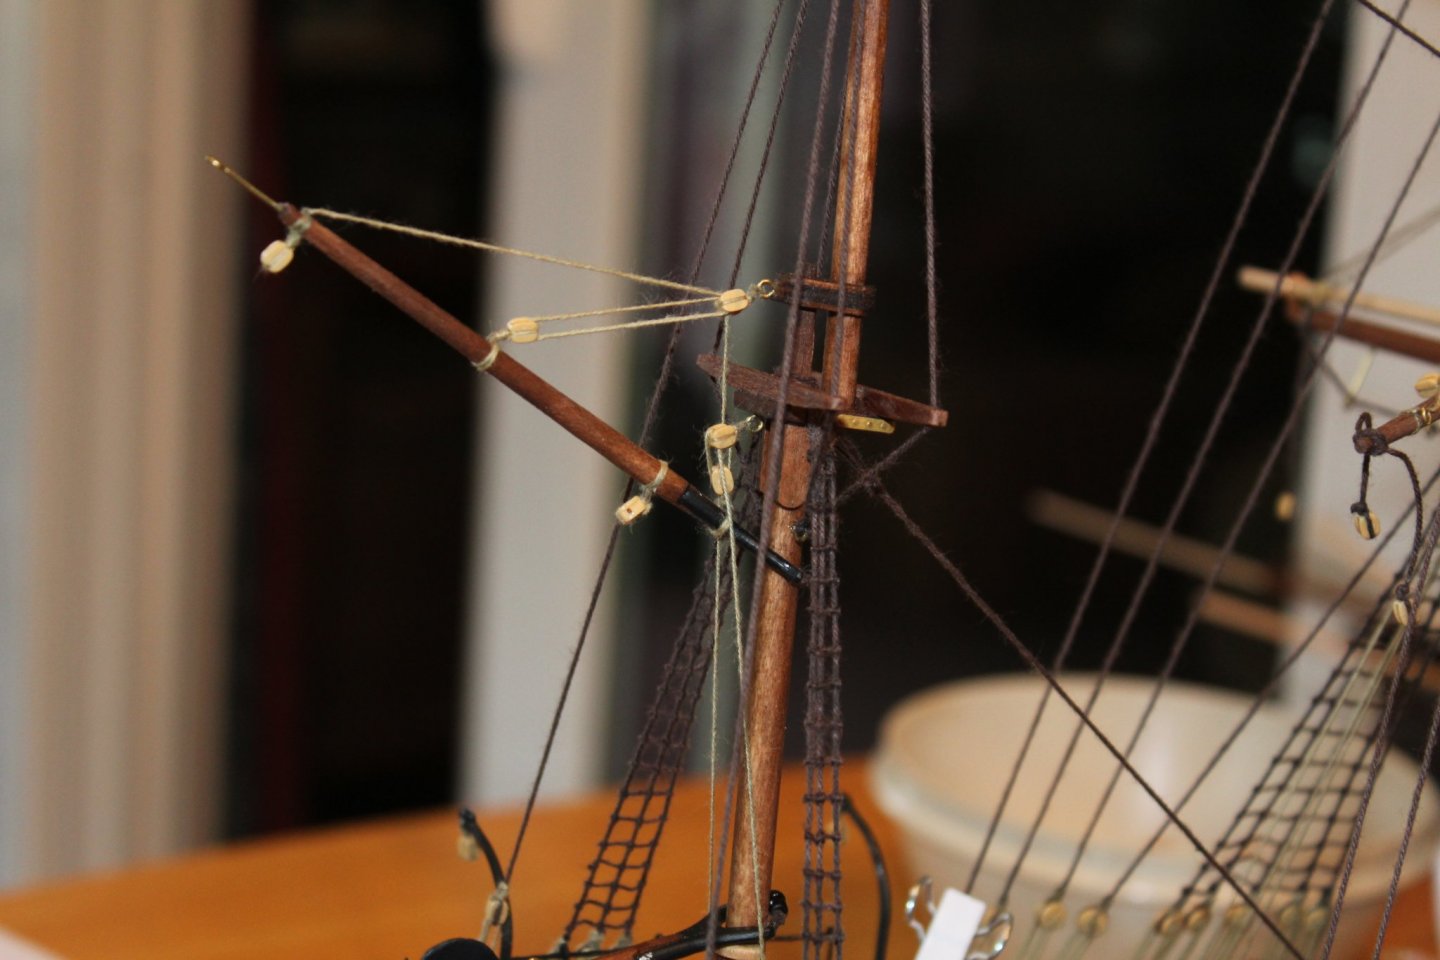
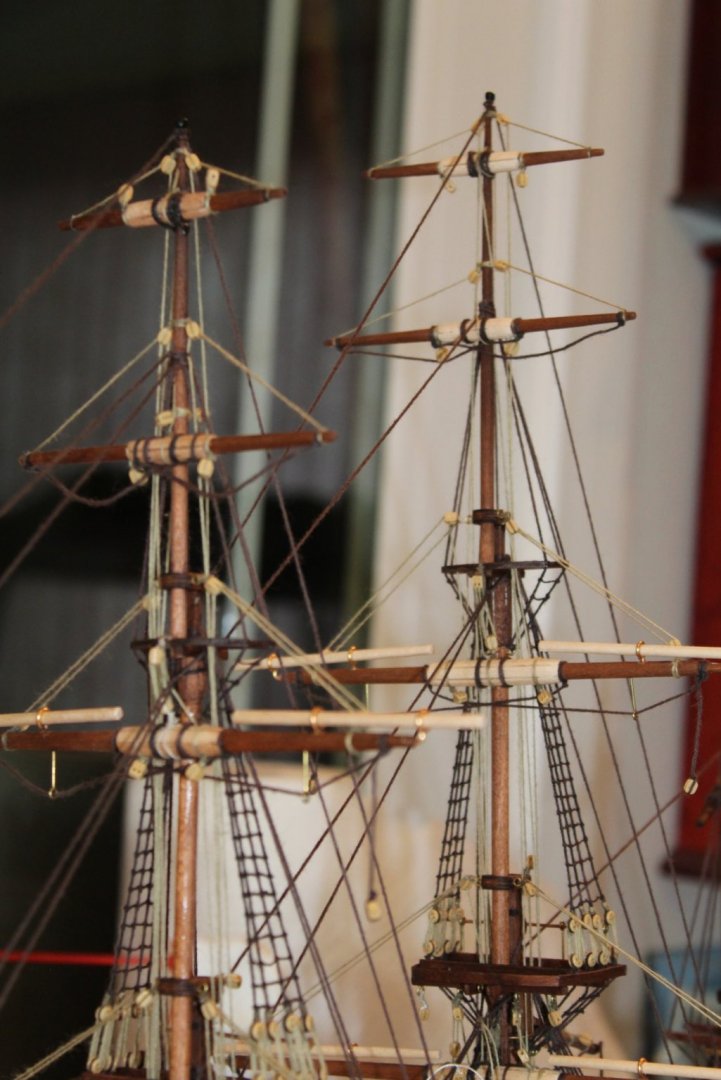
The weekend warrior has some updates I have continued to work on the running rigging on the masts and spars
-
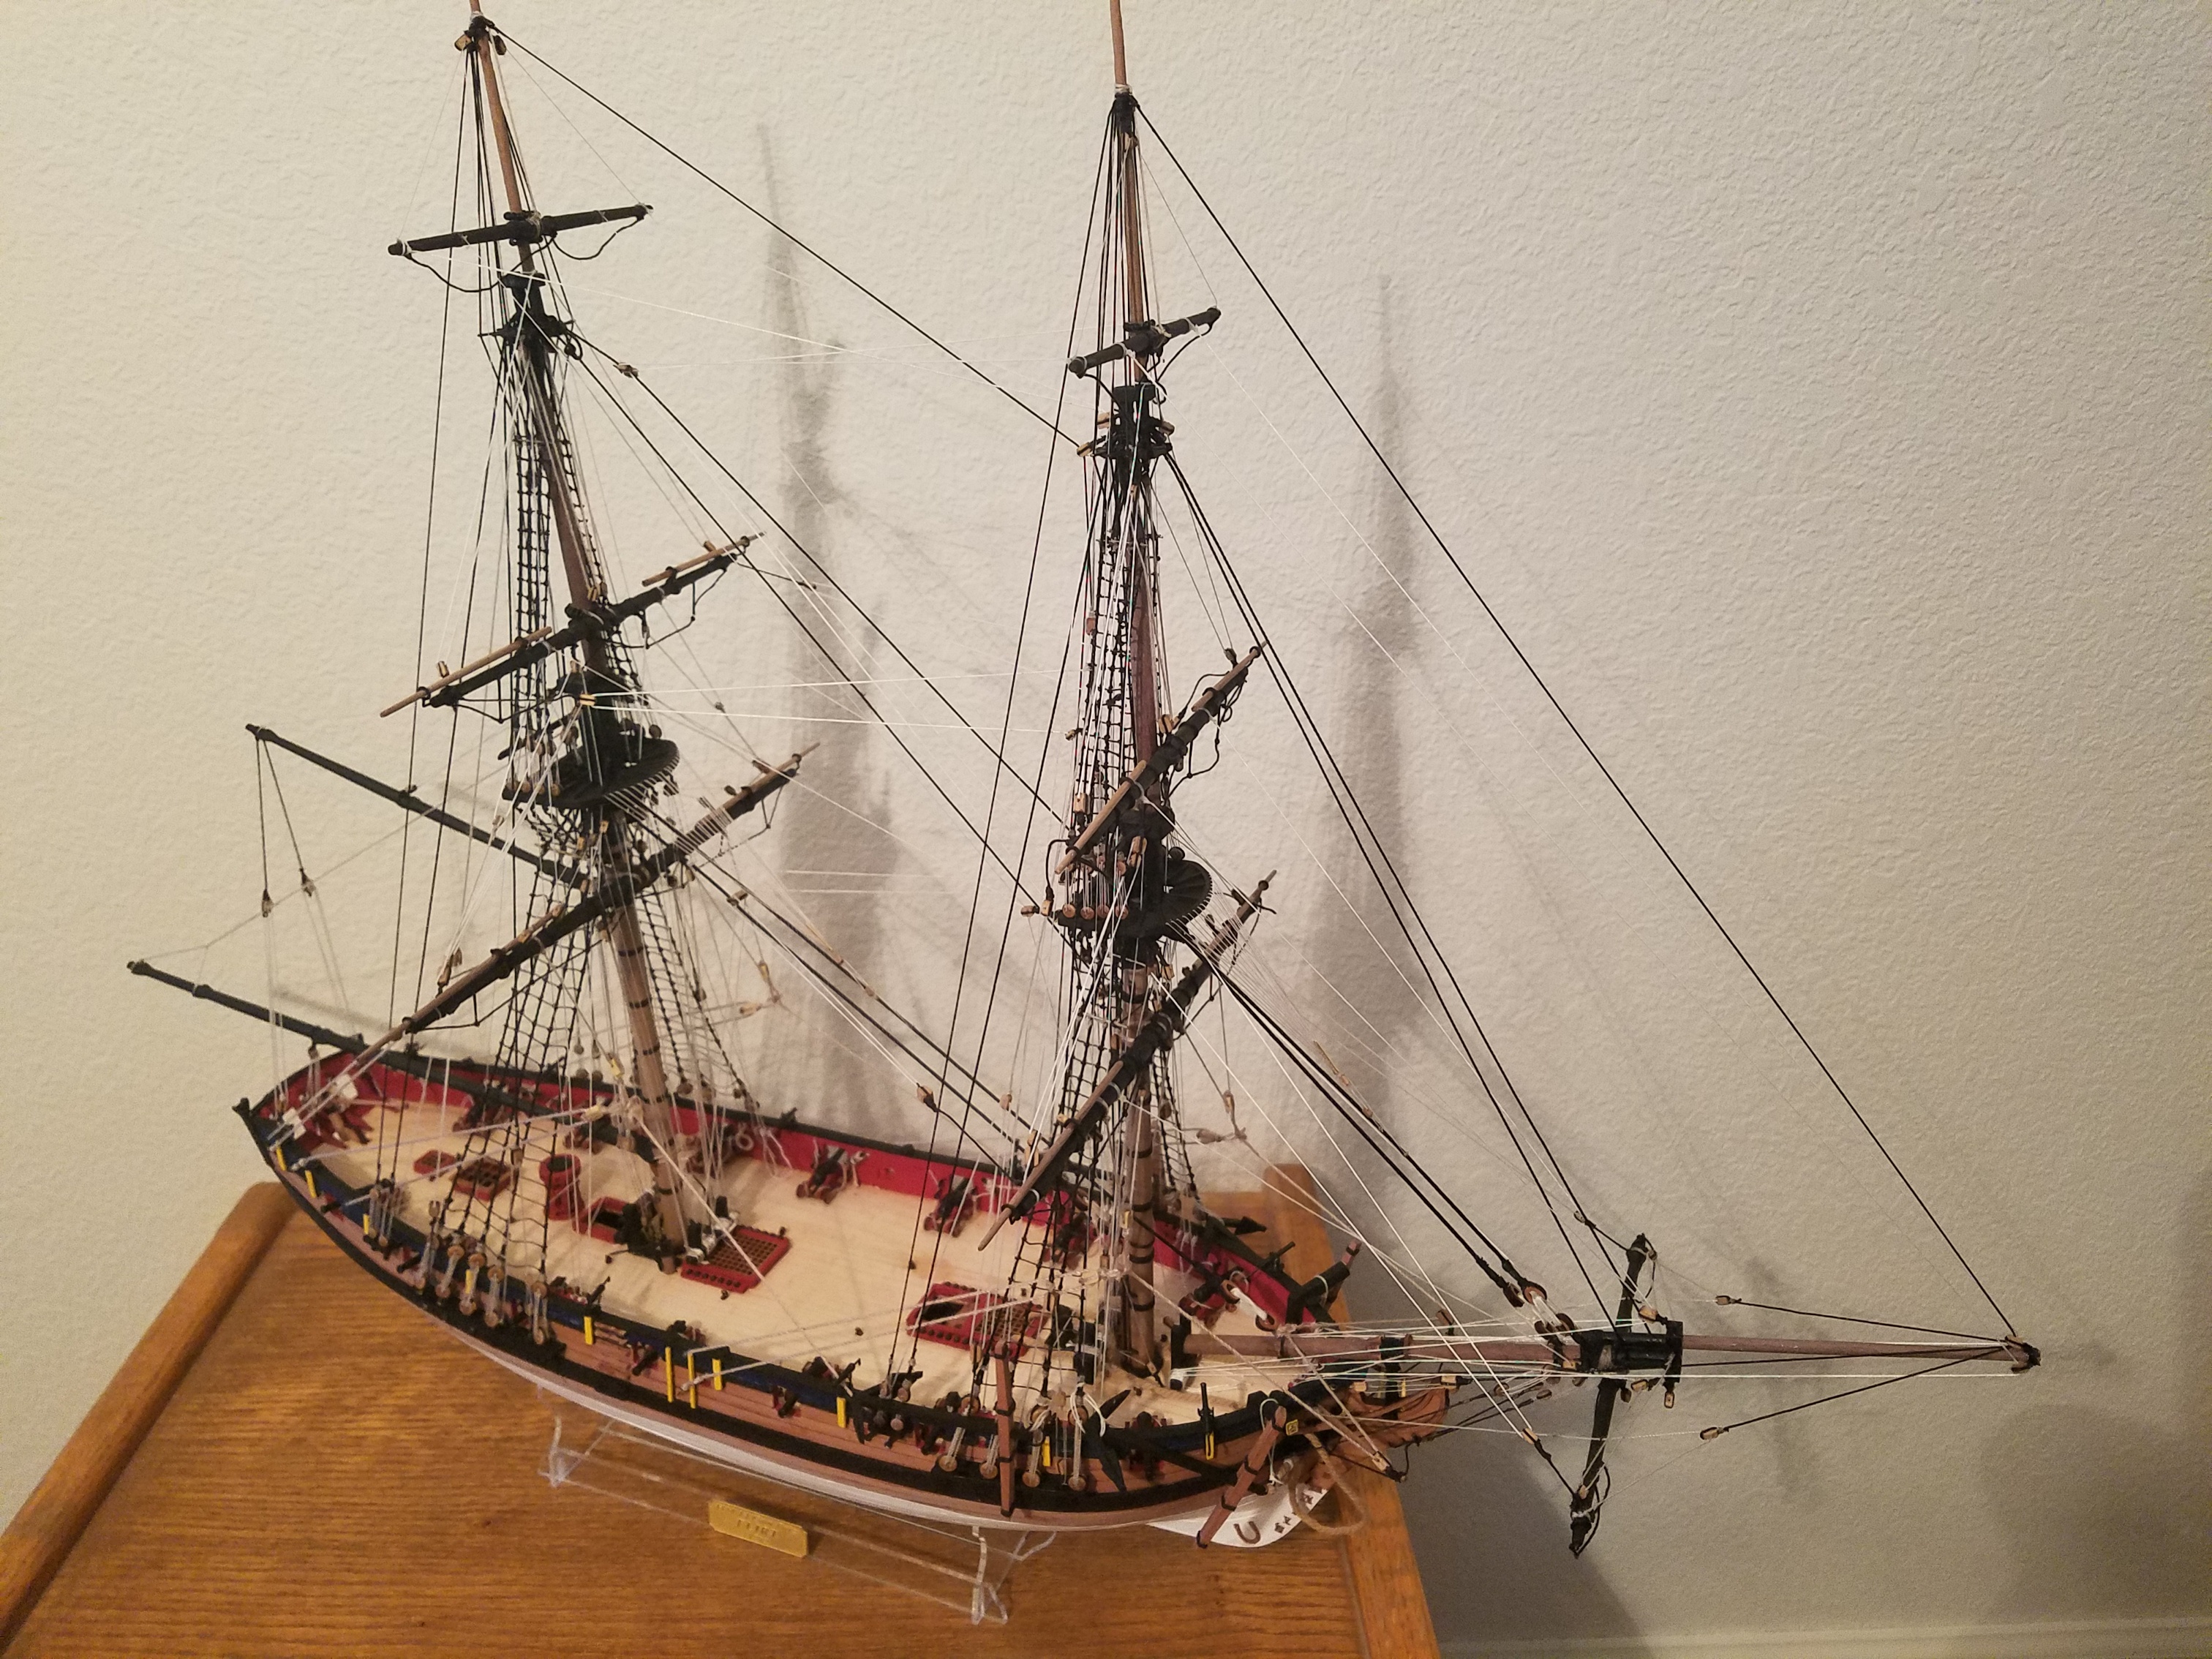
Excellent work , a model you can be proud of
-
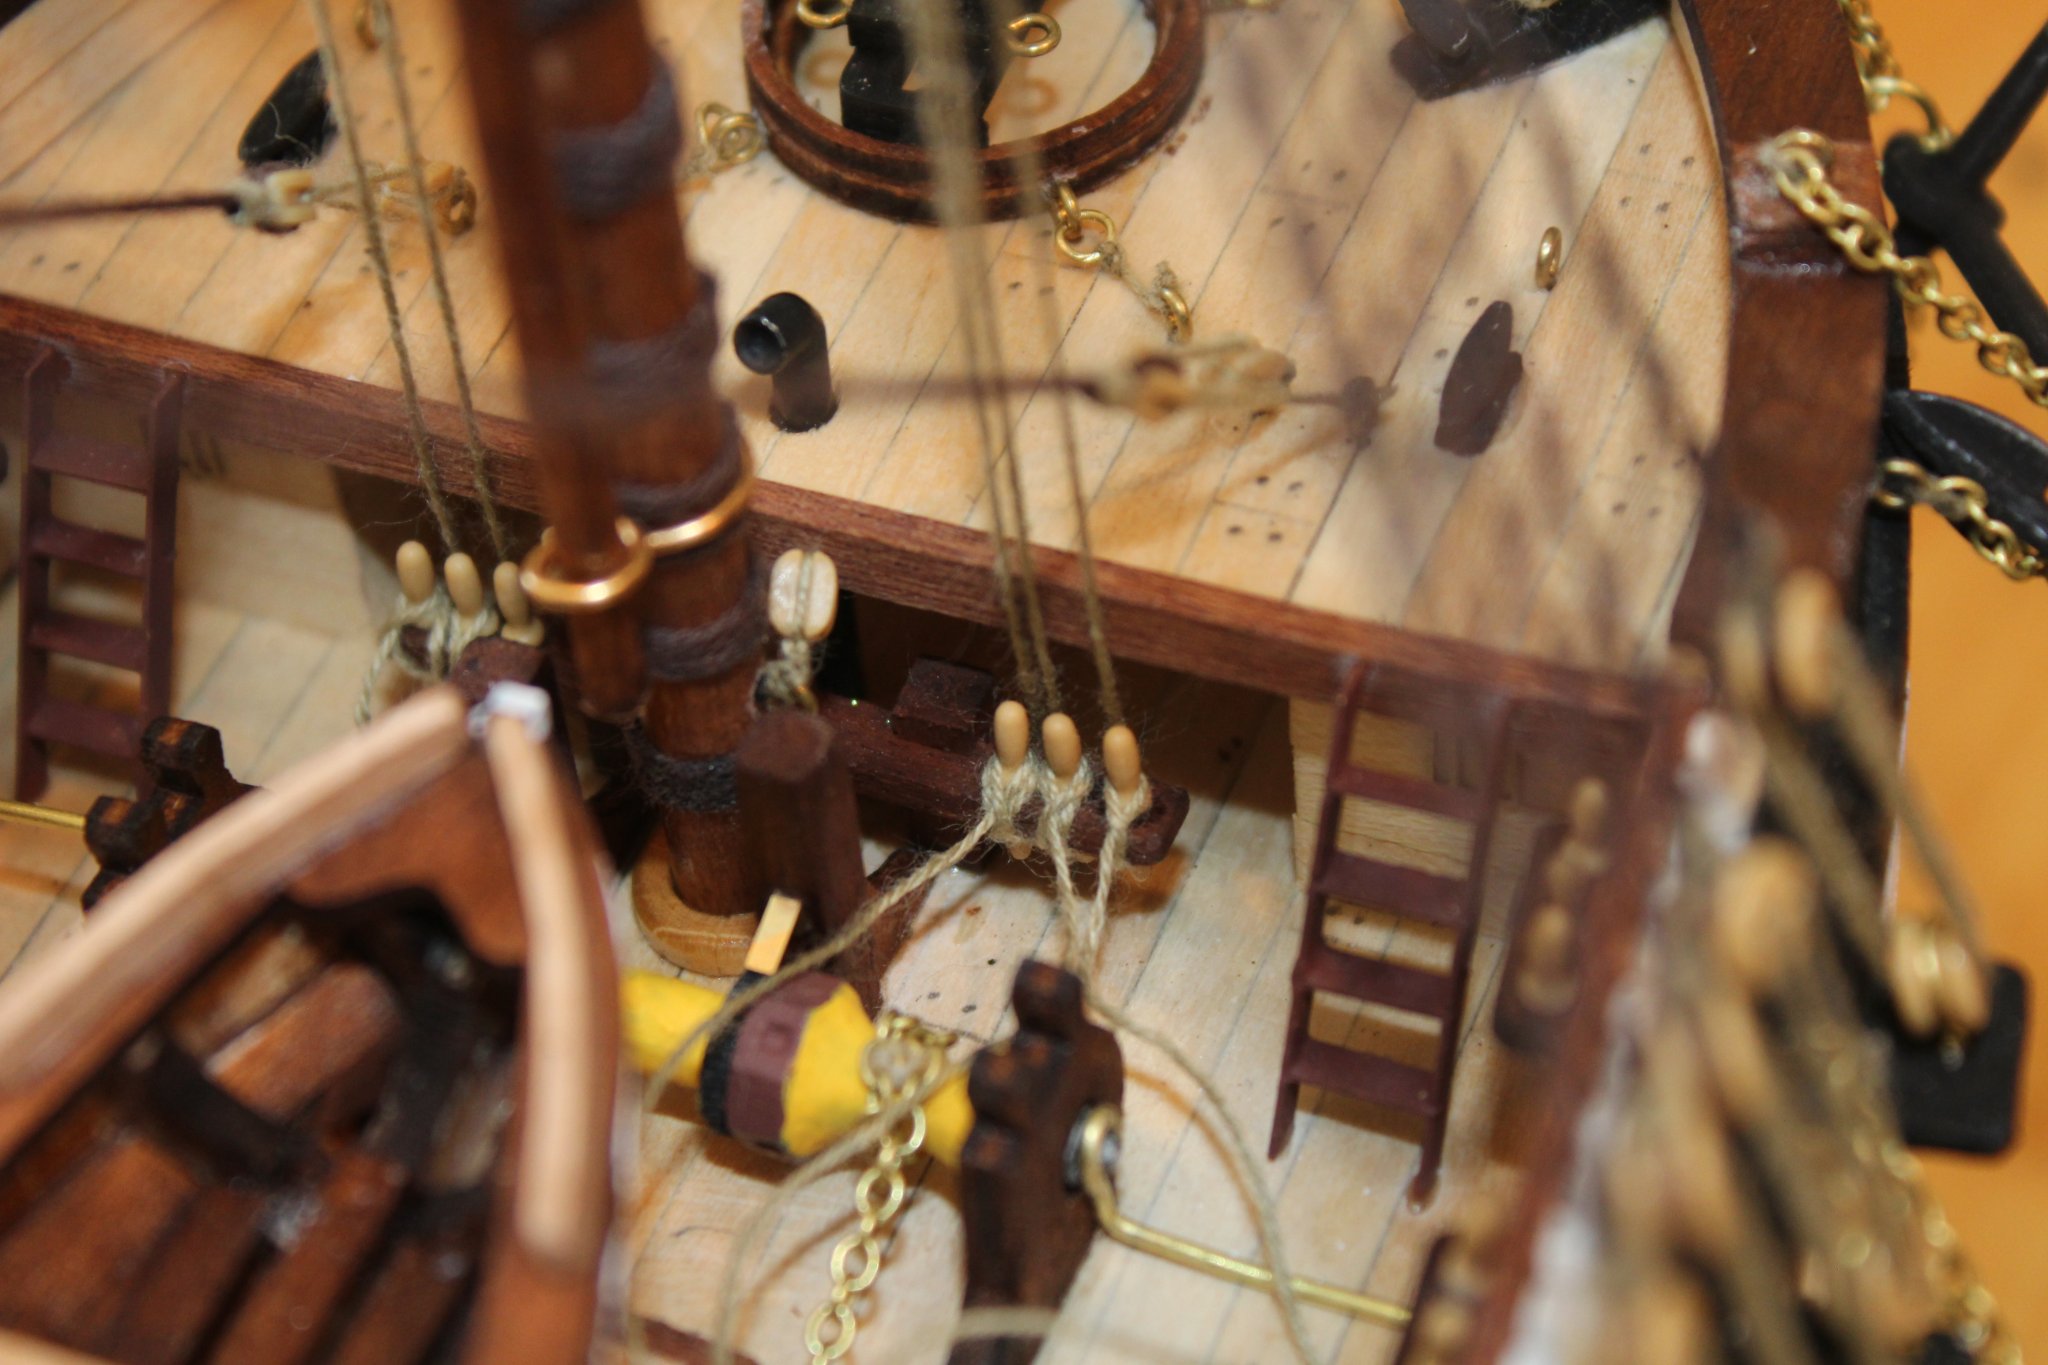
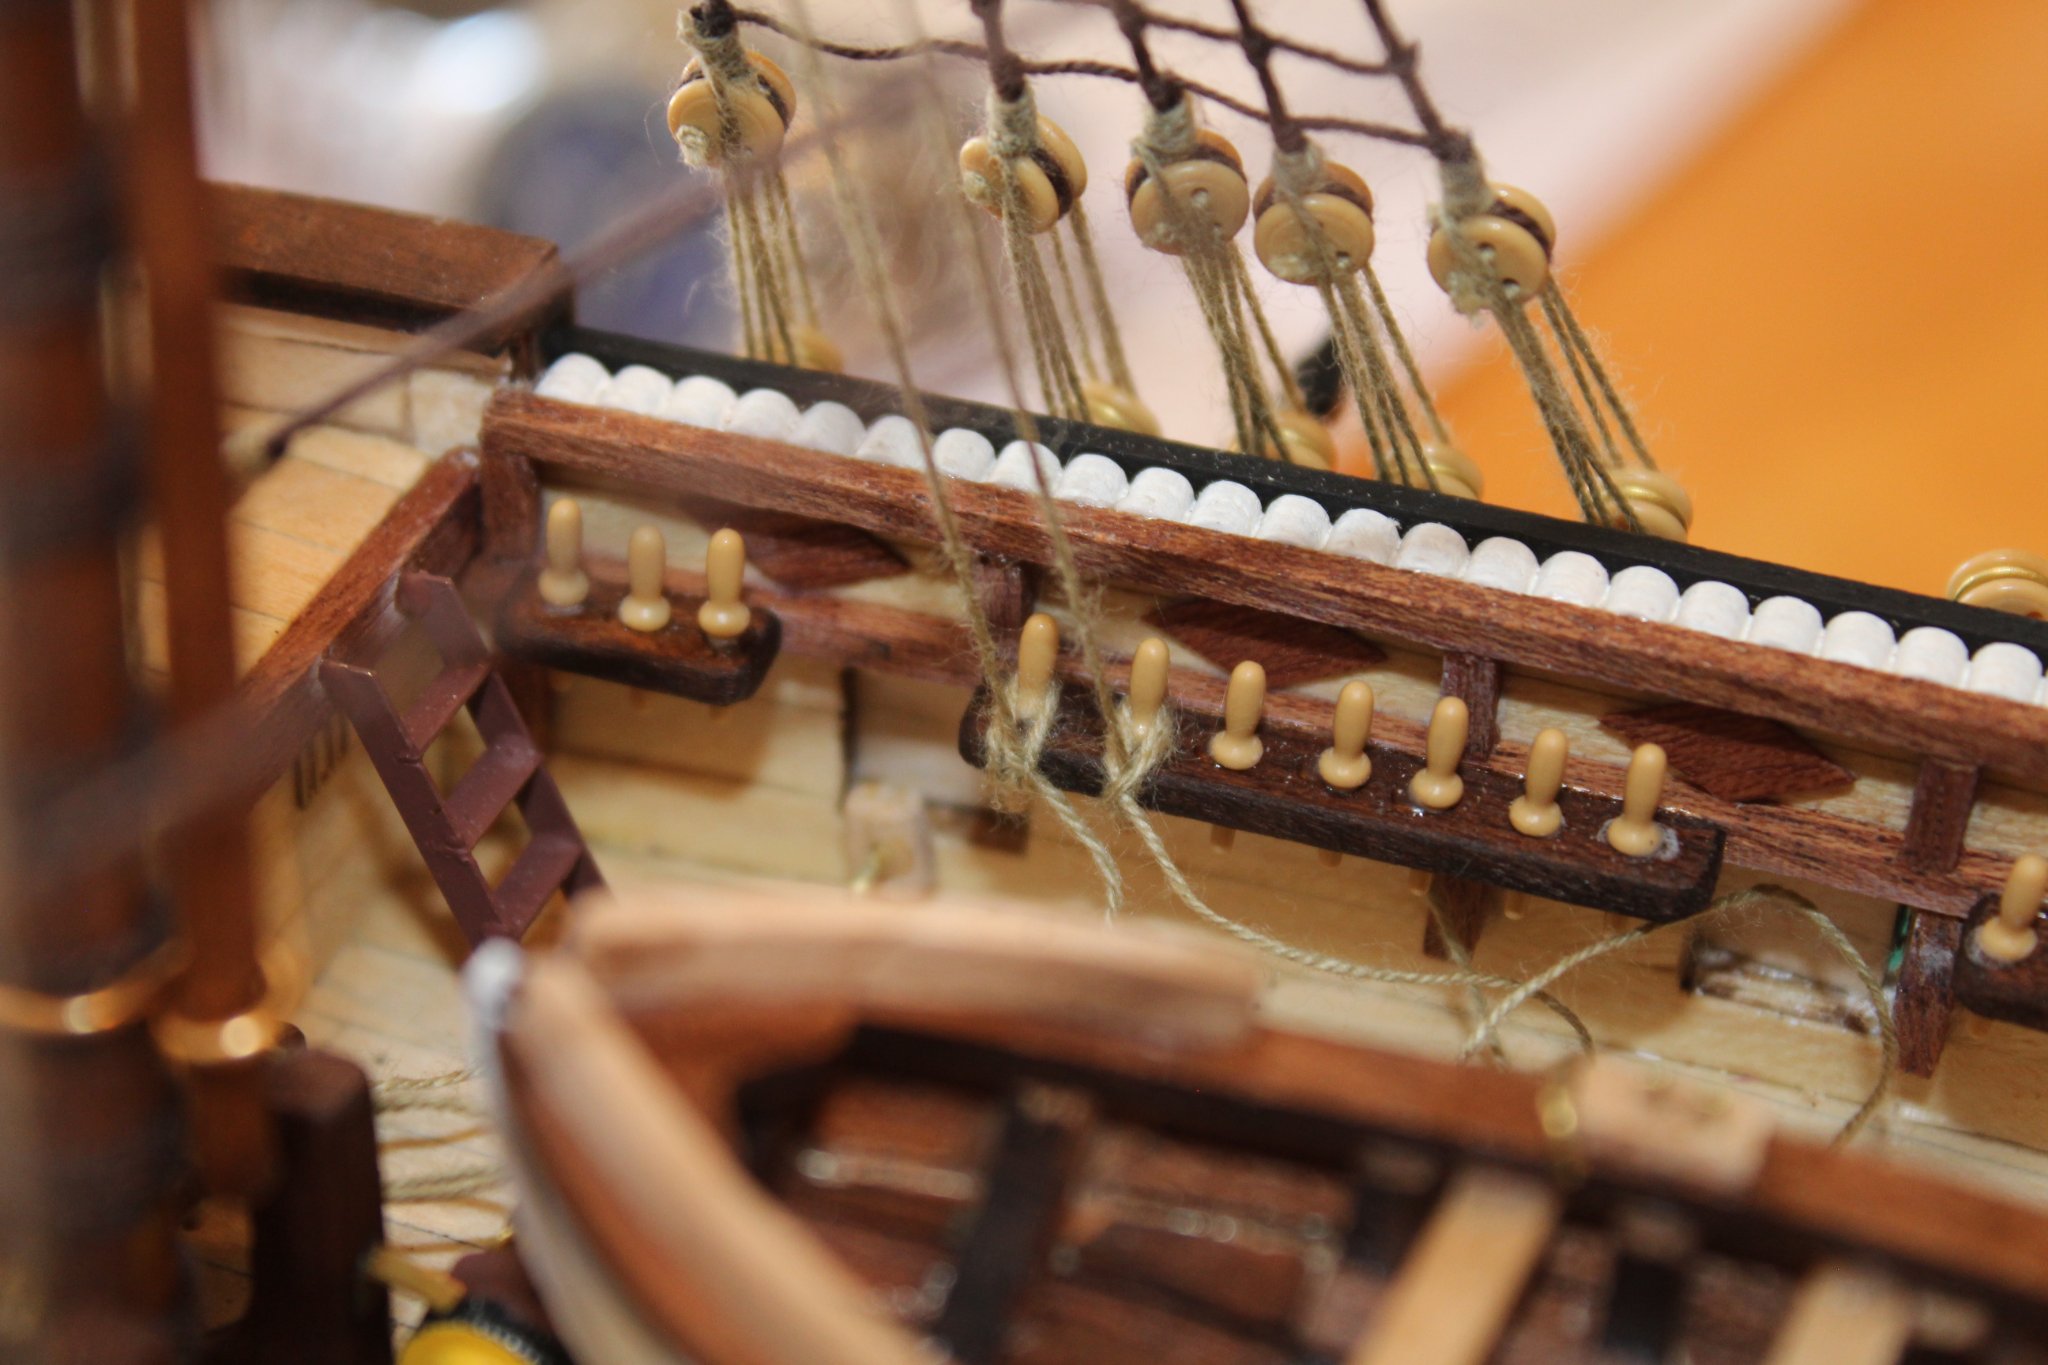
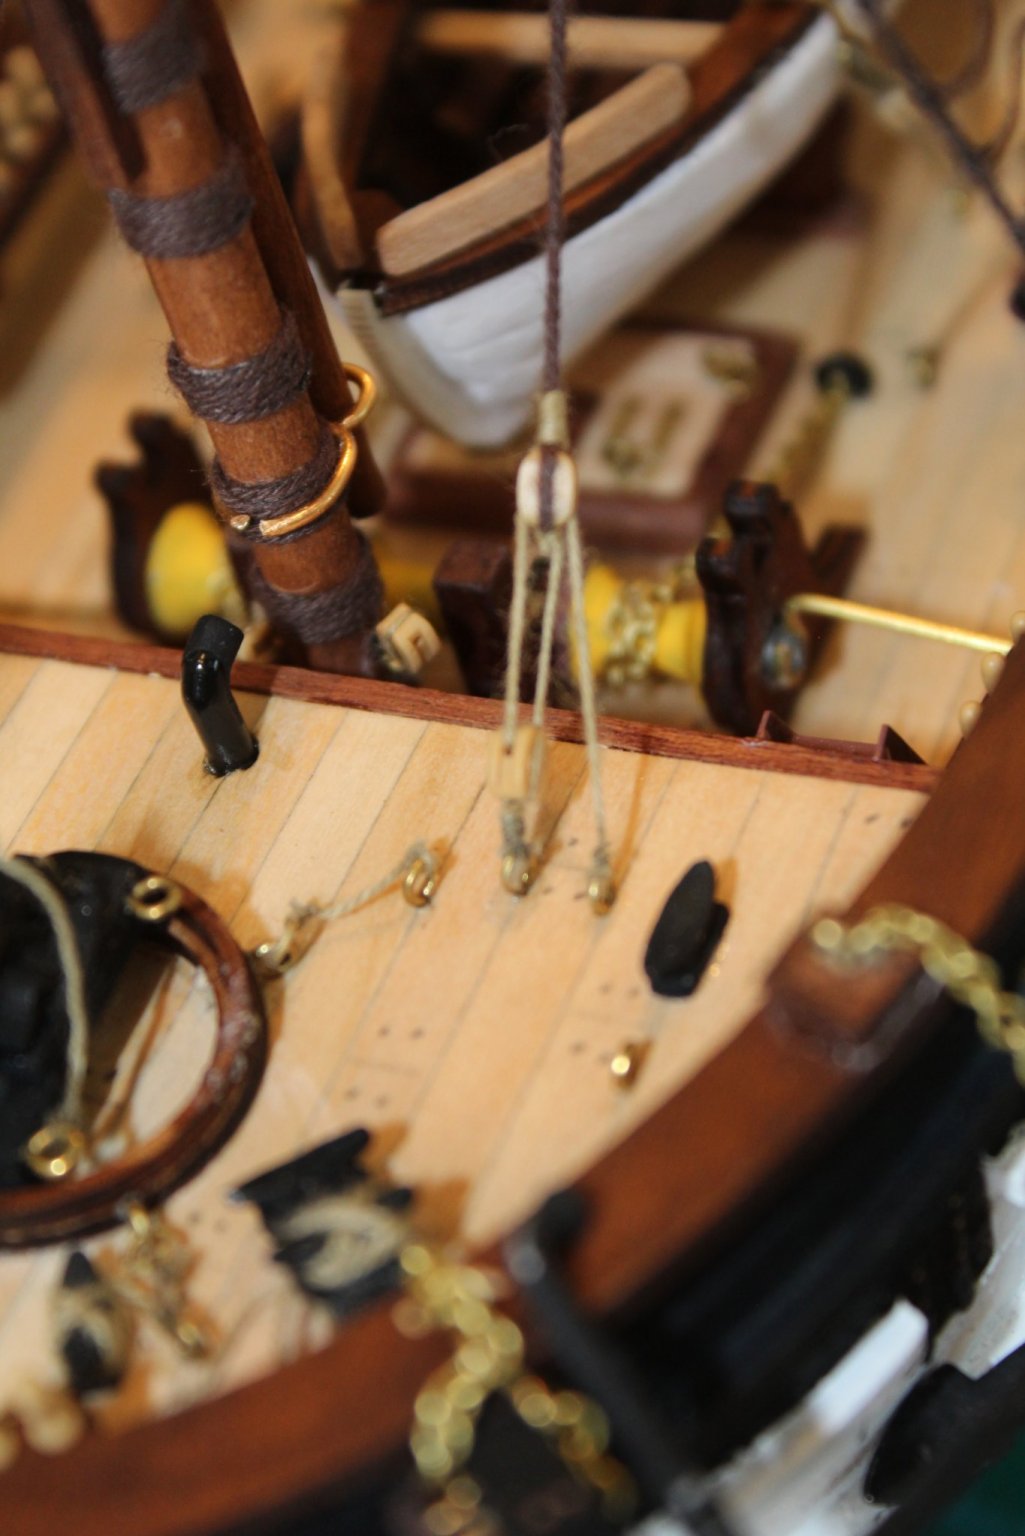
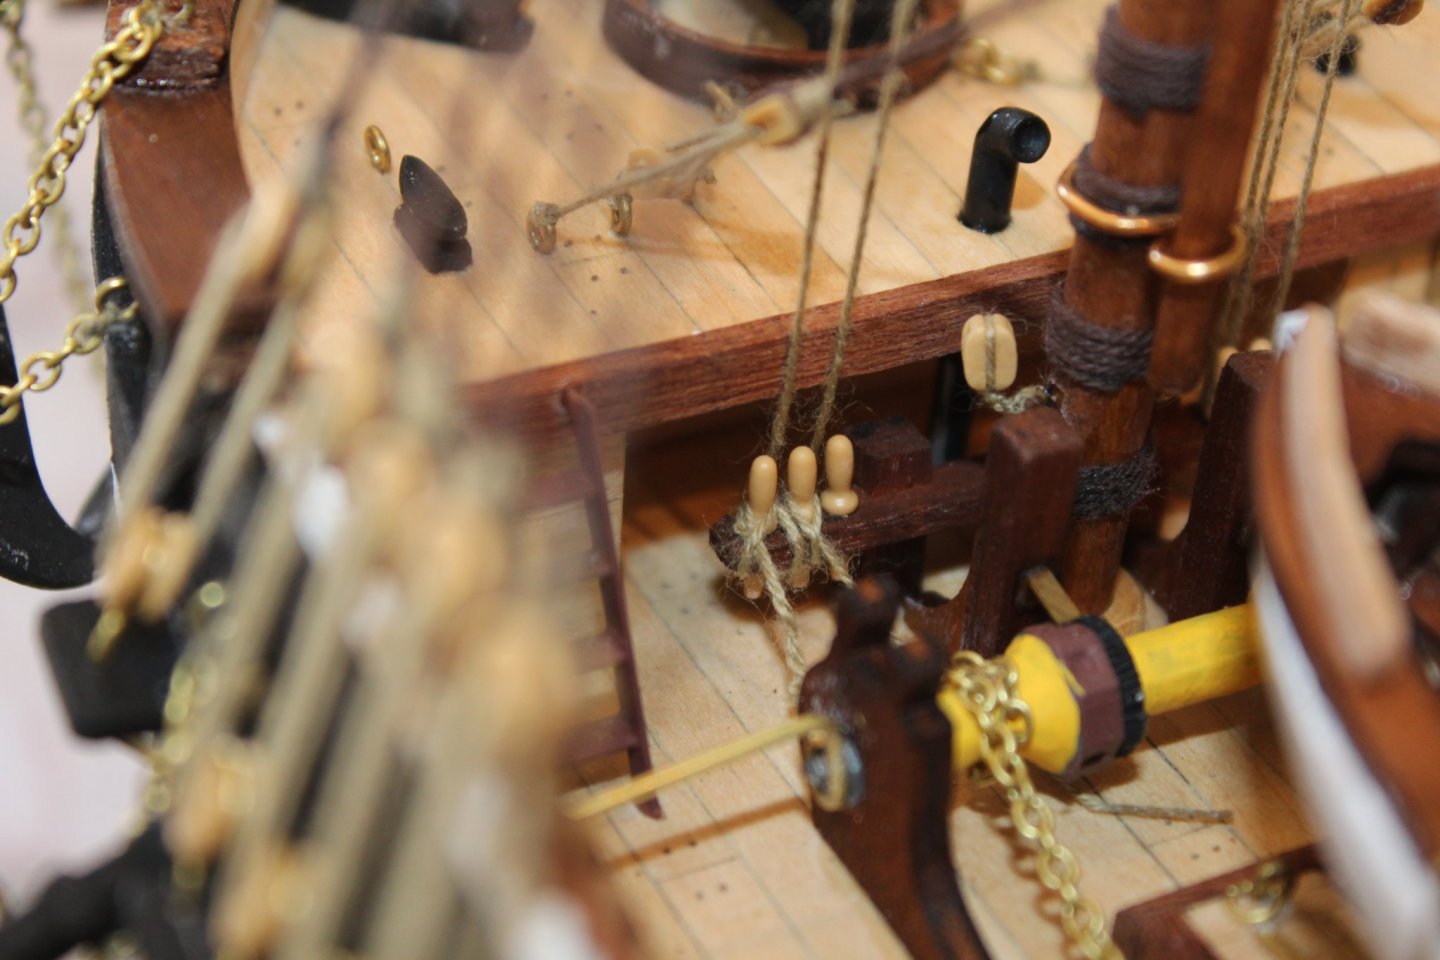
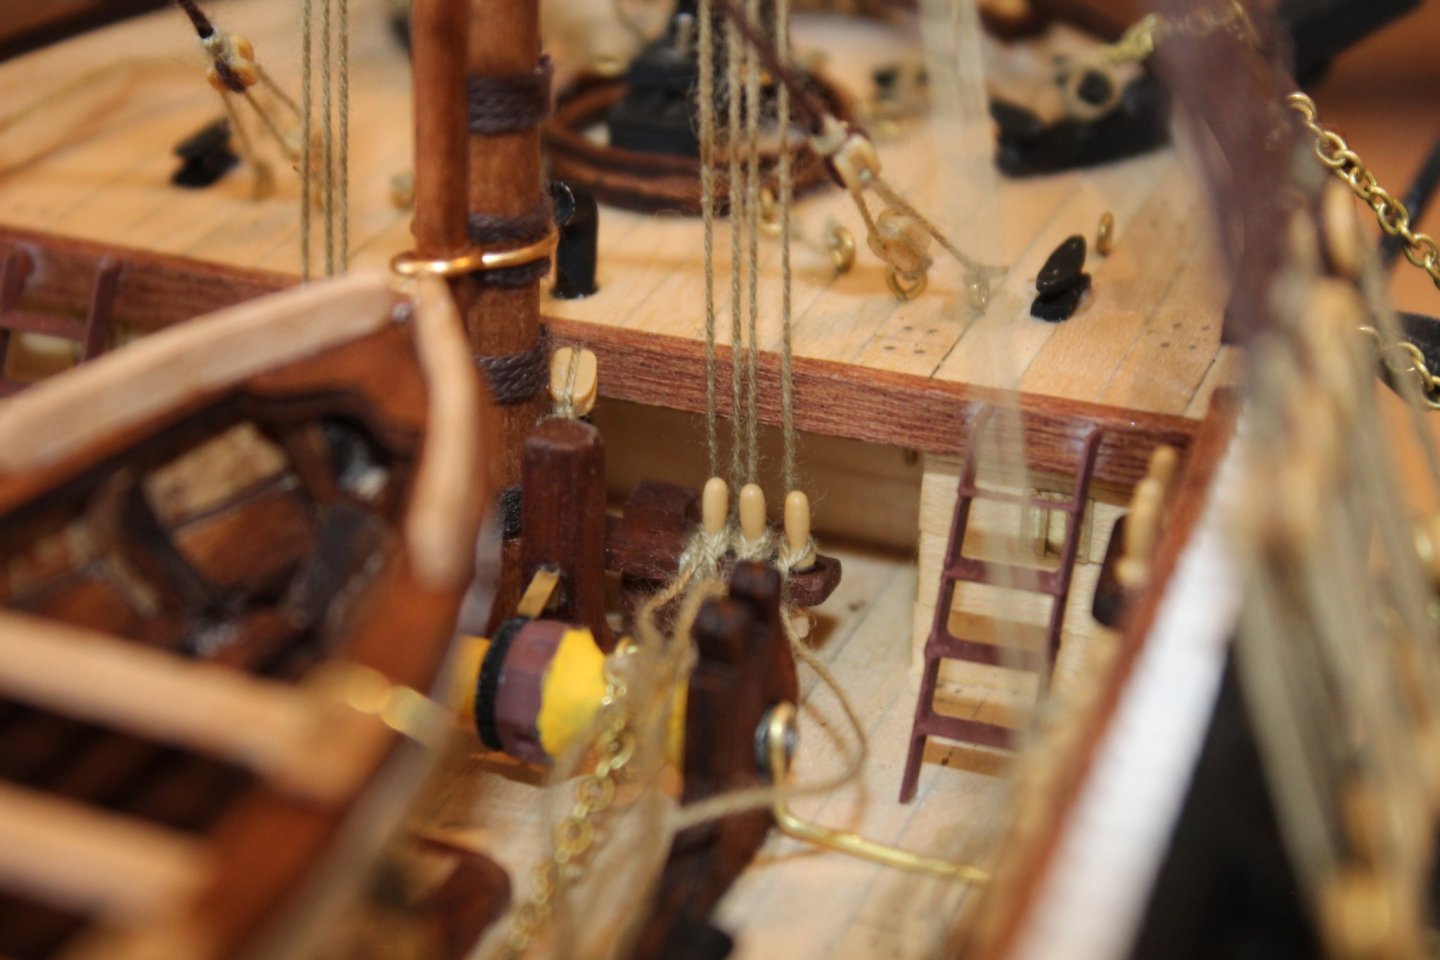
Started on some of the rigging on yards these are images of where they are secured to belaying pins . I have not neatened or cut them yet


-
I have found that a floss threader comes in really handy when having to thread the blocks and eyes with those small holes that older eyes struggle to see


-
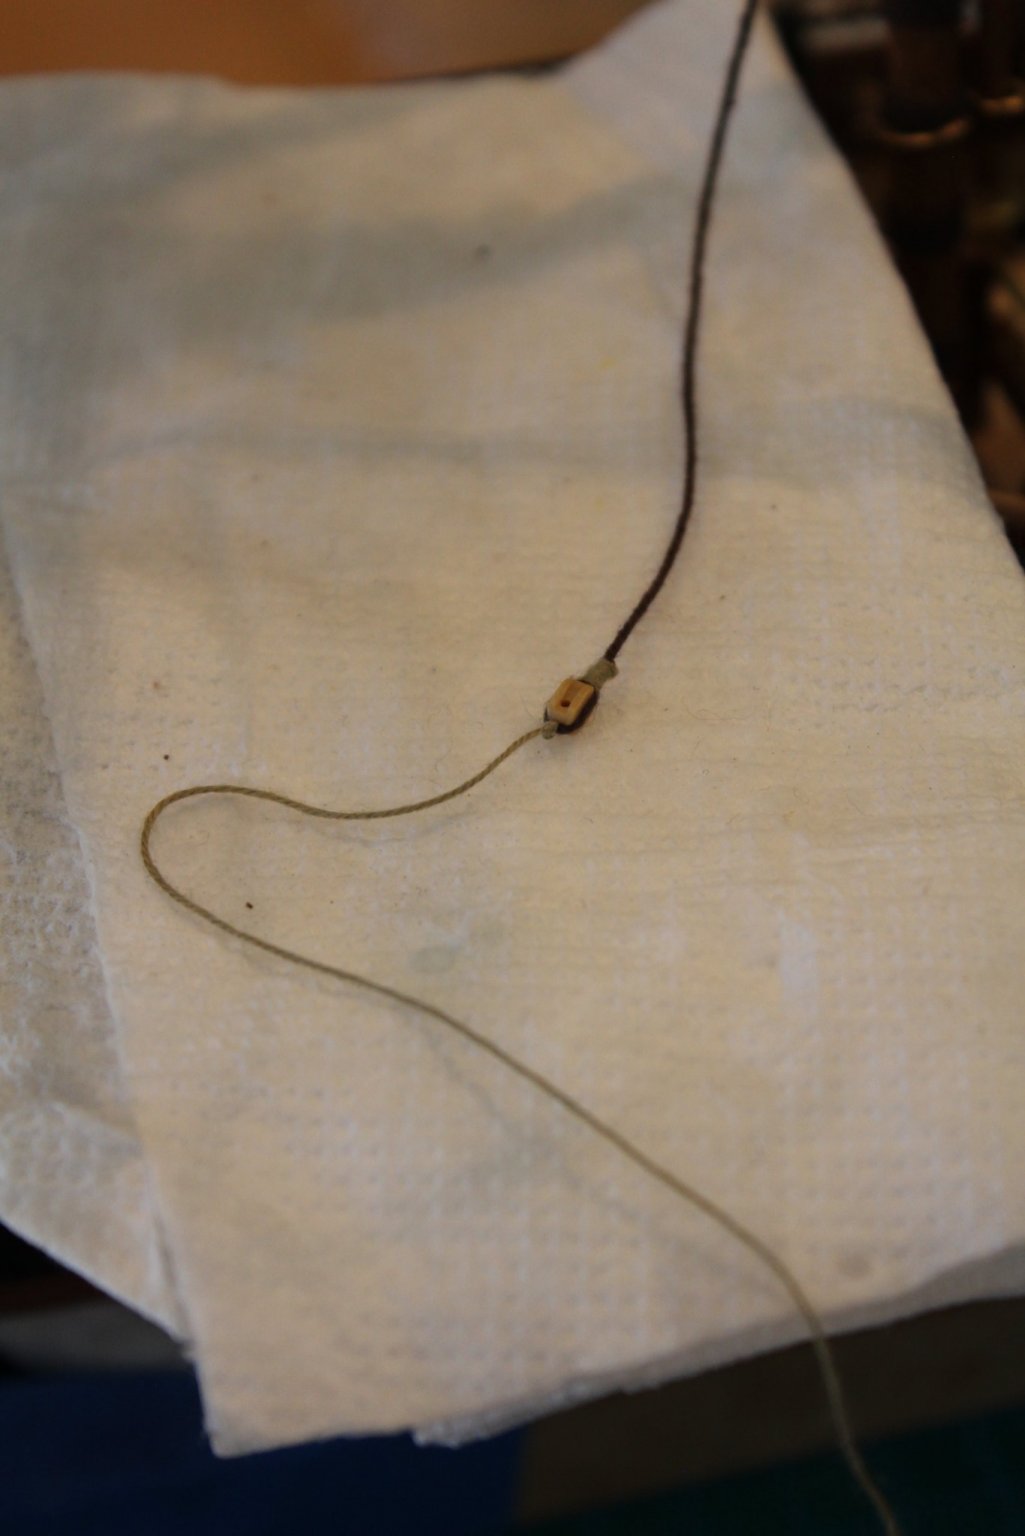
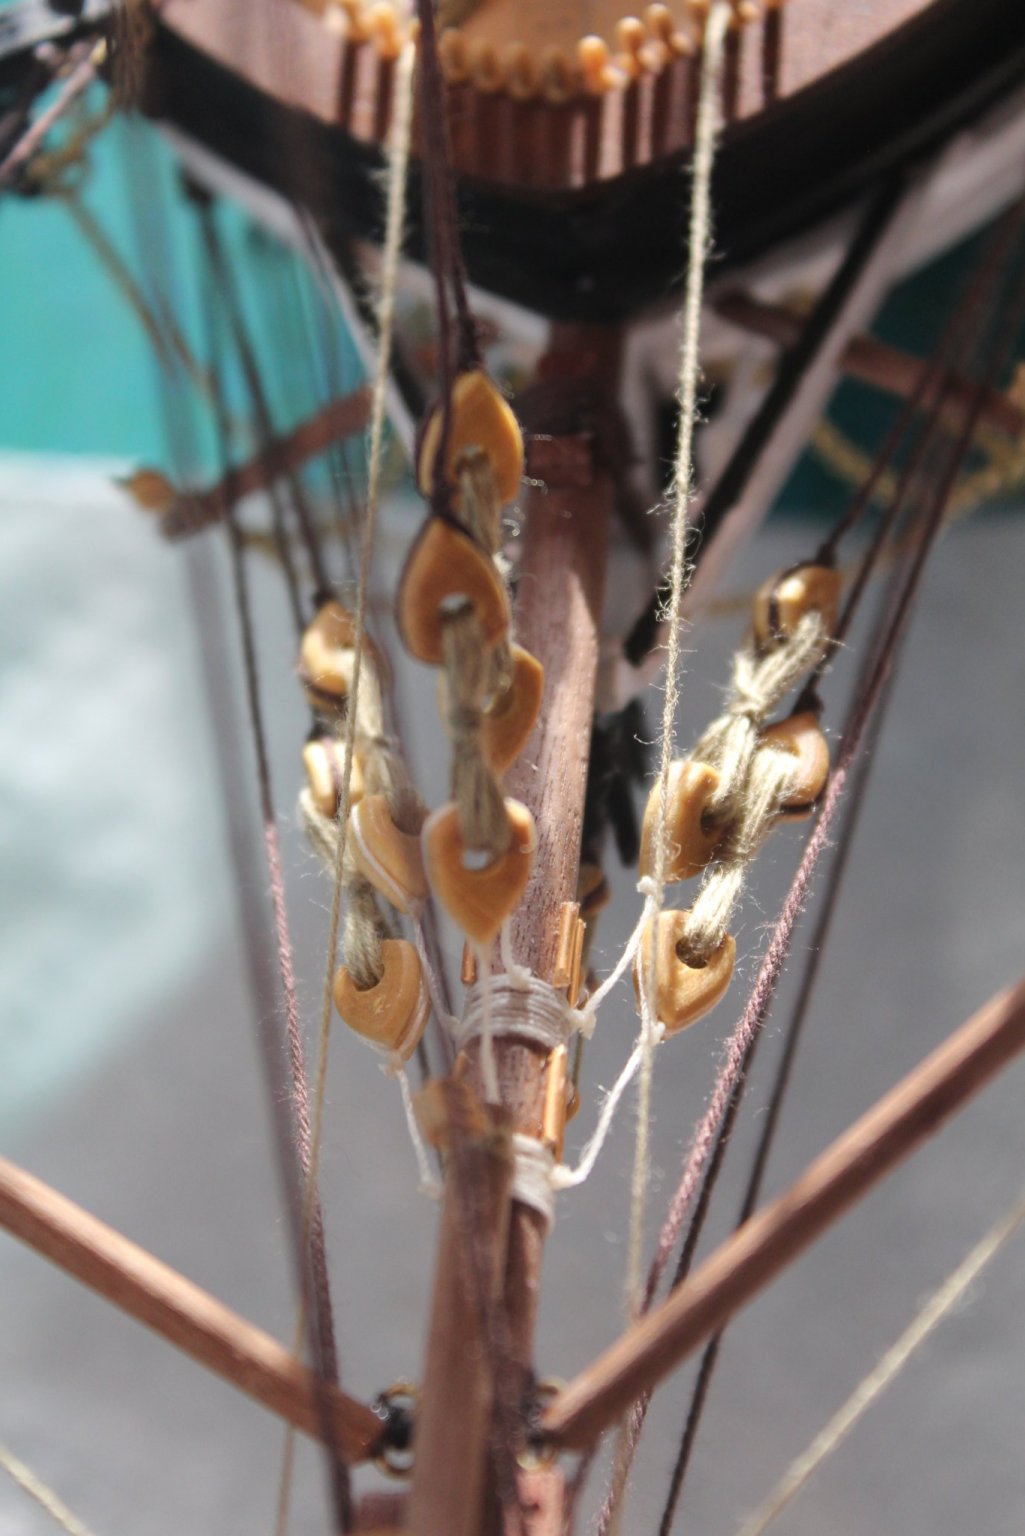
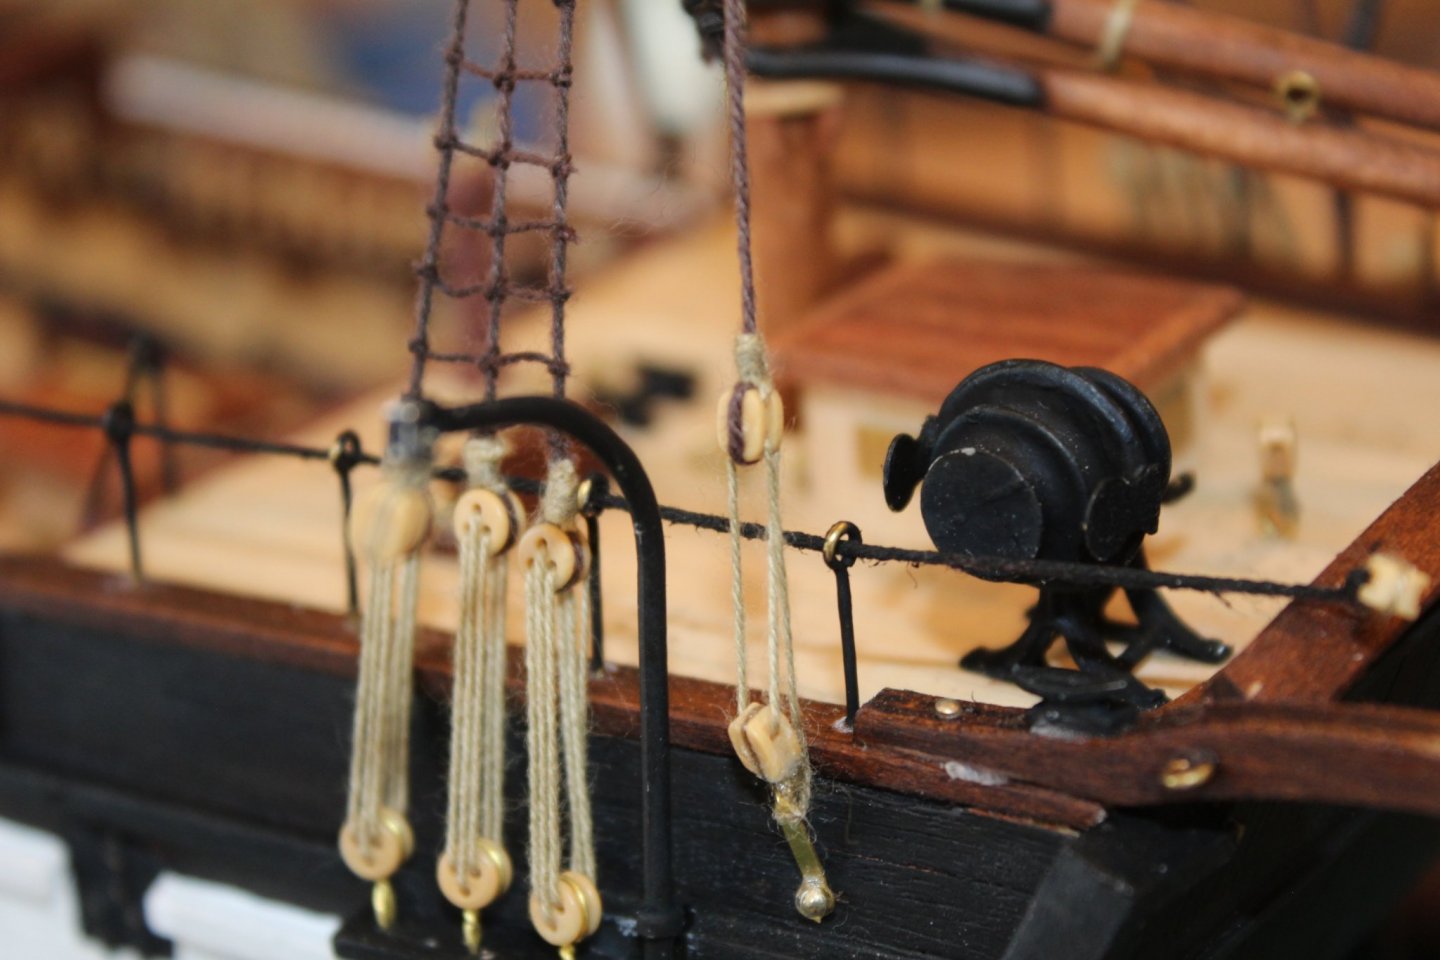
Continued to attach all the mast stays . Some of the back stays have a block attached , this is the process that I used for attaching the block


-
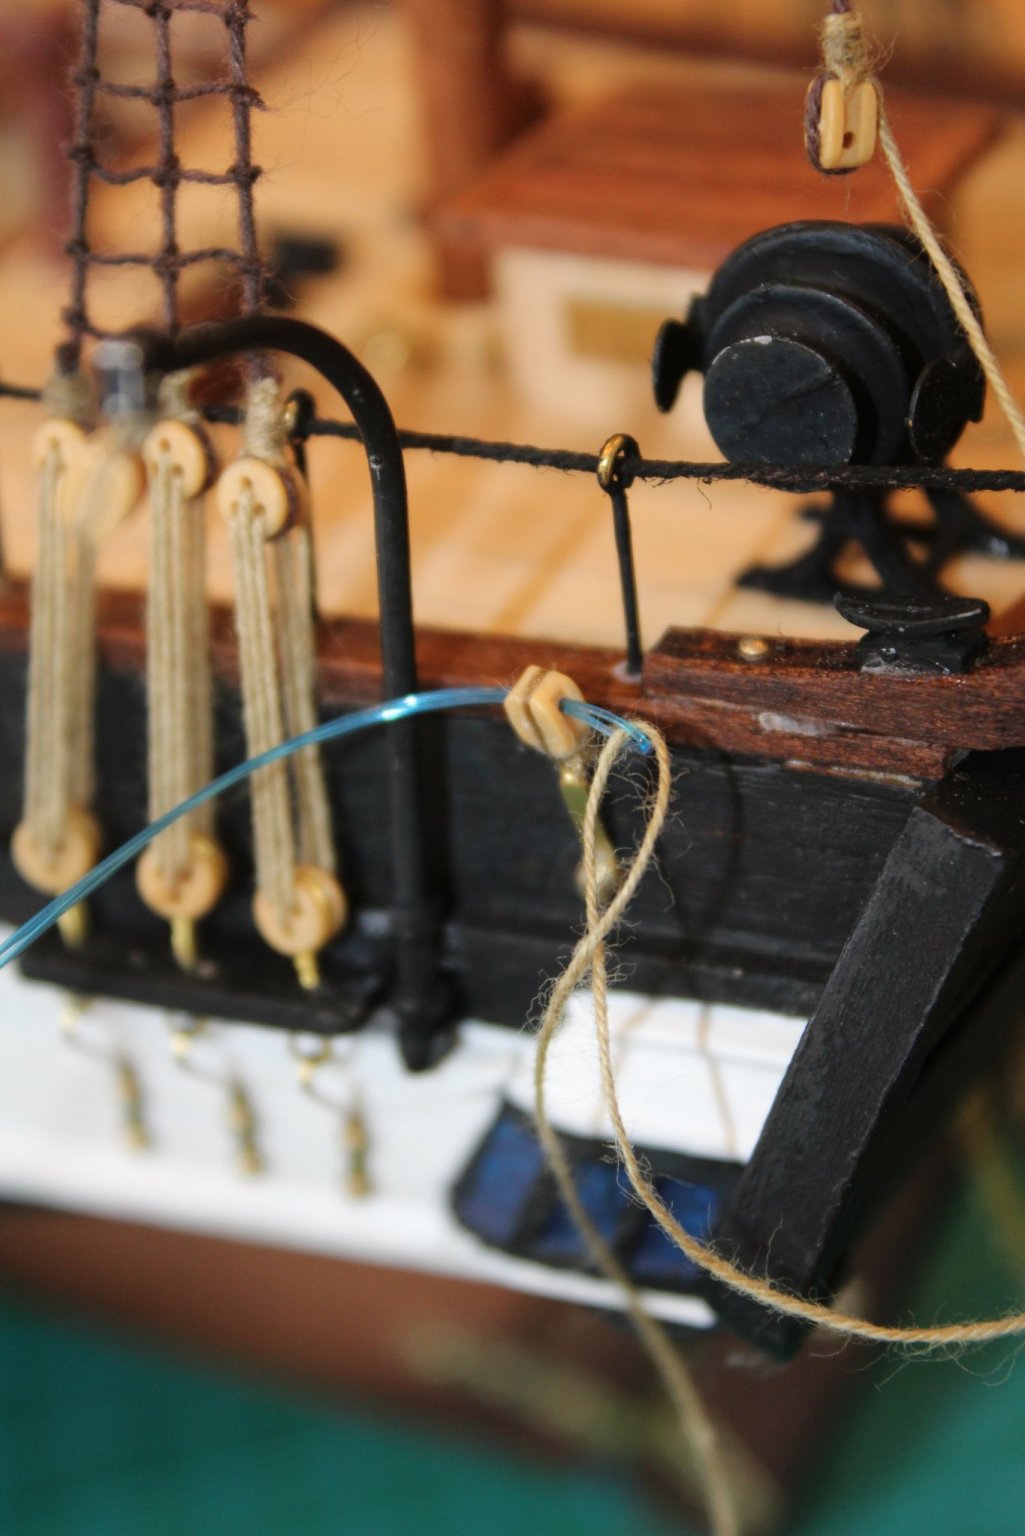
I had not seen this as been an issue . In my limited experience I have seen rigging tied to pins and posts . So I sort of assumed that this would be the case. I have reached this stage and this is the result The most right had thread is JT41 , attached between the post and the belaying pin. It seems ok to me , not sure about the purists though . Apologies for the photography

-
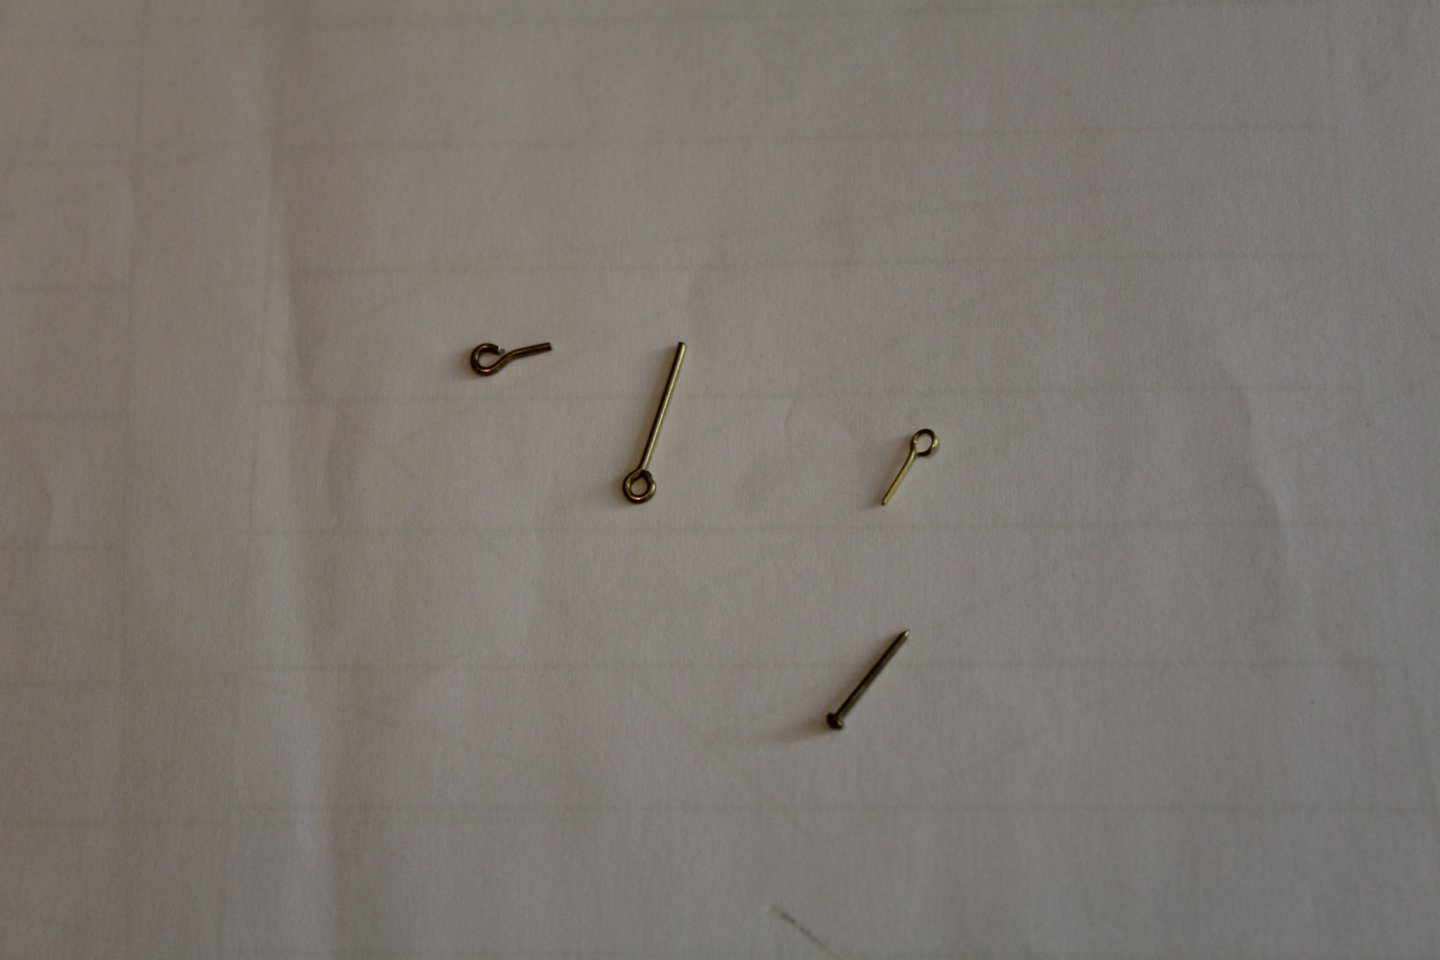
I found the same . I always seem to keep all the offcuts of the timber , pins etc . so I fashioned the eyebolts out of whatever I could . For reference I have shown an original eyebolt and pin , and then eyebolts that were made from the pin as well as a bit of offcut of a short eyebolt . Will require a pair of round nosed pliers . Hope this helps
-
HMS Beagle by Krupi - OcCre - 1:60
Pete D replied to Krupi's topic in - Kit build logs for subjects built from 1801 - 1850
Looks great , looks like coppering was the way to go -
You should have enough of the brass , its the 1mm diam that they were short on . Looking great so far
-
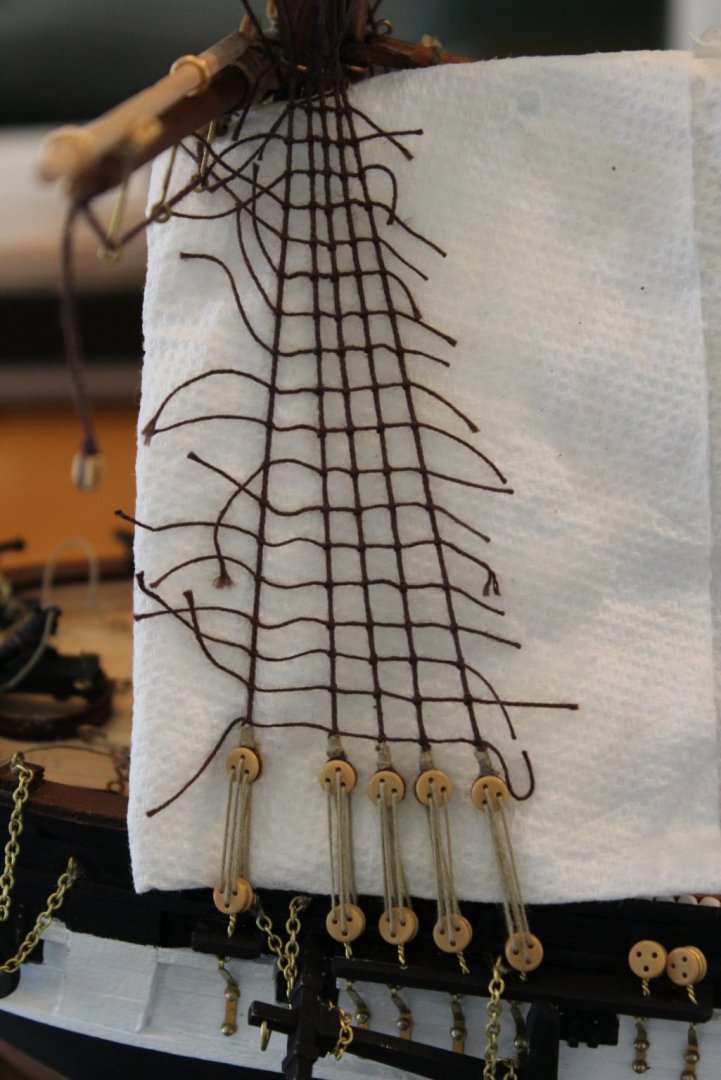
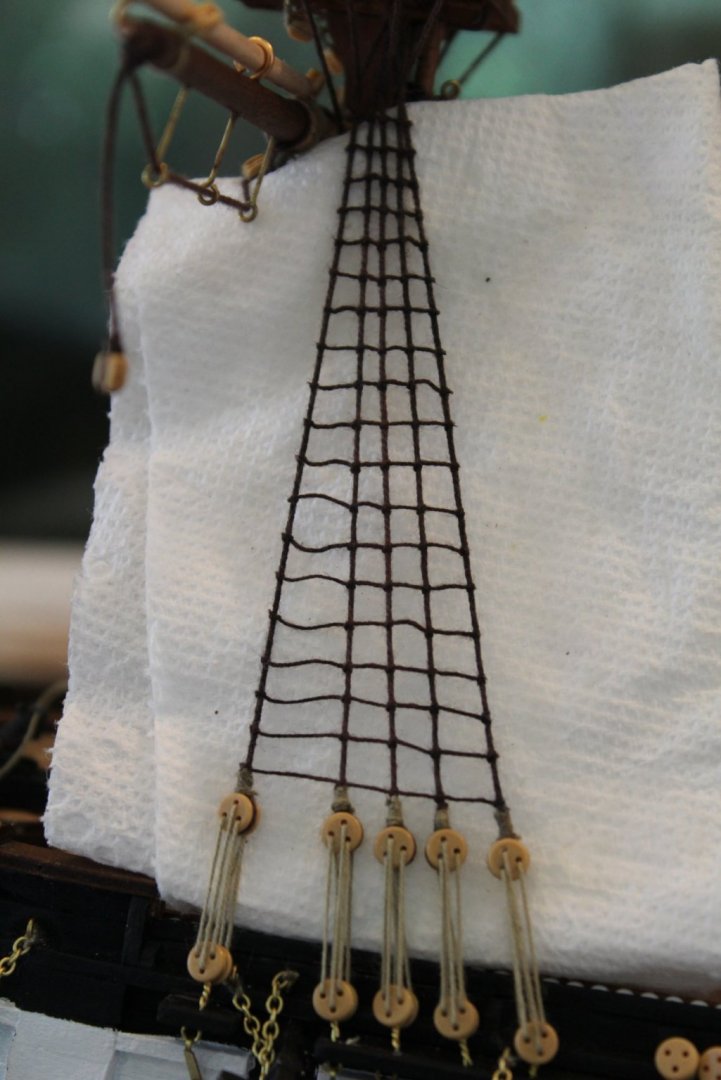
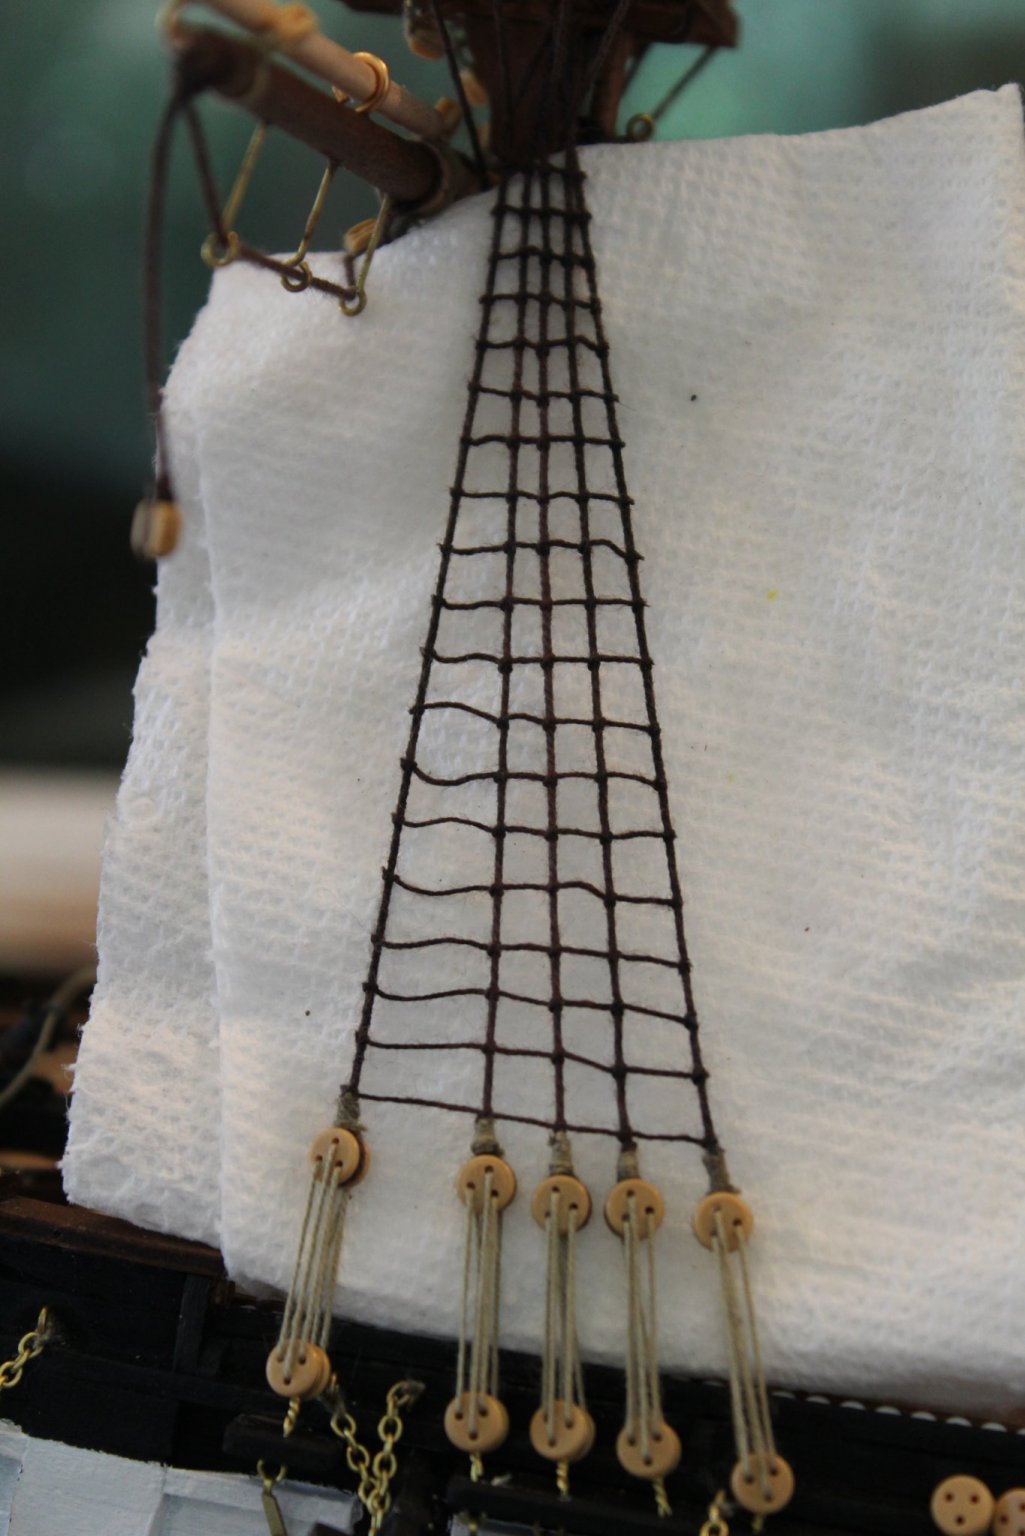
Upper ratlines foremast completed

-
Just a small update. Managed to complete the ratlines on the upper and lower foremast . Before and after the neatening up process