Joseph F.
Members-
Posts
78 -
Joined
-
Last visited
Recent Profile Visitors
The recent visitors block is disabled and is not being shown to other users.
-
 shadowcaster reacted to a post in a topic:
Gunboat Philadelphia by Joseph F. - FINISHED - Model Shipways - 1:24
-
 shadowcaster reacted to a post in a topic:
Gunboat Philadelphia by Joseph F. - FINISHED - Model Shipways - 1:24
-
 yvesvidal reacted to a post in a topic:
USS Newport News and ABSD by Joseph F. - Very Fire and Takom - 1/350 - PLASTIC
-
 GrandpaPhil reacted to a post in a topic:
USS Newport News and ABSD by Joseph F. - Very Fire and Takom - 1/350 - PLASTIC
-
 GrandpaPhil reacted to a post in a topic:
USS Newport News and ABSD by Joseph F. - Very Fire and Takom - 1/350 - PLASTIC
-
 Canute reacted to a post in a topic:
USS Newport News and ABSD by Joseph F. - Very Fire and Takom - 1/350 - PLASTIC
-
 king derelict reacted to a post in a topic:
USS Newport News and ABSD by Joseph F. - Very Fire and Takom - 1/350 - PLASTIC
-
 gieb8688 reacted to a post in a topic:
USS Newport News and ABSD by Joseph F. - Very Fire and Takom - 1/350 - PLASTIC
-
 gieb8688 reacted to a post in a topic:
USS Newport News and ABSD by Joseph F. - Very Fire and Takom - 1/350 - PLASTIC
-
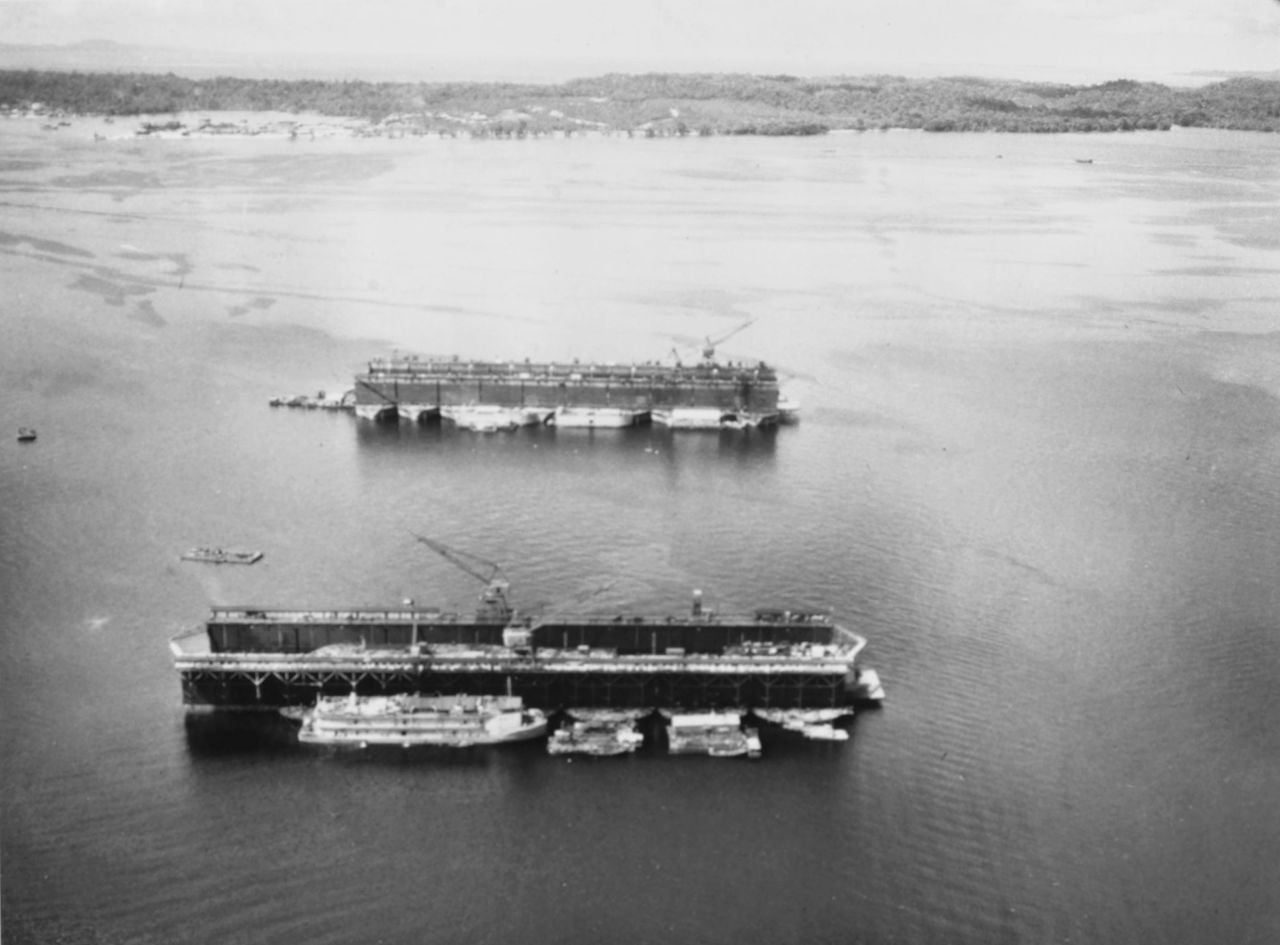
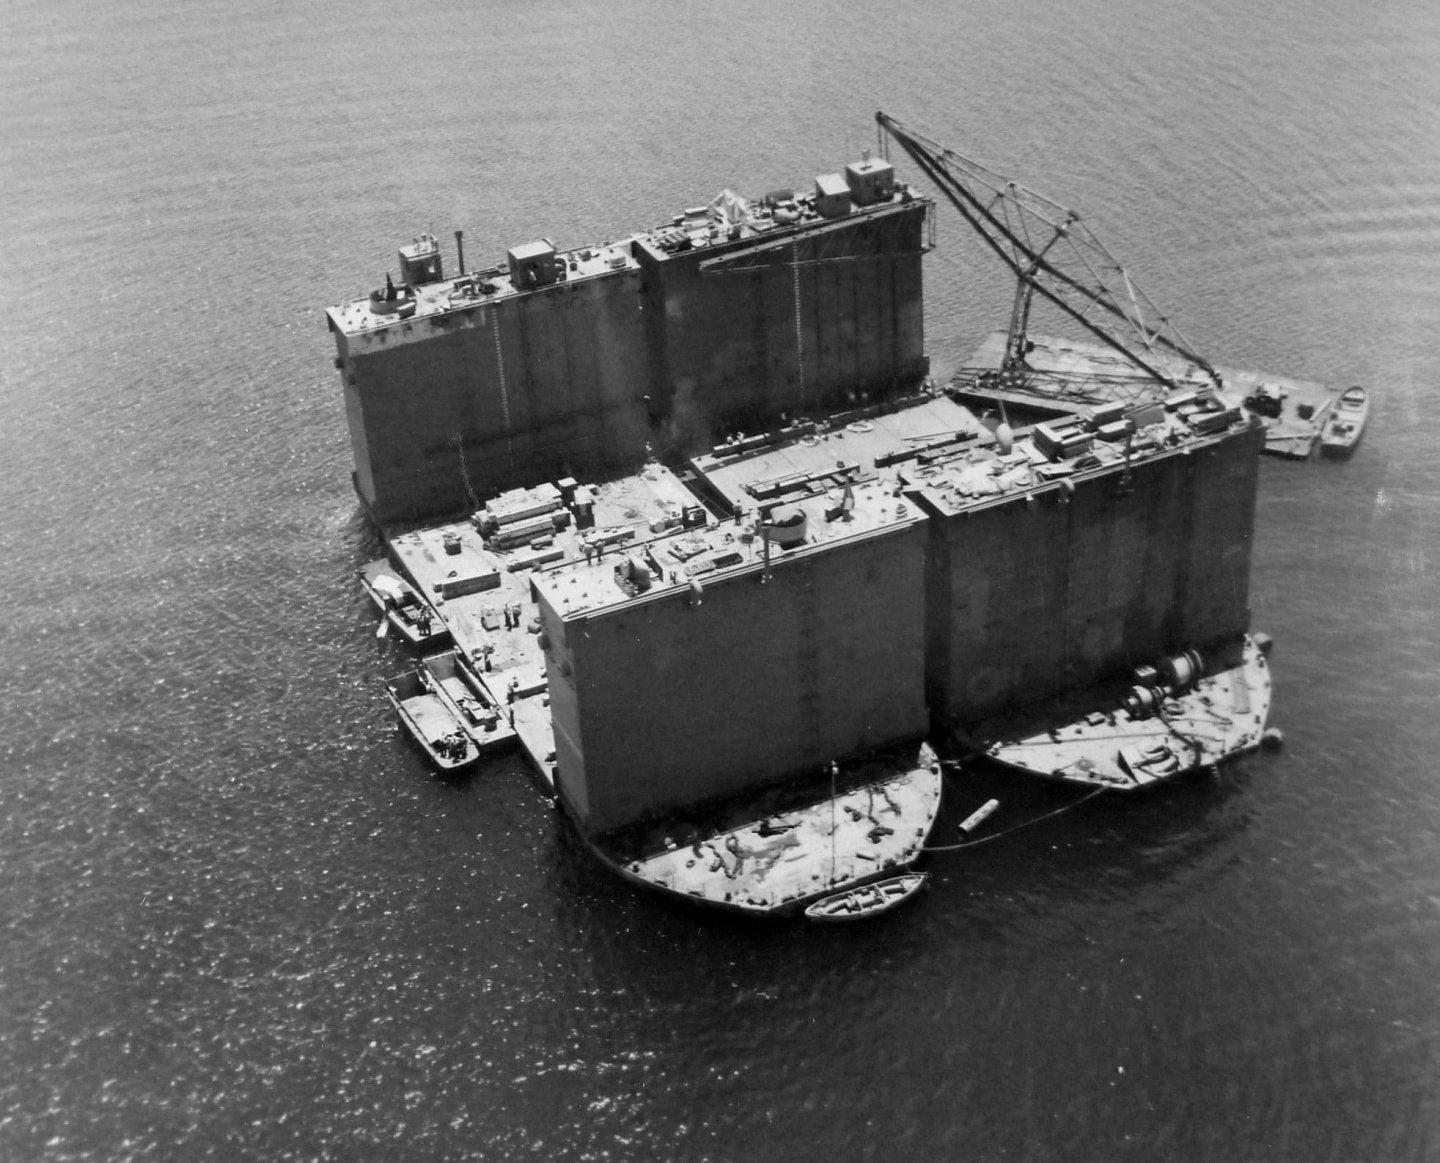
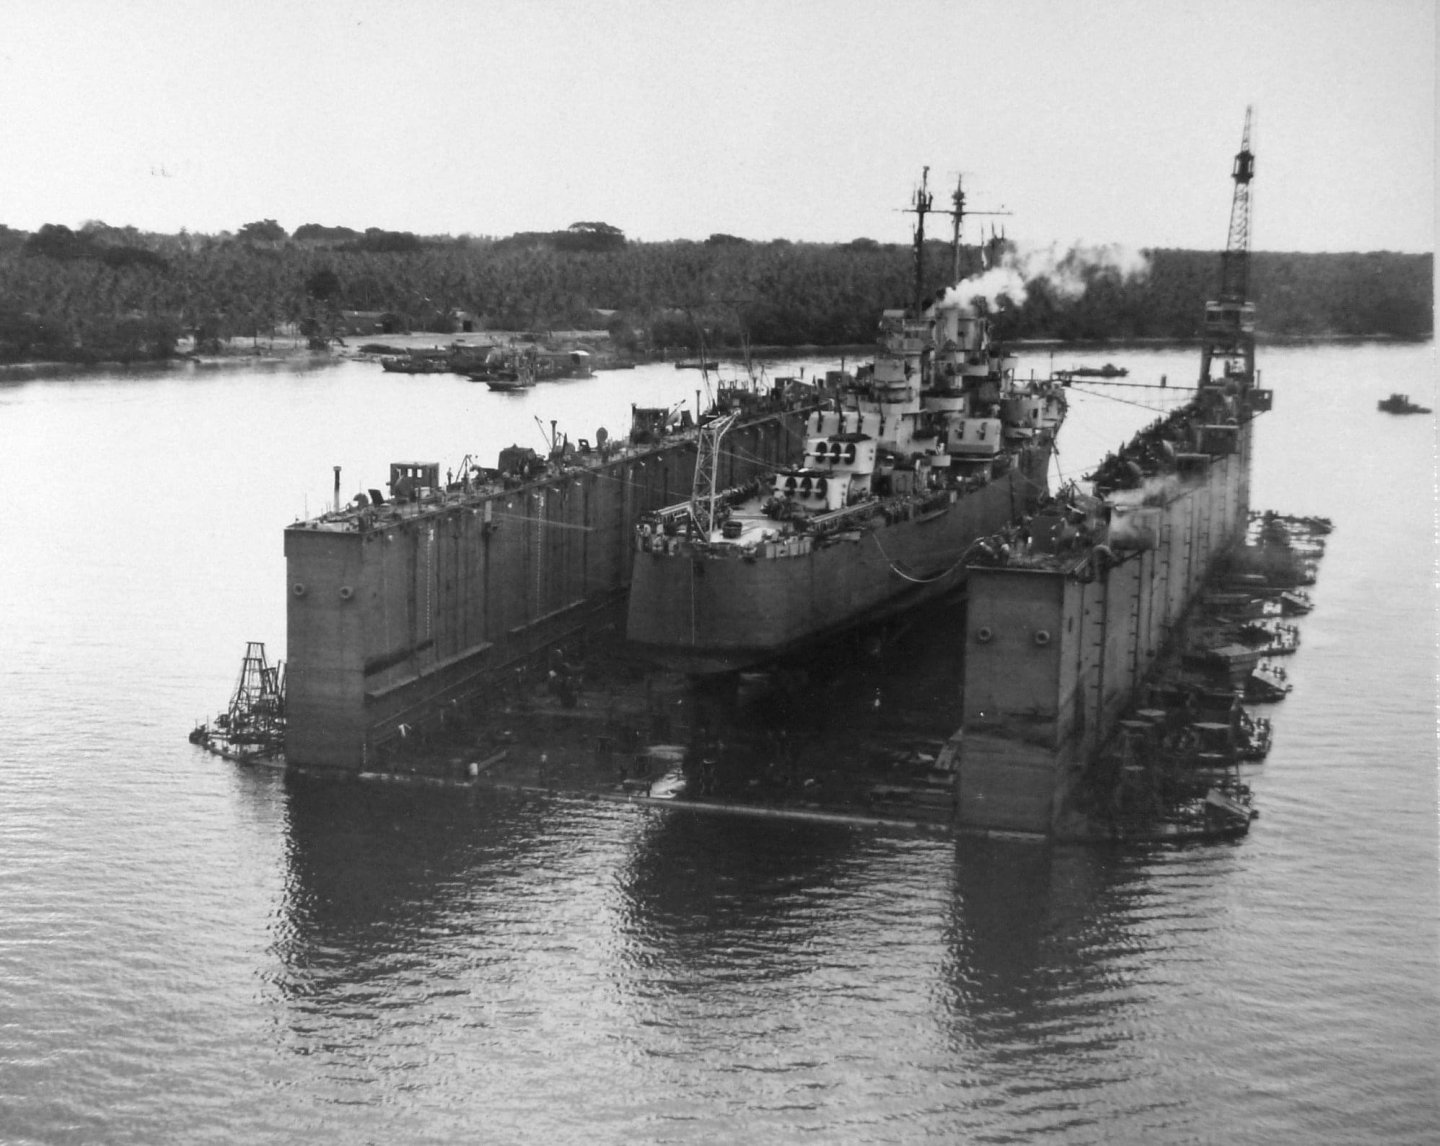
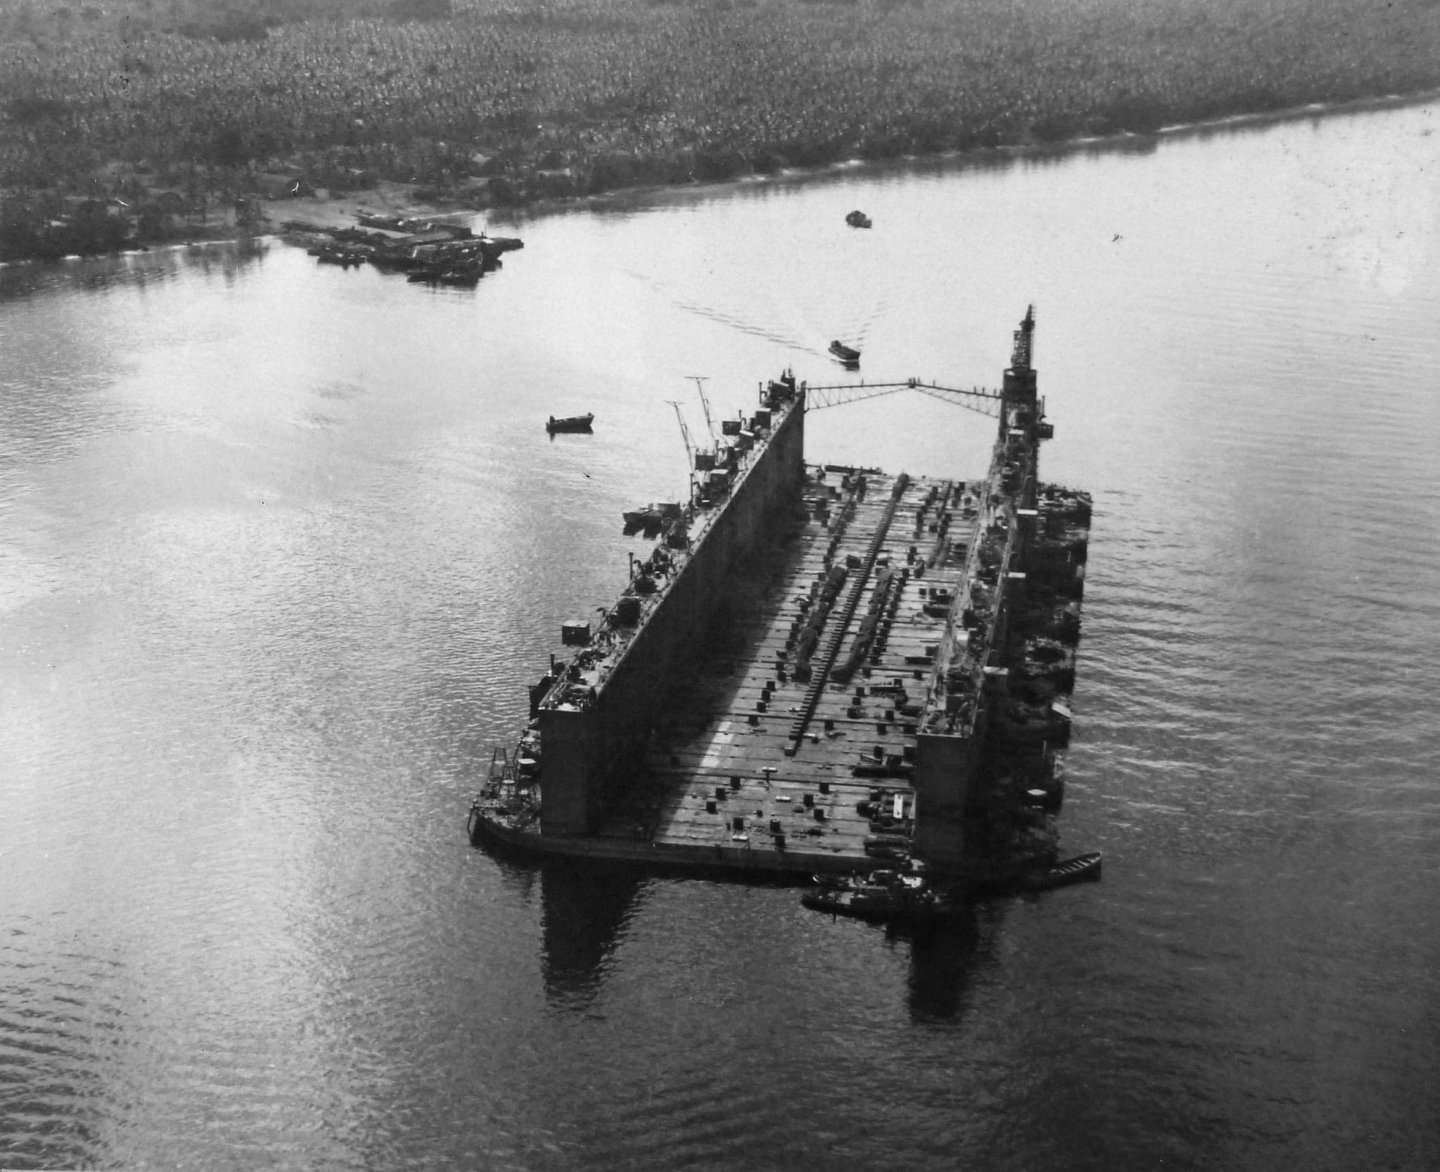
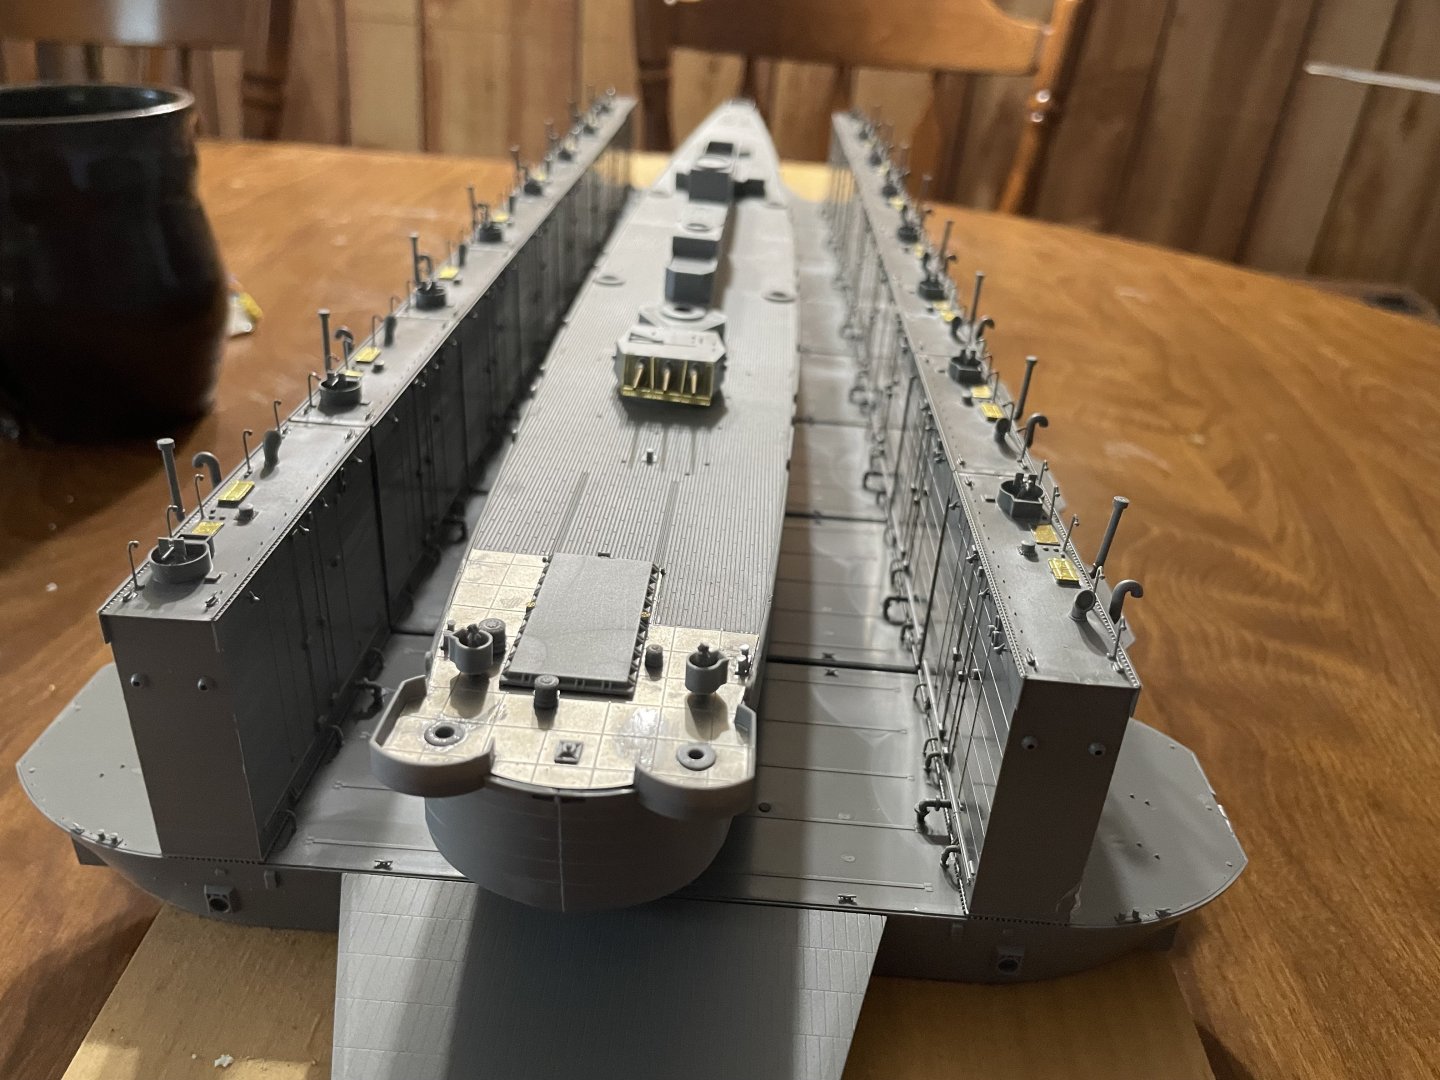
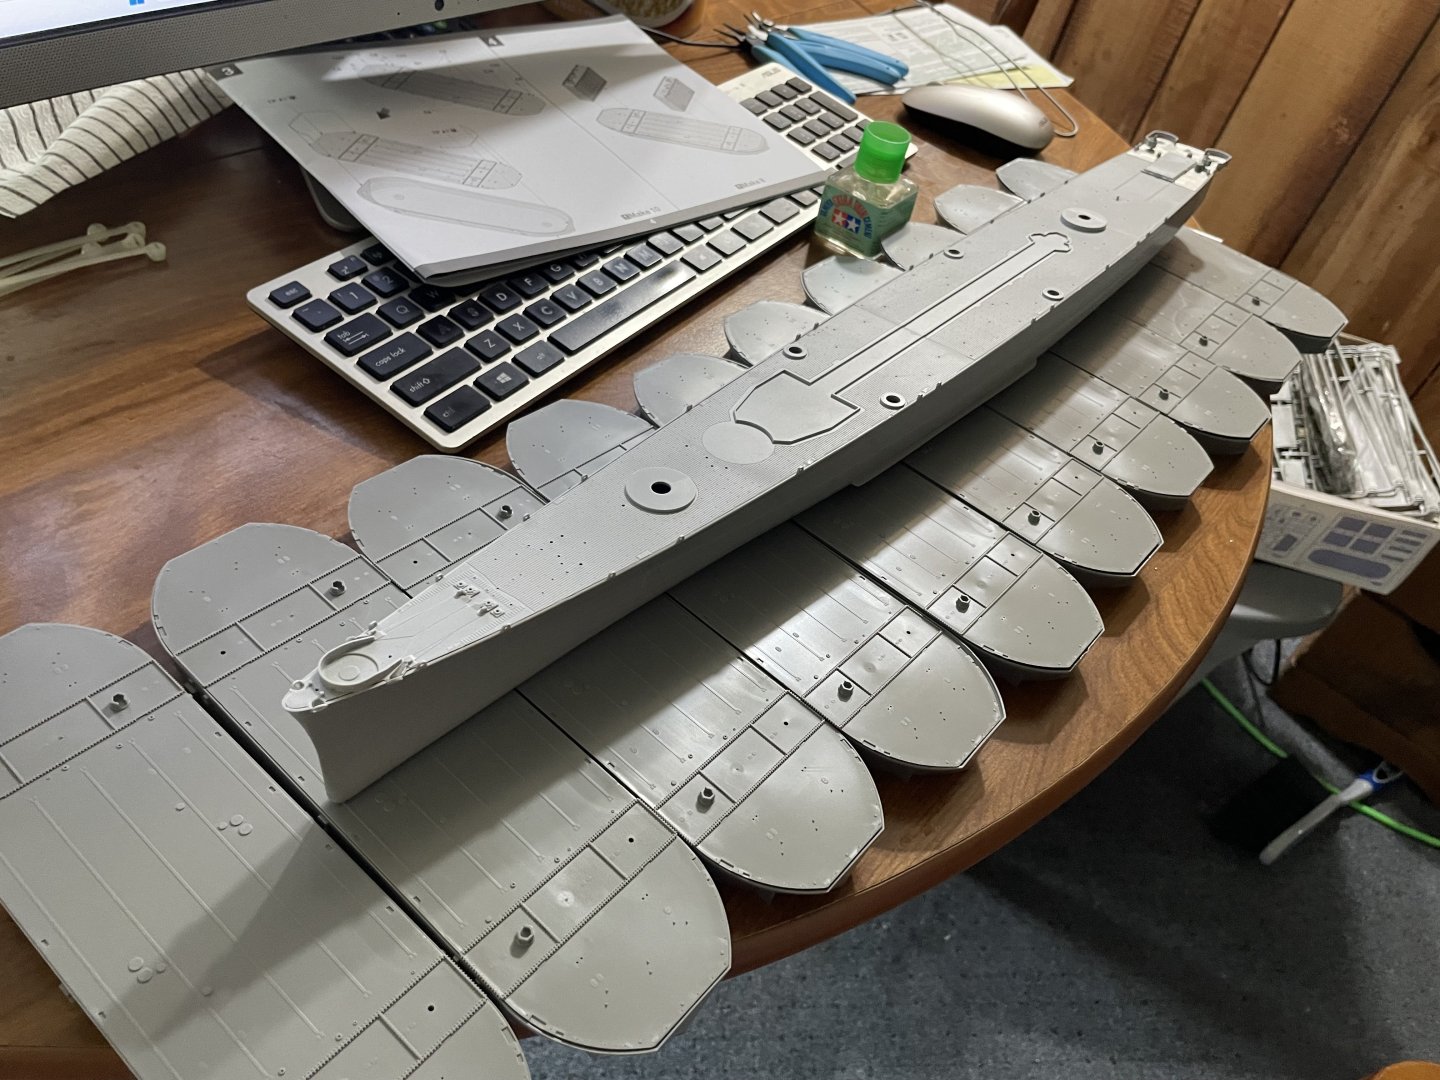
Have been working on the ABSD. Decided only to build 8 sections of the drydock. Found several pictures to justify this possible configuration of the actual ship. The ABSD in the foreground appears to have 7 or 8 sections? Here is one with only two sections Here is an ABSD with what looks like a Cleveland class cruiser with only eight sections. Here is another view with the dry dock clear with a good view of the blocks
- 3 replies
-
- Newport News
- Very Fire
-
(and 2 more)
Tagged with:
-
 Canute reacted to a post in a topic:
USS Newport News and ABSD by Joseph F. - Very Fire and Takom - 1/350 - PLASTIC
-
 Joseph F. reacted to a post in a topic:
USS Newport News and ABSD by Joseph F. - Very Fire and Takom - 1/350 - PLASTIC
-
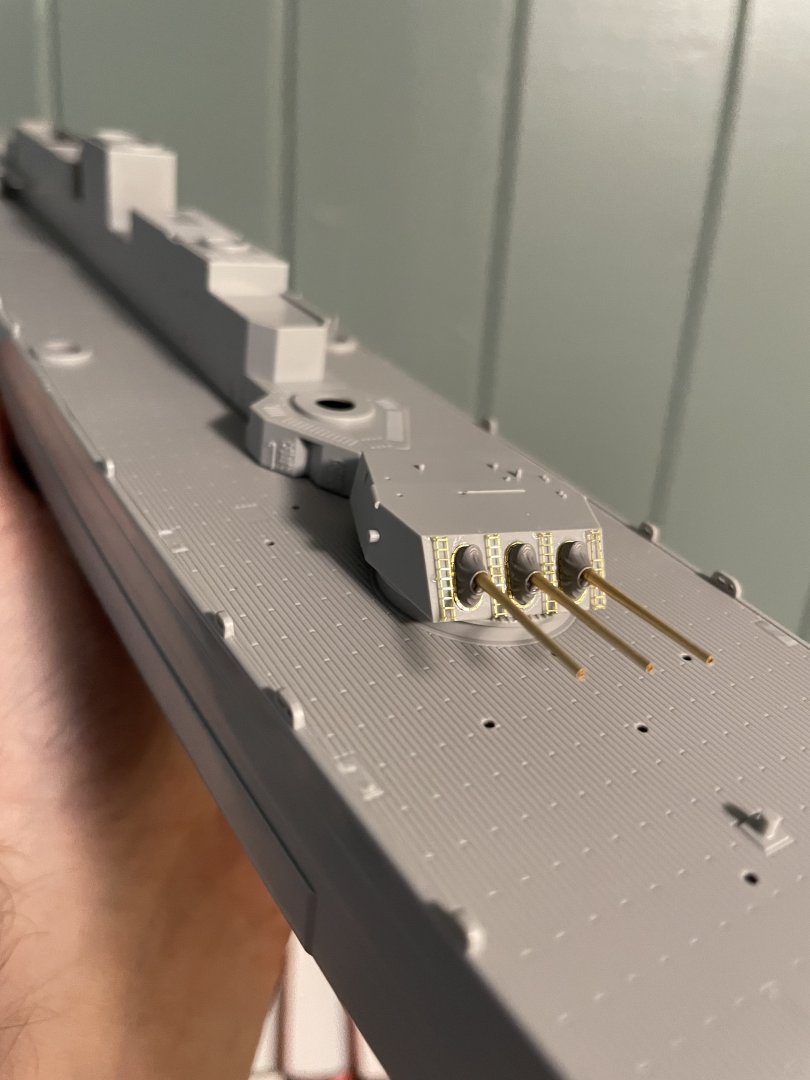
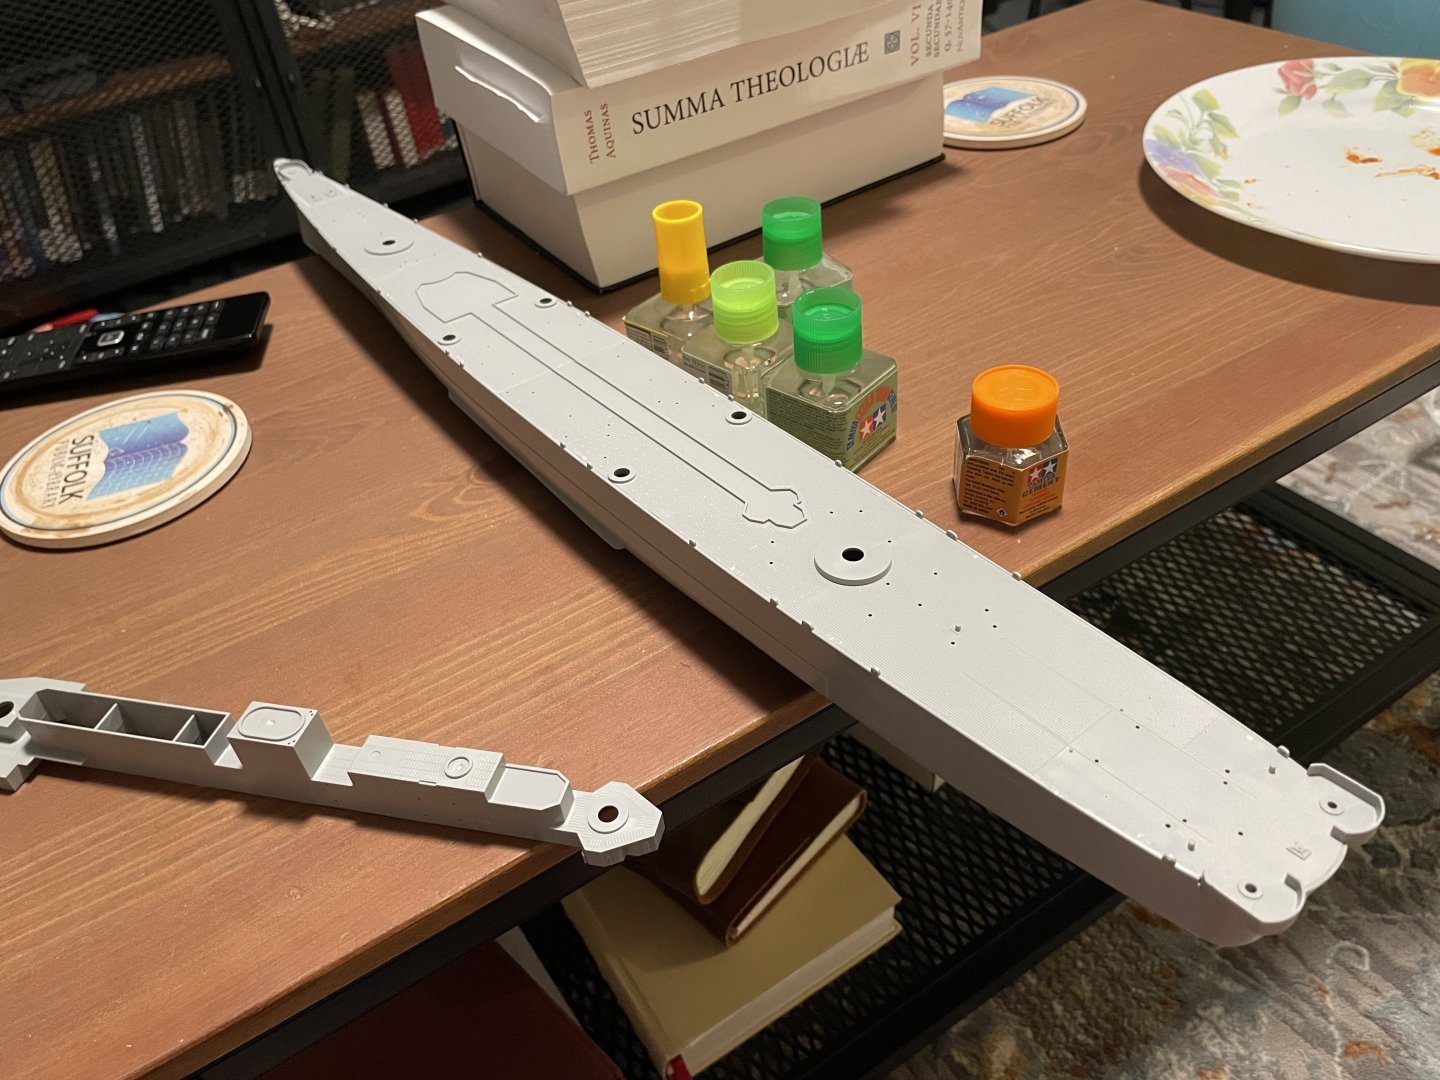
Began this kit last year but the photoetch scared me away for a while, but I am ready to get back into it. Also adding the ABSD-1 floating drydock model produced by Takom as a base. Thinking I only need to use 8 or 9 sections of the drydock. Each section is like a whole model kit!
- 3 replies
-
- Newport News
- Very Fire
-
(and 2 more)
Tagged with:
-
 Joseph F. reacted to a post in a topic:
USS Essex 1799 Frigate by rlwhitt - FINISHED - Model Shipways - 1:76
-
 Joseph F. reacted to a post in a topic:
USS Essex 1799 Frigate by rlwhitt - FINISHED - Model Shipways - 1:76
-
 Joseph F. reacted to a post in a topic:
Xochimilco Trajinera by JacquesCousteau - FINISHED - Scale 1:32 - First Scratch Build
-
 Joseph F. reacted to a post in a topic:
Xochimilco Trajinera by JacquesCousteau - FINISHED - Scale 1:32 - First Scratch Build
-
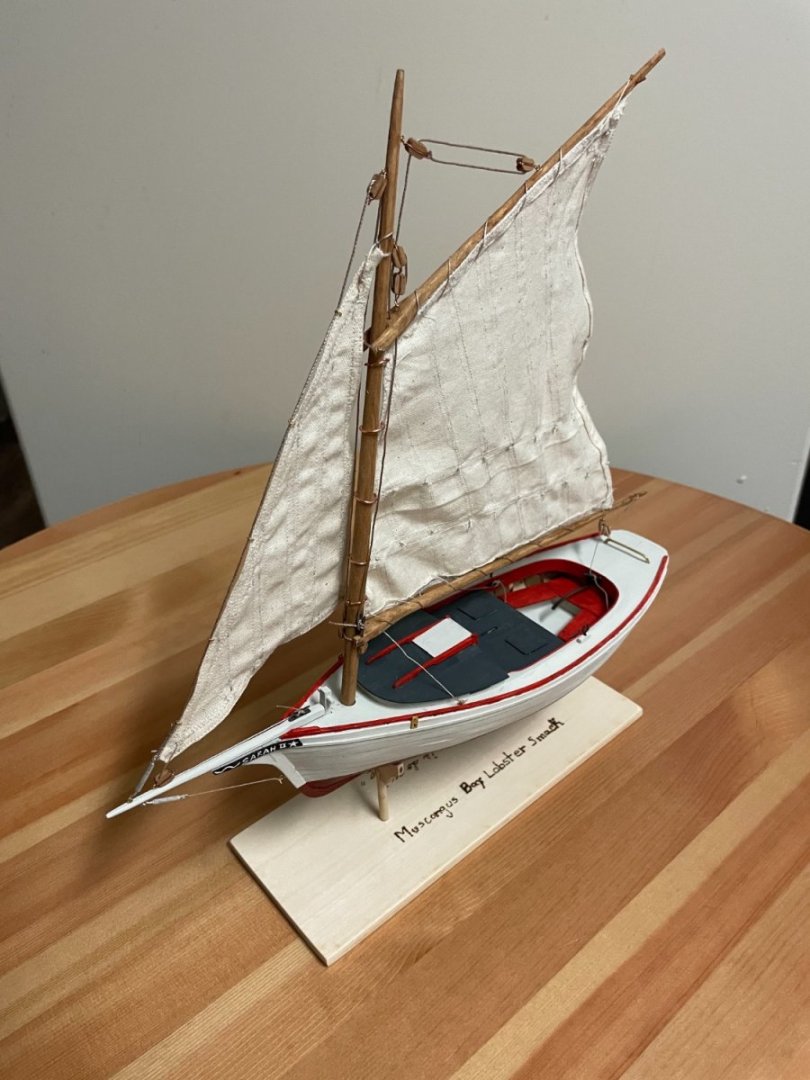
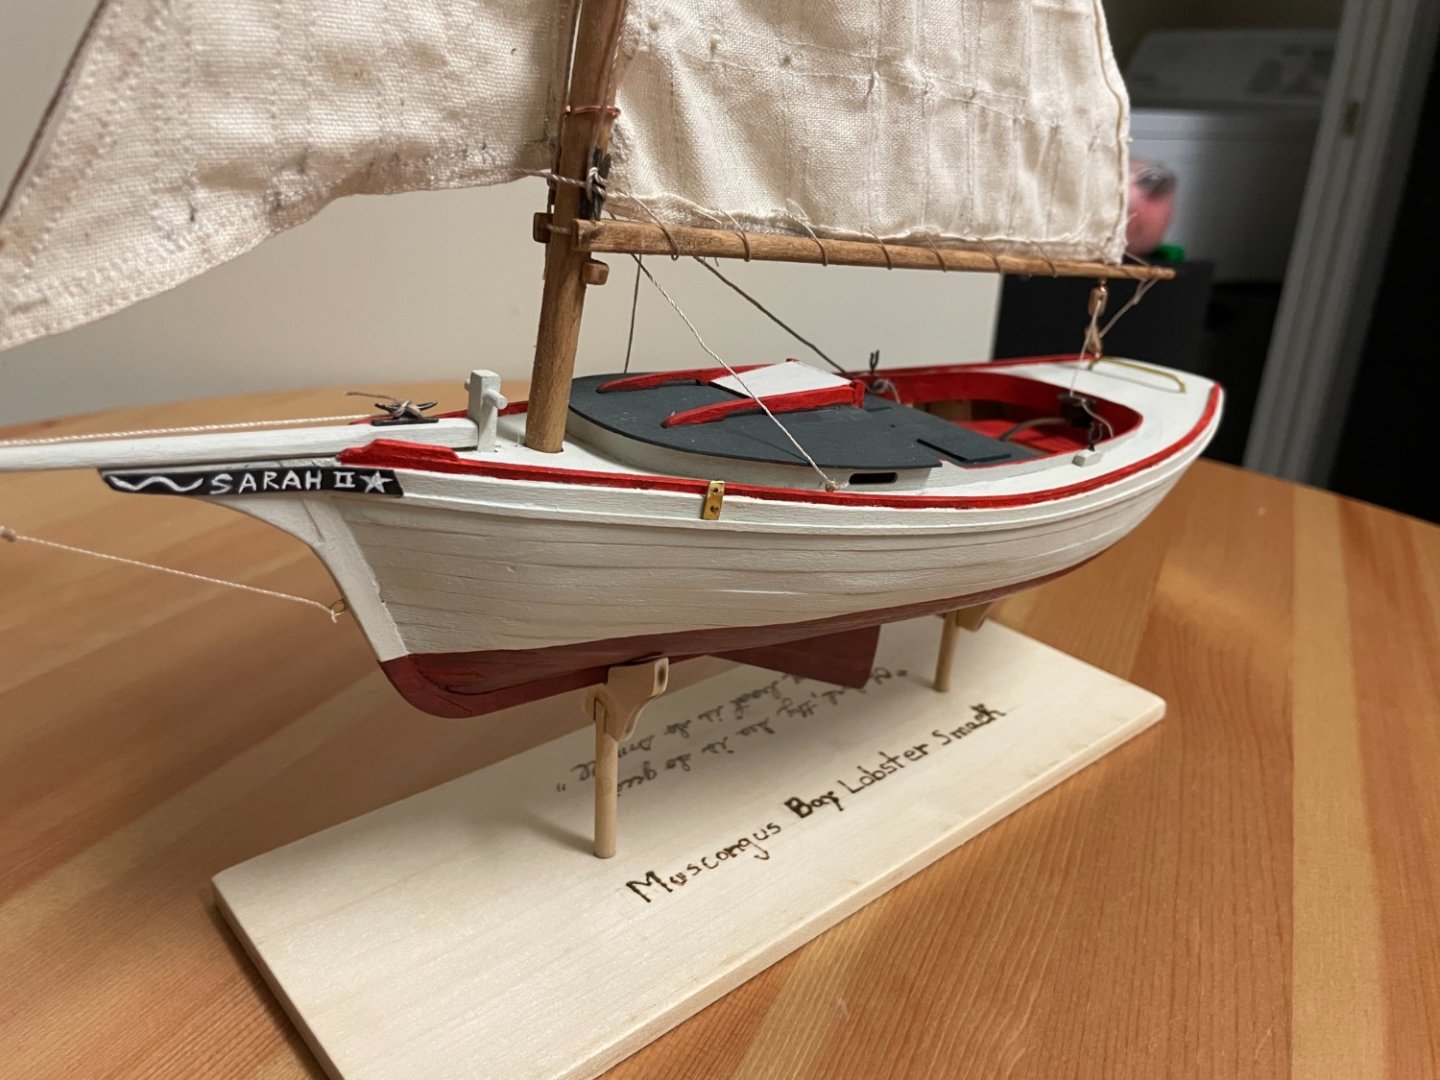
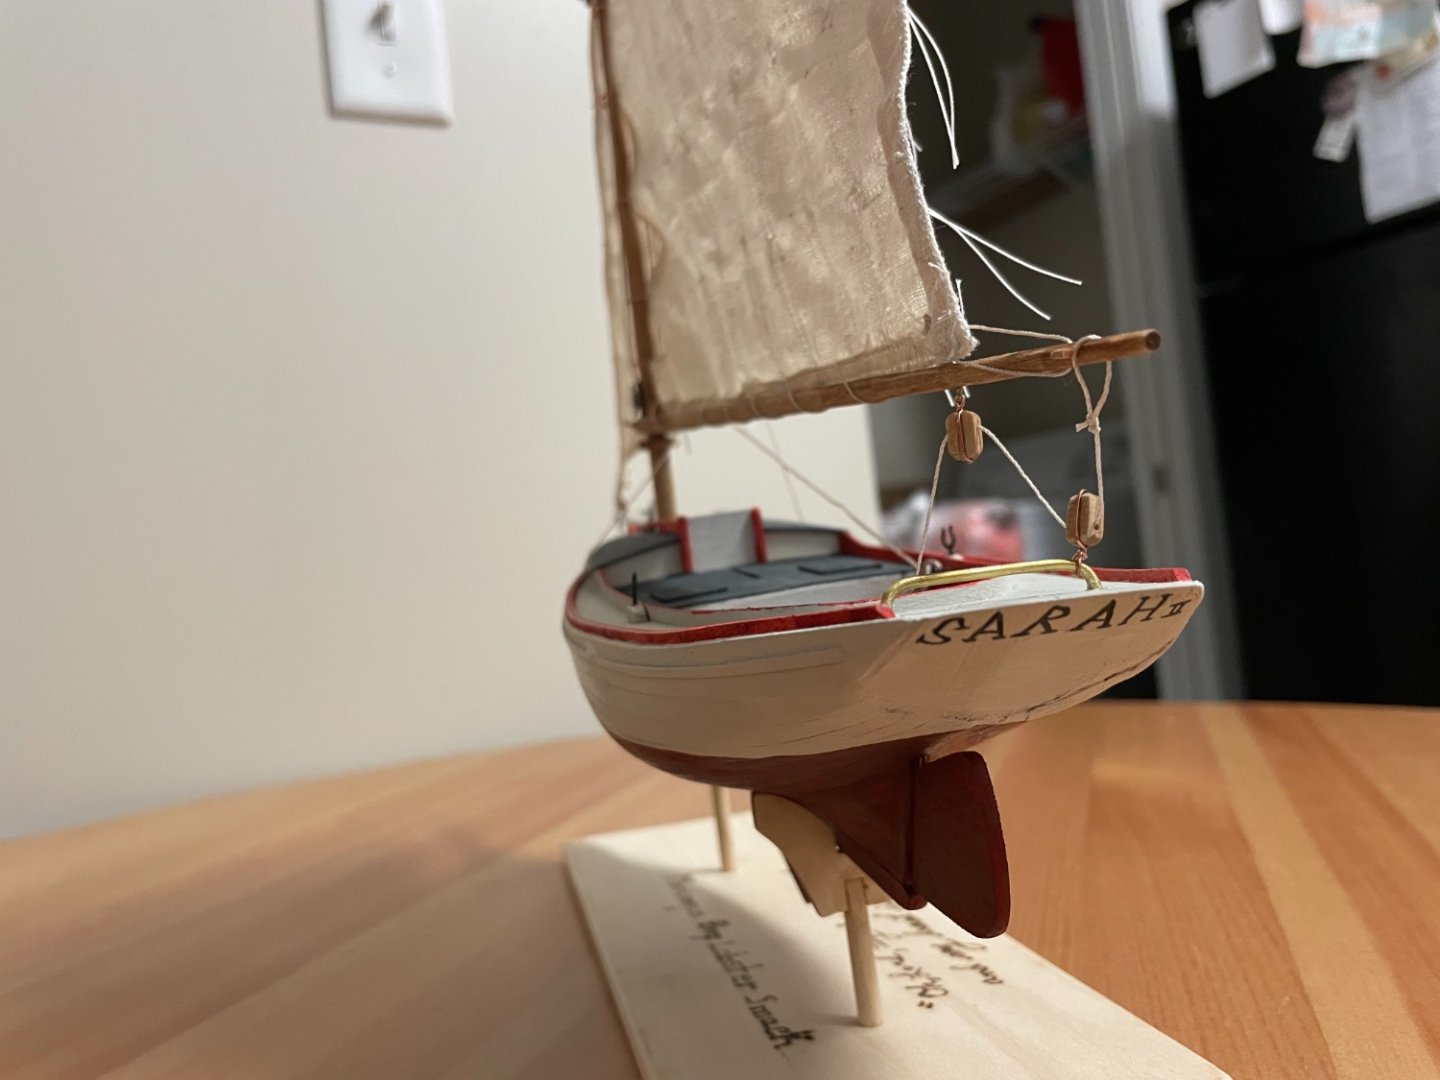
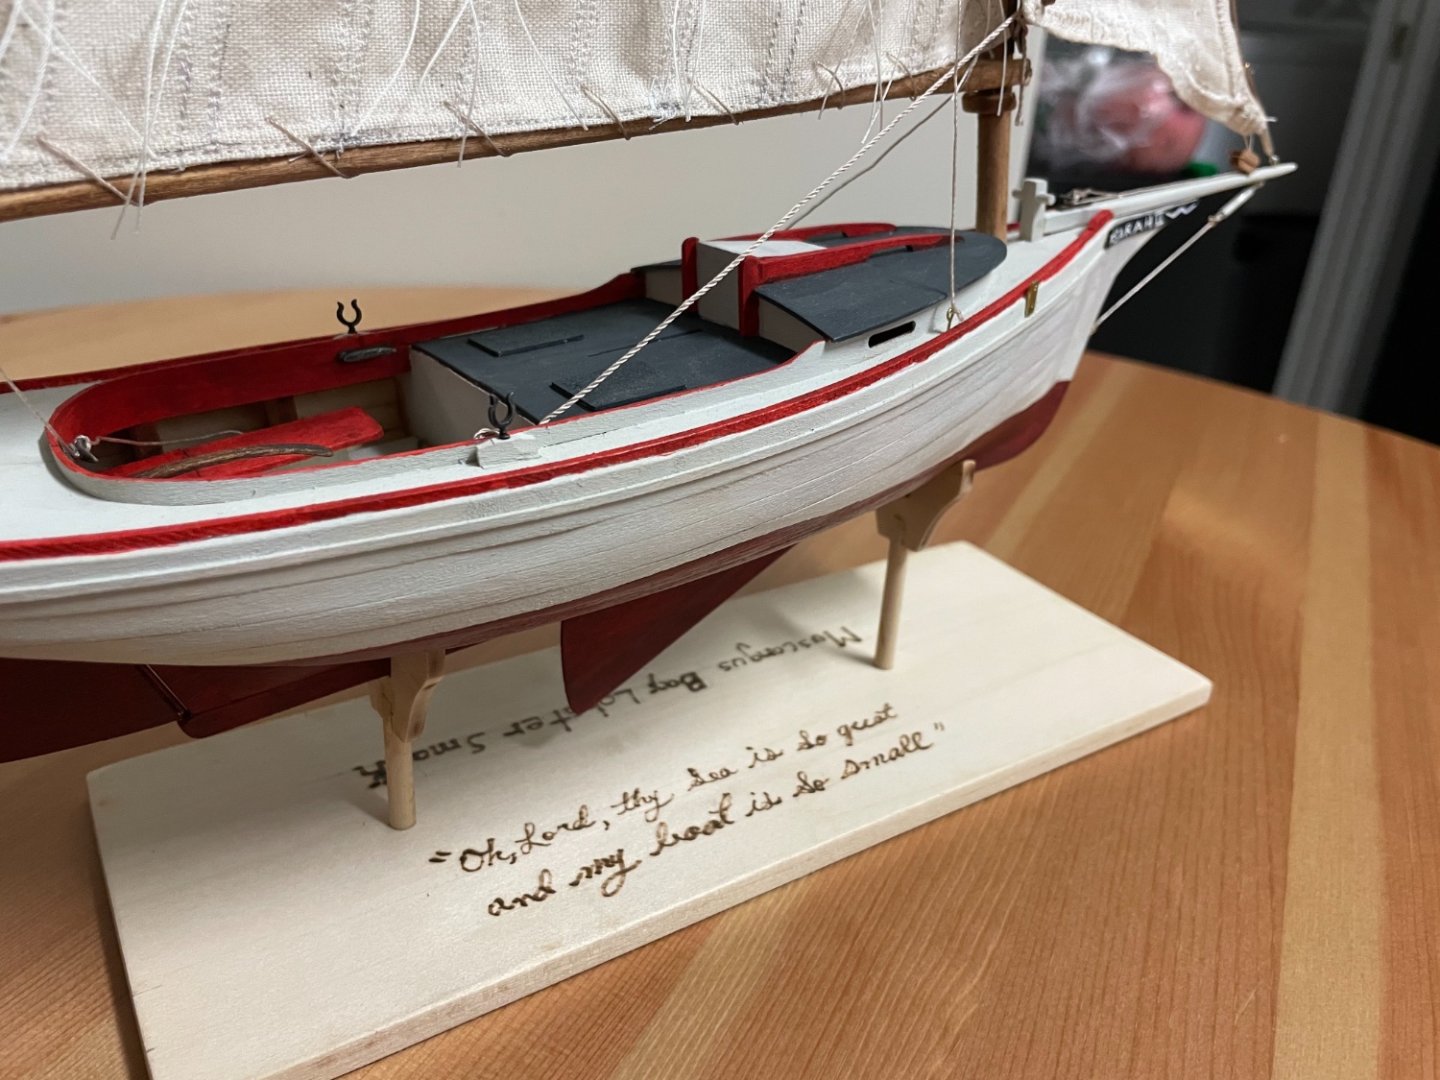
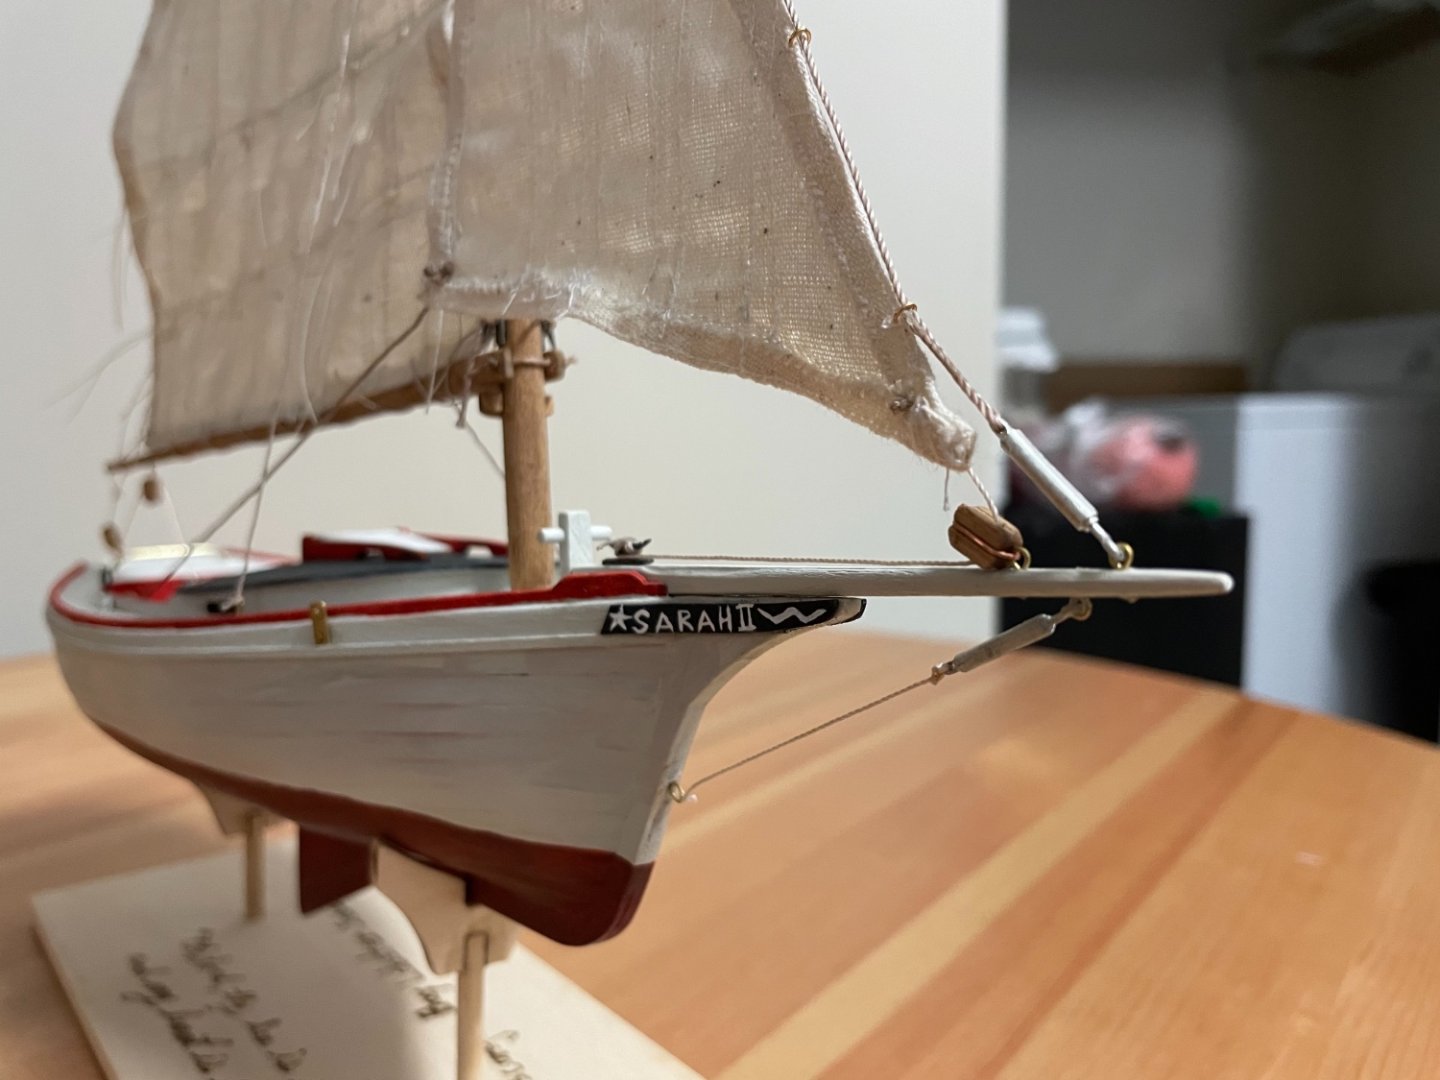
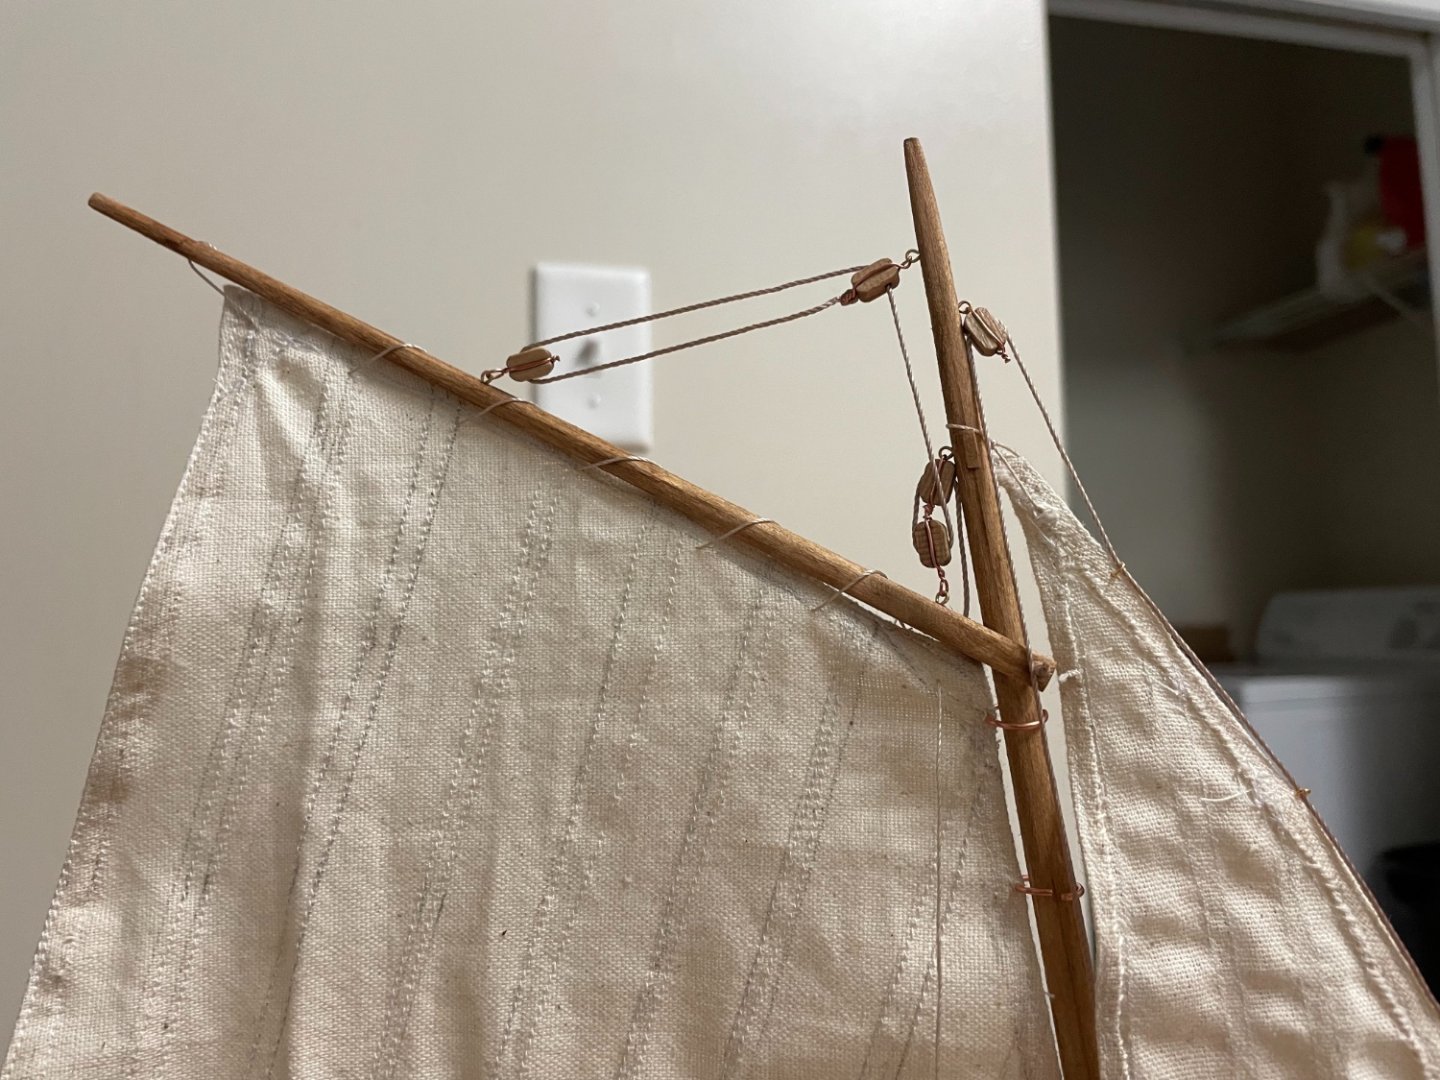
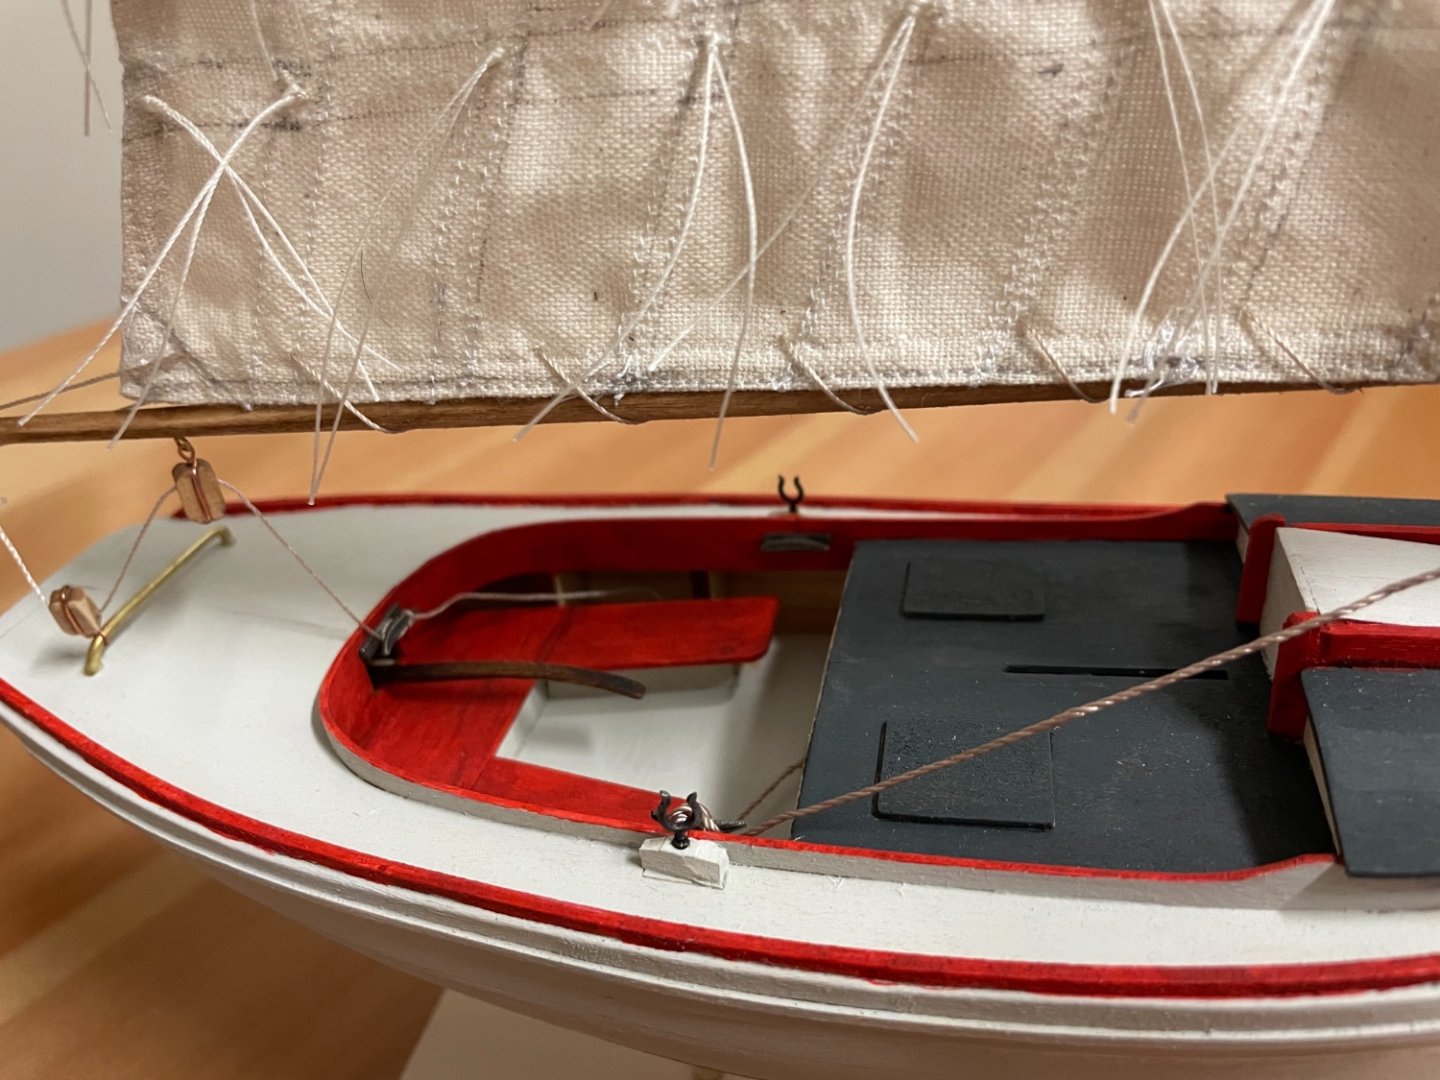
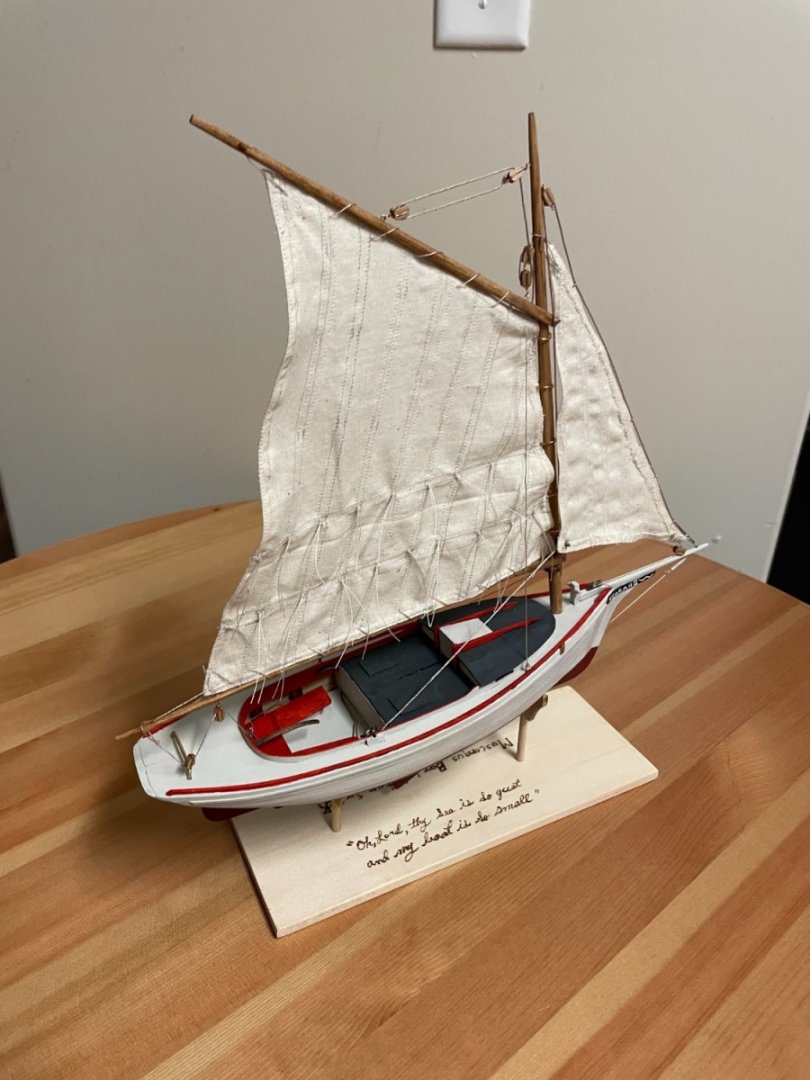
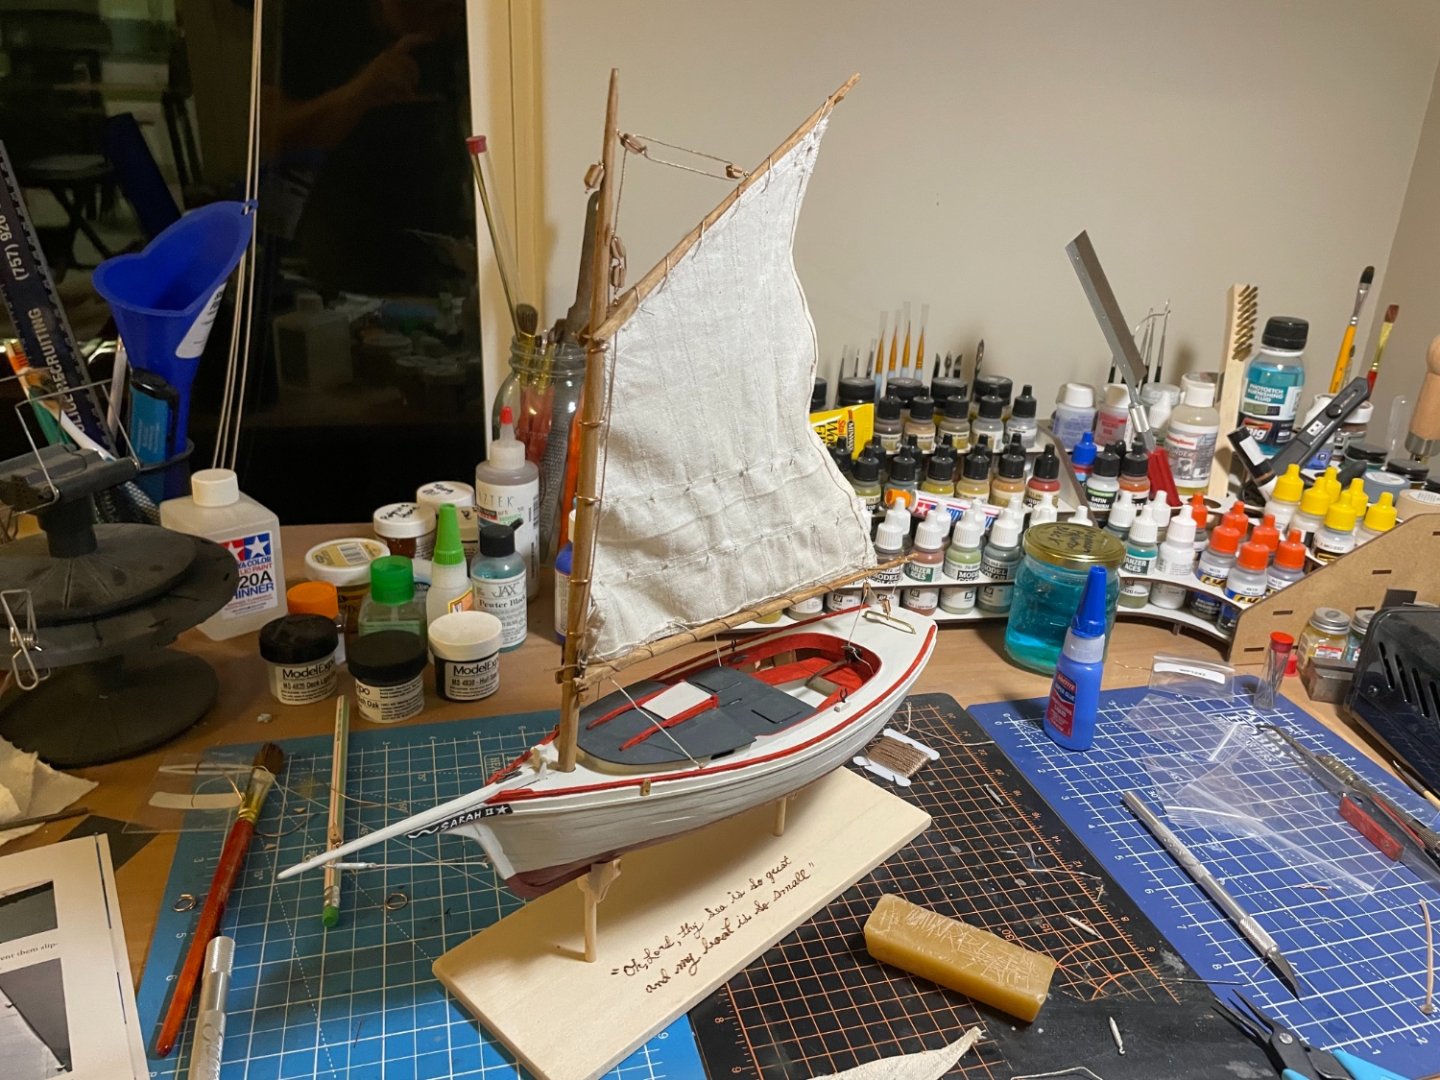
My wife finished making the sails for the boat this week, and I’ve been on a deadline to finish before Saturday so I can show it to my local ship modeling club and deliver it to the person to whom I’m giving it. The day before yesterday I finished staining and rigging the mast and yards, and yesterday I rigged the boat. Made a few mistakes with the tackling, and if I had more time I would have used thread and knots rather than copper wire. The two turnbuckles on the bowsprit. A view of the stern, with a look at the traveler and the lower boom. A view of the cockpit and traveler. Neglected to add the turnbuckles and lines securing the mast to the chainplates. Here is a view of the completed boat with the base. My wife woodburnt an inscription on one side, the same phrase that was on President Kennedy‘s desk, slightly modified: Oh Lord, thy sea is so great and my boat is so small. Finished
- 13 replies
-
- Muscongus Bay lobster smack
- Model Shipways
-
(and 1 more)
Tagged with:
-
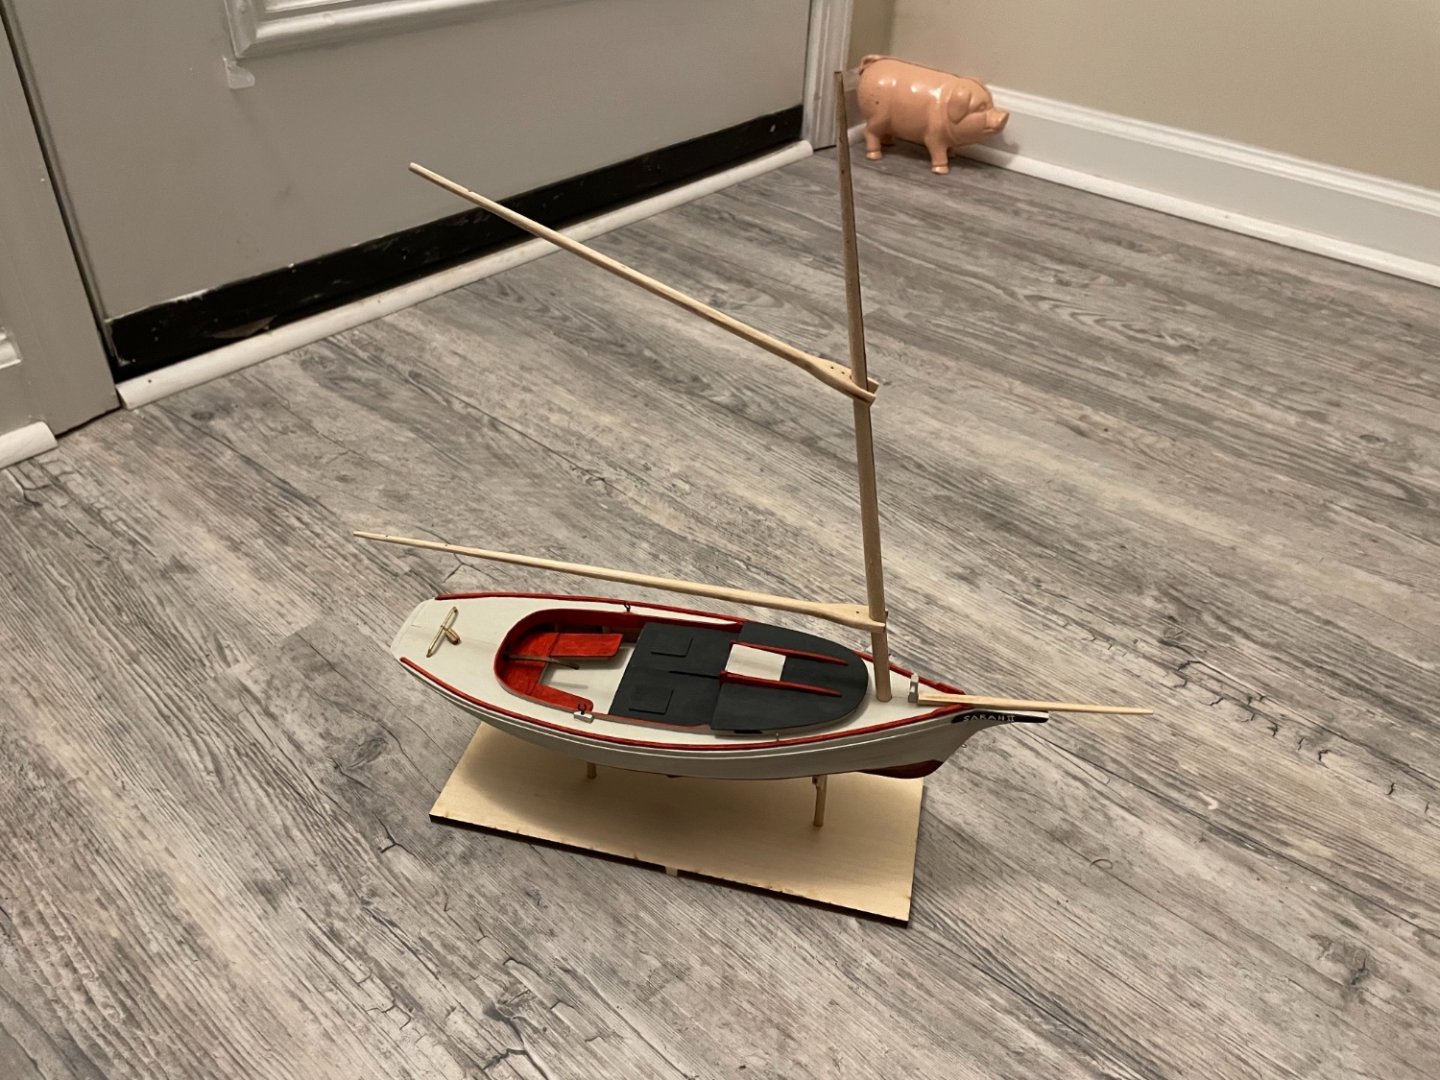
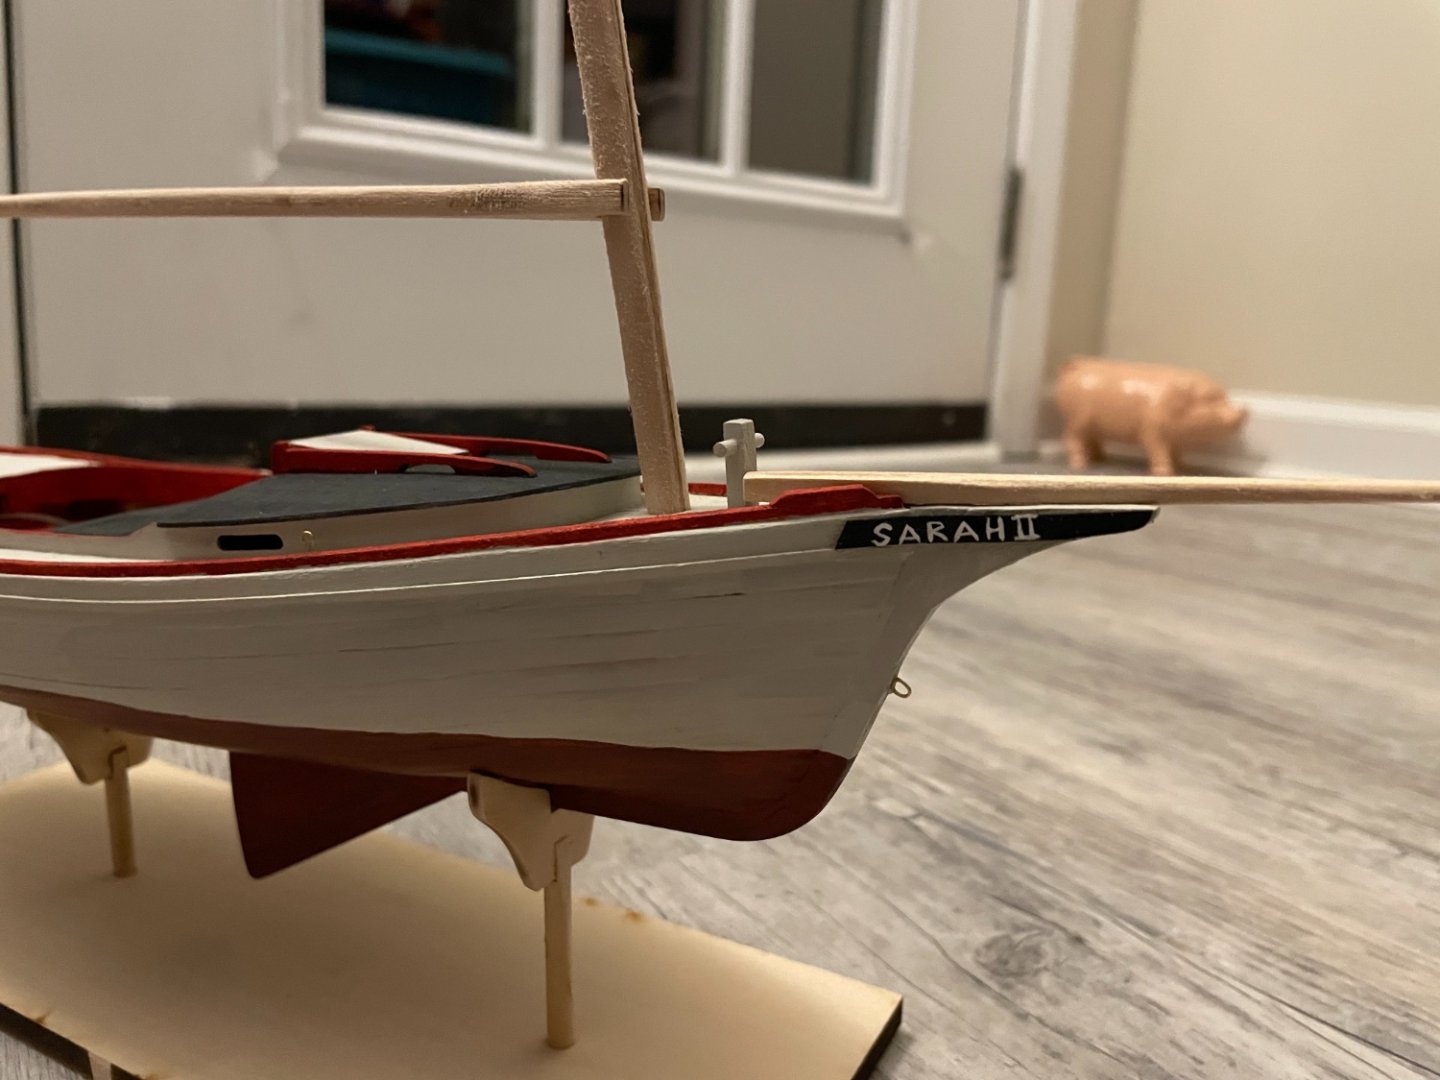
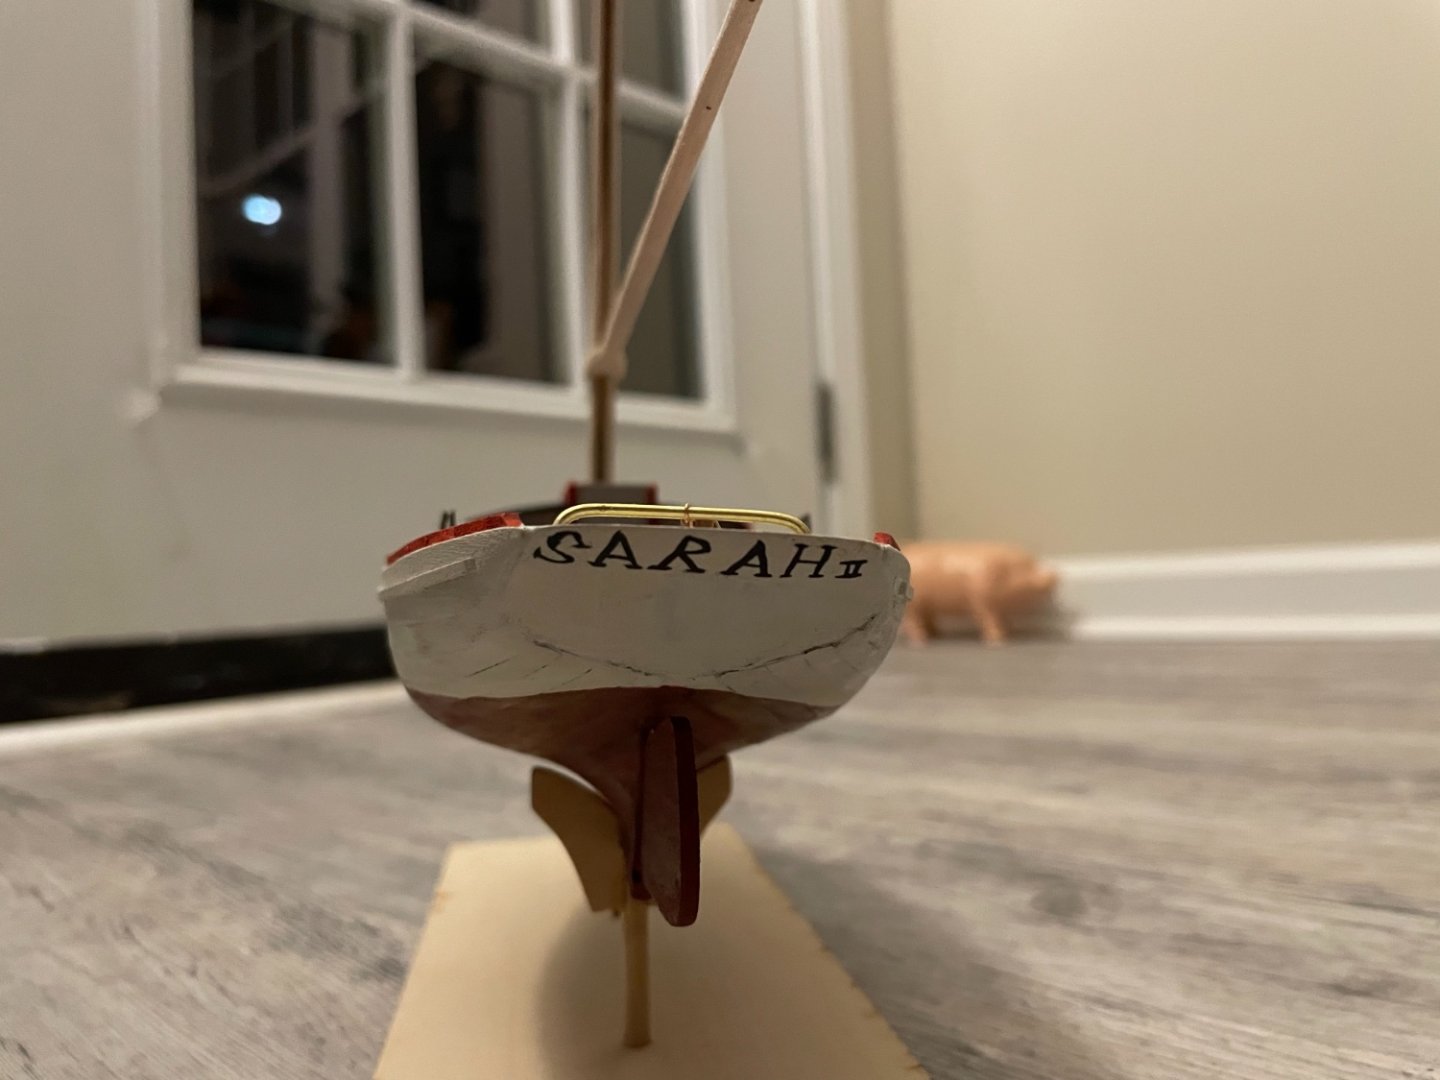
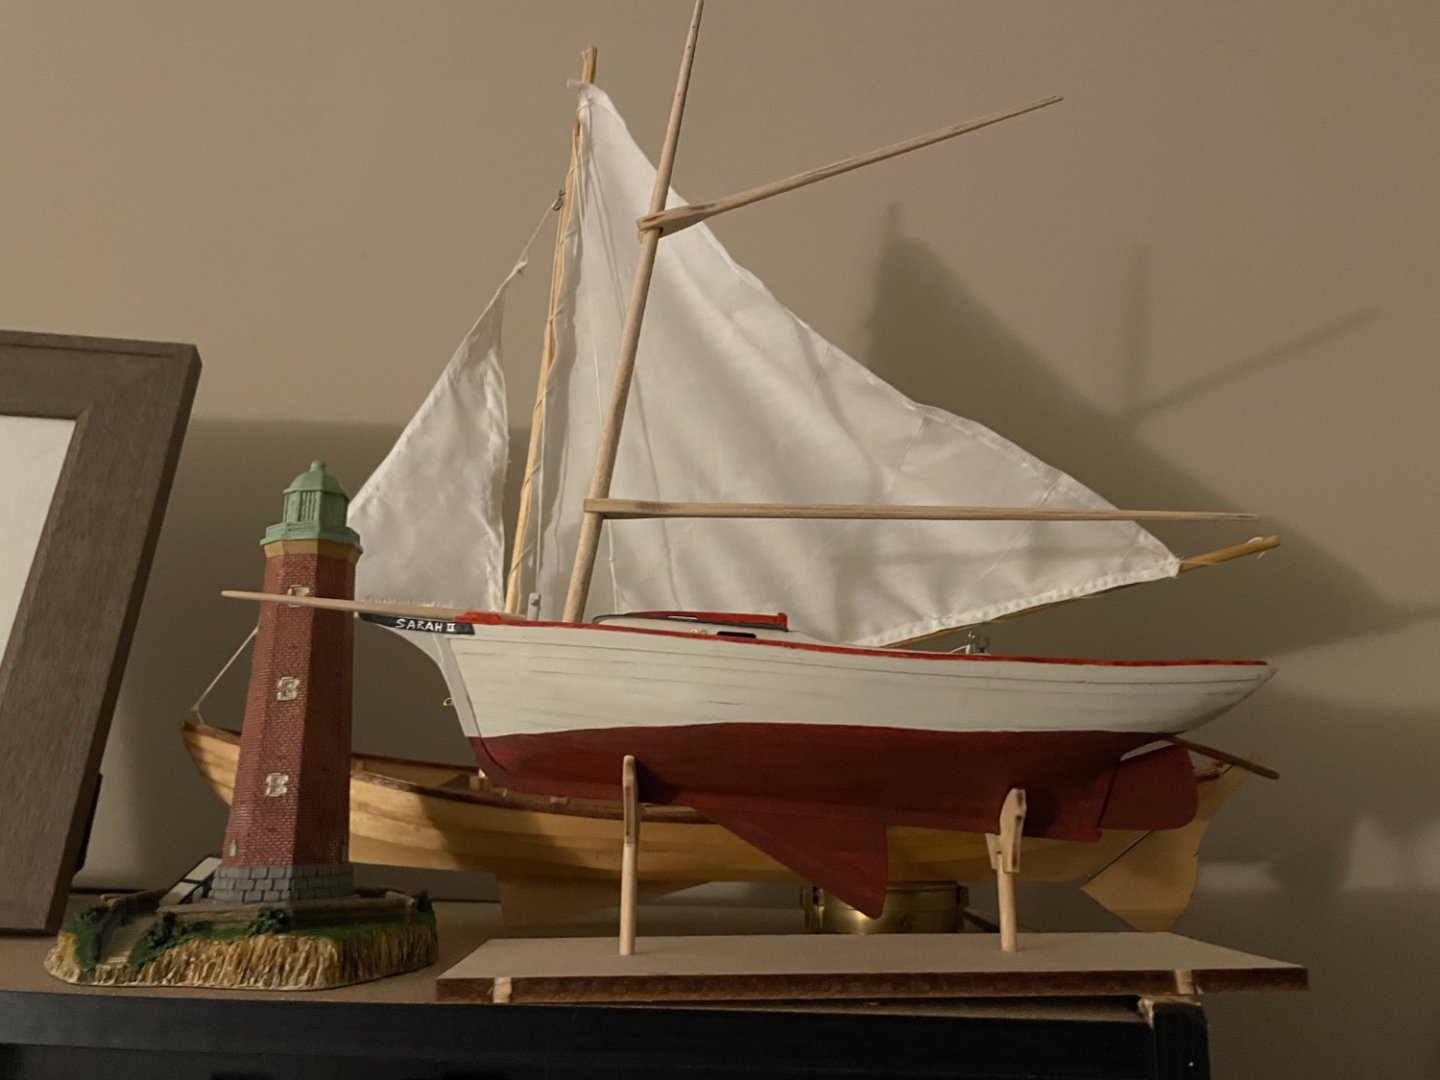
This is the progress which I have made since yesterday, with masts dryfitted and traveler installed. I was trying to come up with a name to paint on the back of the boat, and “Sarah II” came to mind. Just seemed right. Also put the name on the trailboards, rather than the designs in the instructions. Did less well free-handing this. And here’s the model on my shelf. I may take a step back on this project while I wait for my wife to make sails. My next project is going to be the Picket Boat no. 1 from Model Shipways, and I have an idea to make it RC.
- 13 replies
-
- Muscongus Bay lobster smack
- Model Shipways
-
(and 1 more)
Tagged with:
-
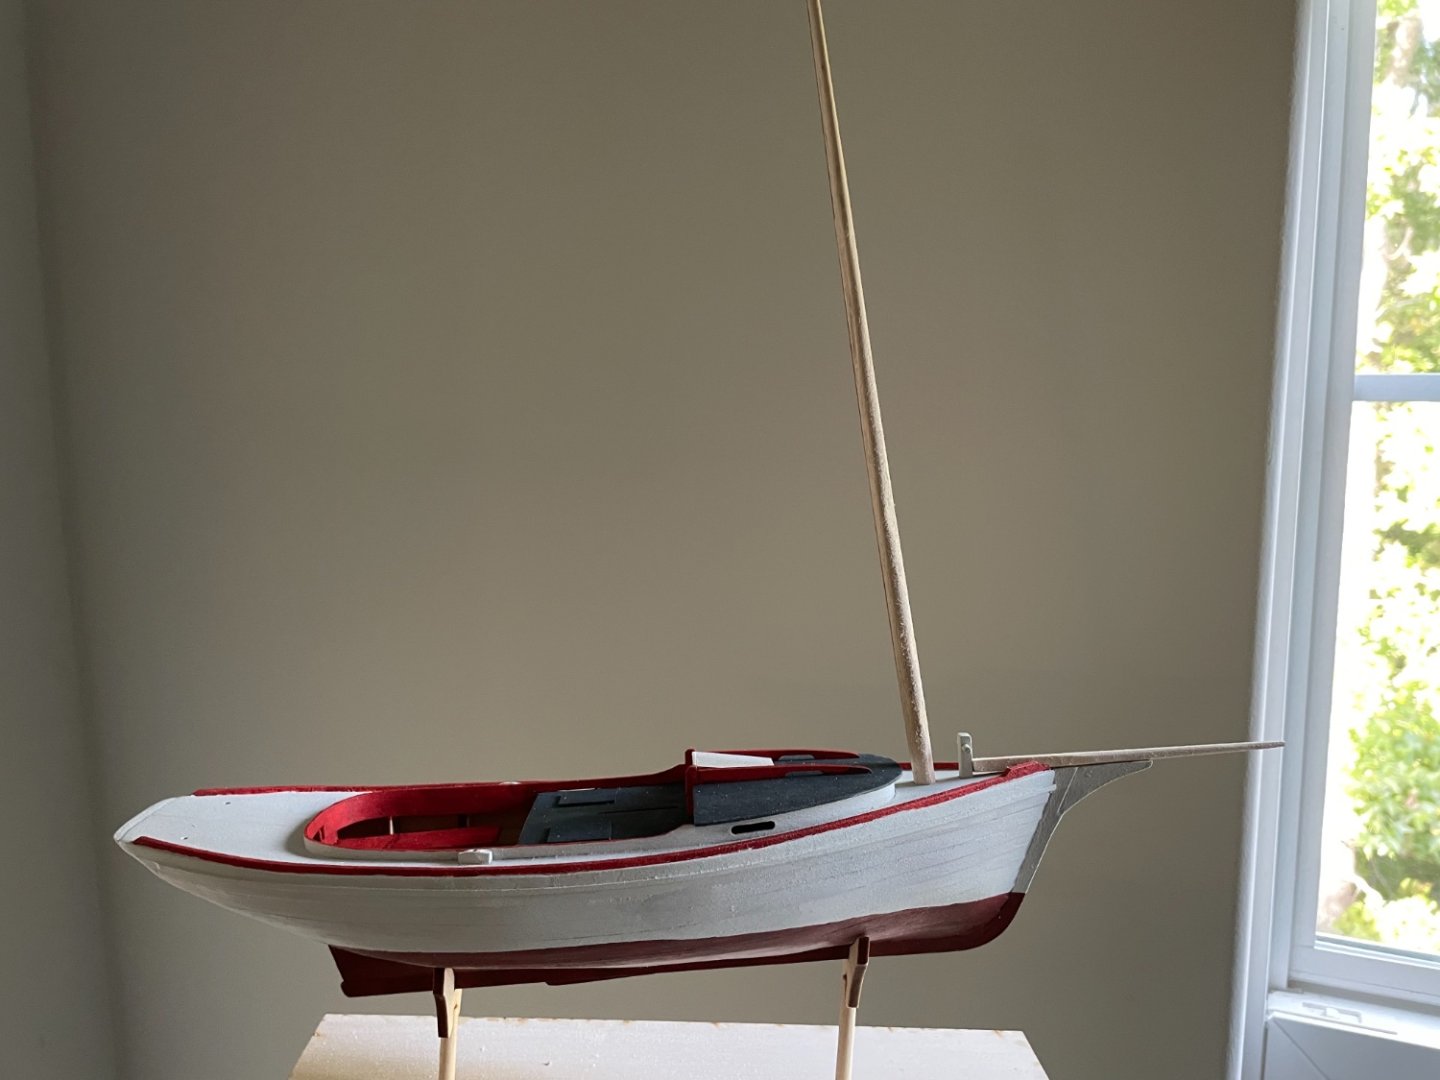
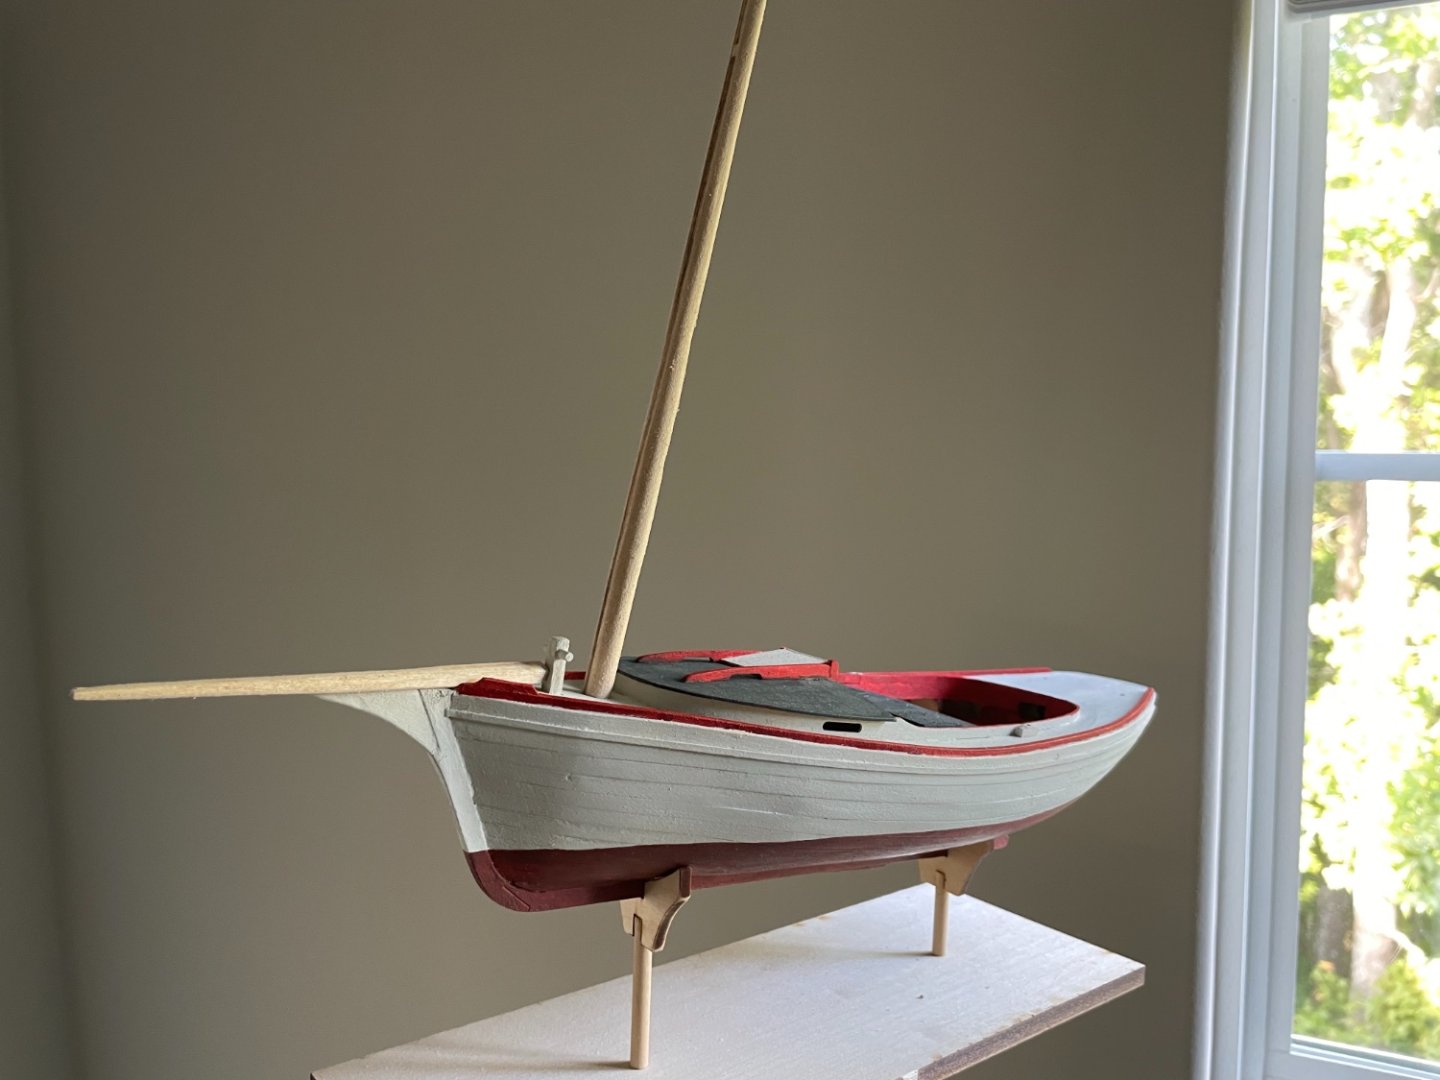
Repainted hull in a Red-Brown, I think the result is much better. Also started roughing in the mast and bowsprit.
- 13 replies
-
- Muscongus Bay lobster smack
- Model Shipways
-
(and 1 more)
Tagged with:
-
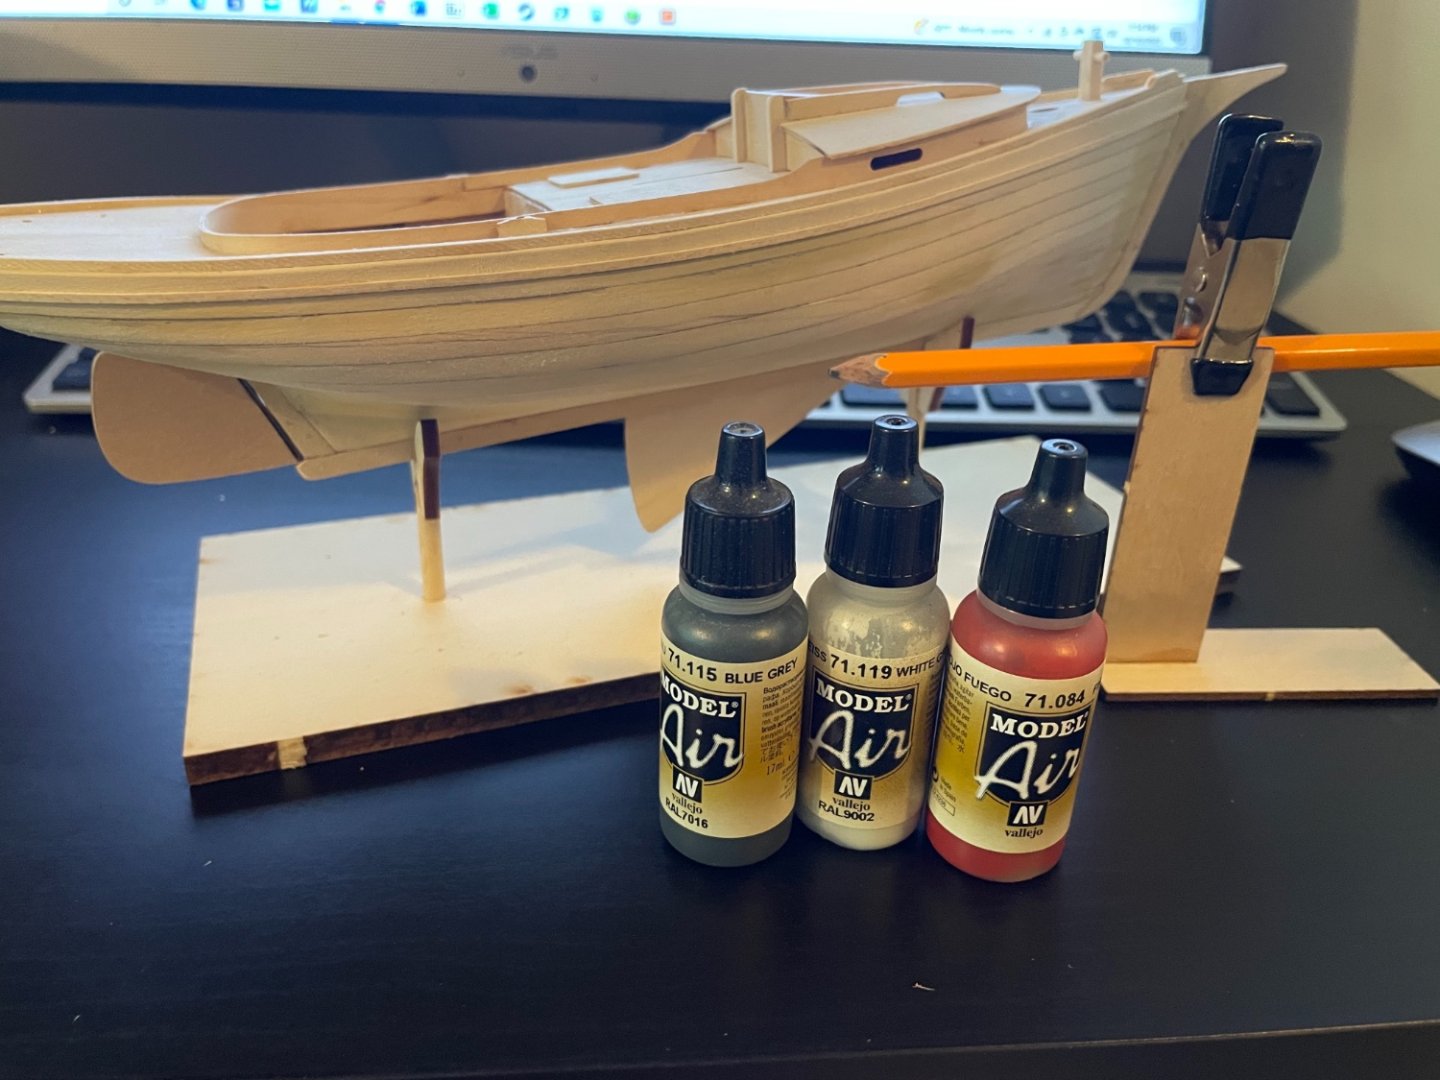
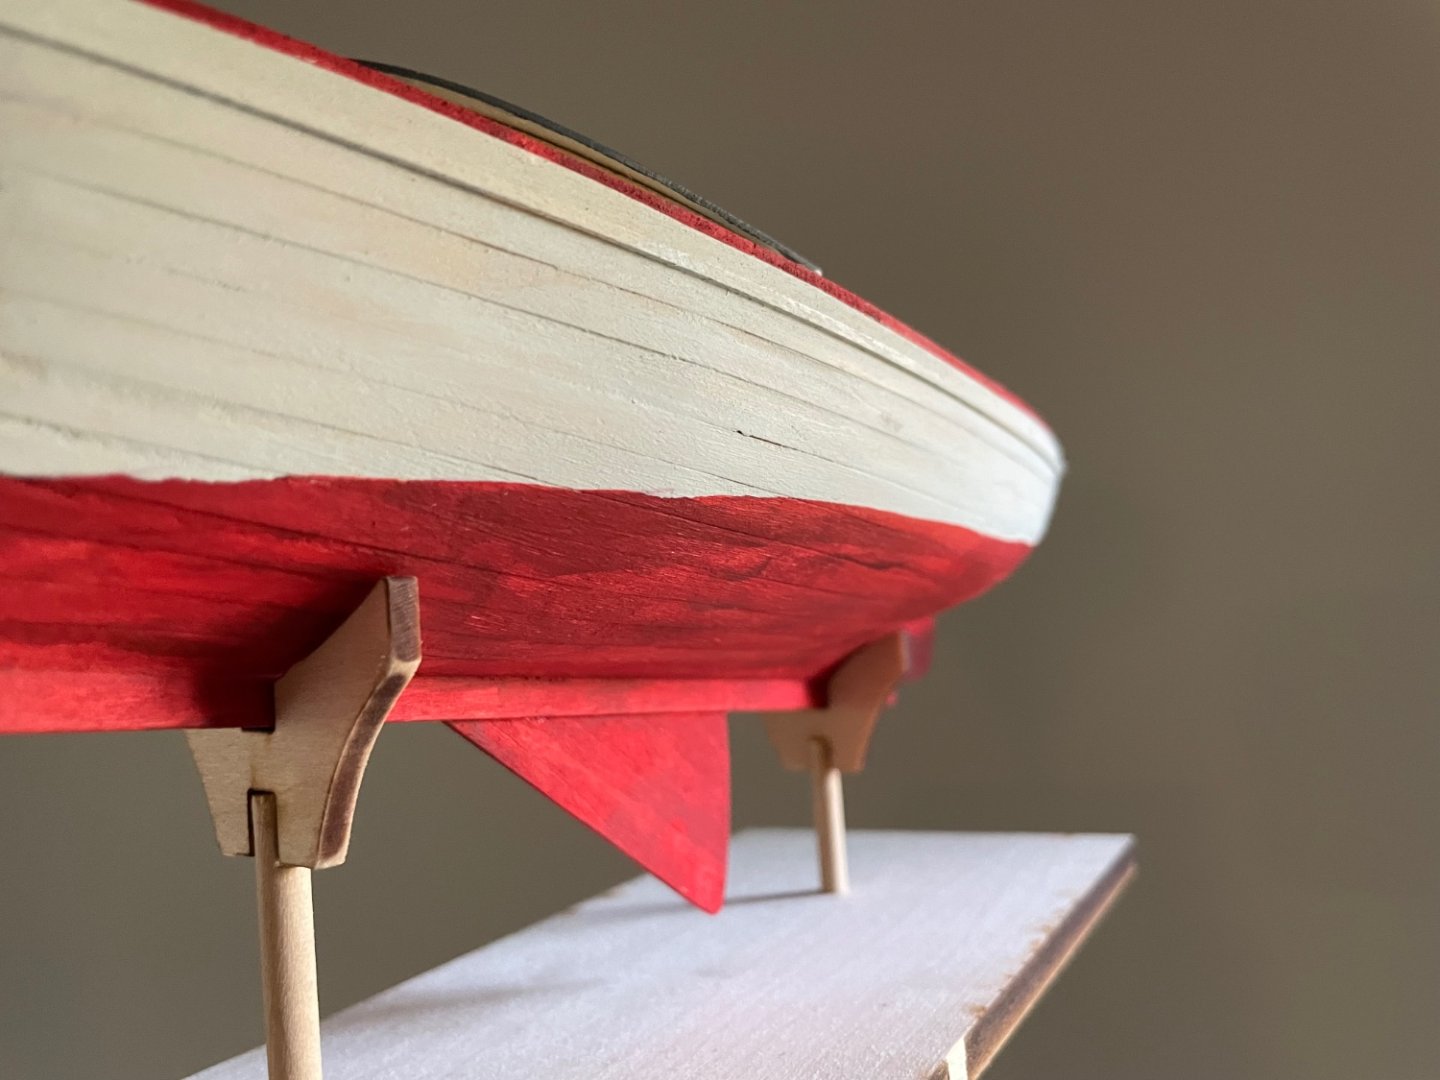
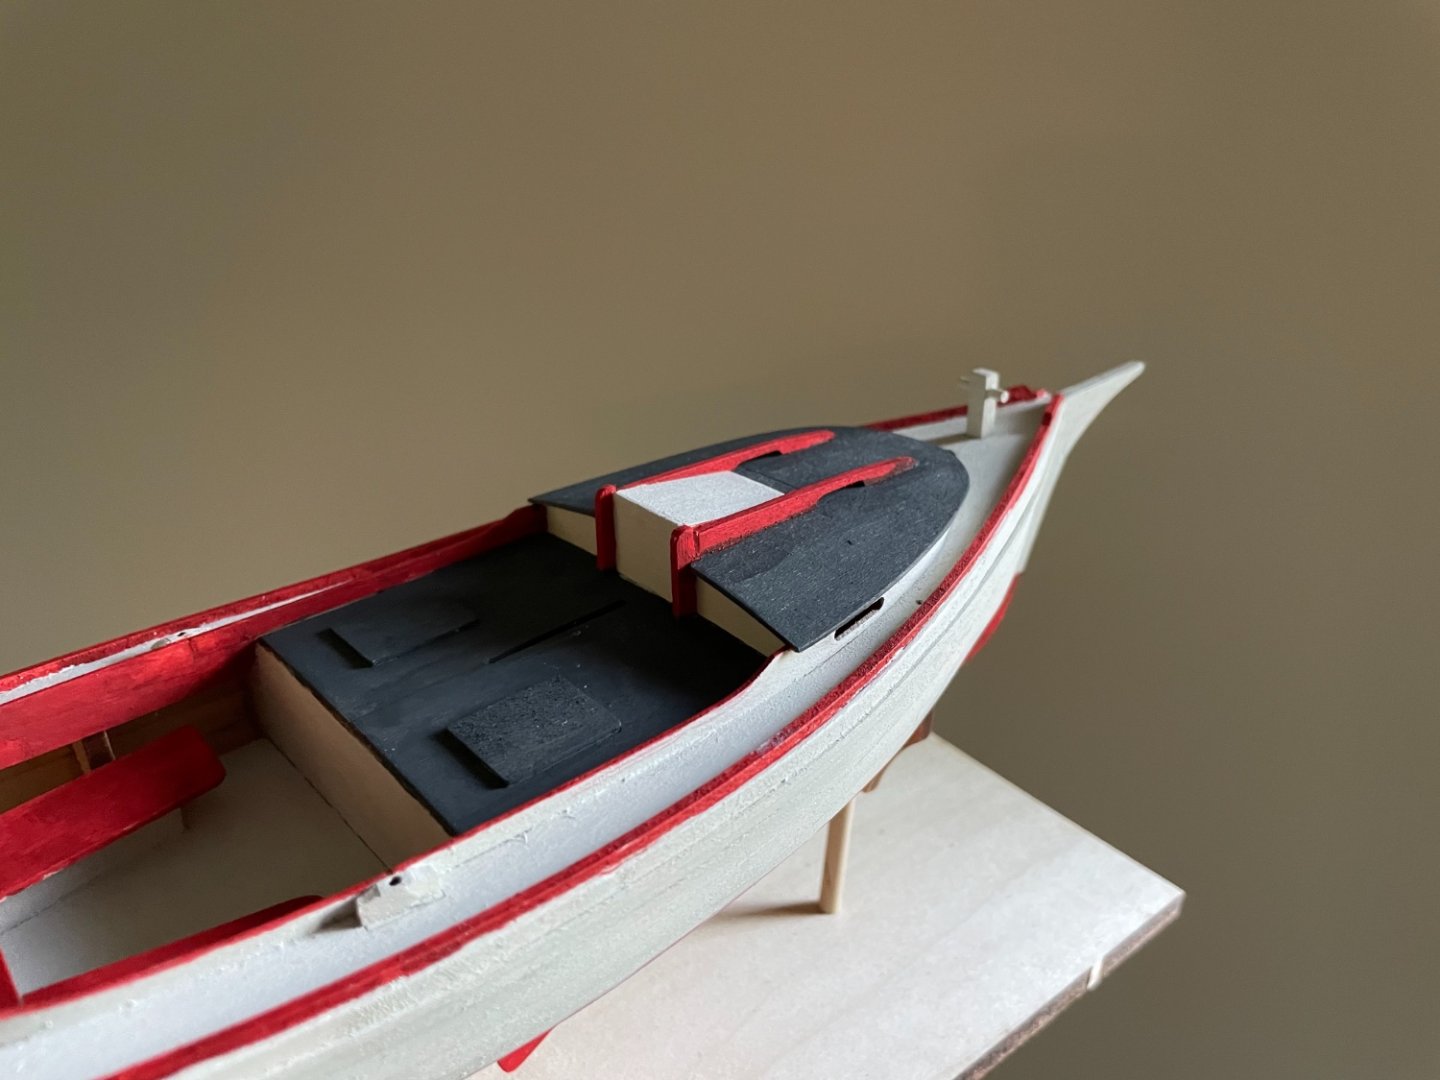
Decided to paint the boat using Vallejo Model Air, using brushes. It’s a prethinned paint, designed for airbrushes but works well brushed on too. Colors are Blue Grey for the roof, Fire Red for the hull and seats and toe rails, and White Grey for just about everything else. I’m very happy with the White-Grey and the Blue-Grey, however, I think the red could use another coat. Have also considered using a Red-brown on the hull. In any case, the waterline needs to be cleaned up and the bottom given a second coat.
- 13 replies
-
- Muscongus Bay lobster smack
- Model Shipways
-
(and 1 more)
Tagged with:
-
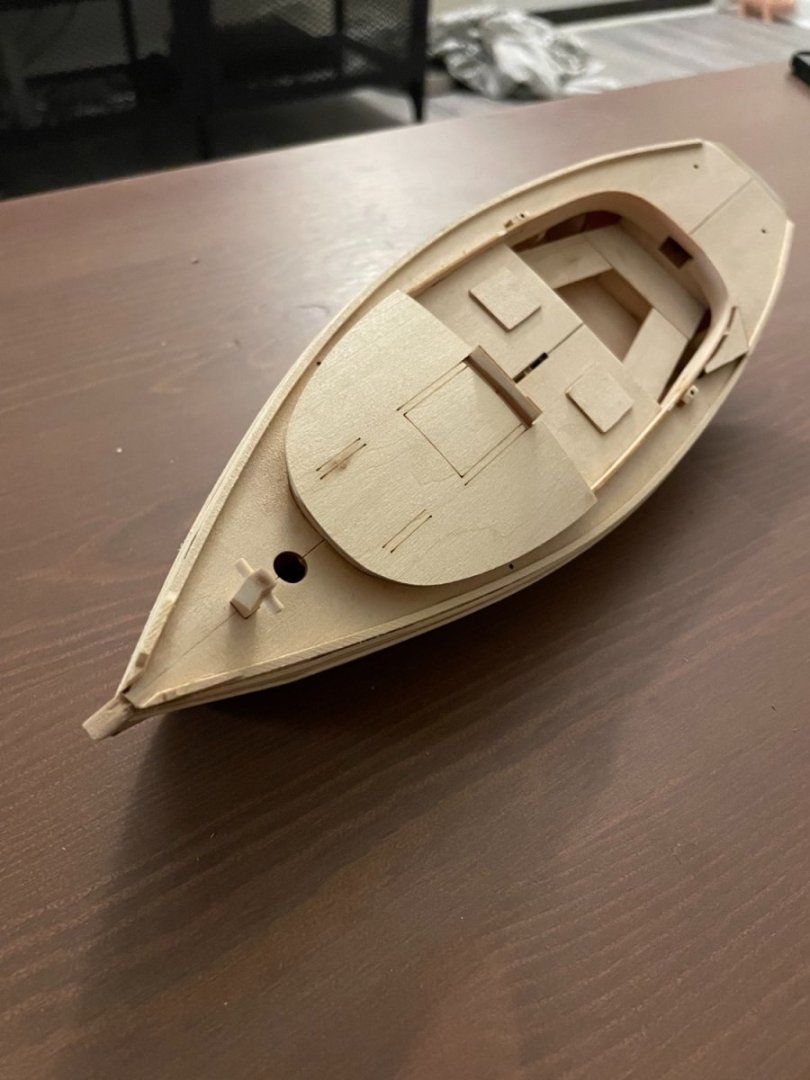
I found the timber supplied for the toe rail to be too thick for my liking. So I swapped it out for a thinner piece which was left unused from the Swampscott Dory. The deck furniture came together really quickly, the coaming around the cockpit and the cabin walls bent very easily after being wetted and steamed with an electric kettle. I didn’t realize that the Samson post was provided as two pieces on one of the lasercut sheets, so I ended up fashioning my own out of spare wood. I like mine better anyway. The last pieces I added were the cabin roof and door. There is a gap between the roof and door, but I think it can be covered by the sliding cabin door.
- 13 replies
-
- Muscongus Bay lobster smack
- Model Shipways
-
(and 1 more)
Tagged with:
-
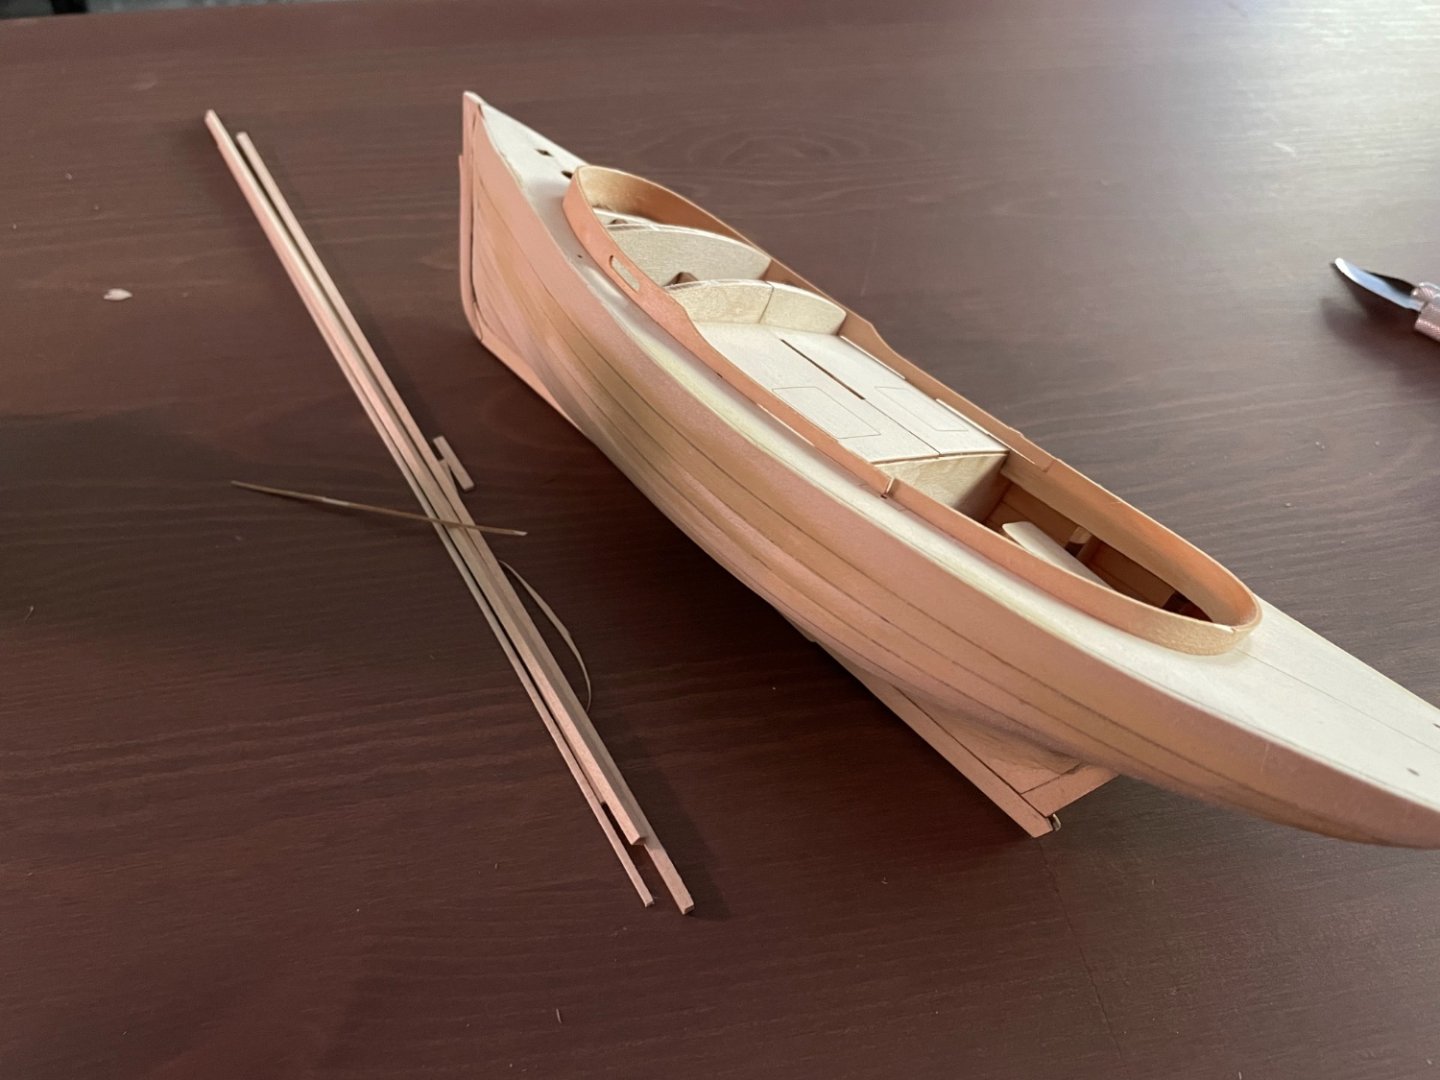
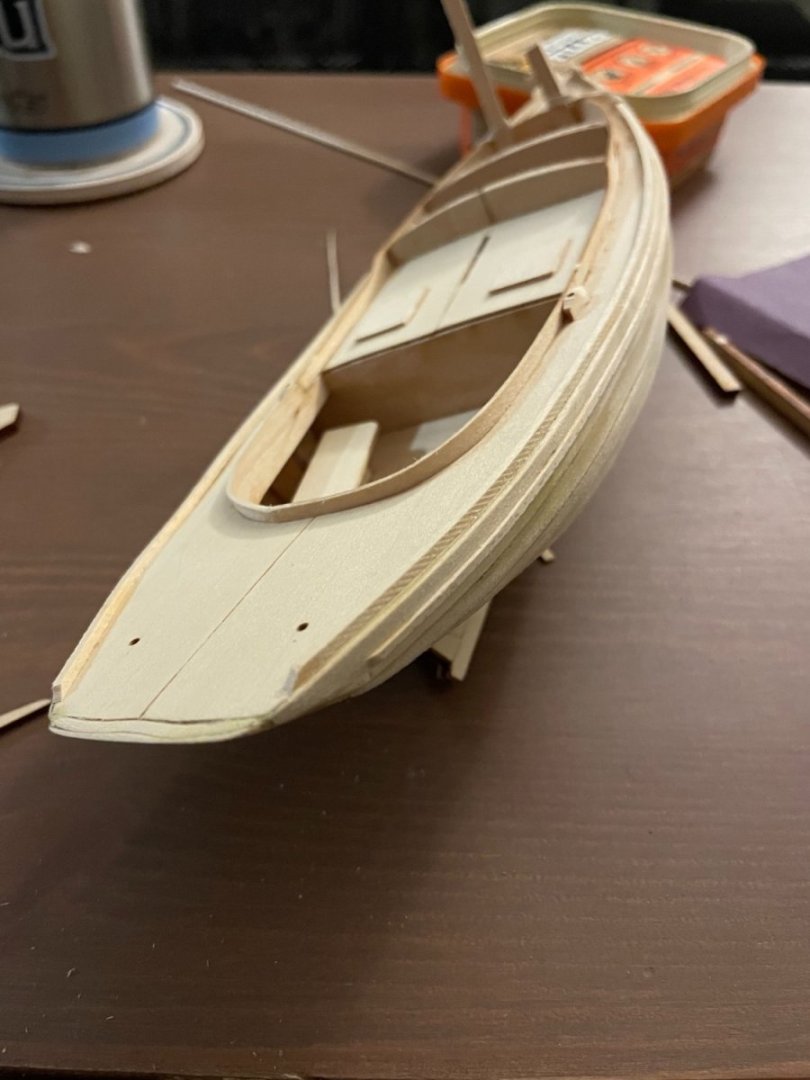
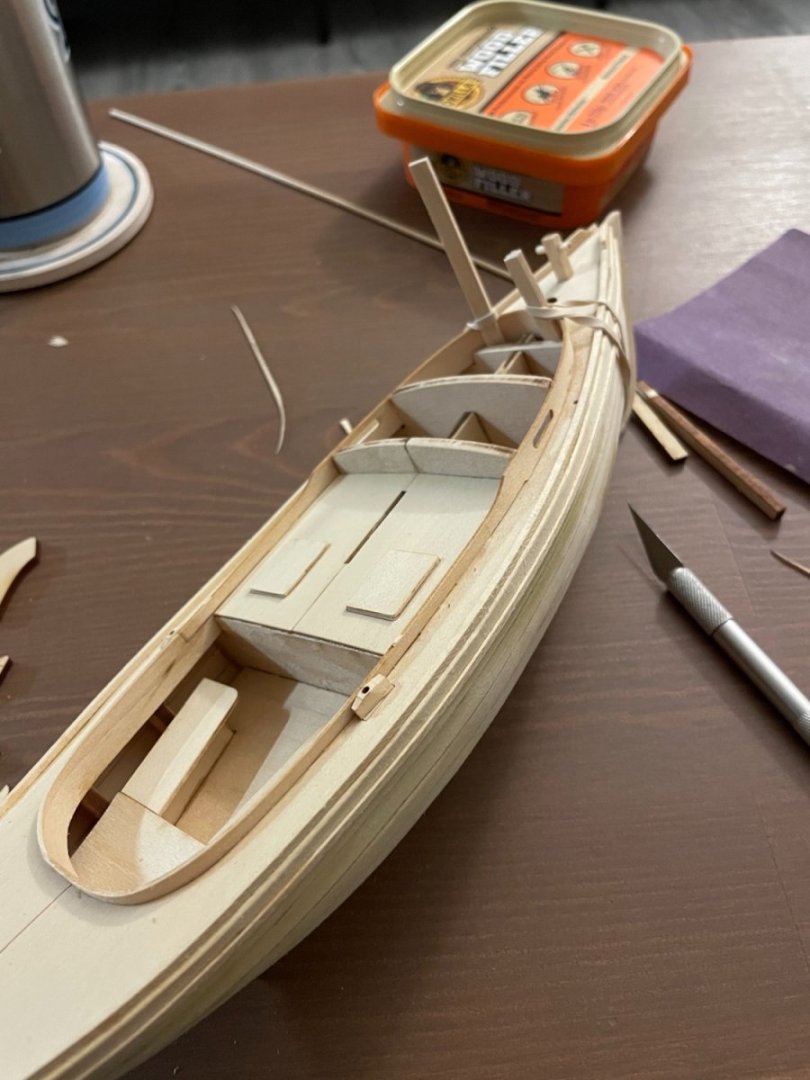
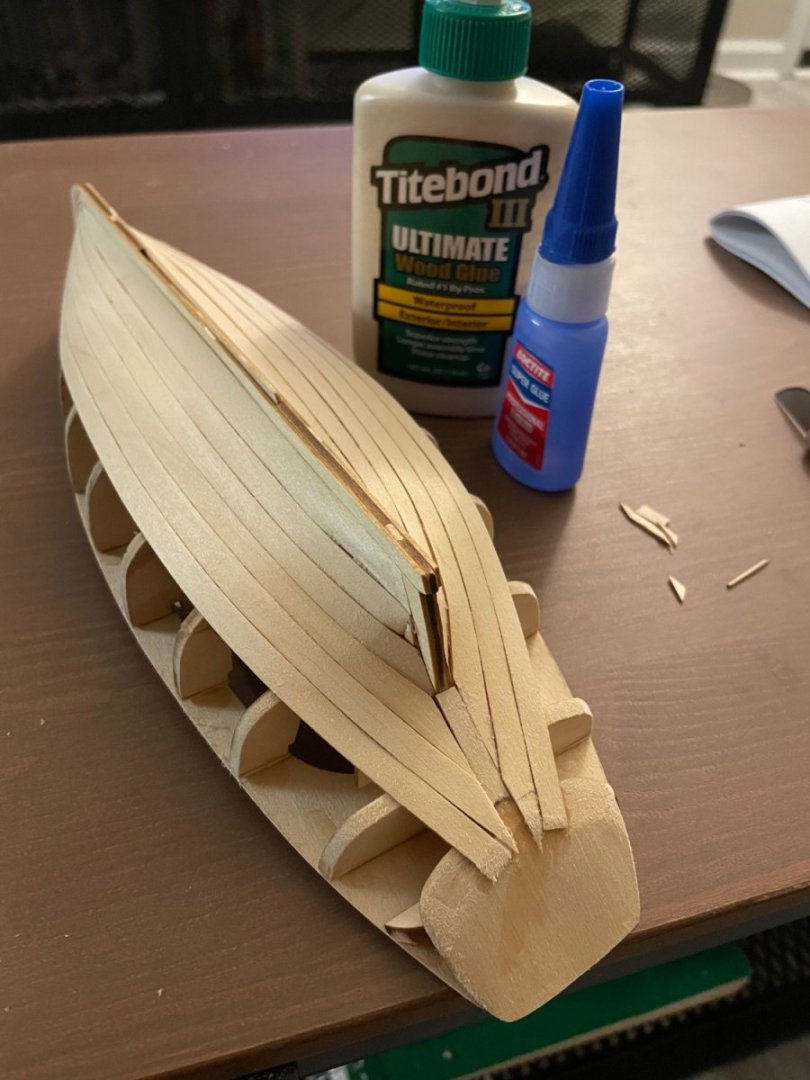
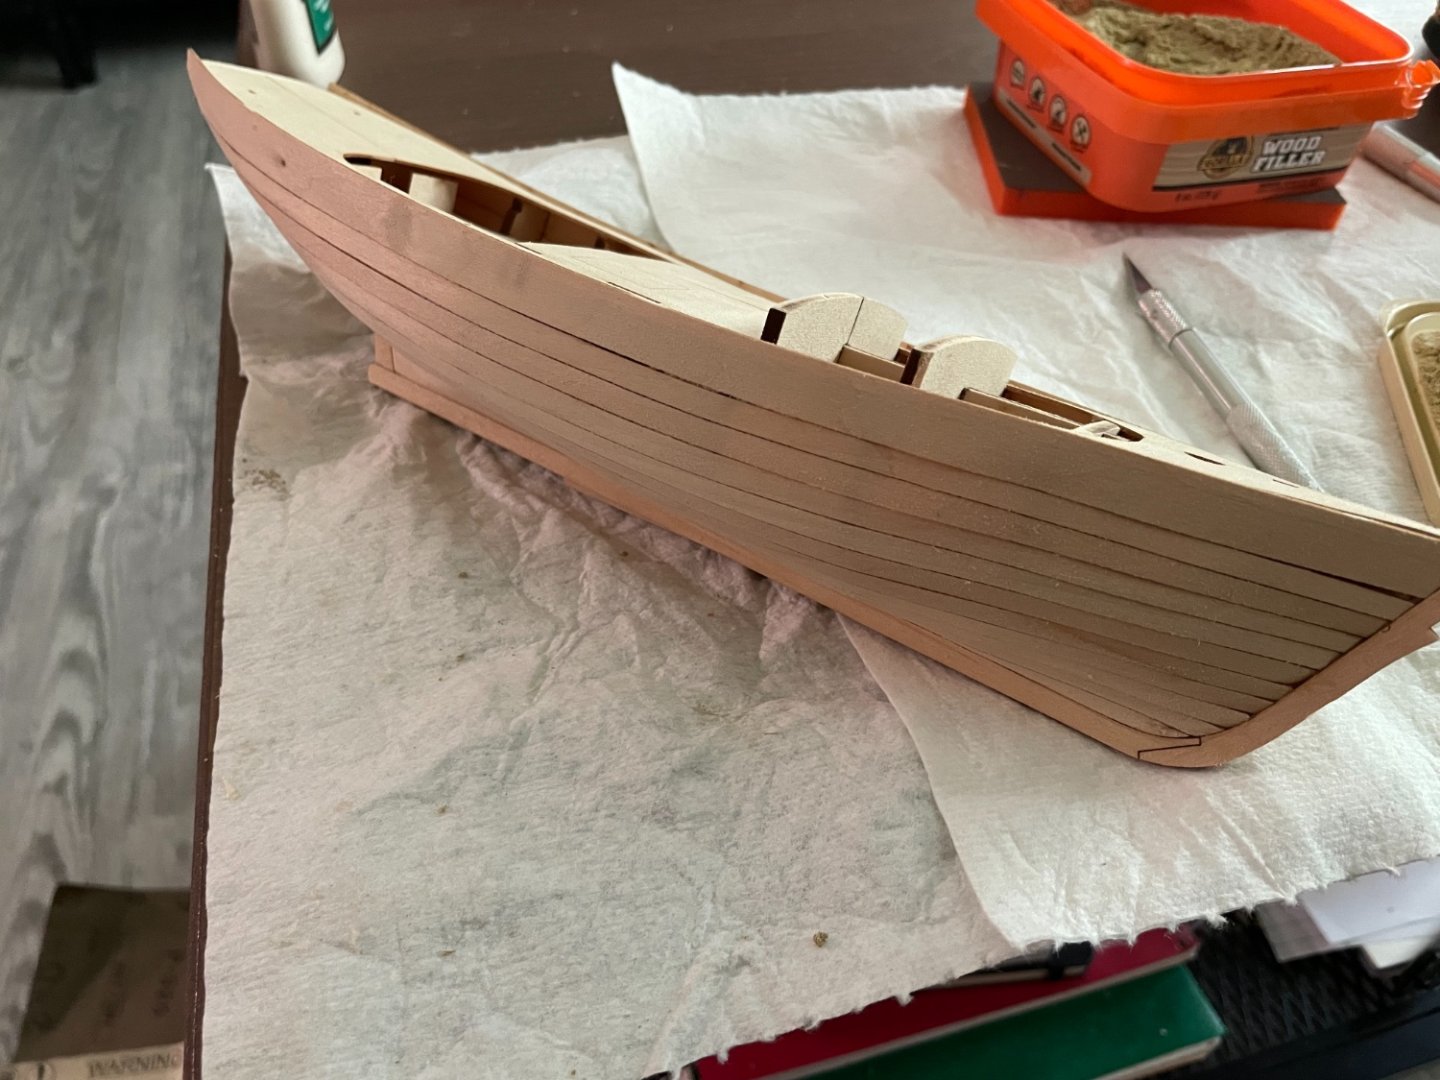
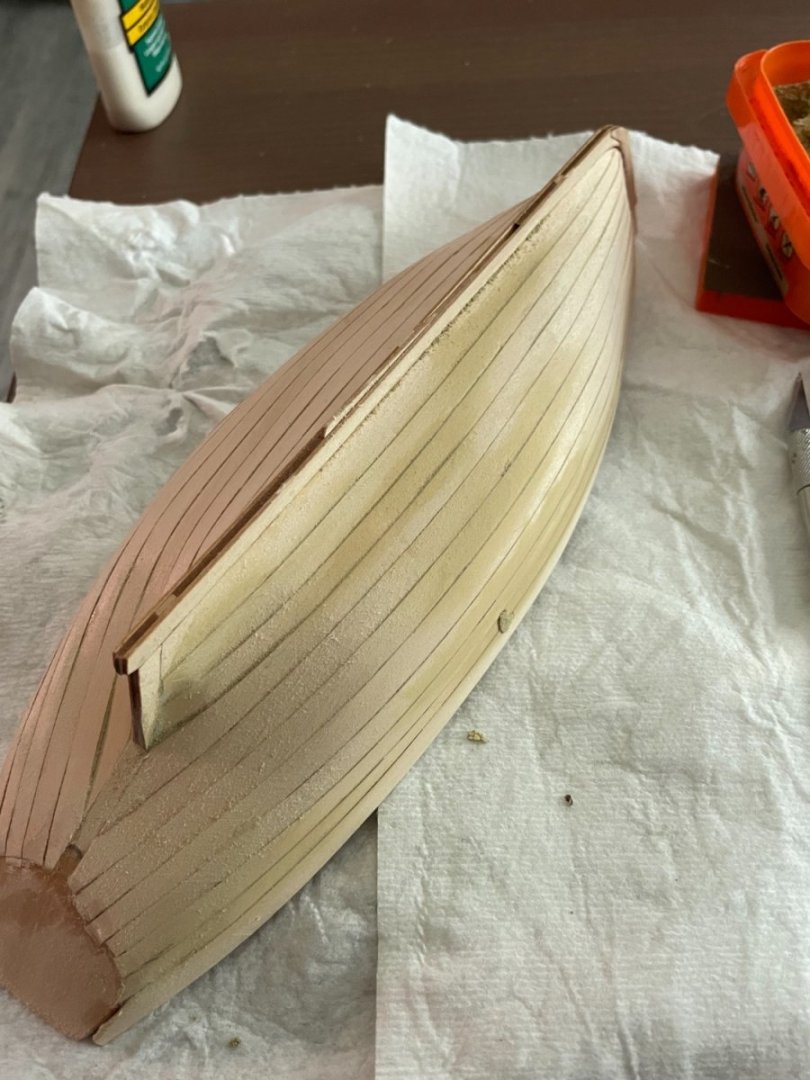
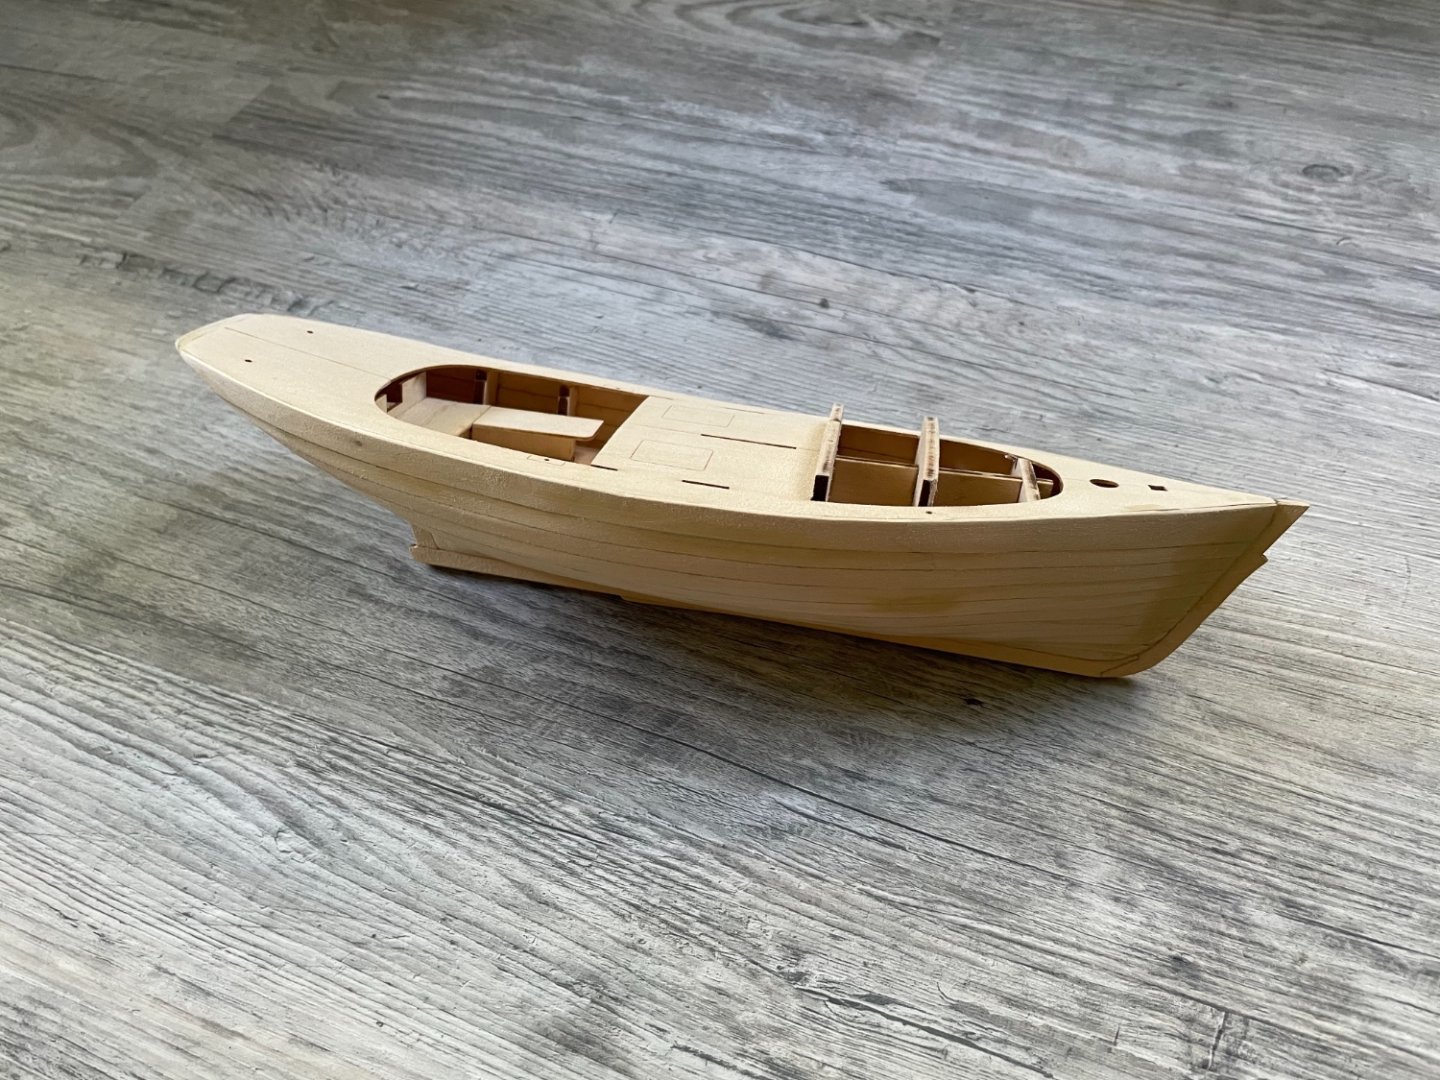
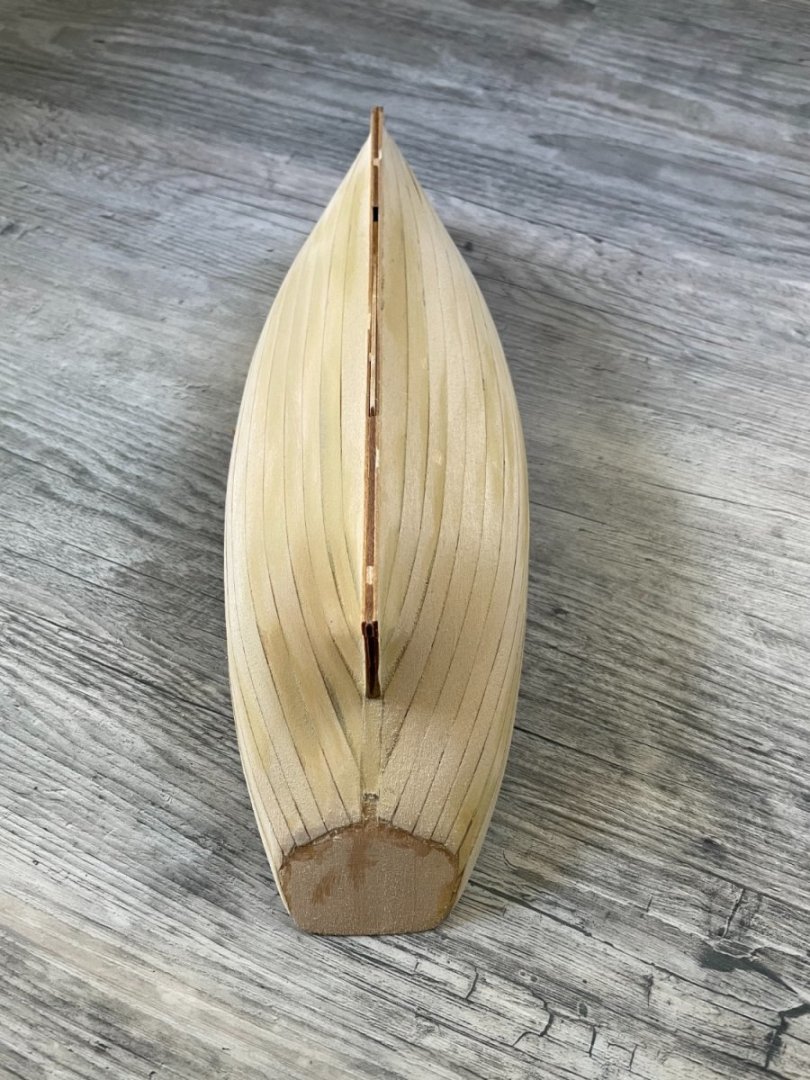
So as I laid the strake above the garboard, I decided to switch to superglue, which got the planking done in no time at all, especially with pre-cut strakes. So I managed to finish placing all the planks last night. Here is a picture of the finished planking before sanding and filling. I had seen many suggesting Elmer’s Wood Filler in another post, but I decided to try a similar product made by Gorilla, which is working well to my taste. My goal is a less than seamlessly smooth finish which will show the outline of the planks when it is painted. This is a picture of the boat after trimming and sanding the sheer strake. So far this has been a very enjoyable and quick build, since I only started it on Saturday! Very happy with it so far.
- 13 replies
-
- Muscongus Bay lobster smack
- Model Shipways
-
(and 1 more)
Tagged with:
-
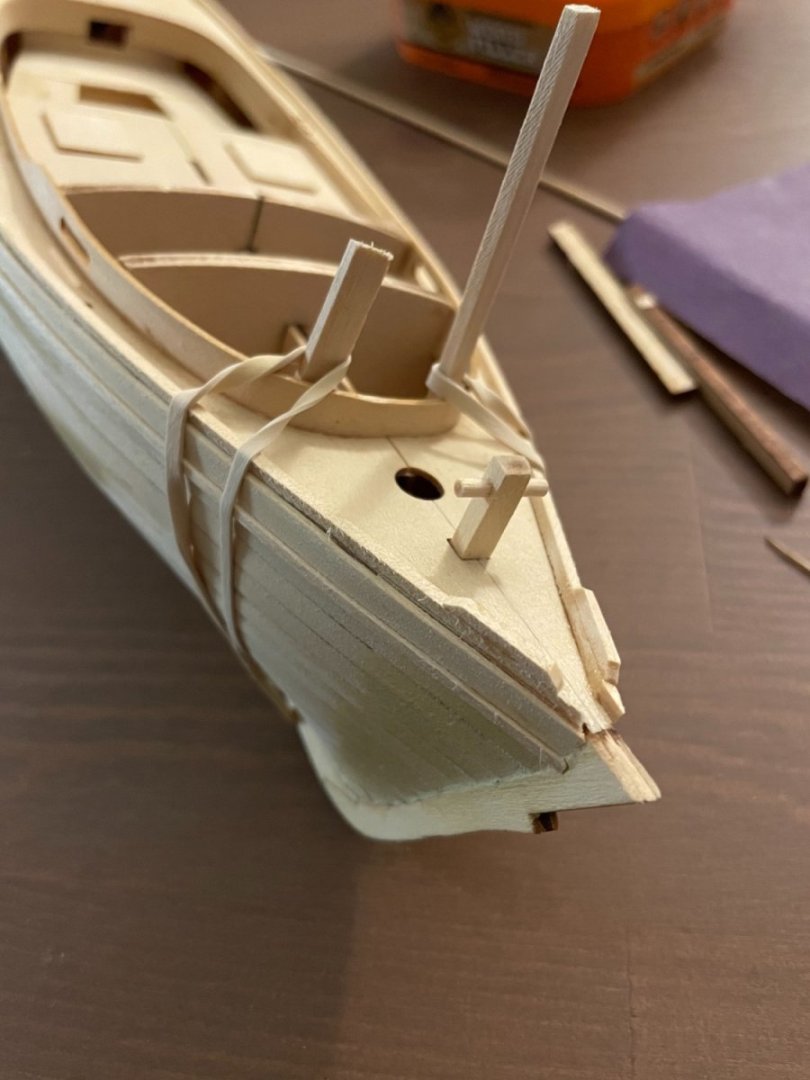
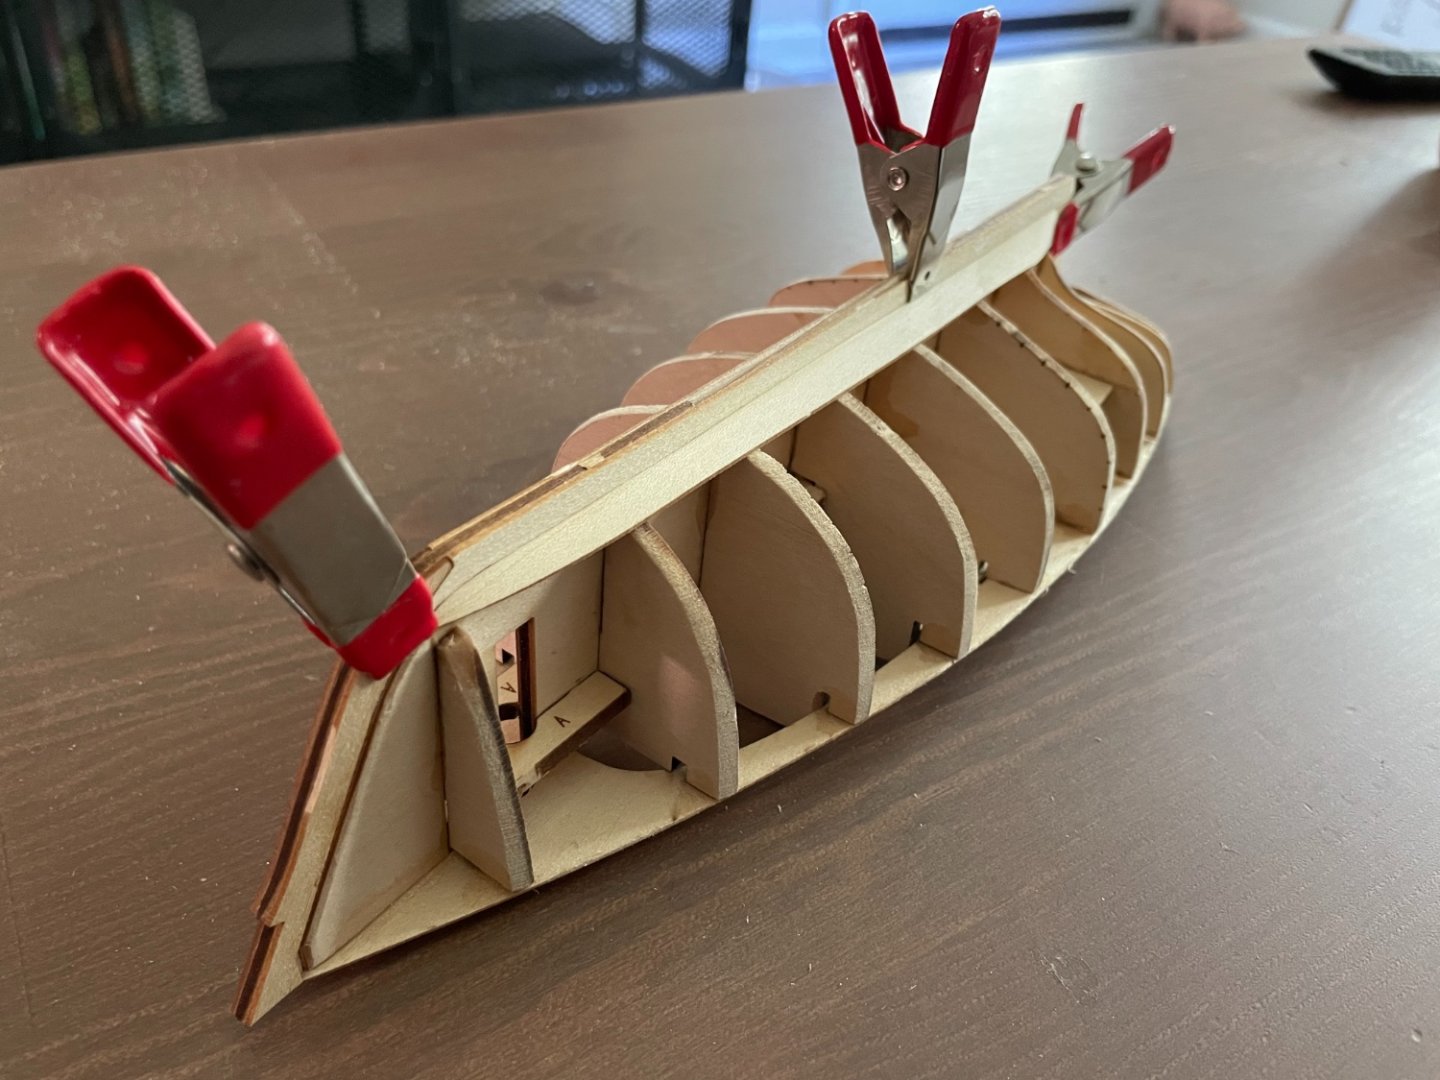
Have made progress fairing the frames, then glued on the last keel pieces. Now have wet the garboard strake and dry fit it to the hull. Note: There is no need to cut a rabbet on this model, only a little adjustment.
- 13 replies
-
- Muscongus Bay lobster smack
- Model Shipways
-
(and 1 more)
Tagged with:
-
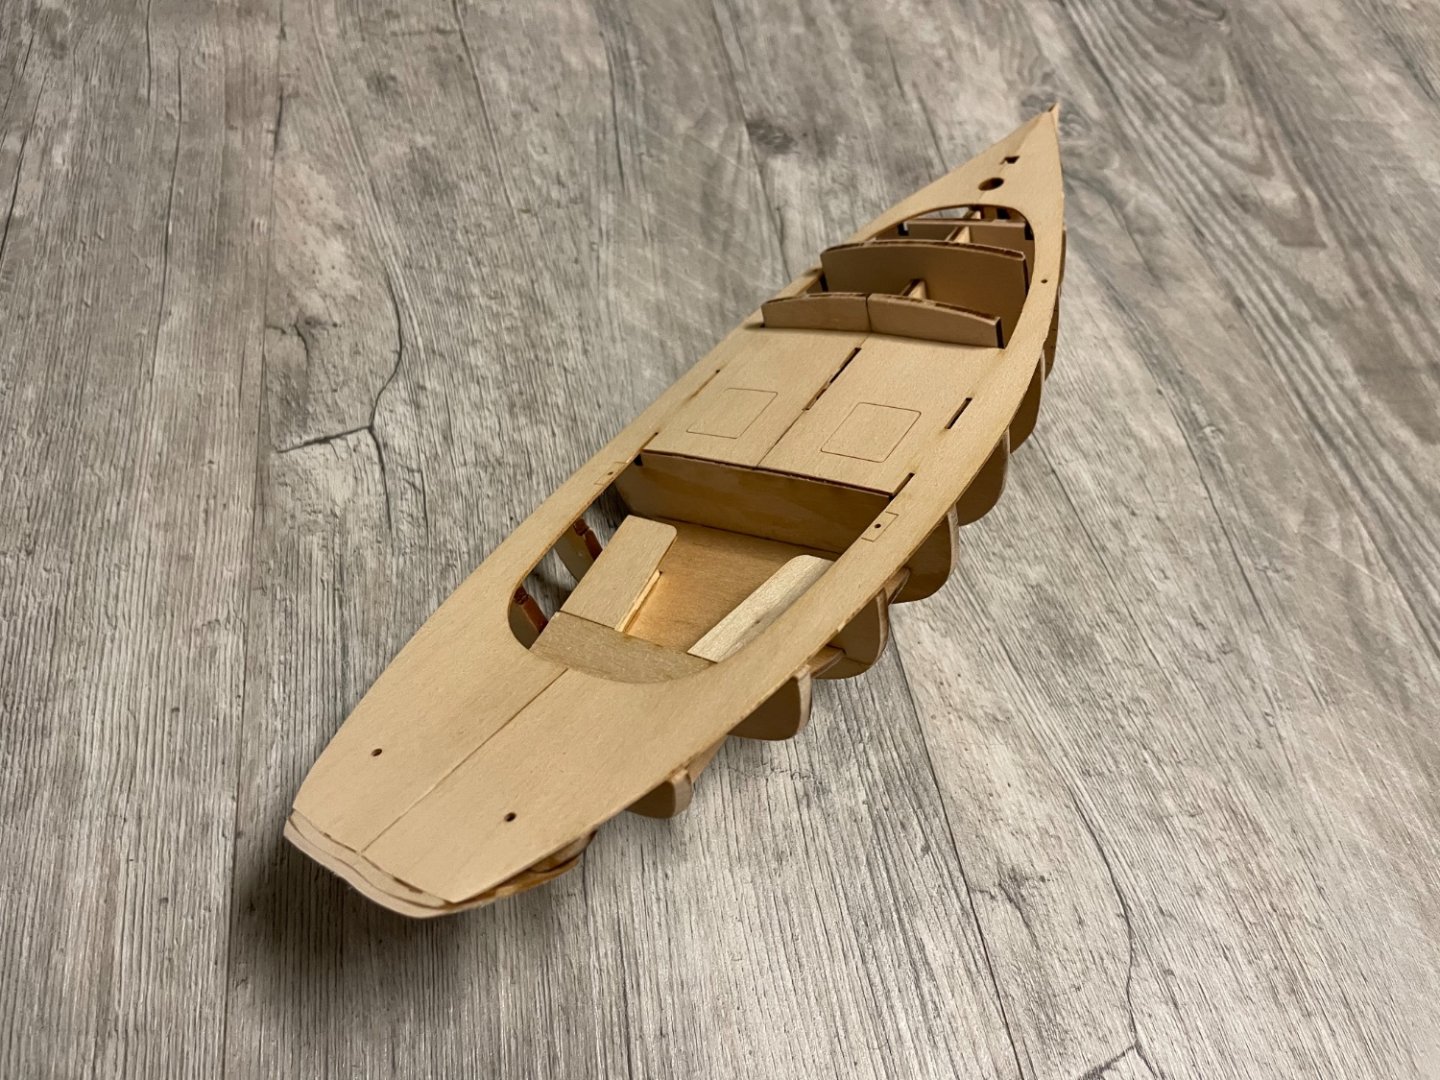
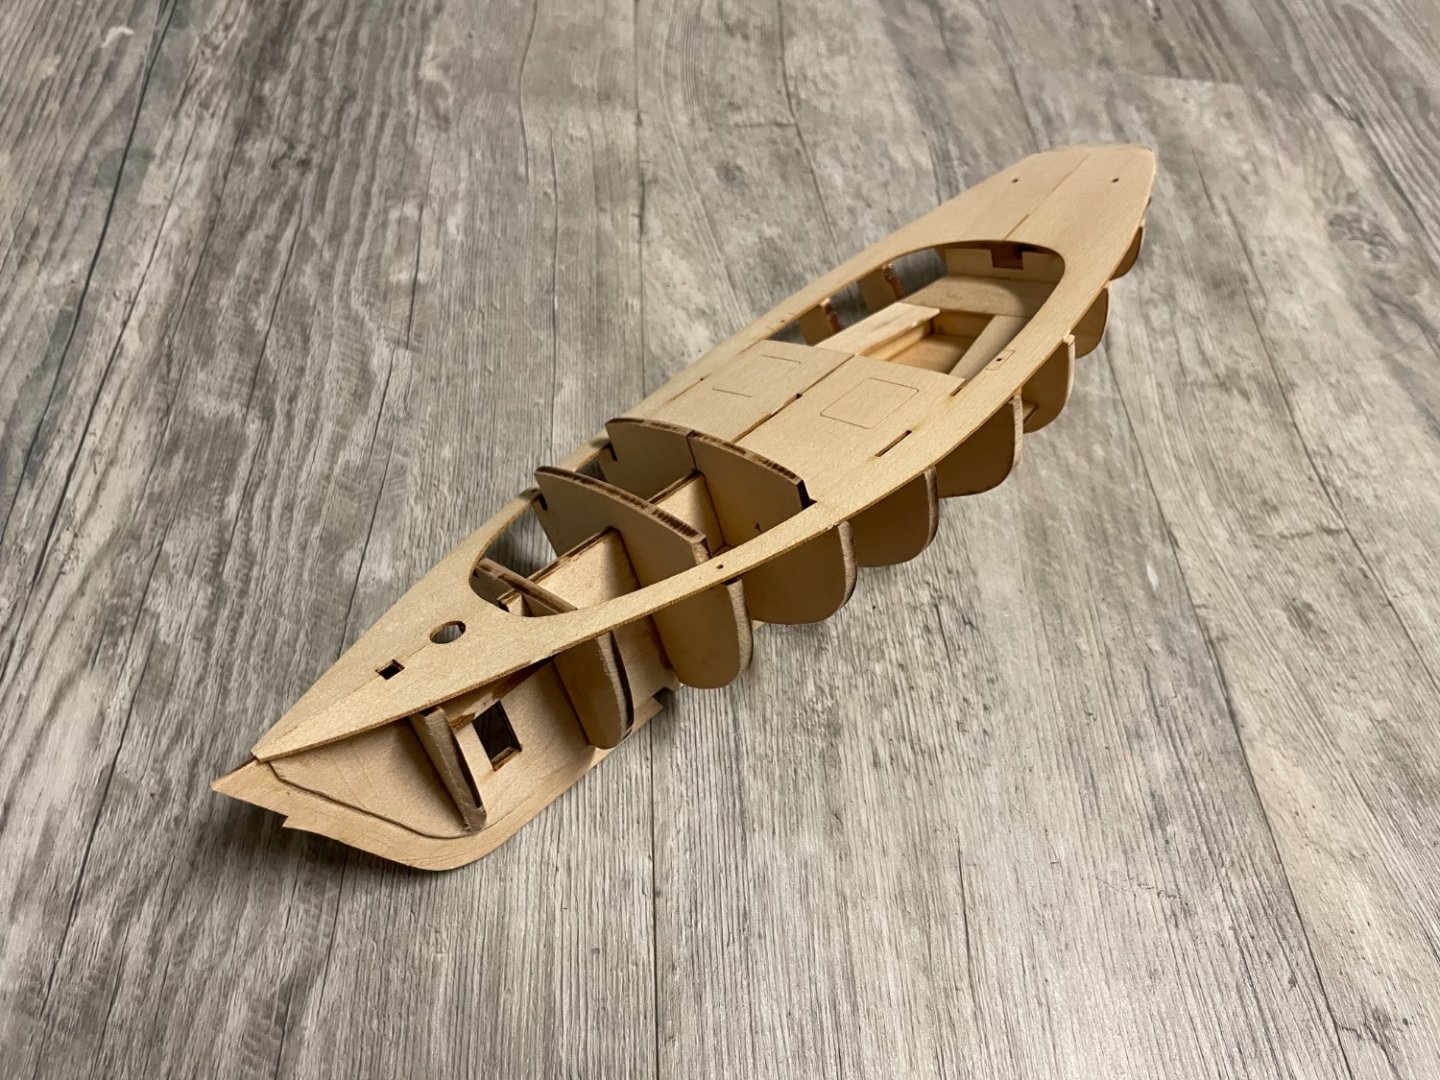
Also attached the transom and deck. Some slight mistakes but overall very pleased with it. I will continue faring the frames and next will attach the last parts of the keel, then move on to planking.
- 13 replies
-
- Muscongus Bay lobster smack
- Model Shipways
-
(and 1 more)
Tagged with:
-
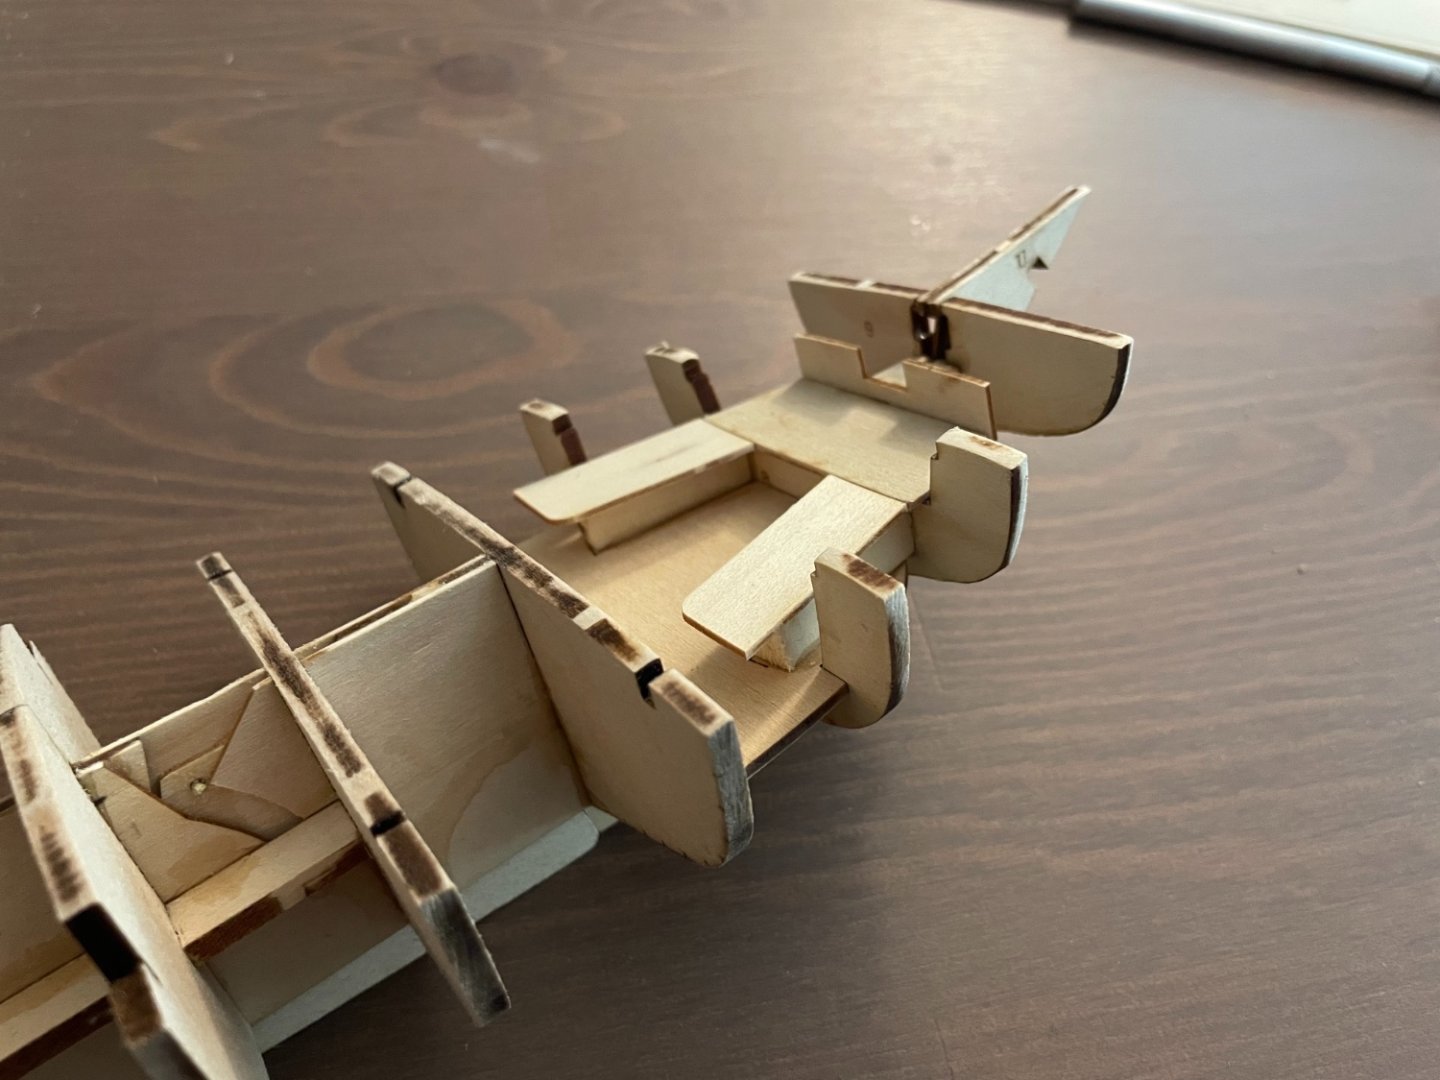
Have started to fair the frames and assembled the cockpit seats. Also glued the transom together. Next I will work on gluing the deck and finishing fairing the frames. So far it’s coming together very nicely.
- 13 replies
-
- Muscongus Bay lobster smack
- Model Shipways
-
(and 1 more)
Tagged with:
-
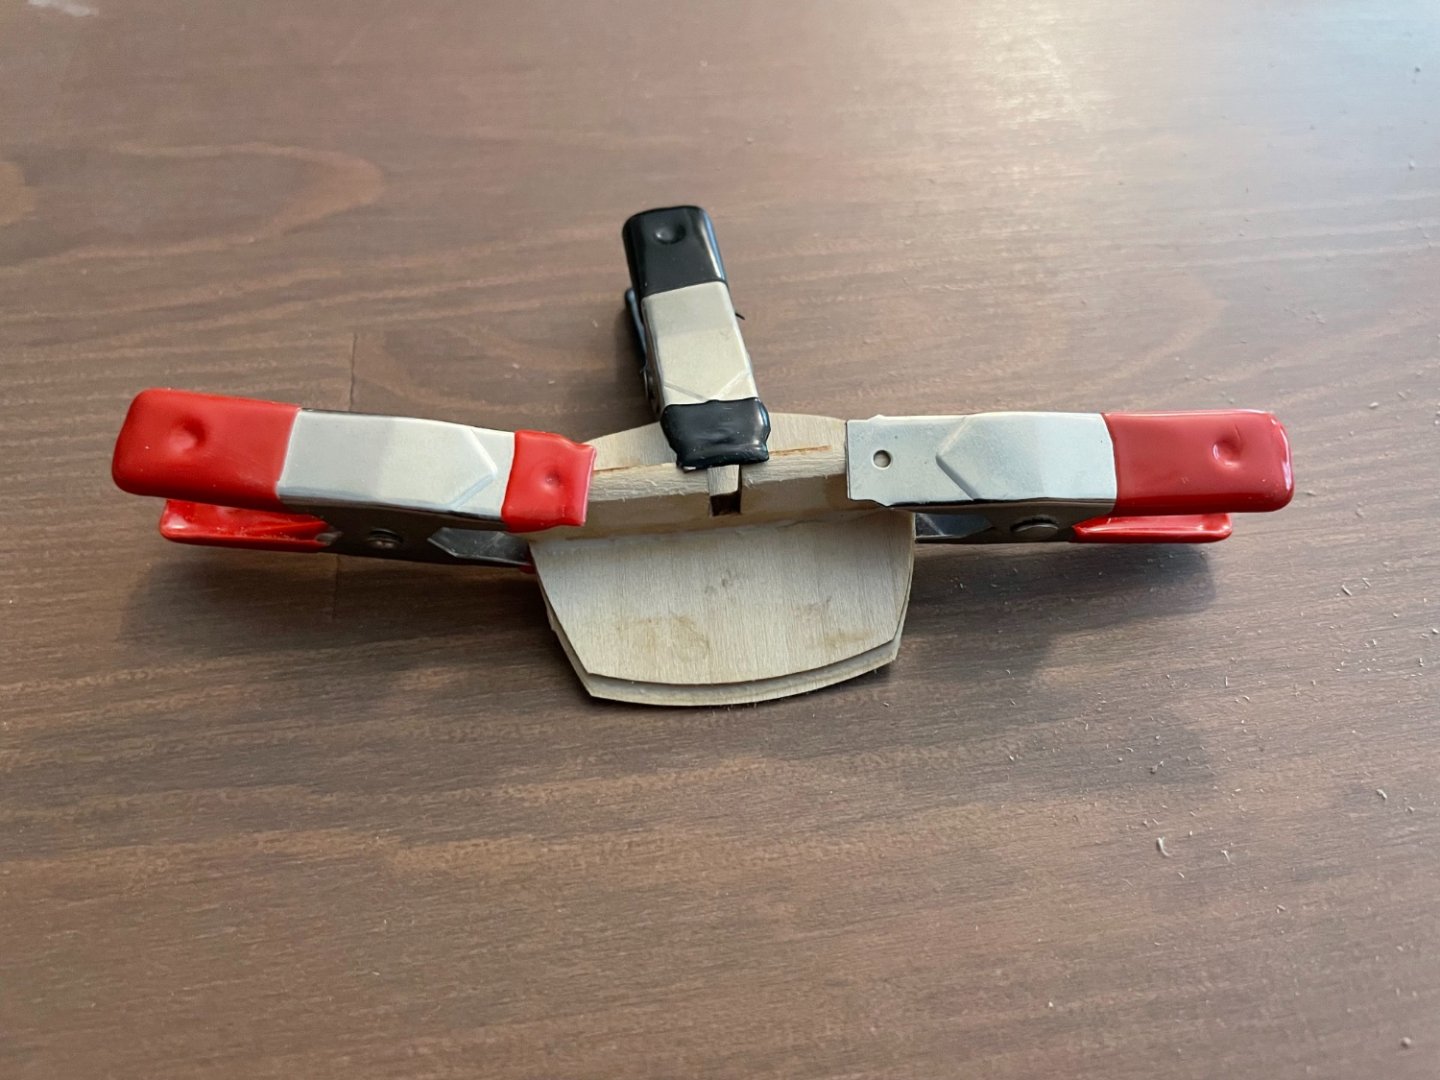
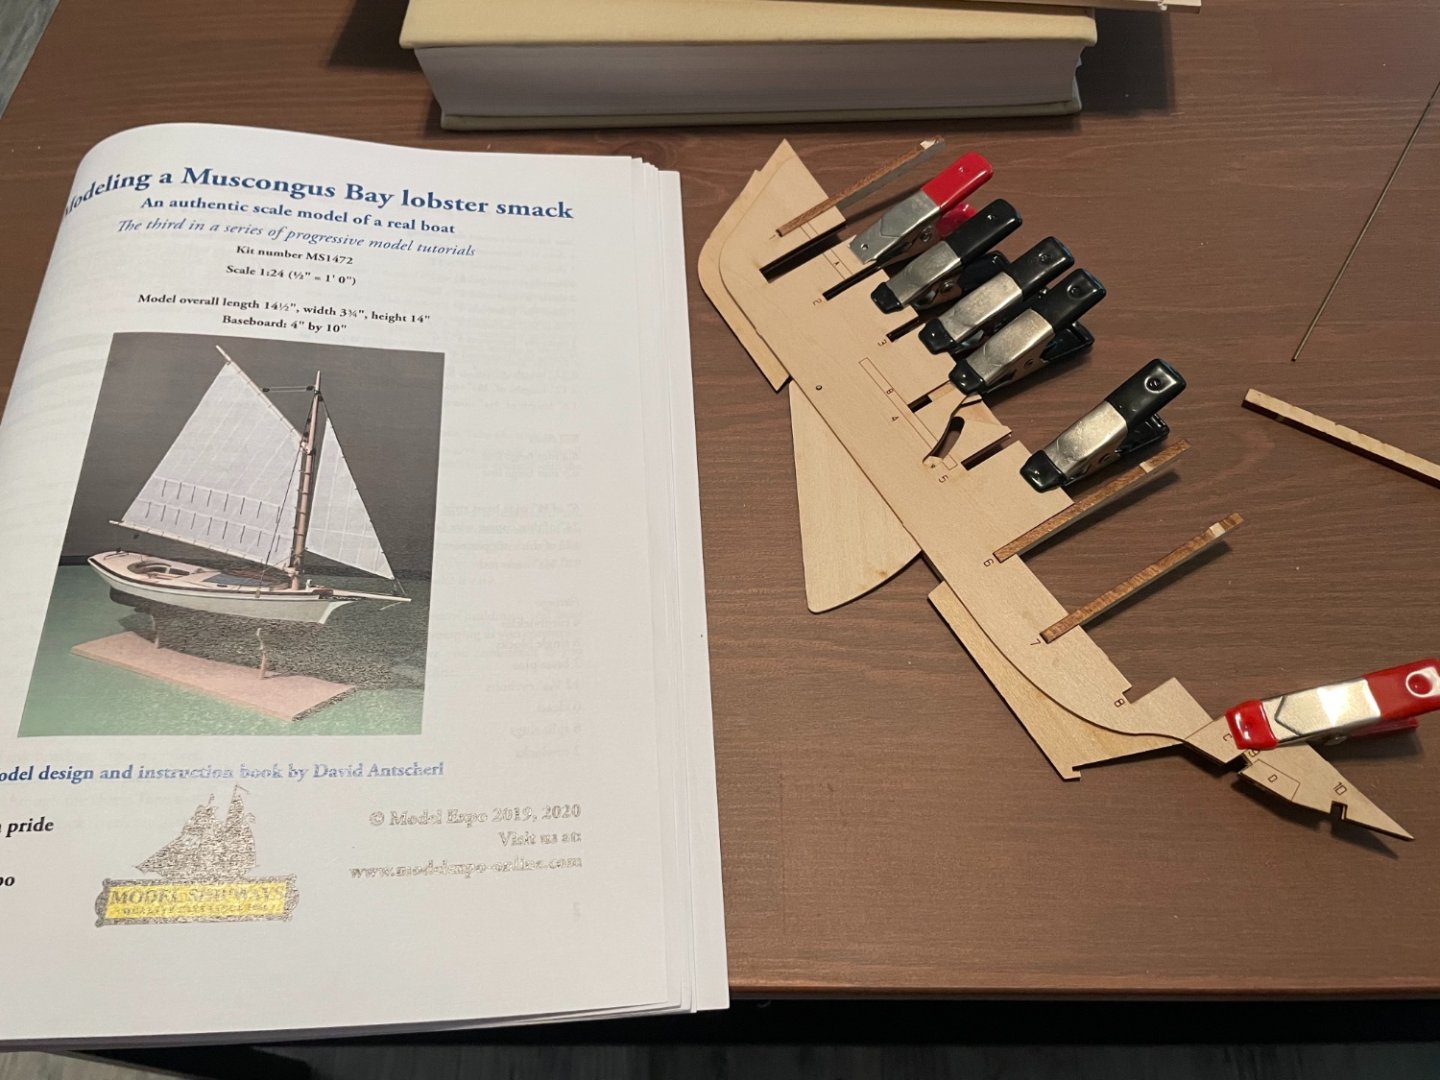
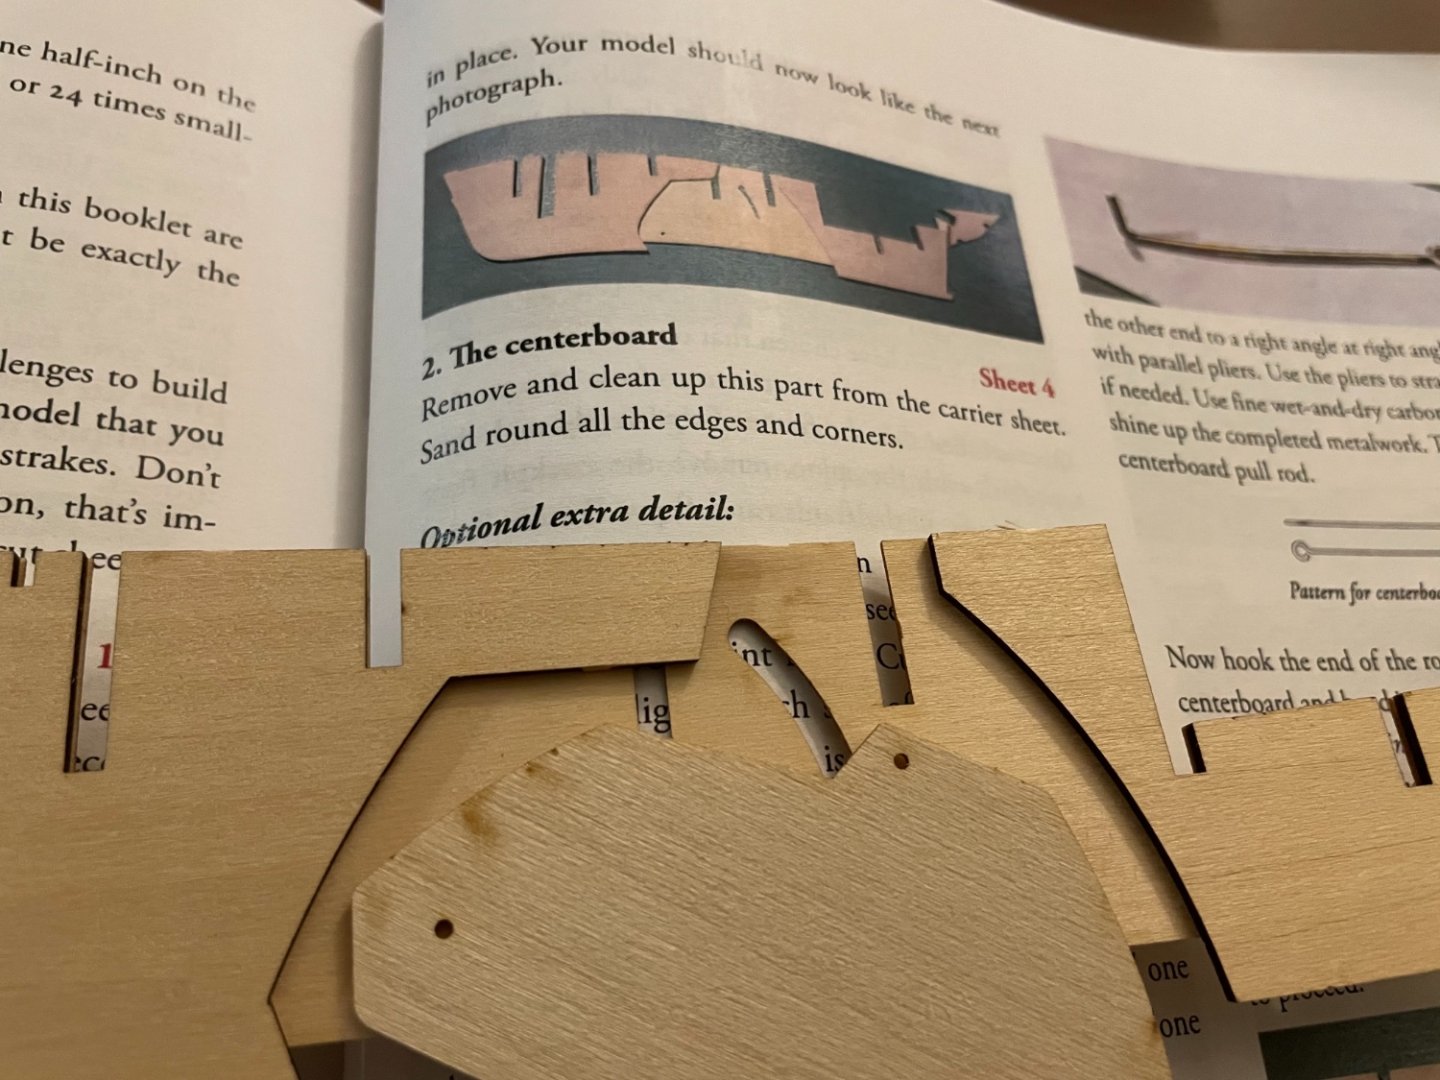
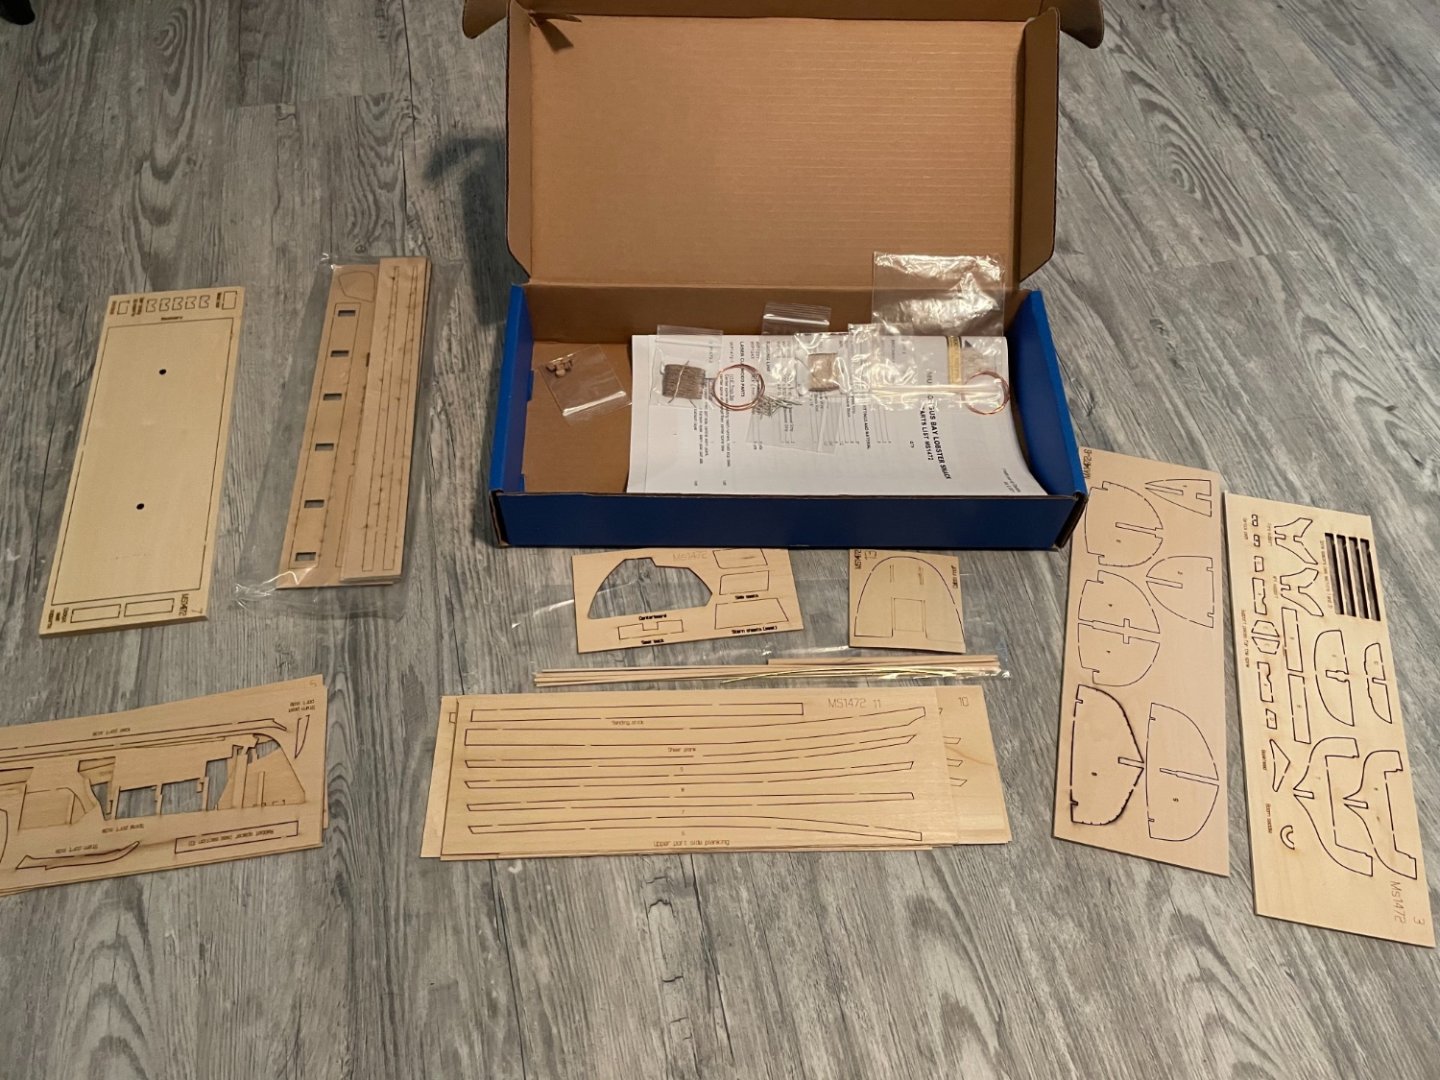
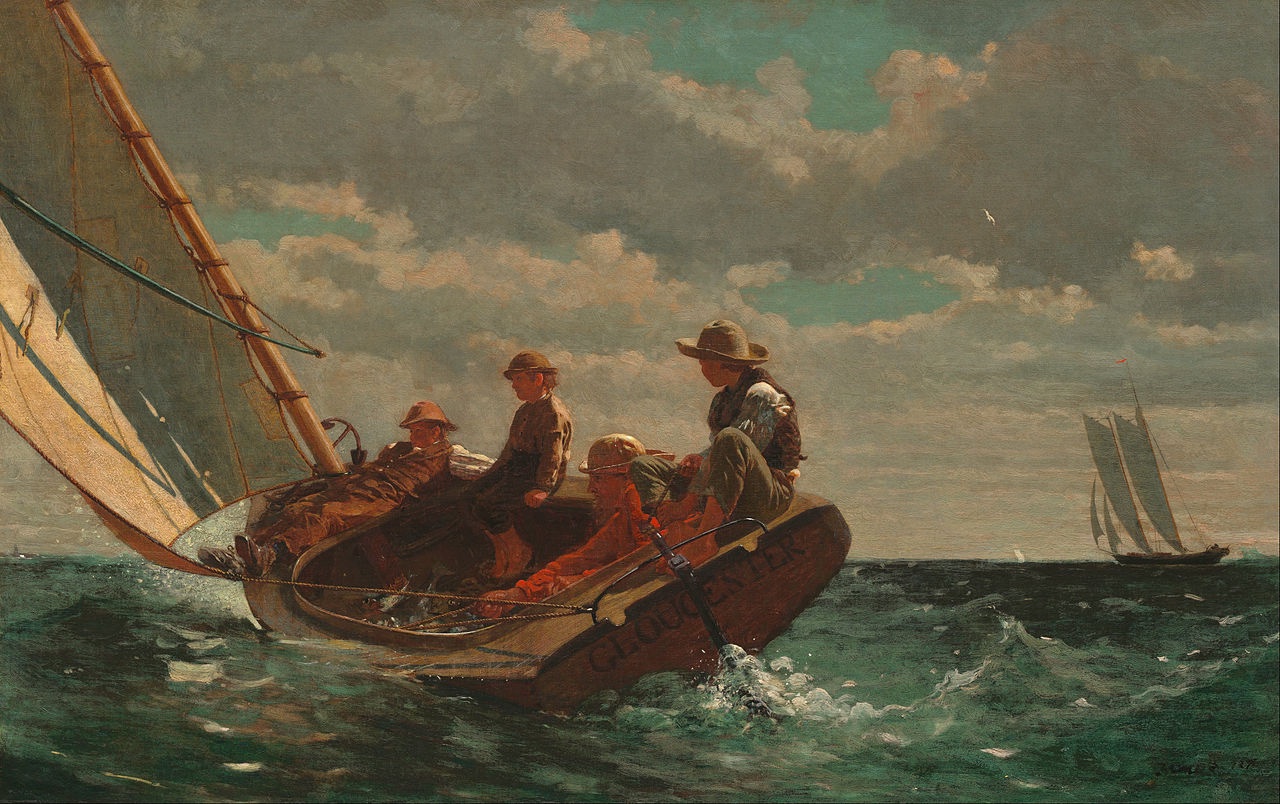
Having finished the Swampscott Dory, I now have moved onto the Muscongus Bay Lobster Smack, a delightfully named fishing boat from the late 19th Century. It’s the 3rd of David Antscherl’s Model Shipwright series, and given that, most of the pieces are lasercut, even the masts, with only a few planks. At this point, I believe I am past the beginner steps in this hobby, but I am hoping this will be an easy build to sharpen my skills. The first question in this build was whether to make the centerboard workable. The boat would look just as well if the centerboard was glued in place, but the instructions give a fairly detailed section on how to create a workable handle to deploy this piece. (Note: the keel is assembled in three layers, and the holes on the centerboard did not quite match the cut outs on these outer layers, so some adjustment was required on my model.) However, I typically prefer to simplify pieces like these, preferring details that look simple and clean rather than complex and unsightly. So I made the centerboard workable with just two small pieces of brass rod superglued in the appropriate places. So the centerboard is workable, the three layers of the keel are laminated together, and things are progressing well. Here’s some of my inspiration for this project, “Breezing Up” by Winslow Homer:
- 13 replies
-
- Muscongus Bay lobster smack
- Model Shipways
-
(and 1 more)
Tagged with:
-
@Mike Collier Thank you! It's probably some warped planking due to the transom and stem being misaligned by about 5 degrees. Made it really difficult to plank the port side. @catopower I didn't even think about lowering the keel, thanks for pointing that out!
- 11 replies
-
- Swampscott Dory
- Finished
-
(and 1 more)
Tagged with:
-
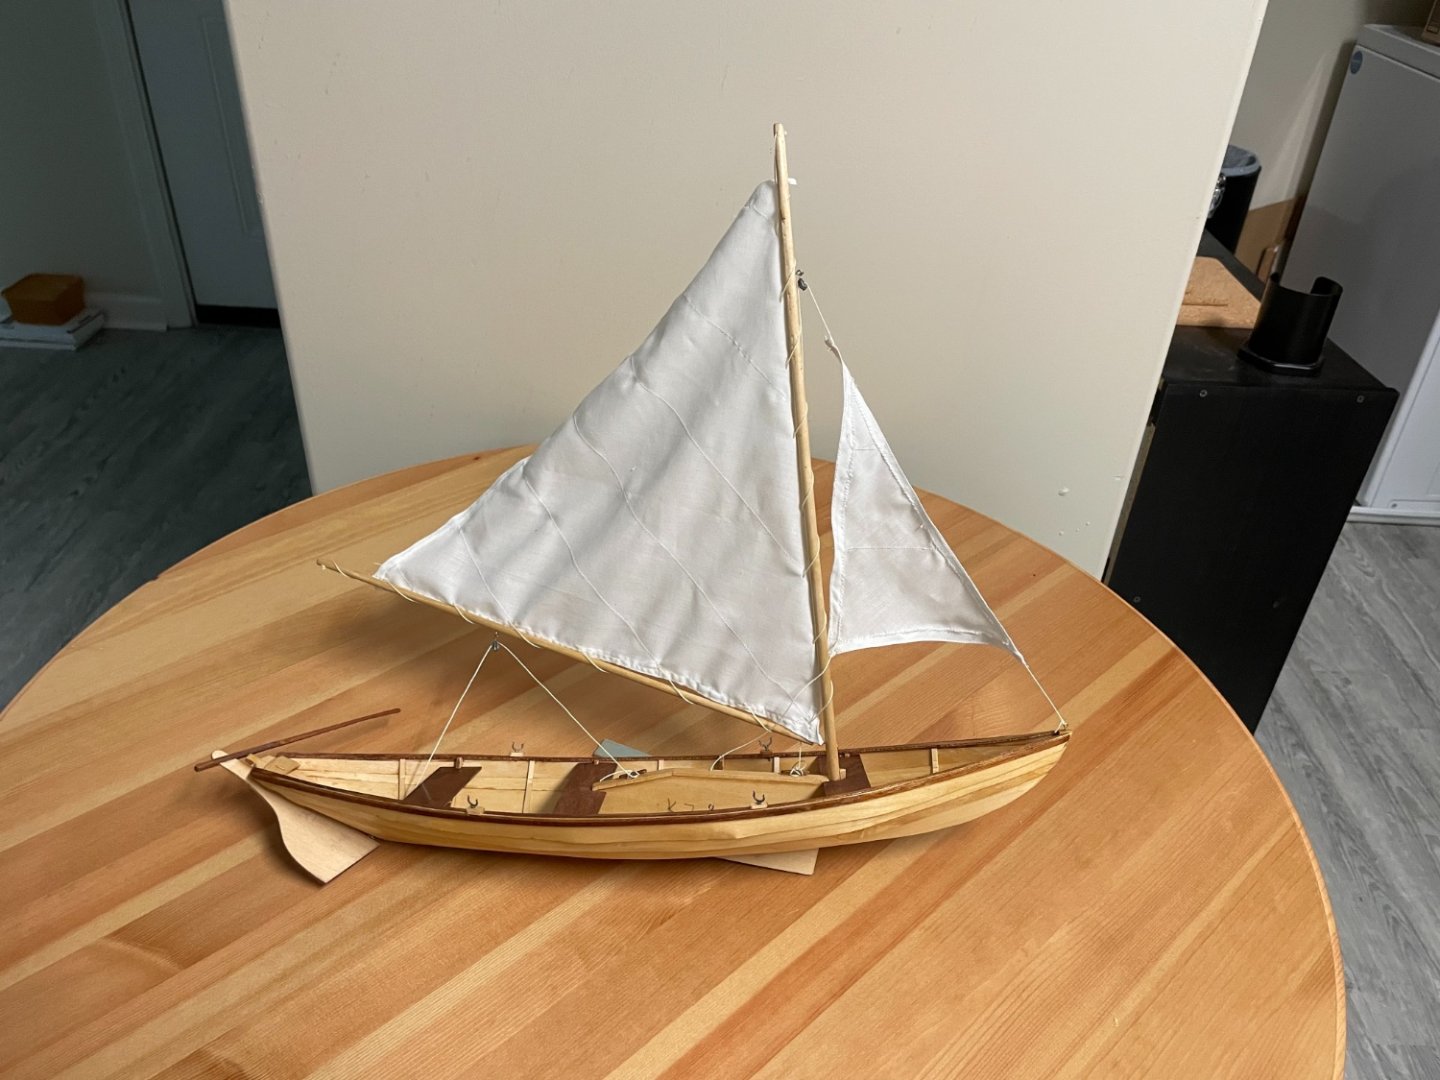
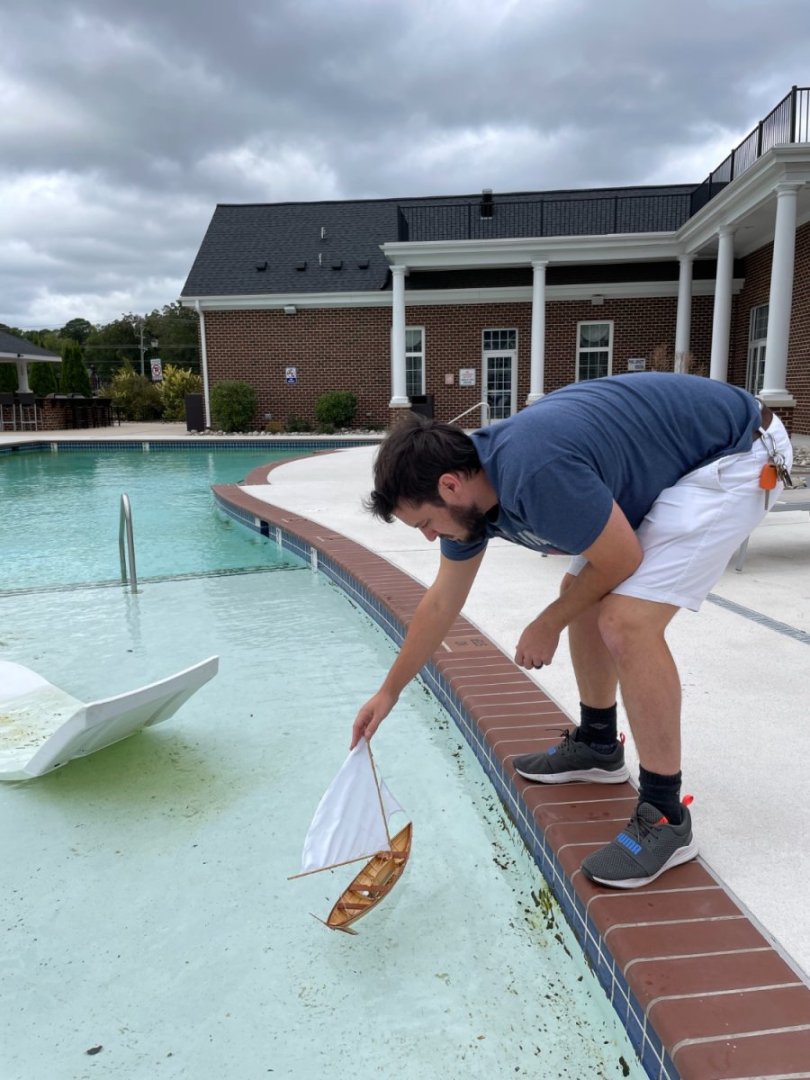
Ended up working on this boat all day yesterday and this morning. Rigged the sails this morning and readied it for an attempt at sailing. However this did not work out as intended, and it swamped twice in the pool. I think there must be some holes in the boat, so I will plug those. Also, these pre-Hurricane Ian breezes probably do not help haha, so I’ll try it again on a day with a lighter breeze and more ballast.
- 11 replies
-
- Swampscott Dory
- Finished
-
(and 1 more)
Tagged with:
-
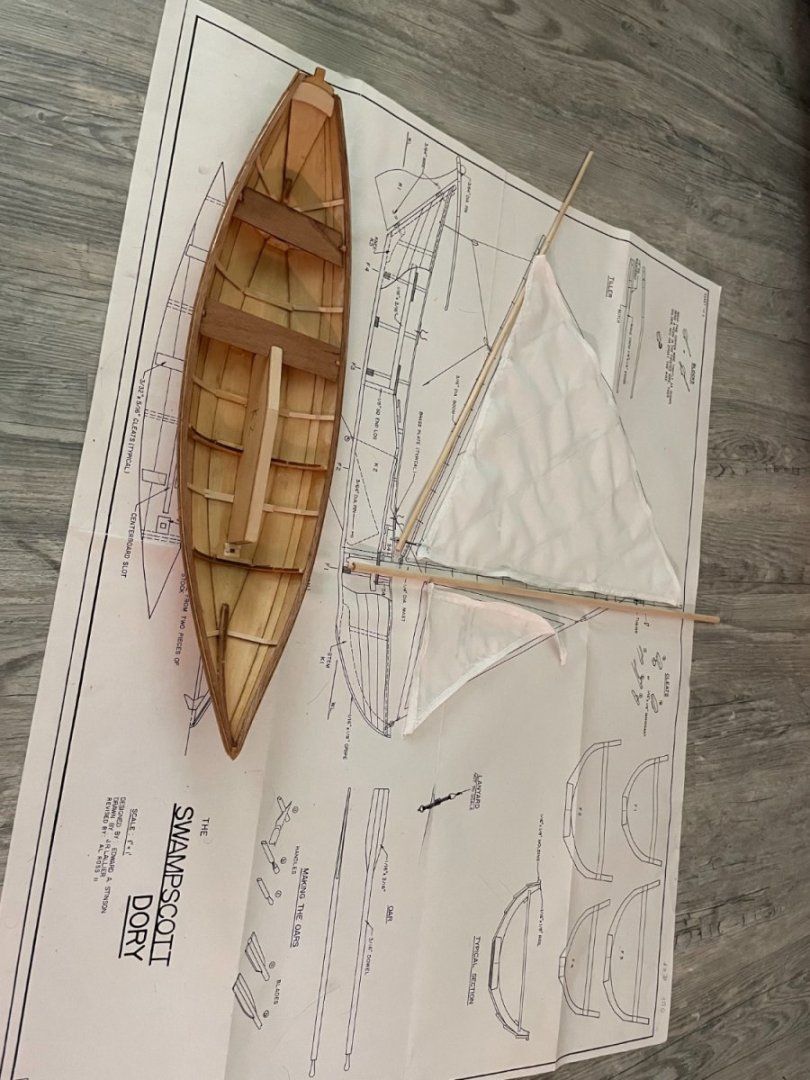
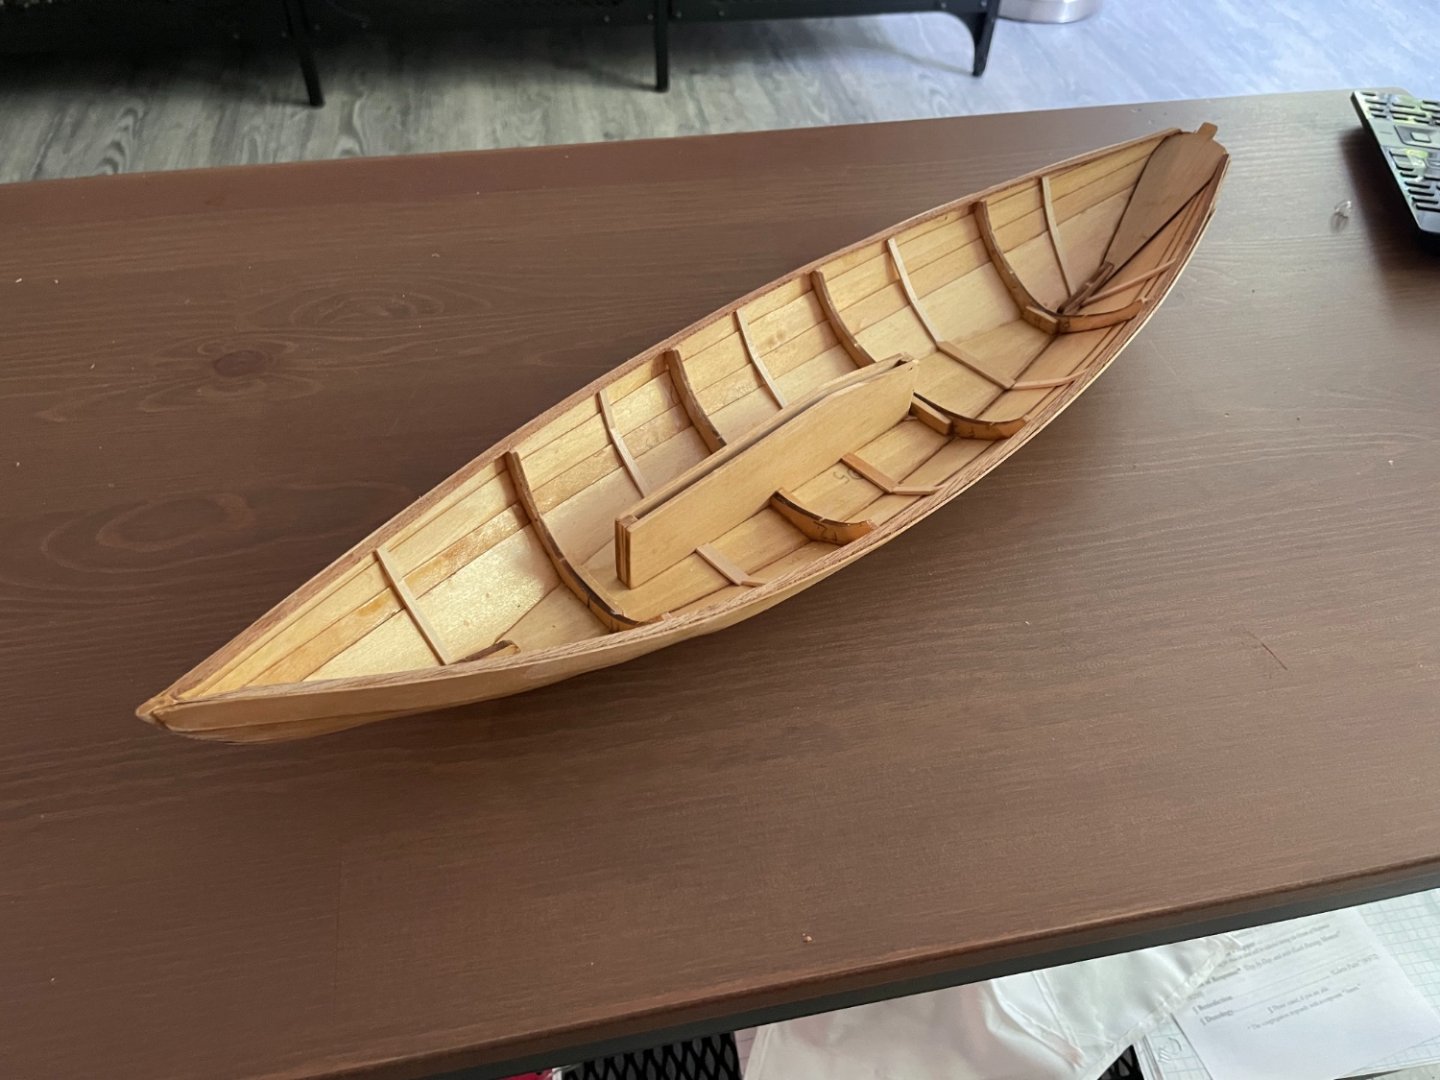
It’s been a couple months since I’ve made an update but I’ve finally made some progress, added ribs and gunwales.
- 11 replies
-
- Swampscott Dory
- Finished
-
(and 1 more)
Tagged with:
About us
Modelshipworld - Advancing Ship Modeling through Research
SSL Secured
Your security is important for us so this Website is SSL-Secured
NRG Mailing Address
Nautical Research Guild
237 South Lincoln Street
Westmont IL, 60559-1917
Model Ship World ® and the MSW logo are Registered Trademarks, and belong to the Nautical Research Guild (United States Patent and Trademark Office: No. 6,929,264 & No. 6,929,274, registered Dec. 20, 2022)
Helpful Links
About the NRG
If you enjoy building ship models that are historically accurate as well as beautiful, then The Nautical Research Guild (NRG) is just right for you.
The Guild is a non-profit educational organization whose mission is to “Advance Ship Modeling Through Research”. We provide support to our members in their efforts to raise the quality of their model ships.
The Nautical Research Guild has published our world-renowned quarterly magazine, The Nautical Research Journal, since 1955. The pages of the Journal are full of articles by accomplished ship modelers who show you how they create those exquisite details on their models, and by maritime historians who show you the correct details to build. The Journal is available in both print and digital editions. Go to the NRG web site (www.thenrg.org) to download a complimentary digital copy of the Journal. The NRG also publishes plan sets, books and compilations of back issues of the Journal and the former Ships in Scale and Model Ship Builder magazines.

