HOLIDAY DONATION DRIVE - SUPPORT MSW - DO YOUR PART TO KEEP THIS GREAT FORUM GOING! (Only 72 donations so far out of 49,000 members - Can we at least get 100? C'mon guys!)
×


kramer
-
Posts
67 -
Joined
-
Last visited
Content Type
Profiles
Forums
Gallery
Events
Everything posted by kramer
-
 If adding the bowsprit before varnishing the hull is best then yes. Going by the directions included with the kit, it has me varnishing the hull and all the wooden parts that have to be incorporated to the ship including clump blocks and chain plates before building and installing the bowsprit. But if you think the bowsprit before varnishing I'll go with your expertise. You haven't steered me wrong yet! The instructions have me doing the bowsprit before any rigging and masting, so I'd only be out of sequence a few steps. I know these instructions aren't always accurate and certainly not detailed, so I will definitely go with experienced opinions. Also, you're saying the raw wood surface is easier to glue to than varnished? Makes sense. The instructions don't say anything about varnishing the deck, should I not varnish the deck?
 -
Thanks Keith! Waiting on some varnish for the hull and some paint and I'll be ready to drive on. I also emailed OcCre about getting some replacement pins. They've been good about sending parts that were short from the kit last time I asked them for some planks. If they don't send me brass pins I'll just paint the wooden ones.

-
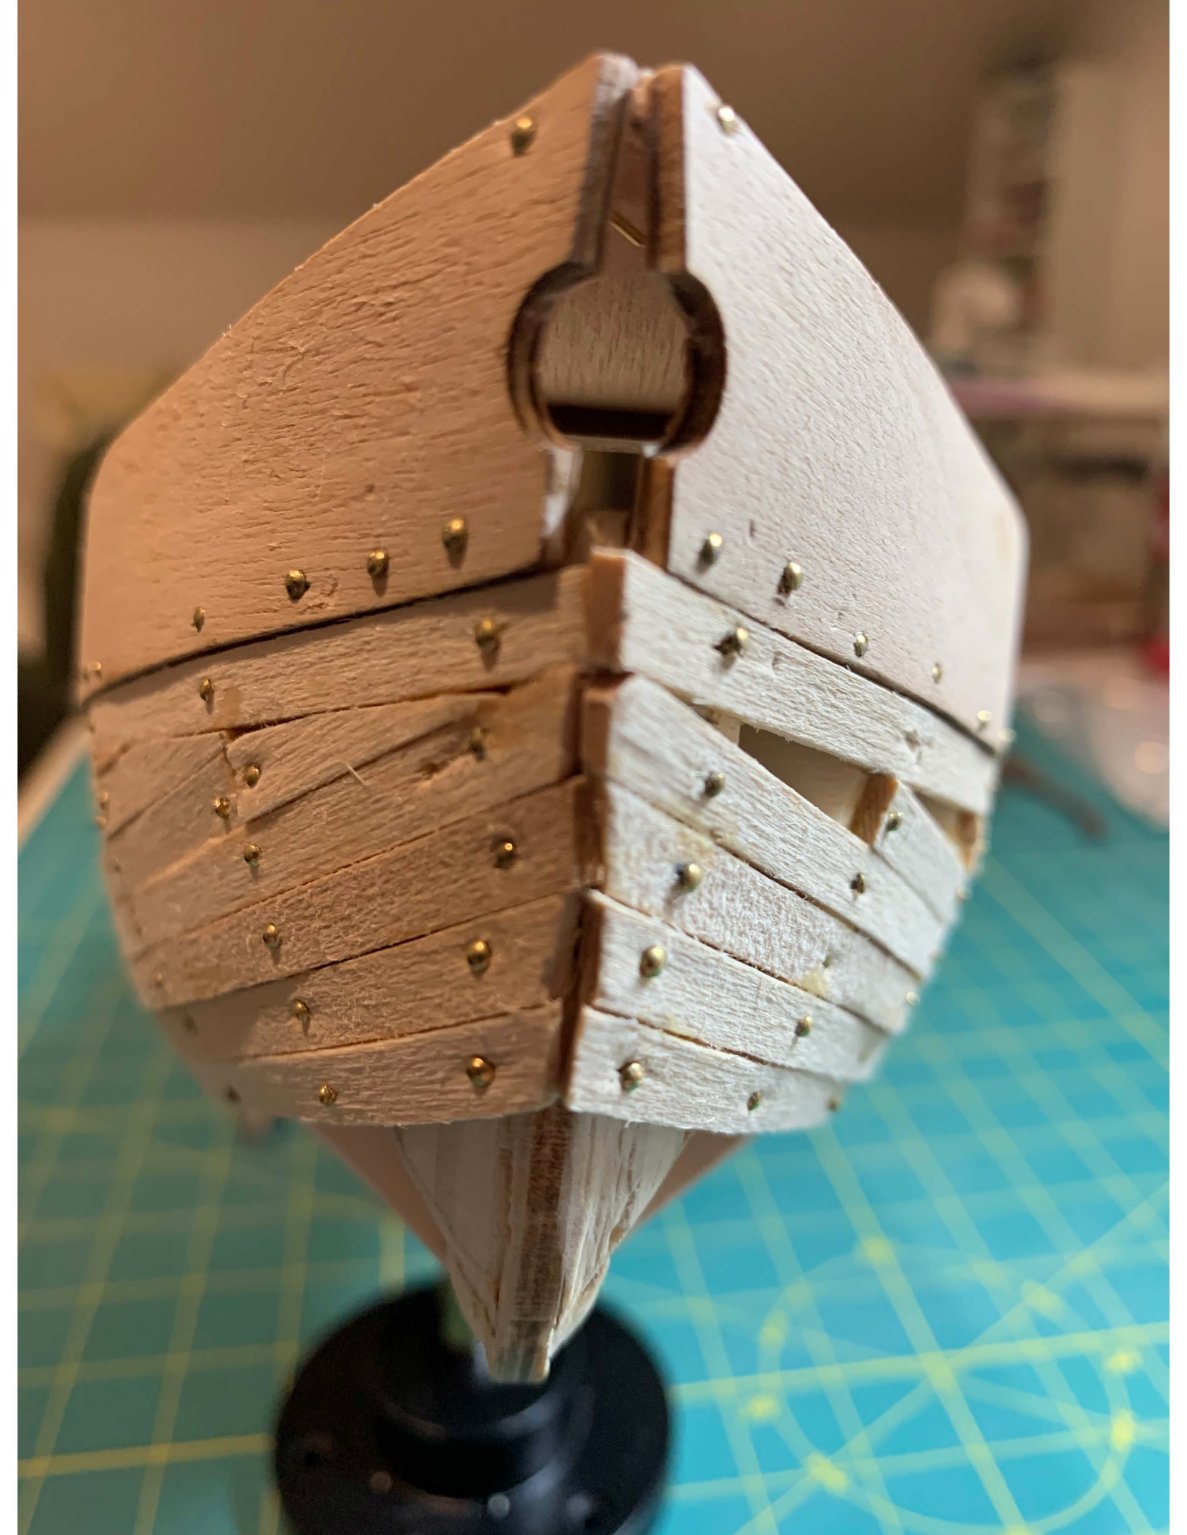
I wanted to post a question to the group about metal parts on the ship's deck. The belaying pins that came with the OcCre kit are supposed to be metal, but they're wood. So I need to paint them to look like metal. The pins in the picture in the manual look gold, so I guess they're supposed to be brass. I had this bronze paint laying around that looks pretty nice, so I painted one to see how it would look. I think it looks pretty good, but I don't want to commit a faux pas in model ship building by painting a part to look like a metal that wouldn't be used for a 1850s American Schooner. I know this build isn't going to be extremely accurate. I have to buy some paint anyway, should I buy gold paint or is it a big deal?

-
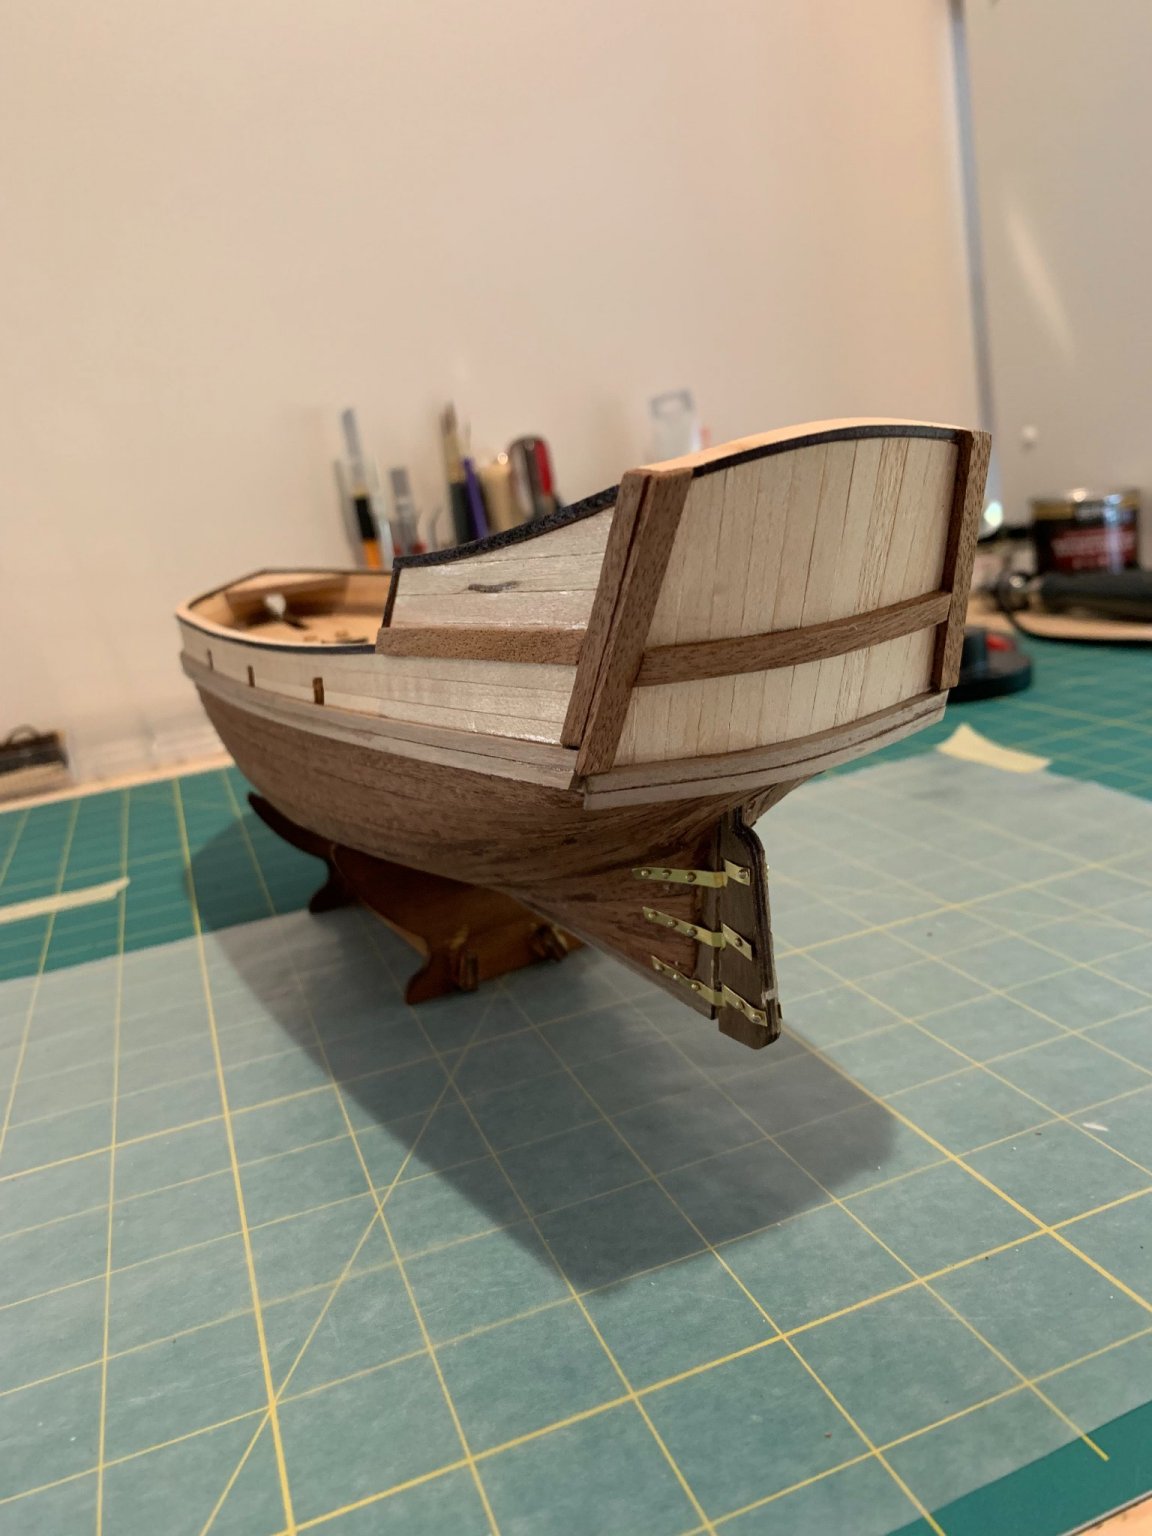
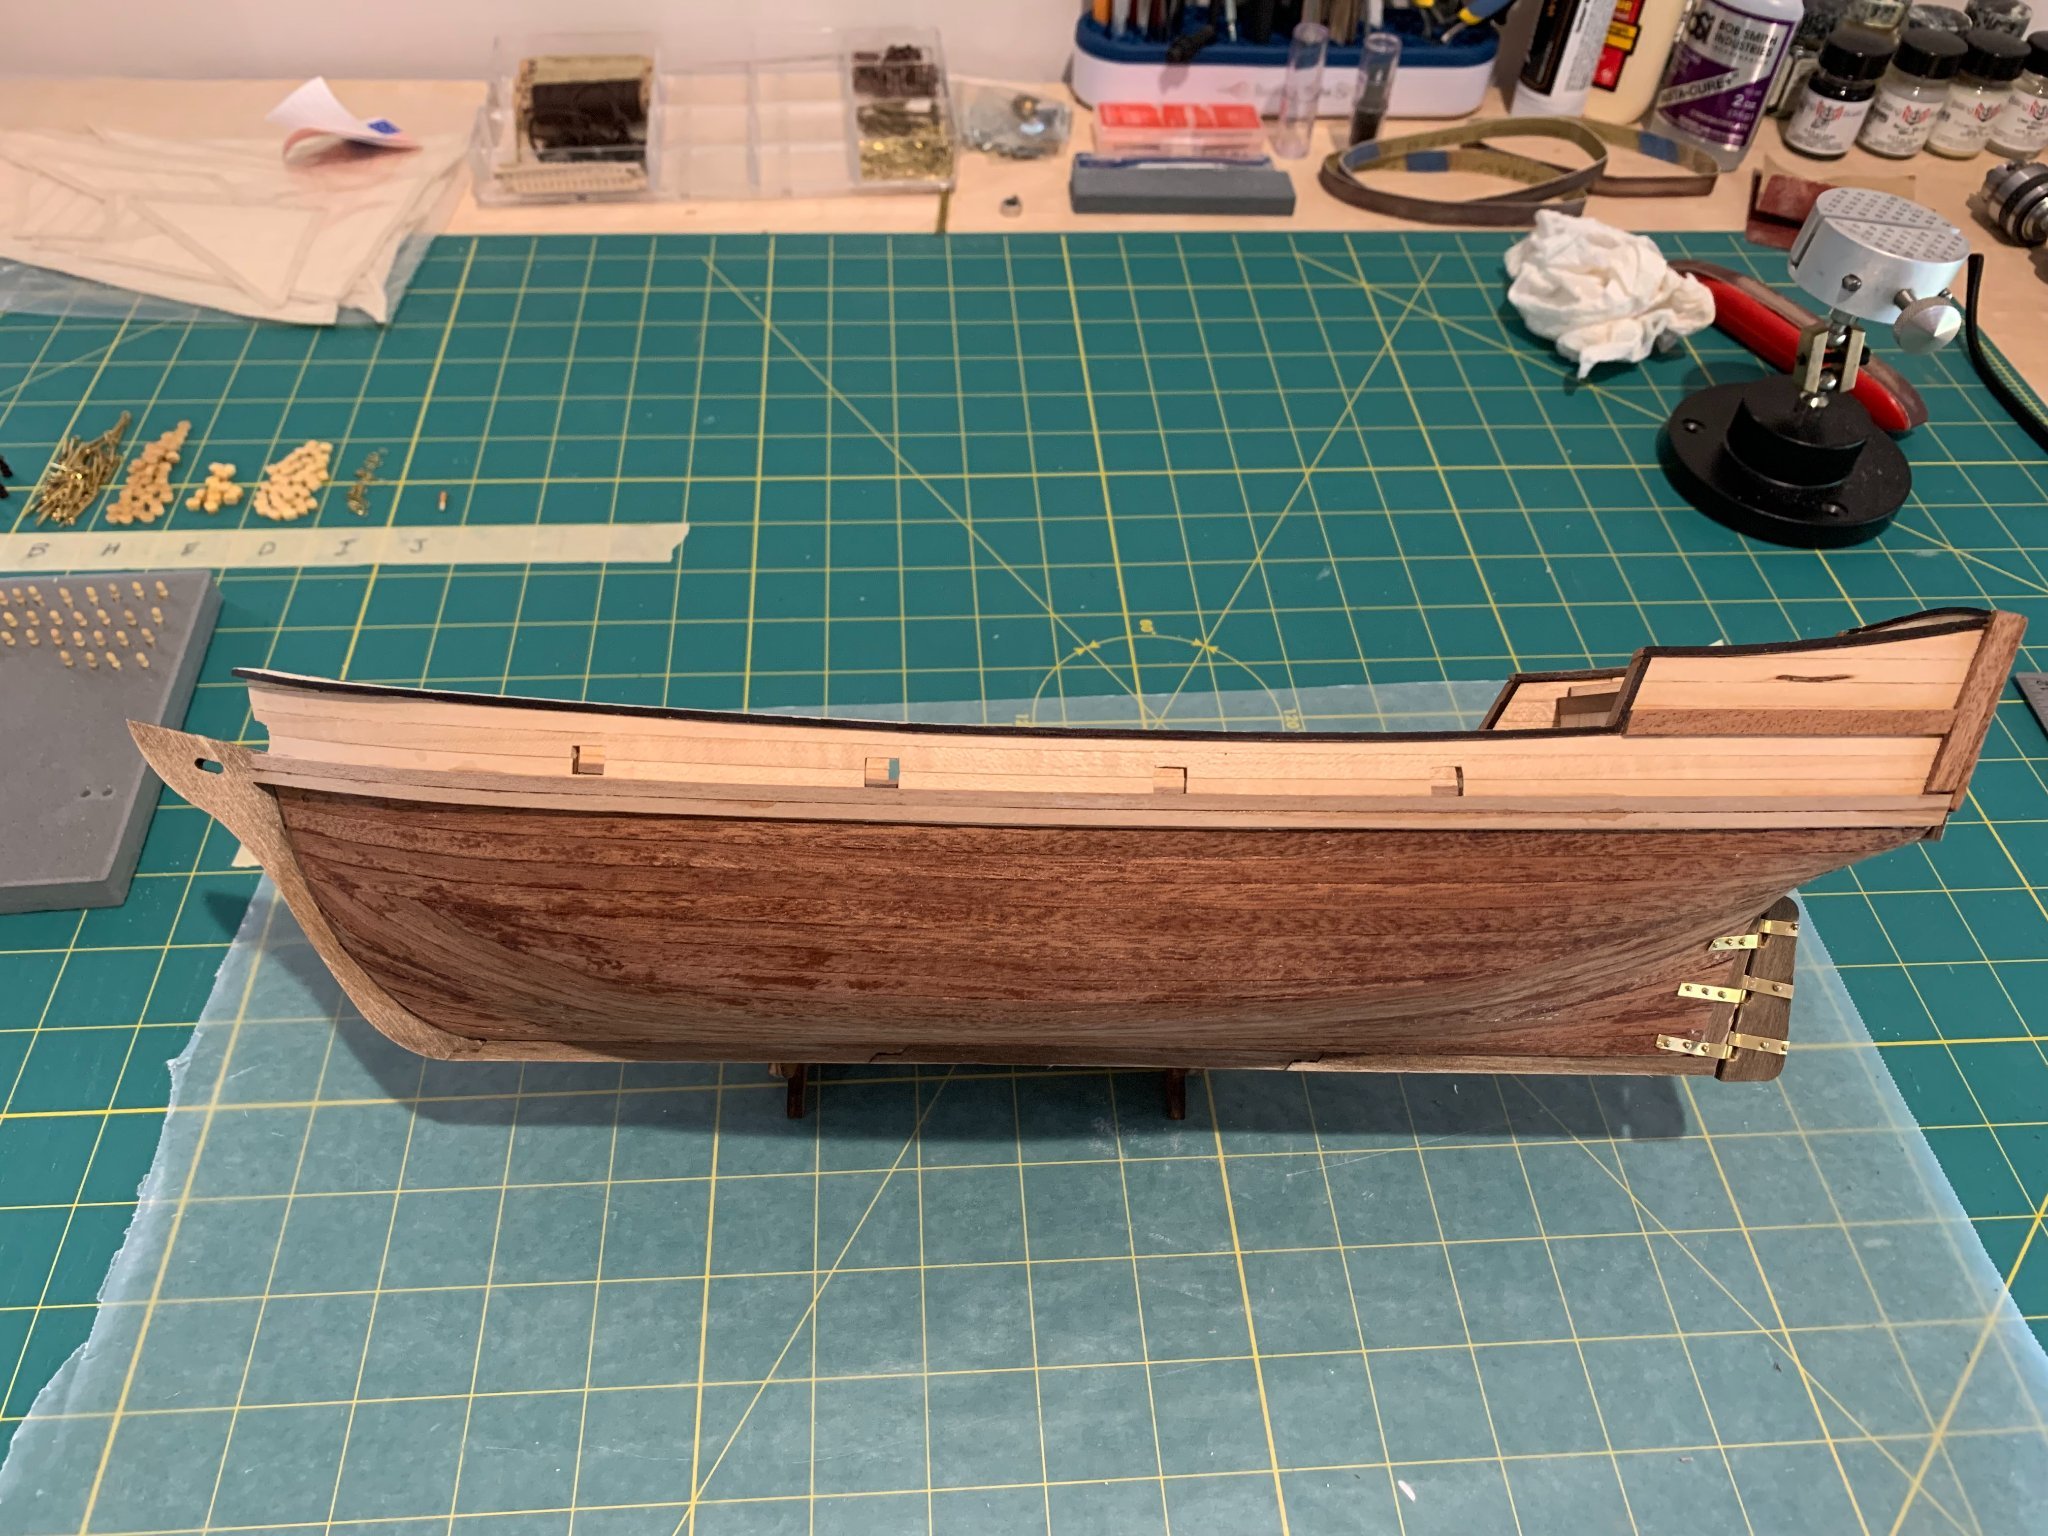
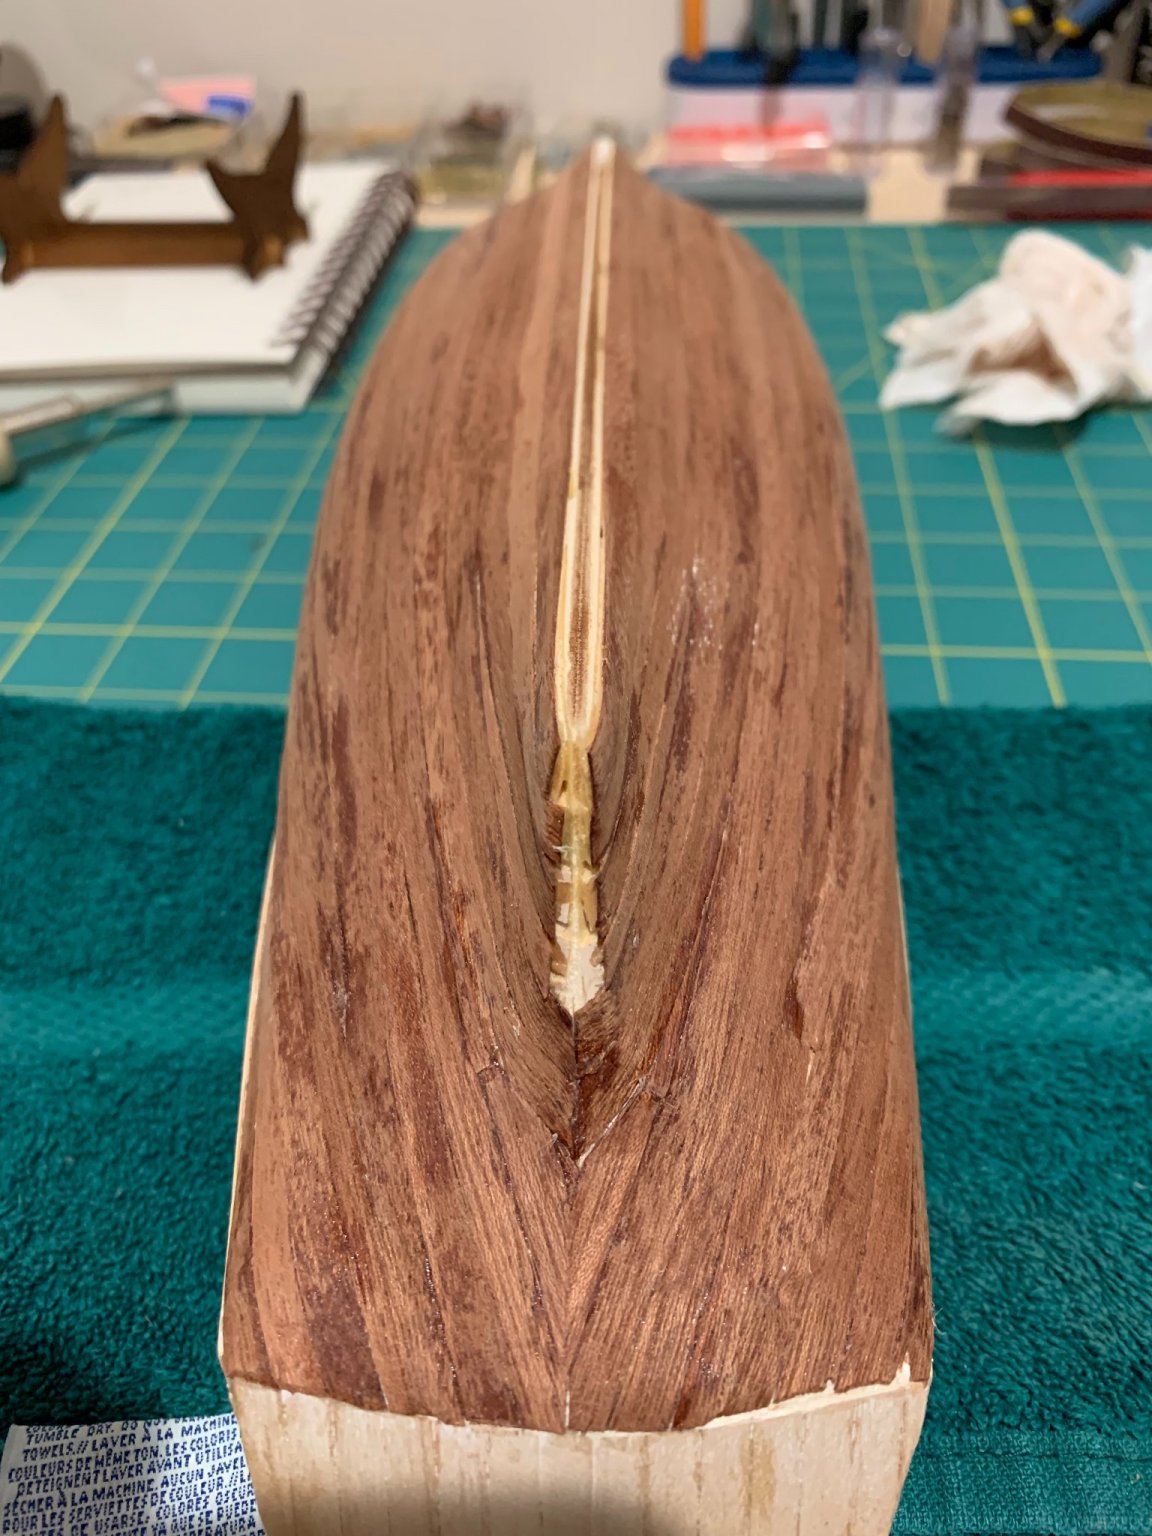
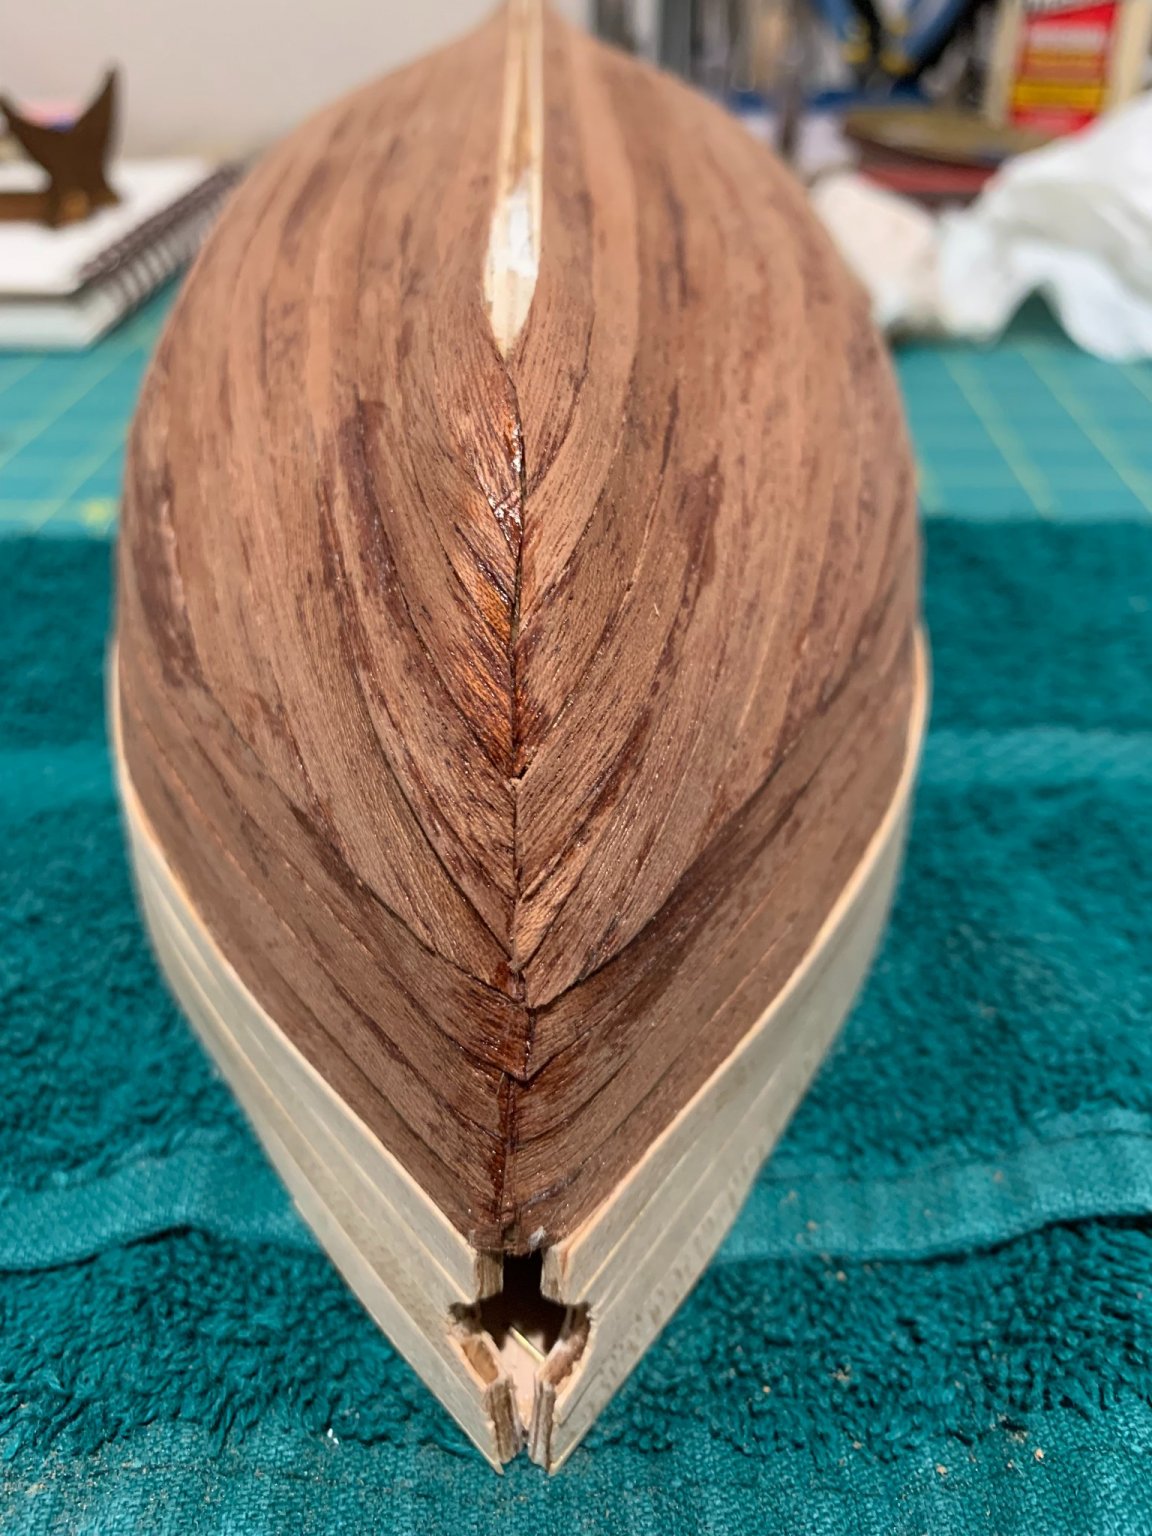
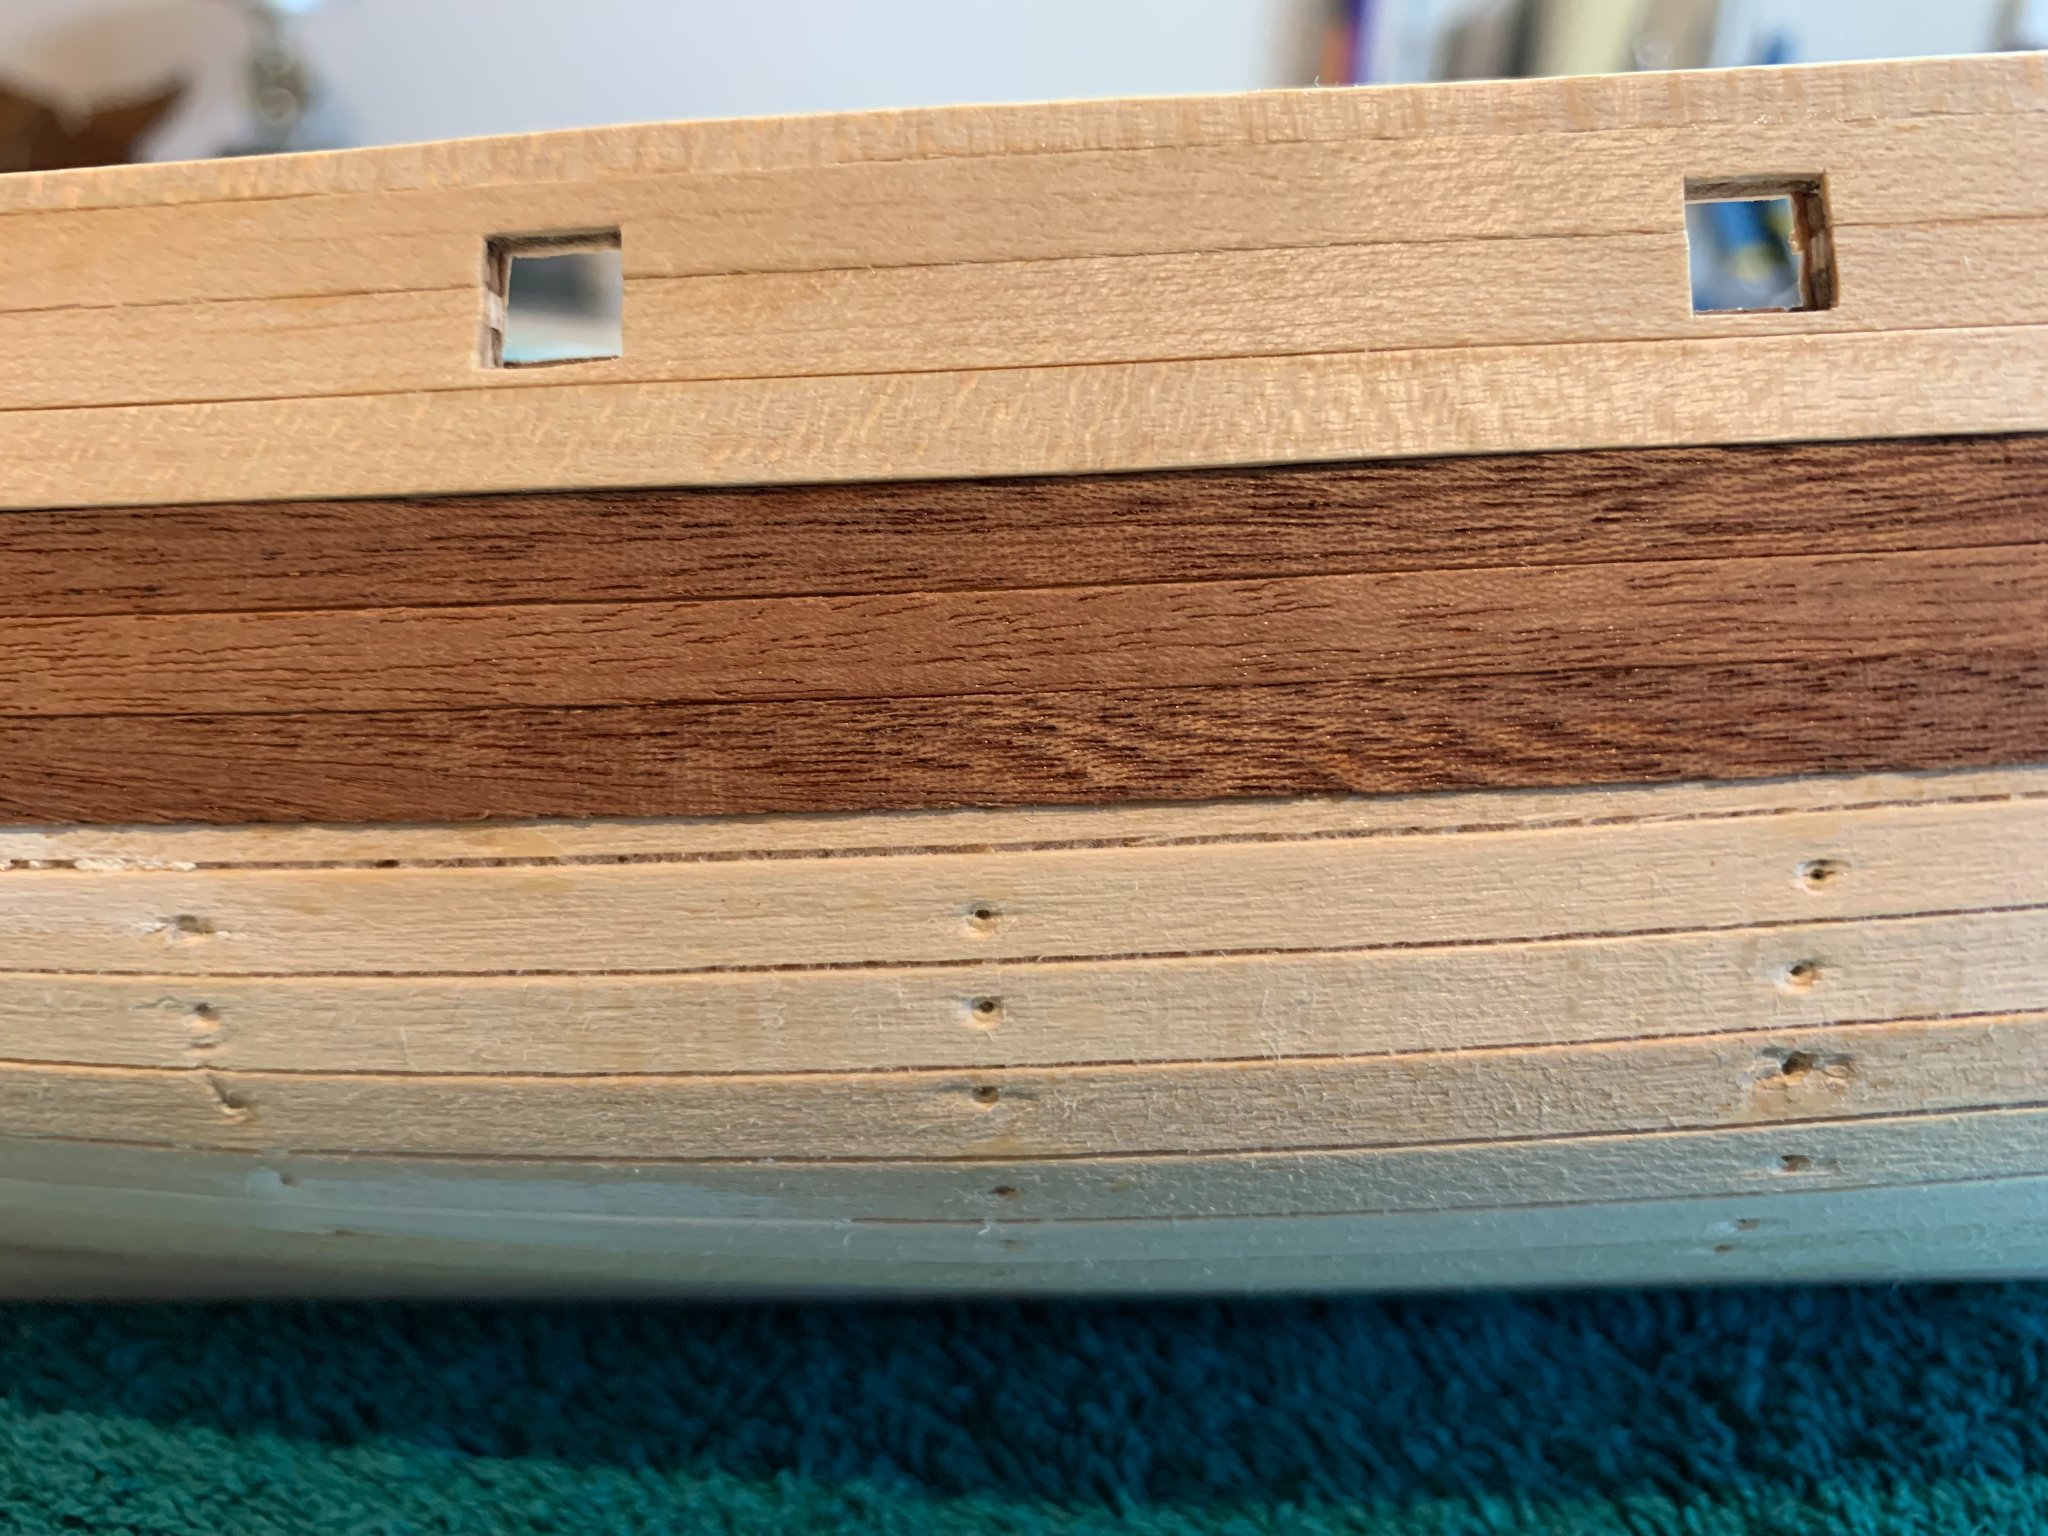
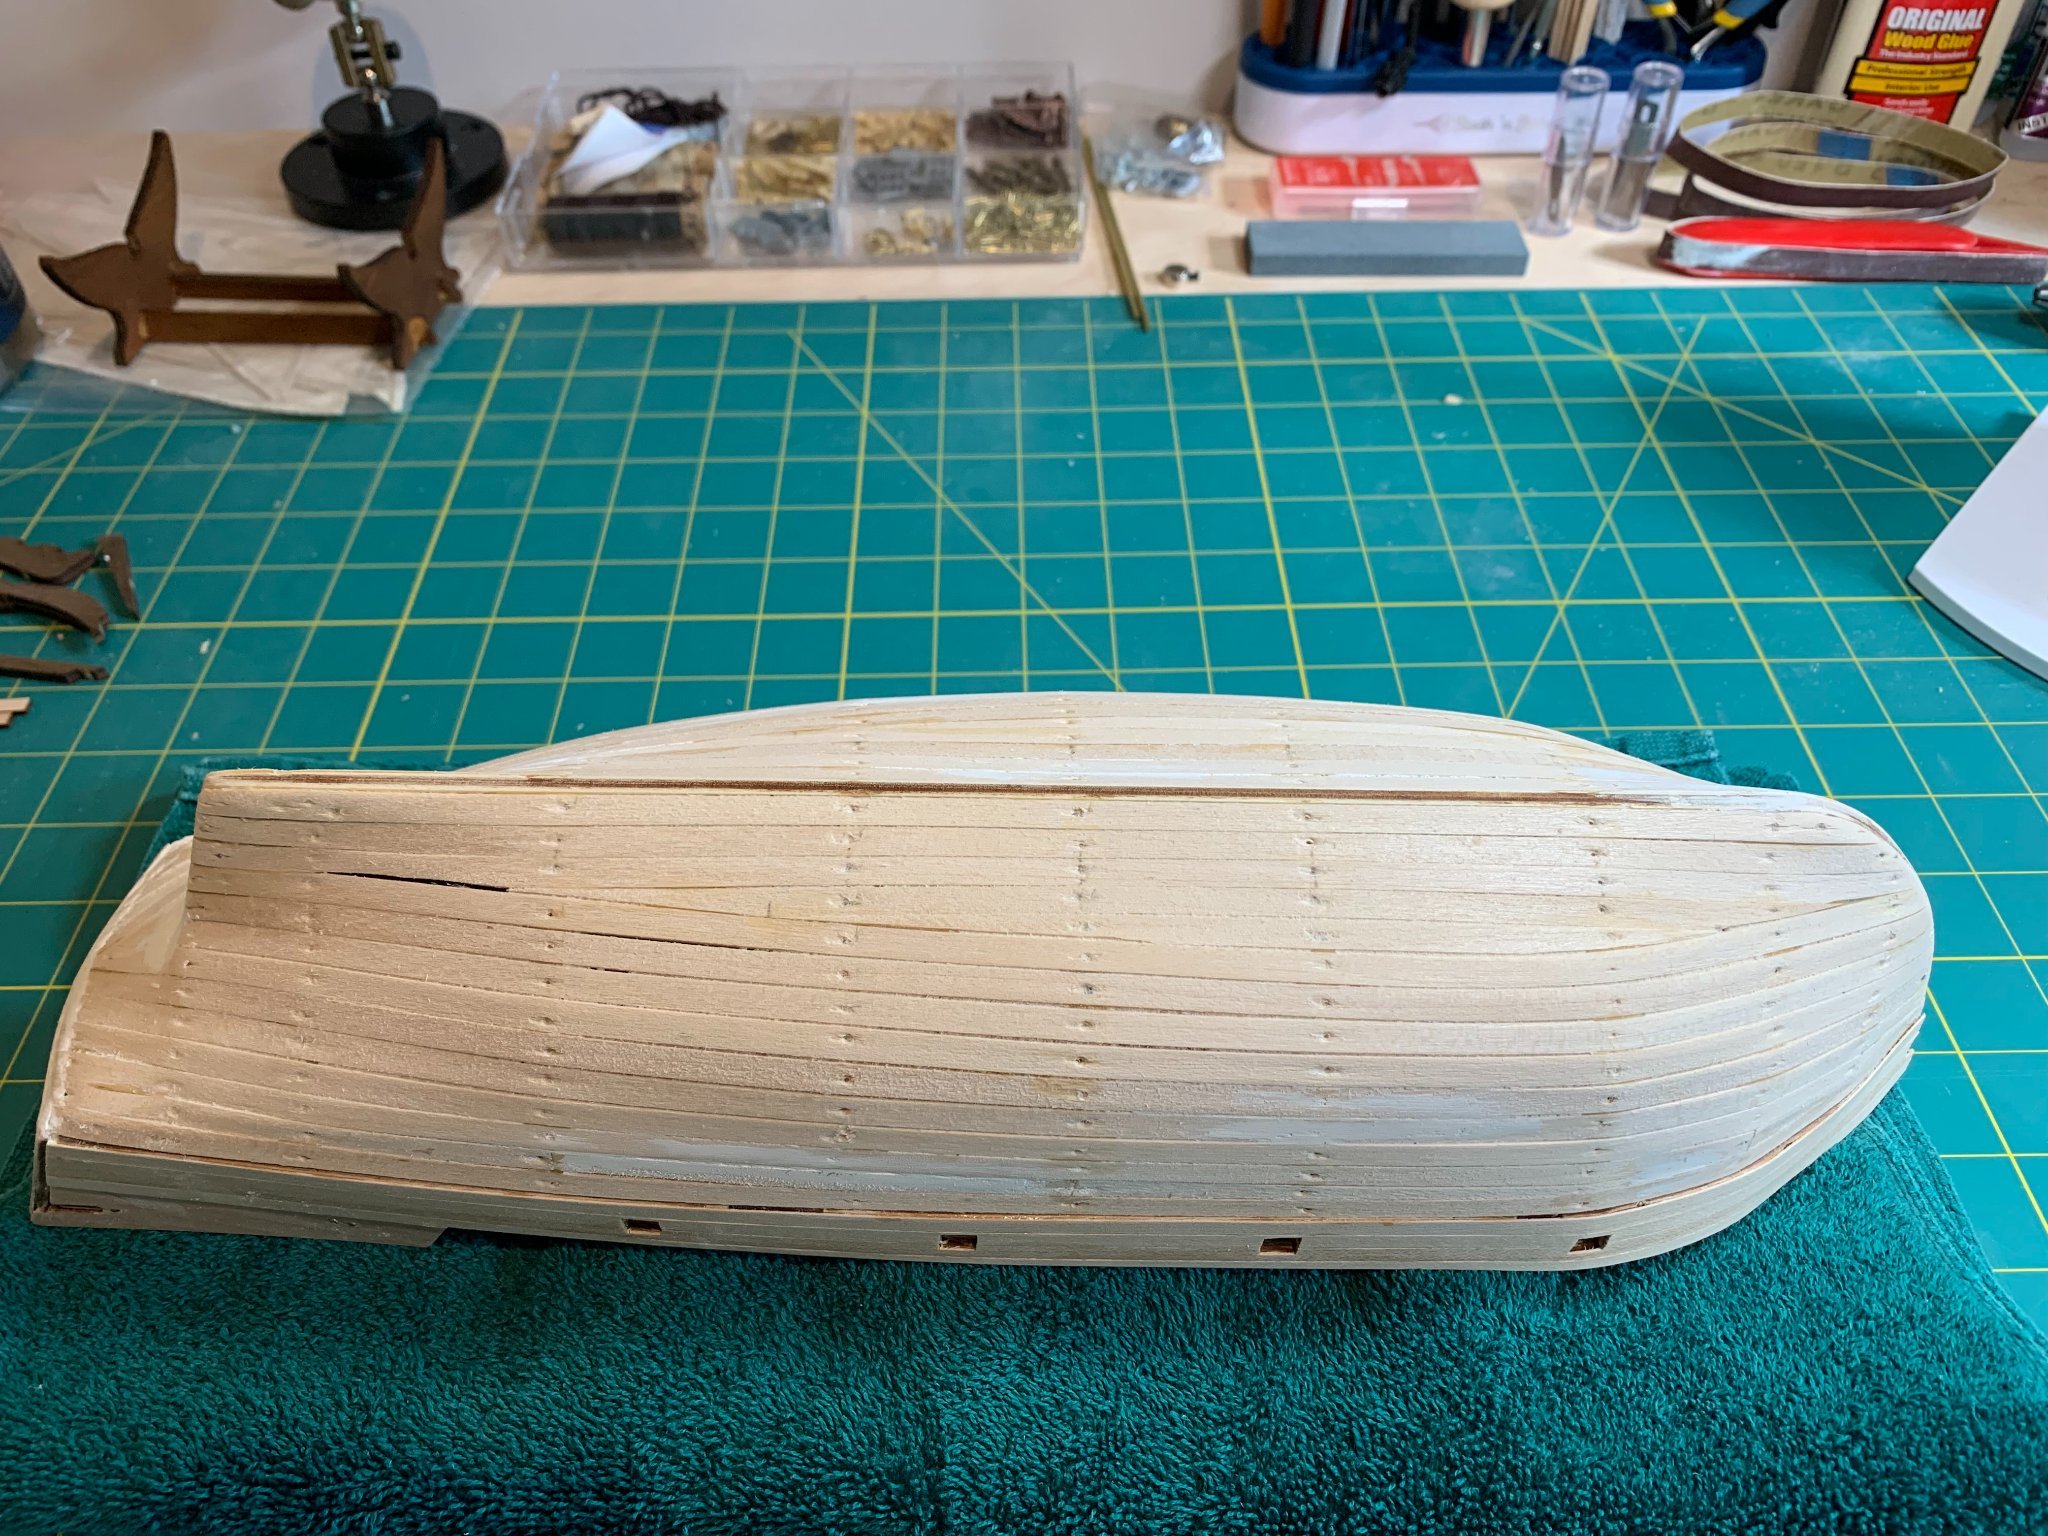
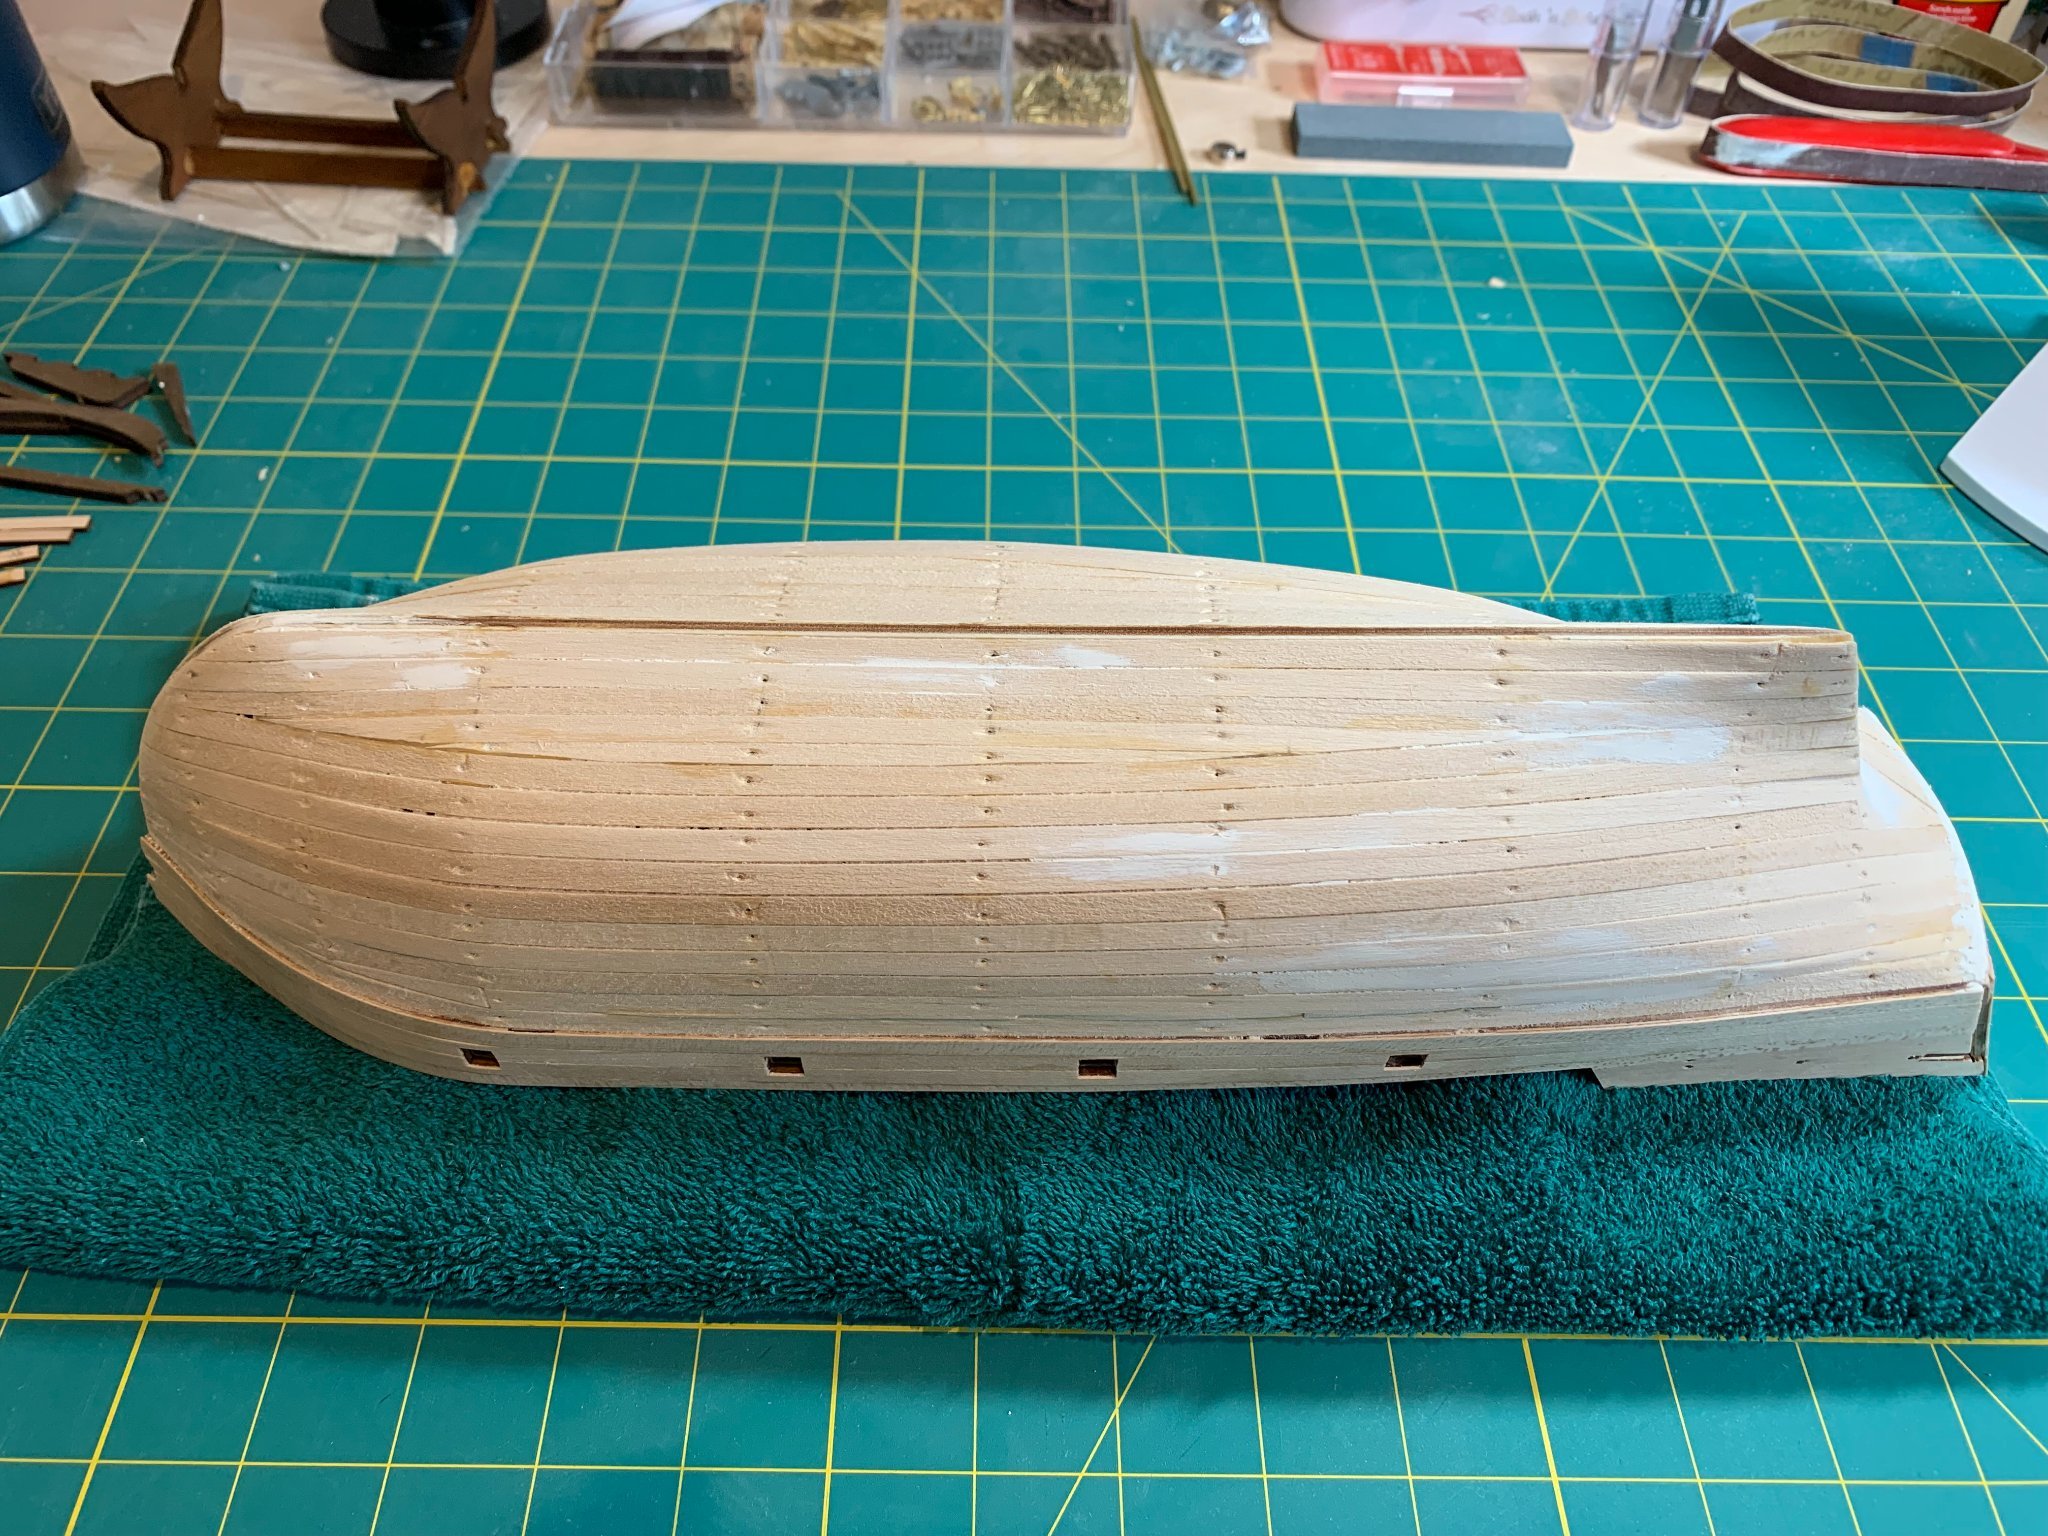
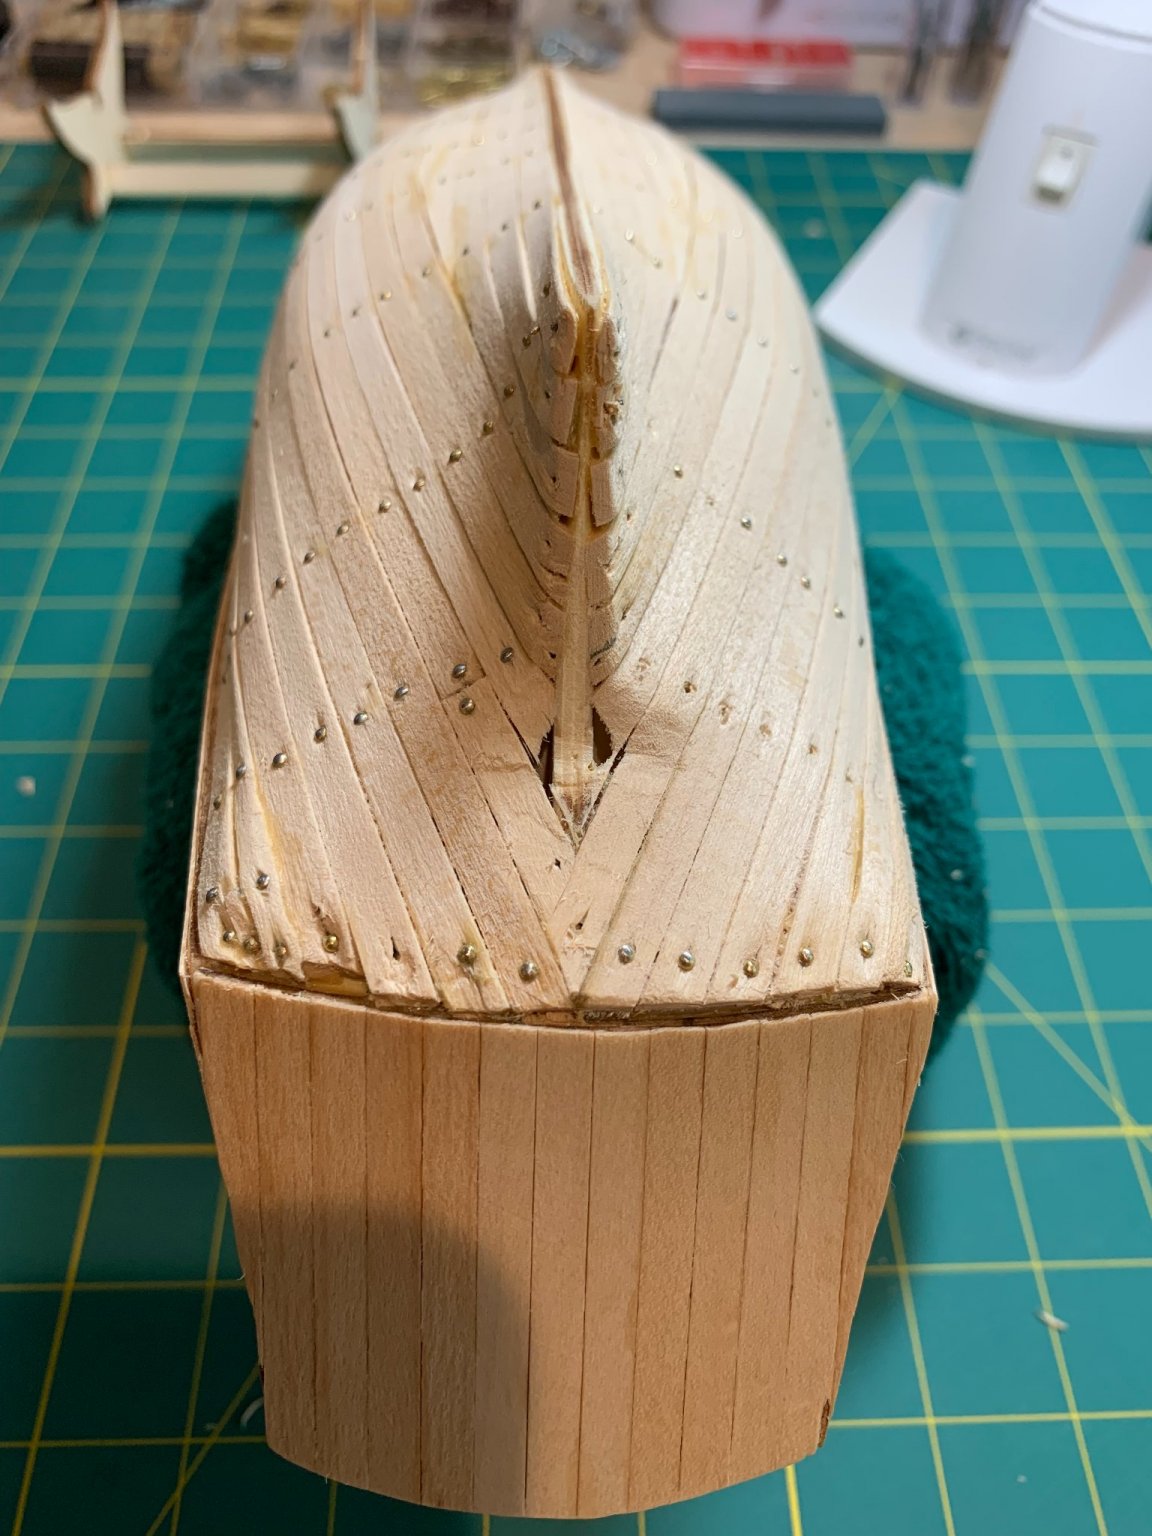
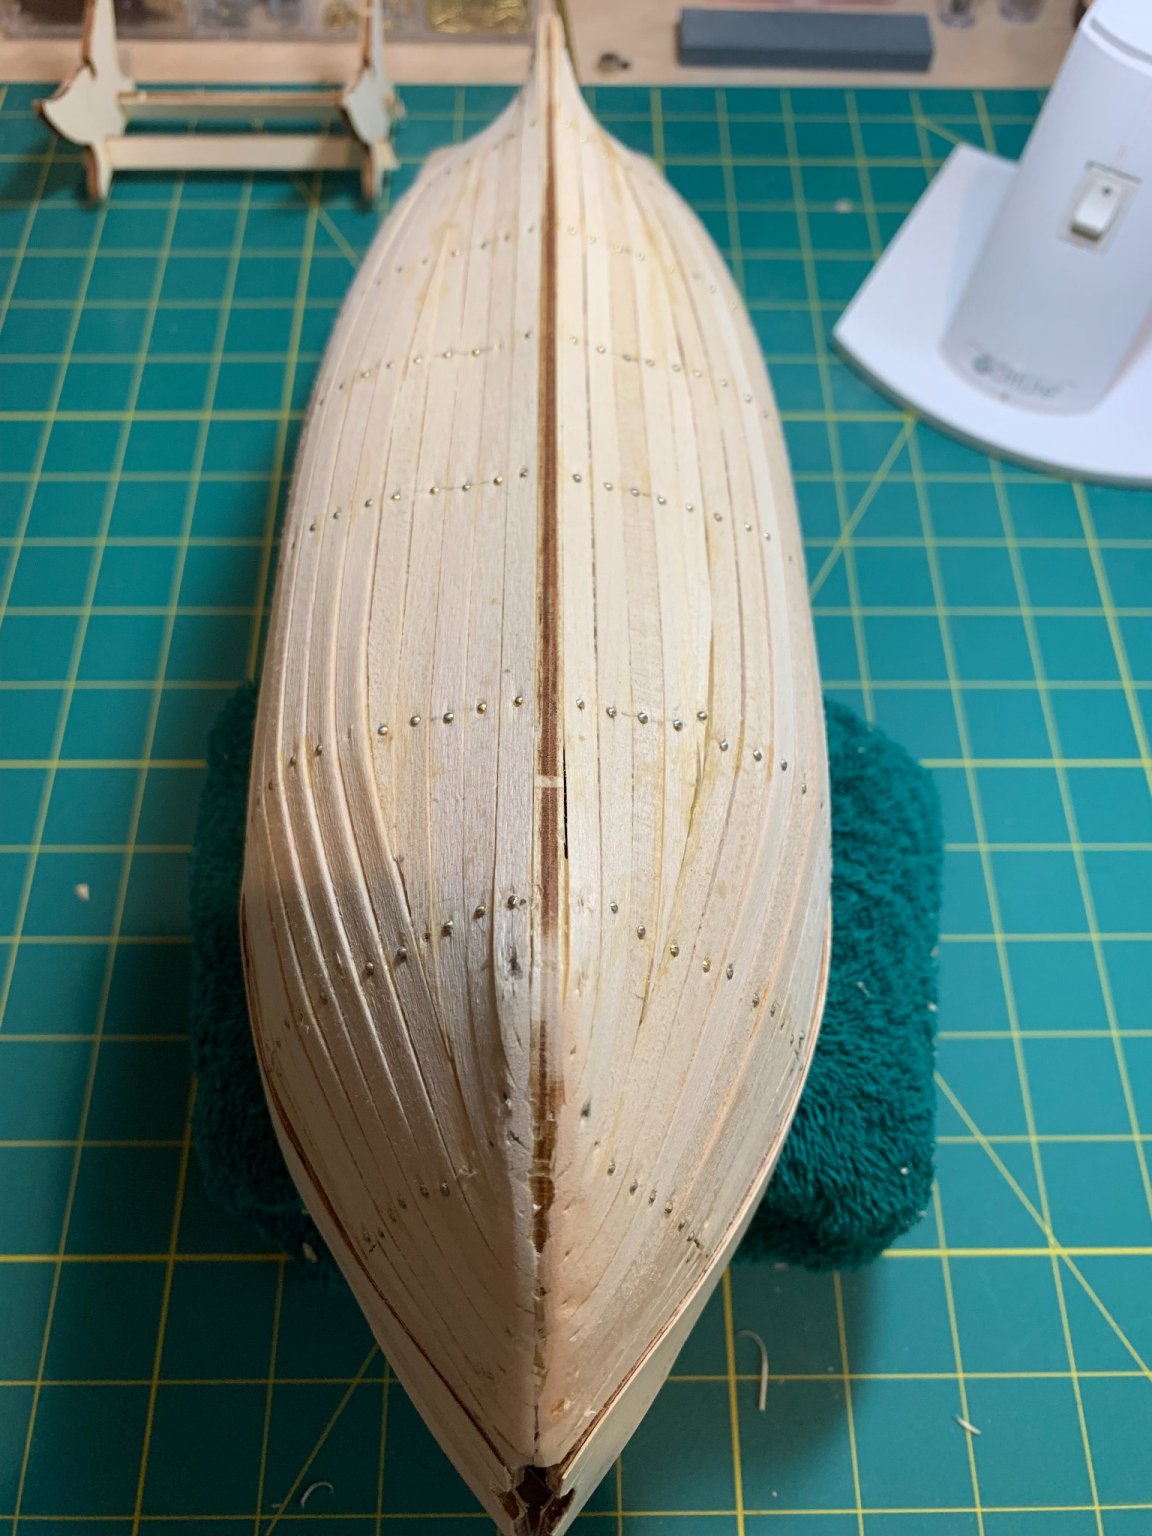
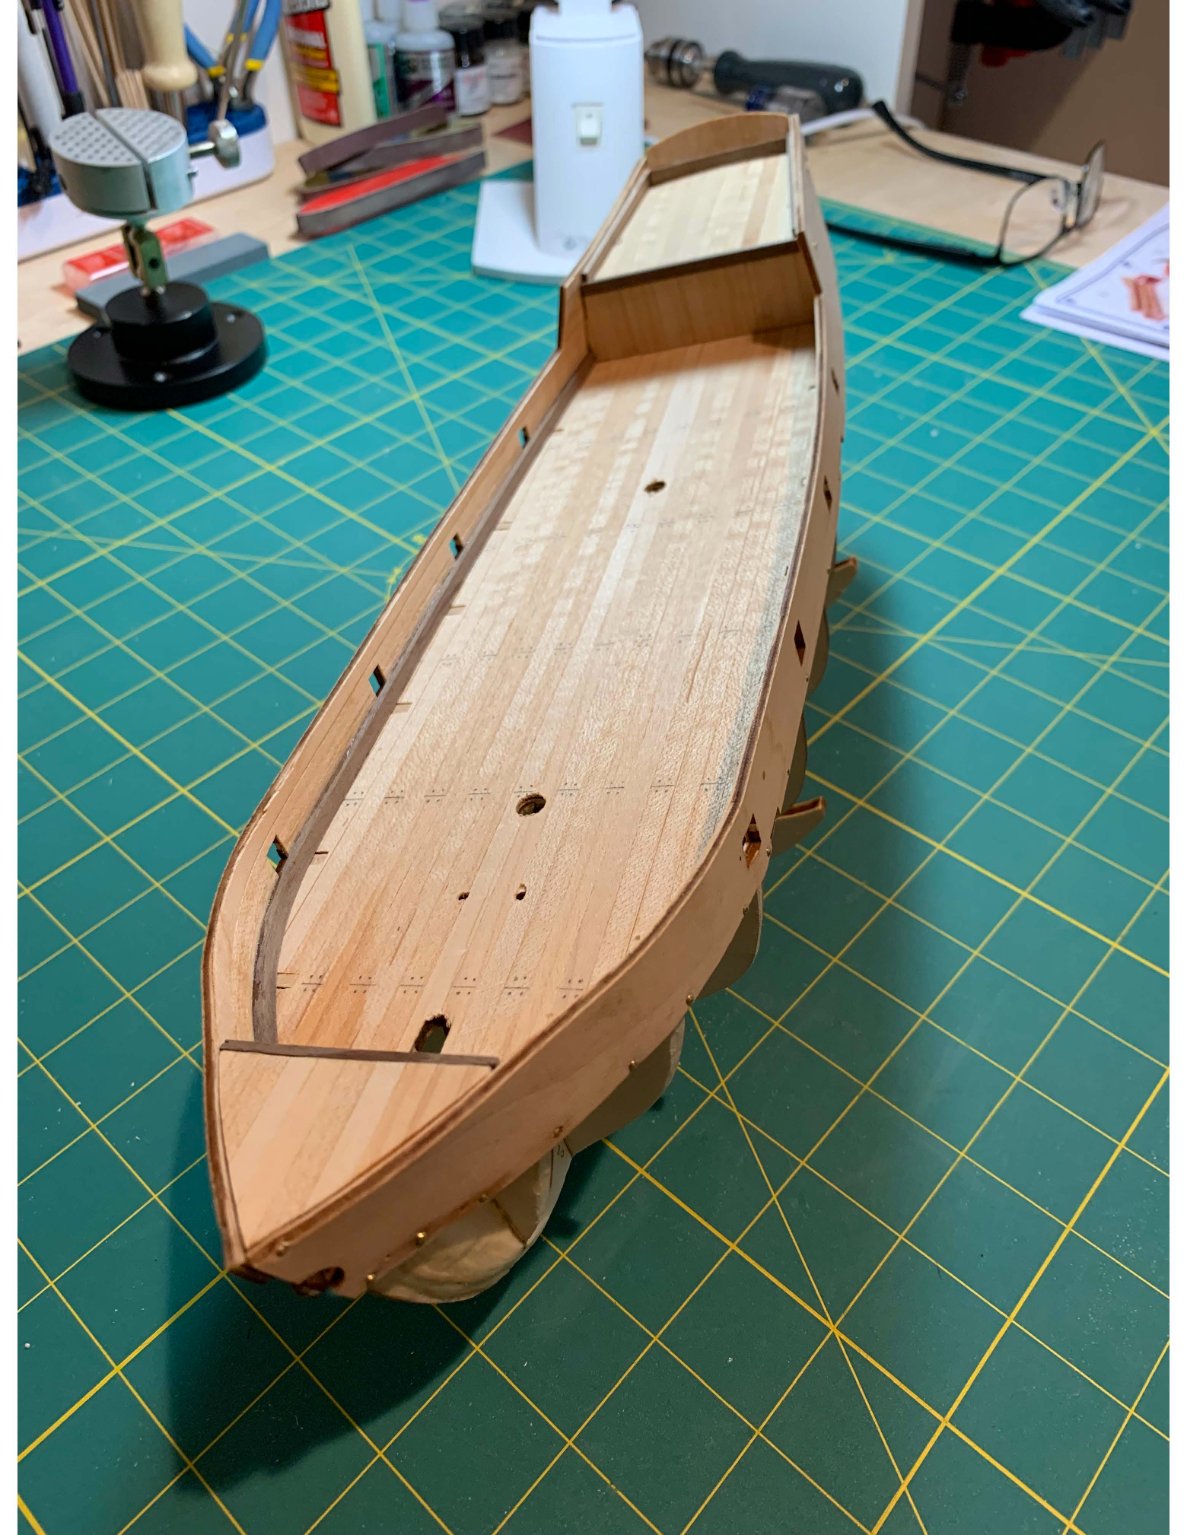
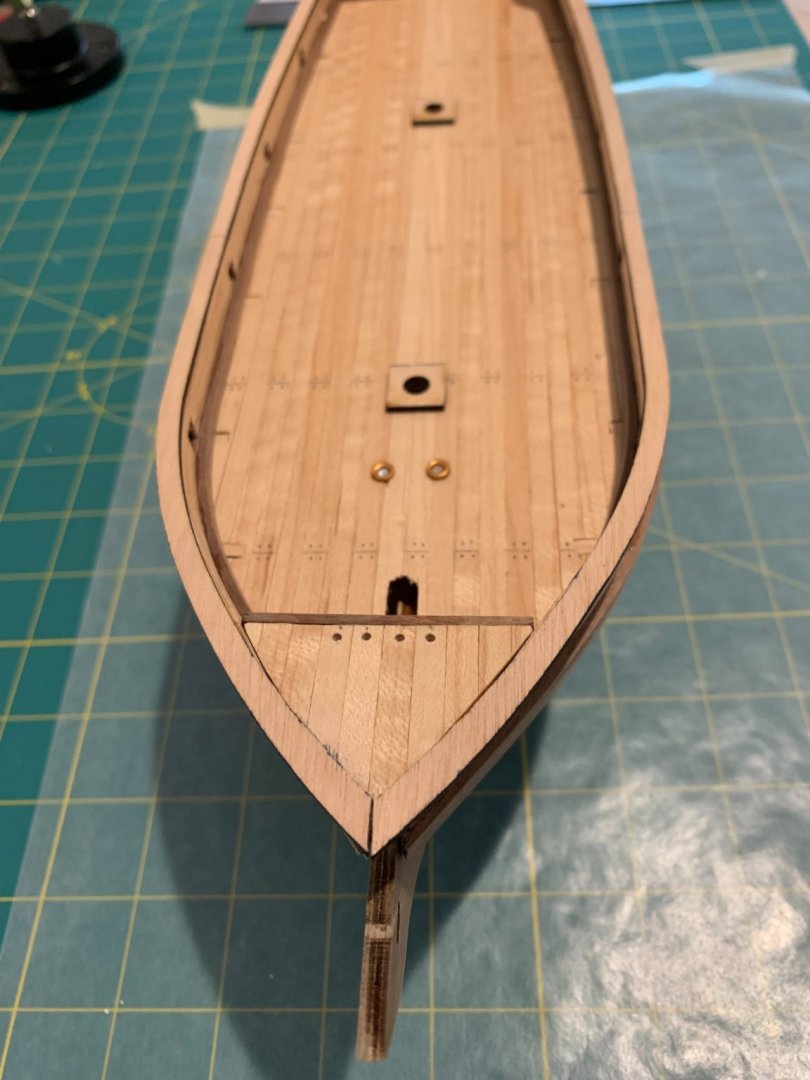
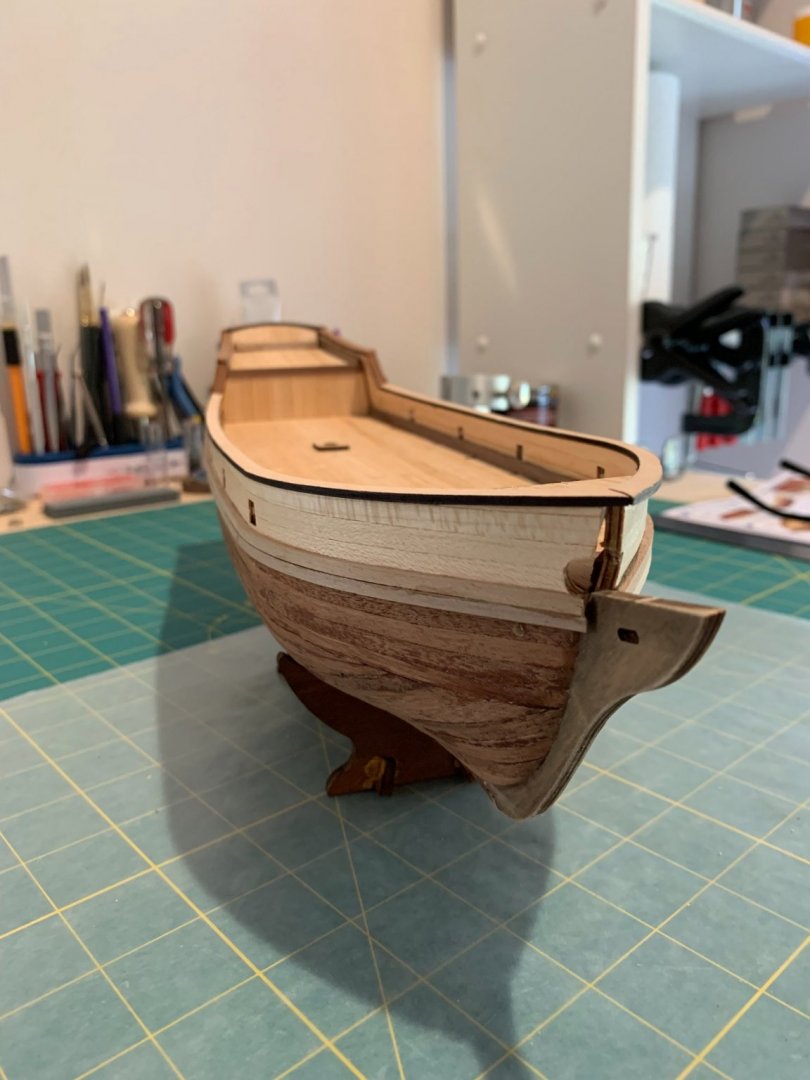
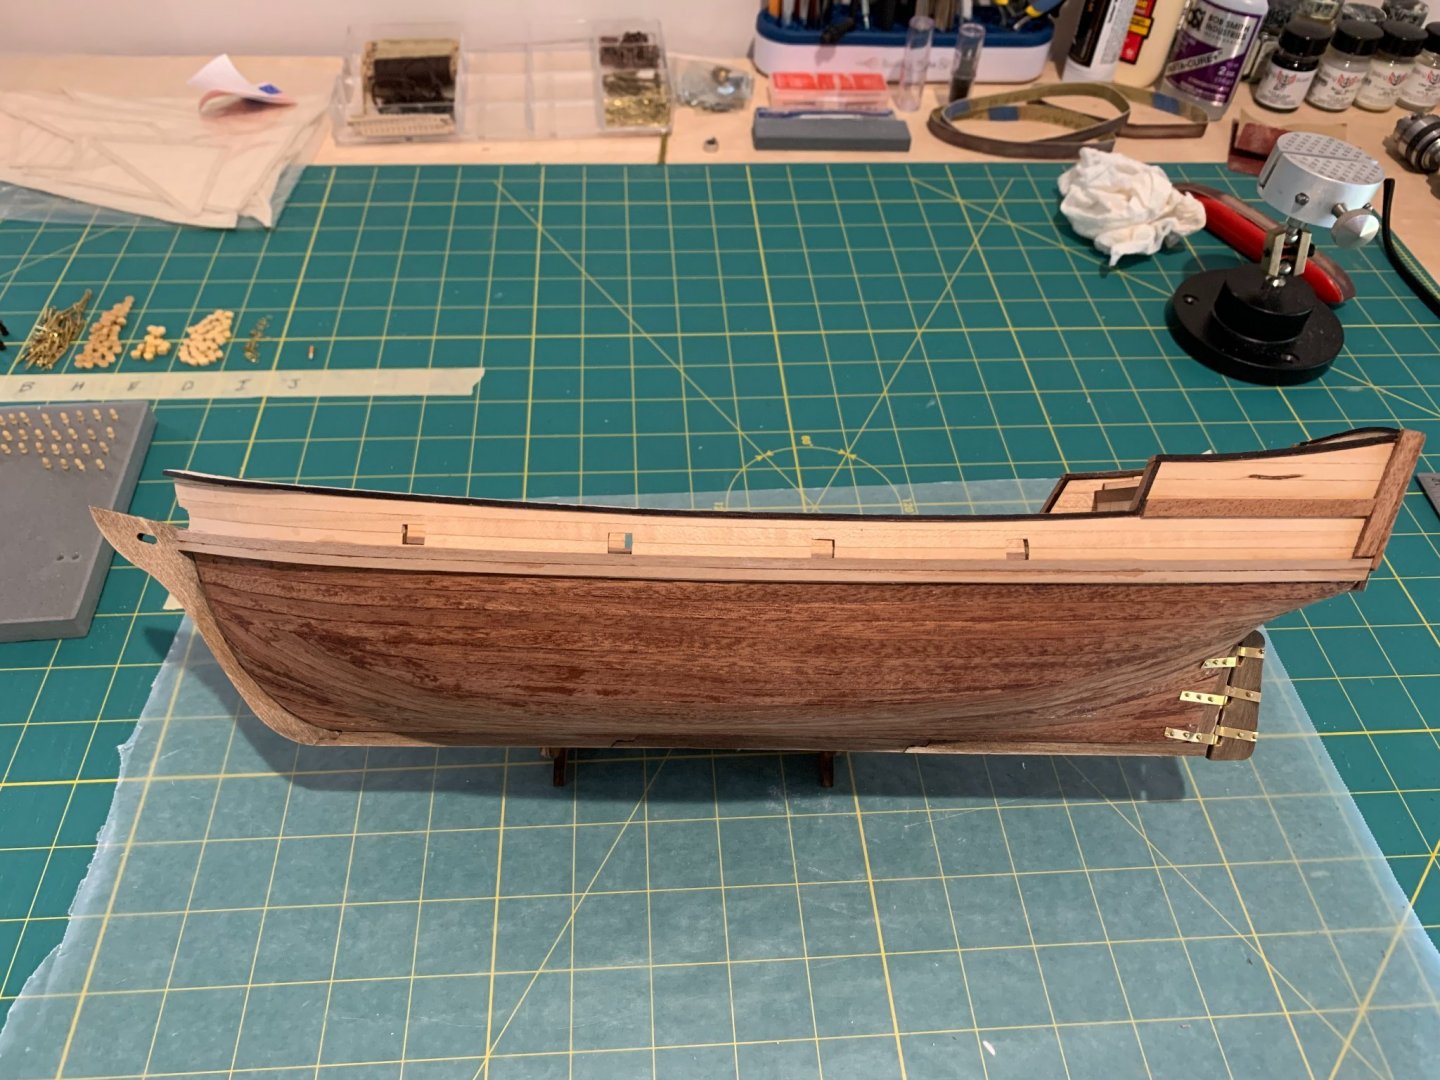
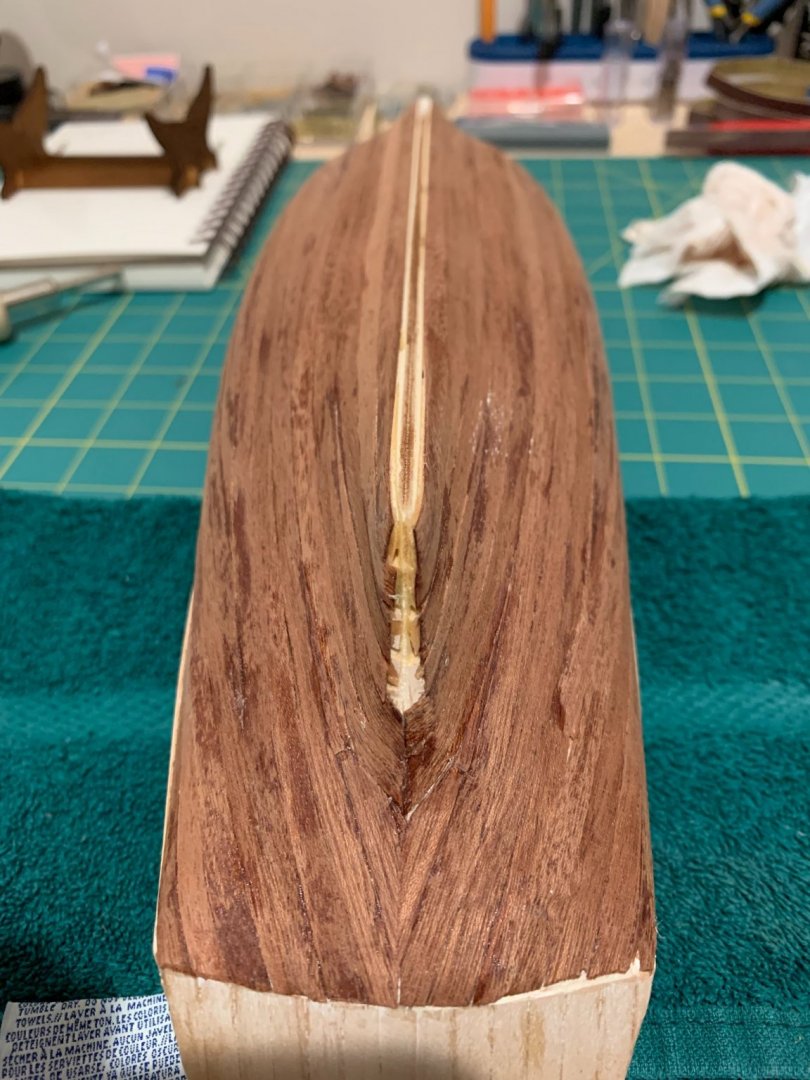
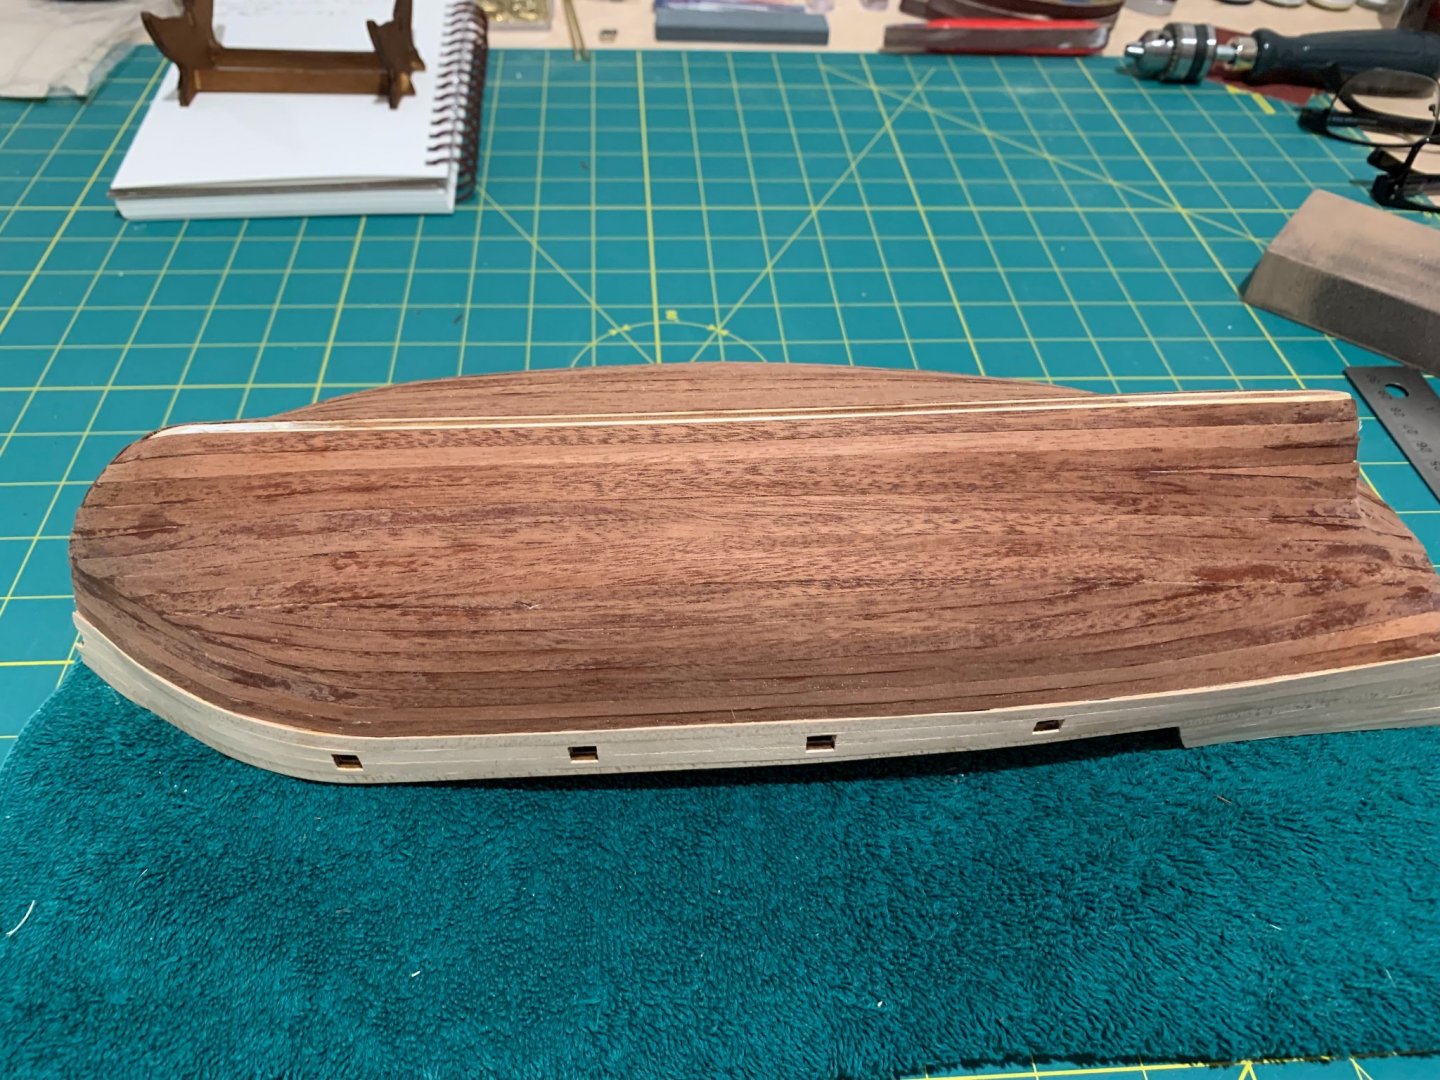
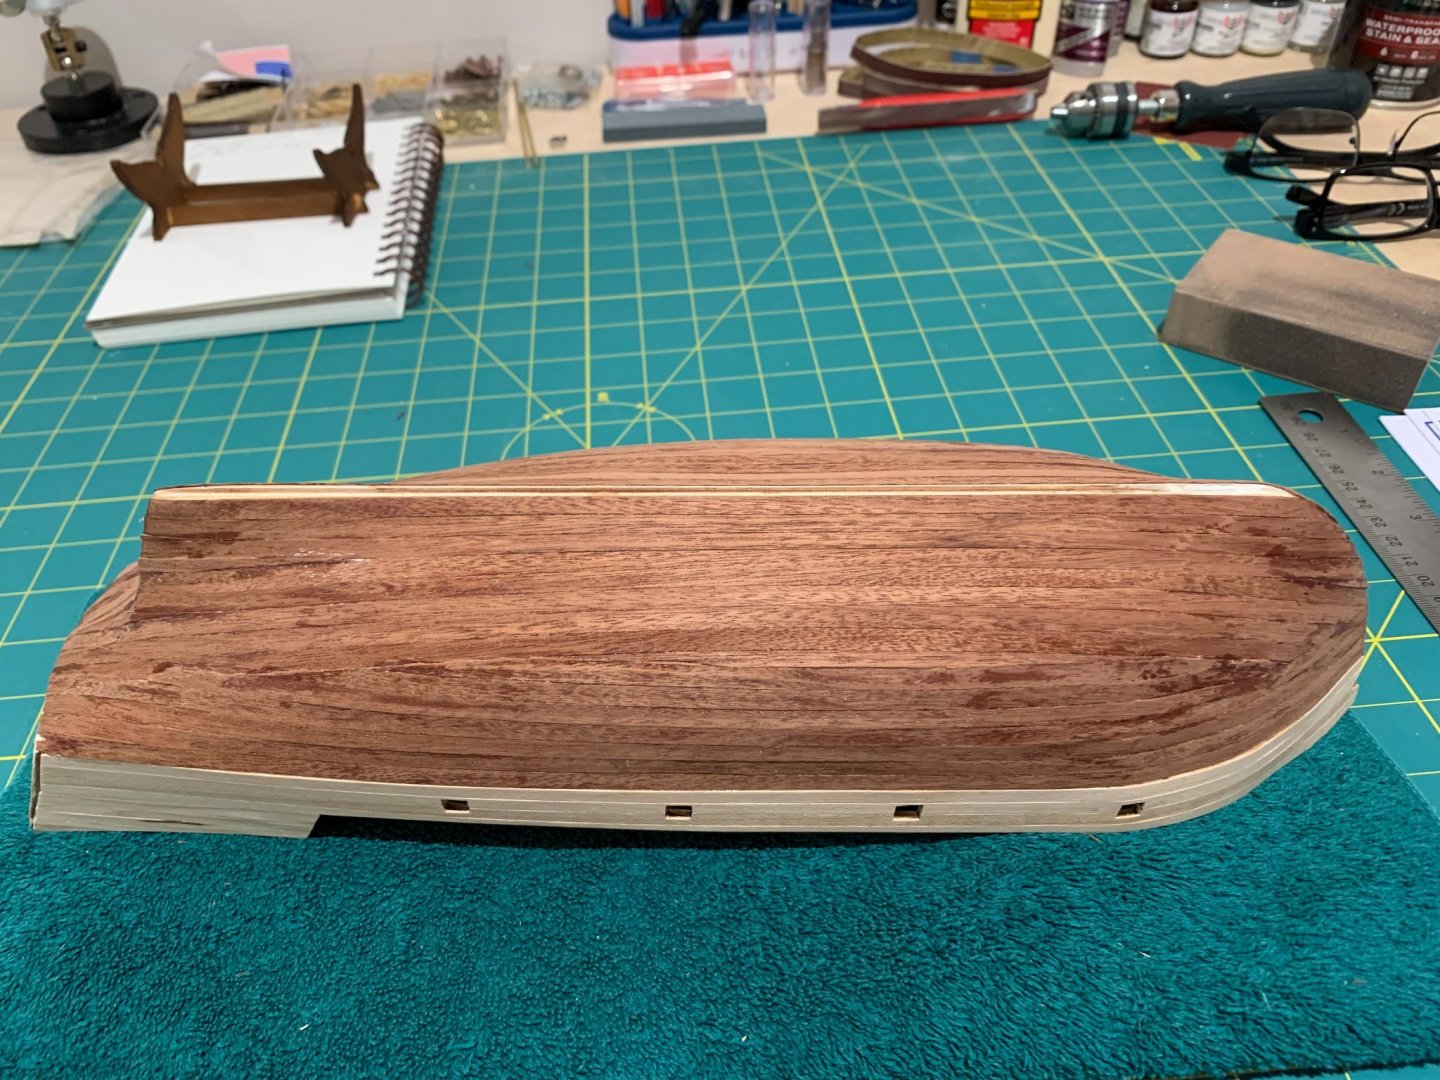
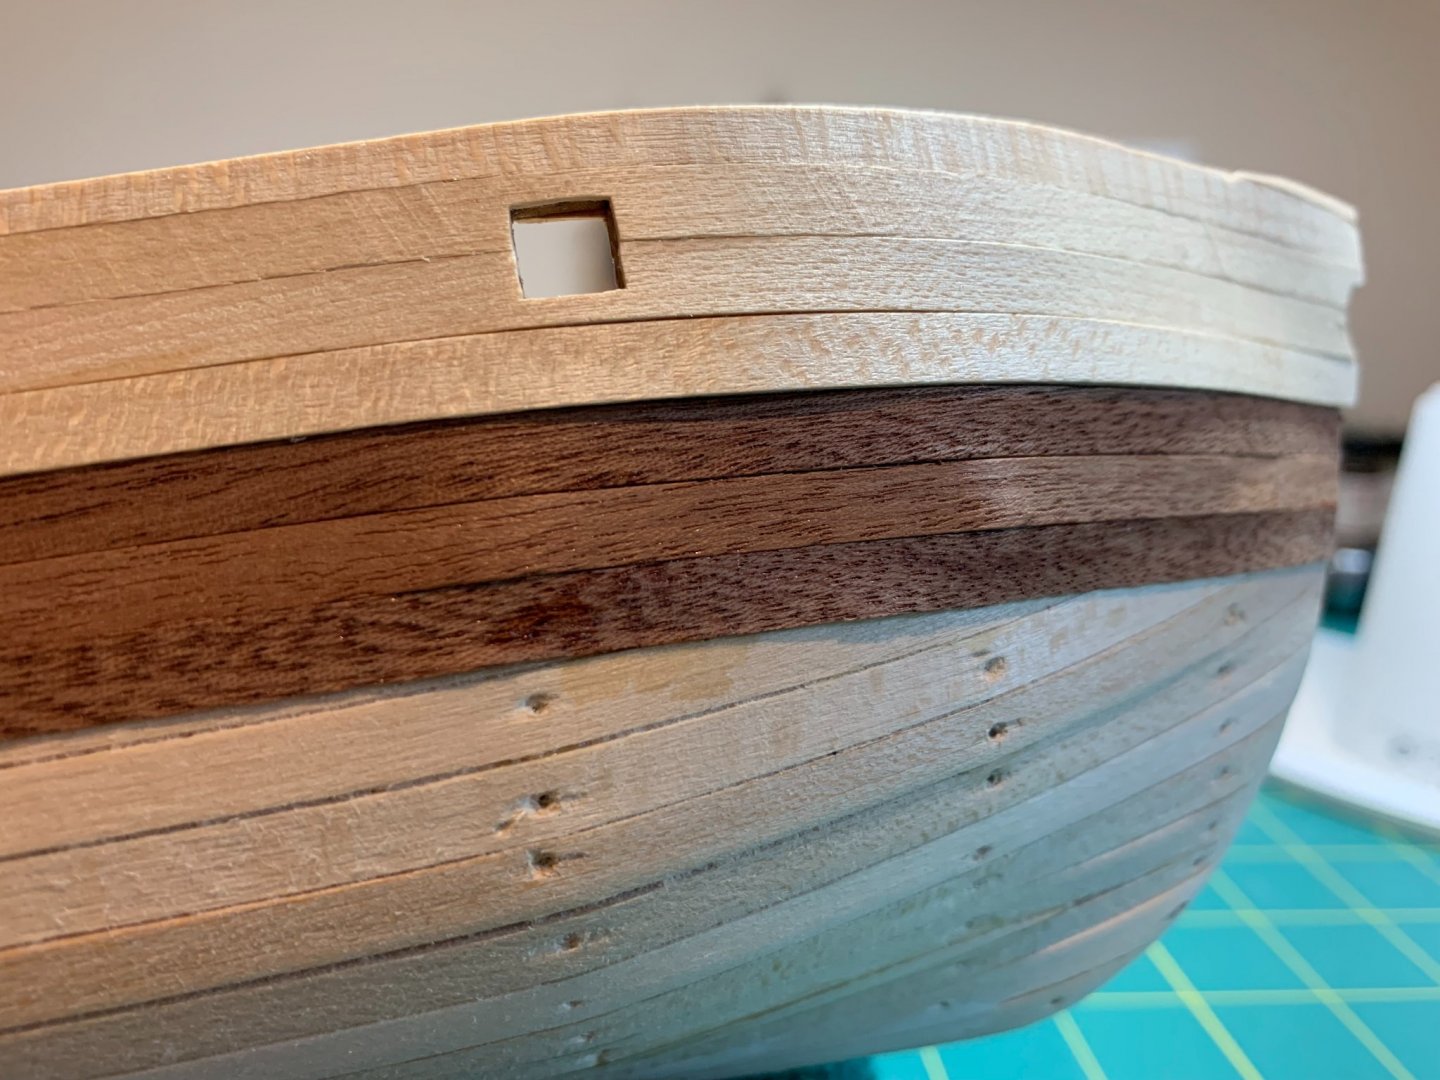
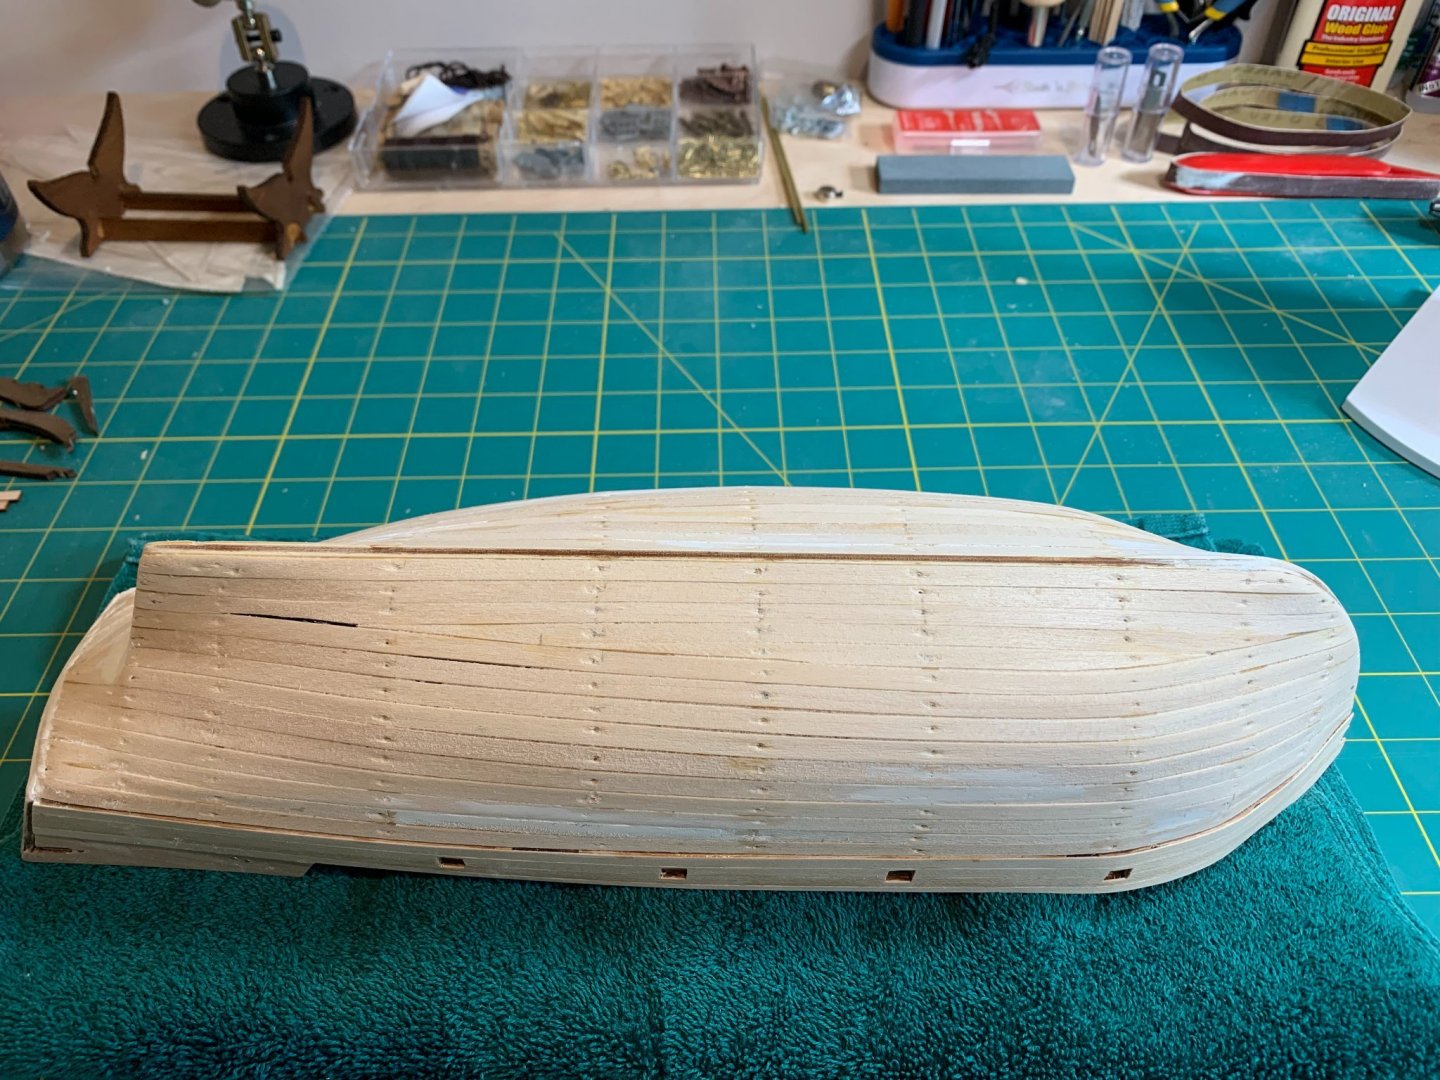
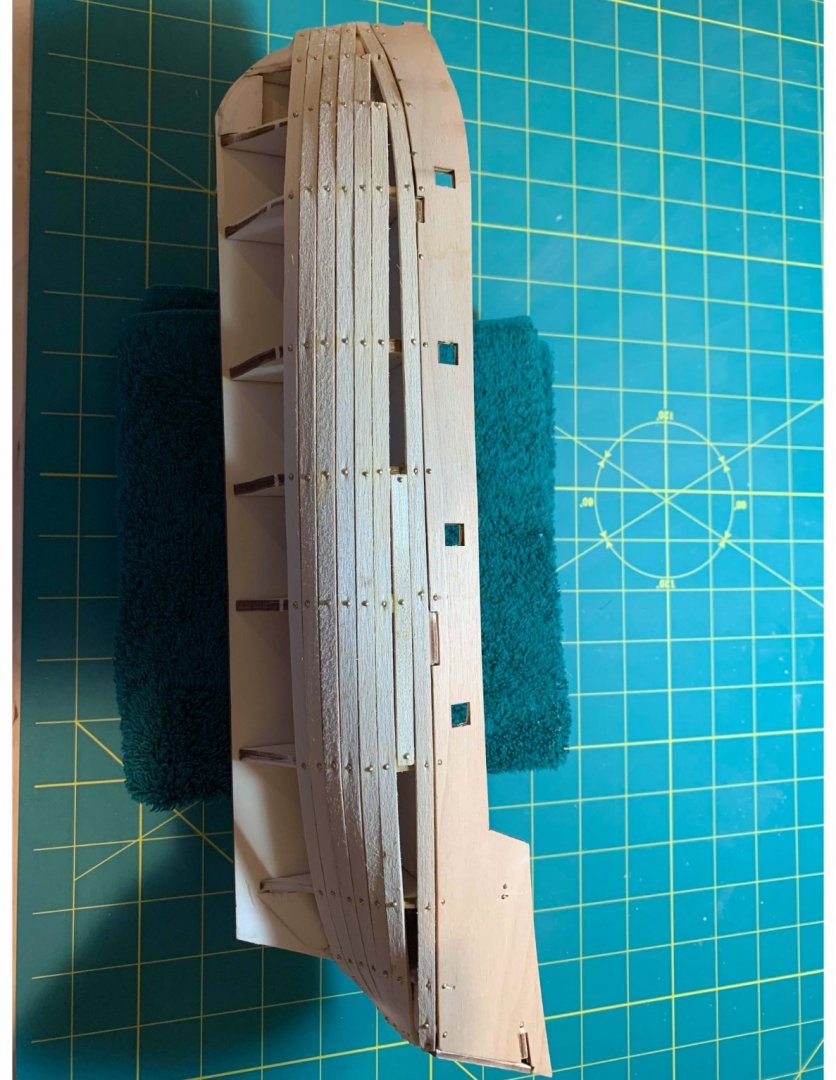
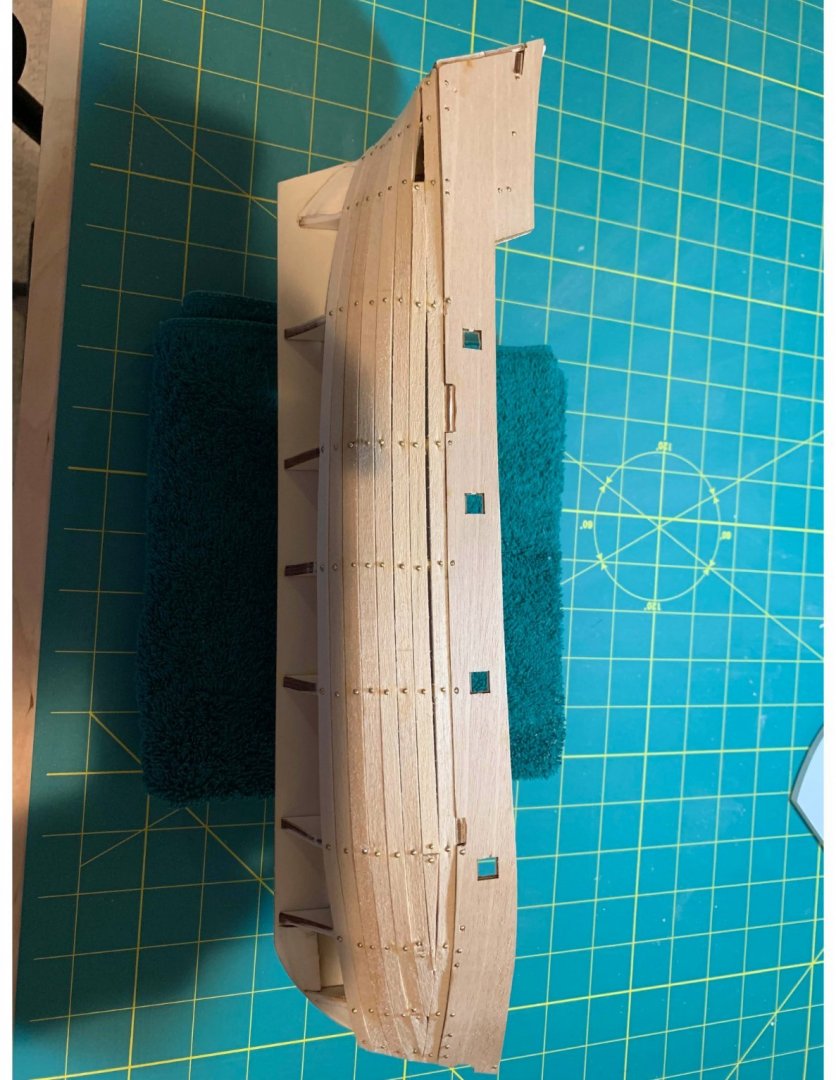
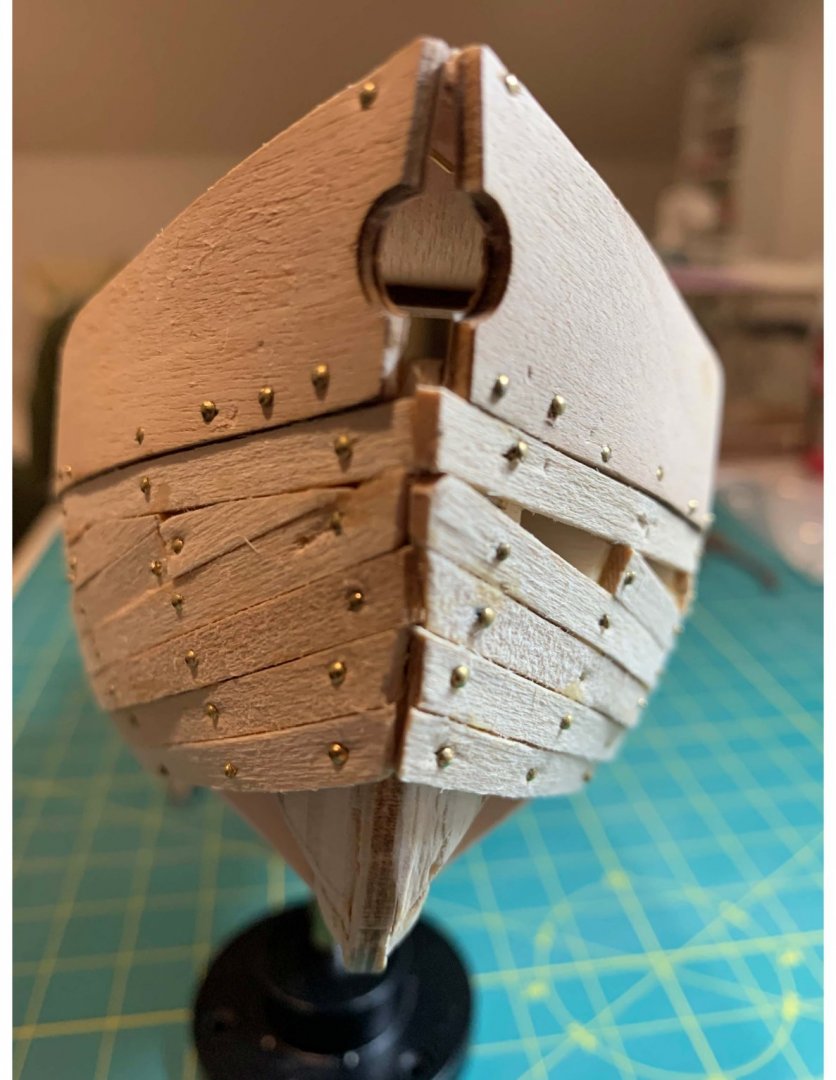
Second planking done! On to the false keel. I sanded the hull with 180 block sandpaper. Looks pretty good and it took some of the rough parts and imperfections out. Some spots are darker than others mainly because the glue sometimes soaks through the thin planks. That doesn't really sand out. Next time I think I'll stain the first planked hull the same stain as the second planks to hide some of the small gaps between the planks when I couldn't get them super tight. I'm pretty happy with it so far and am looking forward to the next few steps, the false keel and the deck. After that I start with the rigging. I'm sure it'll be a challenge but I'm looking forward to getting it started.

-
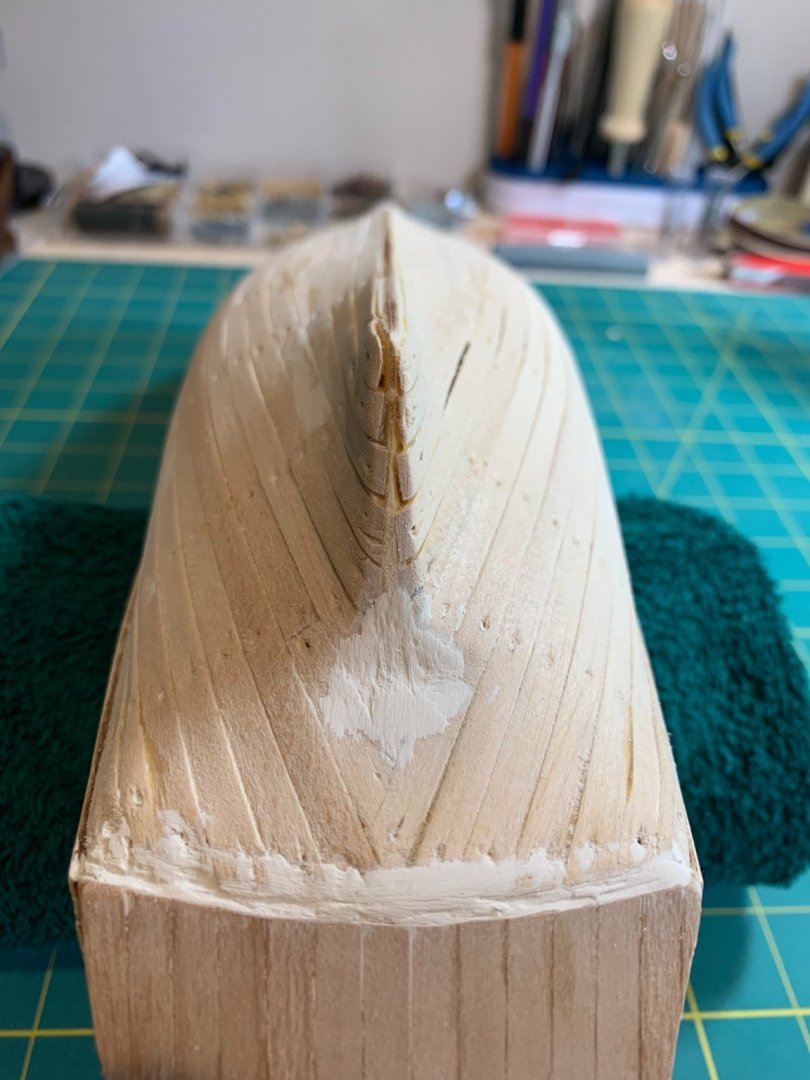
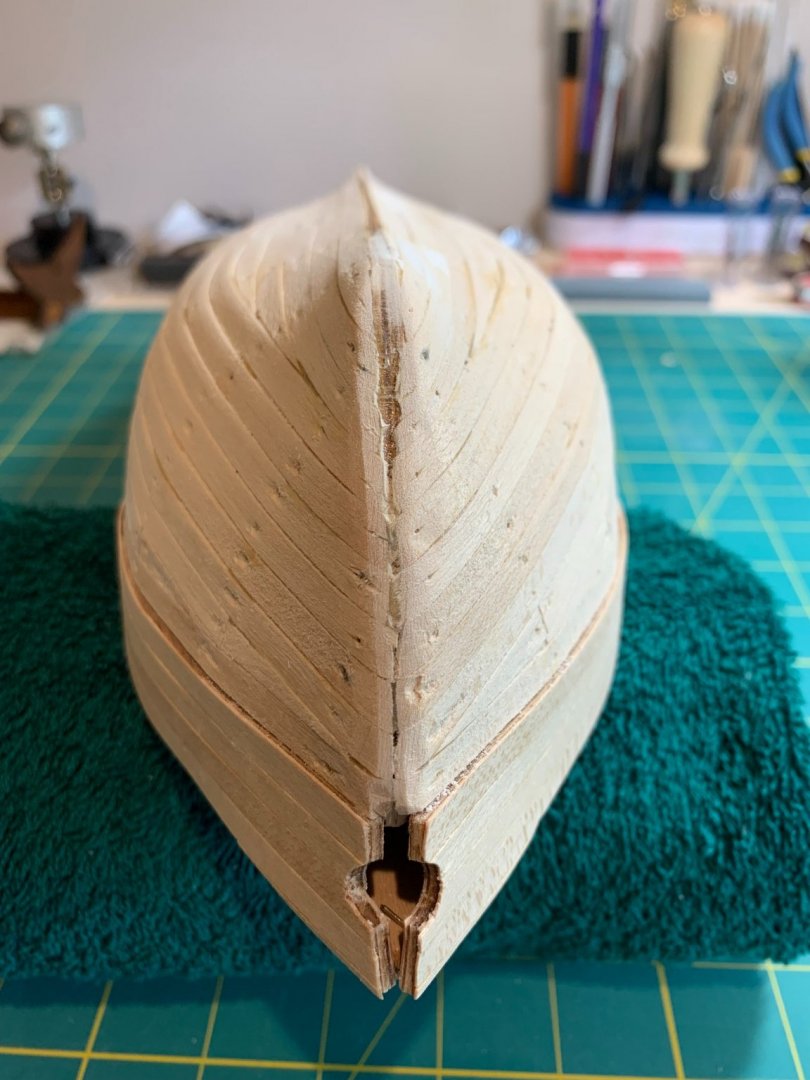
I agree, not quite there yet. I think I'll spend some time next weekend sanding and filling some more. But I have some structural issues. I didn't fair the frame as much as needed, so you definitely see the ribs. Not sure any amount of sanding will fix that. I'm not too bummed though. This is my first ship and I'm learning a lot! Probably would have helped me to see a finished product before I started. I'm heading to the Mariner's Museum to check out some professionally done models. I started glueing the second layer of planks before I saw Keith's response. Driving forward!

-
Pulled all of the nails out, filled in gaps with wood filler (thanks Keith!), sanded it down, now I'm ready to start the second planking. I think. I hope I've sanded it down enough.

-
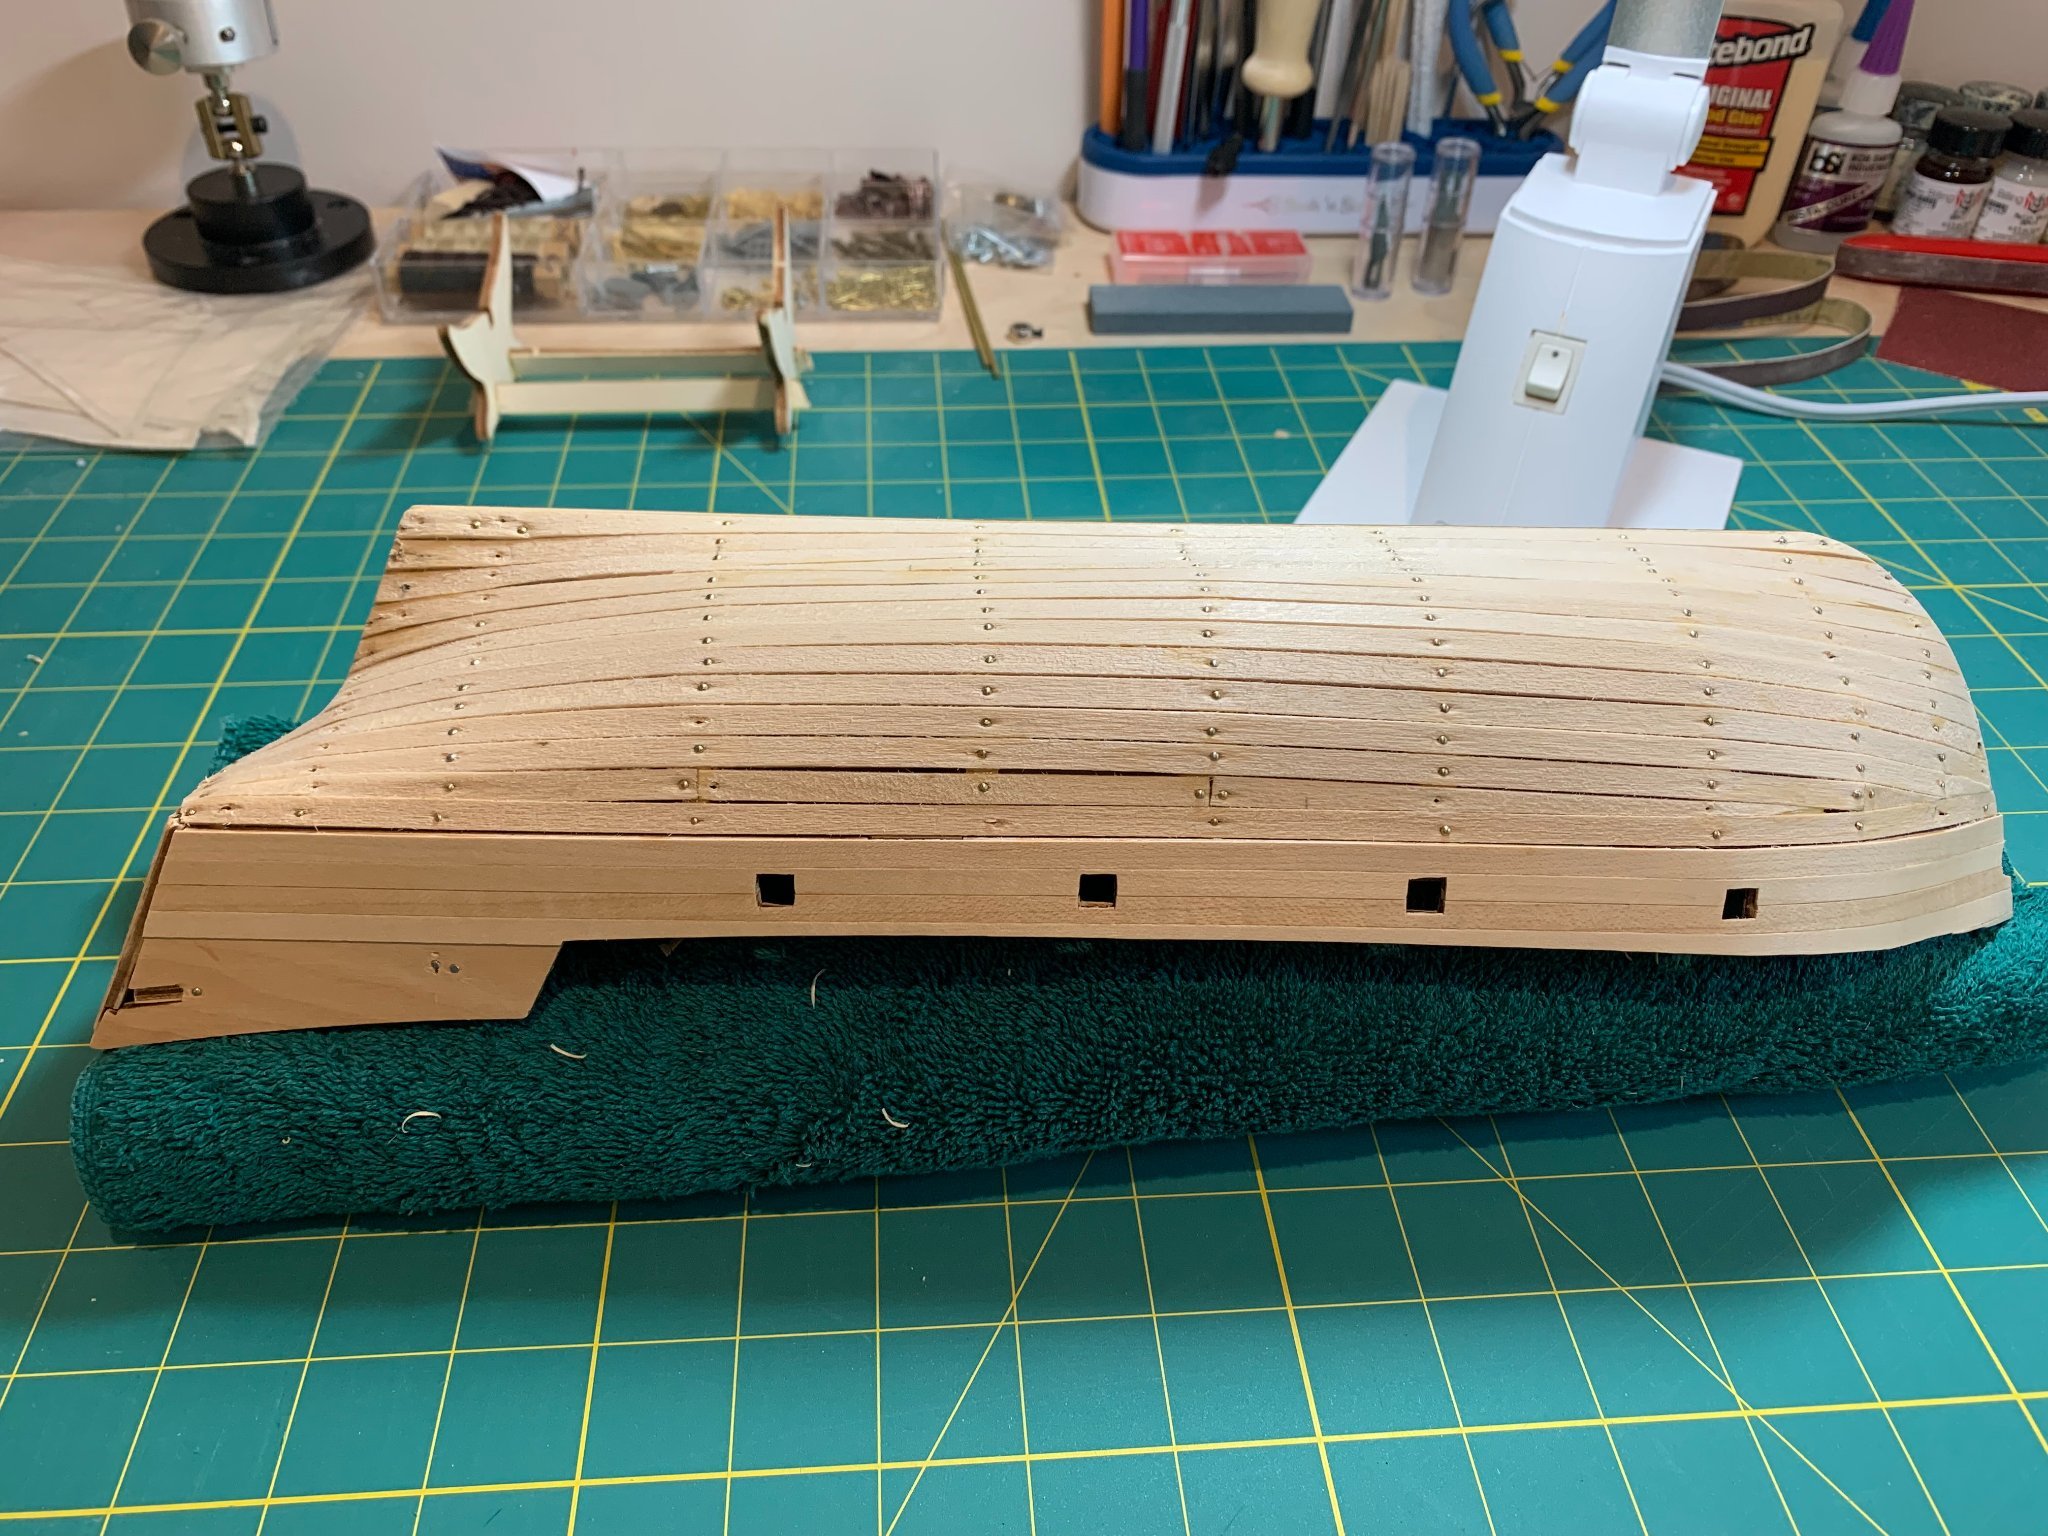
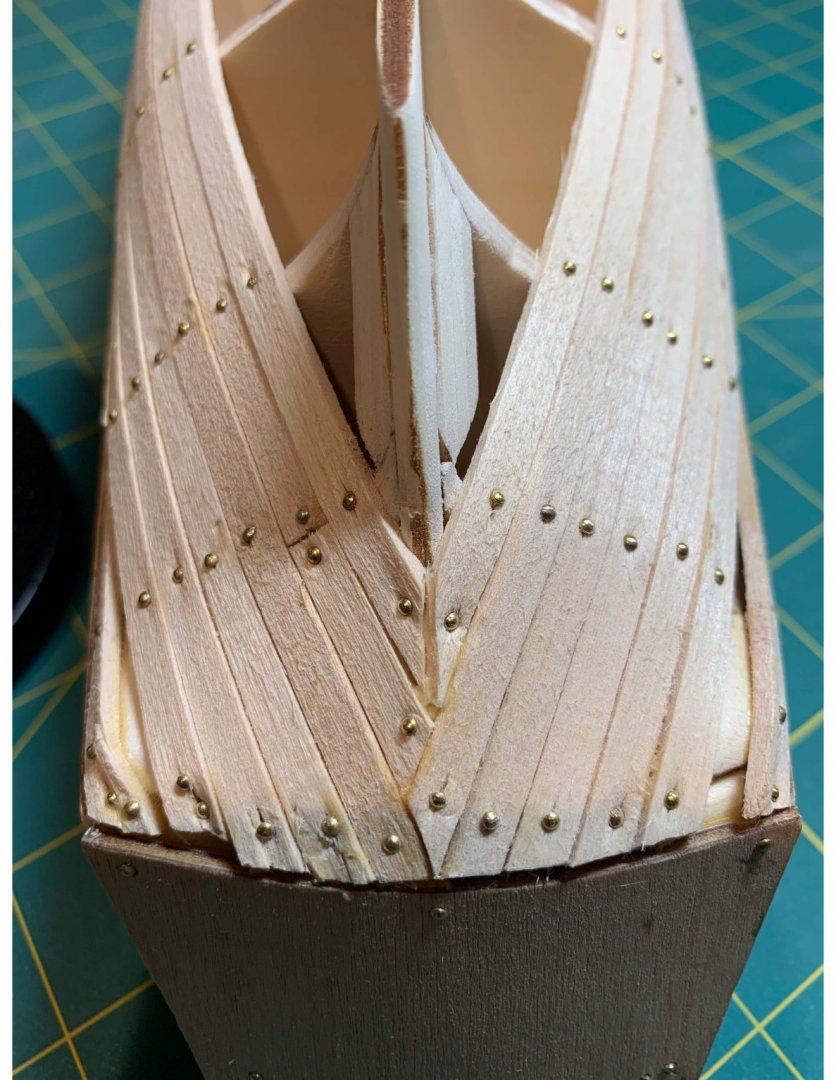
First planking done, on to sanding. I started pulling the brass nails out with a needle nose pliers, the ones I could get. Before Keith's recommendation, I started hammering the nails in deeper thinking that would help, but now I think it'll only make things a little more difficult. Oh well, that's what the first build (and this forum) is for, to learn. I'll have to wait until I get the jeweler's tool Keith recommended to get the rest. Thanks again Keith! Definitely agree it will make the final product much cleaner and more polished looking. I know those thinner planks next will show the imperfections I leave if I don't finish the first set of planks properly.
-
I’m able to get some out with needle nose pliers but some are pretty sunk in the wood. With the flush cutter will it dig into the wood too much? And if so I guess if I don’t dig too deep I should be able to sand it out. Either way like you said probably much easier than trying to file all those nail heads down. Thanks for the suggestion and the picture of the tool! Ordering it now.
-
Congratulations, Nazir! I'm building the Albatros now and have learned a lot from your experiences and suggestions. I hope mine looks half as good as yours.
-
Hey Matador, did you ever find the instructions? I'm building the Albatros by OcCre and have a pdf version of the instructions that came with the kit. I'm happy to send it or upload it if you still need it.
-
First planking is done! I'll post some pics later today. Now I need to make the hull smooth. I relied a lot on the brass nails (as you can see) to keep the planks in place while the wood glue dried, but now I realize that filing them down is going to be a pain. I assume it's important that I file them down and get the hull smooth for the second set of planks, which is much thinner than the first. I imagine any little bumps in the hull will show, even though the second set of planks is much darker. I have a small file and lots of the soft sanding blocks. I guess this will just be a tedious slog is filing and sanding to get the hull perfect. Any advice out there?
-
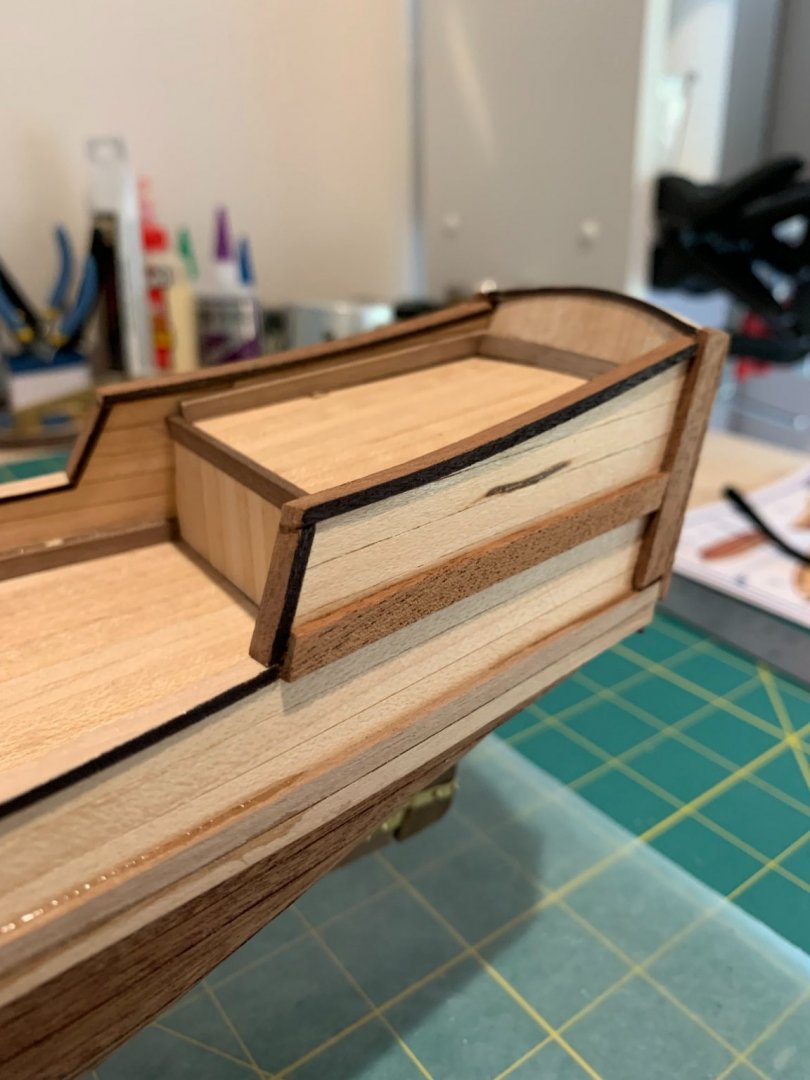
I like the distressed look too. How'd you do it? I'm building the Albatros too. I'm just finishing up the first planking and I might go back and try to distress my deck if possible, even though I've already installed it. When my Albatros is done I'd like it to look worn and weathered. I read that soaking the sails in tea gives them a darker, more seasoned look. I might try that when I get to it. Thanks for sharing!
-
Planking away! Helped a lot when I soaked the planks in water for an hour before glueing and nailing.
-
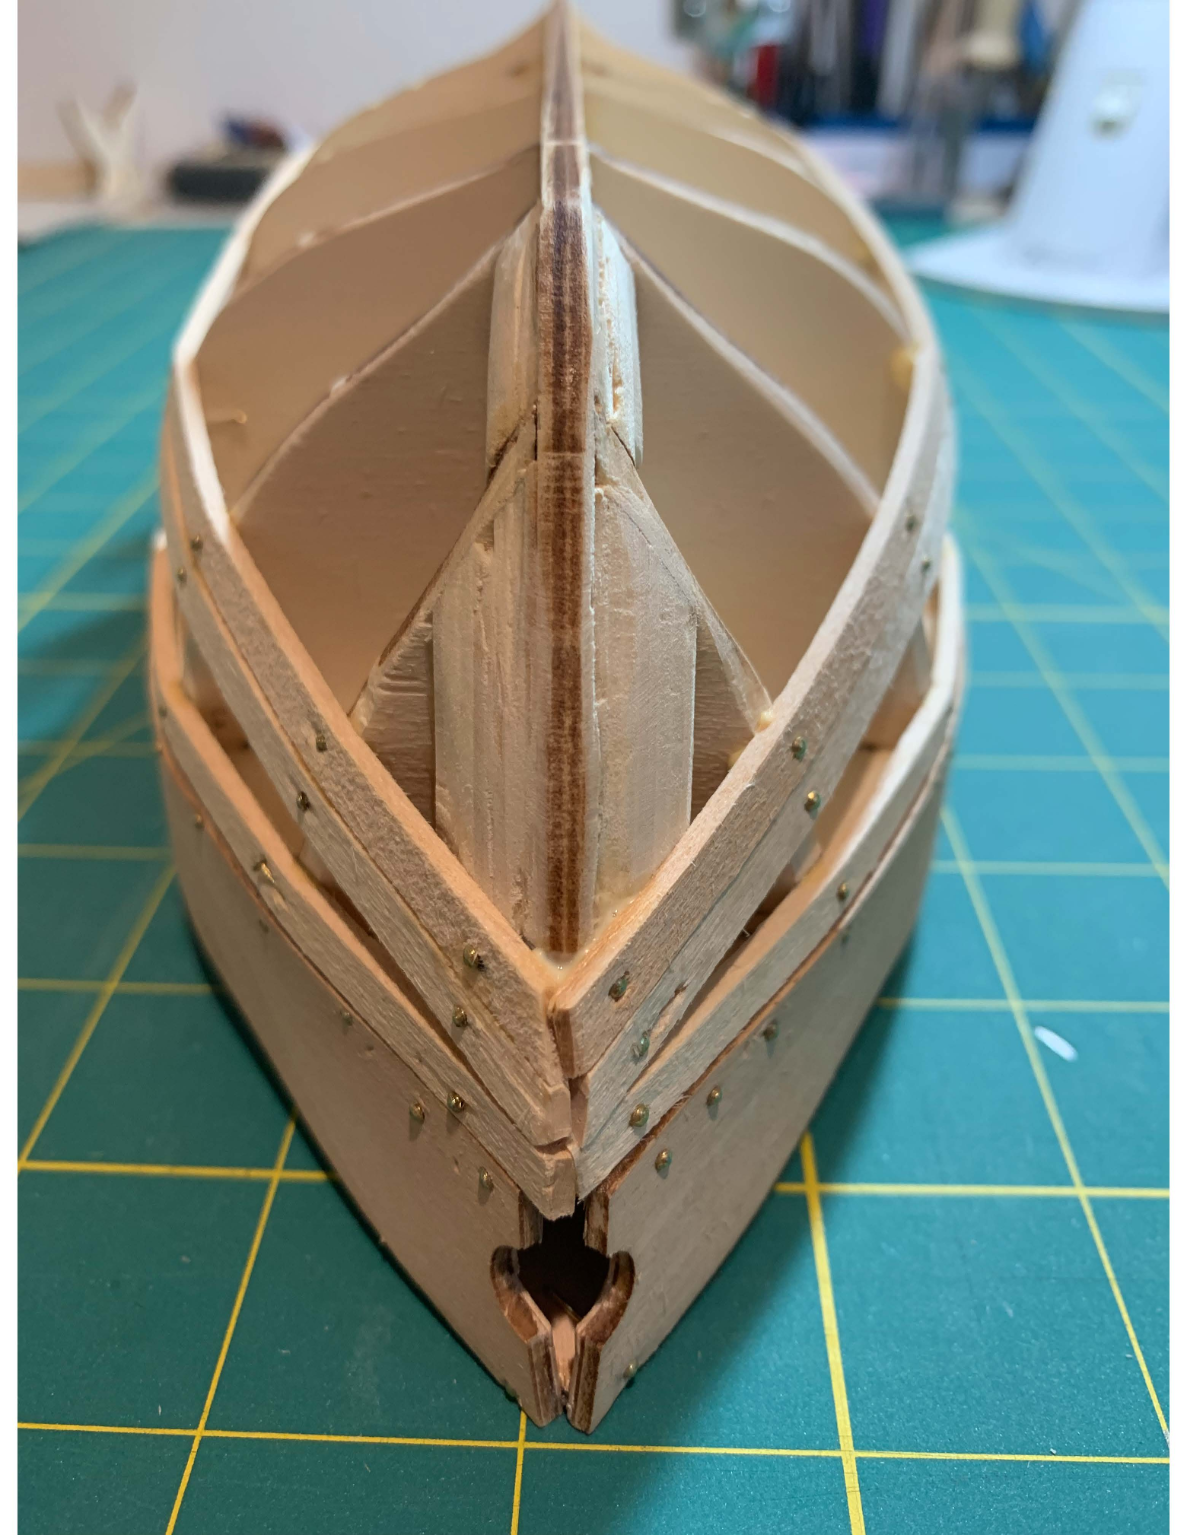
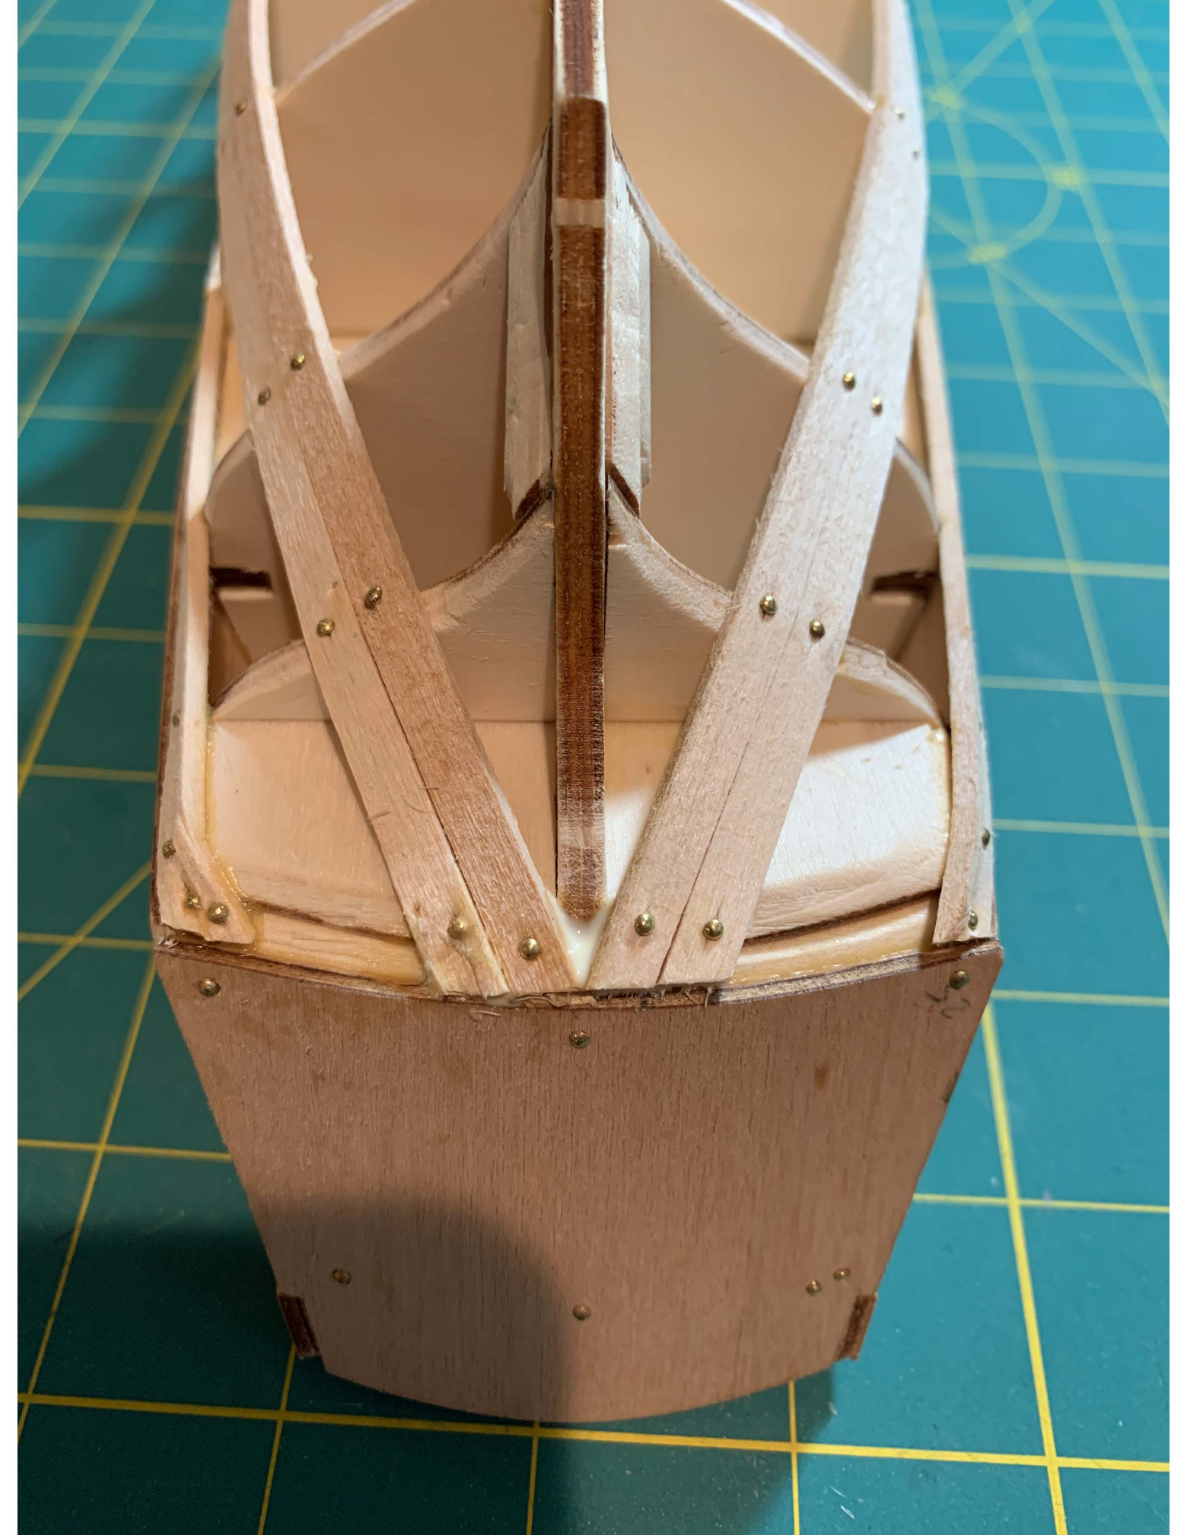
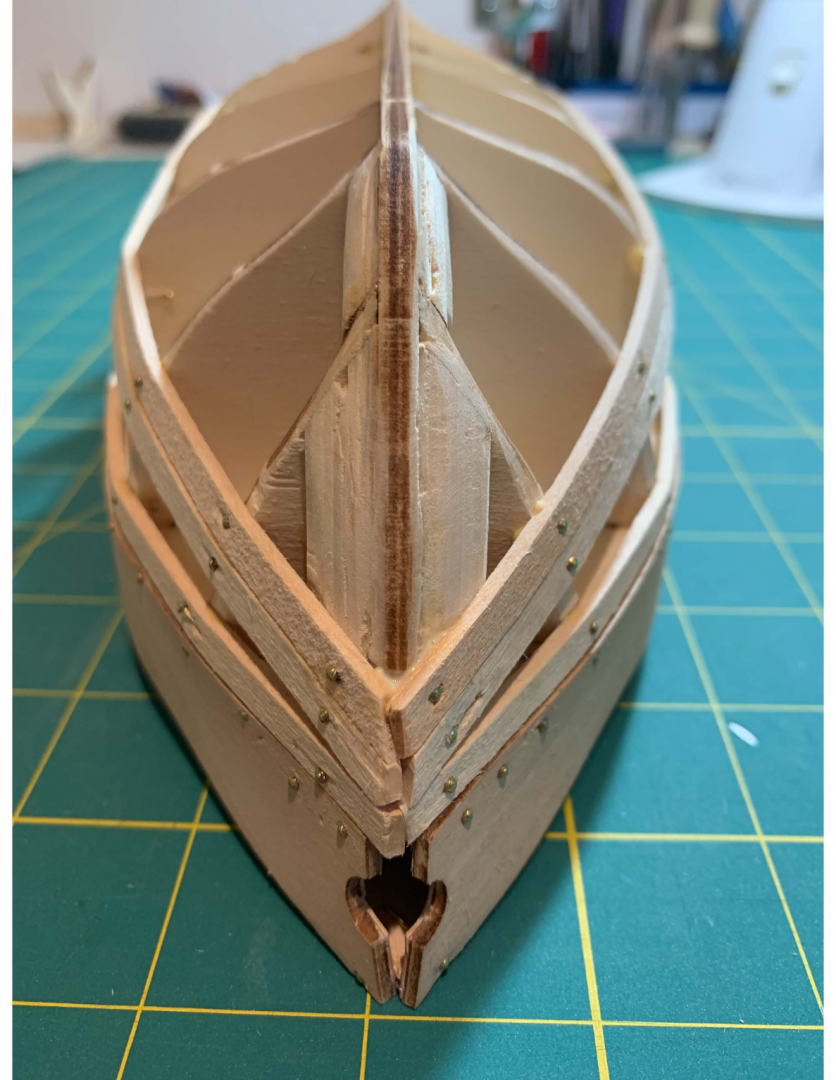
Plain to see that I did not sand the frames enough on the starboard side, causing the planks to crease sharply when they pass over the frames. I corrected this on the port side and it looks better.
-
A little rough where the planks contact the frame in the stern but I'm hoping I can clean that up when planking is done and I start sanding.

-
My first crack at planking! Not perfect but I feel pretty good about it. I learned a lot from planking just these three planks per side.

-
Albatros by Al72 - OcCre - 1:100
kramer replied to Al72's topic in - Kit build logs for subjects built from 1801 - 1850
Very helpful! Thanks a bunch. -
Albatros by Al72 - OcCre - 1:100
kramer replied to Al72's topic in - Kit build logs for subjects built from 1801 - 1850
How did you get the reinforcing chocks sanded down so smoothly? What equipment and technique did you use? -
HMS Terror by Icksa - OcCre - 1:75
kramer replied to Icksa's topic in - Kit build logs for subjects built from 1801 - 1850
Hi Icksa...I'm new to this too. I'm working on my first, the Albatros by OcCre. I wanted to give you this website I found for OcCre builds if you don't have it. The Terror is on there. Lots of good step-by-step videos. https://www.occremania.com/