Al72
-
Posts
8 -
Joined
-
Last visited
-
 GrandpaPhil reacted to a post in a topic:
Albatros by Al72 - OcCre - 1:100
GrandpaPhil reacted to a post in a topic:
Albatros by Al72 - OcCre - 1:100
-
Albatros by Al72 - OcCre - 1:100
Al72 replied to Al72's topic in - Kit build logs for subjects built from 1801 - 1850
@kramer I was doing some searches and ran into this. POWERTEC 71441 Flexible Contour Sanding Grips Set w/ 3 Flexible Foam Pads and 6 Profile Grips for Sanding Convex and Concave Profiles this might help. -
Albatros by Al72 - OcCre - 1:100
Al72 replied to Al72's topic in - Kit build logs for subjects built from 1801 - 1850
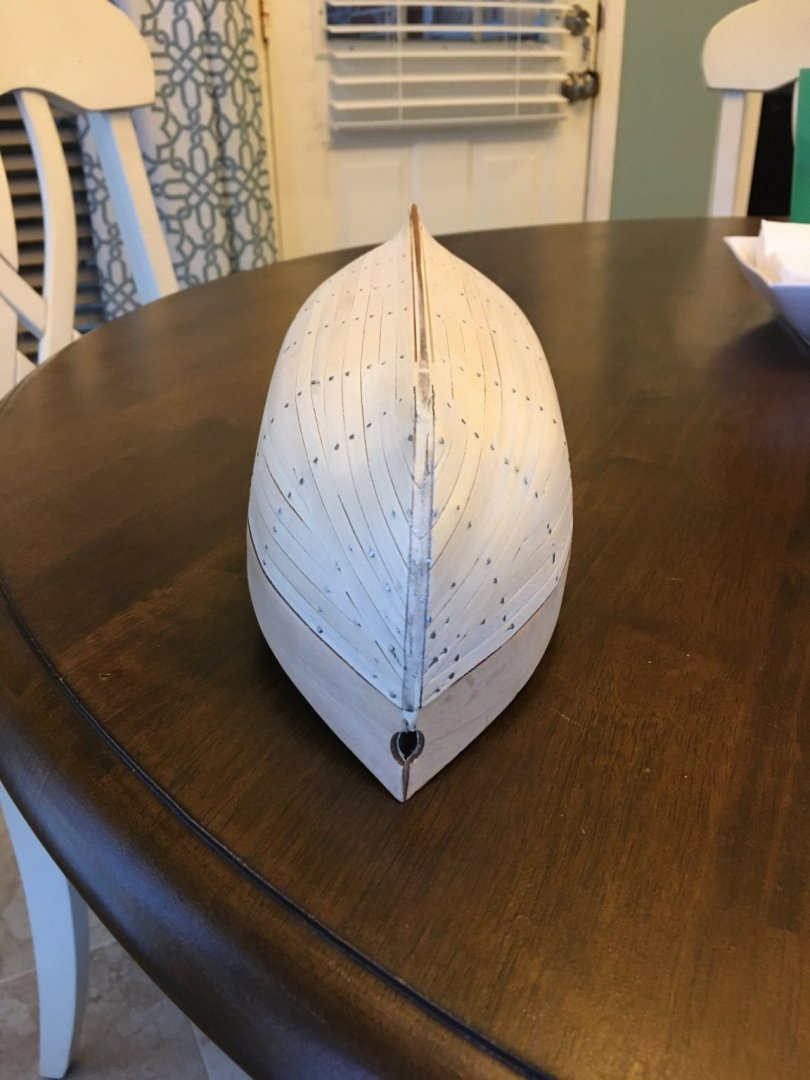
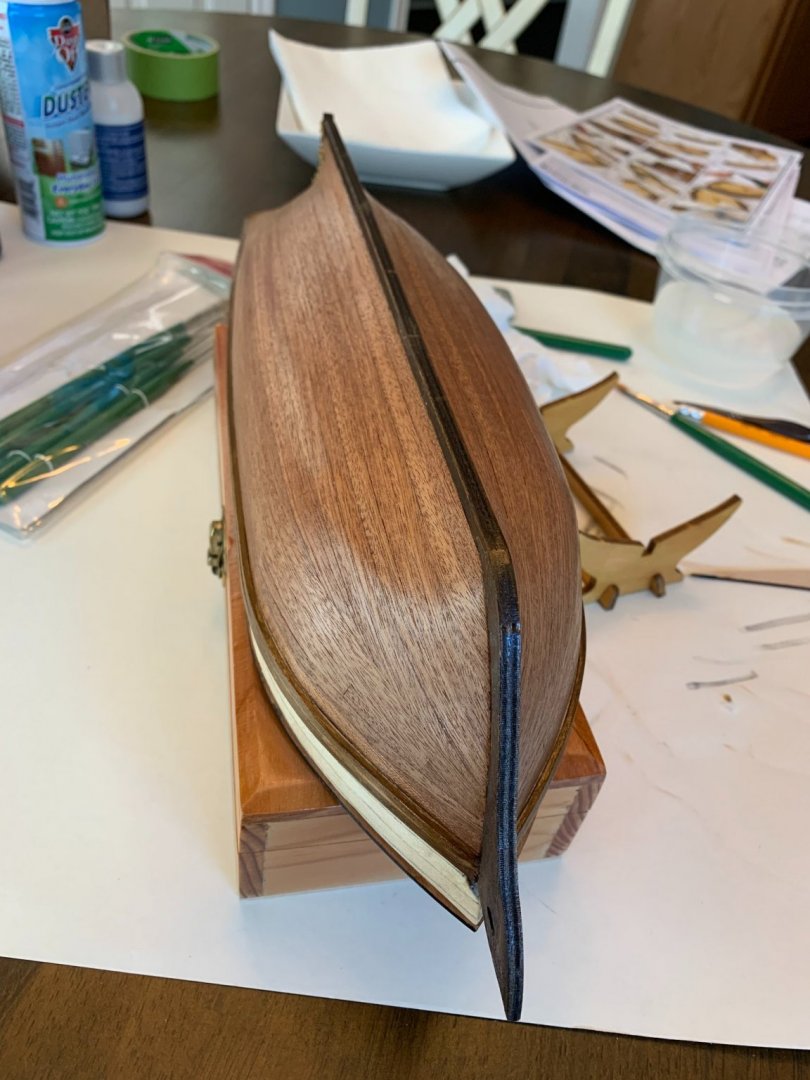
Apologies for the delay in my responses. Now that travel restrictions are slowly being lifted, I've been really busy with work and have had to travel every week. I haven't had time to continue with the build. @kramer honestly, I sanded it by hand using a small wooden sanding block and my wife's nail sand block. Something like this. https://www.amazon.com/Sanding-Polisher-Buffing-Pedicure-Manicure/dp/B0822FL73H/ref=asc_df_B0822FL73H/?tag=hyprod-20&linkCode=df0&hvadid=416655450685&hvpos=&hvnetw=g&hvrand=1458309188510847751&hvpone=&hvptwo=&hvqmt=&hvdev=c&hvdvcmdl=&hvlocint=&hvlocphy=9027716&hvtargid=pla-890474750088&psc=1&tag=&ref=&adgrpid=93354453065&hvpone=&hvptwo=&hvadid=416655450685&hvpos=&hvnetw=g&hvrand=1458309188510847751&hvqmt=&hvdev=c&hvdvcmdl=&hvlocint=&hvlocphy=9027716&hvtargid=pla-890474750088 I alternated between the two. I like the nail block because it can bend. The instructions say to make sure that you have an edge. And I think that's important to get correct. I marked the center of the false keel and kept sanding until both sides met at the center. Although I sanded it by hand, I have seen a youtube video where someone used a rotary tool, dremel, to sand. Just make sure not to sand too much material off. @Matador You may have checked this already, you can download the instructions here. https://drive.google.com/file/d/1KTCGaTfIAt939S05CtAGqtr9Pvy5GAcp/view Of course this doesn't help if you need the 1/1 scale. I'm surprised that they haven't responded. I emailed them a while back and they responded the following day. I just checked my instructions and they do not have any document or part number on them. Sorry. -
Ian_Grant reacted to a post in a topic:
Albatros by Al72 - OcCre - 1:100
-
Ian_Grant reacted to a post in a topic:
Albatros by Al72 - OcCre - 1:100
-
ERS Rich reacted to a post in a topic:
Albatros by kramer - FINISHED - OcCre - 1:100
-
Dean77 reacted to a post in a topic:
Albatros by Al72 - OcCre - 1:100
-
Nirvana reacted to a post in a topic:
Albatros by Al72 - OcCre - 1:100
-
Snug Harbor Johnny reacted to a post in a topic:
Albatros by Al72 - OcCre - 1:100
-
Albatros by Al72 - OcCre - 1:100
Al72 replied to Al72's topic in - Kit build logs for subjects built from 1801 - 1850
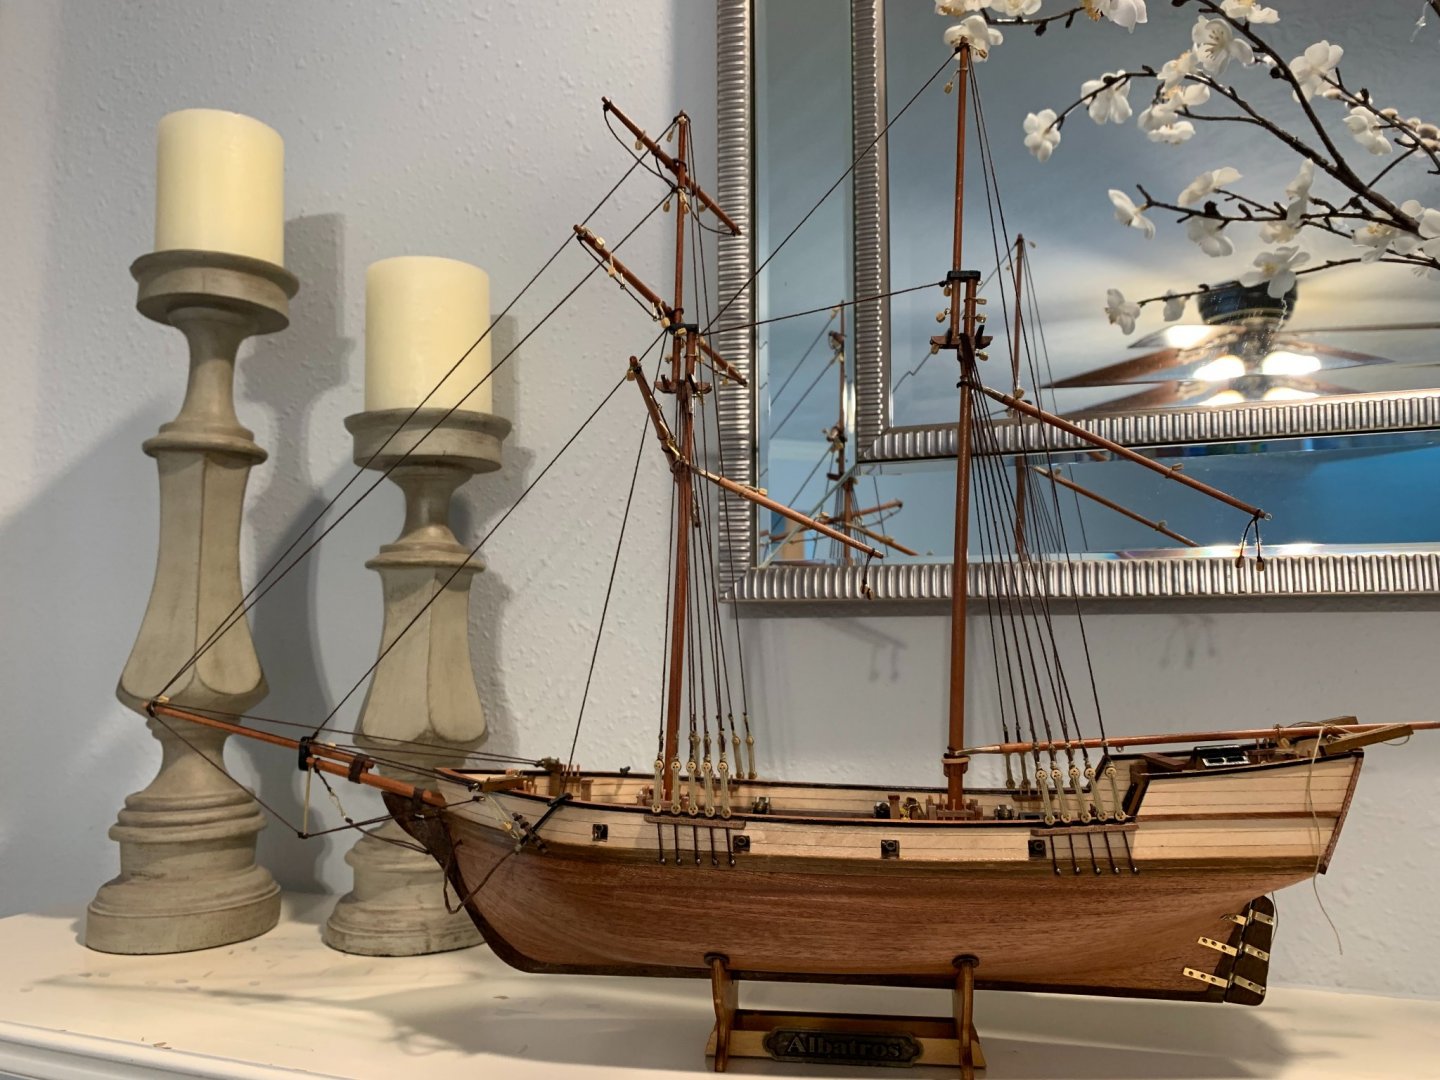
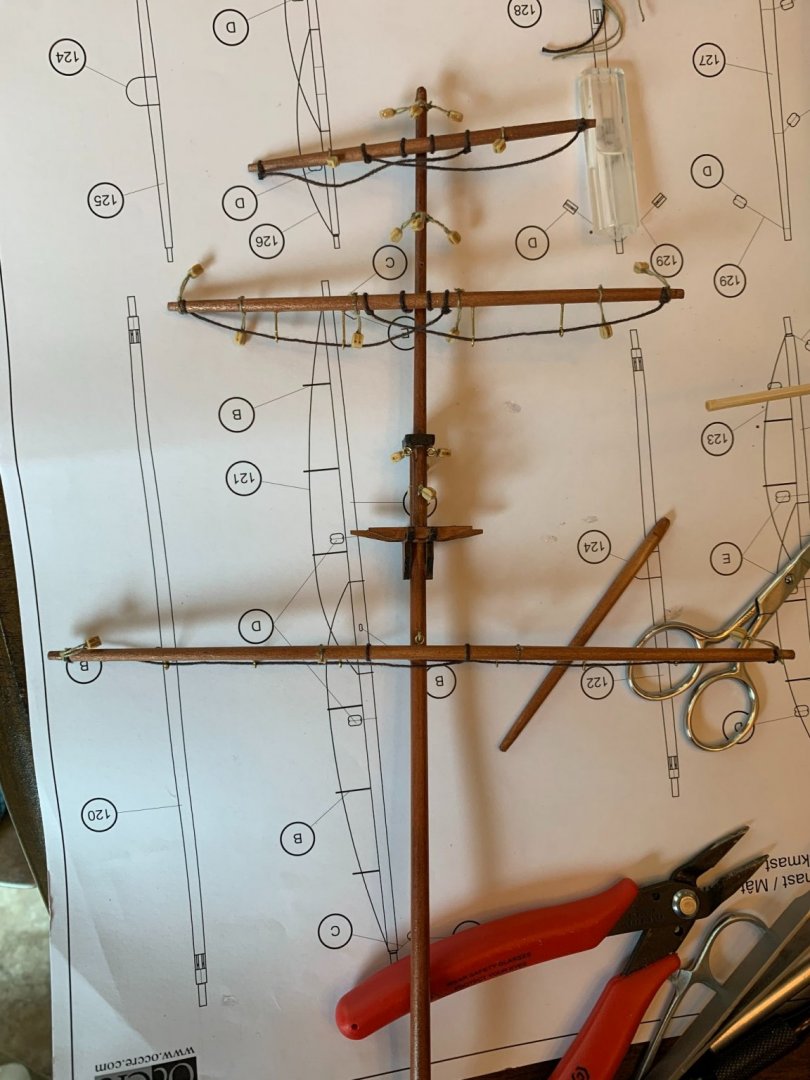
30MAY2021 It's been a couple of weeks since I've posted my progress. I've been busy with "work" work and also work around the house so I haven't gotten too far on the boat. I've completed the shrouds, stays and chainplates. When I have more time next week, I will probably try to tackle the ratlines.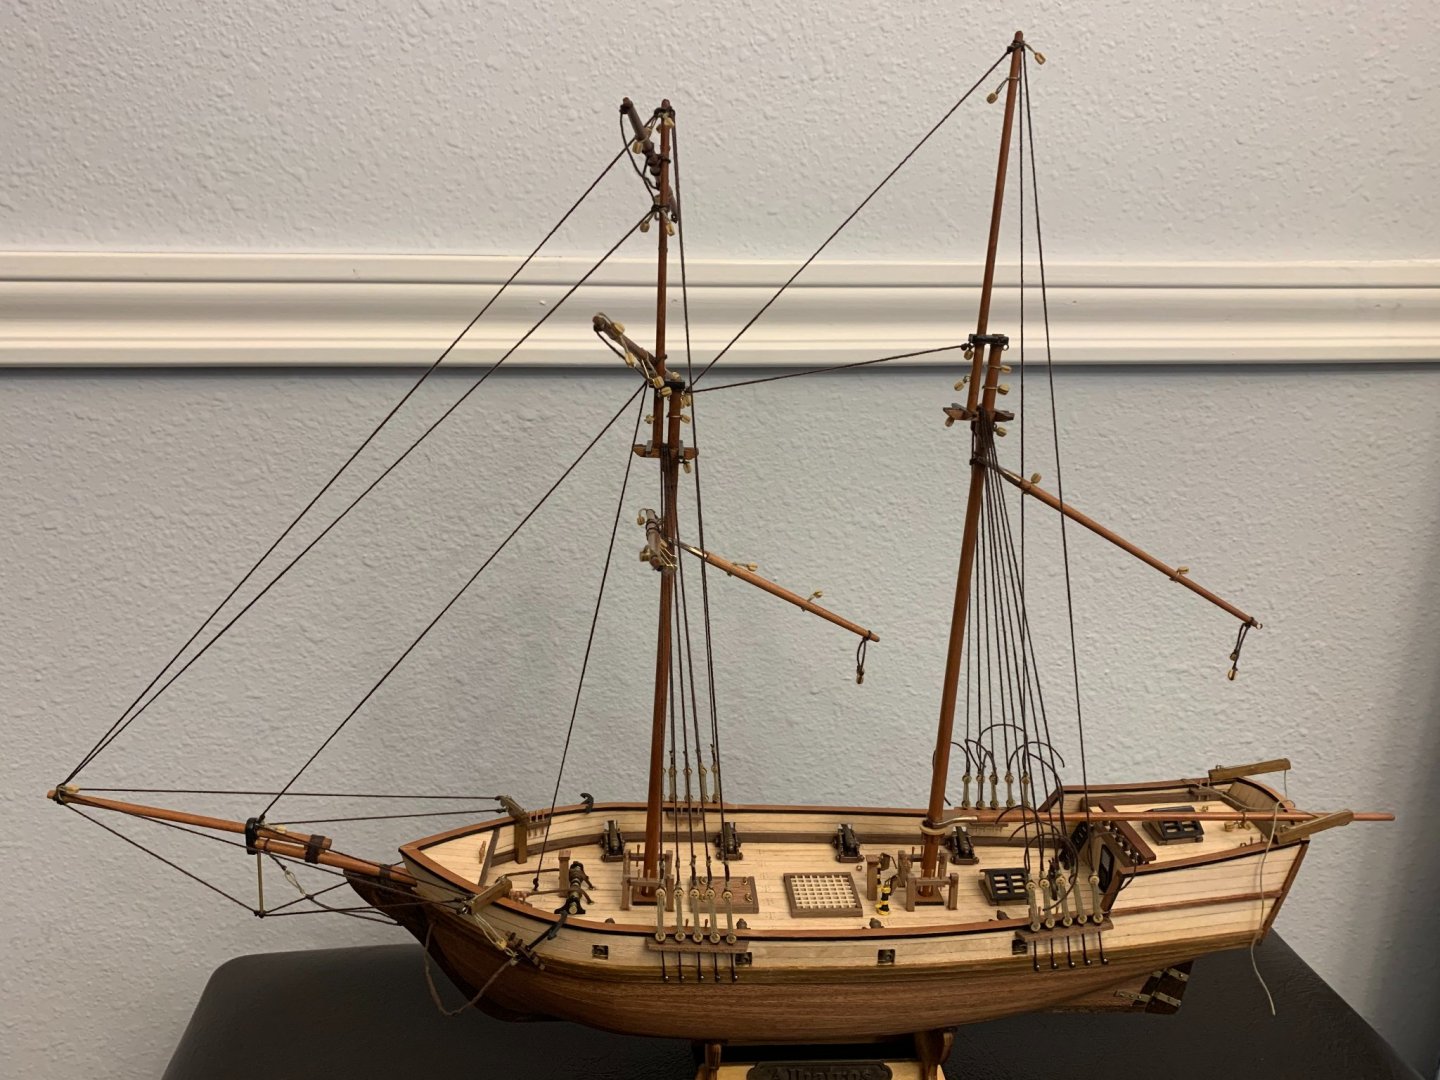
-
Albatros by Al72 - OcCre - 1:100
Al72 replied to Al72's topic in - Kit build logs for subjects built from 1801 - 1850
Hi Nirvana, Thanks for the warm welcome. I'll definitely consider becoming a member. -
kramer reacted to a post in a topic:
Albatros by Al72 - OcCre - 1:100
-
Albatros by Al72 - OcCre - 1:100
Al72 replied to Al72's topic in - Kit build logs for subjects built from 1801 - 1850
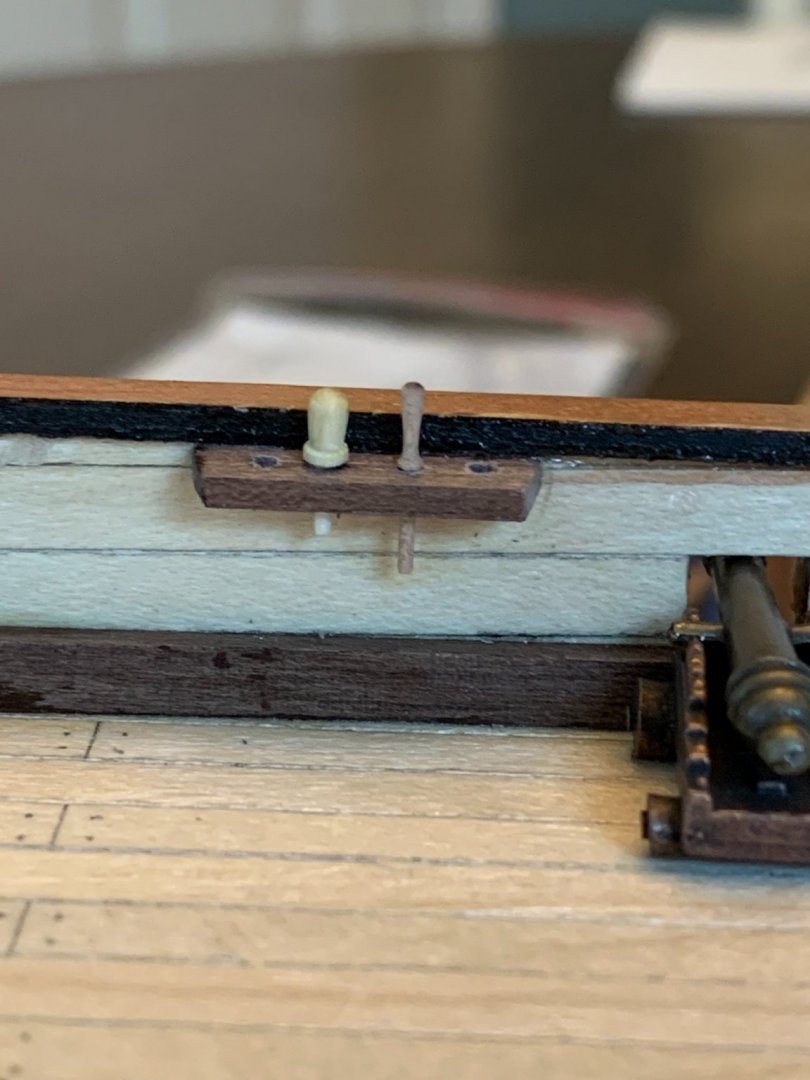
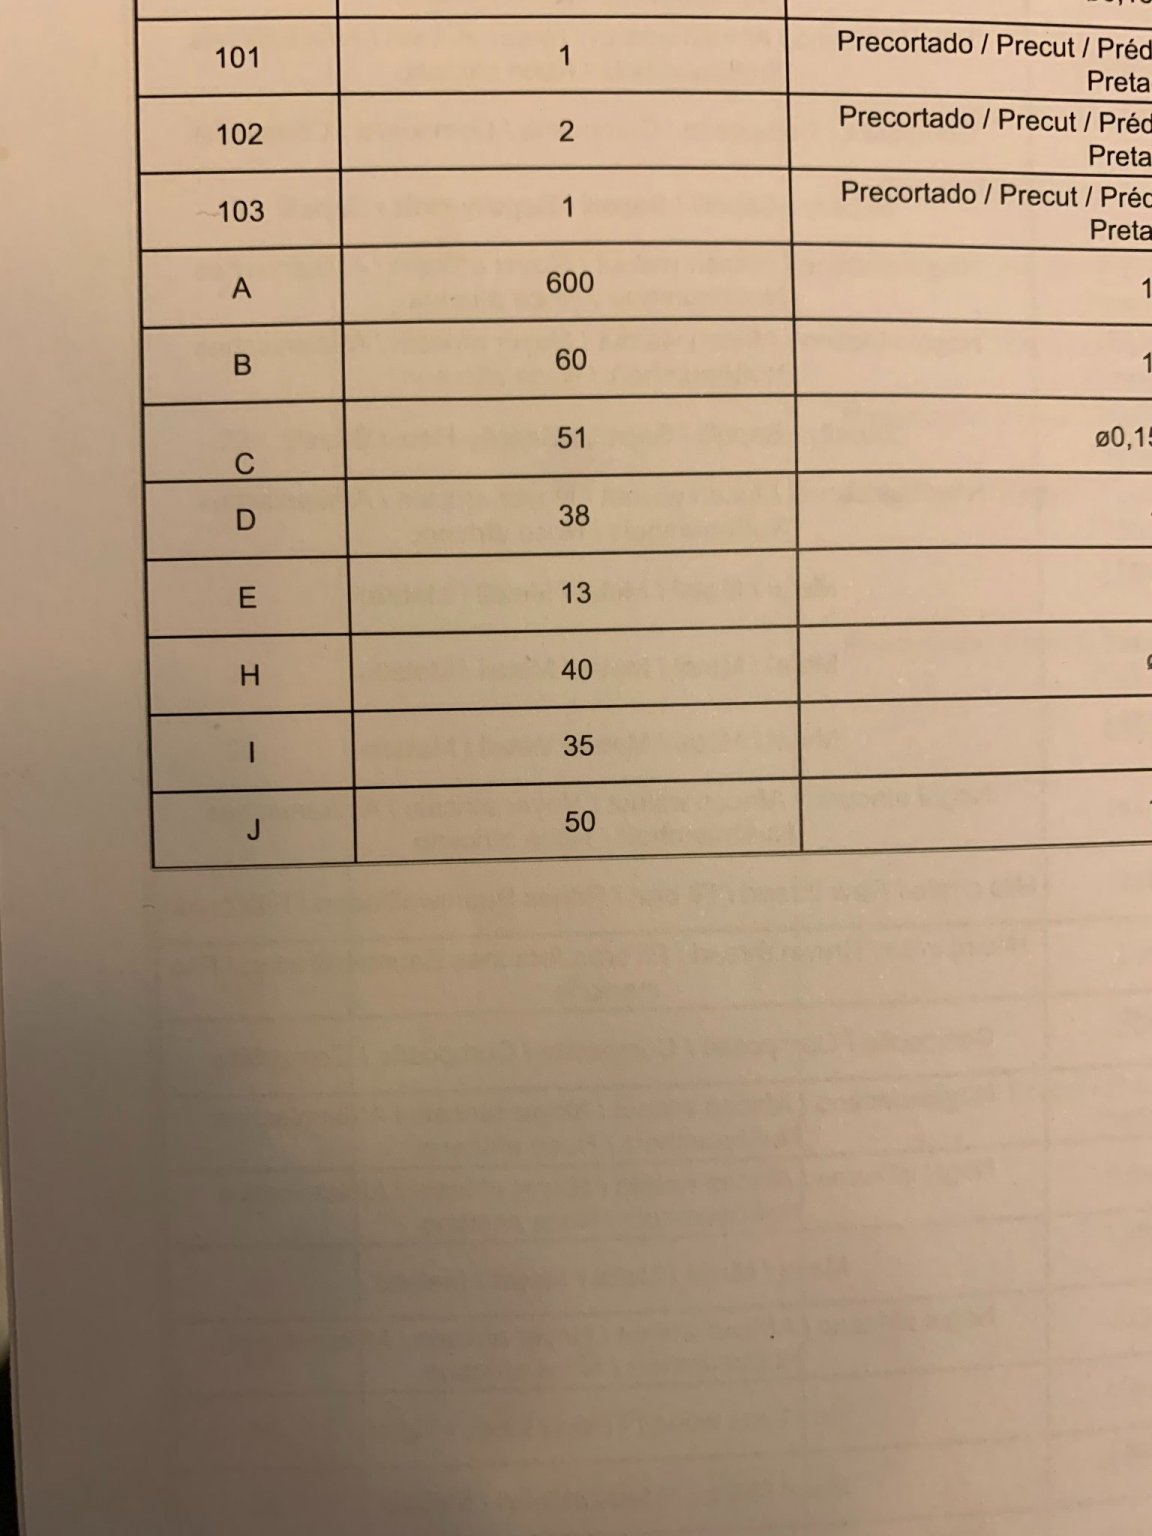
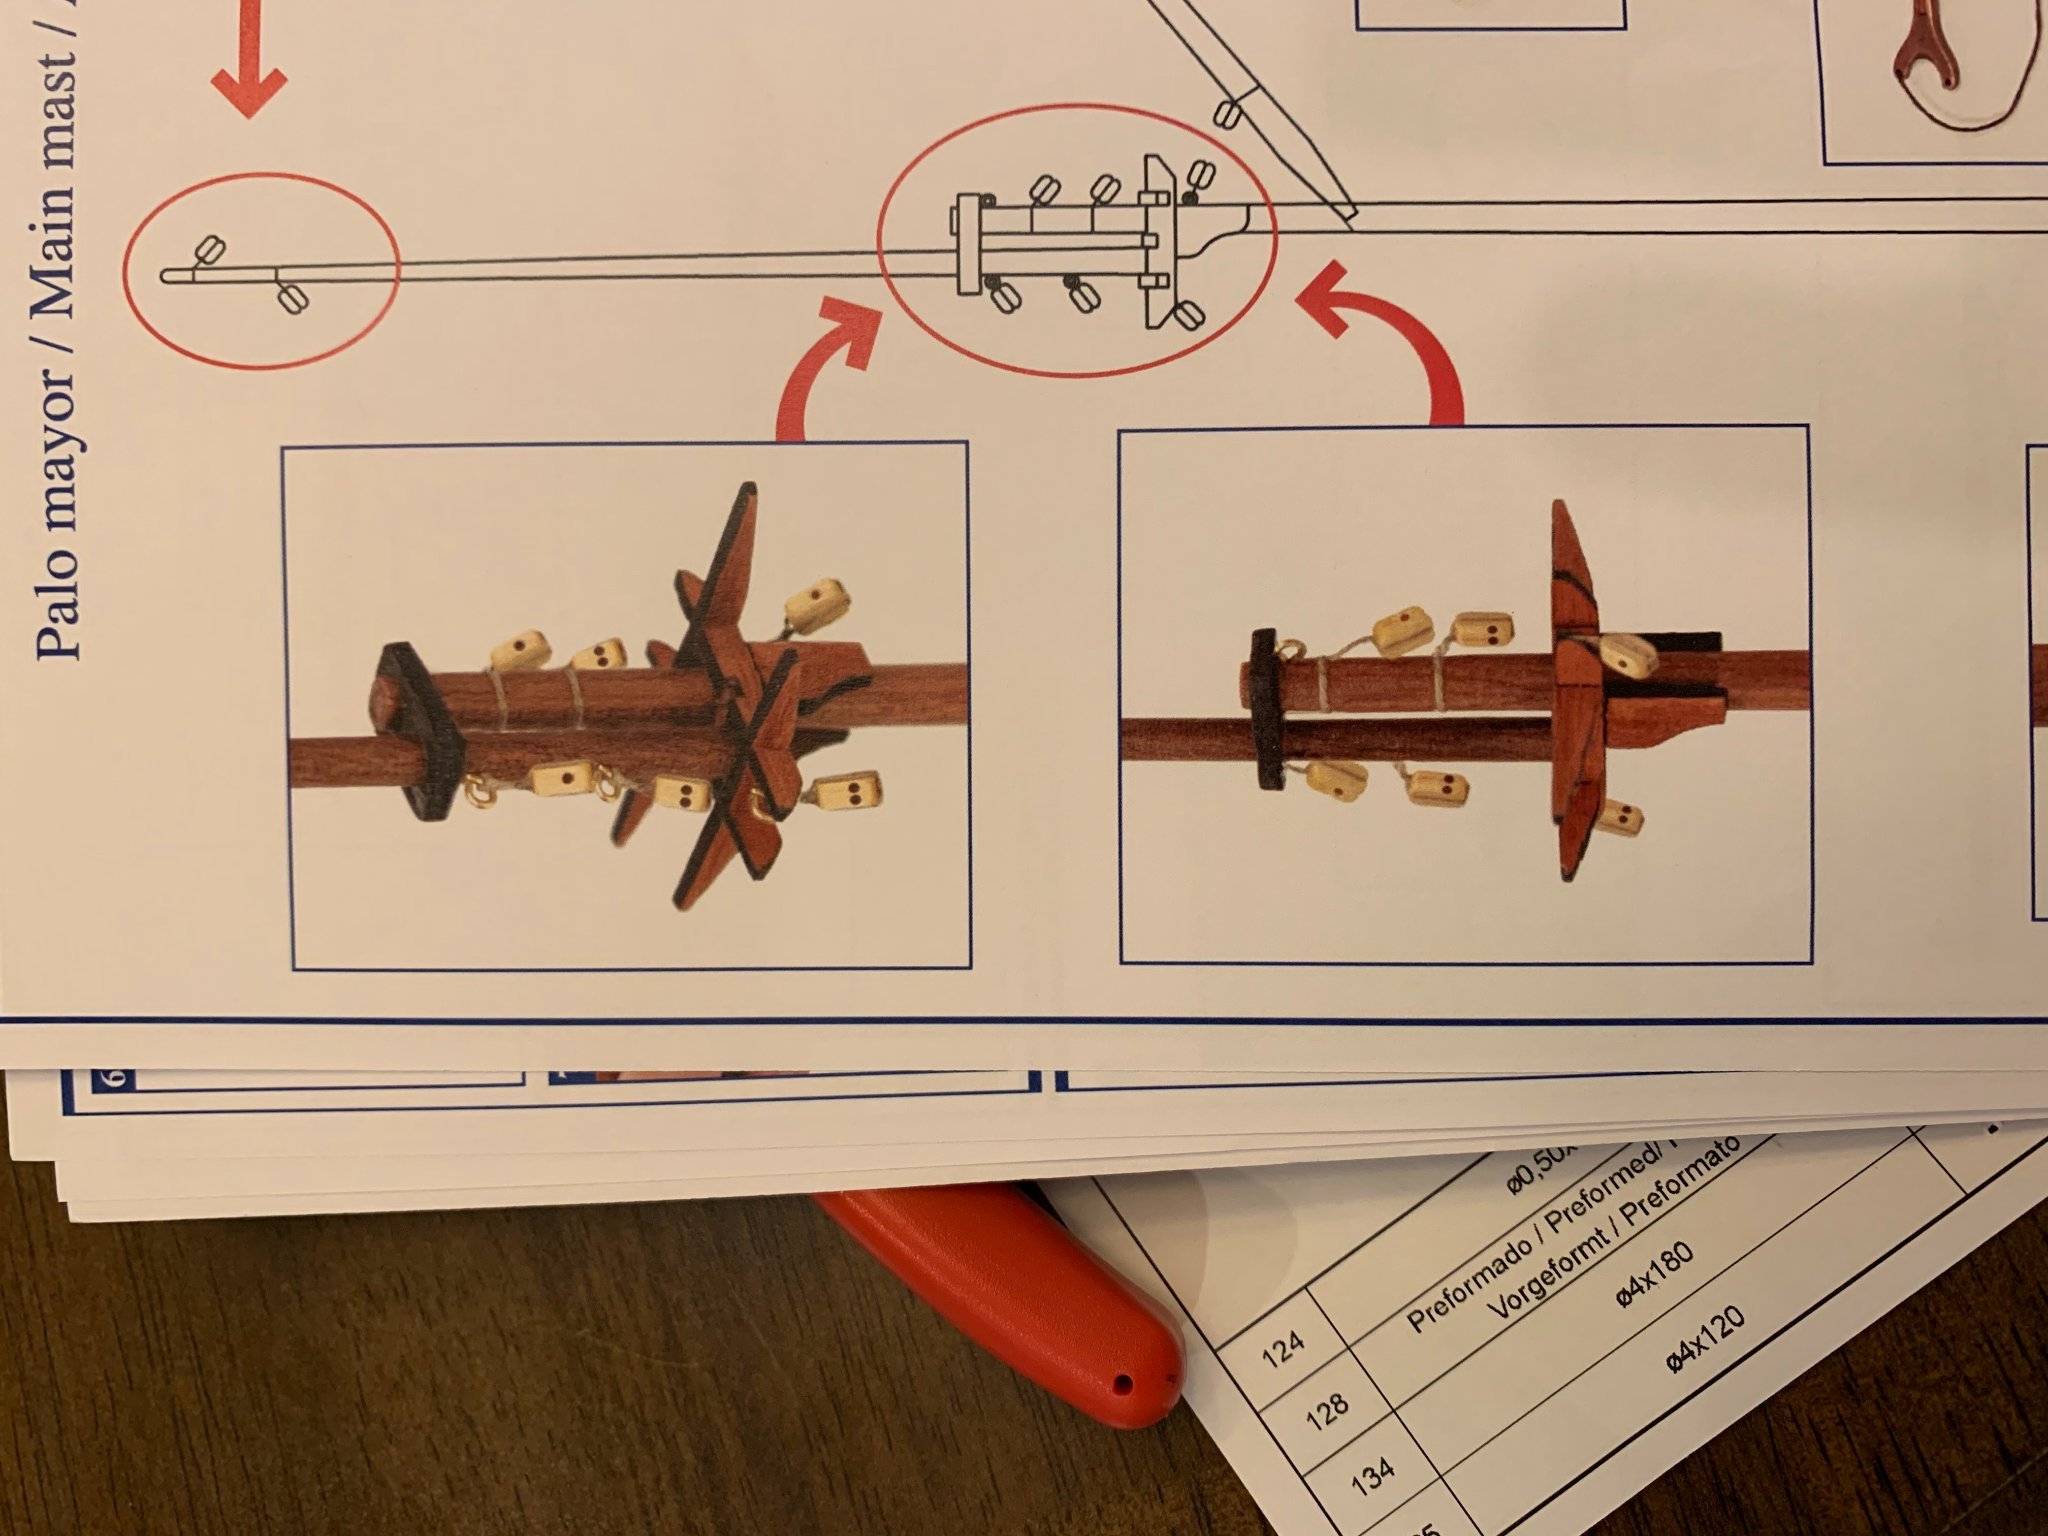
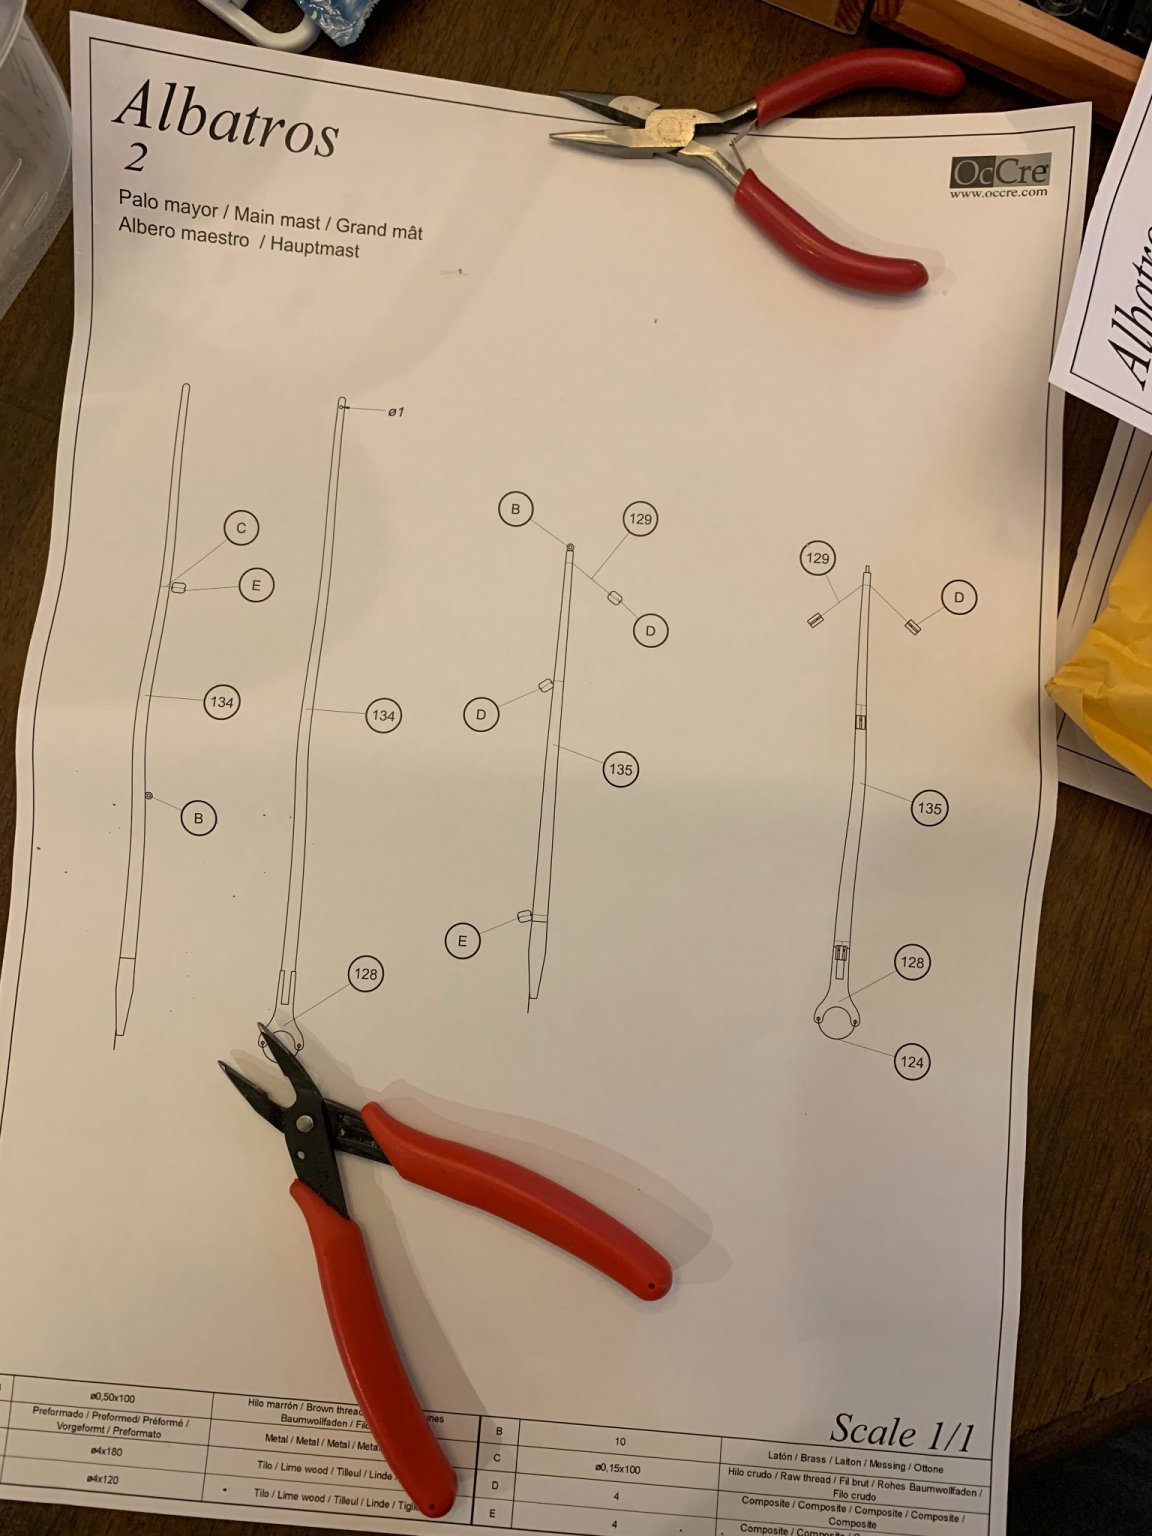
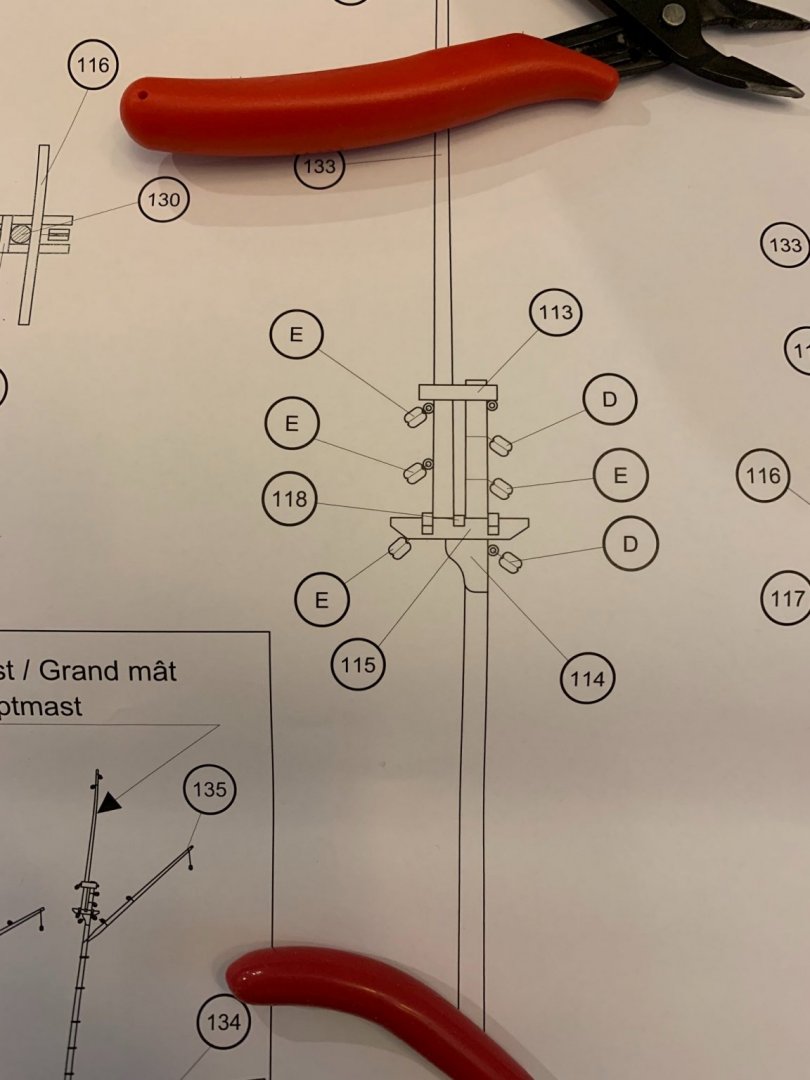
15 MAY2021 Update. Discrepancy in the build instructions and parts list. I was working on the main mast and I was short 2 two pulley blocks (Part E in the parts list). See below. According to the parts list, I'm supposed to have 13. I counted how many I actually received and it was 14. You would think that I had 1 extra; however, the build instructions require 16. After going through the instructions, I noticed that there are differences. The 1:1 scale has you using the two pulley block but in the illustrations, they show a one pulley block (Part D in the parts list). Below is the picture from the 1:1 scale and the top left block is E (two pulley). Below is the illustration and you can see the same block has one hole. So, I think they have made changes but didn't update the instructions. I will be spending some time going through everything. Even if I use a single pulley block in that position, I'm still one short.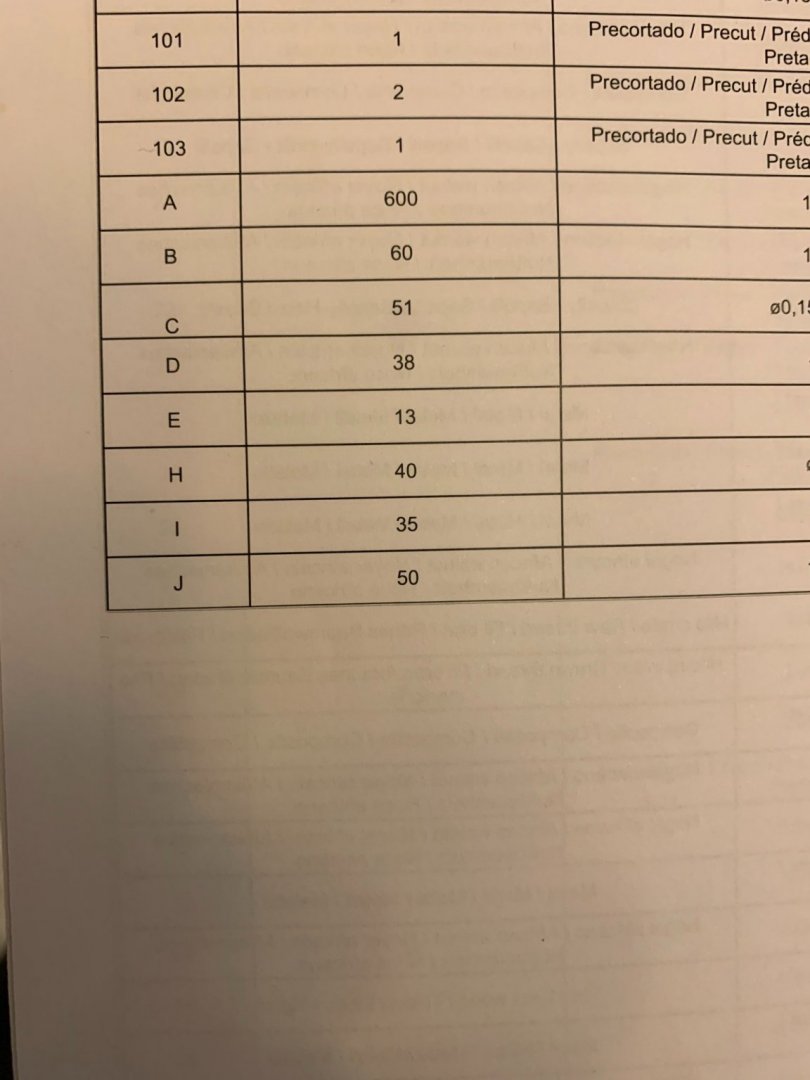


-
nehemiah reacted to a post in a topic:
Albatros by Al72 - OcCre - 1:100
-
nehemiah reacted to a post in a topic:
Albatros by Al72 - OcCre - 1:100
-
Albatros by Al72 - OcCre - 1:100
Al72 replied to Al72's topic in - Kit build logs for subjects built from 1801 - 1850
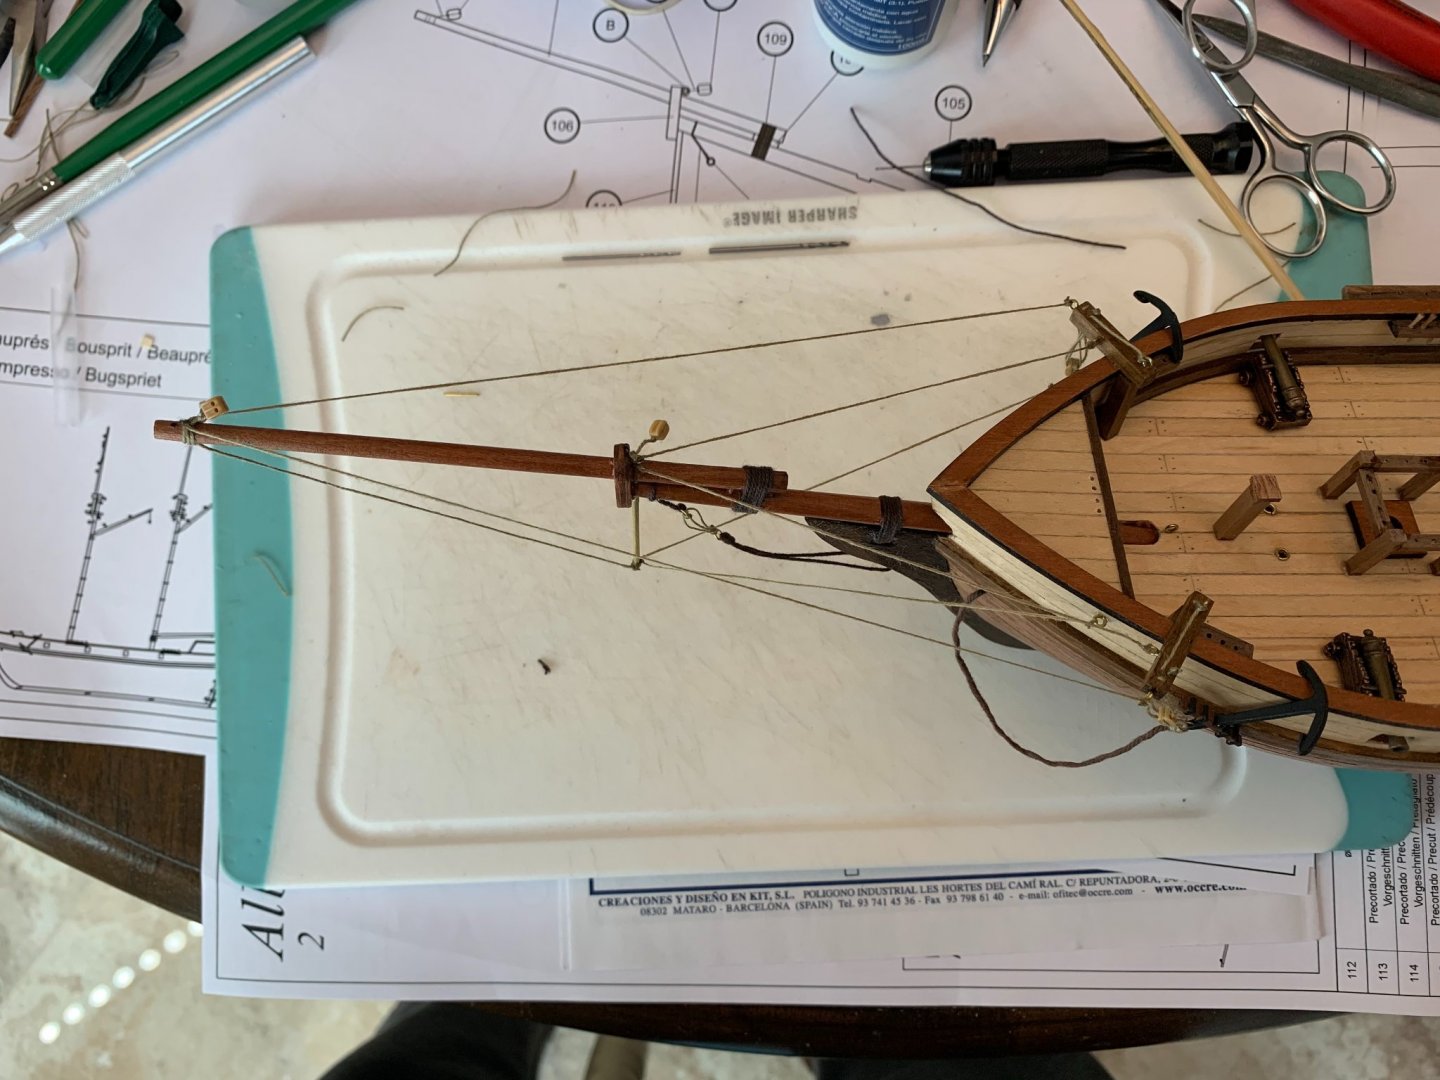
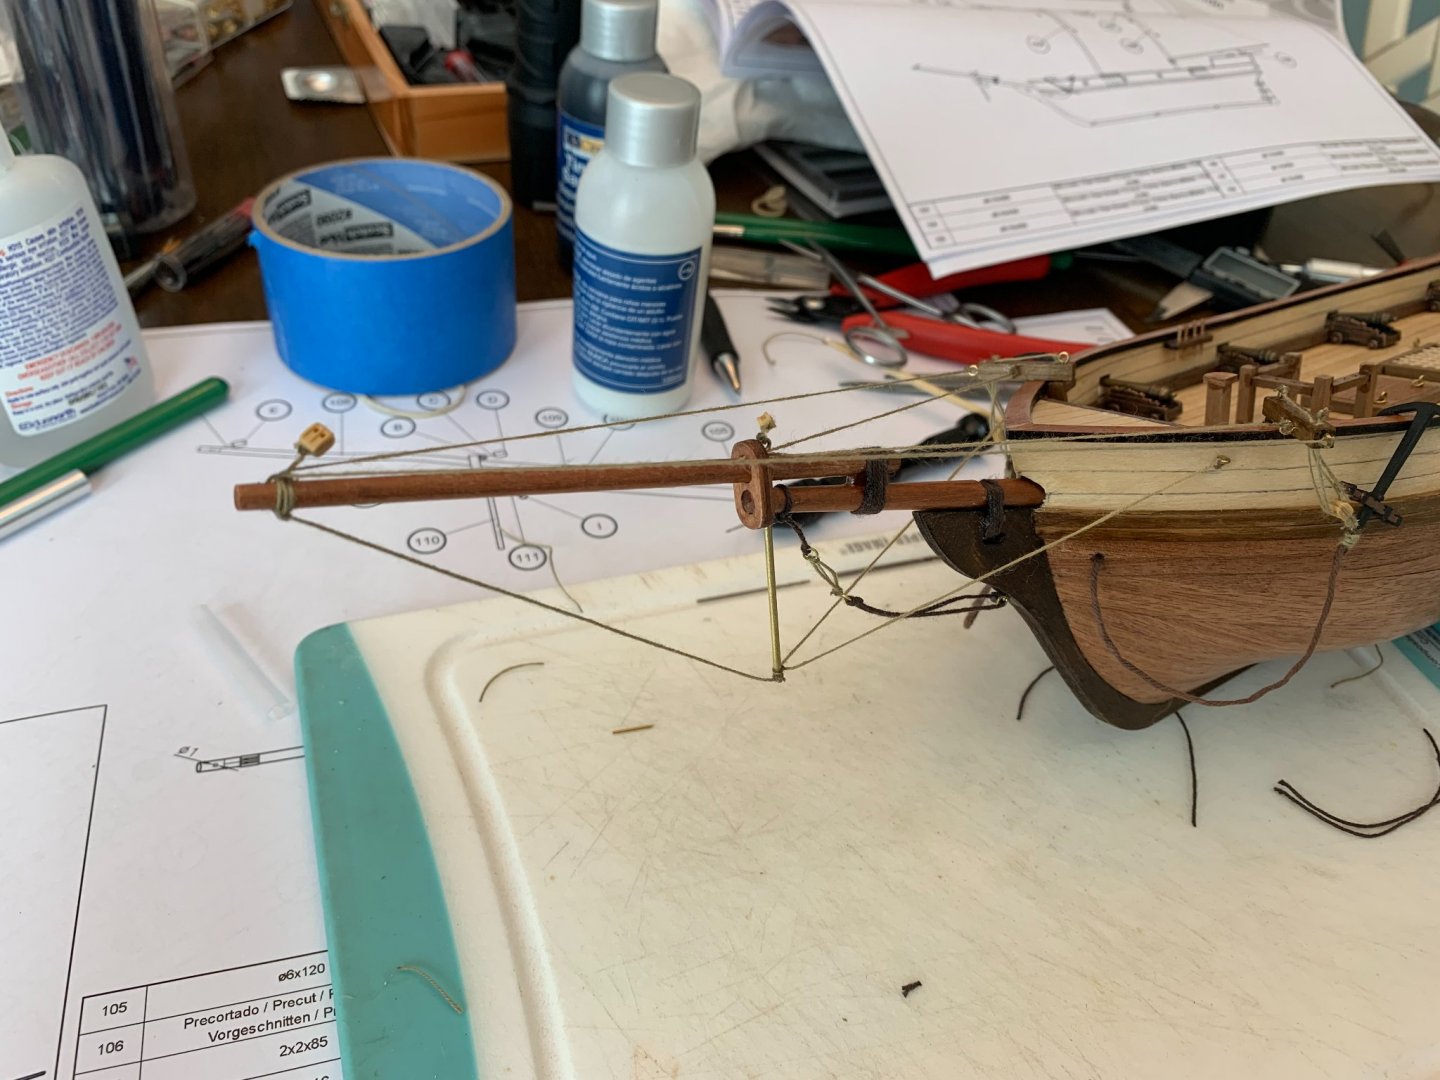
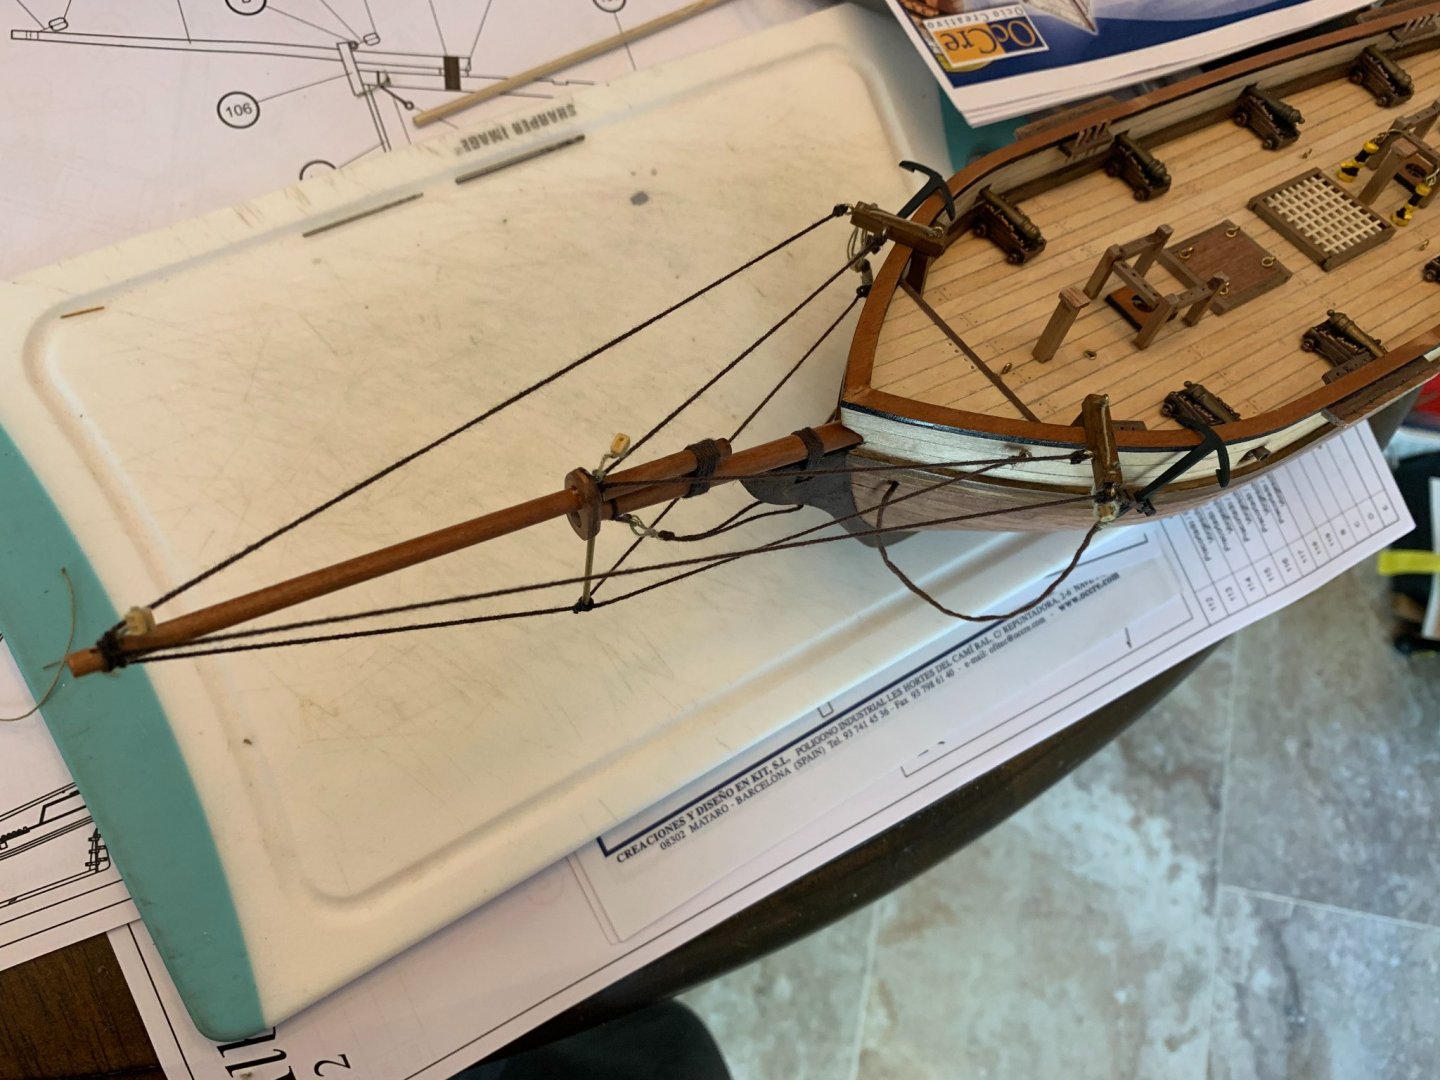
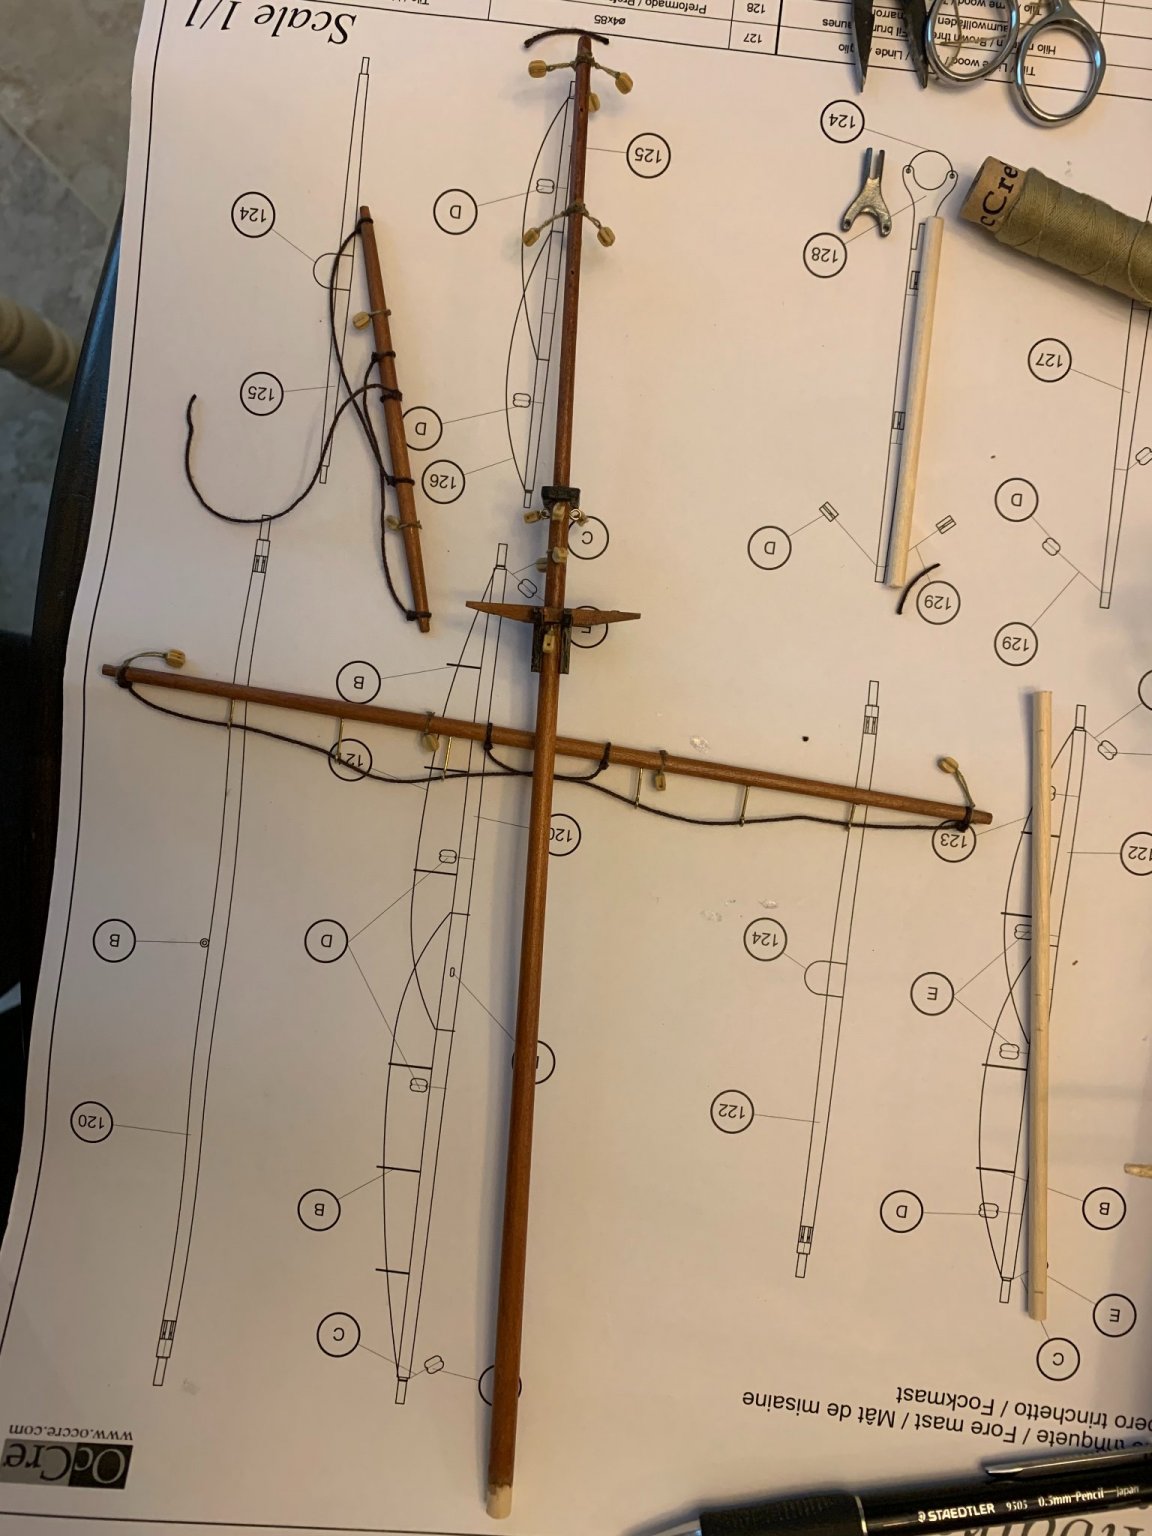
09MAY2021 I worked on the Fore Mast this weekend. I have fore boom left. I will probably do it next weekend. This bit took longer than I thought. Sanding the mast, yards and boom to a taper took a while. It was difficult getting a consistent lengths on the ropes attaching the blocks. I had to redo a bunch, and in the end, there were still some that were either too long or too short. At some point I'll figure out how to do it.
-
Hey Kramer, good luck on your build. I’m building the same ship. I just started making the masts. I hope to get one done this weekend.
-
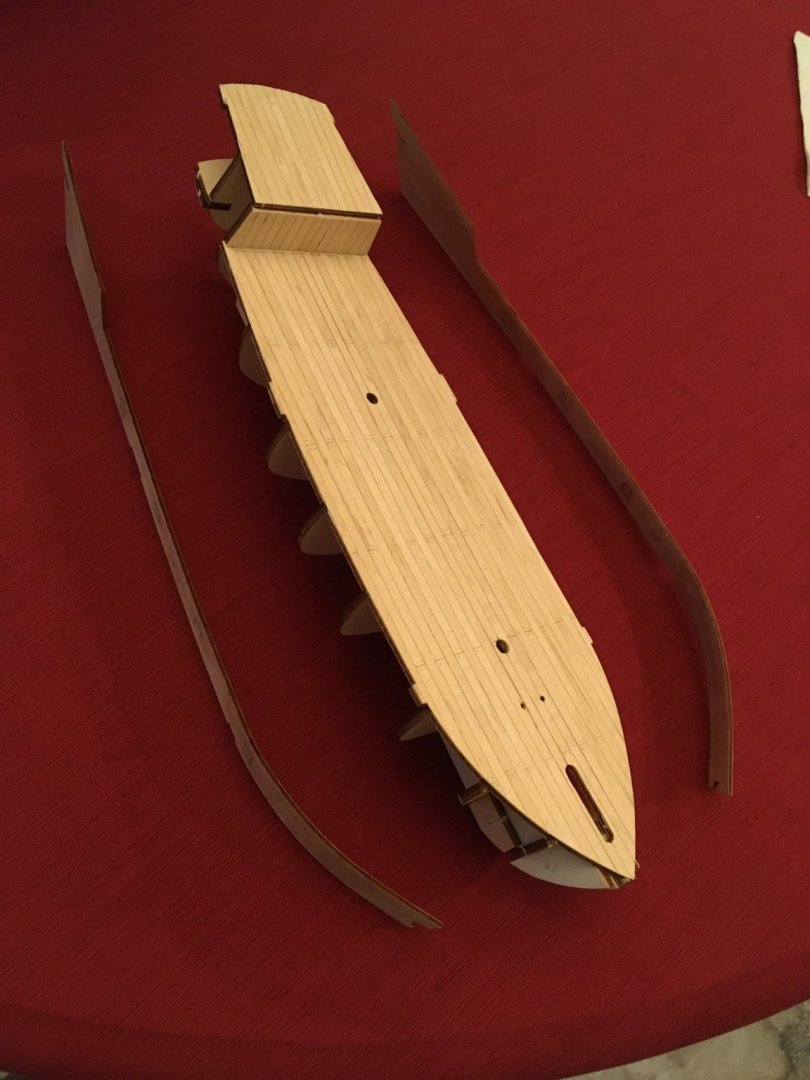
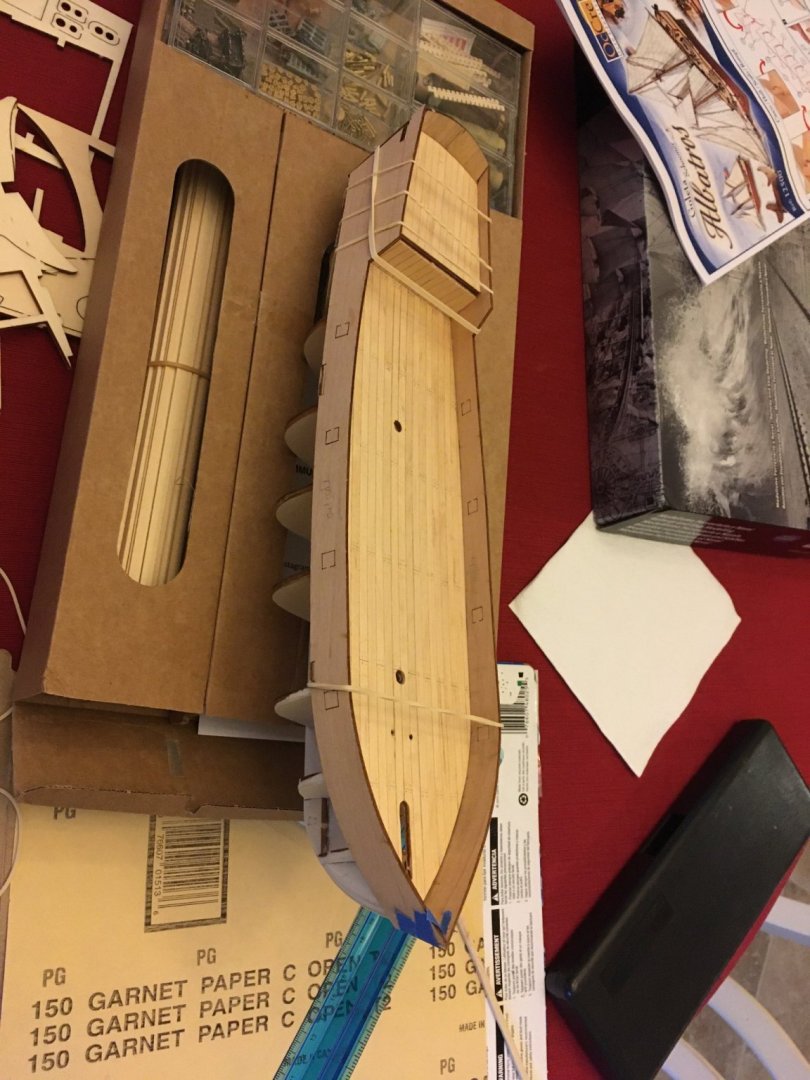
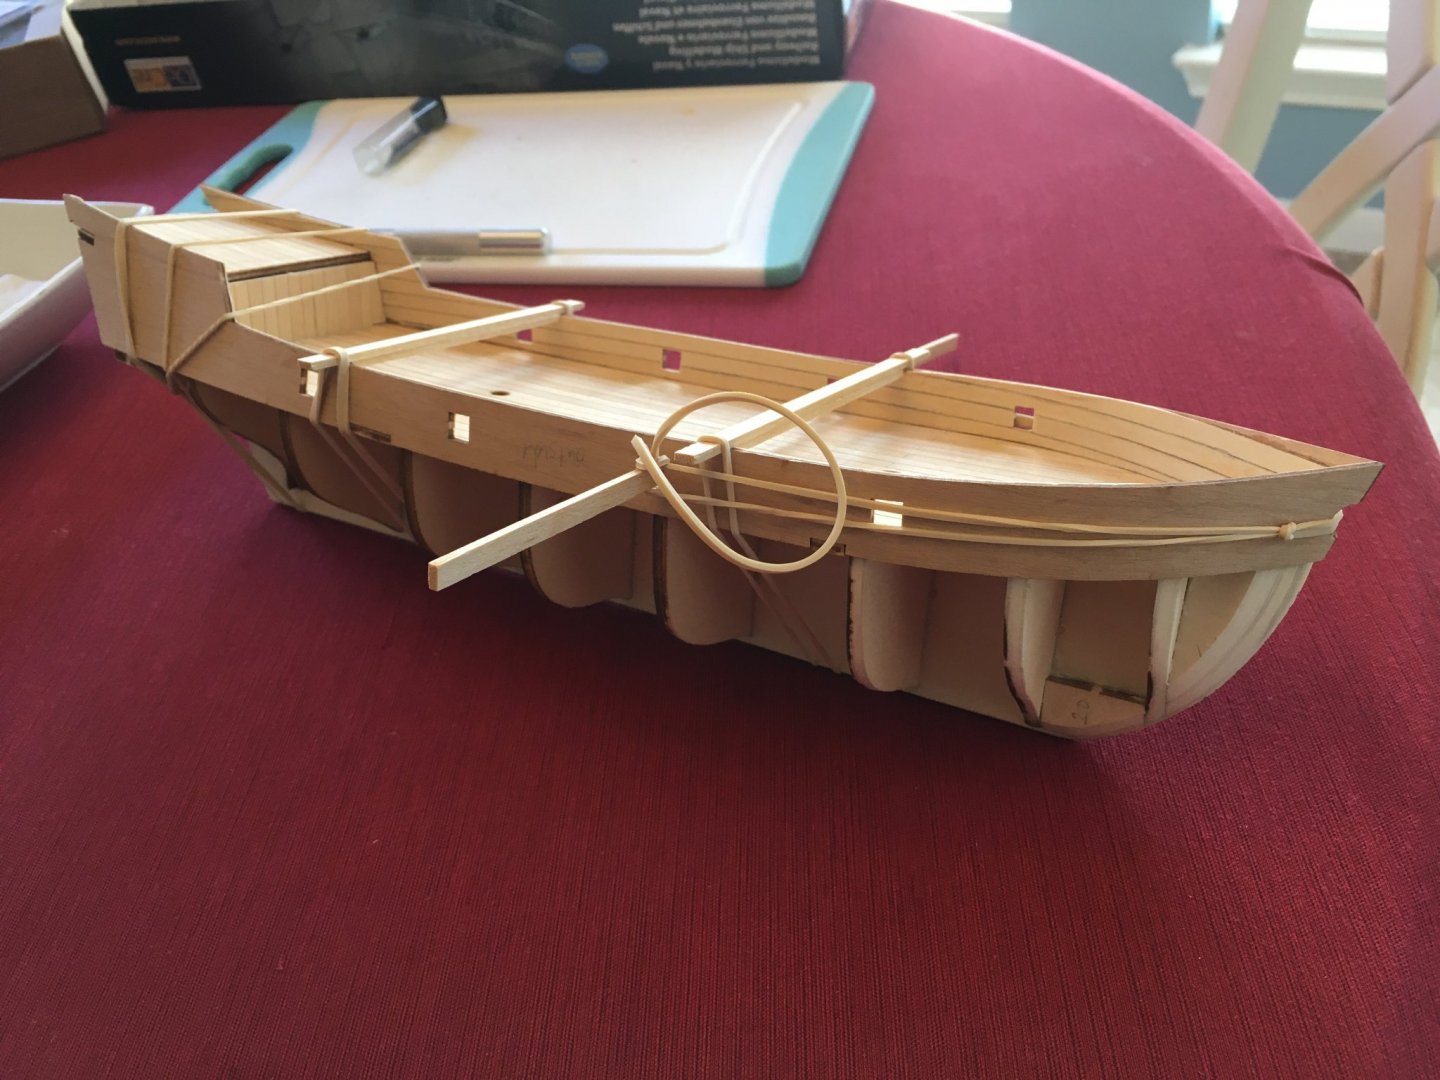
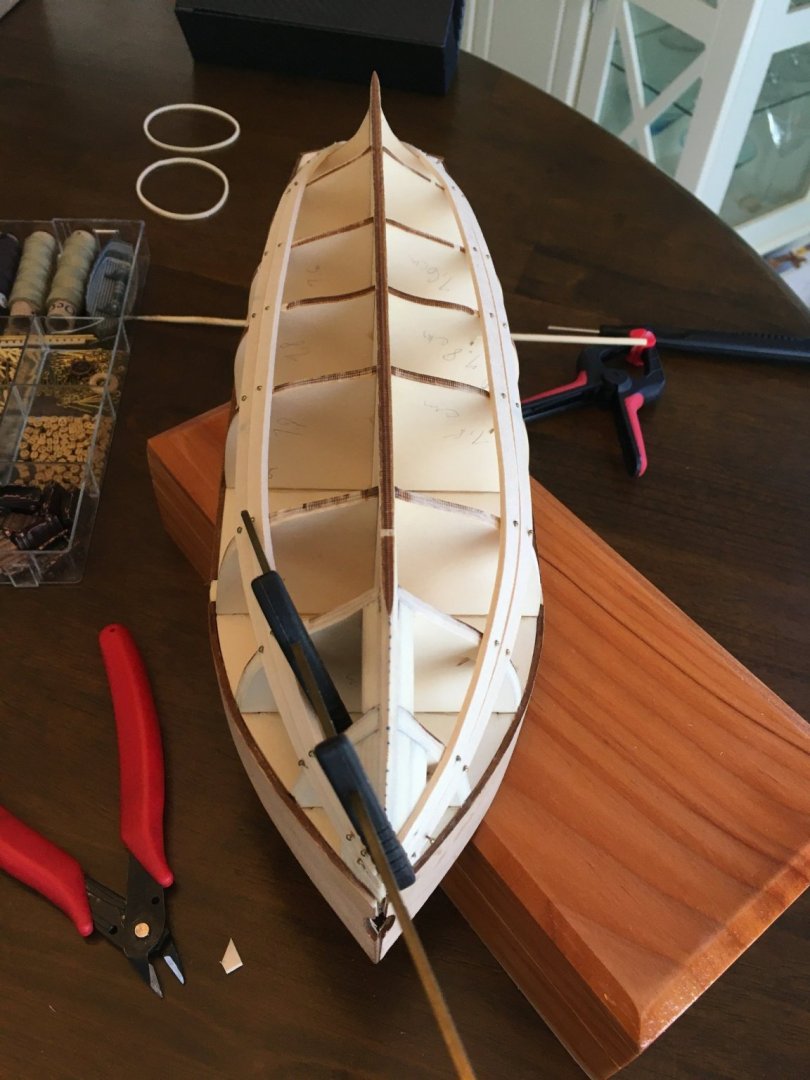
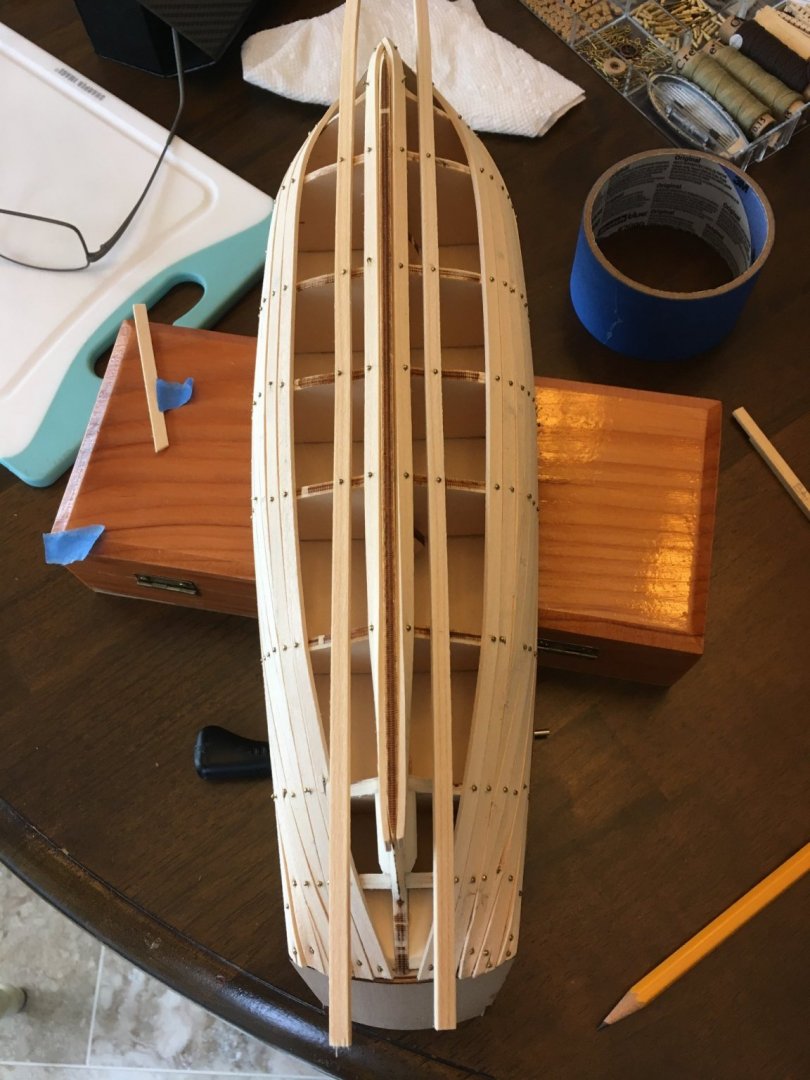
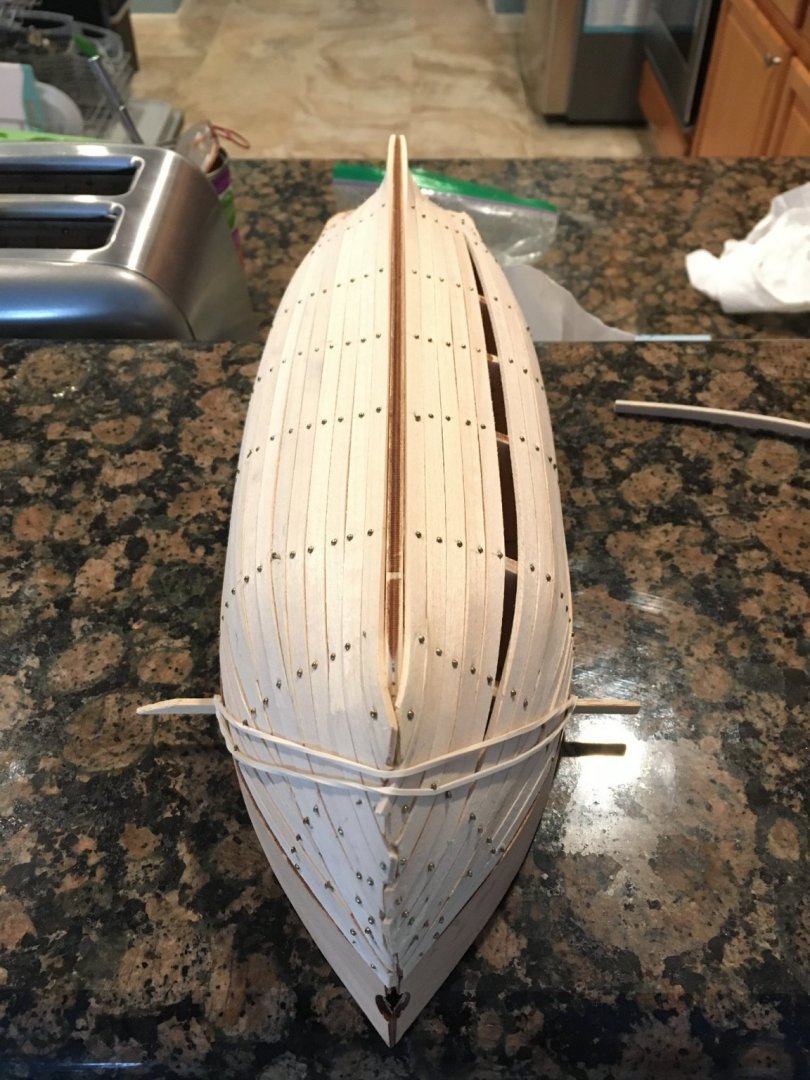
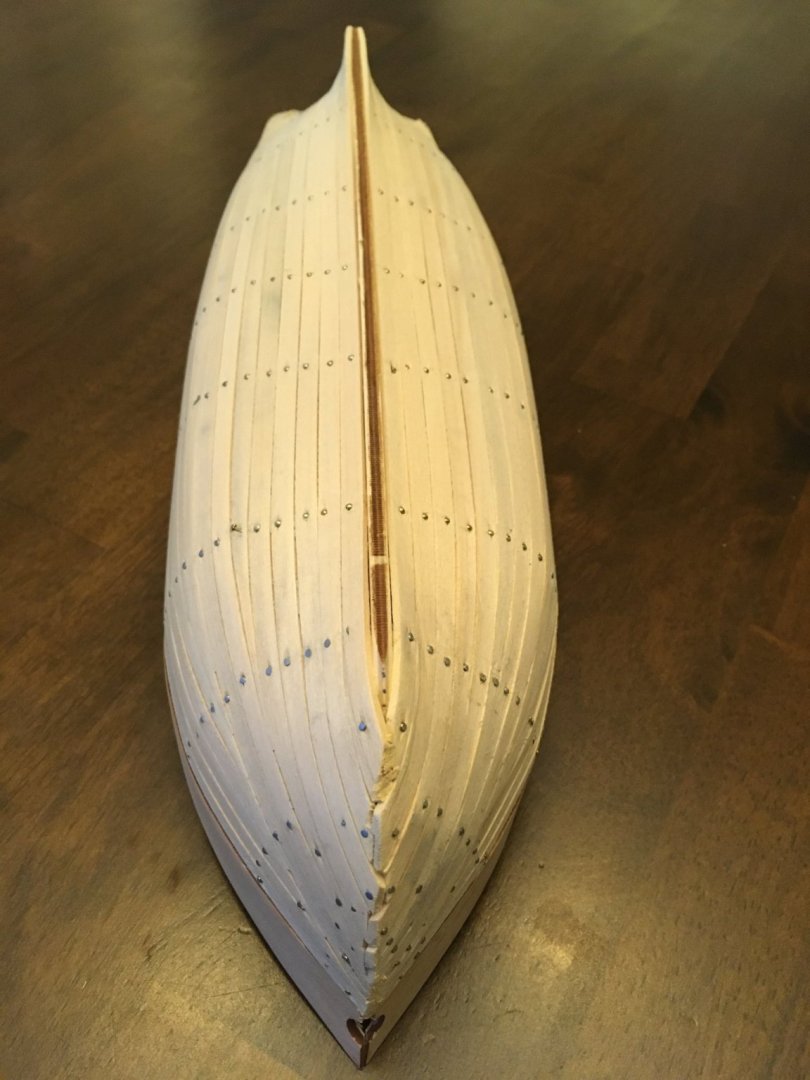
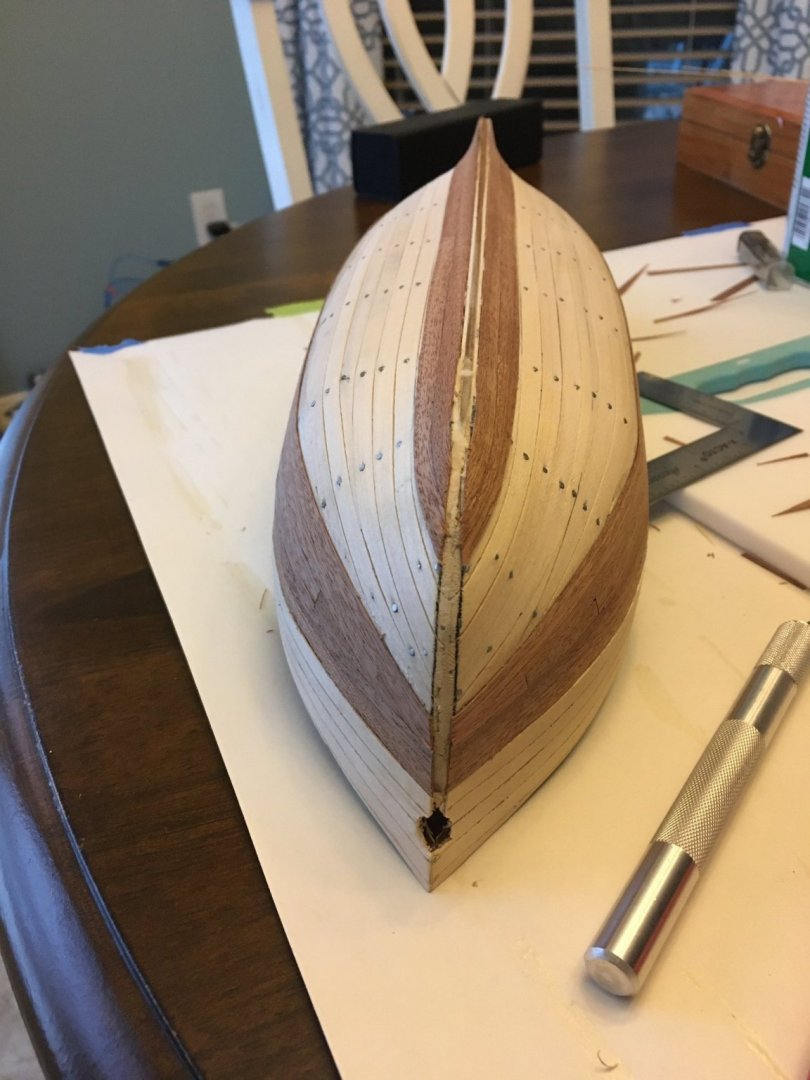
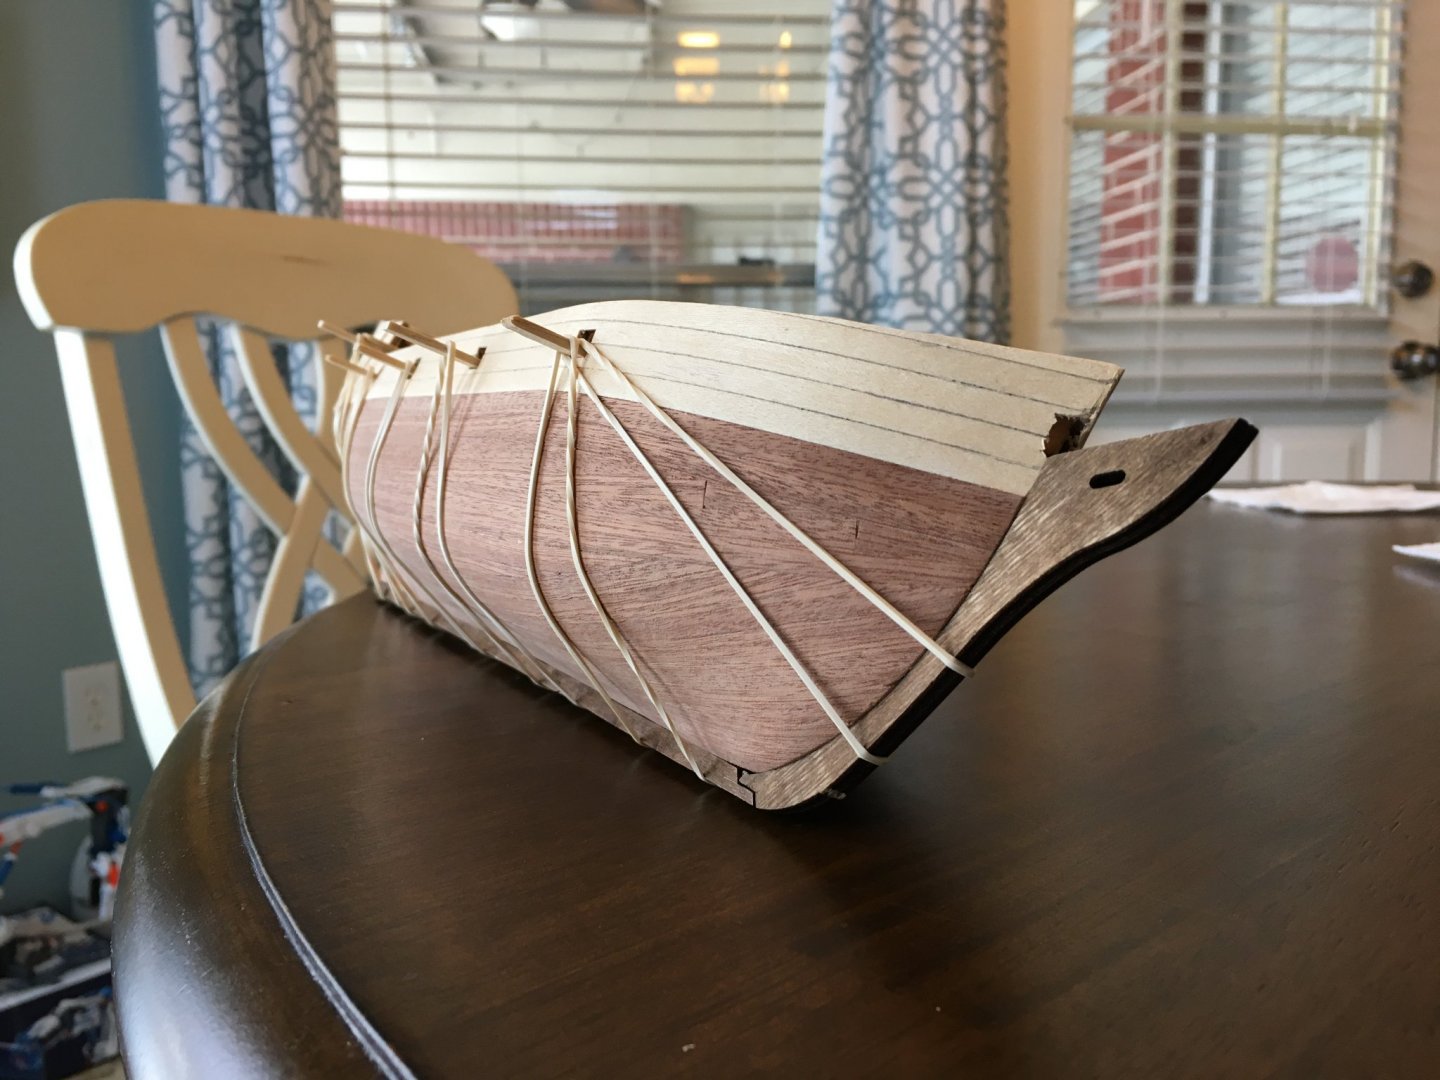
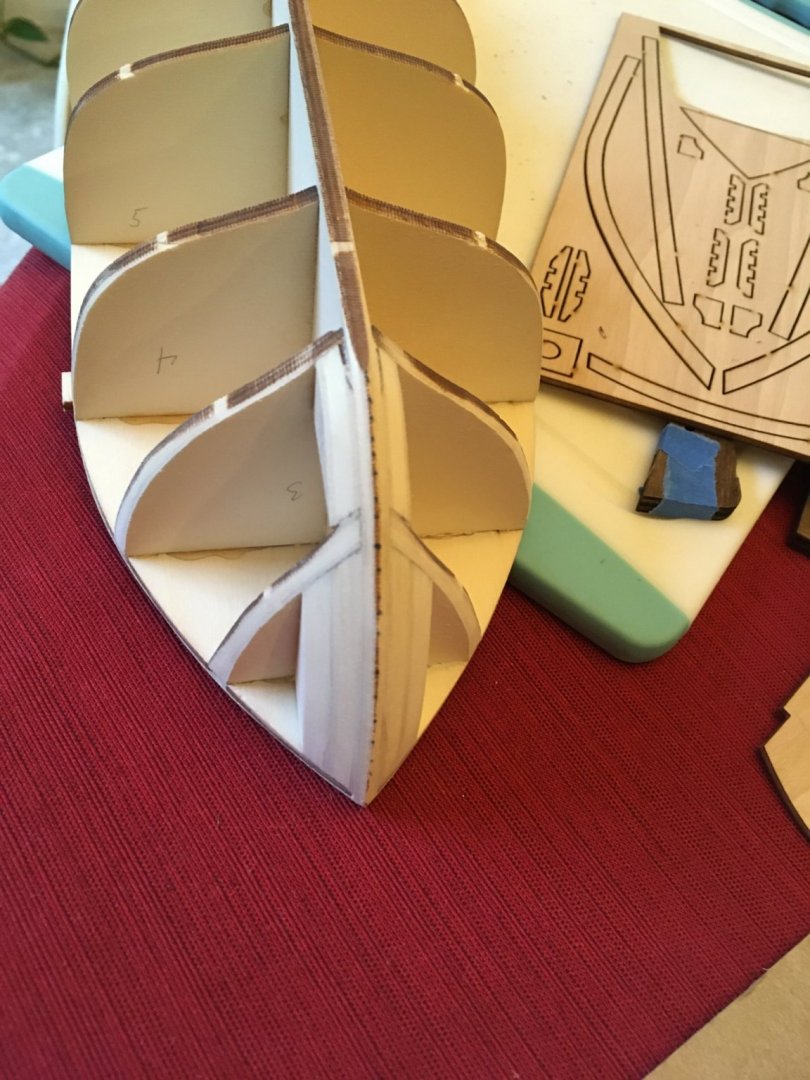
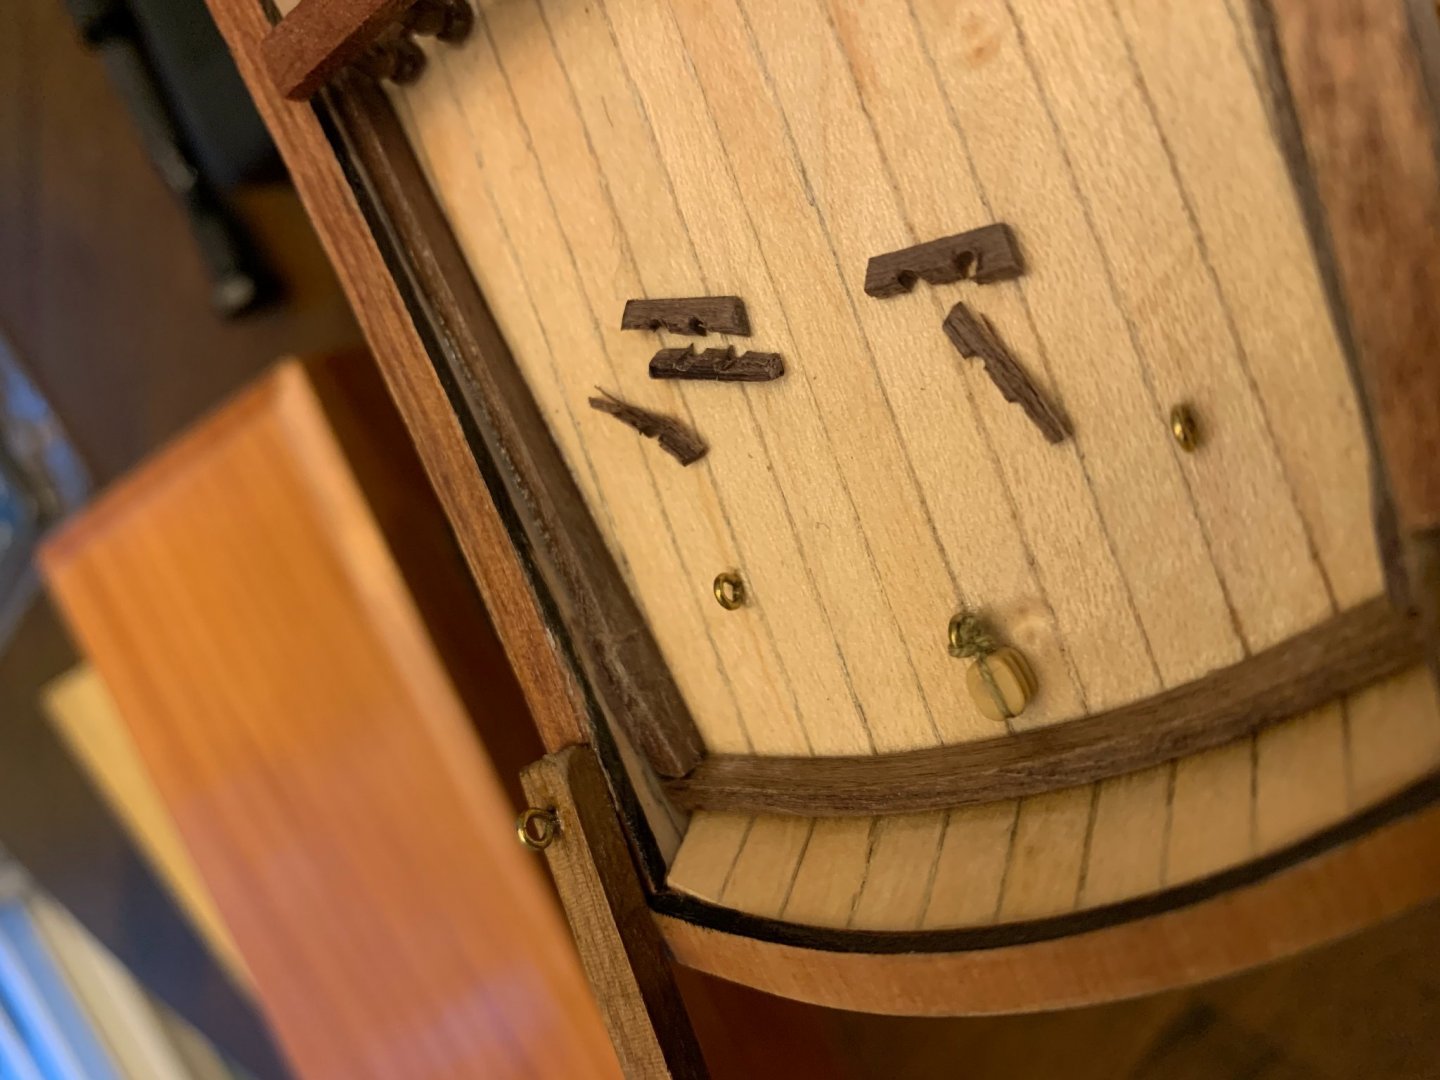
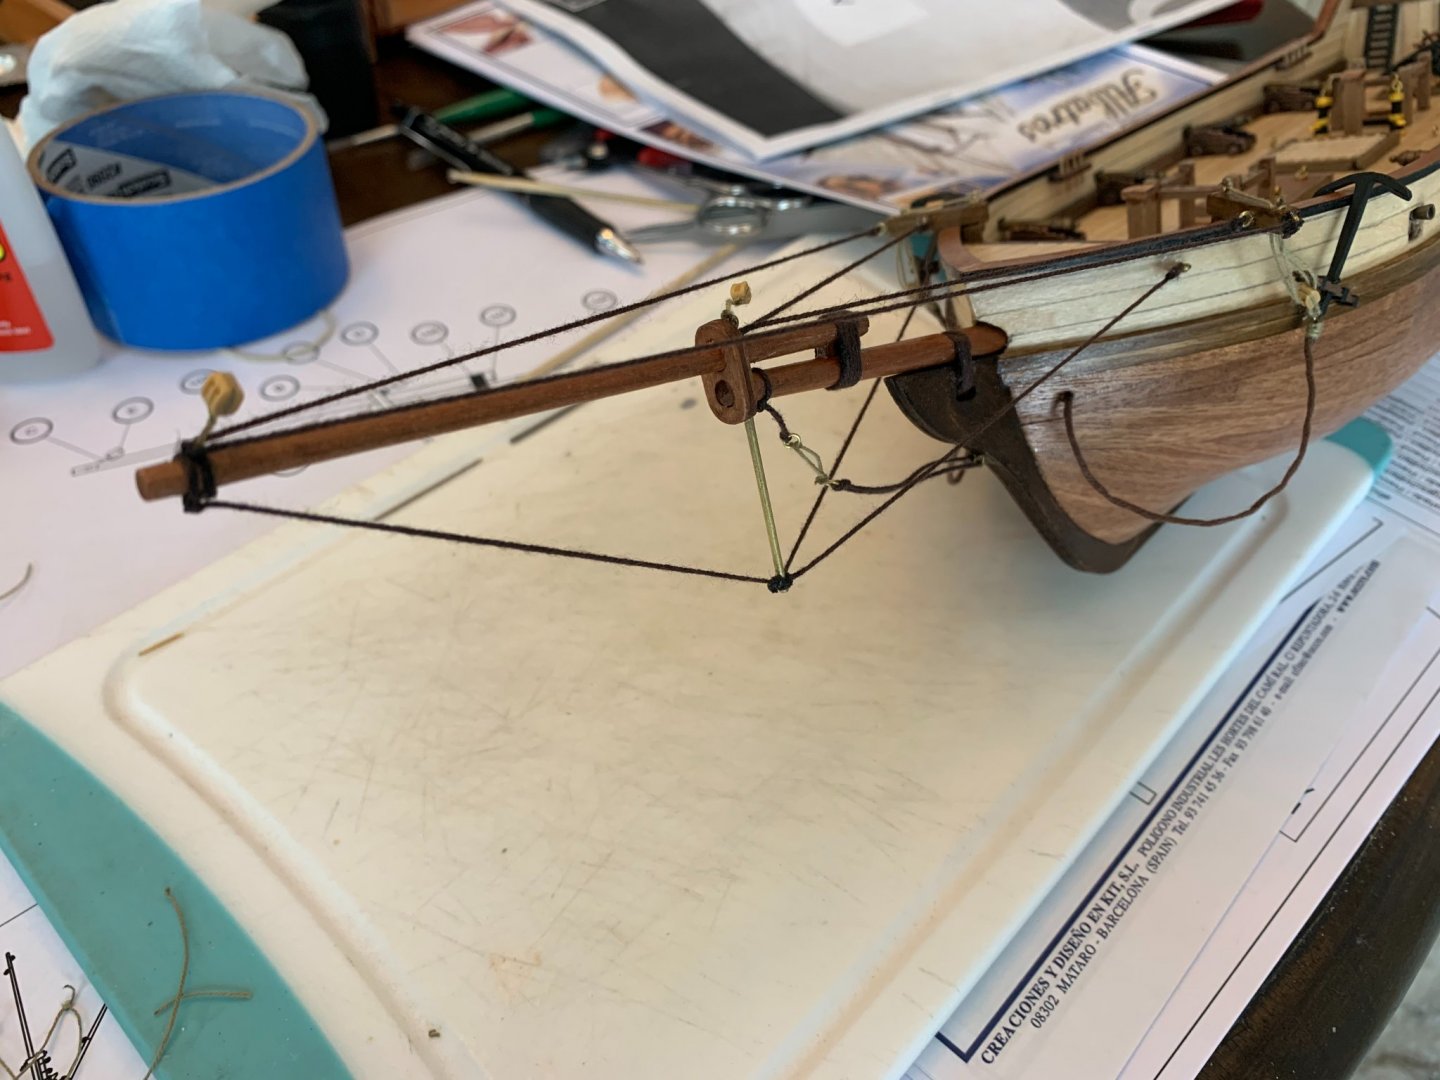
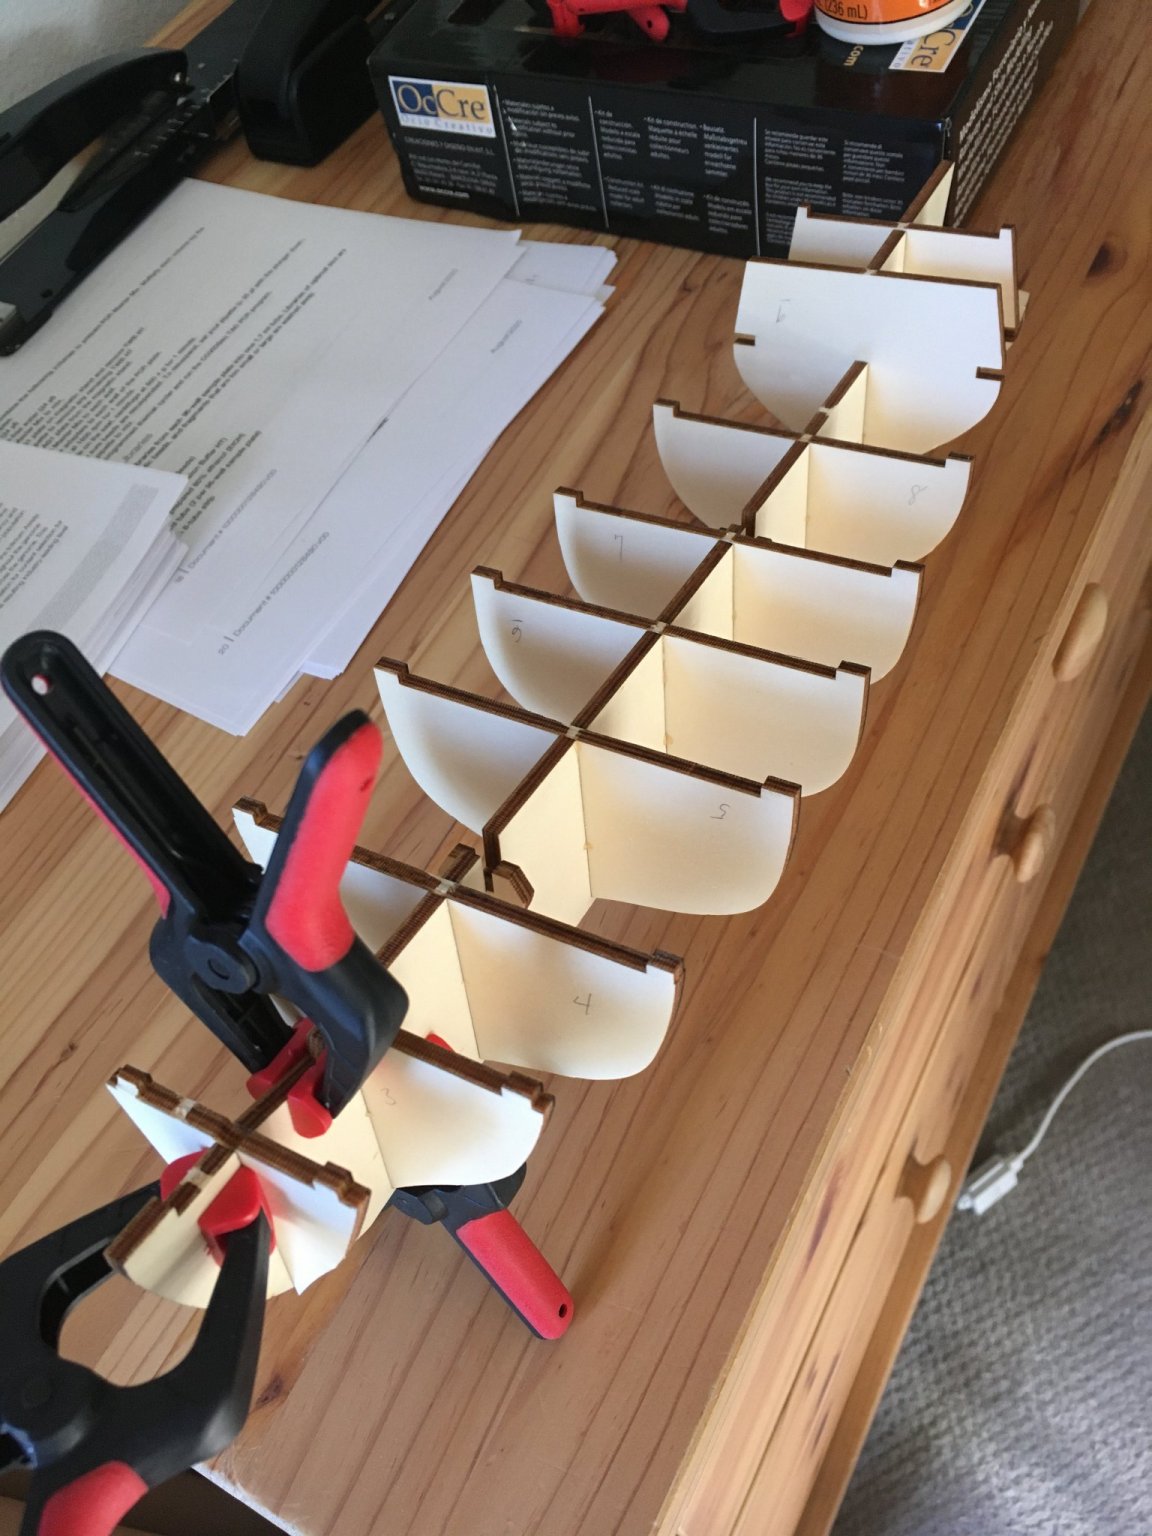
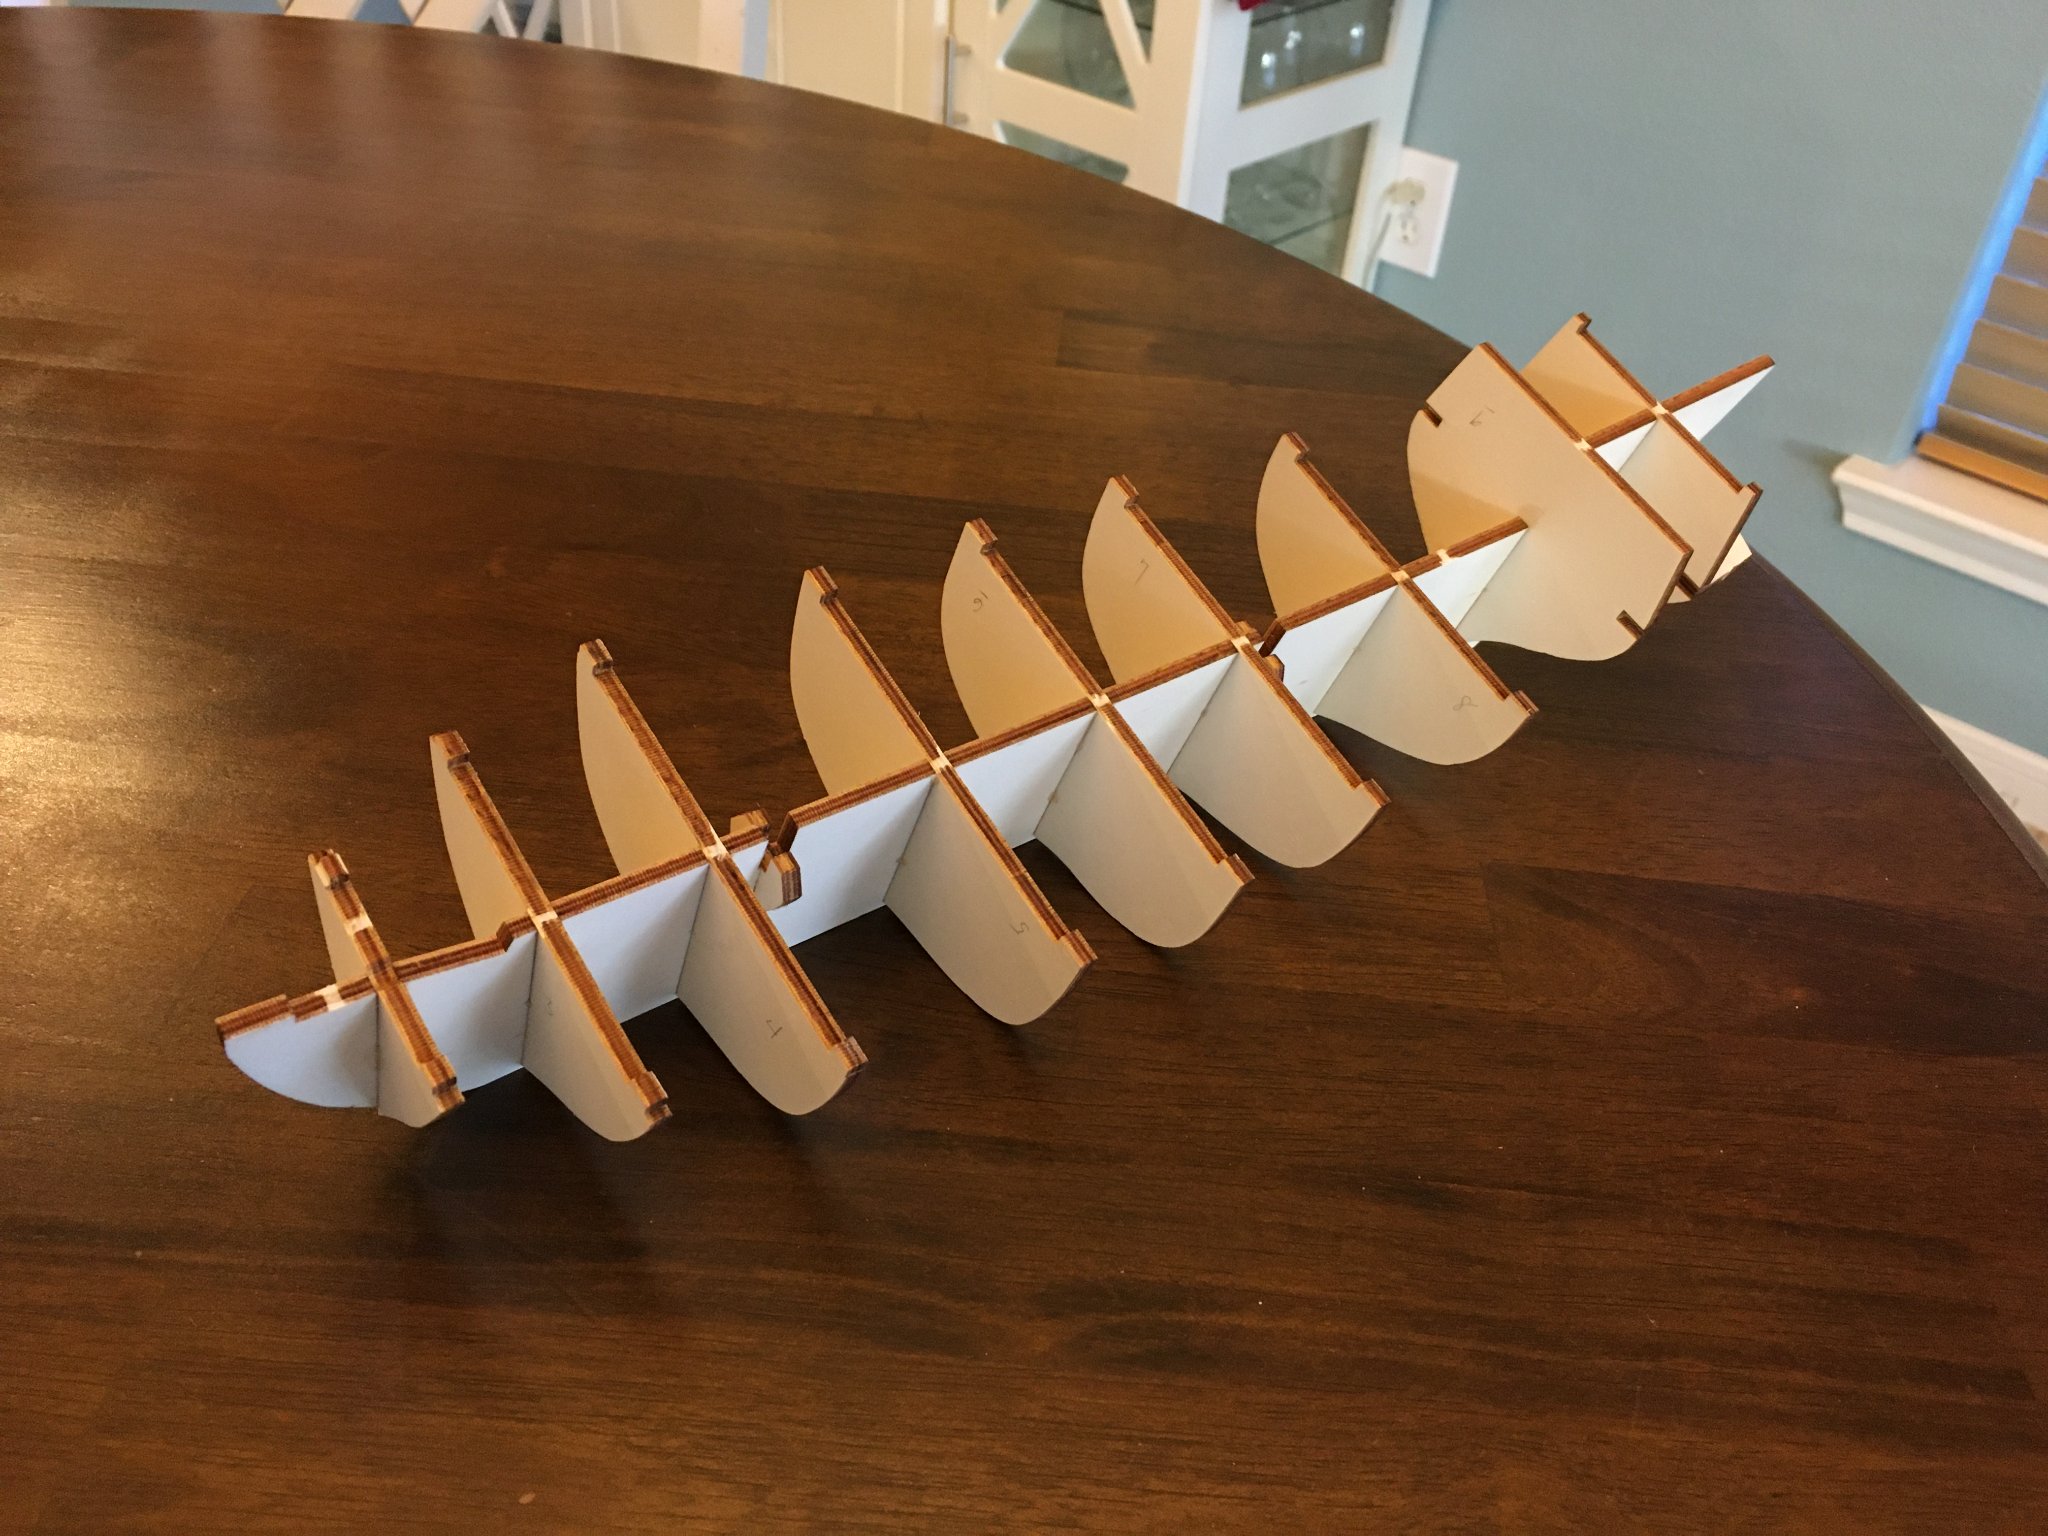
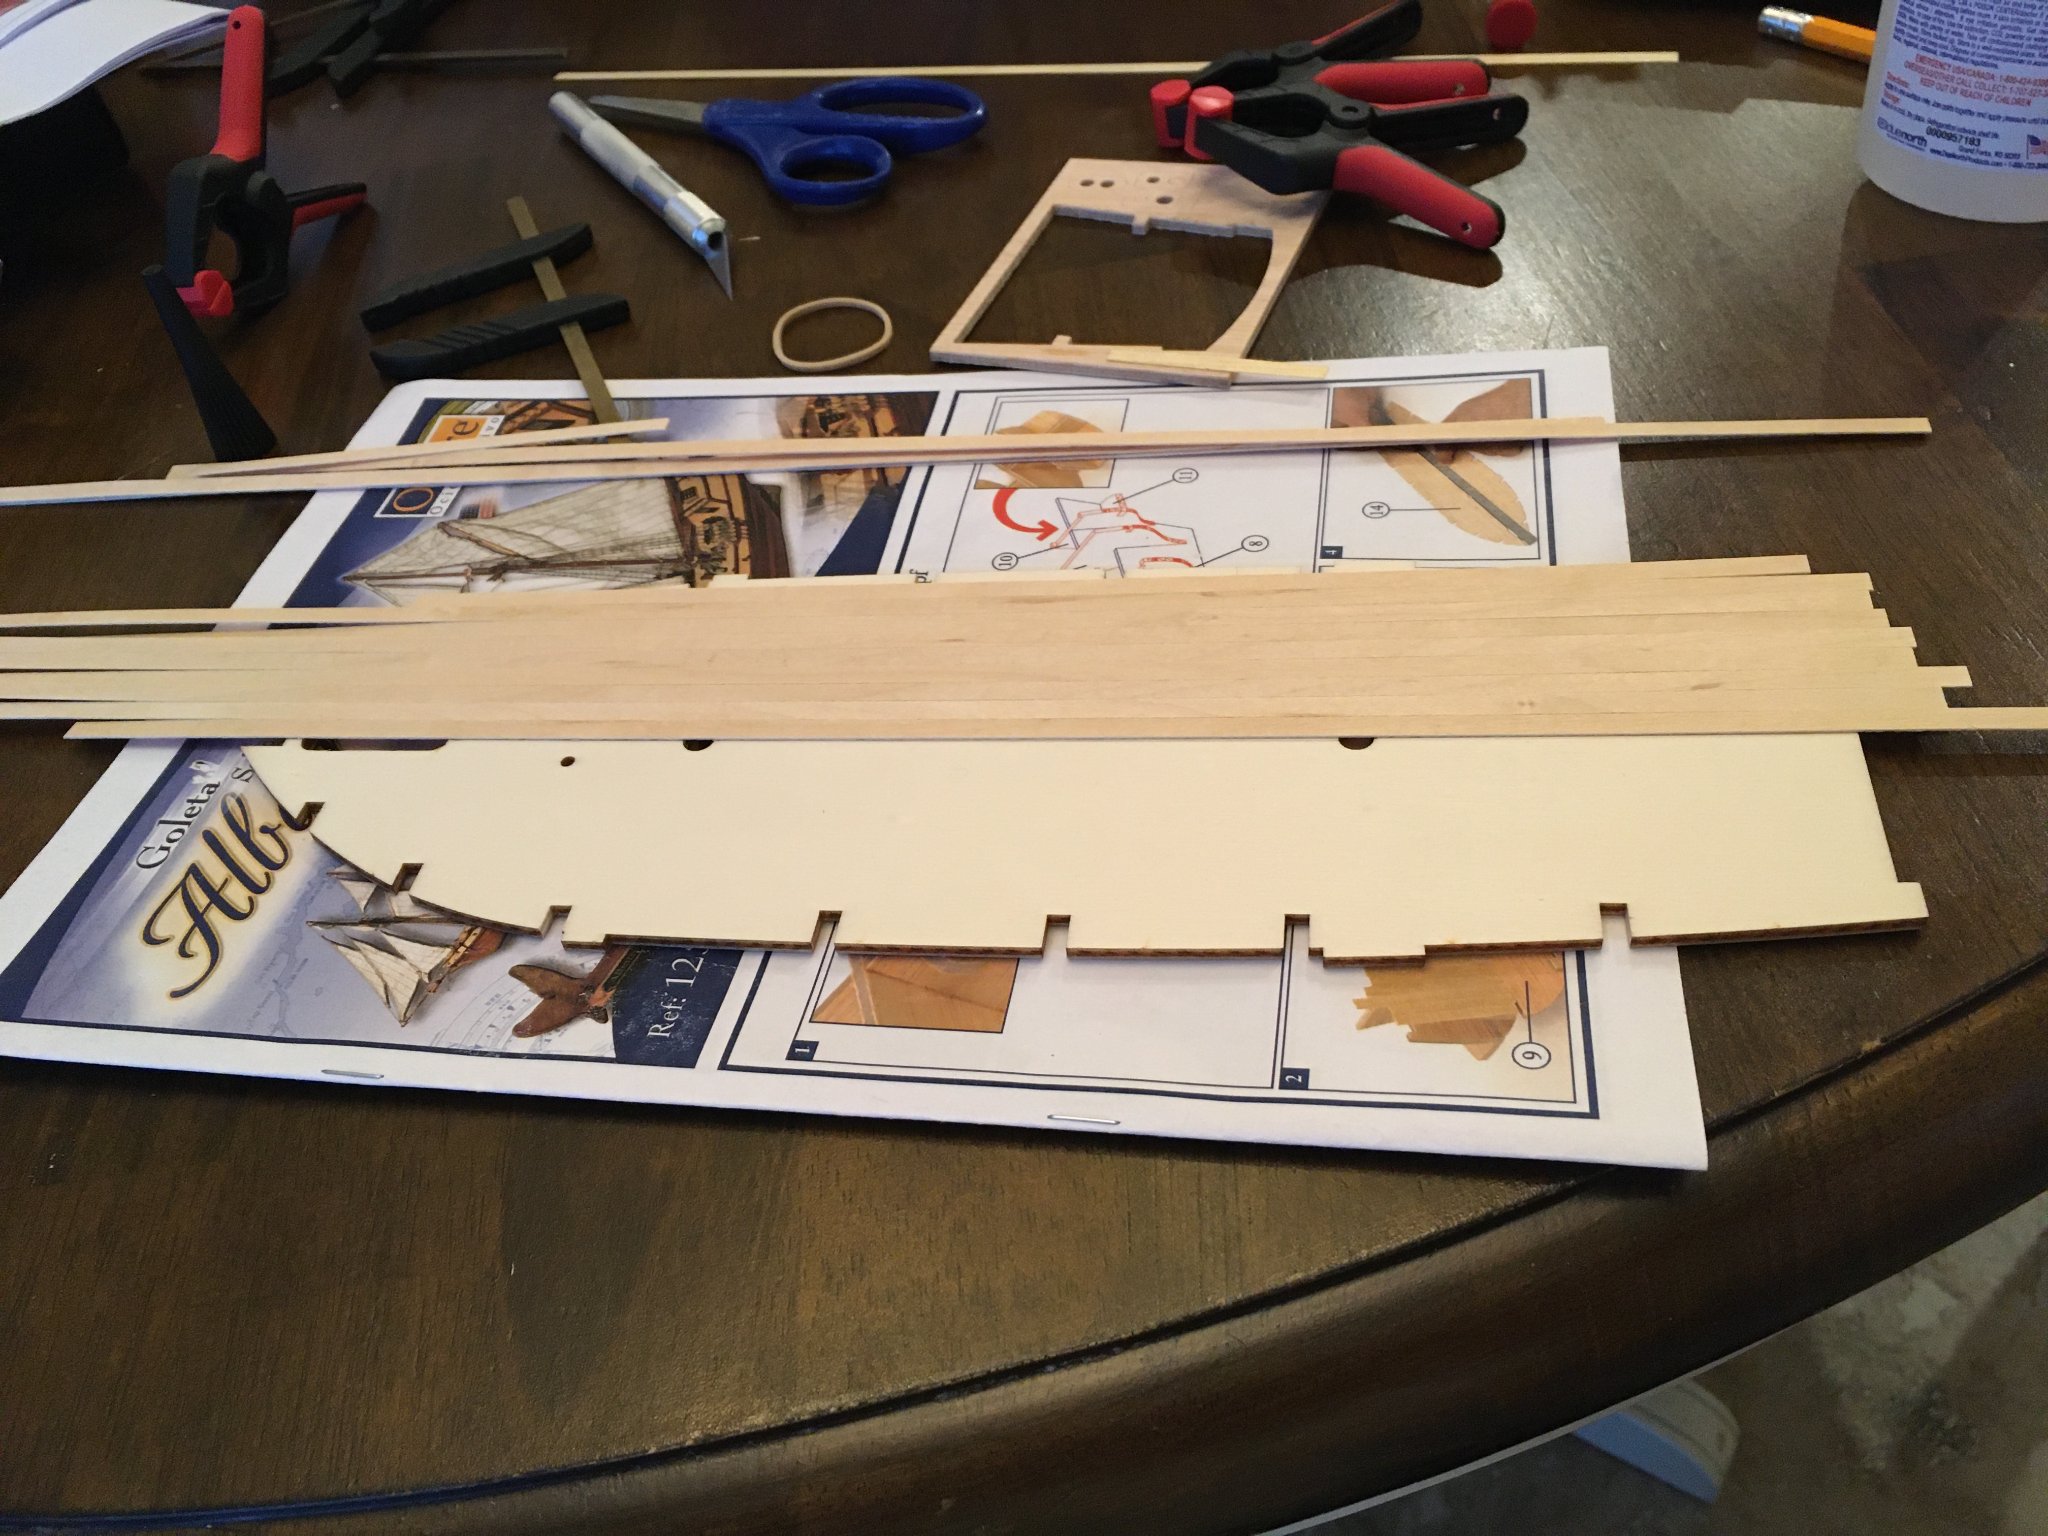
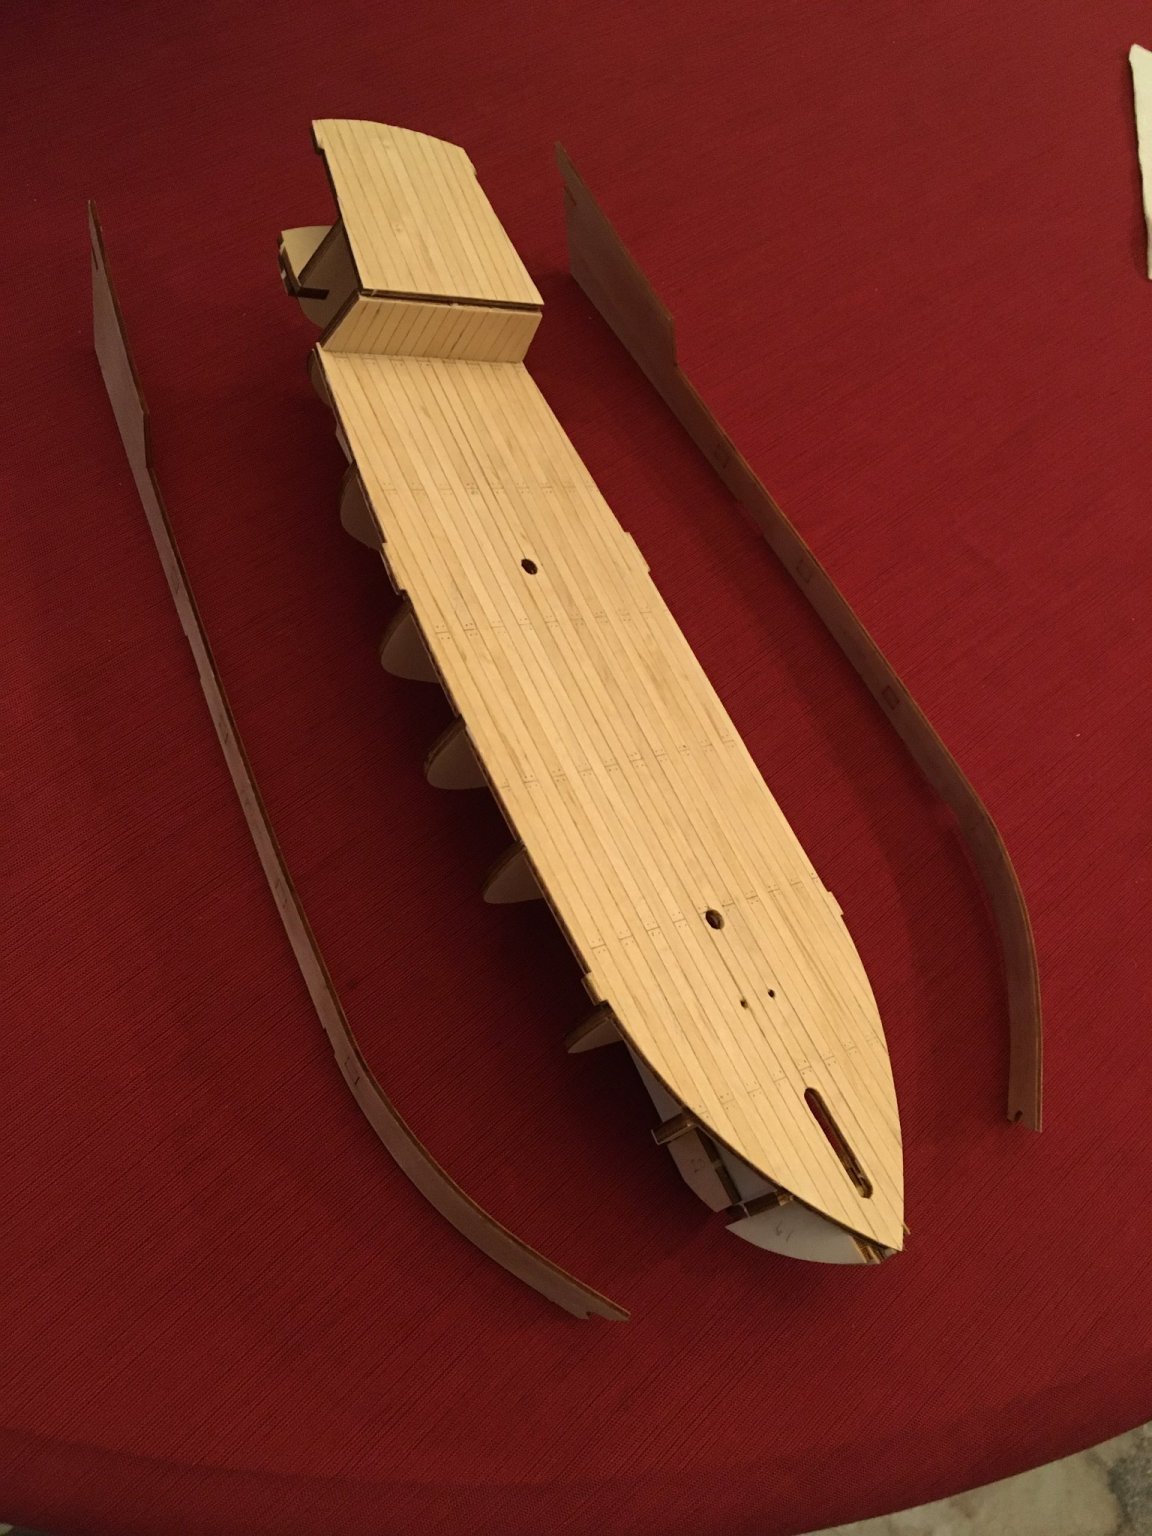
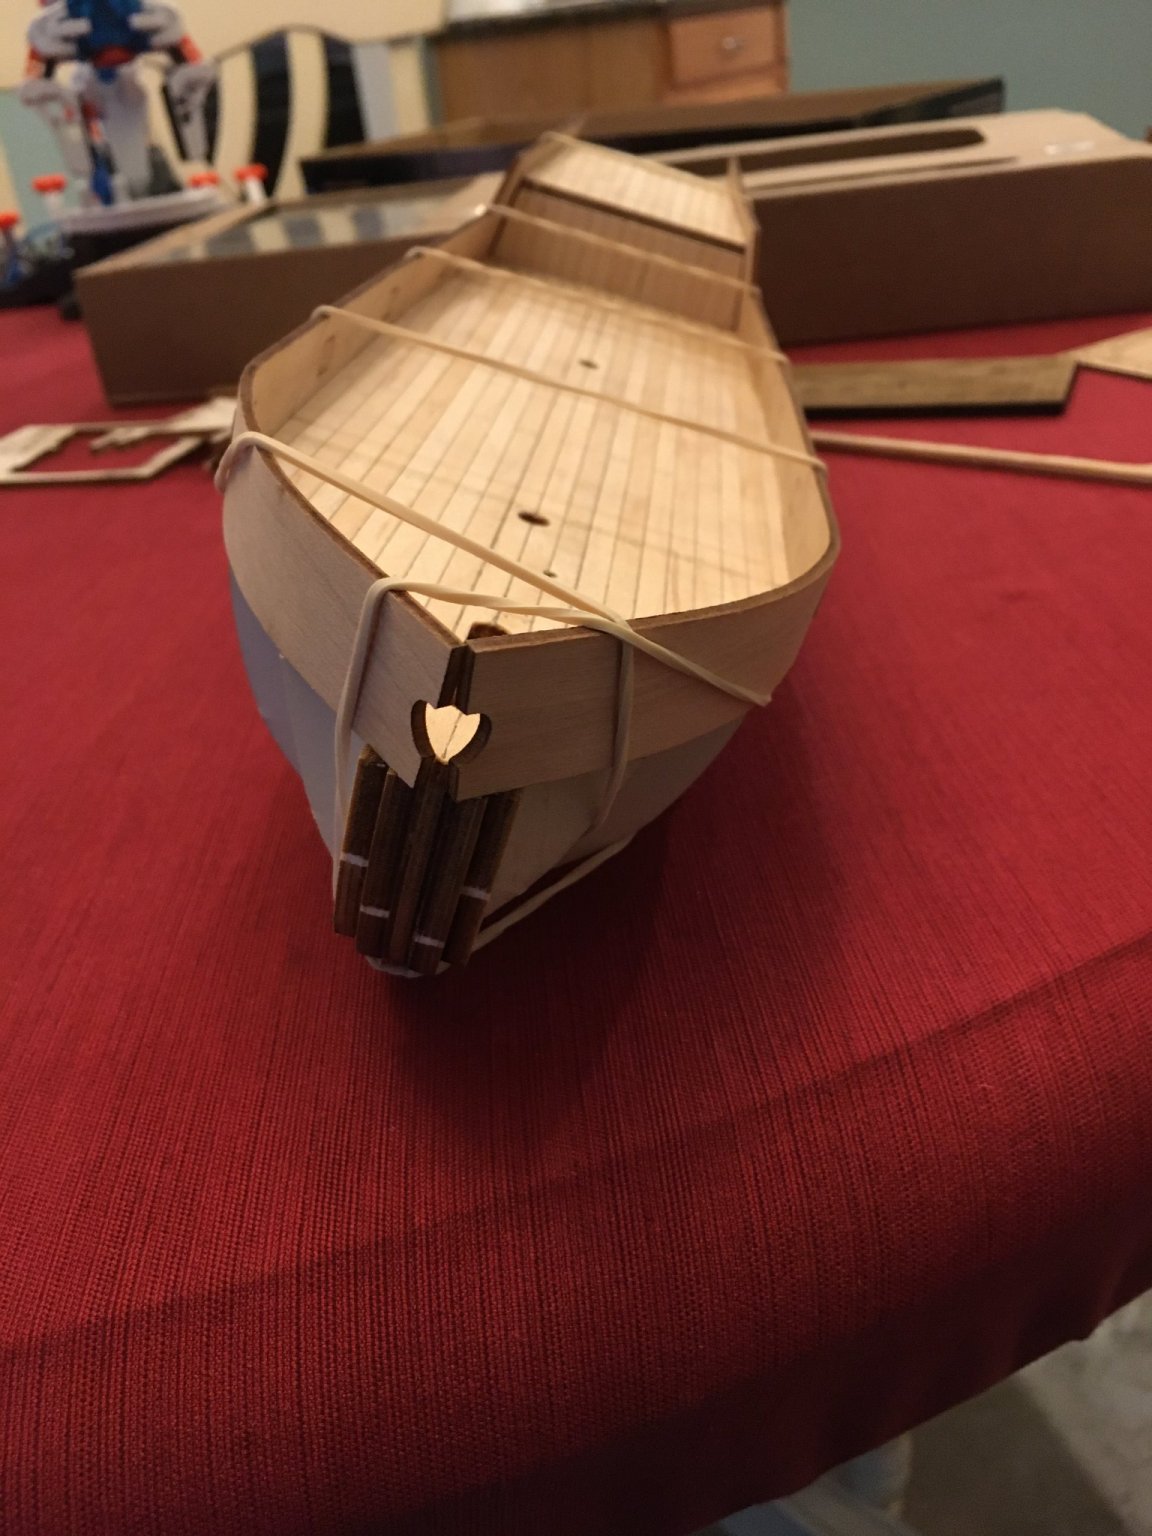
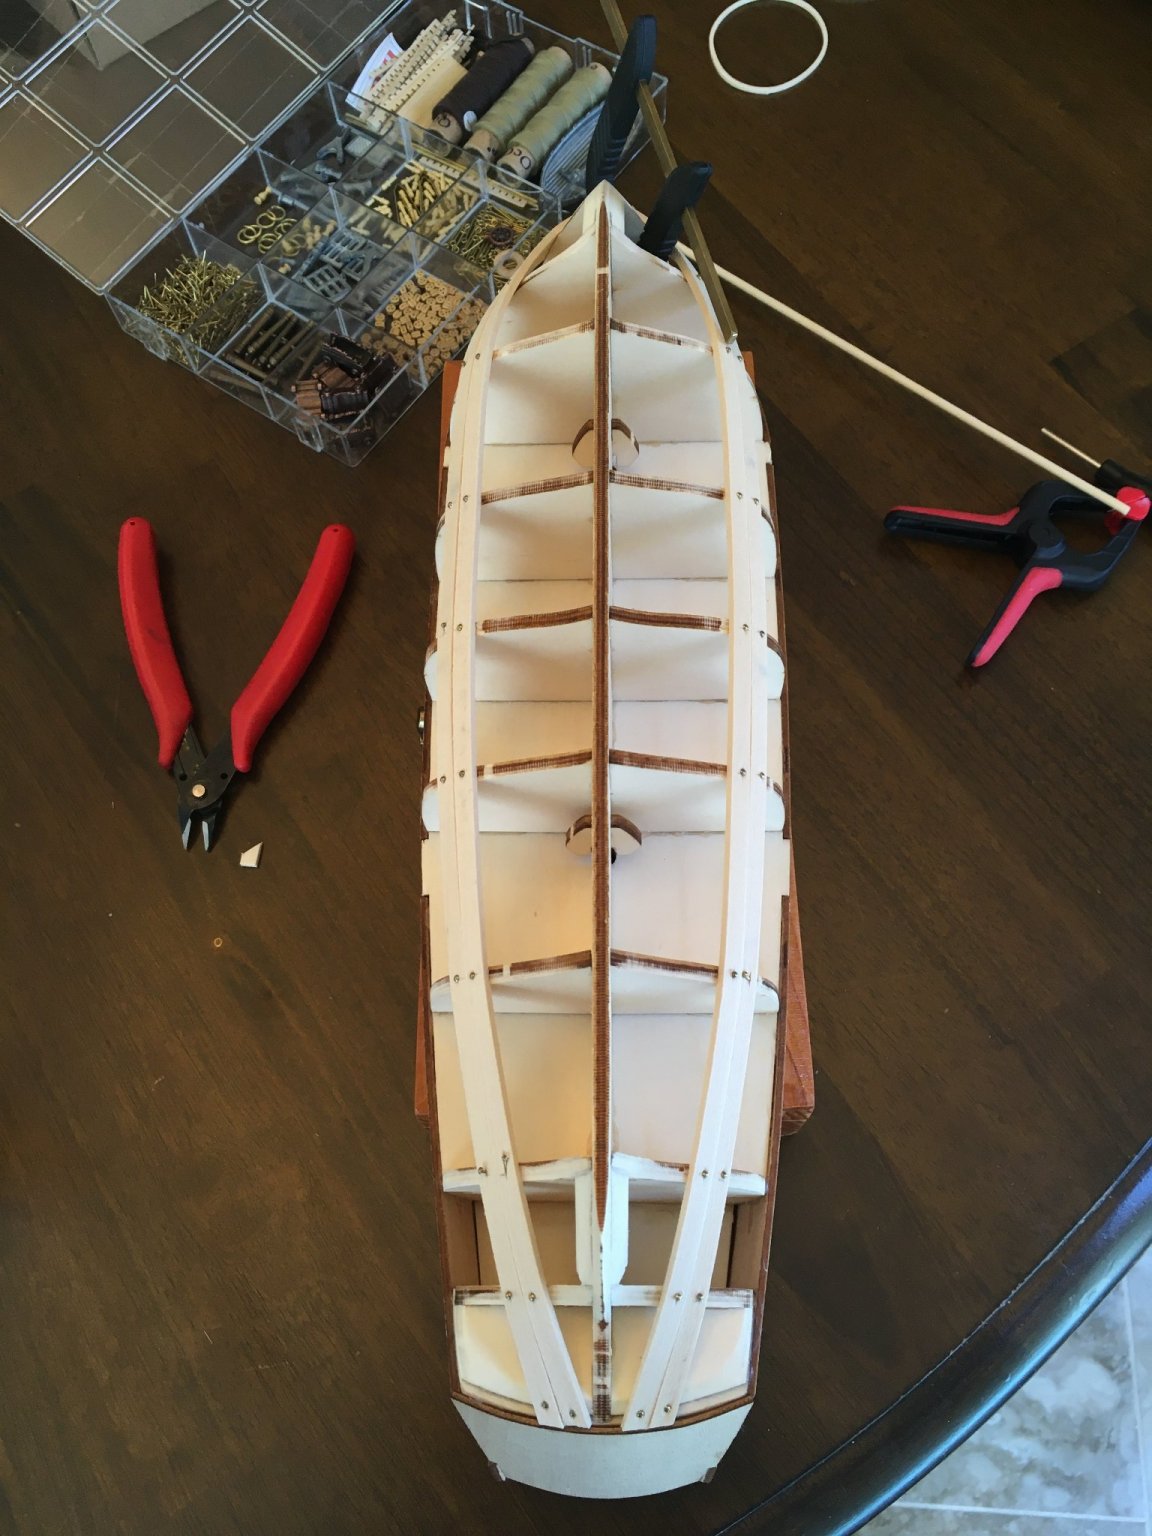
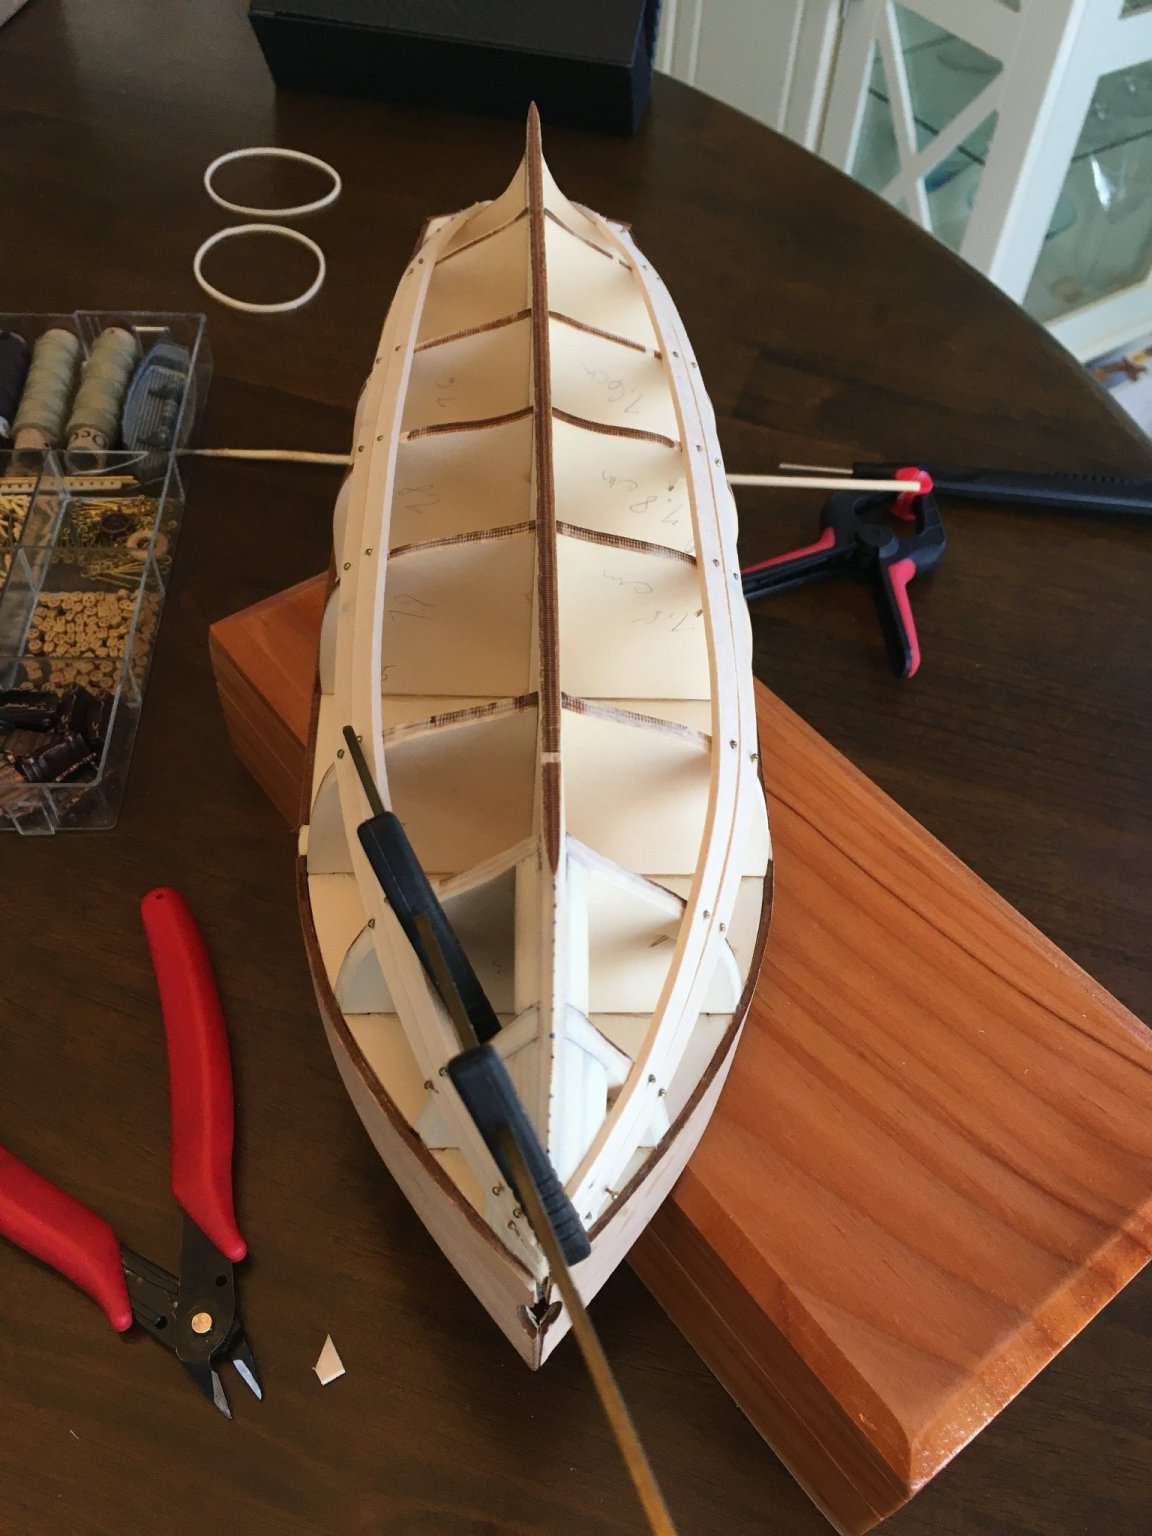
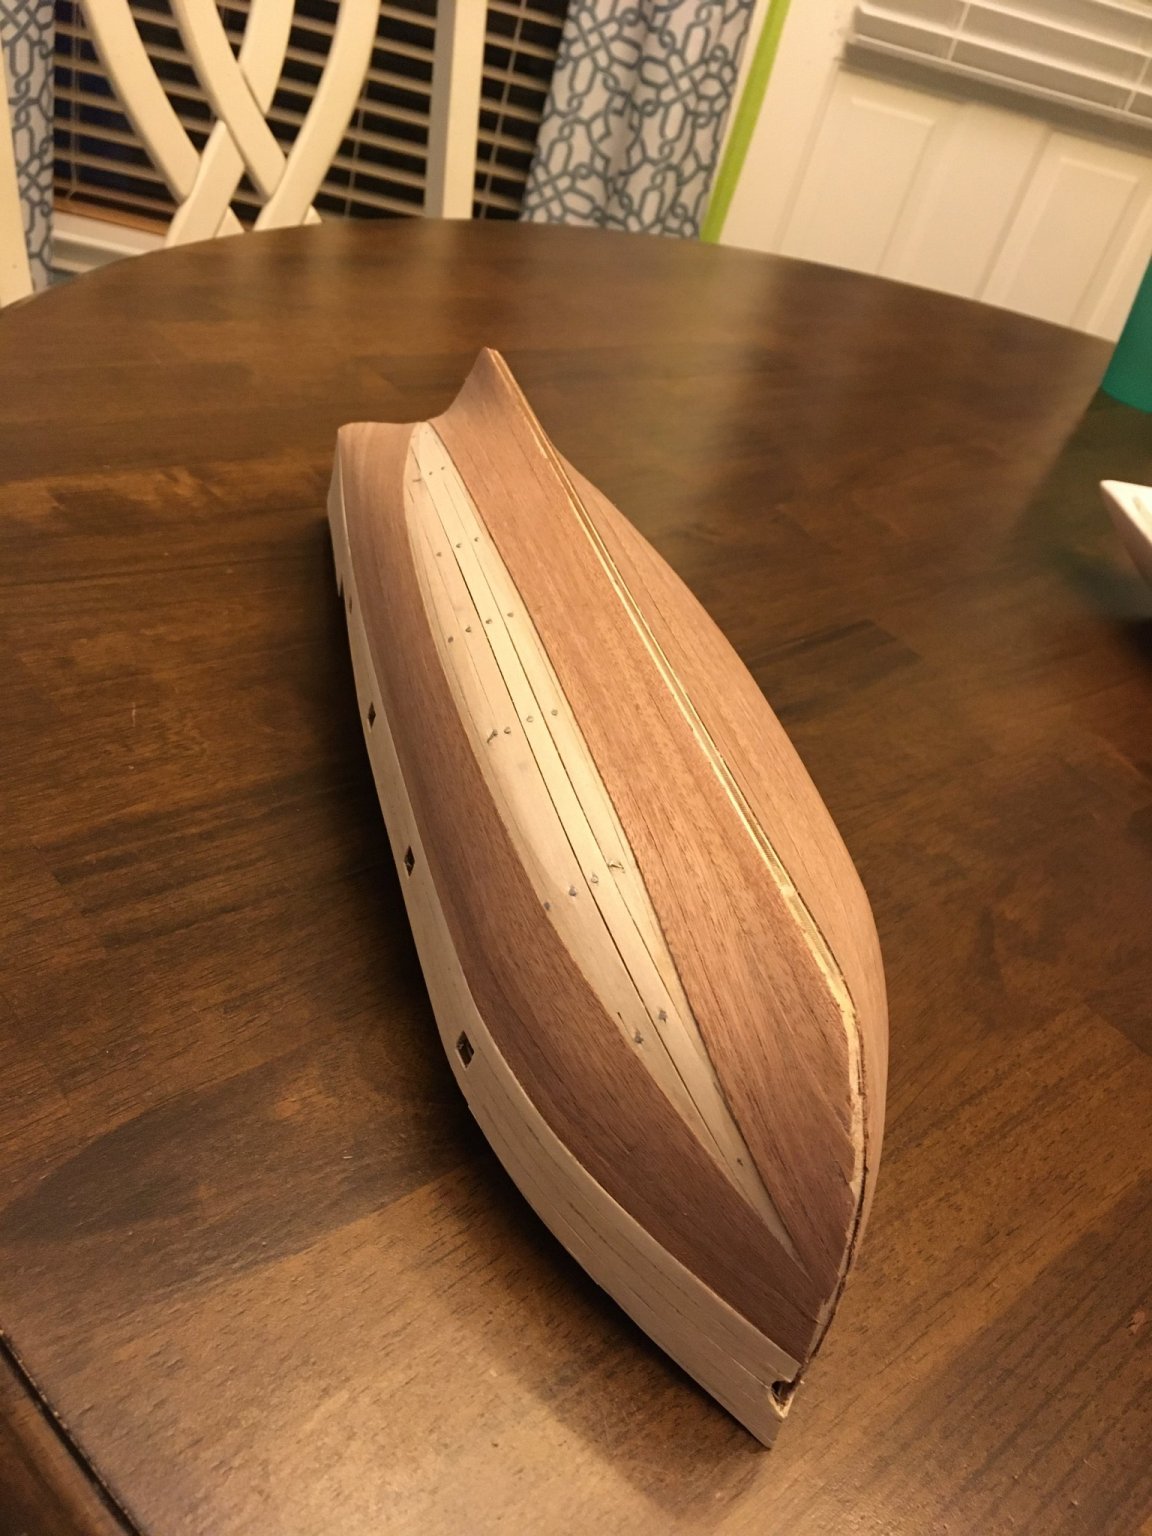
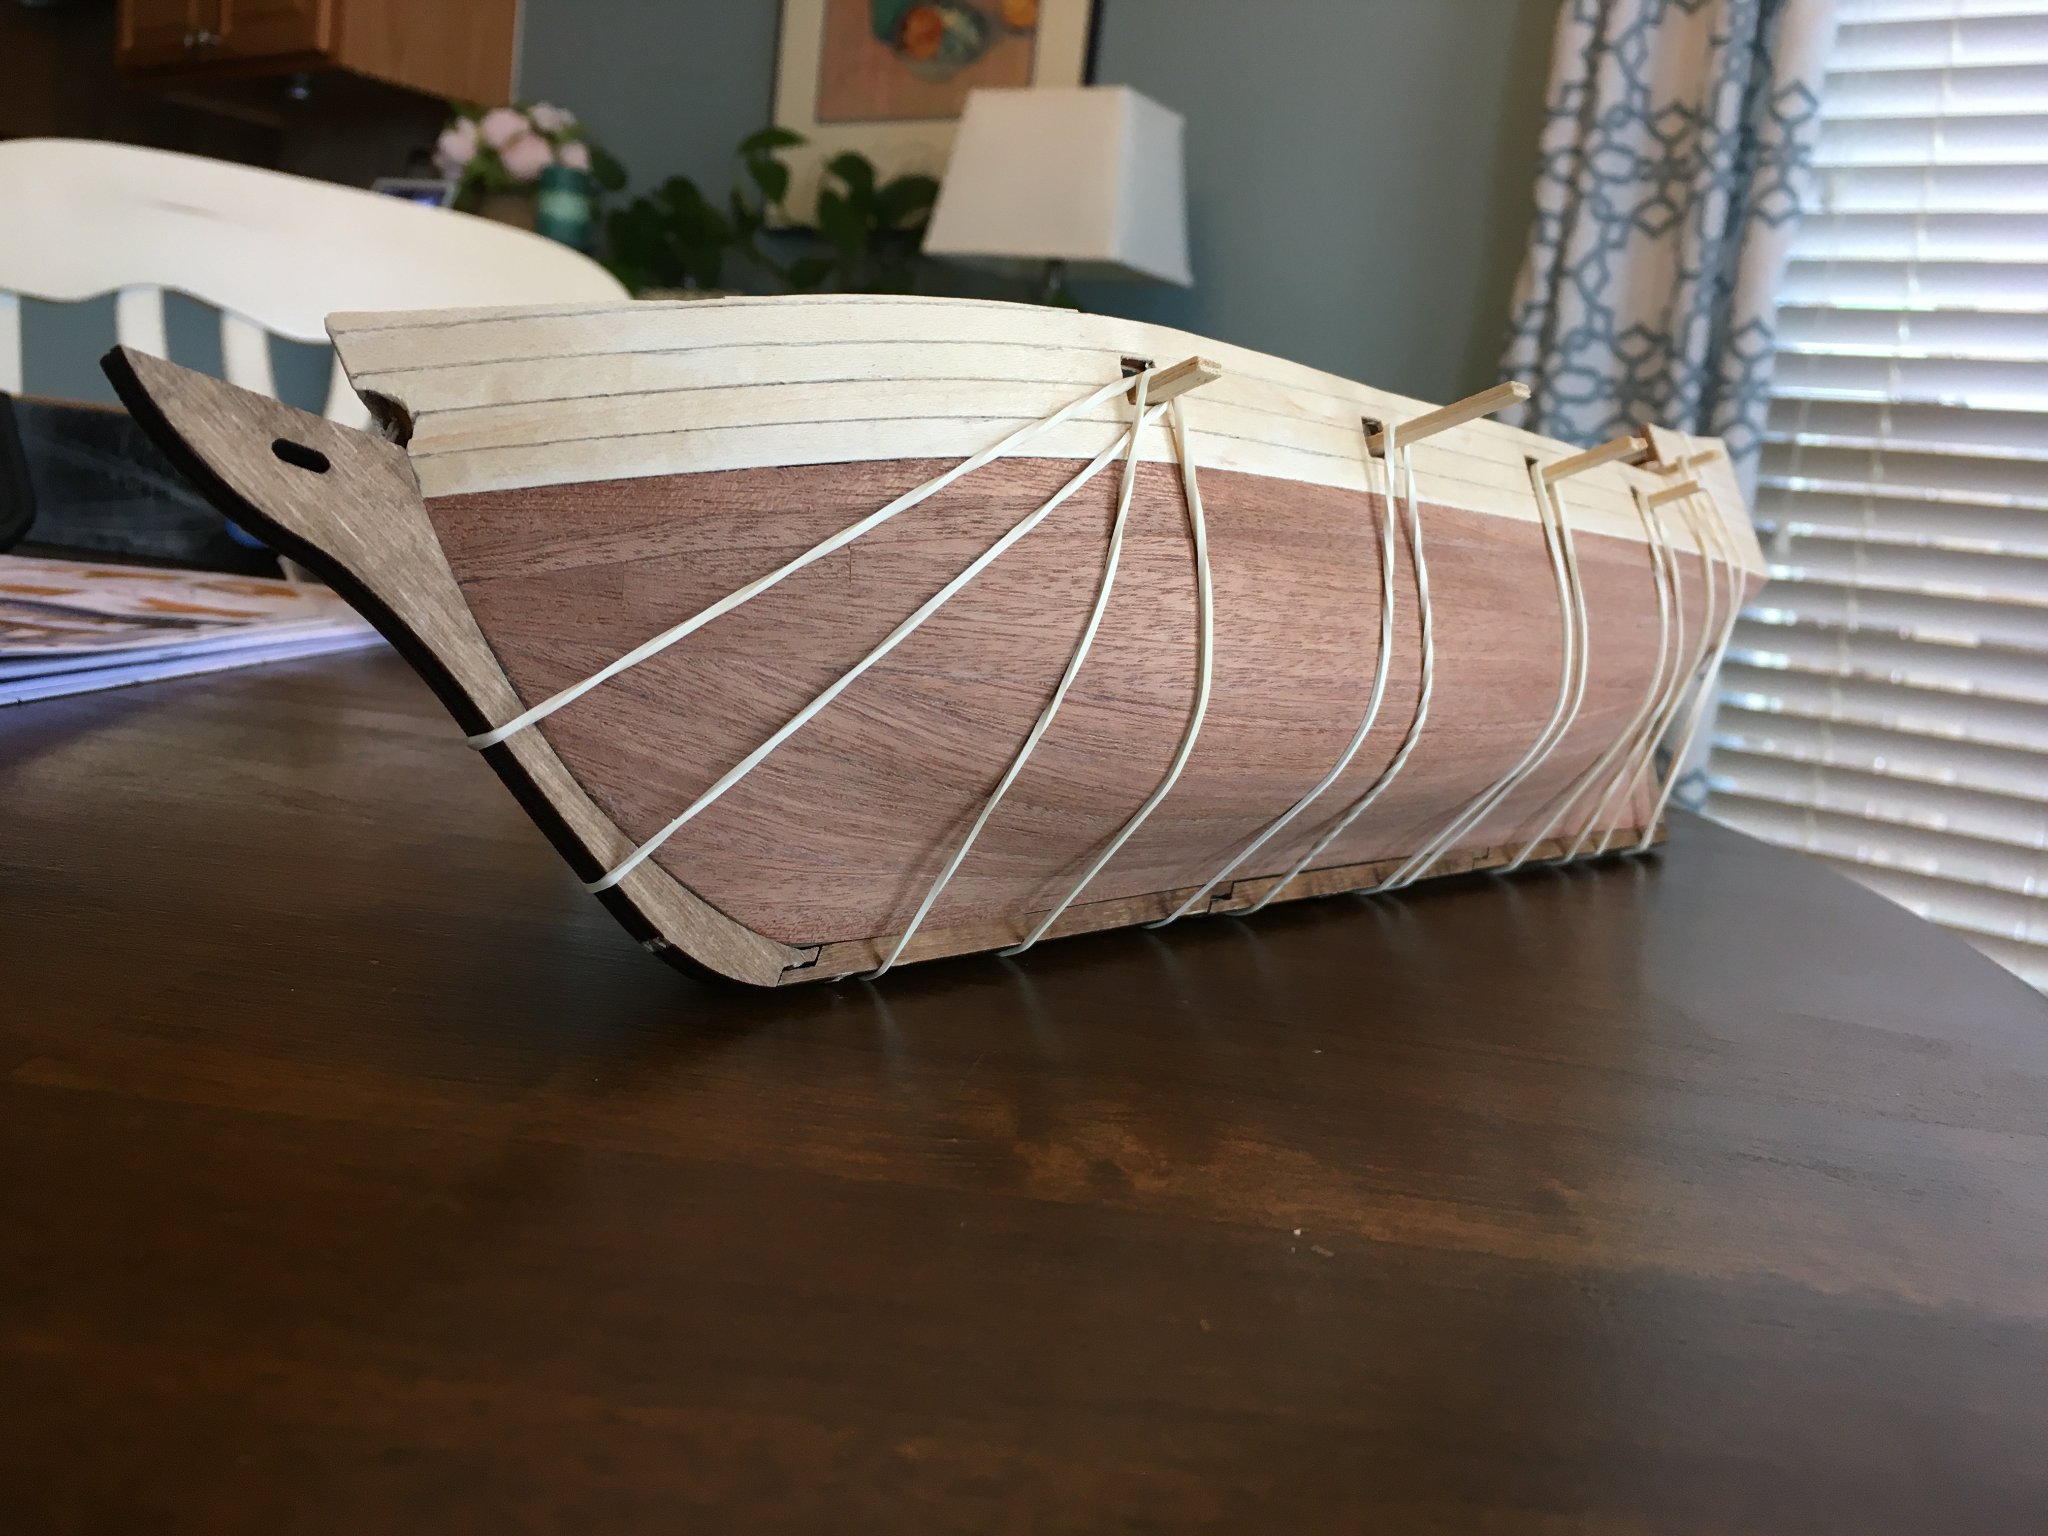
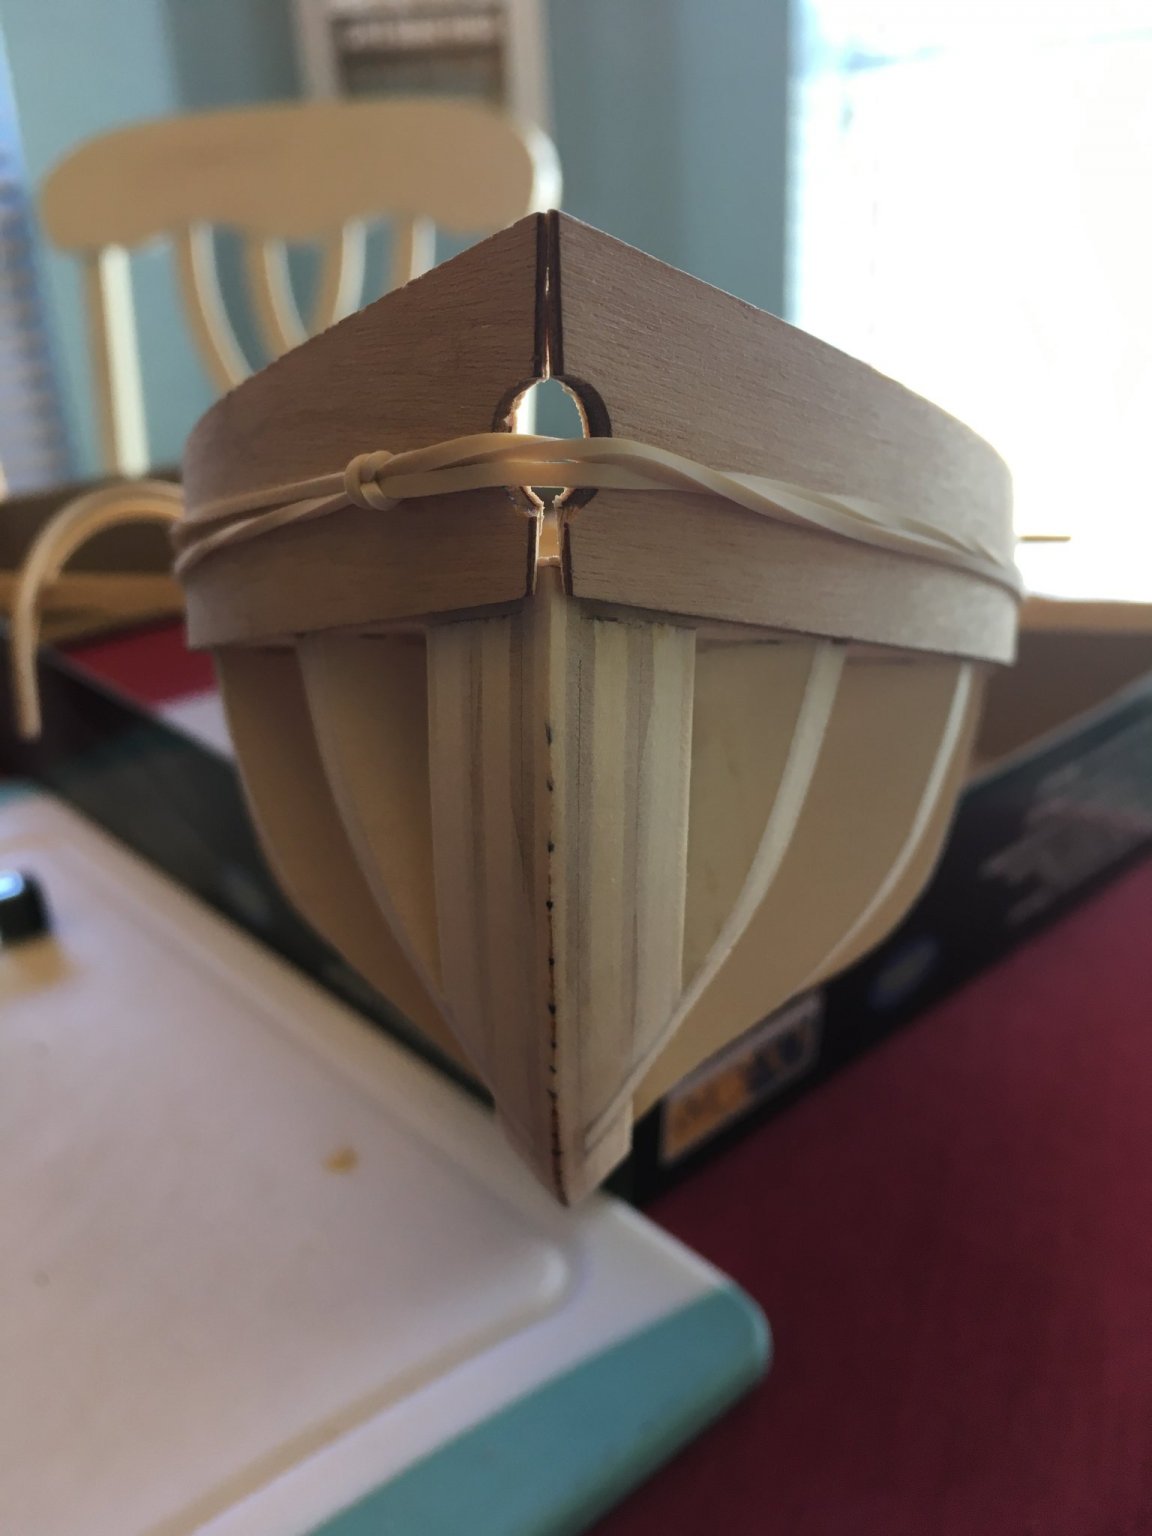
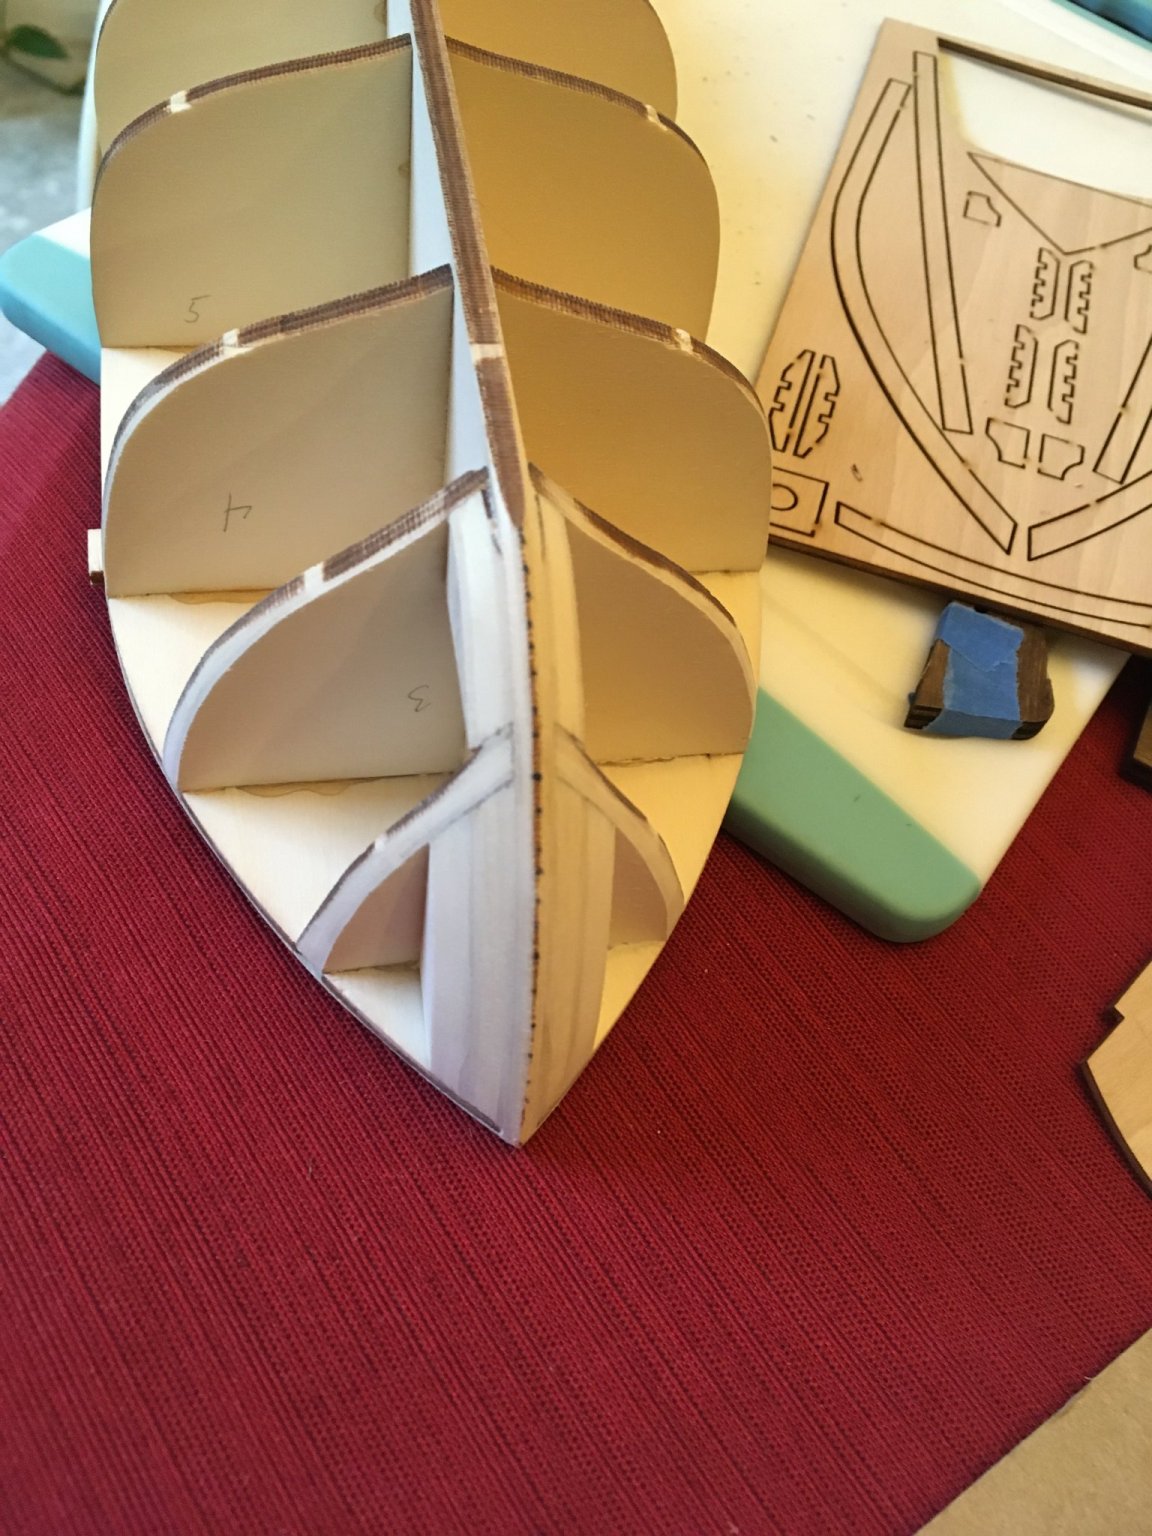
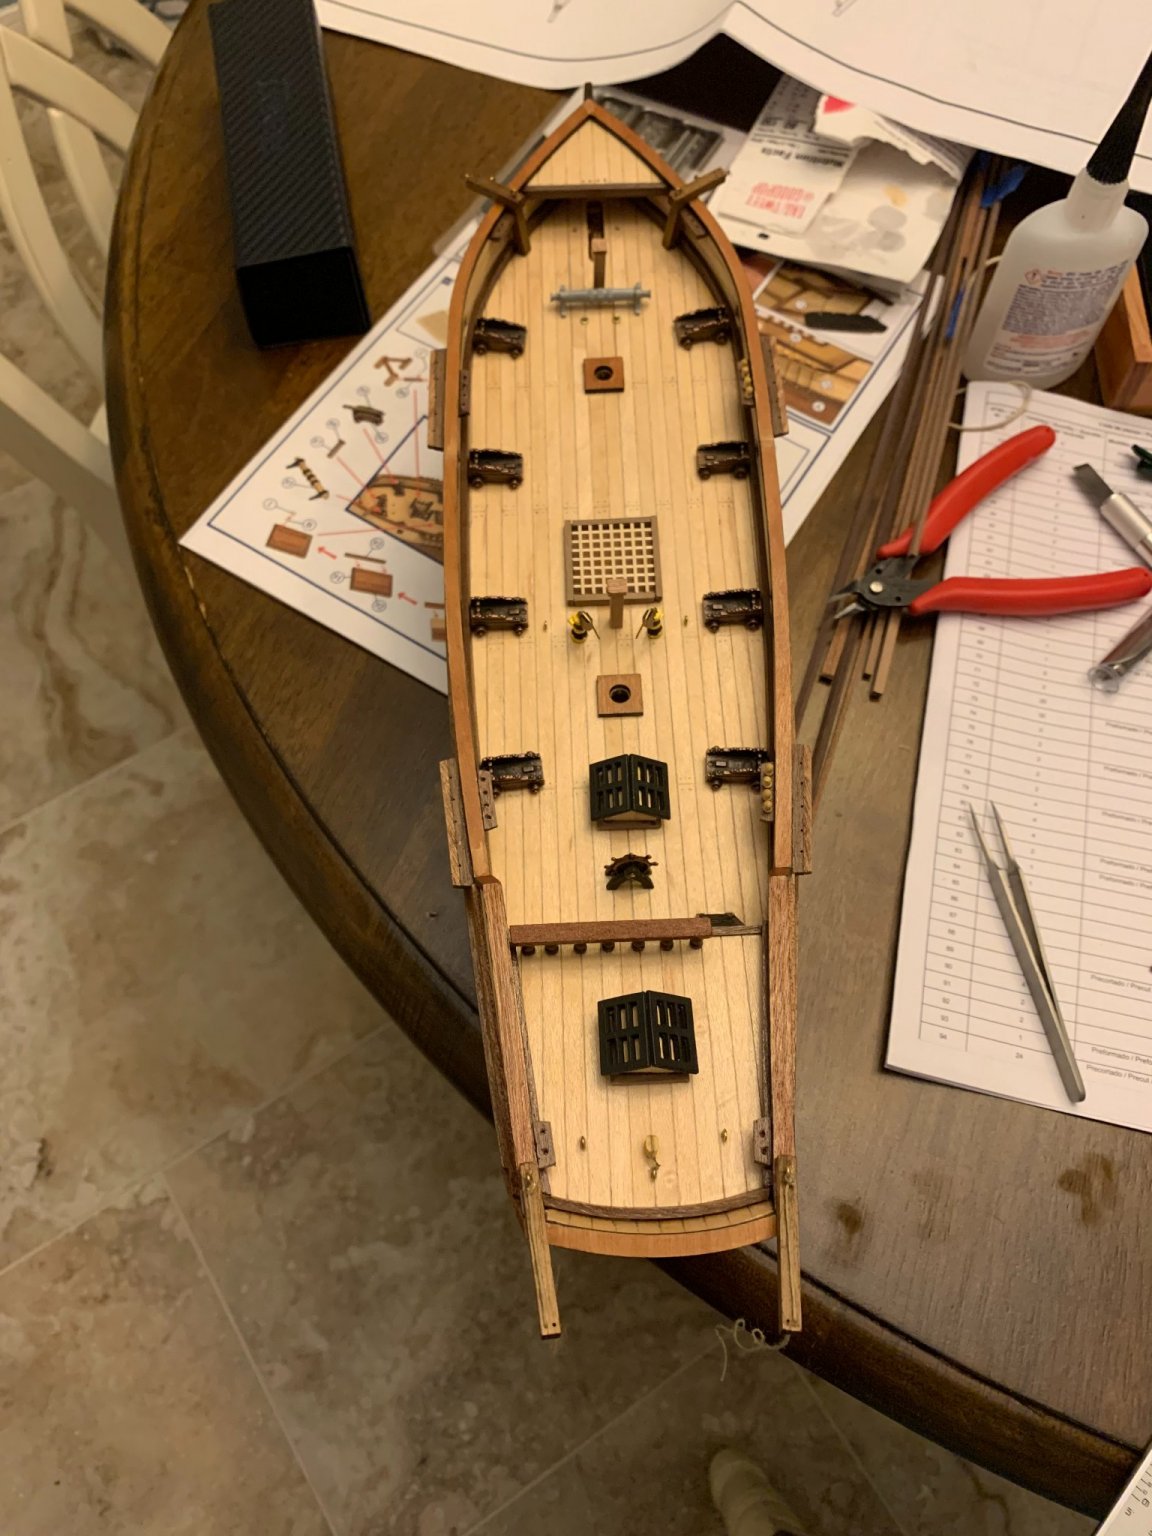
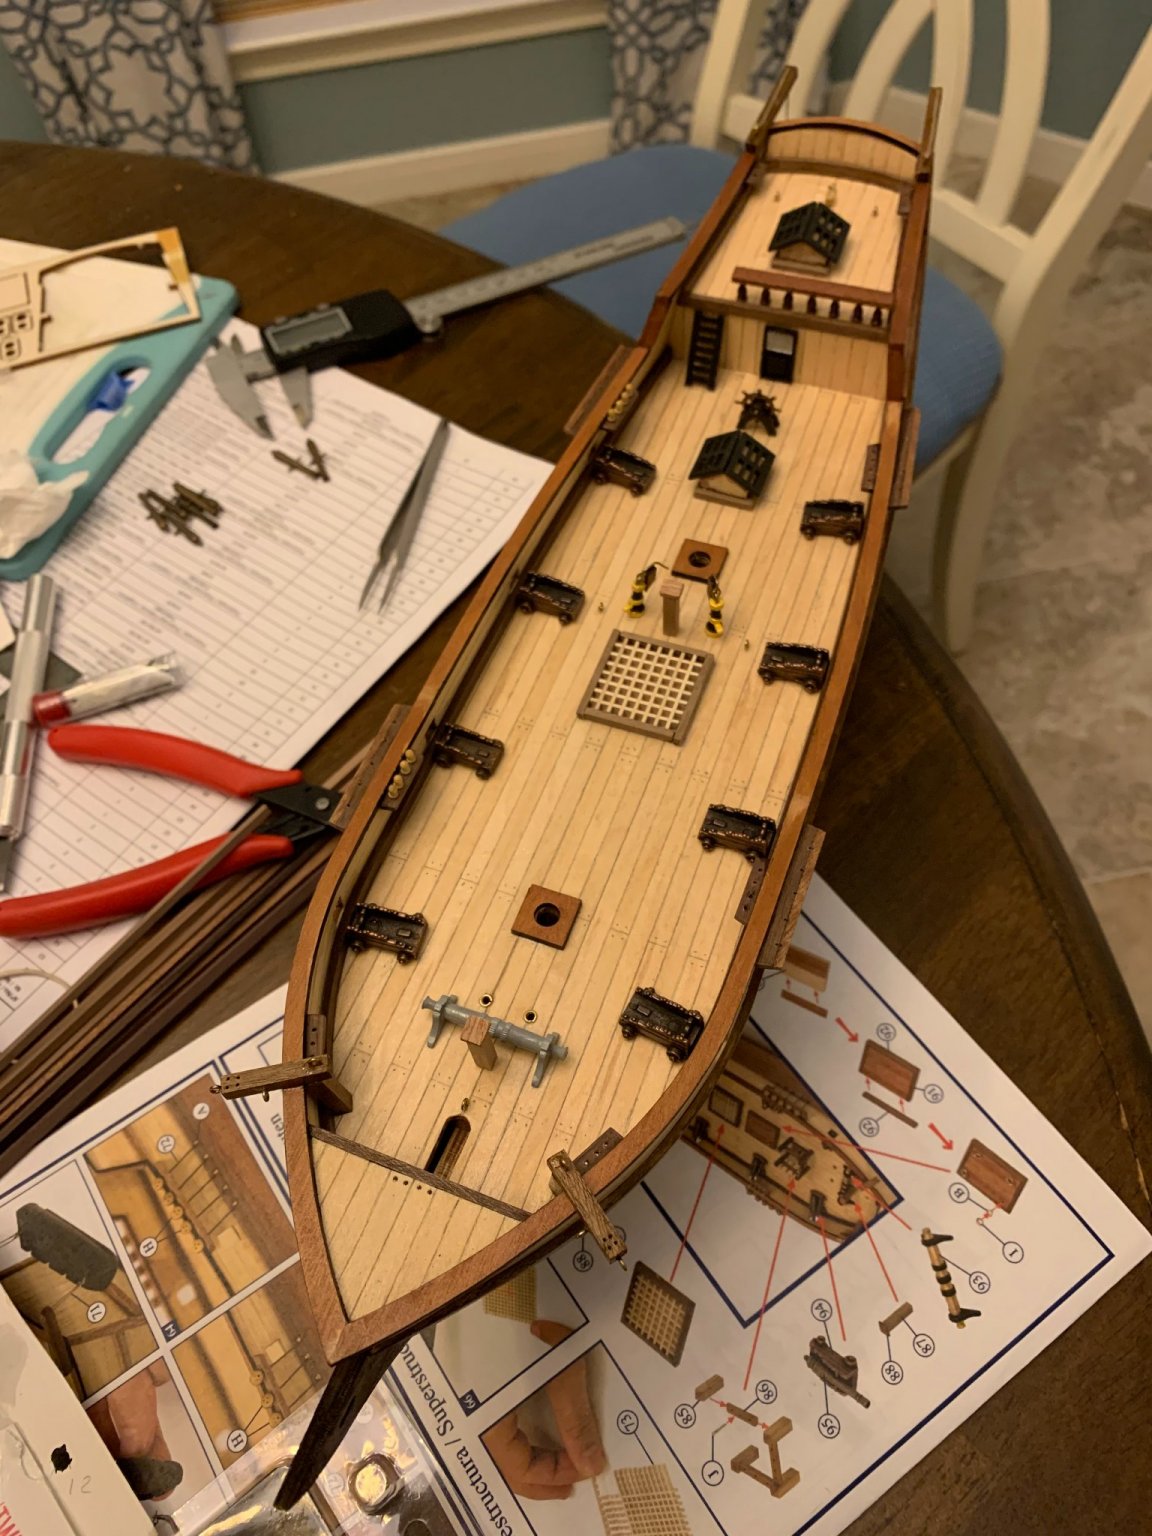
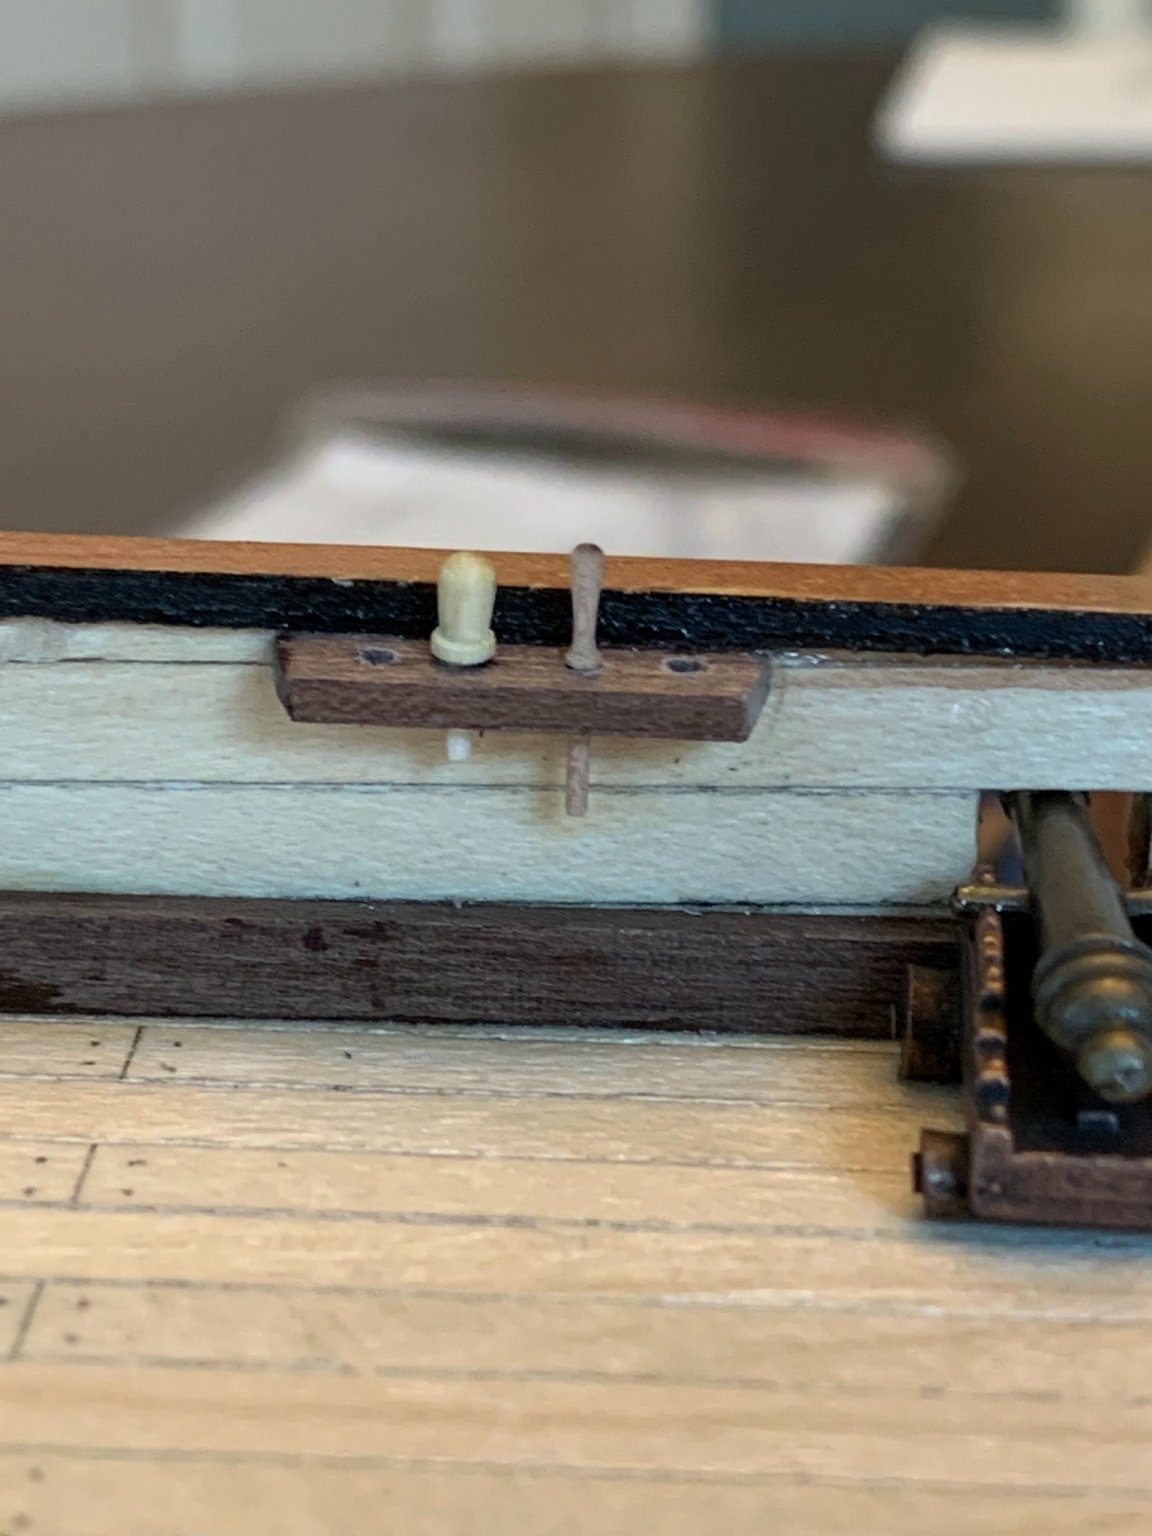
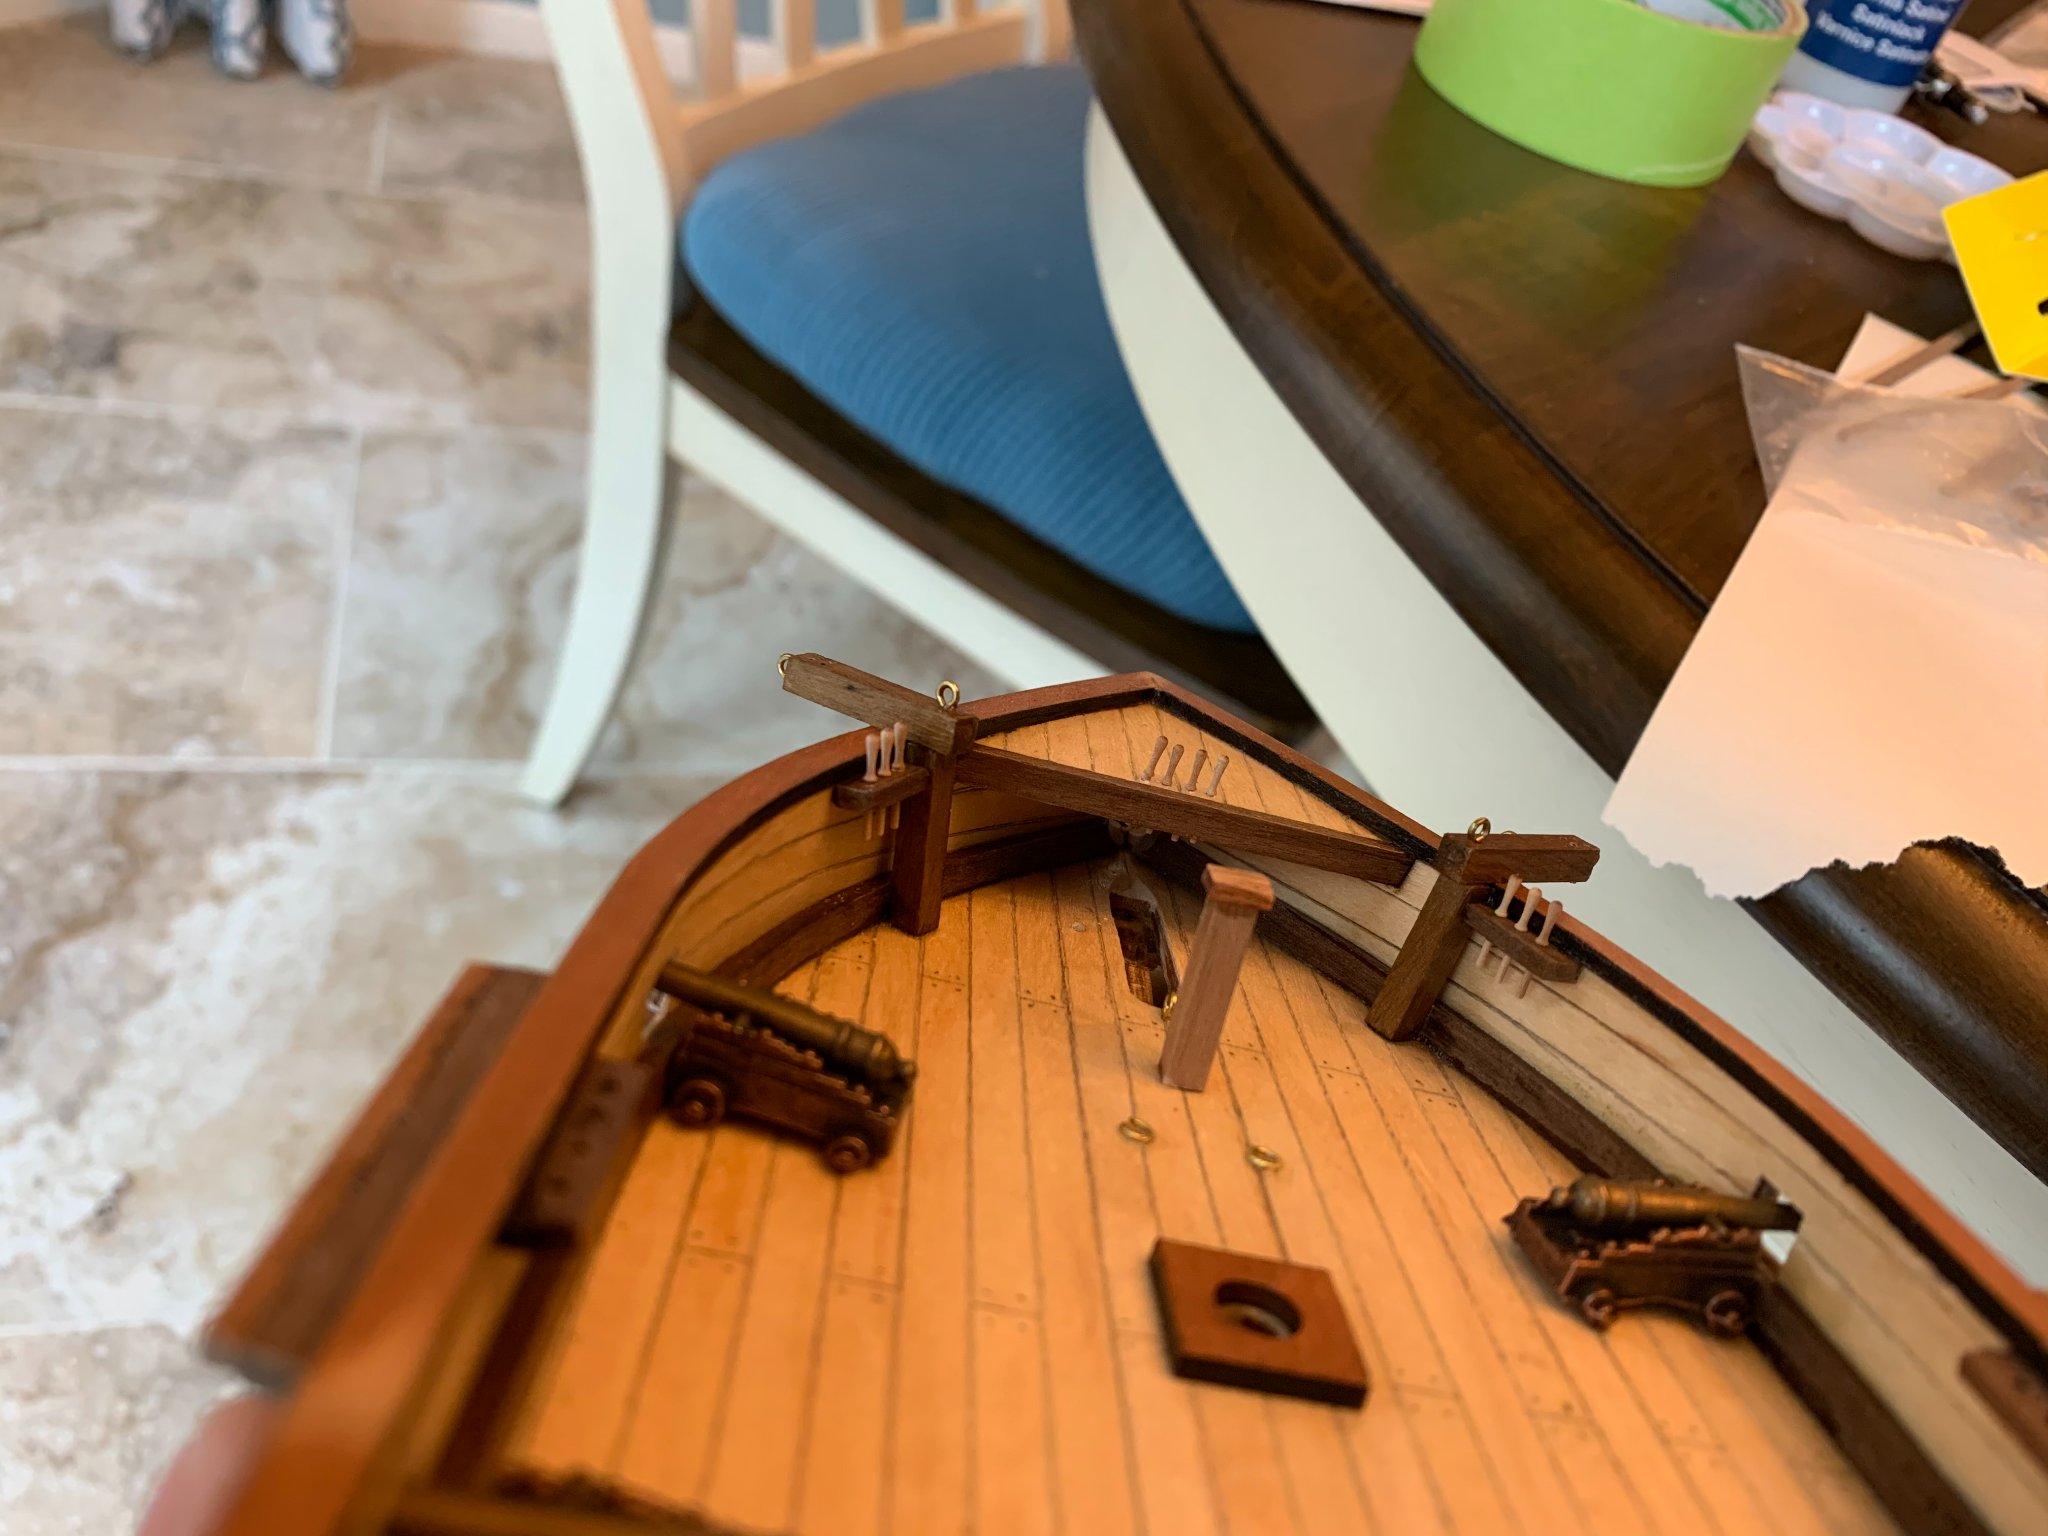
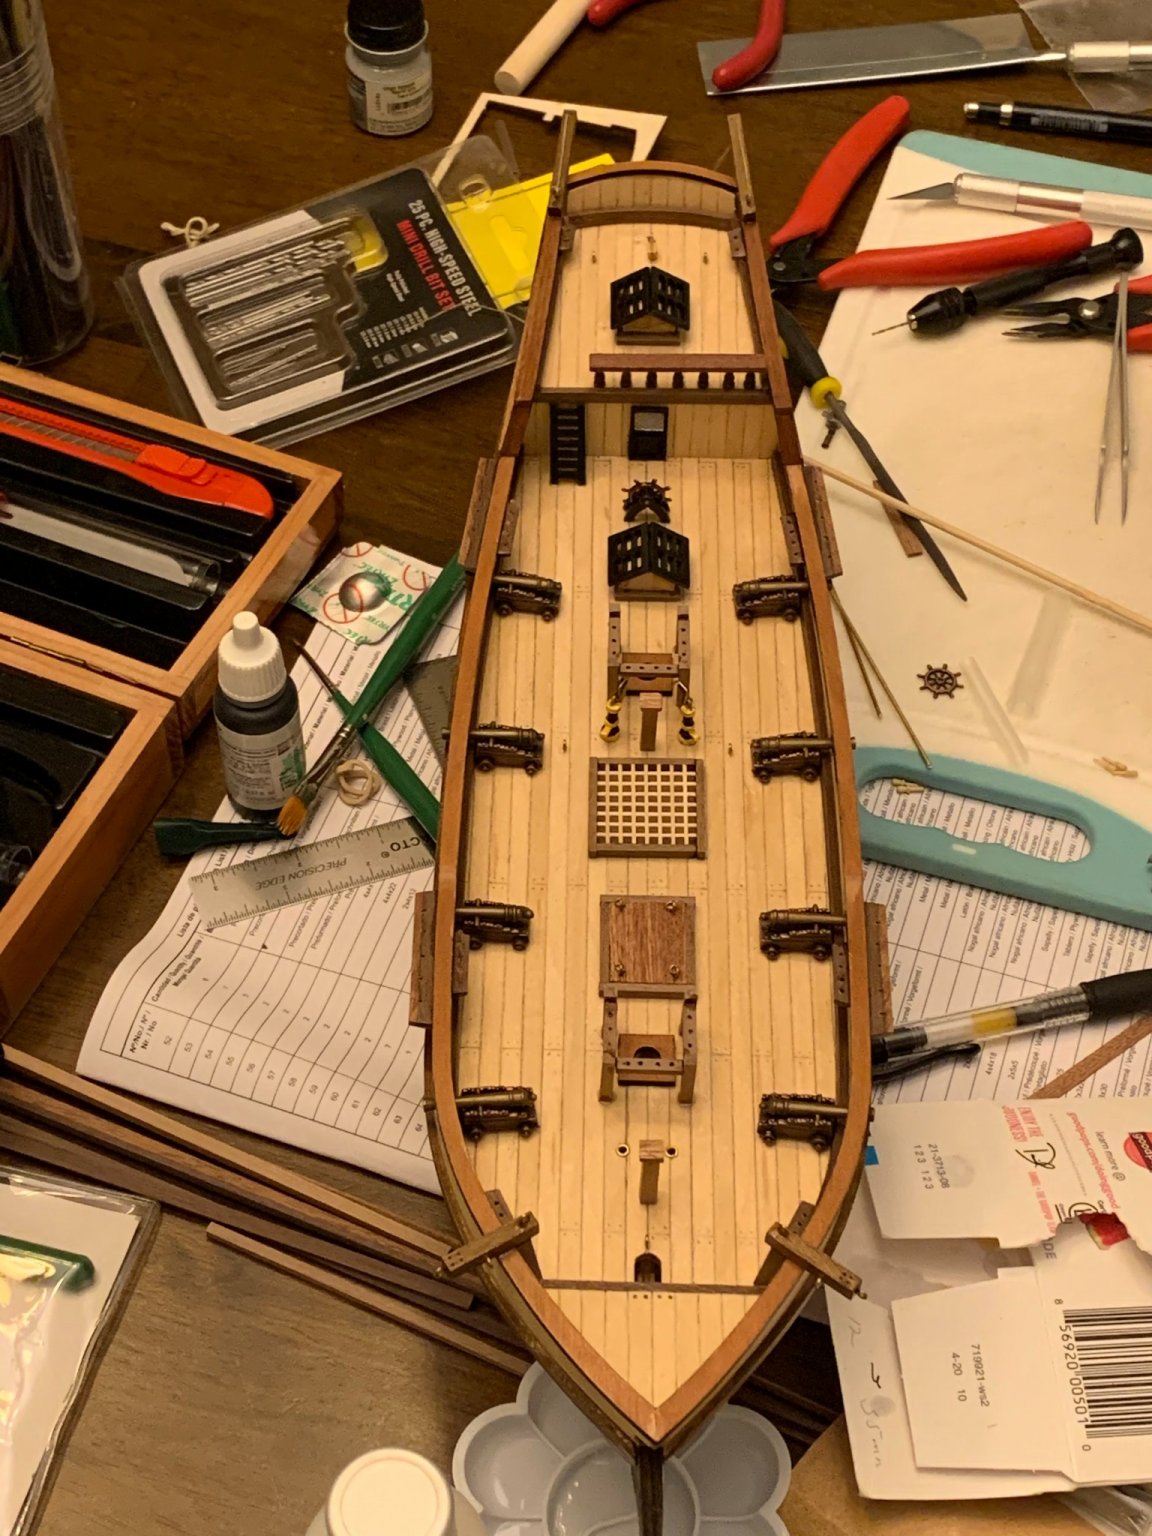
Hello all, I'm working on my first build. I'm about half way through. I had been surfing the forums for advice, suggestions and to take a look at what others have built. I finally decided to join. First of all, I want to thank everyone here for sharing their knowledge and experience. I've found this site to be a great resource. Below are some pictures showing my journey. to attach, or choose files... Other Media I decided to bend the bulwark before lining them and gluing them to the hull. I had seen some videos and pictures where the bulwark cracks. I wanted to avoid that if I could. I then sanded the reinforcing chocks and frames. Below, I've attached the bulwarks. Like many other builds I've seen, they don't quite meet. However, in the pictures included in the instructions they meet perfectly. I'm not sure where I went wrong but I decided to continue and will fill it in with wood putty. Afterwards I lined the hull. I wasn't happy with how it was looking. I wasn't sure if it's supposed to be this rough. But I figured, I could always sand and fill, so I went ahead. I was concerned about how all the other parts would fit since even after sanding, it still looked really rough. a After more sanding and creating the 4mm flat surface for the keel, it started to look ok. From here, I lined the hull and glued the keel. I'm not completely happy with the lining, you can see some gaps. The varnish helps hide a lot of my mistakes and makes is look better. I deviated from the instructions. The instructions have you attaching the rails and deadeyes before all of the other structures on the deck. I decided not to. I saw the following picture from another post. I noticed that in some pictures, of the ship, they were incorrect. So I glued the rails but will hold off on the deadeyes and chain plates until I have the masts up and can line them up properly. I ended up breaking some rails. Very frustrating. I have an issue with OcCre's belaying pins. They tell you to drill a 1mm hole and, according to my caliper, the pins are >1.2mm. I tried to make the holes wider and I also shaved the pins so they were narrower. I finally got them to fit but, I had another issue. They are 8mm long. They were too short for the bow deck. Luckily, I was able to find some that were longer. Below is a picture of the bow. You can barely see the longer pins, at the bottom, that I replaced the 8mm pins with. I don't know how OcCre expects you to tie the ropes to the belaying pins when the 8mm ones they provide are way too short. Anyway, I went ahead and finished the structures on the deck. Next step is to do the masts. And, that is where I'm at now. You may notice that there are a few items missing. I'm waiting for paint and more belaying pins. I had just ordered 1 package to see if they worked. Now that I know they work, I've ordered a bunch more. 02MAY2021 I finished the Bousprit this morning. Since this was my first boat and all, I was so proud of myself. I was showing it off to my wife, again, so proud. I then placed it down and looked at the pictures in the instructions, then I saw it. You NUMB SKULL, you used the wrong thread! After another hour, I finished the Bousprit again. But, this time with the correct thread.